


King Cat help


 05-10-2019, 03:17 PM
#28
Patrick, I have another KC that I will be reconditioning for the owner, both belong to a friend of mine, the T1 wing is missing a portion of the leading edge the rest is good, the KC wing is 80% good but has to be repaired, the stab is intact, the T1 stalled on final, no fire for both.
The wings are good to go, the stab, I will ask.
The wings are good to go, the stab, I will ask.
Last edited by CARS II; 05-10-2019 at 03:20 PM.
05-10-2019, 03:23 PM
#29
Dr:Cito yes, Jose' lost the T1 at the Hemet meet in January and the KC about 2 months ago, his new KC ( that I have now to refurbishe ) came from Chris ( just in time )
Strawberry festival at Roseville tomorrow and Sunday, coming ?
I will make an attempt to go fly tomorrow late afternoon.
Strawberry festival at Roseville tomorrow and Sunday, coming ?
I will make an attempt to go fly tomorrow late afternoon.
Last edited by CARS II; 05-10-2019 at 03:26 PM.
05-18-2019, 06:26 PM
#32
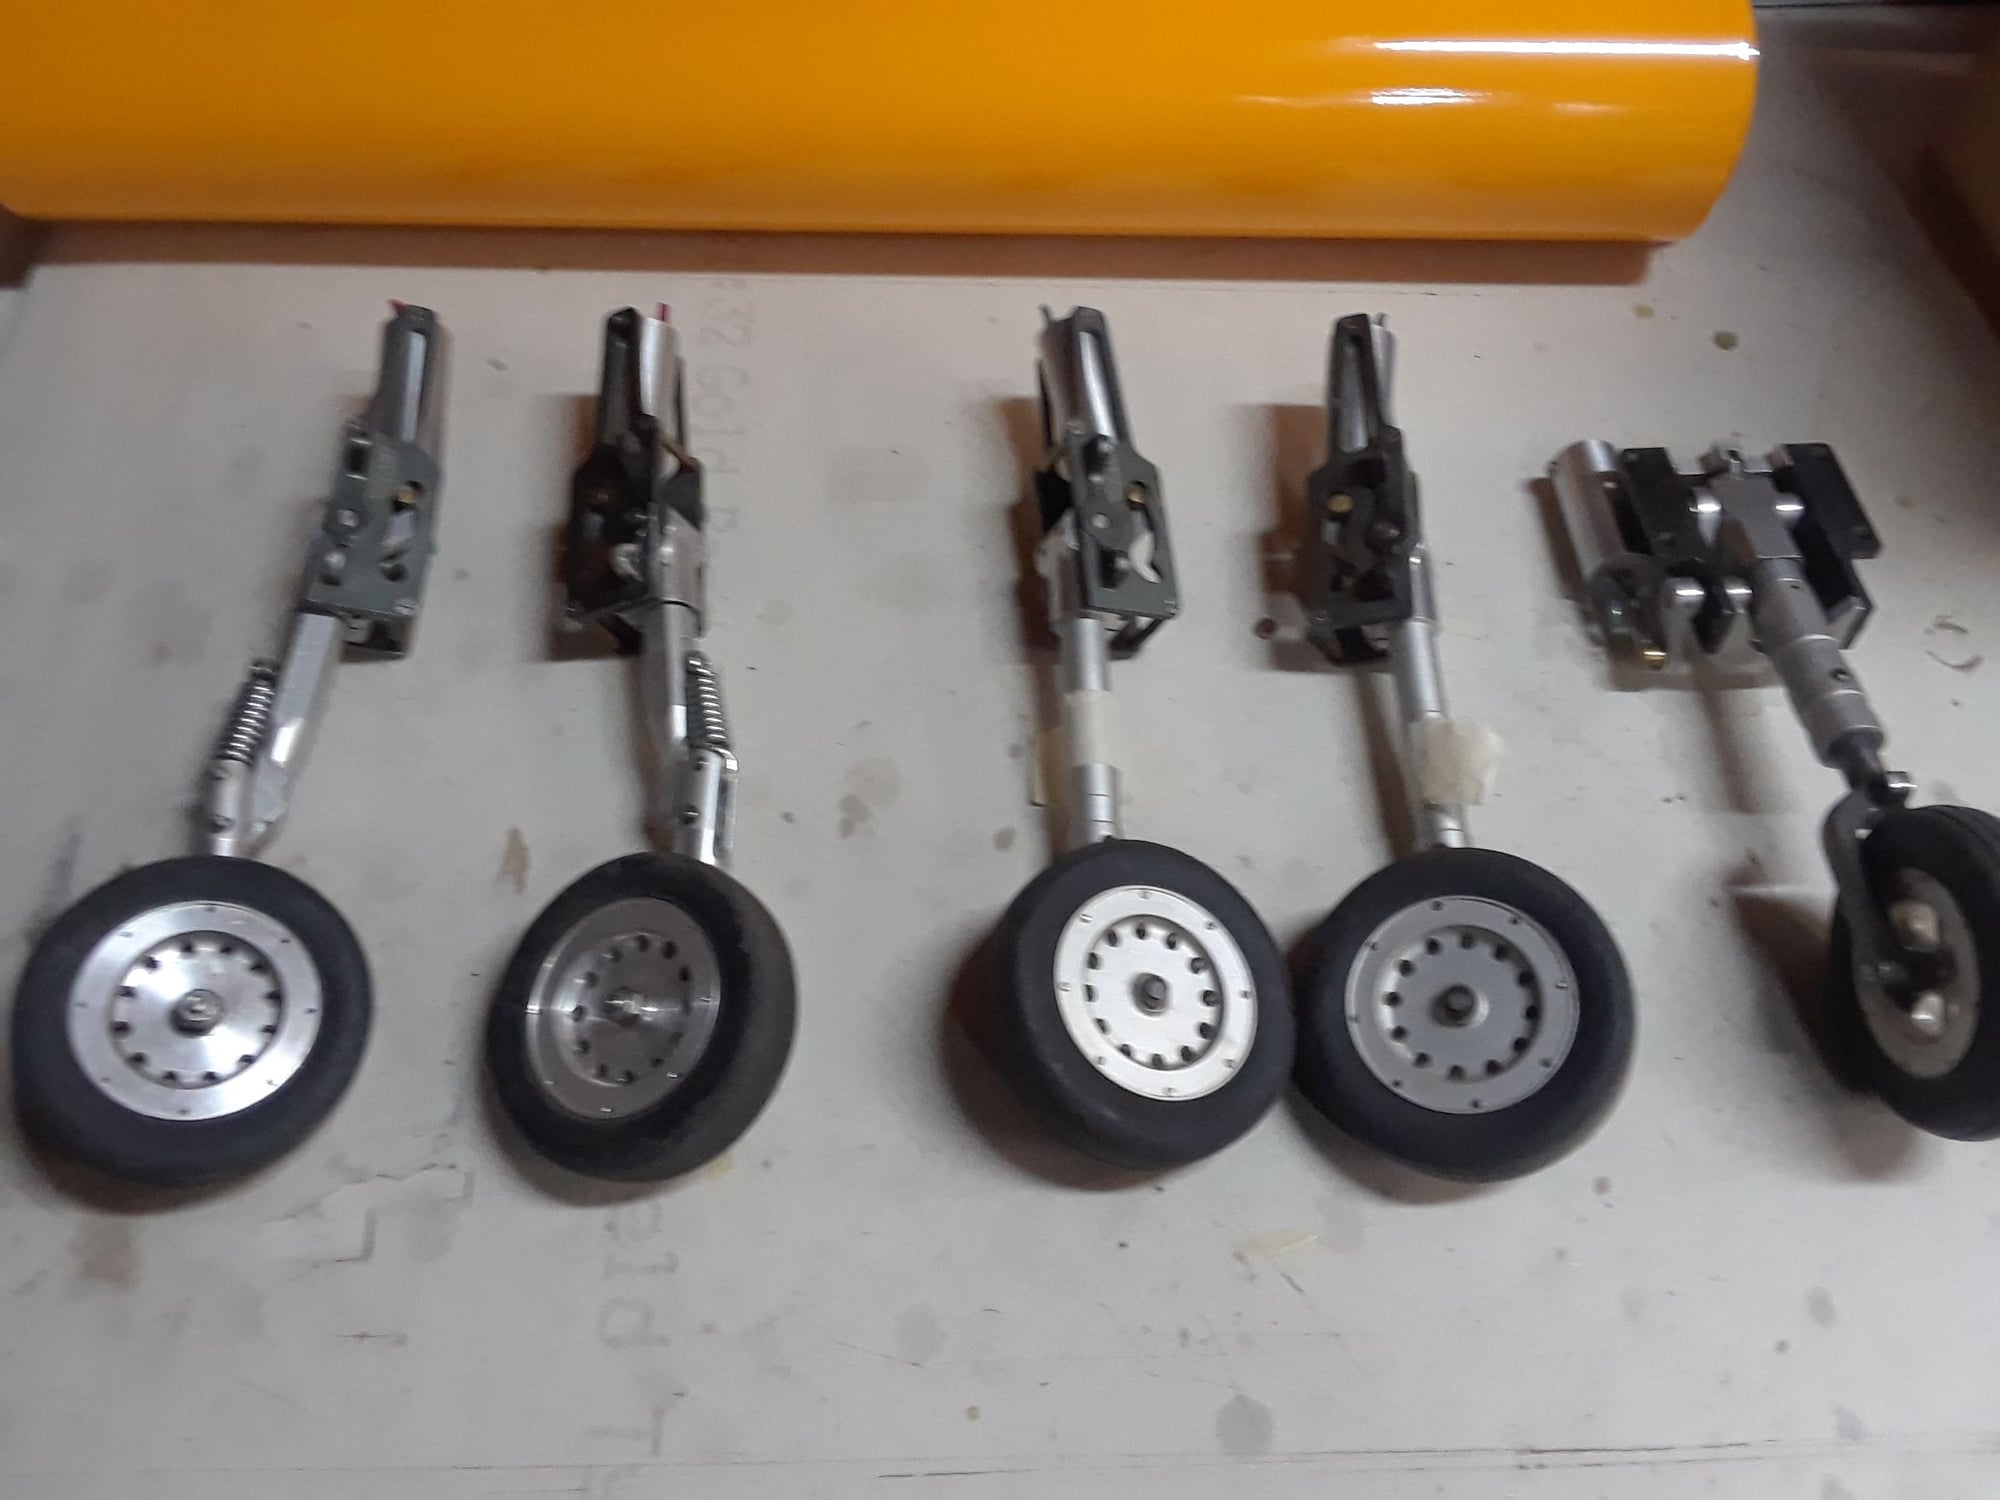
He does Patrick, I will take a look on Monday or Thursday, will take pictures and will find out for you what he wants for the gear, I don't see him getting another one, if he does, it will come to my shop first.
The T1 stalled on very soft mud ( I know, my shoes were a ball of mud ) I think the gear is in good condition.
The T1 stalled on very soft mud ( I know, my shoes were a ball of mud
) I think the gear is in good condition.

 05-18-2019, 08:25 PM
#35
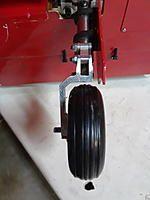
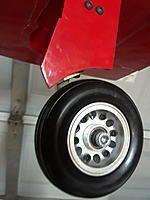
Here is another project I just completed today, adding wheels with brakes to my Phoenix PC21 30cc, these are Airpower wheels.
This weekend has been raining around here, perfect weather to stay home to catch up with most of the small projects and the Turbinator keeps on waiting his turn

Last edited by CARS II; 05-18-2019 at 08:39 PM.
05-18-2019, 09:53 PM
#36

My Feedback: (4)
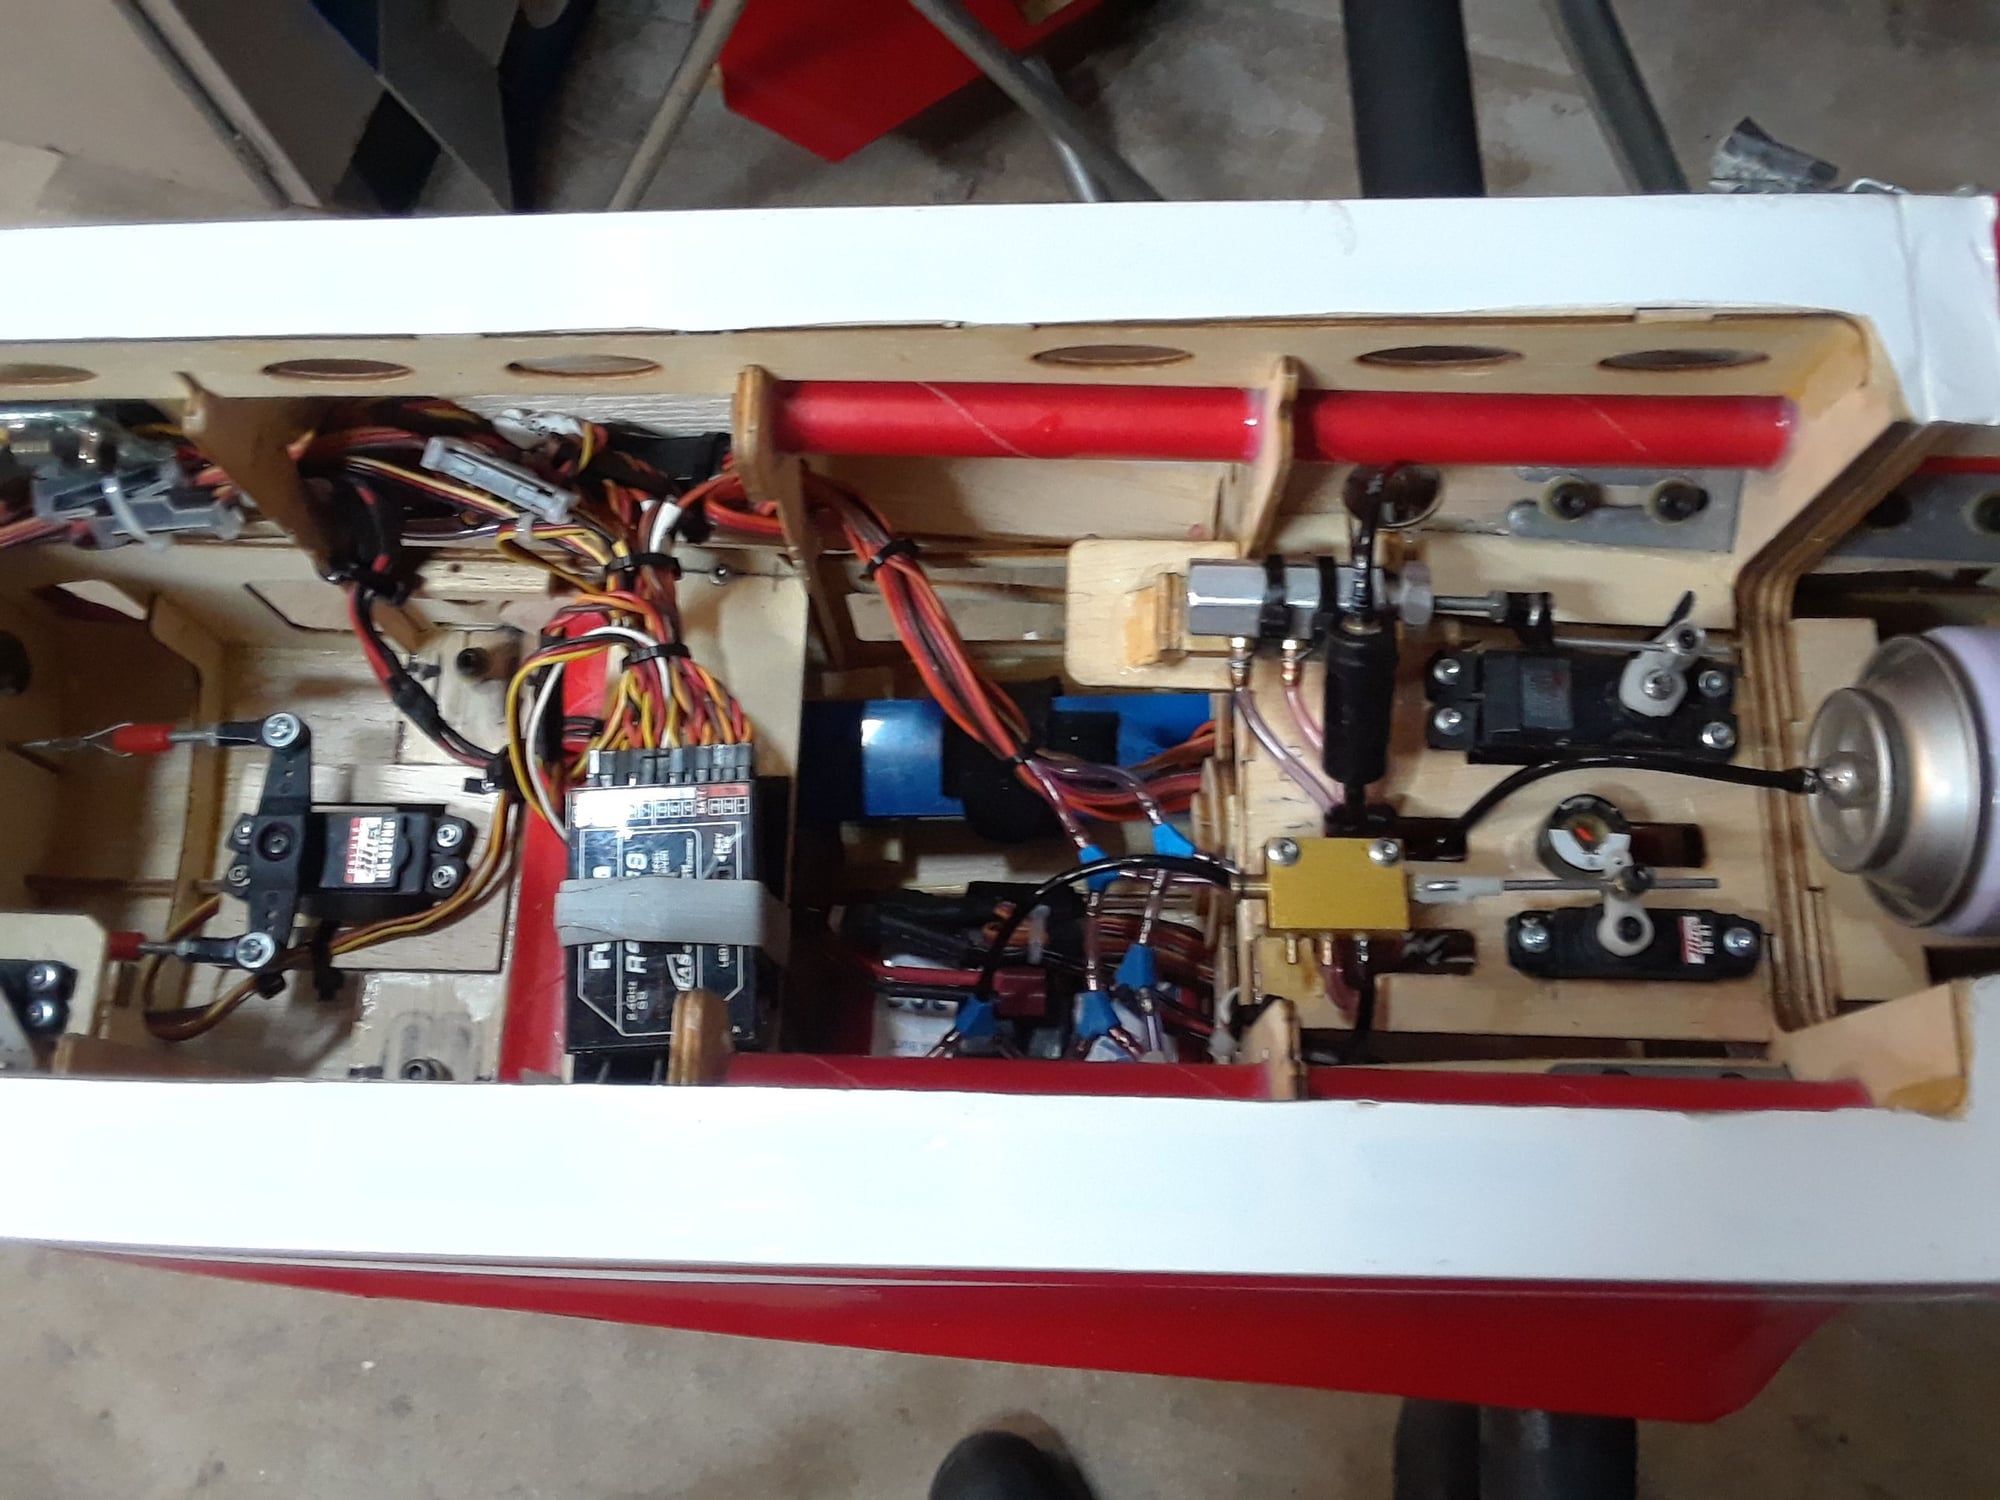
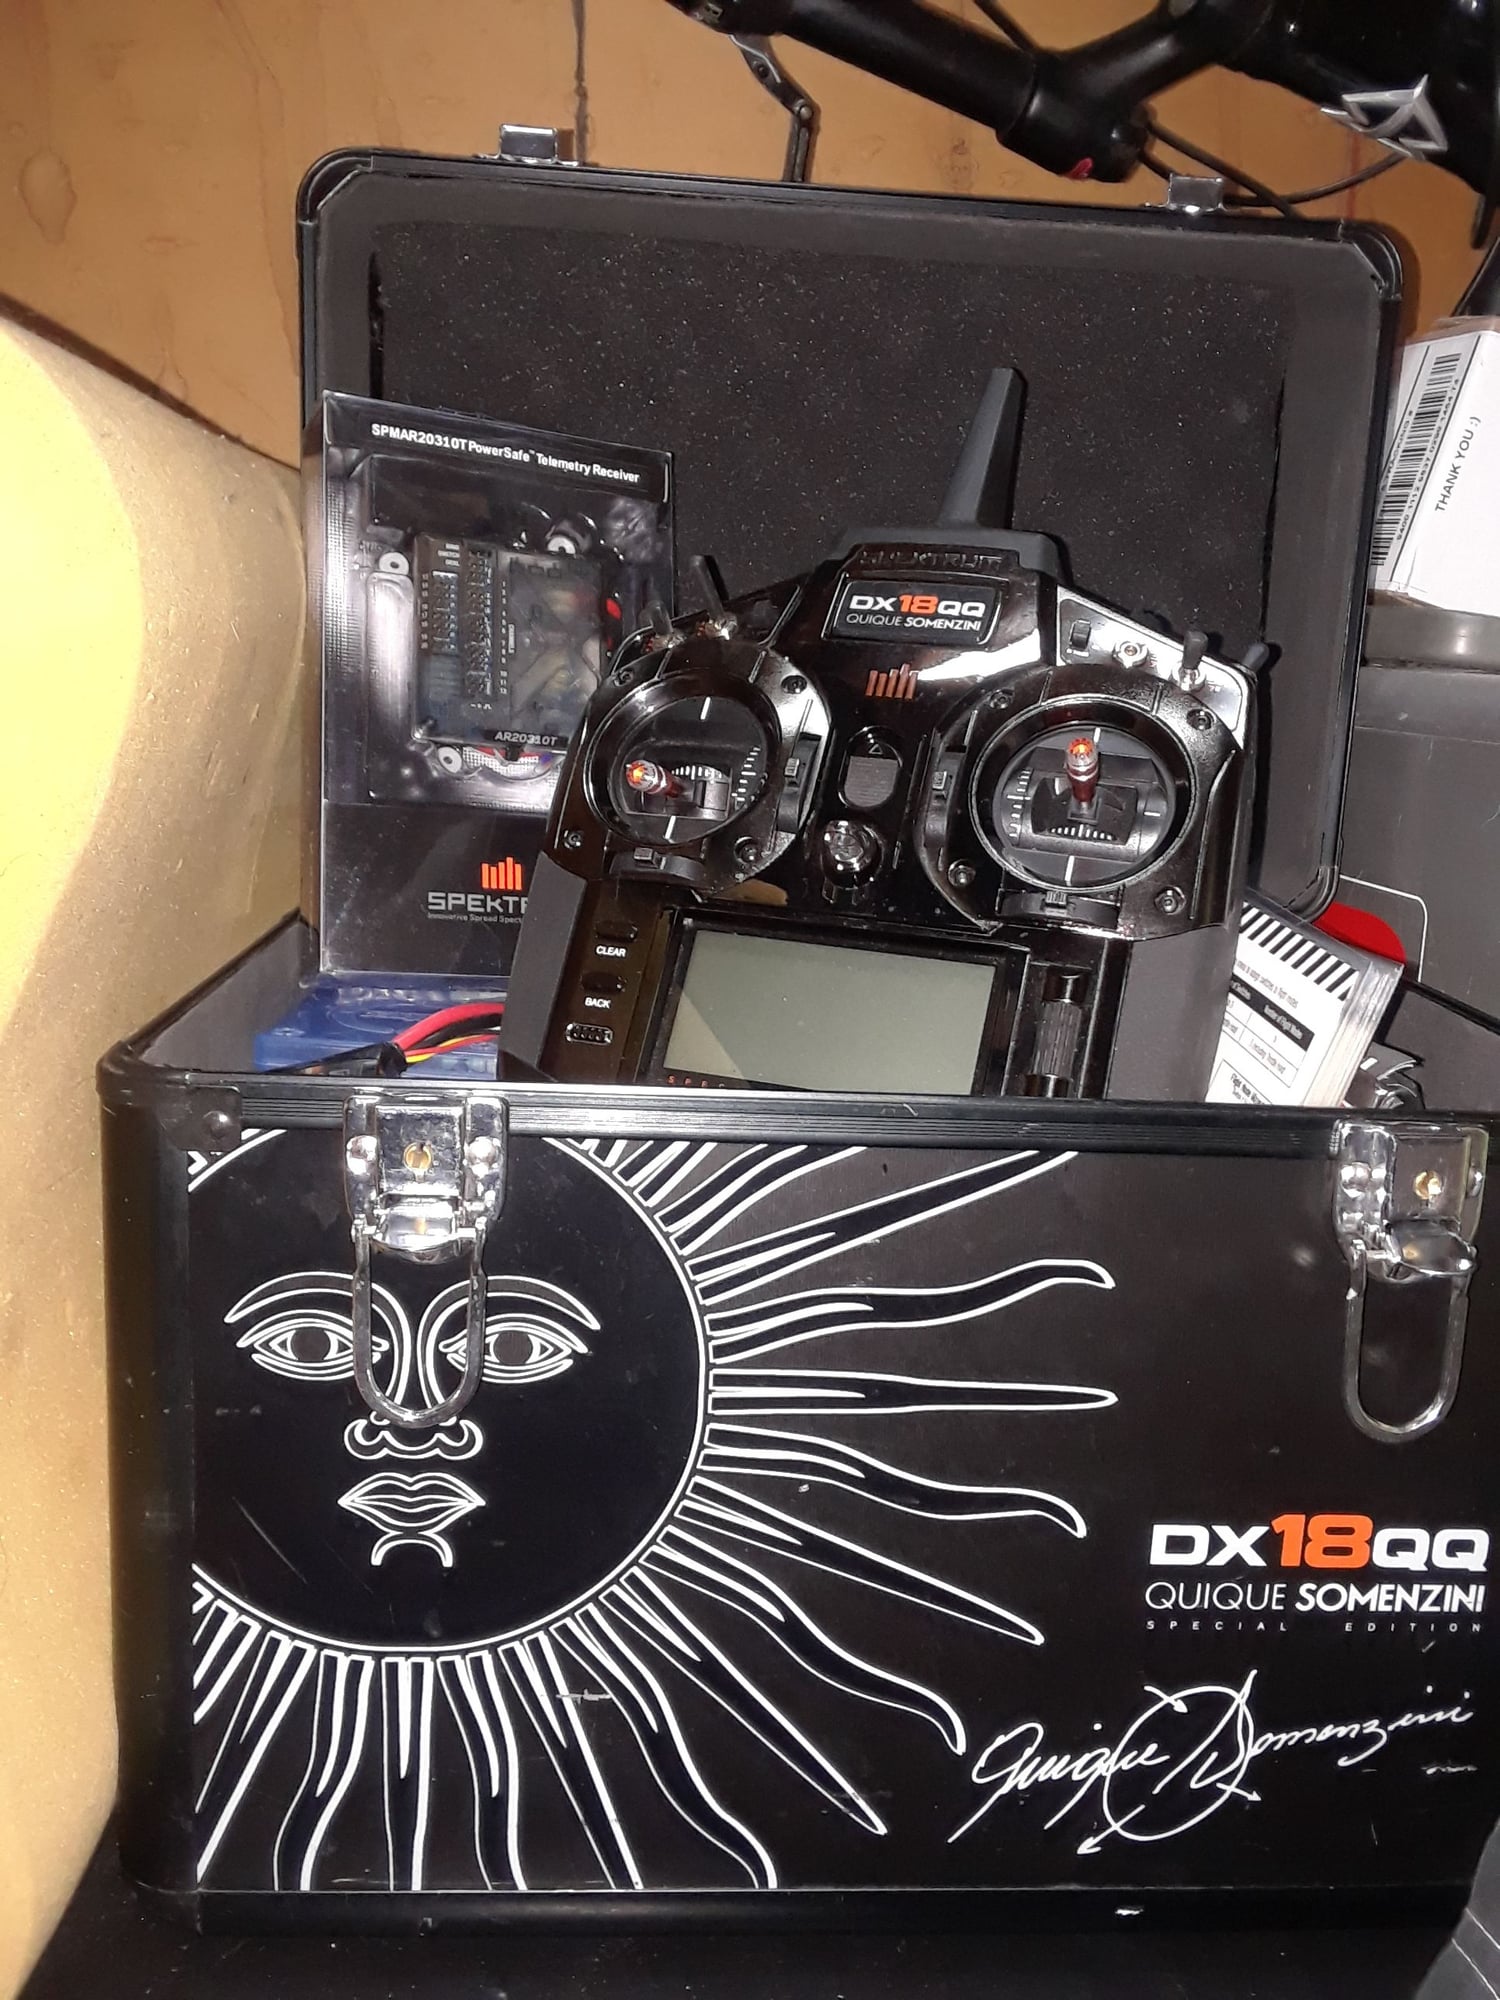
I started the refurbishment of my friends Kingcat earlier this week, fortunately his sat on a bed in the air condition for the past 4 years, so it was no where as bad as the one you are doing. The first thing that slowed me down a bit is that I use futaba and he is a spektrum user and this was the first time I had ever touched a spektrum radio. So my learning curve was a bit steep, so I did not know that if you don't have all the receivers connected that it can't bind. Go figure, I spent a good 2 hours trying to figure out what I was doing wrong and could not find an easy answer to the problem on the net so I called my friend (should have done that first) and he tells me to connect all the receivers to the main unit (AR12120). Then I had to figure out how to get all 12 channels out of the RX. So I literally spend the first day figuring out how to program a spektrum radio, fortunately it wasn't that hard so on to actually working on the kingcat.
Next thing I did was to pull the entire fuel system out first and check the tanks. It had a very peculiar smoke system in it that was based on air pressure, you would fill an additional set of air tanks in the model and when you opened the valve it would push the smoke fuel down the lines. Unfortunately the smoke system my friend said was not very reliable. Also whoever put it in used a 16 oz water bottle stuffed in between the main tanks. So that entire system came out and went to the trash, he does not want to replace it.
The main tanks did not have any algae in them, but around the vent tubes had a little growth as well as the Y connectors. Cleaned everything up and they are looking as good as new. He does not have the 16 ounce tank in between the saddles, but what the original builder did was to put the UAT further back towards the tail on a board so that batteries could be placed in between the main tanks. Going to keep that layout since he has the clear canopy with pilot and full cockpit which adds a lot of weight up front.
Next I turned my attention to his air system and checked the lines for any wear or leaks, the lines themselves looked brand new so did not touch them. Found that the BVM air valve that he had in the plane had a leak when the gear was down so, tried an electronic valve and it just did not have the power to push the gear up with authority, so back to a mechanical valve. My friend had another BVM valve and he brought that too me and i replaced the electronic valve with this new BVM valve. No more leaking and before anyone says it, yes I tried some O-Ring lube and that did not help at all in the old one. Used the thin O-Ring lube sold by BVM in the gear to make sure they were working well, and the damn thing held 100psi for a full day with gear up and a day with gear down..good to go. Hooked the retracts and the brakes up to the radio and set their throws. Air system is done.
While letting the air system sit, I pulled all servo wires out and inspected them and ran them through a voltage check and all passed. I did not see any frayed or cut wires and 0 oxidation on the pins. Put all the extensions back in for the individual surfaces but have not hooked them up yet. Before I start putting it back together I cleaned all surfaces and gave them all a good coat of wax and the plane looks 1000% better than it did when I got it. I will try to get some pictures tomorrow and post them. I hope to have her finished and ready for flight in the next 3 to 4 days.
Patrick
05-19-2019, 12:20 AM
#38
Thanks for posting your experiences with your refurbishment.
Well, I'm also in the same boat as far as the radio goes, I have my work cut out for me when I get to the radio set up, I also fly Futaba and my friend flies, yup! You guessed right, SPEKTRUM, I will have to do the same as you, learn the darn thing in a day.
On this one there is no smoke system but, the smoke system that I installed on the broken one will be installed on the new one and I will have to replace the fuel lines and inspect the tanks and UAT.
Yes, they come out very nose heavy with a pilot up front, the old one had one and I end up making a tray in the tail cone for the 2, 5 cells NICADs batteries, the new one, no pilot, I'm also replacing the G-10 tray that someone made and installed it in it, that thing is sooooo heavy, I will make a new tray out of 1/8 plywood and will paint it gray like the I did with the old one.
Very nice on the air system, the lines on this one looked nasty, specially the clear brake line, all that is gone and new ones are going in as we speak.
The extensions on this one are new so, I'm leaving them in.
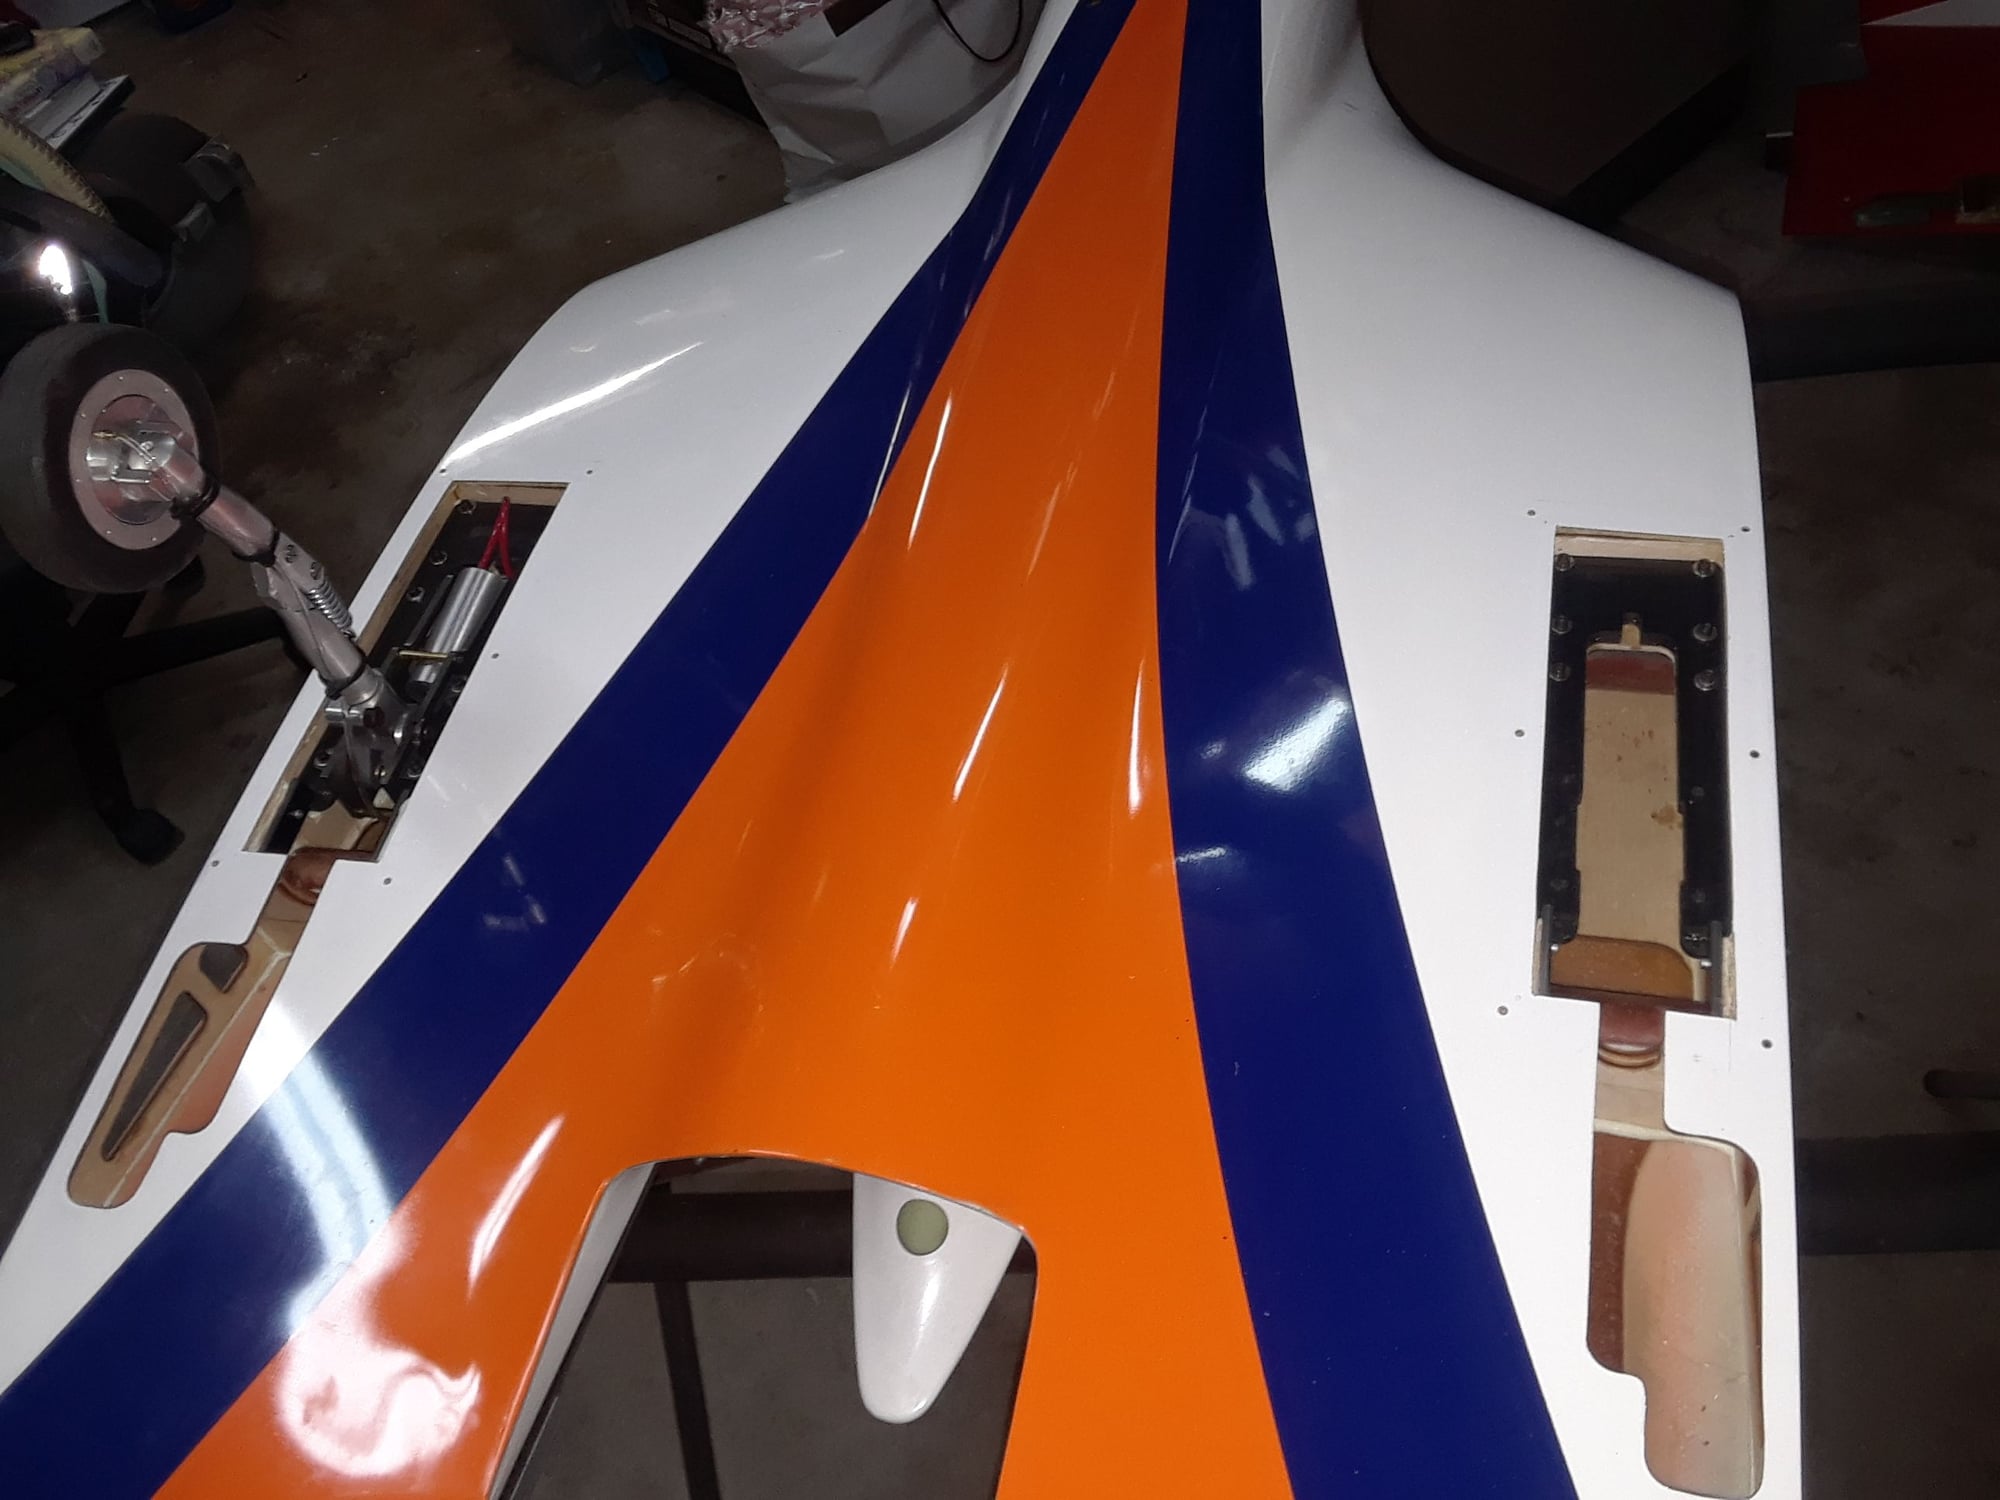
For this KC, I had Callie graphics make me a pilots name for the canopy, I have it now, she also made me a few logos from my HS back home, I will be adding two of those to all my airplanes vertical stabs.
Last edited by CARS II; 05-19-2019 at 12:45 AM.
05-19-2019, 12:36 AM
#39
Copy on the email.
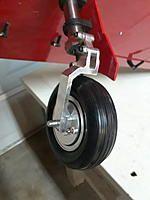
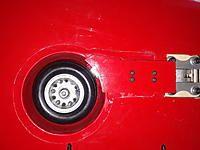
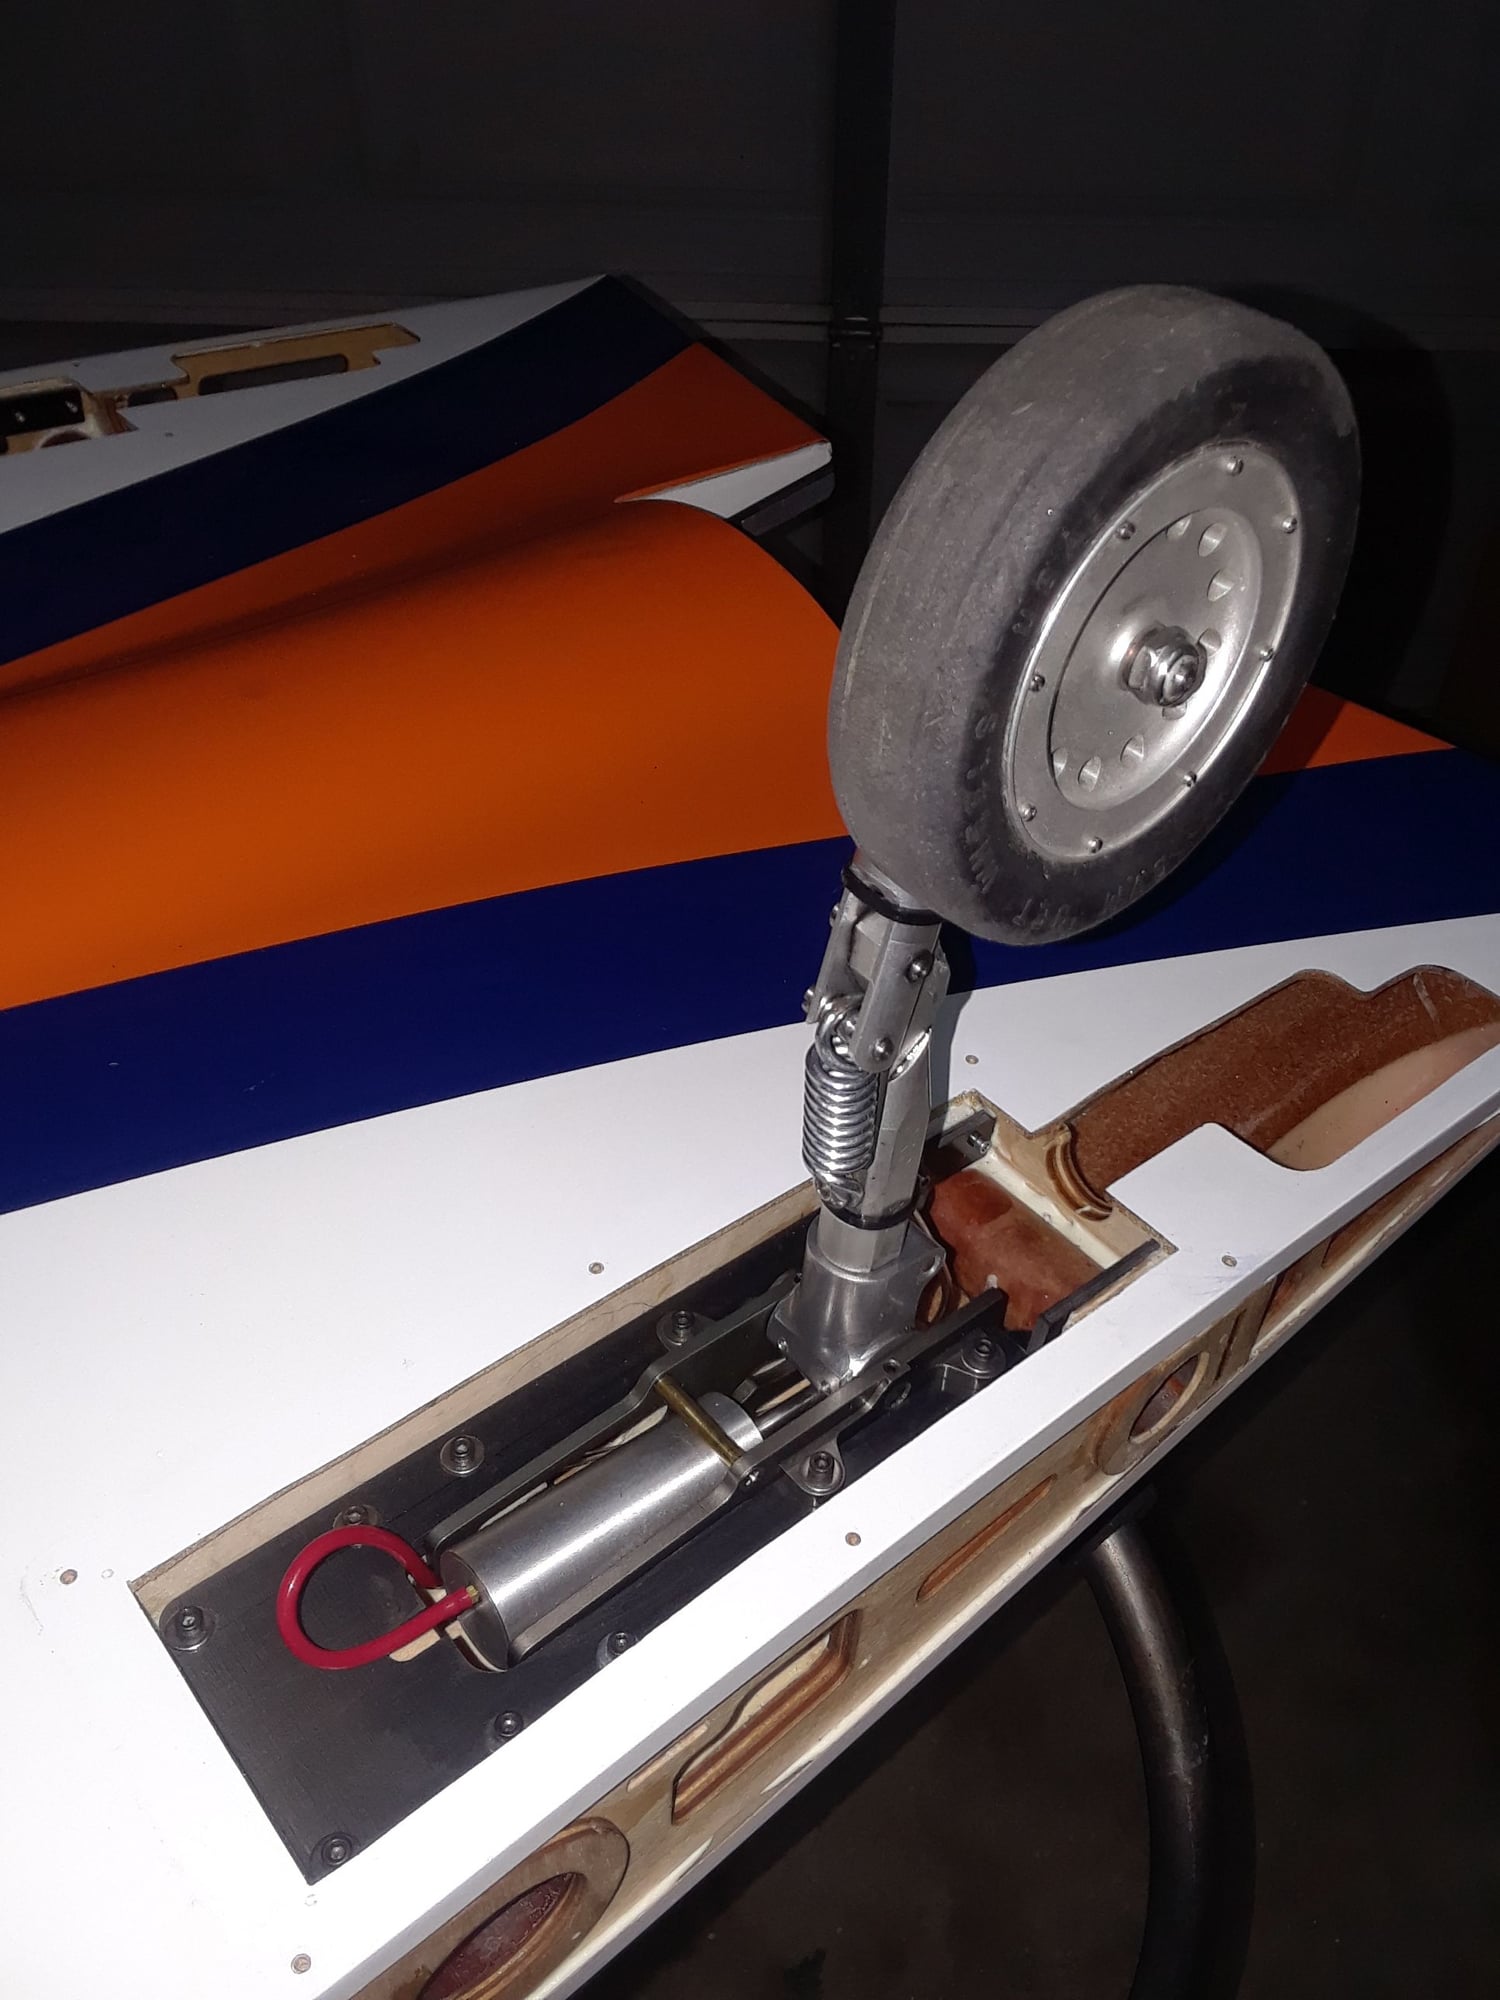
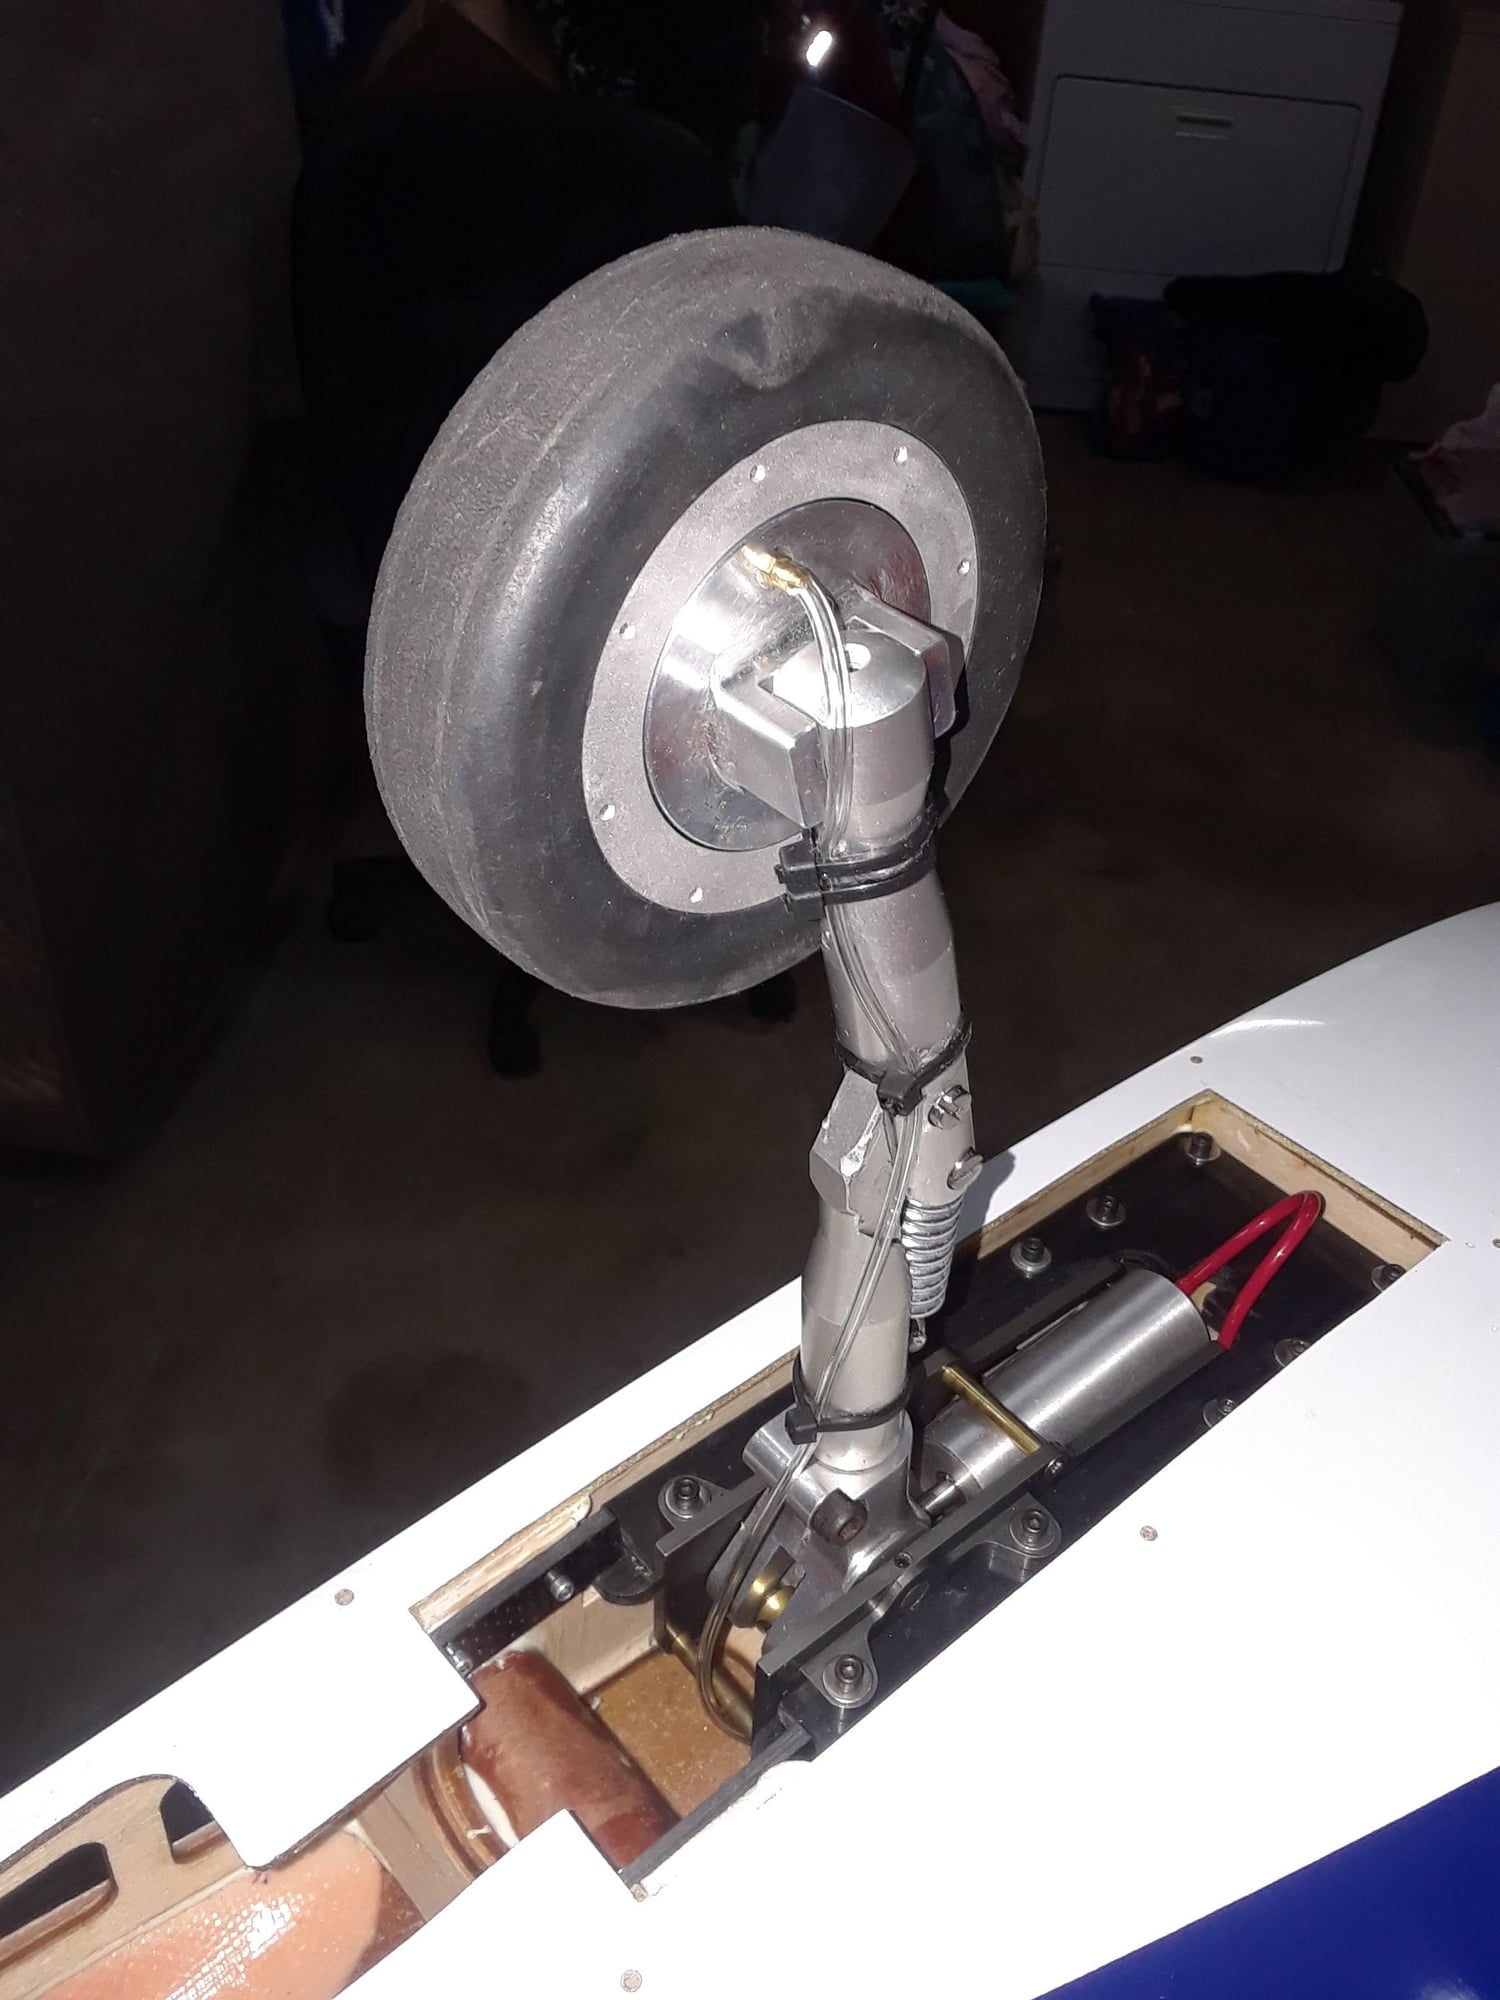
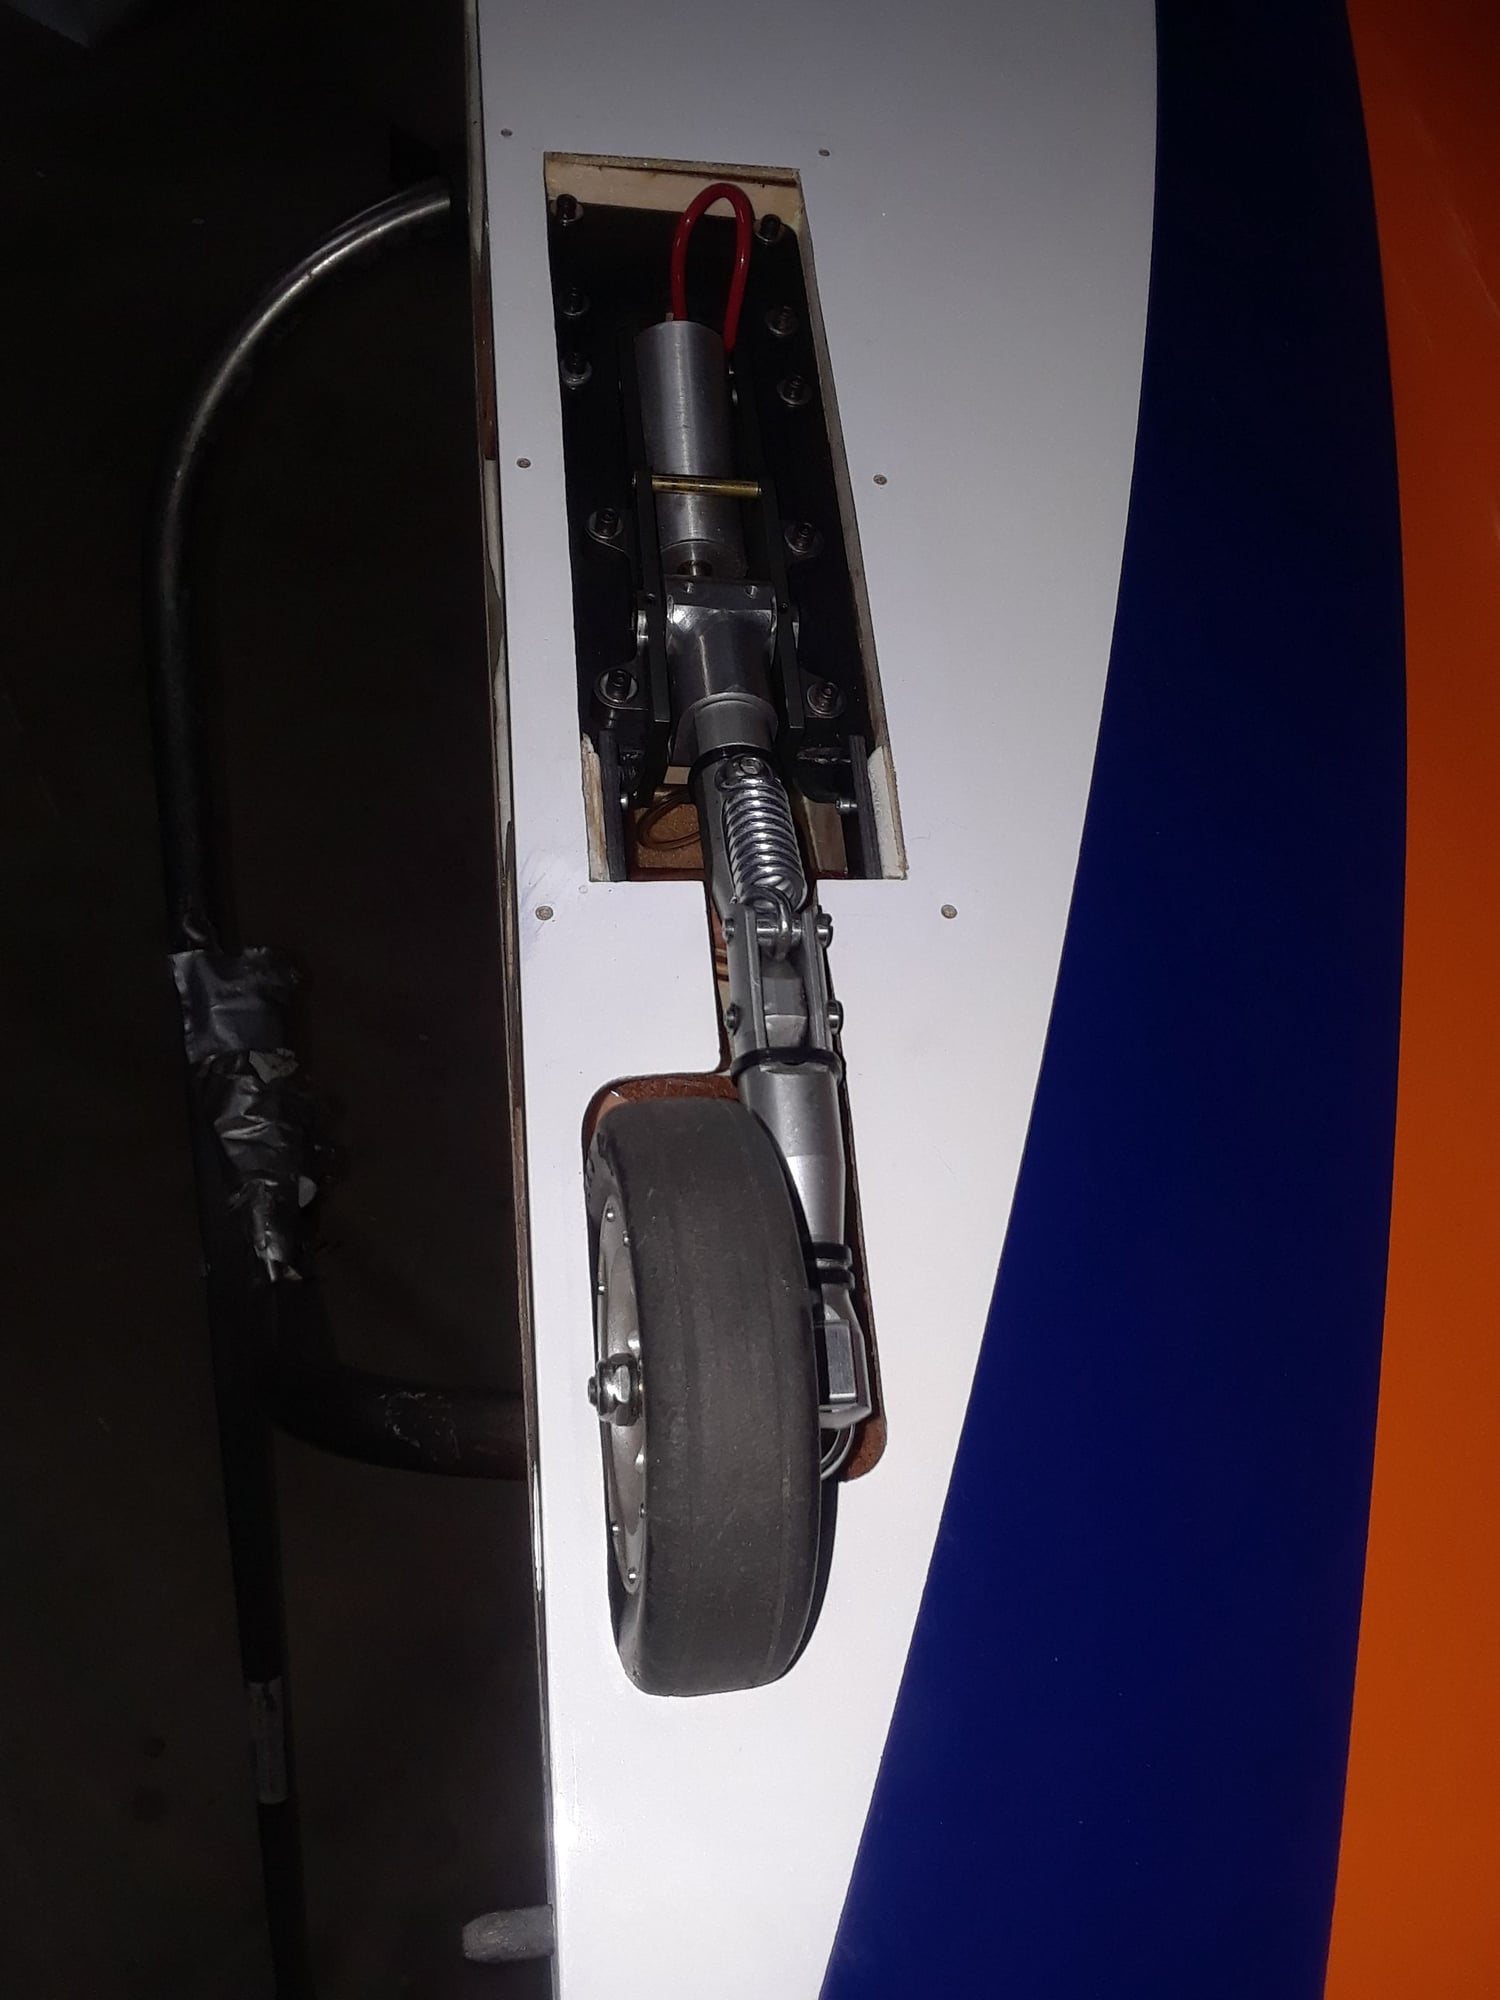
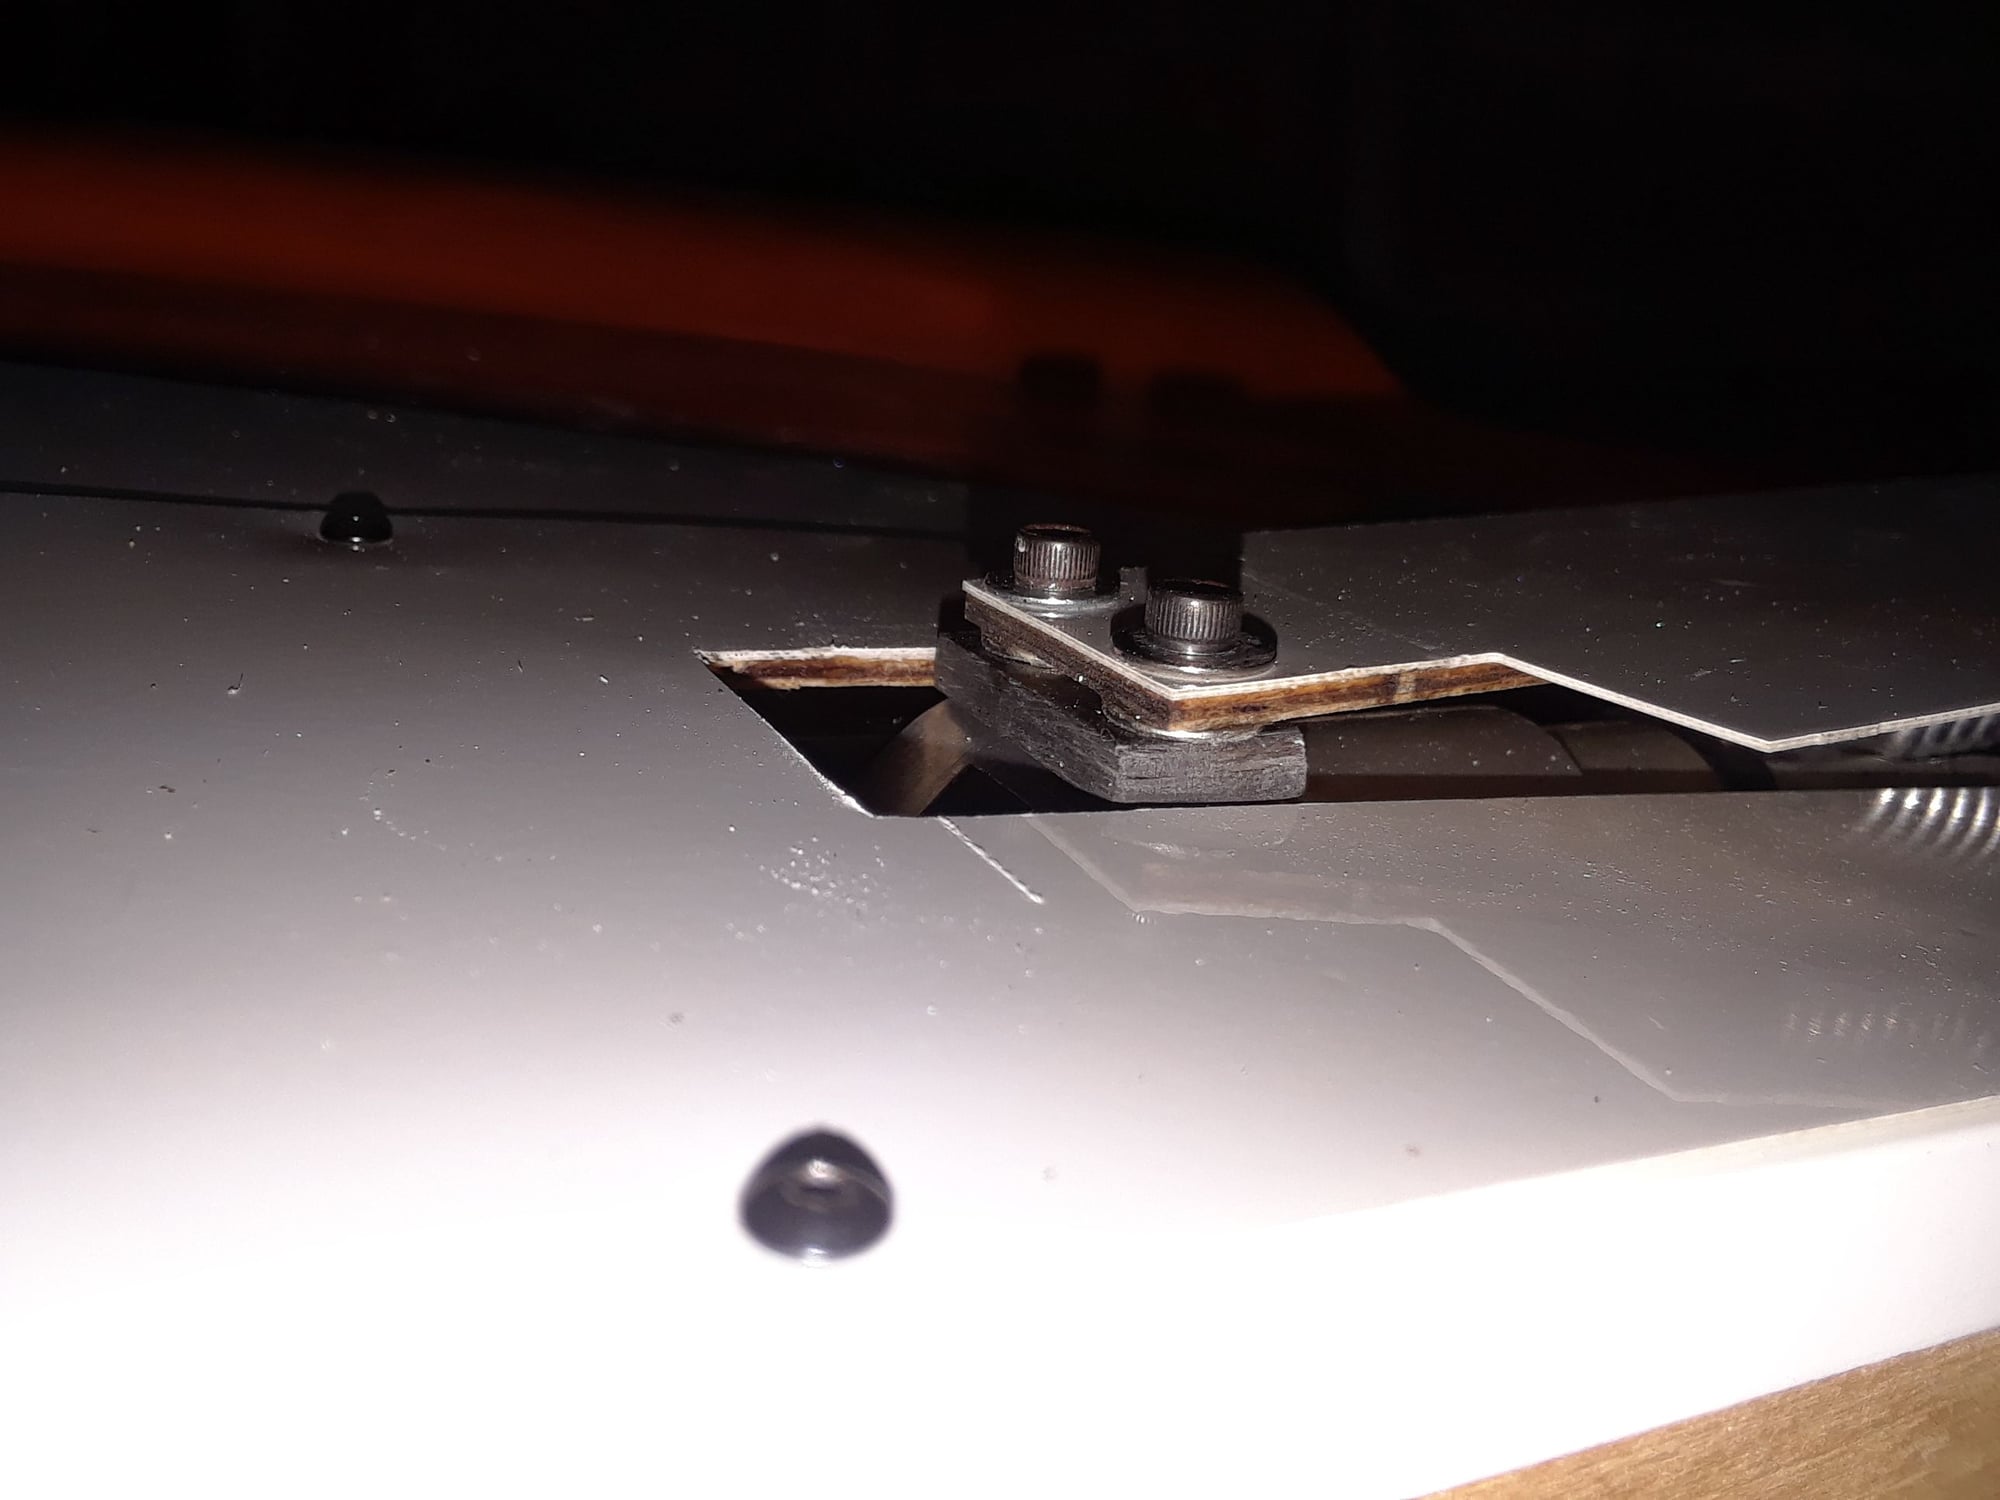
I used the double flex plates from the old Cat, they are in good shape and are doubled, the right main gear is in, I still have to clear a bit of the skin to clear the wheel because I'm using the old Cat's Prolink struts.
Last edited by CARS II; 05-19-2019 at 12:38 AM.
05-19-2019, 08:17 AM
#41
My Feedback: (4)
Thanks for posting your experiences with your refurbishment.
Well, I'm also in the same boat as far as the radio goes, I have my work cut out for me when I get to the radio set up, I also fly Futaba and my friend flies, yup! You guessed right, SPEKTRUM, I will have to do the same as you, learn the darn thing in a day..
https://www.youtube.com/watch?v=_5QF6iZnu38
05-19-2019, 11:37 AM
#42
Ok, thanks for the link and yessss, the Sierra Nevada six pack is in the refri since yesterday
I suspect the retracts will lock in the up position, since the flex plates are double giving more room to the wheels to go up all the way, I will know in a few minutes.
I suspect the retracts will lock in the up position, since the flex plates are double giving more room to the wheels to go up all the way, I will know in a few minutes.
05-19-2019, 02:22 PM
#43
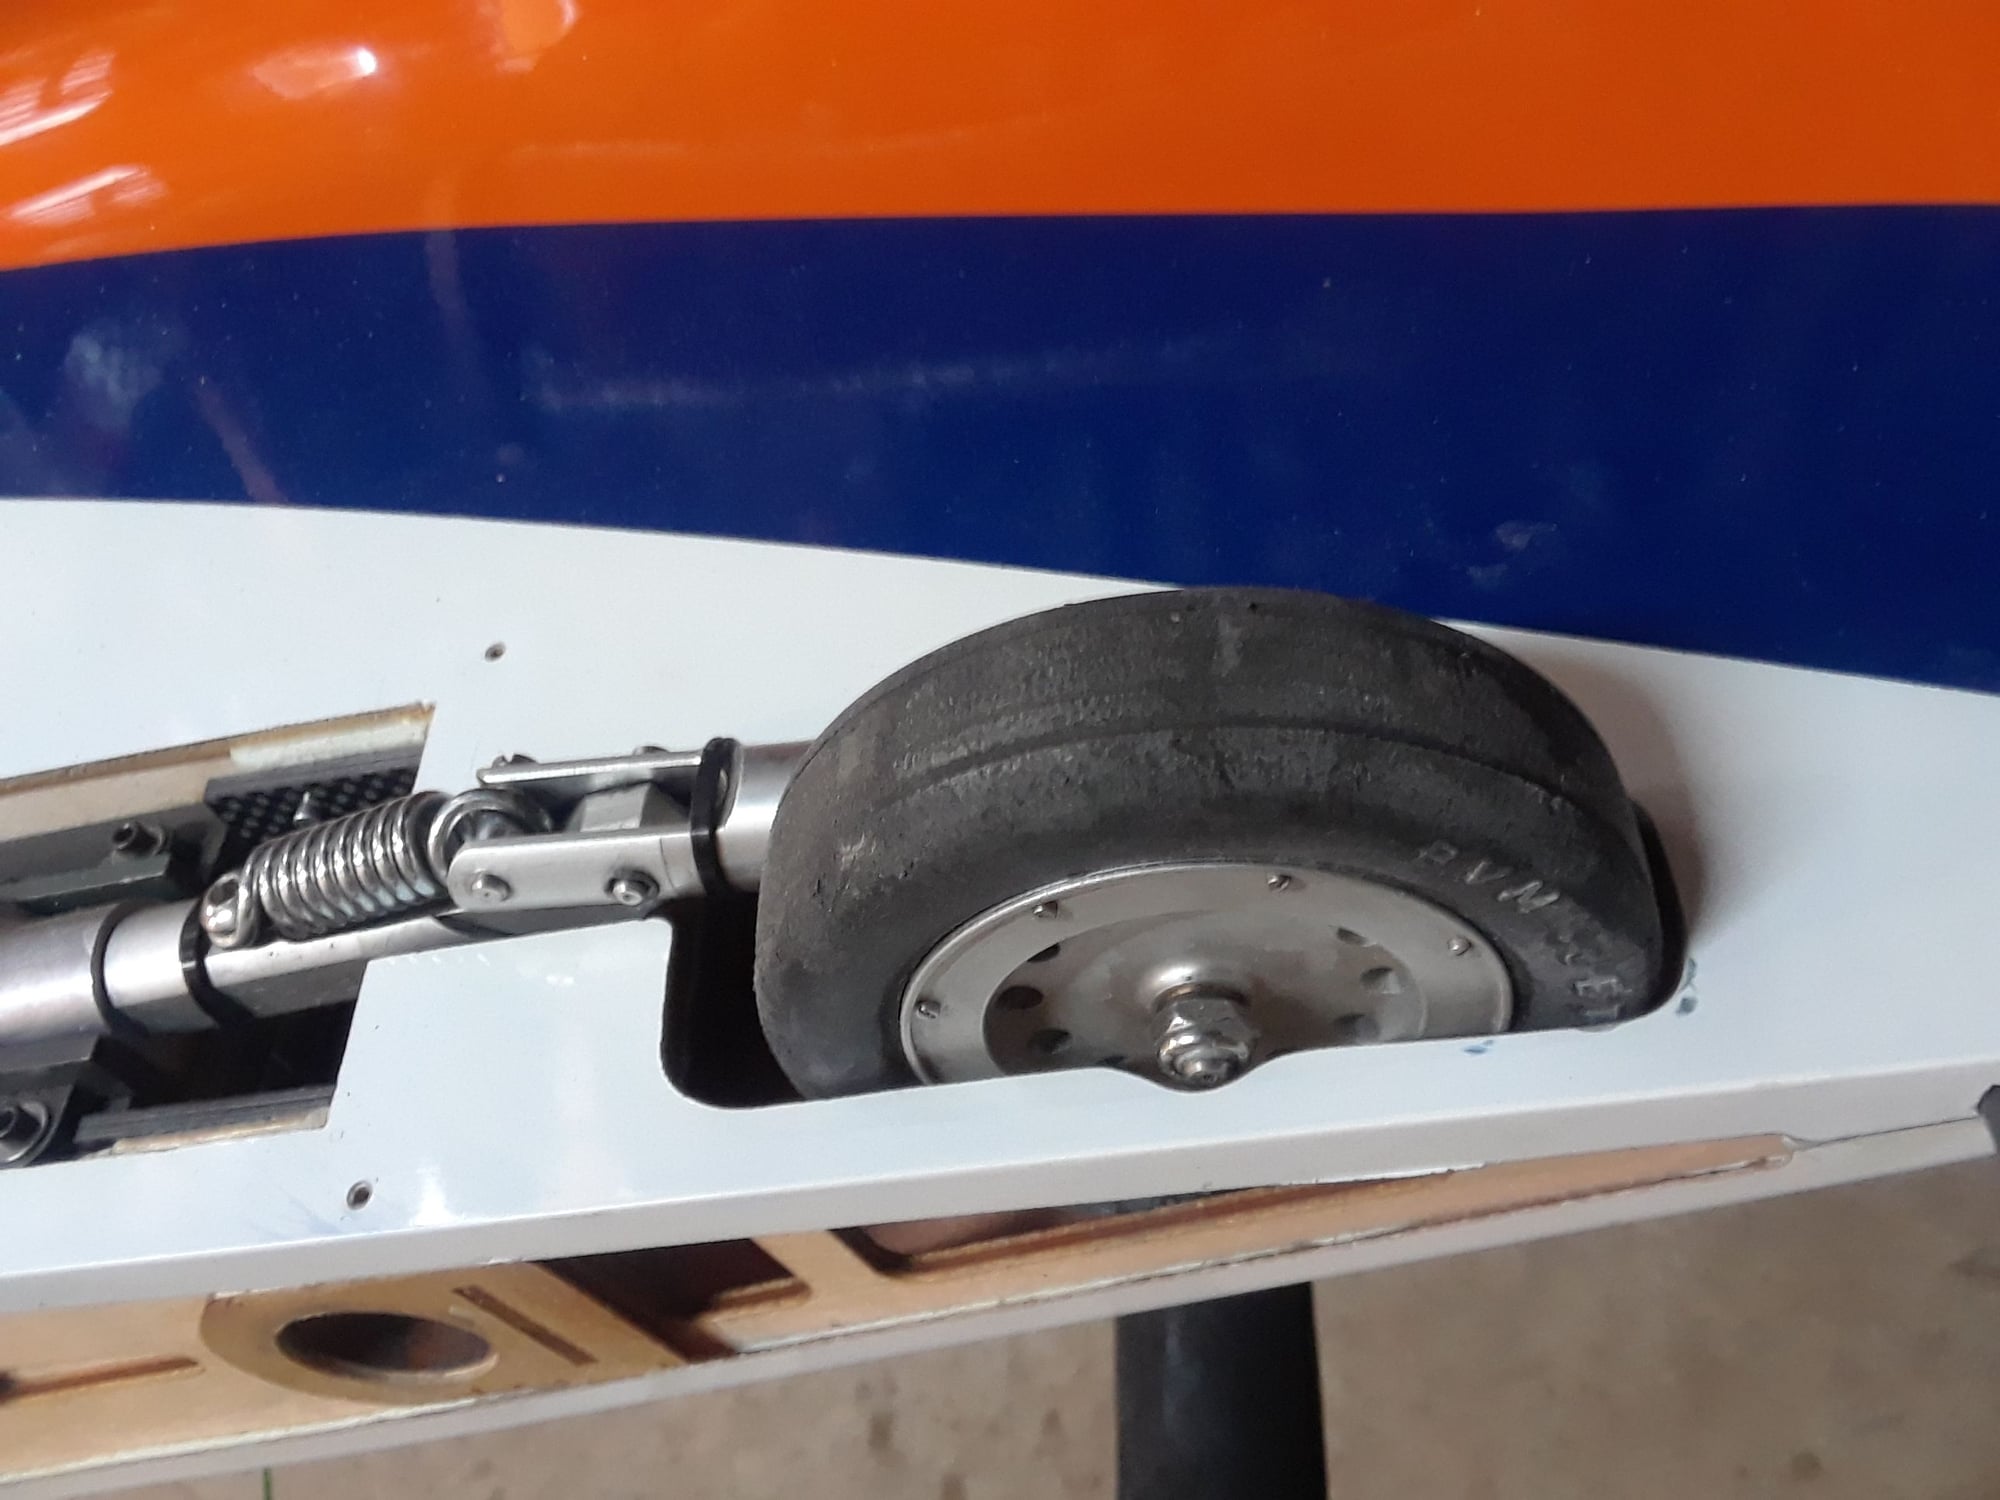
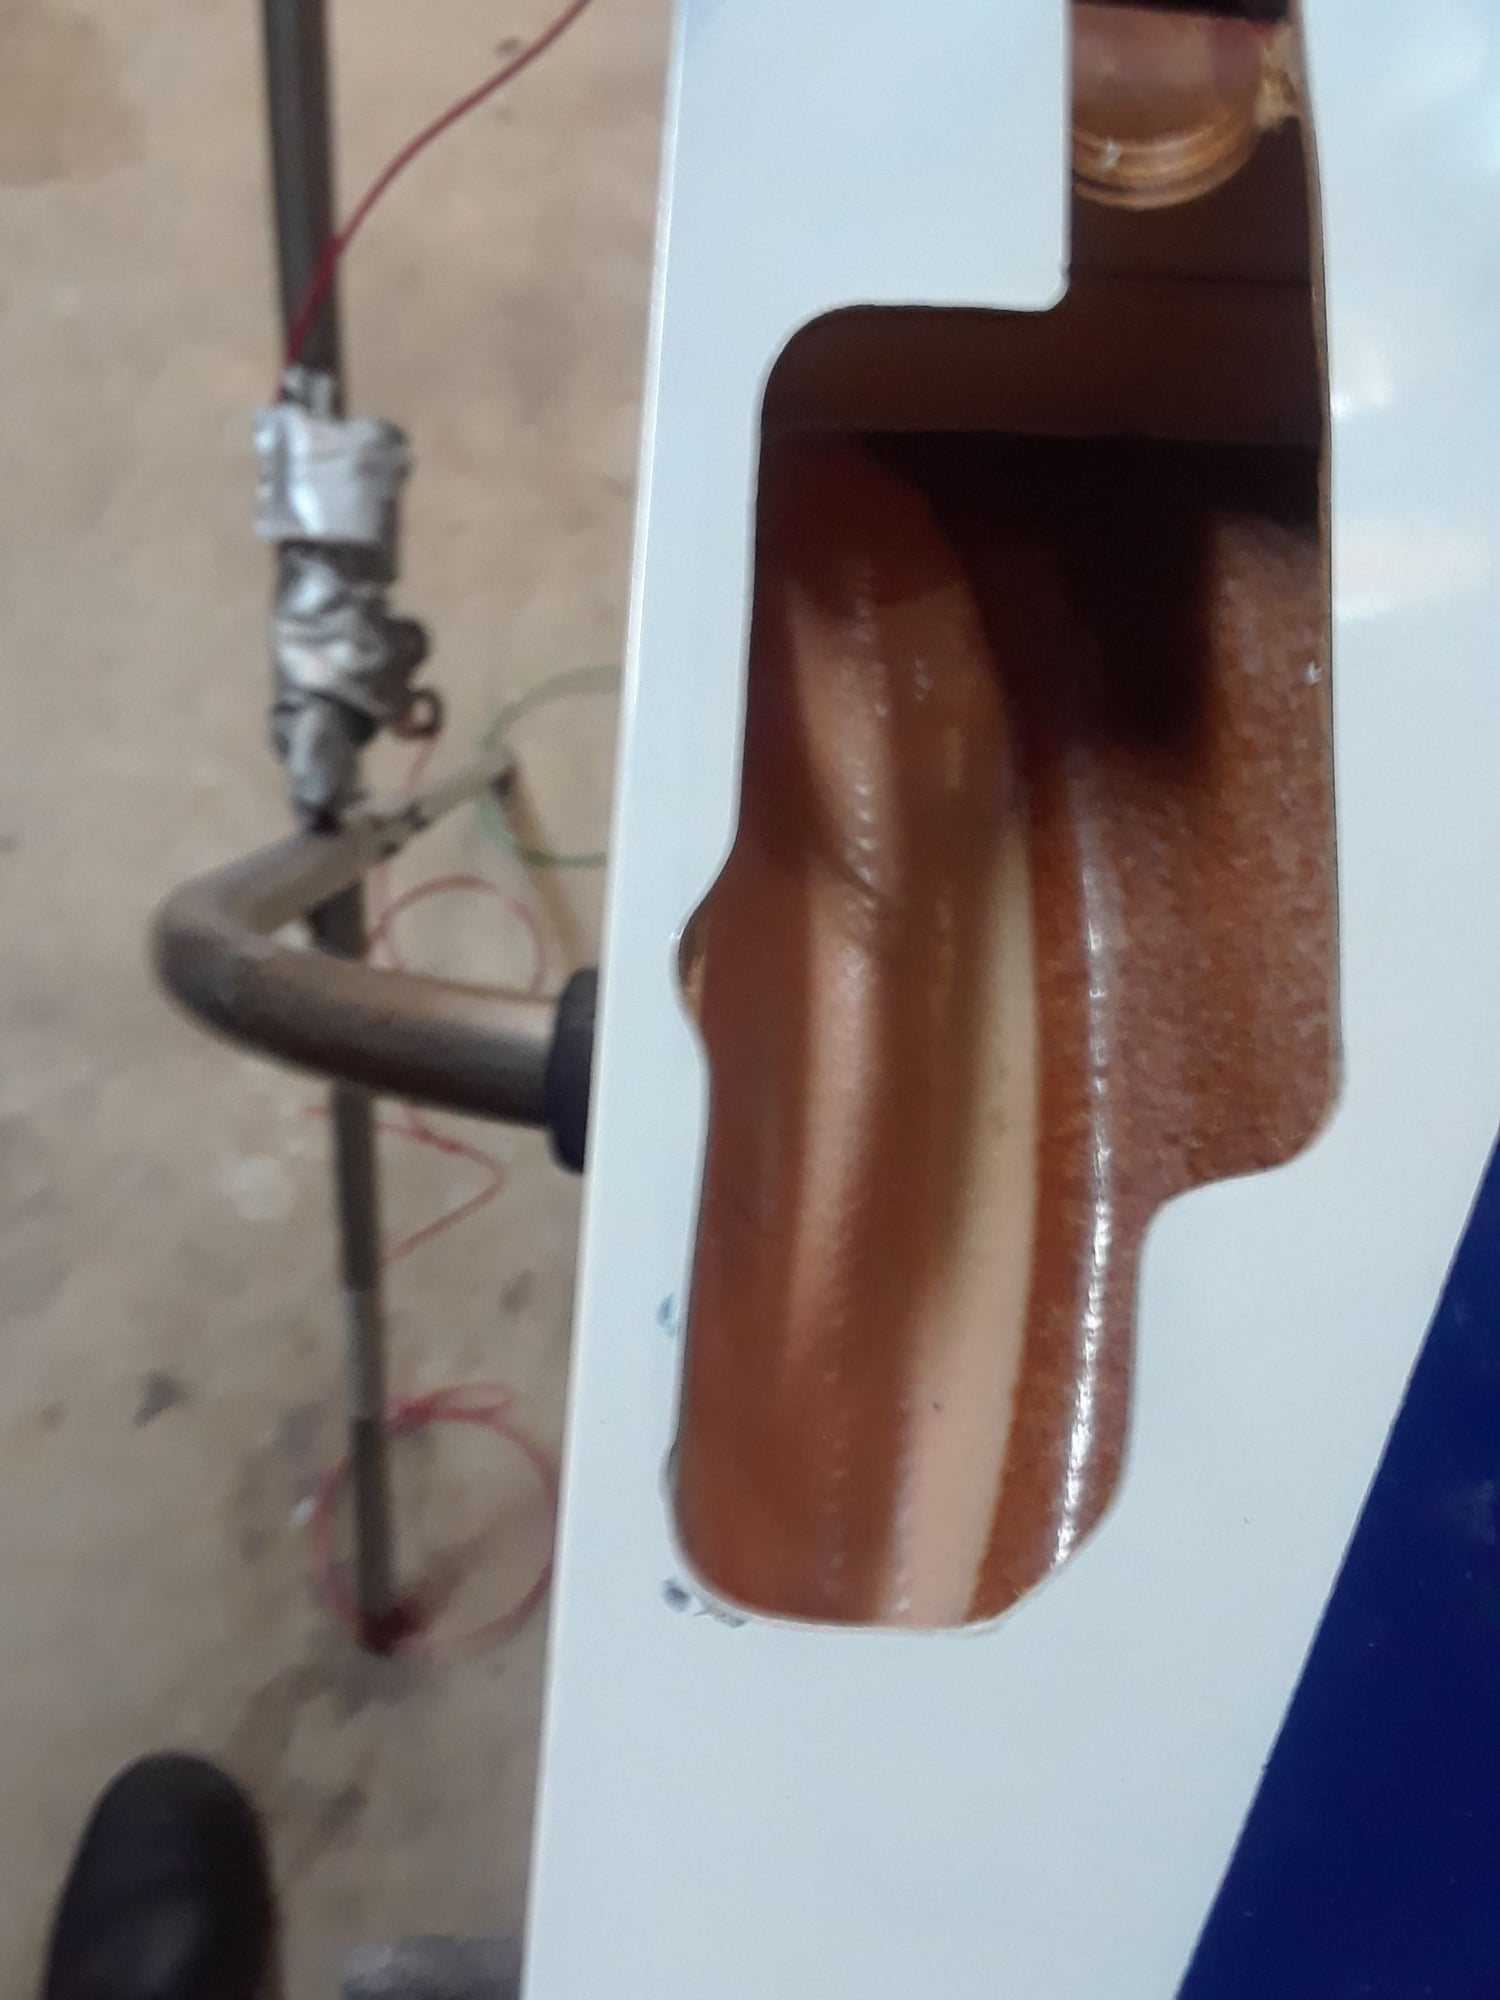
The Prolinks have a positive lock in the up position, if the one you are doing has them and are not locking in the up position then, double the flex plates to get the space needed for them to come up all the way, doubling of the main flex plates is standard on these KCs, very little mod on the wheel well was needed for the wheel to come up all the way.
05-19-2019, 03:31 PM
#44
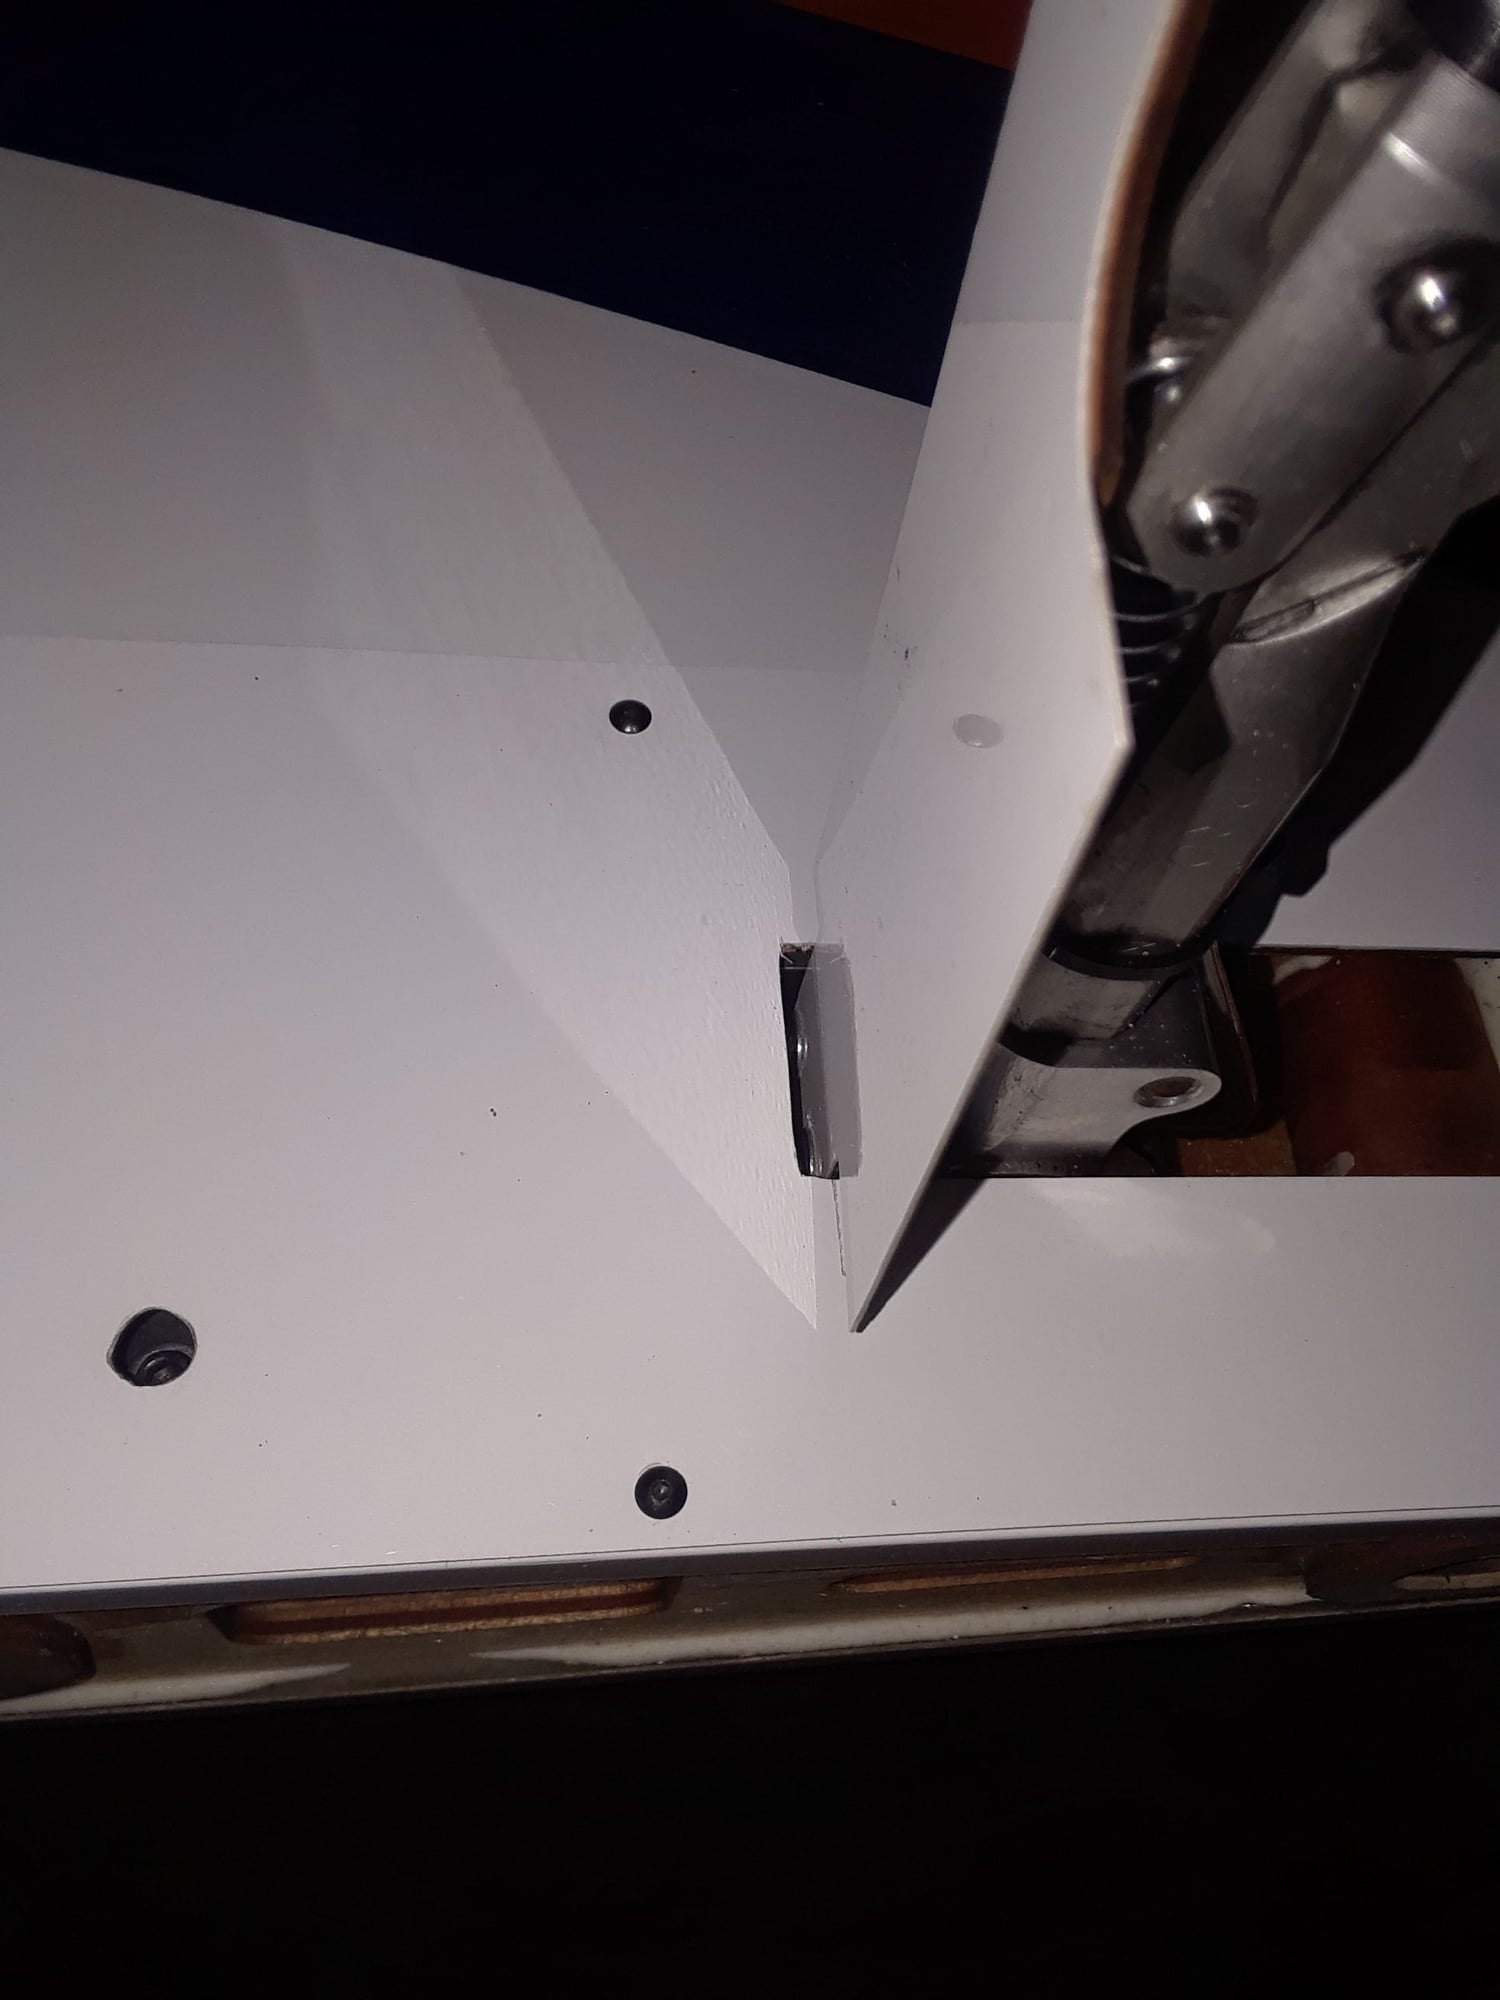
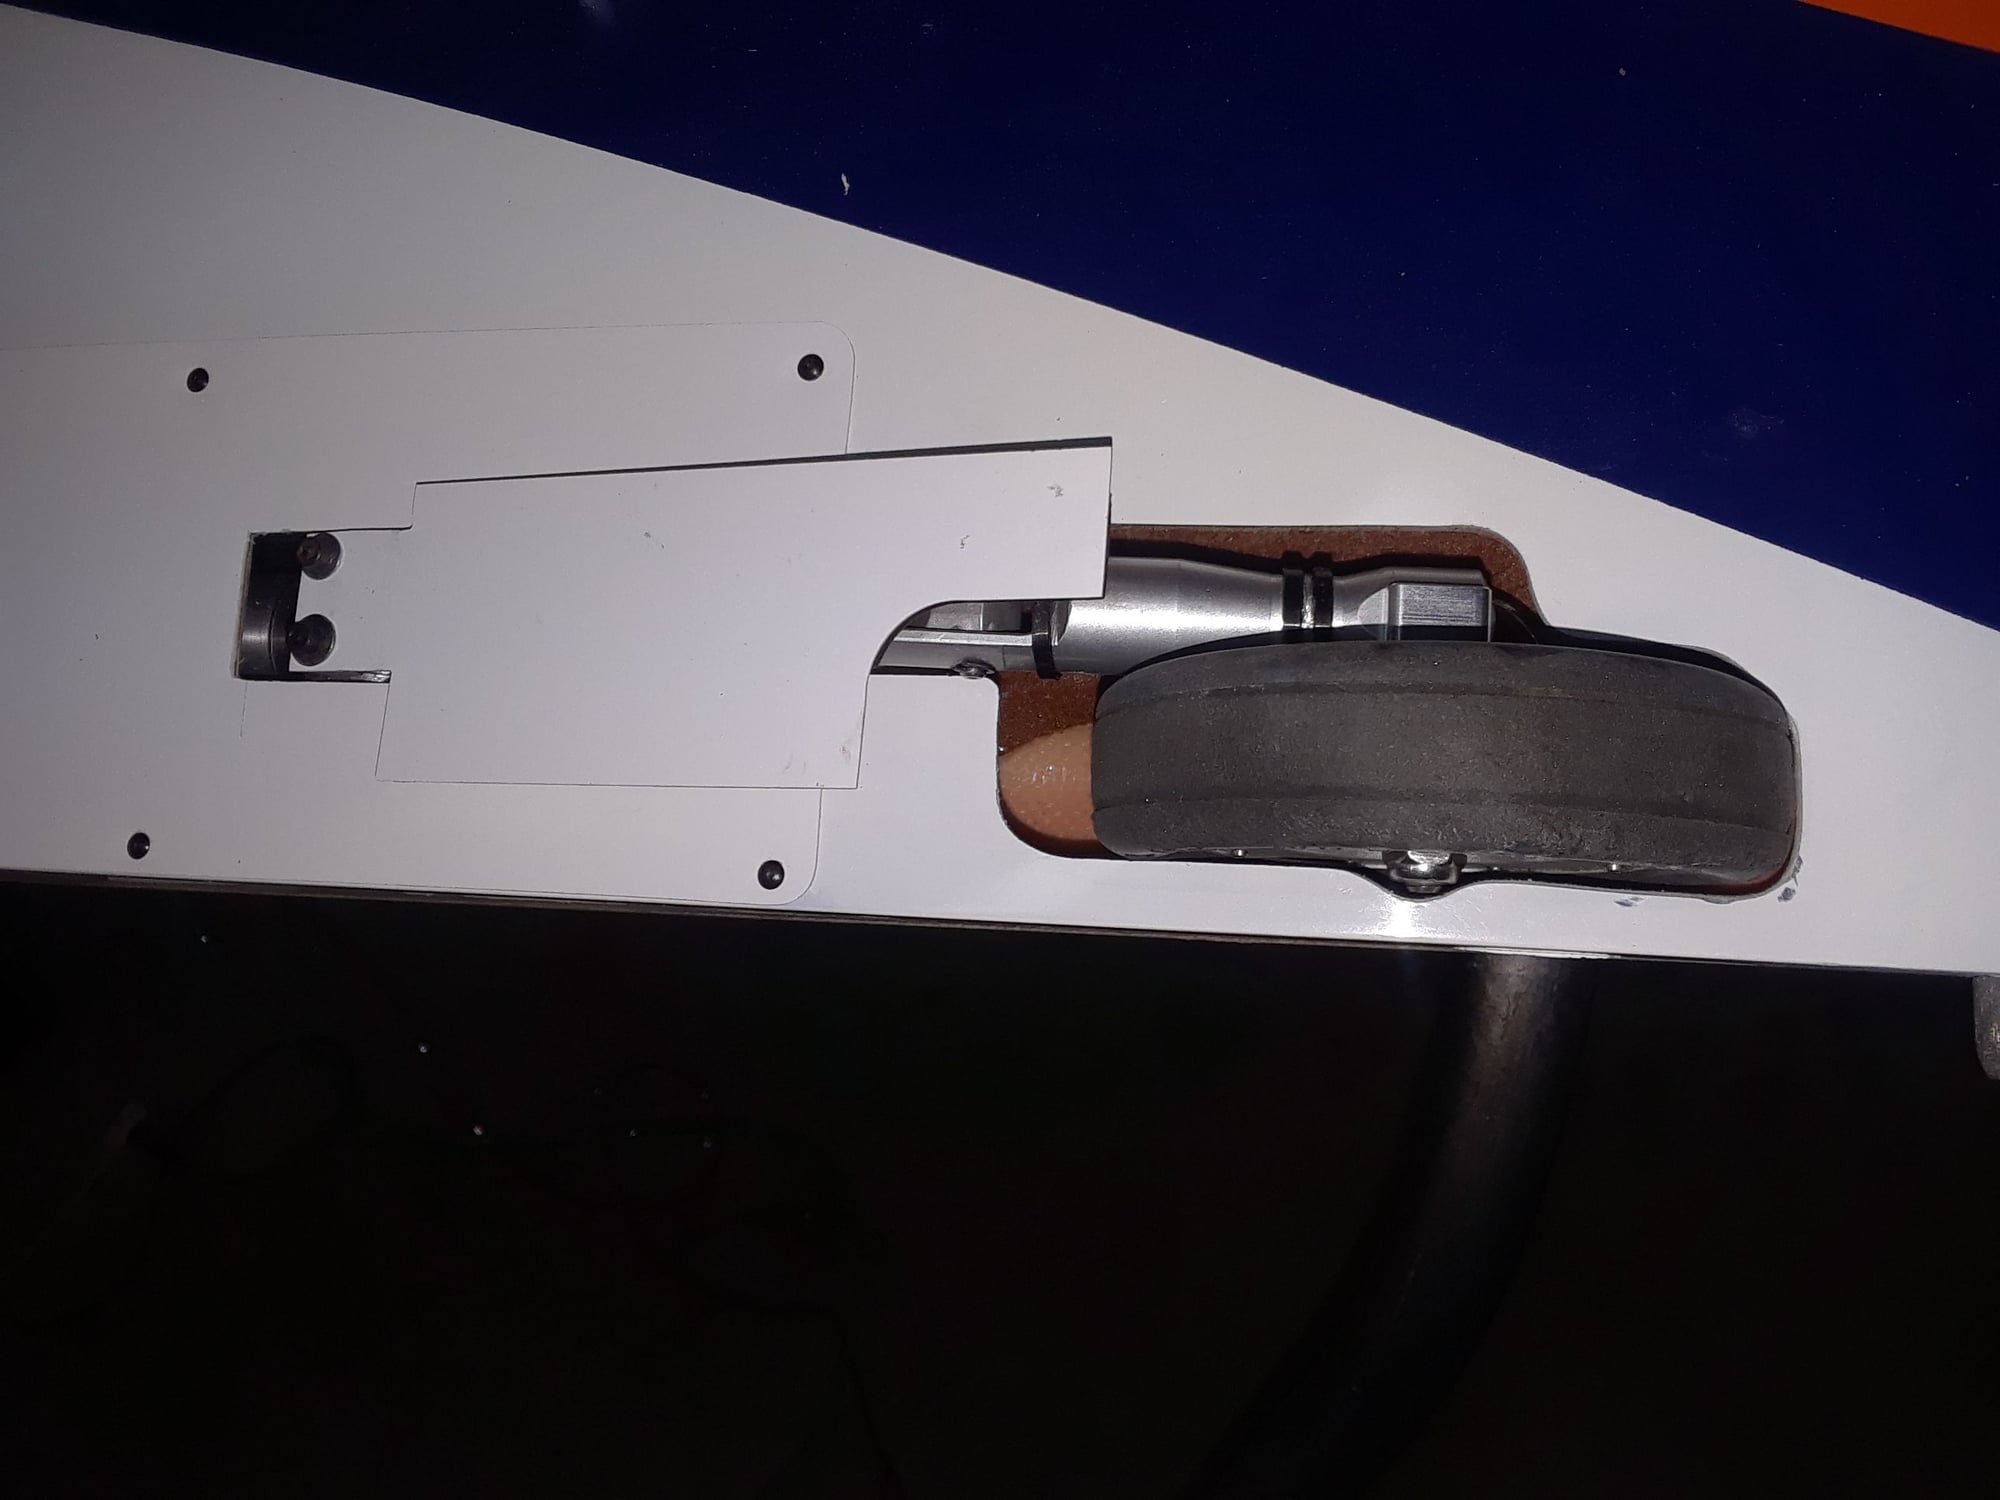
If you have or added the Prolinks struts then you have to double the main flex plates to gain the extra space for the mains to have positive lock in the up position and a spacer to the legs covers of about 1/8" to separate them from the struts to give them room to flex when the struts are at their max deflection angle, also a 1/4" clearance has to be give to the main cover plate to give room for the higher strut cover position.
Last edited by CARS II; 05-19-2019 at 03:40 PM.
05-24-2019, 06:33 AM
#45
My Feedback: (4)
So with my air system done. I moved onto getting the fuel system ready to go back in. I went ahead and got the tanks back in and finished plumbing them last night all fitting safety wired. Tonight will be a leak test to make sure that none of my fittings are leaking fuel and or letting air in. Going to do this by filling the tanks completely and then disconnecting the fuel tube from the turbine and running the pump until the tanks are empty. This will show me how the entire fuel system is working and if and where I am introducing air into the system. Kris Gunther was the one who told me about that and it has saved me a lot of hassle in my last two builds. Essentially by doing this you test the system as if the turbine were running. Super easy way to avoid losing a plane.
After the fuel system test going to balance it (without batteries installed) and see where I need to add weight. Since this one has a full cockpit and pilot I think it will need the majority of weight towards the back. Will post my results later tonight.
Patrick
After the fuel system test going to balance it (without batteries installed) and see where I need to add weight. Since this one has a full cockpit and pilot I think it will need the majority of weight towards the back. Will post my results later tonight.
Patrick
Last edited by sirrom; 05-24-2019 at 07:42 PM.
05-26-2019, 08:02 AM
#47
My Feedback: (4)
Fuel system has been tested and passed with flying colors. YAY!! Next is the mounting and setup of the ECU so it's all neat. Then on to programming all the throws. I am going to match his Kingcat settings to mine since it flys and lands so nicely, will definitely add the crow to it. One thing everyone has to realize is that the kingcat, for such a big plane, will slow down nicely for landing especially with crow.
Patrick
Patrick
05-26-2019, 10:21 AM
#48


My kingcat has flown with a P160, pst1300, g booster 160+, and a couple others as it was passed around before I bought it back. My only complaint with the kingcat is it is too light. It floats horribly on landing. I had 1" of crow and my flaps dropping to 80 degrees. Since buying it back I have now put an amt Olympus on it. I think it will most likely be a much nicer jet to land with the extra weight. It's a great jet but i much prefer jets I can fly to the ground over jets that float so much you're waiting for them to finally land.
05-26-2019, 03:06 PM
#49


My kingcat has flown with a P160, pst1300, g booster 160+, and a couple others as it was passed around before I bought it back. My only complaint with the kingcat is it is too light. It floats horribly on landing. I had 1" of crow and my flaps dropping to 80 degrees. Since buying it back I have now put an amt Olympus on it. I think it will most likely be a much nicer jet to land with the extra weight. It's a great jet but i much prefer jets I can fly to the ground over jets that float so much you're waiting for them to finally land.
G2 now. This was my first turbine flight done solo since I could not get any of the yahoo's out there with me to do it, and I still have the model.
05-28-2019, 06:31 PM
#50
My Feedback: (4)
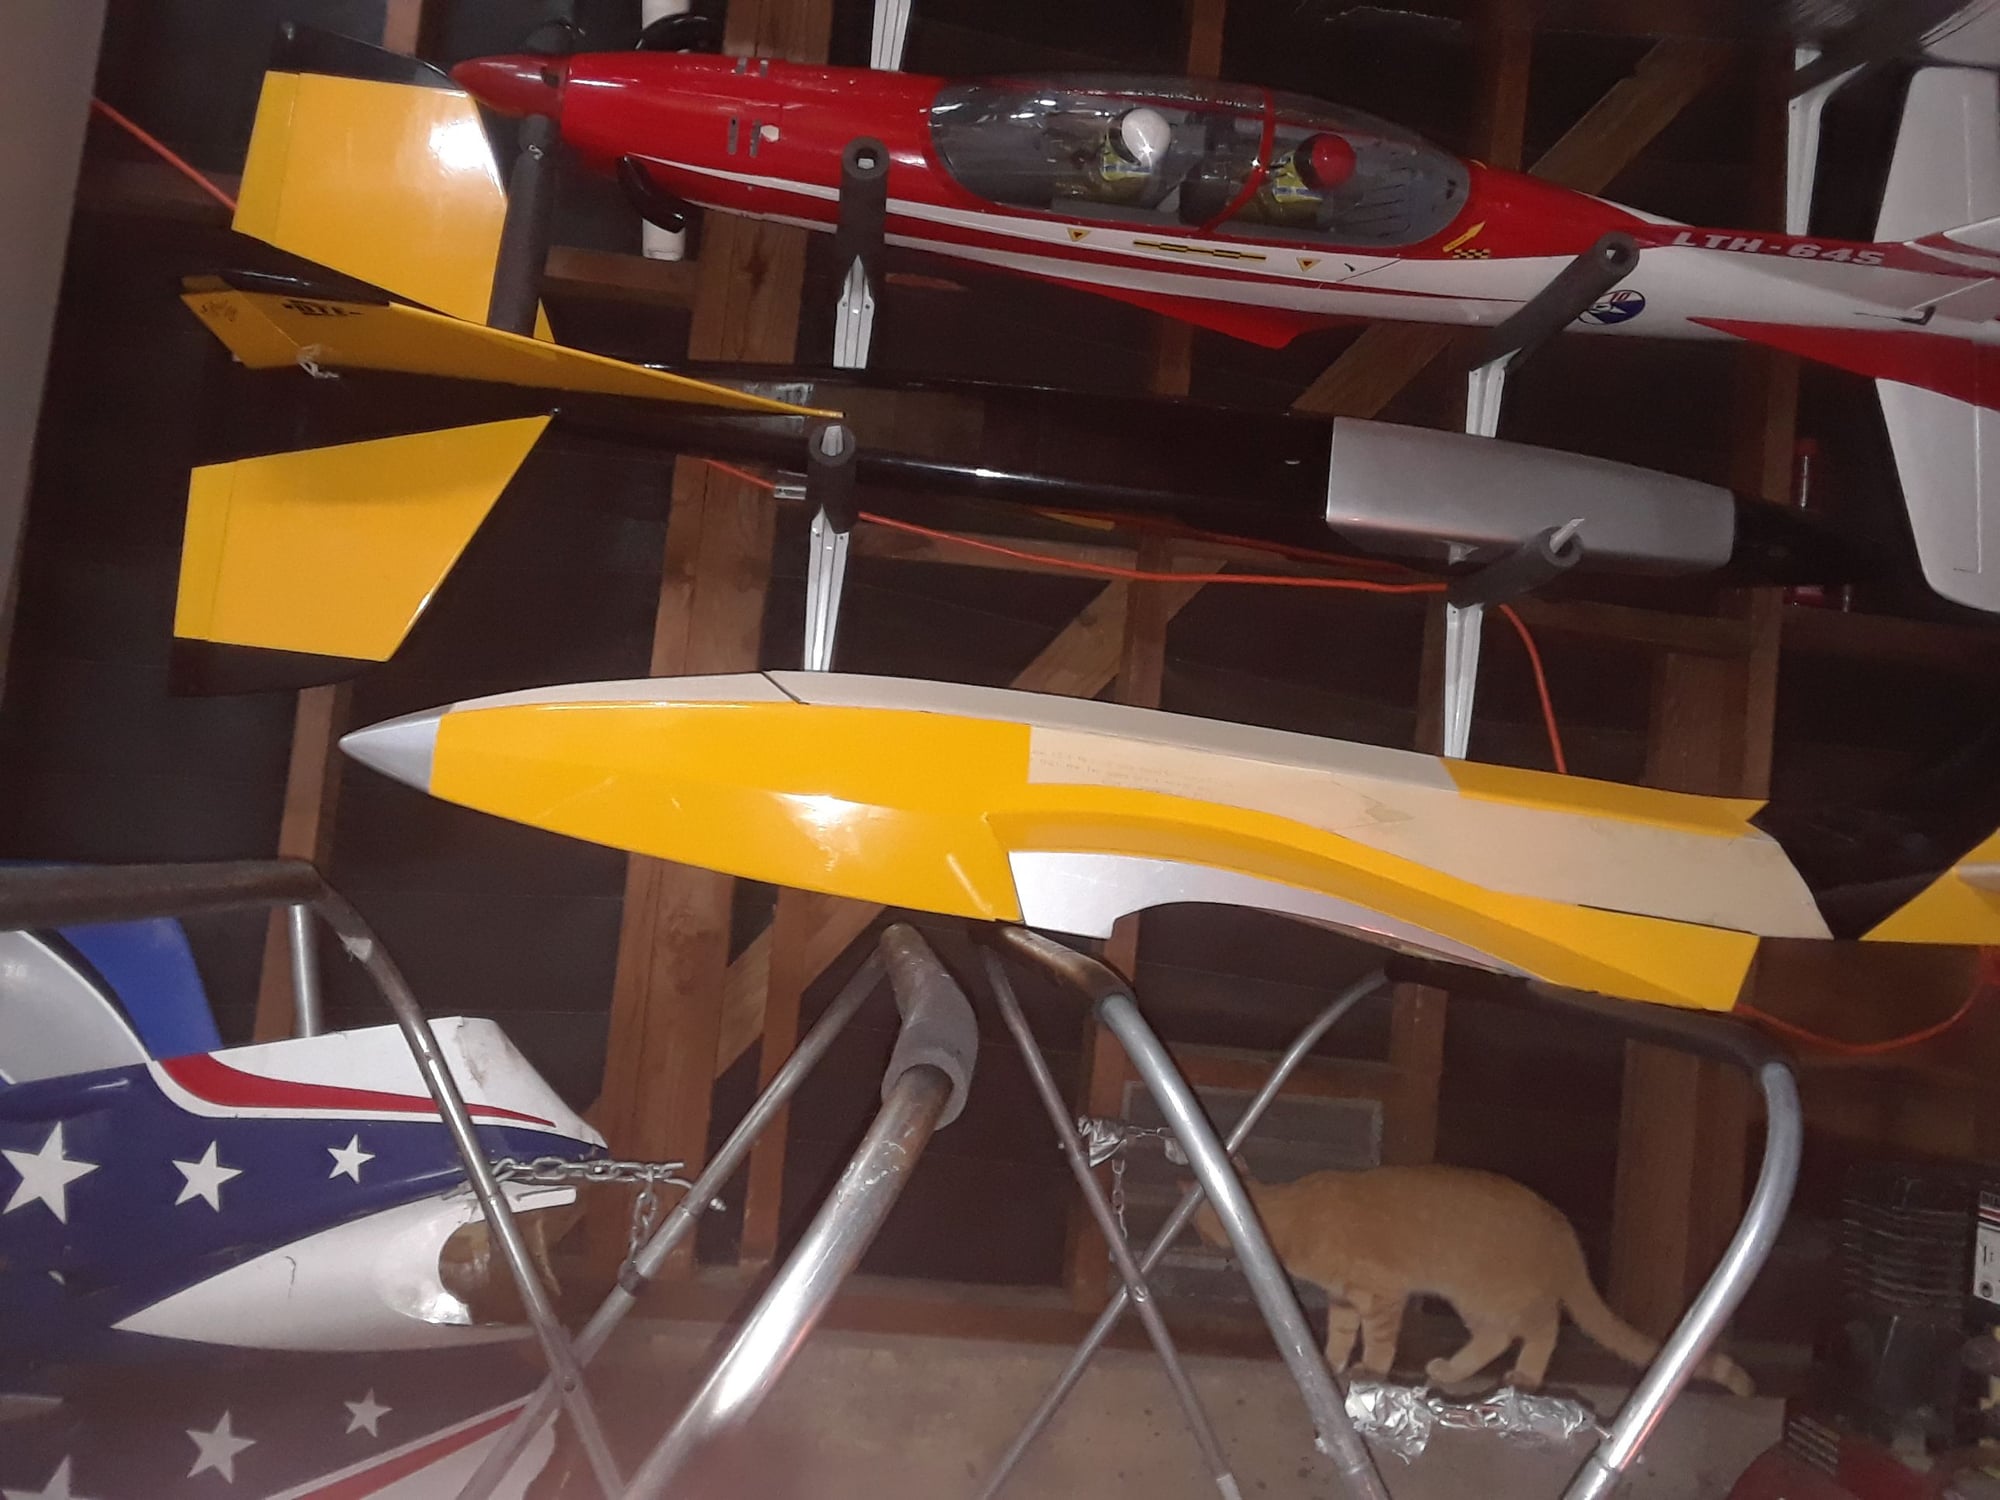
Zeeb,
Your kingcat is the exact same scheme that my friend has that I am working on. Mine is the red, orange, and yellow scheme. Anyway back to business. So over the weekend I was spending time with friends so not a lot got done on the king cat, but I did get the ECU in, connected, and did the learn RC on the radio..worked like a charm. Next thing I did was routed all the servo cables nicely so they are all neat and tidy. So with all that done the only two things left to do is to balance and set throws. So tonight I did the CG on the plane without the batteries installed. Since it has the full cockpit and pilot installed, it was VERY nose heavy. So my friend is using 2 of the 2300 mah A123 packs for RX and a 4000 mah Lipo for the ECU. One of the A123's had to go all the way to the back of the plane and the ECU battery is mounted on one of the fuel tanks. The other A123 is mounted up front with 2oz of weight. The plane is nose heavy by 4 grams. Tomorrow will be setup of all the throws, then a test engine run, and if all that goes well....I hand it back to my friend completed and ready for him to re-maiden it.
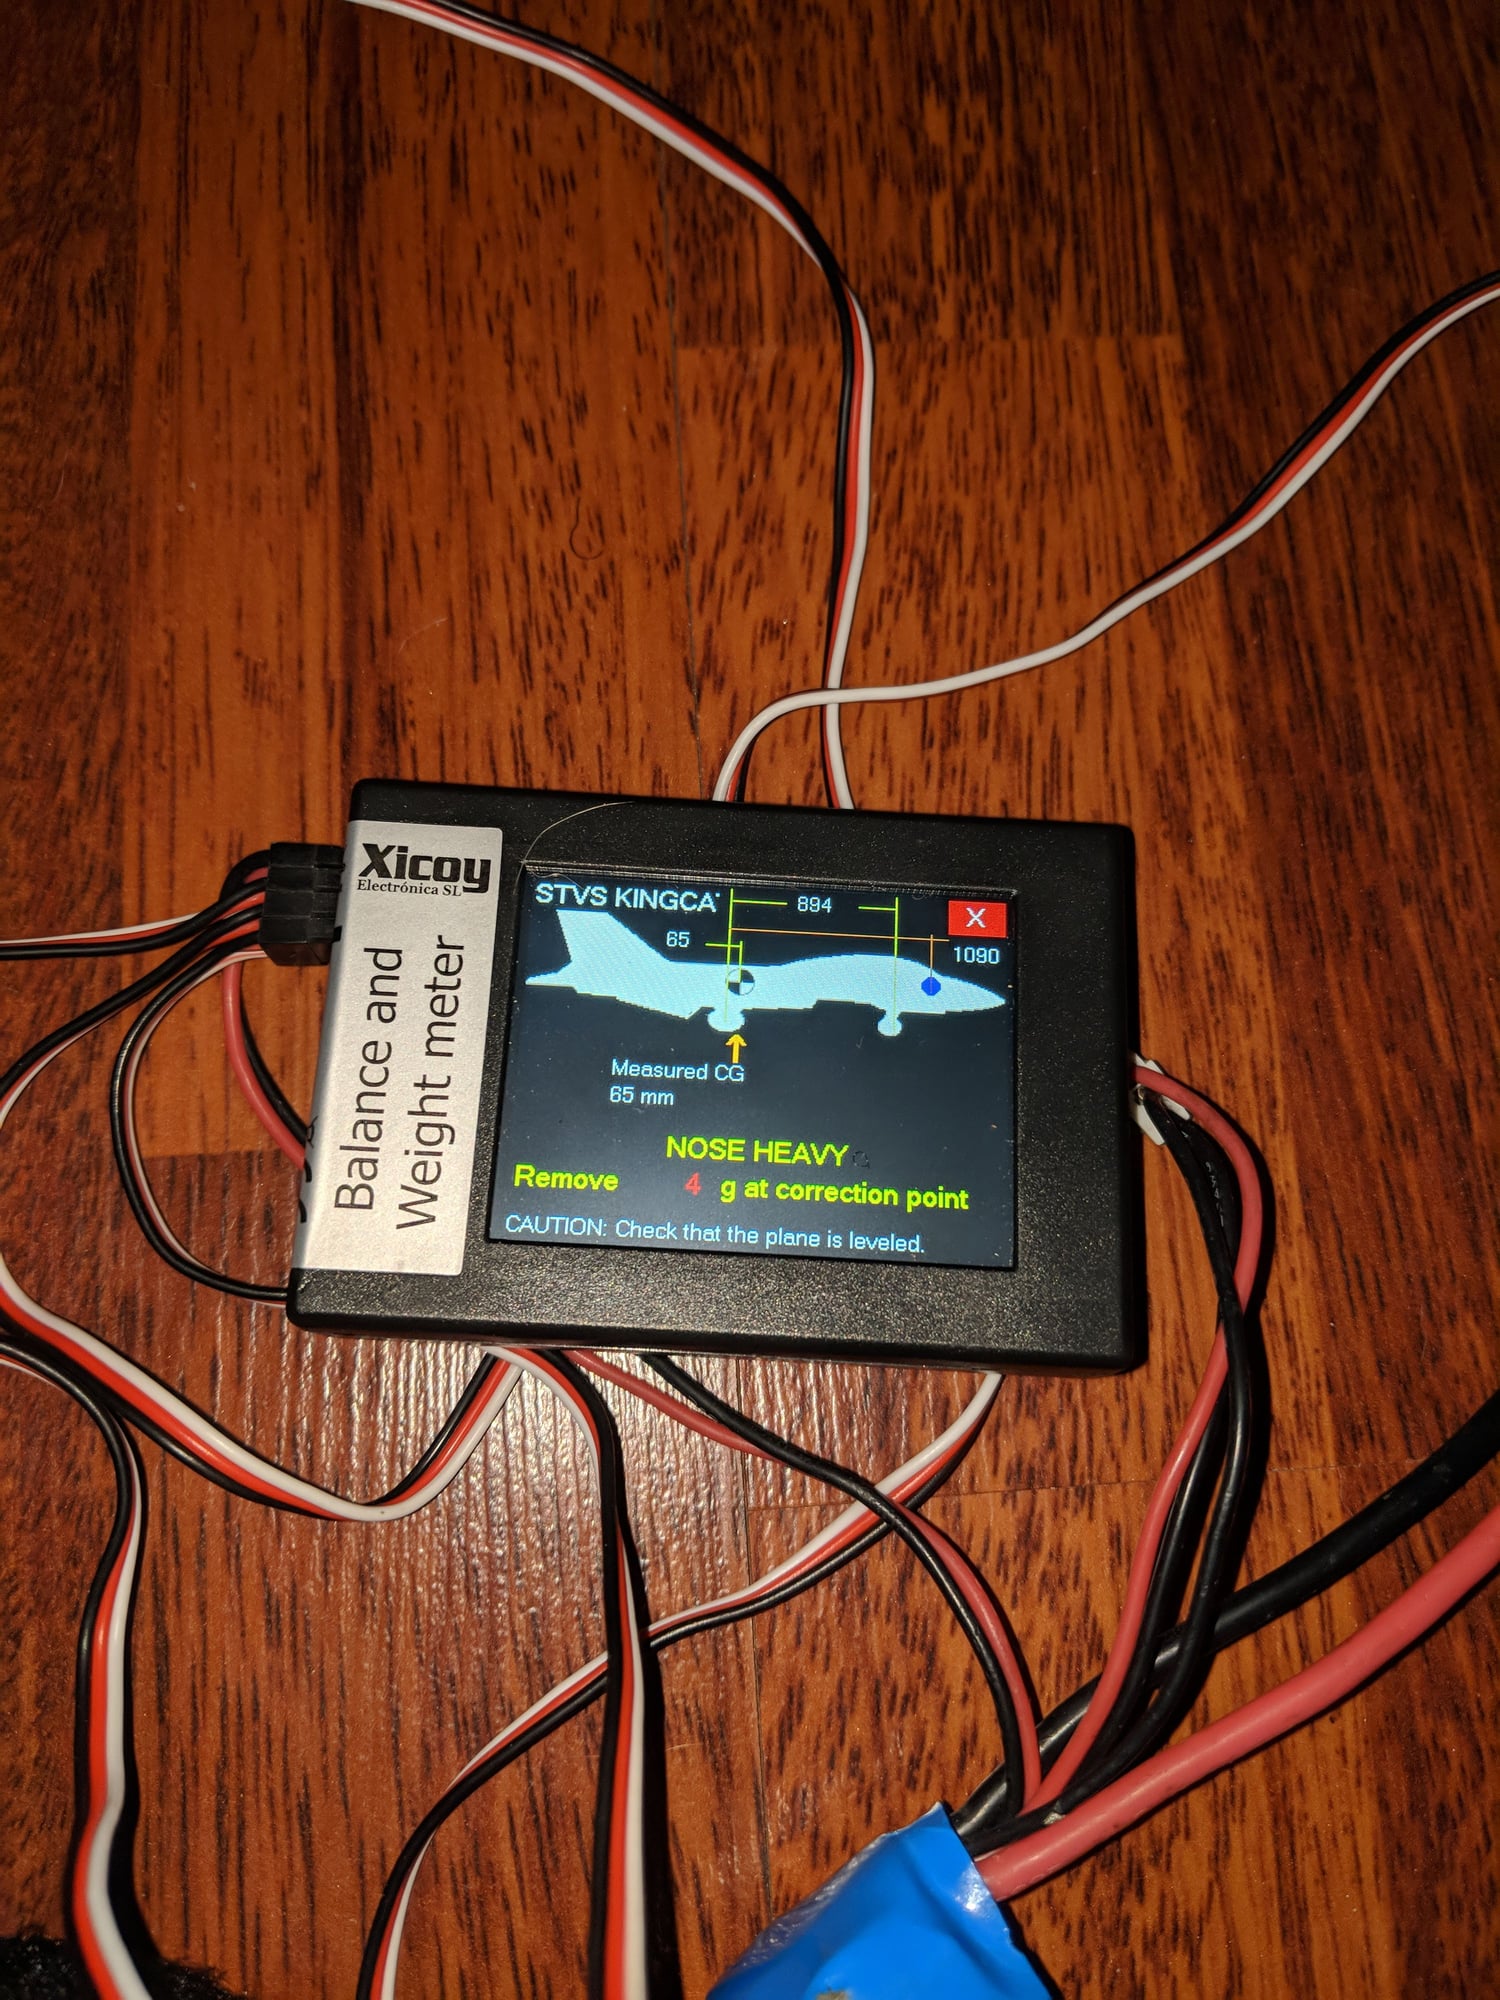
Your kingcat is the exact same scheme that my friend has that I am working on. Mine is the red, orange, and yellow scheme. Anyway back to business. So over the weekend I was spending time with friends so not a lot got done on the king cat, but I did get the ECU in, connected, and did the learn RC on the radio..worked like a charm. Next thing I did was routed all the servo cables nicely so they are all neat and tidy. So with all that done the only two things left to do is to balance and set throws. So tonight I did the CG on the plane without the batteries installed. Since it has the full cockpit and pilot installed, it was VERY nose heavy. So my friend is using 2 of the 2300 mah A123 packs for RX and a 4000 mah Lipo for the ECU. One of the A123's had to go all the way to the back of the plane and the ECU battery is mounted on one of the fuel tanks. The other A123 is mounted up front with 2oz of weight. The plane is nose heavy by 4 grams. Tomorrow will be setup of all the throws, then a test engine run, and if all that goes well....I hand it back to my friend completed and ready for him to re-maiden it.
Last edited by sirrom; 05-28-2019 at 06:33 PM.