


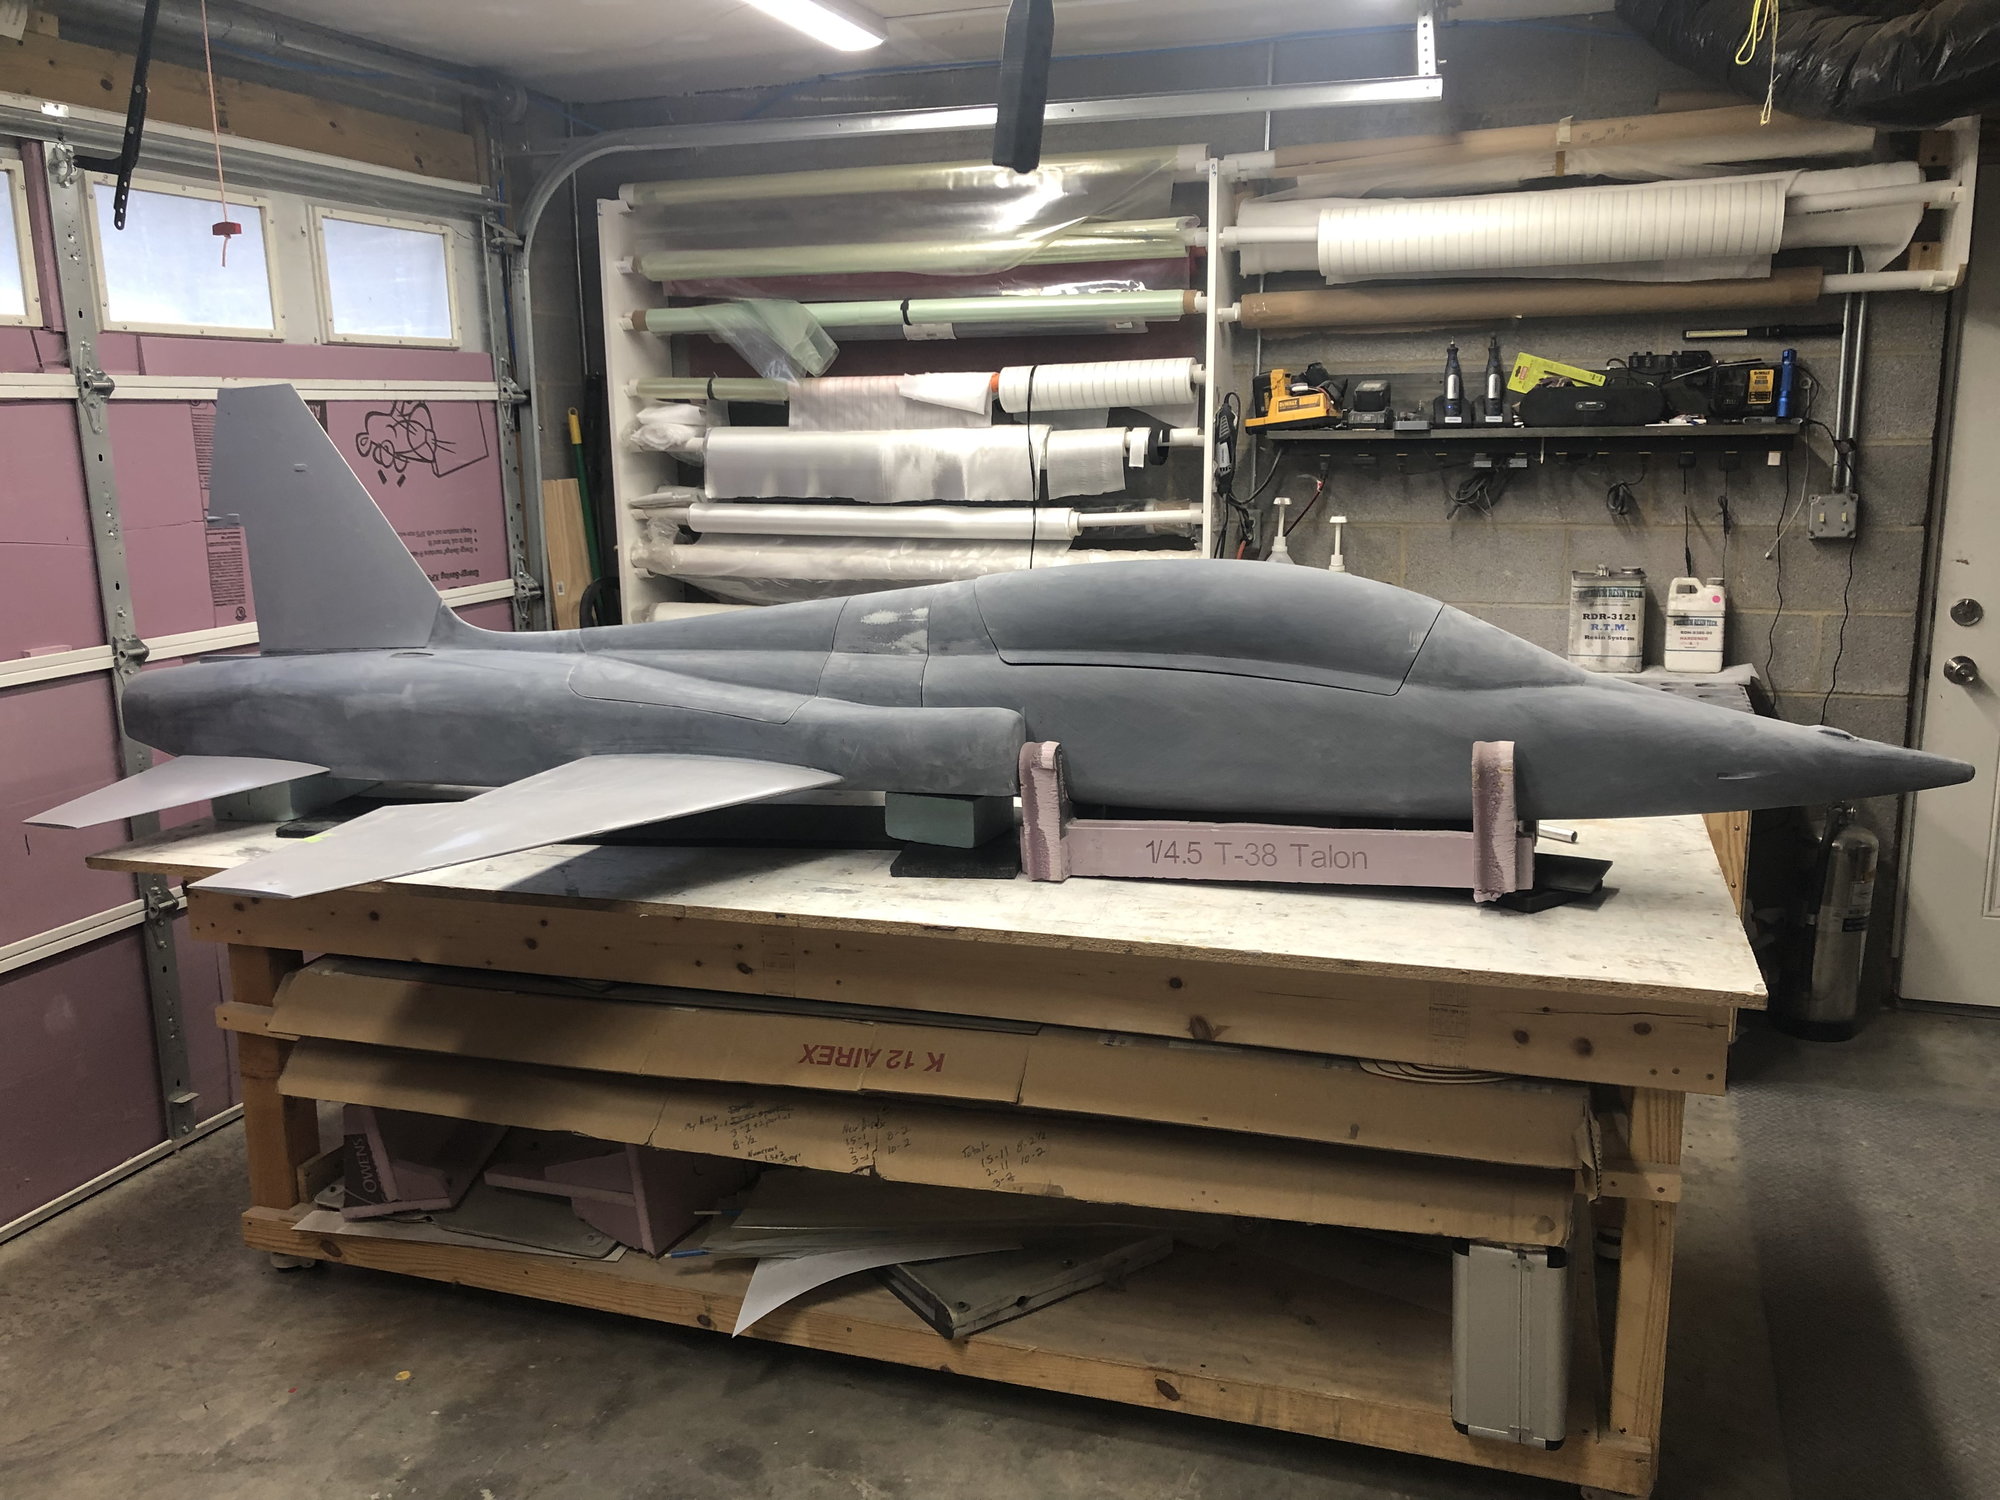
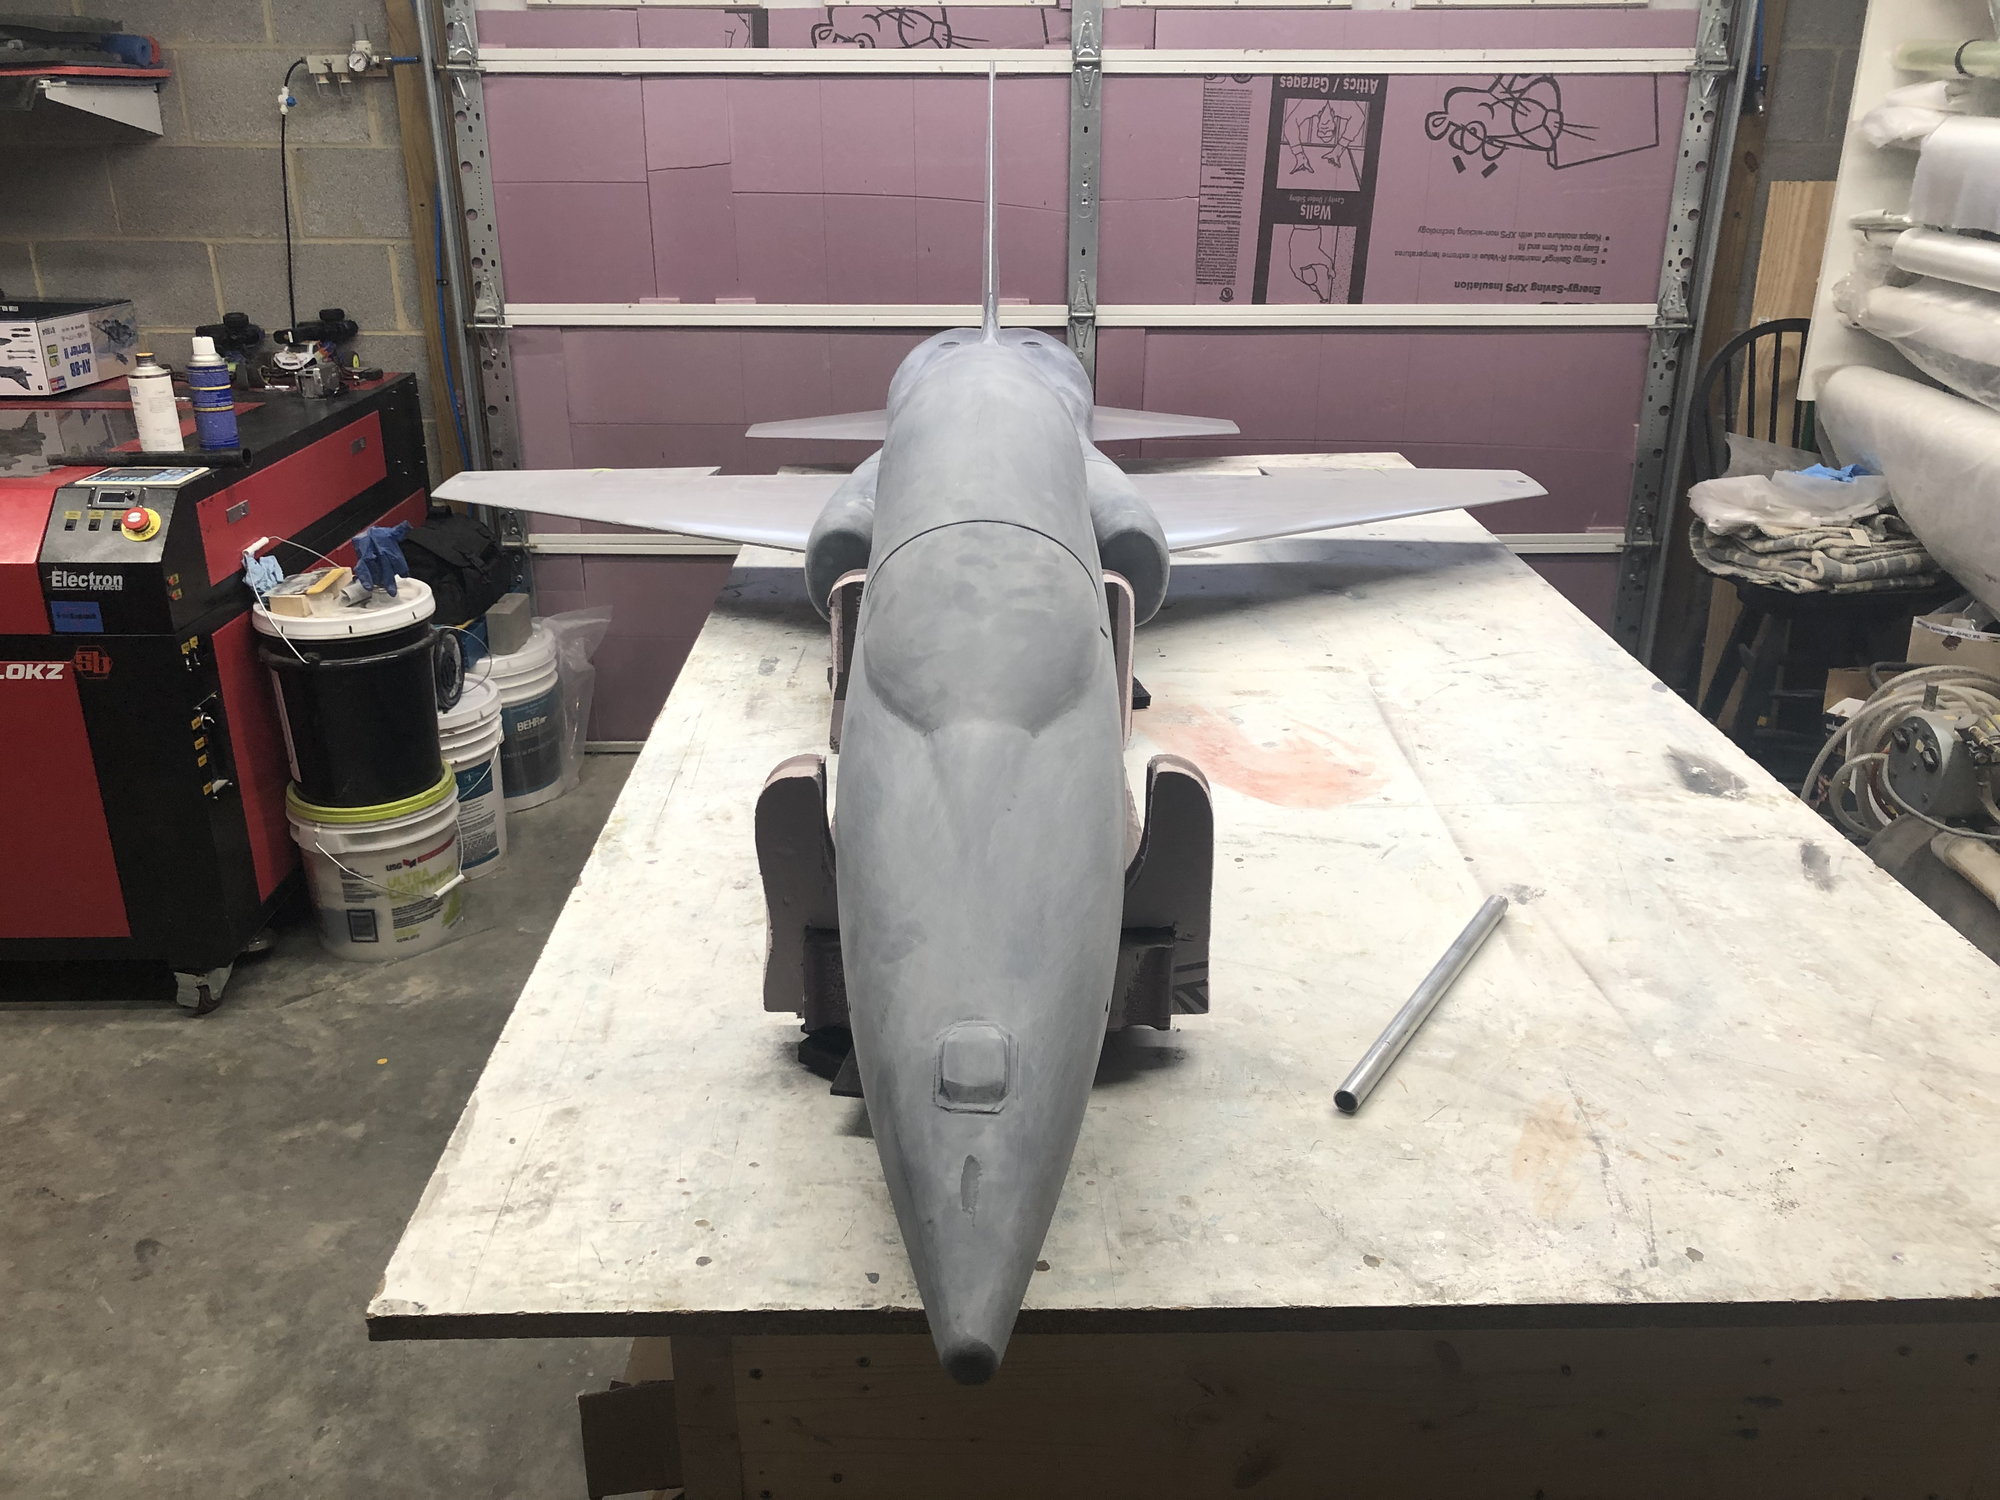
1/4.5 T-38C Talon scratch build


The following users liked this post:
yeahbaby (11-11-2022)
 11-11-2022, 03:50 PM
#227
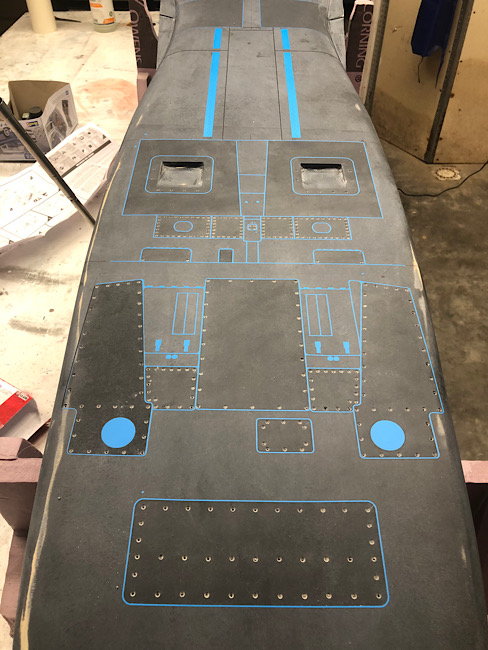
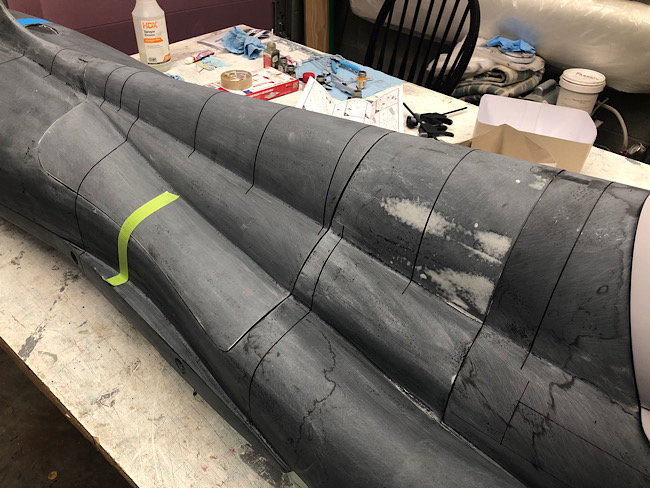
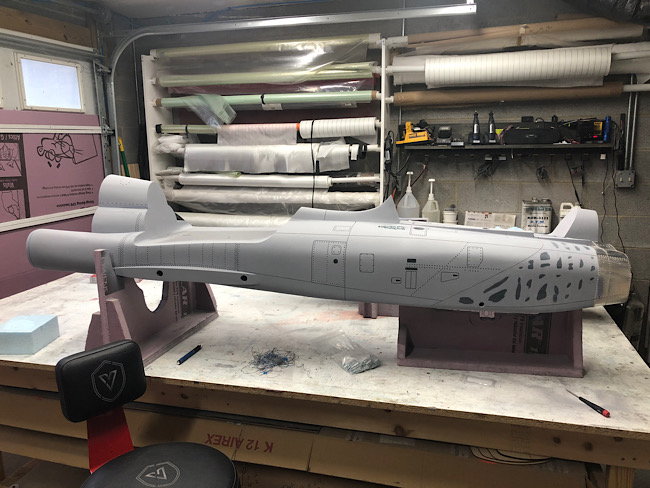
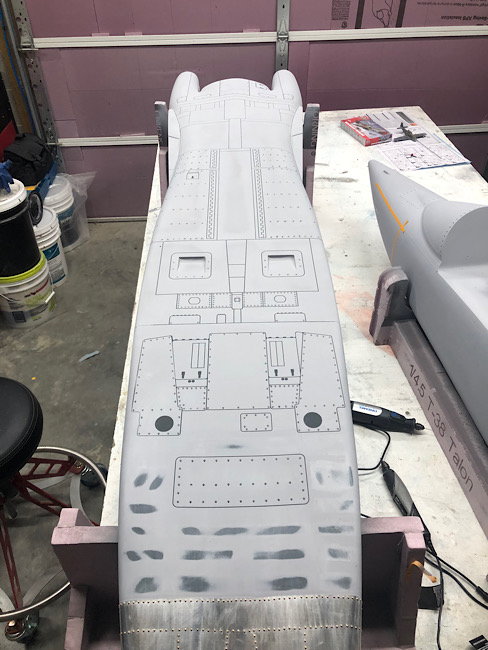
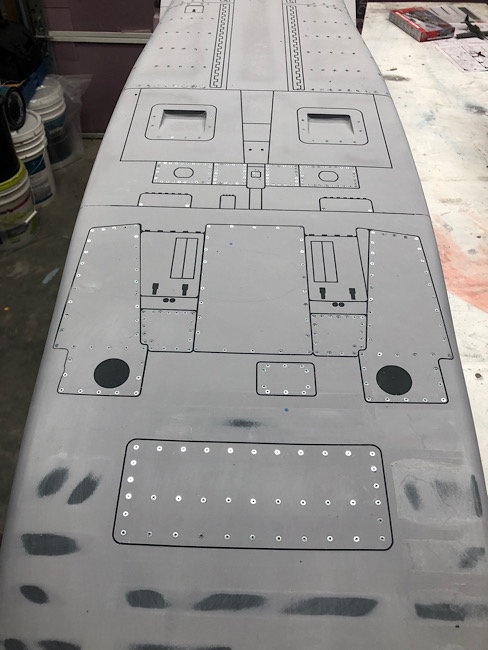
Detailing has begun
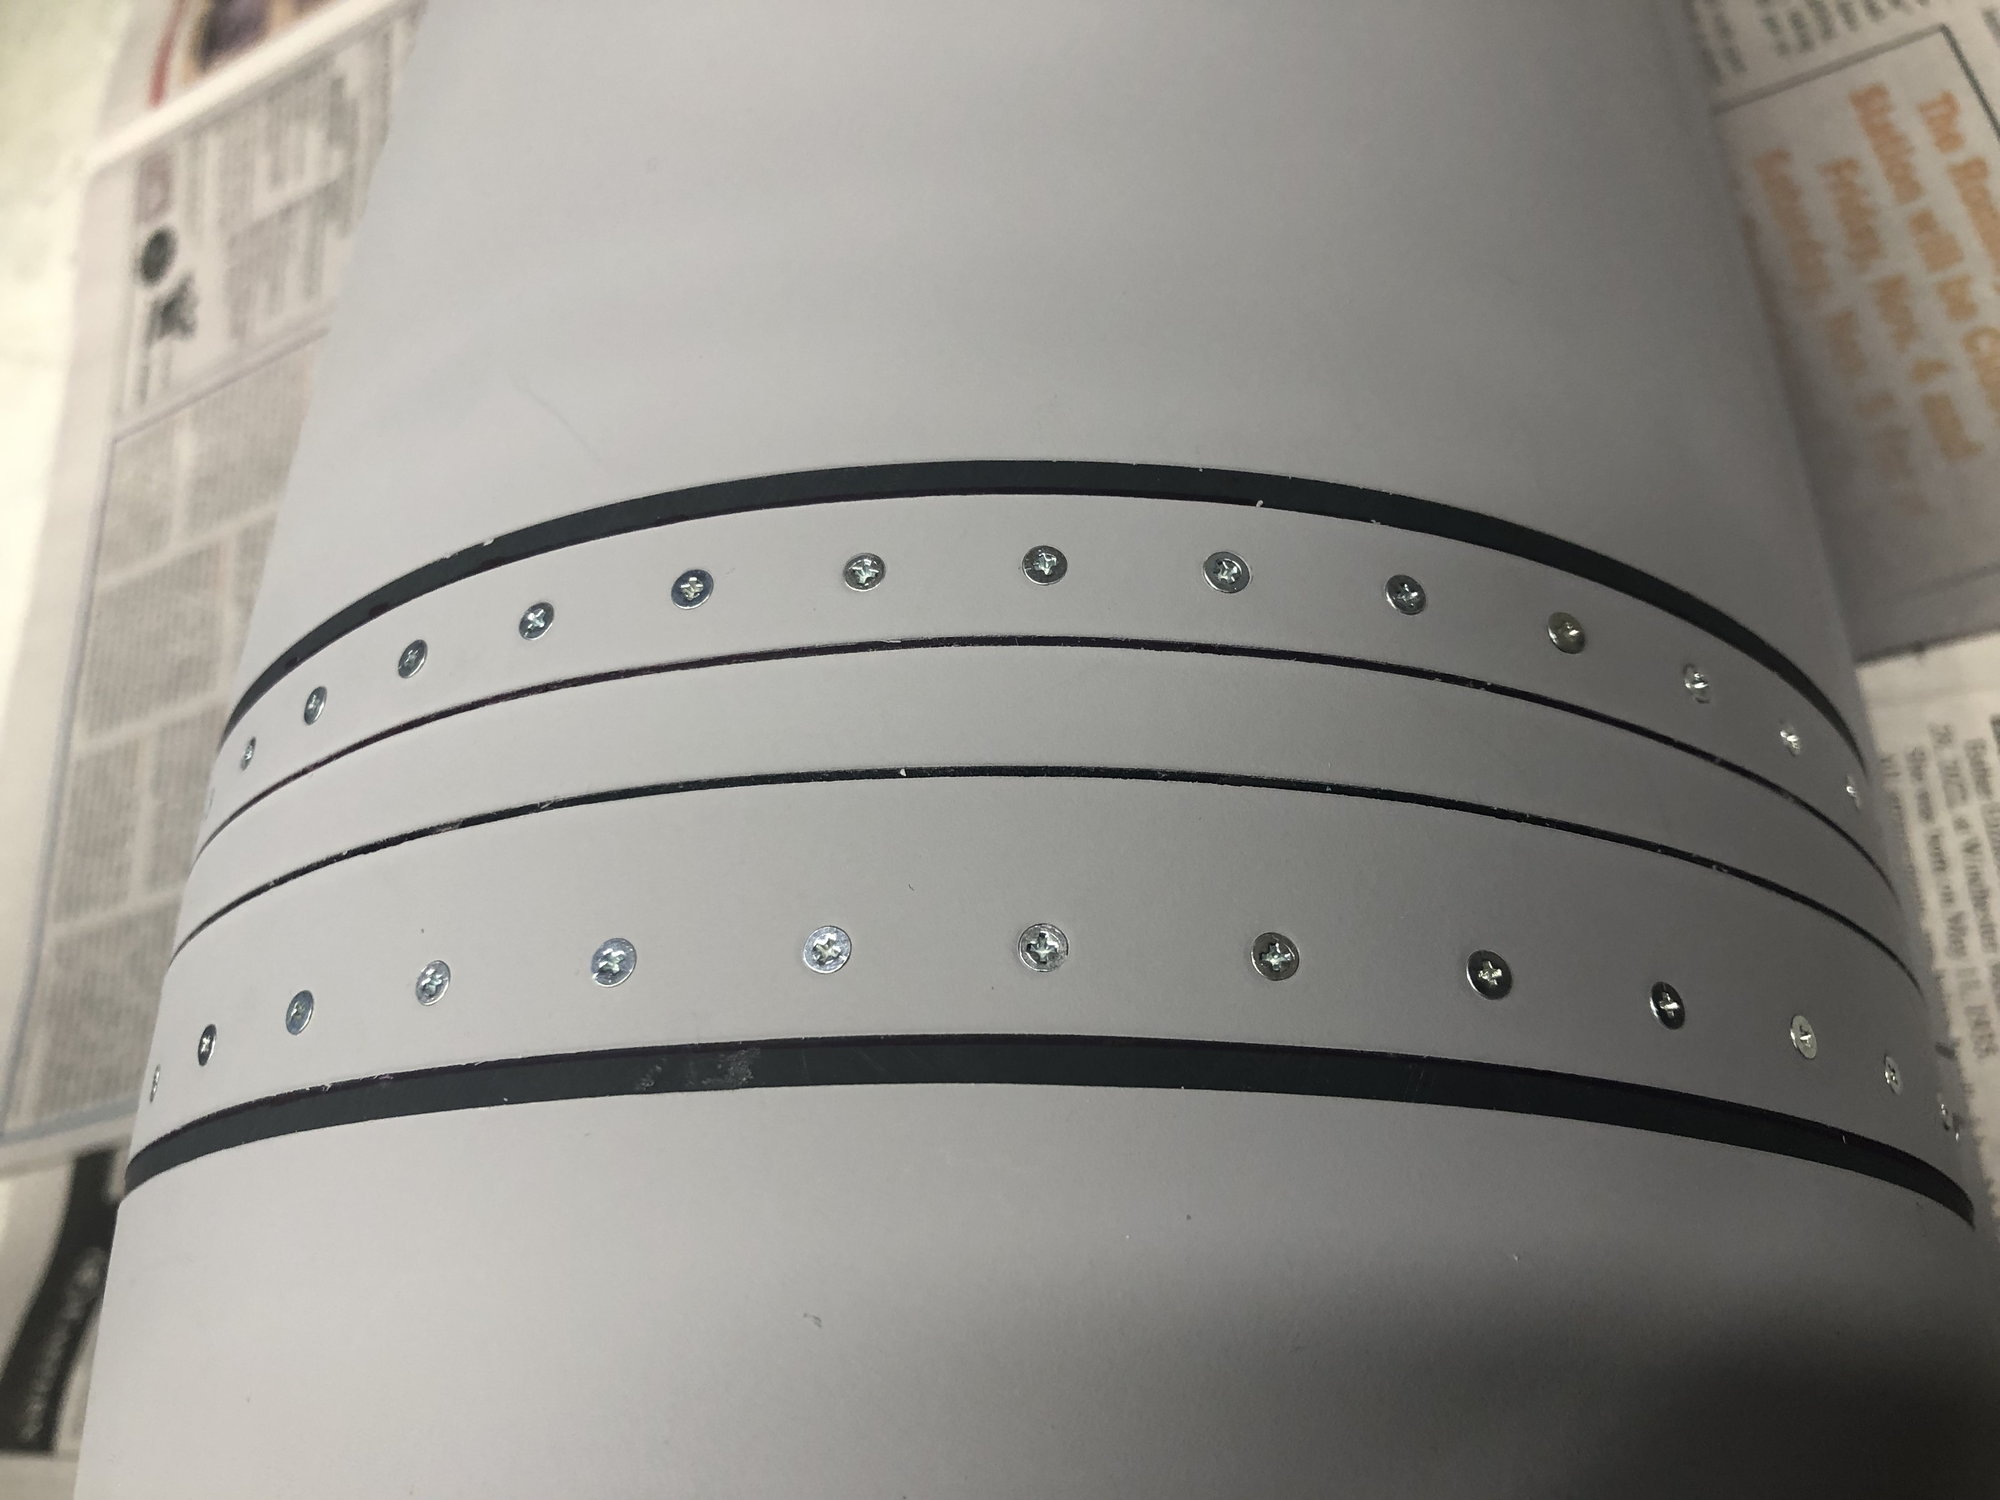
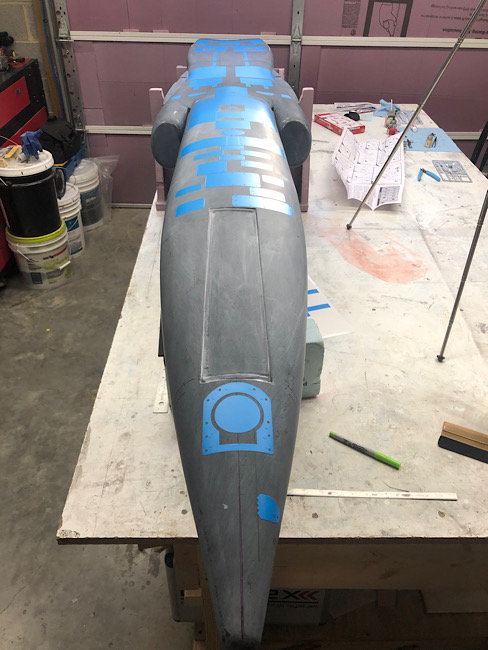
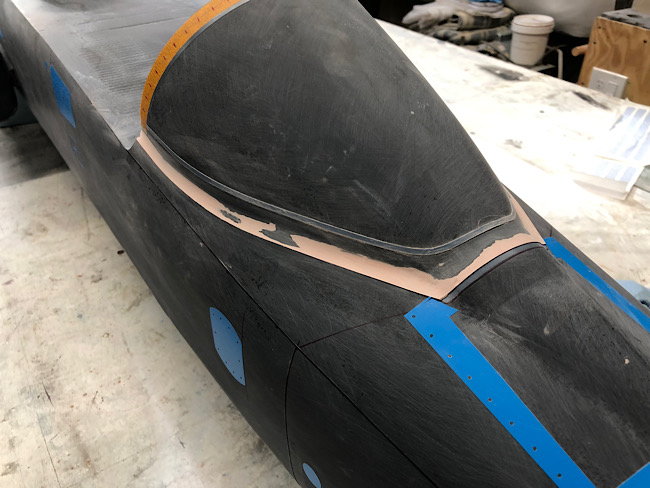
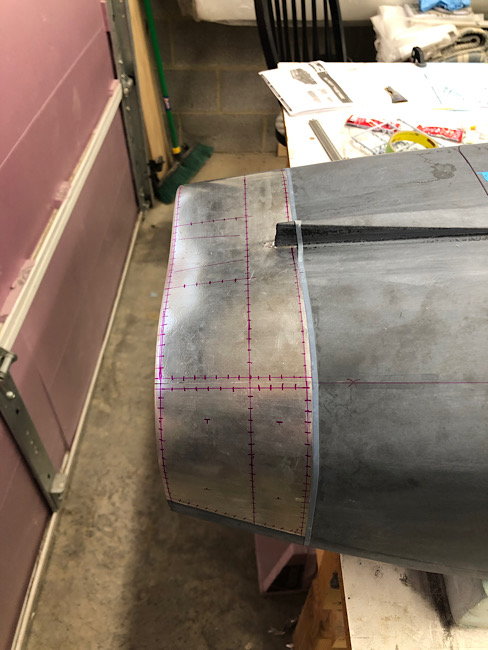
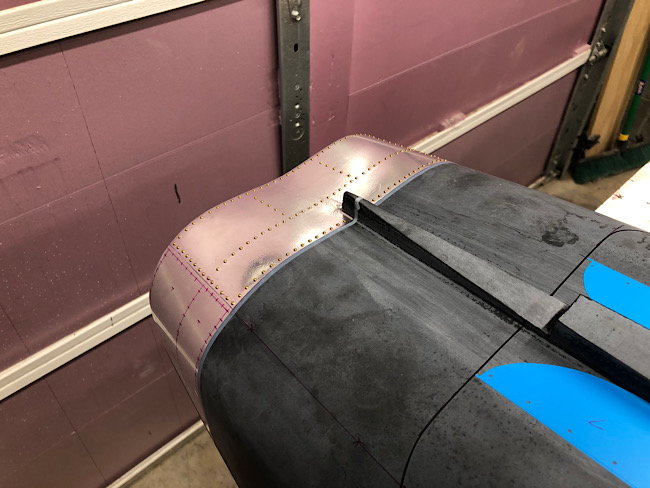
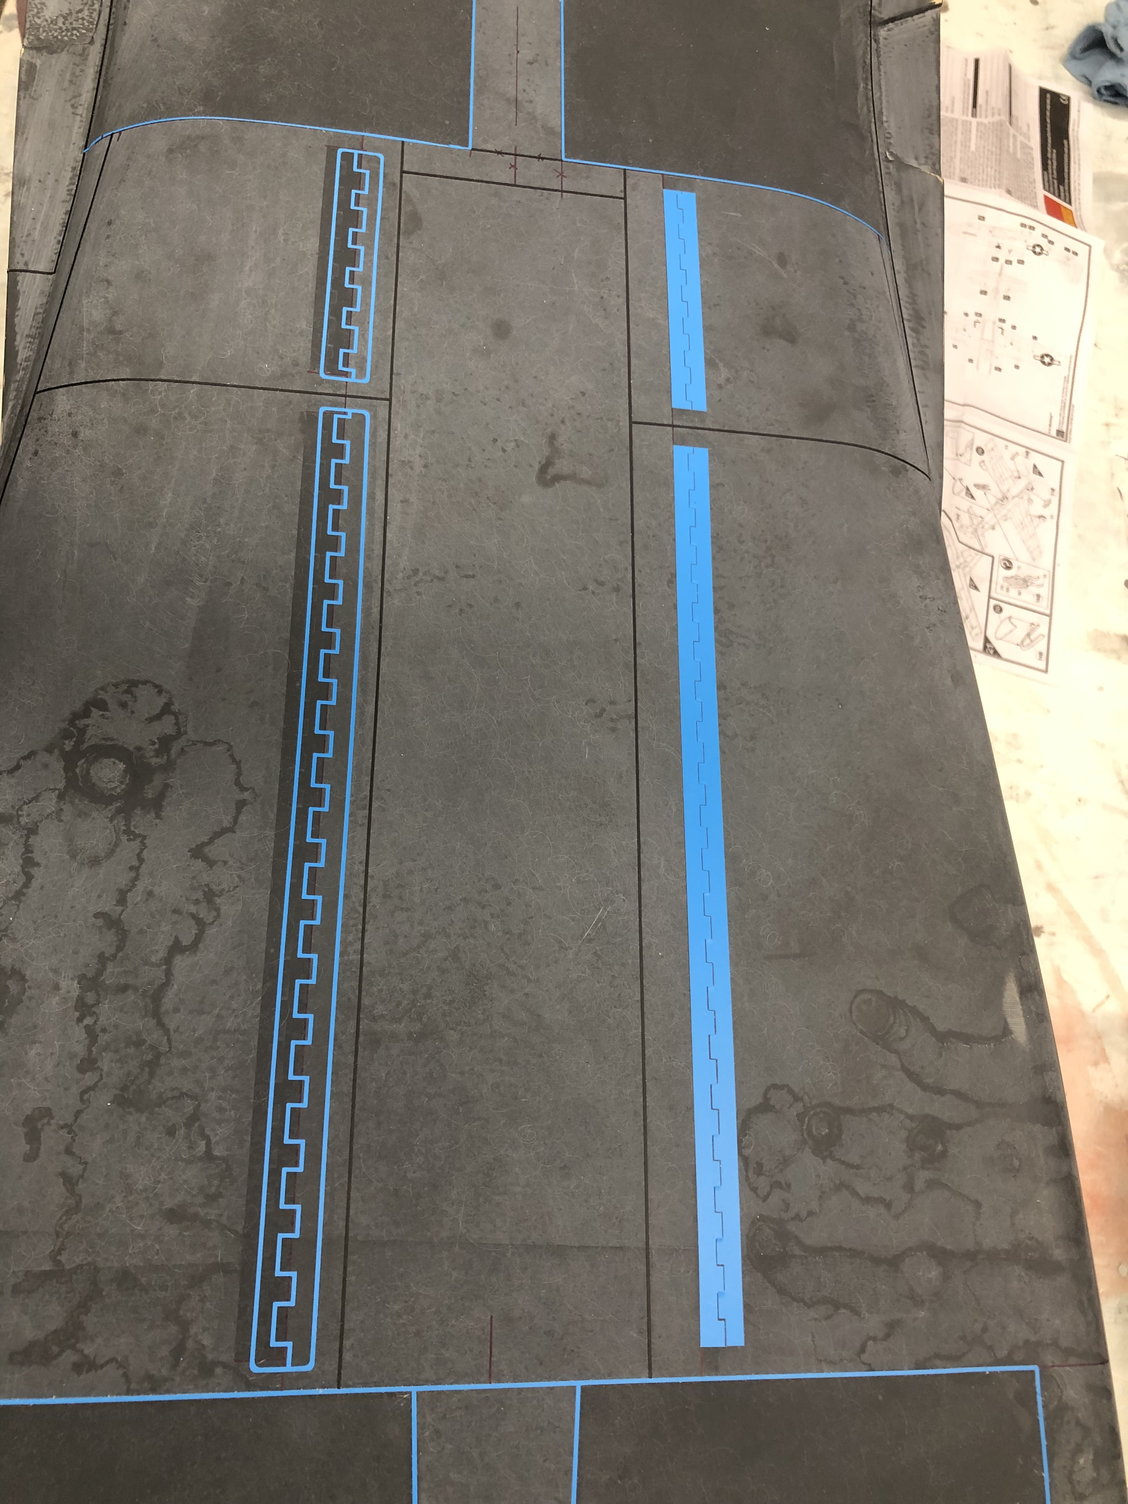
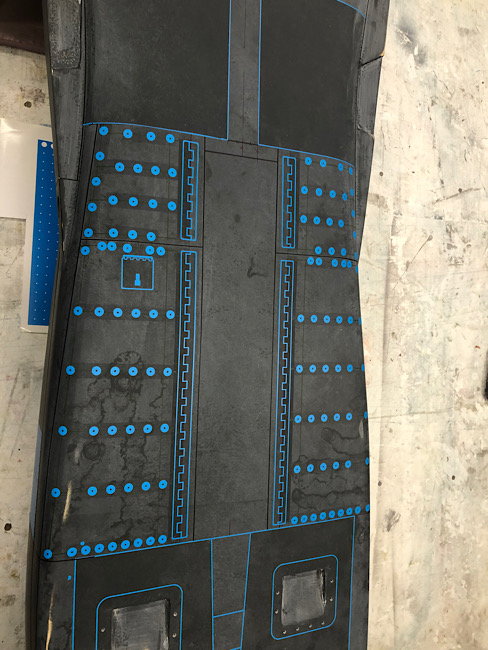
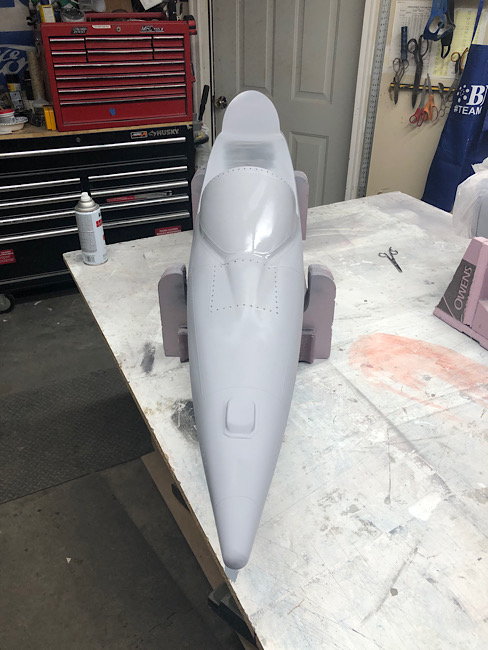
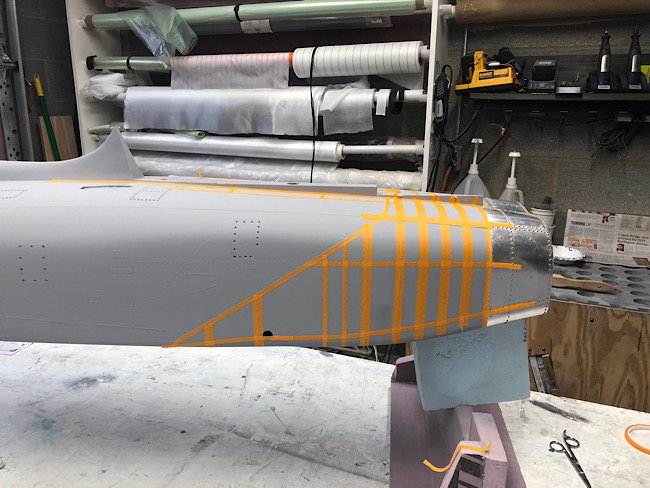
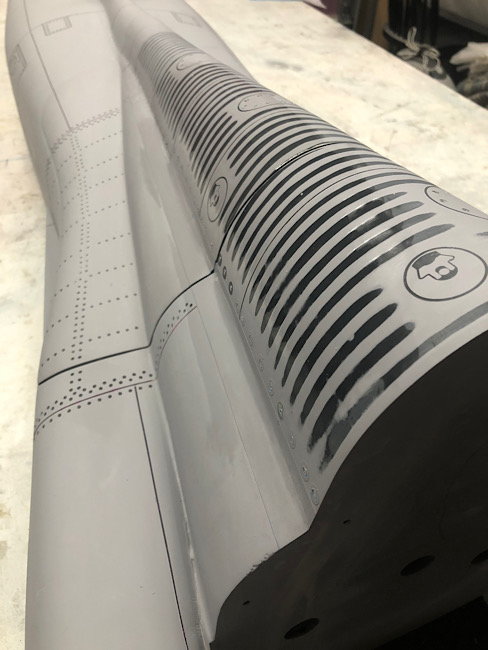
i started off with the canopy and the windscreen. I use varying widths of masking tape for any parallel panel lines. I use a 4mm vinyl masking tape for the outlines of the clear portions. Panel lines themselves are either 1/32� or 1/16� chart pak tape. I also marked canopy and windscreen frames for all of the drill positions for the screws.
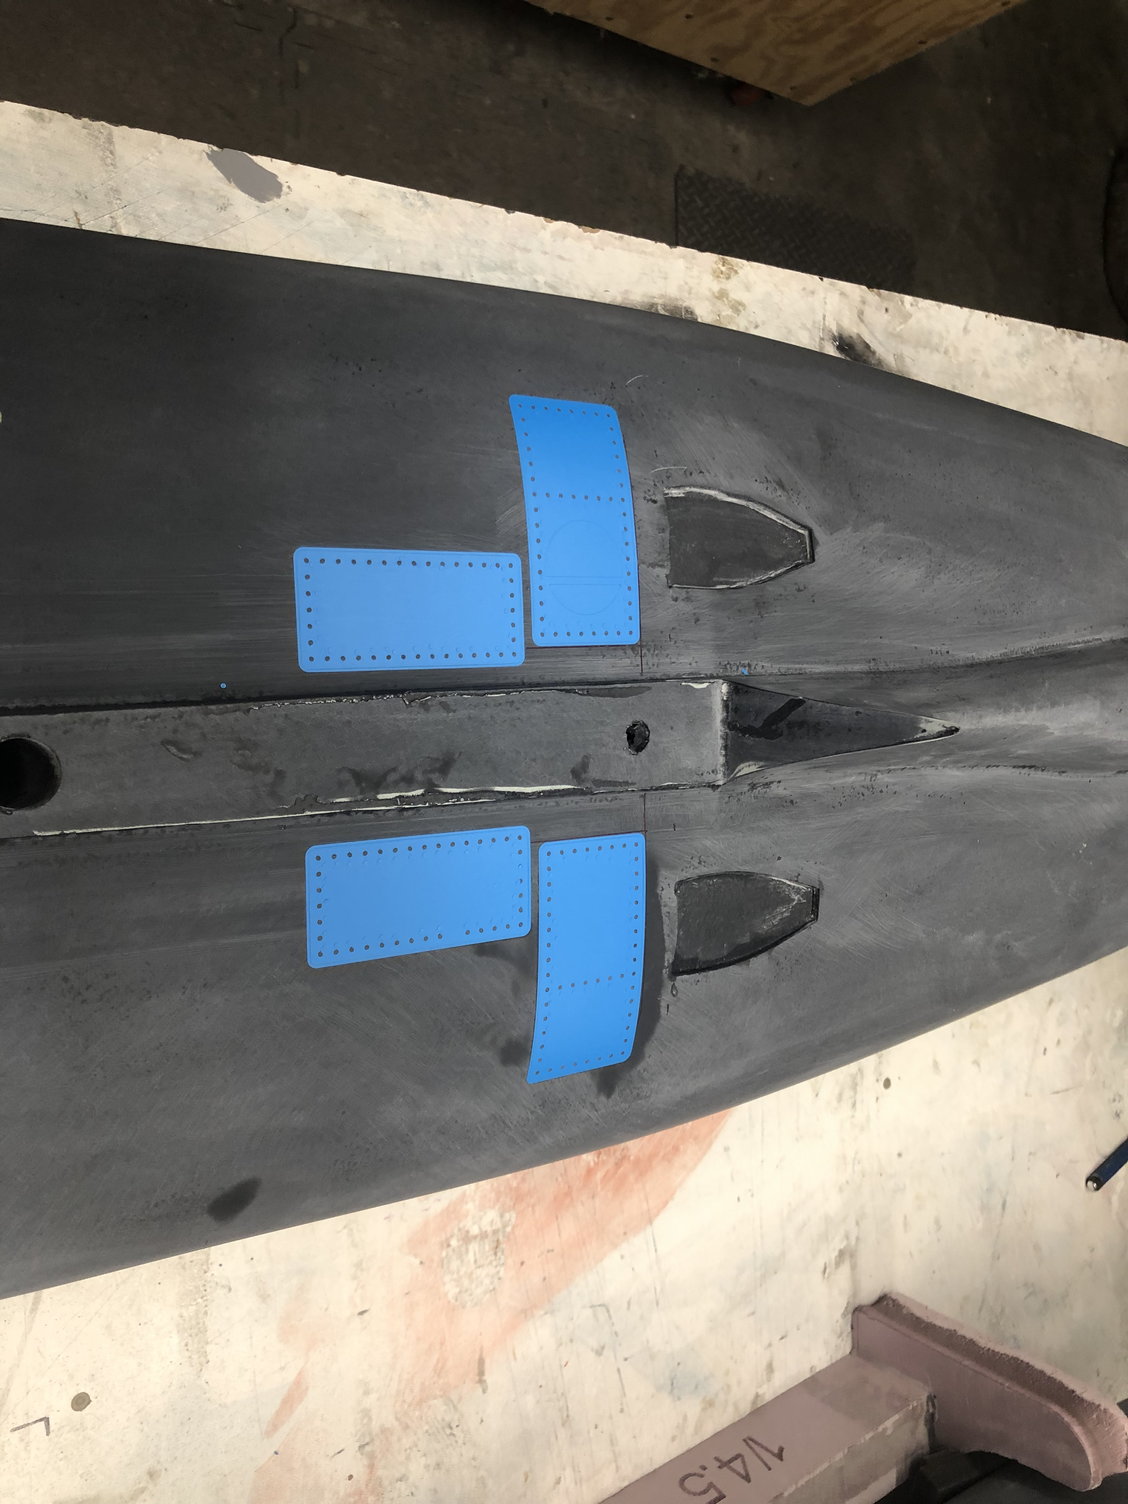
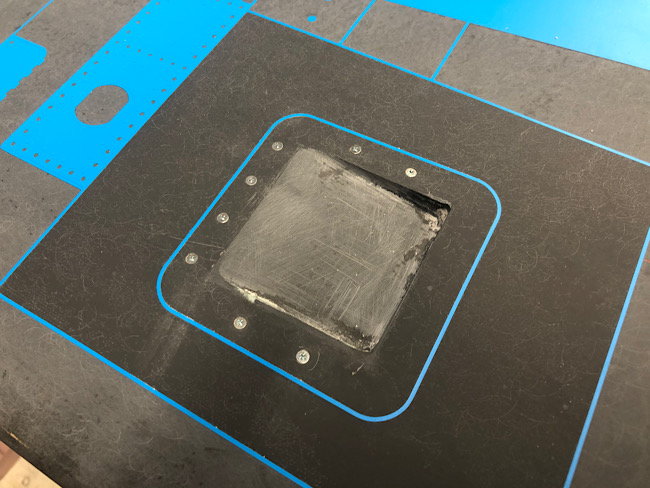
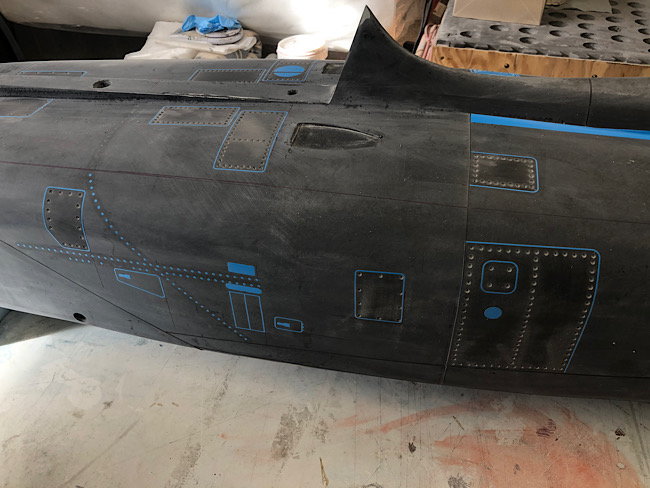
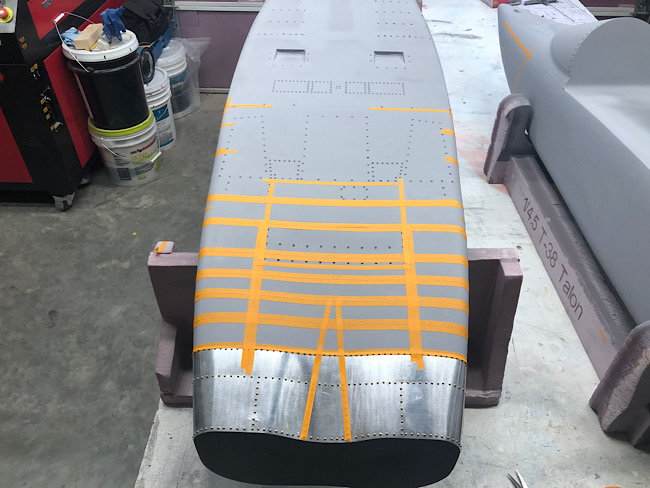
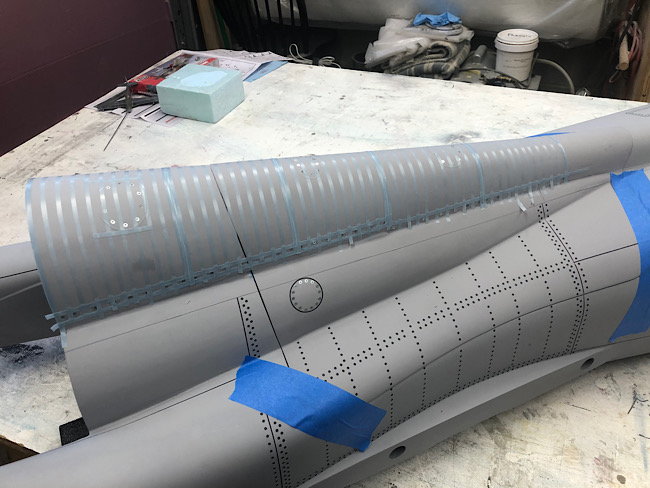
i also wanted to see how the vinyl cut hatches would do, so i put the ones on the top of the fuselage behind the cooling vents on

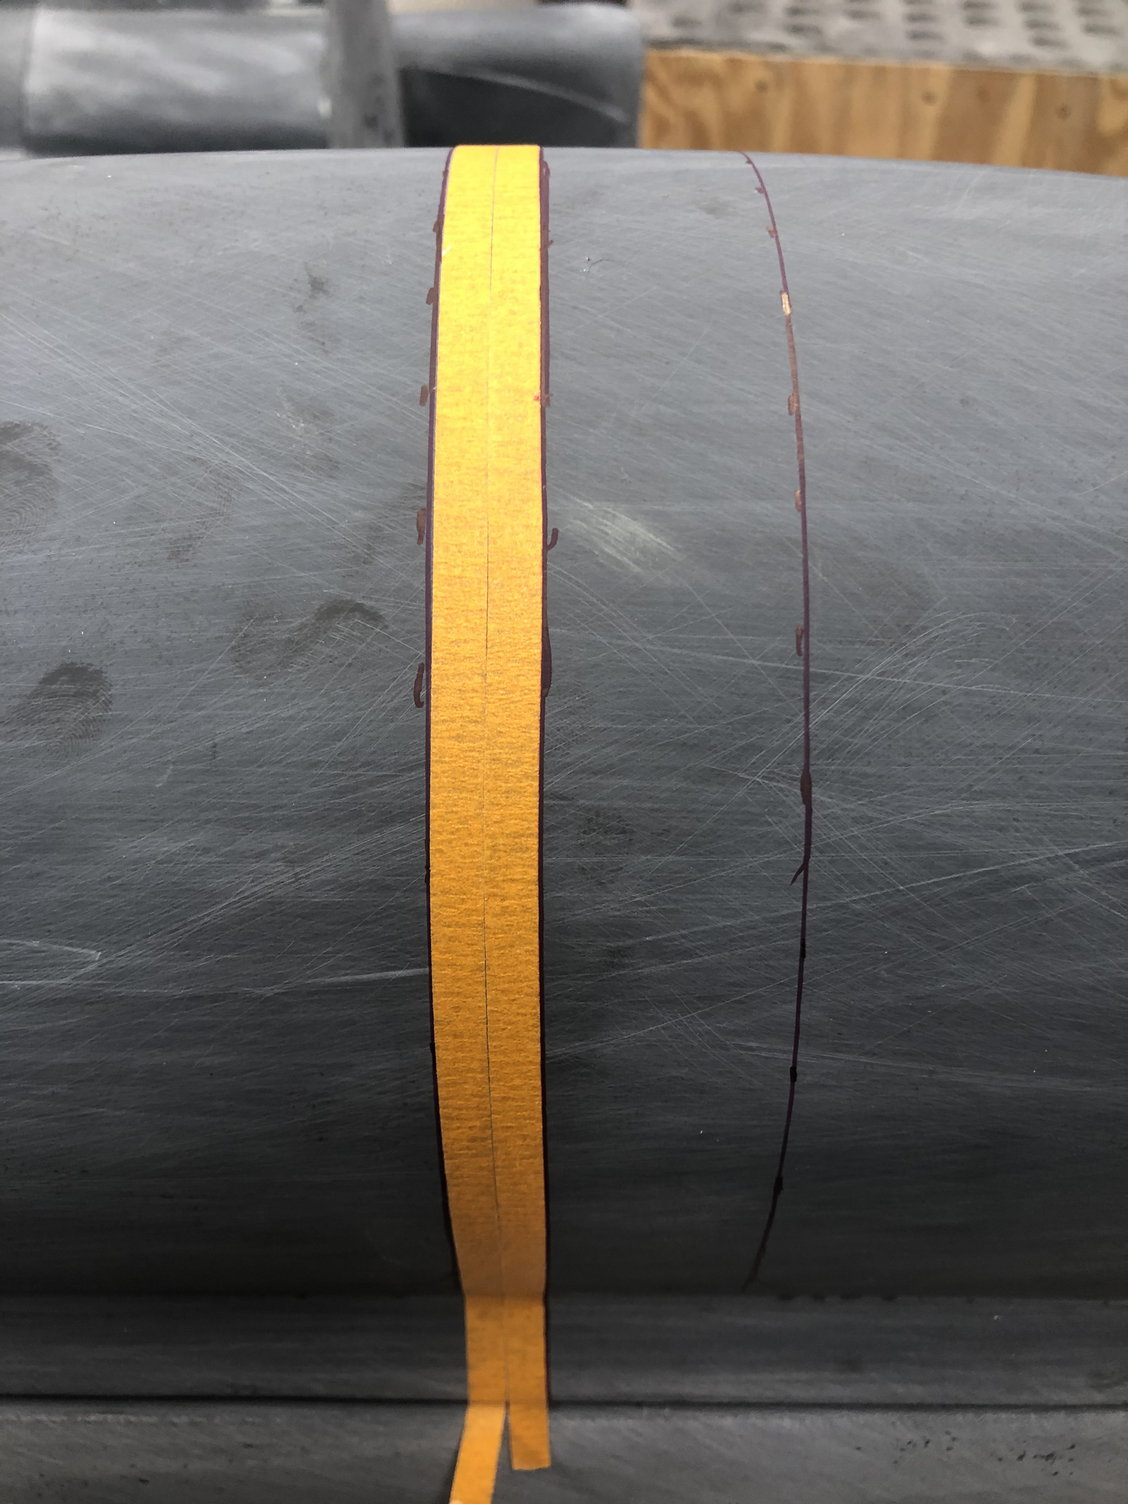
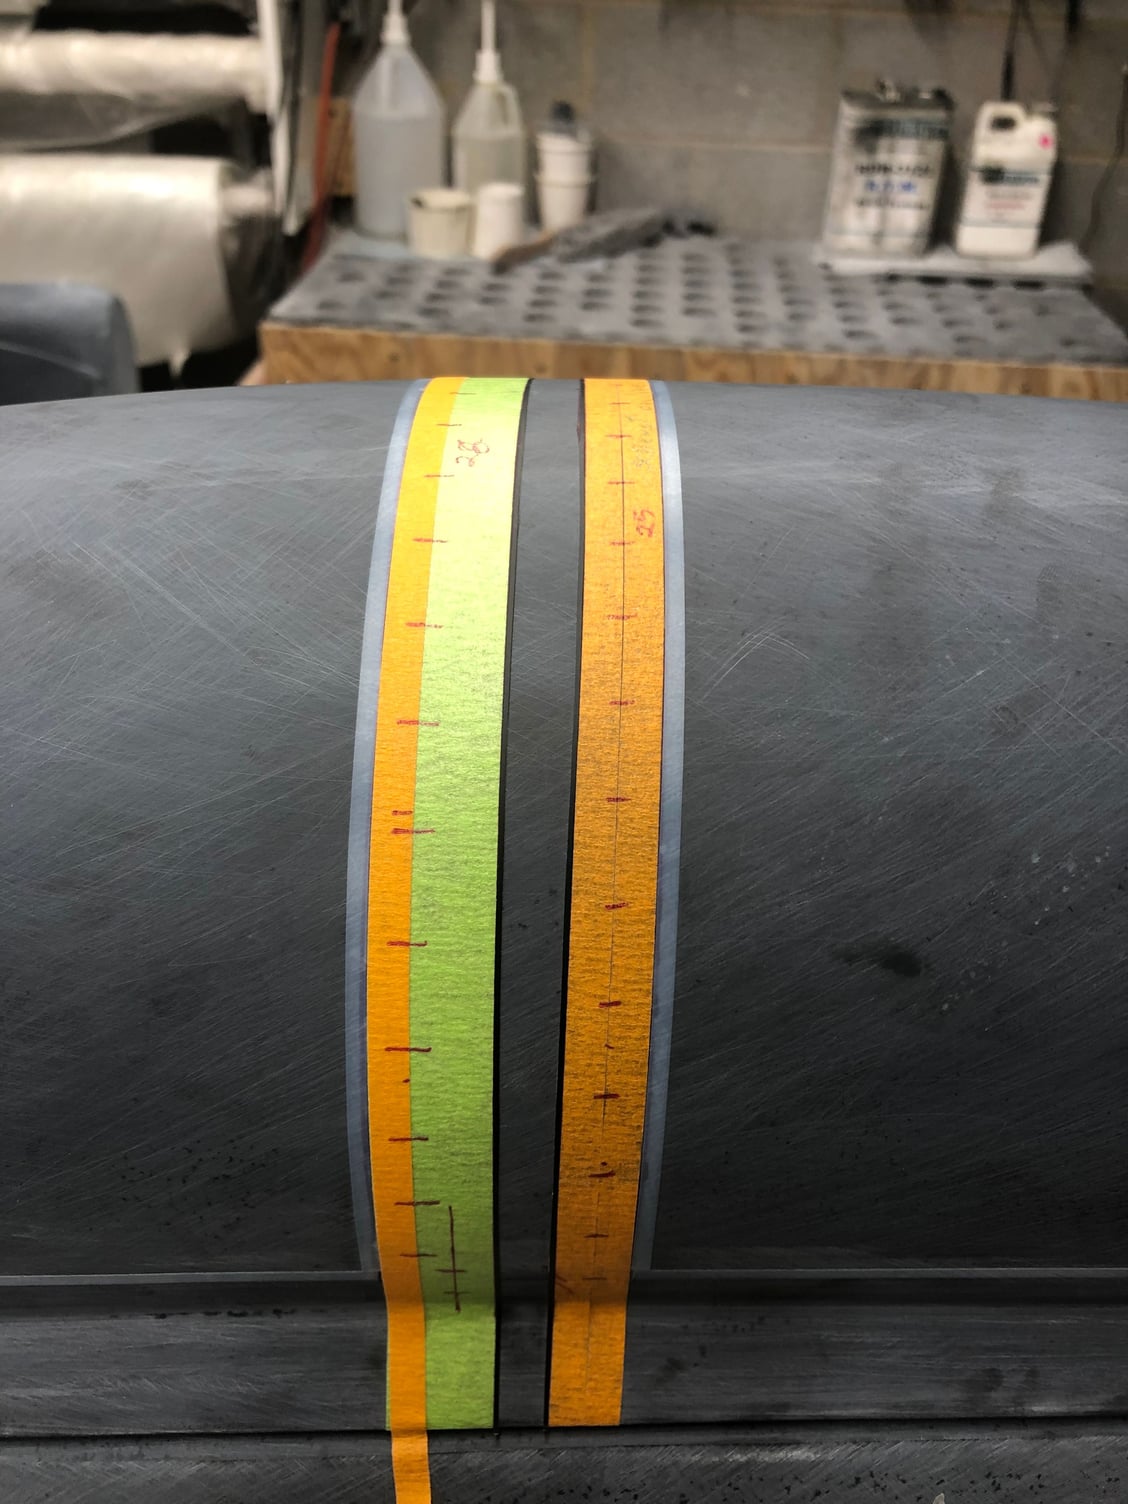
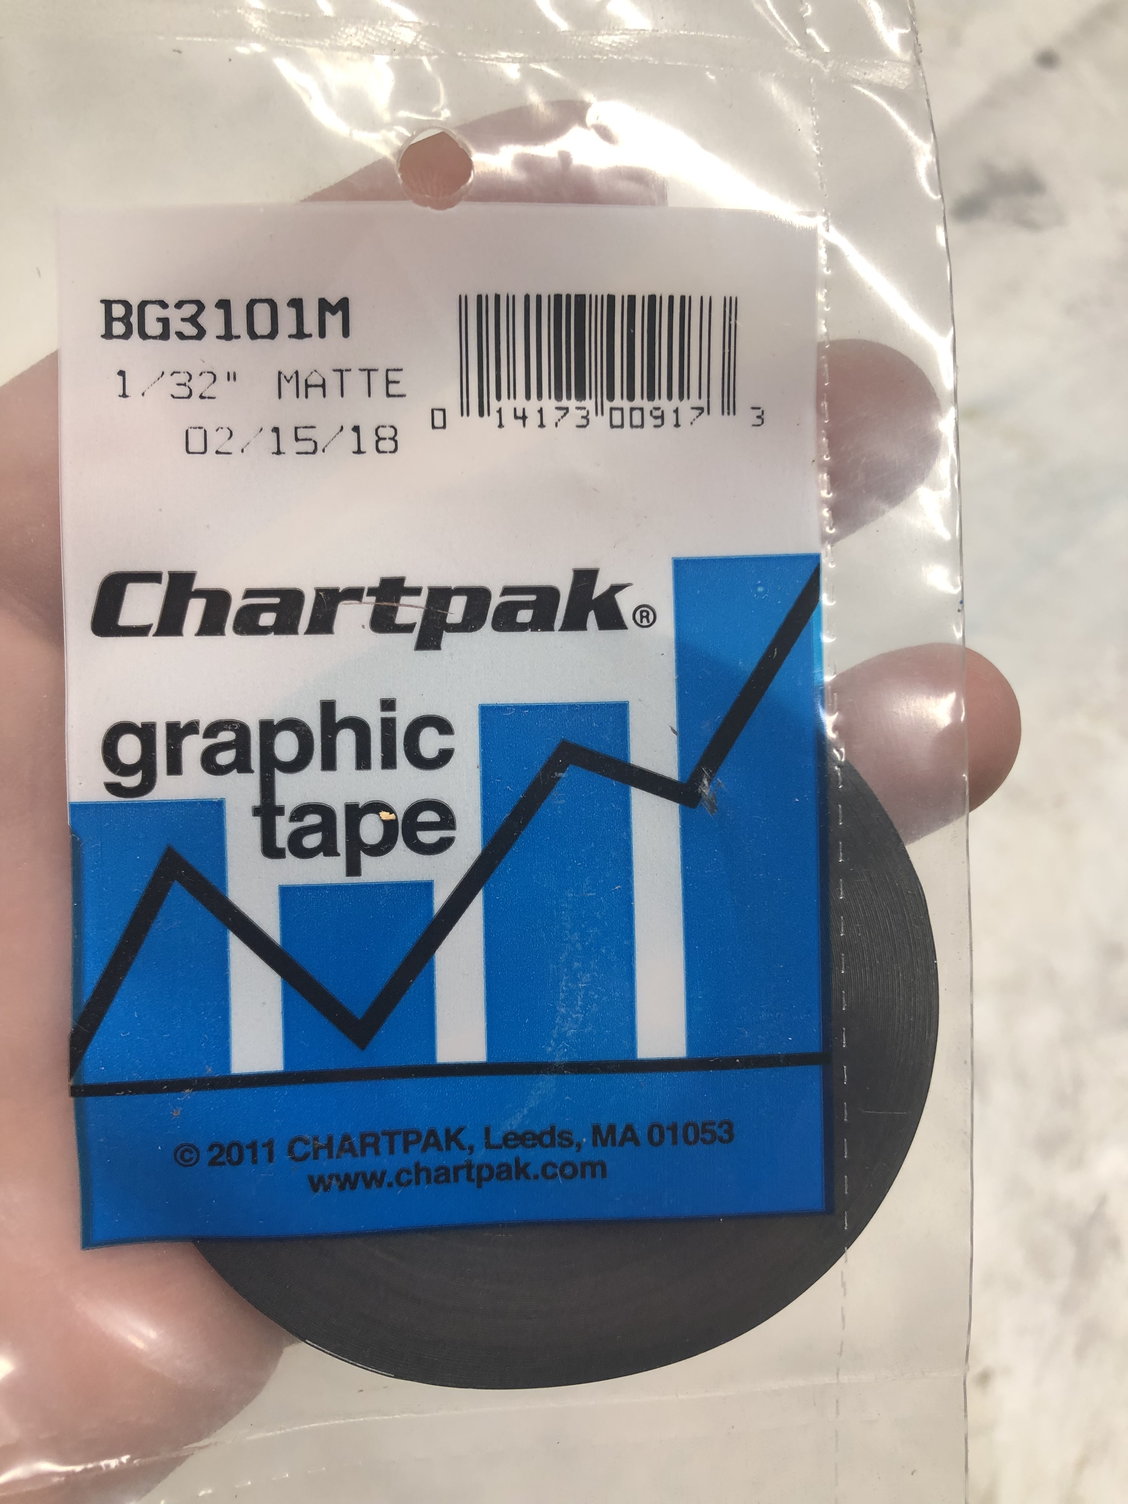
i started off with the canopy and the windscreen. I use varying widths of masking tape for any parallel panel lines. I use a 4mm vinyl masking tape for the outlines of the clear portions. Panel lines themselves are either 1/32� or 1/16� chart pak tape. I also marked canopy and windscreen frames for all of the drill positions for the screws.
i also wanted to see how the vinyl cut hatches would do, so i put the ones on the top of the fuselage behind the cooling vents on

The following users liked this post:
yeahbaby (11-19-2022)
The following users liked this post:
yeahbaby (11-28-2022)
11-27-2022, 03:40 PM
#232
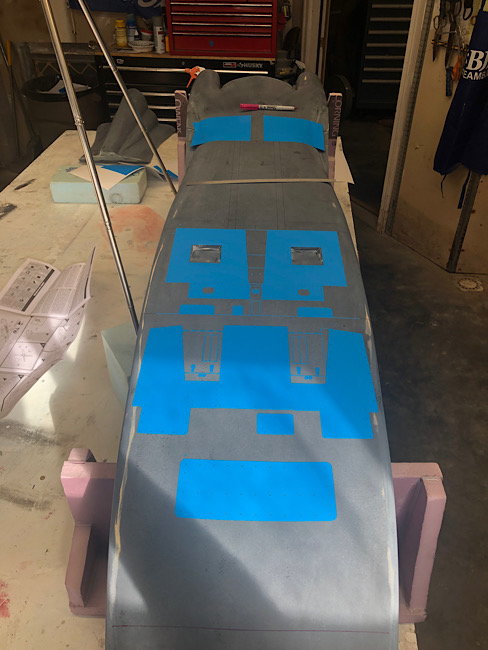
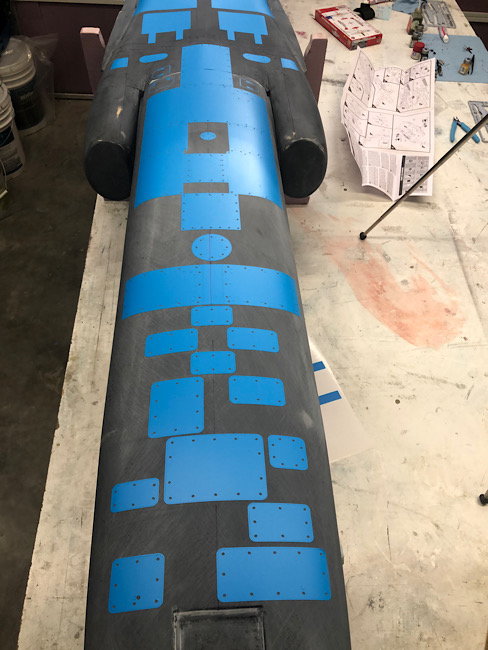
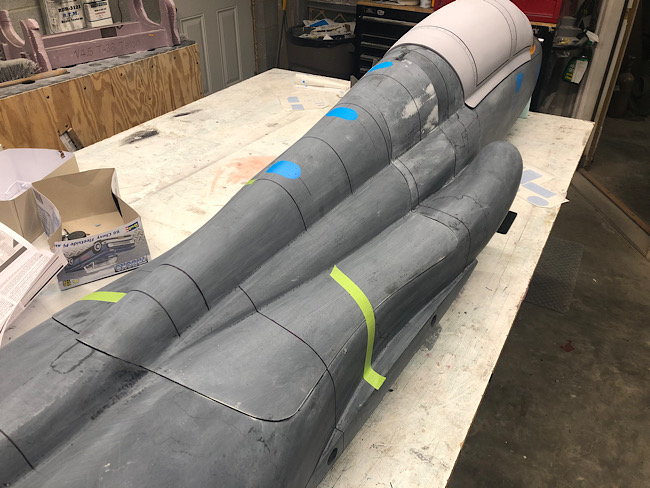
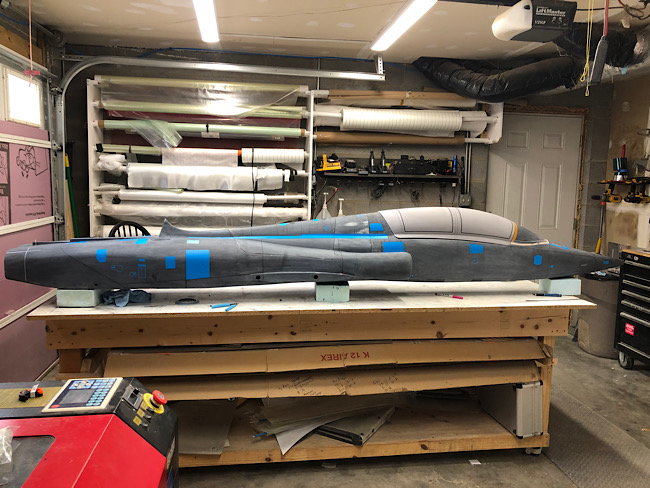
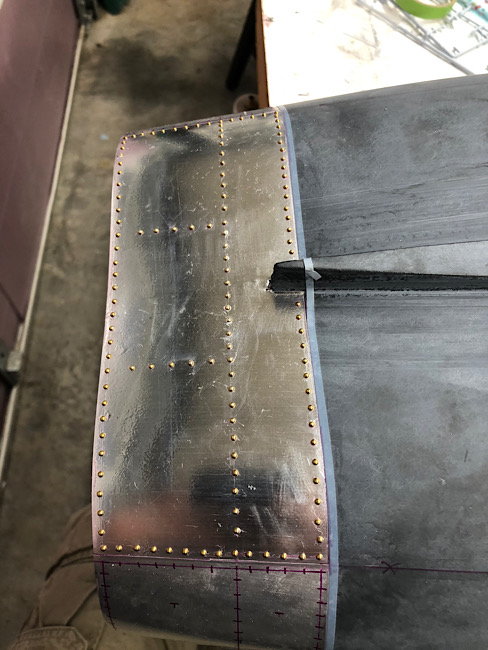
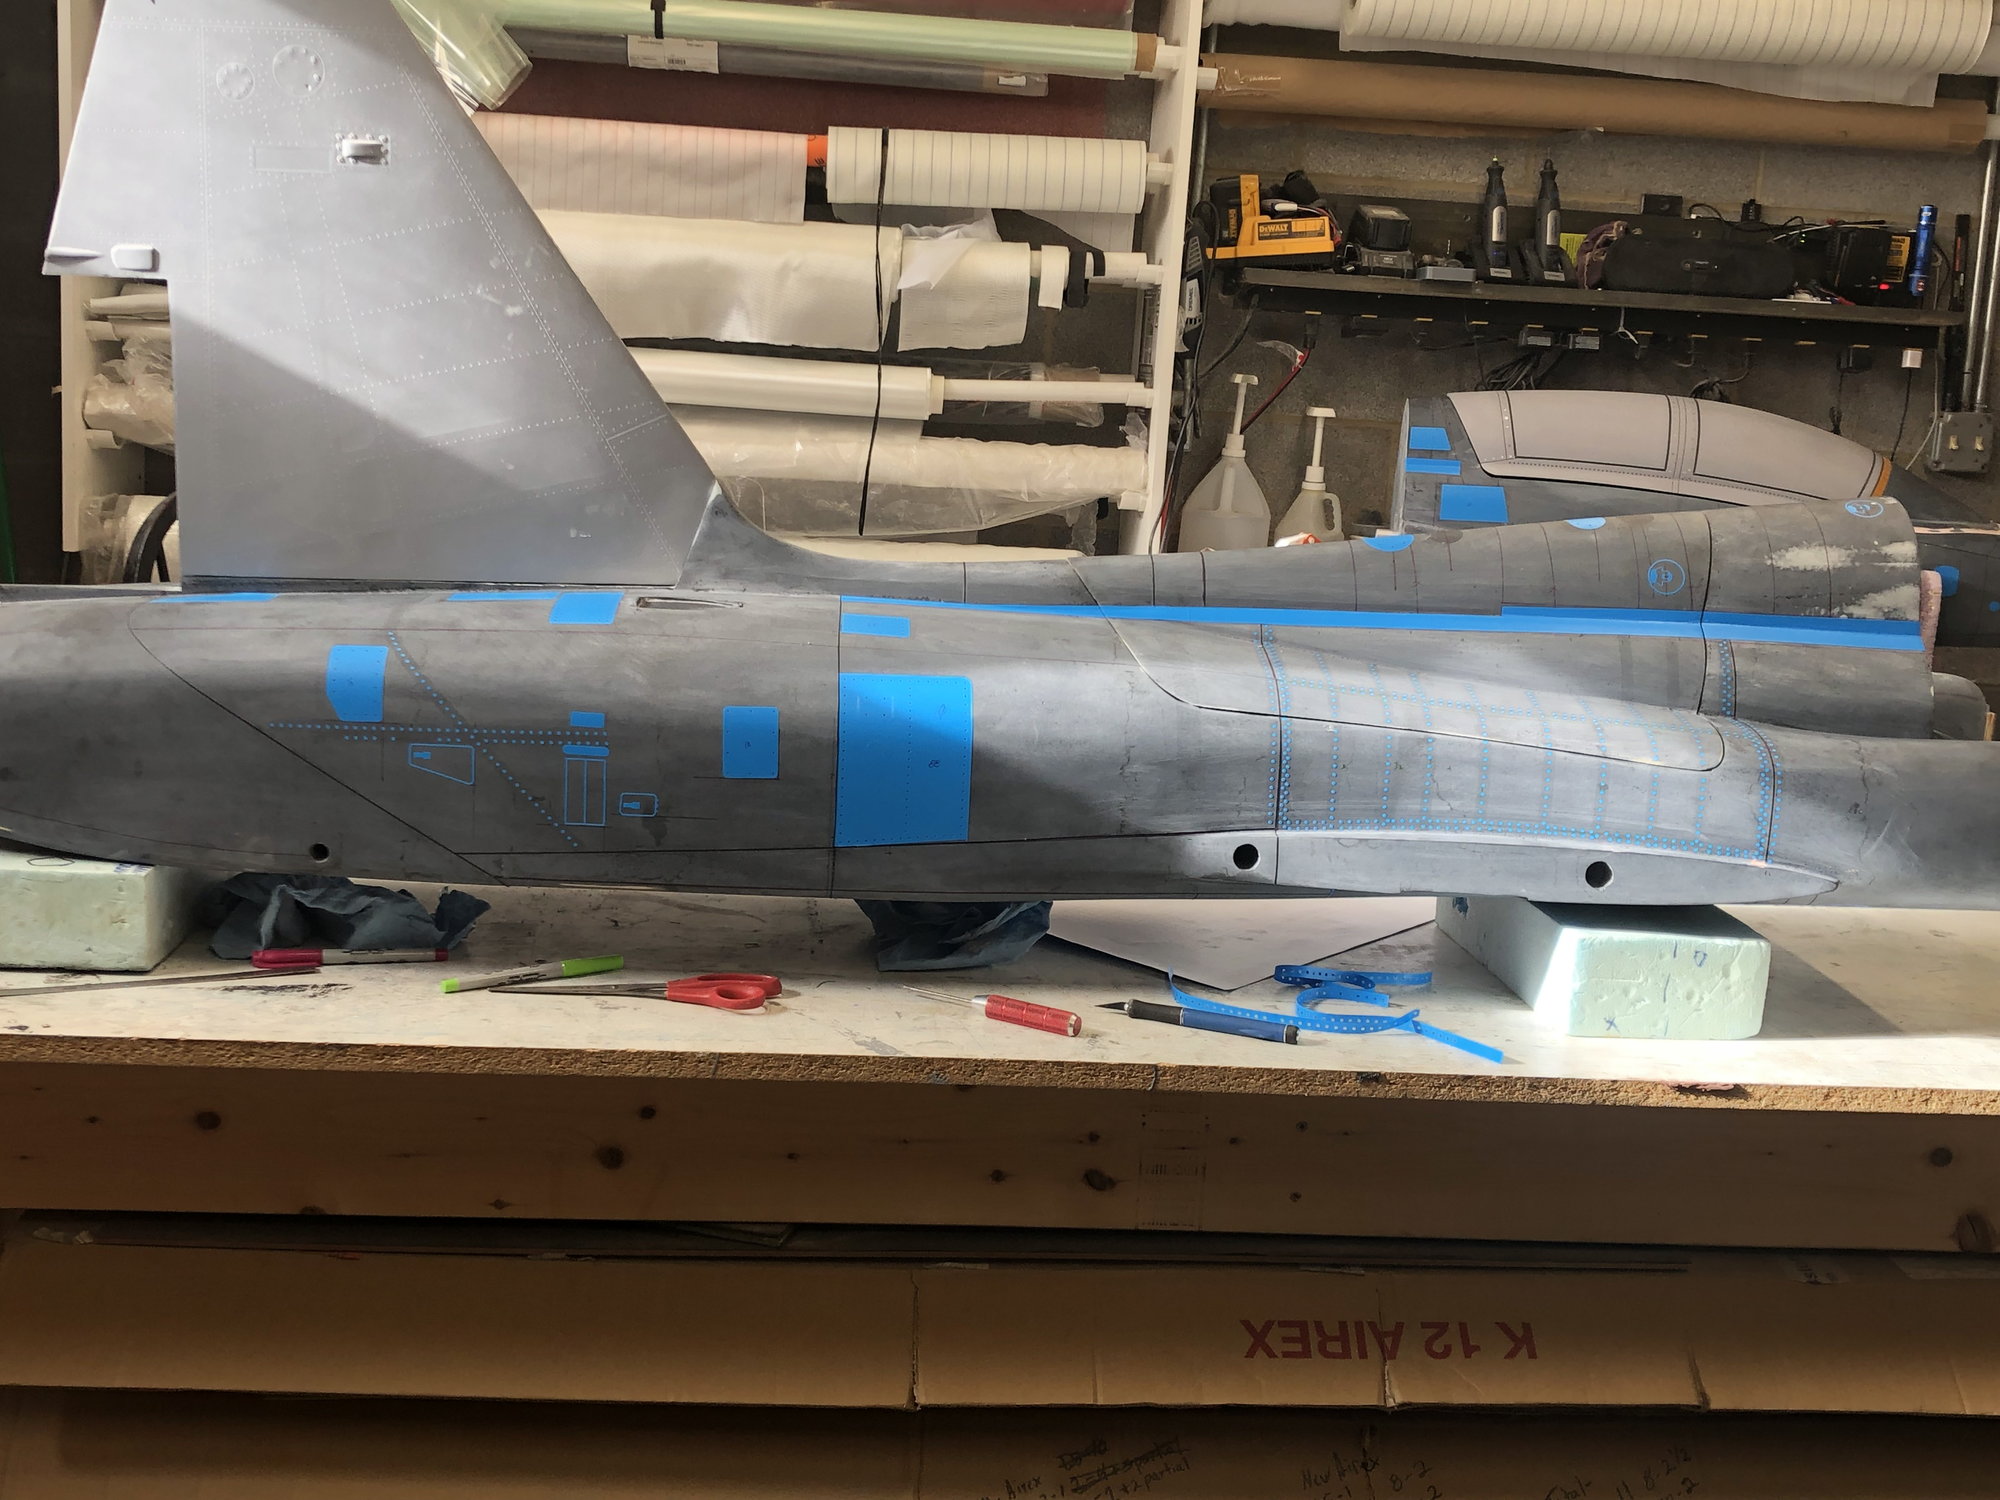
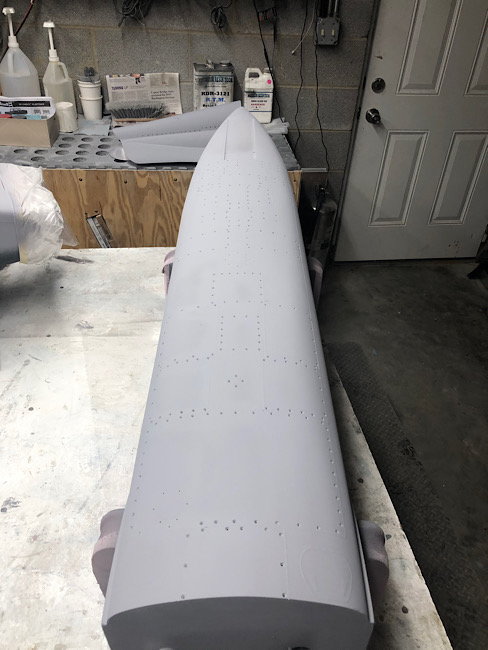
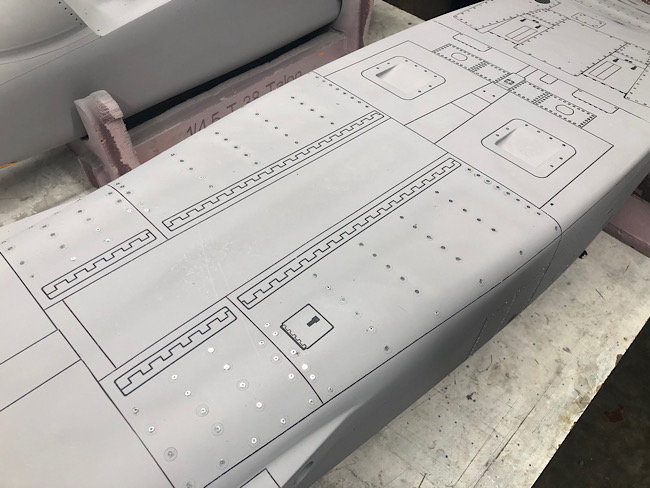
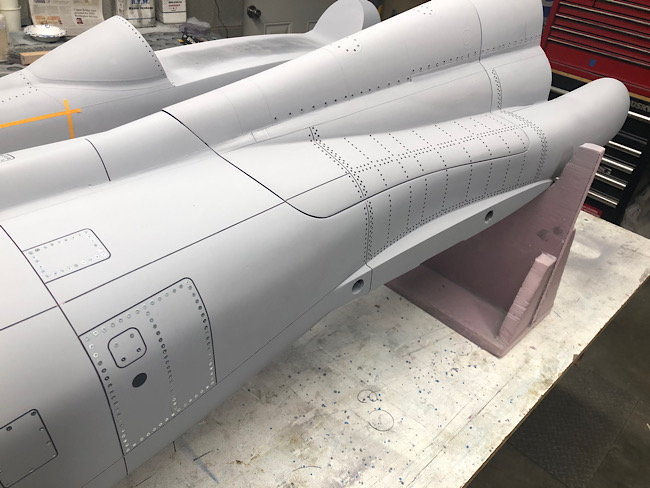
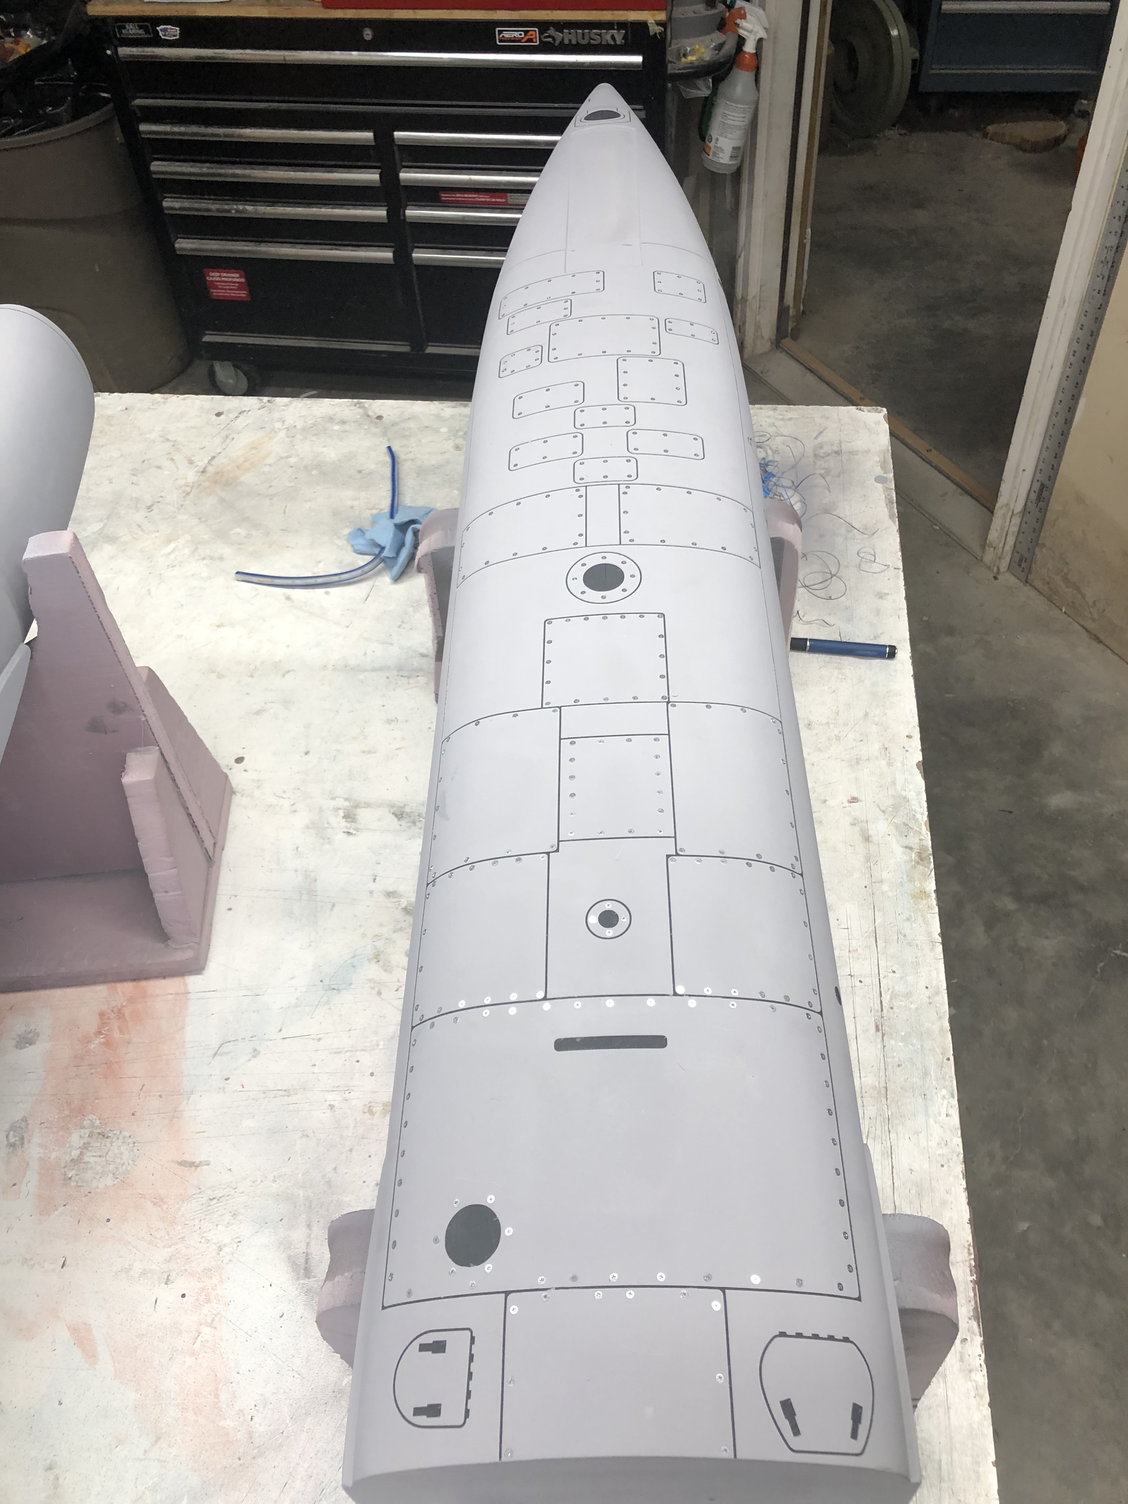
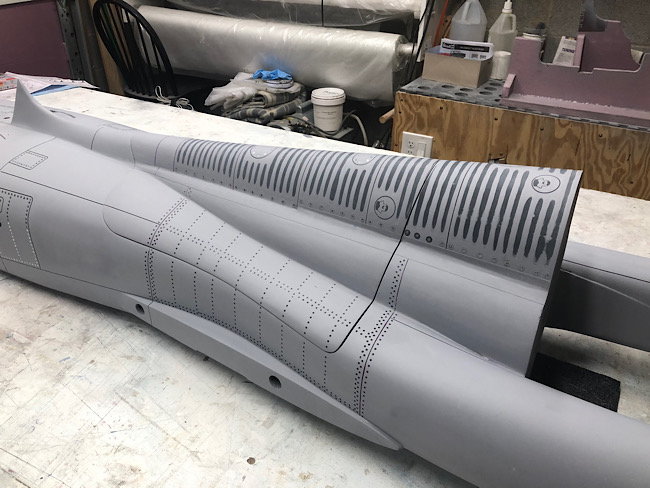
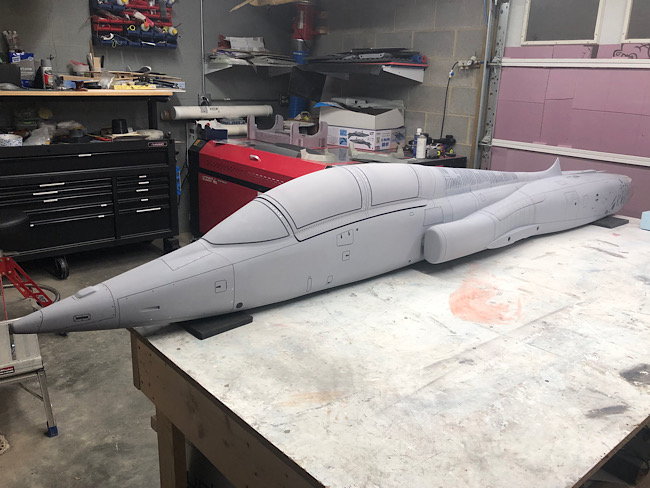
Continued on today. I got all of the panels on the right side of the fuselage installed minus two. There�s about a dozen panels in total left to do. I also have about a dozen panel lines to add. There are also 3 pairs of overlapping panels that need added.
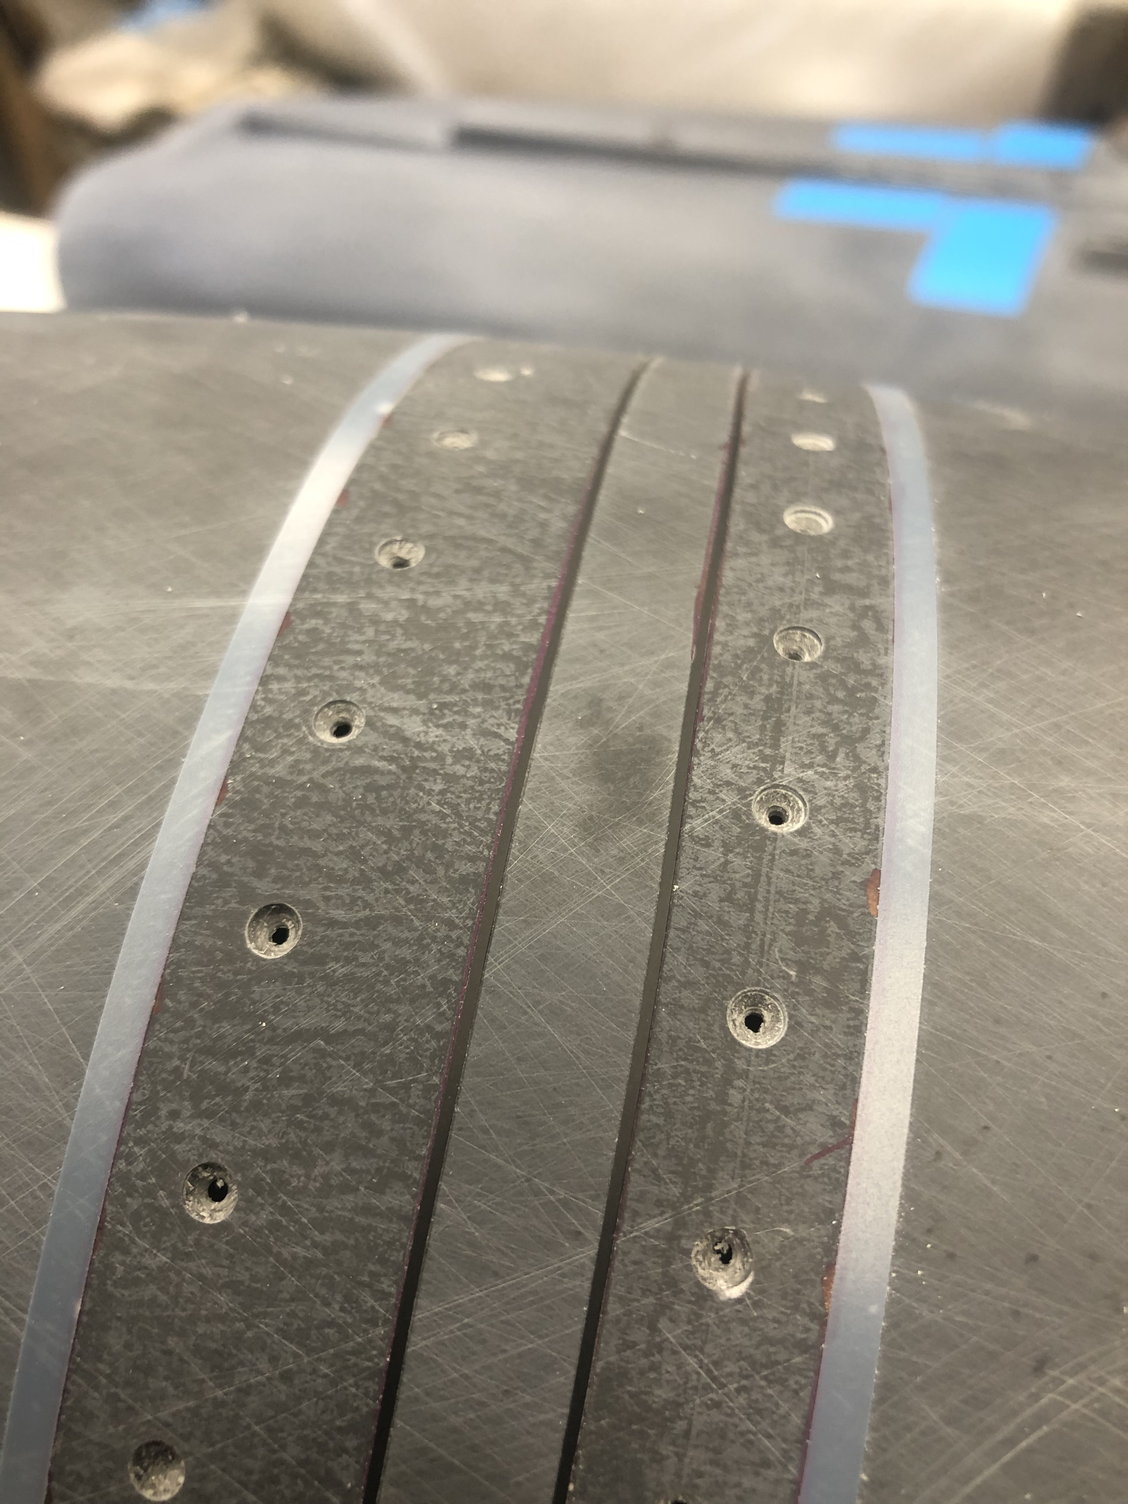
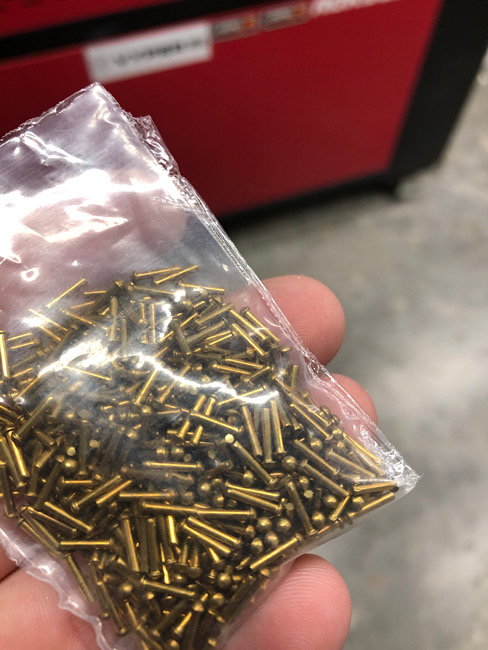
Total screw count: 1200 and counting

Total screw count: 1200 and counting
The following users liked this post:
yeahbaby (11-28-2022)
 11-29-2022, 12:10 PM
#235
 11-29-2022, 03:34 PM
#236
Thanks! My plan to is have all of the surface detailing done by years end, mid Jan at the absolute latest.
i have a few weeks of vacation the end of Feb, so im planning to have all the parting planes done and it molded by march.
long term goal is to have the prototype done and flying by the end of summer.
i have a few weeks of vacation the end of Feb, so im planning to have all the parting planes done and it molded by march.
long term goal is to have the prototype done and flying by the end of summer.
 11-30-2022, 05:23 PM
#240
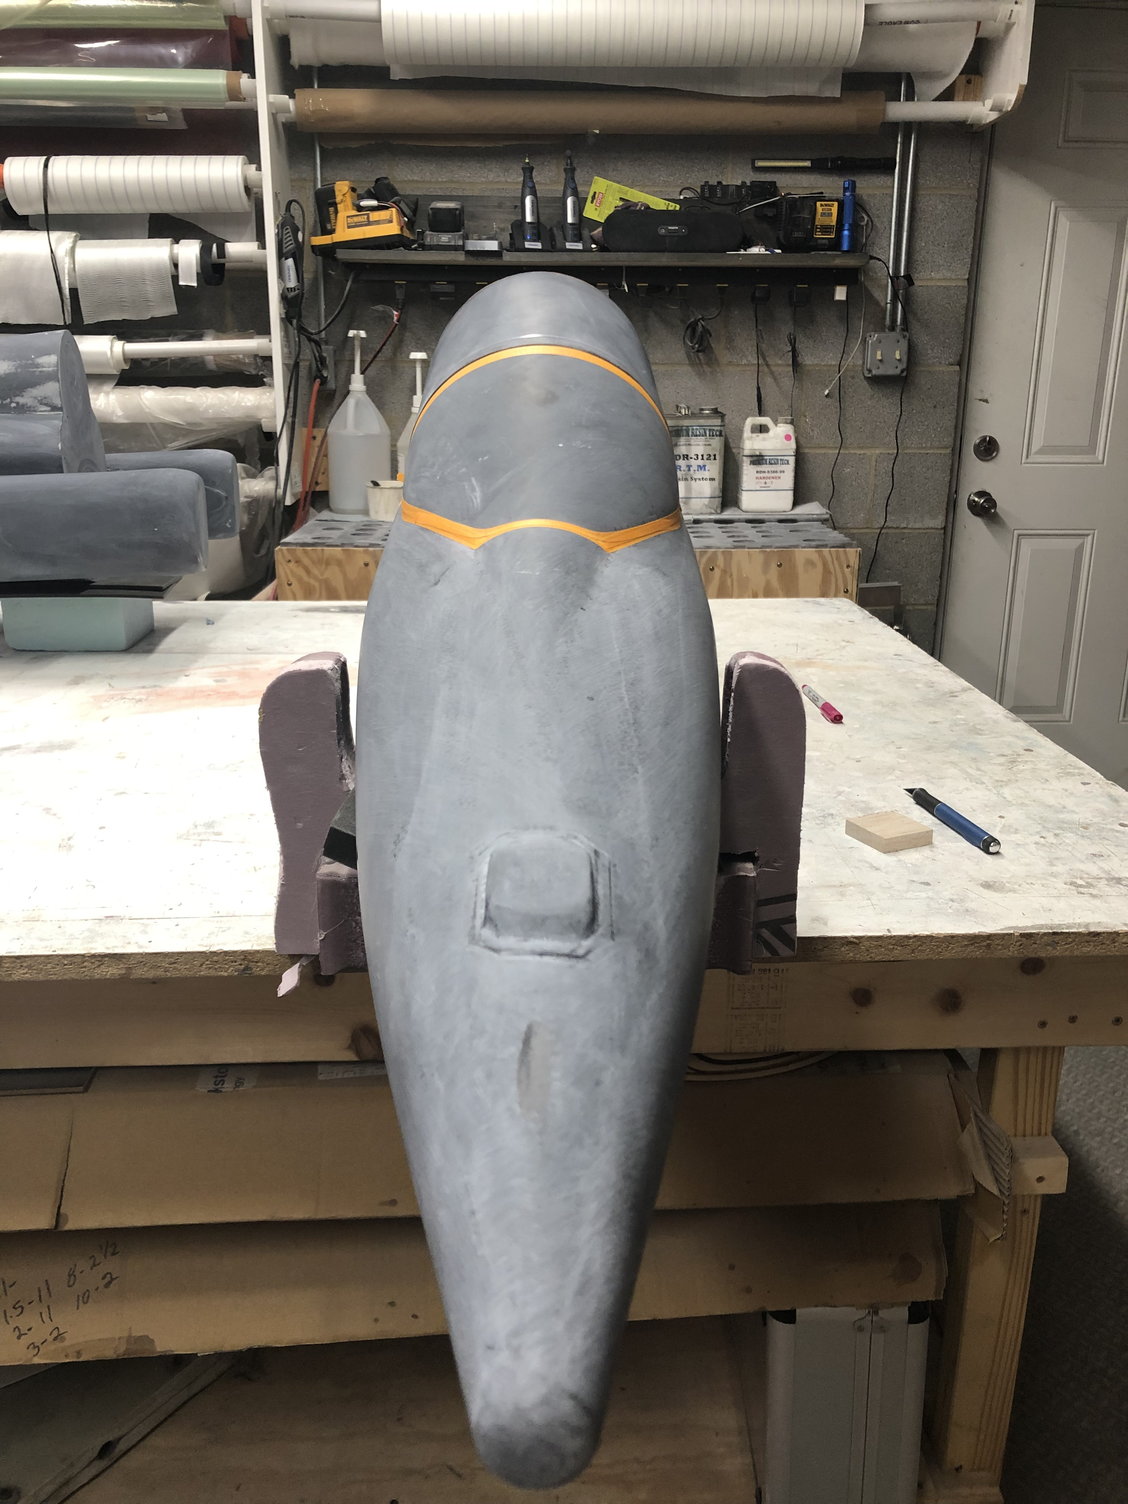
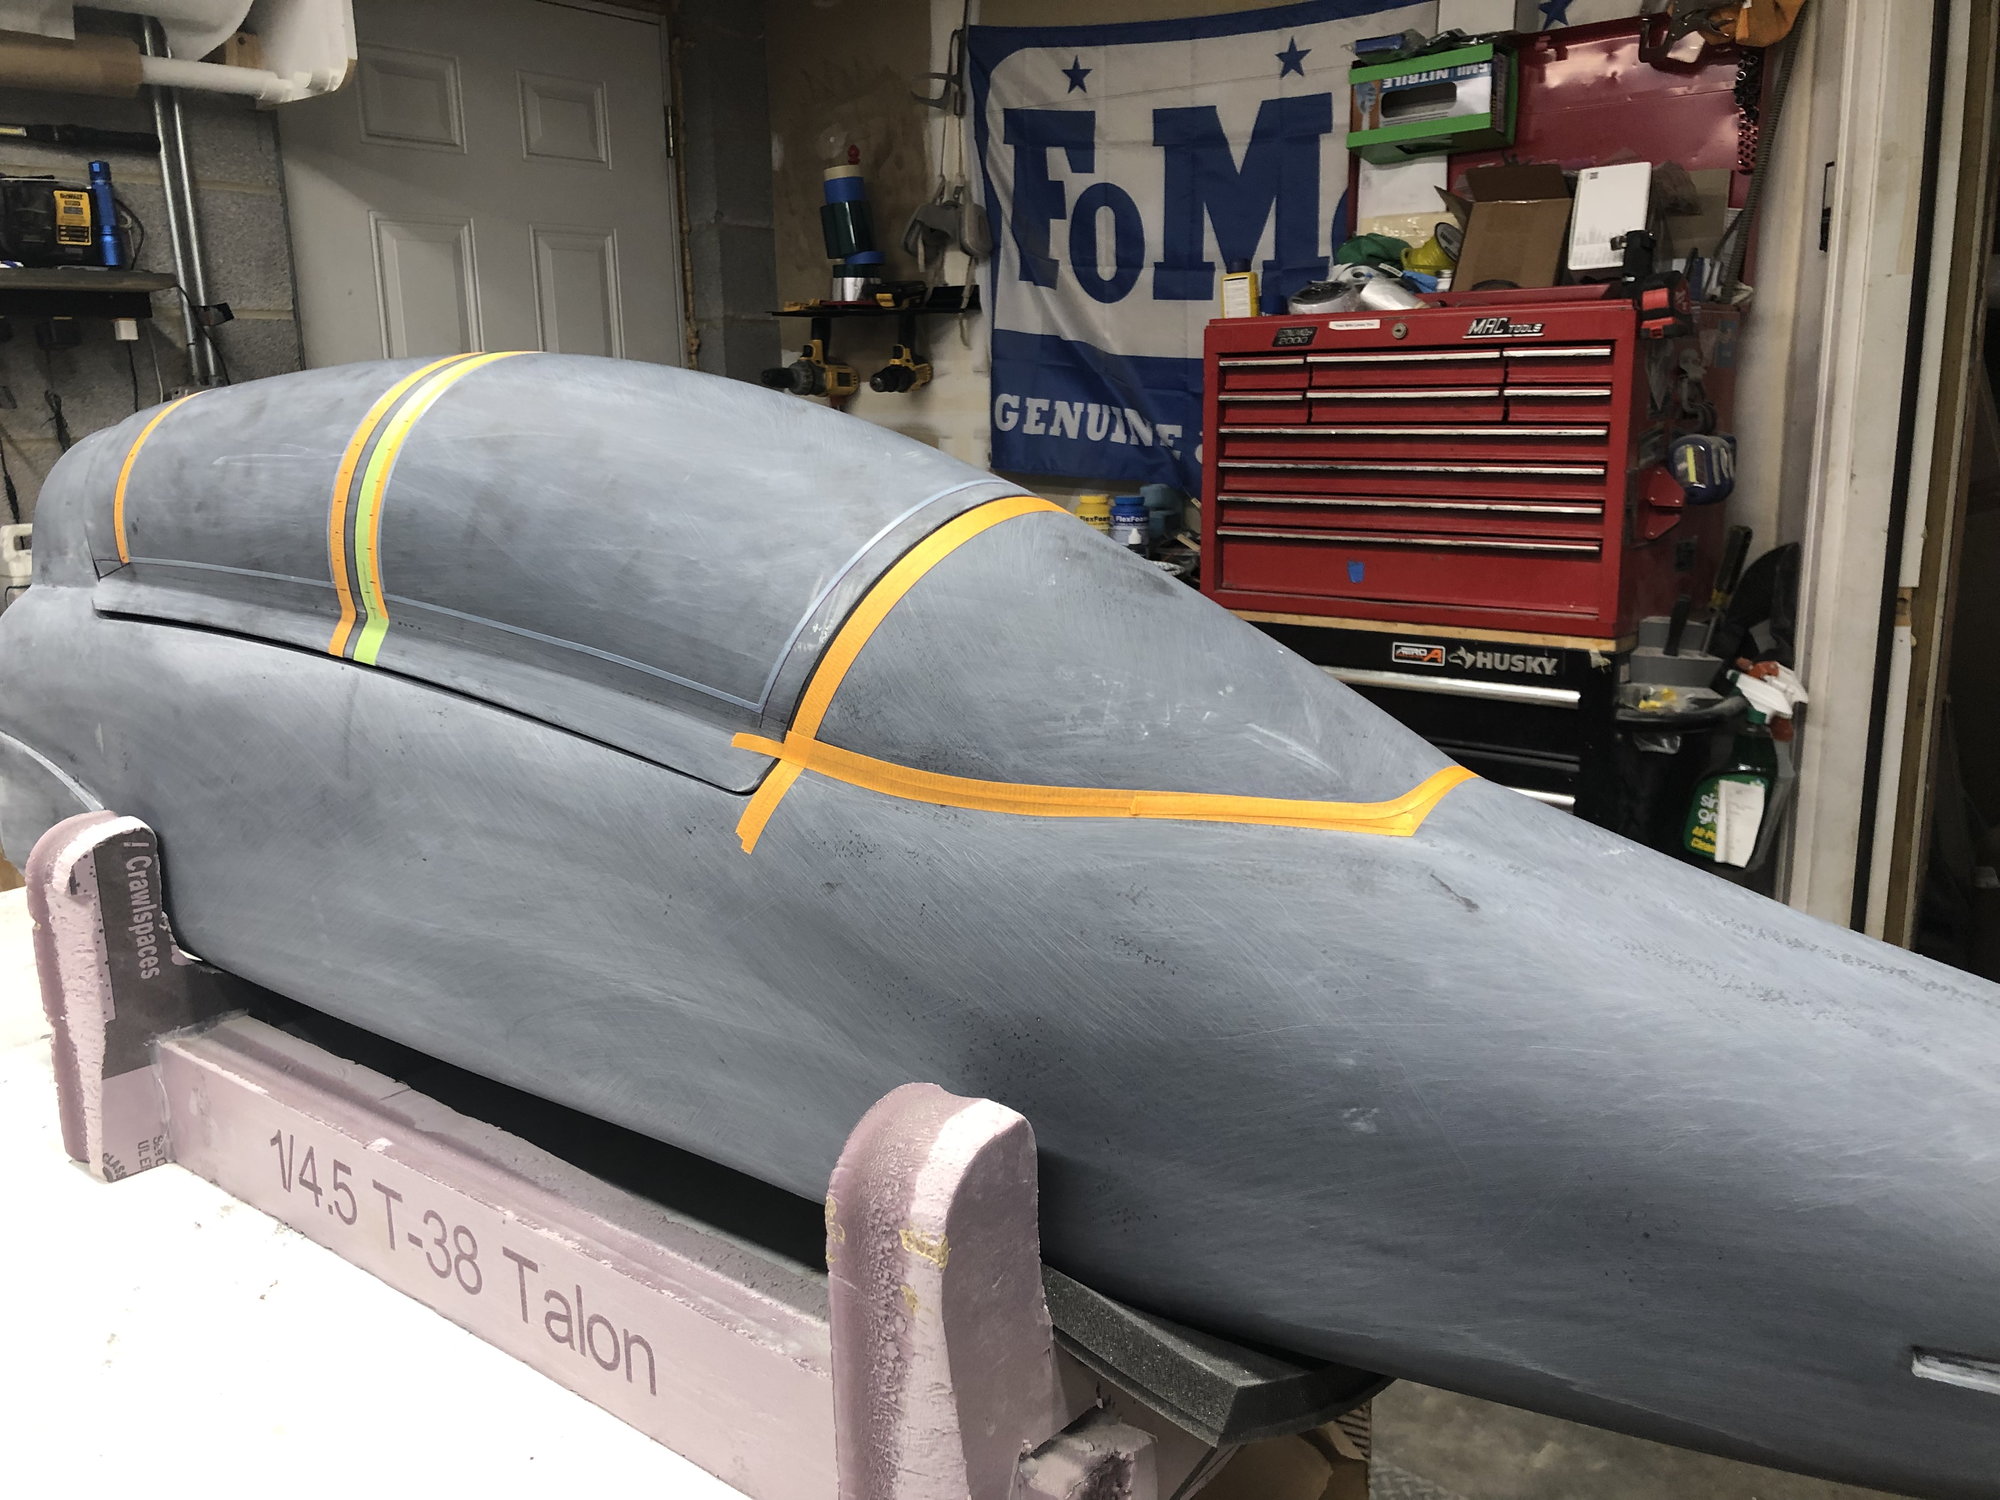
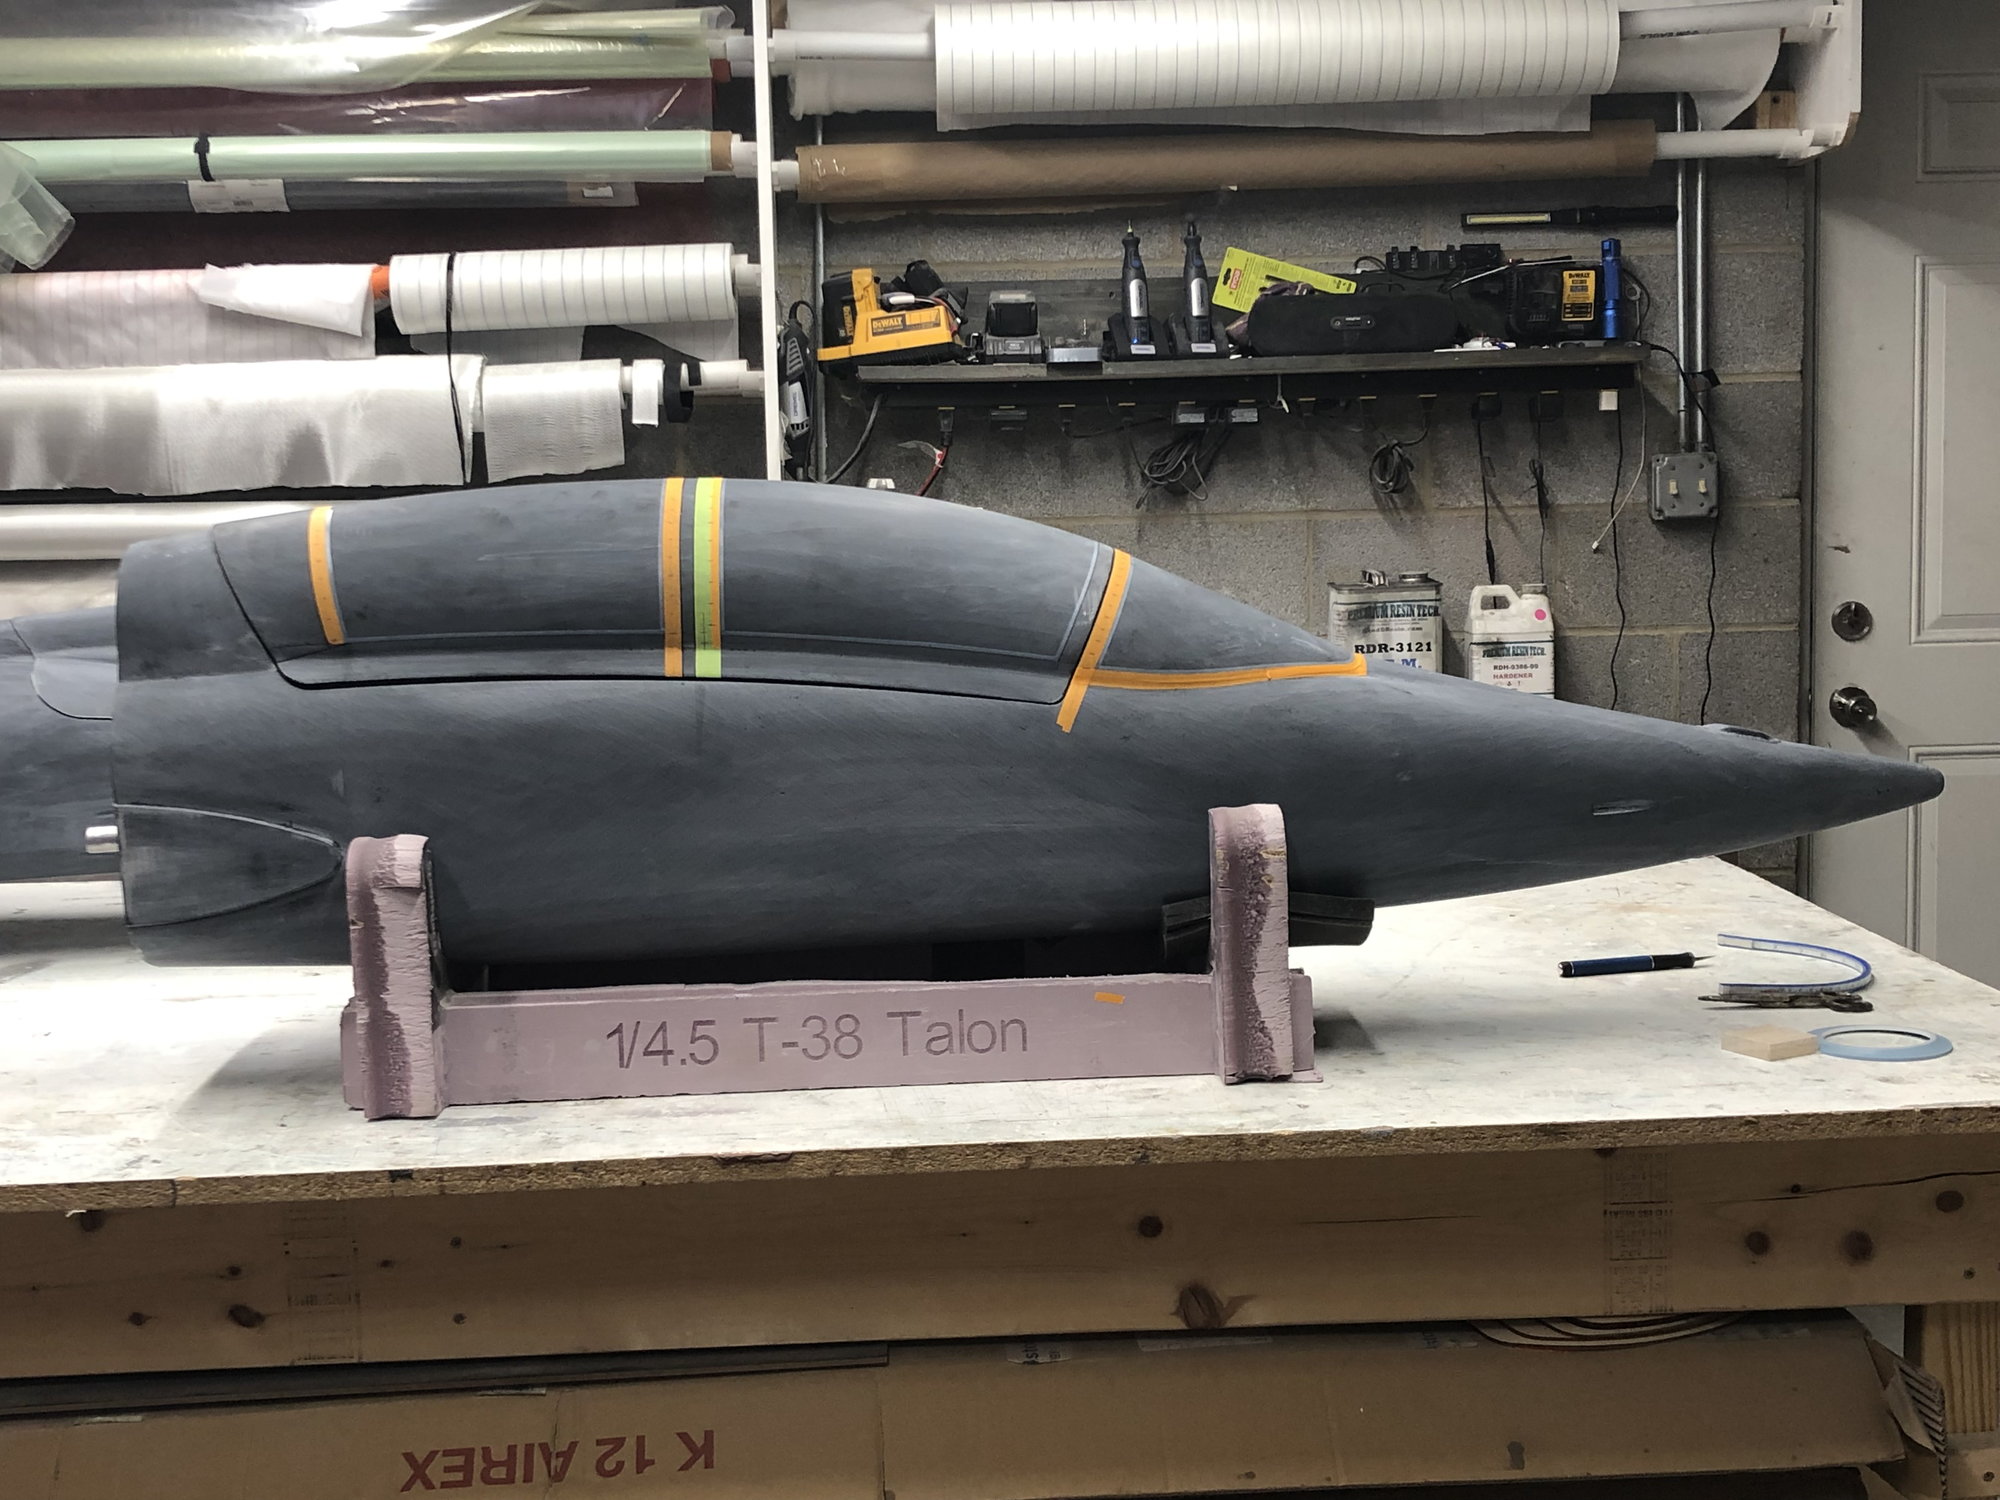
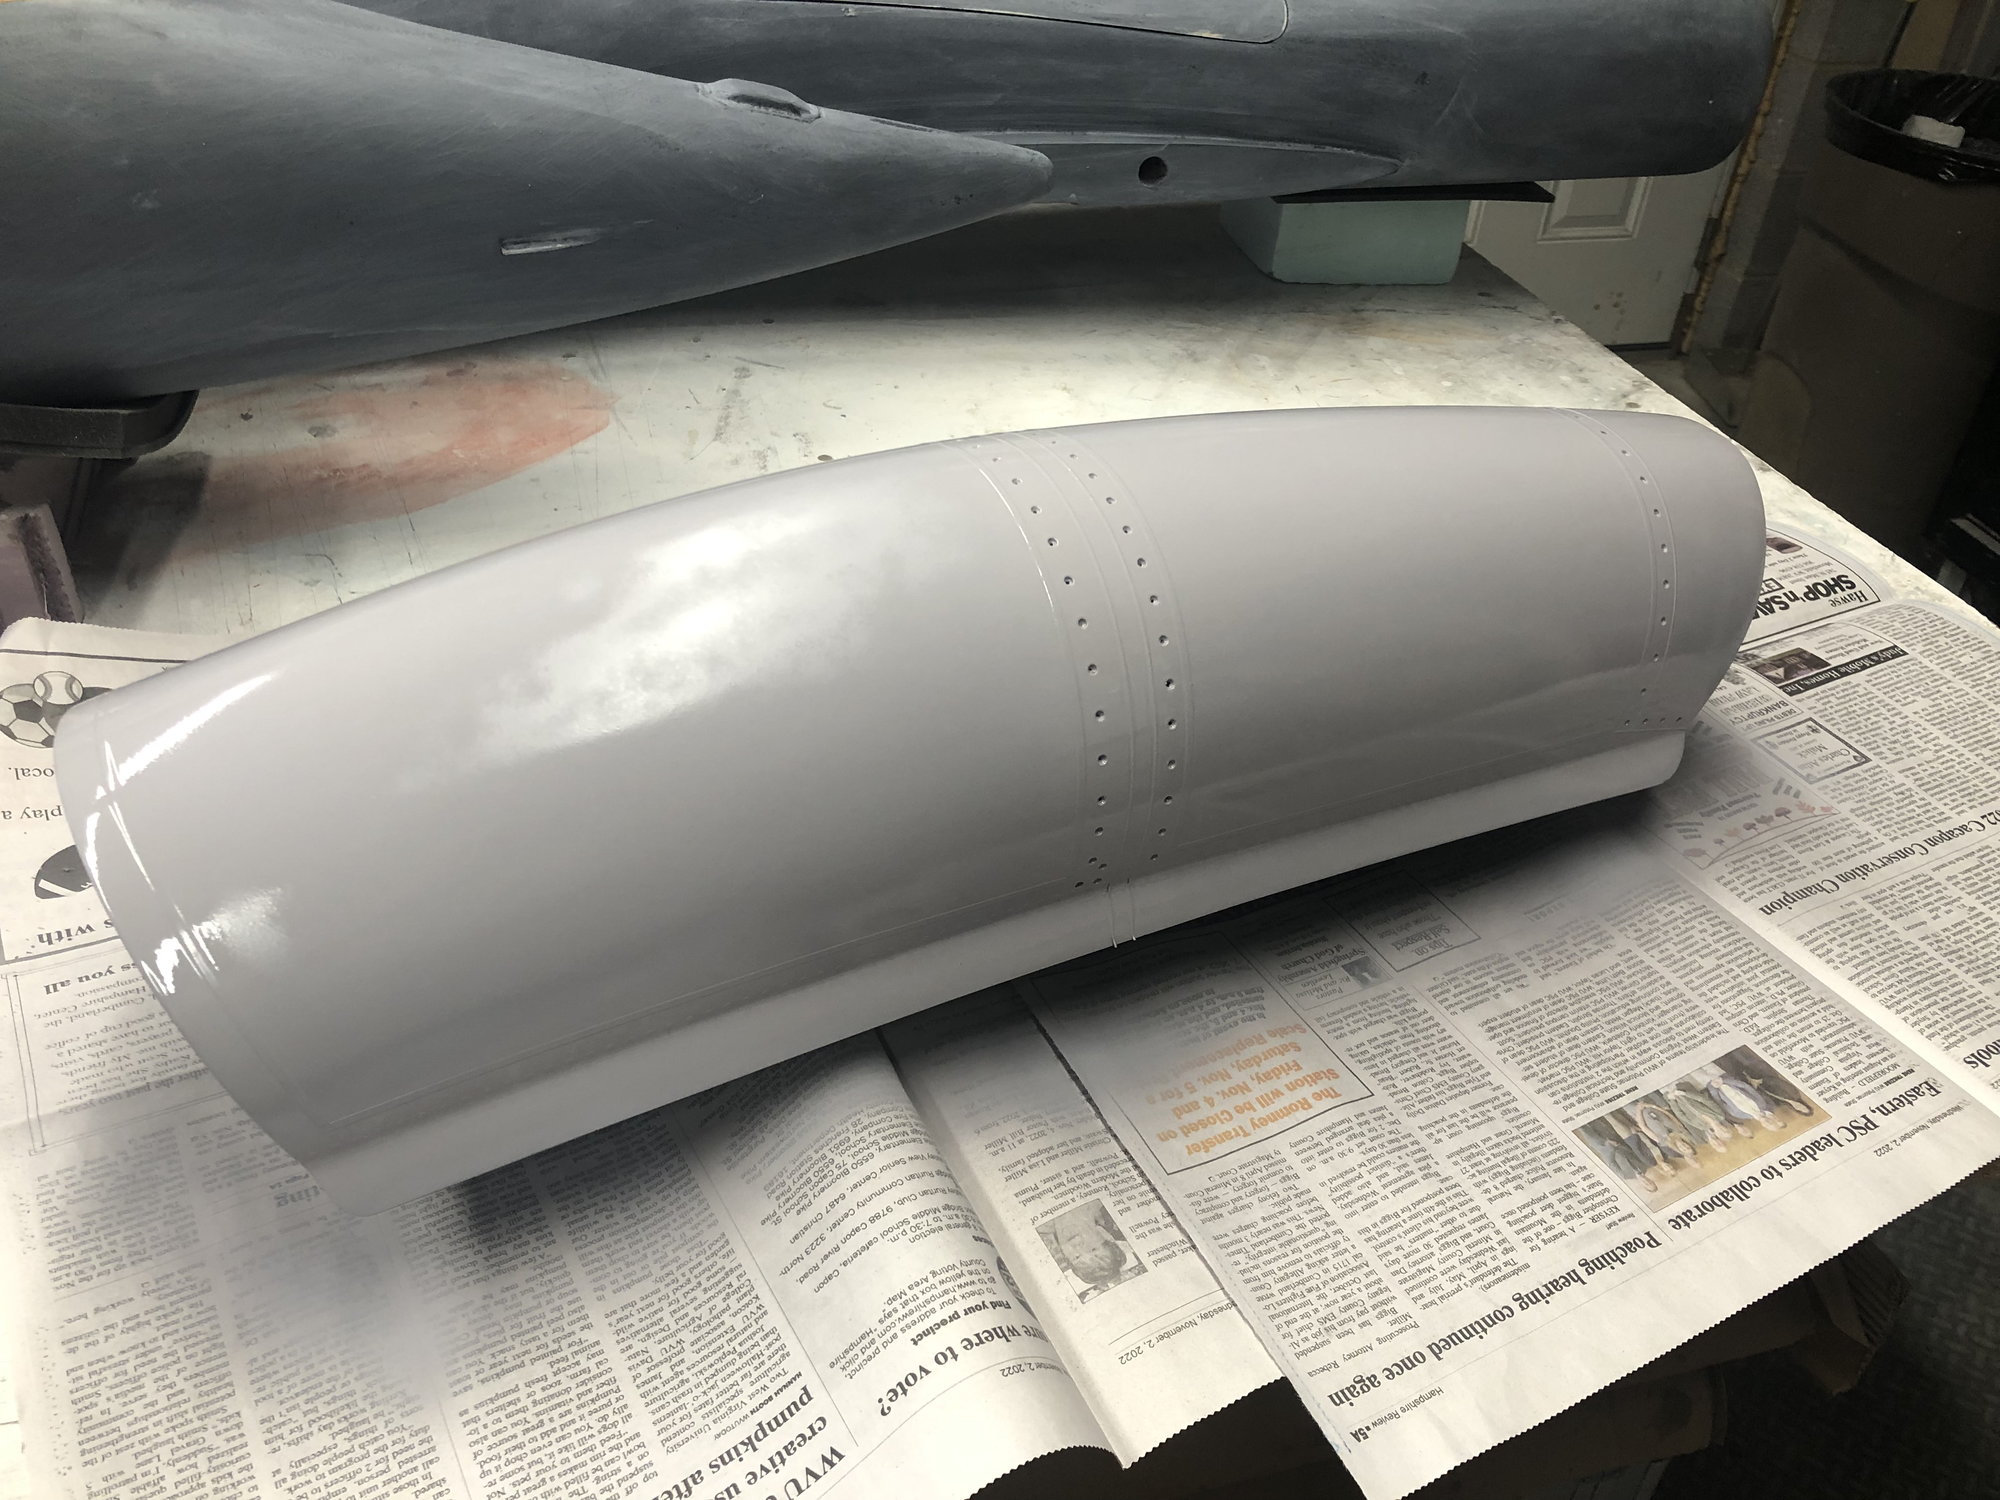
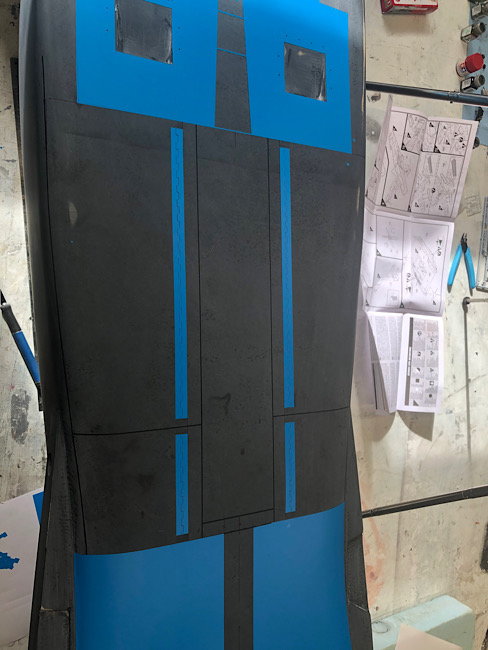
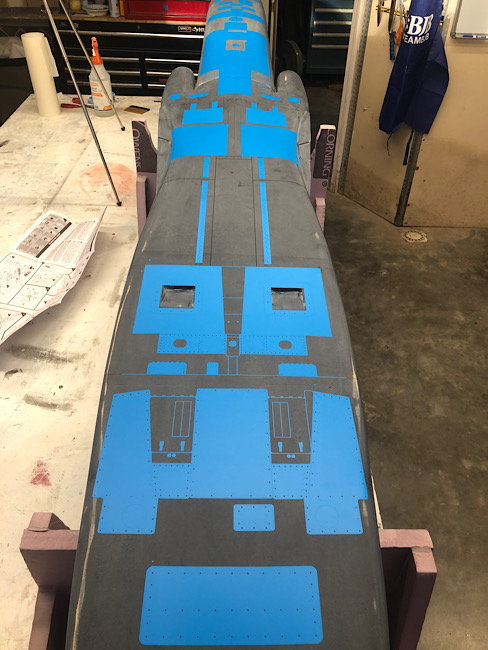
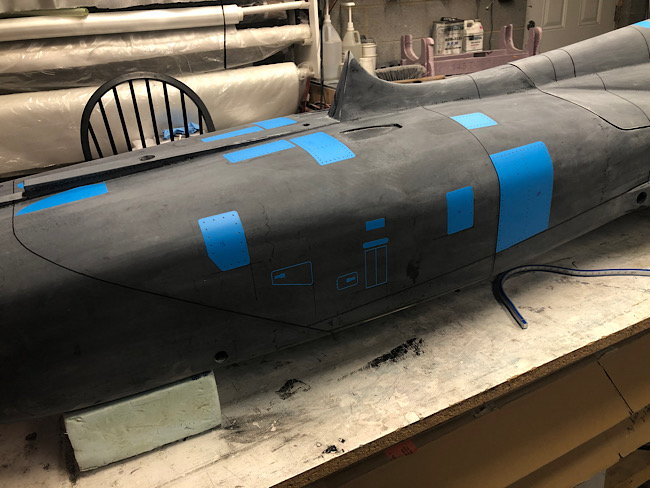
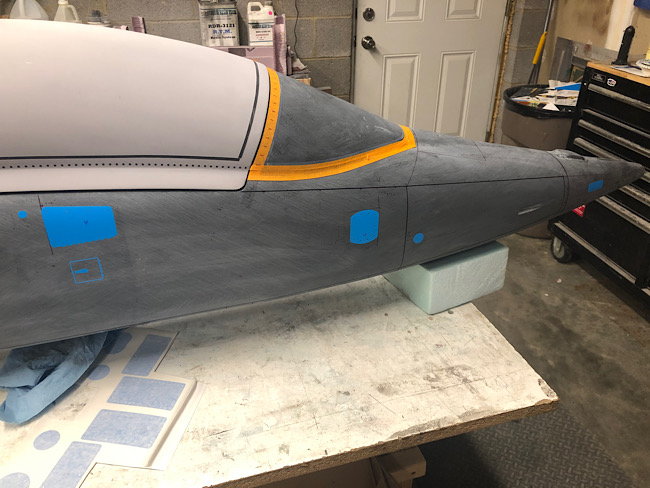
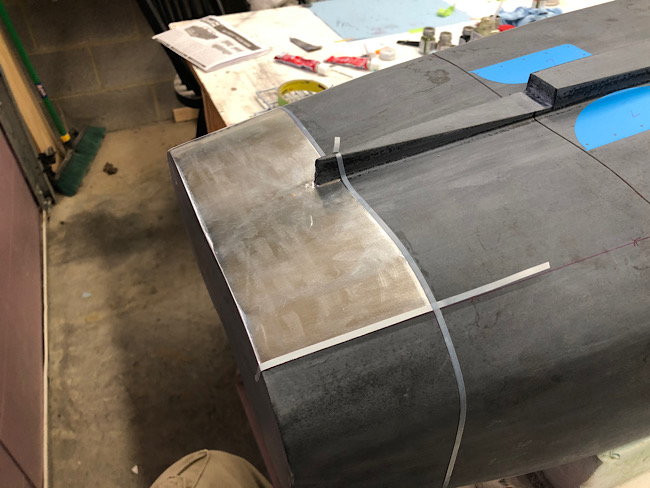
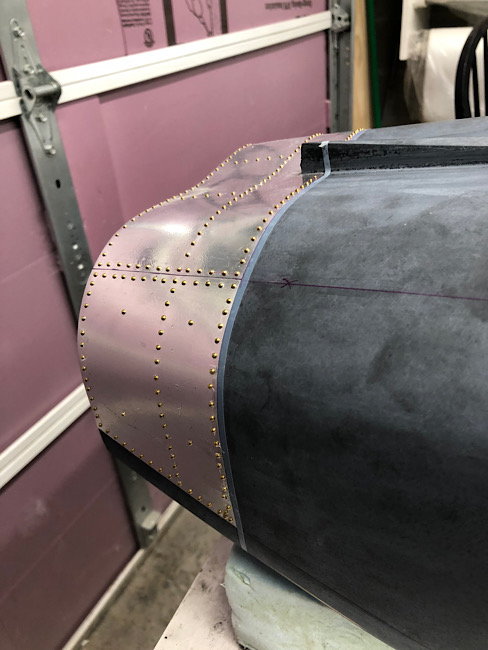
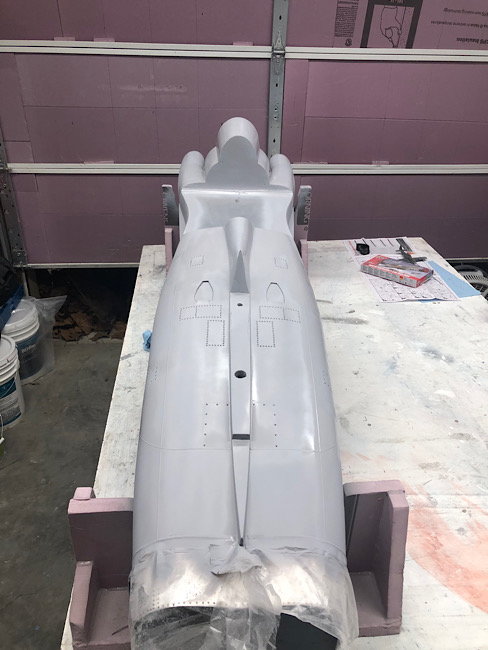
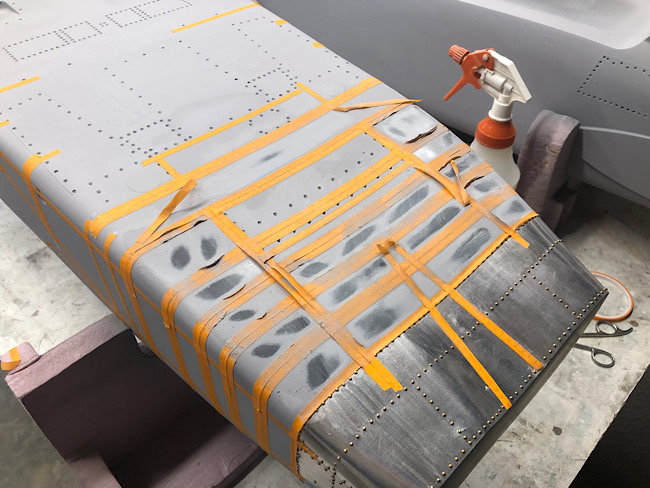
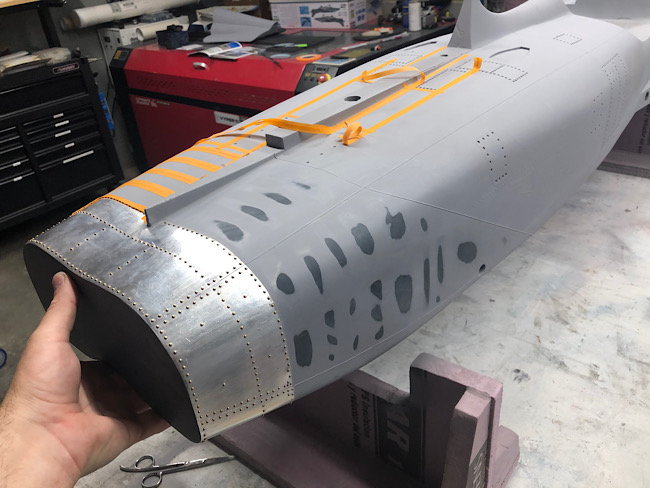
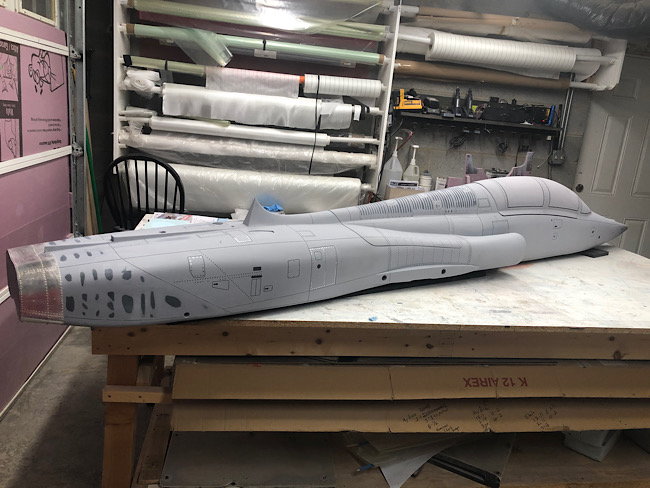
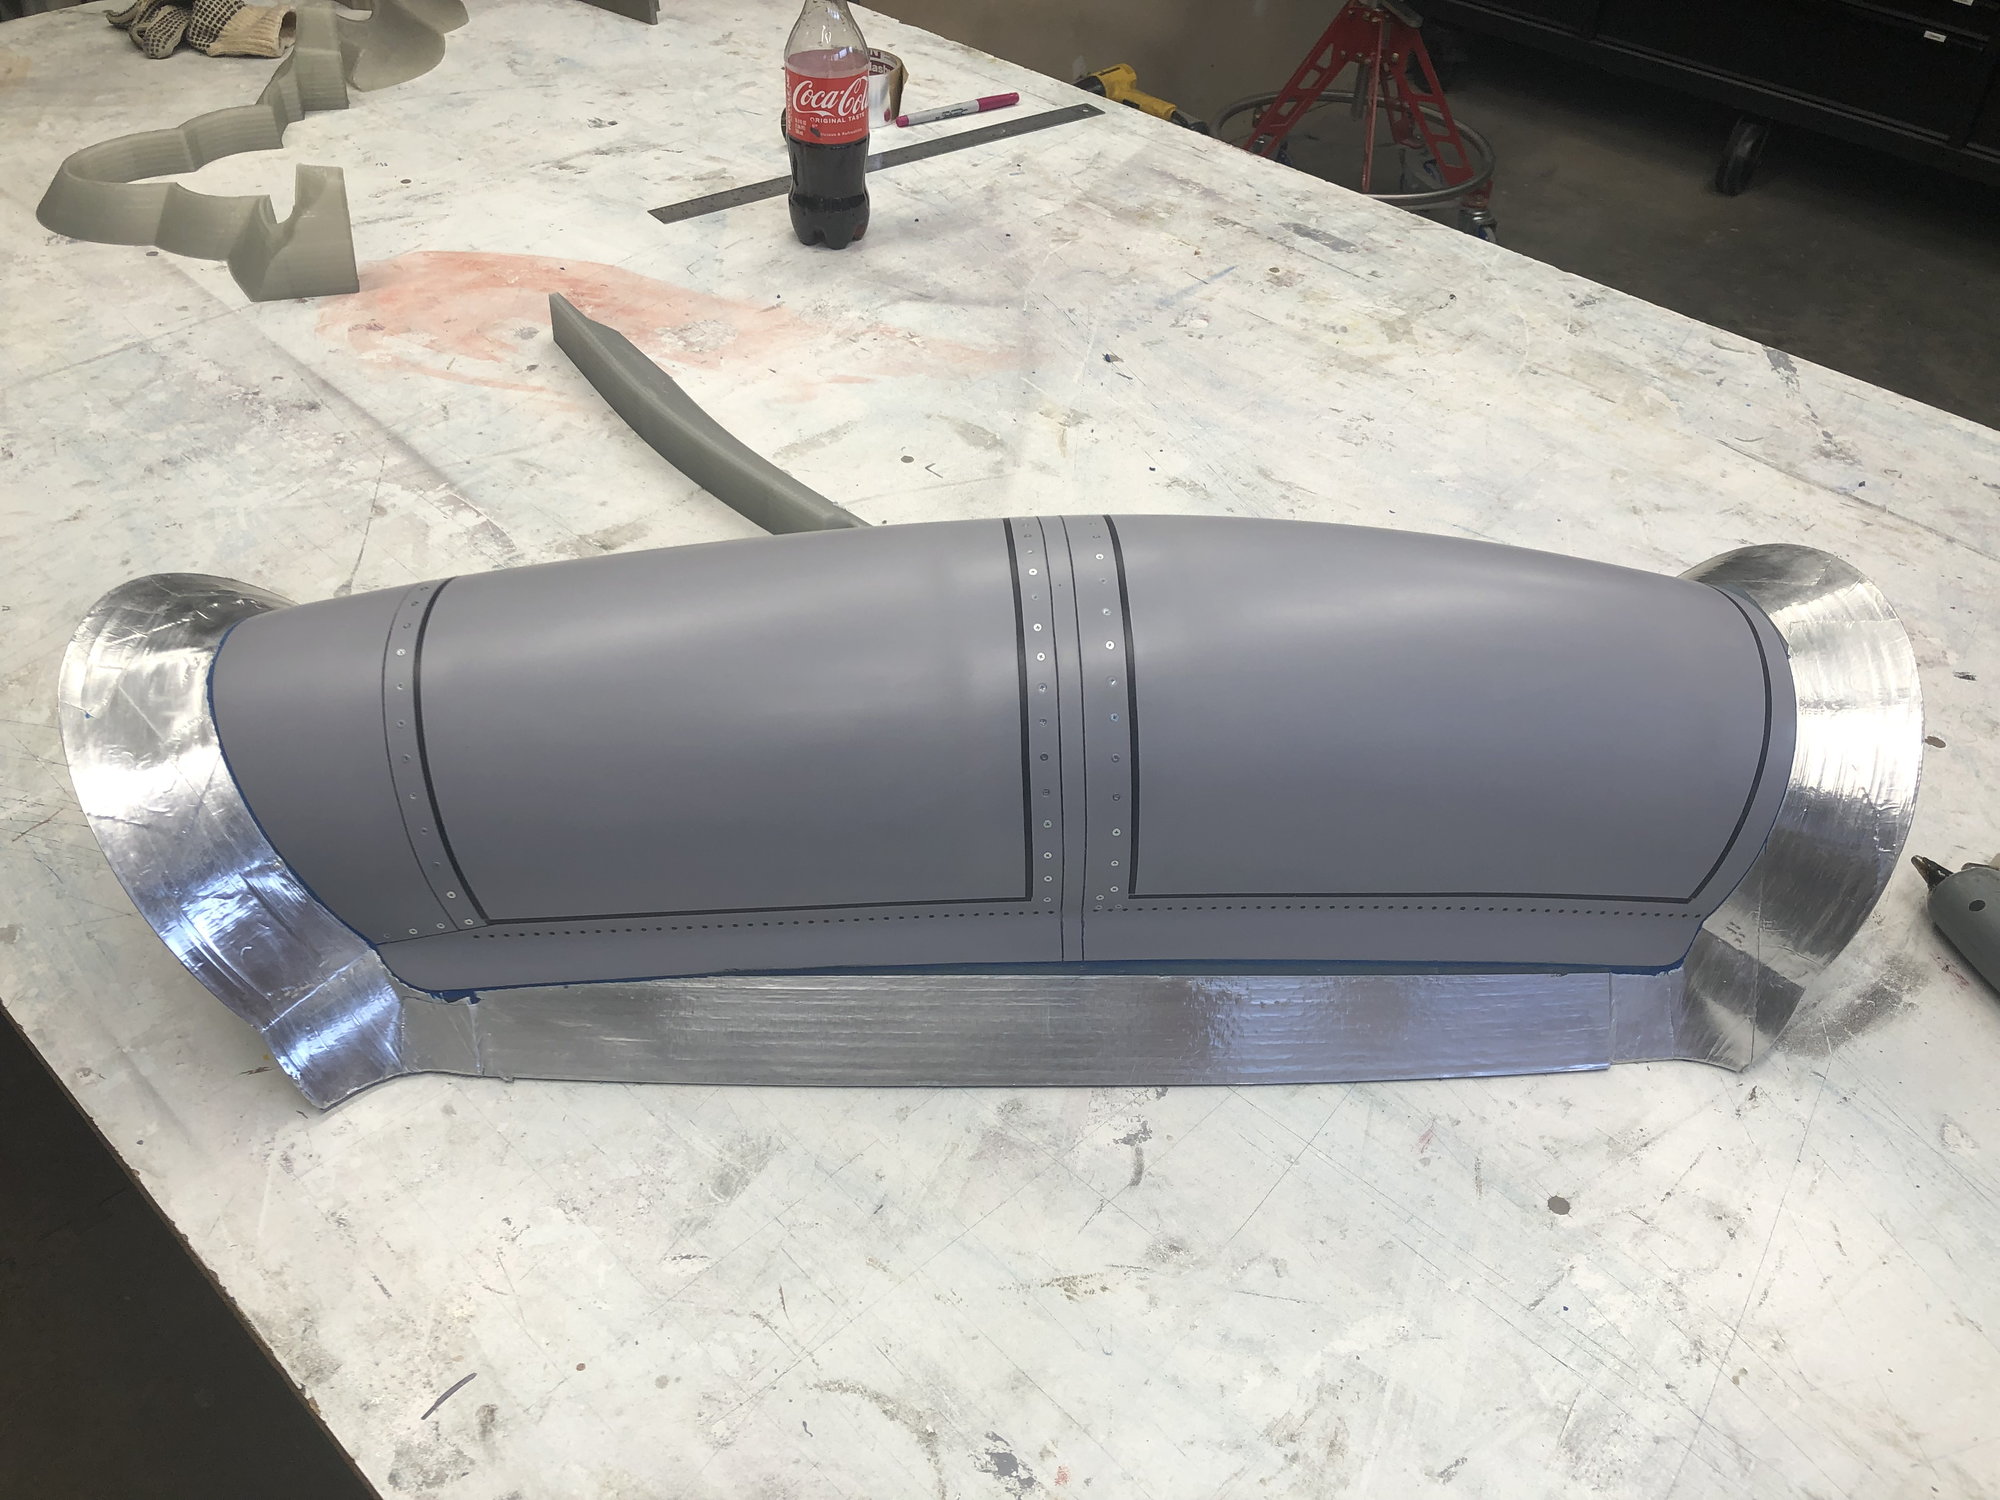
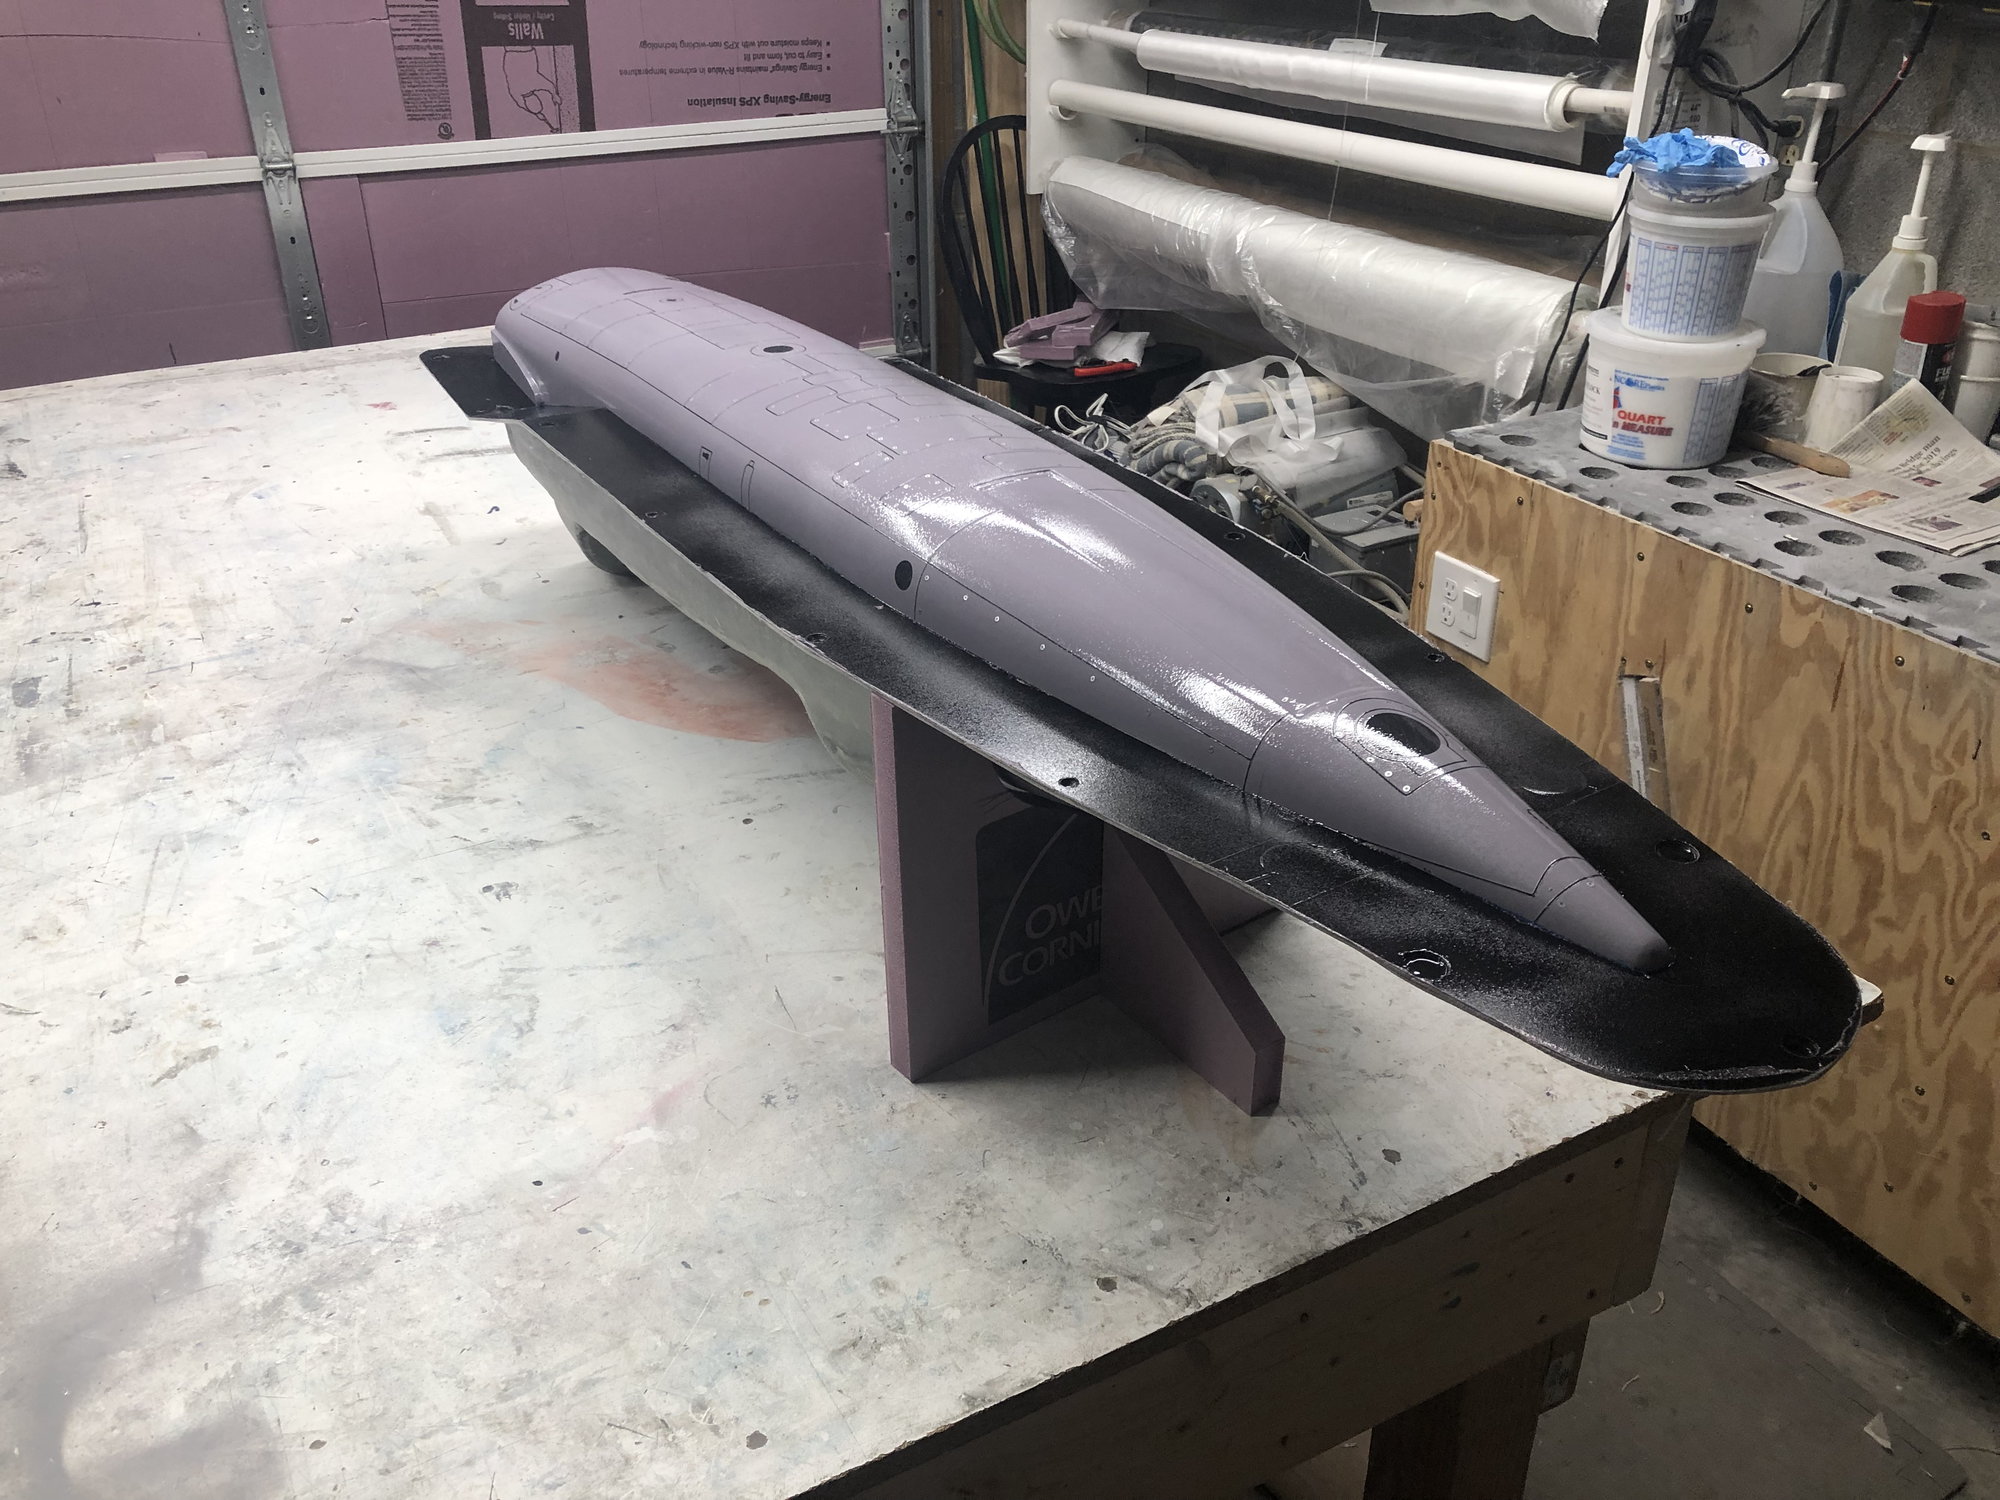
Todays progress was finishing the flite metal and riveted lower panel of the exhaust. I also got the surface details that as more prominent put in place. This is mostly the panels directly over the wing and a few screw lines above the horizontal stab. Everything else fastener wise on the fuselage is filled over during painting and largely invisible.
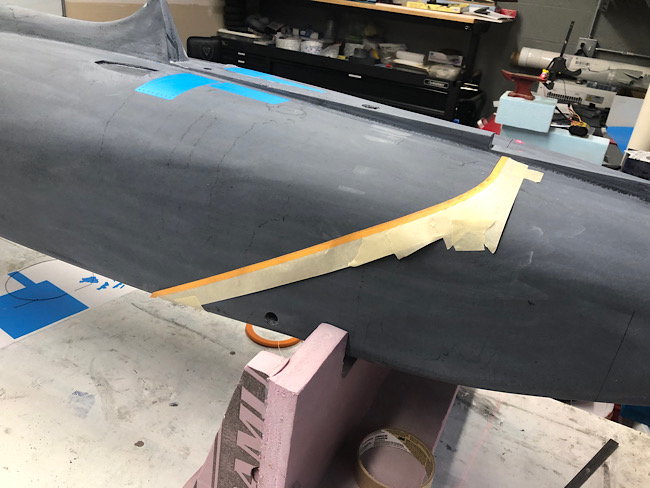
i also changed the panel line piece for the lower engine access door hinges to a version that is more like the real ones.


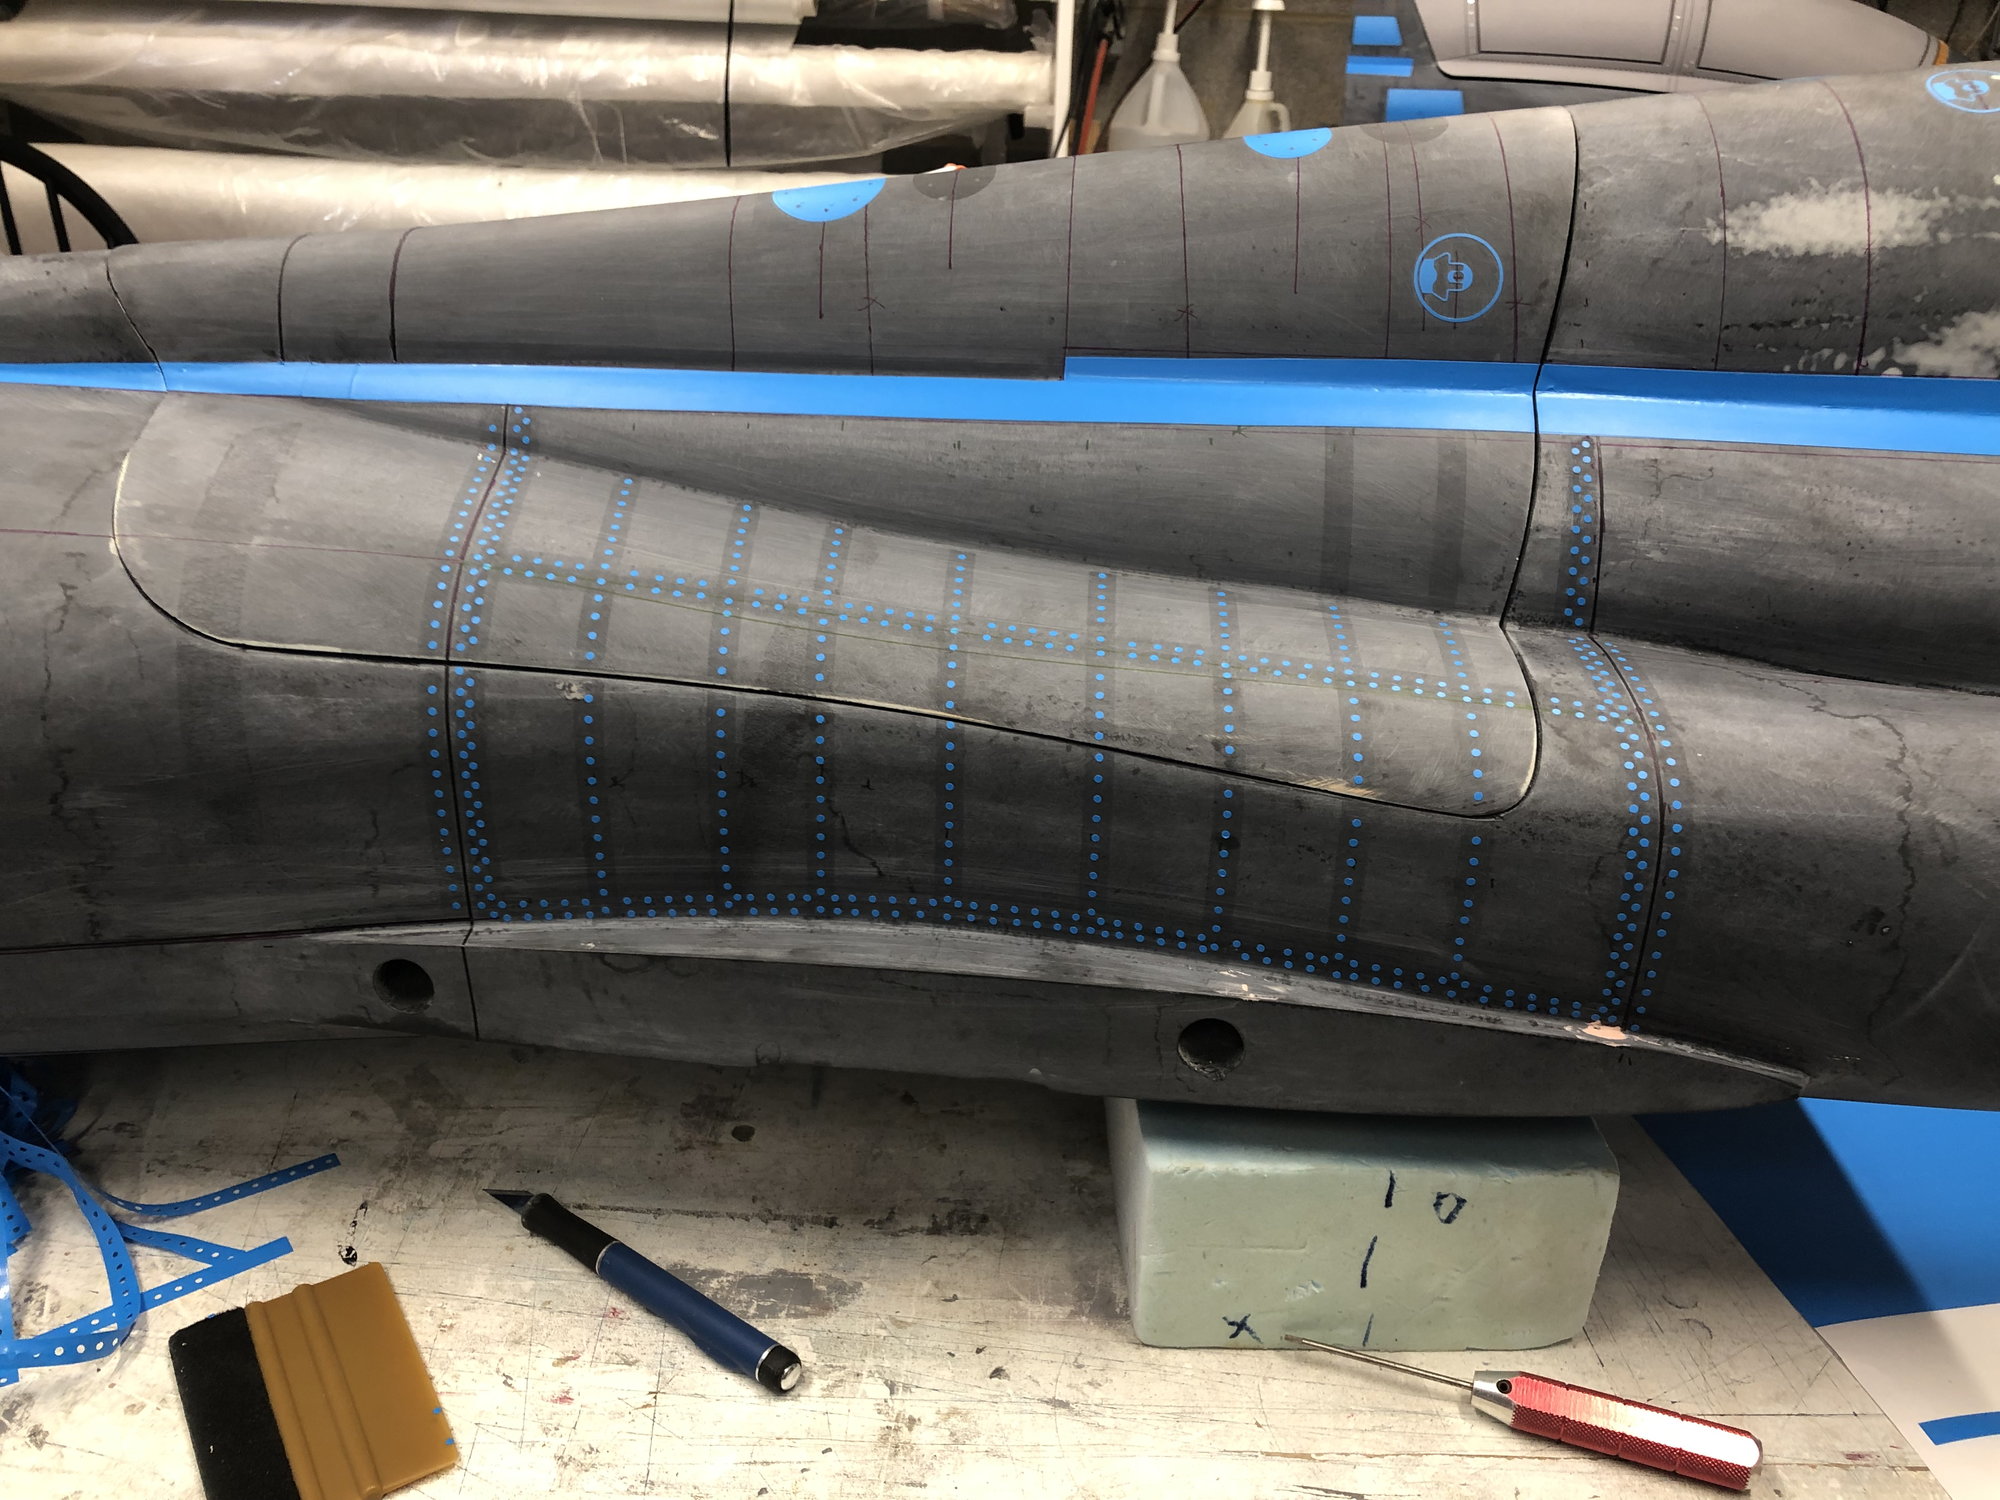
i also changed the panel line piece for the lower engine access door hinges to a version that is more like the real ones.
12-06-2022, 04:21 PM
#241
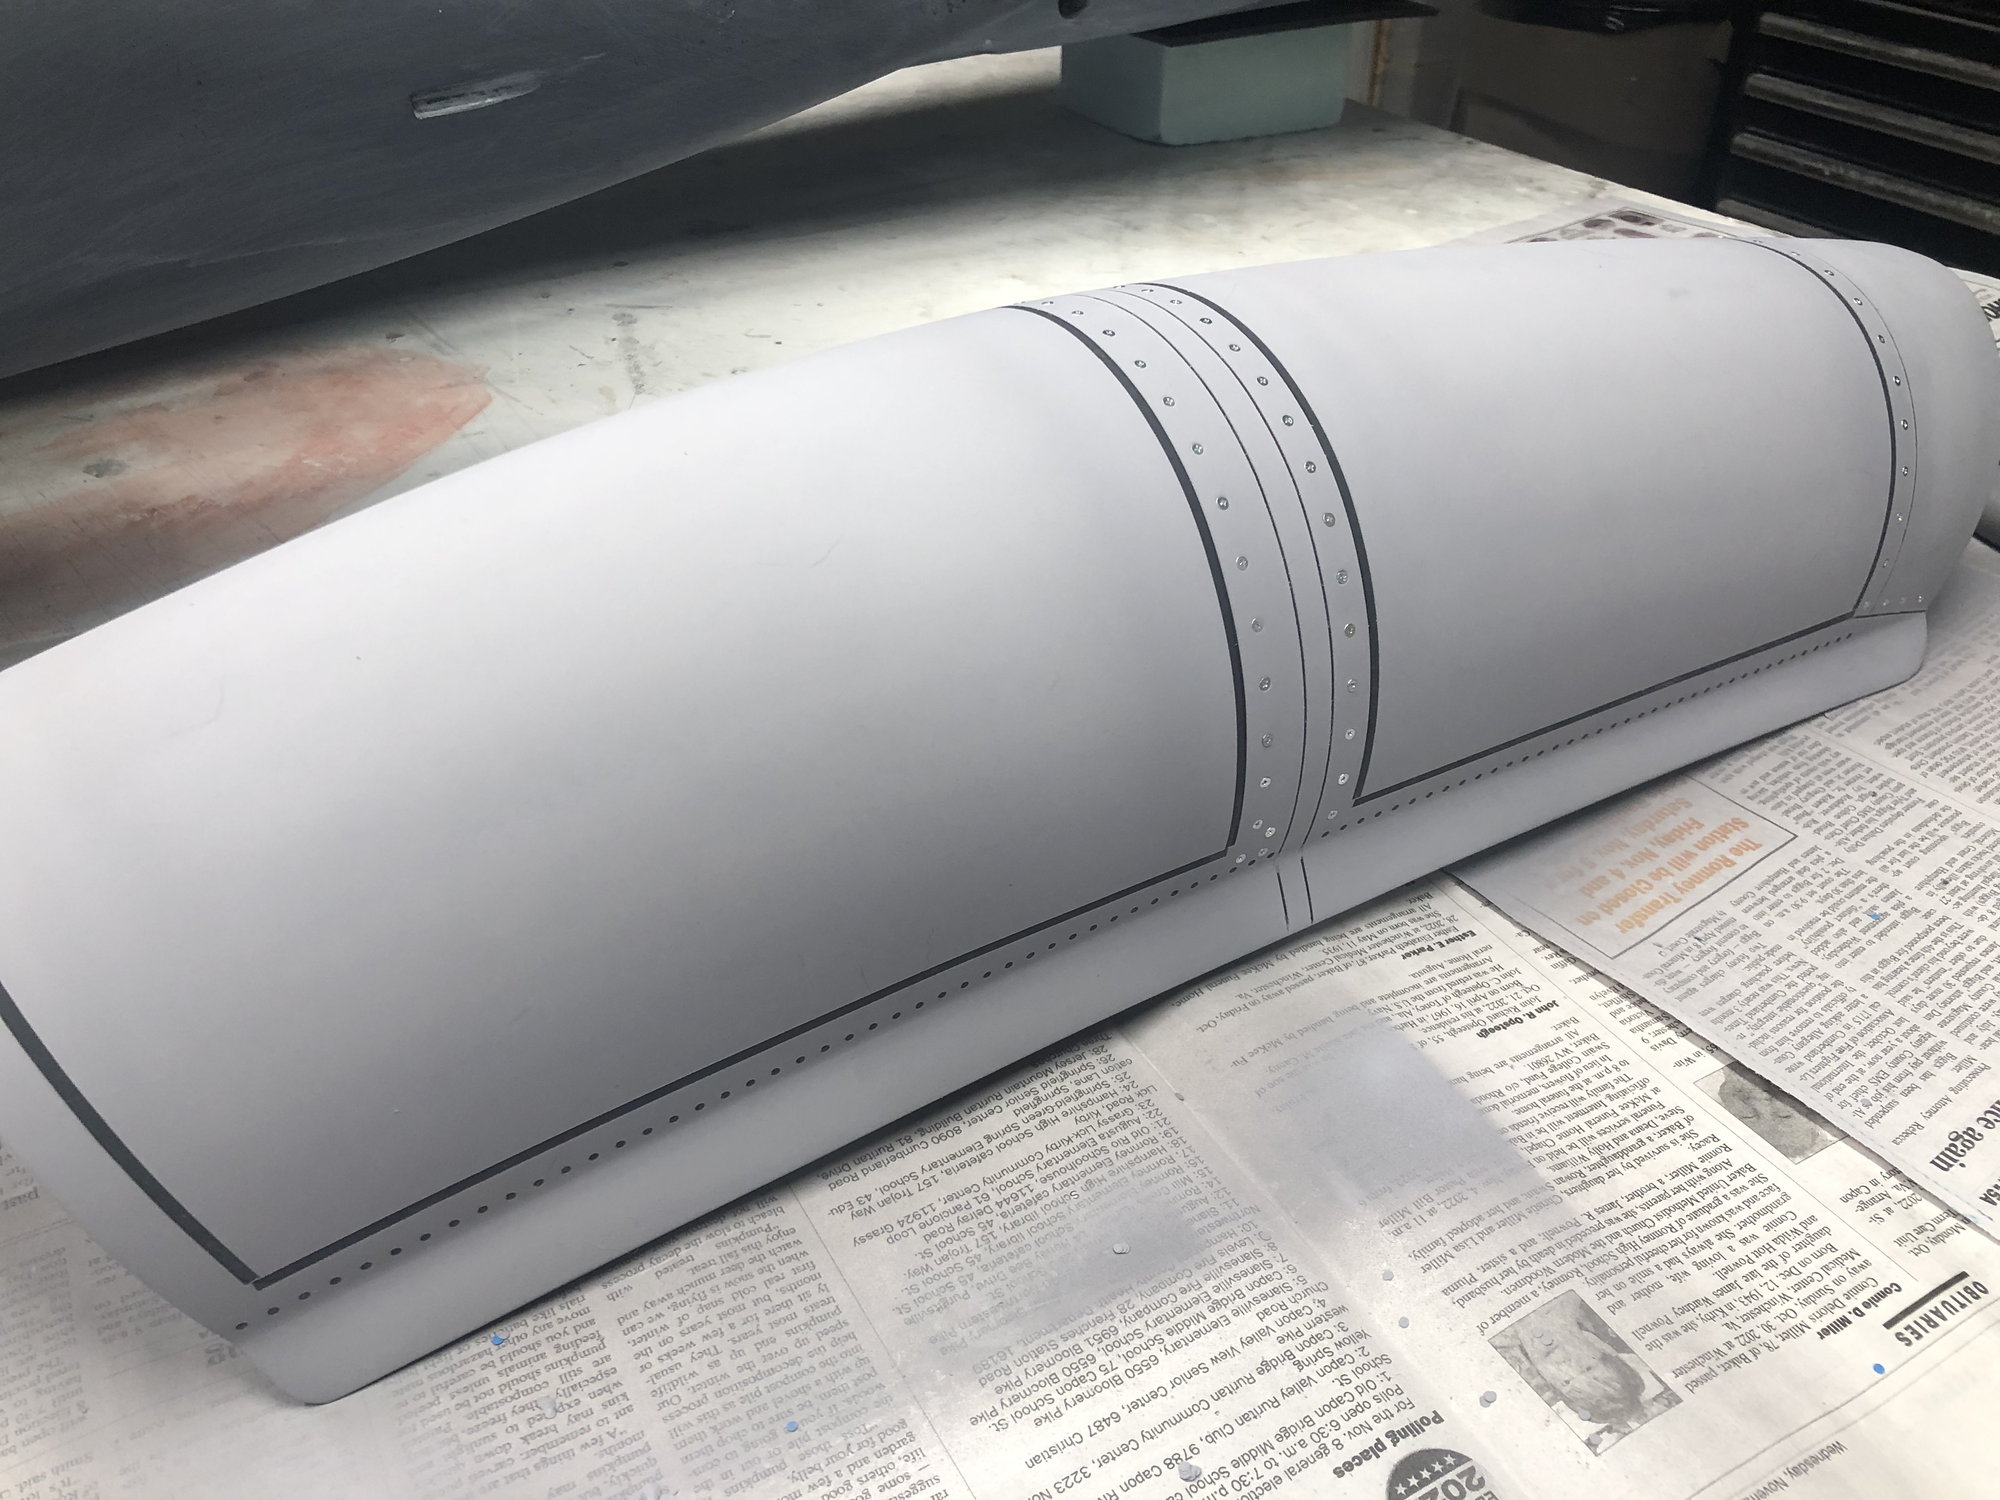
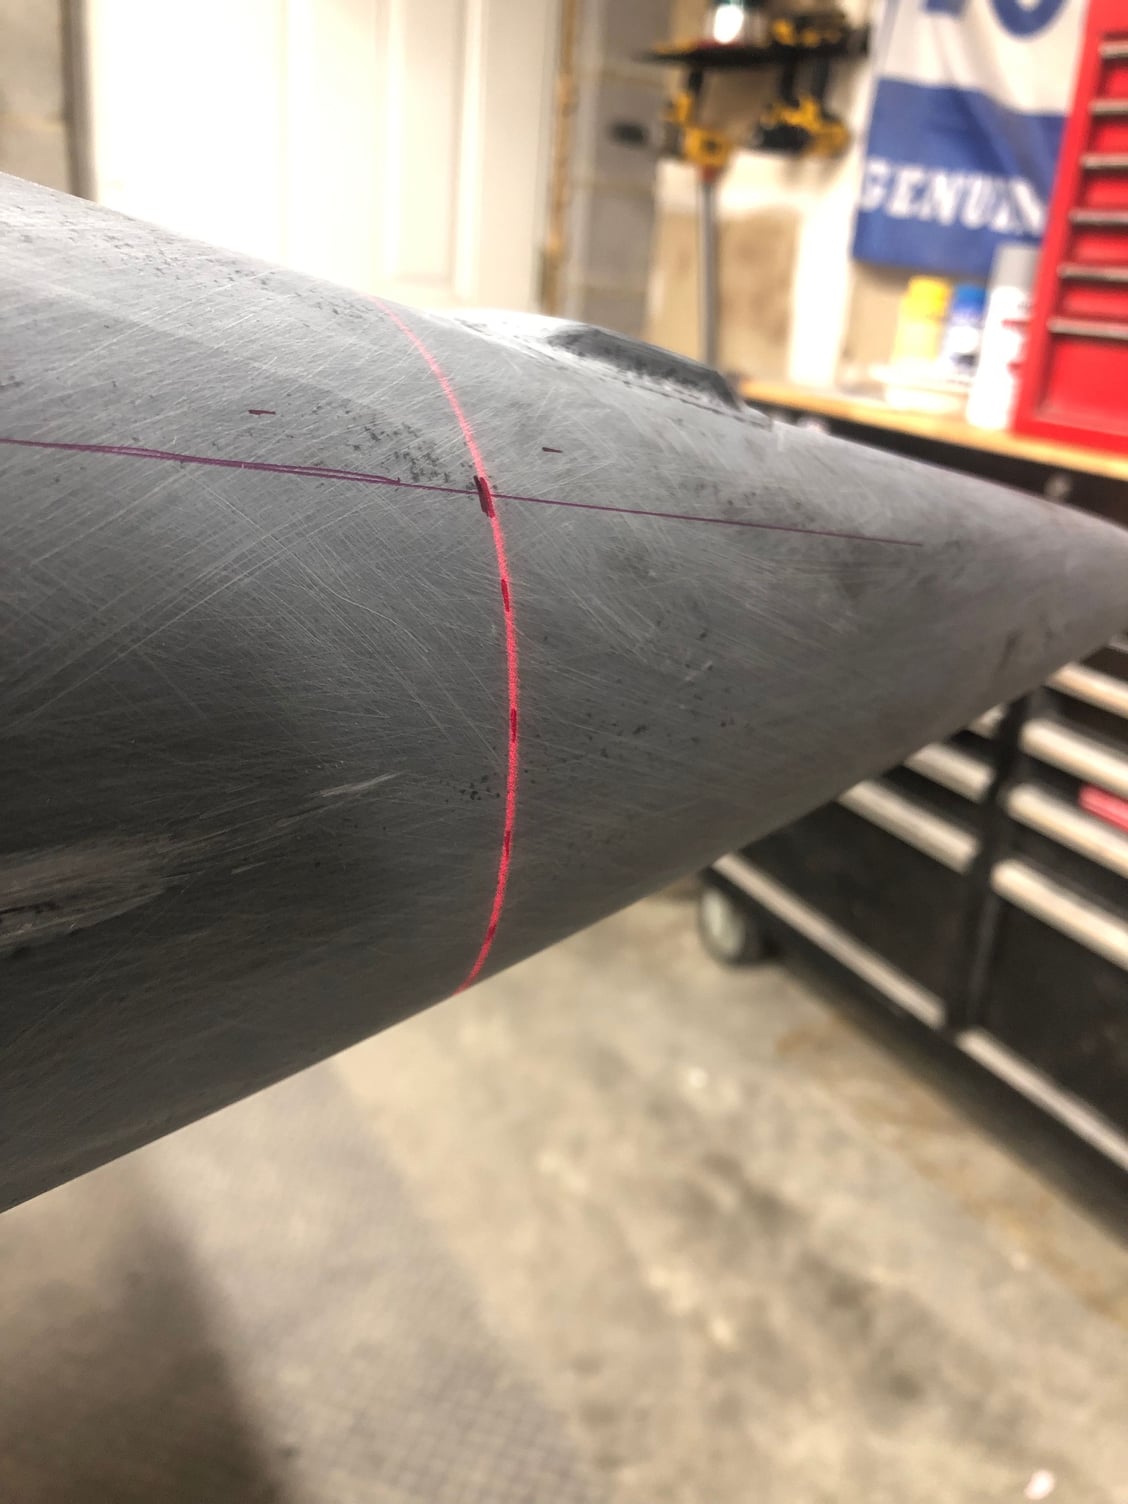
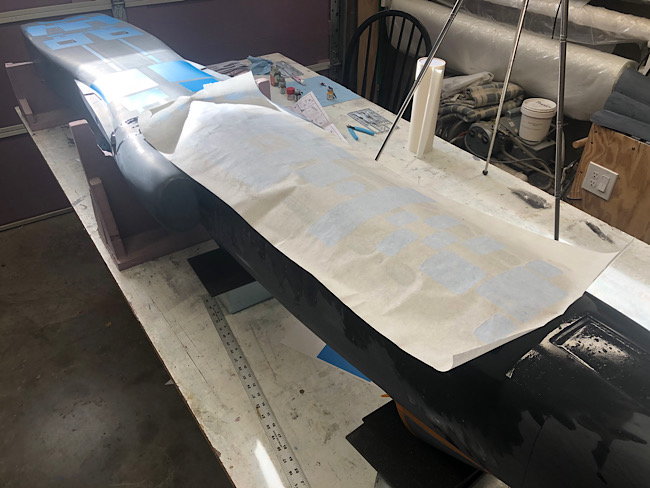
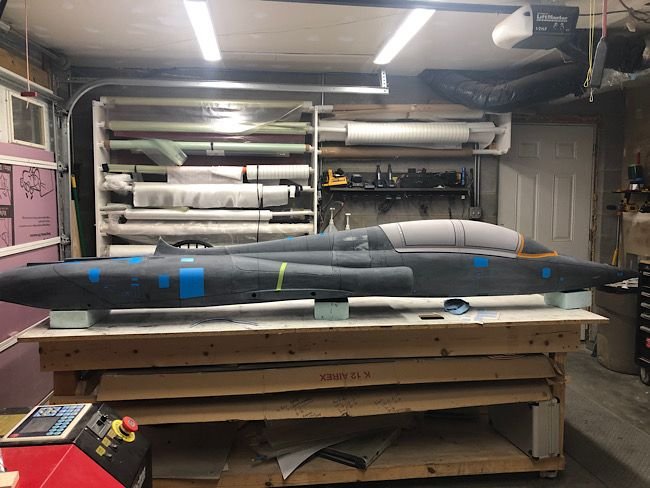
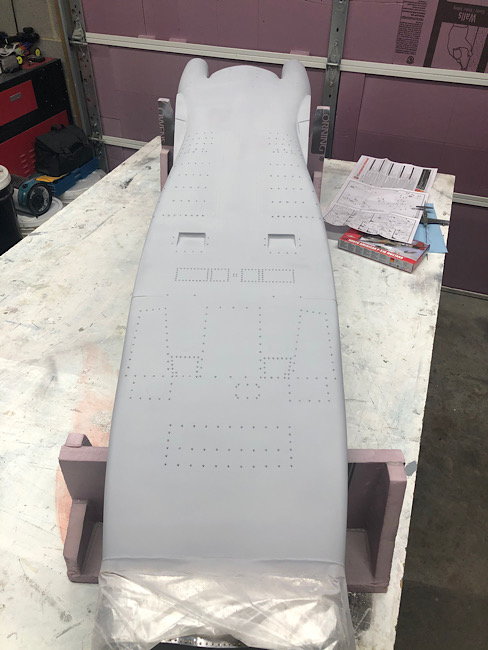
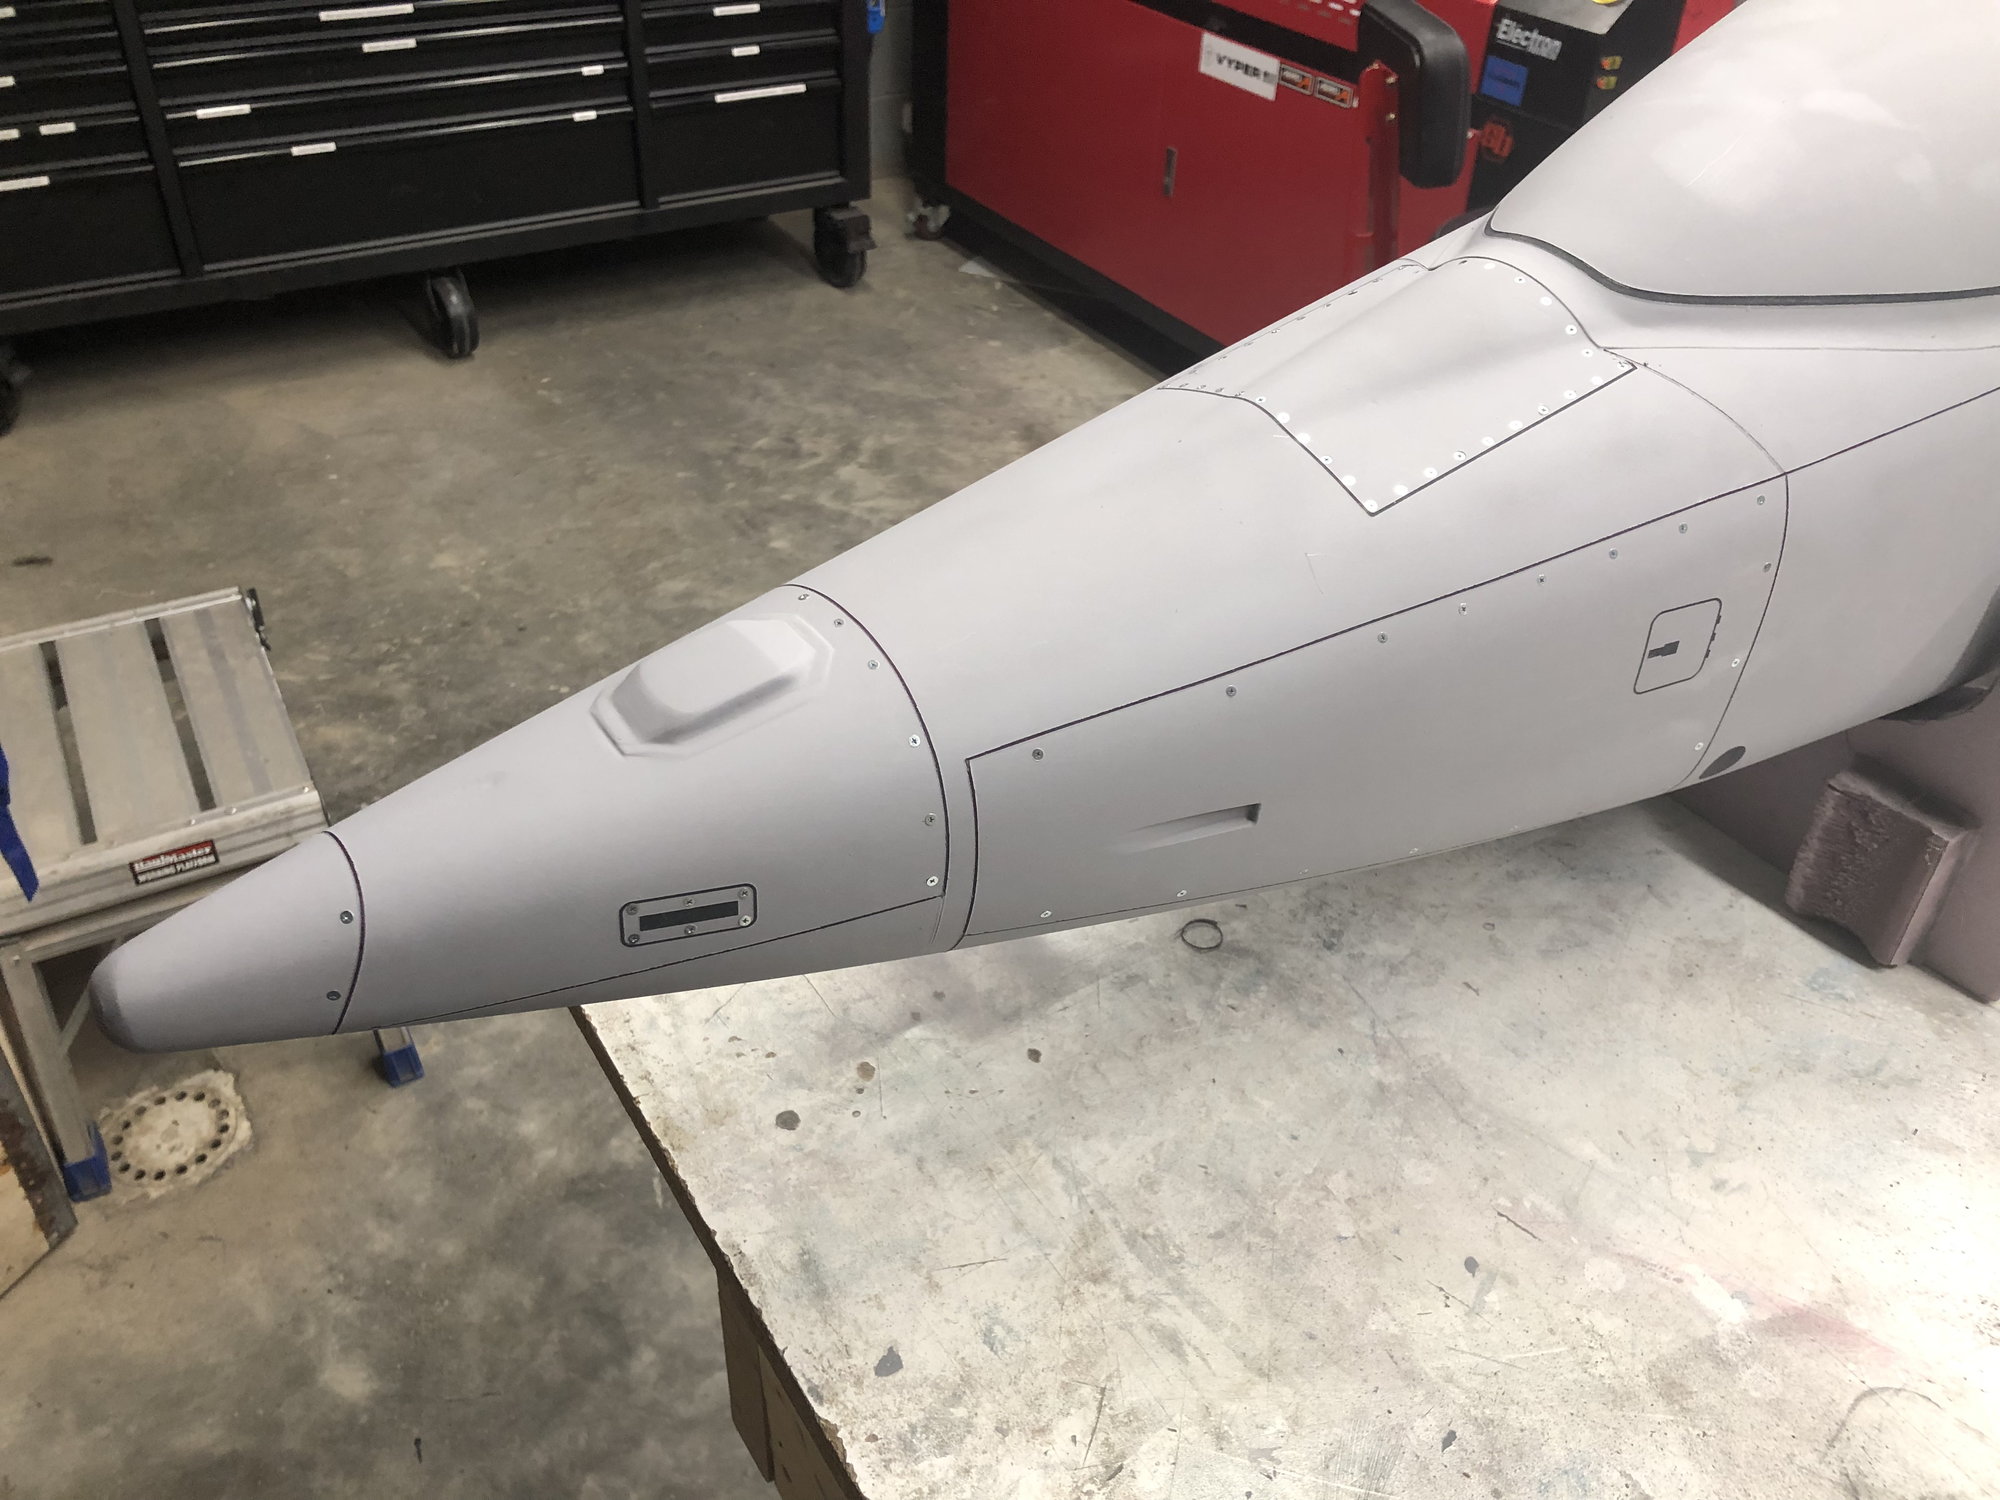
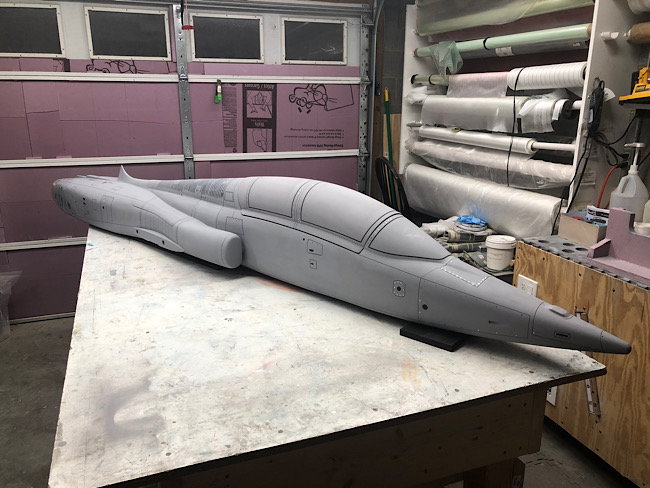
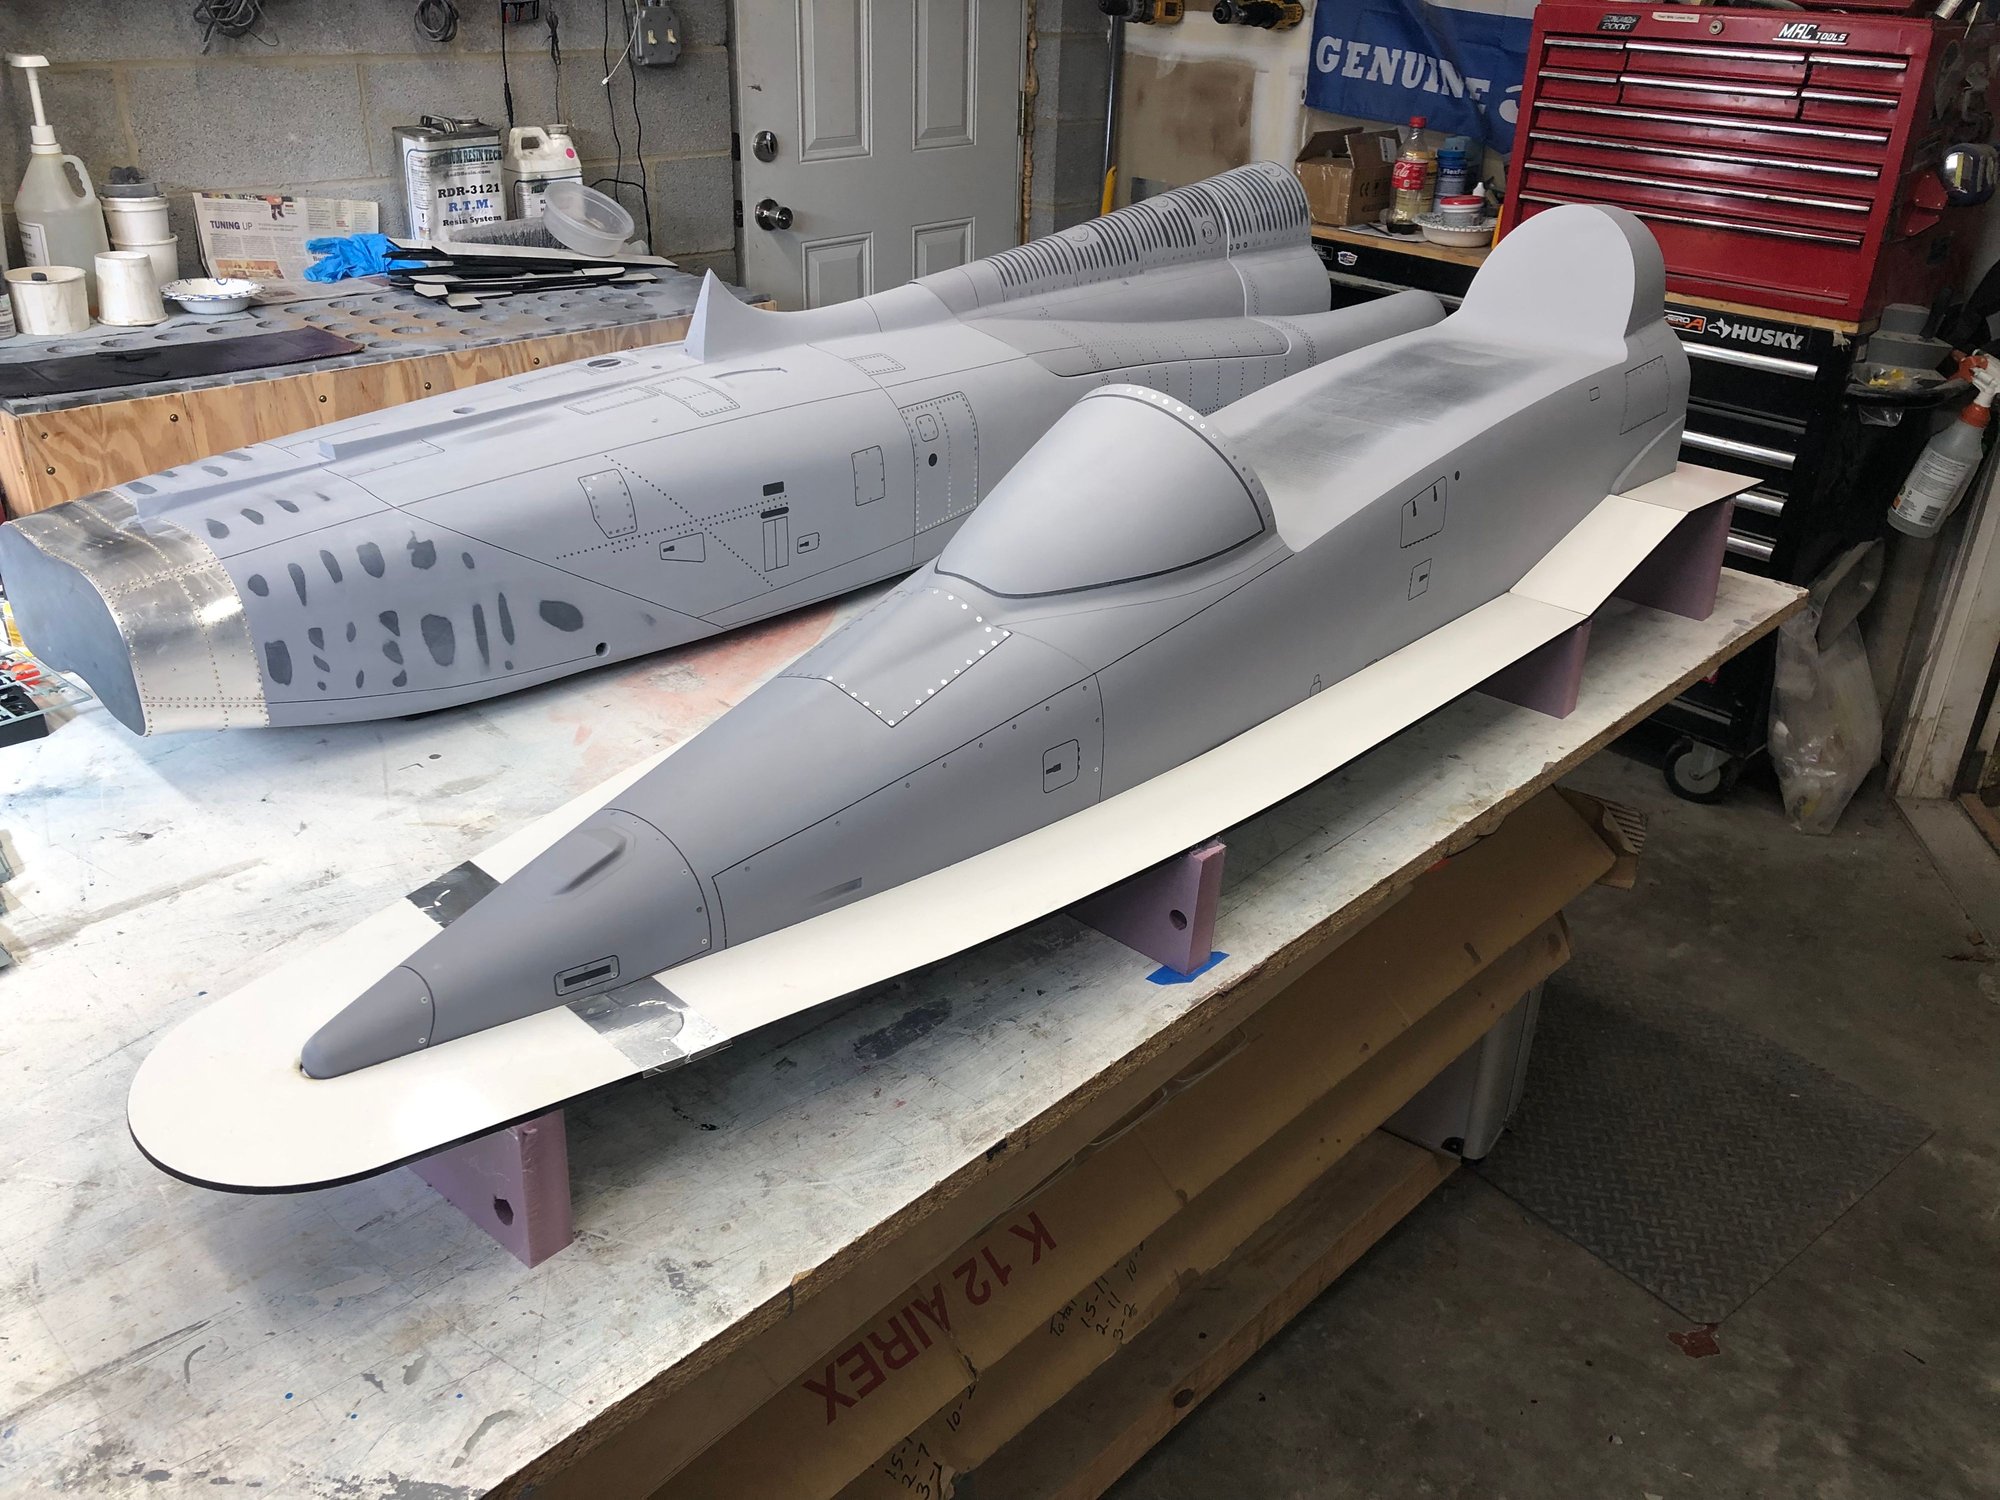
Last time i was home i got the remaining surface details put on. When i got home yesterday, some of my chartpak tape had arrived so i got the last of the panel line tapes put on and then primed over the entire fuselage with a few good heavy coats of primer, especially where the panel line tapes were. Once this has dryed overnight, i�ll get to sanding all of the texture into the proper places of the plug.
all 1,662 screws have been drilled and countersunk as well.
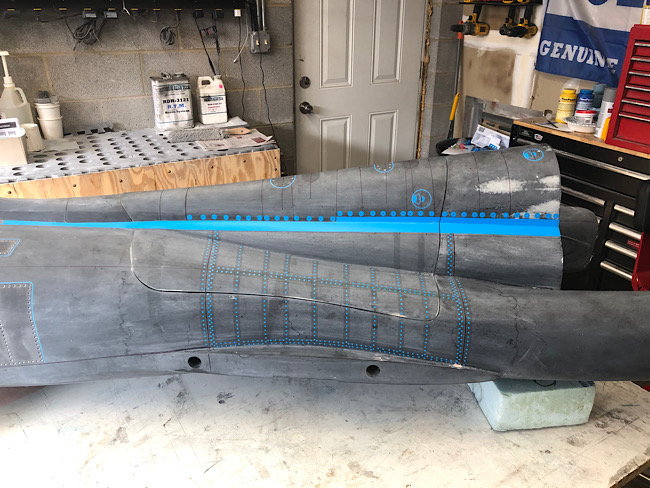
all 1,662 screws have been drilled and countersunk as well.
12-07-2022, 05:02 PM
#242
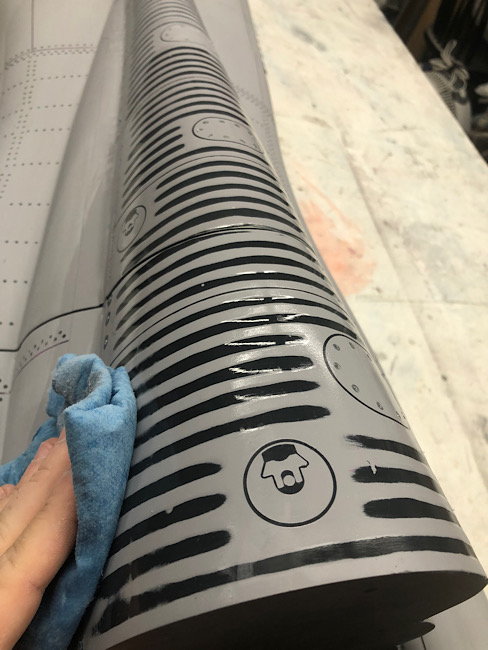
Well�. the T38 detailing has progressed. The skin texture �waves� around the rear of the fuselage has been sanded in. I also got 1000 of the screws put in and picked all of the rivets and panel lines out.
My hands are now killing me, so tomorrow may be a recoup day for the hands after all those screws.
My hands are now killing me, so tomorrow may be a recoup day for the hands after all those screws.
 12-07-2022, 06:41 PM
#244
its just Rustoleum automotive rattle can primer. Used the same stuff on the tail and it made a nice mold surface once waxed. This stuff sprayed on really nicely, so it has a nice surface as it is, i probly wont even do much sanding, if any, just go straight to the mold release wax.
got any idea�s for the next project?
 12-08-2022, 03:05 PM
#247
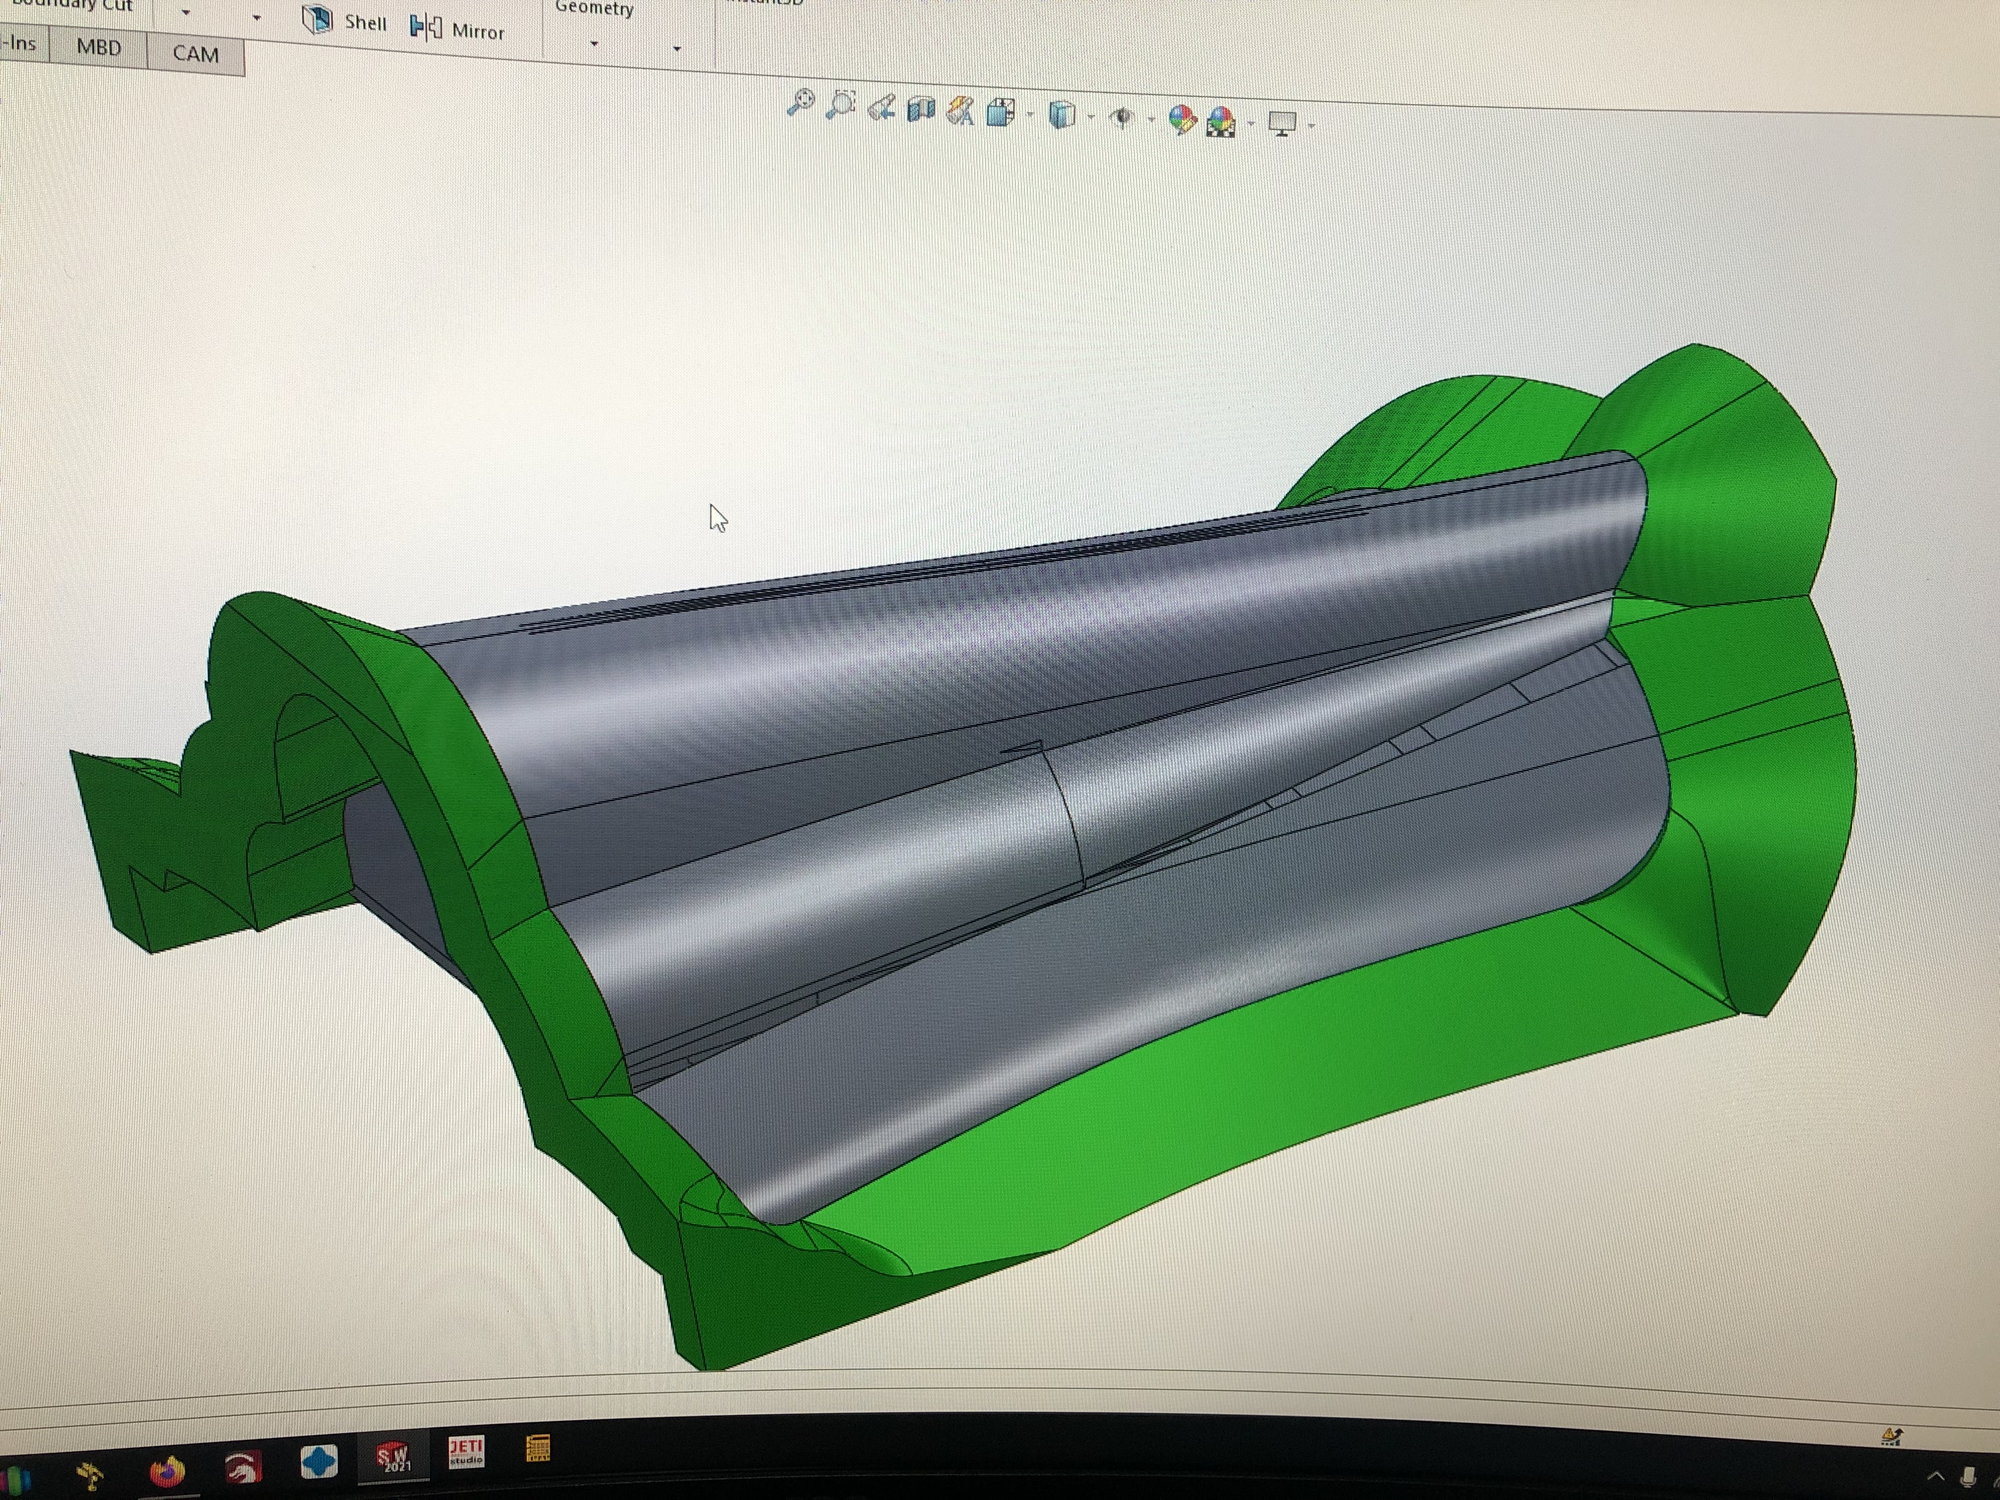
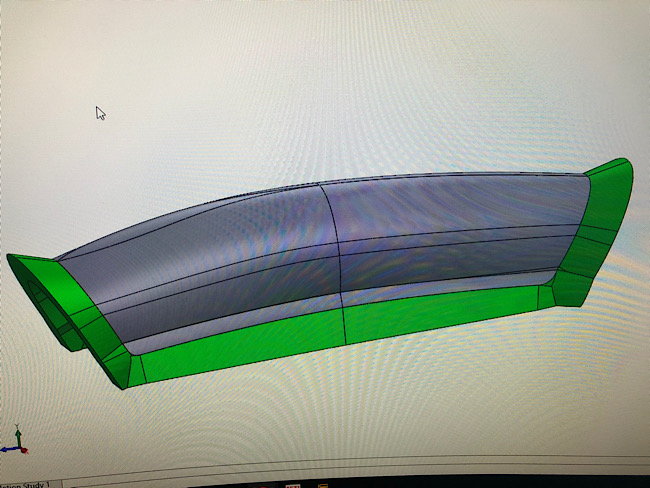
Main hatch and canopy parting plane cad modeling is done. I have decided go do a �flared� parting plane for these. Reason being is i am hoping these flared planes will make it simpler by having each hatch be a 2 part mold. This will make trimming the layups at the corners easier and allow a more consistent and better quality corner. That is the hope atleast.

 12-09-2022, 02:47 PM
#249
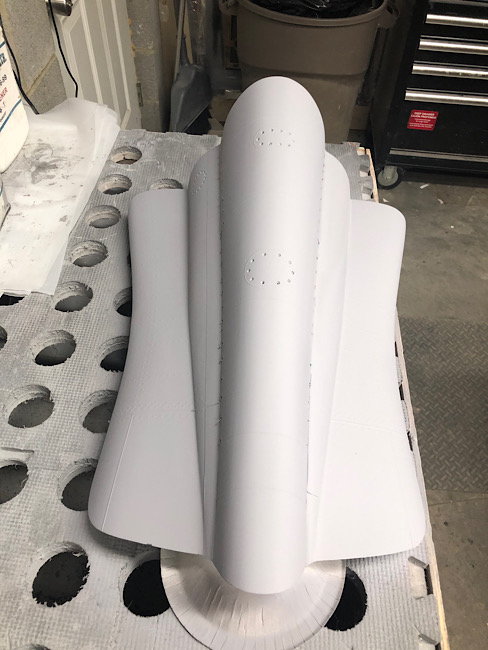
The fuselage detailing is complete with the fuselage spine texture now sanded in. The 3d printed parting planes will be done today. When i get back home next, i�ll finish drawing the remainder of the fuselage parting planes so they can be cut on the laser.
if all goes to plan, the two hatches and nose will be ready to mold by the end of the year.
if all goes to plan, the two hatches and nose will be ready to mold by the end of the year.
01-16-2023, 01:46 PM
#250
There has been substantial progress made the past few weeks.
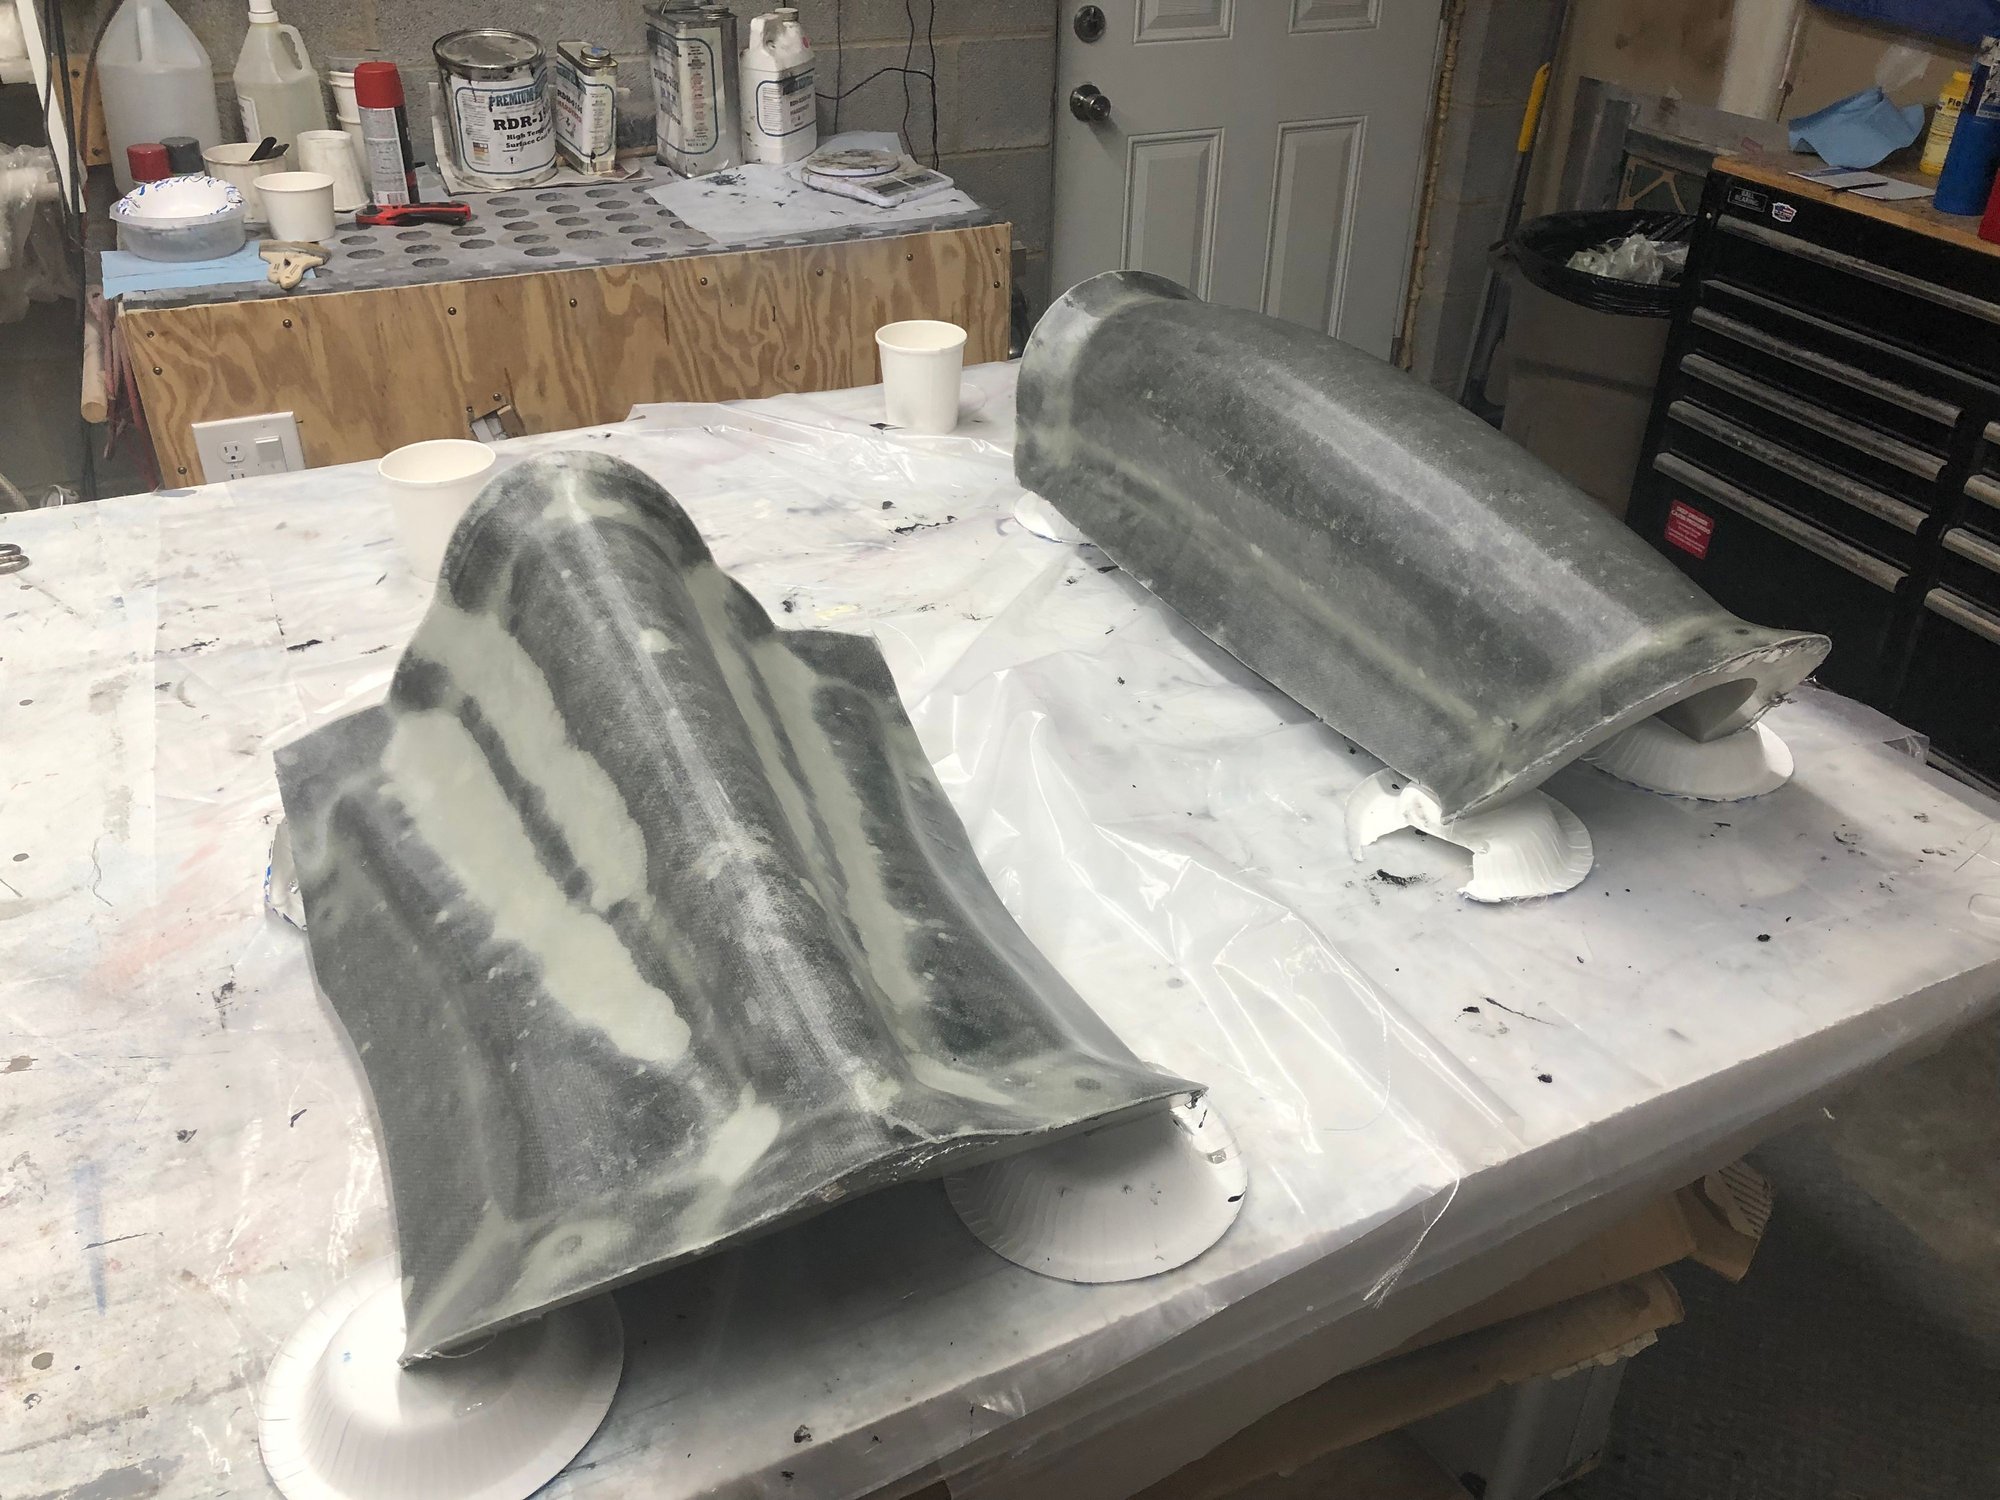
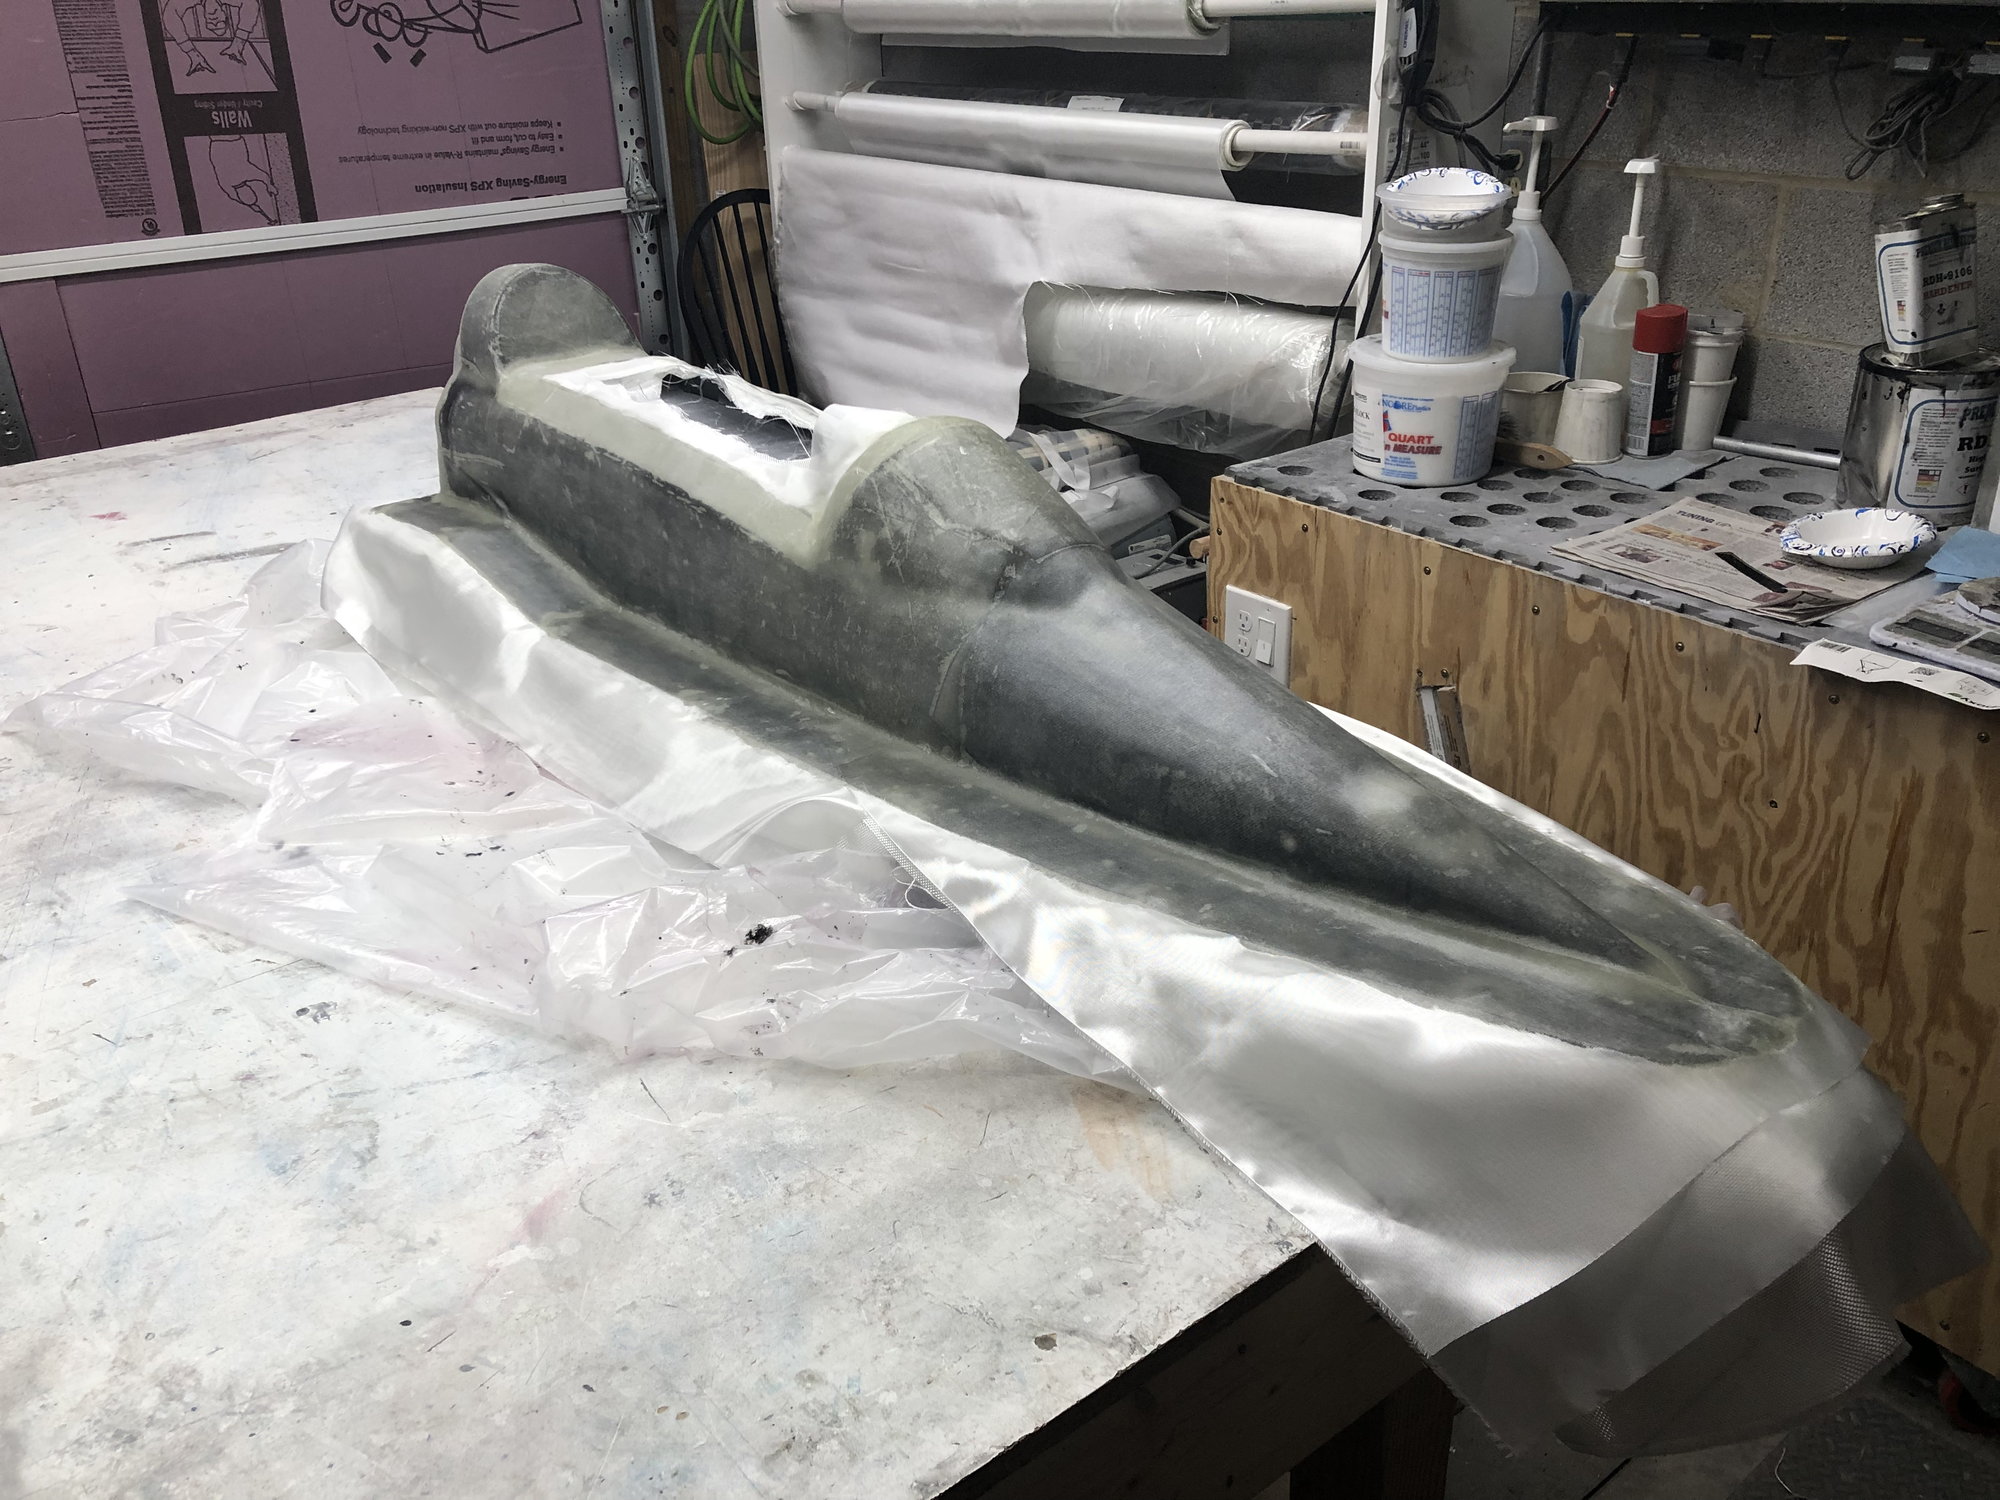
The hatches and nose were parting planed off. The hatches getting 3D printed ones and the nose a combination of printed and laser cut white board material ones.


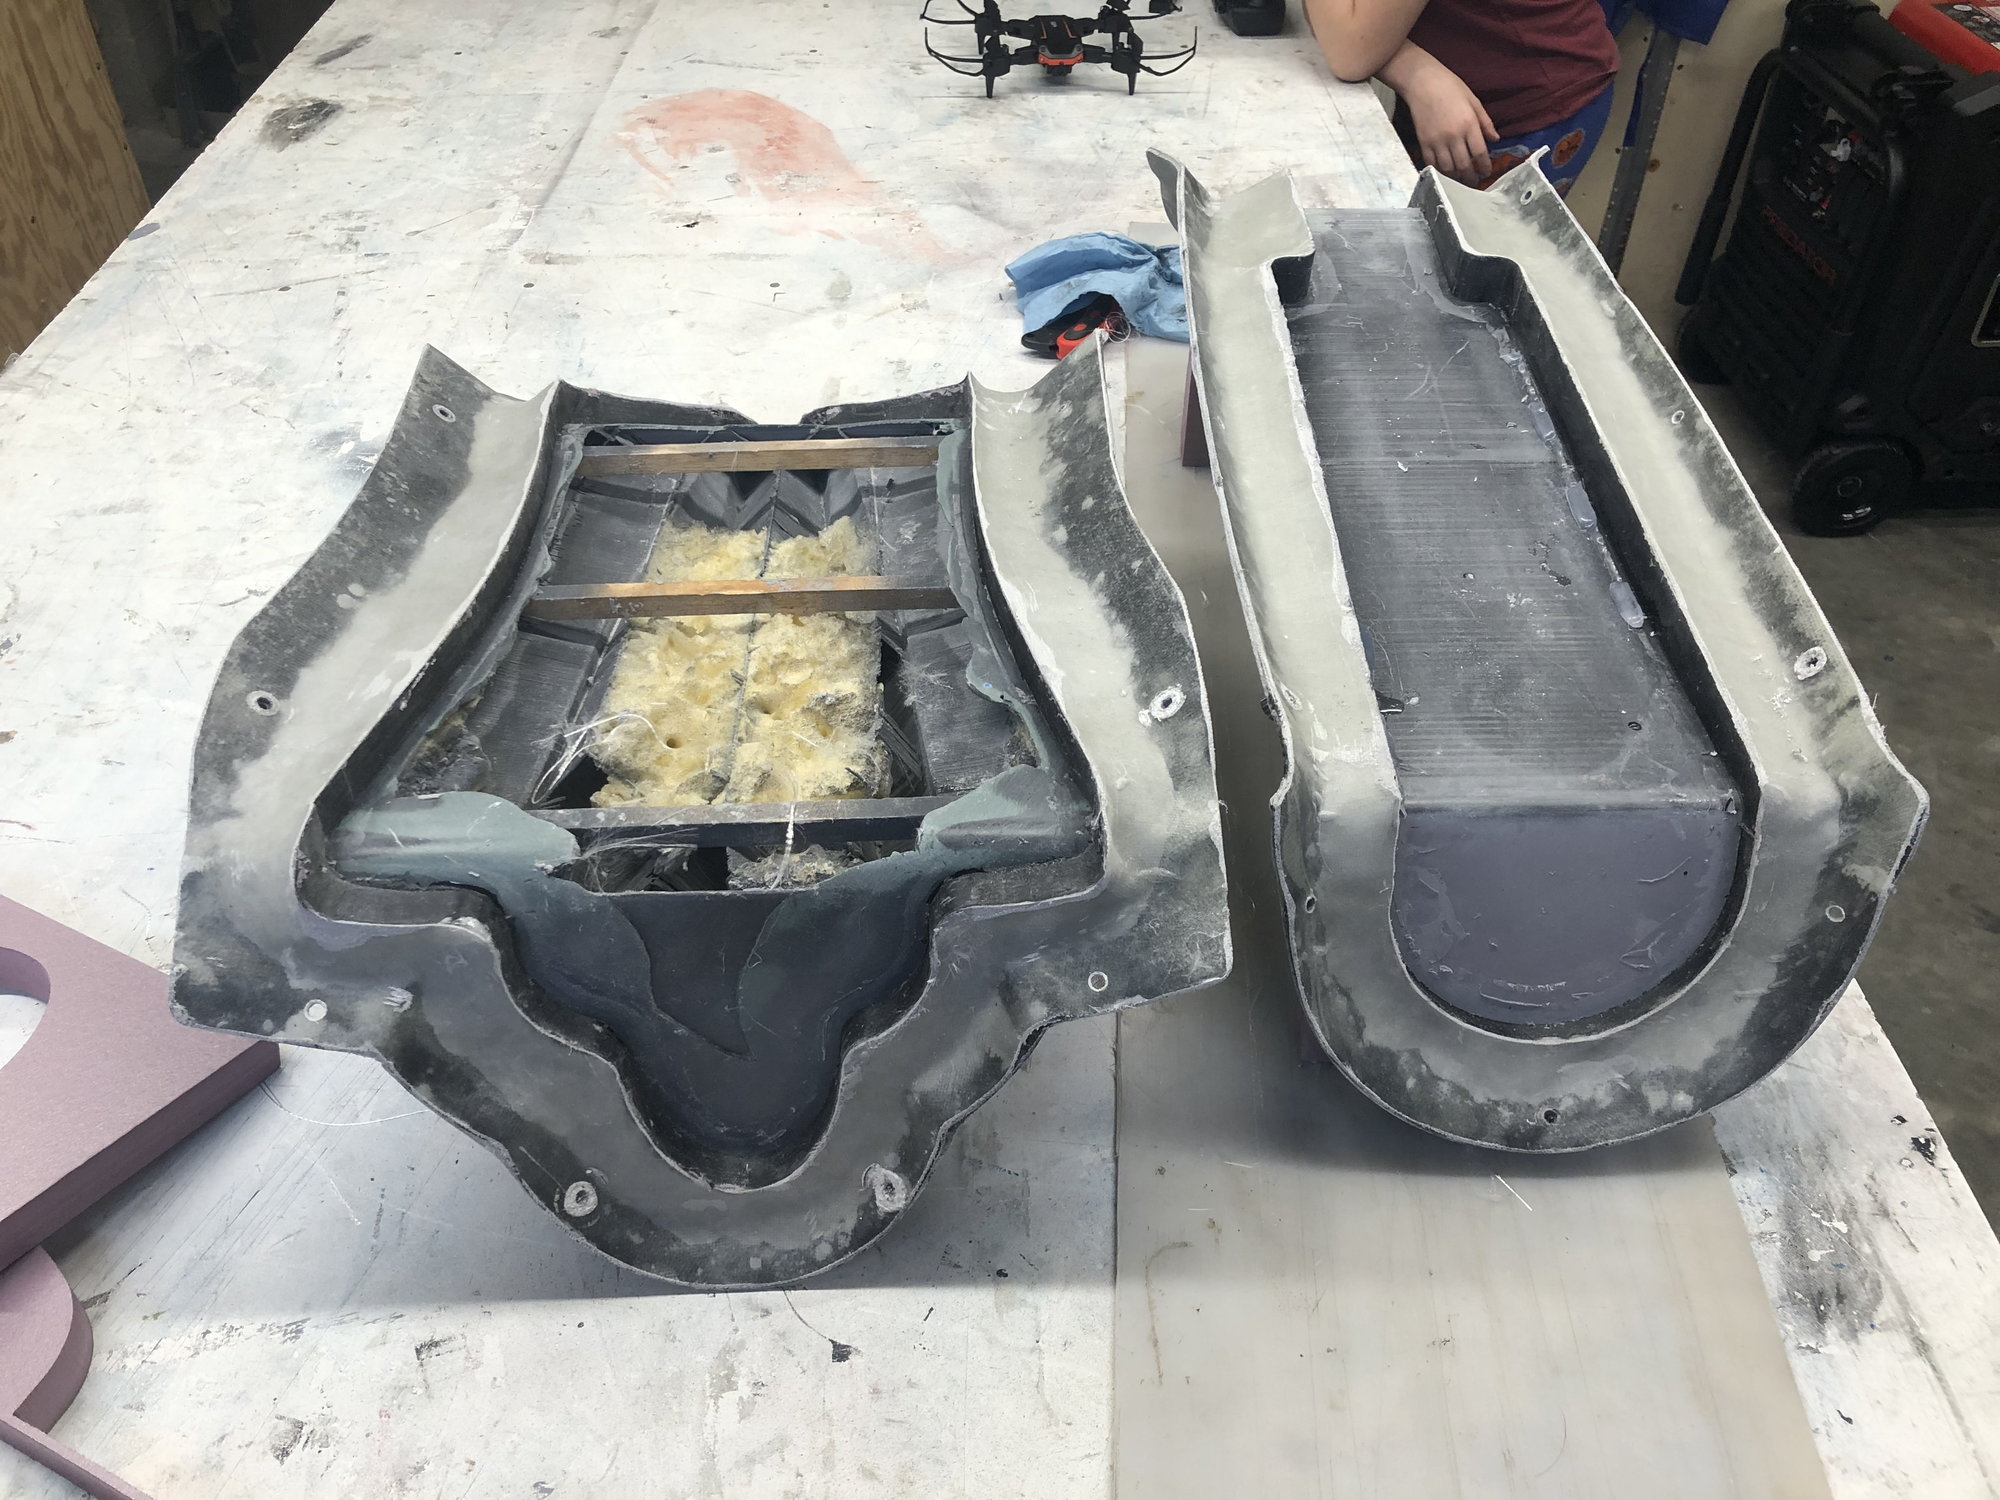
The hatch tops were then molded.
The hatch bottoms got a similar 3d printing parting planes. These parting plans are placed on the trim edge of the hatch flanges an will hopefully make it easier to trim the flanges consistently.
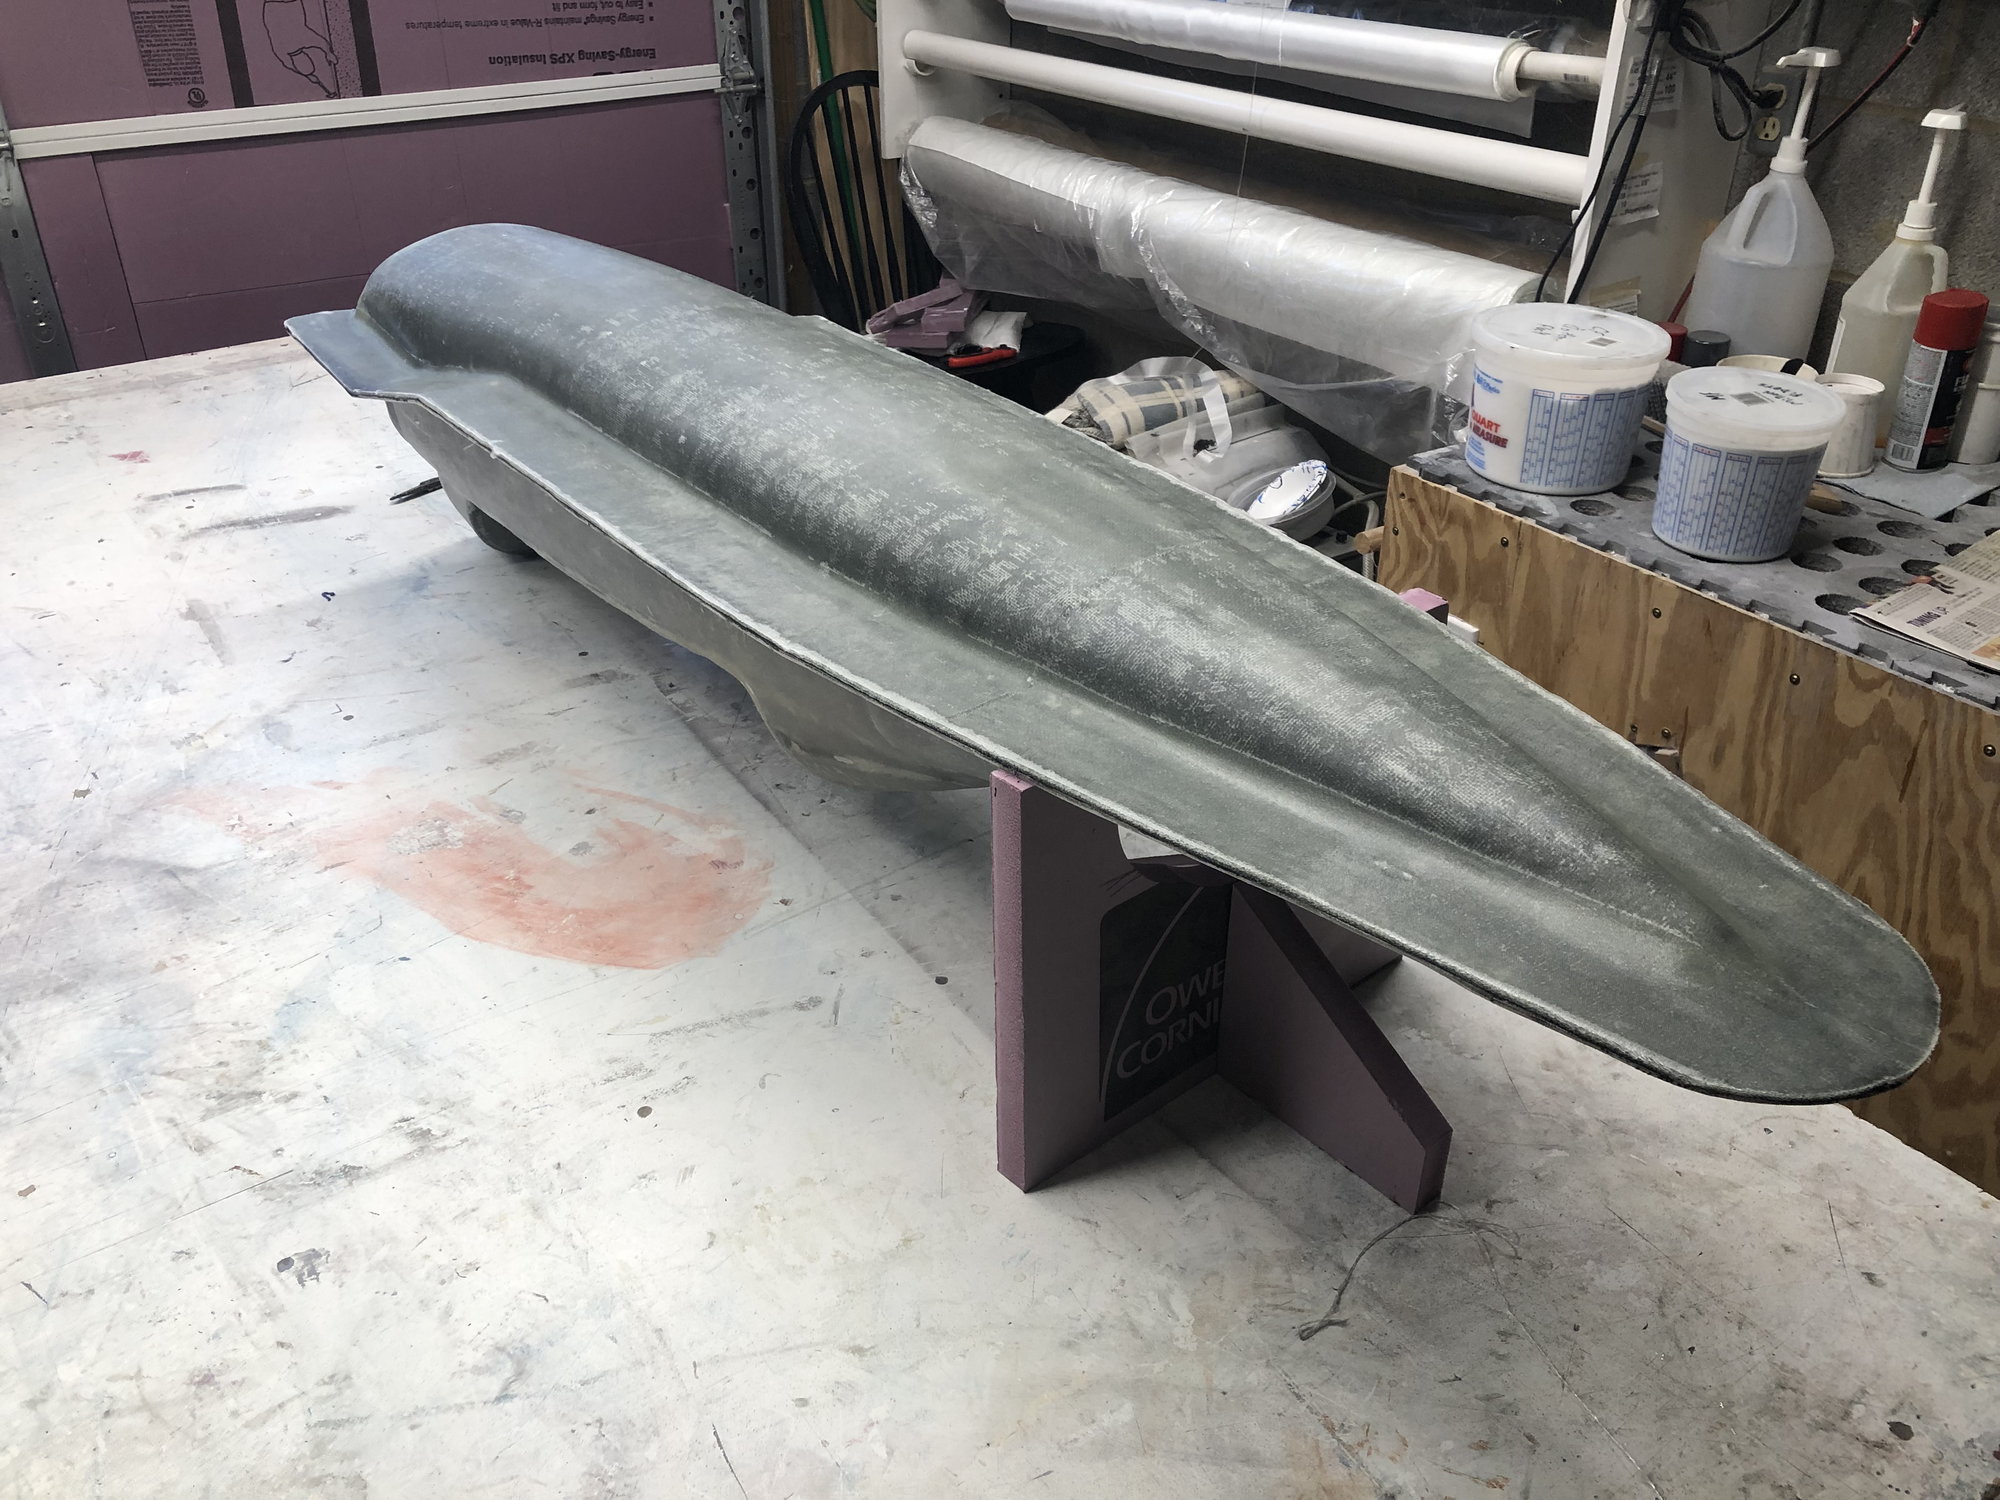
Next up, the fuselage top was molded. This was a nine hour layup from start to finish.
Two days later, it got rolled over, pva�d and then the bottom was molded.
currently ive got some fuel tank molds printing so i can get those prepped and ready for layups when the time comes.
all of the main fuselage parting planes are also all laser cut or printed, so i will start prepping the fuselage for molding soon.
Vacation begins mid Feb. so I am currently on schedule to have all of the major components of the airframe molded by the end of Feb. the only items that will be left to do are gear door and speed brake molds.
The hatches and nose were parting planed off. The hatches getting 3D printed ones and the nose a combination of printed and laser cut white board material ones.
The hatch tops were then molded.
The hatch bottoms got a similar 3d printing parting planes. These parting plans are placed on the trim edge of the hatch flanges an will hopefully make it easier to trim the flanges consistently.
Next up, the fuselage top was molded. This was a nine hour layup from start to finish.
Two days later, it got rolled over, pva�d and then the bottom was molded.
currently ive got some fuel tank molds printing so i can get those prepped and ready for layups when the time comes.
all of the main fuselage parting planes are also all laser cut or printed, so i will start prepping the fuselage for molding soon.
Vacation begins mid Feb. so I am currently on schedule to have all of the major components of the airframe molded by the end of Feb. the only items that will be left to do are gear door and speed brake molds.