


1/4.5 T-38C Talon scratch build
 02-26-2023, 03:03 PM
#276


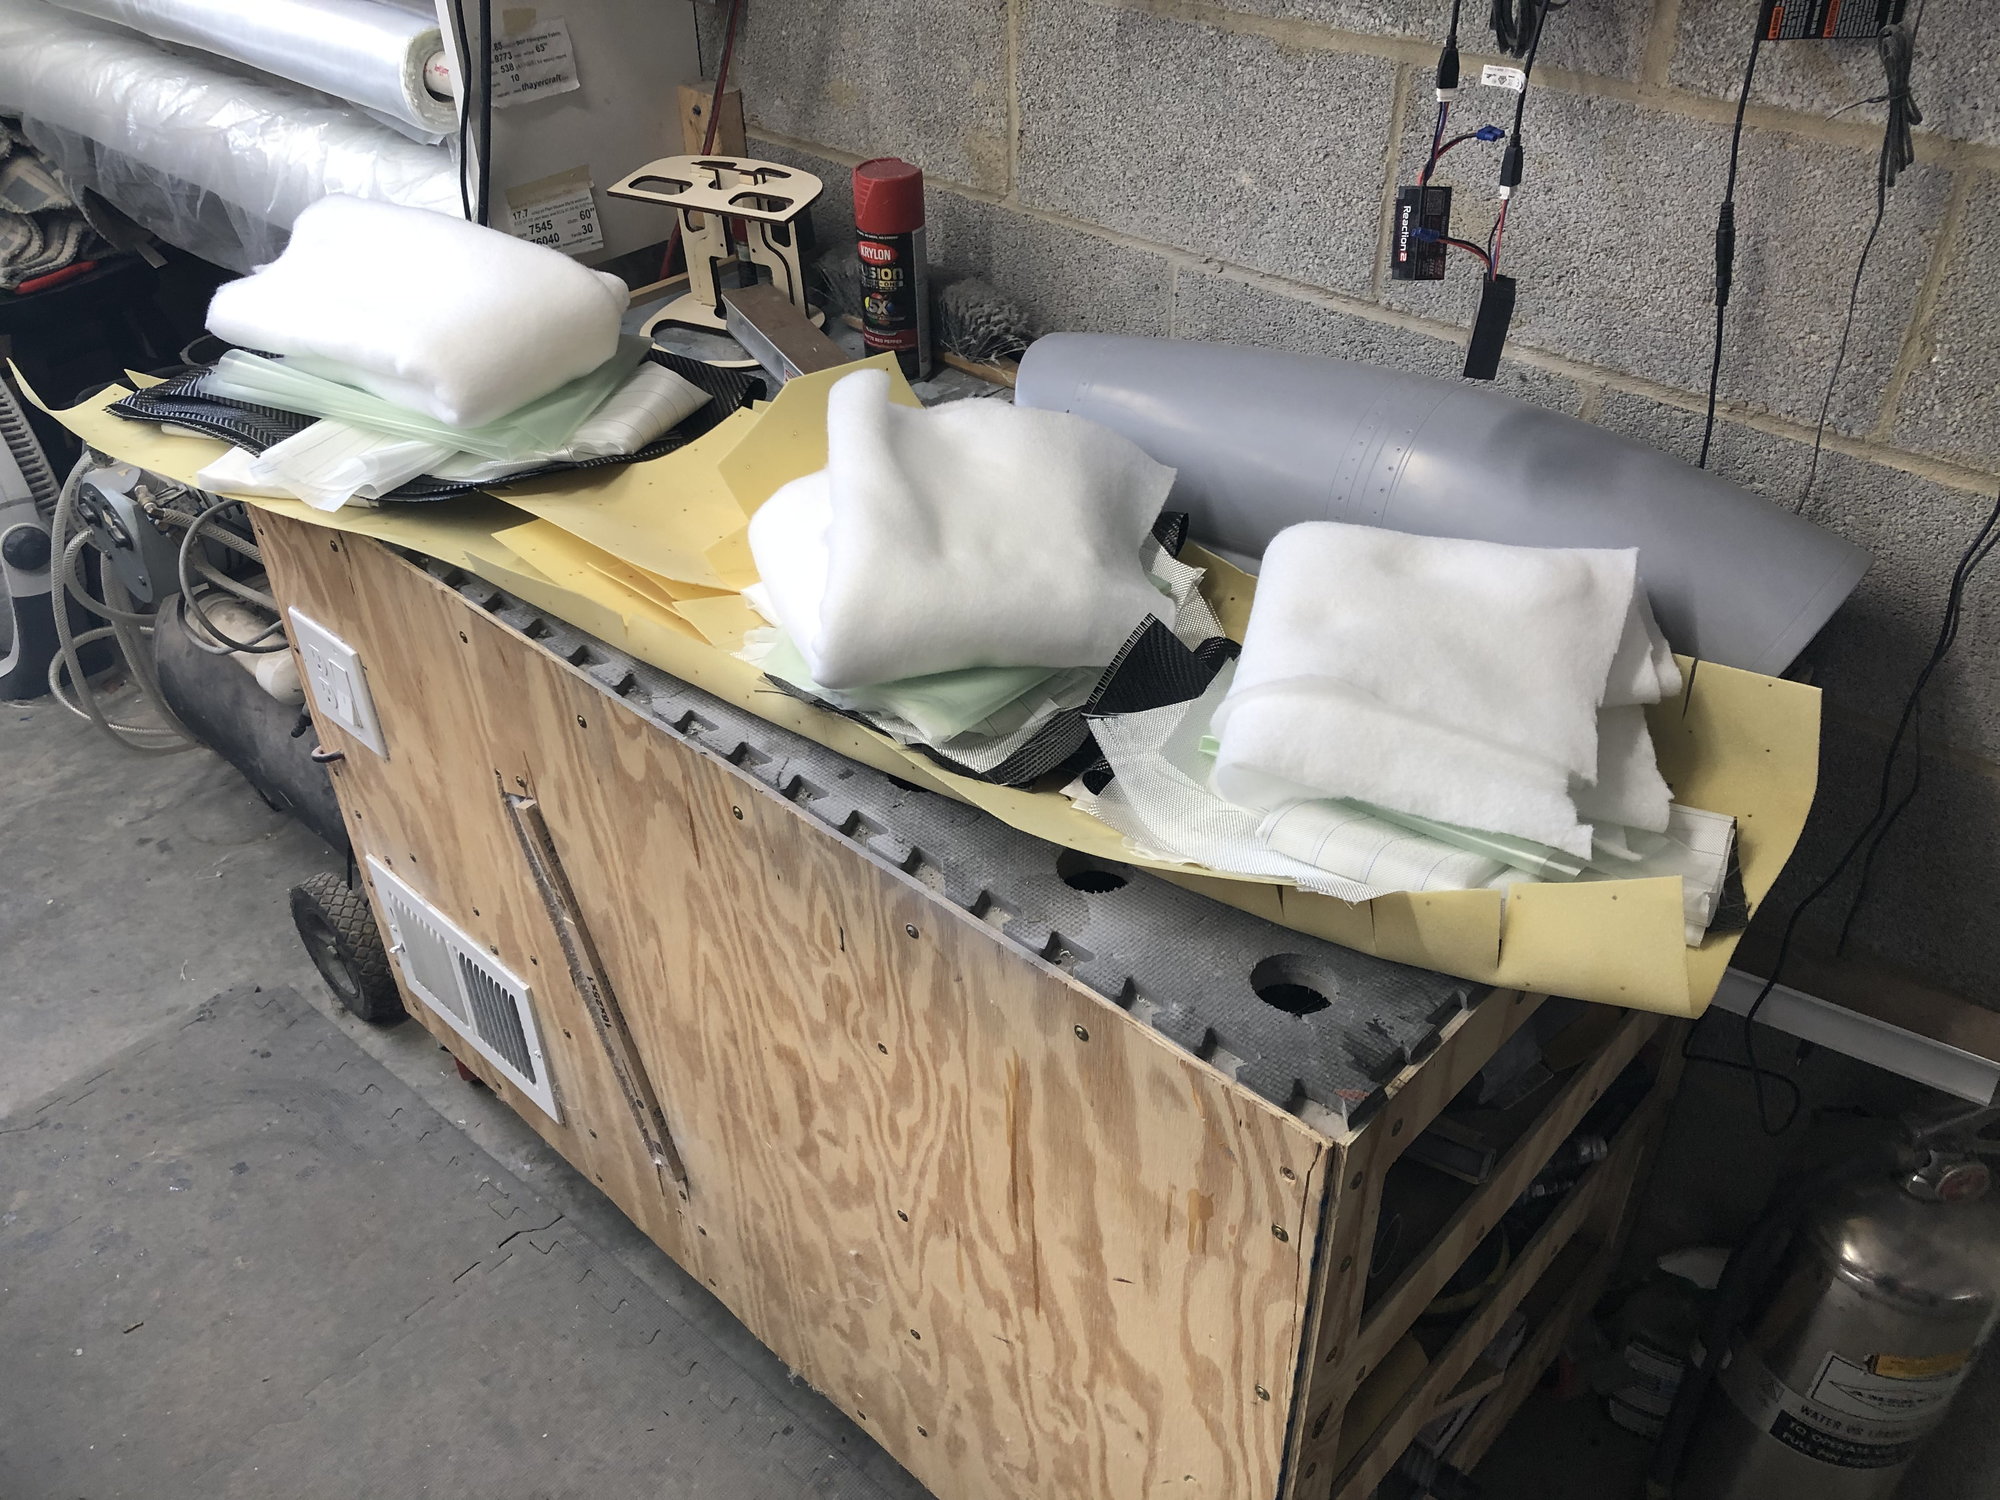
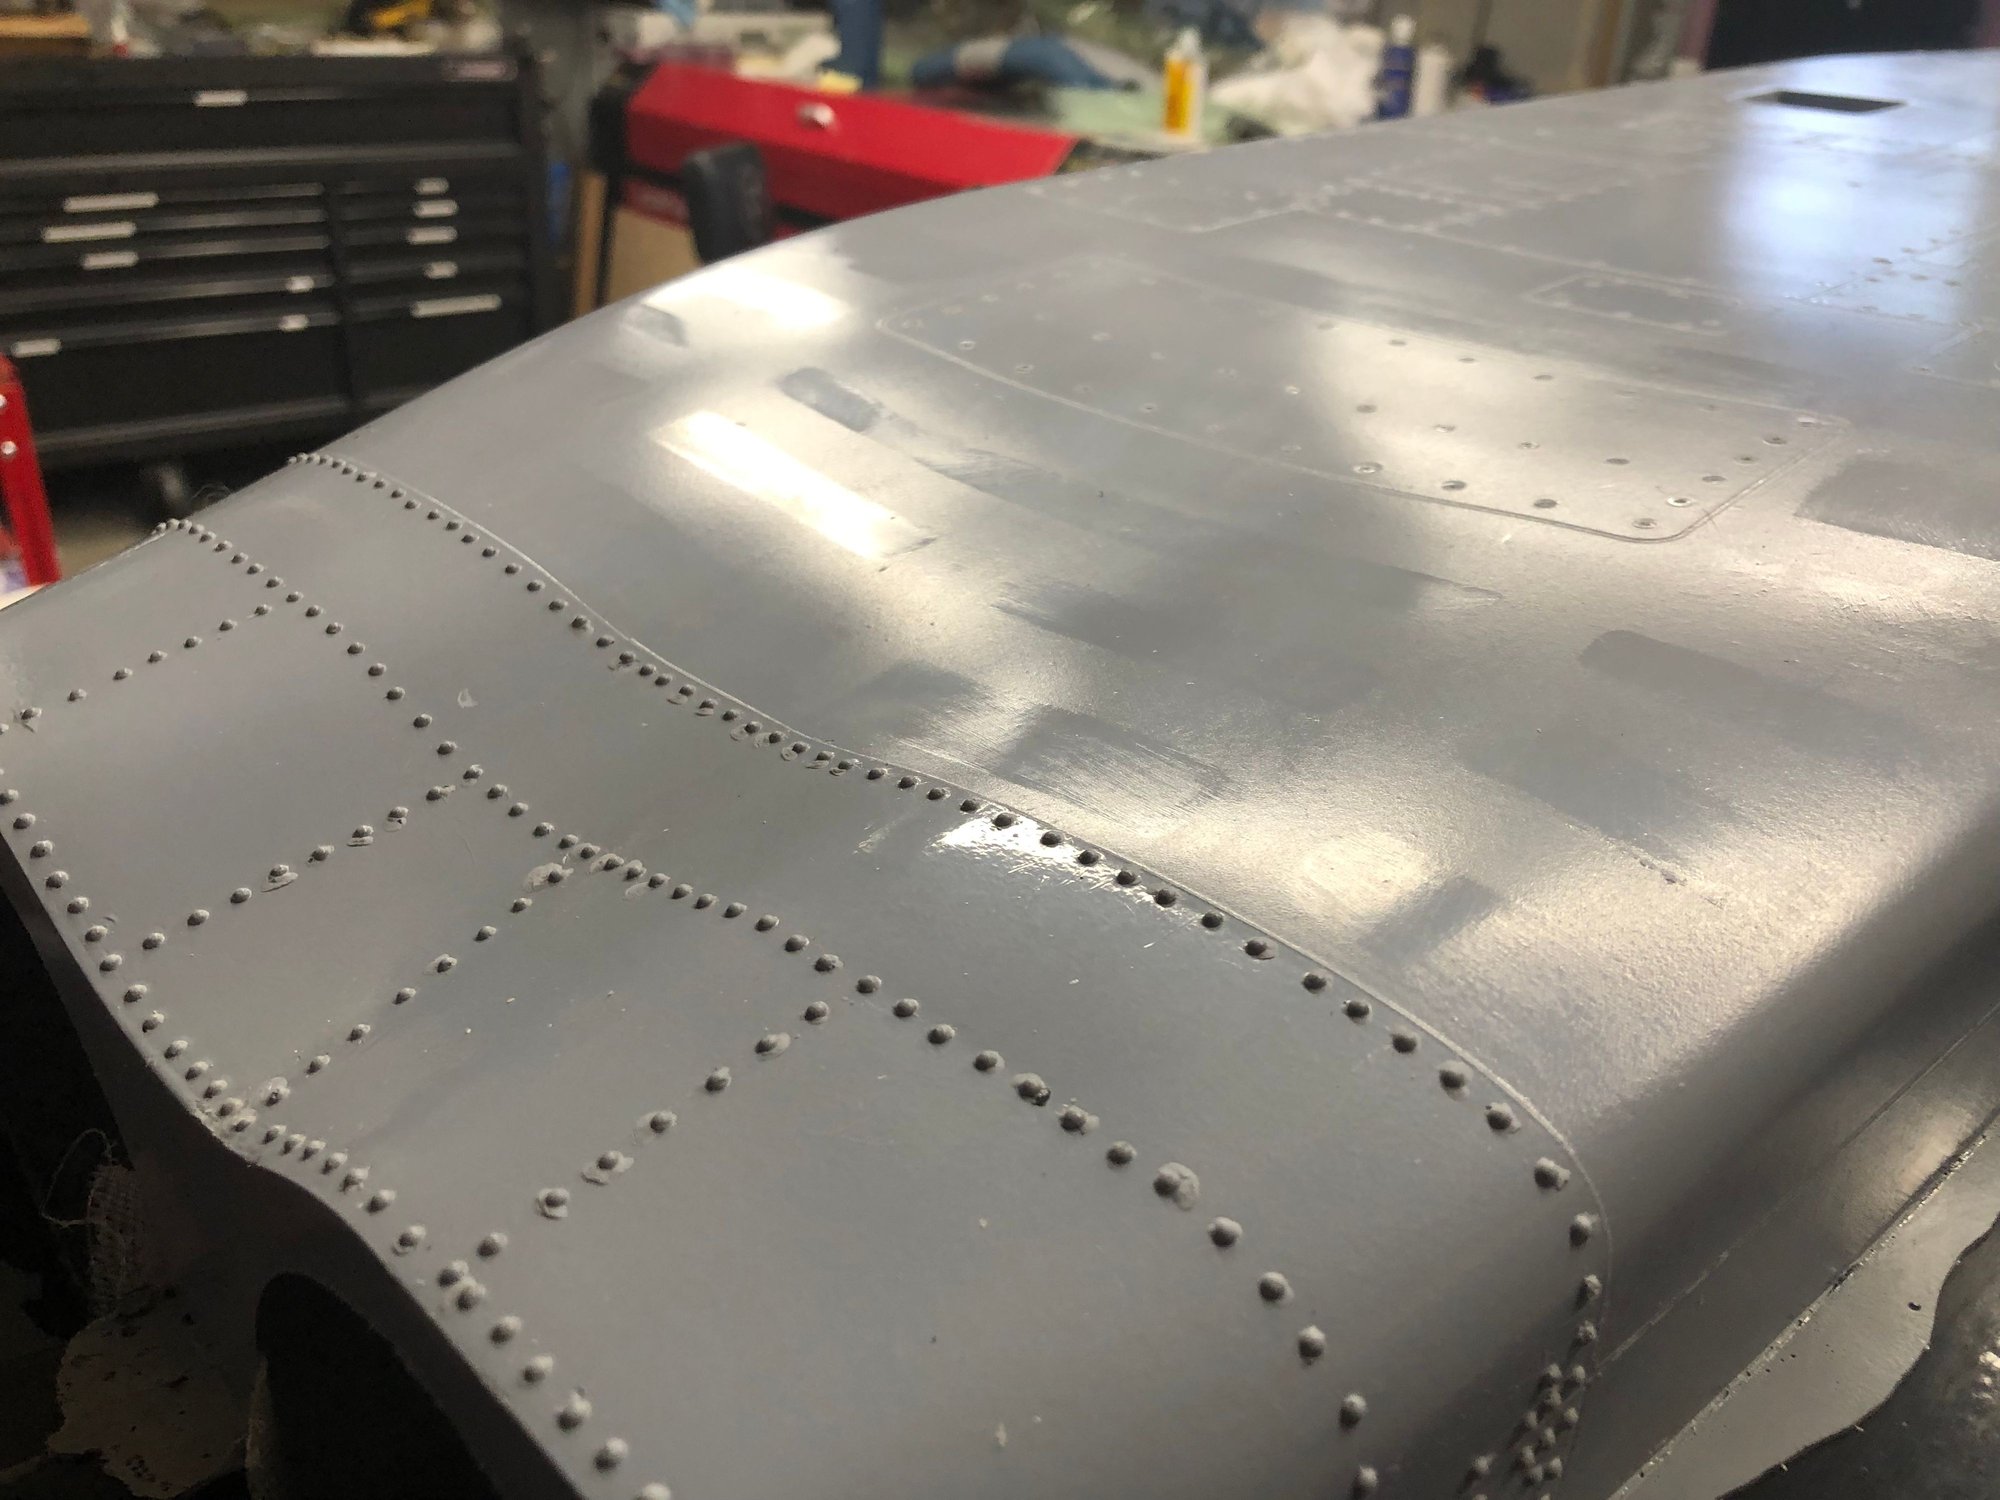
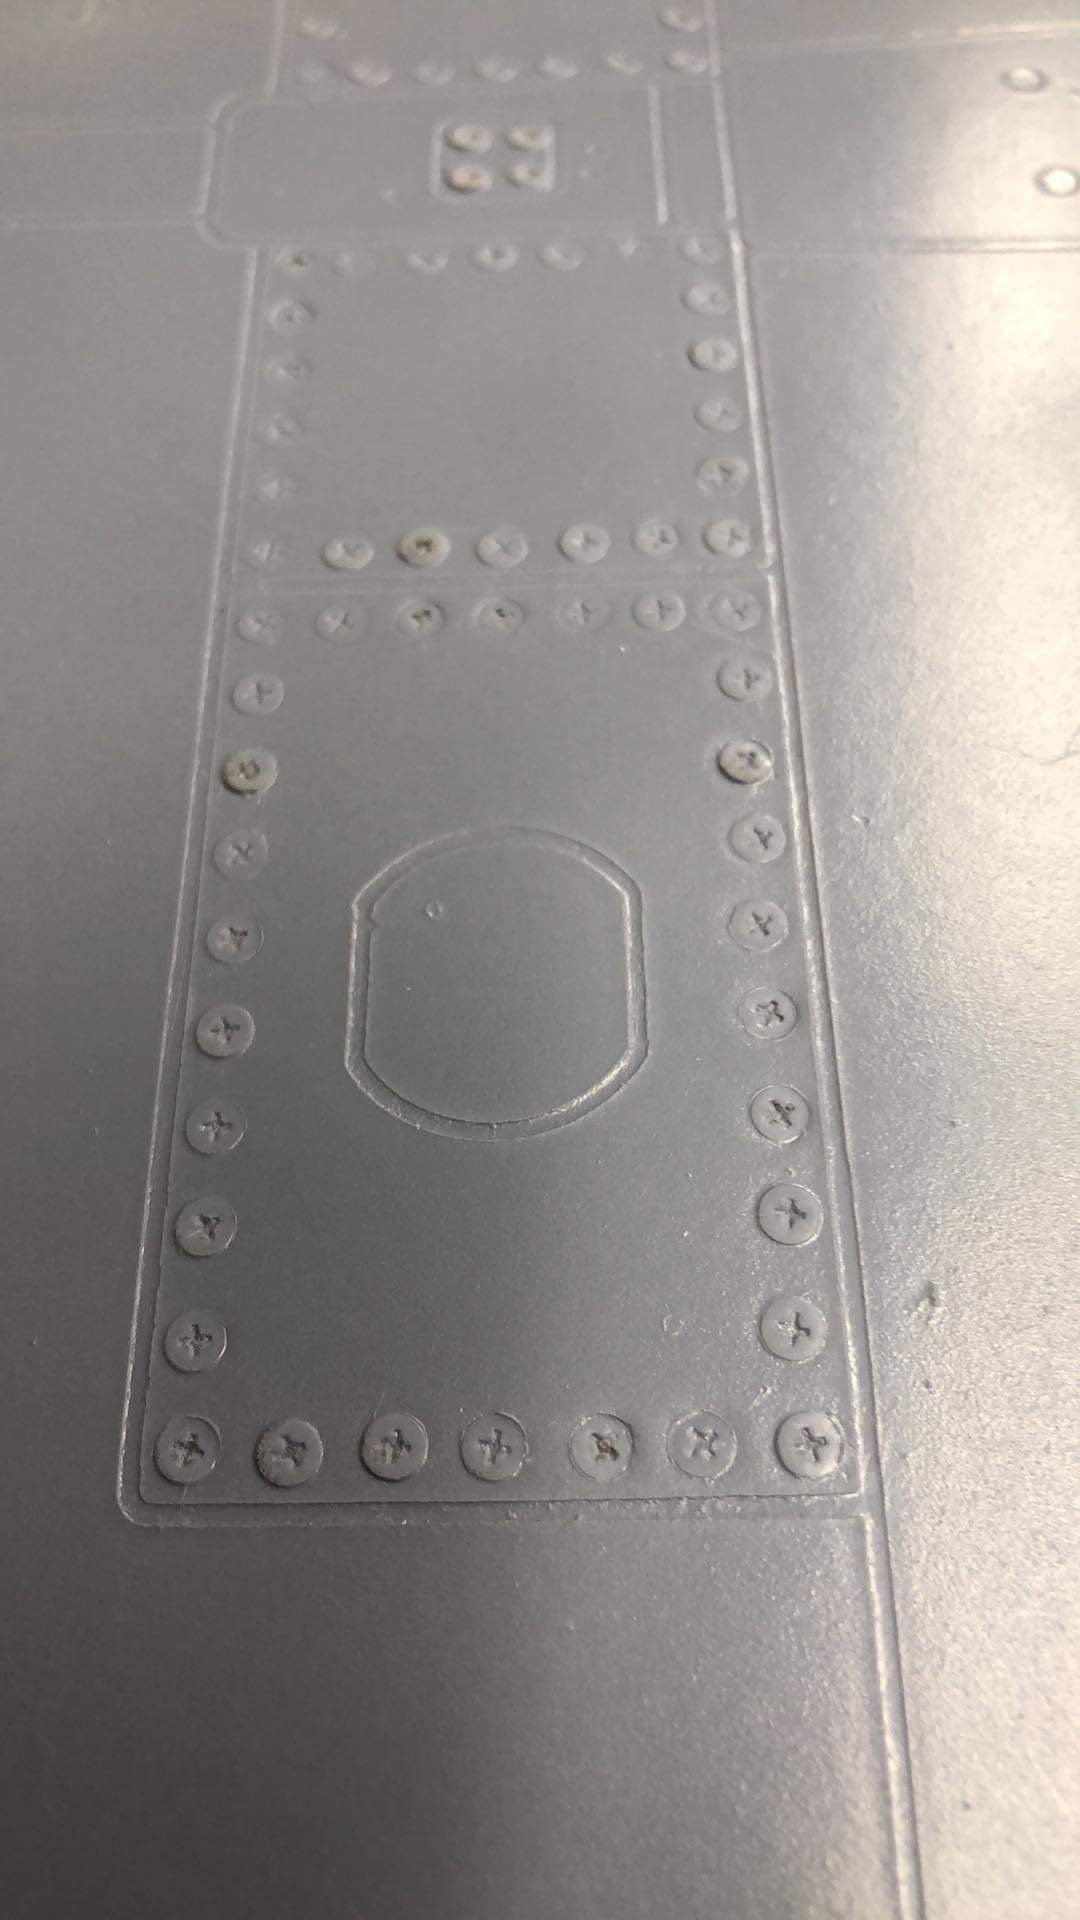
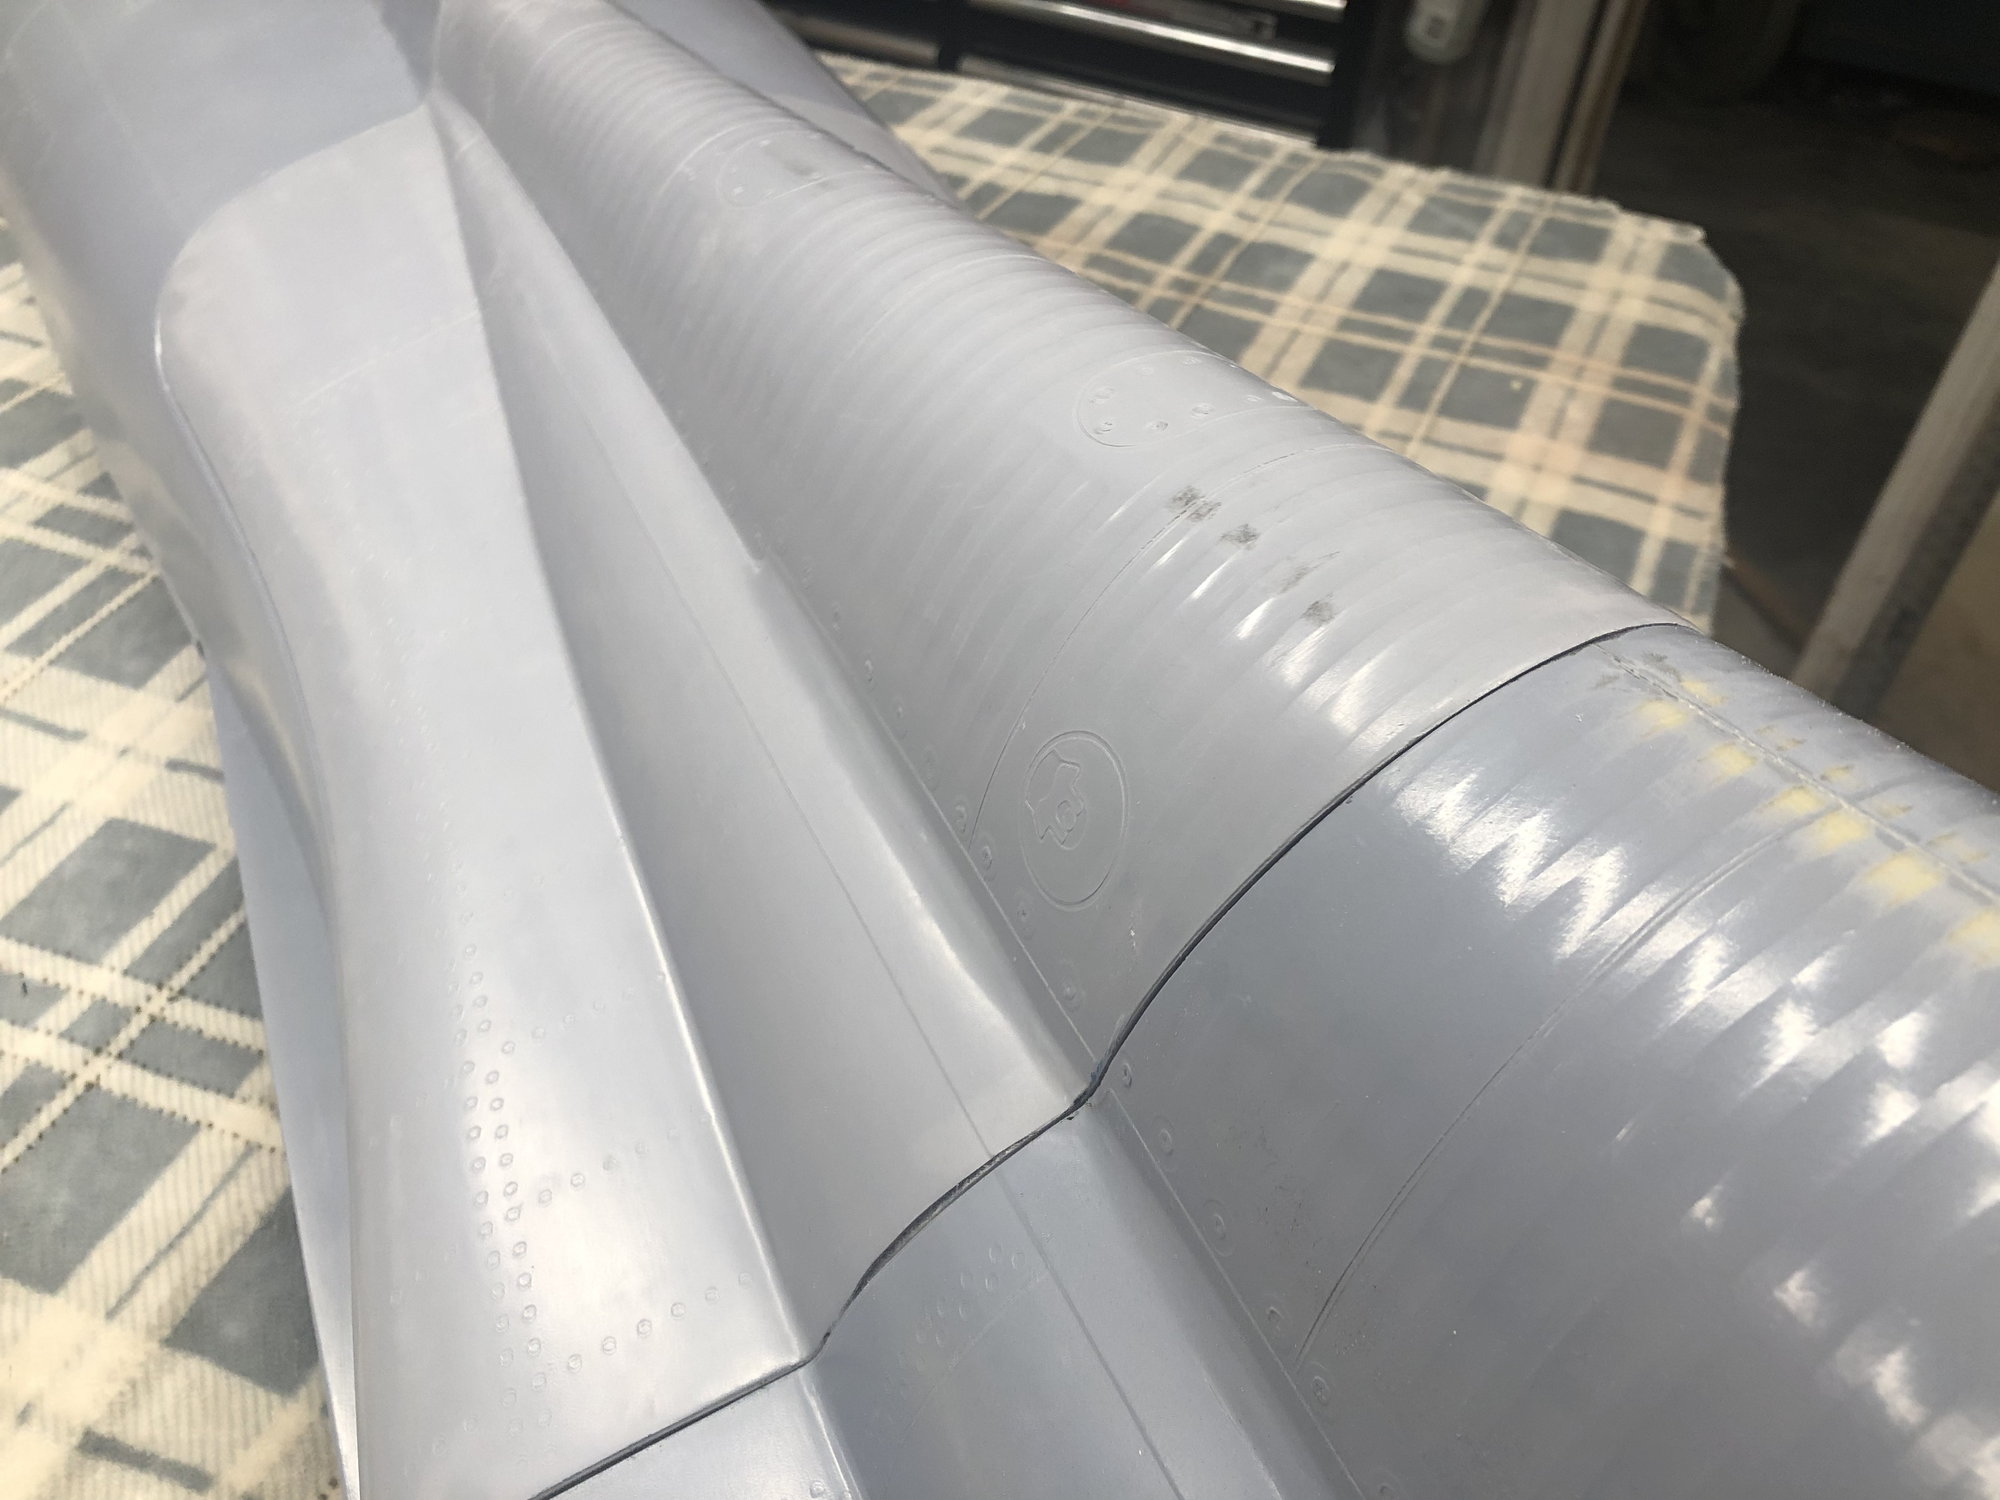
All of the airex, fiberglass, carbon fiber, peel ply, perforated plastic and bleeder layers are cut. The molds have also been cleaned, frekoted and primed. Tomorrow i plan to get the first of the main fuselage skins layed up. The plan is to get the first fuselage out of the mold sometime this week since all of the test structures look like they will be fine with minimal adjustment needed. I also got the inlet duct and bypass molds prep�d as well for another round of layups.


The following 6 users liked this post by invertmast:
cetigershark (02-26-2023),
jetflyr (03-02-2023),
mongo (02-26-2023),
Sparhawk (02-26-2023),
Viper1GJ (02-26-2023),
and 1 others liked this post.
 03-05-2023, 09:50 AM
#278
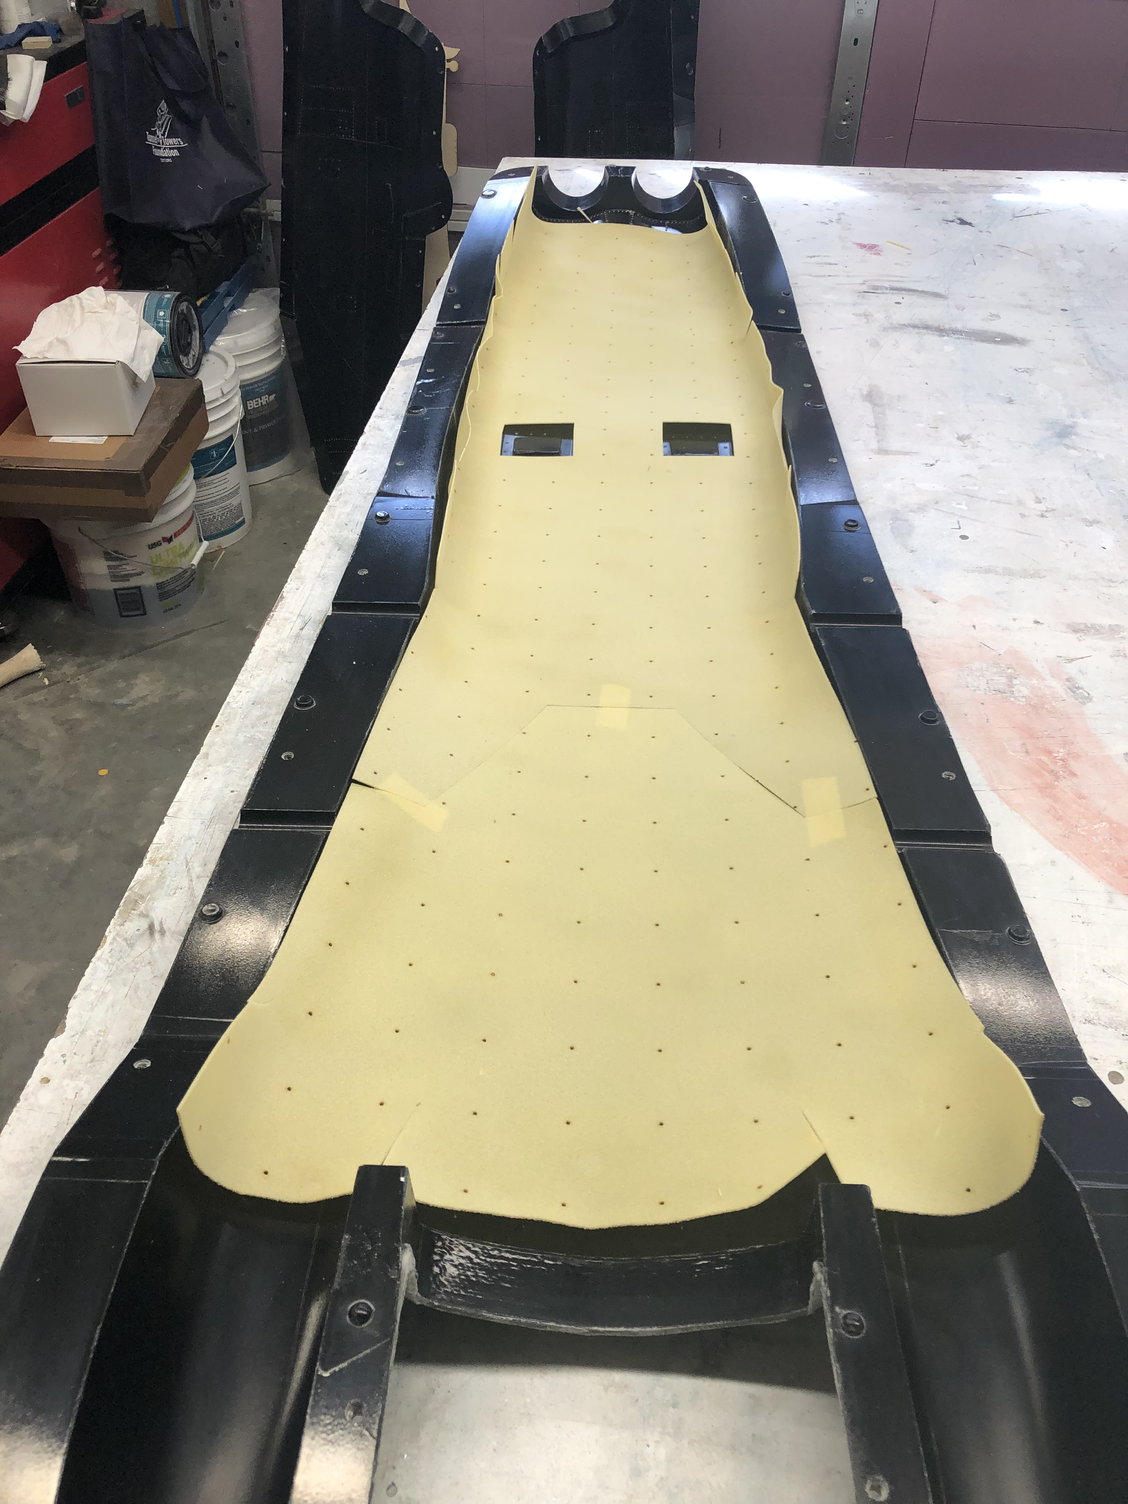
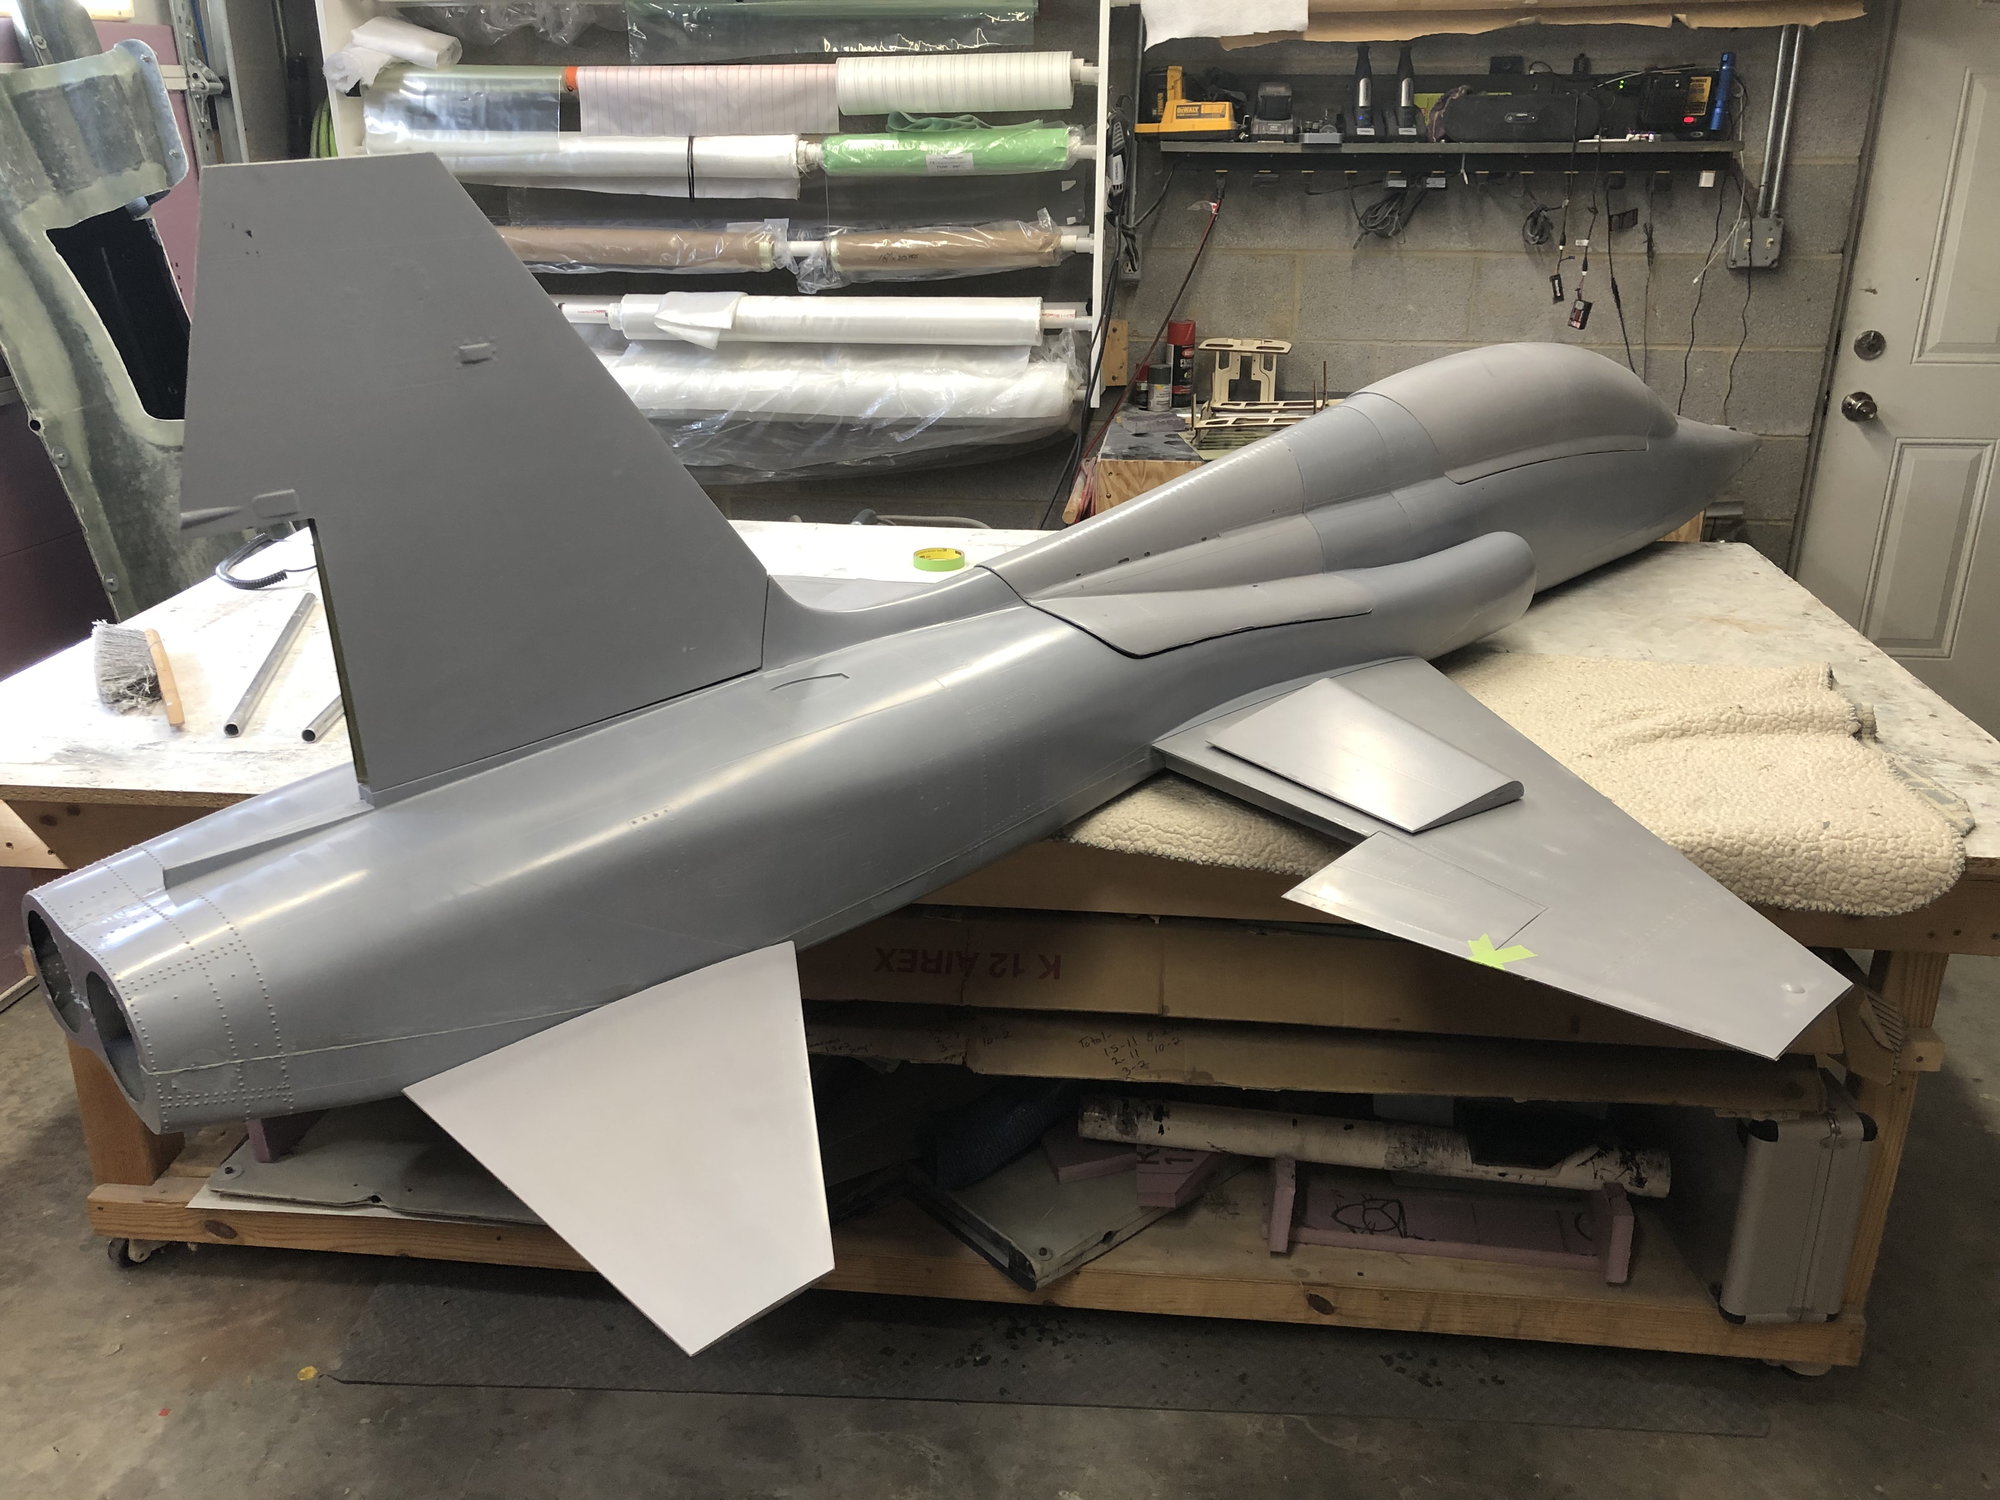
Posts have slowed down, but work has not. The first complete airframe is now out of the molds and its complete weight it 18lbs. The only items missing are the gear doors, speed brakes, exhaust nozzles and the cleae canopy pieces. The planned 20lb airframe weight should be easily obtained.
Here is a huge photo dump for you all.

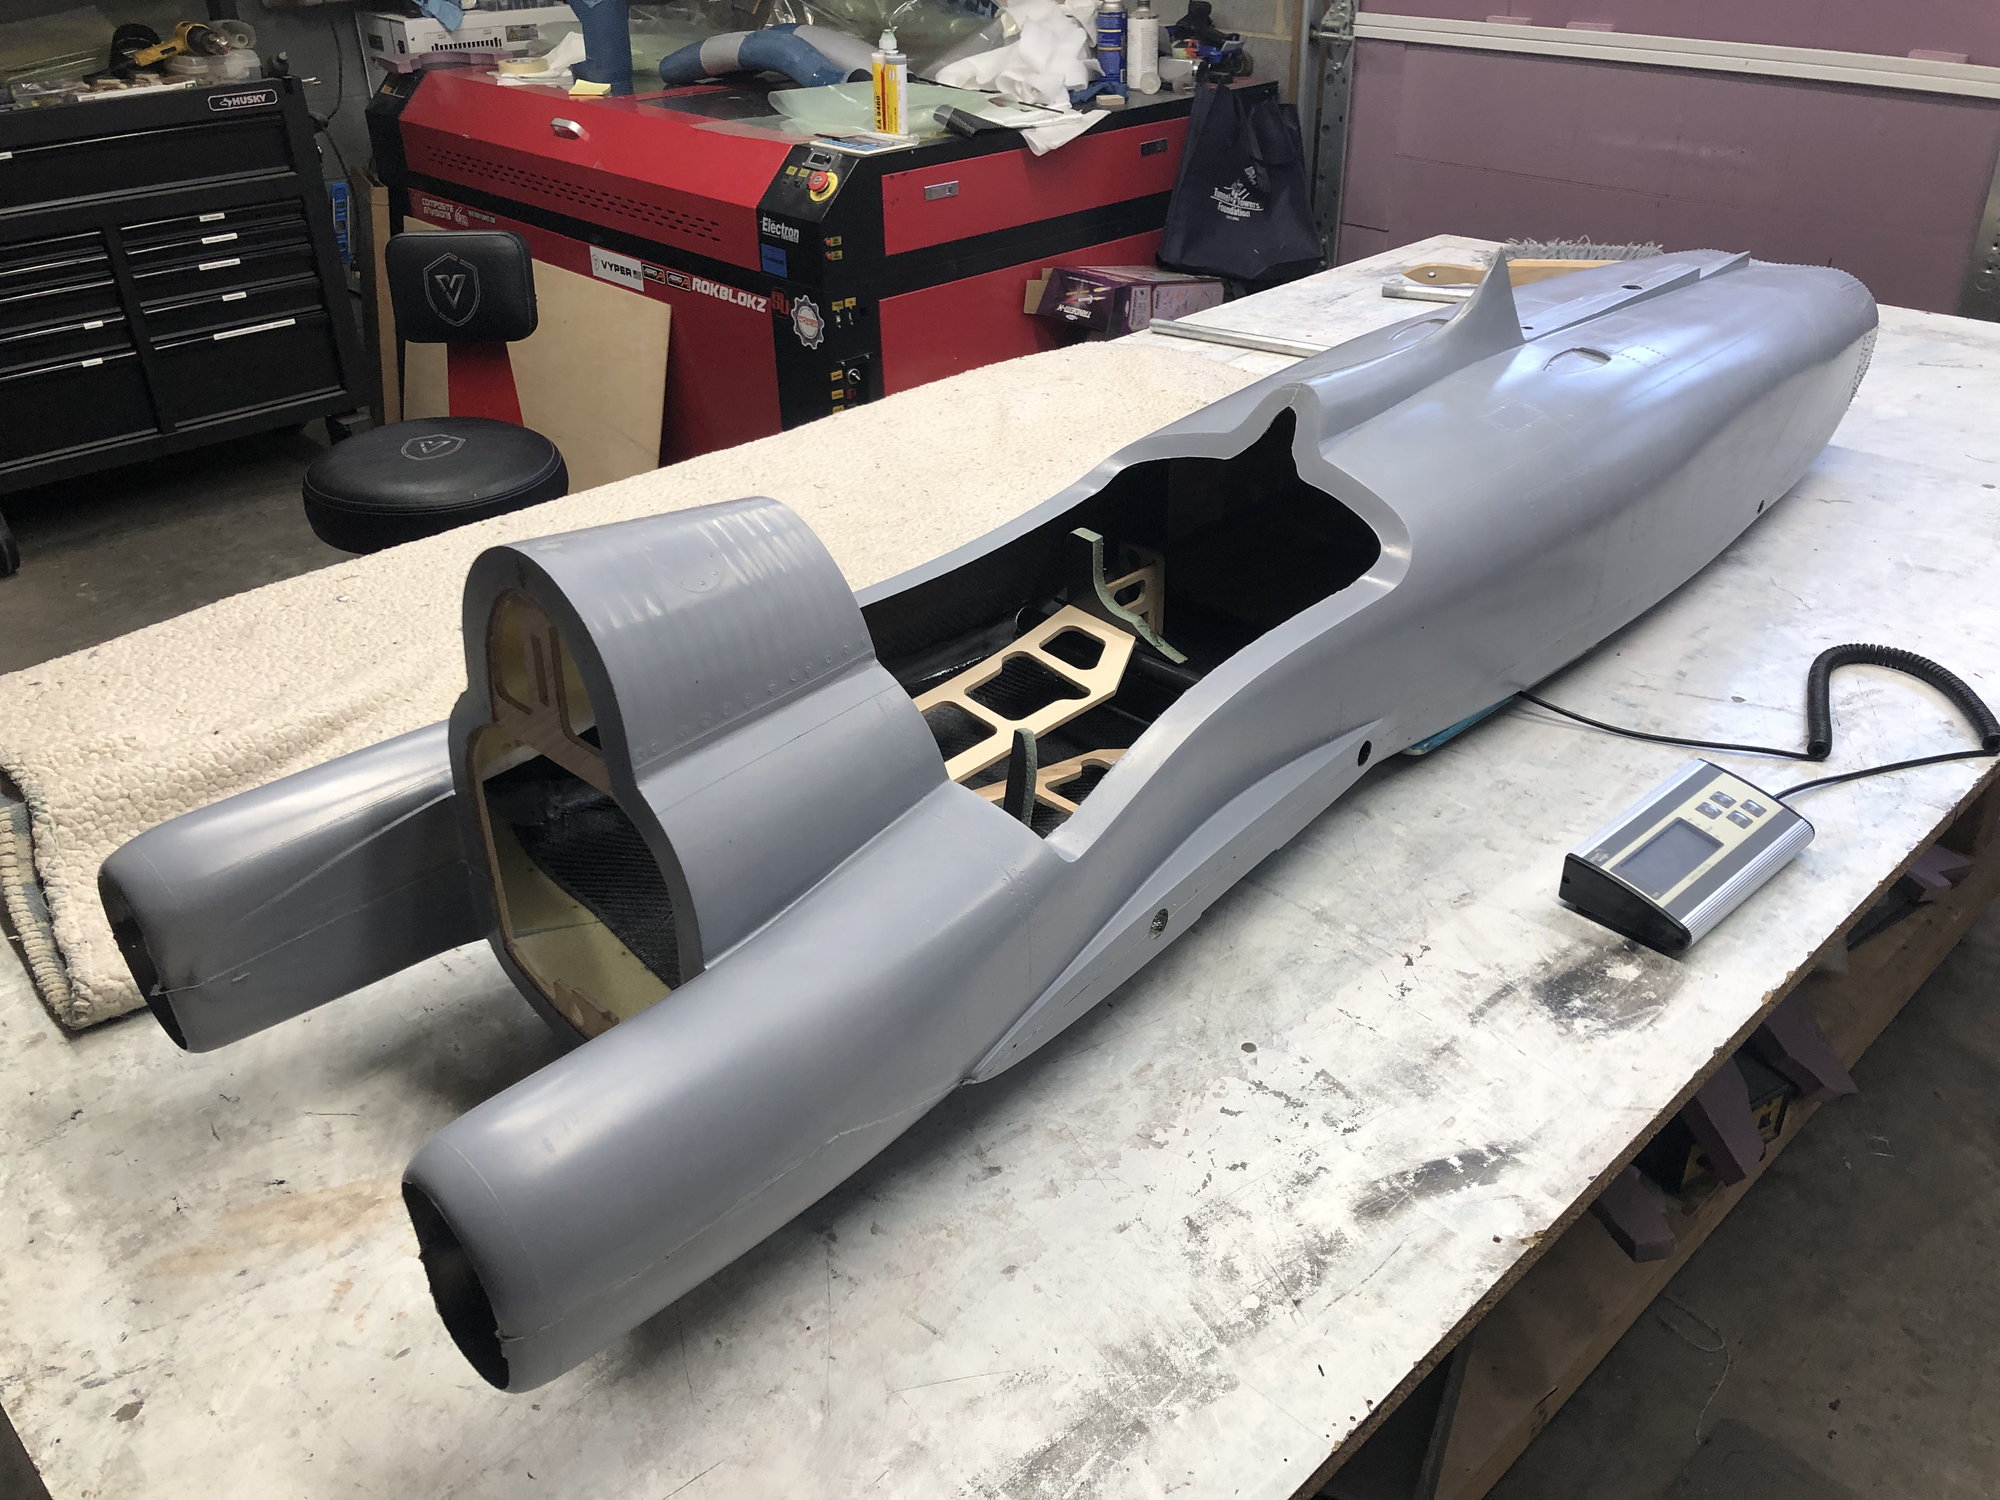

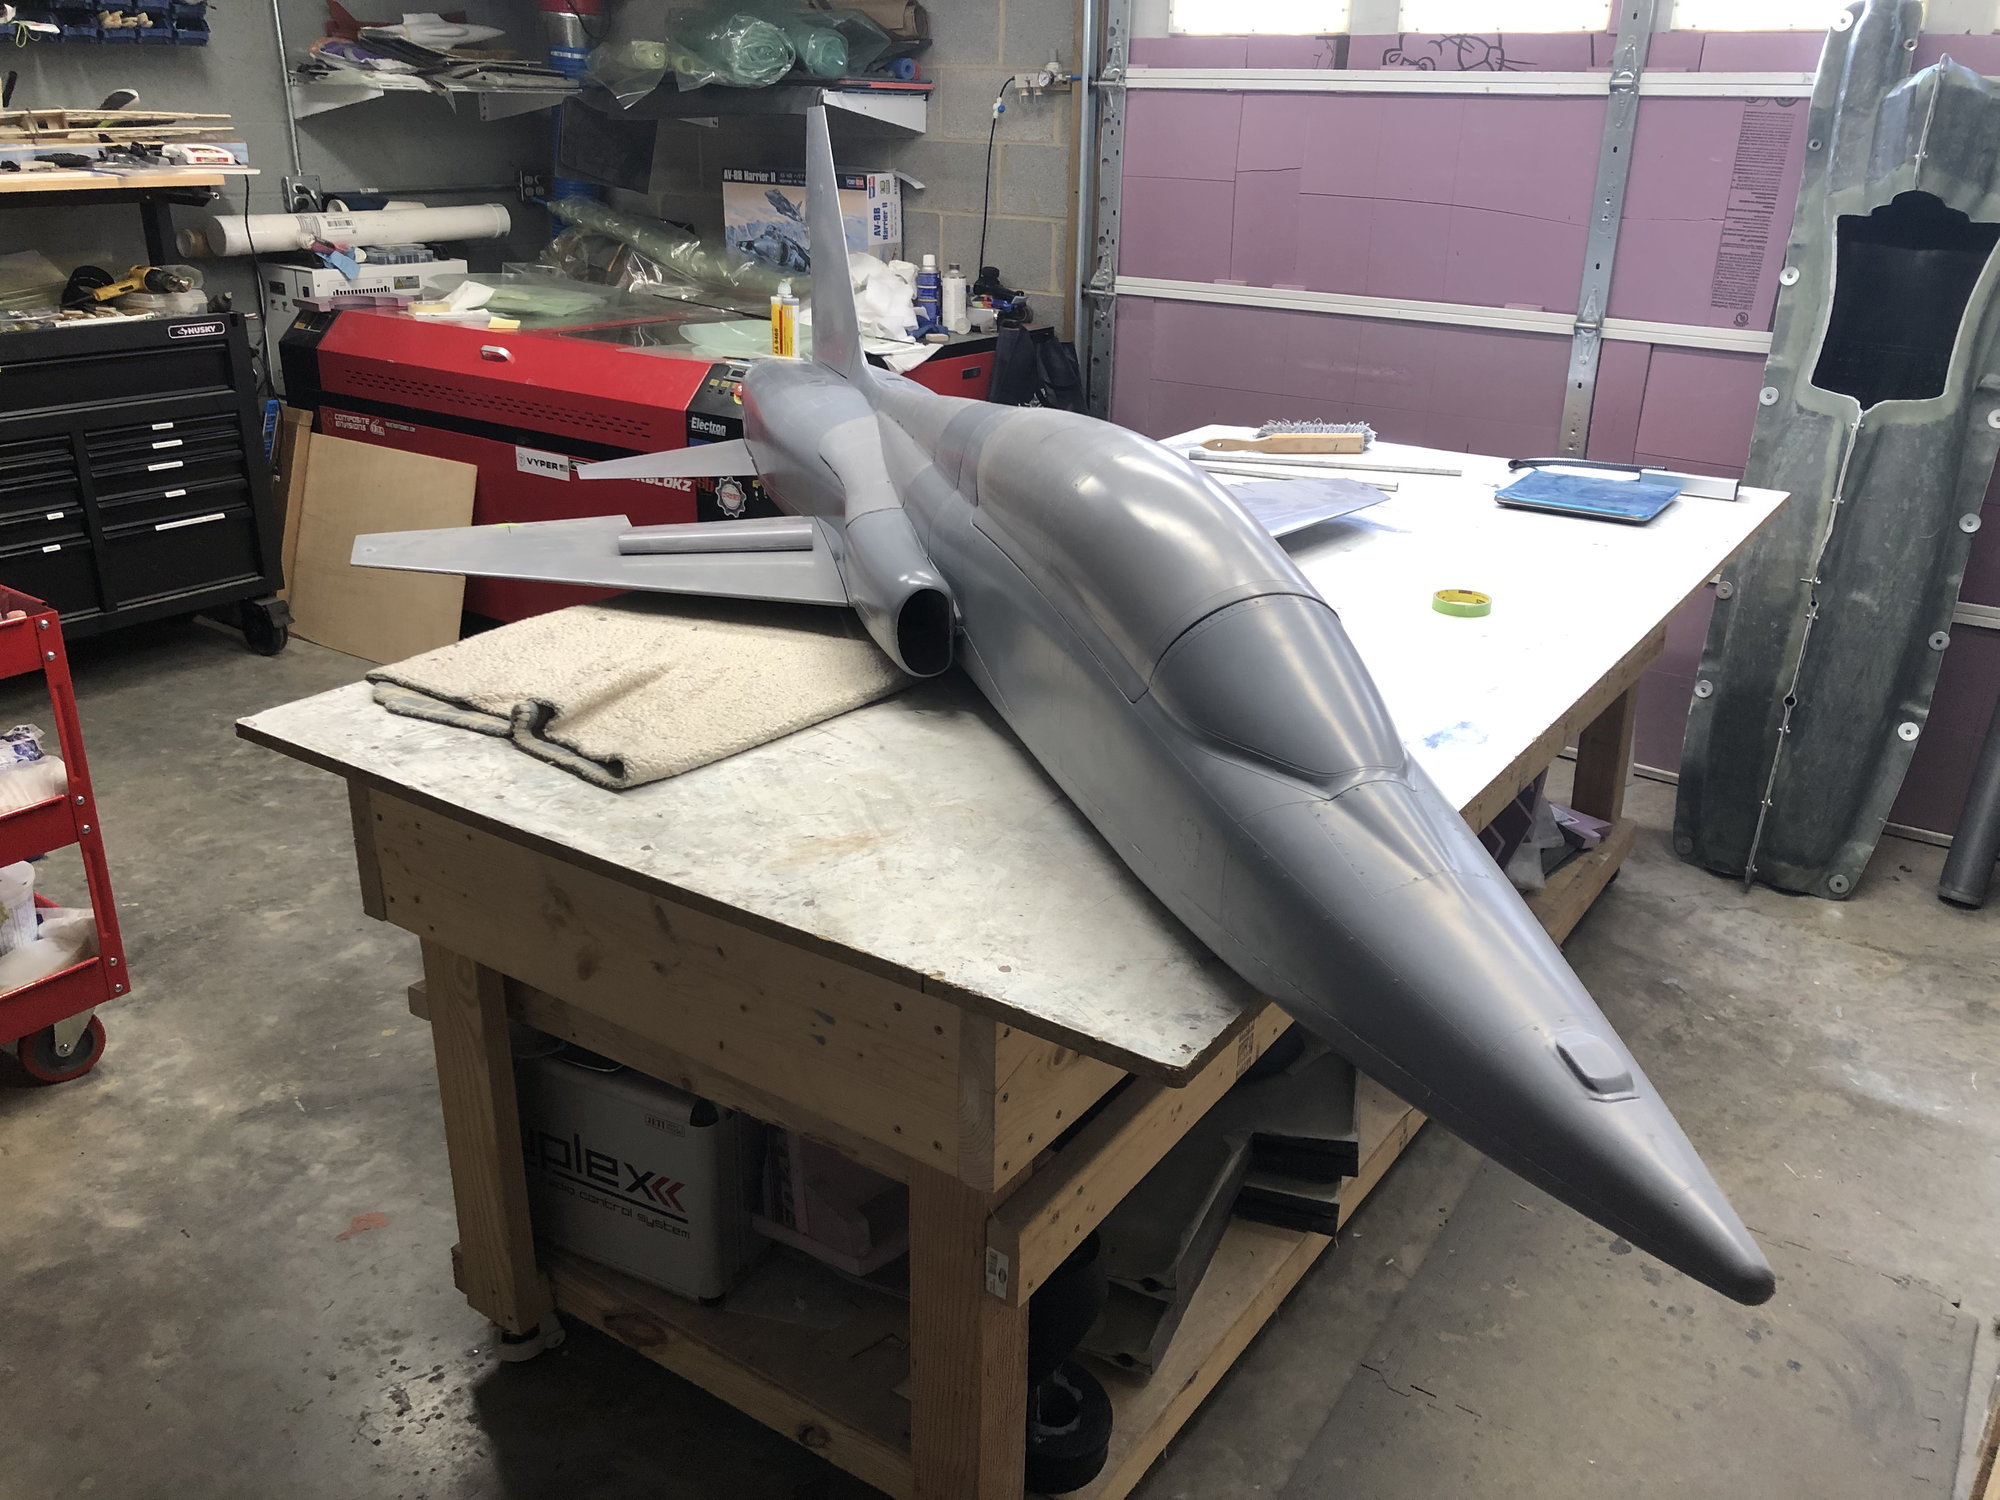
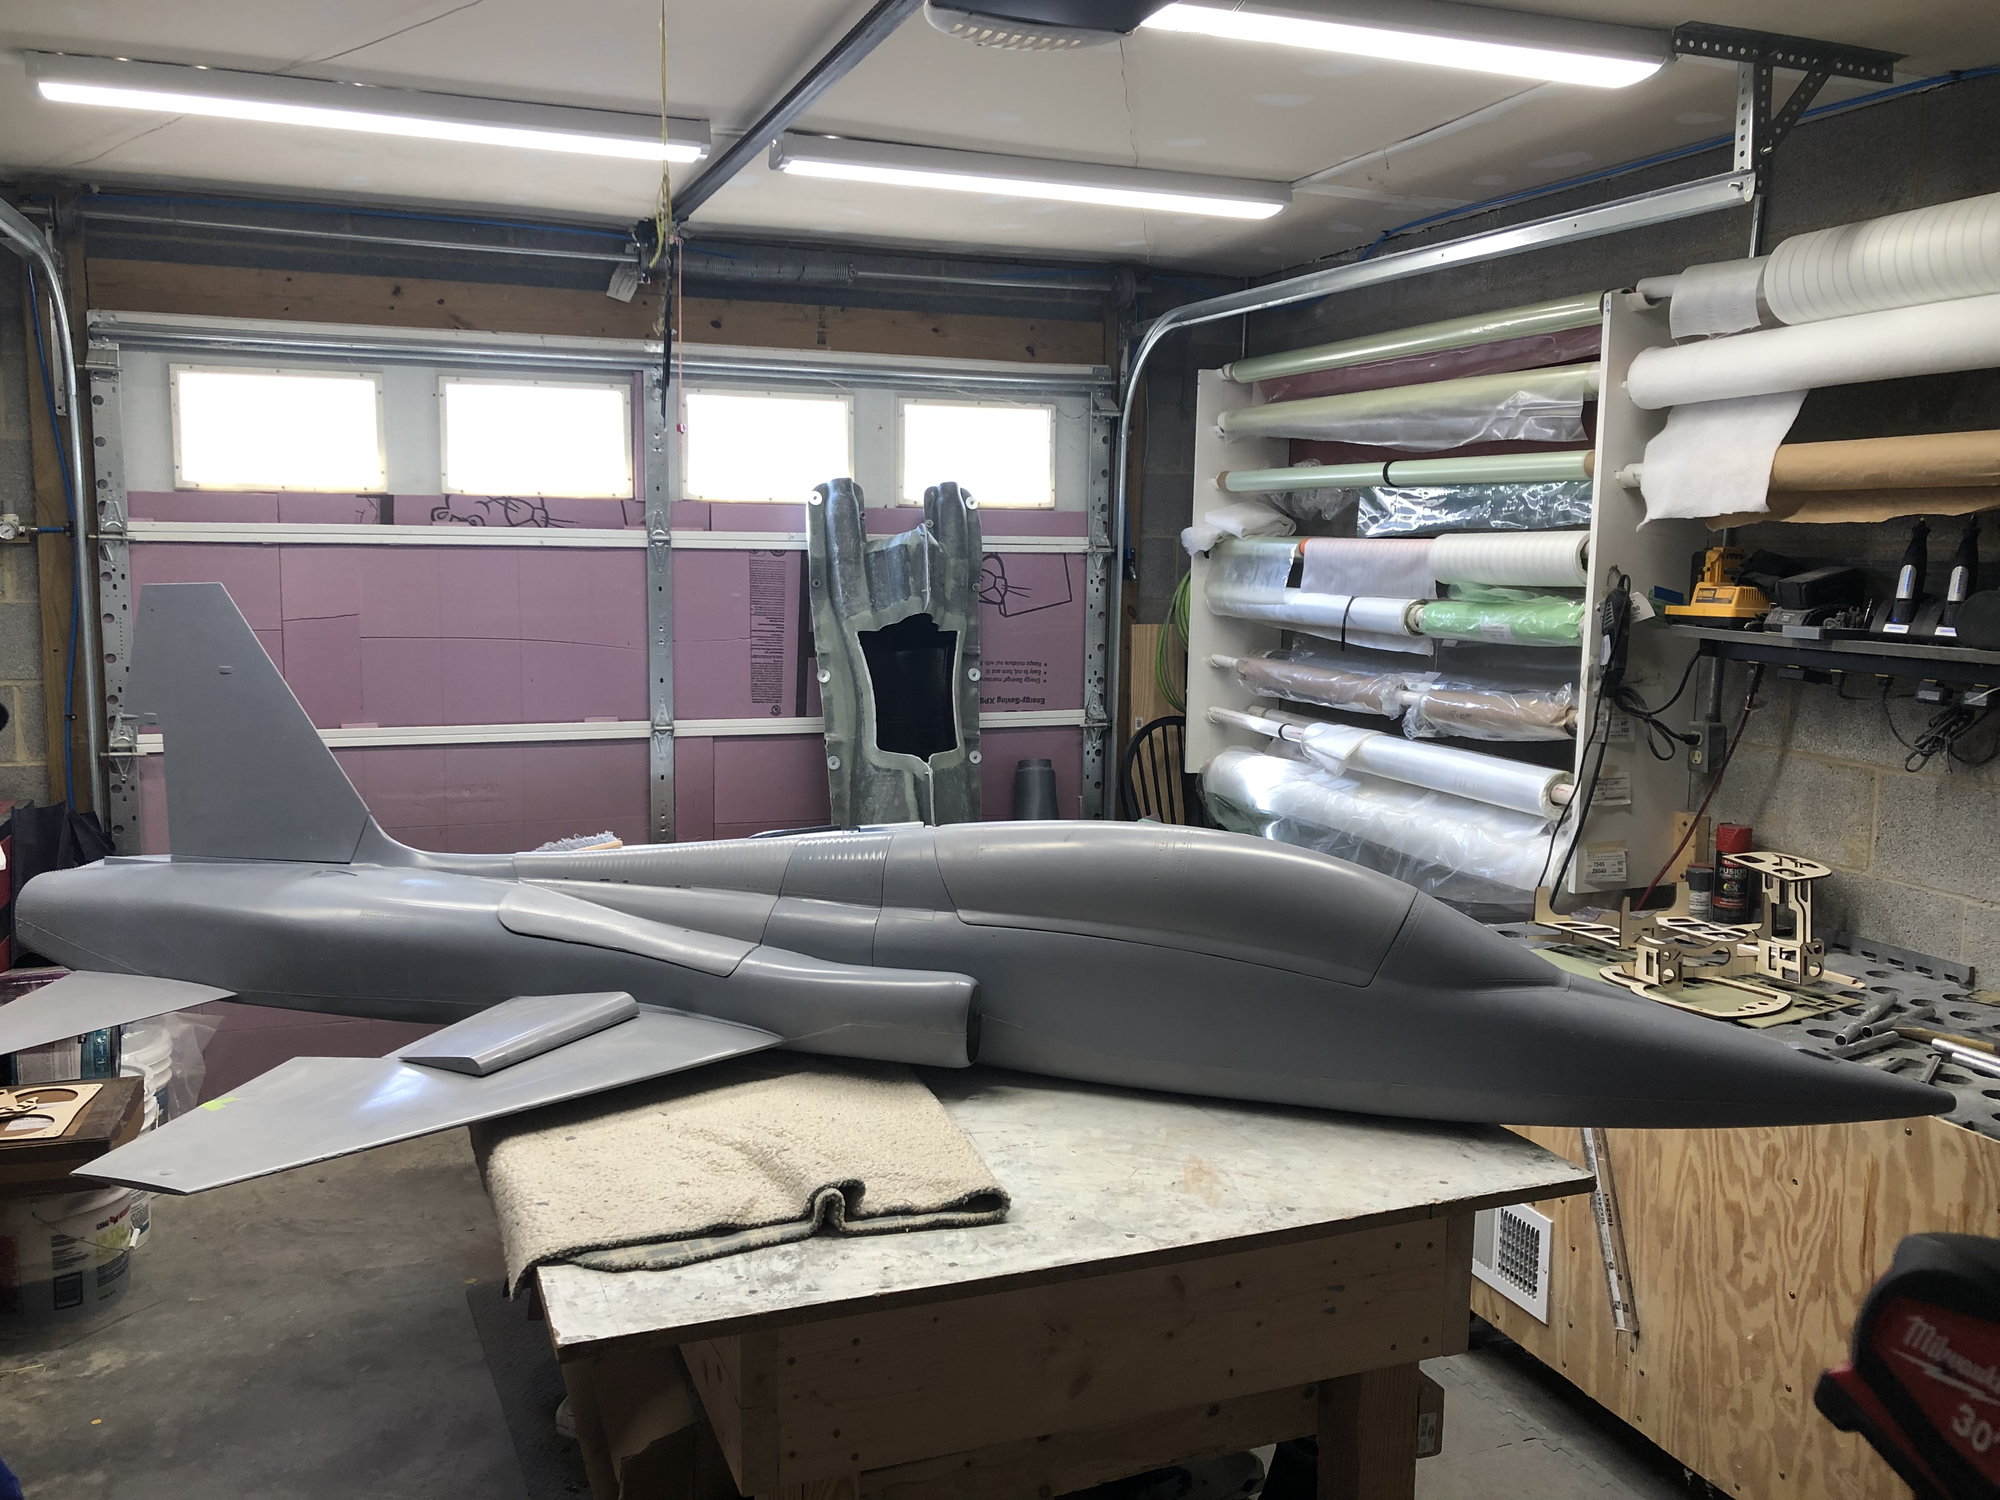
Here is a huge photo dump for you all.

 03-06-2023, 02:35 PM
#281
Thank you!
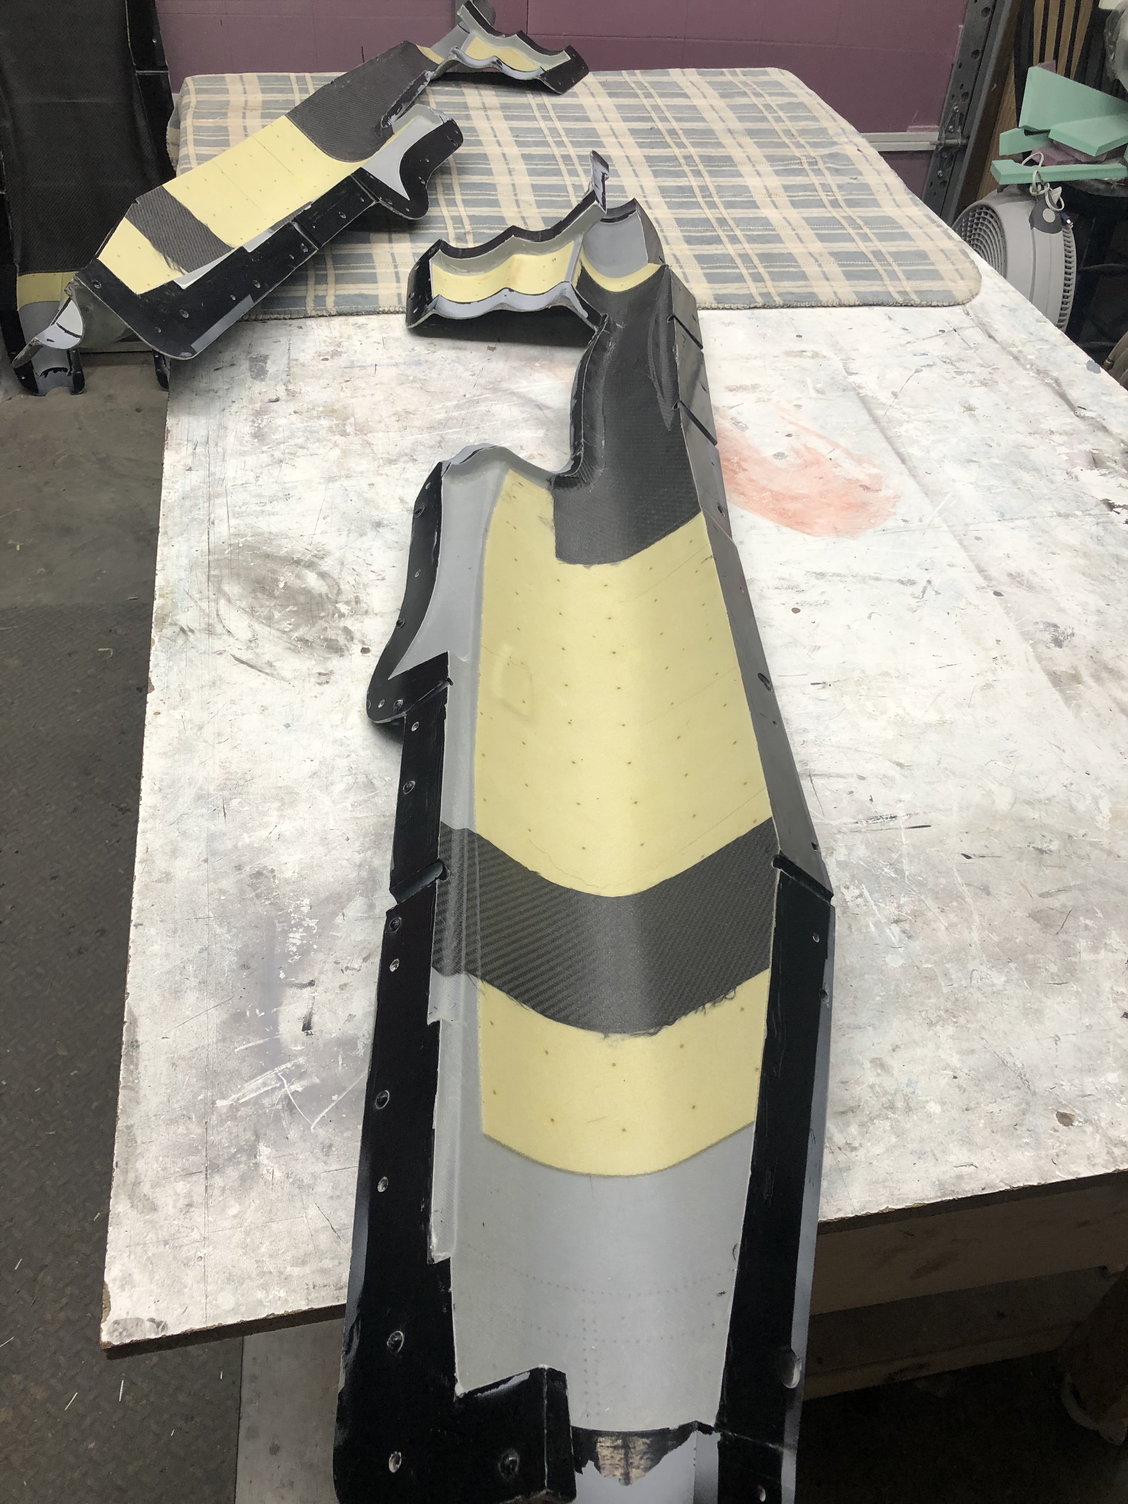
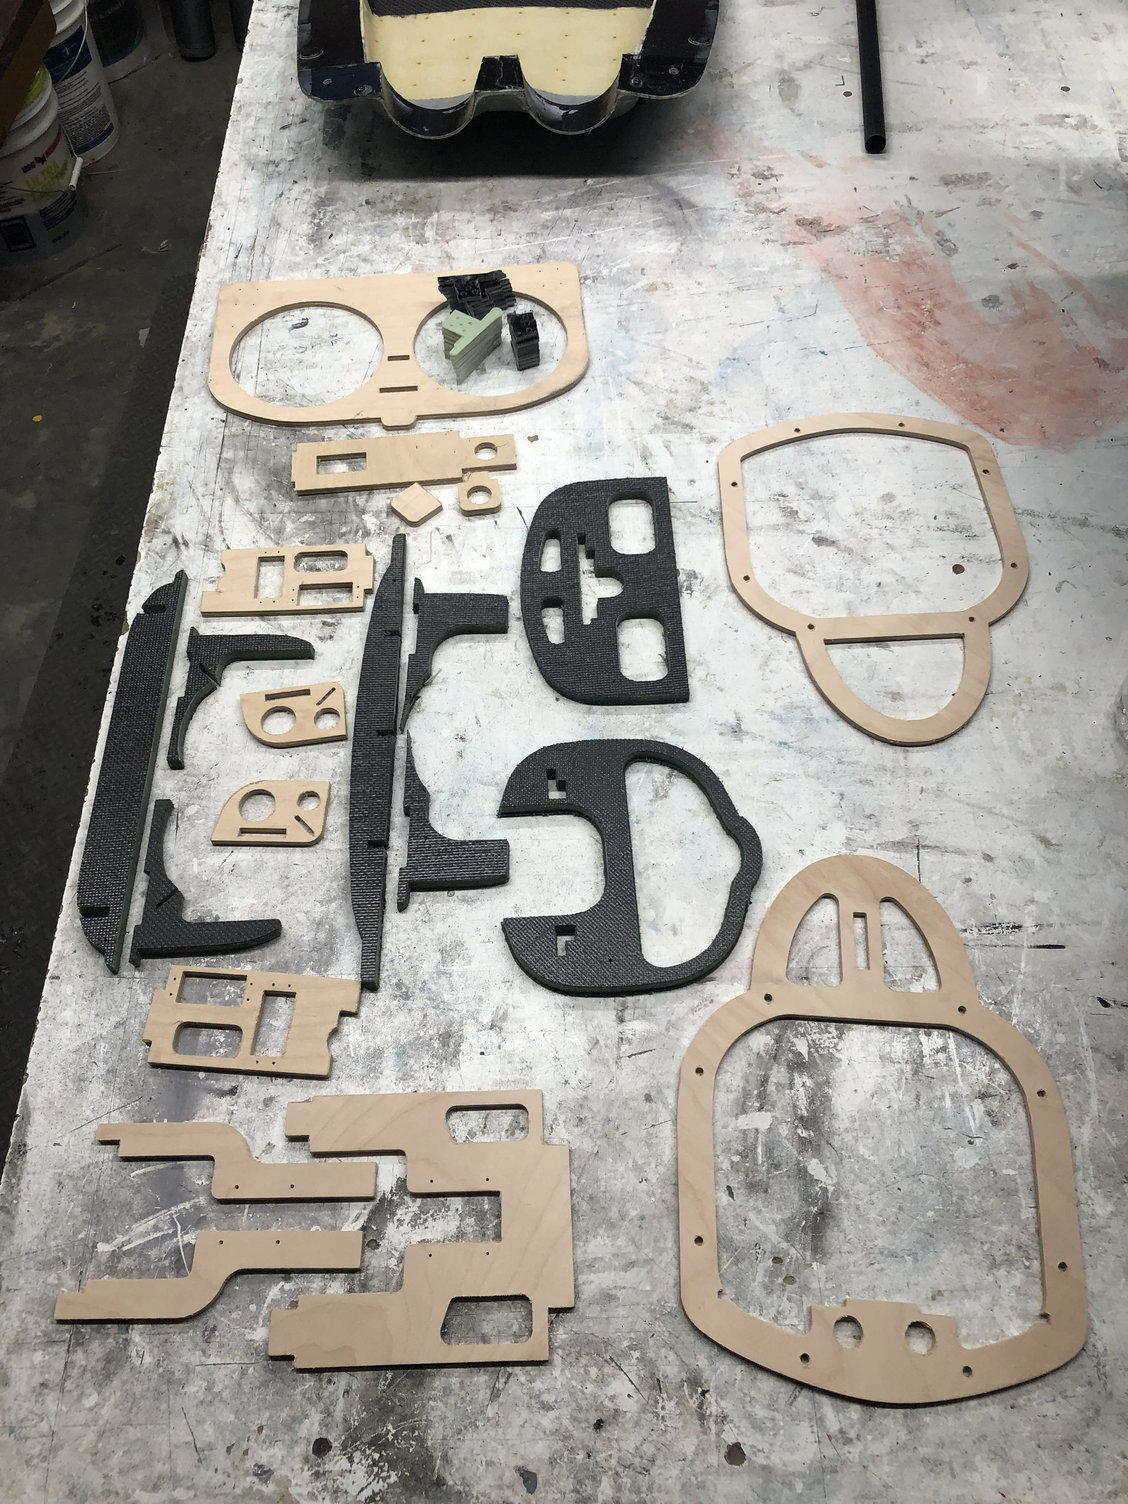
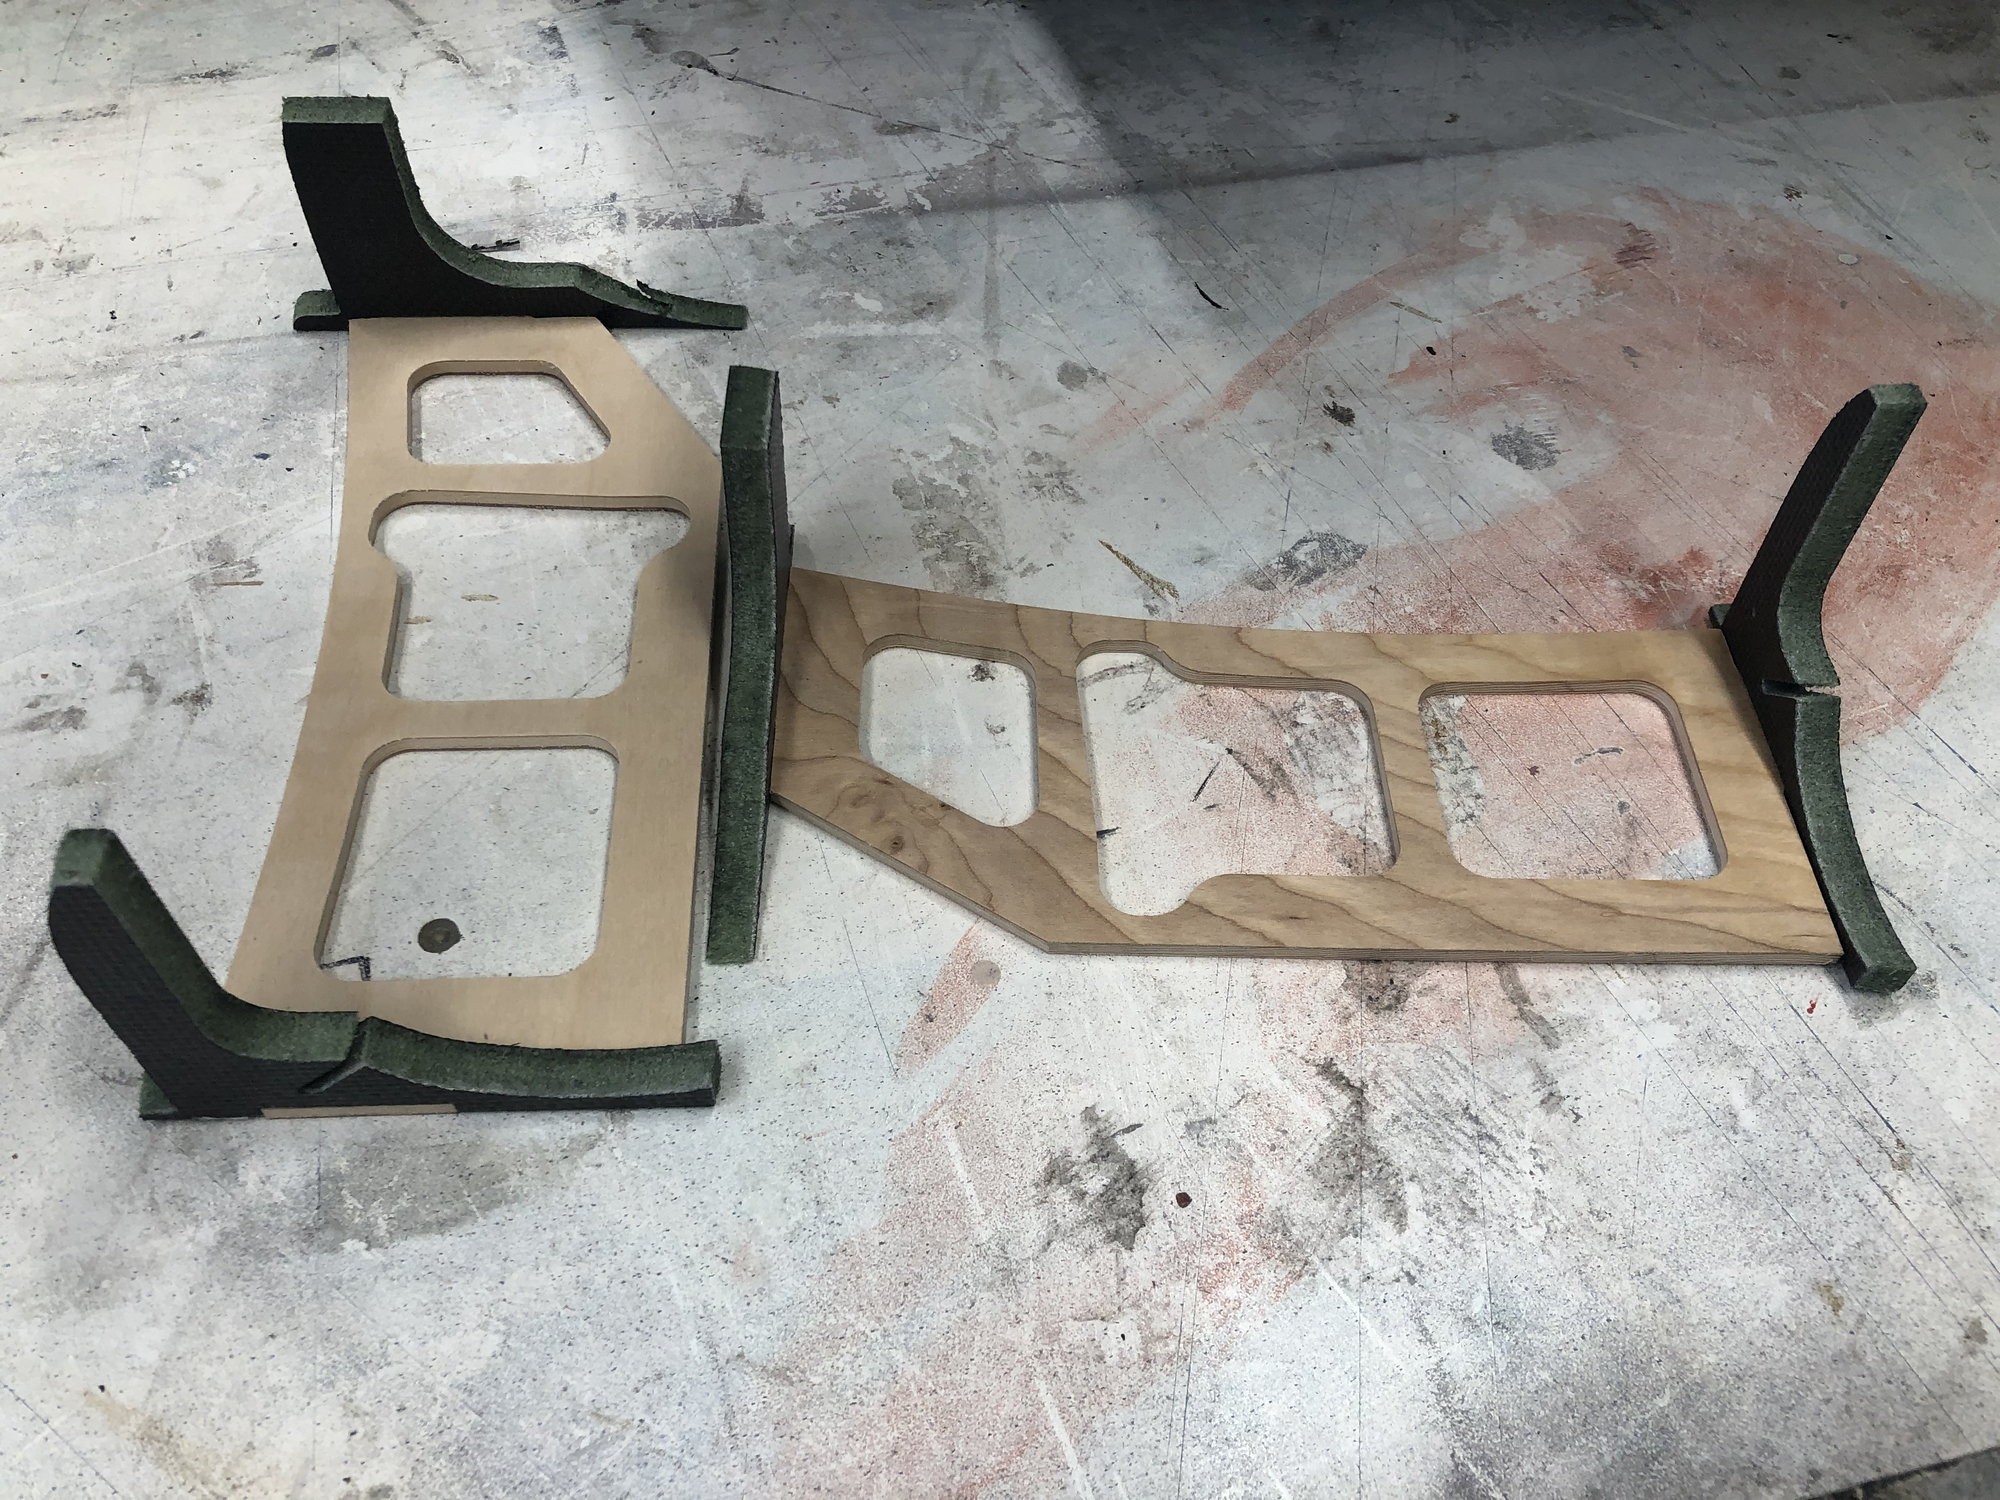
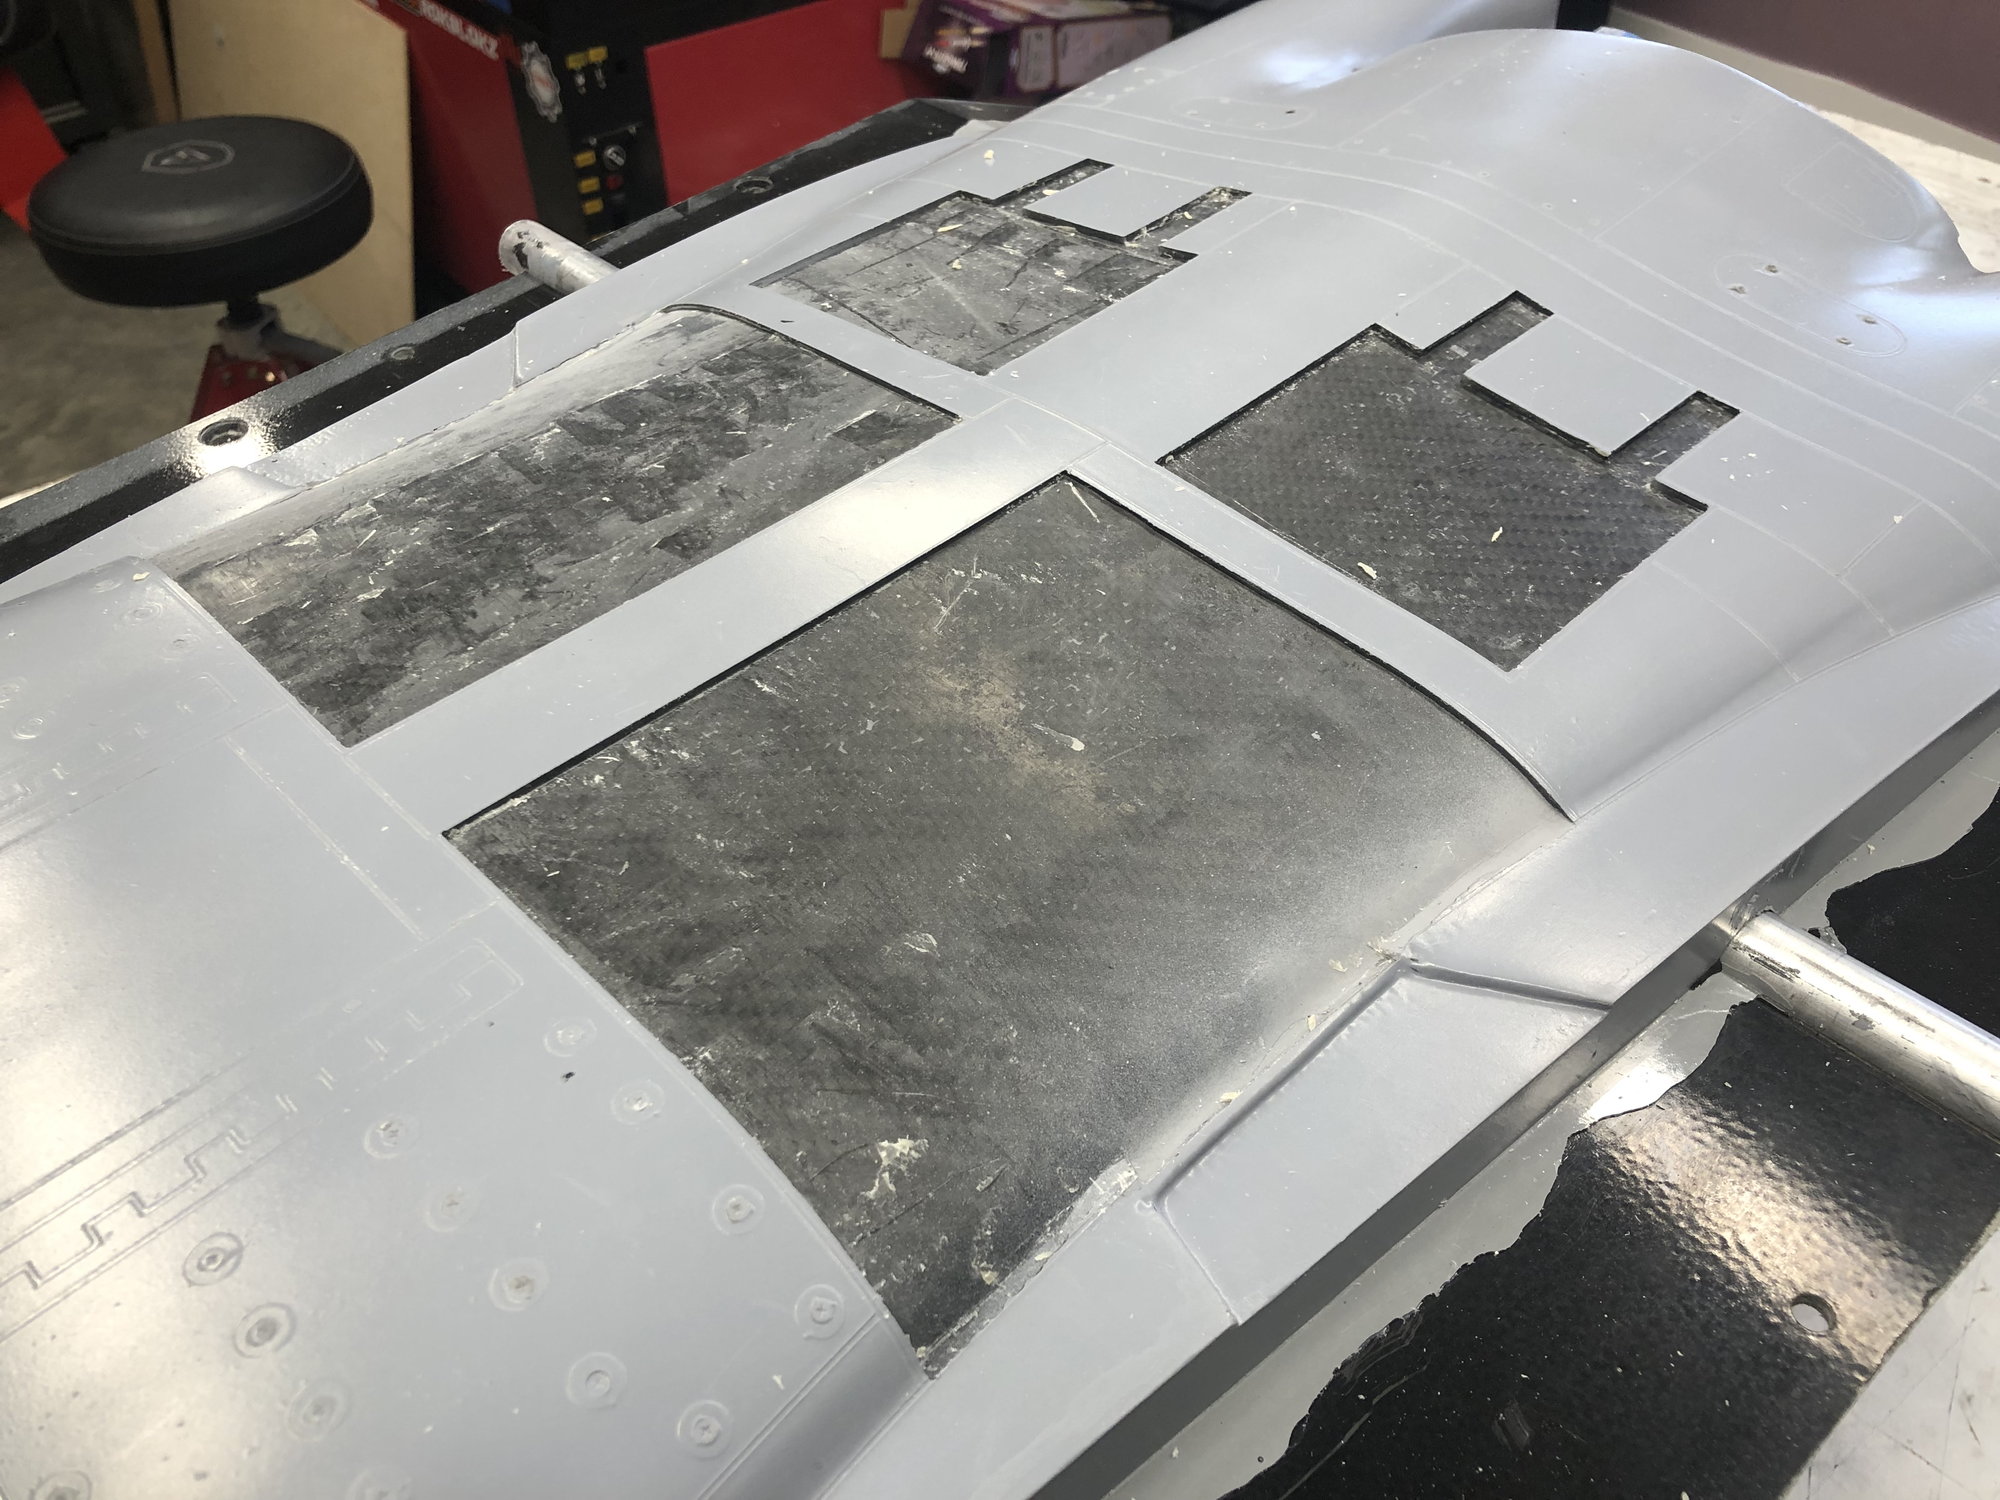
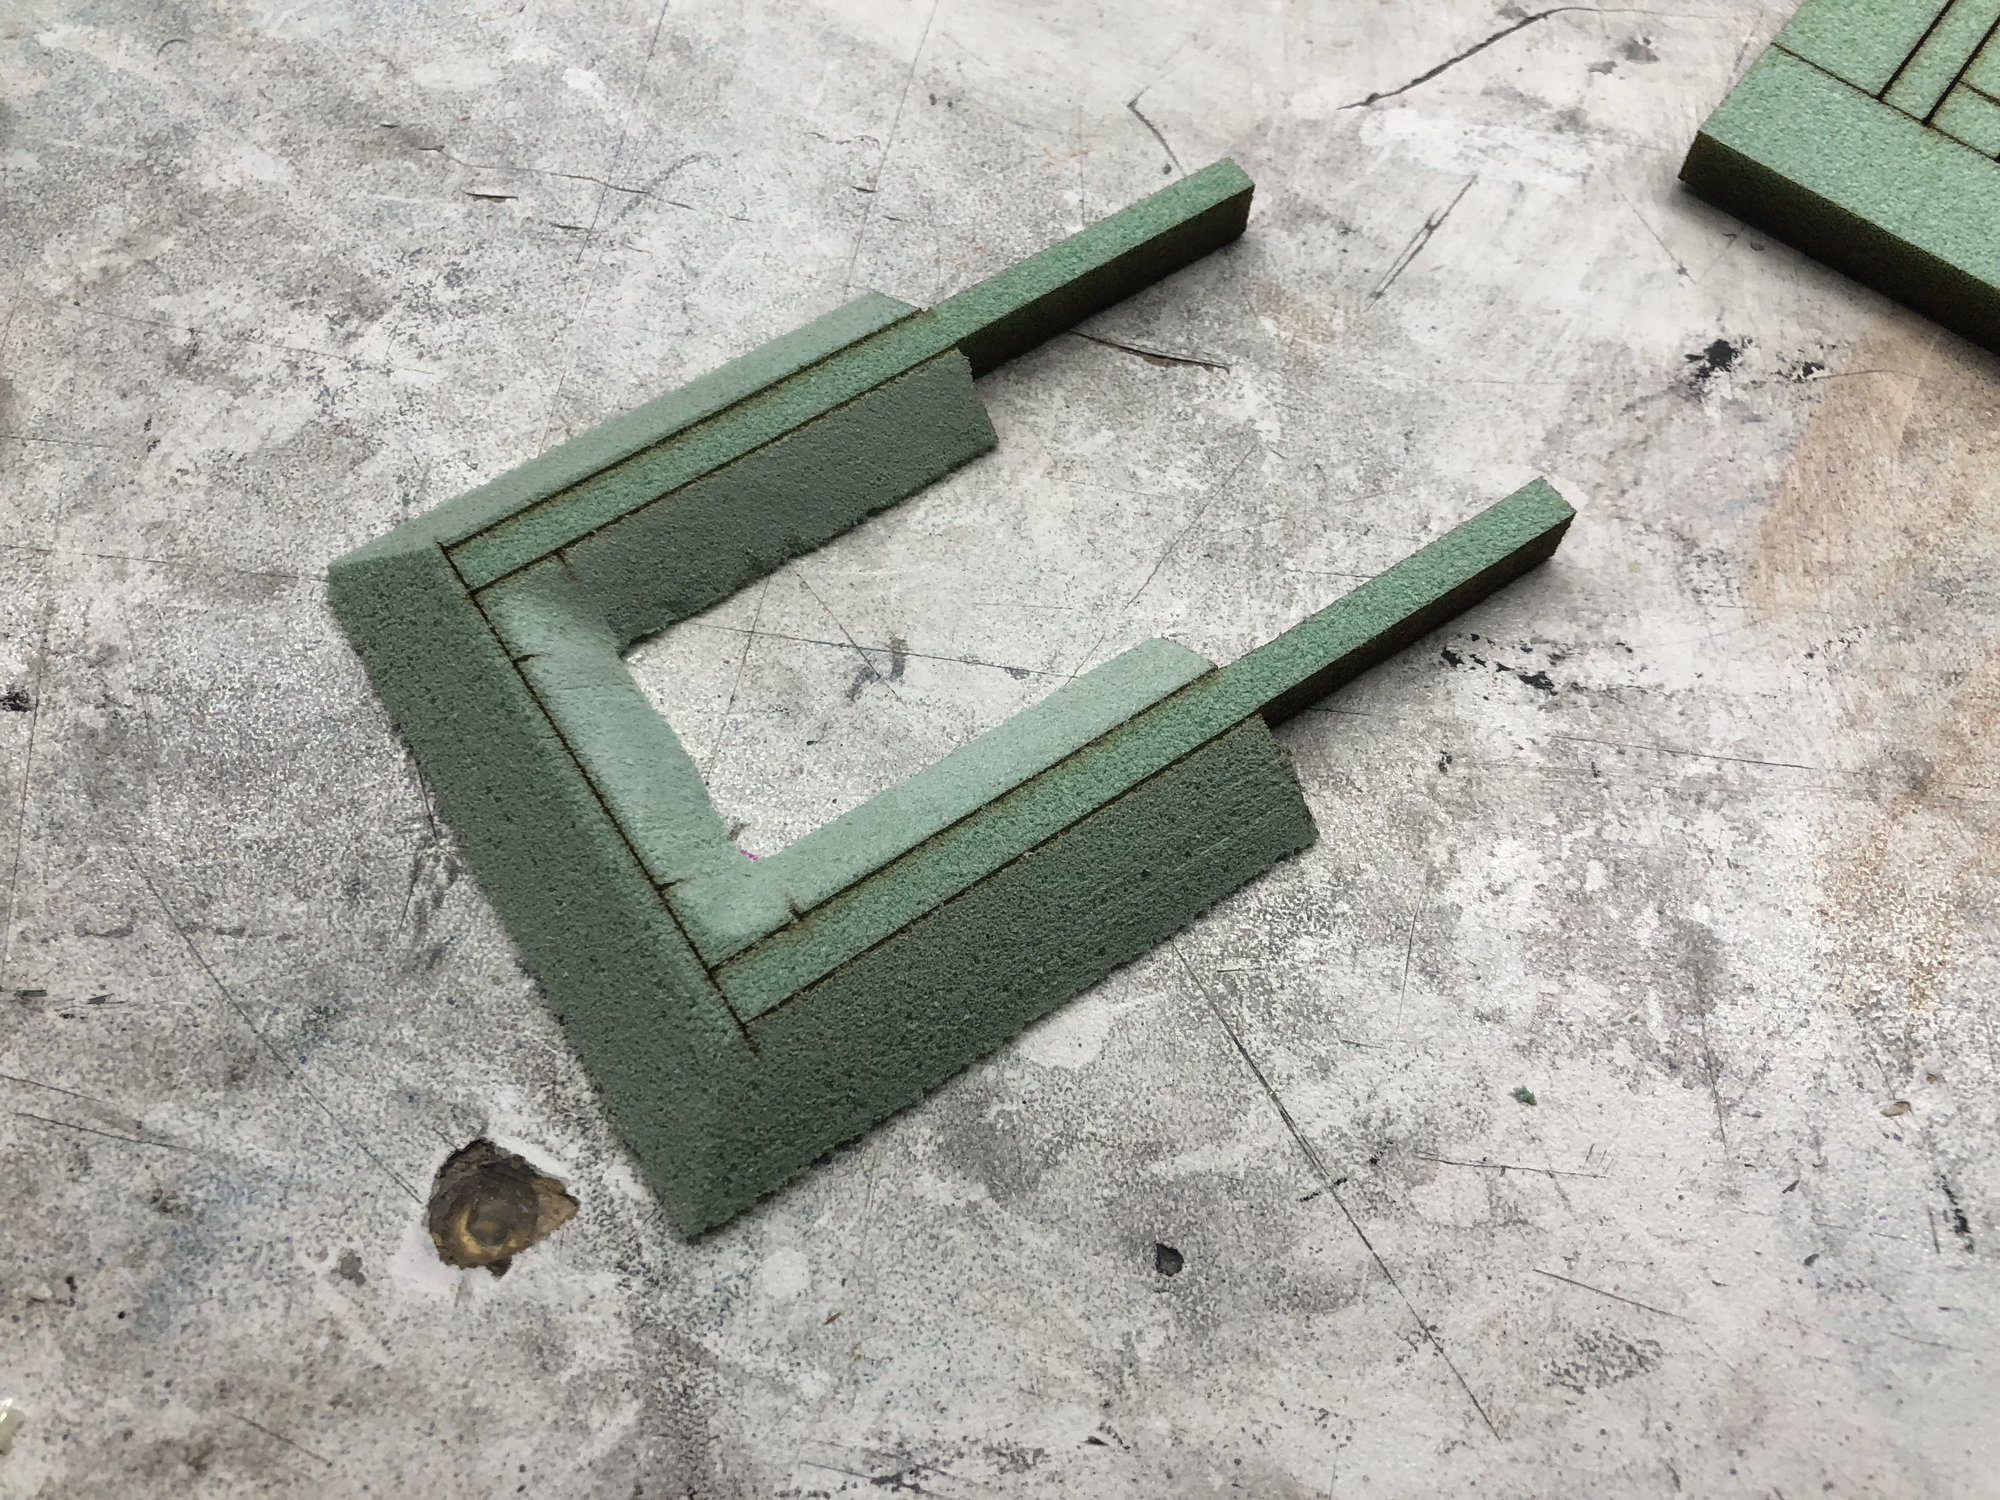
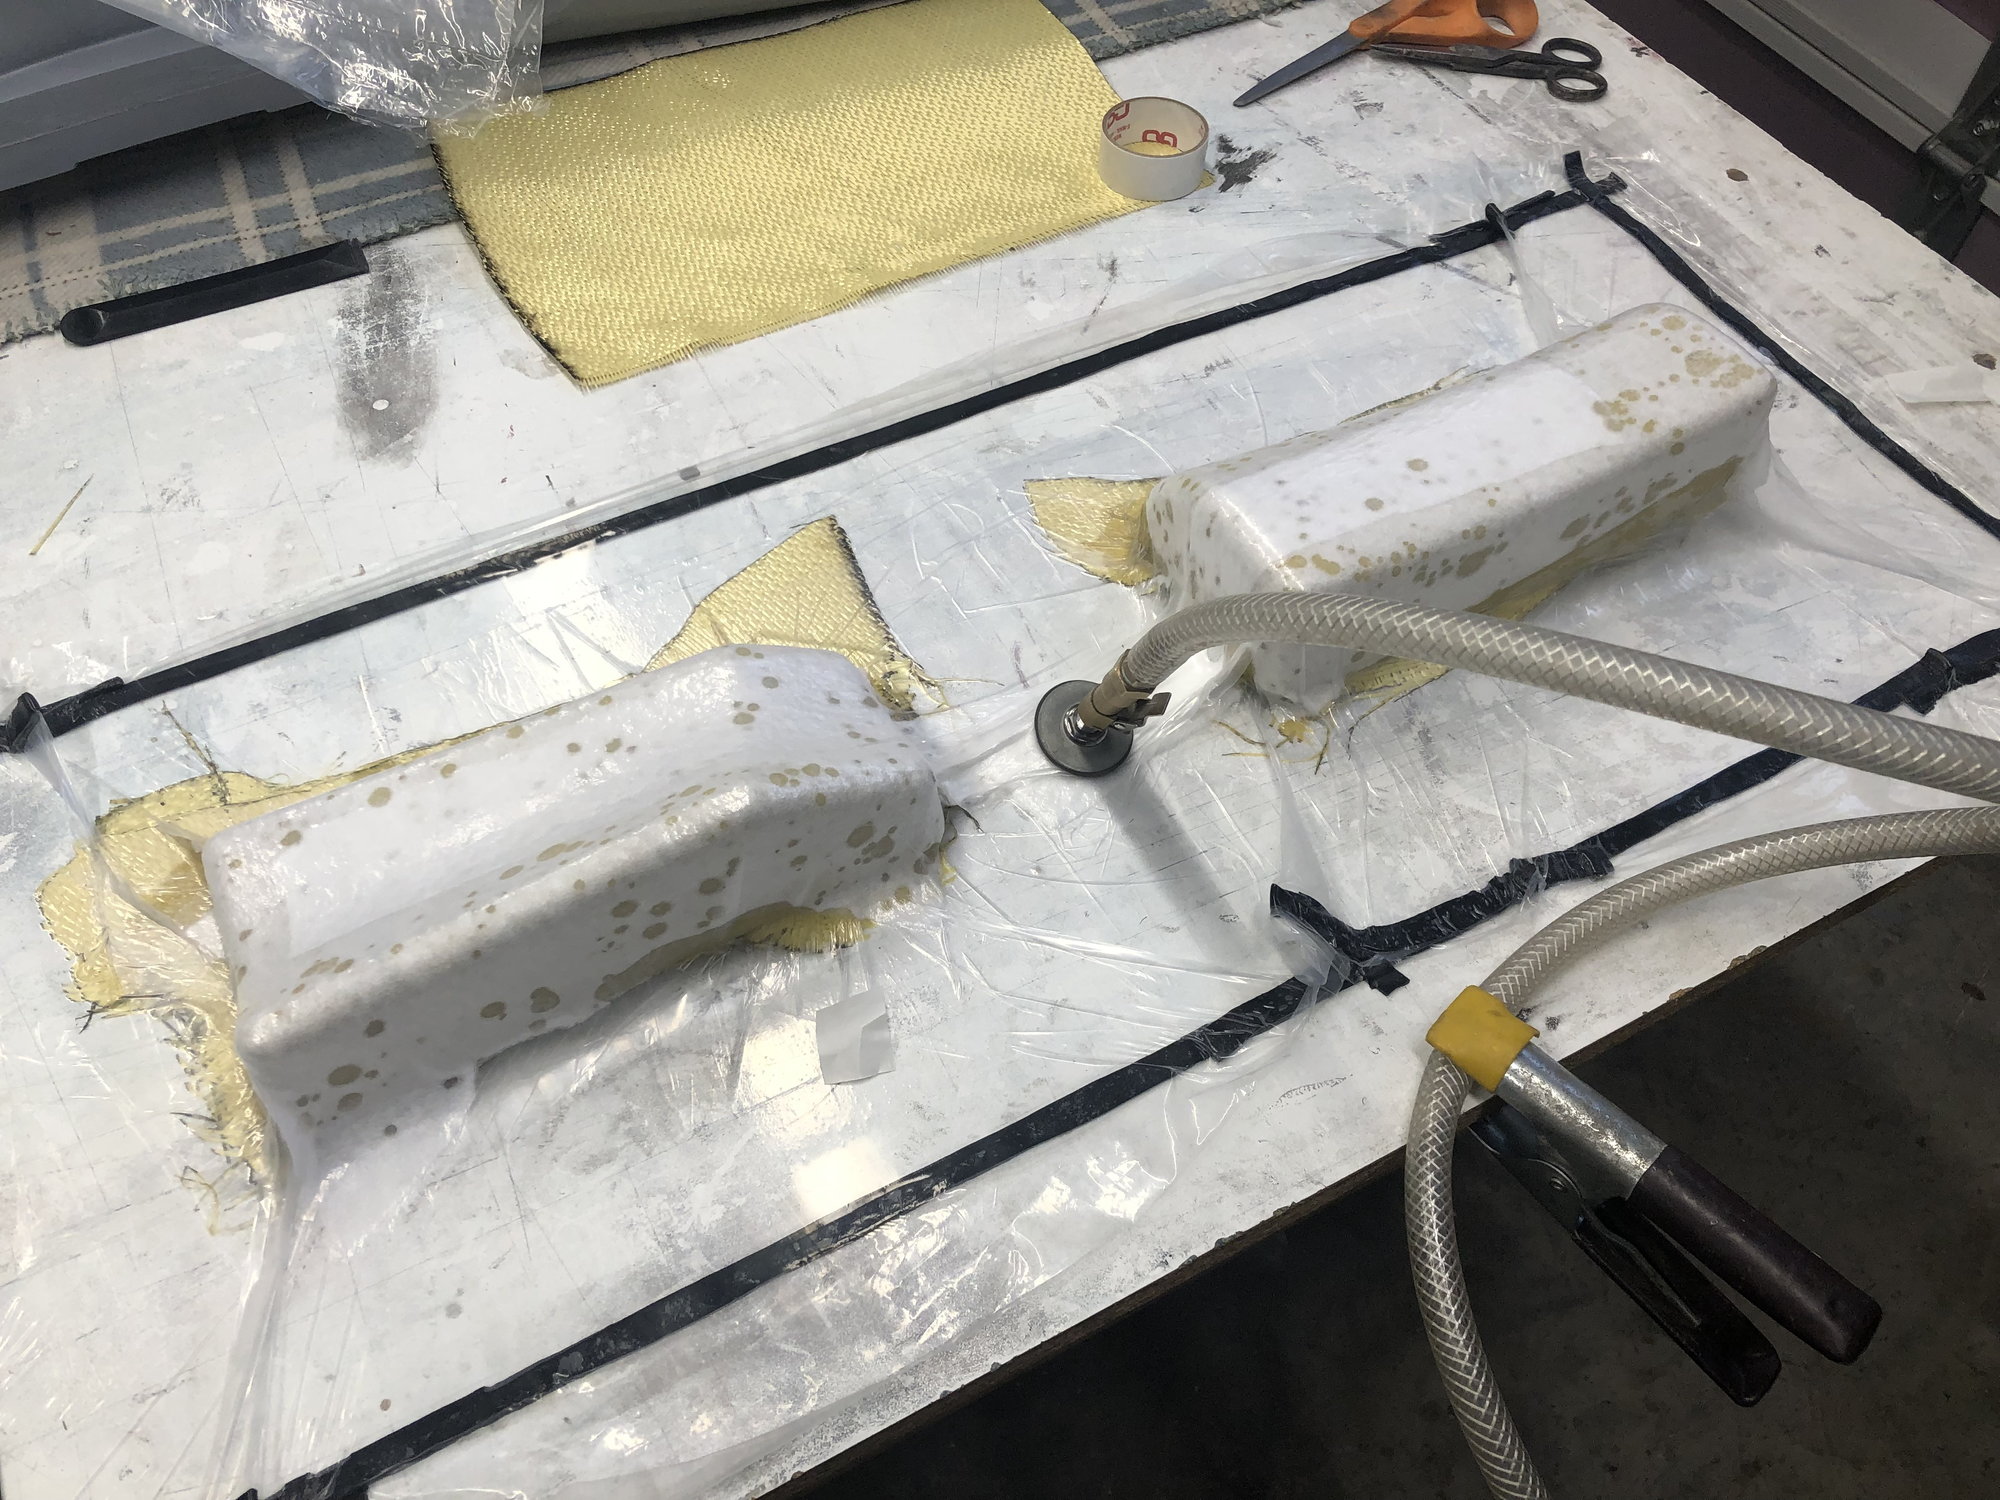
First up for today was doing some cading to laser it the cores for the speed brakes and main wheel doors. The speed brake cores get shaped, so i etched the bevel lines. If i decide to do a competition model, the speed brakes may get a more scale structure, for now though, these will be fine.
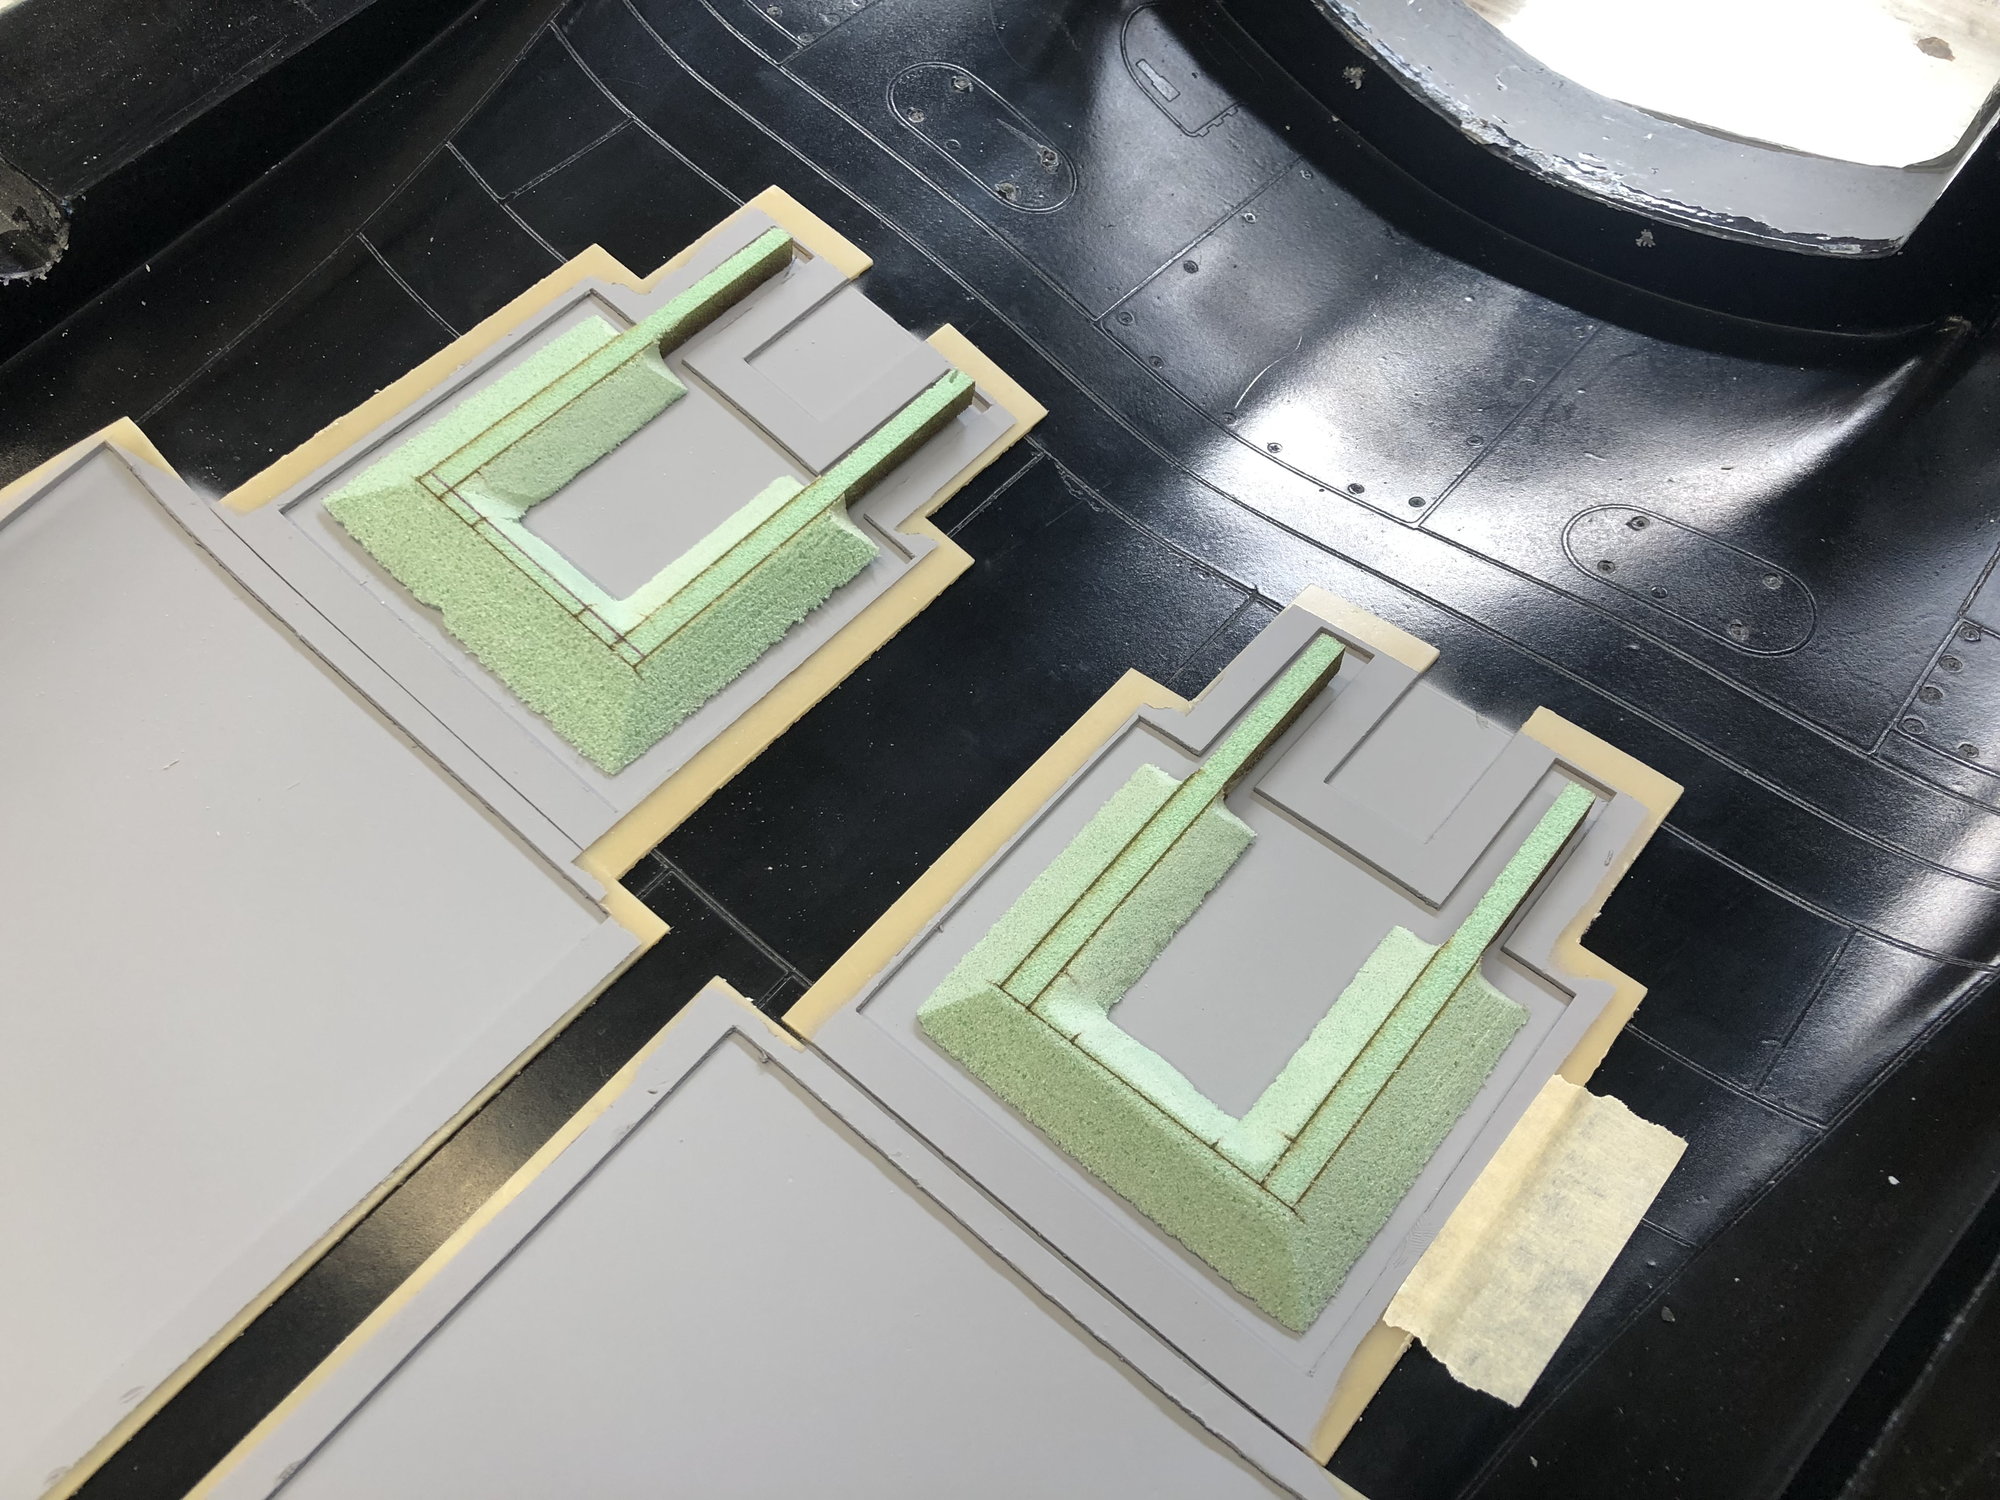
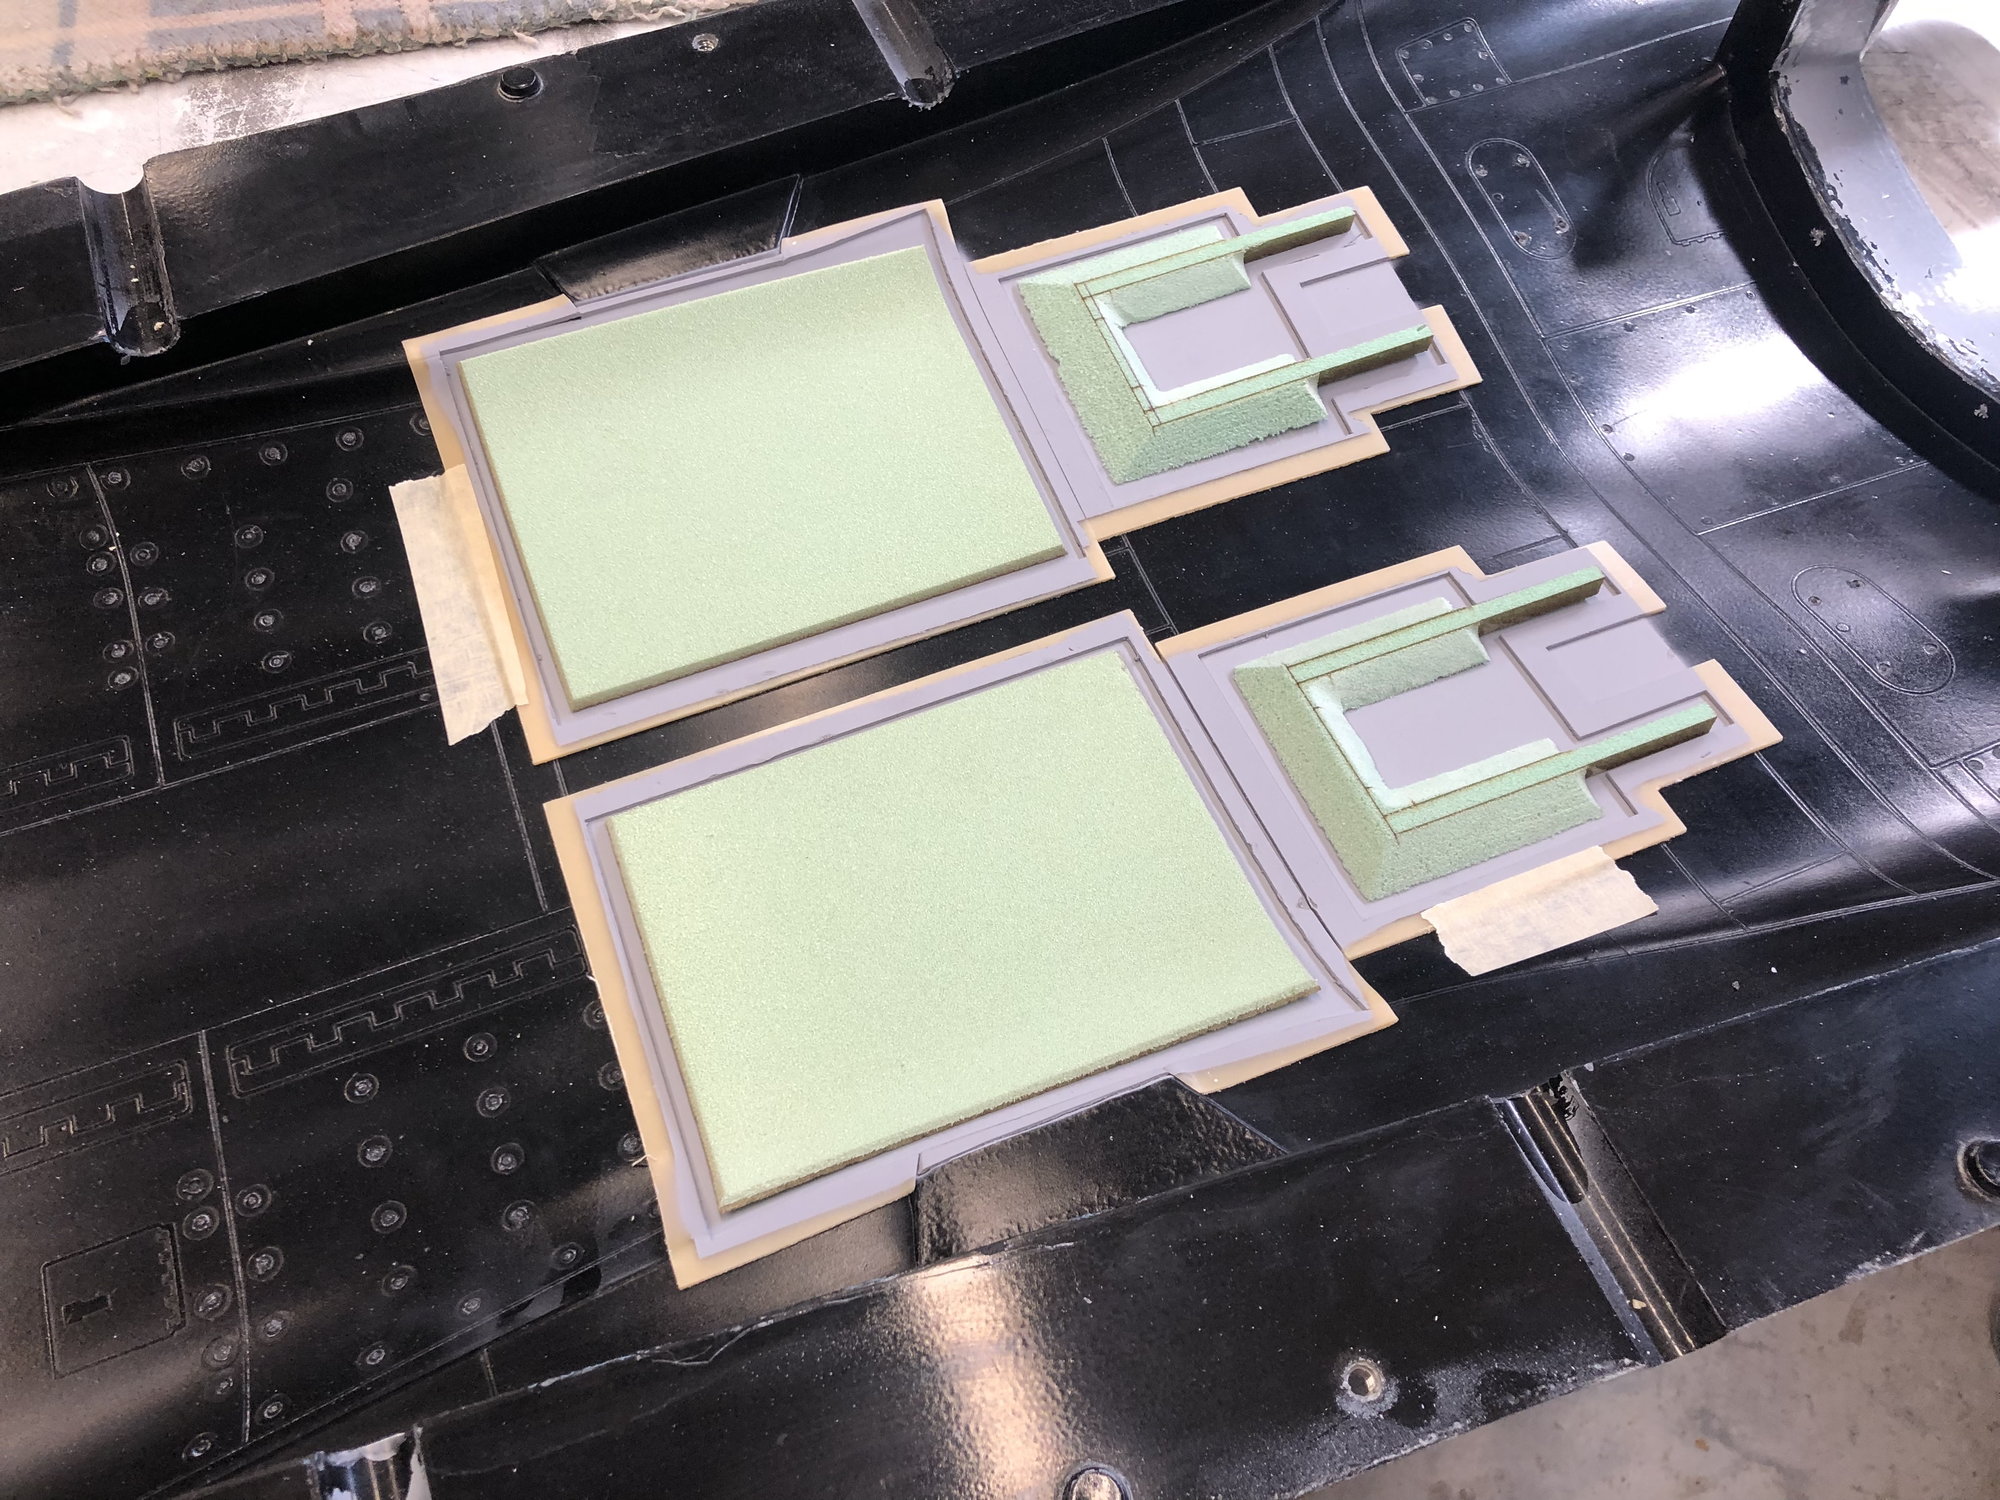
I then got around the laying up the speed brakes and gear doors inside the fuselage mold. I used some 1/16� sticky back wax sheet to outline the parts that way there would be a definitive edge to help locate the cores.
The layup for these parts is 1.4oz glass, 3k carbon, core, 3k carbon (the speed brakes are on the bias so as to help form around the edges) and 1.4oz glass.
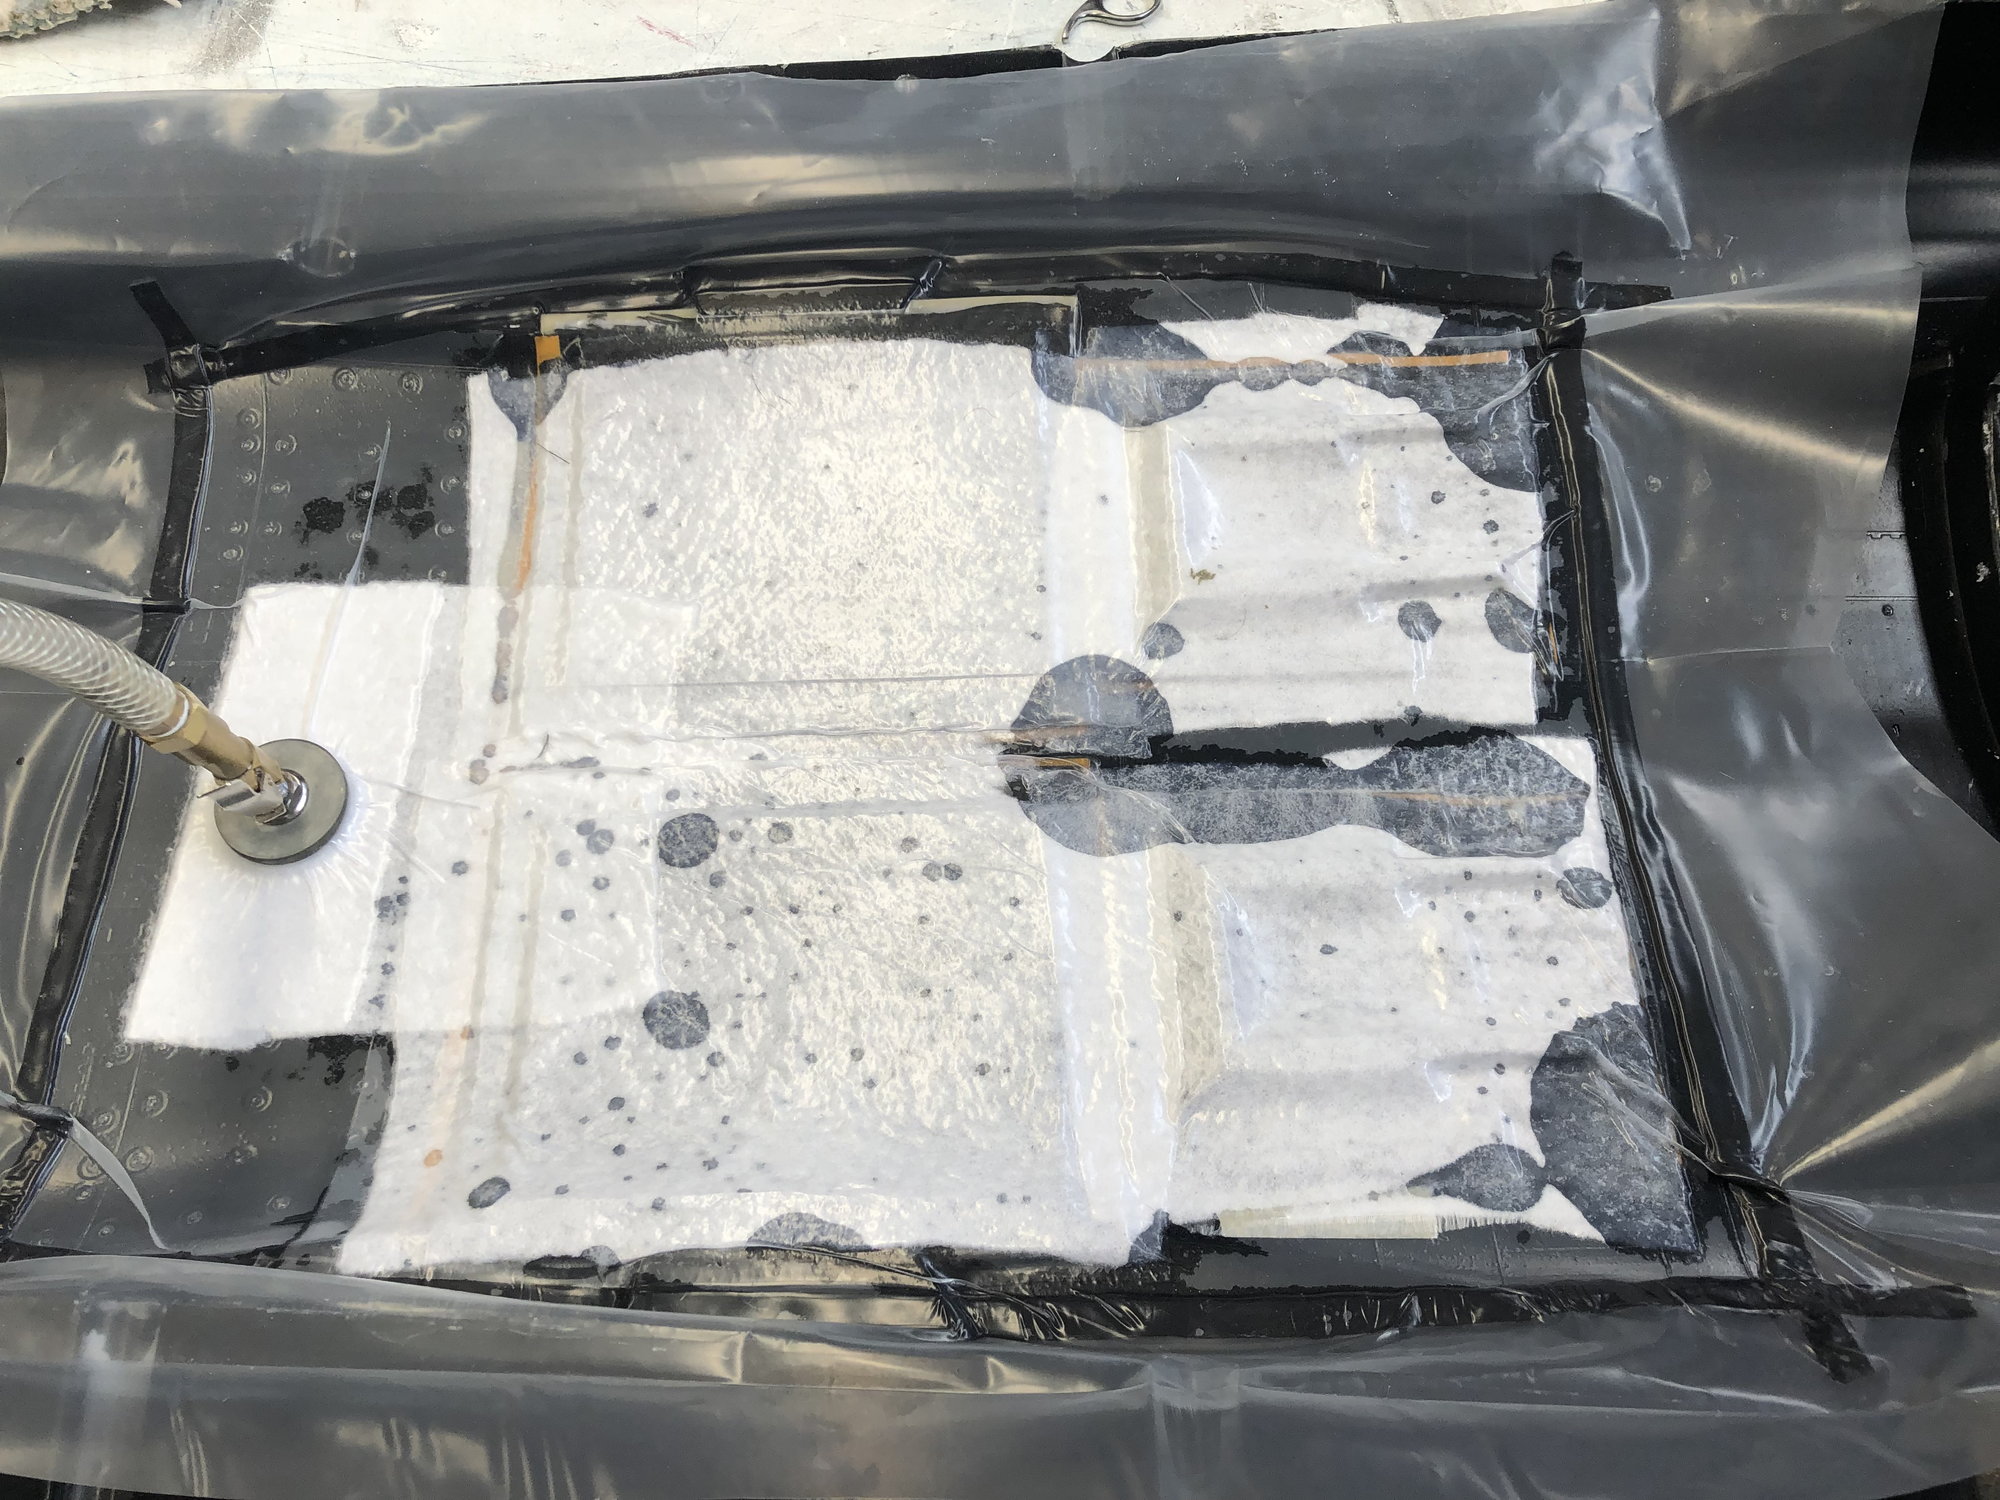
This was then topped with some 6mil plastic� i probly should of gotten 2mil� then the 6mil plastic for the vacuum bag material and the bleeder fabric as well.
The reason for the need to use a thinner plastic is so it would stretch a bit more around the hinge fingers of the speed brakes. Overall though, i think these parts should turn out fine.
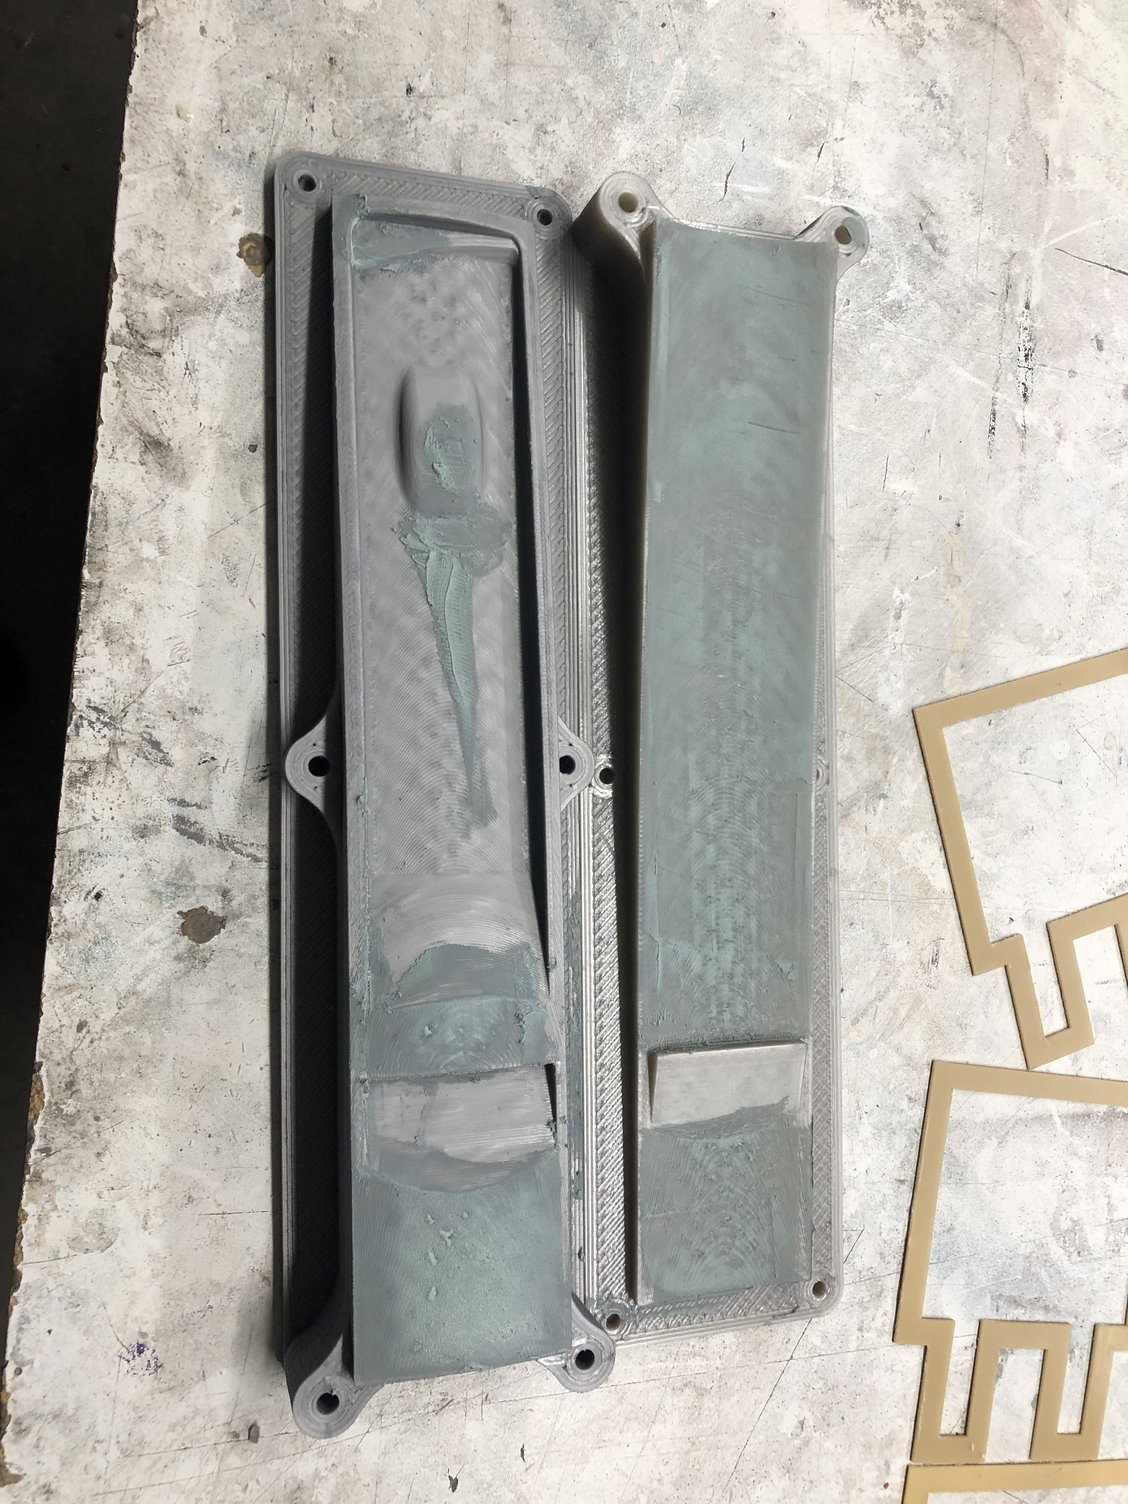
I also finished prepping the main gear strut door molds. That was just a matter of sanding the duratec primered surface flat. First with 600 and then 1200. I�ll likely polish these as well.
The printed nose gear door and liner molds also got a few holes filled, sanded and primed with duratec. These need 24hours to cure, then i�ll sand and polish these as well.
The completion of the nose door molds will be the last molds needed for the basic airframe. The remainder will be cockpit parts at a later time.

First up for today was doing some cading to laser it the cores for the speed brakes and main wheel doors. The speed brake cores get shaped, so i etched the bevel lines. If i decide to do a competition model, the speed brakes may get a more scale structure, for now though, these will be fine.
I then got around the laying up the speed brakes and gear doors inside the fuselage mold. I used some 1/16� sticky back wax sheet to outline the parts that way there would be a definitive edge to help locate the cores.
The layup for these parts is 1.4oz glass, 3k carbon, core, 3k carbon (the speed brakes are on the bias so as to help form around the edges) and 1.4oz glass.
This was then topped with some 6mil plastic� i probly should of gotten 2mil� then the 6mil plastic for the vacuum bag material and the bleeder fabric as well.
The reason for the need to use a thinner plastic is so it would stretch a bit more around the hinge fingers of the speed brakes. Overall though, i think these parts should turn out fine.
I also finished prepping the main gear strut door molds. That was just a matter of sanding the duratec primered surface flat. First with 600 and then 1200. I�ll likely polish these as well.
The printed nose gear door and liner molds also got a few holes filled, sanded and primed with duratec. These need 24hours to cure, then i�ll sand and polish these as well.
The completion of the nose door molds will be the last molds needed for the basic airframe. The remainder will be cockpit parts at a later time.
03-09-2023, 02:57 PM
#283
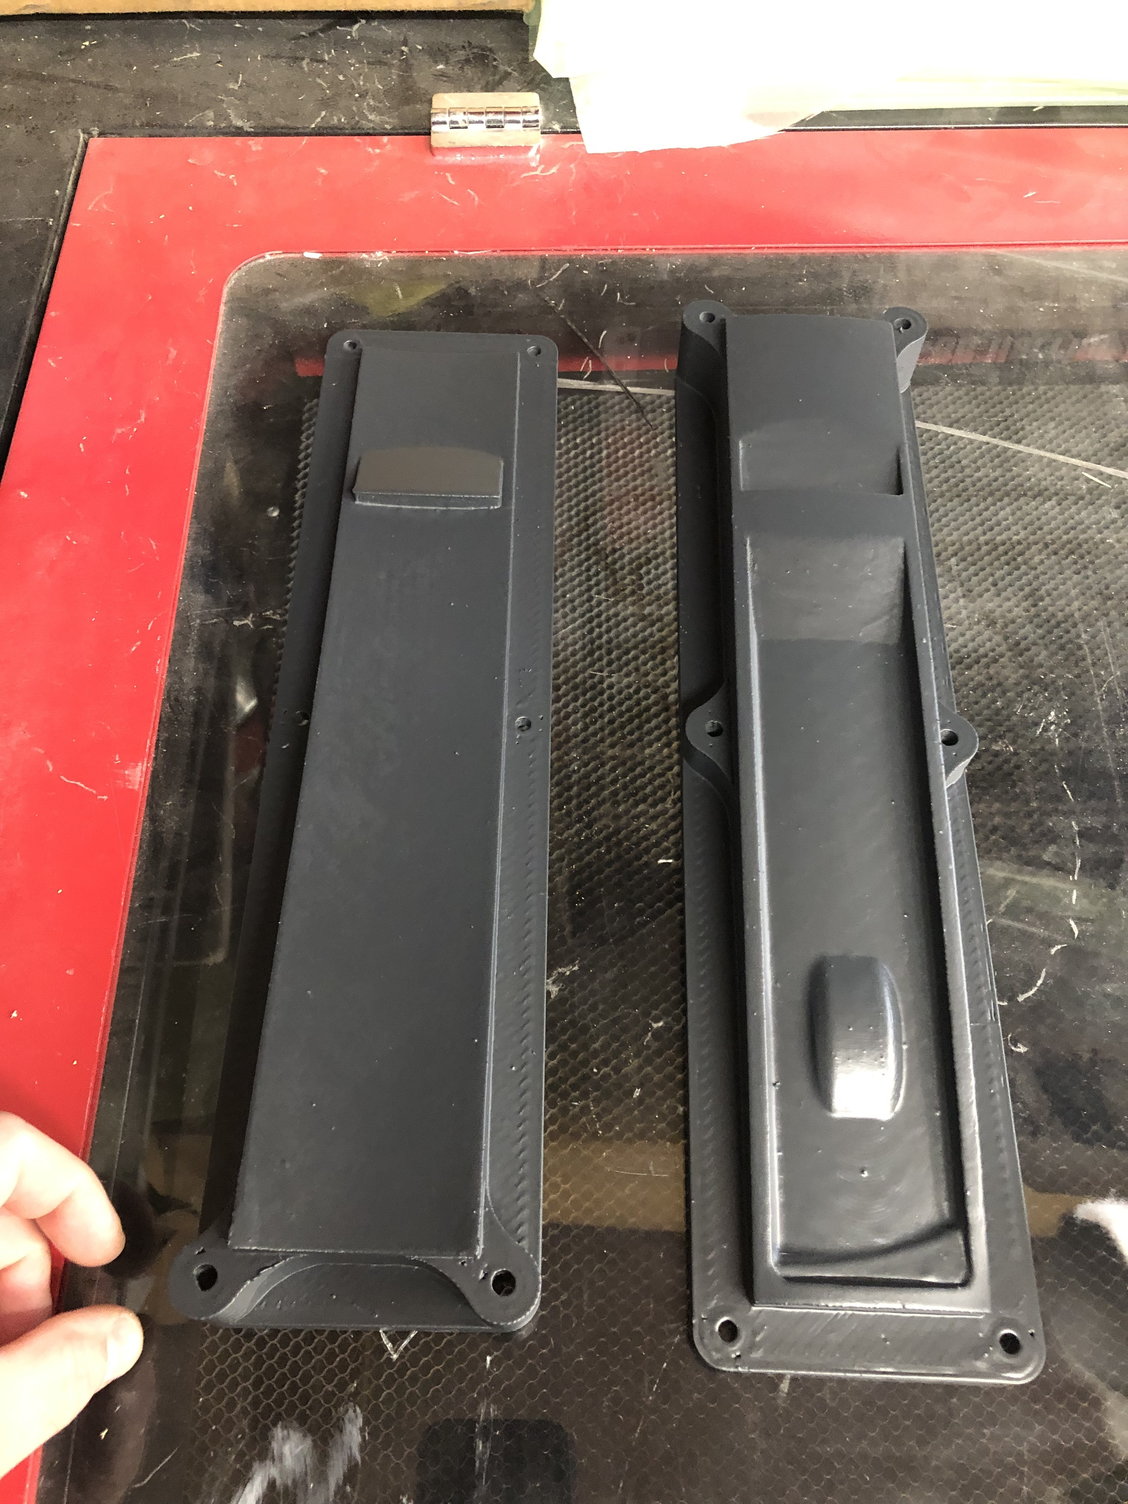
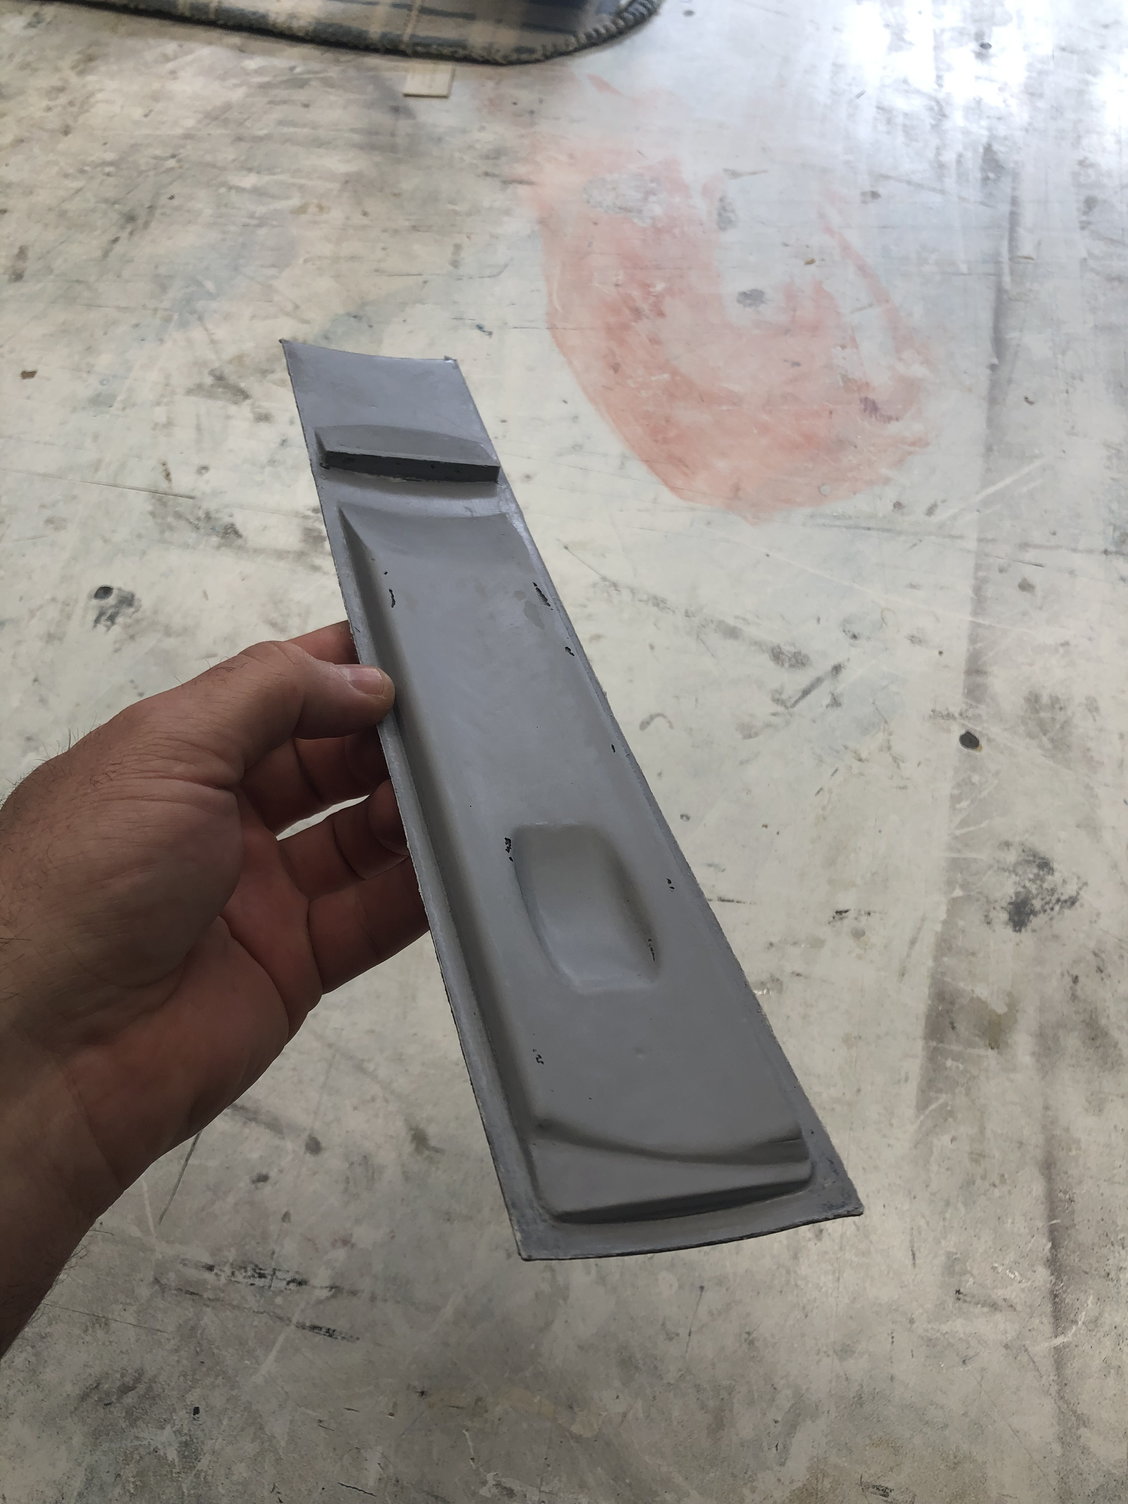
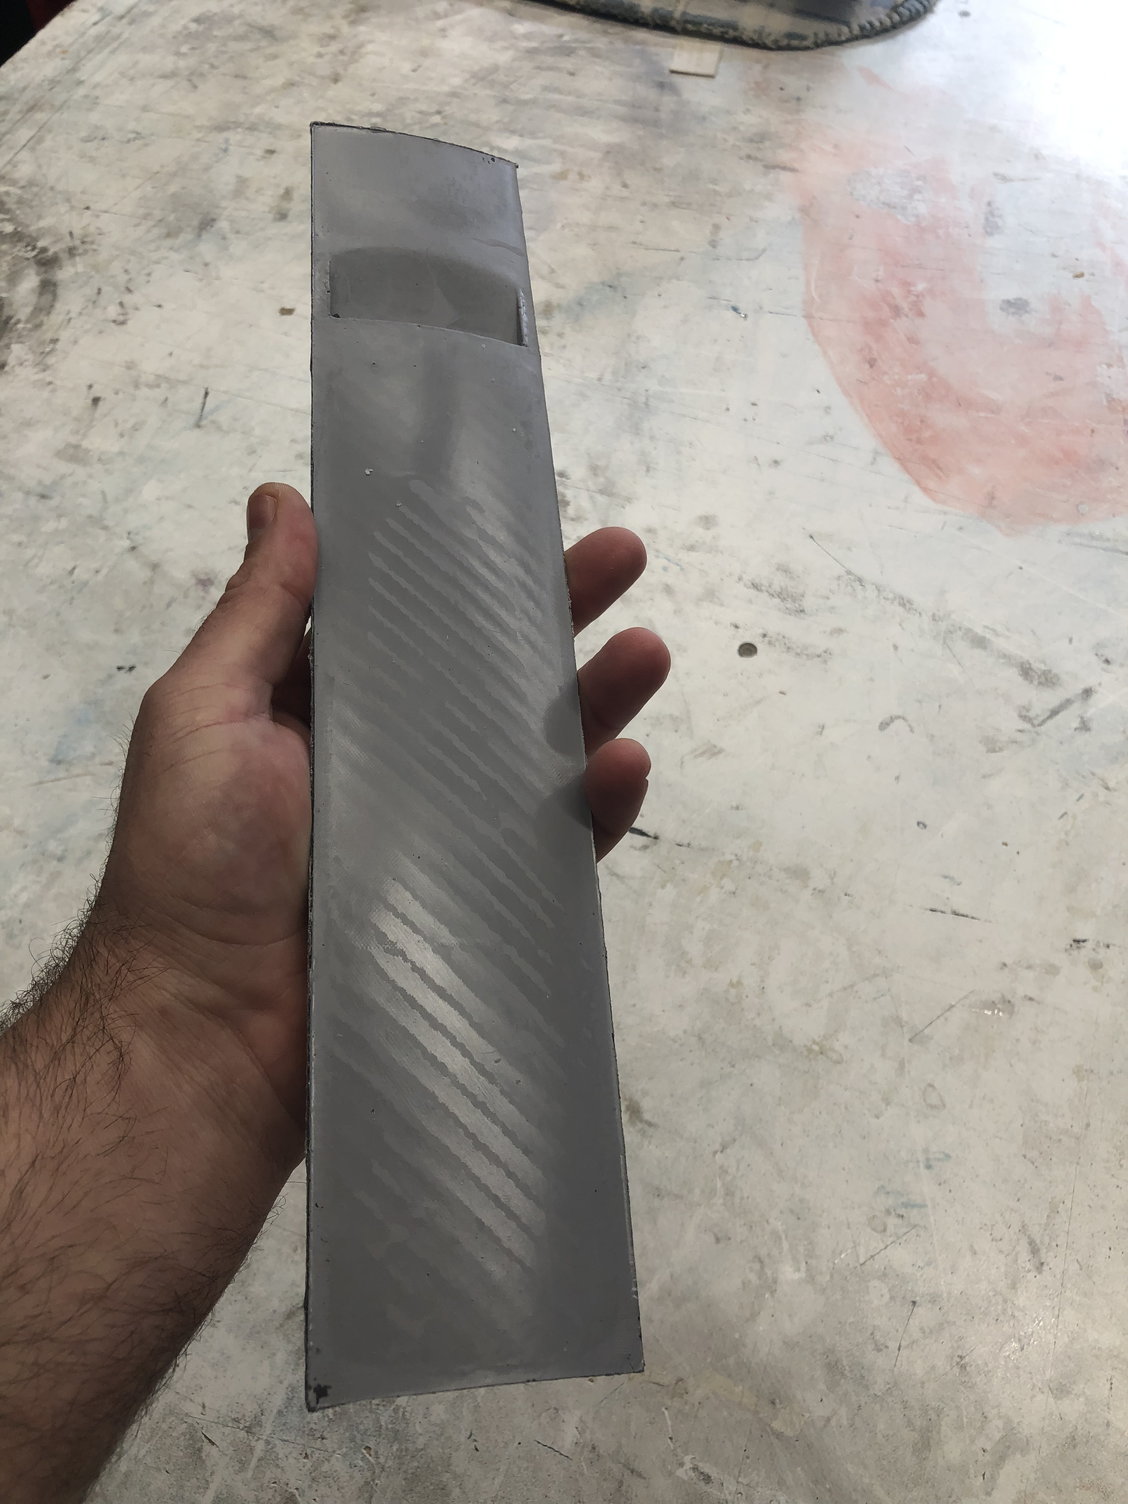
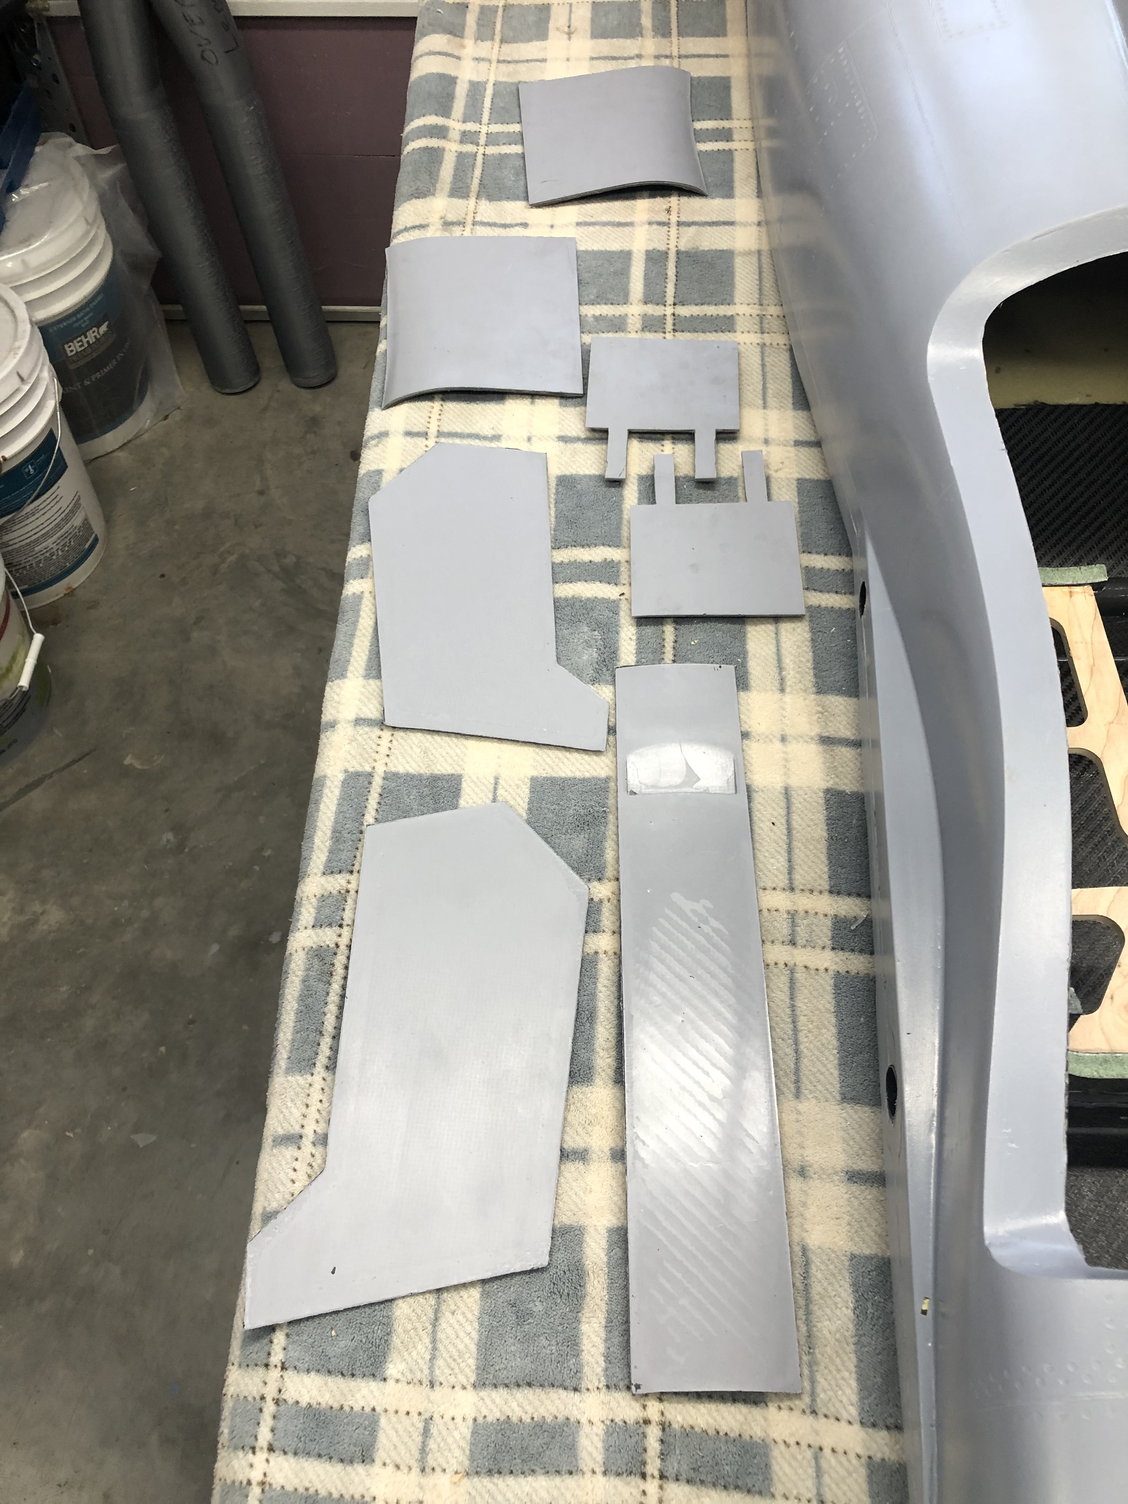
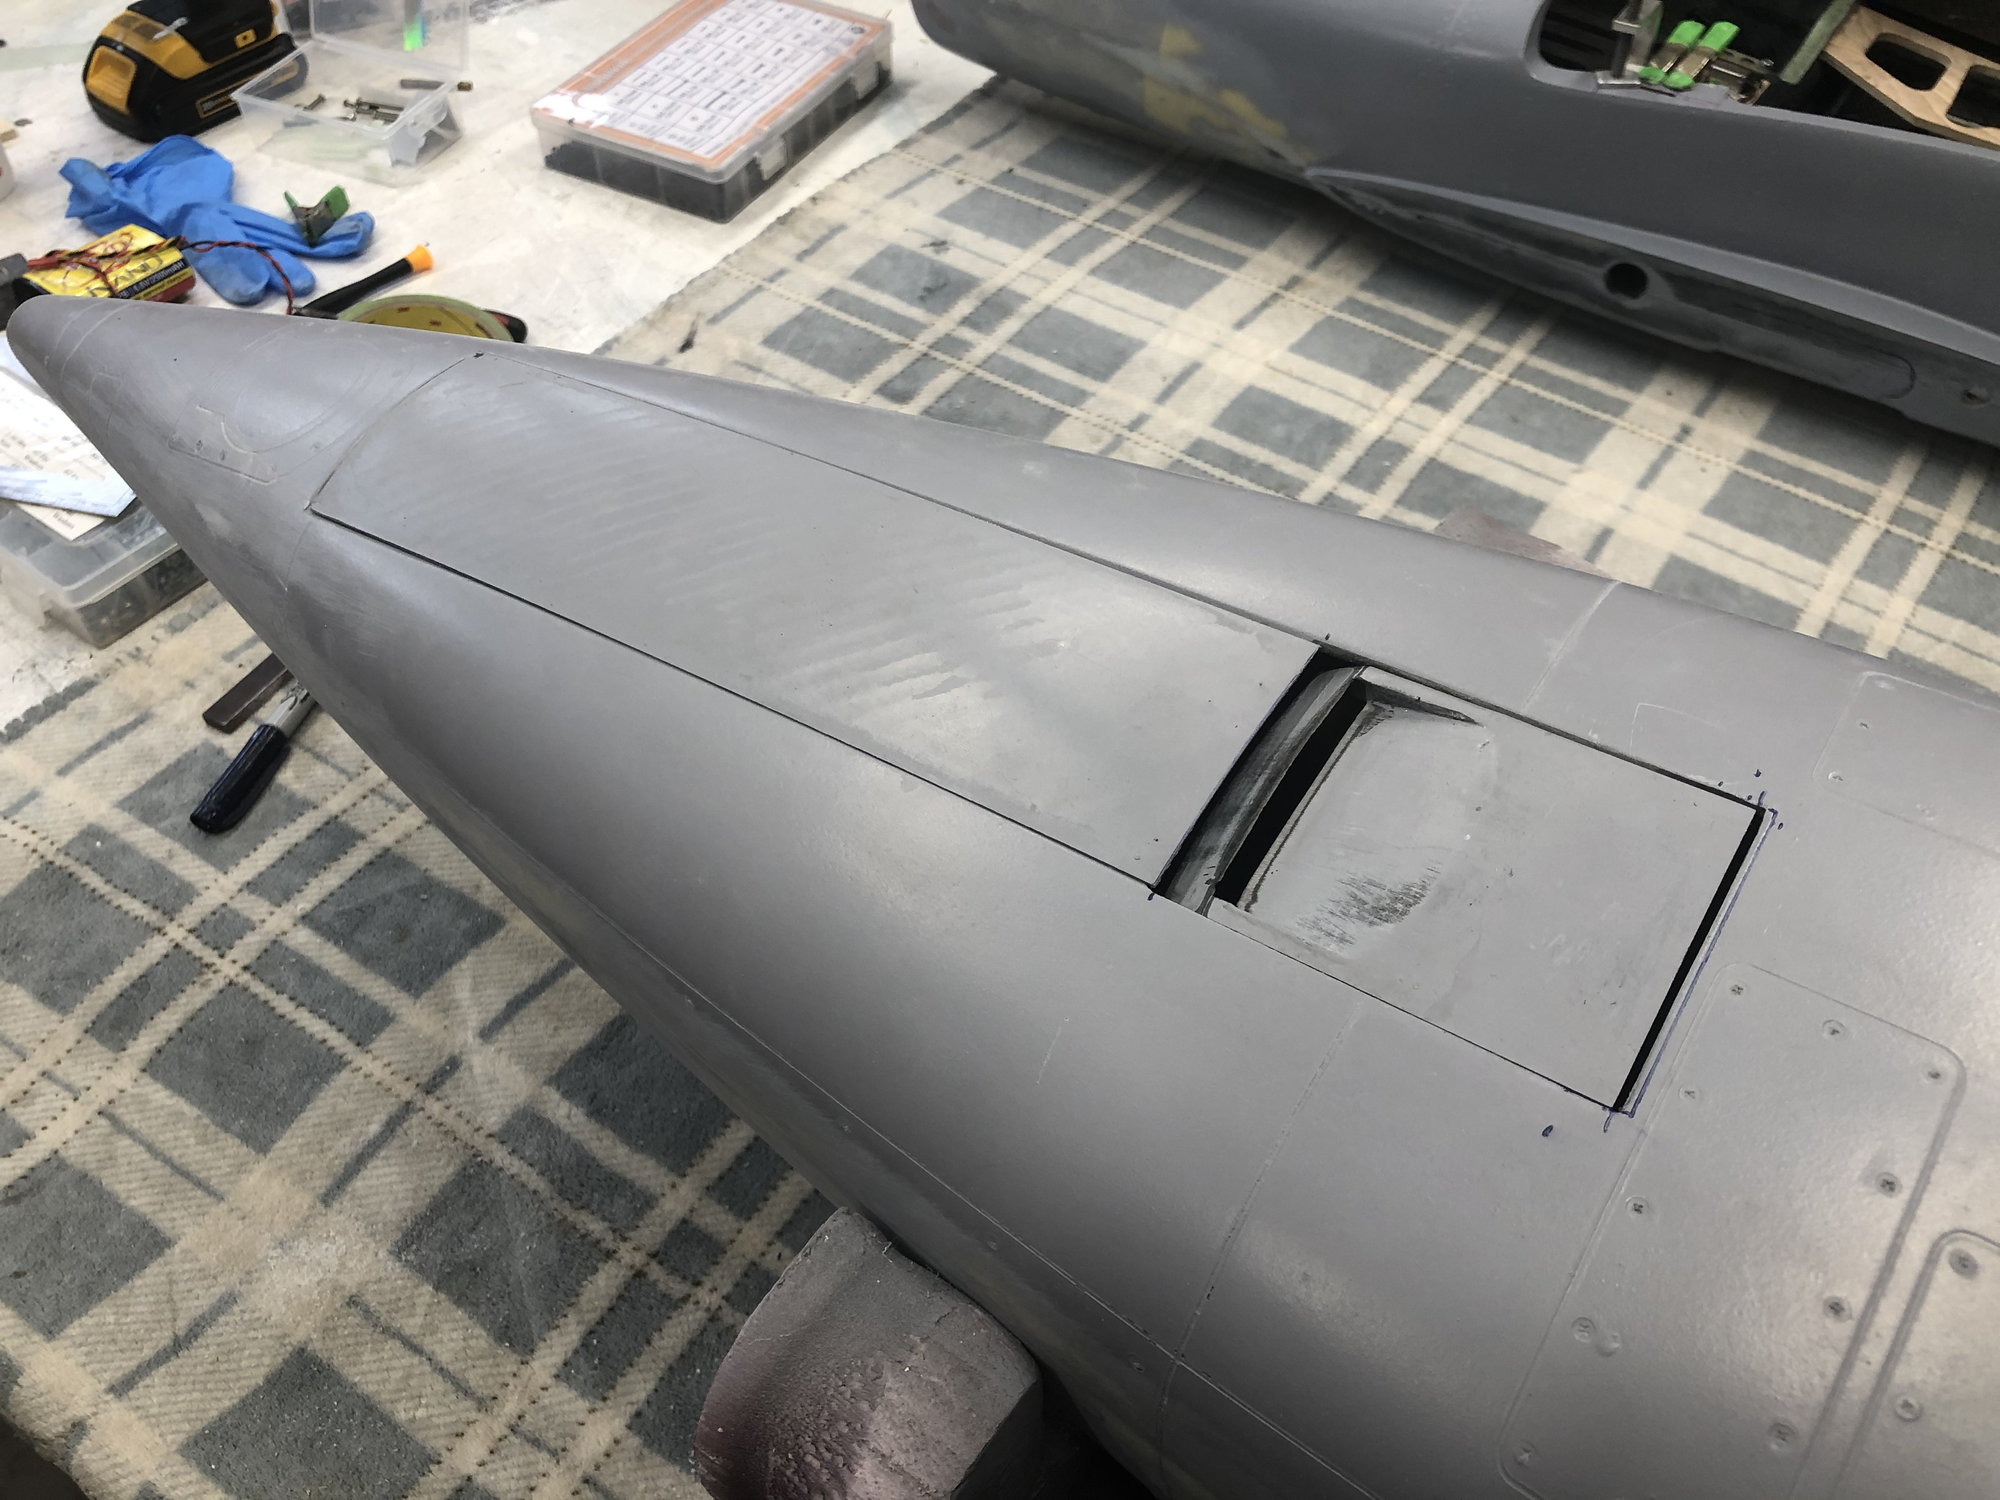
All of the doors are now made. For the strut doors i did the same layup as the wheel doors, minus one layer of carbon. I probly should of left the second layer of carbon in the layup. Lol. The nose gear door also got layed up. The inner skin is 1.4oz glass, 6oz glass, some 3k CF in ghe hinge locations and then vacuum bagged. The outer skin is 1.4oz glass, 3k carbon and then it is clamped with some epoxy/microballoons mixture to the inner skin. Other than some print through on the outer skin, it turned out pretty nice. Now i just need to get the G10 piece for the aft end of this door that gets cut free.
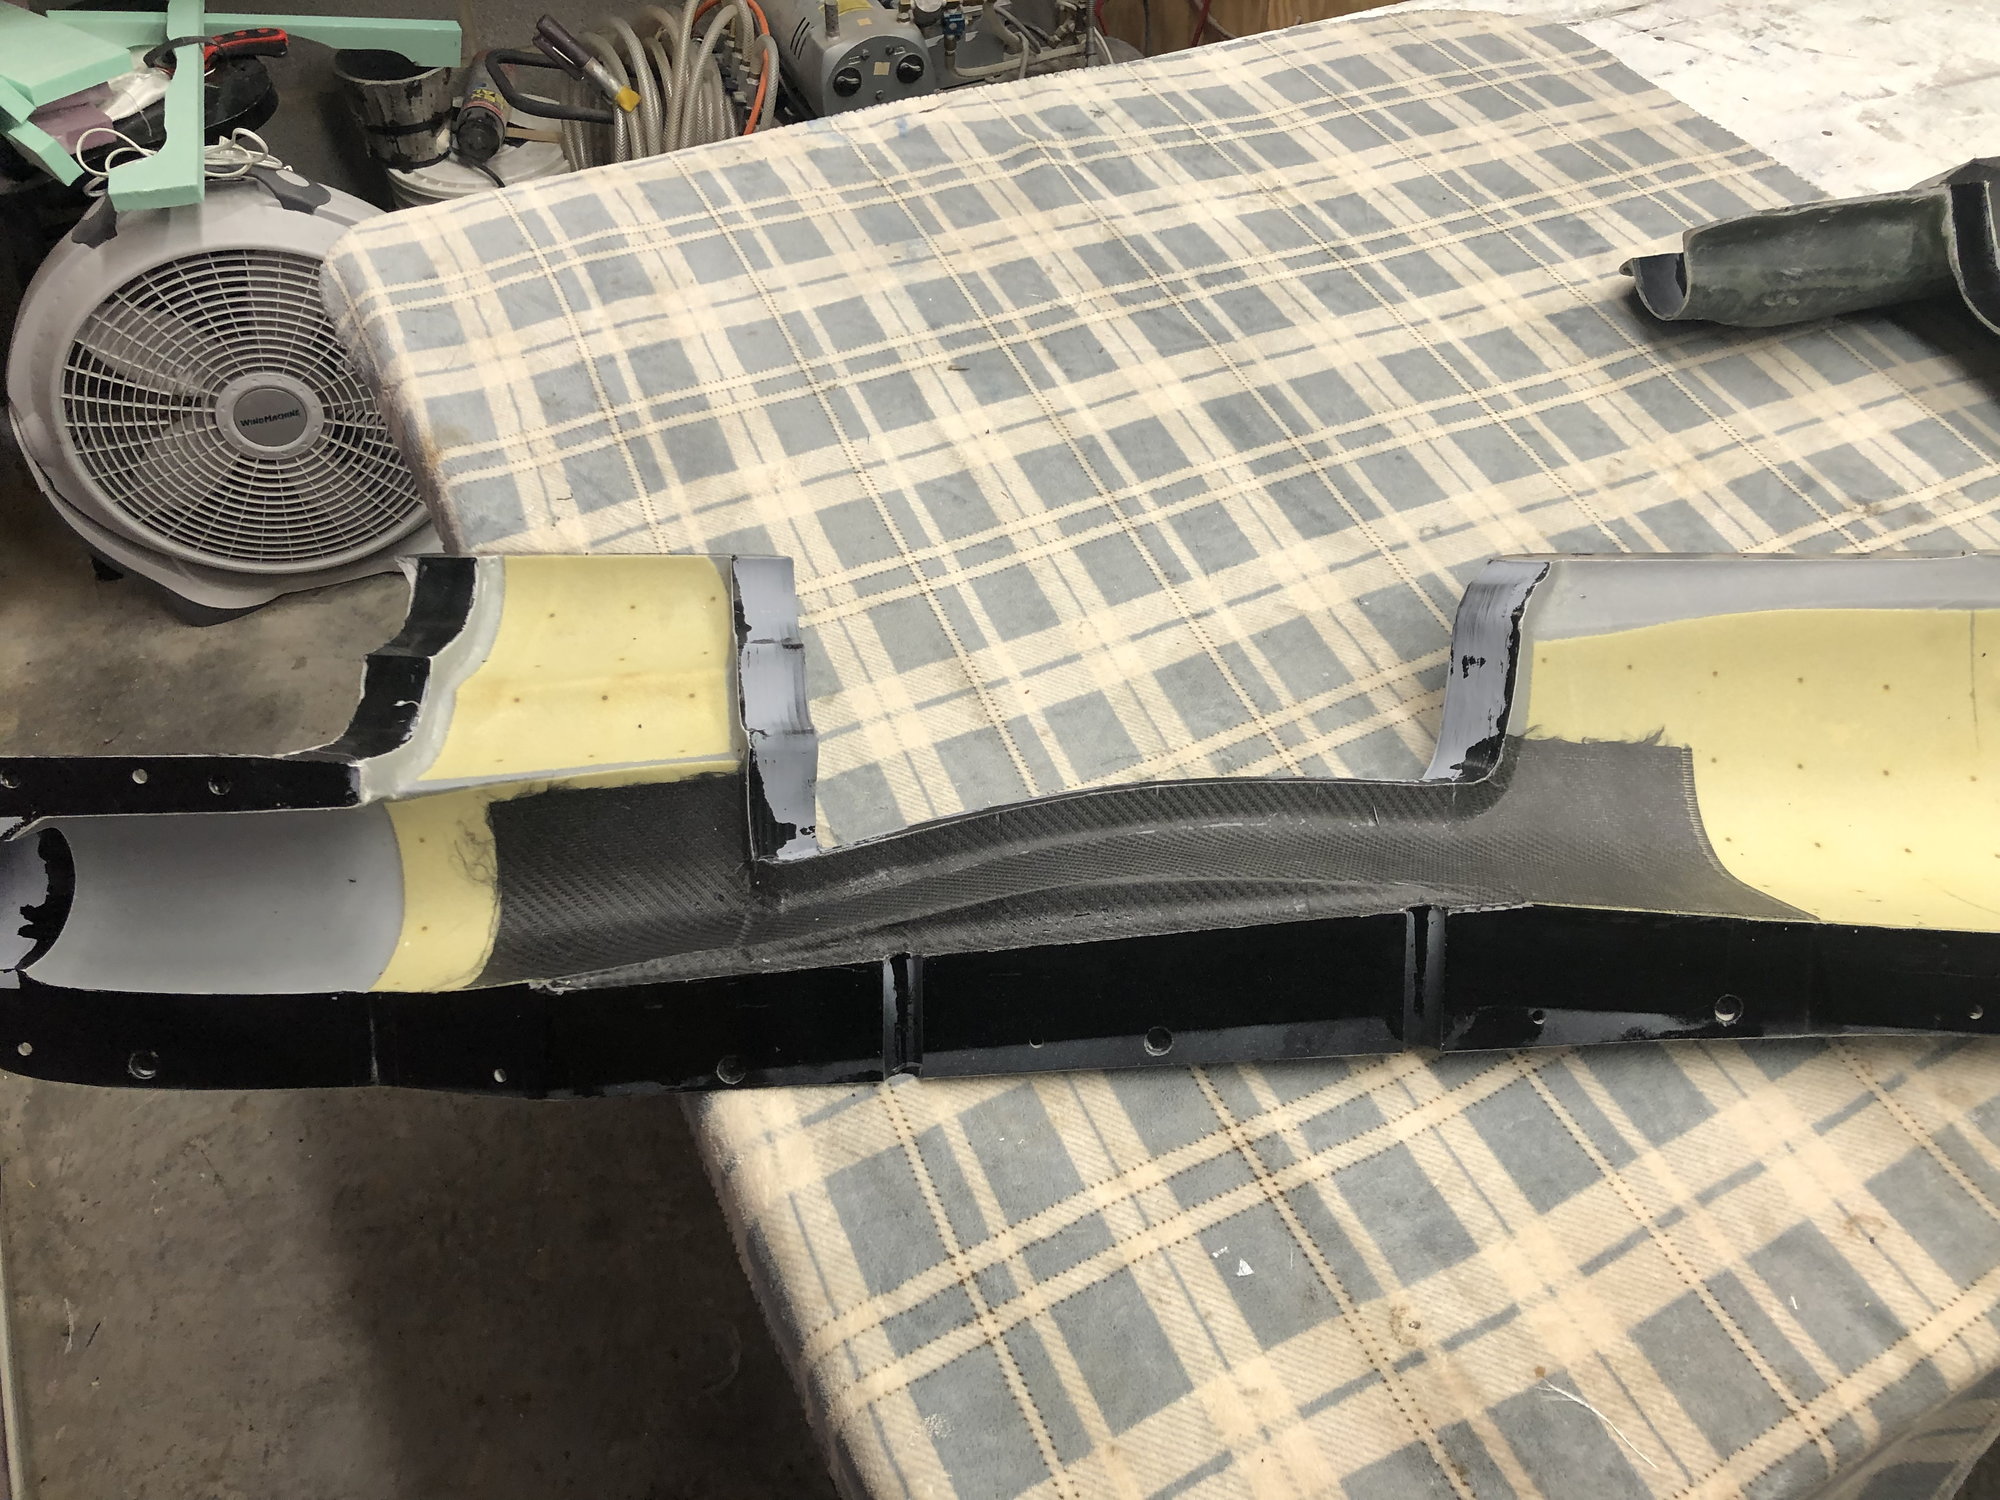
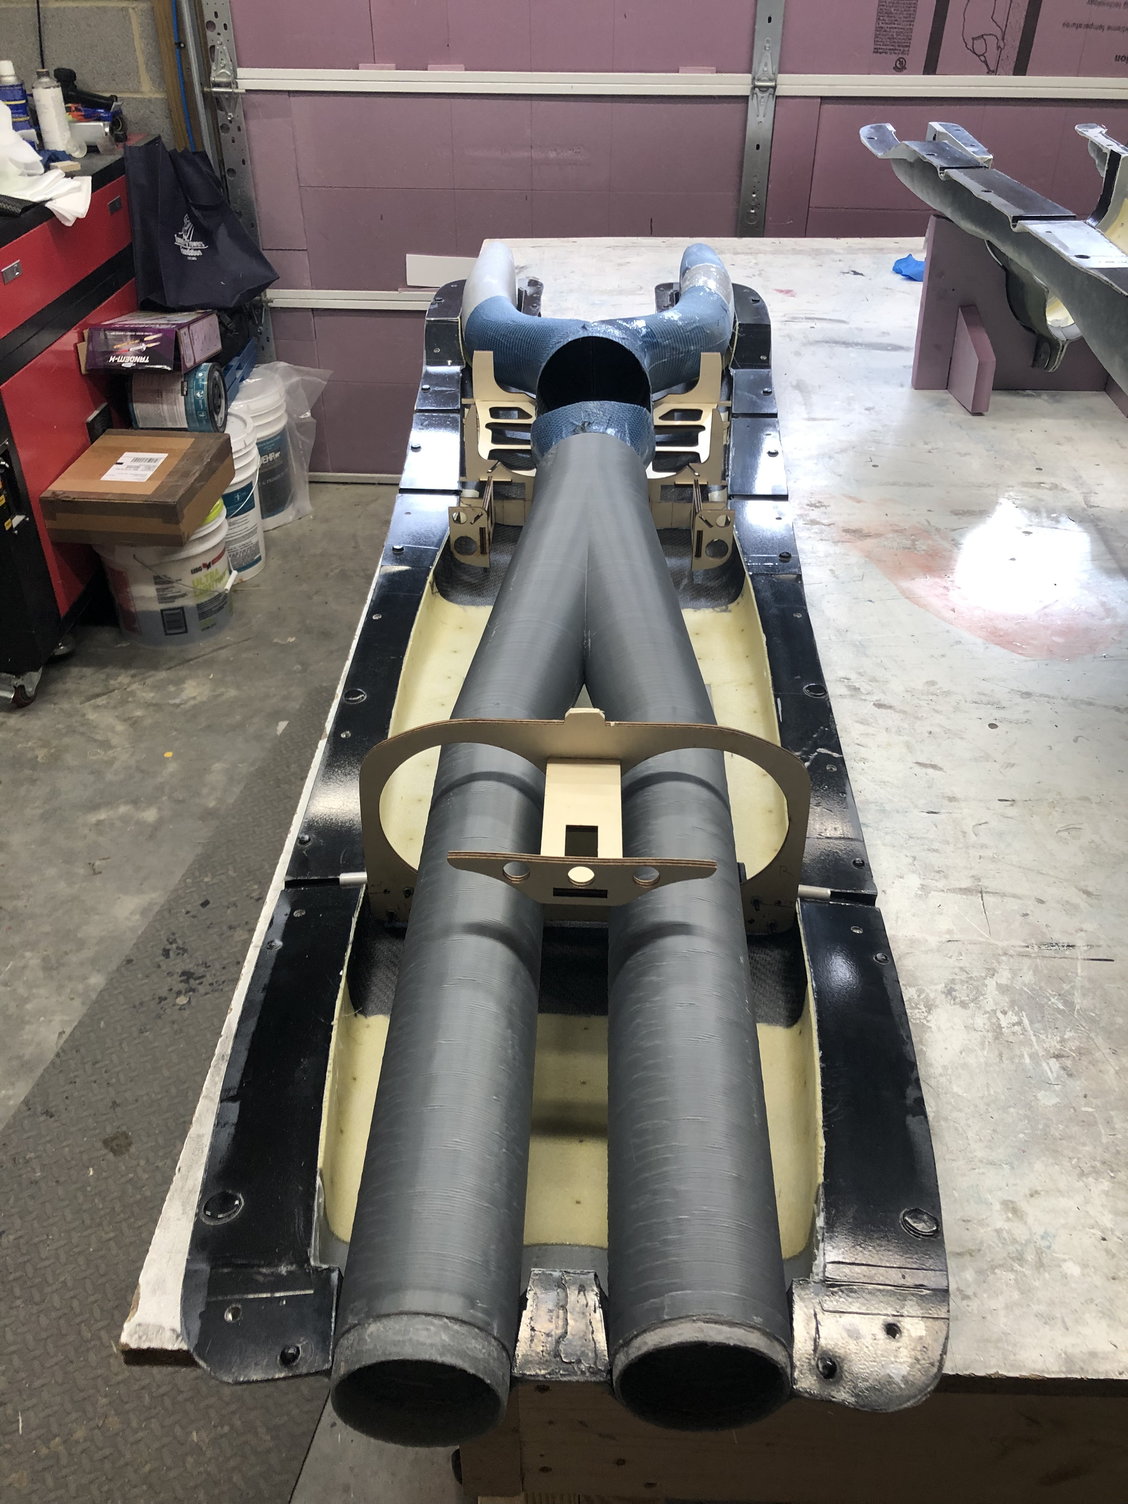
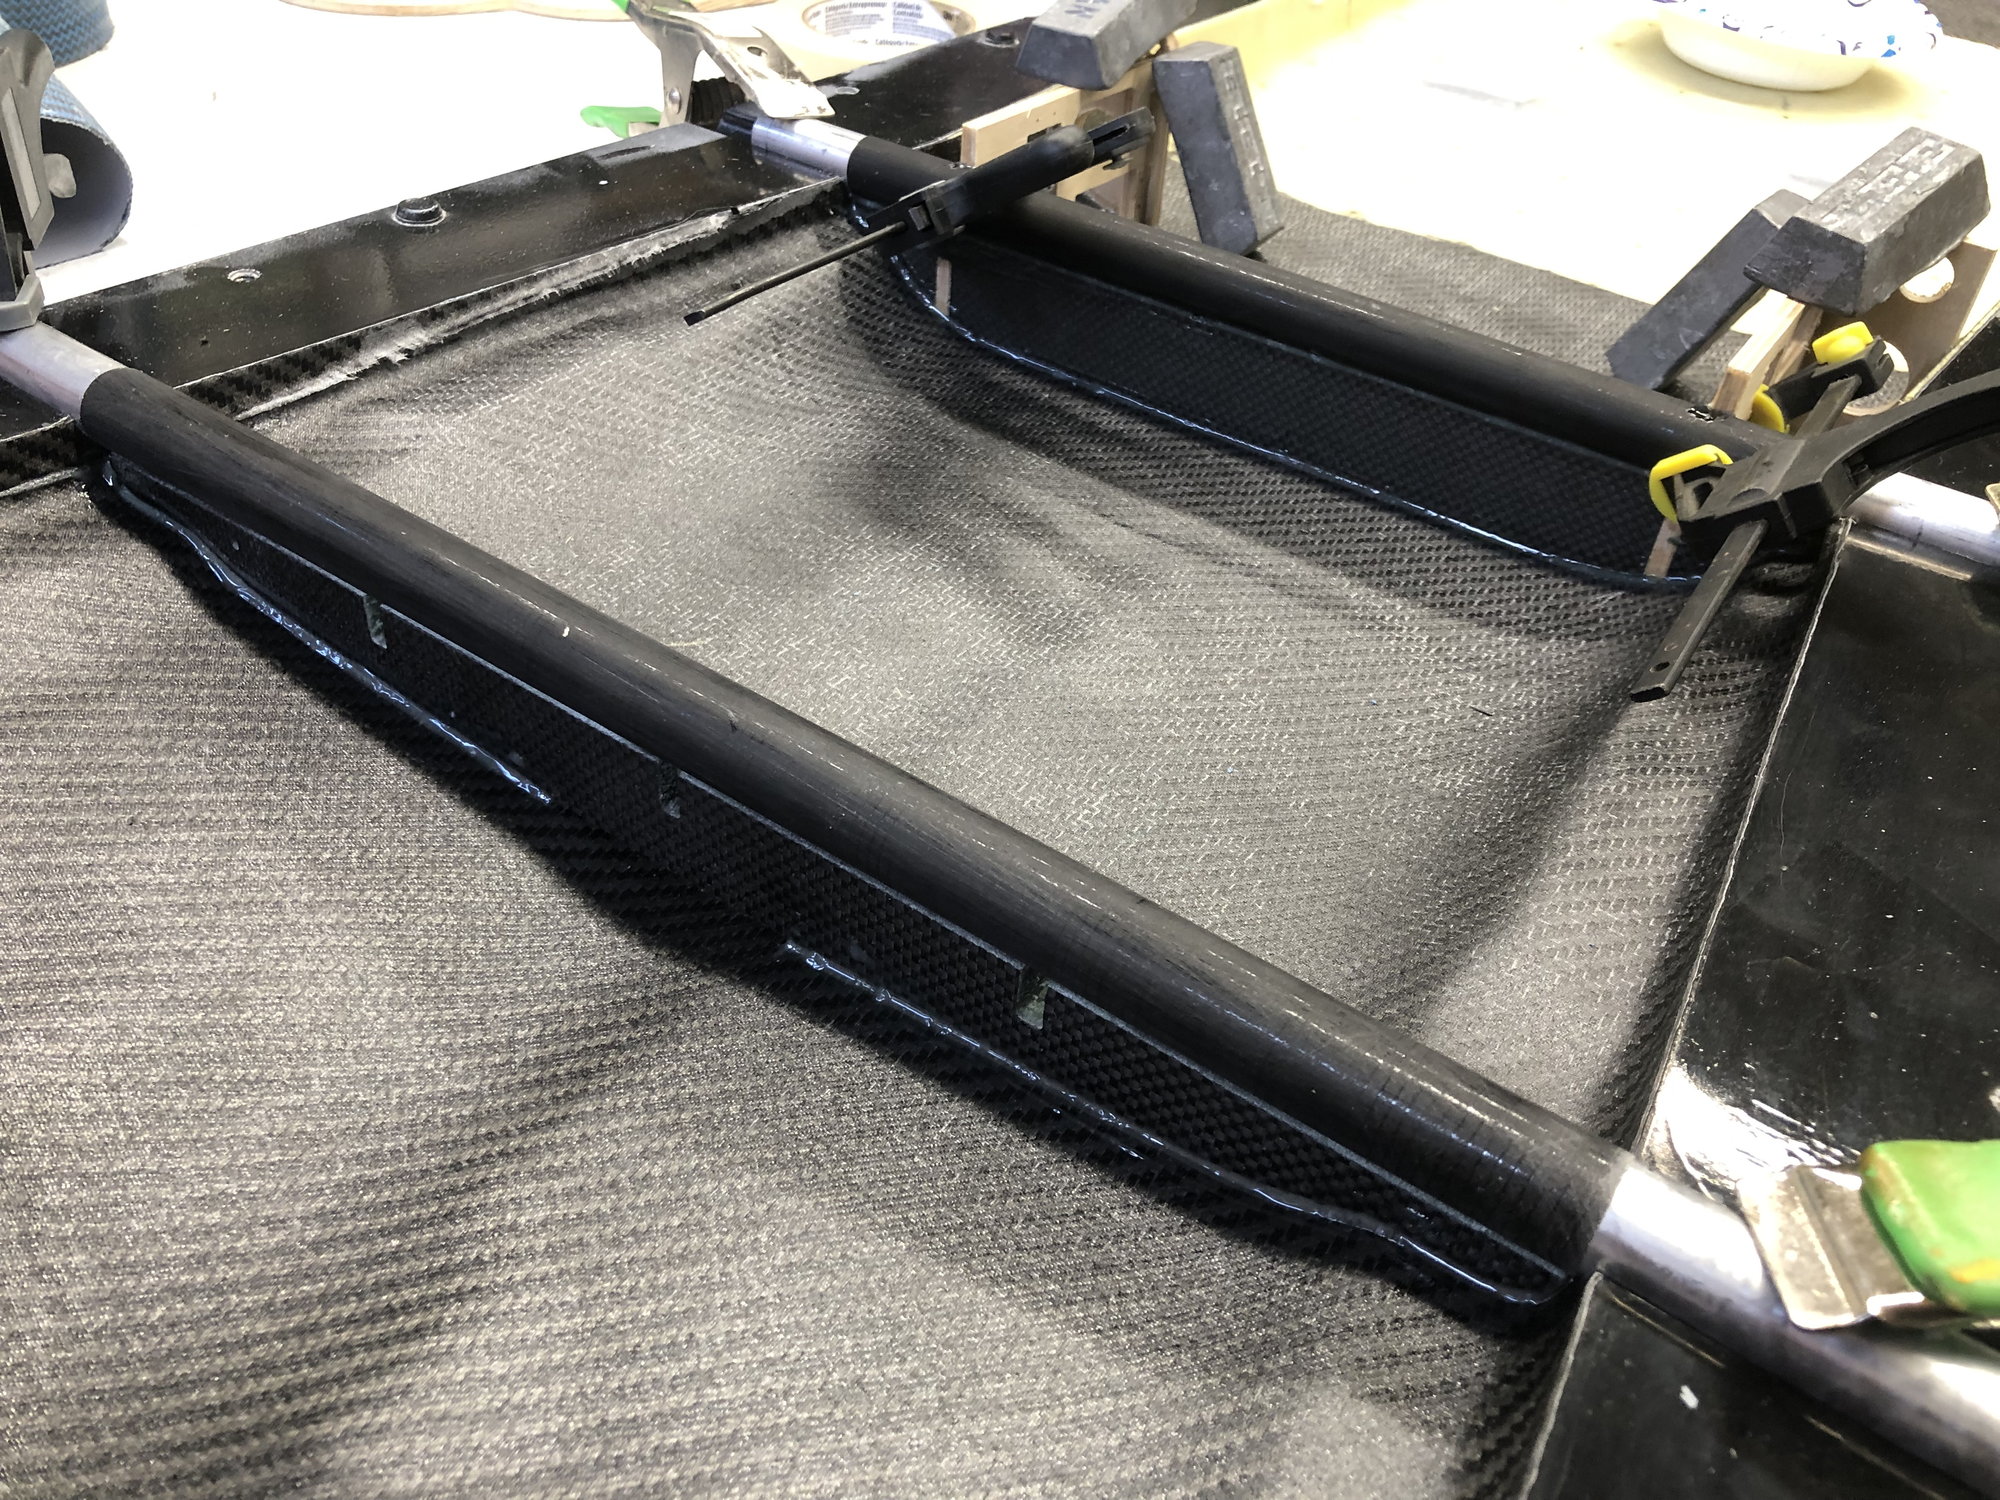
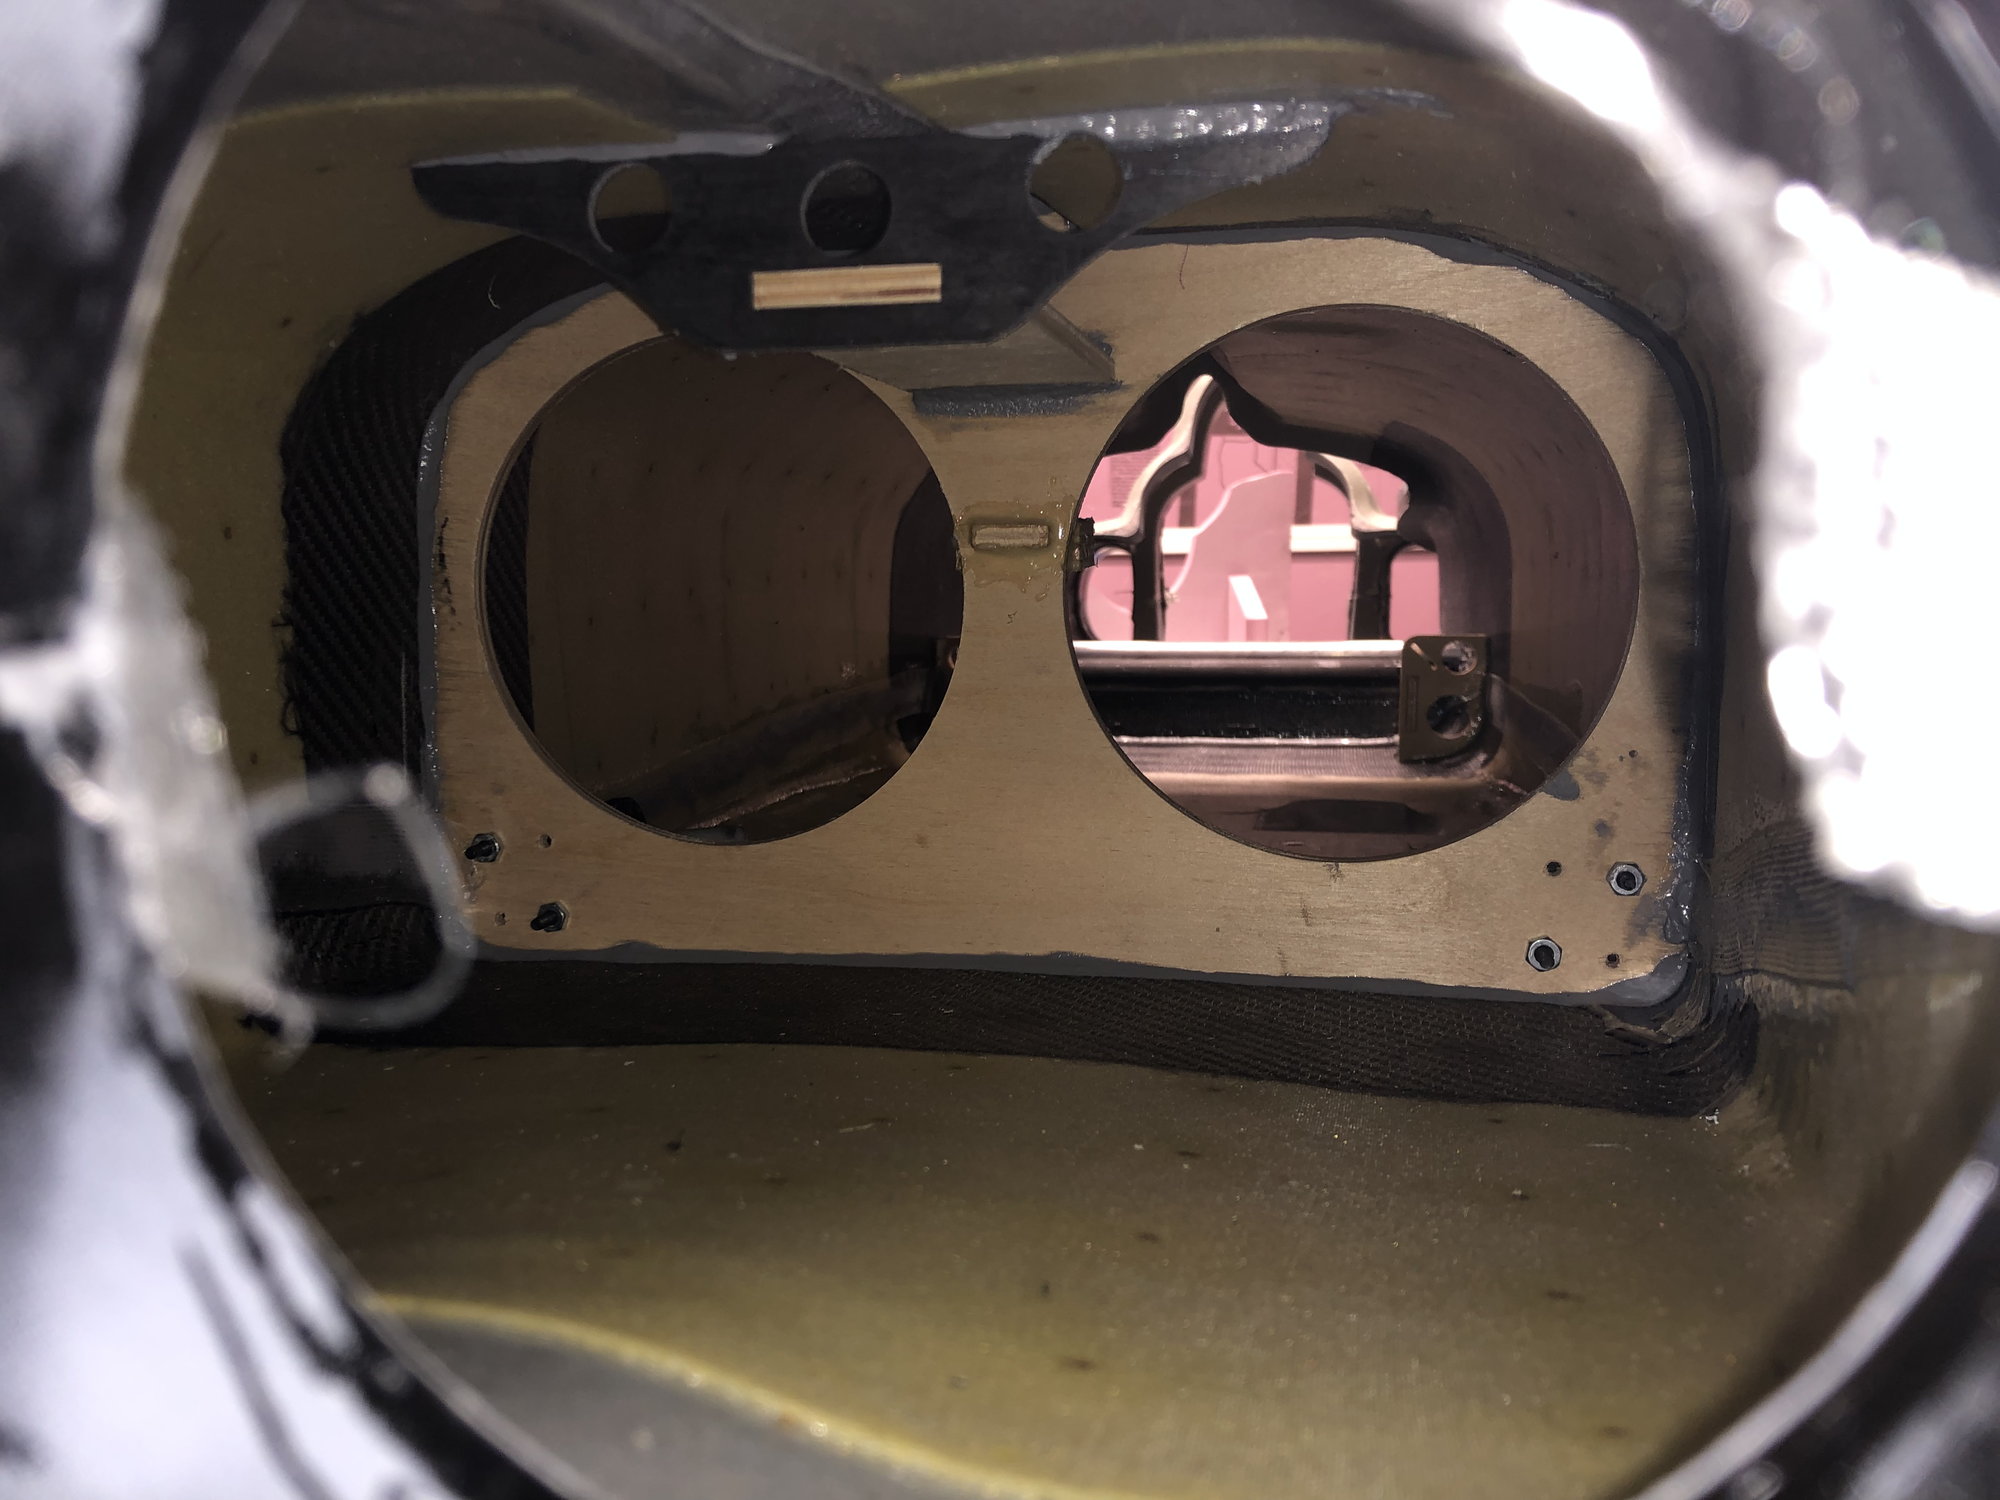
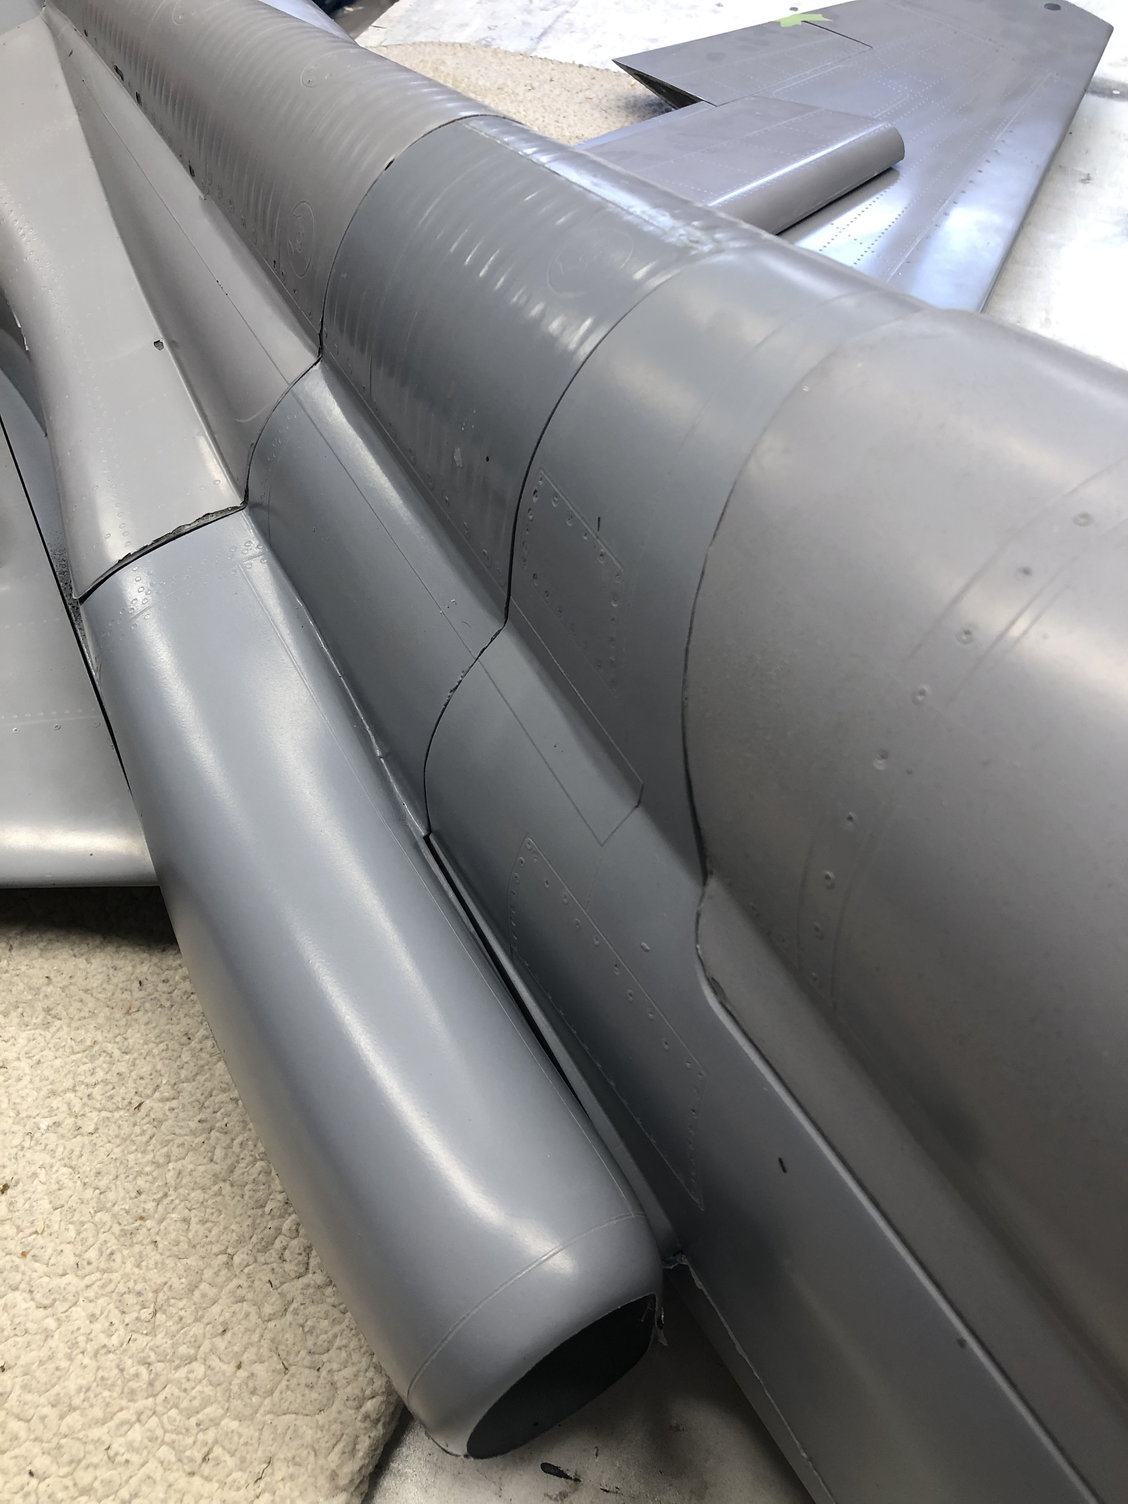
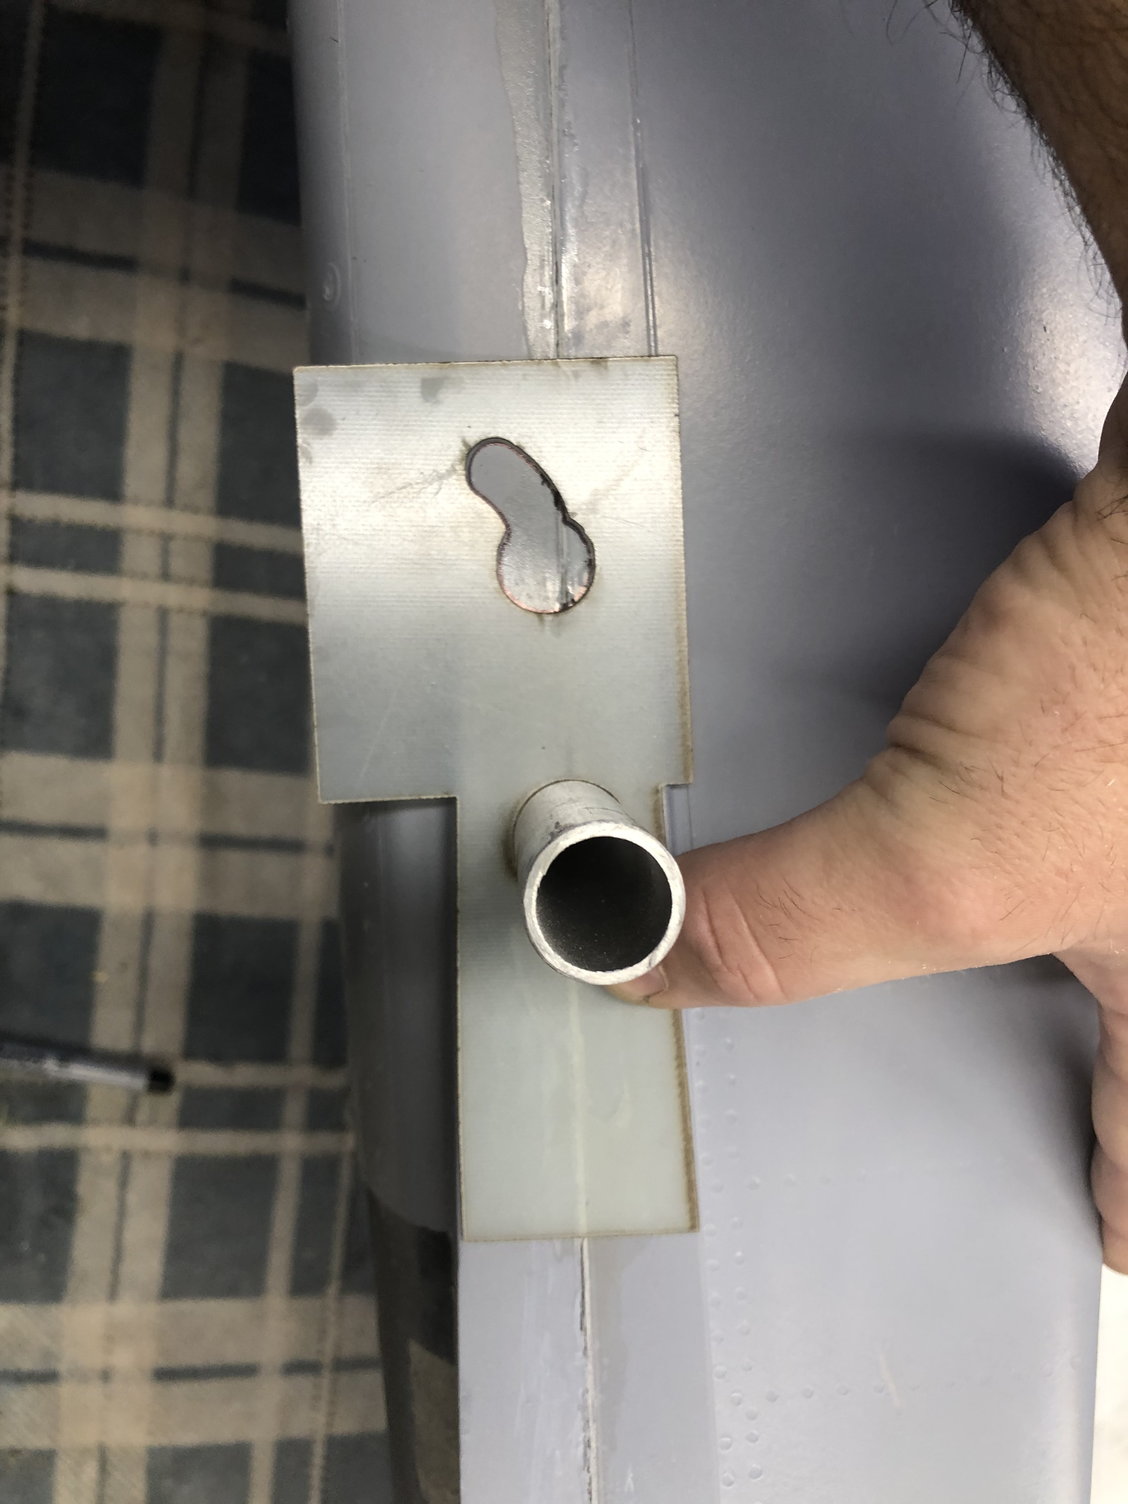
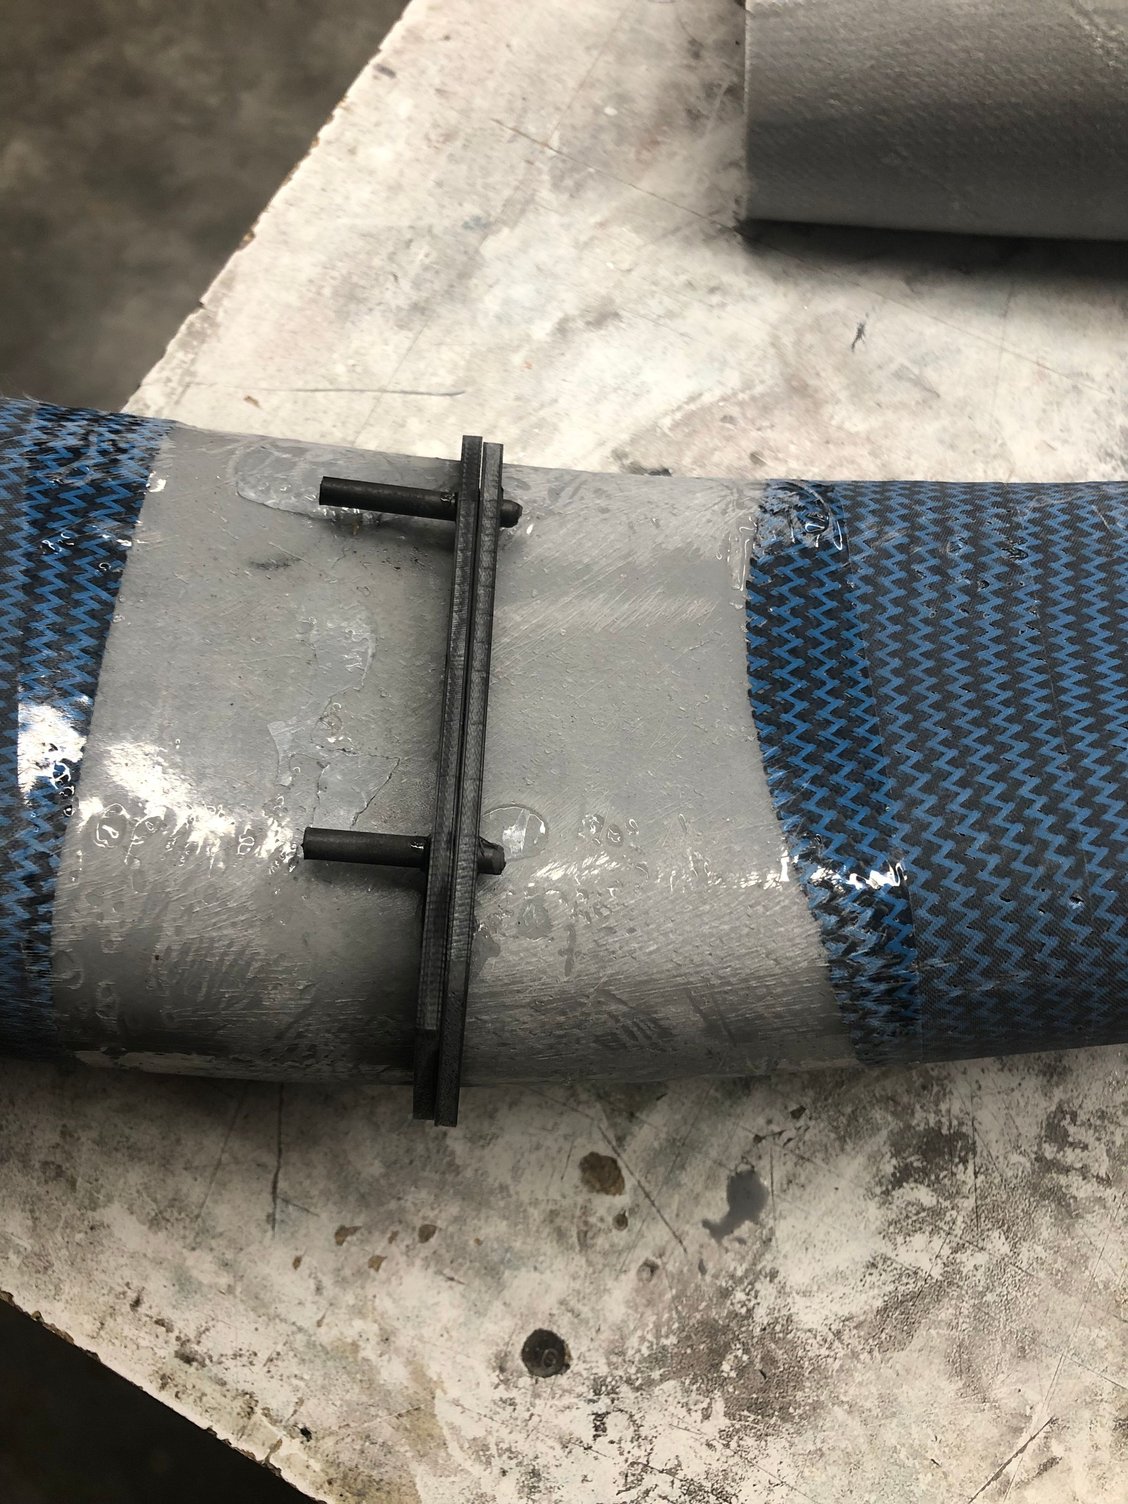
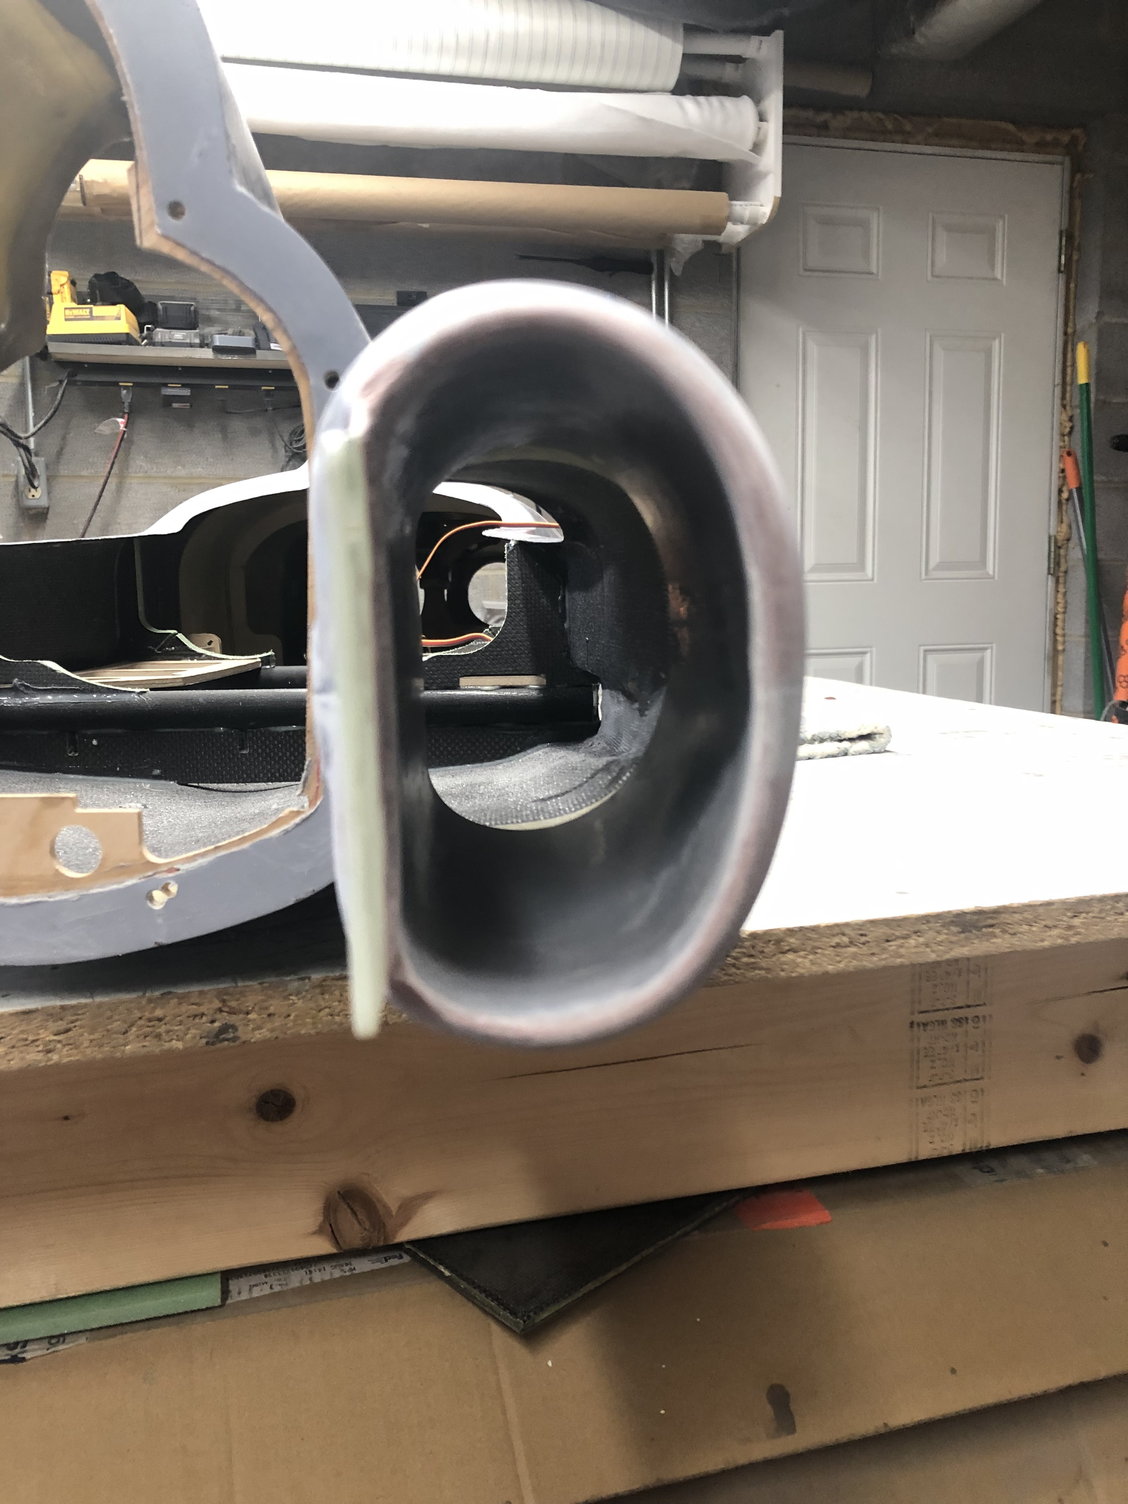
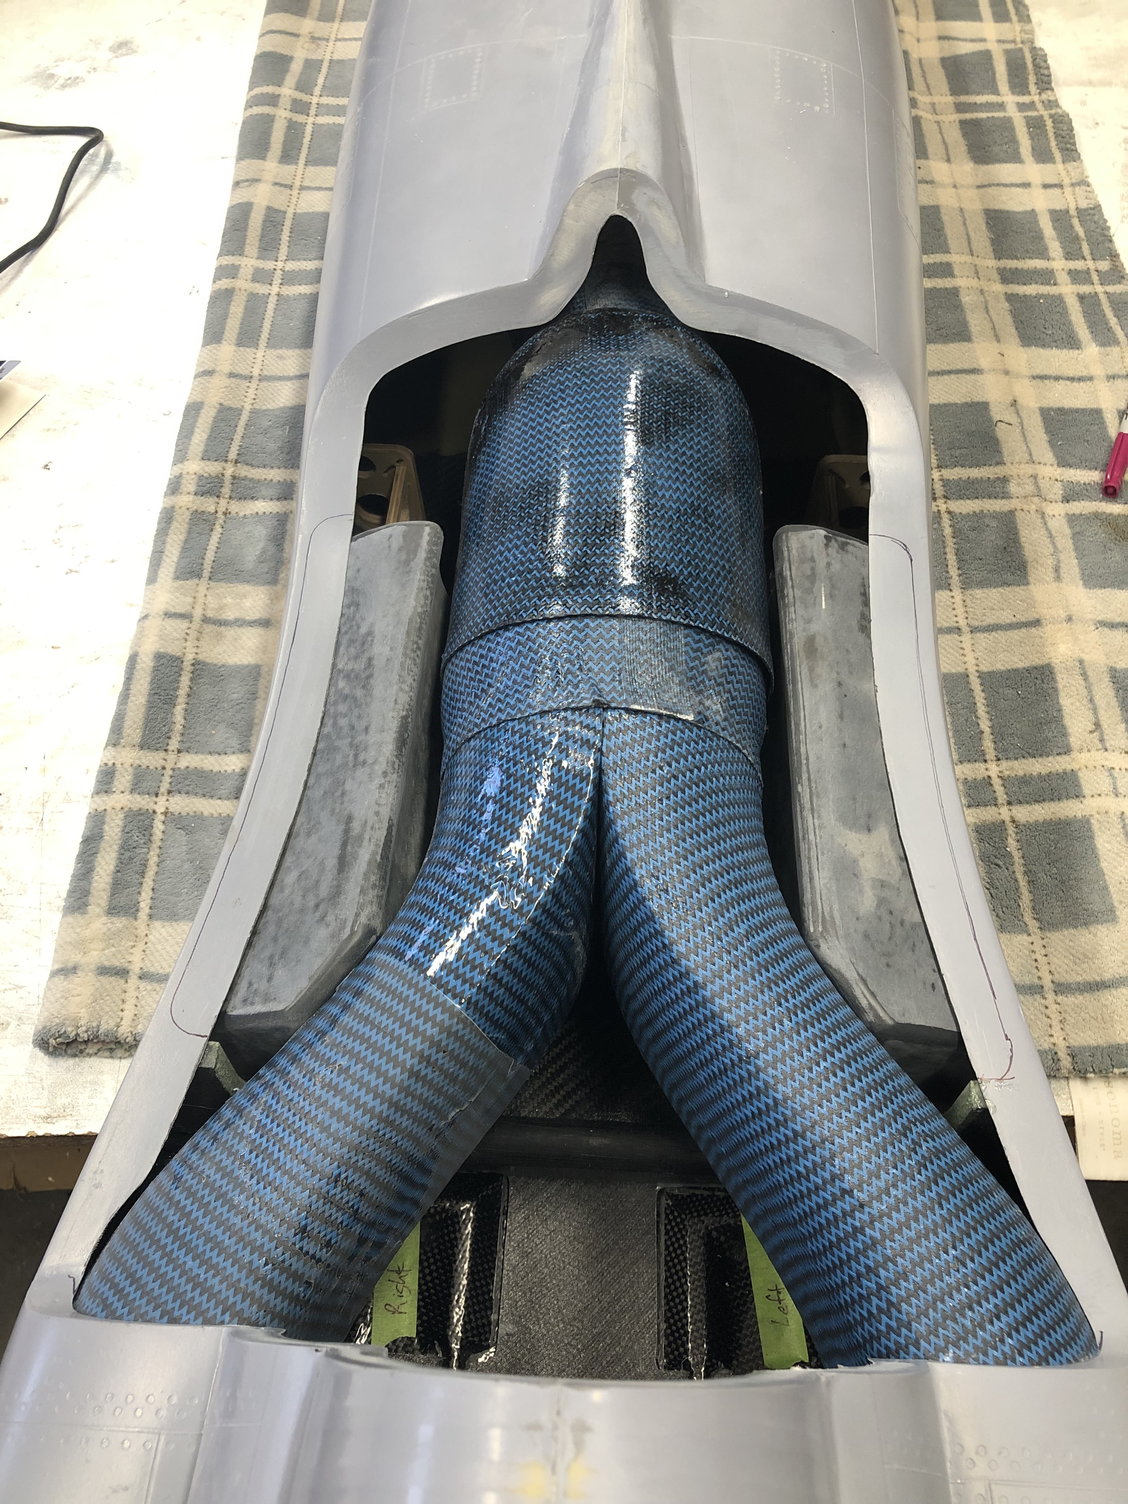
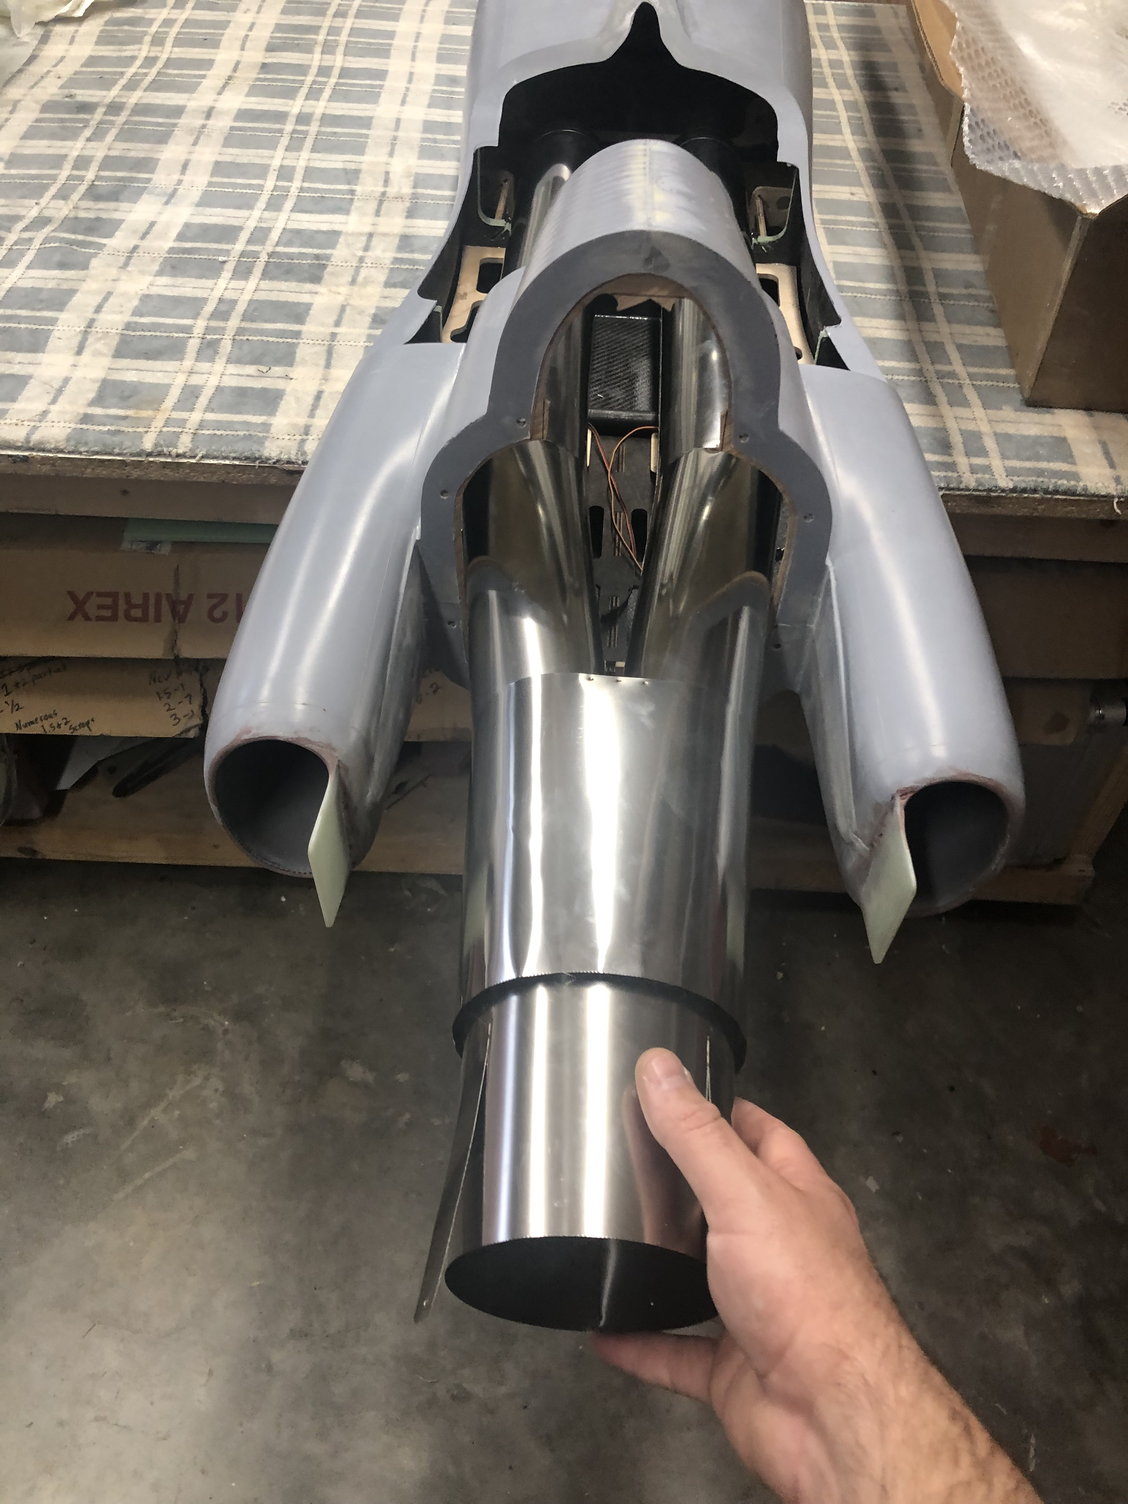
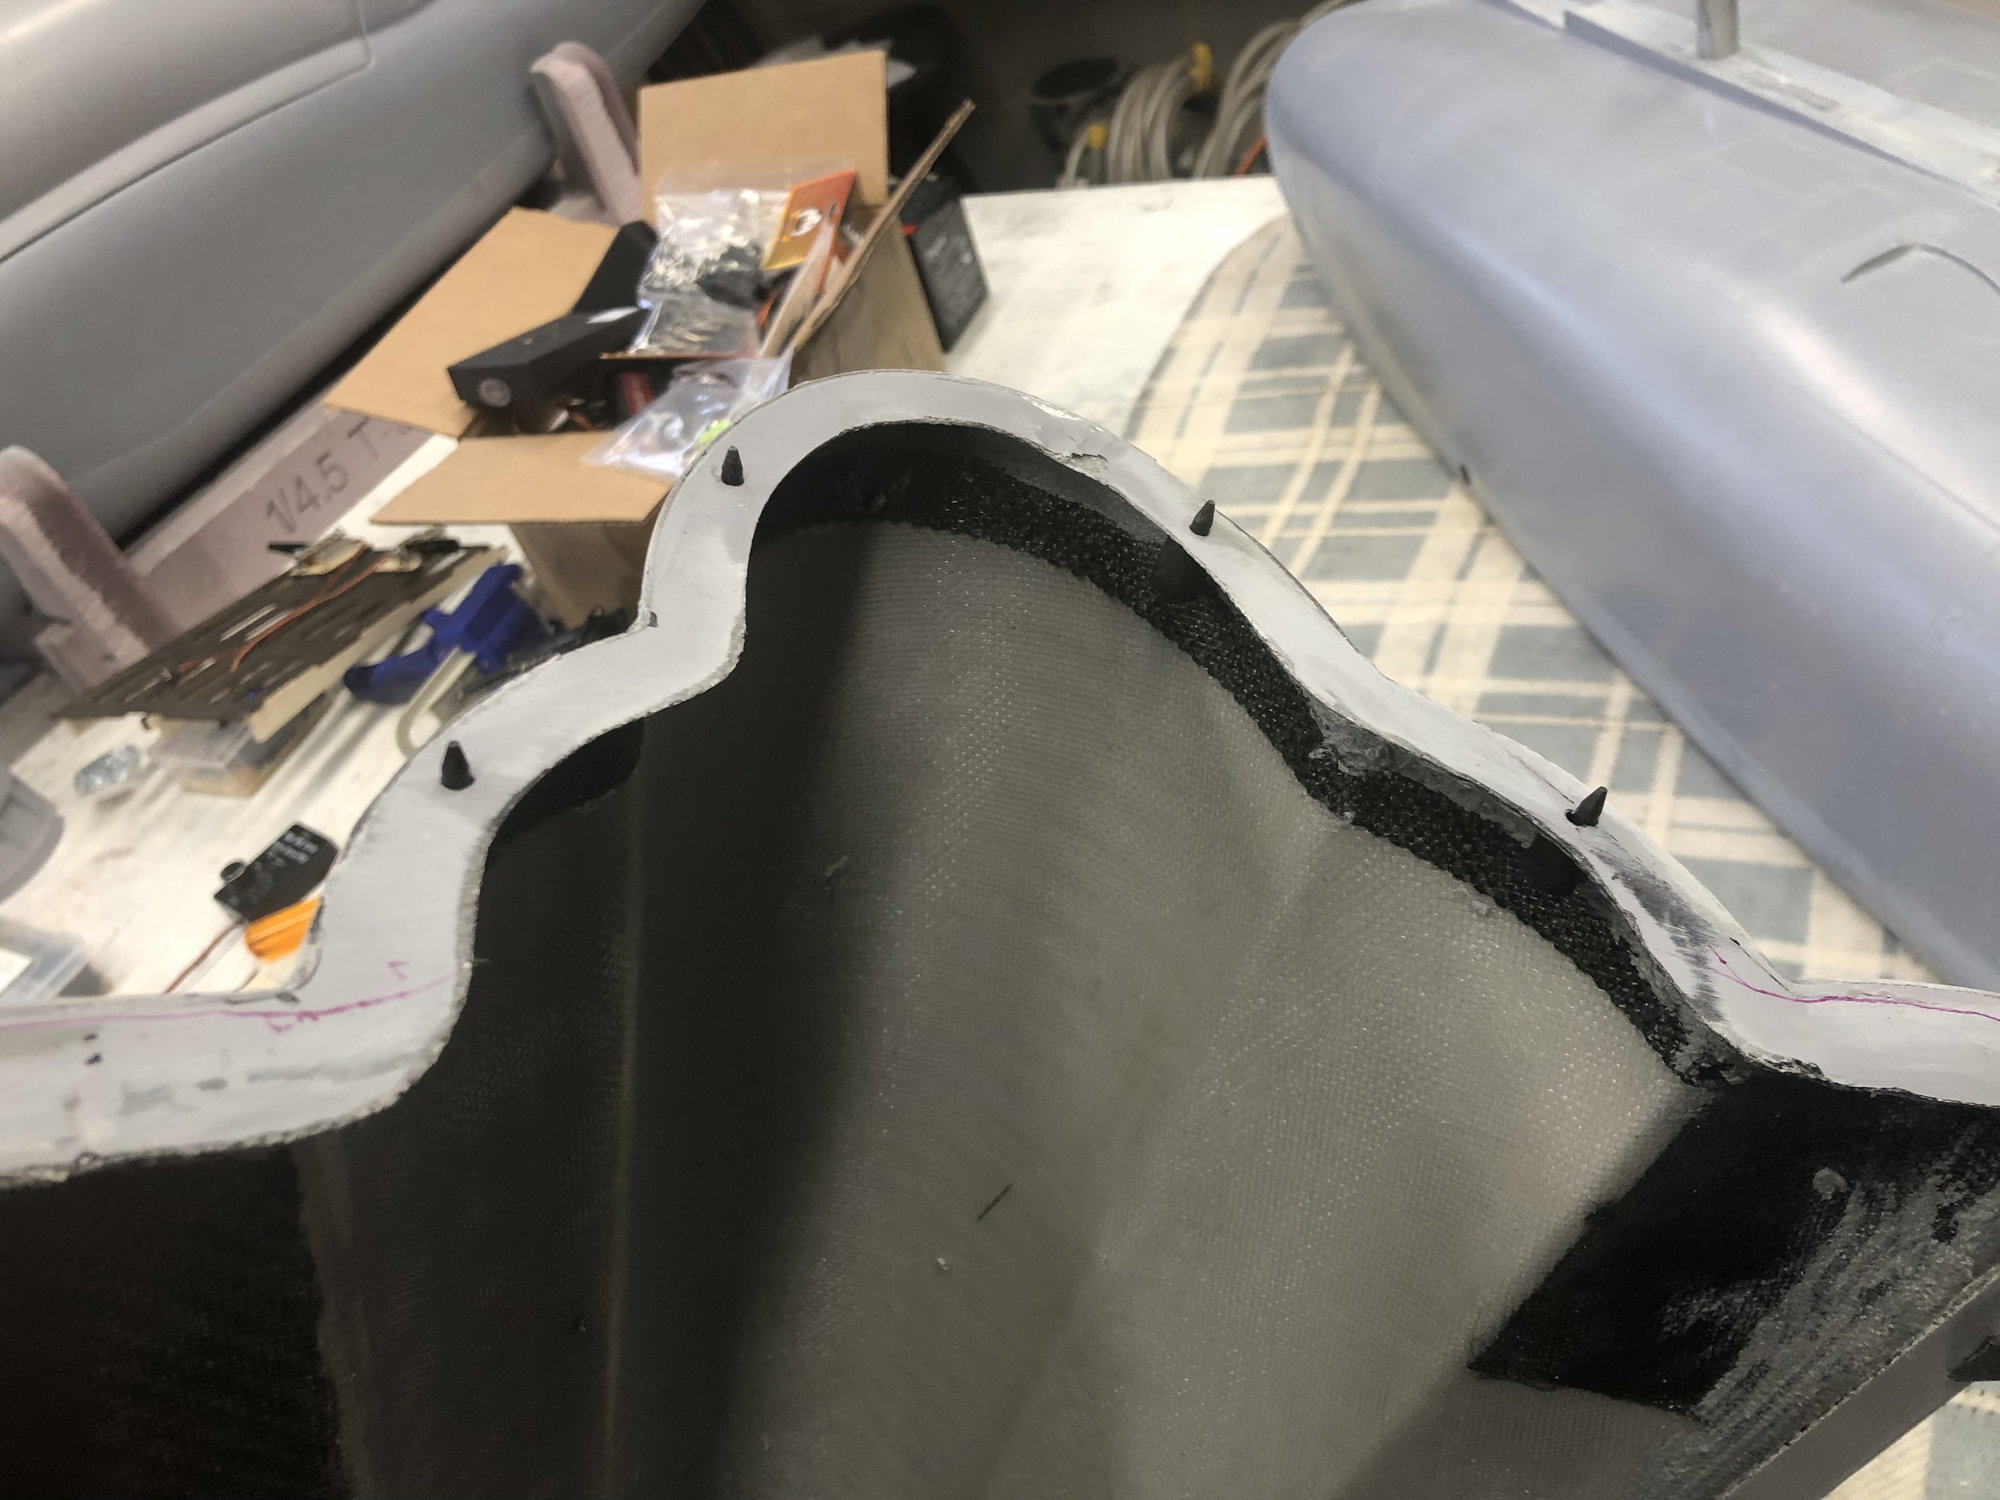
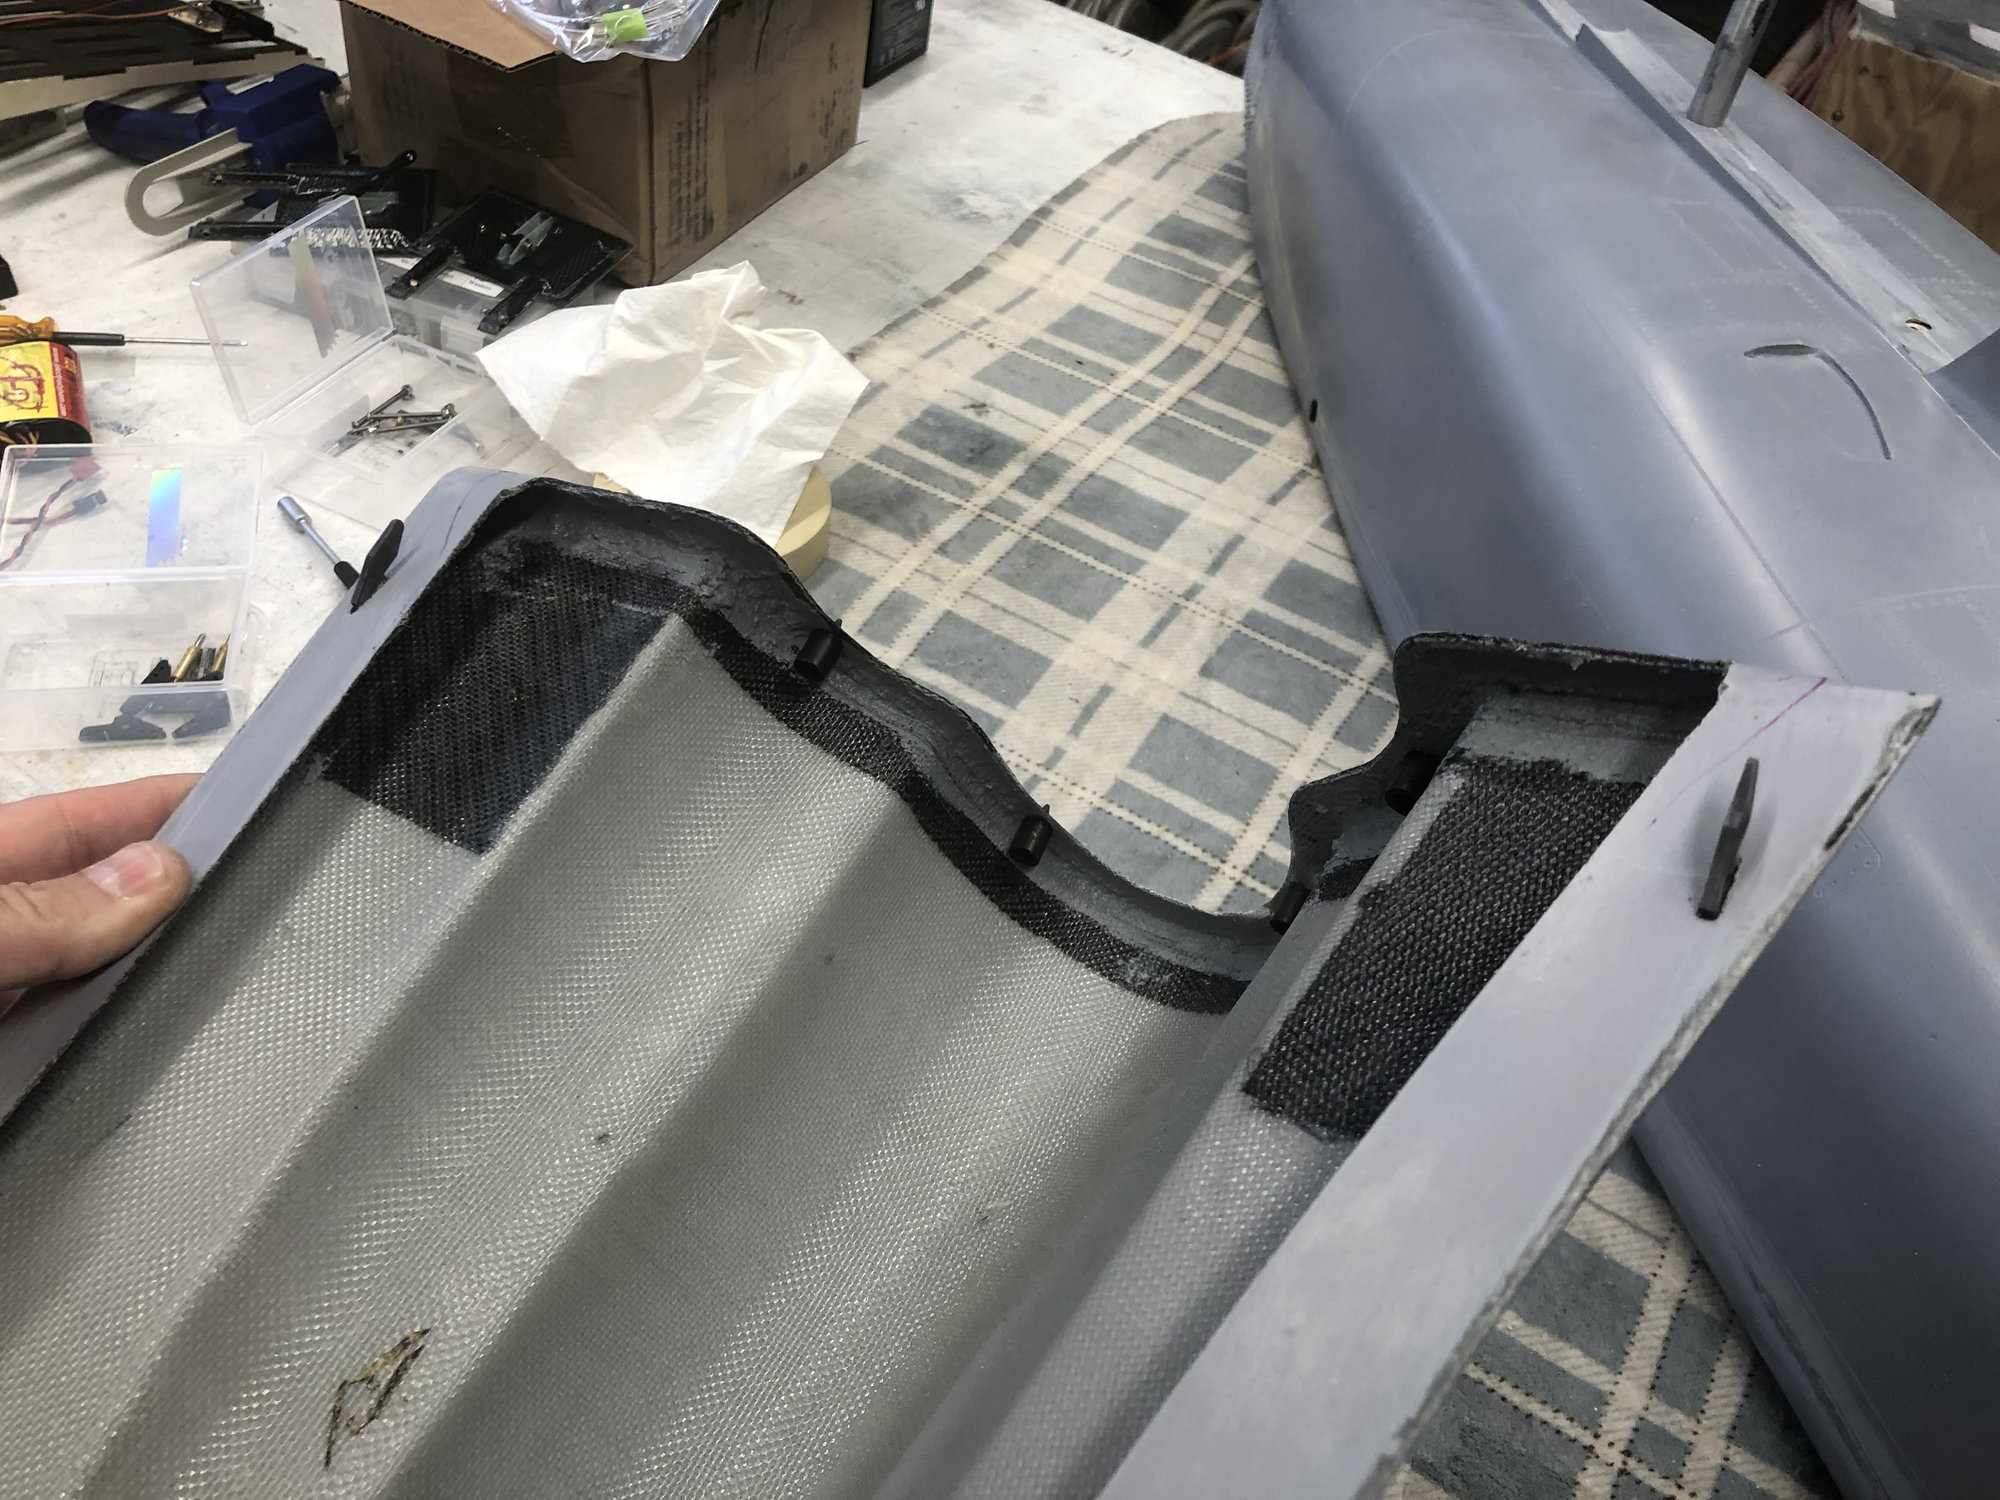
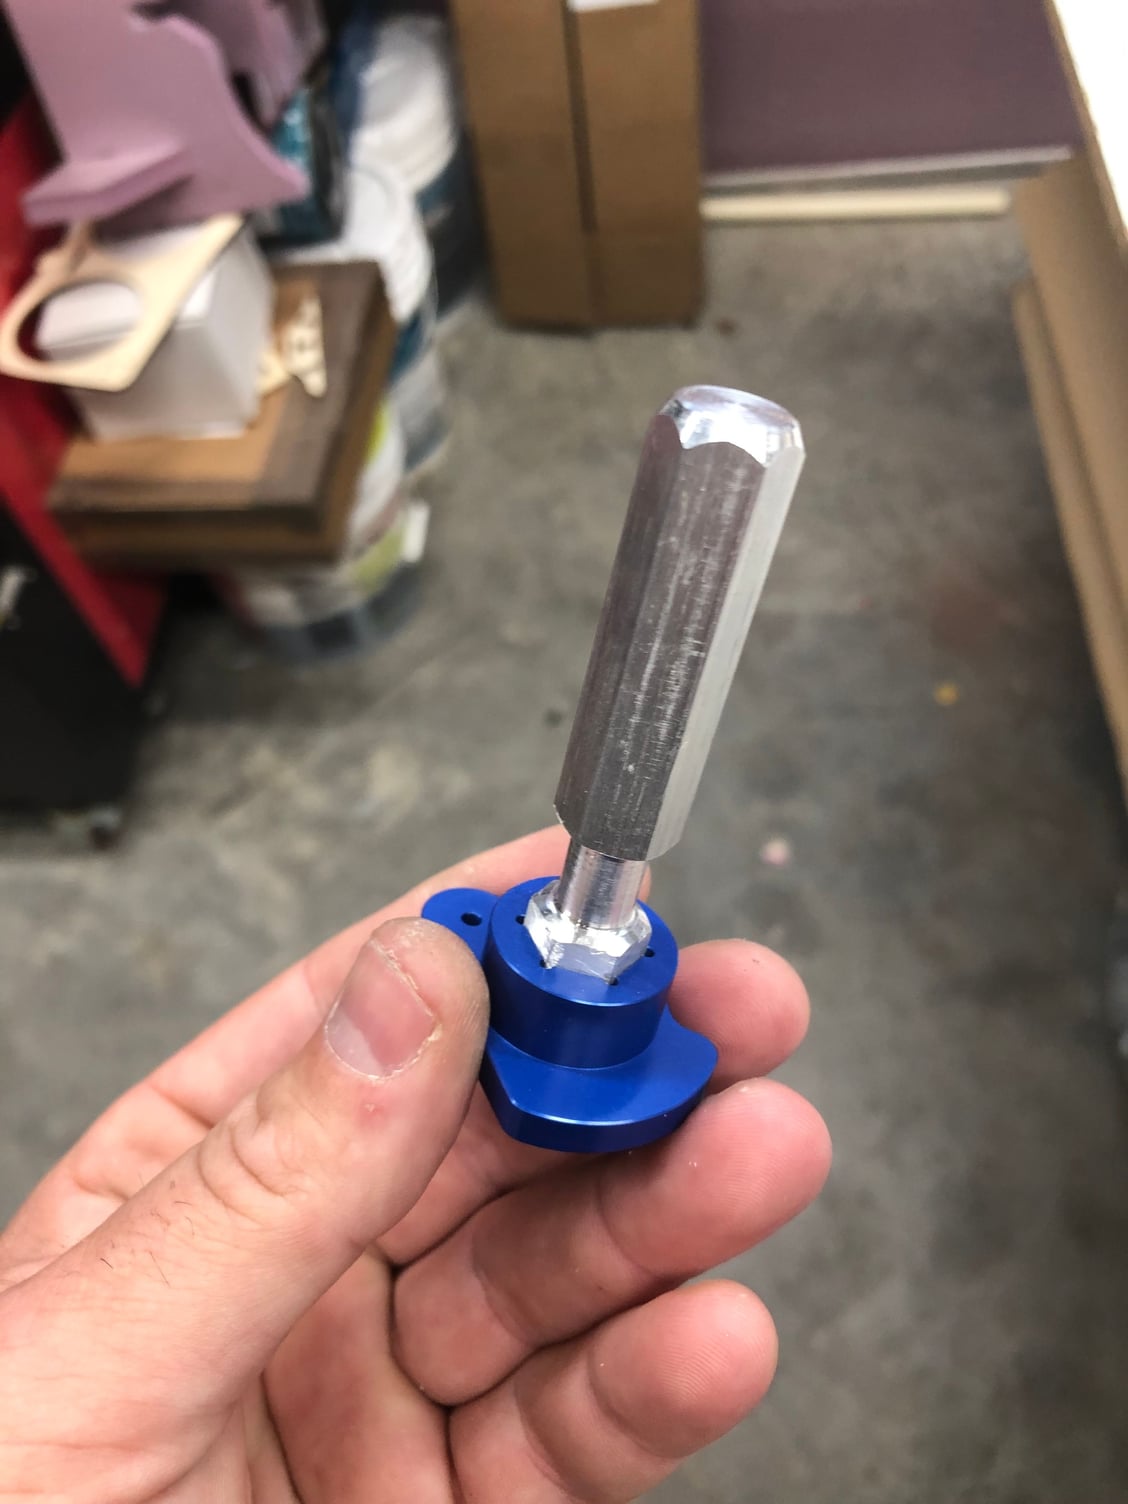
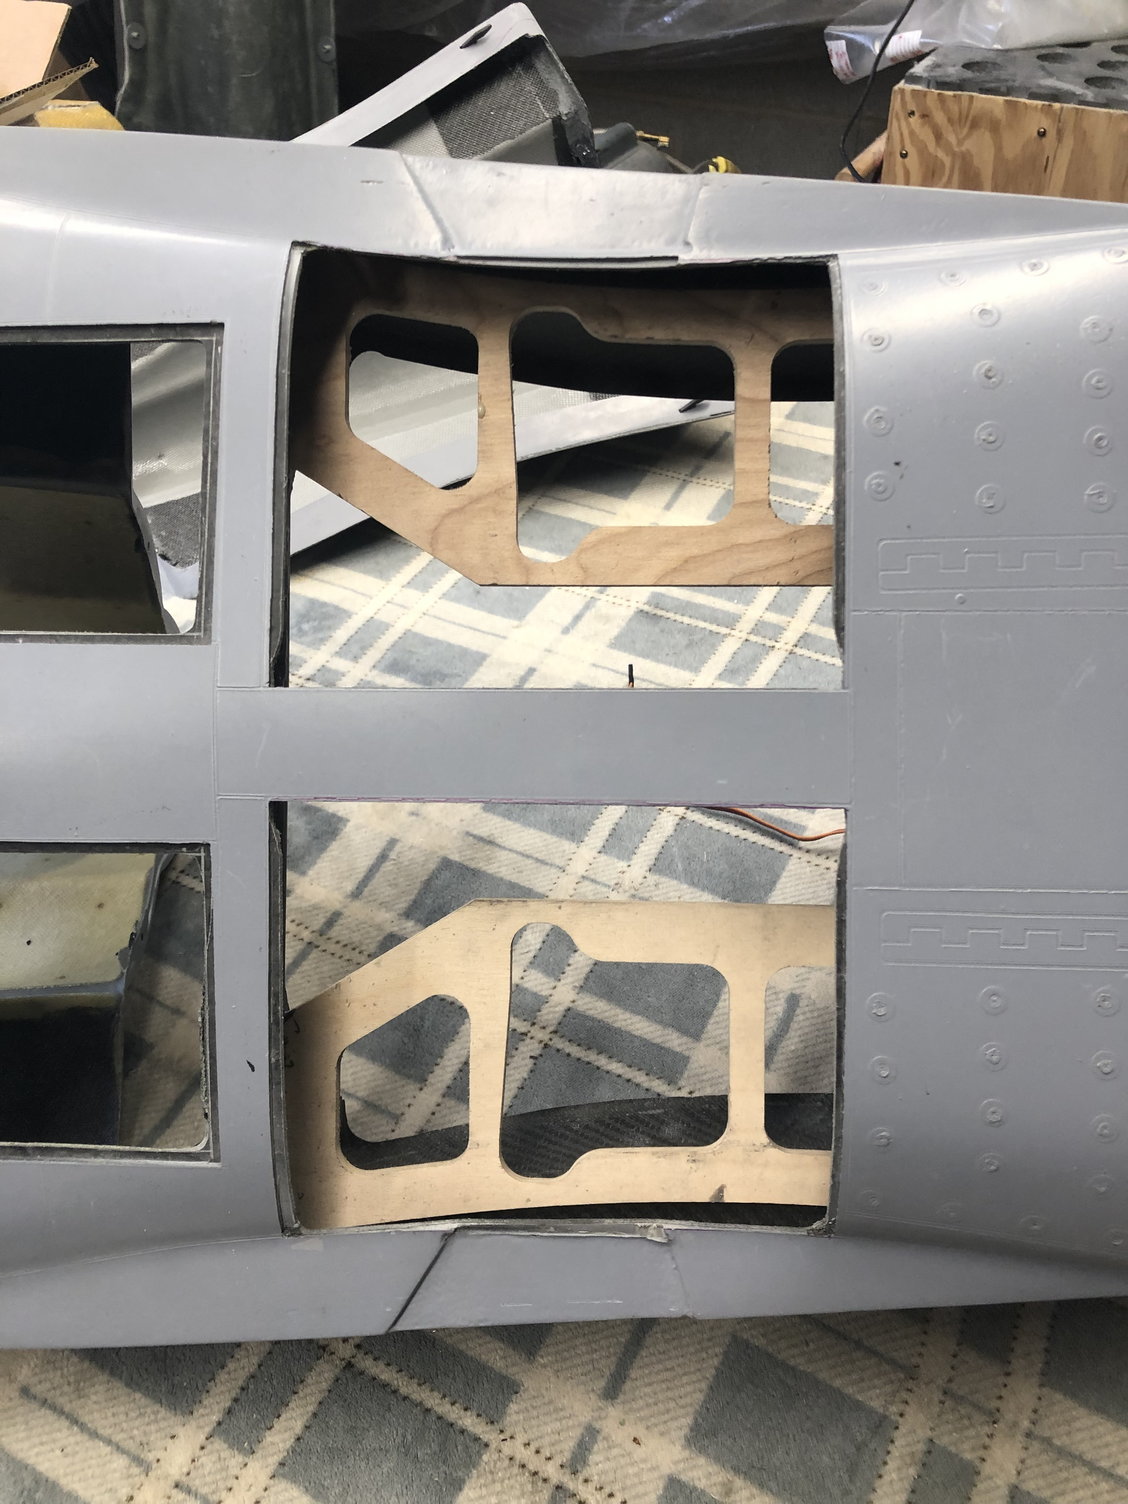
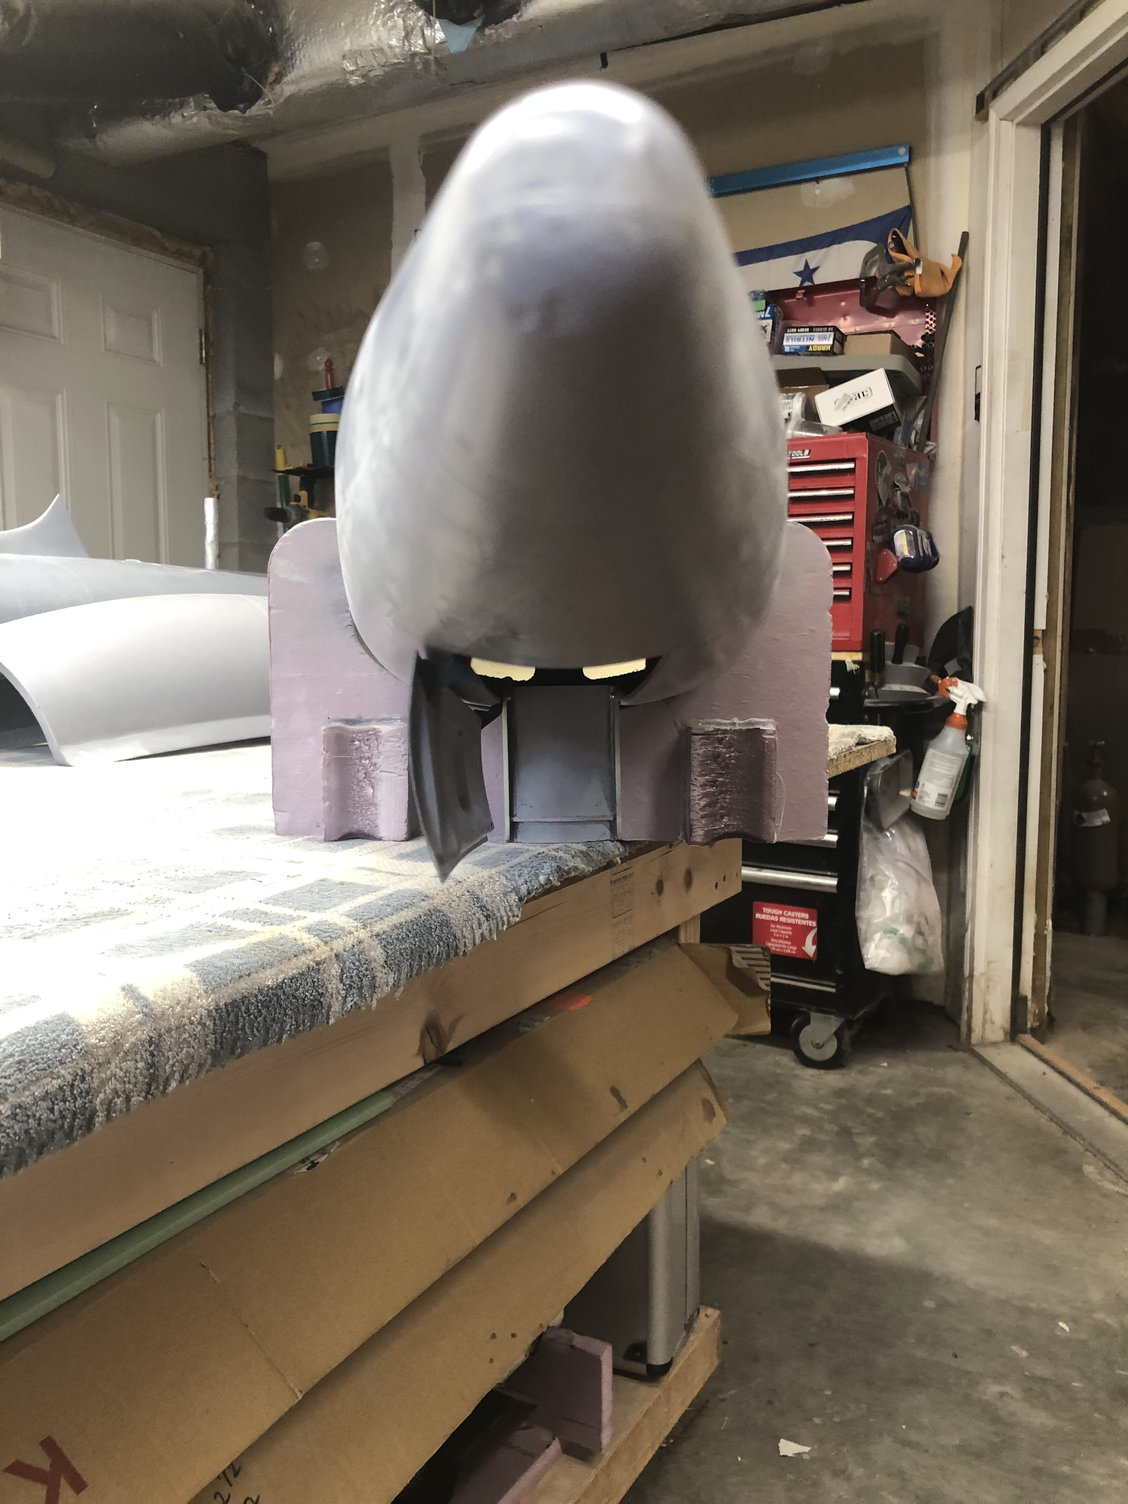
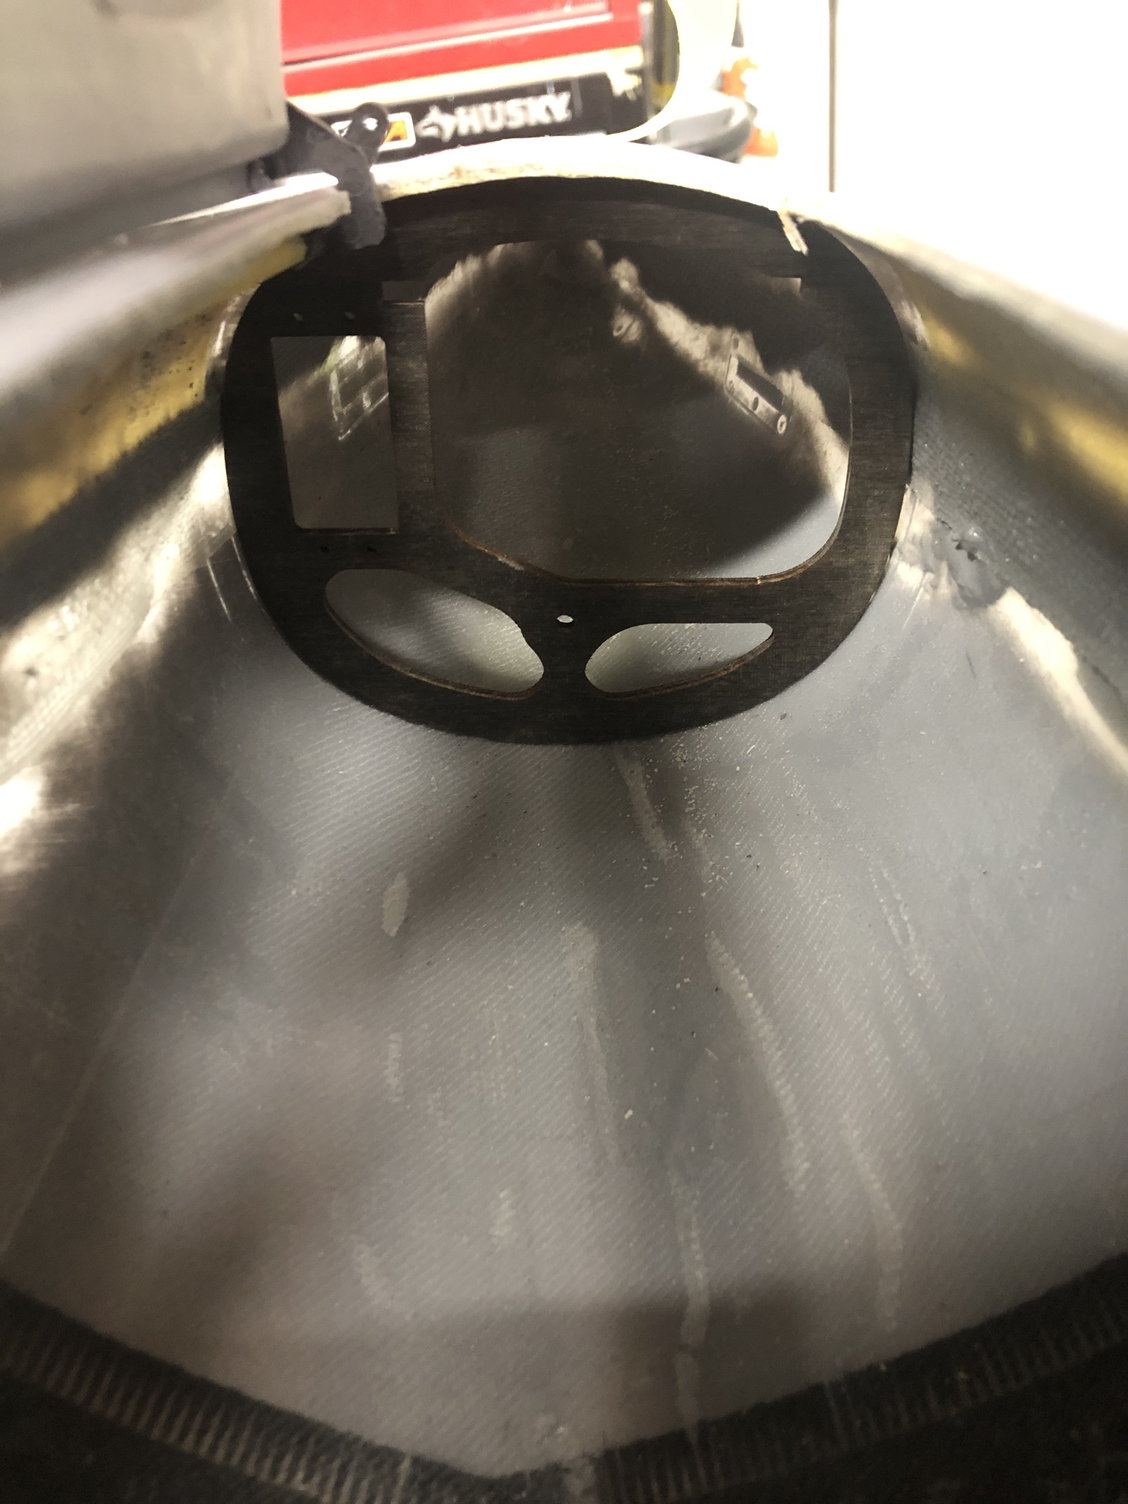
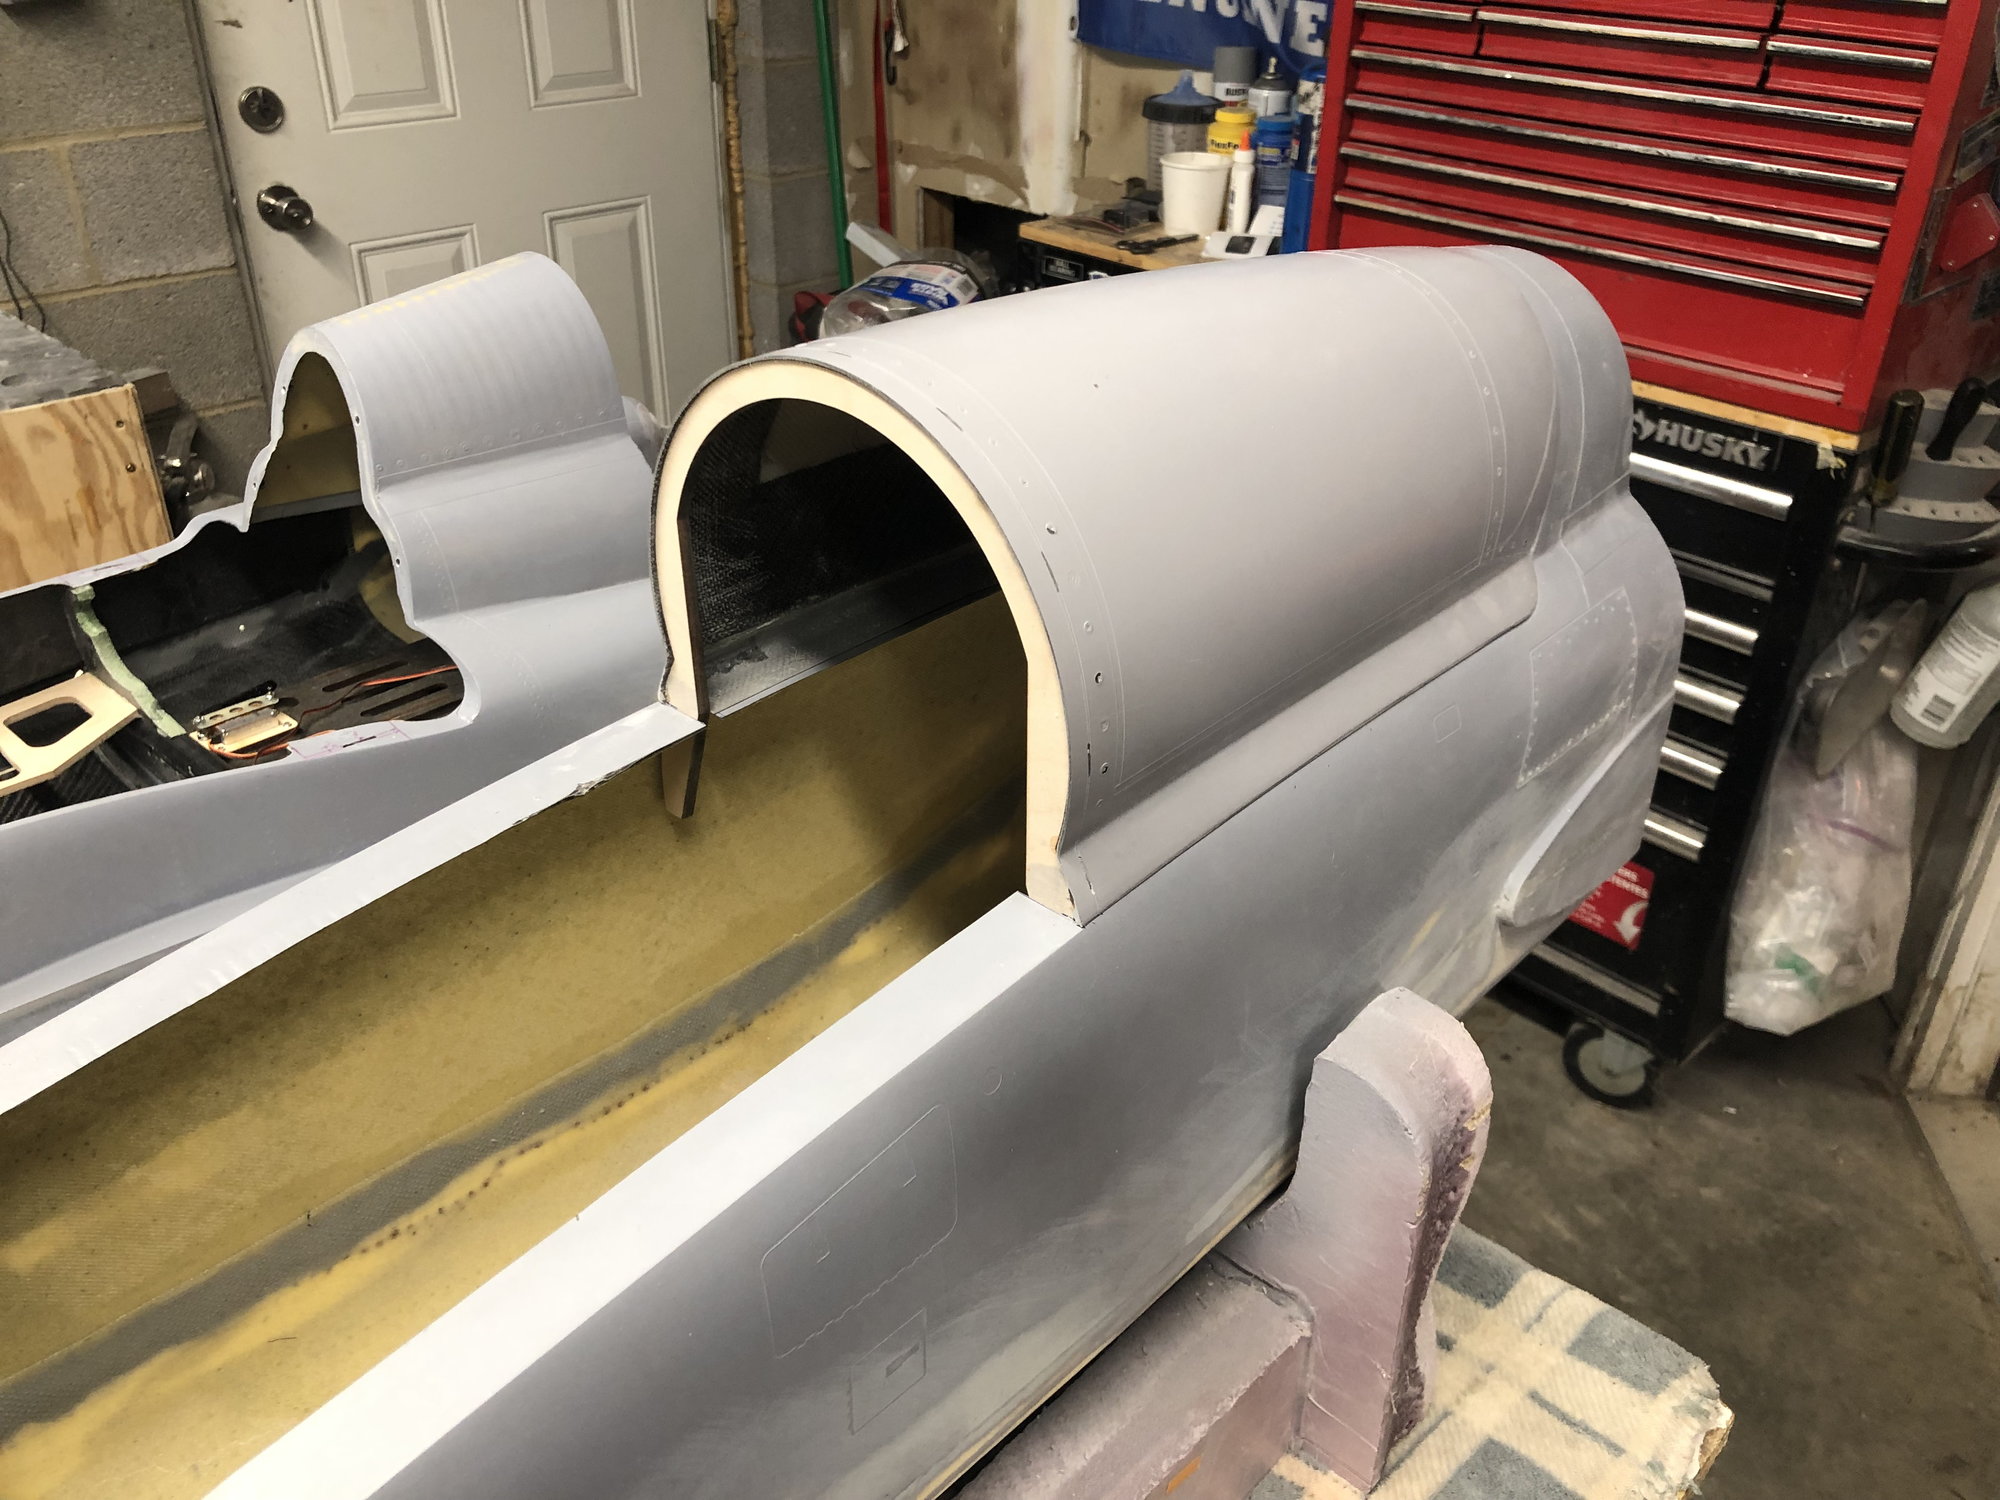
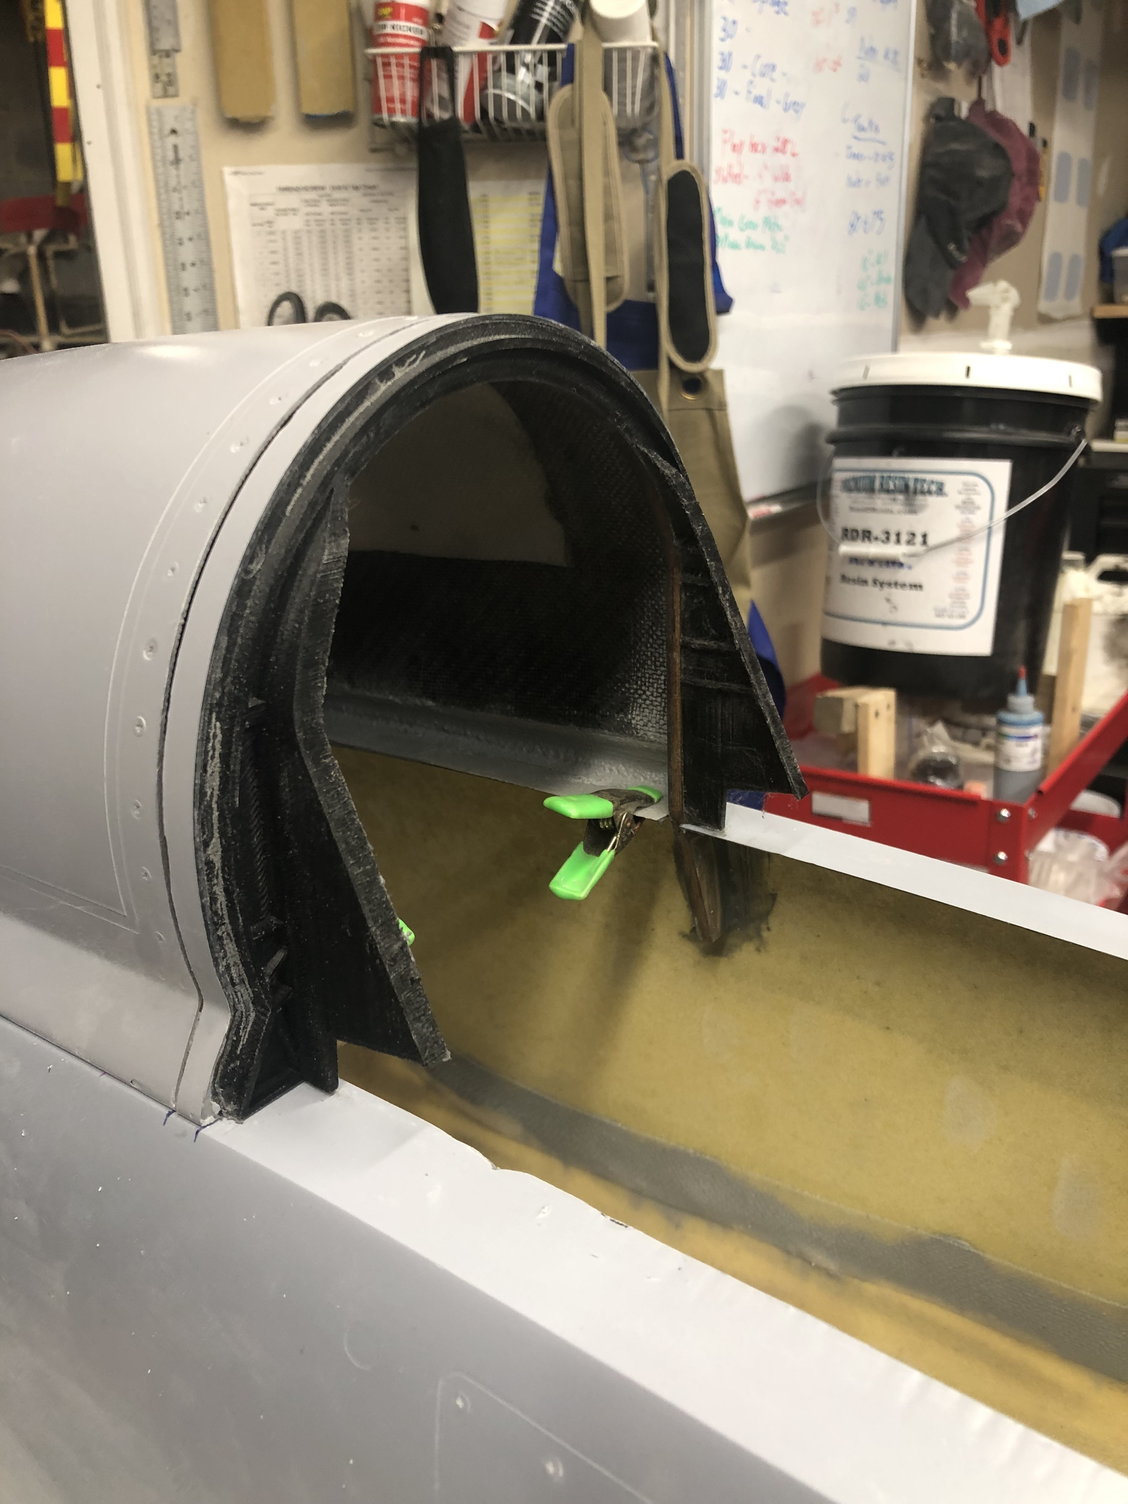
I was also able to get the mockup tailpipe into the fuselage. Unfortunately that will require a two piece inlet duct system, so i cadded up some bulkheads for that. These will be 3mm airex/carbon pieces and use some 3/16� pins to locate them together.
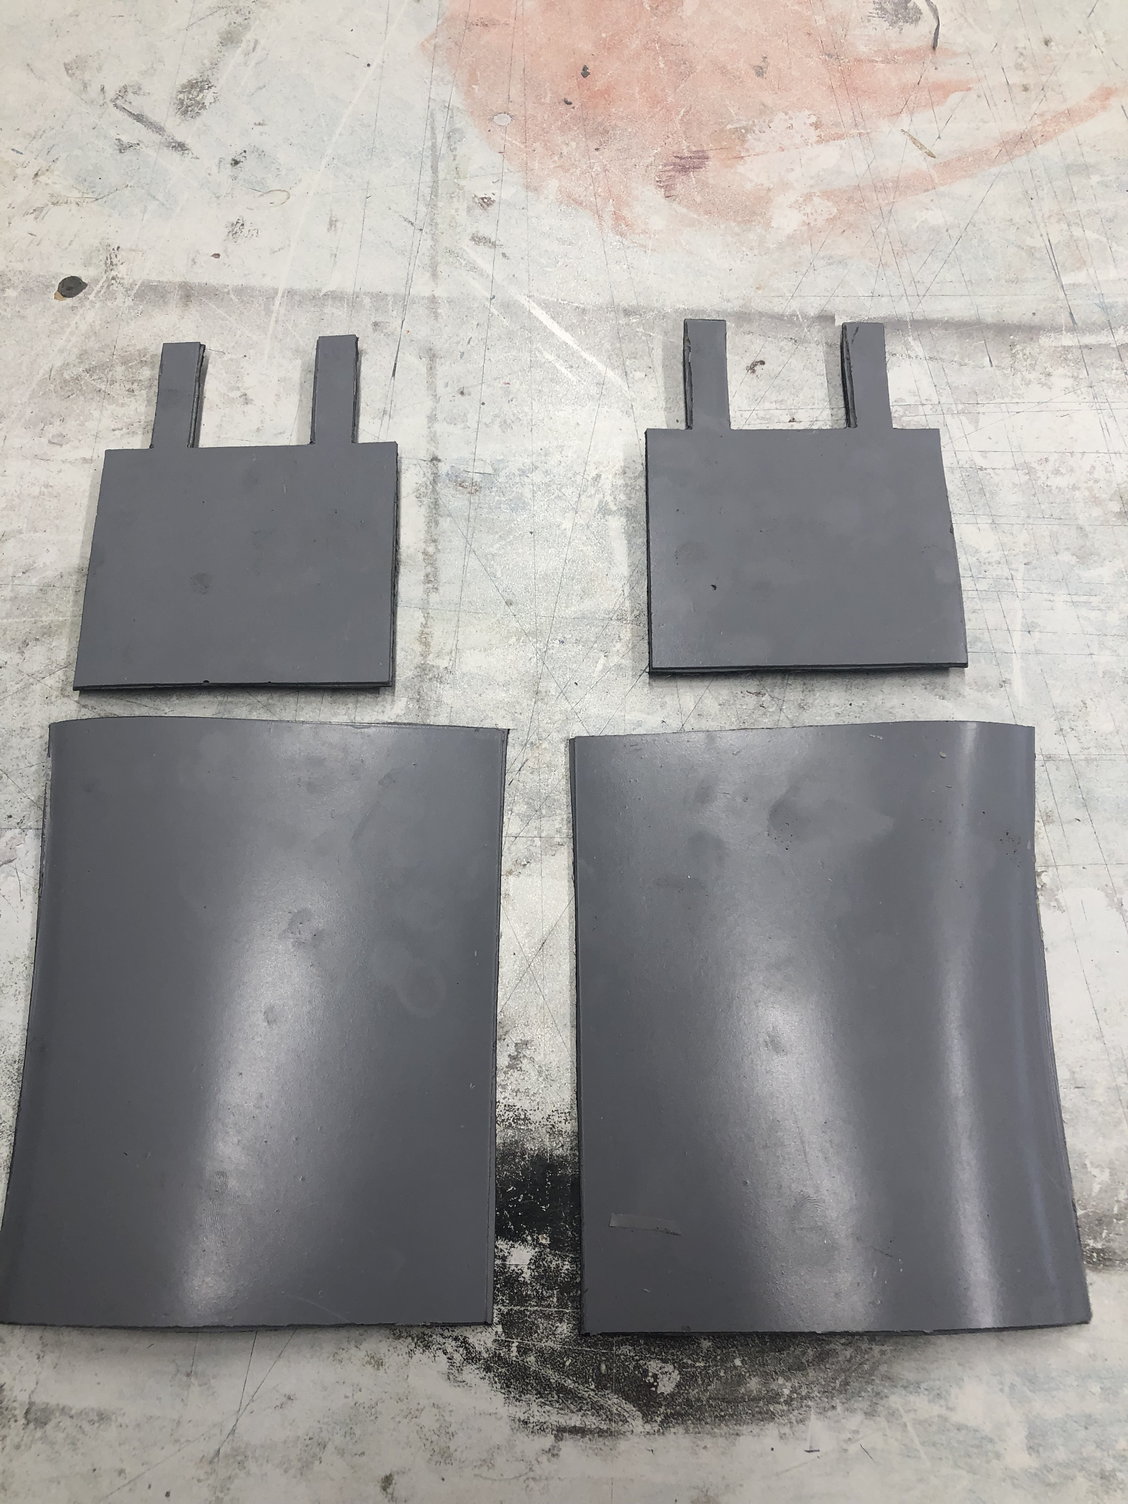
I also tried my had at laying up a set of kevlar tank halves on some male molds. I dont have much faith in this, but fingers crossed. Lol


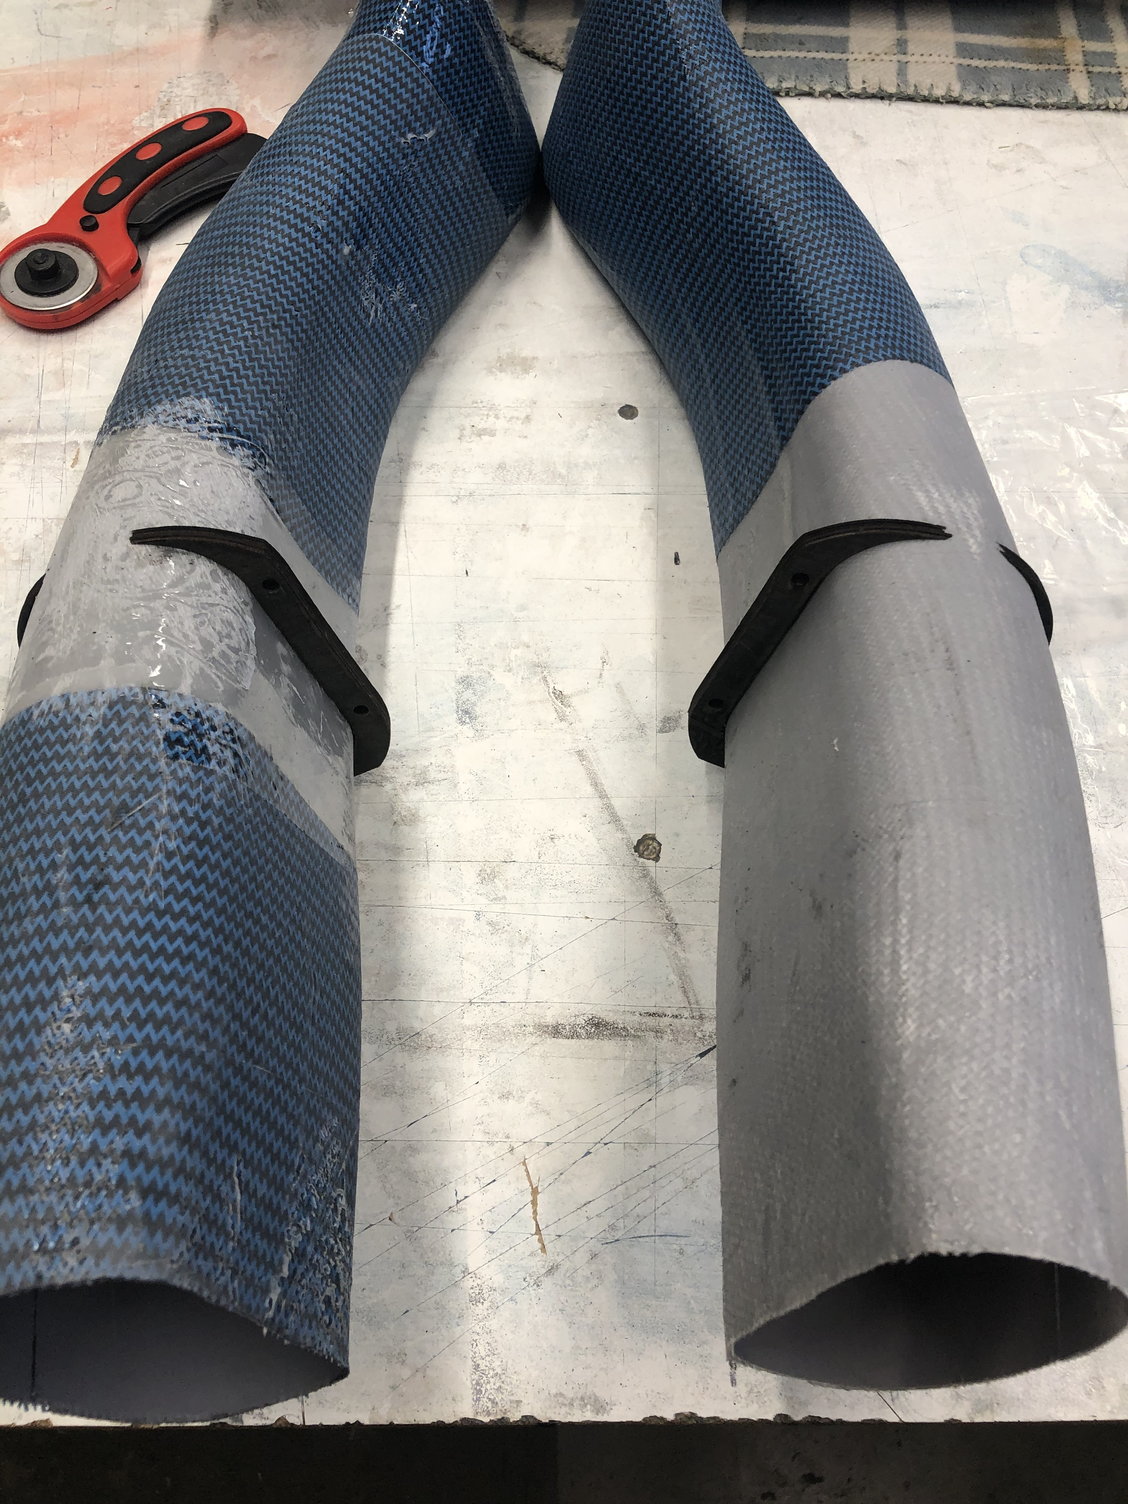
I was also able to get the mockup tailpipe into the fuselage. Unfortunately that will require a two piece inlet duct system, so i cadded up some bulkheads for that. These will be 3mm airex/carbon pieces and use some 3/16� pins to locate them together.
I also tried my had at laying up a set of kevlar tank halves on some male molds. I dont have much faith in this, but fingers crossed. Lol
The following 3 users liked this post by invertmast:
 03-20-2023, 09:46 AM
#285
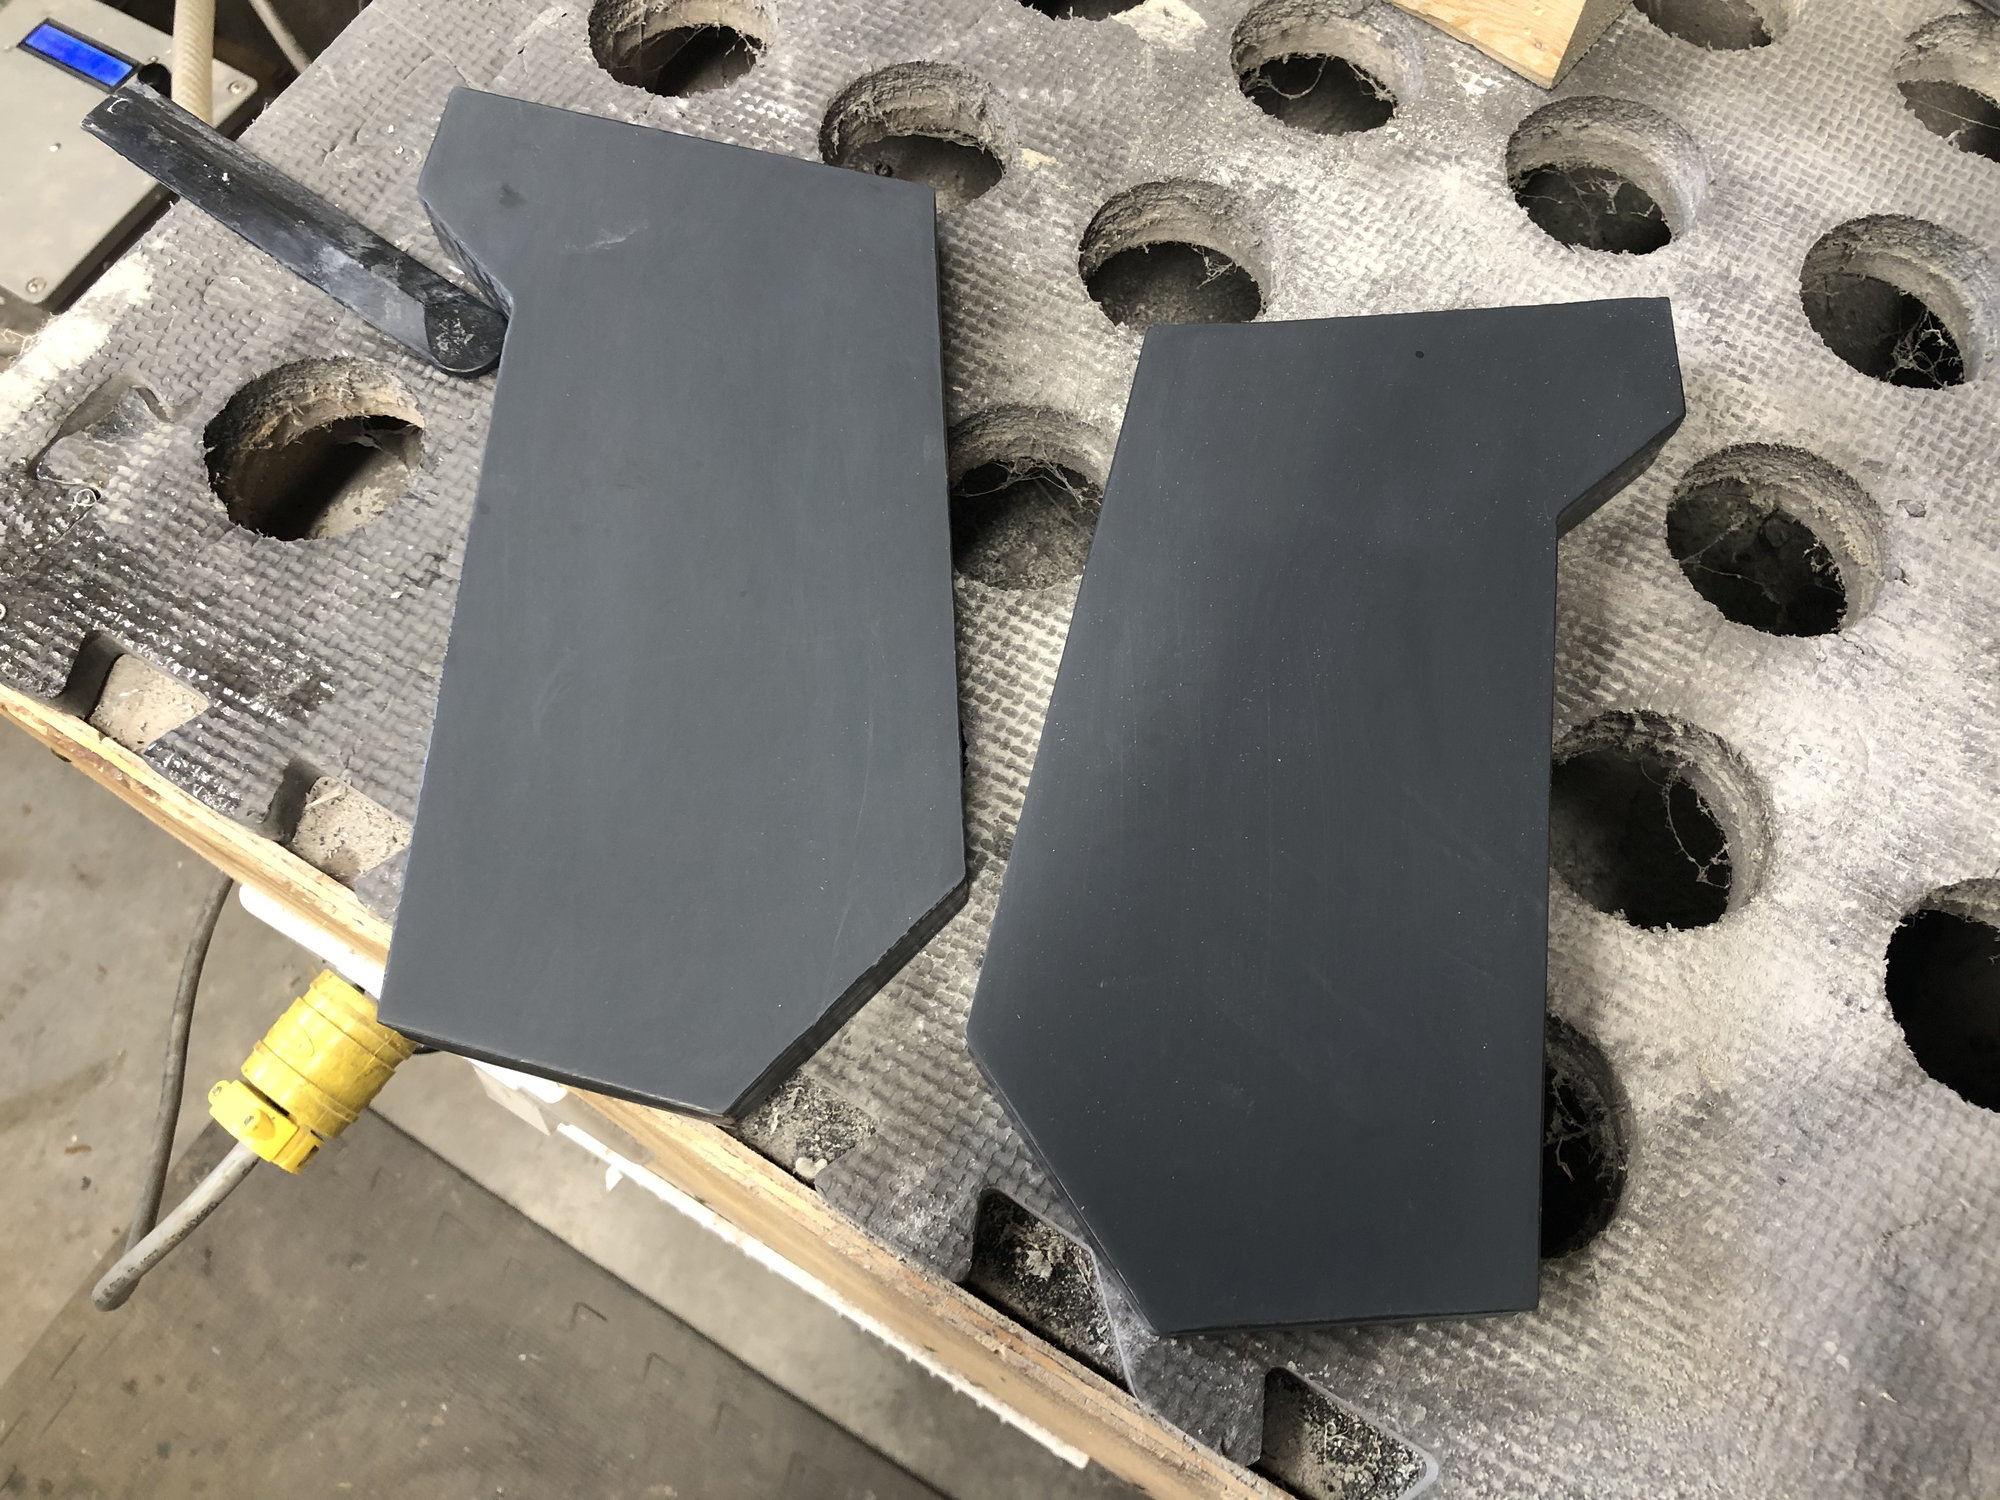
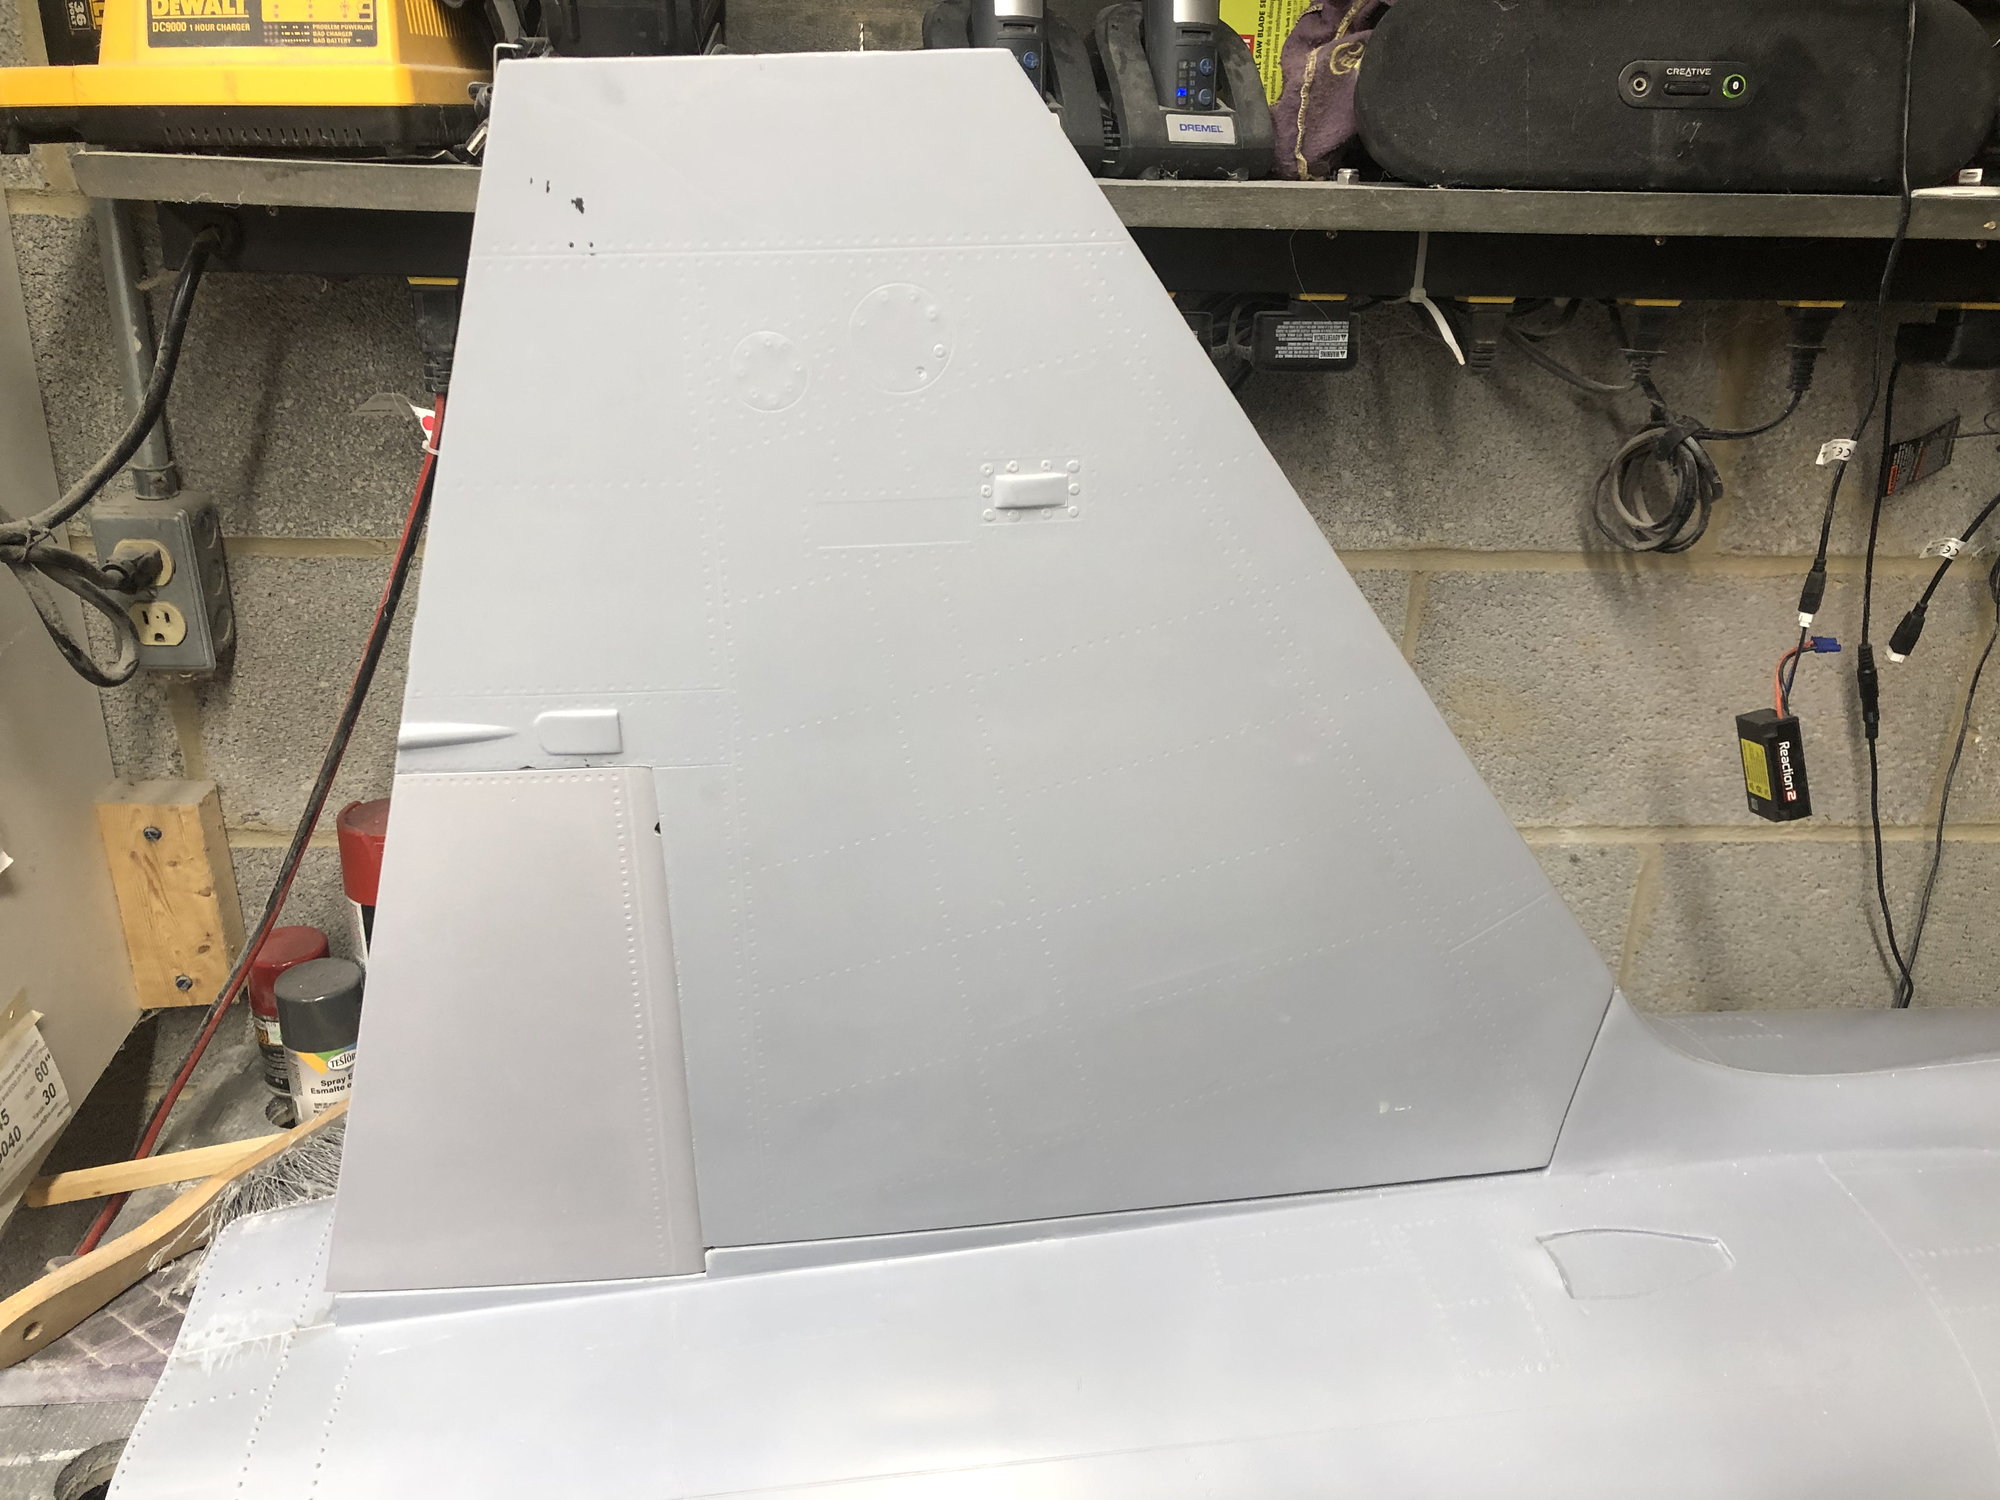
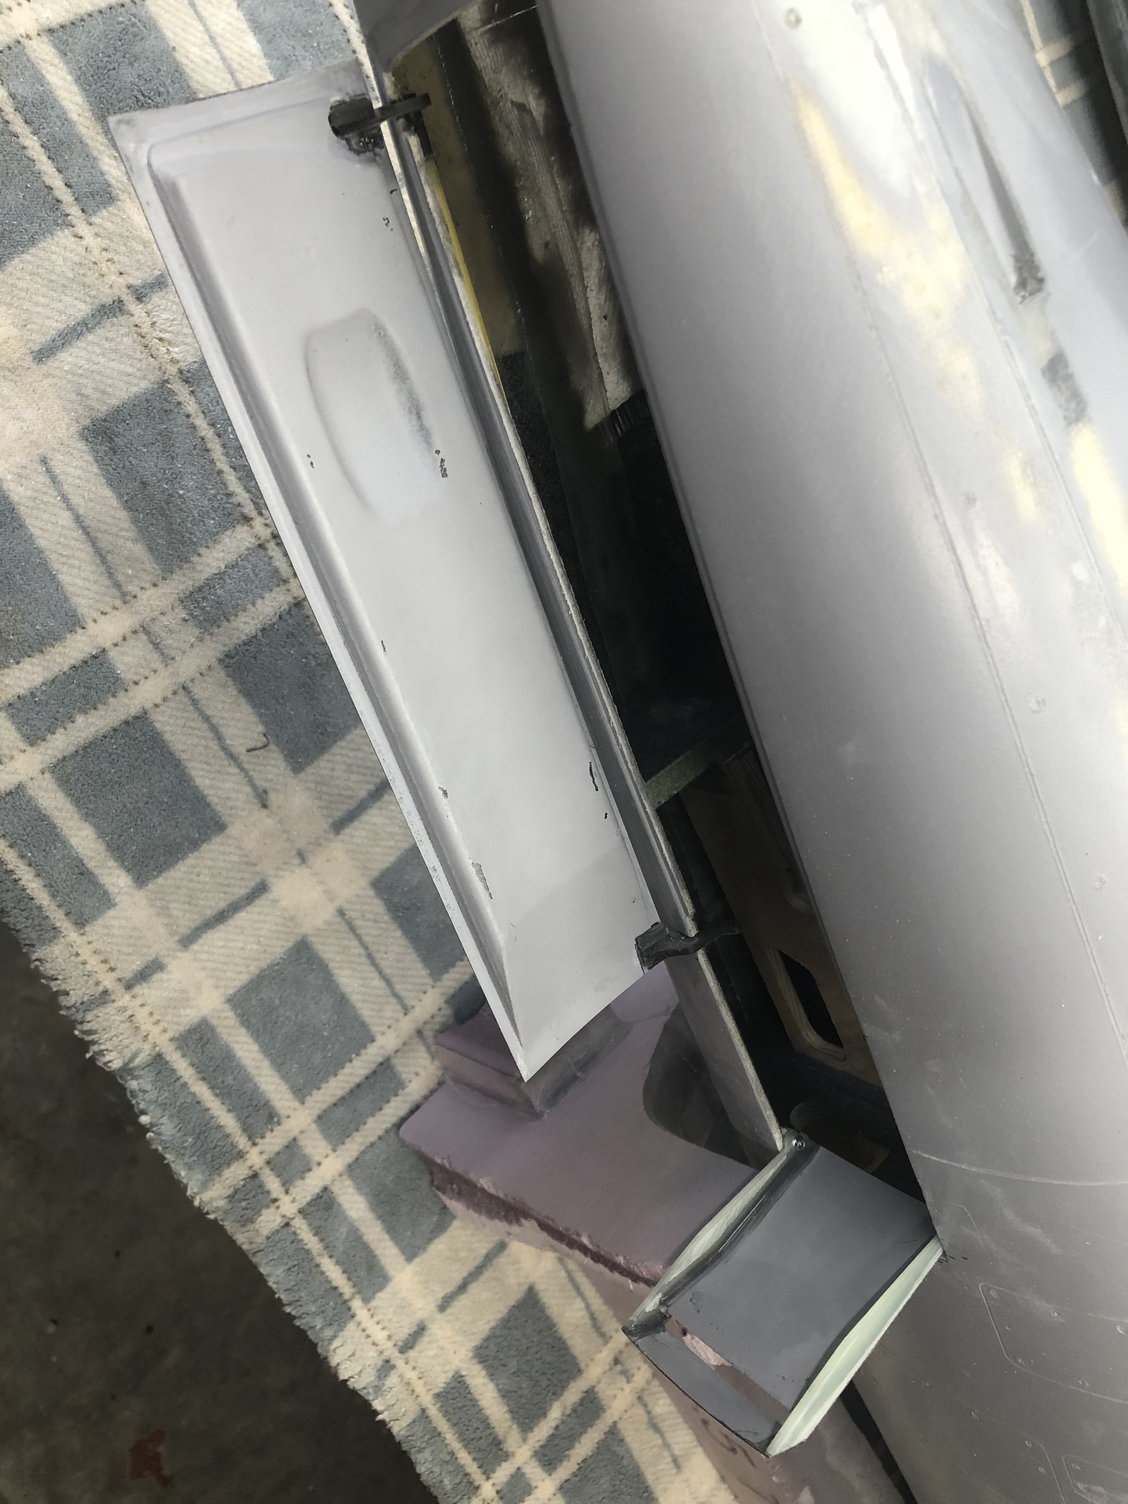
all of the doors and speed brakes are done� sort of.

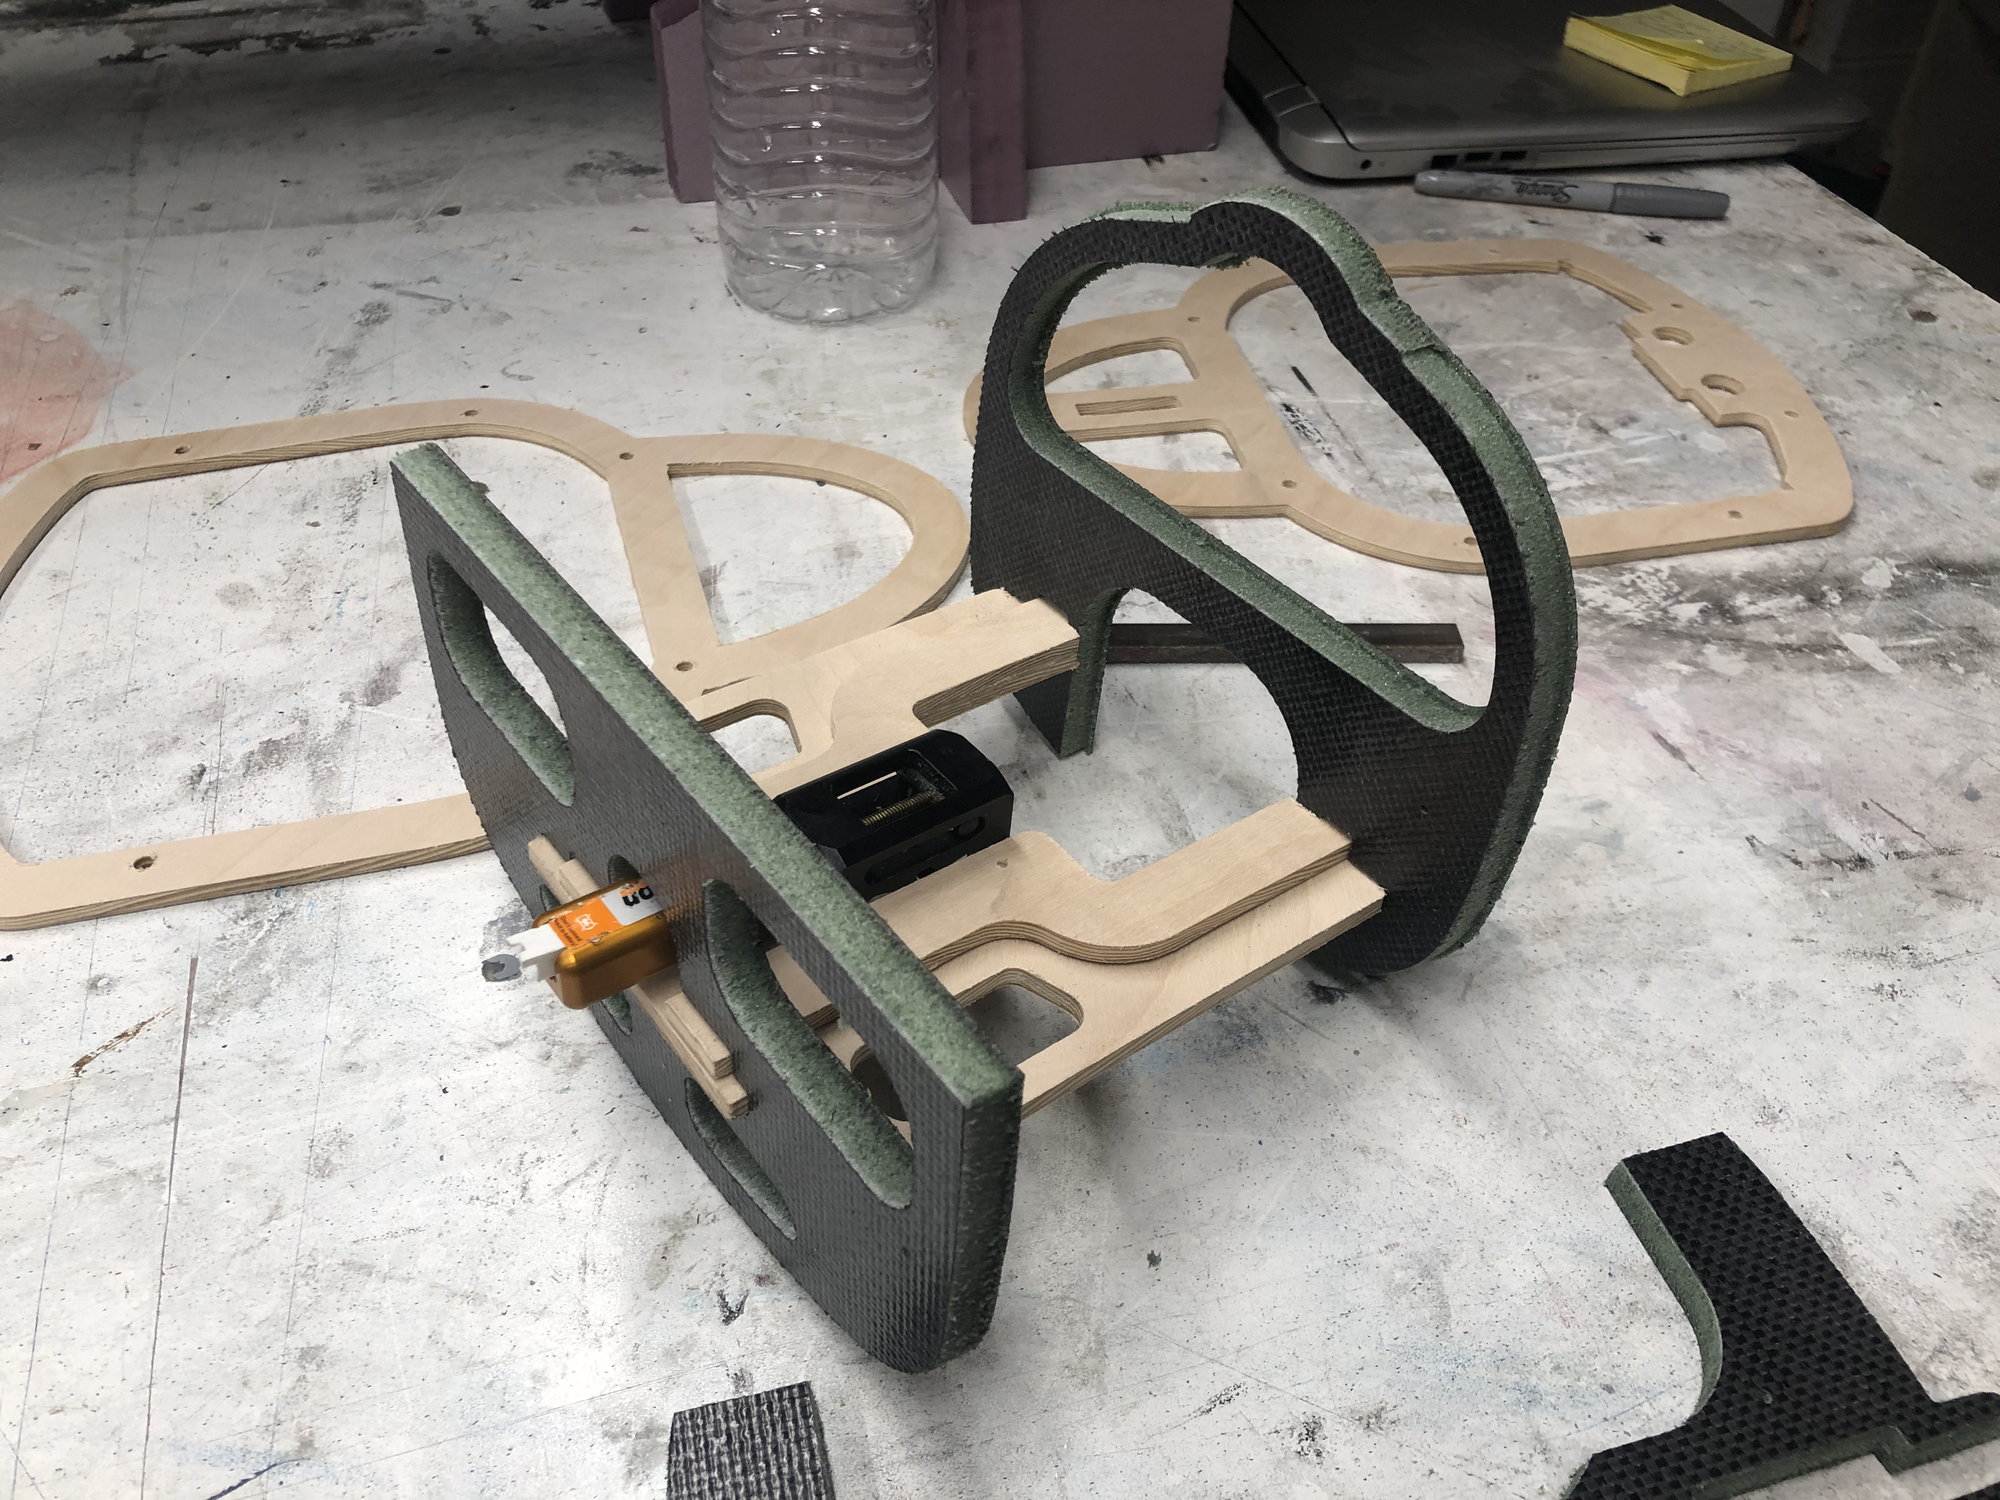
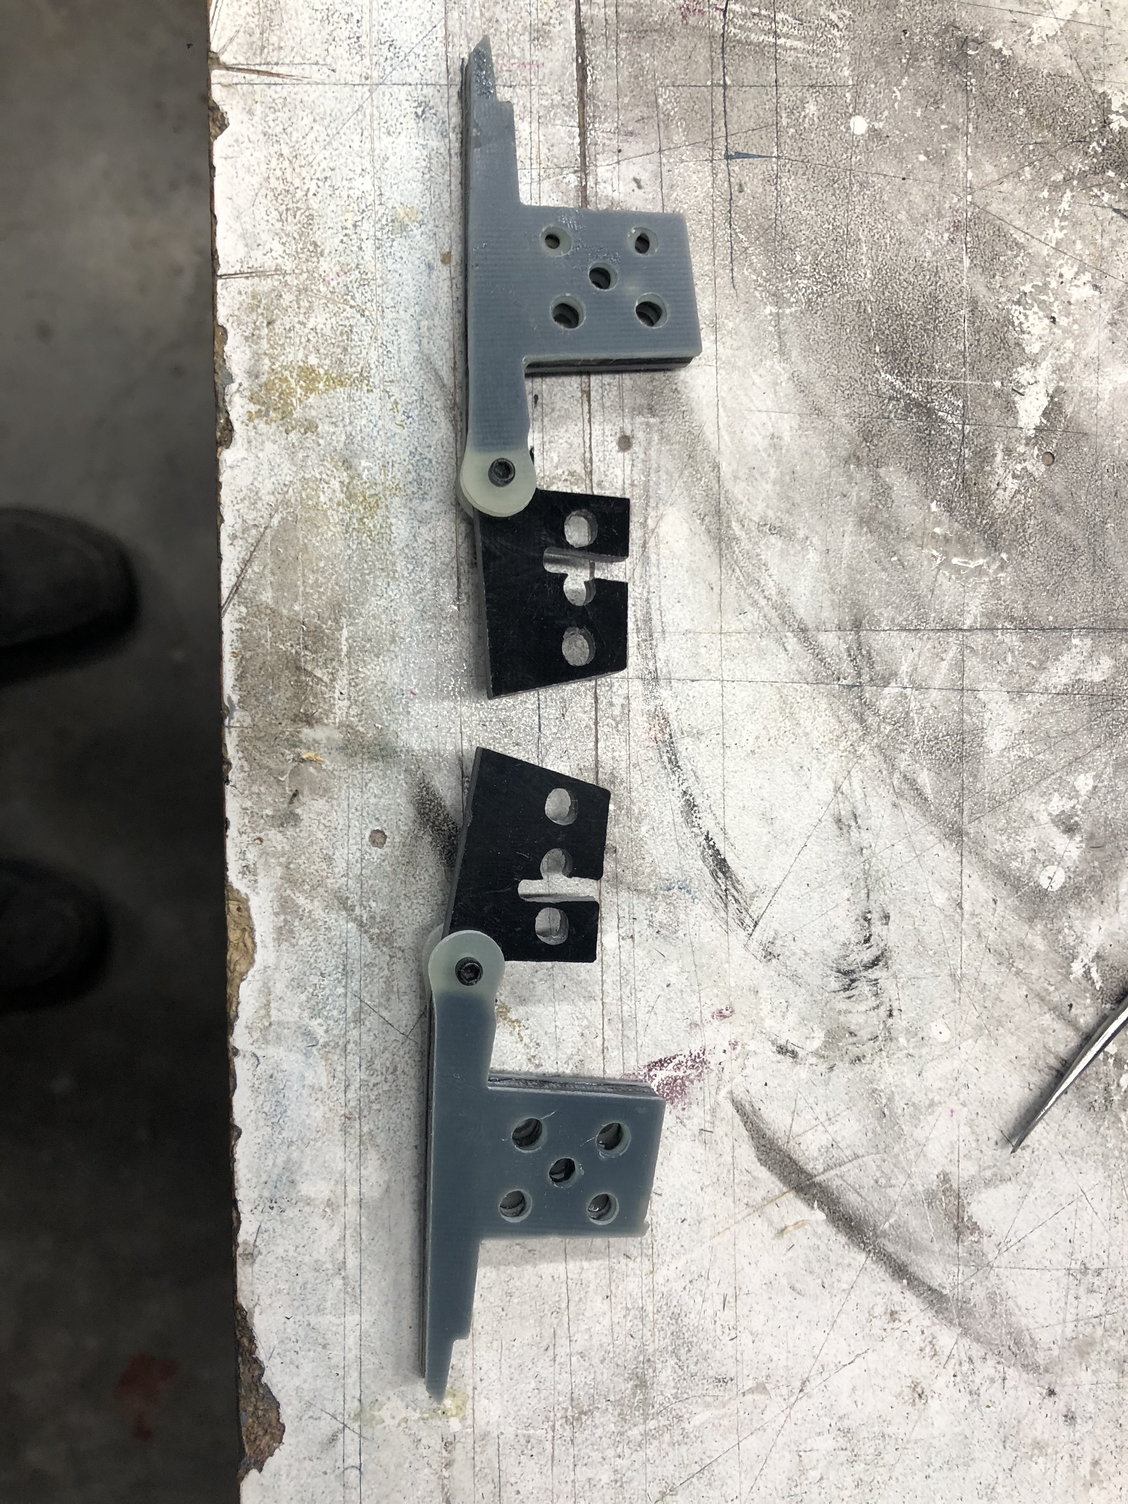
I also have the flap drives and hinges all assembled and hysol�d.


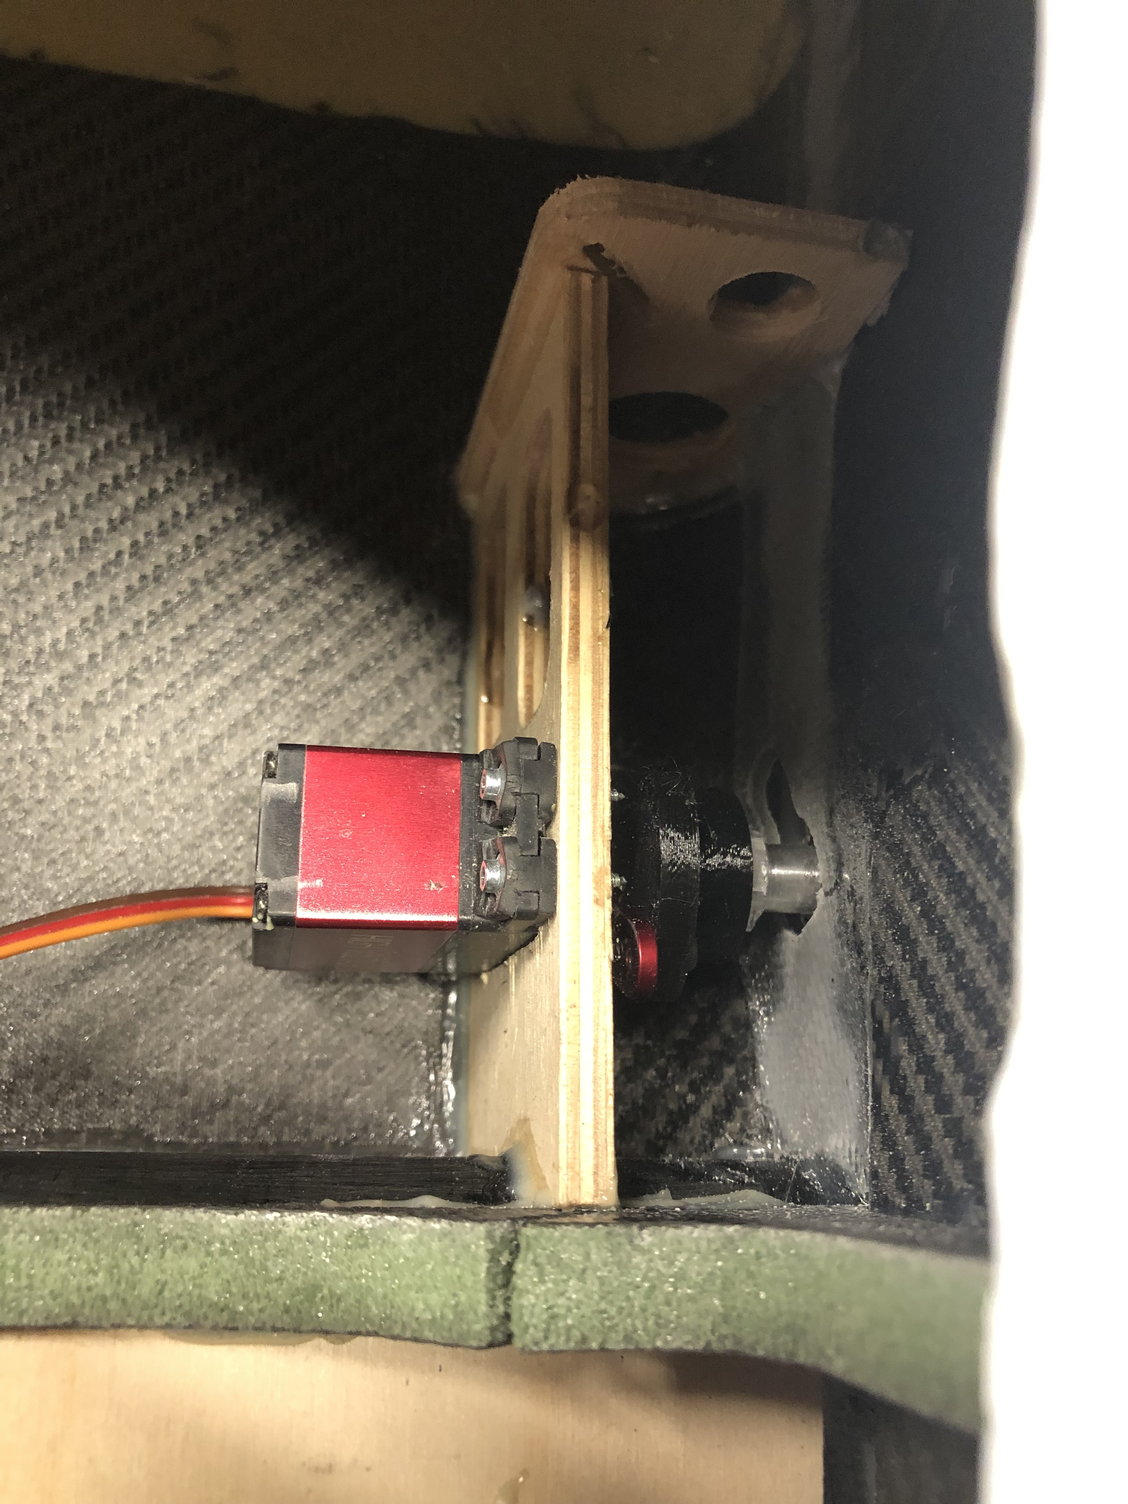

same goes for the rudder drive.
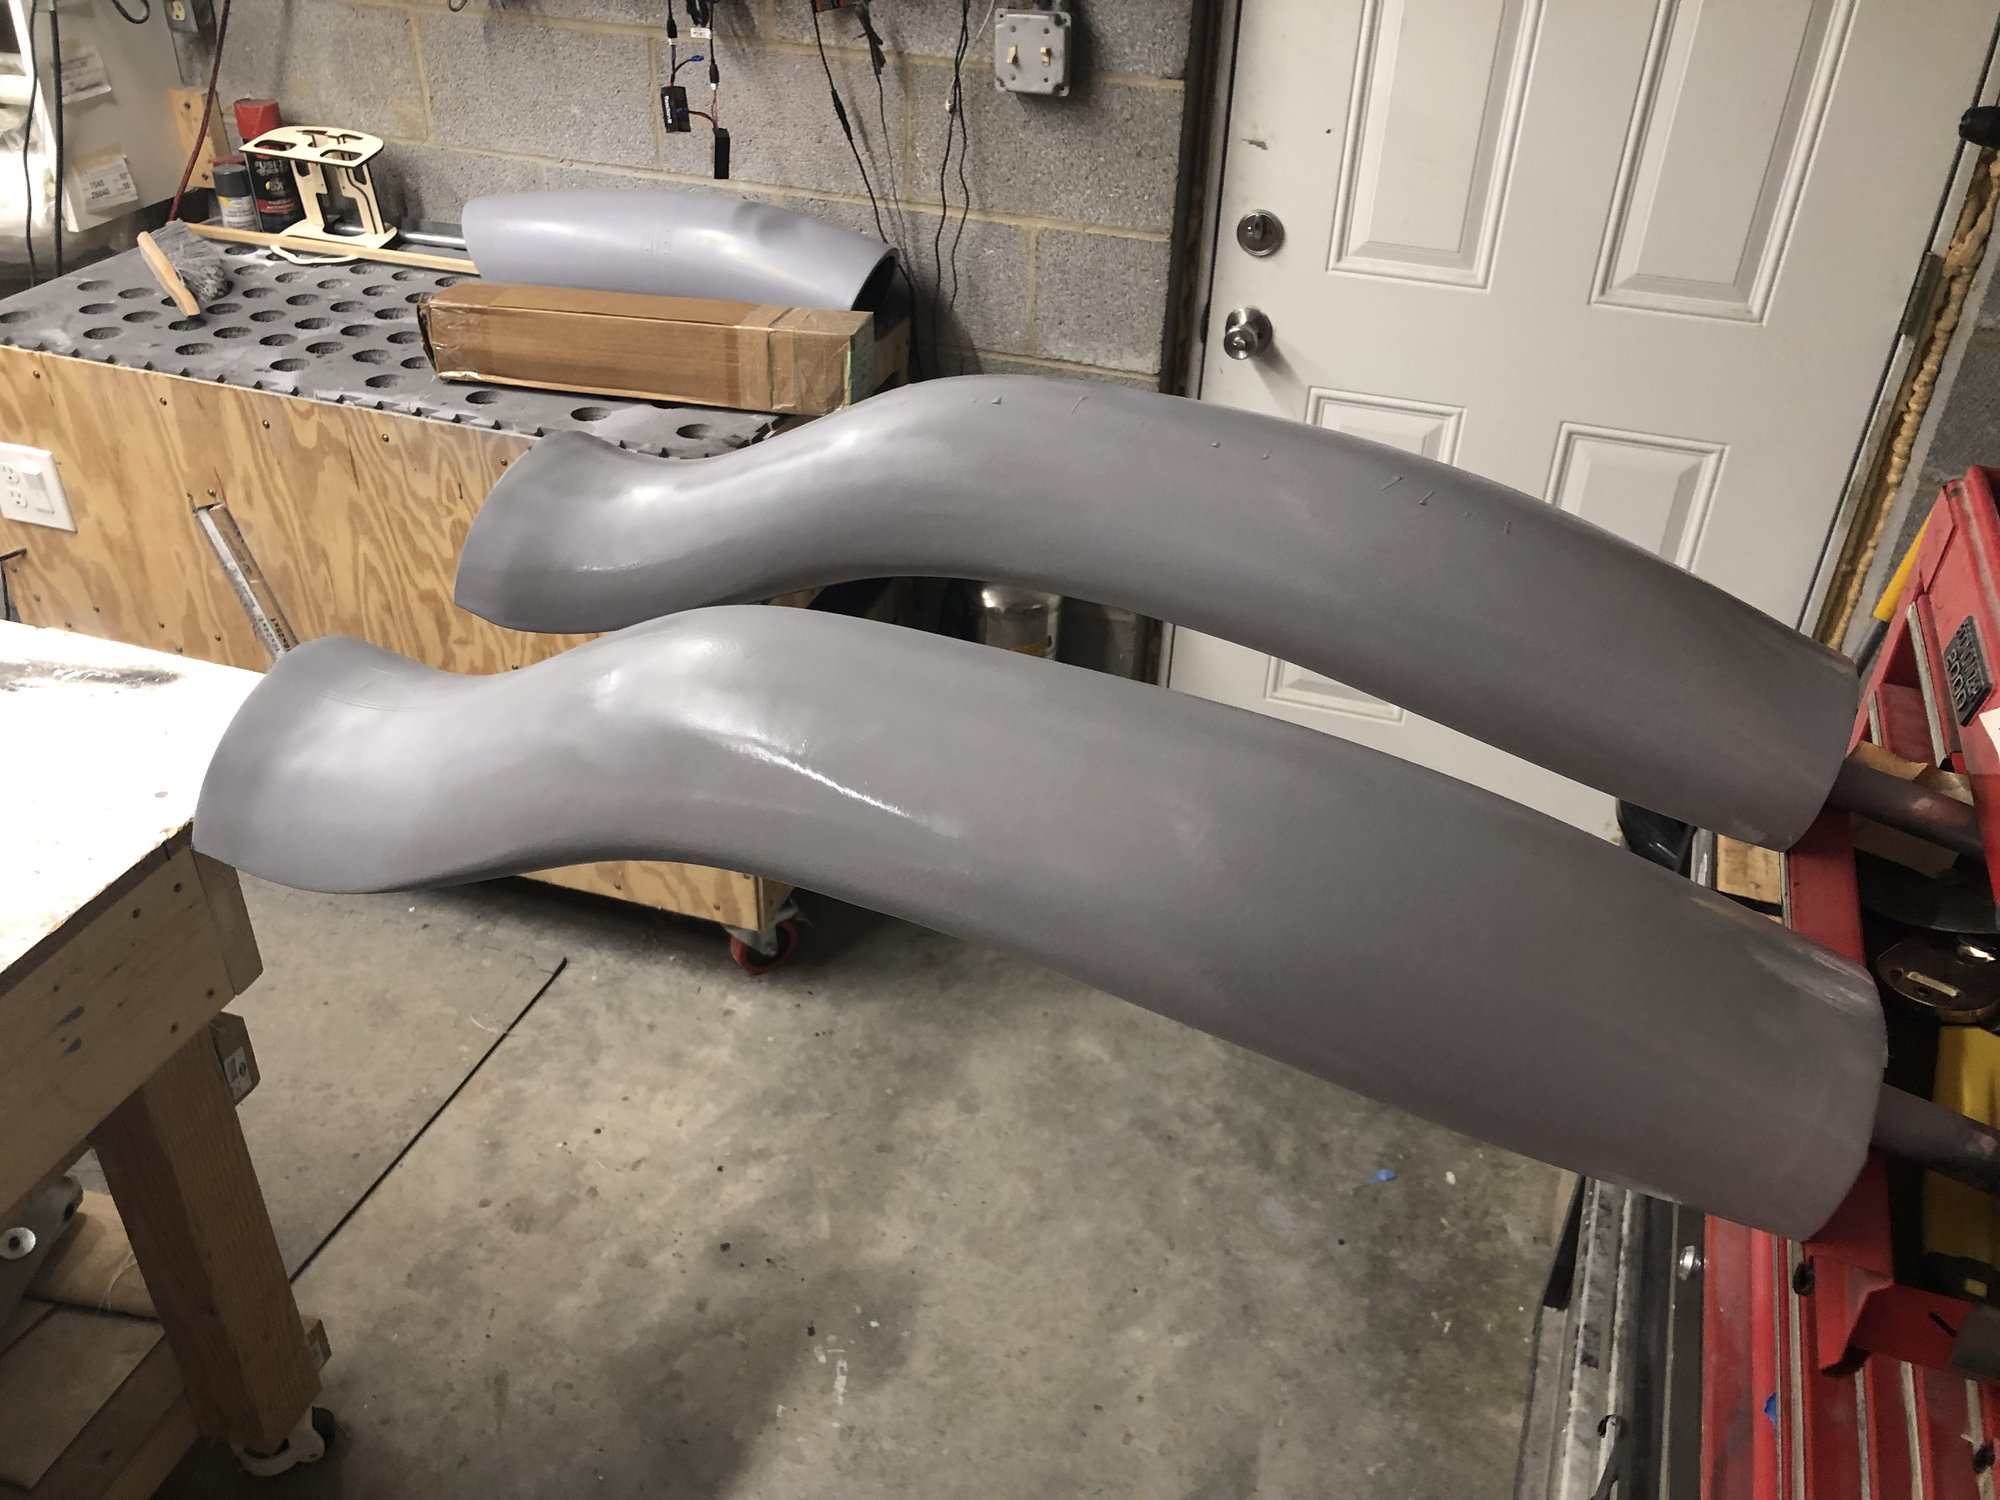
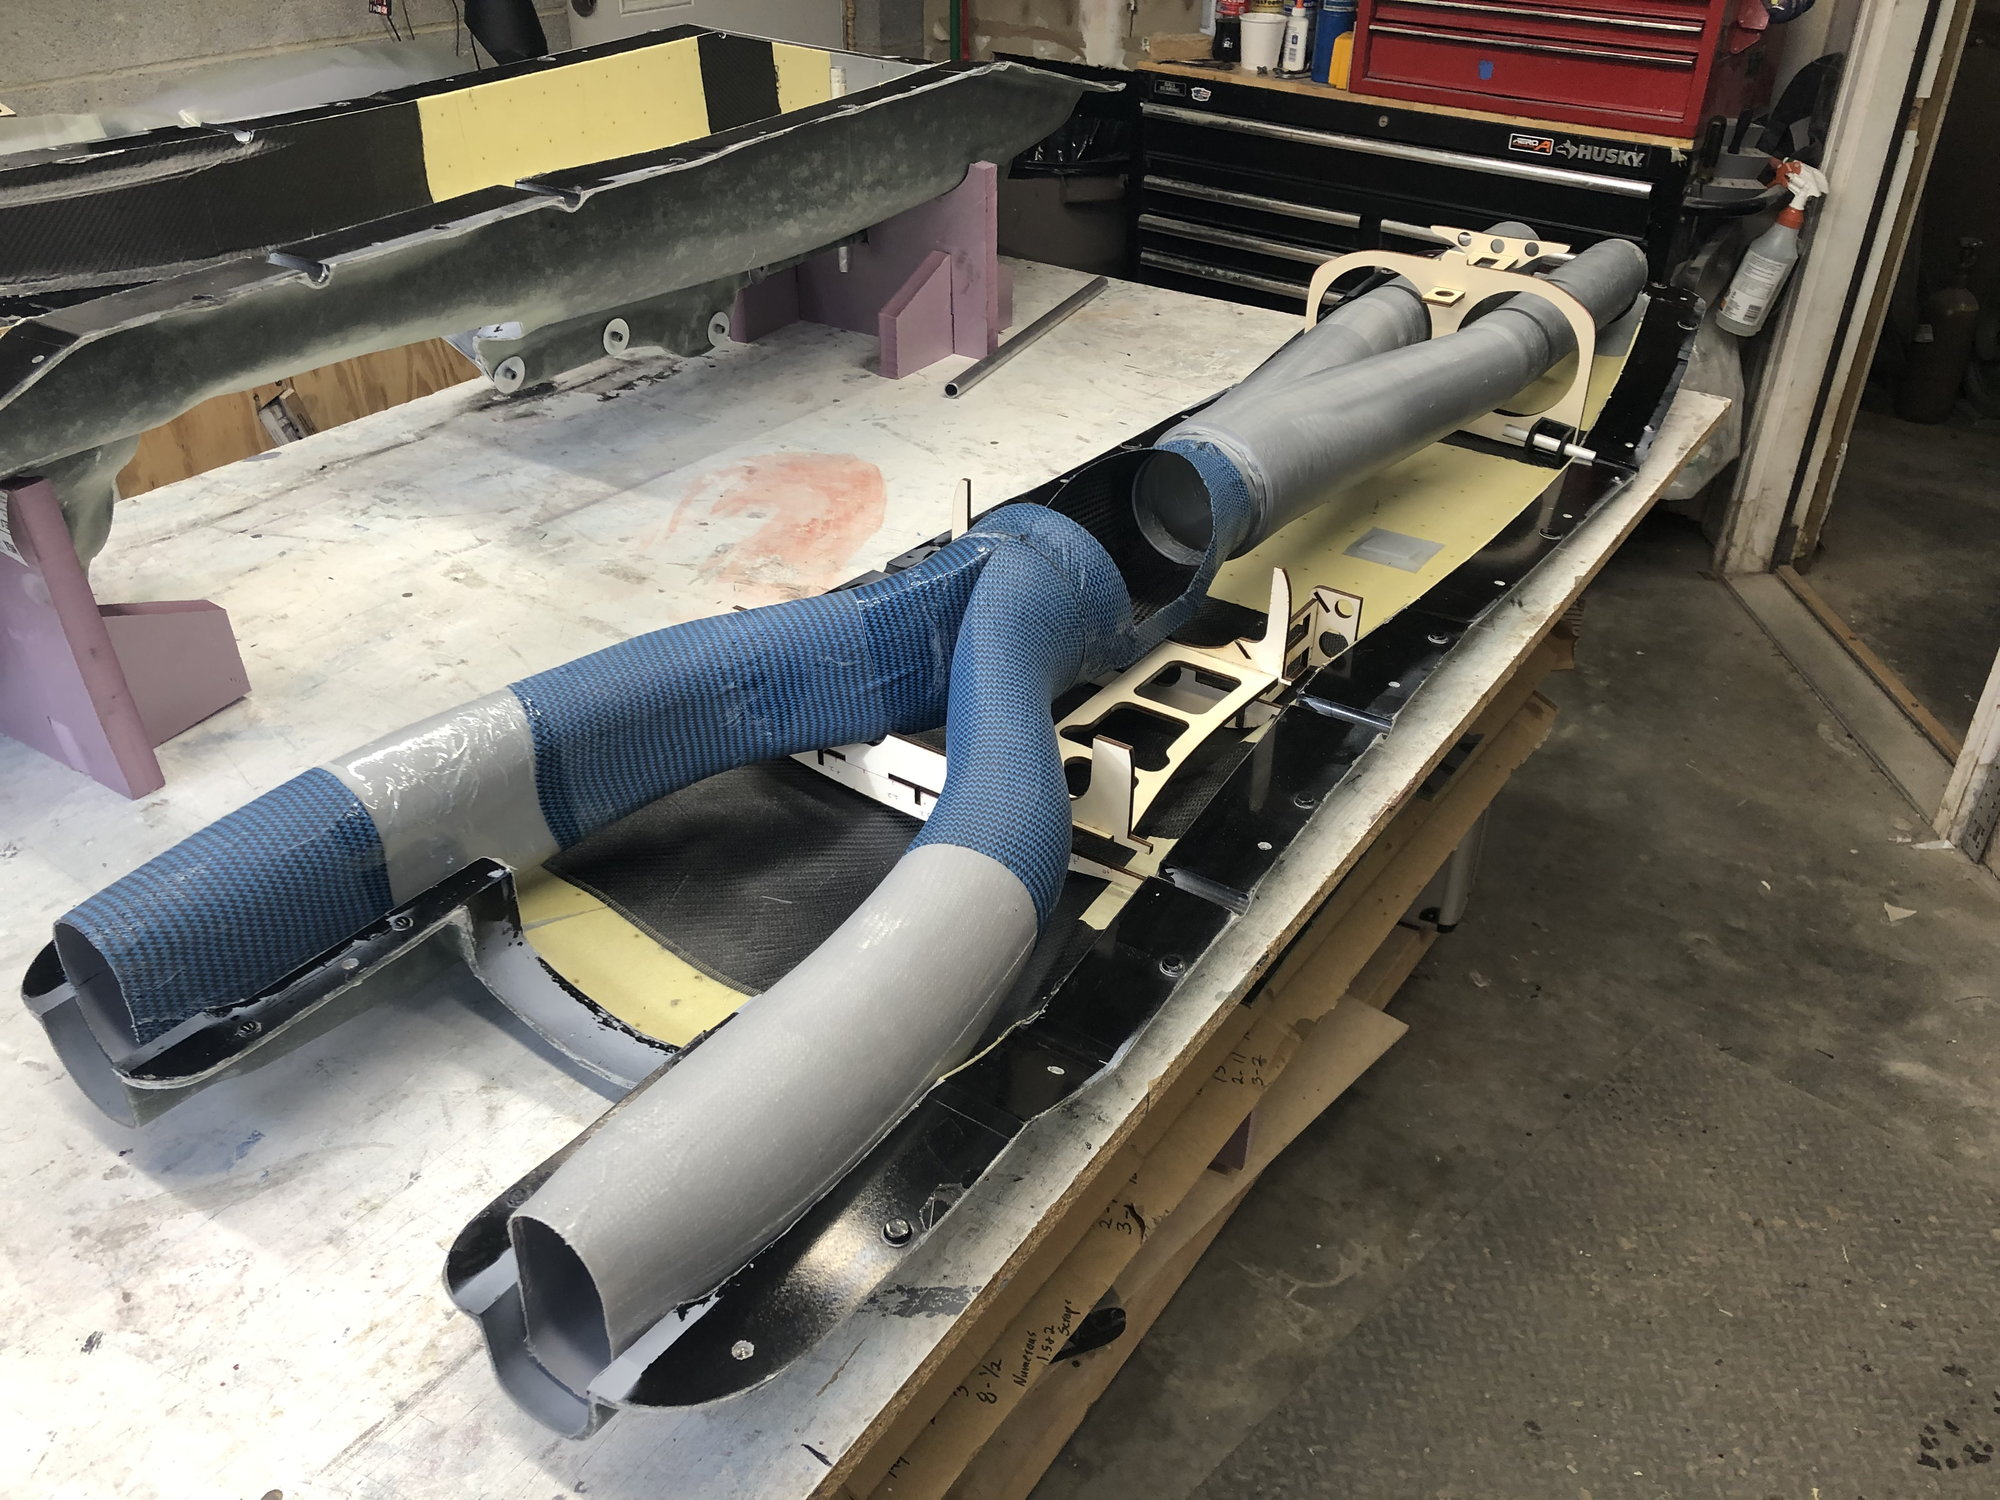
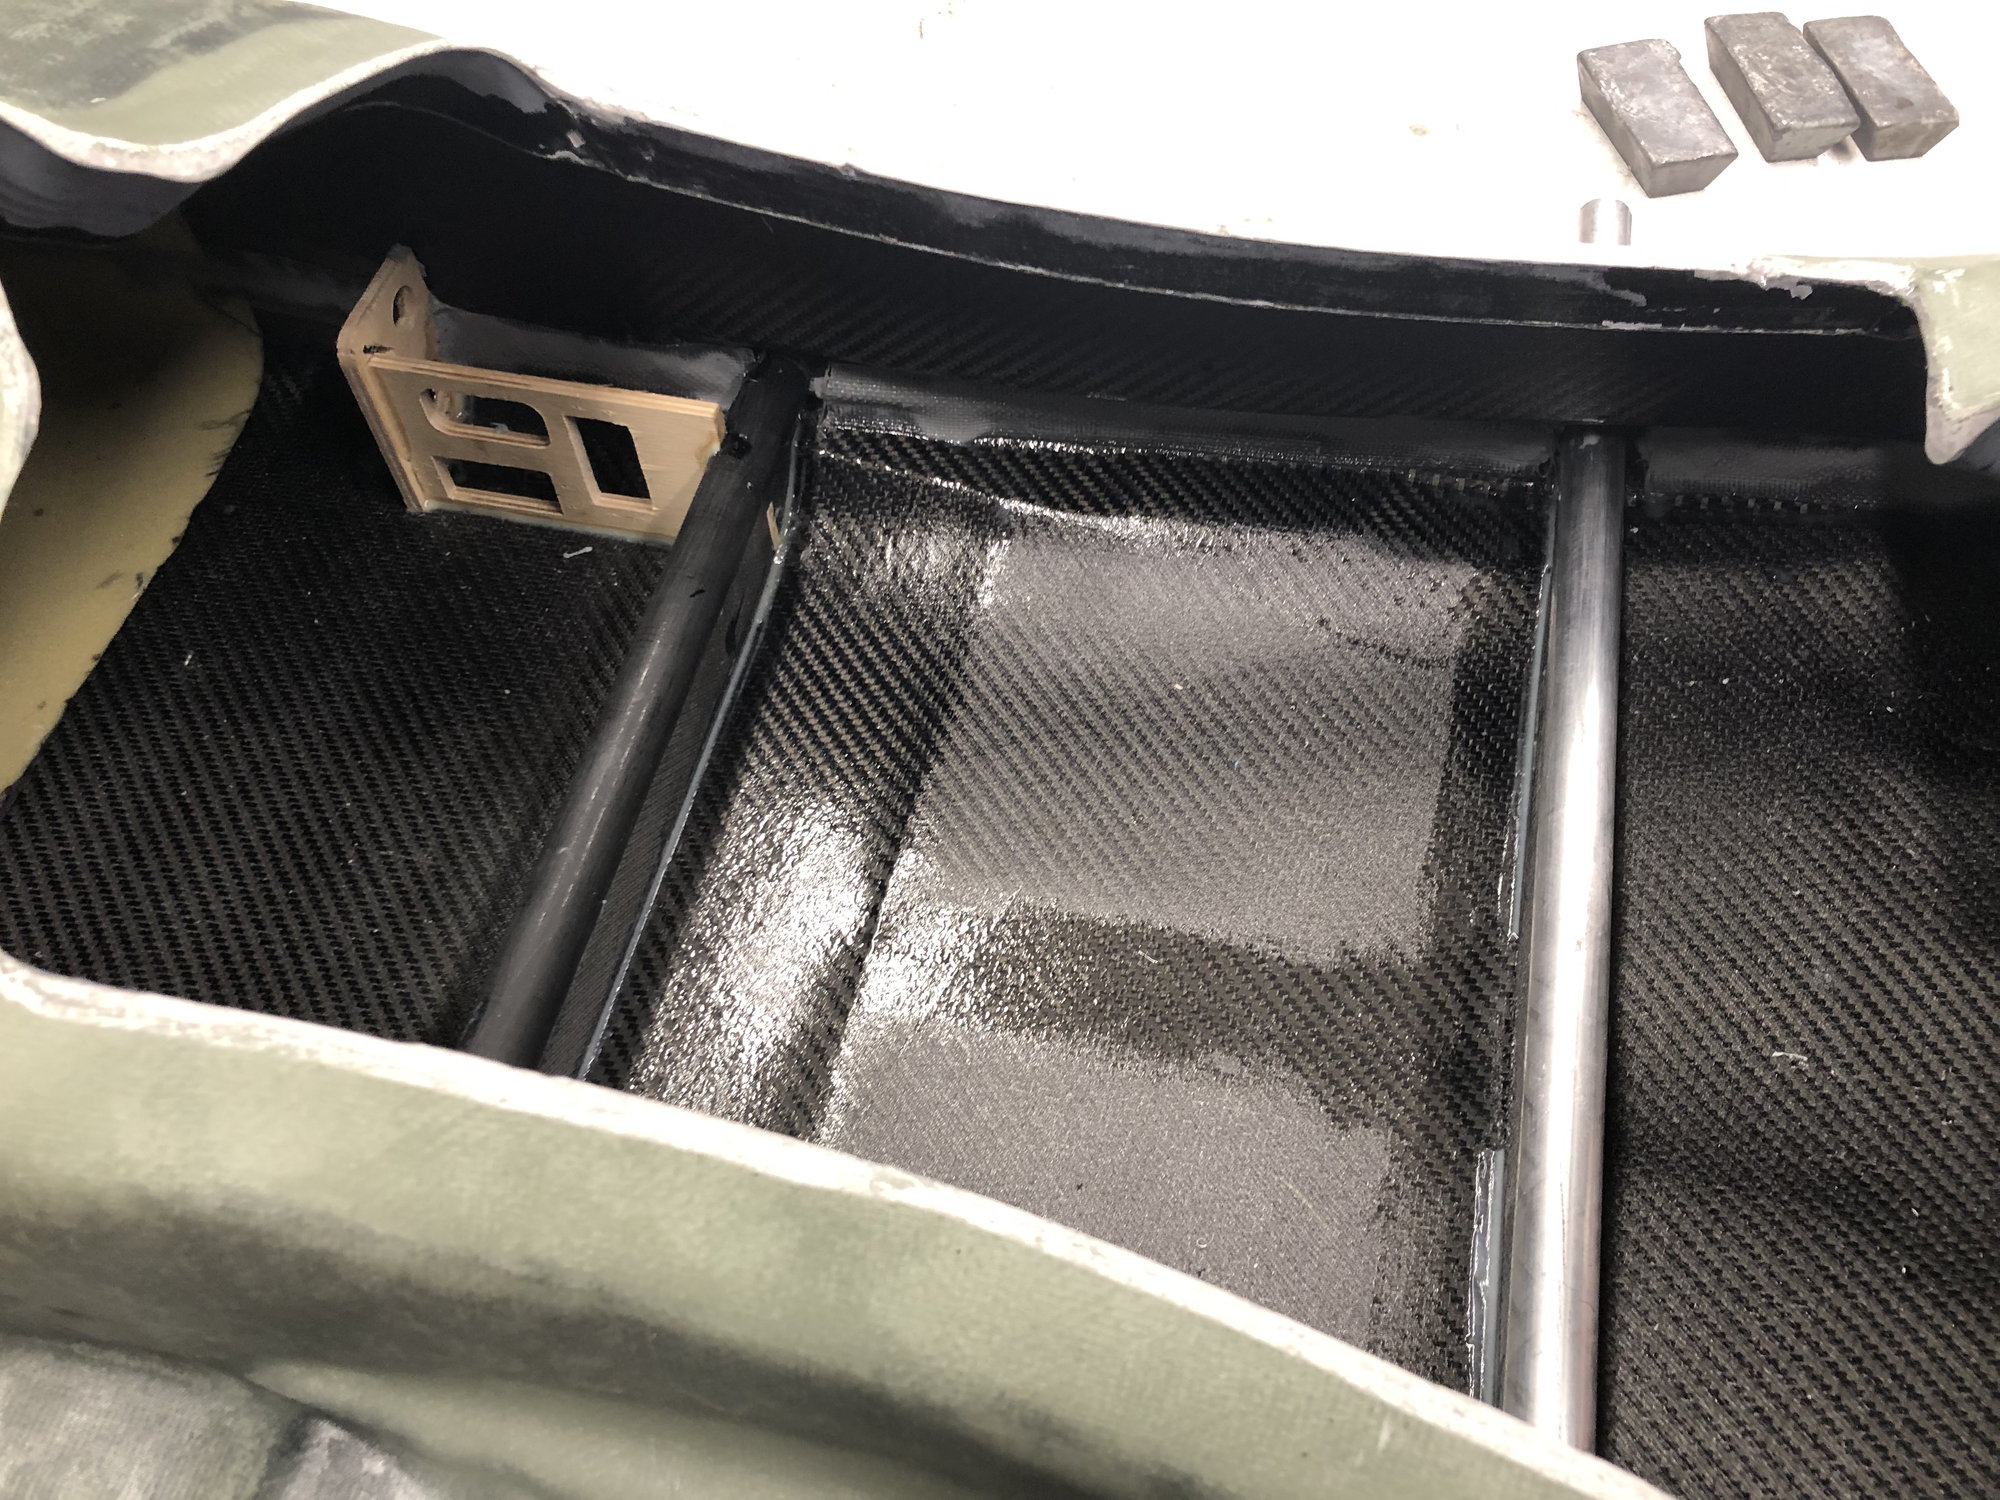
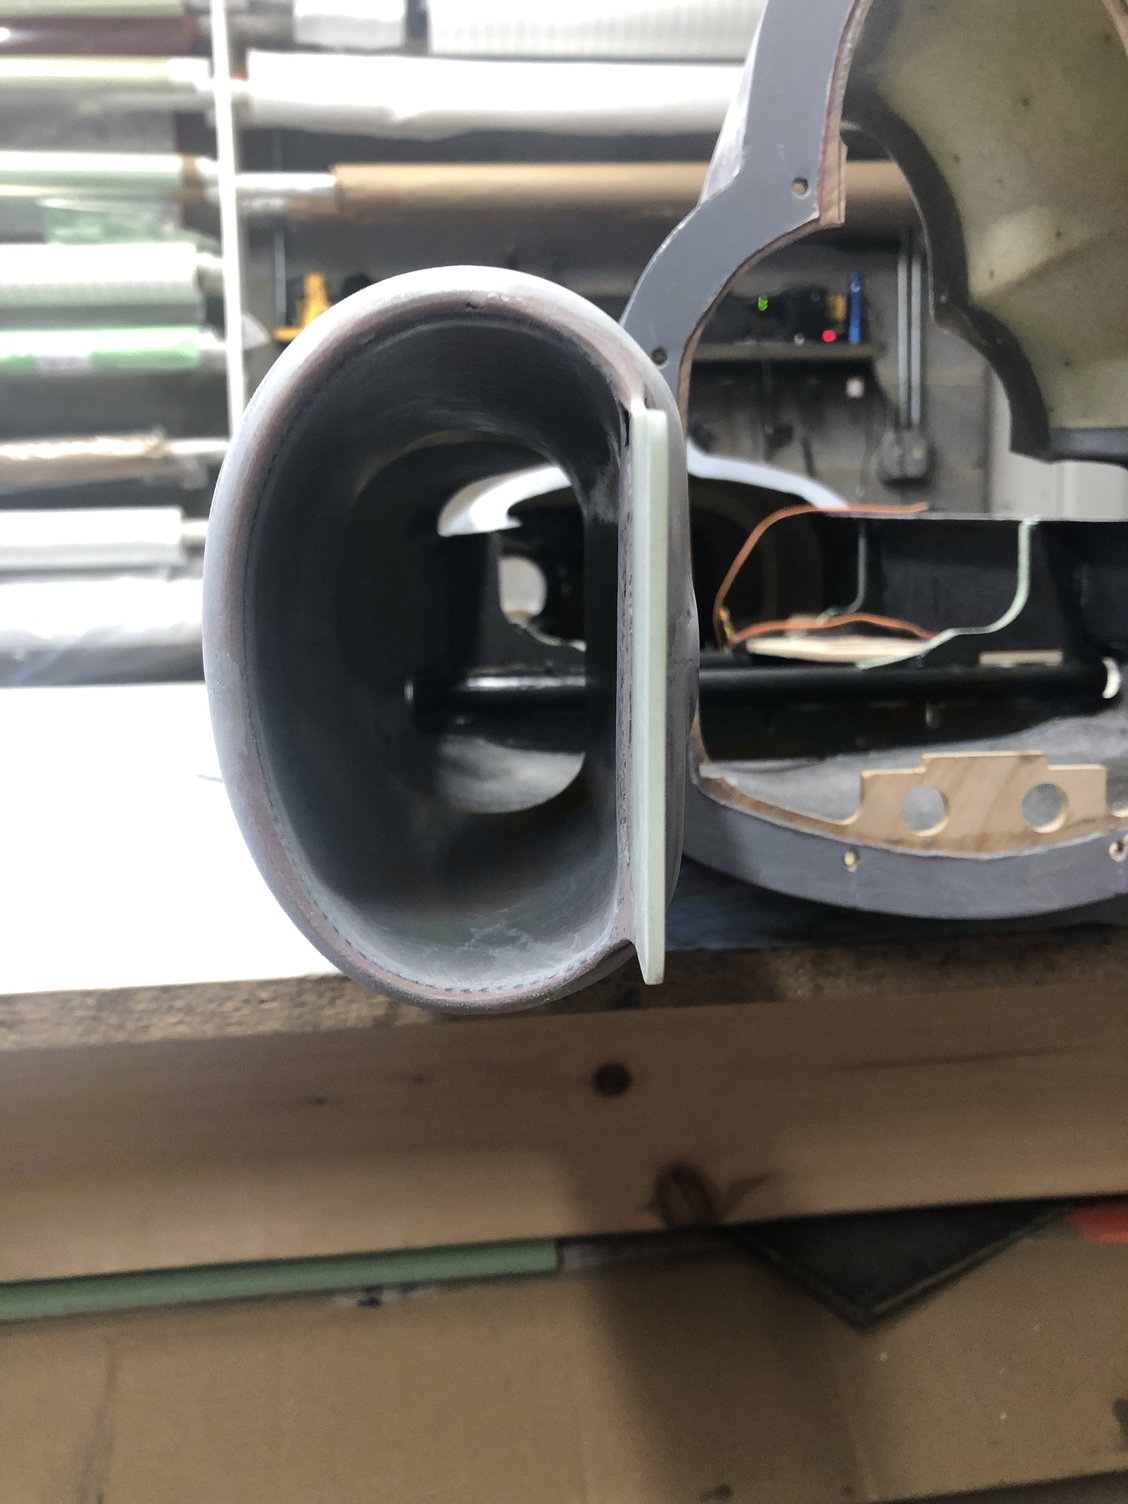
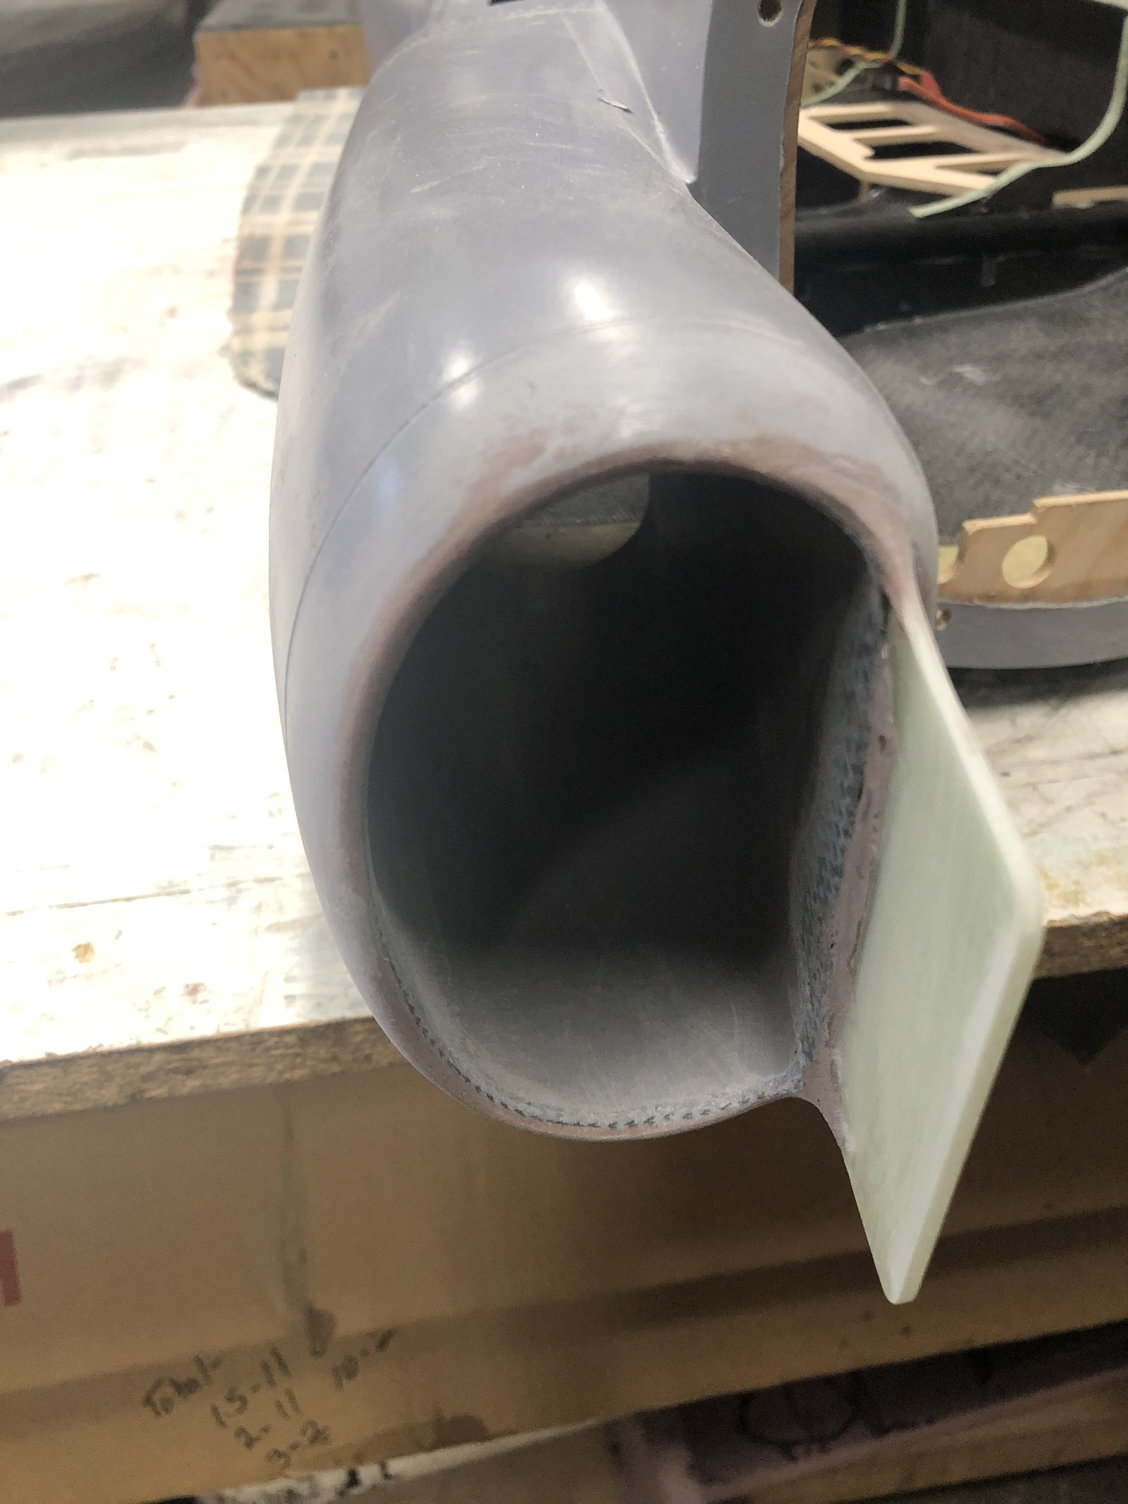
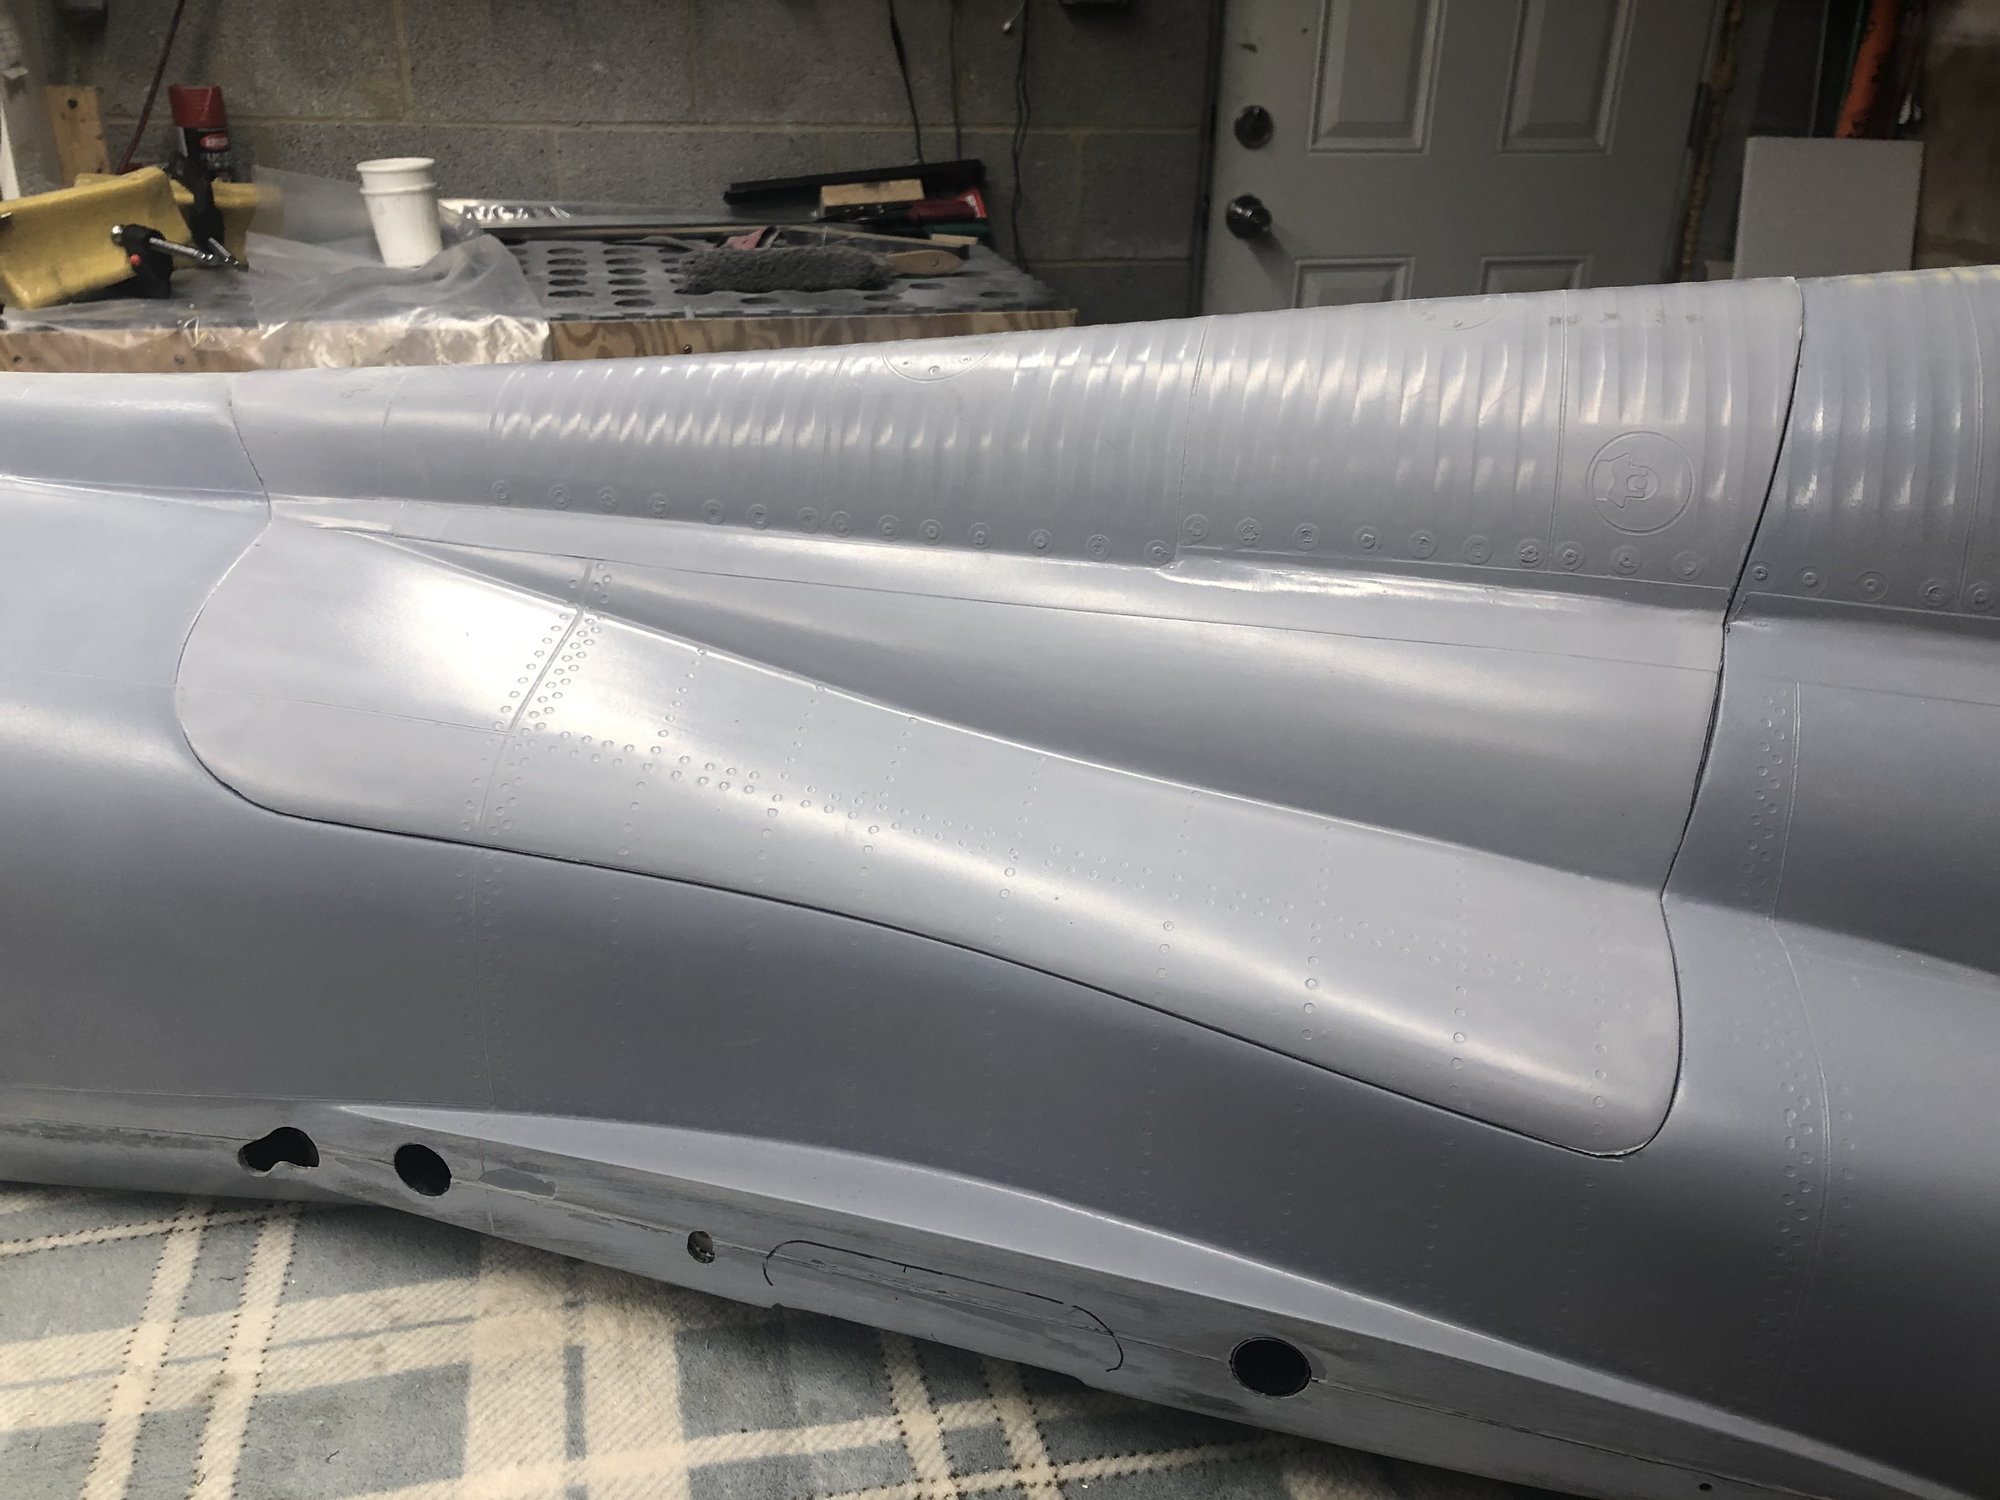
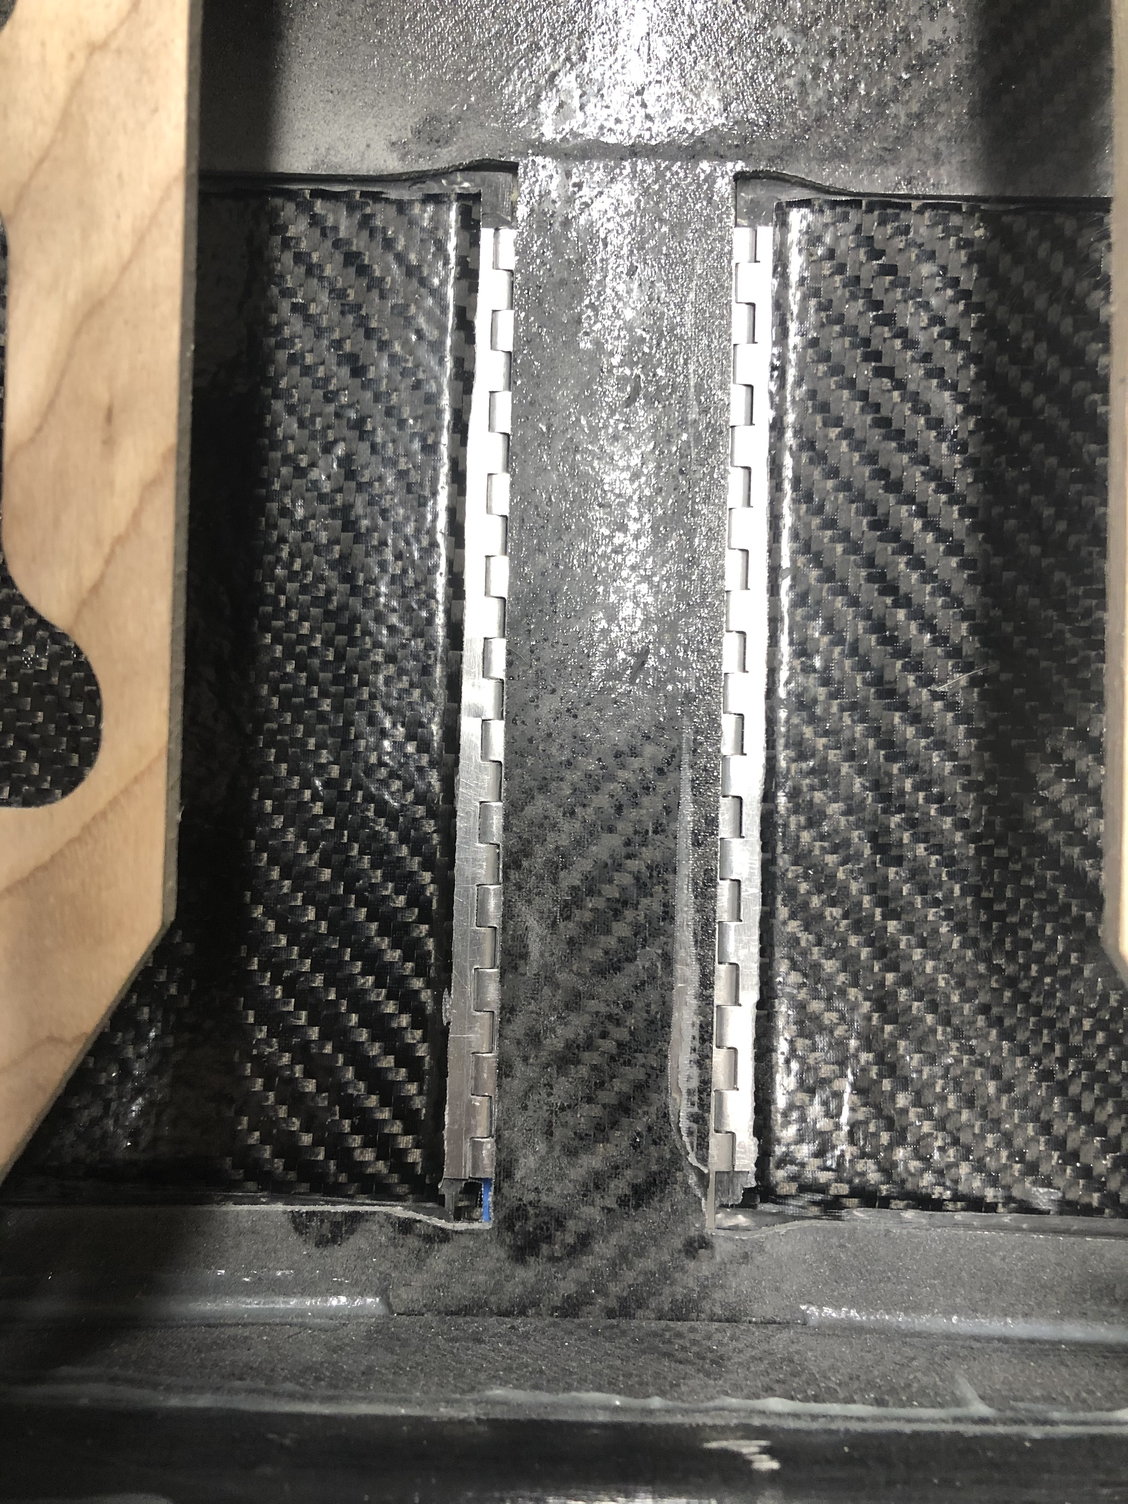
the two piece inlets are also done:
and the inlet ducts installed and rough shaped.
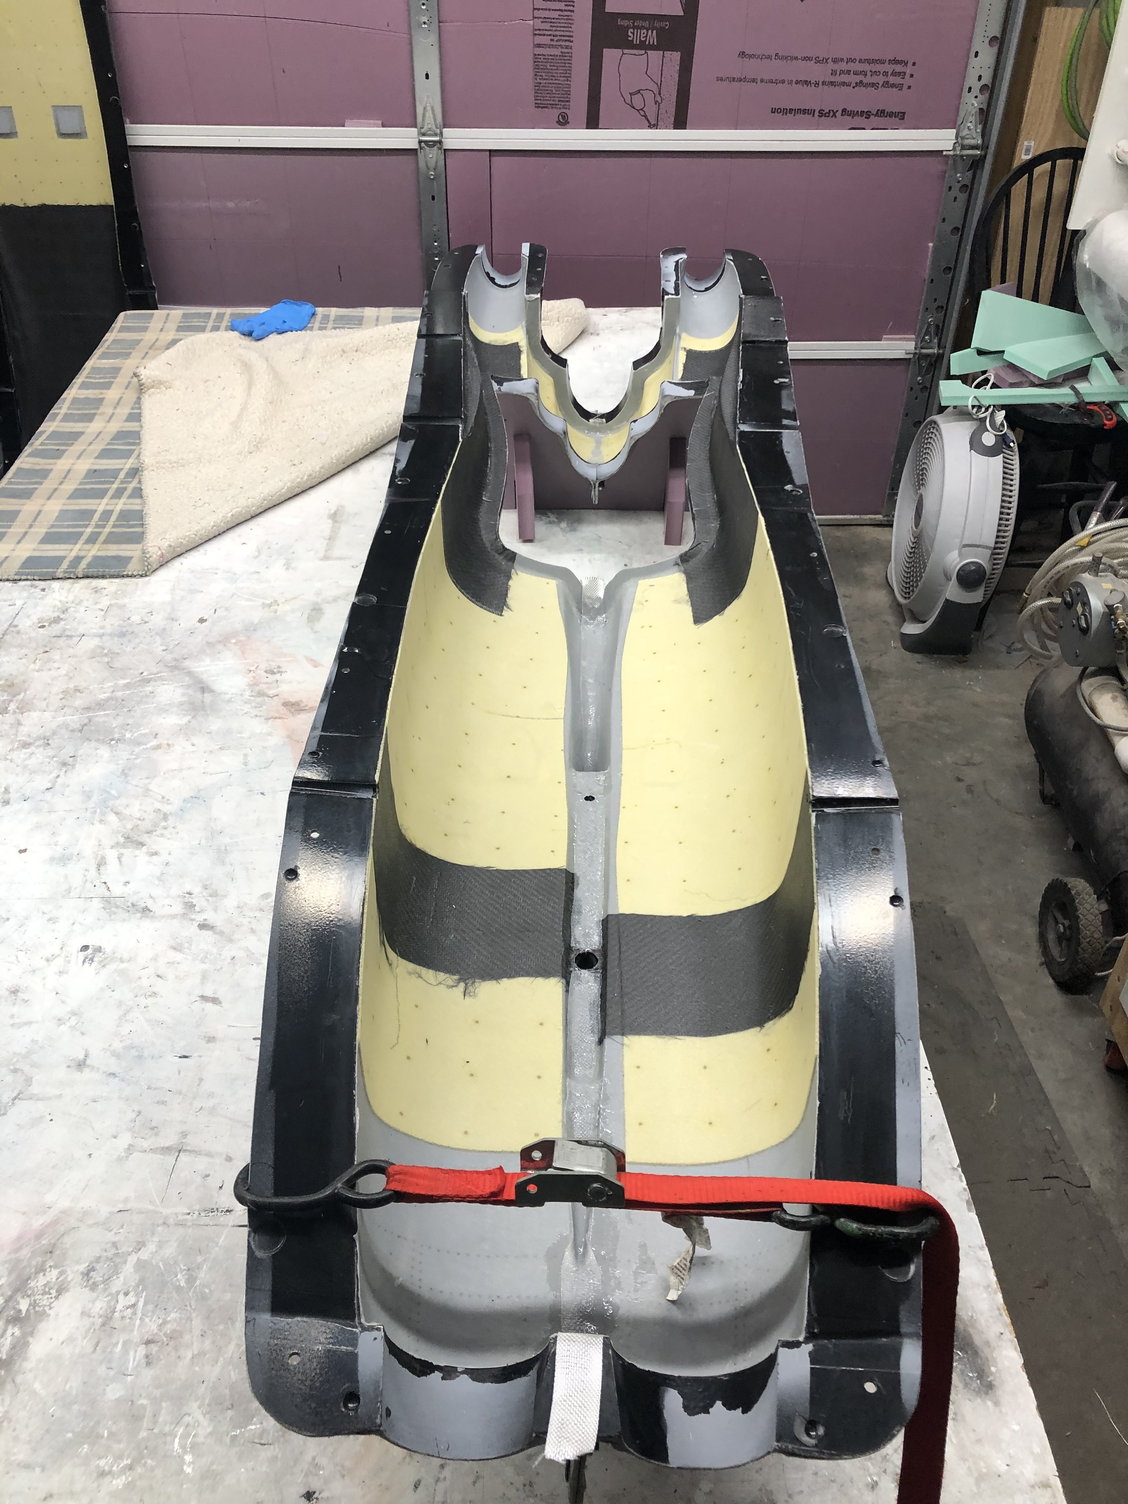
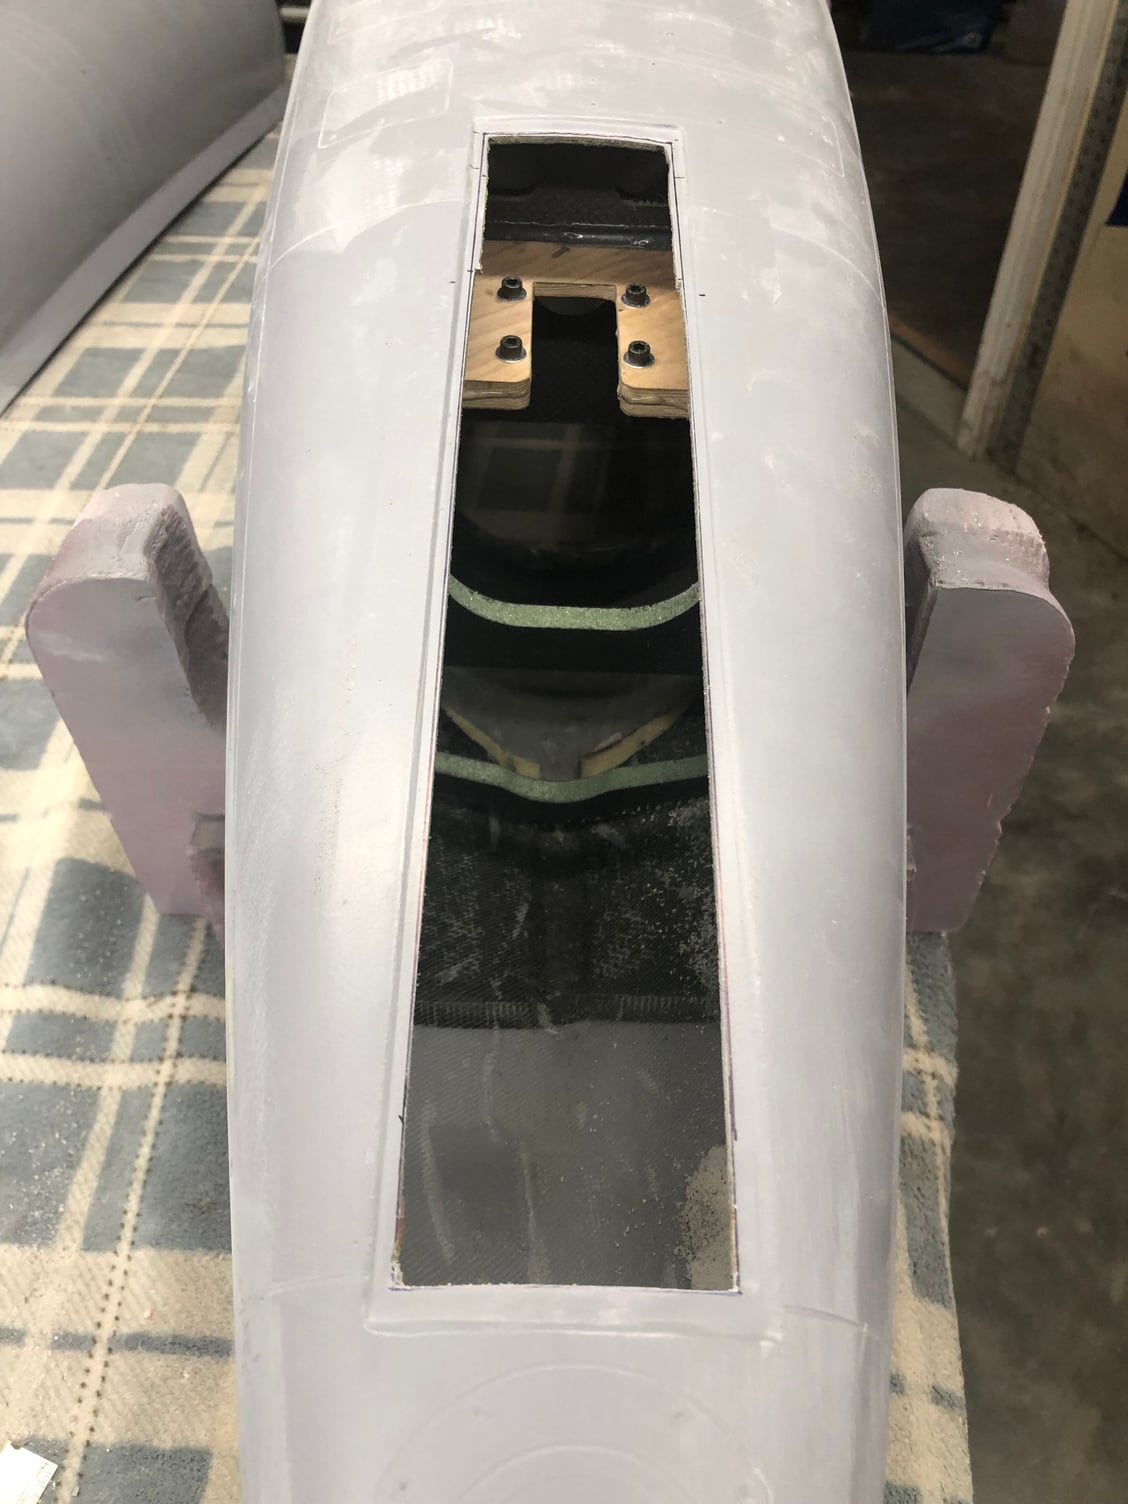
nose gear structure is installed:

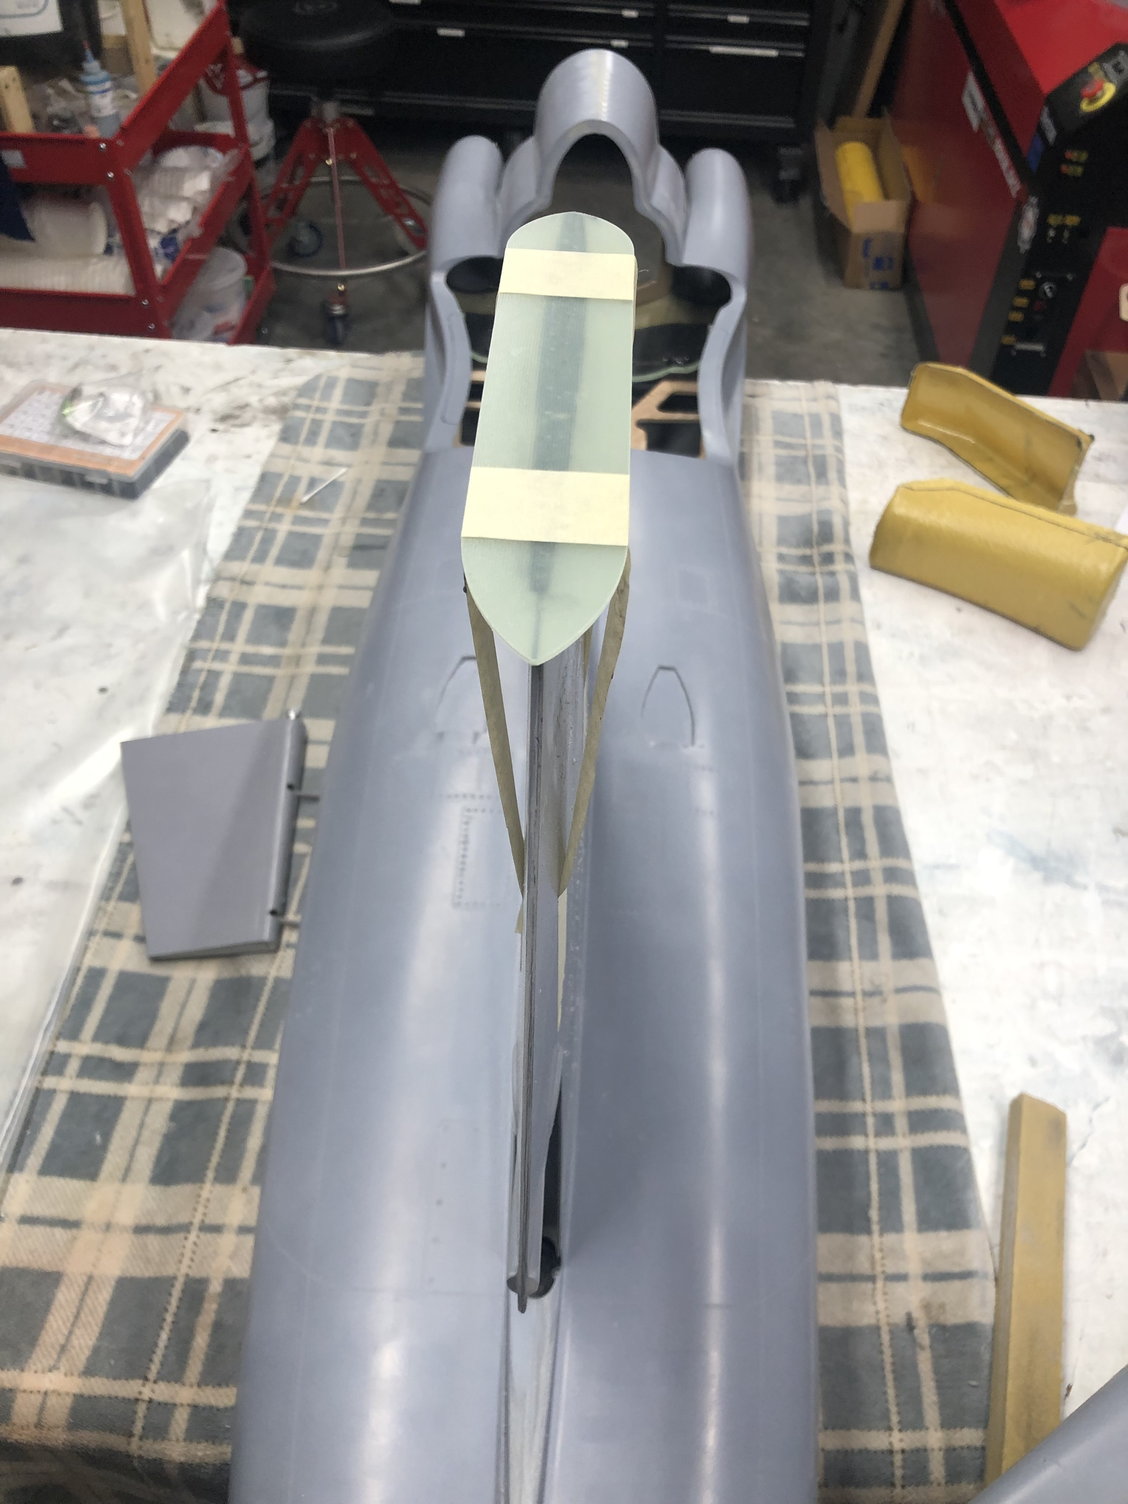
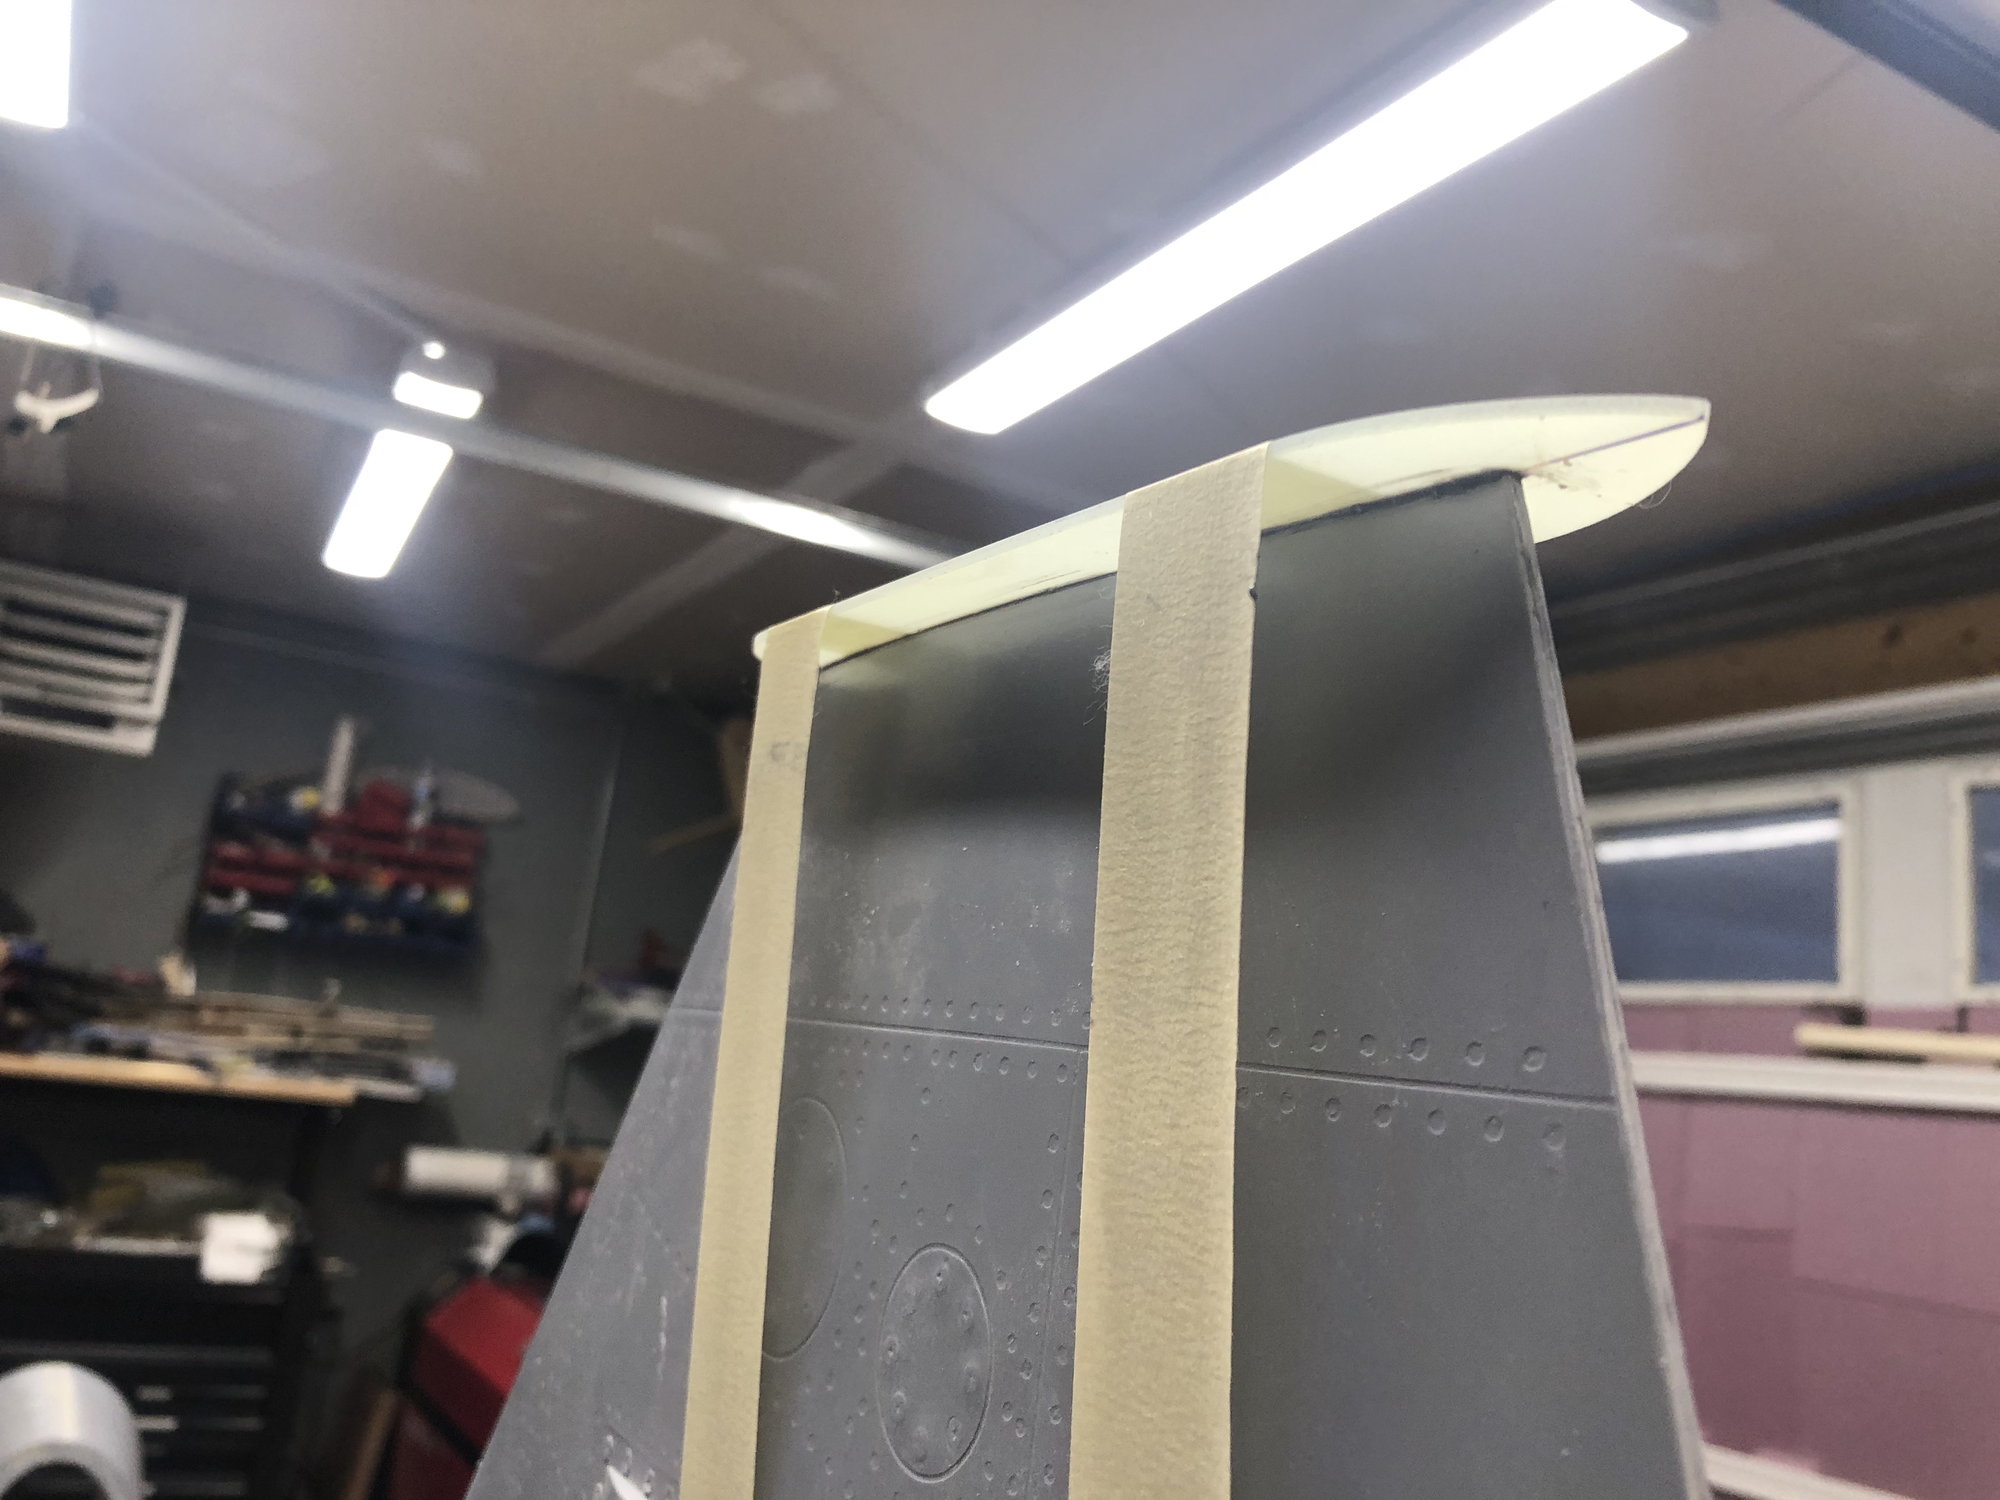
and the vertical stab tip antenna.
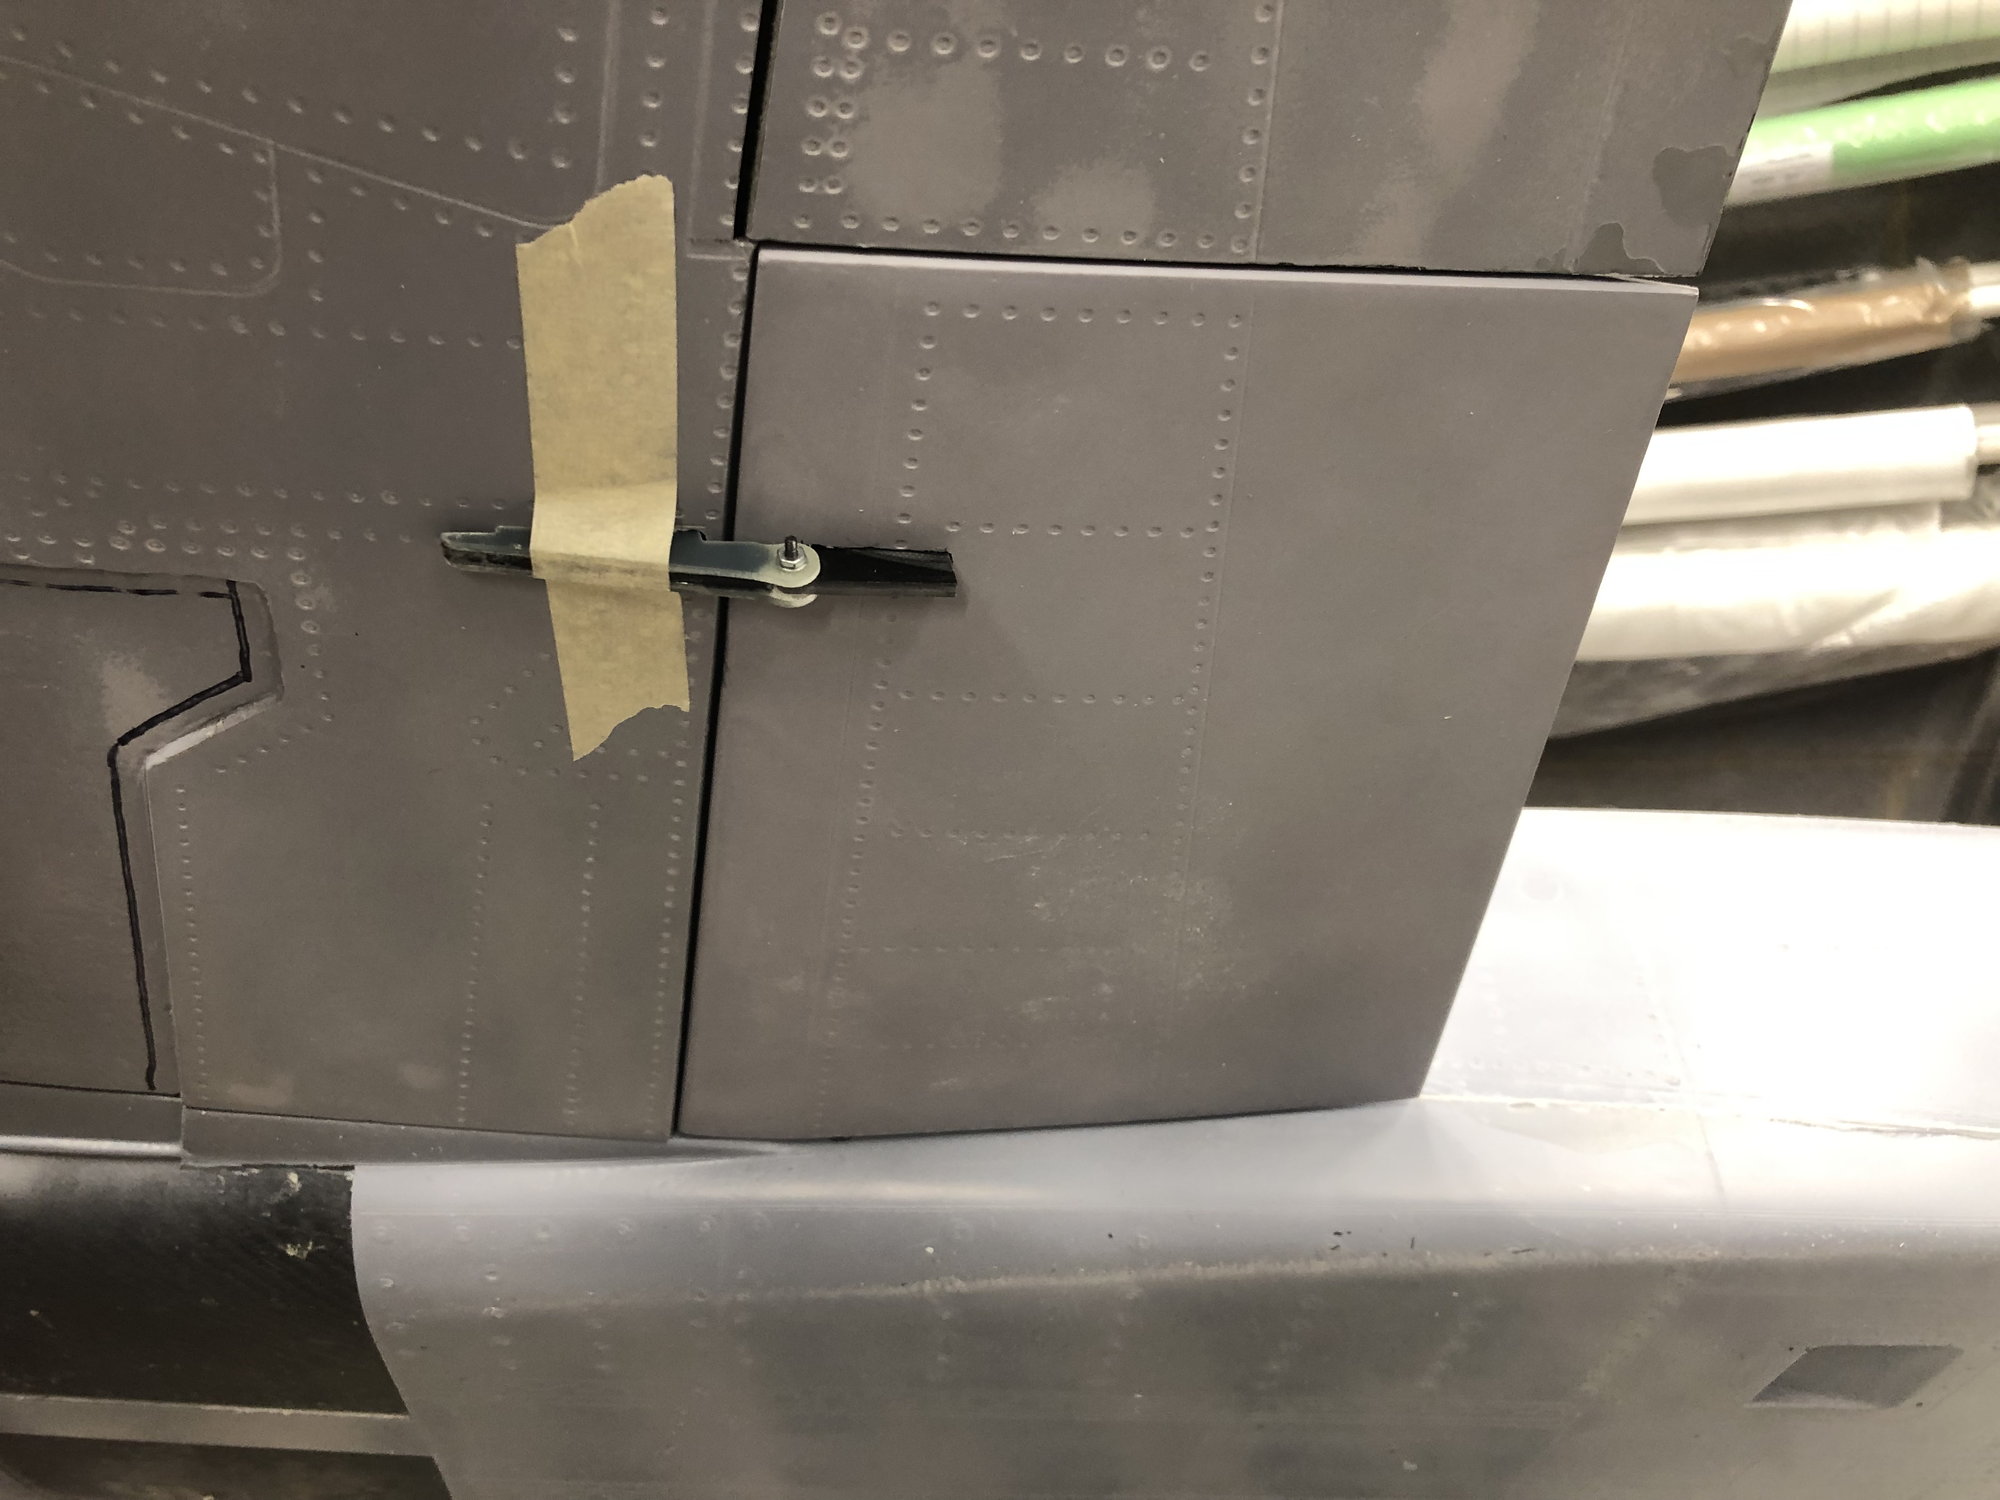
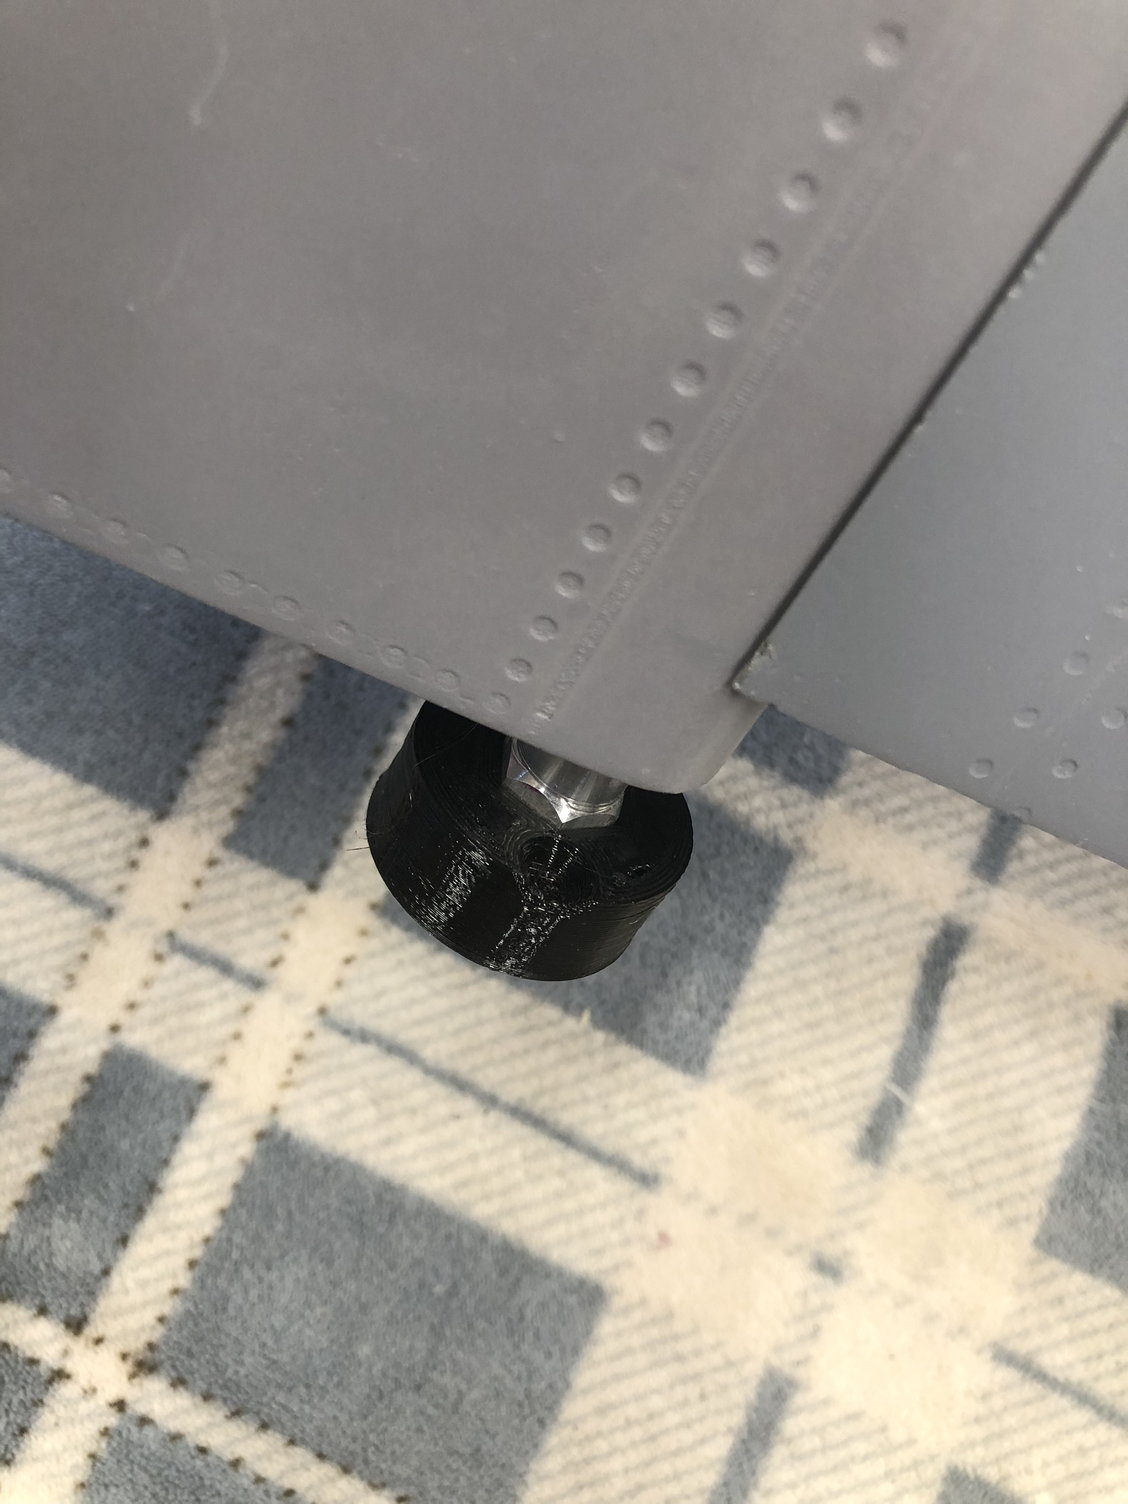
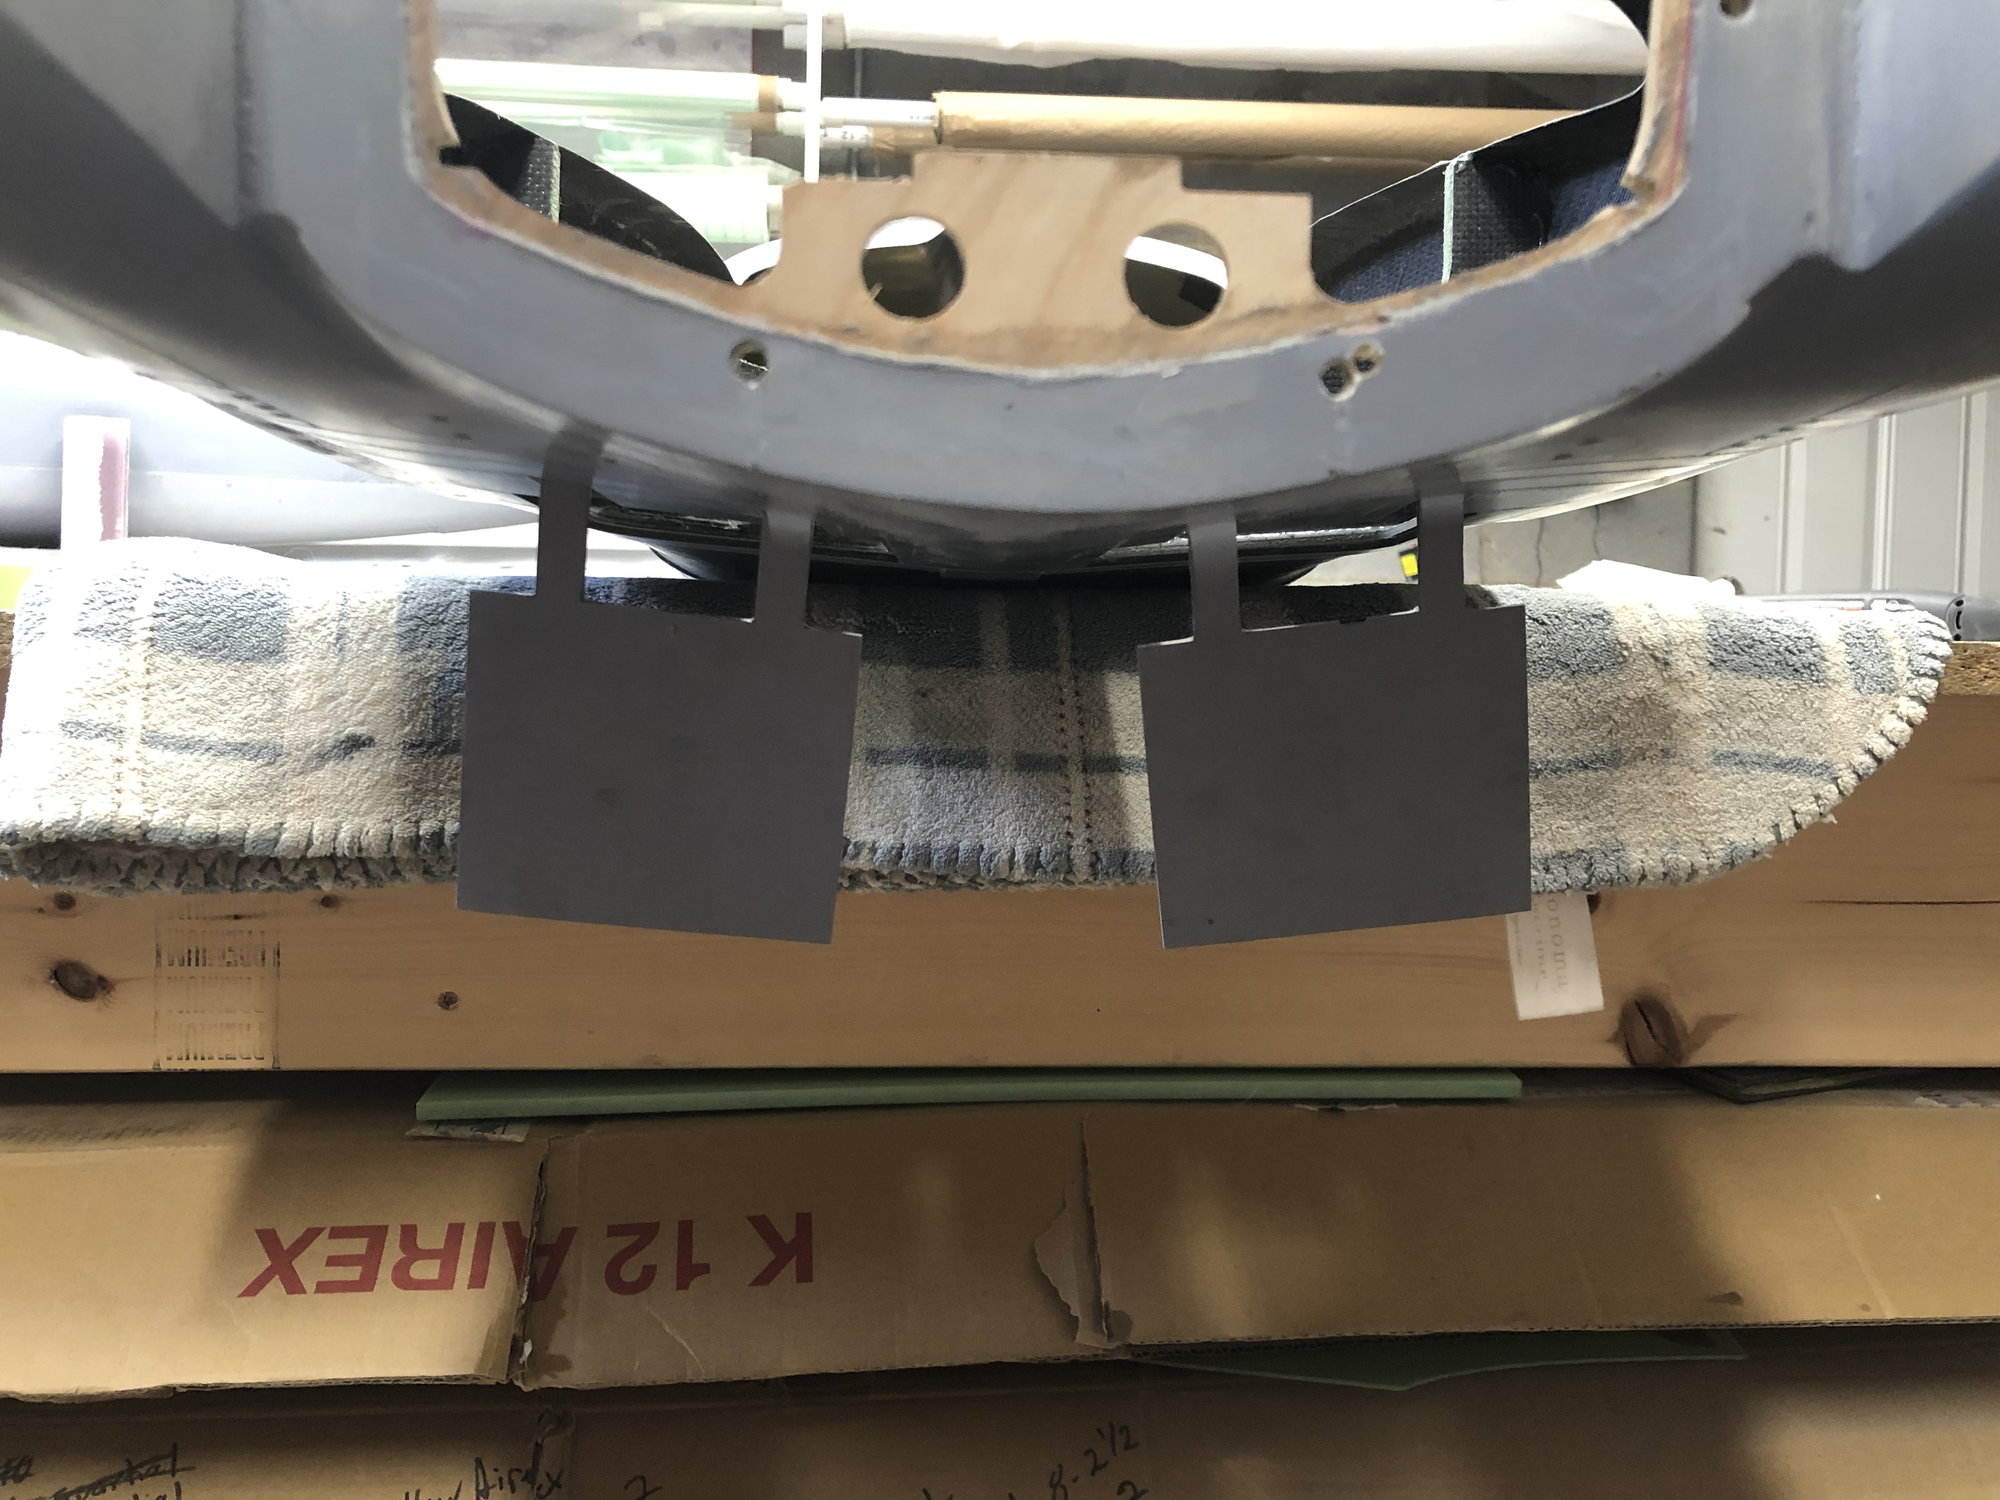
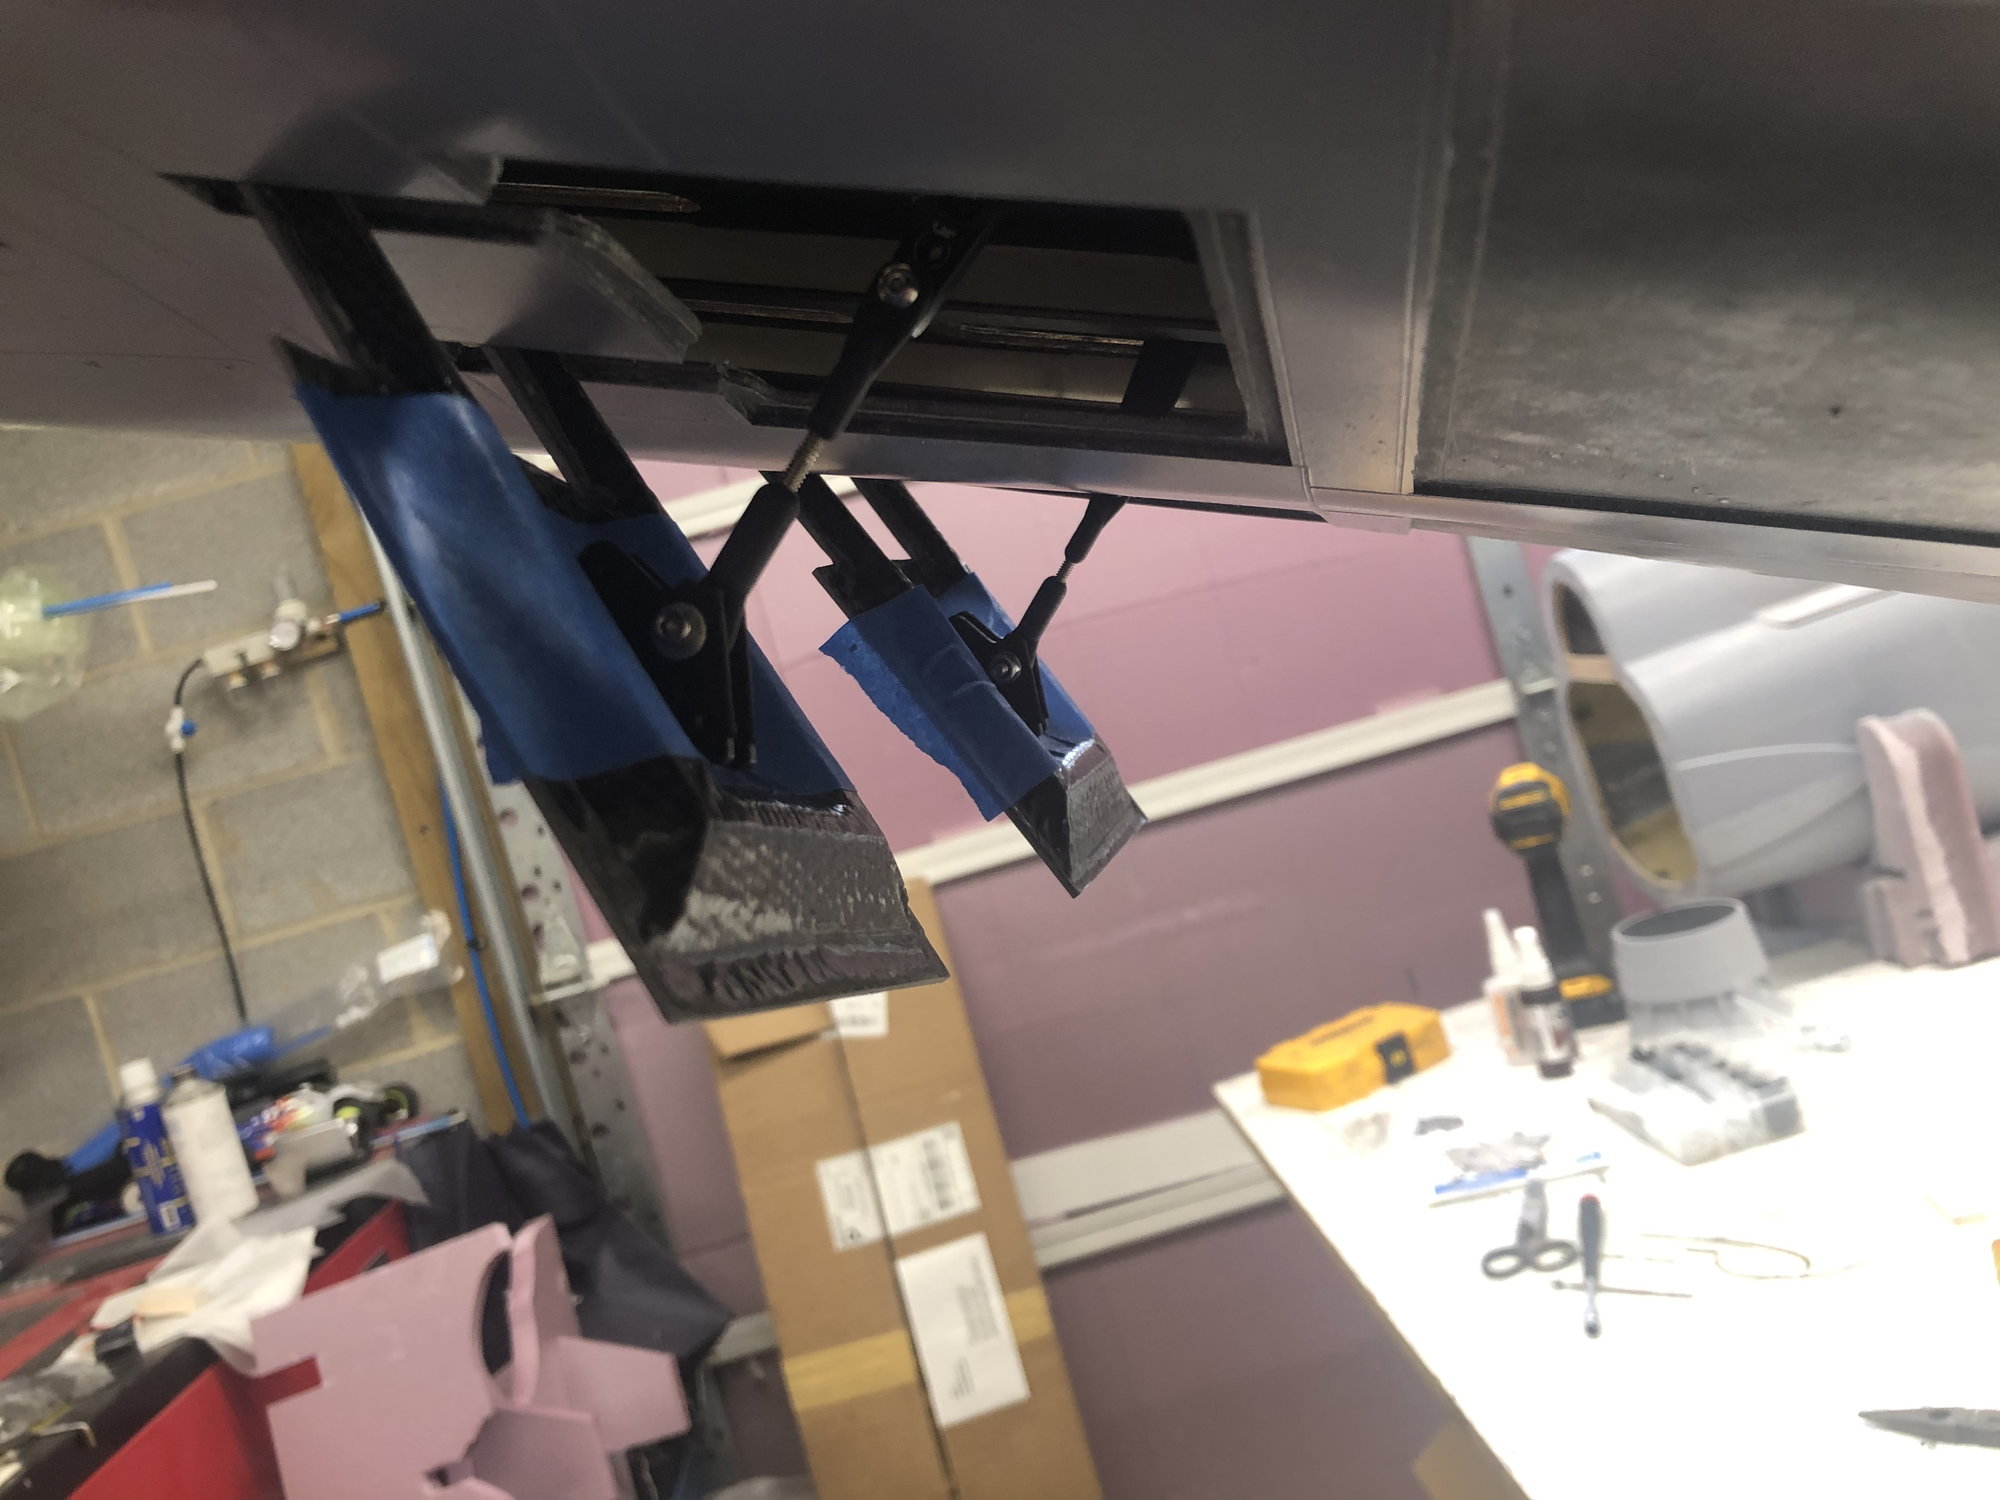
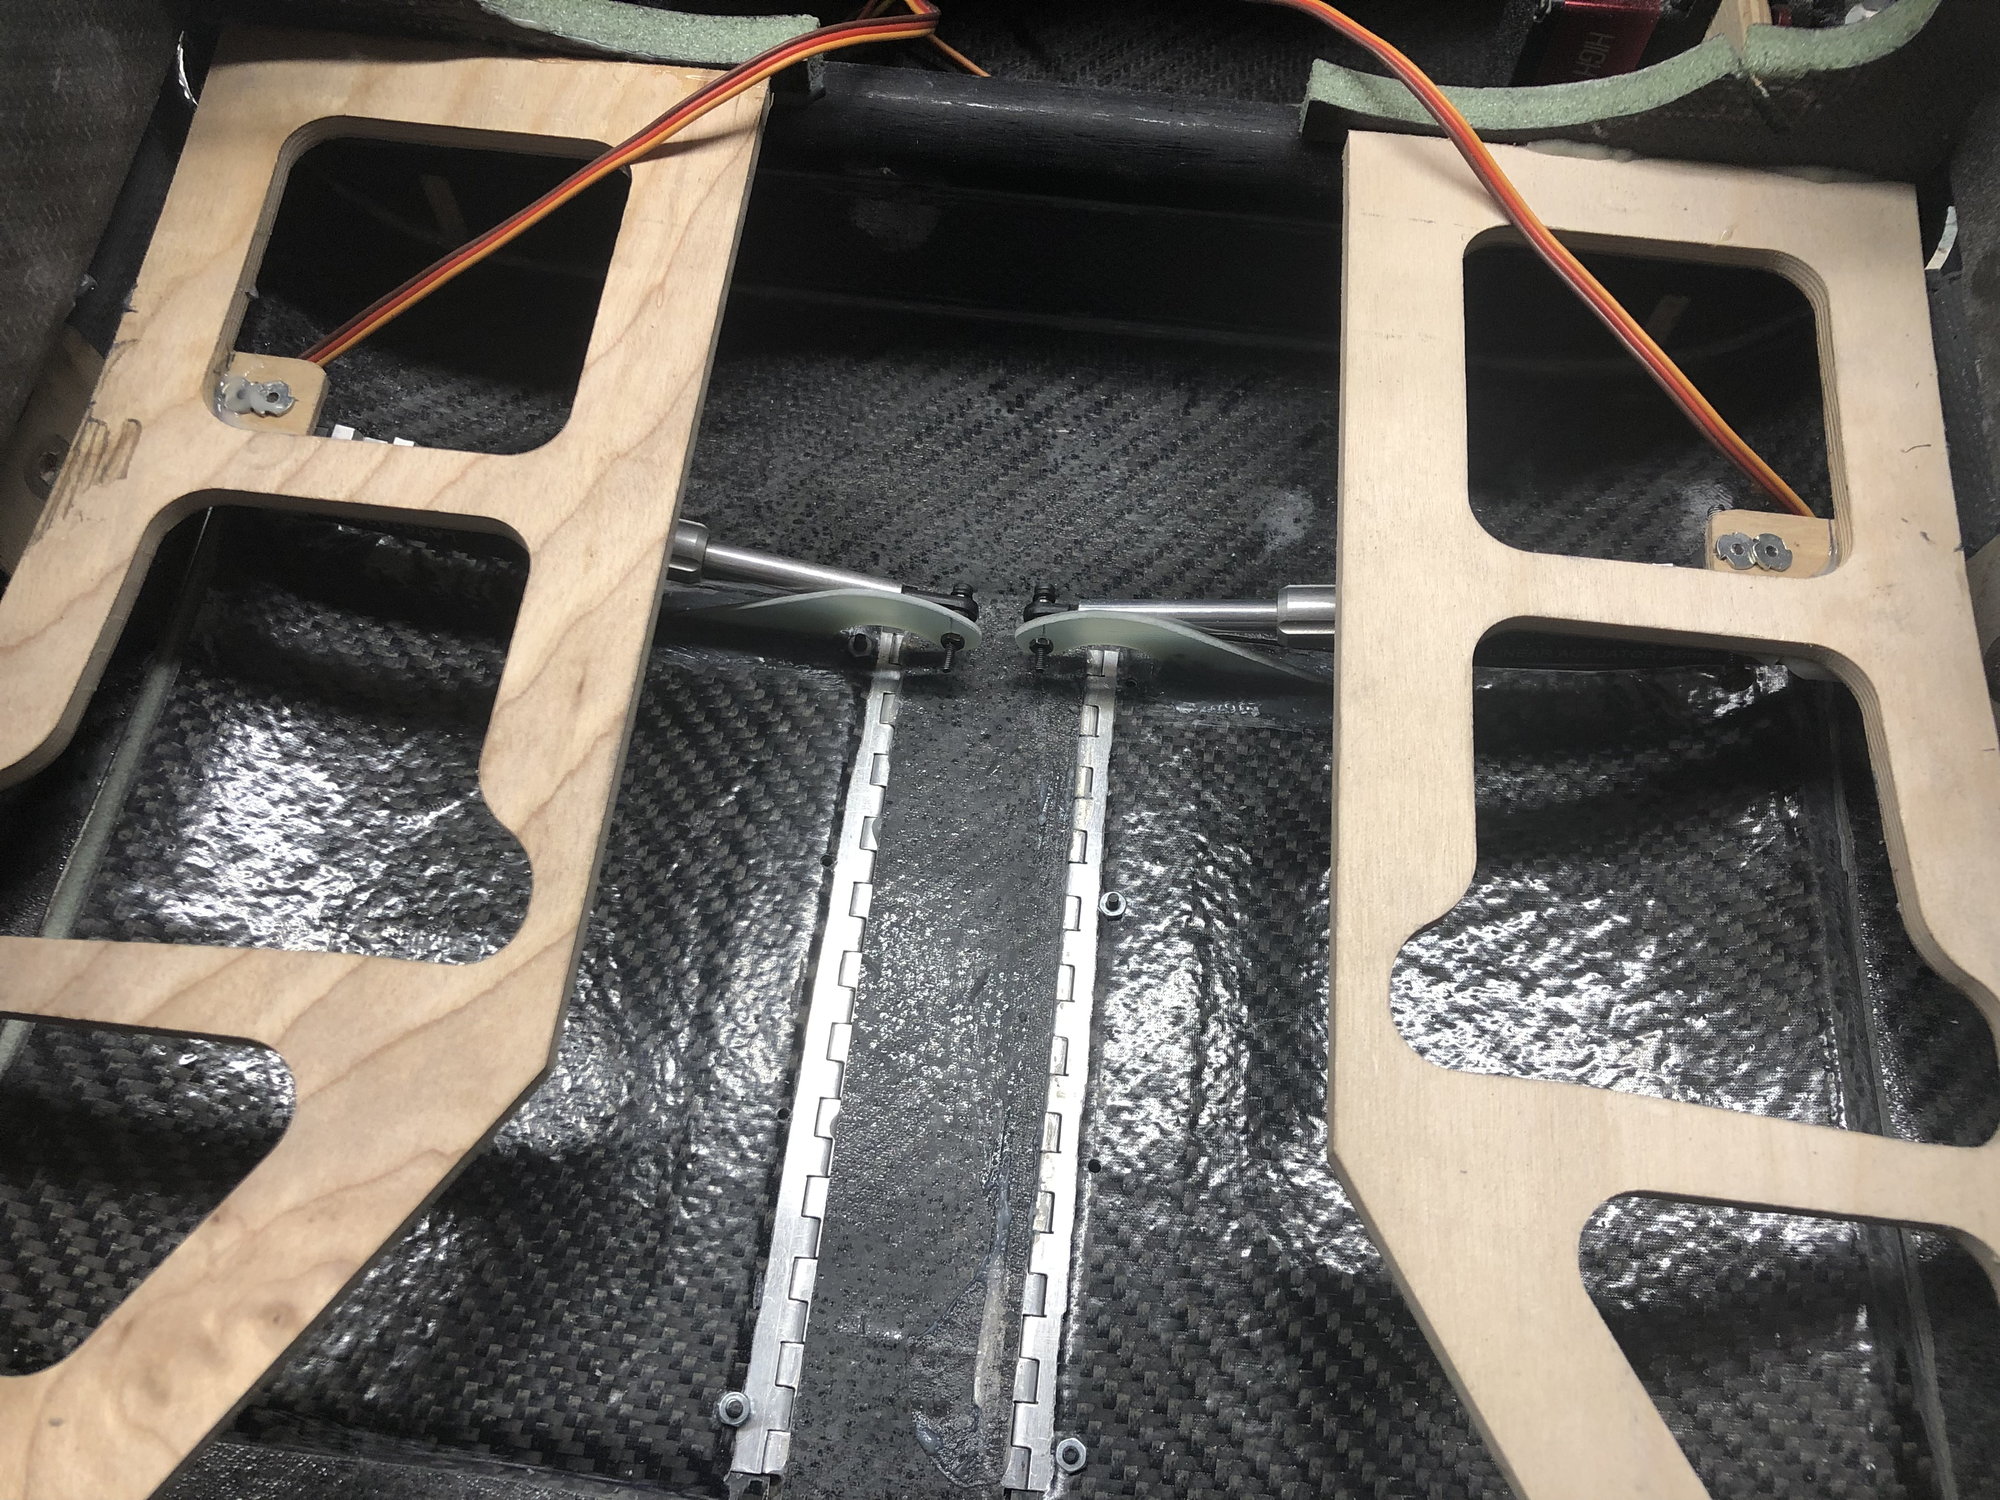
The speed brakes have begun to be hinged:
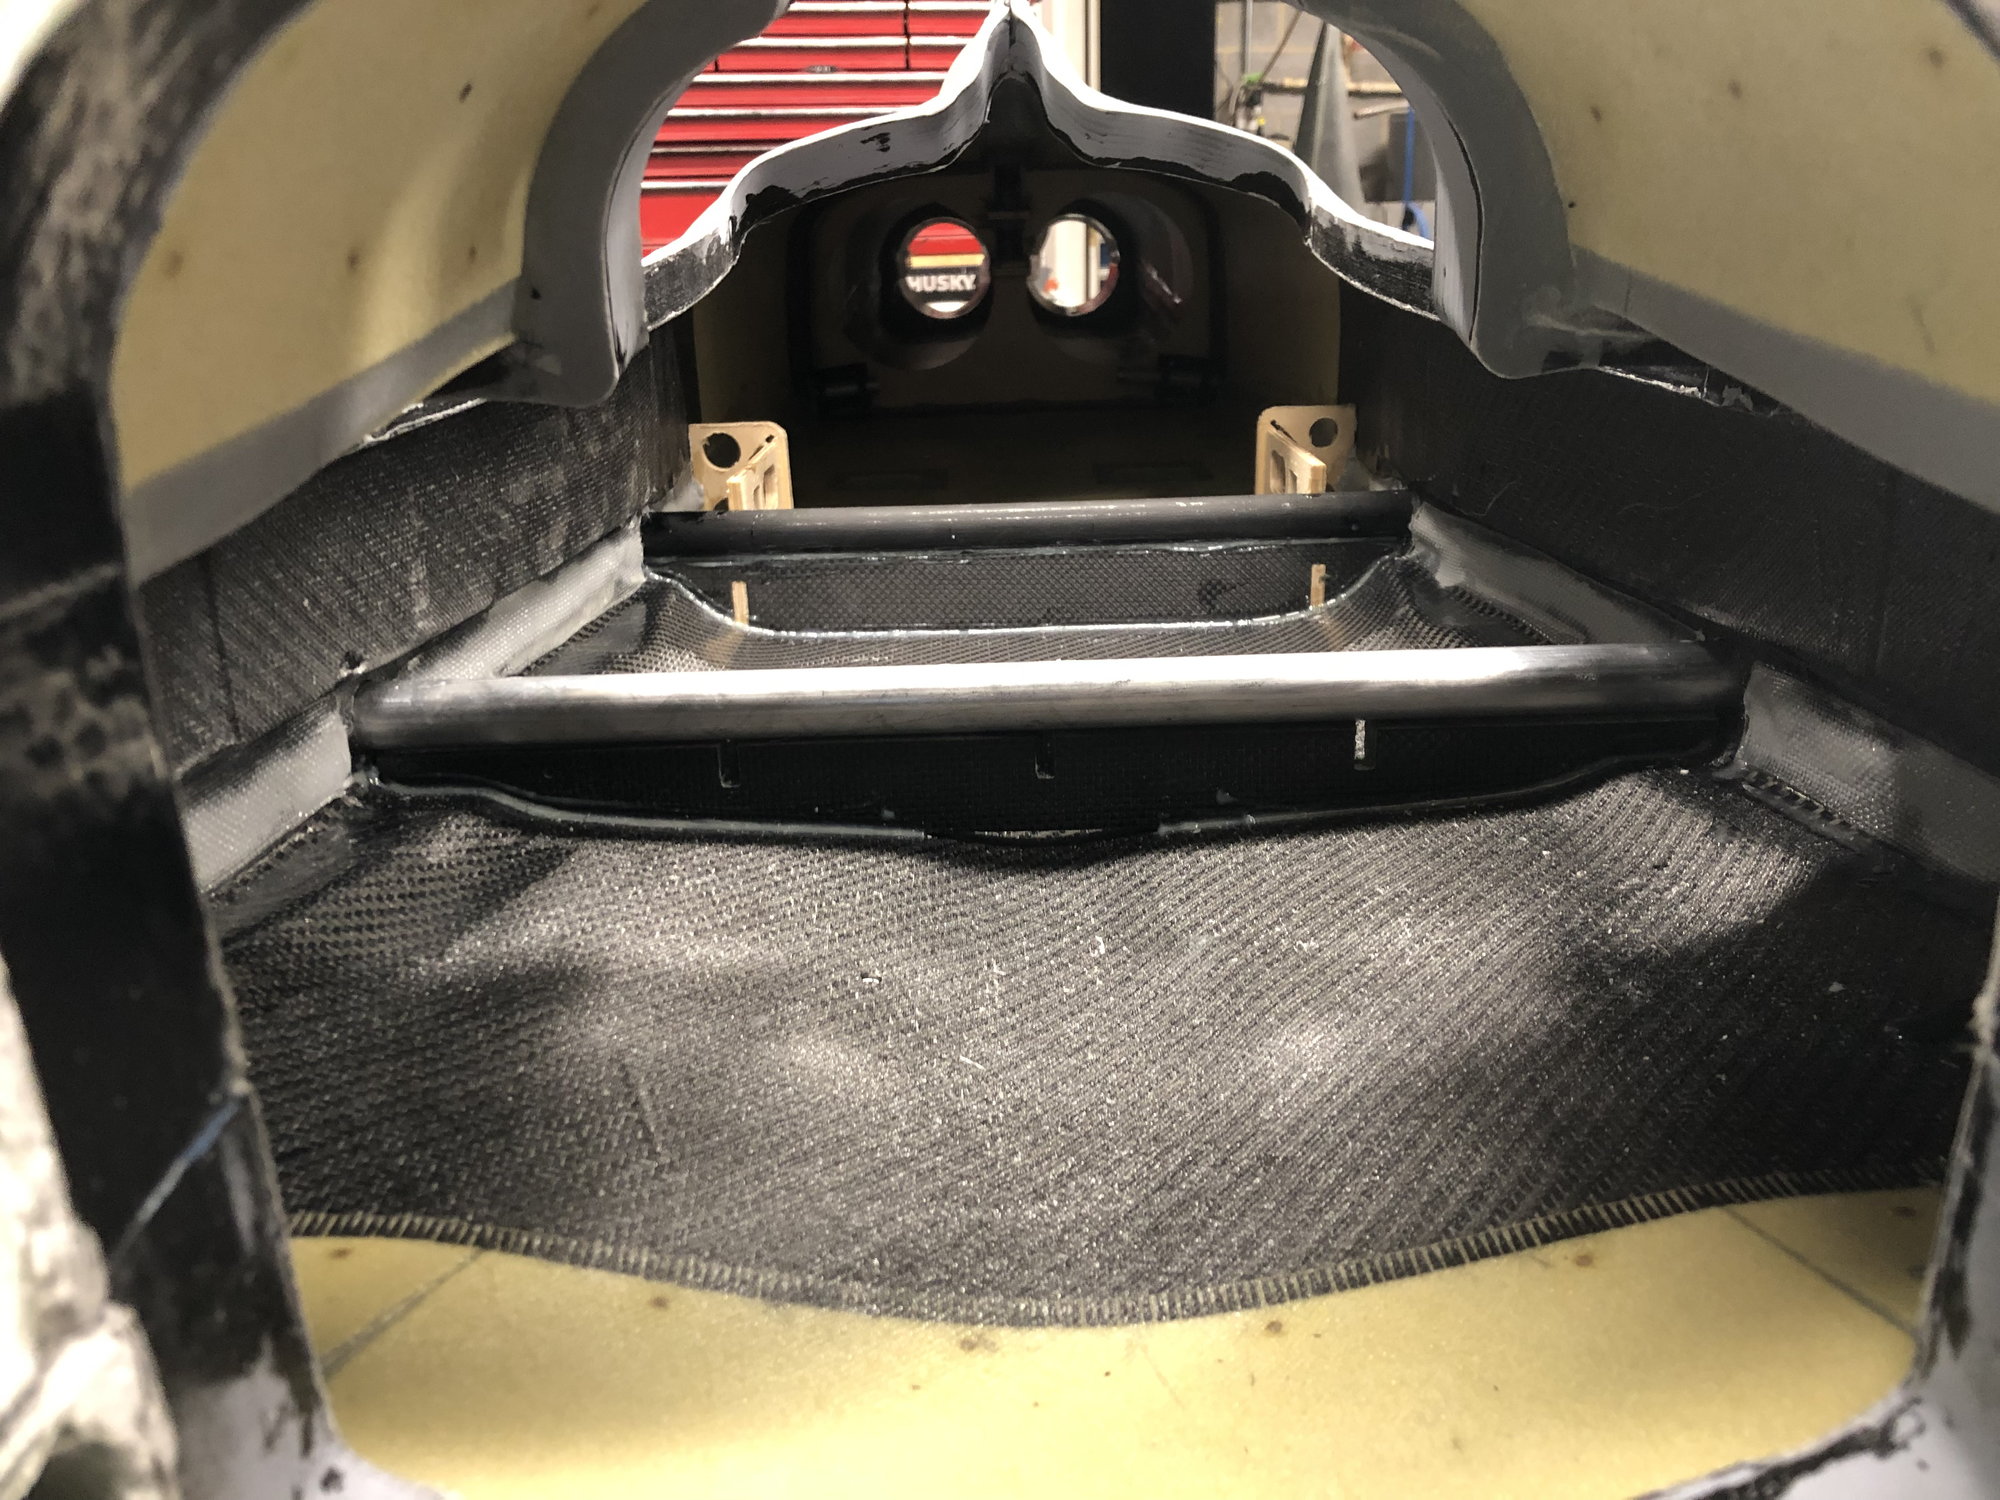
and all of the stuff under the engine hatch was put in place once again to verify the tailpipe measurements. Its definitely a lot of stuff in a small area.
I also have the flap drives and hinges all assembled and hysol�d.
same goes for the rudder drive.
the two piece inlets are also done:
and the inlet ducts installed and rough shaped.
nose gear structure is installed:
and the vertical stab tip antenna.
The speed brakes have begun to be hinged:
and all of the stuff under the engine hatch was put in place once again to verify the tailpipe measurements. Its definitely a lot of stuff in a small area.

The following users liked this post:
Ron S (03-22-2023)
03-21-2023, 02:53 PM
#290
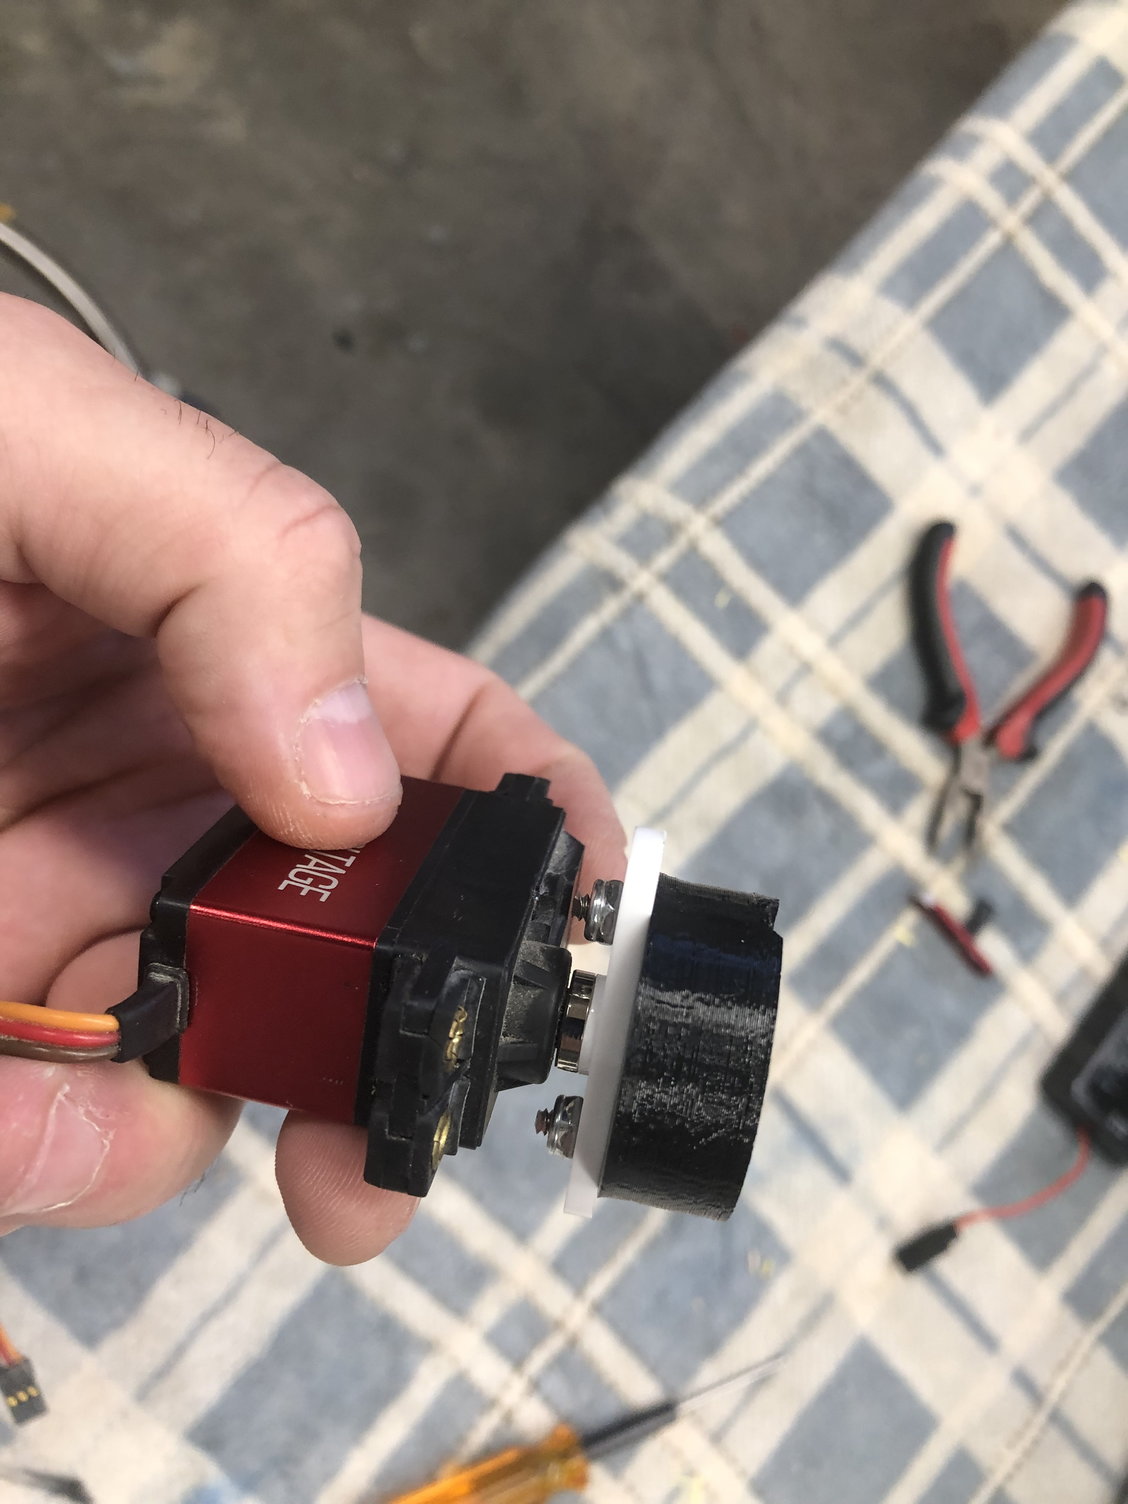
The next tasks to finish for this one are the Speed brake servo's.. I wanted to use some Electron linear actuators, but the installation of those is a big unorthodox and they don't have ones with enough stroke. So i'm going to use a servo for each speed brake. I also need to layup another engine hatch, the current one has more defects on it than i want to deal with fixing. The only other things i can do besides all of that is getting the canopy and engine hatch retention methods done, i'm waiting for parts in order to finish things like the landing gear install, engine install, fuel tanks, etc..
on the plus side, i ordered a ton of stuff today, so 95% of what i need to finish the prototype has been ordered..
03-31-2023, 04:49 PM
#291
Time for a random photo dump.
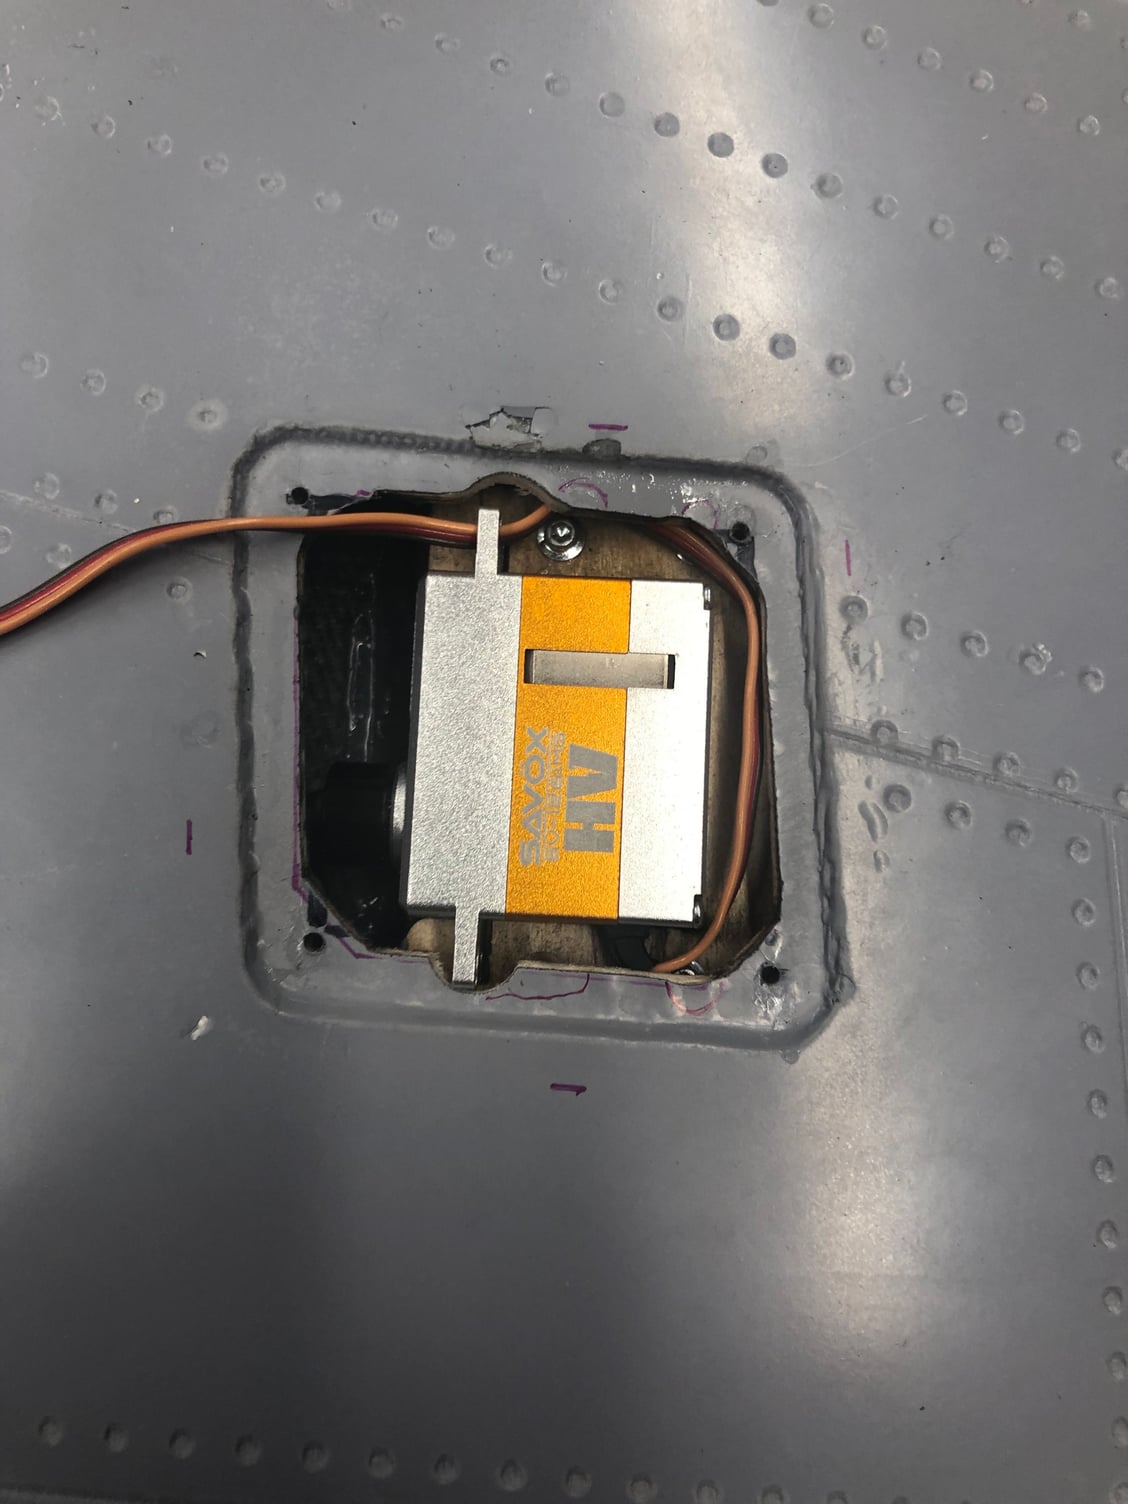
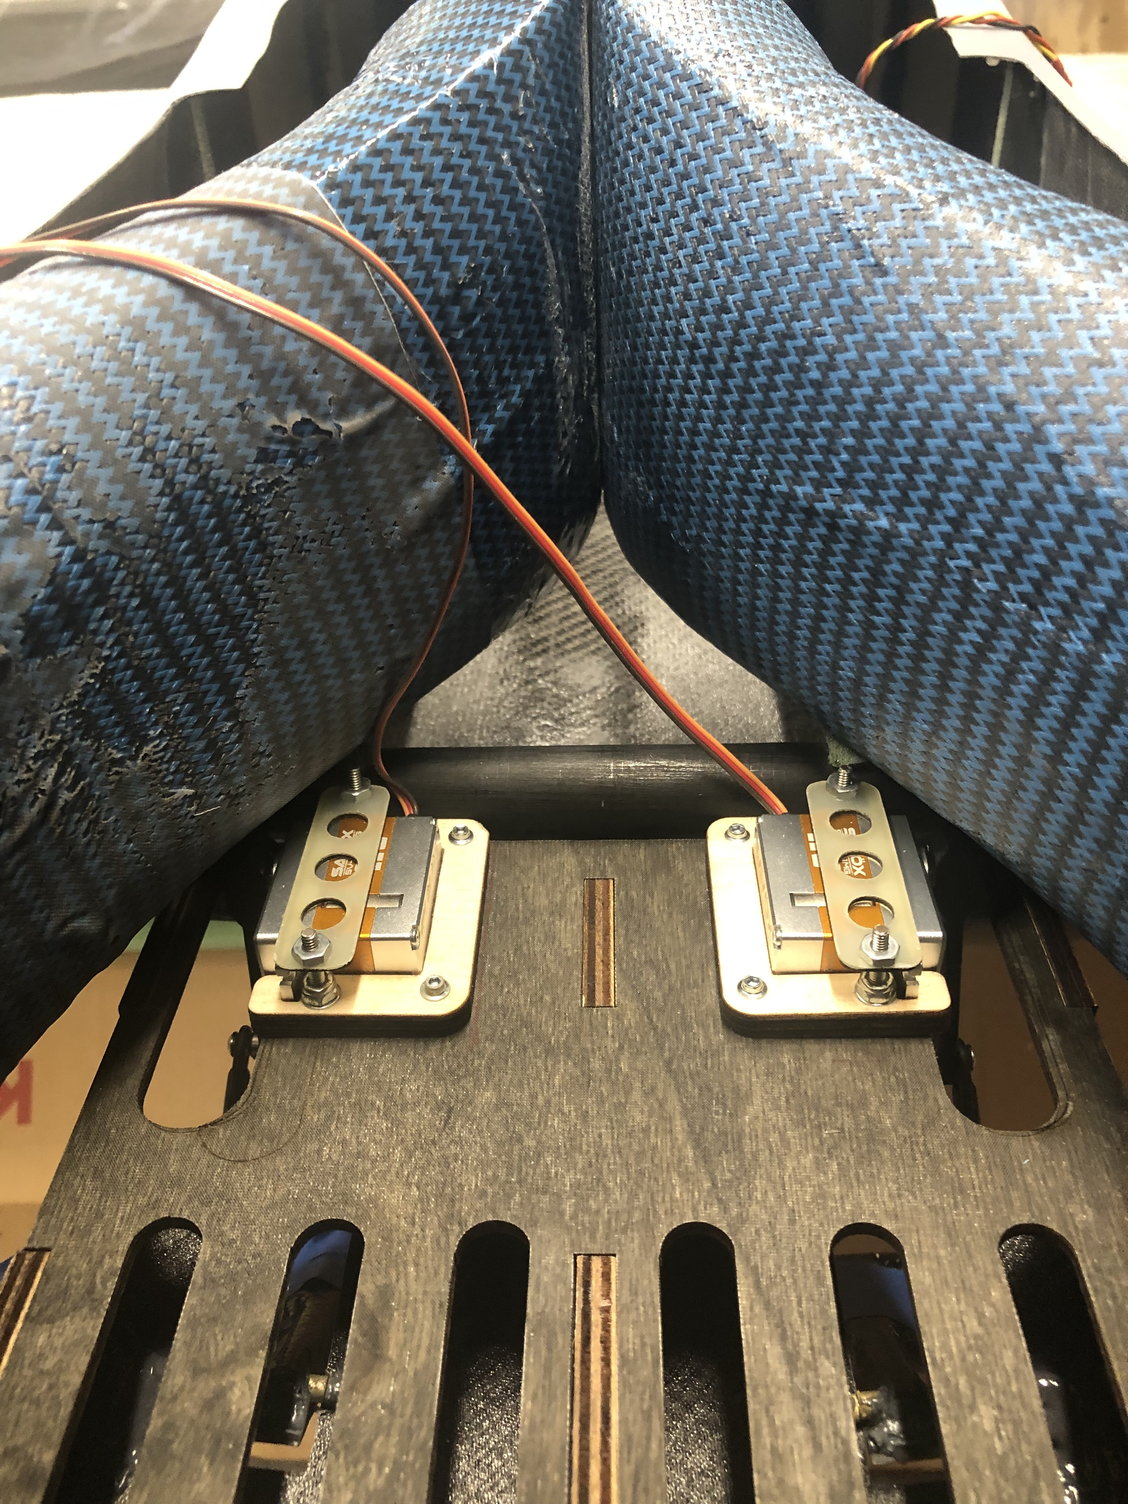
aileron and speed brake servo�s are mounted and the linkages complete, everything seems to be functioning fine.
fuel tanks are done (kevlar SUCKS) and the halves are hysol�d together.. that is still curing.
A new engine hatch was layed up and it looks and fits much nicer.
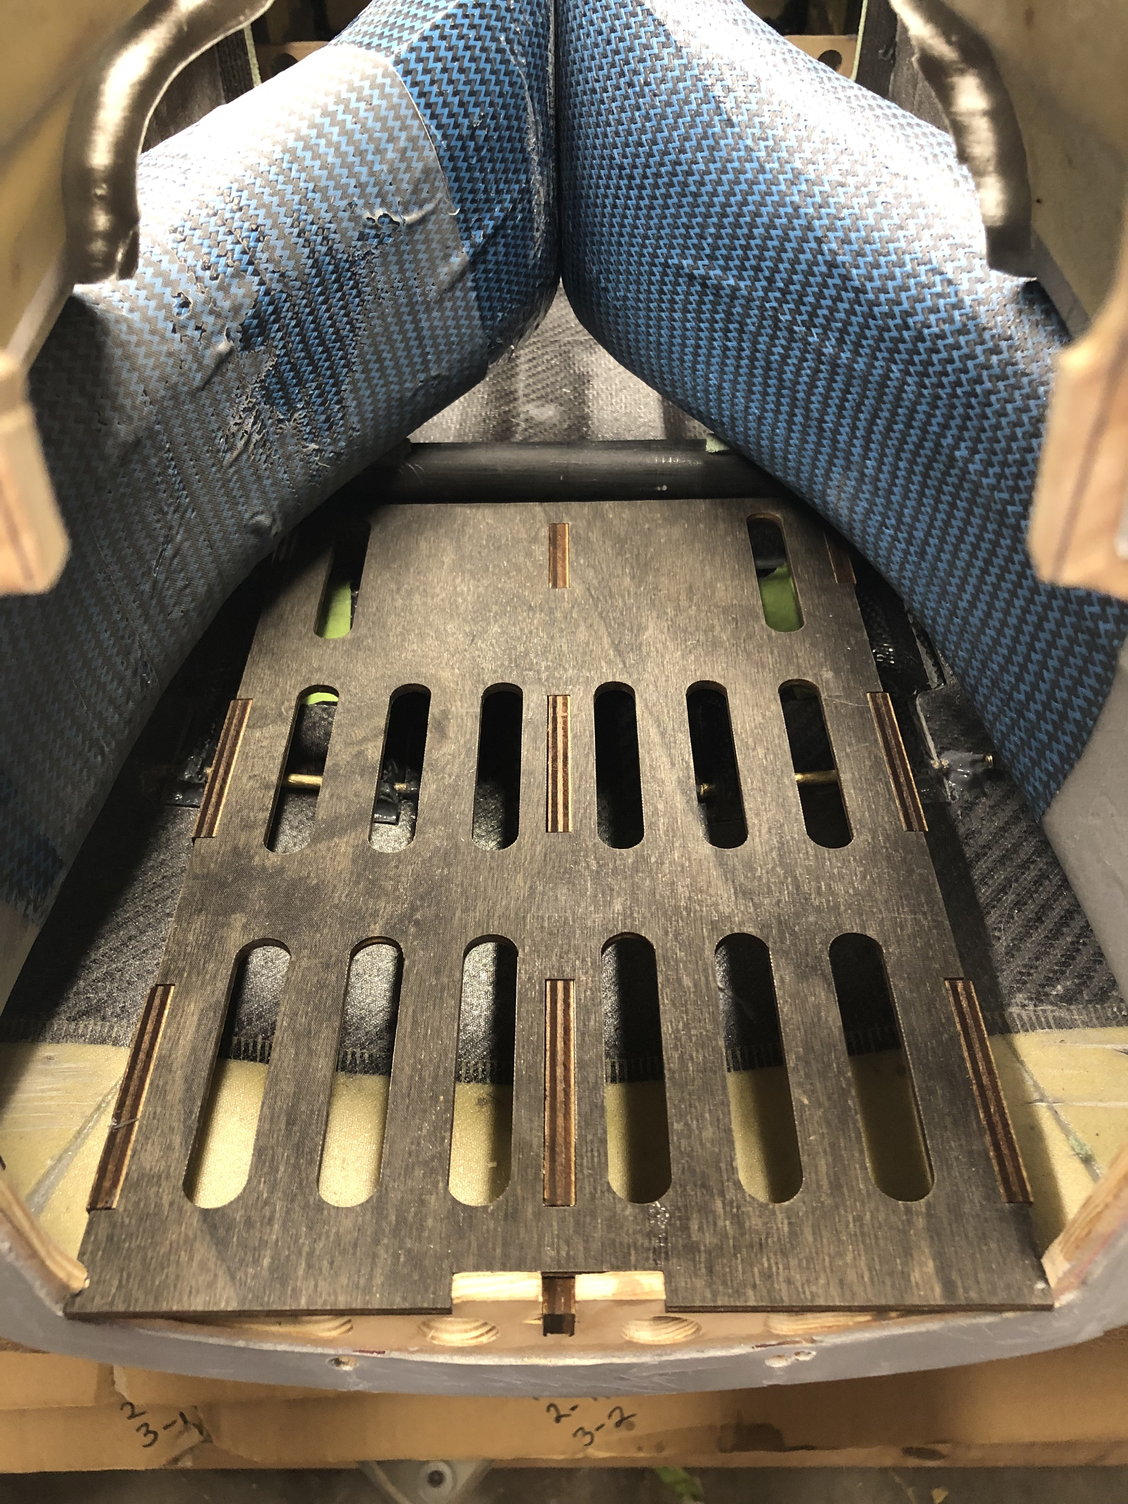
The forward fuel tank plate has been made up, this is also where the speed brake servo�s live.
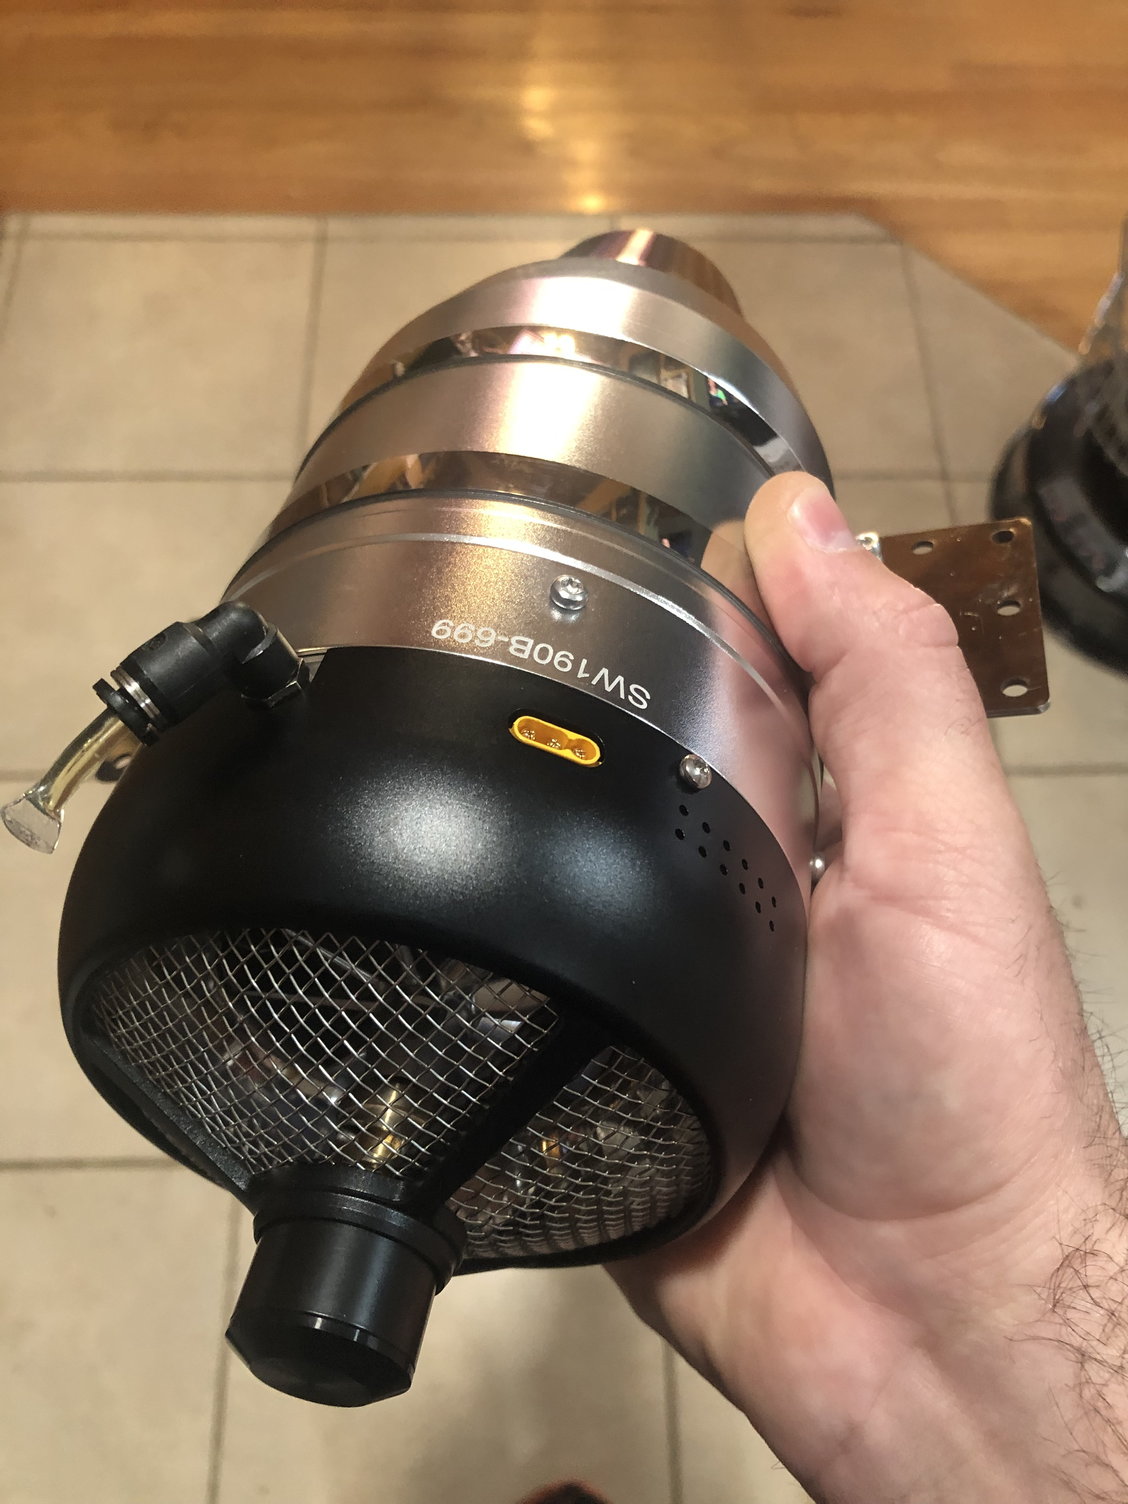
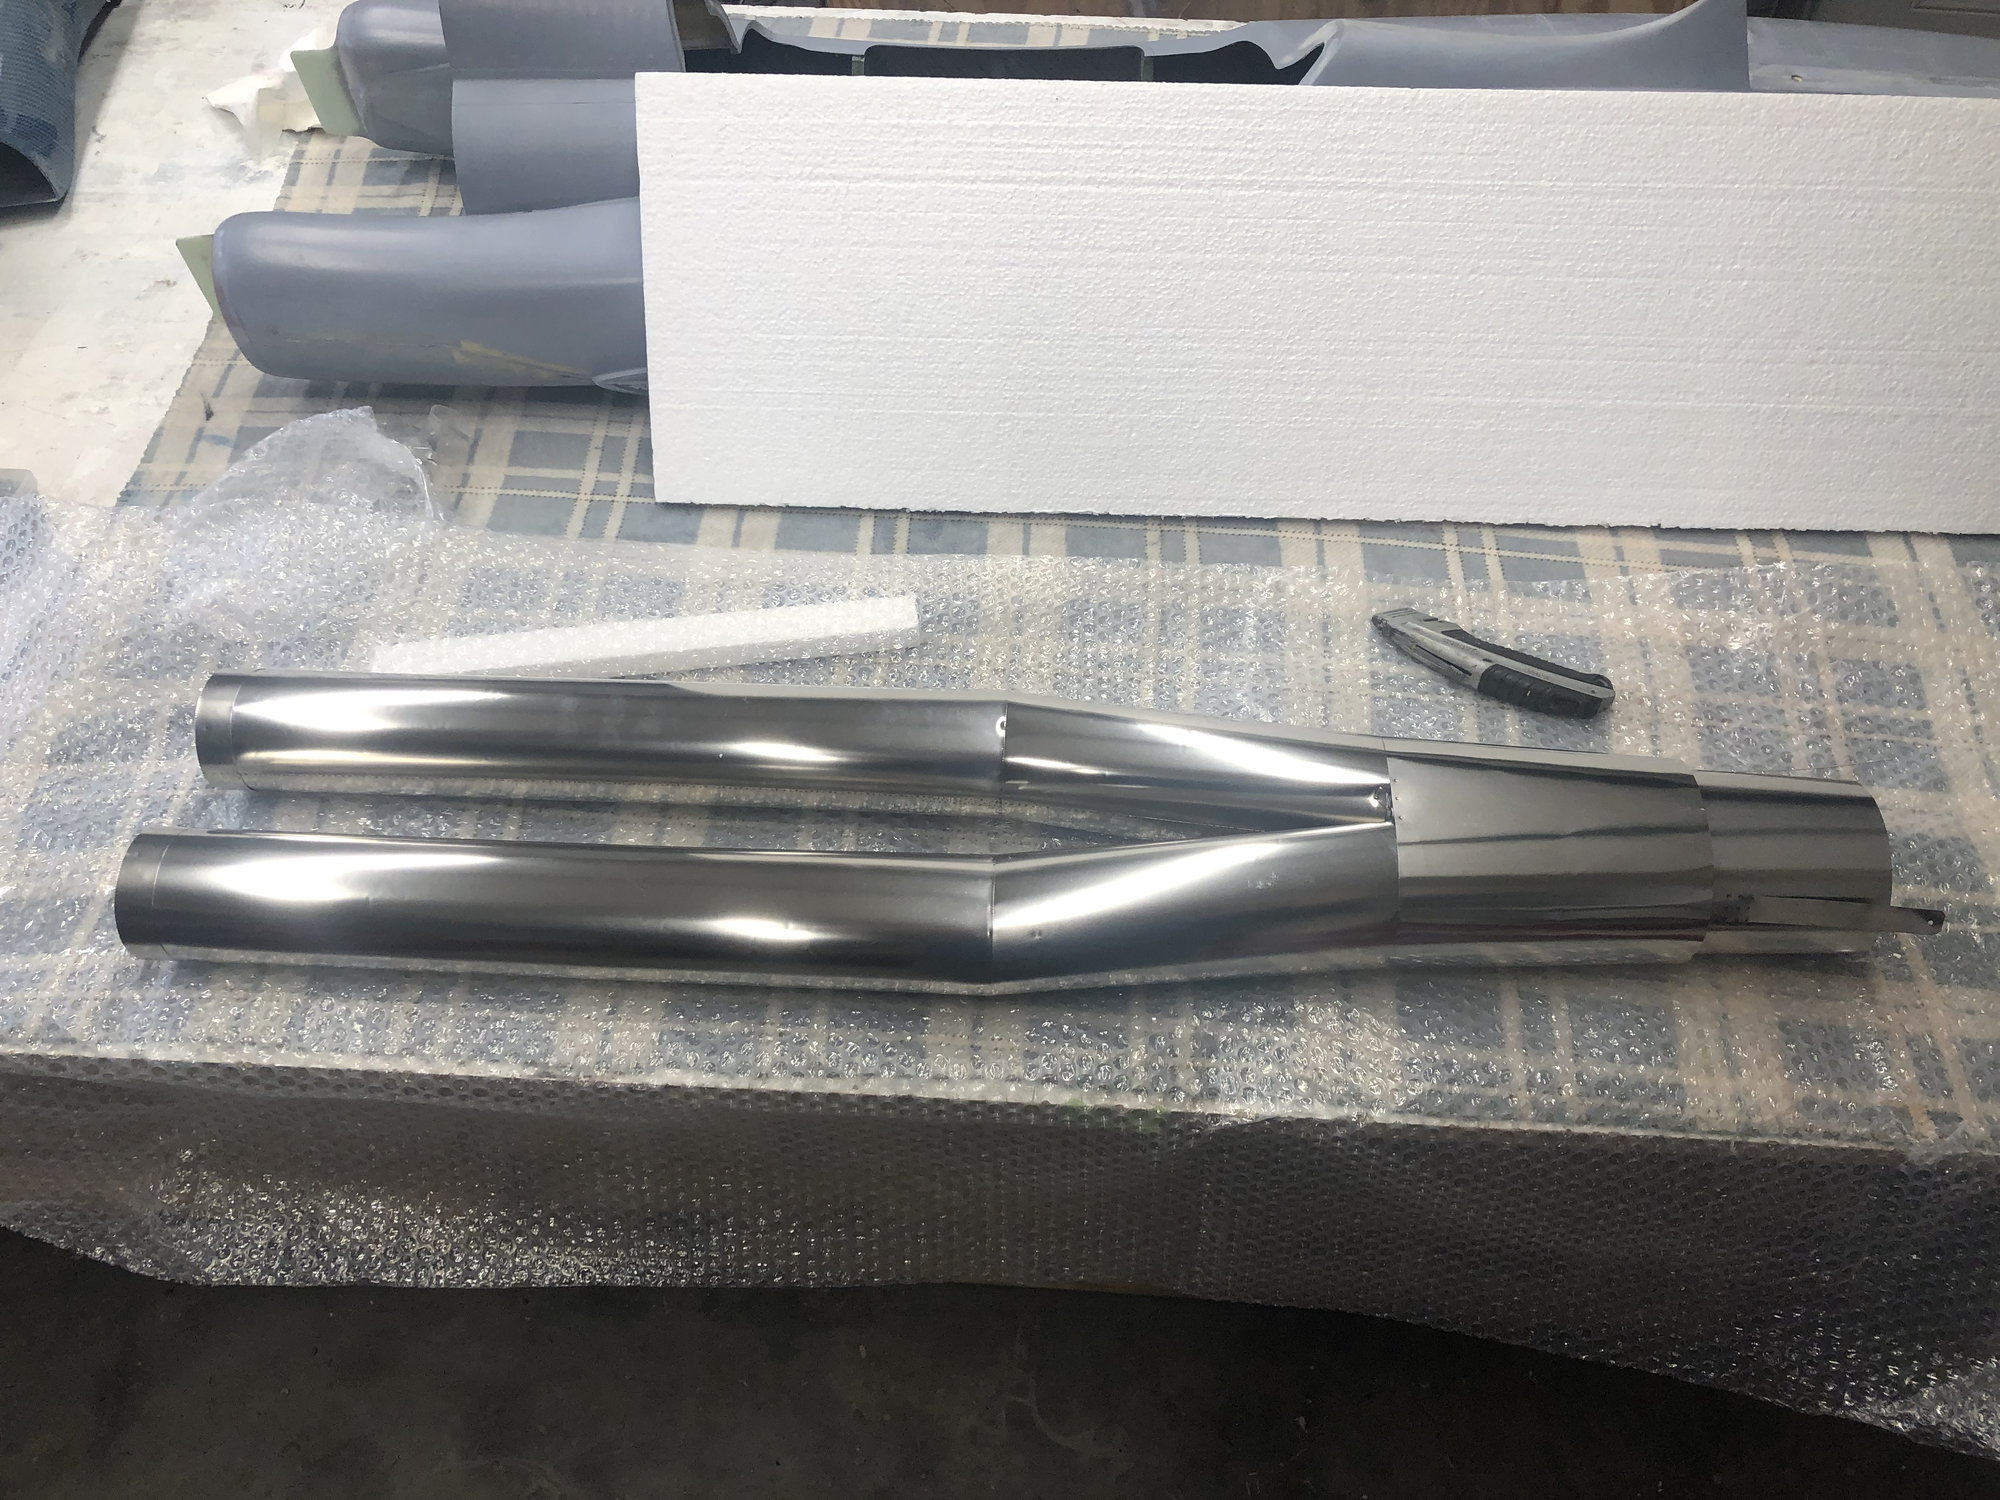
The Swiwin 190 and the bifurcated pipe from Hiep. The pipe is gorgeous and cost 1/3 of what the swiwin did. Lol. It also fits with zero problems. Its much more compact than the 3D printed mockup.

aileron and speed brake servo�s are mounted and the linkages complete, everything seems to be functioning fine.
fuel tanks are done (kevlar SUCKS) and the halves are hysol�d together.. that is still curing.
A new engine hatch was layed up and it looks and fits much nicer.
The forward fuel tank plate has been made up, this is also where the speed brake servo�s live.
The Swiwin 190 and the bifurcated pipe from Hiep. The pipe is gorgeous and cost 1/3 of what the swiwin did. Lol. It also fits with zero problems. Its much more compact than the 3D printed mockup.
The following 3 users liked this post by invertmast:
04-08-2023, 03:55 PM
#294
not a lot of progress, ive been busy getting a new (to me) trailer repaired and getting it outfitted for the coming flying season.
what i have done to the T38 isnt much. Mostly getting hatch hooks and pins on the engine hatch and some metal goodies arrived.

what i have done to the T38 isnt much. Mostly getting hatch hooks and pins on the engine hatch and some metal goodies arrived.
The following users liked this post:
mongo (04-08-2023)
04-09-2023, 01:30 PM
#295
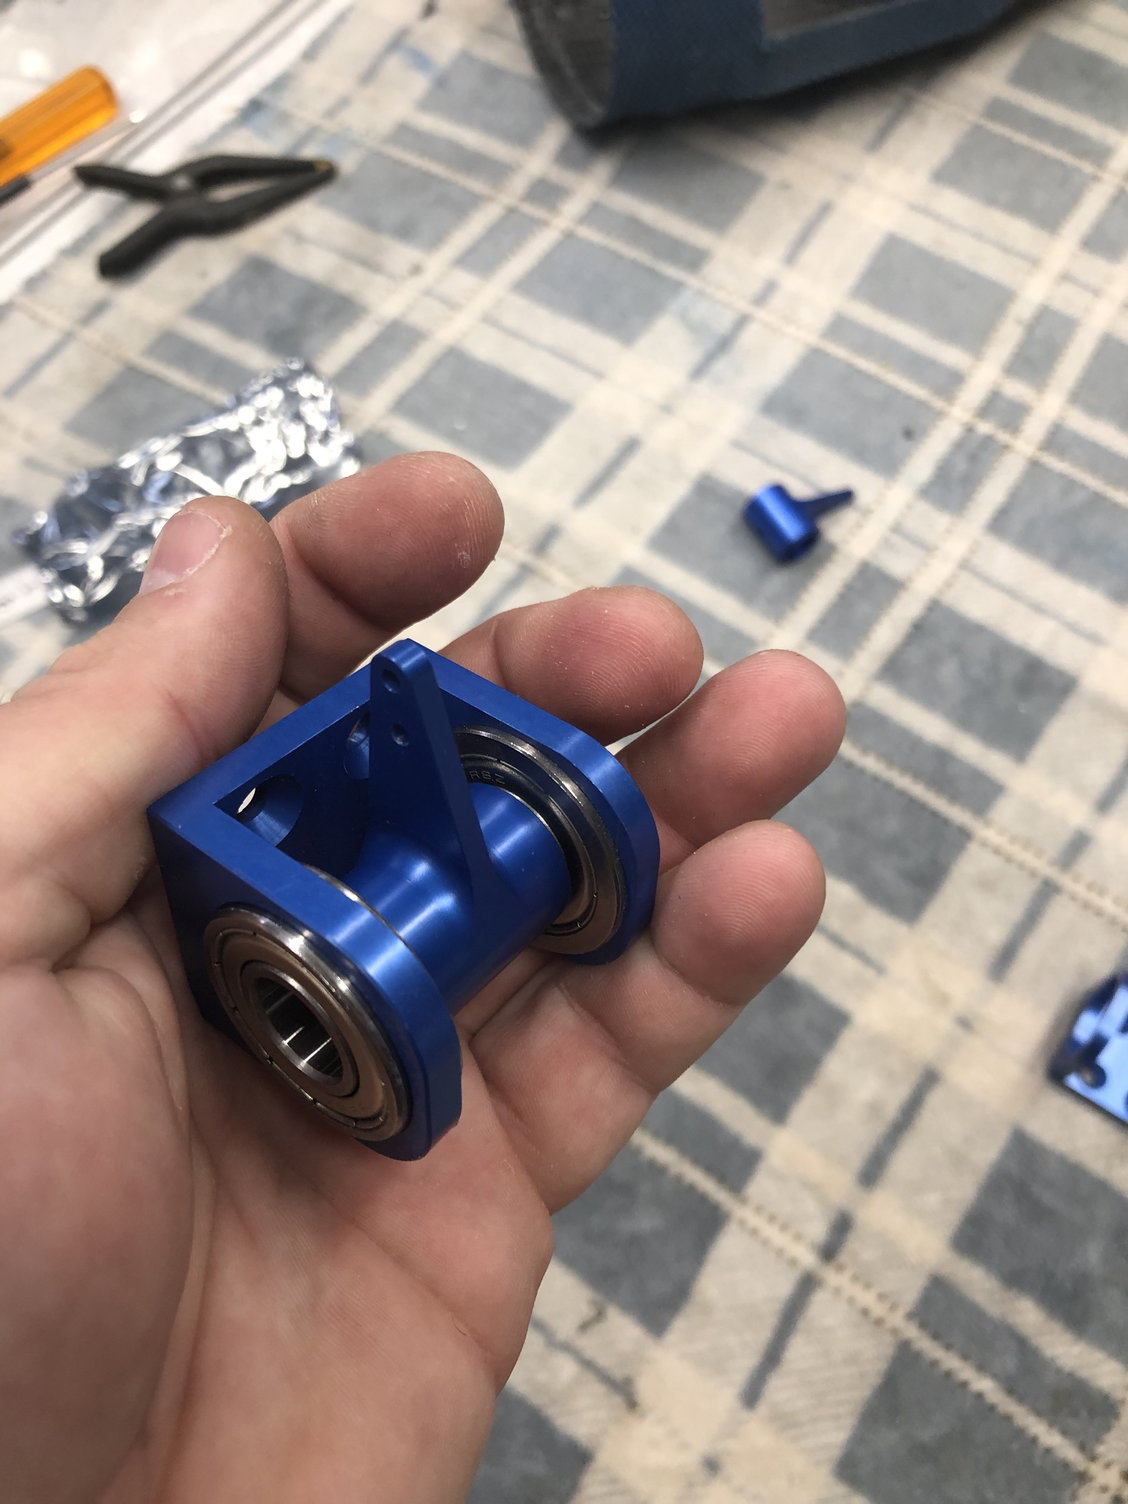
Ooh - those parts are pretty looking... Did you have your friend machine them? The anodize looks nice.
I'm probably gonna have to get some parts made for my Htail bearing holders... The supplier I used stopped making the size I need (1/2" ID with the bearings...)
I'm probably gonna have to get some parts made for my Htail bearing holders... The supplier I used stopped making the size I need (1/2" ID with the bearings...)
04-09-2023, 06:33 PM
#296
i sourced these off of Xometry just because i could get them quicker than my buddy could at the time and i had a coupon. Lol
The parts are very nice, but a bit spendy (about $400) for just the horizontal stab parts for one model. Ordering them in bulk would save alot of money though.
I�ll be working on a set of custom low-profile frames and trunnions for the electron gear next since i wouls ultimately like a set that is about 1/4� shorter in height.
04-10-2023, 09:51 AM
#297
That's what I'll likely do... I've ordered thru Xometry and emachineshop before. You have to buy a bunch to make the per-piece cost worth it. :-(
The nice thing about Xometry is the app that you can add to Solidworks, where it can do realtime costing within the cad program. Pretty handy for optimizing the part to reduce cost, etc. :-)
The nice thing about Xometry is the app that you can add to Solidworks, where it can do realtime costing within the cad program. Pretty handy for optimizing the part to reduce cost, etc. :-)
04-11-2023, 09:26 AM
#298
That's what I'll likely do... I've ordered thru Xometry and emachineshop before. You have to buy a bunch to make the per-piece cost worth it. :-(
The nice thing about Xometry is the app that you can add to Solidworks, where it can do realtime costing within the cad program. Pretty handy for optimizing the part to reduce cost, etc. :-)
The nice thing about Xometry is the app that you can add to Solidworks, where it can do realtime costing within the cad program. Pretty handy for optimizing the part to reduce cost, etc. :-)
i did not know about the app, i�ll have to download one!
04-30-2023, 06:15 PM
#299
Things are progressing slowly.
wiring harness� have been made up and the servo ends terminated. 86� of wire in total. I also decided to use some unilight connector for the wings.
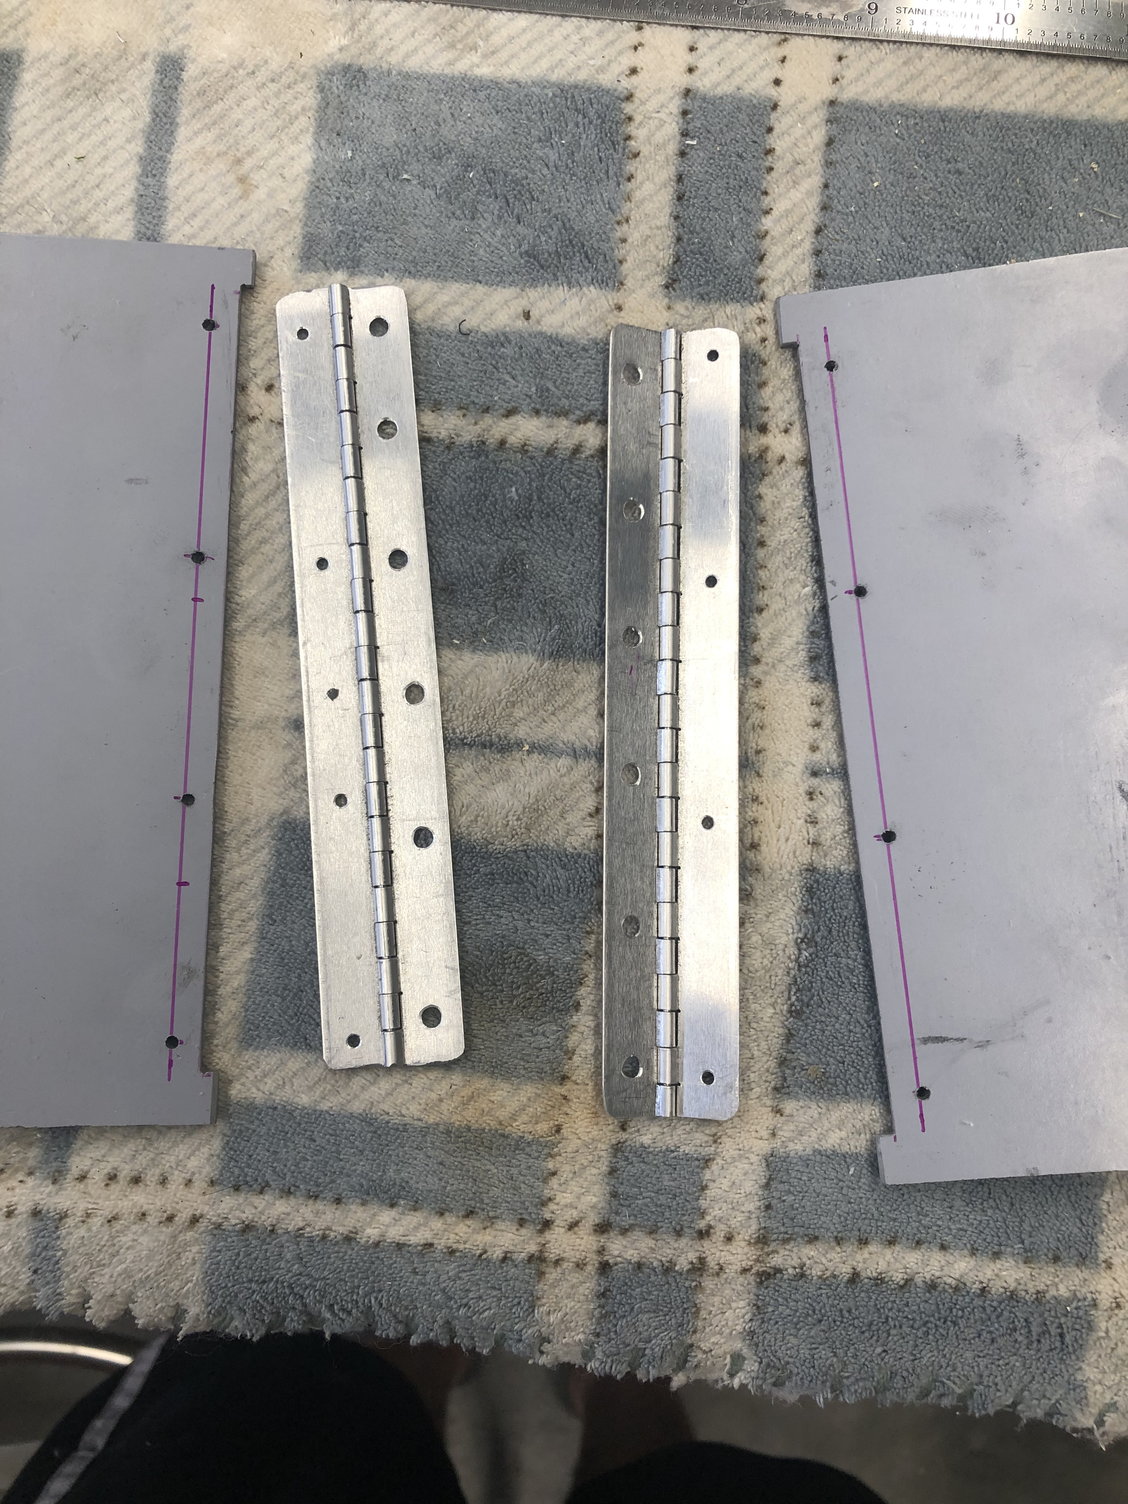
the main gear wheel doors have been hinged and the arms made up to allow use of 25mm stroke electron linear actuators.
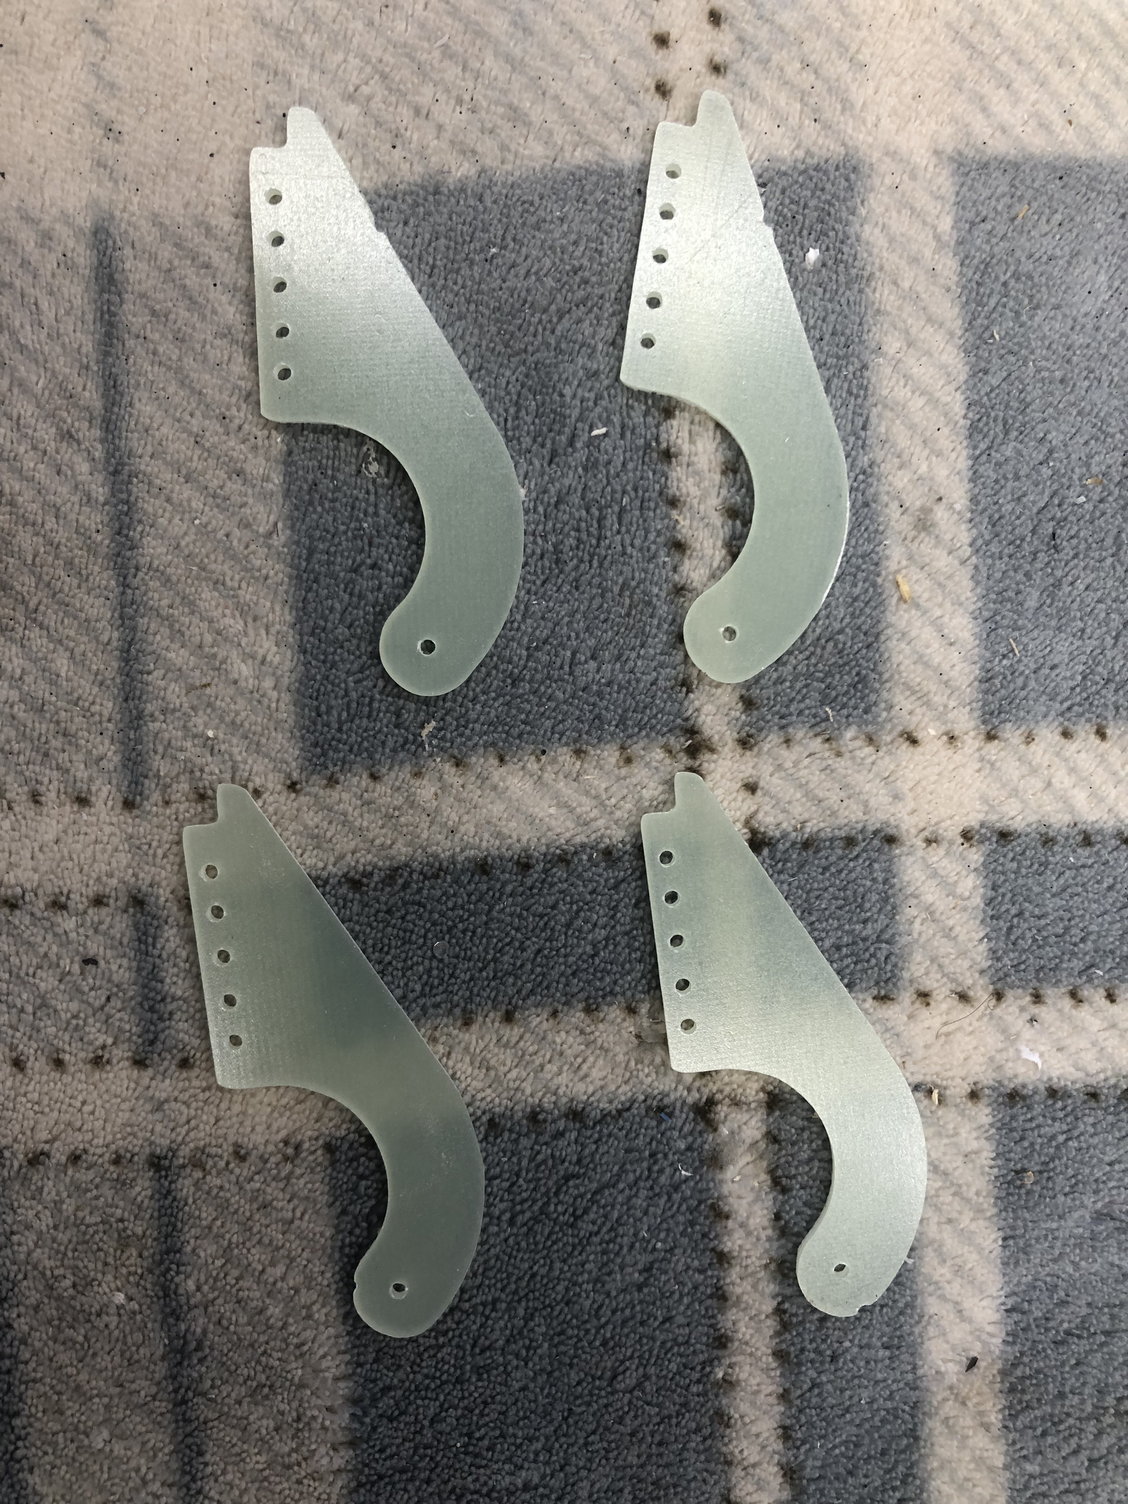
the nose gear doors are also done and mostly hinged. This one will use a mini servo mounted in the front of the nose for the main door, the strut door will be attached to the strut.
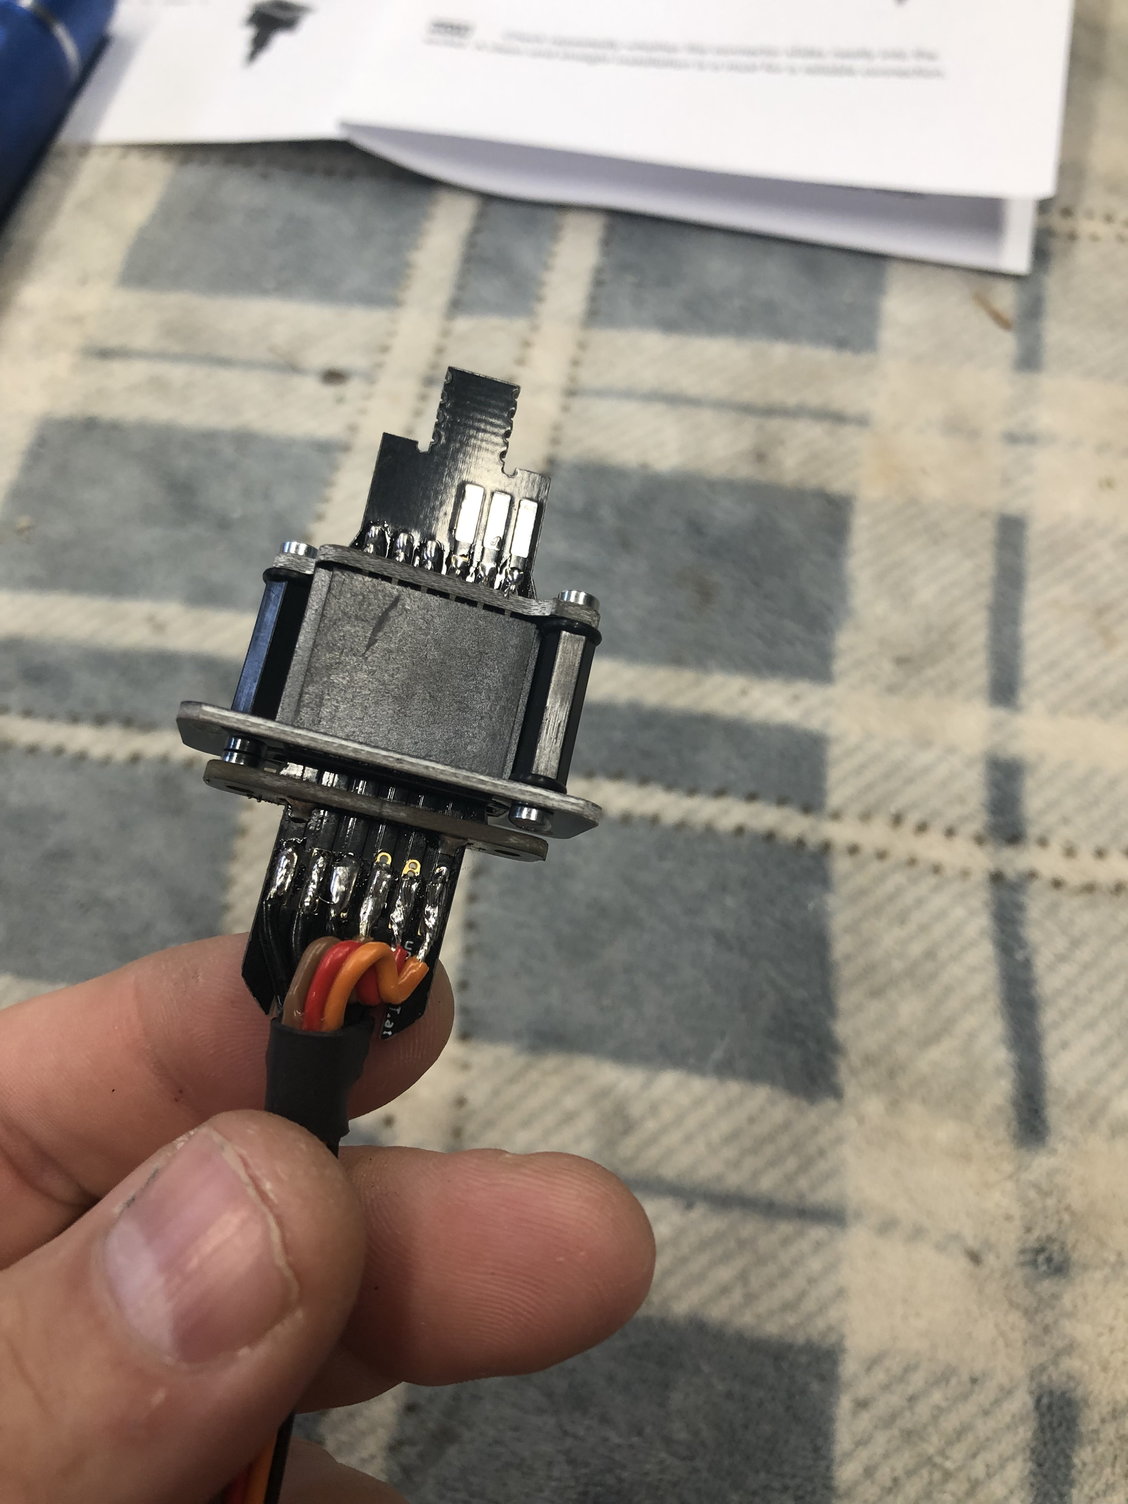


wiring harness� have been made up and the servo ends terminated. 86� of wire in total. I also decided to use some unilight connector for the wings.
the main gear wheel doors have been hinged and the arms made up to allow use of 25mm stroke electron linear actuators.
the nose gear doors are also done and mostly hinged. This one will use a mini servo mounted in the front of the nose for the main door, the strut door will be attached to the strut.