Juniaer K45TP Tucano from Brazil?
#51
Senior Member
Biella 20 x 14 is the one recommended and works fine for me.
Junier recommends JC 20 x 14 which you can order from Aircraft International. It is wood and much lighter and lets the motor rev up higher with better performance in my opinion but I like them both.
After talking to Dirk at KT about the gearbox lube tube not fitting, we decided to use clear fuel line which works great. With the carbon fiber engine mount, it is easy to route the plastic tubing away from the hot exhaust parts.
The JC are,as far as I know, not available in Europe. Also they are really expensive for a wooden prop. Same price as the Ramoser 😬
Thanks for the tip about the plastic tubing to the GB. Did you “shield” it somehow?
#52
Senior Member
Didier,
I also used Electrons. I also using Electron legs.
The mains with trailing ling are ok but I don't like the trailing link nose gear. Does not look right.
Are you using Electron nose gear? If so, does the Juniaer nose strut work on it? You did not post any pictures of your nose gear set up.
Paul
I also used Electrons. I also using Electron legs.
The mains with trailing ling are ok but I don't like the trailing link nose gear. Does not look right.
Are you using Electron nose gear? If so, does the Juniaer nose strut work on it? You did not post any pictures of your nose gear set up.
Paul
I am gonna use the original nose strut with a electron retract. I opted for the 8mm (biggest available) connecting pin. The strut pin requires a 10 mm. I still need a 10-8mm metal bushing. Easy to get and adjust but did not have time for it. I already installed the nose retract an steering servo
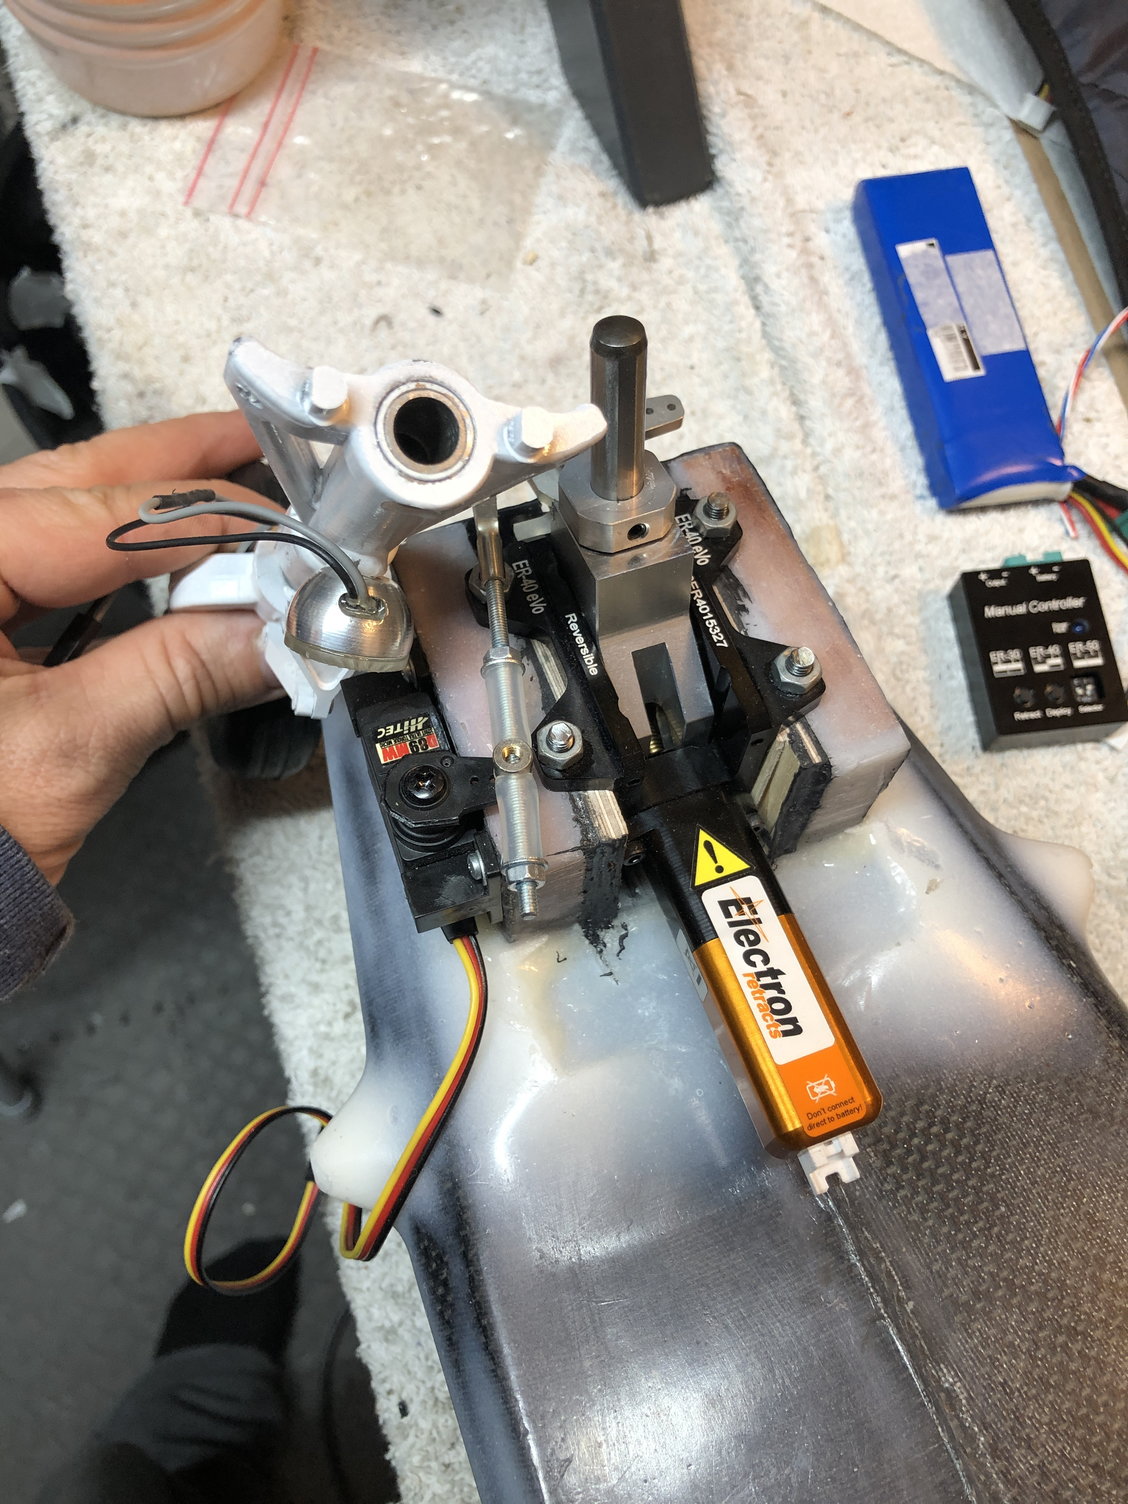
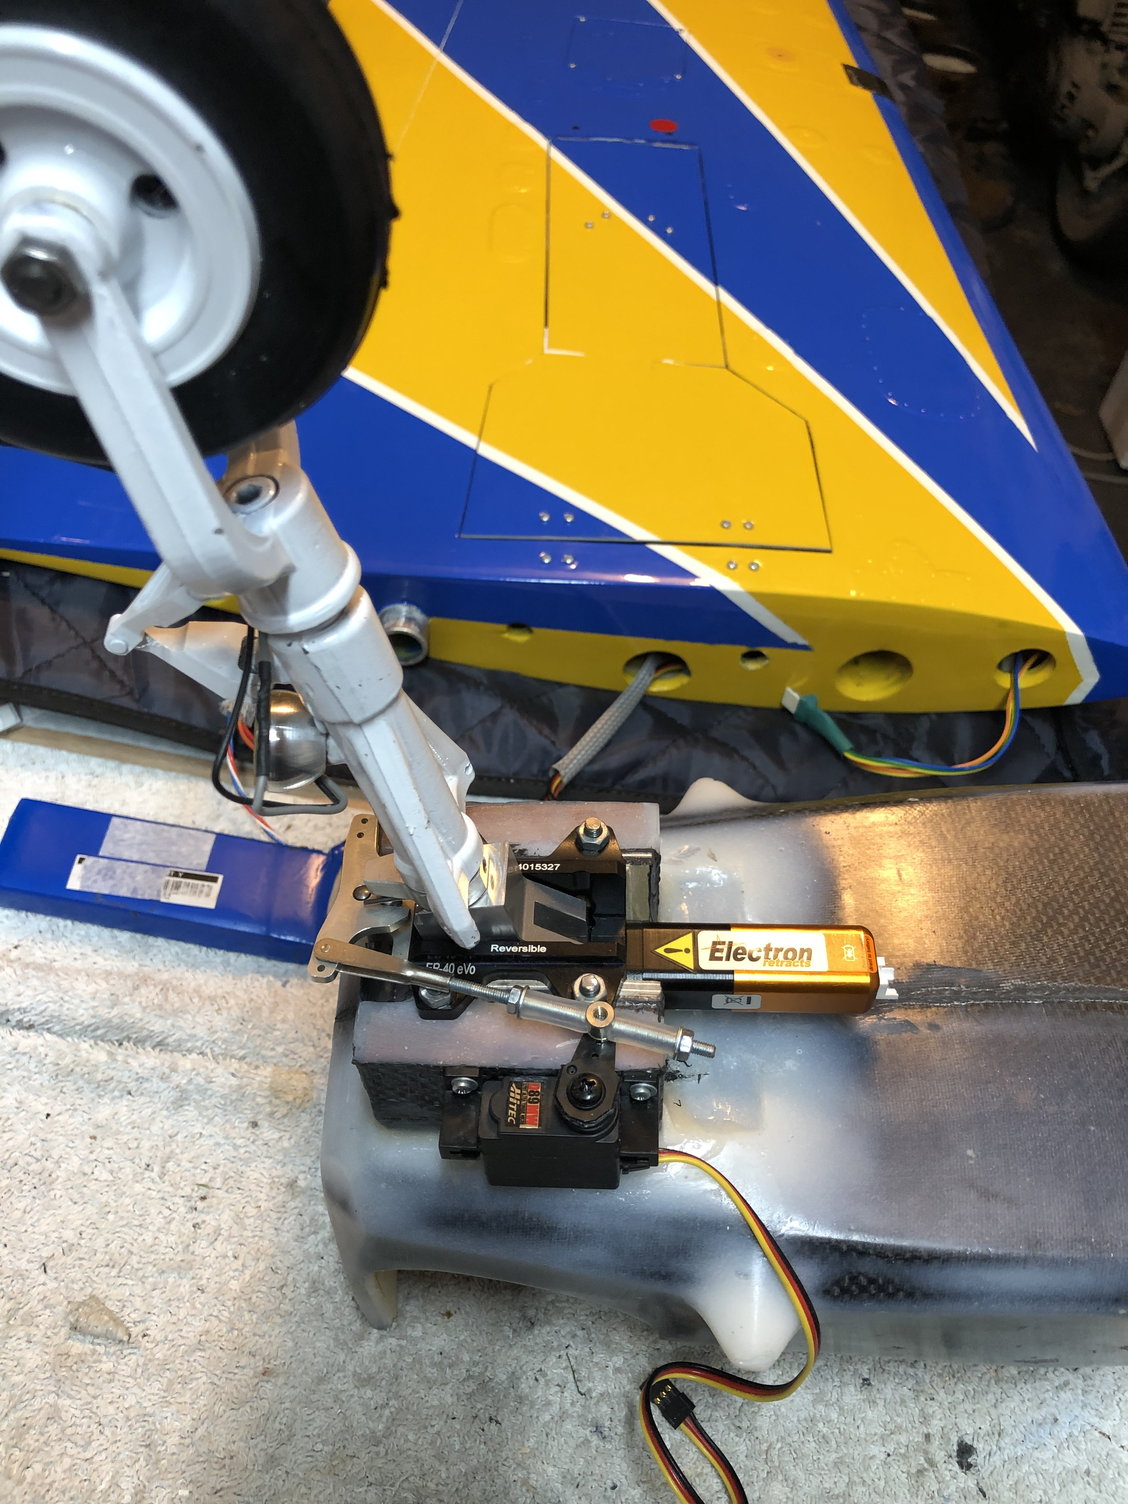
Last edited by Didier; 11-22-2020 at 01:08 PM.
The following users liked this post:
SaintExupery (11-15-2021)
#53
Senior Member
#54
Senior Member
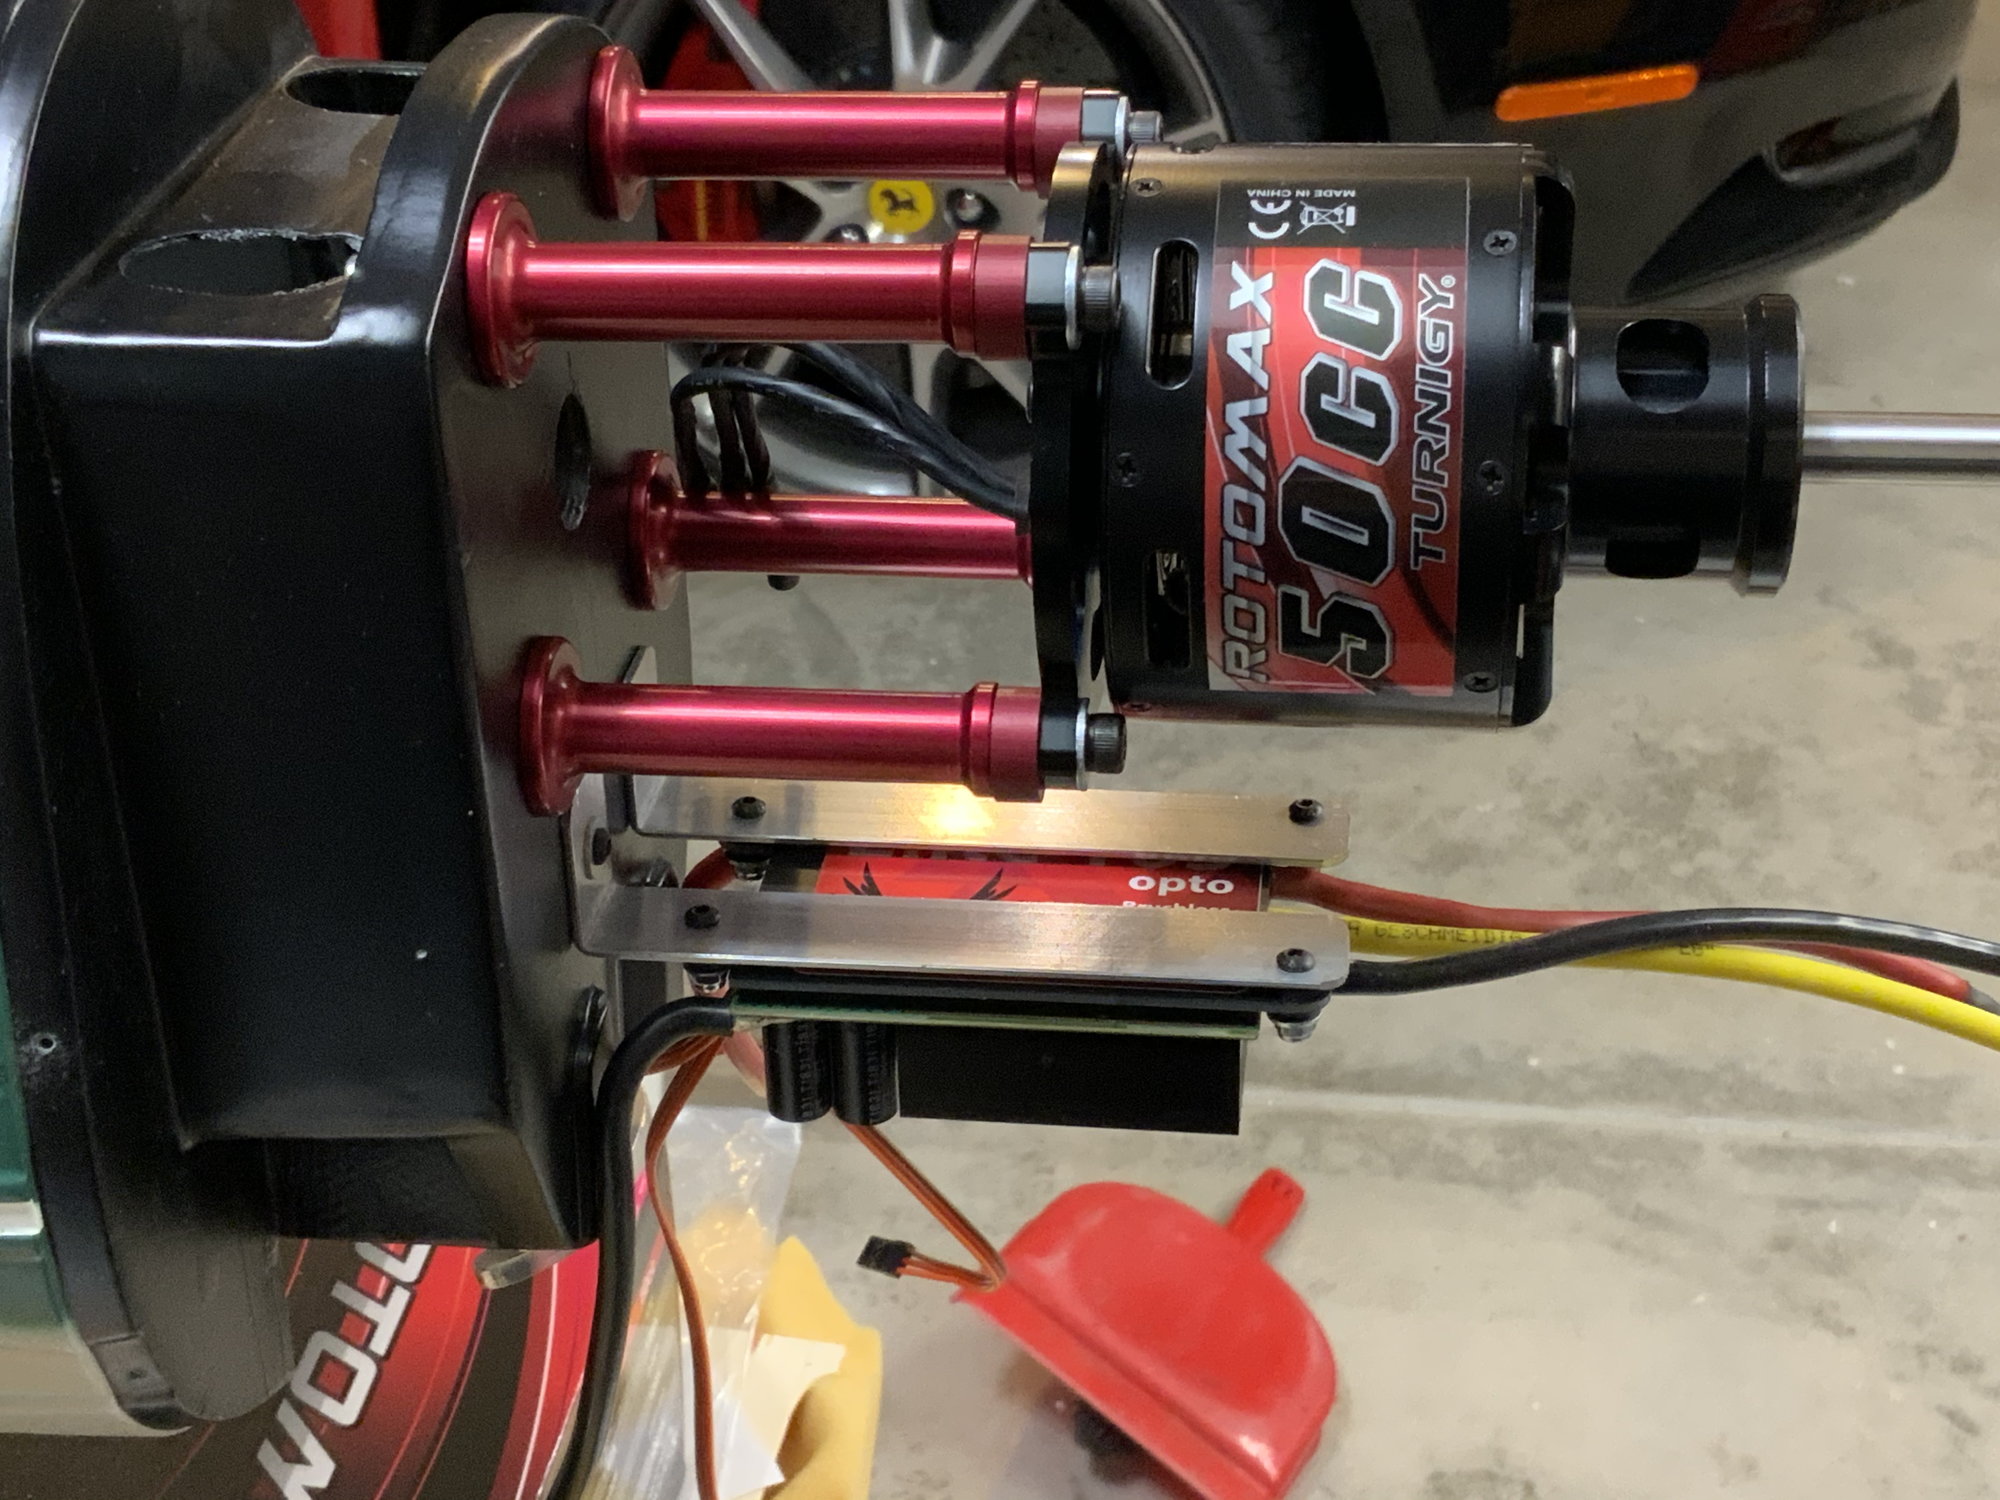
For those that want to build the 50CC version and use Electric motor, please be aware that the motors that are listed in manual fit but no other motor like hacker or the Espirit Elite would not fit. I learned this in the hard way by purchasing an expensive Elite motor and many different shaft extender etc. and none worked as the upper part of the cowl would not fit if installed.
behzad
behzad
As somebody I know wants to go for the electric set-up.
#58

I haven’t weighed it yet, I have just a few more things to do first.
Any idea how far out the exhaust pipes need to project?
The Zero is a great plane, albeit a little slow with a saito 84.
Any idea how far out the exhaust pipes need to project?
The Zero is a great plane, albeit a little slow with a saito 84.
#59
Senior Member
I have to trim my exhaust but I guess around what you see in the picture.
Off topic: My zero was slow with a Biela 22x12 but is “fast” now with a Romoser with a pitch around 14,5”
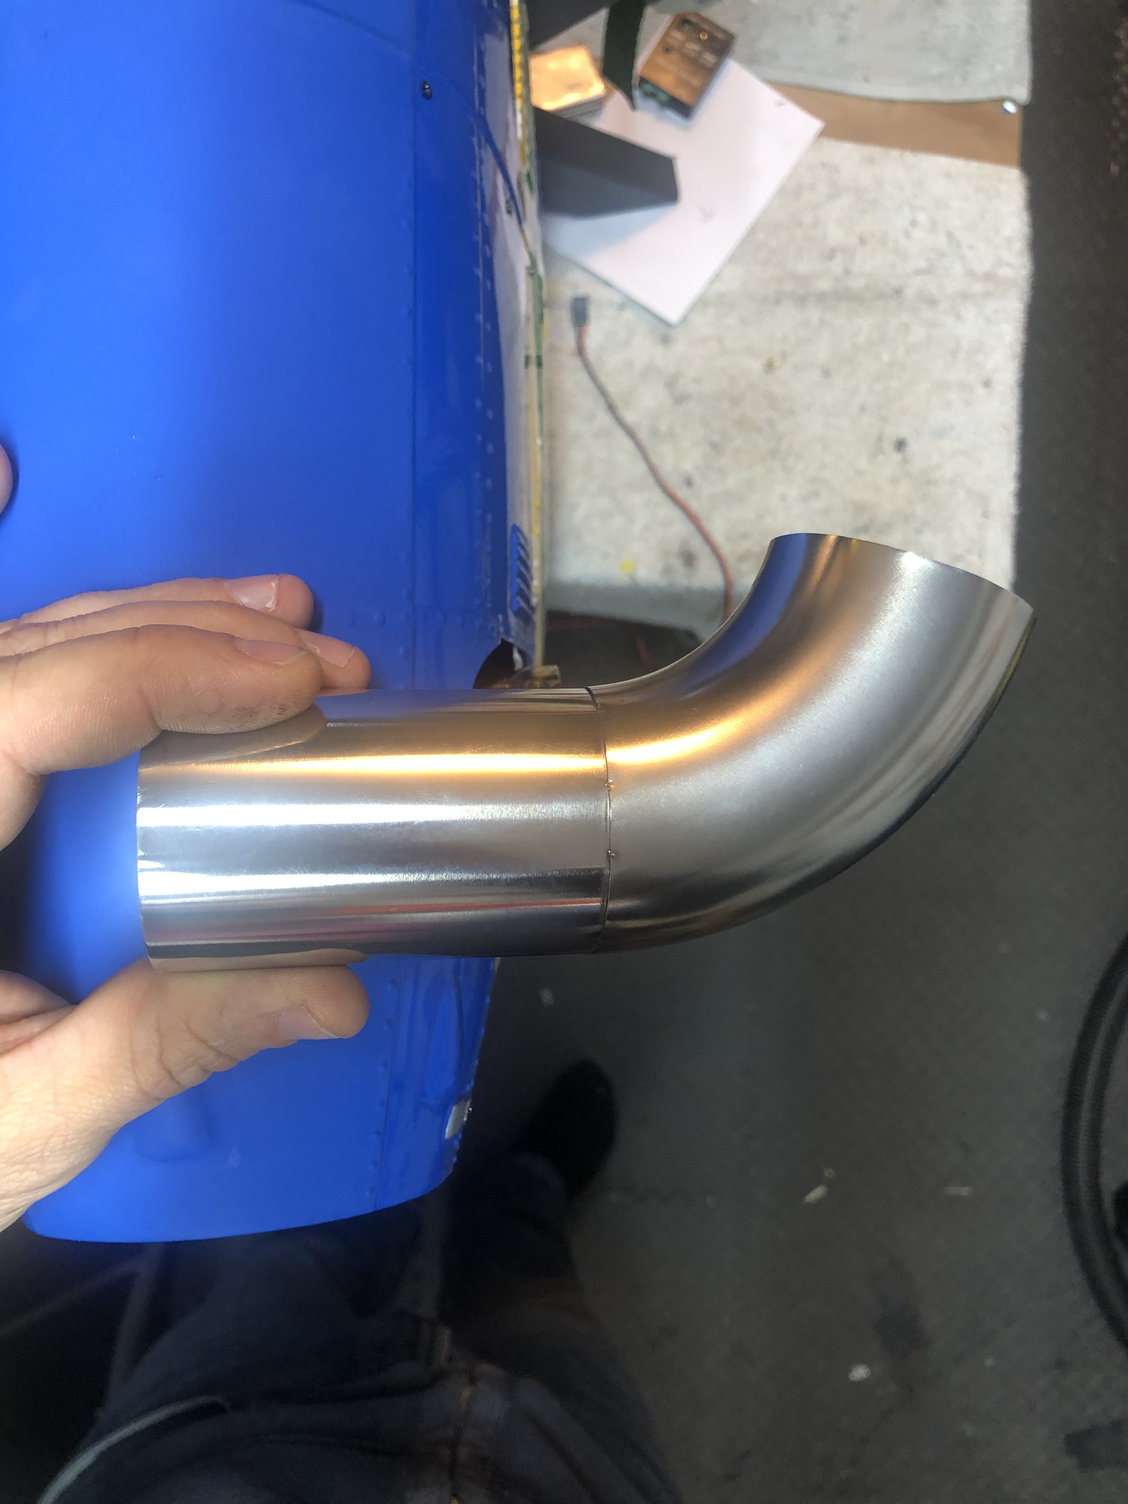
Off topic: My zero was slow with a Biela 22x12 but is “fast” now with a Romoser with a pitch around 14,5”

#60

Pipes and spinner cut.
I went slightly longer on the exhaust pipes to try and avoid heat build up on the wing and canopy. I’ve also directed both of them very slightly up.
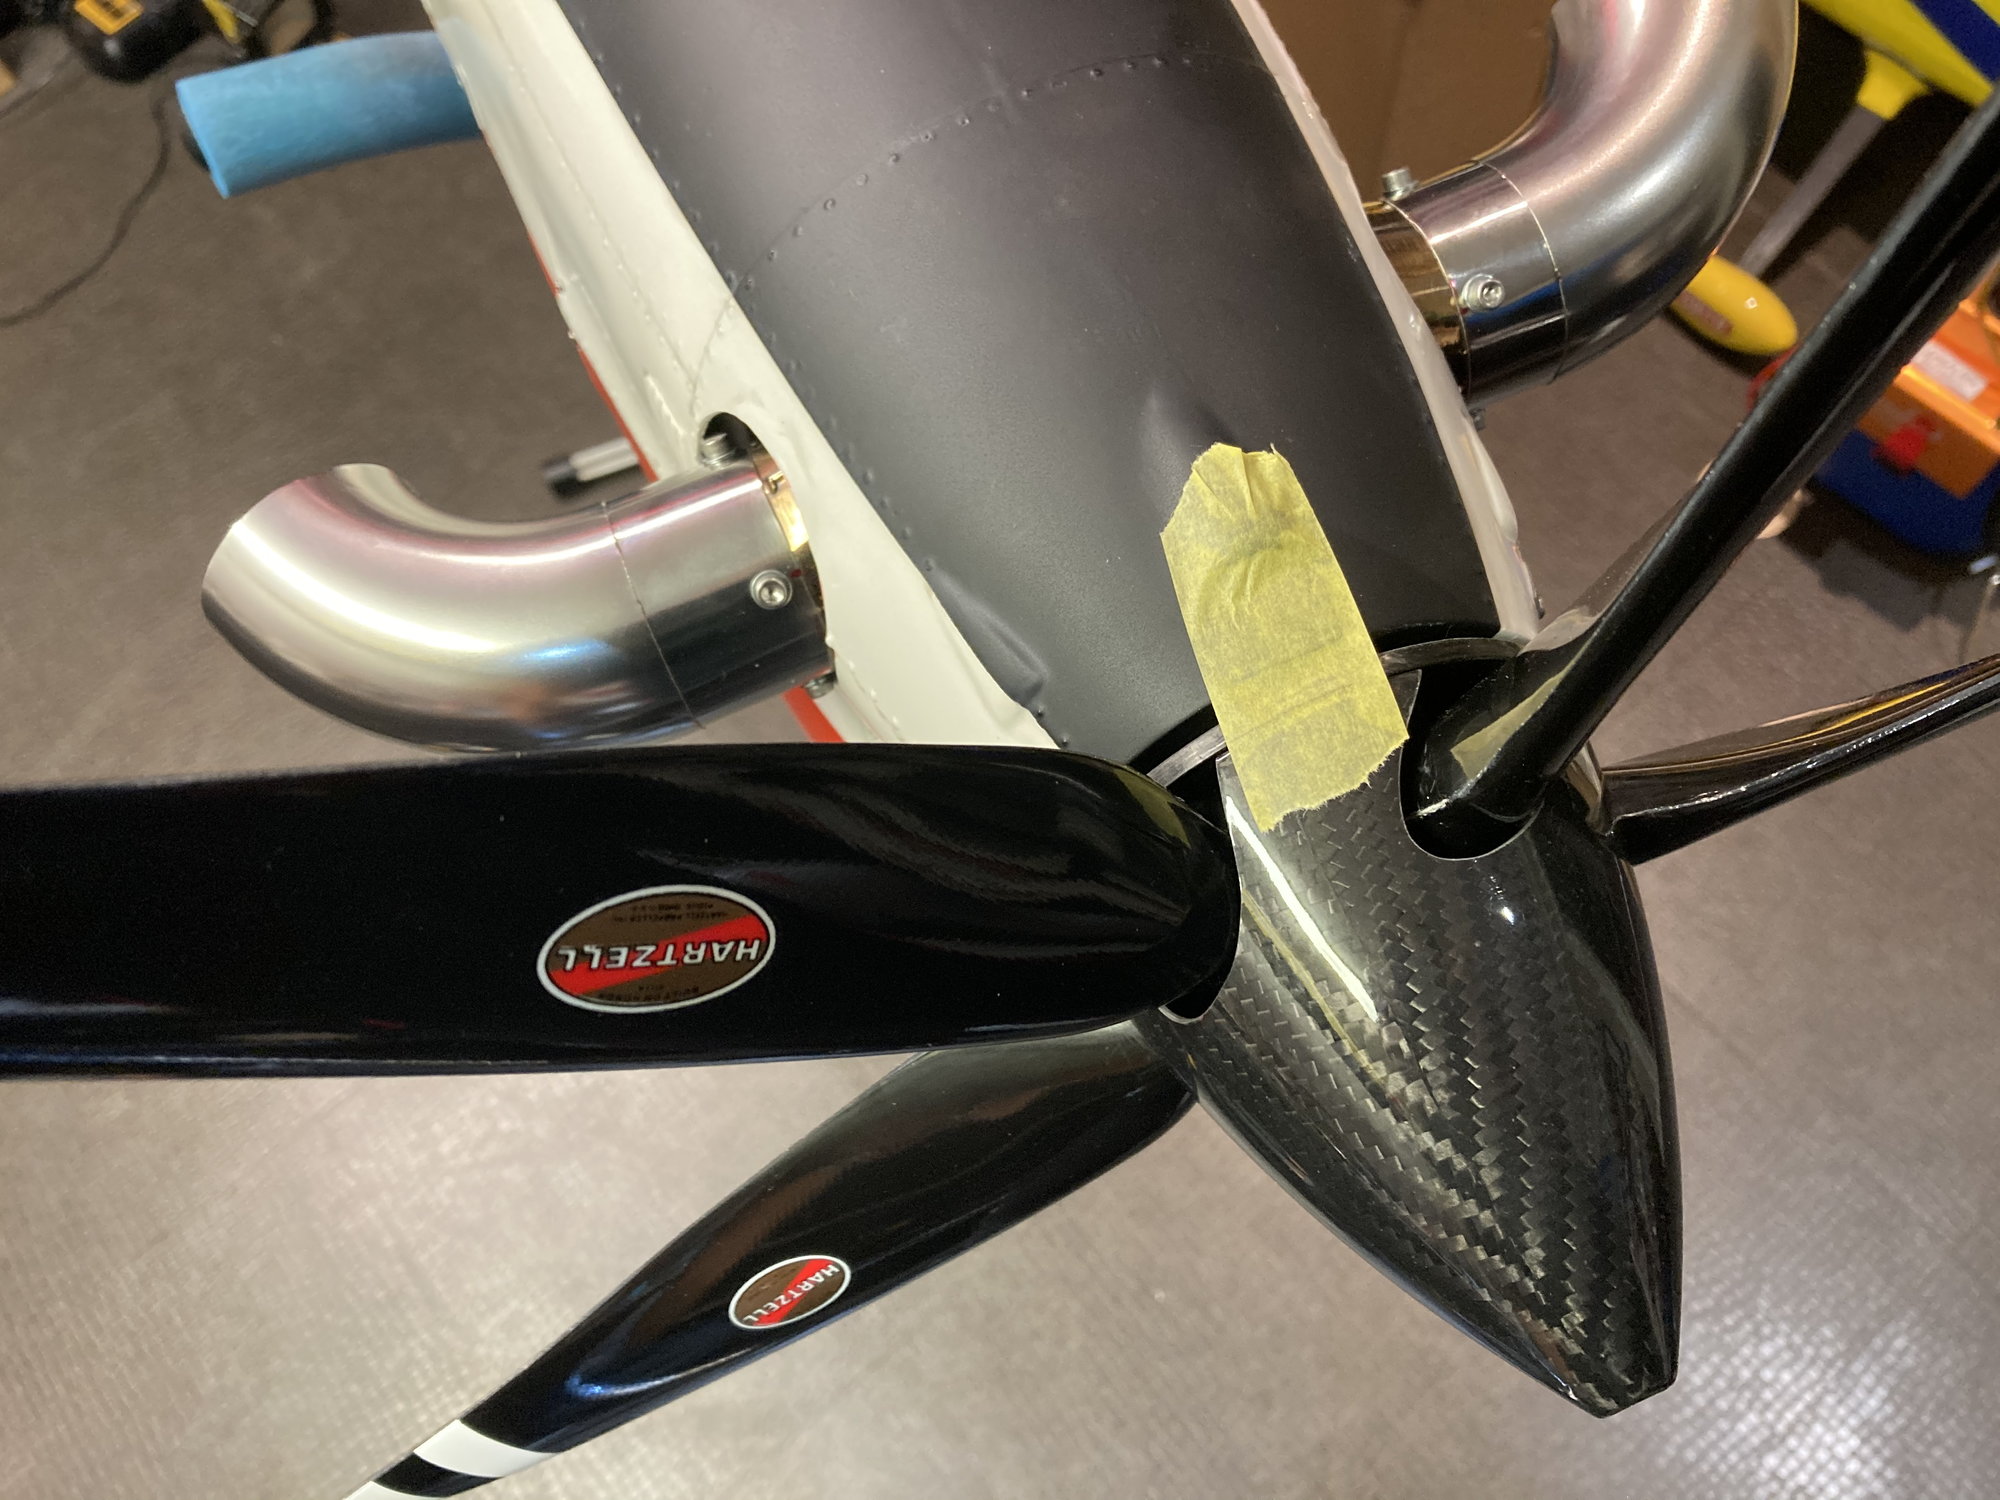
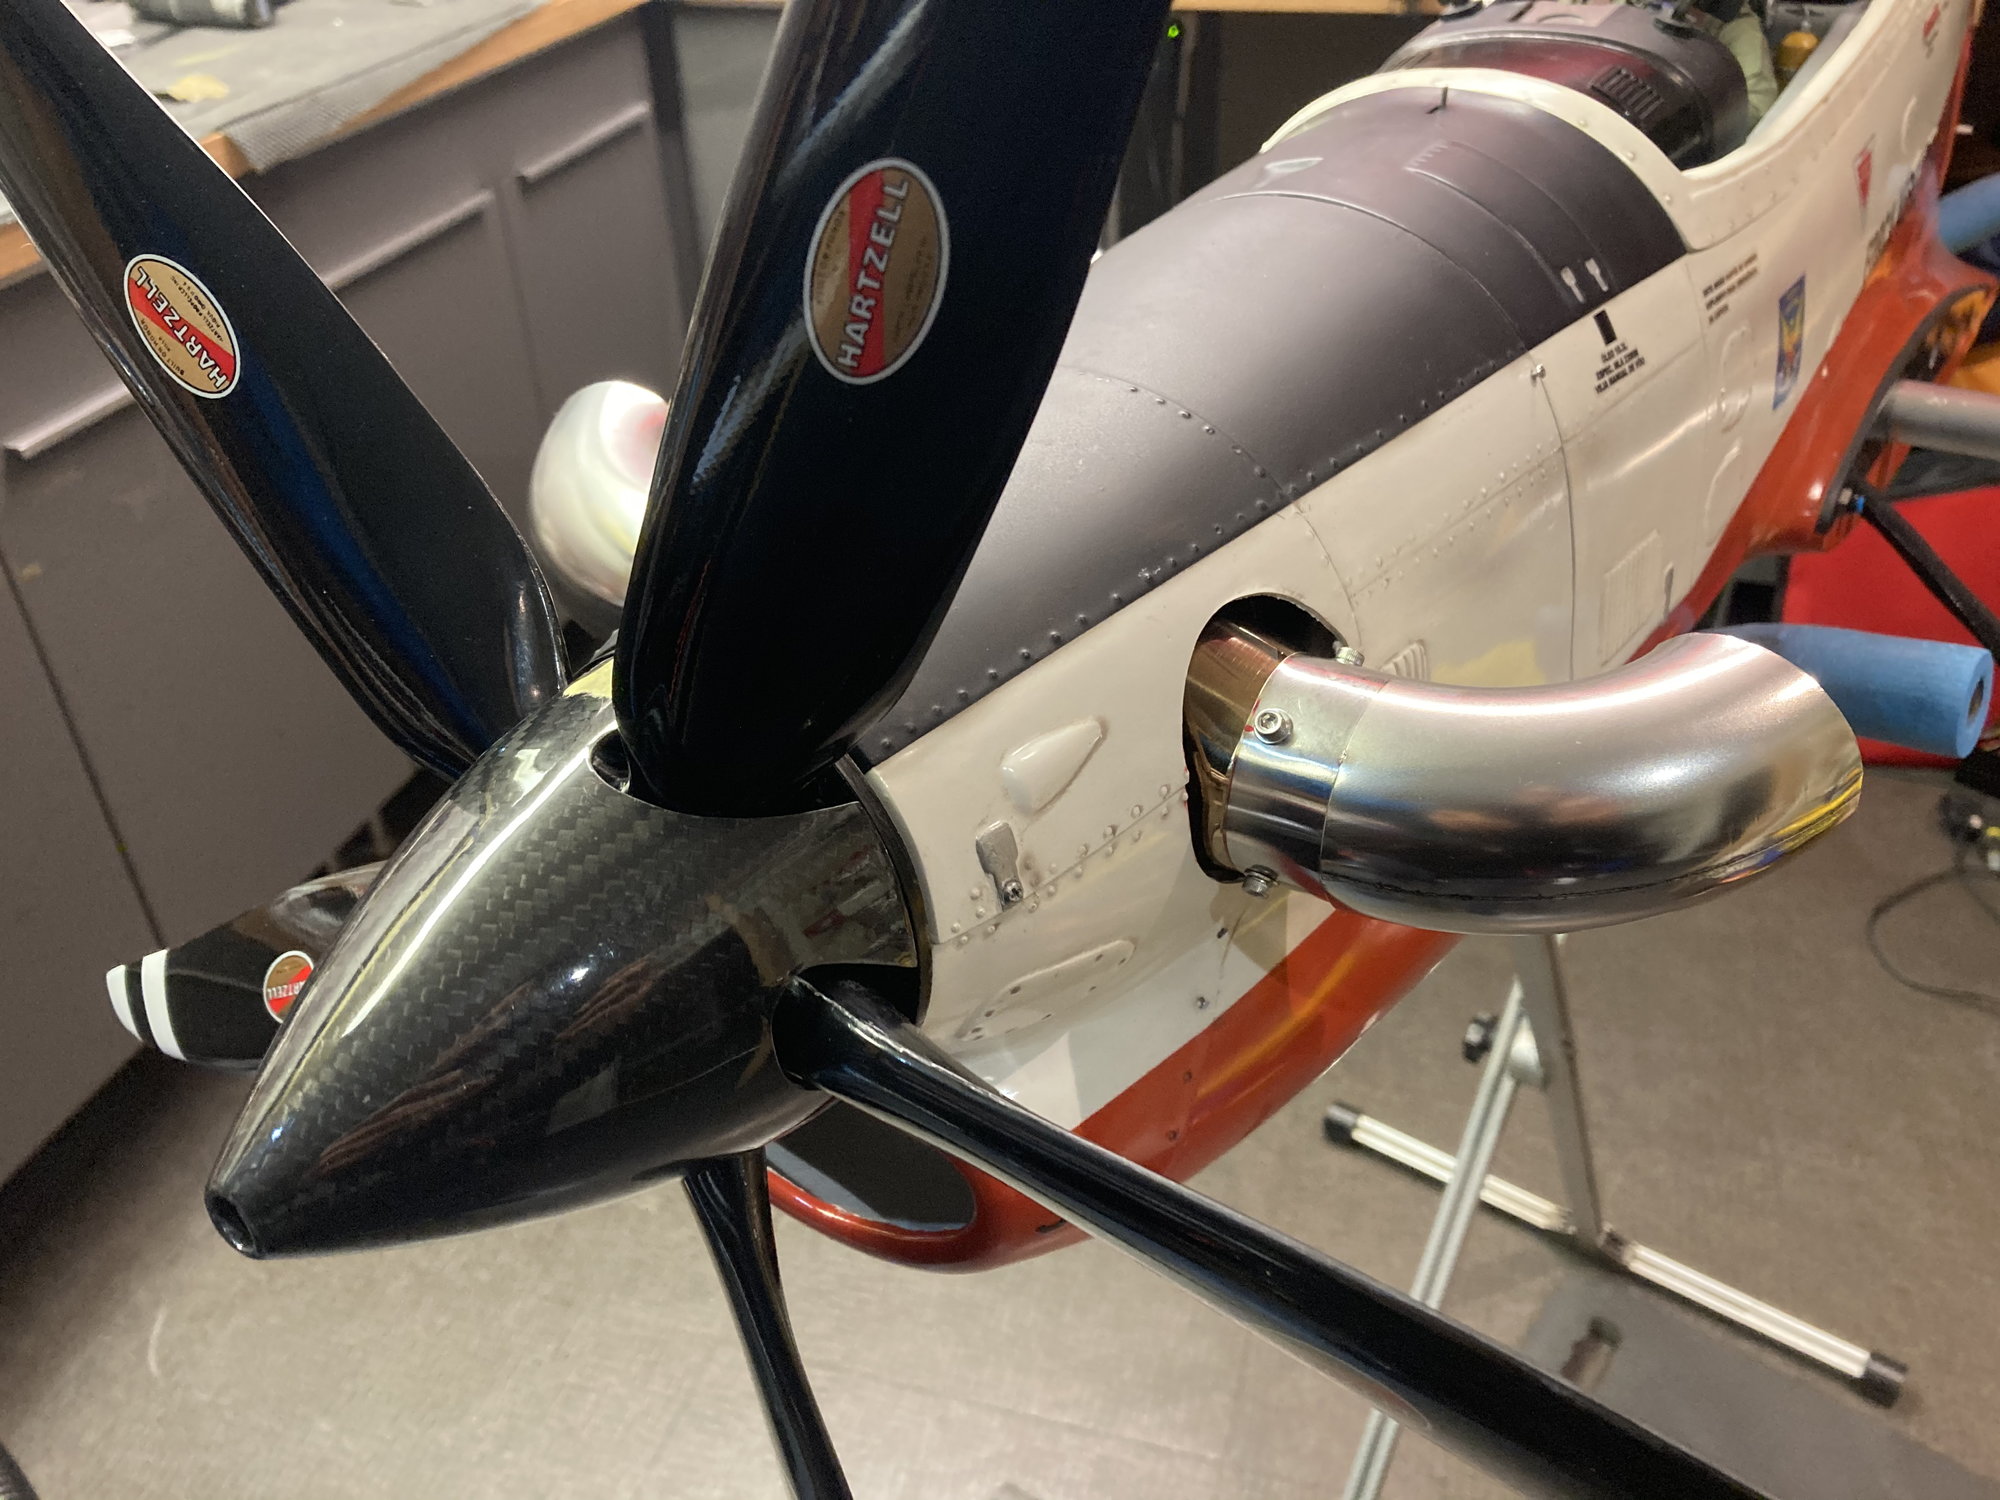
I went slightly longer on the exhaust pipes to try and avoid heat build up on the wing and canopy. I’ve also directed both of them very slightly up.


The following users liked this post:
GTaero2000 (12-28-2021)
#61
Senior Member
Looks awesome! 😃
I guess I have got the same spinner as you.
I am working on the nosegear doors but that is
not the easiest part of the build. What kind of material are you gonna use
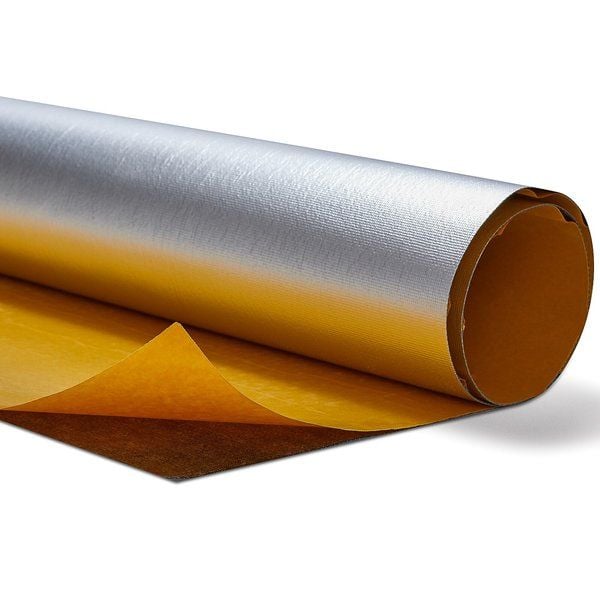
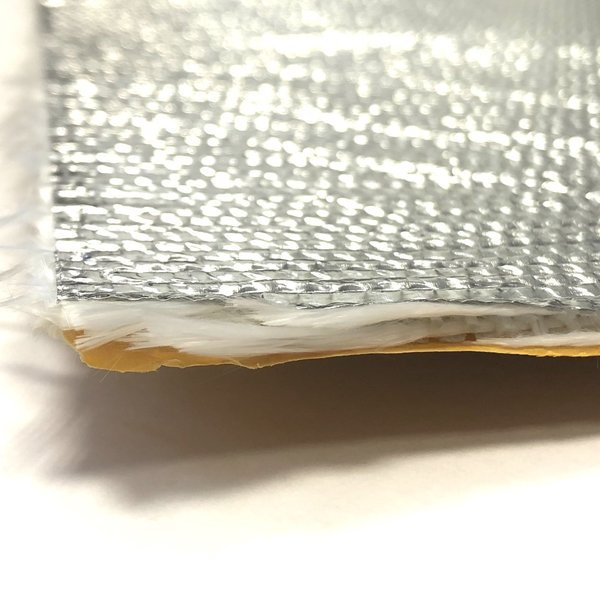
as thermal barrier inside the upper engine cowling?
I guess I have got the same spinner as you.
I am working on the nosegear doors but that is
not the easiest part of the build. What kind of material are you gonna use
as thermal barrier inside the upper engine cowling?
#63
Senior Member
The following users liked this post:
GTaero2000 (12-28-2021)
#65
Senior Member
#66

The area around the gearbox and exhaust will get very hot! and it is after shutdown that the cowl will reach its hottest. Likewise, the cooler the turbine, the longer it will last.
My approach is to allow the maximum clearance and airflow around the turbine and gearbox whilst protecting the cowl with heat reflecting paint.
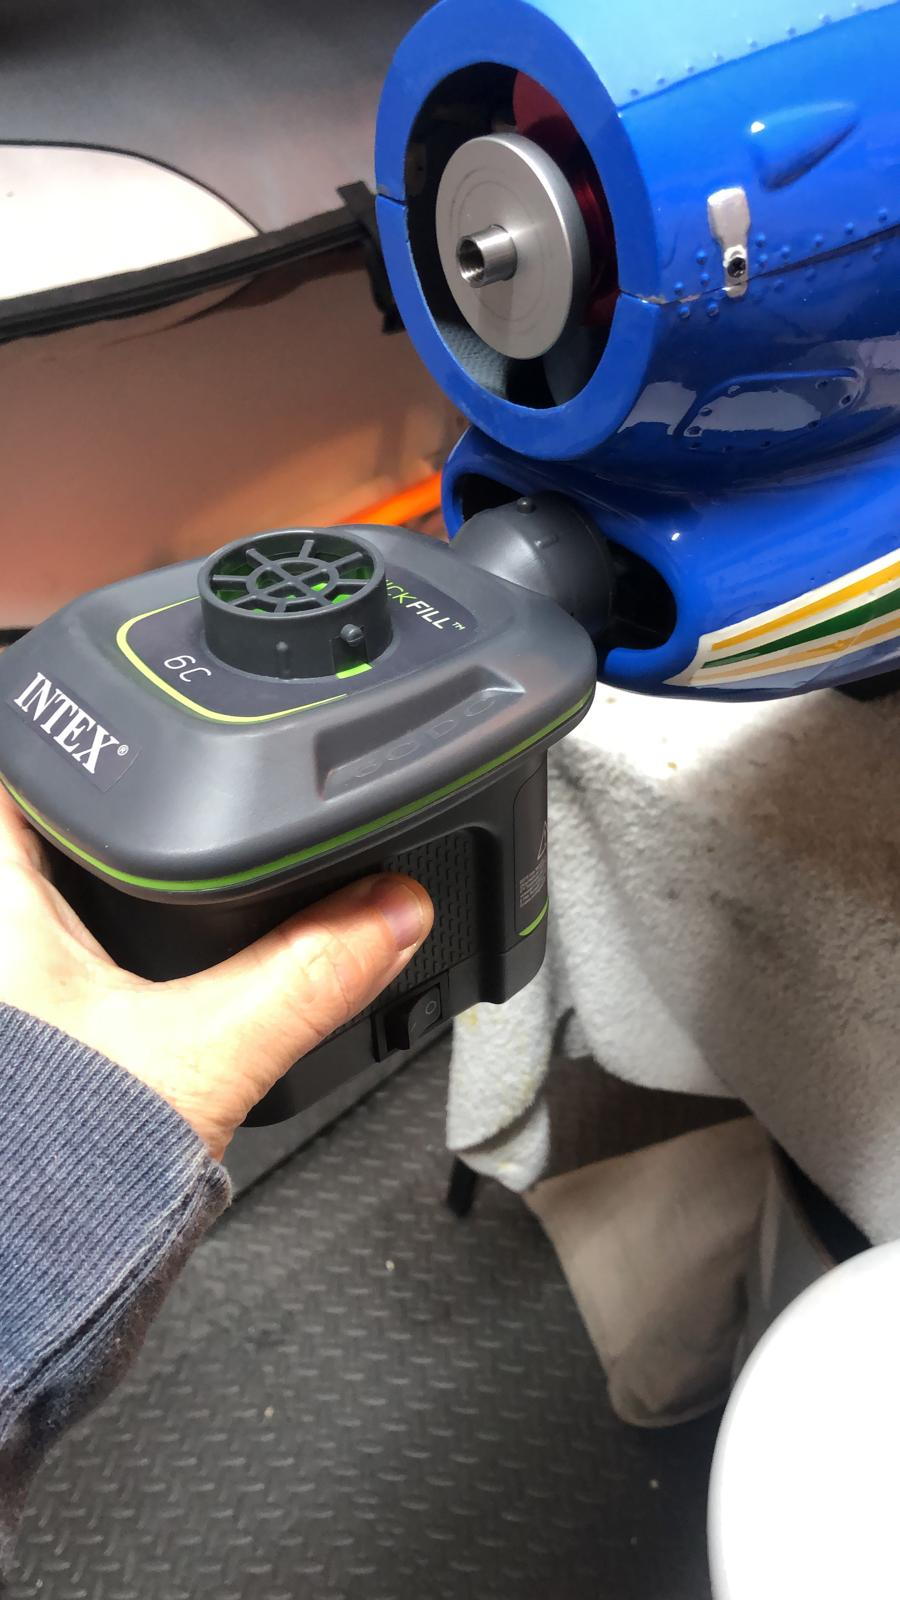
It can sometimes be necessary to cut slots in the cowl to increase cooling but I am going to wait until after I've run it up before making that decision. In summer, it can help if you cool the cowl with a small electric blower.
#67
Senior Member
Pitch of 10” seems a bit on the low side?
#68
Senior Member
The area around the gearbox and exhaust will get very hot! and it is after shutdown that the cowl will reach its hottest. Likewise, the cooler the turbine, the longer it will last.
My approach is to allow the maximum clearance and airflow around the turbine and gearbox whilst protecting the cowl with heat reflecting paint.
It can sometimes be necessary to cut slots in the cowl to increase cooling but I am going to wait until after I've run it up before making that decision. In summer, it can help if you cool the cowl with a small electric blower.
My approach is to allow the maximum clearance and airflow around the turbine and gearbox whilst protecting the cowl with heat reflecting paint.
It can sometimes be necessary to cut slots in the cowl to increase cooling but I am going to wait until after I've run it up before making that decision. In summer, it can help if you cool the cowl with a small electric blower.
Then I will searching for the BVM Stuff.
I already bought an air matrass compressor on battery. 😂
#71
Senior Member
The following users liked this post:
GTaero2000 (12-28-2021)
#74
Senior Member


