


T-One Models 2.7m F-22 build


 06-20-2021, 08:30 PM
#177

Thread Starter

To wrap this one up for anyone considering one I would say its overall a good jet for anyone looking for an F-22. Im 280ish on the CG and seemed okay but lands flat and is sensitive on pitch when landing, I took half the the thrust vector out on elevator usage and it seemed to be better. Before the next flight I will remove it completely with the gear down and just activate the thrust vectoring when the gear is up.
Its great in the air but makes it touchy when landing, I added it to help it rotate but the jet rotated without much back pressure on mine so I dont think its needed for that. I am also not using any toe in on the rudders, due to lack of channels I wasn't able to do this anyway and it isn't really needed to help it rotate or slow down.
I am flying mine on two Xicoy 120s and its a perfect combo for twin setups and I only used the main tank for a 5 minute flight with a nice good cruising speed seen in the video with 55-65% throttle range.
With the fuel burn I was getting you could easily fly 10 mins with reserve time, I'm going to added less fuel from now on. I landed with the main tank empty and the saddles just developing an air bubble with the 5+ min flight i did the second time.
See everyone at Ky Jets!

The following users liked this post:
Sparhawk (06-21-2021)
06-21-2021, 07:46 AM
#179
Thread Starter
I currently have the new drive units and a lot of time making them match perfect. New set of rudders didnt make it here before the maiden so I went stock and kept the flights short.
The following 2 users liked this post by FenderBean:
drfred58809 (06-21-2021),
Sparhawk (06-21-2021)
01-01-2023, 10:26 AM
#181
Thread Starter
Started my second F-22 yesterday on New Years Eve and instead of a new thread I will just add it to this one.
Same experience on shipping quick and no damage, Dirk at Pacific RC Jets makes it a professional process every time so buy with confidence there. So I will start with my usual "The good, the bad, the ugly" with the negatives first, always best to end on a positive. Plus its the New Year, trying to shake my Grinchness!
So Ugly with full disclaimer I am probably pickier than most or so I'm told
1. a couple paint spots with the default scheme dark gray and over spray of the white on the gear decals. (Note they did provide new decals and they are just stick on so easy fix)
2. Canopy, gold tint was very thick this time you couldn't see anything much through it. (Easy fix since it wiped out of the inside with some denatured alcohol)
3. They changed to a new color formation light aka slime light lens that doesn't look as good as my last, not sure how it looks with the light on yet.
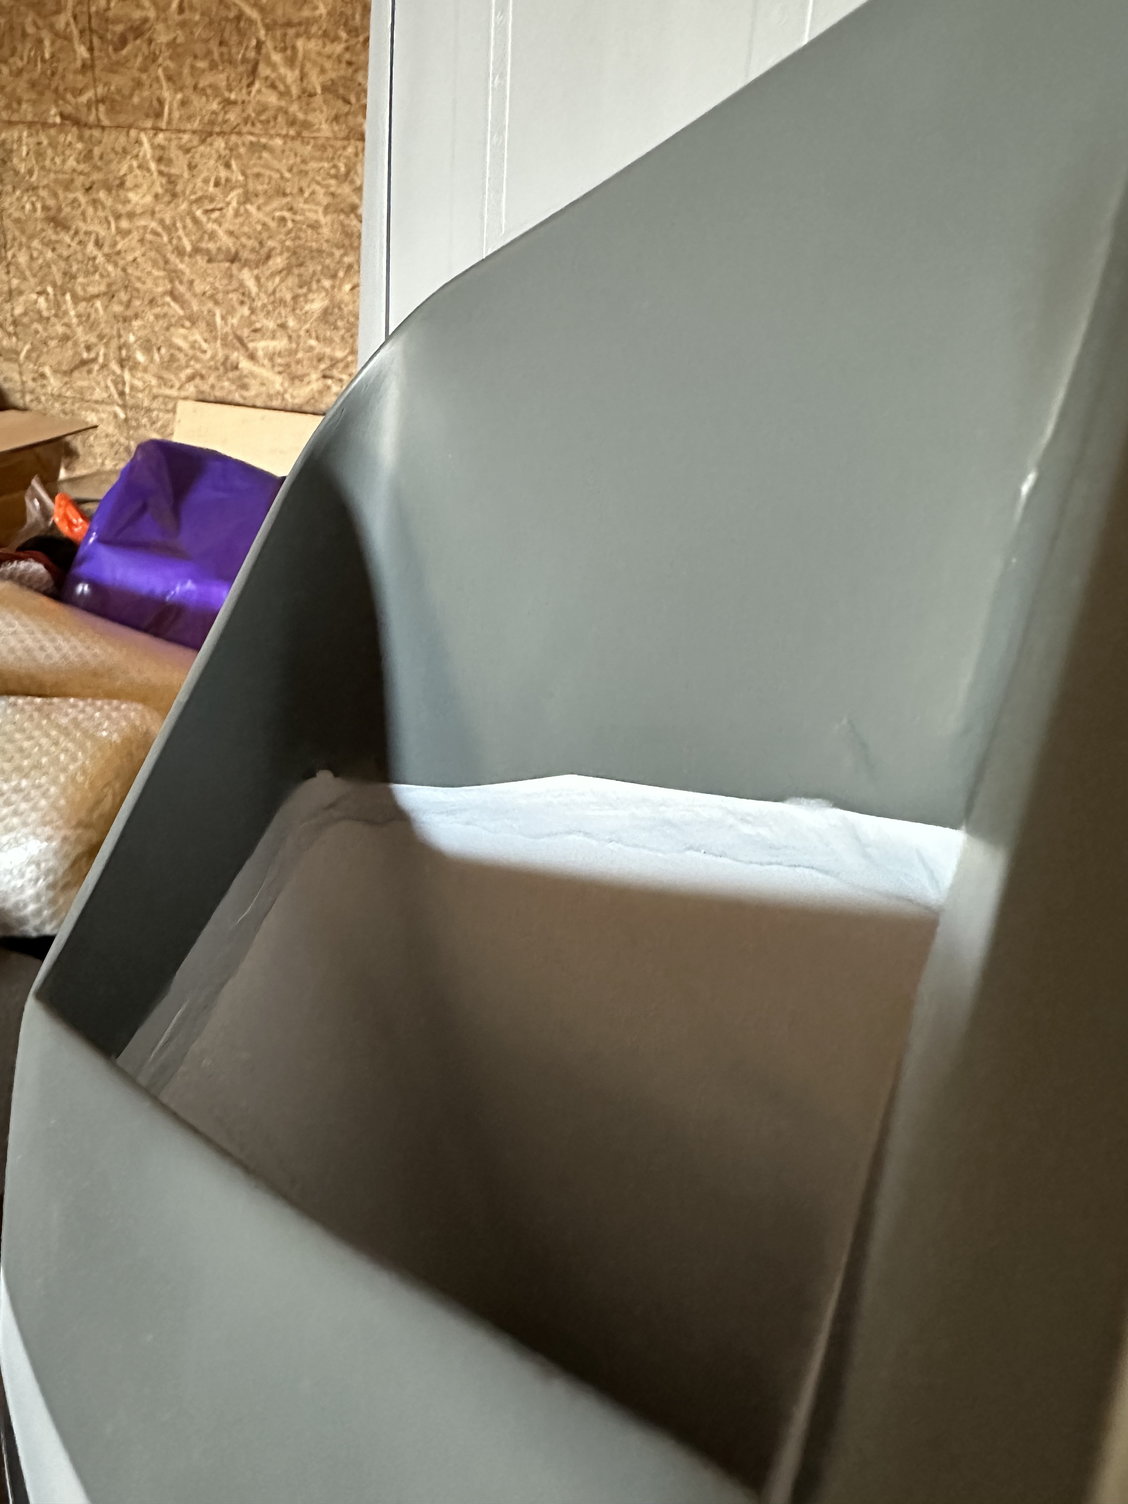
4. Last is the inlet/duct joint, they location where they glue to the two on one side was painted bad which makes the rough hysol area and my eyeballs scream. (Since its impossible to match paints the only option to fix this is to sand the rough area and then paint a new white lines just forward of the actual line it should be.)
The Bad
So I'm gonna beat up T-1 a bit here because this one was not done as well as my first
1. Paint not sticking due to prep prior to paint, you cannot breath on this thing without paint chipping, this was the same on first but this one seems worse.
2. While I rather it have more than not enough, they are def hysol rangers! The love using it and that's just dead weight.
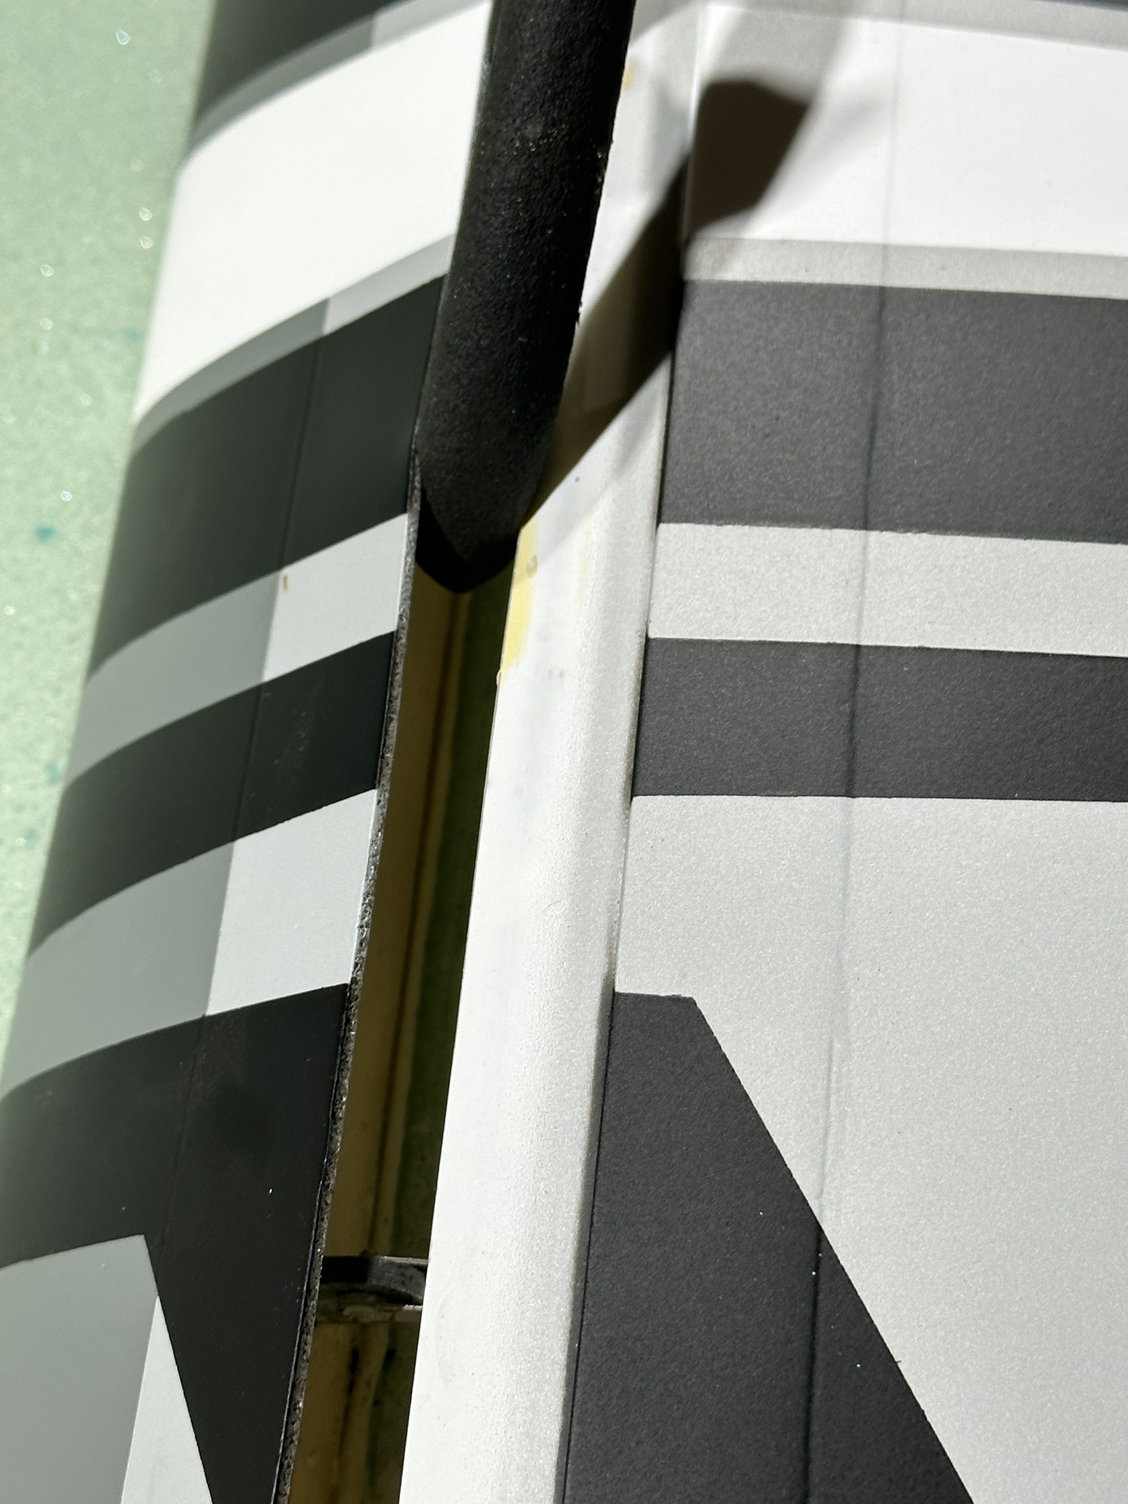
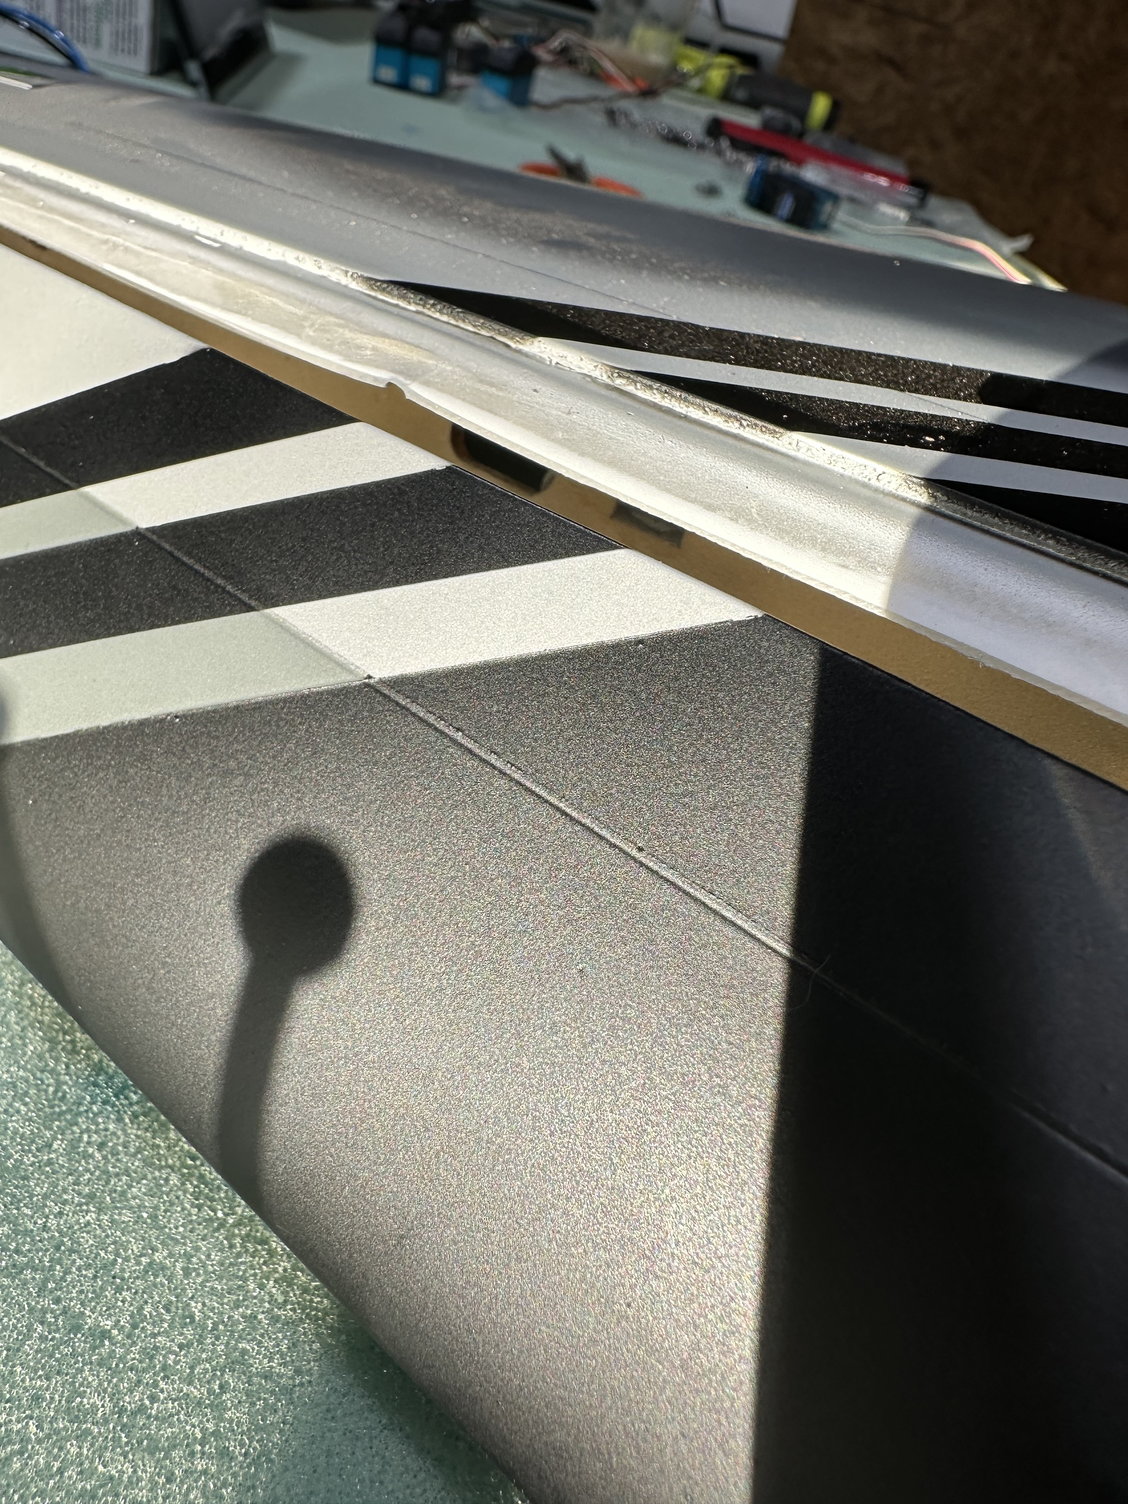
3. Left wing leading edge flap is not flexing at the joint due to over use of resin on the actual pivot line. Its so bad it takes a lot of force and it looks more like a skateboard ramp when you bend it vs an actual angle. The worst part so much paint has chip of the area from just connecting the control rods its going to need some major touch up.
I have a 500+ oz servo on it and its pulling much higher amps to move it 15mm vs the other. With it only moving a small amount it will not loosen up so you have to disconnect and flex it past the normal range. Hasn't worked yes.
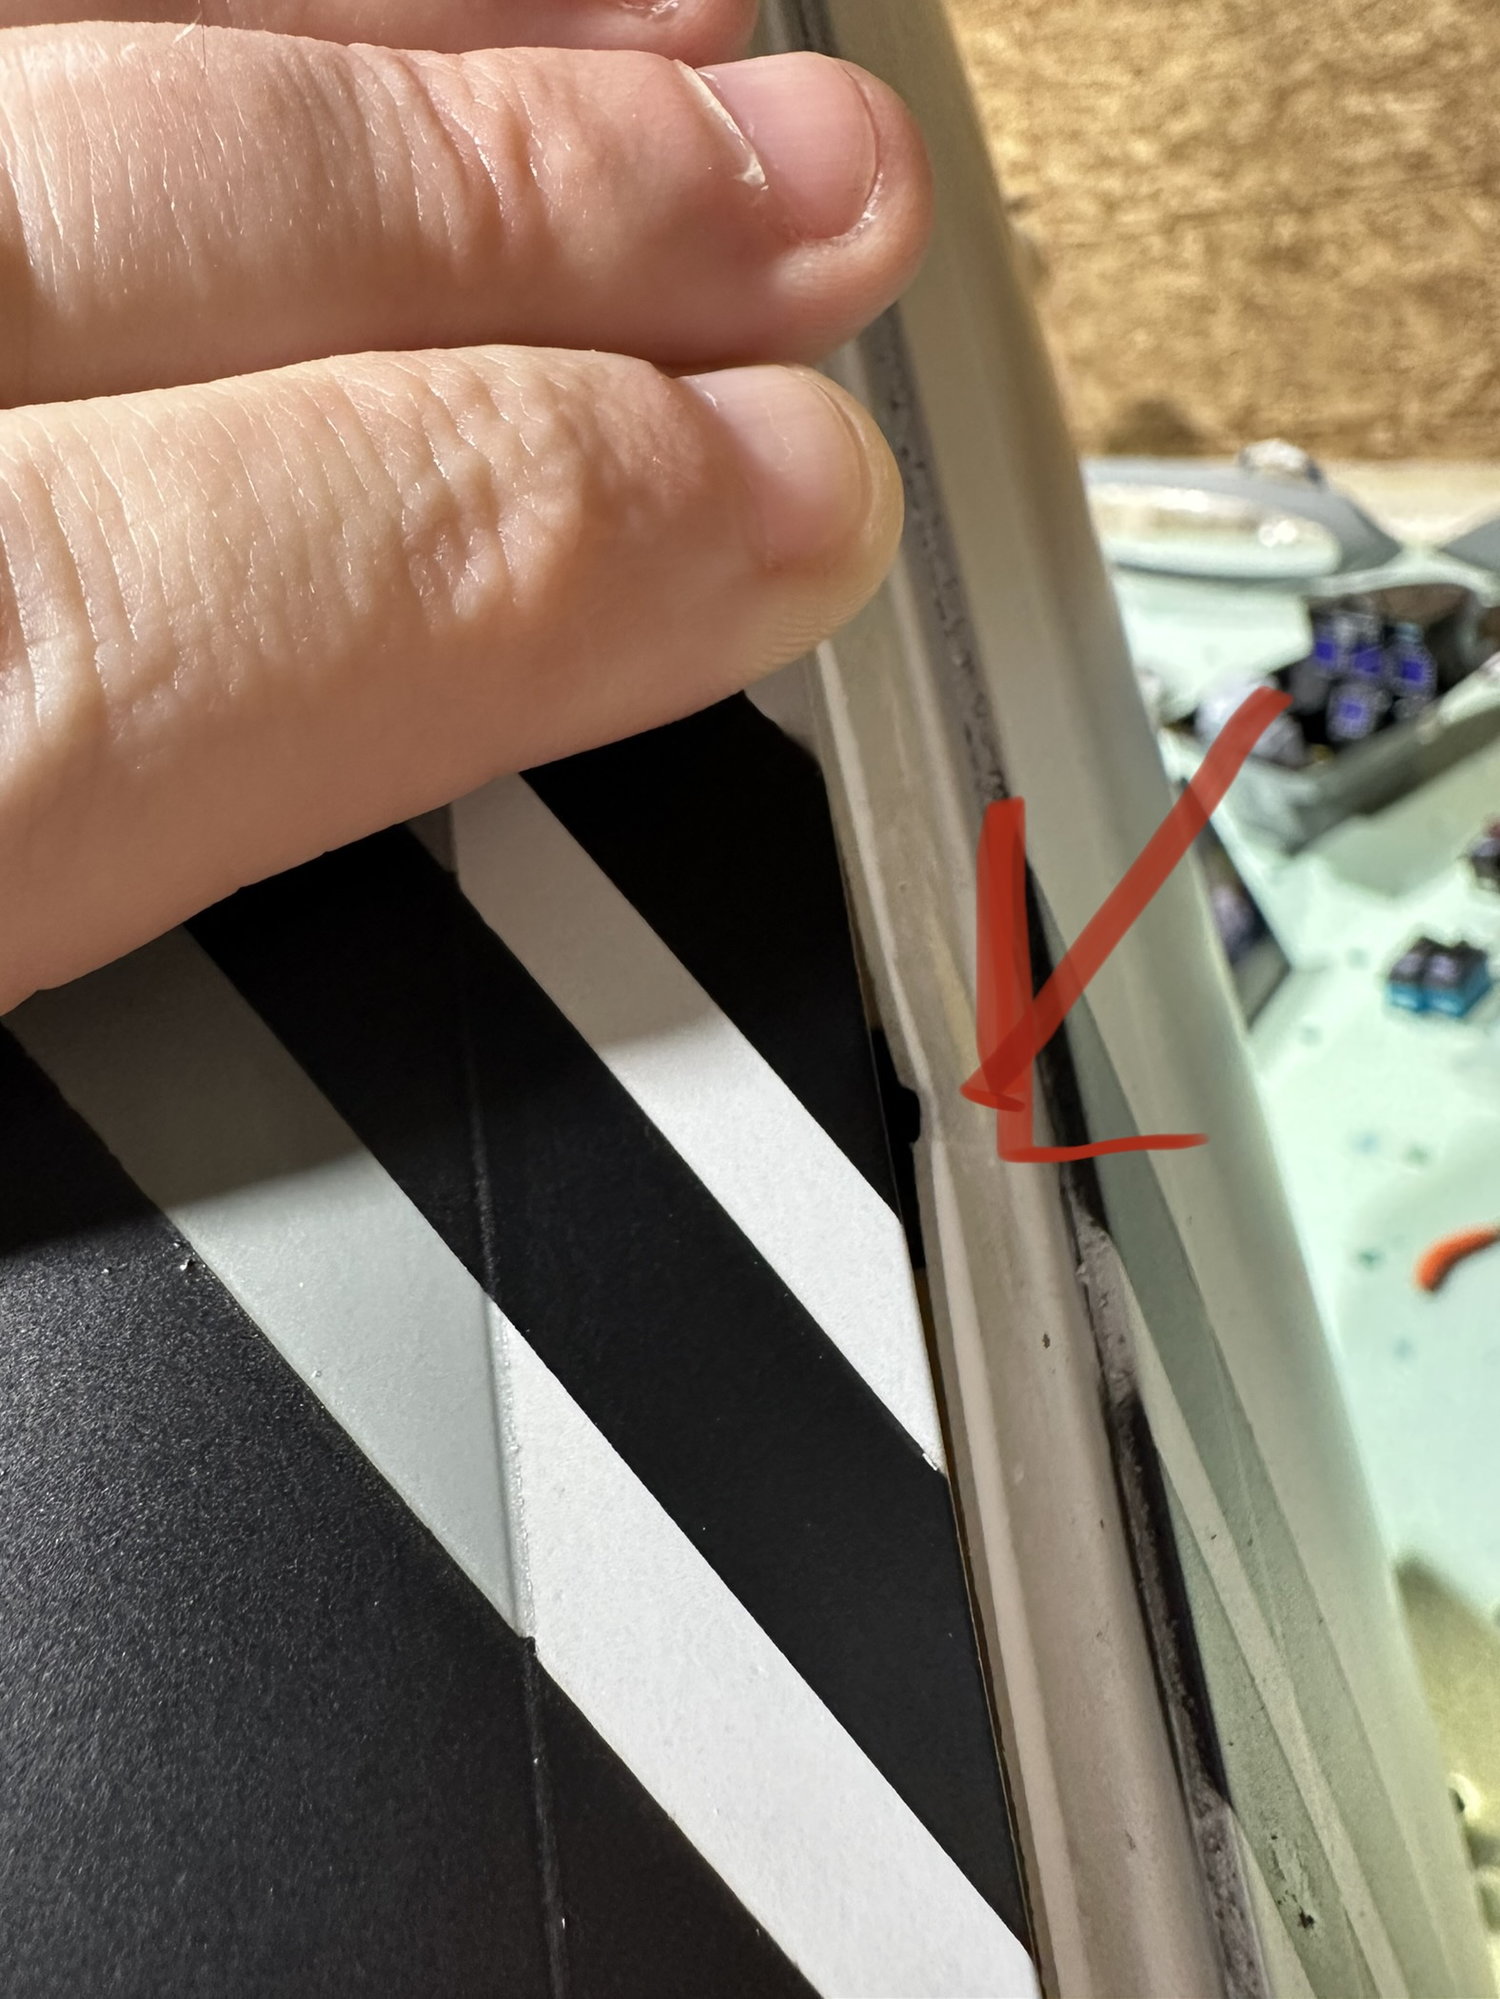
4. On the good leading edge flap they left off the control rod on the end bell crank. You can even see where they tried to fix which damaged the gap seal, its such a tight area as is hopefully I can get a rod/clevis in there. But to not fix this when you know its wrong is a big sad face for T-1, no excuse for that.
5. Back motor hatch has to be cut loose, my first had a hatch that was held on by screws which i liked. This one has a hatch with hinge and magnets, only problem is the hinge is a solid piece of g10 material that is too stiff to act as a hinge. You cannot open the hatch more than about 1/2 inch, and the magnets are large and with the tail mounts lighter the tail the better! (So I will cut the g10 hing, grind out the magnets and make it like the first.)
6. Okay the last bad is really a big deal and I don't know how to fix this yet, the rudder servos as you may no are really tough to install due to the direct drive and crazy require shimming. My mounts are glued in way off angle from the angle of the rudder drive so the mounts have to be redone and getting in there and doing it is something that will require some brain storming. (I still need to make 100% sure its as I say and not just my eyes lying to me.)
The Good!
1. The paint scheme is prefect to the pictures I sent, better than the first.
2. Good quality wood in the construction
3. Most complete ARF I have built, goes together super fast
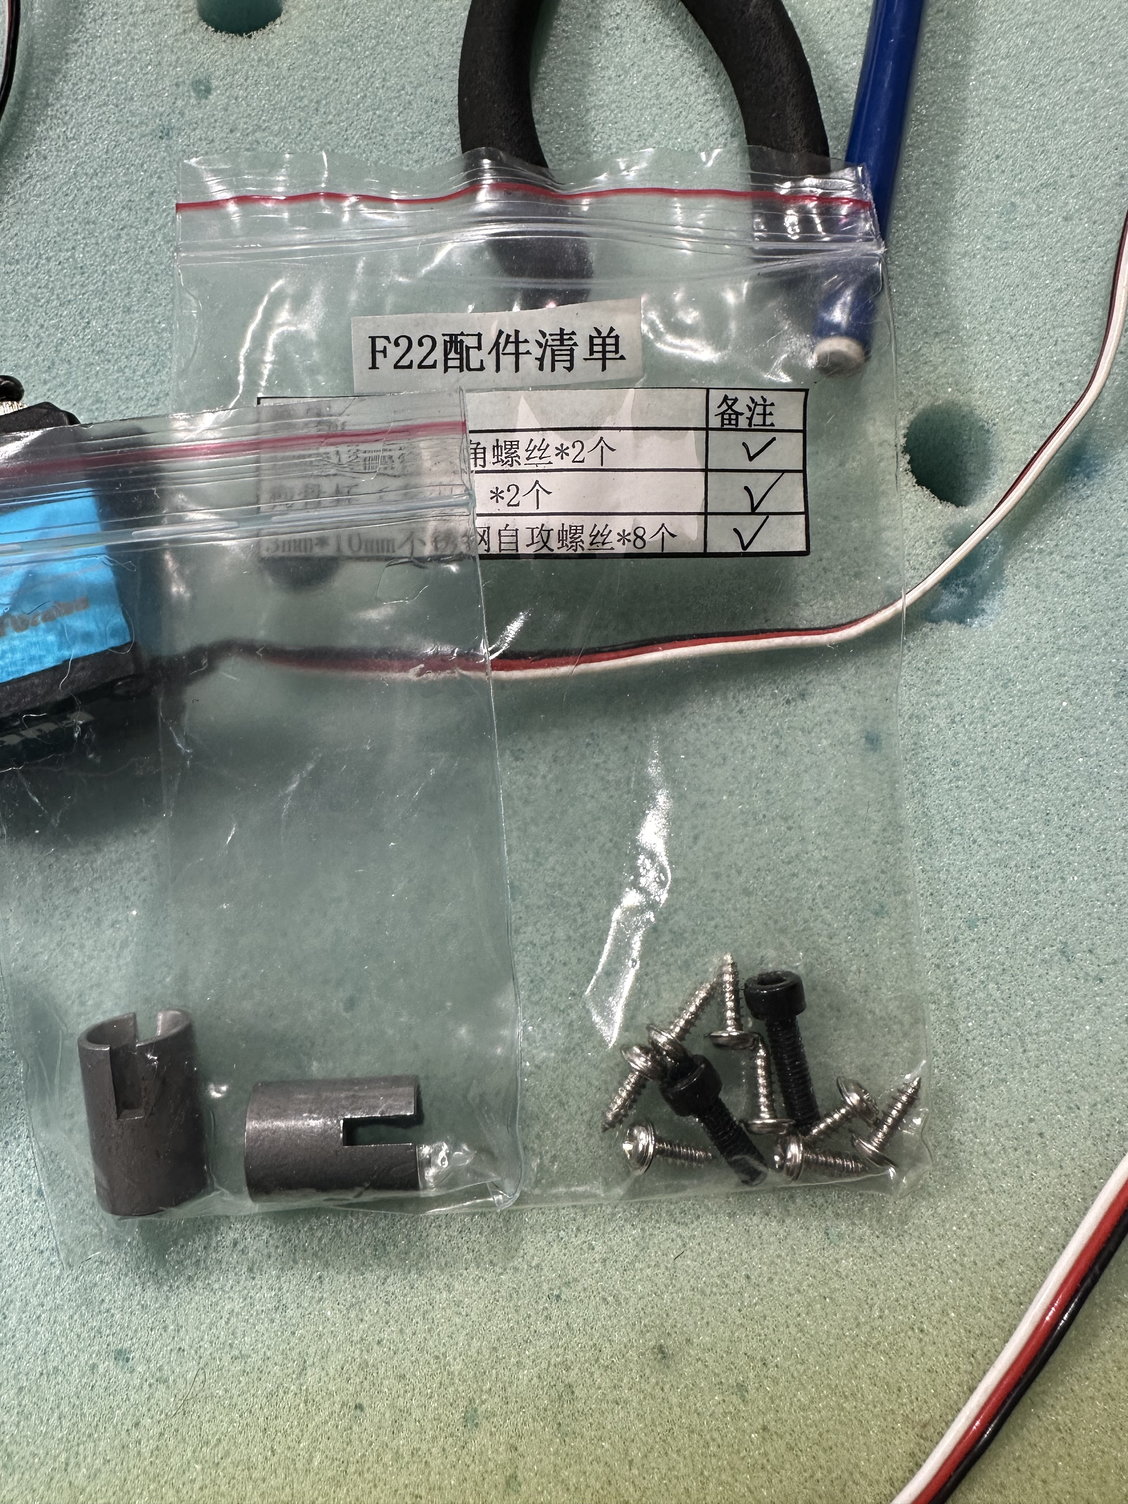
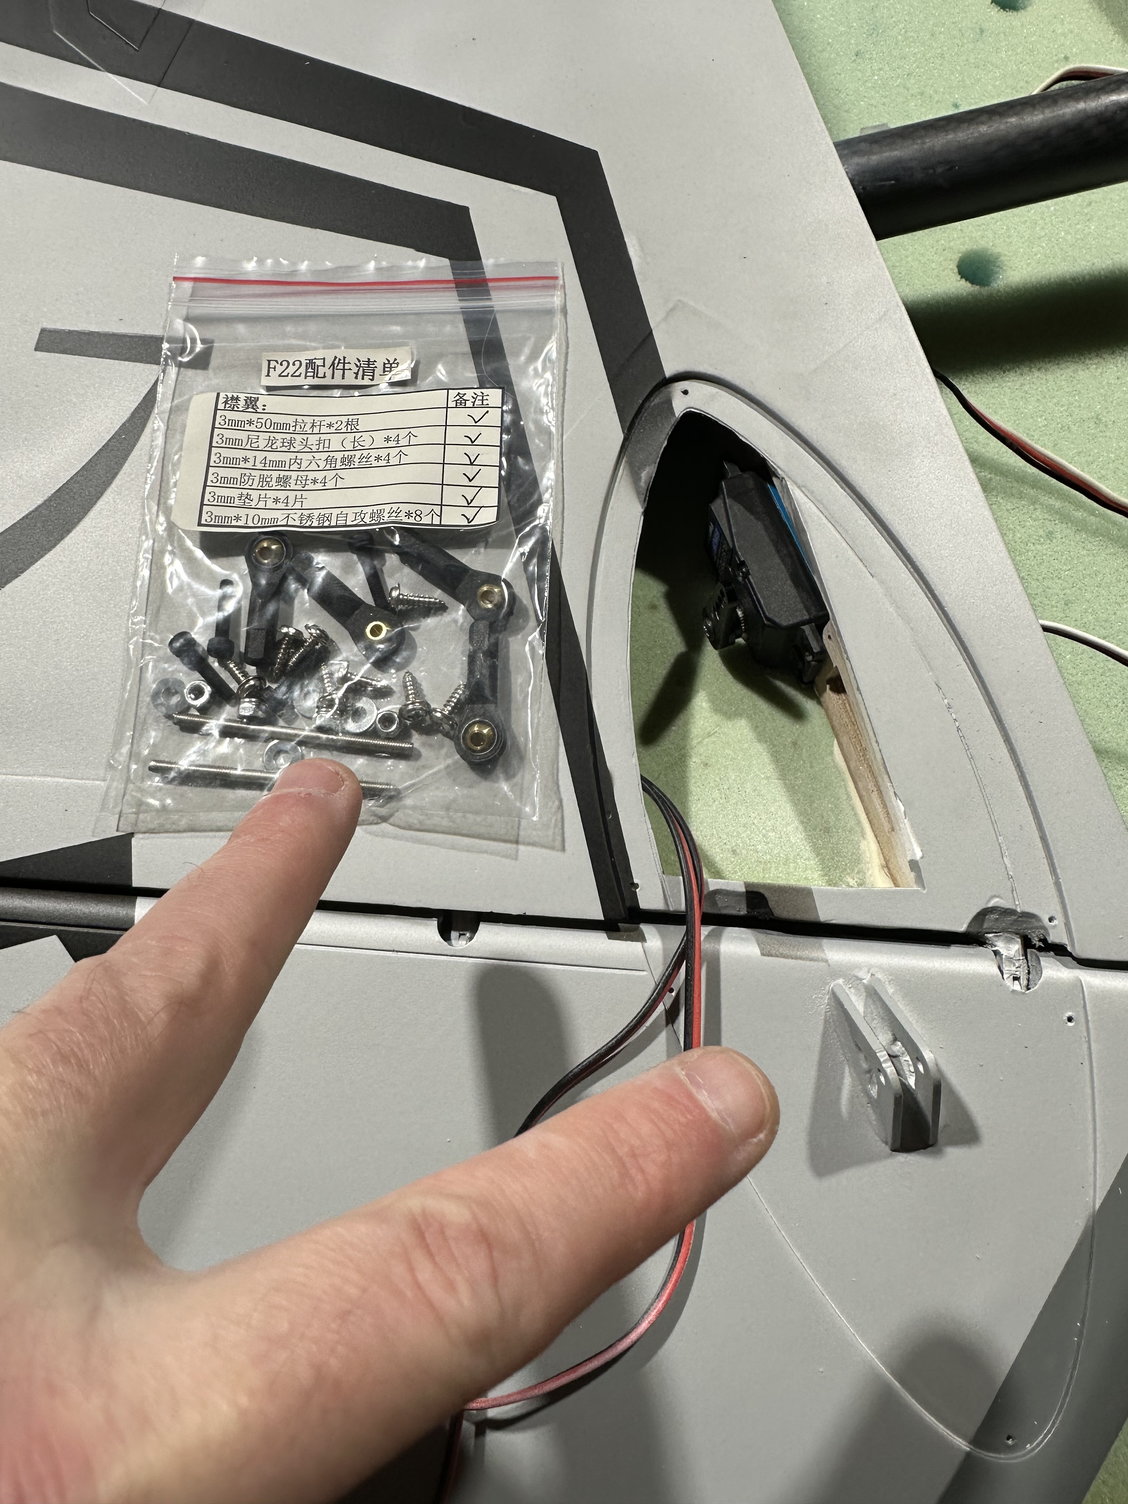
4. Solid hardware package and complete accessory kit
5. Good support when needed
6. They package really well so everything arrives in good shape
7. Probably the most important thing, it flies fantastic even with smaller motors. I was pretty amazed at the single engine capability, the model will fly, maintain and even climb full of fuel one one engine. Ask me how I know? I flew so well on one engine it took multiple passes to determine which was out and I still wasn't sure until I taxied in.
This is my third T-1 model now, and while they are better than most they still do somethings that make me scratch my head and drink more than normal. I am on the list for their new A-7 and actually really excited about it, planning to make that my primary flyer. I am always hesitant about giving the full story because people including my self can get wrapped around the bad and forget the good. Like every thing there is always room for improvement so hopefully that's part of the companies business model and they continue to strive for perfection.
Equipment to be used: Everything from my first since I only sold the airframe, Xicoy 120s, Futaba servos/receivers/Complete Sbus, ions for the power system, LiFes for the turbines, MAP UATs, Jet tronice air valves and brake valve, xicoy failsafe/gear sequencer
Things I plan to do different on this one include: A second air valve to the bottom doors are separate from the side. Moving the turbine hubs to the middle bay so I can shorten the motor leads, the longer leads required higher voltage batts to get solid starts on the 120s from voltage drop.
Smaller mid tank since the current fuel tank setup with my 120s is a ton more fuel than needed.
Happy New Year, check out the other three builds coming soon! Cheers!
Same experience on shipping quick and no damage, Dirk at Pacific RC Jets makes it a professional process every time so buy with confidence there. So I will start with my usual "The good, the bad, the ugly" with the negatives first, always best to end on a positive. Plus its the New Year, trying to shake my Grinchness!
So Ugly with full disclaimer I am probably pickier than most or so I'm told
1. a couple paint spots with the default scheme dark gray and over spray of the white on the gear decals. (Note they did provide new decals and they are just stick on so easy fix)
2. Canopy, gold tint was very thick this time you couldn't see anything much through it. (Easy fix since it wiped out of the inside with some denatured alcohol)
3. They changed to a new color formation light aka slime light lens that doesn't look as good as my last, not sure how it looks with the light on yet.
4. Last is the inlet/duct joint, they location where they glue to the two on one side was painted bad which makes the rough hysol area and my eyeballs scream. (Since its impossible to match paints the only option to fix this is to sand the rough area and then paint a new white lines just forward of the actual line it should be.)
The Bad
So I'm gonna beat up T-1 a bit here because this one was not done as well as my first
1. Paint not sticking due to prep prior to paint, you cannot breath on this thing without paint chipping, this was the same on first but this one seems worse.
2. While I rather it have more than not enough, they are def hysol rangers! The love using it and that's just dead weight.
3. Left wing leading edge flap is not flexing at the joint due to over use of resin on the actual pivot line. Its so bad it takes a lot of force and it looks more like a skateboard ramp when you bend it vs an actual angle. The worst part so much paint has chip of the area from just connecting the control rods its going to need some major touch up.
I have a 500+ oz servo on it and its pulling much higher amps to move it 15mm vs the other. With it only moving a small amount it will not loosen up so you have to disconnect and flex it past the normal range. Hasn't worked yes.
4. On the good leading edge flap they left off the control rod on the end bell crank. You can even see where they tried to fix which damaged the gap seal, its such a tight area as is hopefully I can get a rod/clevis in there. But to not fix this when you know its wrong is a big sad face for T-1, no excuse for that.
5. Back motor hatch has to be cut loose, my first had a hatch that was held on by screws which i liked. This one has a hatch with hinge and magnets, only problem is the hinge is a solid piece of g10 material that is too stiff to act as a hinge. You cannot open the hatch more than about 1/2 inch, and the magnets are large and with the tail mounts lighter the tail the better! (So I will cut the g10 hing, grind out the magnets and make it like the first.)
6. Okay the last bad is really a big deal and I don't know how to fix this yet, the rudder servos as you may no are really tough to install due to the direct drive and crazy require shimming. My mounts are glued in way off angle from the angle of the rudder drive so the mounts have to be redone and getting in there and doing it is something that will require some brain storming. (I still need to make 100% sure its as I say and not just my eyes lying to me.)
The Good!
1. The paint scheme is prefect to the pictures I sent, better than the first.
2. Good quality wood in the construction
3. Most complete ARF I have built, goes together super fast
4. Solid hardware package and complete accessory kit
5. Good support when needed
6. They package really well so everything arrives in good shape
7. Probably the most important thing, it flies fantastic even with smaller motors. I was pretty amazed at the single engine capability, the model will fly, maintain and even climb full of fuel one one engine. Ask me how I know? I flew so well on one engine it took multiple passes to determine which was out and I still wasn't sure until I taxied in.
This is my third T-1 model now, and while they are better than most they still do somethings that make me scratch my head and drink more than normal. I am on the list for their new A-7 and actually really excited about it, planning to make that my primary flyer. I am always hesitant about giving the full story because people including my self can get wrapped around the bad and forget the good. Like every thing there is always room for improvement so hopefully that's part of the companies business model and they continue to strive for perfection.
Equipment to be used: Everything from my first since I only sold the airframe, Xicoy 120s, Futaba servos/receivers/Complete Sbus, ions for the power system, LiFes for the turbines, MAP UATs, Jet tronice air valves and brake valve, xicoy failsafe/gear sequencer
Things I plan to do different on this one include: A second air valve to the bottom doors are separate from the side. Moving the turbine hubs to the middle bay so I can shorten the motor leads, the longer leads required higher voltage batts to get solid starts on the 120s from voltage drop.
Smaller mid tank since the current fuel tank setup with my 120s is a ton more fuel than needed.
Happy New Year, check out the other three builds coming soon! Cheers!
Last edited by FenderBean; 01-01-2023 at 10:32 AM.
01-01-2023, 10:41 AM
#182
Thread Starter

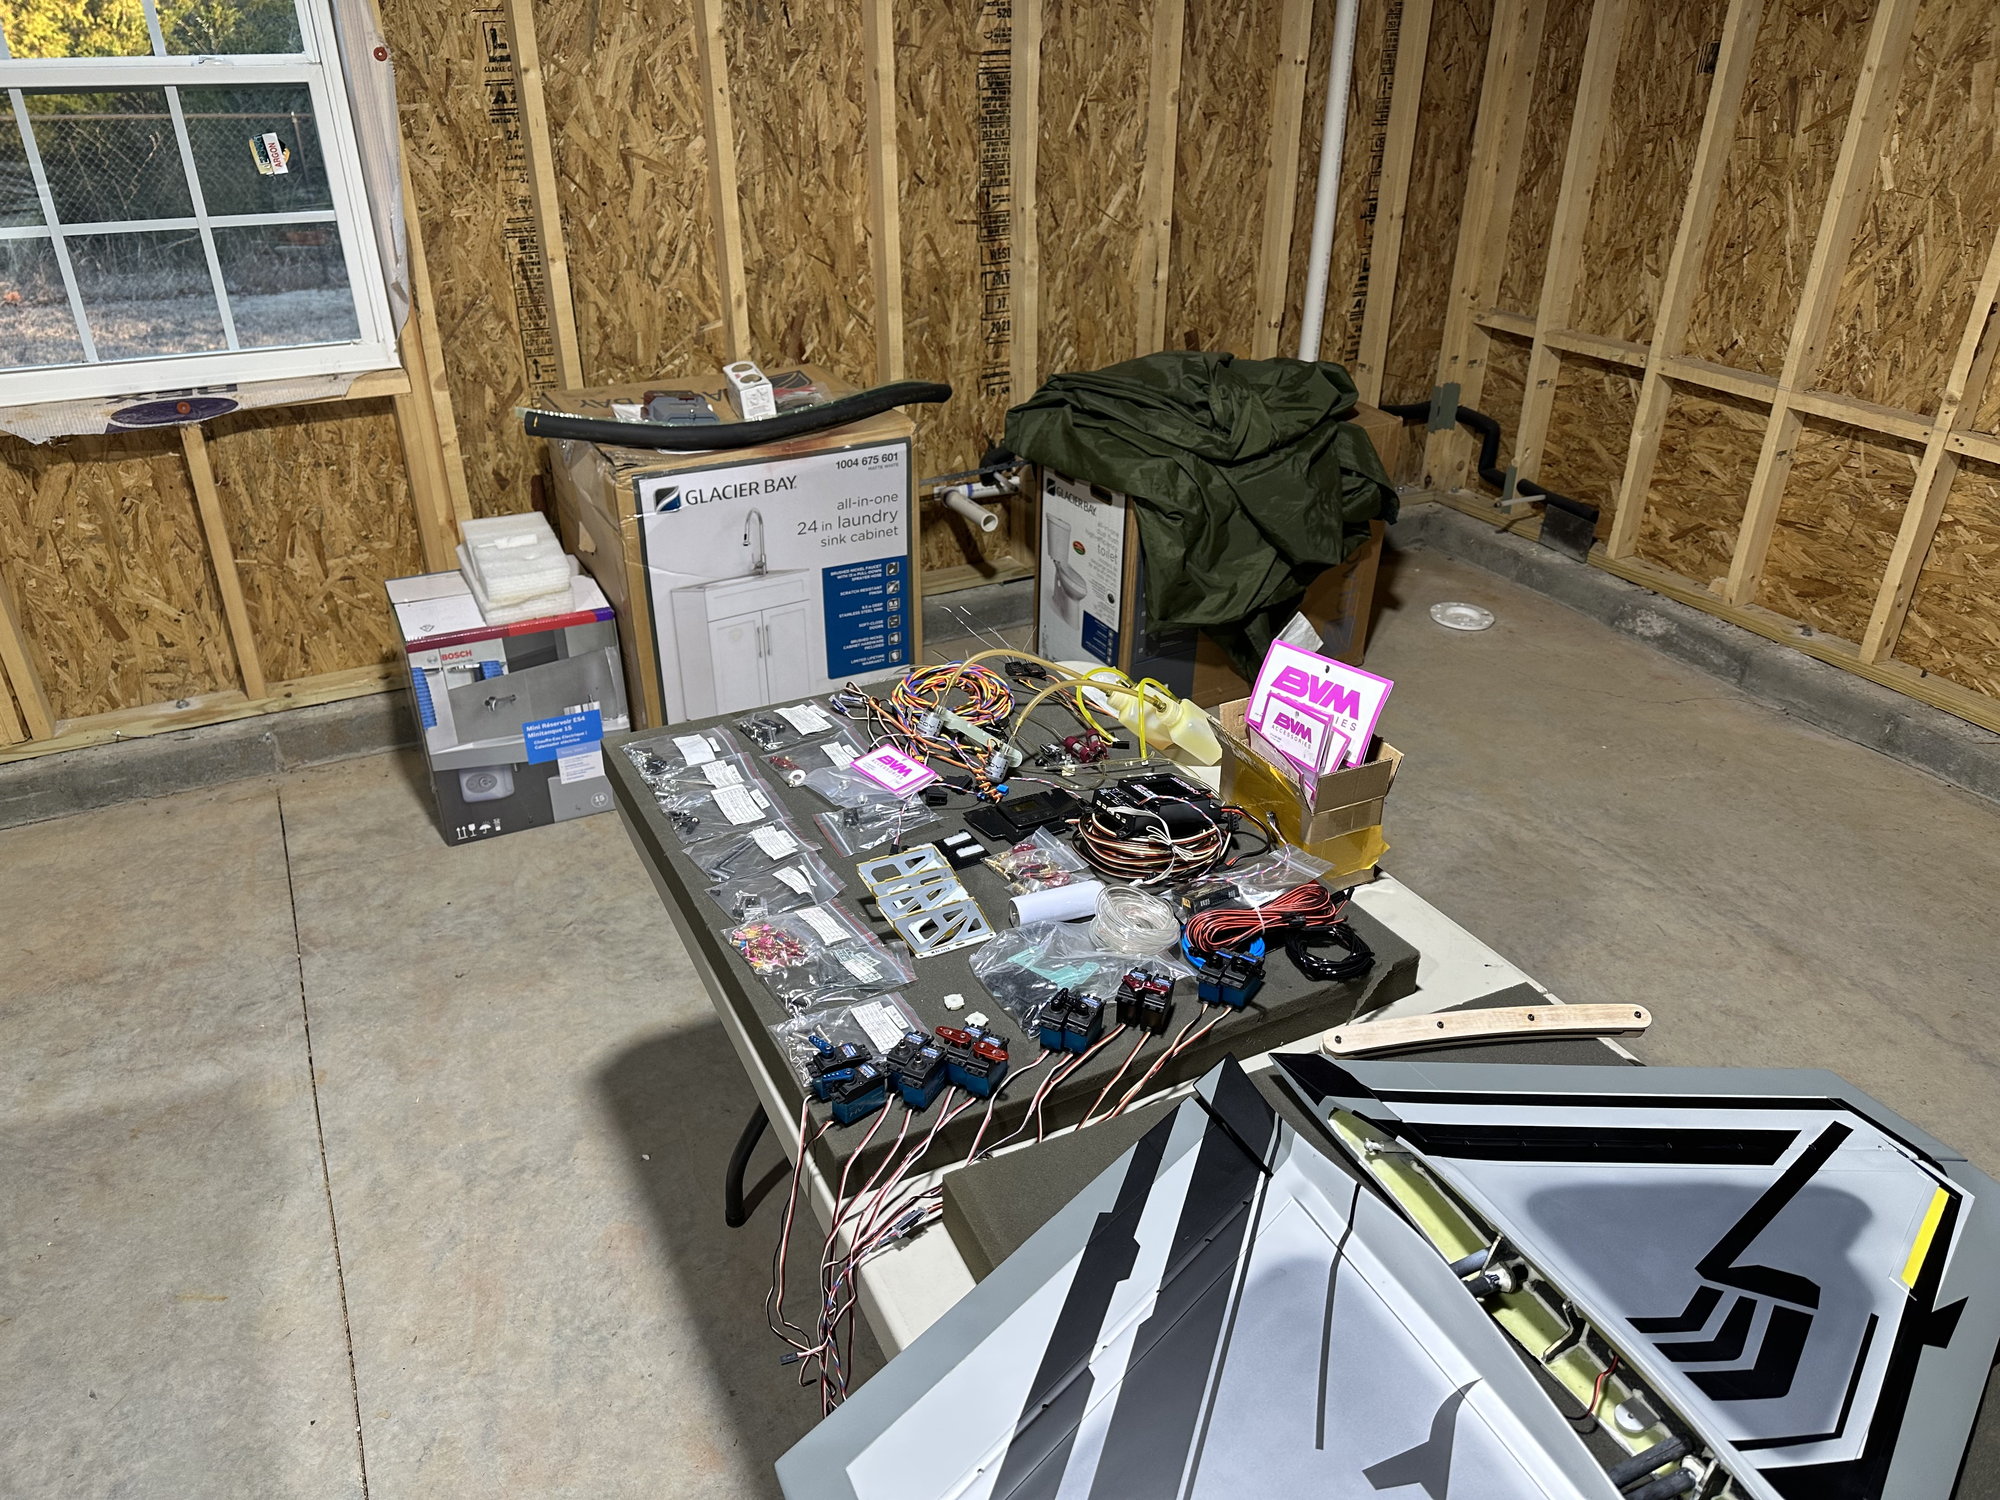

Temp shop
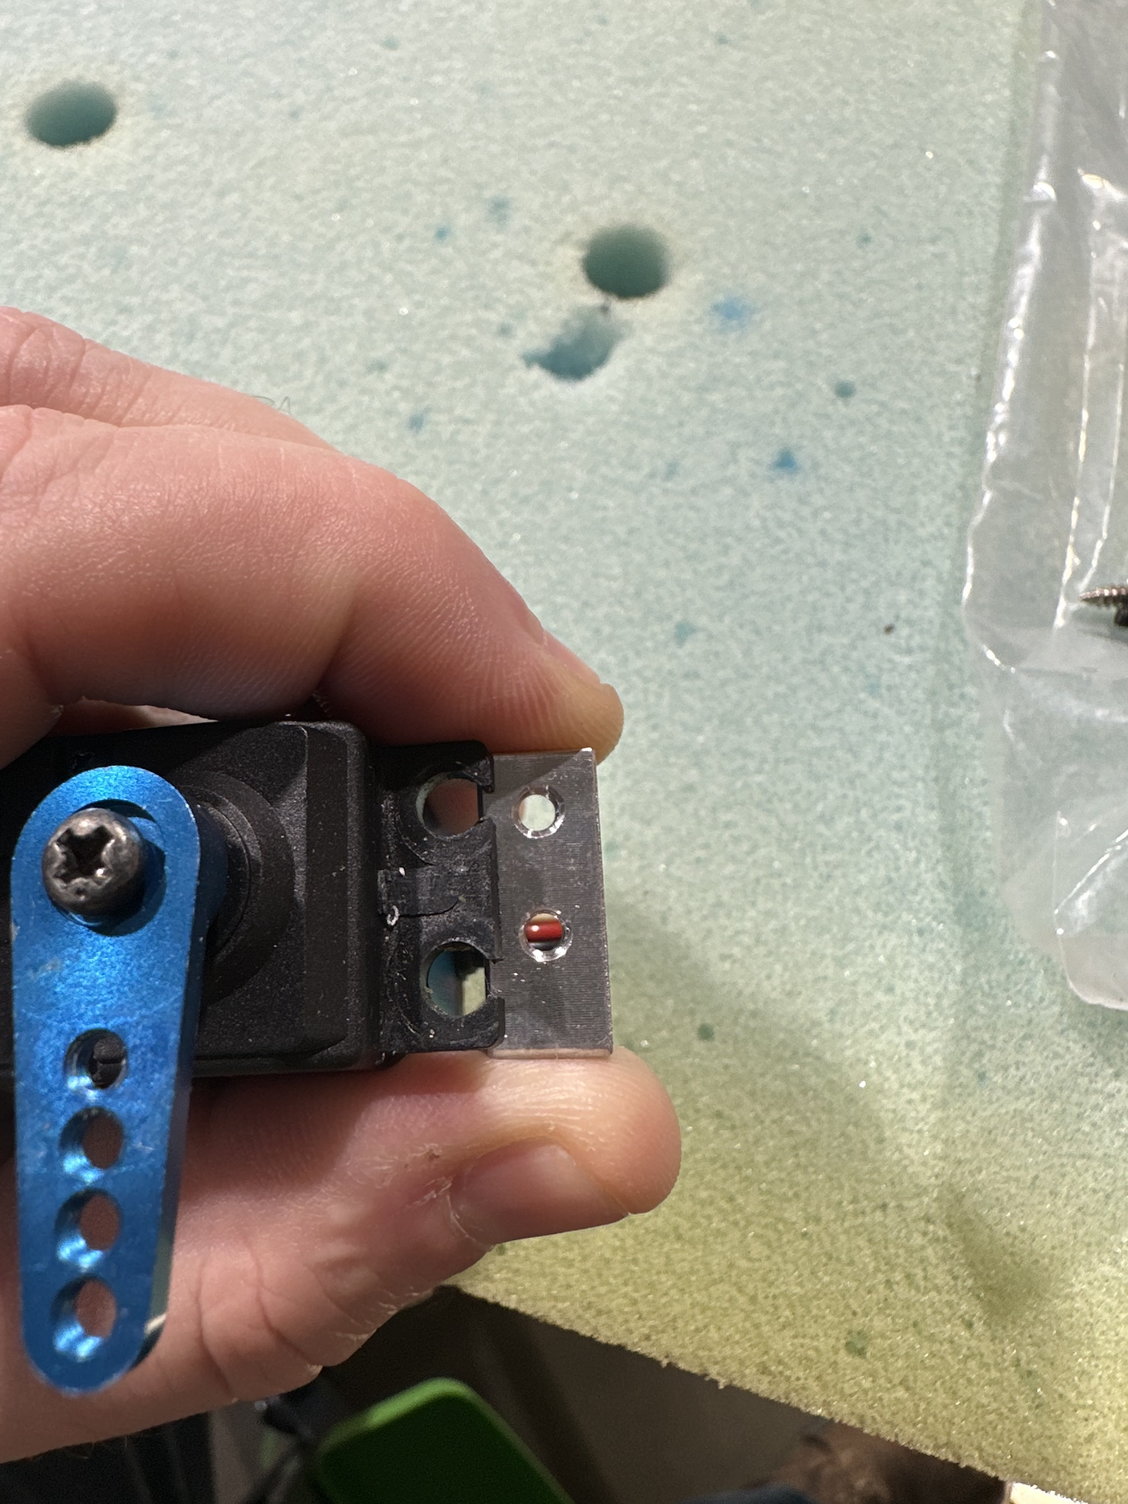
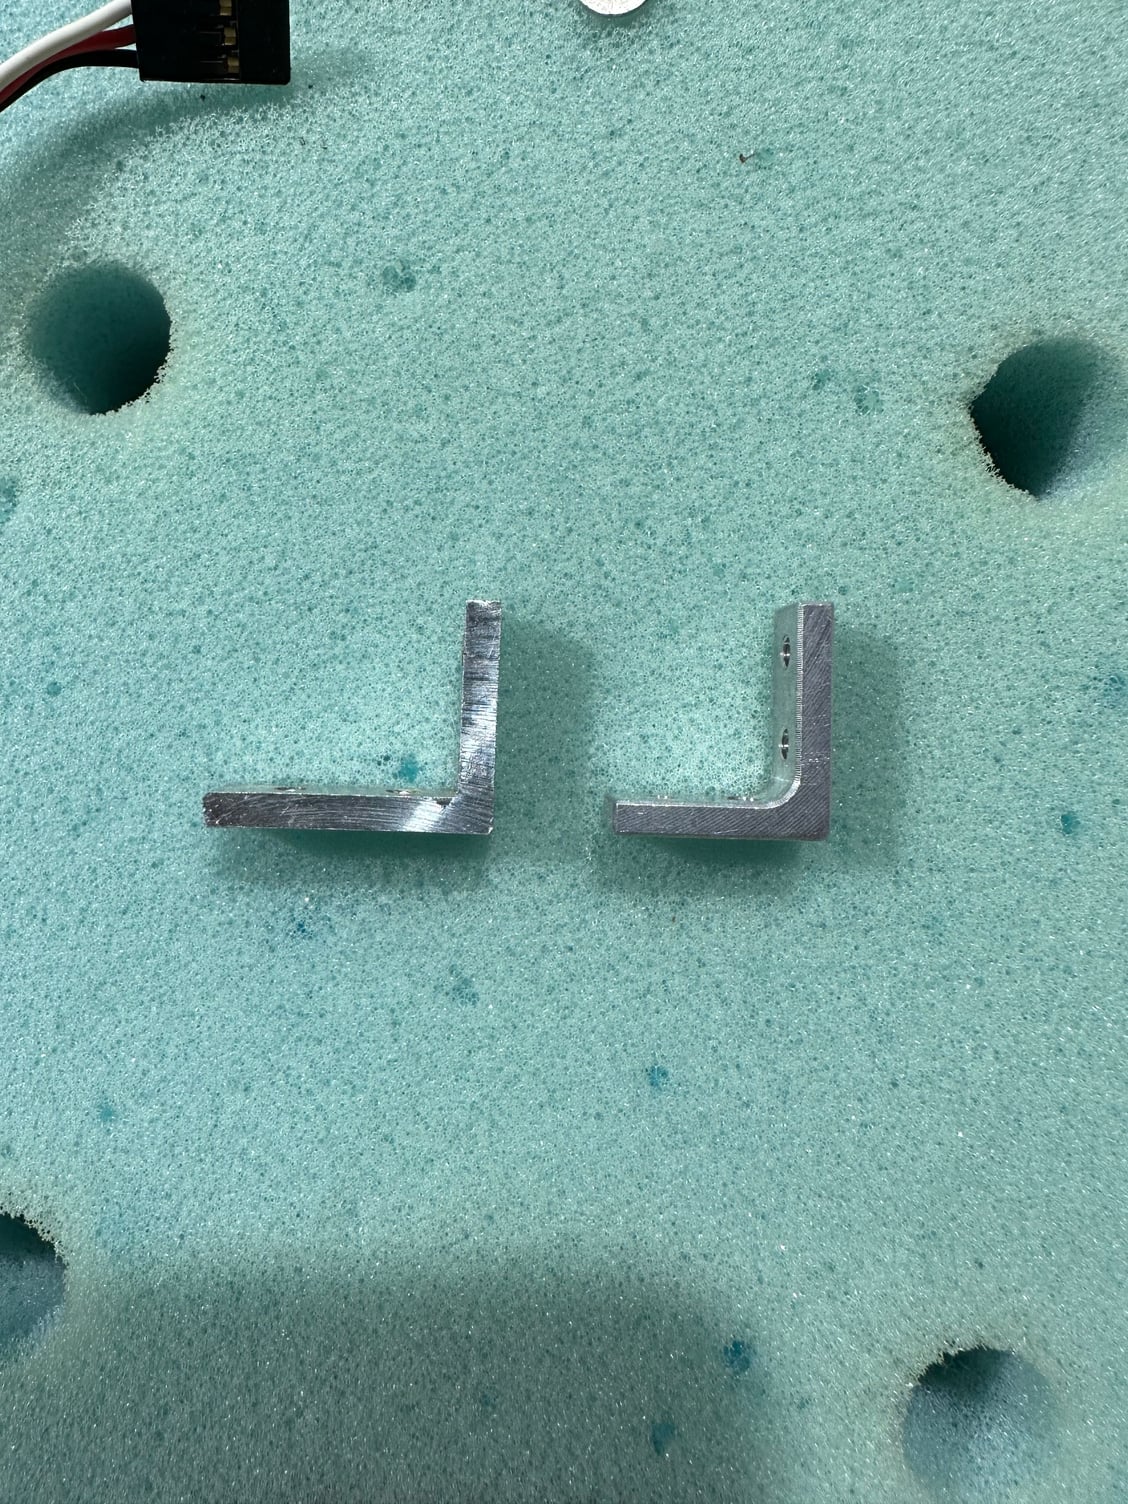
Provided L bracket was too small unless you are using a micro servo so that was a bad I forgot to mention. My first kit didn�t have these so it�s an improvement I guess.

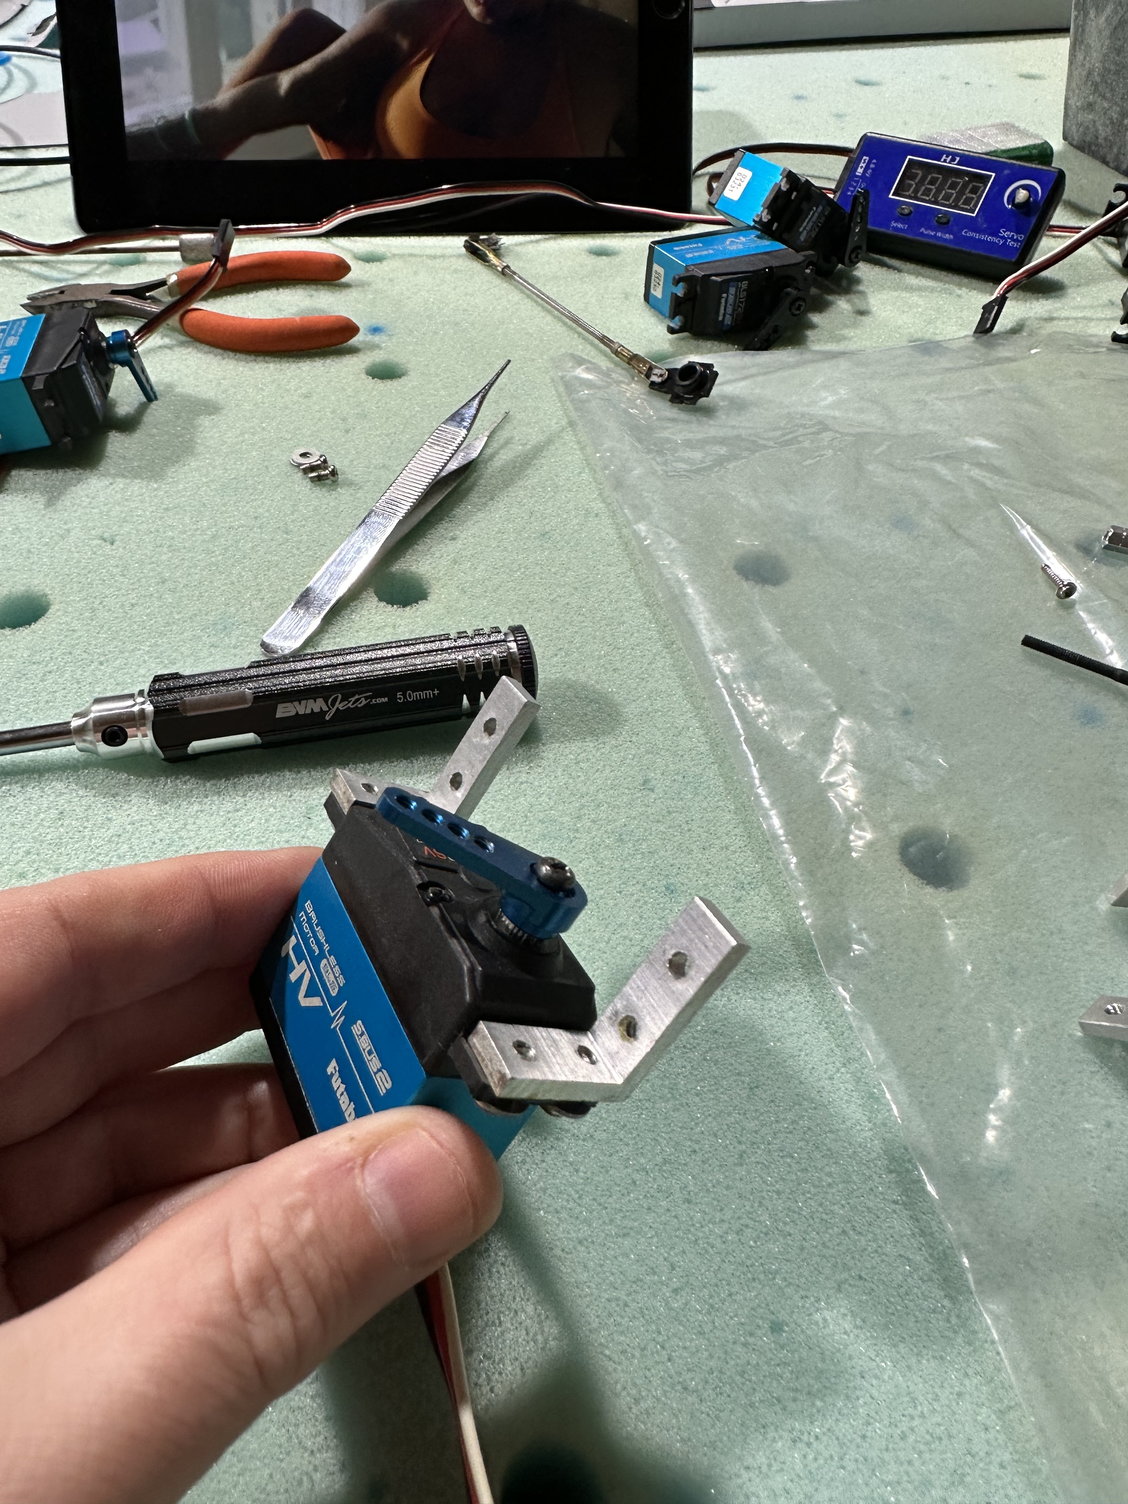
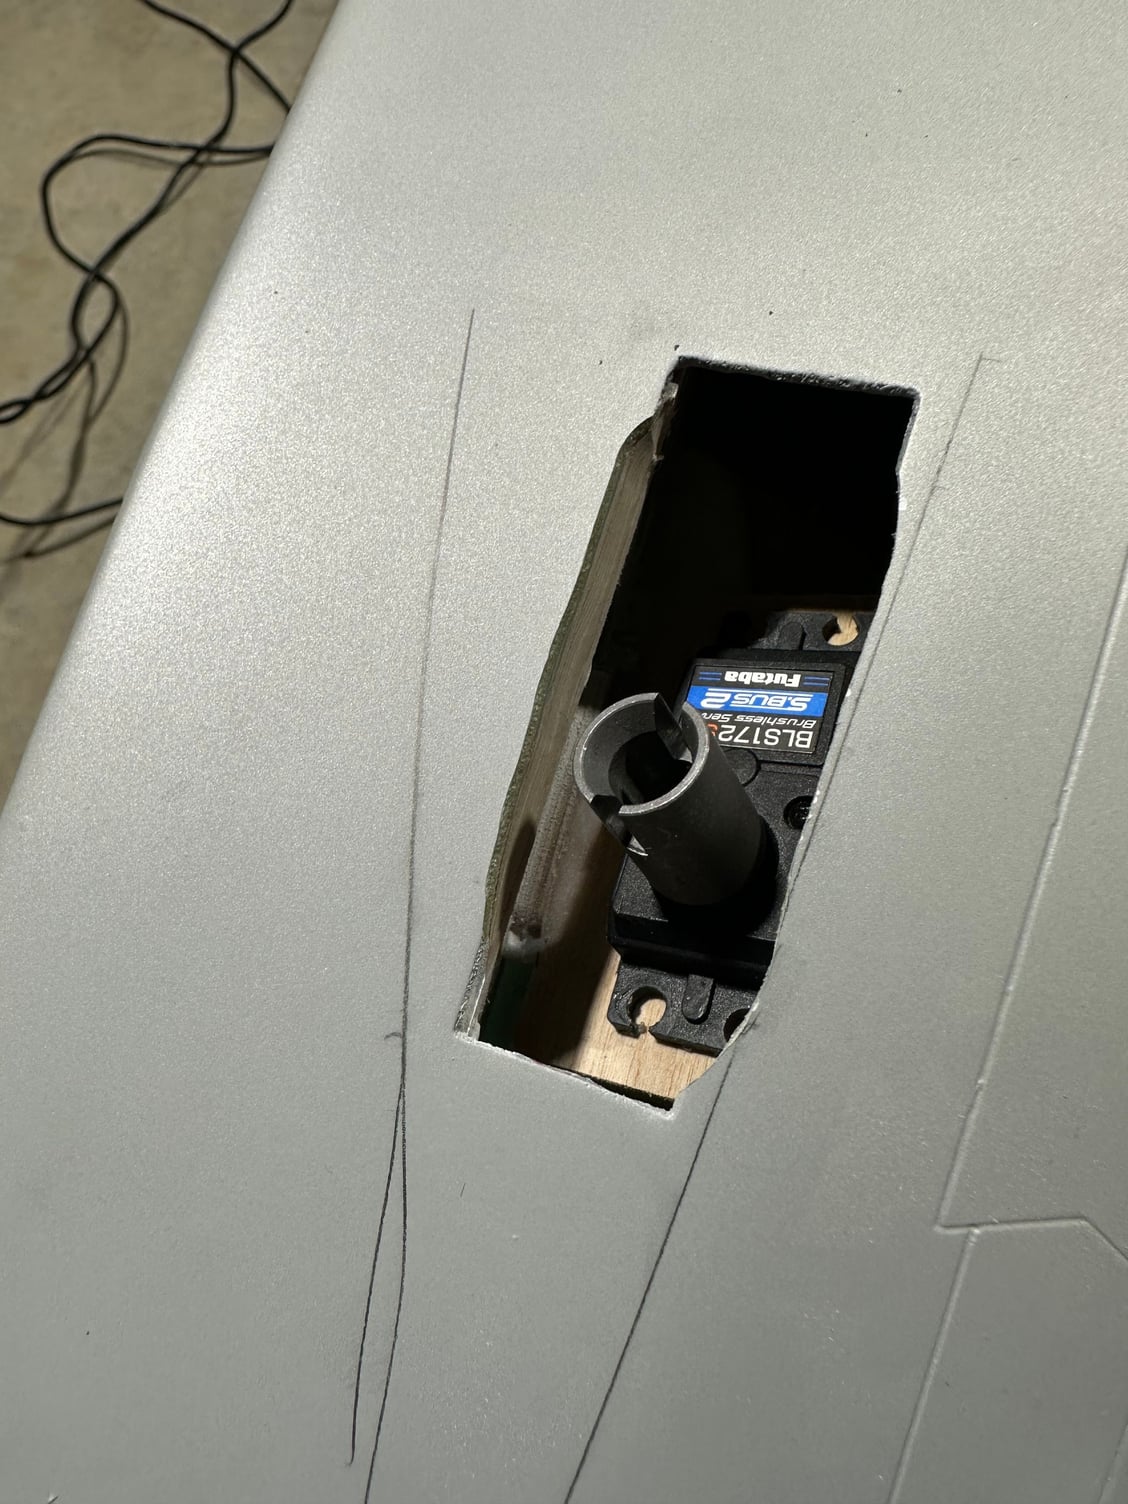
Leading edge flap servo
Minus rudder servos the only other hard part to this build, connecting the leading flap clevis to the LE flap control arm. BVM tool to the rescue.

The stiff LE flap
01-01-2023, 10:45 AM
#183
Thread Starter
Forgot to mention I am doing videos but they are all on my FB page and Youtube page, I almost didn't do a build here since things can get pretty toxic but the reason I do these are to help folks make an educated decision and build their own. These are my primary sites due to ease of uploads, RCU is not the most user friendly with uploading things
https://www.youtube.com/channel/UCE_..._as=subscriber
https://www.facebook.com/FenderbeanRCBuilds
https://www.youtube.com/channel/UCE_..._as=subscriber
https://www.facebook.com/FenderbeanRCBuilds

 01-02-2023, 05:54 PM
#185
Thread Starter
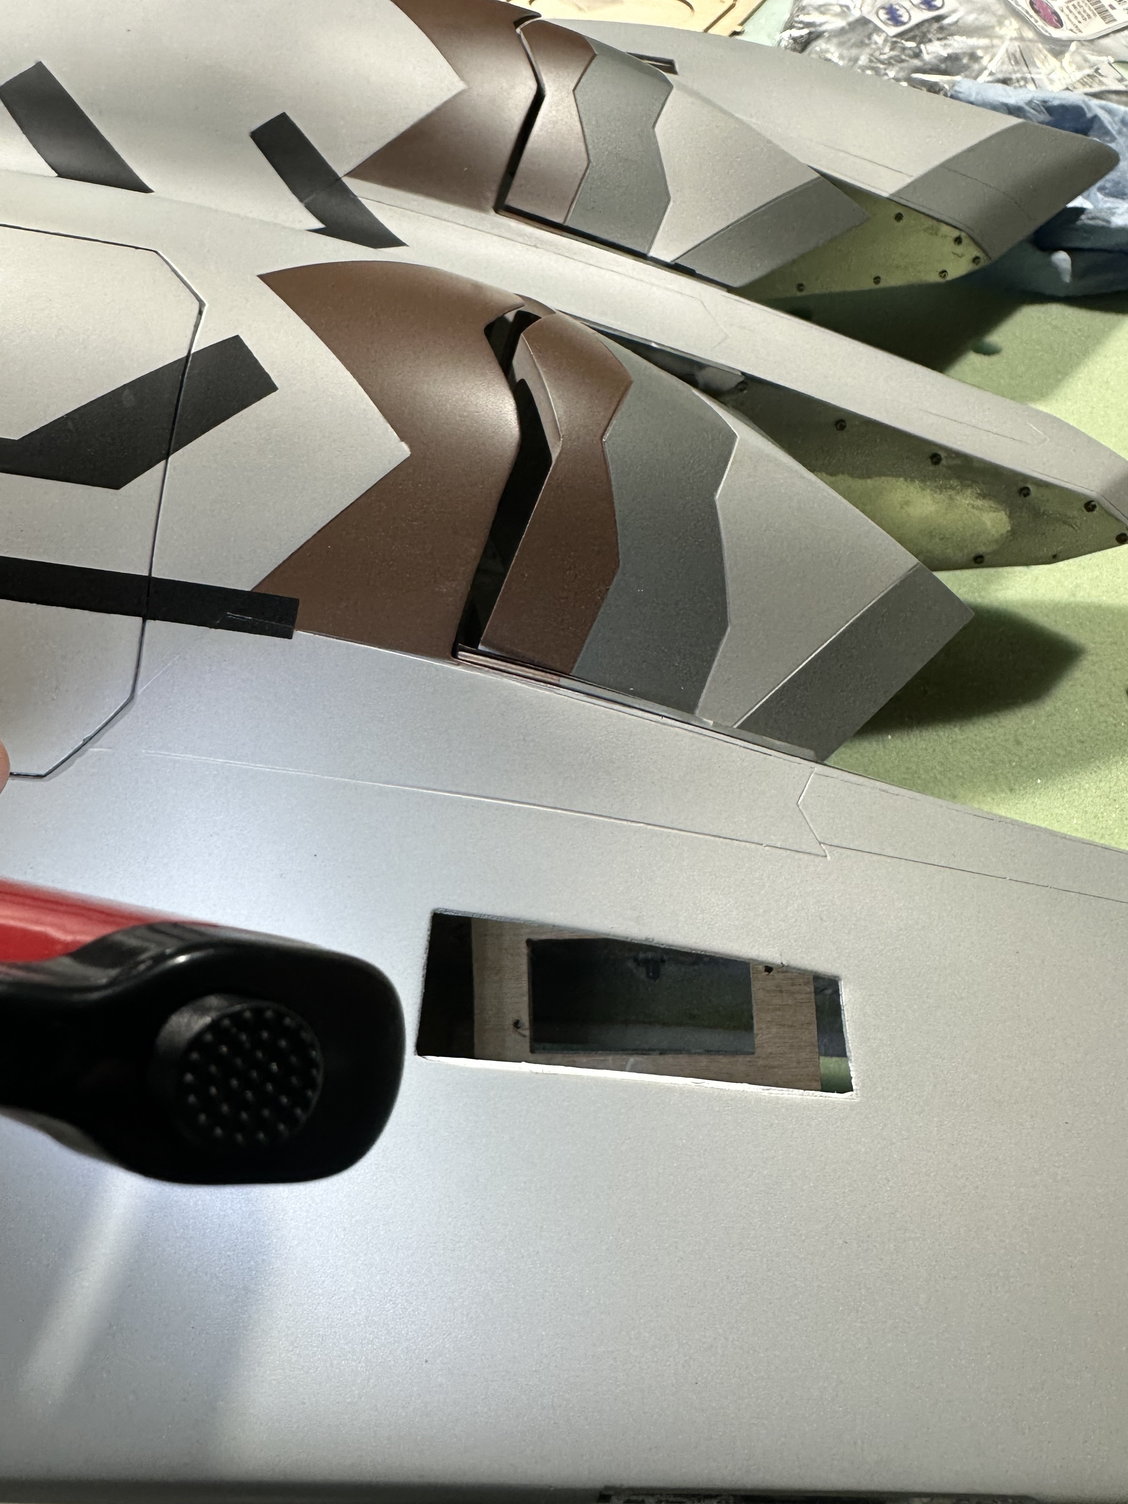
I ran into a few issues on this one I did not have on the first, the aileron mounts are installed incorrectly so I have to fix that after the rudders
01-02-2023, 06:03 PM
#186
Thread Starter
added so text below each image

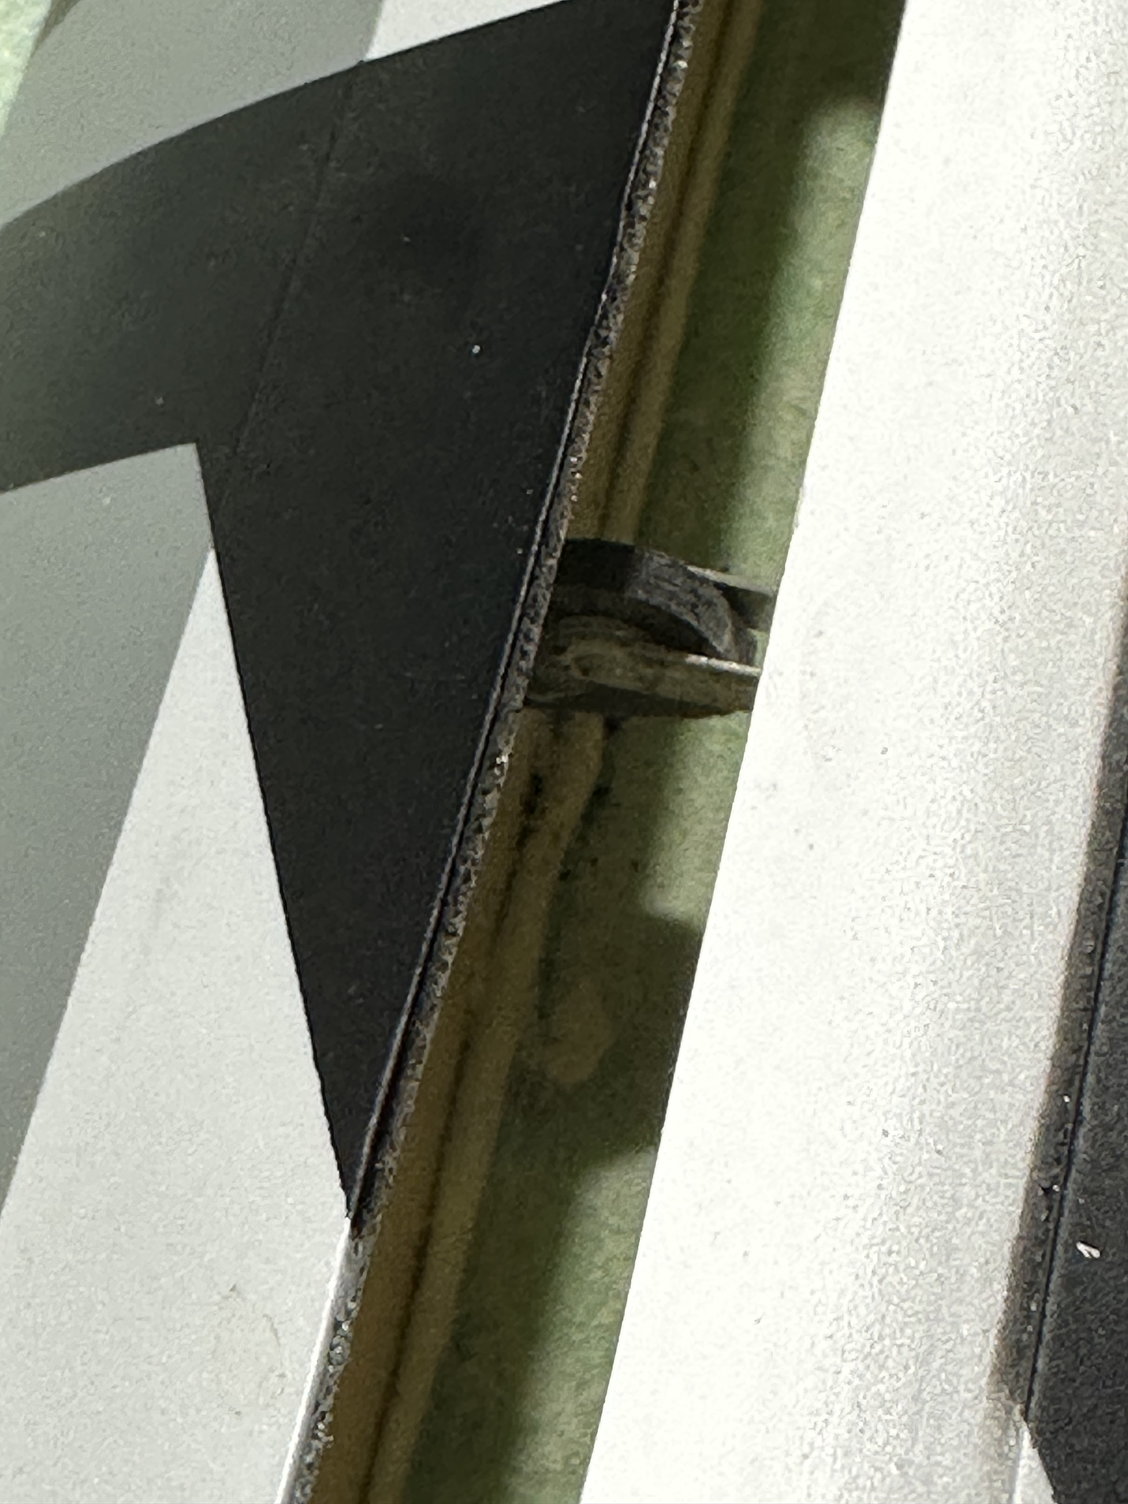
Hardest part of the leading edge flaps, connecting the clevis to the arm
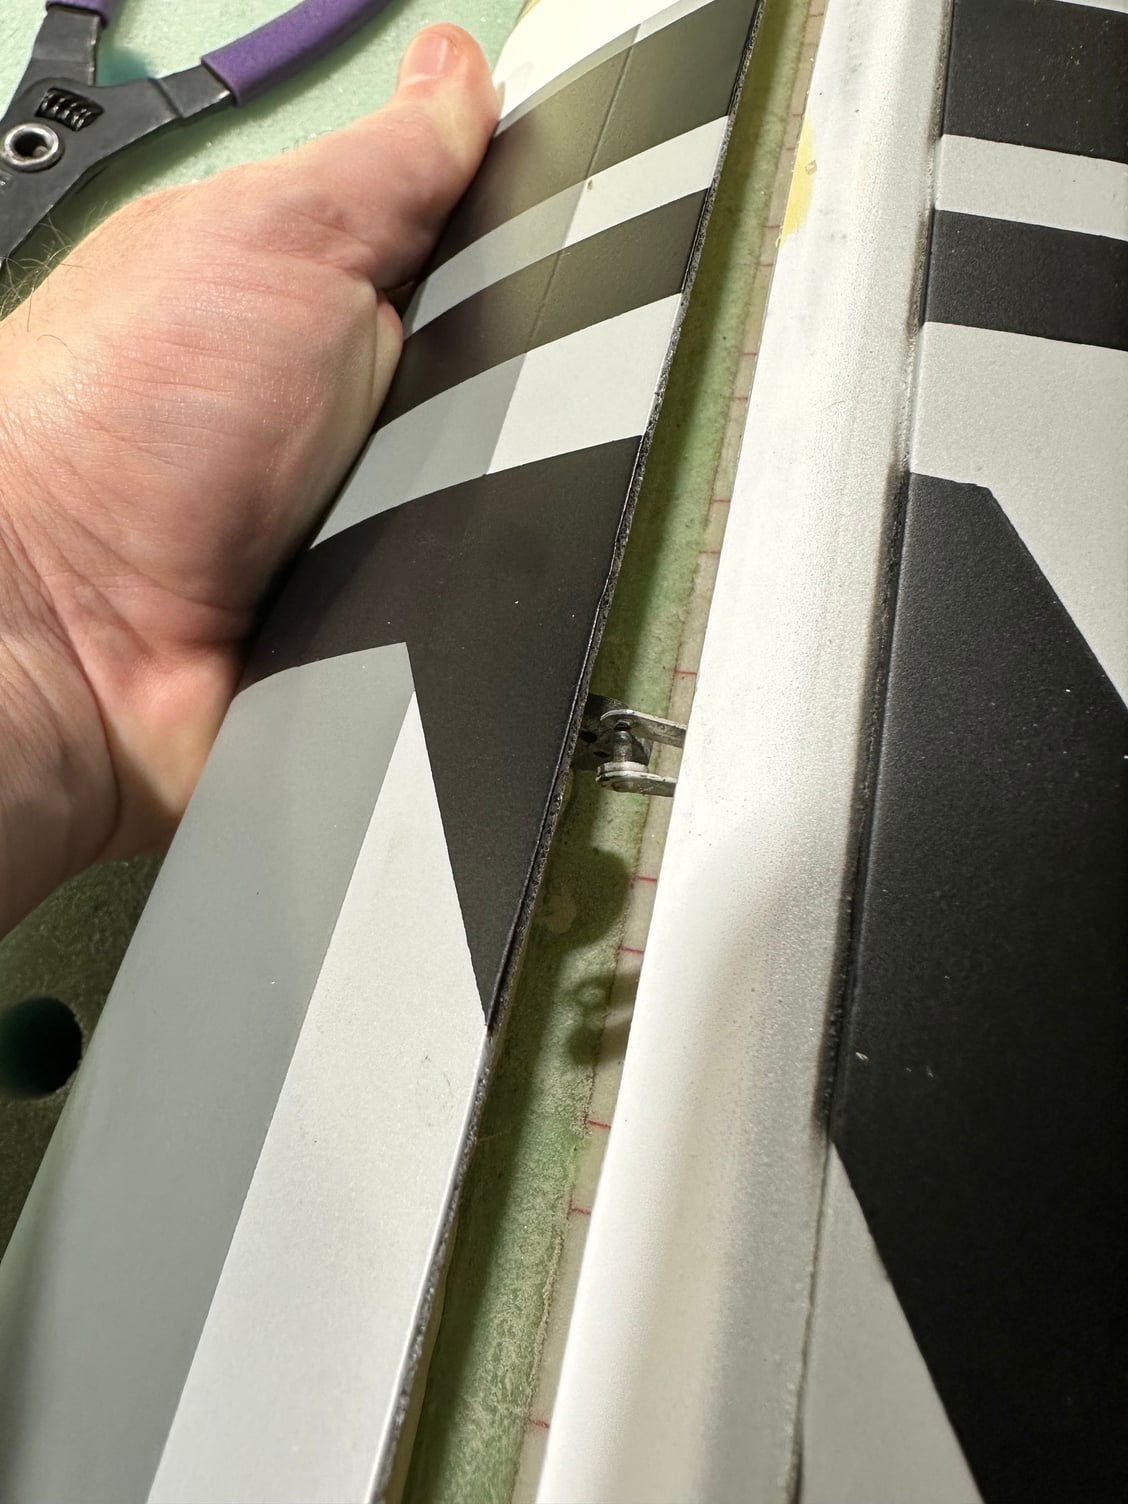
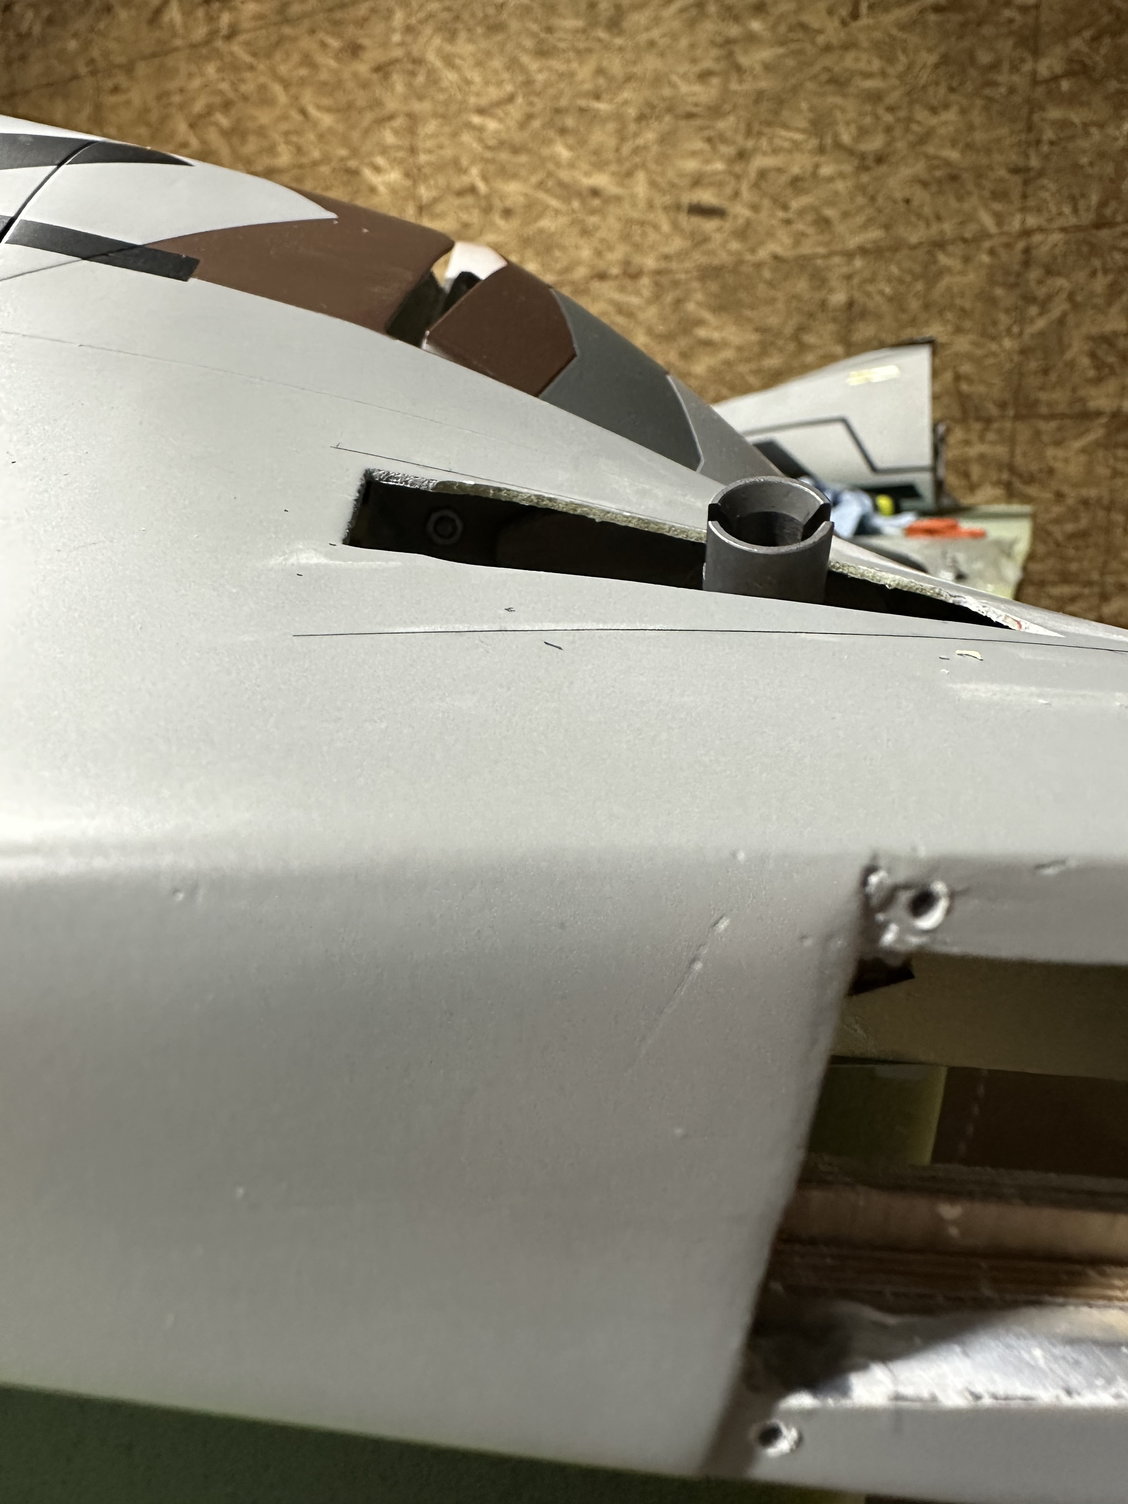
Problem area, not rod and clevis, factory tried to get in because the area is flexed and damaged. Only way at this point it�s cut the hing gap. 🤨

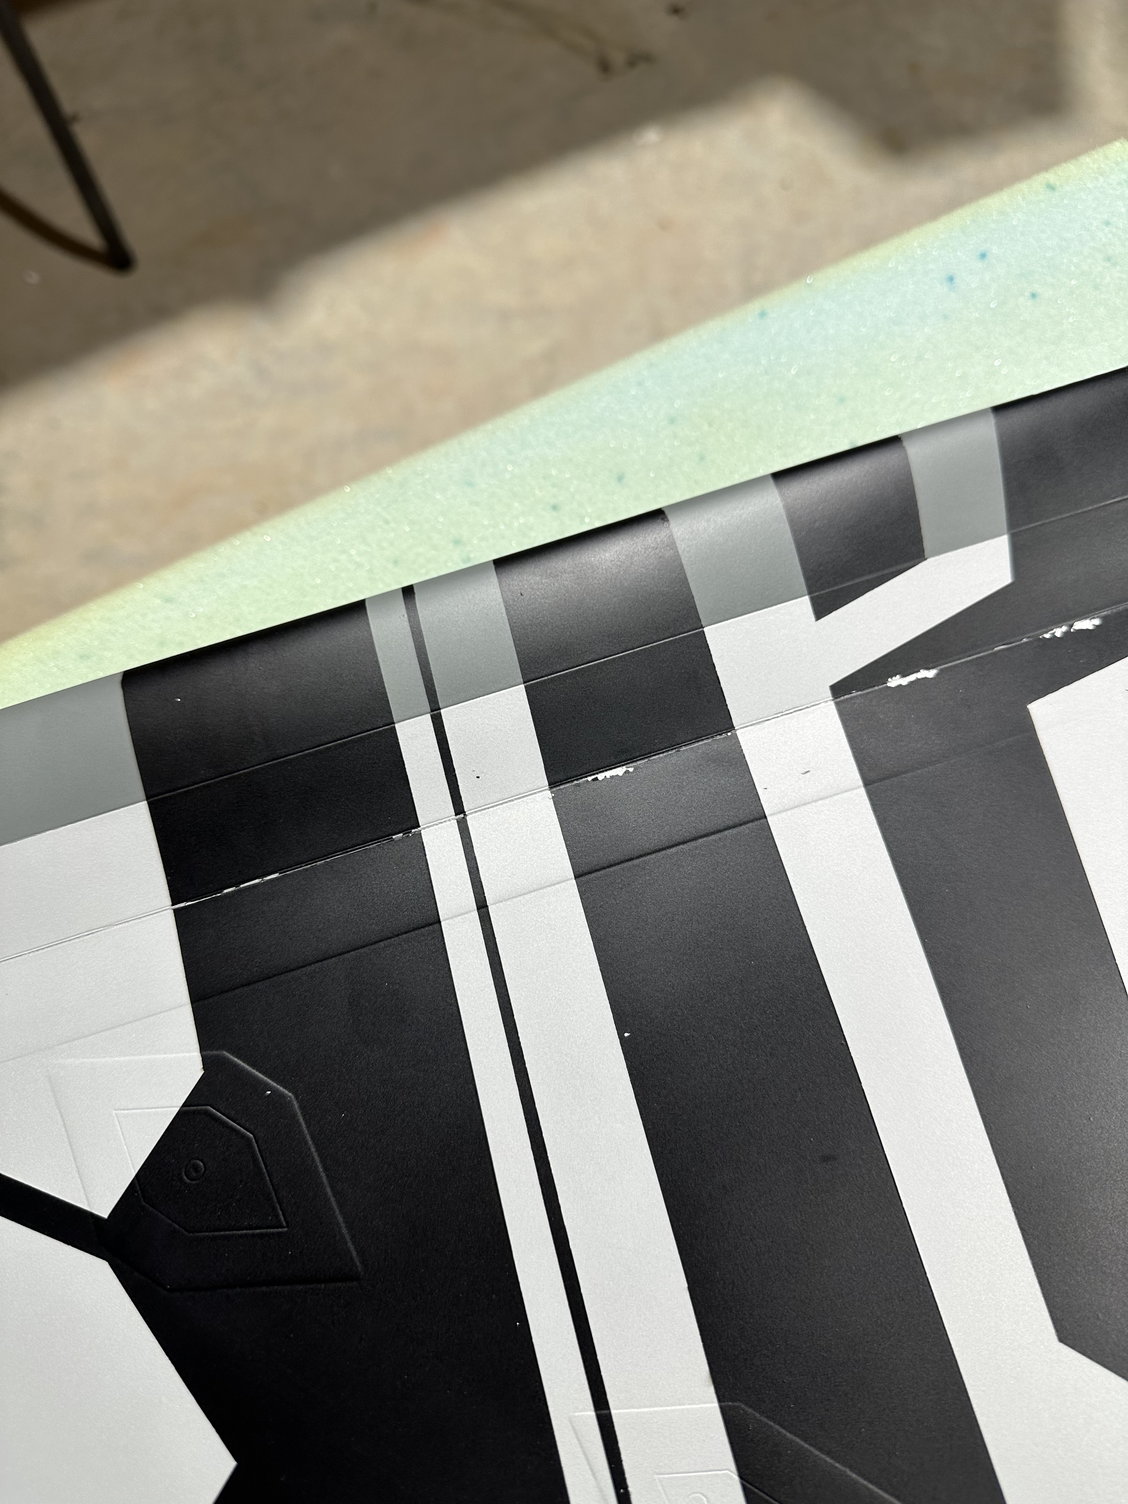
Paint chipping the on stiff leading edge flap due to being too stiff.
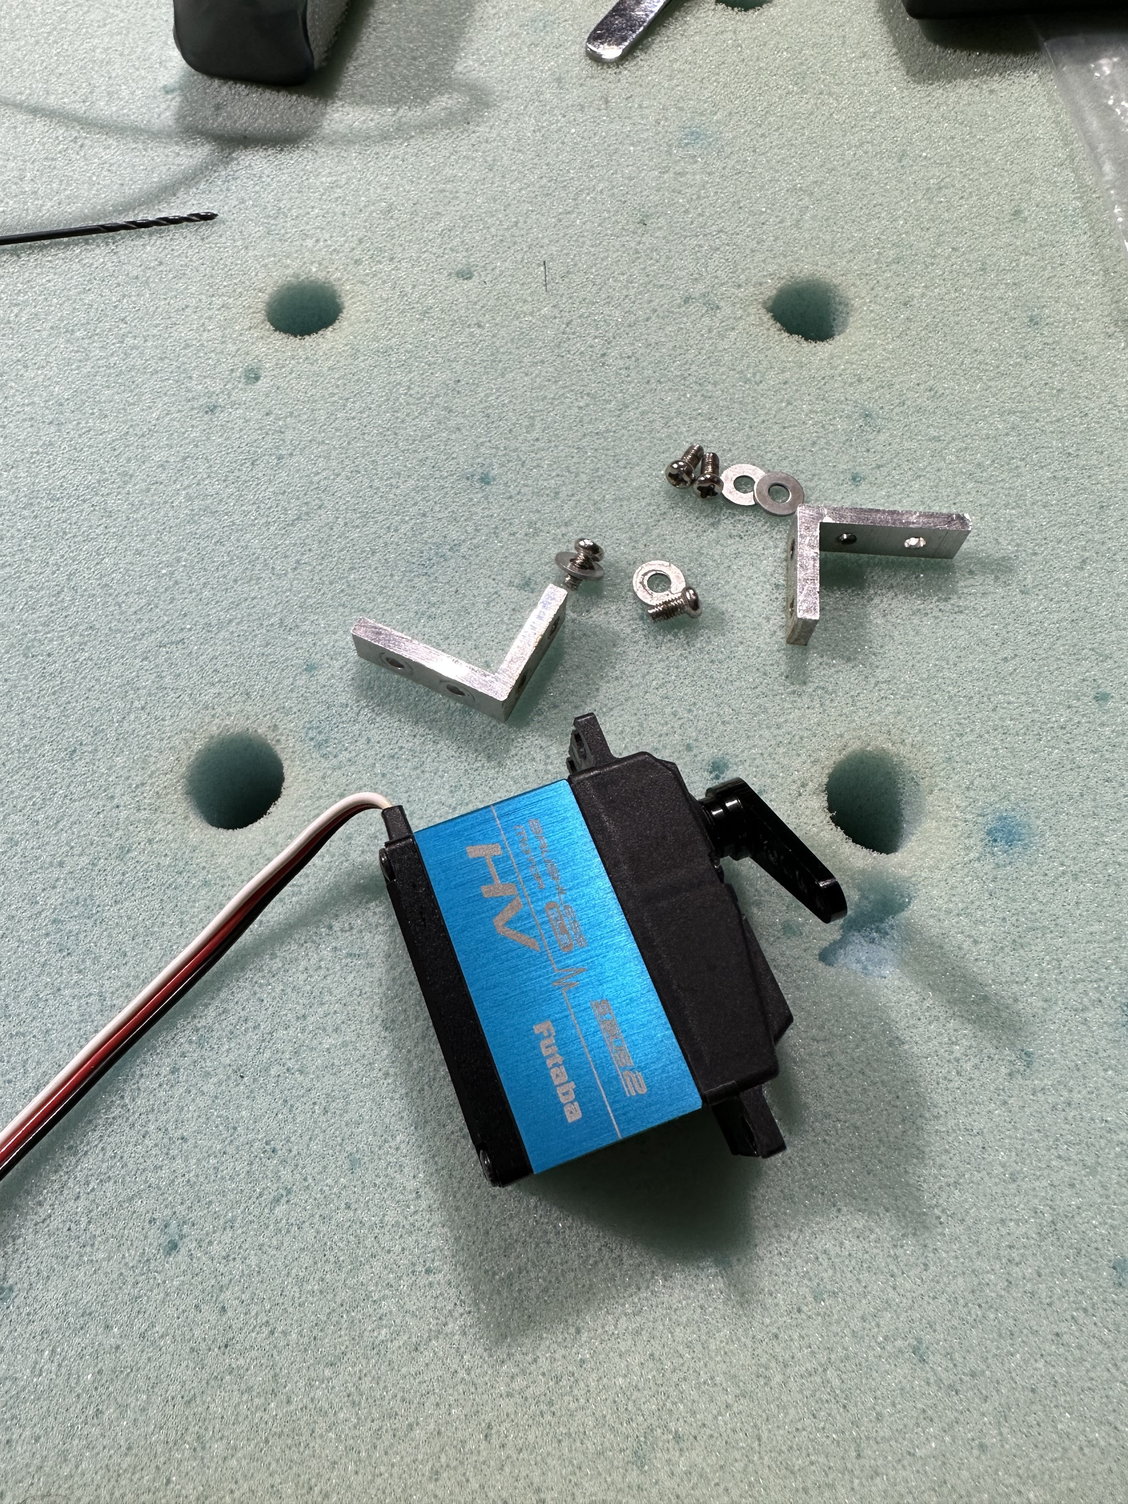
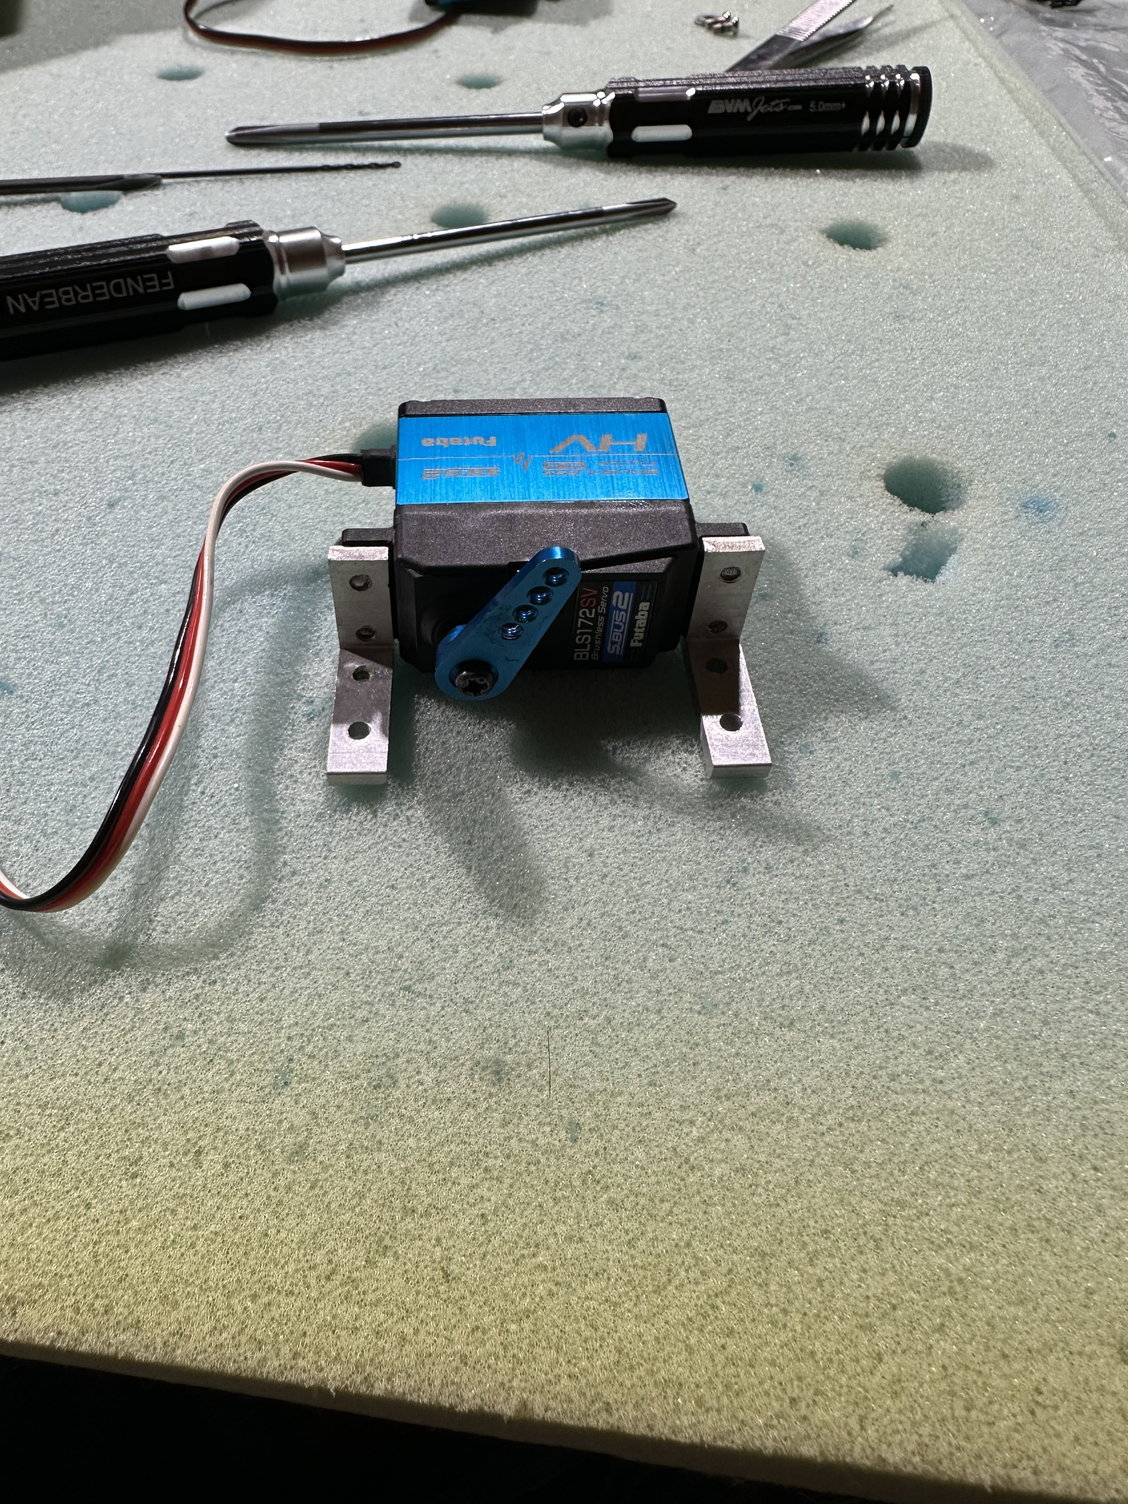
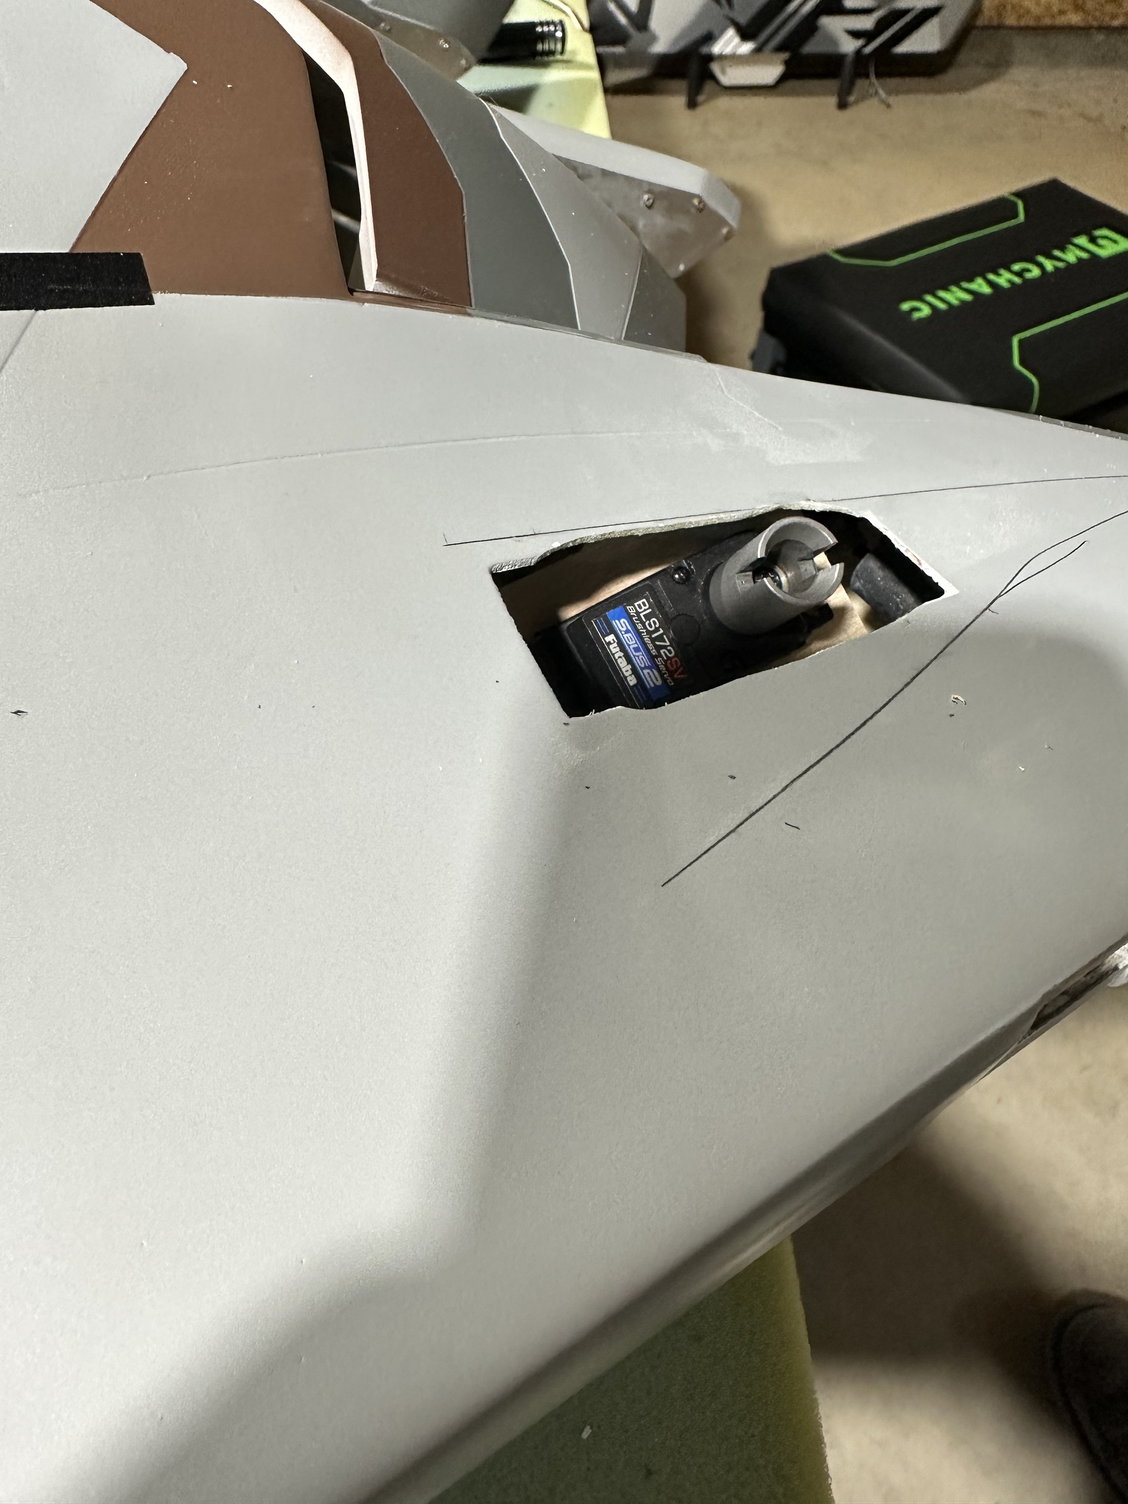
Leading edge flap servo and hardware, L bracket supplied were for a micro servo, luckily I had extra from the 2.5m Viper wreckage. So L bracket, four screws with washers and four would screws to attach to the wood mount

Assembled
Added locking nuts on the rod, didn�t have any 3mm

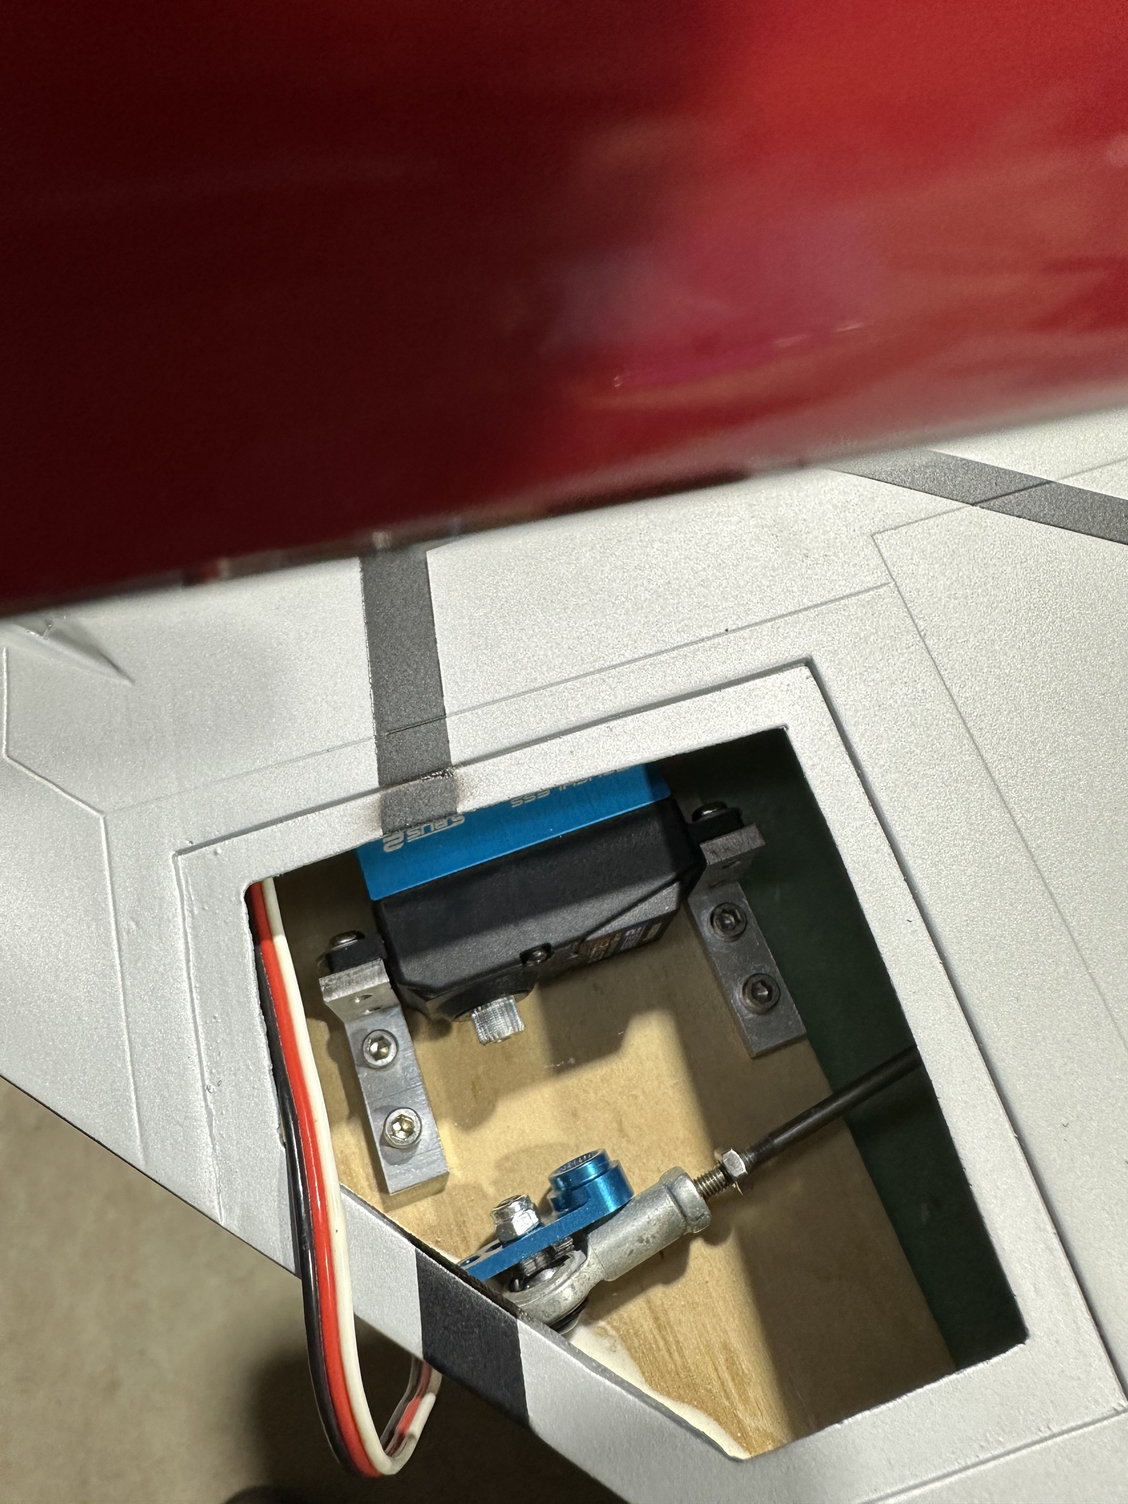
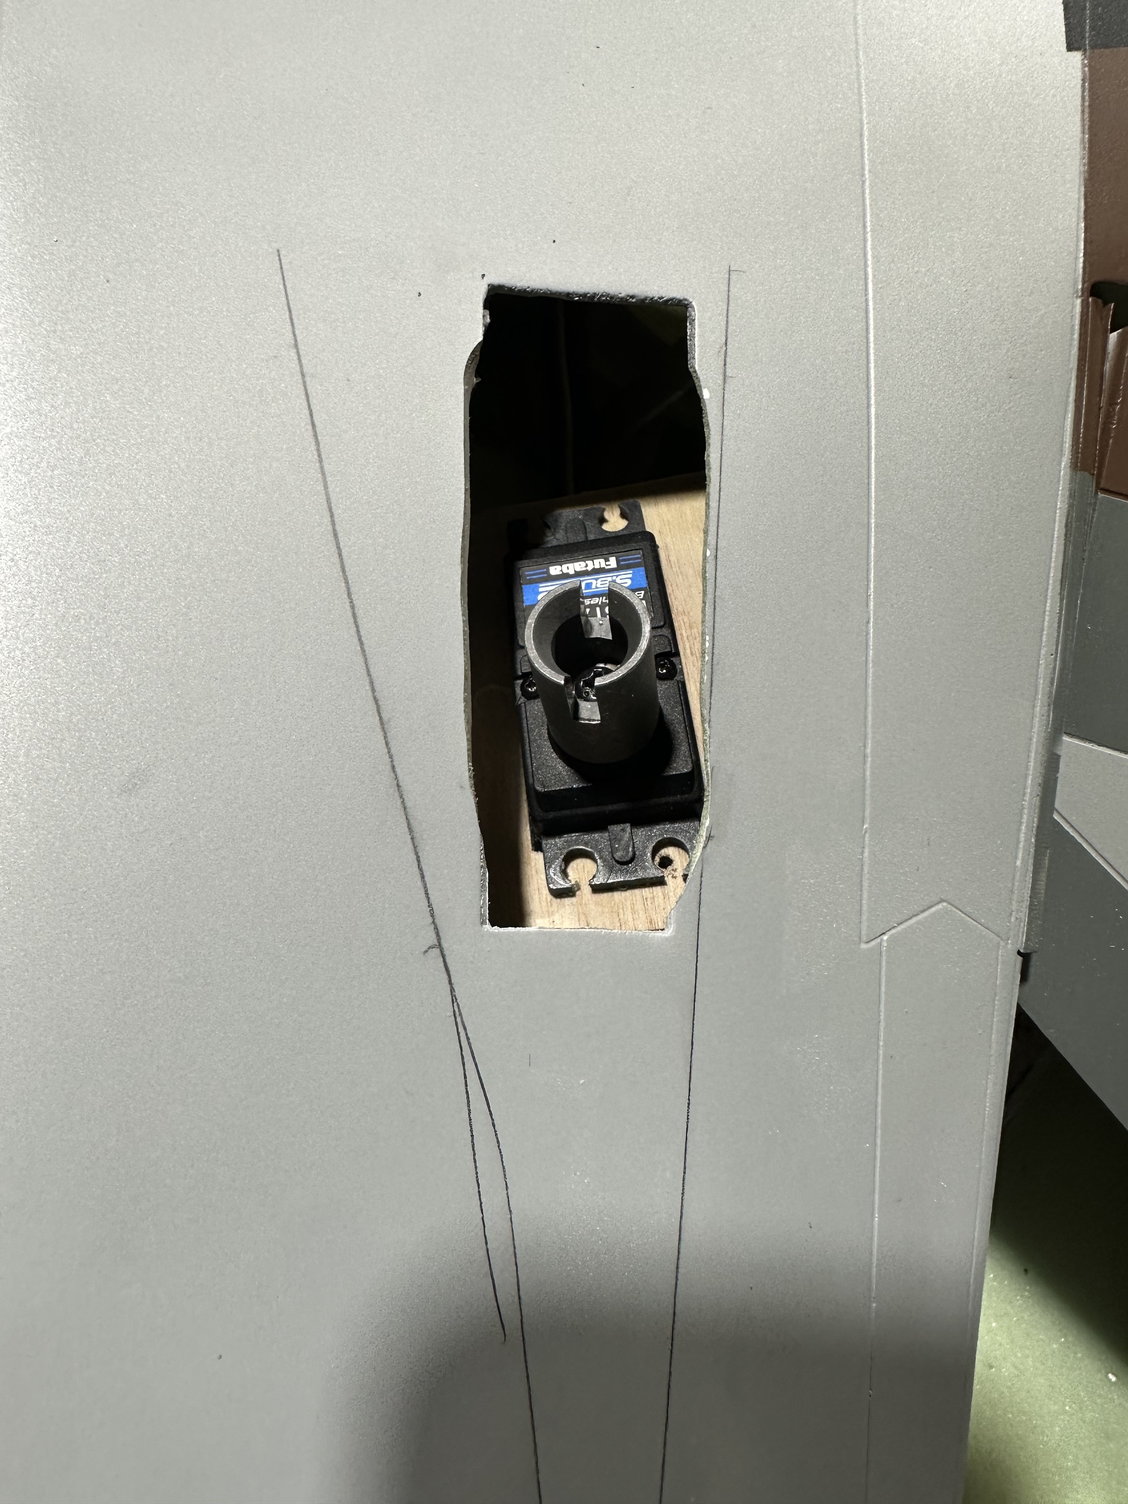
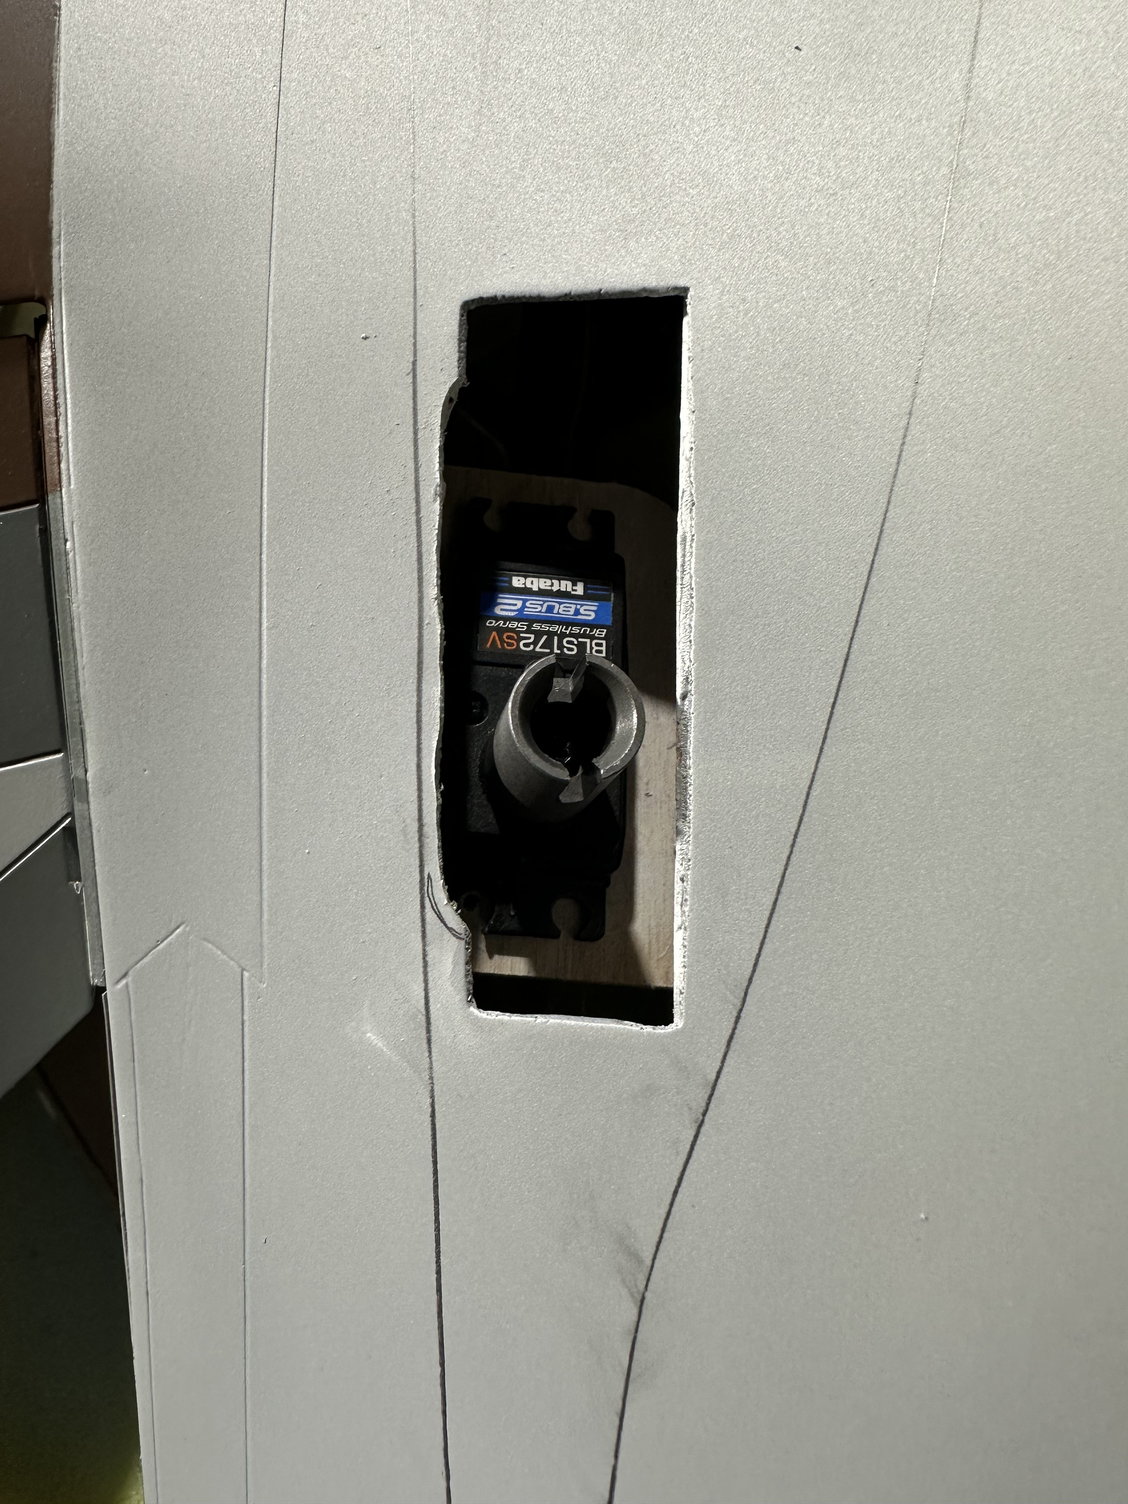
Servo in
Notice the carbon fiber space on between the servo arm and rod end.
Hardest part of the leading edge flaps, connecting the clevis to the arm
Problem area, not rod and clevis, factory tried to get in because the area is flexed and damaged. Only way at this point it�s cut the hing gap. 🤨
Paint chipping the on stiff leading edge flap due to being too stiff.
Leading edge flap servo and hardware, L bracket supplied were for a micro servo, luckily I had extra from the 2.5m Viper wreckage. So L bracket, four screws with washers and four would screws to attach to the wood mount
Assembled
Added locking nuts on the rod, didn�t have any 3mm
Servo in
Notice the carbon fiber space on between the servo arm and rod end.
Last edited by FenderBean; 01-02-2023 at 06:06 PM.
01-02-2023, 06:05 PM
#187
Thread Starter
Videos for this one on my youtube page
https://www.youtube.com/playlist?lis...v1TYp0mzLCJ5PV
I have a couple to upload tonight
https://www.youtube.com/playlist?lis...v1TYp0mzLCJ5PV
I have a couple to upload tonight
01-02-2023, 06:13 PM
#188
Thread Starter
Rudder servos are in, the left was off more so it required more cutting but my worry of angle I think is okay but im holding off for a final call until I get the servo shimmed and hard mounted. Its always a good idea to put the rudders on and trace it so you know how much you can open up the servo area before you go outside of the rudder. I had just a small area with the left which I could avoid, not really noticeable.
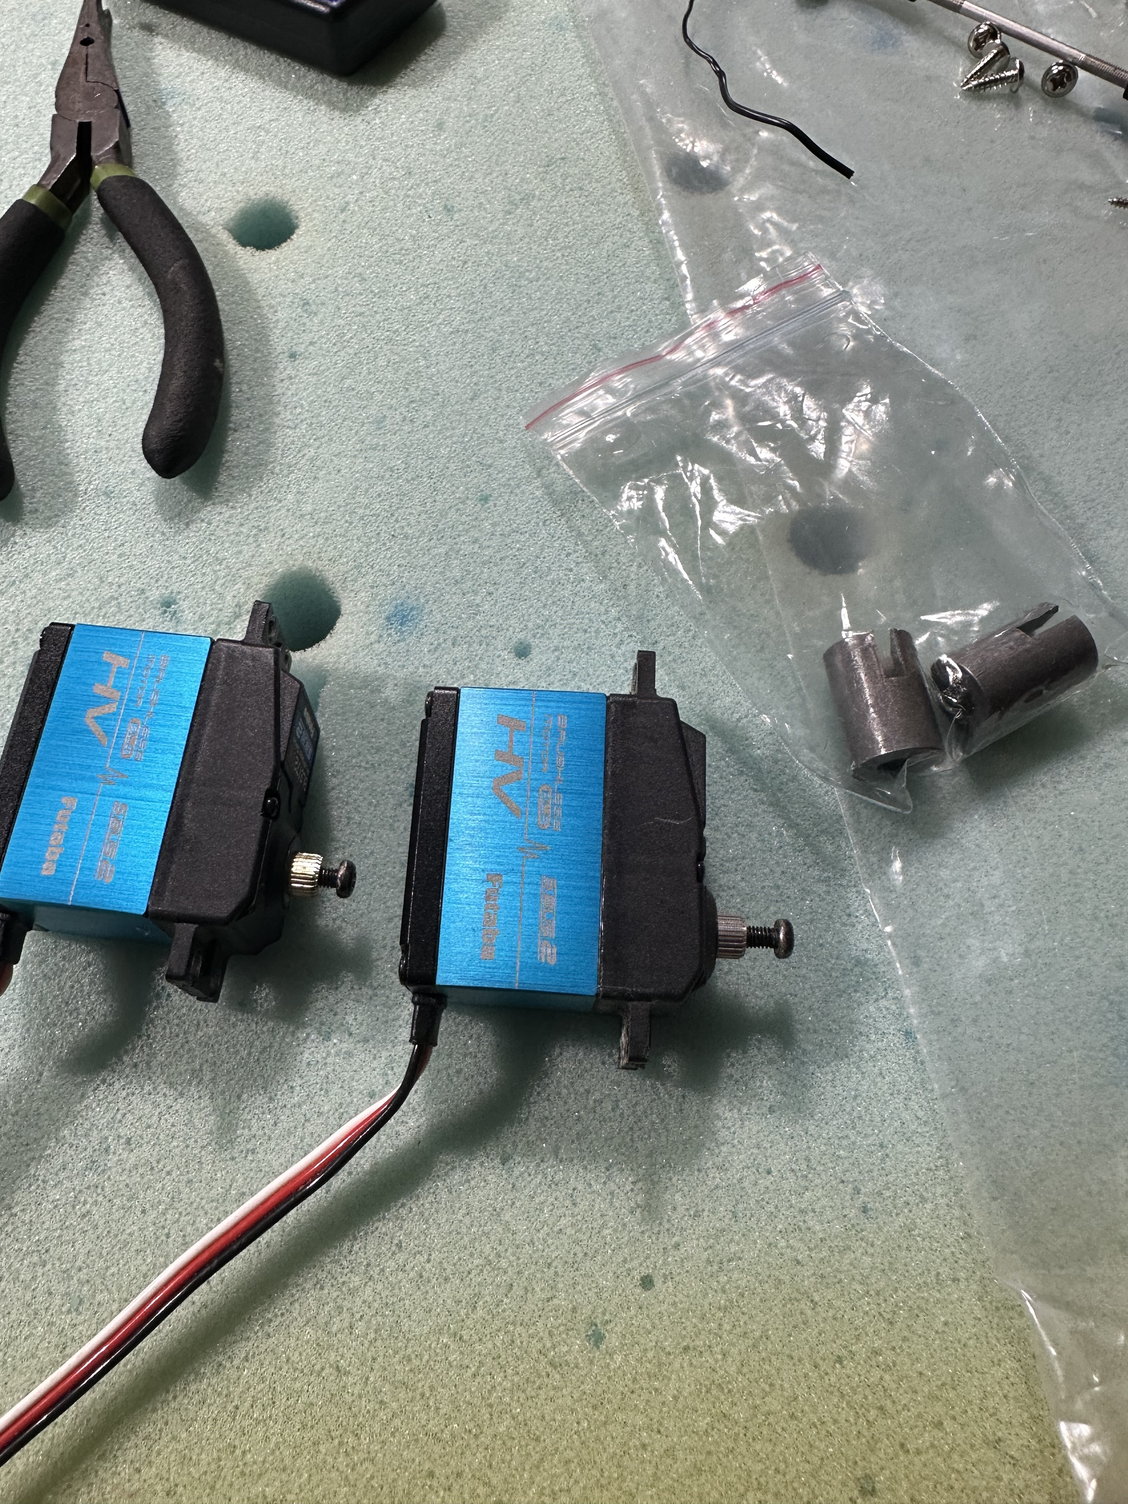
The metal drive units should fit on the ball joint snug, mine required some sizing which is good better to be too tight than loose
The metal drive units should fit on the ball joint snug, mine required some sizing which is good better to be too tight than loose
 01-04-2023, 07:43 PM
#190
Thread Starter
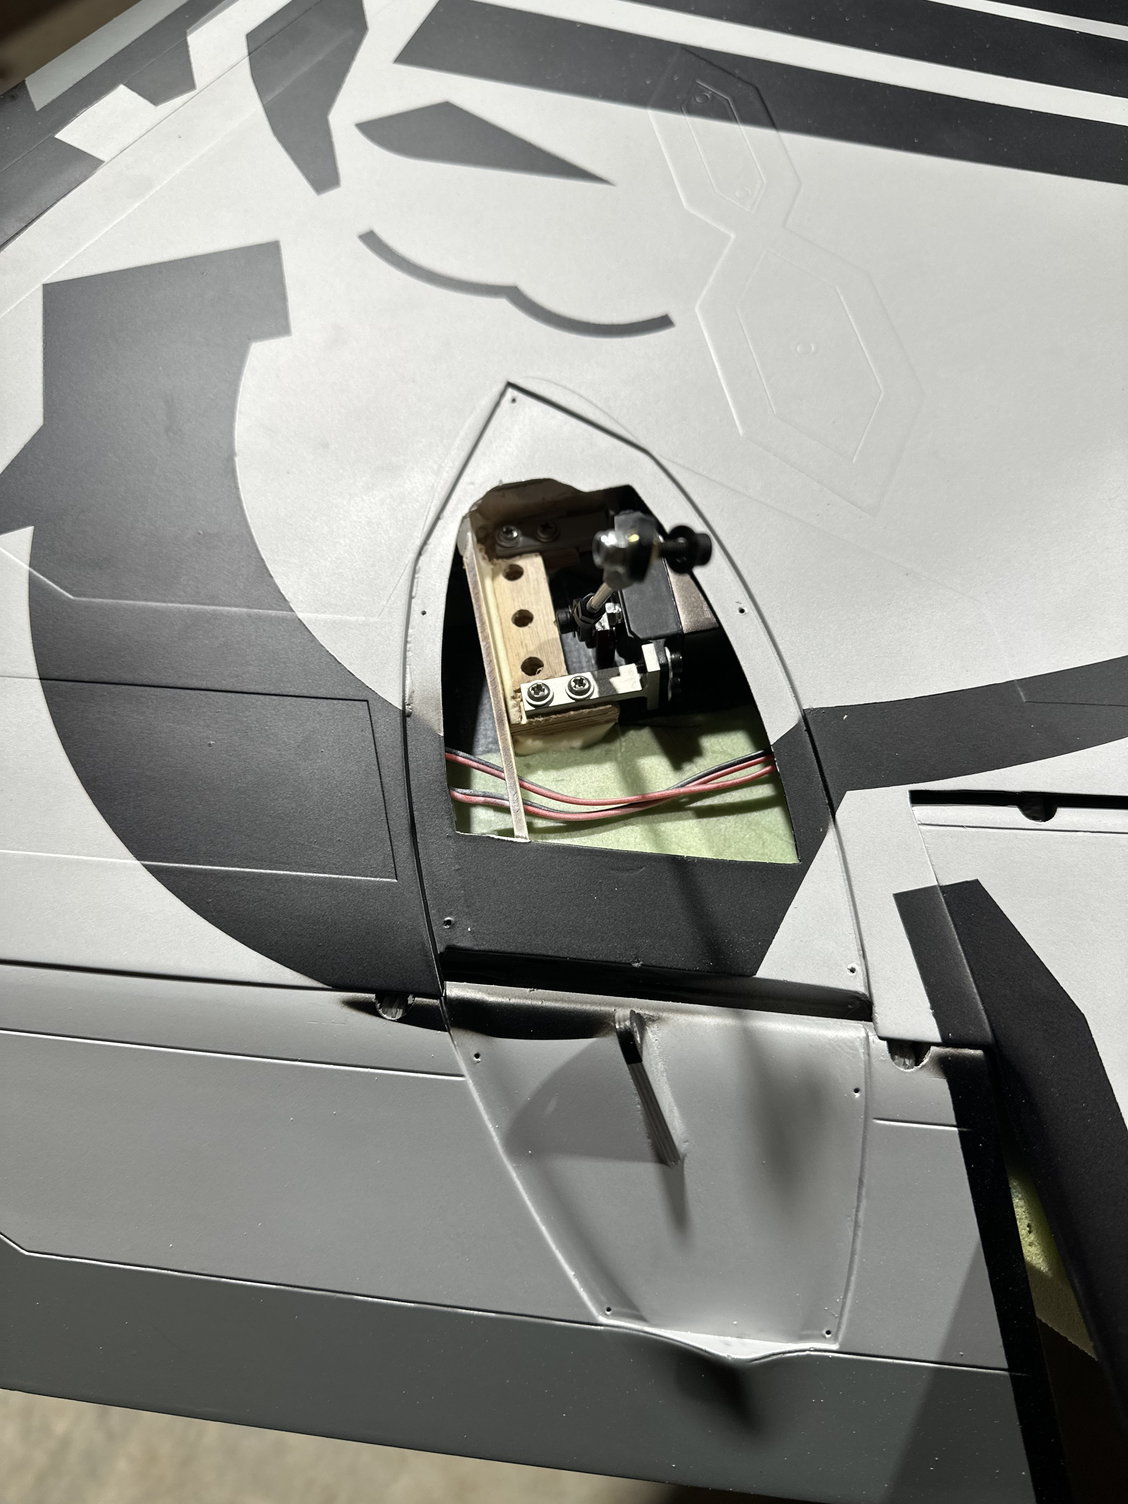
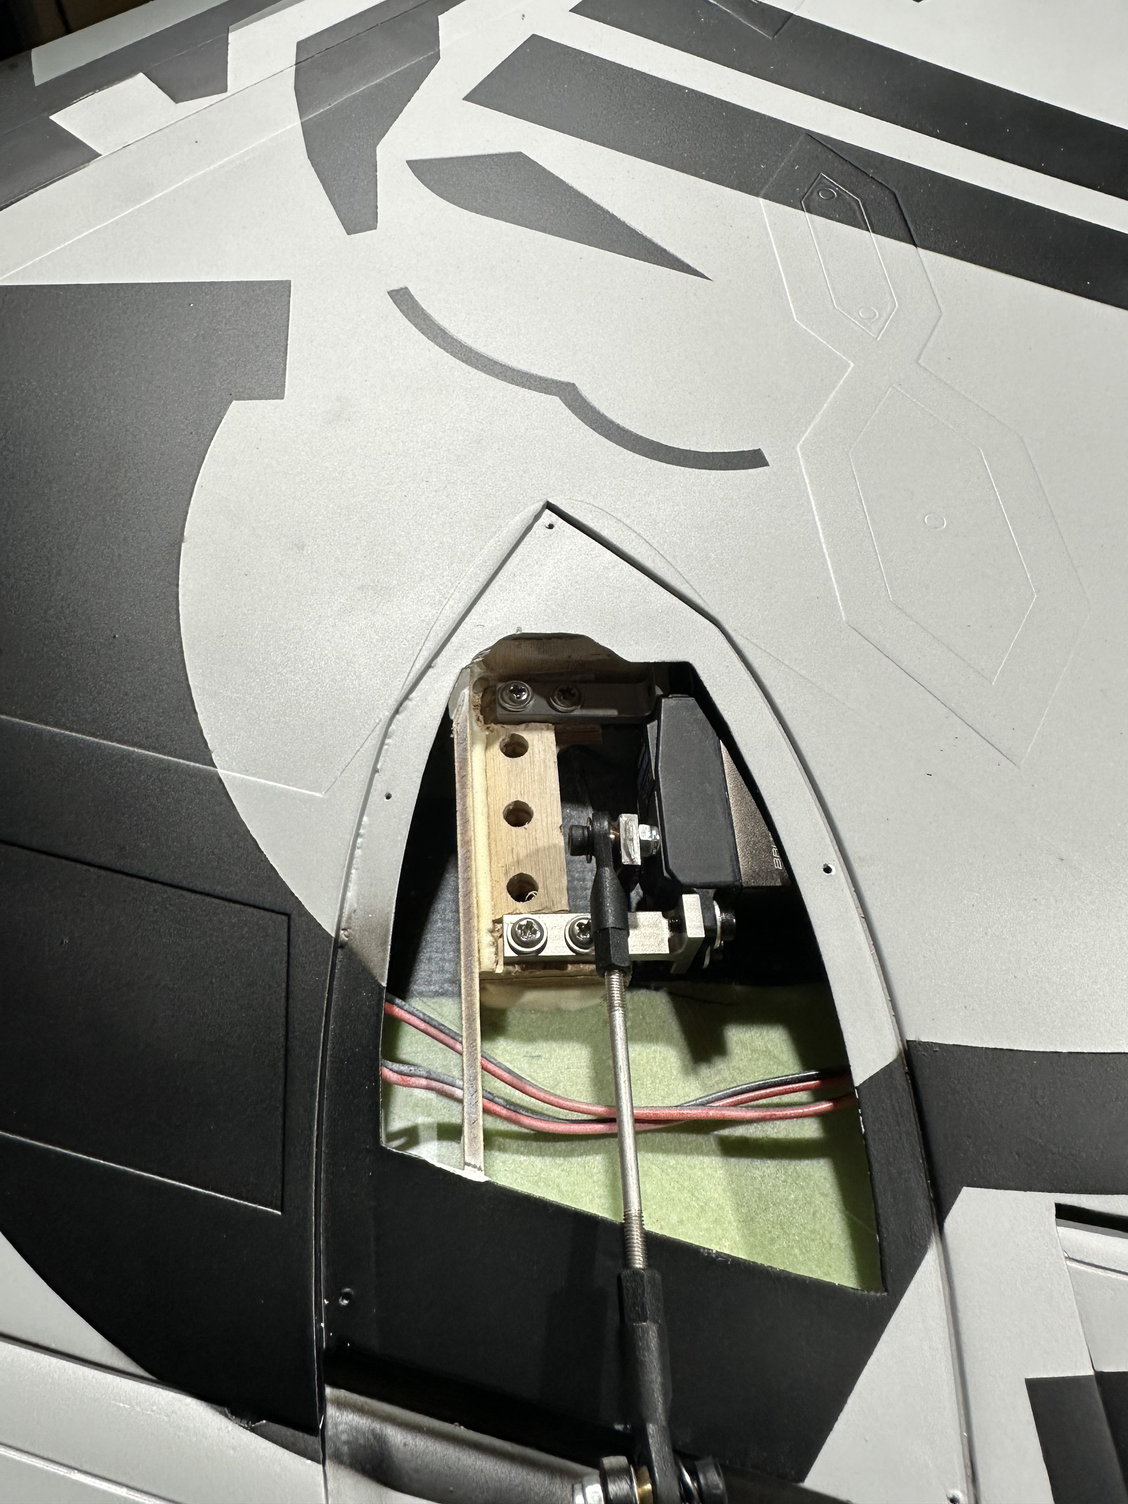
Jumping around a bit on this one, spent almost the entire time tonight working get they right aileron servo mounts fixed, the left is much worse so not looking forward to the other wing. Also did some hatch work for this wing. I stopped before hard mounting the flap servo due to May back calling it for the night. Im not using the stock rod for the flaps it�s a bit too short, using a 75mm like last time.
tomorrow I will finish this wing and the other and then jump on shimming the rudders, typically it�s the hardest part of the build. This one has been a bit more up hill than the last.
a couple short videos are uploading to my YouTube channel

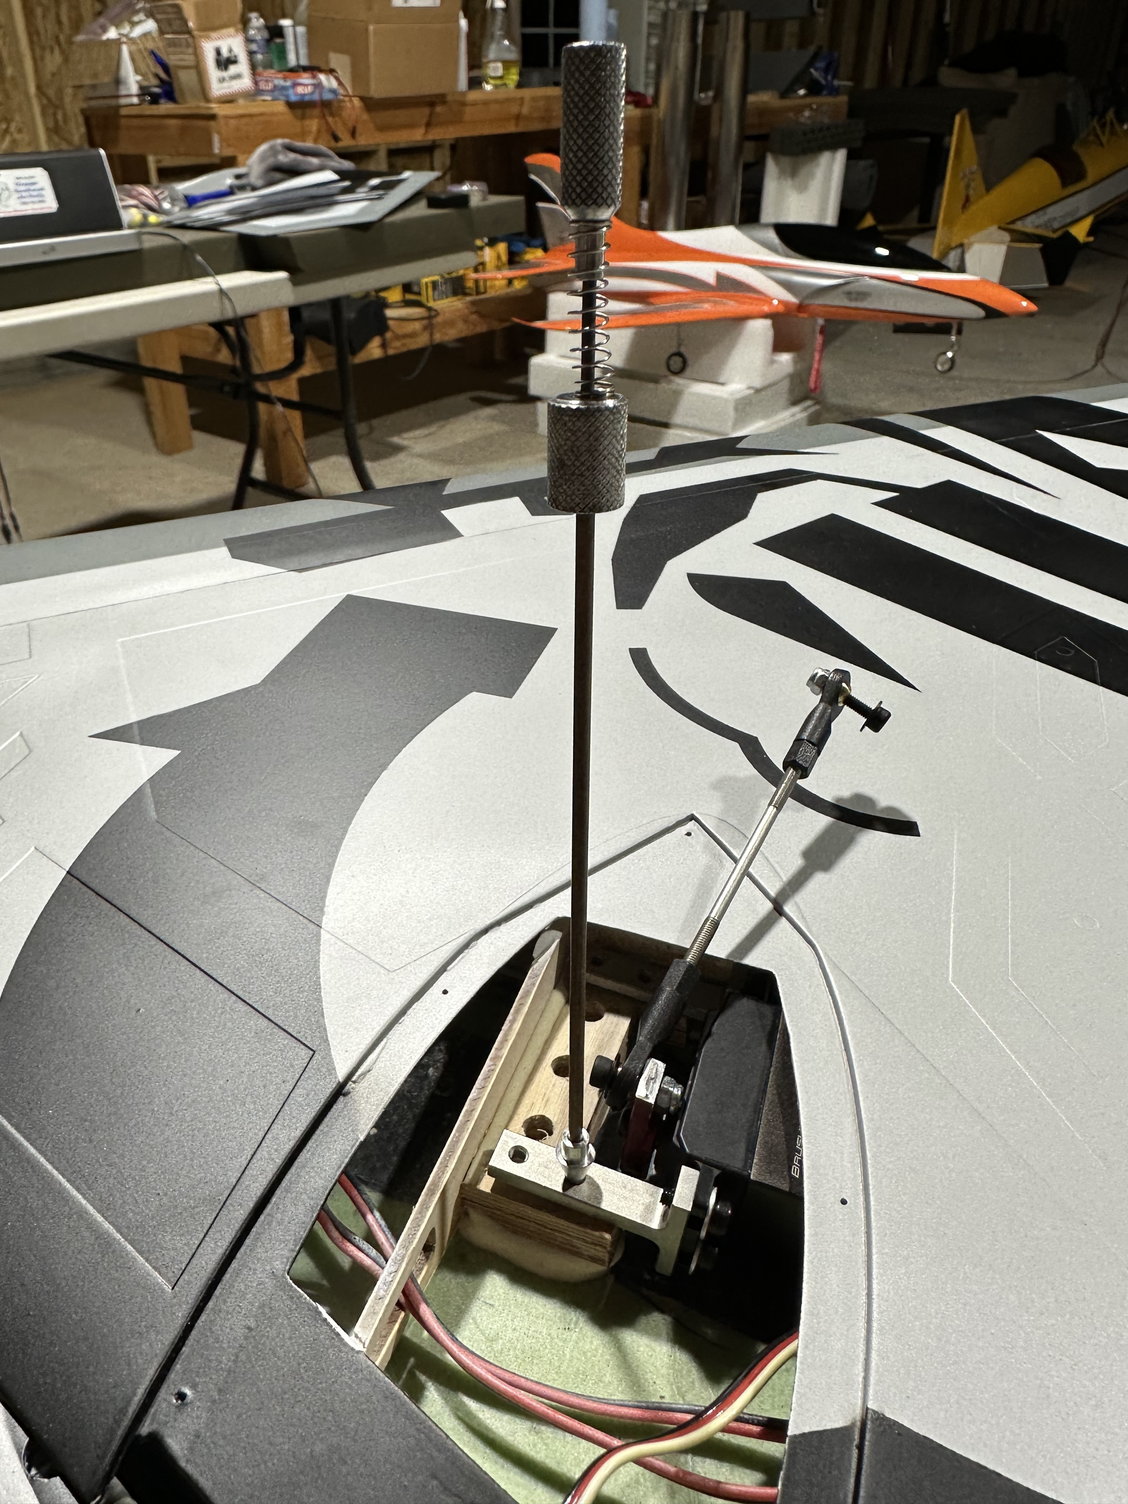
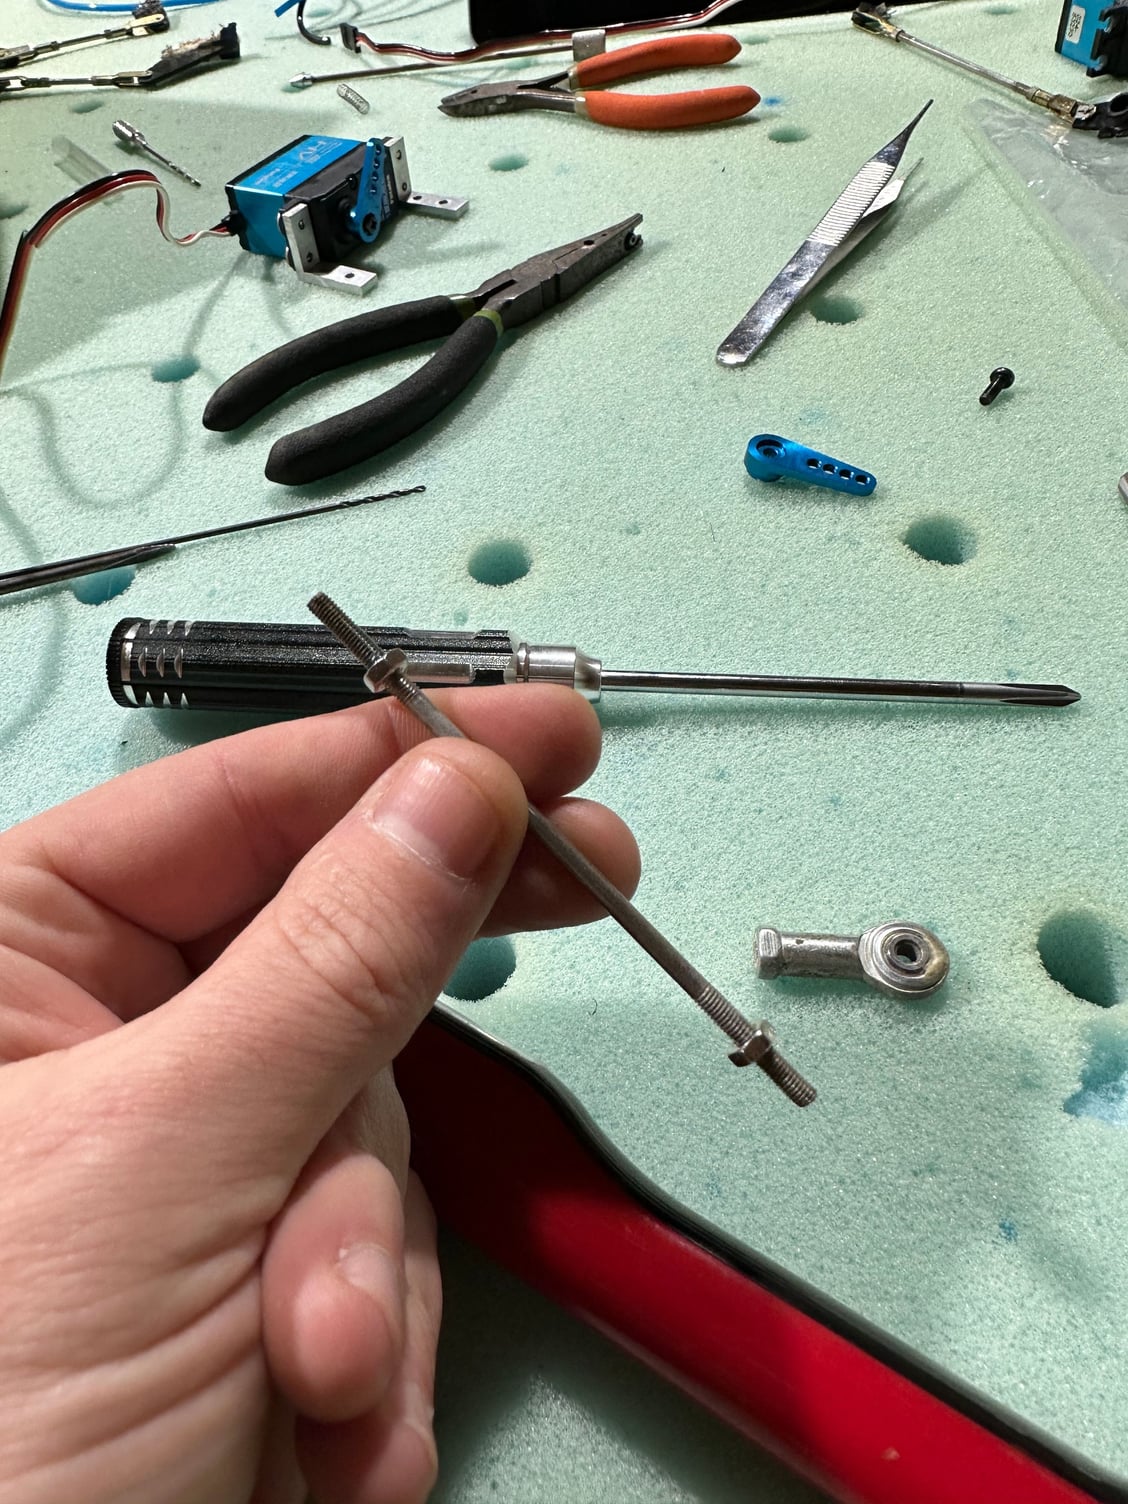
Best tool in my box
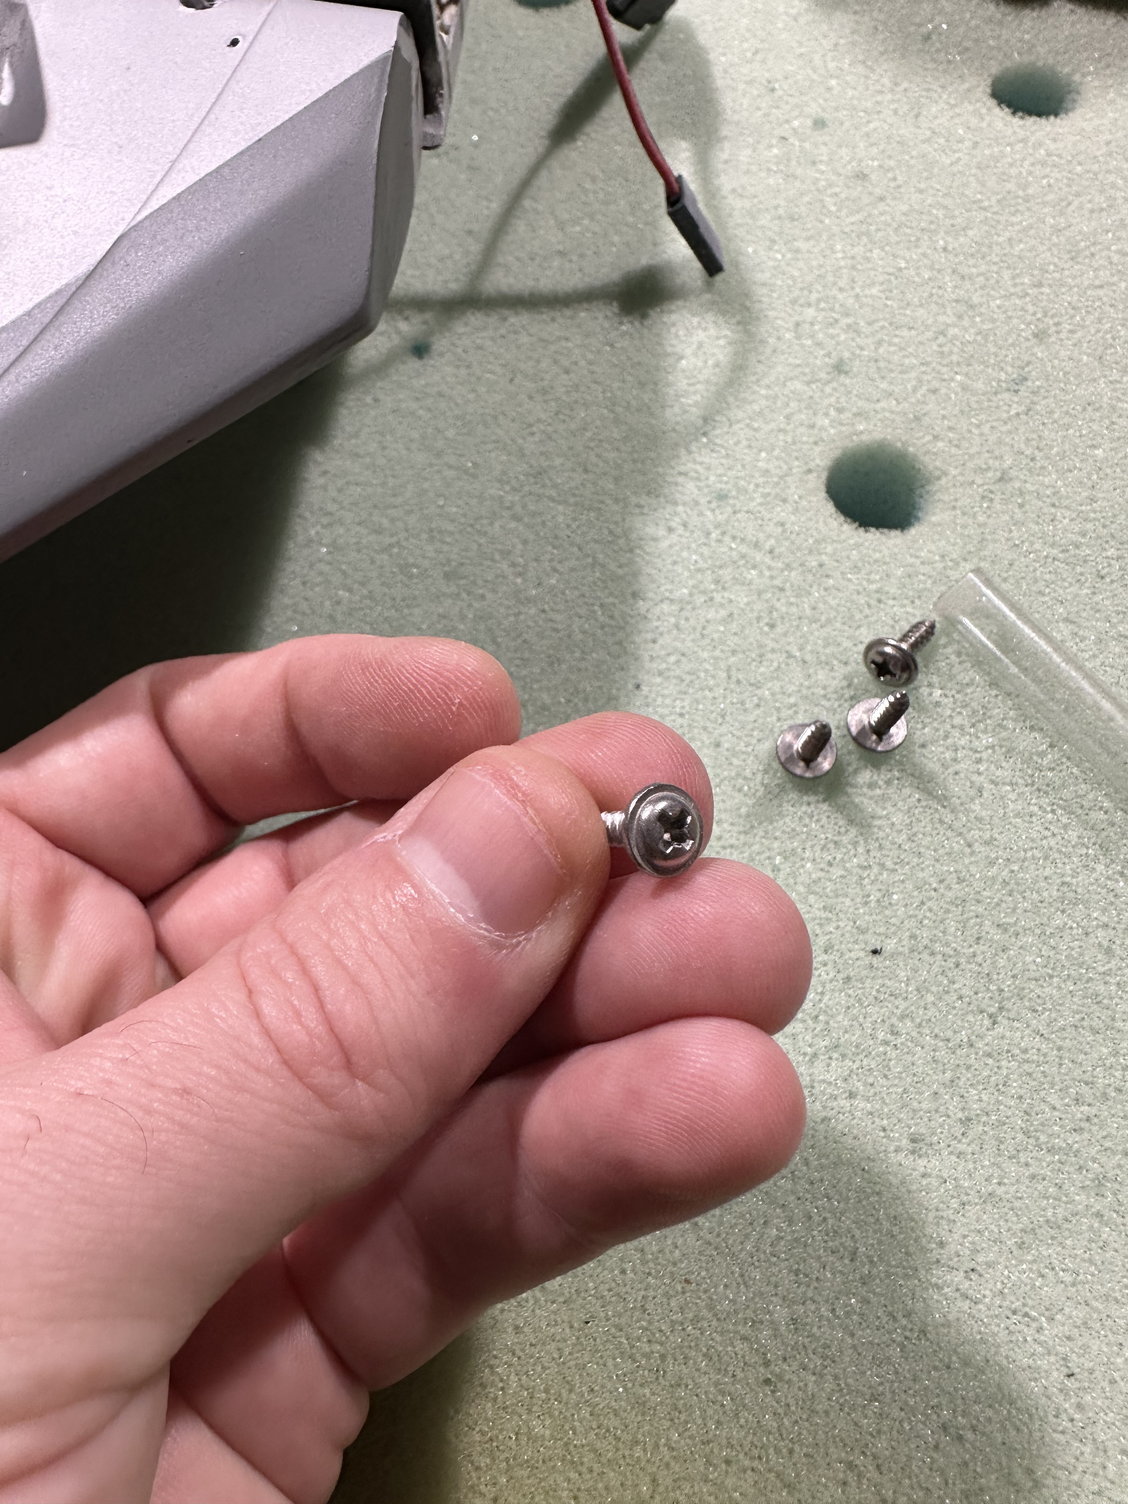
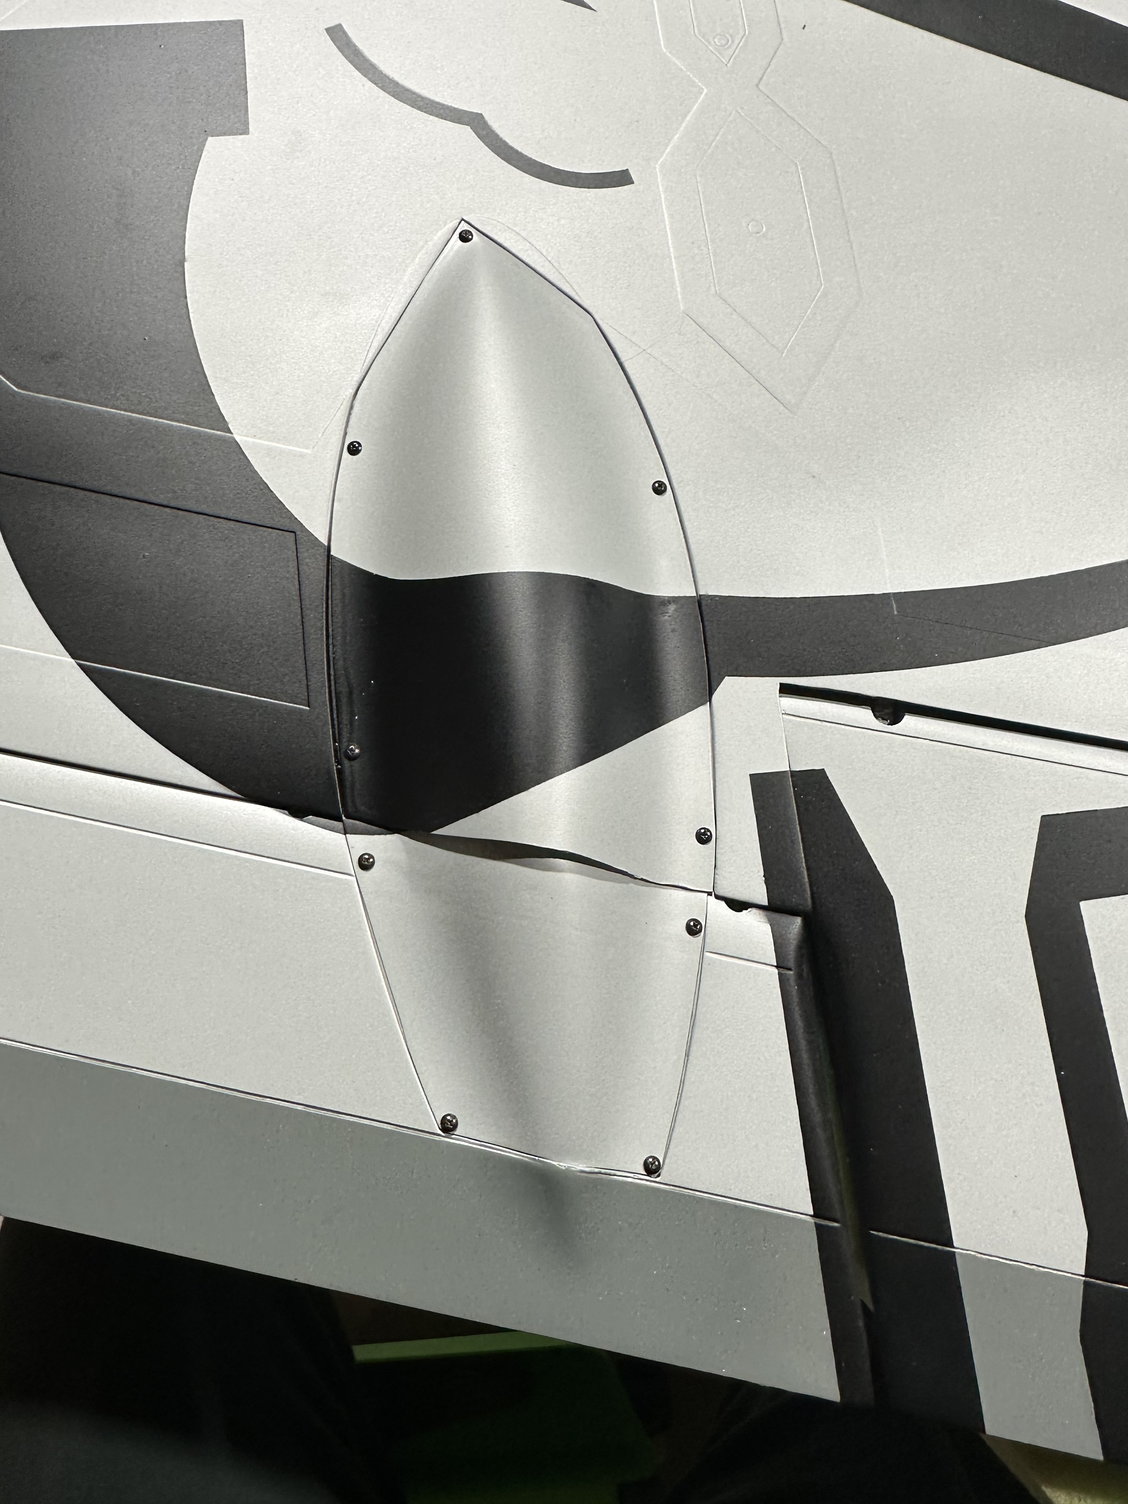
I used different screws than the supplied, this fit nice and have a rounded head.

tomorrow I will finish this wing and the other and then jump on shimming the rudders, typically it�s the hardest part of the build. This one has been a bit more up hill than the last.
a couple short videos are uploading to my YouTube channel
Best tool in my box
I used different screws than the supplied, this fit nice and have a rounded head.
