


T-One Models F22 Raptor build thread
 01-23-2020, 08:13 AM
#1


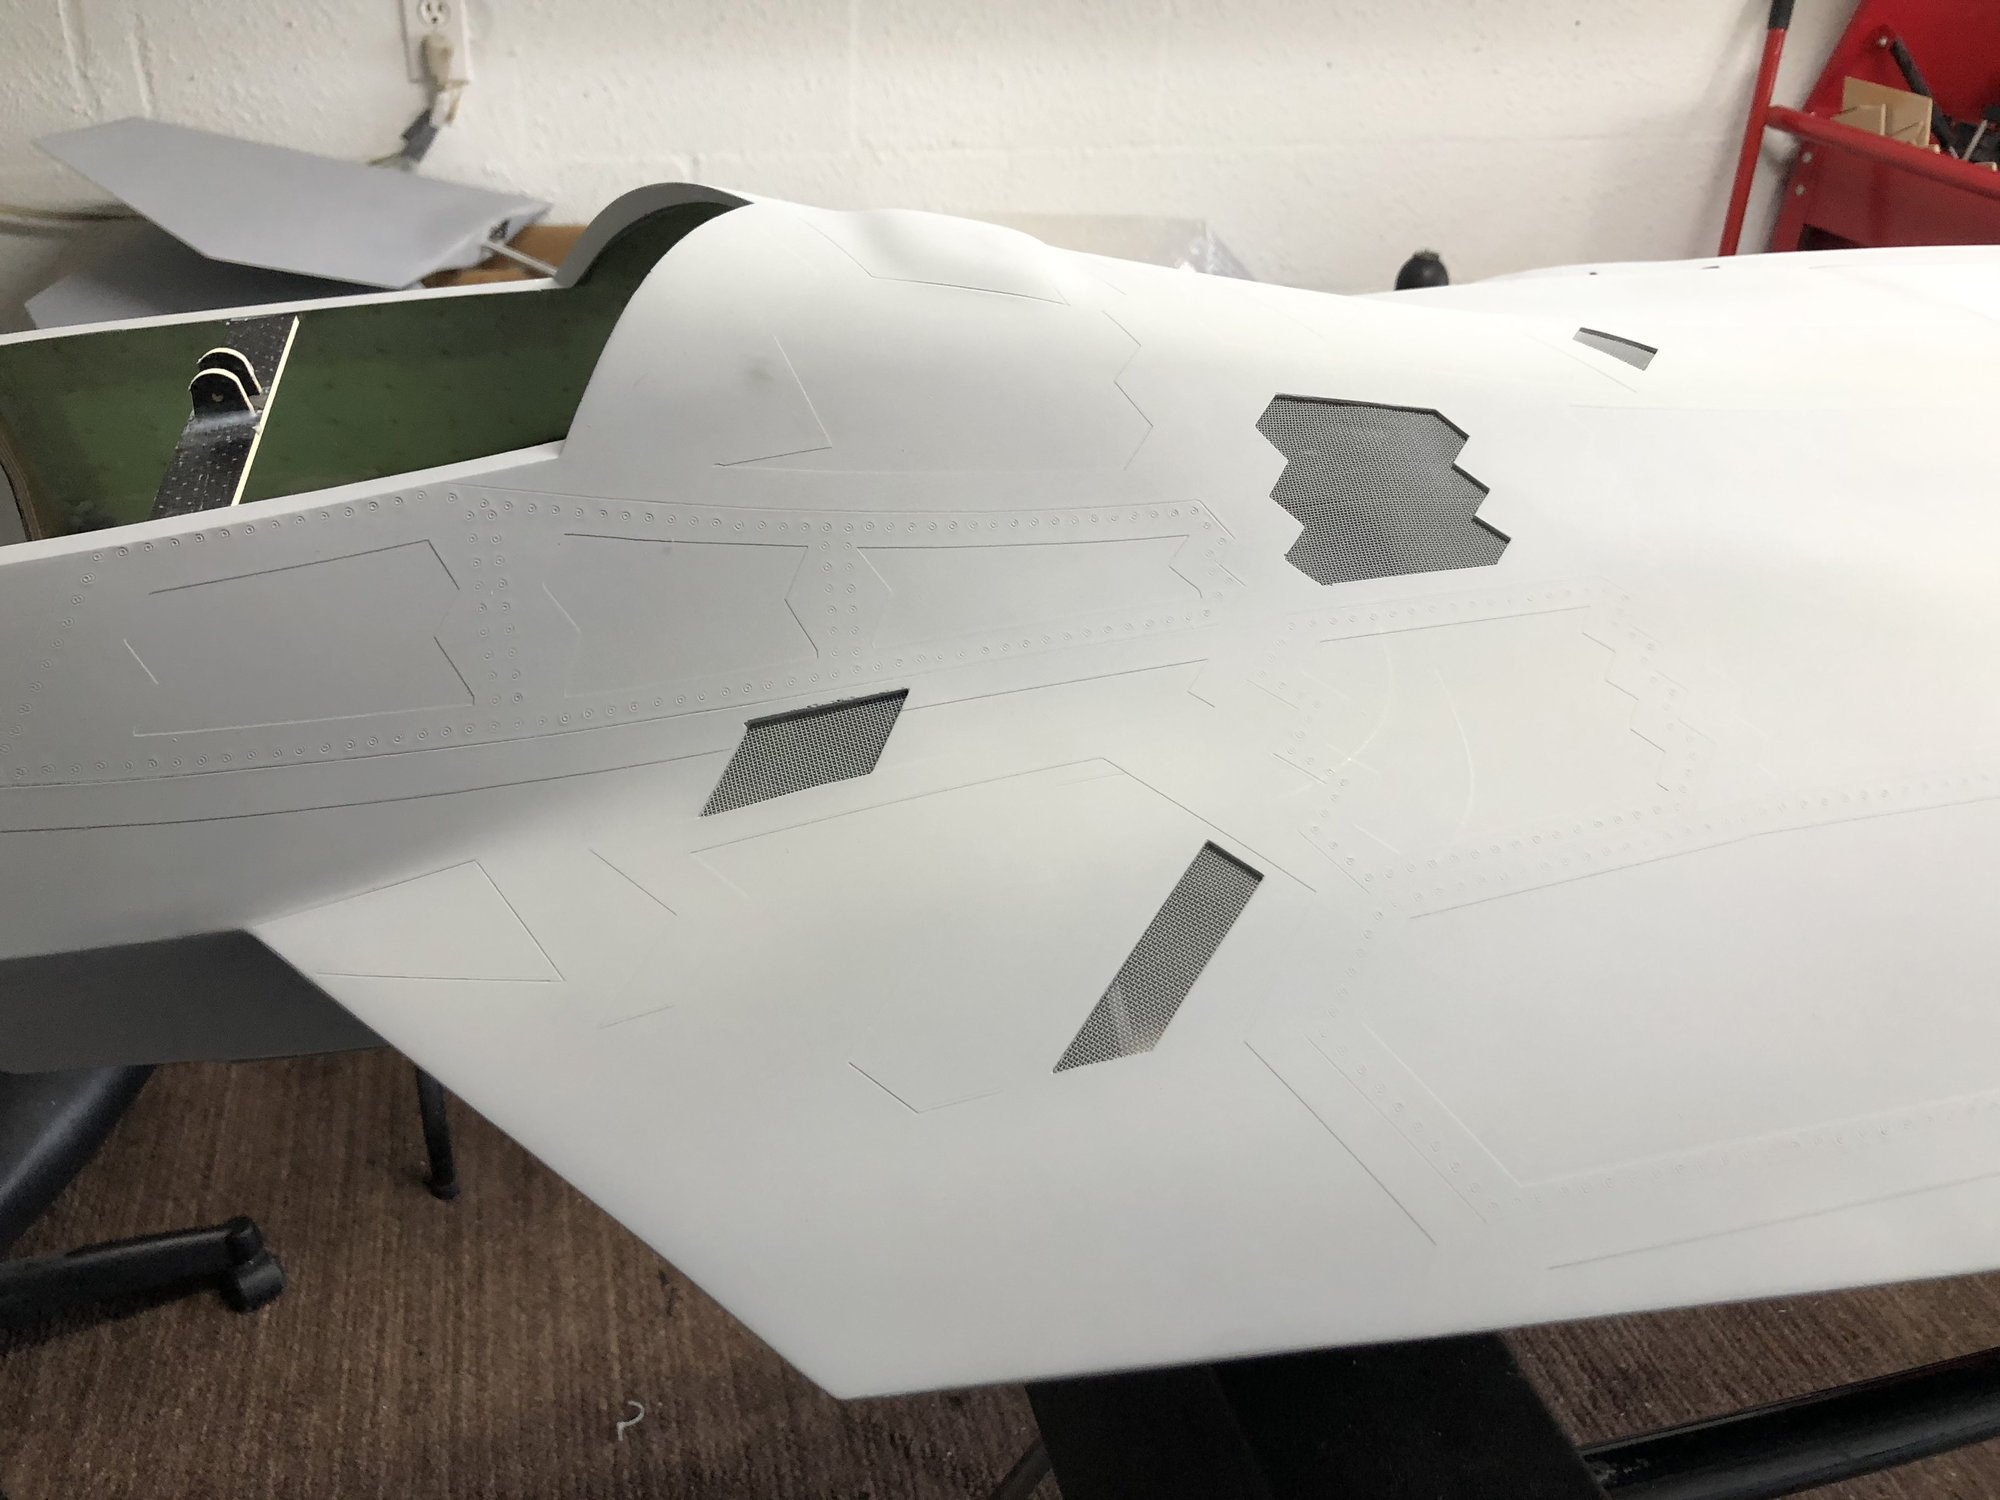
Ok its time to build the production version of the T-one F22! The prototype flew great that I built last year but this plane is much different and a much more polished product then the prototype as expected. Now I am a rep so full disclosure but I build allot of aircraft for people and I can say nothing on the market comes close to the quality of this aircraft right out of the box on a scale jet. Normally when I do a build I take the included hardware pack and all airlines and toss it into the trash can. Not this model. The factory has quality stuff included. The air T fittings are my favorite. The airline is good airline and holds up well.
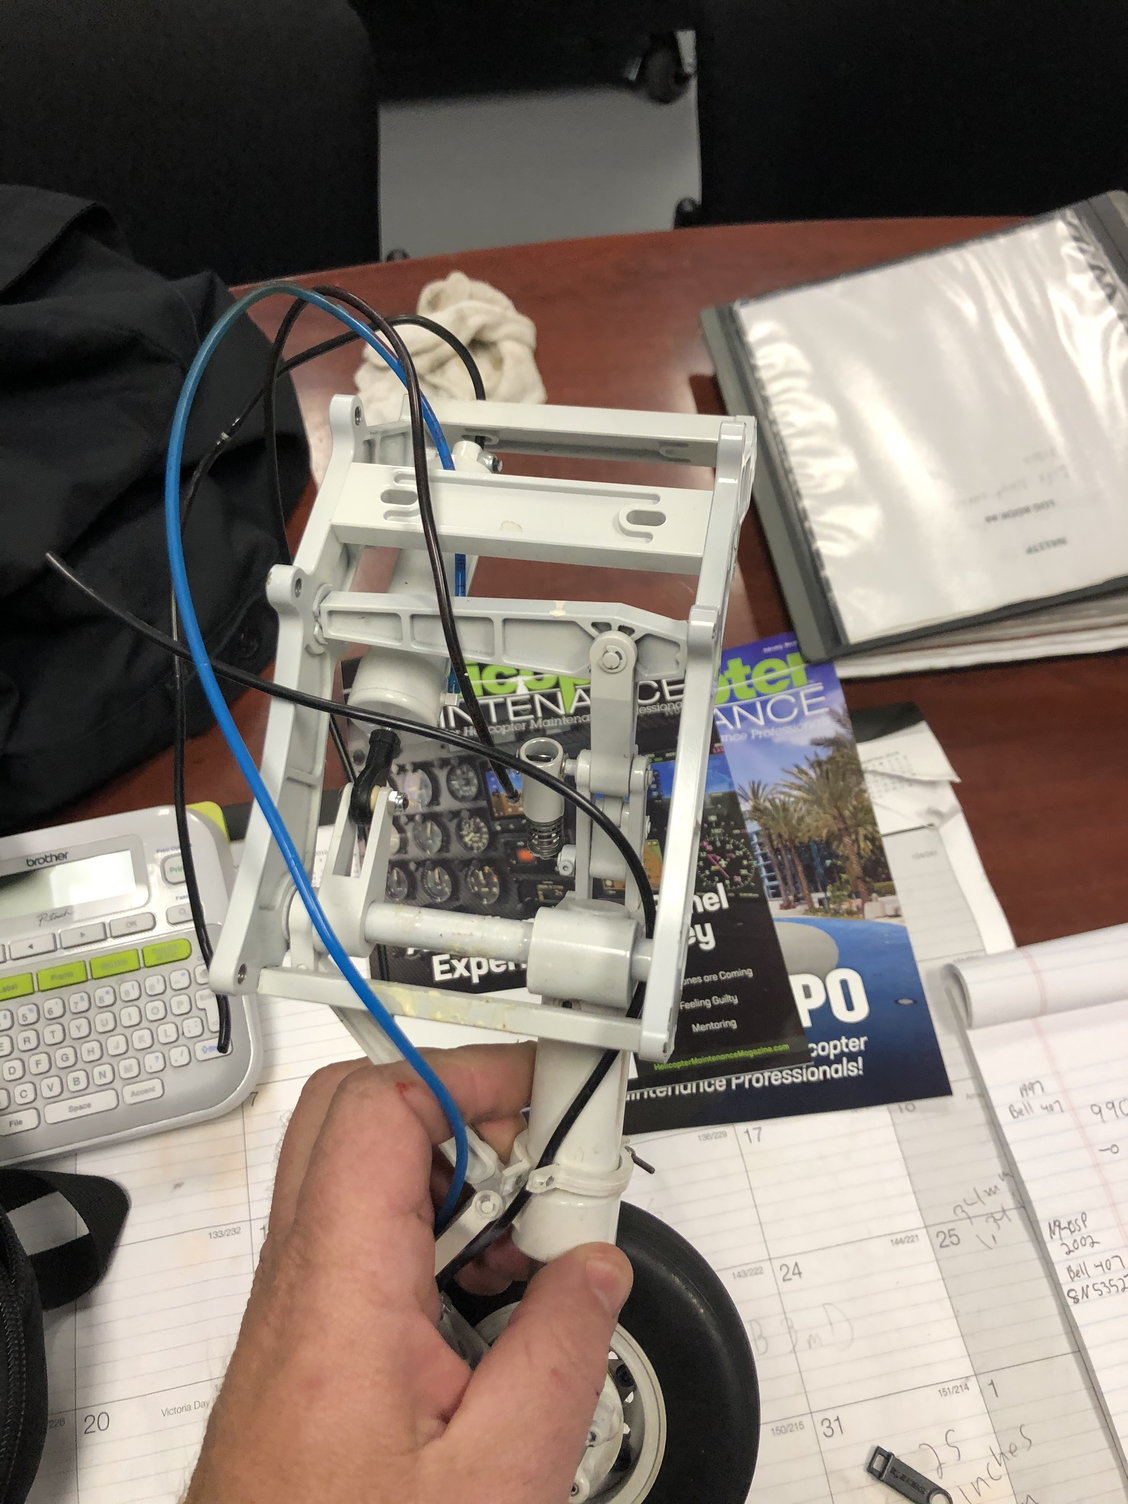
I will be using the gear from the prototype so I will need to do a gear install. I don't think anyone else will need to do it since the gear and doors come installed. I need to have this plane done by FLjets so its going to go quick. Feel free to post pics of your builds and questions on this thread. It should hopefully full the void of no instructions.
This plane is not for a new builder by any means. If you are unsure get the plugnplay version and have help to finish it off. It has allot of systems that can be overwhelming to a new pilot. When you break it all down its not to bad.
The plane is a fantastic flying plane. It has a very light wing loading and a complete joy to fly. With the thrust vectoring you can have some good fun with it. The production version seems a little lighter and it wont have the onboard airpump and extra battery the prototype had so should fly even better.
 01-23-2020, 08:27 AM
#2


Man this is so cool. I haven't really been an F-22 guy but I must say it has been slowly growing on me. Seeing you fly it live last year at FL jets was pretty neat. Good luck on the build, not that you need it.


 01-23-2020, 07:24 PM
#6

I noticed that T1 has incorporated one of my ideas/custom requests into their production model of this plane. My plane is from the initial batch, probably shortly after yours Kris. Good that they are open to upgrading. The rear fuse carbon slot in guide pins were not originally there but I needed an easier way to get the plane out of the house and assemble the aircraft together at the field without multiple supports. Hence the 4 pins. They also lend strength to the joint instead of plain screws alone. Here's a picture of mine.

I much enjoyed your build threads (YA, T1) and am eagerly looking forward to learning more from you to incorporate into my build as well. Many thanks for sharing.
I much enjoyed your build threads (YA, T1) and am eagerly looking forward to learning more from you to incorporate into my build as well. Many thanks for sharing.
Last edited by cycross; 01-23-2020 at 07:36 PM.
 01-23-2020, 08:09 PM
#8

Been a long time since I was excited about a jet build, I received all the electronics for mine today so I can start my build tomorrow. Its actually an ARF
01-29-2020, 05:30 AM
#9
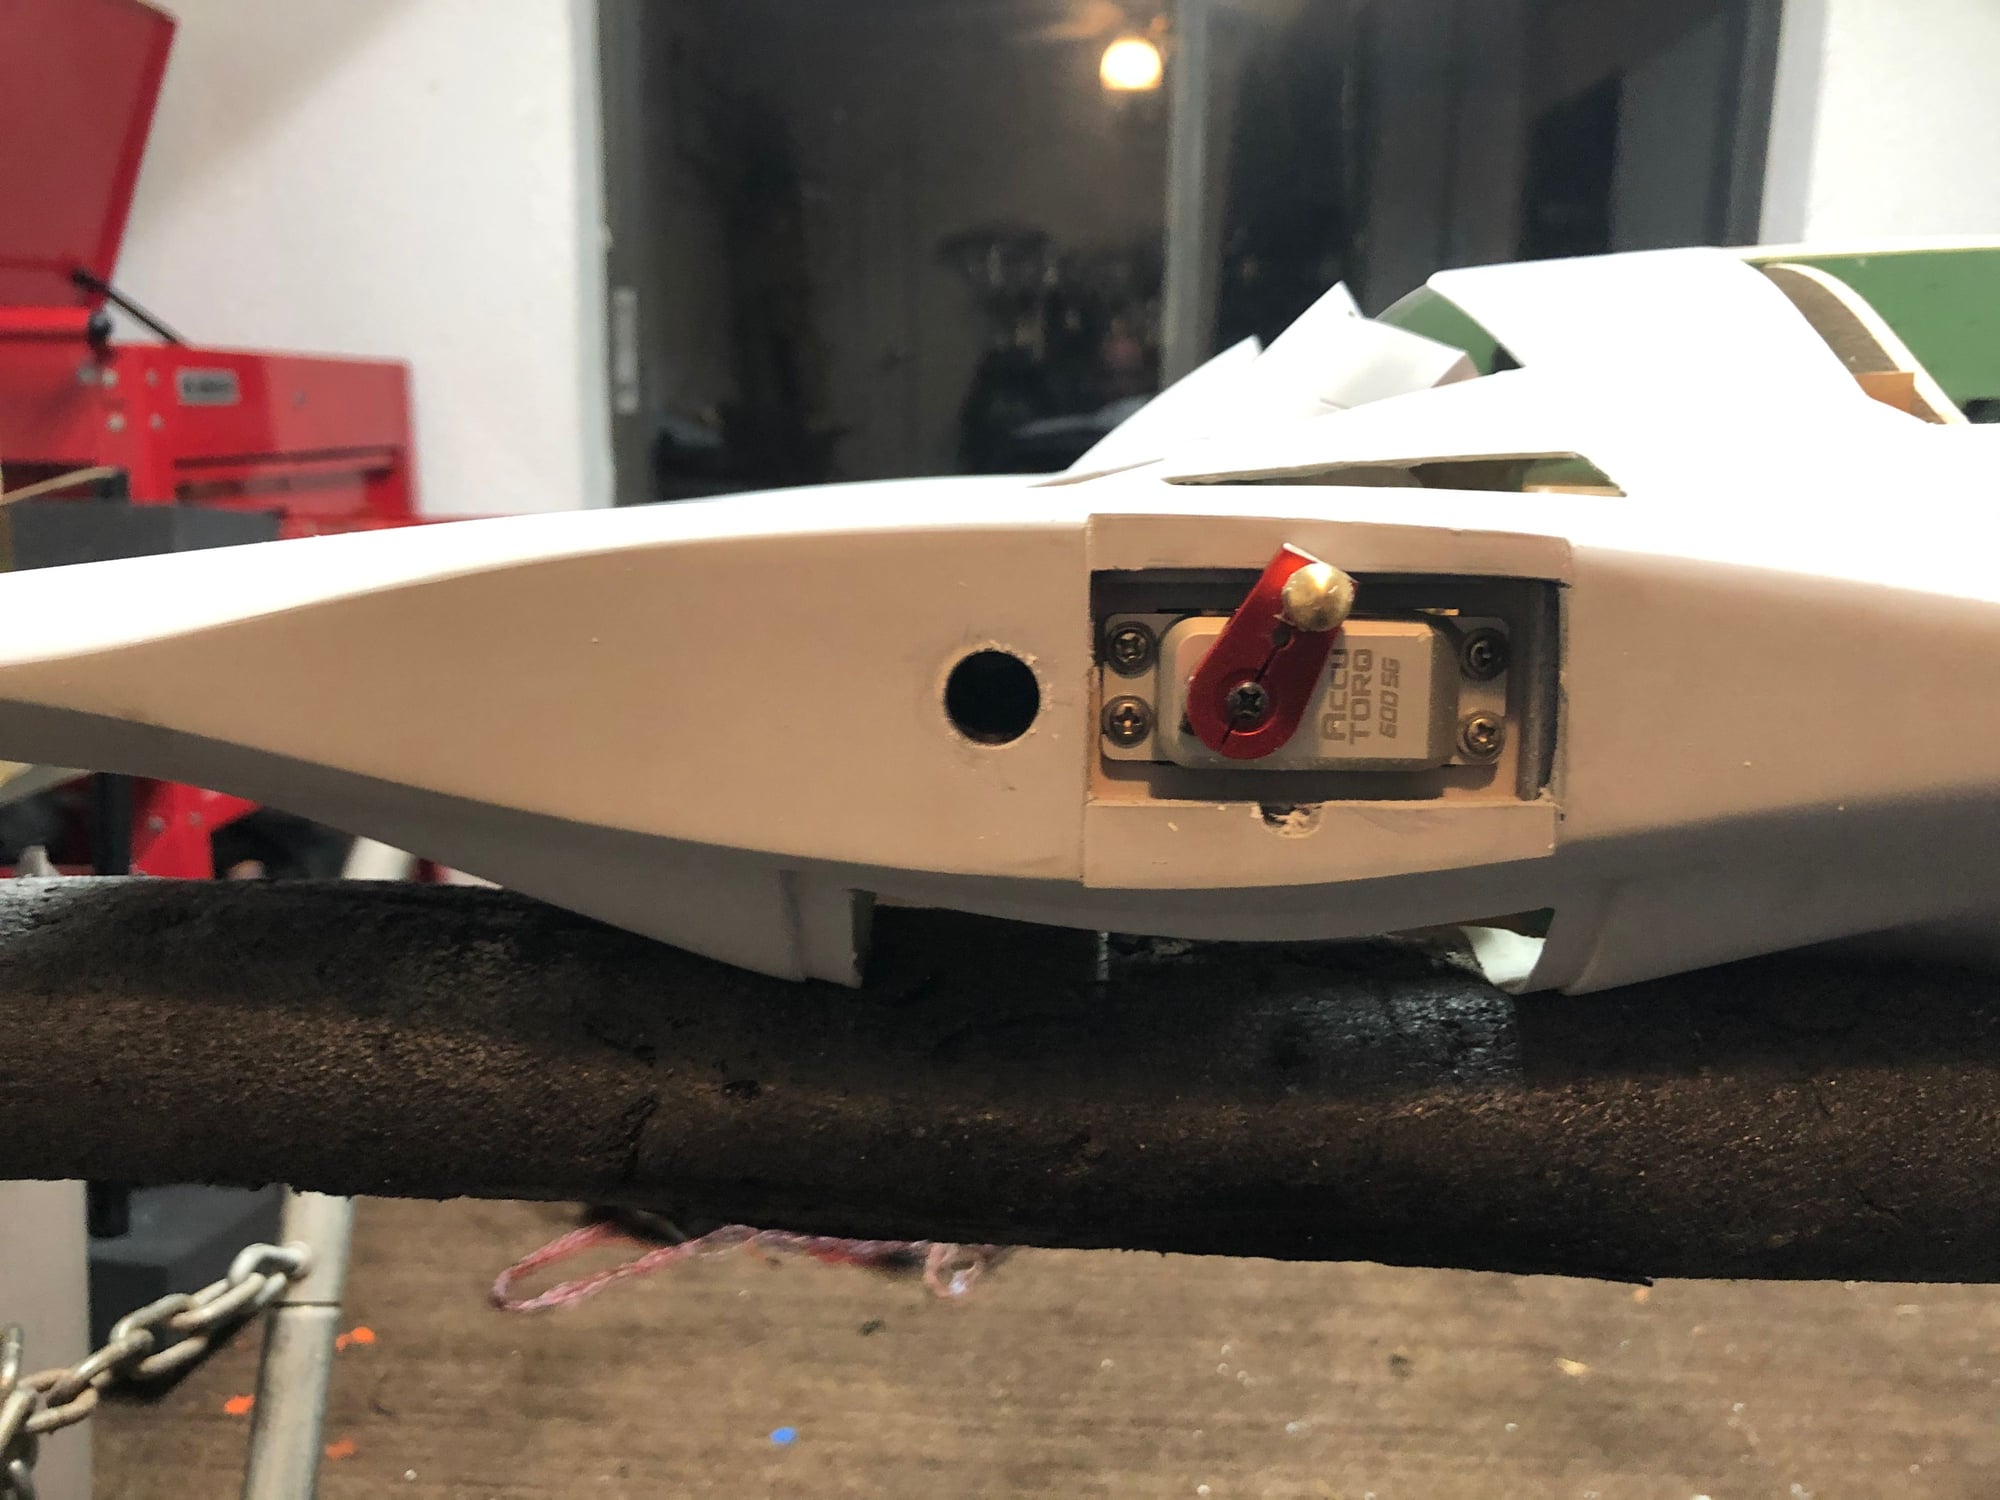
Ok the new servos came in! Very excited about these Accu torq servos we are selling now. They have smooth start very quite at idle and are very smooth.
was not sure how they would fit in the F22 since it was built for savox but they fit perfect.
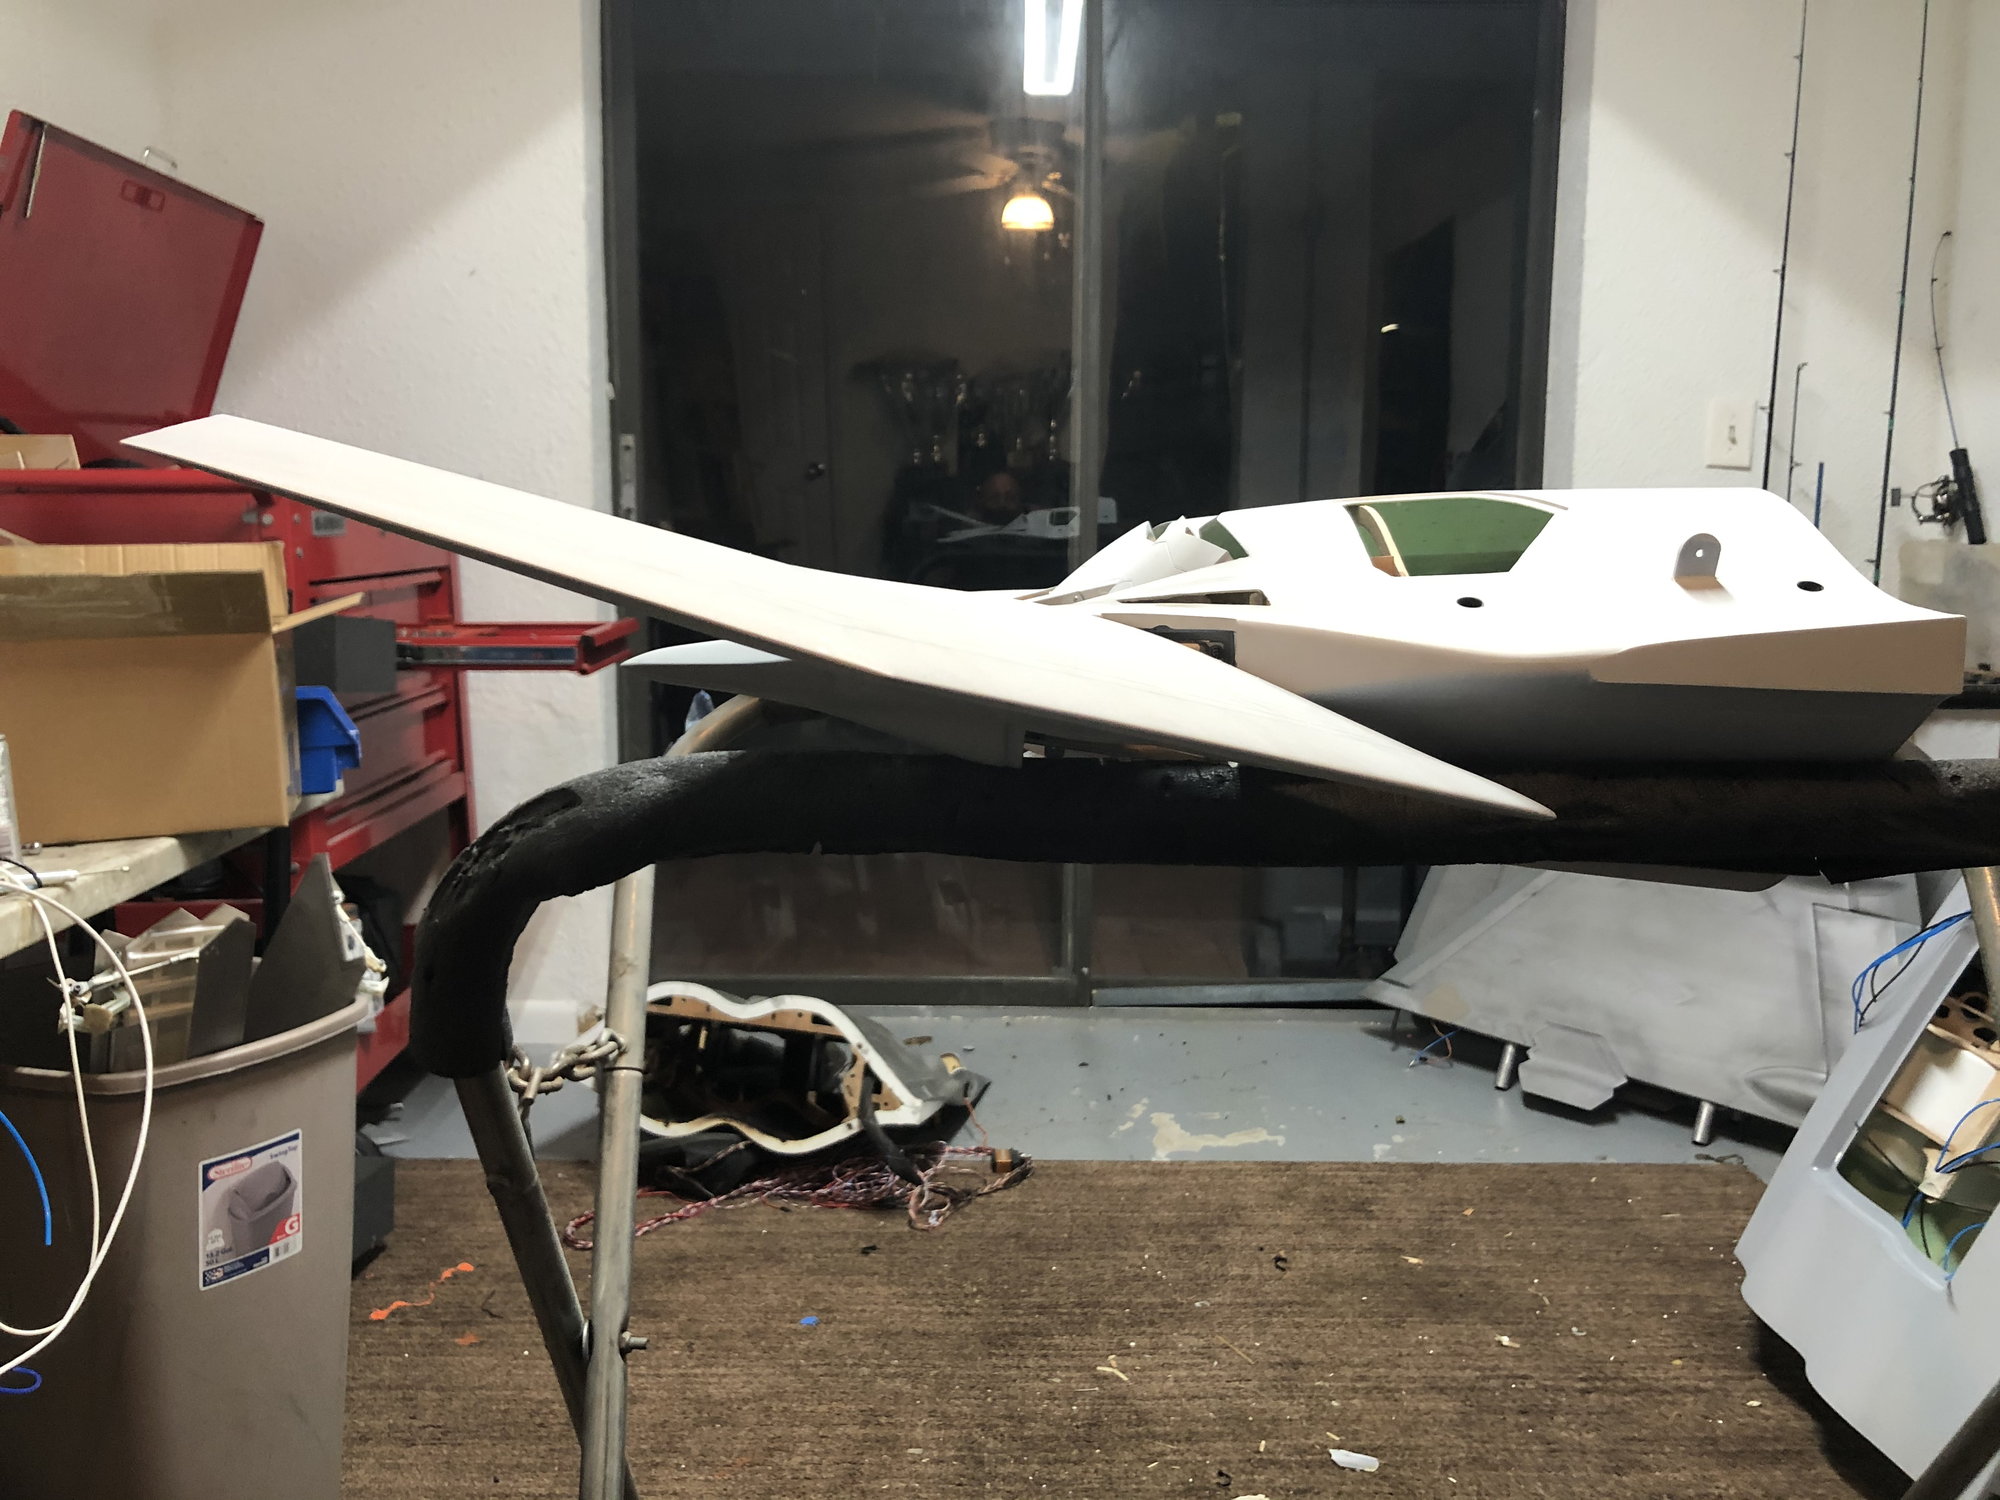
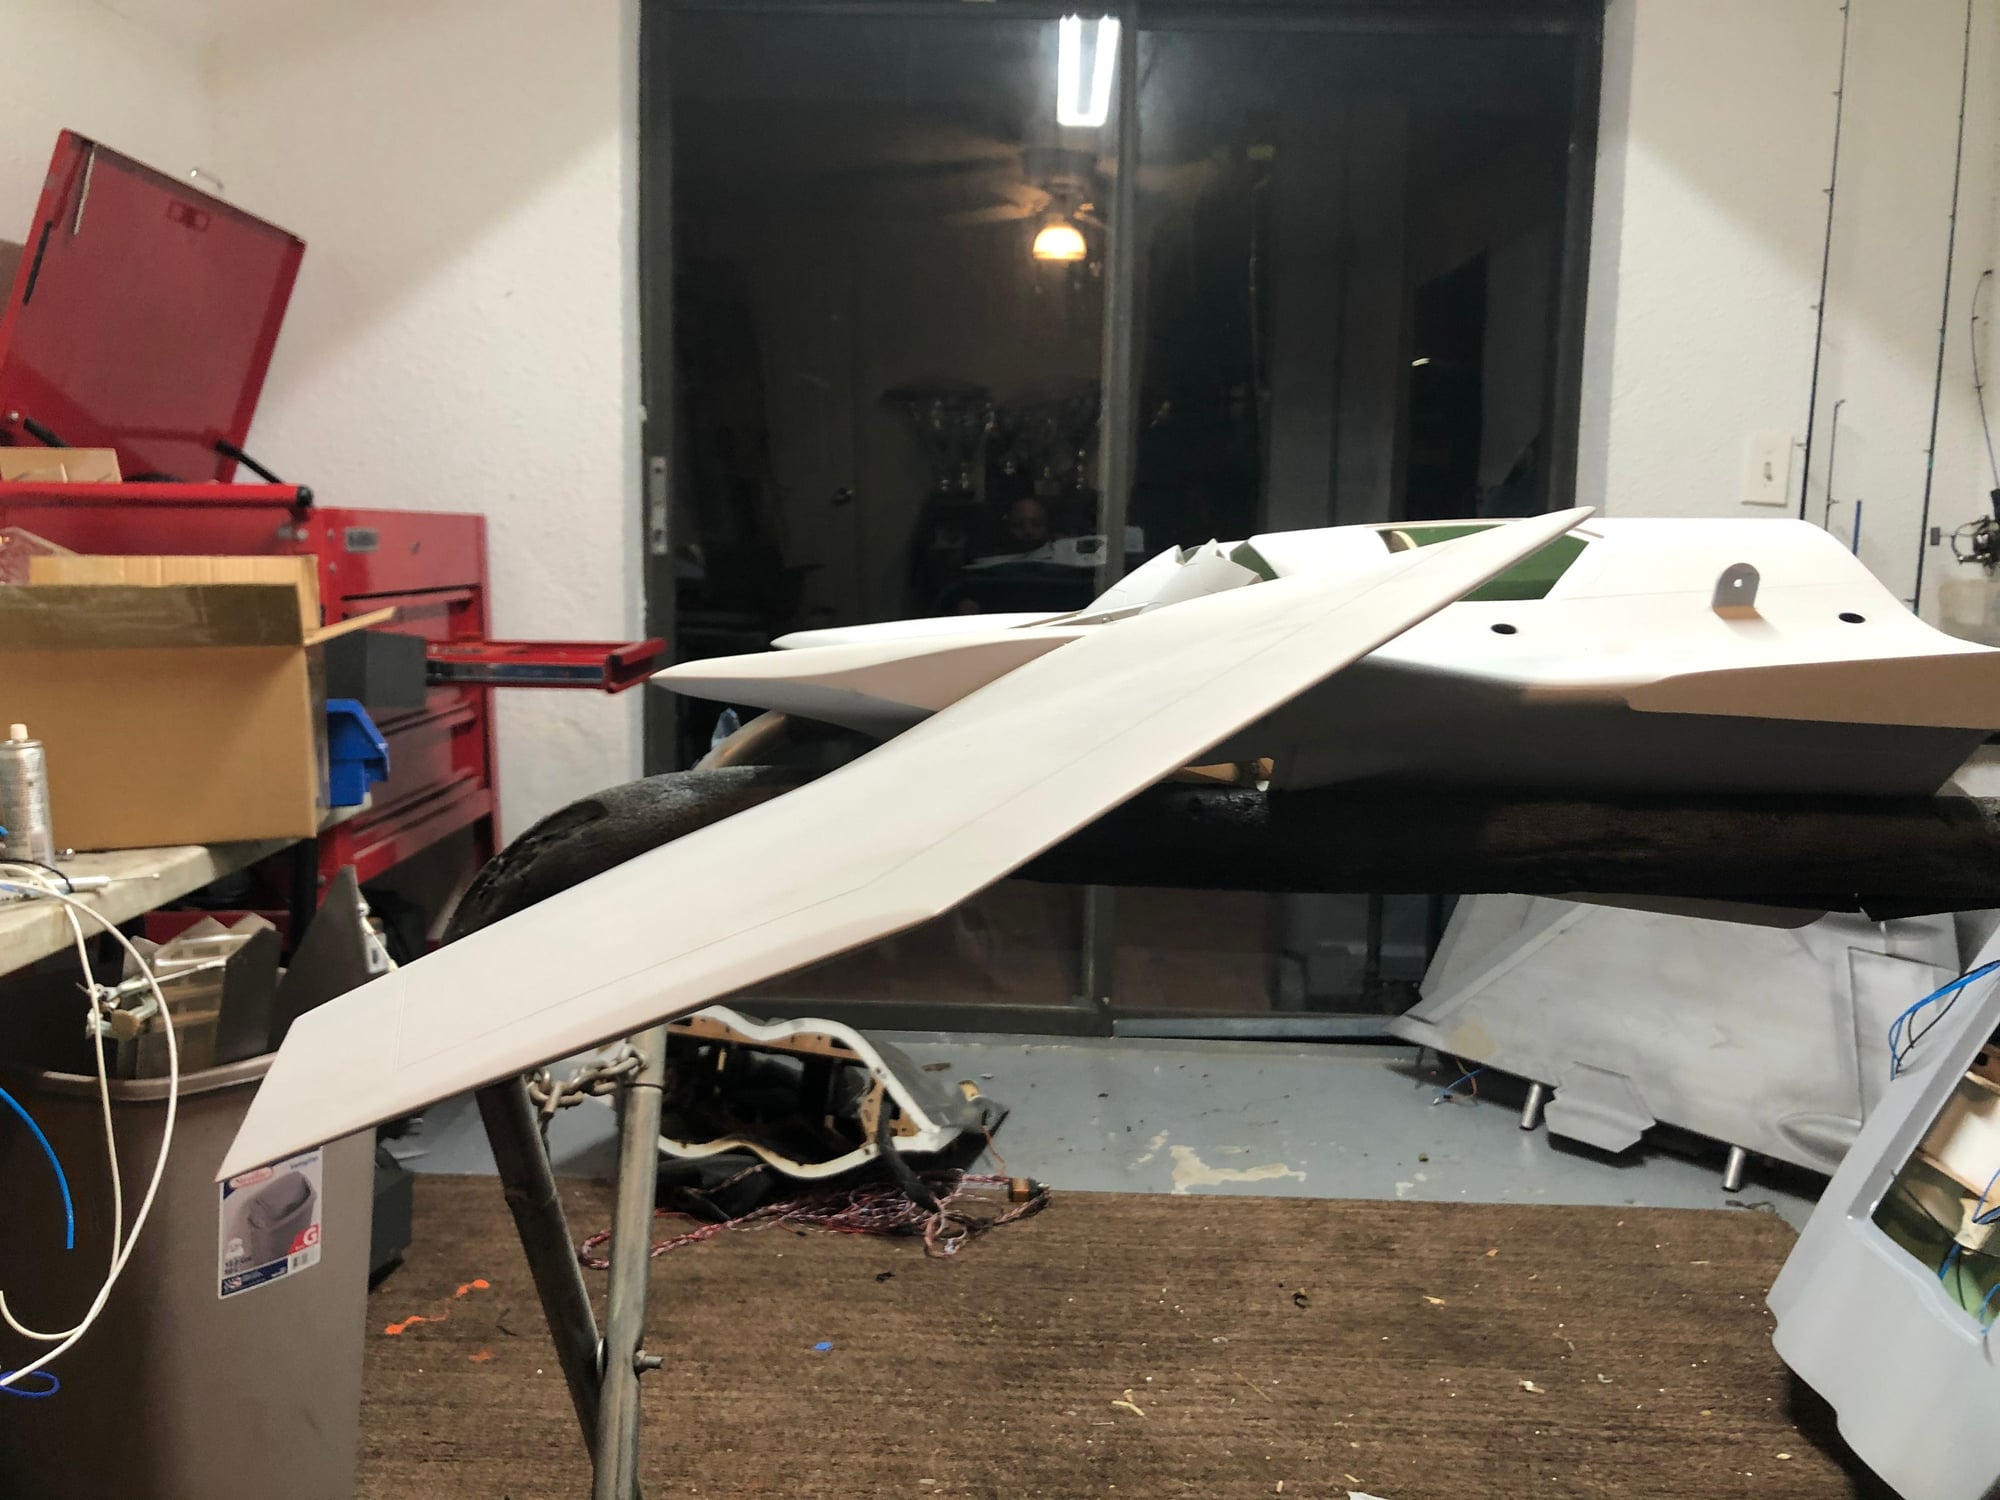
I got moving last night on it.
I like to start at the tail section.
was not sure how they would fit in the F22 since it was built for savox but they fit perfect.
I got moving last night on it.
I like to start at the tail section.
01-29-2020, 05:42 AM
#10
First up was the elevators. It�s pretty straight forward.
don�t use rubber mounts for these. Use the included servo arm. Install ball onto the inner hole as shown in picture. Cut off the rest of the arm with a dremmel.
center servo ( I use a cheap ass center tool from eBay I got for like 6$). Install arm.
I stall servo in plane as shown.
the stabs are the same but if you fit them from left to right it will fit better on one side. So figure out the one that fits best and mark it with R or L. Trial fit them and figure out what trimming is needed to get decent throw. I have a picture with good throw and the trimming I did.
01-29-2020, 05:47 AM
#11
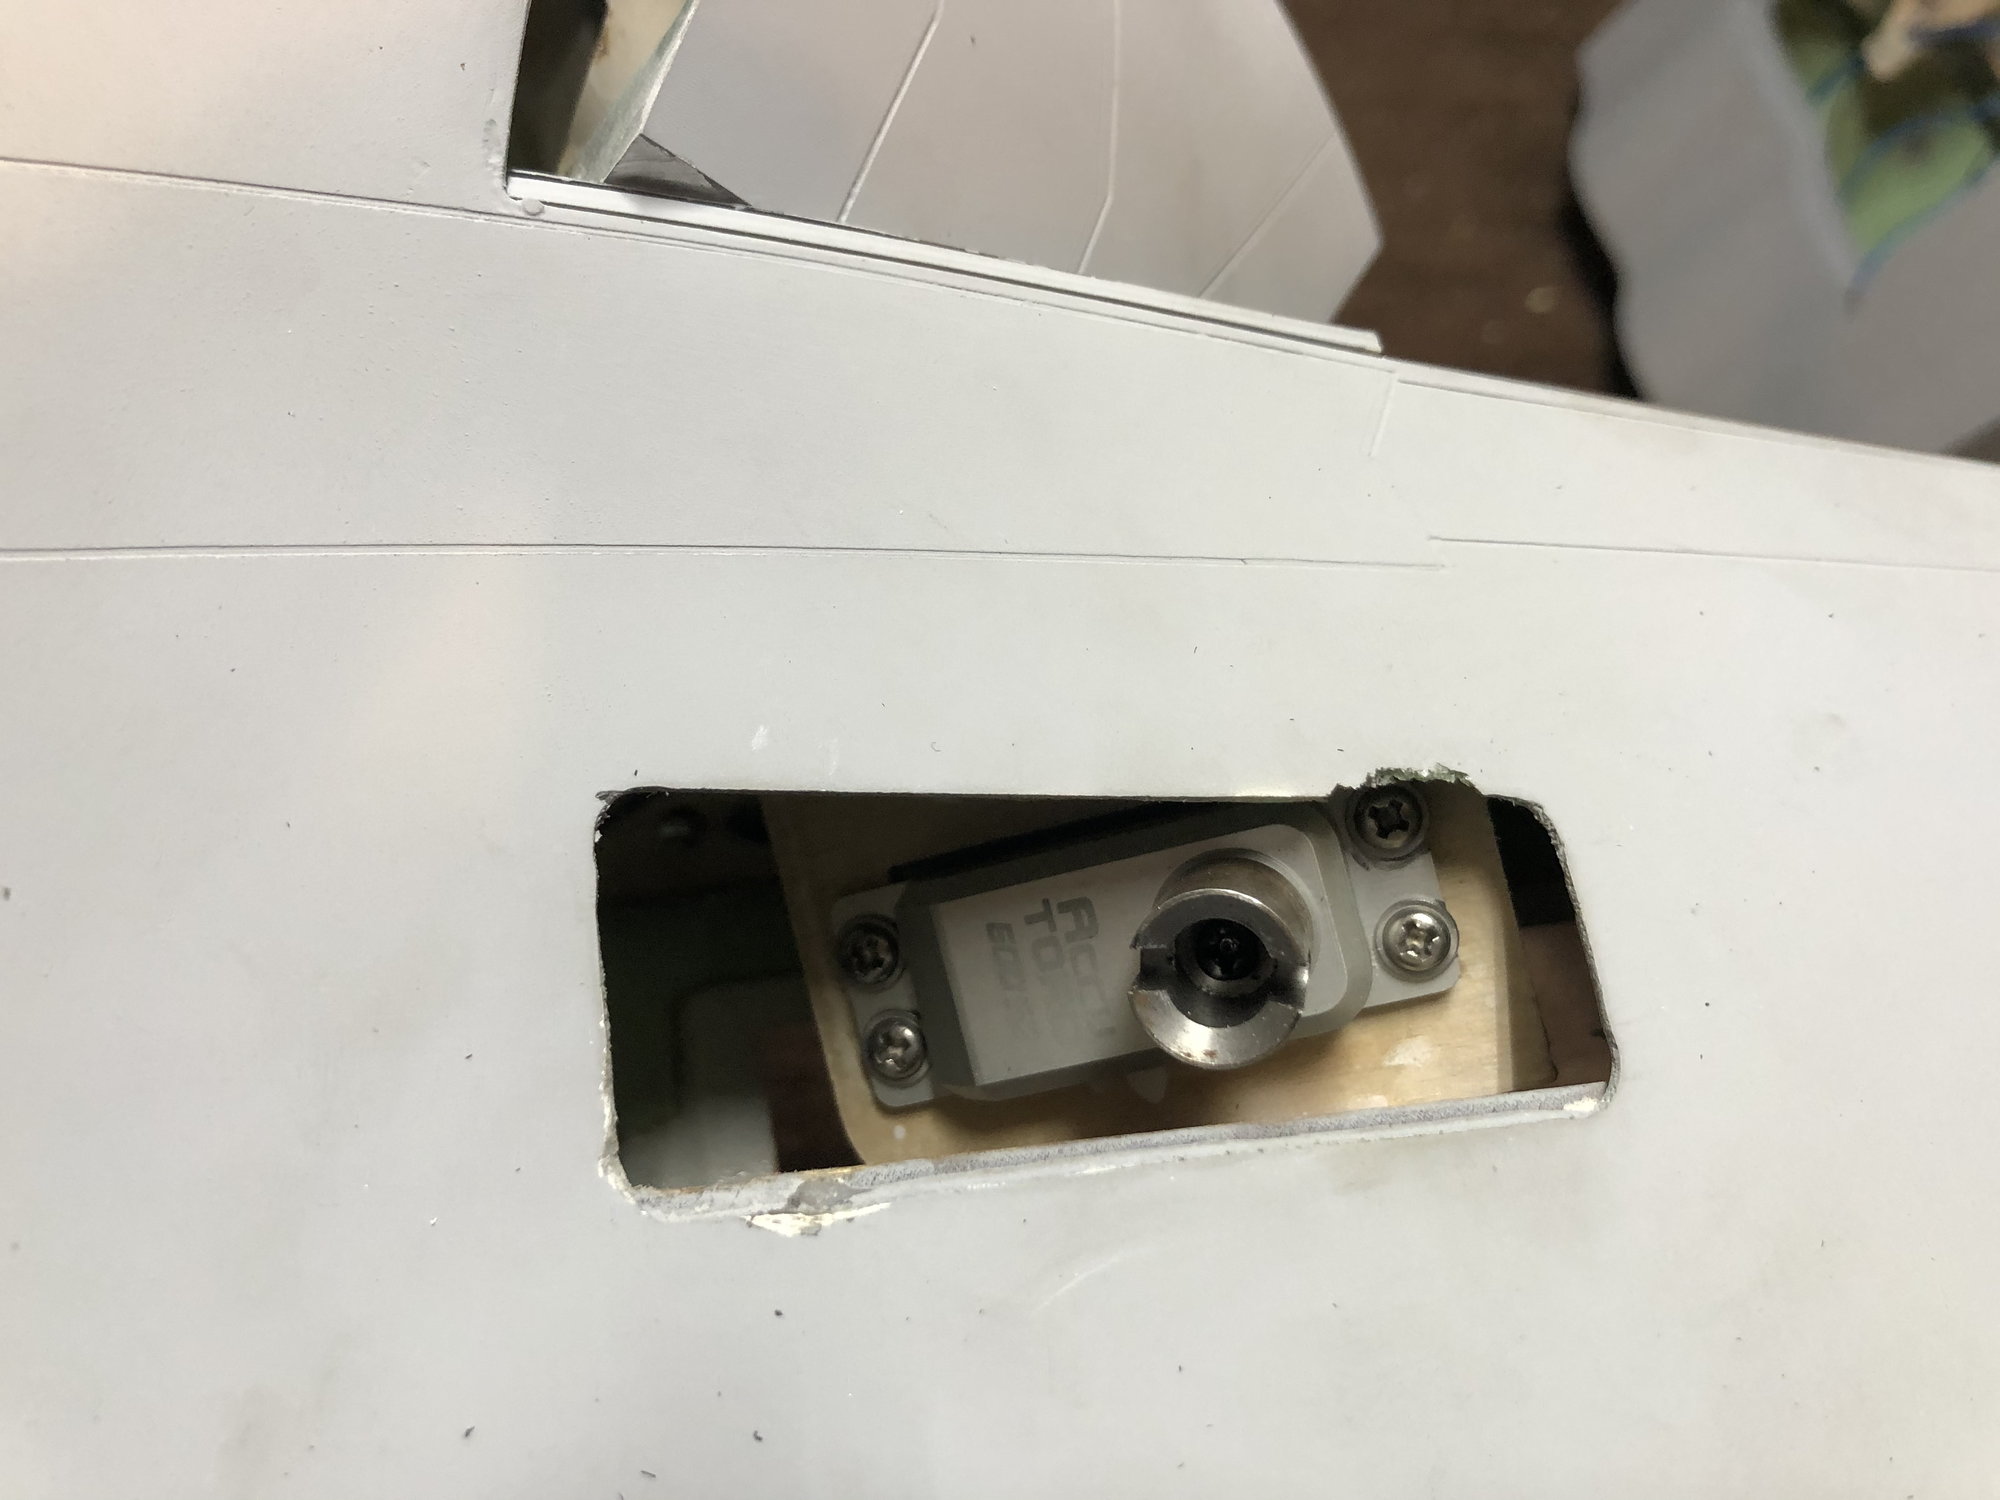
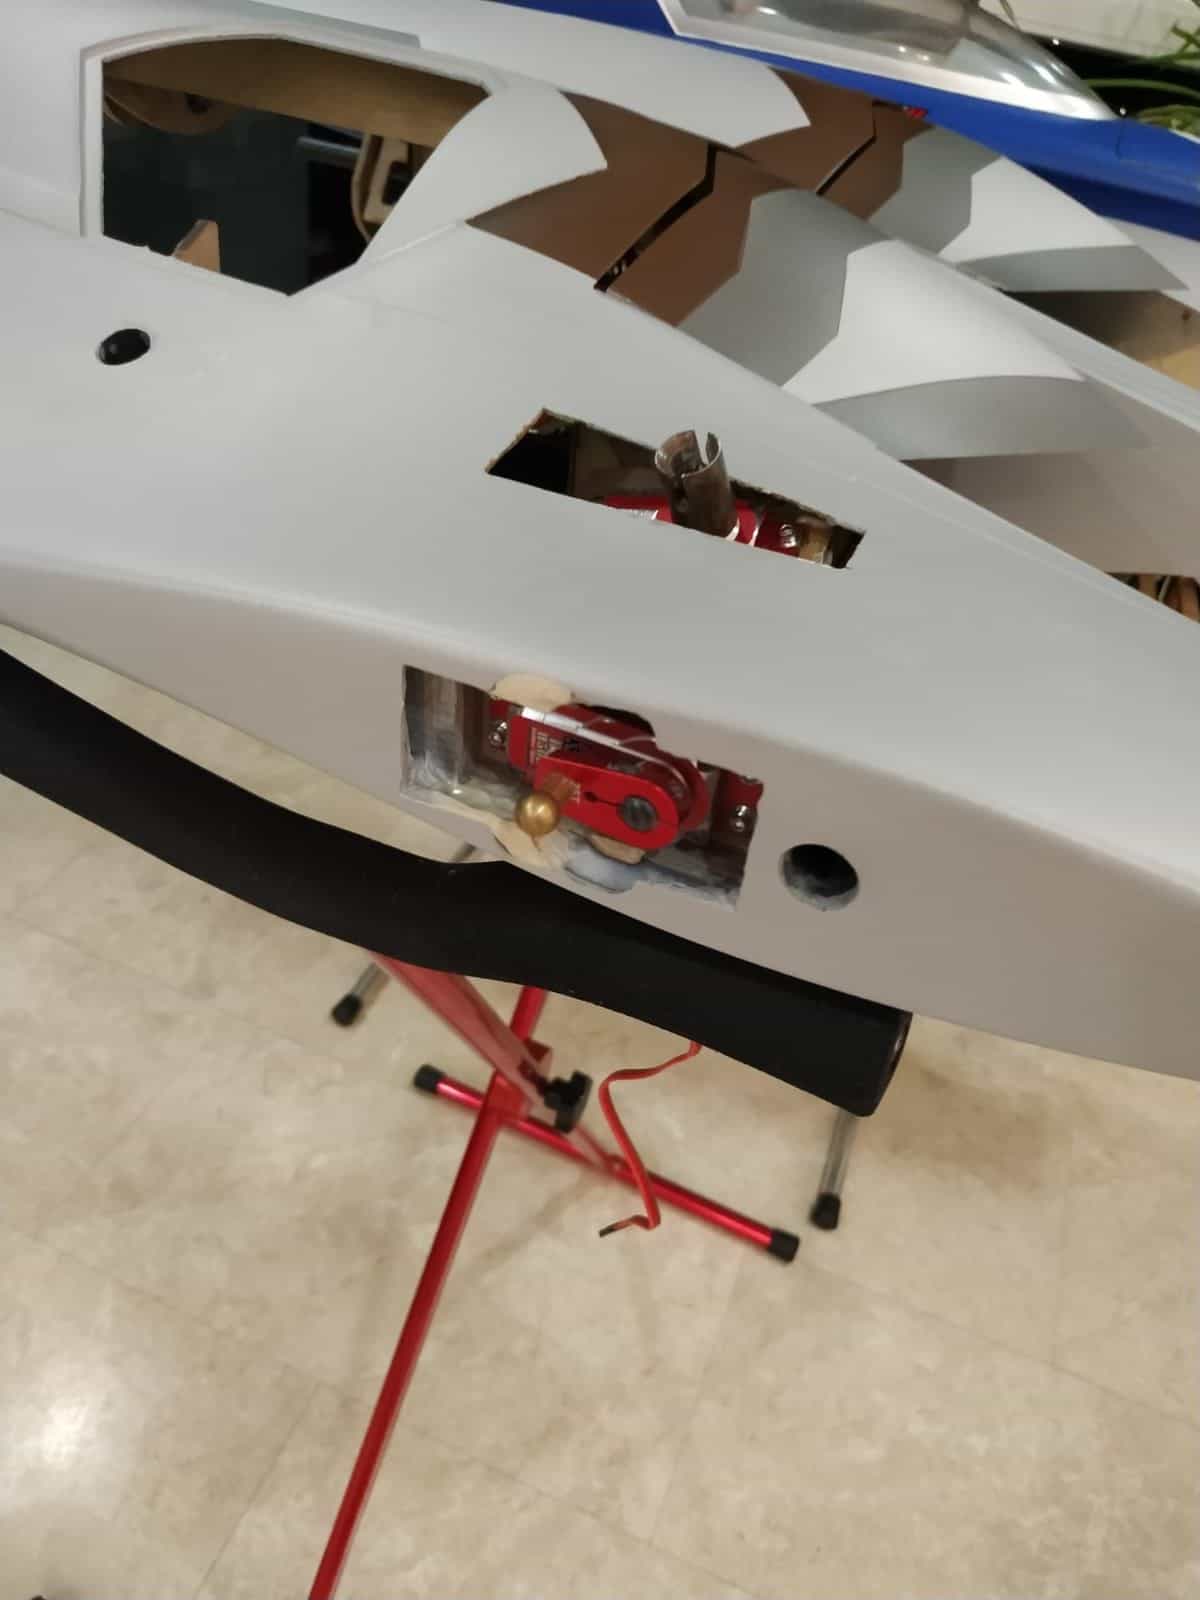
Next up is the rudders.
very straight forward install but you must take your time to align the servo.
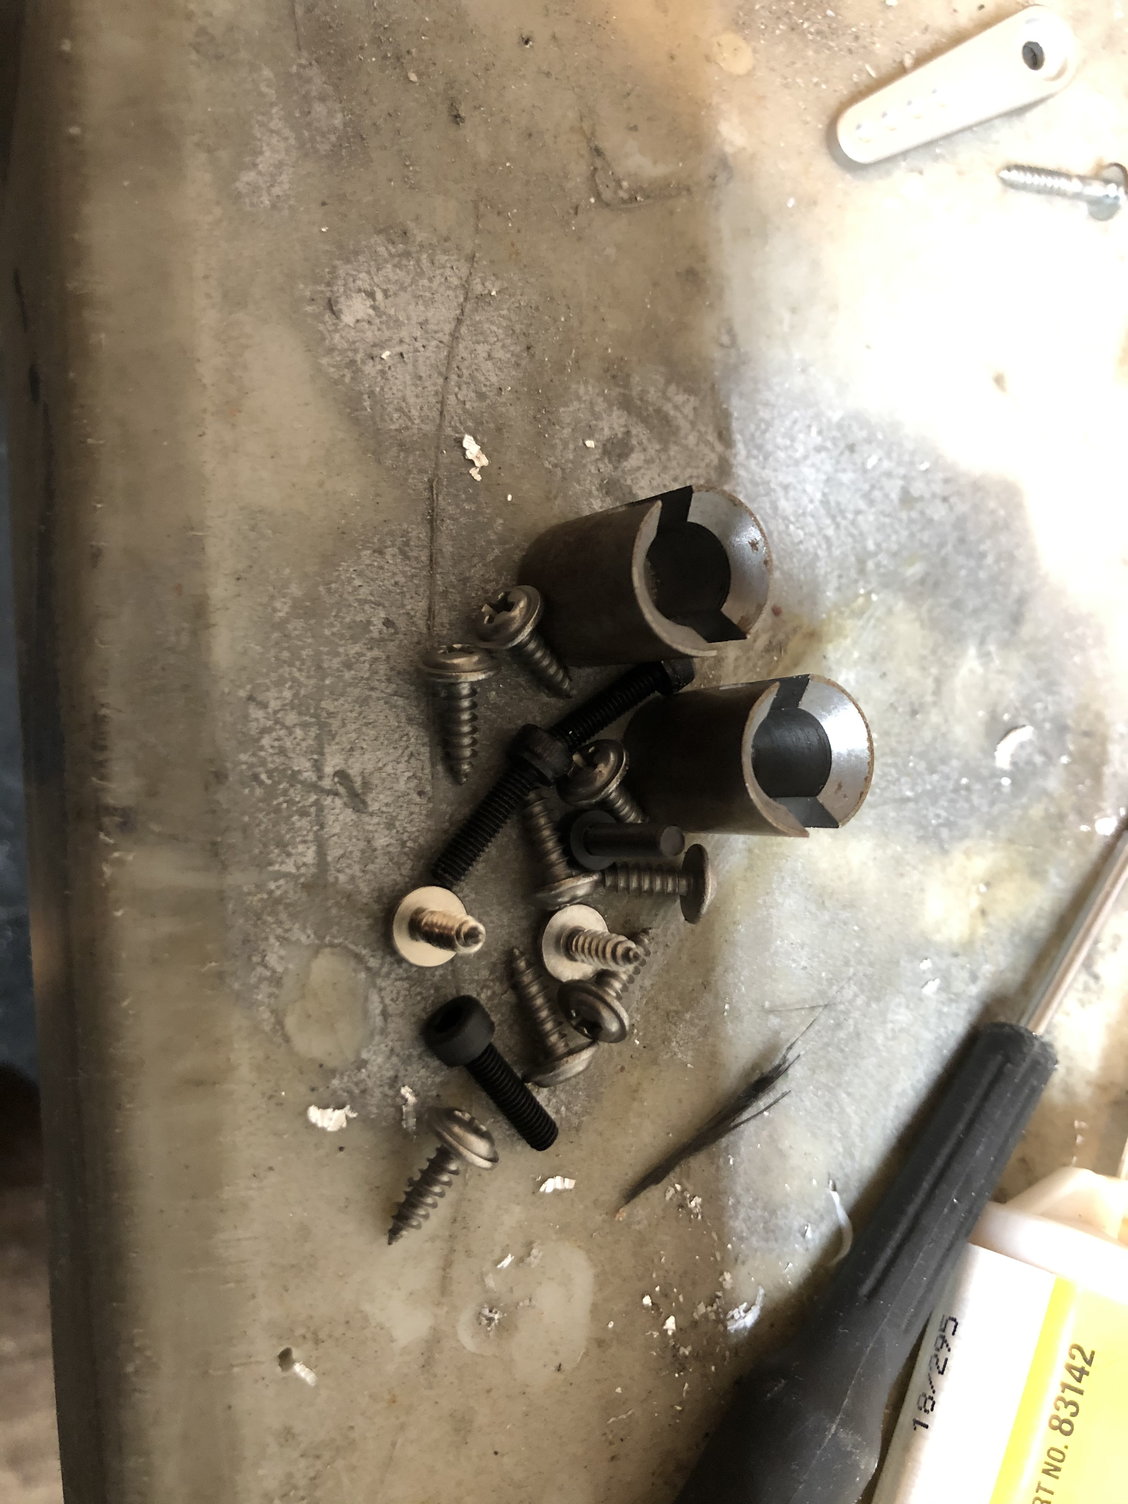
first center the servo. Then install the included torque rod fitting. Make sure your servo screw in long enough to have enough threads into the servo.
next install the servo but only install with on screw . I then trial fit the vertical and checked alignment. I keep doing this until I got the servo fitting to line up and slide into the rudder fitting. Once it�s lined up remove vertical and pre drill new holes and install the rest of the servo screws.
be careful not to chip the skin like I did installing the servo. Lucky for me I�m painting it so it�s no biggie to fix it.

very straight forward install but you must take your time to align the servo.
first center the servo. Then install the included torque rod fitting. Make sure your servo screw in long enough to have enough threads into the servo.
next install the servo but only install with on screw . I then trial fit the vertical and checked alignment. I keep doing this until I got the servo fitting to line up and slide into the rudder fitting. Once it�s lined up remove vertical and pre drill new holes and install the rest of the servo screws.
be careful not to chip the skin like I did installing the servo. Lucky for me I�m painting it so it�s no biggie to fix it.
01-29-2020, 07:22 AM
#14
I too had to trim the bits around the elevator servo horn to get decent throw, else the horn strikes the FG skin. In fact, I found that I had to turn up beyond TX 100% of normal limits to get good throw angles of the stab. Without, the maximum throw +/- is around 10-12 degrees. I managed to push it up better to about 24degrees now. Good to have the stretch, whether I will need it or not, remains to be seen.
As for the rudder servo installation, that was painful for me. I found that I had to raise and tilt the servo at a particular way in order to get the rudder removable.
I had no good technique, trial fitting all the while until I got it. It took me many many attempts.
As for the rudder servo installation, that was painful for me. I found that I had to raise and tilt the servo at a particular way in order to get the rudder removable.
I had no good technique, trial fitting all the while until I got it. It took me many many attempts.
Last edited by cycross; 01-29-2020 at 07:37 AM.
01-29-2020, 09:33 AM
#18
01-29-2020, 05:09 PM
#19
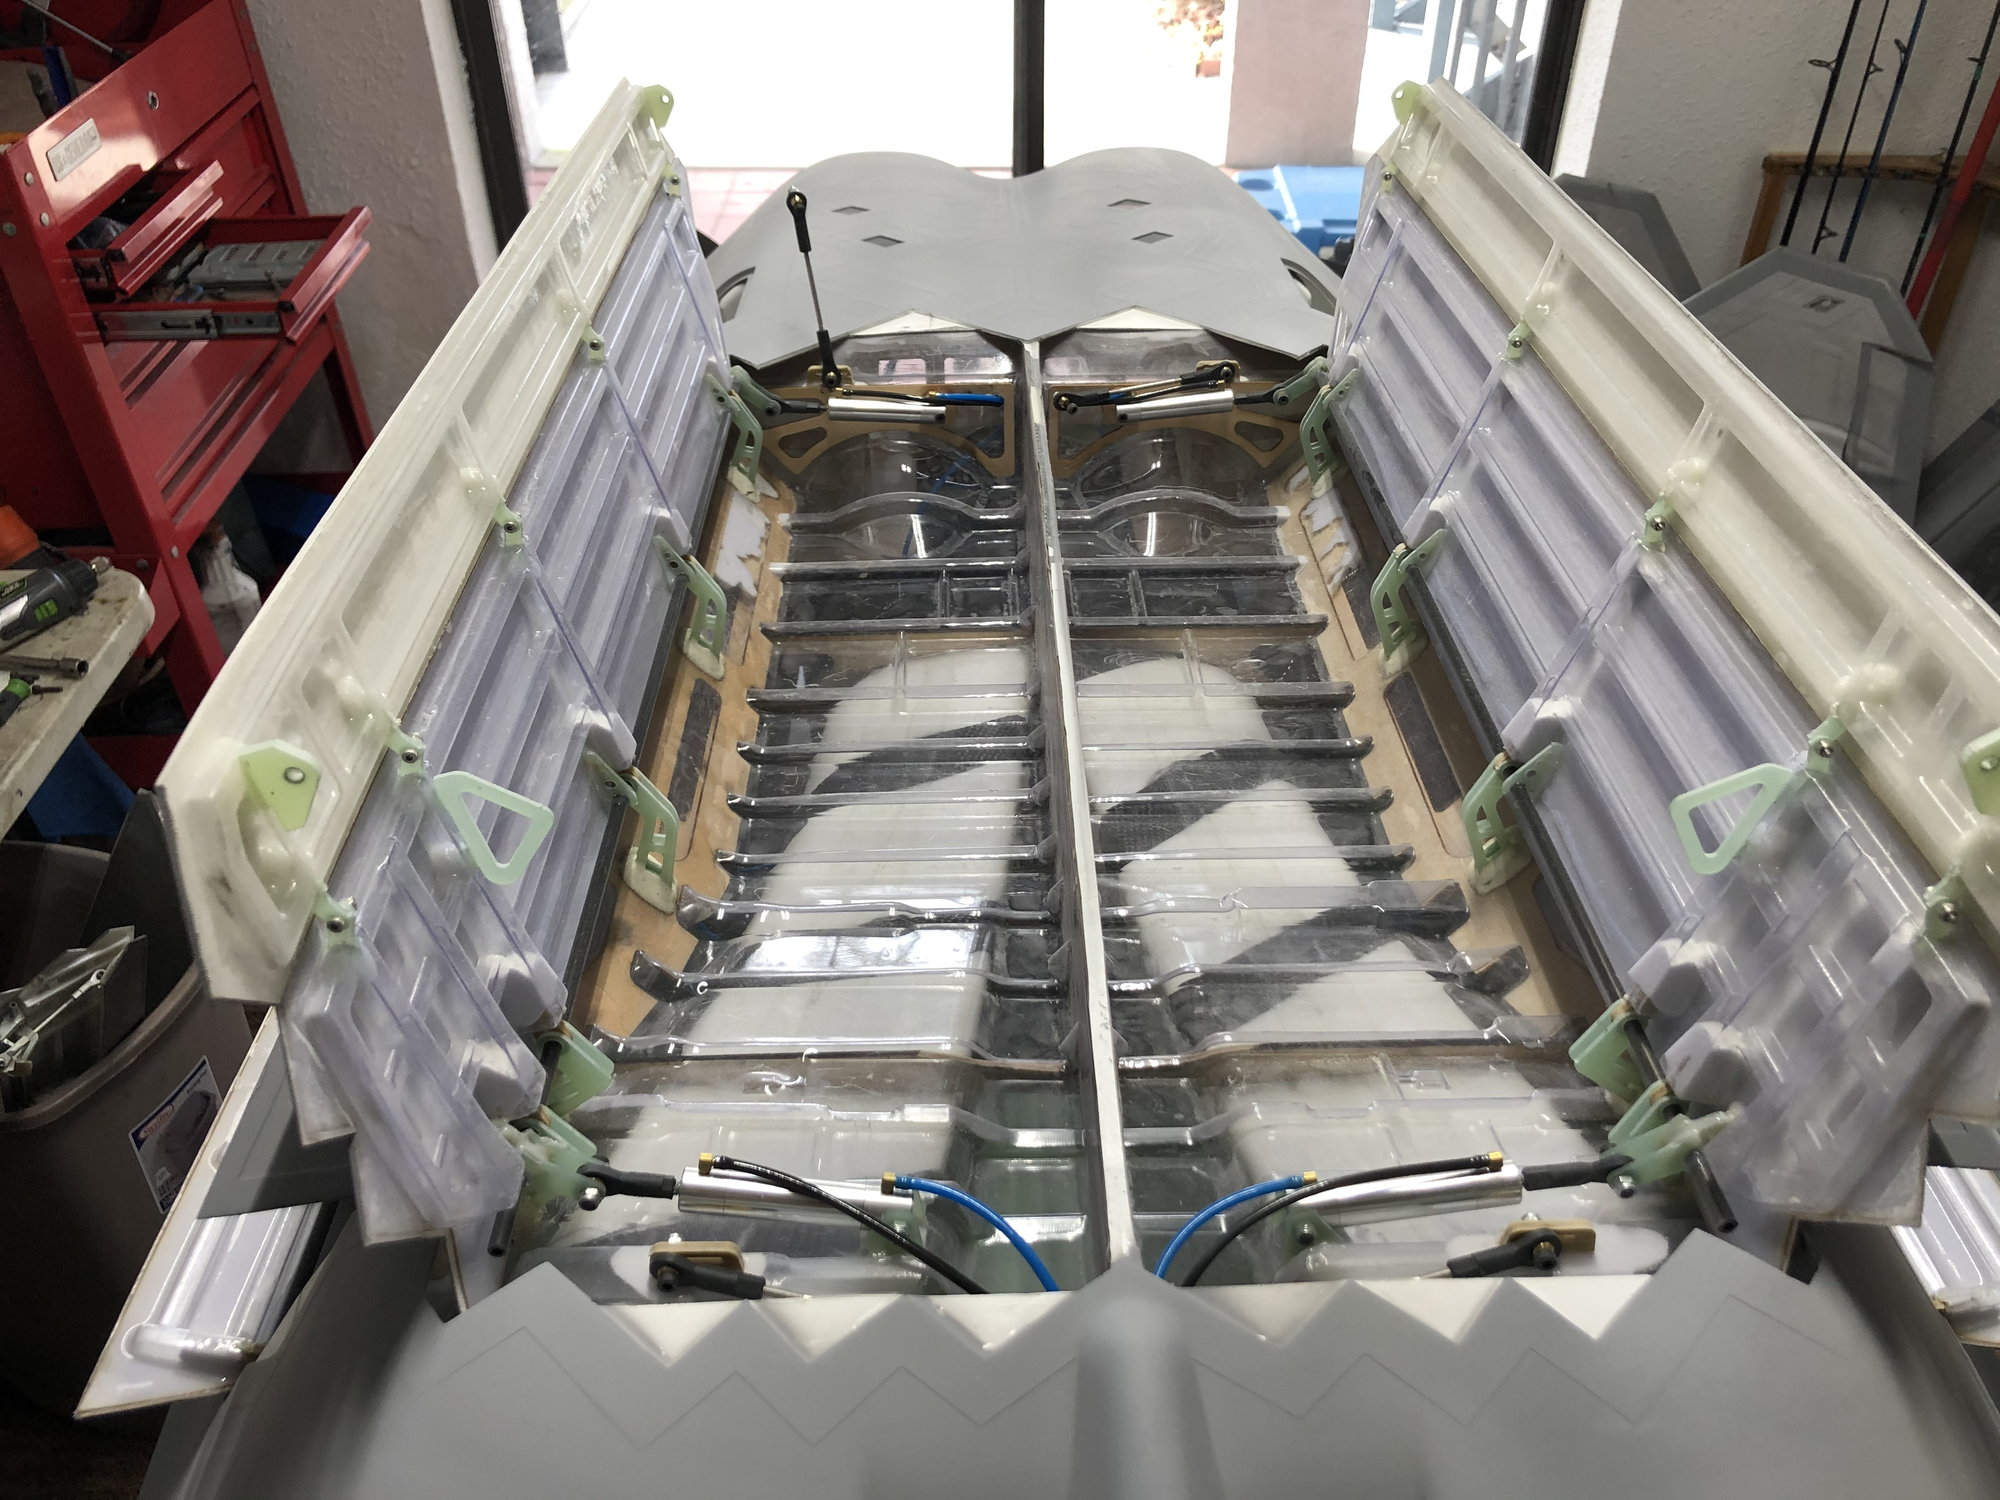
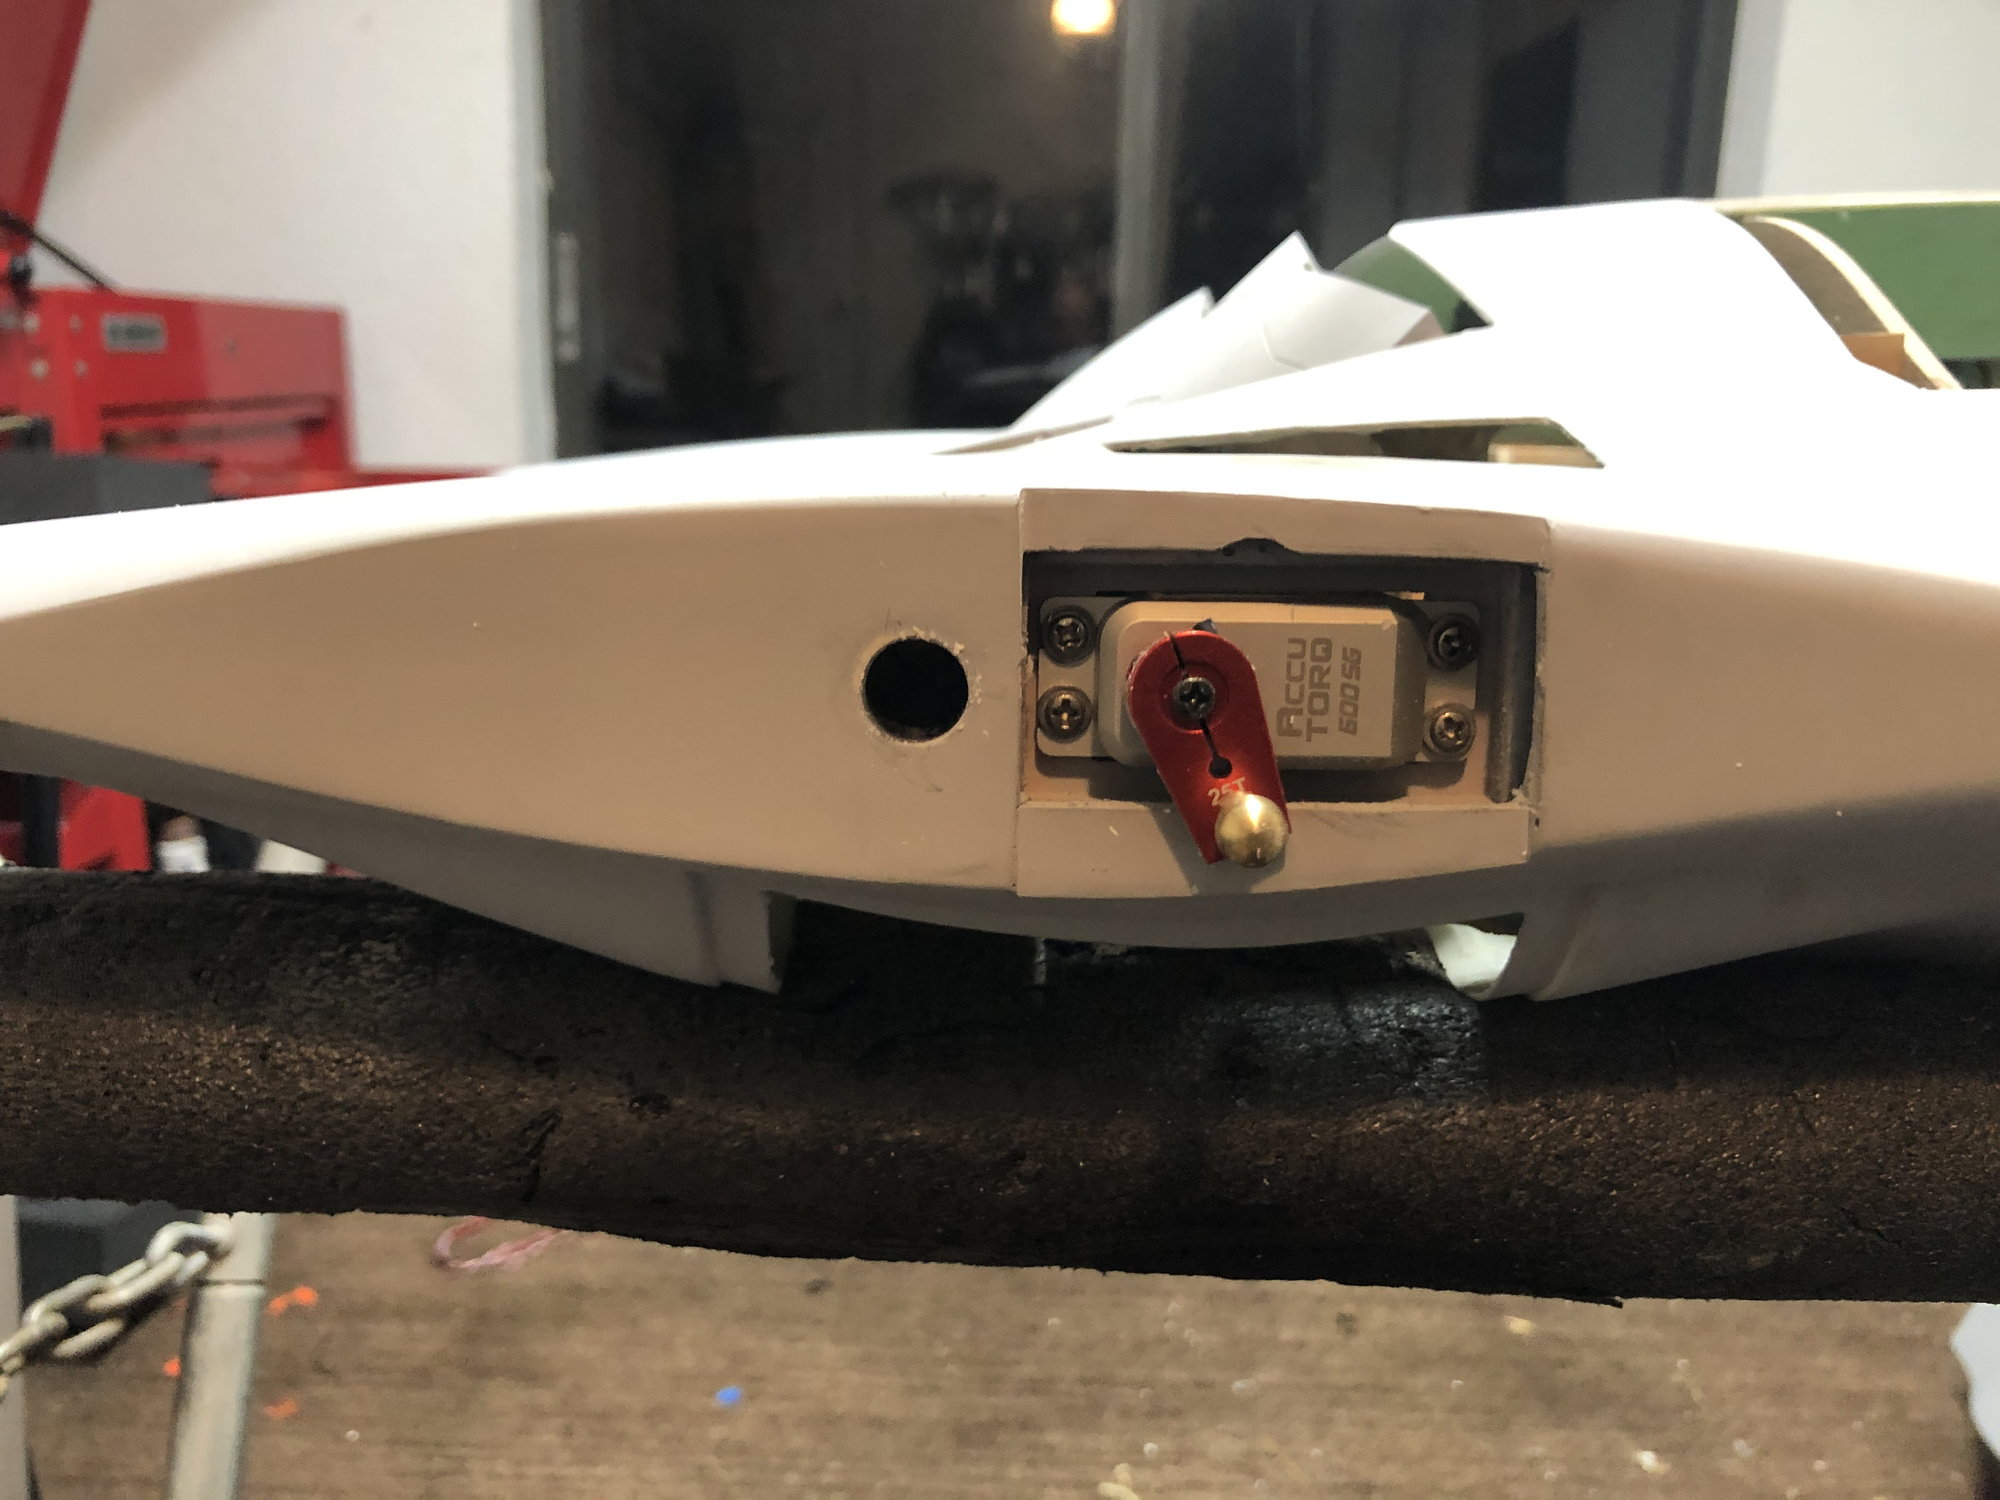
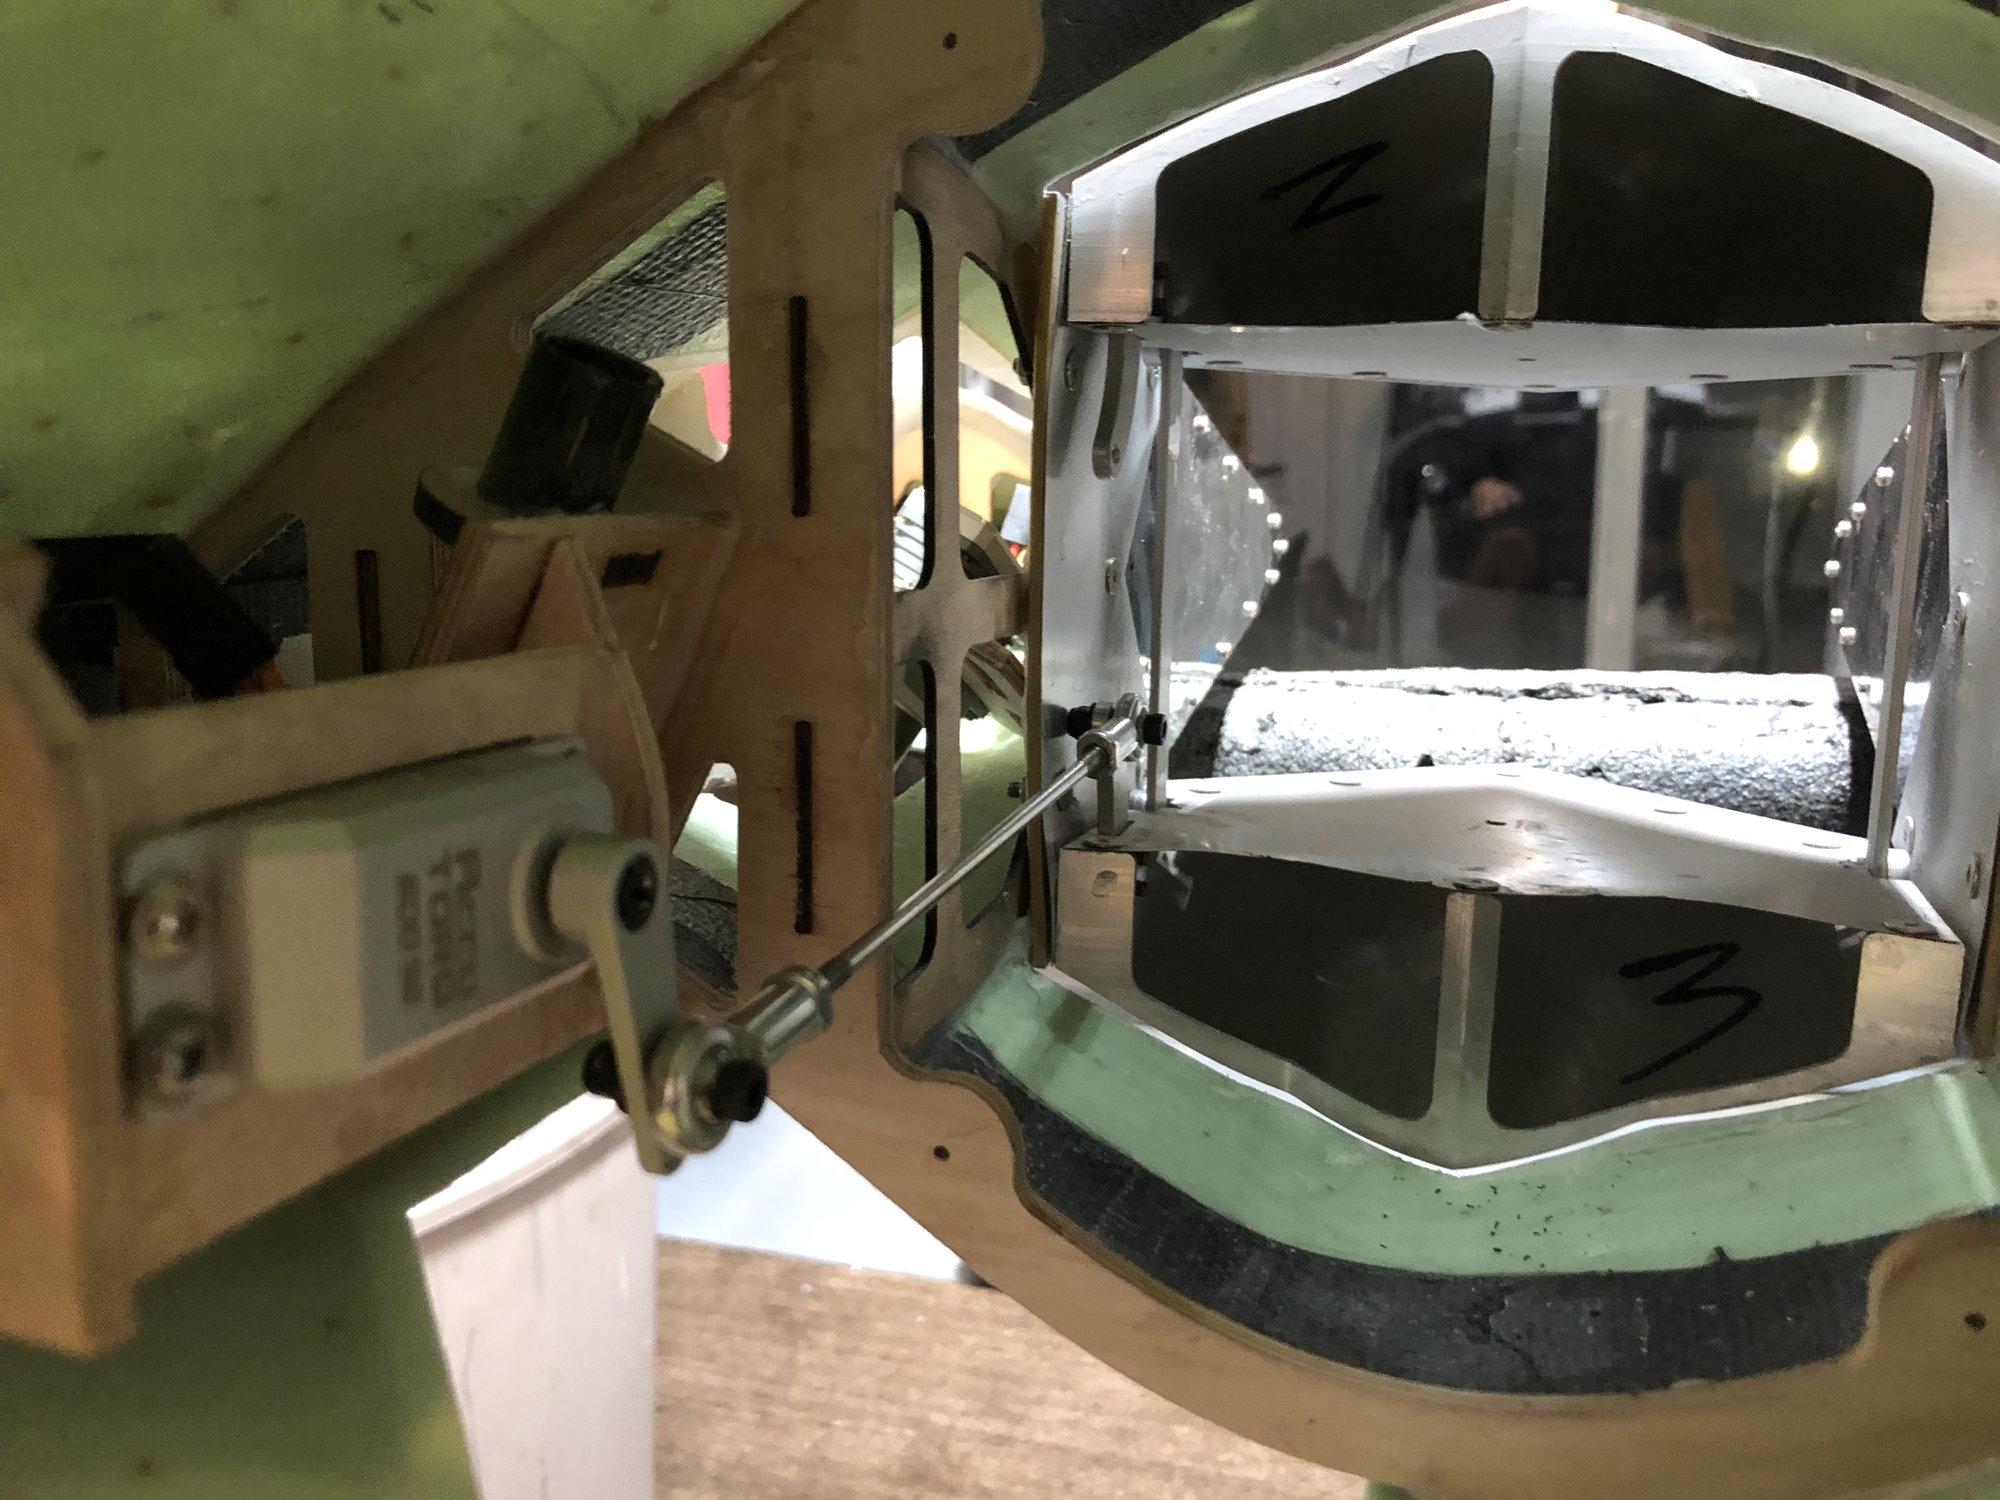
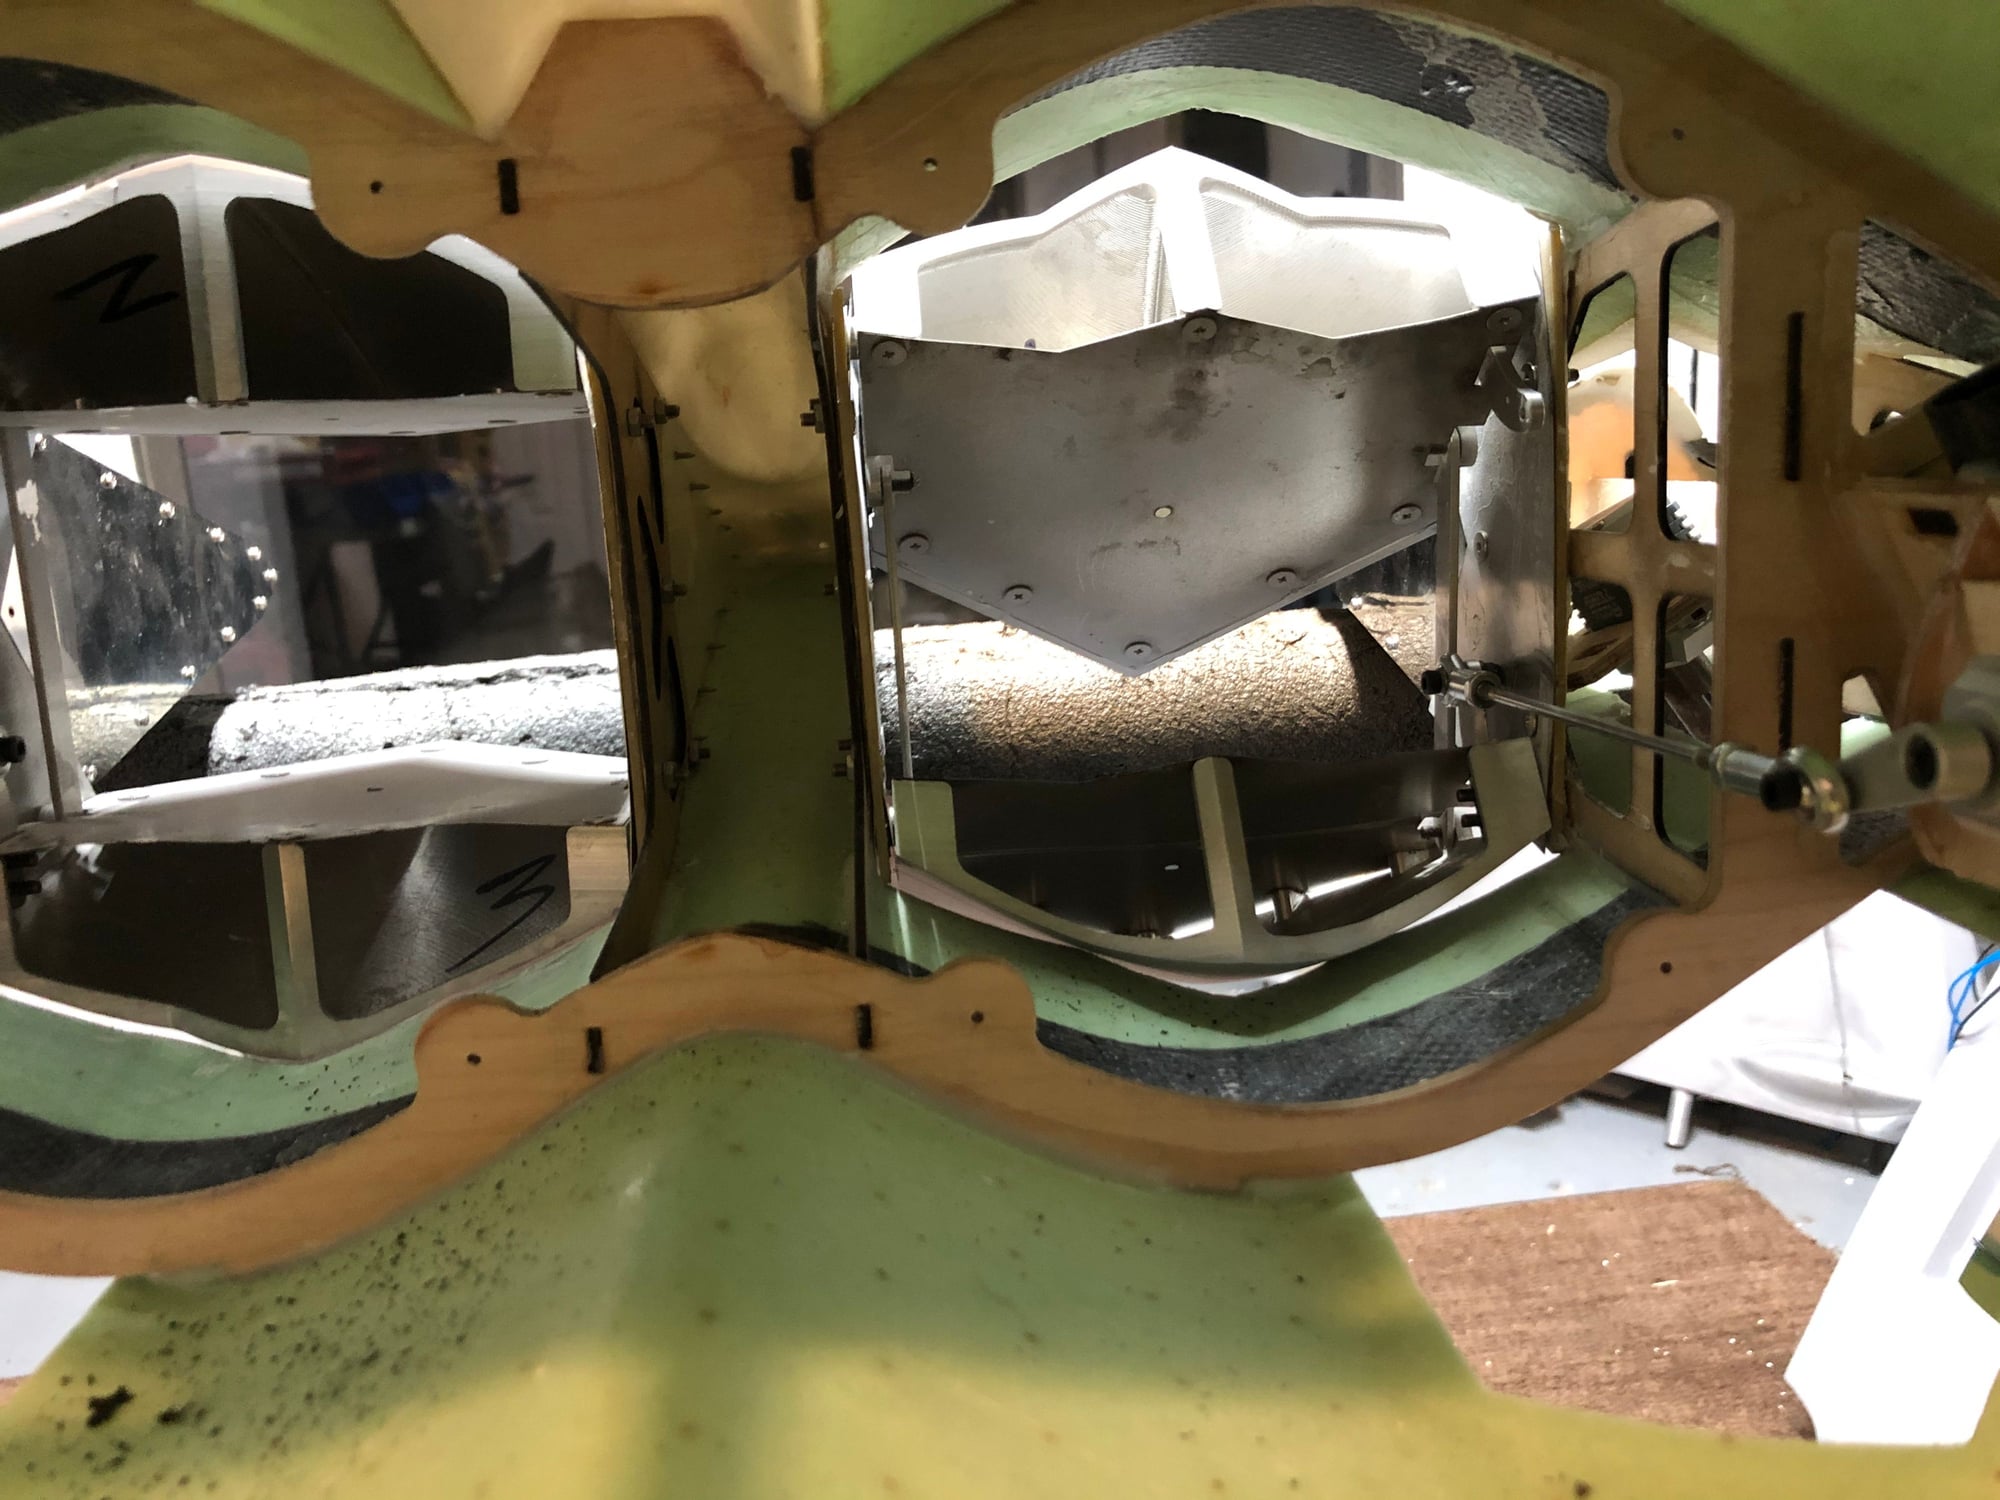
Thrust vectoring servos installed.
it�s pretty straight forward. Recommendations. I would use some metal self locking nuts on the rod end bolts. You also want to make sure you have a good amount of throw but not so much your turning you servo end points down and loosing allot of torque. Typical build practices
the thrust vectoring is allot of fun on the F22 and it helps the plane off the runway. The F22 has the cg set ahead of the main gear so it can be hard to rotate. The flaps and slats help with this but the thrust vectoring is the biggest help. When I�m taking off I have the vectoring and elevator cranked pretty hard until the nose gear lifts off then I almost go neutral on the stick. Takes a little practice but it�s nice not jumping off the runway.
01-29-2020, 06:08 PM
#20
I didn't realise the subtle detail about rudder posts having their pin orientation changed, couldn't have known. Thanks Kieth for the kind point-out. I can't change my spline orientation without having a whole new set of rudders so I am done with it.
01-29-2020, 06:13 PM
#21
the thrust vectoring is allot of fun on the F22 and it helps the plane off the runway. The F22 has the cg set ahead of the main gear so it can be hard to rotate. The flaps and slats help with this but the thrust vectoring is the biggest help. When I�m taking off I have the vectoring and elevator cranked pretty hard until the nose gear lifts off then I almost go neutral on the stick. Takes a little practice but it�s nice not jumping off the runway.
01-30-2020, 04:53 AM
#23
Here is video from FLjets last year. Keep in mind I am still getting the feel for the aircraft at that time this video was done. By Kentucky I was wringing it out though. On this one it should only take a few flights to get her going good. This shows the take off. This Raptor is the only RC F22 I have flown that will do a consistent smooth take off like this. I could not use my old yellow F22 at TopGun simply because of how it took off. This Raptor would work great for scale competition and look forward to competing in the future with it.
I have flown the Jetlegend , yellow , and skymaster and none of them where even close to how this one flies.
I have flown the Jetlegend , yellow , and skymaster and none of them where even close to how this one flies.