


Skymaster F-14 Jolly Roger
 08-11-2020, 09:36 AM
#1

Thread Starter
I'm happy to open this new thread. After a long delay, i got the kit, and will start installations in a week or two.
I ordered the kit at 2019 Jet Power event on Sep 2019, got it on Jun 2020.
First question to SM F-18 and F-14 owners: can you recommend on elevator servo horn?
I'll use Savox 2270, i guess the servo horn is one of the most critical components in this airplane. I saw a few days ago a BVM F-18 tha crashed due to twisted servo horn.
Thanks, Dror.
With Anton, after placing the order

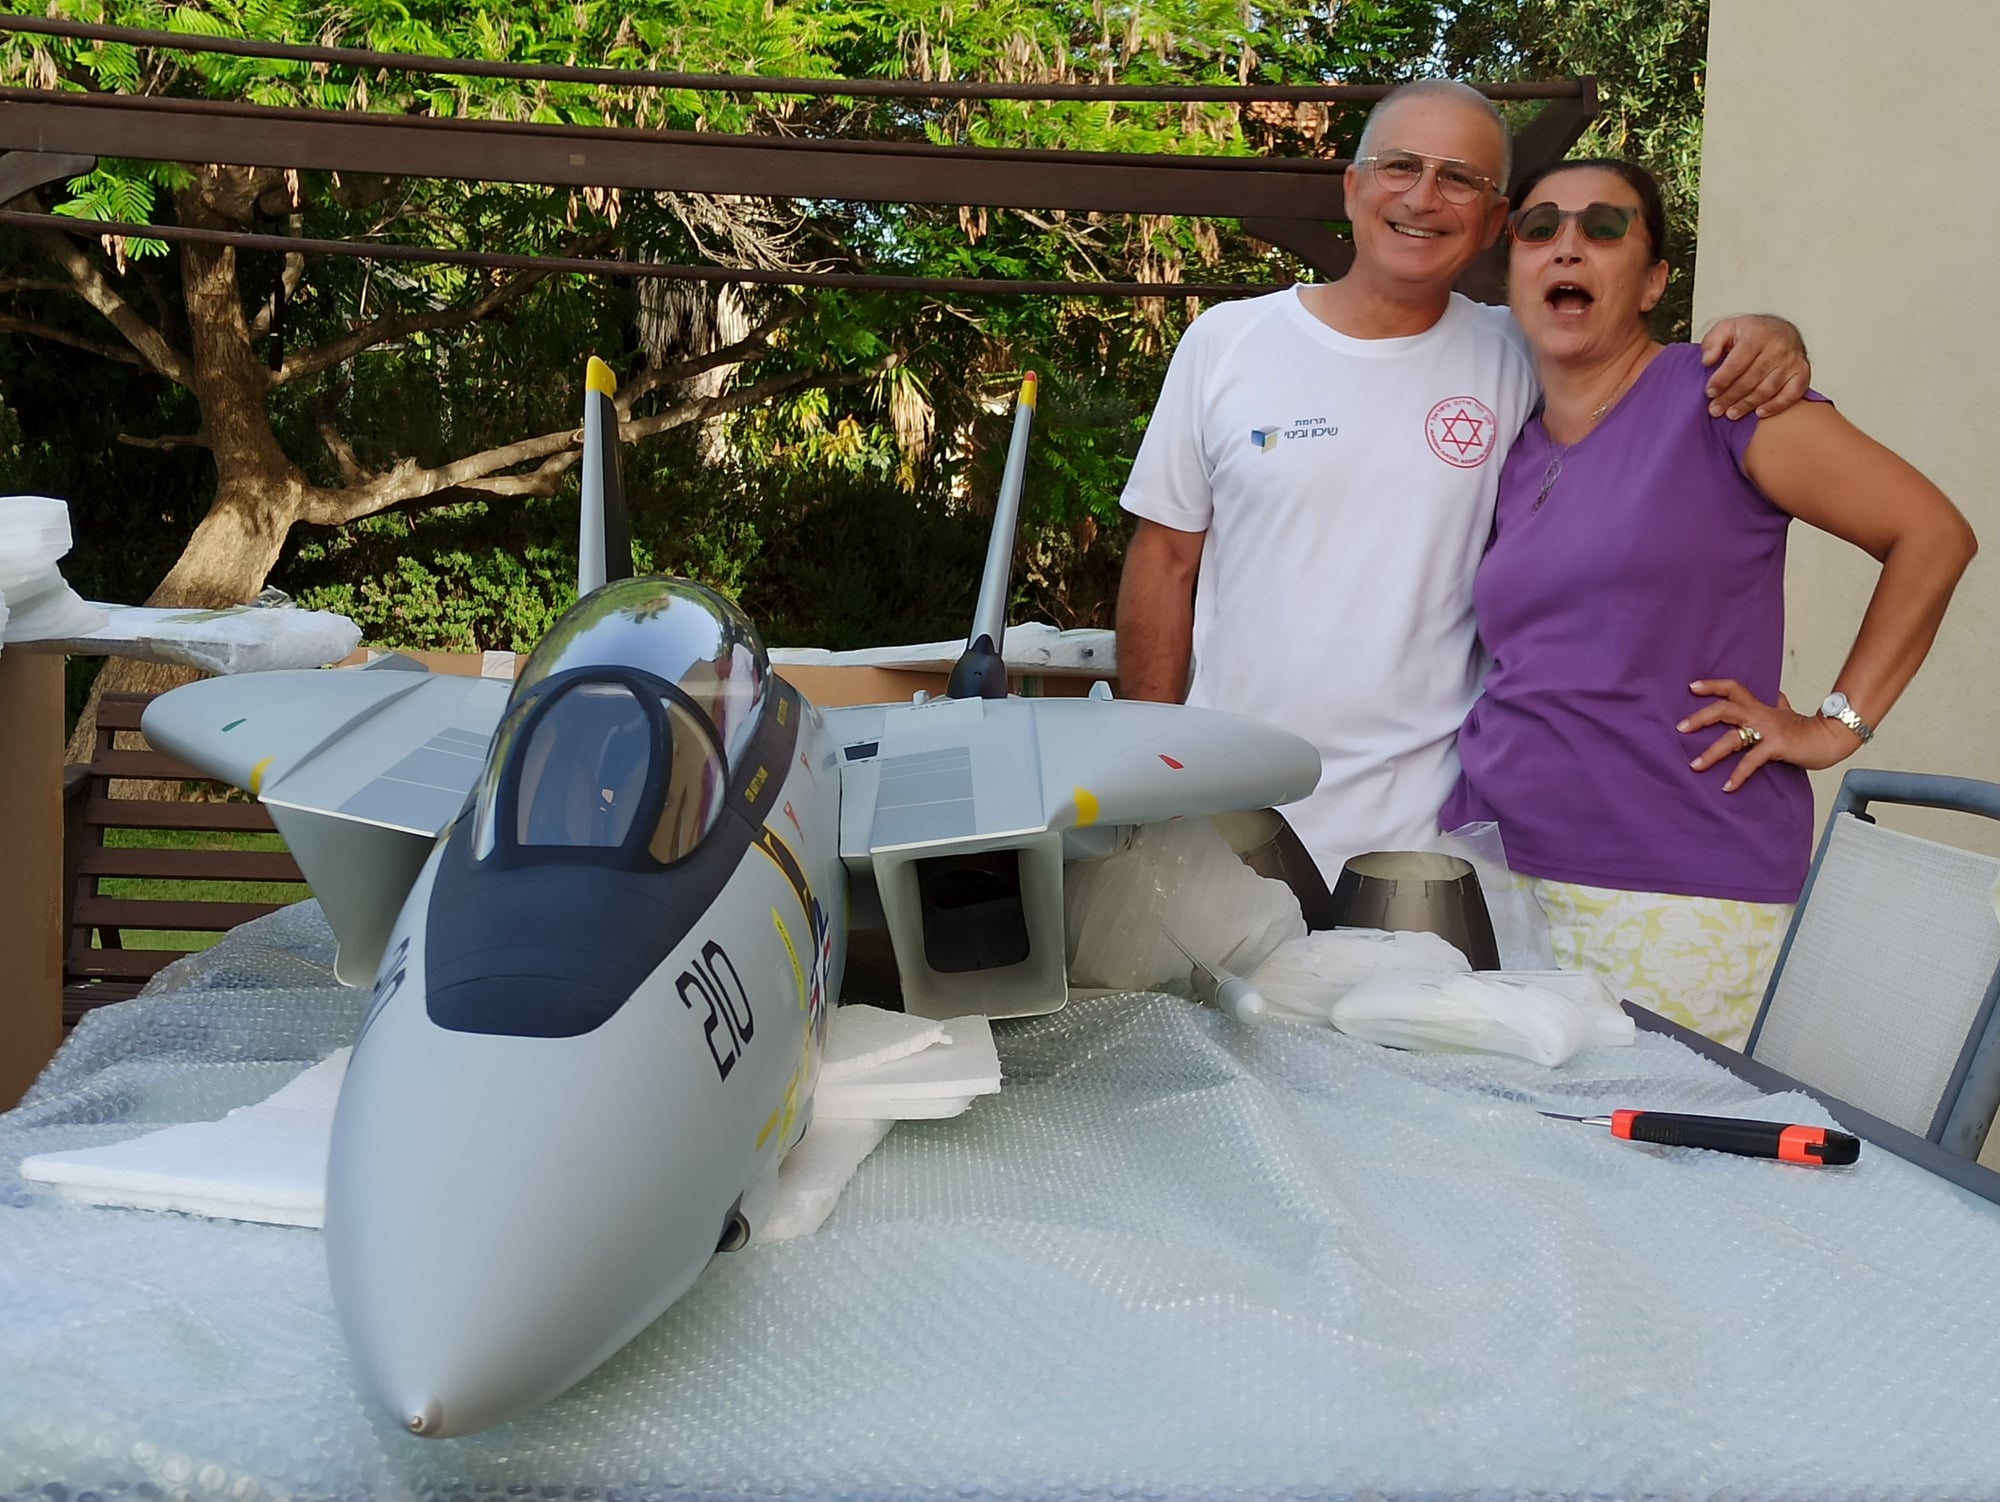
With my dear wife, after opening the big boxes
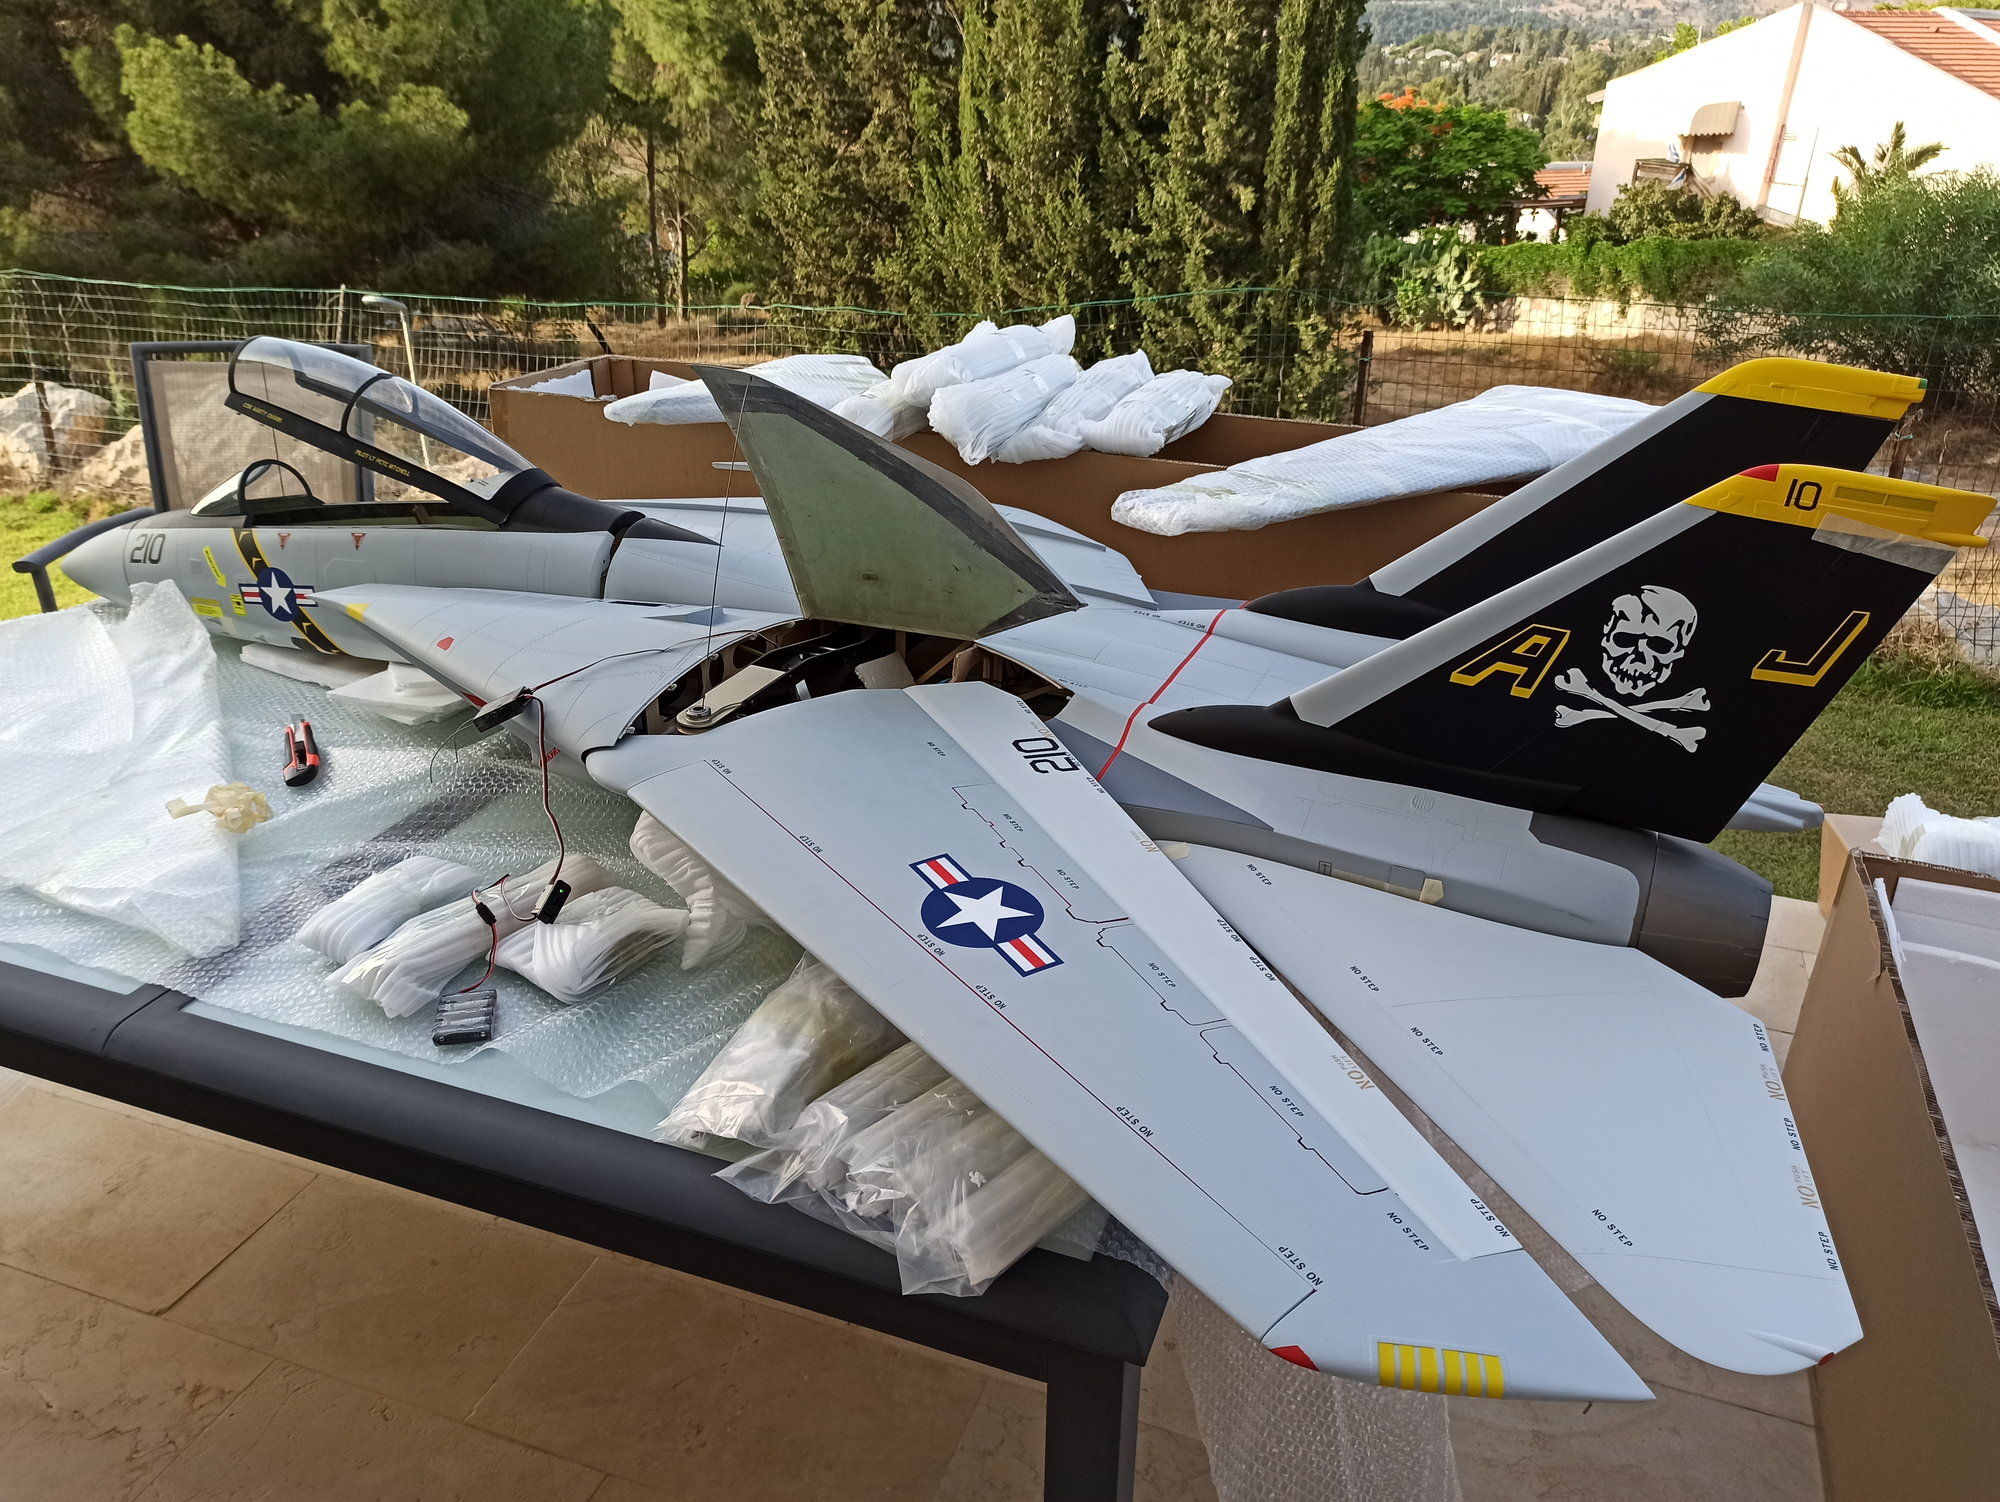
Almost Ready to Fly :-)
I ordered the kit at 2019 Jet Power event on Sep 2019, got it on Jun 2020.
First question to SM F-18 and F-14 owners: can you recommend on elevator servo horn?
I'll use Savox 2270, i guess the servo horn is one of the most critical components in this airplane. I saw a few days ago a BVM F-18 tha crashed due to twisted servo horn.
Thanks, Dror.
With Anton, after placing the order
With my dear wife, after opening the big boxes
Almost Ready to Fly :-)
 08-11-2020, 11:25 AM
#2

Good luck with it, im still using the stock arm with a futaba servo. F-18 has more room for a larger horn, the F-14 not so much you need to do some trimming with a thicker arm on the F-14.
 09-01-2020, 03:49 AM
#6
Thread Starter
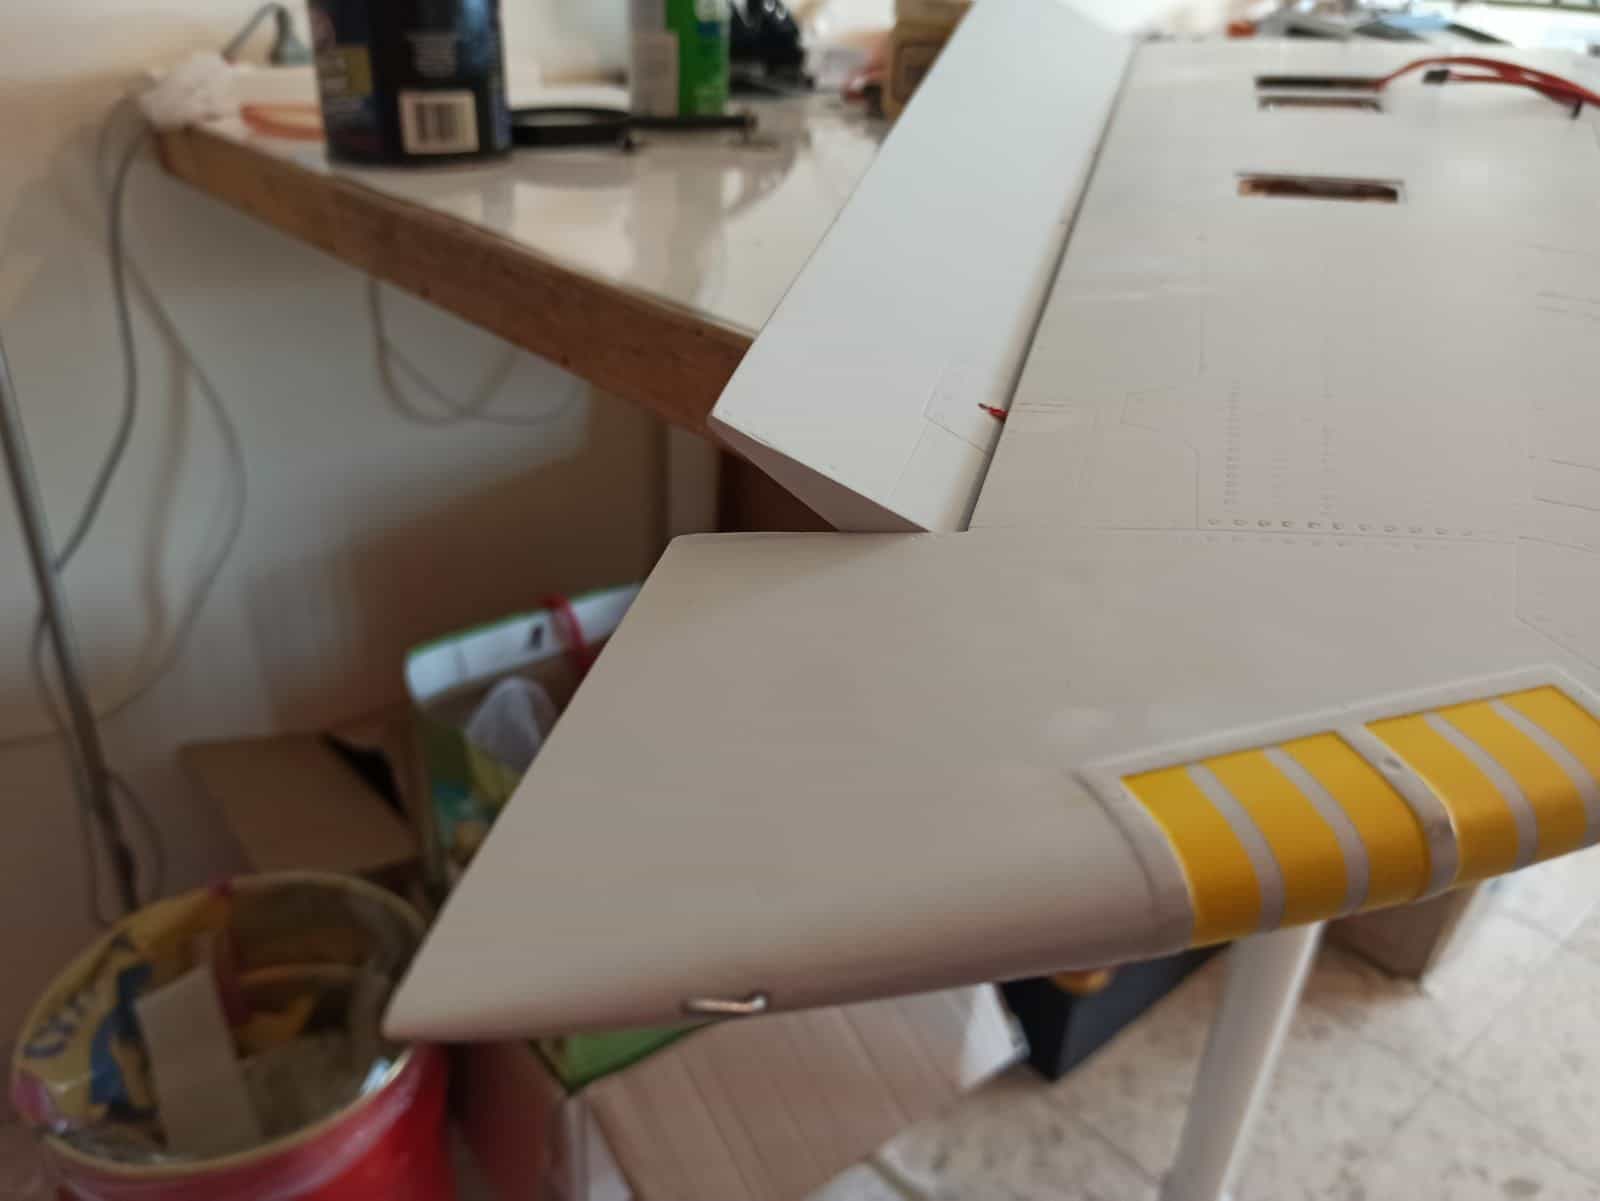
Finally, started the build. First - the wings.
The Spoilers were pretty rough, I removed the links, cleaned the hinges and the shaft, now it works pretty smooth. Using Savox 2270 for these.
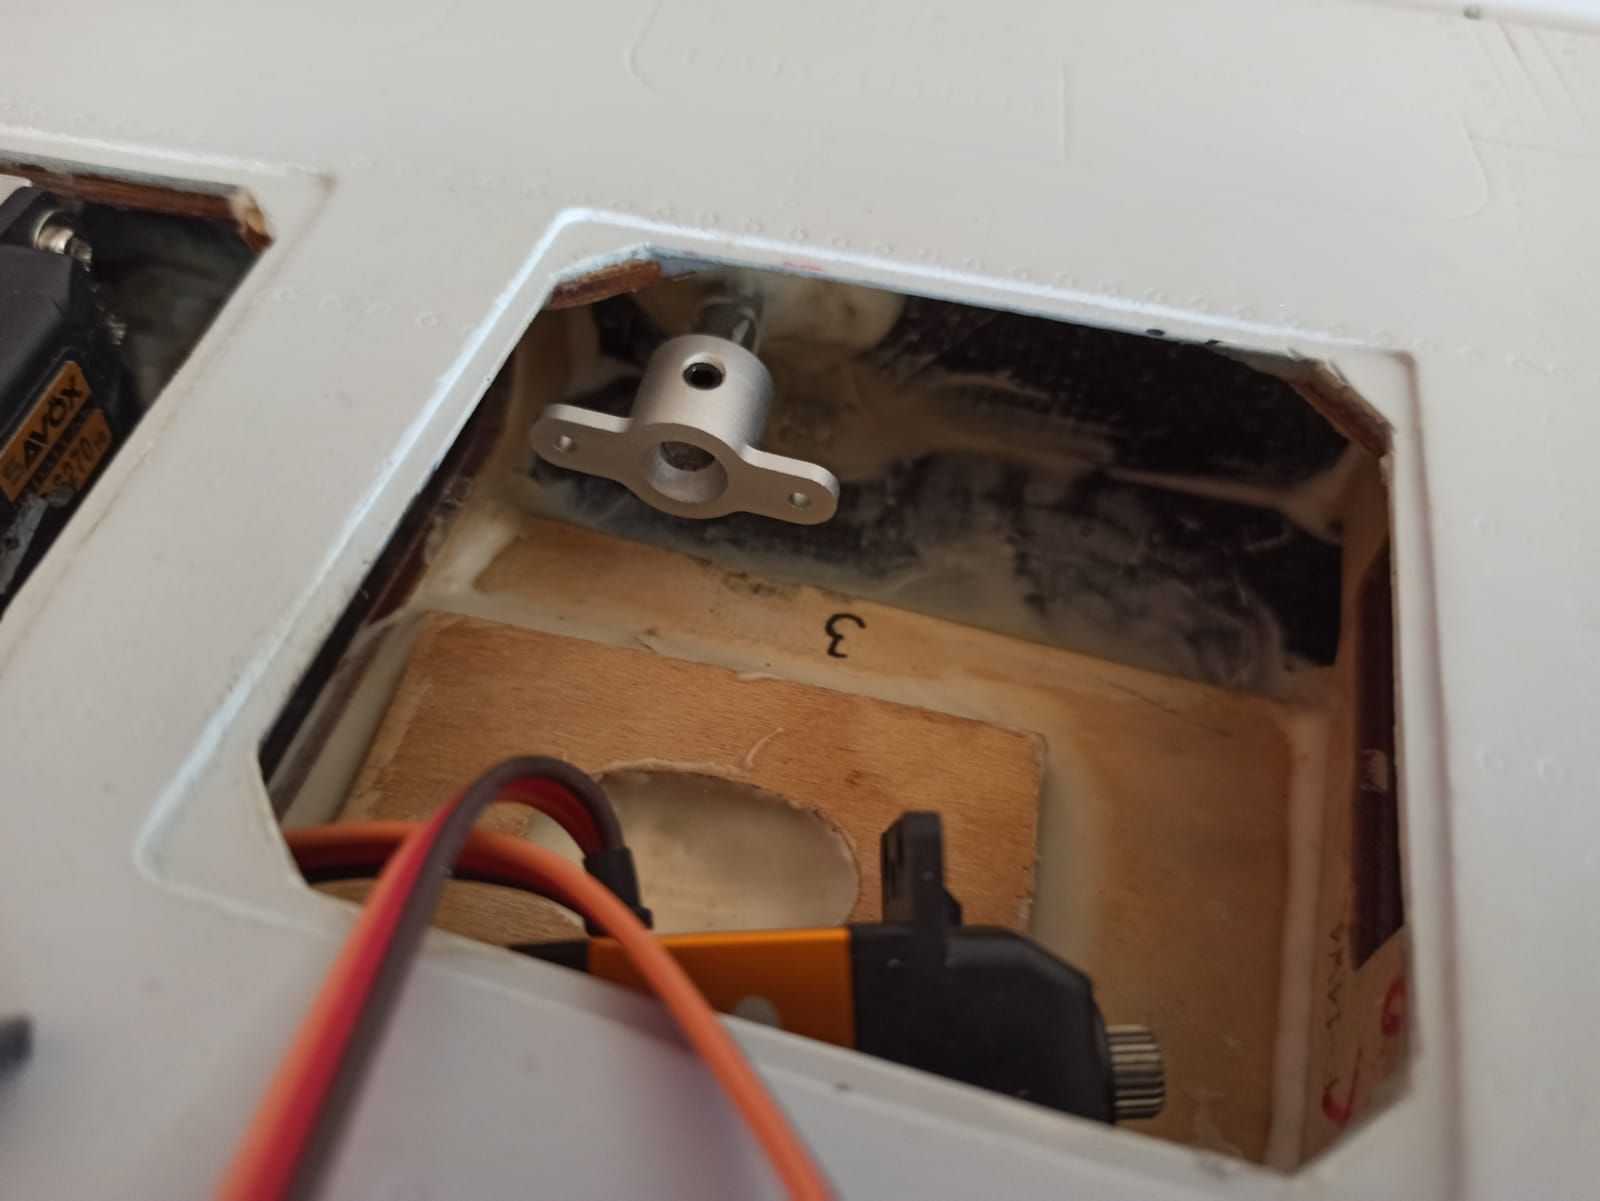
While waiting for the Slat servos (only now realized I need mini servos), I did the Flap.
I had to grind the lever end in order to make it fit. However, with all efforts, the travel range is maybe 20-25 degrees. I watched Keith's (FenderBean) video, and couldn't figure out - is this normal?
Manual suggest 45 degrees, the flaps won't travel that much even without the lever. Can anyone advise on real life travel range?
Also, manual suggests Aileron travel. What Ailerons???
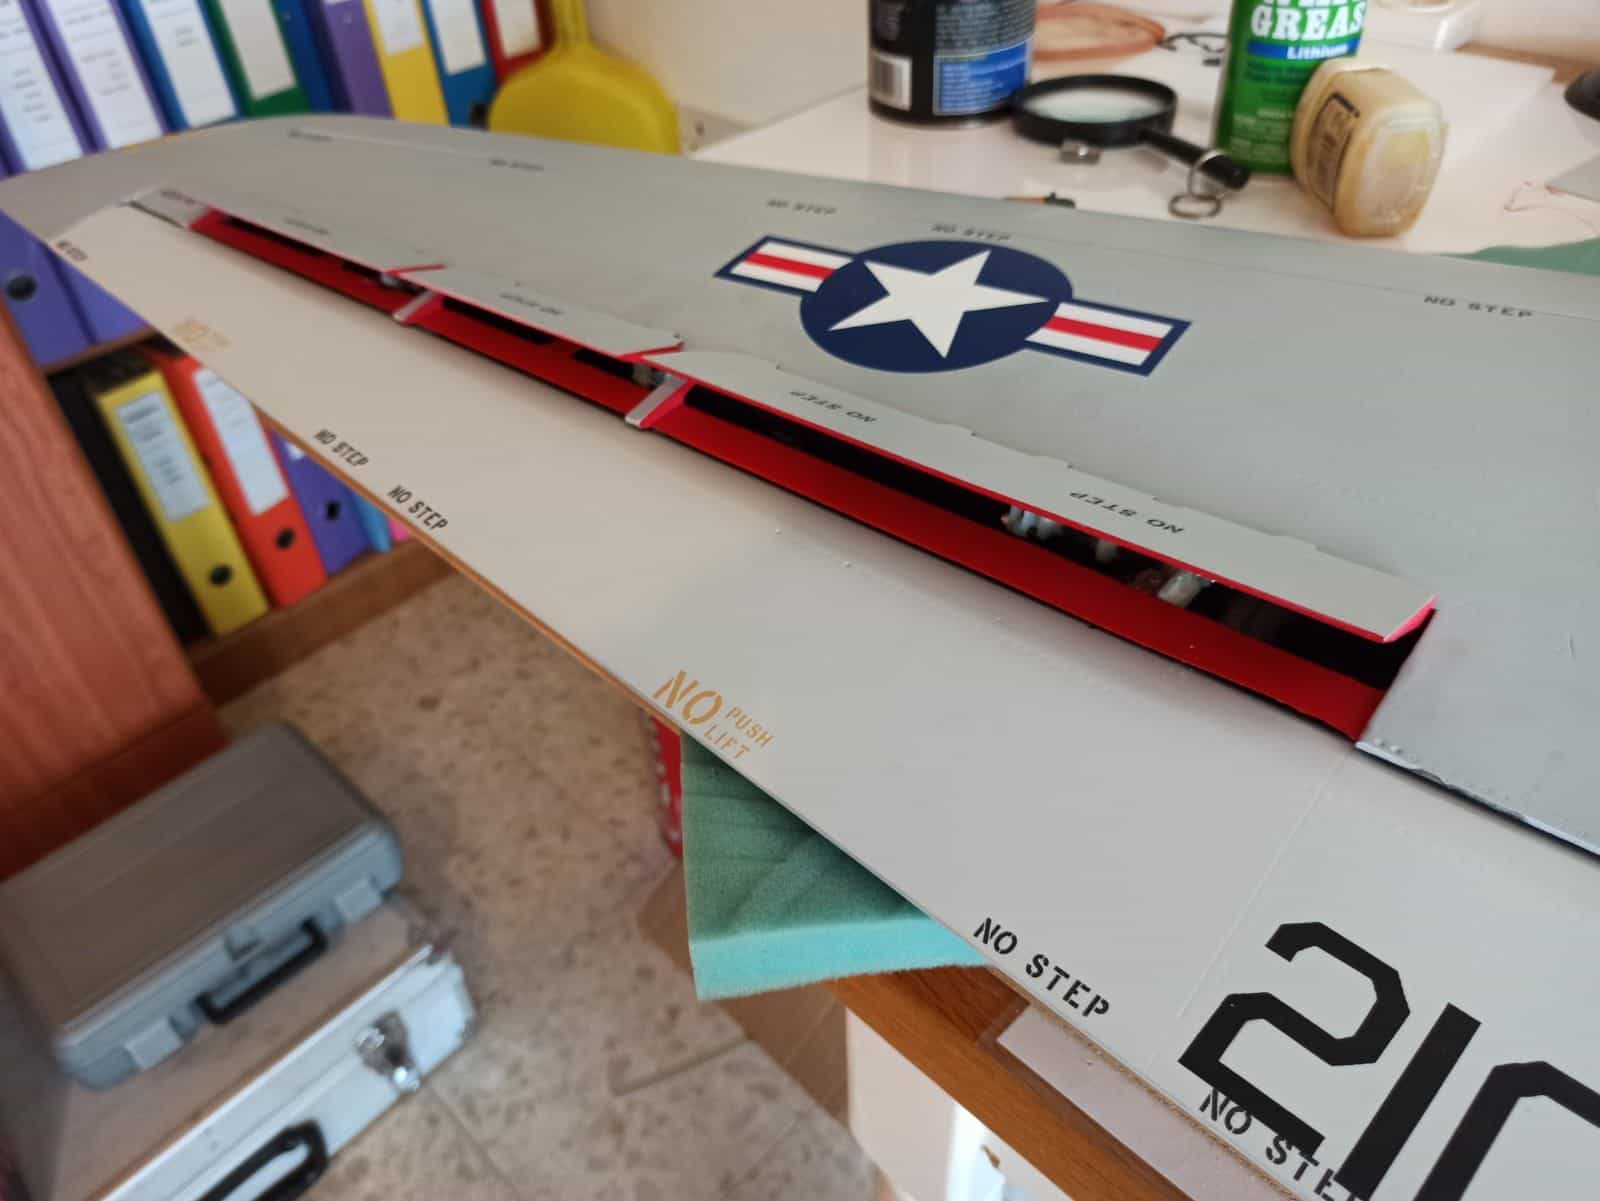

The Spoilers were pretty rough, I removed the links, cleaned the hinges and the shaft, now it works pretty smooth. Using Savox 2270 for these.
While waiting for the Slat servos (only now realized I need mini servos), I did the Flap.
I had to grind the lever end in order to make it fit. However, with all efforts, the travel range is maybe 20-25 degrees. I watched Keith's (FenderBean) video, and couldn't figure out - is this normal?
Manual suggest 45 degrees, the flaps won't travel that much even without the lever. Can anyone advise on real life travel range?
Also, manual suggests Aileron travel. What Ailerons???
09-01-2020, 08:27 AM
#7
I actually had slop in mine and it caused flutter, I had to pull the flap and add hysol to the flat wood inserts that are in the flap itself. When the hysol started to set I ran the drive rod through it to form it to the width of the metal drive rod. Only grinding on the rod I did was to round the very end of it so it wouldn't cut a channel in the flap guides.
Unfortunately every model they make is different, I would say its pretty normal to have to mod things to fit.
Unfortunately every model they make is different, I would say its pretty normal to have to mod things to fit.
09-01-2020, 08:43 AM
#8
Thread Starter
Thanks Keith and Peter. After a long conversation with Peter, I understood that it's "OK" to do modifications and cleanup.
I used the dremel to clean up the hinges and now it's good.
I still don't understand the "Aileron" travel.
Dror.
I used the dremel to clean up the hinges and now it's good.
I still don't understand the "Aileron" travel.
Dror.
09-01-2020, 09:56 AM
#9
The tomcat does not use traditional ailerons, they are only used for flaps. The spoilers on top can act like ailerons, move right stick the right spoiler comes up, left doesnt move. Move left stick left spoiler pops up right spoiler closes and doesnt move. The stabs do both elevator and aileron via radio mixing.
09-01-2020, 12:01 PM
#10
Thread Starter
The tomcat does not use traditional ailerons, they are only used for flaps. The spoilers on top can act like ailerons, move right stick the right spoiler comes up, left doesnt move. Move left stick left spoiler pops up right spoiler closes and doesnt move. The stabs do both elevator and aileron via radio mixing.
09-01-2020, 02:08 PM
#11
09-01-2020, 07:39 PM
#12
Thread Starter
10-11-2020, 09:50 AM
#14
Thread Starter
10-11-2020, 10:40 PM
#15
Cheers !!! They are an amazing machines . Unfortunatly im months away from being able to start mine.. So at the moment im just researching and learning .. eagerly awaiting the chance to start working on mine. So please post up all you learn and do
01-16-2021, 05:23 AM
#16
Thread Starter
Hi guys, back to work finally after some distractions.
I did one wing, everything is a struggle, but at least all functions works. I had to cut big holes for the slats pushrods, i hope this is not a problem.
Anyway, the second wing's flap mechanism just wouldn't work. I cut the lever end same as i did in the left wing, still I can't make it work.
I was thinking to give up on this mechanism, and put a regular horn at the flap bottom, and connect it to the servo arm through the skin. It will be ugly, but for sure more reliable than the mechanism provided.
Any thoughts?
Dror.
01-16-2021, 05:30 AM
#17
I have just finished my set of wings . Pain in the arse yes .. but its possible .. To solve the flap issue for me. I turned down some brass tube that slid over the flap drive rod and was the thickness needed to eliminate all the slop ... so far it seems to be working . I can get 40 degrees travel , not sure what you’ve seen on yours.. however manually deflect the flap with your hand and the other hand pull the flap drive rod towards the leading edge and you will find there is a “sweet spot “ that gives the maximum range
The following users liked this post:
paulhat (01-17-2021)
01-20-2021, 11:32 AM
#18
Thread Starter
Started the rudders. One rudder was drilled too close to the fin, and won't move. I guess i'll need to drill new holes.
Question: what if i put one horn with clevis as in the picture, rather than the double horns with ball joint as the instructions suggests?
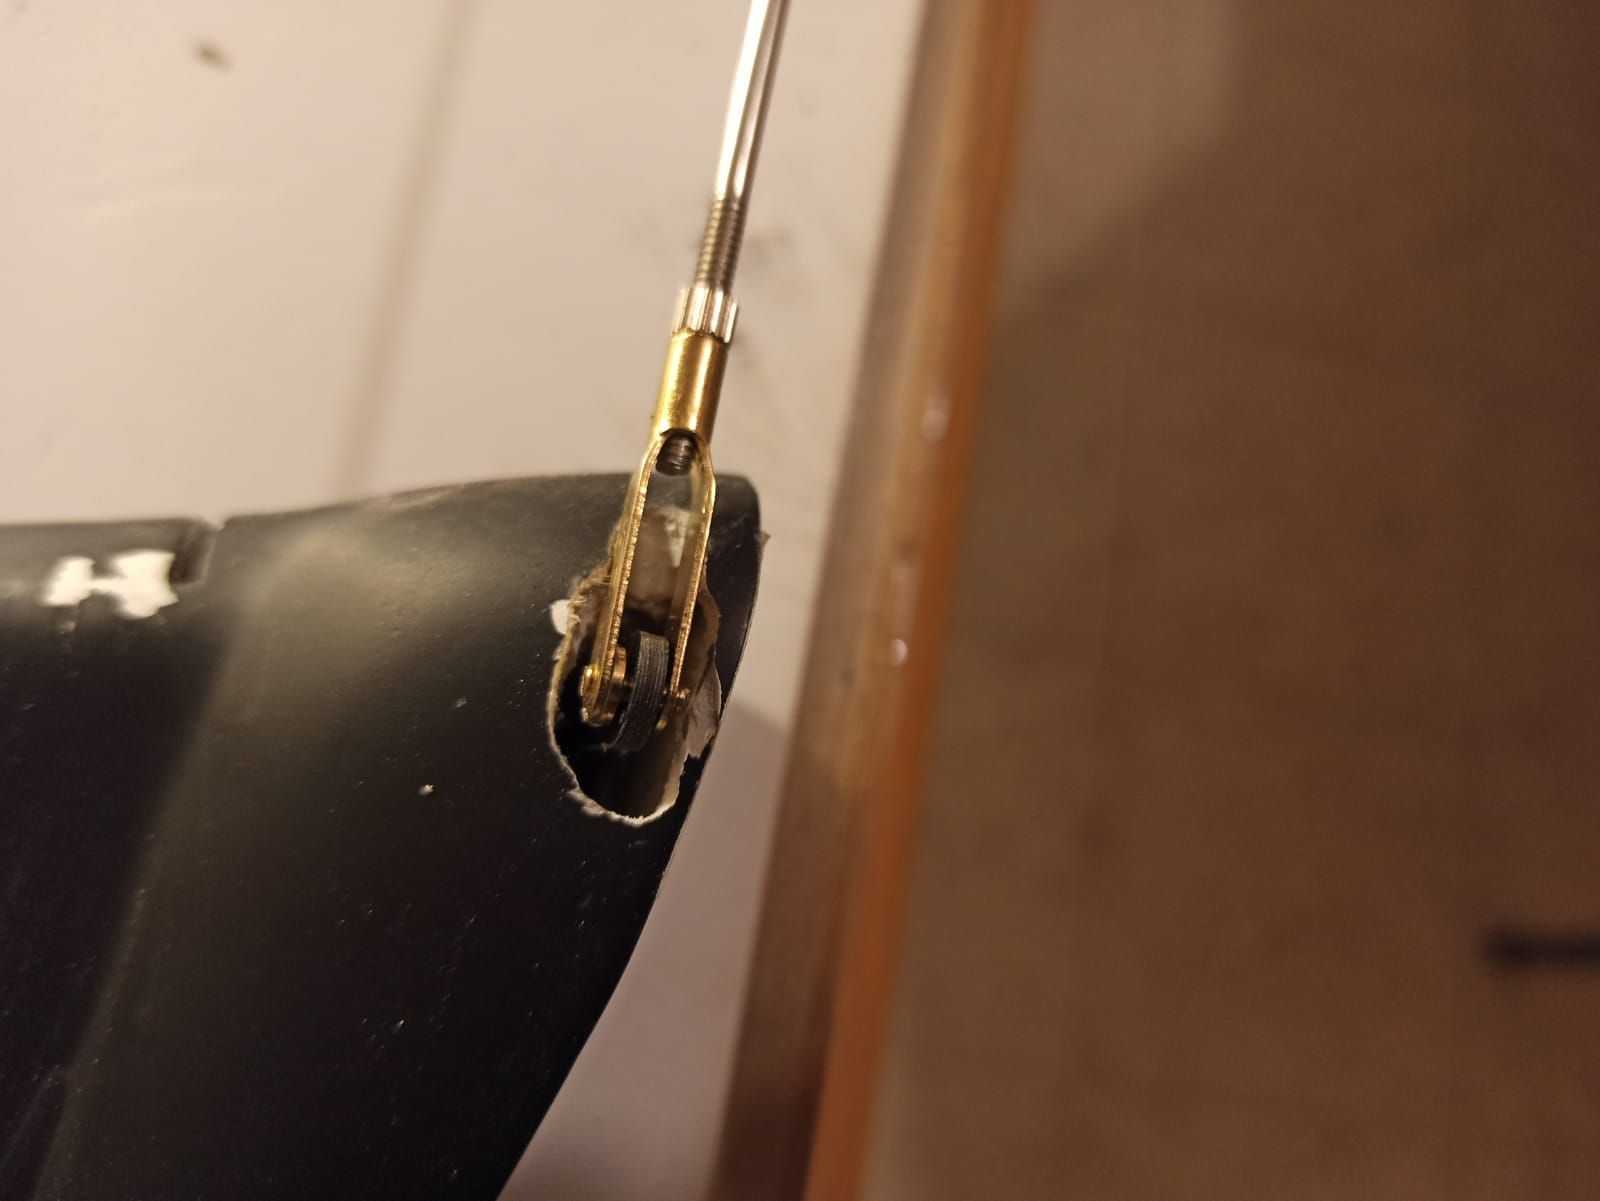
Question: what if i put one horn with clevis as in the picture, rather than the double horns with ball joint as the instructions suggests?
01-20-2021, 03:18 PM
#19
I would recommend not using their system on rudders, those rods are very flimsy and the lack of mechanical advantage on the rudders leads to flutter. If you do internal linkage you may want to look at how I did mine or EDFjims external linkage setup.
01-21-2021, 06:25 AM
#21
yes but to get mechanical advantage I crossed the the rod, so the servo arm is on the opposite side of the control horn. I used stronger rods the stock are very soft metal.
01-21-2021, 07:25 AM
#22
Thread Starter
Maybe i miss something. Looking at post #128, it seems a straight line between the rudder horns and the servo arm. Do you have another picture showing the mechanical advantage?
01-21-2021, 11:48 AM
#23
I think I changed after that picture was taken, because that picture was with the stock rod which I changed from. I will look at it when I get home tonight and make sure im tell you right.
01-21-2021, 04:11 PM
#24

Here�s a short video a friend took as he worked on mine....originally we were going to do the rudder linkages external....but I was happy that he was able to do them internal. A few more weeks before she�s all done ✅