


CARF Bolt! Build thread
 09-08-2020, 01:34 PM
#51

Thread Starter
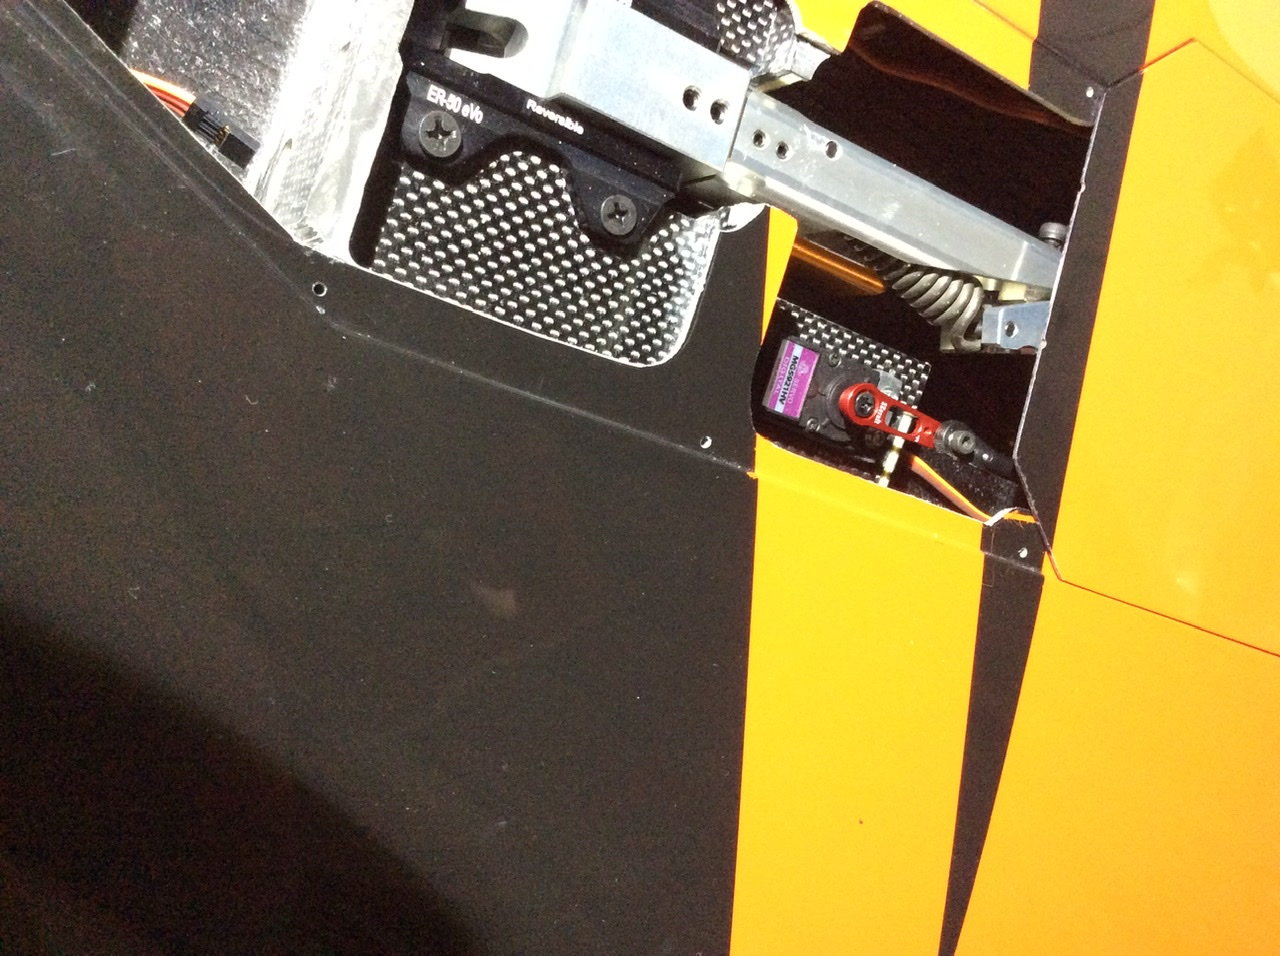
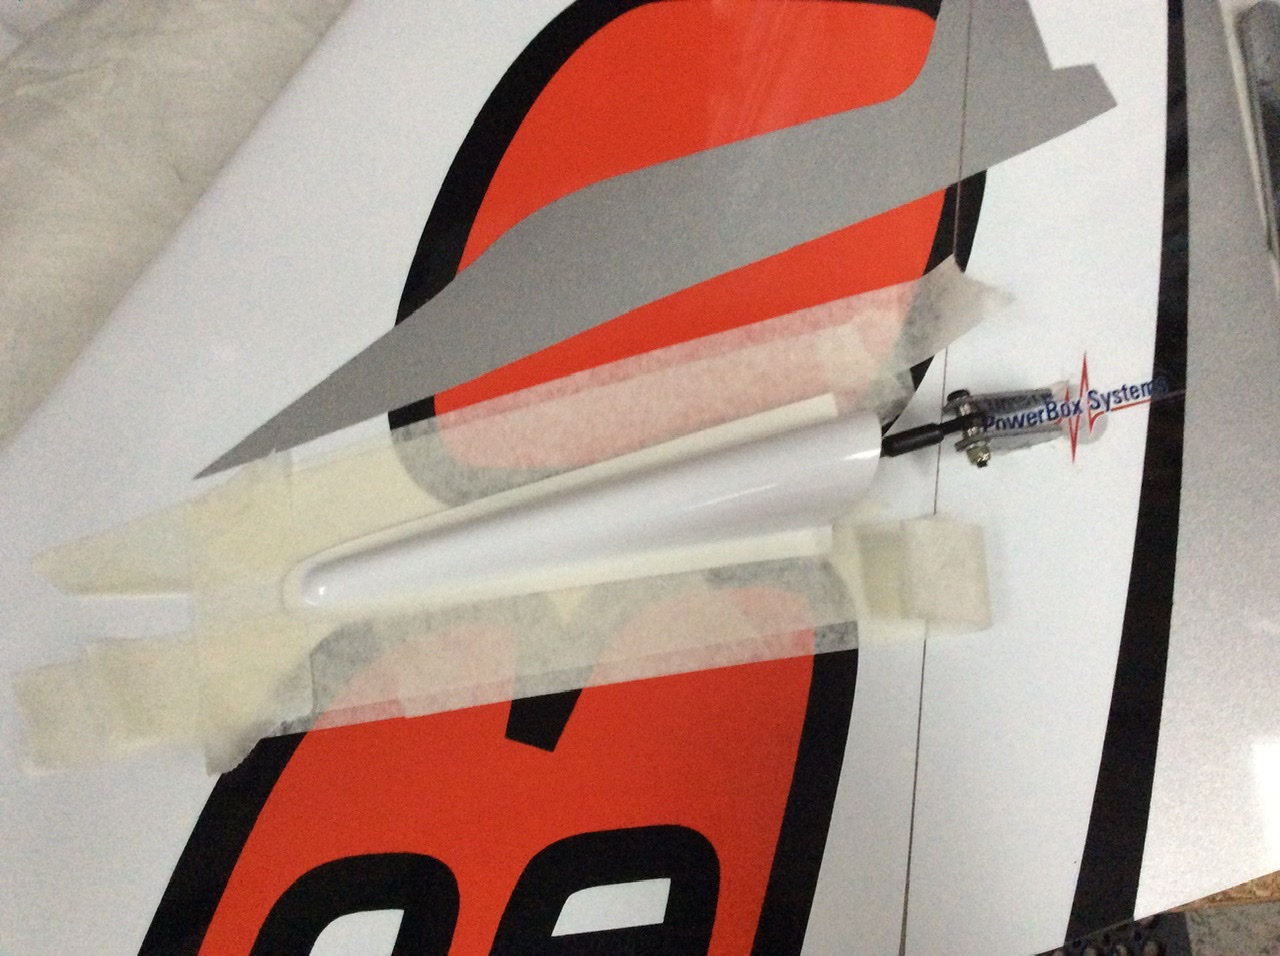
I now have had all the servos in and linkages together. The flap linkage is quite short and with the inline arm load removal, matching the two flaps requires tiny adjustments on the linkage length. As normal I have concentrated on one wing and then matched the other to it. I had to take the pushrod out three times to get the flaps exactly matched and carbon sleeve provided set on the second wing.
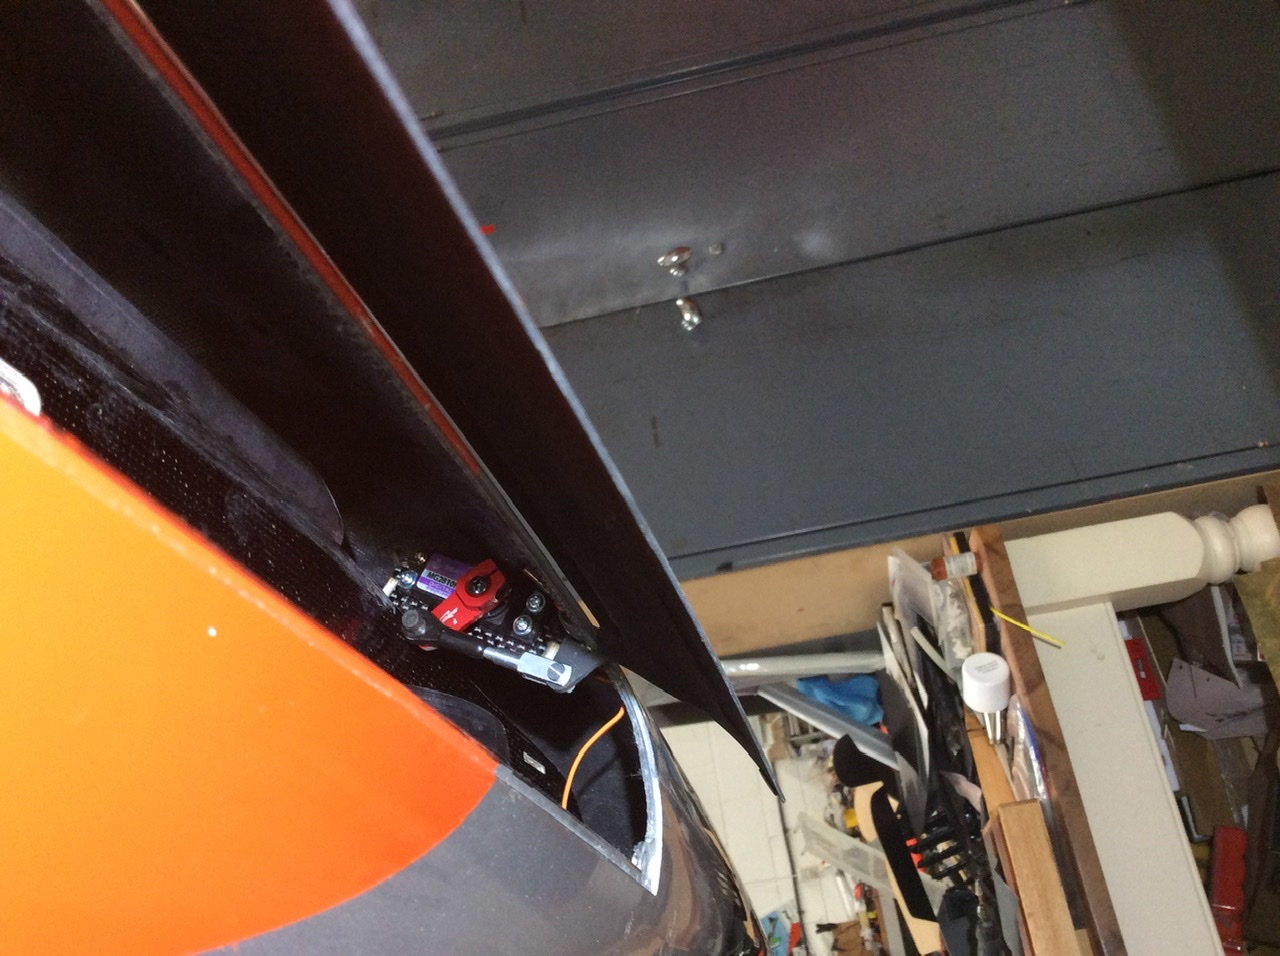
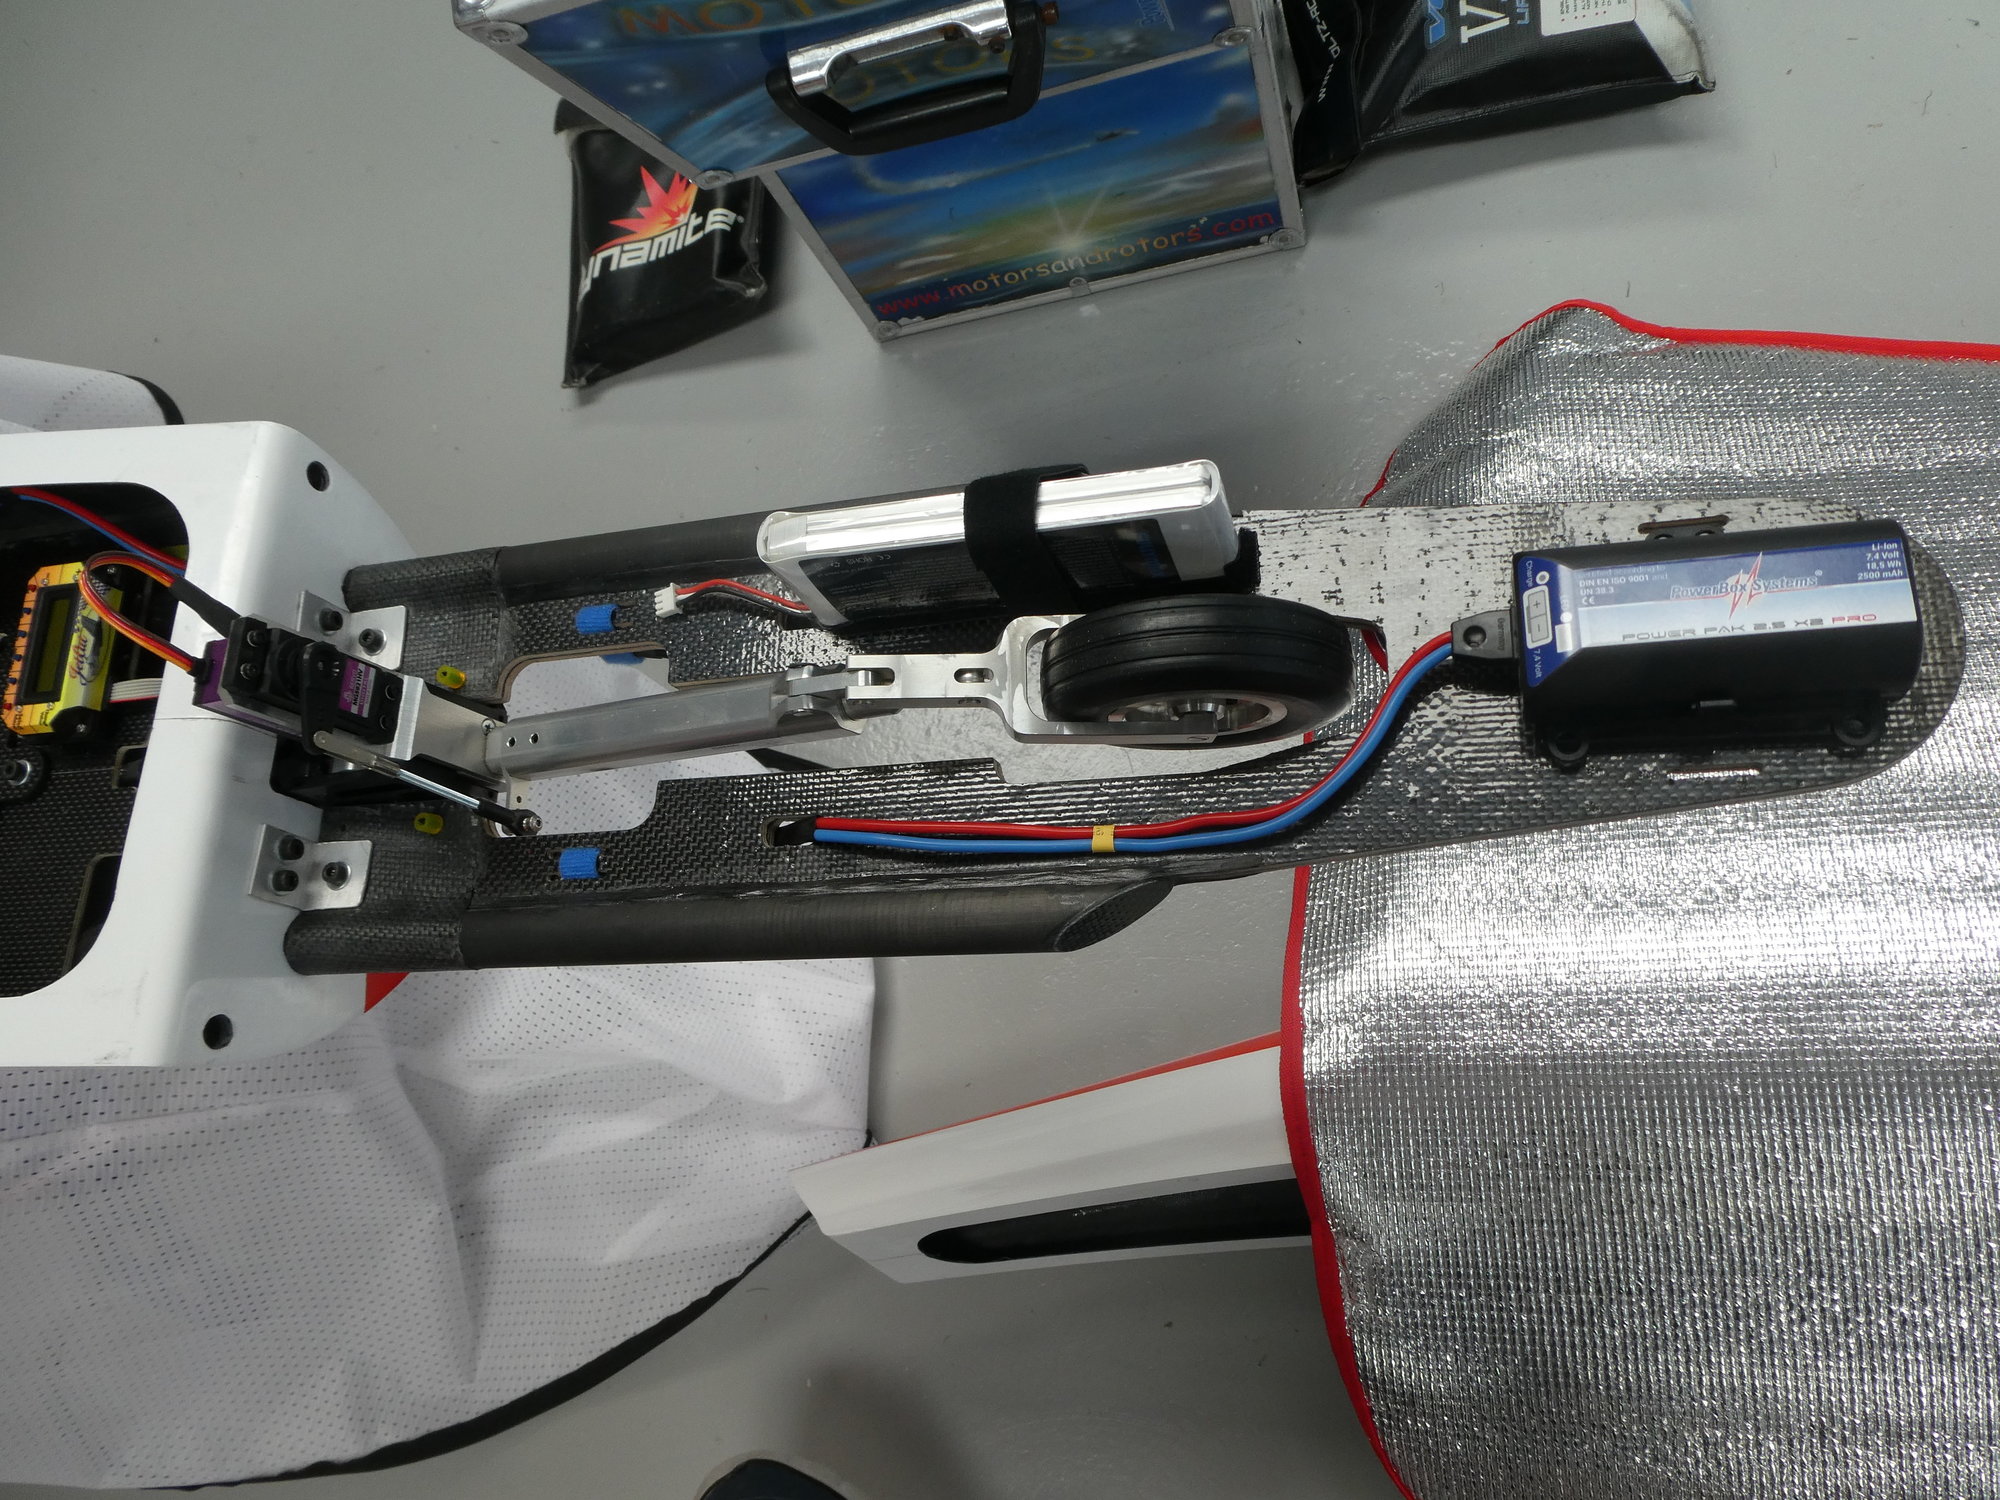
i also put the nose gear door servo in. The kit comes with two ball links, but with my final chosen arm a clevis gave a better alignment. The arm has to be short to clear the nose plate.
A piece of soft wire allowed me to find the correct length quickly and then transfer it to the hard linkage.

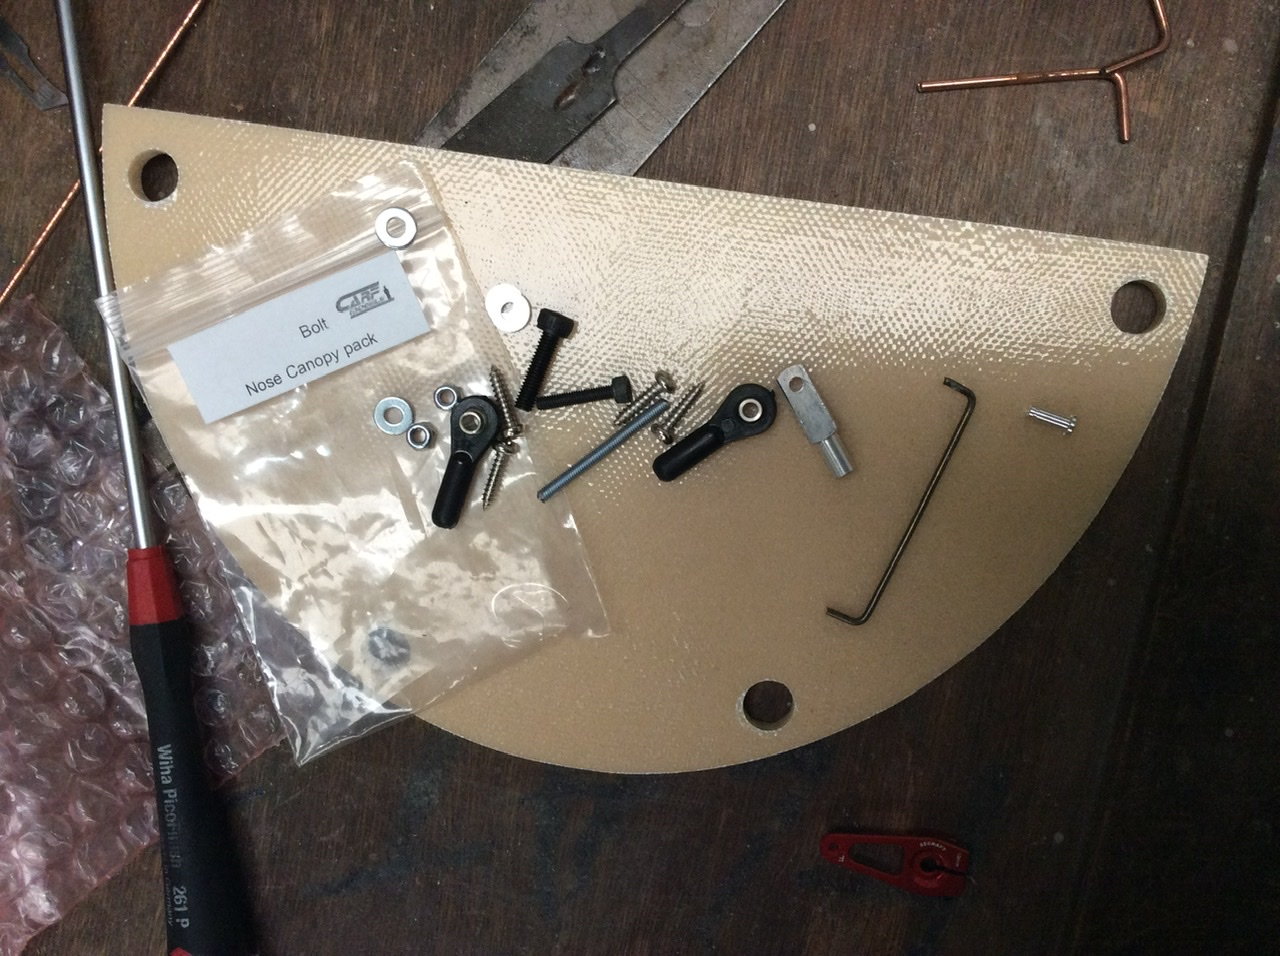

i also put the nose gear door servo in. The kit comes with two ball links, but with my final chosen arm a clevis gave a better alignment. The arm has to be short to clear the nose plate.
A piece of soft wire allowed me to find the correct length quickly and then transfer it to the hard linkage.
 09-09-2020, 12:51 PM
#52
Thread Starter
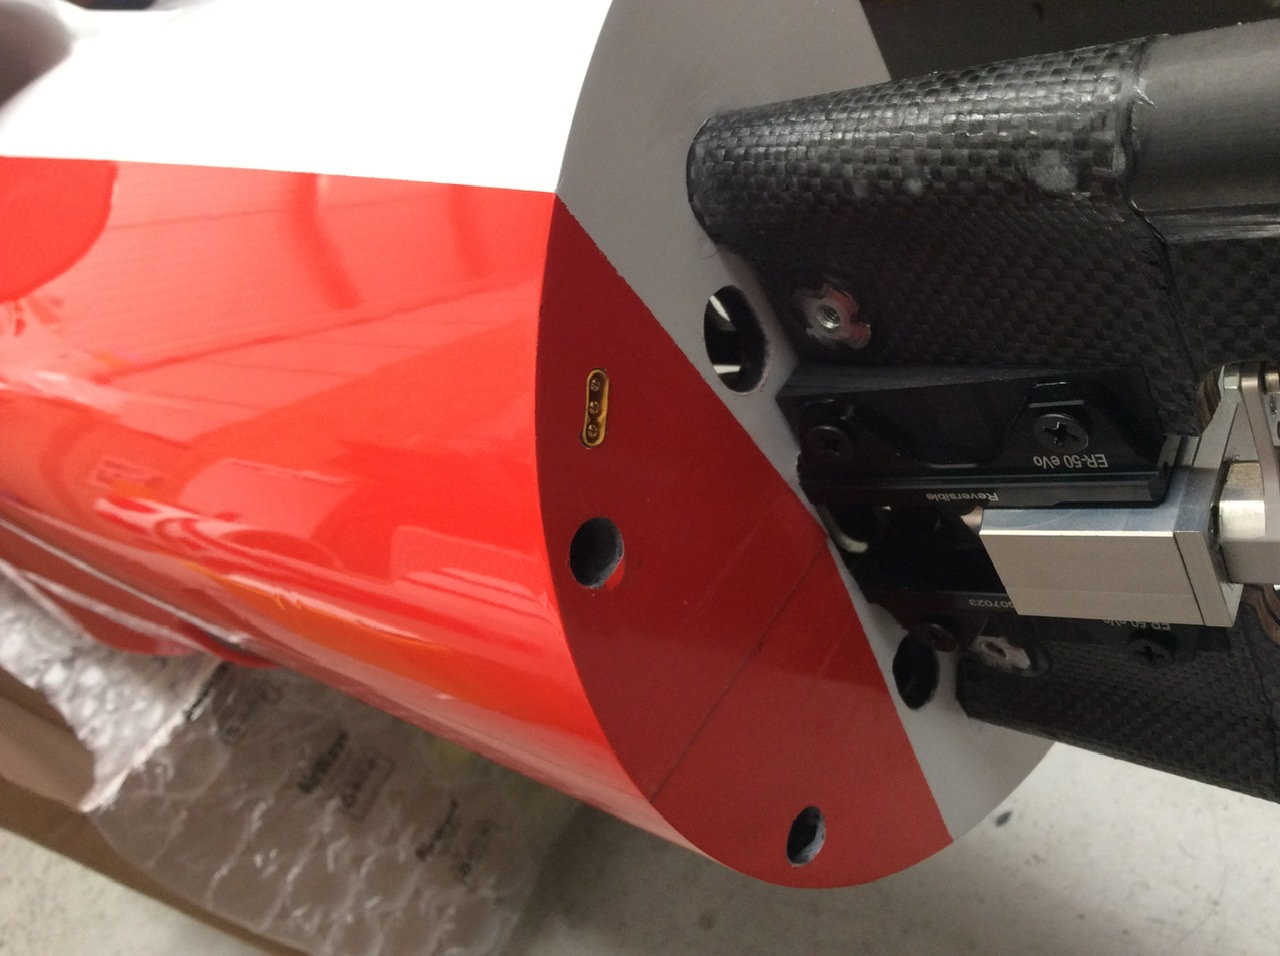
Mounting the retract units it�s important the two are the same distance from the gear door hinge positions so both sides match. I set my units to suit the wing with the shortest distance ( due to the carbon rib build up) that worked out to 225mm (8 7/8�) from the door shut to retract yoke.
Playing with the leg door set up this is the simplest yet. CARF have really thought about this, the linkage comes pre done. I used a loop of masking tape to push the pivot tube into the door and added some spots of Slo Zap to the tube, closed the door, let it set...and it just worked 😄
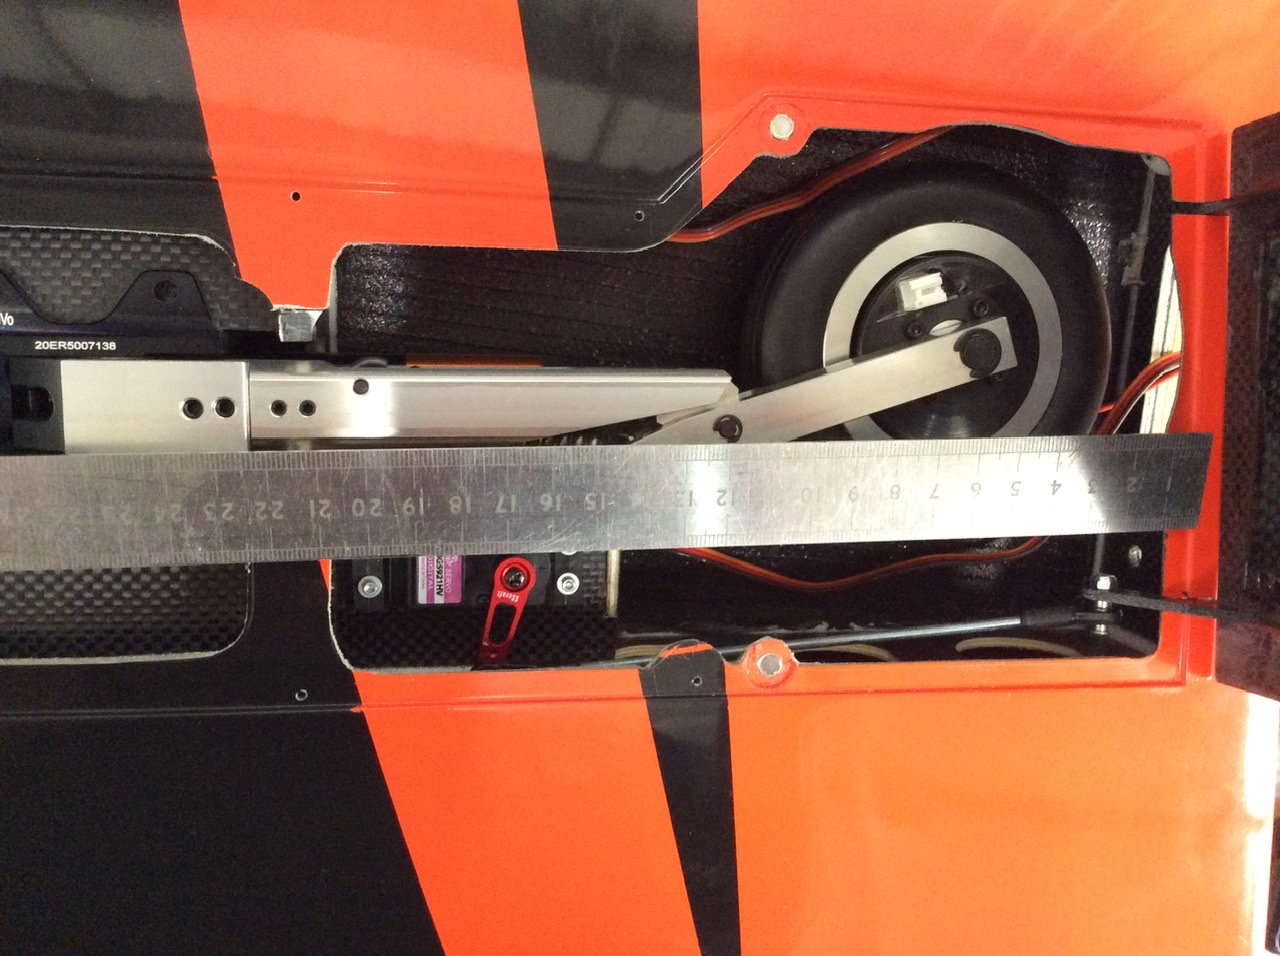
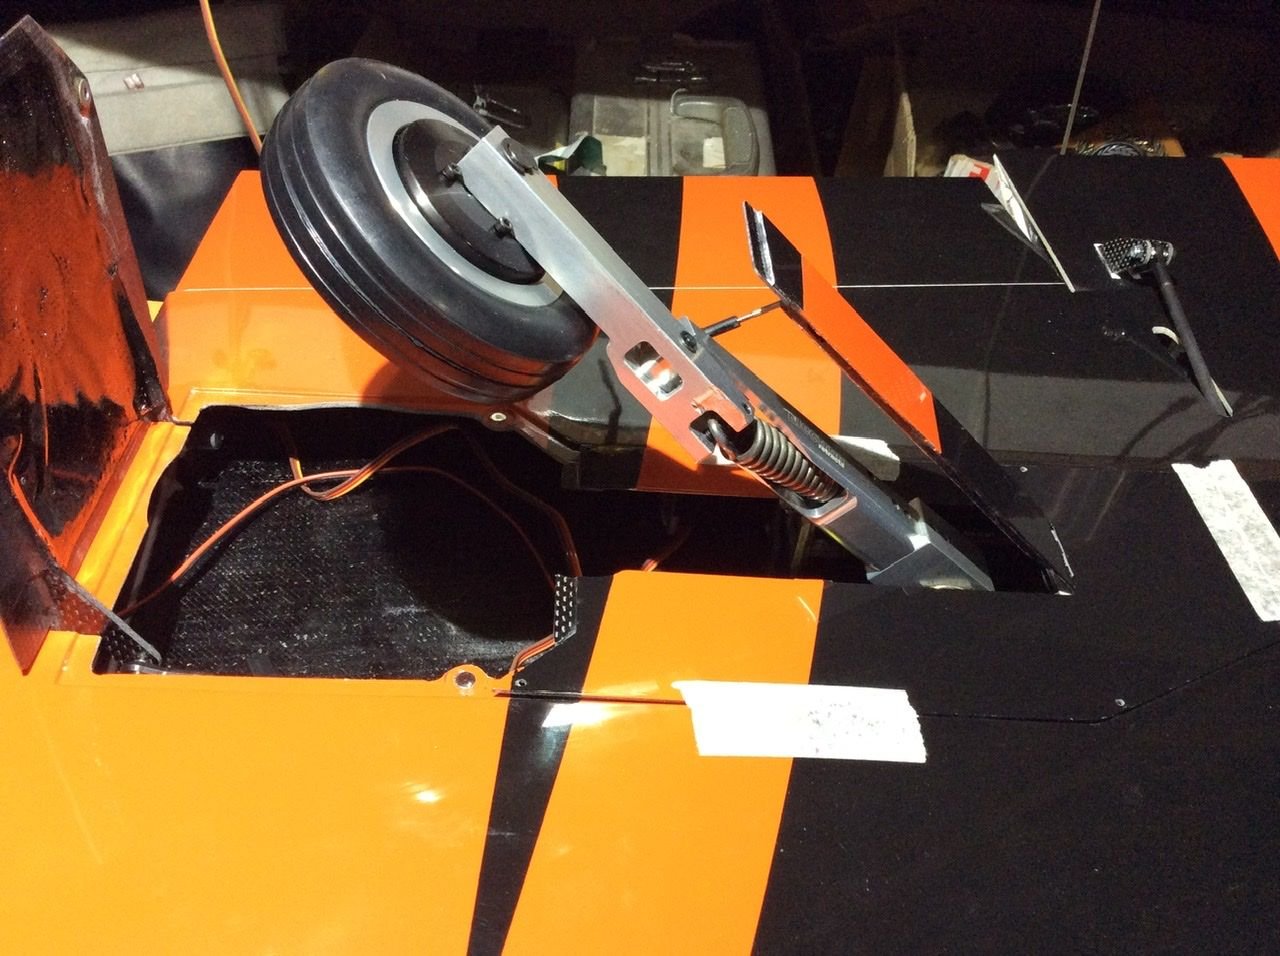
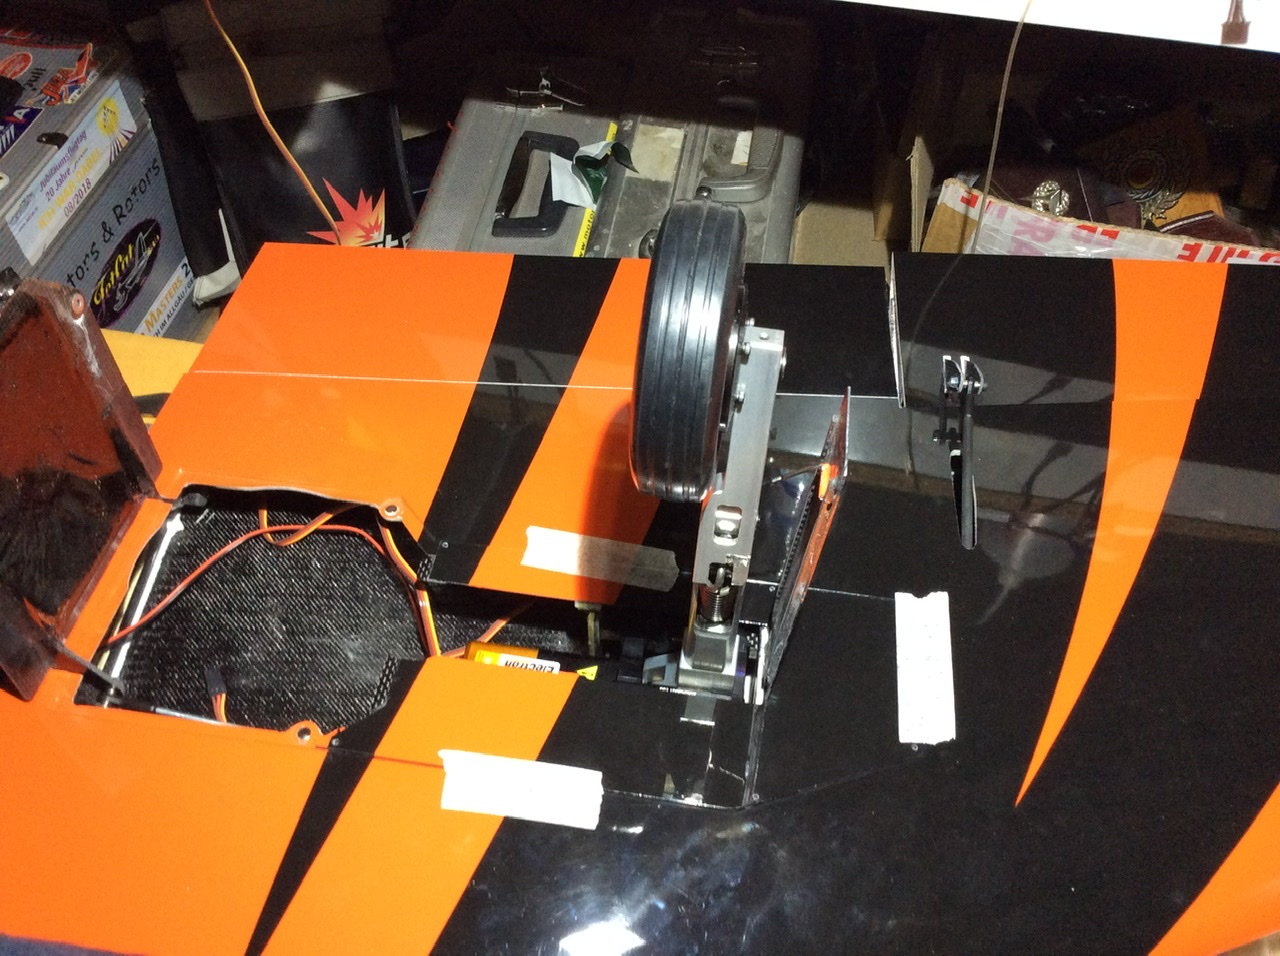
Playing with the leg door set up this is the simplest yet. CARF have really thought about this, the linkage comes pre done. I used a loop of masking tape to push the pivot tube into the door and added some spots of Slo Zap to the tube, closed the door, let it set...and it just worked 😄
09-15-2020, 12:37 PM
#53
Thread Starter
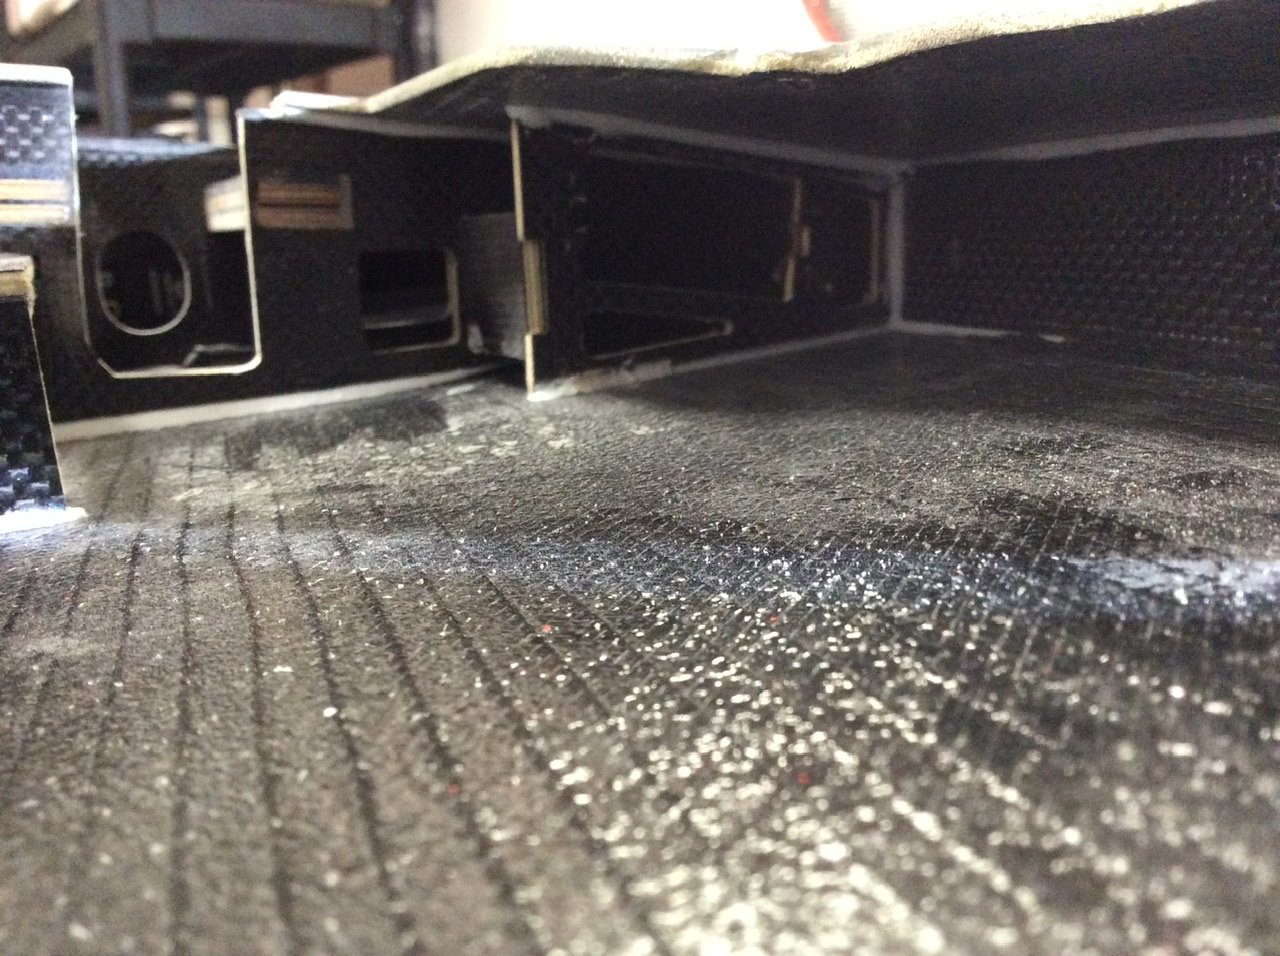
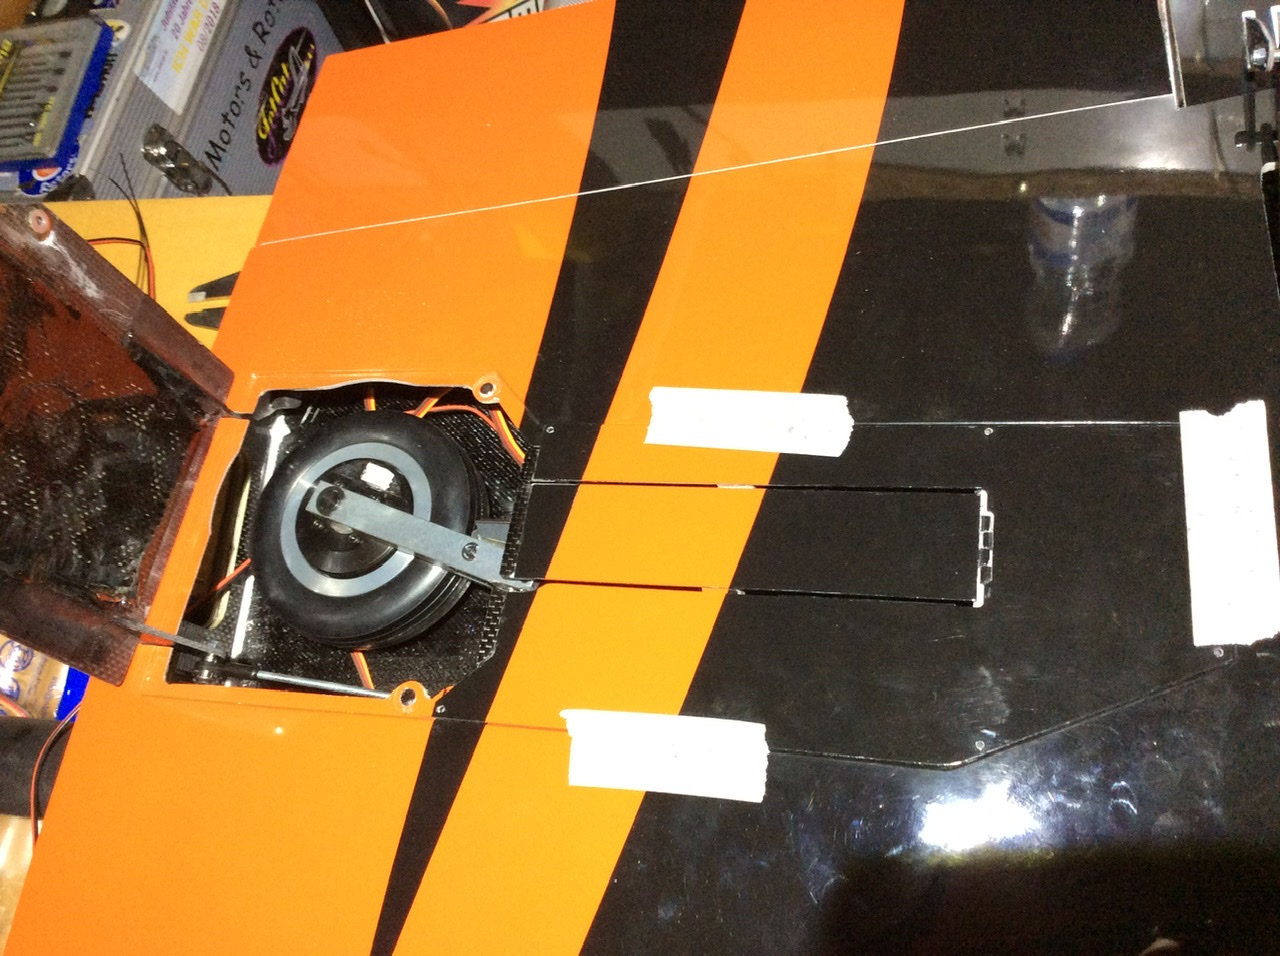
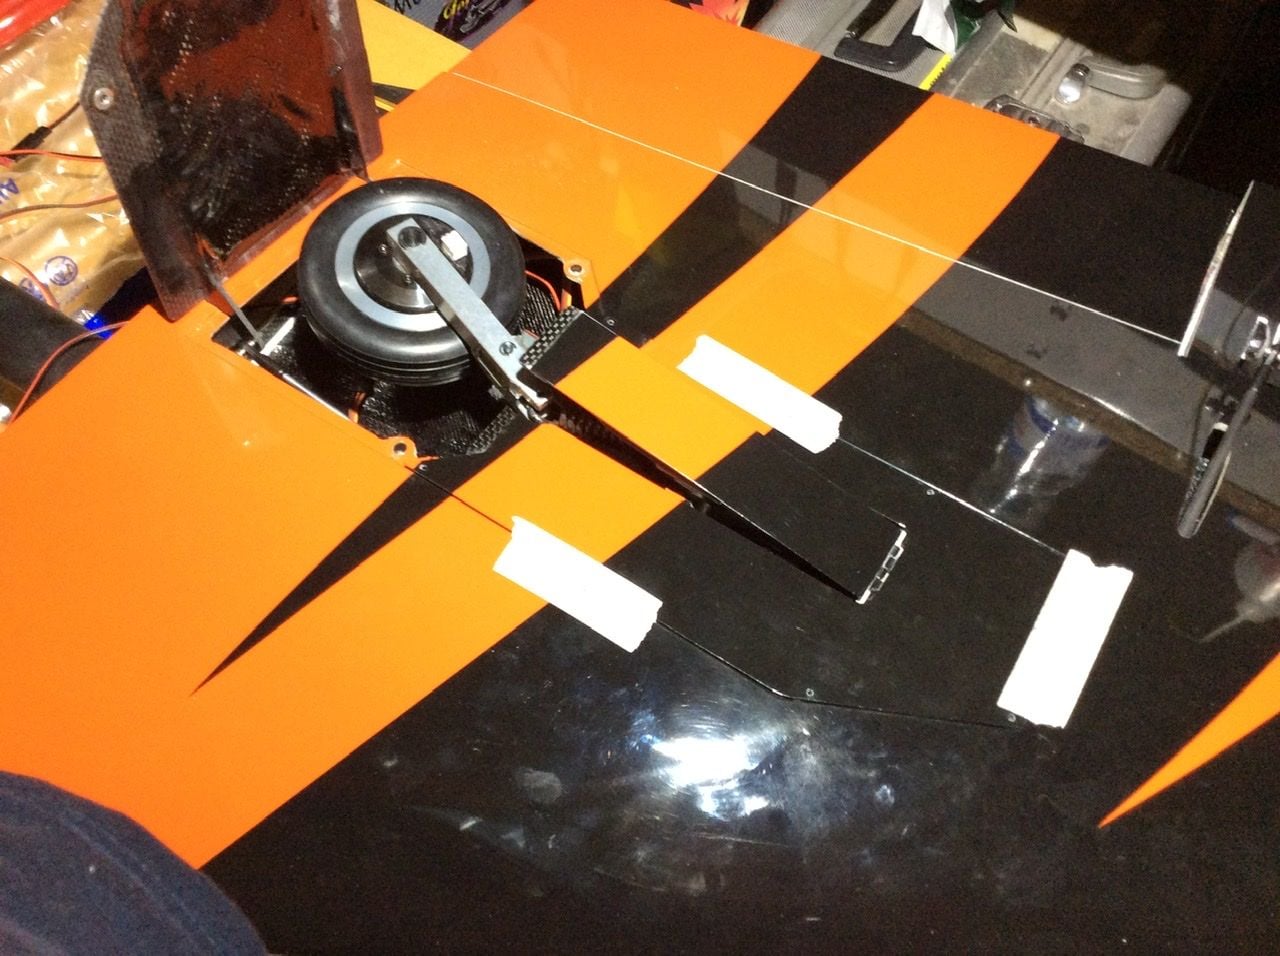
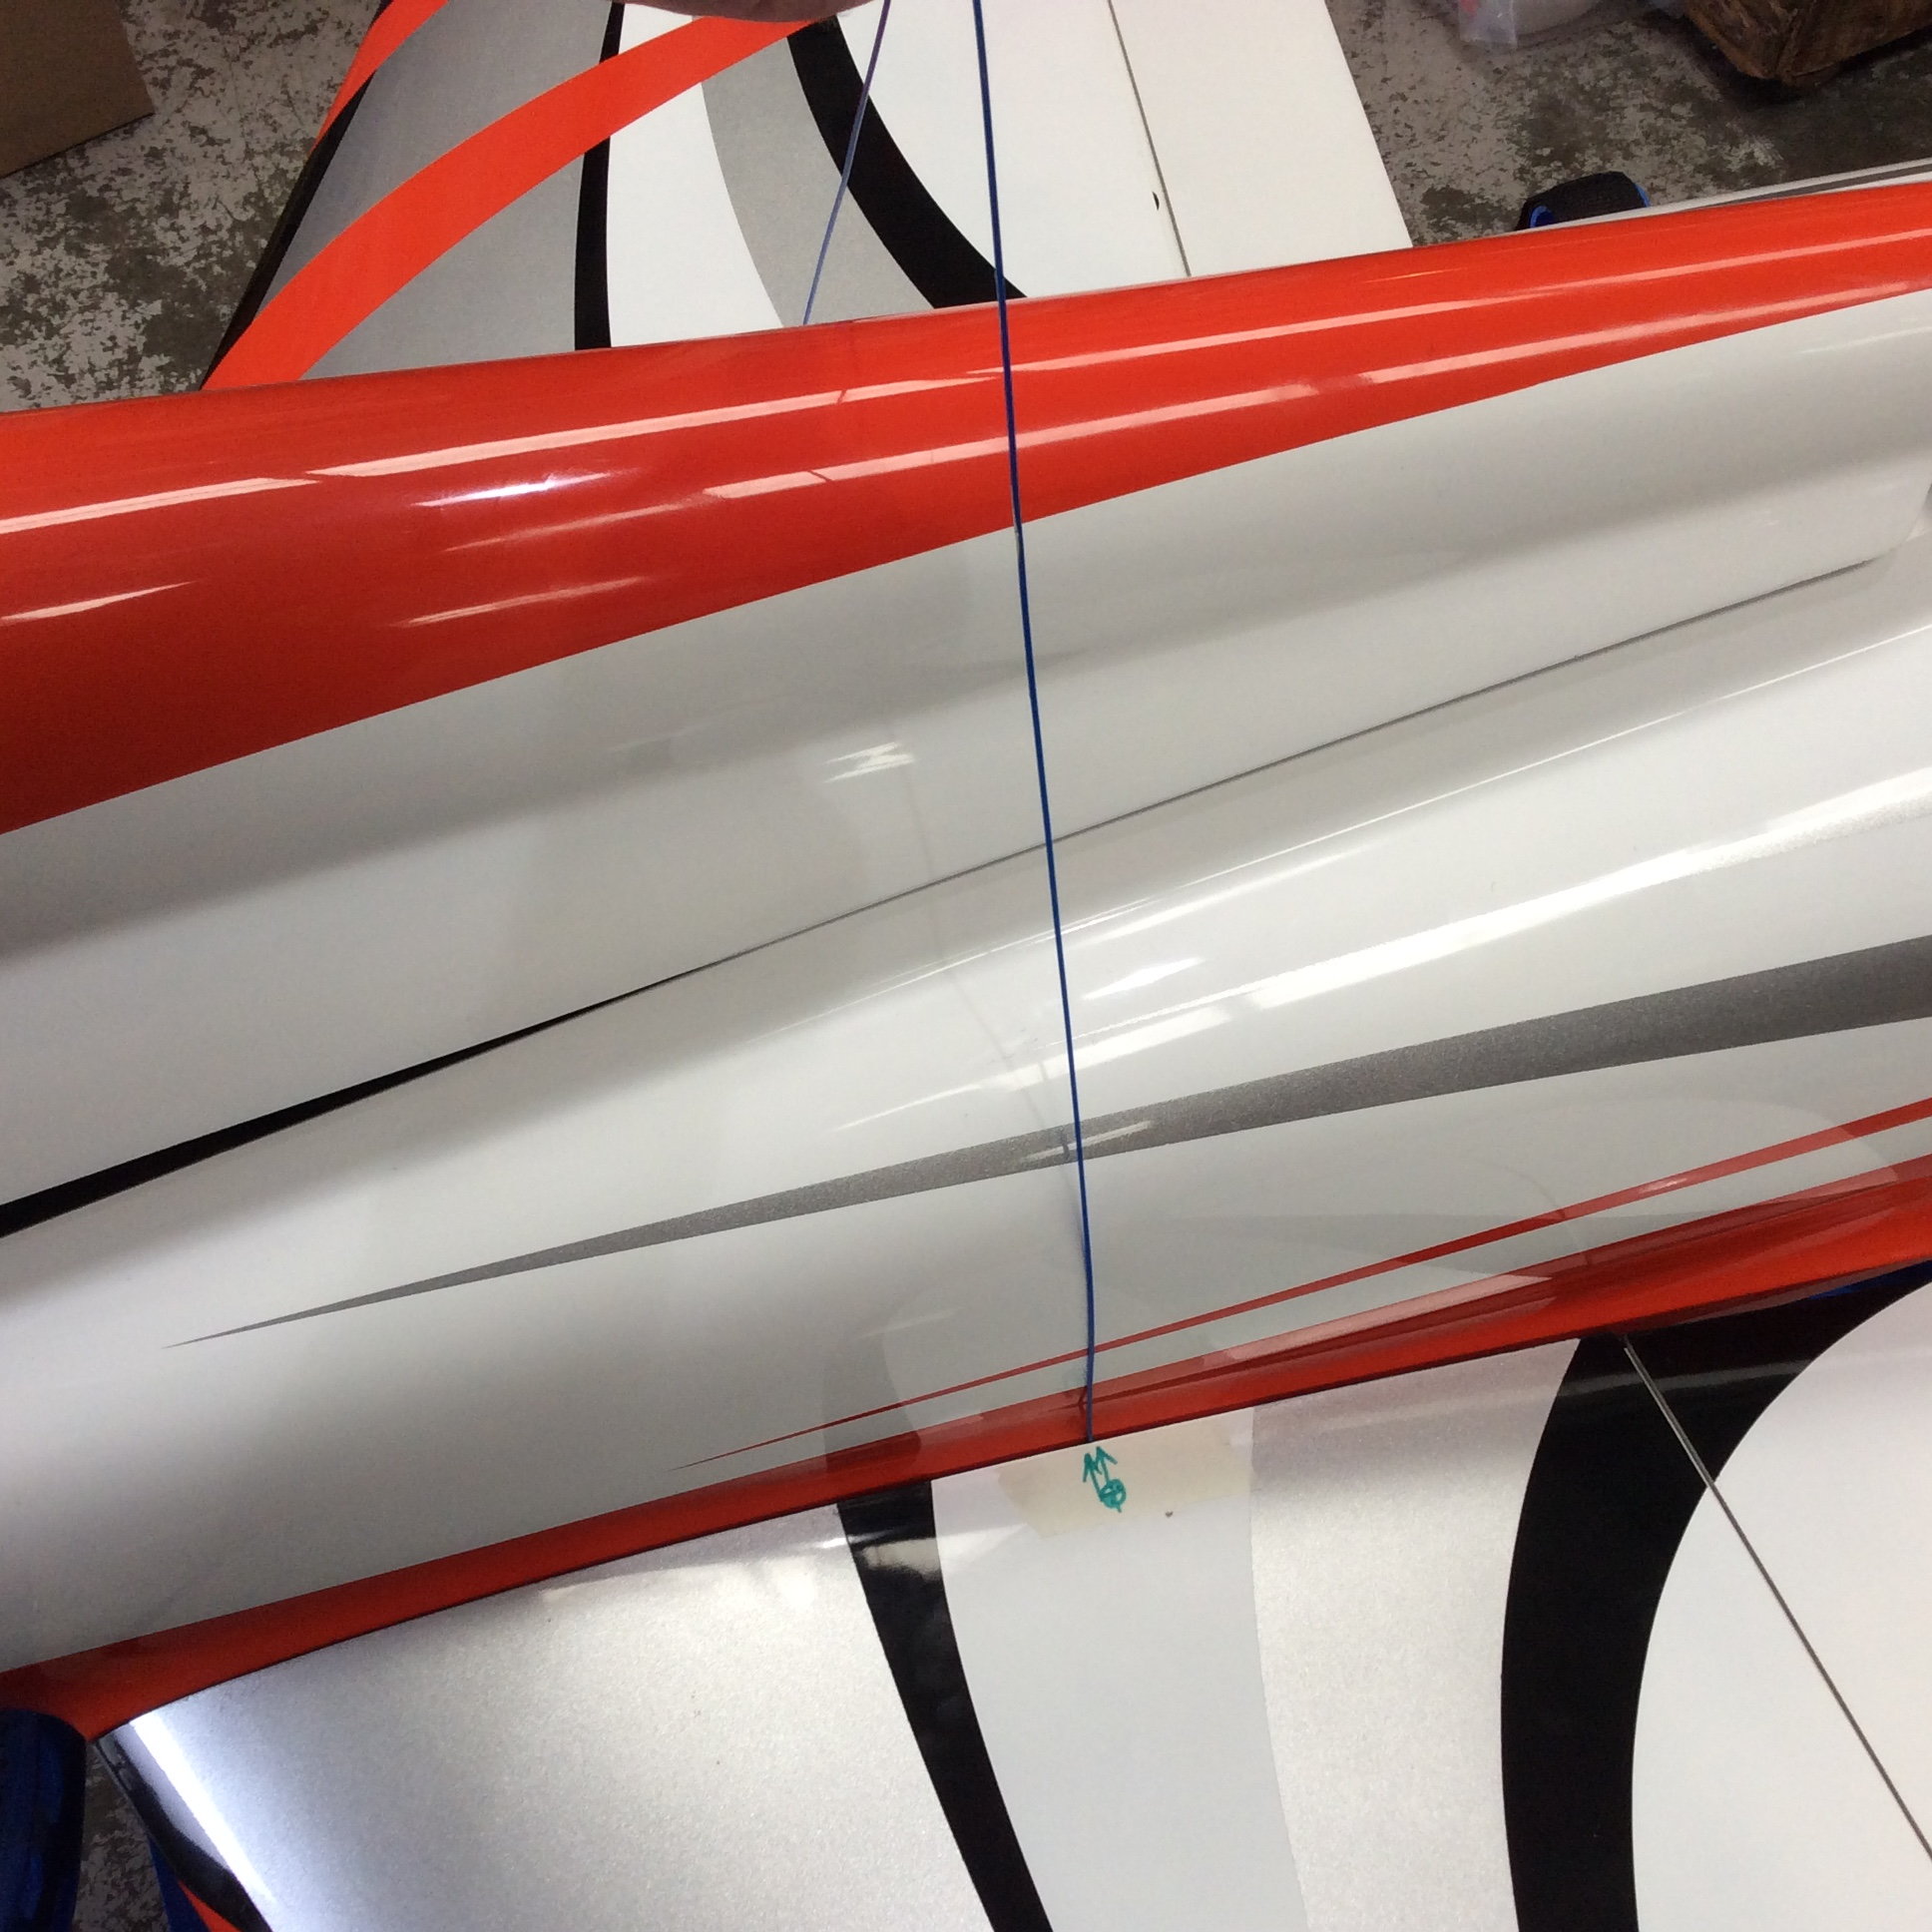
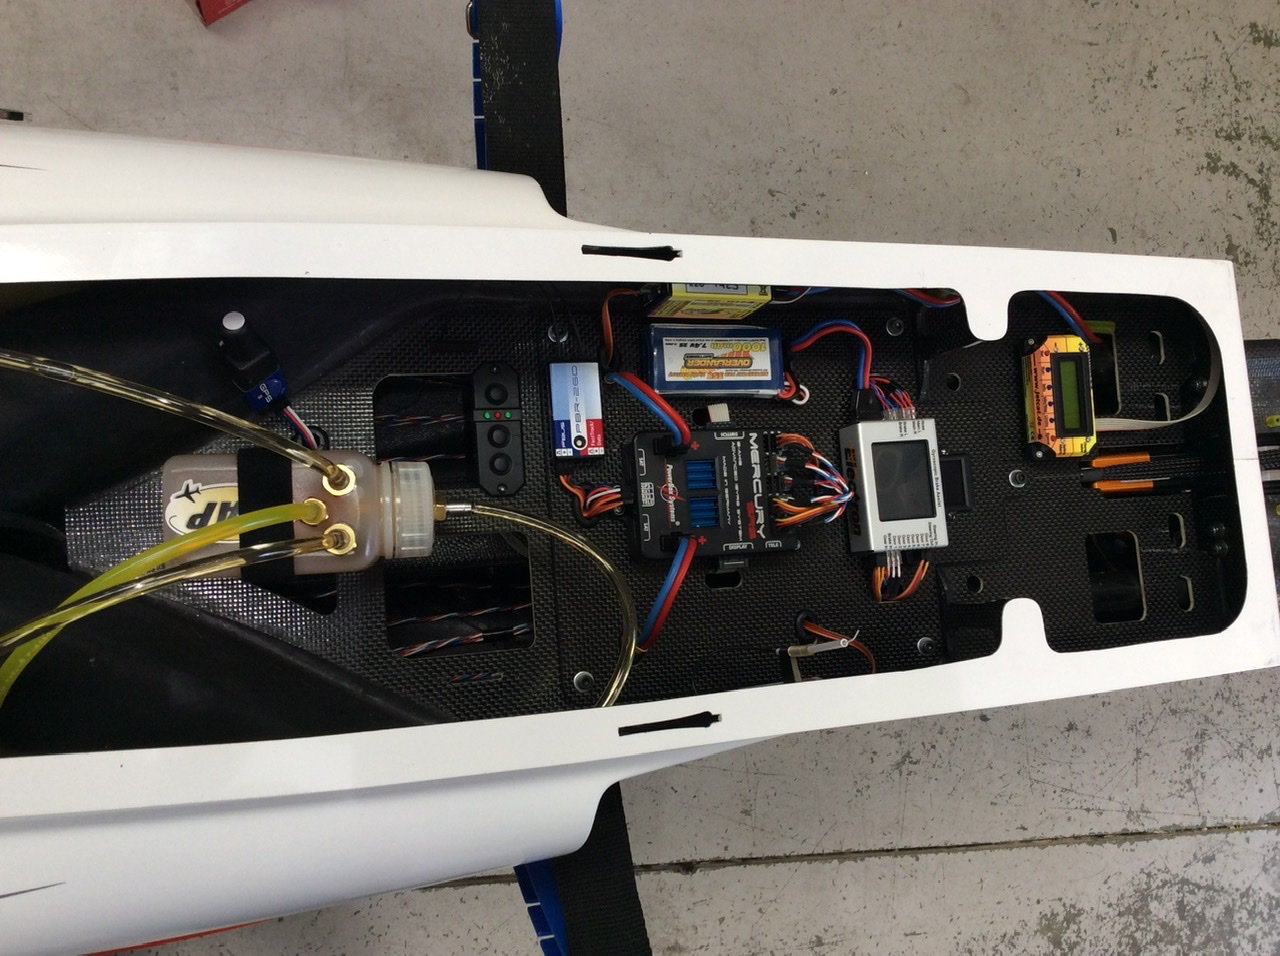
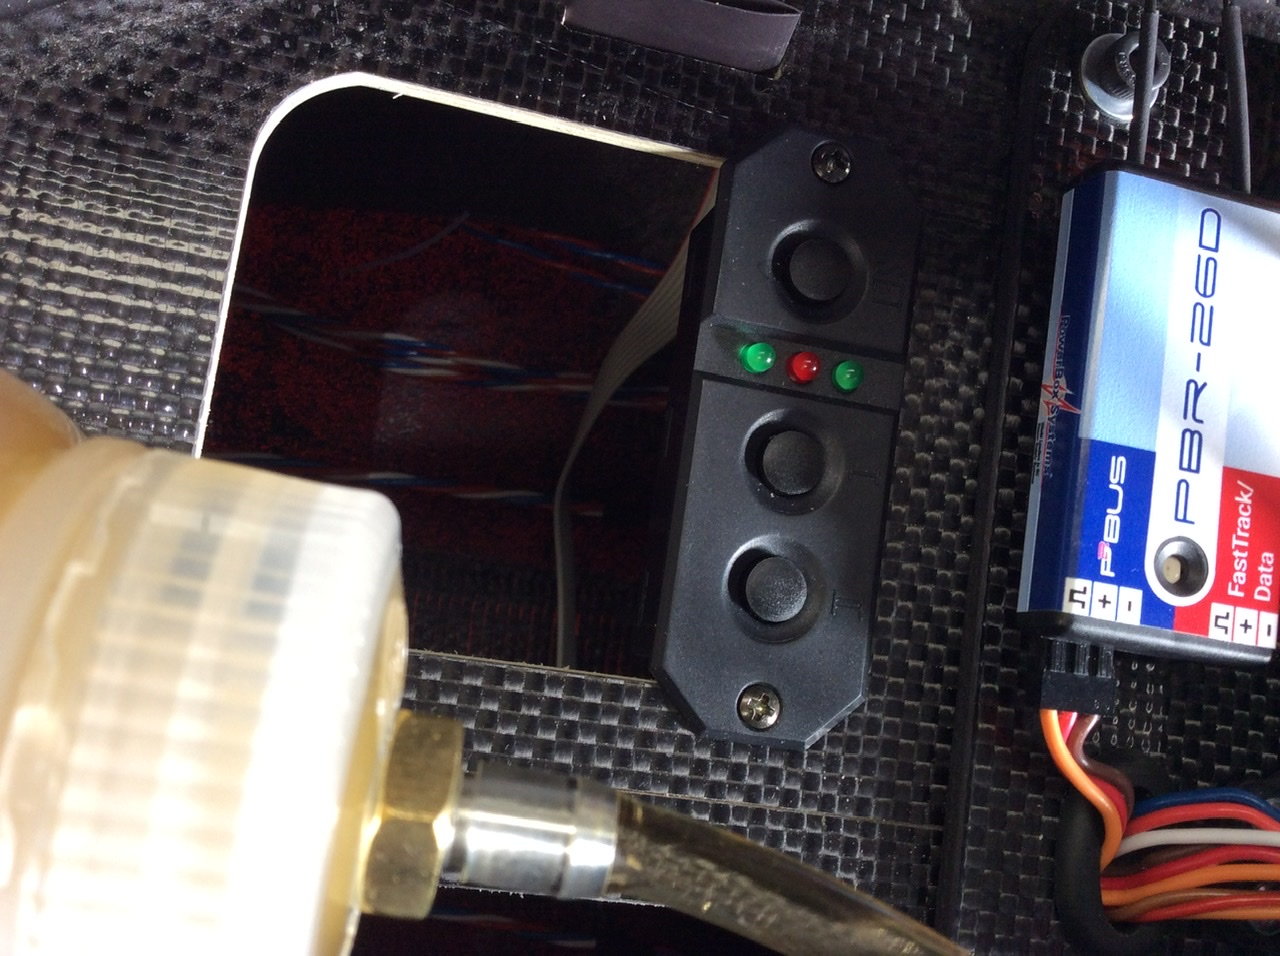
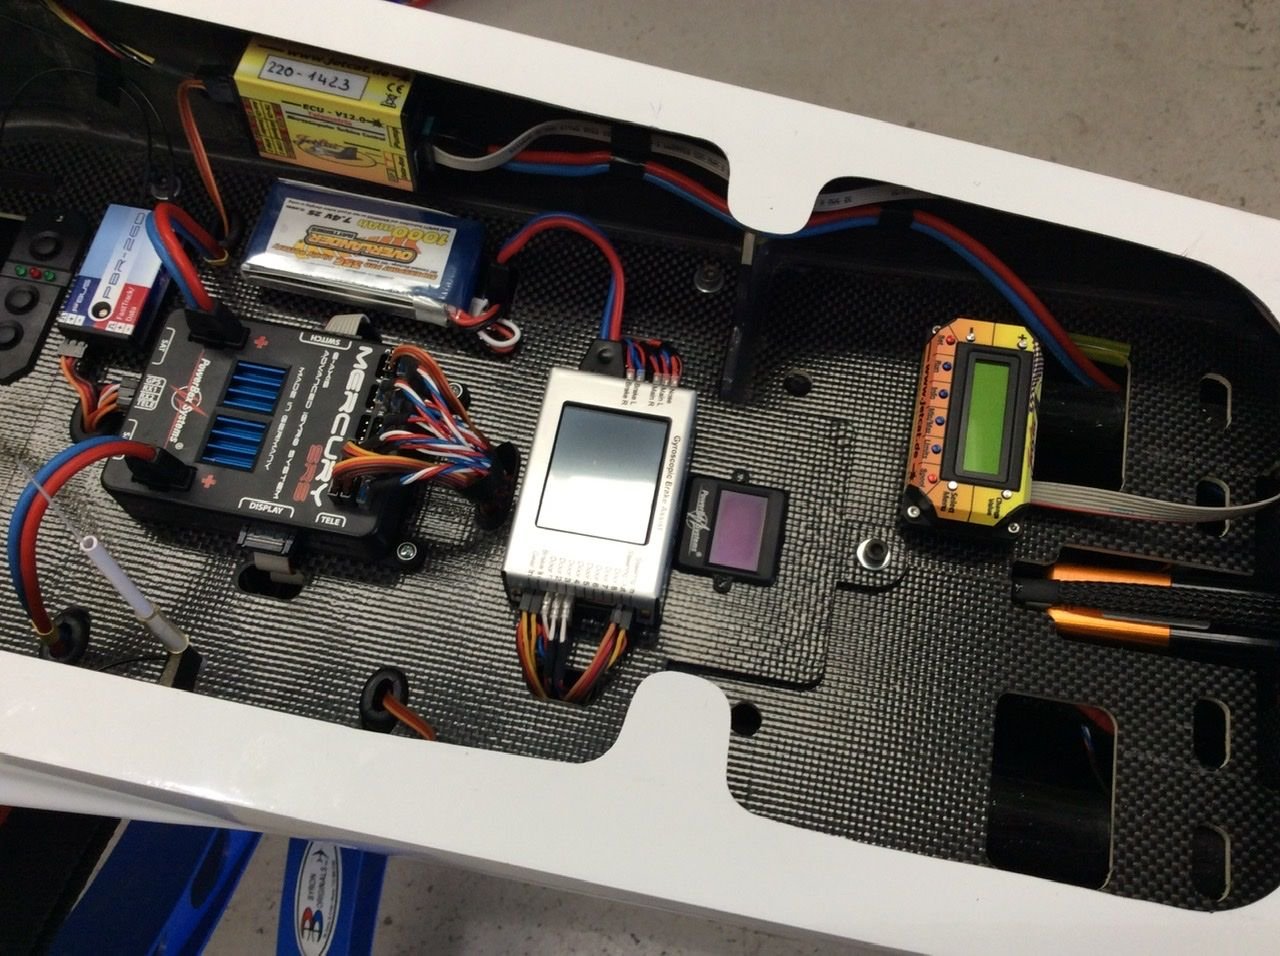
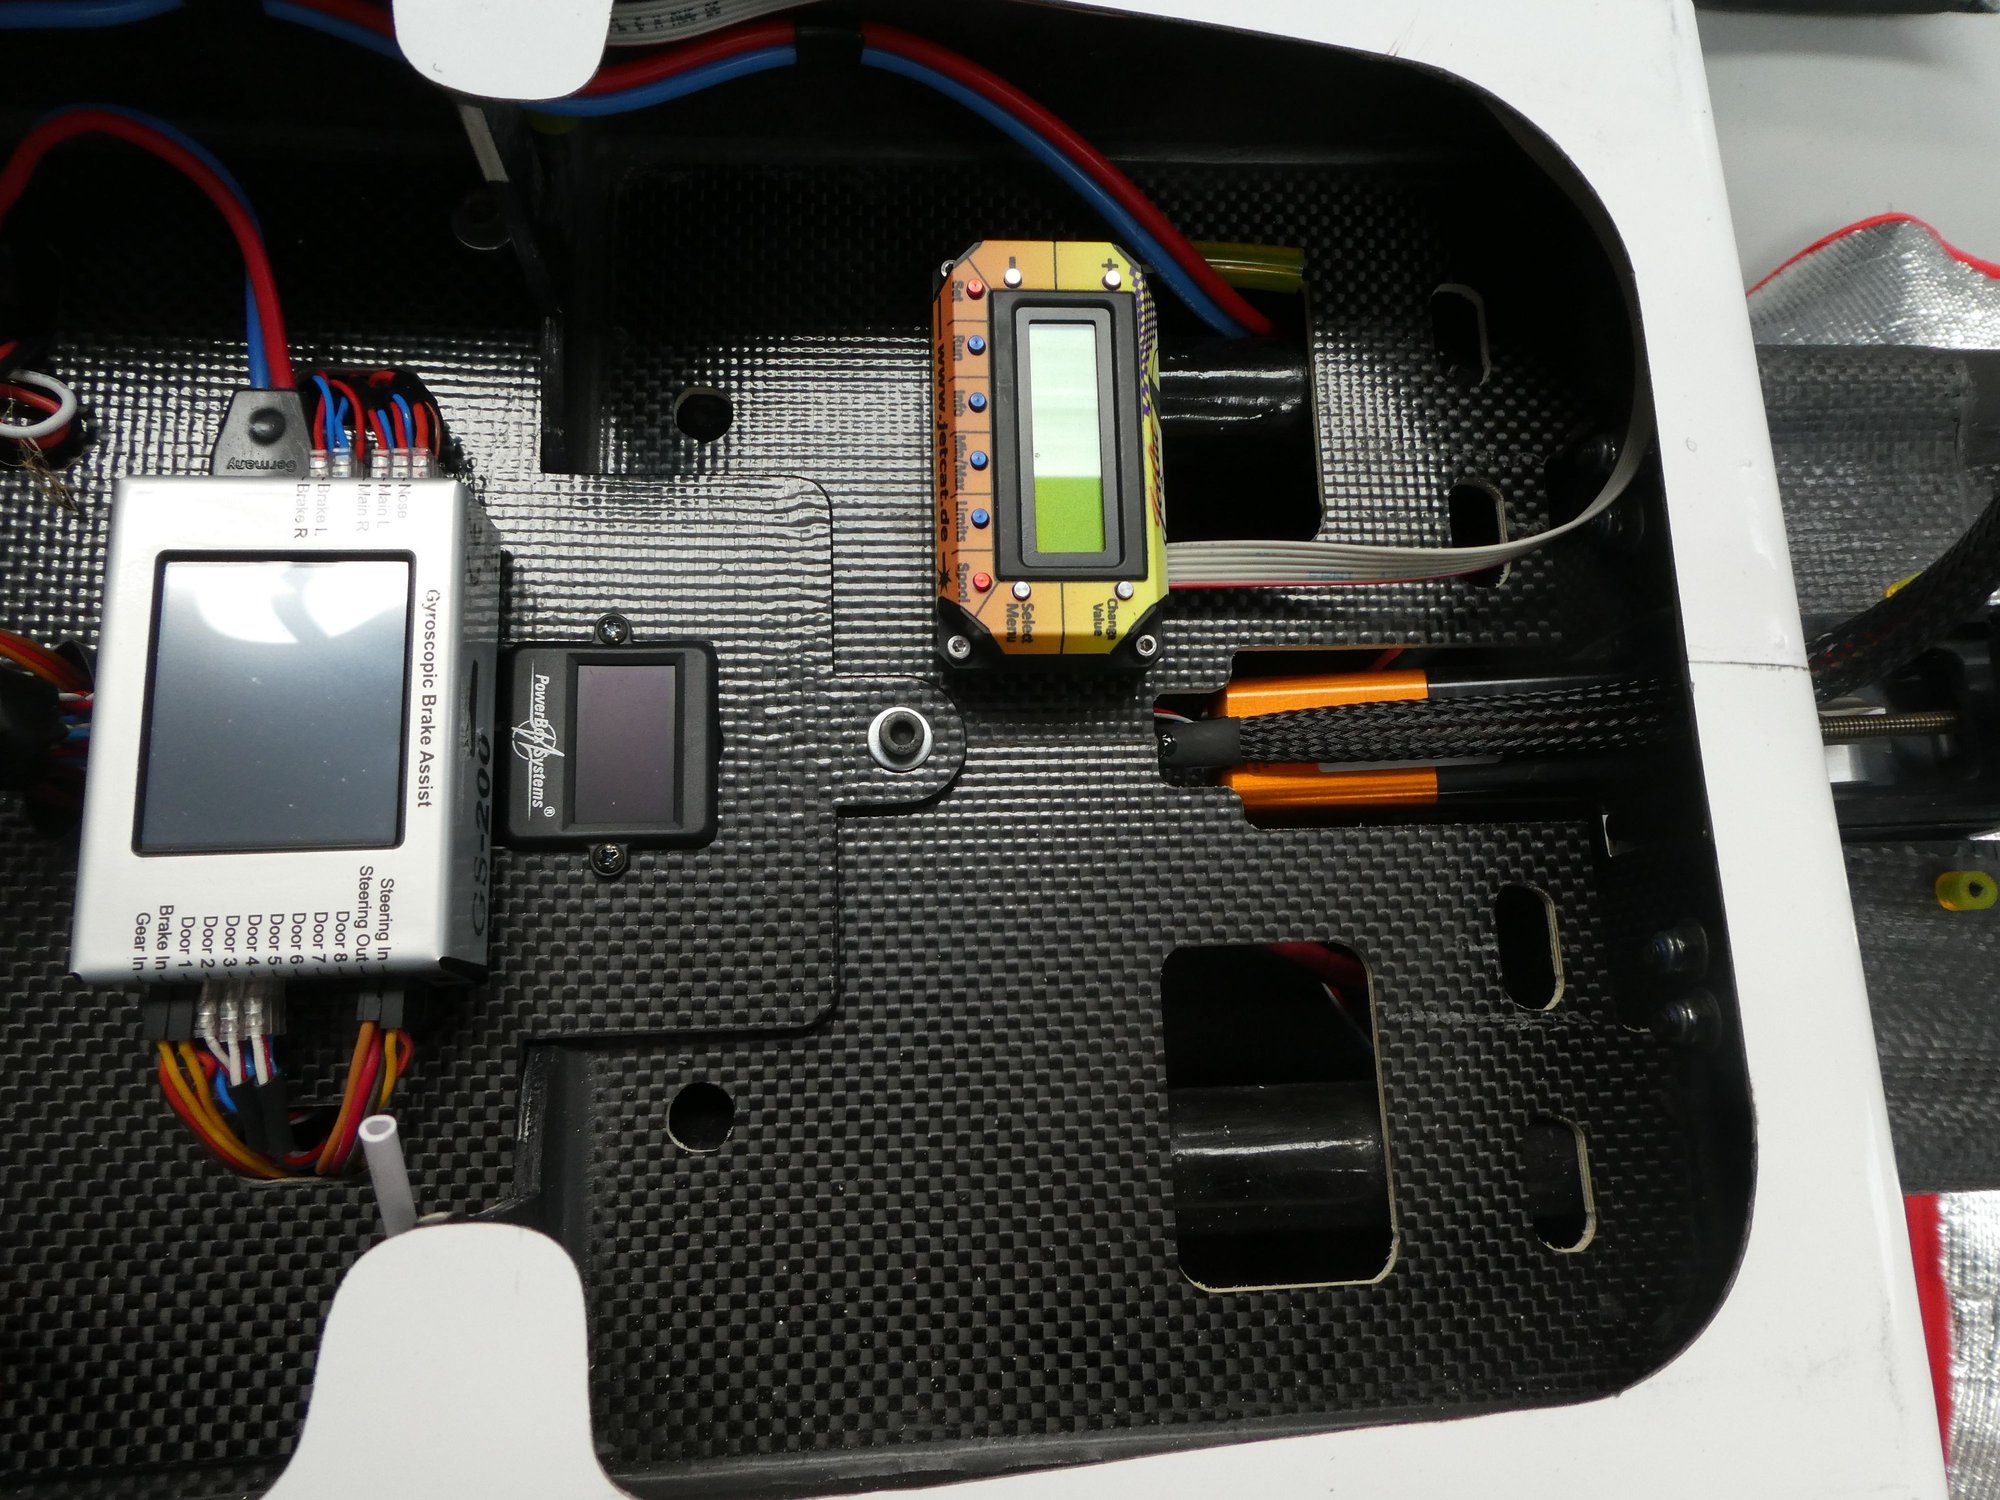
Back on the Bolt tonight, a weekend away at our Deenethorpe Jet meeting and work yesterday got in the way a bit, but I have spent tonight setting the pushrod lengths using the Powerbox on a installation plate. It has the PB, Rx�s and batteries all fixed with Velcro so multiple cycles will have occurred before I test fly the model. You can set the gyro orientation and direction while on the plate...much easier than man handling the whole aircraft.
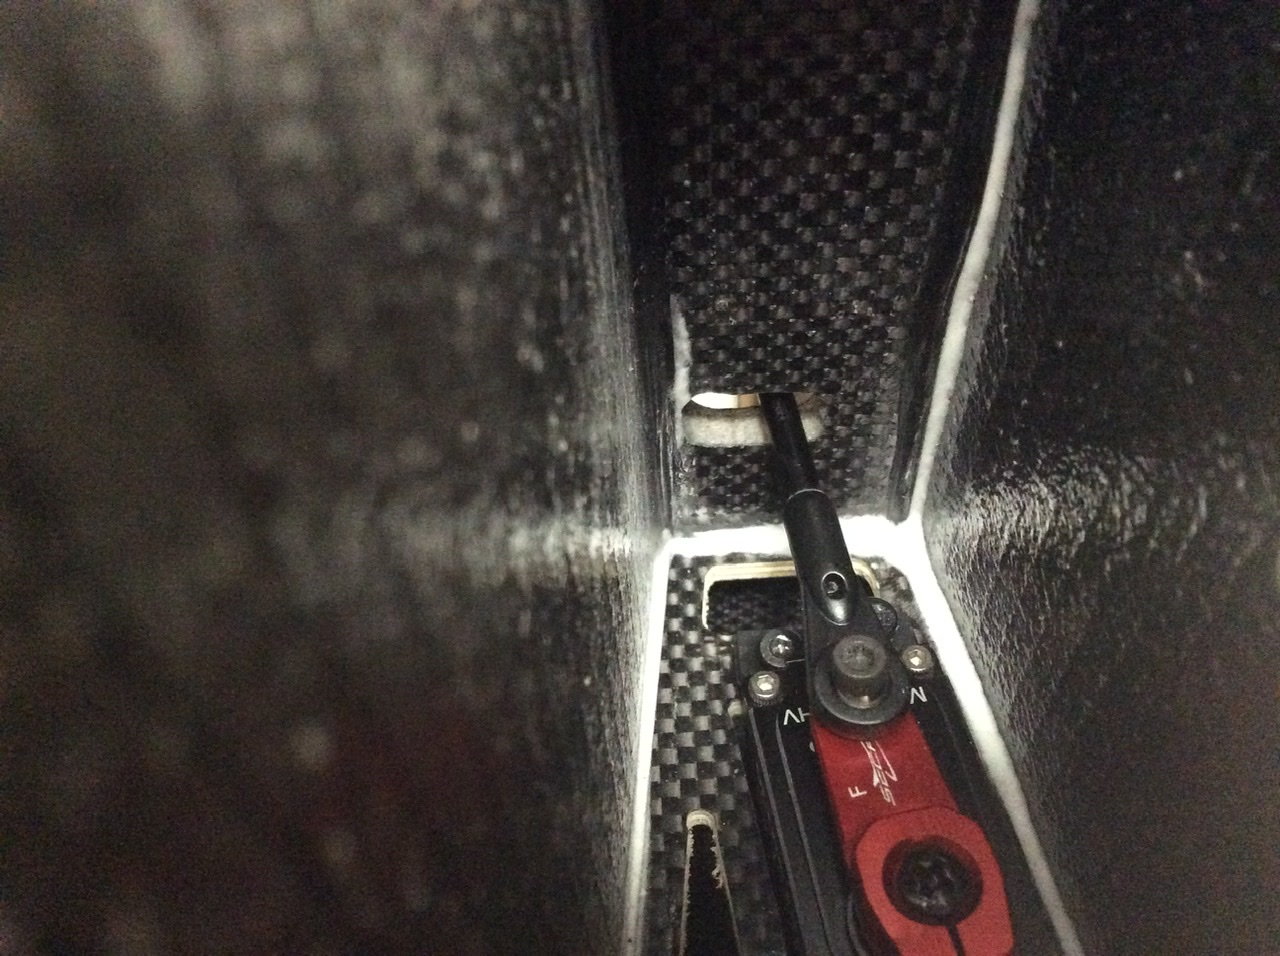
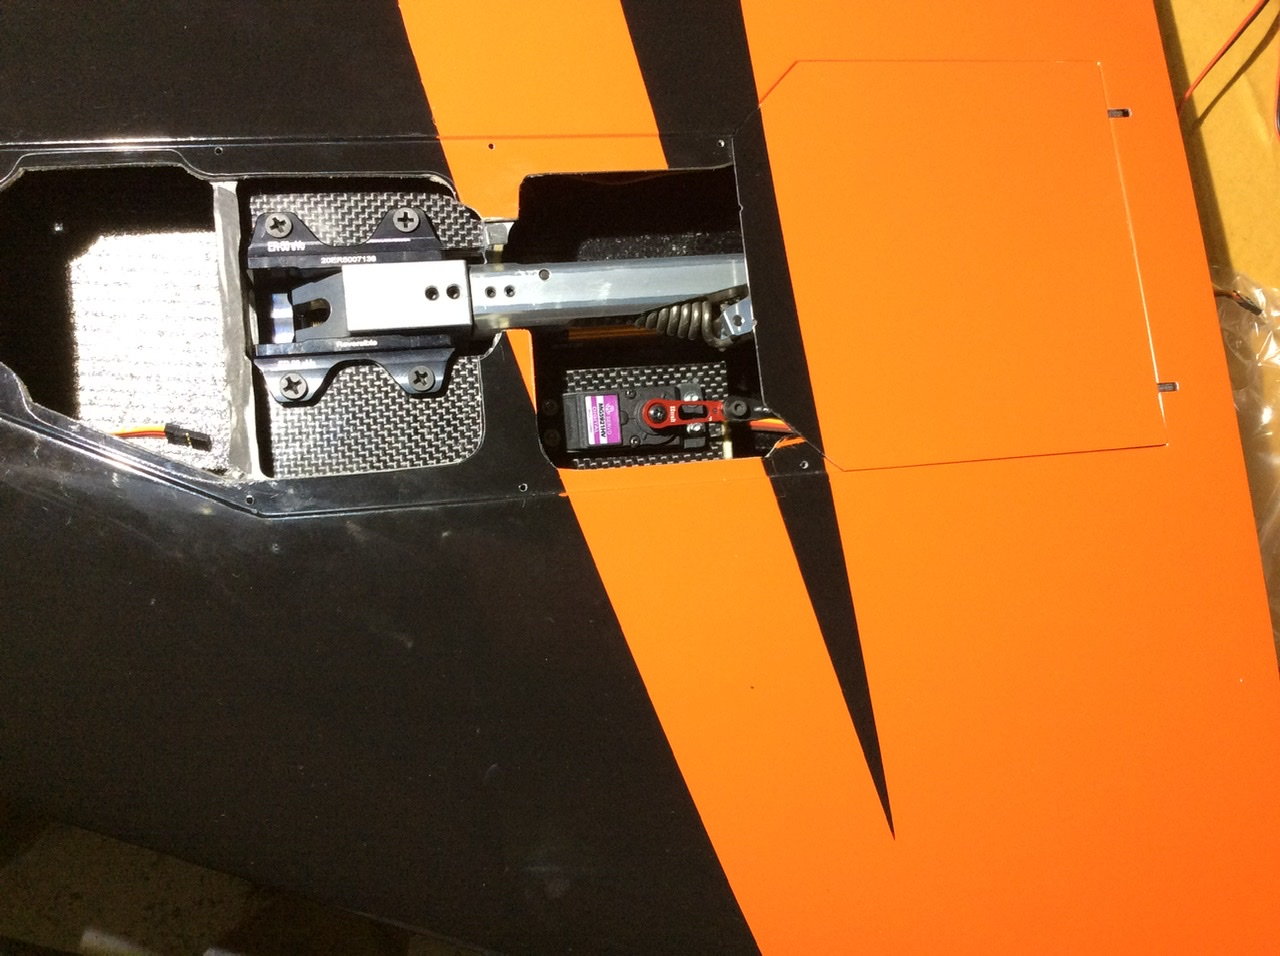
It�s really important the flaps are matched mechanically and at full flap the linkage is dead in line.
I have also fitted the carbon sleeve to the gear door rod and that has no load either when closed.
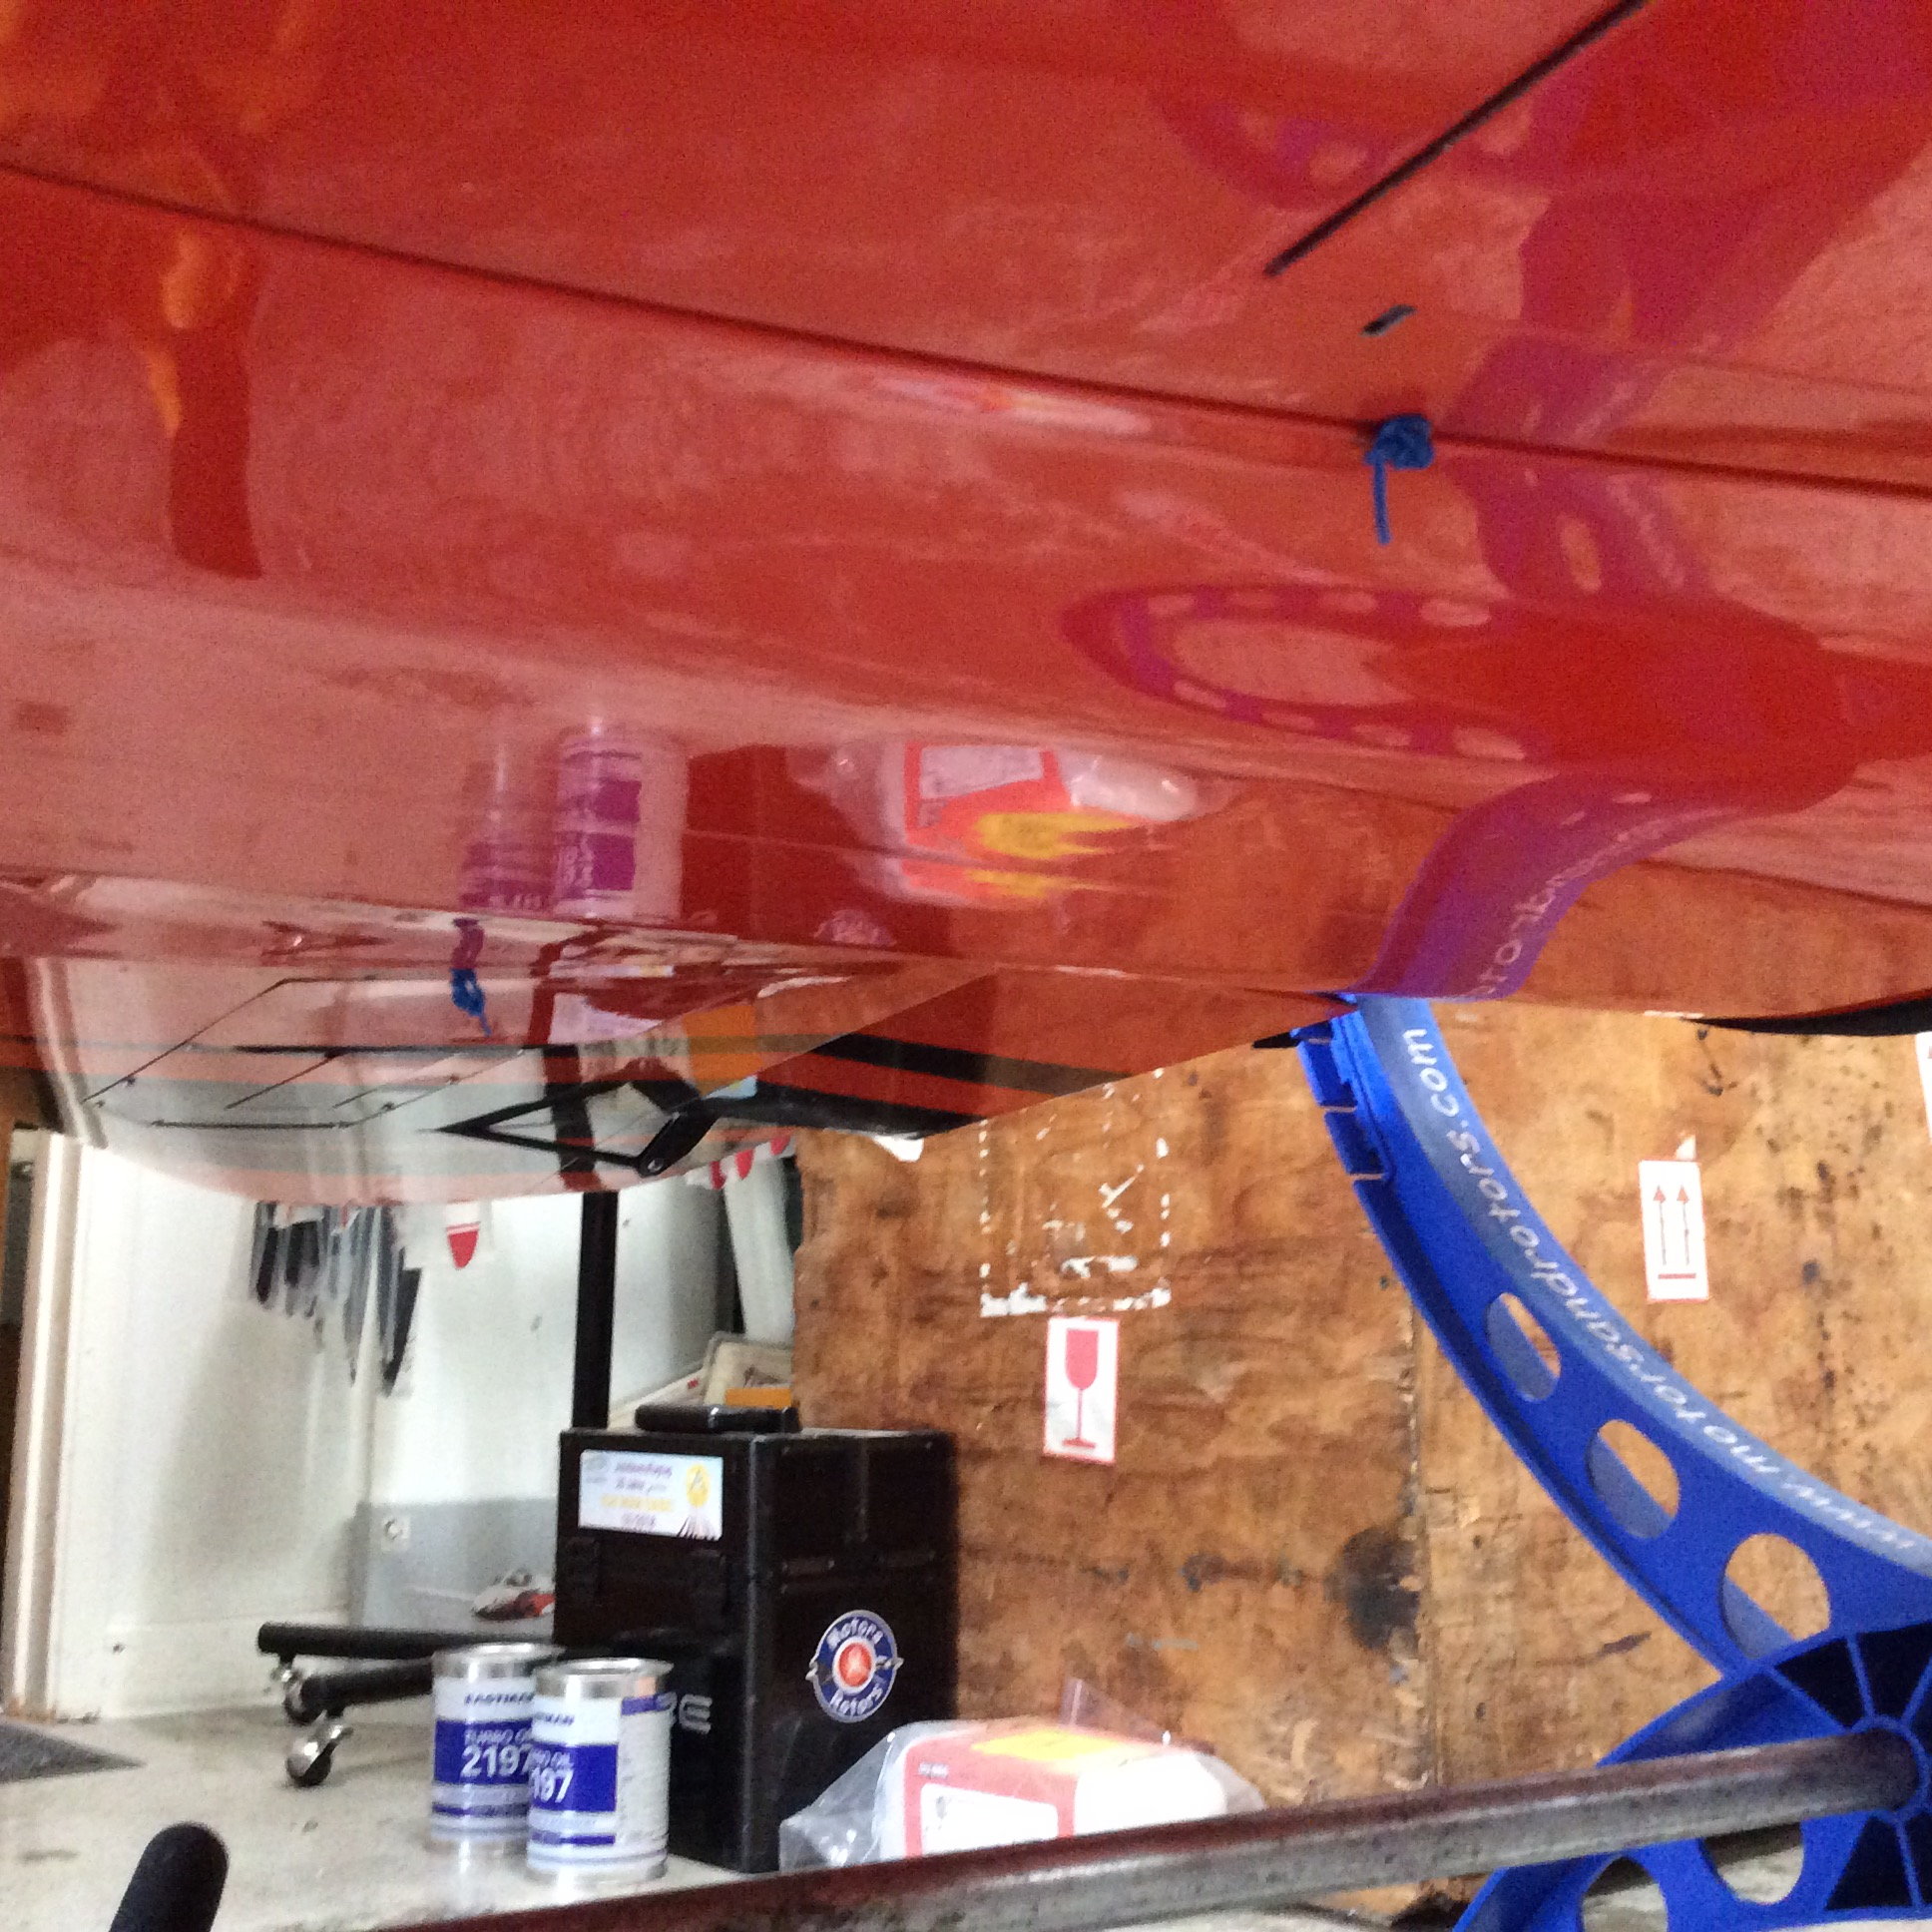
Pictures are grainy as i�m using a torch for lighting!
It�s really important the flaps are matched mechanically and at full flap the linkage is dead in line.
I have also fitted the carbon sleeve to the gear door rod and that has no load either when closed.
Pictures are grainy as i�m using a torch for lighting!
The following users liked this post:
bodywerks (09-16-2020)
09-16-2020, 10:30 AM
#54
Thread Starter
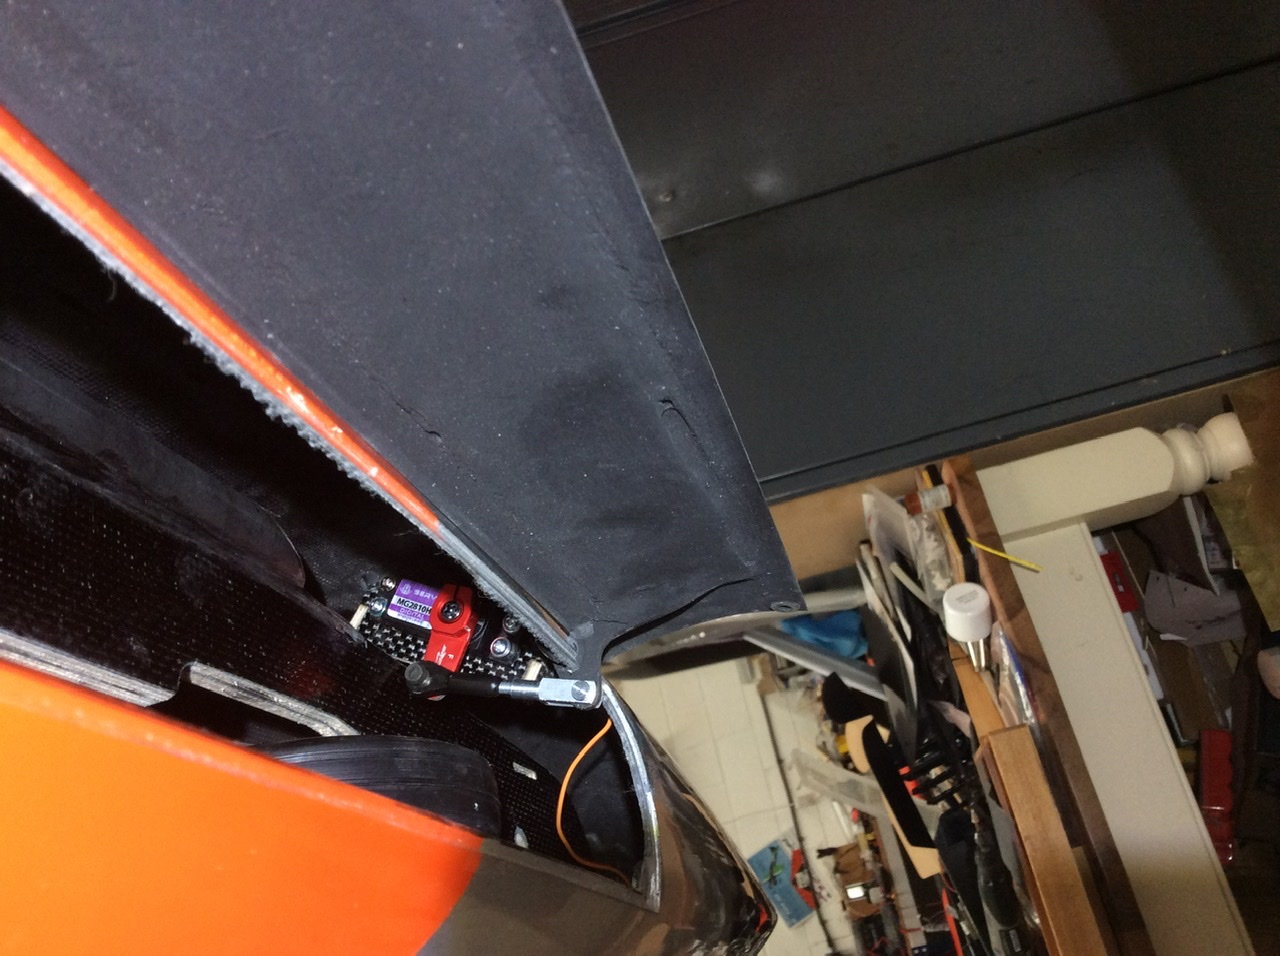
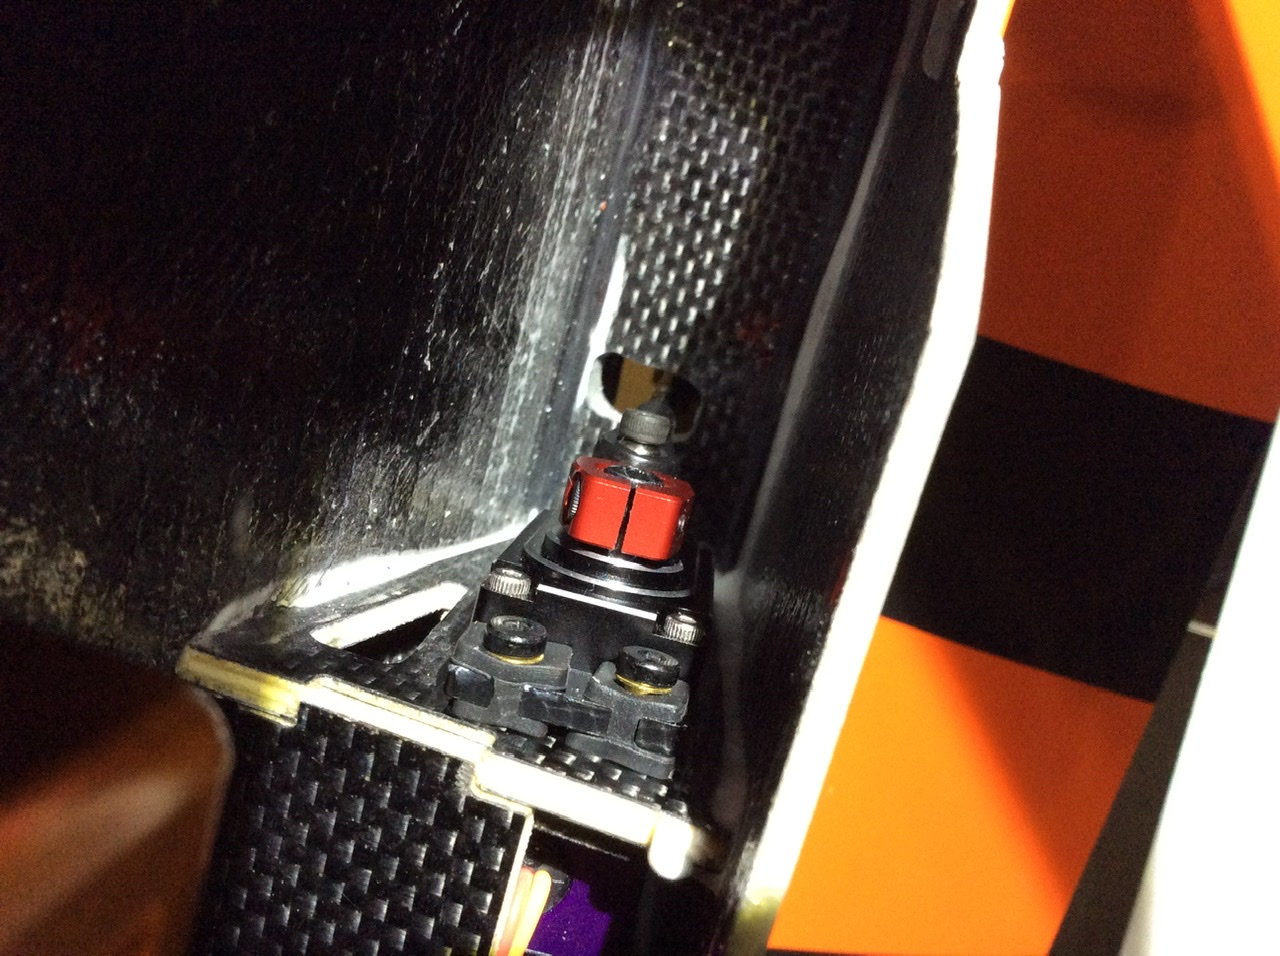
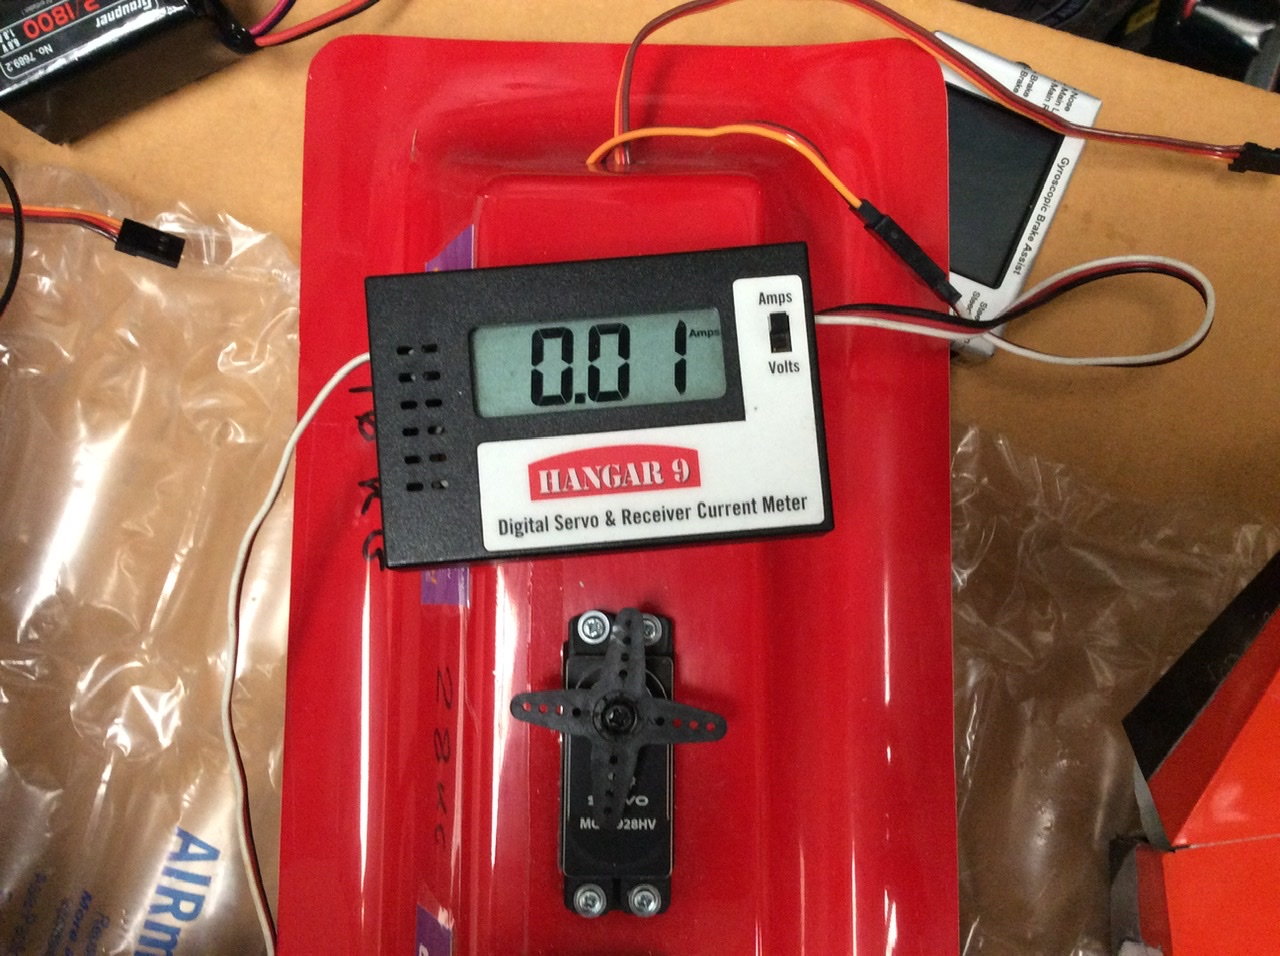
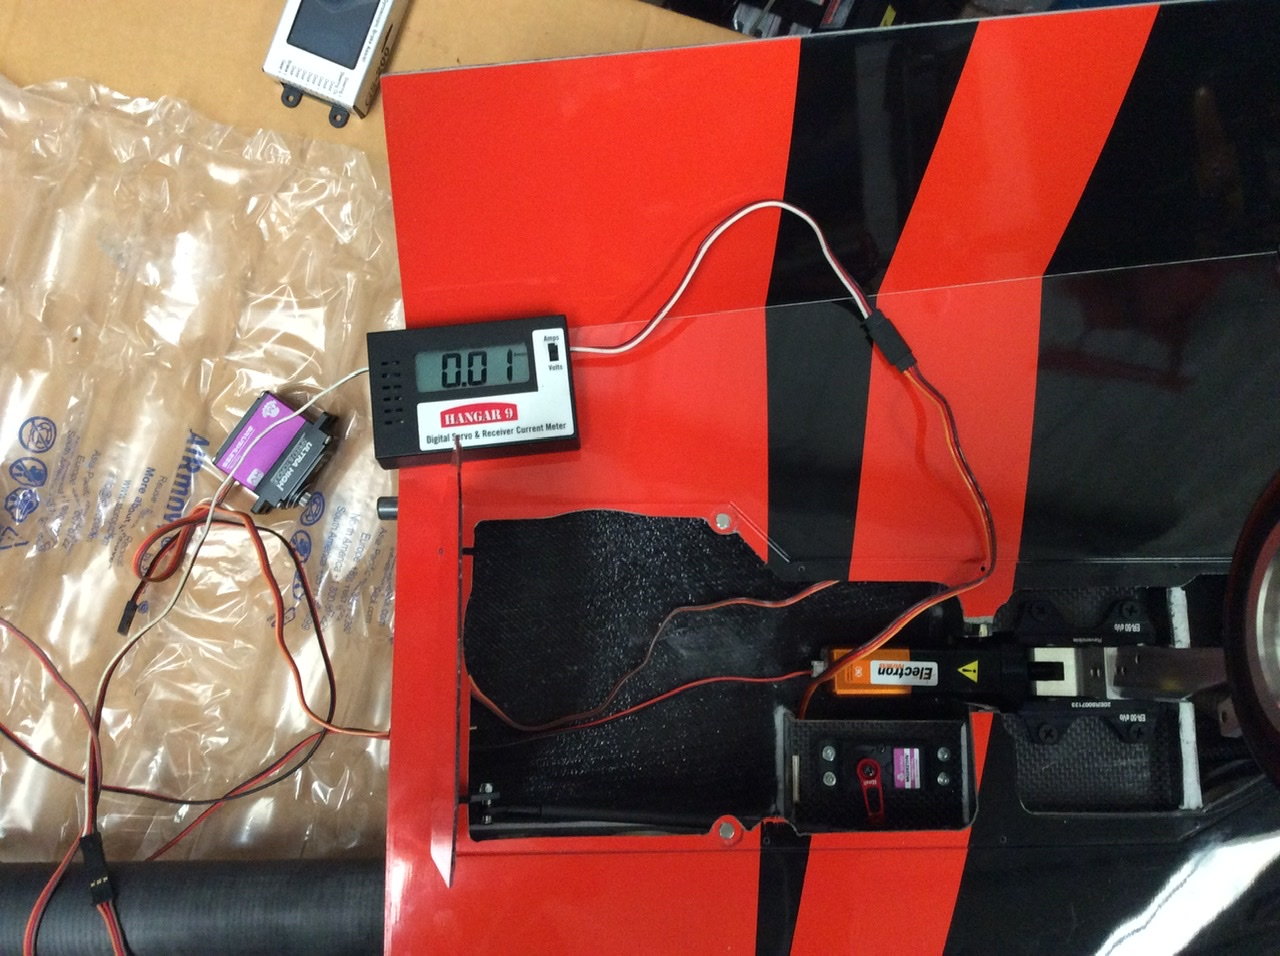
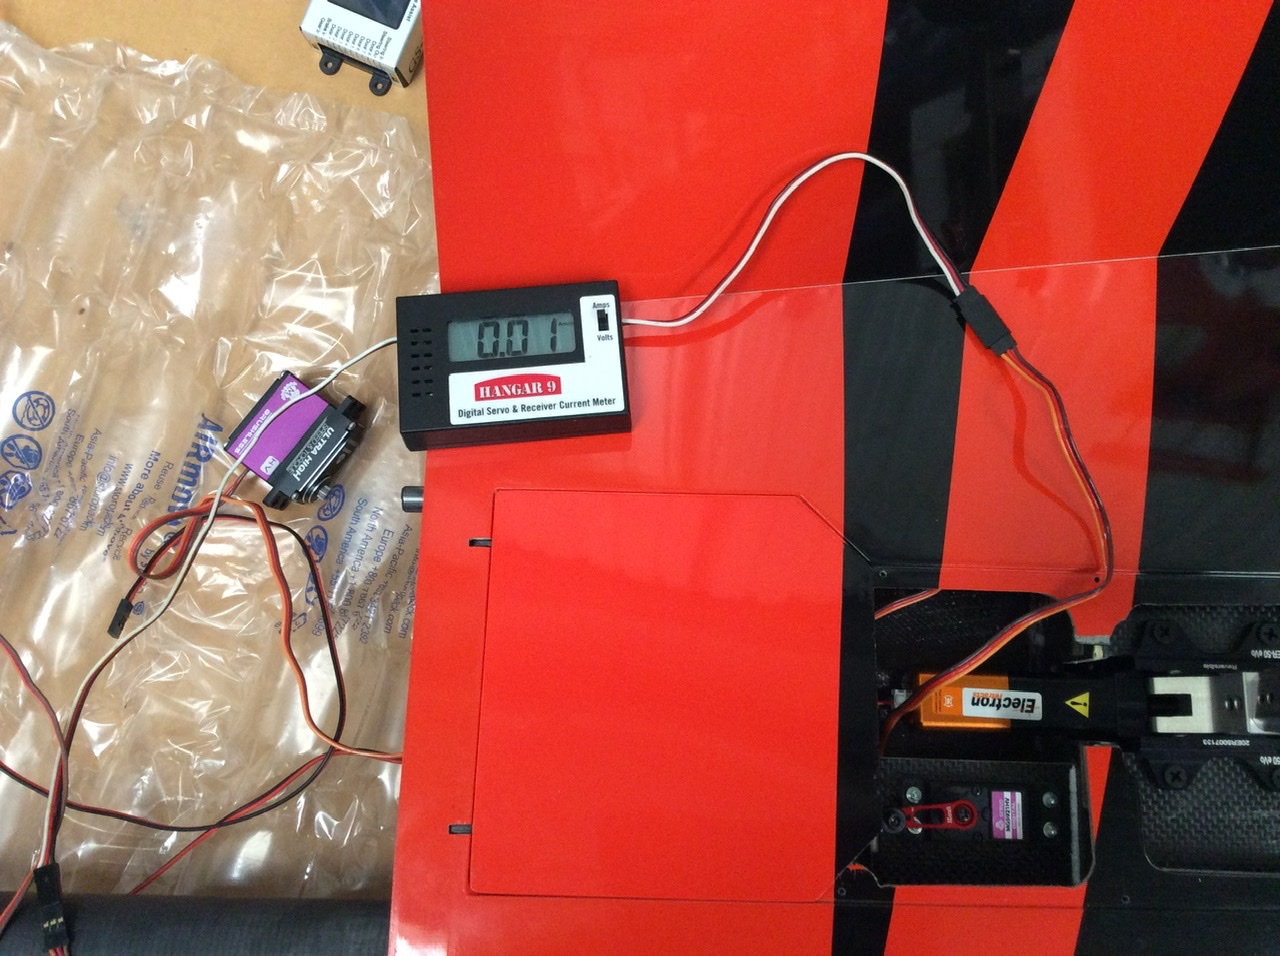
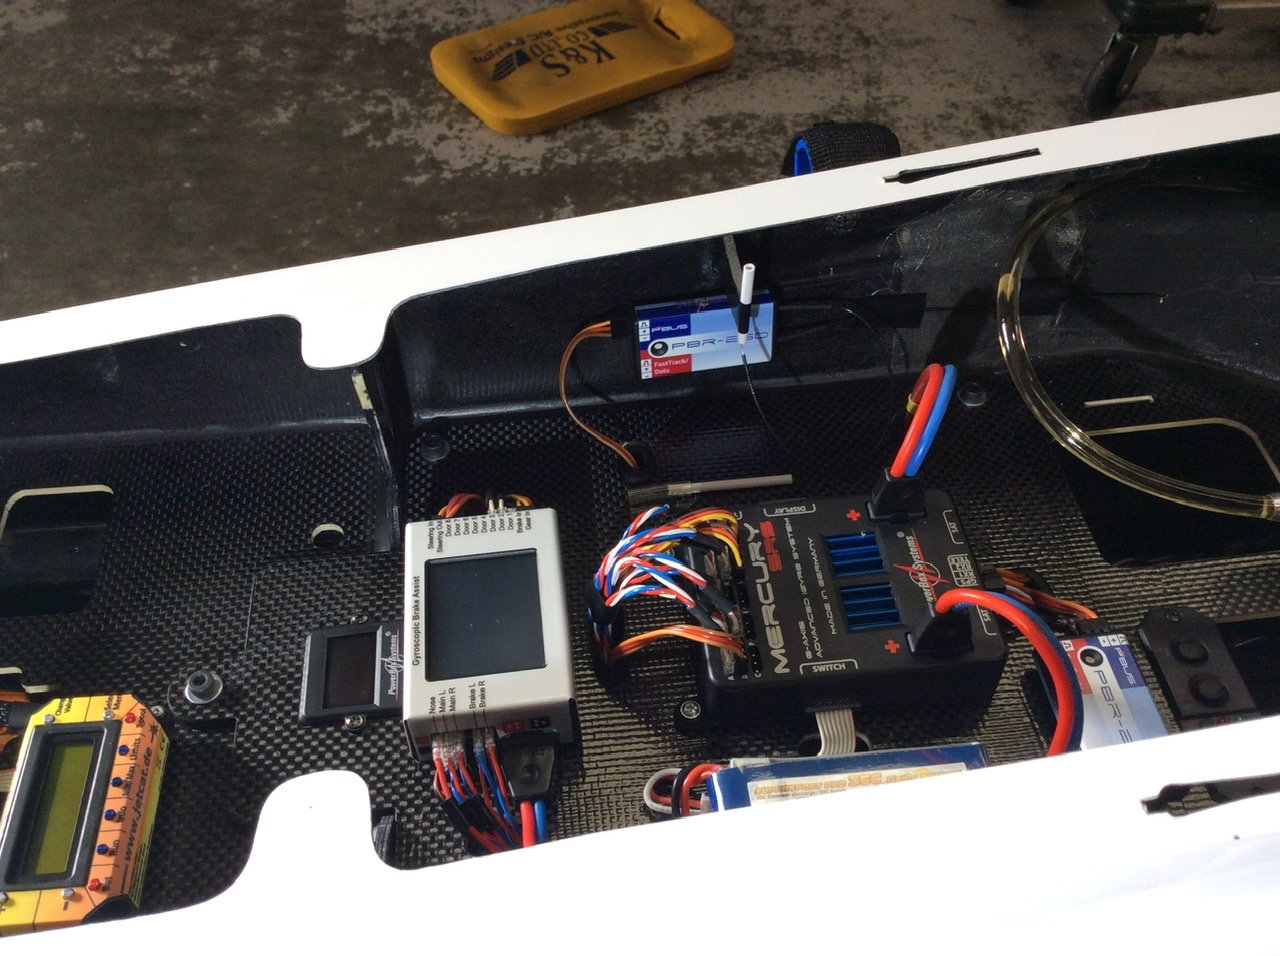
The genius of the gear door servo design is shown here. Servo in my display board with no load, 0.1A. Gear door with the same servo and gear door held closed
09-17-2020, 01:52 PM
#55
Thread Starter
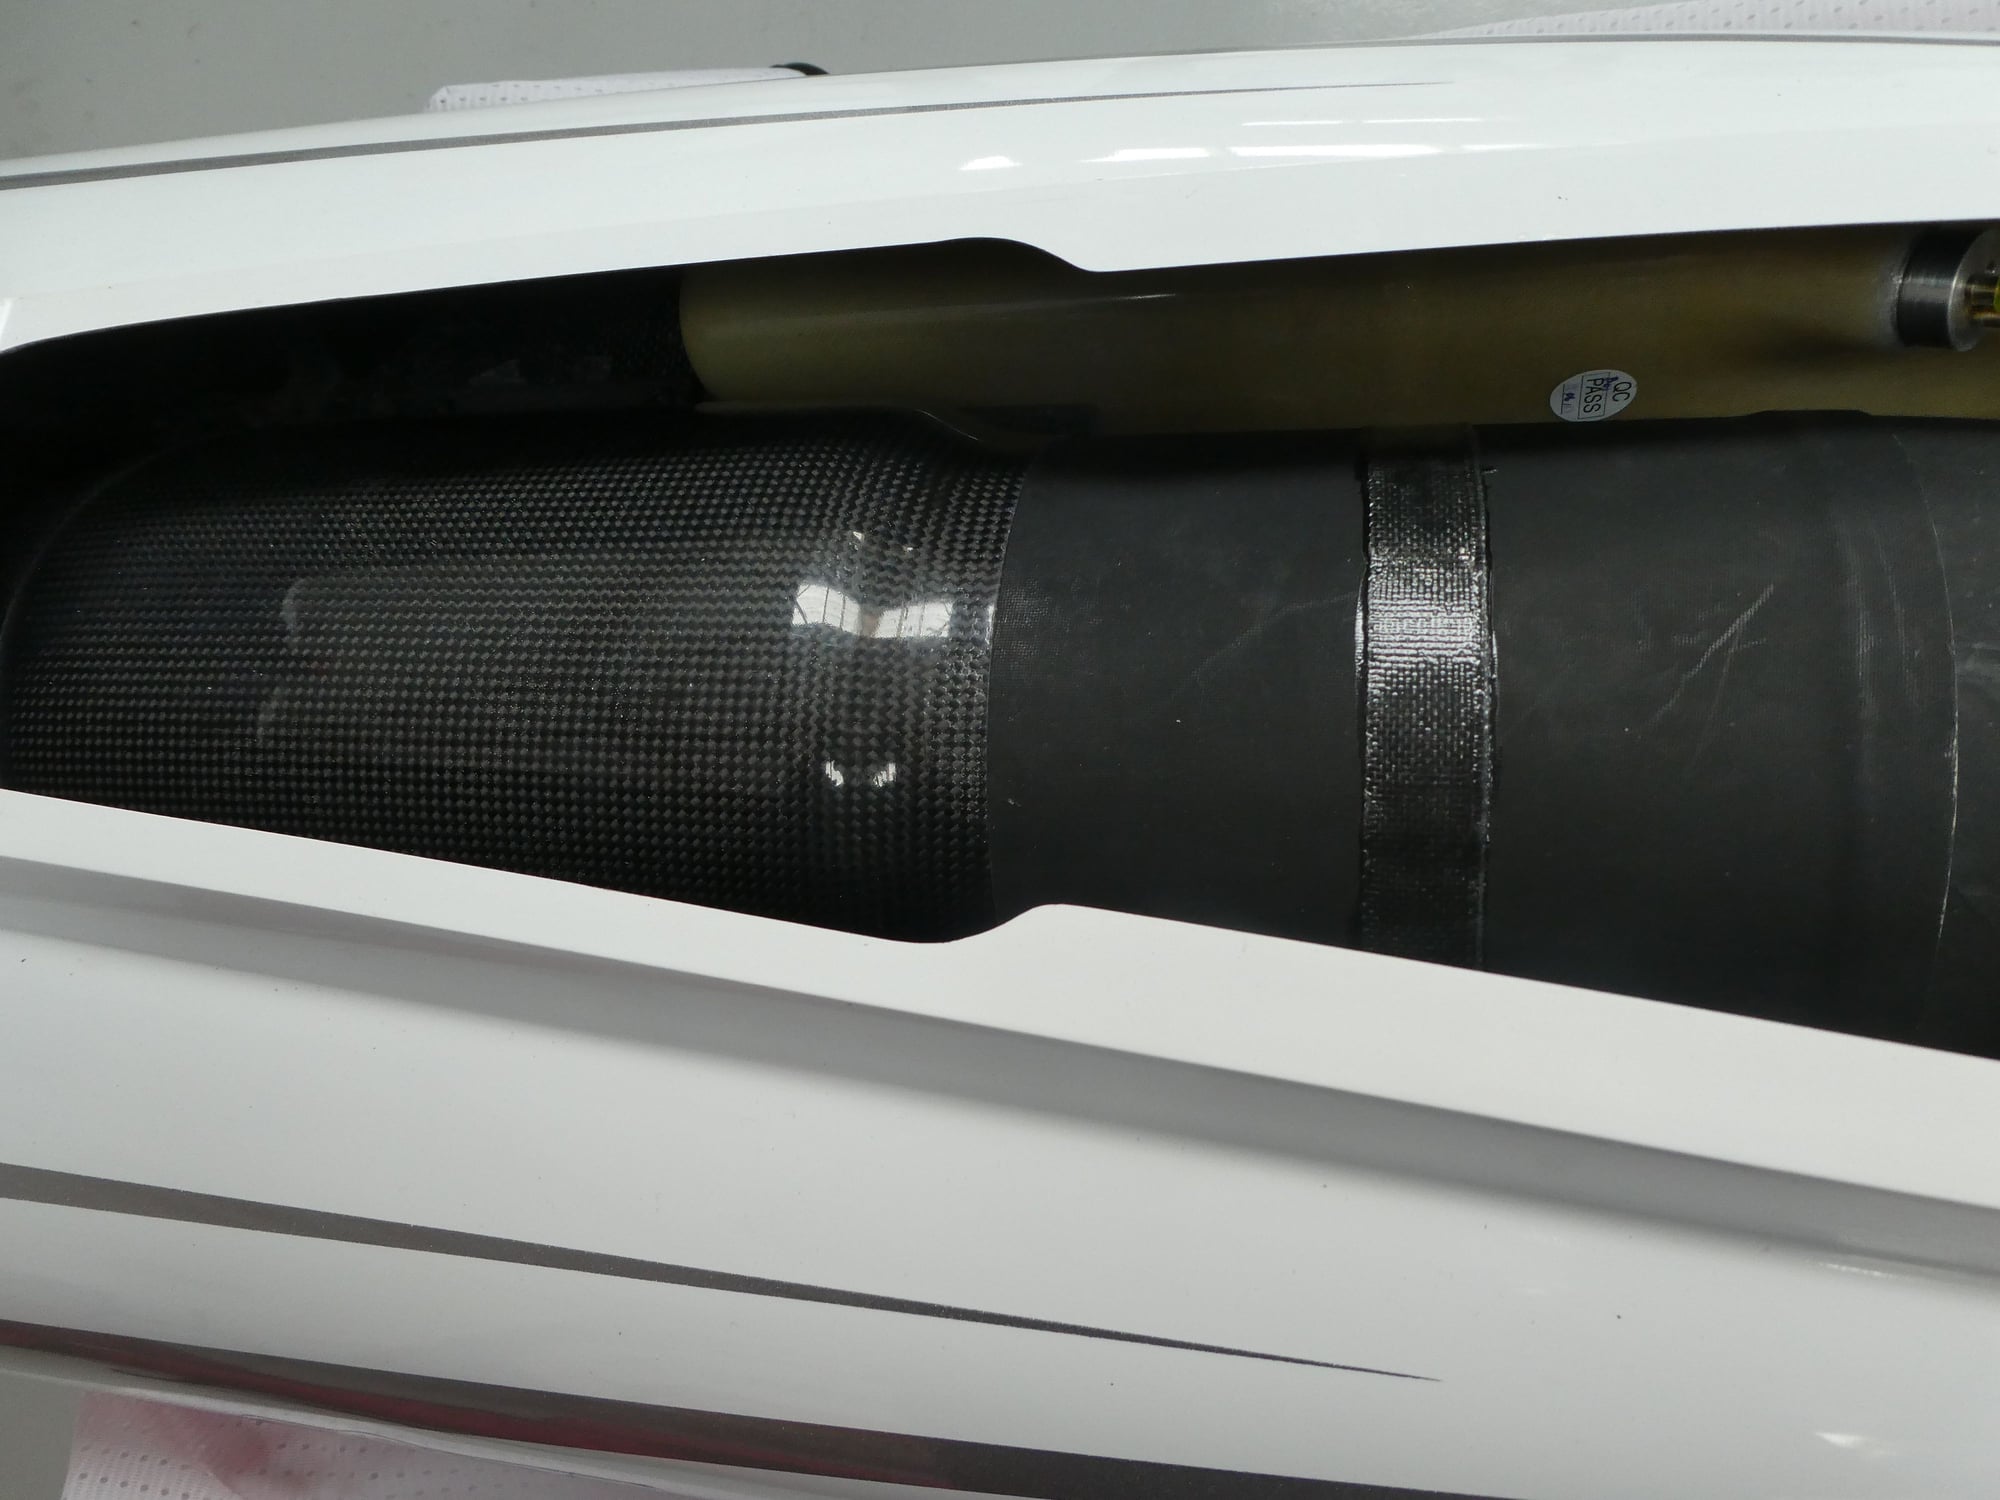
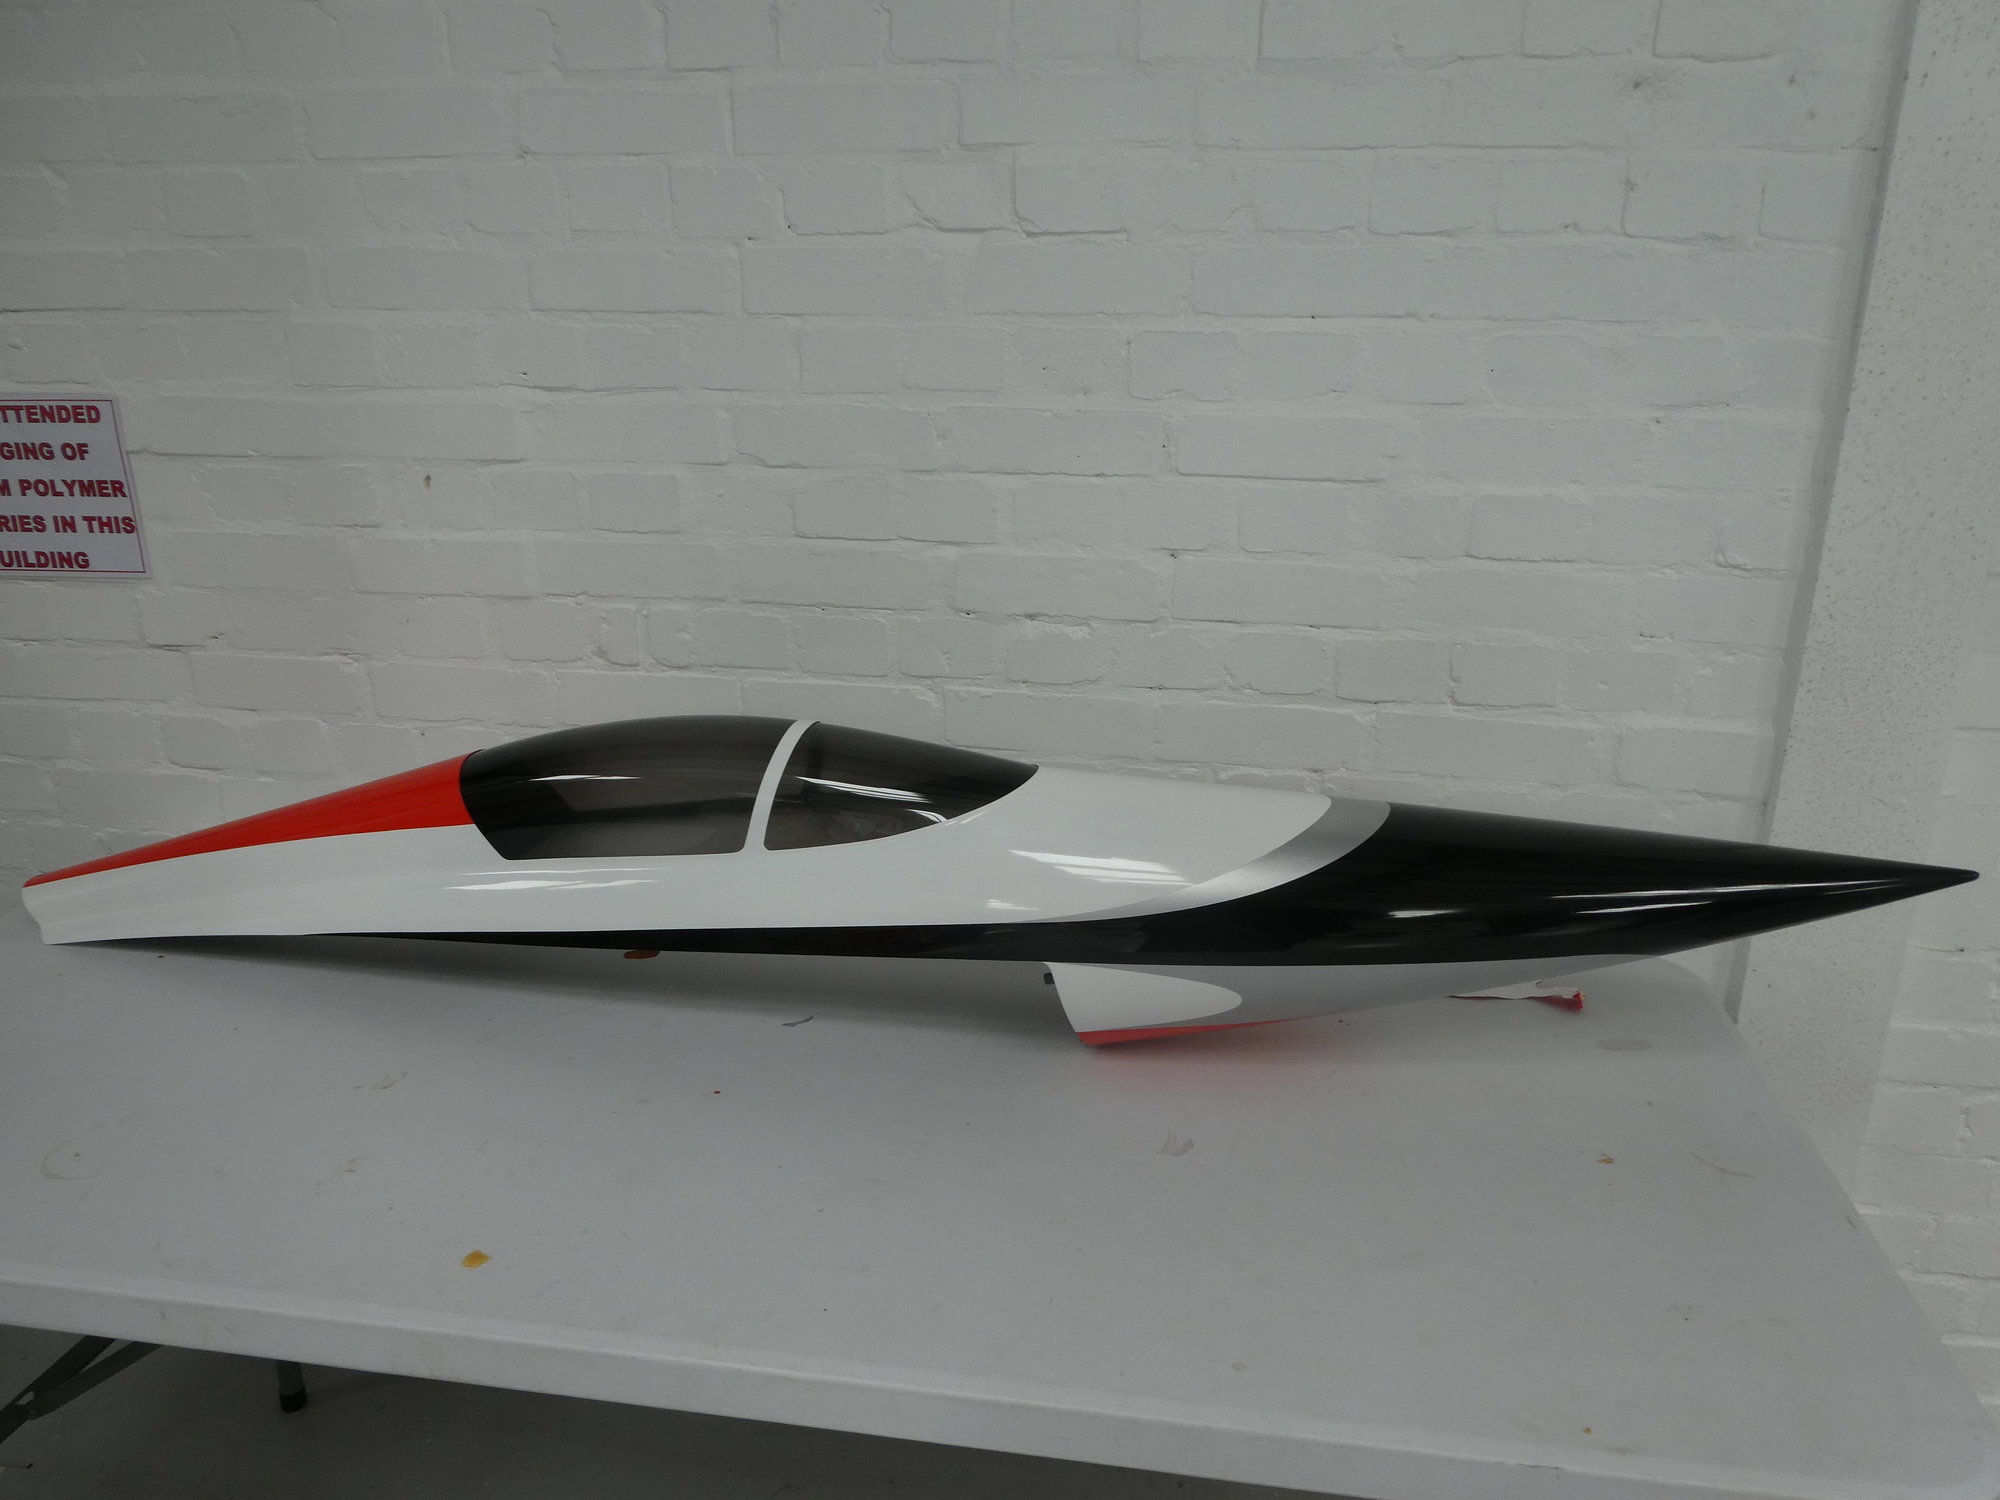
The surfaces all finished apart from final wiring I�m finally back looking at the fuselage. There is so little actual construction to do on the Bolt! with the never before seen level of factory prefabrication from CARF, so far I have not used a full trigger pull of Hysol on the whole �build�
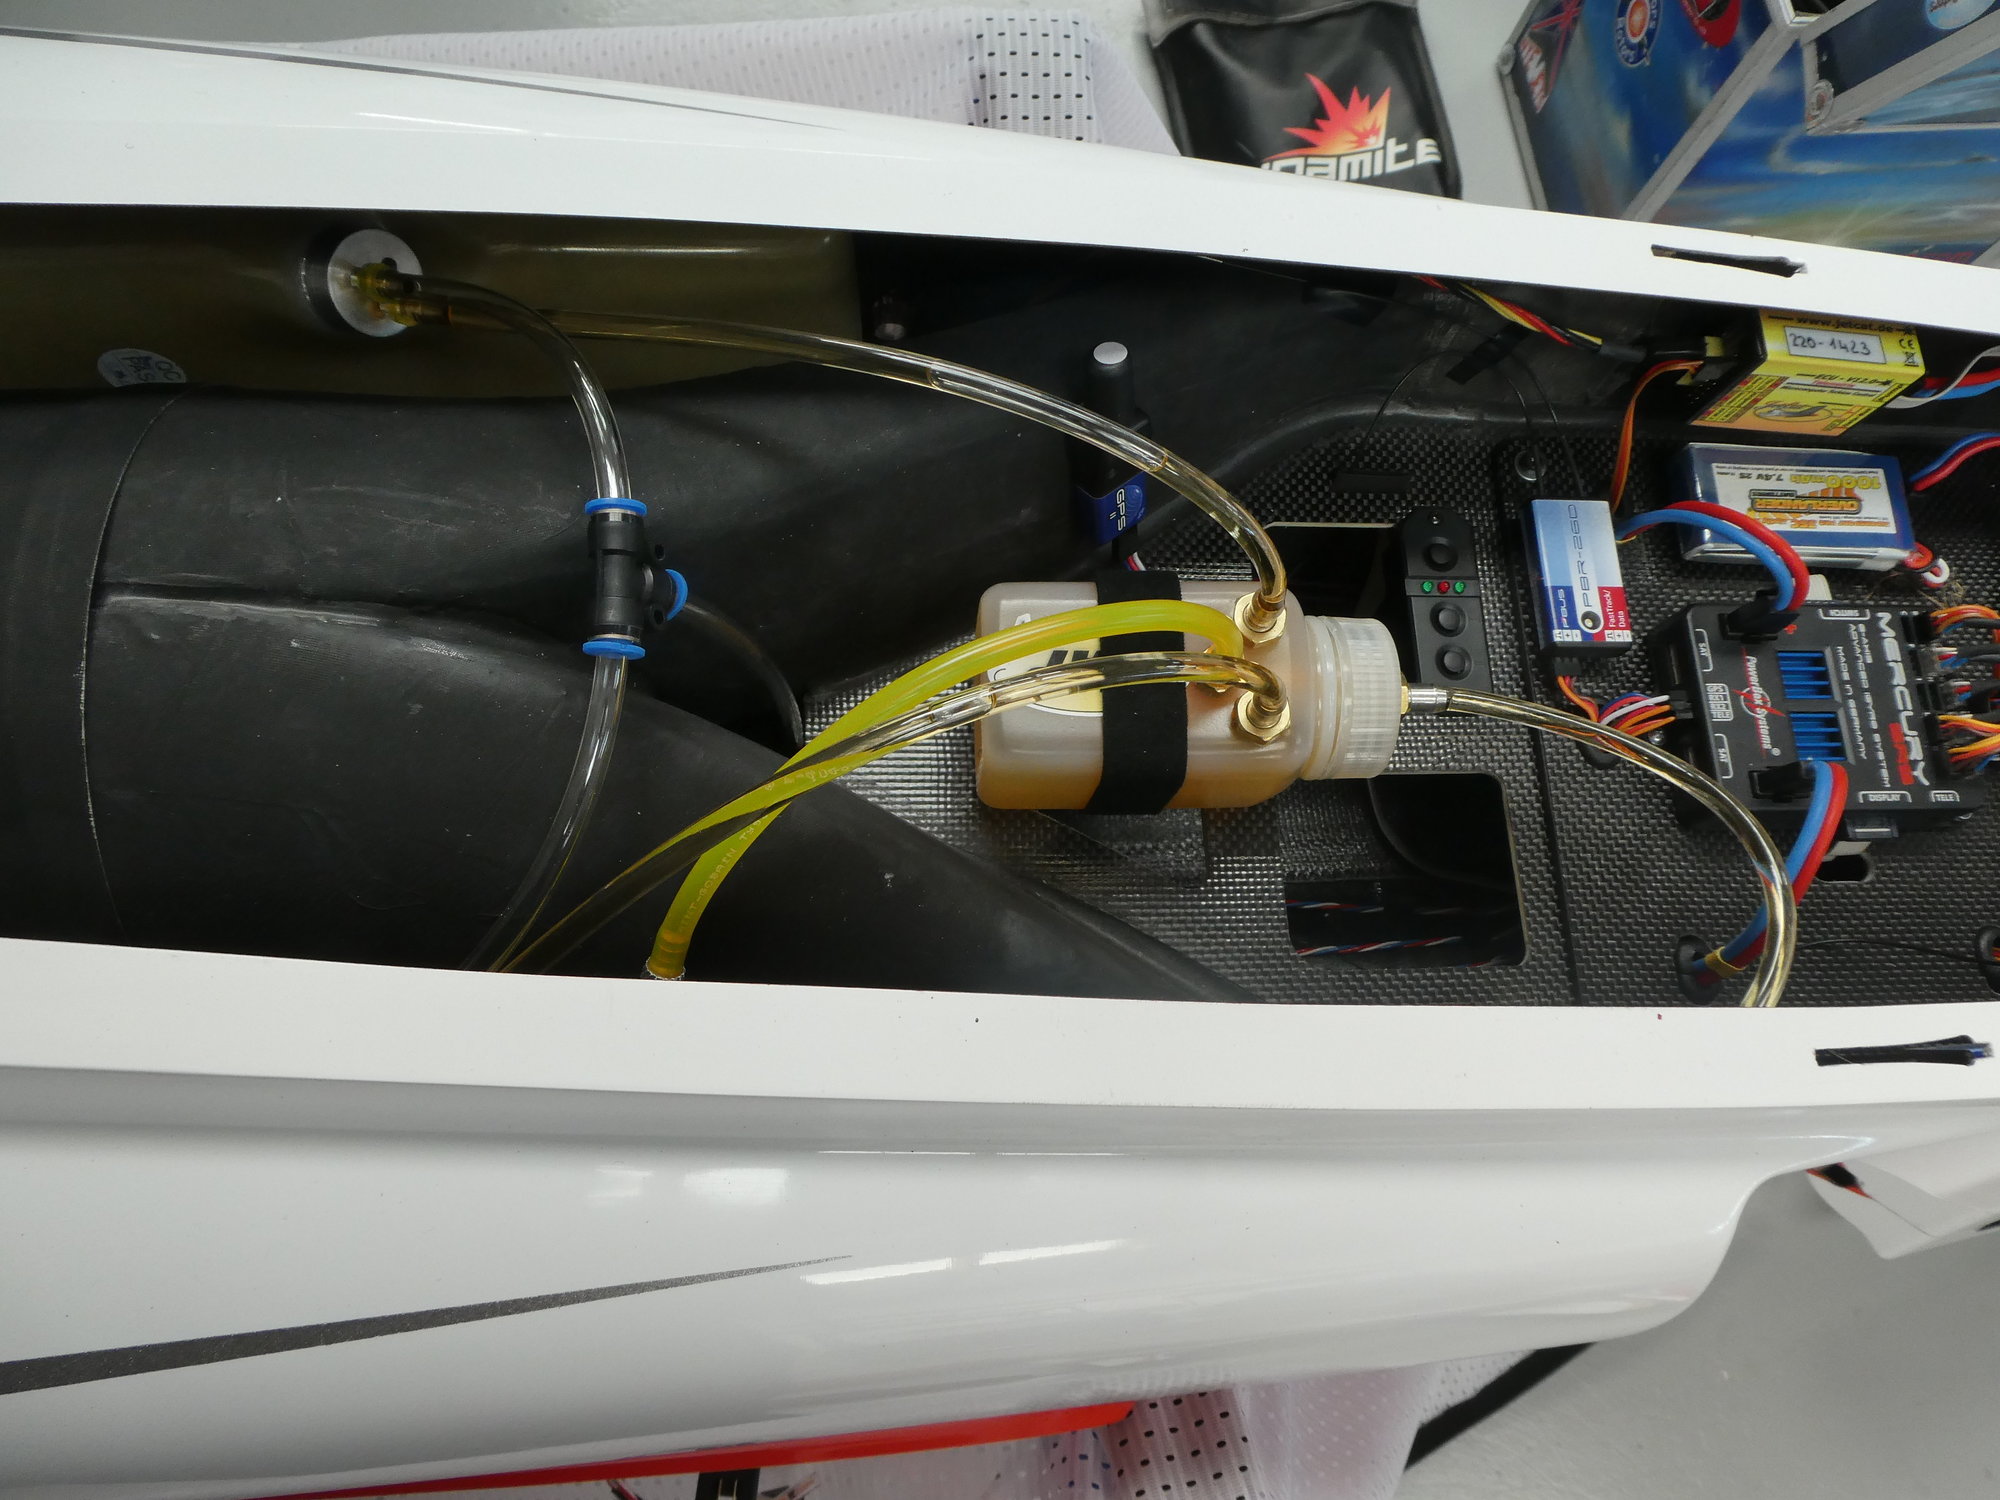
The tank overflow is something I normally like to have on one side, but the natural symmetry of the tank lines means a central position suits. Like my Mephisto I used a 6mm bulkhead fitting as it�s pretty flush, easily plugged and high flow with a big hole!
The central wide carbon tape also gives a solid mounting point to push against attaching an overflow tank.
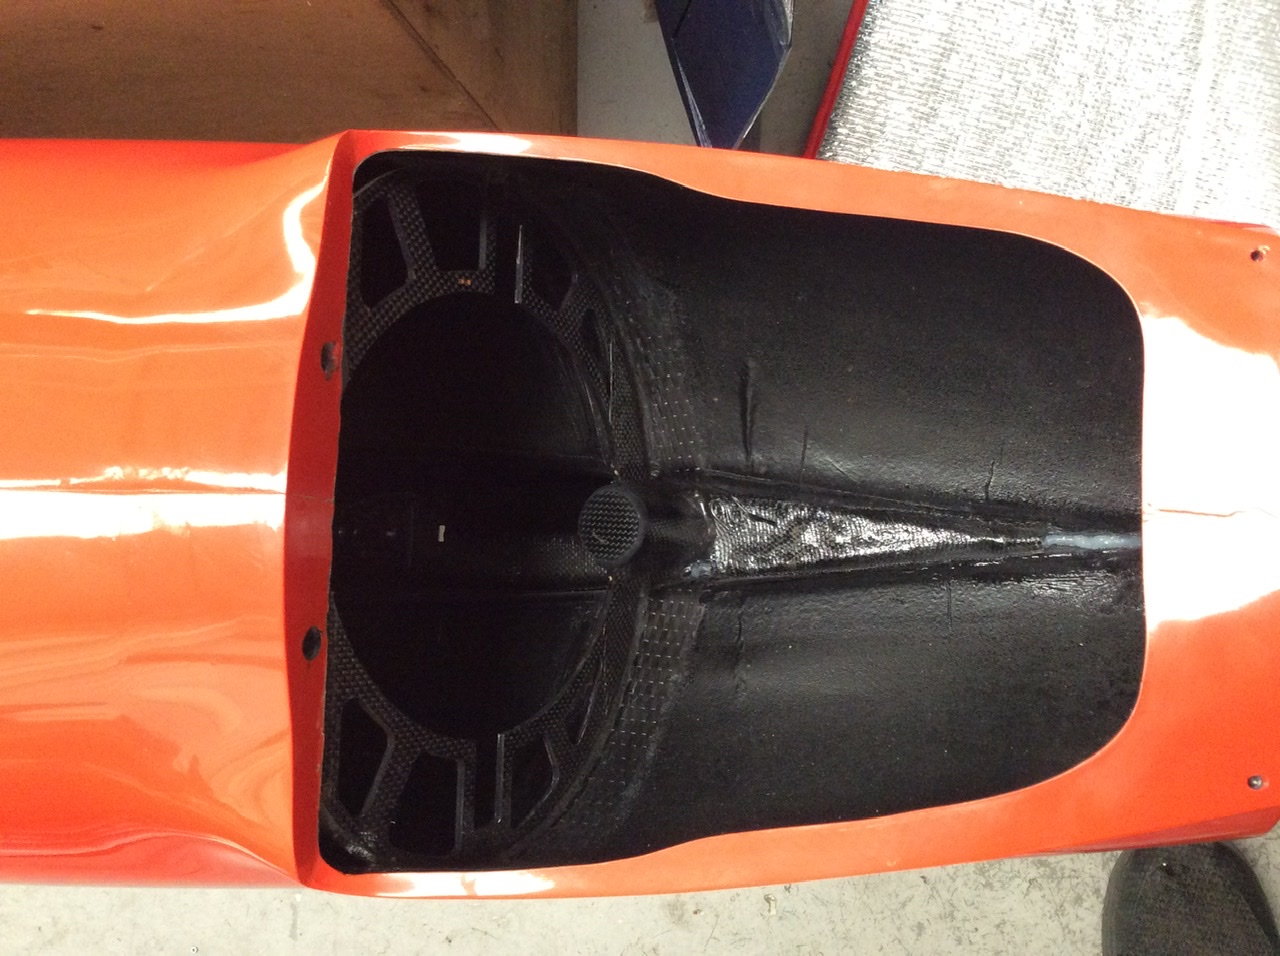
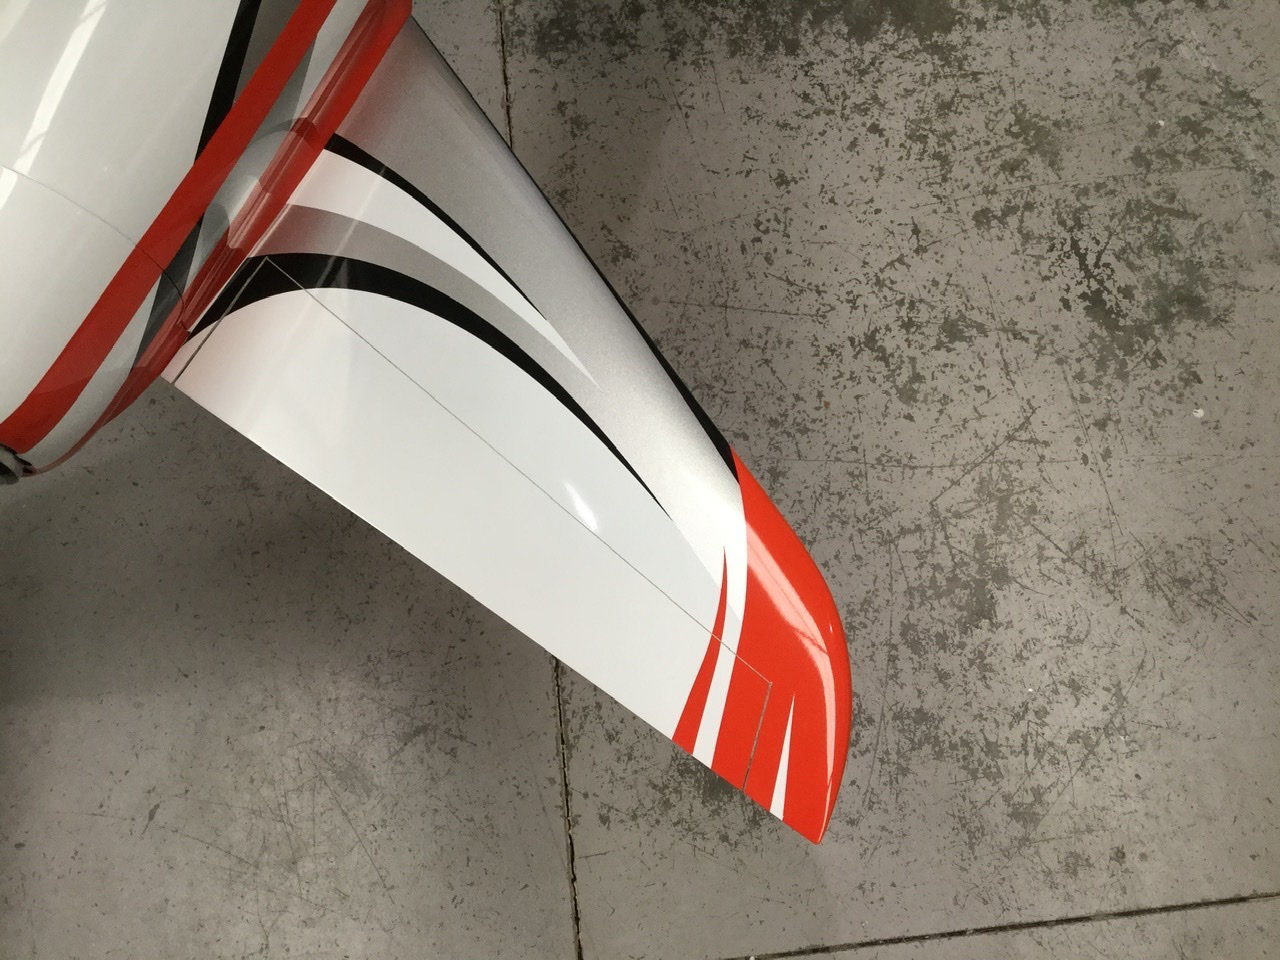
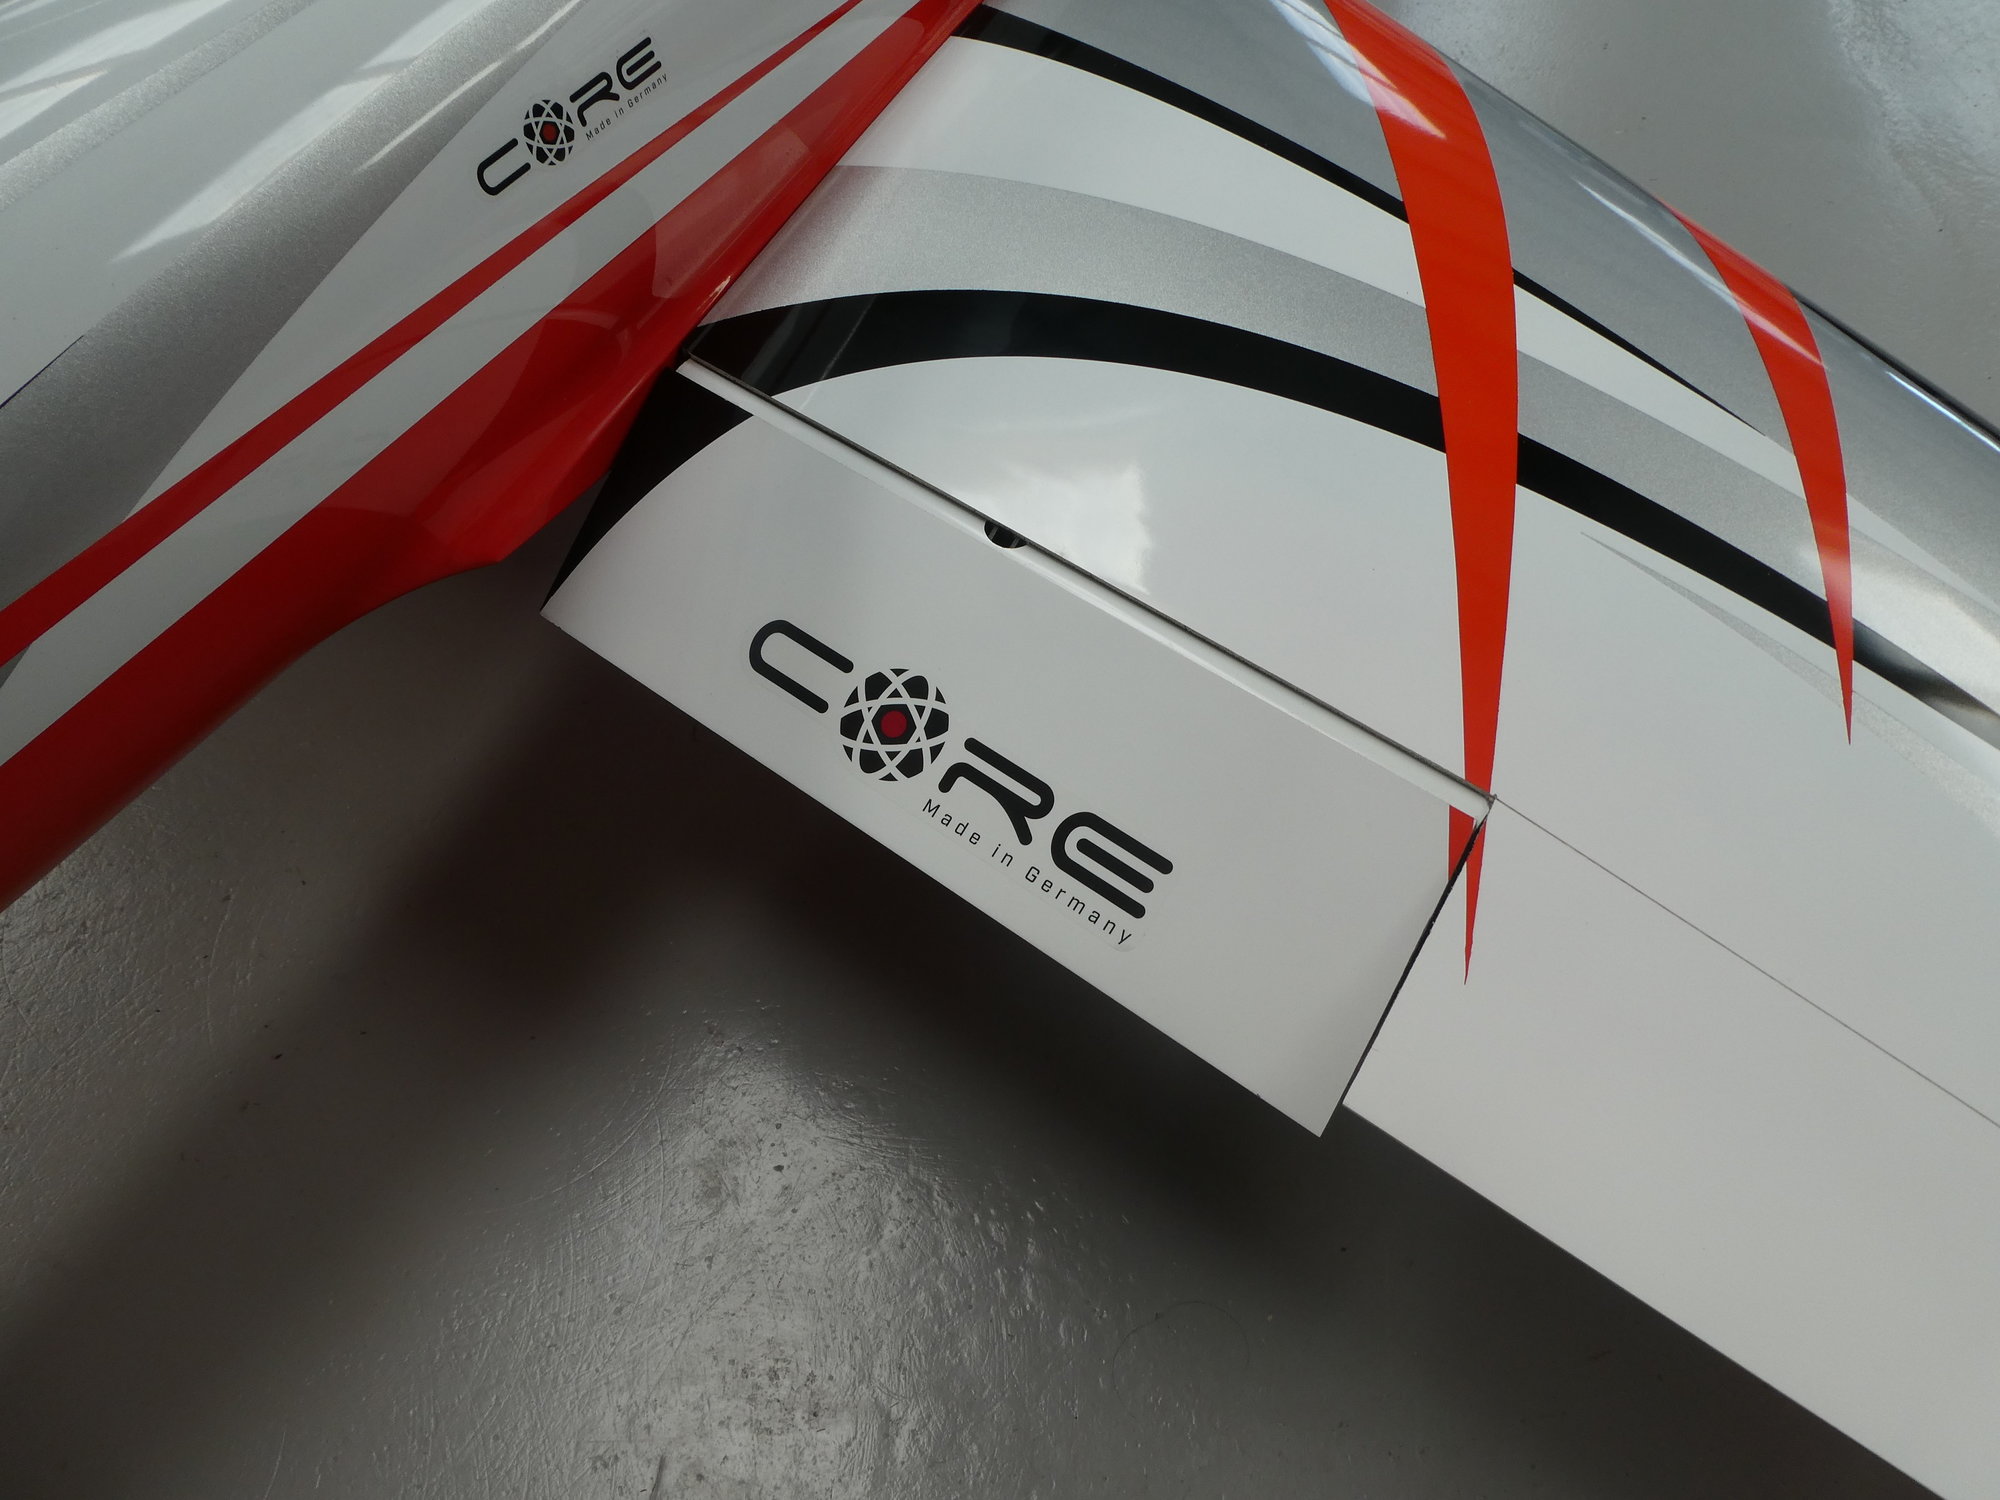
Factory NACA ducts
The tank overflow is something I normally like to have on one side, but the natural symmetry of the tank lines means a central position suits. Like my Mephisto I used a 6mm bulkhead fitting as it�s pretty flush, easily plugged and high flow with a big hole!
The central wide carbon tape also gives a solid mounting point to push against attaching an overflow tank.
Factory NACA ducts
Last edited by Dave Wilshere; 09-17-2020 at 01:54 PM.
09-17-2020, 01:59 PM
#56
Thread Starter
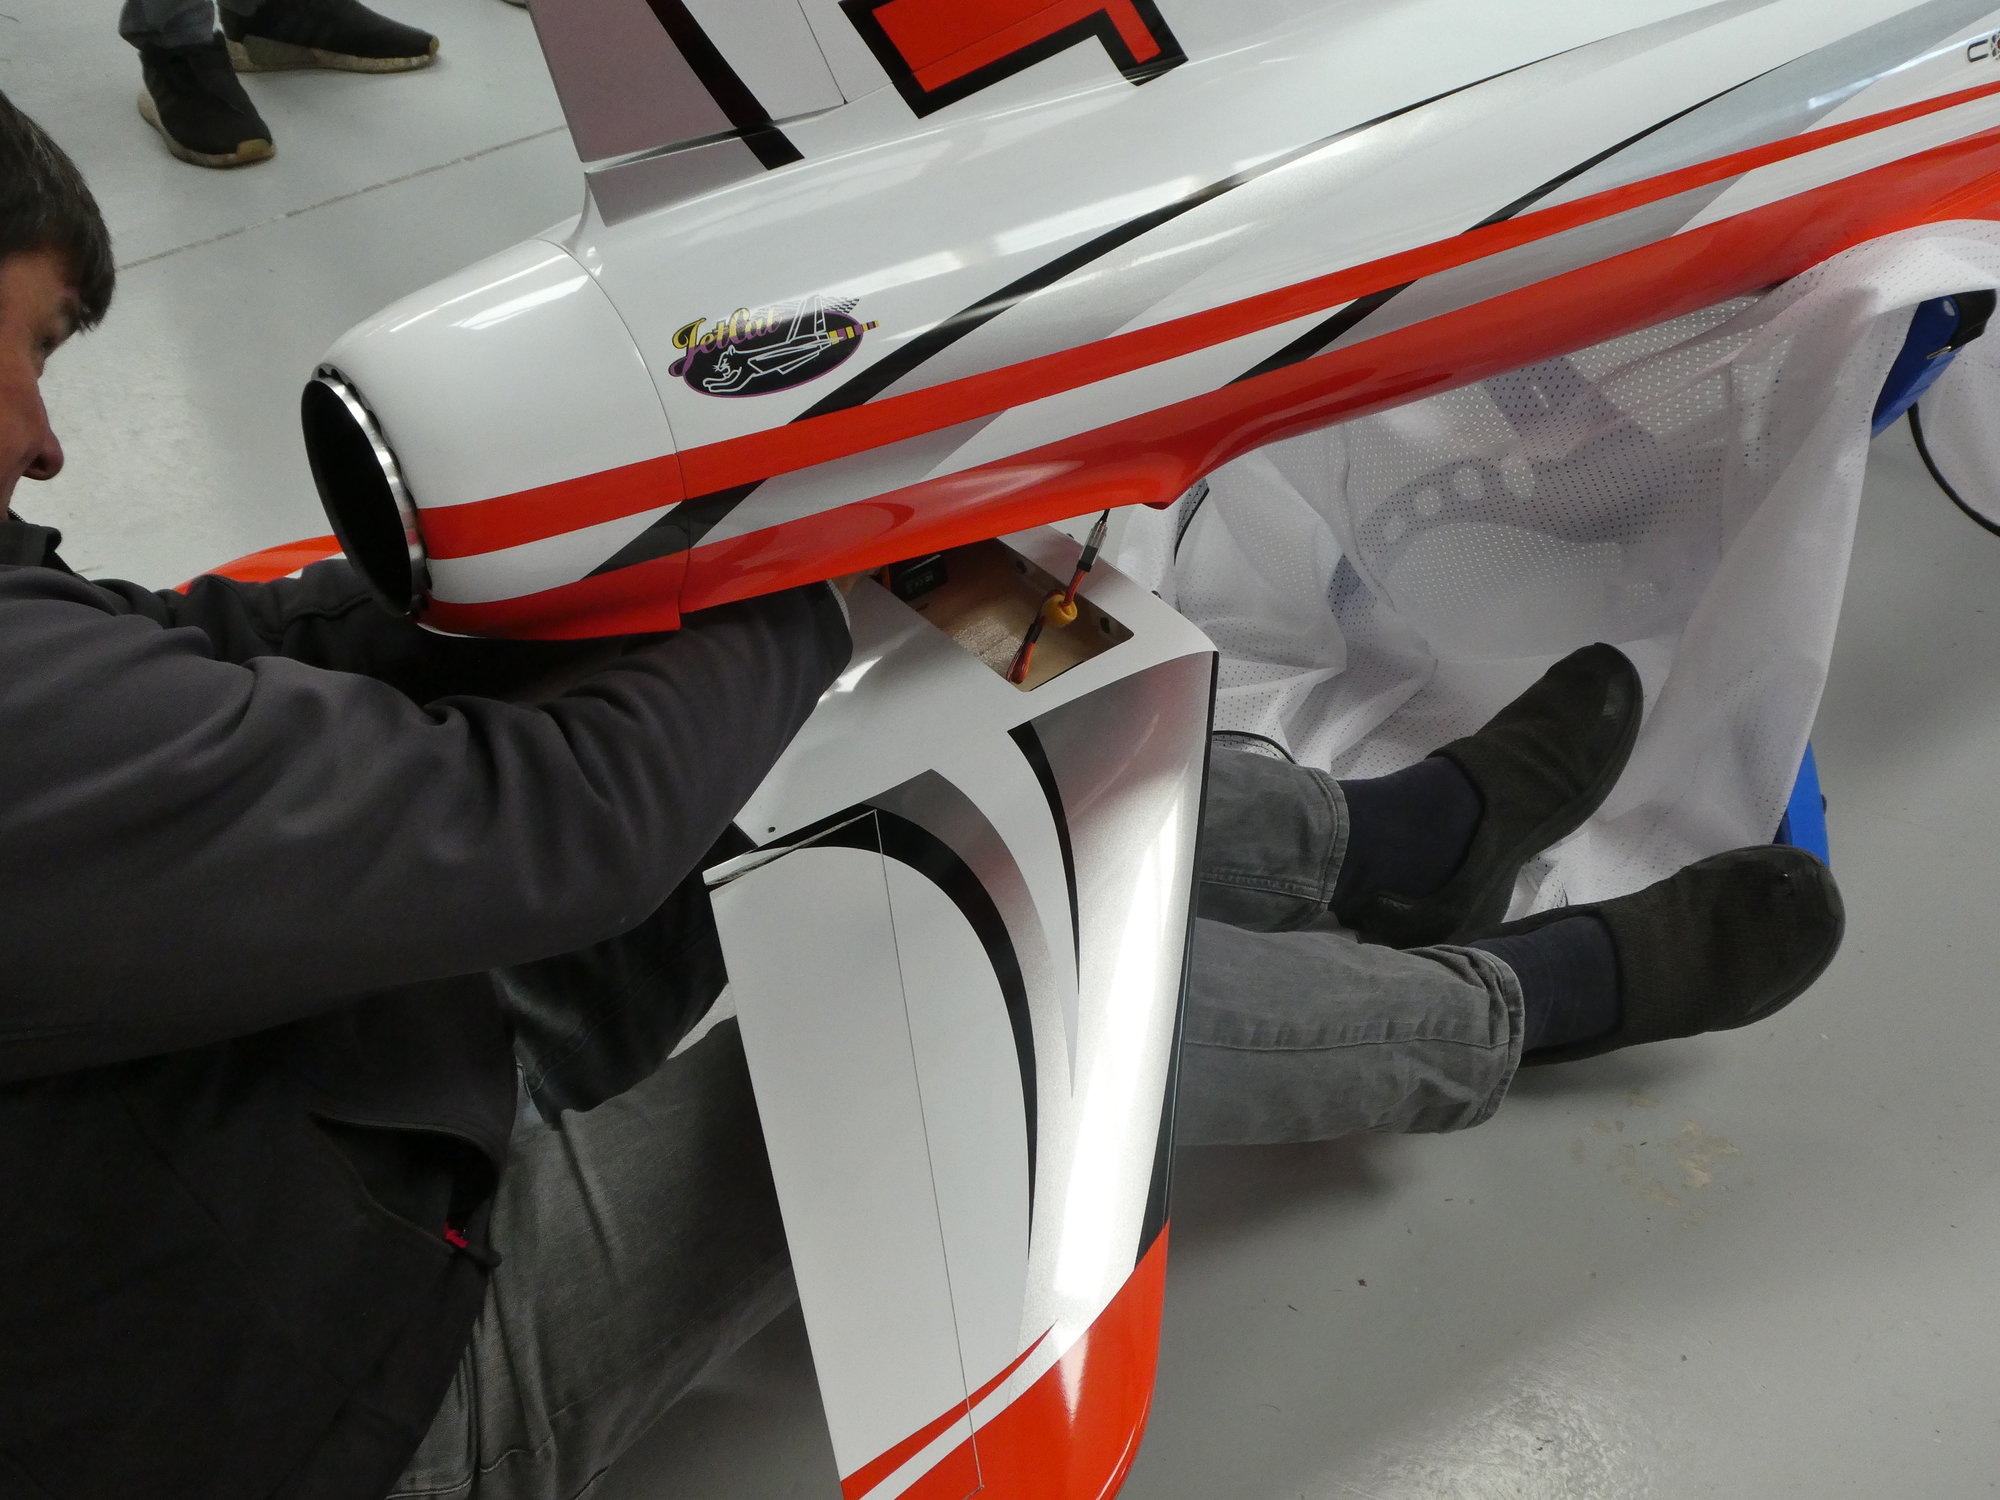
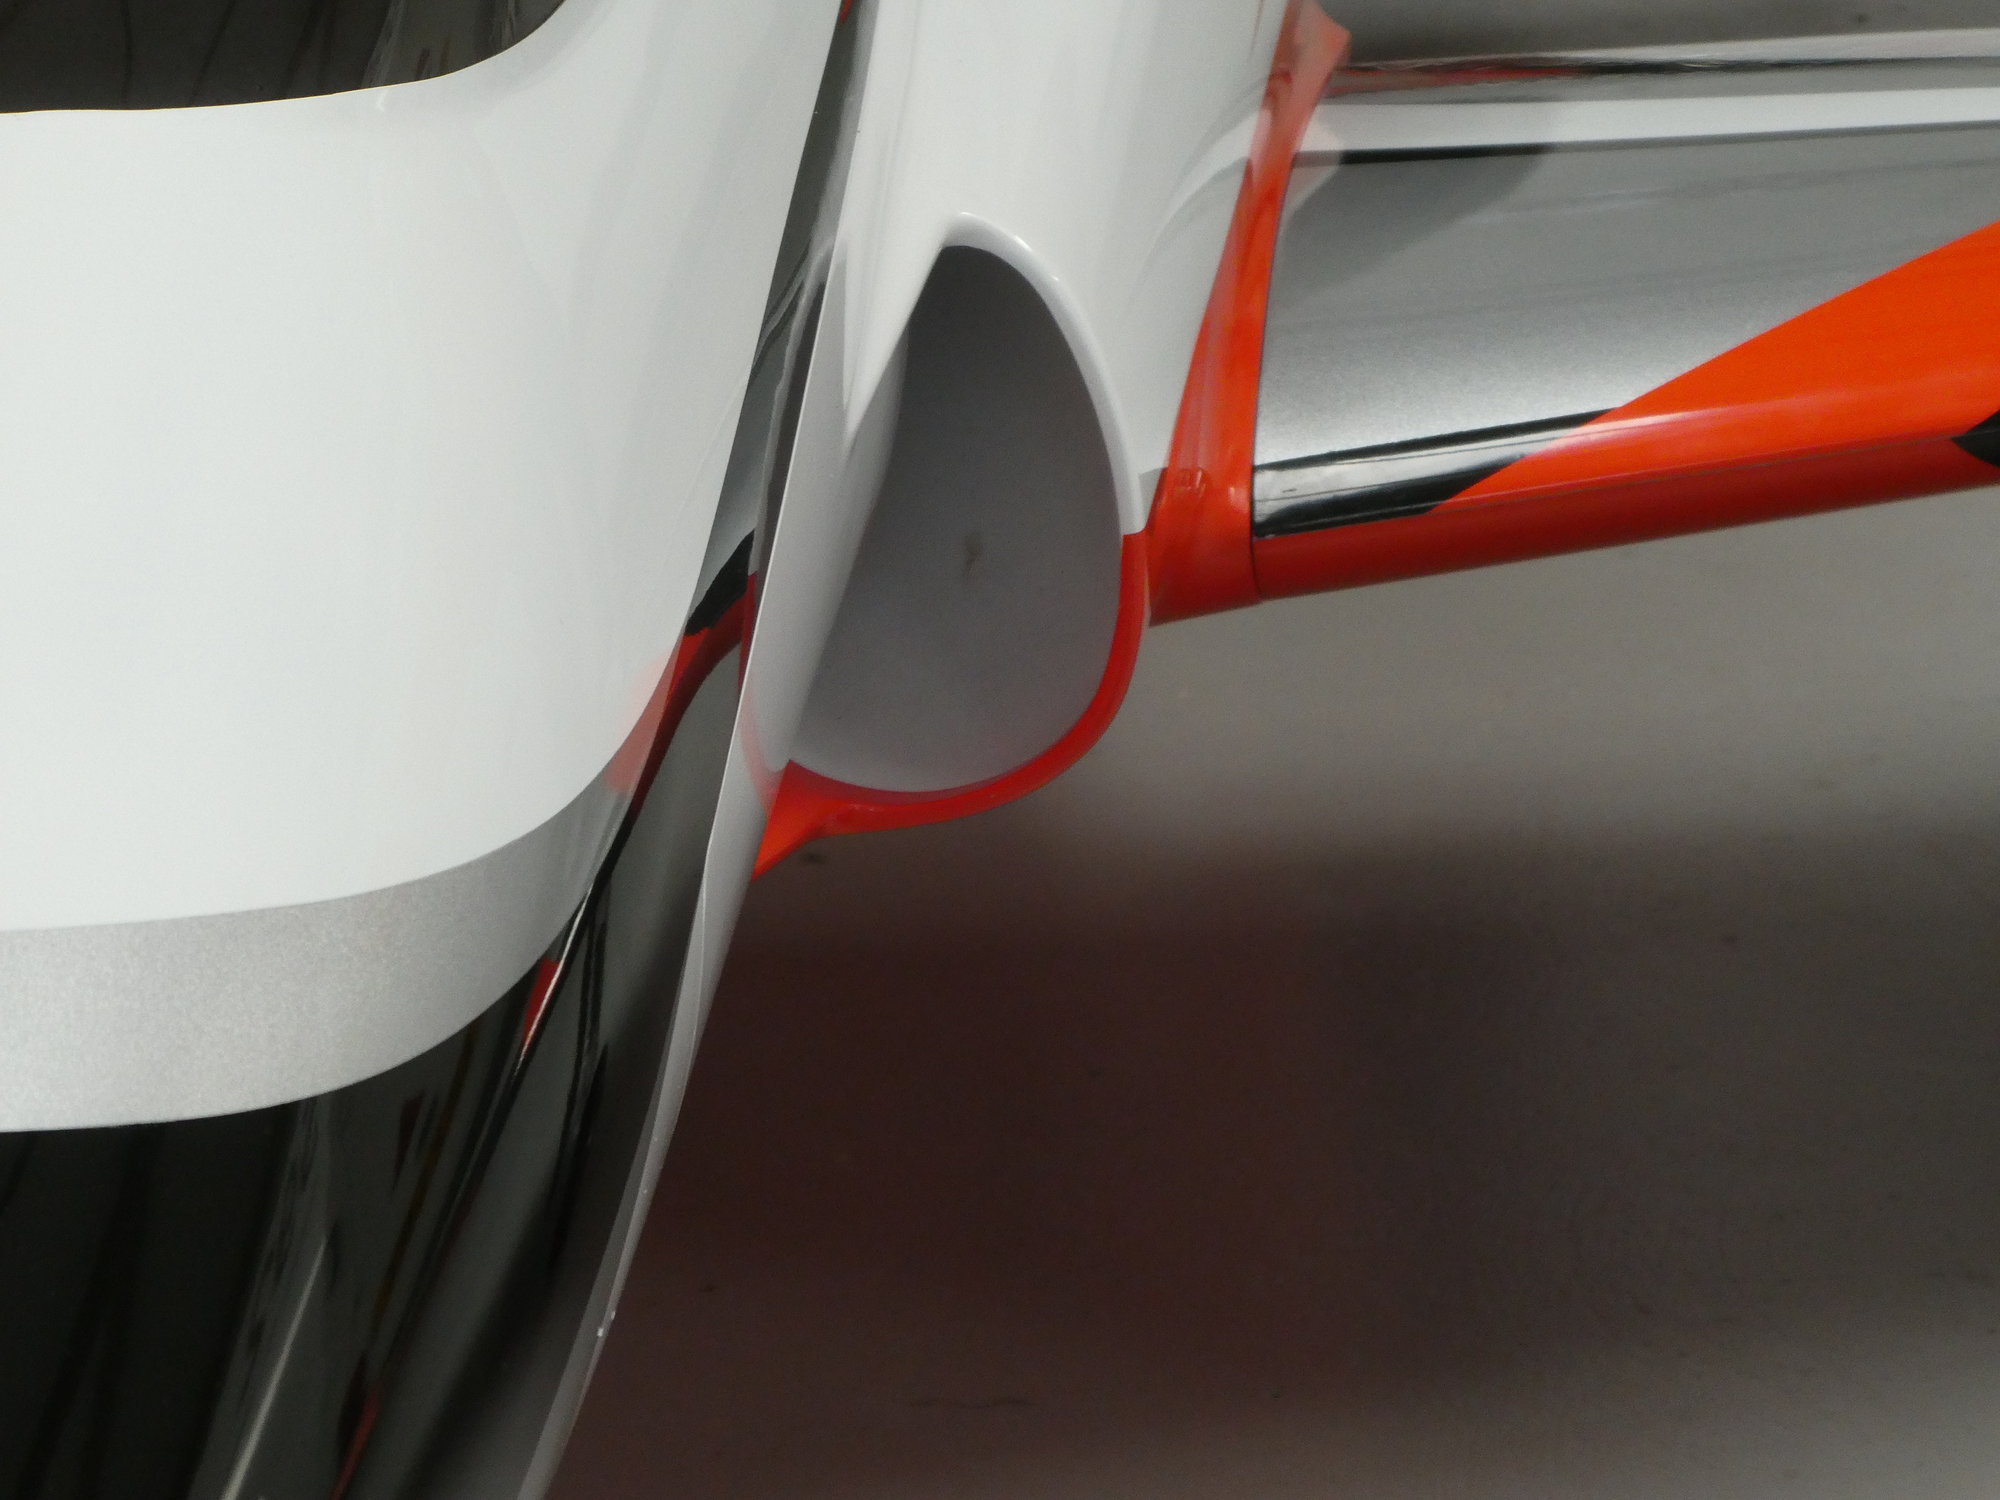
The rudder linkage fairing can be screwed on, but I decided to use Canopy glue after keying the surface of the fin.
The position is set so the linkage does not foul the fairing during full movement.
The position is set so the linkage does not foul the fairing during full movement.
09-19-2020, 07:55 AM
#57
Thread Starter

The harder I try to get free time...the more people visit me! Today has achieved little, but the last real construction was finished last night when I fitted the nose gear servo plug & socket. I mounted the plug in the fuselage and socket in the nose. The plug was mounted first and two strips of masking tape laid back to back were tasked together with spray mount. The position of the plug was cut through both layers, then the nose installed. Separating the two layers allowed the tape to stick to the nose and once removed the exact position of the socket was cut...lined up first time 🙂
The following 2 users liked this post by Dave Wilshere:
Canadian Man (09-21-2020),
Tom ling (09-20-2020)
09-21-2020, 01:19 PM
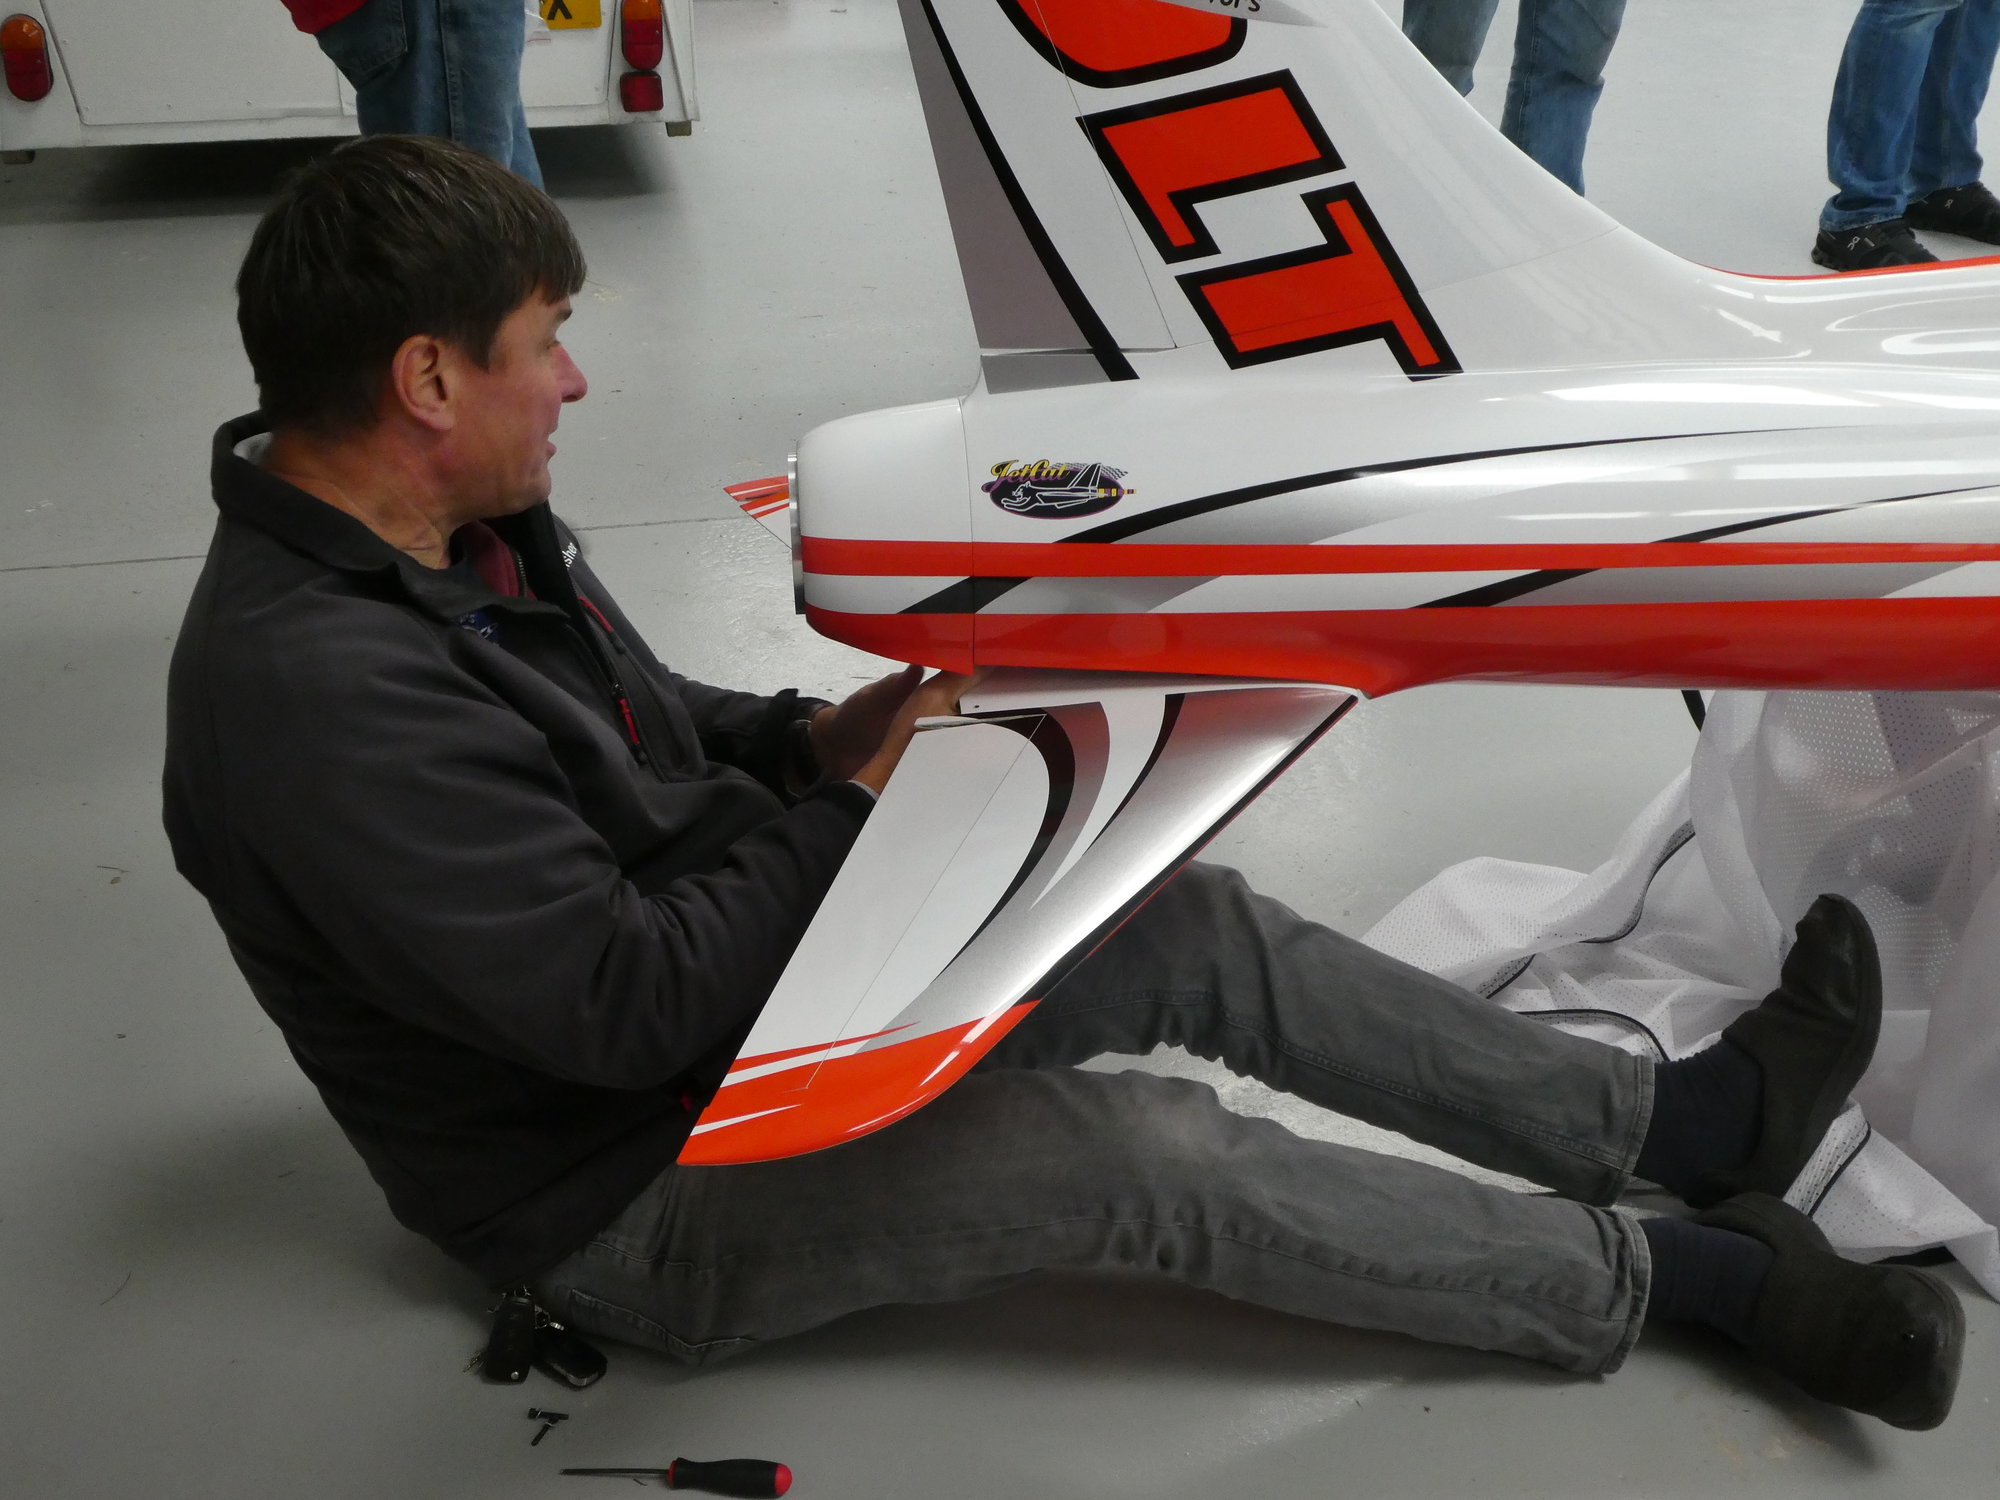
#58
Thread Starter
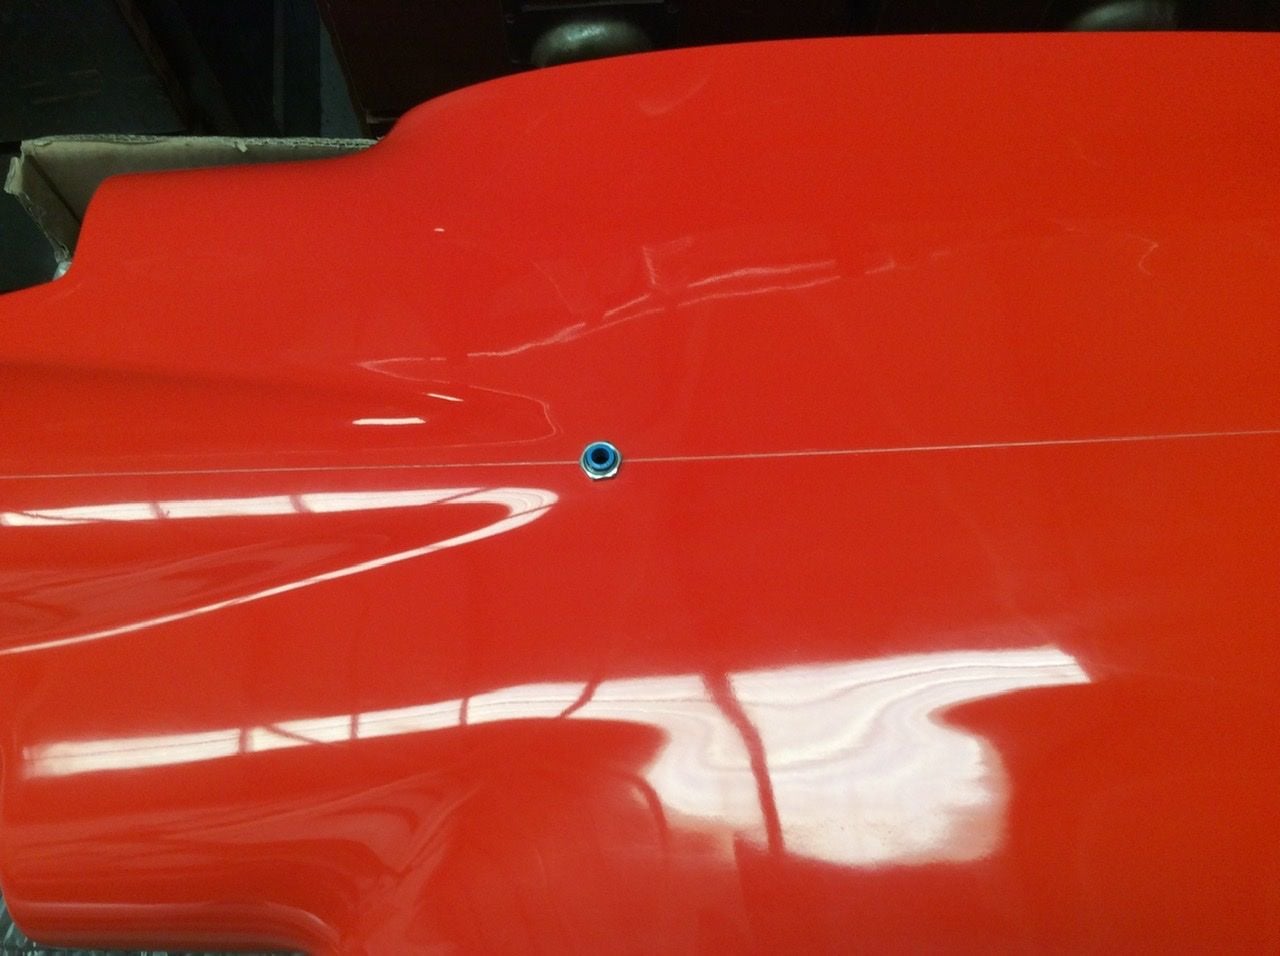
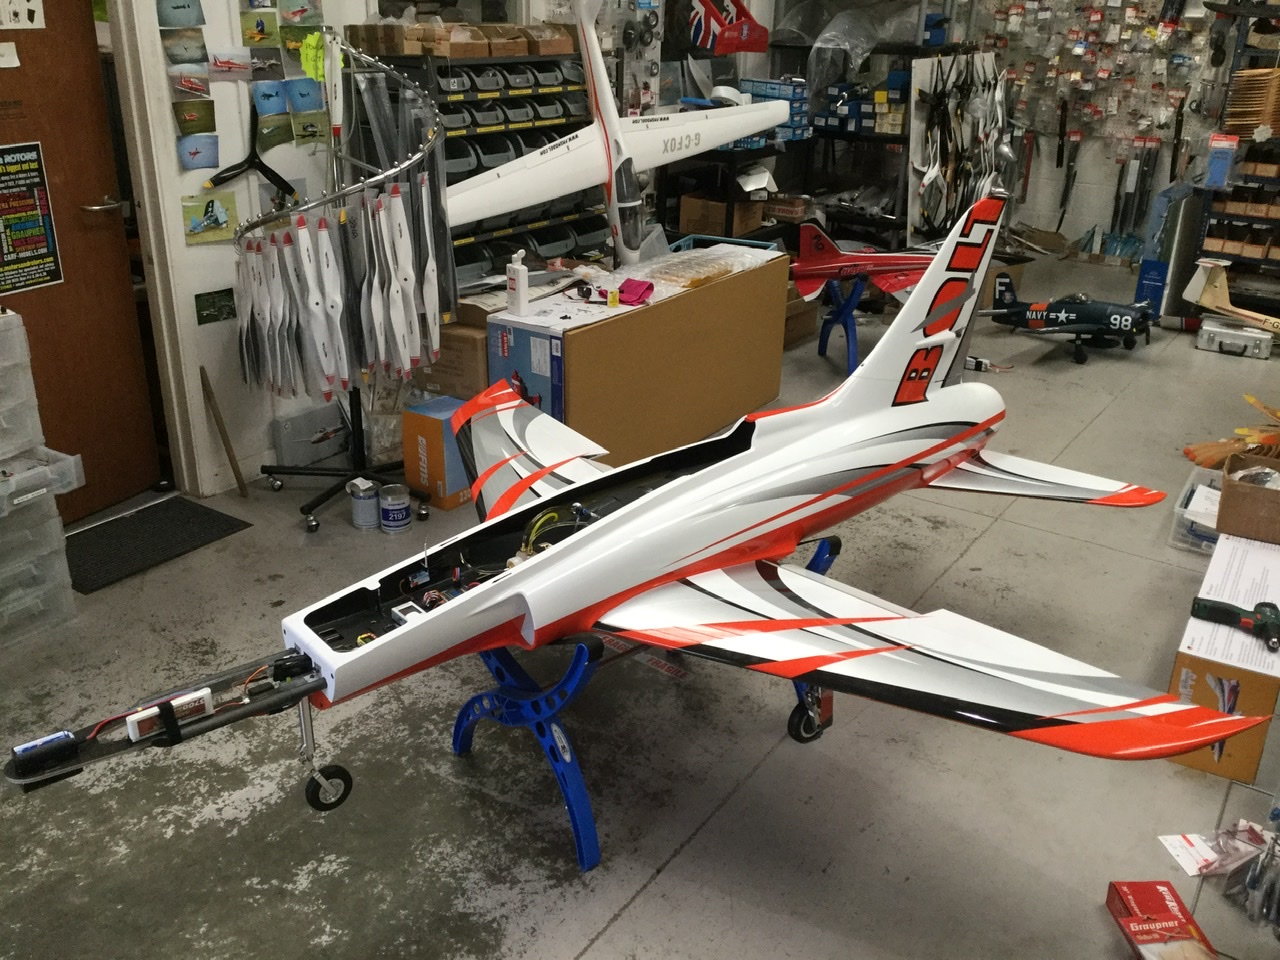
After a weekend of other people�s jobs I�m back on the bolt. The wings are complete other than screwing down the covers once the fuselage is done and final radio tweaks.
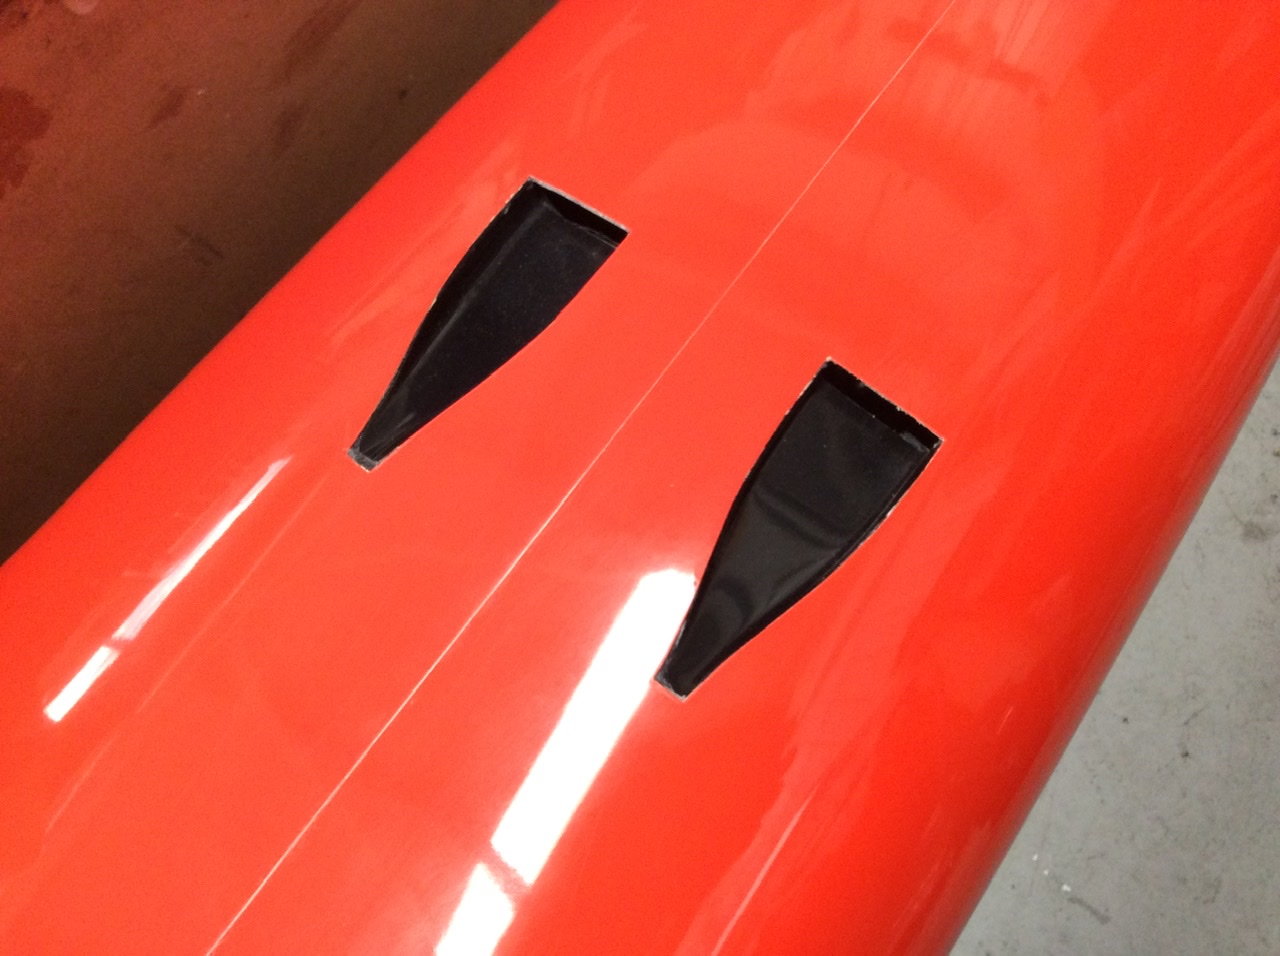
Cutting holes for grommets can be done various ways, but I use a three flute drill which cuts round holes!
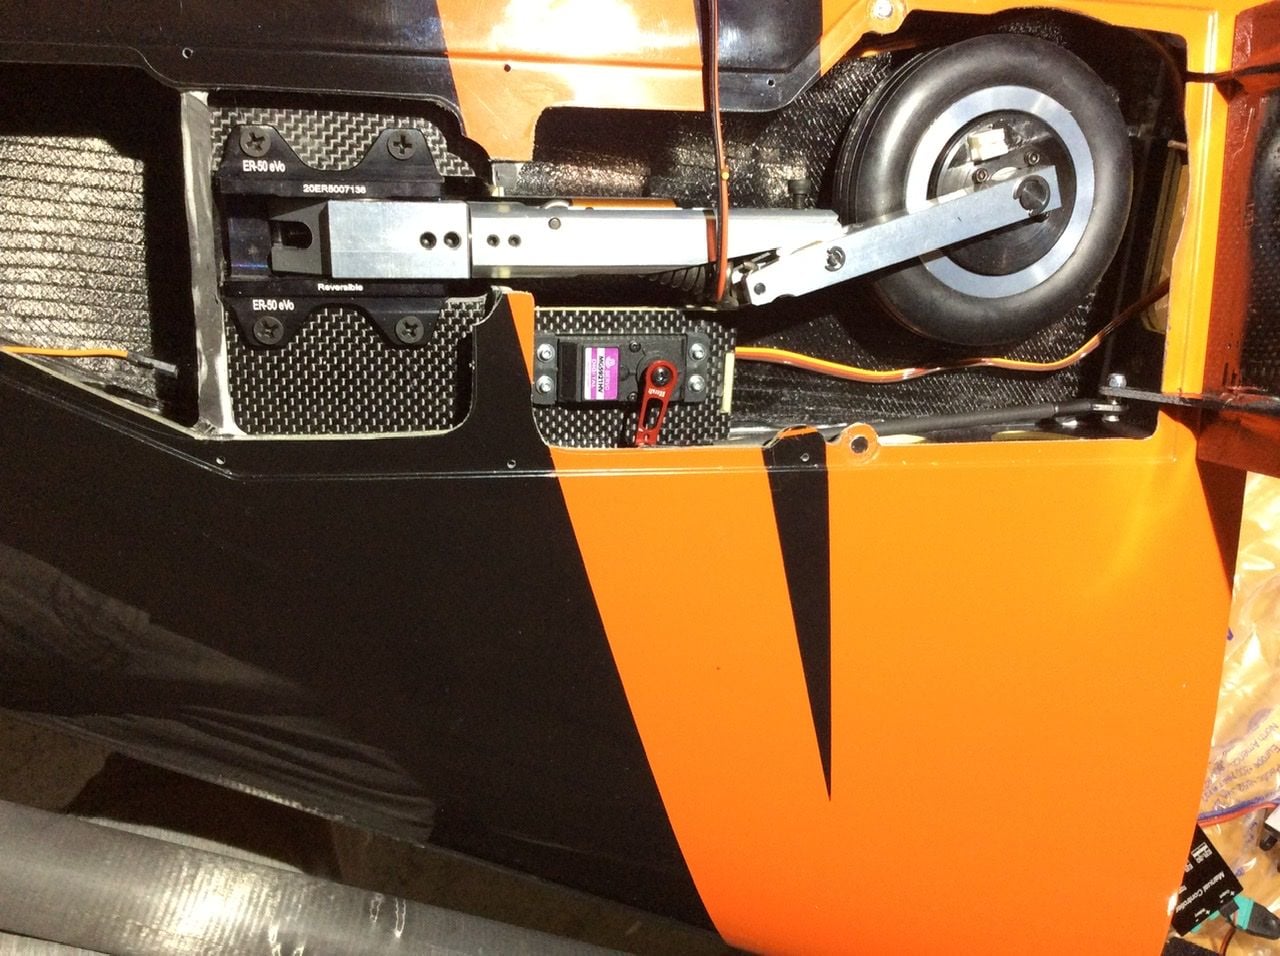
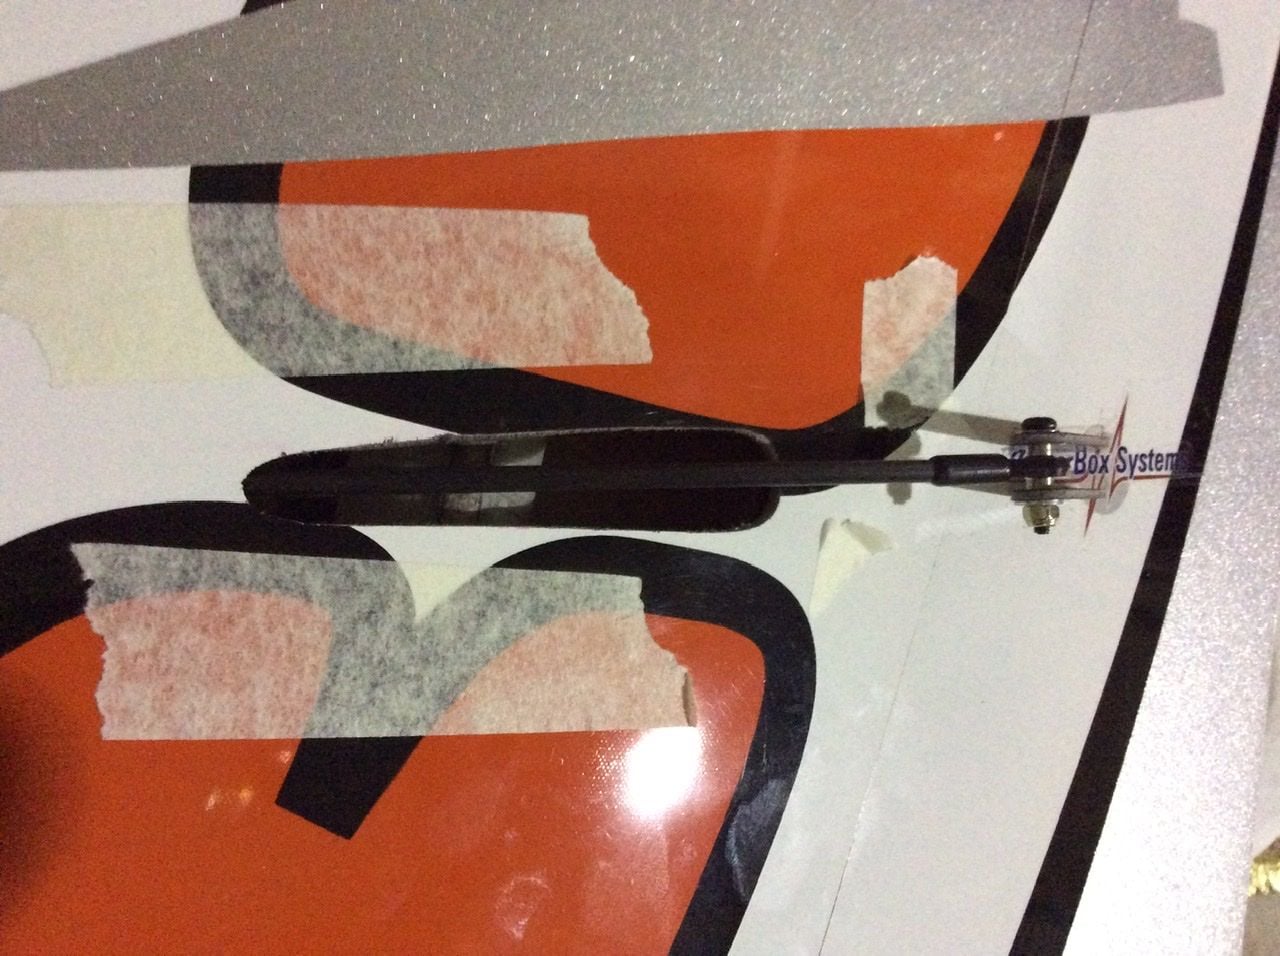
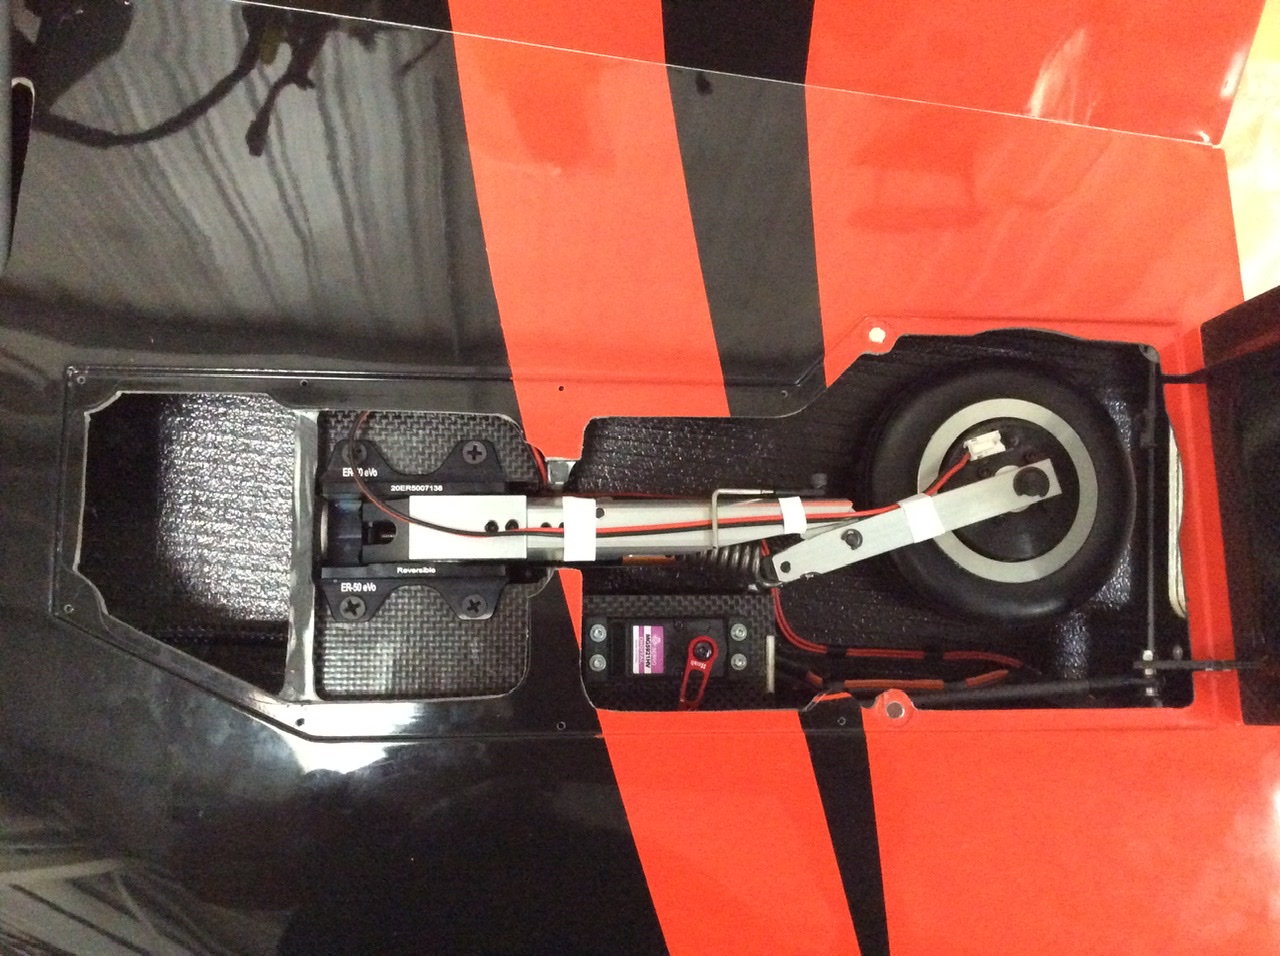
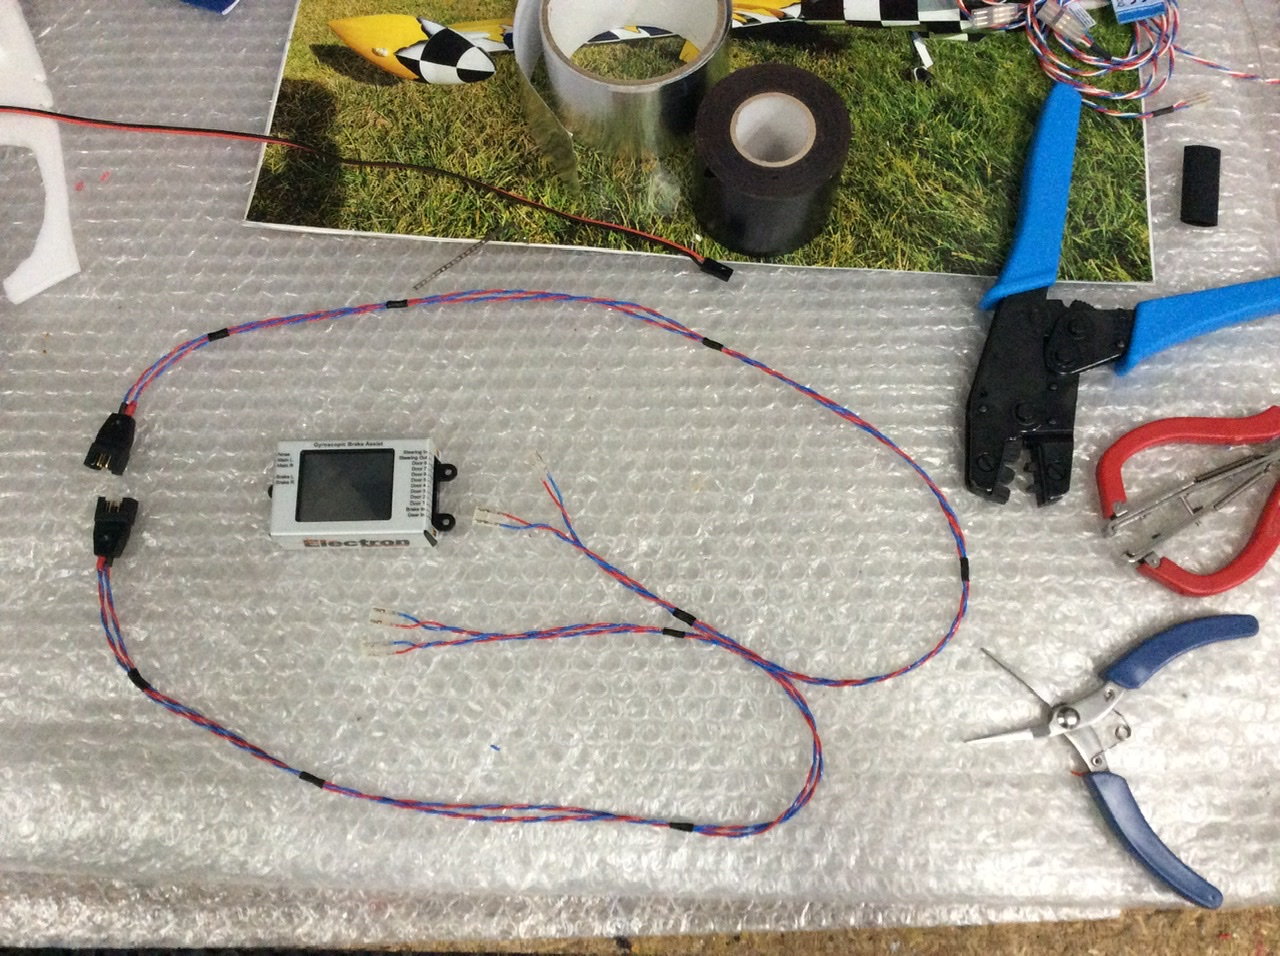
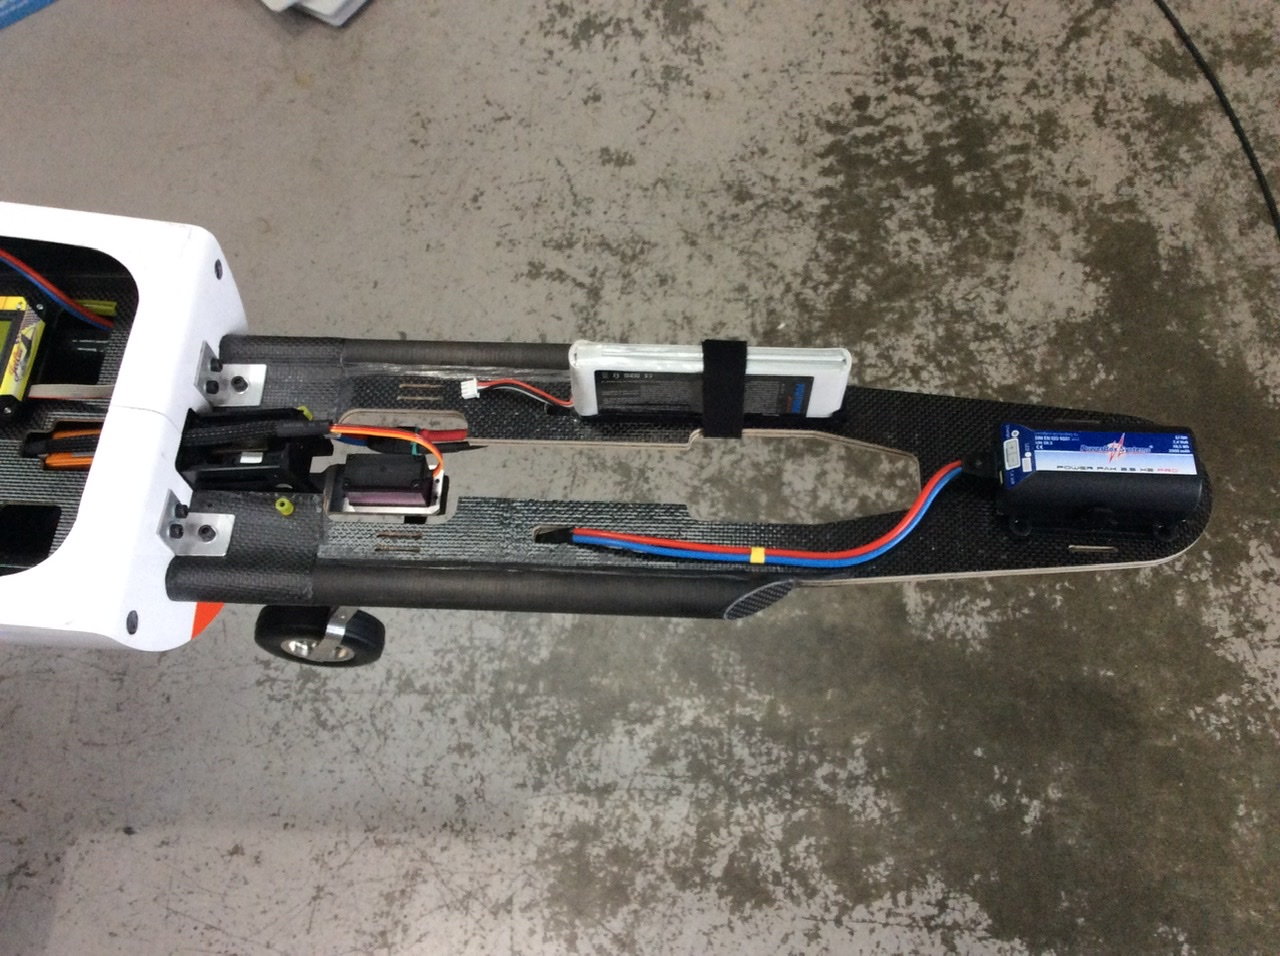
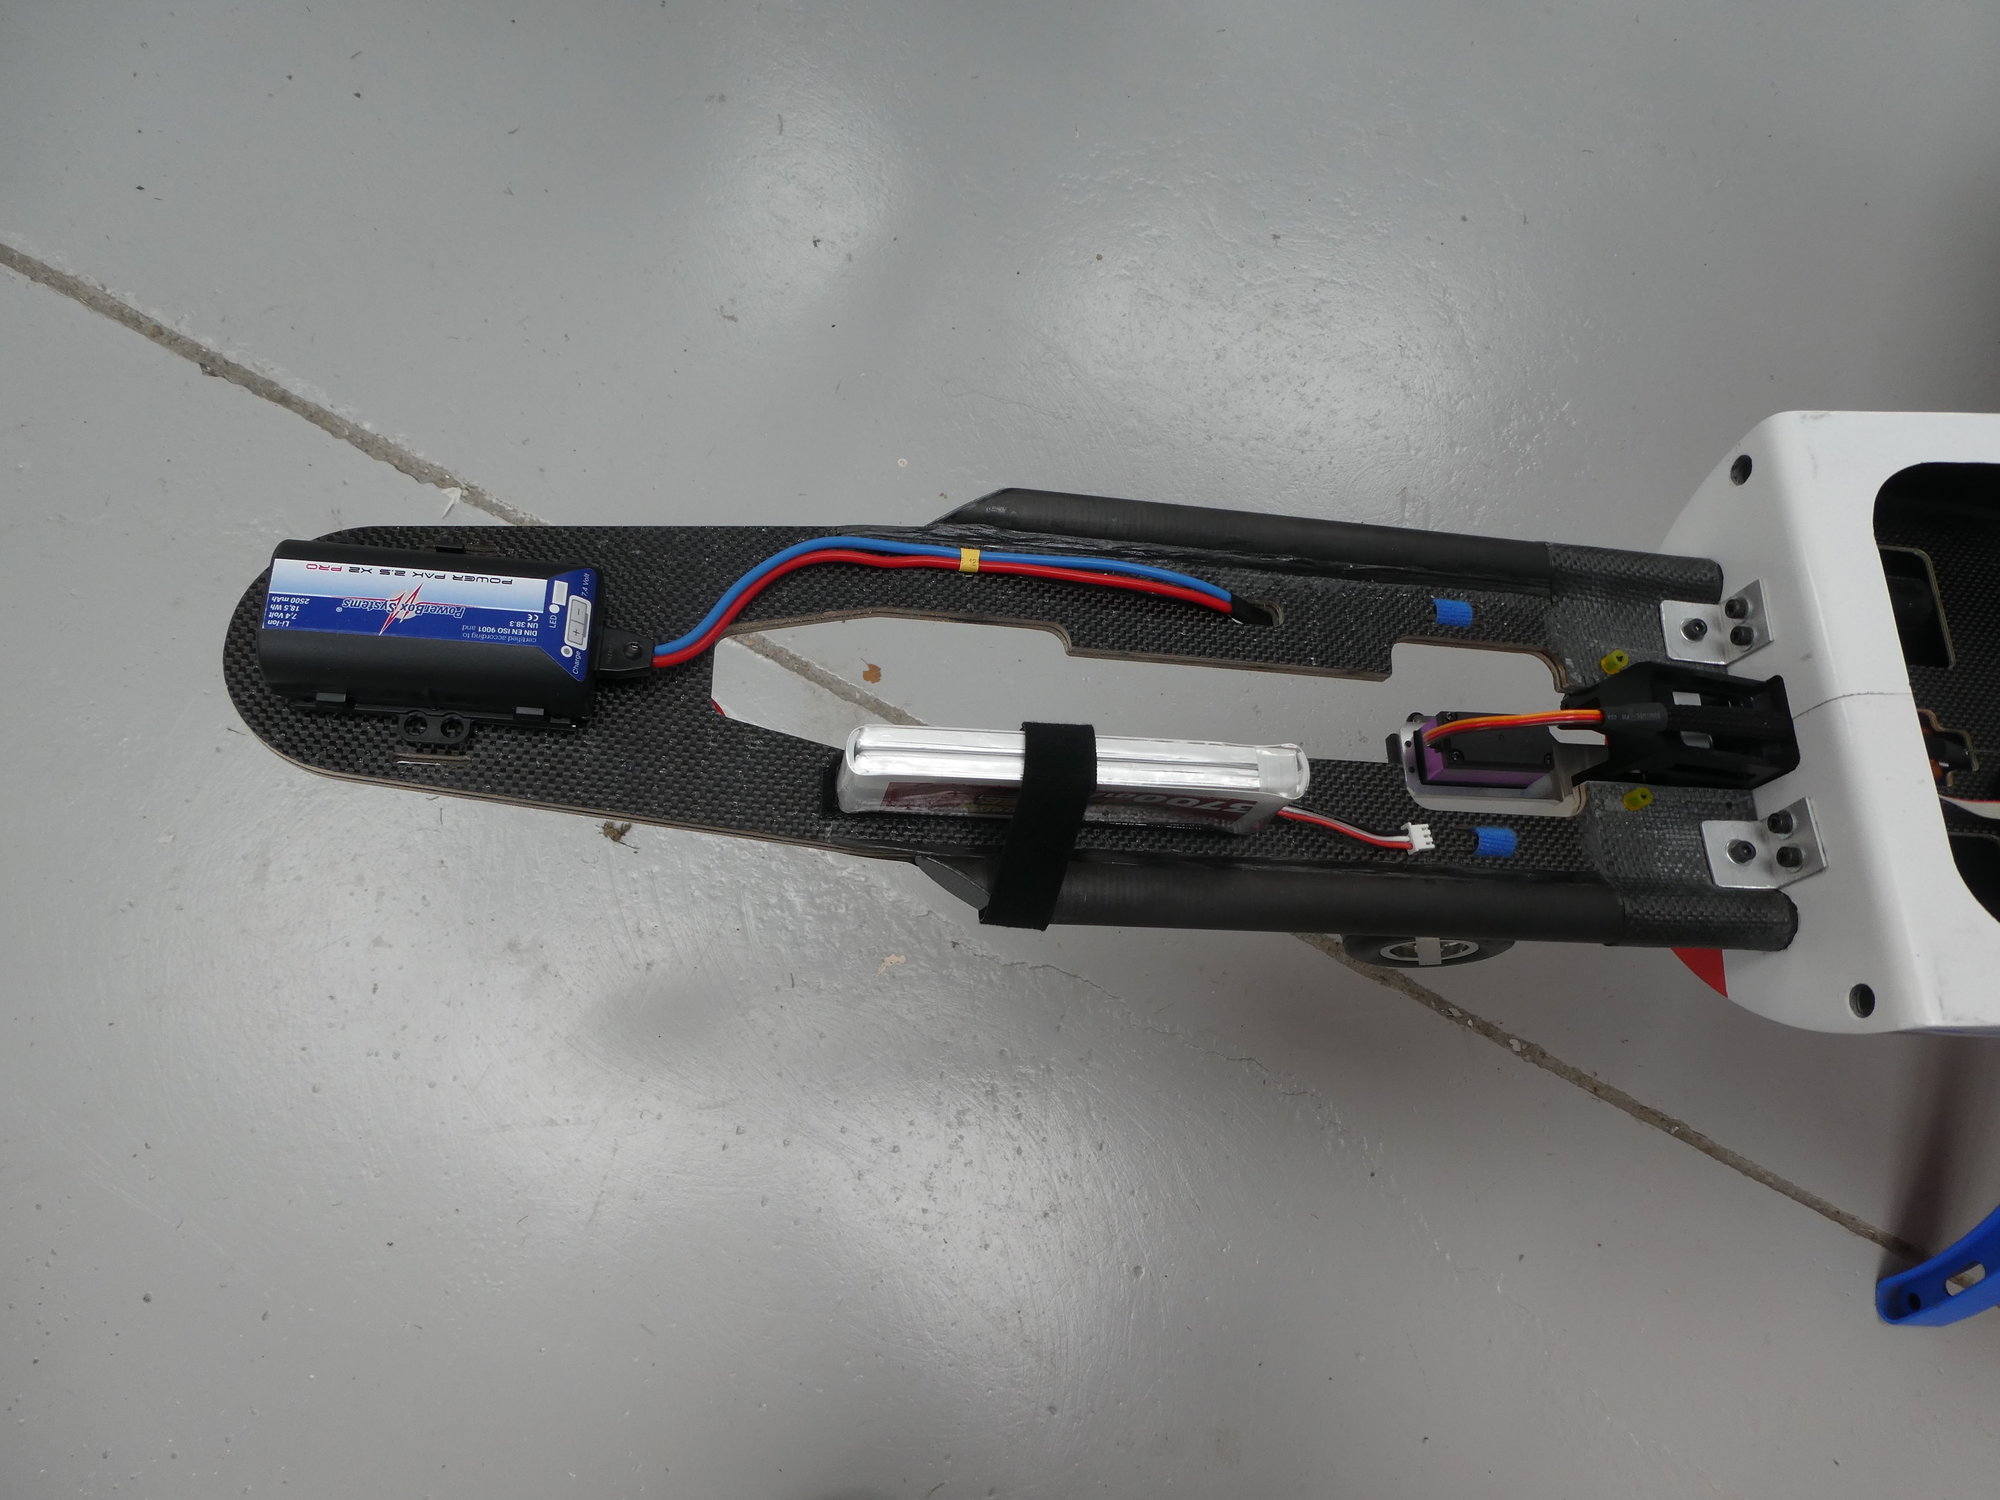
After much debate I decided to use a Powerbox Two-One cake set for the retracts and brakes and my usual std servo lead plug and socket removing a single point of failure and probably a few grams lighter.
Ready to start the fuselage fit out tomorrow.
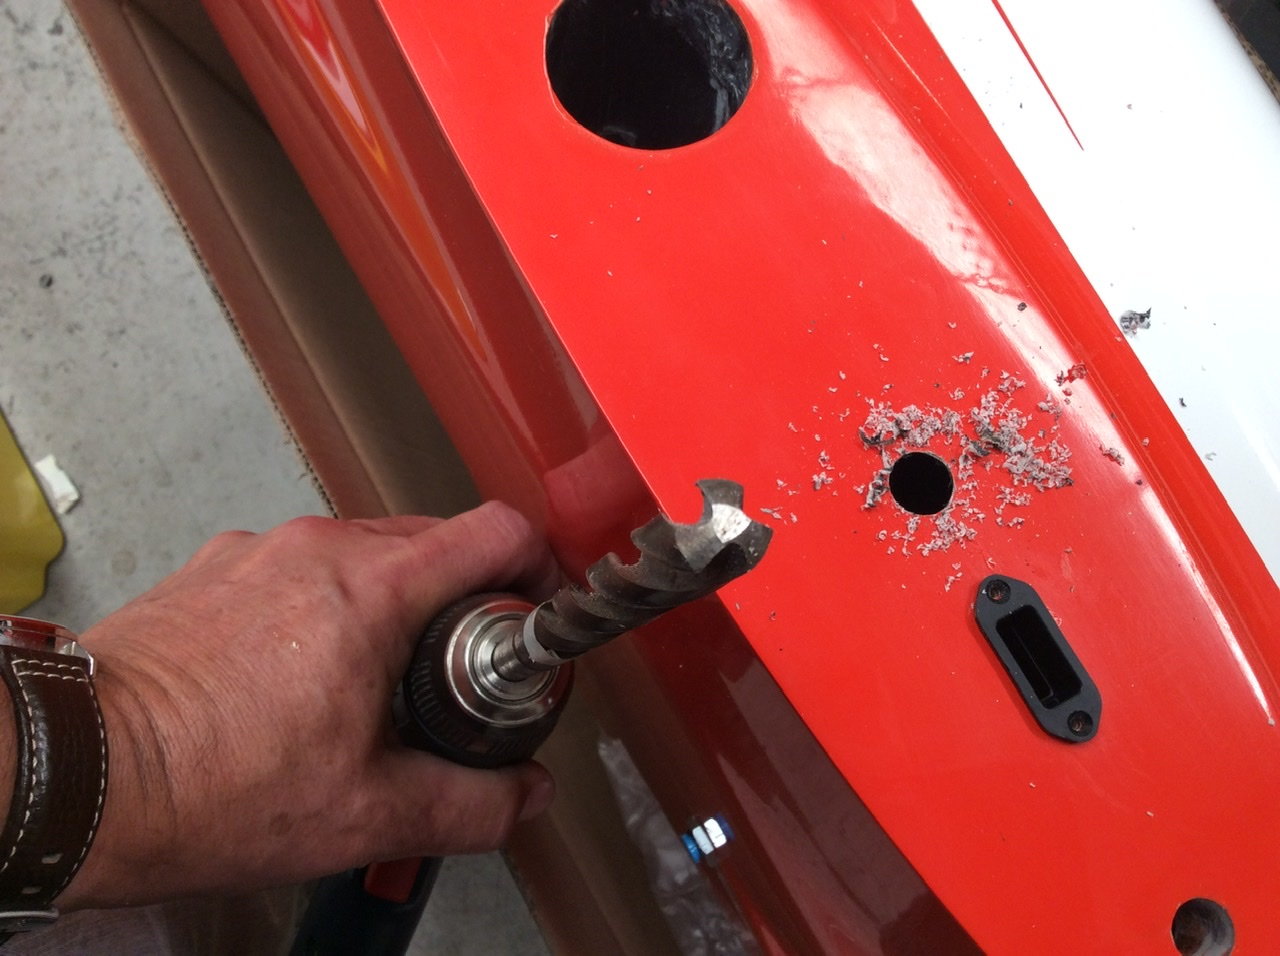
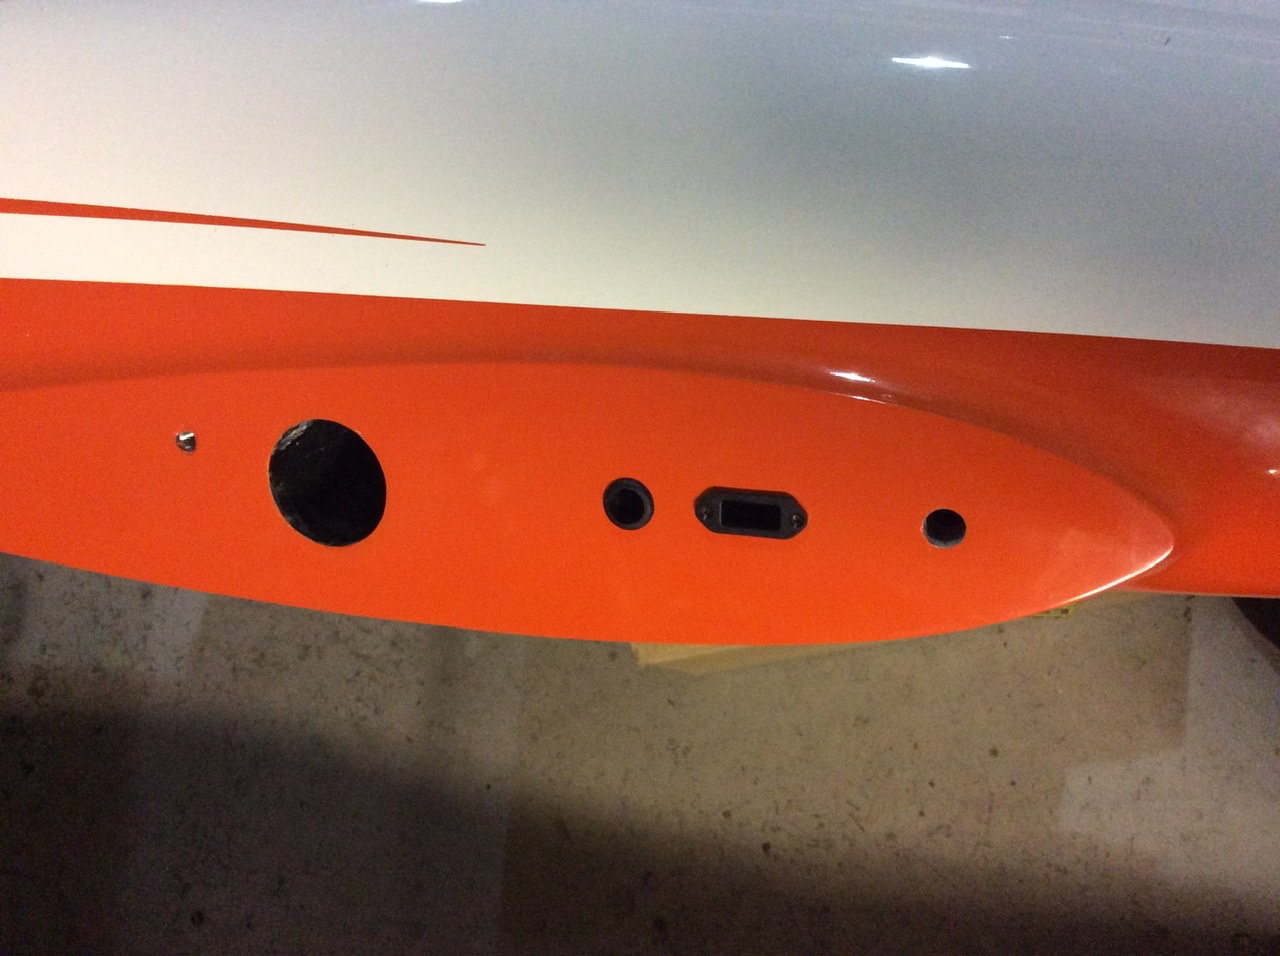
Cutting holes for grommets can be done various ways, but I use a three flute drill which cuts round holes!
After much debate I decided to use a Powerbox Two-One cake set for the retracts and brakes and my usual std servo lead plug and socket removing a single point of failure and probably a few grams lighter.
Ready to start the fuselage fit out tomorrow.
09-22-2020, 09:43 AM
#59
Thread Starter
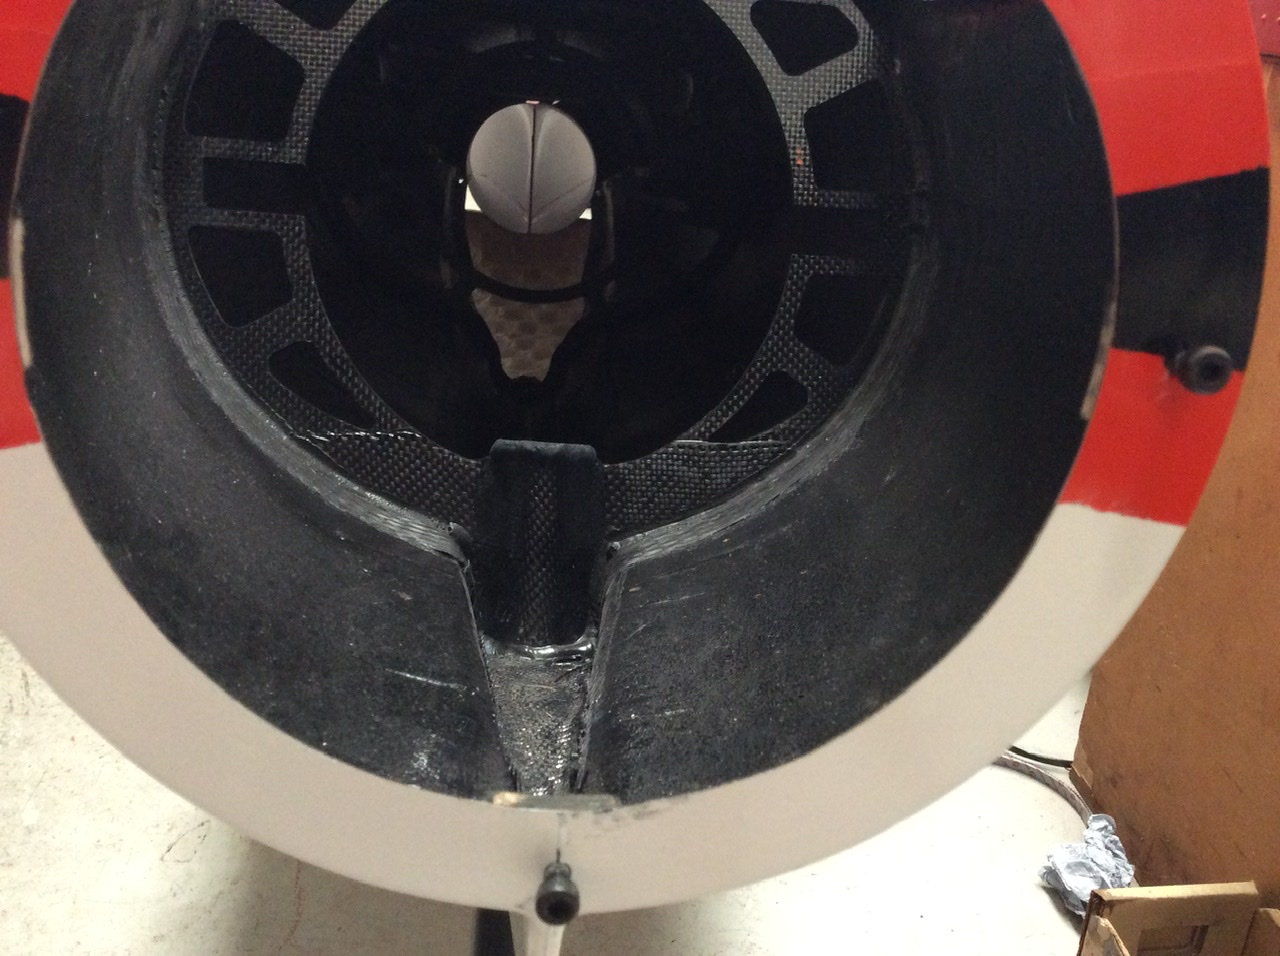
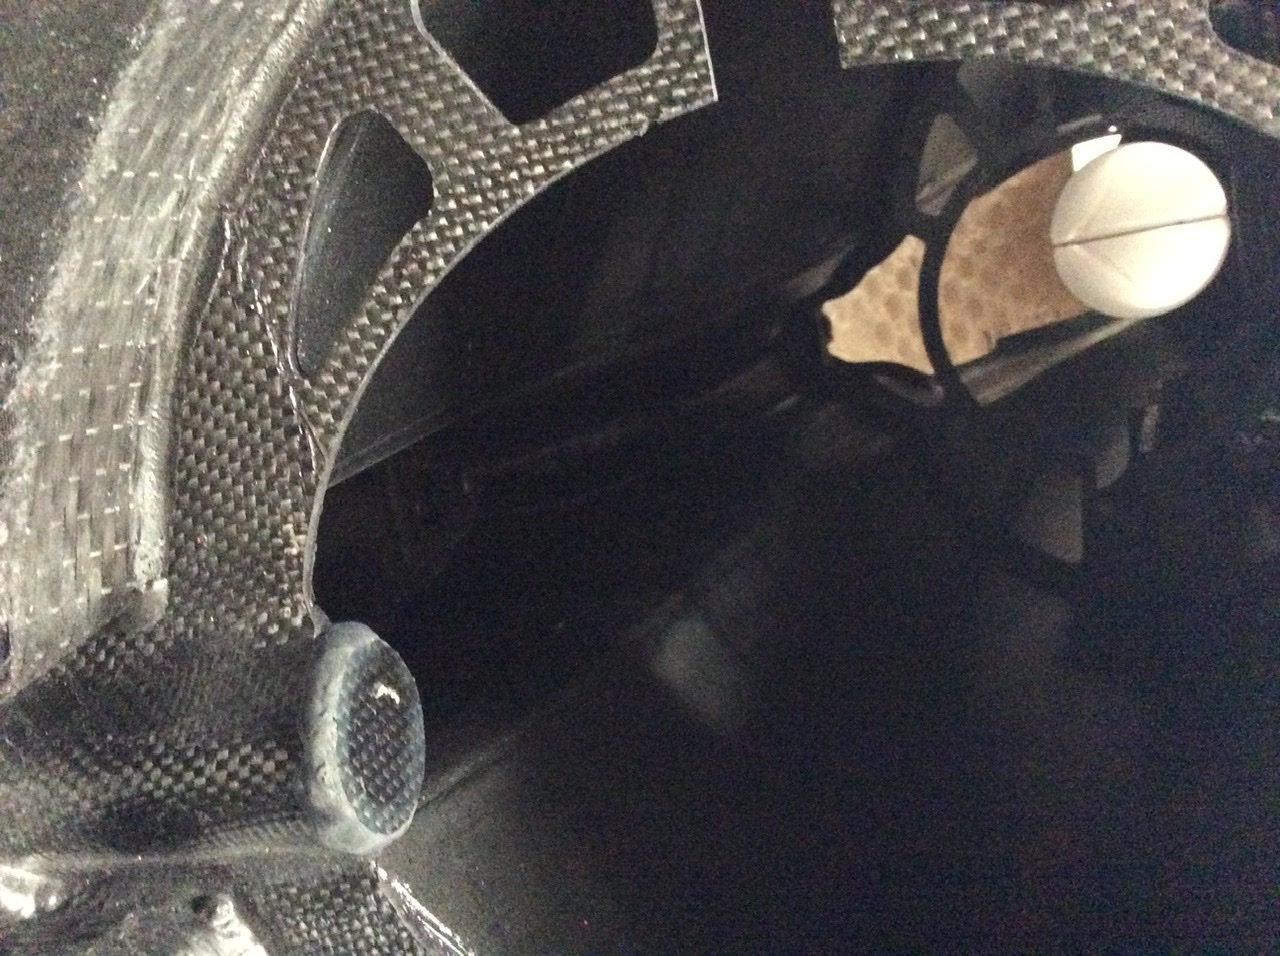
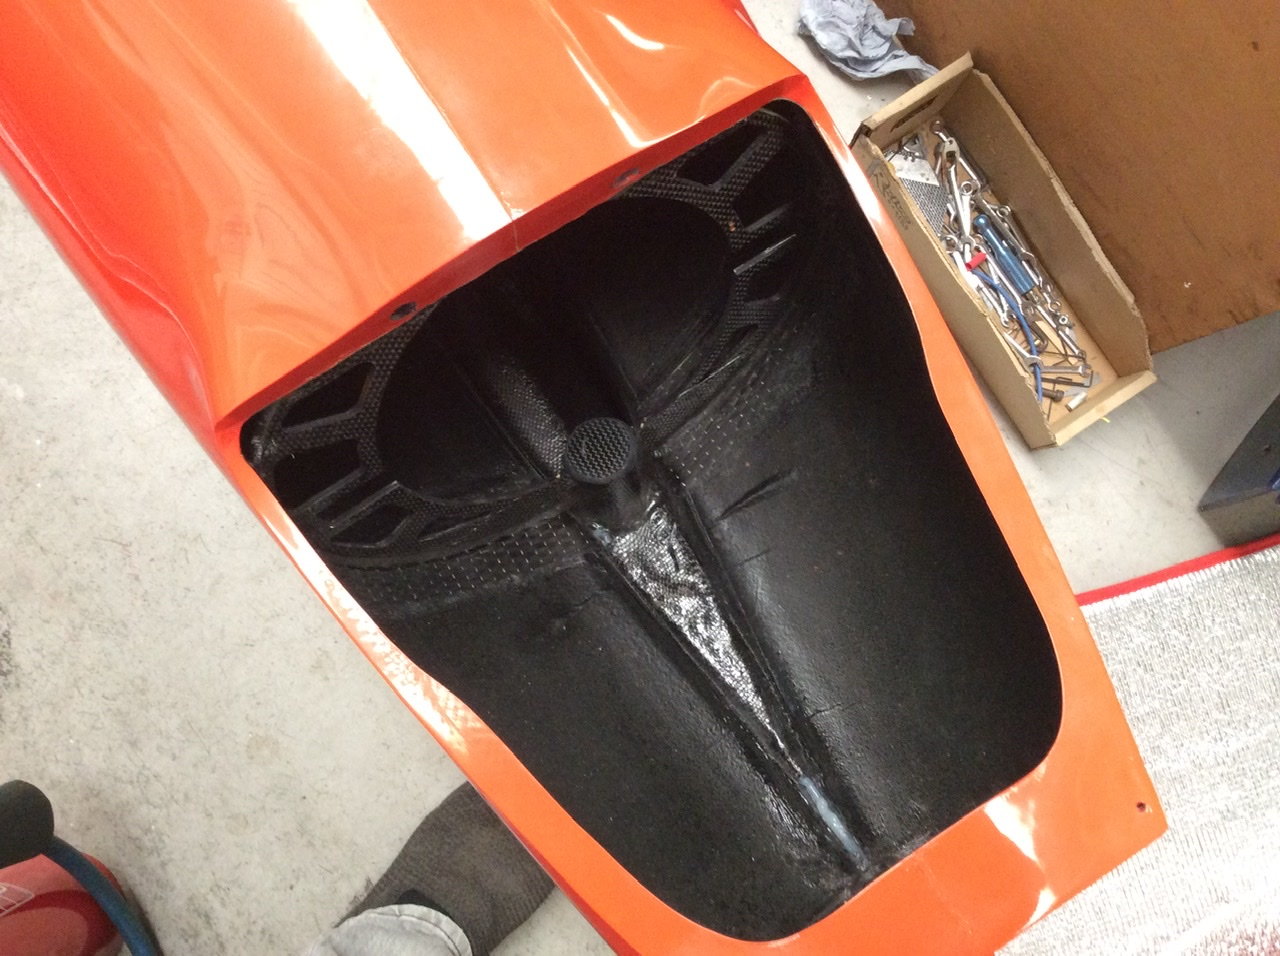
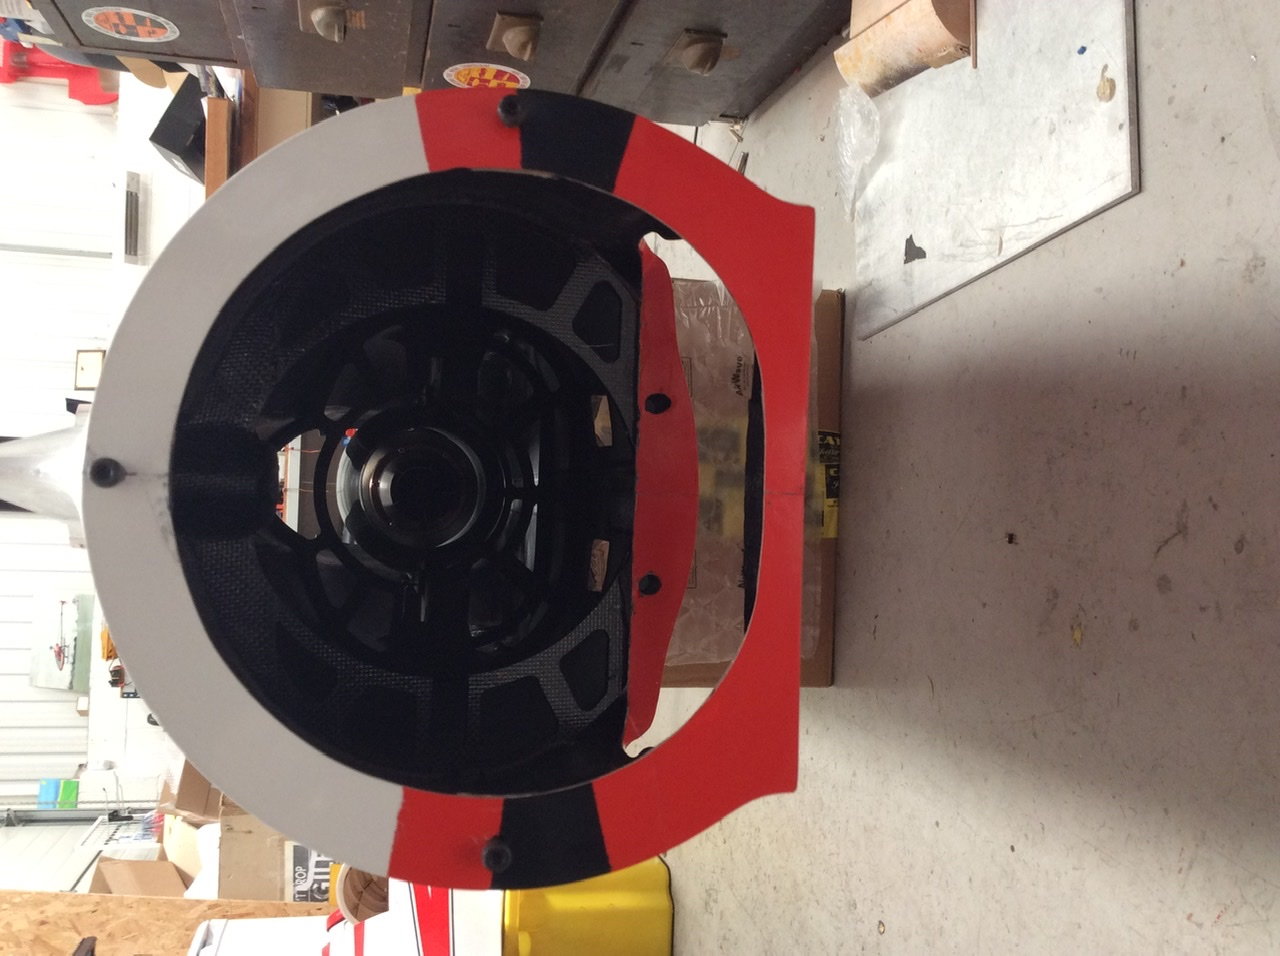
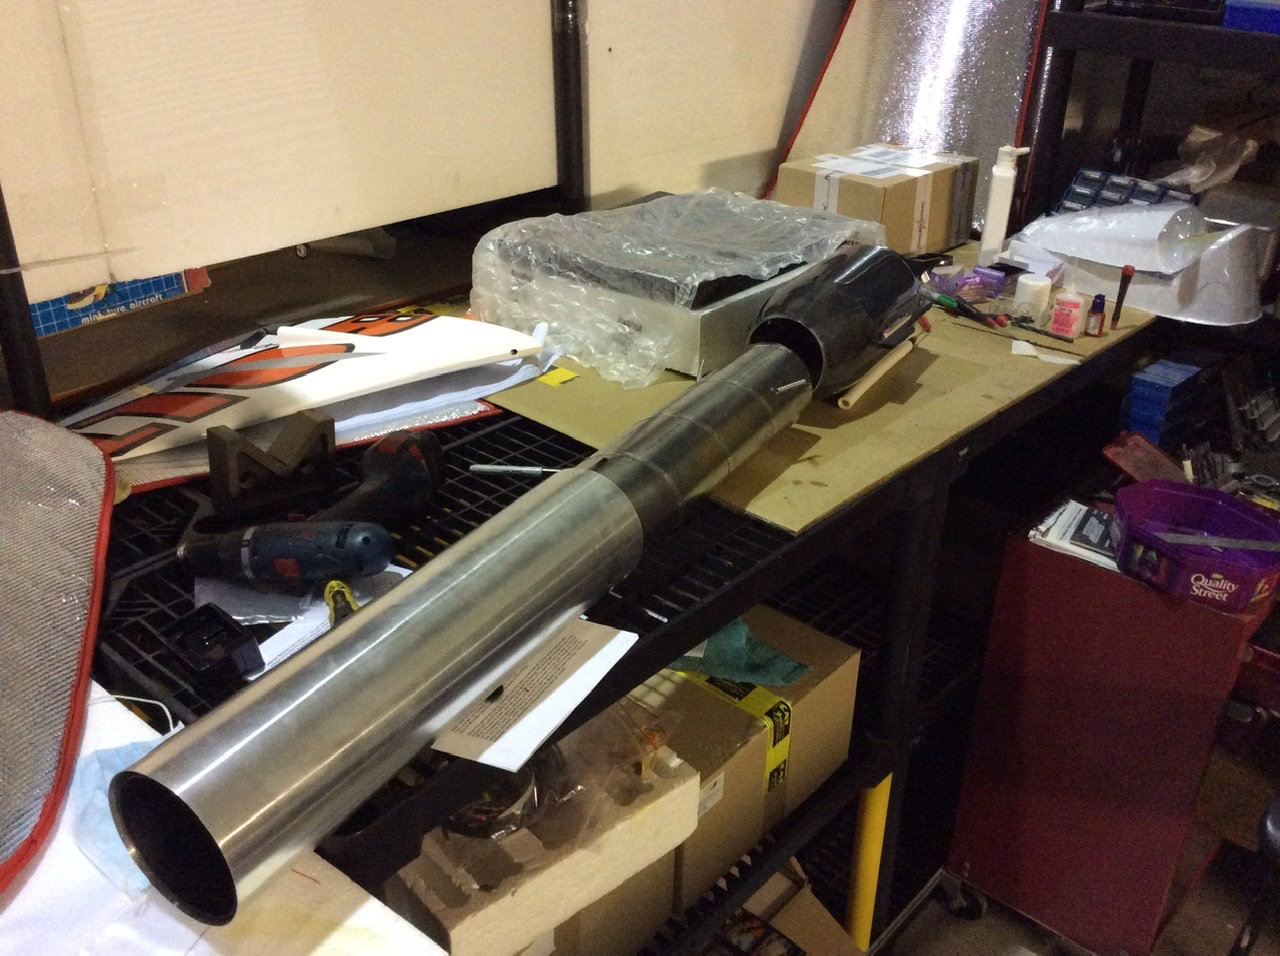
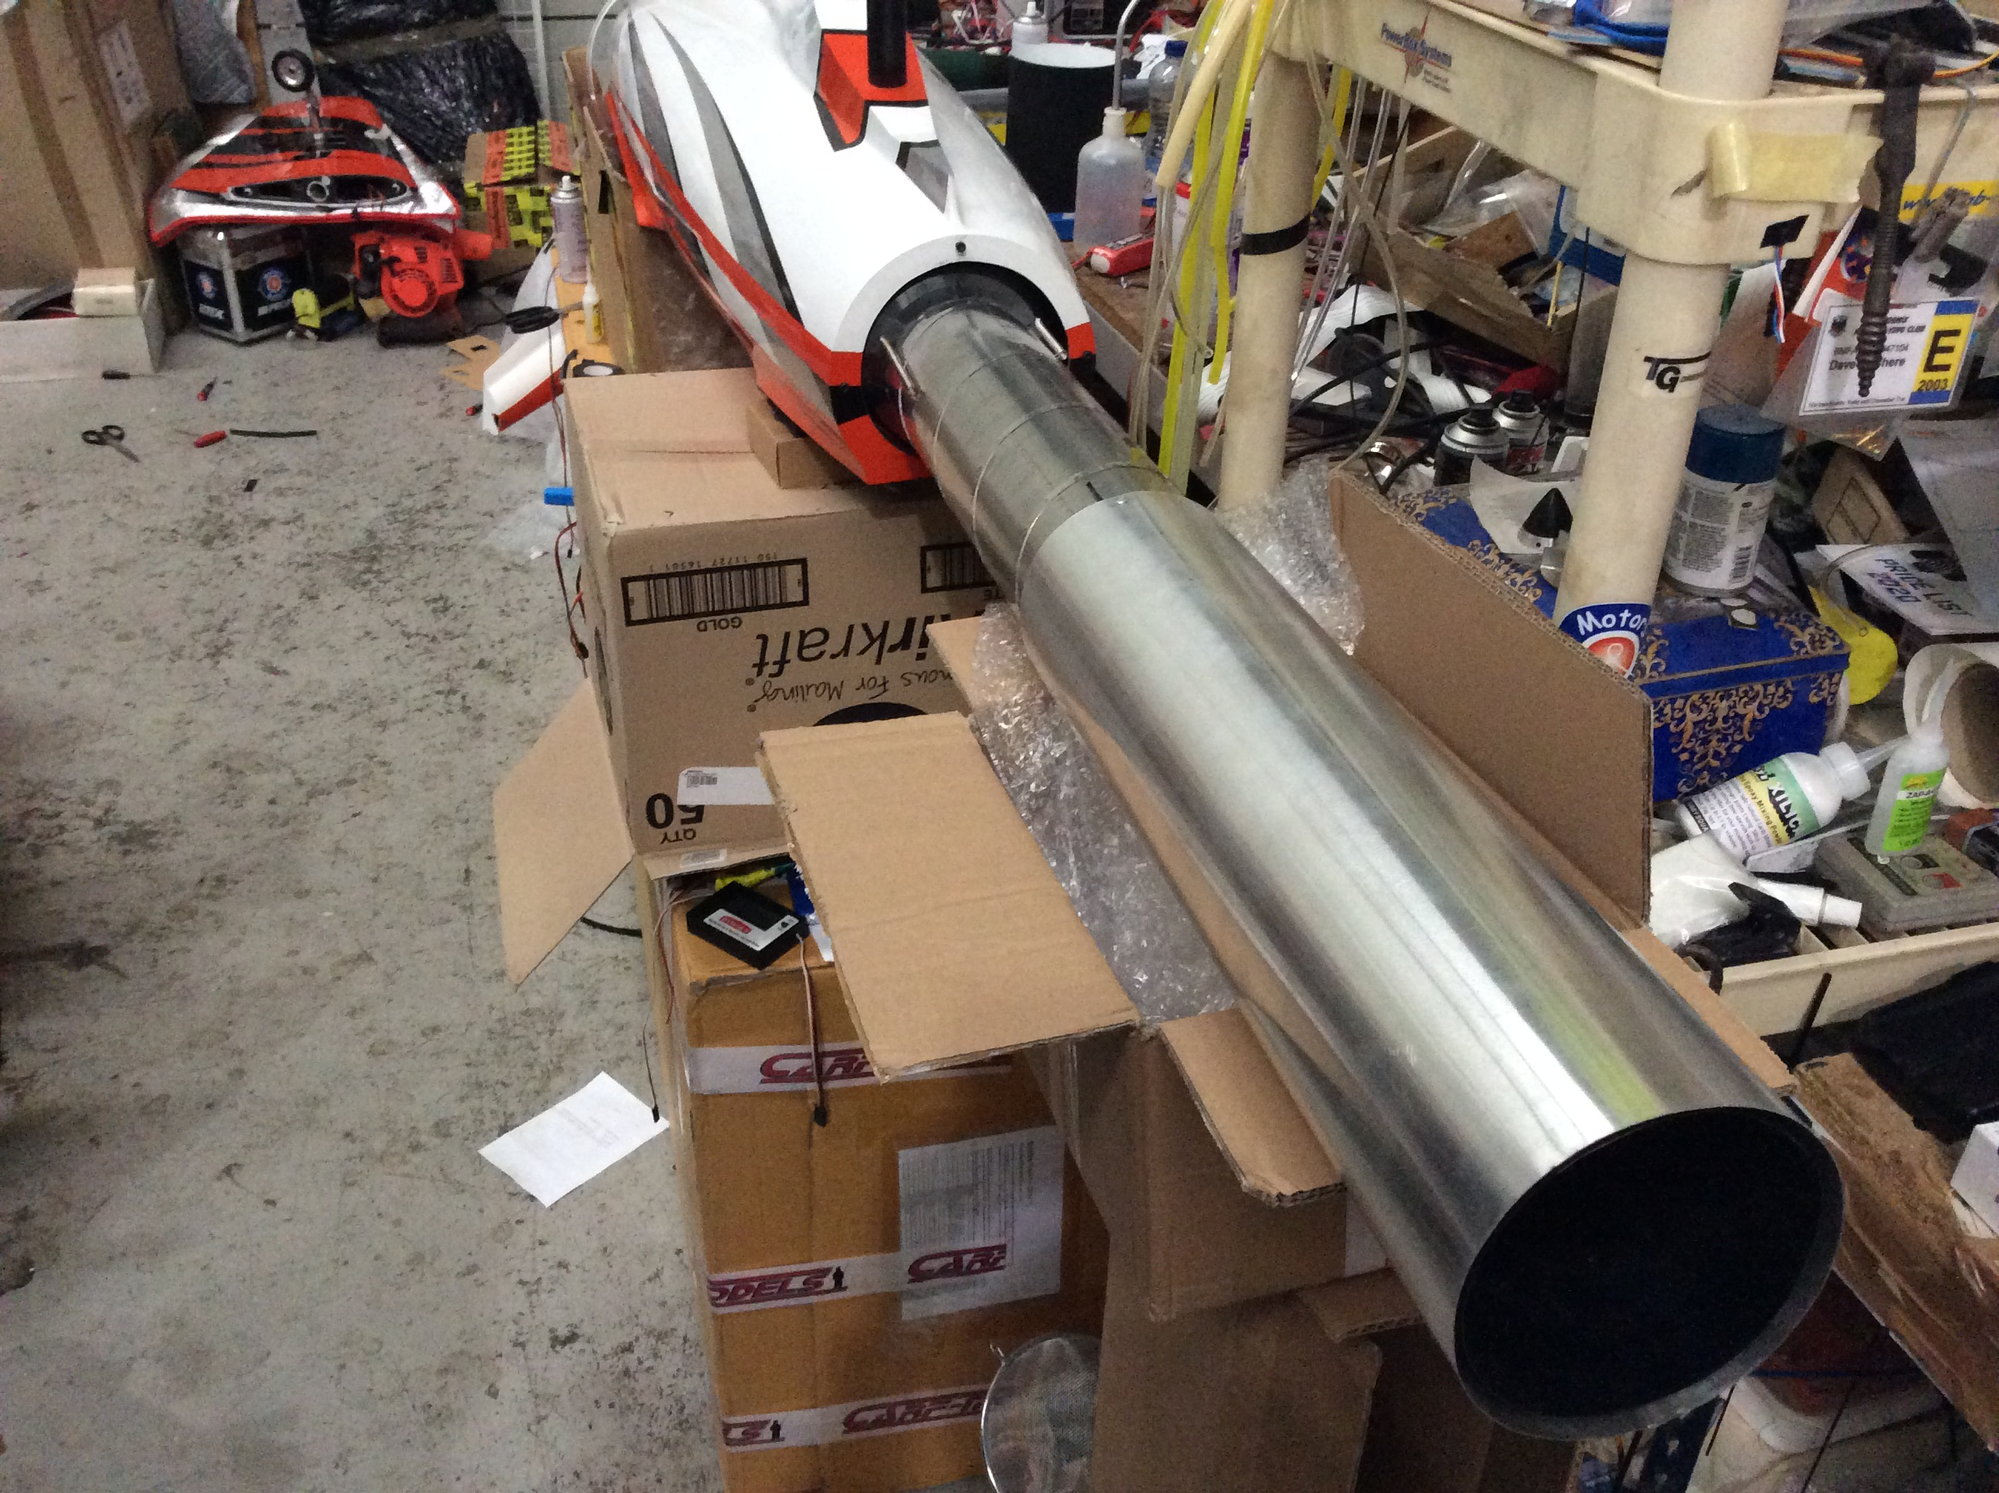
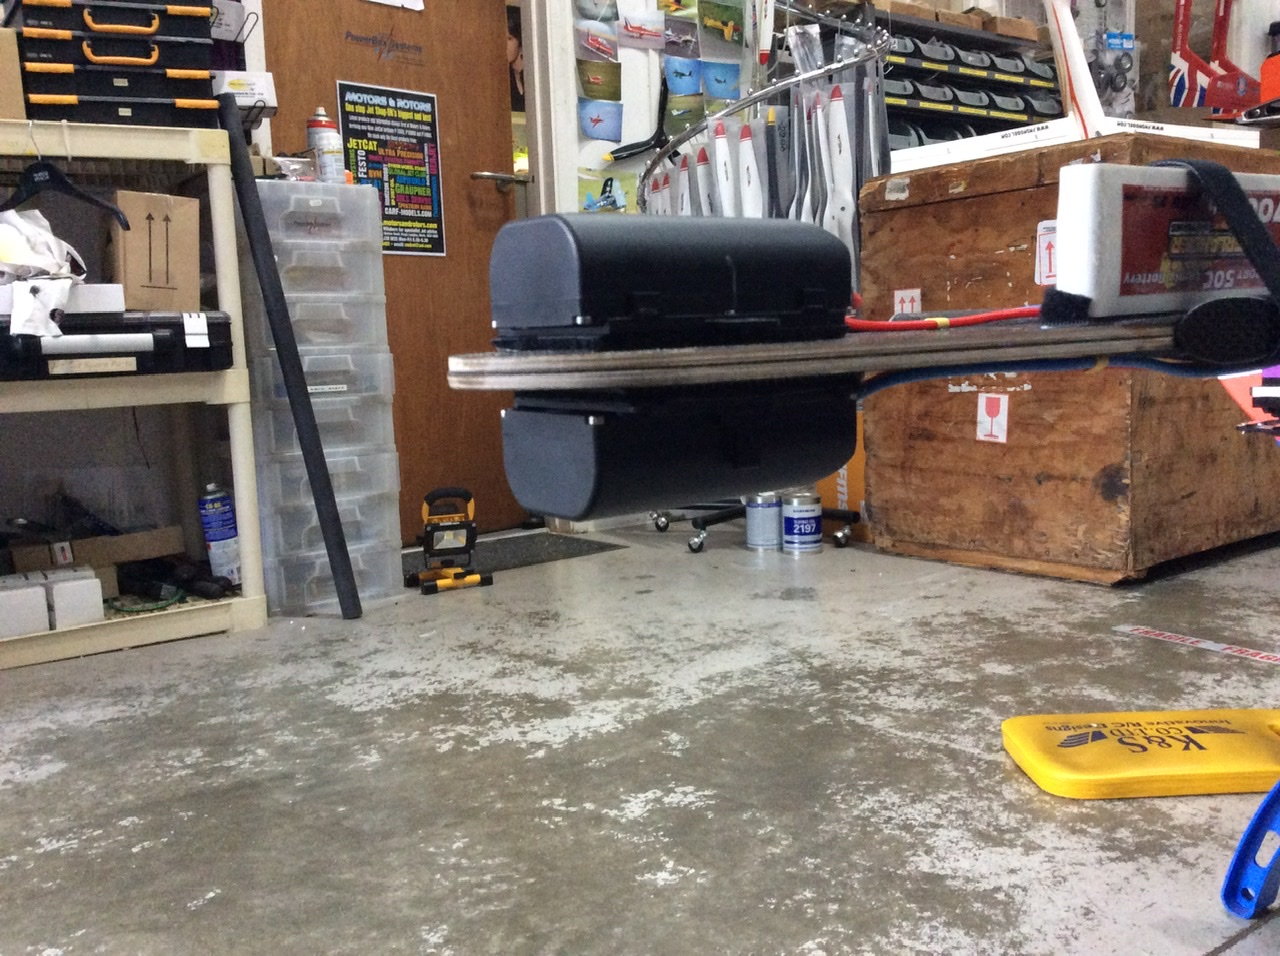
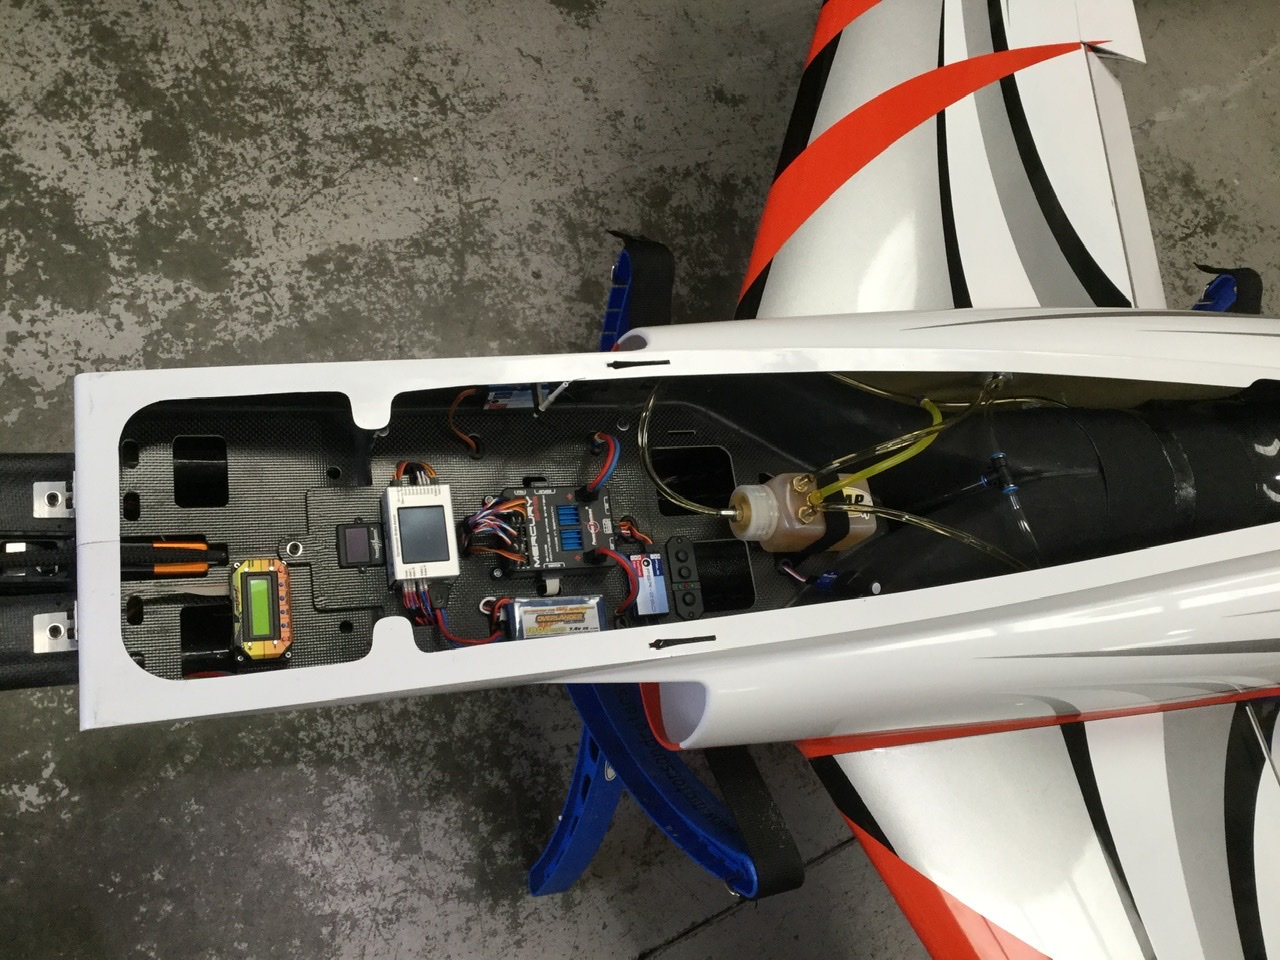
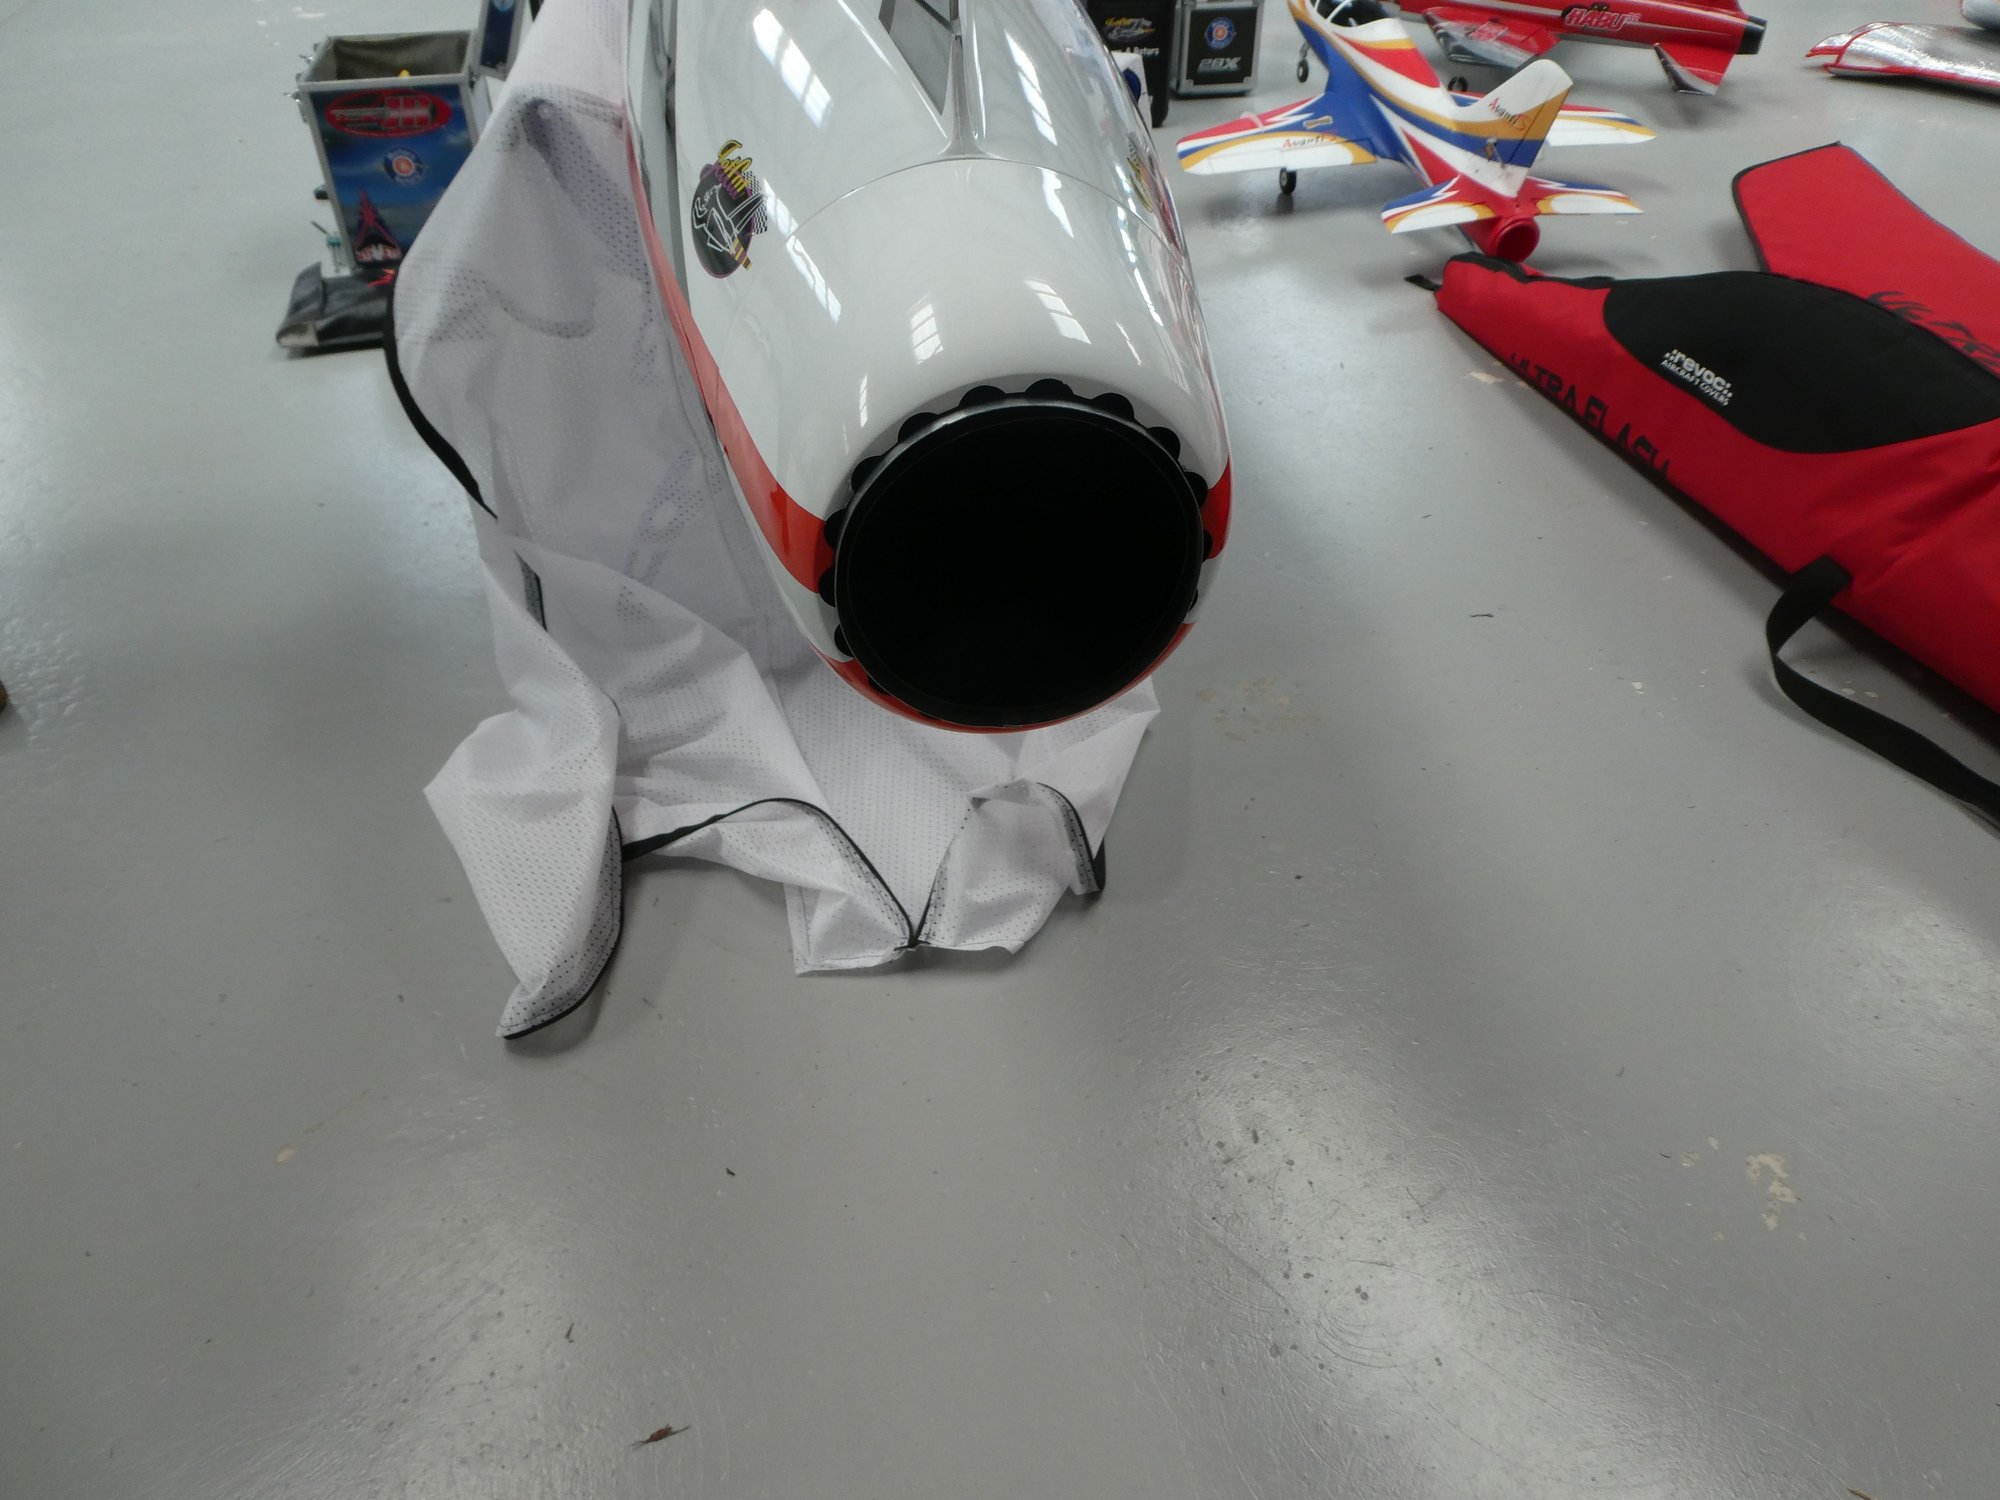
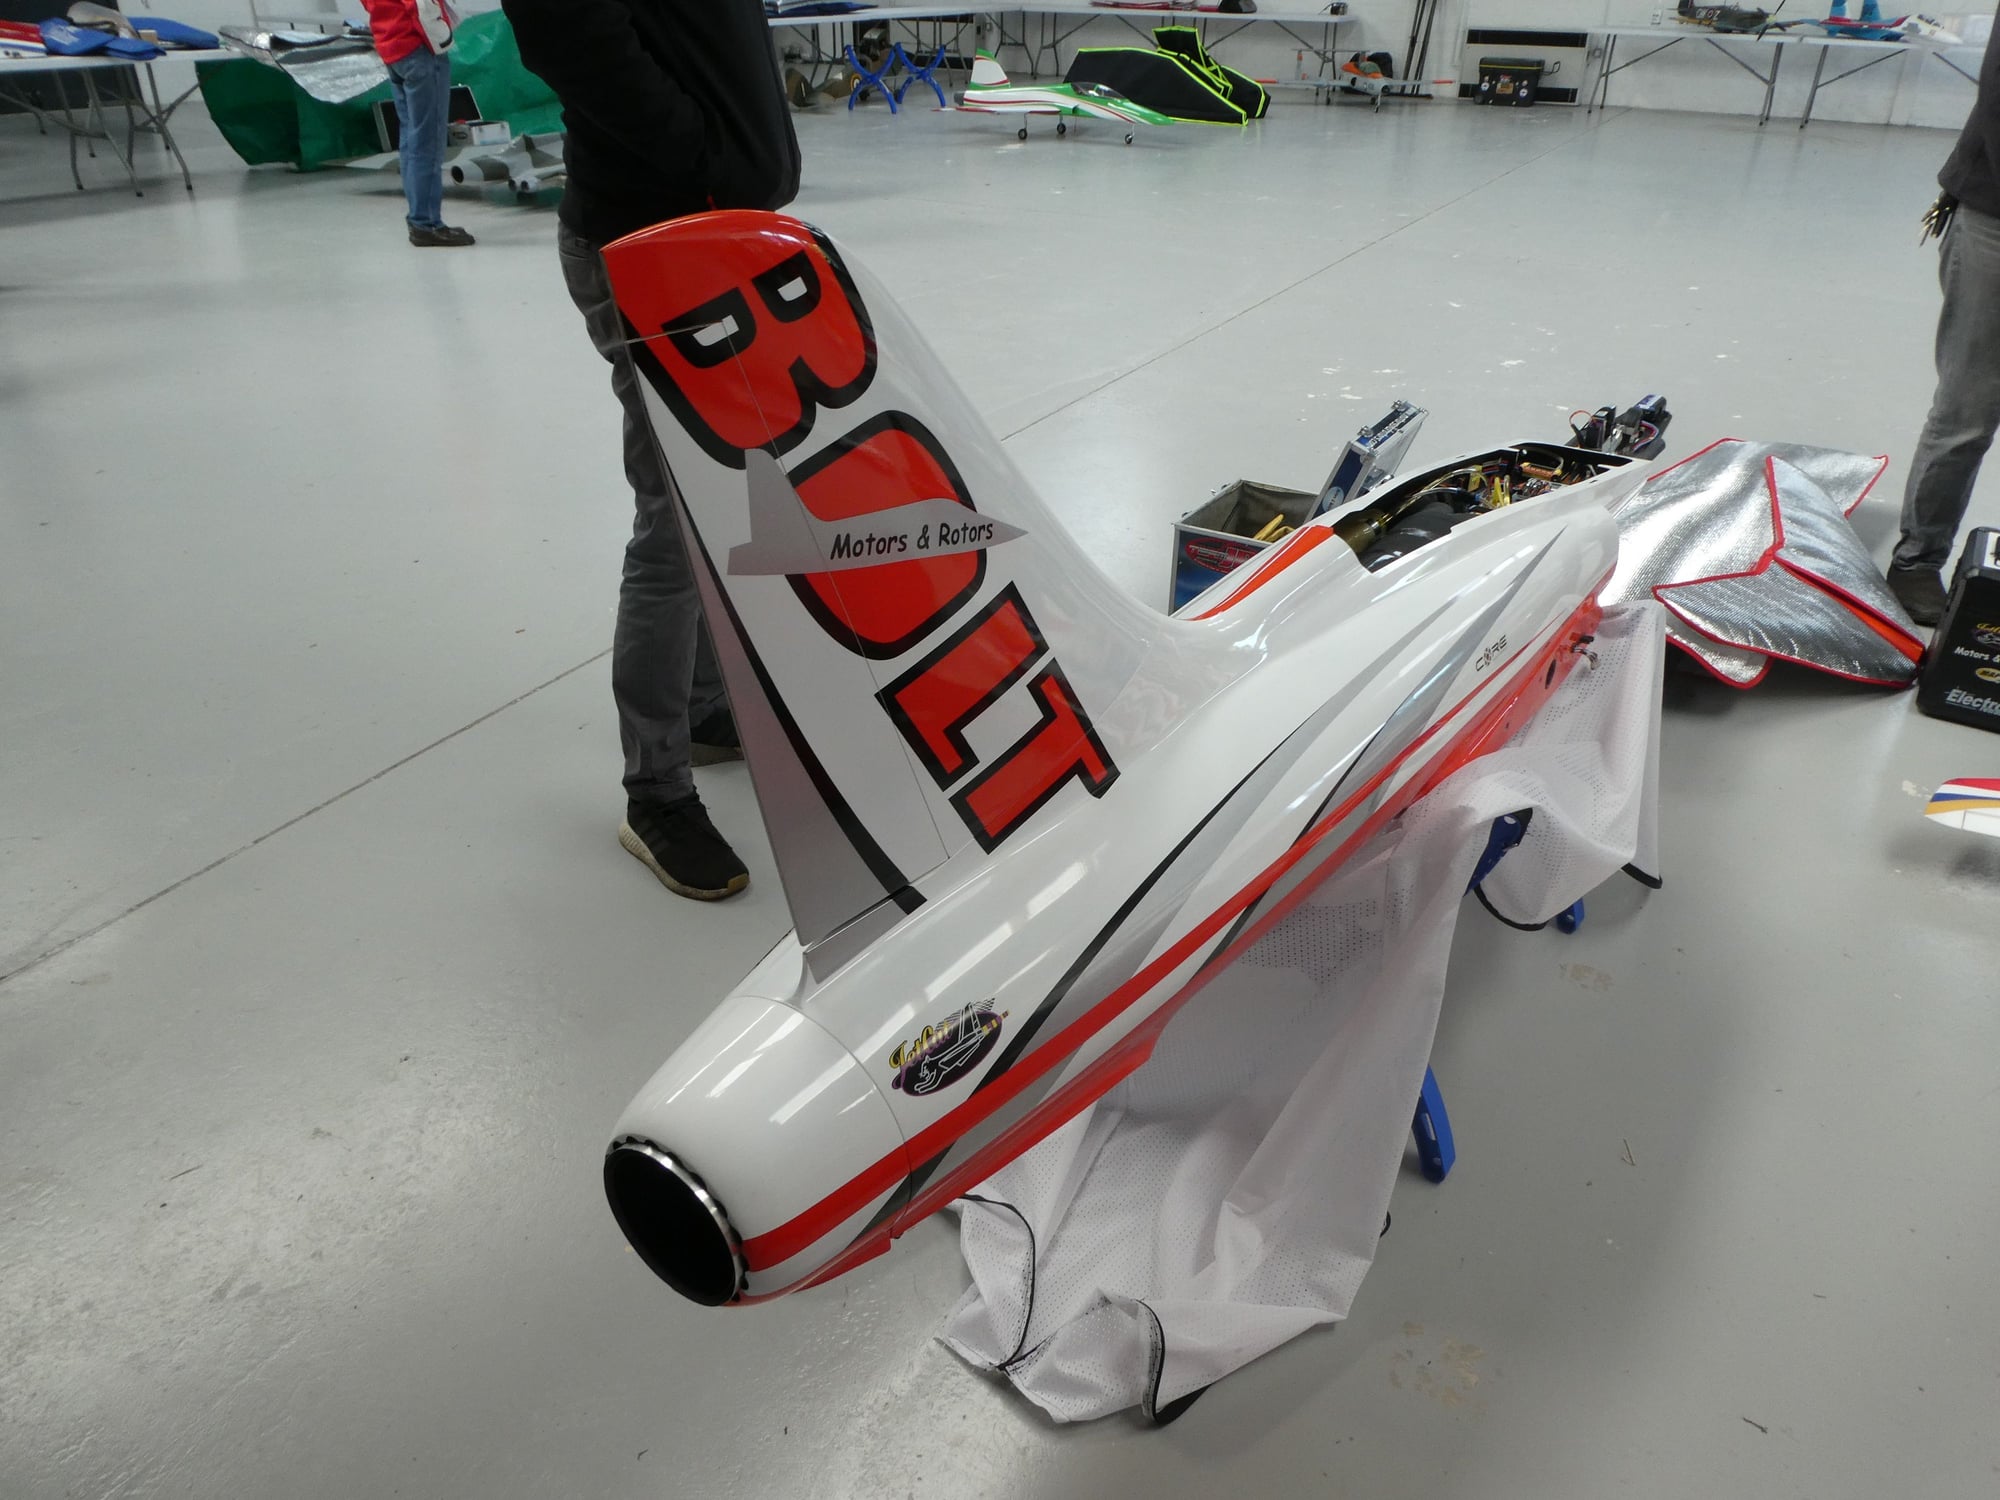
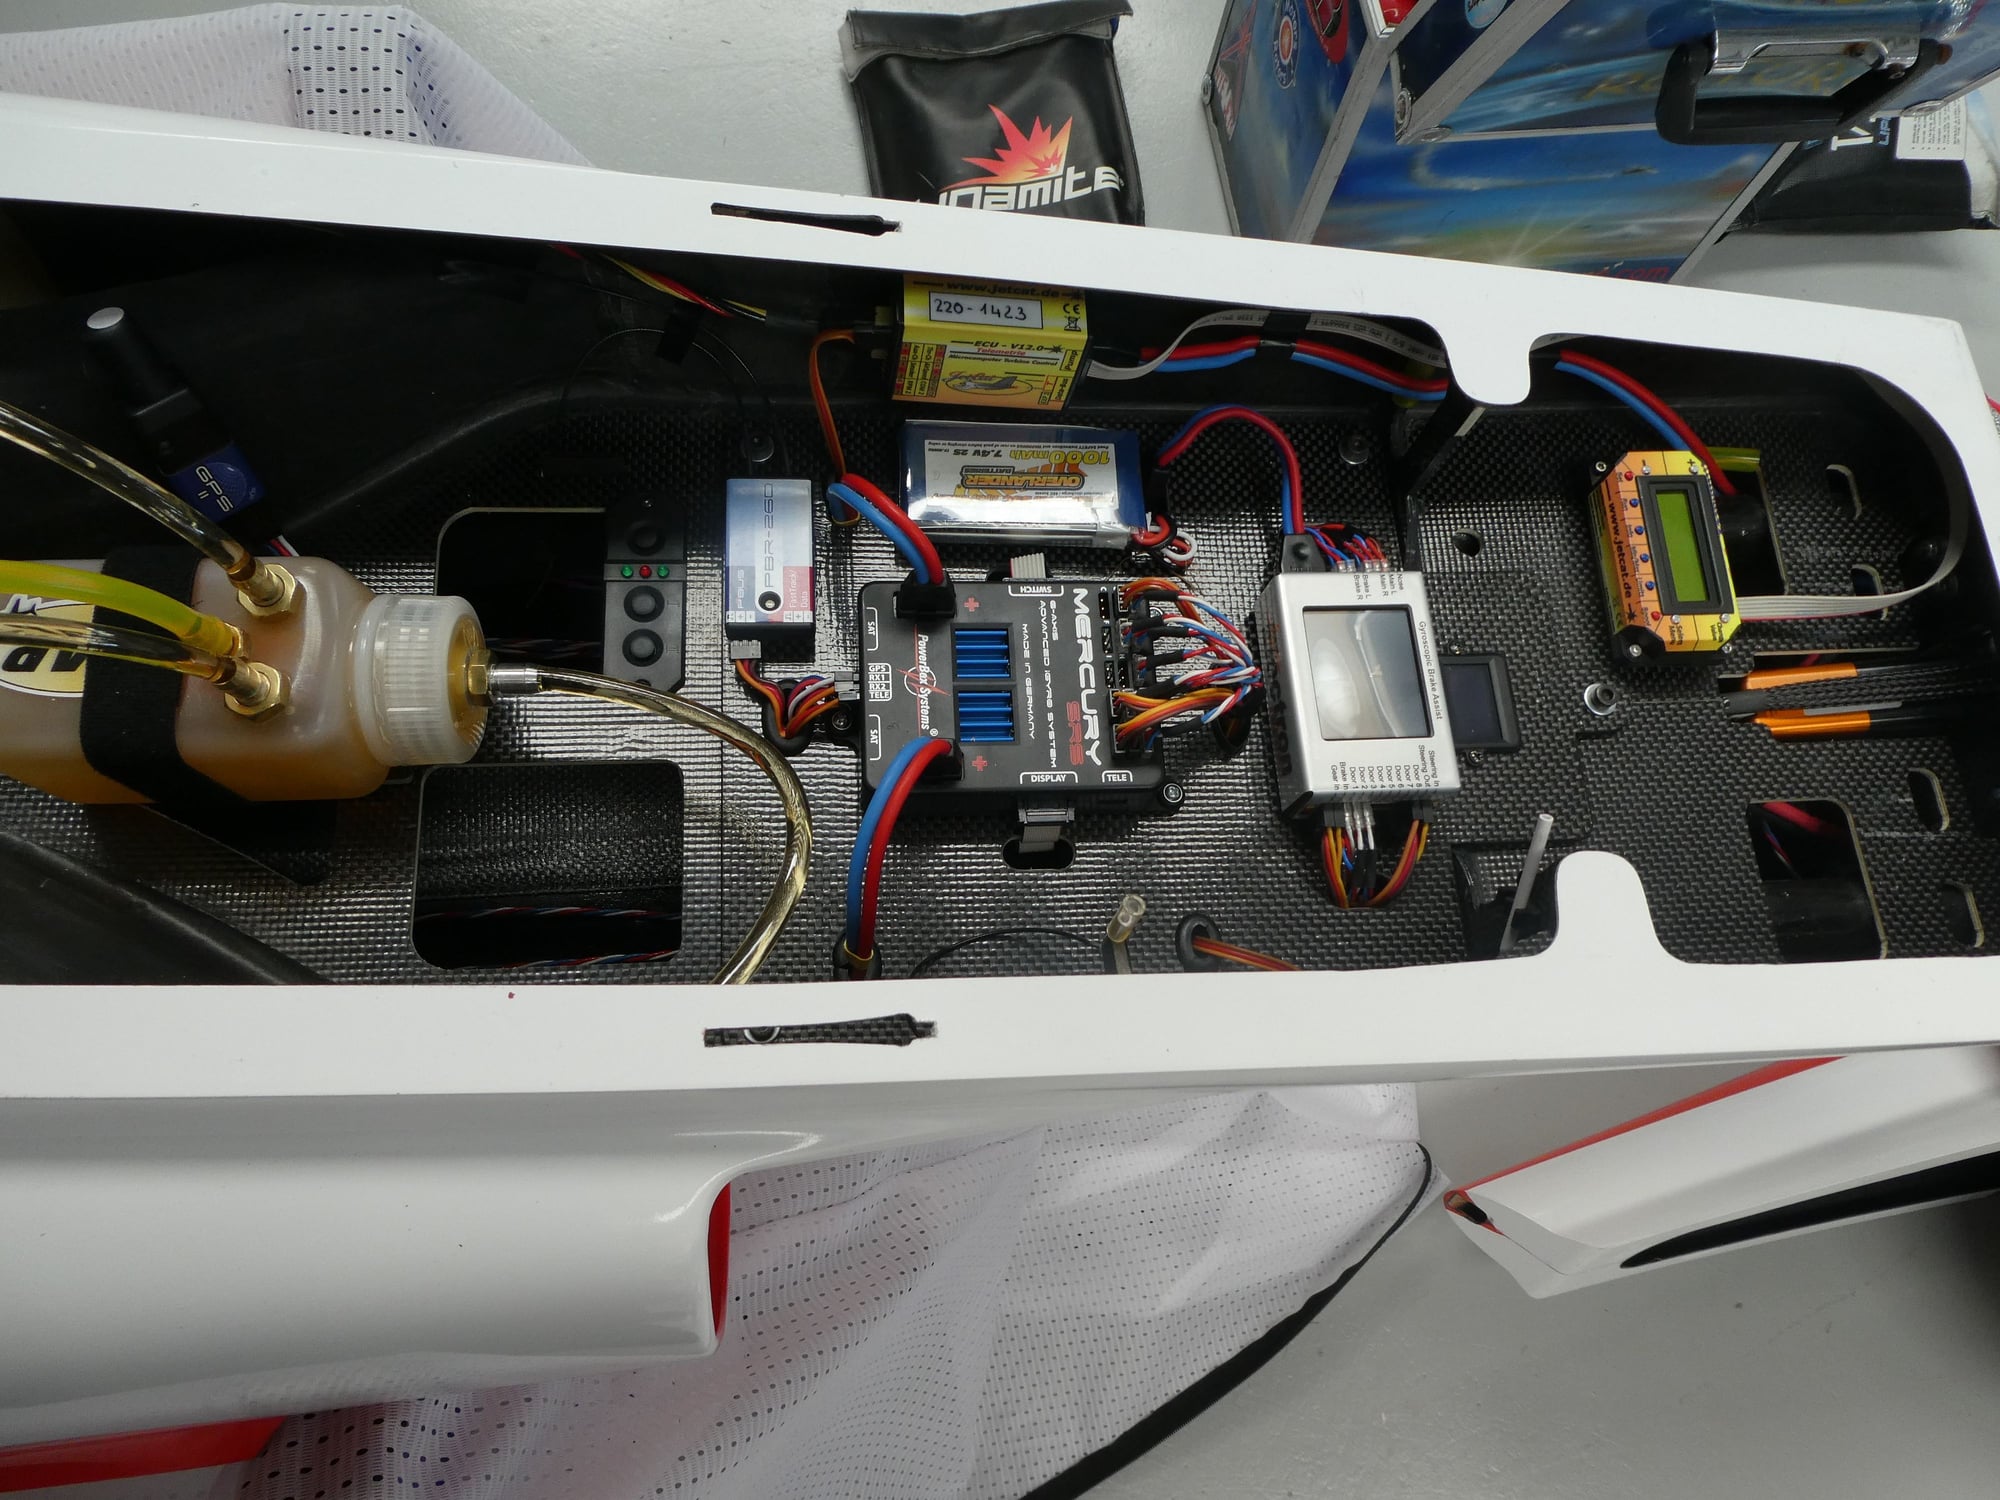
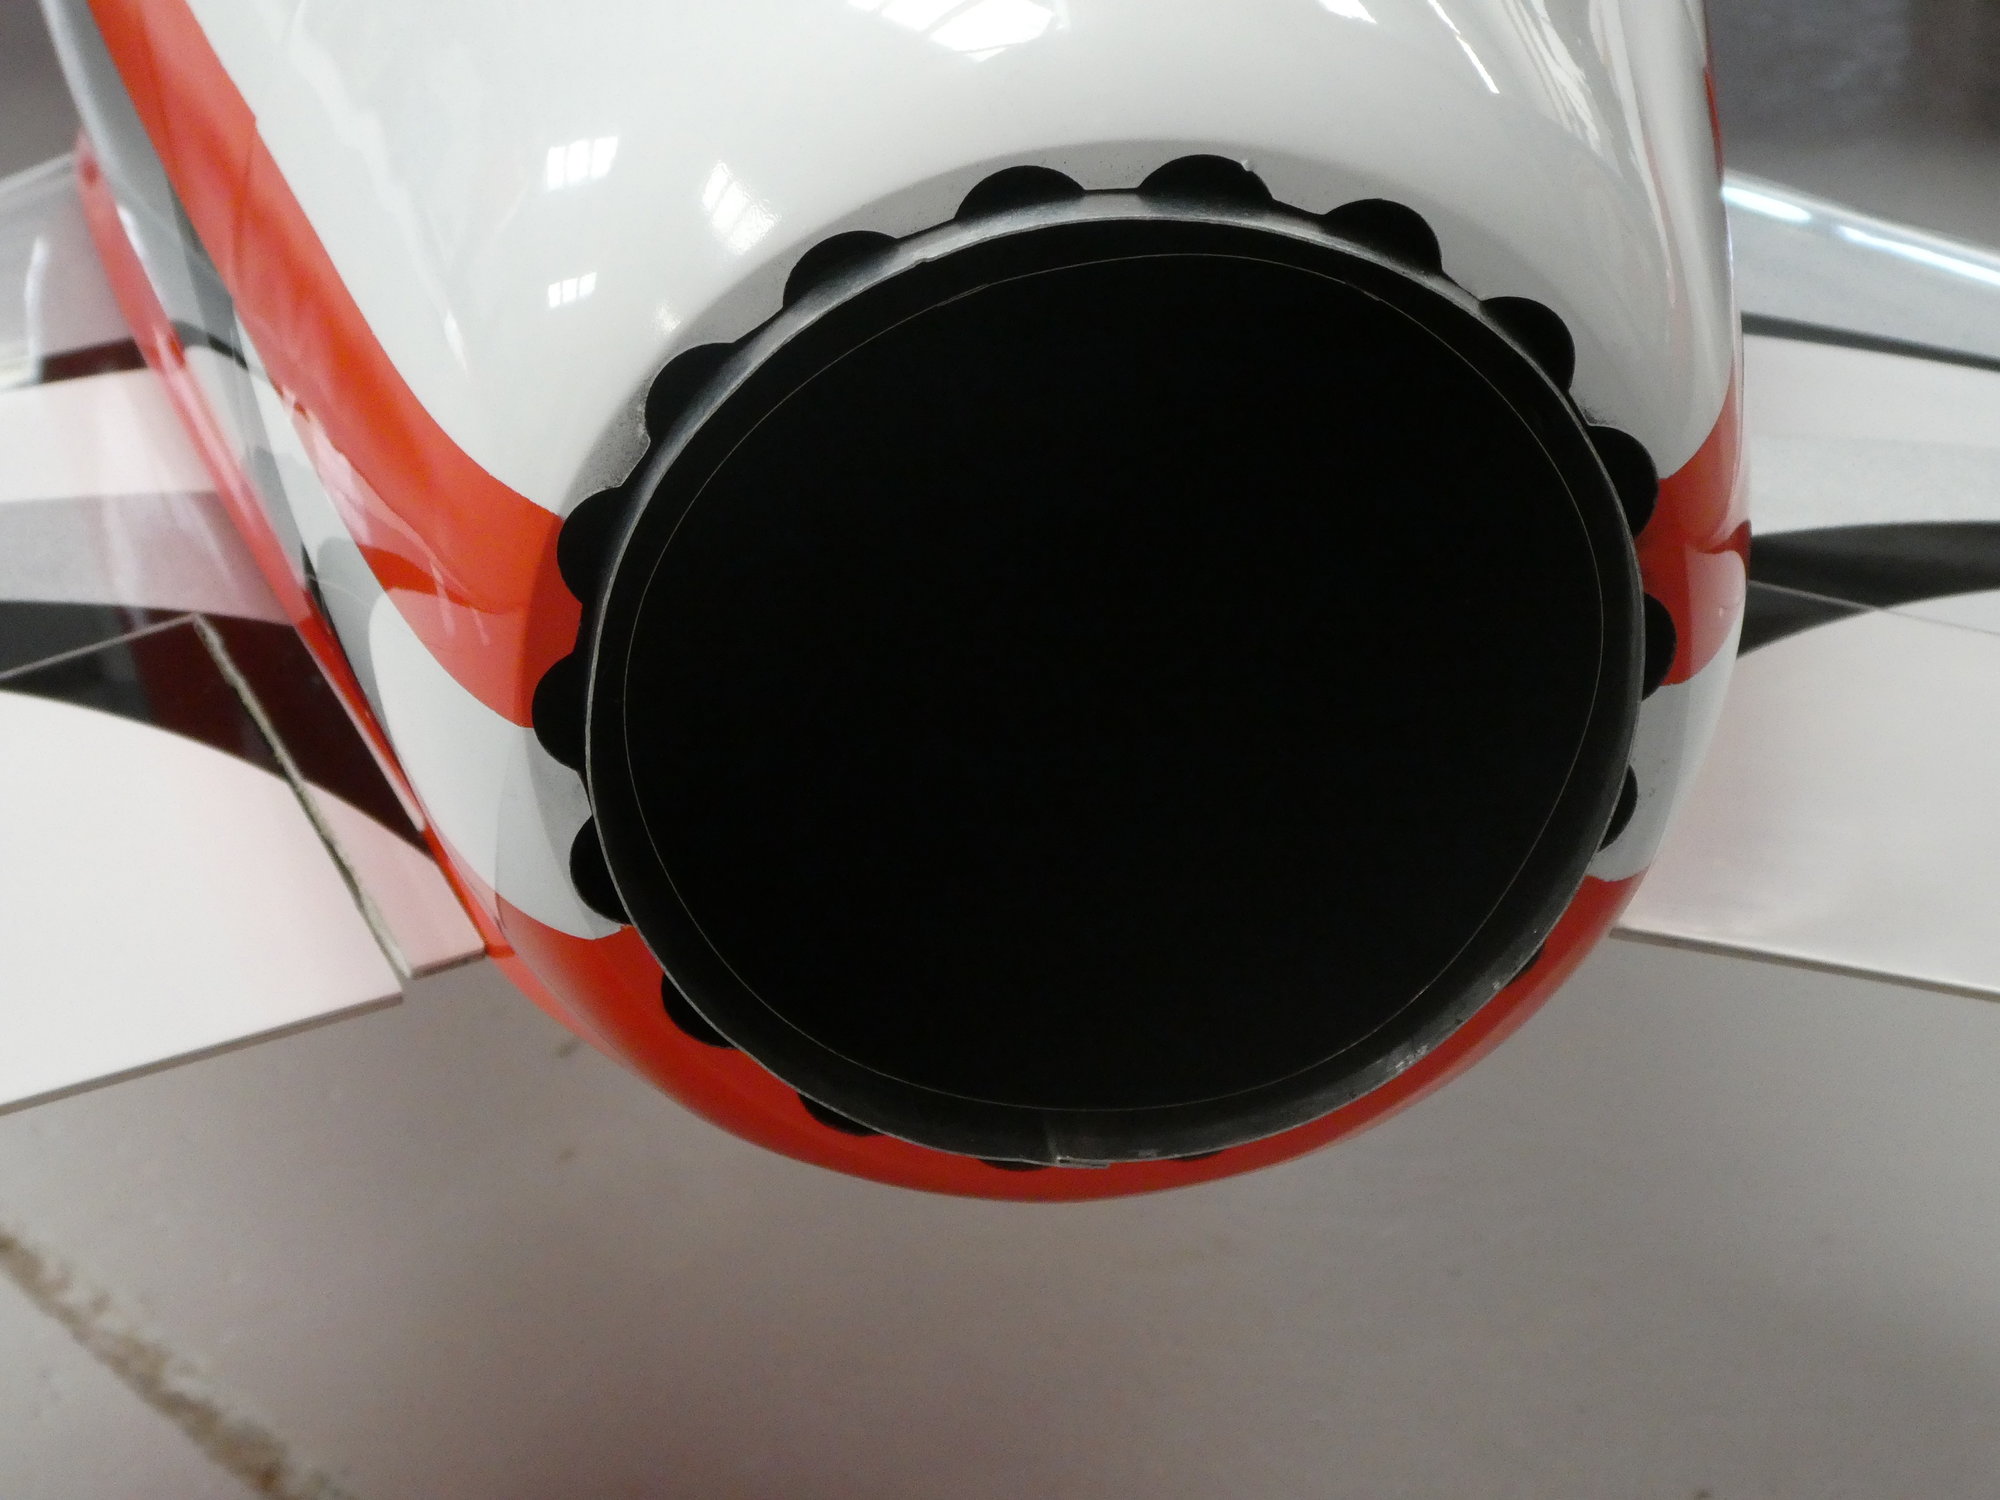
Started on the fuselage properly now. The turbine installation is easy, especially happy the bye-pass is big enough to take the lead without a hole.
Sometime ago I found this card tube matched the P-220Rxi tailcone exactly, so I use it to centre the turbine as the added length gives something to reference. You can also get the turbine out through the hatch opening even though it�s narrow. This is just sat with no fixings.
If you zoom in on the rear shot you can see the set square between the two wires hanging in the far bench. I used this to check alignment.
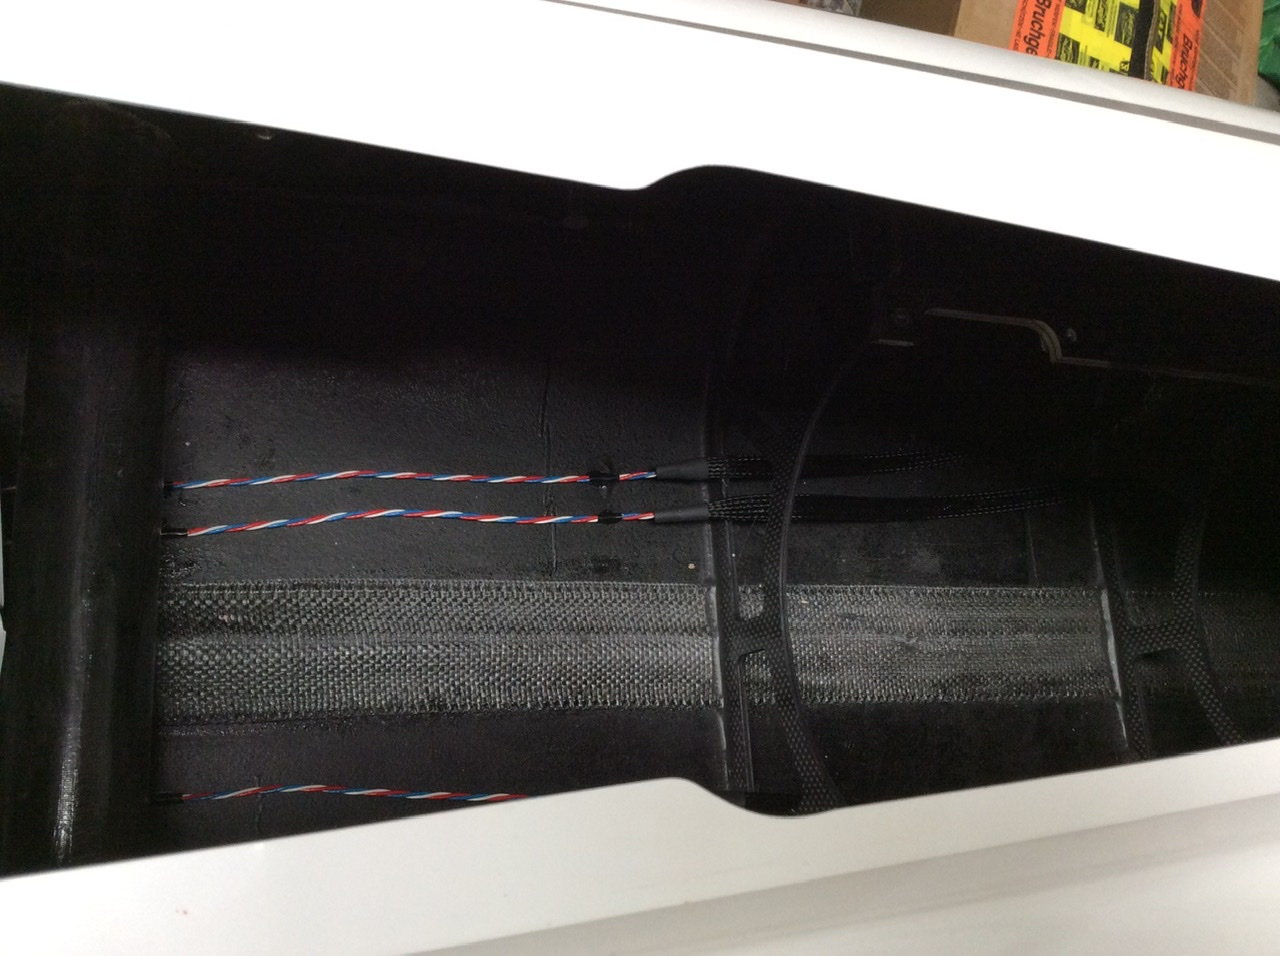
Started crimping wires using the PB Maxi wire from the tail, as normal I�ll wrap tape at intervals and CA tack the cables down. Being black you need a torch as it�s dark in there!
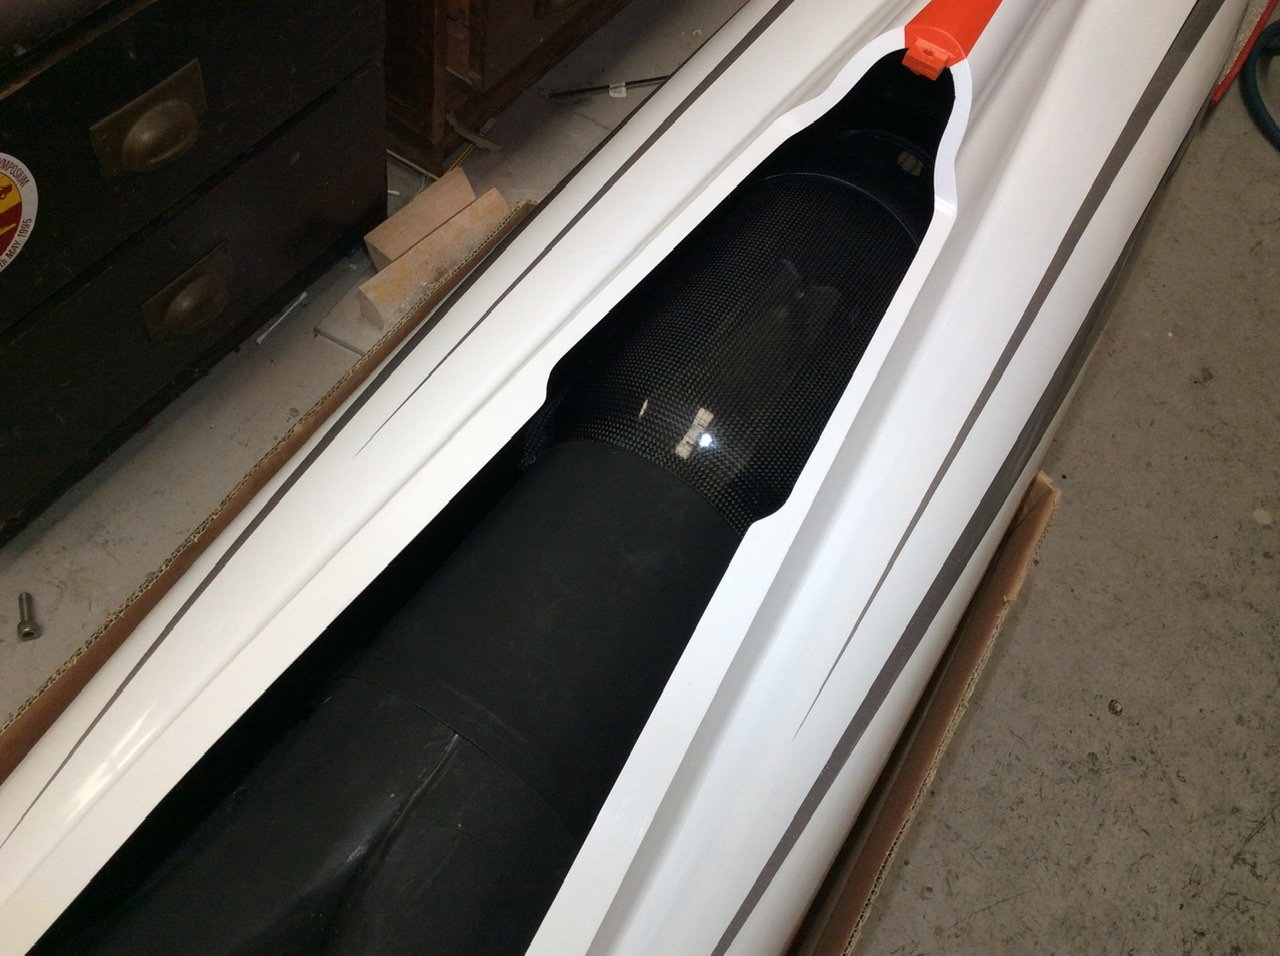
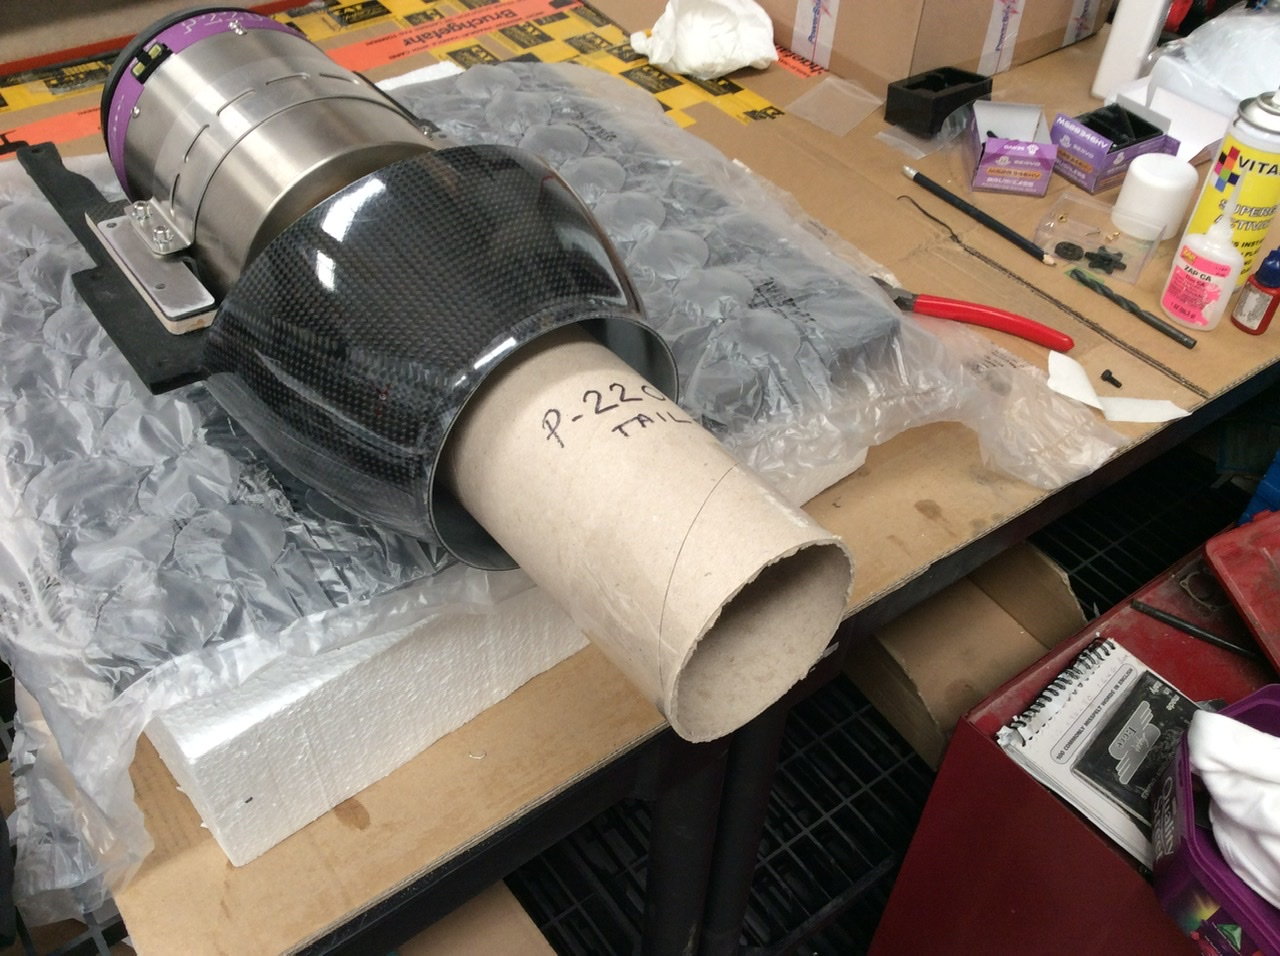

Sometime ago I found this card tube matched the P-220Rxi tailcone exactly, so I use it to centre the turbine as the added length gives something to reference. You can also get the turbine out through the hatch opening even though it�s narrow. This is just sat with no fixings.
If you zoom in on the rear shot you can see the set square between the two wires hanging in the far bench. I used this to check alignment.
Started crimping wires using the PB Maxi wire from the tail, as normal I�ll wrap tape at intervals and CA tack the cables down. Being black you need a torch as it�s dark in there!
The following users liked this post:
paulhat (09-23-2020)

 09-22-2020, 01:58 PM
#62
Thread Starter
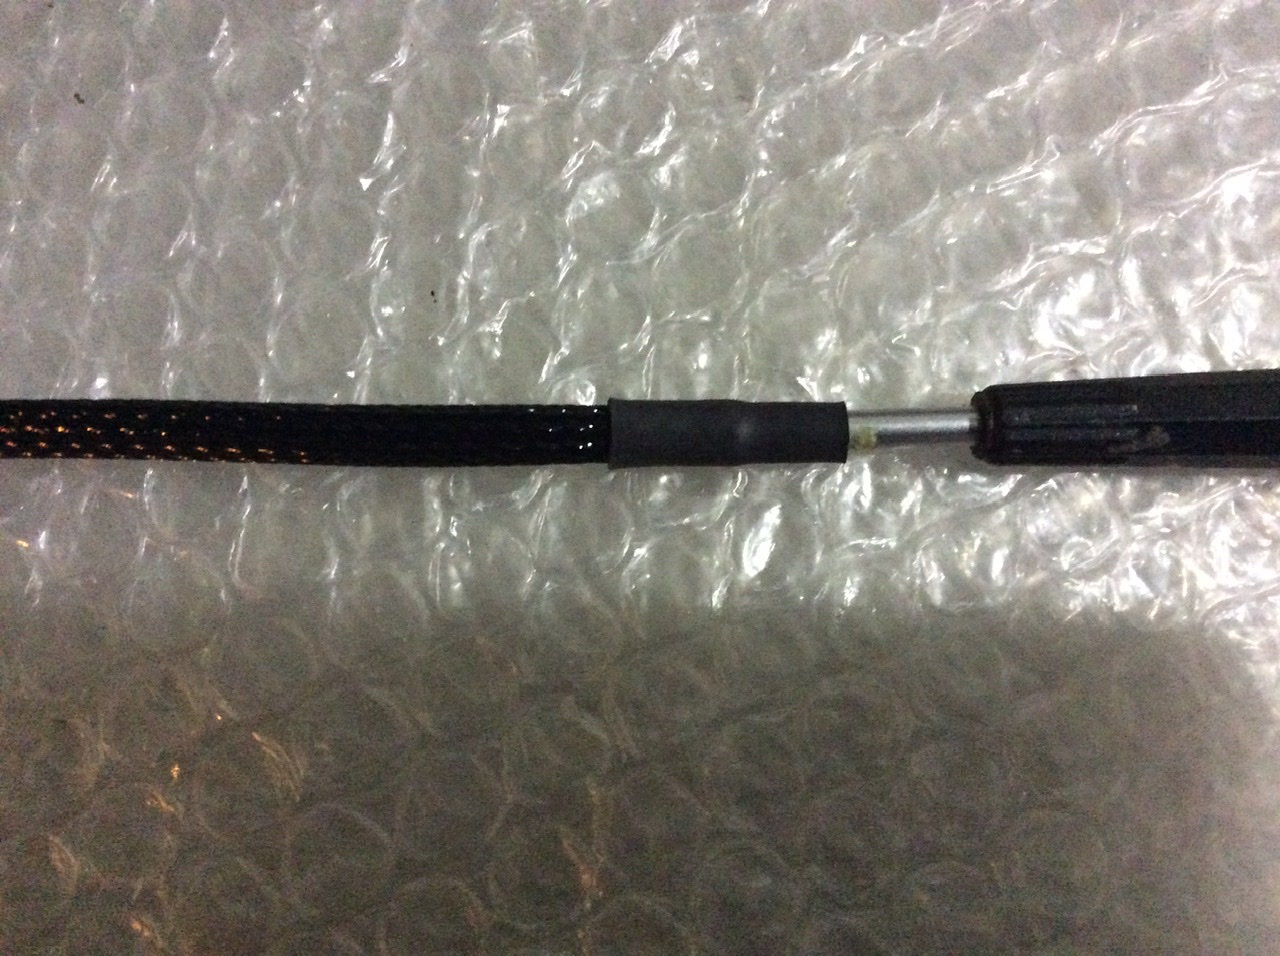
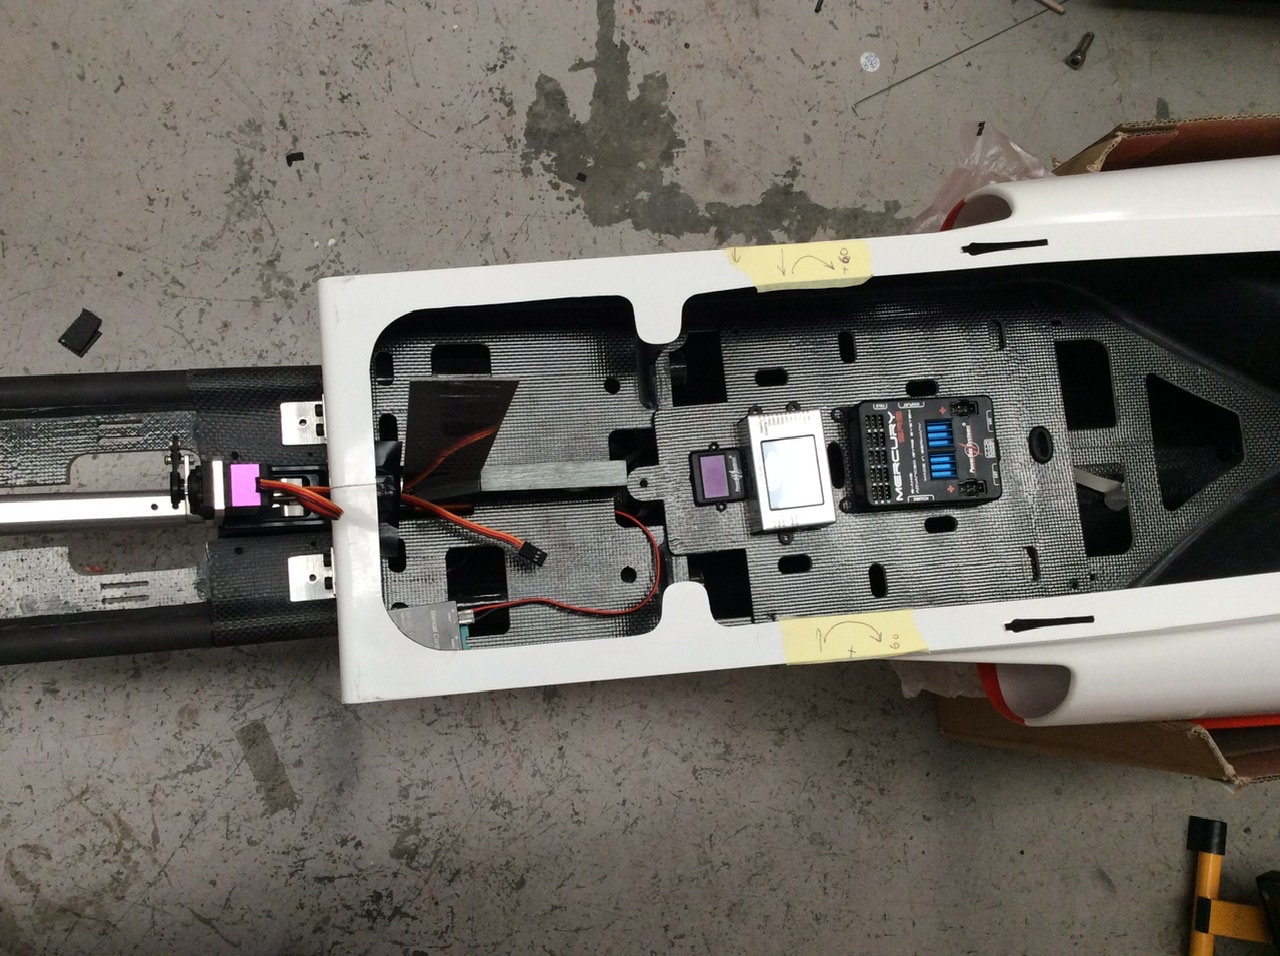
Another 15 hour day in the office trying to get the Bolt! finished around work for this coming weekend. Wires are run from the tail and I have started working on leads for the wing connections.
The formers are all carbon so where the leads have to come through they need protection. I�m not a big fan or the braiding but have used lengths through the centre formers. To tidy the ends I added heat shrink shrunk over a screwdriver blade the right diameter. This way no heat is needed in the fuselage.
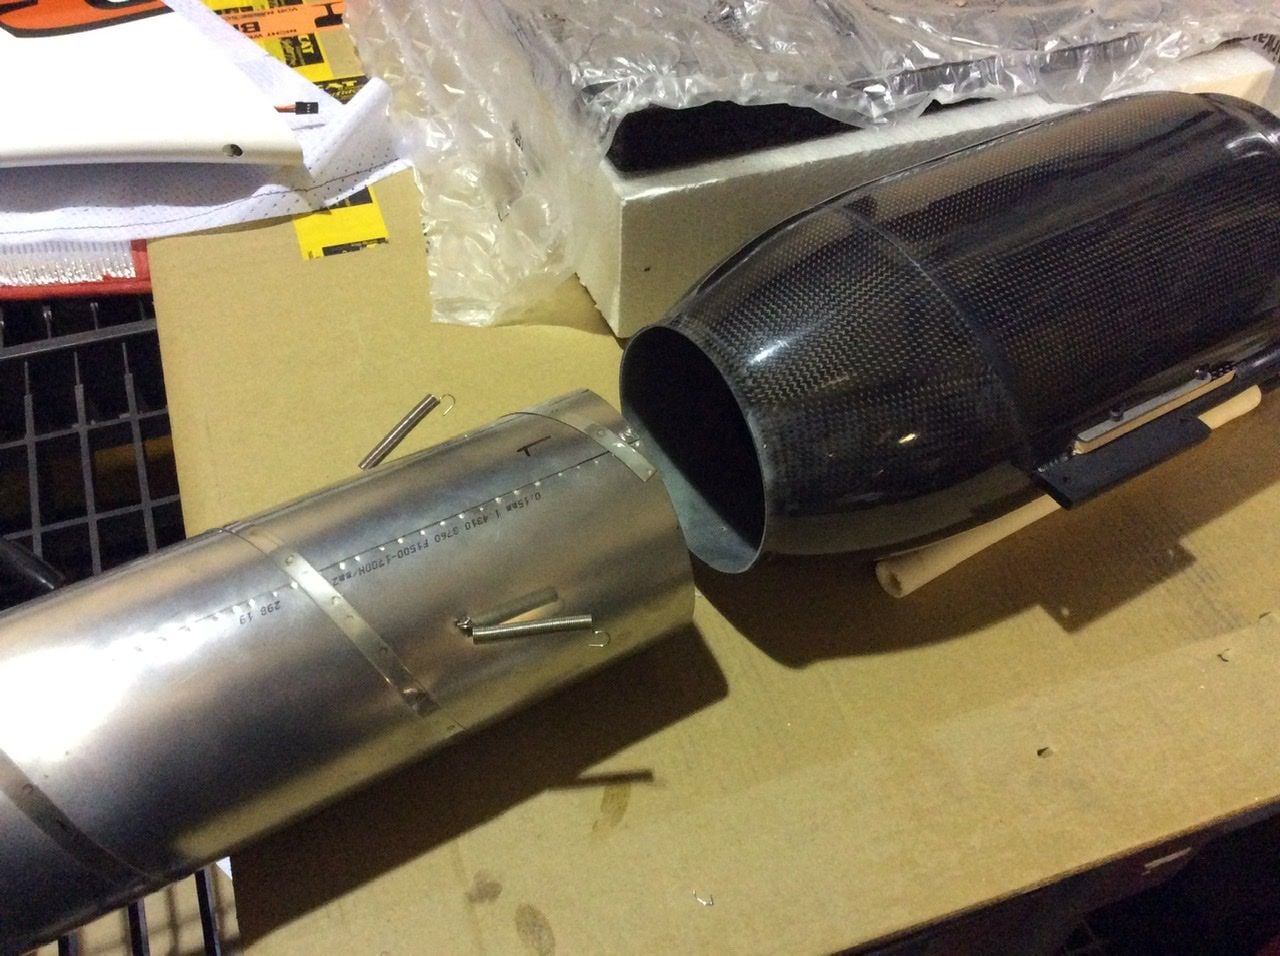
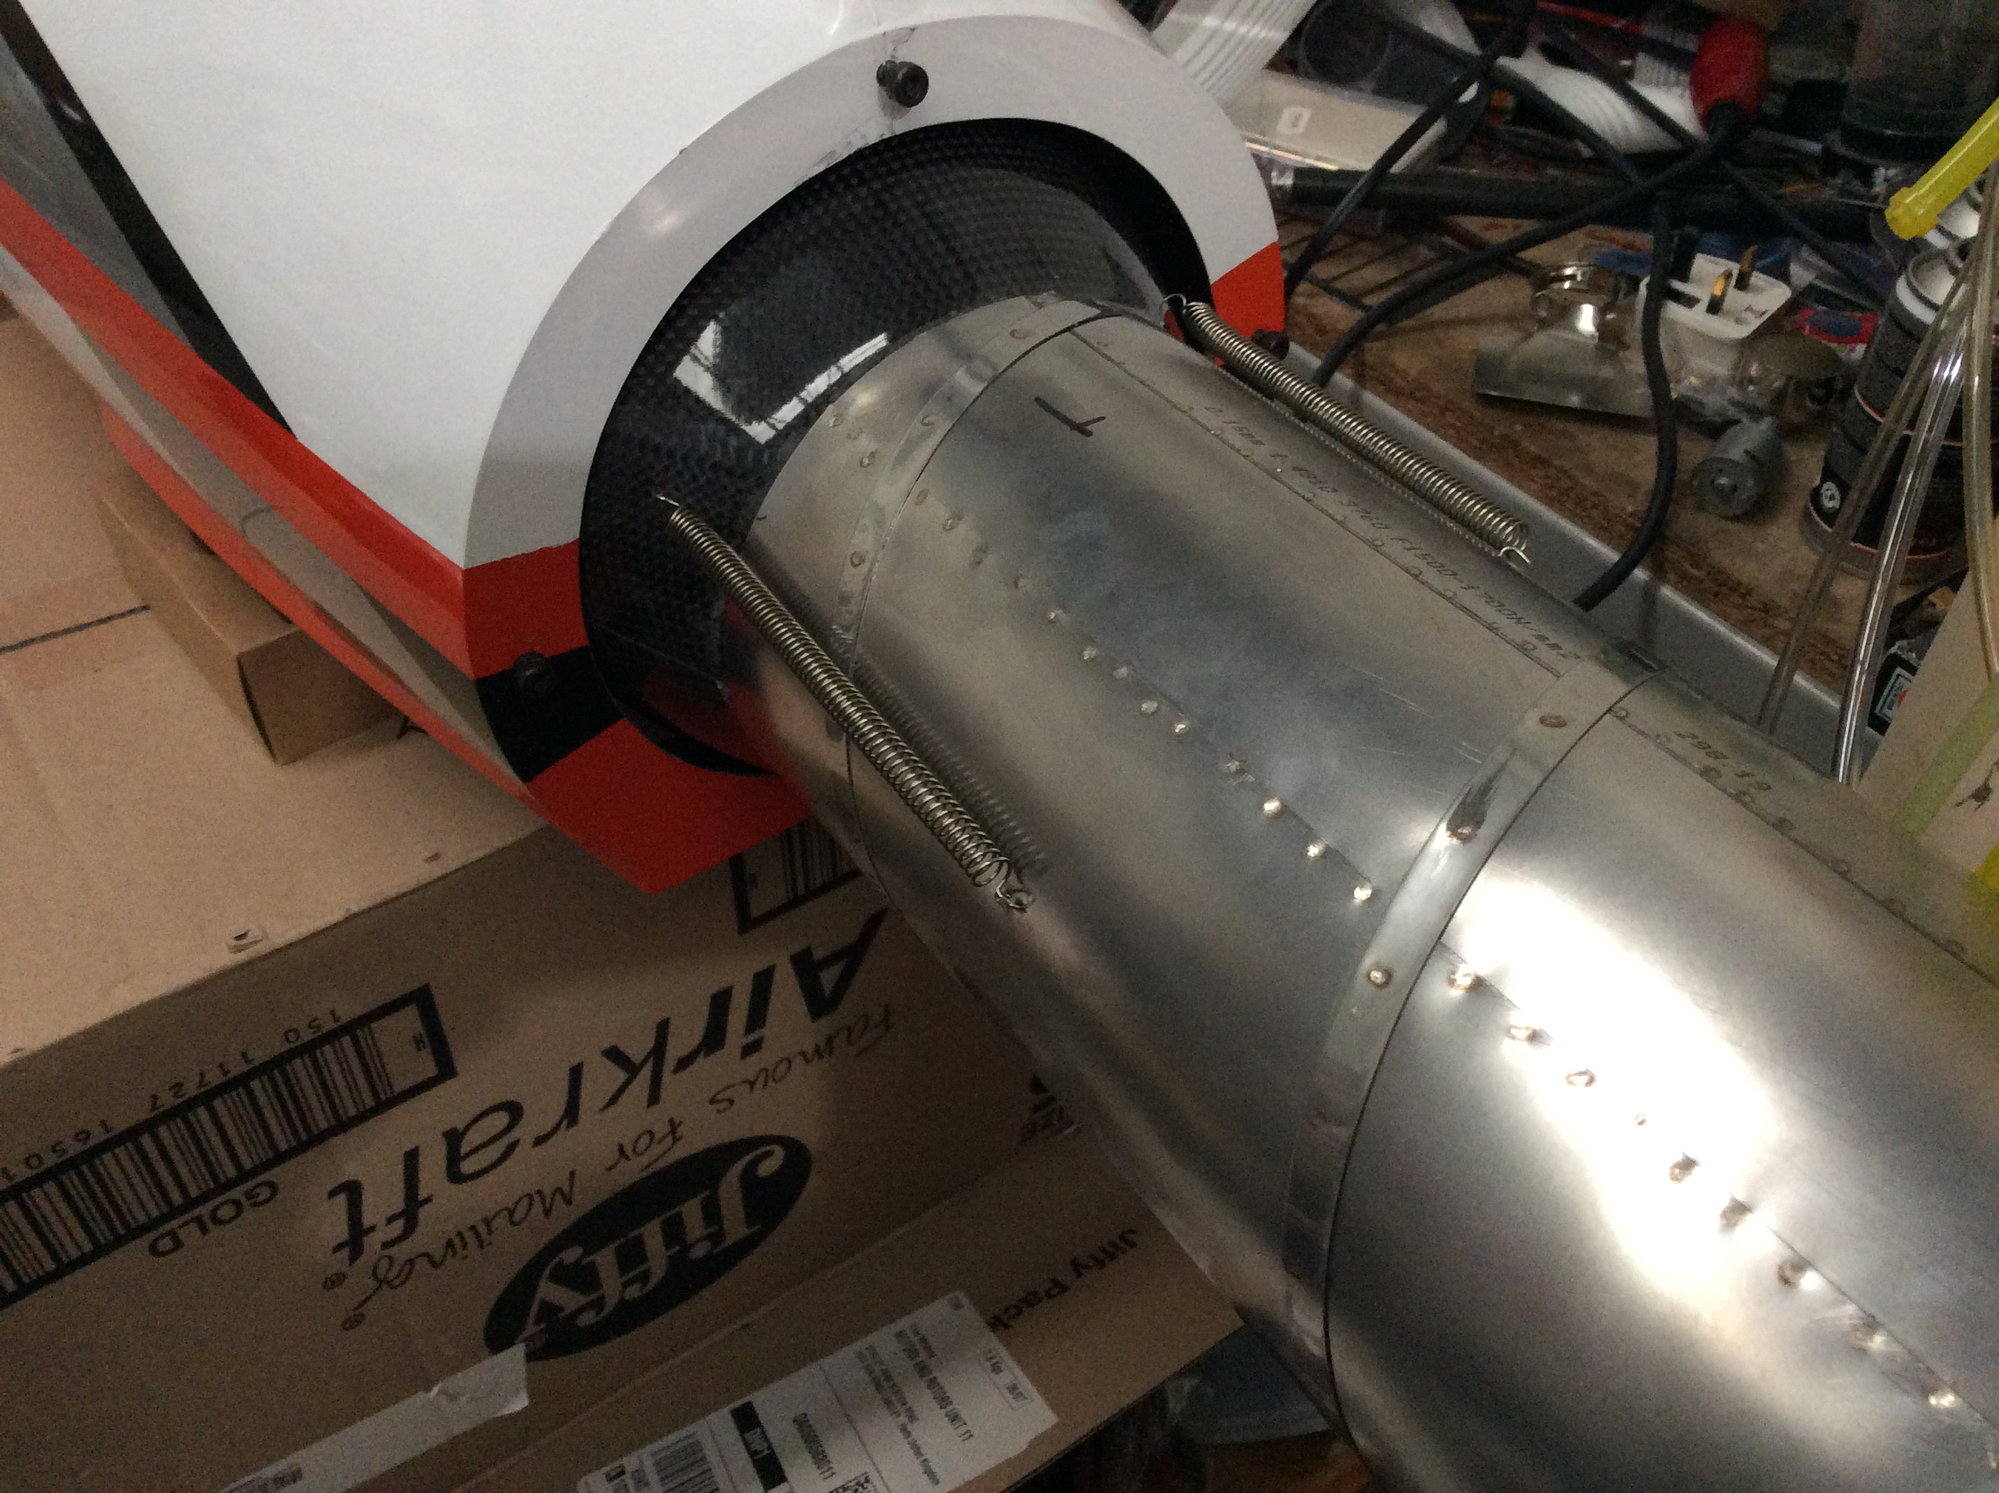
The tailpipe is neat in that it attaches to the bye pass with three springs, so removal is a breeze. The holes are even pre drilled and the pipe fits the carbon outlet.
09-23-2020, 09:04 AM
#63
Thread Starter
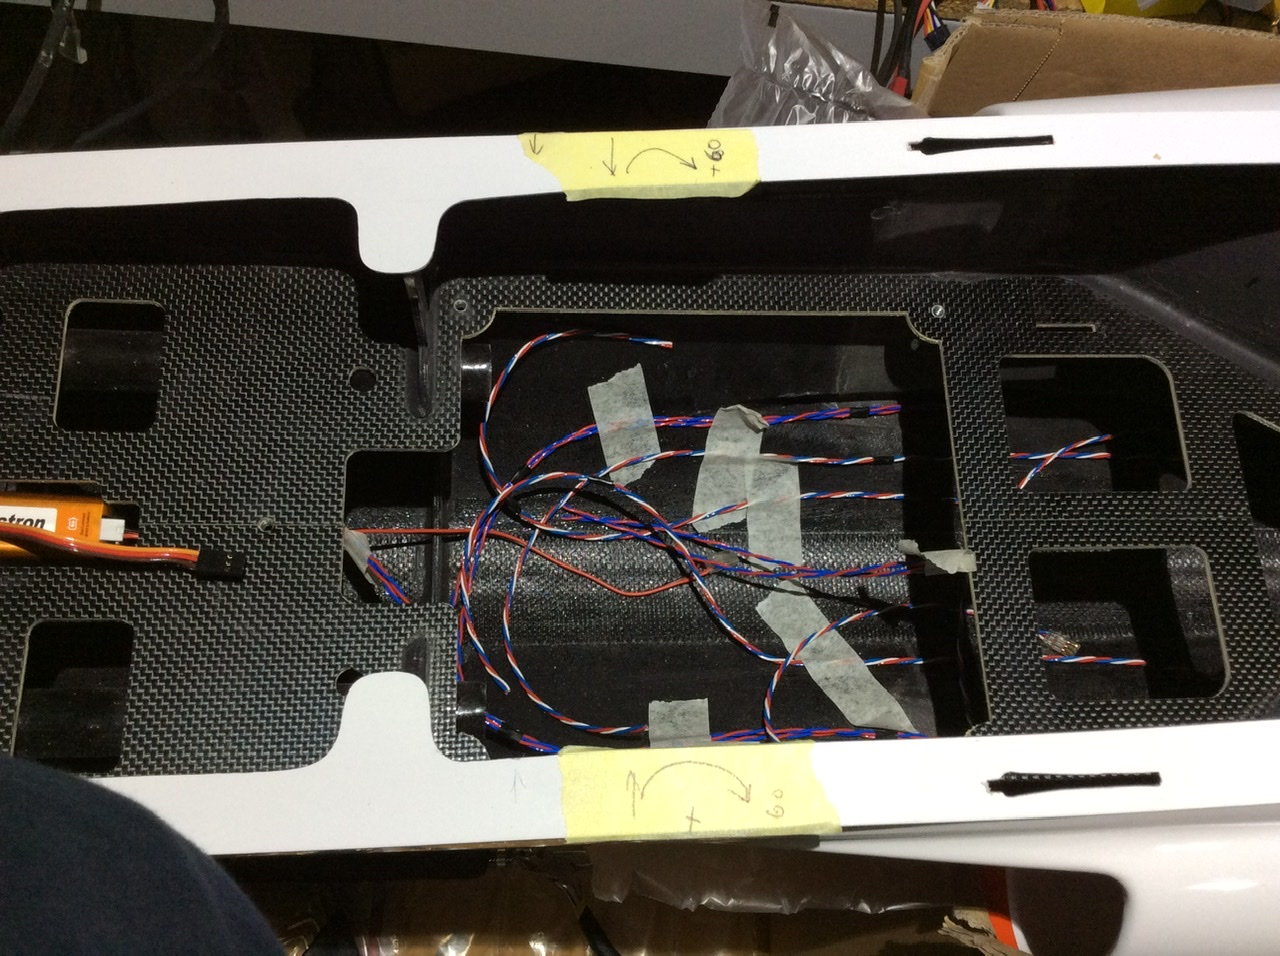
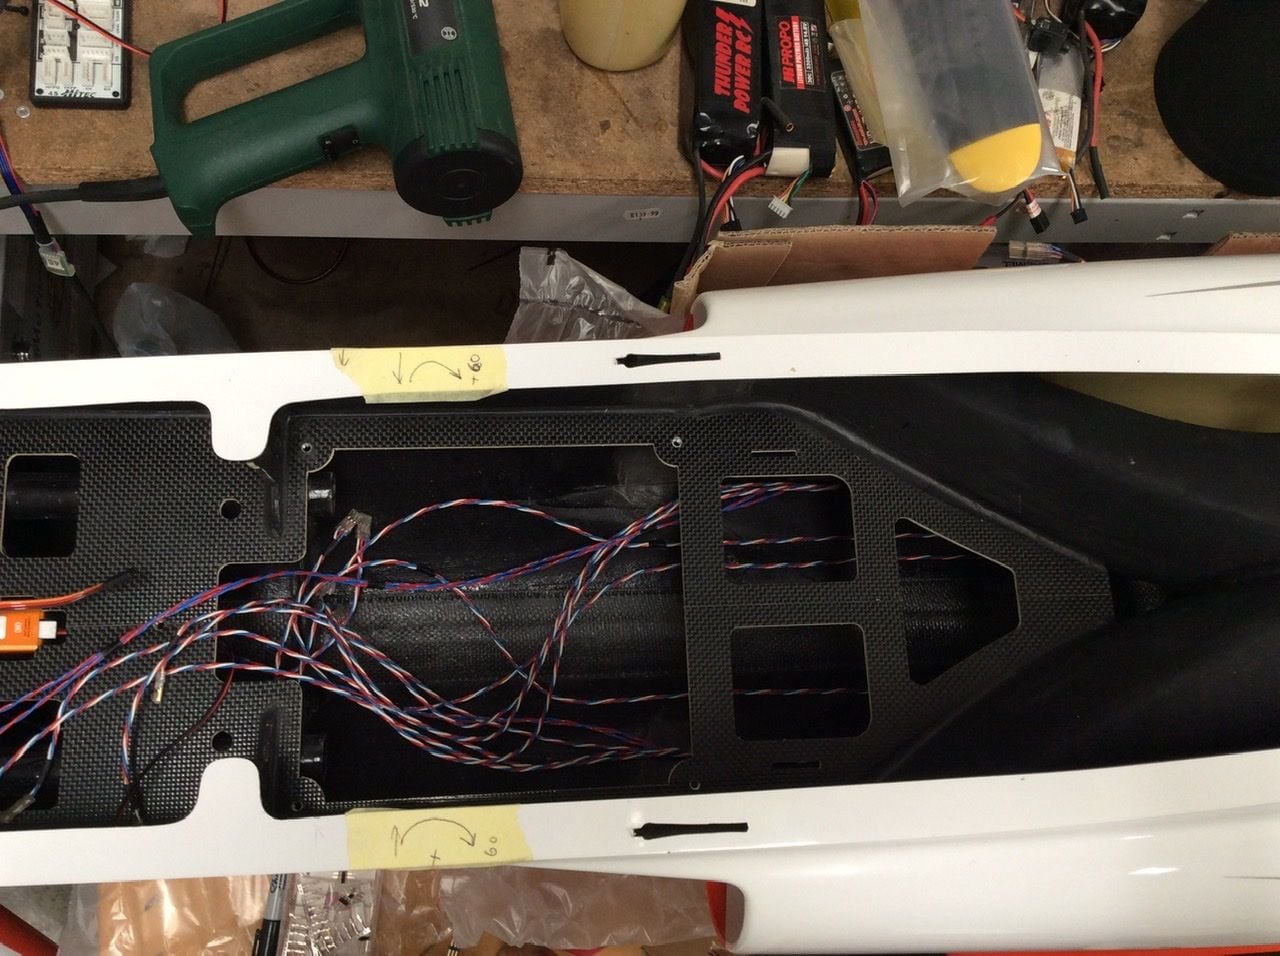
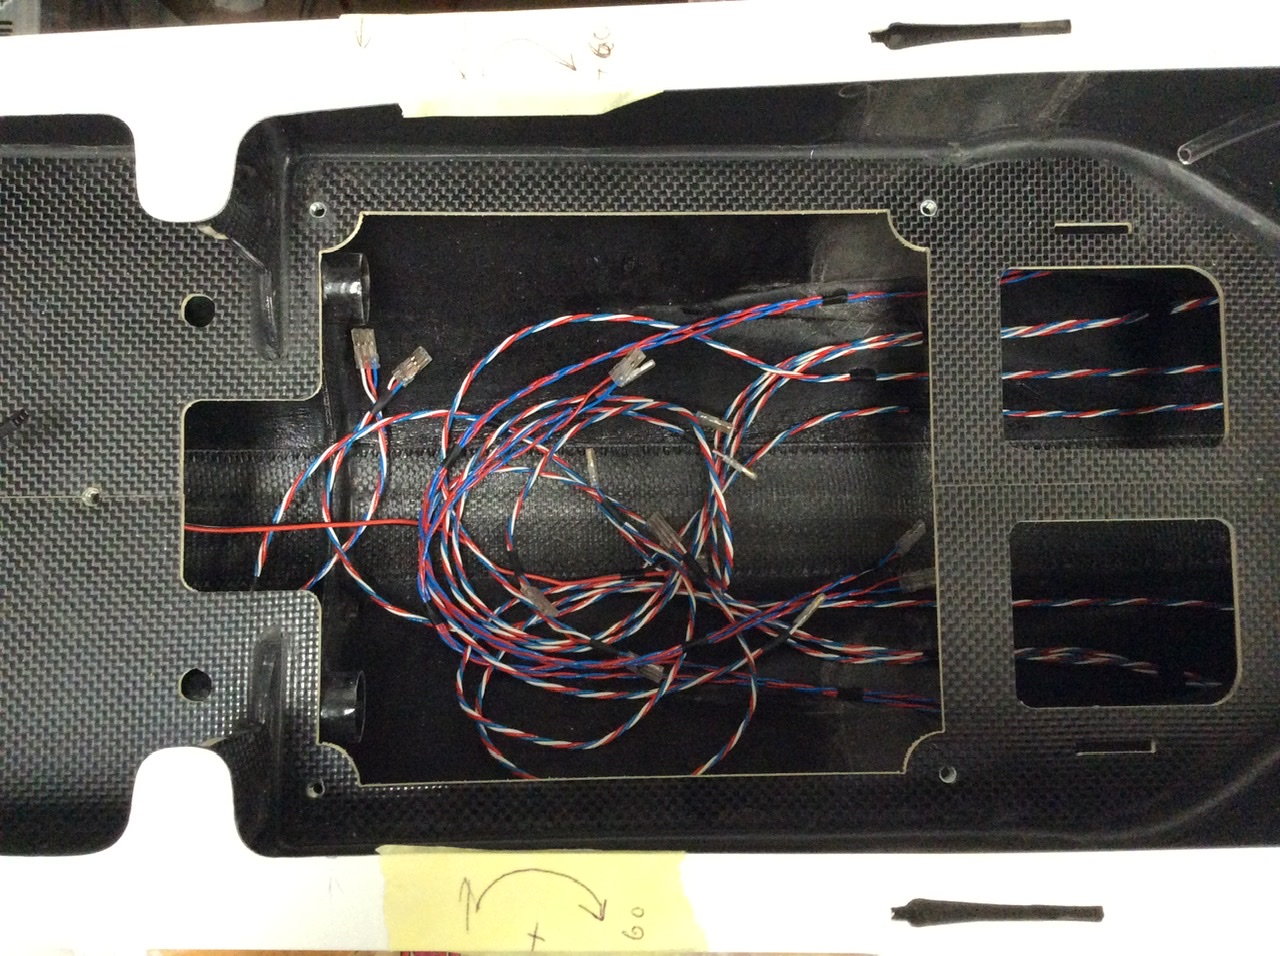
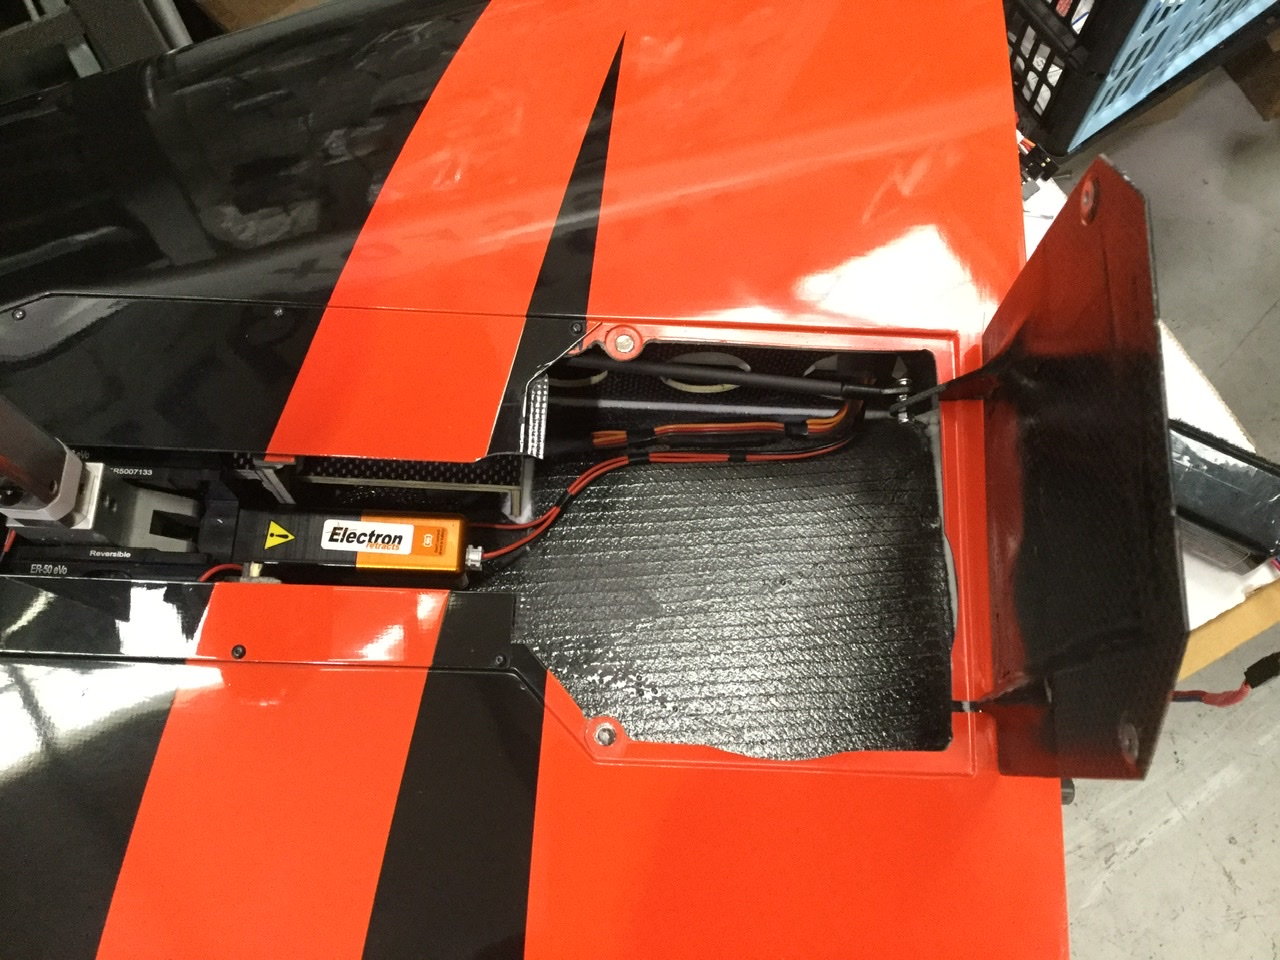
I know electric retracts are all the rage, but the wiring nest you end up with means I kinda miss air 🙂
Luckily we know Electrons are amazing and once I have programmed the RS200 I�ll forget this lot!
Luckily we know Electrons are amazing and once I have programmed the RS200 I�ll forget this lot!
The following users liked this post:
paulhat (09-23-2020)
09-24-2020, 09:06 AM
#65
Thread Starter
Before final positioning of equipment I decided to do a balance check, no chance of a miss reading sensor here! 100kg nylon trace, triple knot each end, trap between wings and lift...
The following users liked this post:
skymaster68 (09-24-2020)
09-25-2020, 06:45 AM
#66
Thread Starter
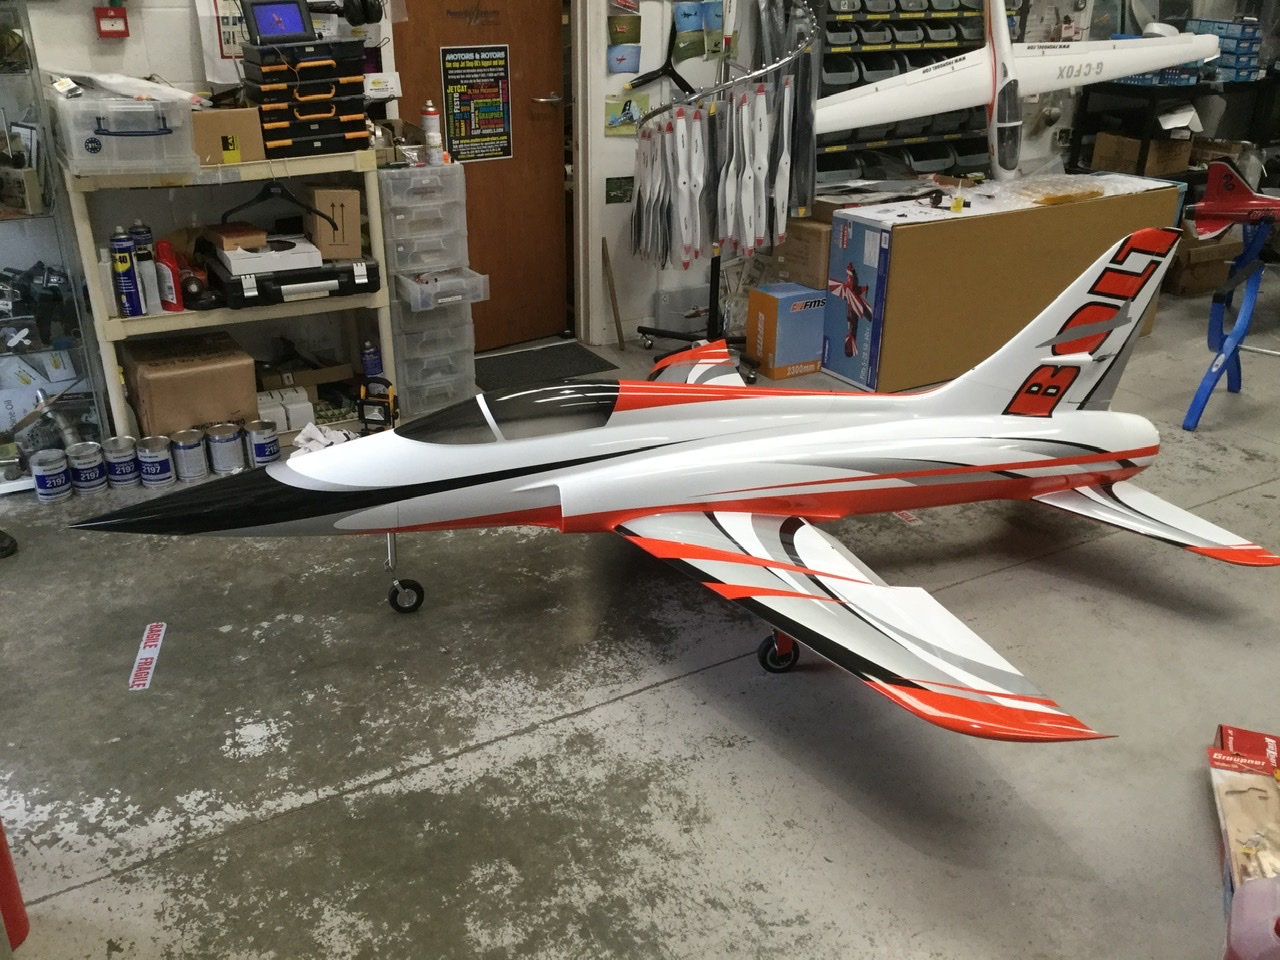
Jumping forward after several very late nights it�s just about there.
Final weight with MAP 6oz Bubble trap full and landing fuel in the tanks is 18568g (18.5kg) I spent a whole evening staring at the install working out where to put the Rx aerials I ended up with a vertical unit ( removable for transport without the top hatch on) and one in the RH inlet and the other down at an angle where I noticed with a bright light there was standard foam/glass skin.
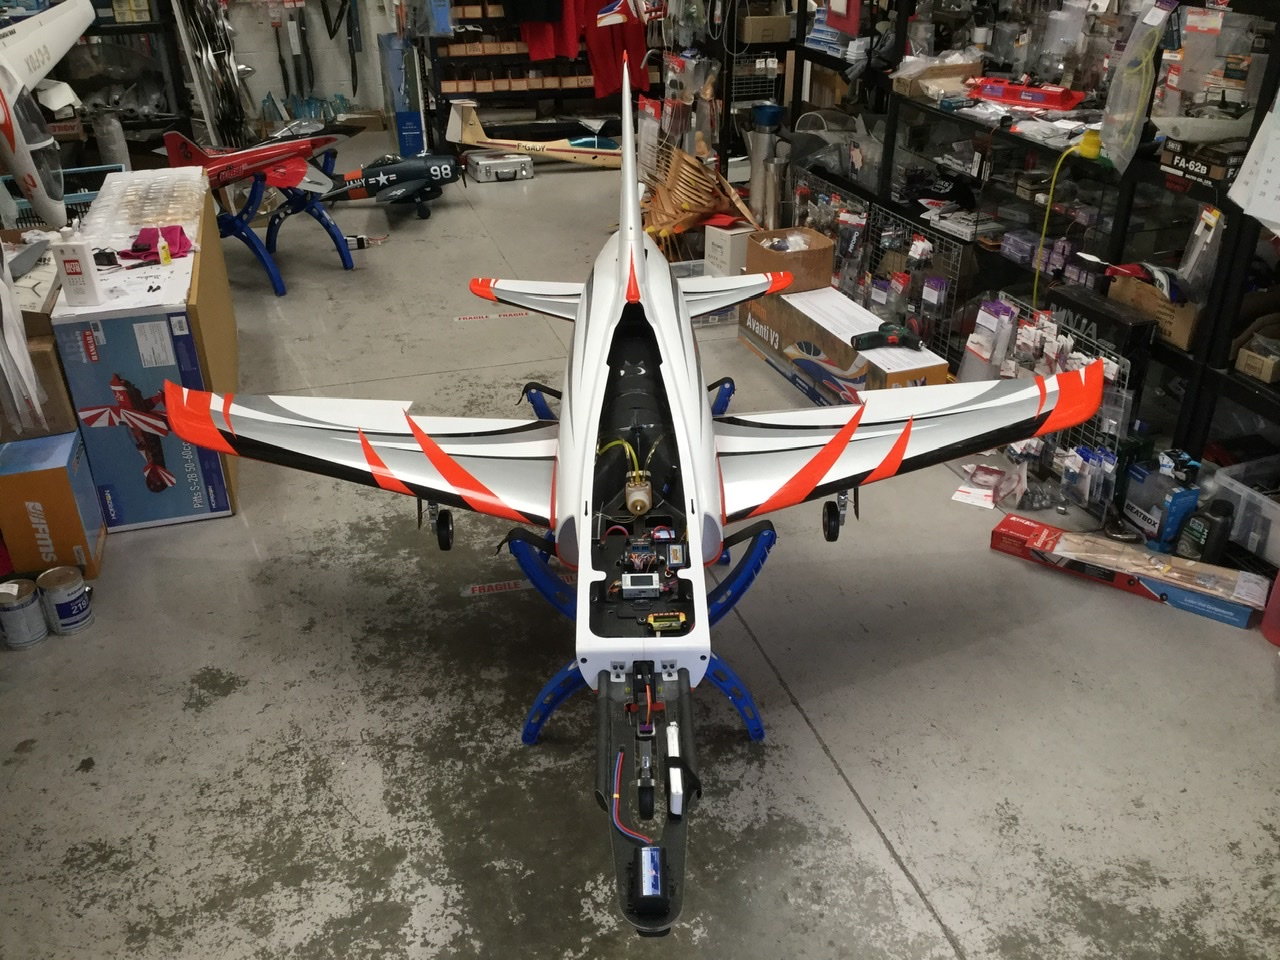
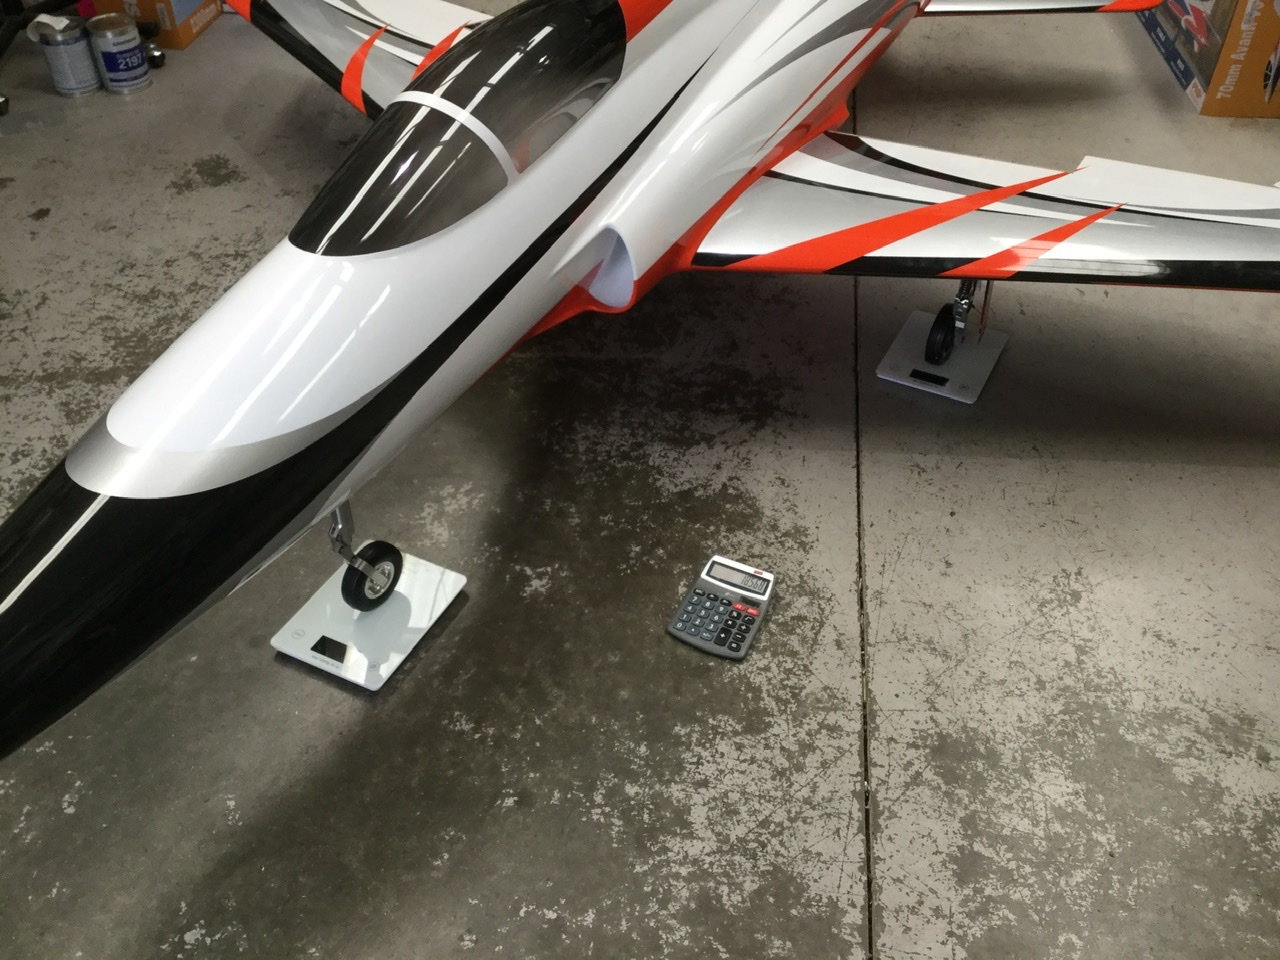
Final weight with MAP 6oz Bubble trap full and landing fuel in the tanks is 18568g (18.5kg) I spent a whole evening staring at the install working out where to put the Rx aerials I ended up with a vertical unit ( removable for transport without the top hatch on) and one in the RH inlet and the other down at an angle where I noticed with a bright light there was standard foam/glass skin.
 09-25-2020, 09:33 PM
#68
Thread Starter
Weight is good, I guess if I took all the fuel out it’s close to 18kg. Yes, it would fly with a P-180, only thing might lack is initial acceleration as the tail pipe is sized for the larger motors and it’s very specific for the design.
Thanks
Dave
Thanks
Dave
09-26-2020, 06:42 AM
#69
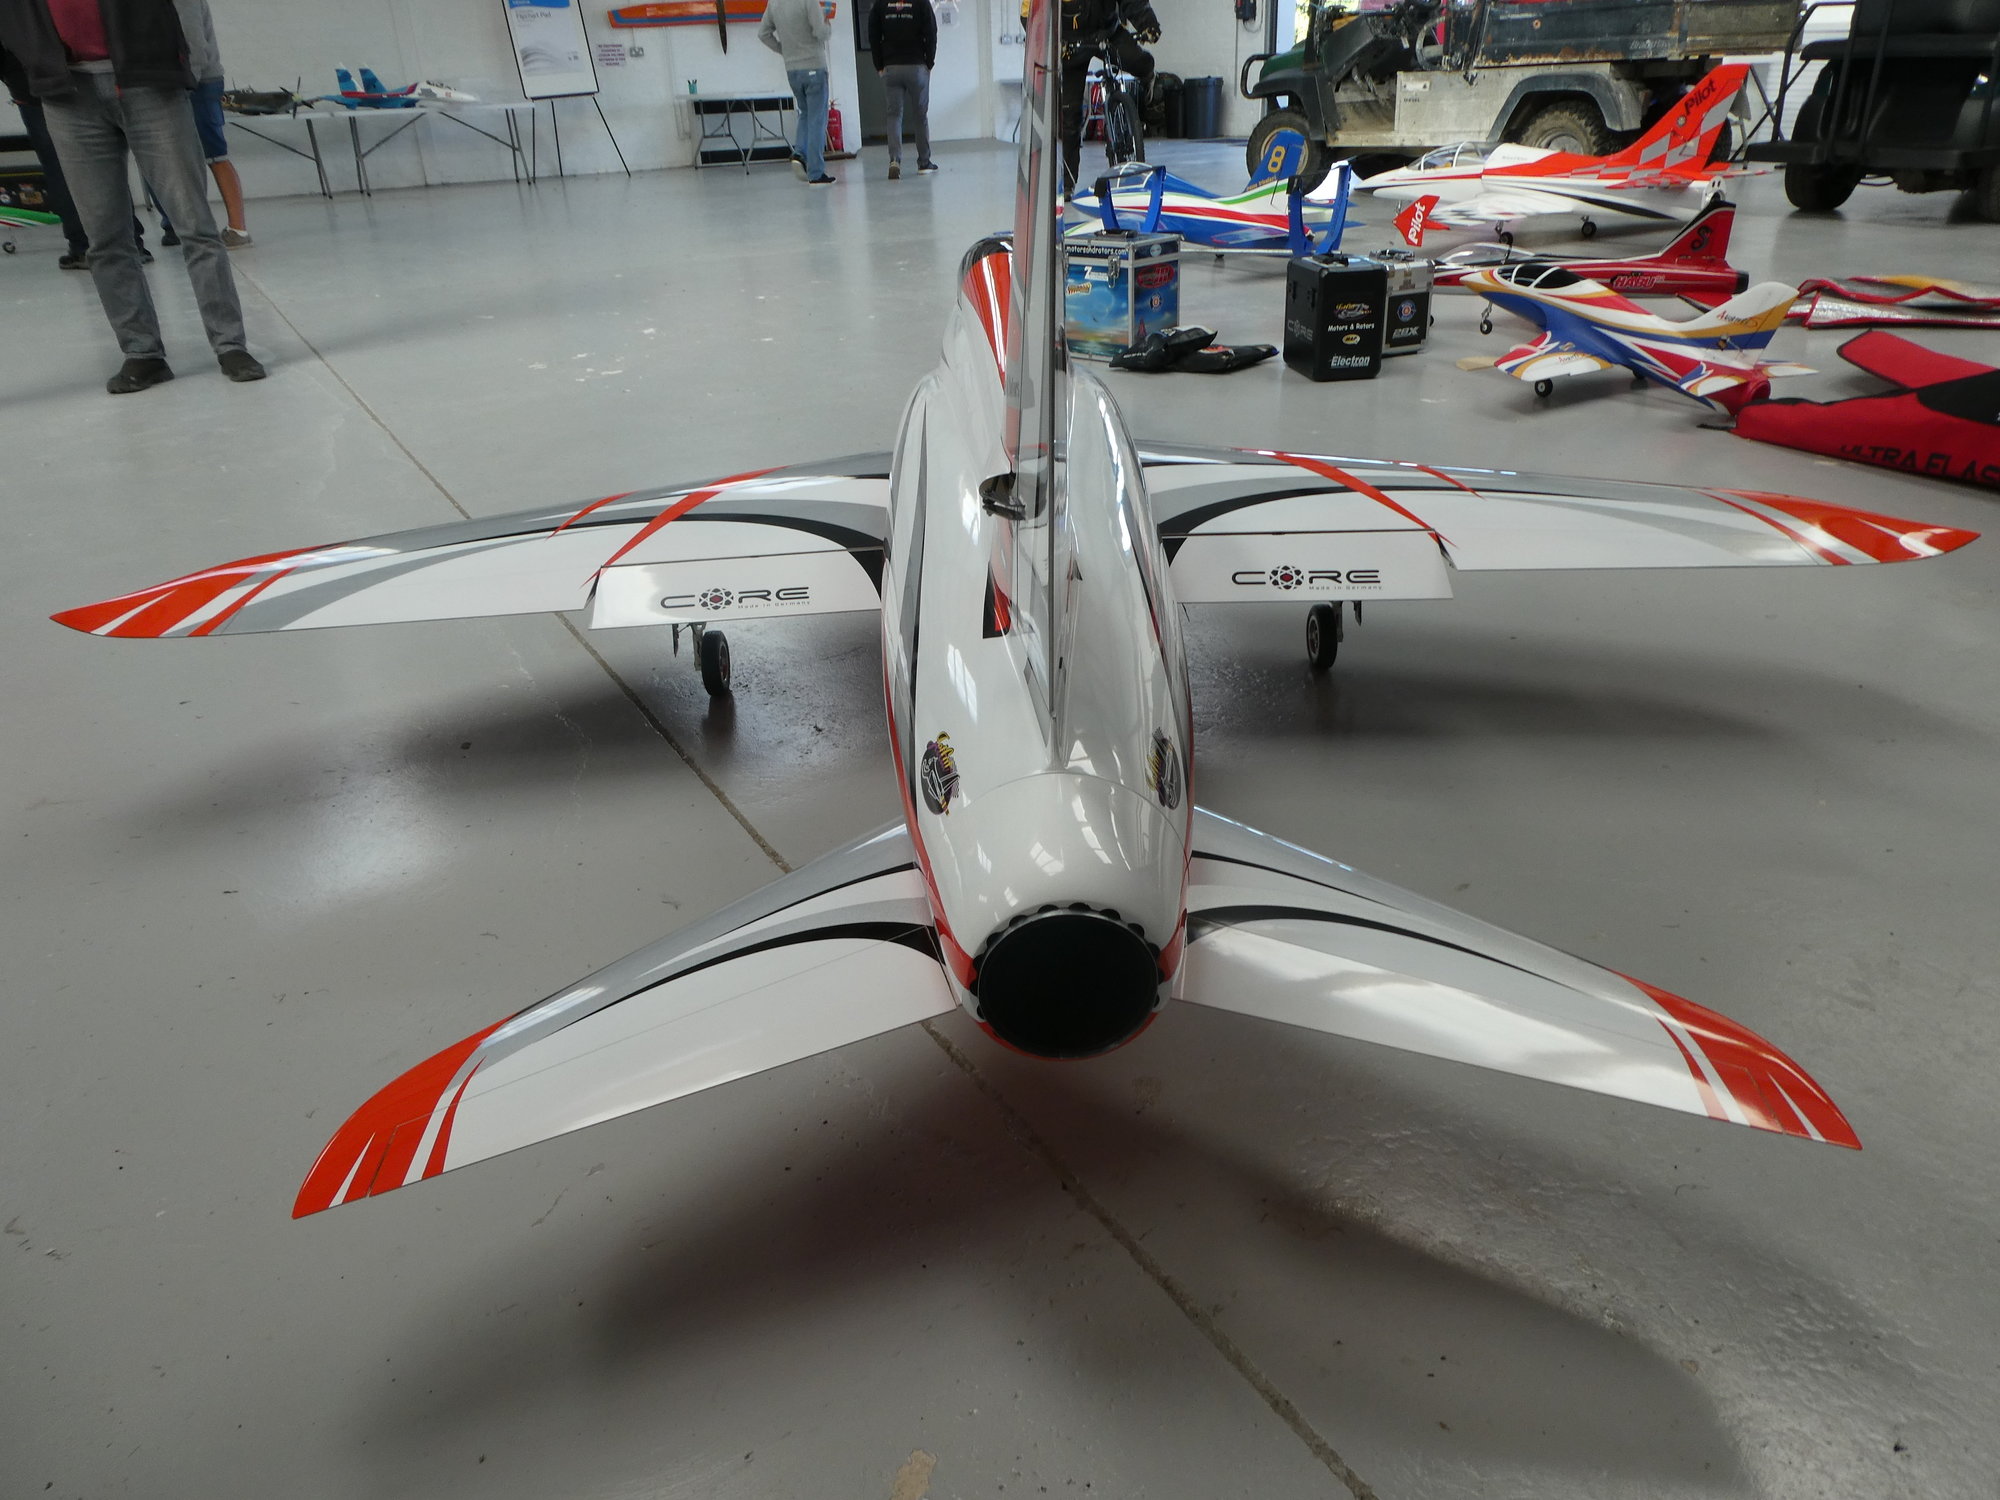
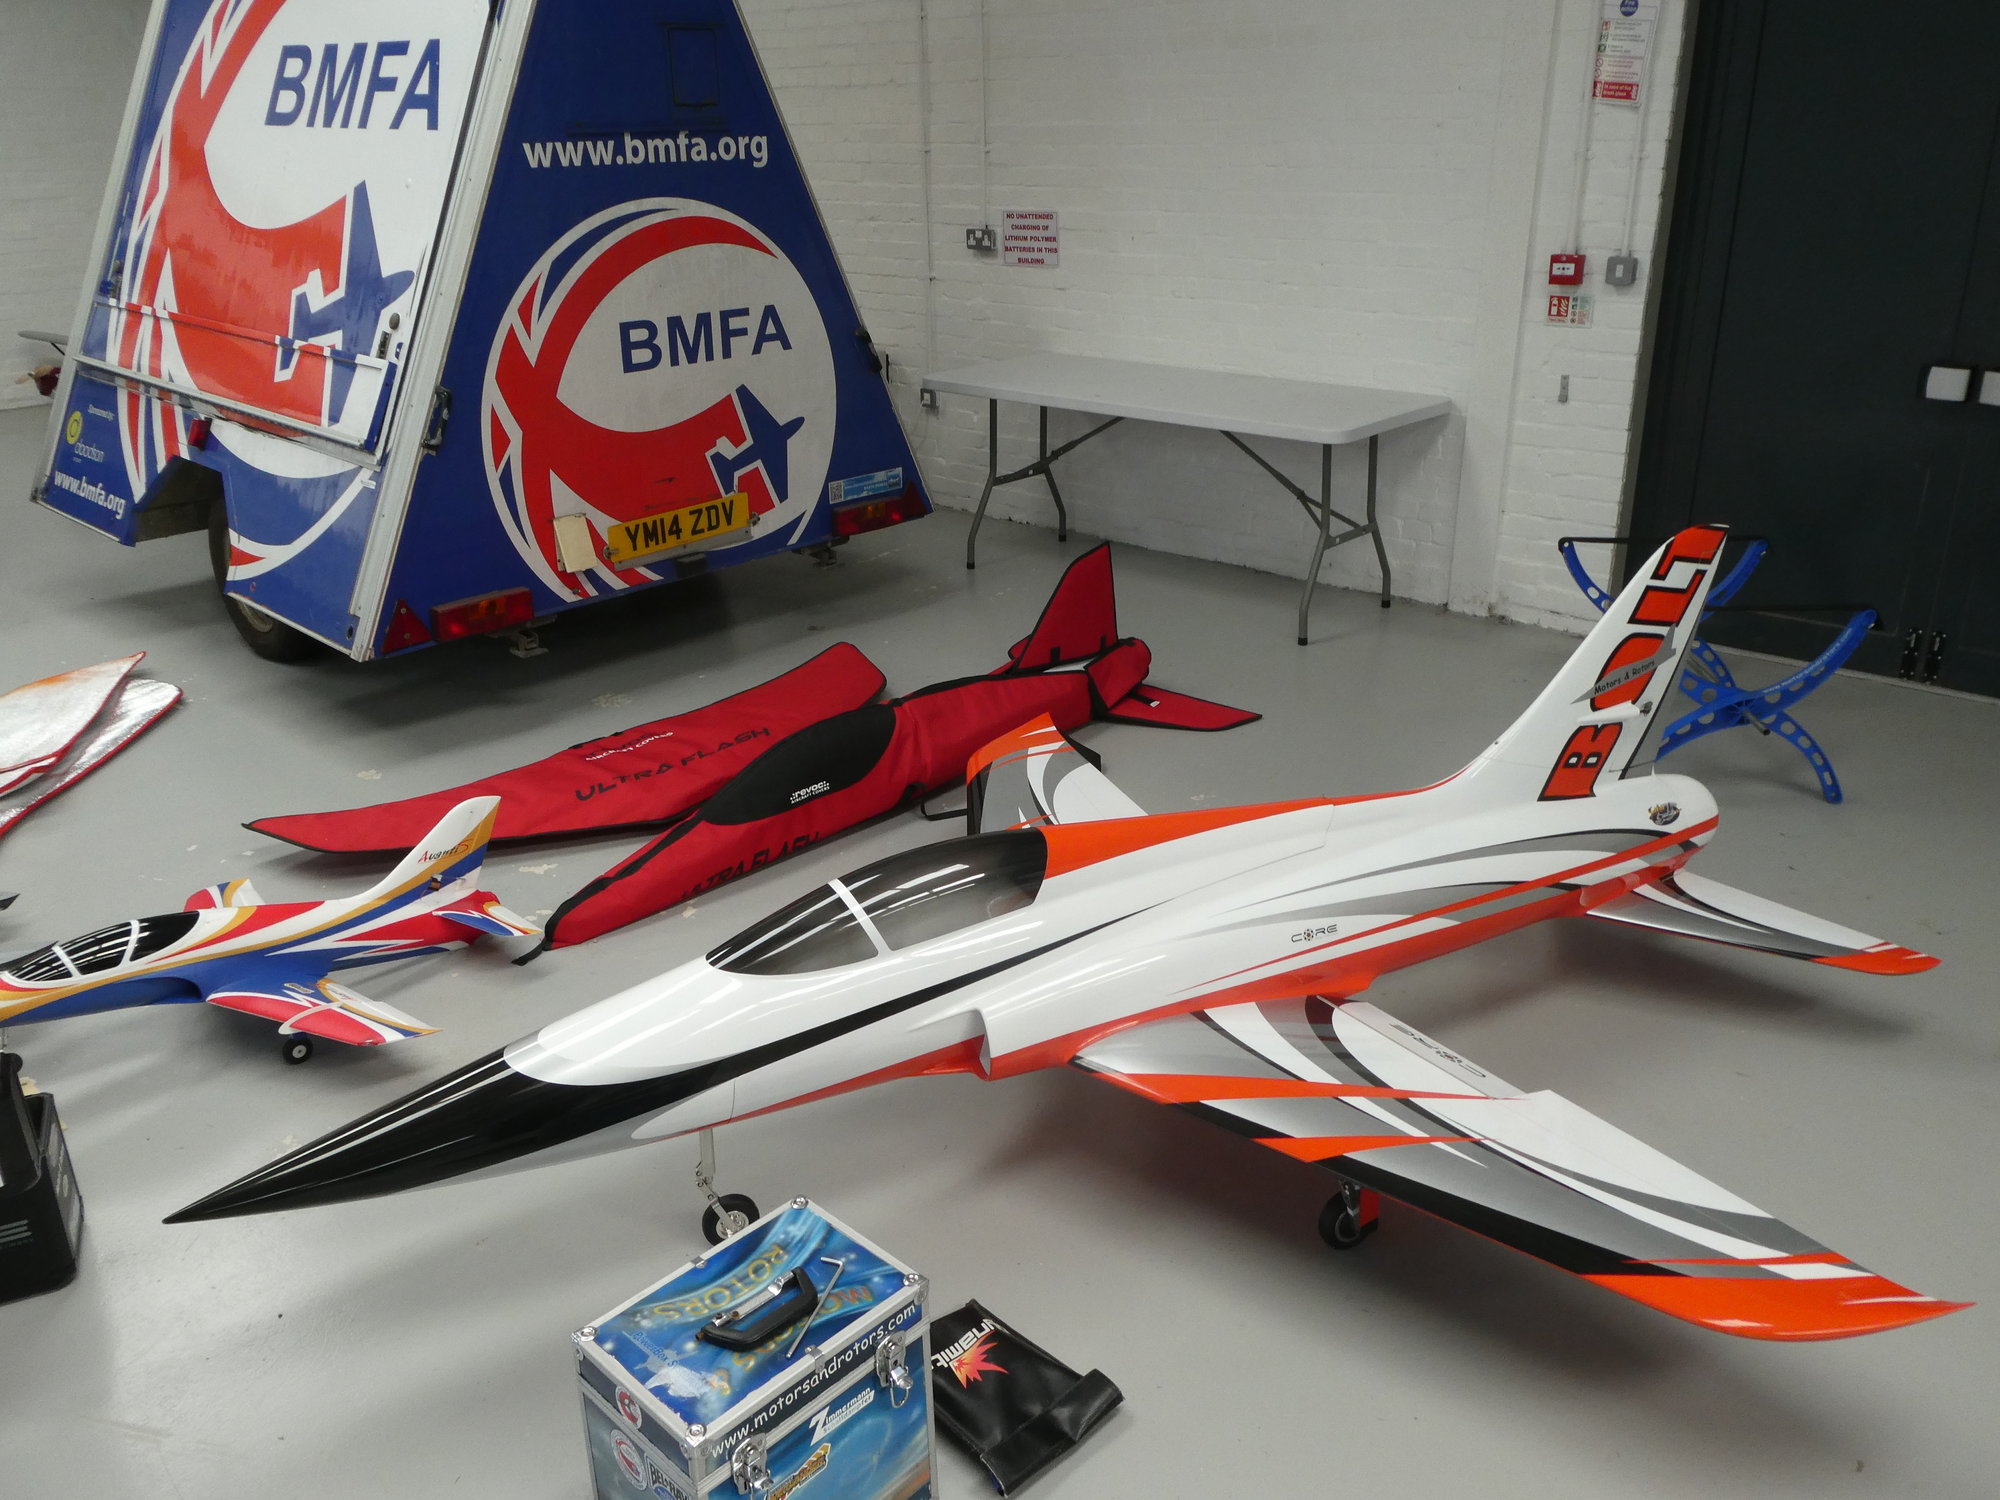
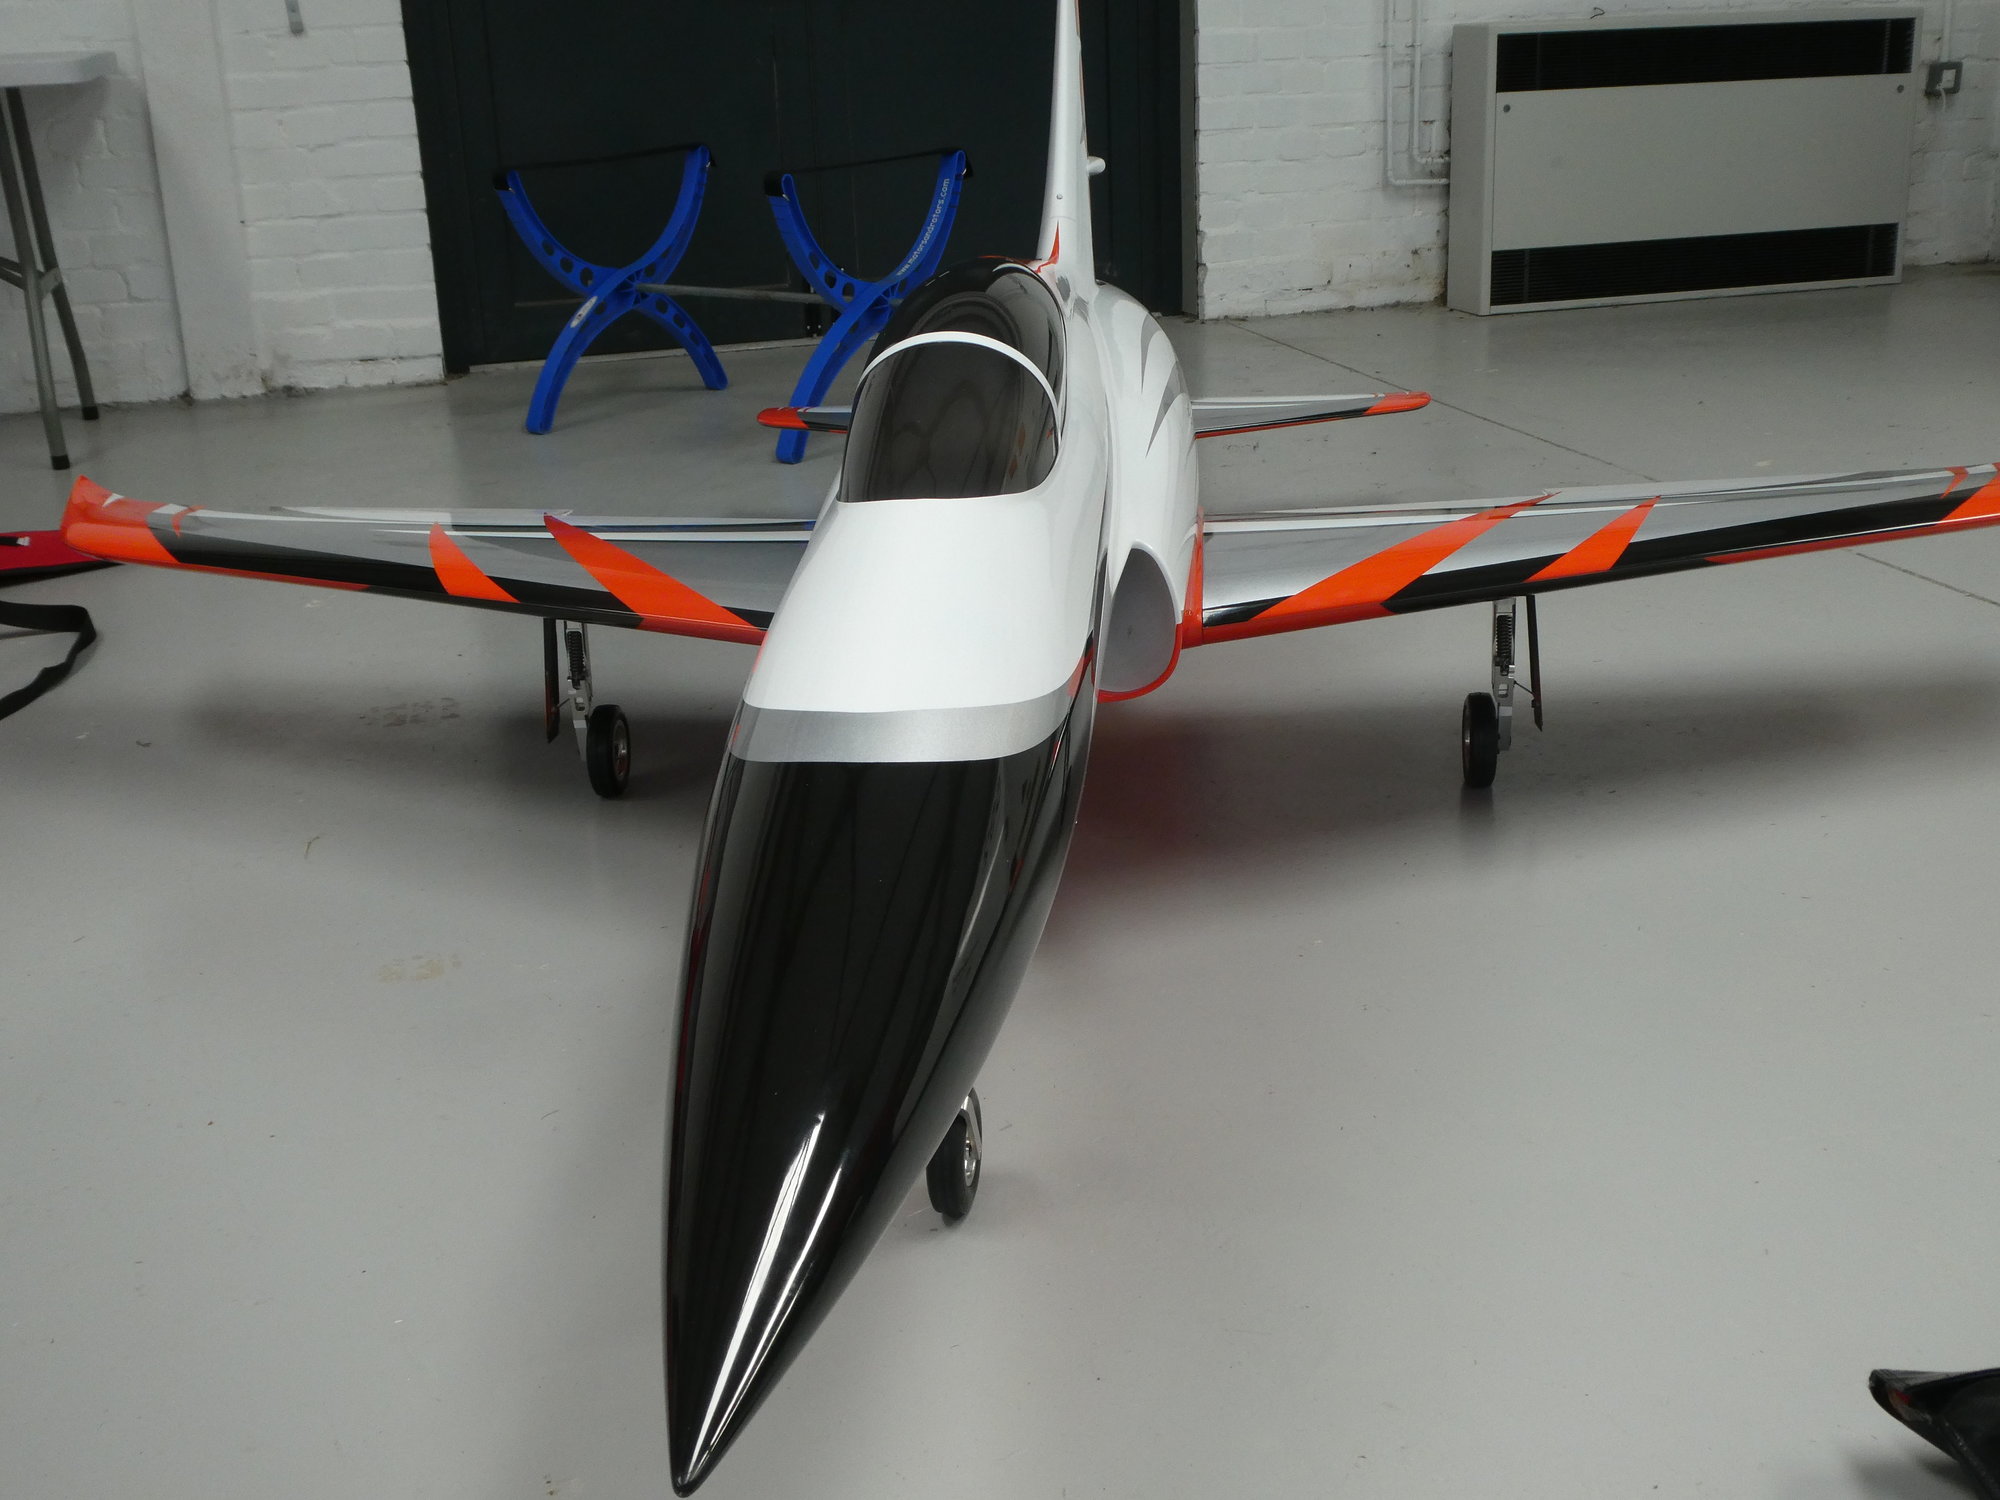
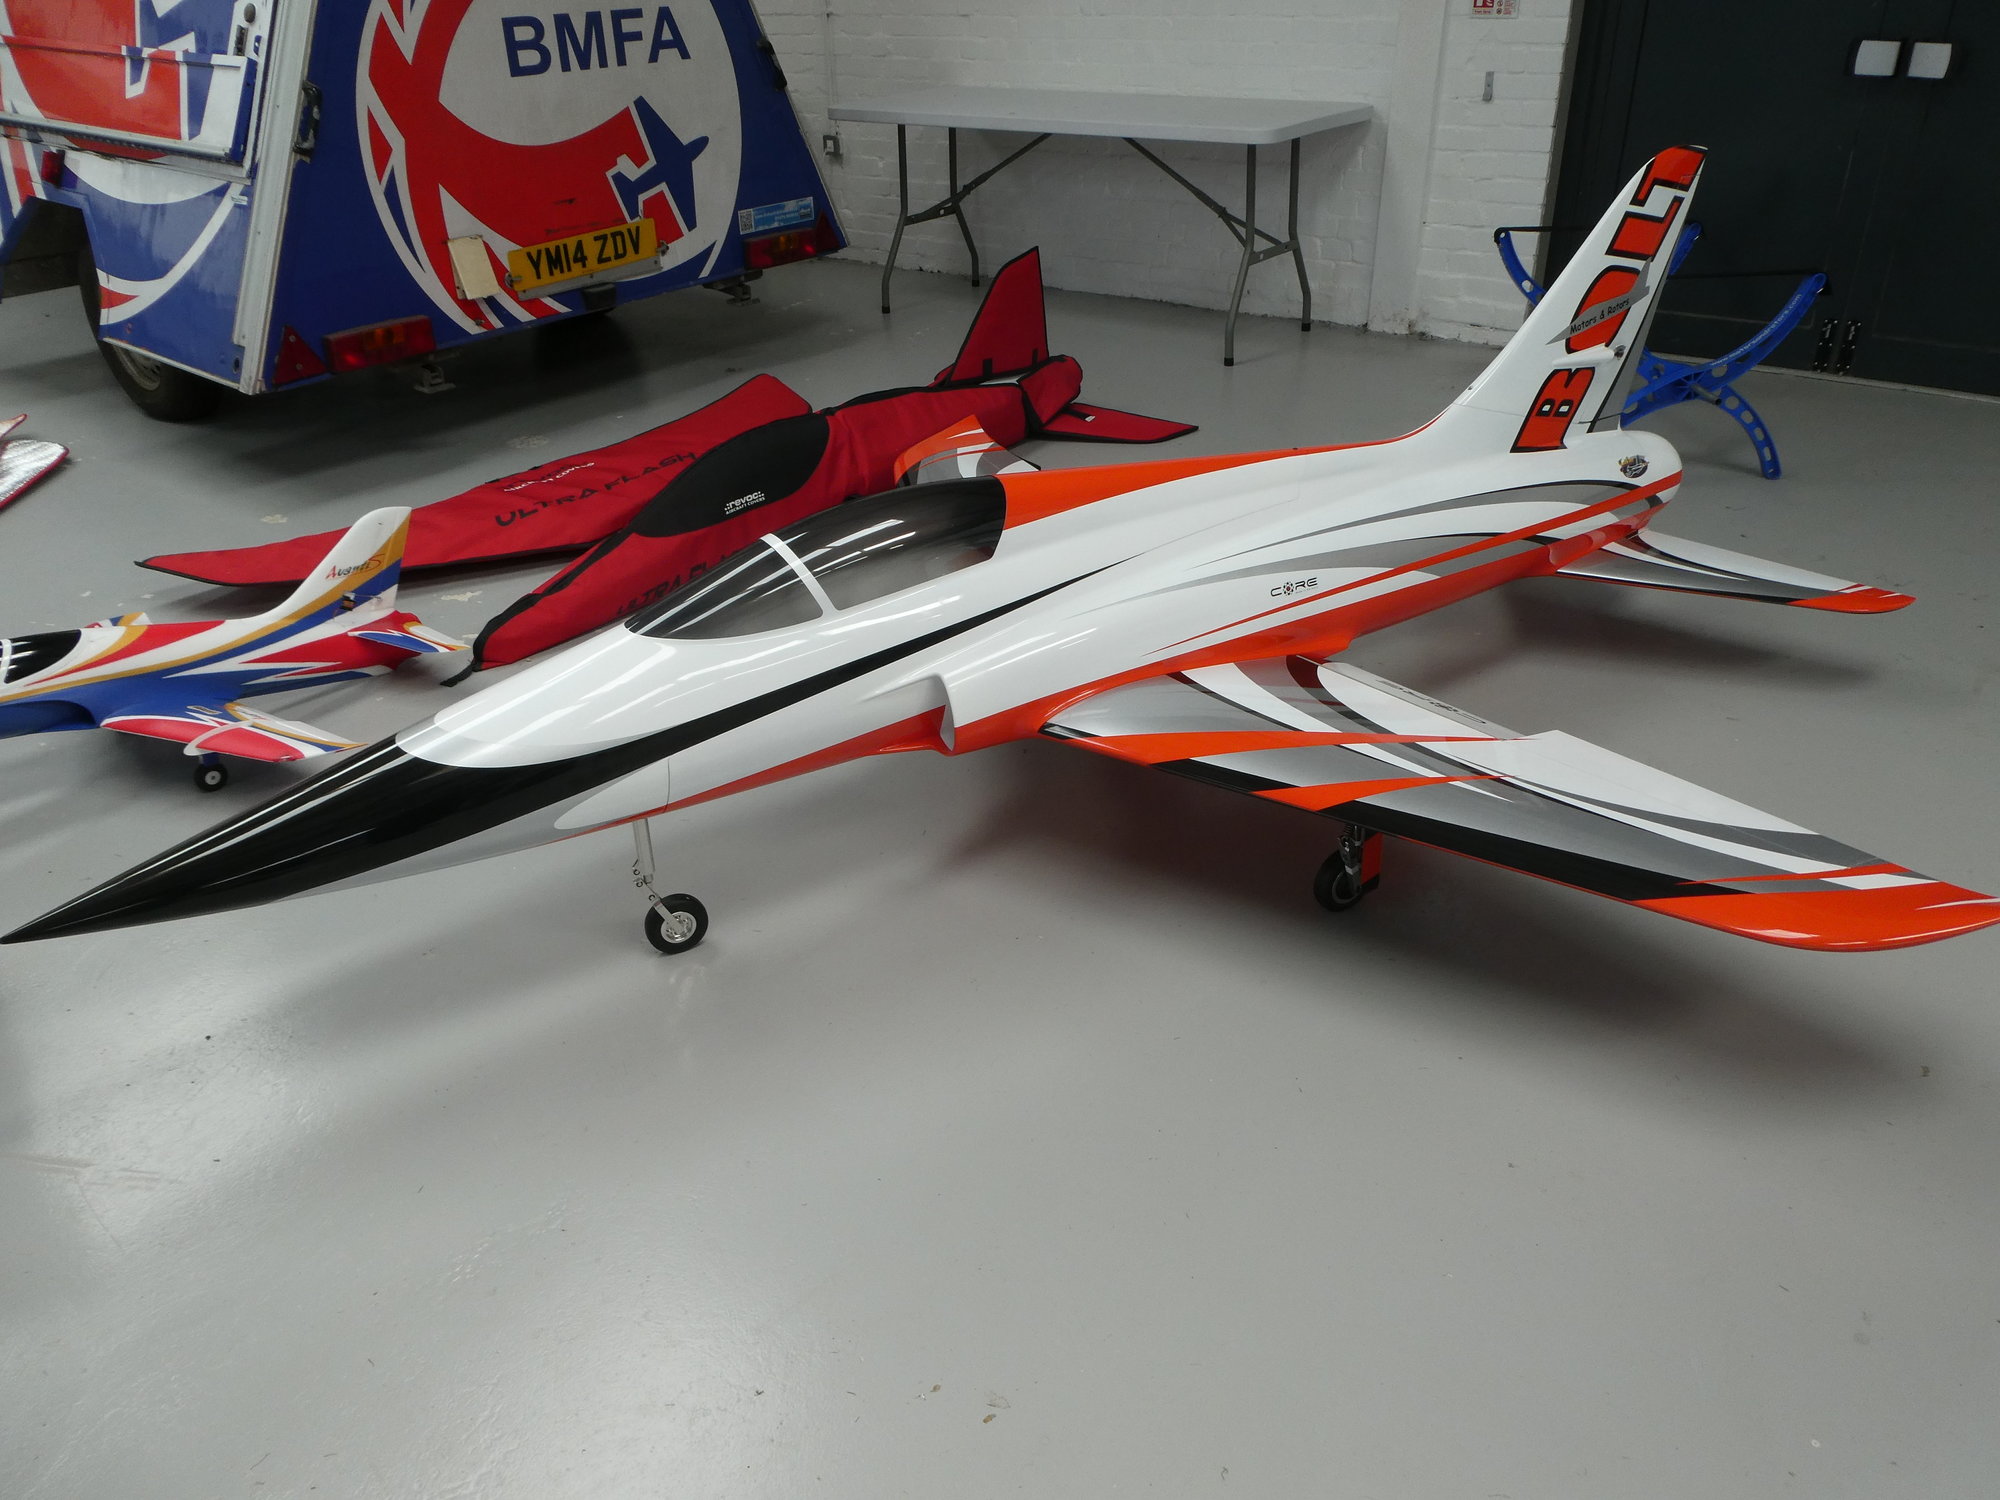
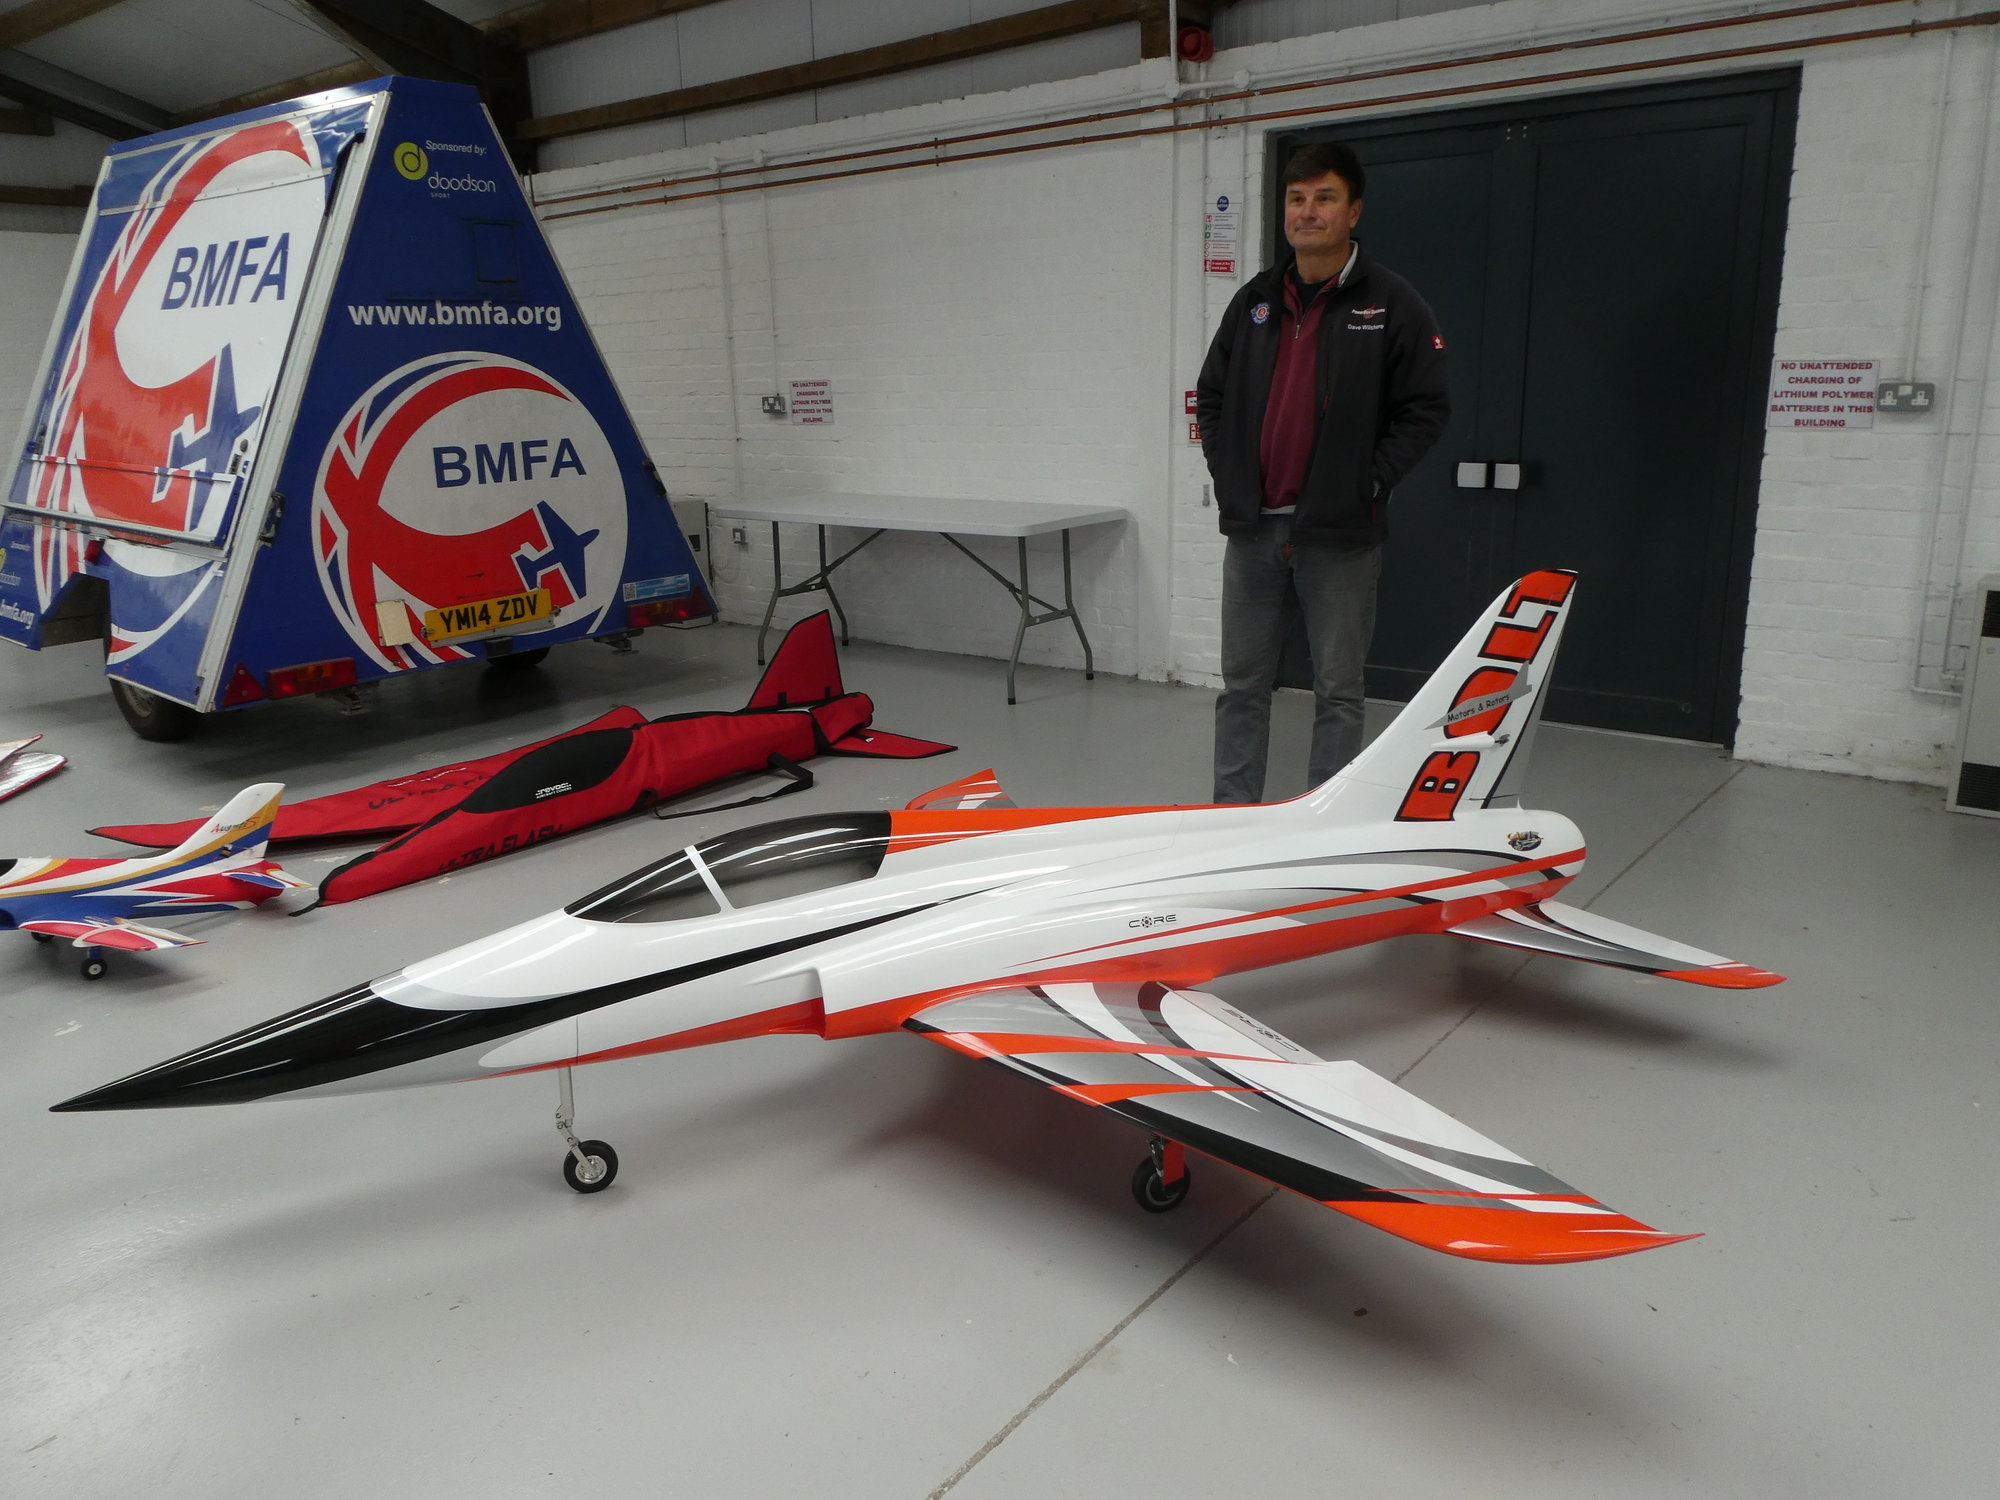
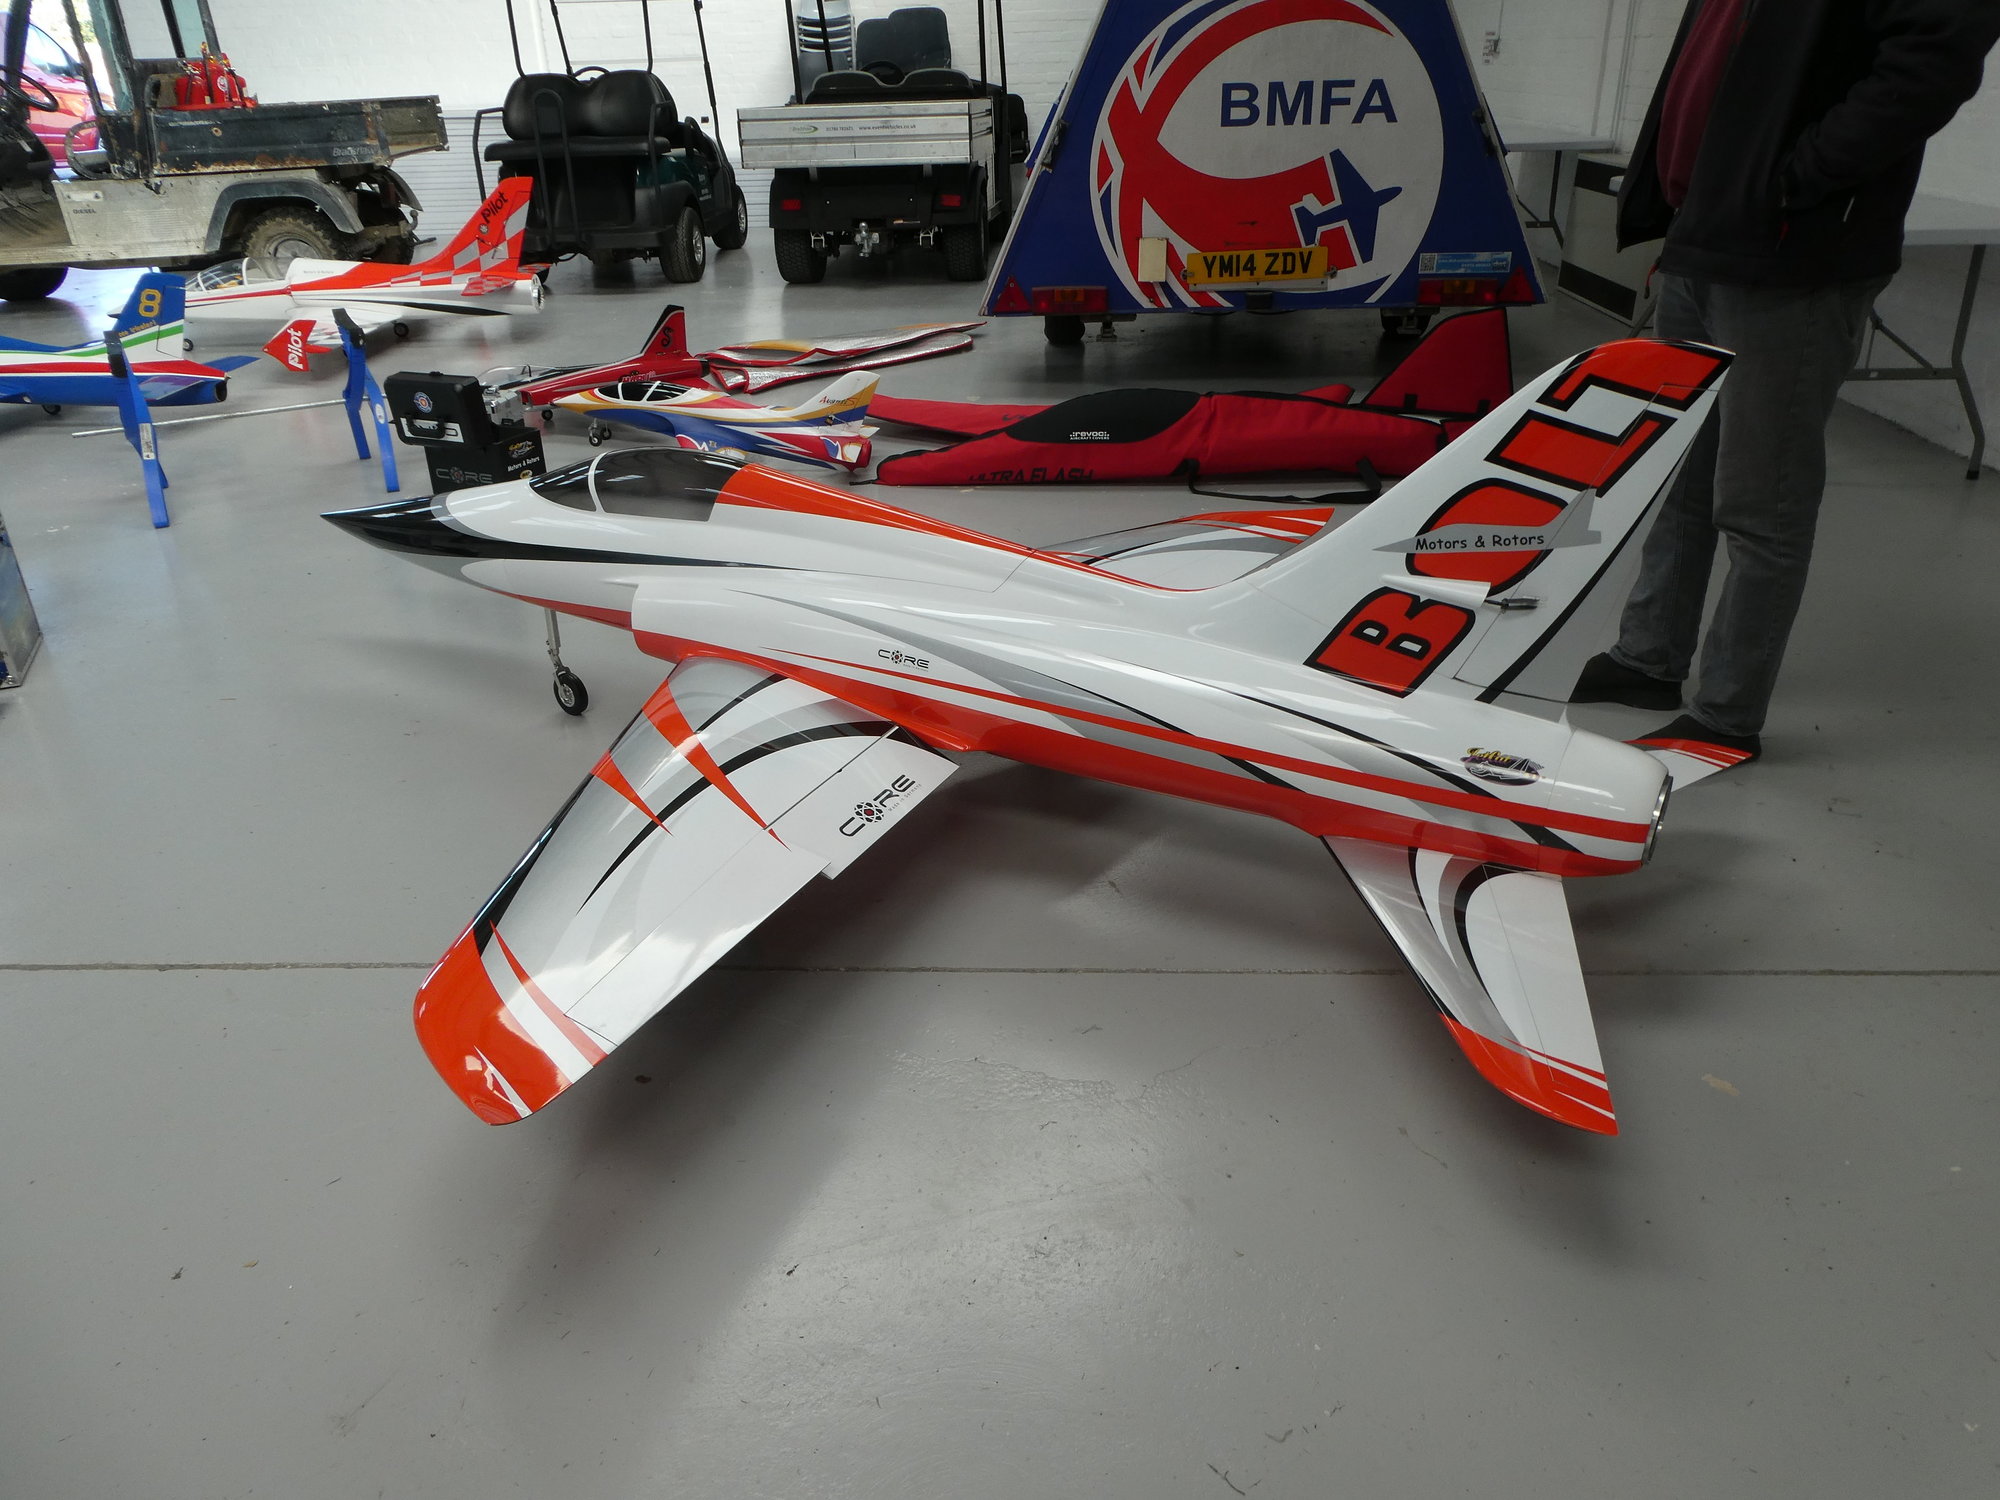
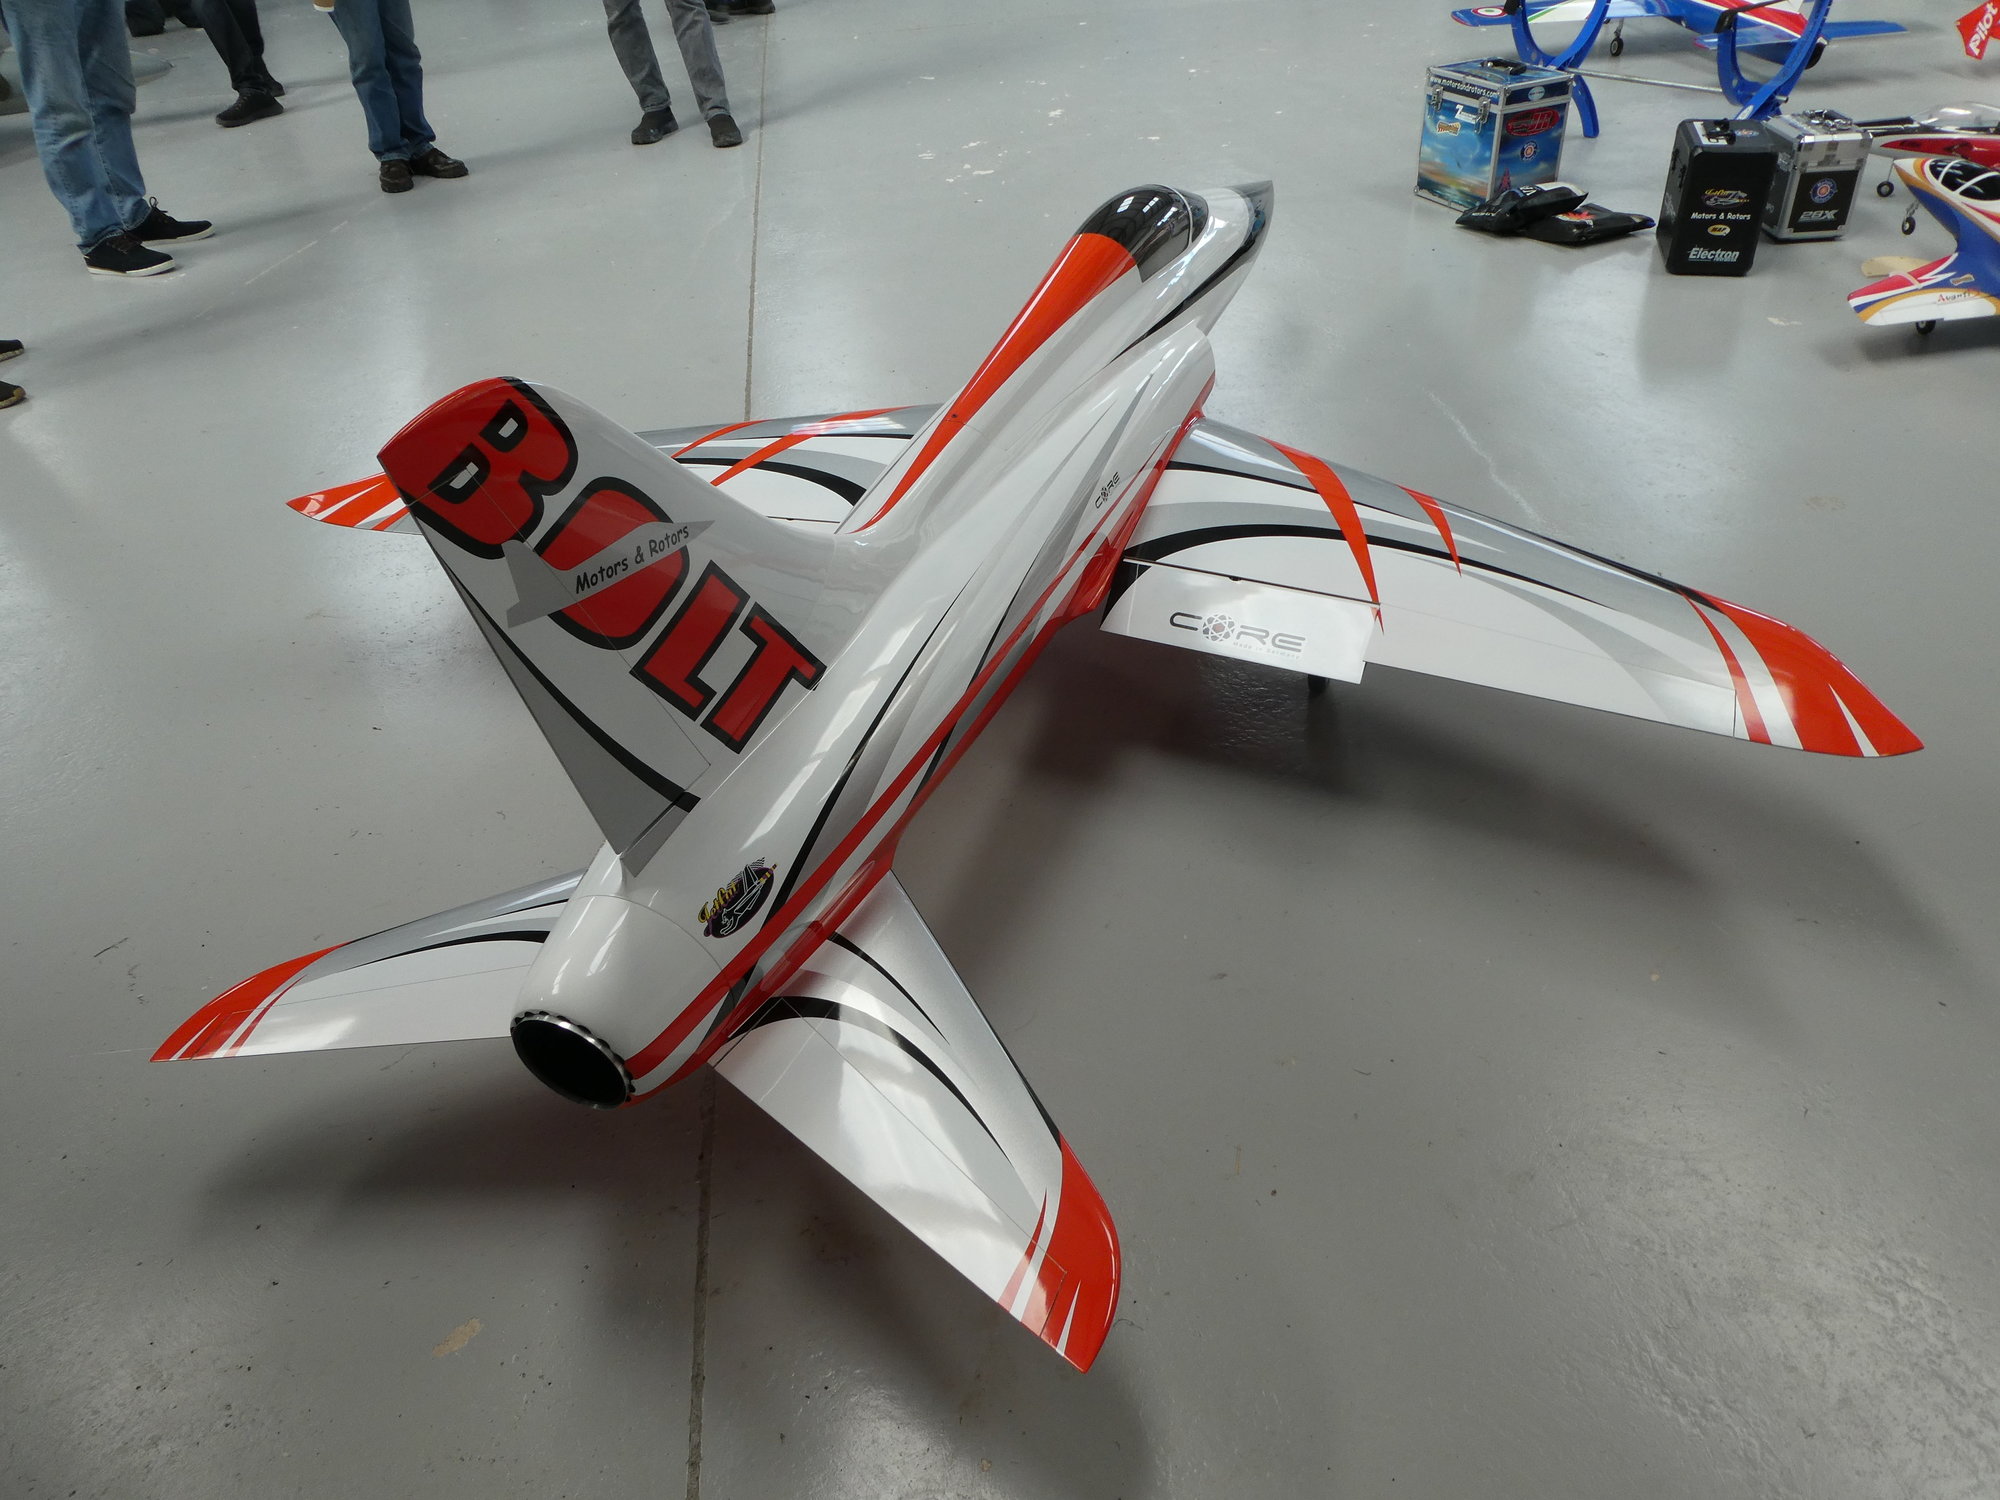
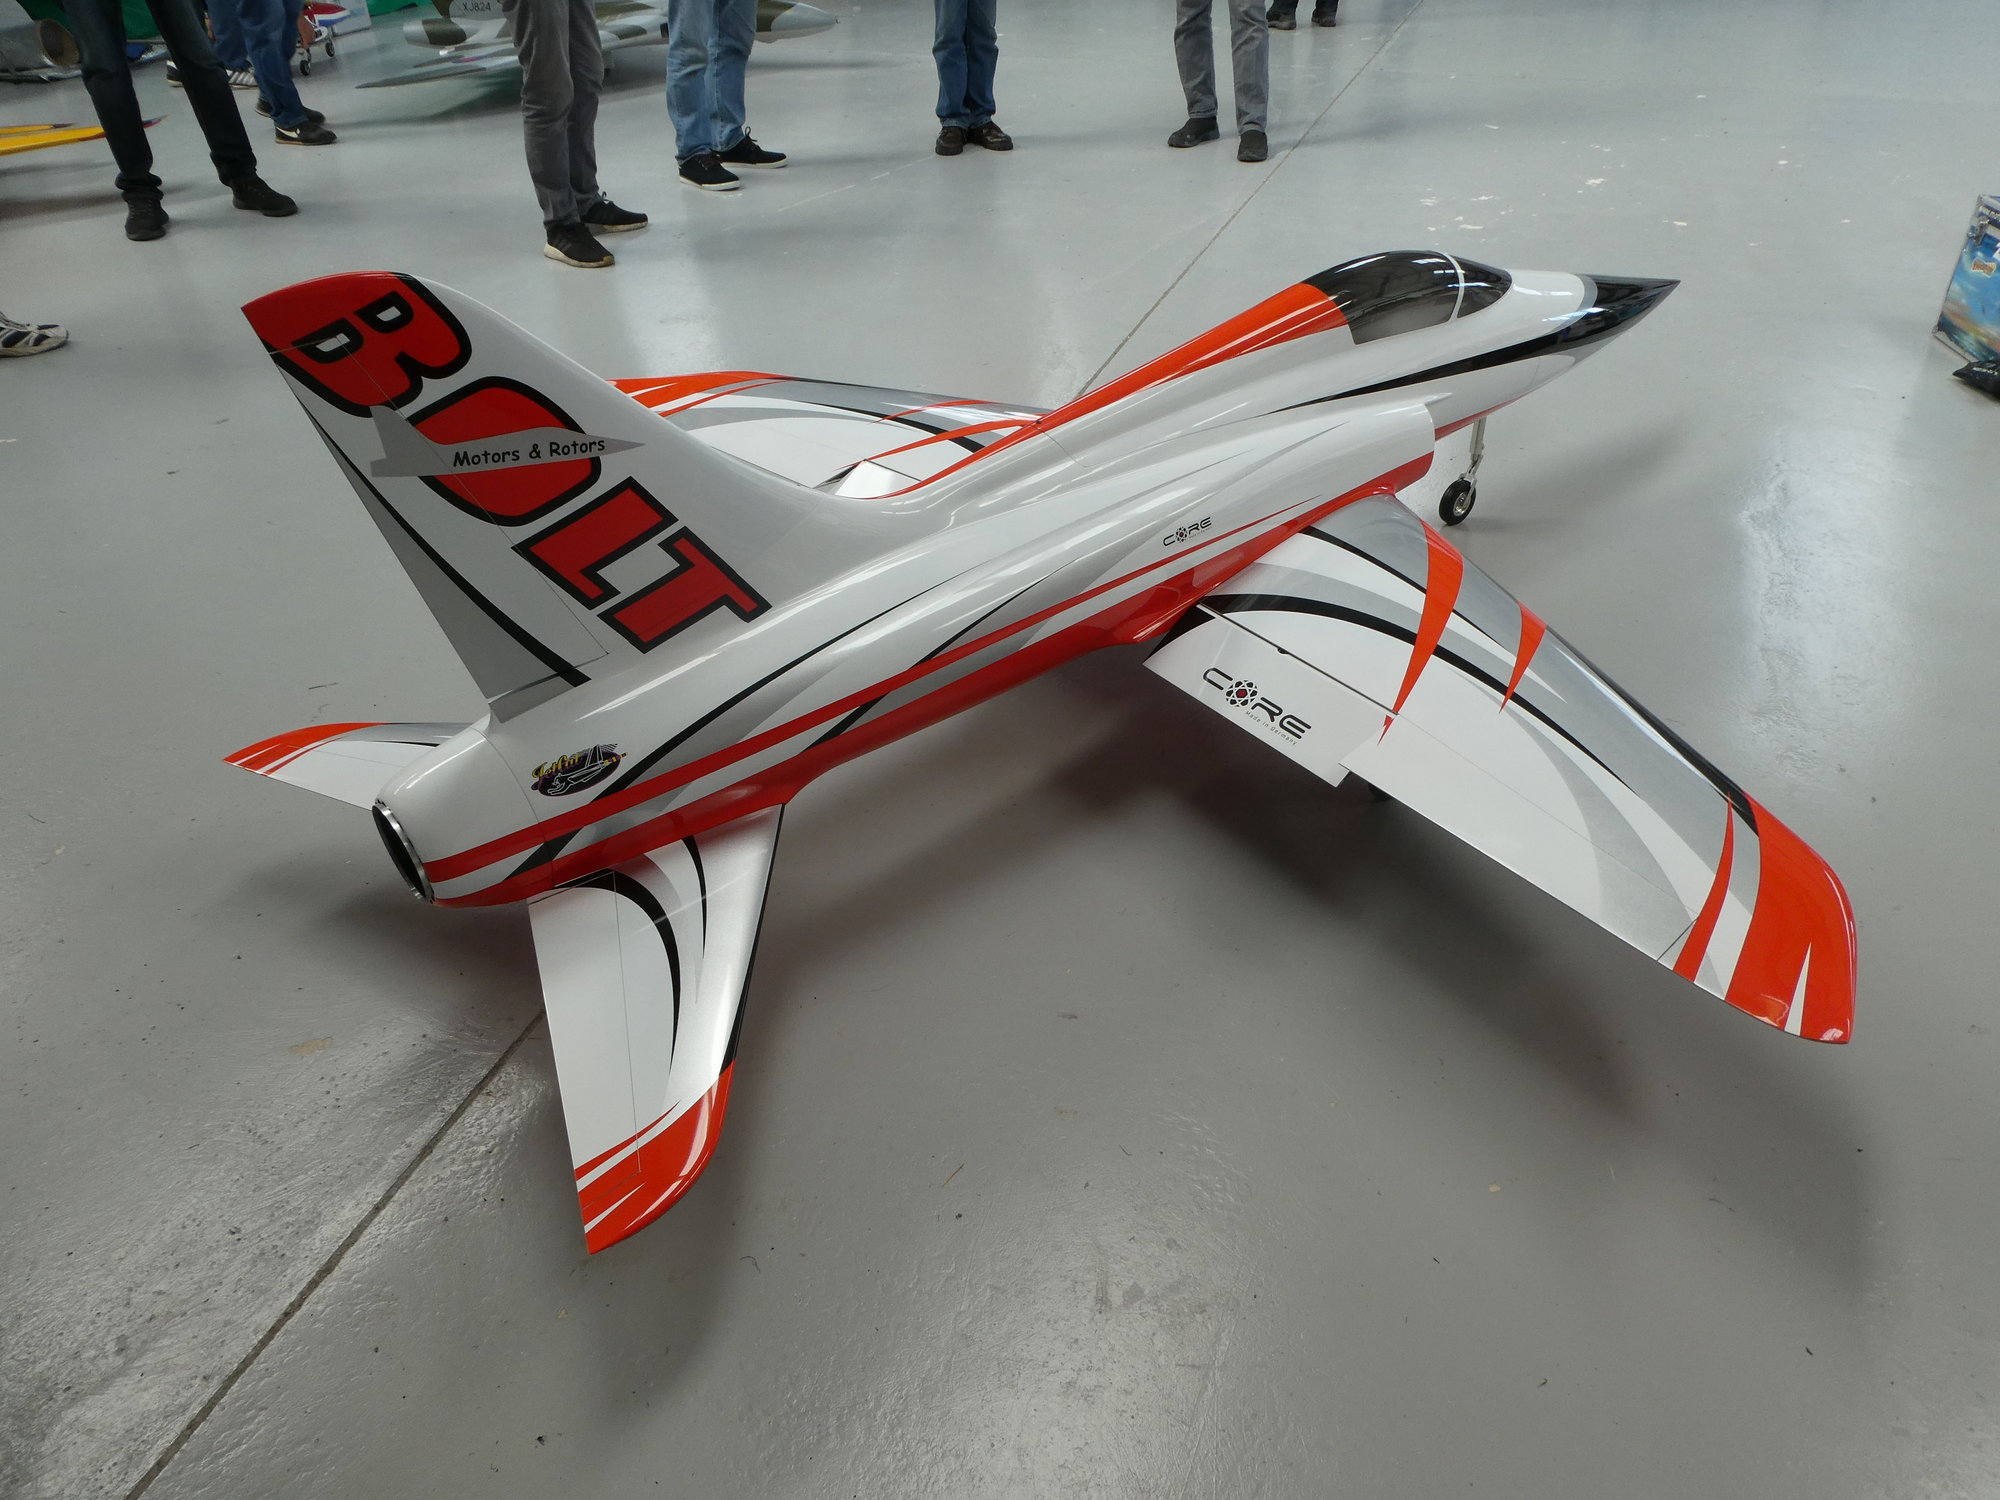
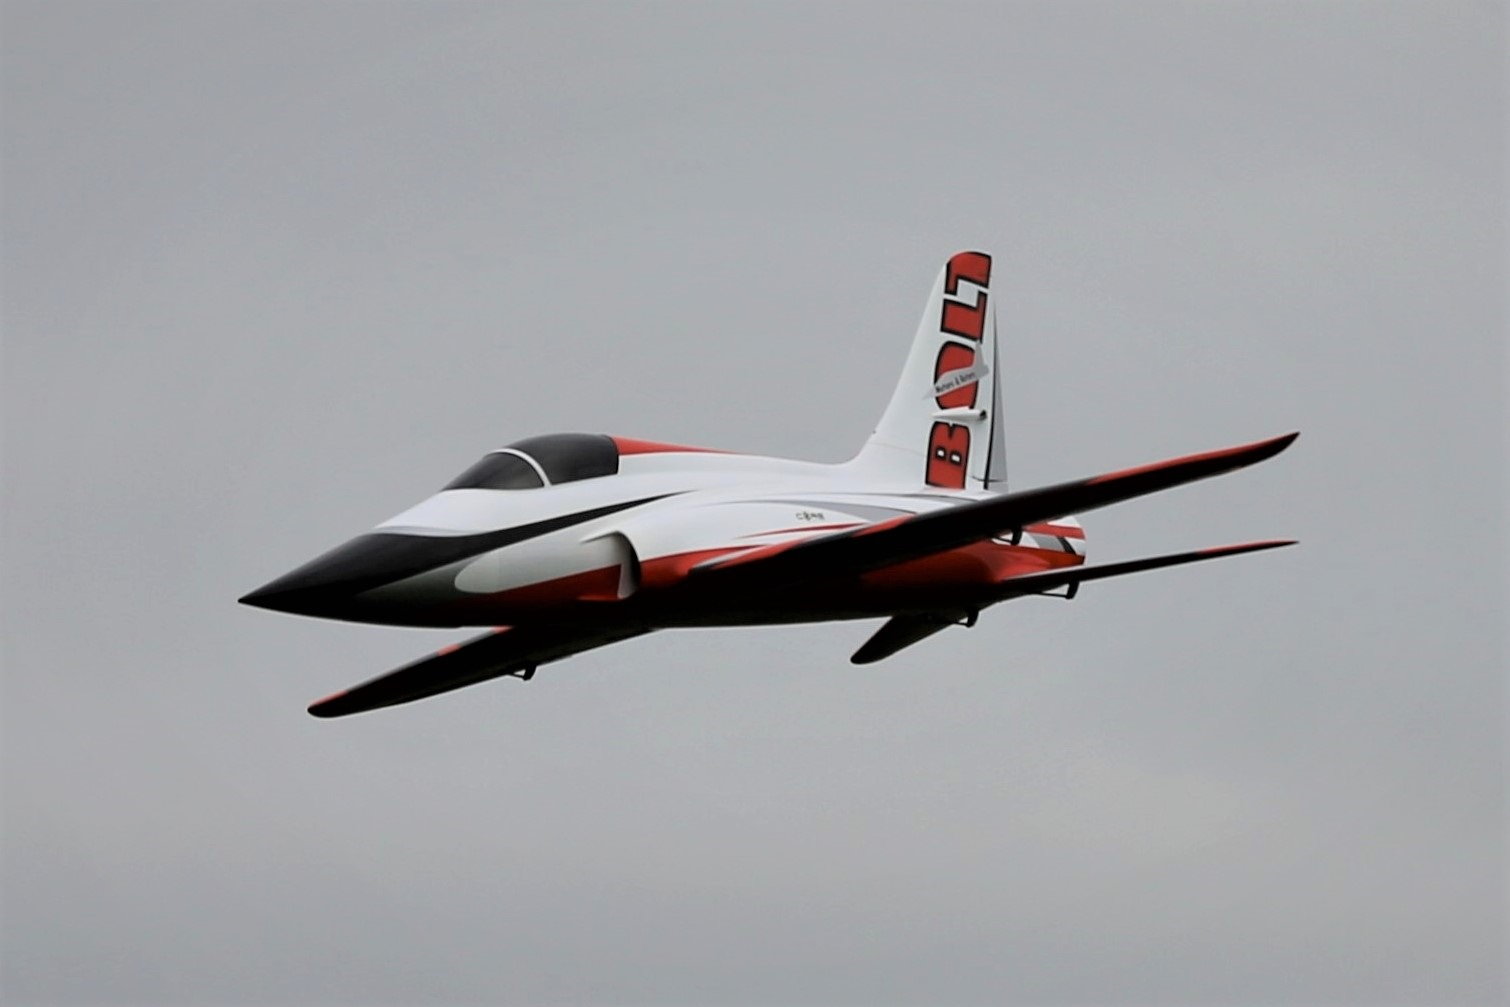
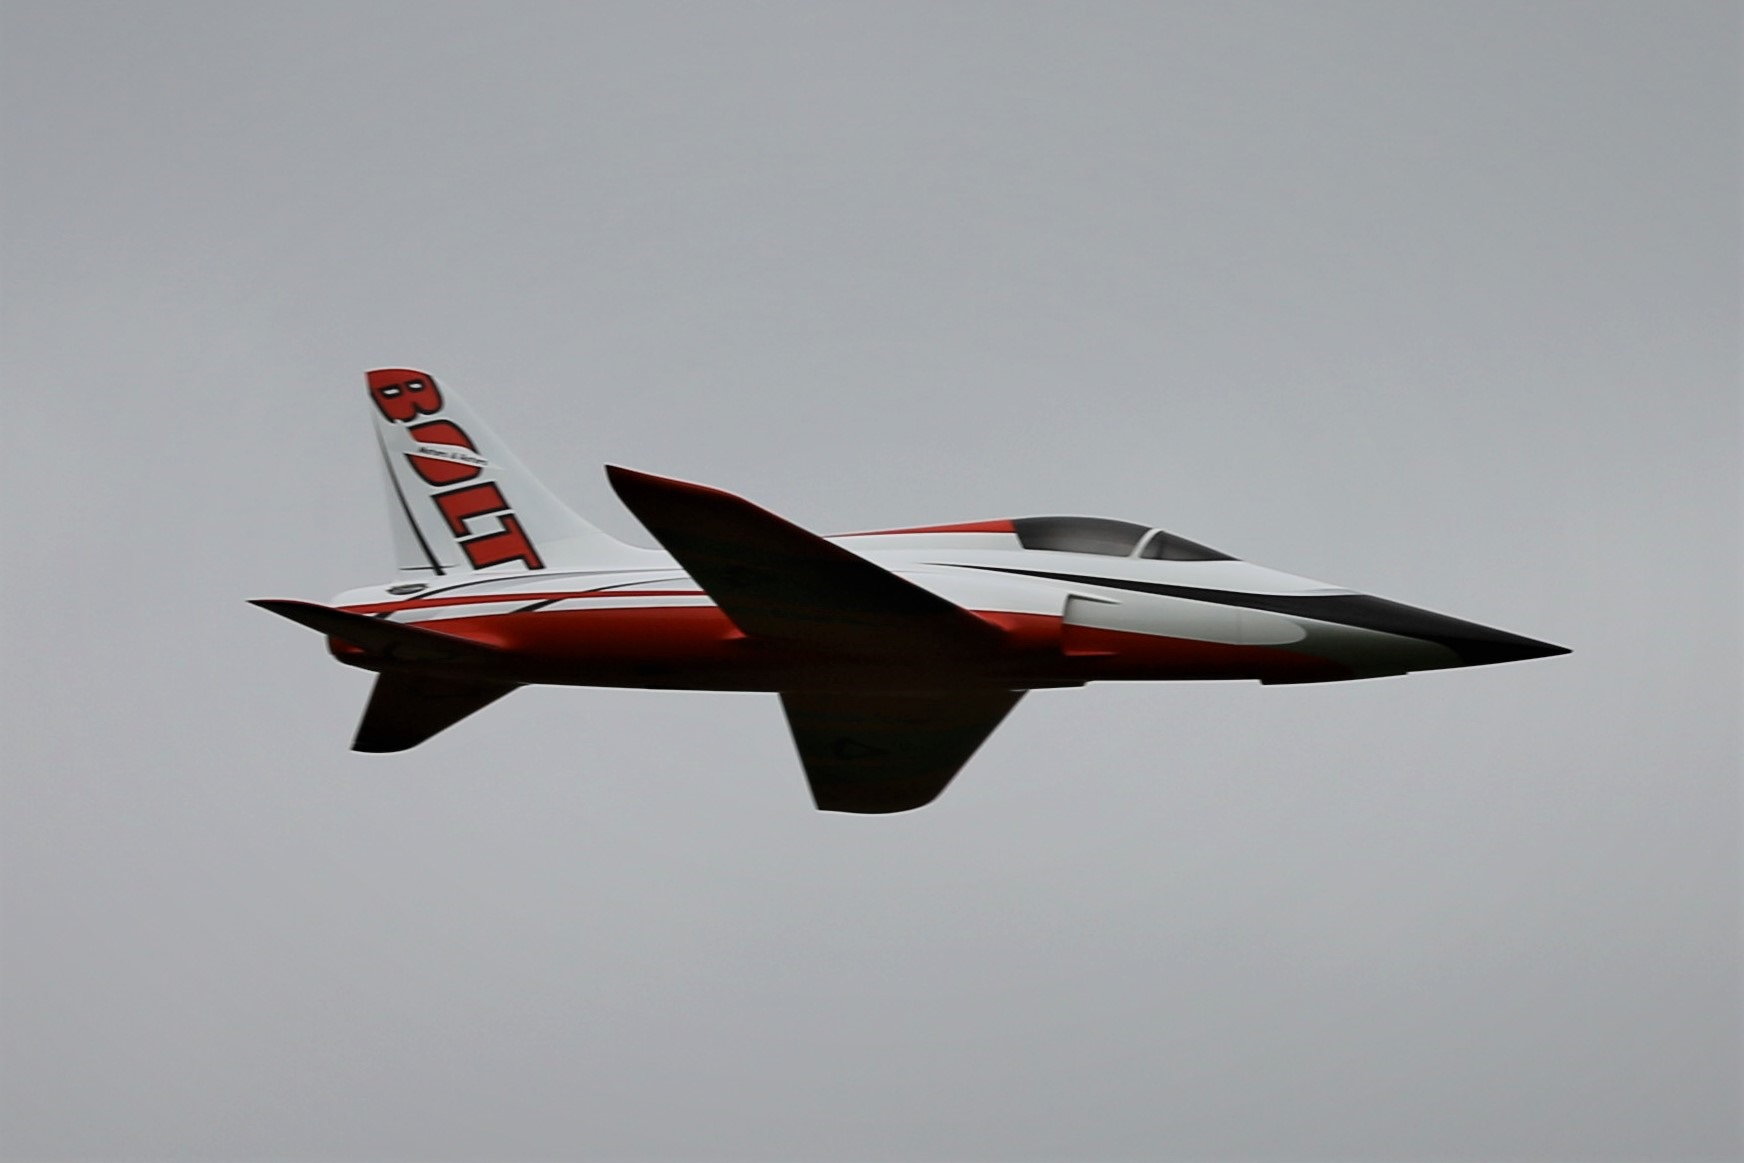
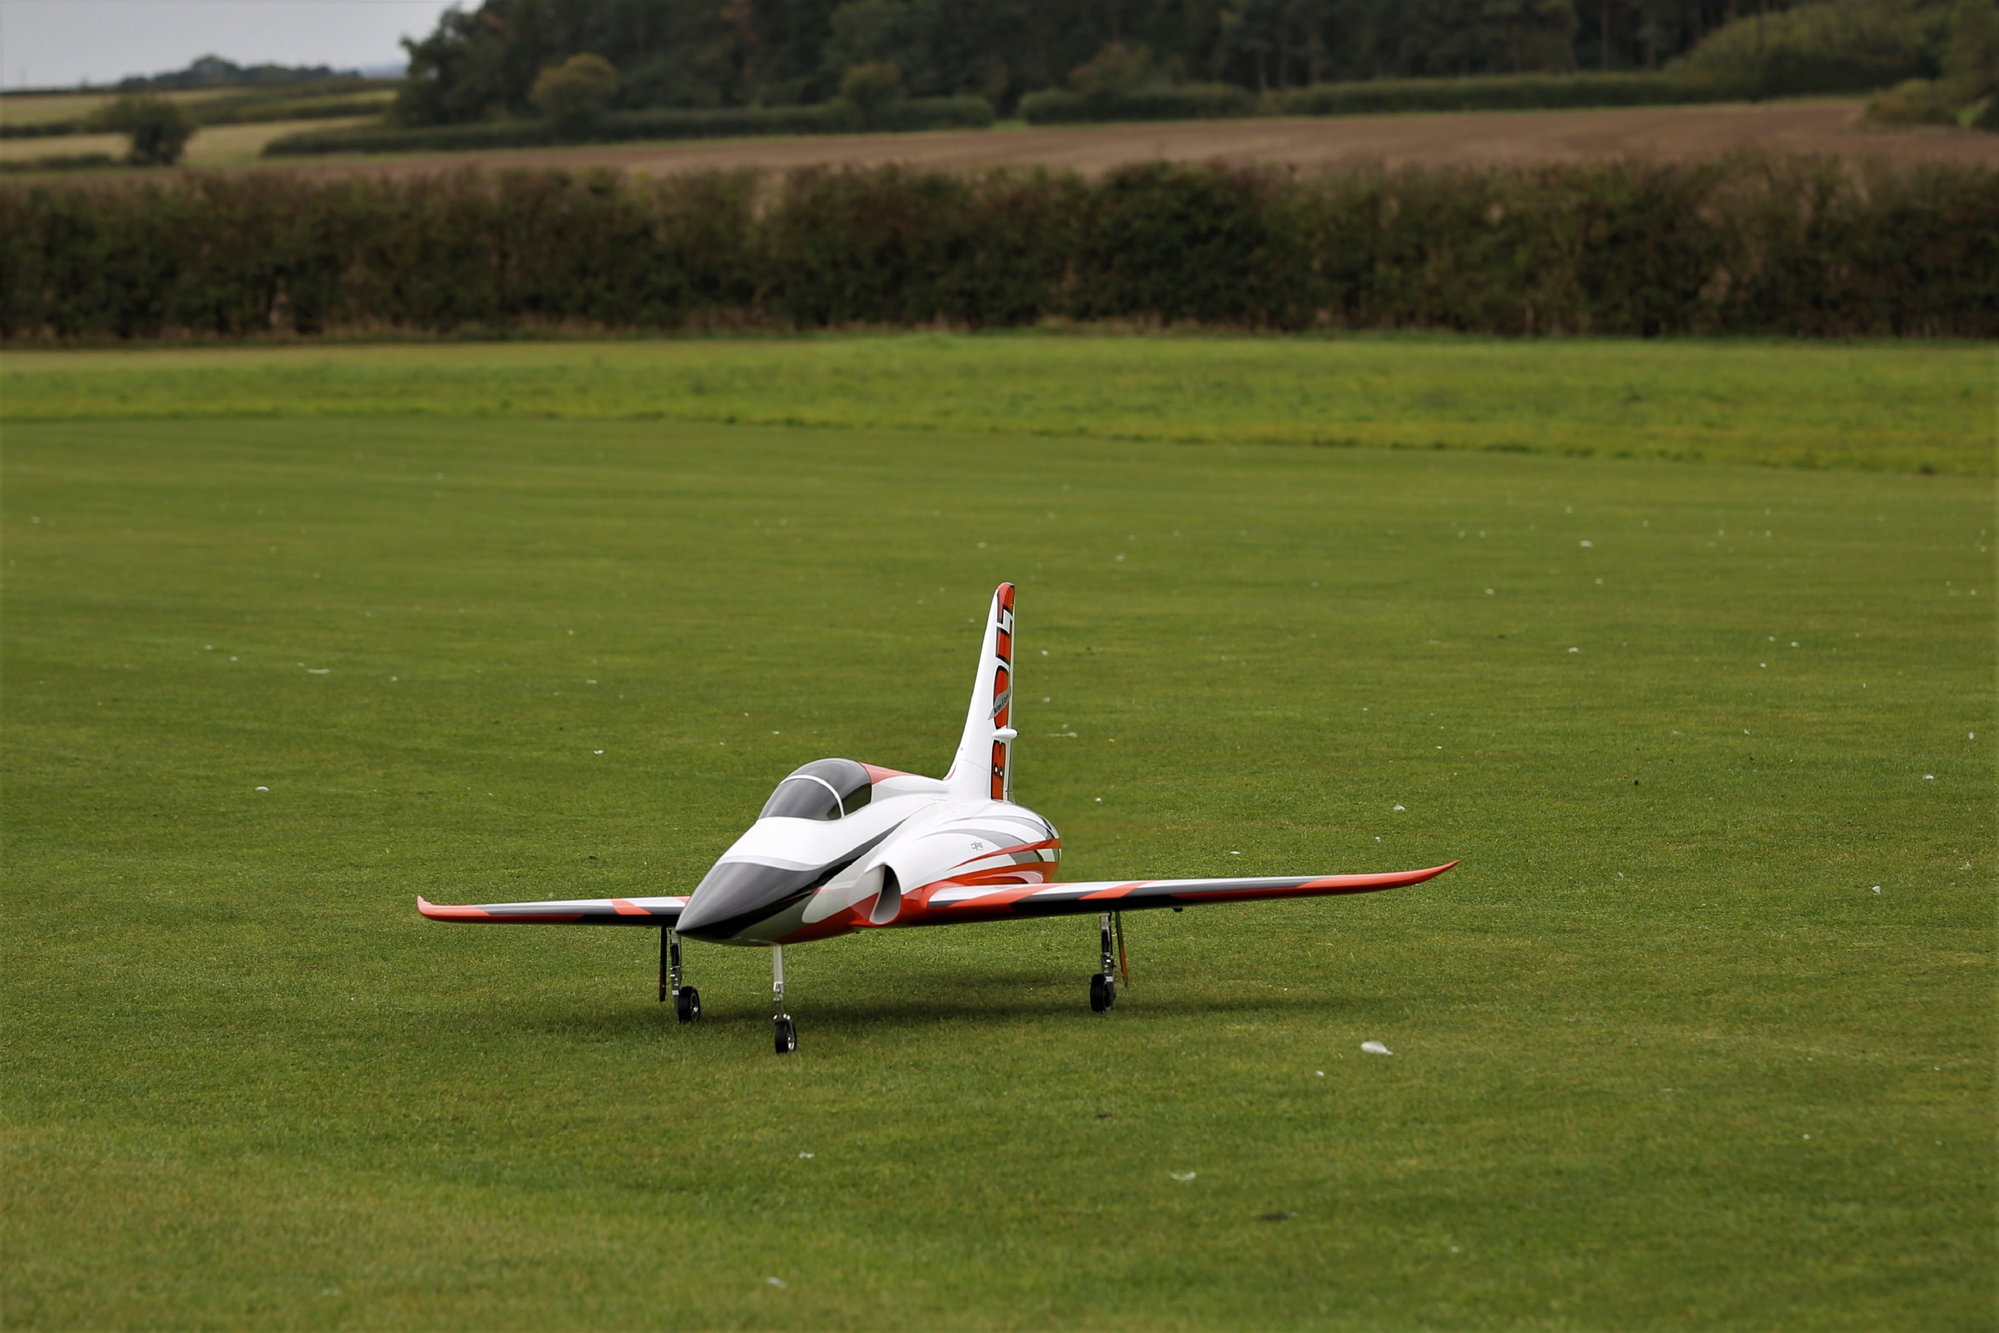
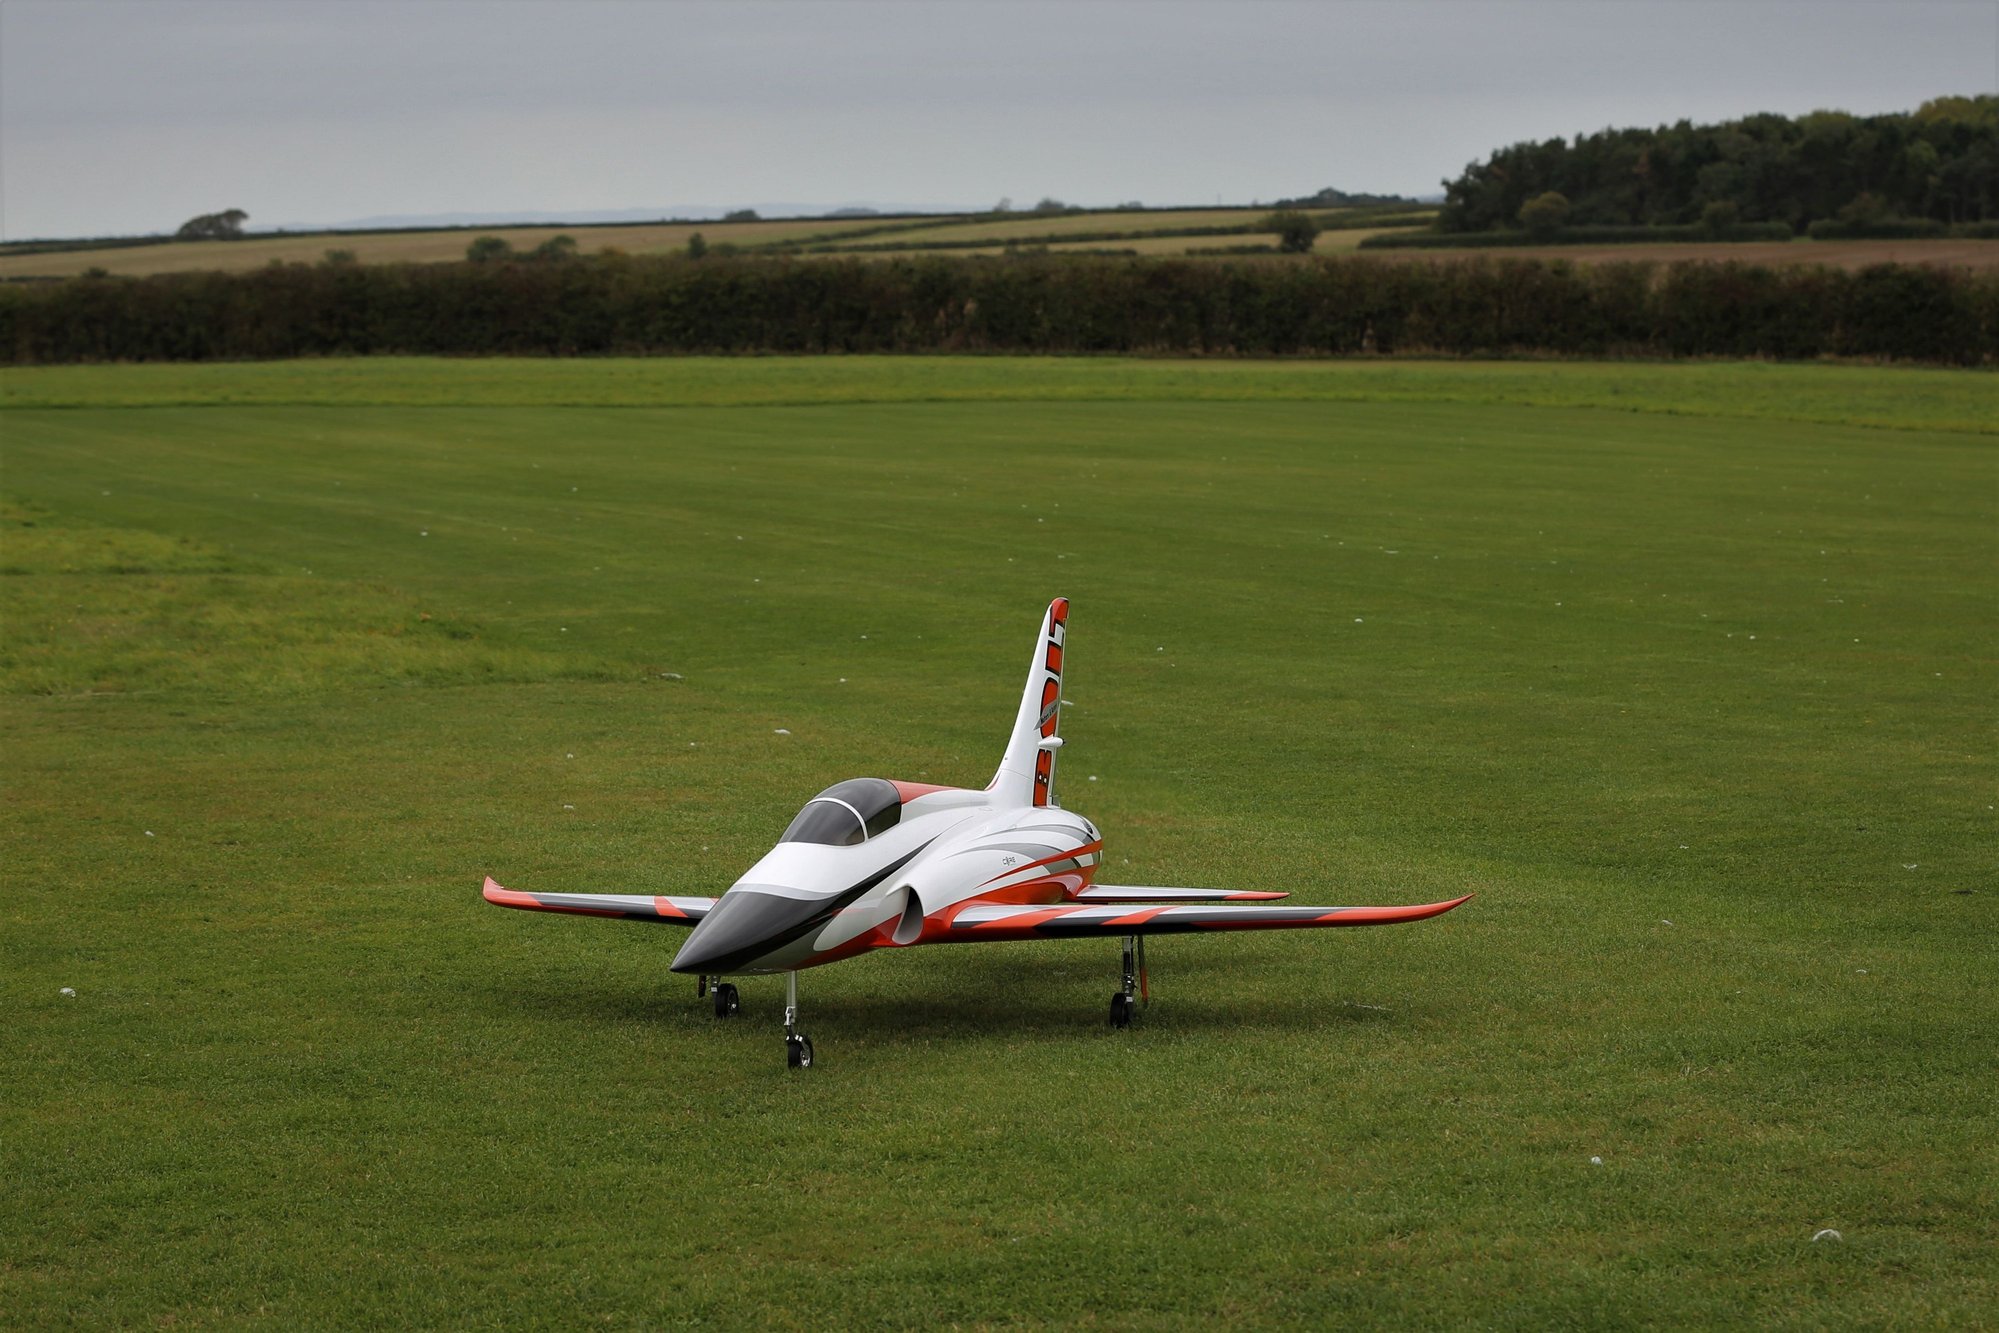
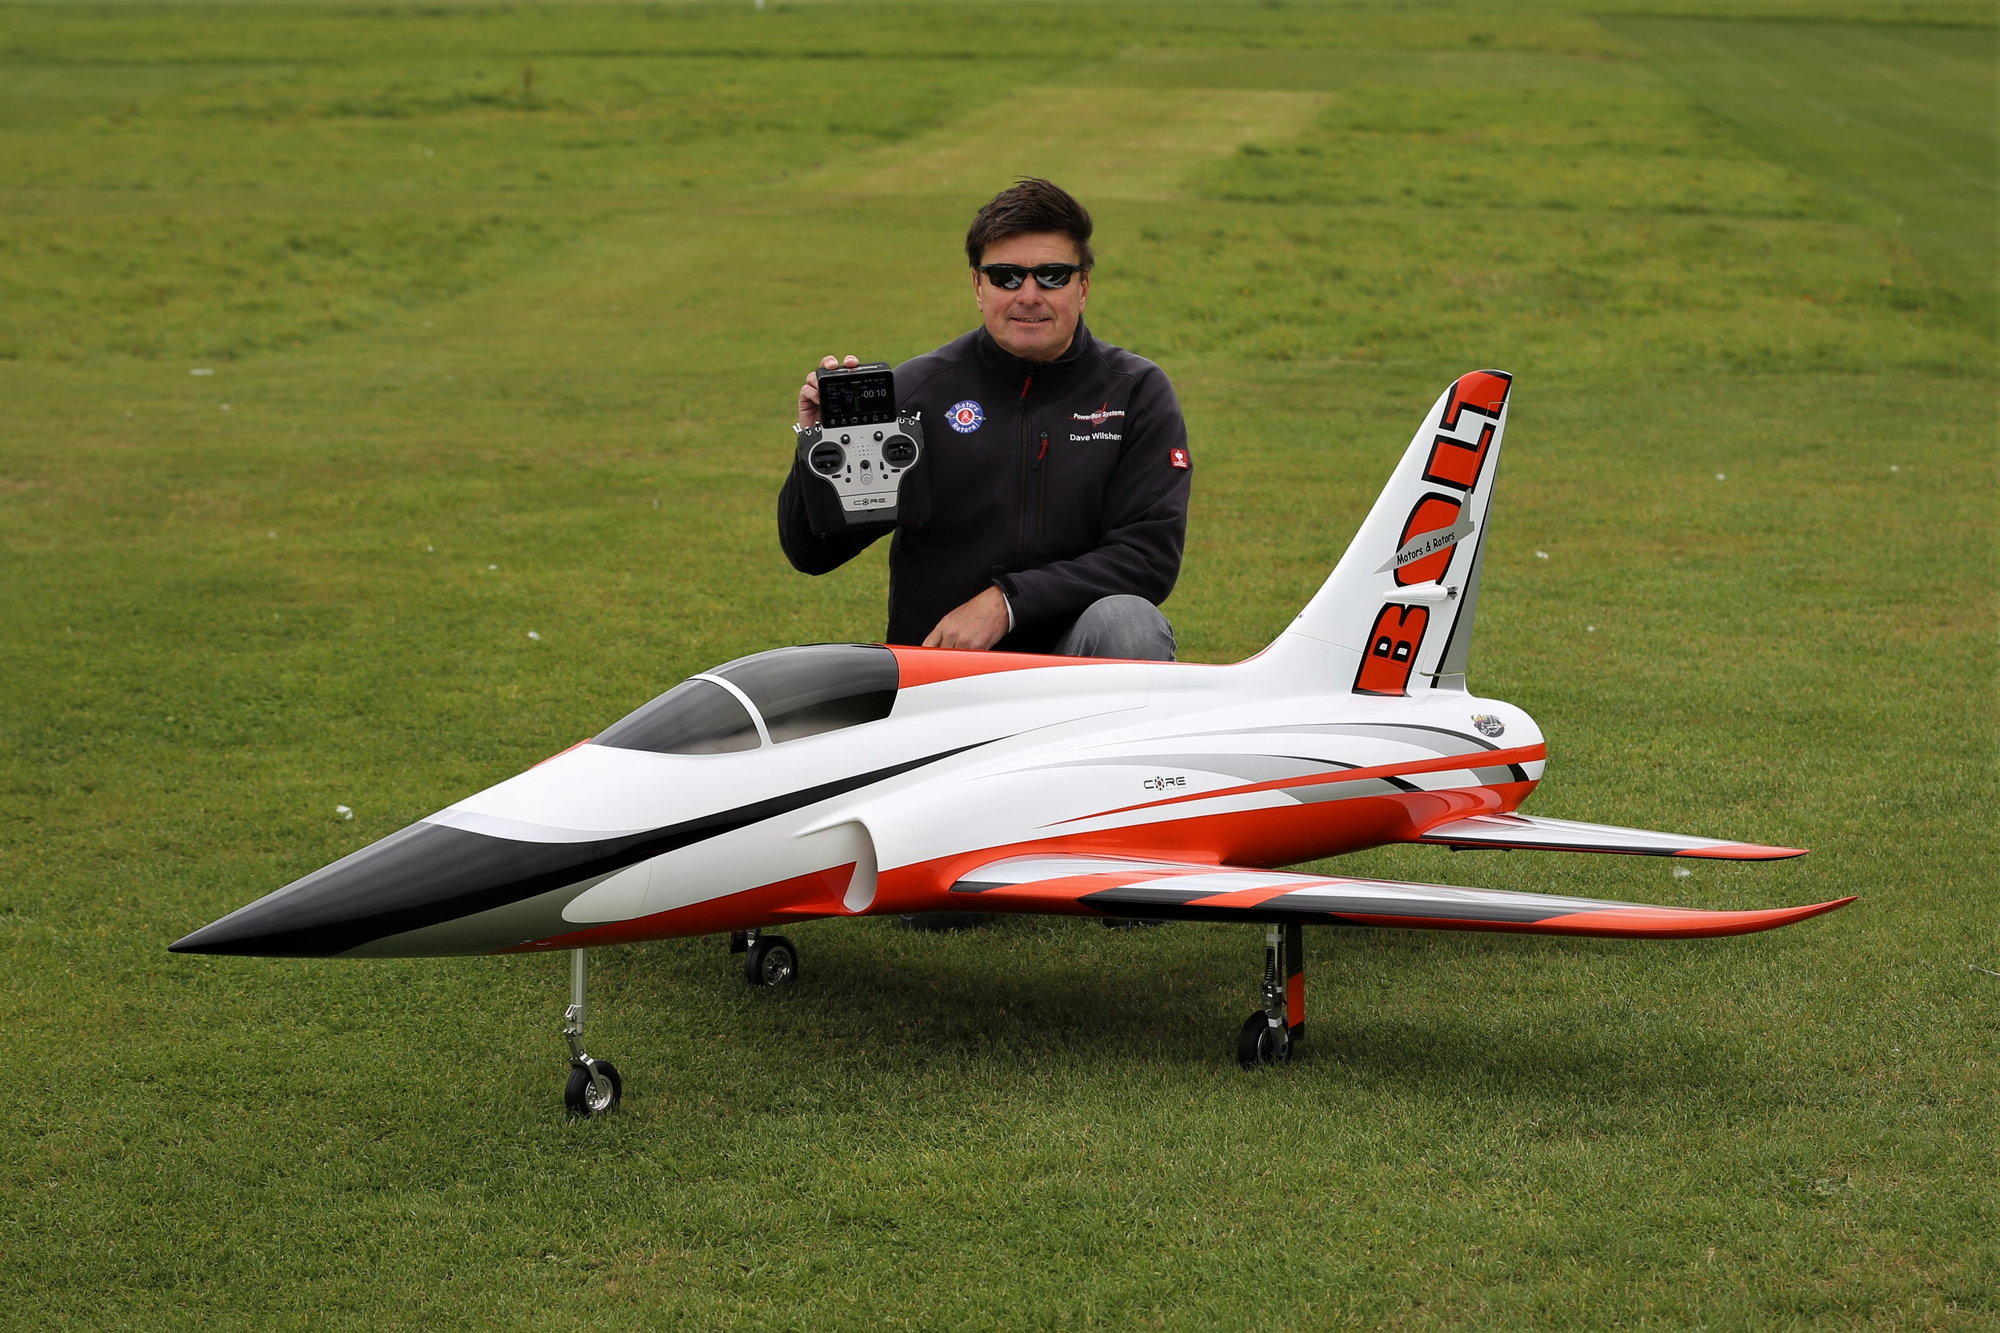
D.W. Brought along his CARF Bolt to the two day U.K. J.M.A. meeting at the BMFA National flying center at Buckminster Lodge, I have to say it looks really nice, the weather wasnt great for test flying early on so it is just static photographs for now.
It looks straight forward to rig.
Alistair Powers


It looks straight forward to rig.
Alistair Powers

 09-27-2020, 07:03 AM
#71
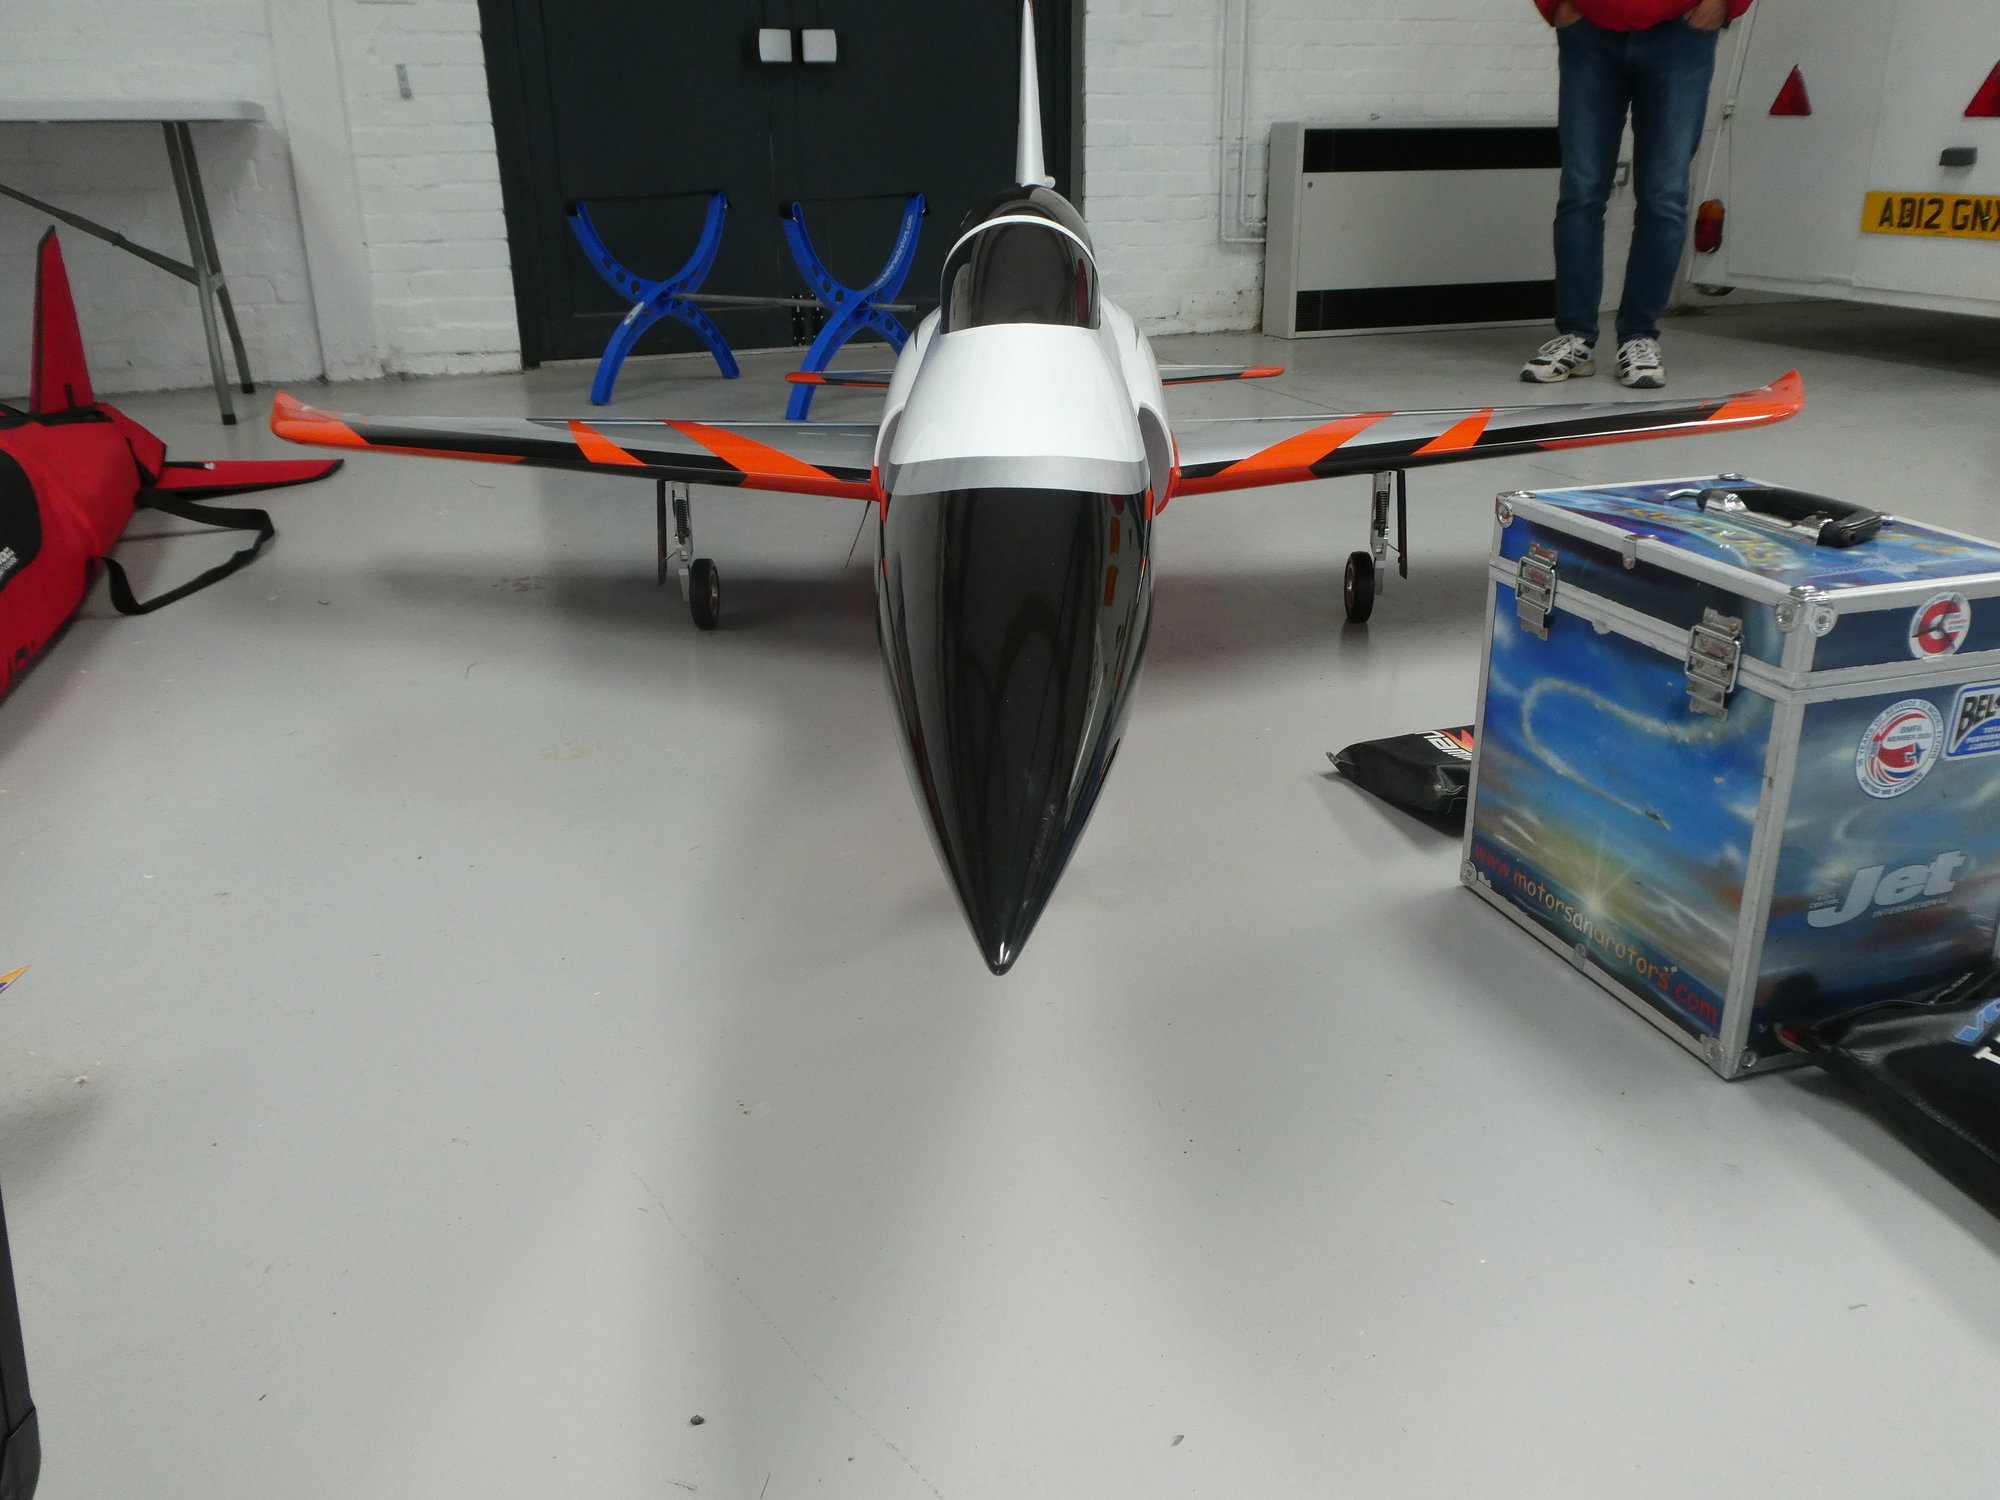
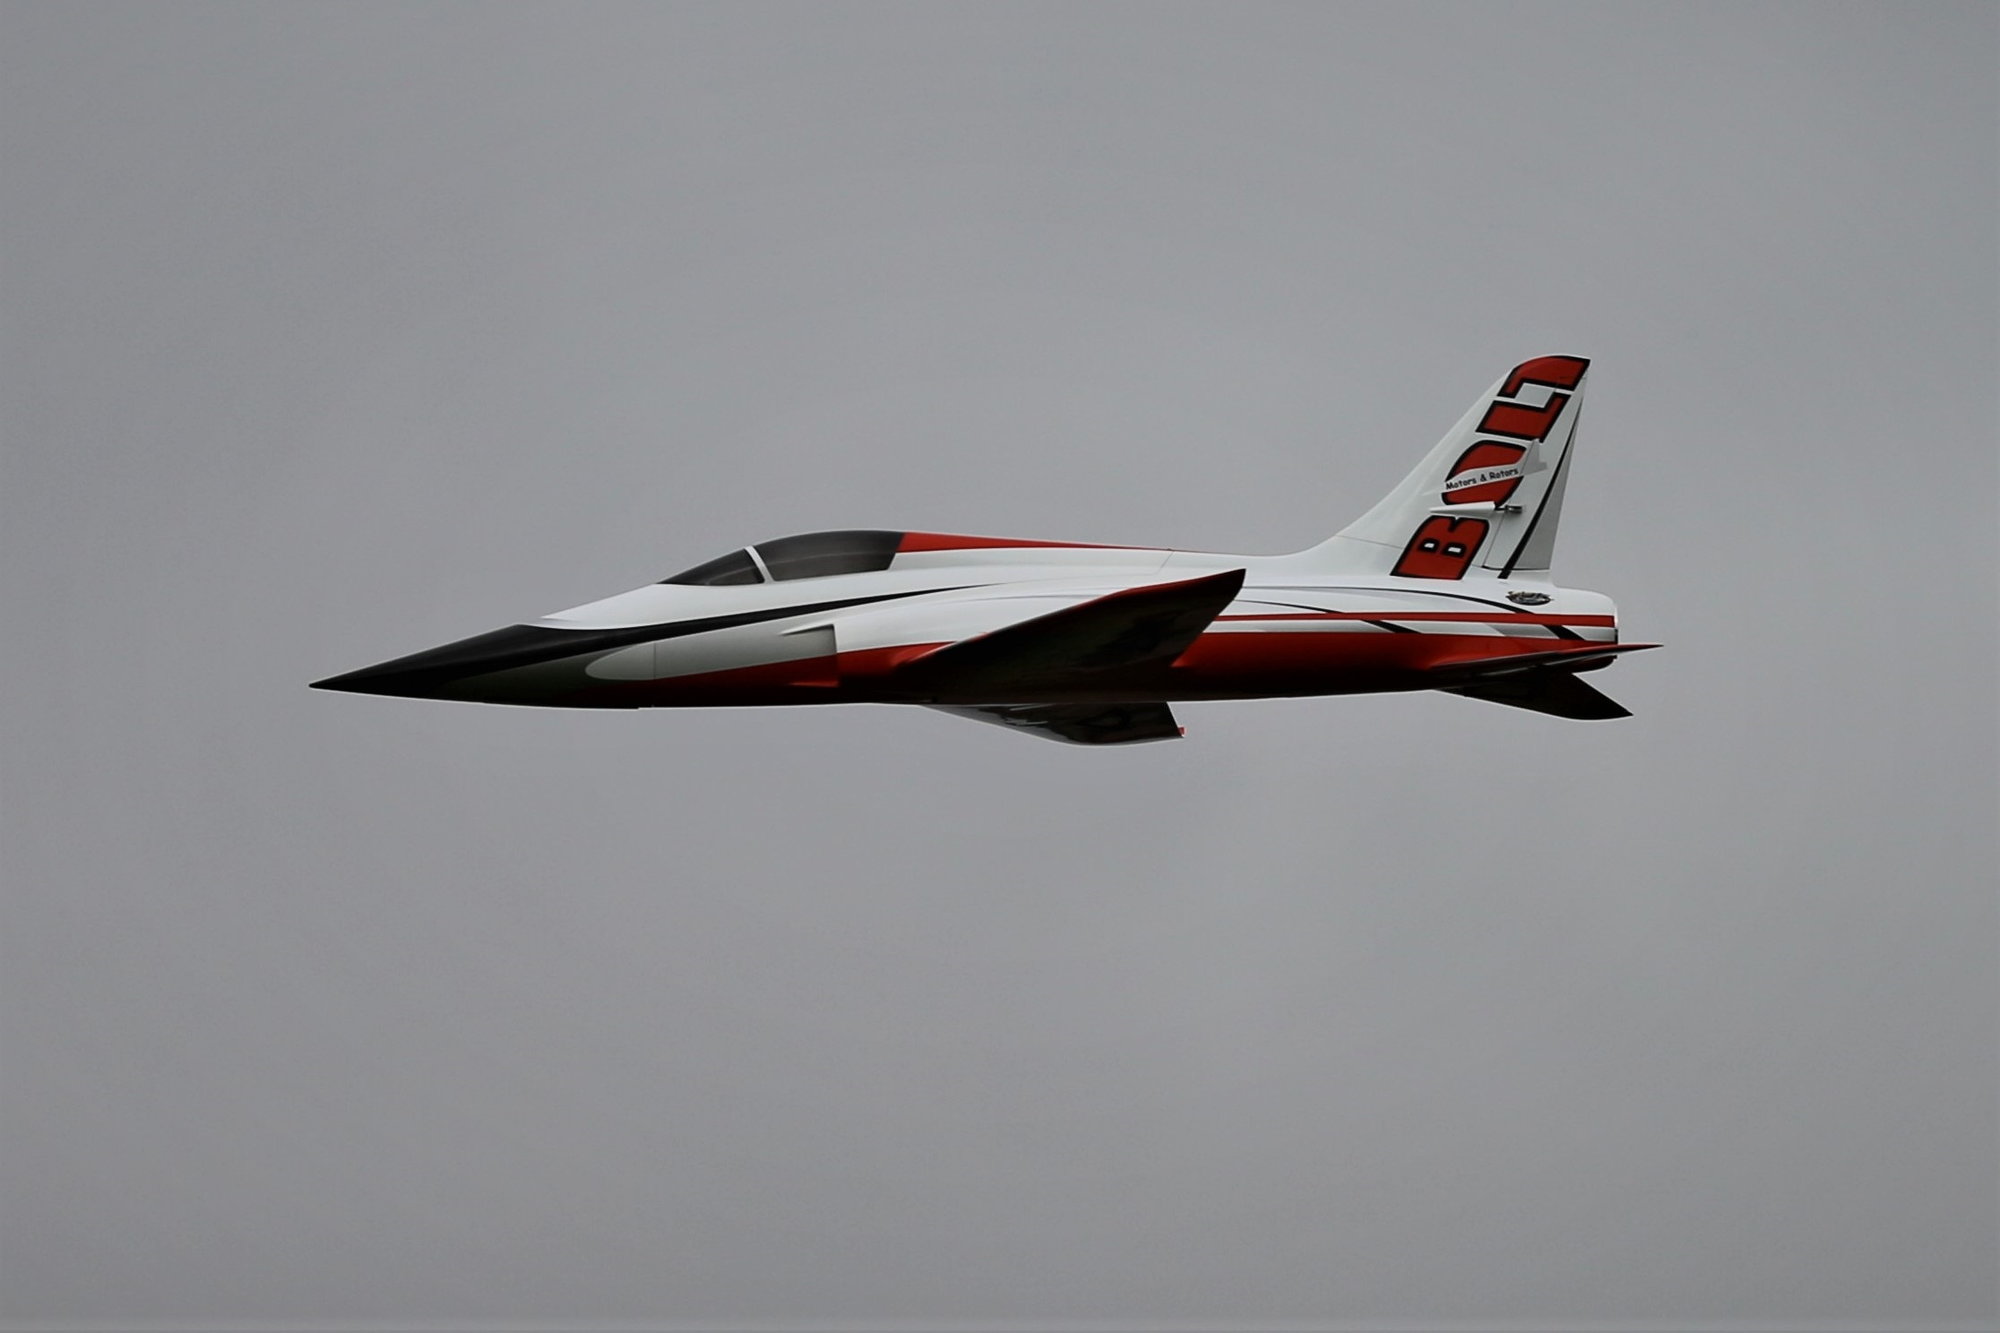
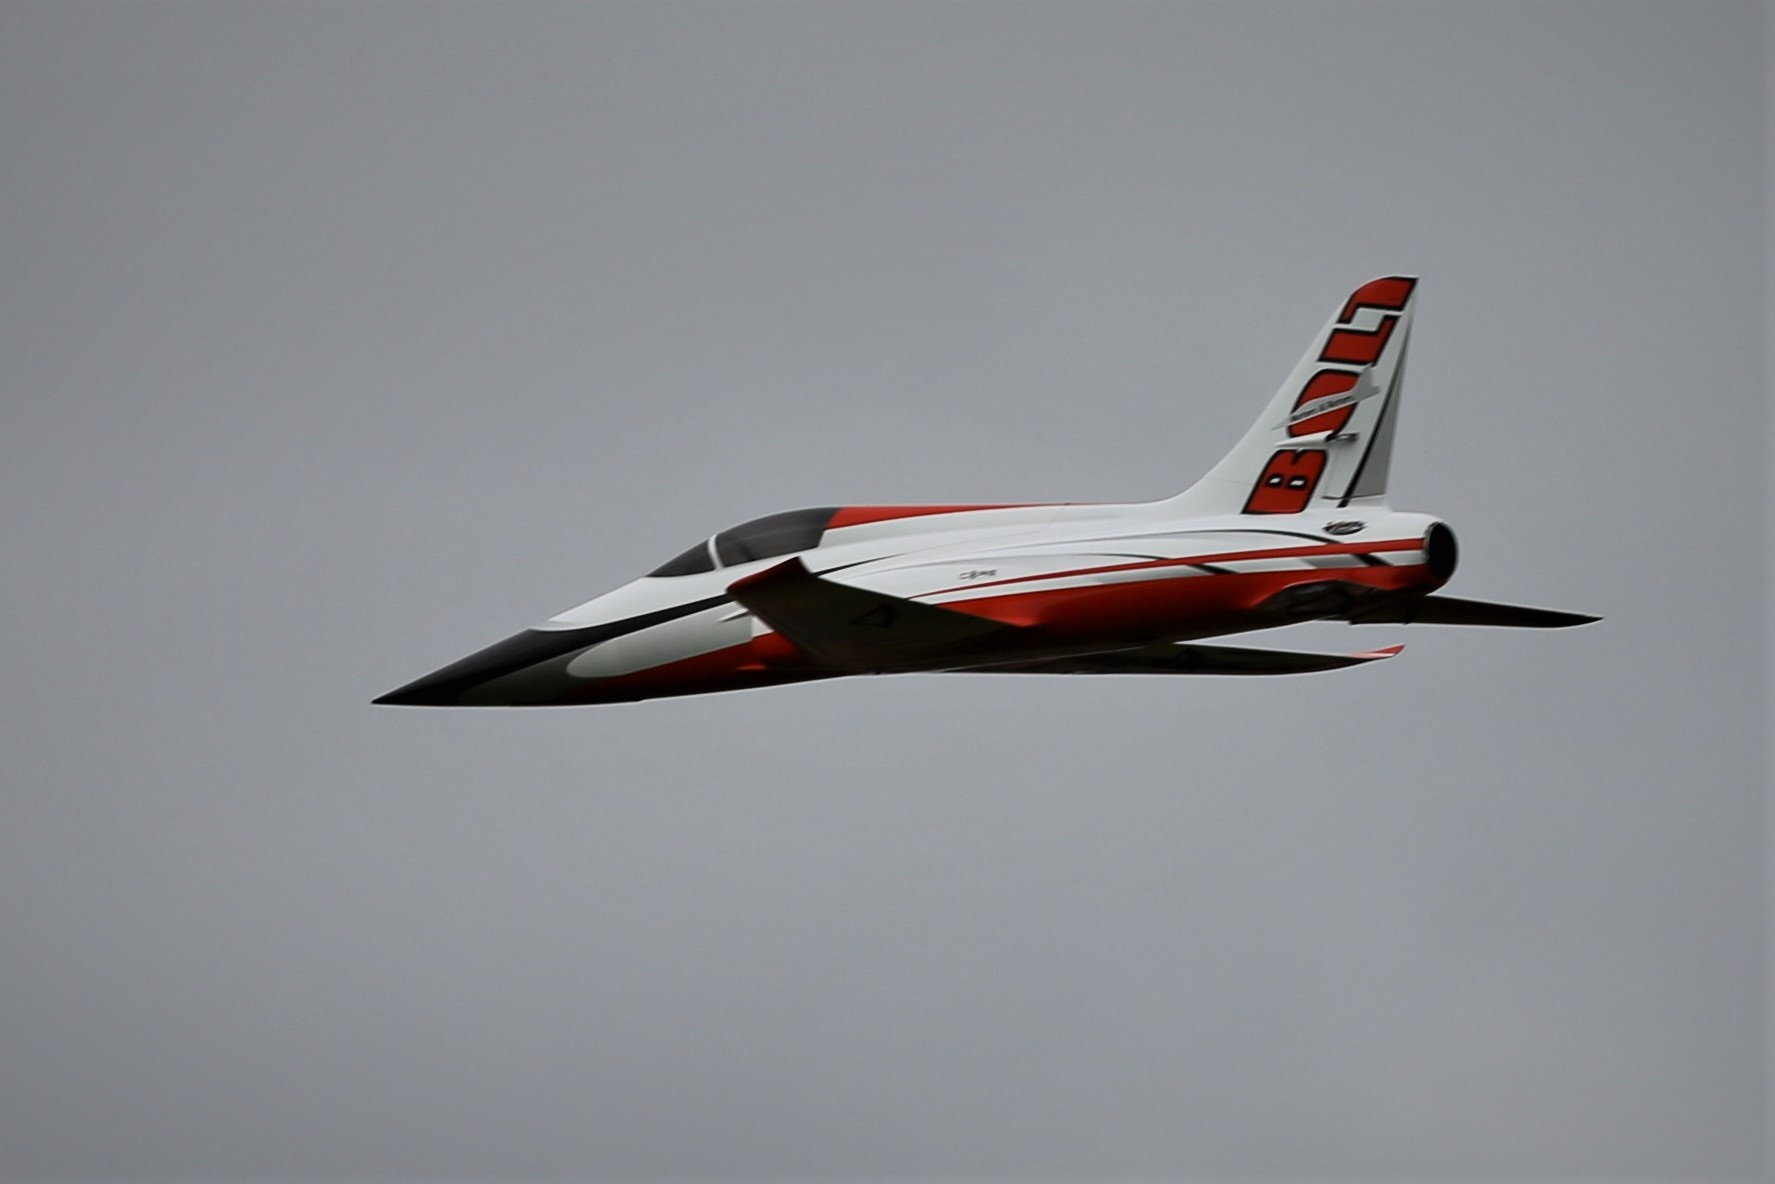
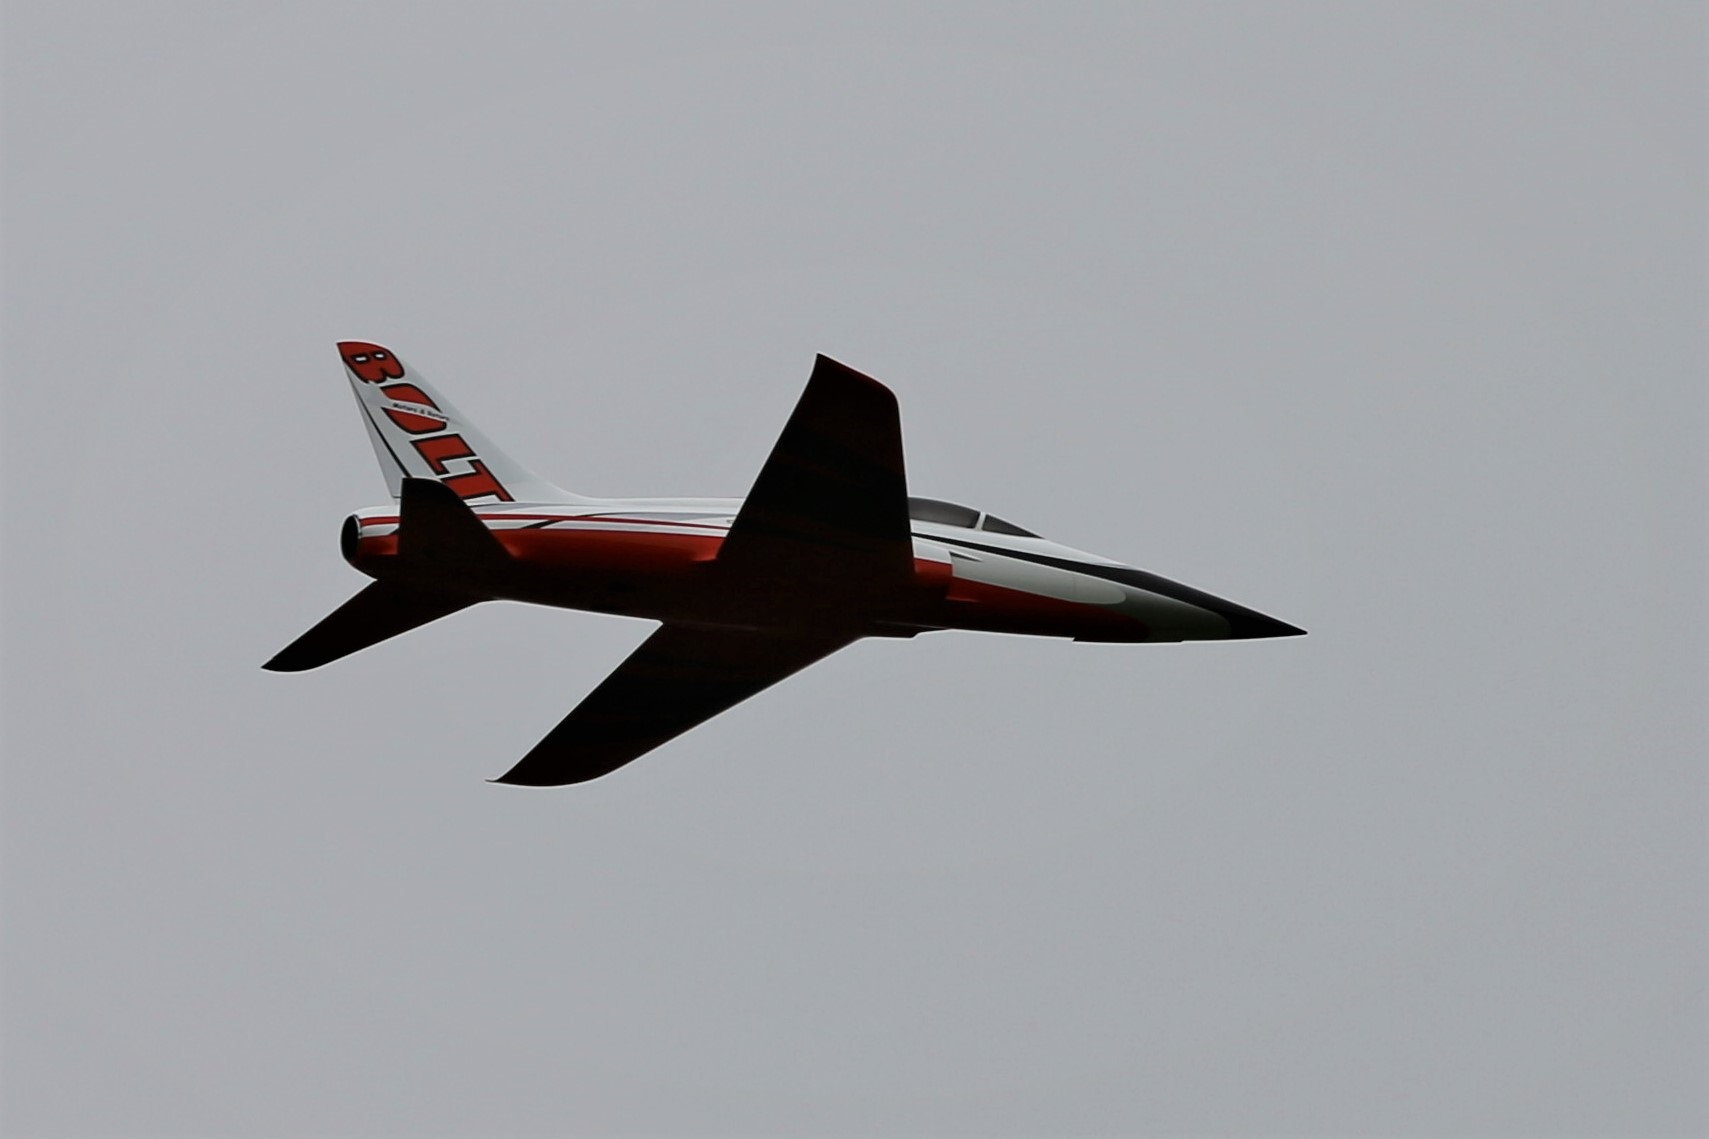
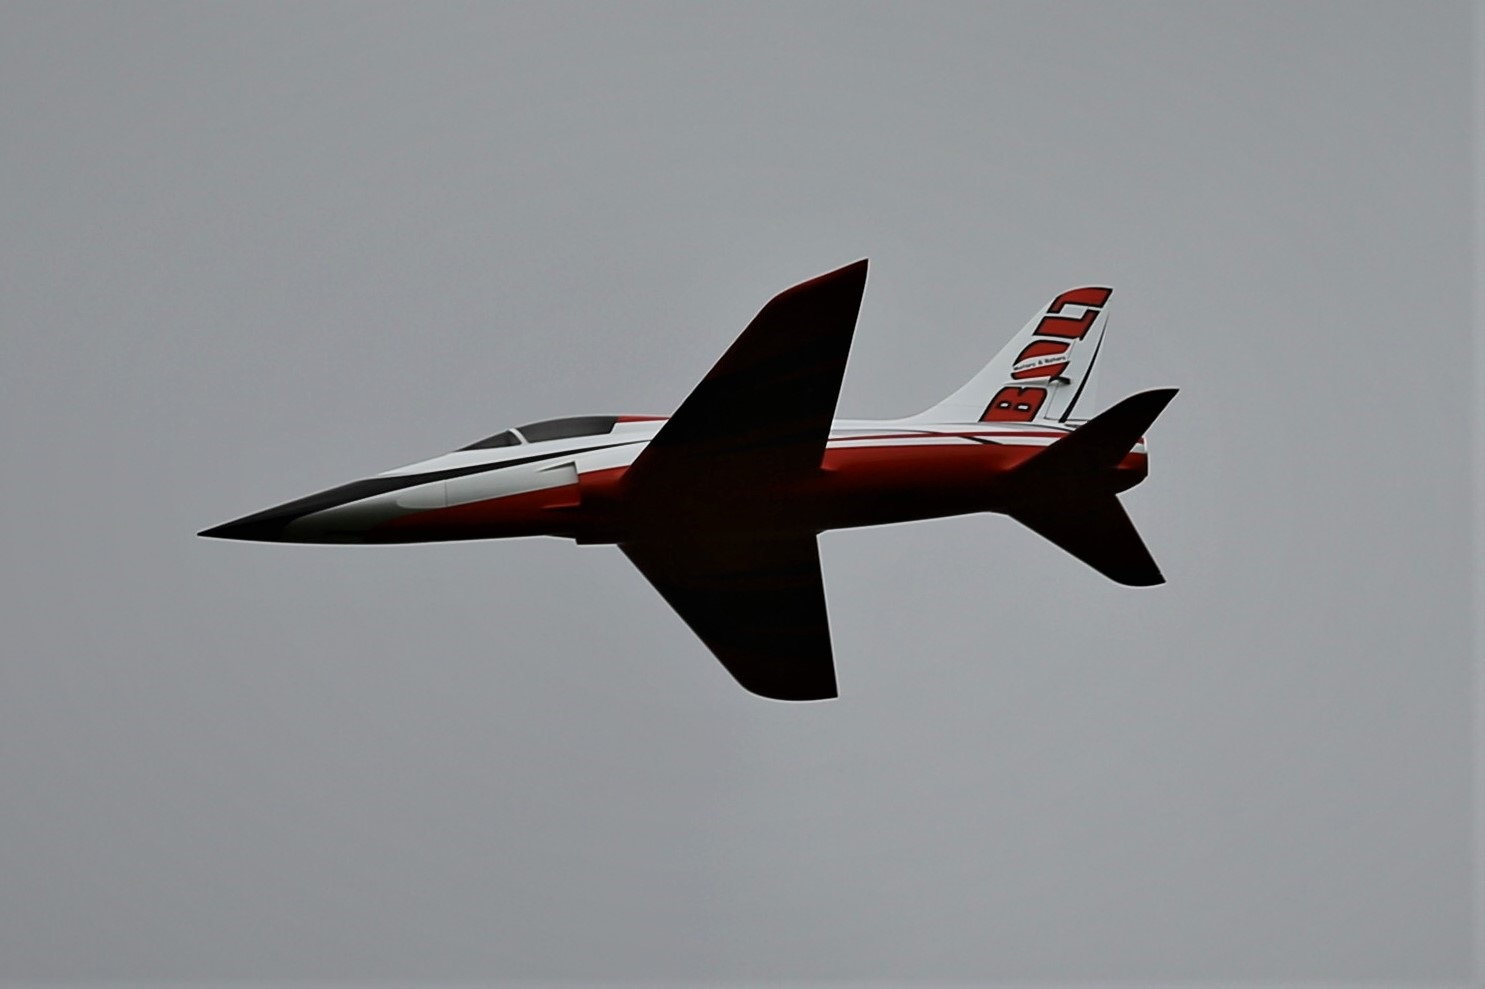
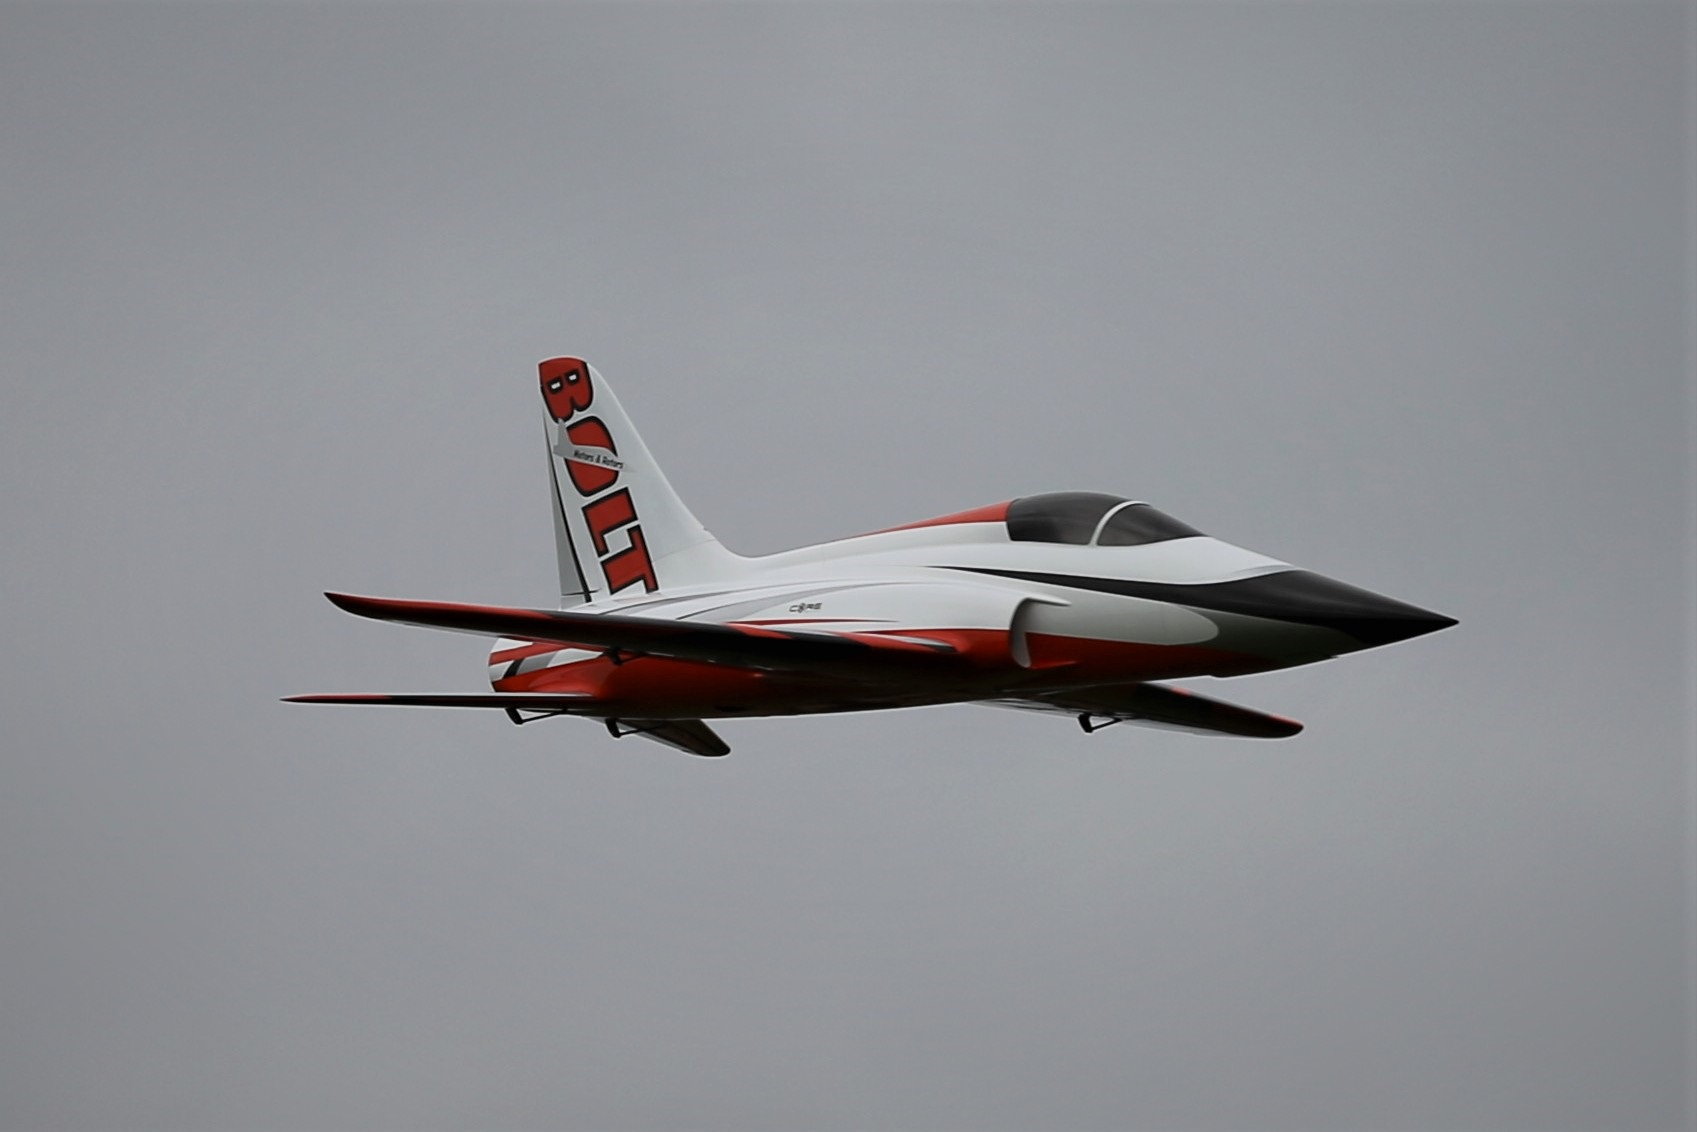
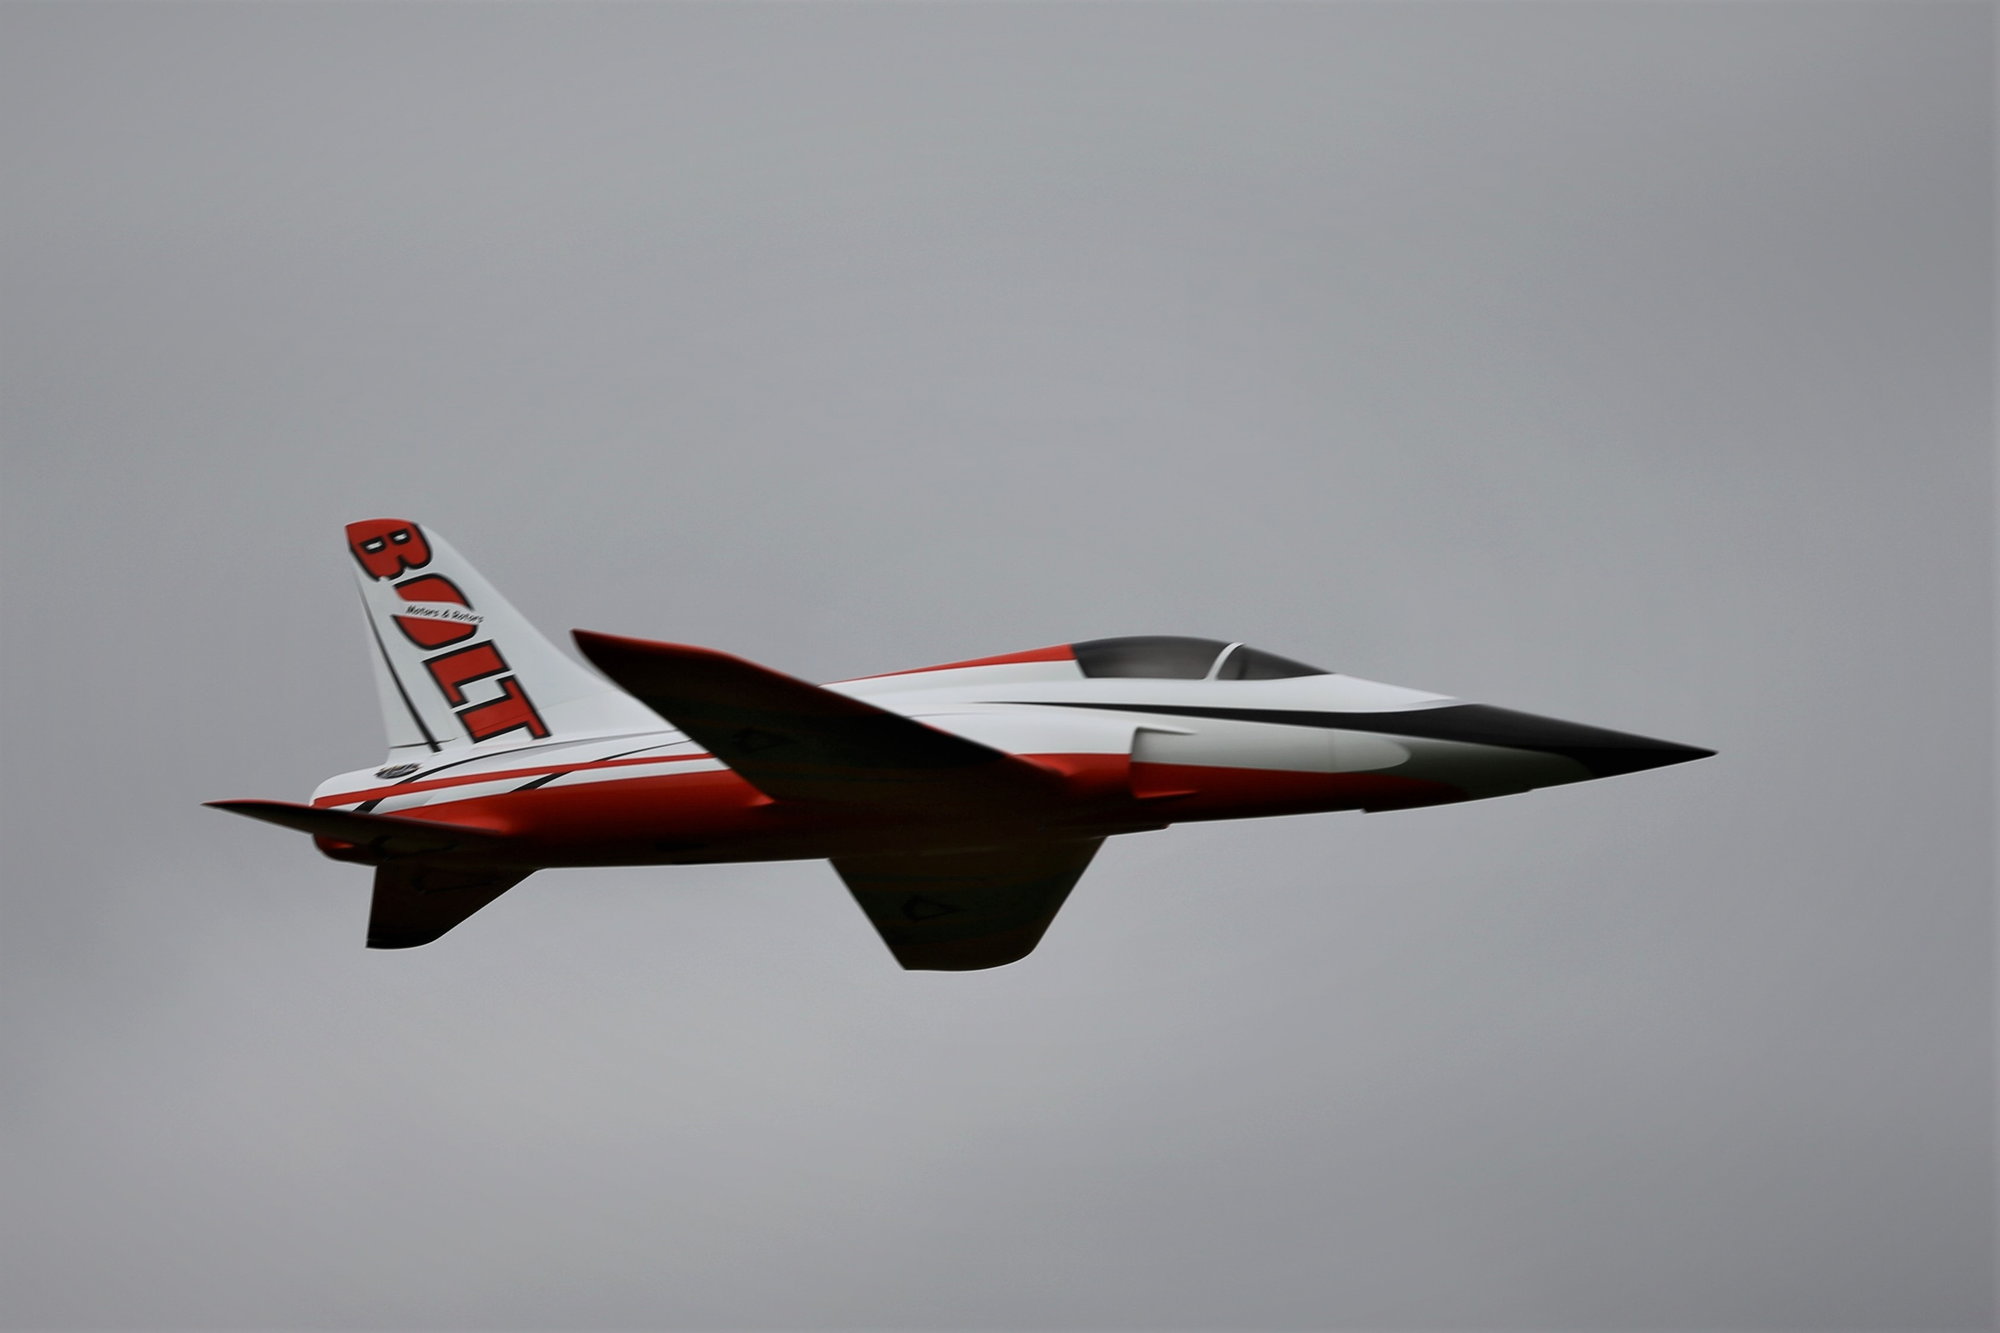
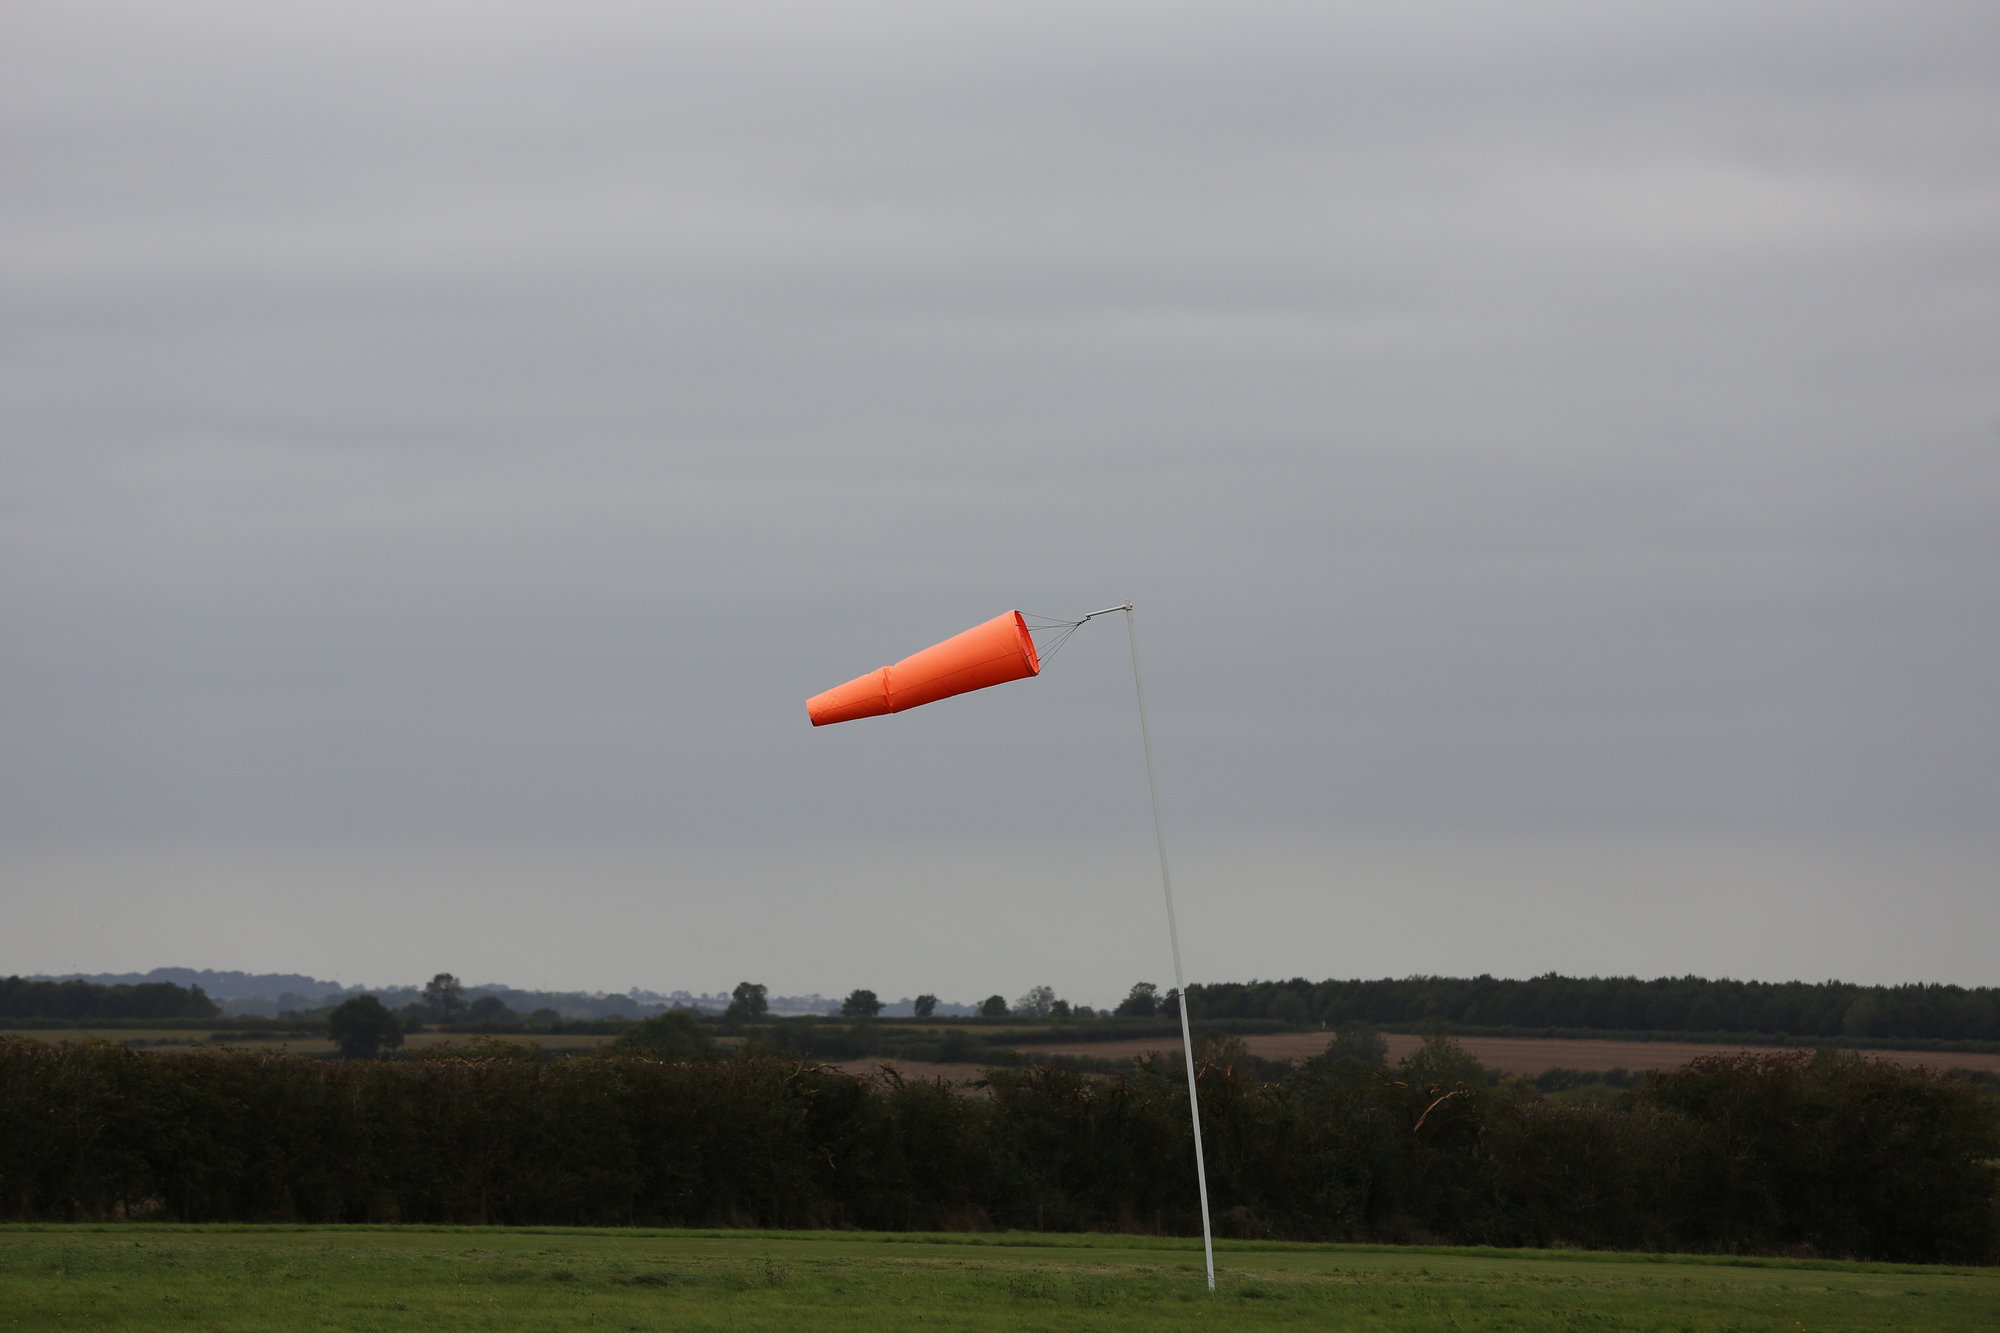
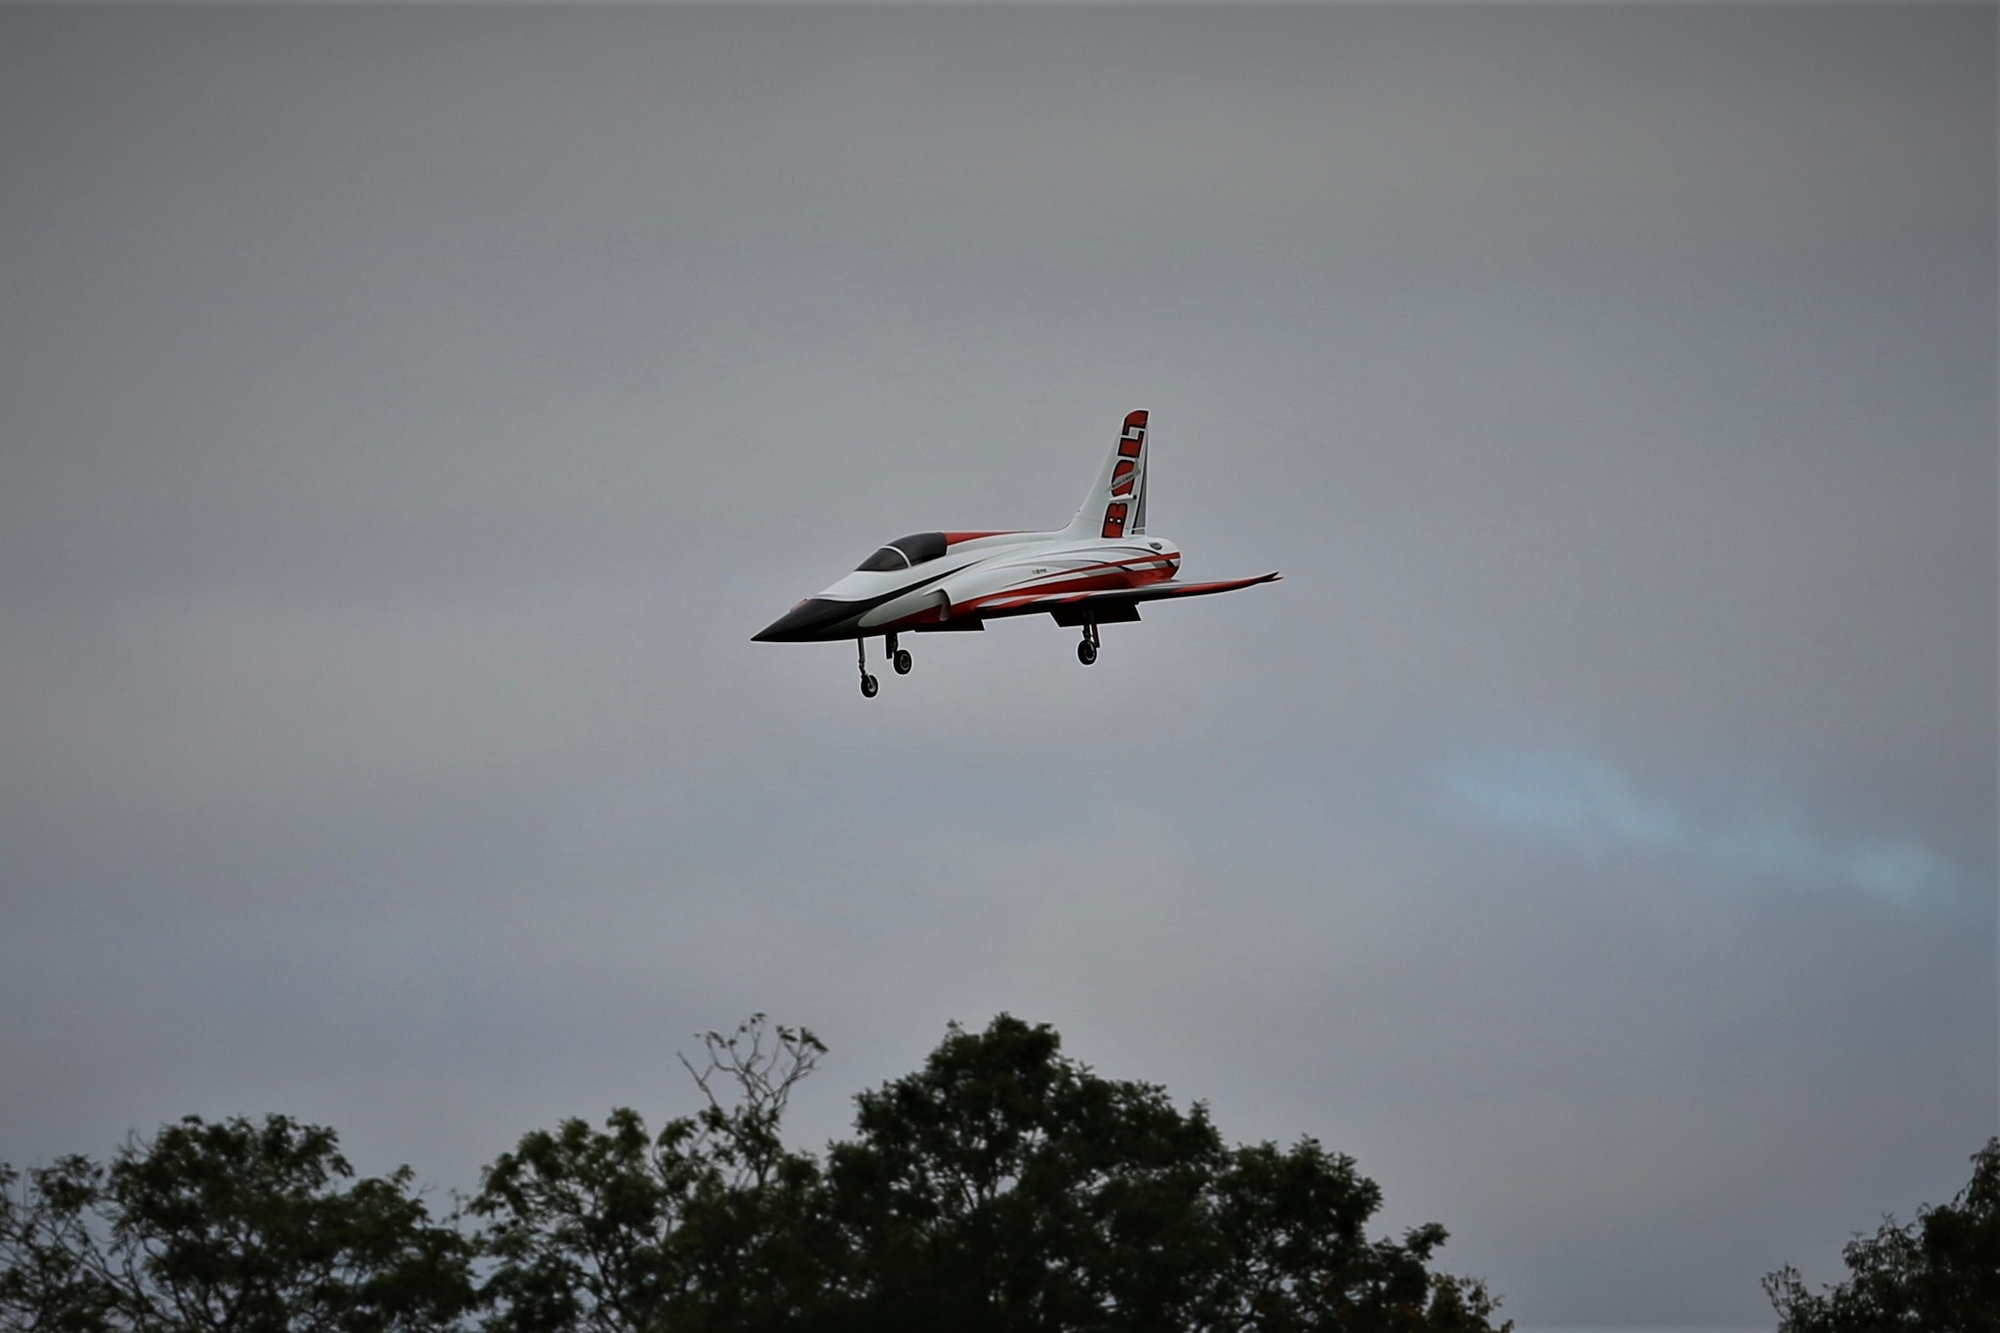
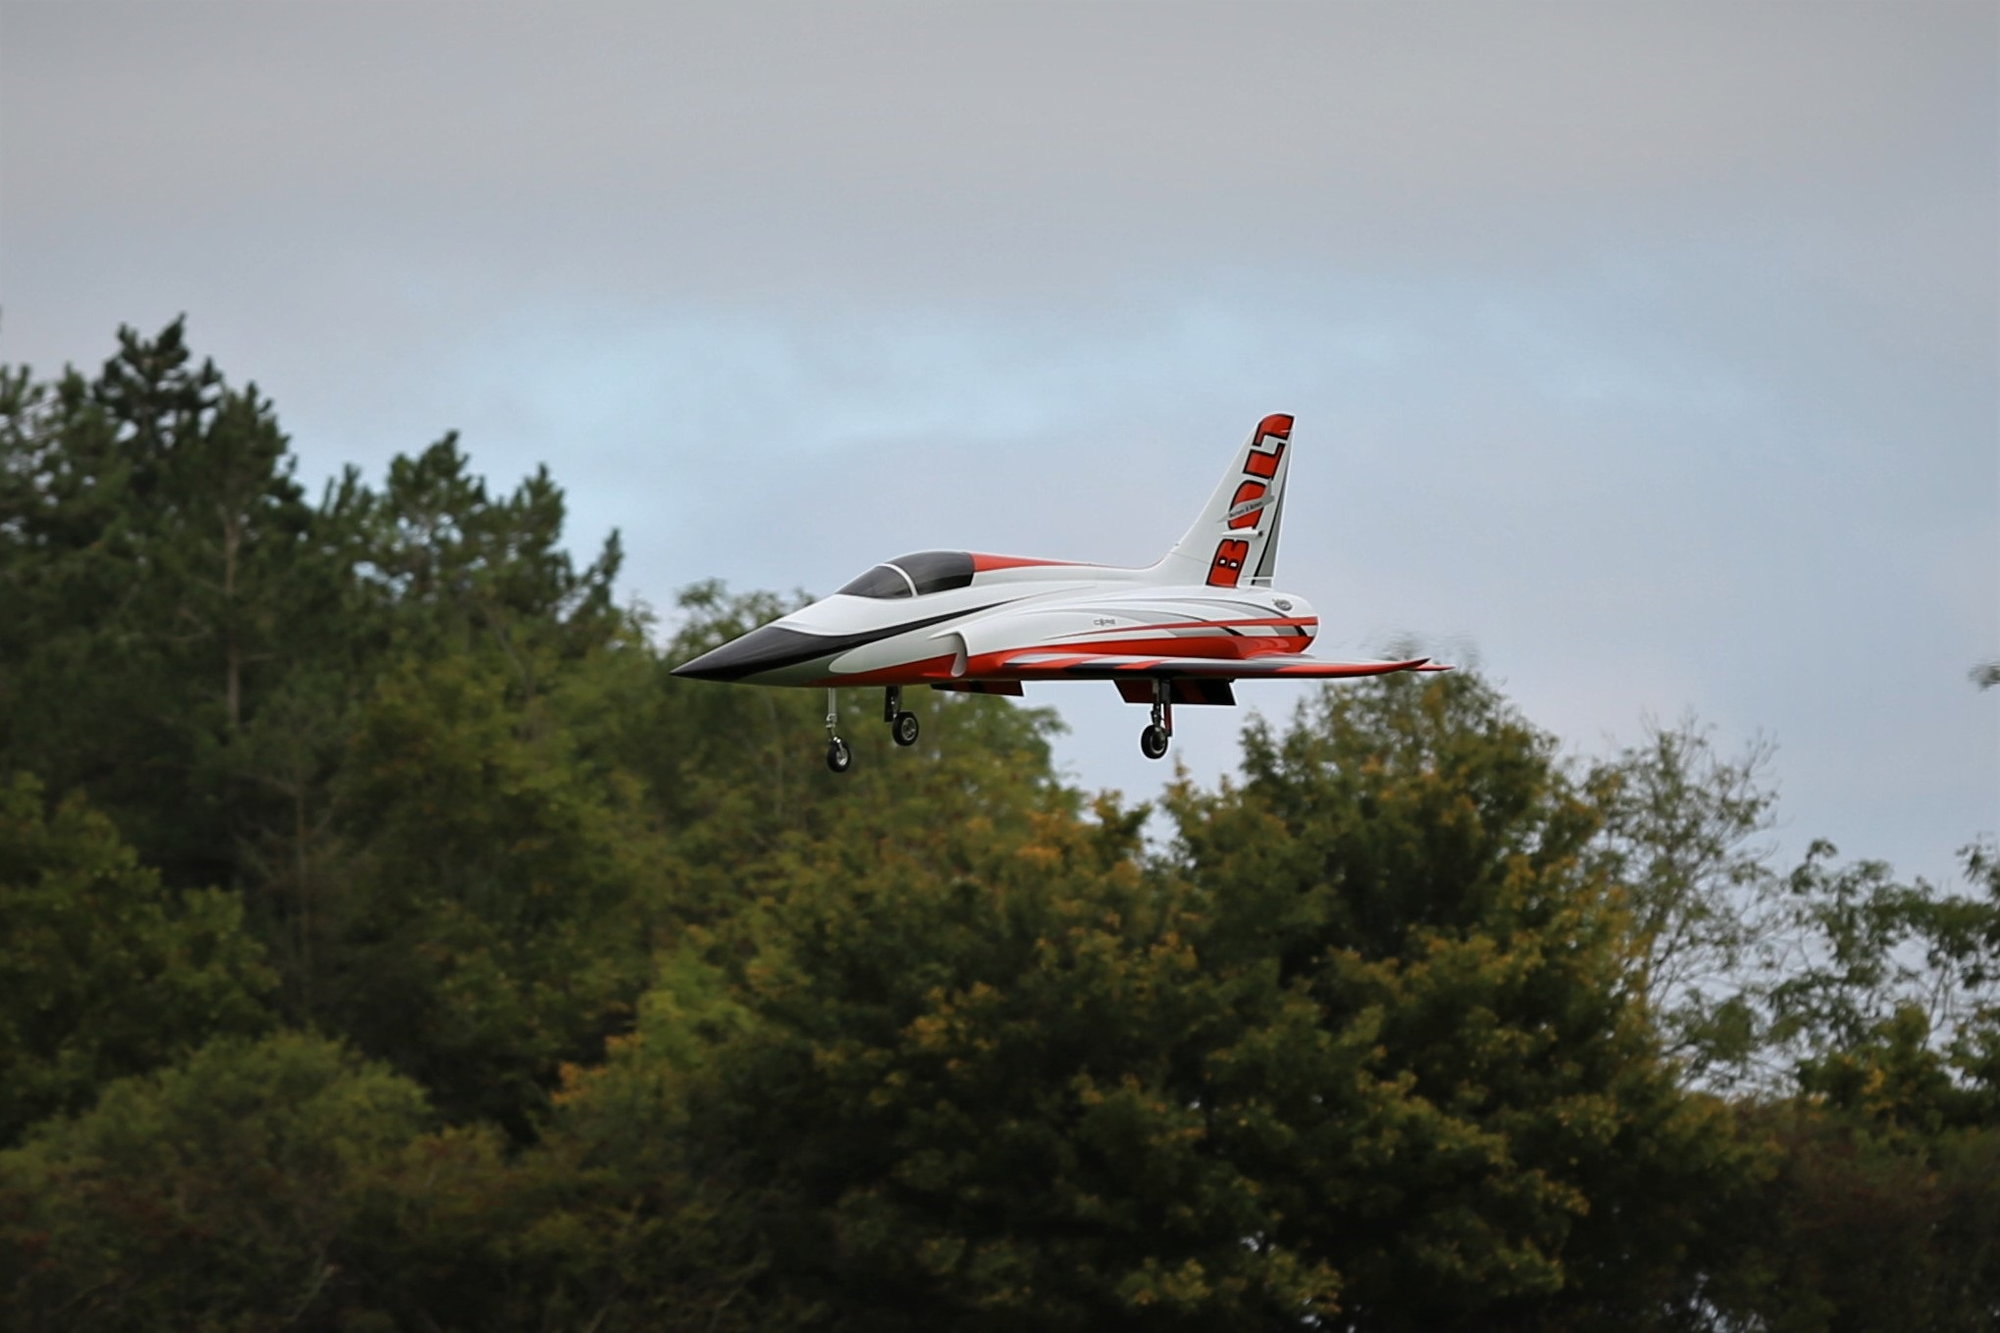
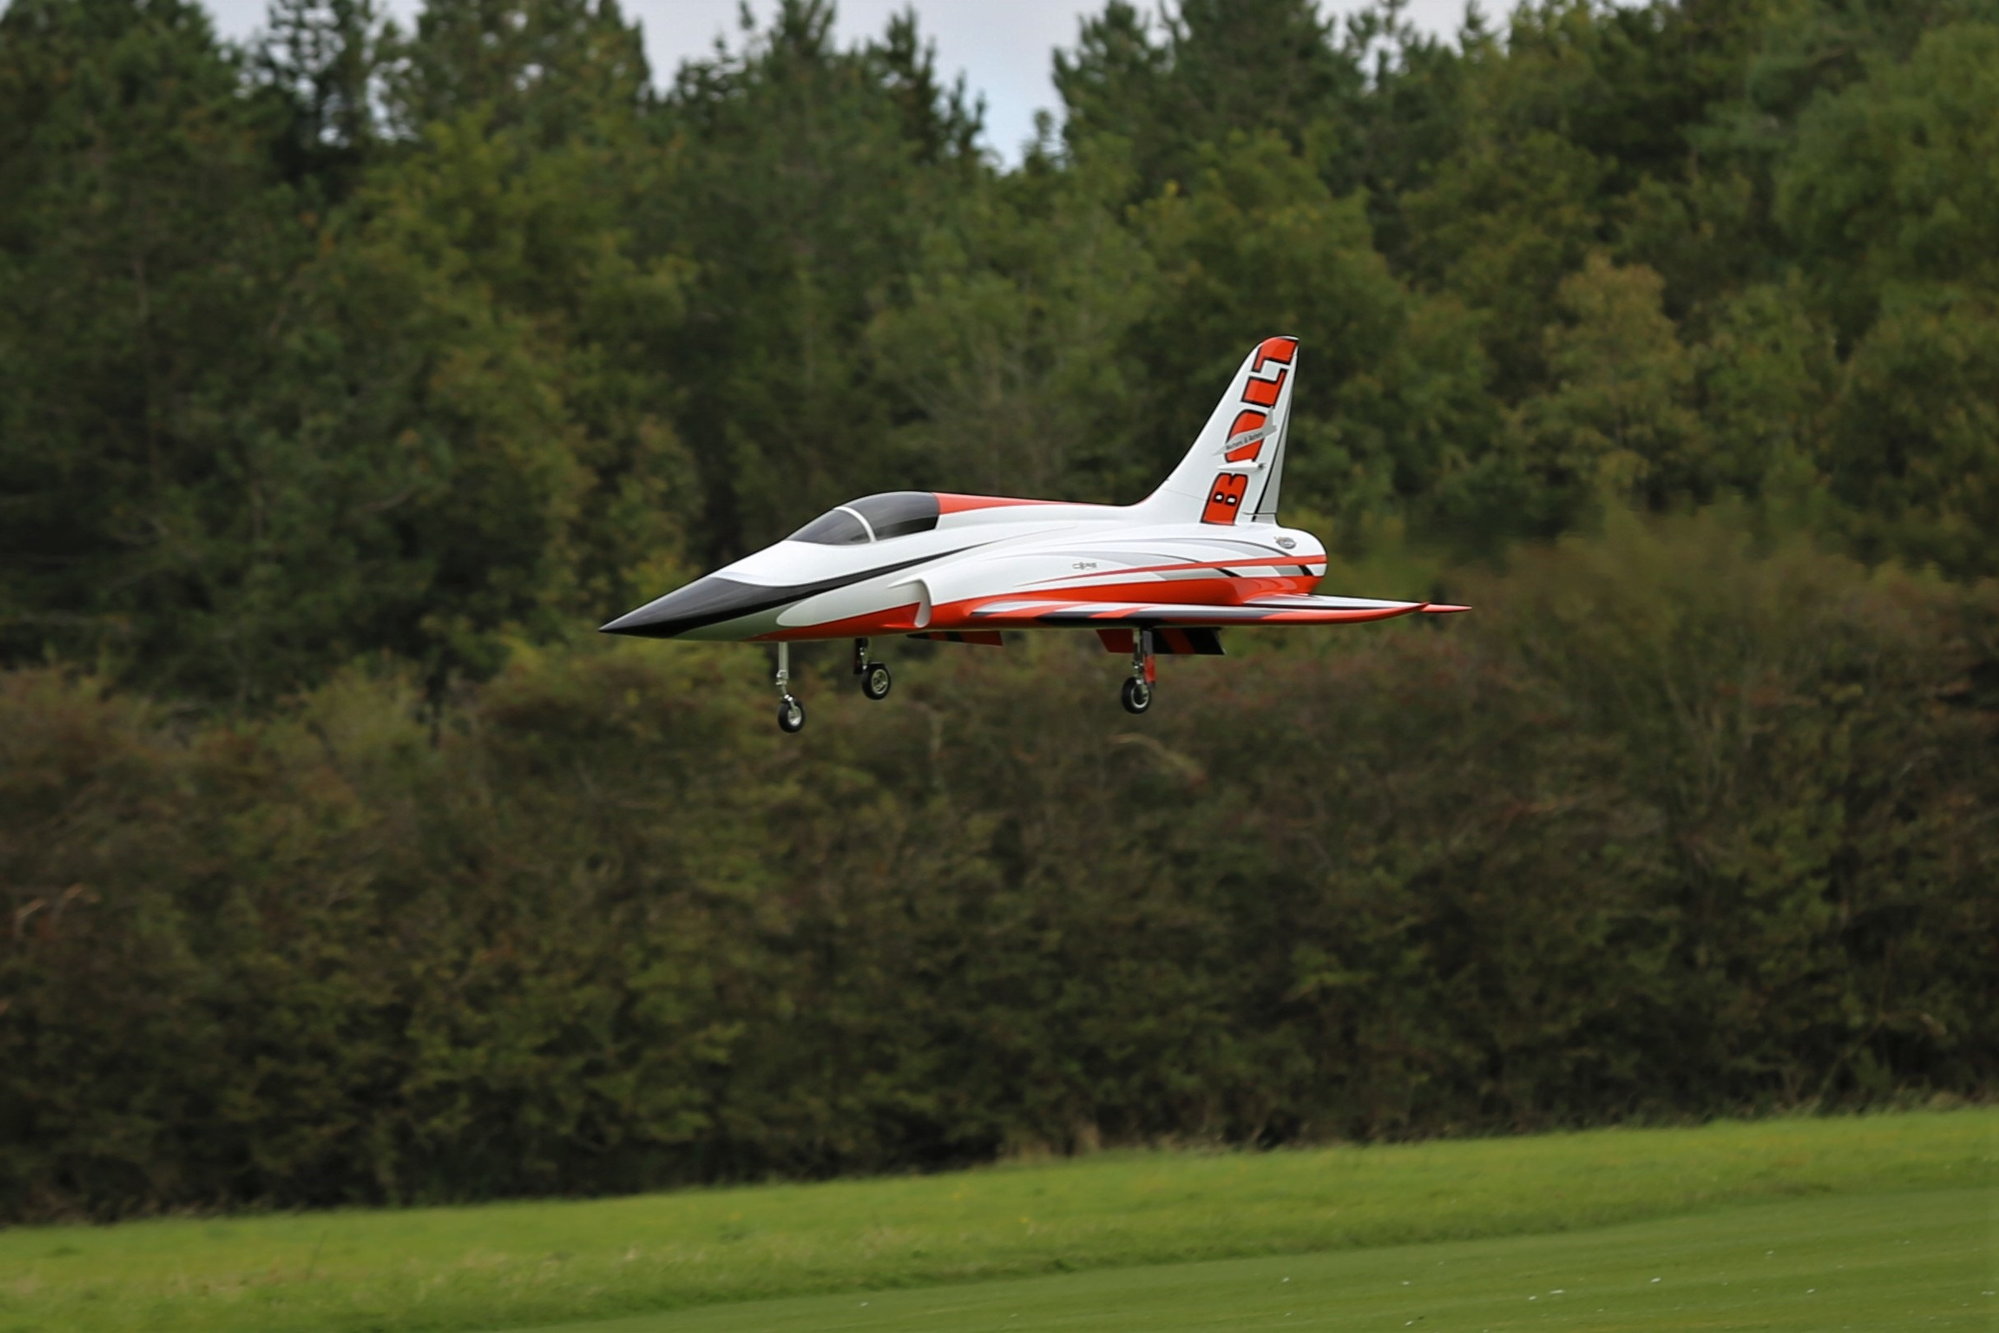
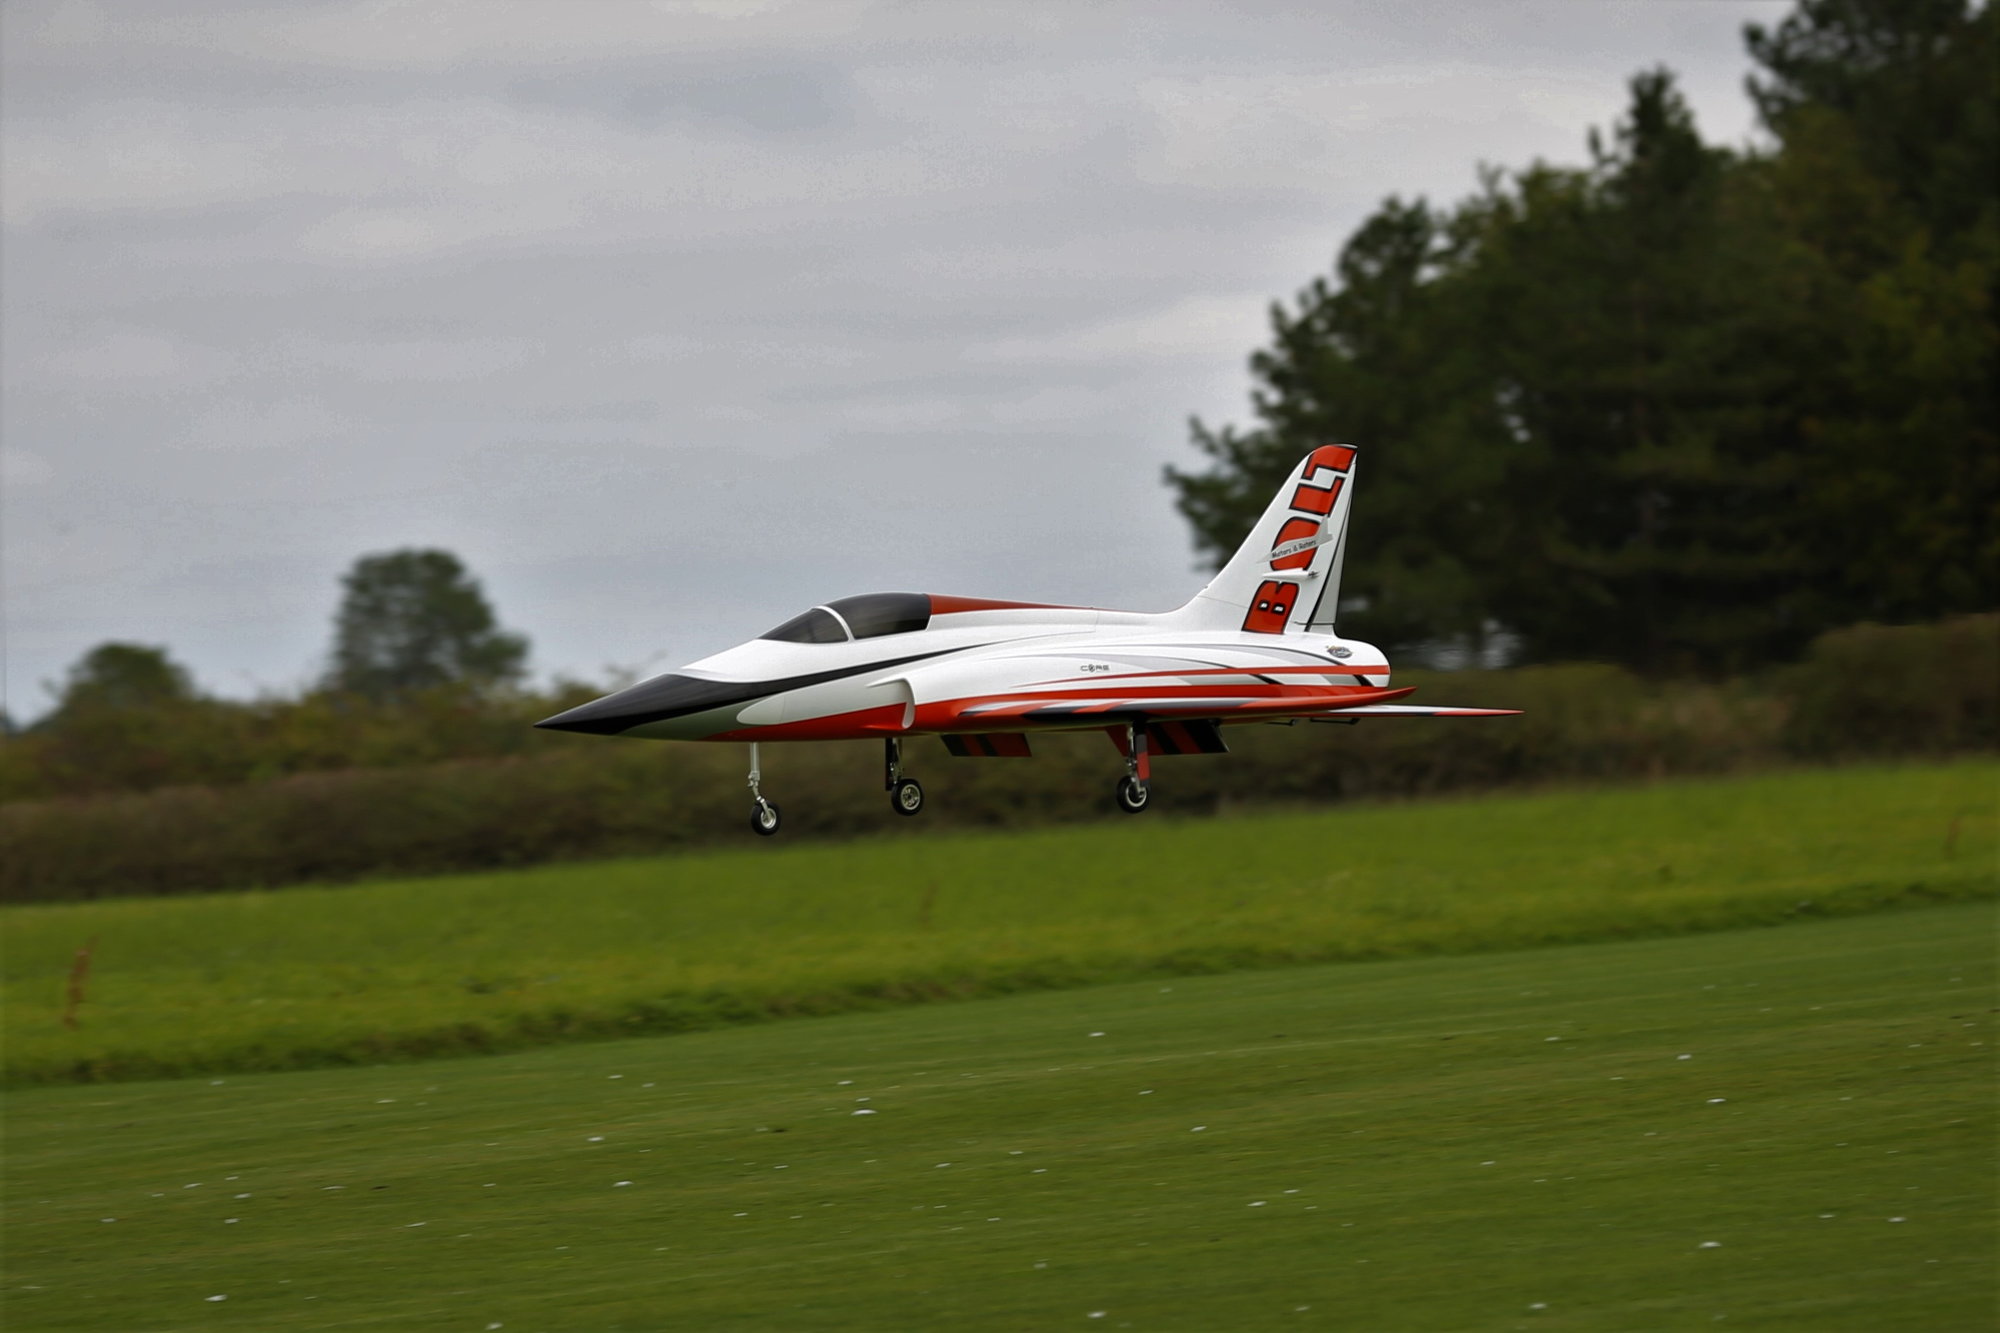
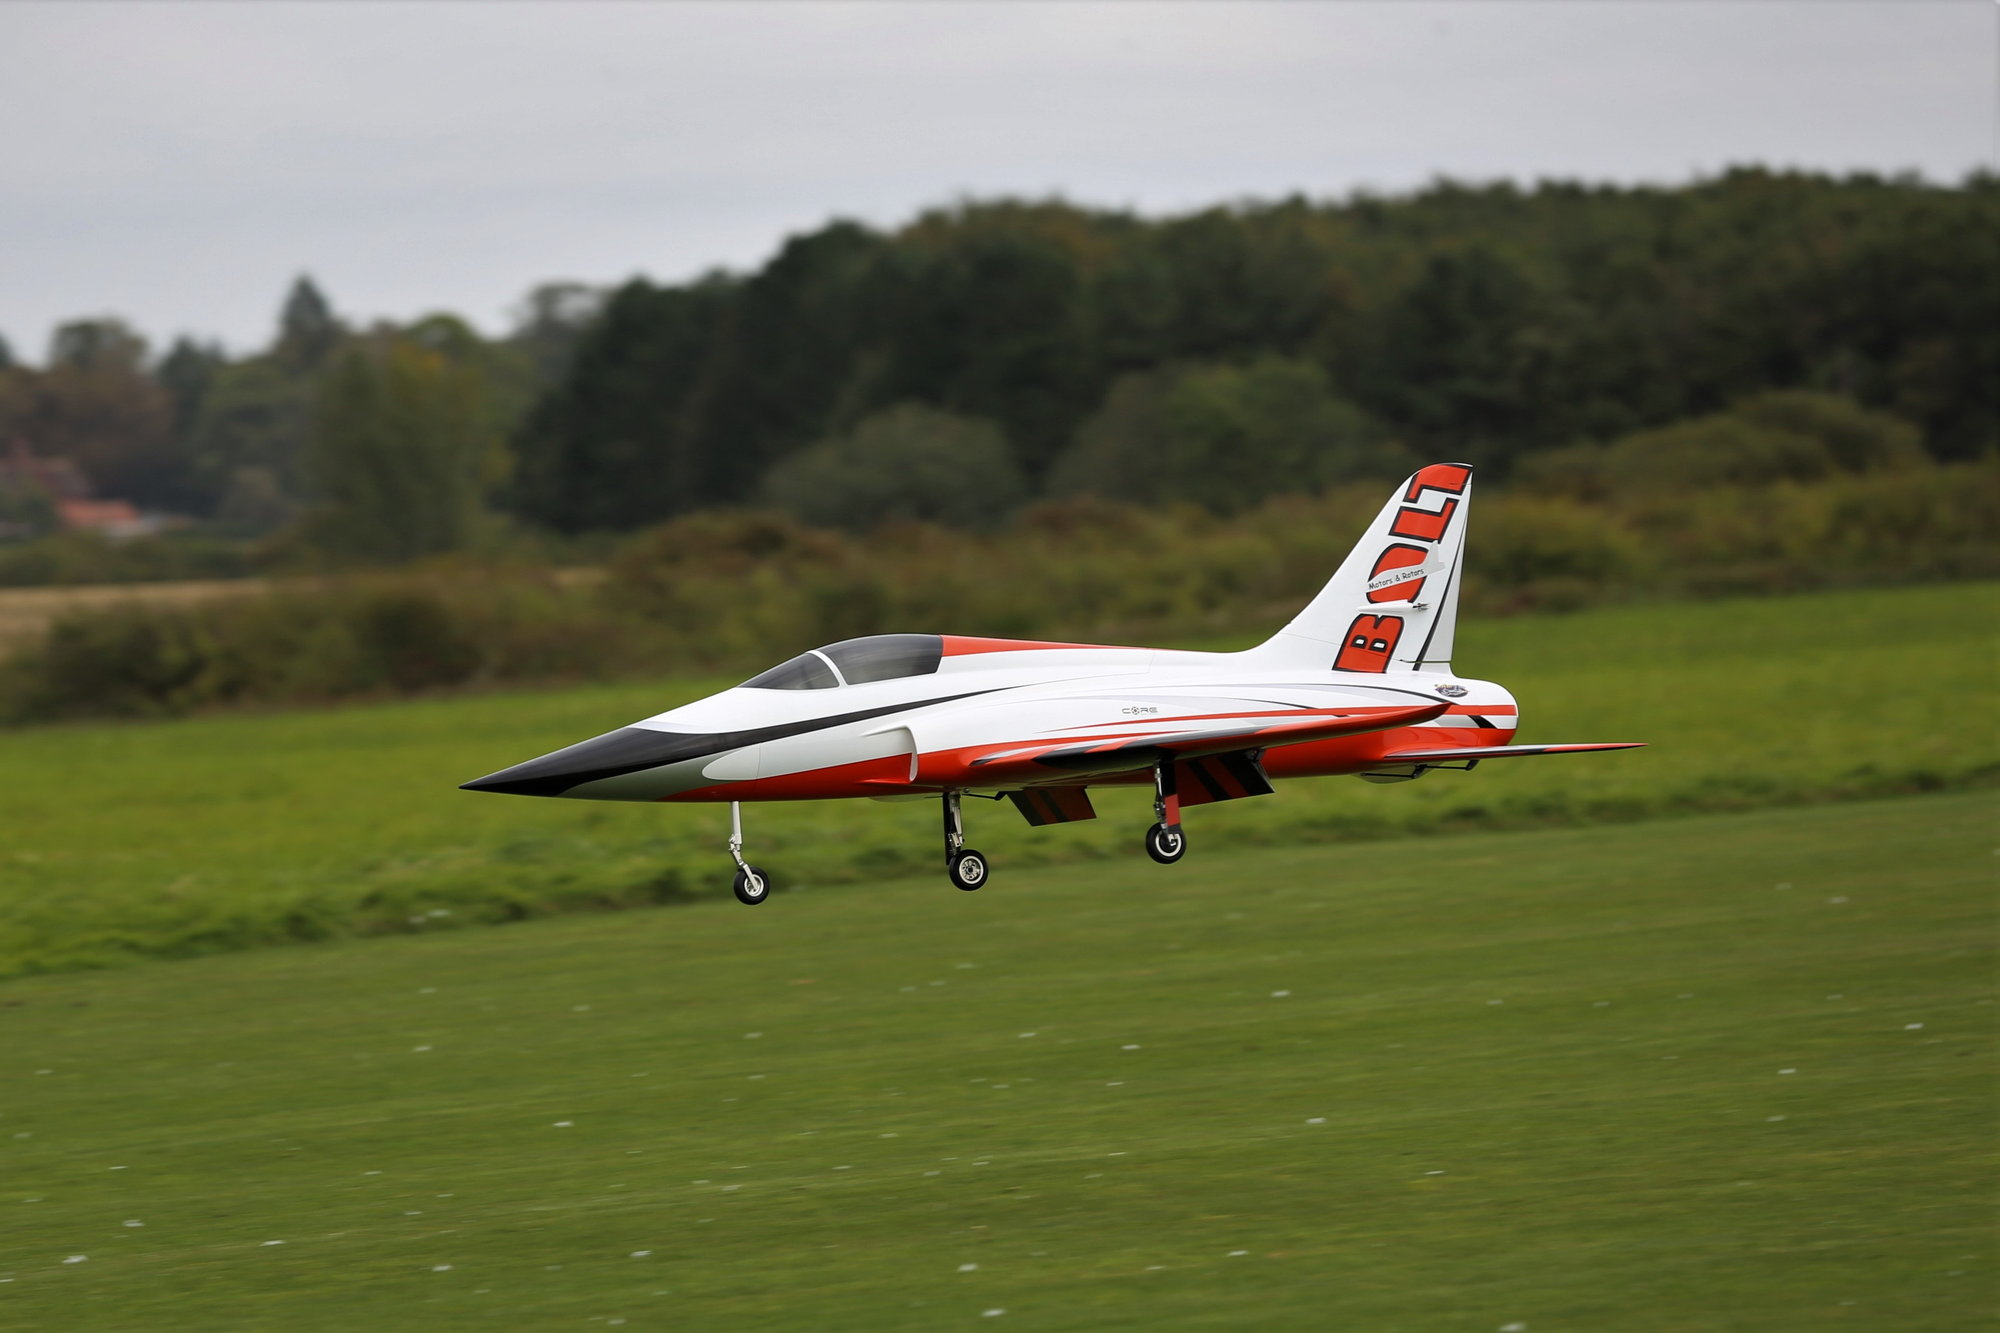
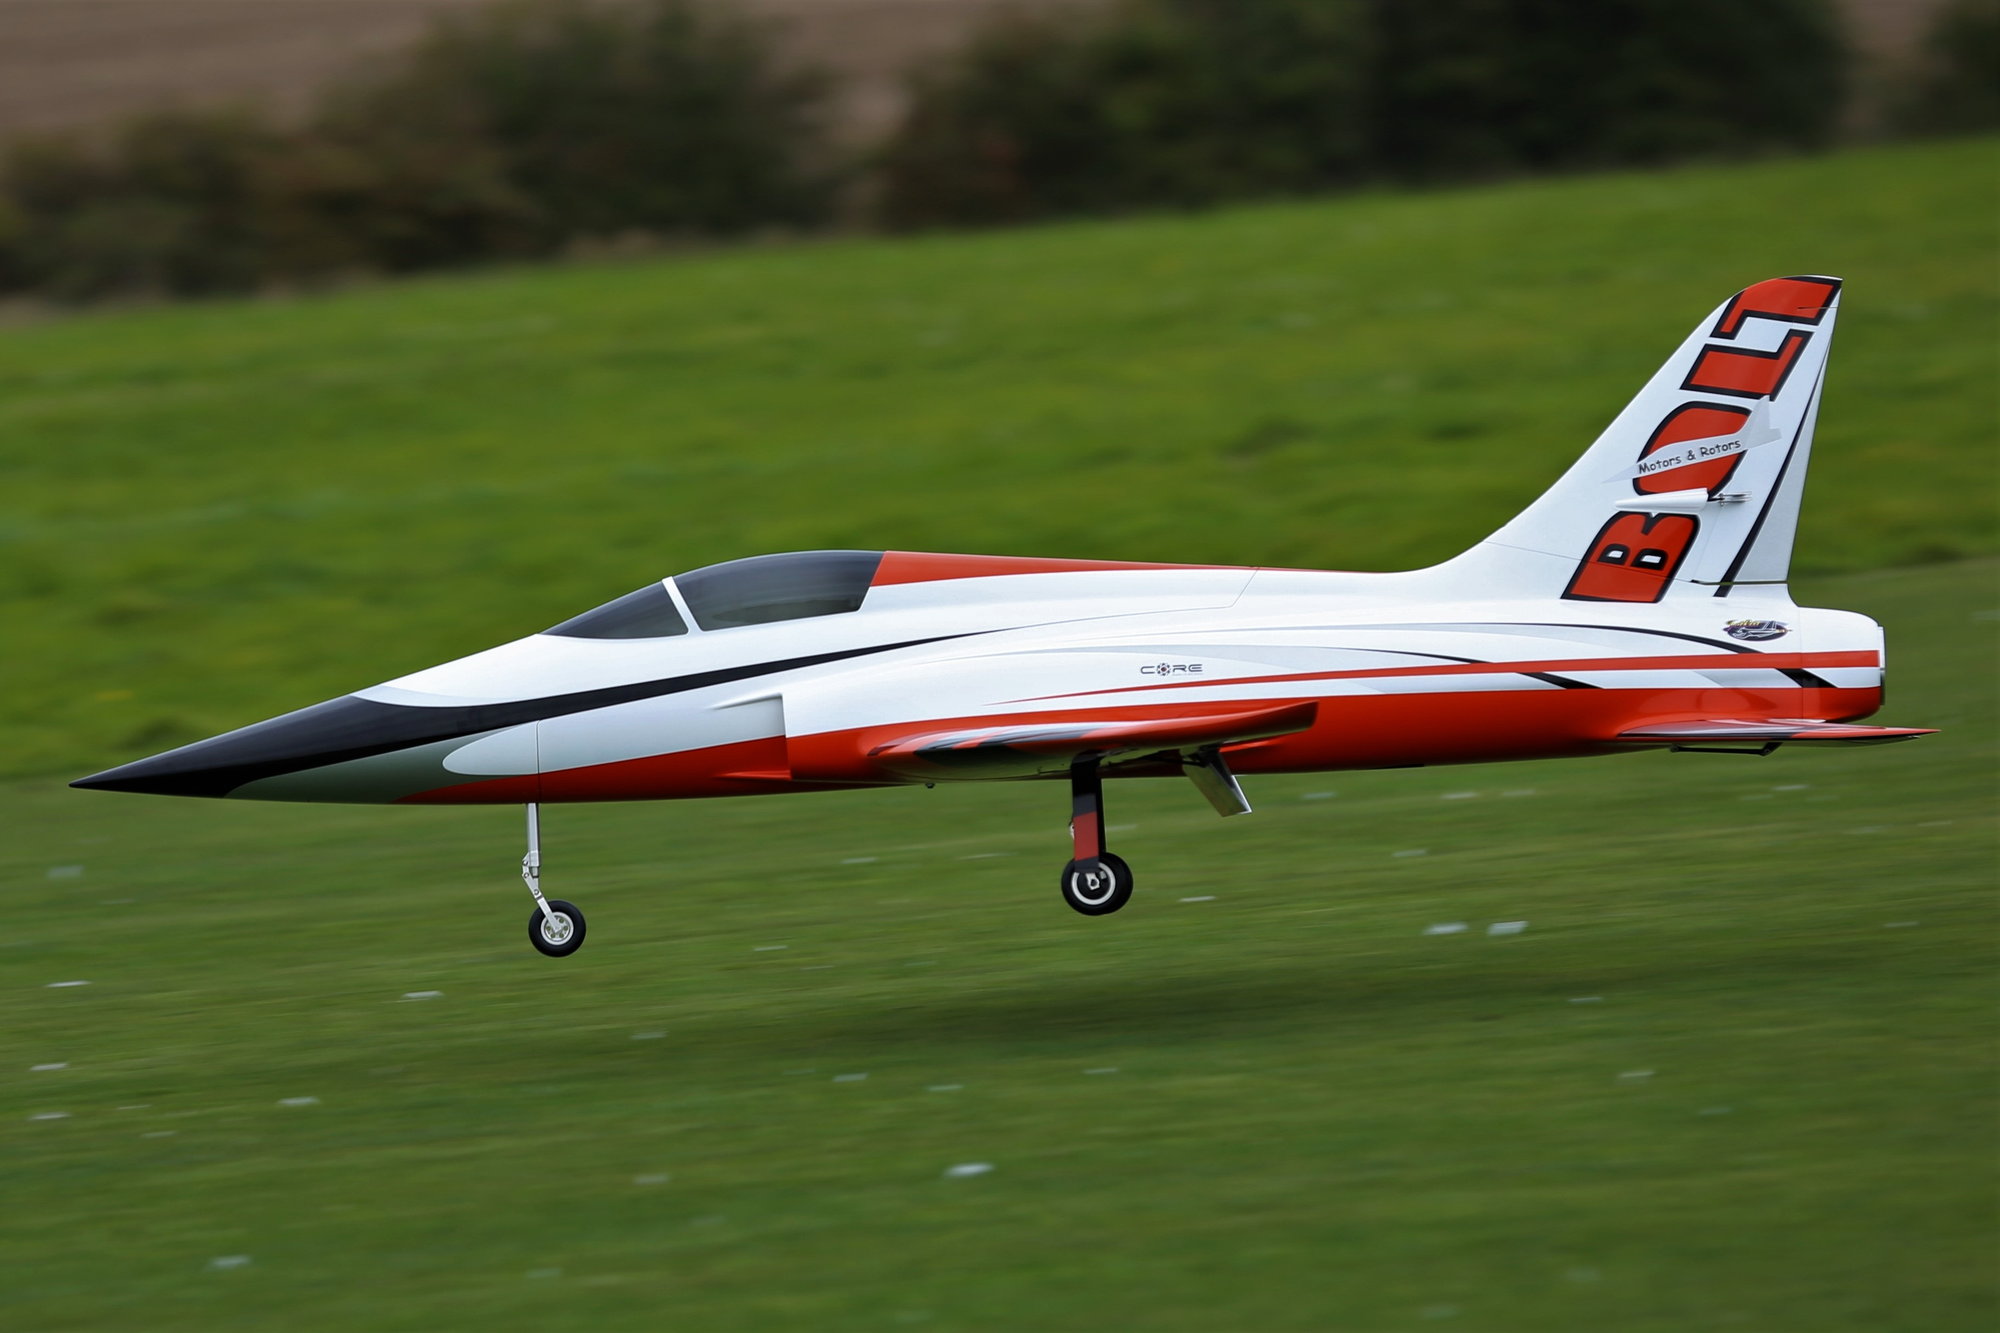
Dave W managed to test fly his CARF Bolt at Buckminster Lodge today, the conditions were not great (Note the Wind Sock in the photograph) however the model had impeccable manners, it was flown mainly on half throttle to check the systems and trim.
When given the beans it is very fast, and very smooth too.
Here a few photographs, the light was not great at the time.
Alistair Powers

When given the beans it is very fast, and very smooth too.
Here a few photographs, the light was not great at the time.
Alistair Powers
The following 4 users liked this post by JP-1:
09-27-2020, 07:55 AM
#72
Thread Starter
Thanks AP. Crazy really, but the Bolt! coped with it perfectly. Photos are great to look at, I can see the rudder held in for the cross wind! Also I need to check nose gear door linkage/ servo mount.
Thanks
D
Thanks
D