BVM T-33 Build
 04-25-2021, 03:48 AM
#1
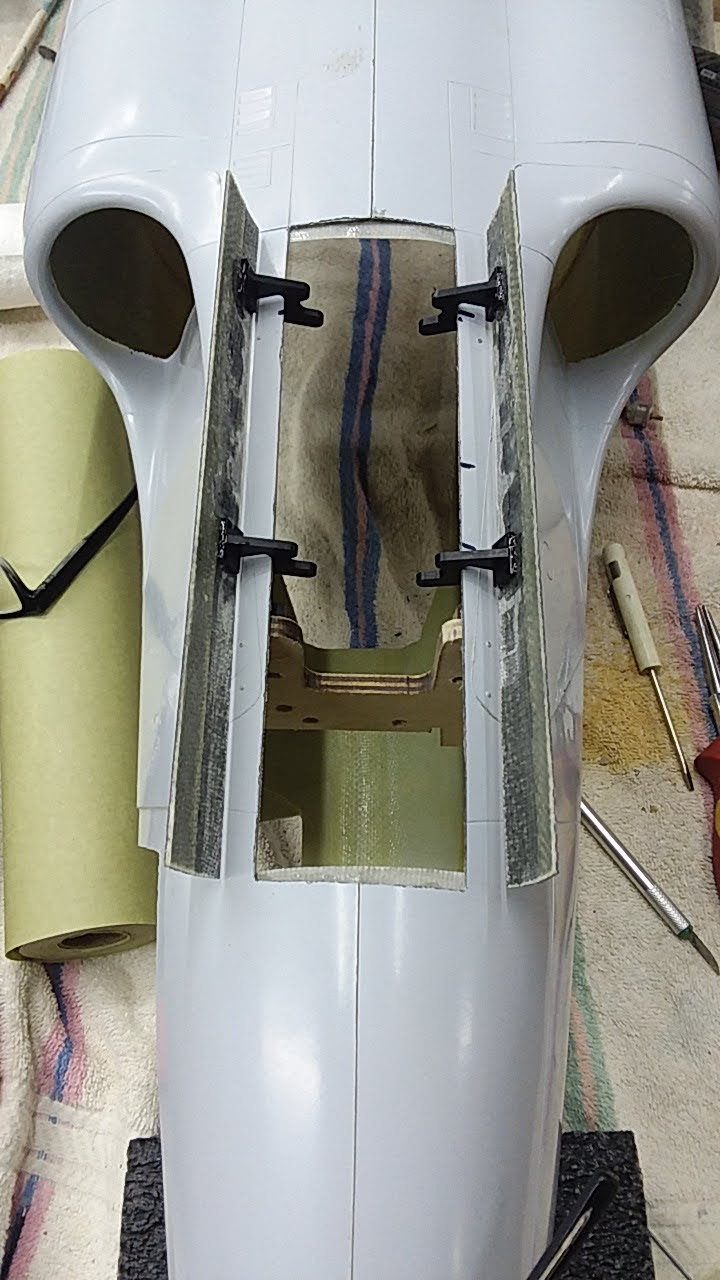
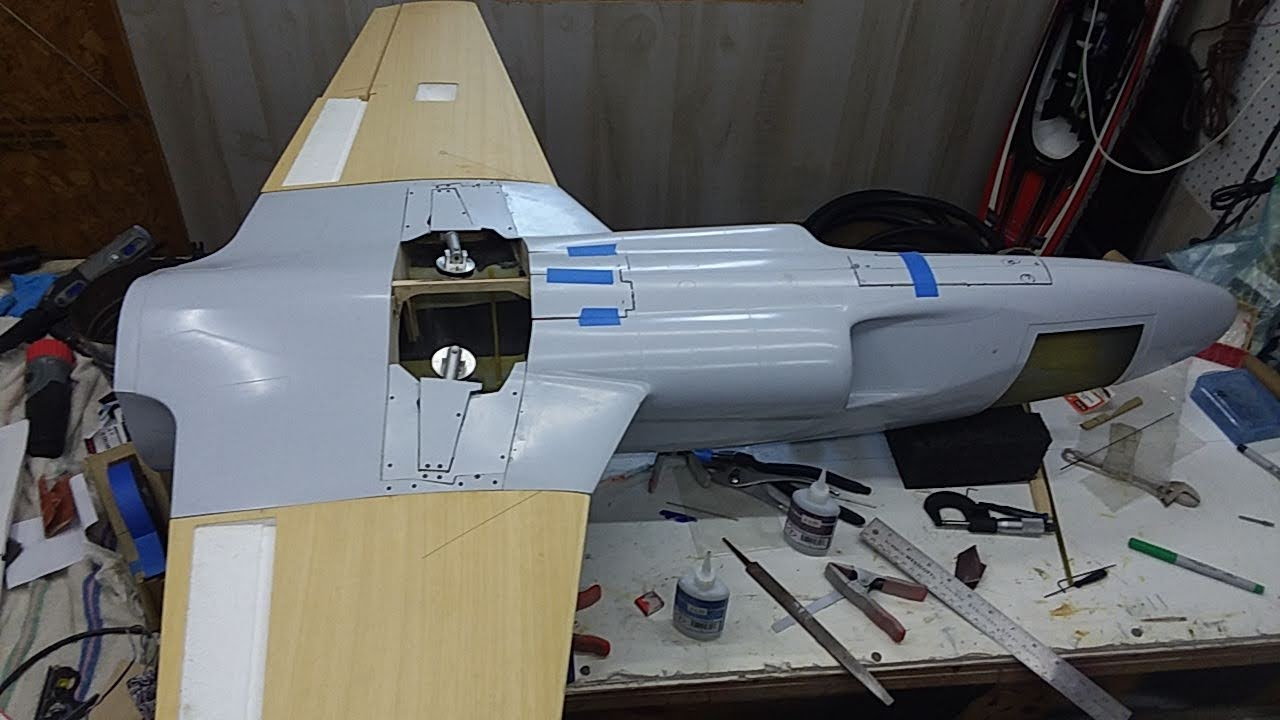
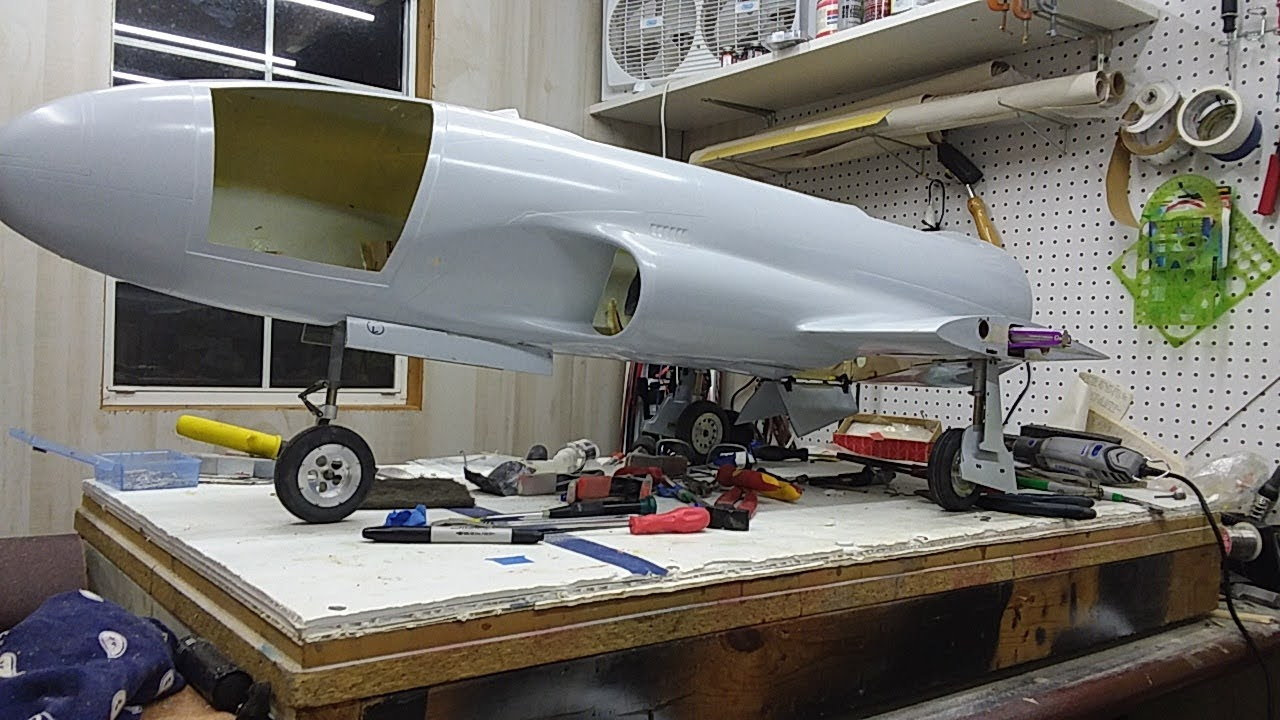
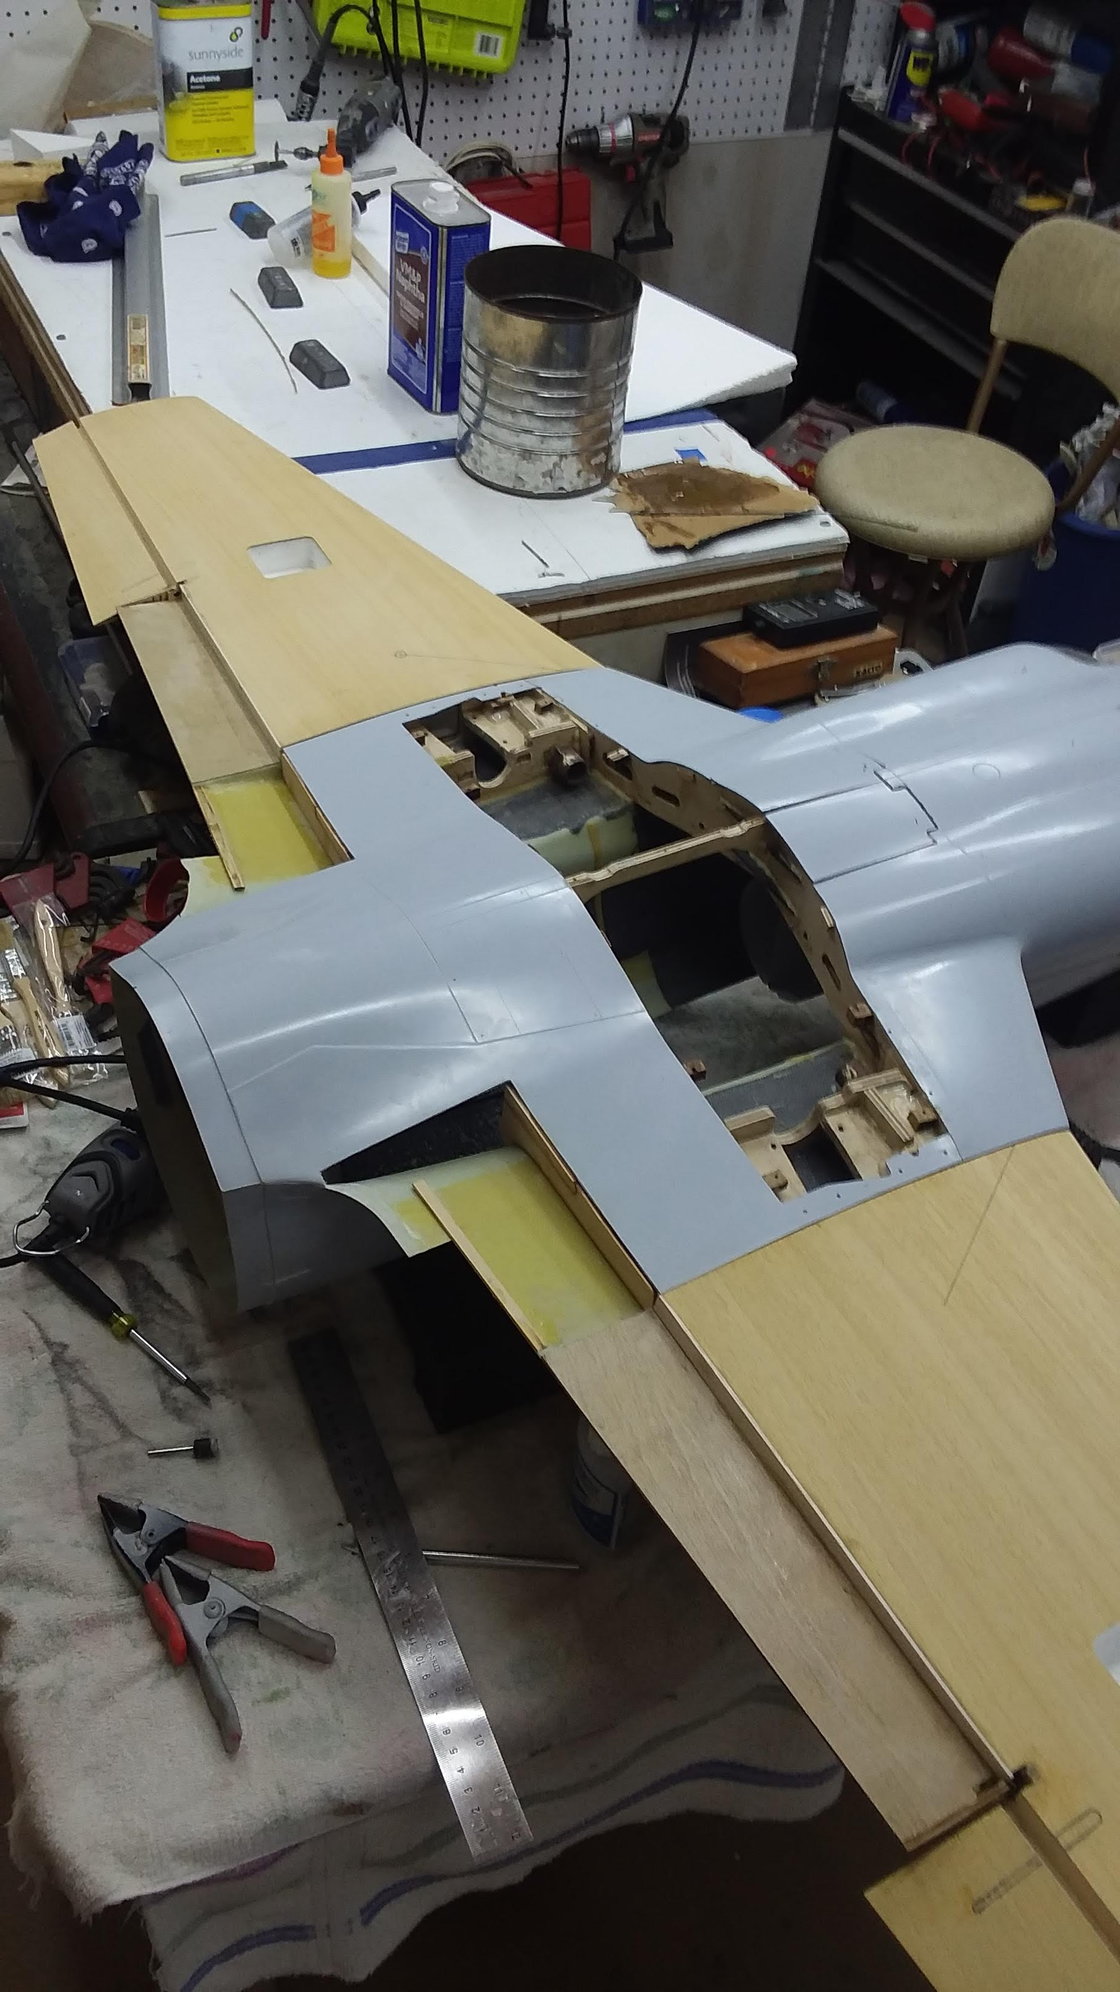
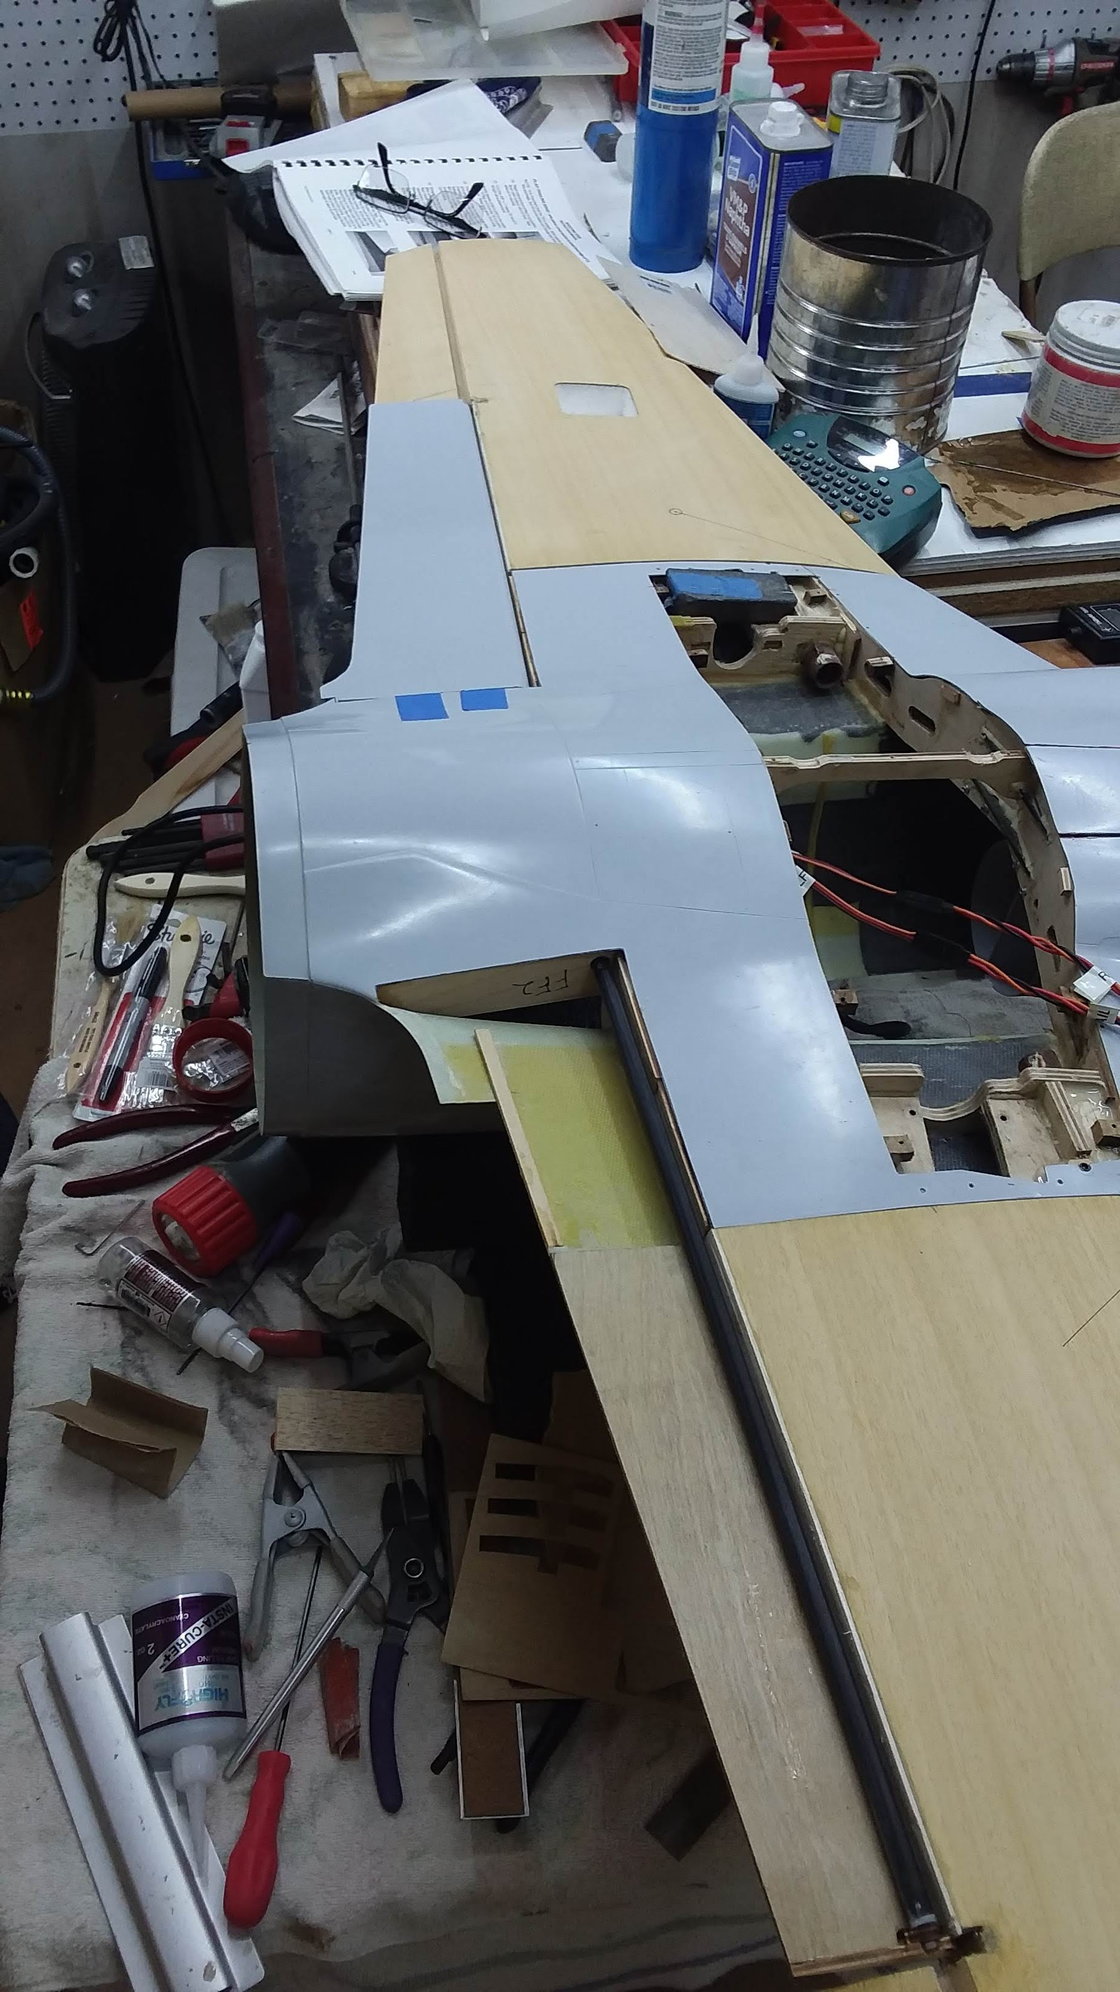
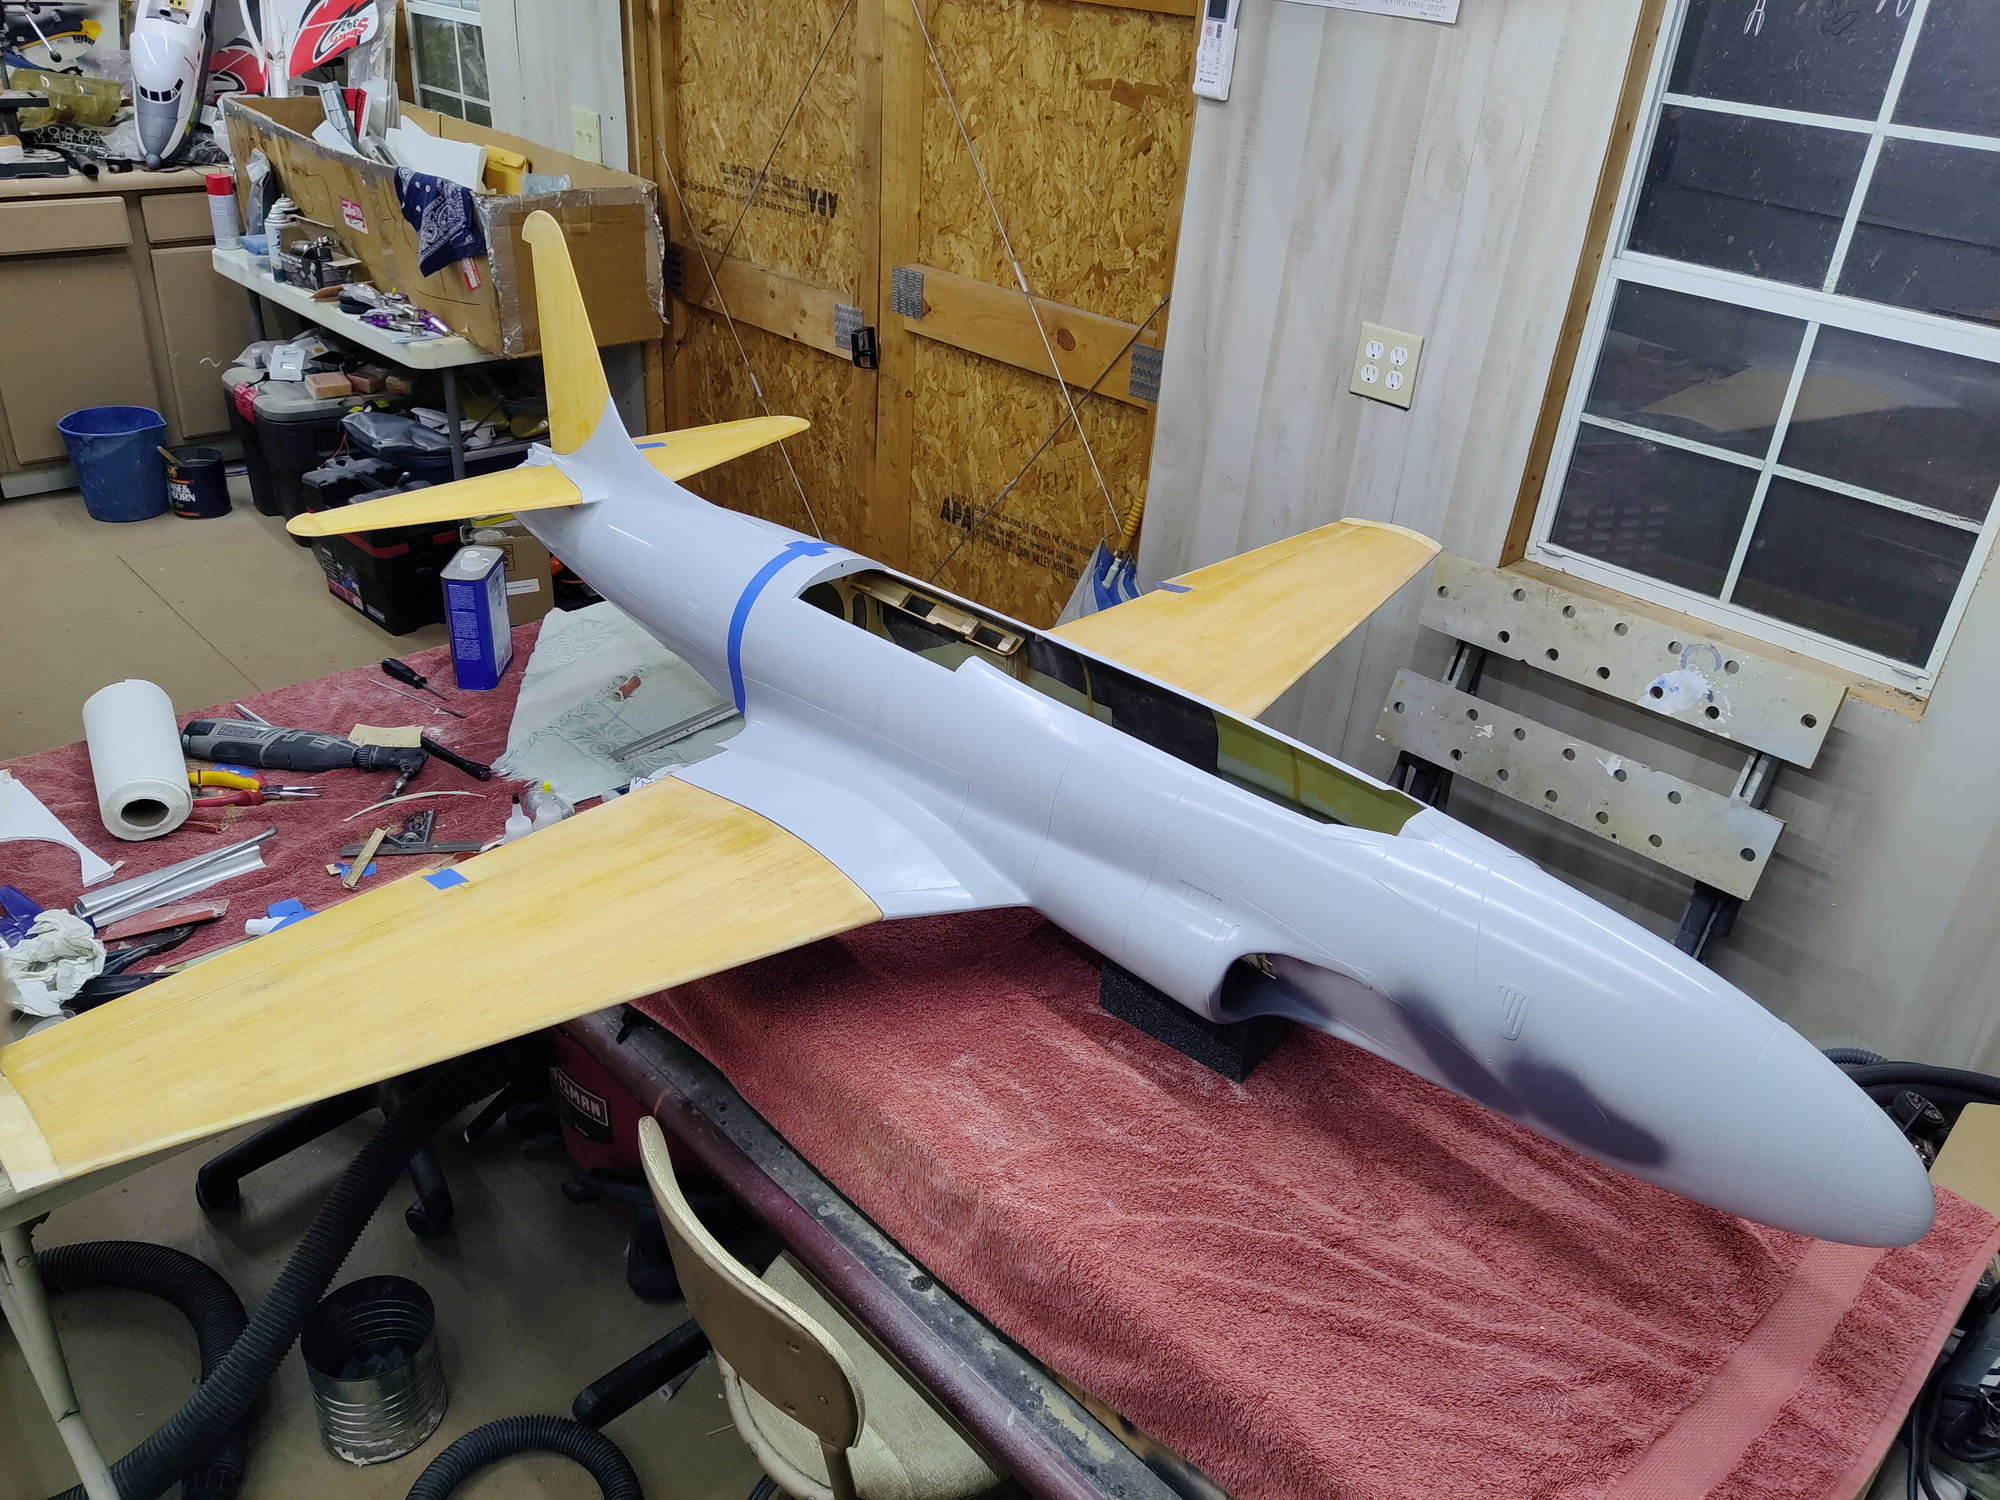
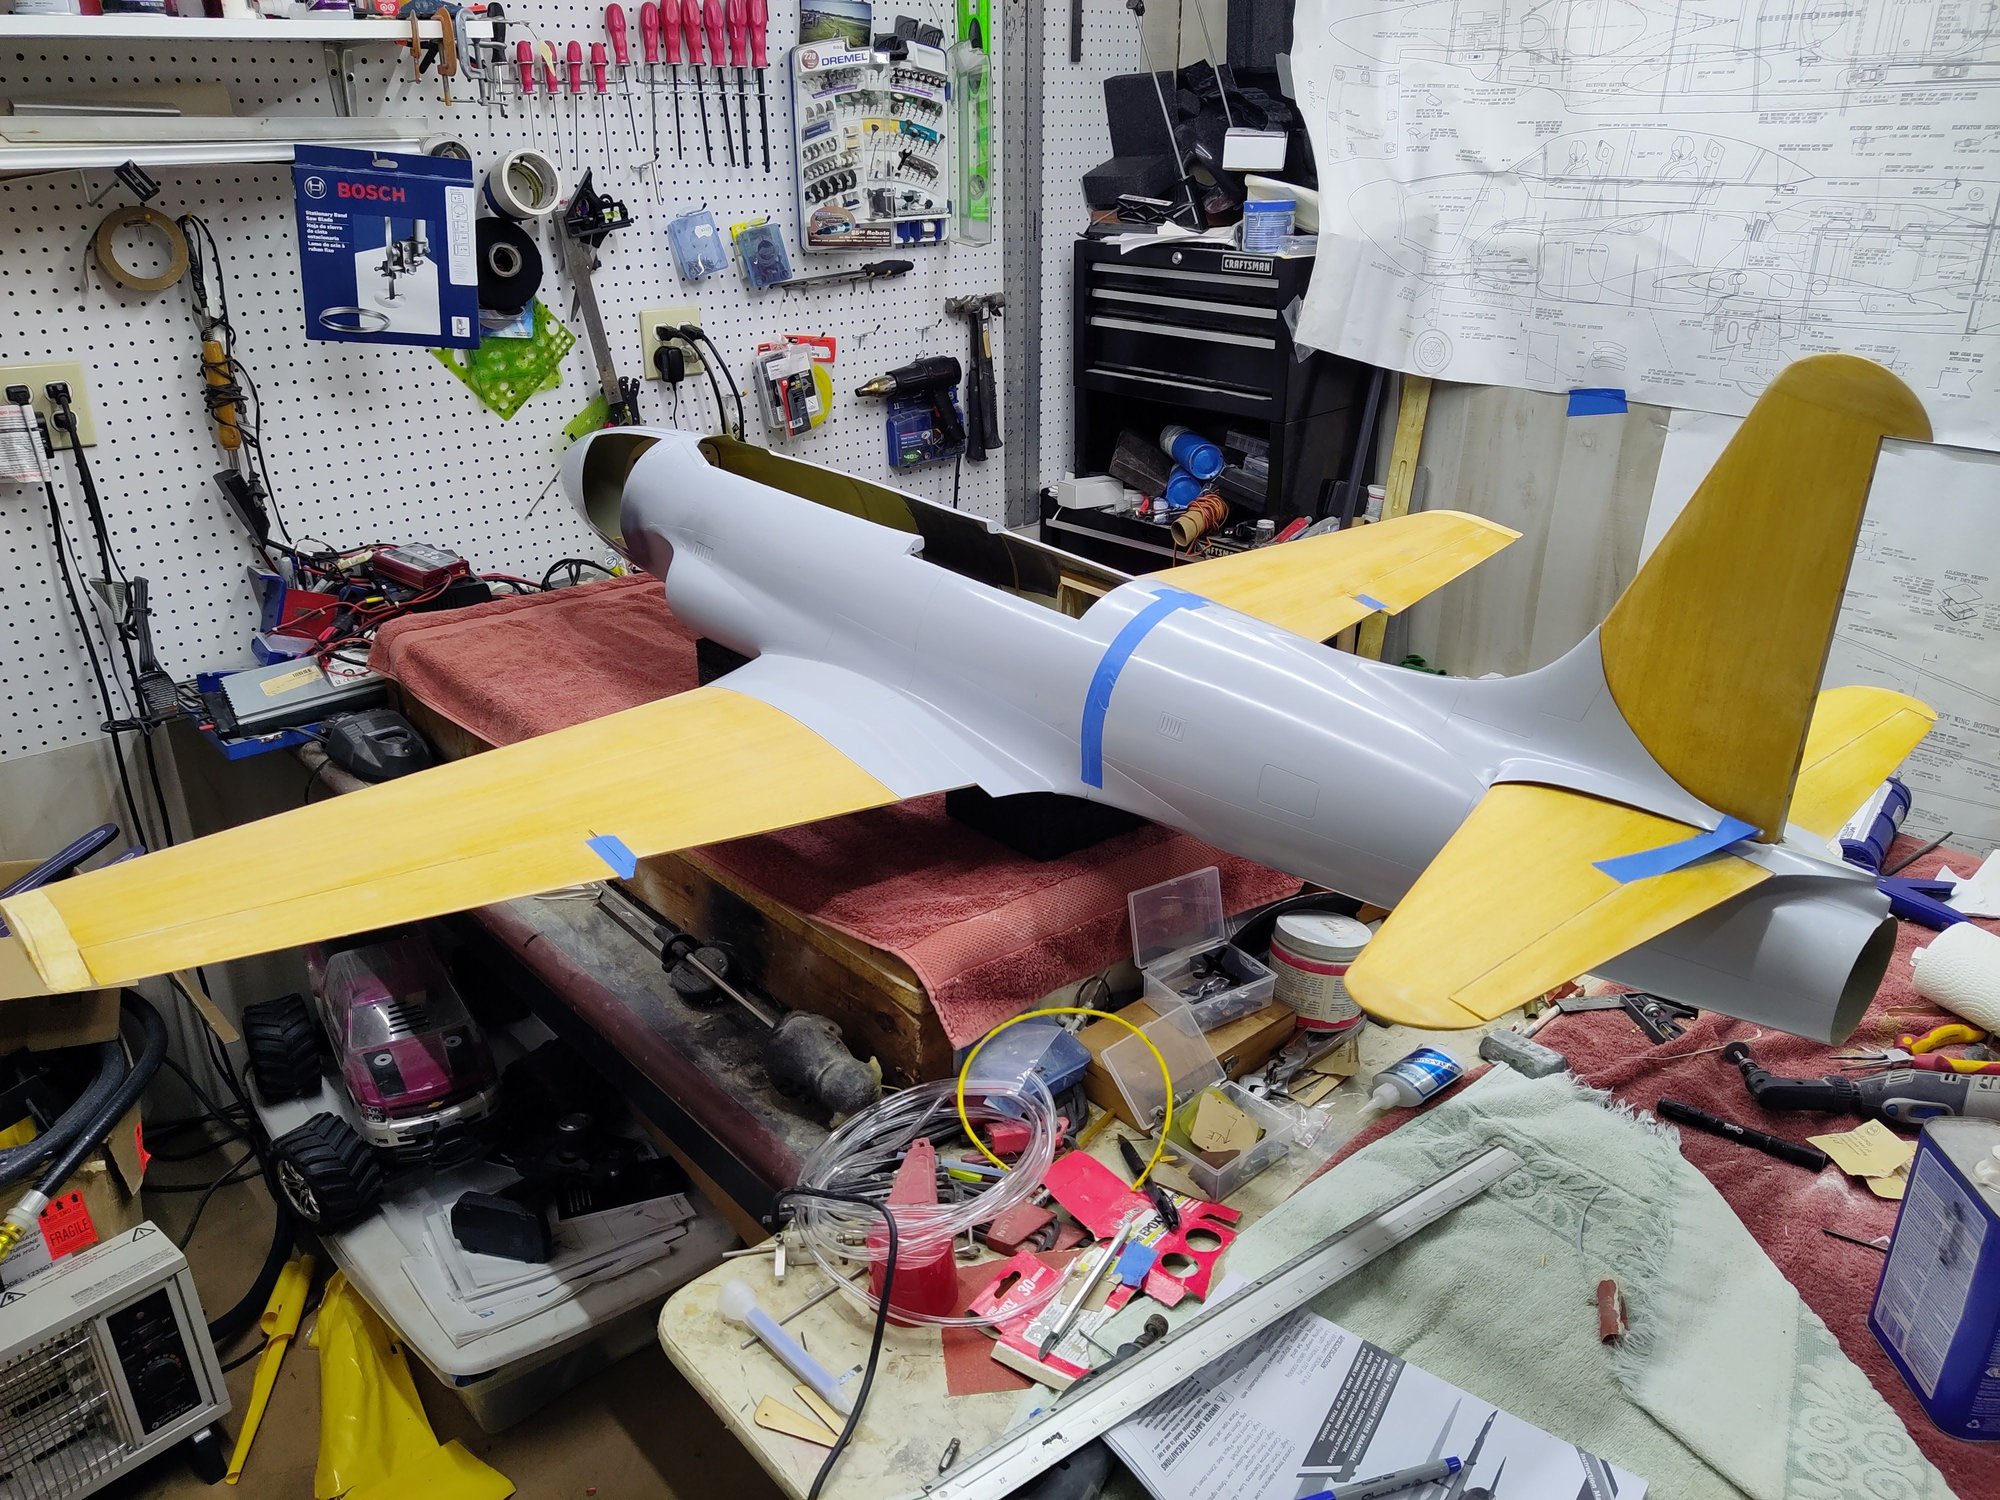
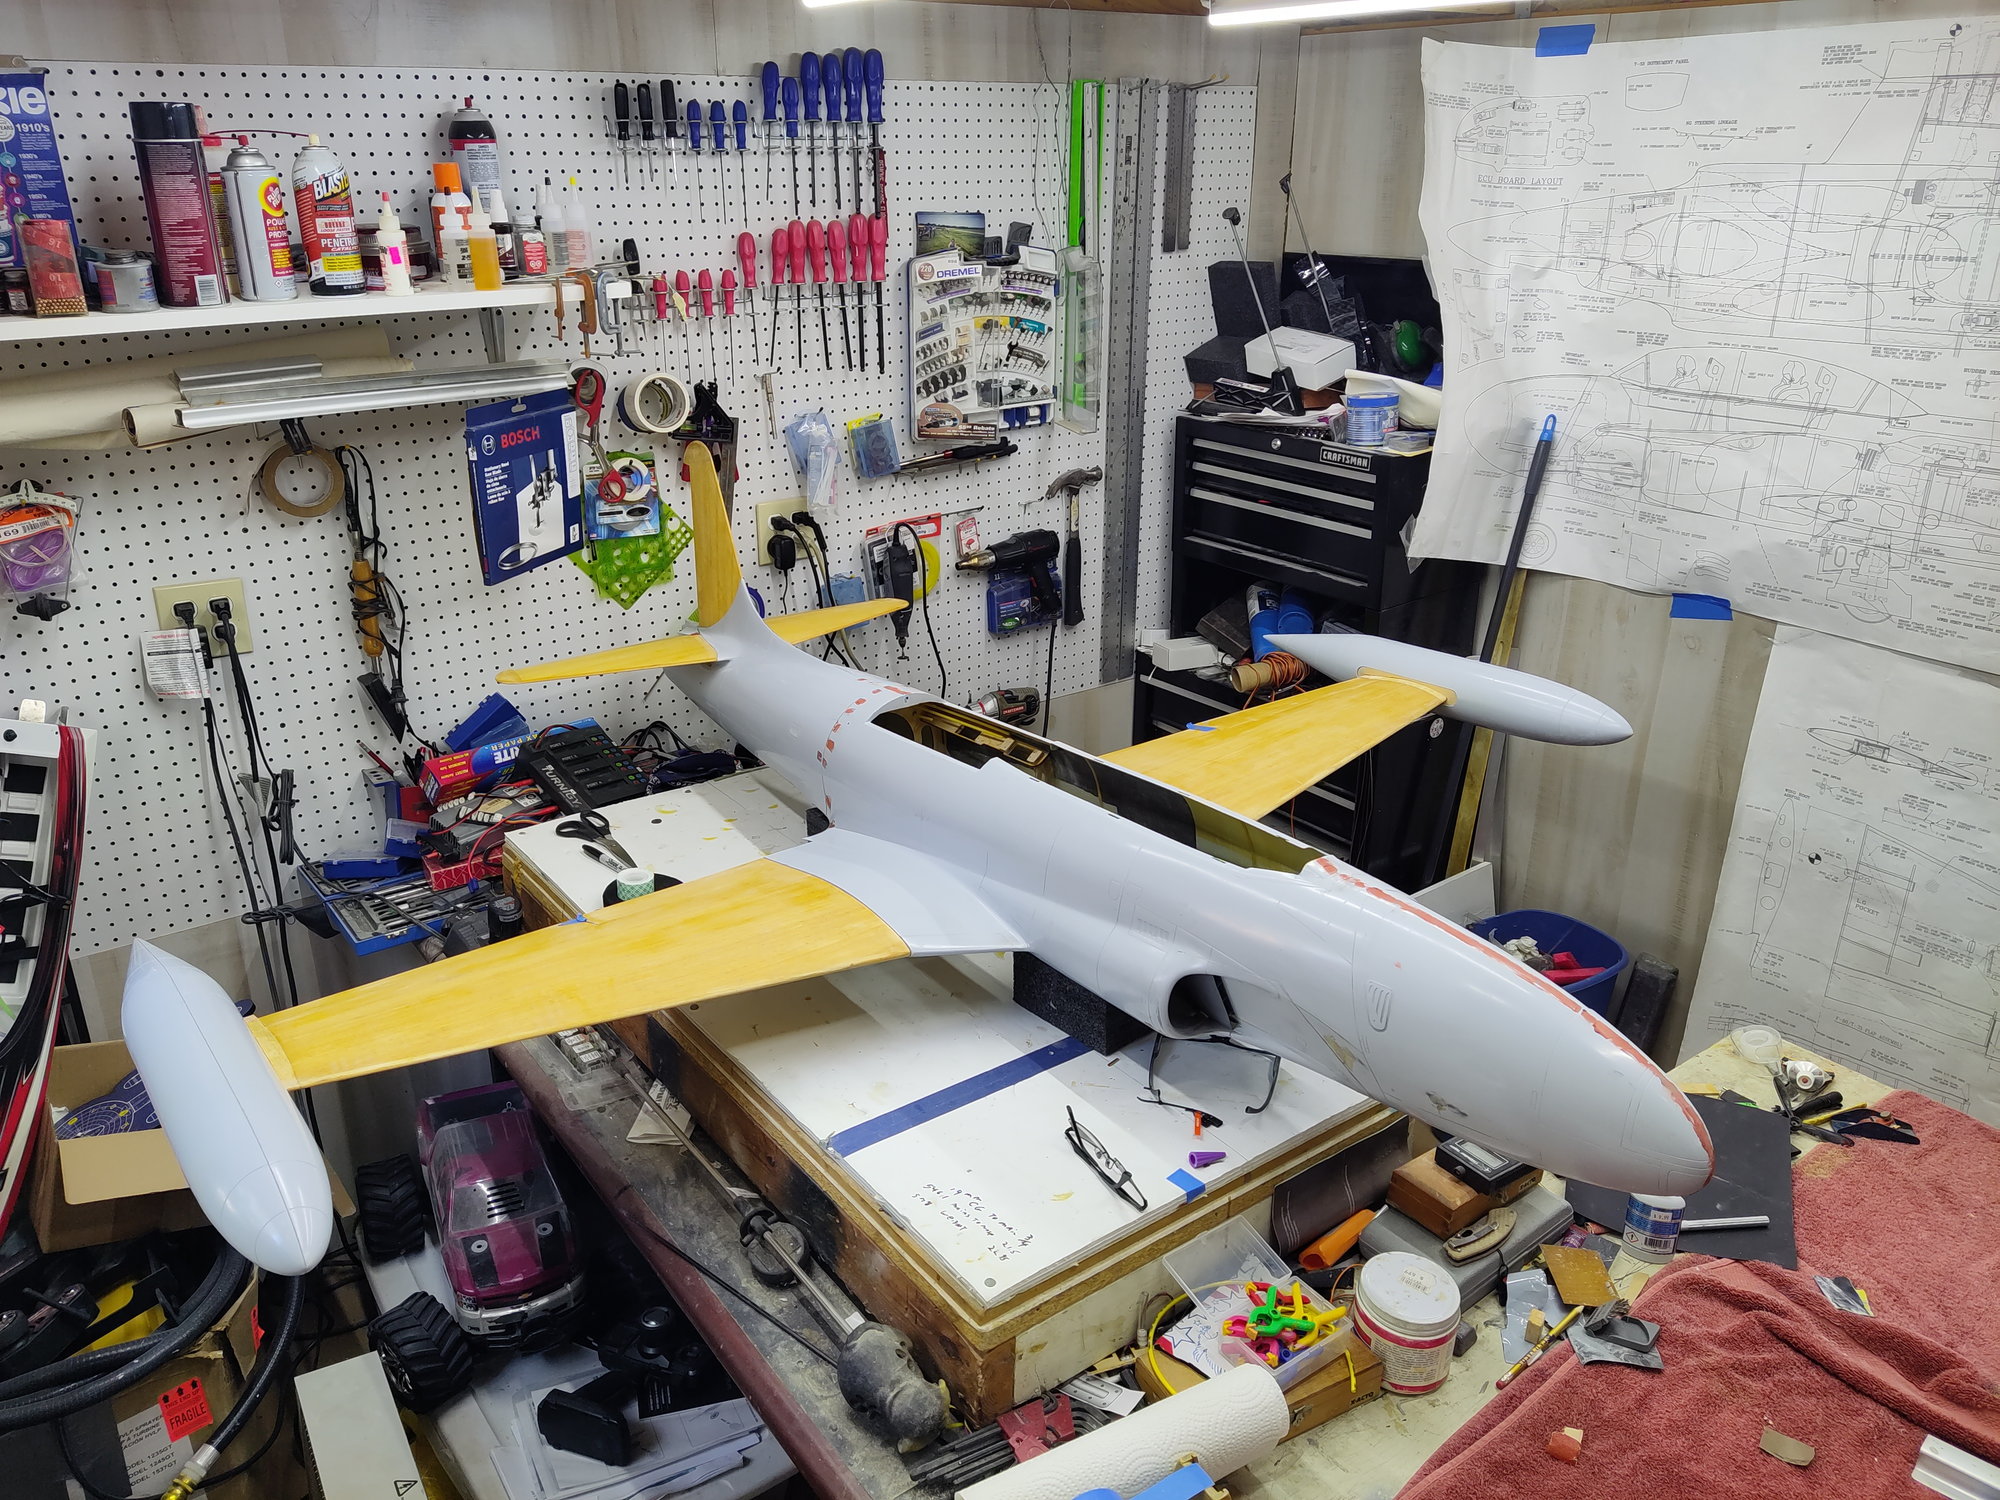
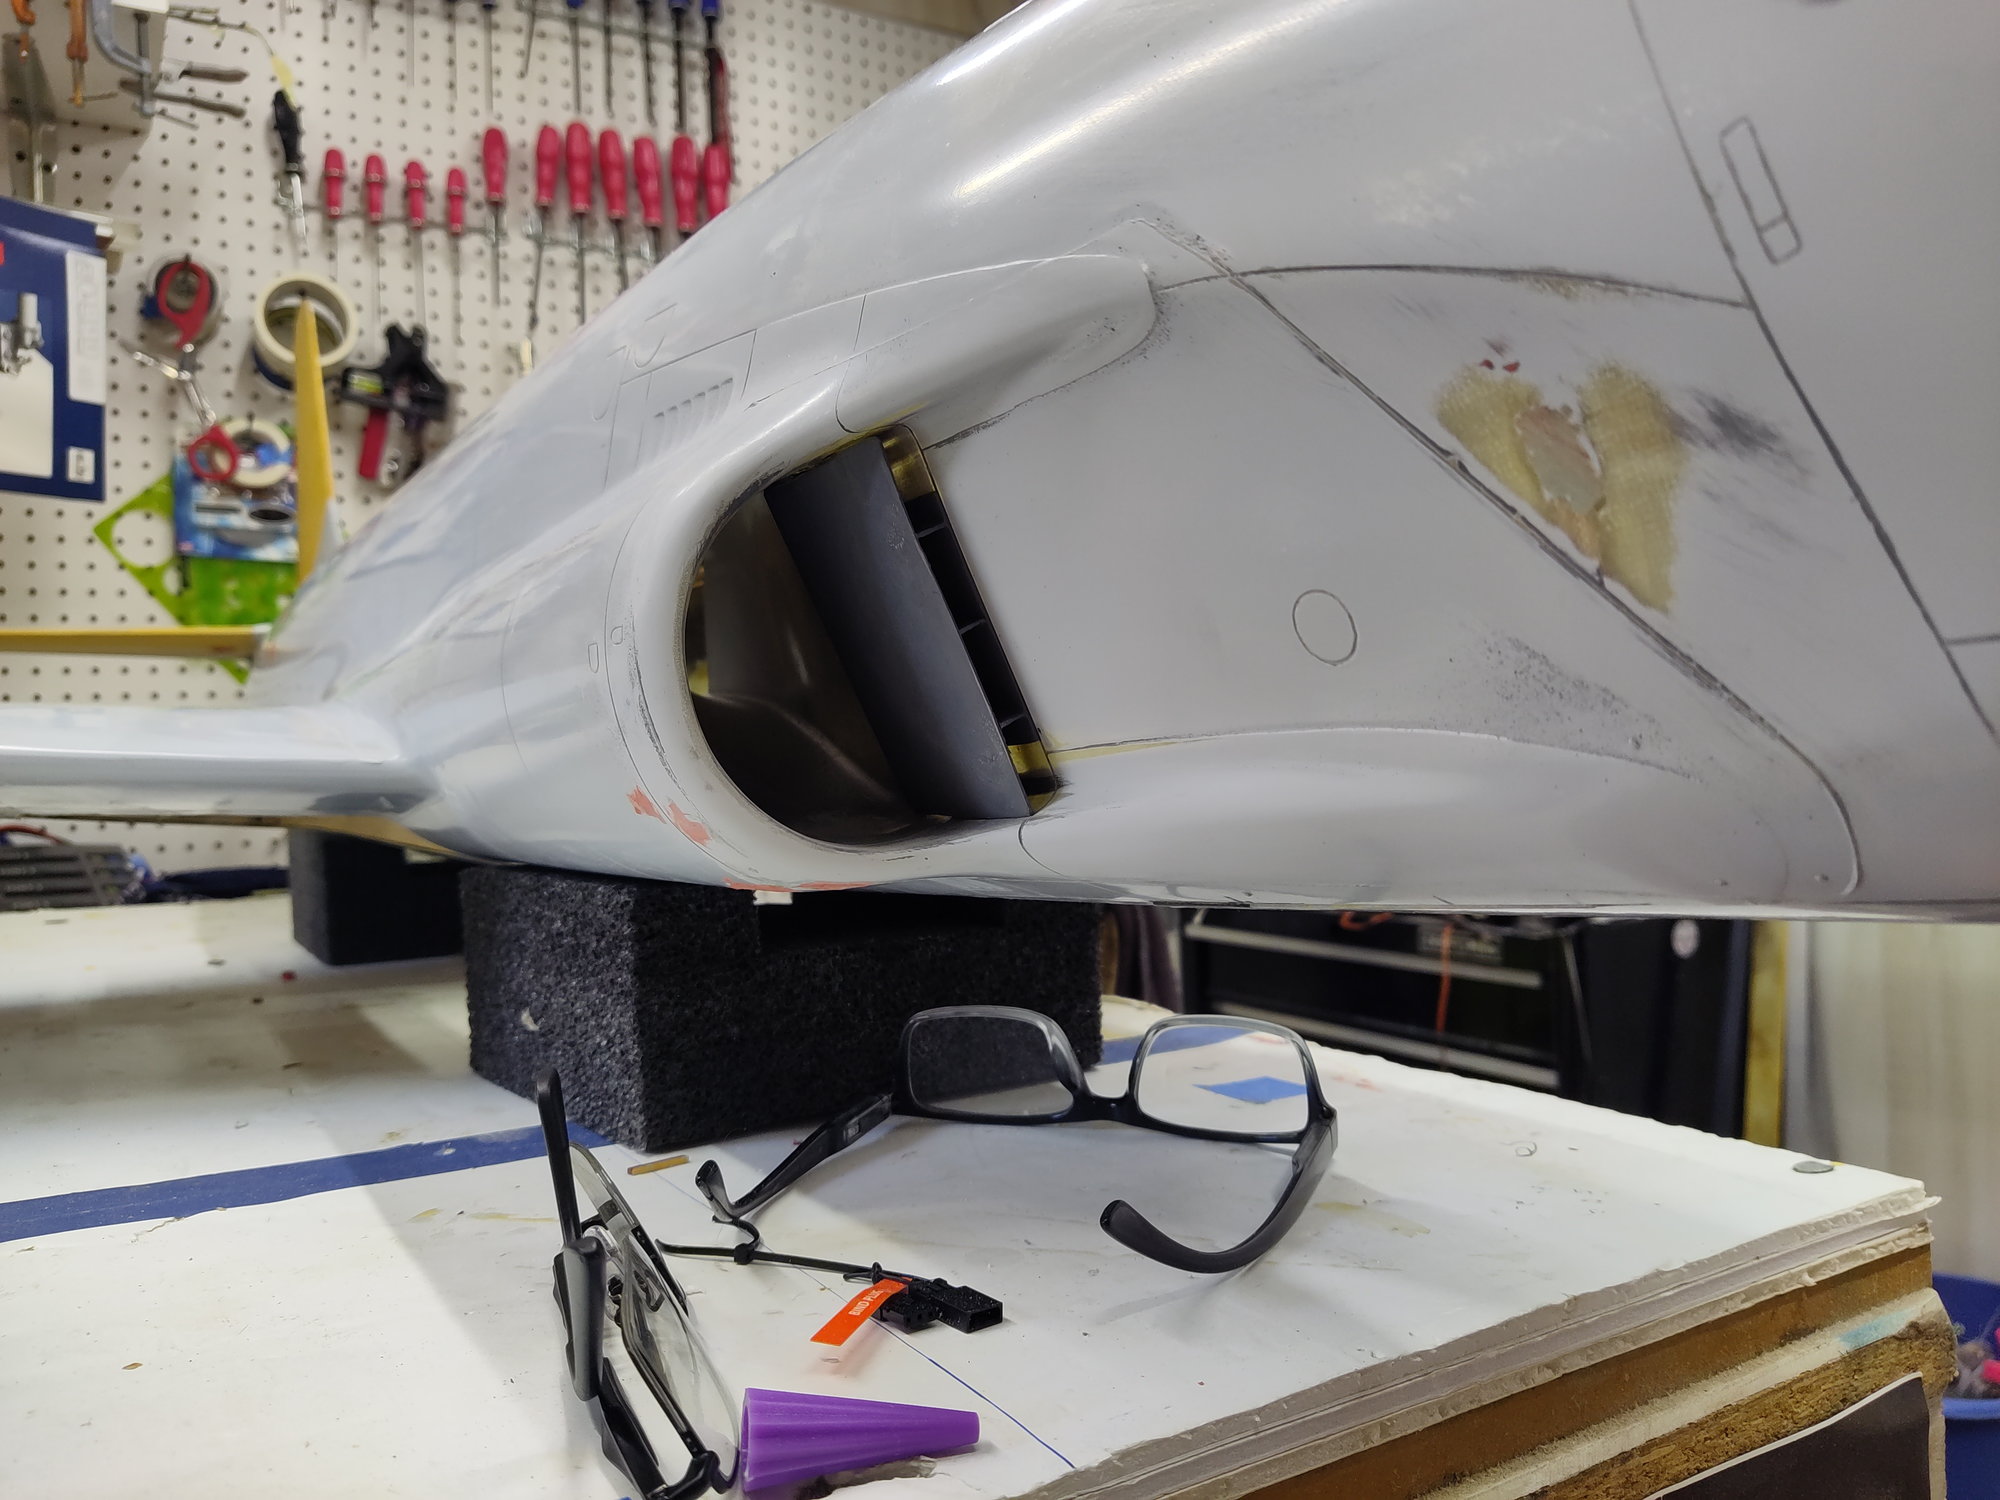
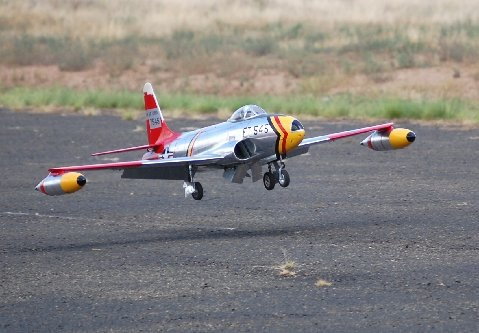
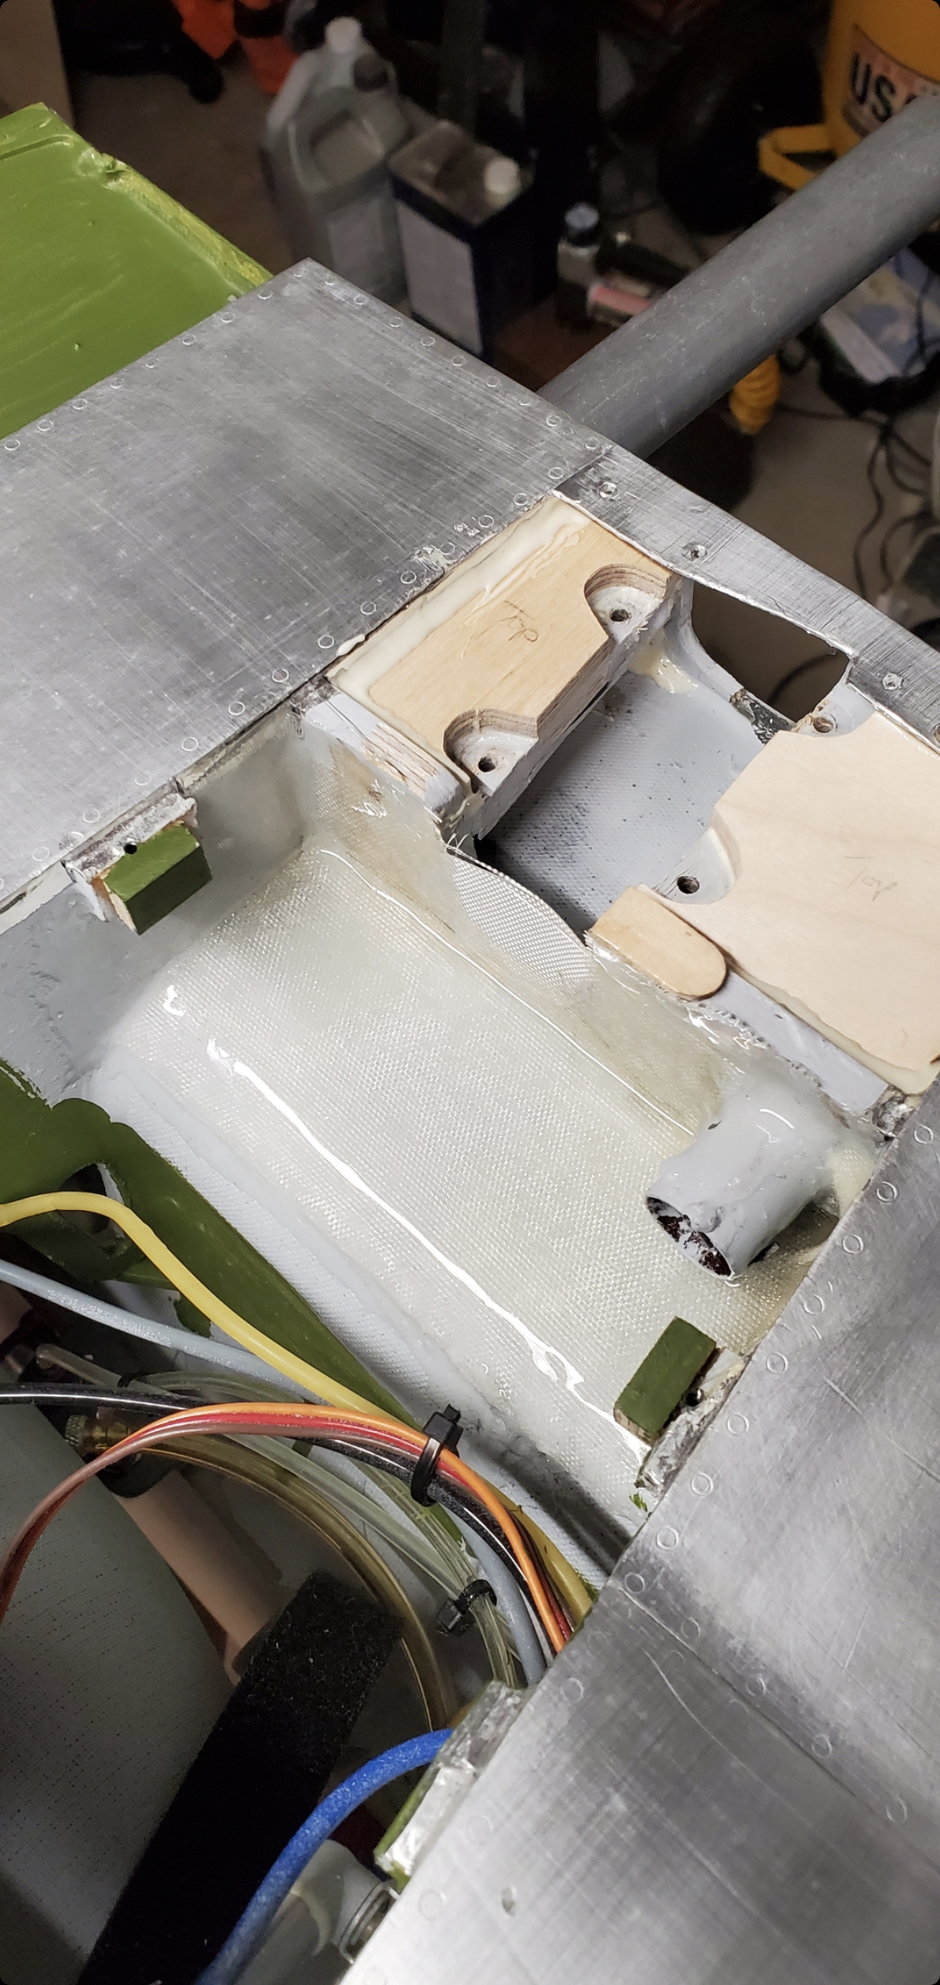
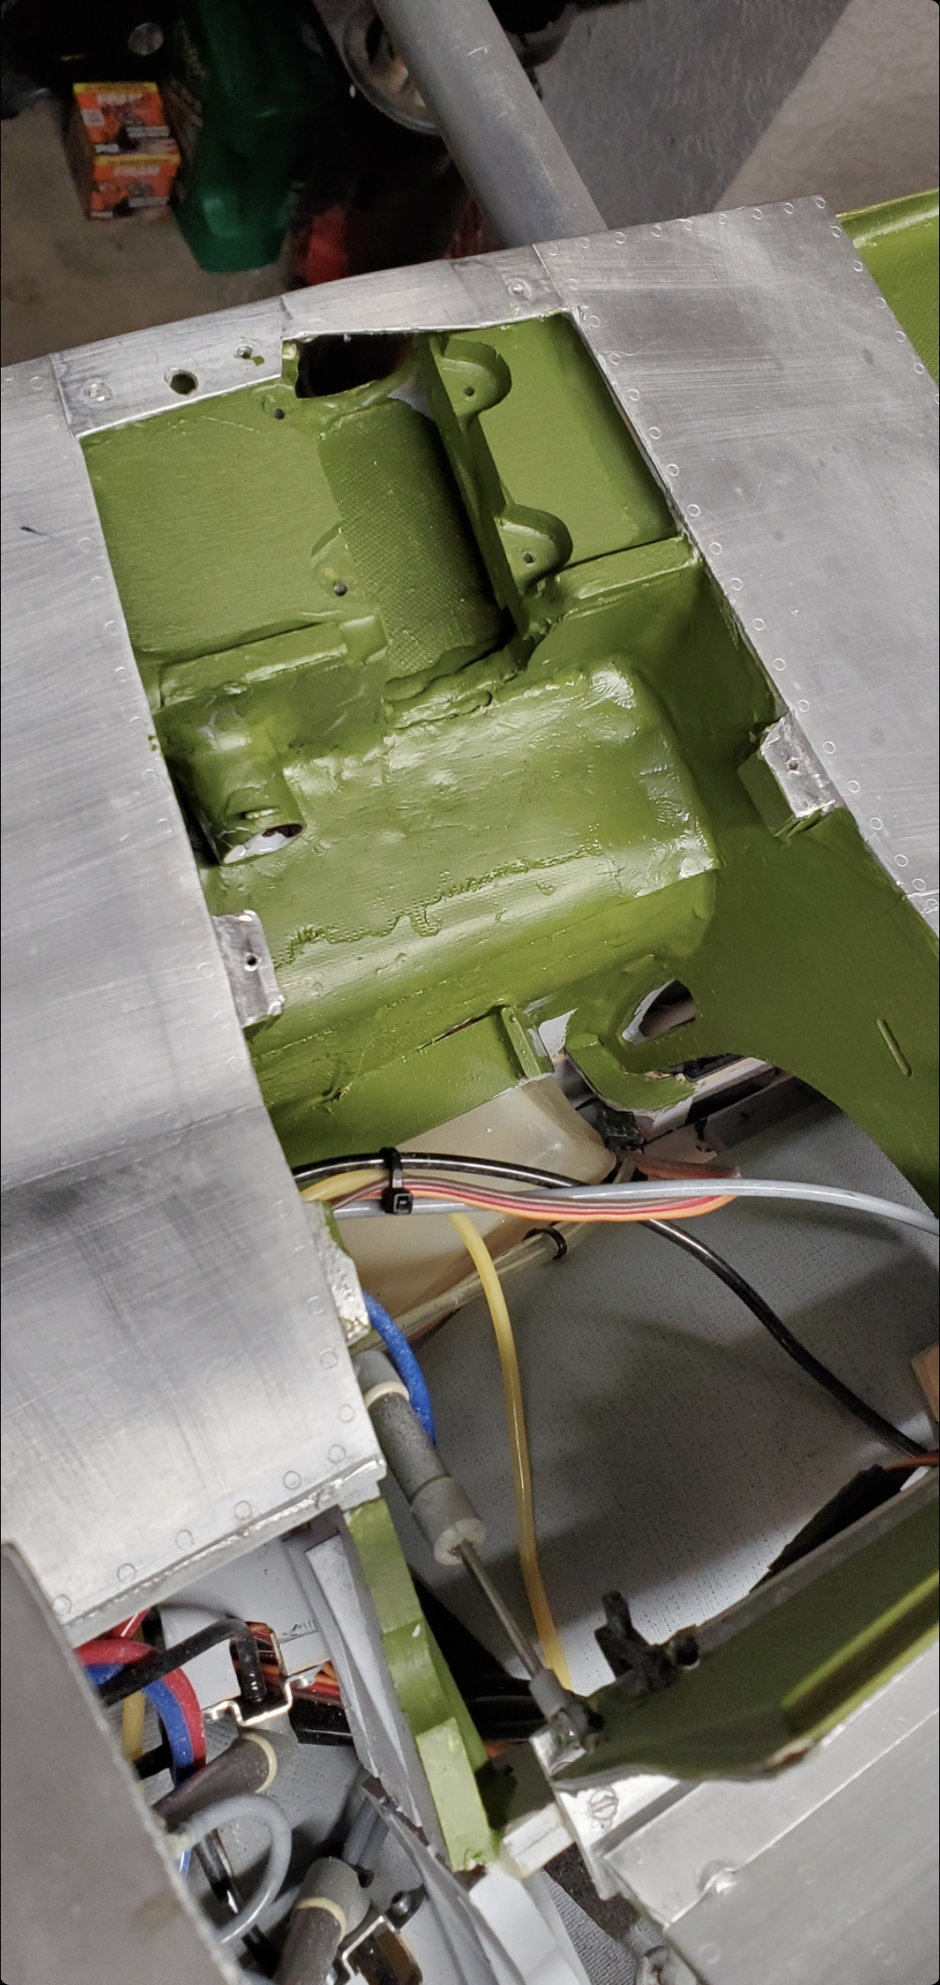
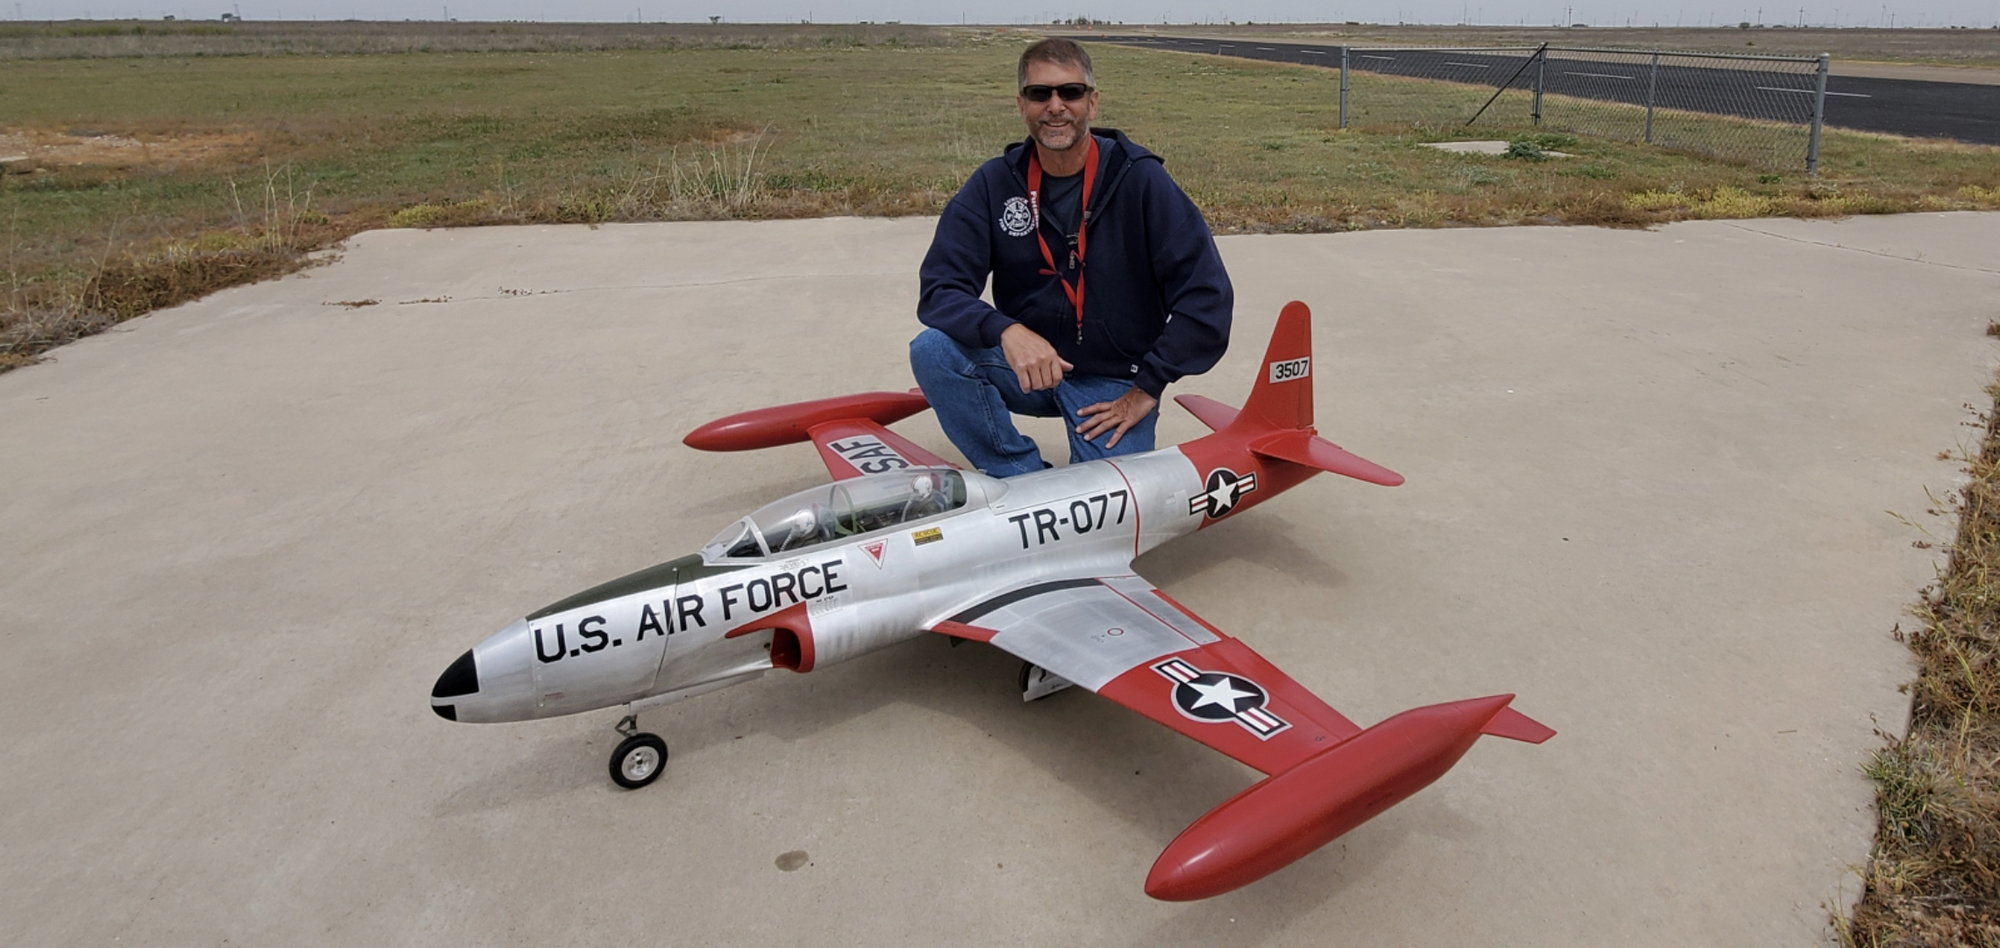
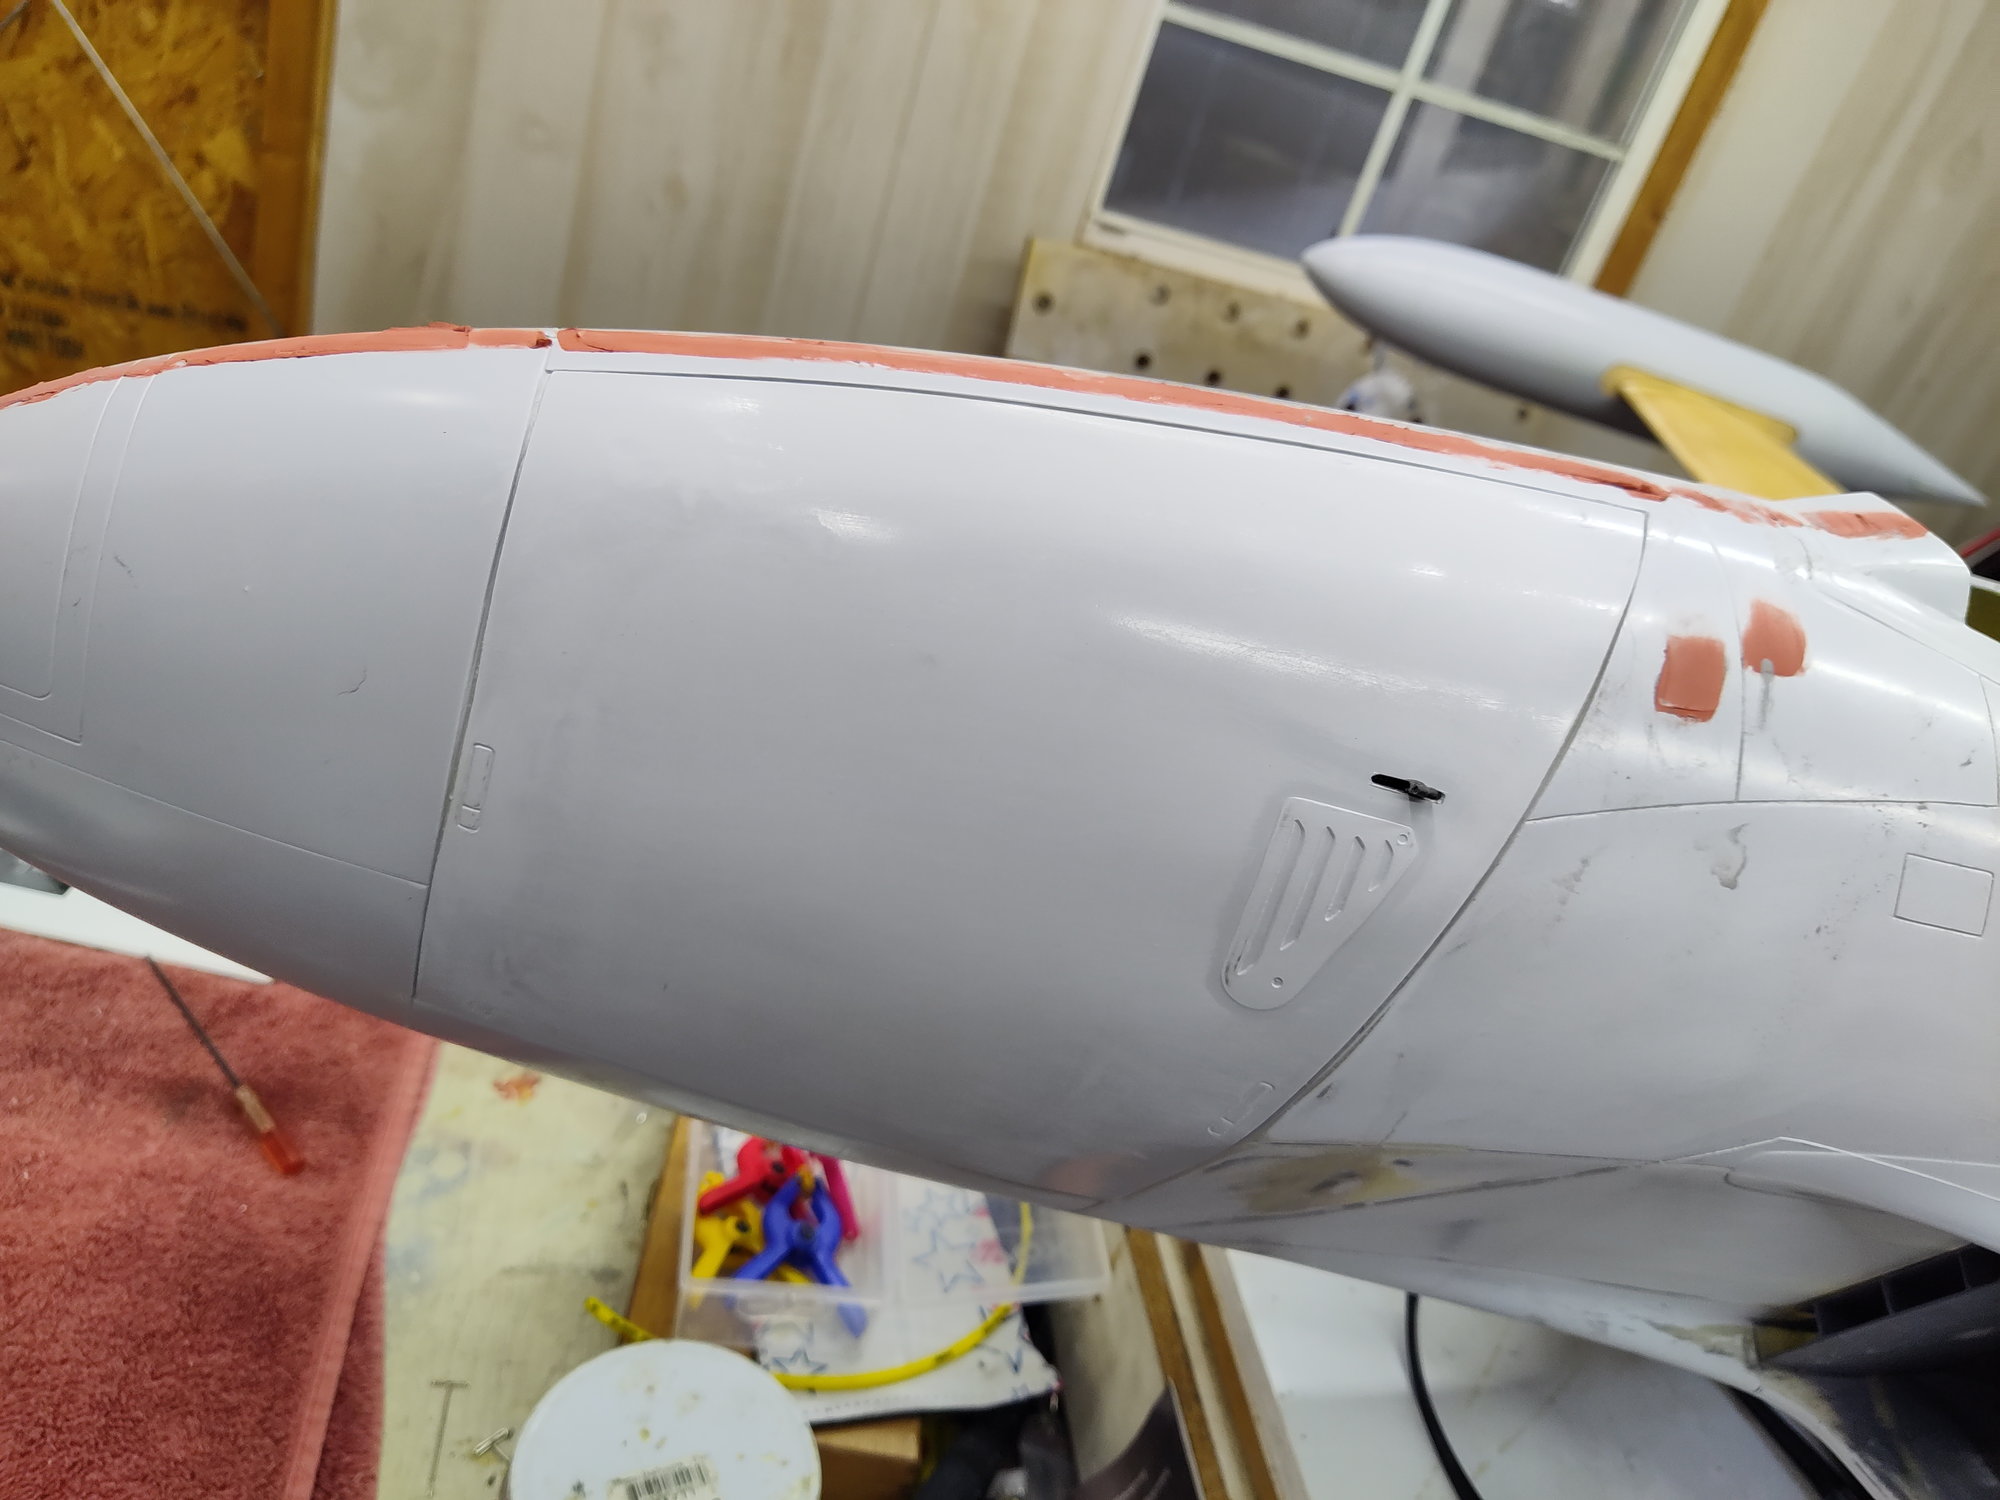
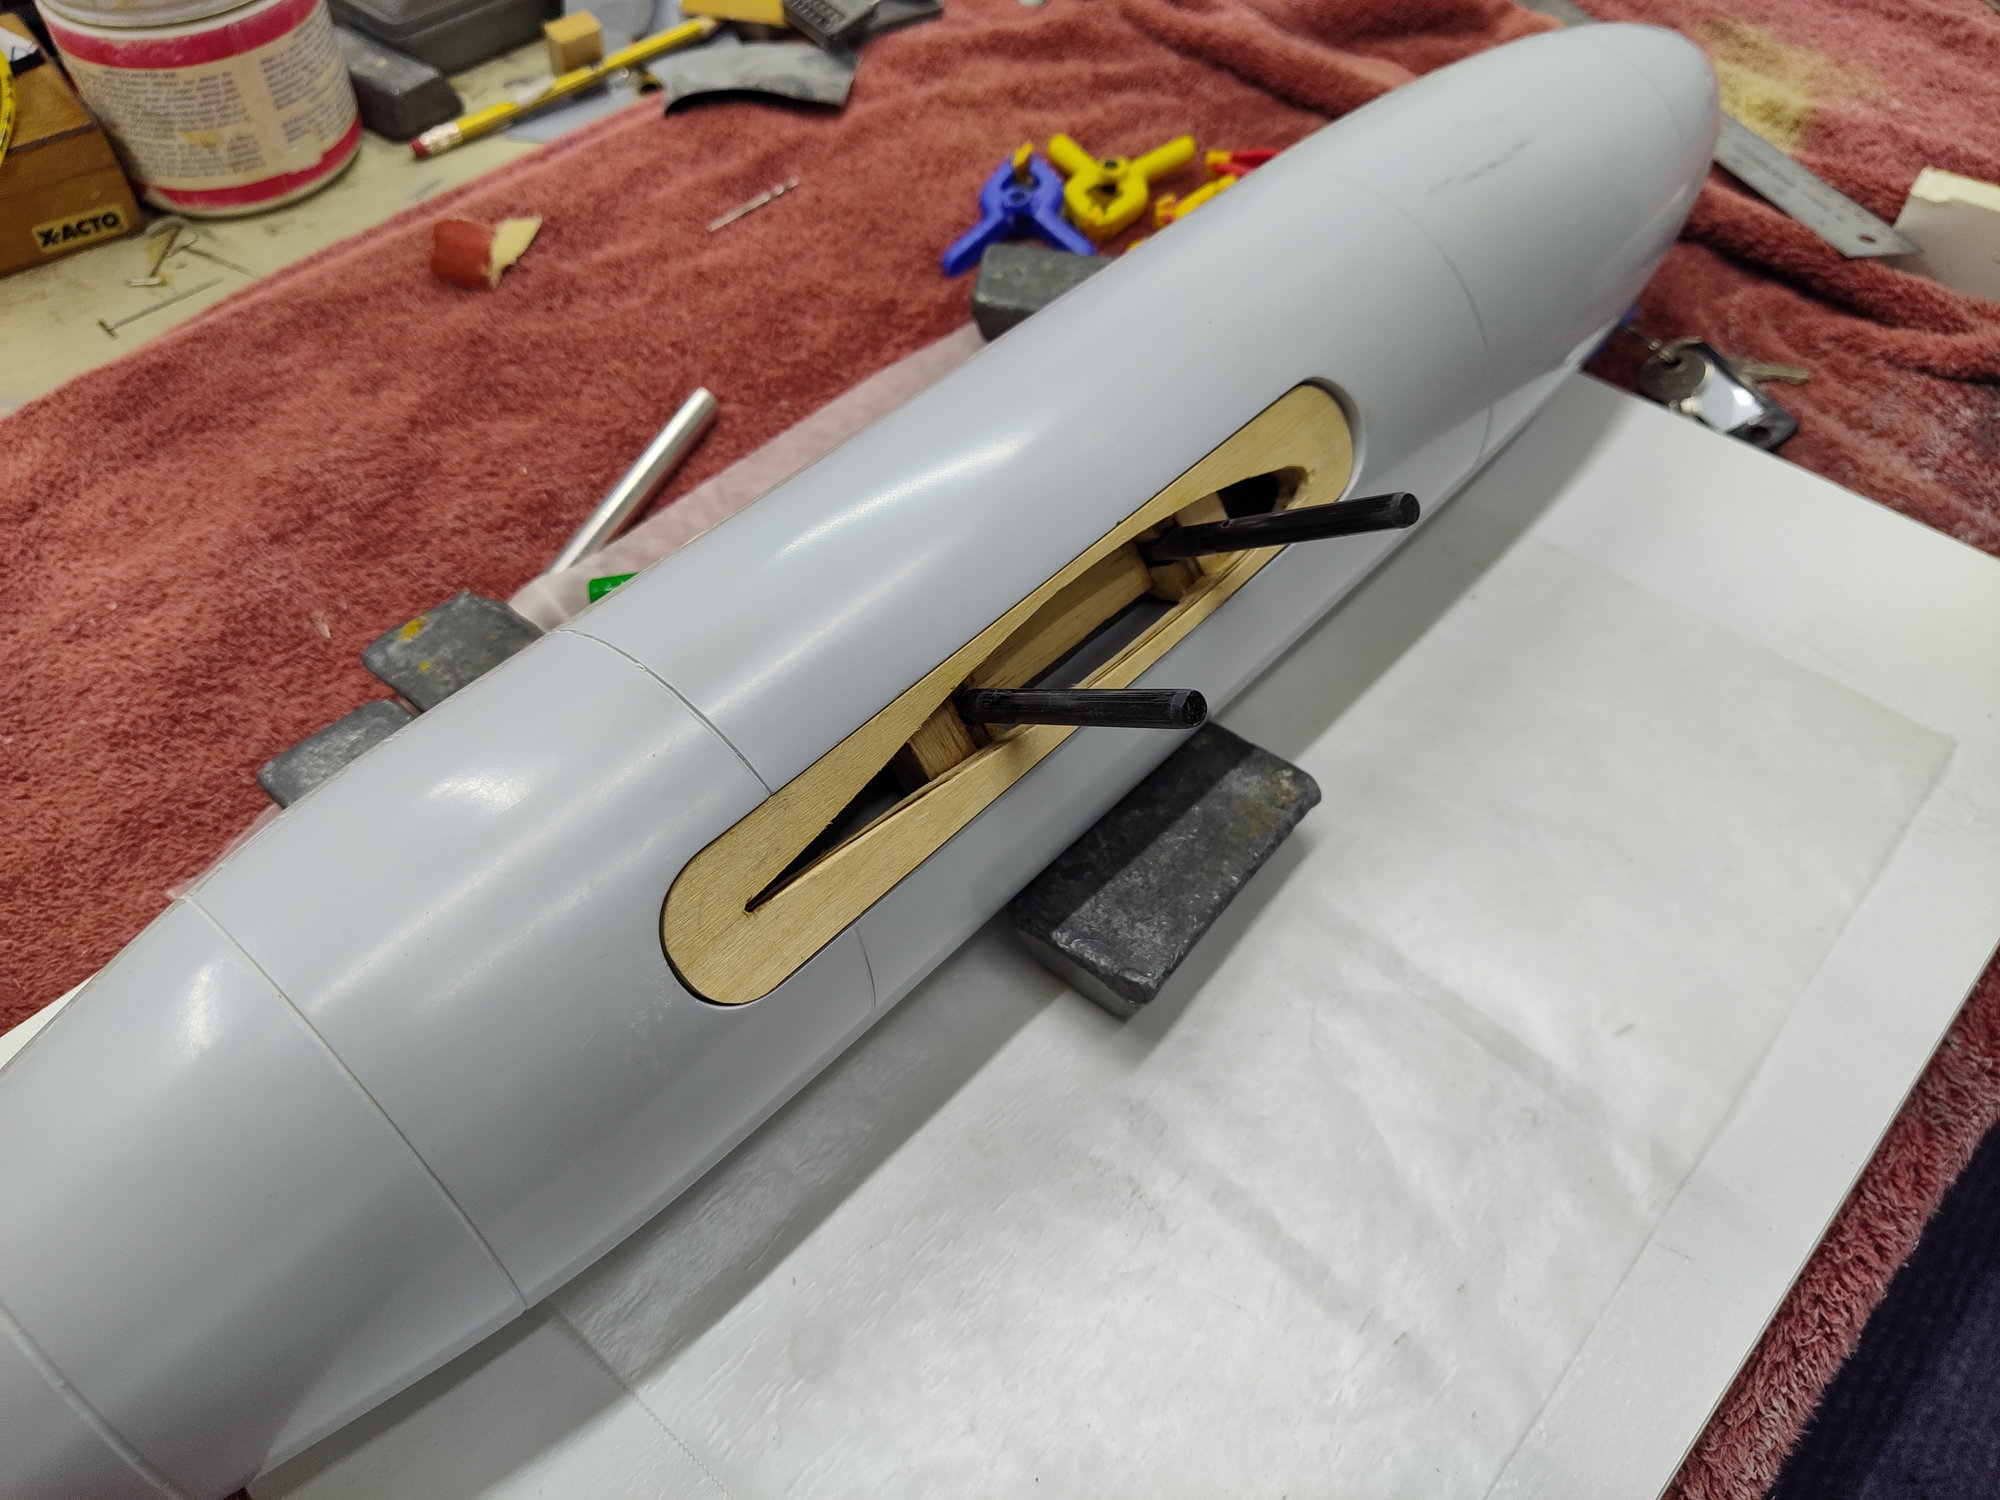
So i picked up the turbine version BVM T33. I started on it a little while ago and decided to show the progress. I am to the point of getting ready to spray primer. I have a little bit of spot fill on the fuse and some small detail work. It builds pretty straight forward with very few issues. The servo mounts and all bulk heads have been installed. I have been using West systems 610 epoxy. This stuff is great as it doesn't run. It does take 24 hours to fully set. The intakes, bypass and tail pipe are all in. I have had the gear in it but removed them to get ready for paint. The tail pipe and bypass will come out for paint as well. Here are some pics of the build.
Joe

Joe
Last edited by Jetpilot24; 04-25-2021 at 07:36 AM. Reason: spelling
 04-25-2021, 04:49 AM
#2

I have been buying this stuff on Amazon for years now its very similar to 610. I use the fast cure.
https://www.totalboat.com/product/thixo/?gclid=EAIaIQobChMI3_Kny7aZ8AIVxBrnCh3_7wQdEAAYASA AEgKF__D_BwE
https://www.totalboat.com/product/thixo-fast/
https://www.totalboat.com/product/thixo/?gclid=EAIaIQobChMI3_Kny7aZ8AIVxBrnCh3_7wQdEAAYASA AEgKF__D_BwE
https://www.totalboat.com/product/thixo-fast/
Last edited by Vincent; 04-25-2021 at 04:53 AM.

The following users liked this post:
michaeldo (05-26-2021)

The following users liked this post:
michaeldo (05-26-2021)
04-25-2021, 03:34 PM
#8
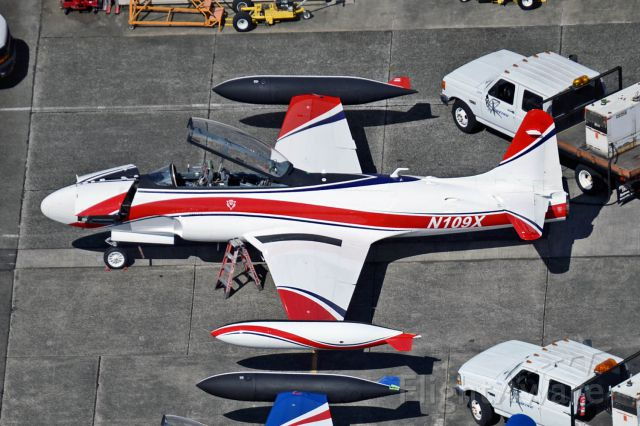
Dan that is a nice paint scheme. I plane on doing theN109X with the red strip.
can you elaborate more on filling in the under camber? I know that some people were putting stall strips on the leading edge of the wing near the root to force the center to stall first.
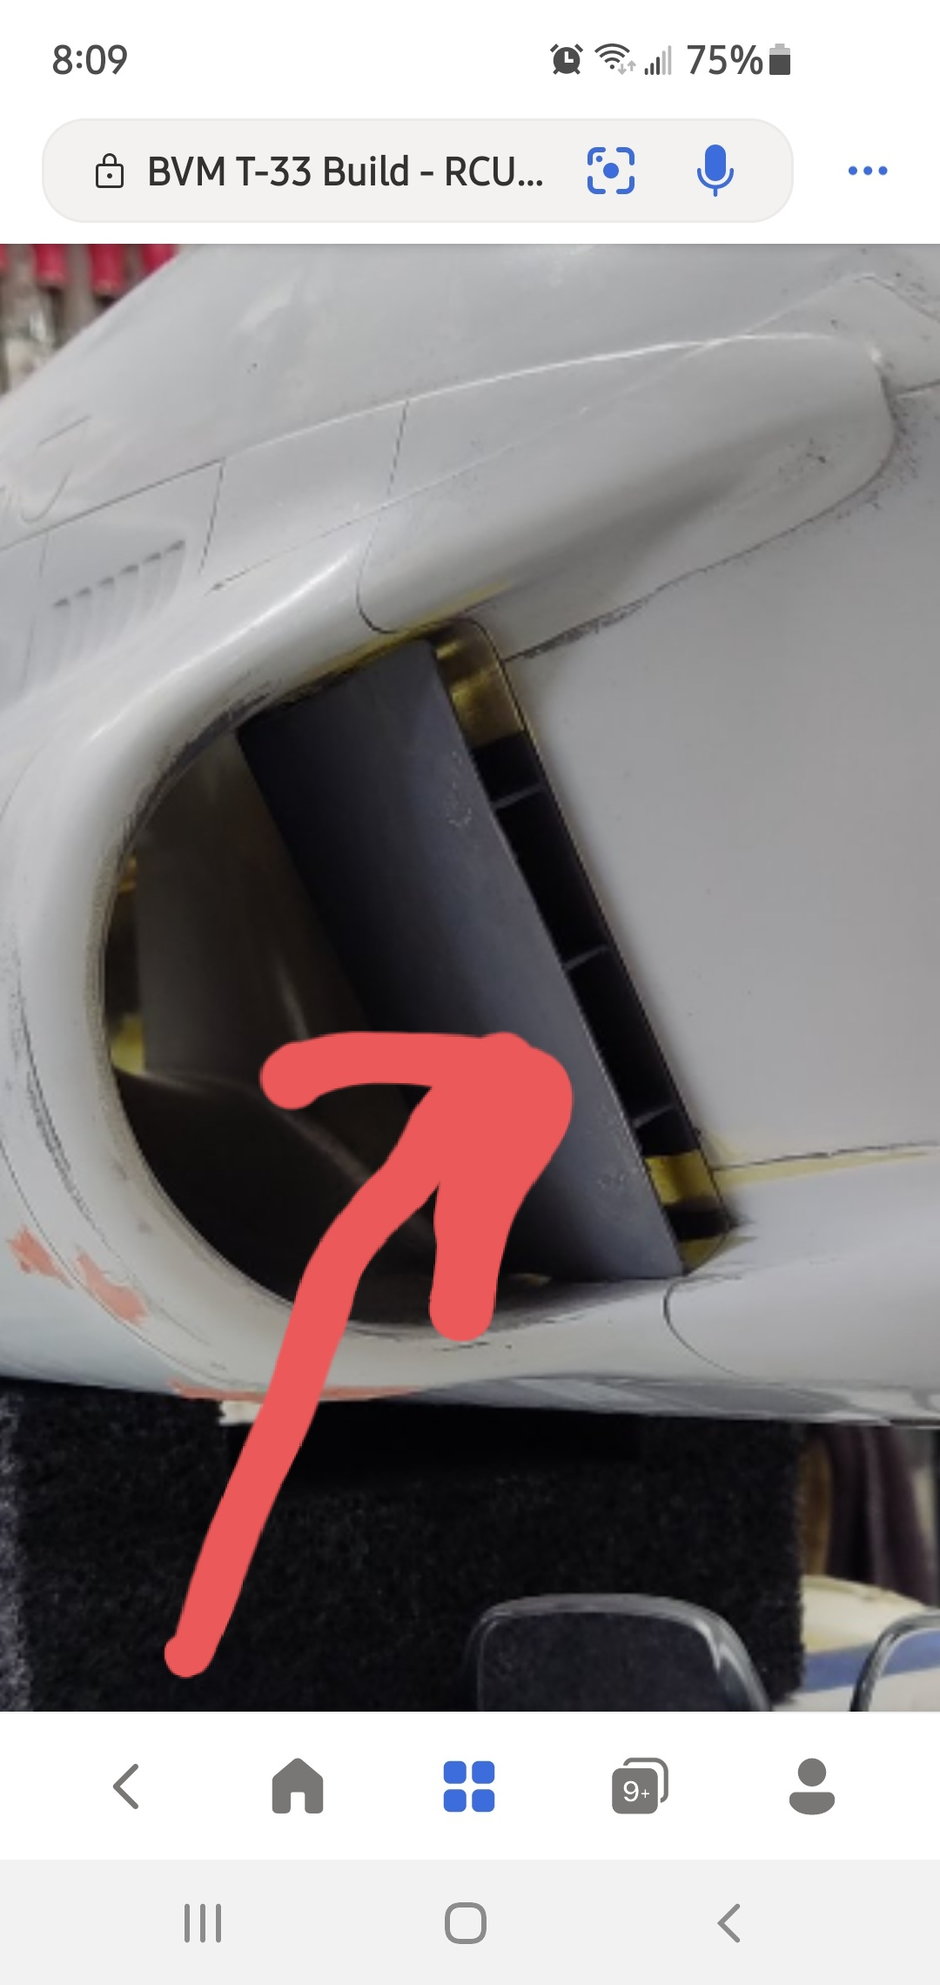
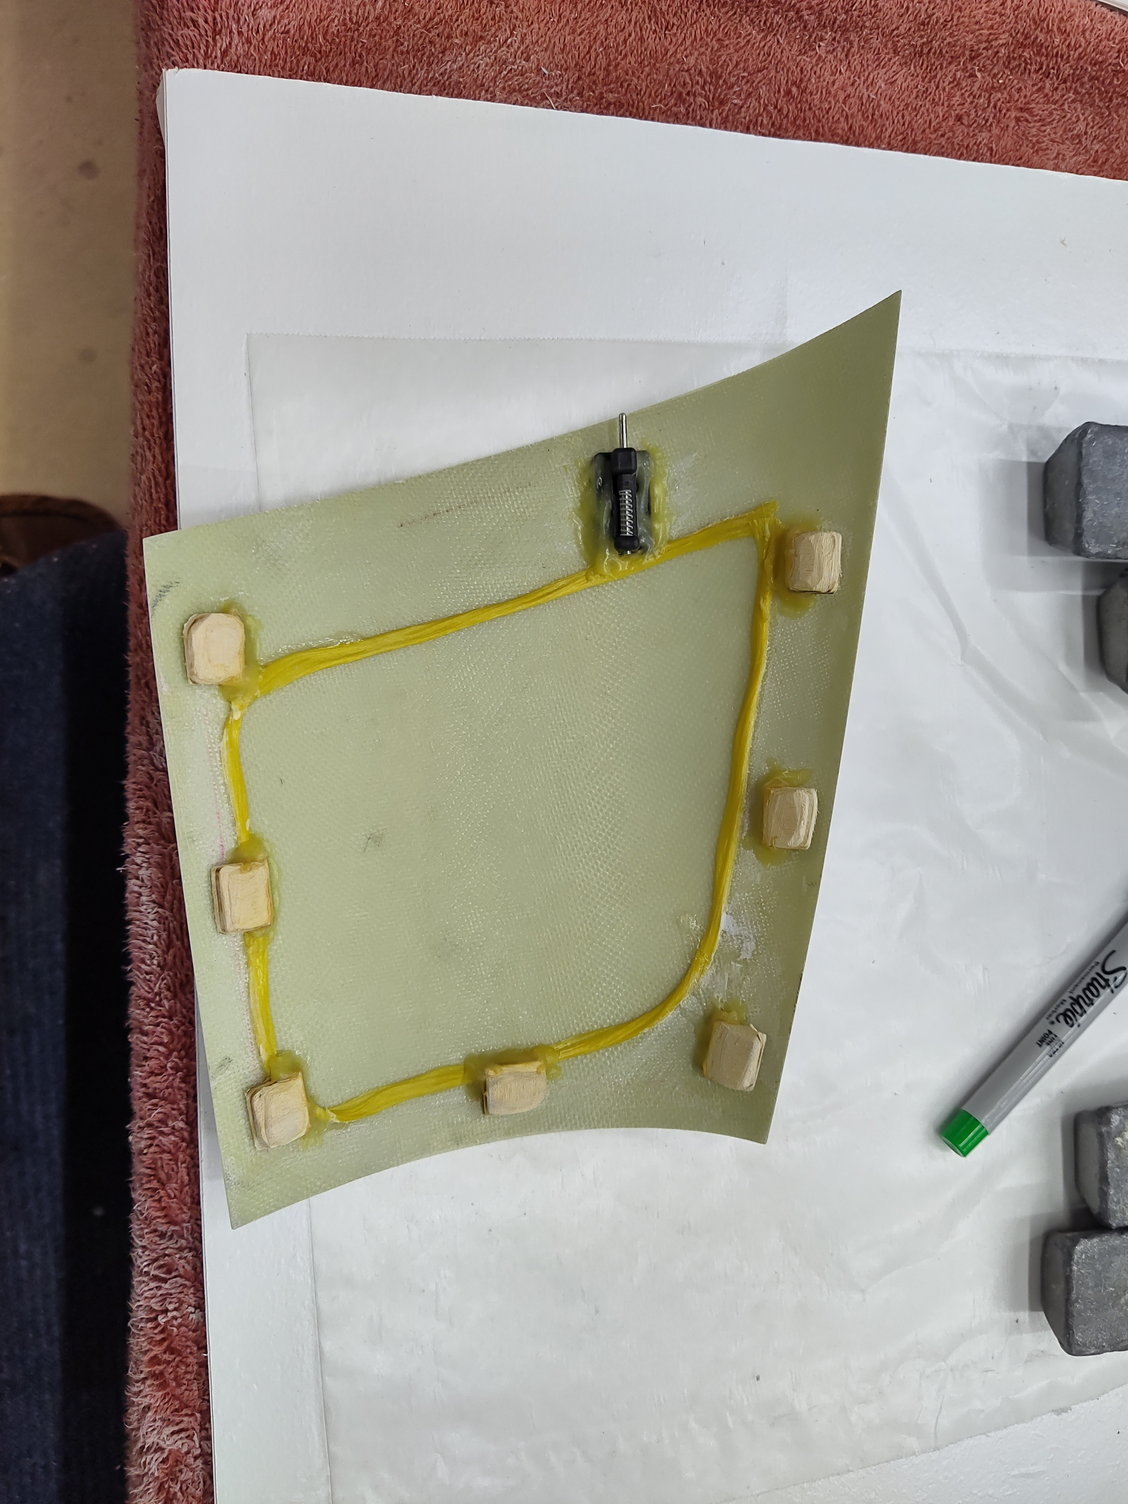
As far as the side nose cover it has the blocks to lock it in then on the aft end is a BVM slide latch pin. I will get pictures later and post.
Joe
can you elaborate more on filling in the under camber? I know that some people were putting stall strips on the leading edge of the wing near the root to force the center to stall first.
As far as the side nose cover it has the blocks to lock it in then on the aft end is a BVM slide latch pin. I will get pictures later and post.
Joe
04-25-2021, 03:52 PM
#9
Joe that's a nice color scheme . Easy to see. The area in front of the speed brakes on the older kits had a under camber . It effected landing in a bad way. People would fill it with the lightest product you can get. Balsa then glass would be the lightest. I did the hatch the way you stated. It only came off once. If you use about 10 MM of crow stall will not be a problem. When I was doing my first flights even with crow, flaps speed brakes the plane would get pitchy on landing. CG was right. I finally put 4 OZ lead in the nose and problem was solved. This is a plane that you never! let off the elevator on landing. Good Luck Dan
 04-26-2021, 11:56 AM
#13

Joe:
just one suggestion, do not use that red filler, remove from everywhere you used it, you can use acetone to remove it. The reason? It never cures, when you do your final painting, because of the solvents, it�s going to get soft and will show through the finish and ruin it. What you need to use is the blue 2 part glazing putty (same brand) it cures in minutes and is very easy to sand.
You�ll thank me later
04-26-2021, 05:05 PM
#15
Joe:
just one suggestion, do not use that red filler, remove from everywhere you used it, you can use acetone to remove it. The reason? It never cures, when you do your final painting, because of the solvents, it�s going to get soft and will show through the finish and ruin it. What you need to use is the blue 2 part glazing putty (same brand) it cures in minutes and is very easy to sand.
You�ll thank me later
just one suggestion, do not use that red filler, remove from everywhere you used it, you can use acetone to remove it. The reason? It never cures, when you do your final painting, because of the solvents, it�s going to get soft and will show through the finish and ruin it. What you need to use is the blue 2 part glazing putty (same brand) it cures in minutes and is very easy to sand.
You�ll thank me later
Joe
04-26-2021, 10:34 PM
#17

My T33 was flown with JPX 260 and was quite heavy. As did several other fliers we tried hard to eliminate its tendency to flick easily at the stall, which also meant careful handling was required for landing.
We tried root spoilers, crow, ailerons both moving up as elevator was applied. Things improved but the only real fix was removal if the cusp, so for you the problem is solved.
That fix was too late for mine, it spun off a lowish speed wing over, too low to recover.
You should not have that problem so good luck with yours !
04-27-2021, 04:52 AM
#18

My Feedback: (17)
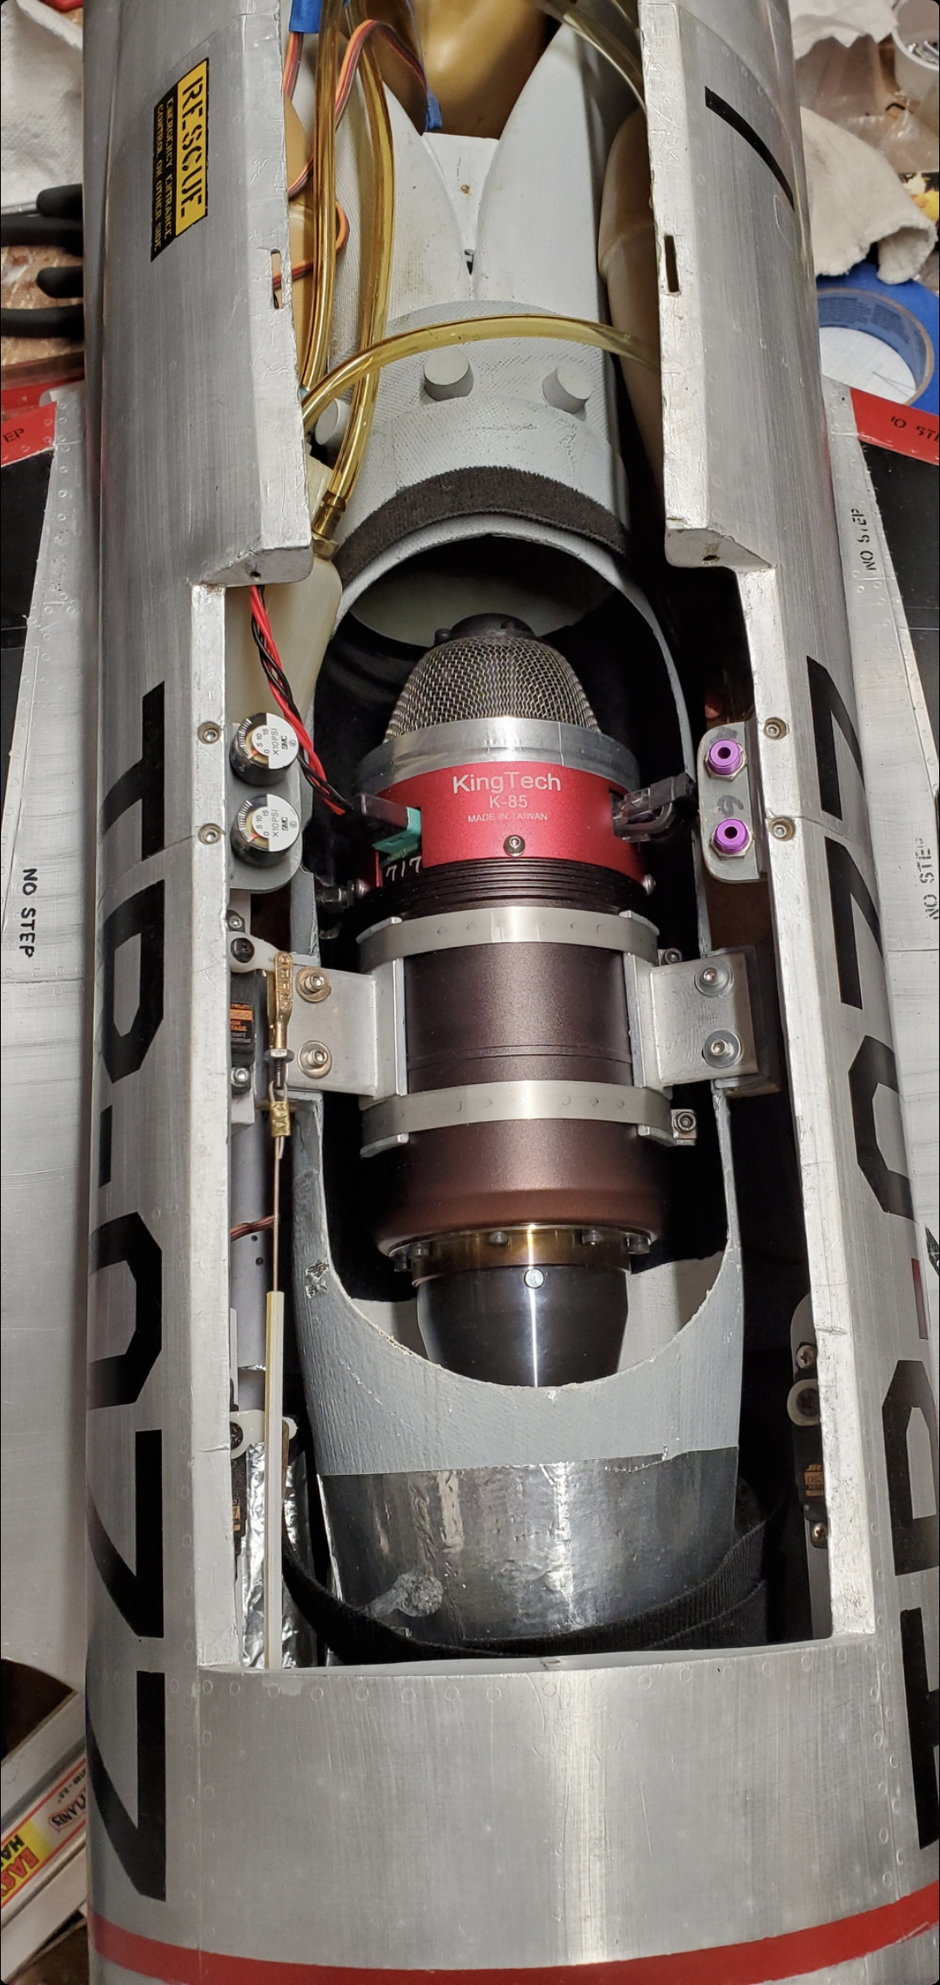
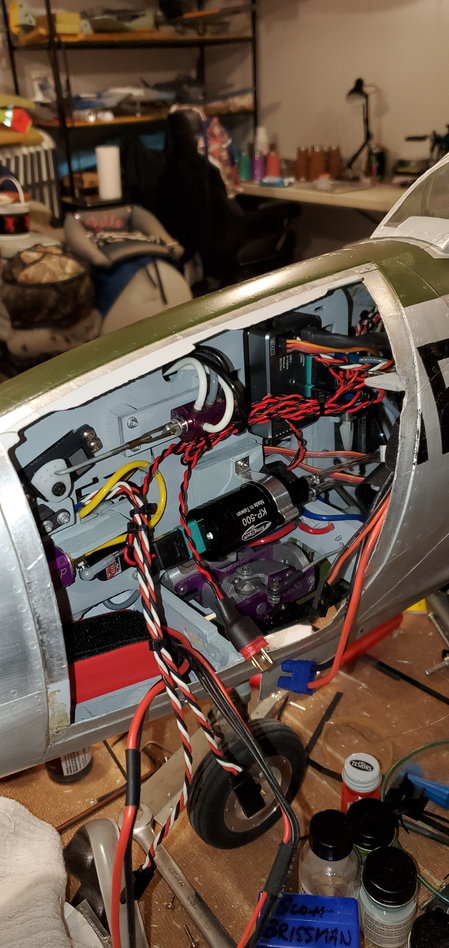
I am currently flying one and love it. Takes off very scale. Flies great but landing can be a bit tricky sometimes but for the most part isn't bad. Just keep the speed up and she is no issue.. I am flying with a K85 and actually added weight to my tail . Give it max elevator throw. I don't care what the manual calls for. Keep the expo around 15 also on the elevator. I did add 1/4 ply to the top of the main gear mounts and fiberglassed them on the inside. If you zoom in you can see the cloth. I'd do this. The mount is weak. With this mod I have had a few hard landings and no issues since.
The following users liked this post:
Auburn02 (04-27-2021)
04-27-2021, 05:50 AM
#19
My Feedback: (17)
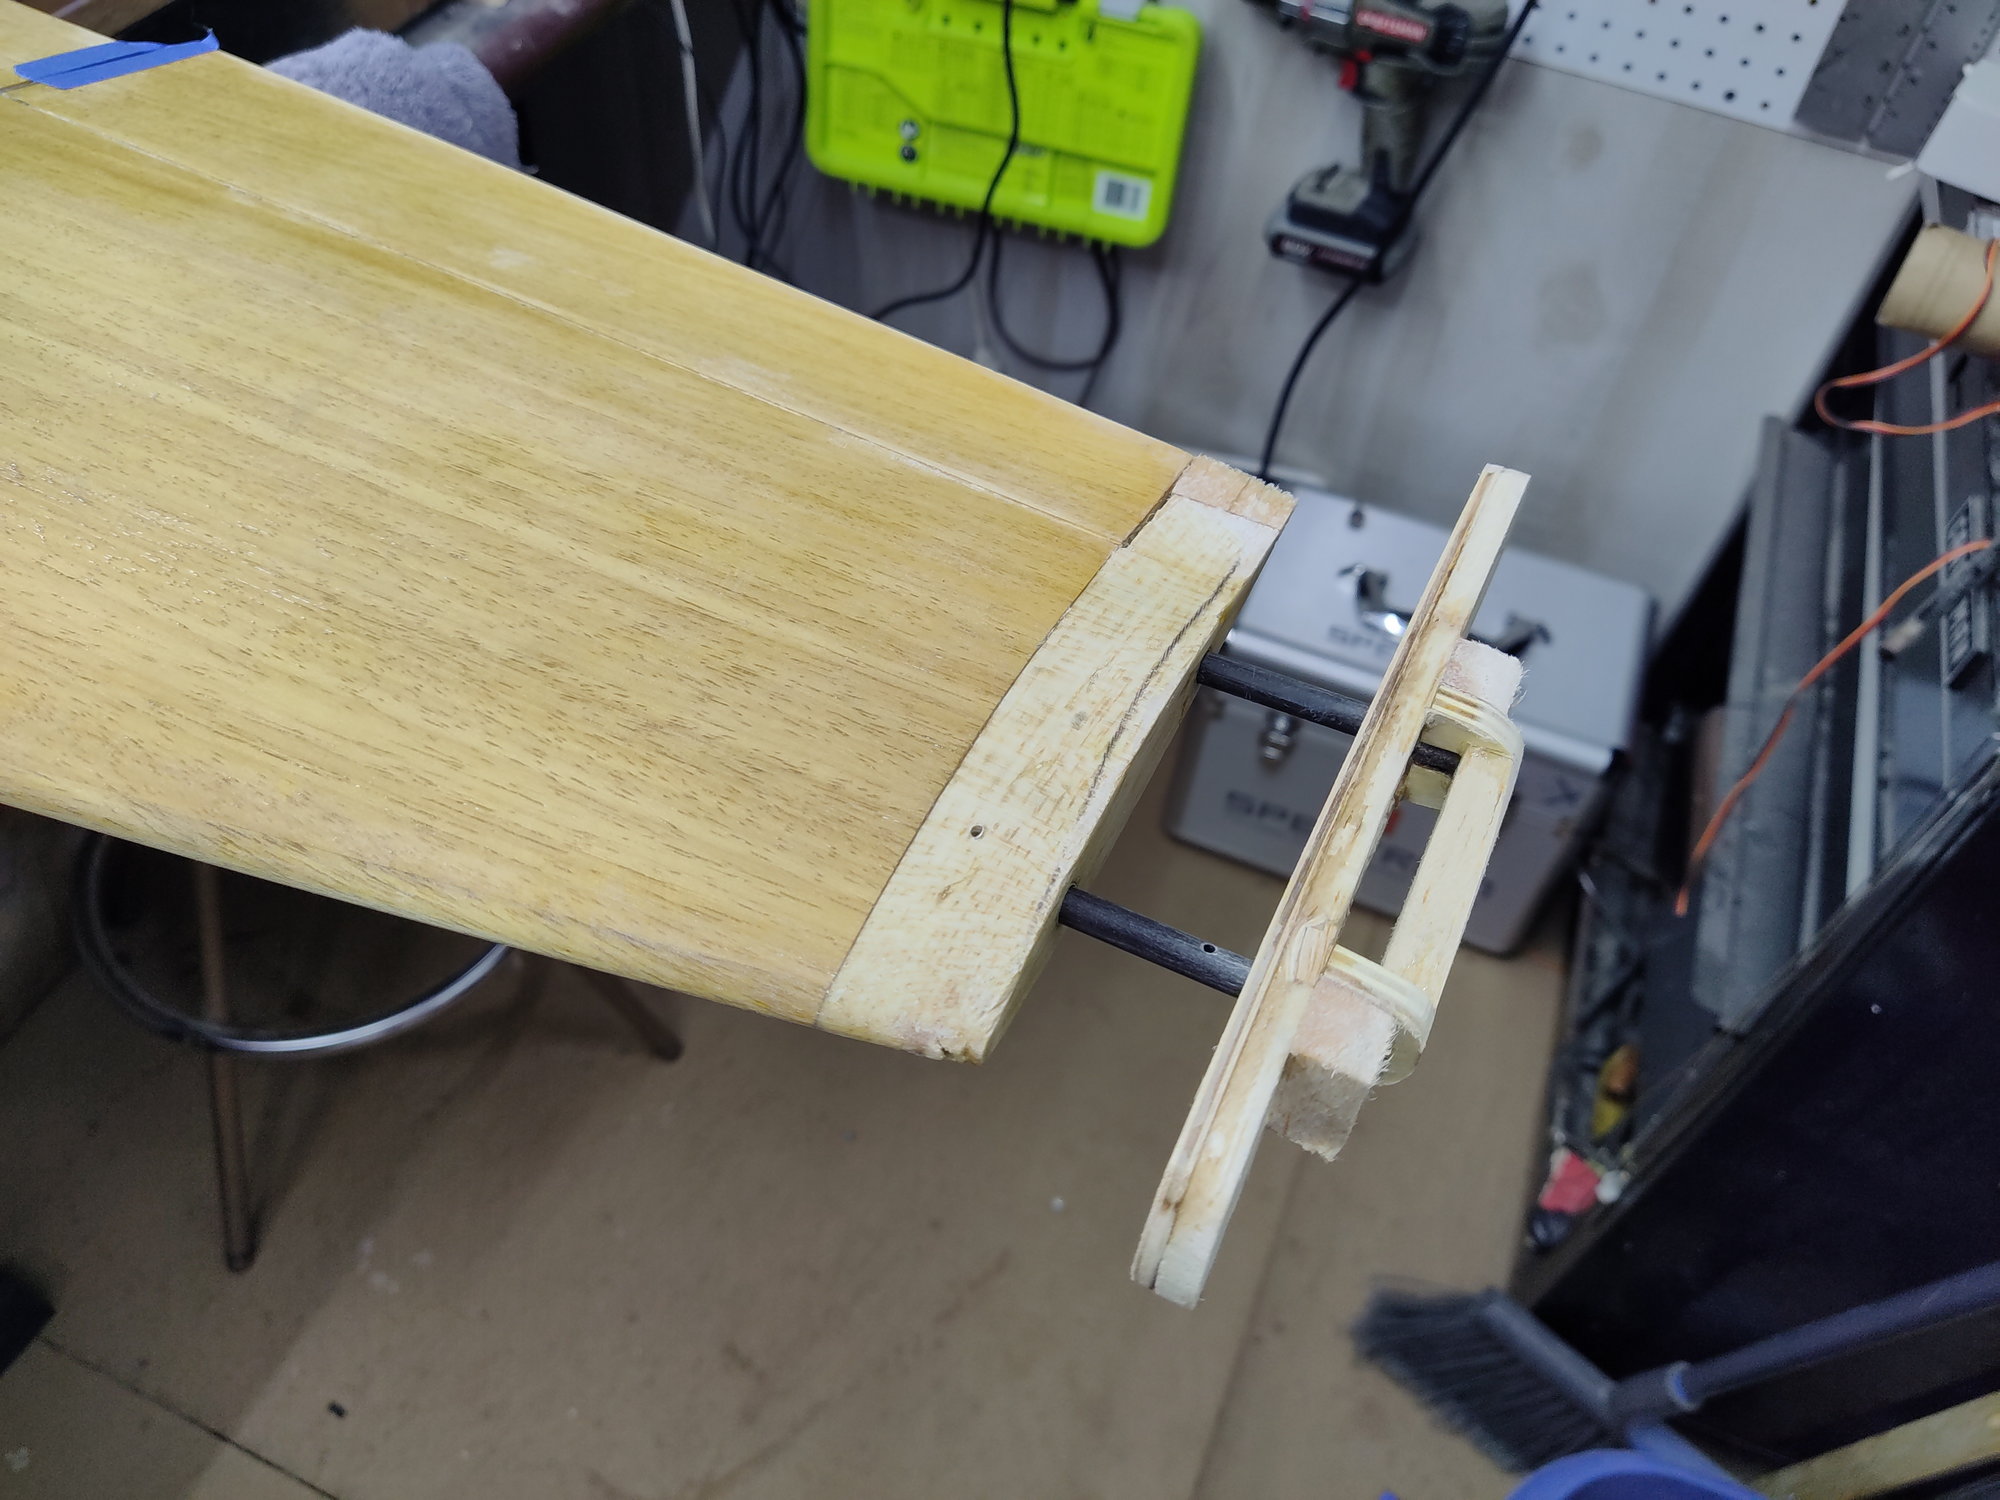
Another thing. I have hit a dip in the runway at rotation speed and also hit a little hard on landing and the tip tanks broke off. I went in and put 2 - 1/4 inch dowels into the wing foam core about 2.5 inches and into the tank with hysol. Problem solved. Easy for you to do before paint. Sucks to do after they break off.
04-27-2021, 04:09 PM
#20
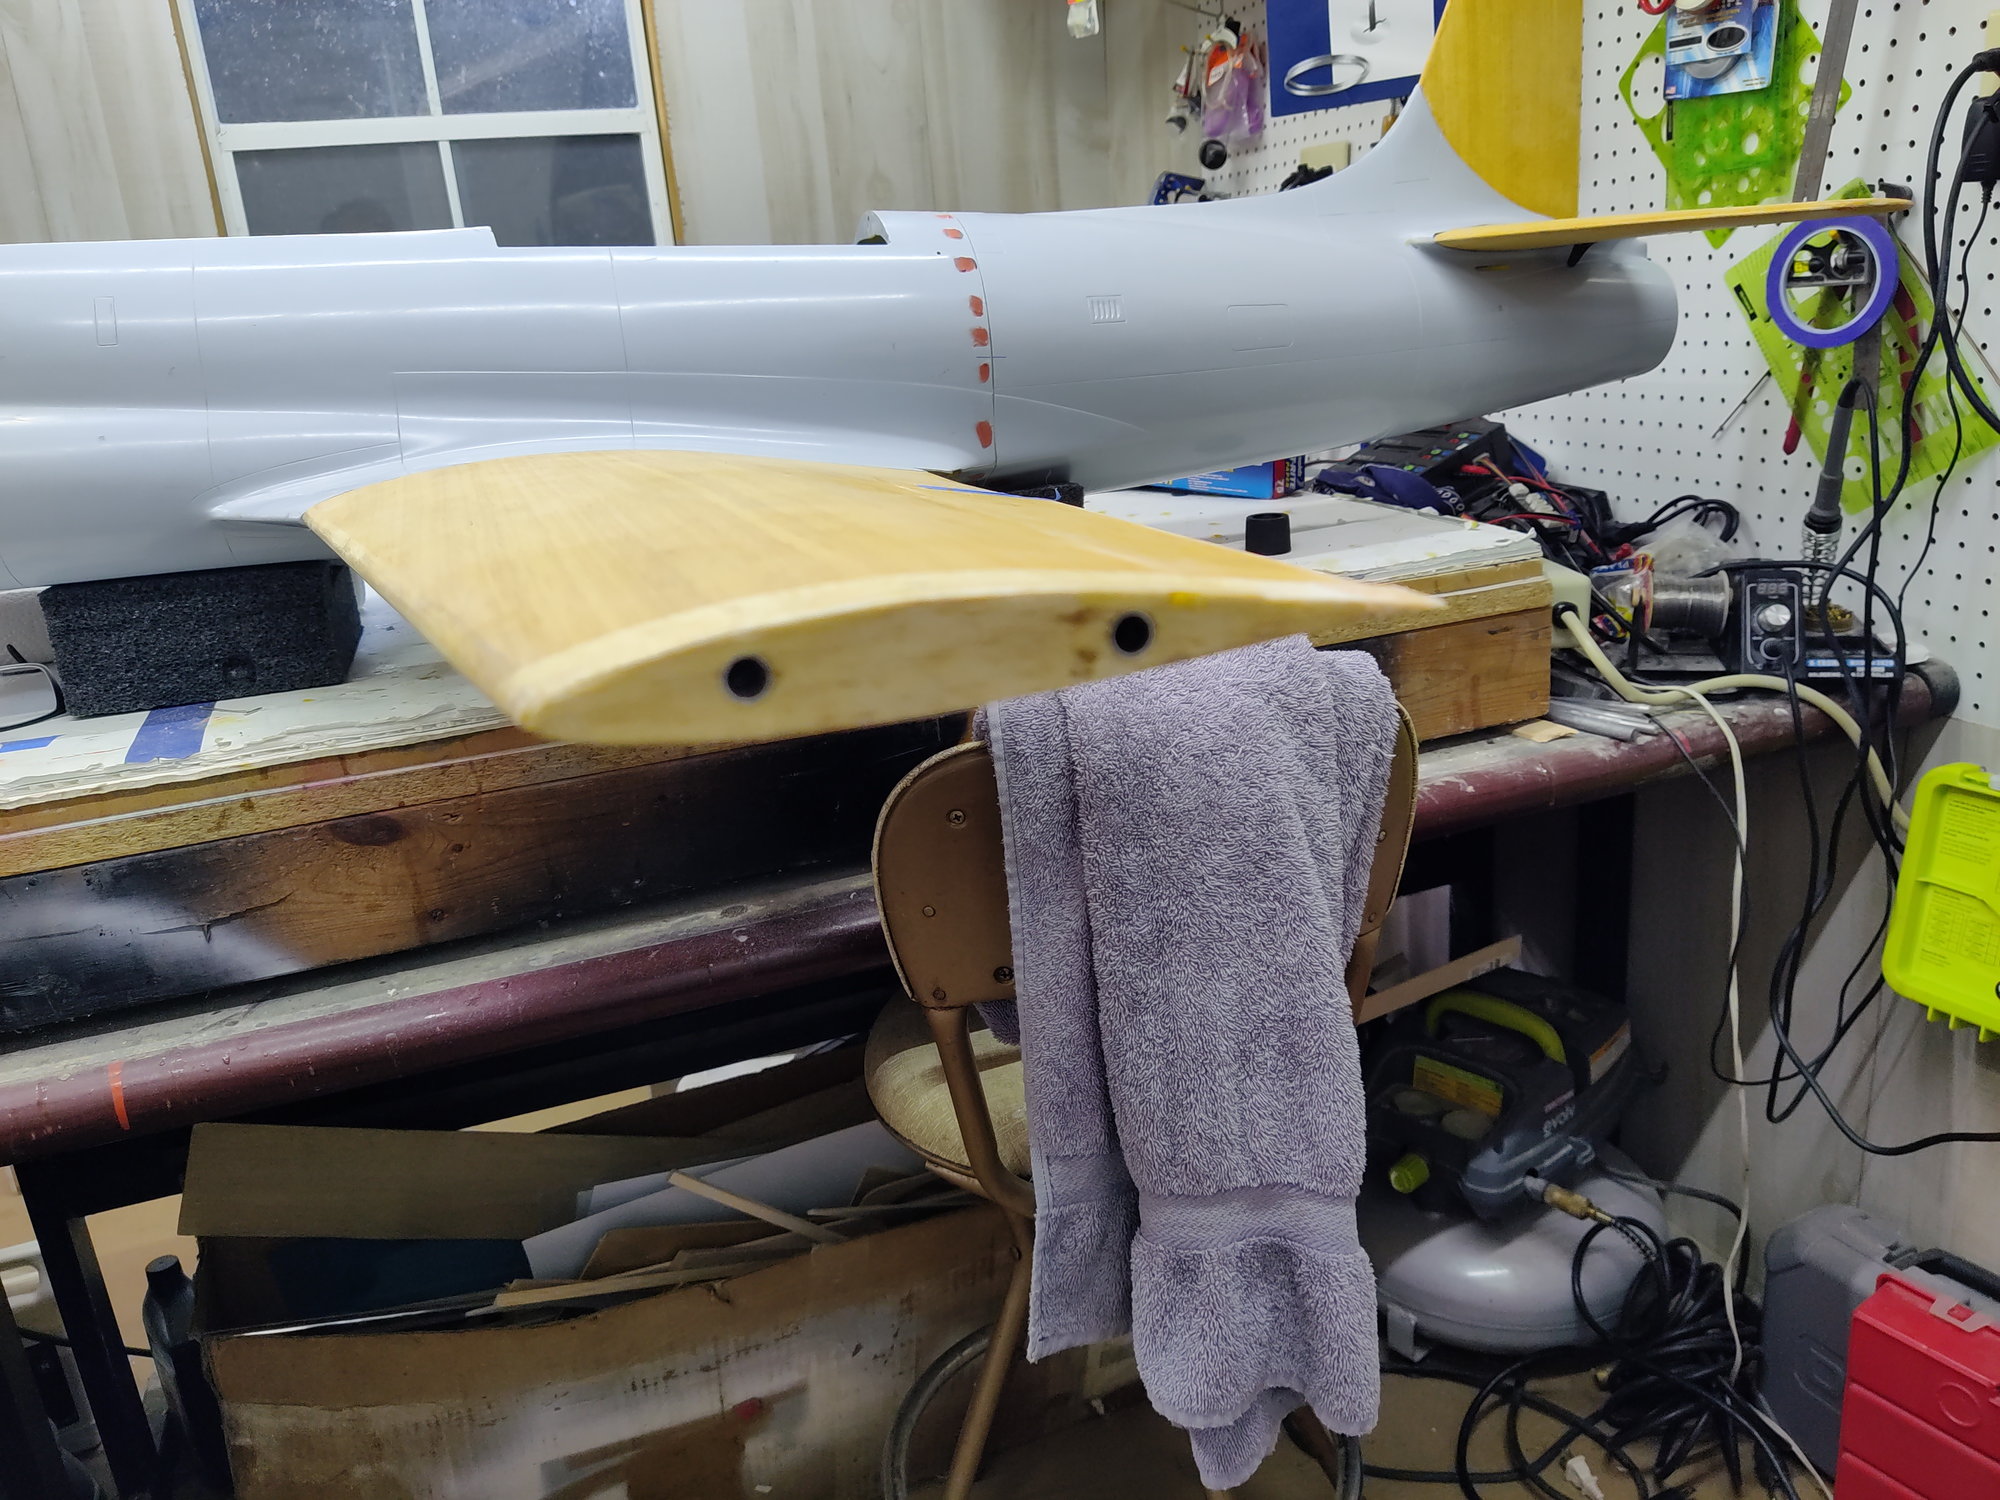
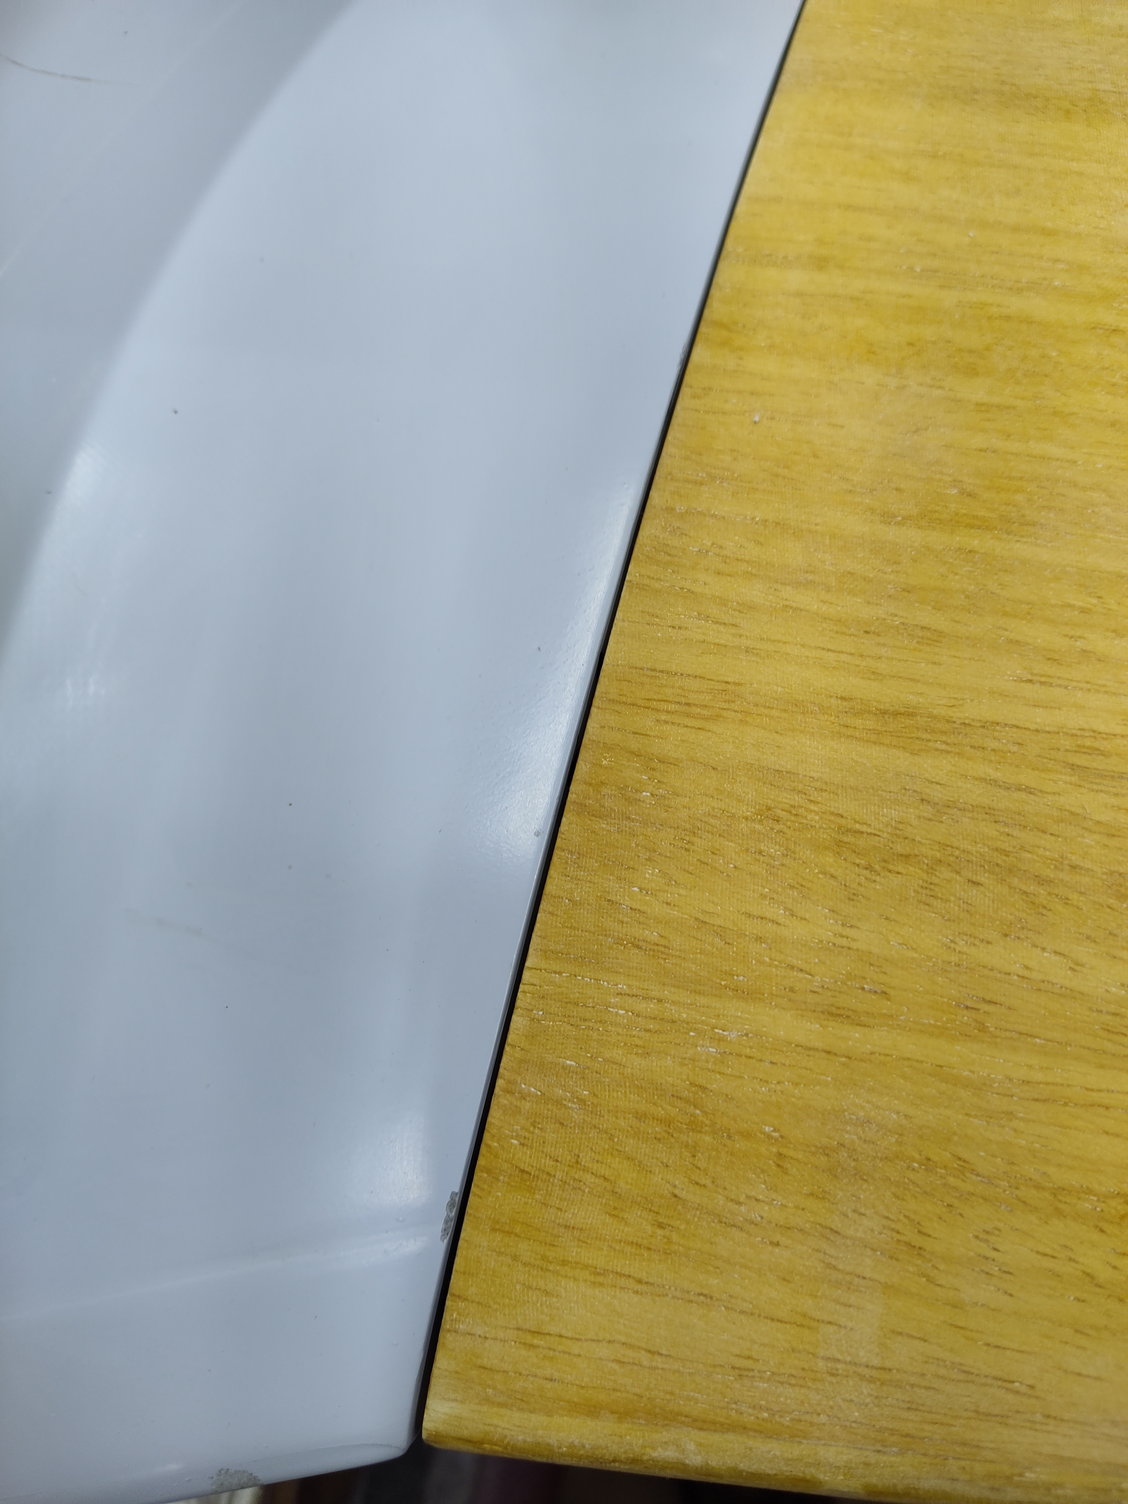
I Thank everyone for all of the input on the T33. Some really good advise on this particular Jet. After looking at mine a little more in depth. I believe this one to be the latest and greatest kit for the turbine version. It does not seem to have the undercamber on the fuselage. Also the wing tank mounts are aluminum tubes into the wing with carbon fiber rod. This structure gets glued into the wing tank then is held in place by a single screw through the wing into the carbon fiber rod. The front hatch does have the latch on it as well. A little bit of fill at the wing roots and I am close to primer.
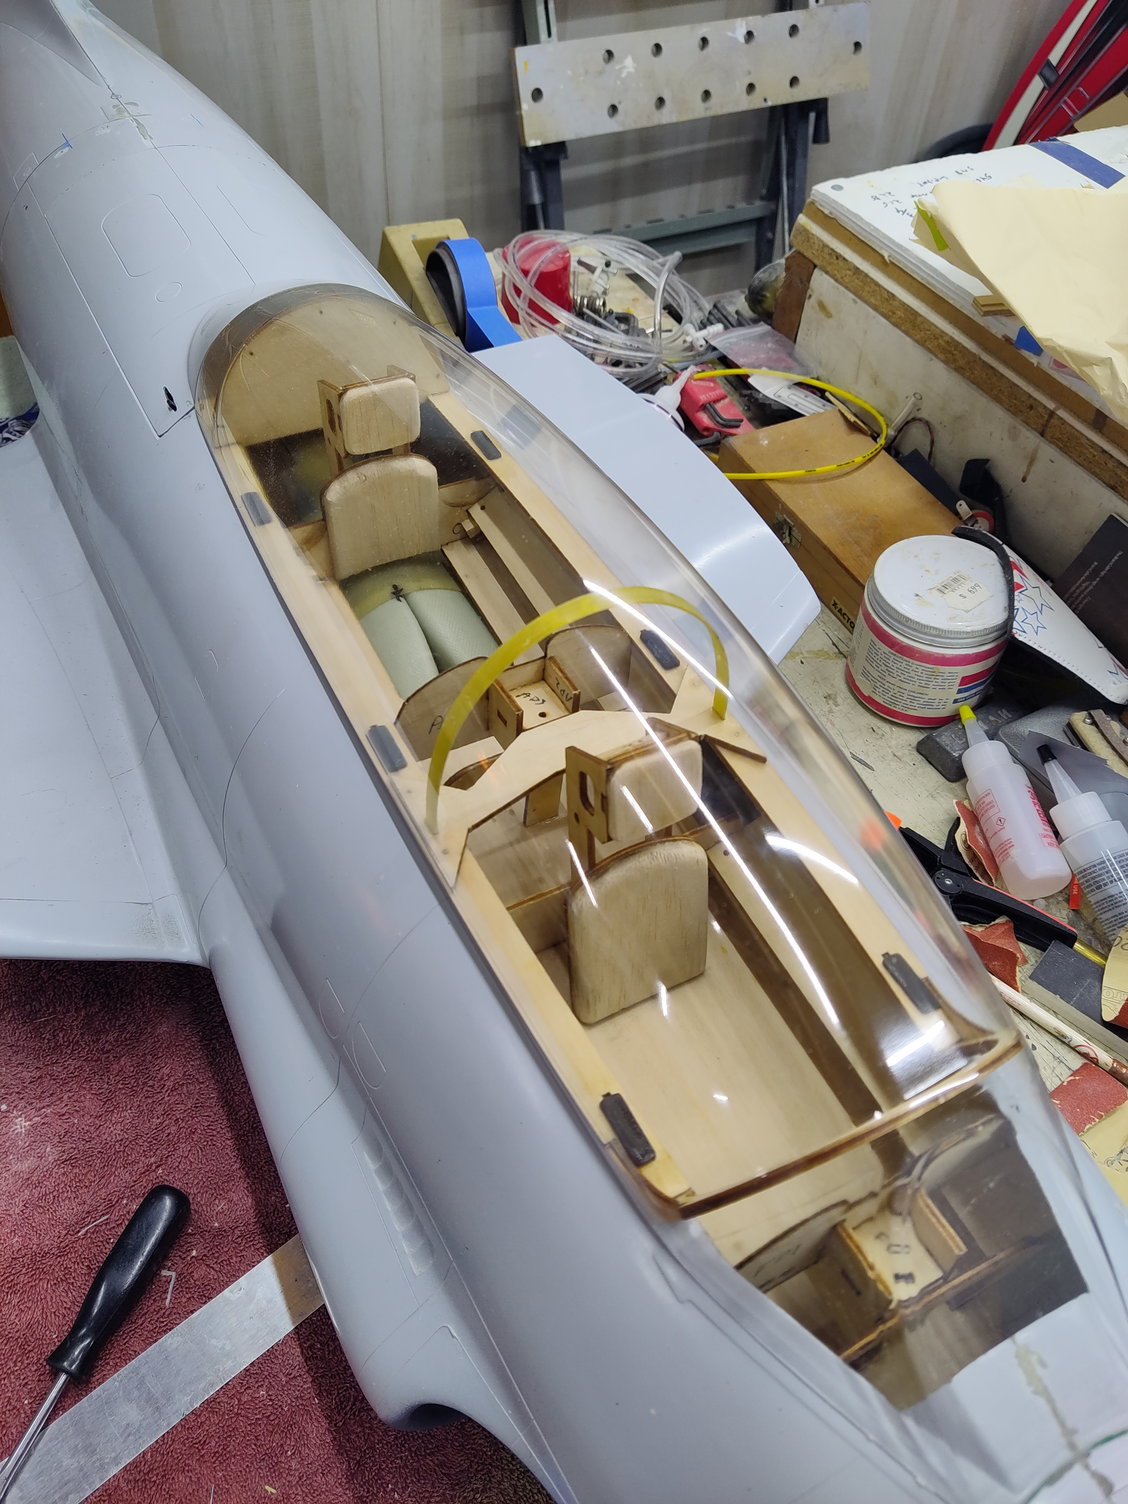
I also started the cockpit and hatch cover.
I looked at the plans and the CG is 3.5 inches behind the leading edge at the root where the wing meets the Fuselage

.
I also started the cockpit and hatch cover.
I looked at the plans and the CG is 3.5 inches behind the leading edge at the root where the wing meets the Fuselage
.
04-27-2021, 05:03 PM
#21
My Feedback: (17)
That is awsome on the wing tank mounts. Also your front hatch is the same as mine with the blocks, etc. It will come off in flight. I don't know how it does. But it does. I actually put 3 socket head servo screws in mine with wood blocks glued in the fuse. Pain to remove screws to open.
More of a pain to buy a new door and paint. Maybe put a piece of clear tape on front, idk. You can see the screws in the picture.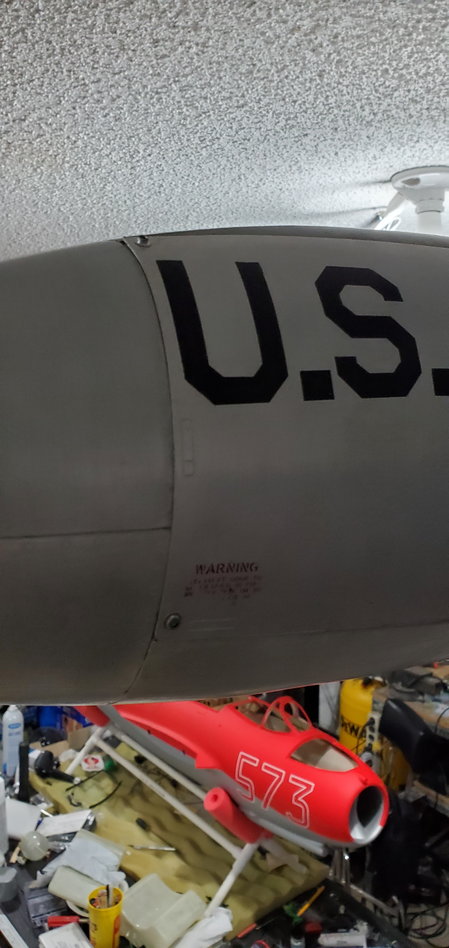
More of a pain to buy a new door and paint. Maybe put a piece of clear tape on front, idk. You can see the screws in the picture.