CARF Rebel MAX - Build Thread
 02-01-2022, 05:06 AM
#126

Thread Starter
My Feedback: (1)


Last edited by smcharg; 02-01-2022 at 06:09 AM.

The following users liked this post:
Canadian Man (02-01-2022)
02-01-2022, 09:52 AM
#127
Senior Member
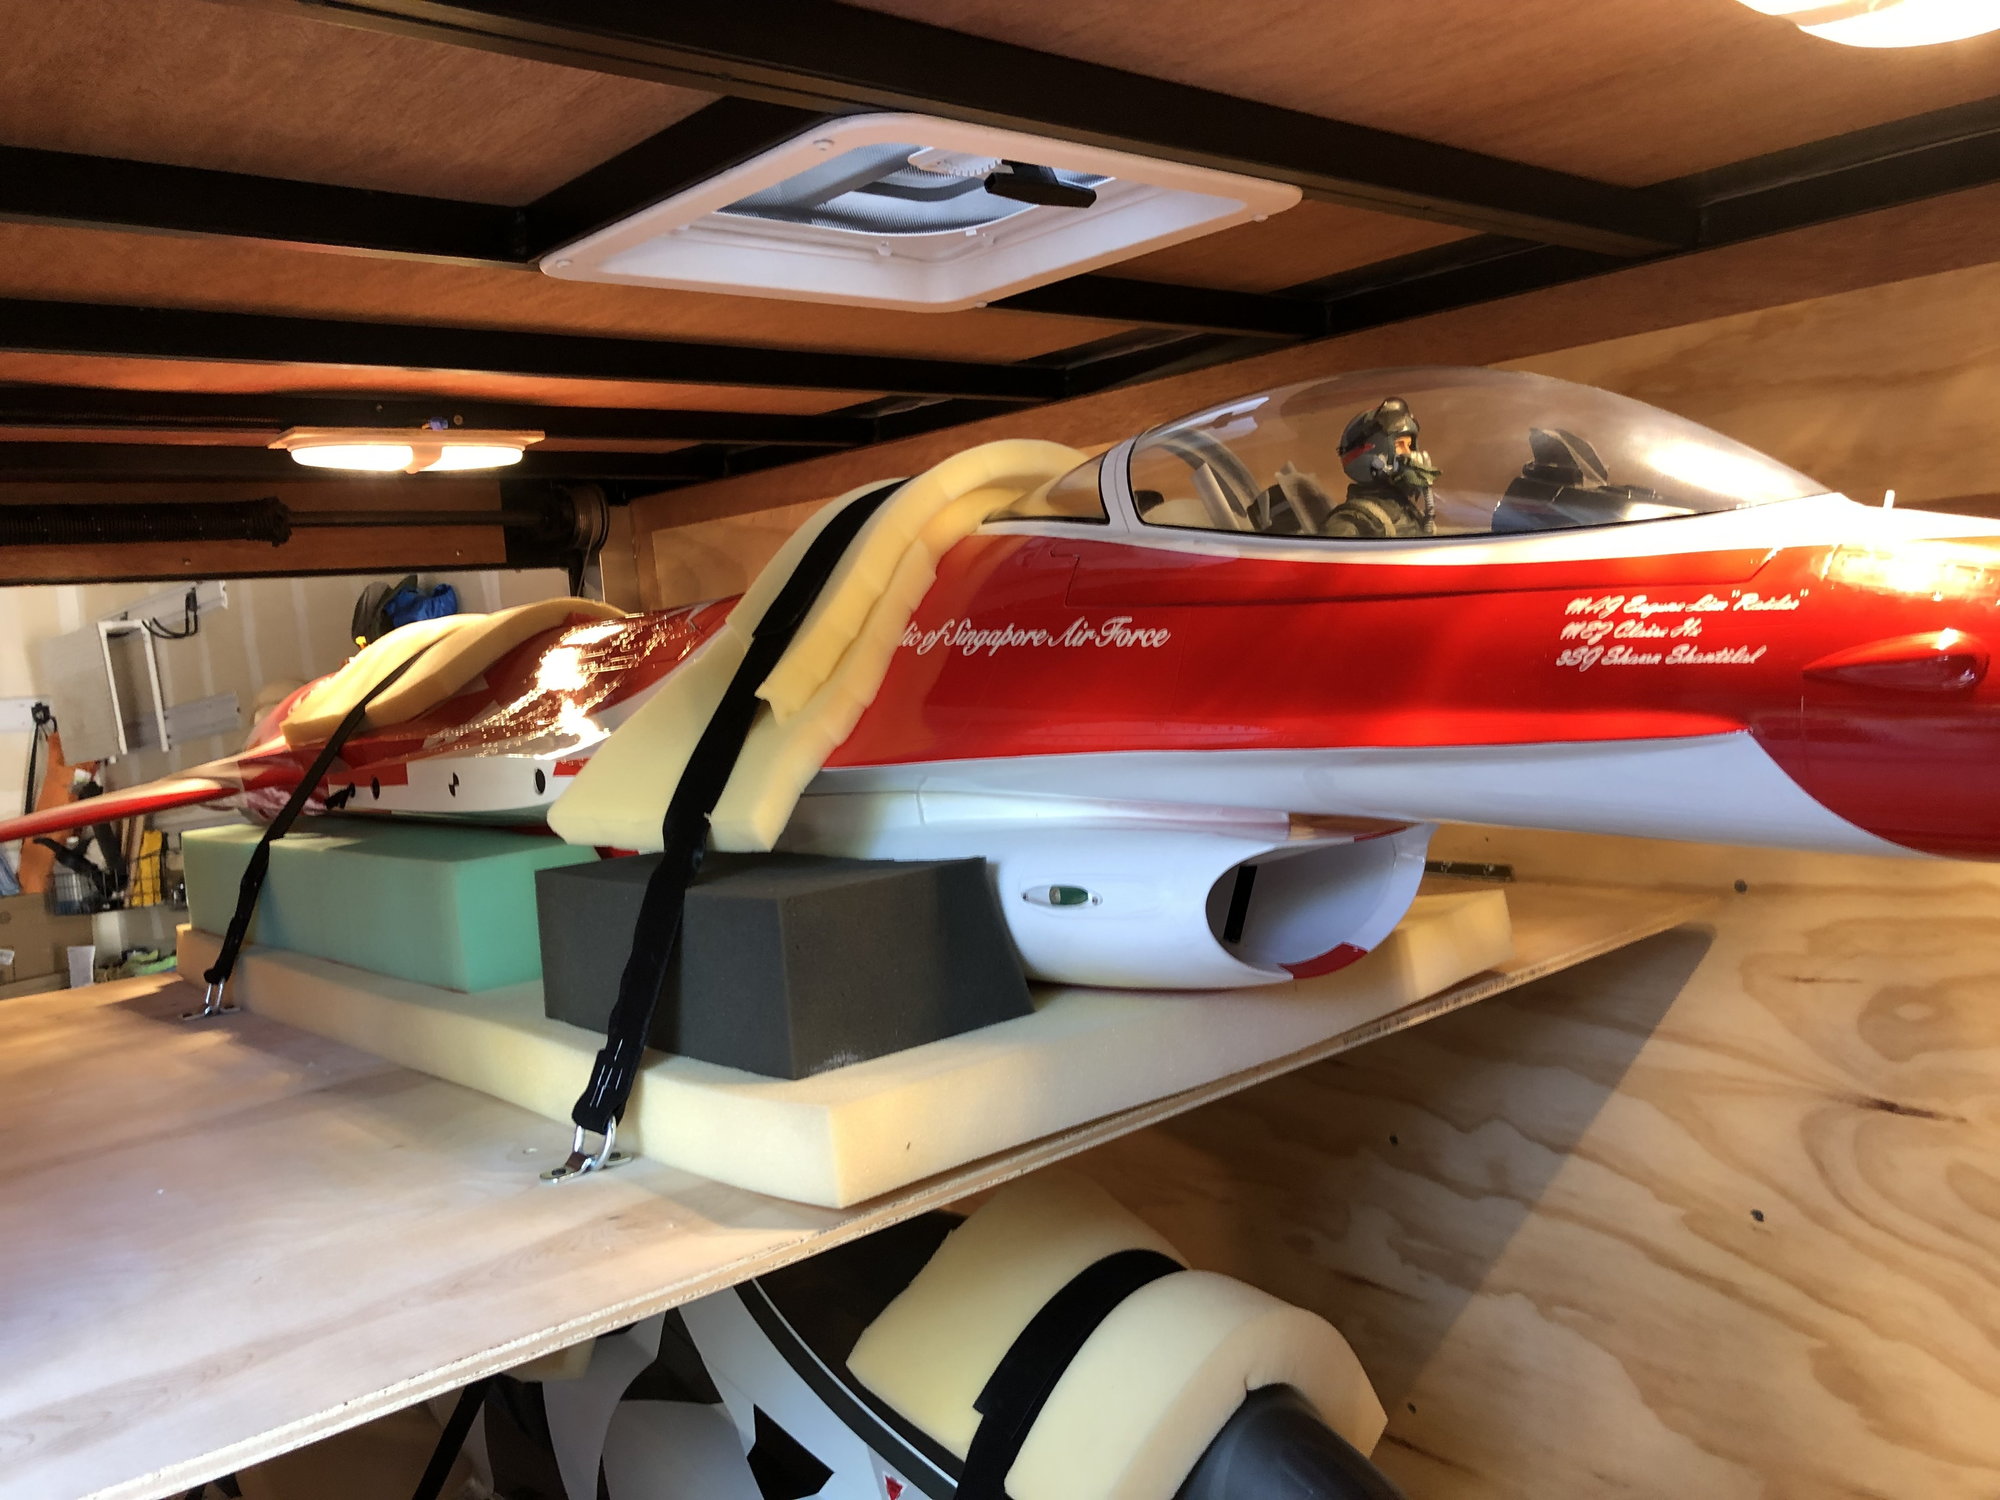
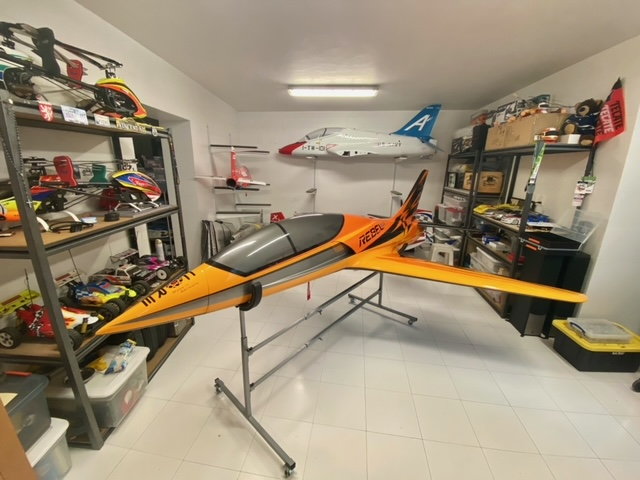
That is the large stand from Pacific R/C Jets. I actually need to buy a second one for when I take apart this jet for the aft section of the fuse. Here's the link: https://pacificrcjets.com/collection...19083570774112
The small stand easily fits 2.2m jets. The large one holds bigger.
The small stand easily fits 2.2m jets. The large one holds bigger.
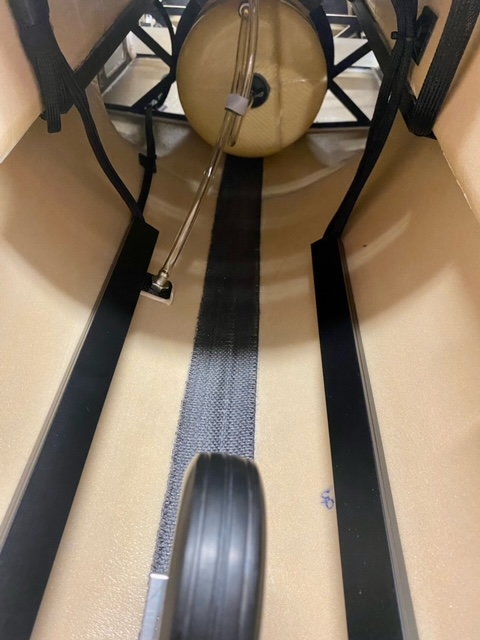
The front block placed near the gear door might be loose from side to side and remember they should go under a bulkhead to prevent fiberglass damage.
02-01-2022, 02:49 PM
#129
Senior Member
I noticed in your photo that it's at rear seam where the fuse joins and the front block is only inches ahead of the wing.
It appears the length is three feet with at least a foot lost into the foam base.
a guy could buy longer dowels to increase the length of the foam cradles!
It appears the length is three feet with at least a foot lost into the foam base.
a guy could buy longer dowels to increase the length of the foam cradles!
02-02-2022, 06:31 AM
#130
Thread Starter
My Feedback: (1)
I think we're overthinking this a bit. The tubes are 4 feet long and the foam pads are about 6" in width. For the Max (and as you can tell from the Xicoy meter), there is very little weight in the front of the airplane, especially with the wings removed. Also, the picture may be a little deceiving as I'm sure I pulled the plane forward once I got it on its gear. The majority of the weight is centered on the rear seam which is where the turbine is mounted. When the Max is in the cradle, the front pad almost reaches the nose gear bulkhead. Agreed, not quite but since there's almost no weight there, everything is okie dokie.
02-07-2022, 05:41 AM
#131
Thread Starter
My Feedback: (1)
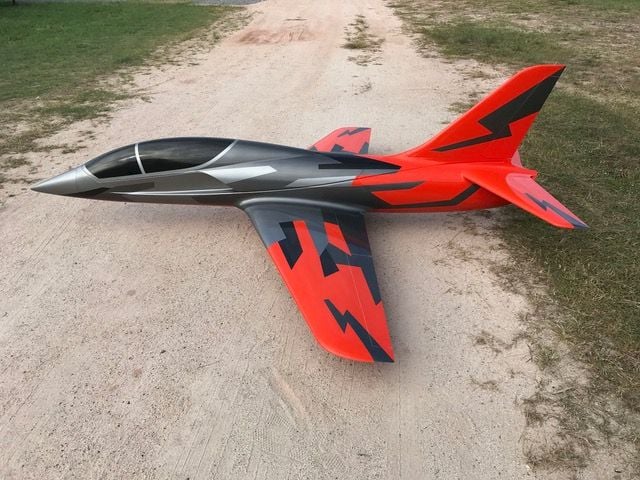
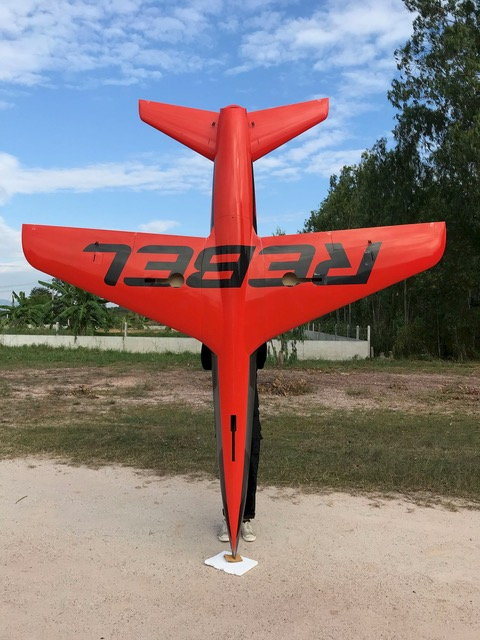
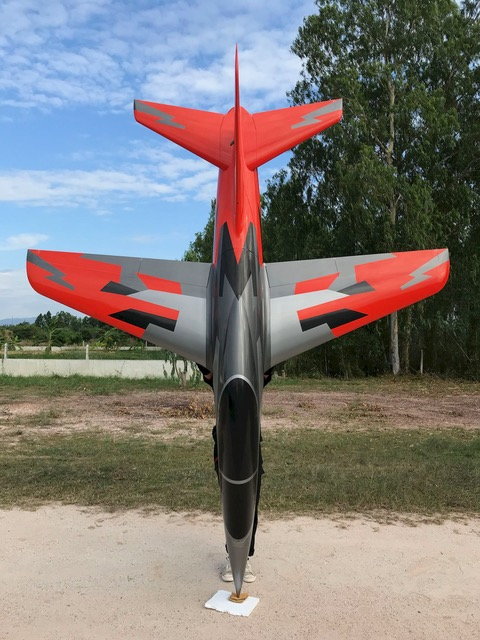
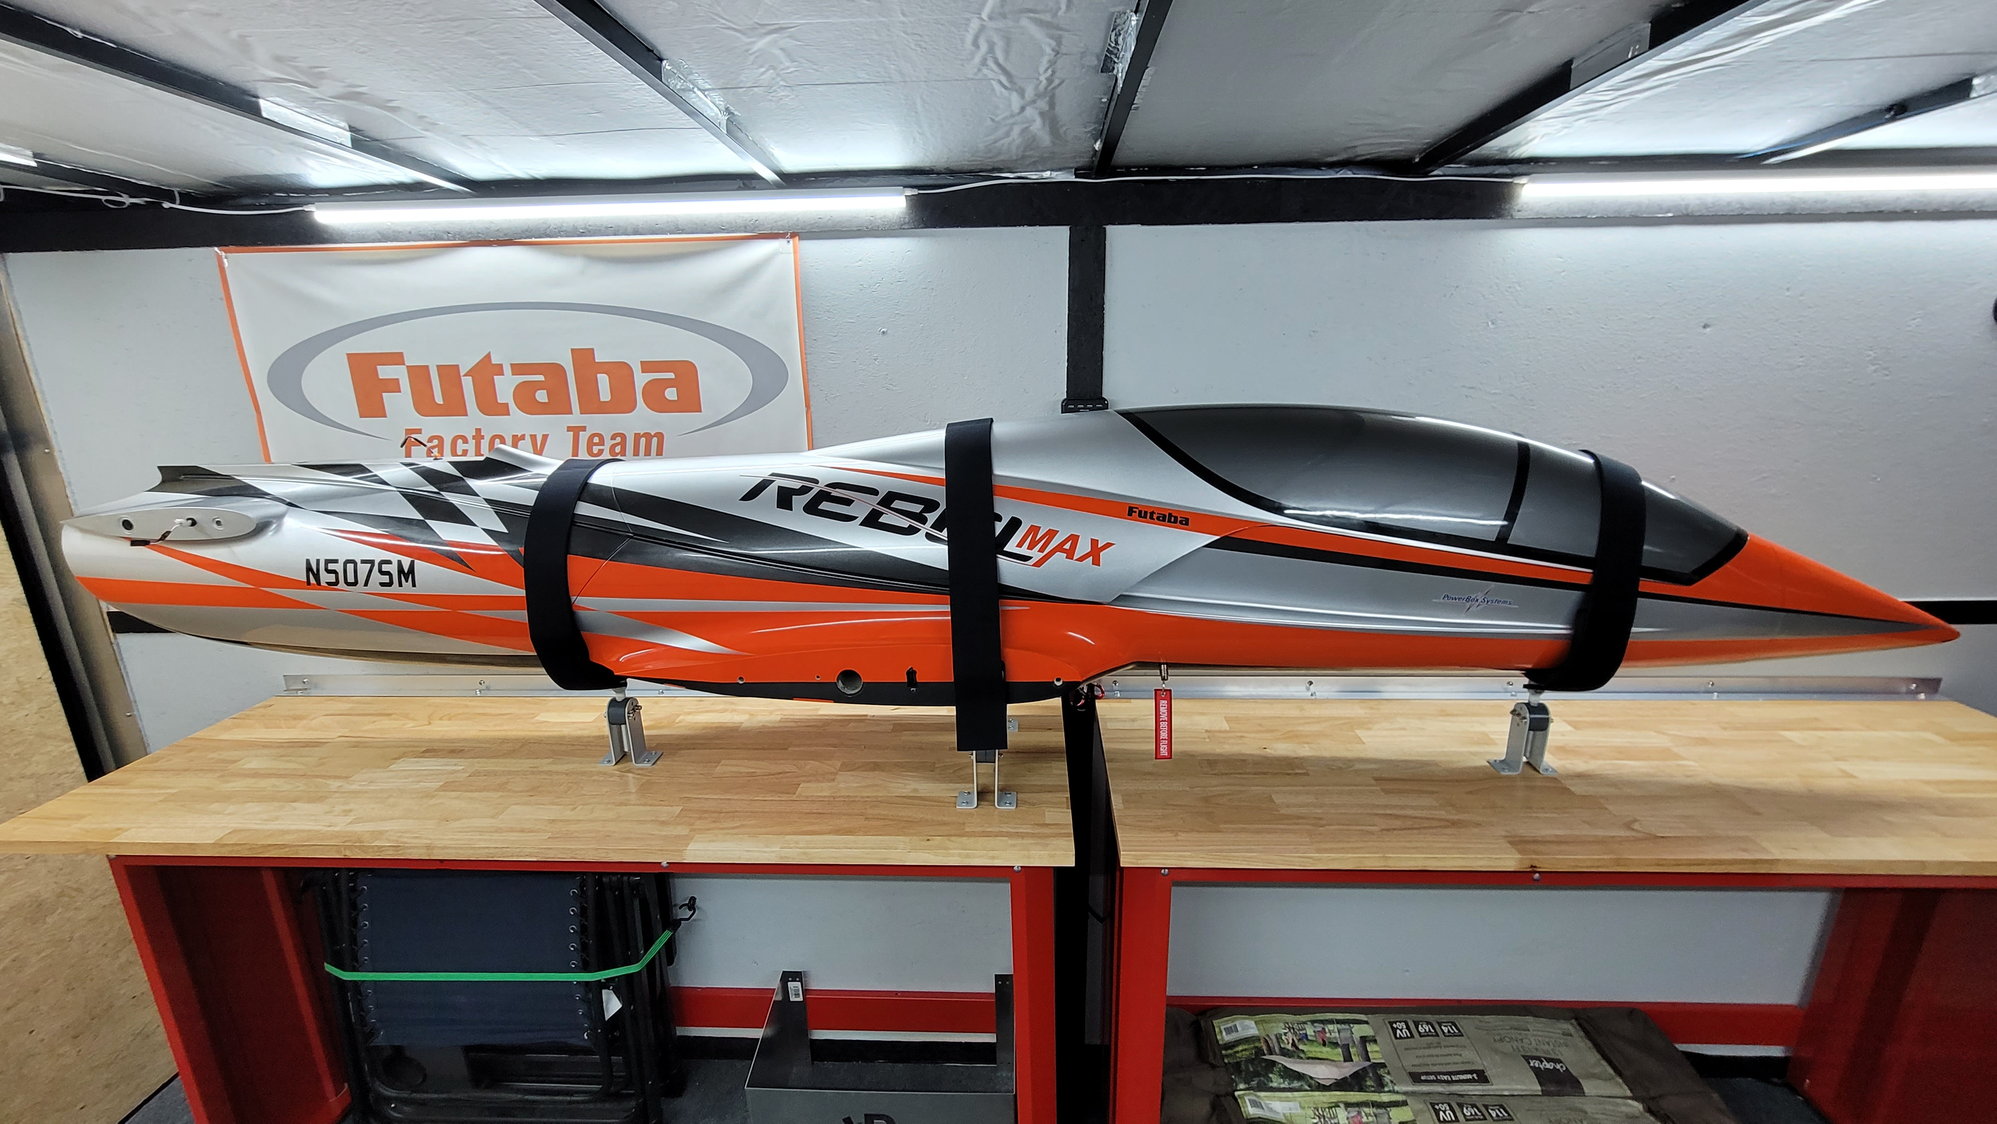
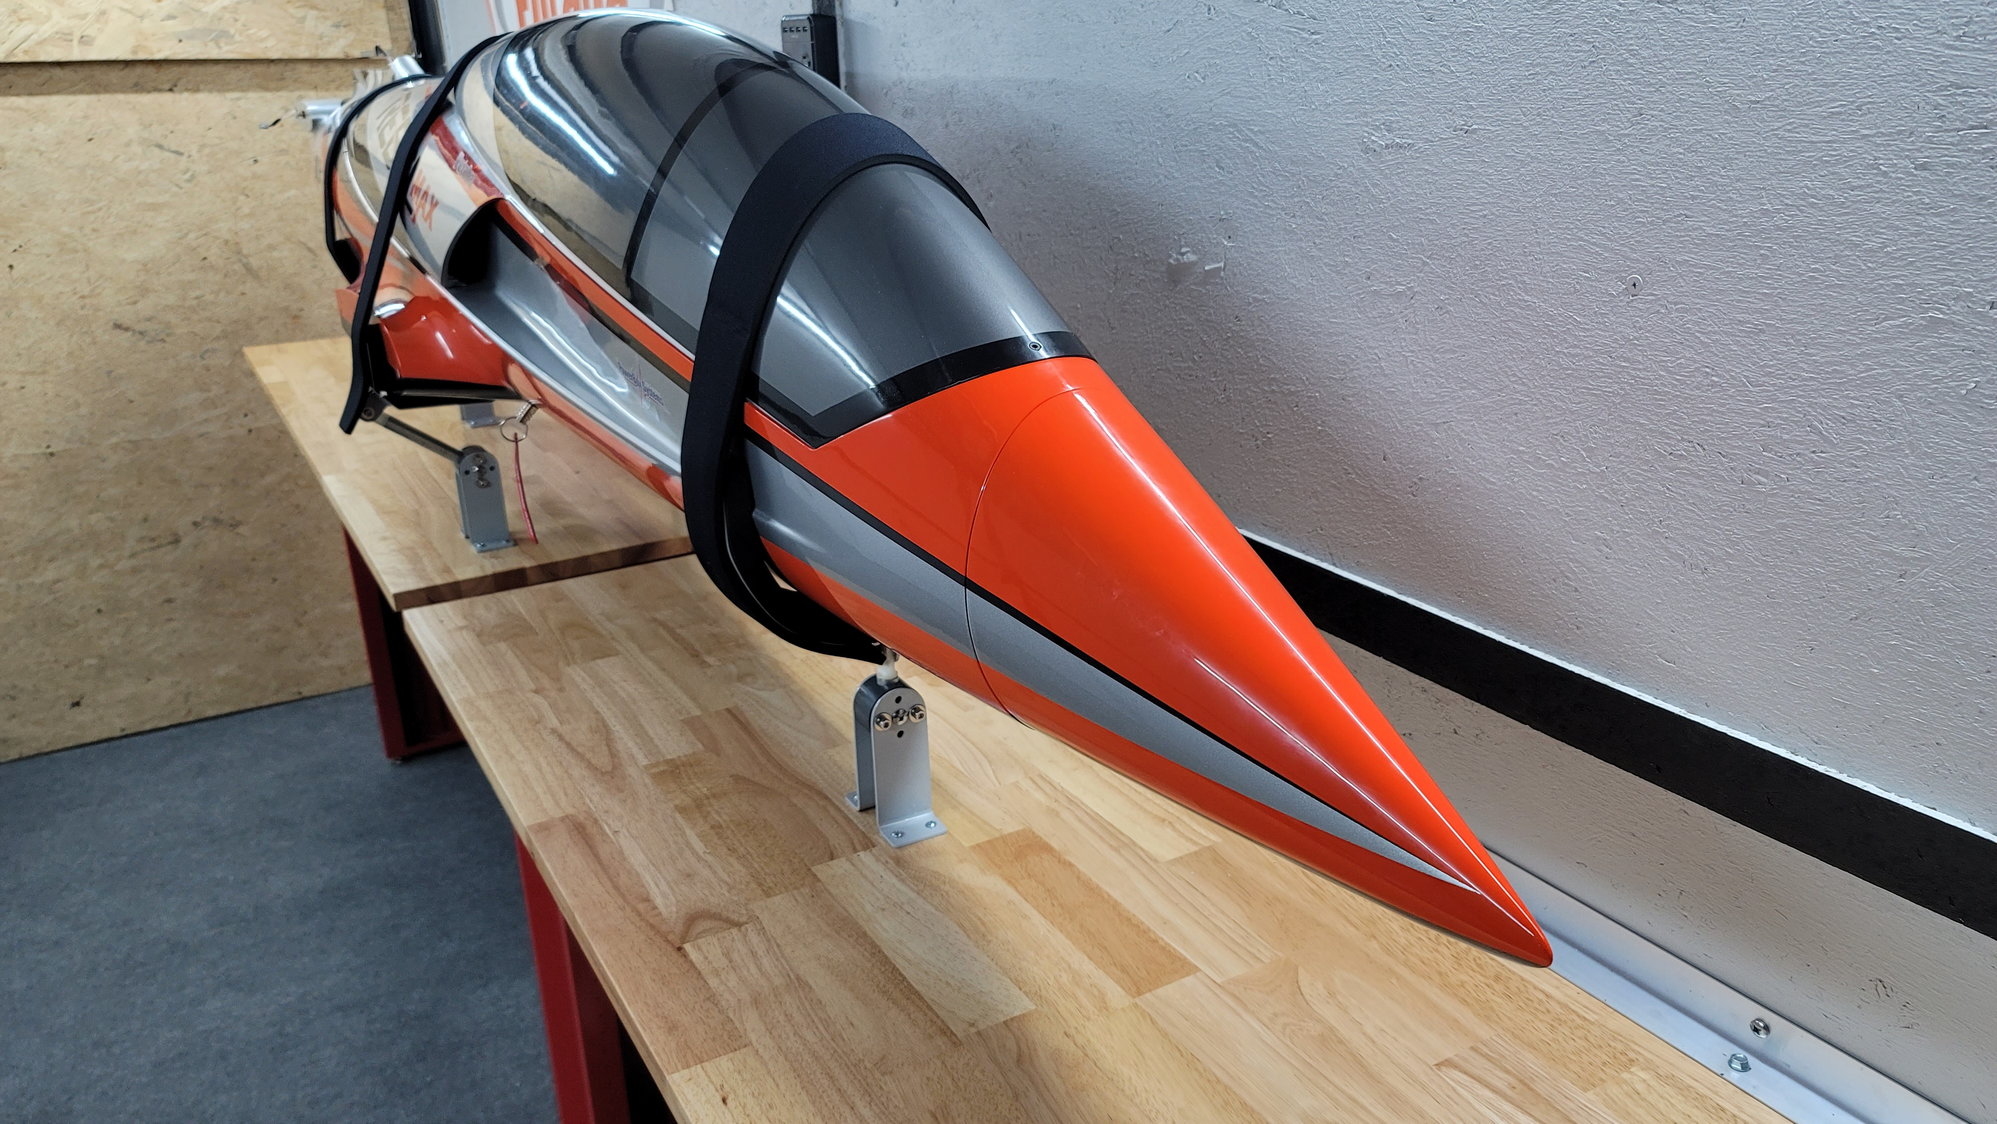
The Max is completed. This jet was a pleasure to build and, thanks to some suggestions here, was very easy to complete. It took me a while but that was only due to my available time and not the complexity of the build.
I finished the battery tray this weekend which, aside from some final checks of avionics and a run-up of the turbine, was the last thing on the list. Next weekend, I'll run the turbine for the first time and, hopefully, install the gear jacks into my new trailer. I'll post those pictures once i get it mounted and I'll throw up the turbine run on my YouTube channel. Assuming weather is good, I'll get to maiden her the following weekend.
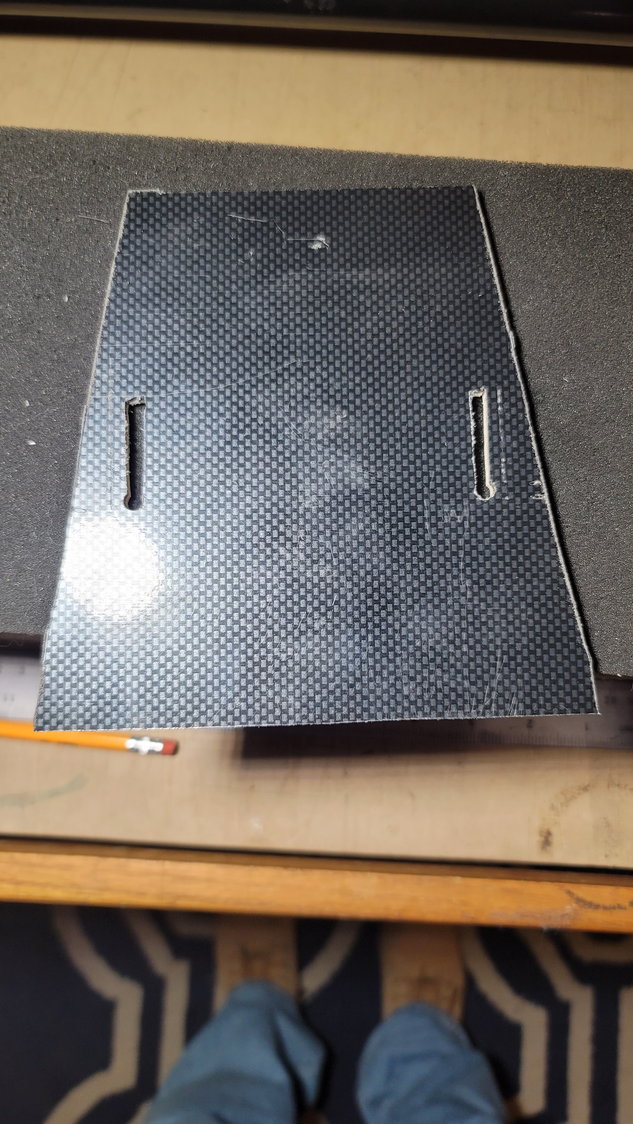
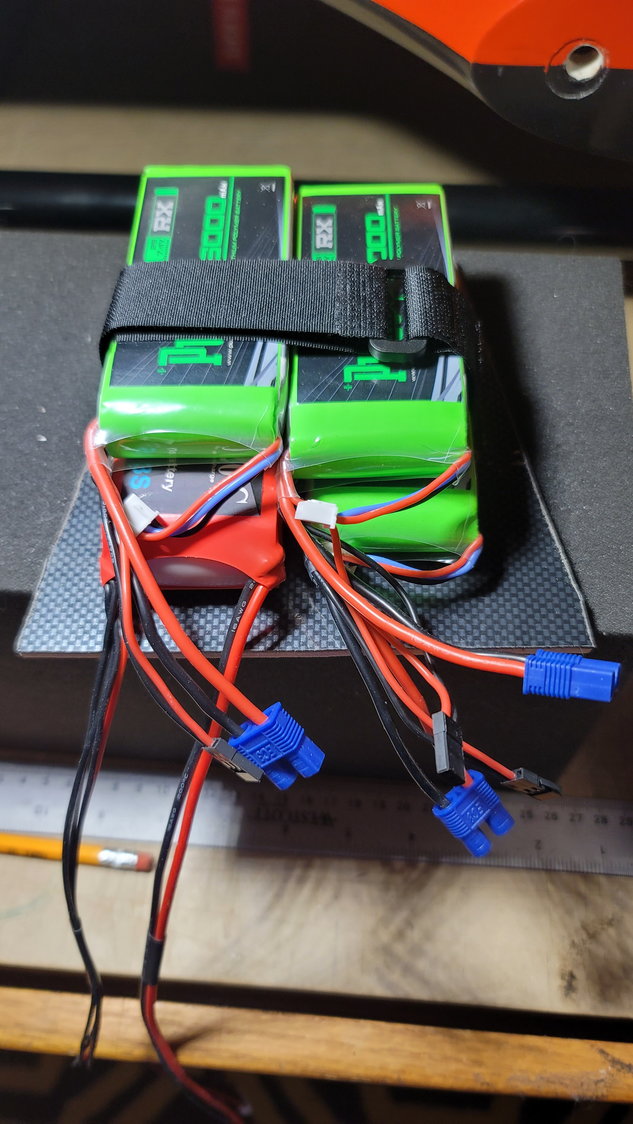
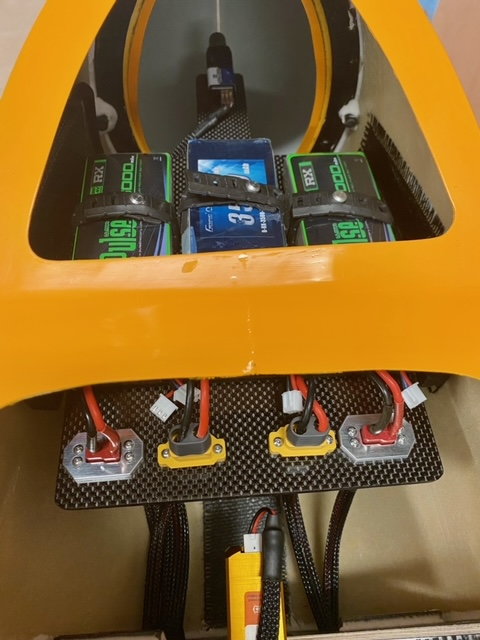
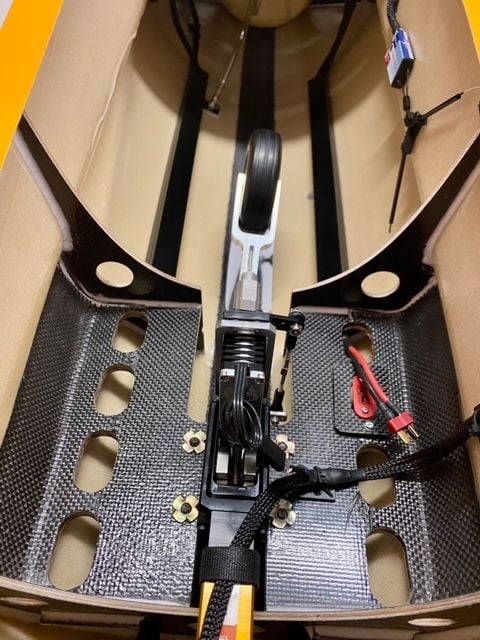
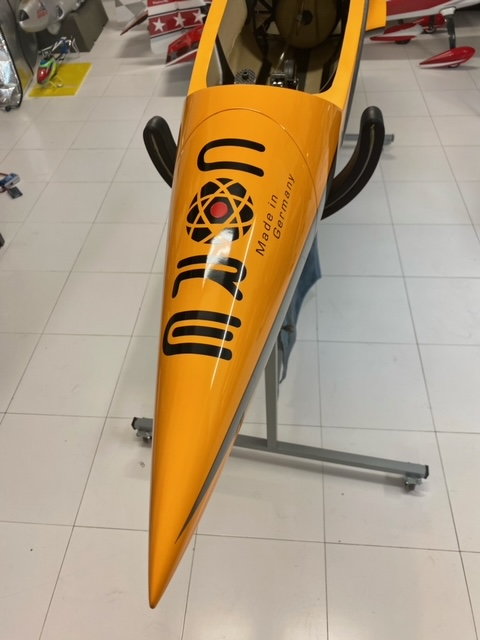
Since I needed all my weight as far forward as I could get it, I decided to build a little shelf in the nose cone out of that 1/8" ply/faux carbon plate that I had laying around (same stuff I used to mount the rear fuse AMP connector). I cut it to the angle of the nose cone, used a scroll saw to cut some slits for the velcro strap, glued it in with Hysol (top and bottom). Then, I added industrial strength velcro to the bottom of the shelf as well as in-between batteries and strapped it all in. While there's quite a bit of room in the nose cone, it's not the most convenient to get batteries in and out. The nice thing about this setup is that I can just take off the whole nose cone and charge up the batteries without having to remove each pack.
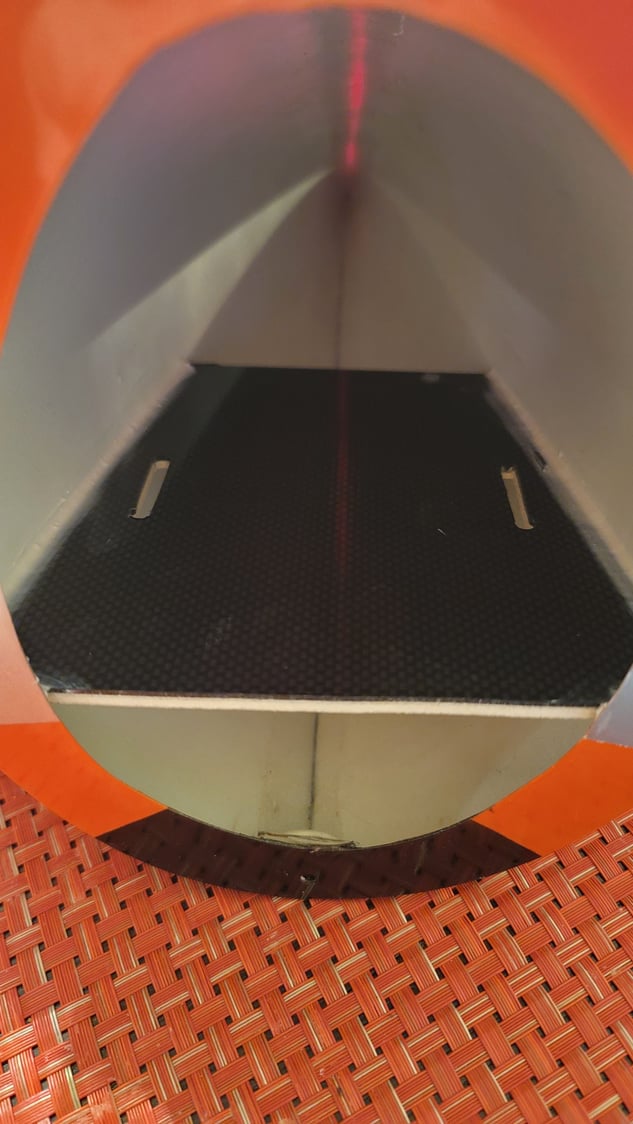
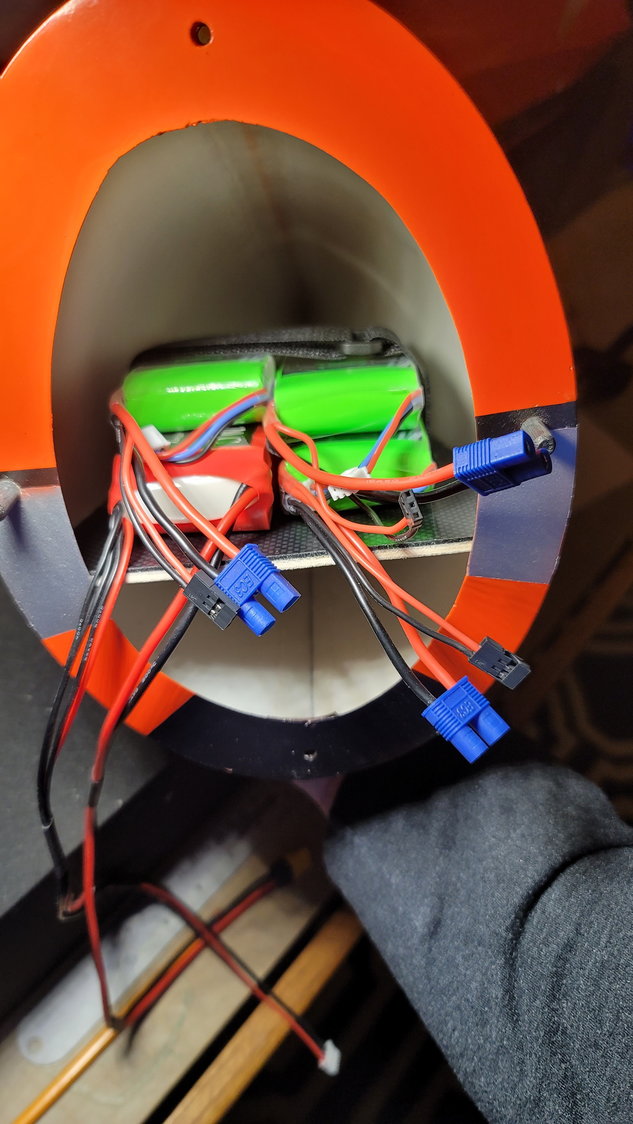
Next post will be all the pictures I promised of the wiring and layout. Thanks again for all the help from everyone. I hope that this thread will help someone if they get a chance to build this monster. I'm very excited to get out and finally fly this.
I finished the battery tray this weekend which, aside from some final checks of avionics and a run-up of the turbine, was the last thing on the list. Next weekend, I'll run the turbine for the first time and, hopefully, install the gear jacks into my new trailer. I'll post those pictures once i get it mounted and I'll throw up the turbine run on my YouTube channel. Assuming weather is good, I'll get to maiden her the following weekend.
Since I needed all my weight as far forward as I could get it, I decided to build a little shelf in the nose cone out of that 1/8" ply/faux carbon plate that I had laying around (same stuff I used to mount the rear fuse AMP connector). I cut it to the angle of the nose cone, used a scroll saw to cut some slits for the velcro strap, glued it in with Hysol (top and bottom). Then, I added industrial strength velcro to the bottom of the shelf as well as in-between batteries and strapped it all in. While there's quite a bit of room in the nose cone, it's not the most convenient to get batteries in and out. The nice thing about this setup is that I can just take off the whole nose cone and charge up the batteries without having to remove each pack.
Next post will be all the pictures I promised of the wiring and layout. Thanks again for all the help from everyone. I hope that this thread will help someone if they get a chance to build this monster. I'm very excited to get out and finally fly this.
02-07-2022, 05:54 AM
#132
Thread Starter
My Feedback: (1)
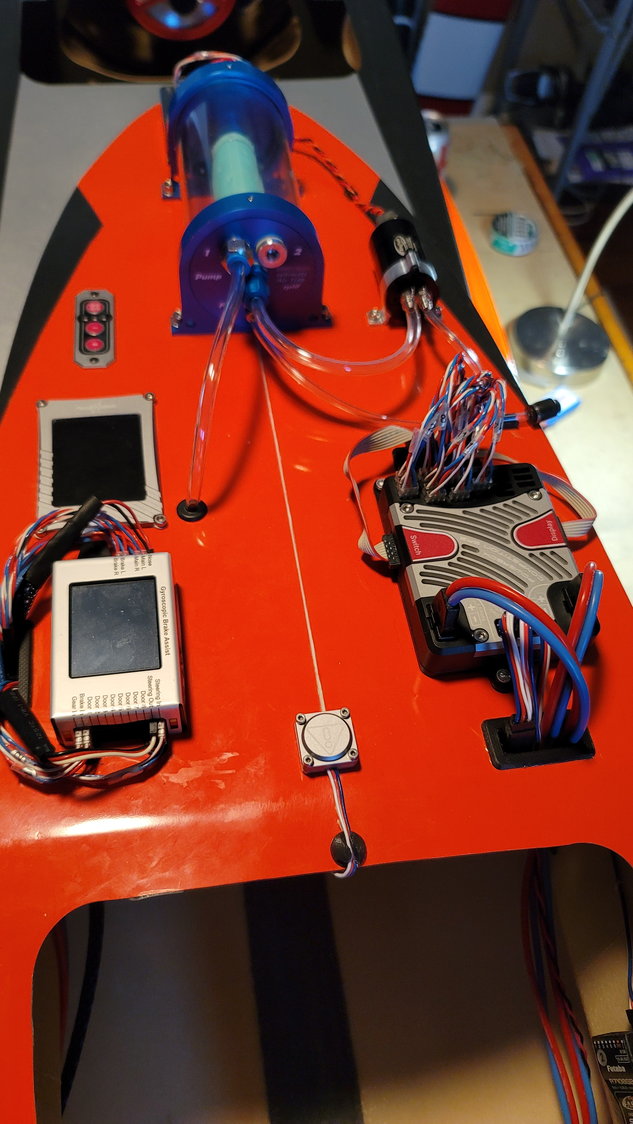
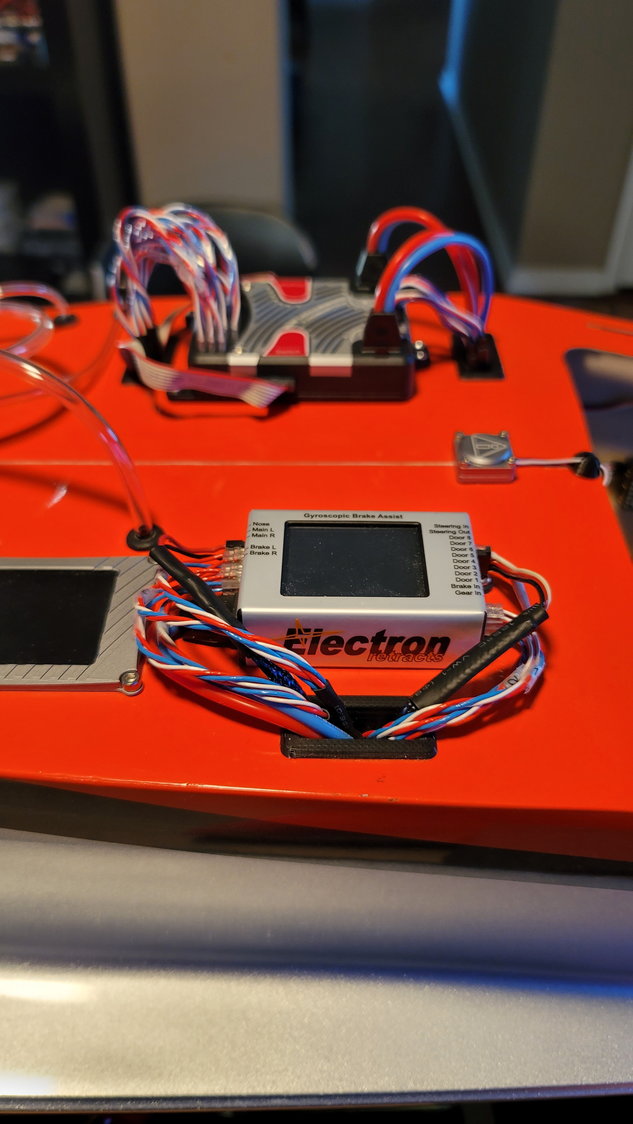
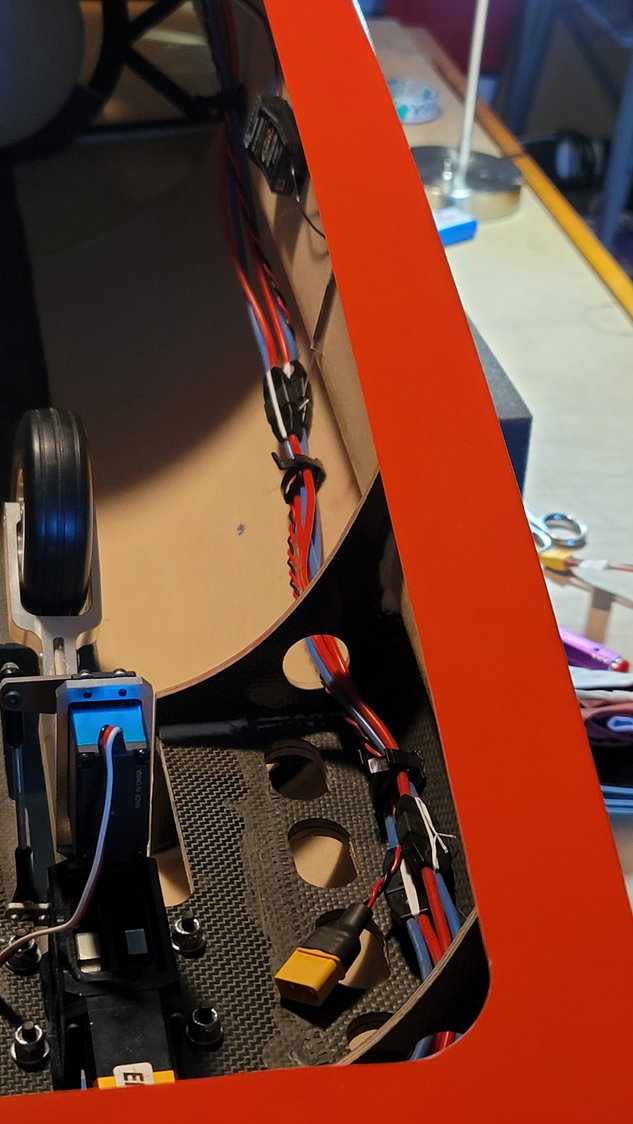
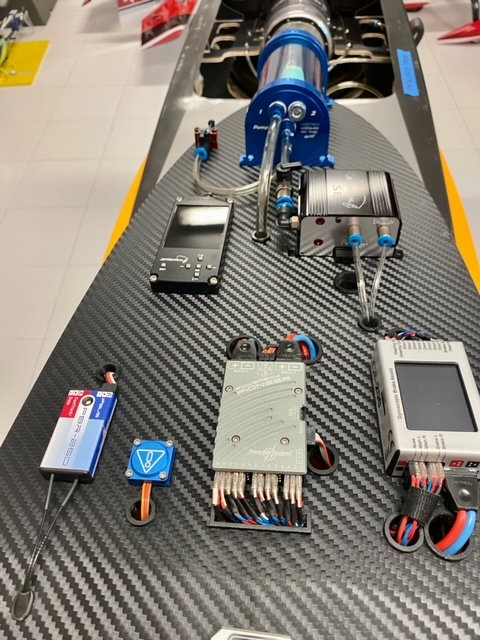
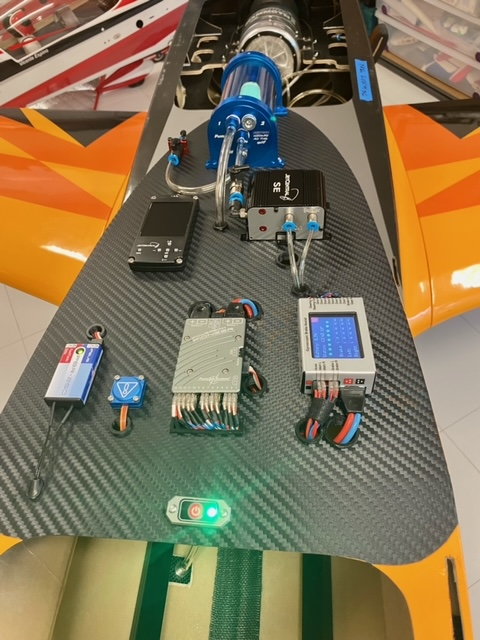
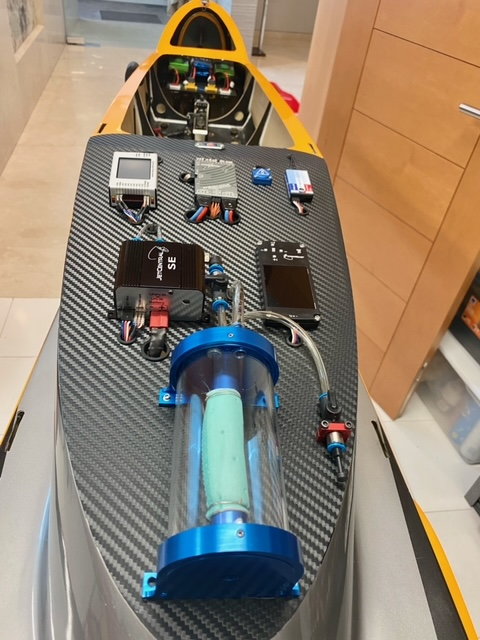
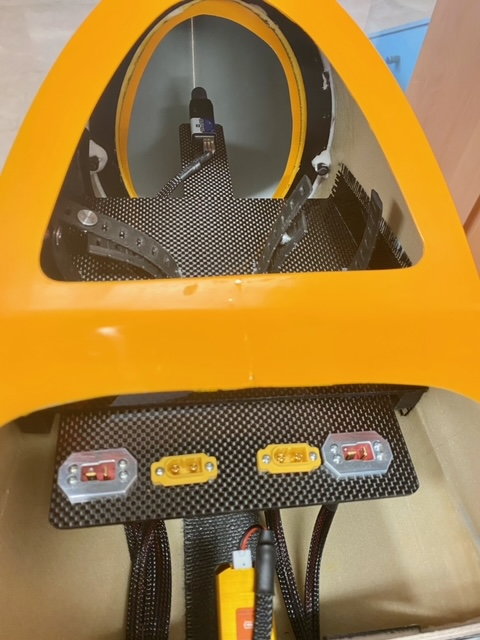
Wiring pictures and miscellaneous
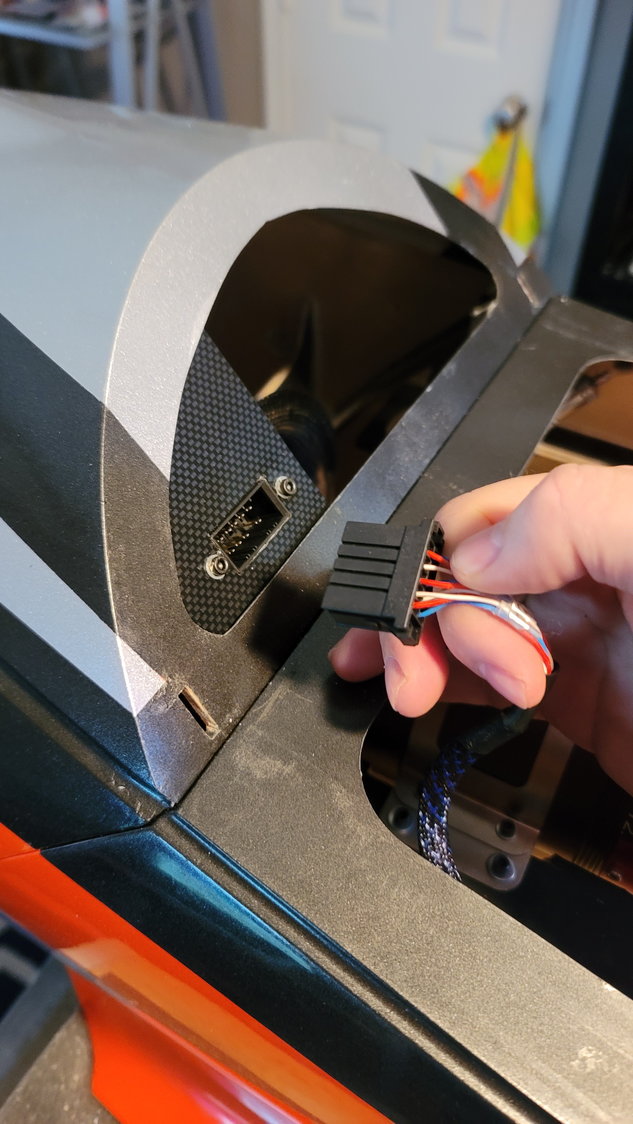
AMP Connector from Aero Panda
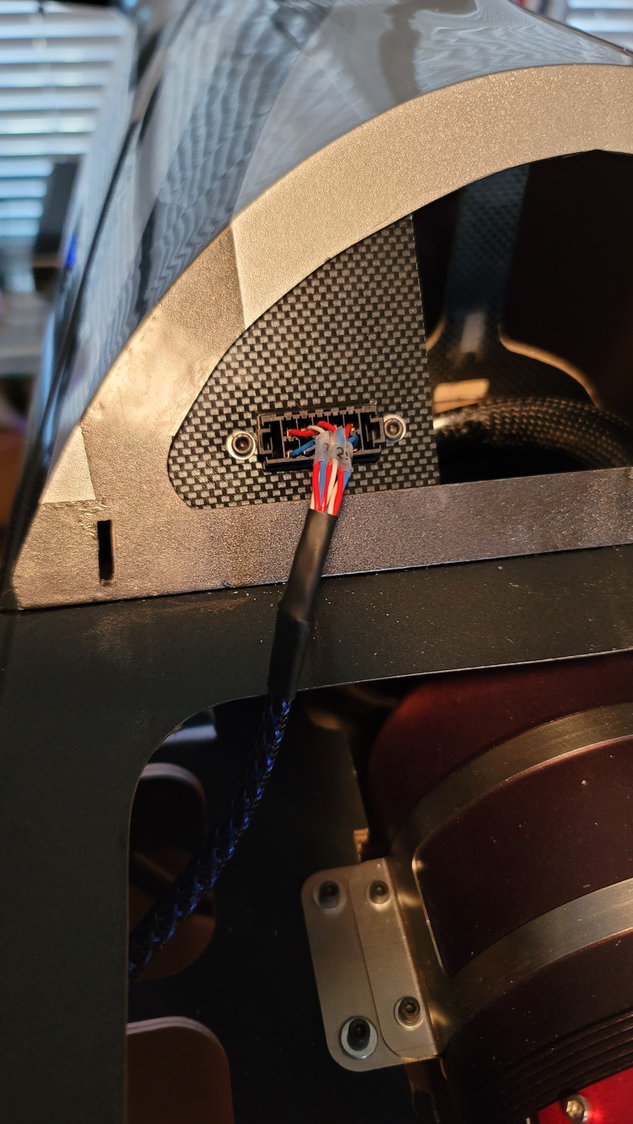
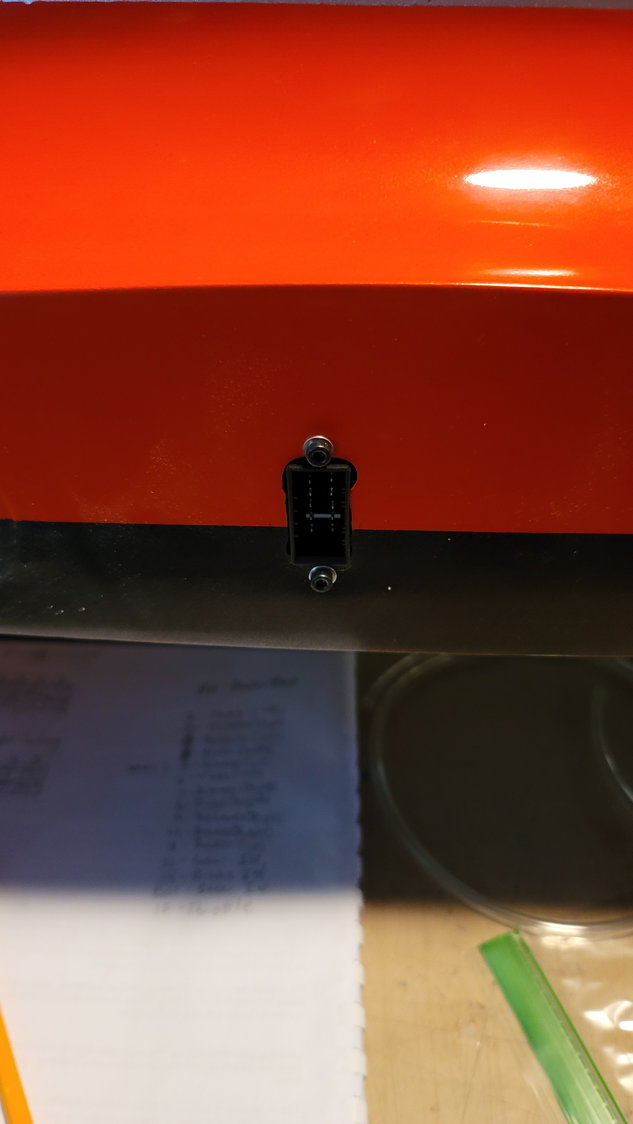
AMP Connector for wing. One for each wing. 10-Pin connectors so 3 pins for aileron servo, 3 pins for flap servo, 2 pins for +/- retracts, and 2 pins for +/- brakes
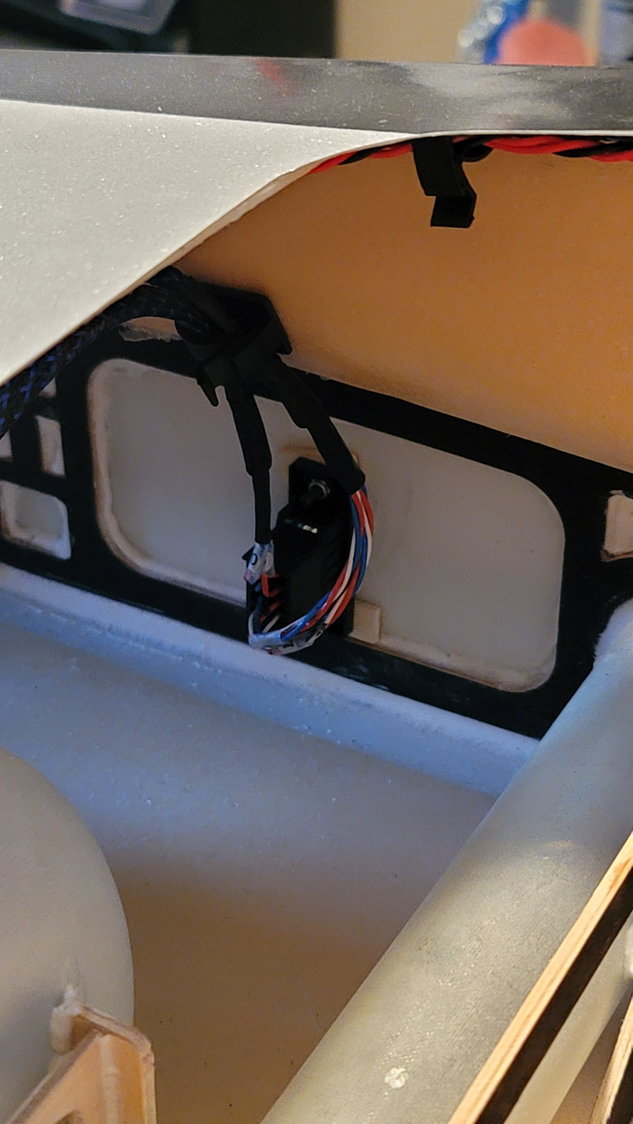
AMP connector on wing half internal
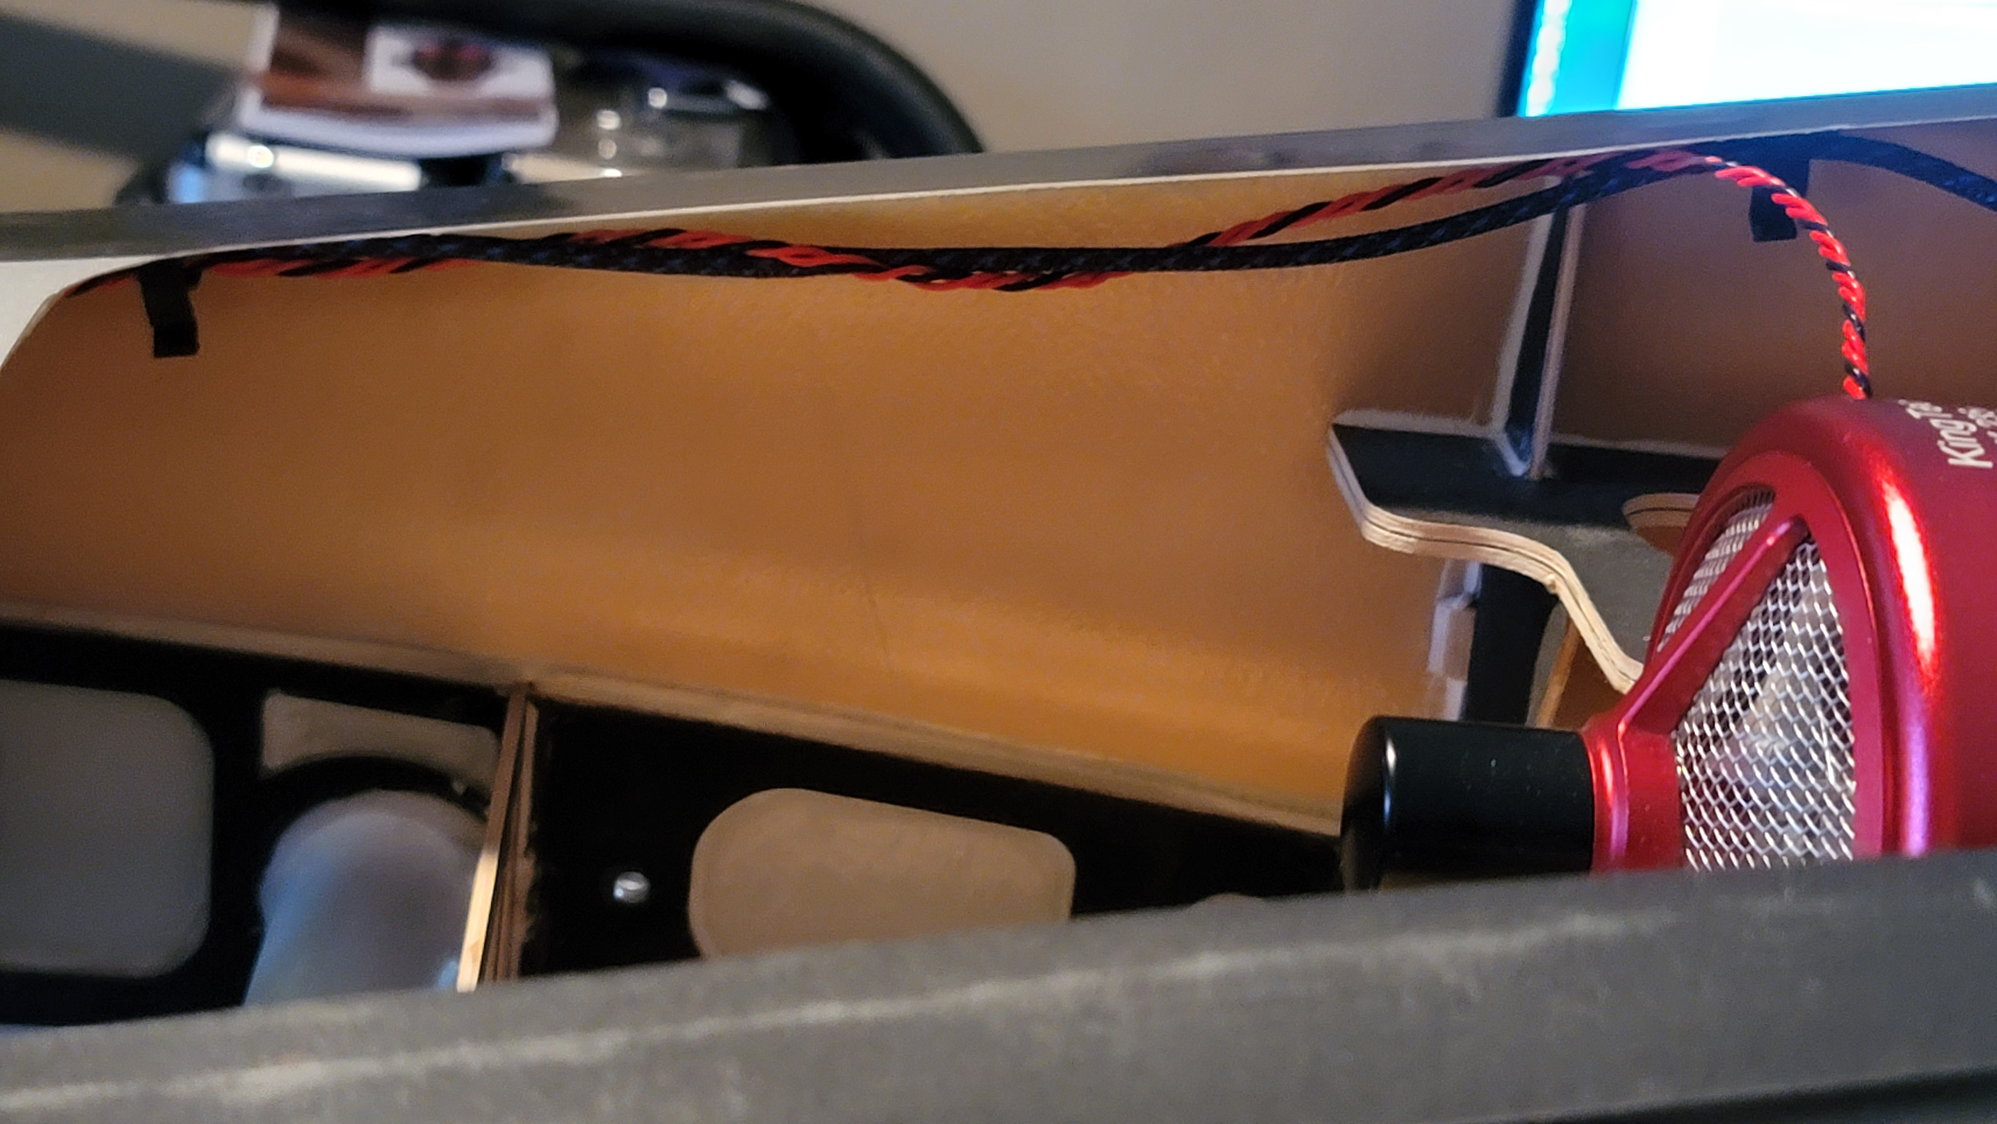
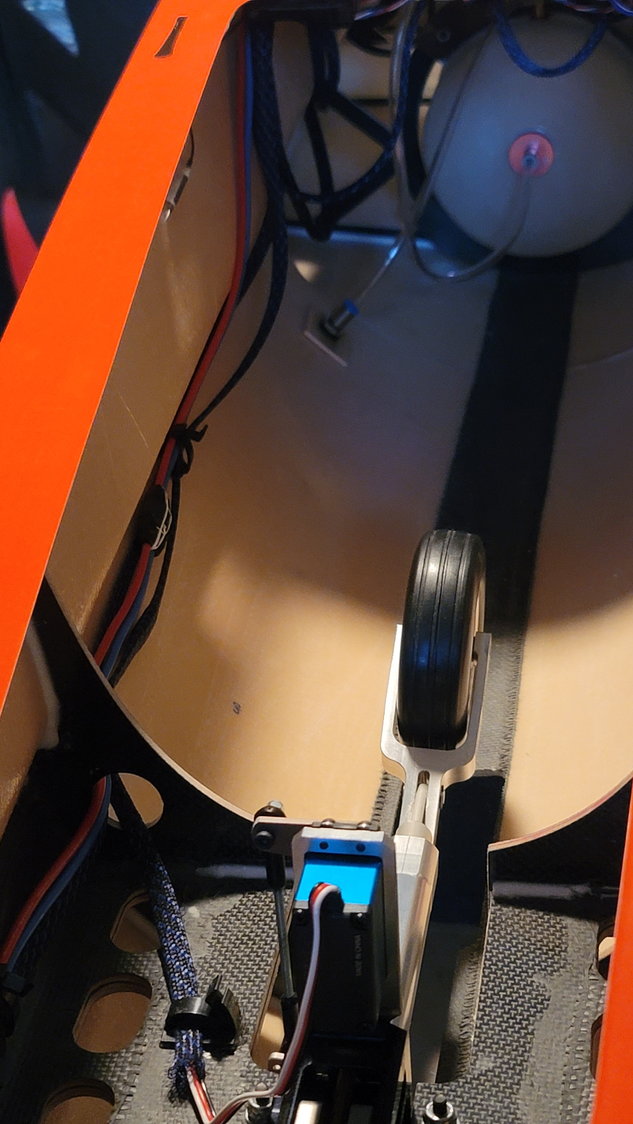
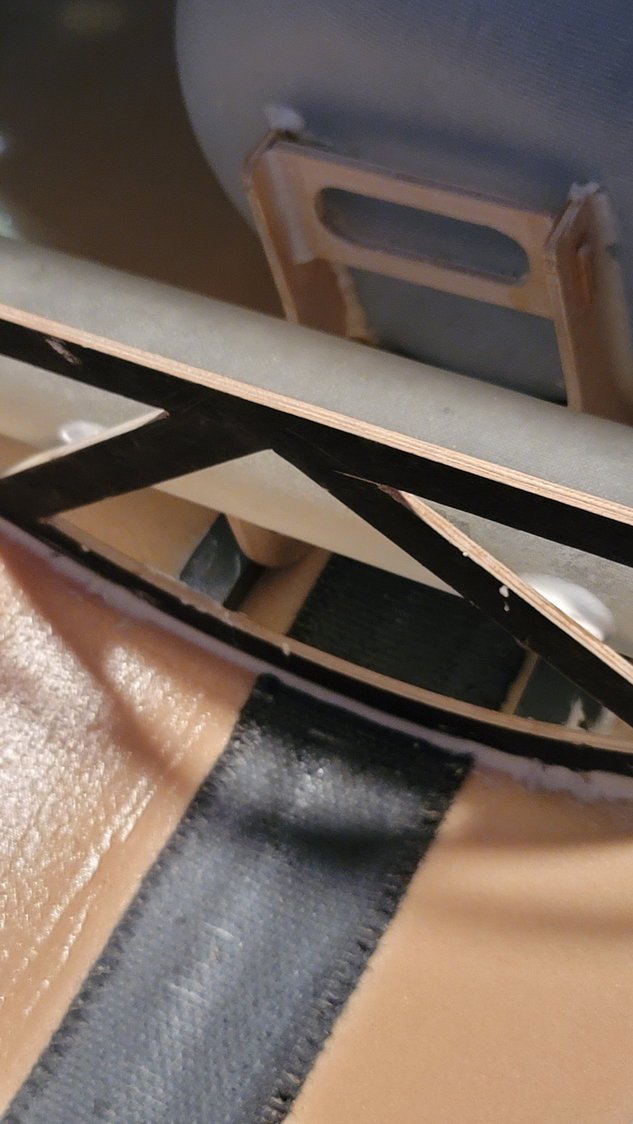
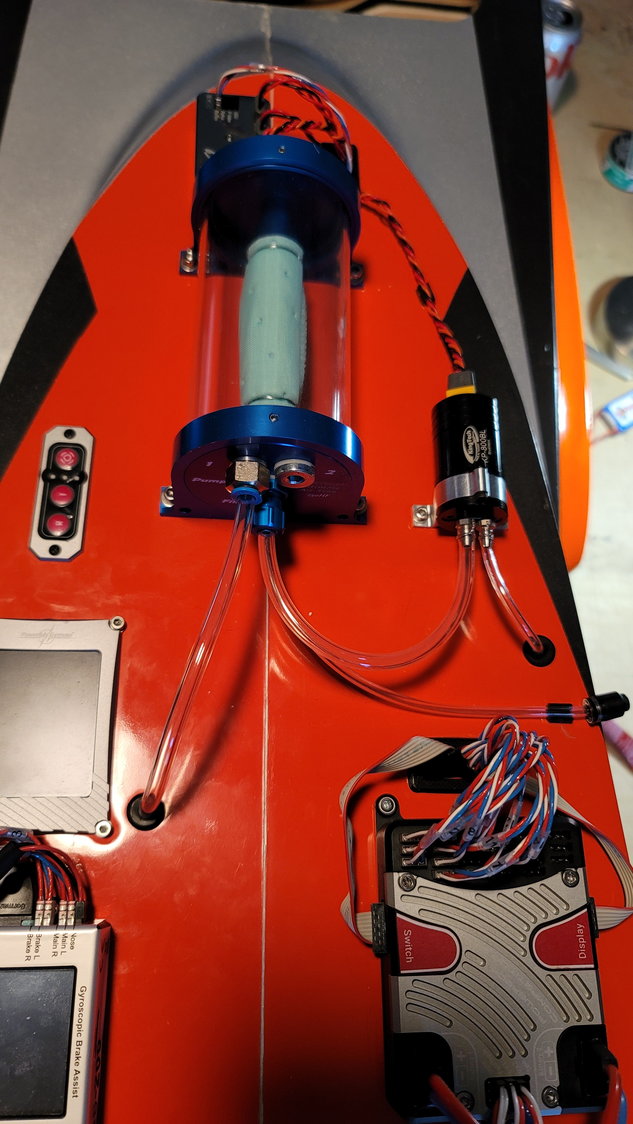
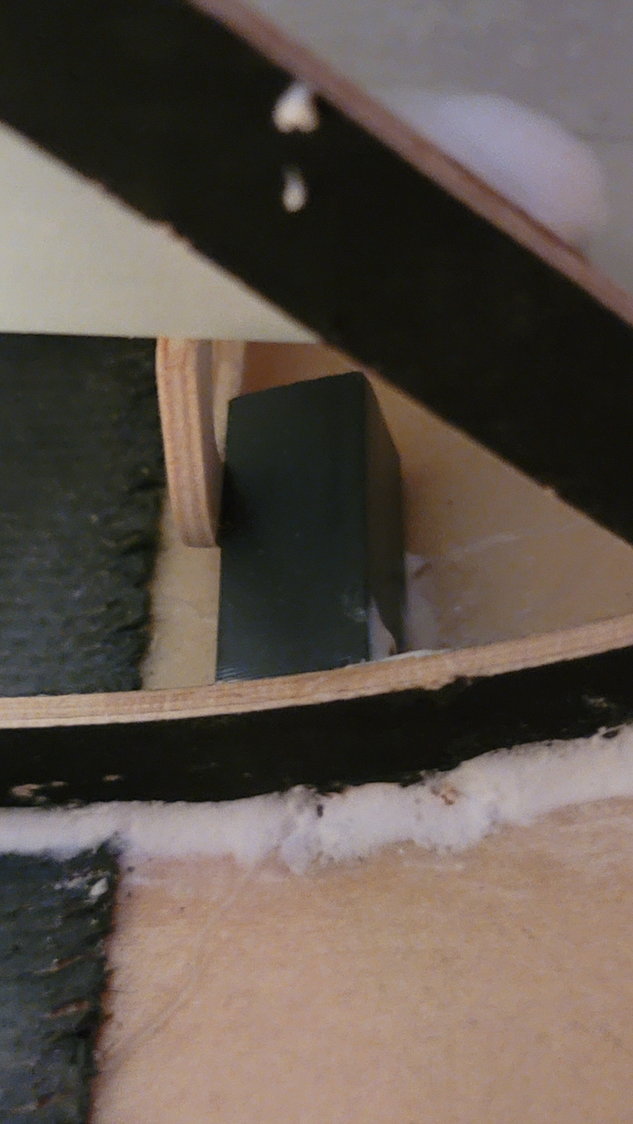
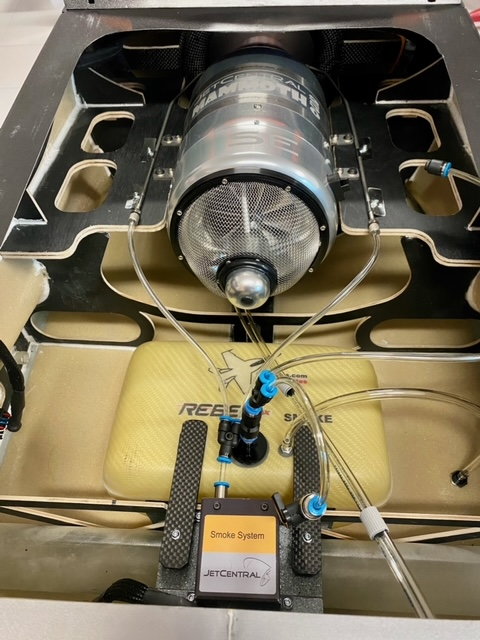
I had an old motherboard test stand that I didn't need anymore. I cut pieces of the legs off and glued them in with 30 minute epoxy and then went back and just put a dab of Hysol on them. There's about 1/8" tolerance between the blocks and the tank to make it a little easier to slide in and out.
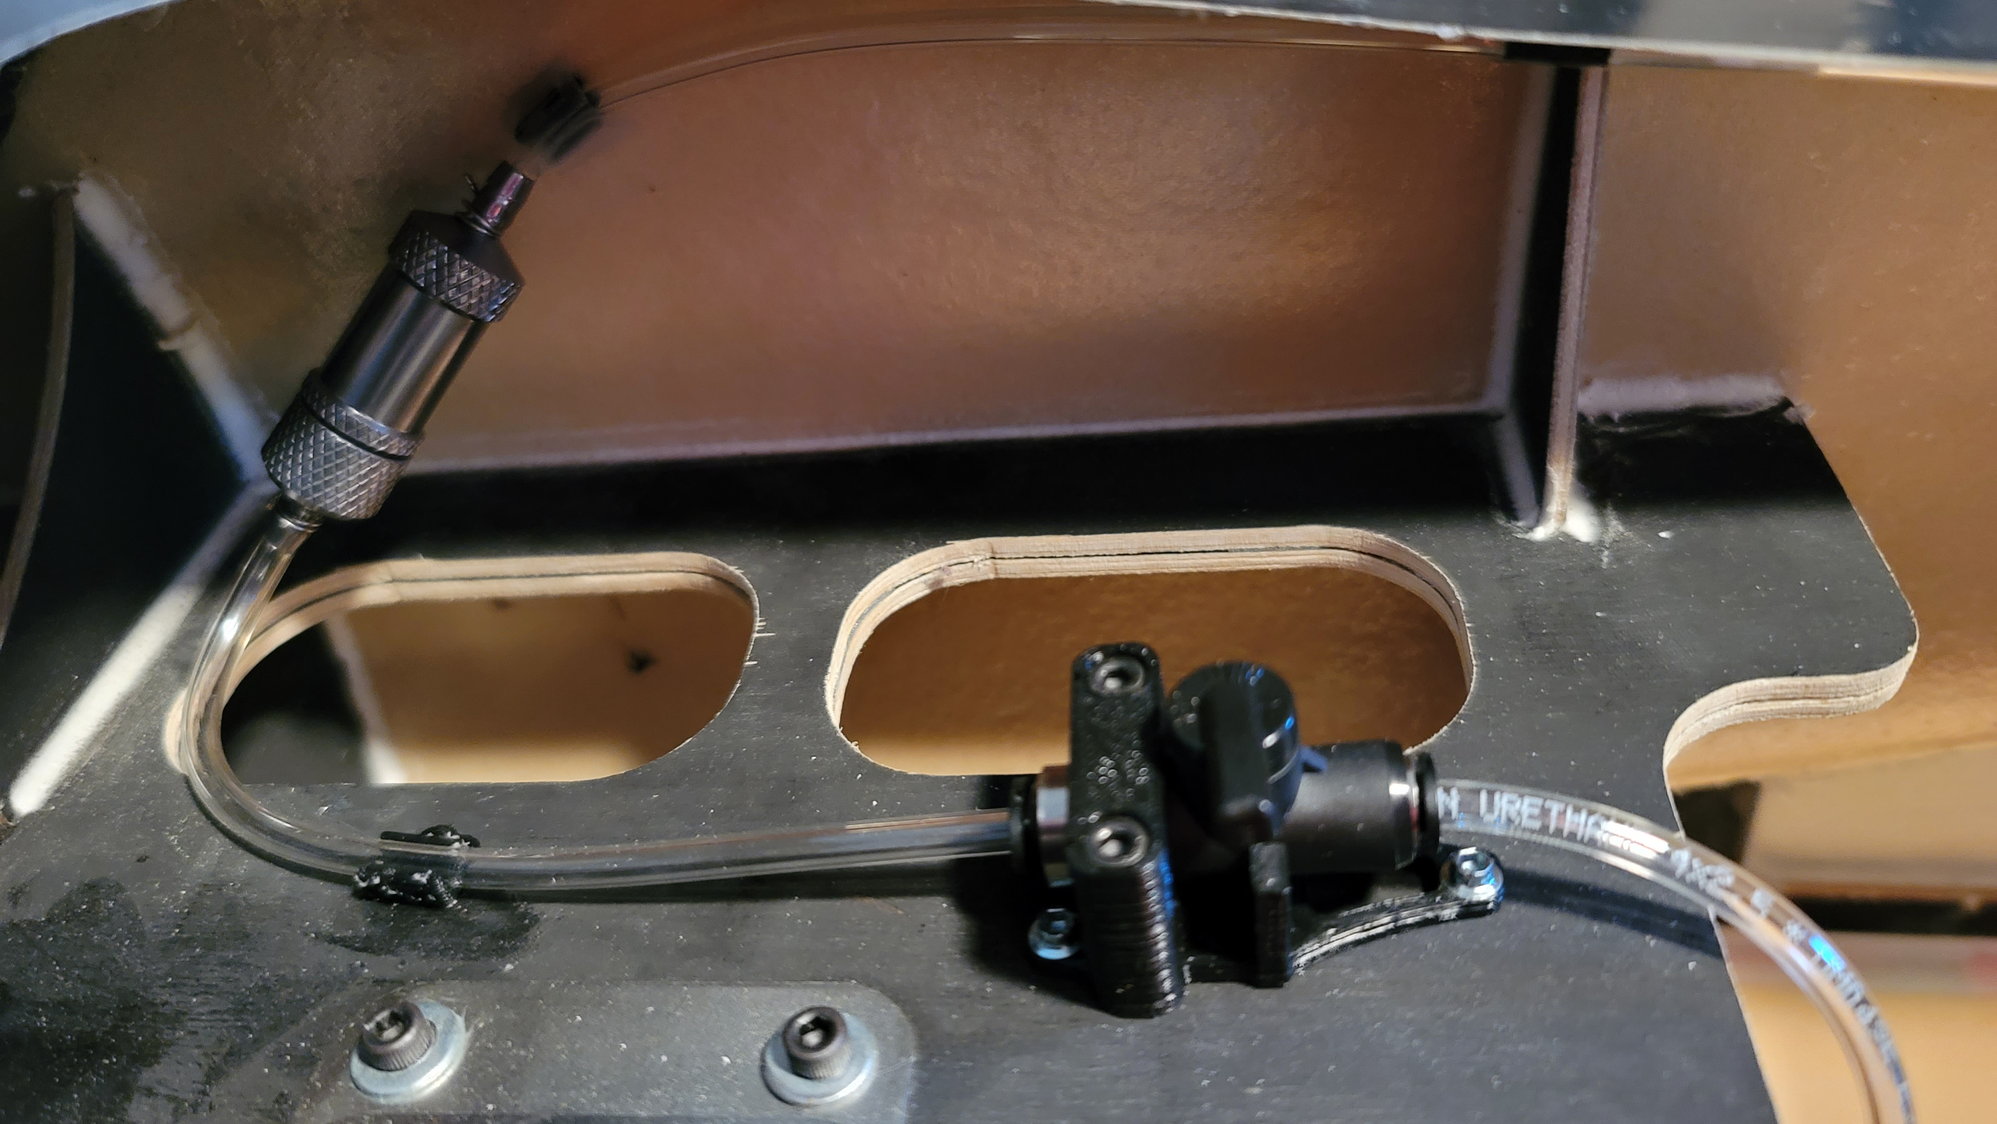
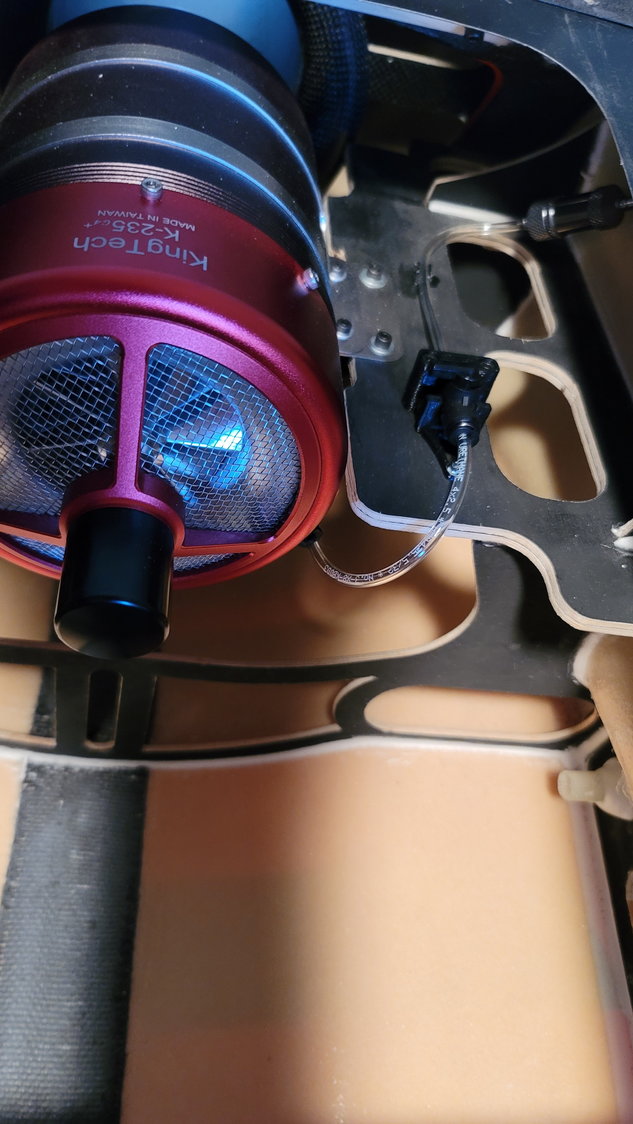
Final part of the journey for the fuel prior to entering the turbine.

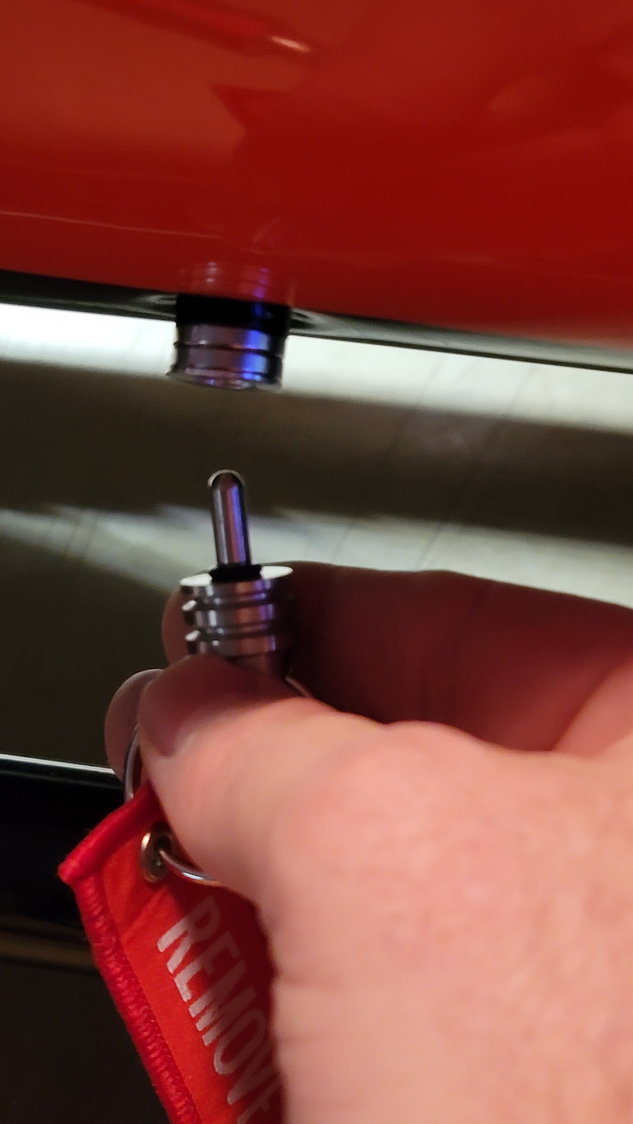
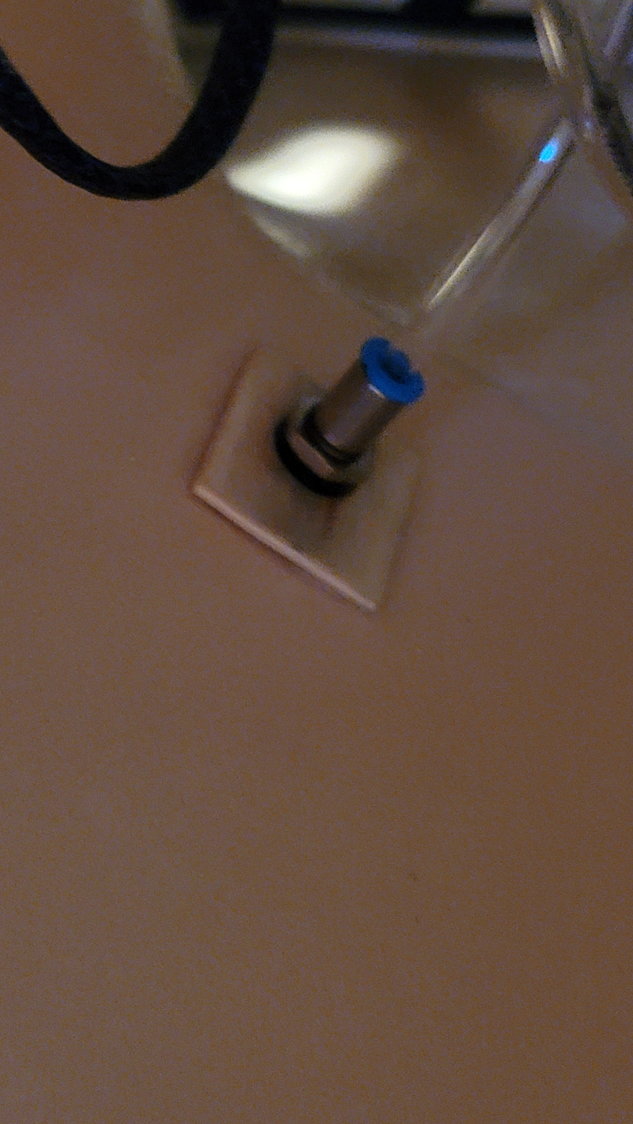
Digitech MagLock Fuel Vent (6mm)
AMP Connector from Aero Panda
AMP Connector for wing. One for each wing. 10-Pin connectors so 3 pins for aileron servo, 3 pins for flap servo, 2 pins for +/- retracts, and 2 pins for +/- brakes
AMP connector on wing half internal
I had an old motherboard test stand that I didn't need anymore. I cut pieces of the legs off and glued them in with 30 minute epoxy and then went back and just put a dab of Hysol on them. There's about 1/8" tolerance between the blocks and the tank to make it a little easier to slide in and out.
Final part of the journey for the fuel prior to entering the turbine.
Digitech MagLock Fuel Vent (6mm)
The following users liked this post:
Canadian Man (02-07-2022)

The following users liked this post:
smcharg (02-07-2022)
 02-07-2022, 09:59 AM
#137
Thread Starter
My Feedback: (1)
I'm not sure where Jack put his batteries either. I guess I should have asked him but, all in all, with the platform hysol'd in and the structure, I'm positive it's a great location.
The following users liked this post:
AEROSHELDON (02-07-2022)
02-08-2022, 08:15 AM
#139
Senior Member
Great work Scott, nicely done.
The following users liked this post:
smcharg (02-08-2022)

The following users liked this post:
smcharg (02-08-2022)

The following users liked this post:
AEROSHELDON (02-11-2022)
02-11-2022, 03:43 PM
#143
Senior Member
Nice and clean do you have a dry weight as is?
02-14-2022, 05:11 AM
#144
Thread Starter
My Feedback: (1)
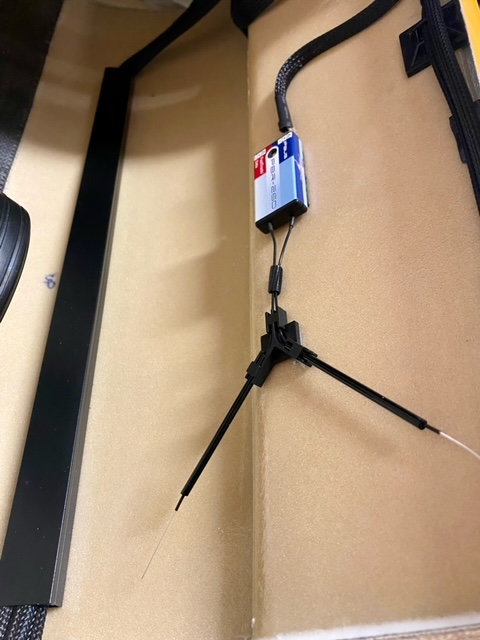
Very nice! @Vespino67, please tell me a little about your "fill system". Since the Digitech comes with a 4mm fill line, did you just use a 4mm manual valve and if so, please tell me what you used to build the "stopper" on the end. It almost looks like you maybe used a small socket head bolt and then, did you take a piece of 4mm fuel line and stick over it to push into the festo fitting?
02-14-2022, 05:17 AM
#145

My Feedback: (53)

Very nice! @Vespino67, please tell me a little about your "fill system". Since the Digitech comes with a 4mm fill line, did you just use a 4mm manual valve and if so, please tell me what you used to build the "stopper" on the end. It almost looks like you maybe used a small socket head bolt and then, did you take a piece of 4mm fuel line and stick over it to push into the festo fitting?
i have a bunch on hand so when I build stuff�I can plug them so no dust or whatnot get into thing�s
02-14-2022, 05:21 AM
#147
My Feedback: (53)
The following users liked this post:
smcharg (02-14-2022)
02-14-2022, 08:00 AM
#148
Thread Starter
My Feedback: (1)
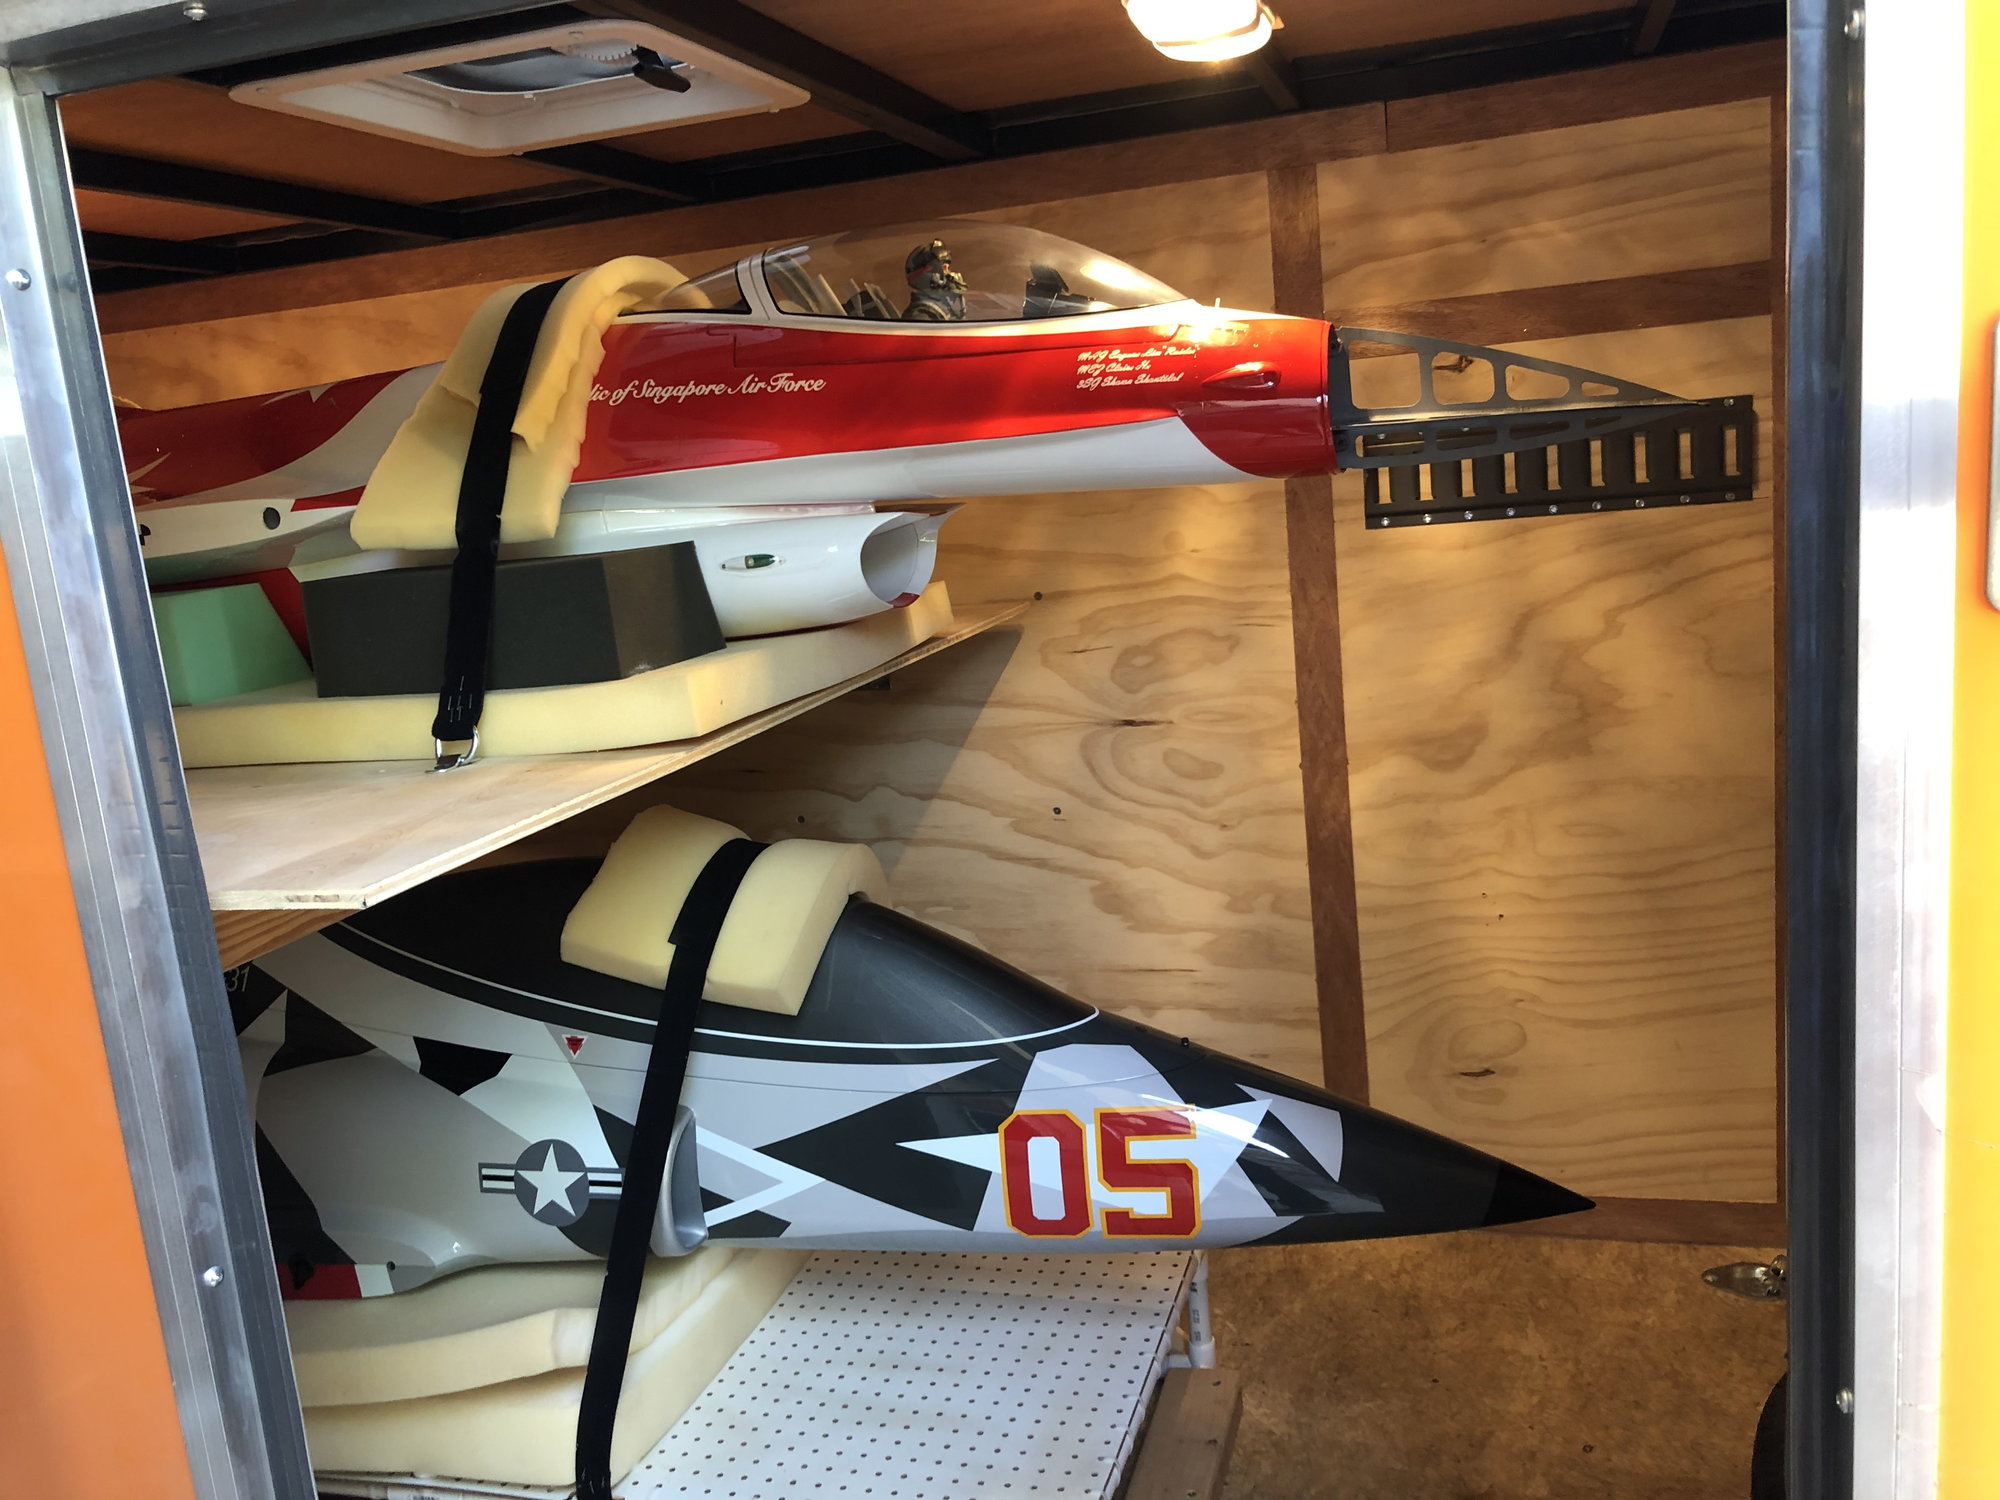
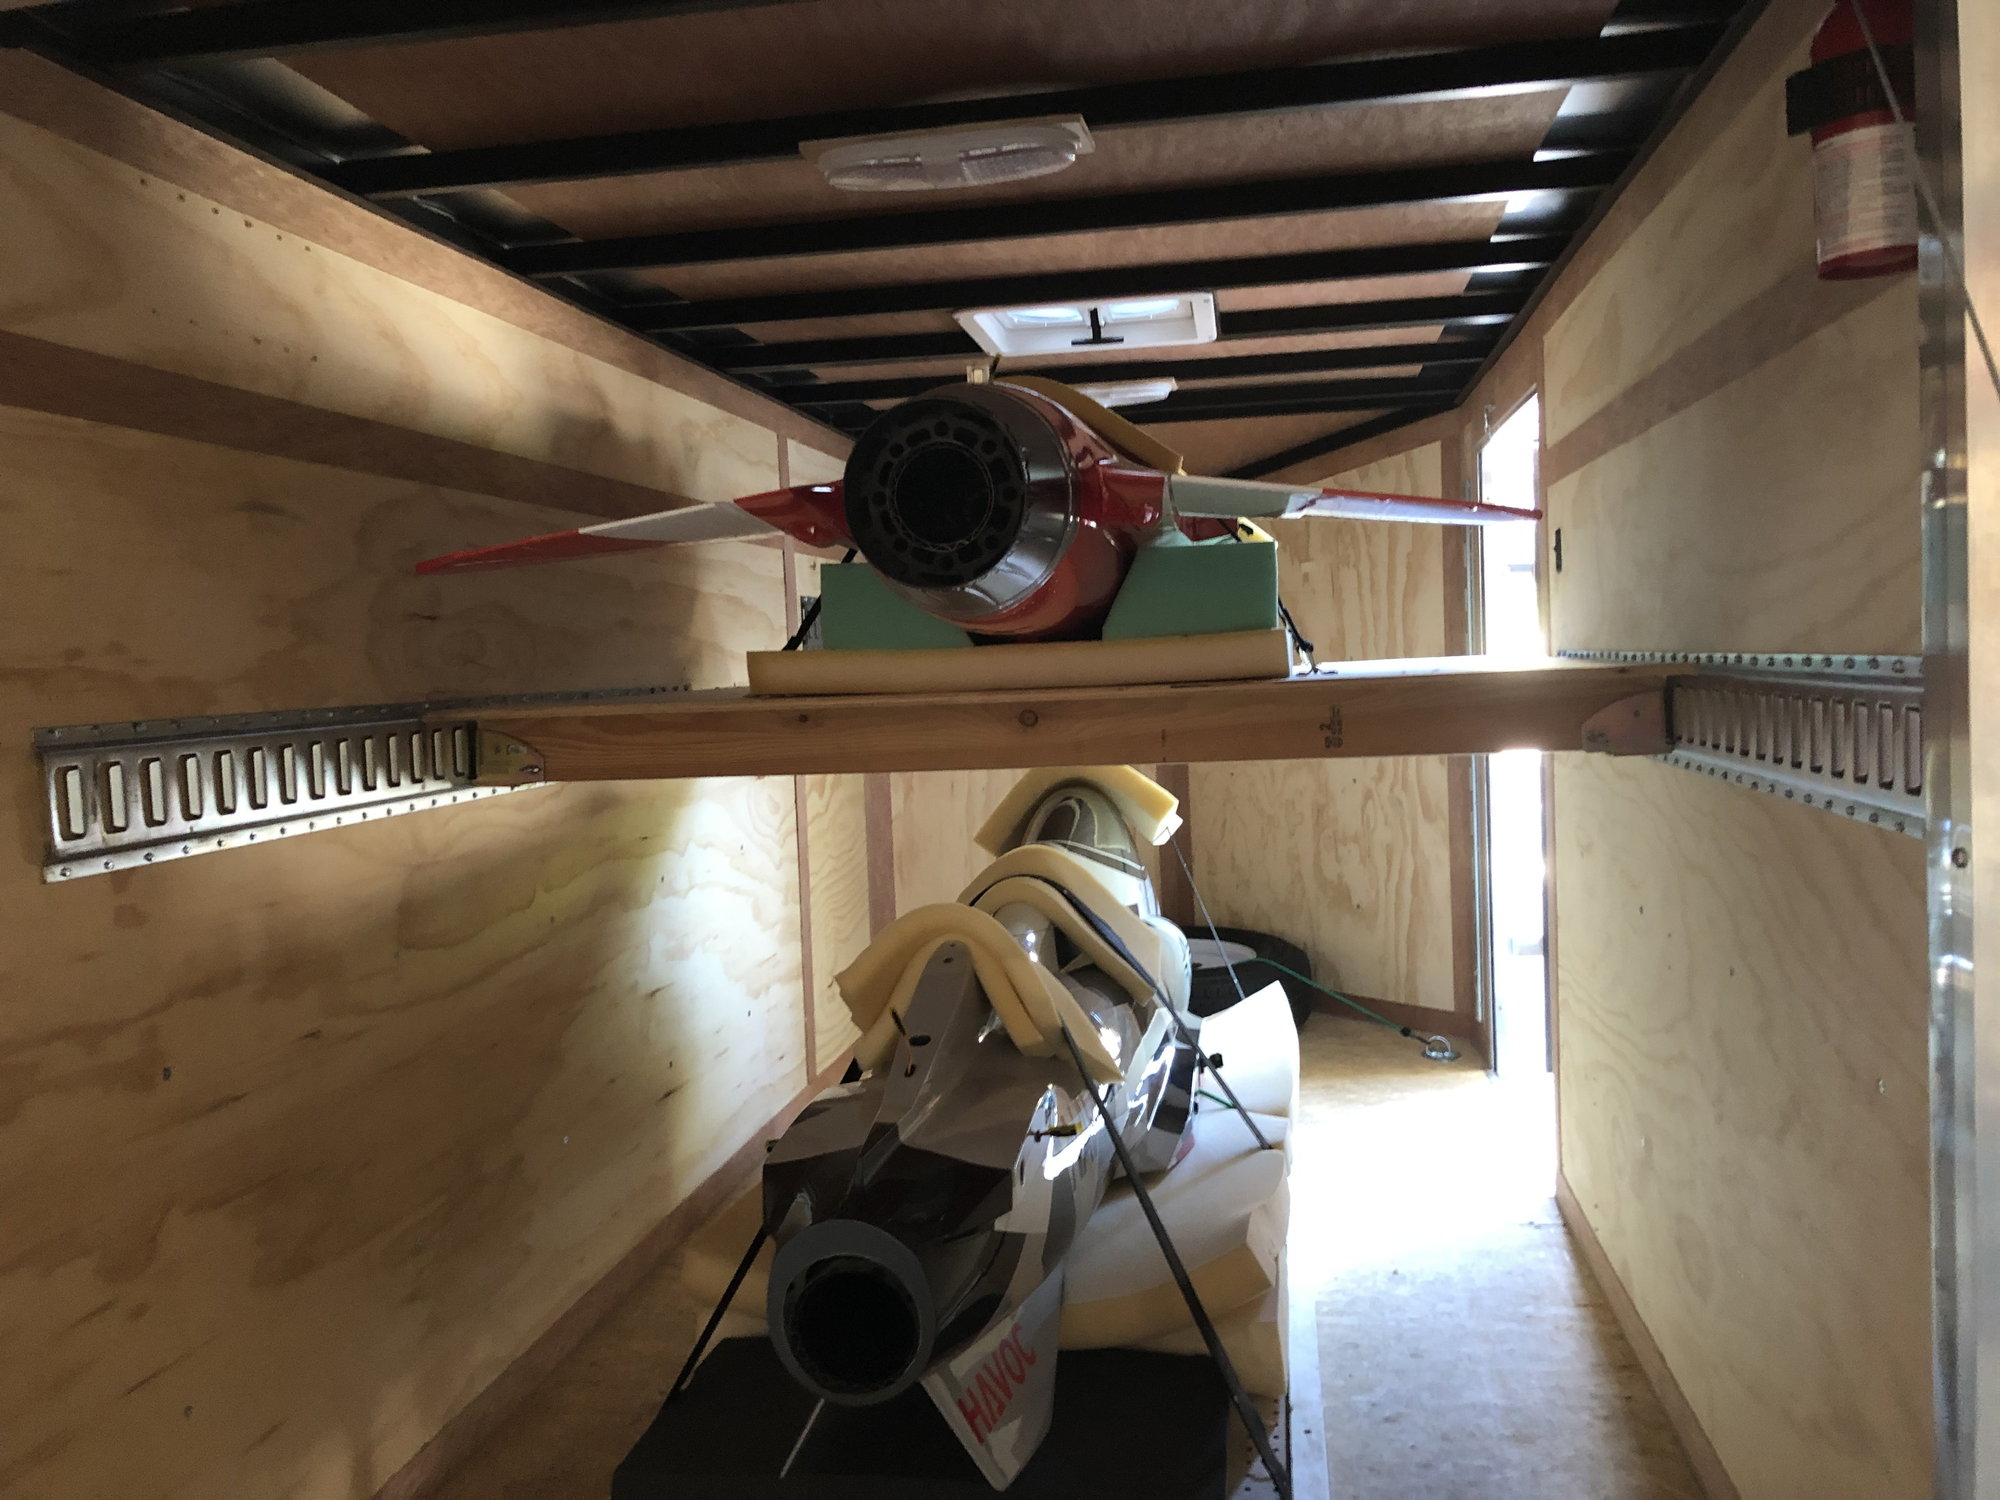
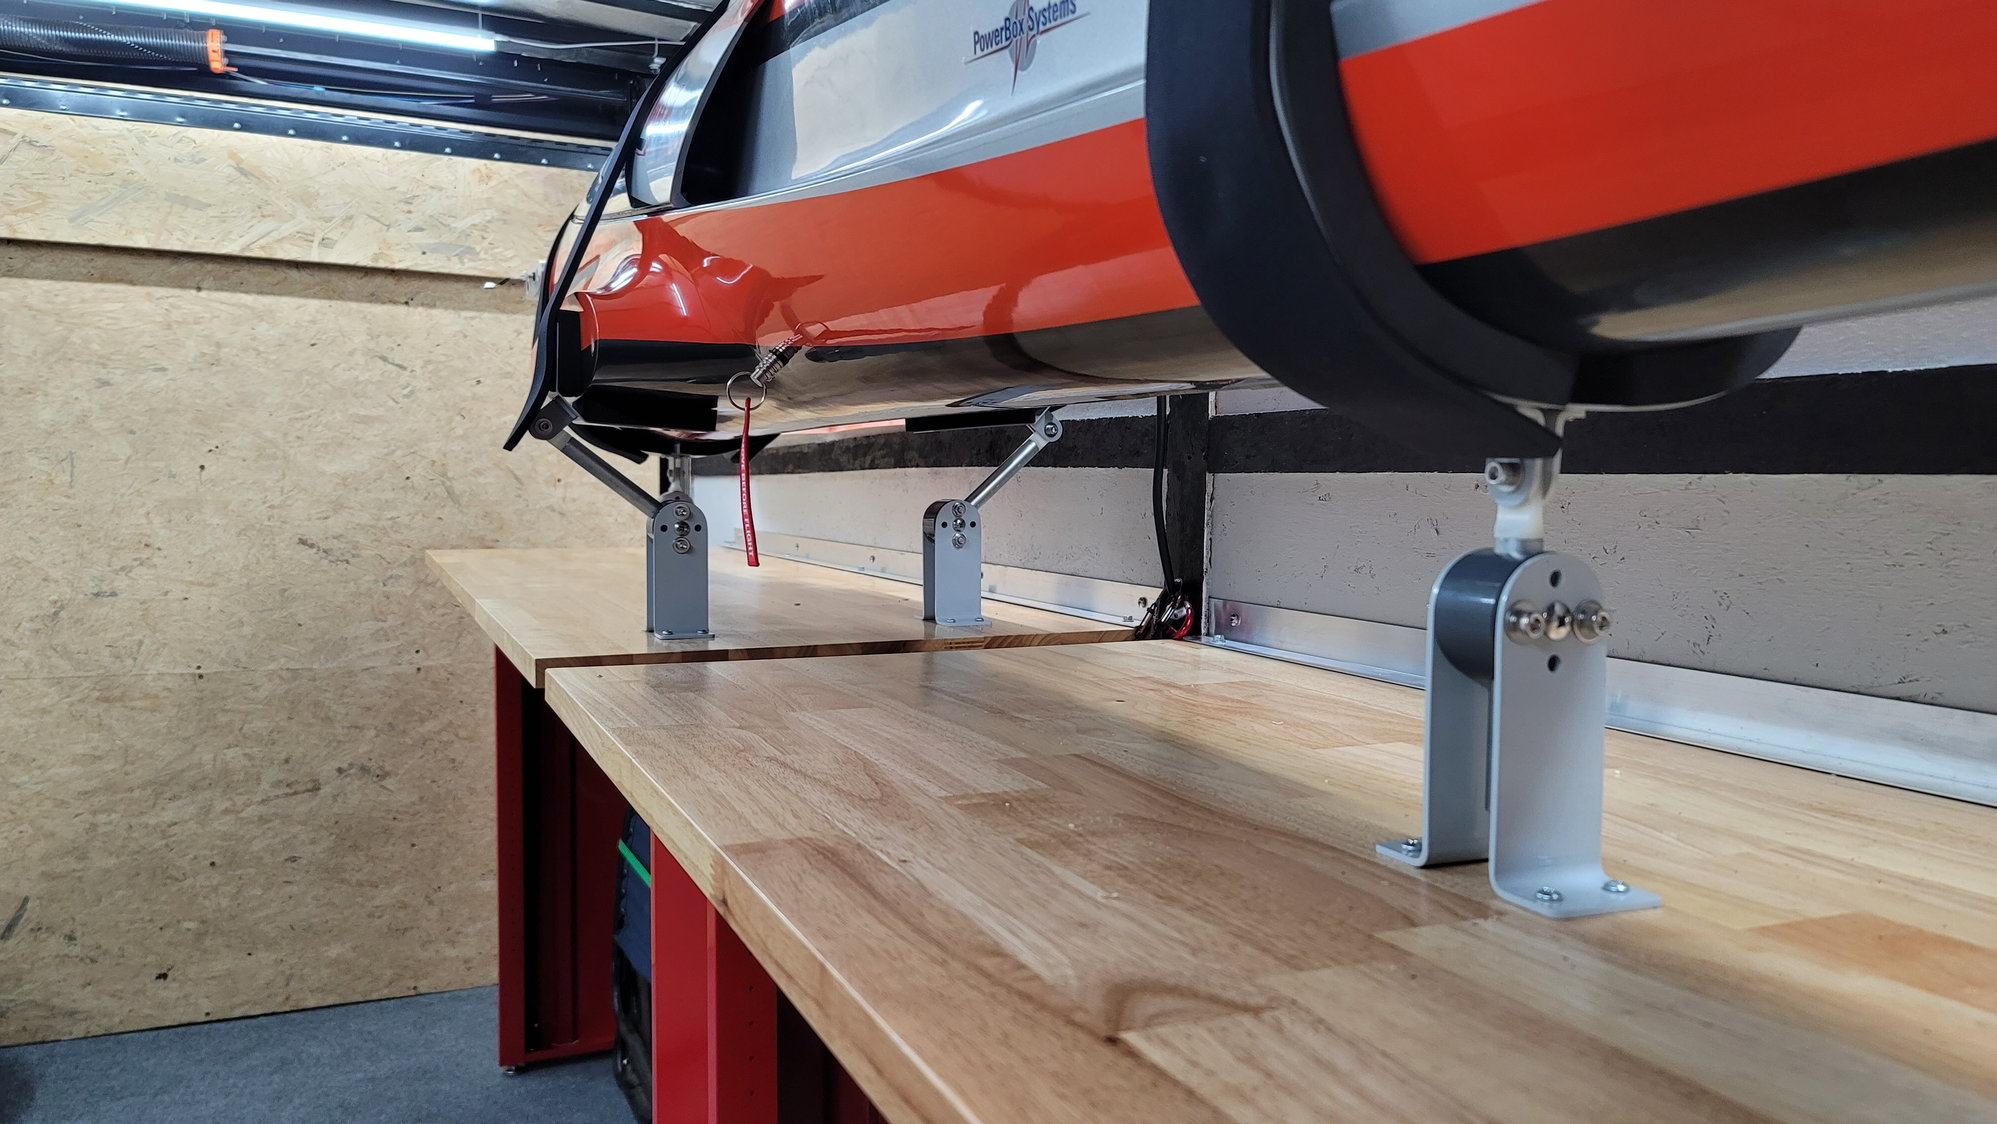
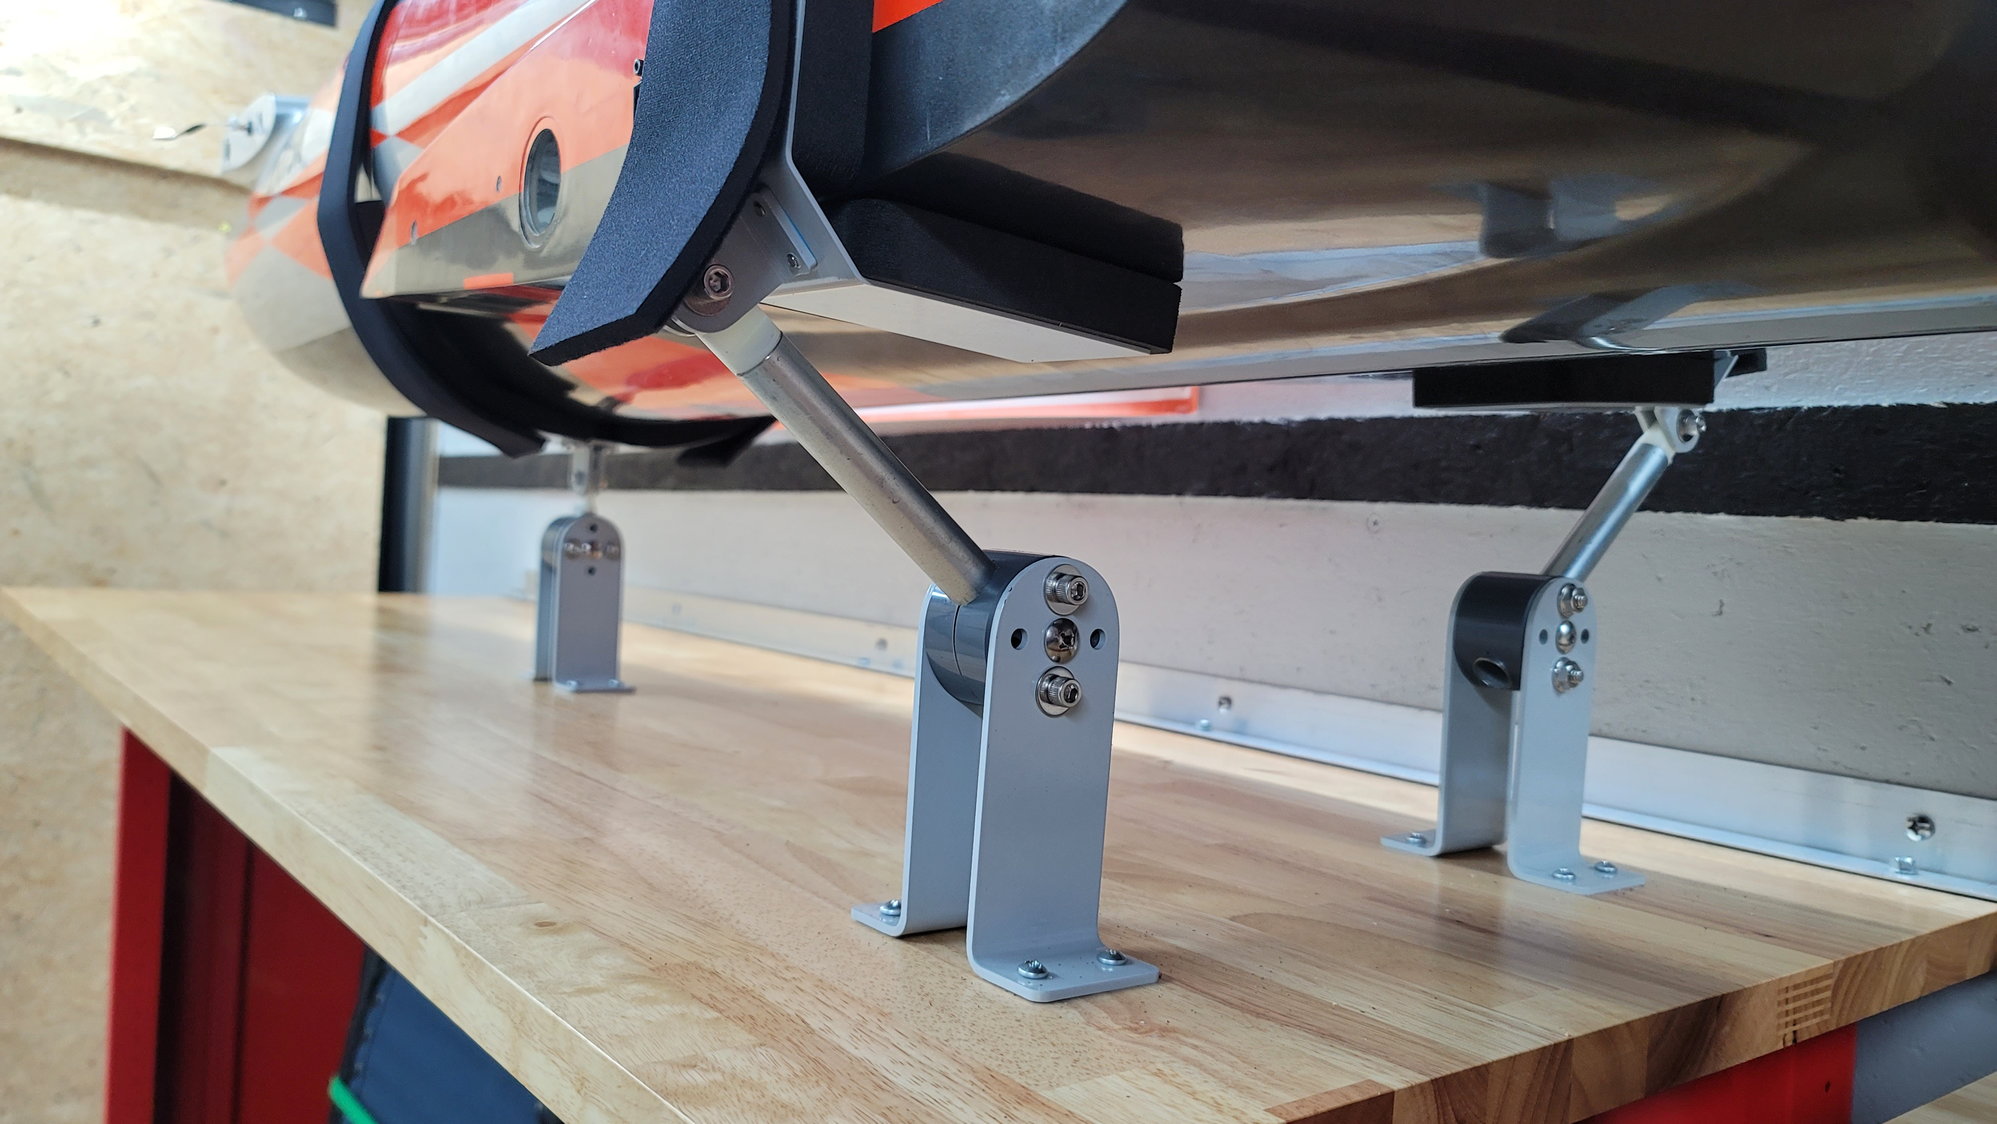
Here are the pictures of the jet fuse mounted in my trailer. I used Gear Jacks from Random Heli. They certainly aren't cheap but are well-worth the cost considering they are securing a 13K jet in a trailer than can get bounced down the road!
Also, I ran the turbine for the first time yesterday. WOW! I did take a video but it's poor quality so I have decided if it makes sense to post it to YouTube yet. If I do, I'll add it here as well.
Also, I ran the turbine for the first time yesterday. WOW! I did take a video but it's poor quality so I have decided if it makes sense to post it to YouTube yet. If I do, I'll add it here as well.
02-14-2022, 08:07 AM
#149
My Feedback: (53)
Here are the pictures of the jet fuse mounted in my trailer. I used Gear Jacks from Random Heli. They certainly aren't cheap but are well-worth the cost considering they are securing a 13K jet in a trailer than can get bounced down the road!
Also, I ran the turbine for the first time yesterday. WOW! I did take a video but it's poor quality so I have decided if it makes sense to post it to YouTube yet. If I do, I'll add it here as well.
Also, I ran the turbine for the first time yesterday. WOW! I did take a video but it's poor quality so I have decided if it makes sense to post it to YouTube yet. If I do, I'll add it here as well.