


Fire Tug - Shelley Foss Tugboat 36" Build
 05-11-2021, 04:04 AM
#26
Member
Thread Starter
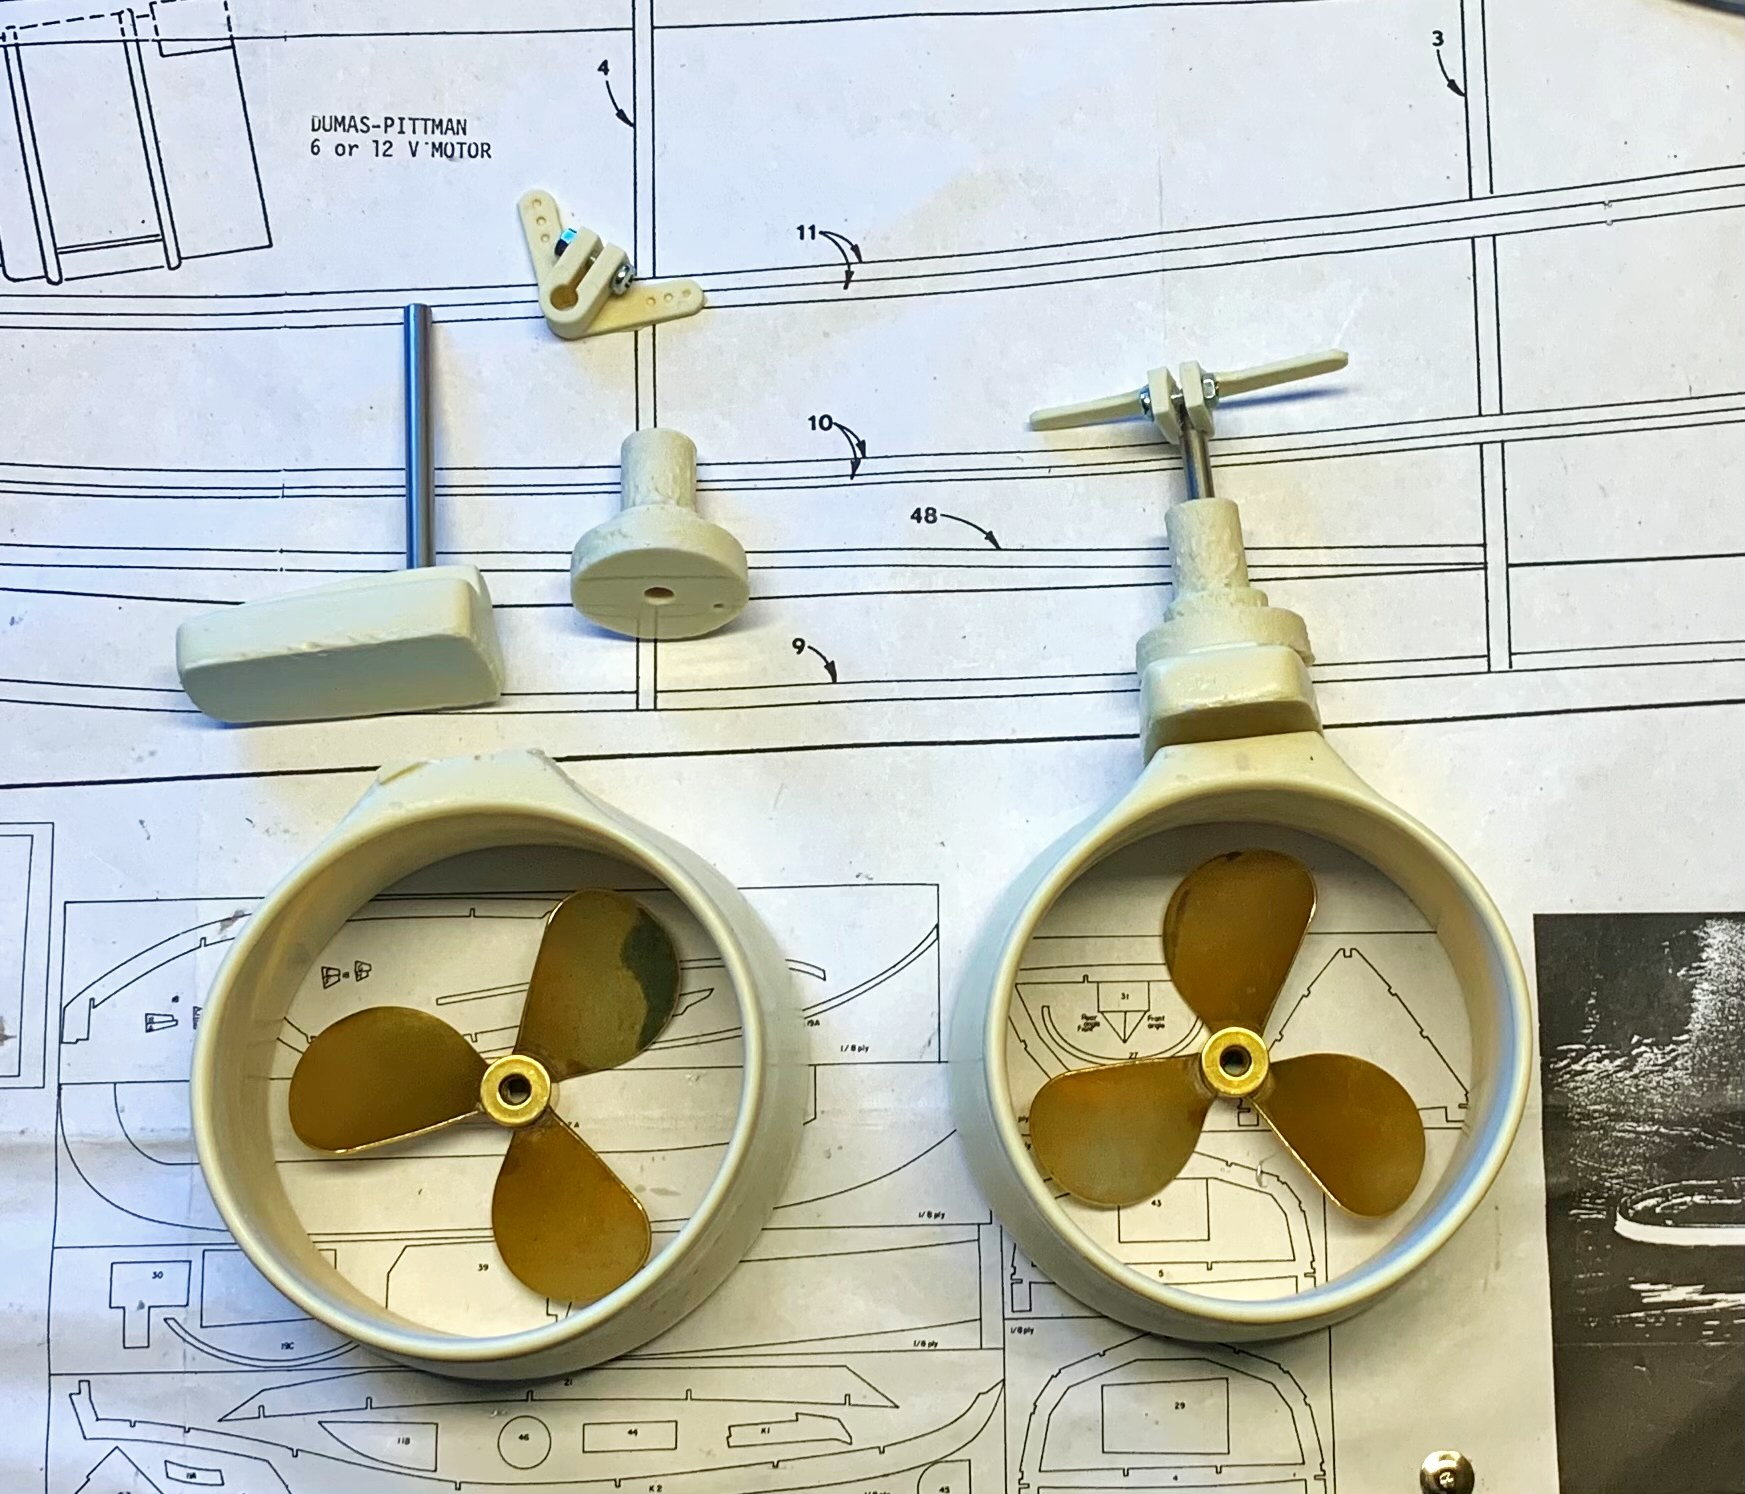
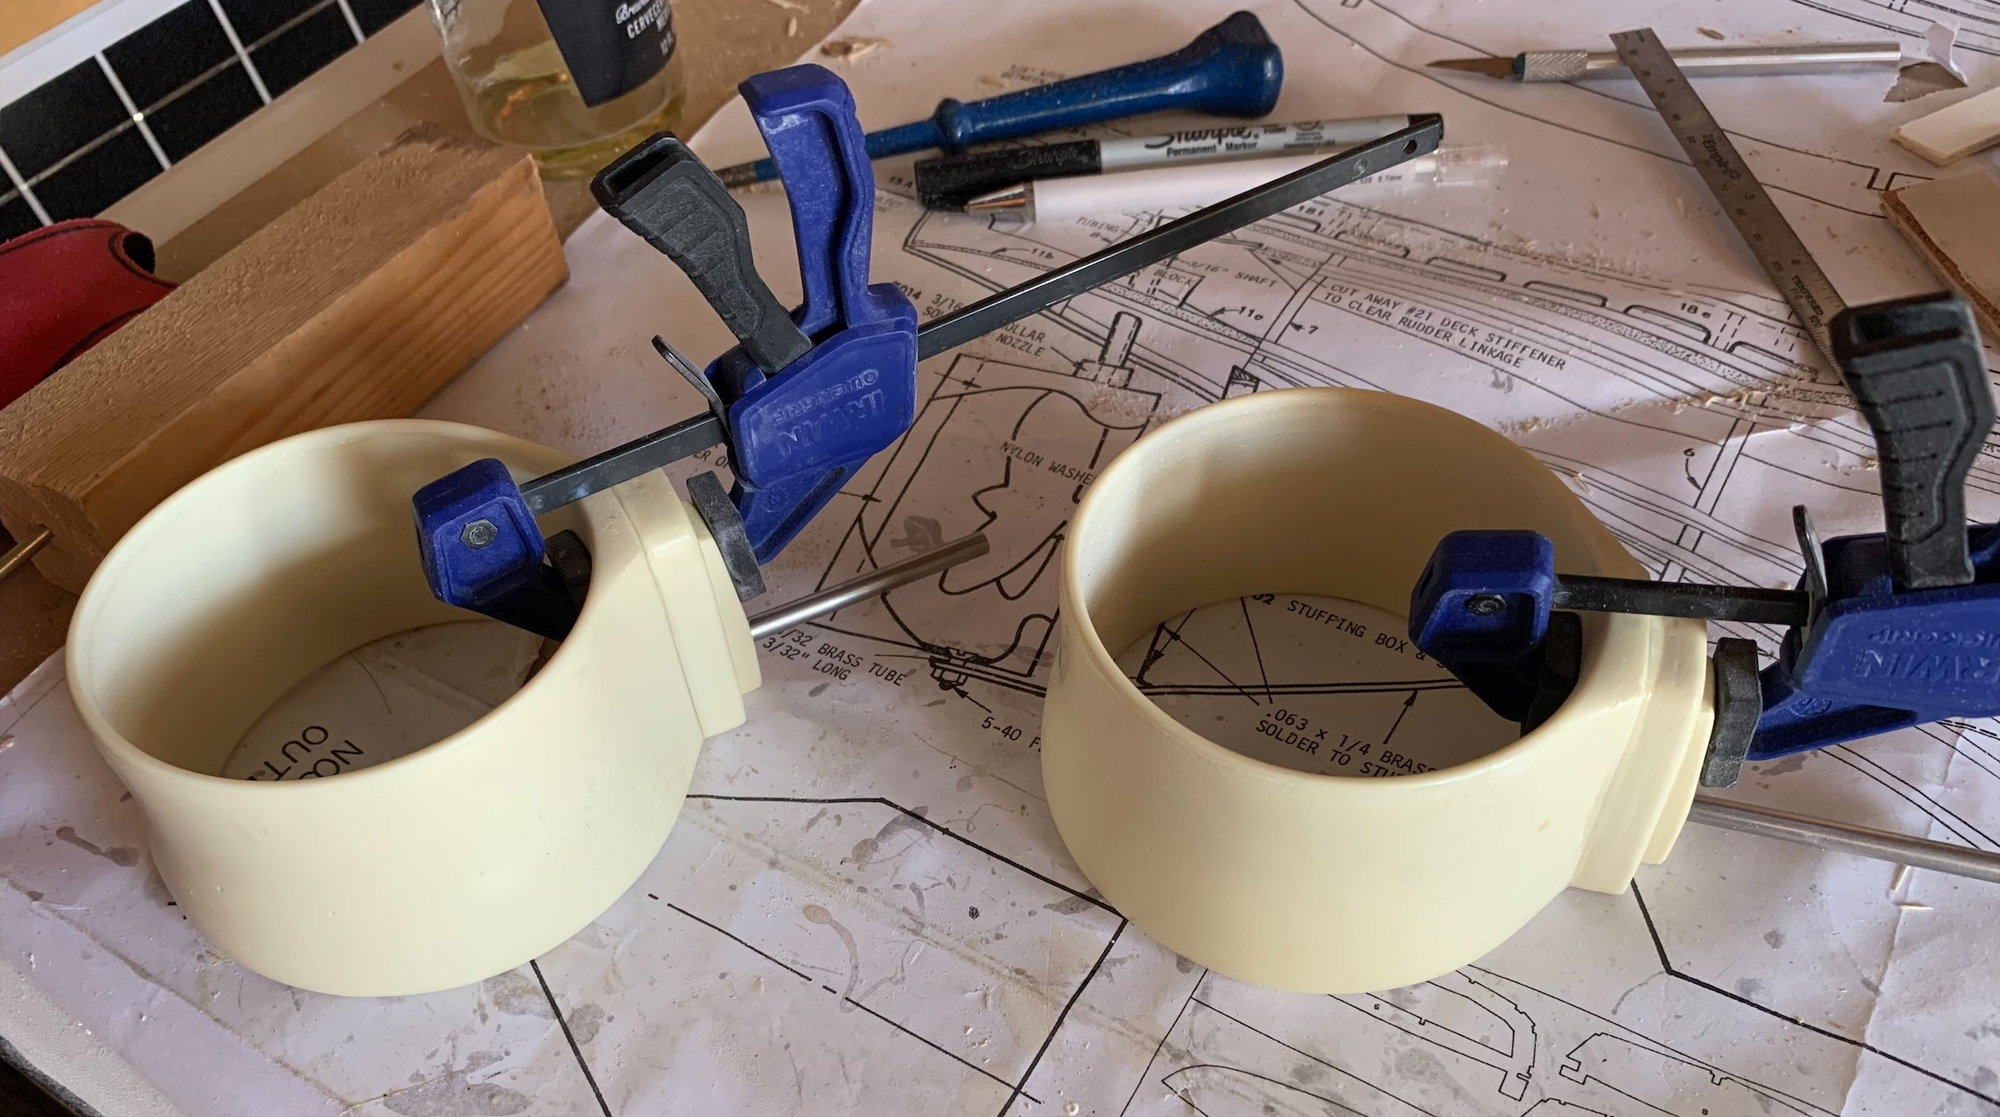
My Kort Nozzles showed up yesterday! That was fast shipping from the UK. They look to be the correct size for my 78MM props. I bought the 80MM nozzles, which are closer to 82-83mm.
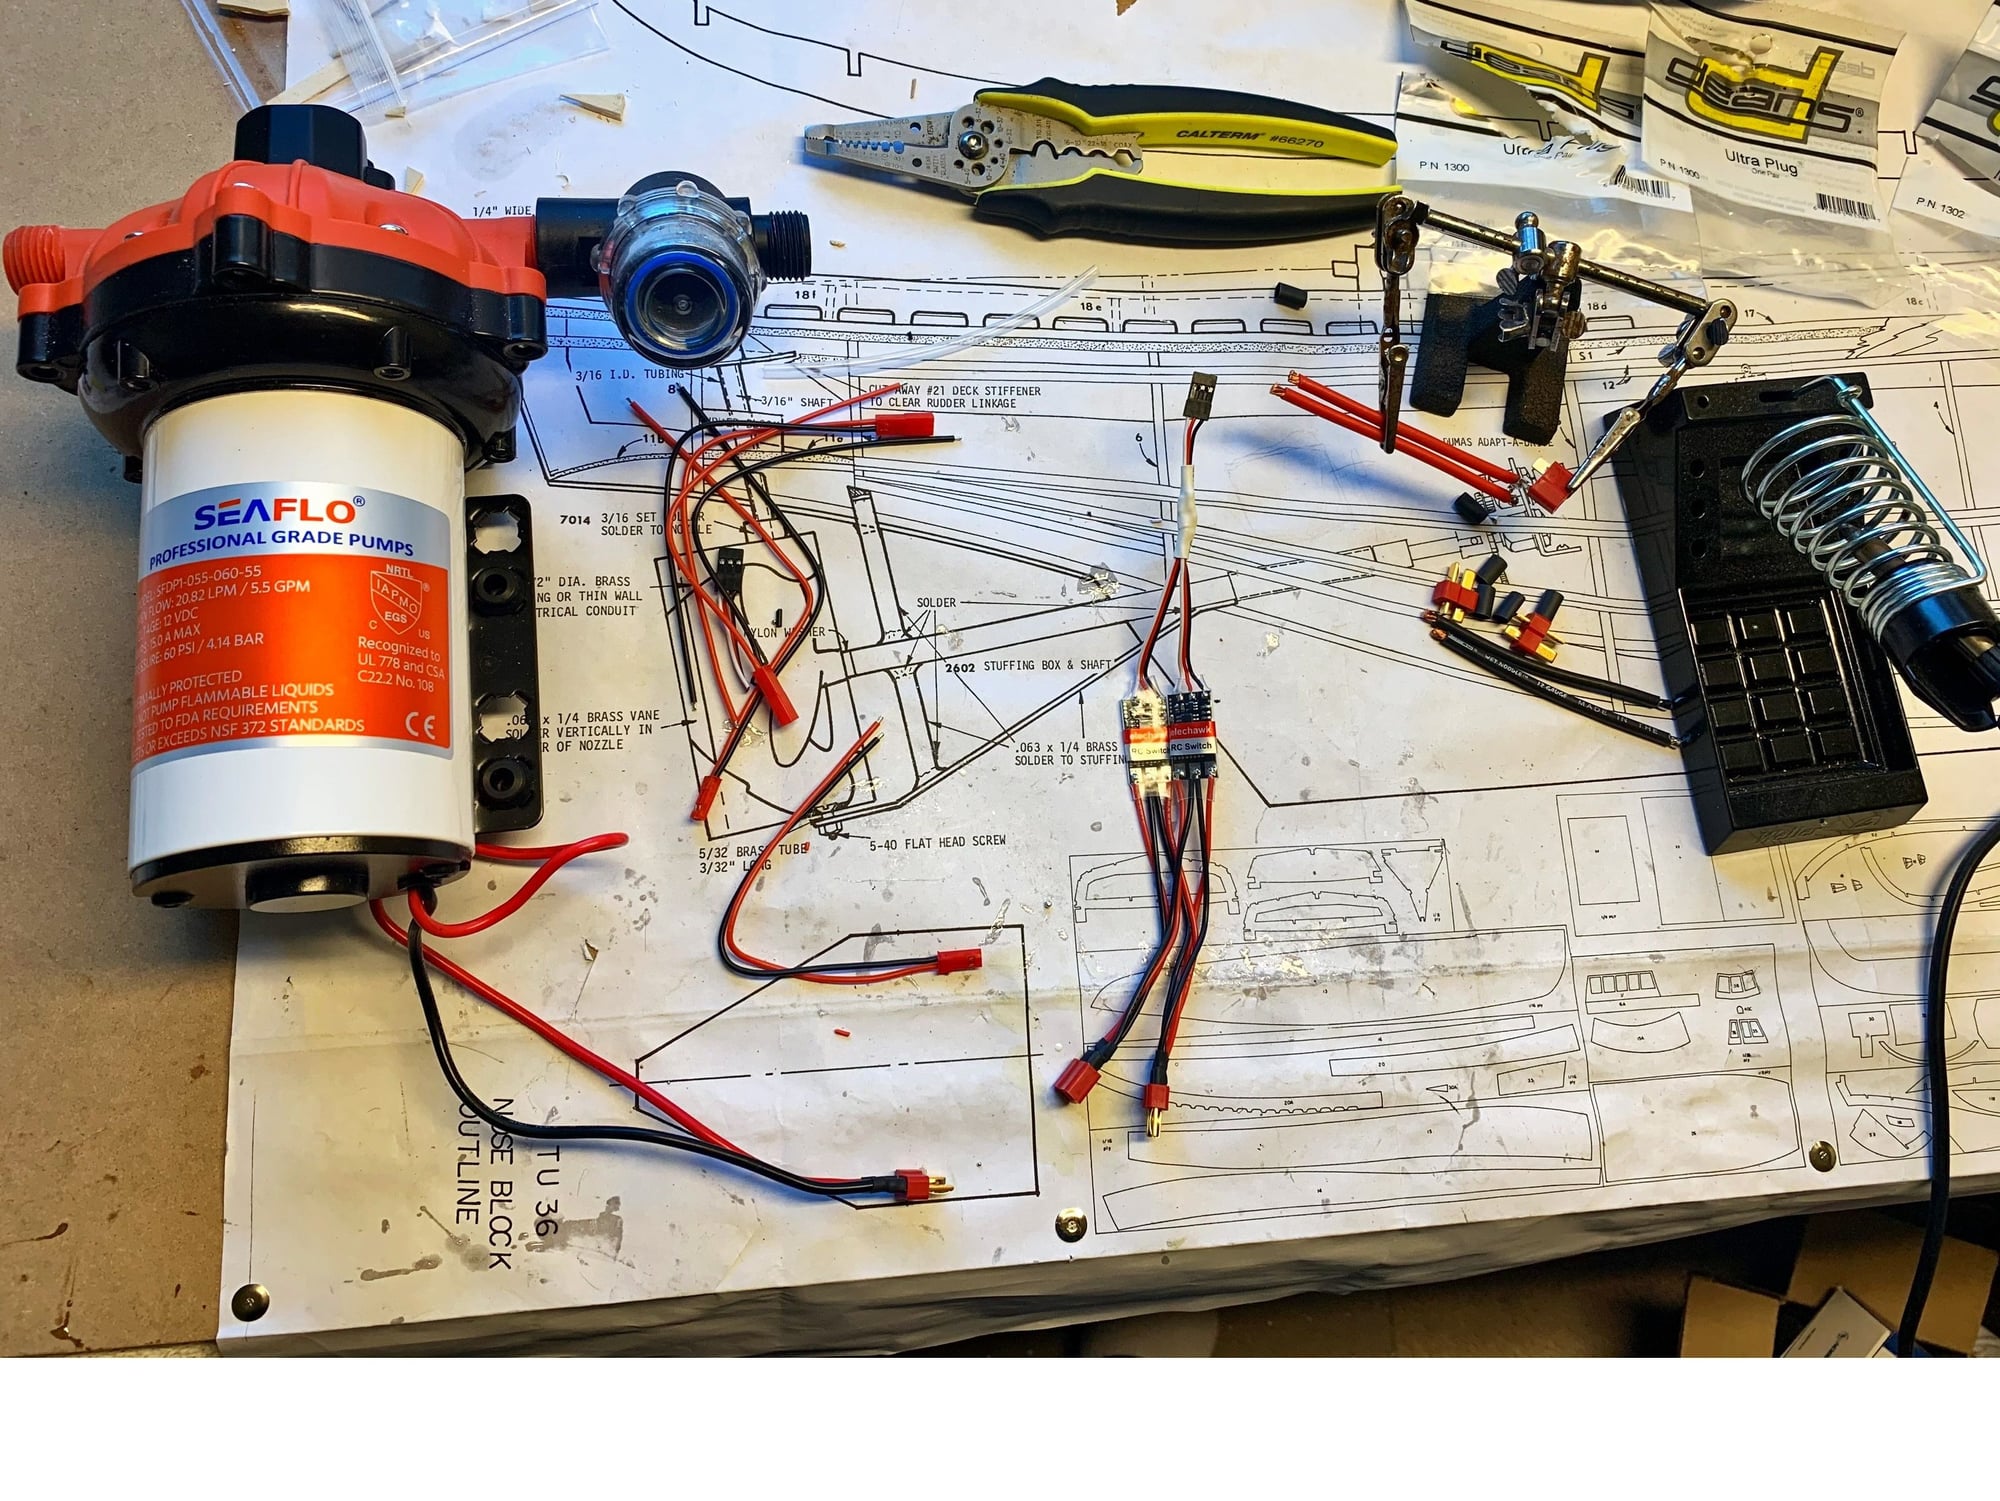
I also got my Relays to control the pump from a switch on the radio. I soldered up two of them in parallel last night. They can each carry 8amps, and the pump pulls a maximum of 15amps. I will test them out today!
I also got my Relays to control the pump from a switch on the radio. I soldered up two of them in parallel last night. They can each carry 8amps, and the pump pulls a maximum of 15amps. I will test them out today!
 05-14-2021, 01:08 AM
#27

Join Date: Jul 2007
Location: Blackpool Lancs, UNITED KINGDOM
Posts: 1,432
Likes: 0
Received 32 Likes
on
32 Posts
Hopefully two relays in parallel will work, but if the load exceeds to ability of one of them, the chances are that the two will not be synchronised to the nearest microsecond, and one will always "win", and briefly carry the full start-up load. This will shorten its life expectancy. "The first one now will later be last" - Bob Dylan.
Lots of parameters around relays. There is switching current and carrying current. The switching figure is usually a good deal lower than the carrying current, since the pressure between the contacts is at its lowest at that point. Or points. You look at a scope monitoring a relay contact in enough detail and you find that the trace looks like a round of applause. Then tere is the contact voltage - this becomes important on release, where inductive loads' back emfs try to strike an arc during separation.
Simplest way is to have a modest size relay work one with heavier contacts.
The following users liked this post:
Martin H (08-23-2021)
05-14-2021, 04:30 AM
#28
Member
Thread Starter
Hopefully two relays in parallel will work, but if the load exceeds to ability of one of them, the chances are that the two will not be synchronised to the nearest microsecond, and one will always "win", and briefly carry the full start-up load. This will shorten its life expectancy. "The first one now will later be last" - Bob Dylan.
Lots of parameters around relays. There is switching current and carrying current. The switching figure is usually a good deal lower than the carrying current, since the pressure between the contacts is at its lowest at that point. Or points. You look at a scope monitoring a relay contact in enough detail and you find that the trace looks like a round of applause. Then tere is the contact voltage - this becomes important on release, where inductive loads' back emfs try to strike an arc during separation.
Simplest way is to have a modest size relay work one with heavier contacts.
Lots of parameters around relays. There is switching current and carrying current. The switching figure is usually a good deal lower than the carrying current, since the pressure between the contacts is at its lowest at that point. Or points. You look at a scope monitoring a relay contact in enough detail and you find that the trace looks like a round of applause. Then tere is the contact voltage - this becomes important on release, where inductive loads' back emfs try to strike an arc during separation.
Simplest way is to have a modest size relay work one with heavier contacts.
I tested the pump two nights ago, and it's working great off of two 2S Lipos!
05-15-2021, 01:58 AM
#29
Join Date: Jul 2007
Location: Blackpool Lancs, UNITED KINGDOM
Posts: 1,432
Likes: 0
Received 32 Likes
on
32 Posts
Parallel MOSFETs operating from a common control are a valid solution to switching a higher current than the rating of individuals. Separate switching units each with a MOSFET output is fraught with the probability that one of the control units might get out of step. In the solid state world it is normal to have a small device work a bigger one.
Post #26 did mention relays.
I assume now that the harness bottom centre of the picture is the pump control? Coming from an engineering background, I would be nervous of such a narrow safety margin. Operating on a warm day could bring problems along the line. Just sayin'.
Post #26 did mention relays.
I also got my Relays to control the pump from a switch on the radio. I soldered up two of them in parallel last night. They can each carry 8amps, and the pump pulls a maximum of 15amps. I will test them out today!
05-15-2021, 04:27 AM
#30
Member
Thread Starter
Parallel MOSFETs operating from a common control are a valid solution to switching a higher current than the rating of individuals. Separate switching units each with a MOSFET output is fraught with the probability that one of the control units might get out of step. In the solid state world it is normal to have a small device work a bigger one.
Post #26 did mention relays.
I assume now that the harness bottom centre of the picture is the pump control? Coming from an engineering background, I would be nervous of such a narrow safety margin. Operating on a warm day could bring problems along the line. Just sayin'.
Post #26 did mention relays.
I assume now that the harness bottom centre of the picture is the pump control? Coming from an engineering background, I would be nervous of such a narrow safety margin. Operating on a warm day could bring problems along the line. Just sayin'.
I too come from an engineering background, and you're over thinking it. These are off the shelf RC products, that others have already used in parallel. The MOSFETs are not switching on and off continually, like an ESC. Simple on/off swtich.
Cheers


 05-23-2021, 06:29 AM
#32
Member
Thread Starter
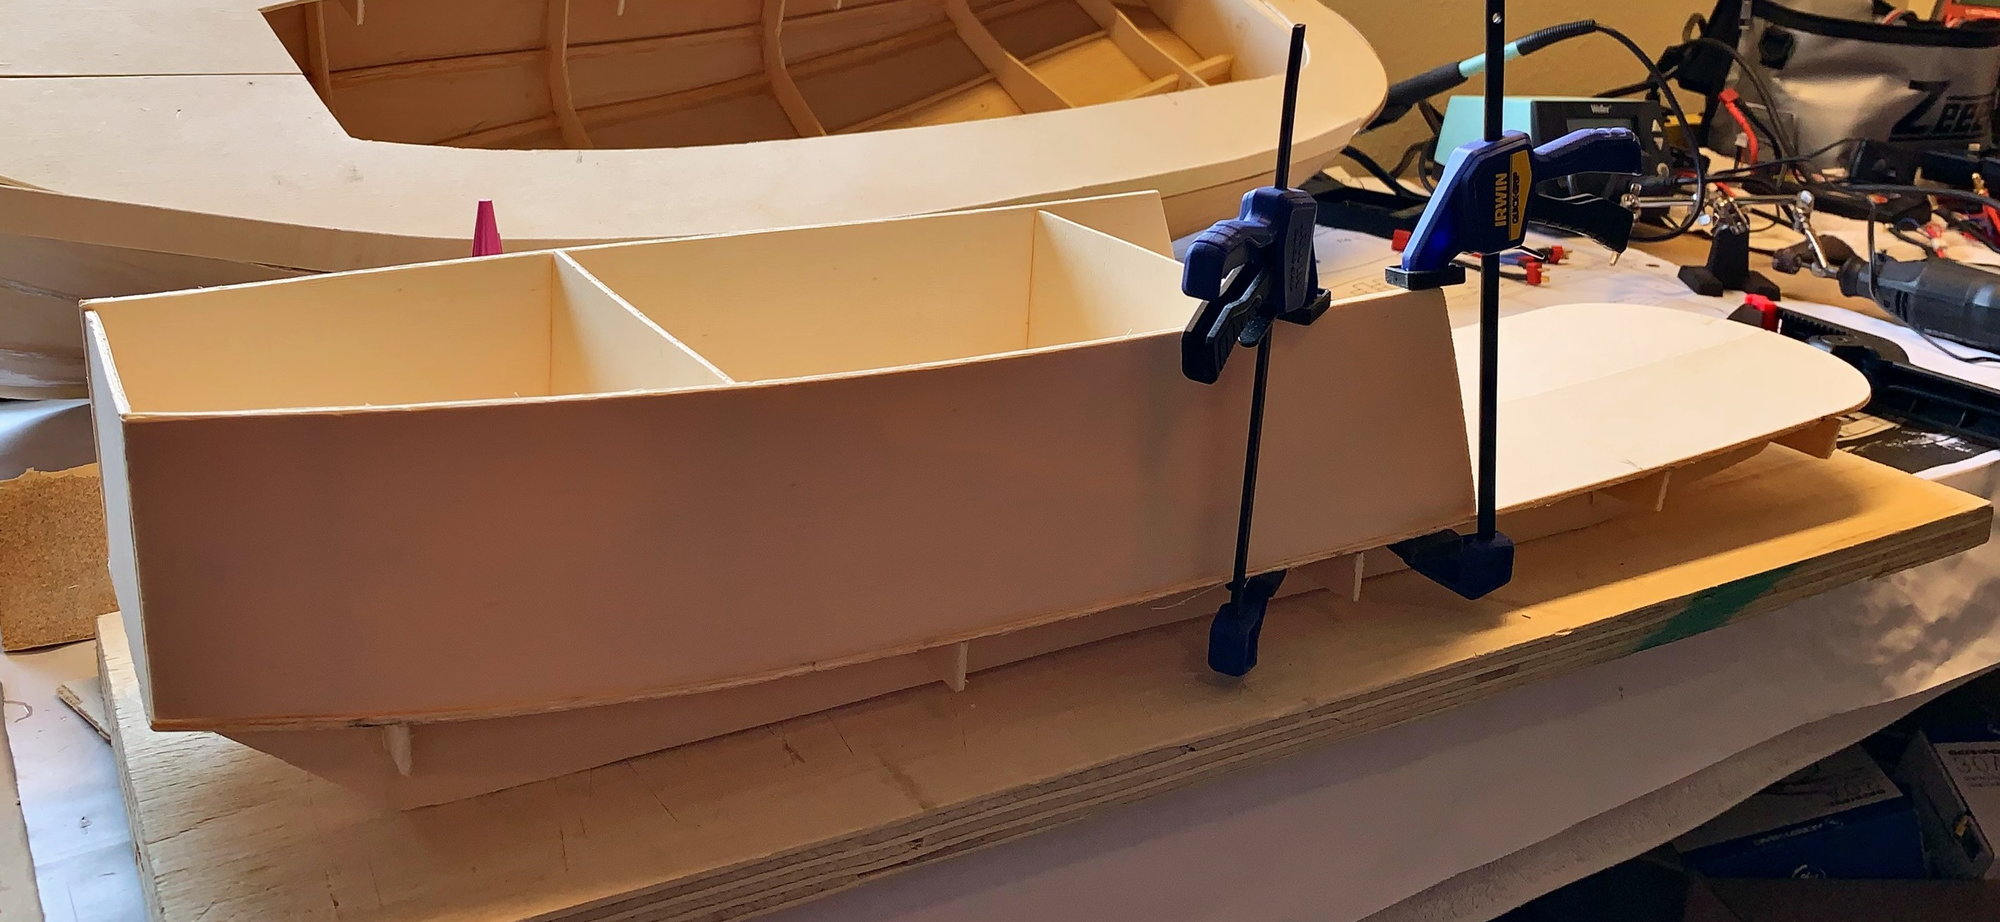
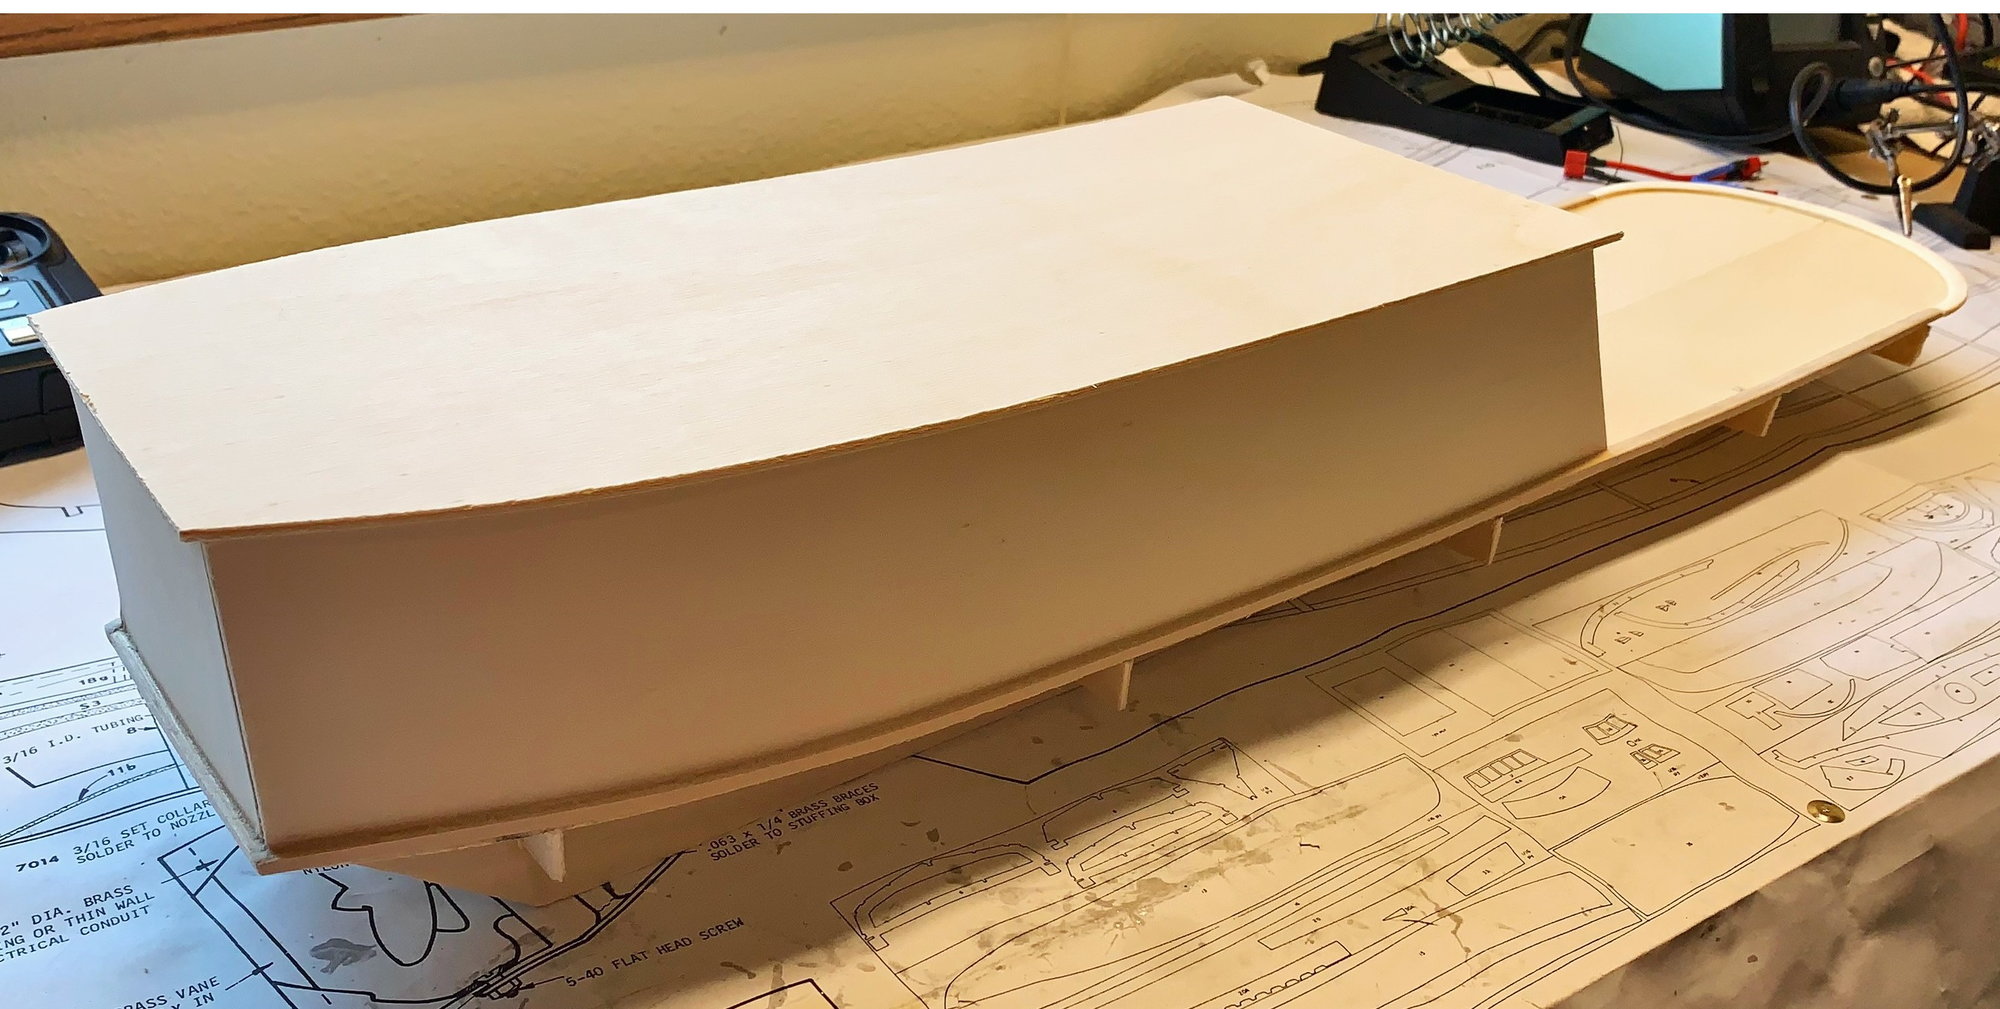
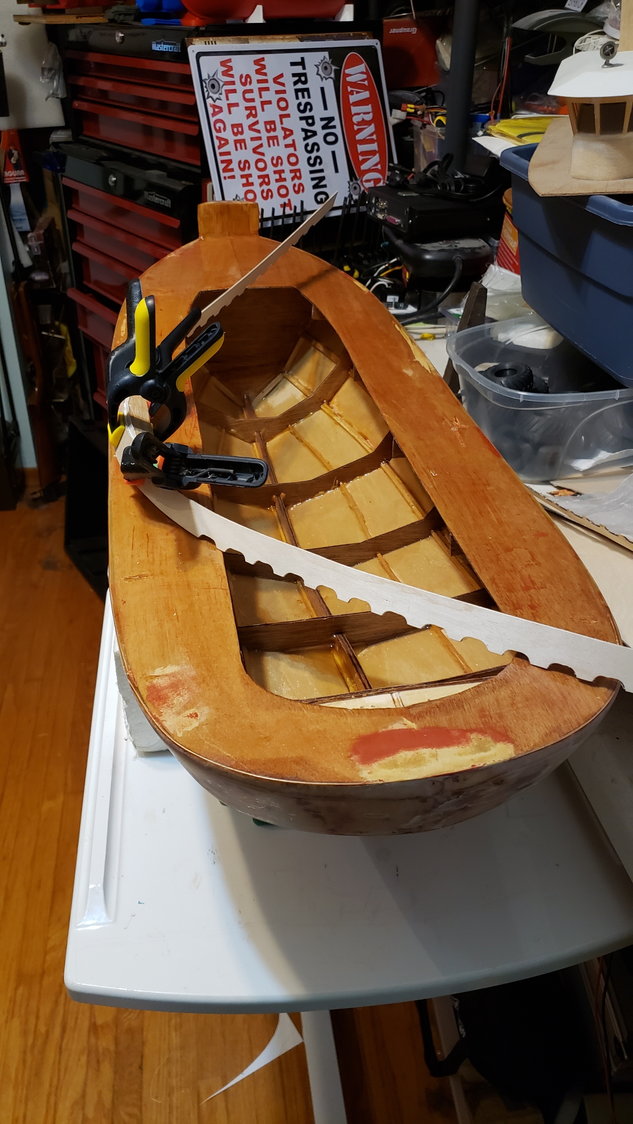
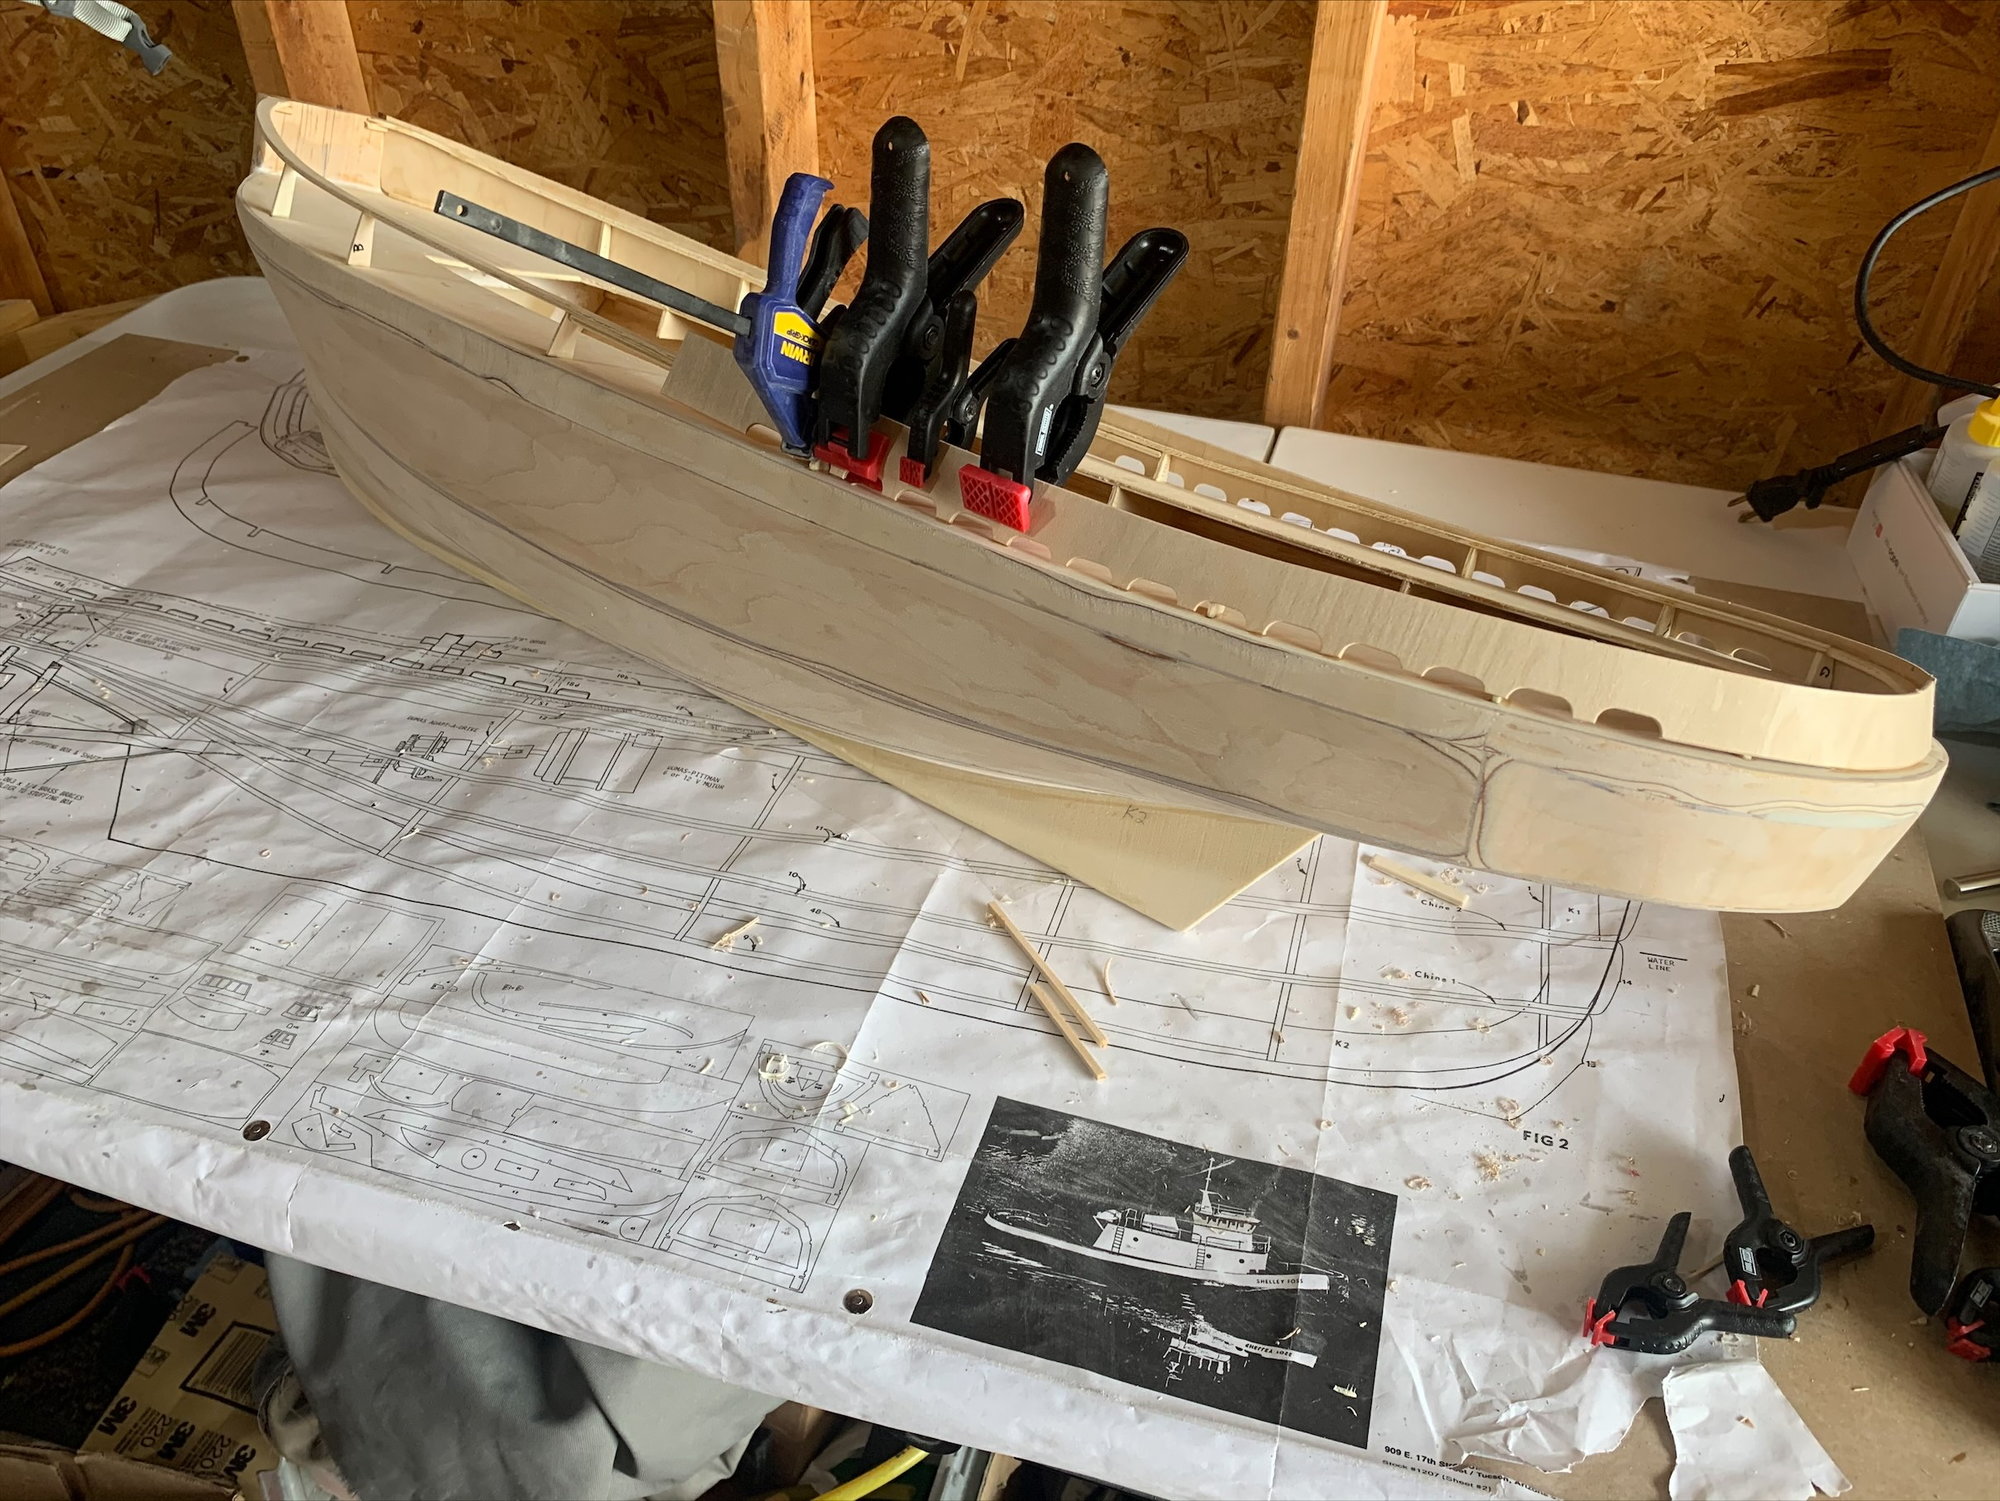
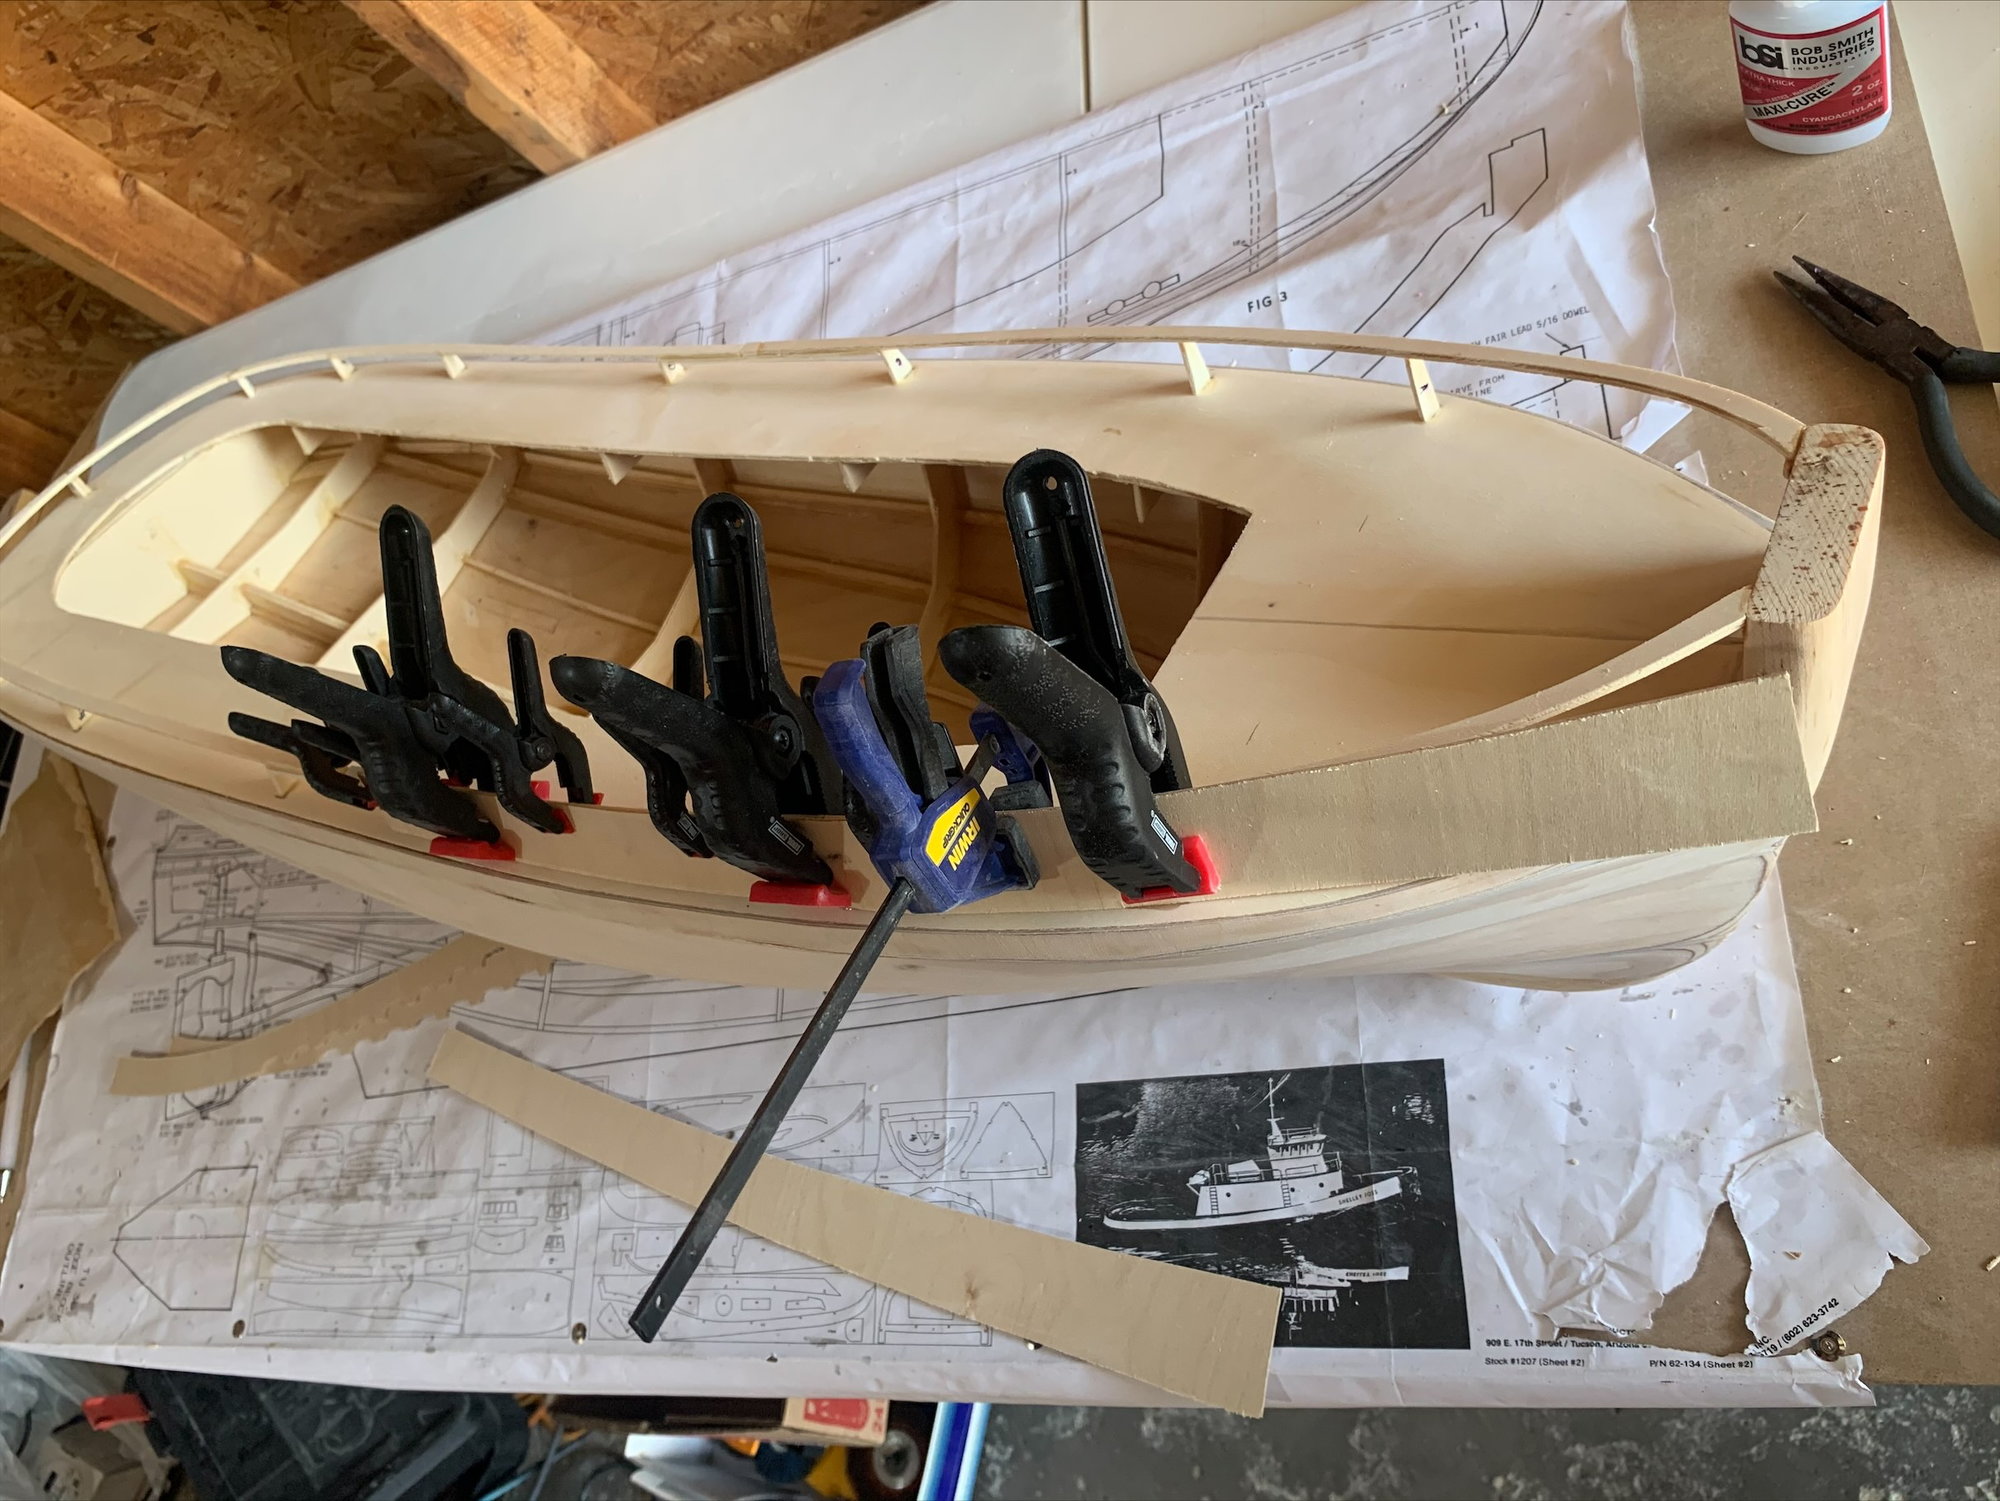
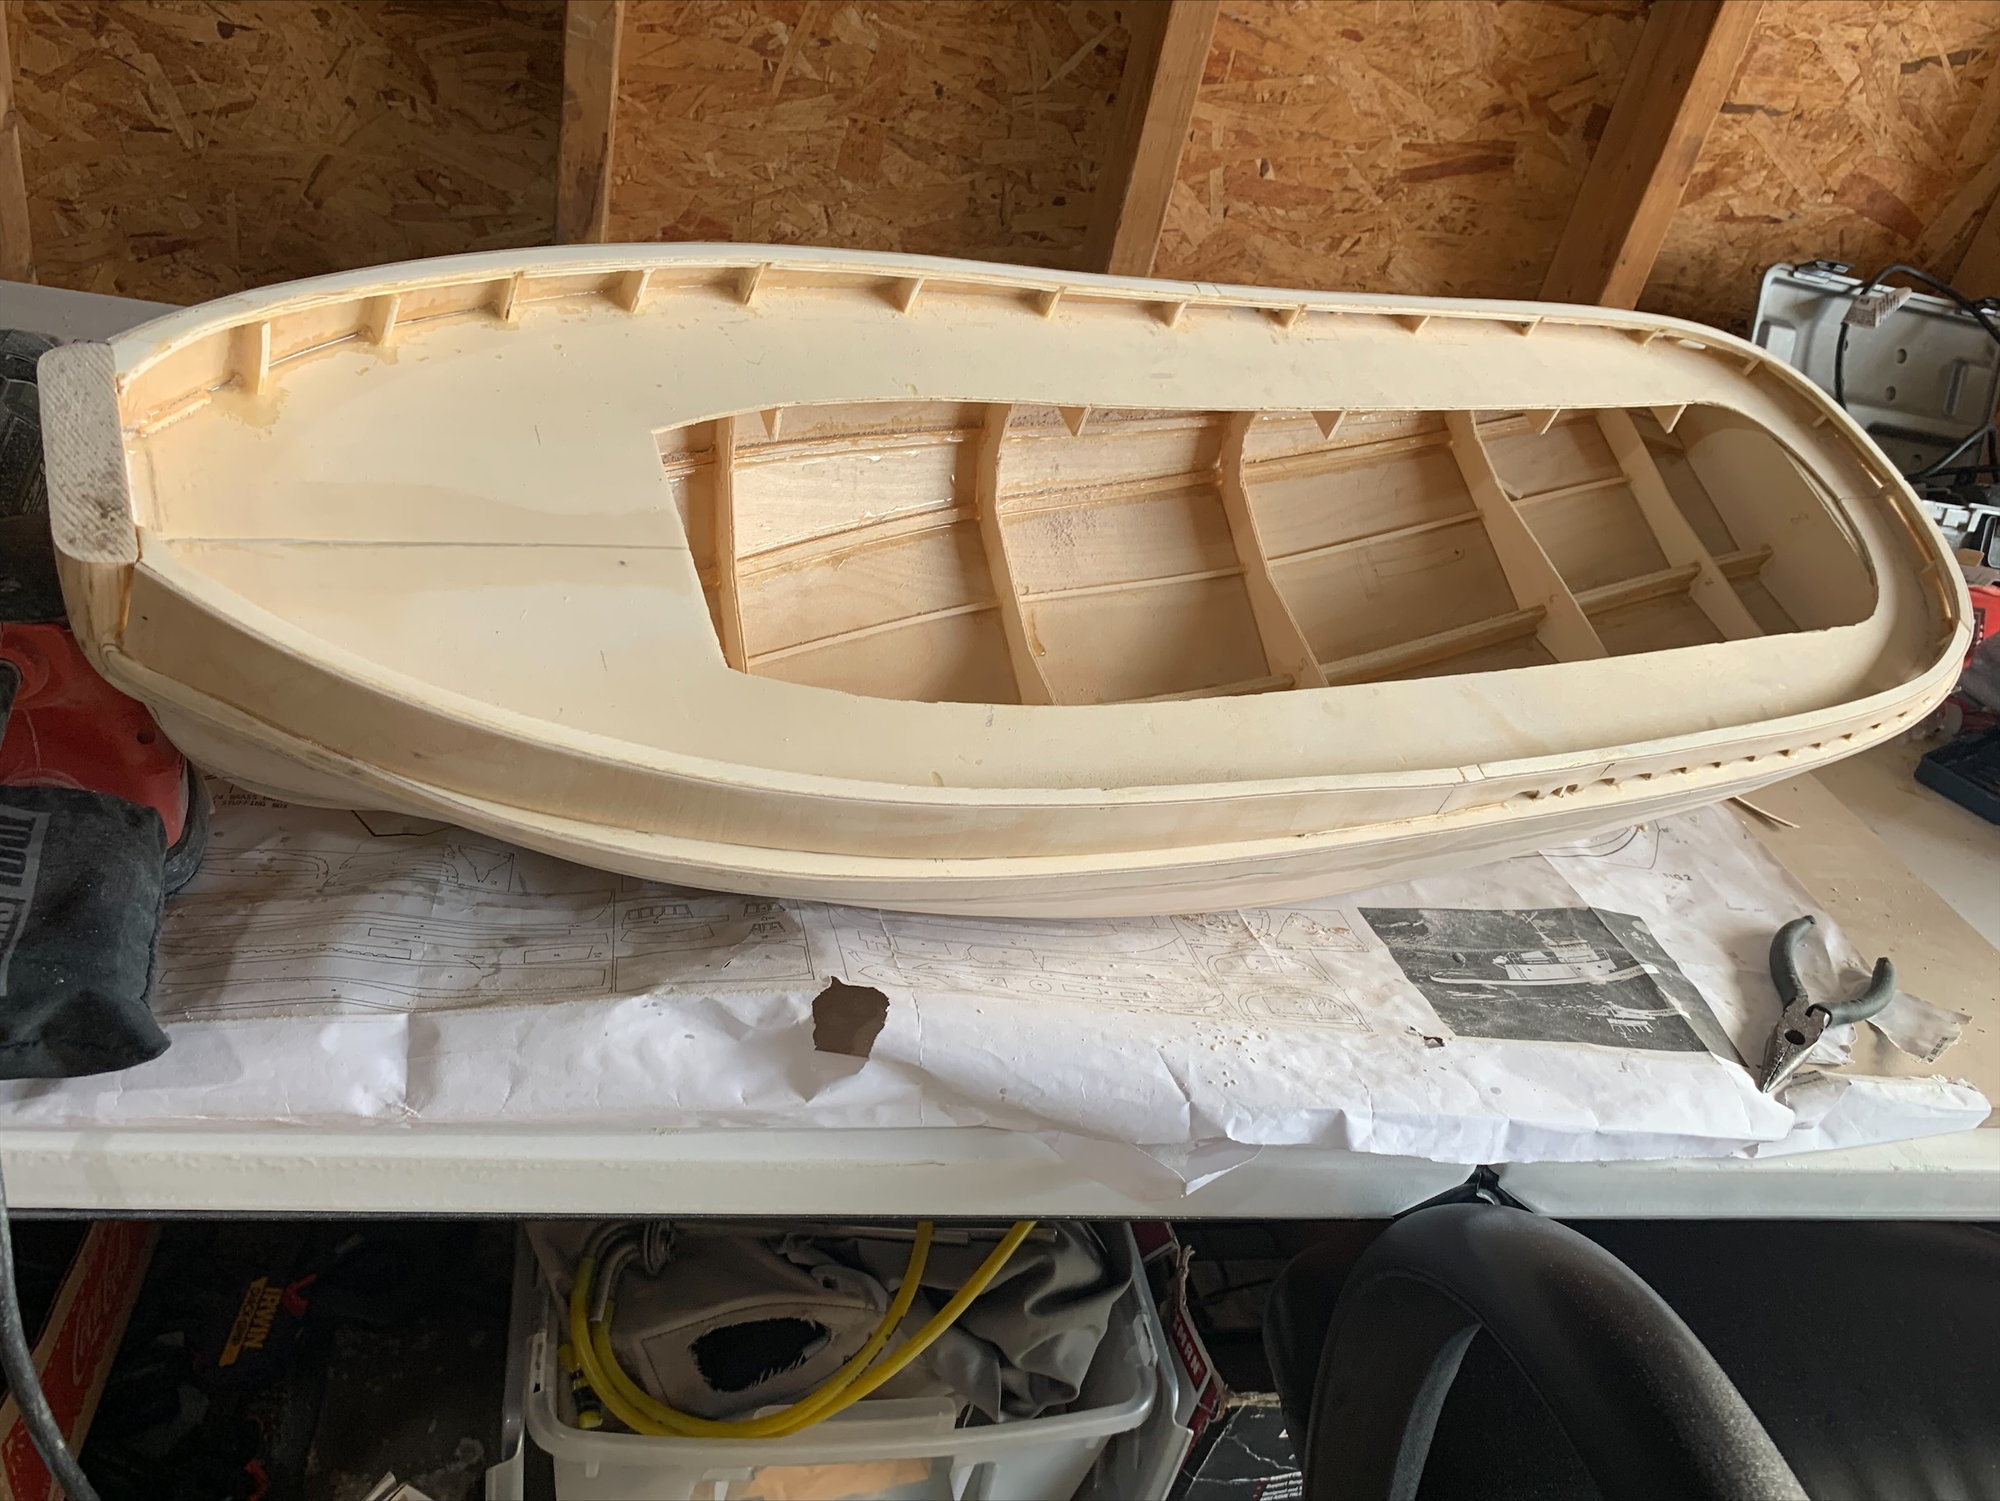
Last Sunday I kept working on the top of the wheel house. I didn't like how I shaped the balsa wood front...so I'll be re-doing that.
I'm cleaning my garage up today and getting it ready to move this project outside. The next steps are cutting, sanding, filling, sanding, filling, and then fiberglass fun. Not doing any of that inside I probably won't assemble or finish the wheel house until I spend some more time figuring out my FPV setup, and how I want to utilize the spaces for the Rasp Pi, etc. I plan to make each space accessible and water tight. Non of the tops are glued on yet, nor will they be.
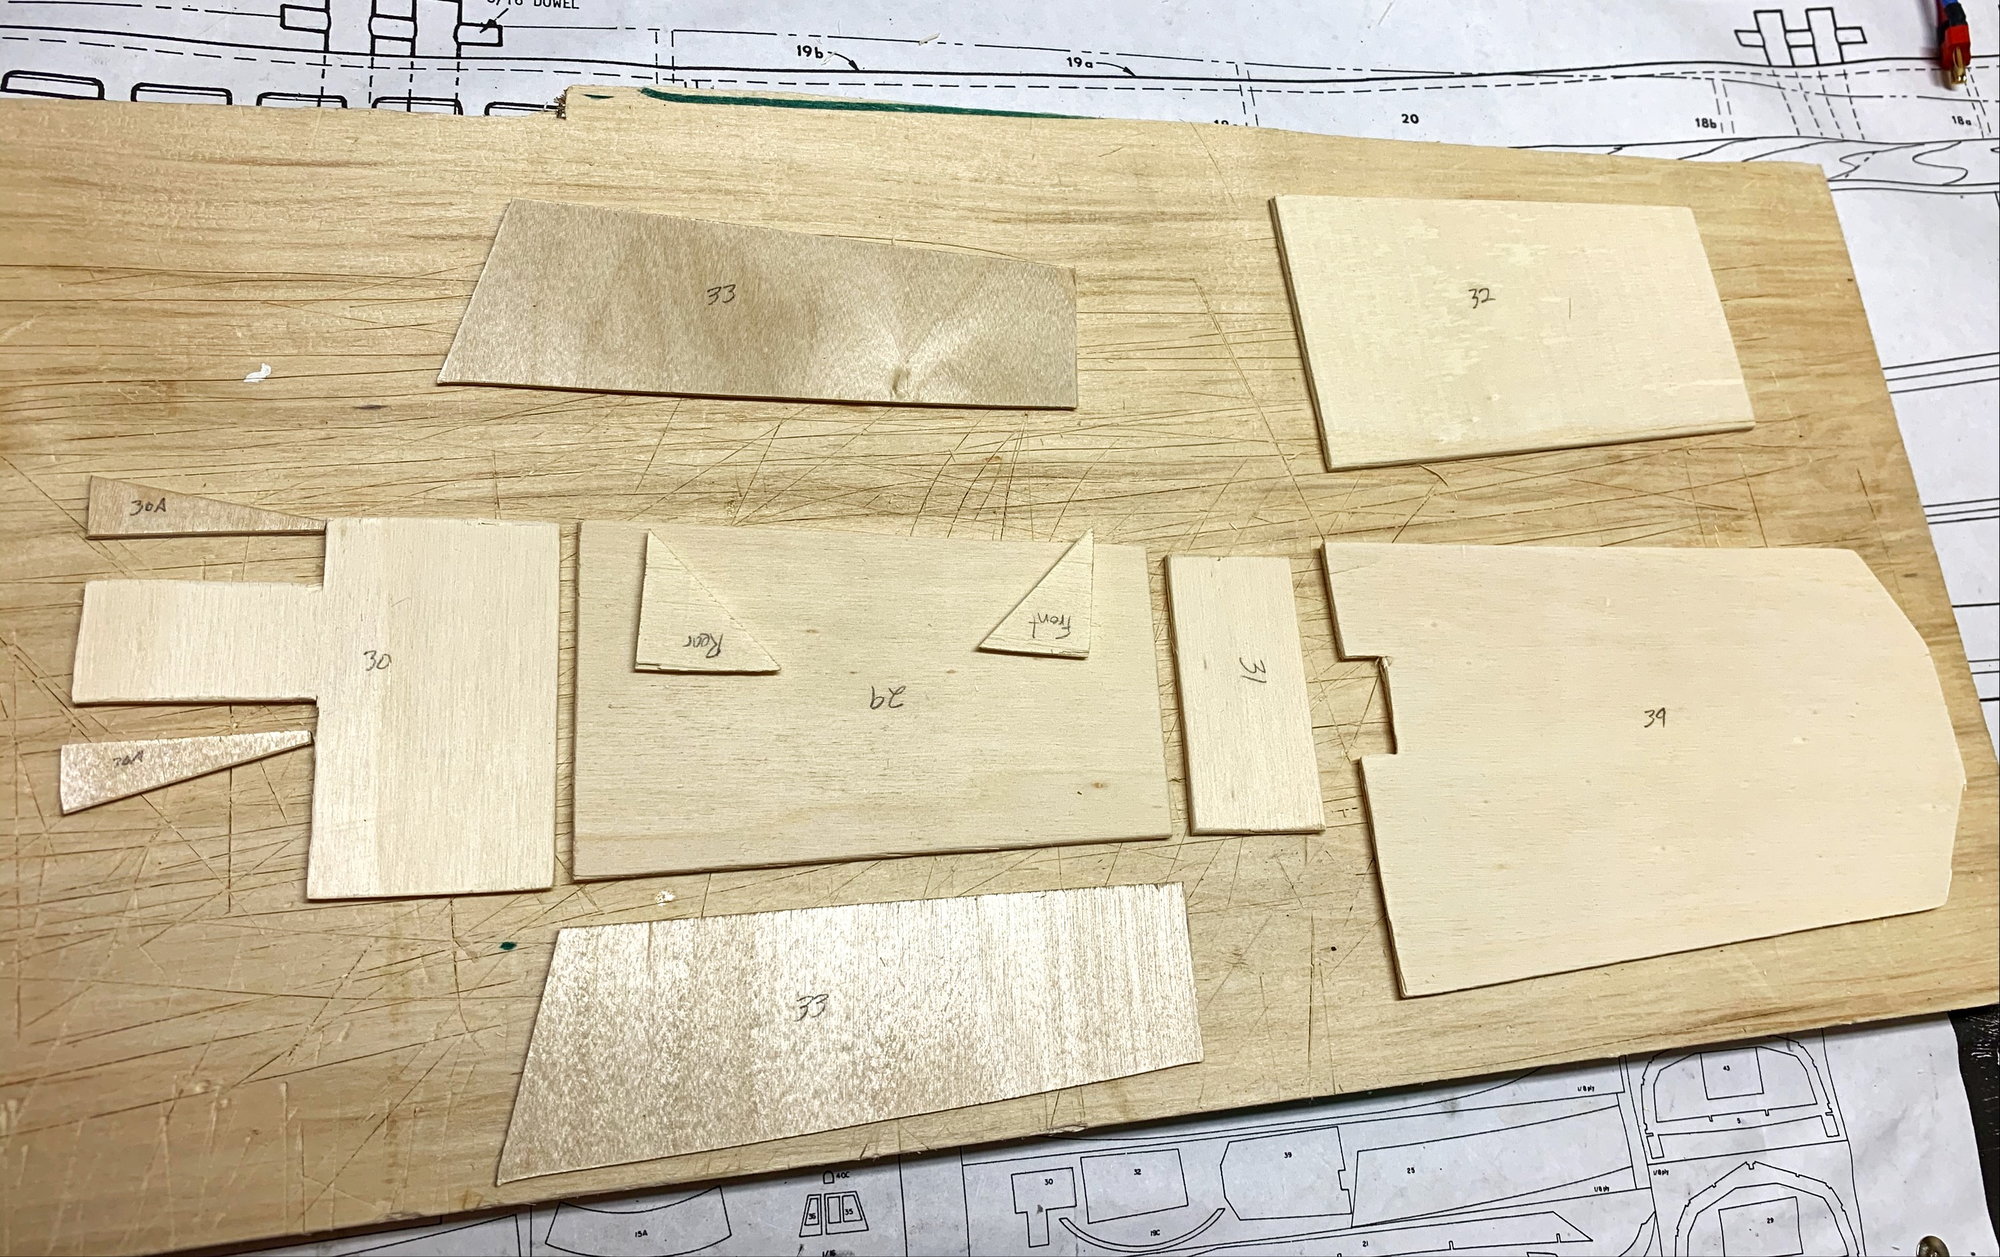
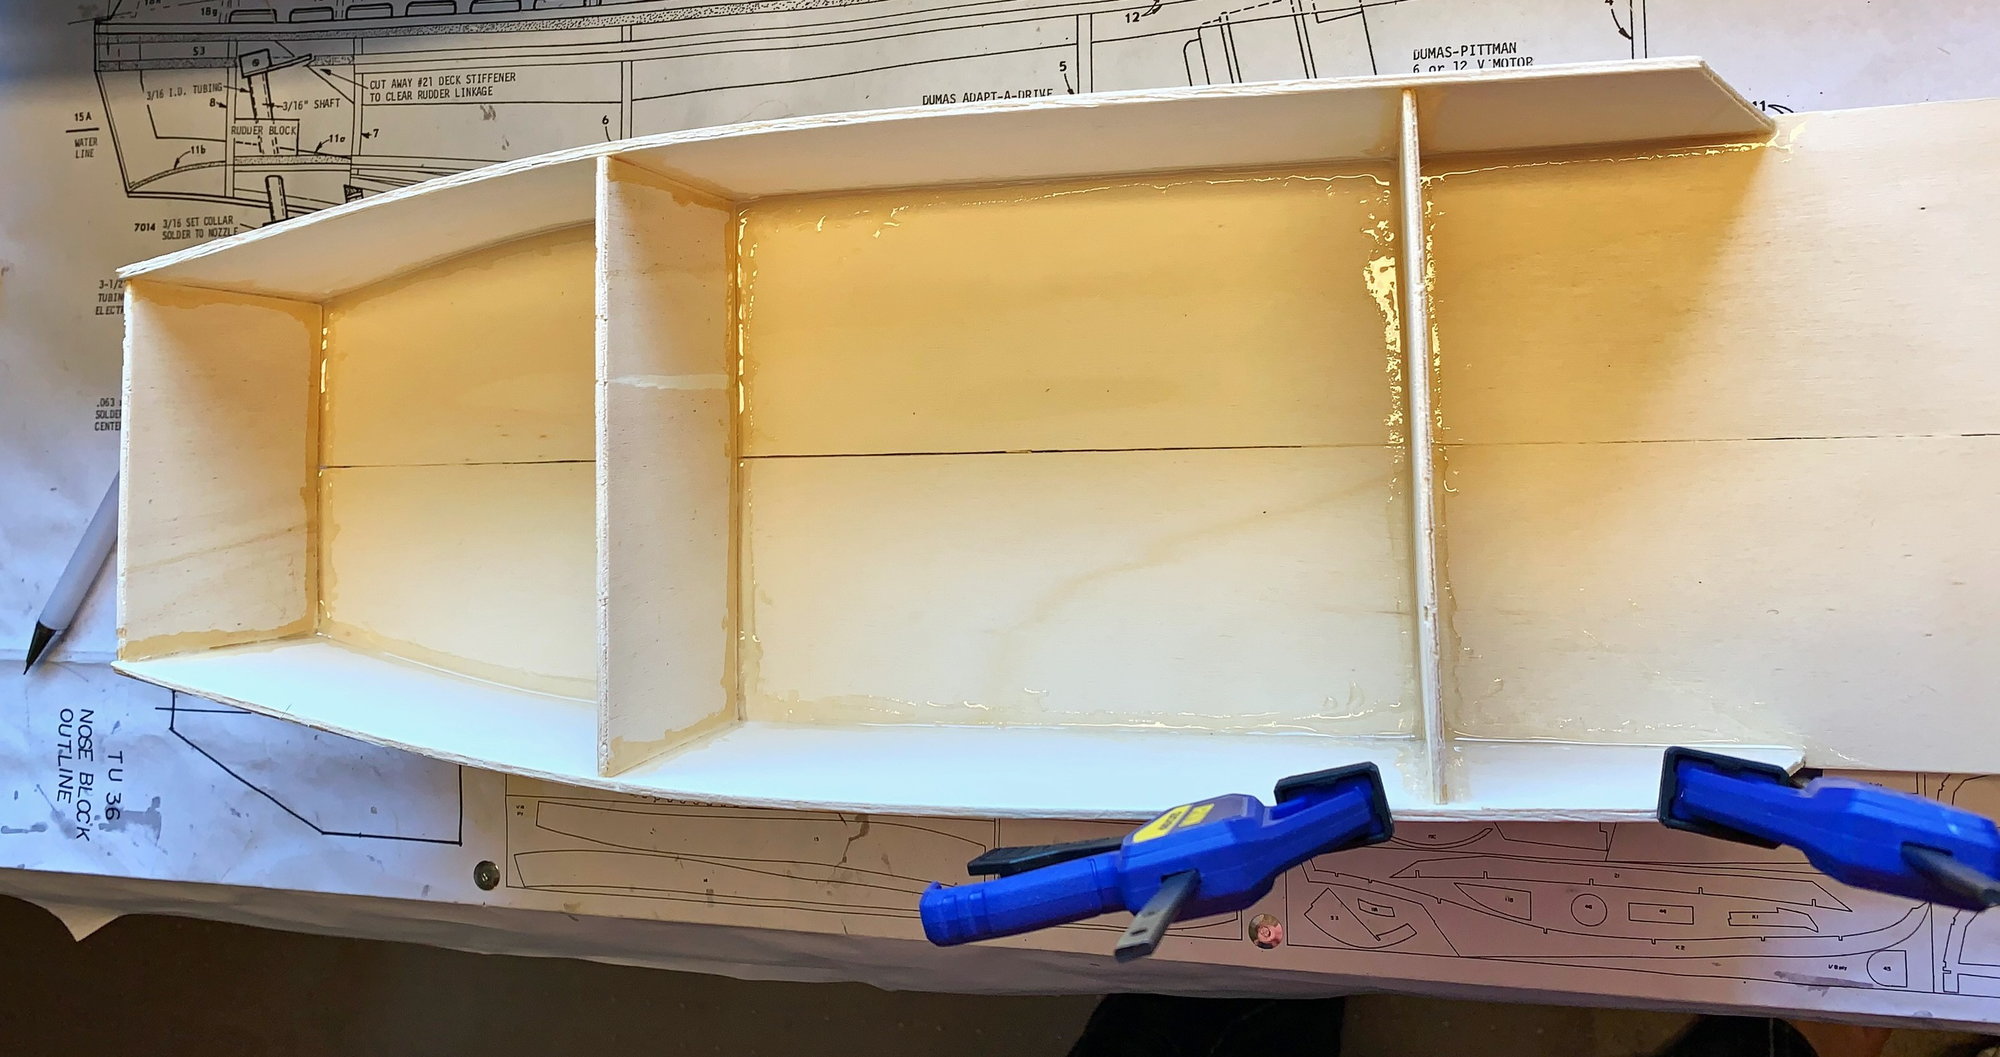
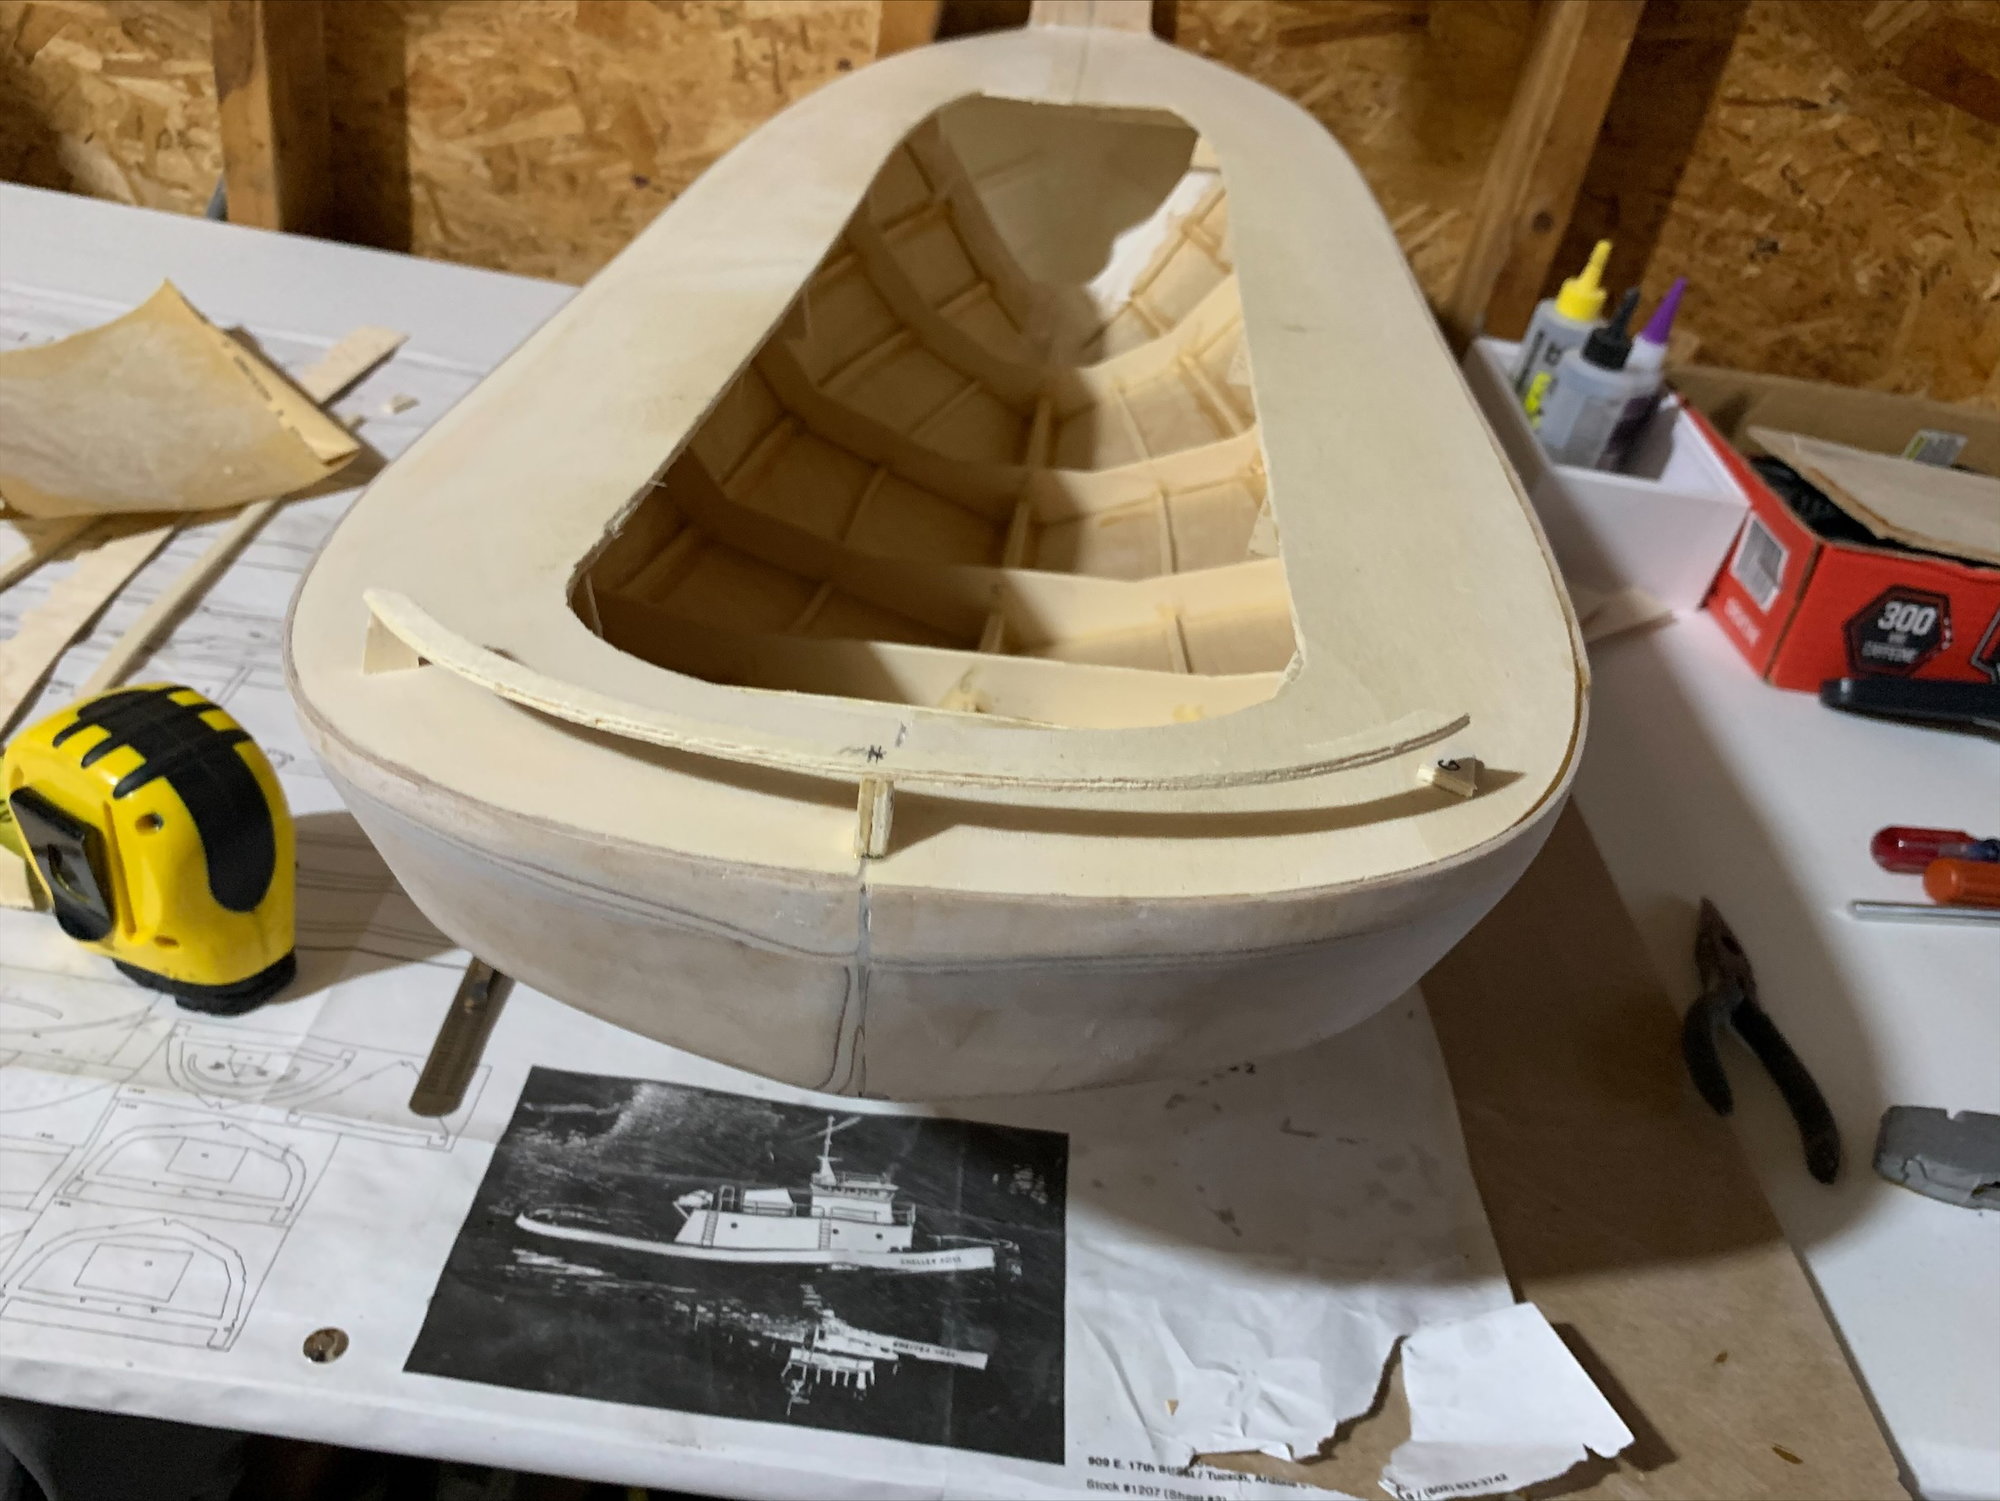
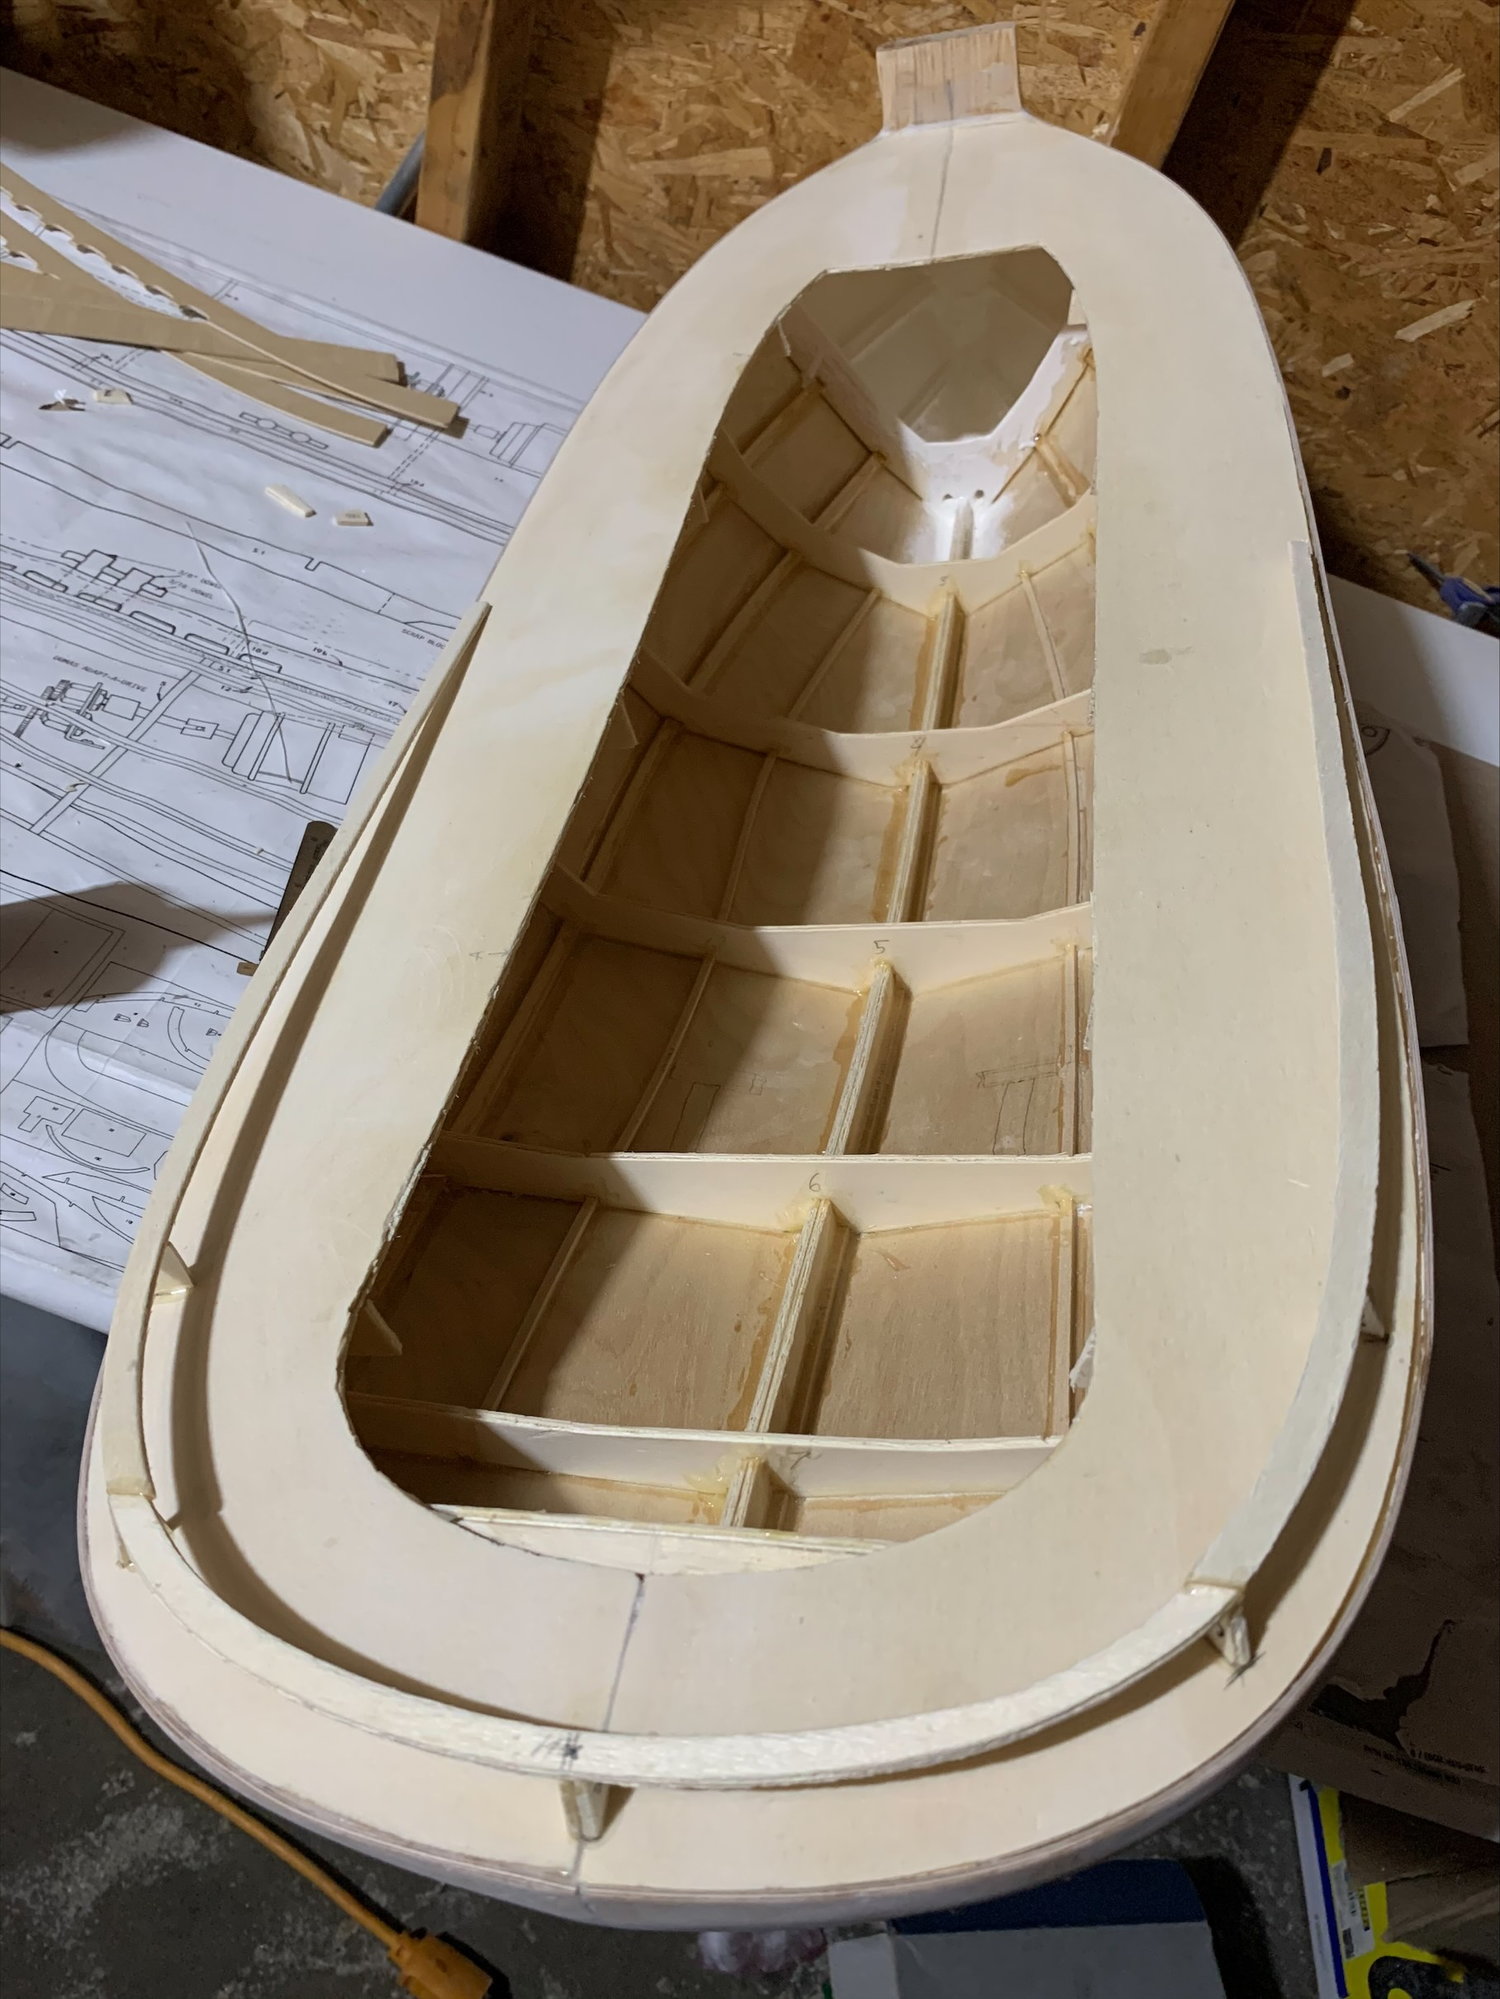
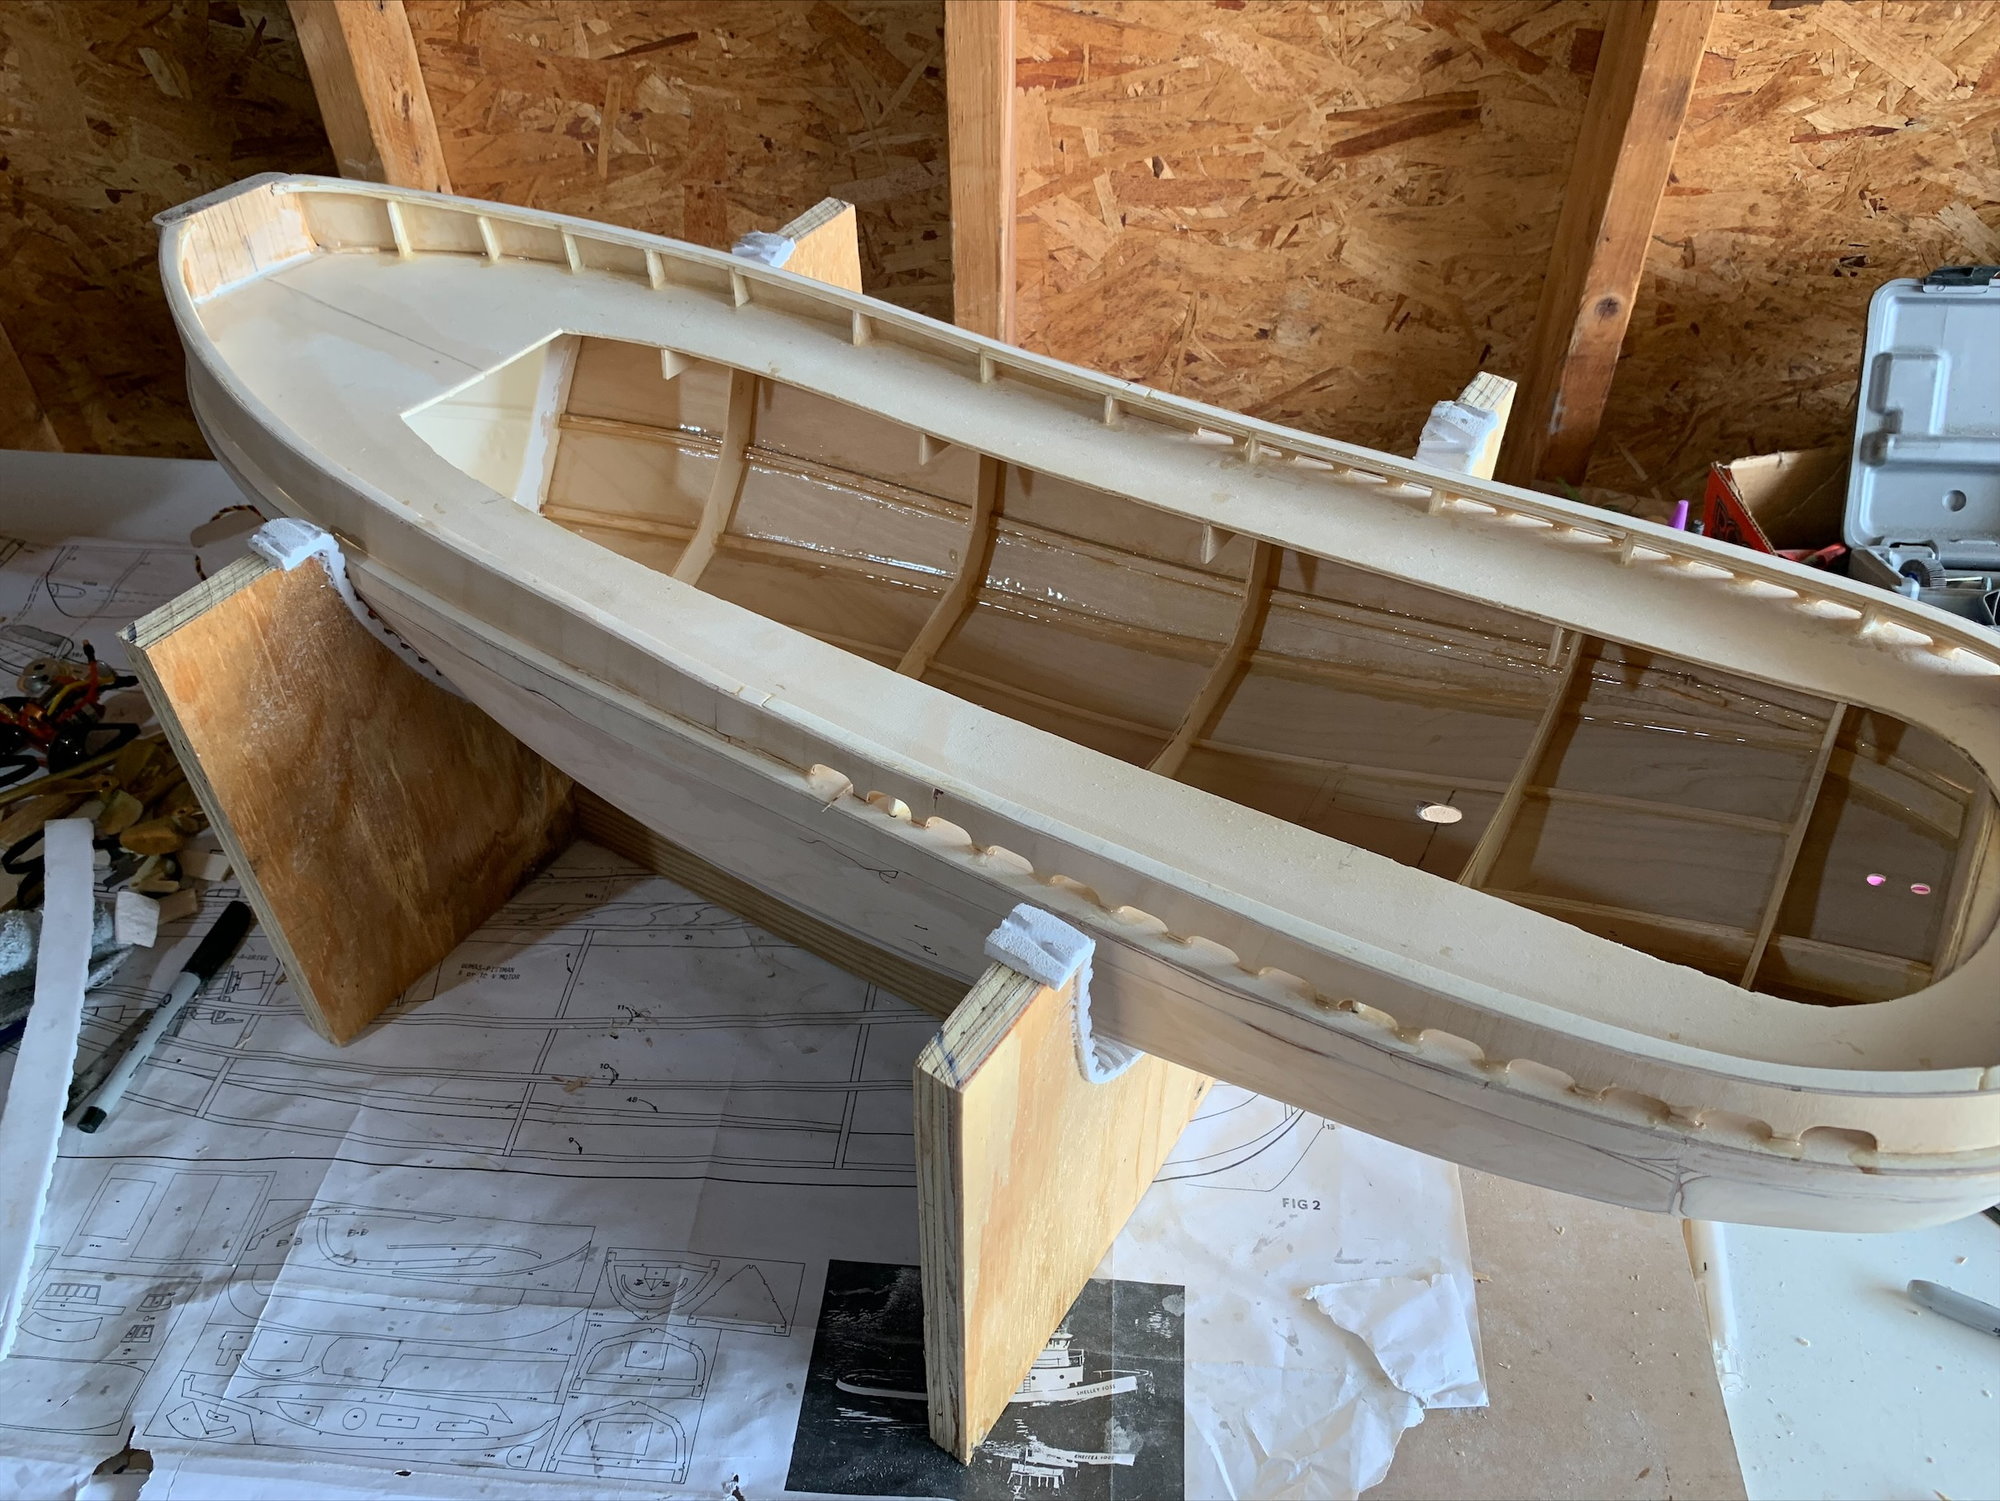
All the parts laid out and numbered.

This by far the easiest and feel good thing to build on the boat.
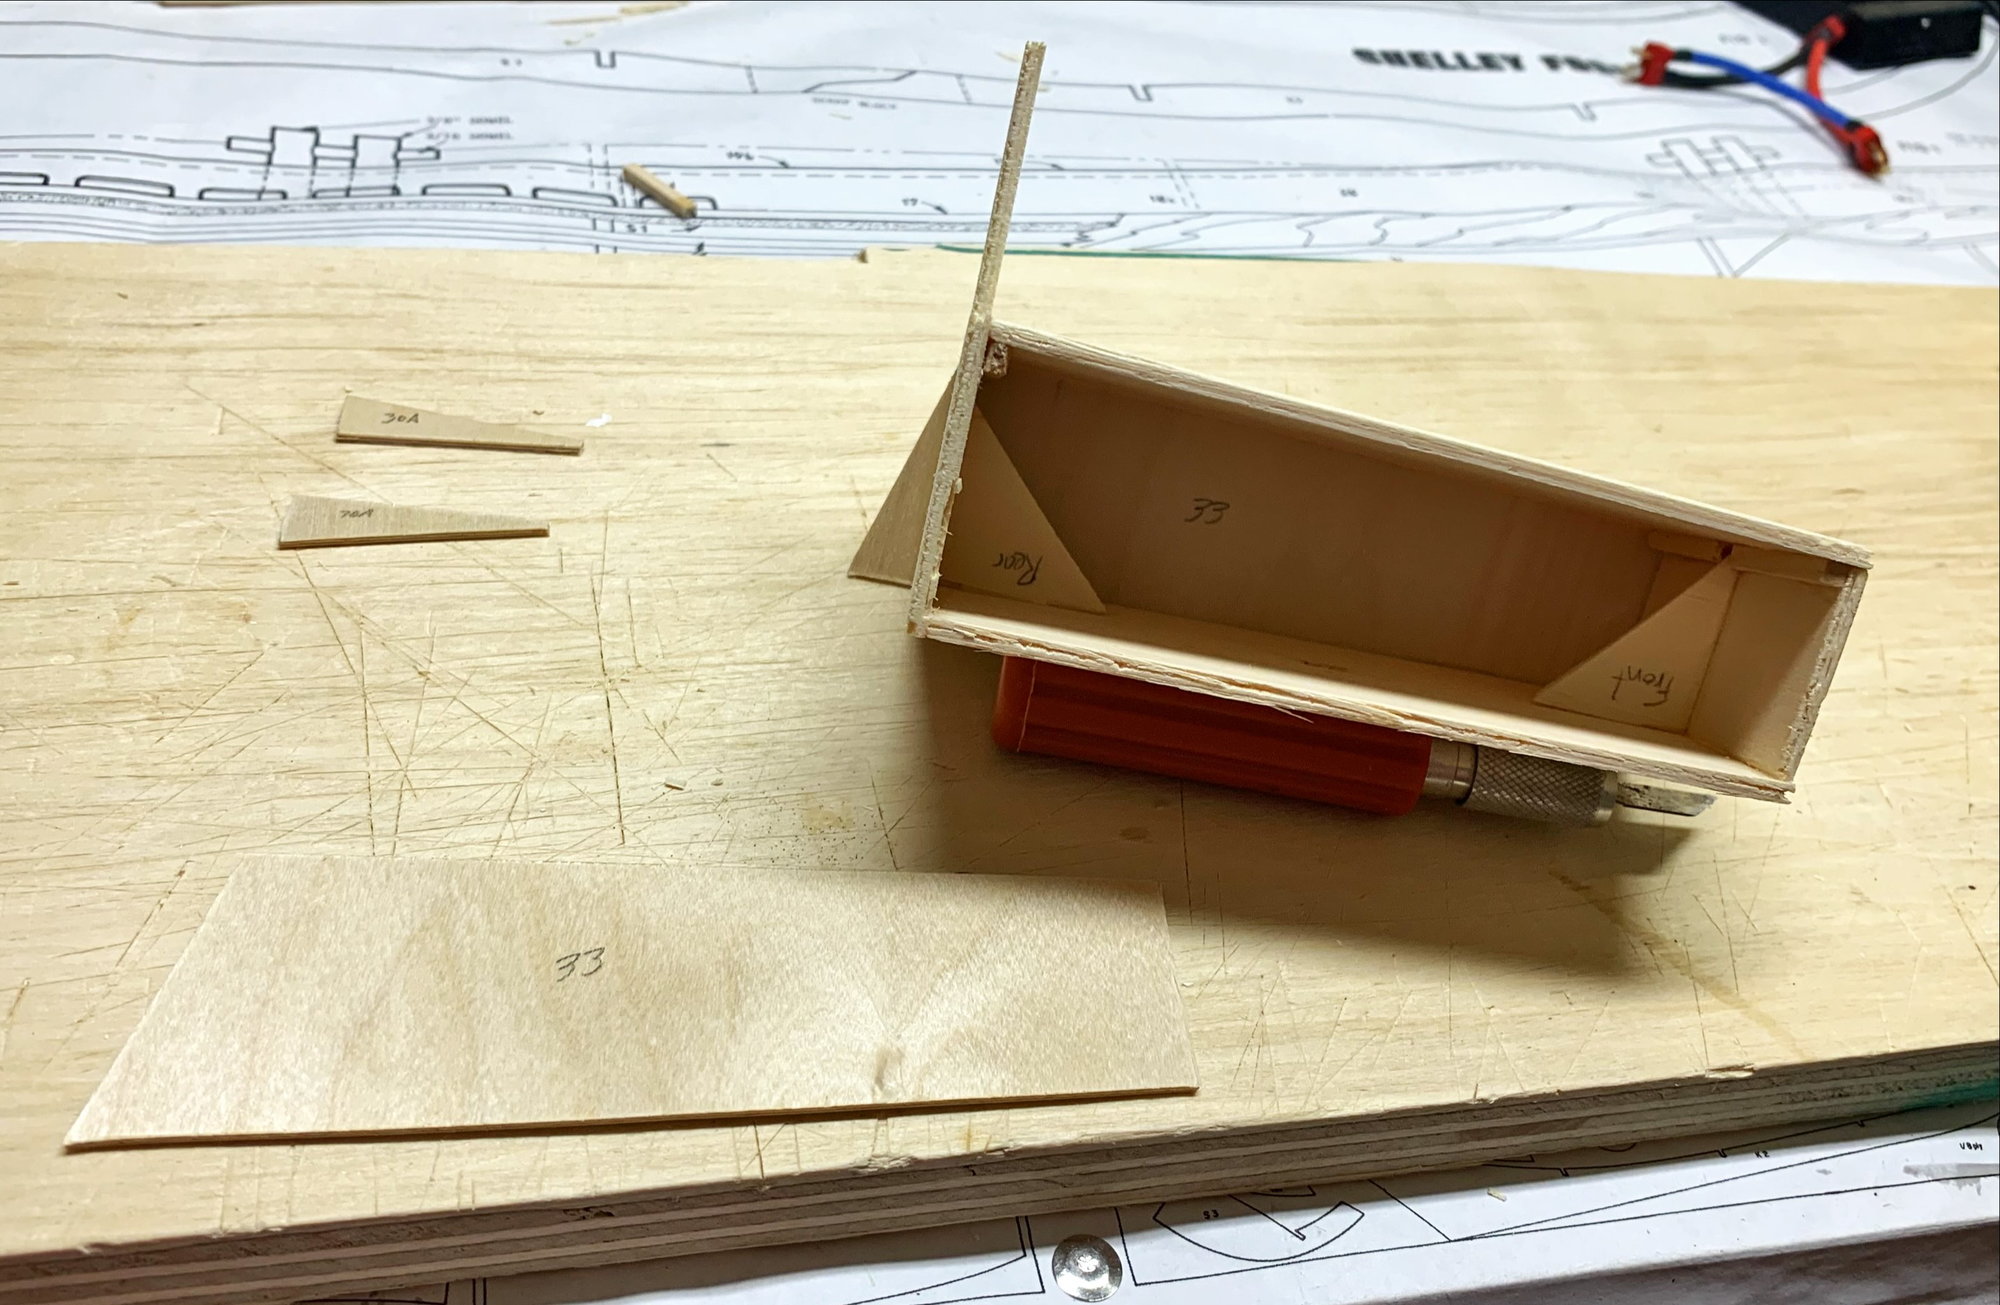
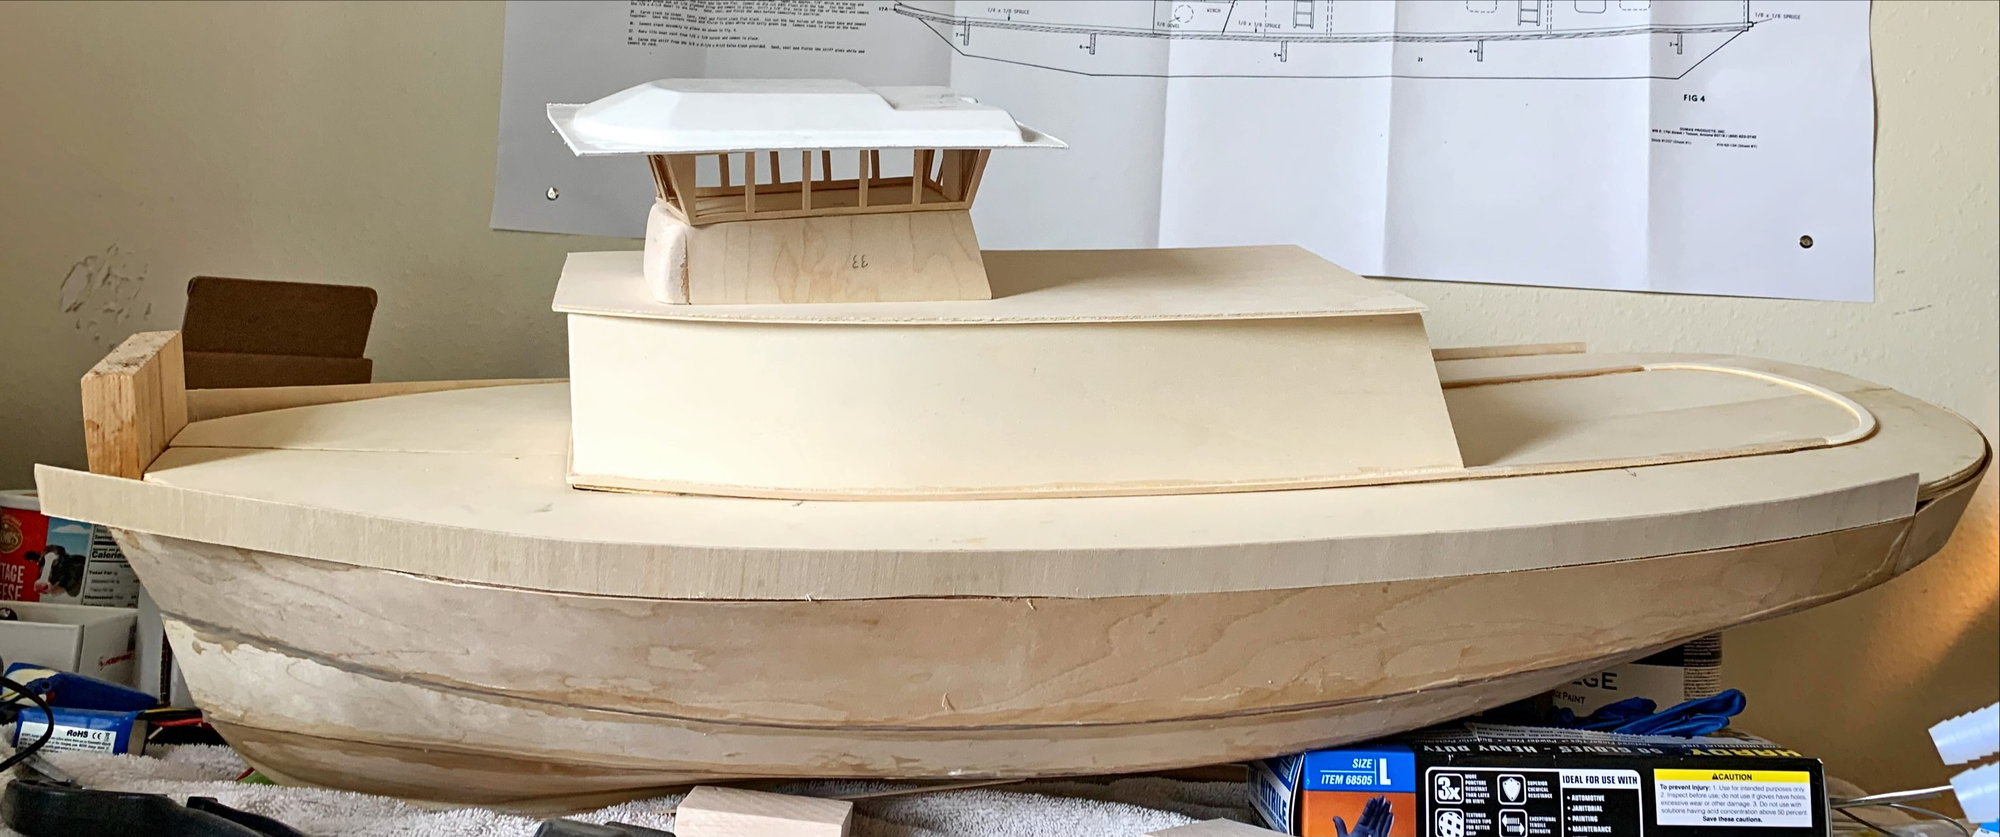
starting to look like a Tugboat!
I'm cleaning my garage up today and getting it ready to move this project outside. The next steps are cutting, sanding, filling, sanding, filling, and then fiberglass fun. Not doing any of that inside
I probably won't assemble or finish the wheel house until I spend some more time figuring out my FPV setup, and how I want to utilize the spaces for the Rasp Pi, etc. I plan to make each space accessible and water tight. Non of the tops are glued on yet, nor will they be.All the parts laid out and numbered.
This by far the easiest and feel good thing to build on the boat.
starting to look like a Tugboat!
The following 4 users liked this post by birdo:
05-23-2021, 05:21 PM
#33
I really like the work you have done so far...
I am also working one one- bought it partly built. Unfortunately, as is usual when buying a partly built model I have had to go back and tear apart all the things that were not up to snuff. The big plus is that it came with the hardware kit AND the Dumas kort nozzles (made of white metal). It is a very old kit, the model number is TU-36, not 1206, which makes it from the 1970/80's I believe. I have 3D printed the propellers, as I think the Dumas props are too small for the kort nozzles. Right now, I am fabricating the railing as the original had a top edge close to a roller coaster ride in smoothness and was sanded down too low. So I had to break it off the deck, repair the deck and make a new railing. I am not planning on building it 100% as per the instructions- I find the angle of the stuffing tubes to be a bit silly looking so will be putting them more horizontal. After all... my boat, my rules! LOL
Good luck on your build. I will be watching with great interest!
05-23-2021, 05:42 PM
#34

Dmon, have you checked with Mack Products? They have hardware packages that are much better quality than the Dumas stuff. If you're interested the website is:
index (mackproductsrc.com)
index (mackproductsrc.com)
The following users liked this post:
Super18 (05-23-2021)
05-23-2021, 06:07 PM
#35
Dmon, have you checked with Mack Products? They have hardware packages that are much better quality than the Dumas stuff. If you're interested the website is:
index (mackproductsrc.com)
index (mackproductsrc.com)
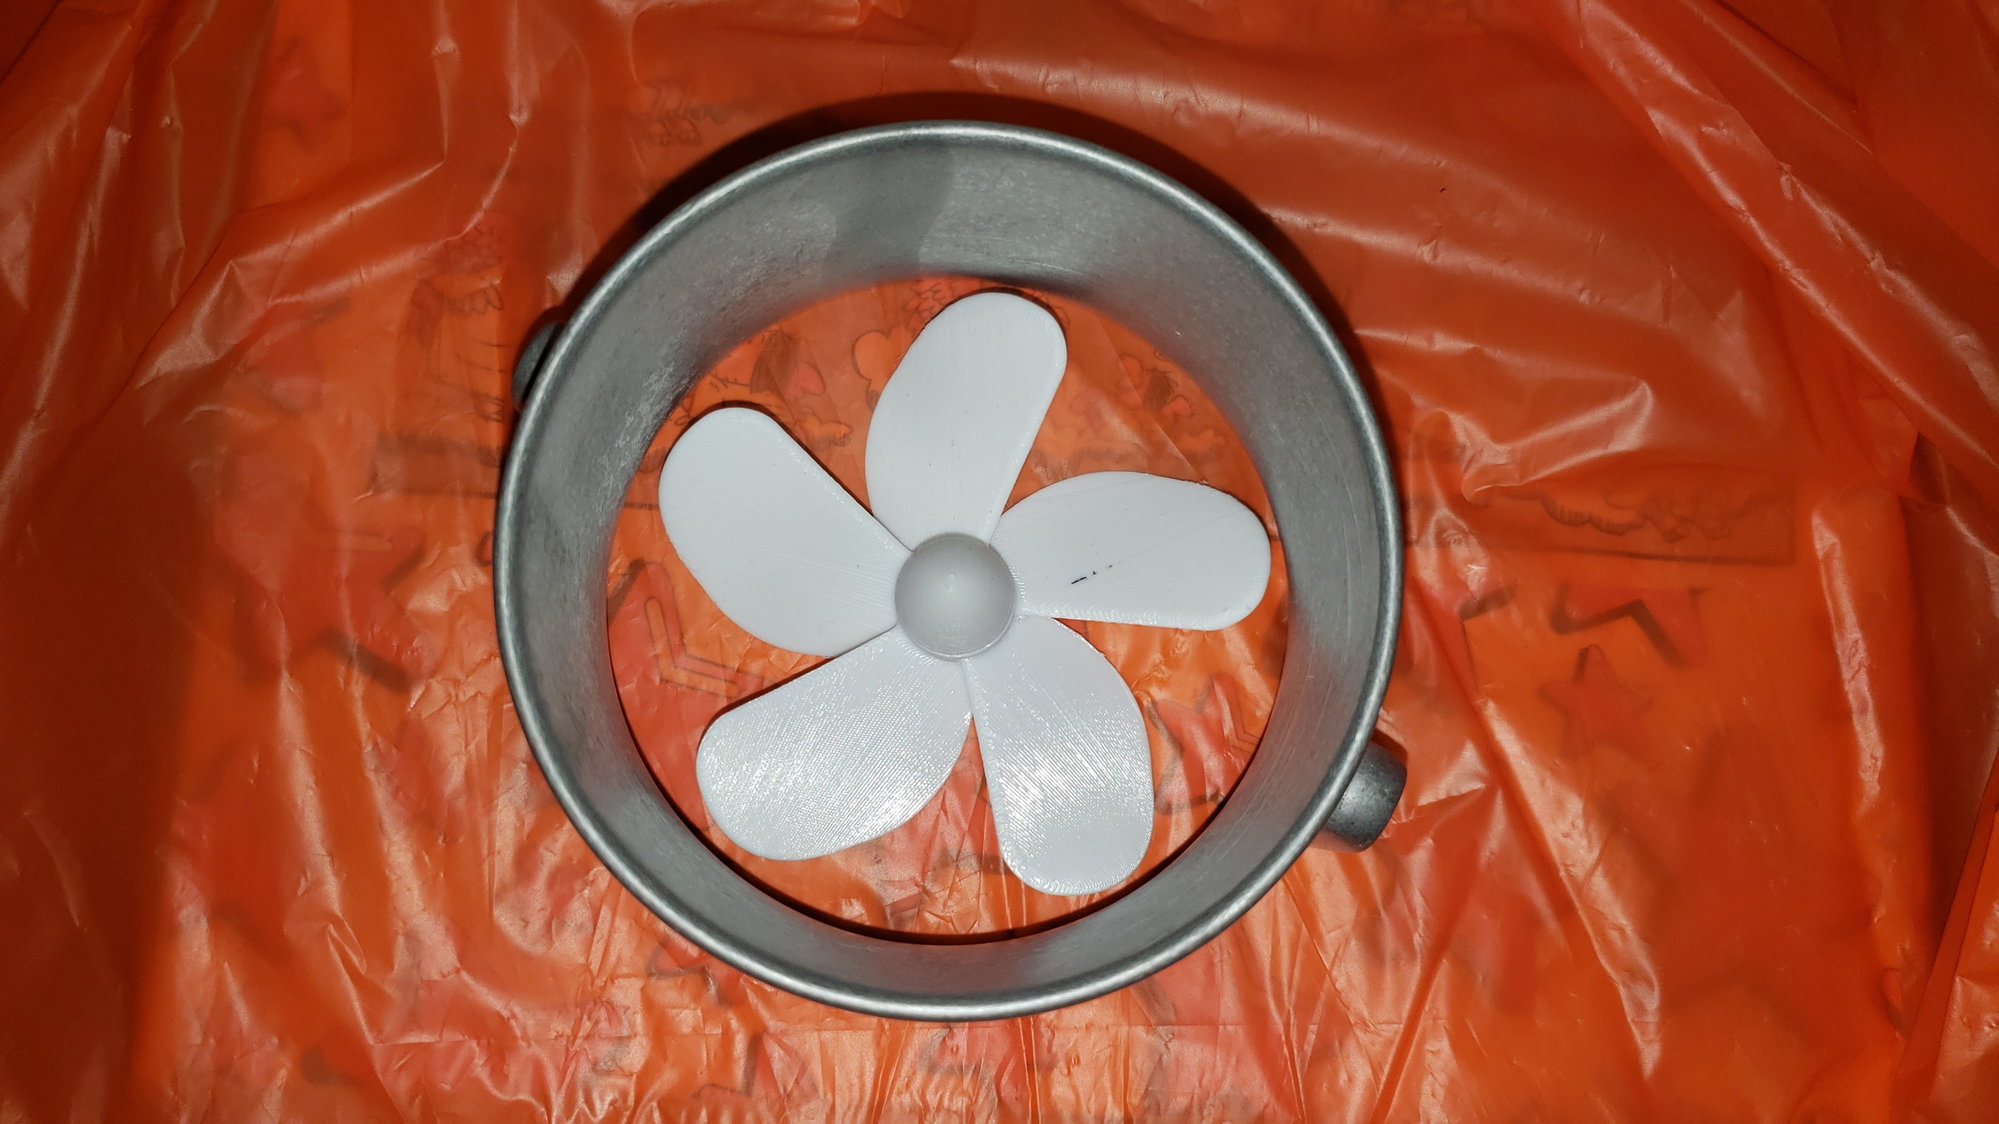
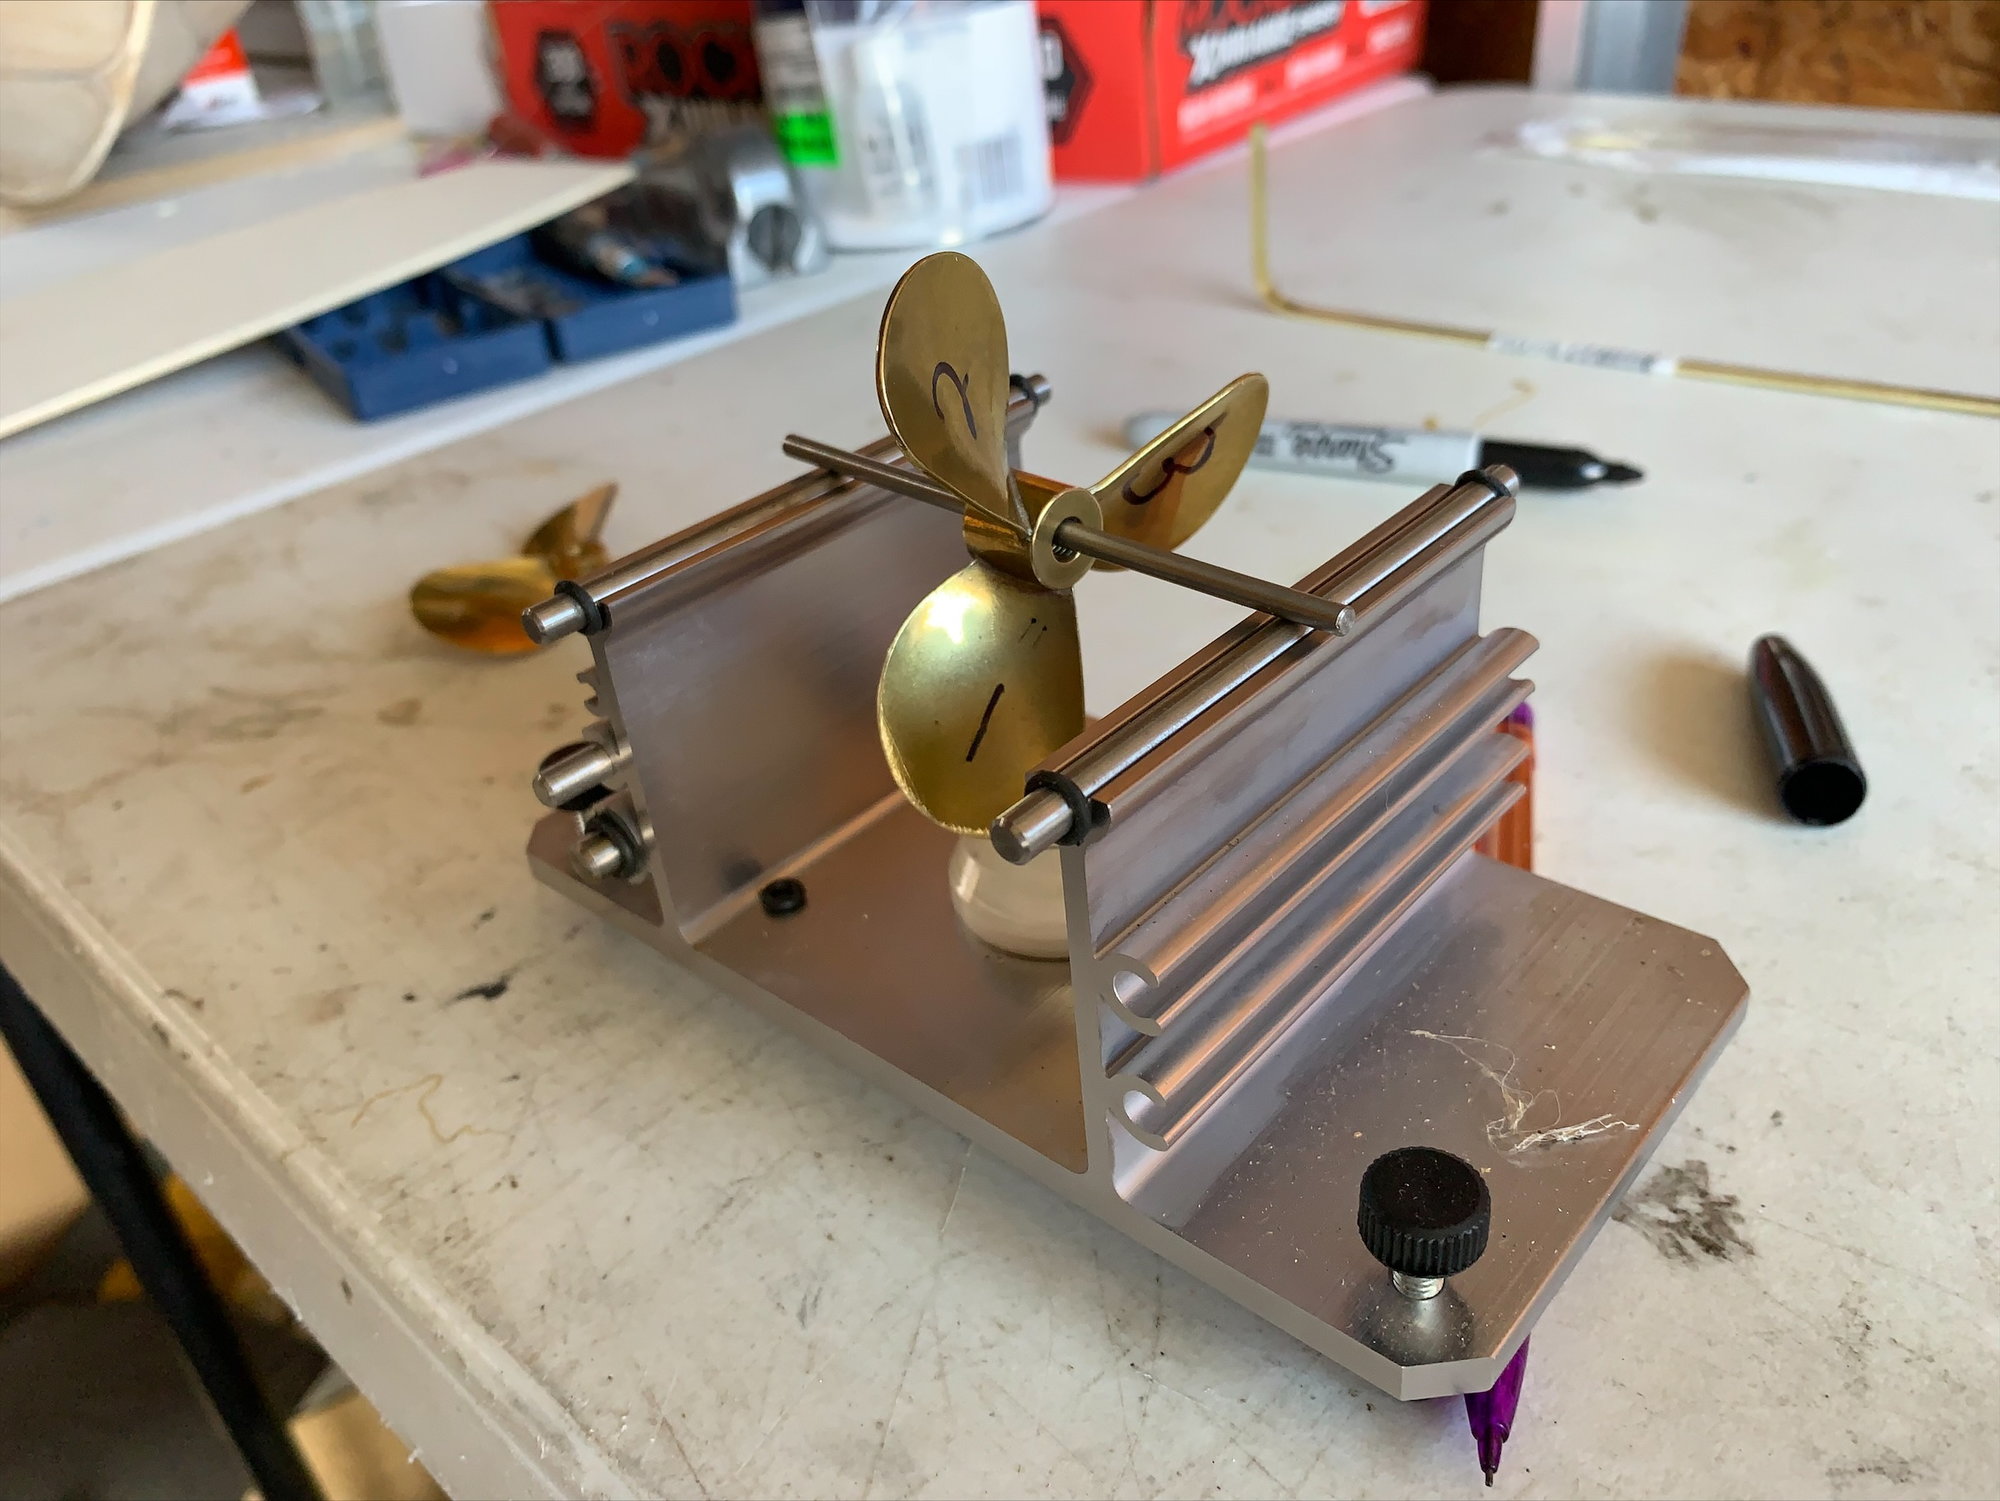
Since I got all the hardware for this Shelley Foss, I will either incorporate it or use it as templates for my own builds. I will probably have to make my own longer stuffing tubes and prop shafts as I will be running them more horizontal than the kit calls for, but I have made a lot of these for my fleet. I also make my own rudders, servo mounts, battery trays, motor mounts and so forth. For this model I have also 3D printed the tires needed (always the toughest part of a tugboat build)- 12 small auto tires, 6 larger auto tires and 8 big tractor tires. They are made from a type of filament called TPU- they are soft and rubbery, so are functional as well as accurate.
It is always more fun making your own stuff than buying... As for the power system for this boat, I have a pair of Faulhaber low RPM high torque motors and I always run two ESC's (Mtroniks) on dual prop boats. I have a Smit Nederland that I can literally spin in place by using only the two speed controllers.

The following users liked this post:
Martin H (08-23-2021)
06-27-2021, 07:07 AM
#36
Member
Thread Starter
I Finally got my garages all organized and cleaned up for summer. We got some cooler rainy days to work on the boat. It was 90+ for almost two weeks here. Add in some vacations in, and that's why it took me a month to post!
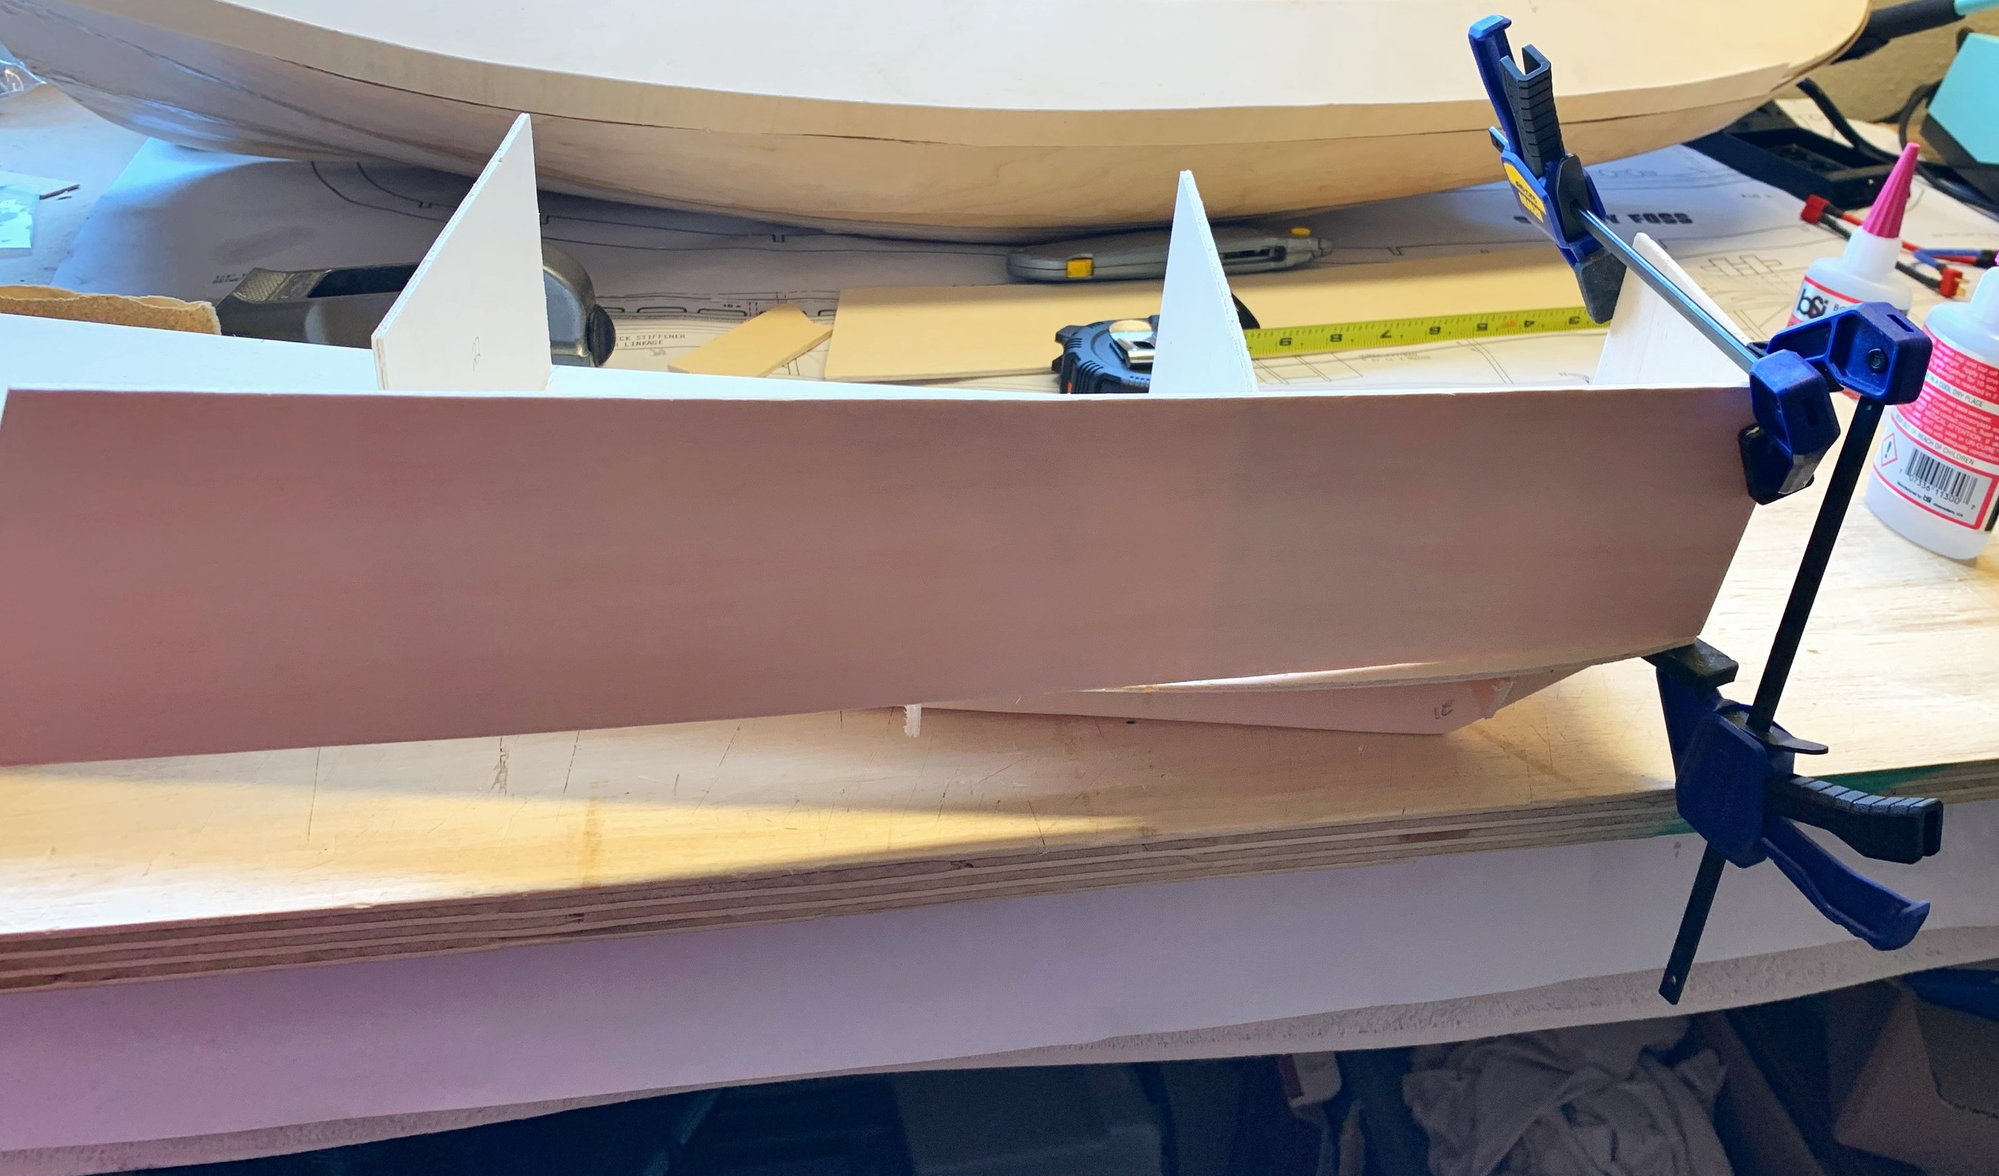
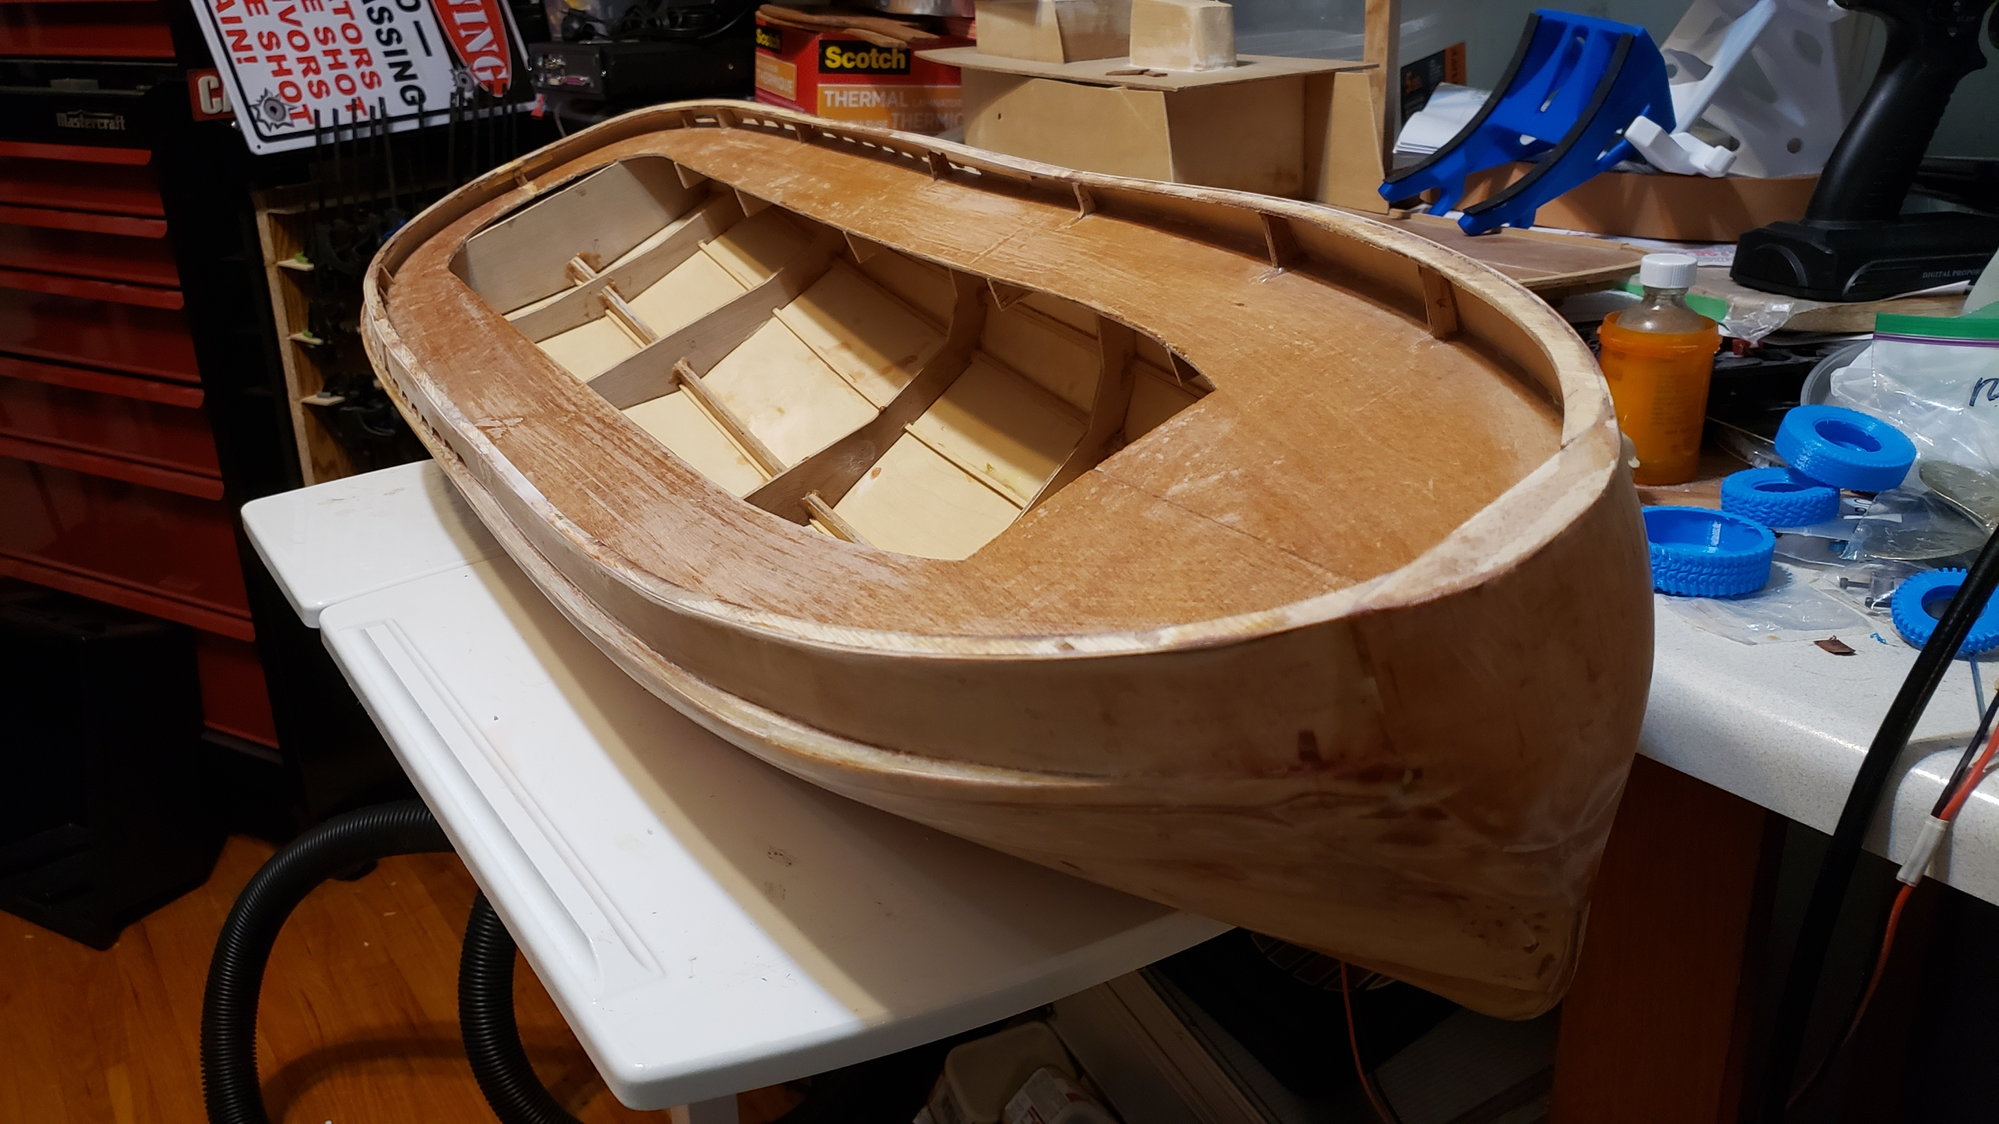
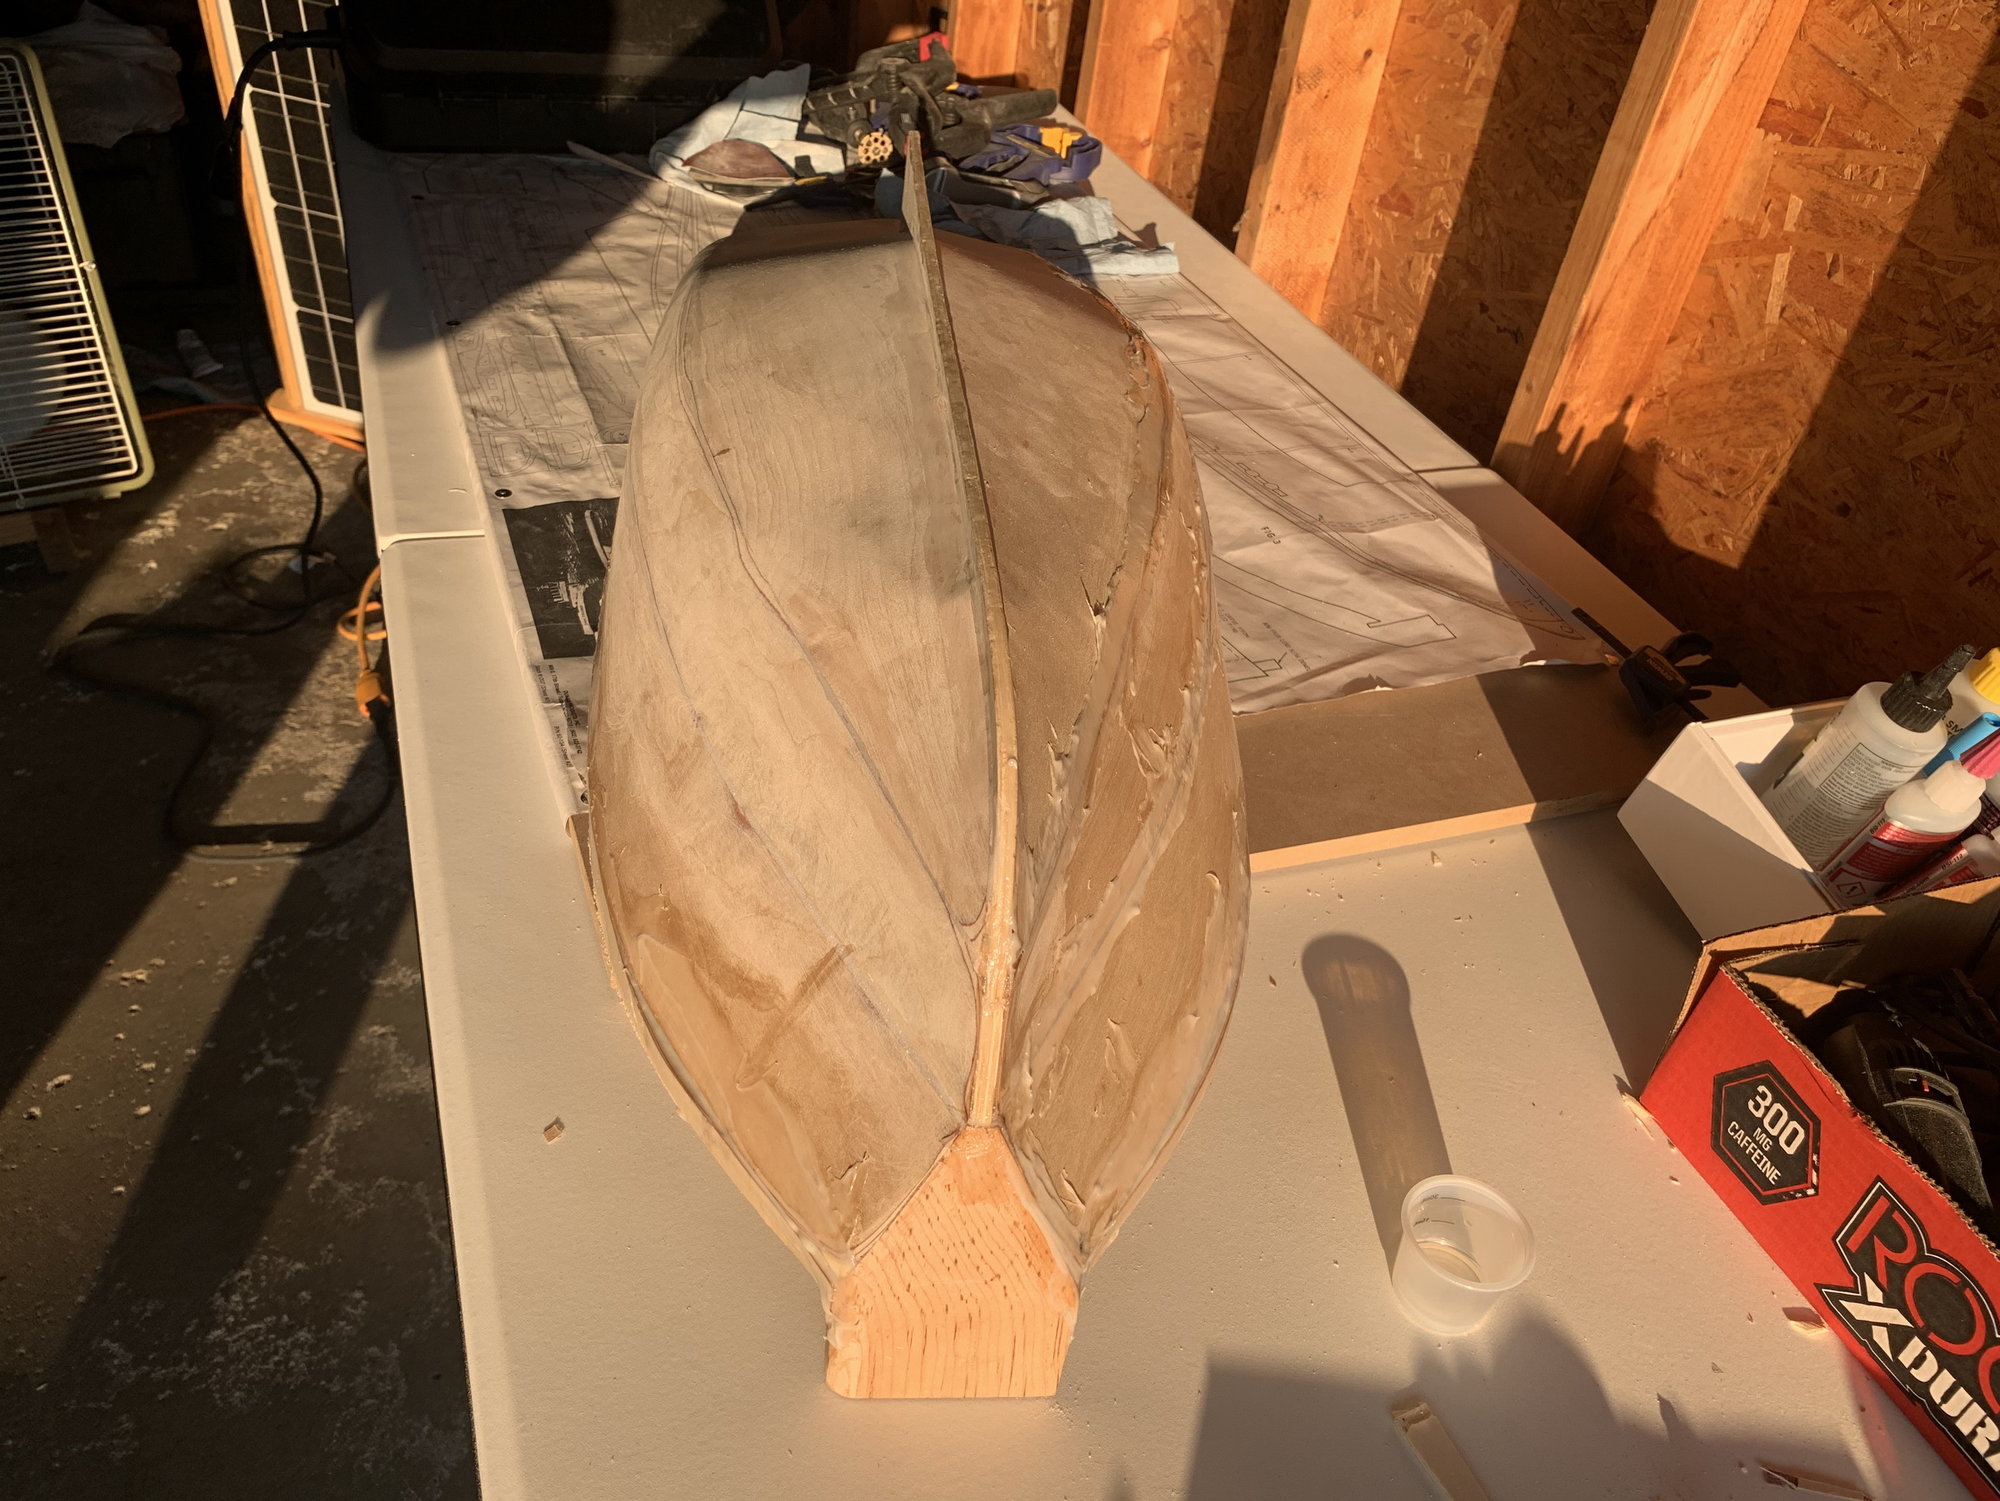
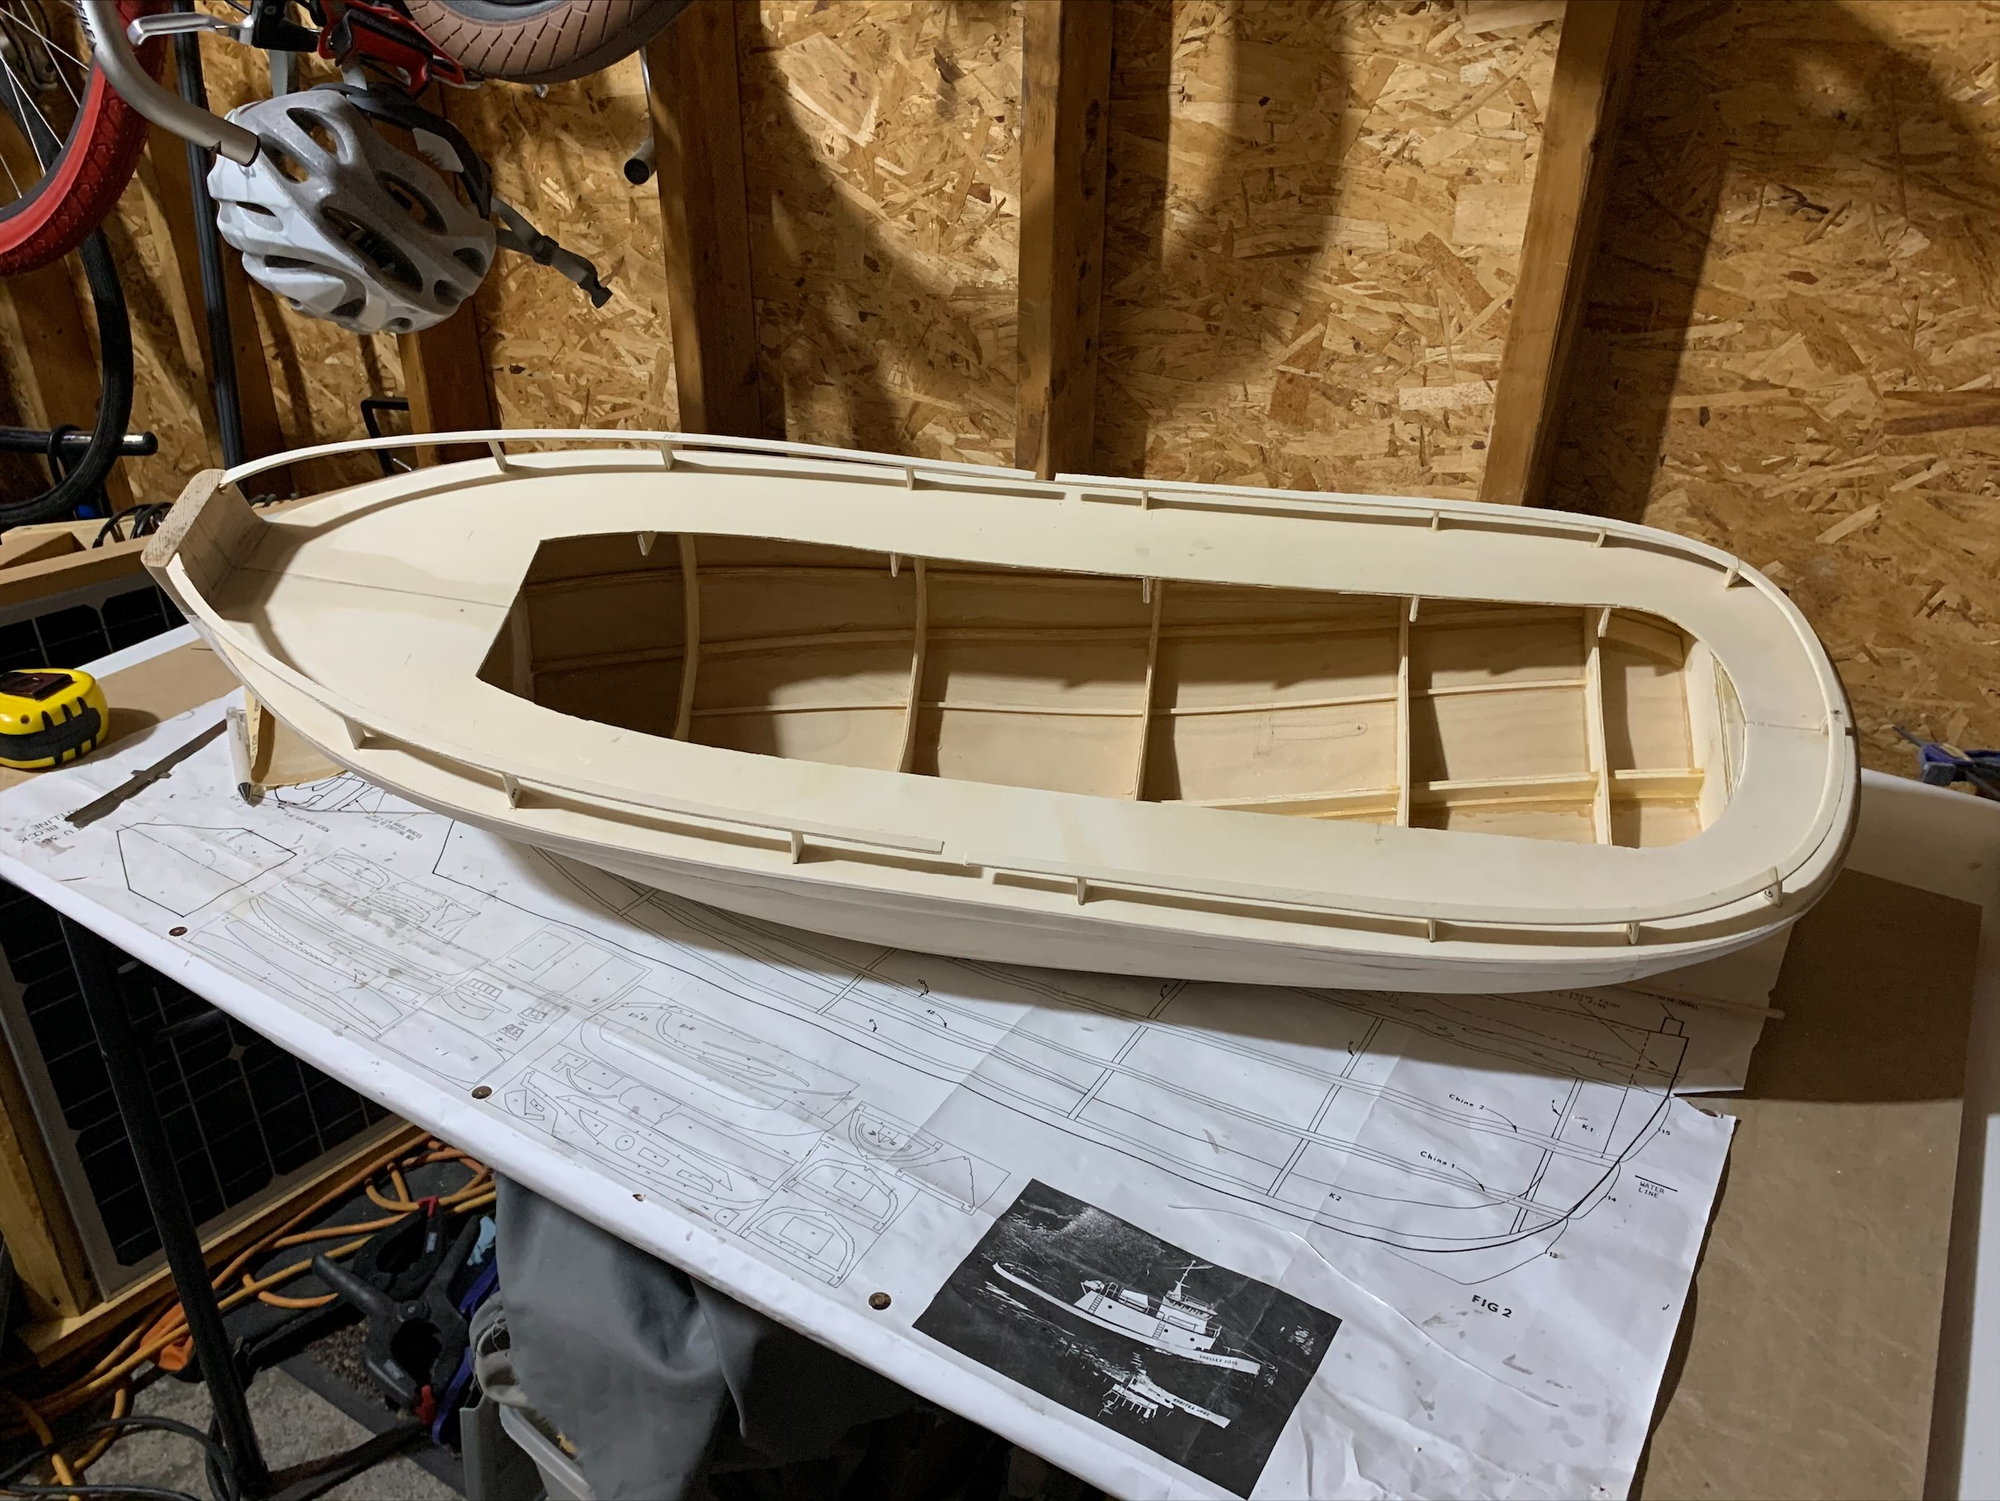
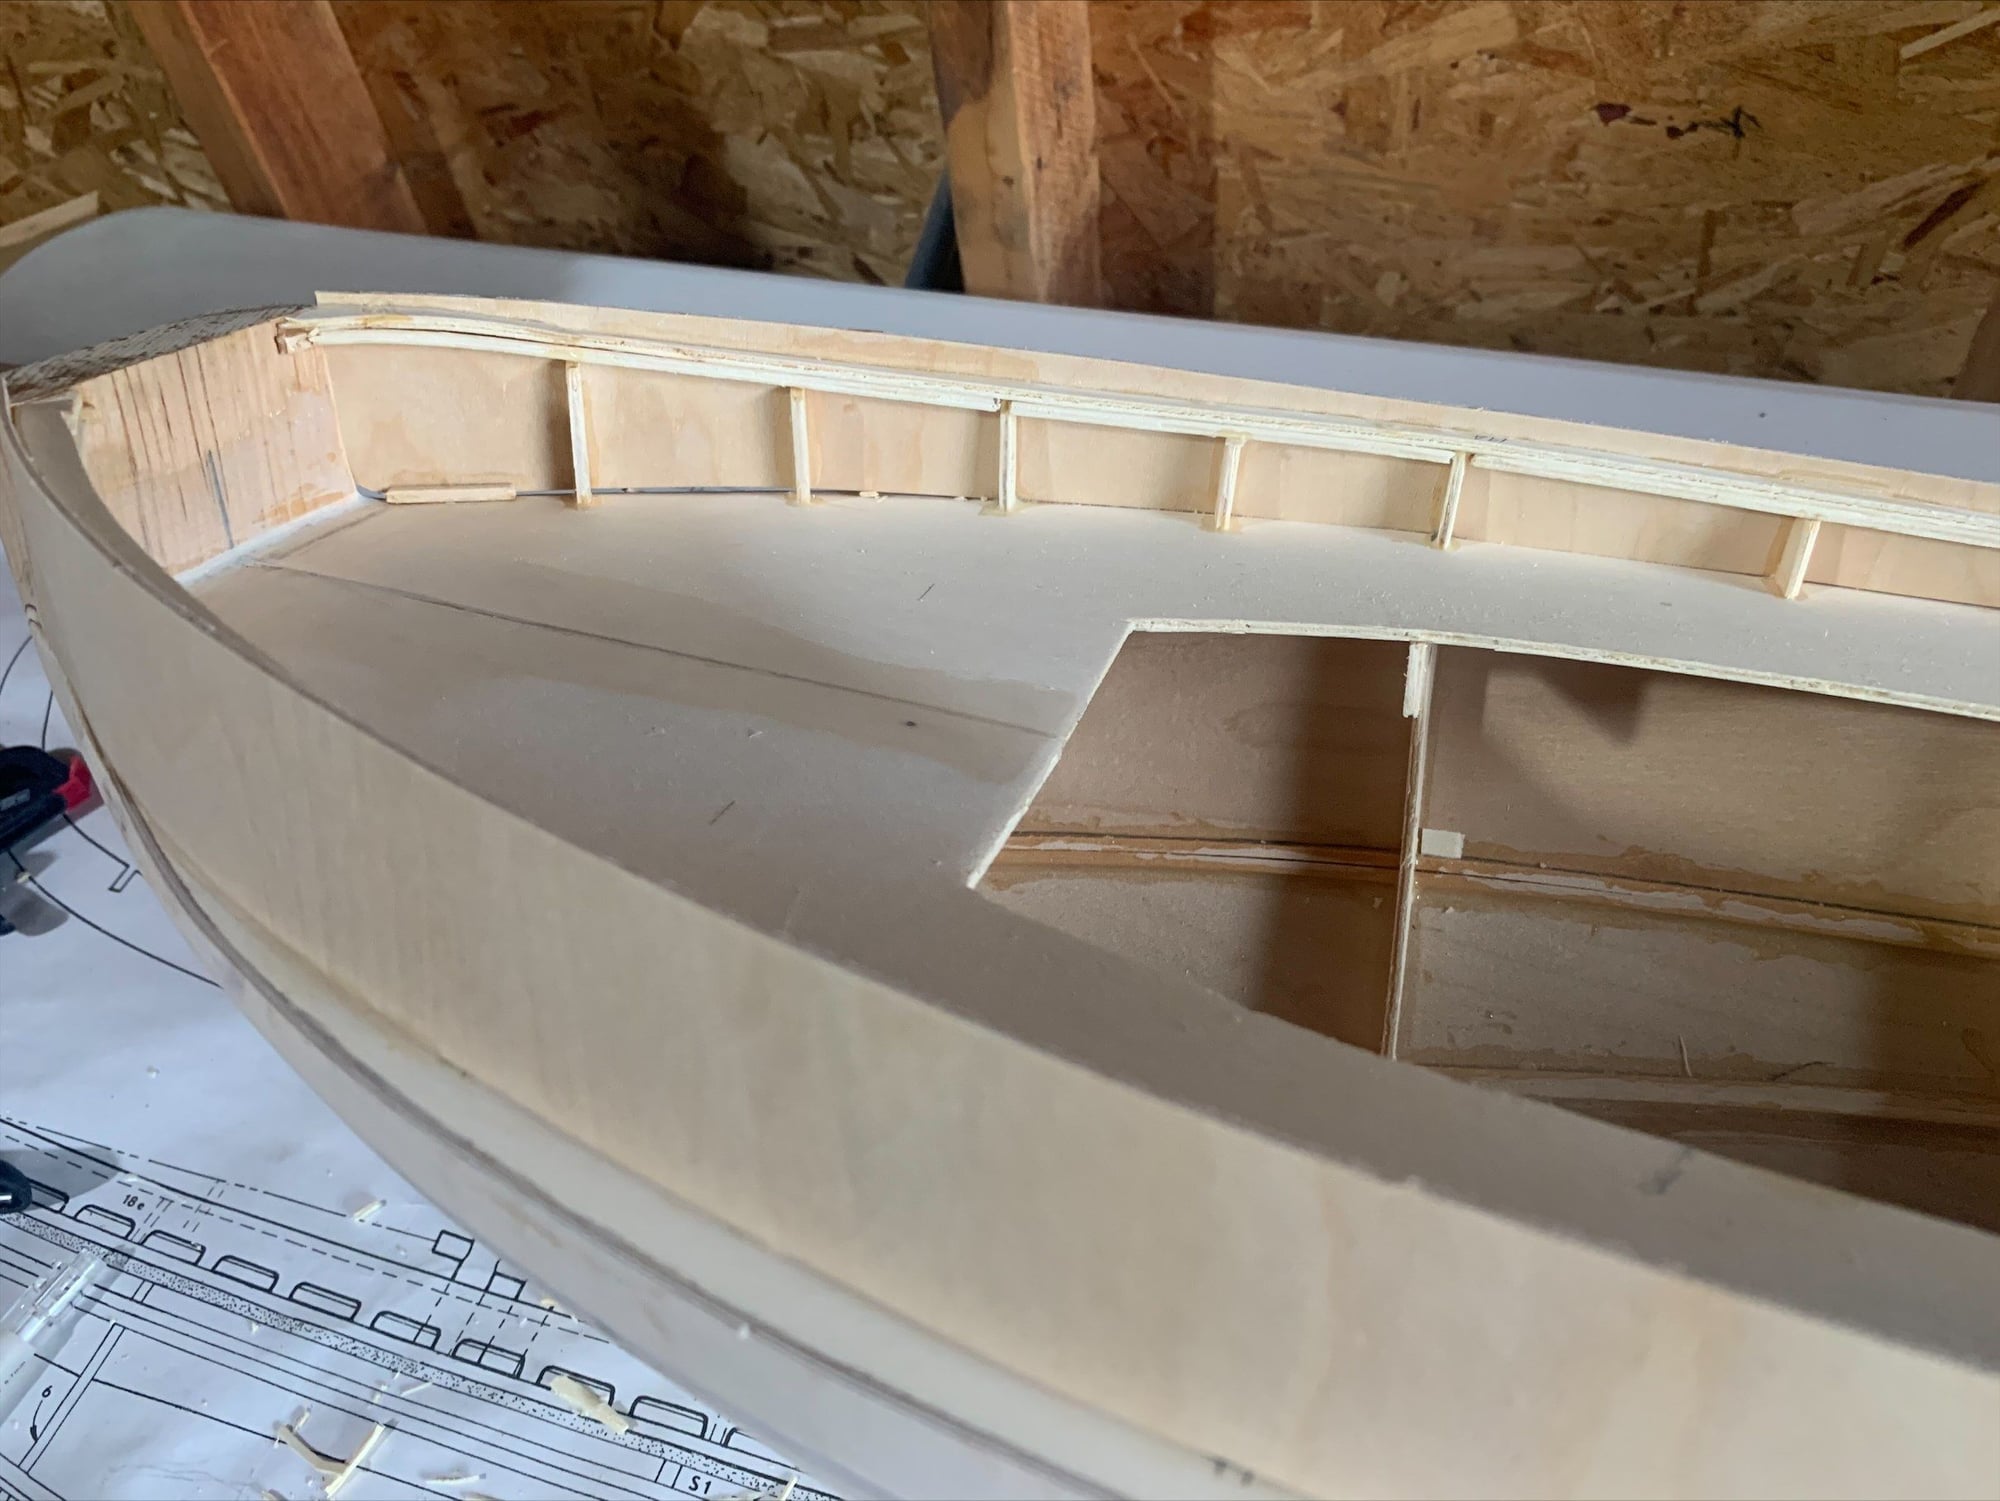
I cut the rear stern section flat to fit final hull top pieces, and glued the rear pieces on last week. Yesterday I sanded the hull, where it had been filled with 404 and Marine Epoxy. Also worked the bow stop wood to merge better with the front top pieces and glued those. Next step is filling the hull's remaining lines with 404 and Marine Epoxy. Sand all that smooth and on to the railings! I believe they are the final pieces of wood? I can smell the fiberglass already.
I cut the rear stern section flat to fit final hull top pieces, and glued the rear pieces on last week. Yesterday I sanded the hull, where it had been filled with 404 and Marine Epoxy. Also worked the bow stop wood to merge better with the front top pieces and glued those. Next step is filling the hull's remaining lines with 404 and Marine Epoxy. Sand all that smooth and on to the railings! I believe they are the final pieces of wood? I can smell the fiberglass already.
07-03-2021, 06:29 AM
#37
Member
Thread Starter
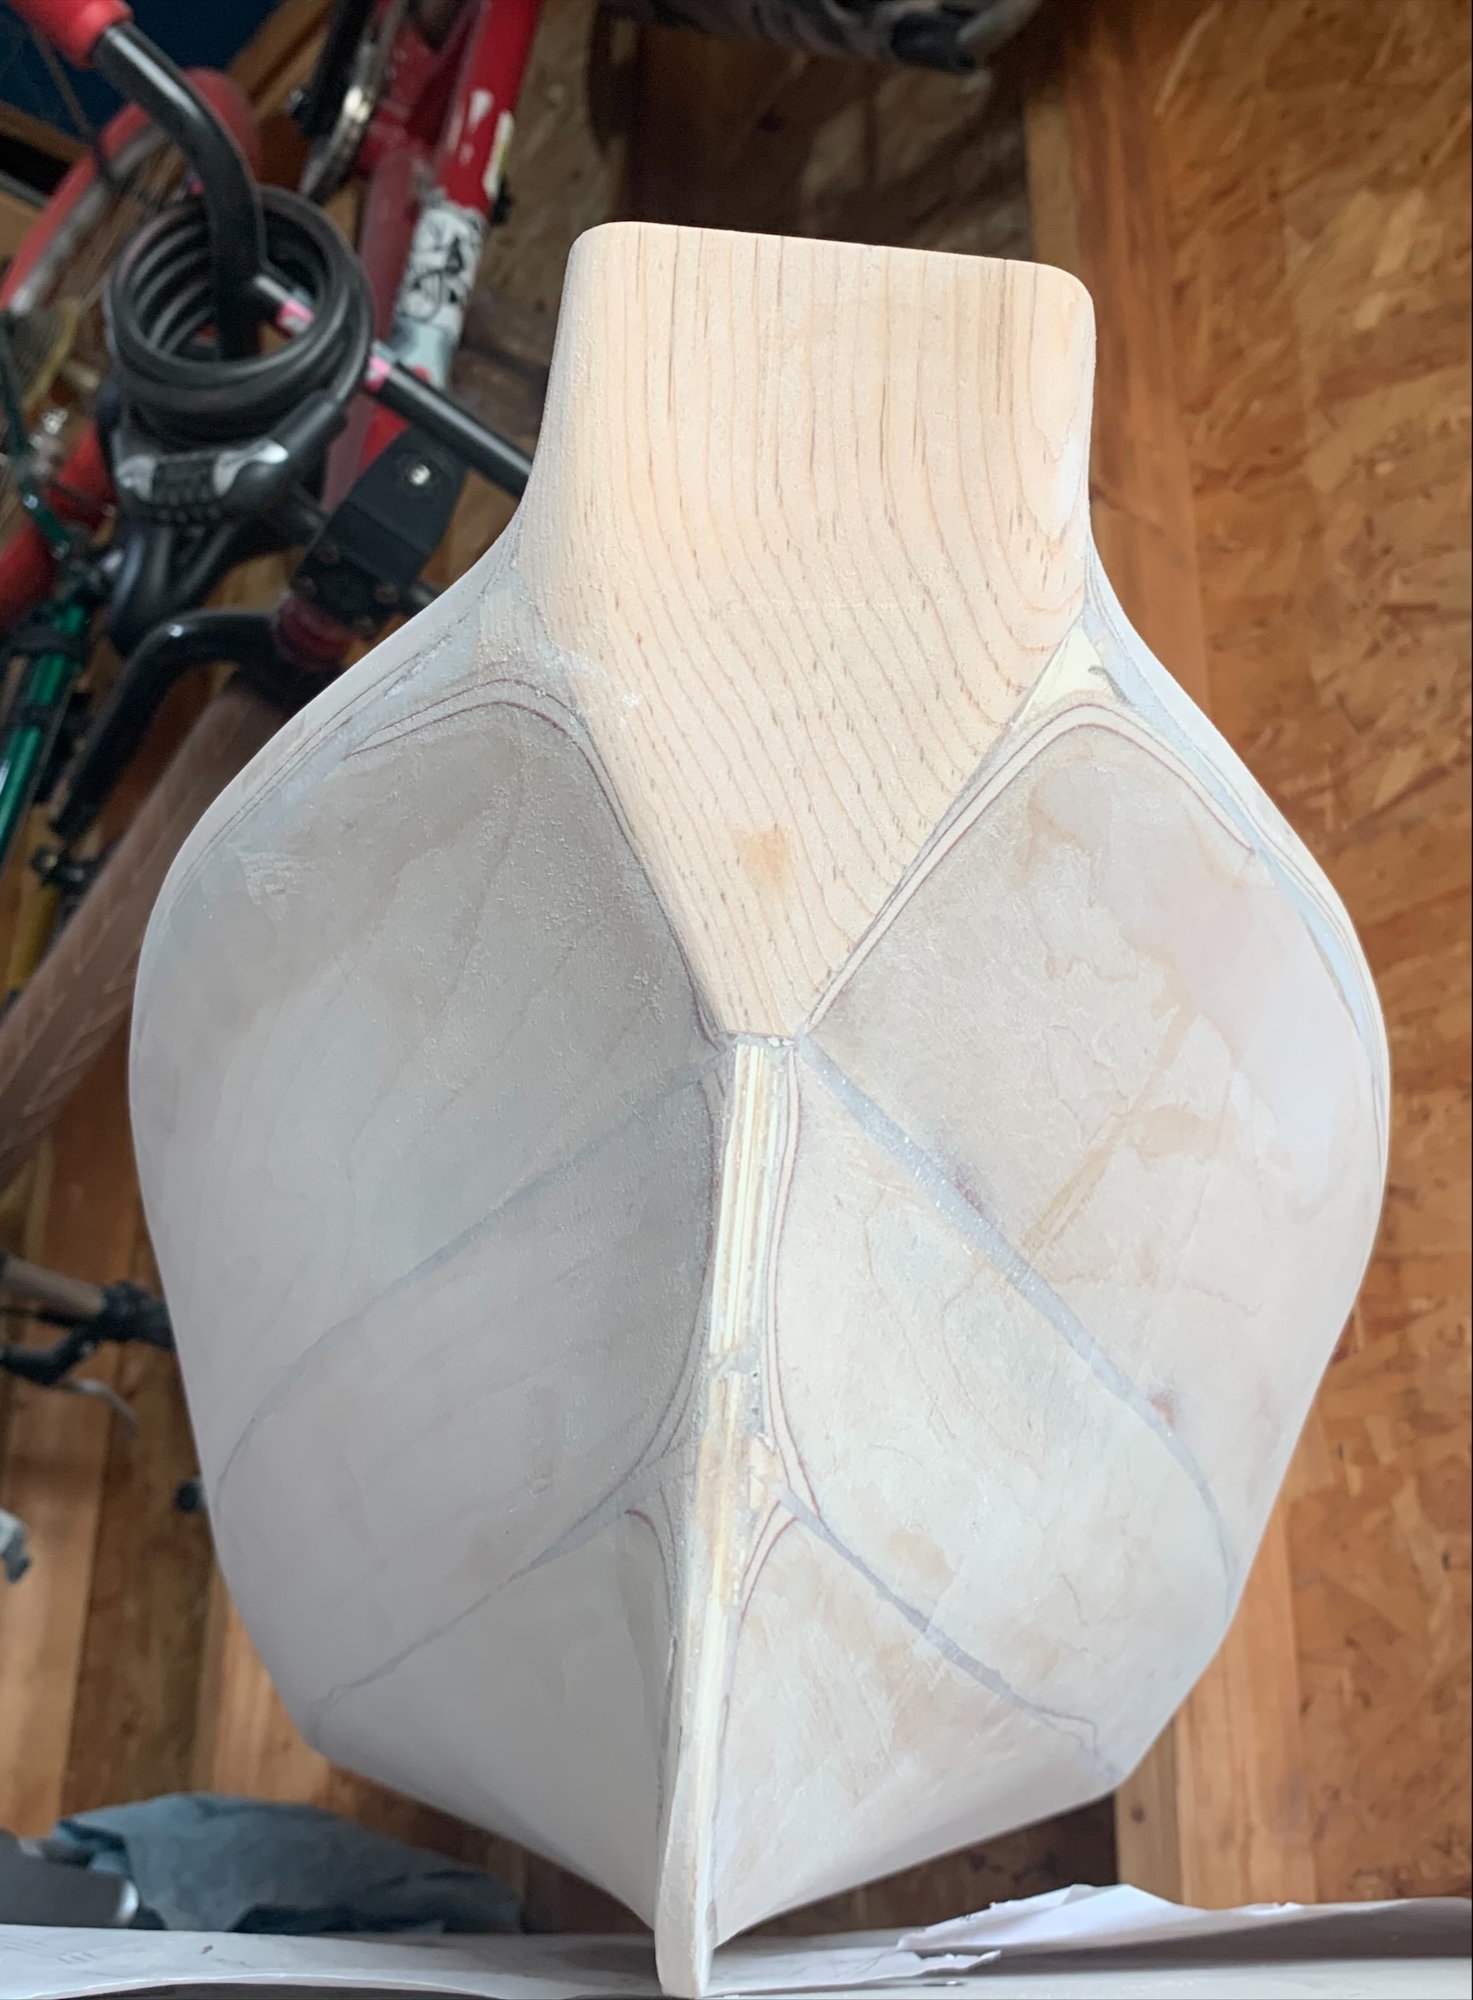
Did as much filling as I could yesterday, before the epoxy started setting up. I will have to do one more fill after this. Today I will be sanding all of this SMOOTH.
The following users liked this post:
Dmon1996 (07-03-2021)

The following users liked this post:
Martin H (08-23-2021)
08-12-2021, 09:47 AM
#39
Member
Thread Starter
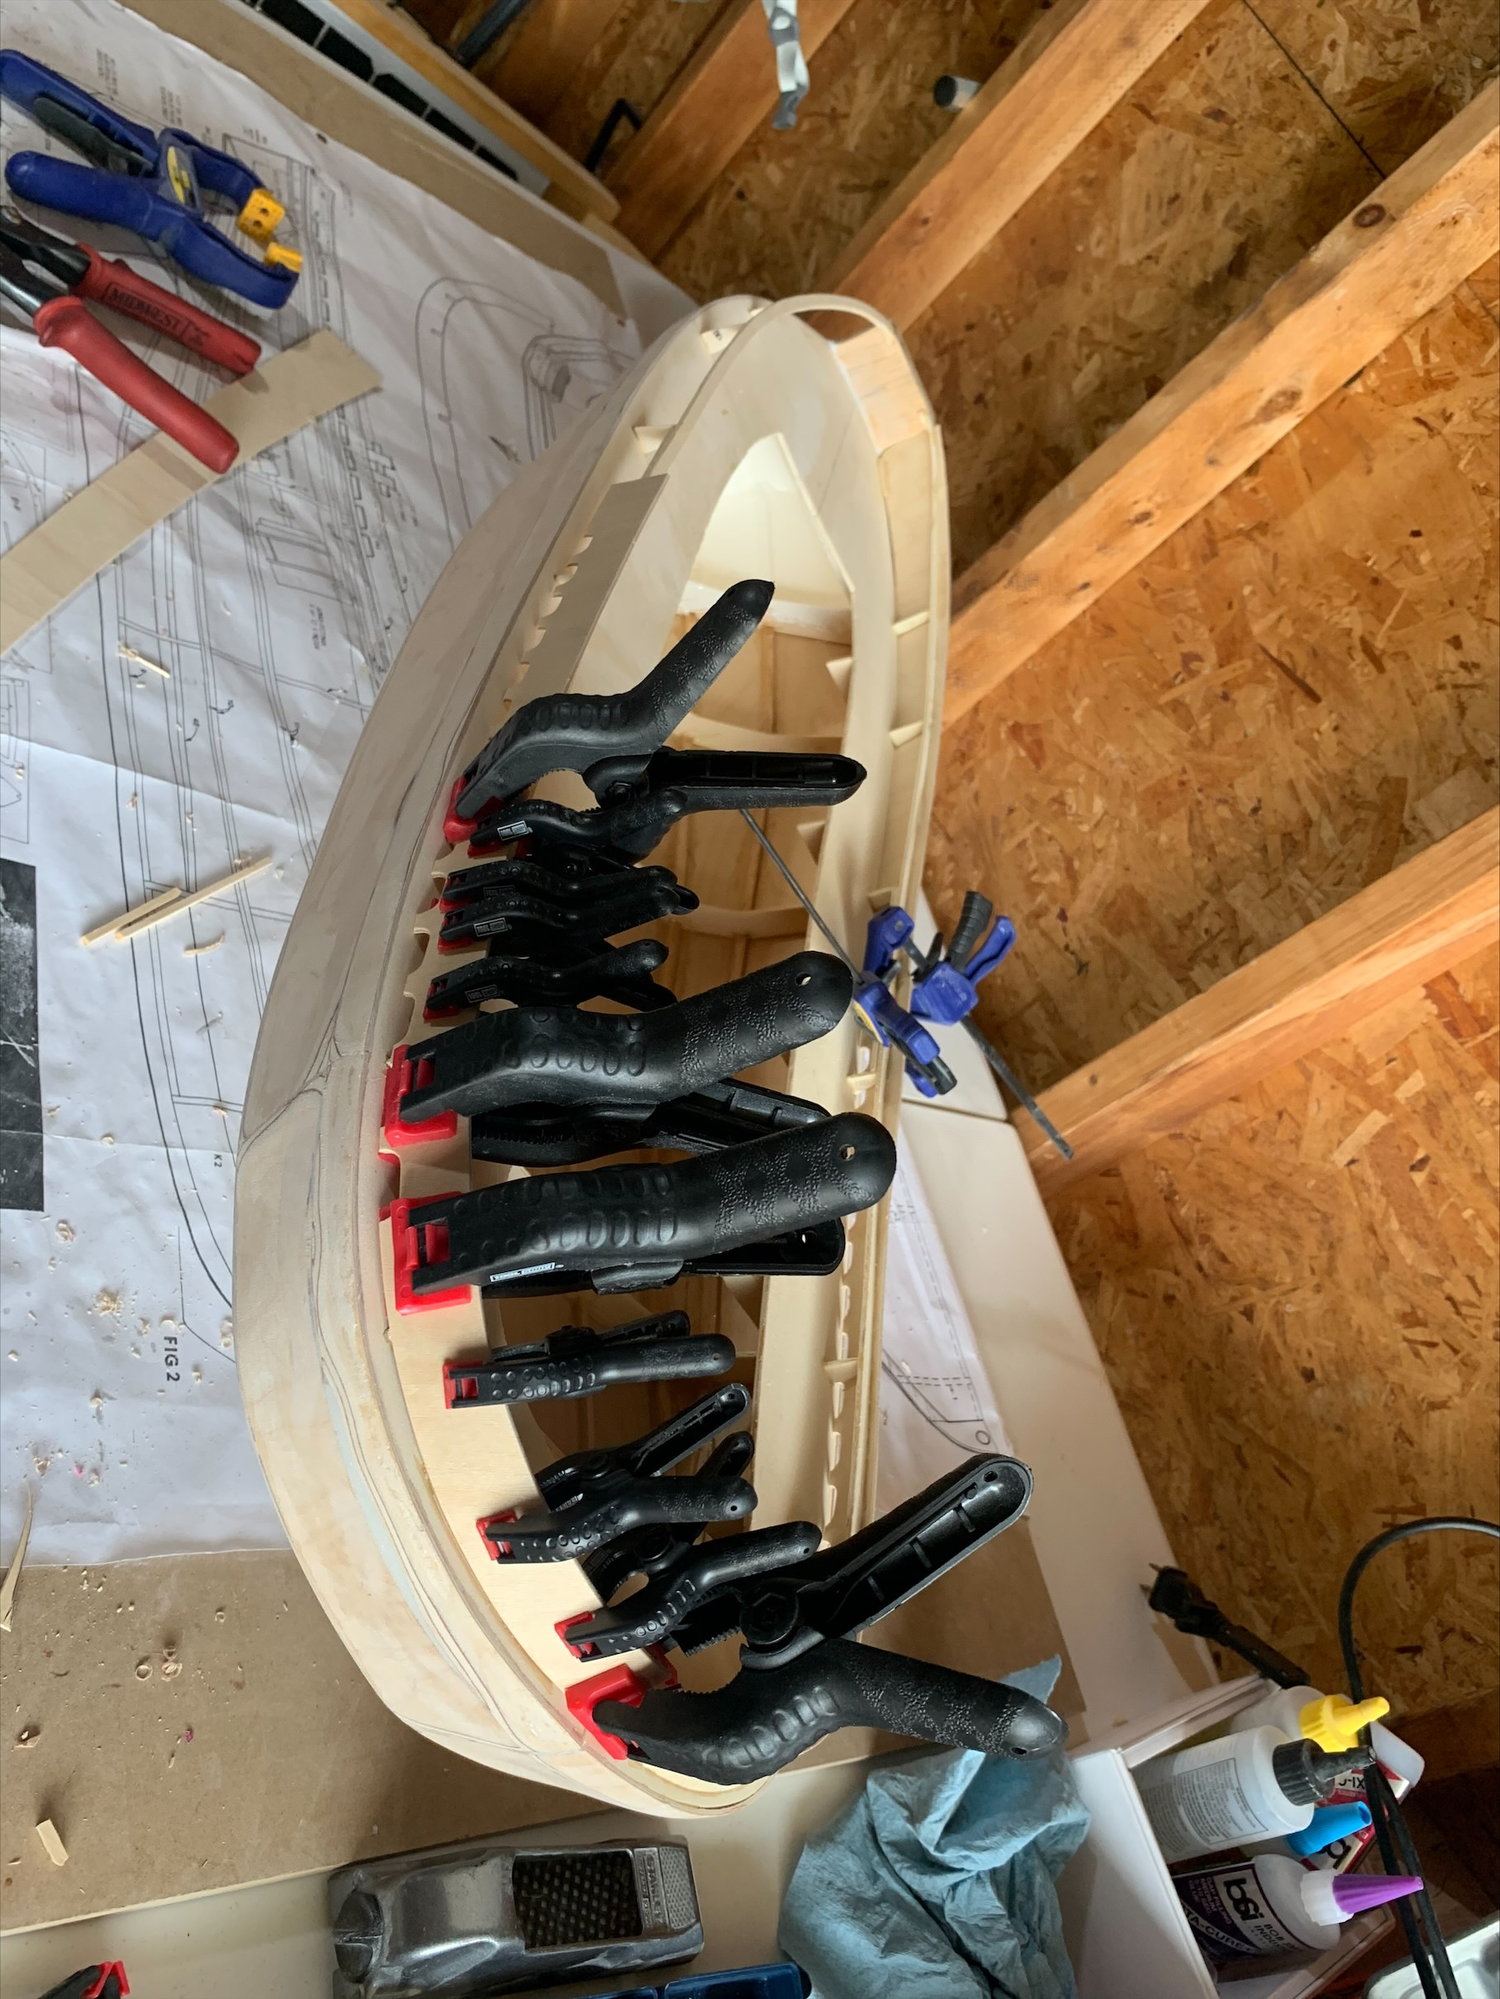
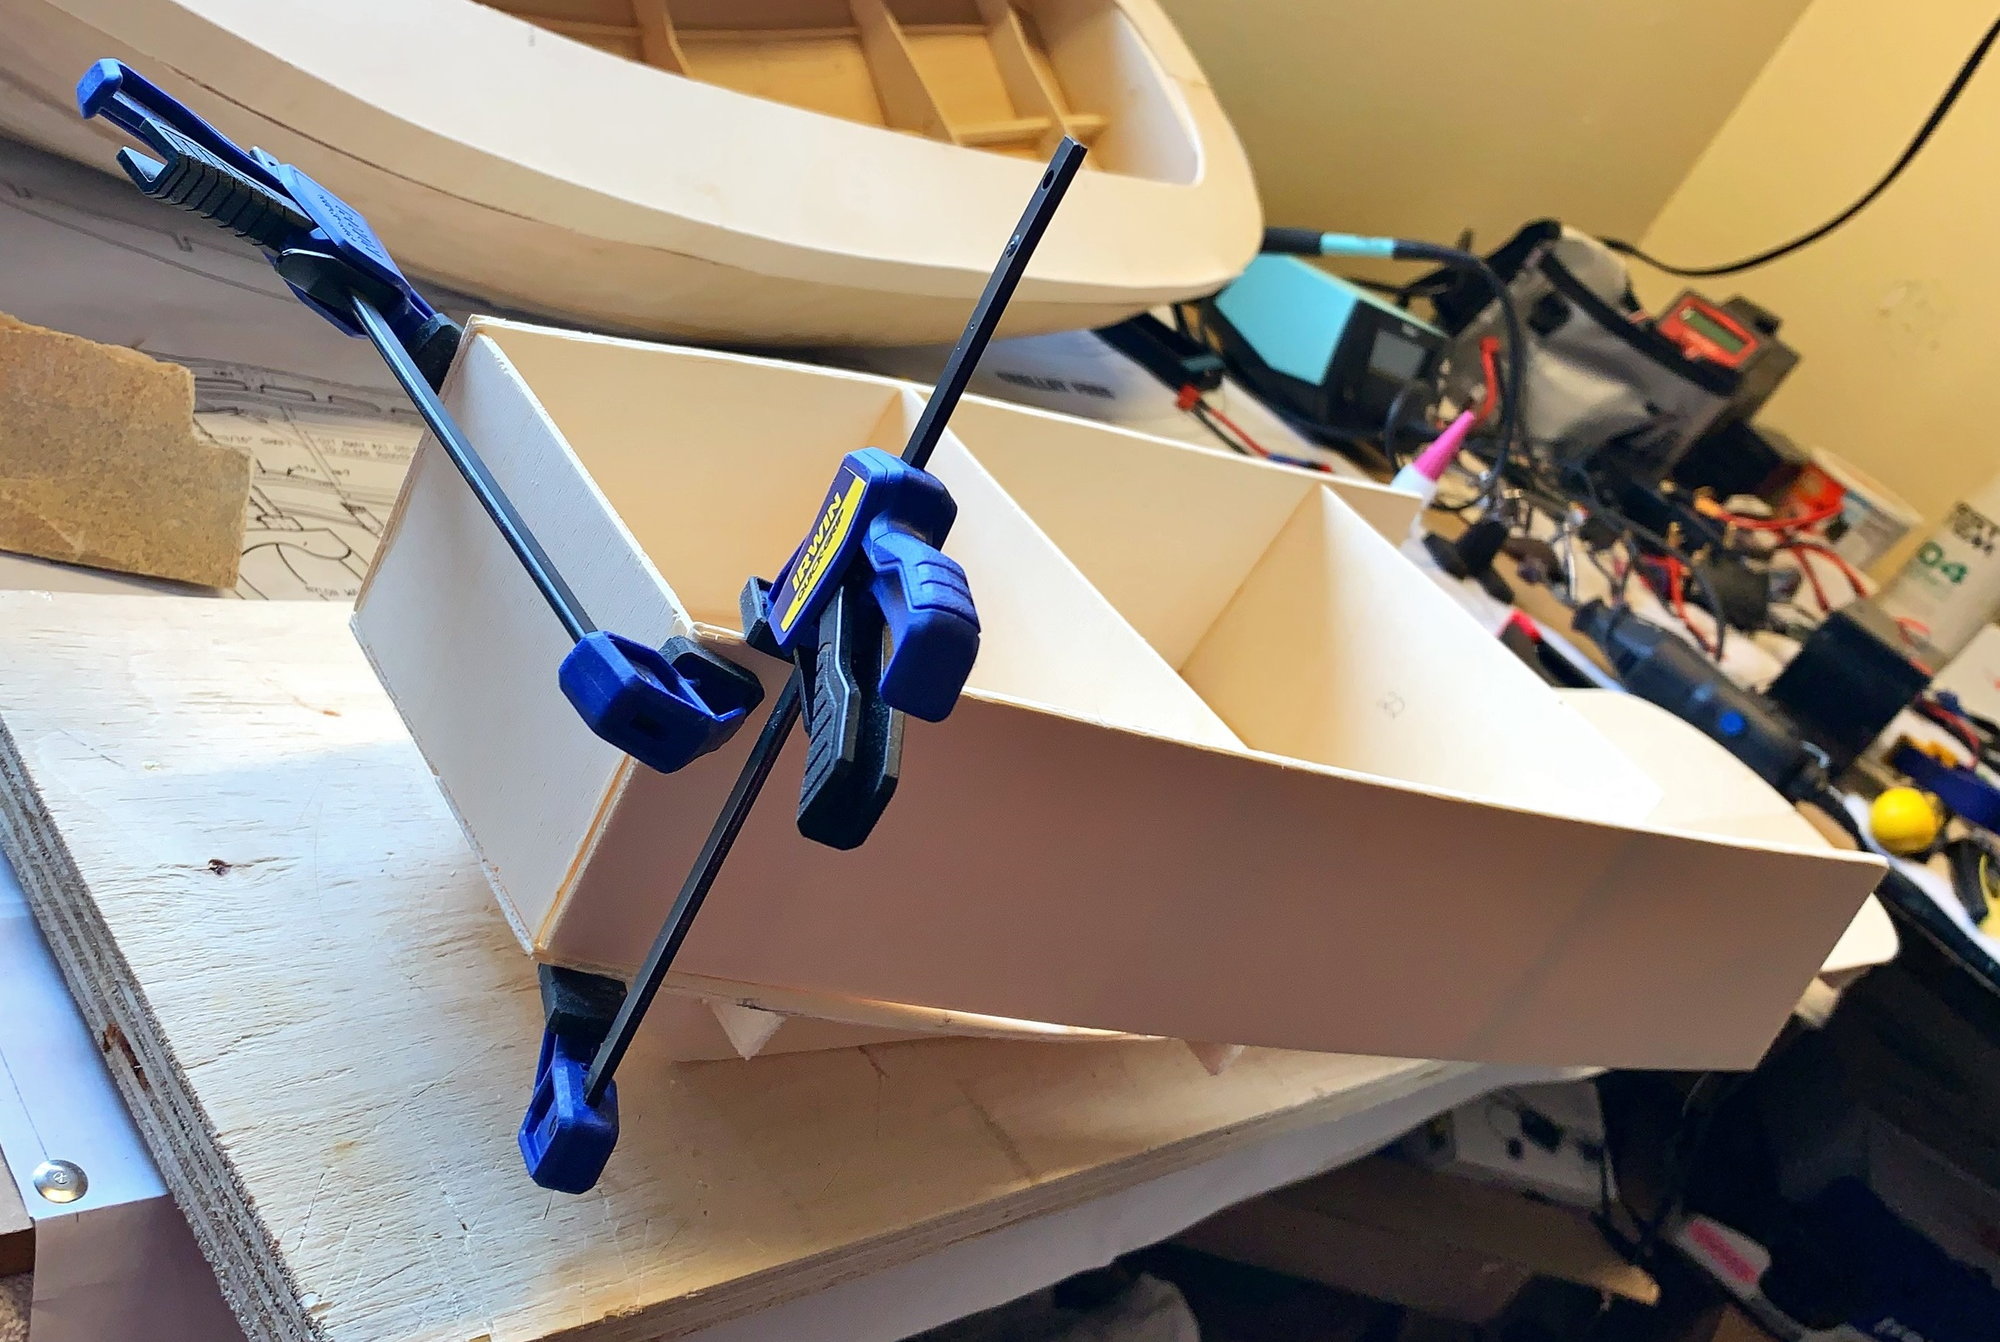
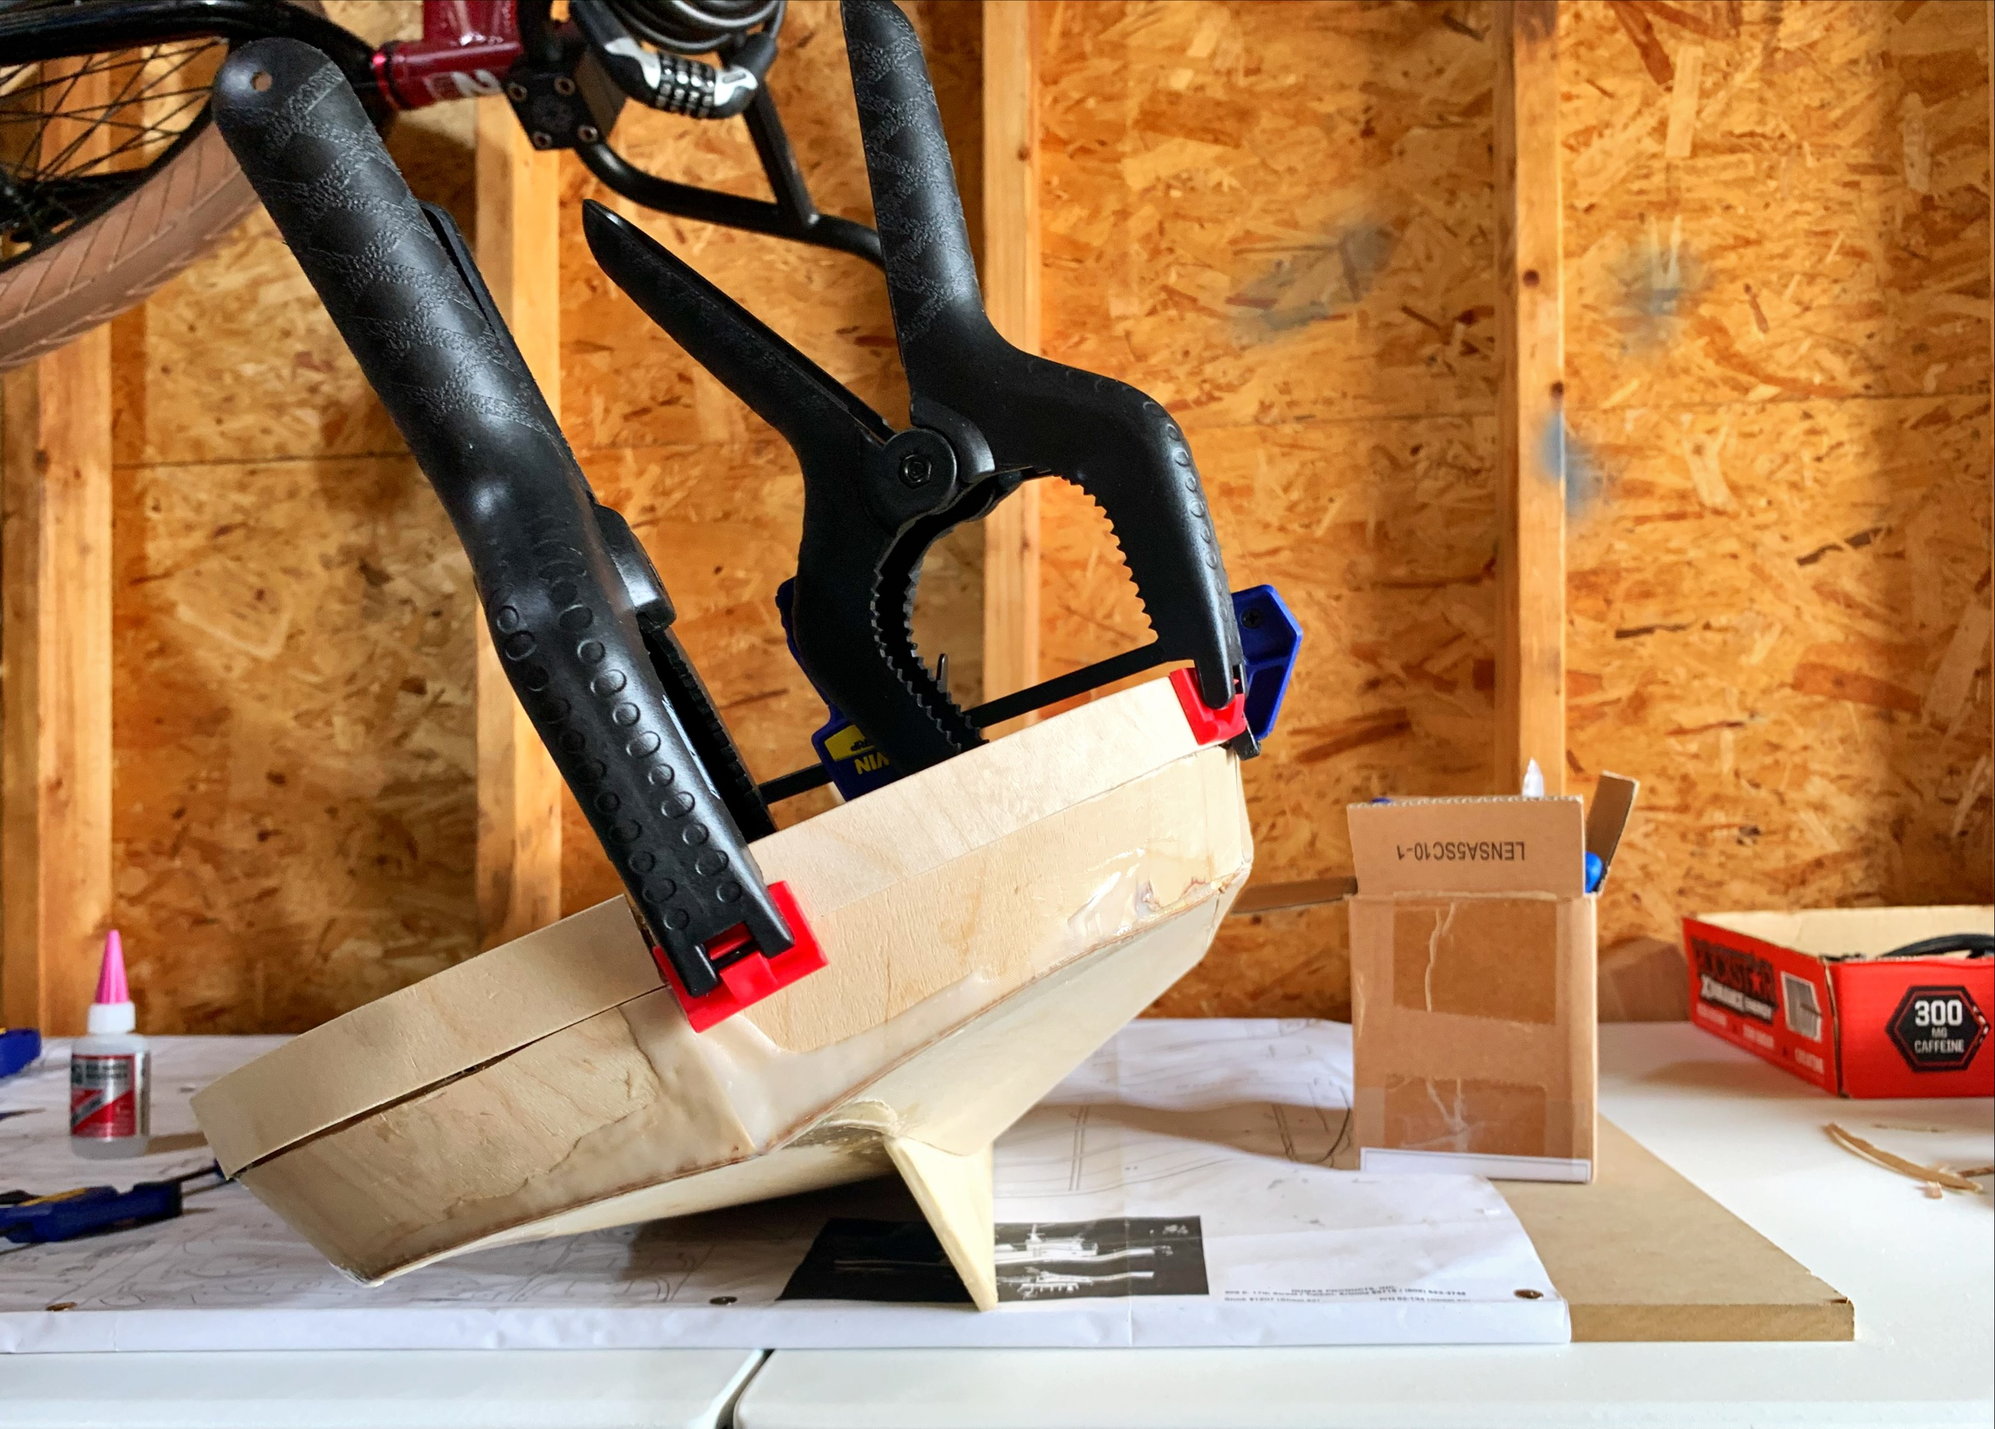
Never enough clamps.
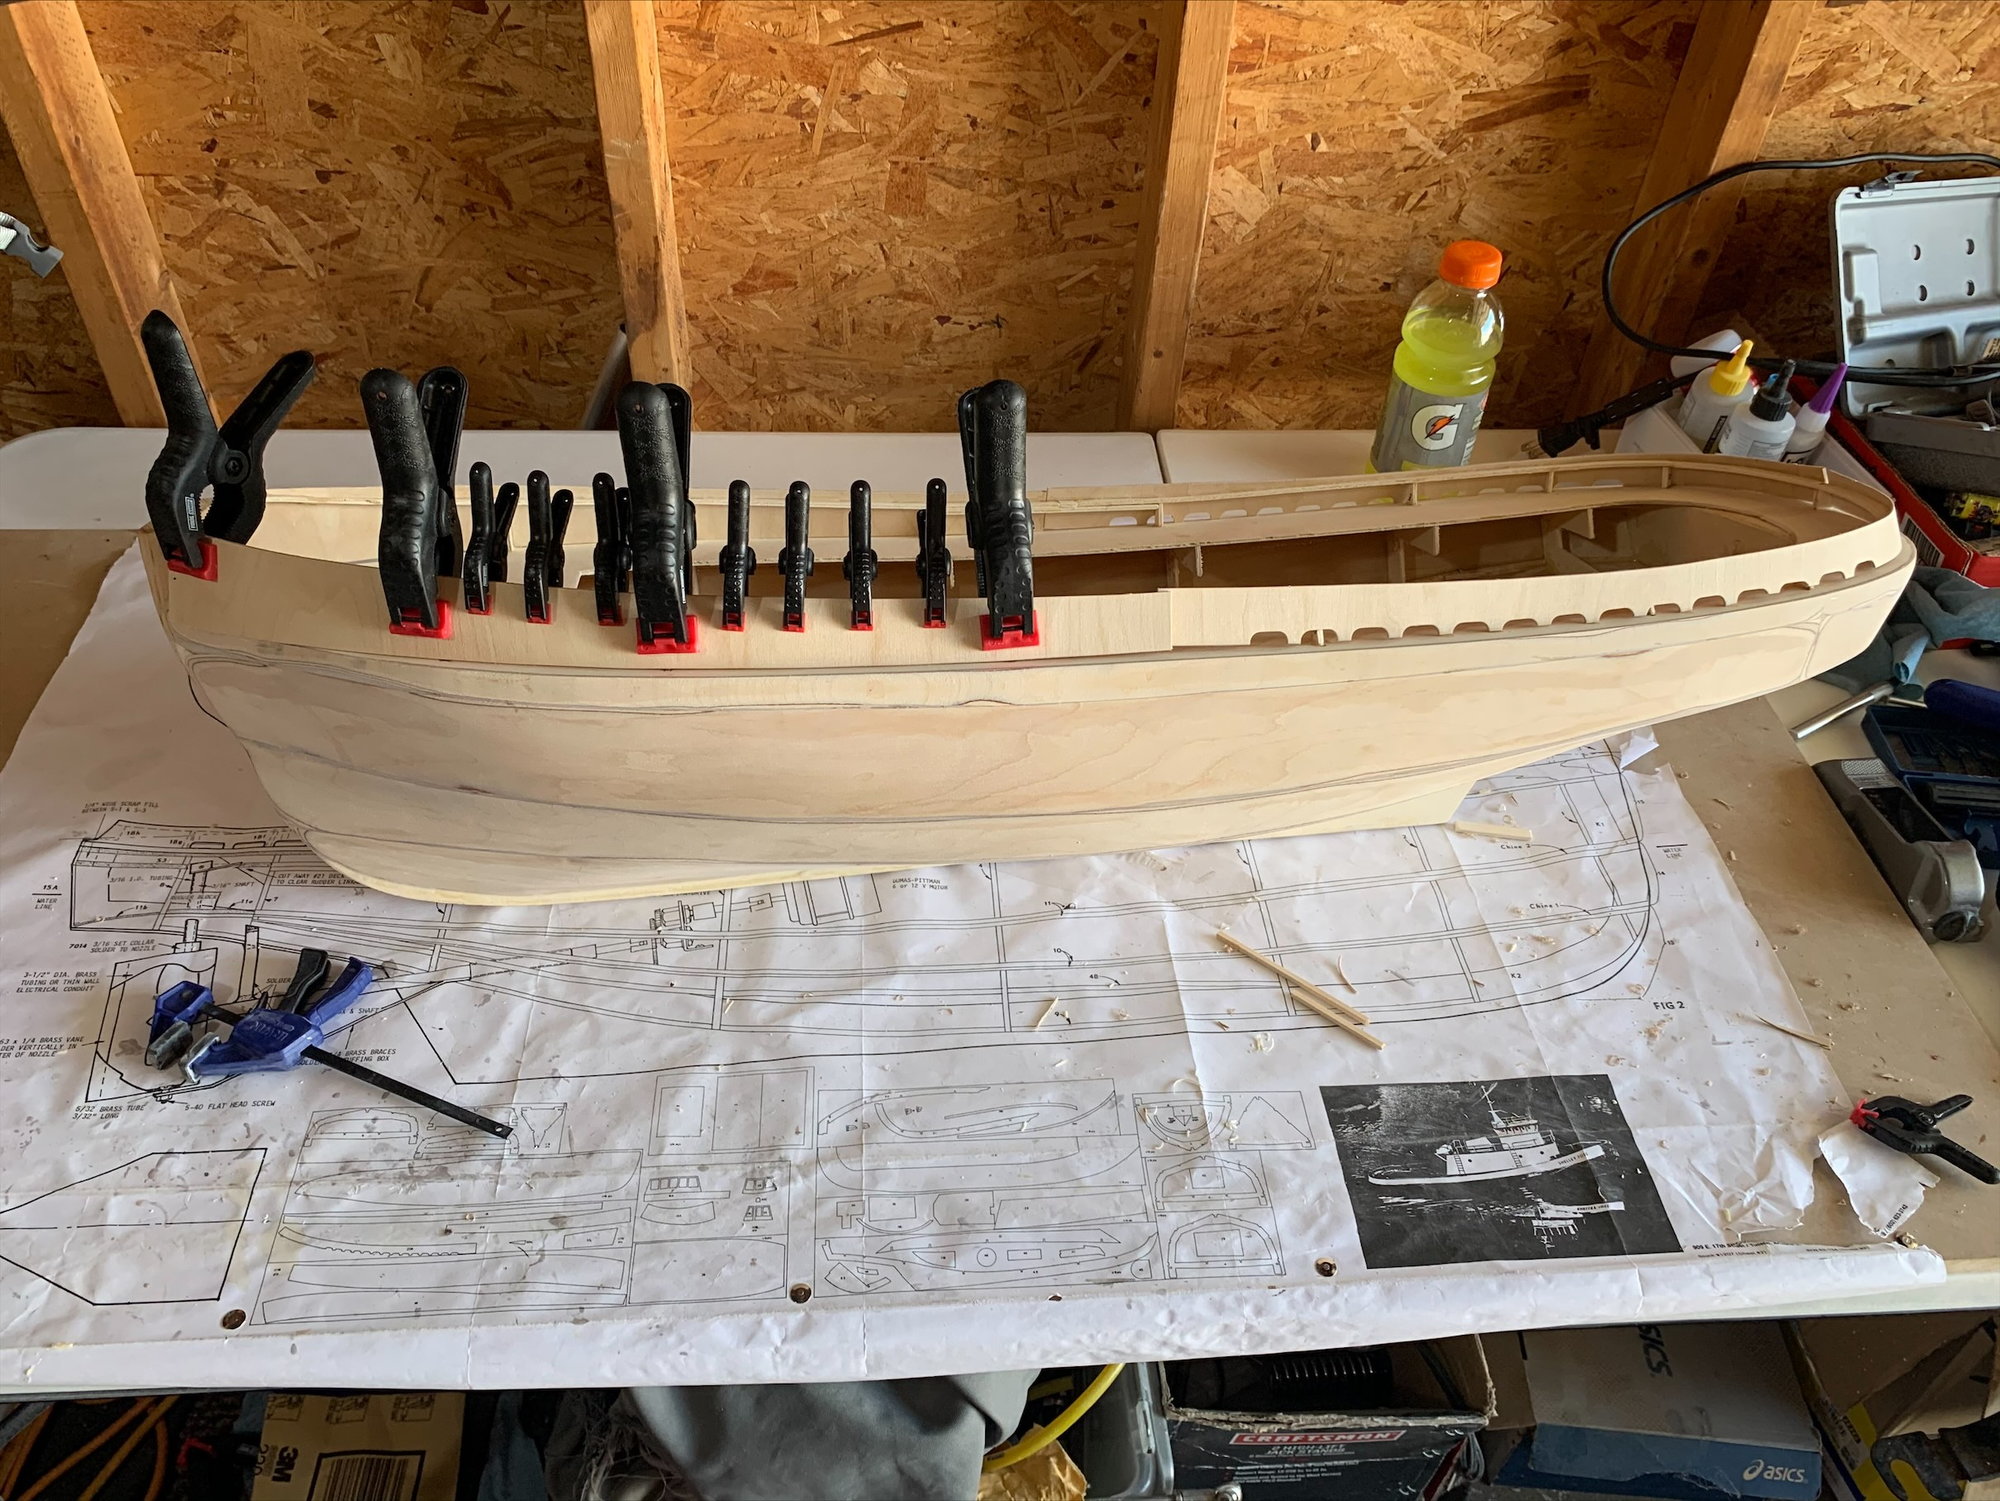
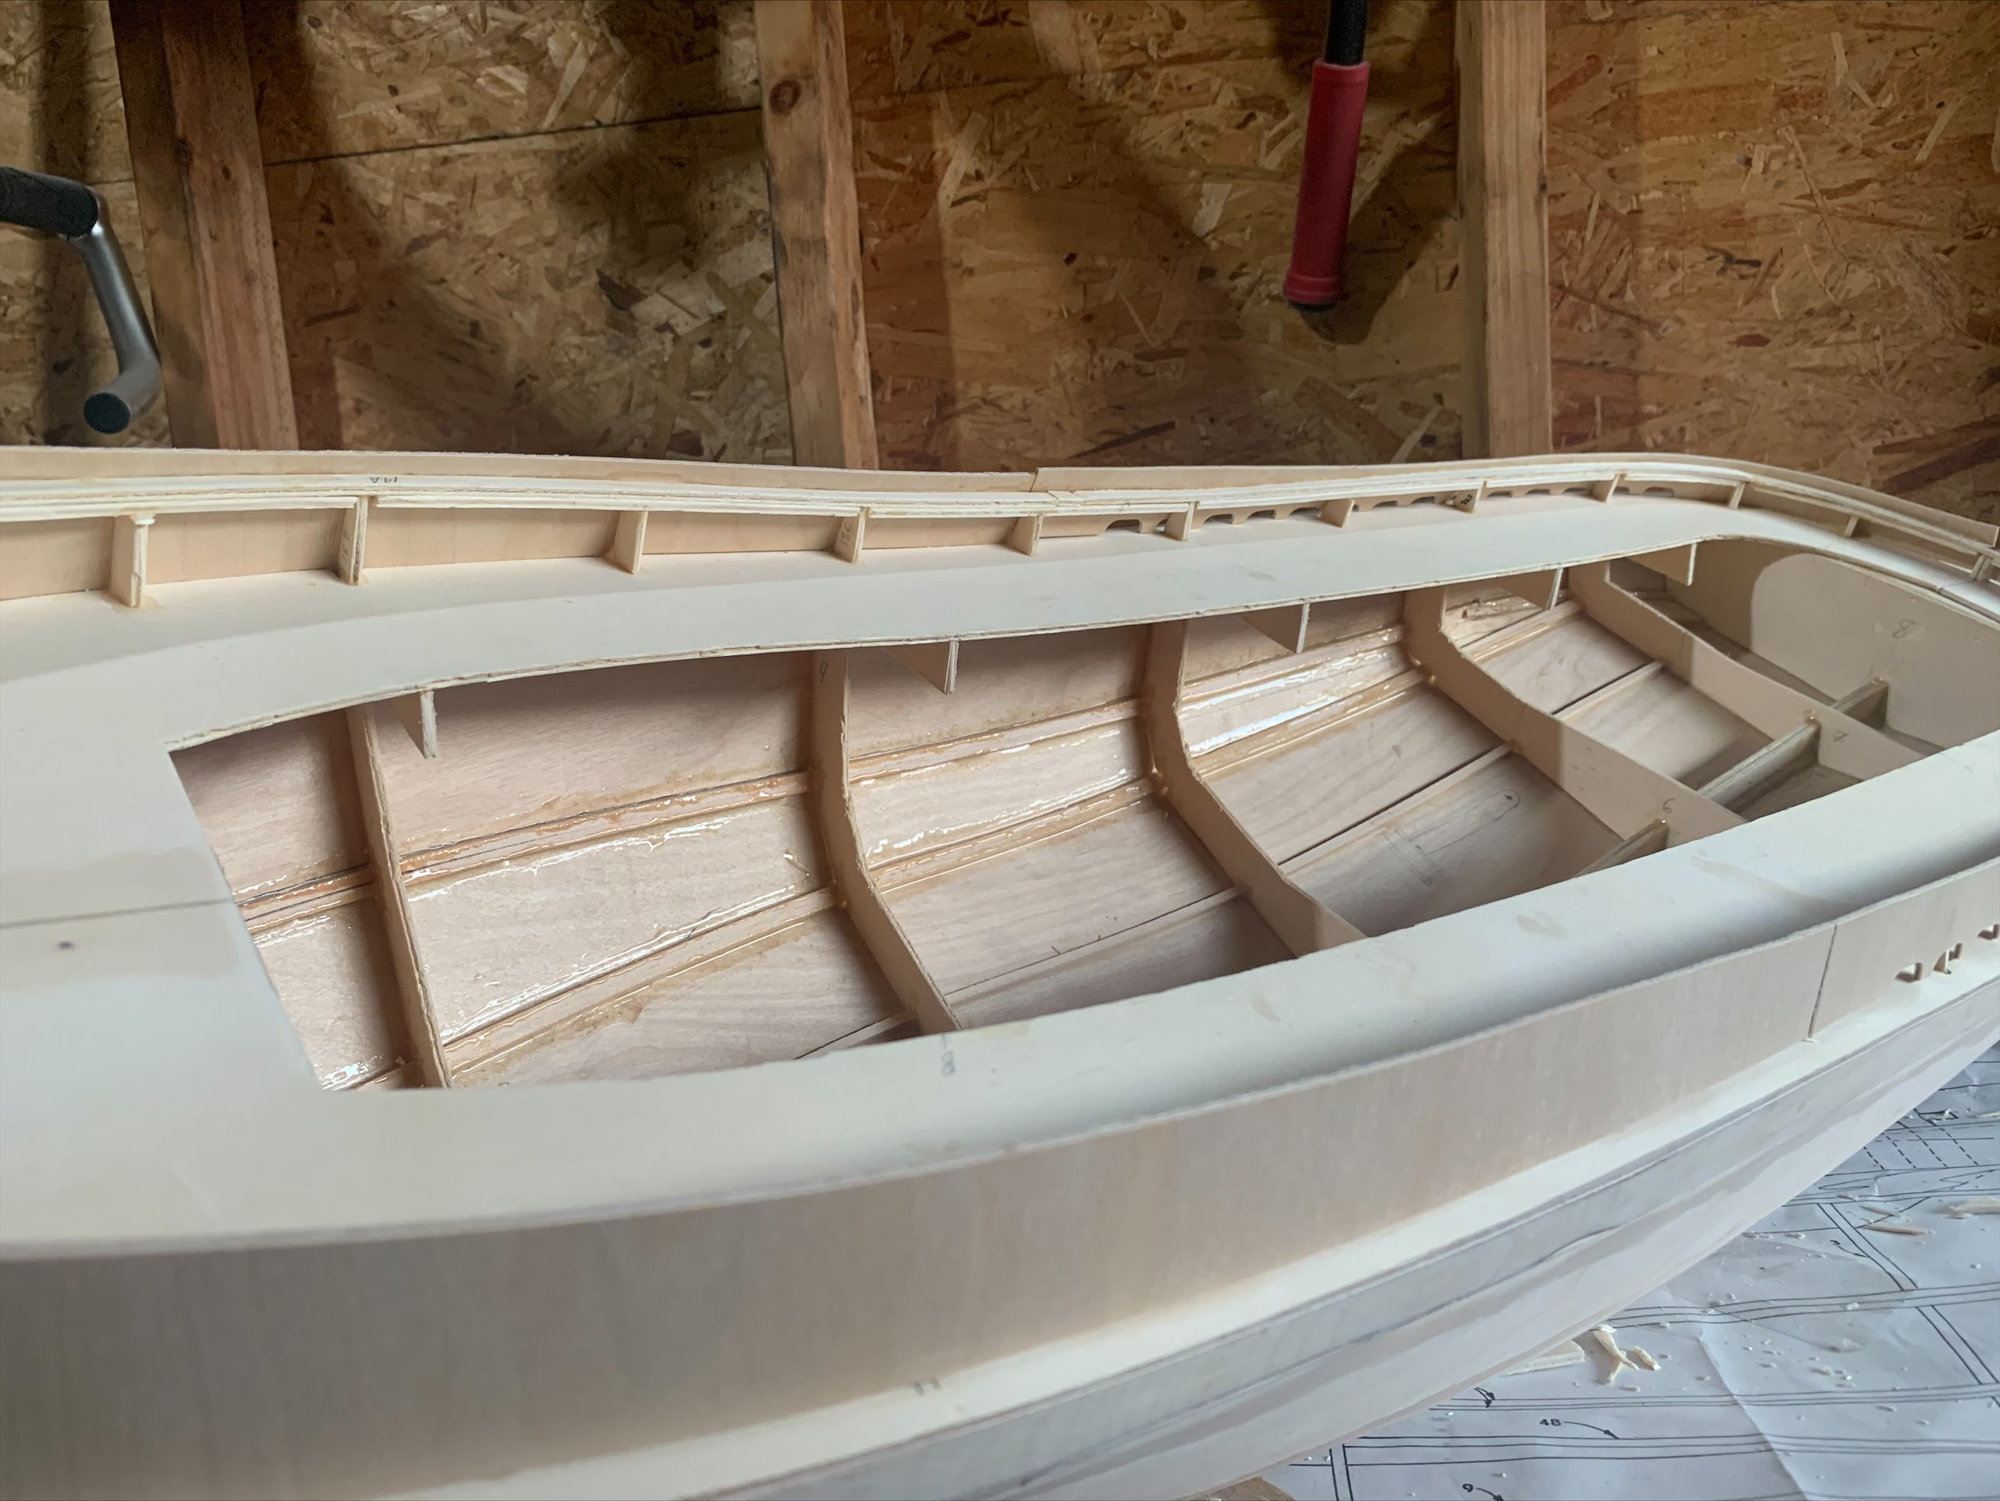
I'm going to spend some time making the railings stronger and more evened out all over. I want to be able to grab the railing and pick the boat up! I have all of the Fiberglass Cloth and Epoxy Resin to lay the hull. Stay tuned.

After I Fiberglass the boat hull and railings, I'm going to Gelcoat the entire boat in White. I love using Full Size boat products on this build.
Last edited by birdo; 08-12-2021 at 09:49 AM.
The following users liked this post:
Super18 (08-12-2021)
08-12-2021, 10:01 AM
#40
Member
Thread Starter
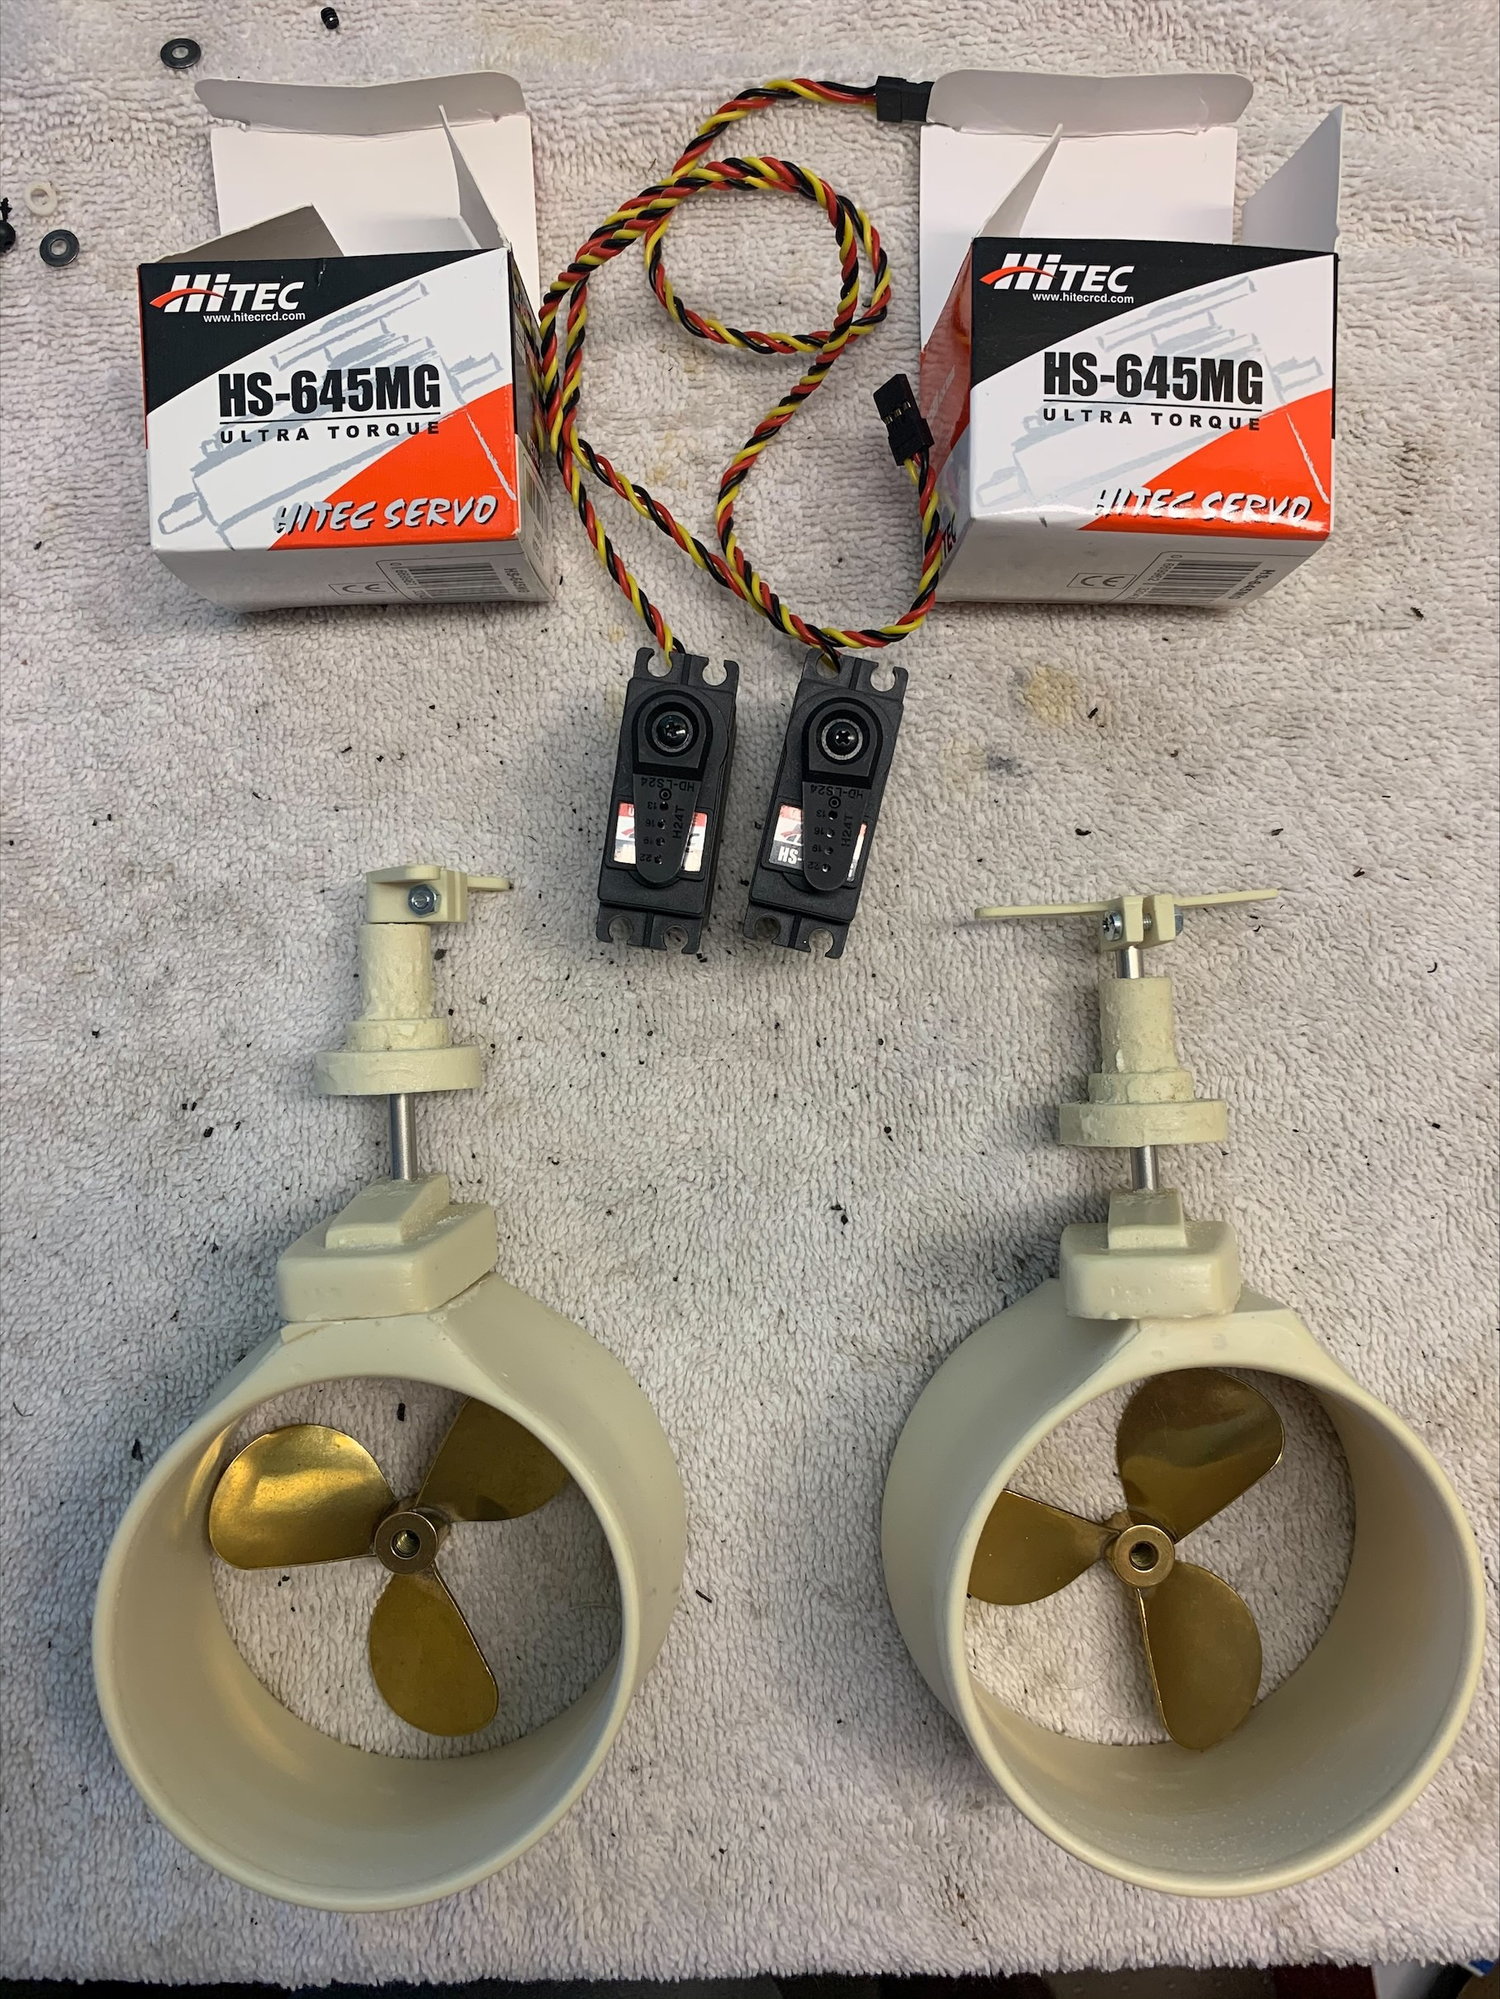
As I thought more and more about my options with the 10-Channel Radio, I went with using Dual Servos. One Servo for each rudder. I plan to have at least two modes for the Tug if not three(cannon mode). The first is going to have both of the motors on one channel and both servos on one channel. This is for typical open seas driving around. Second is going to be a harbor mode, where each stick controls independent throttles and screws. This will allow for some really fun maneuvers at slow speeds!
The following users liked this post:
birdo (08-26-2021)
09-07-2021, 04:32 PM
#42
Member
Thread Starter
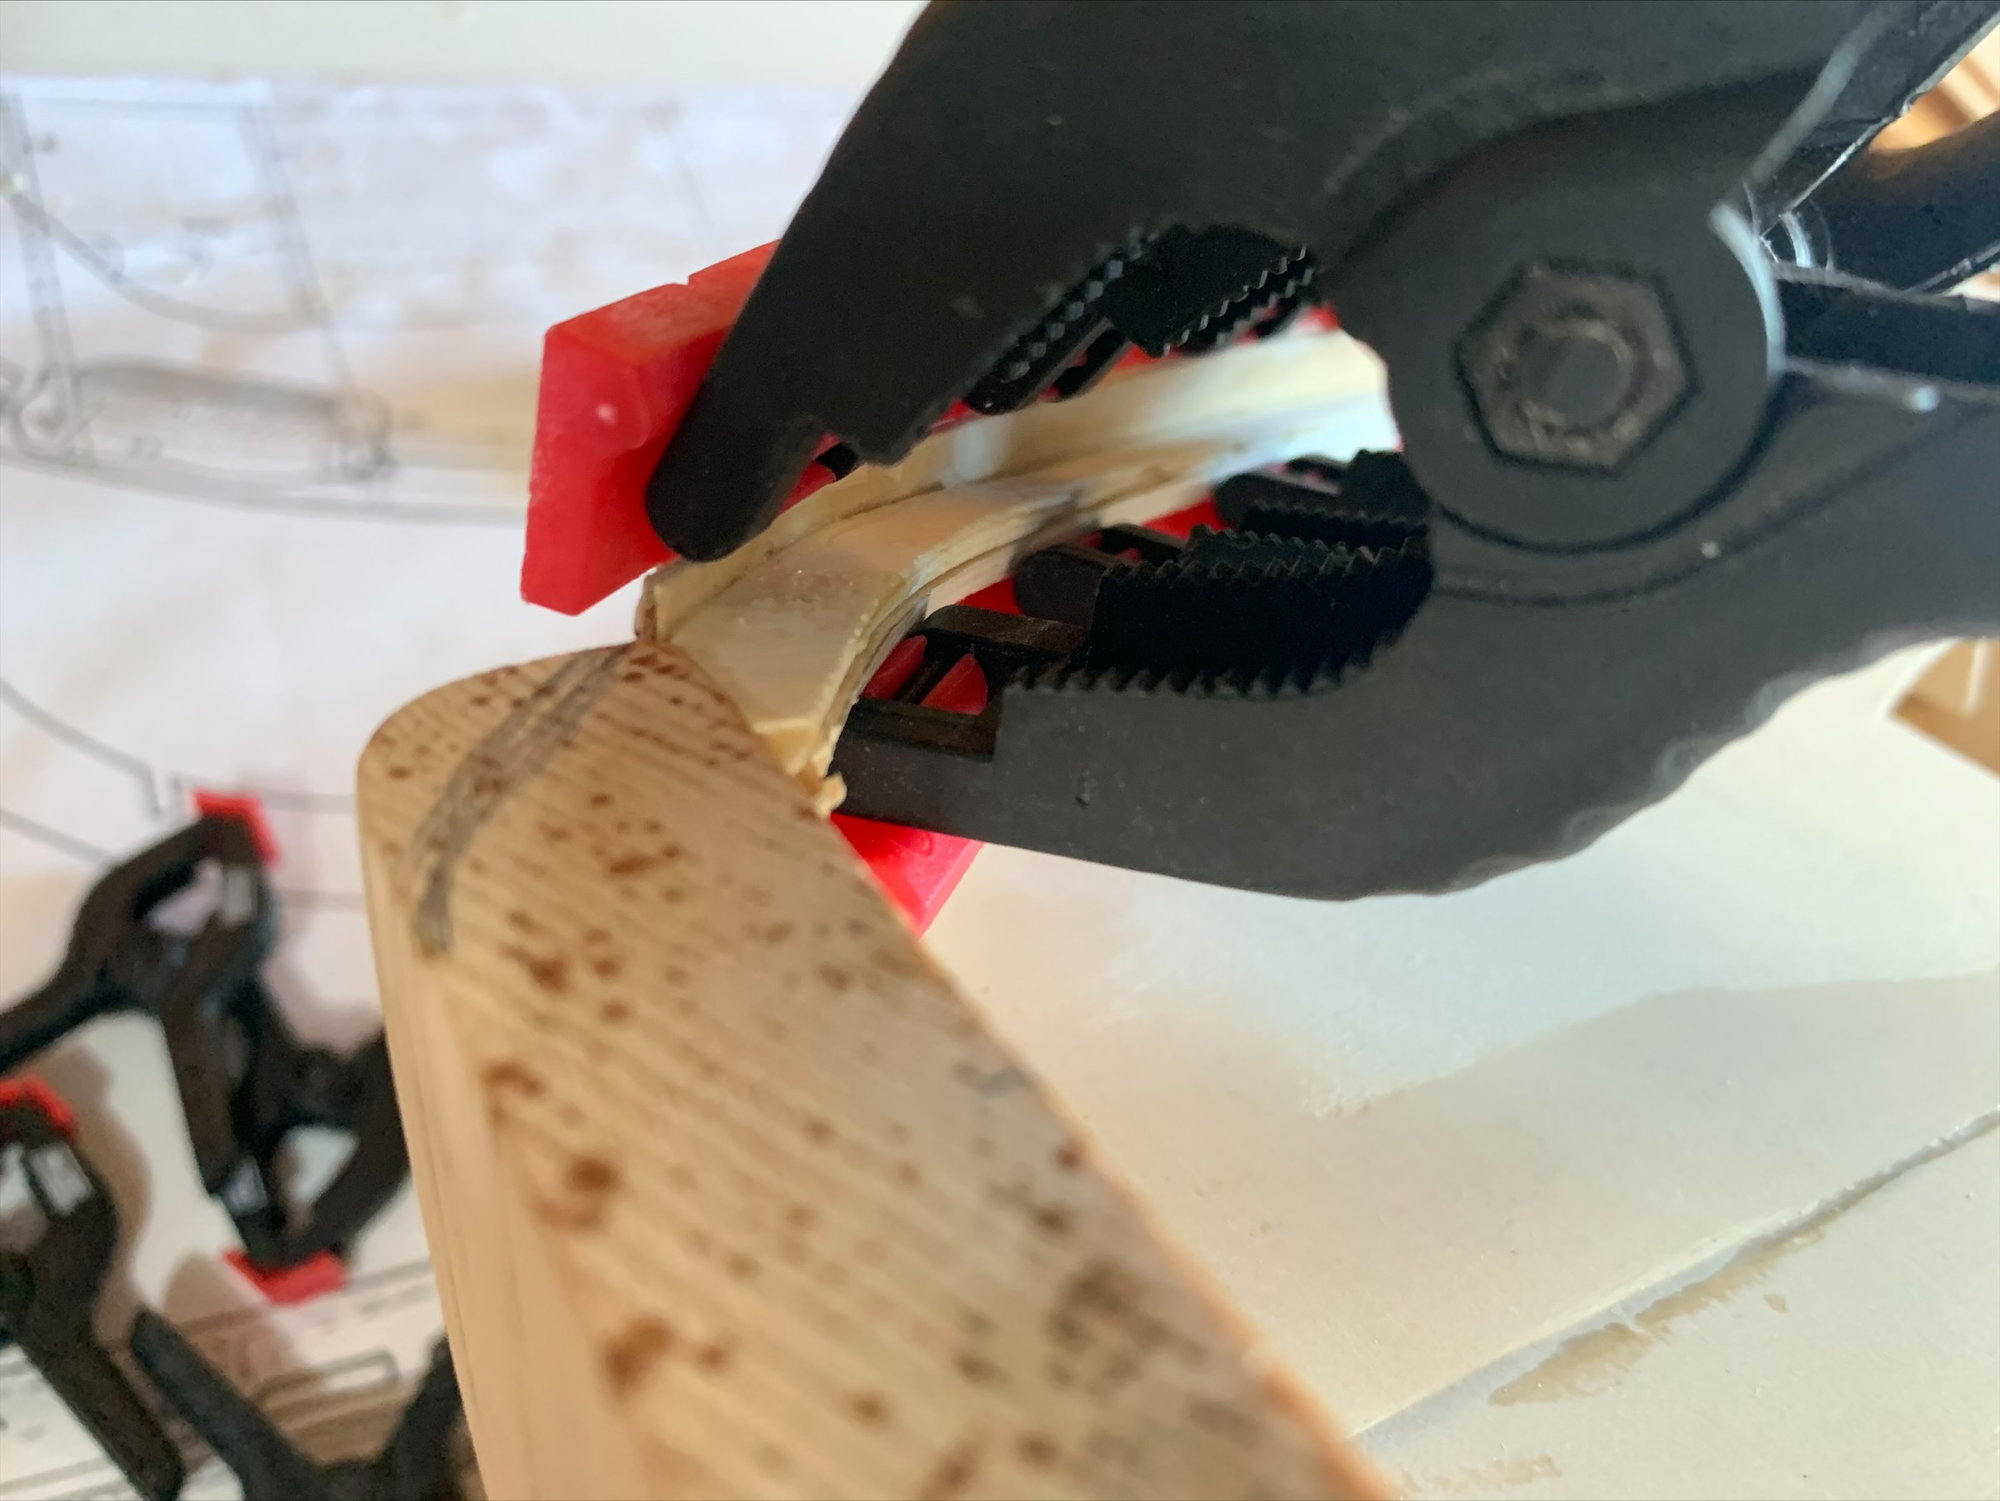
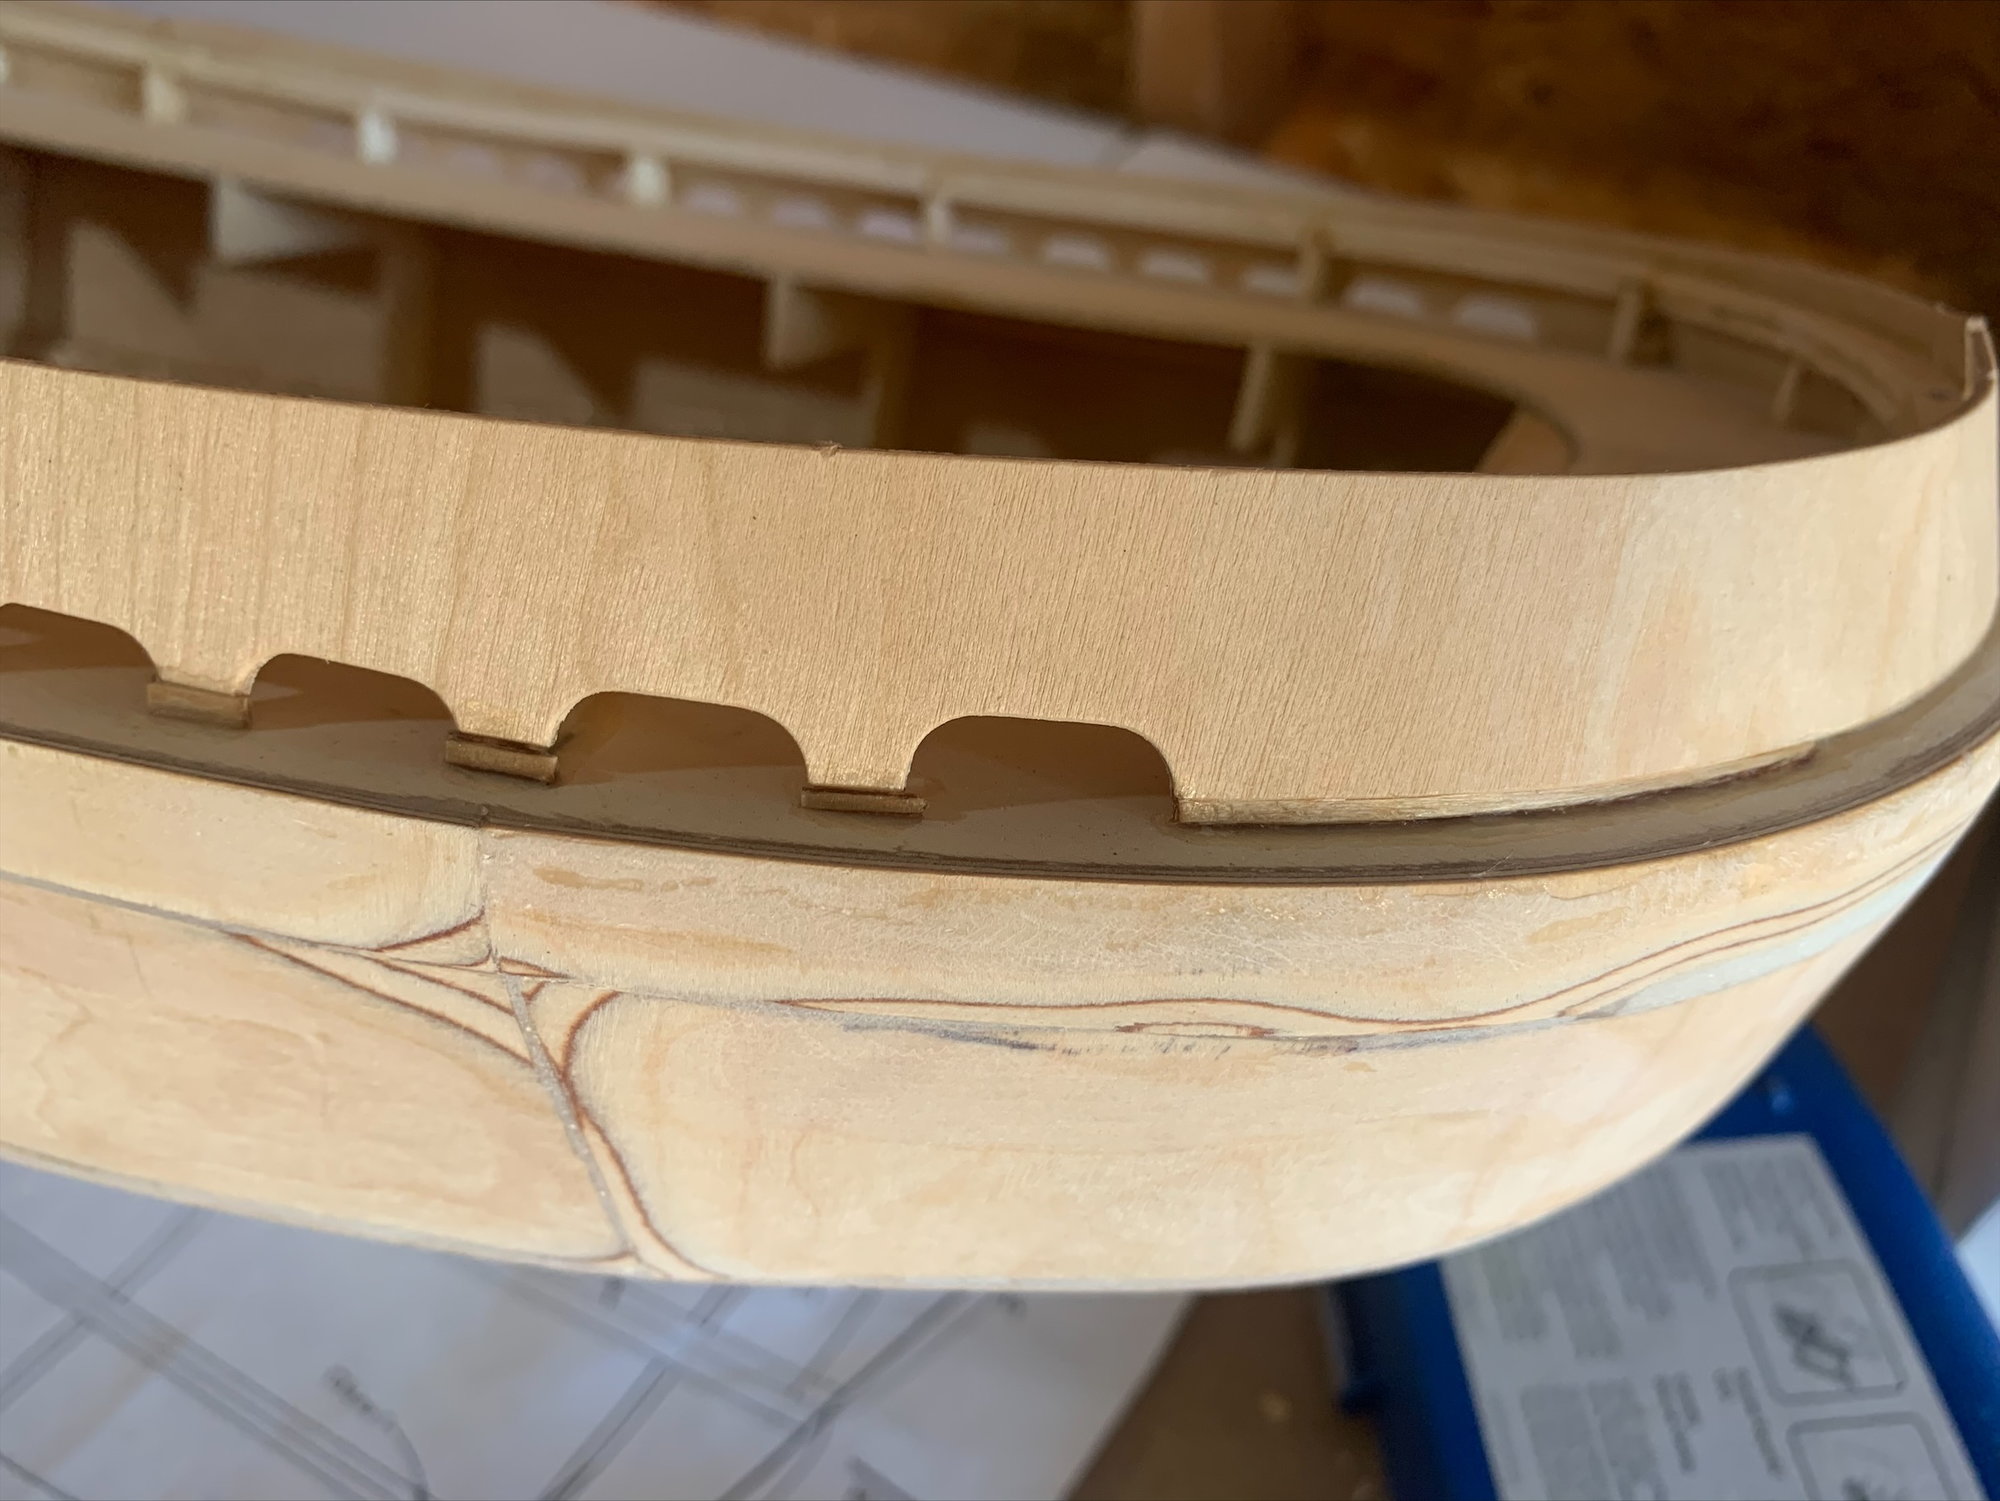
I spent the past week doubling the railing thickness and adding additional supports. This will greatly increase the strength of the railings. This Fire Tug will be a pool party toy, so knowing the railing won't break if someone grabs it is a good feeling! Next I will be using Epoxy to glue all of this solid. Then I will trim and sand the railings.
The following users liked this post:
Martin H (09-07-2021)
09-27-2021, 07:36 AM
#43
Member
Thread Starter
With the railings done I can turn my attention to the propeller shafts, supports, and rudder shafts. I'm going to attach those before fiber glass and gel-coat.
Filling in any gaps with fillets.

more fillets

Port Railing sanded down after being epoxied. Starboard railing is epoxied.
Both railings fully sanded down.
Filling in any gaps with fillets.
more fillets
Port Railing sanded down after being epoxied. Starboard railing is epoxied.
Both railings fully sanded down.
The following 2 users liked this post by birdo:
Rhodeislander (09-27-2021),
Super18 (09-27-2021)
09-27-2021, 08:29 PM
#46
 09-30-2021, 04:05 AM
#47
Member
Thread Starter
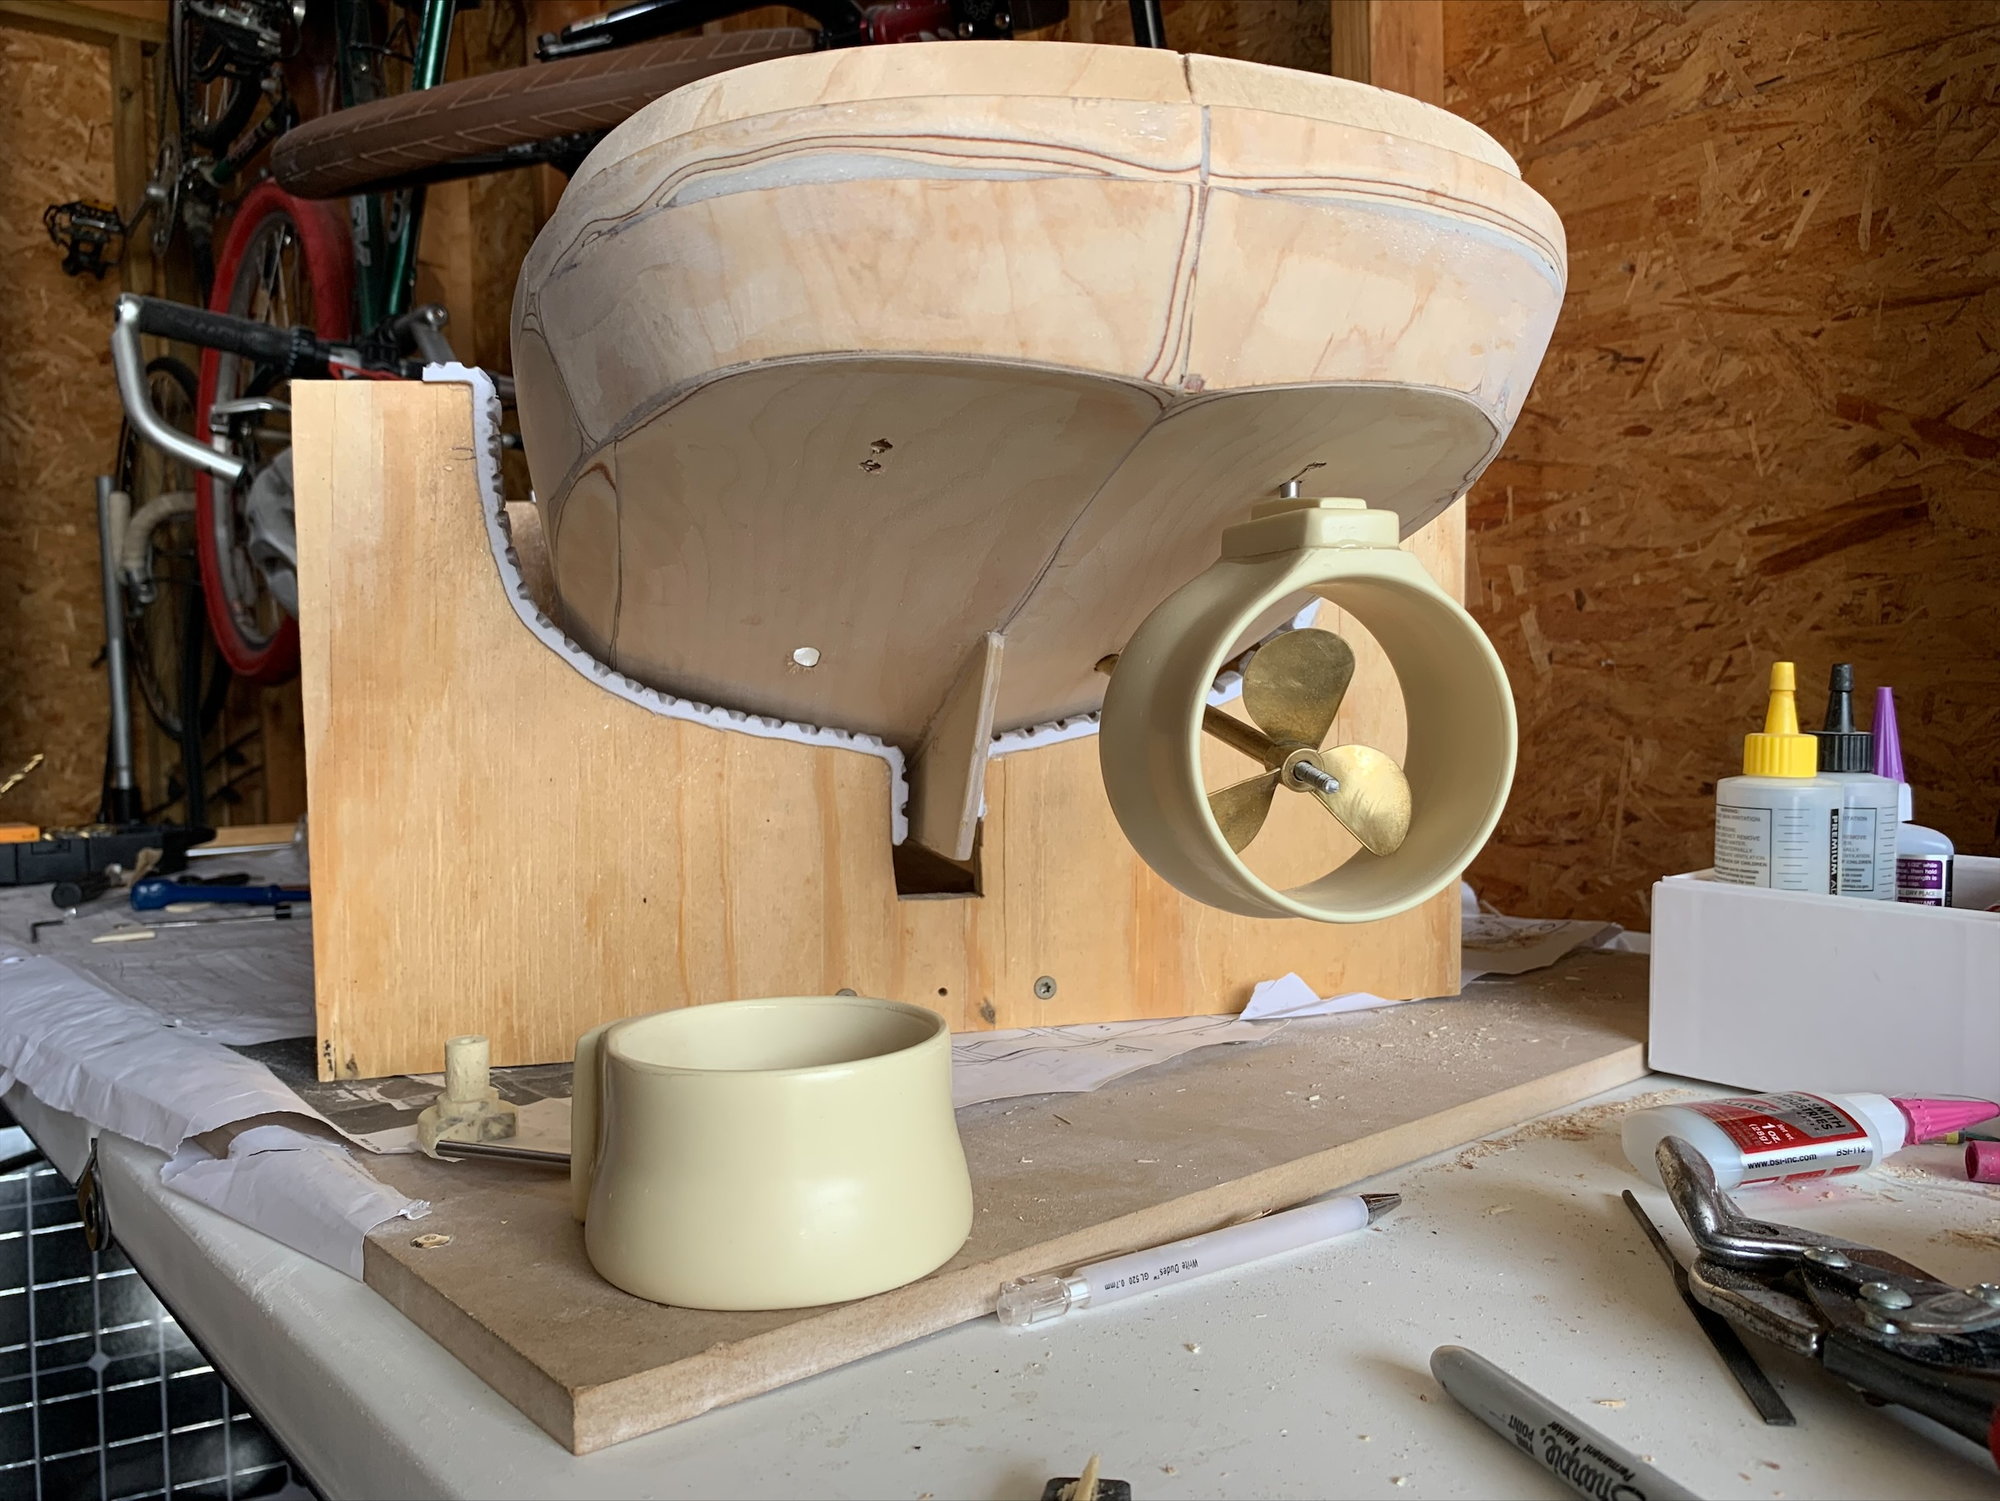
I epoxied the turn shafts to the Kort Nozzles. All of my Brass arrived! I plan to build a boat stand next and start soldering up the prop shafts over the weekend. I tried out different motor locations, and the best one is looking to be mounted directly over the prop shafts.
The following users liked this post:
Super18 (09-30-2021)
09-30-2021, 08:55 AM
#48
Member
Thread Starter
Found my Prop Balancer, so I went ahead and balanced both of them. I weighed them and they were each within .1 grams of each other(27.2 and 27.1 grams).
Last edited by birdo; 09-30-2021 at 10:40 AM.
The following users liked this post:
Super18 (09-30-2021)
10-01-2021, 11:19 AM
#49
Member
Thread Starter
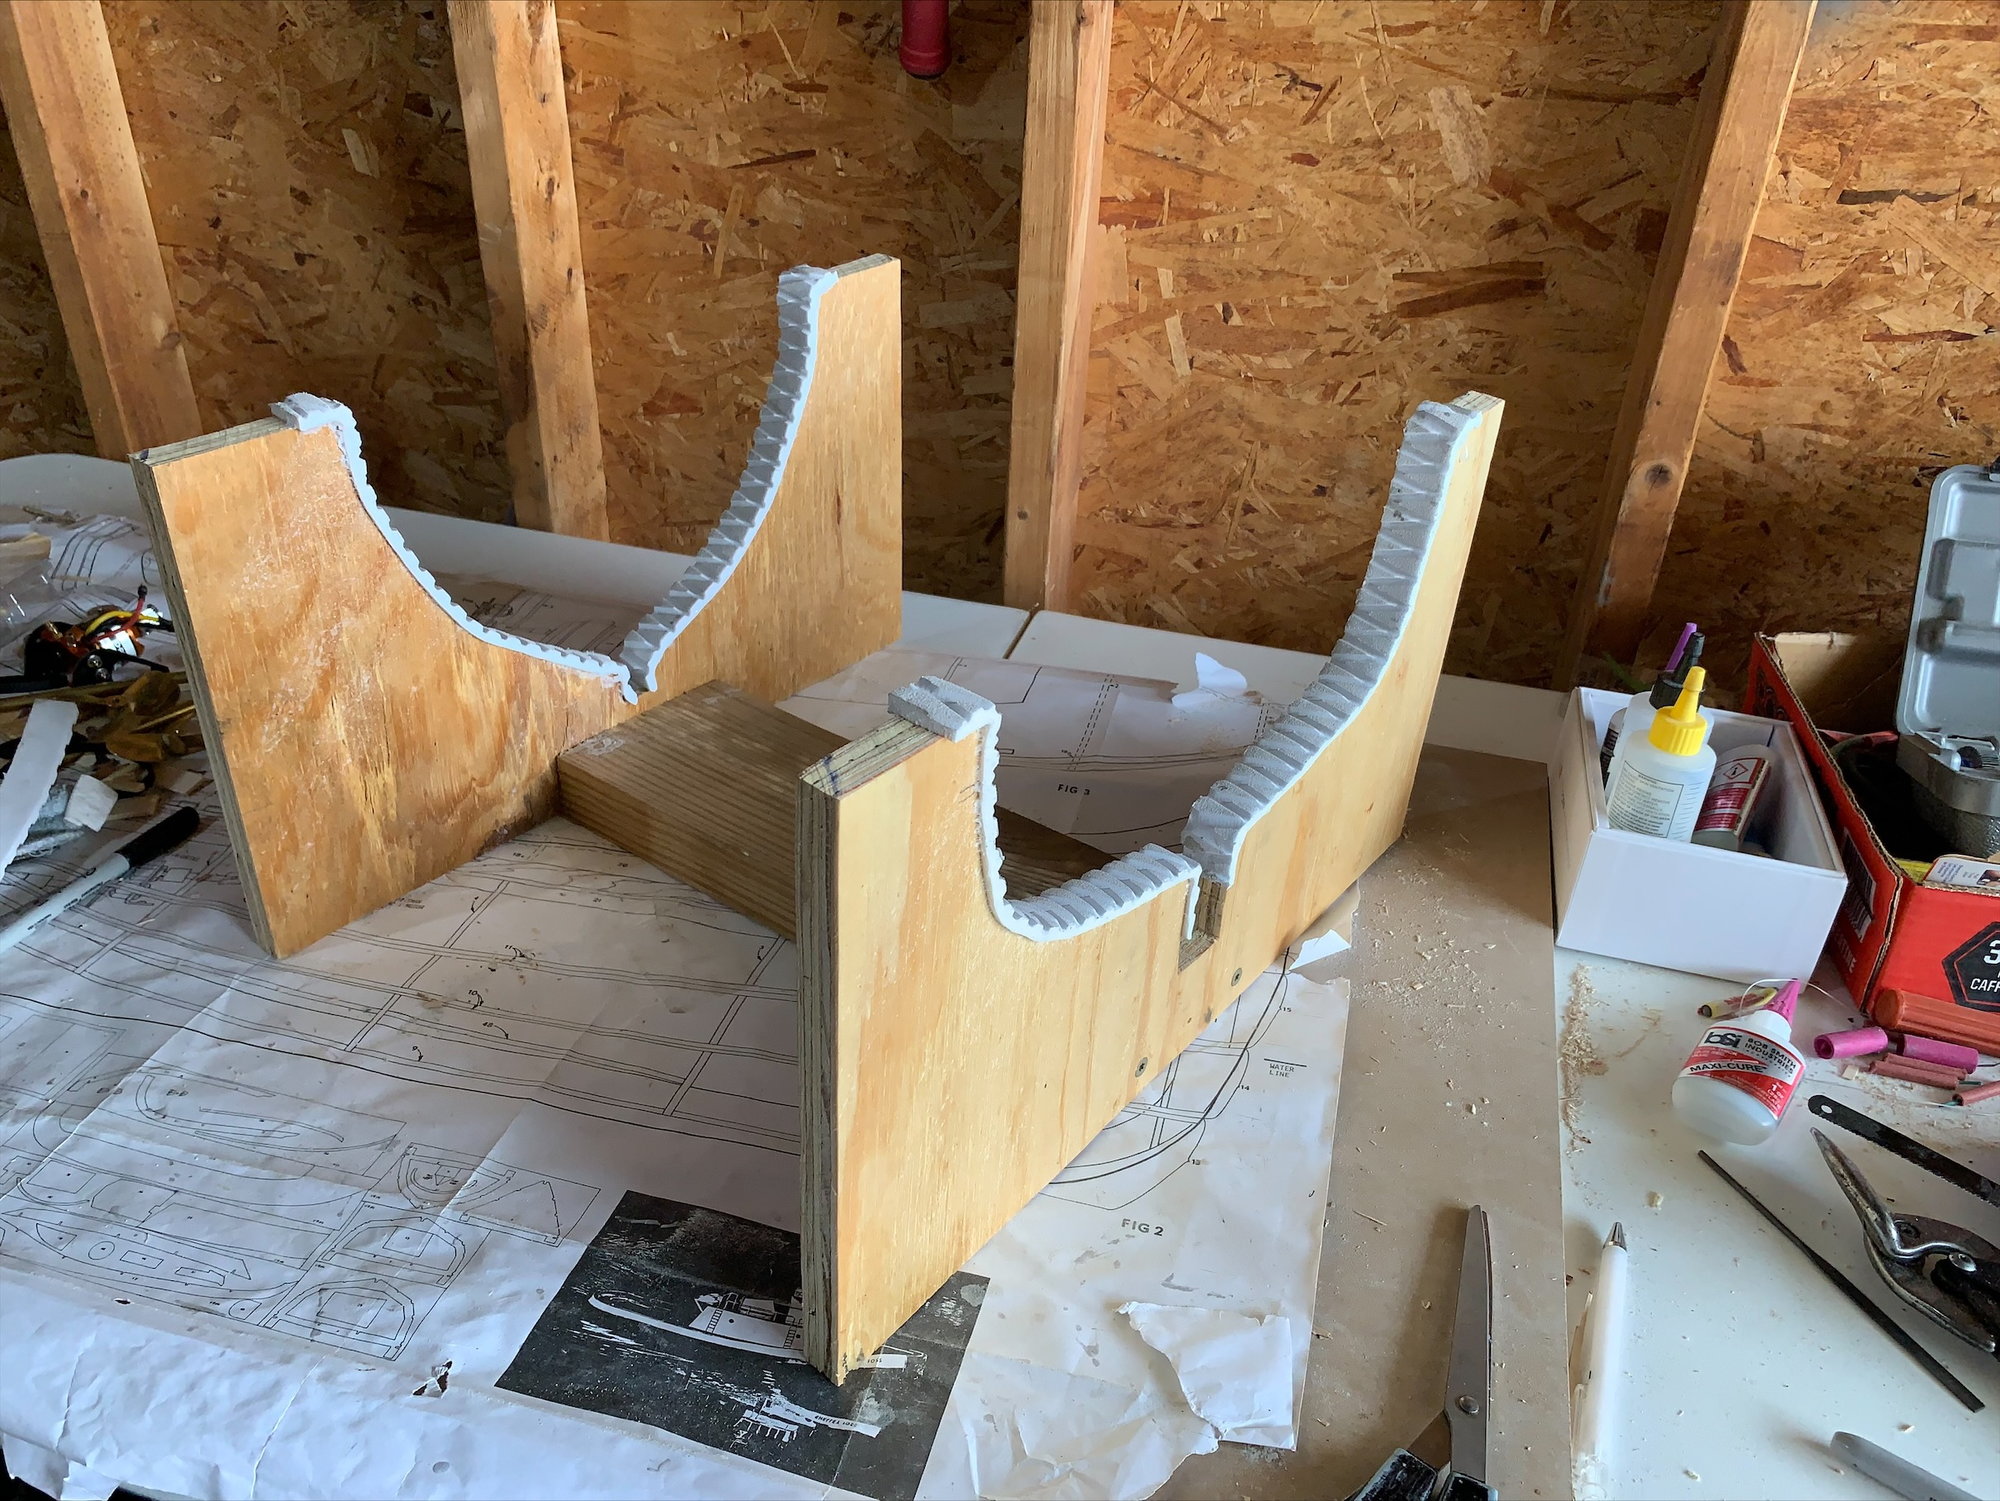
Using left over wood, screws, and Hydro-Turf, I built this boat stand. I Might add some handles later and more padding, but It's good for now. On to the Propeller Shafts!
The following users liked this post:
Super18 (10-01-2021)
10-23-2021, 08:52 AM
#50
Member
Thread Starter
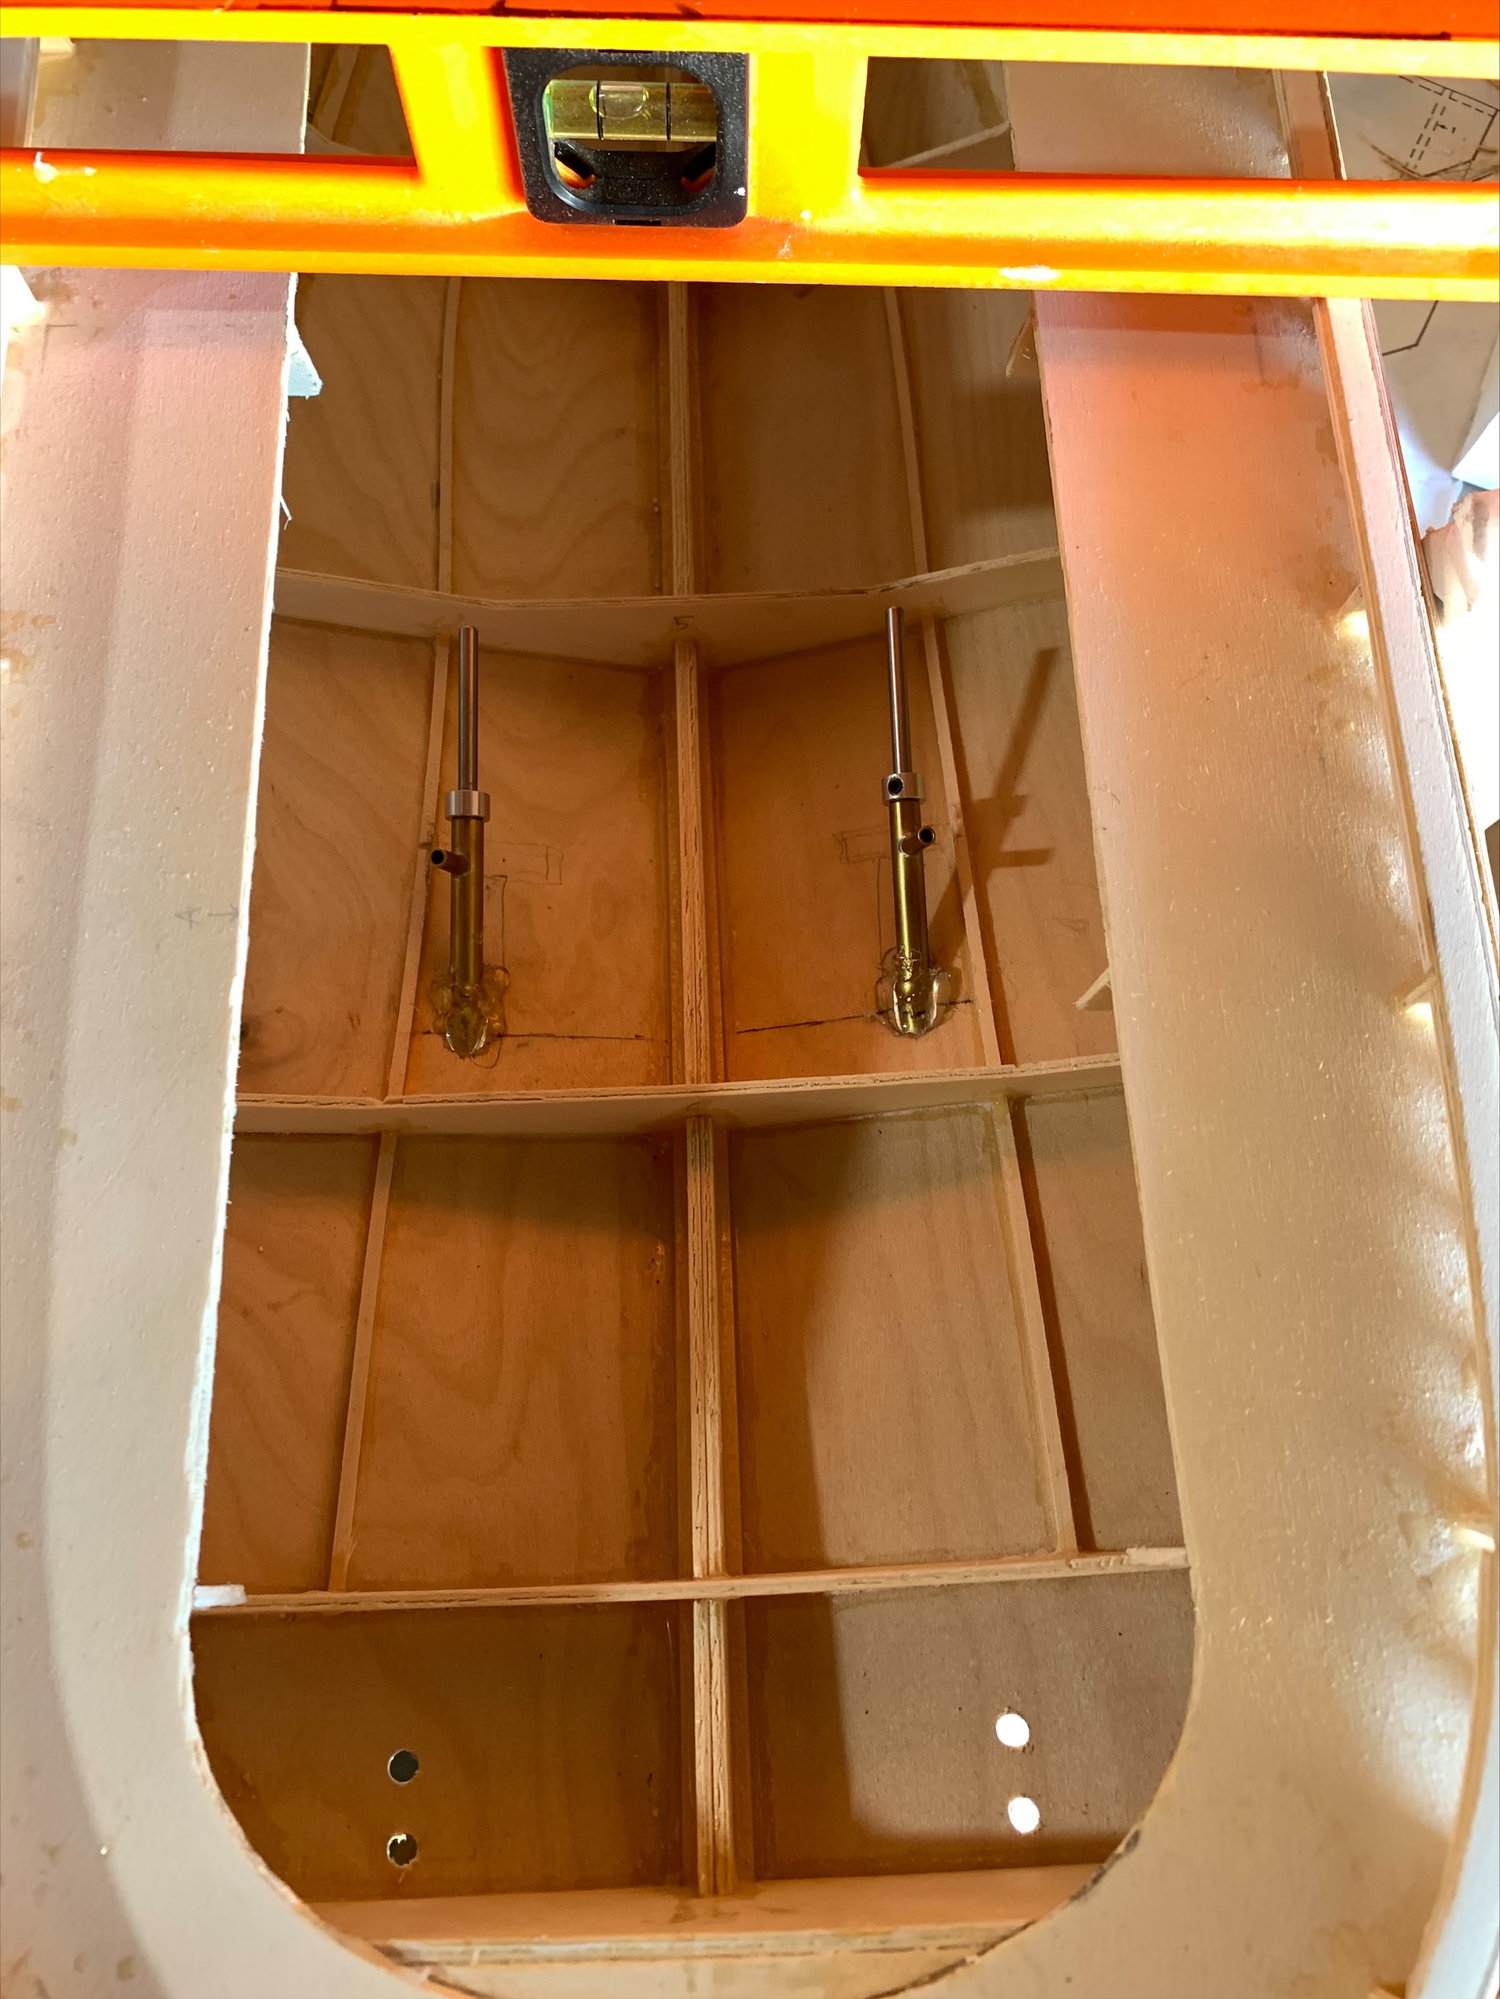
Using hot glue, I tacked the prop shafts at the same length and center width.
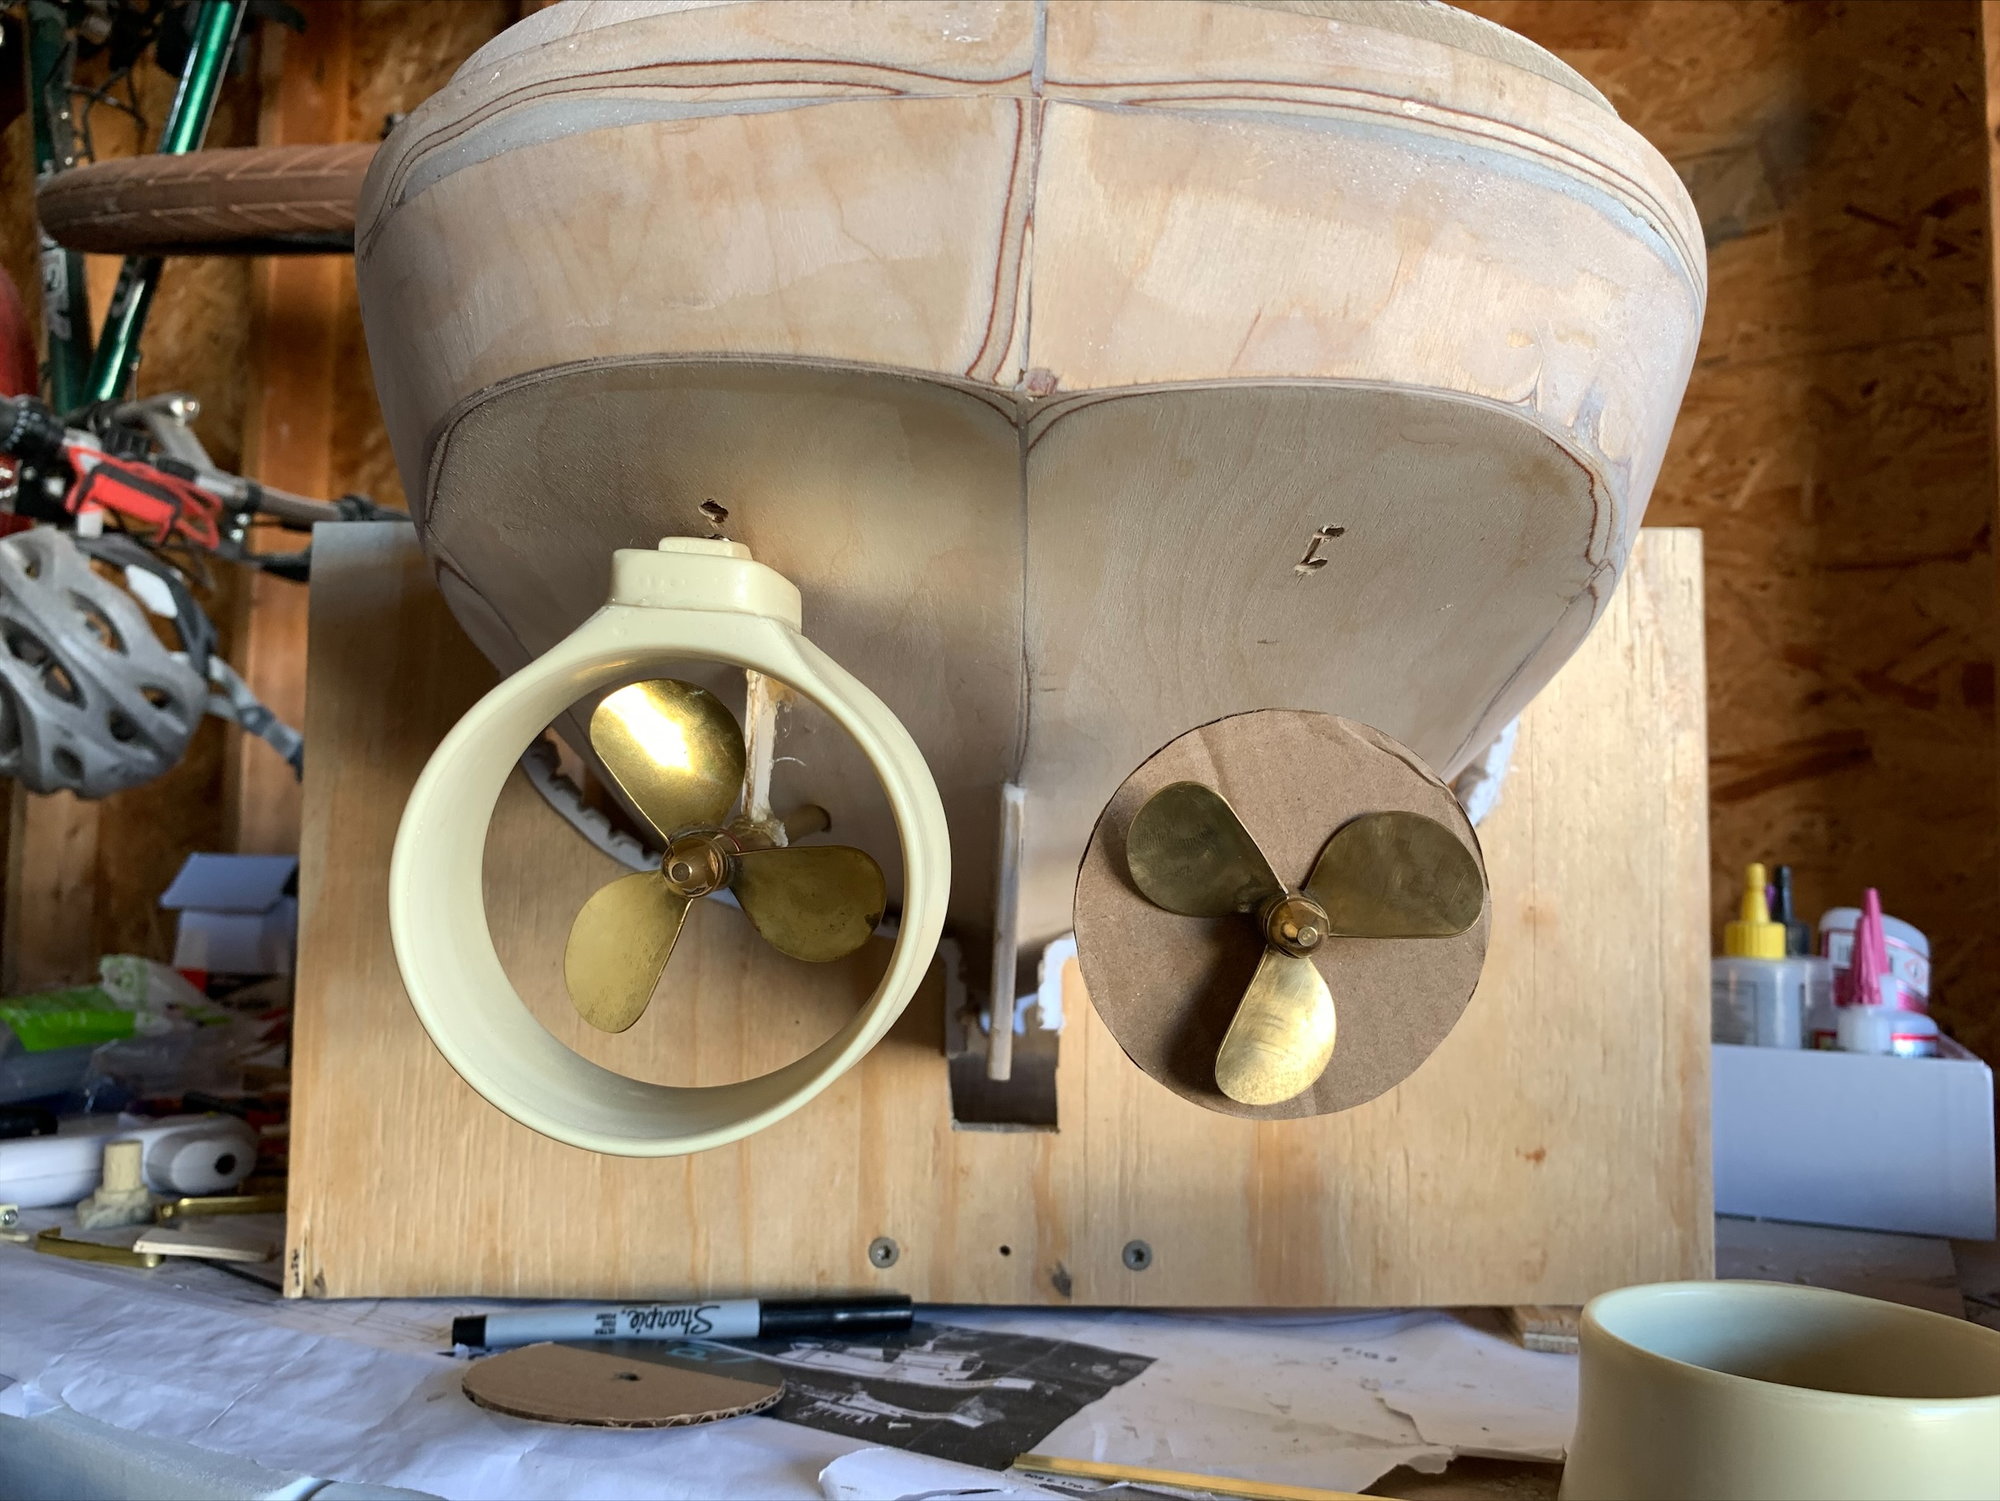
Getting the angles of the Kort Nozzles has been the hardest part. These are not part of the kit, so I'm approximating all over based on Dumas drawings. I also used Hot Glue to tack the prop shafts on the outside with leftover wood. Once I get the Kort Nozzle mounts in place, I plan to solder up the brass support pieces for the prop shafts.