


Basketcase KV rebuild
 02-07-2014, 11:02 PM
#26
Yes. The modulation is used in the paint stags to simulate light and shadows on the tank. In this case, I used to to a bit of an extreme to show fadinng on areas more so than light. The rust effects come through the camera as more red which is probably partly due to lighting and also my complete lack of ability with a camera. In any case, I will photo it in sunlight when it is done to try to show how it actually looks completed. The filter is applied and tones down the rust color and also blends all of the modualtion and rust together. I have also applied other rust tones, in the form of AK's streaking rust to areas. This will change the tone of the rust as it would appear in real life as staining around heavily rusted areas. As I satted earlier, his is a progressive technique and cannot be achieved in one or two coats. It has to be done in layers, and gradually to make it look correct. Once I get to pin washers, it will being to look more three dimensional, giving much more dpth overall.
 02-08-2014, 12:24 PM
#28
Thanks! For now, it will have Tamiya TU's installed with 8-tooth pinions and the long black cans. All of which were spares laying around here. I will be buying a set of Tamiya electronics for it as well.
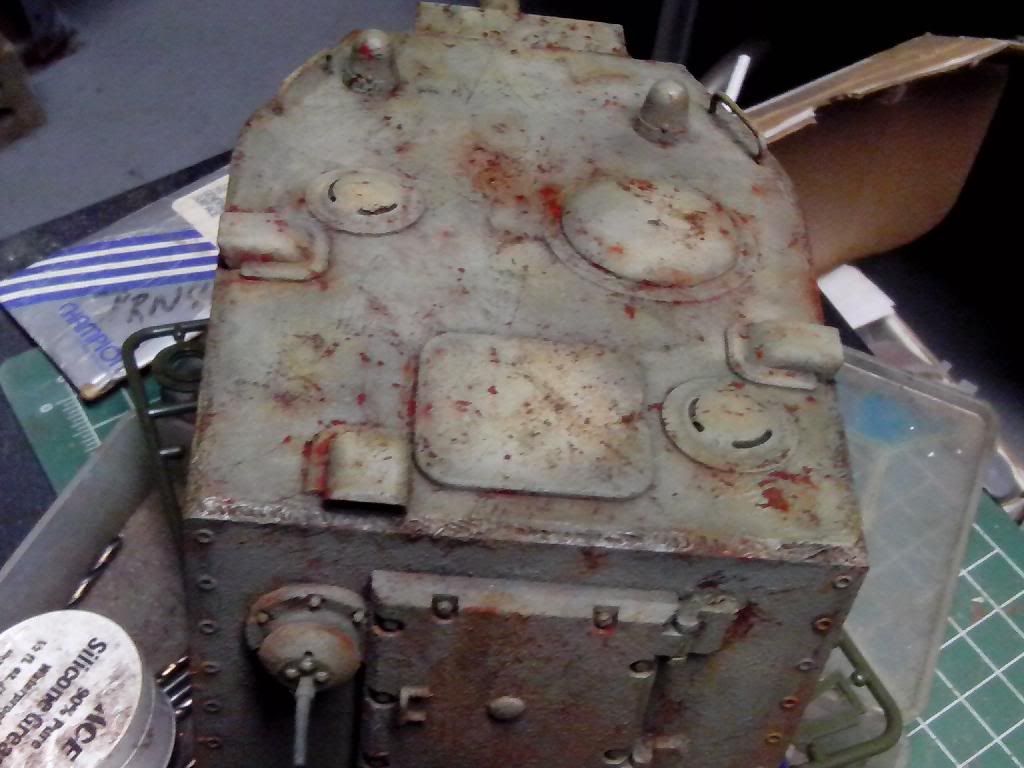
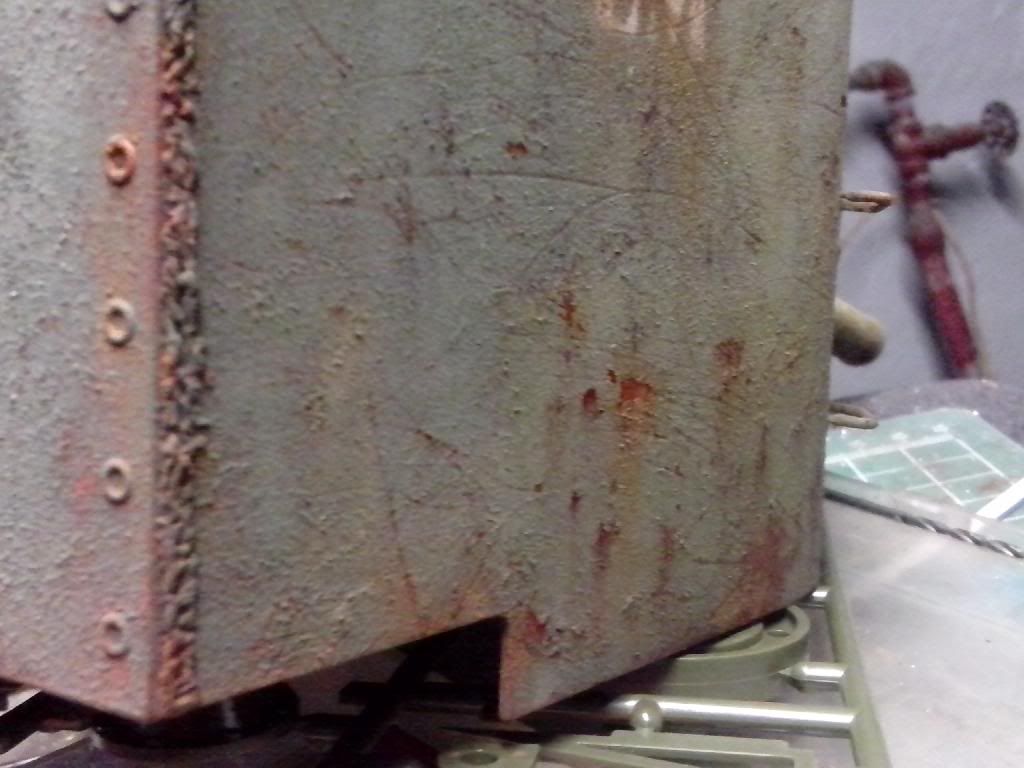
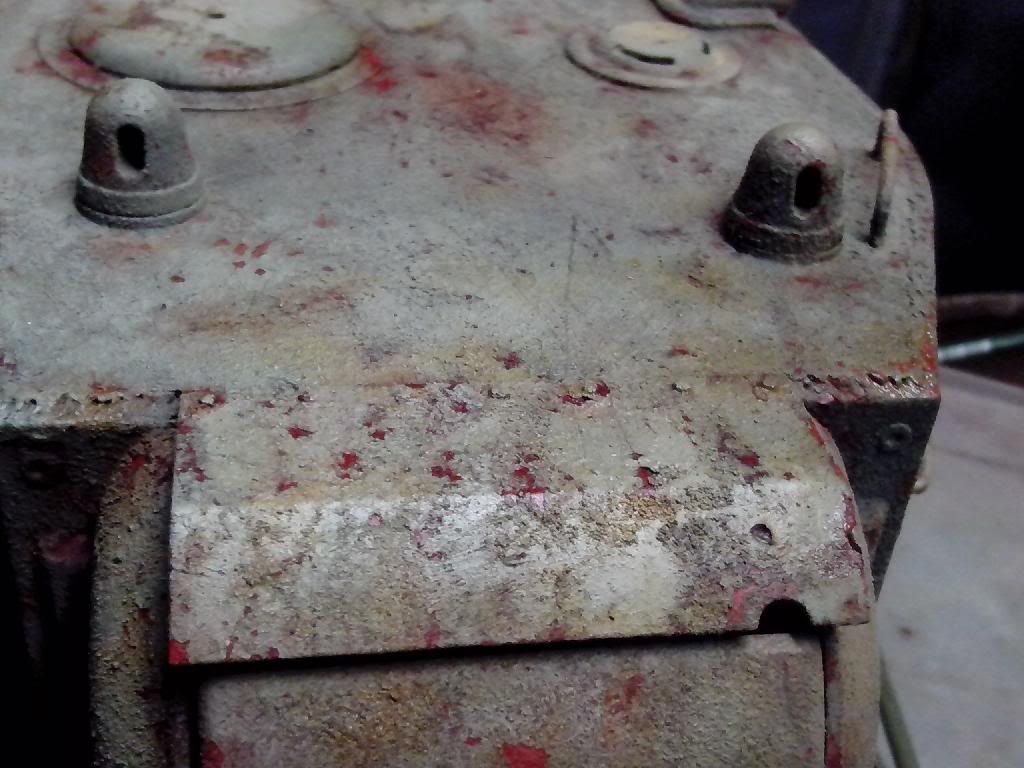
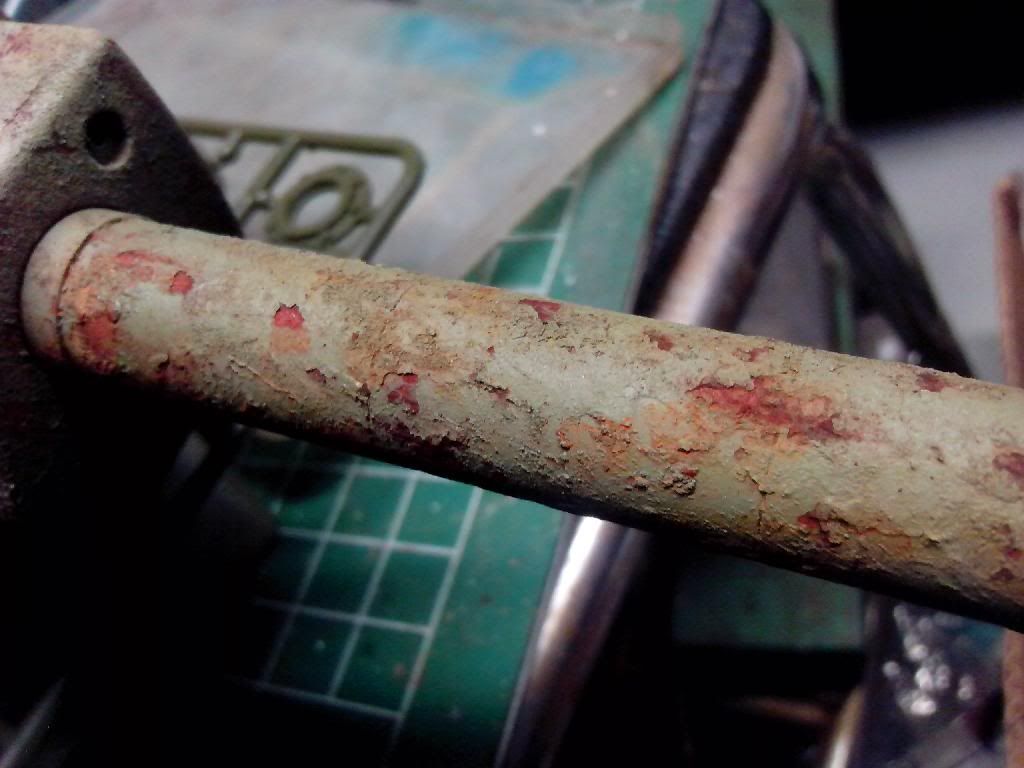
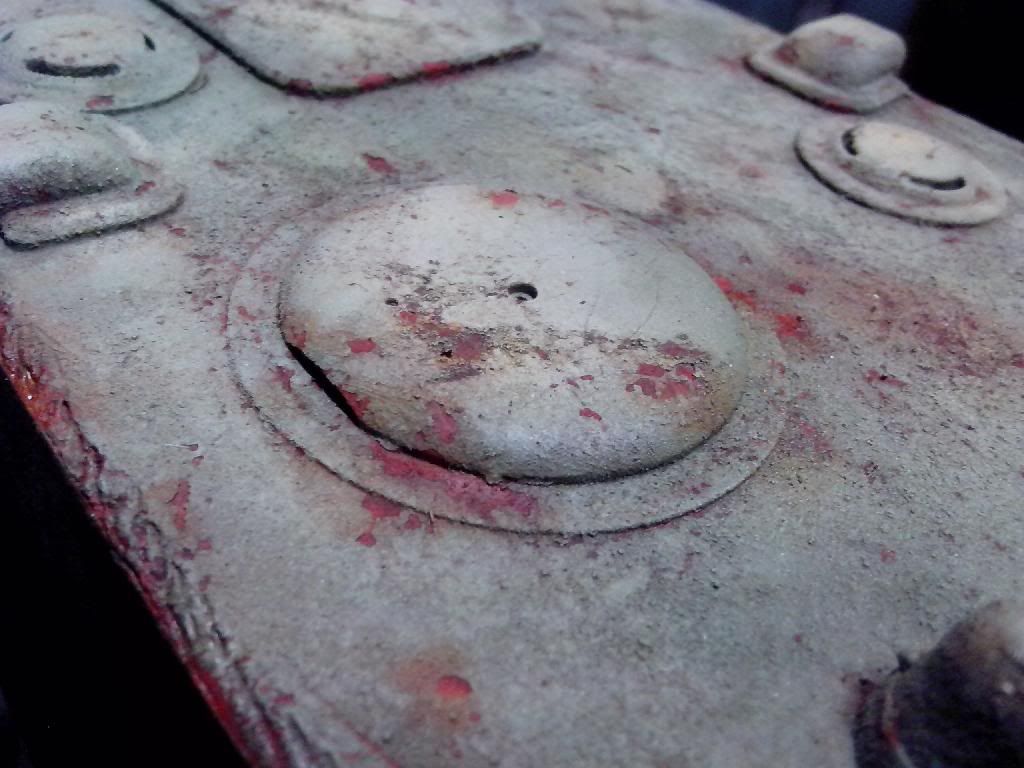
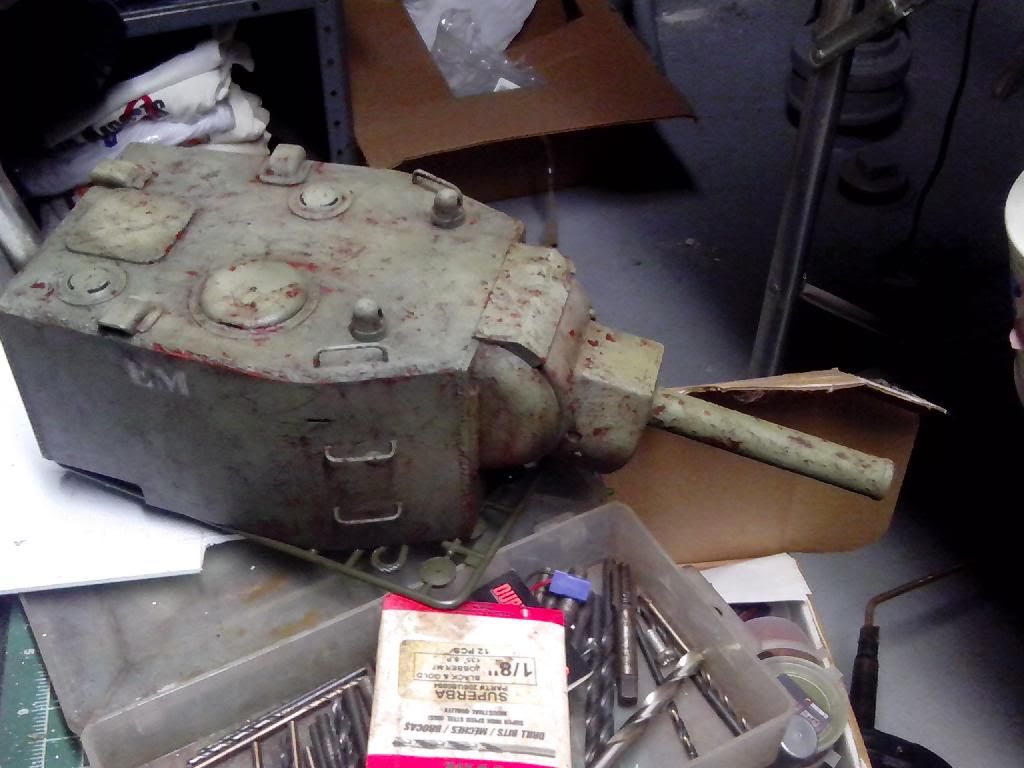
Here is an update on the turret work. I am slowly adding rust colors in various types to the already showing areas to bring more detail in. Mostly showing the discoloration by getting wet and having the rust dry in surrounding areas.
Soon I will add a varnish layer to it and being doing pin washes to further enhance the details. Then oils will be used later.
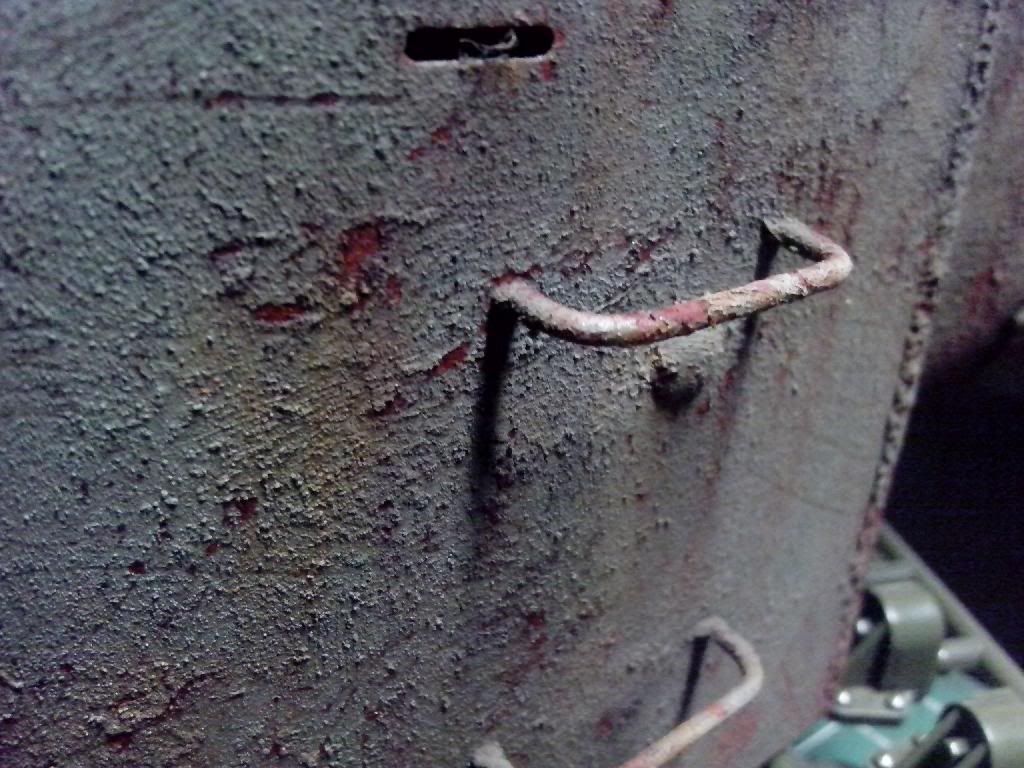


 02-08-2014, 12:44 PM
#29


Join Date: Nov 2006
Location: PPP, POLAND
Posts: 795
Likes: 0
Received 0 Likes
on
0 Posts
Thanks! For now, it will have Tamiya TU's installed with 8-tooth pinions and the long black cans. All of which were spares laying around here. I will be buying a set of Tamiya electronics for it as well.
Here is an update on the turret work. I am slowly adding rust colors in various types to the already showing areas to bring more detail in. Mostly showing the discoloration by getting wet and having the rust dry in surrounding areas.
Soon I will add a varnish layer to it and being doing pin washes to further enhance the details. Then oils will be used later.
Impressive painting and weathering !
02-08-2014, 11:09 PM
#31
Nicely done, Joey. Your skills for paint and weathering make my feeble efforts pale in comparison. Guess I've just got to go back to the old way and set the body and hull out in the weather. Sigh.
02-09-2014, 03:58 AM
#32
Join Date: Nov 2006
Location: PPP, POLAND
Posts: 795
Likes: 0
Received 0 Likes
on
0 Posts
02-09-2014, 09:09 PM
#34
Thanks for sharing your method to get this look. Looks like some of Sevoblast's photos of the JS-2 he took pjotos of for detail shots. The paint flakes about to lift off look so real. Great work Joey!!!
12-01-2015, 08:52 PM
#36
 12-02-2015, 06:30 AM
#38

Well done. It looks just like you see some of the rusting hulks sitting outside neglected museums. It certainly looks like it has sat for decades. Would actually be funny to see it moving in that state!
12-02-2015, 08:06 AM
#39
Looks just like some of the ones I worked to restore at the Fort Snelling Military Museum before they shut it down. Nice work.

 12-21-2015, 05:51 AM
#43

Join Date: May 2008
Location: Staten Island,
NY
Posts: 770
Likes: 0
Received 0 Likes
on
0 Posts
Your work is fantastic, superb you might want to get it published in one of the modeling mags militaty minatures in review. Joe that detail is up there with mig.when looking at what you have don to this plastic tank you can place the same question under it that reads is it real or is it Joe's it's good to see you back on the site!
Last edited by CHIEFSONN; 12-21-2015 at 05:54 AM.
12-21-2015, 06:30 AM
#44
Some first rate weathering going into this project, takes a LOT of time, effort and talent to pull it off so well. Keep up the good work and very much following along.
Alan
Alan
02-12-2016, 09:20 PM
#45
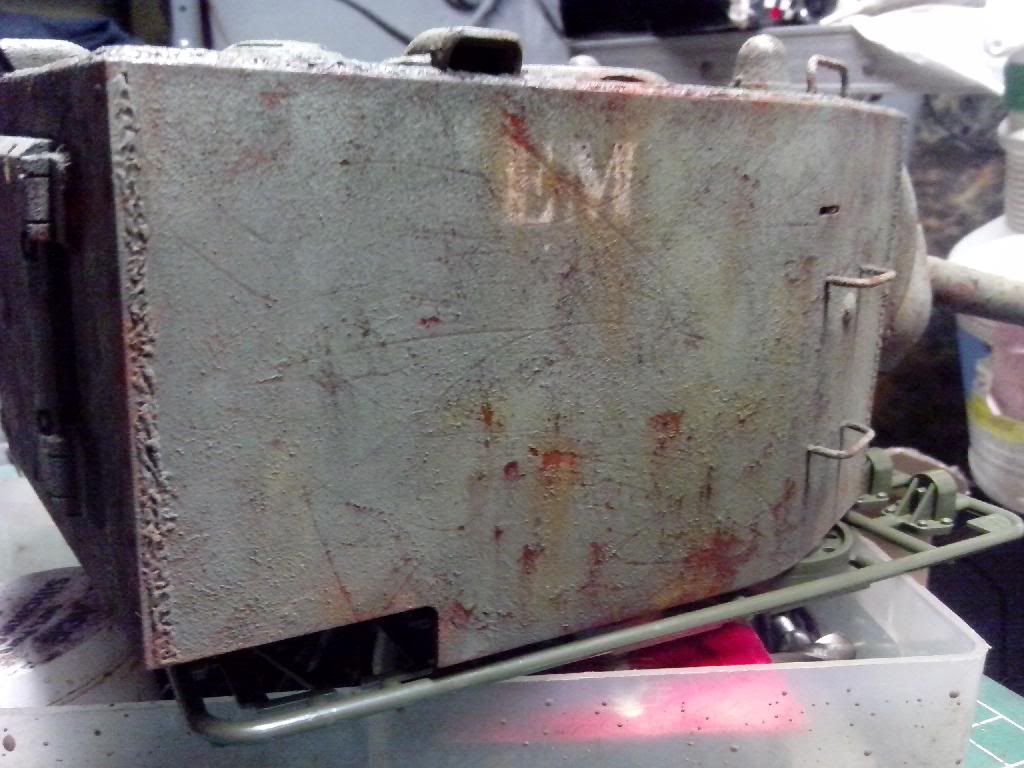
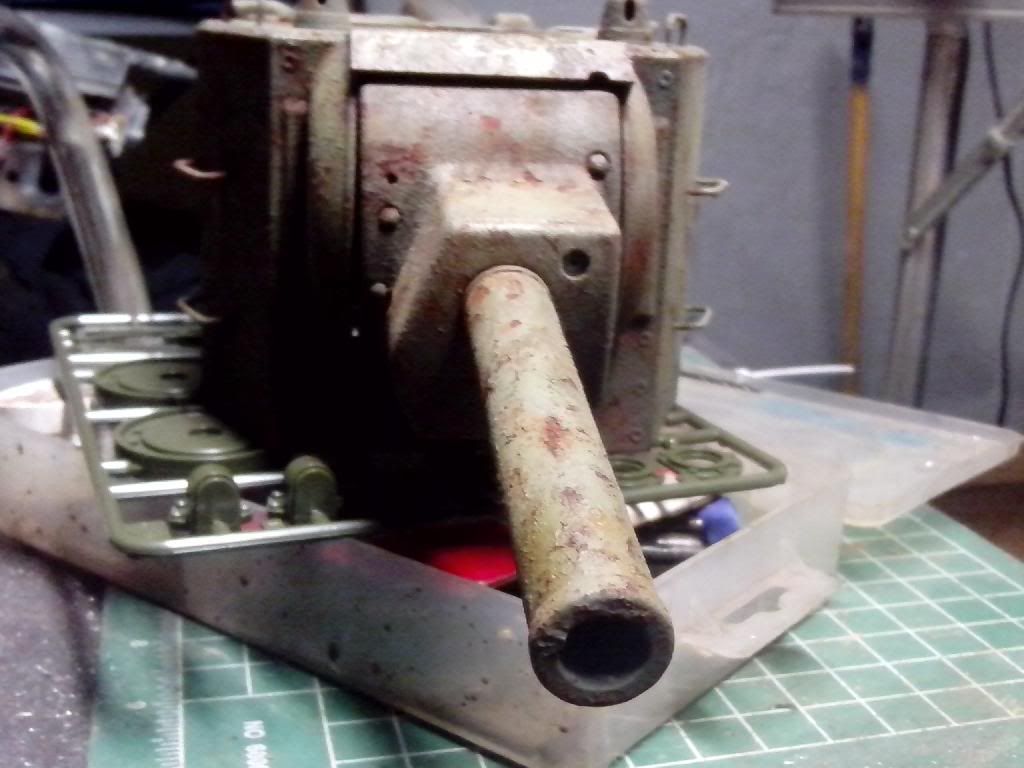
I suppose it's been too long since I posted on this thread. Haven't much time for my own projects these days, but they do eventually show signs of progress. Working on a T-34 for a customer, and busy at the shop all day, but that's another story. For now, I'll focus on the task at hand. The KV-2 hulk has been getting closer to the end of the build....finally. I have installed the Asiatam metal tracks, which I highly recommend for the Tamiya series. They are very well made. (Thanks Sevoblast)
I began the task of weathering them to fit the build, and also painted and installed the periscopes. I tested the El-Mod unit along with a smoker and all works as it should.
Thanks to Bret for saving my sorry behind with the turret bits I needed. When they arrive I will install them, along with a Tamiya recoil unit. Then I can do final assembly and program the El-Mod board with the correct sounds and driving habits for the tank. Overall, I will say this is successful to this point, even though some will say it is overboard. I say, it's Russian. I hope those of you following this have been enjoying it. I promise there will be a video of it running in the coming days.
 02-17-2016, 11:53 AM
#47
Well, a huge thank you to Bret for the assistance with the missing parts.
Of course, being me, I would have to overlook some of the other things I needed, so once again I am sidelined....for them moment. The parts I realized were missing now are the turret rollers. I suppose it serves me right to not have completed the thing for 2 years. But that's ok. I have a lathe to make these parts. I started on it last night. Need for of them, which is nothing really to do. I think they will be better that the original parts anyway.


Of course, being me, I would have to overlook some of the other things I needed, so once again I am sidelined....for them moment. The parts I realized were missing now are the turret rollers. I suppose it serves me right to not have completed the thing for 2 years. But that's ok. I have a lathe to make these parts. I started on it last night. Need for of them, which is nothing really to do. I think they will be better that the original parts anyway.
02-18-2016, 06:40 AM
#48
Looking good Joe! Throw a little powdered PTFE on those rollers and I bet they'll be much better than the stock as you mentioned. Any idea if the KV-2 turret has any major deflection with it's height/weight? Think the actual one always had major problems trying to traverse when it was on any kind of uneven ground.