


Tamiya-Tiger I early vehicle
 05-15-2014, 03:17 AM
#1

Thread Starter
Hello tankers,
I have started to build some time ago, but now would like to present here the building report.
It has always been my desire to provide a Tamiya Tiger I with some tags on the chains.
Gradually, I have vers. Concerned components and had the good fortune in the summer
still a virgin kit of the object model to bekommen.Wie many are there know many of the necessary parts included for an early execution.
As my english is not very good, I will show you many pictures of the remodeling and construction show.
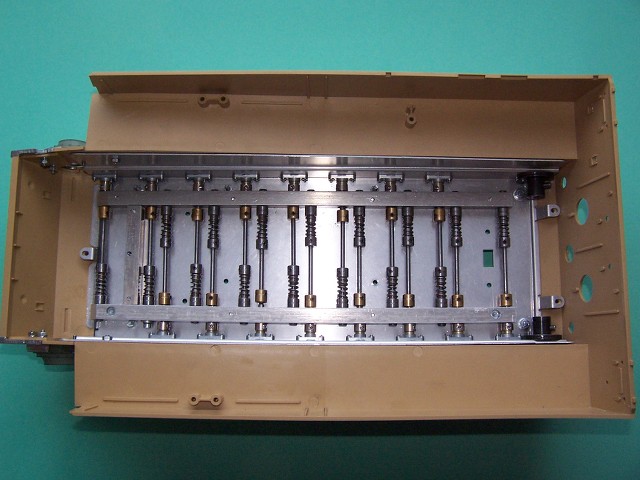
I wanted to replace the entire suspension and installing quite different as you know from Tamiya .
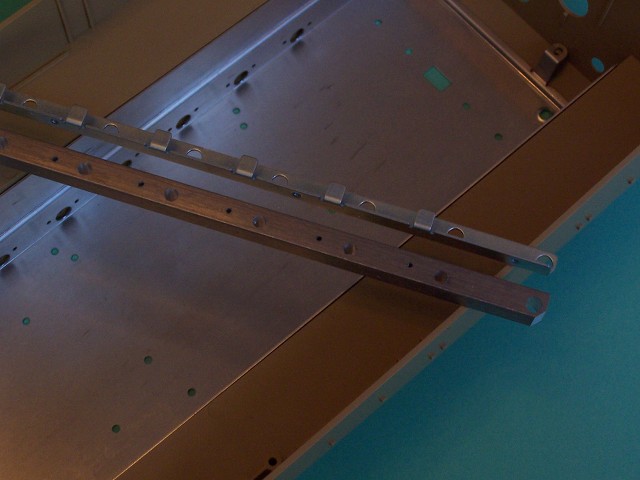
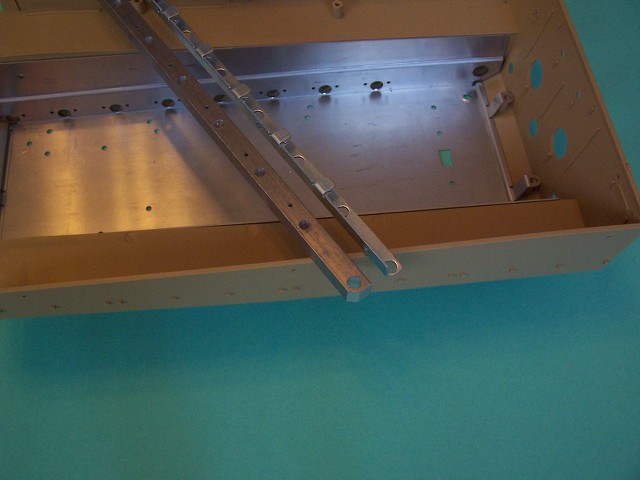
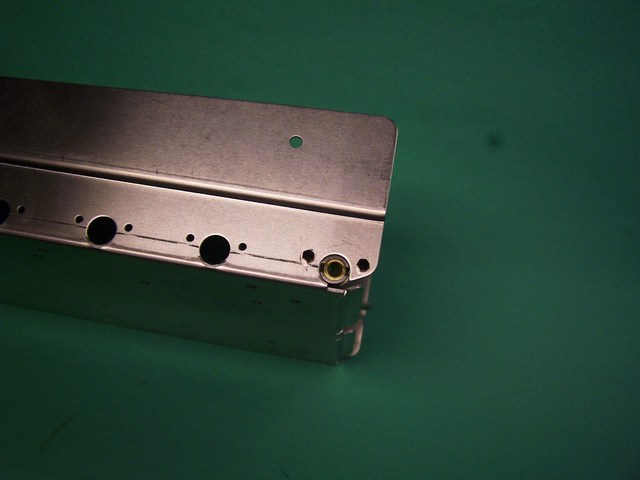
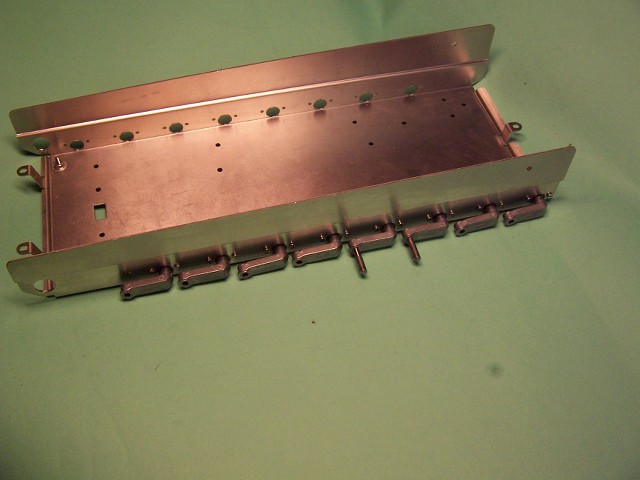
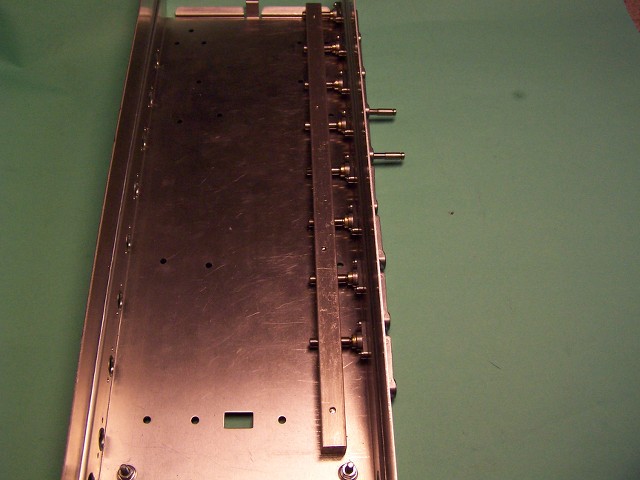
The first change to the lower hull rebuild the holder
Because I want to install a real working suspension, I copy the dimensions of the Tamiya part on 10x10 aluminum square. In this camp, the swing arms are guided play.
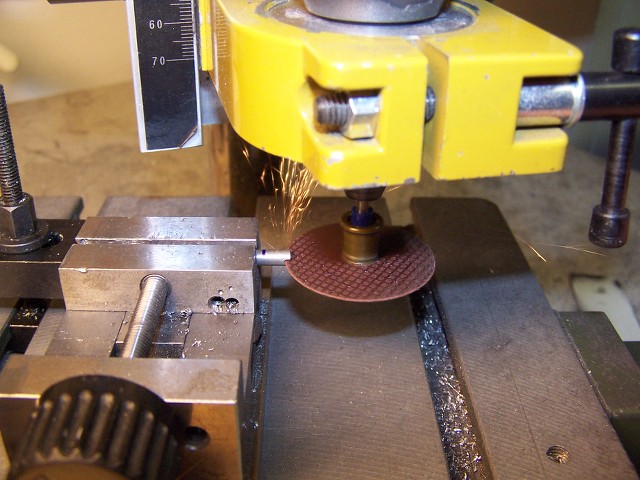
To drill much as you can see, but the result z�hlt.Diese type of thrust bearing I have ever made for a friend, so basically nothing new.
Again, I'm working on the premise that it is intended that all can be removed again and it should find use standard parts which can also be once again make later.
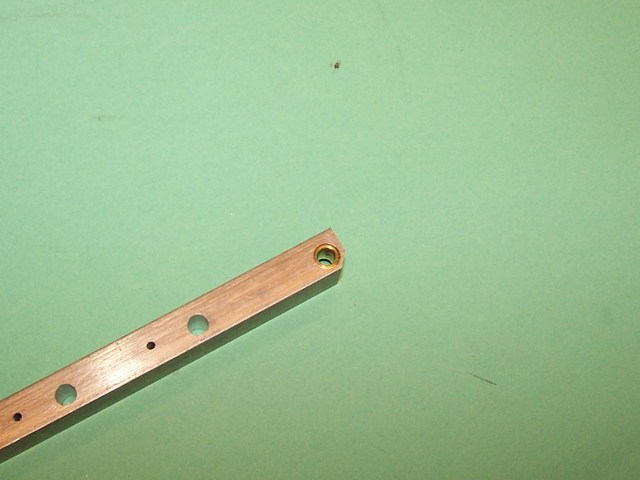
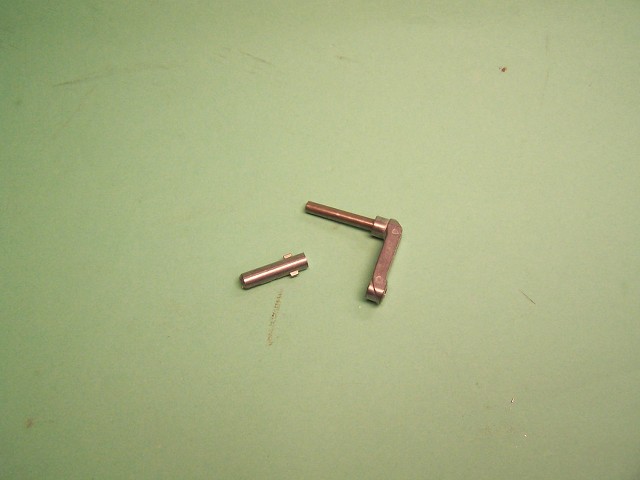
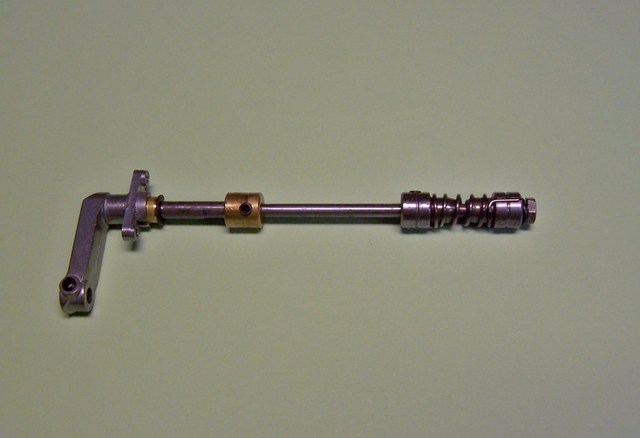
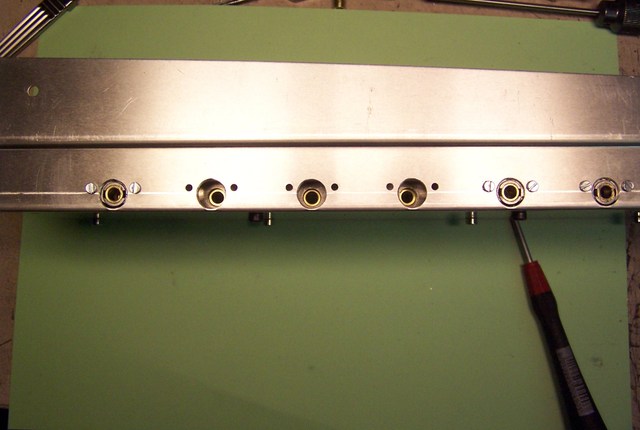
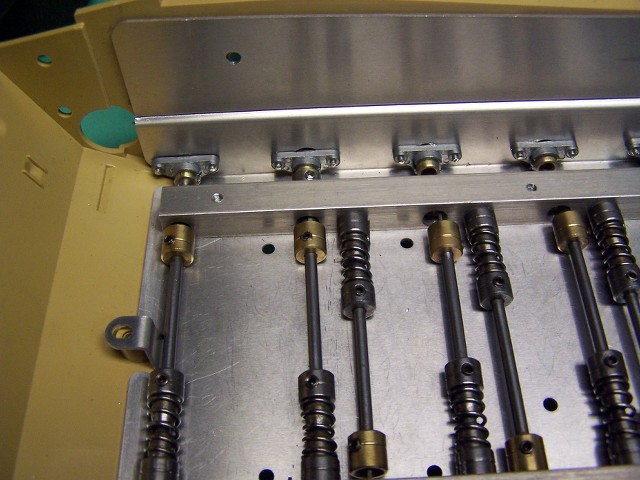
The rocker arms themselves must werden.Dazu accordingly rebuilt I have first sawed-drilled and used a steel axle.
As already mentioned, I turn to the storage of the arms and the rocker arms themselves.
In order to process the camp, I got myself a workpiece Done In what I can tighten the bearings
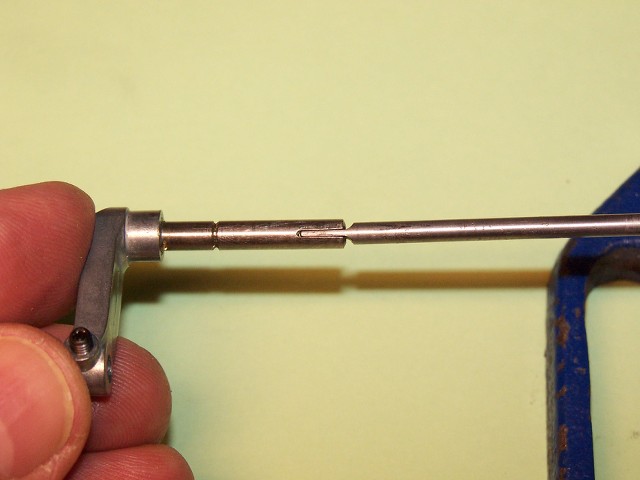

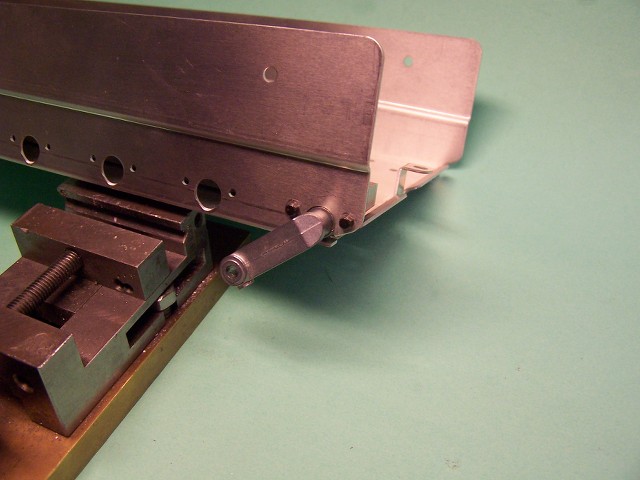
]
And so it looks to the sample also assembled, all I'm going to repeat it 15 times and then goes further.
to be continued
Regards,Guido")
I have started to build some time ago, but now would like to present here the building report.
It has always been my desire to provide a Tamiya Tiger I with some tags on the chains.
Gradually, I have vers. Concerned components and had the good fortune in the summer
still a virgin kit of the object model to bekommen.Wie many are there know many of the necessary parts included for an early execution.
As my english is not very good, I will show you many pictures of the remodeling and construction show.
I wanted to replace the entire suspension and installing quite different as you know from Tamiya .
The first change to the lower hull rebuild the holder
Because I want to install a real working suspension, I copy the dimensions of the Tamiya part on 10x10 aluminum square. In this camp, the swing arms are guided play.
To drill much as you can see, but the result z�hlt.Diese type of thrust bearing I have ever made for a friend, so basically nothing new.
Again, I'm working on the premise that it is intended that all can be removed again and it should find use standard parts which can also be once again make later.
The rocker arms themselves must werden.Dazu accordingly rebuilt I have first sawed-drilled and used a steel axle.
As already mentioned, I turn to the storage of the arms and the rocker arms themselves.
In order to process the camp, I got myself a workpiece Done In what I can tighten the bearings
]
And so it looks to the sample also assembled, all I'm going to repeat it 15 times and then goes further.
to be continued
Regards,Guido
 05-15-2014, 03:21 AM
#2
Thread Starter
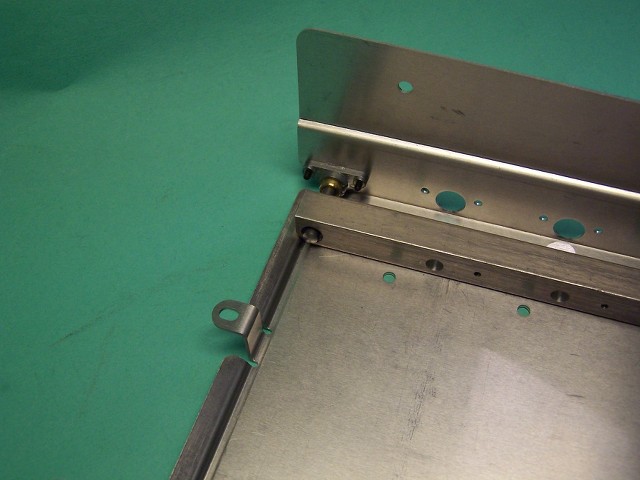
Now we continue with installation of manufactured parts......
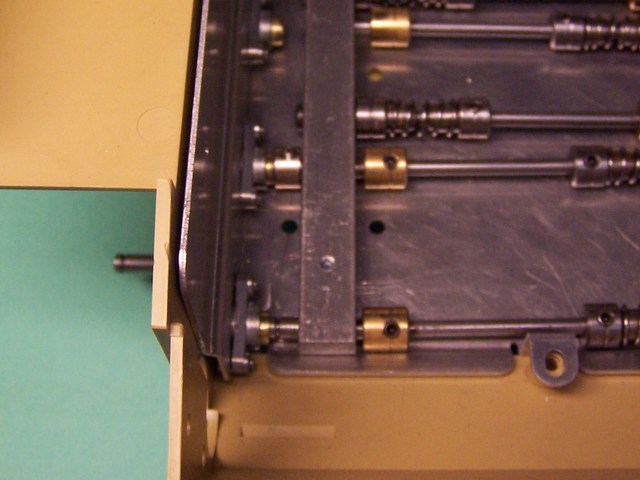
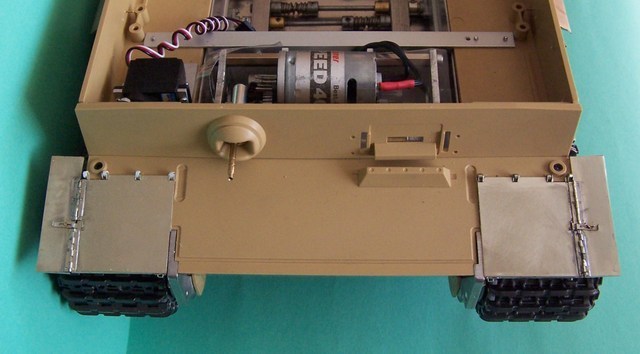
then made also a chain tensioner which you can set by maintenance hatches

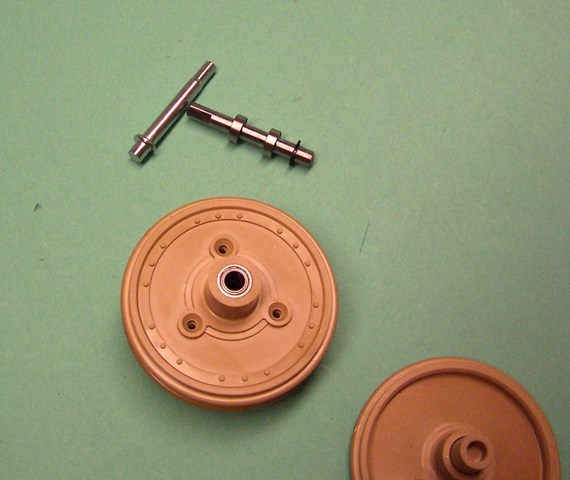
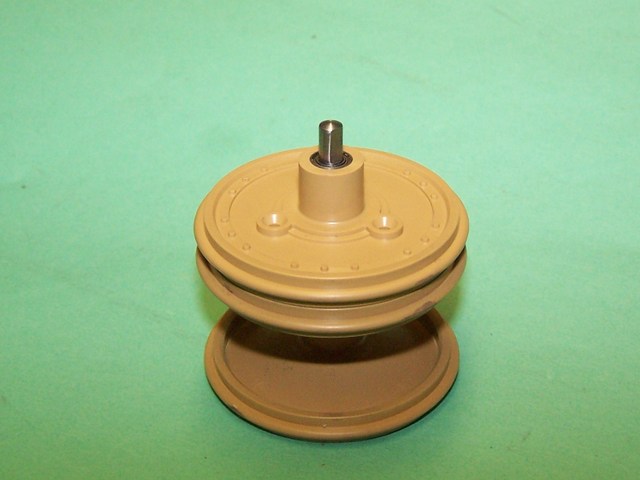
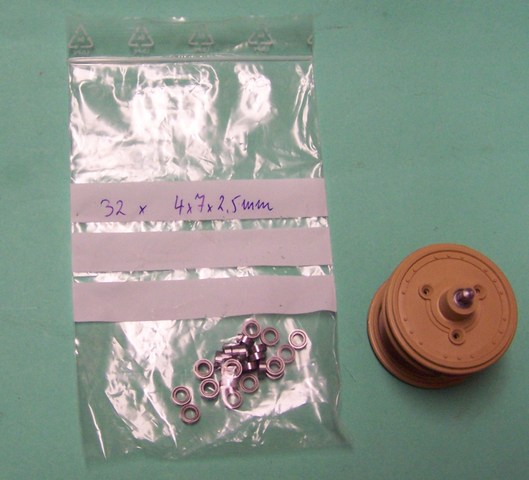
the wheels I have fitted with ball bearings.......
Part III will follow....
Regards,Guido
then made also a chain tensioner which you can set by maintenance hatches
the wheels I have fitted with ball bearings.......
Part III will follow....
Regards,Guido
05-15-2014, 03:23 AM
#3
Thread Starter
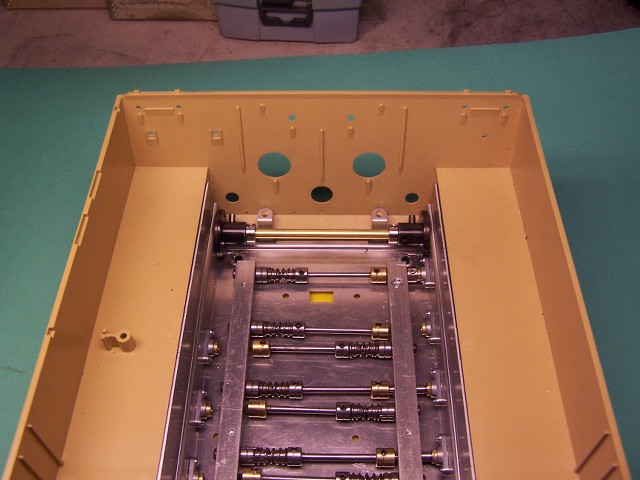
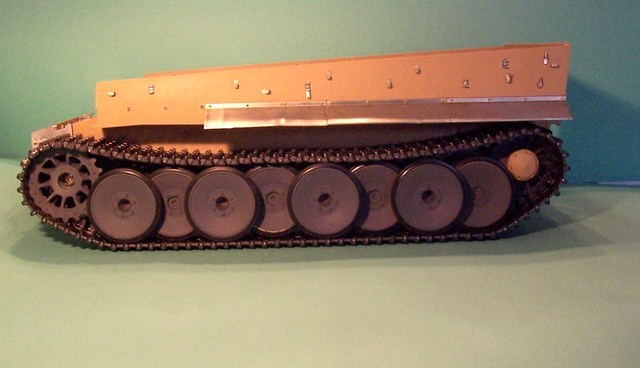
Now the suspension is completed and installed.
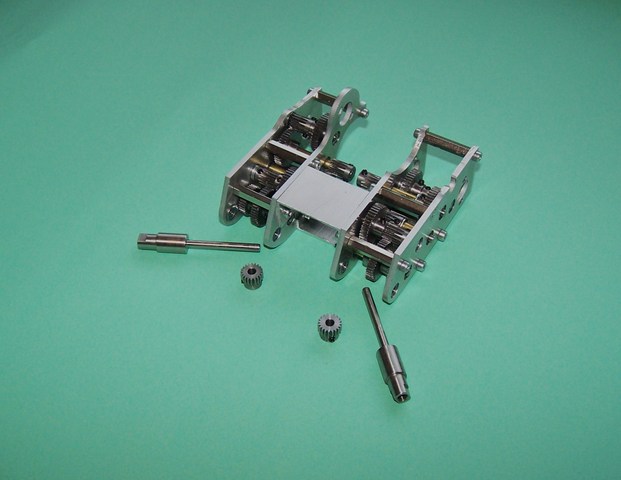
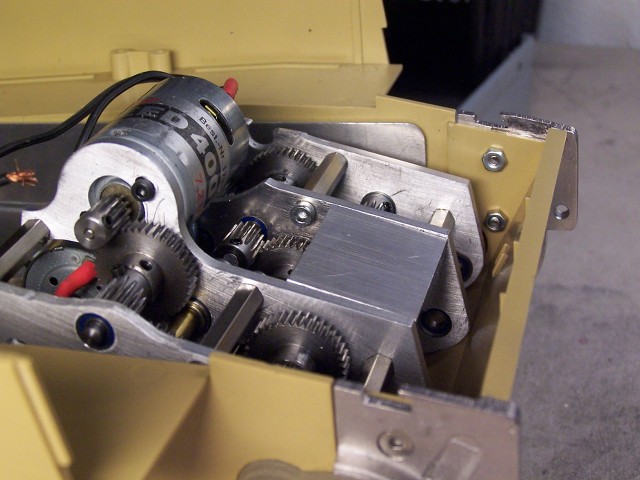
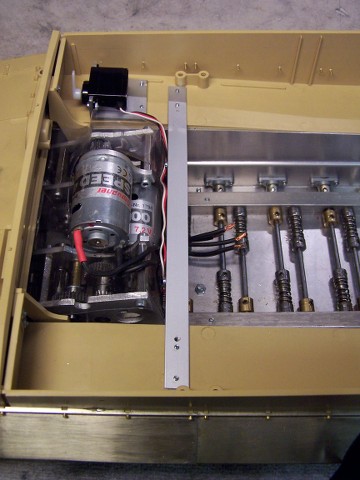
Time to install the gearbox.
I can buy a used Marcel-Rientjes last year
. It was not in good condition, so I have renewed all axes and of course a new output shaft inserted from my shop.
The two gearbox halves, I have bolted to box sections, so I have always clearly aligned gear,
the front pieces are build by Profesionalkits, currently sold Chris these parts.
Then I have installed by Marcel Rientjes the outriggers with ball bearings.
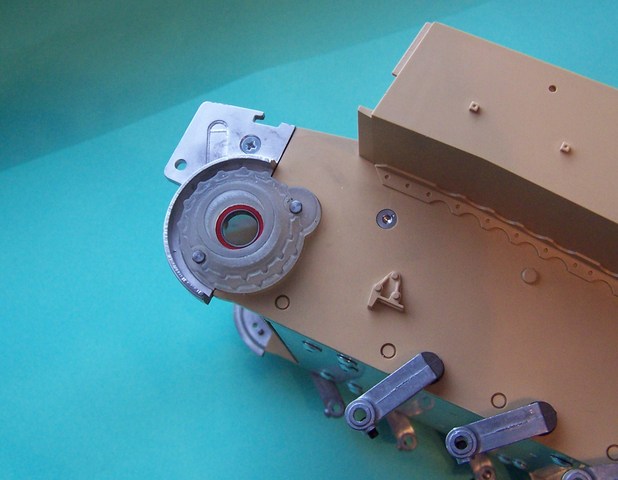
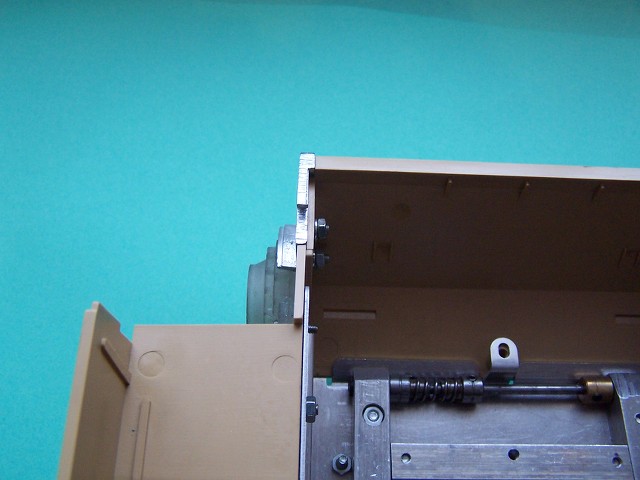
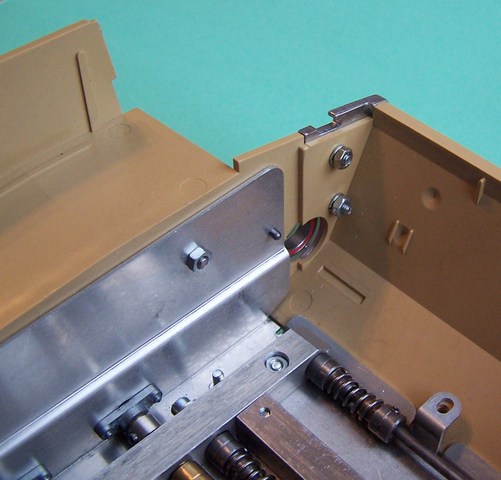
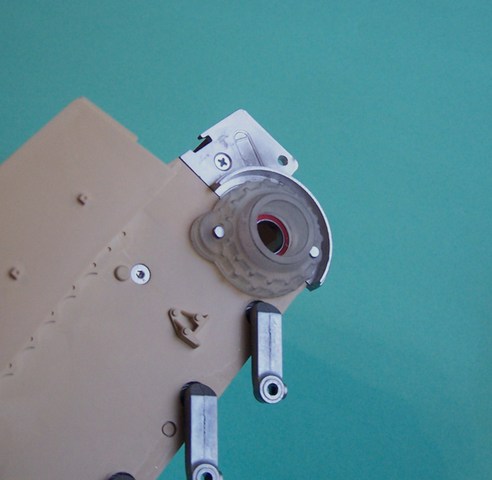
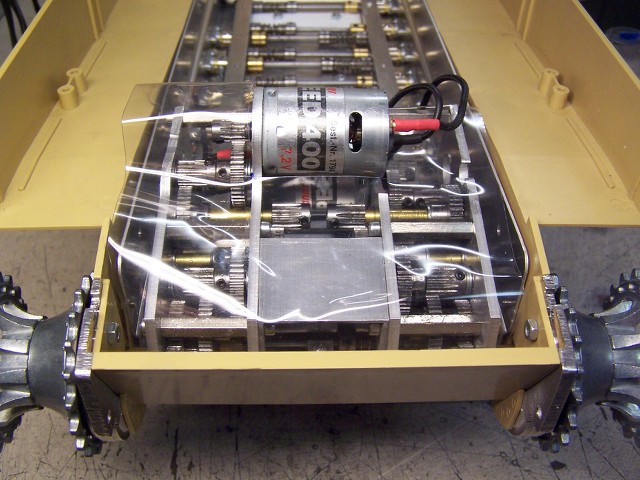
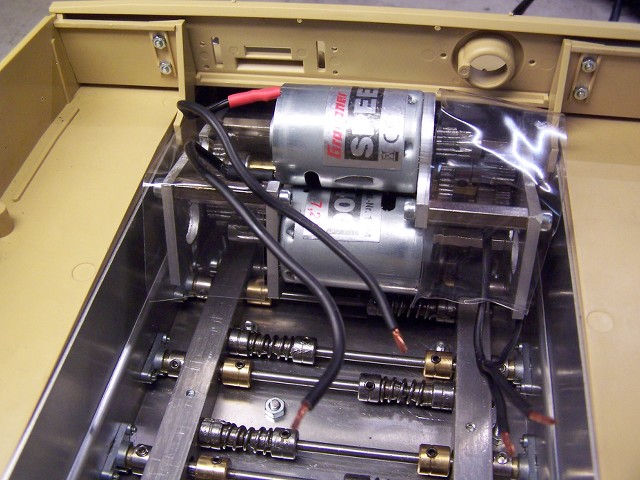
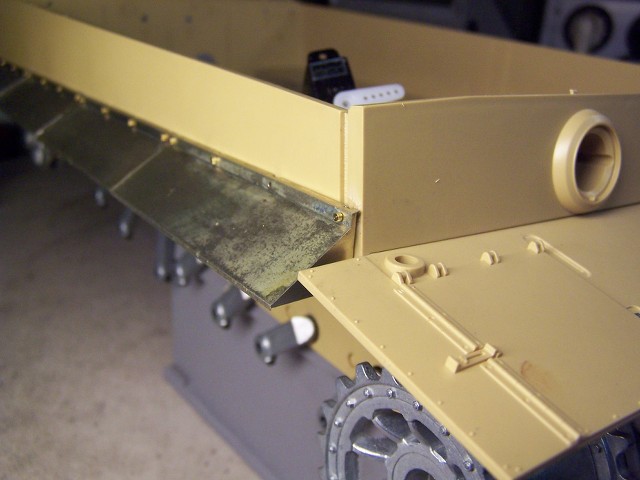
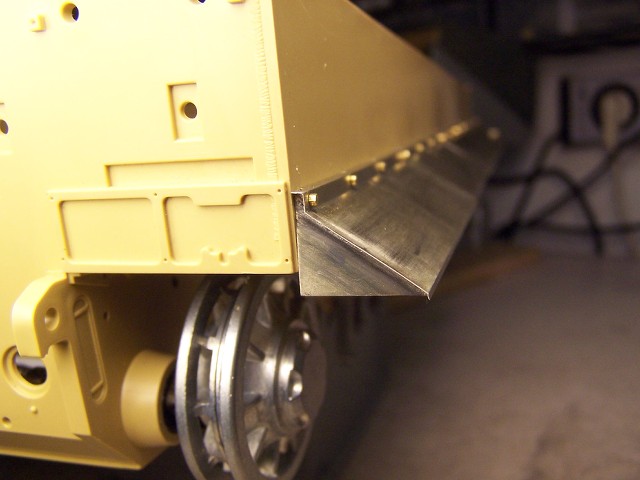
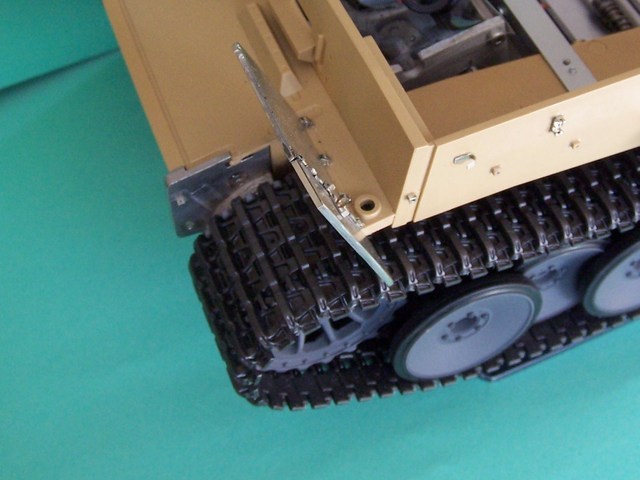
as a splash guard I have brought material of packaging with a hair dryer in the form.
the next Part will follow
Regards,Guido
Time to install the gearbox.
I can buy a used Marcel-Rientjes last year
. It was not in good condition, so I have renewed all axes and of course a new output shaft inserted from my shop.
The two gearbox halves, I have bolted to box sections, so I have always clearly aligned gear,
the front pieces are build by Profesionalkits, currently sold Chris these parts.
Then I have installed by Marcel Rientjes the outriggers with ball bearings.
as a splash guard I have brought material of packaging with a hair dryer in the form.
the next Part will follow
Regards,Guido
05-15-2014, 03:24 AM
#4
Thread Starter
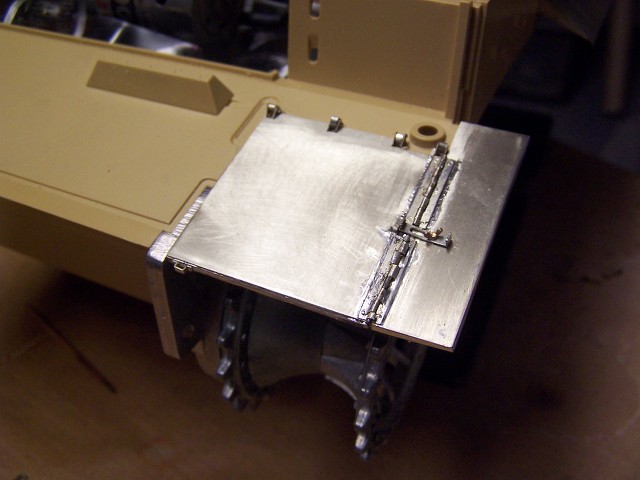
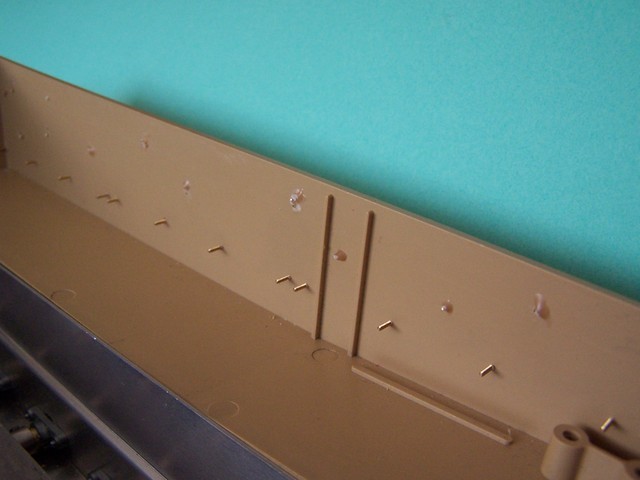
I begin with the construction of the Aber- etch parts on the Lowerhull........

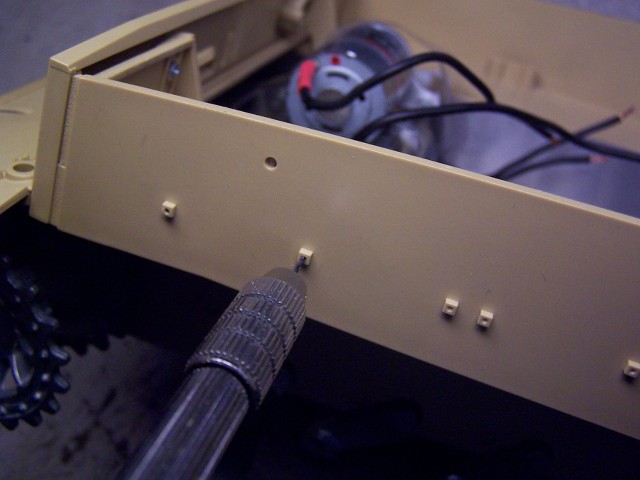
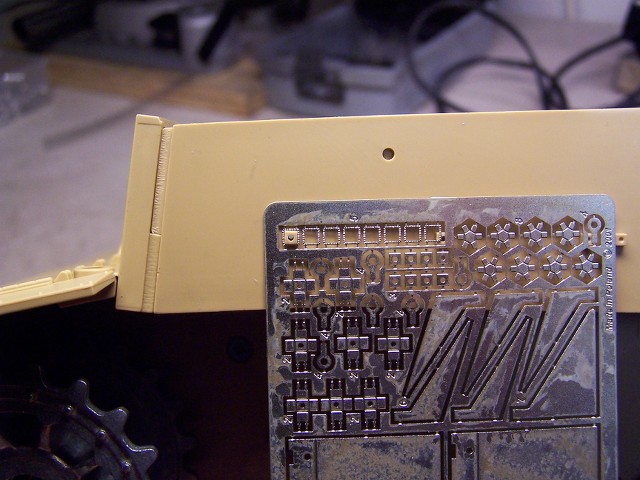
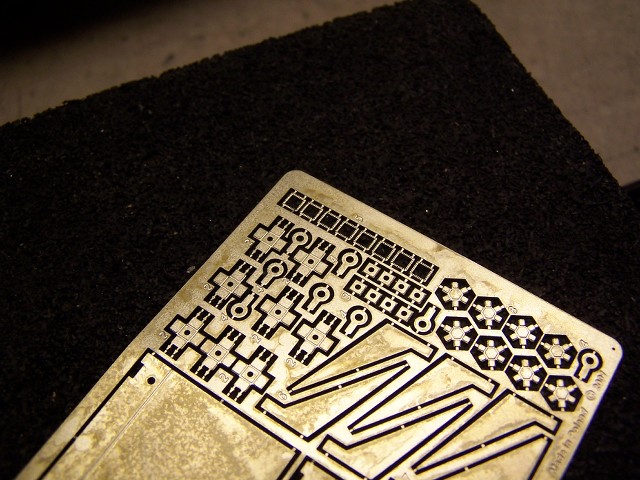

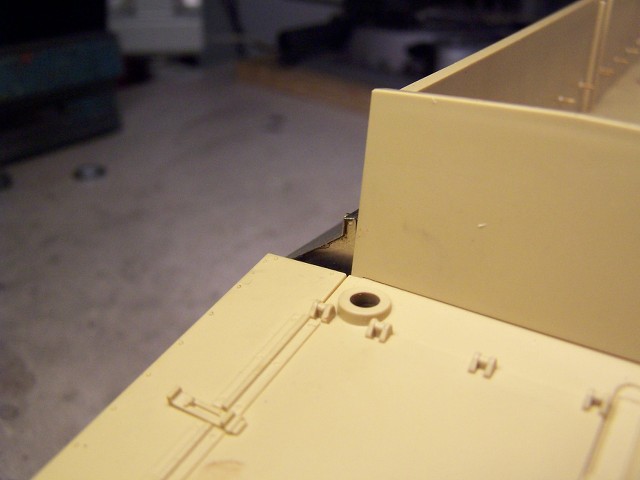
the work actually went very fast, the fenders will probably need a bit longer :{
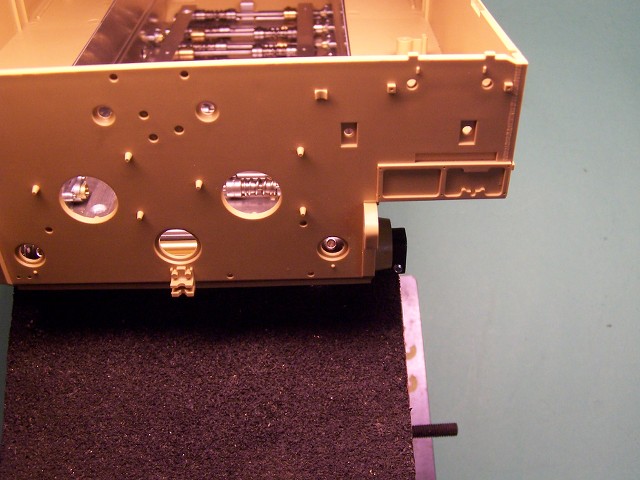
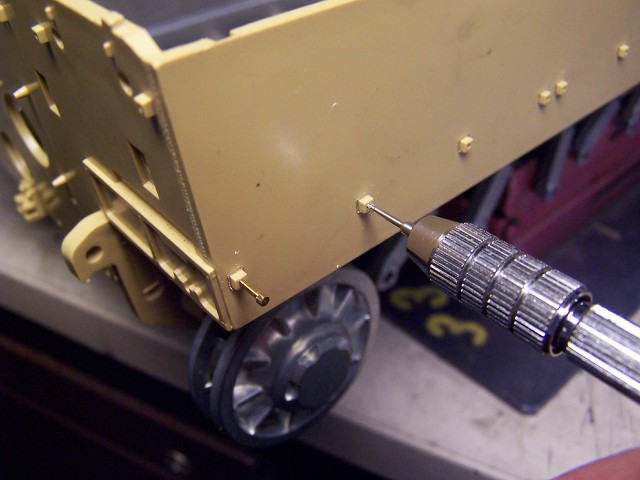
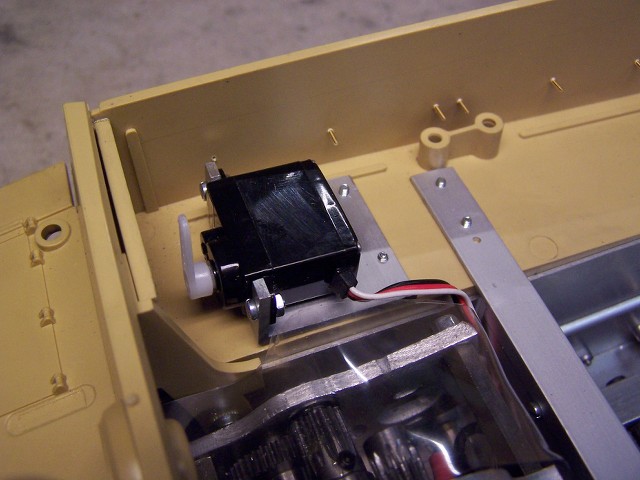
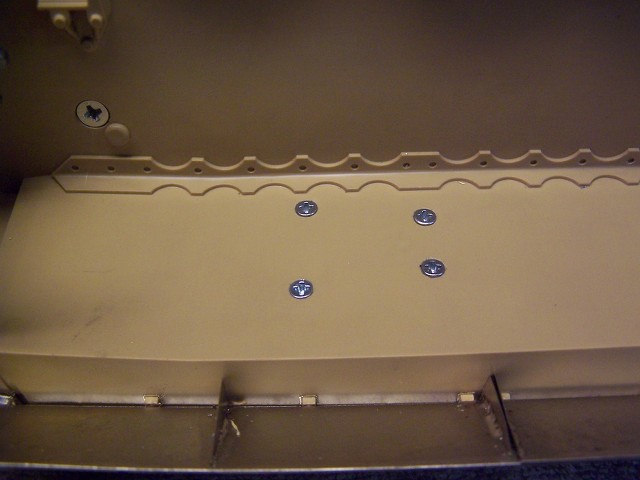
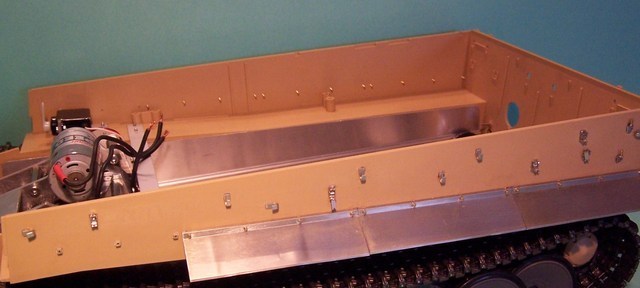
In the tub I have stably incorporated a servo in the meantime, and a further strengthening of aluminum.
Provided with threads and screwed from below.....
To be continued......
Regards,Guido
the work actually went very fast, the fenders will probably need a bit longer :{
In the tub I have stably incorporated a servo in the meantime, and a further strengthening of aluminum.
Provided with threads and screwed from below.....
To be continued......
Regards,Guido
05-15-2014, 03:26 AM
#5
Thread Starter
Hello,
but now on, here is the state of affairs has not been reached.......
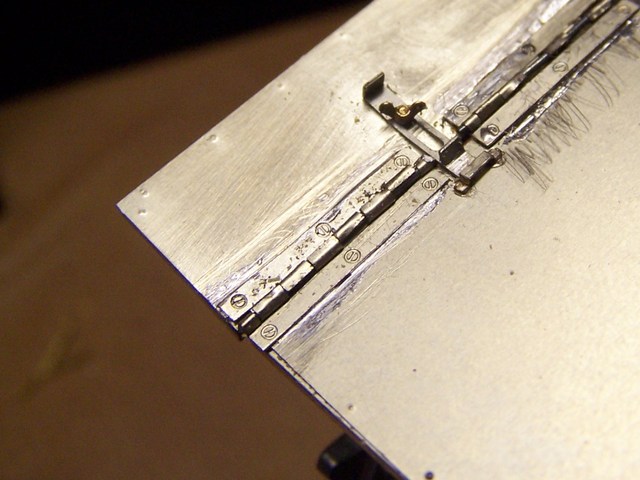
here i had build the two front fender from Aber,it is the wrong screw i know,but the right ones are coming these days i hope-
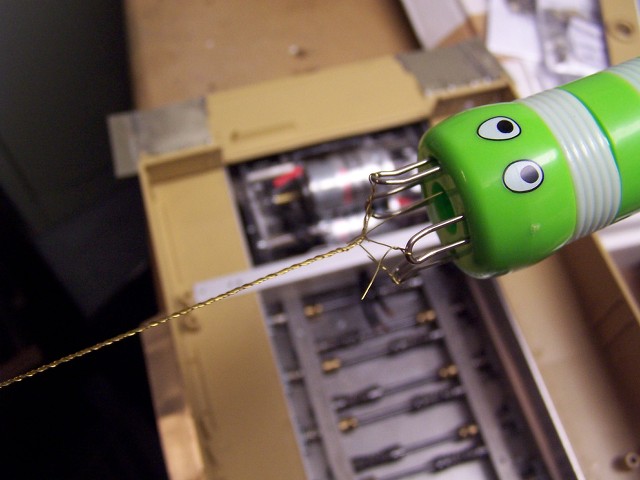
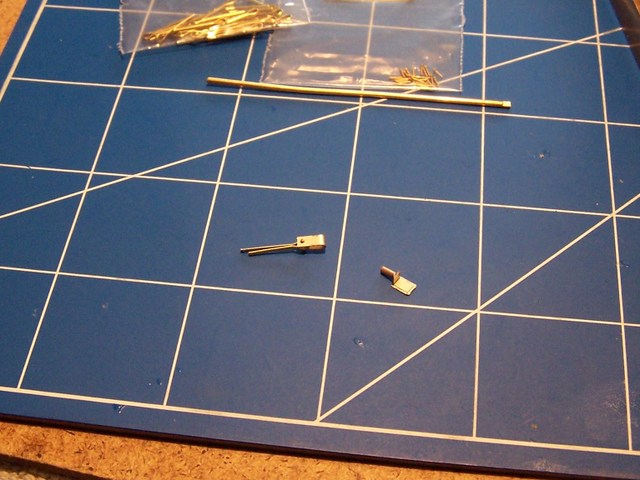
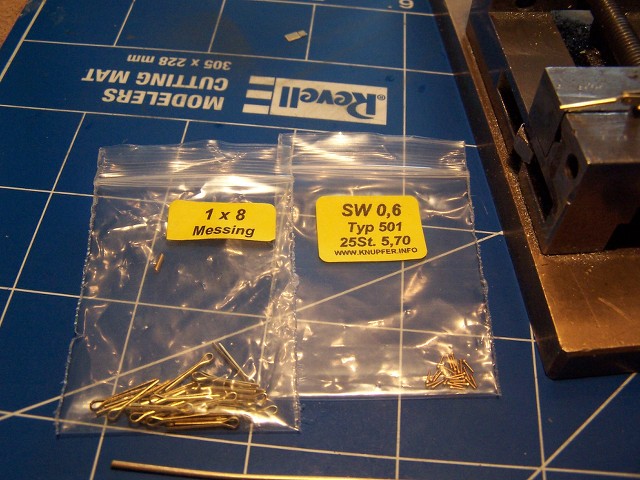
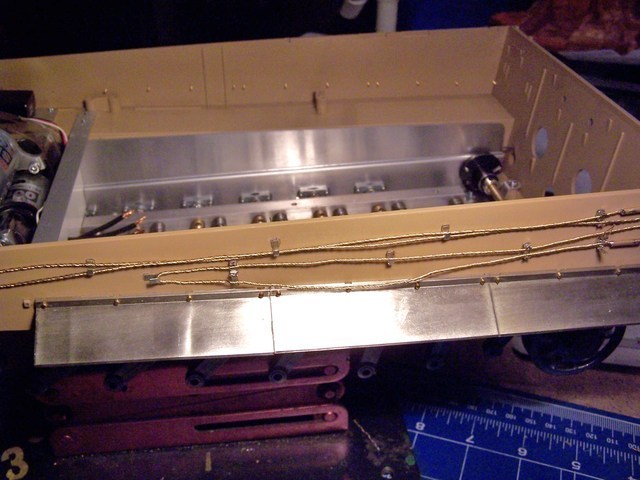
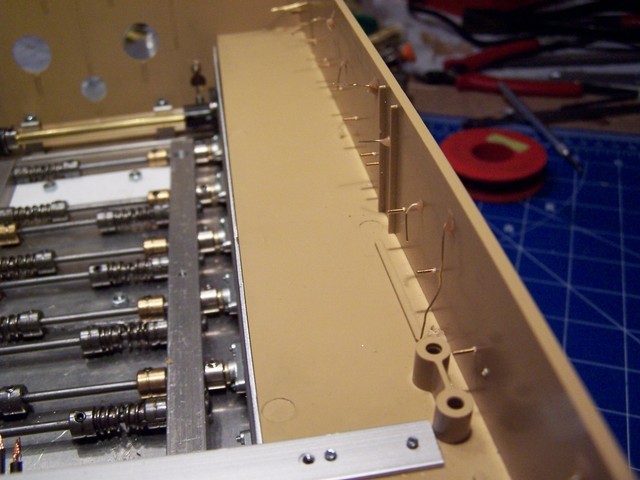
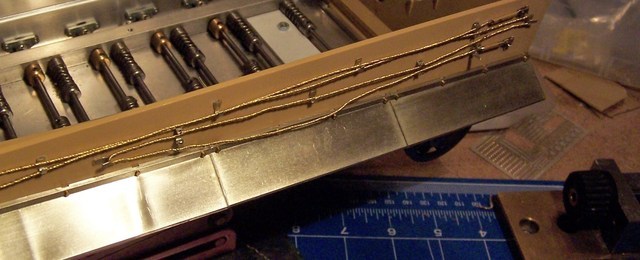
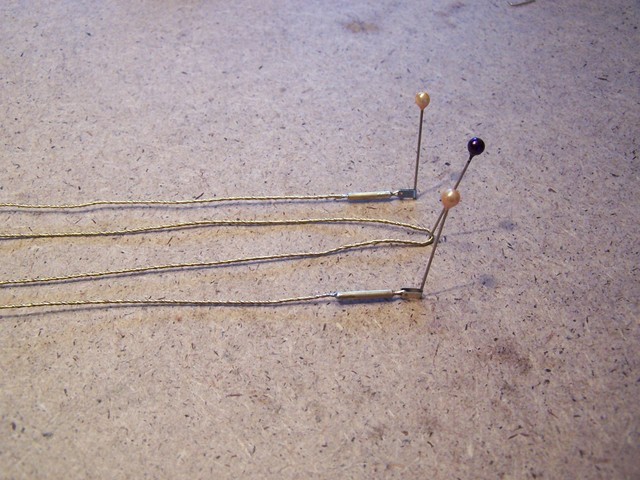
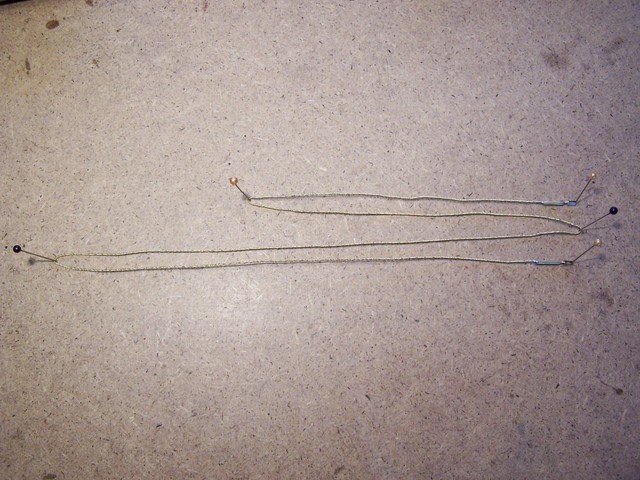
and here is my attempt to create ropes of brass wire
I have to put my wife something from her knitting equipment :S
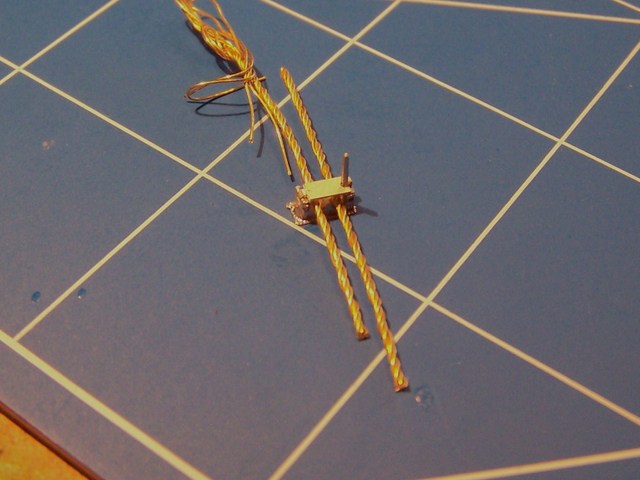
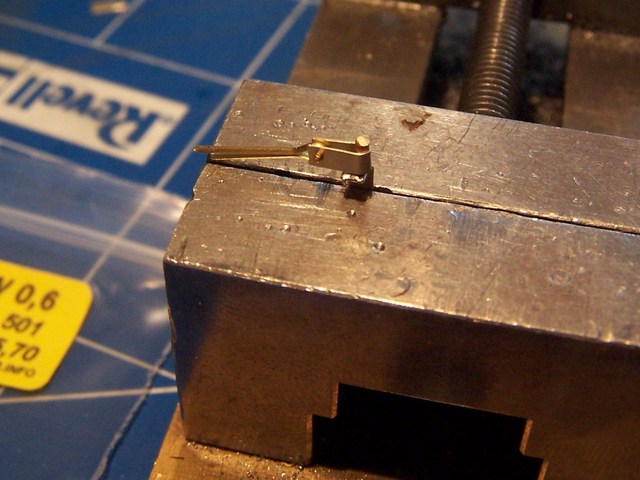
and here I start to built mounts for the cables.......
That's it for today, I will continue to report.......
Regards,Guido

but now on, here is the state of affairs has not been reached.......
here i had build the two front fender from Aber,it is the wrong screw i know,but the right ones are coming these days i hope-
and here is my attempt to create ropes of brass wire
I have to put my wife something from her knitting equipment :S
and here I start to built mounts for the cables.......
That's it for today, I will continue to report.......
Regards,Guido
05-15-2014, 03:29 AM
#6
Thread Starter
Hello,
at the time it goes on not fast.
A few things I've made.
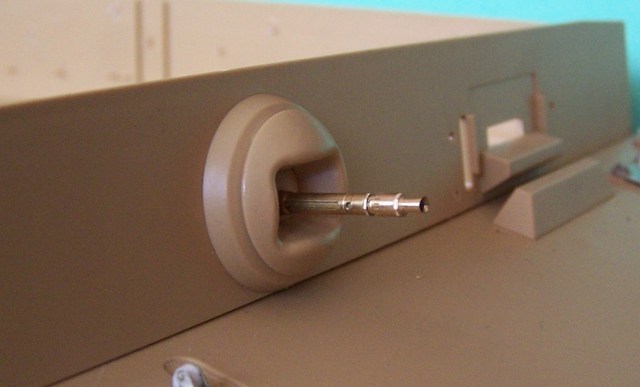
The rollers I have primed before assembling inside the movable MG is installed.
I have used the lighted MG from tank-model , it is very nicely detailed.
Here are a few pictures for you ....

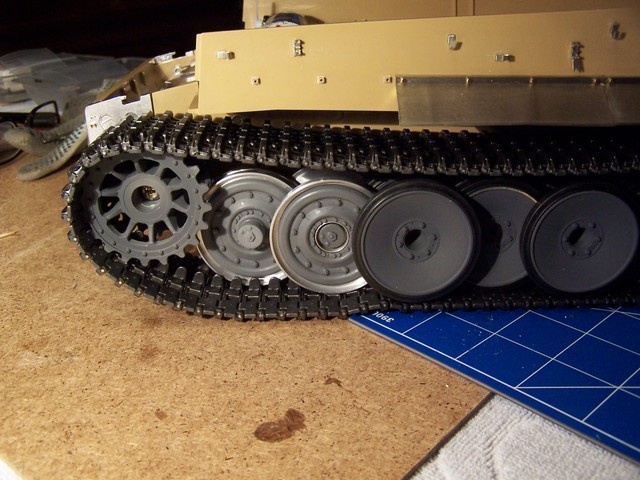
in the last photo you can see two late road wheels, I'm just doing this to build in a small series, these are my prototypes
to be continued
Regards,Guido

at the time it goes on not fast.
A few things I've made.
The rollers I have primed before assembling inside the movable MG is installed.
I have used the lighted MG from tank-model , it is very nicely detailed.
Here are a few pictures for you ....
in the last photo you can see two late road wheels, I'm just doing this to build in a small series, these are my prototypes
to be continued
Regards,Guido


 05-15-2014, 07:28 AM
#10
When you have the right tools anything is possible!!! Nice build. Like what you have done to improve the suspension.

