


Assult Sherman, Jumbo build

 12-13-2015, 07:13 AM
#27

Nah, an assault tank is an actual term. They are far too rare and difficult to obtain to make some knee jerk legislation, so they'd use a term like "assault vehicle" to ban Chevy's with camo paint and white Toyota's.
12-13-2015, 02:25 PM
#28

Thread Starter

So while setting up the IBU2 and testing it out, I sat it into the tank.
Printed PC board sitting in the bottom of the metal Sherman hull, I didn't think about it at first, but I applied power and smoked it. Short from an exposed pin on the IBU2 through the metal hull. After a few minutes of cussing, I figured out that it was the glass fuse that smoked.
So now the problem is its an oddball short size 16 amp fuse. Everybody I show it to says not a standard size, go look on the internet.
Im kinda pissed now. I bet this glass fuse is only used in Europe since its made in Italy. The largest size in that length of fuse I can find is 6 amp, and stock is 16, I might remove the fuse and hard wire an automotive fuse holder to use the two spade fuses.
Any way, big set back...
Any body else with an IBU, beware, don't blow that damn fuse or your screwed short term.
12-13-2015, 02:46 PM
#29
During my working life I discovered that a blown fuse could be temporarily be replaced with a brass screw, paper clip or safety pin without damage. ...... most of the time. 
rex
rex
12-13-2015, 06:13 PM
#30
Thread Starter
So my saga gets worse. I was running my gear boxes on a power supply with some lapping compound to break them in when I noticed the left track gear box was all sloppy. The steel mato box suffered from gears slopping side to side and a slight wobble. I decided to take it apart and clean it all up. Then I found one more thing, the final drive gear on the sprocket shaft, was wobbling side to side on the shaft, and the set screw was suck firm. I heated up the drive gear trying to get the set screw out but I assume it was boogered on the inside. So I drilled it out, yeah, only solution. Im now faced with trying to figure what friggin size metric tap it is to fix it and buy another. I will hit the model train store, they have this kind of stuff usually.
I should have just told mato this box was fubar and demanded they send me another, which I might still need to buy, if I cant get it fixed.
The last few days have taken a detour on this whole project with the shorted fuse and this gear box issue.
Right track gear box is nice, smooth and not very noisy after some break in.
12-13-2015, 07:24 PM
#31
Very frustrating for sure. Take a breathe, then a sip, and get your act back together. We've seen you do it before. Got a pic of the fuse?
Elmod uses some fuses as well but not thinking 16 amp rating.
Elmod uses some fuses as well but not thinking 16 amp rating.
Last edited by TheBennyB; 12-13-2015 at 07:27 PM.
12-13-2015, 10:06 PM
#32
Thread Starter
Ok guys so here is where we start, I pulled the motor and pinion gear. I have already disassembled the gear box and put some brass washers as shims in between the gears. As you can see the final drive gear is crooked with its set screw compared to the colar set screw. That drive gear is loose and the set screw is jammed fast. I tore the whole thing apart and drilled out the set screw and retapped it 4-40 as I have lots of those.

So here I have a 4-40 screw in place in the final drive gear and all the brass washers in place, one on each shaft. Then I fit a Tamiya 380 motor to see if it would run faster. It doesn't so I guess the stock mato motors are 380s even though they are not labeled.
The gear box still sucks. The side play is still too loose as I don't have anything thinner to use as shims or thrust washers so when you watch it run the gears still chatter really bad and they are loud, louder than the right track gear box.
For now I will just install it and get back to other things.
12-14-2015, 09:41 AM
#33
Looks like you found something that works. I have a set of these and I'm considering a set of UHMW washers to quiet things a little bit. They are noisy, but the best application that I've found for my PzIV. The gears and collars are held in place by M3 grub screws. I dropped one and had to replace it.
Sorry, didn't see this post until now, or I would have passed the screw size earlier.
Sorry, didn't see this post until now, or I would have passed the screw size earlier.
12-15-2015, 10:49 PM
#34
Thread Starter
So I got the correct glass fuse for the IBU at an electronics store. I had to order it so I got a few.
Plugged it in and... nothing. I referred to the manual and realized there is a super tiny 2amp fuse called serry fuse. I pulled it with tweezers and ohmed it out, its toast. I am now sourcing this little thing.
So moral of the story, insulate the back of these PC board controllers that are exposed, especially if you have a metal hulled tank. This is basically setting me back at least a week or more.
I
12-16-2015, 04:54 AM
#35
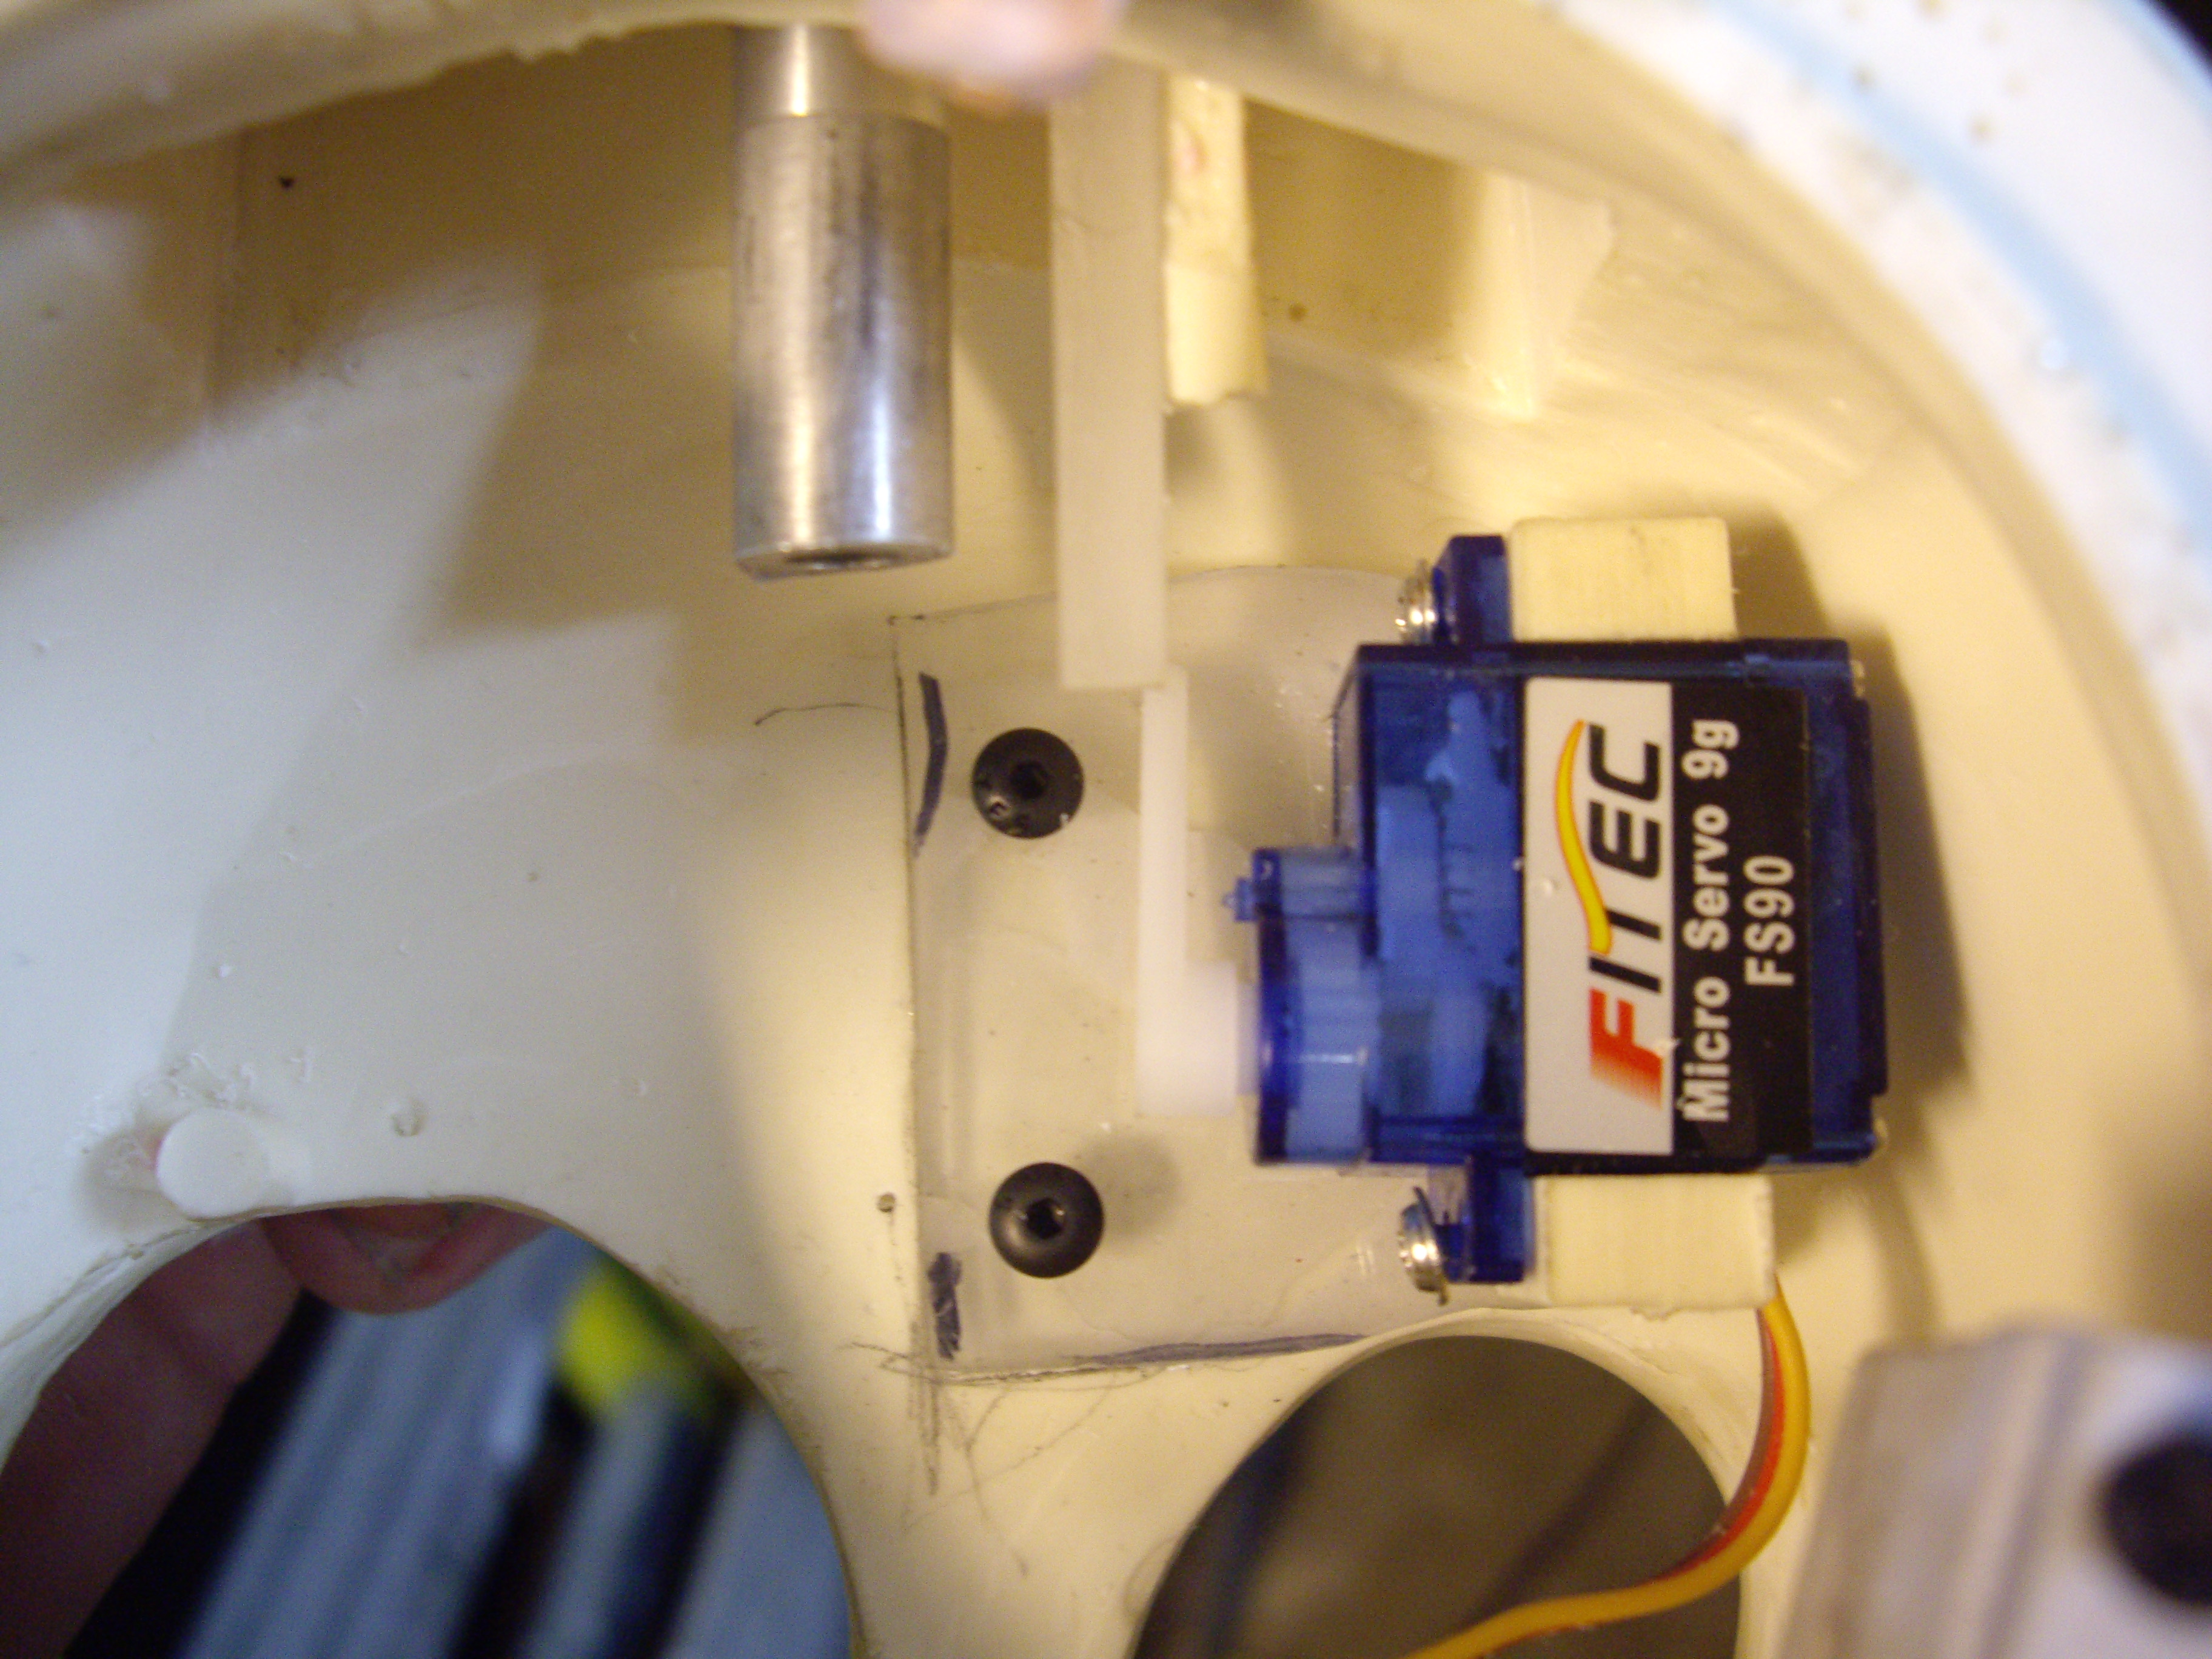
Ive been working slowly. I got the elevation servo bracket fabbed and installed but haven't hooked the servo arm to the barrel carriage yet. I still have to make the recoil servo mount too.
Then I focused on the tranny cover, I felt the nick urethane one was too thin compared to my photos, also the bolt bar was too low after I made the tranny cover fit the metal mato hull so I had to file down the urethane cast on bolt bar and glue a Tamiya over it. Then I began building up the thickness with bondo and got some texture in it too. I might sand it a little more but I am super happy with the results.


Then I focused on the tranny cover, I felt the nick urethane one was too thin compared to my photos, also the bolt bar was too low after I made the tranny cover fit the metal mato hull so I had to file down the urethane cast on bolt bar and glue a Tamiya over it. Then I began building up the thickness with bondo and got some texture in it too. I might sand it a little more but I am super happy with the results.
Wow! This is looking really REALLY good!

Nothing like a Sherman build.
Jeff
12-16-2015, 07:26 AM
#36
Senior Member

Join Date: Nov 2006
Location: Grande Prairie,
AB, CANADA
Posts: 8,976
Likes: 0
Received 4 Likes
on
4 Posts
So I got the correct glass fuse for the IBU at an electronics store. I had to order it so I got a few.
Plugged it in and... nothing. I referred to the manual and realized there is a super tiny 2amp fuse called serry fuse. I pulled it with tweezers and ohmed it out, its toast. I am now sourcing this little thing.
So moral of the story, insulate the back of these PC board controllers that are exposed, especially if you have a metal hulled tank. This is basically setting me back at least a week or more.
I
Plugged it in and... nothing. I referred to the manual and realized there is a super tiny 2amp fuse called serry fuse. I pulled it with tweezers and ohmed it out, its toast. I am now sourcing this little thing.
So moral of the story, insulate the back of these PC board controllers that are exposed, especially if you have a metal hulled tank. This is basically setting me back at least a week or more.
I
When you find a source for the fuse let me know. I have an IBU2 out of commission for the same thing.
Cheers
12-16-2015, 07:42 AM
#37
Thread Starter
Yeah, I was thinking after I smoked it, why didn't it have foam backing like a BARC. Ok I will go look for that stuff. One drawback to the IBU2 is there is one huge square something on the bottom in one spot so its not flat. I will likely have to cut that square out of the foam layer and inset it, then put another foam layer over it. I got to test the IBU2 once, just for a few minutes doing the IR and sound before I moved it into the tank chassis. It sound good but no where near the barc/bendini. And playing music when it restarts is funny. Its default is the Army Song. I may try to change that.
12-16-2015, 01:16 PM
#38
Senior Member
Join Date: Nov 2006
Location: Grande Prairie,
AB, CANADA
Posts: 8,976
Likes: 0
Received 4 Likes
on
4 Posts
Yeah, I was thinking after I smoked it, why didn't it have foam backing like a BARC. Ok I will go look for that stuff. One drawback to the IBU2 is there is one huge square something on the bottom in one spot so its not flat. I will likely have to cut that square out of the foam layer and inset it, then put another foam layer over it. I got to test the IBU2 once, just for a few minutes doing the IR and sound before I moved it into the tank chassis. It sound good but no where near the barc/bendini. And playing music when it restarts is funny. Its default is the Army Song. I may try to change that.
I welcome comparisons to the BARC/TBS. if someone finds something they like better, or works better for them then I would encourage them to go with it. Remember the BARC thing was something I had built for myself so I could fully utilize the TBS. I could never supply a large quantity of these things, and only offered them when nothing else was available. Since that time there has been an explosion of options. All I really care about is that the truth is being sold to people. For my ears nothing I have tried sounds as good, and the BARC/TBS is solid electrically. A little quirky on a weak battery, and the BARC4 is a little sensitive as the data point triggers had to be made tighter for the other options,( The BARC 3 does not have these issue), but at the end of the day I have always been able to find solutions for the combo that work. You know first hand how it works, and the way I am prepared to support it. Is it perfect, no, but neither are any of the other units out there either. As far as programming it and making sound files nothing is as easy. Once you understand the BARC, ongoing use is really simple. At the end of the day I believe you need to pick something that works for you and stay with, it. Having multiple tanks with multiple systems, and radios must be a pain to manage. For me I put away the Spektrum radio, and have pulled all other systems. I use the T6A and BARC on everything. Each tank is set up the same, and I am not trying to remember 4 different programming nuances for each system I might be running. I have one Clark left in one tank and it is teamed up with the TBS so it sounds good One day it will be pulled as well.
I am waiting for the IBU3 and the TK 60 to be released to see what the street price actually is. I may give these a try, as long as you don't have to go through an 80 page manual.. The BARC has been developed as far as it can from the platform it is on. In its current form nothing touches the TBS on sound, but if the IBU3 and TK60 actually deliver on the promise of matching the TBS sound structure, I will be the first to congratulate them. Both Ivano and Clark are very aware of the TBS, and the TBS has been around for a decade. It is only a matter of time before someone challenges it.
12-16-2015, 02:32 PM
#39
Thread Starter
In the testing I have done of the IBU2 the function seems good, and the sound is good, just not awesome like the bendini.
If the guy that bought my HL M4A3 76 with the mato turret doesn't like the barc/benini I will gladly swap it back and put an IBU2 in it.
If the guy that bought my HL M4A3 76 with the mato turret doesn't like the barc/benini I will gladly swap it back and put an IBU2 in it.
12-24-2015, 10:52 PM
#40
Thread Starter
I think I am about done with this tank.... for a while.
Frustration and dissatisfaction have set in and I am not having fun working on it any more.
I was working on the elevation arm/recoil servo mount and I slipped and dropped the mantle on the floor. The urethane mantle snapped and a whole corner disappeared. I was not able to find the broken part after several hours of searching for it. So I tossed all the parts into the hull sat the top on it and tossed it onto the shelf.
Add to this, the gear box issues that mato provides, and the rotation system I engineered that I am not happy with, I am just kind of over this tank for now.
Yes I bought a replacement mantle from Nick for the next time he is casting those. It will give me some time to cool off and finish the HL/Mato M4a3 76 I owe a buddy, it needs weathering and pioneer equipment etc. I can also do some more stowage on Katy Cat and swap out the motors in California Girl, the HL chassis I got 380s for to speed it up.
On the up side, My wife got me 3 Taigen US figures for my Shermans. More troops!
12-25-2015, 10:48 PM
#41
Thread Starter
Ok, so here is a minor Christmas miracle. Today I found the broken off missing part.... out in the driveway, which was under my wifes car, but she was away at work. Yes she works on Christmas. Her car was parked and the garage door was open when I dropped the mantle and broke the part off and it flew past me, and outside a good 20 feet and under my wifes car almost all the way front to back. Talk about odd.
Any way, I got the part back undamaged.
Any way, I got the part back undamaged.
12-26-2015, 04:35 AM
#42
Hang in there and don't let a set back slow you down... it's all part of modeling and RCing.
Having 2 or more projects going at one time is a good tactic so the work continues!
Jeff
Having 2 or more projects going at one time is a good tactic so the work continues!
Jeff
12-26-2015, 03:19 PM
#44
Thread Starter
I spent a good portion of the day trying to make a nice dark OD that I like. I still am not happy with any color right out of the bottle, though testors dark green out of the small spray can is close but still too green... I have a nice sample of US 24087 that I set out in the sun and was mixing colors spraying them on spare hulls and turrets and such trying to get a match. The Tamiya OD is way to green, the testors OD isn't even close, a very light olive drab, I mixed several different testors greens and got sort of close with green drab and medium field green but still not what I want.
I think I will just go back to basics and try a real OD mixture. Black and Ochre, or whatever mustard type color I can find.
I think I will just go back to basics and try a real OD mixture. Black and Ochre, or whatever mustard type color I can find.
12-26-2015, 04:31 PM
#45

Join Date: Oct 2014
Location: Roseville, CA
Posts: 888
Likes: 0
Received 0 Likes
on
0 Posts
So while setting up the IBU2 and testing it out, I sat it into the tank.
Printed PC board sitting in the bottom of the metal Sherman hull, I didn't think about it at first, but I applied power and smoked it. Short from an exposed pin on the IBU2 through the metal hull. After a few minutes of cussing, I figured out that it was the glass fuse that smoked.
So now the problem is its an oddball short size 16 amp fuse. Everybody I show it to says not a standard size, go look on the internet.
Im kinda pissed now. I bet this glass fuse is only used in Europe since its made in Italy. The largest size in that length of fuse I can find is 6 amp, and stock is 16, I might remove the fuse and hard wire an automotive fuse holder to use the two spade fuses.
Any way, big set back...
Any body else with an IBU, beware, don't blow that damn fuse or your screwed short term.
Printed PC board sitting in the bottom of the metal Sherman hull, I didn't think about it at first, but I applied power and smoked it. Short from an exposed pin on the IBU2 through the metal hull. After a few minutes of cussing, I figured out that it was the glass fuse that smoked.
So now the problem is its an oddball short size 16 amp fuse. Everybody I show it to says not a standard size, go look on the internet.
Im kinda pissed now. I bet this glass fuse is only used in Europe since its made in Italy. The largest size in that length of fuse I can find is 6 amp, and stock is 16, I might remove the fuse and hard wire an automotive fuse holder to use the two spade fuses.
Any way, big set back...
Any body else with an IBU, beware, don't blow that damn fuse or your screwed short term.
Choose your languageSelect Language
- |
- |
- Help
- |
Live Support- |
???SEARCH_CATALOG???All Categories
All Categories Automation & Process Control Batteries & Chargers Cable, Wire & Cable Assemblies Chemicals & Adhesives Circuit Protection Connectors Crystals & Oscillators Development Boards & Evaluation Kits Electrical Enclosures, Racks & Cabinets Fans, Heat Sinks & HVAC Fasteners & Mechanical Lighting Products Office, Computer & Networking Products Optoelectronics & Displays Passive Components Power & Line Protection Security & Audio Visual Semiconductors - Discretes Semiconductors - ICs Semiconductors - Modules Sensors & Transducers Software & Debugger Tools Static Control, Site Safety & Clean Room Products Switches & Relays Test & Measurement Tools & Production Supplies Transformers
Keyword / Part #
- Applications
- Services / Production
- Design Resources
- Buying / Parts List Tools
- element14 community
- eQuote 1 800 463 9275 |
[h=1]SCHURTER 0034.1526 FUSE, CARTRIDGE, 10A, 5X20MM, FAST ACTING[/h]★★★★★ Write A Review . This action will open a modal dialog.
Ask A Question
Add to Favorites
Spotted an Error?
Print Page

Click to zoom
Image is for illustrative purposes only. Please refer to product description.
- Manufacturer: SCHURTER
- Newark Part No.: 94B4339
- Manufacturer Part No 0034.1526
[h=2]Product Overview[/h][HR][/HR]The 0034.1526 is a FSF-series 10A 250VAC fast acting cartridge Non-resettable Fuse with glass tube and nickel-plated copper alloy endcaps, 5 x 20mm miniature fuse, quick-acting F characteristic, this is an IEC standard fuse. Meets IEC 60127-2/2, UL248-14 and CSA C22.2 #248.14 standards.
- 130mV Maximum voltage drop
- 4000mW Maximum power dissipation
- -55 to 125�C Ambient air temperature range
[h=3]Applications[/h]Safety
[h=3]Product Range[/h]FSF Series
Back to top[h=2]Product Specifications, Documents & More[/h]
- Blow Characteristic: Fast Acting
- Breaking Capacity: 100A @ 250V AC
- Breaking Capacity Current AC: 100A
- Fuse Current: 10A
- Fuse Size Imperial: 0.2" x 0.79"
- Fuse Size Metric: 5mm x 20mm
- Product Range: FSF Series
- SVHC: No SVHC (15-Jun-2015)
- Voltage Rating VAC: 250V
Find similar products grouped by common attribute
View this product in our online catalog
This product also features on the following pages and catalog editions:
- 131/1434
- 132/1444
[h=3]Availability[/h]
Availability: 4,050
- 4,050 in stock for same day shipping
Check stock and lead times
Price for: Each 1
Minimum order quantity: 1
Order multiple quantity: 1
Price: $0.208
Quantity
Buy
[h=3]Price[/h]
[TABLE="class: tableProductDetailPrice pricing"]
[TR="bgcolor: transparent"]
[TH="class: threeColTh"]Quantity[/TH]
[TH="class: threeColTh"]List Price[/TH]
[/TR]
[TR="bgcolor: transparent"]
[TD="class: qty, bgcolor: transparent"]1 - 9[/TD]
[TD="class: threeColTd, bgcolor: transparent"]$0.208[/TD]
[/TR]
[TR="bgcolor: transparent"]
[TD="class: qty, bgcolor: transparent"]10 - 24[/TD]
[TD="class: threeColTd, bgcolor: transparent"]$0.20[/TD]
[/TR]
[TR="bgcolor: transparent"]
[TD="class: qty, bgcolor: transparent"]25+[/TD]
[TD="class: threeColTd, bgcolor: transparent"]$0.19[/TD]
[/TR]
[/TABLE]
Looking for larger Quantities?
Submit a request to our quote specialists
Back to top
01-12-2016, 06:03 PM
#46
Thread Starter
So I finally got all the guts together to make the mechanicals work inside. Im not thrilled at my fabrication work on this tank but it all works smoothly so I must have done it right.
I hate how slow the tank is. It has the mato 4.0 steel gear boxes with ball bearings and supposedly 380 motors.
Any ideas how to speed it up?
https://www.youtube.com/watch?v=O6CTXitMhmg
I hate how slow the tank is. It has the mato 4.0 steel gear boxes with ball bearings and supposedly 380 motors.
Any ideas how to speed it up?
https://www.youtube.com/watch?v=O6CTXitMhmg
01-13-2016, 07:10 AM
#47
Where's your final output shaft gear located? On the outer or inner gear? Believe you can slide that final gear to get a different ratio, you may want to take the shaft out and grind a flat spot as well. Could try a larger pinion but it already looks to be pretty big. Also if you try the bigger pinion route you'll have to window the motor mount holes and motor collar hole since you're changing angle of attack with a larger pinion.
Jumbo was pretty slow to begin with so you could do a 25' speed trial. Should be around 12.40 seconds for 22mph.
Jumbo was pretty slow to begin with so you could do a 25' speed trial. Should be around 12.40 seconds for 22mph.
Last edited by TheBennyB; 01-13-2016 at 07:16 AM.
01-13-2016, 07:29 AM
#48
Thread Starter
Photos of my gear boxes are up at the top of page two of this thread. Looking them over, I think I could move the final gear over and bypass a few gears. I wonder what that would do to the speed ratio...
01-21-2016, 11:59 PM
#50
Thread Starter
Ok, so I have been working on the details to the overall tank and screwing around with the gear boxes.
So far, I had to drill out the very short metric mounting holes in the hull because they were so short the stripped out, I knew it was going to happen eventually taking the gear boxes in and out so much. I drilled and tapped them for 4-40 and used nice long screws to secure them.
As for the gear boxes, one pinion came loose off the motor, and ofcourse the set screw is jammed in and ruined two allen wrenches trying to get it out. So I drilled it out and put a 4-40 set screw in and ground a flat spot on the motor shaft.
I also decided to try again to slide the final drive gear over and speed them up. After lots and lots of work and wasted time, I was successful at moving the final gear and eliminating a few gears. The results took the ratio from 69:1 down to 10:1 which was as fast as my old DMD Sherman gear boxes, pre the ones that are out right now. IT was really fast. But, had no torque so on the dirt it could barely turn. I think it was actually overloading the IBU2 and it would stall out and die, then come back after a few minutes and the motors were very hot. I moved the gear setting back to 69:1.
I ordered taigen 3.1 gear boxes which I think are 39:1 so we will see. I just have to drill them to fit the mato metal hull.
Last edited by RichJohnson; 01-22-2016 at 12:04 AM.

