


M32 Build
 04-08-2021, 09:20 AM
#76

Thread Starter

Ok, I am done with the front and rear now. Except for the front towing bracket which I will install after painting but still need to fabricate it. Not sure why I’m putting it off... in other tin bits I got the sample working pintle the other day, man it’s cool. I sent some revisions to the gent making it and it will be available on shapeways probably as it is a direct insert for the Torro halftrack.
slowly getting there.

slowly getting there.
 04-15-2021, 11:28 AM
#77
Thread Starter
Well I have run into a problem with the 3 piece differential housing. It was made to fit a henglong so I had to heat it up and warp it to make it fit the taigen chassis but it really did not. All that work and over time it just would not fit right and then after more detail was added the hull just wouldn’t sit down on it all the way.
it’s always been warped with a depression in the center and the edges curved up and it bugged me more and more. The whole thing was askew a little sideways too. Y’all probably couldn’t tell but I can see it. Since the M32B3 Ford tanks were all built as M4a3s with blunt nose or sharp nose differentials the 3 piece would not have been originally installed on the ARV of this type. The reason I did was there Is an ARV of this type on display in Ogden with a 3 piece off an m4 based M32. So it was likely swapped somewhere along the way or just after the war as the :4 based ones were most all given away and mostly the A3 and some A1 based variants kept.
I decided for now to revert to the stock taigen differential and luckily afree all this custom work it still fits perfect. I ground off the later version tow lugs and fabricated and cut in the earlier style. Next to make the hold out bars stowage brackets.
06-24-2021, 06:31 AM
#78
Thread Starter
Well its been a while since I did an update and really I havent worked on the M32 hardly at all. Ive been distracted by the IDF Shermans and repairs.
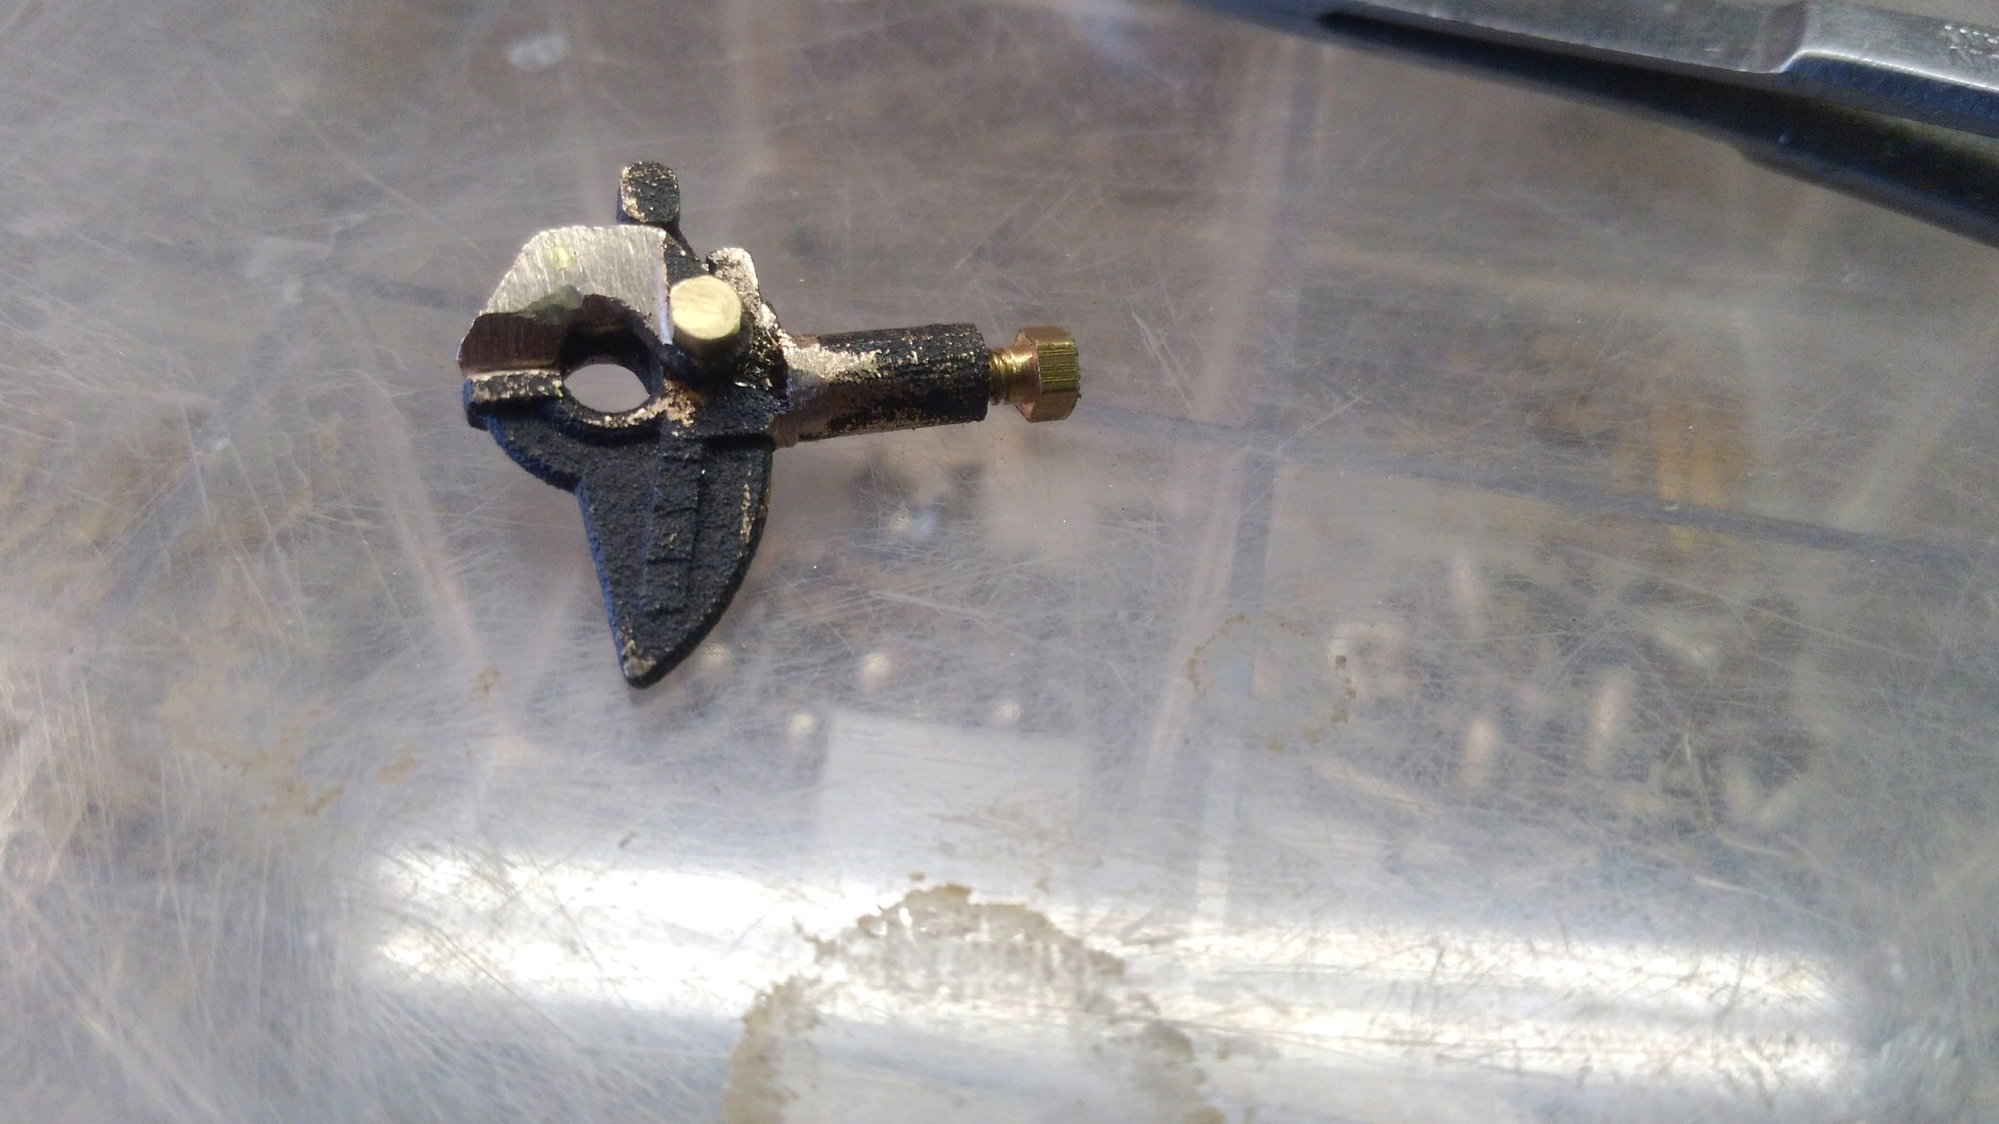
6 months of working with Battleground Toys has produced a working pintle hitch in 1/16 scale from shapeways and I had them printed in steel.
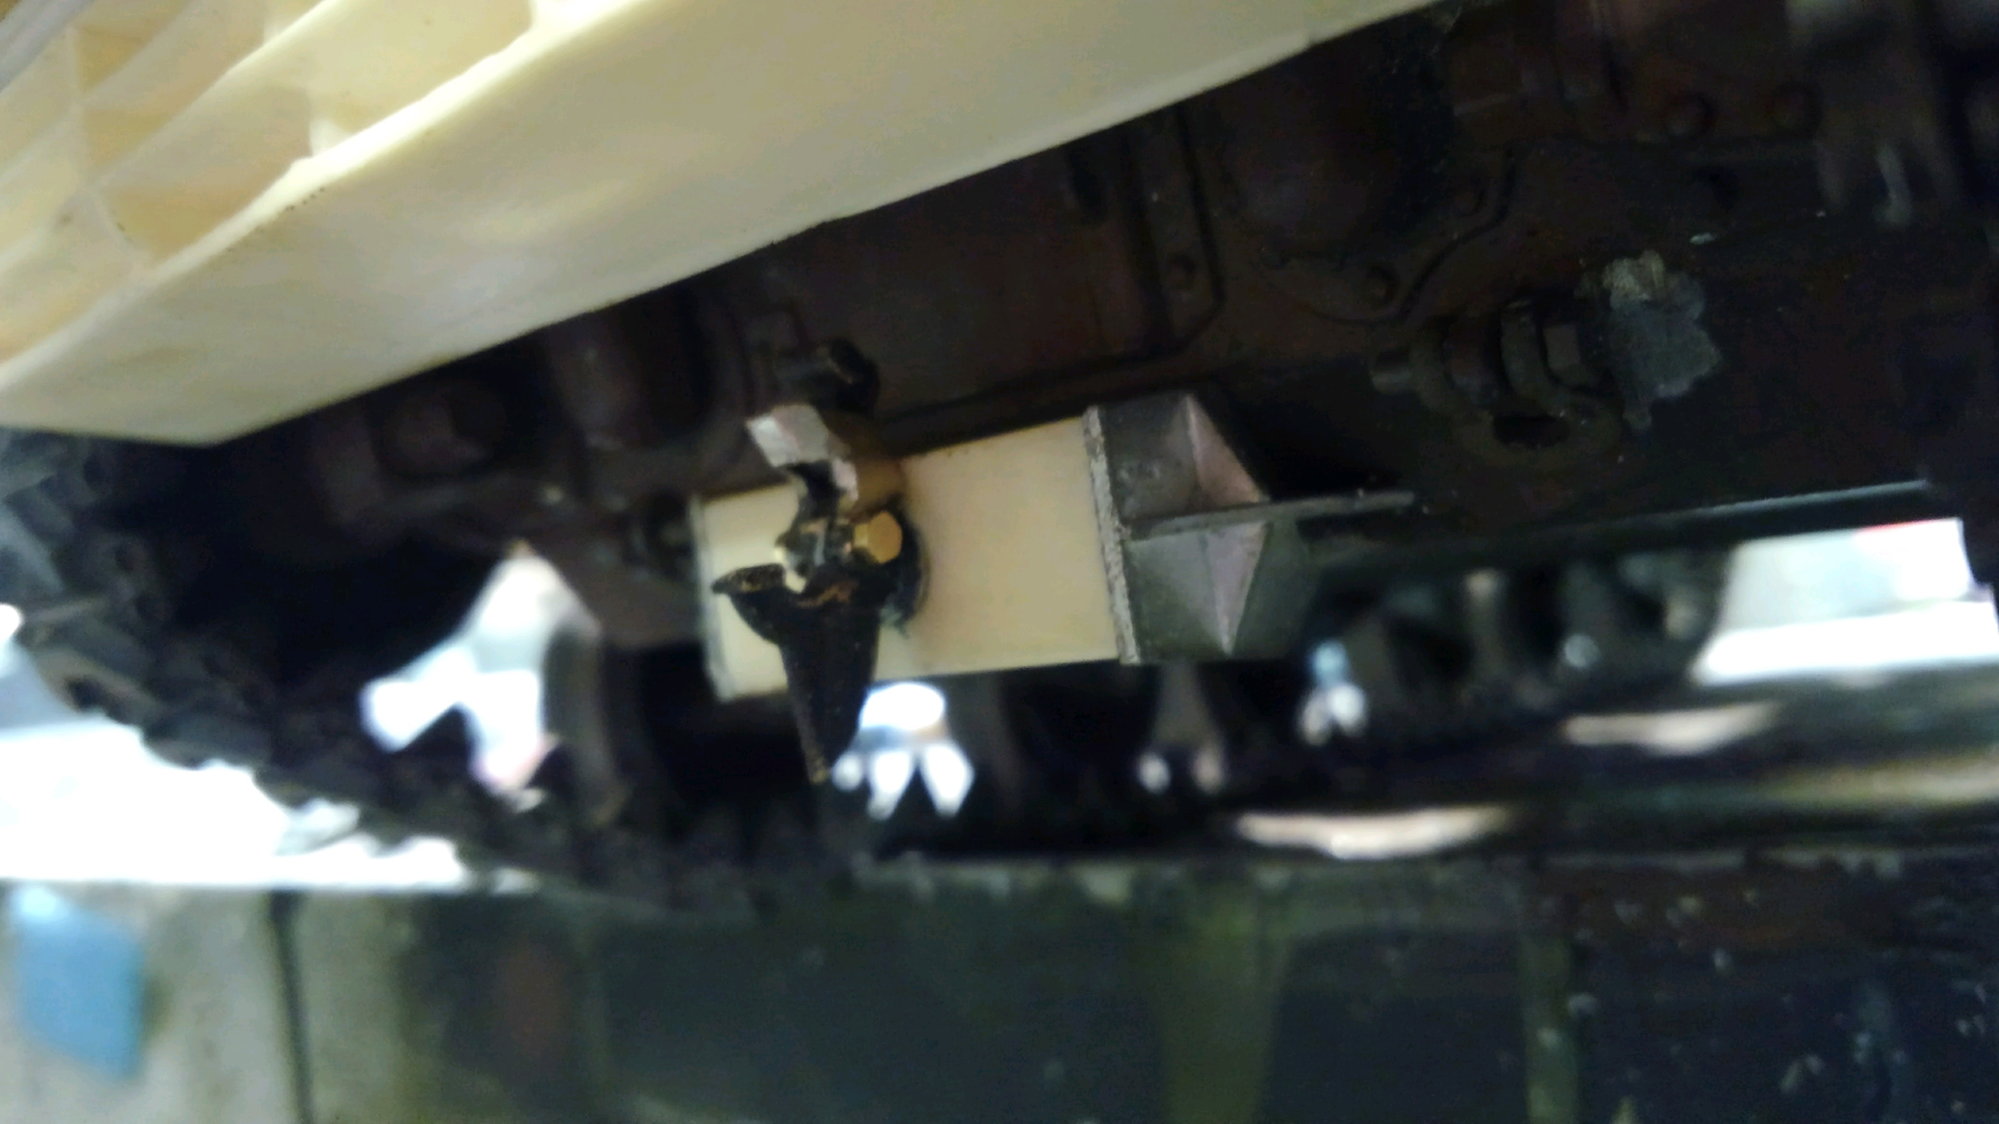
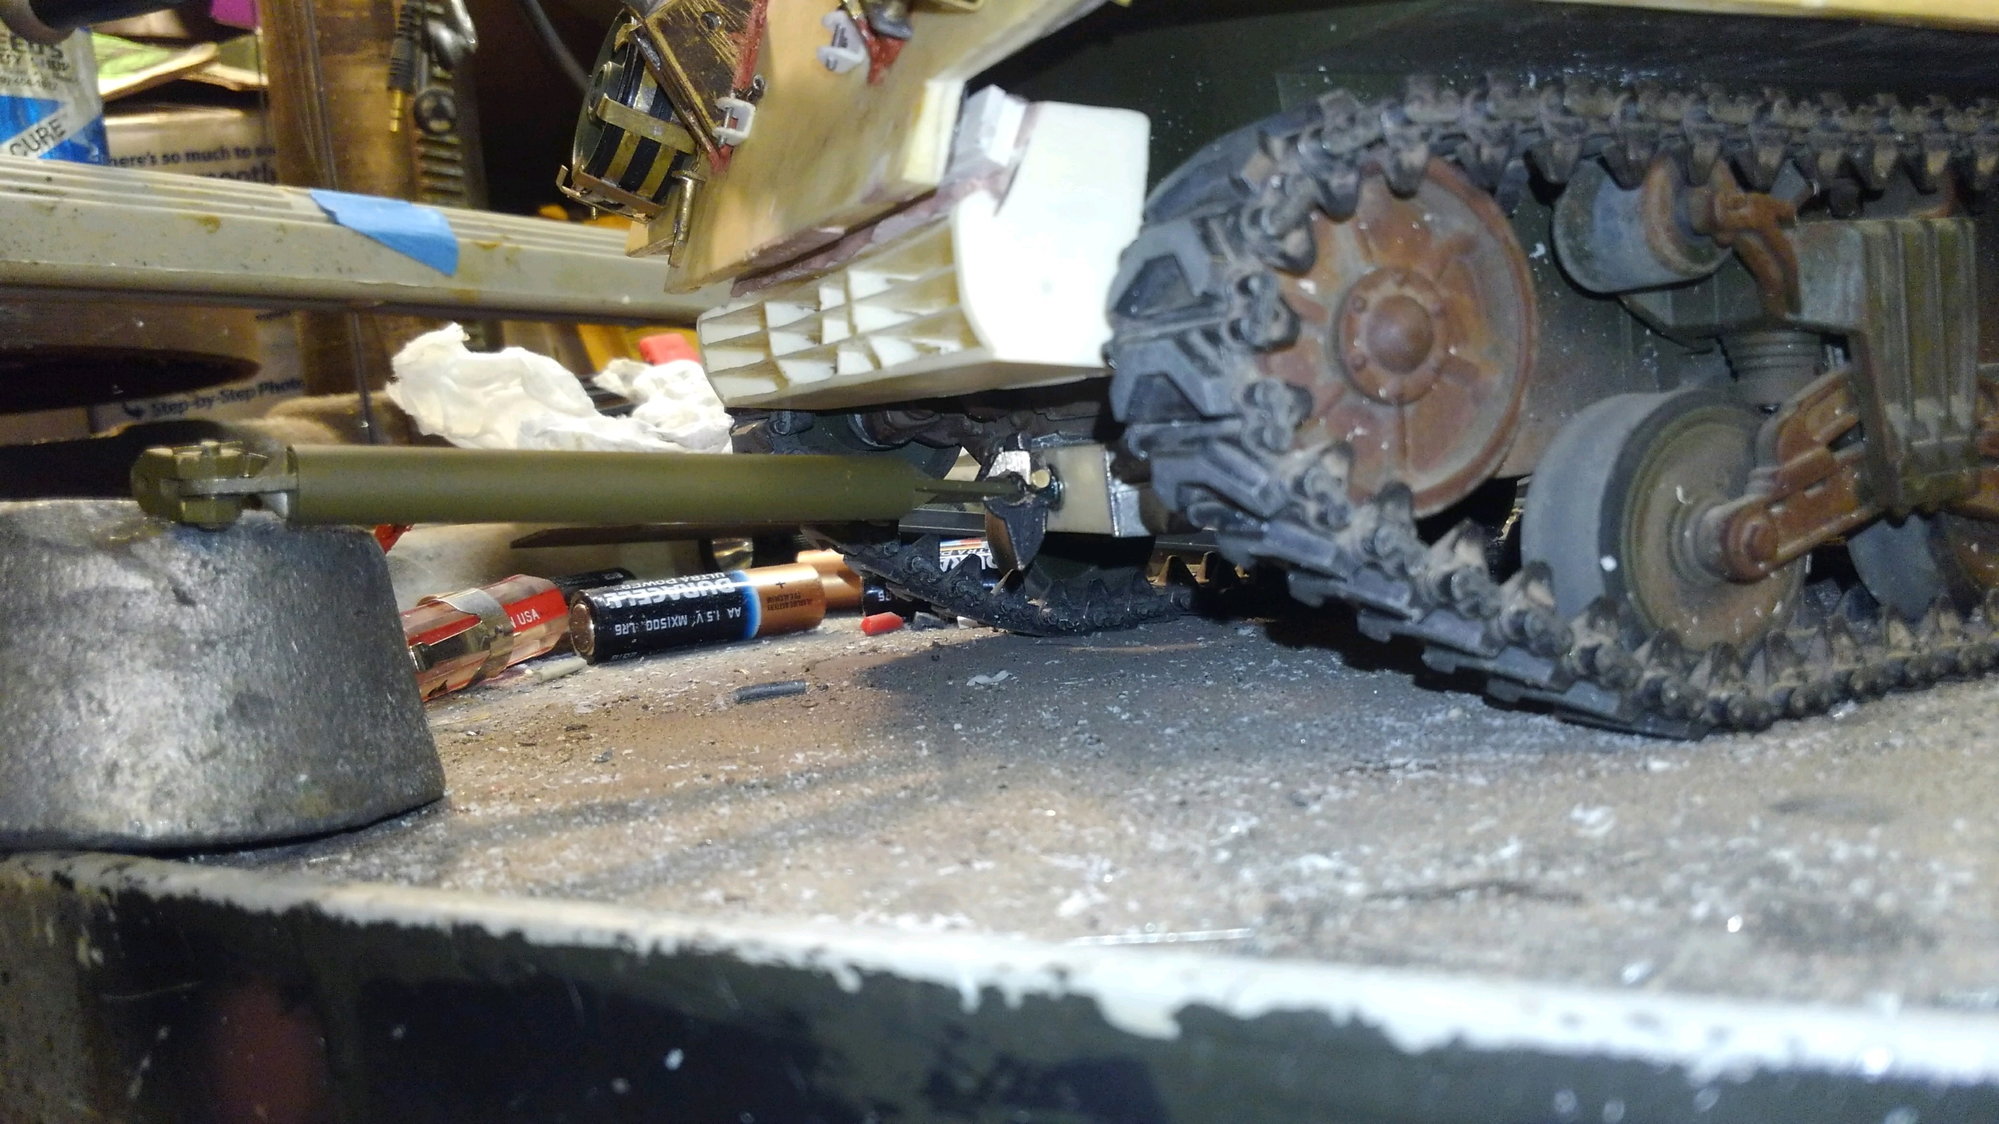
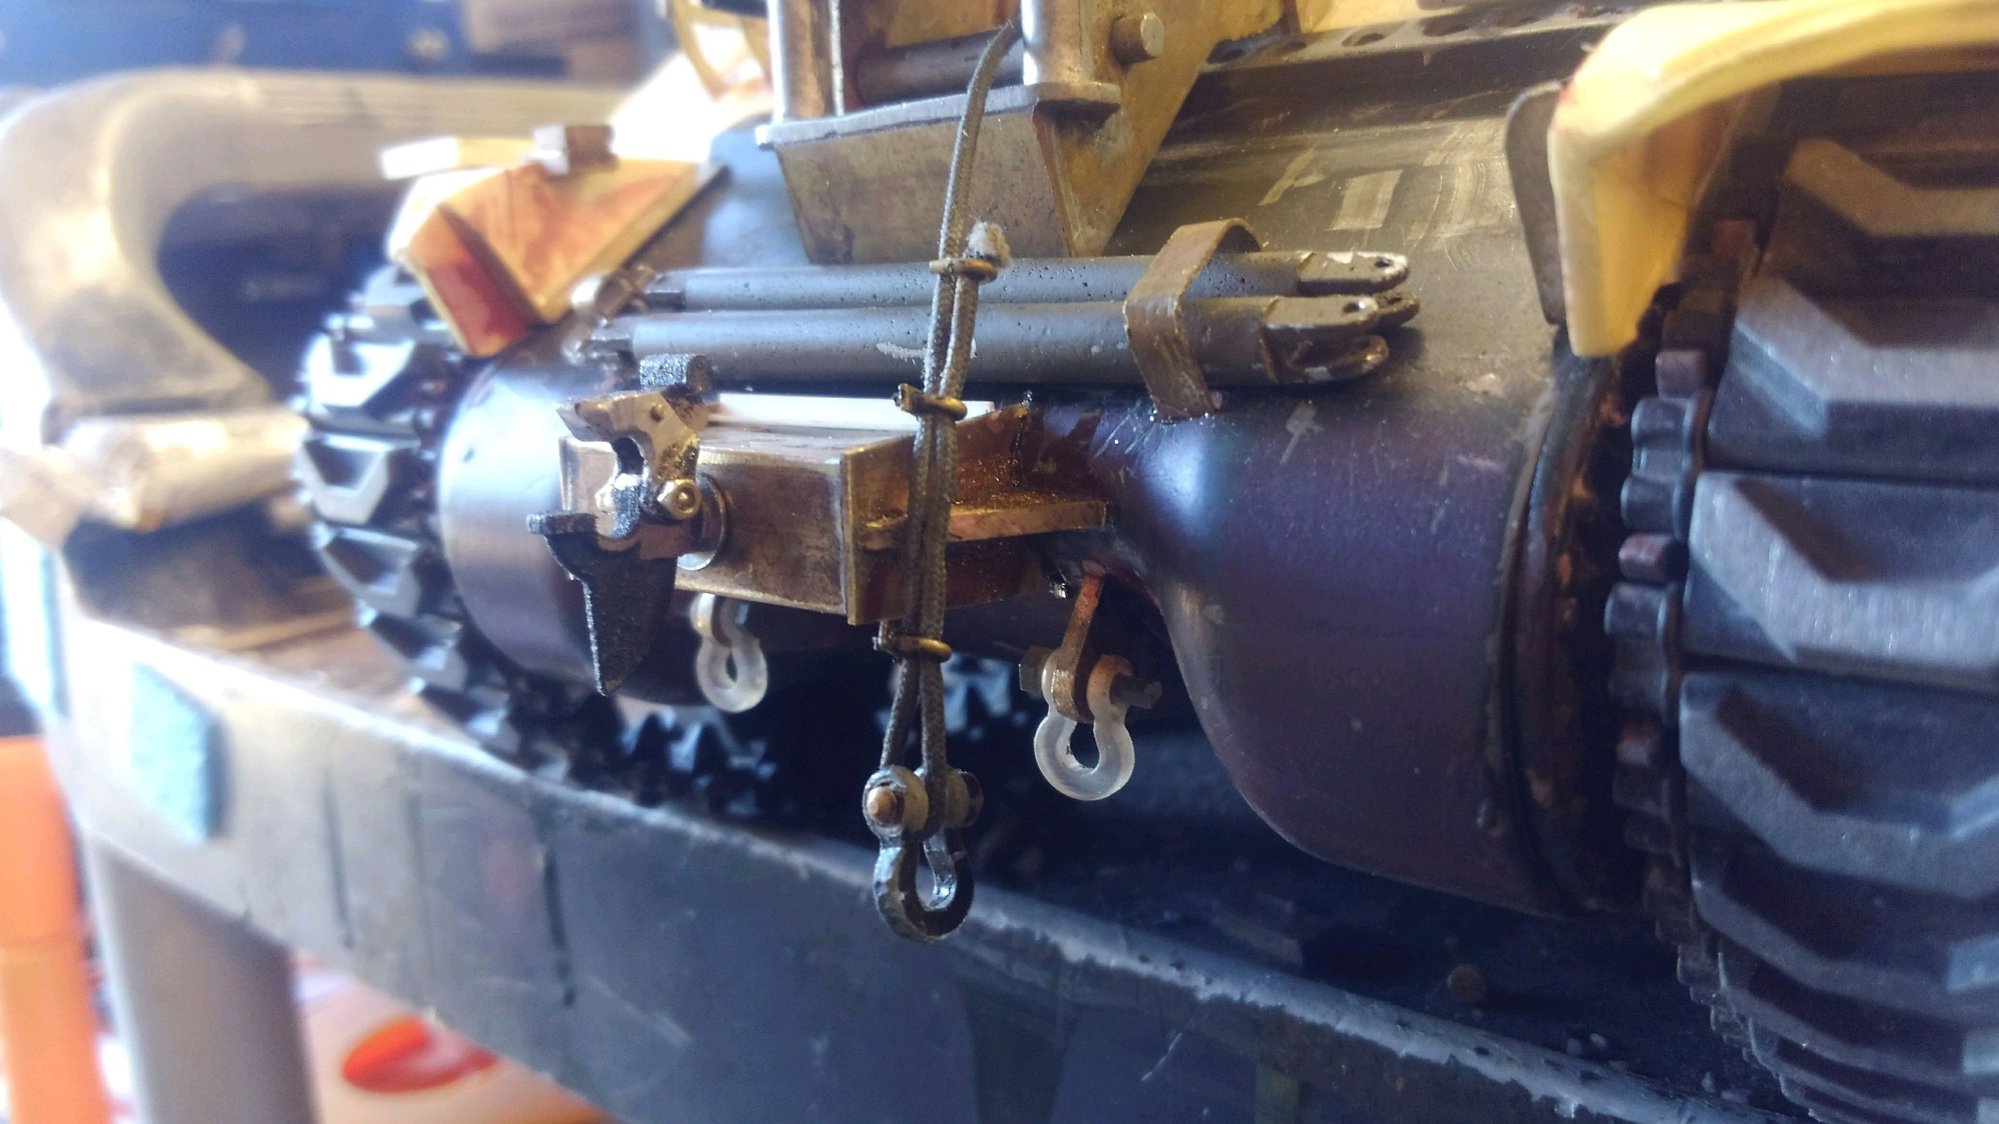
So I filed and dressed it for appearance and better fit and drilled out and tapped it and figured out how to get it mounted on the rear towing bracket that I had already installed on the model. That took some thought but It worked out well. The worst part was after alot of effort to get it all screwed together I tightened it up too much and broke the darn brass screw off and had to redo it all over again with a slightly shorter screw.
Photos show the pintle open, closed, and with the M32 tow bar attached and propped up to about the height being connected to a towed sherman.
Next up, fabricate the front bracket and pintle mount.

6 months of working with Battleground Toys has produced a working pintle hitch in 1/16 scale from shapeways and I had them printed in steel.
So I filed and dressed it for appearance and better fit and drilled out and tapped it and figured out how to get it mounted on the rear towing bracket that I had already installed on the model. That took some thought but It worked out well. The worst part was after alot of effort to get it all screwed together I tightened it up too much and broke the darn brass screw off and had to redo it all over again with a slightly shorter screw.
Photos show the pintle open, closed, and with the M32 tow bar attached and propped up to about the height being connected to a towed sherman.
Next up, fabricate the front bracket and pintle mount.
The following users liked this post:
bowlman (06-26-2021)
06-28-2021, 12:49 PM
#79
Thread Starter
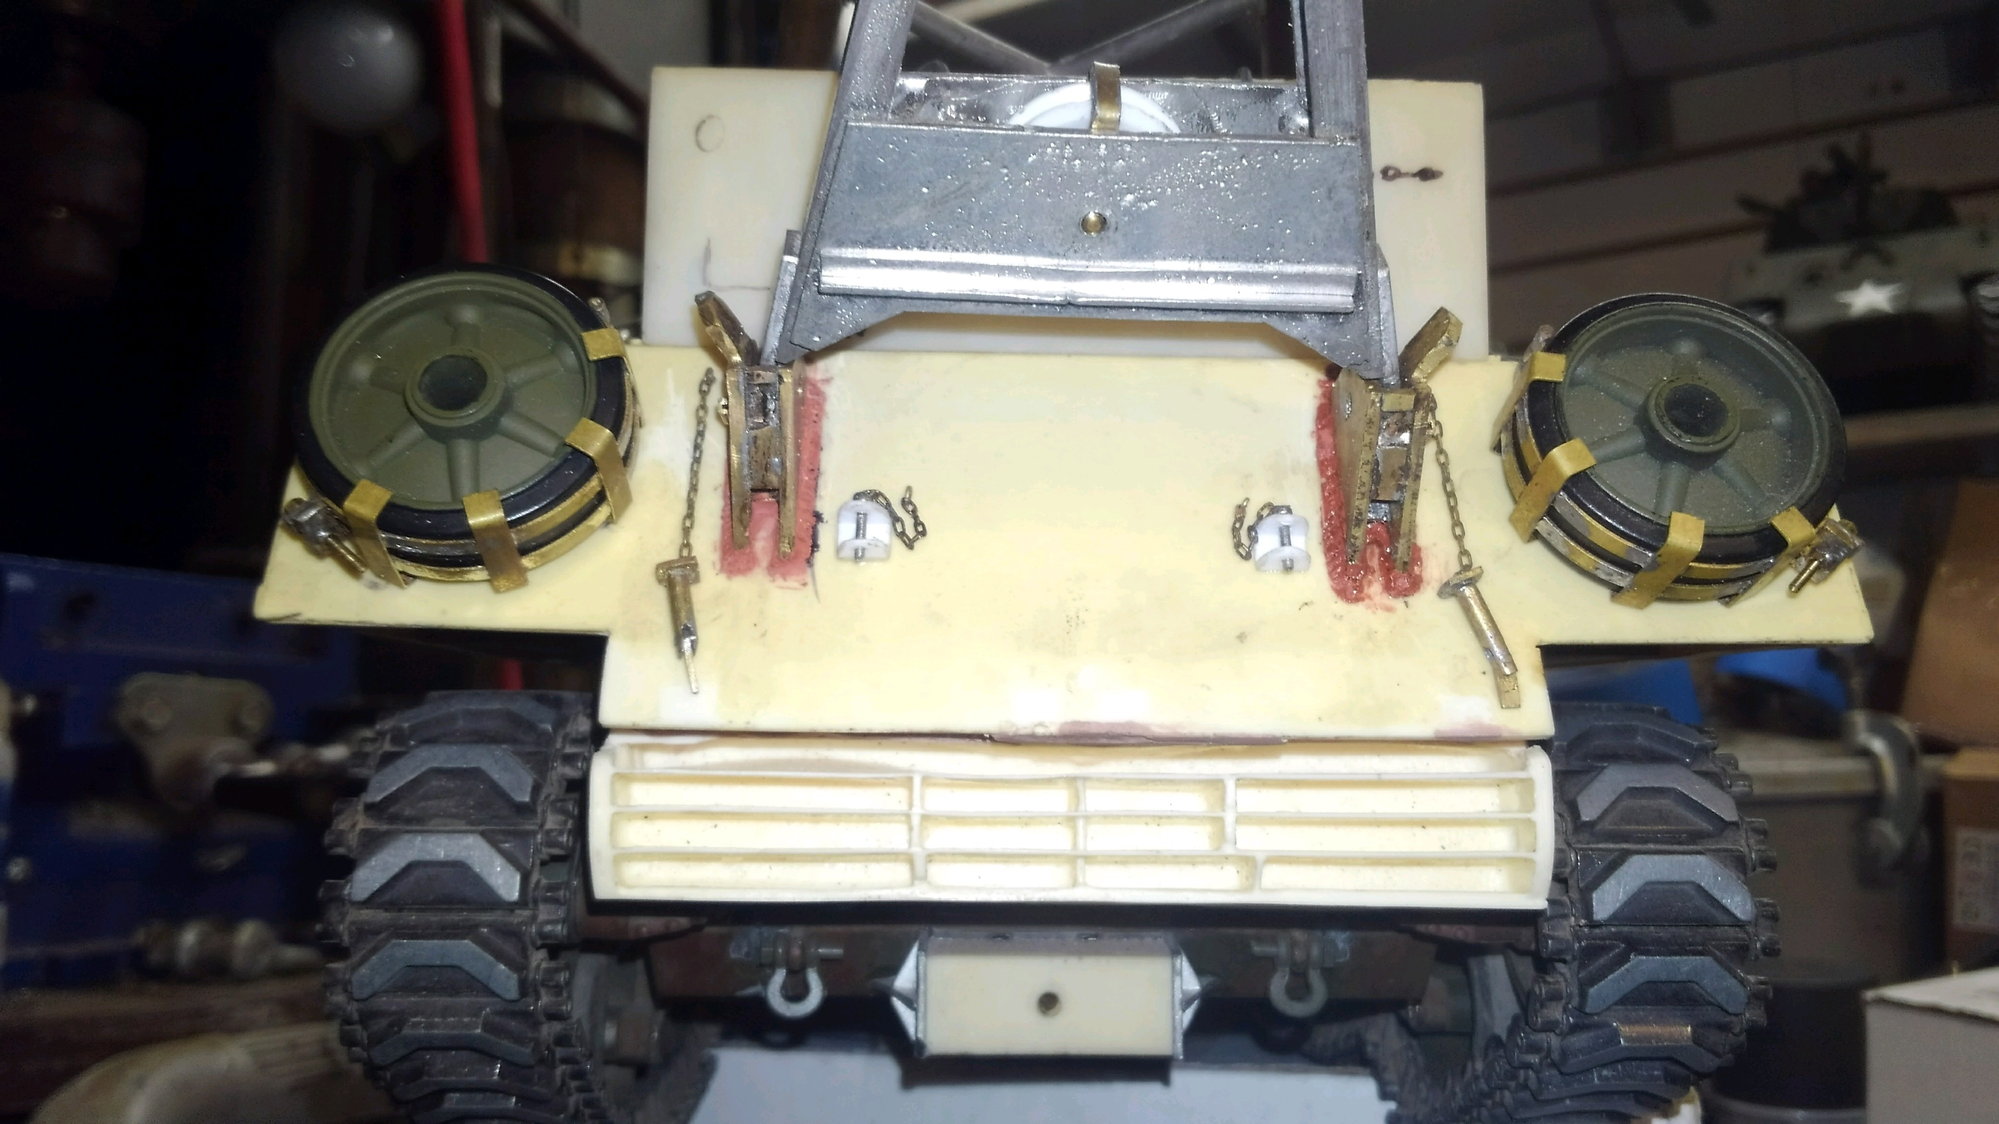
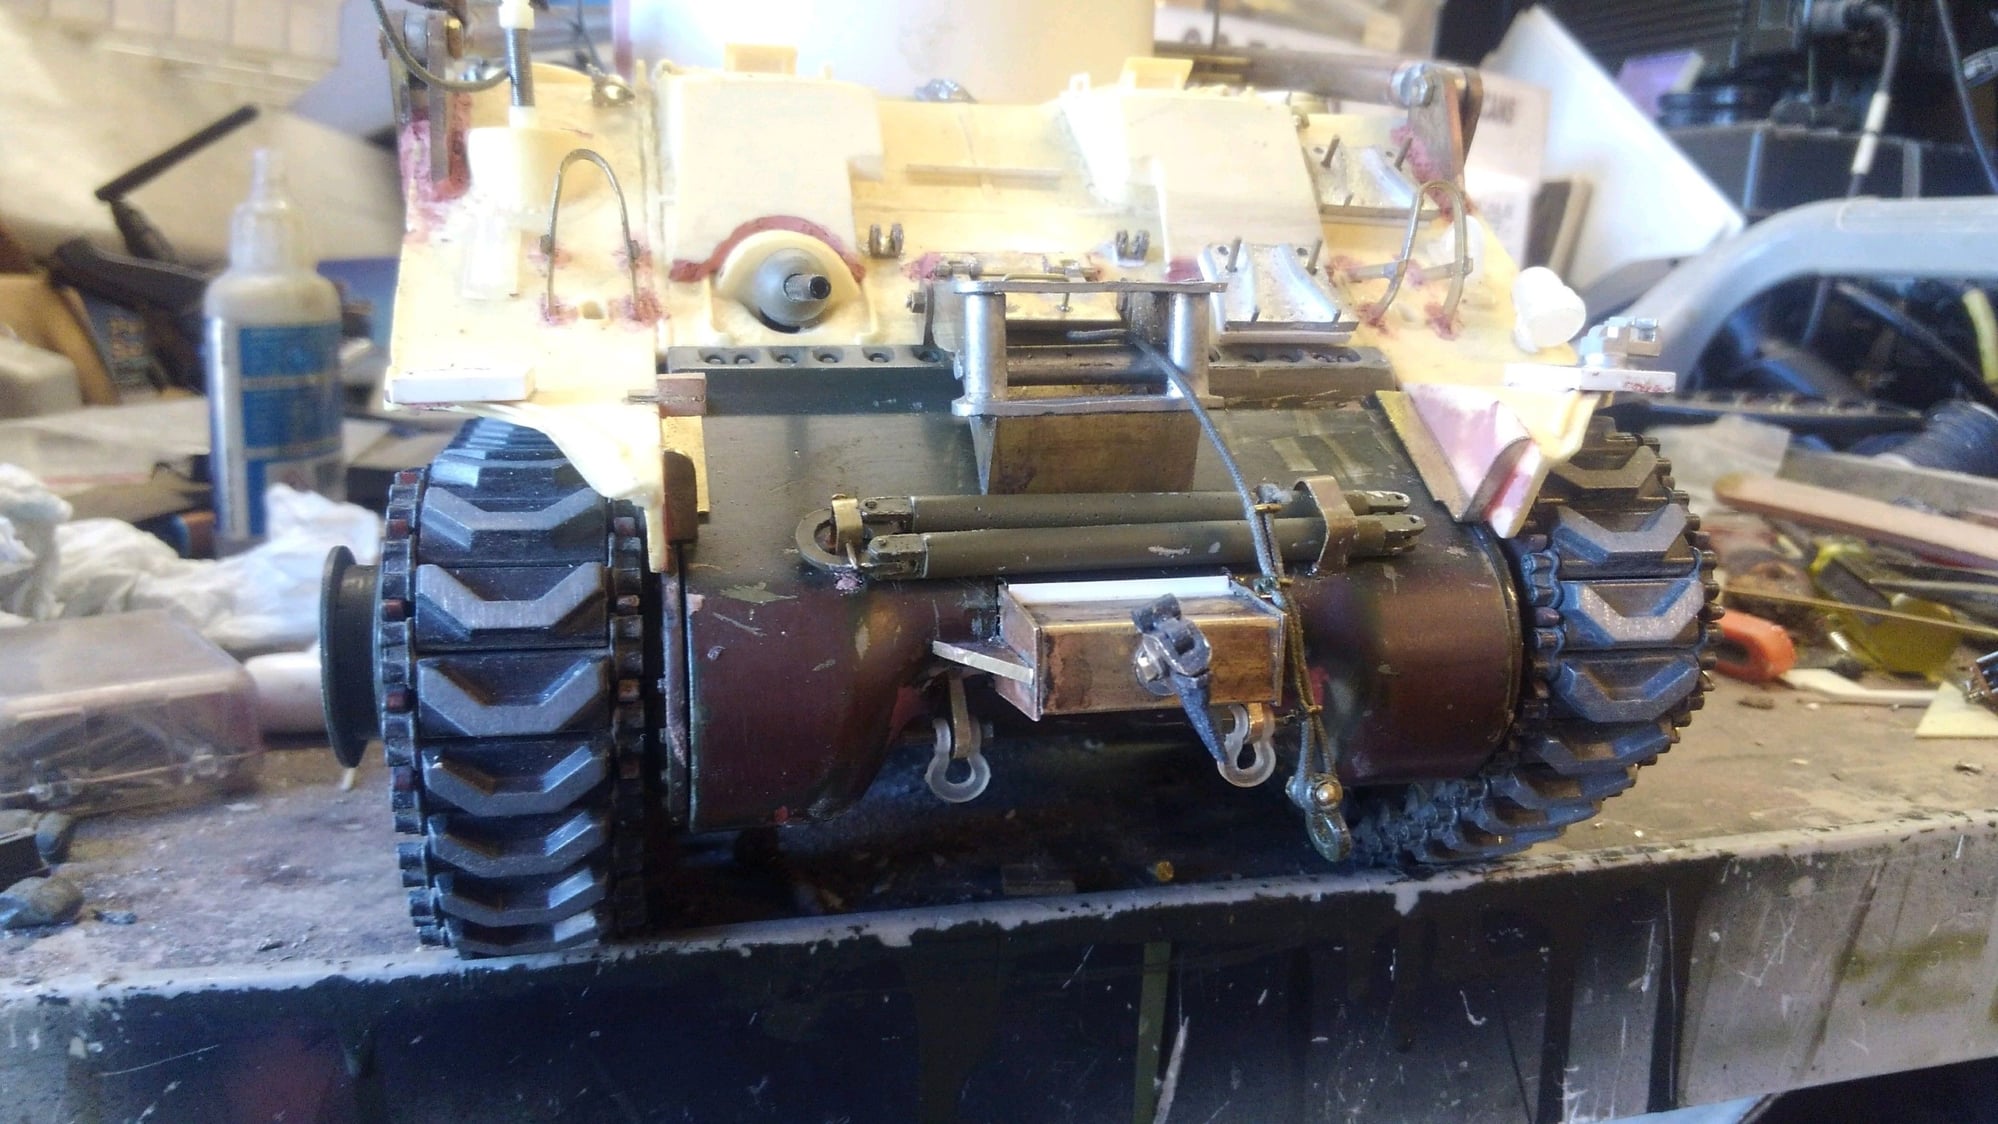
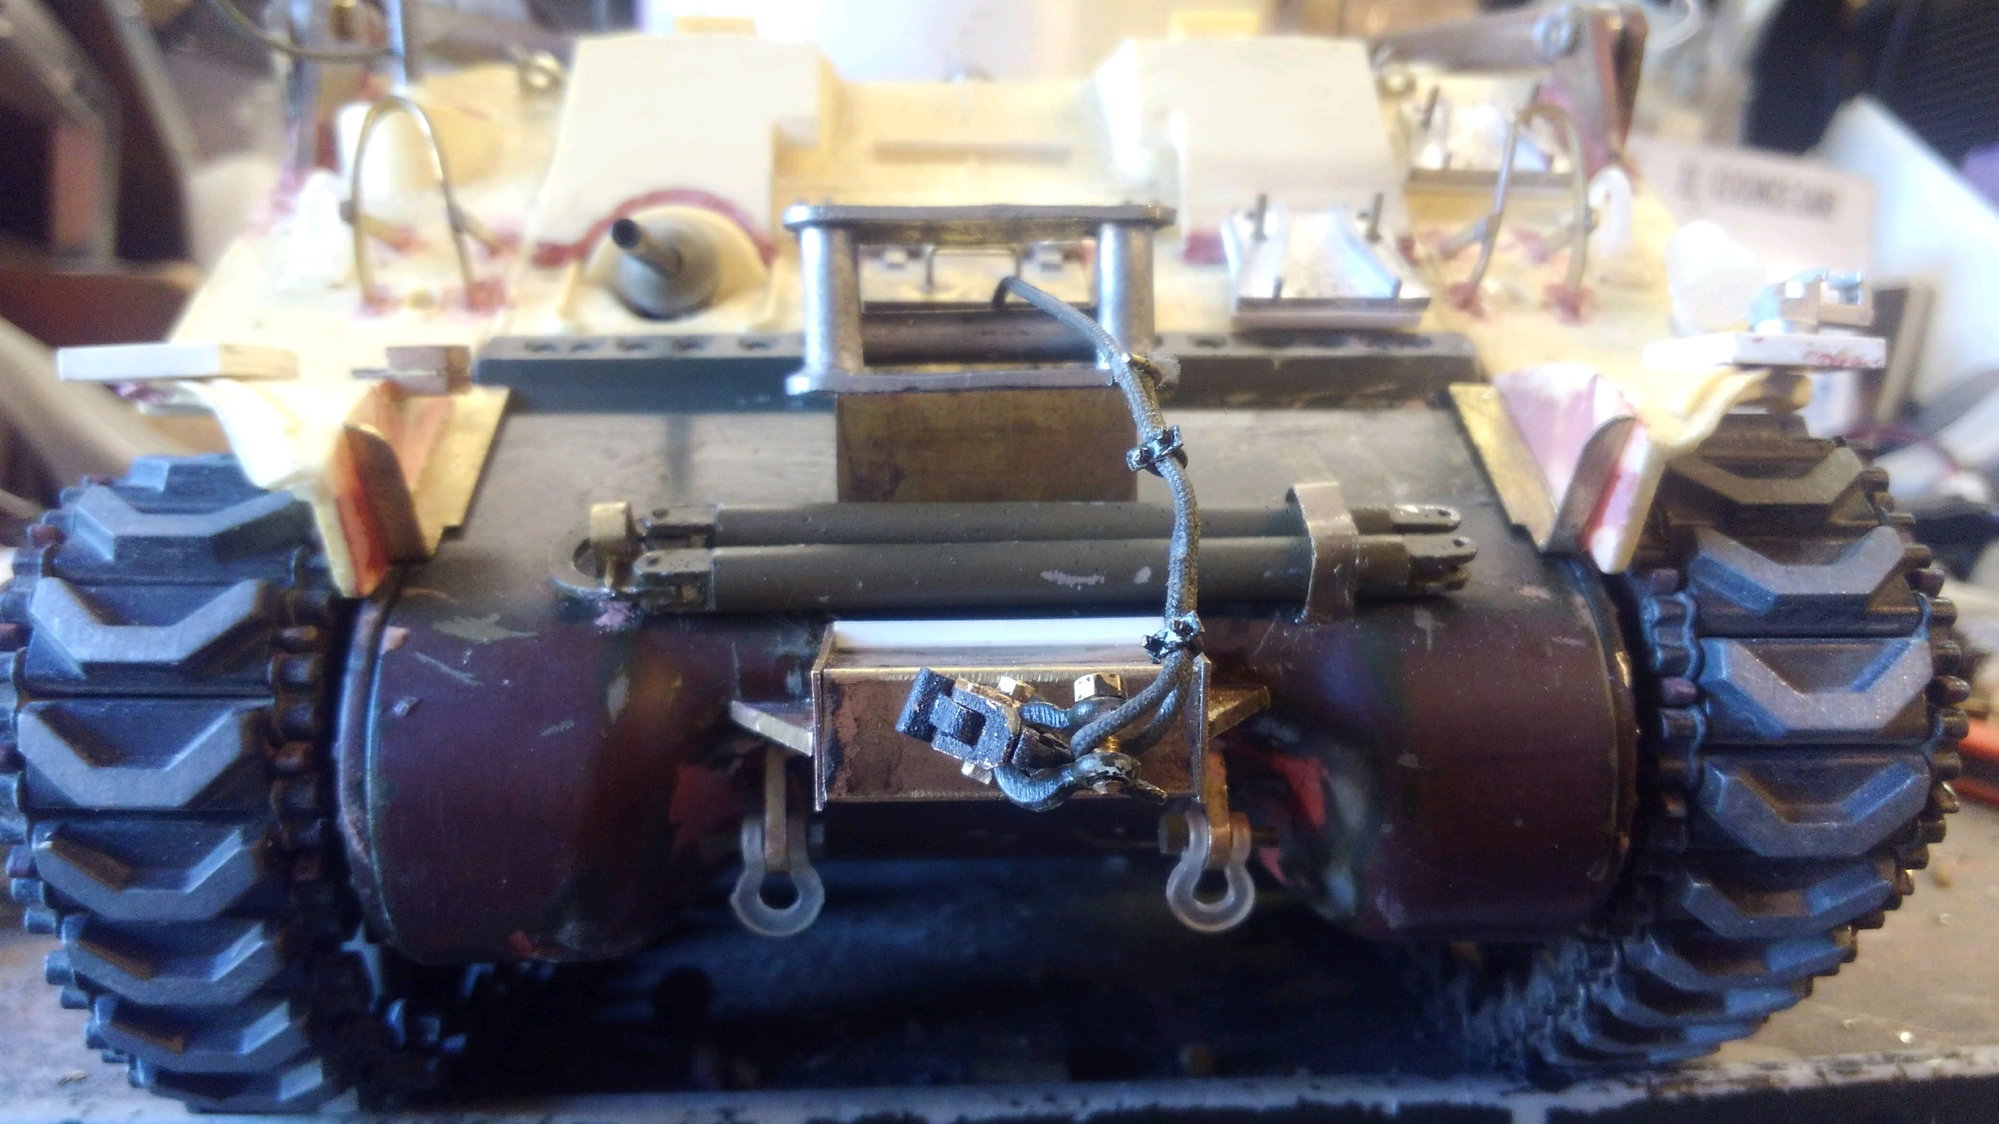
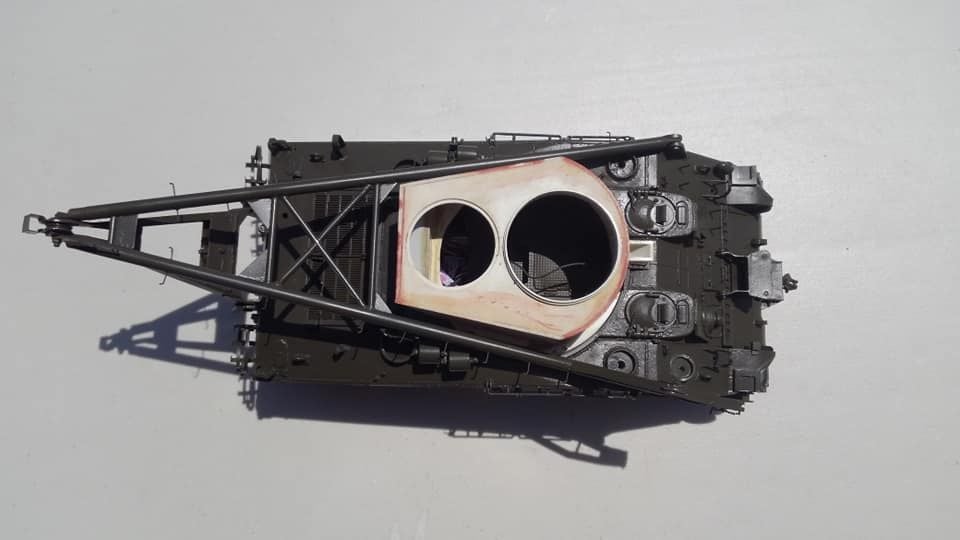
Well I finally fabricated the front towing pintle bracket. Took some thought about how I wanted to do it and attach it to the model so it would be strong enough to use and it is. I pulled the tank by hand with it dragging it on the bench.
I still have more detail work to do to the towing bracket but its nearly done and soon I will be able to give the chassis and hull a coat of paint and move on to other details.
I still have more detail work to do to the towing bracket but its nearly done and soon I will be able to give the chassis and hull a coat of paint and move on to other details.
06-29-2021, 08:15 AM
#81
Thread Starter
I saw that, that is an IDF m32b3. Too many mods to use as a reference for me, besides, I have about 1500 photos including one of today and walk around rounds of an in updated wwii m32b3.
my hull is nearly done and I can move on to the turret.
my hull is nearly done and I can move on to the turret.
07-01-2021, 05:23 PM
#82
Rich you block and tackle work is amazing!!! Thanks for sharing your progress!!!
The following users liked this post:
Ex_Pat_Tanker (07-11-2021)
07-11-2021, 09:48 PM
#85
Thread Starter
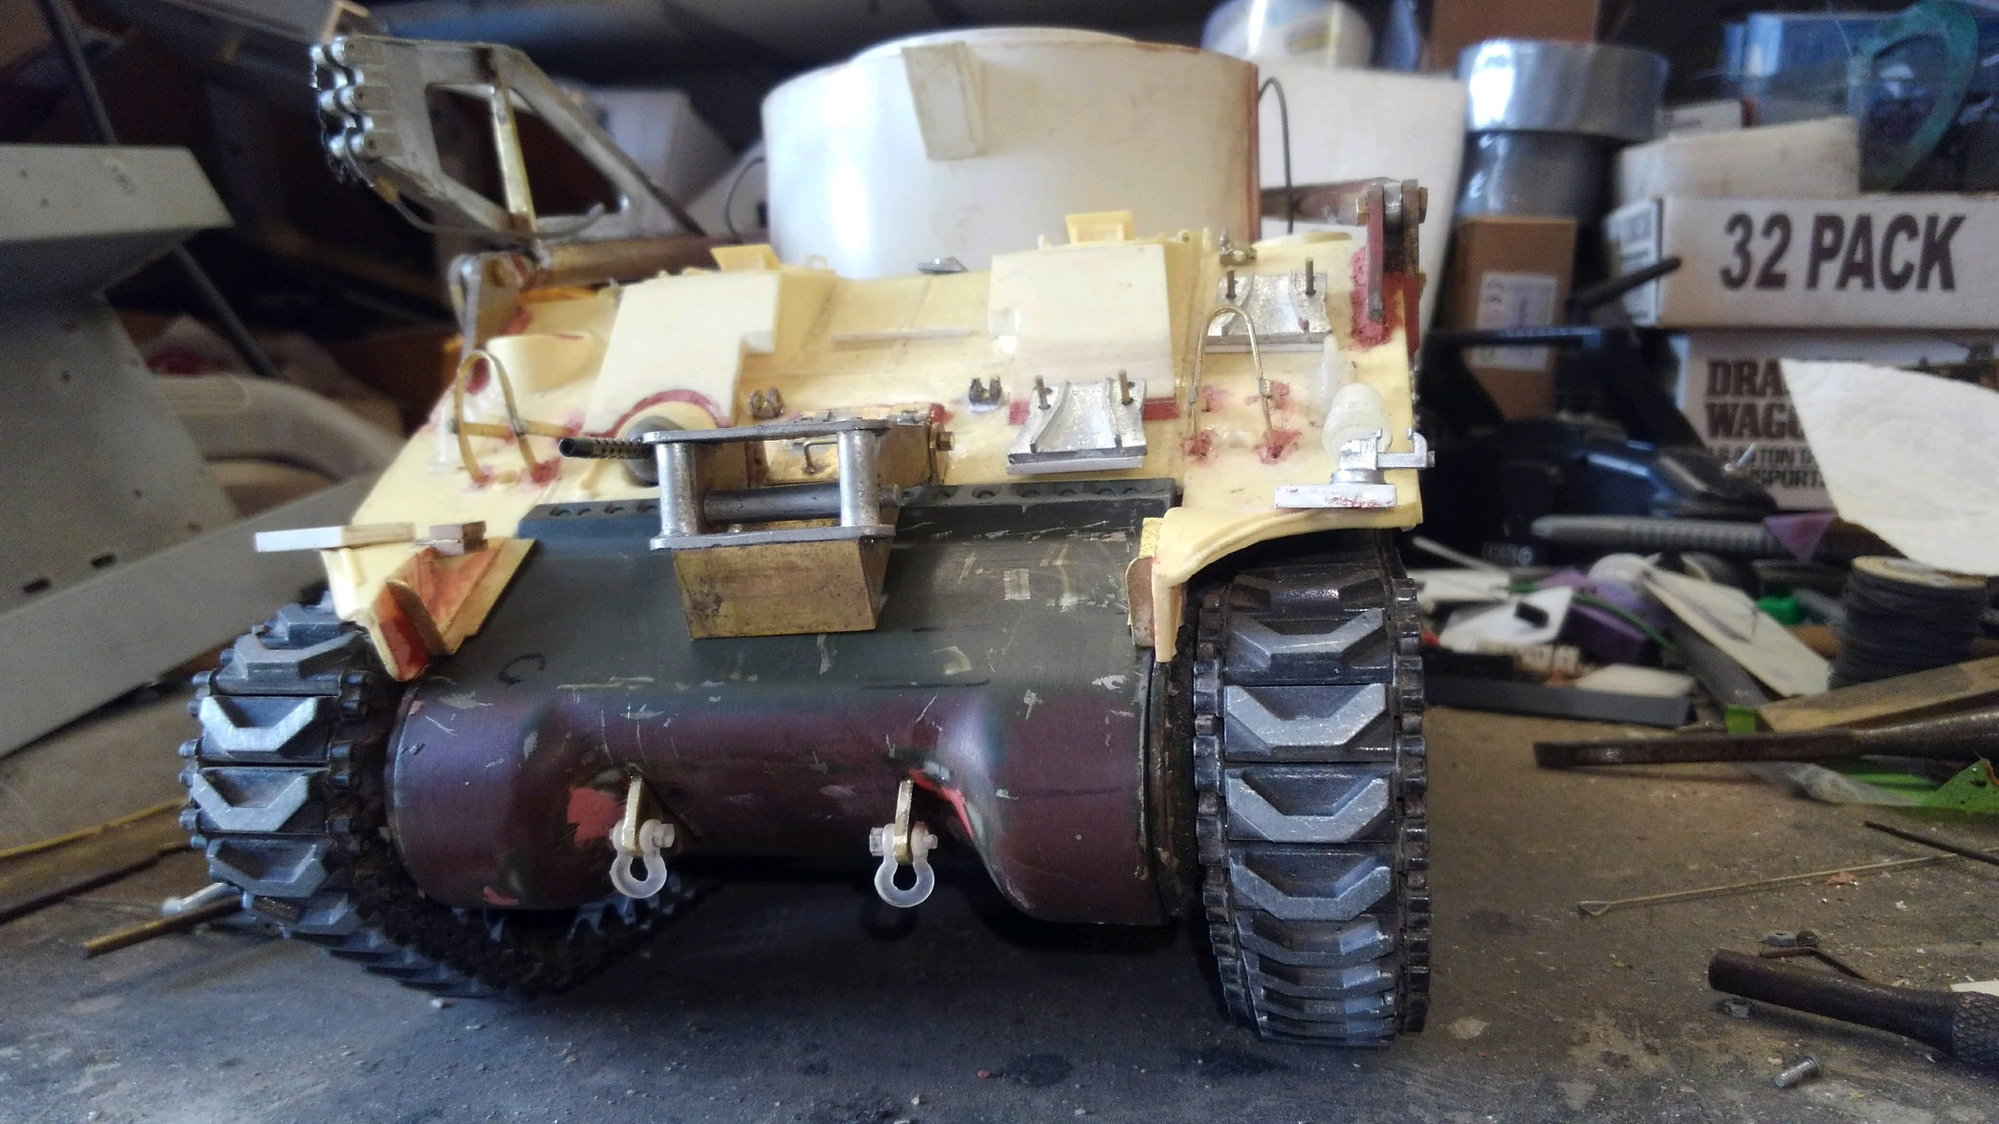
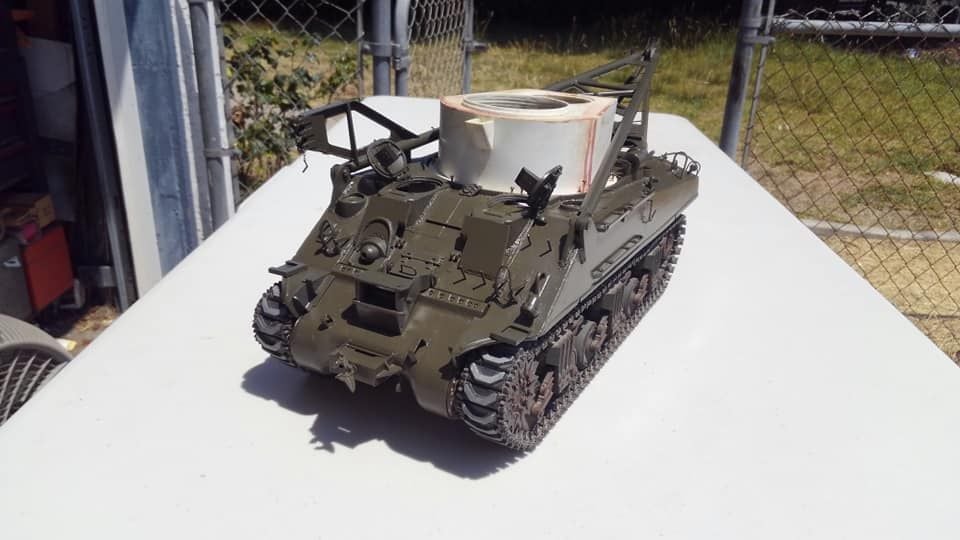
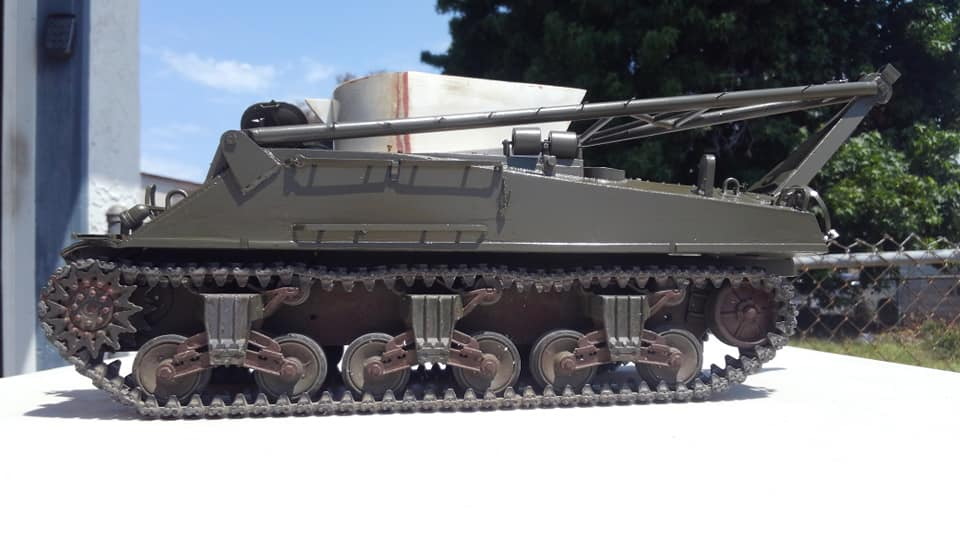
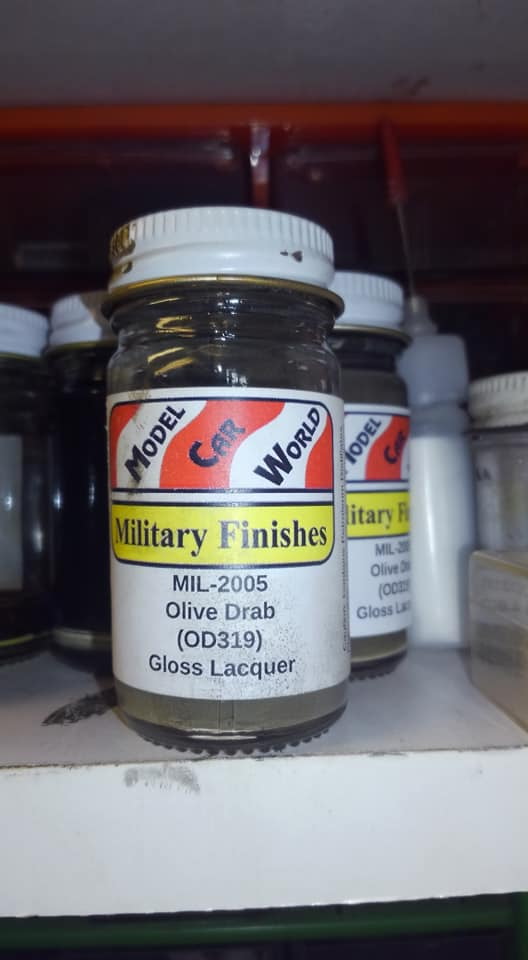
The color is spot on for fresh 319 OD but since I switched from Tamiya because they changed their formula again, I dont have the ability to make a lighter color and do any fading with the same paint. Most of my tanks are still the fresh factory color, but a few I have tried to weather or fade and shade. My jumbo came out perfect but it was the last of the old pre 2021 tamiya xf62. Now that color has brown in it.... so it is just way off.
Now sure how I will handle final paint. It looks so dark but thats because I and we are so used to looking at faded tanks and smaller models where most modelers opt for a lighter than real color for the forced compression of scale size. Im wondering if its too dark going with the color is the color is the color rather than an artists impression of a slightly lighter color. Still I do love the color. I will flatten it a little later on after decals with either flat or satin over spray which will dull out and lighten the gloss finish. It will also lighten up with real dirt too as I drive it and recover tanks!
Any way, I am so glad to be past this part of the build.
07-12-2021, 01:51 AM
#86
I have a trick for that that works well with model Master but I'm not sure how well it will work with other paints. Anyway, when I mix my airbrush paint I mix it in one of those little 1 oz clear glass jars you can get at Hobby Lobby. If I'm going to need a lighter color later for fading I mix the first jar straight out of the bottle, and then I mix a second jar but on this one I add three drops of white paint. That's always worked perfect for me, but like I said, I use model master so I'm not sure how it would work with any other paint.
07-12-2021, 05:58 AM
#87
I try to mix as little paint as I can so that I can do touch ups without having too many issues, but I did mix some paint to repair my Firefly that Dean built. It came out close, but after shooting some buff (dusty color) over it you can't tell the color difference.
 07-12-2021, 07:04 AM
#88
That's the reason I like modelmaster OD Green so much, what comes out of the spray can is almost an exact match for what comes out of the bottle. And there are some other colors that go well together for painting and fading, when I do German armor in dunkelgelb I start with the testors spray can Africa mustard, which is a little bit darker, and then I airbrush with dunkelgelb from the bottle. If you do it right it looks like it was pre-shaded when it really wasn't. I'll be doing that on the King Tiger that I'm working on, maybe I'll take some video.
07-12-2021, 07:44 AM
#89
Thread Starter
I loved model master but they were bought by rustoleum and the formulas started to change.
now as of 2020 rustoleum killed the model master line of paint. Acrylic and enamel. Gone. Figured out the margin of profit was too low to be worth producing. The LHS told me only the bright automobile enamel colors will be produced.
now as of 2020 rustoleum killed the model master line of paint. Acrylic and enamel. Gone. Figured out the margin of profit was too low to be worth producing. The LHS told me only the bright automobile enamel colors will be produced.
07-12-2021, 07:53 AM
#90
Rich,
That looks great with paint on it! Wow.
I too like the Modelmasters paints, esp TS1911 Olive drab. But discontinued and most stock is gone. I have a small stash of MM that is disappearing fast.
You can get WW2 color matched OD in larger spray cans from Jeep restoration places for about $8.00-9.00 can. Considering a can of primer is $5.00-6.00 from HD not bad price wise.
B
07-12-2021, 08:15 AM
#91
Yeah, when I heard the news about Rust-Oleum I started a thread here but then I got jumped on for posting stuff that was old. Hey, it was new to me. Anyway, I've been trying to stock up and you can still find model master at Hobby Lobby. I was on the other side of town one day and stopped in the Hobby Lobby there and they still had 4 cans of Africa mustard so I bought all four. I've seen the one ounce jar of dunkelgelb on eBay for as much as $18. Some people just love to take advantage.
So far I haven't had any go bad on me and I'm told that unopened bottles should last on the shelf for at least 8 to 10 years. I guess we'll see.
So far I haven't had any go bad on me and I'm told that unopened bottles should last on the shelf for at least 8 to 10 years. I guess we'll see.
08-28-2021, 08:55 PM
#92
Thread Starter
Recovered a tank today that went off a bridge into a ravine upside down. took me a few min to assess and decide how a real M32 crew would attack the recovery. Settled on all the way over. Was really fun. Thats why I built this thing.
The following 5 users liked this post by RichJohnson:
Ex_Pat_Tanker (08-29-2021),
Imex-Erik (08-30-2021),
Pah co chu puk (08-30-2021),
Panther F (09-24-2021),
sevoblast (08-29-2021)
09-23-2021, 06:54 AM
#93
Say Rich here is something to go along with your M32 .
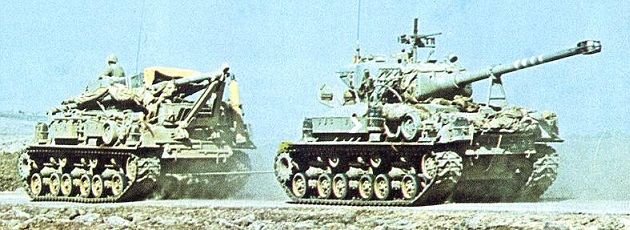
The Israeli Trail Blazer (Gordon) was a recovery/engineering vehicle based on HVSS based M4A1s which had a large single boom crane (as opposed to the A-Frame of the M32). It was able to tow up to 72 tons.
Not sure this is a Gordon
Thank Jimmy
The Israeli Trail Blazer (Gordon) was a recovery/engineering vehicle based on HVSS based M4A1s which had a large single boom crane (as opposed to the A-Frame of the M32). It was able to tow up to 72 tons.
Not sure this is a Gordon
Thank Jimmy
Last edited by bowlman; 09-23-2021 at 07:56 AM.
09-27-2021, 10:56 AM
#94
That live recovery video isthe bomb!!! Way to much fun was had by all. The statmet at the very end says it all, "Cool"!!!
01-01-2022, 03:19 PM
#95

I have not really paid much attention to the RC tank world since like 2005ish when I finally got my Tamiya Pershings Turret to work because of tips from this site. I decided to buy some batteries and fix my Pershing up, and see if there was anything I could do to the crappy Mato plastic M4A1 76 I bought when it came out and I run into this thread. What a crazy cool RC recovery vehicle. It's not enough to just produce something that looks great, no, this thing can actually recovery other RC tanks. As an RC Tank, Real Tank, and Jeep enthusiast, who knows a little about recovering heavy things, this build is impressive. I bet, the impressive Mr Rich Johnson got himself a copy of TM9-738 Tank Recovery Vehicles M32, M32B1, M32B2, M32B3, and M32B4. I picked the manual up a few years ago for my website. Fascinating how the winch is PTO, driven right off the driveshaft, and the operator sits next to it inside the vehicle. Everyone I've shown drawings to mentions how nervous they would be next to the winch drum operating the big winch.
I'm super sad it took me almost 15 years to come back to this hobby, my old Pershing gathering dust, and collecting damage the whole time. I missed so much.
Rich, I looked over your other builds and your website, you are a talented man, I'm super impressed with all your builds, and informative posts about the current Sherman RC tanks out there.
01-01-2022, 04:46 PM
#96
I have not really paid much attention to the RC tank world since like 2005ish when I finally got my Tamiya Pershings Turret to work because of tips from this site. I decided to buy some batteries and fix my Pershing up, and see if there was anything I could do to the crappy Mato plastic M4A1 76 I bought when it came out and I run into this thread. What a crazy cool RC recovery vehicle. It's not enough to just produce something that looks great, no, this thing can actually recovery other RC tanks. As an RC Tank, Real Tank, and Jeep enthusiast, who knows a little about recovering heavy things, this build is impressive. I bet, the impressive Mr Rich Johnson got himself a copy of TM9-738 Tank Recovery Vehicles M32, M32B1, M32B2, M32B3, and M32B4. I picked the manual up a few years ago for my website. Fascinating how the winch is PTO, driven right off the driveshaft, and the operator sits next to it inside the vehicle. Everyone I've shown drawings to mentions how nervous they would be next to the winch drum operating the big winch.
I'm super sad it took me almost 15 years to come back to this hobby, my old Pershing gathering dust, and collecting damage the whole time. I missed so much.
Rich, I looked over your other builds and your website, you are a talented man, I'm super impressed with all your builds, and informative posts about the current Sherman RC tanks out there.
I'm super sad it took me almost 15 years to come back to this hobby, my old Pershing gathering dust, and collecting damage the whole time. I missed so much.
Rich, I looked over your other builds and your website, you are a talented man, I'm super impressed with all your builds, and informative posts about the current Sherman RC tanks out there.
01-02-2022, 08:00 AM
#97
Thread Starter
Thanks for the compliments GTORA2. For your Mato A1 76, get a taigen chasis and mount the upper half onto it. I have a build thread here where I did that. The lower chassis on the mato is not very good.
Ive been working on the M32 this week actually. I got the hand me down clark TK24 replaced with a TK40 from DAKRC in Phoenix. The ESC on the 24 just could not drive the heavy M32 effectively to my satisfaction. It felt like it struggled constantly. The tank is very heavy with all the lead ingots in it for ballast.
I also learned how to program it with the remote and got it firing clarks repair signal and set it up for 15 hits at the recomendation of fsttanks. I set up my M5 Stuart at the same time since it received the tk24 hand me down and set it up for 3 hits and then tested out shooting it and then repairing it with the M32. I still have not figured out the solution to use yet to control and fire the board I had made that will repair tamiya tanks. The clark repair emitter will be the spot light on the roof of the coupola and the tamiya IR bulb will be in the smoke mortar set up on the glacis;
01-03-2022, 05:56 PM
#98
Rich
Thanks for the info, I plan on doing just that with the M4A1 upper hull. Will the M4A1 take a Mato all-metal 75mm turret? Got my first Tiagan today, the hull and running gear is very nice in comparison.
Thanks for the info, I plan on doing just that with the M4A1 upper hull. Will the M4A1 take a Mato all-metal 75mm turret? Got my first Tiagan today, the hull and running gear is very nice in comparison.
