Tamyia m1A2 56040
 11-10-2020, 12:25 PM
#201

The oval holes in the sprockets are for mud/dirt evacuation so it doesn't build up in the sprocket.
 11-10-2020, 06:51 PM
#202
The following users liked this post:
Conan_the_Hungarian (11-17-2020)
11-11-2020, 11:10 AM
#203
Yes you have a good eye Fsttanks.
I will replace them when i get a set of metal tracks WITH EXTRA LINKS unfortunately they don't give you spare track links with the oem plastic tracks which I have been informed earlier by Crius at the start of thread are not correct either.
Just temporarily set up with leo tracks where the abram tracks will be mounted.
Last edited by SERVUS; 11-11-2020 at 11:17 AM.
11-11-2020, 03:53 PM
#204
Yes you have a good eye Fsttanks.
I will replace them when i get a set of metal tracks WITH EXTRA LINKS unfortunately they don't give you spare track links with the oem plastic tracks which I have been informed earlier by Crius at the start of thread are not correct either.
Just temporarily set up with leo tracks where the abram tracks will be mounted.
I will replace them when i get a set of metal tracks WITH EXTRA LINKS unfortunately they don't give you spare track links with the oem plastic tracks which I have been informed earlier by Crius at the start of thread are not correct either.
Just temporarily set up with leo tracks where the abram tracks will be mounted.
All depends on how you plan on using your Abrams. If for mostly as a display a set of Mato tracks. For everything else keep the Tamiya tracks on.
Last edited by Fsttanks; 11-11-2020 at 04:49 PM.
11-12-2020, 04:15 AM
#205
Thanks for the sound advise always good to get this information will keep the Tamiya tracks in perfect condition.
as for the Tamiya sprockets they will also work with mato tracks Fsttanks ?
It's the extra 2 track links i am really after if I decide to run it outside I was considering metal track well that was the plan .
some thing about metal on metal and wear to sprockets teeth is always in the back of my mind having plastic tracks has its advantages I totally agree with your view .
Last edited by SERVUS; 11-12-2020 at 04:28 AM.
11-12-2020, 09:10 AM
#206
Thanks for the sound advise always good to get this information will keep the Tamiya tracks in perfect condition.
as for the Tamiya sprockets they will also work with mato tracks Fsttanks ?
It's the extra 2 track links i am really after if I decide to run it outside I was considering metal track well that was the plan .
some thing about metal on metal and wear to sprockets teeth is always in the back of my mind having plastic tracks has its advantages I totally agree with your view .
as for the Tamiya sprockets they will also work with mato tracks Fsttanks ?
It's the extra 2 track links i am really after if I decide to run it outside I was considering metal track well that was the plan .
some thing about metal on metal and wear to sprockets teeth is always in the back of my mind having plastic tracks has its advantages I totally agree with your view .
The Tamiya track parts that are touching the sprockets are all metal. Tamiya tracks have all the benefits of “full” metal tracks but at less then quarter (25%) of the weight. Mato and DLKM tracks weight ~2.5lbs (~1kilo) per complete set. Which brings up other issues pertaining to the Tamiya drive axles and stock nylon transmission gears.
11-14-2020, 09:15 AM
#207
Thanks for the in-depth analysis always good to get the feed back from actual use.
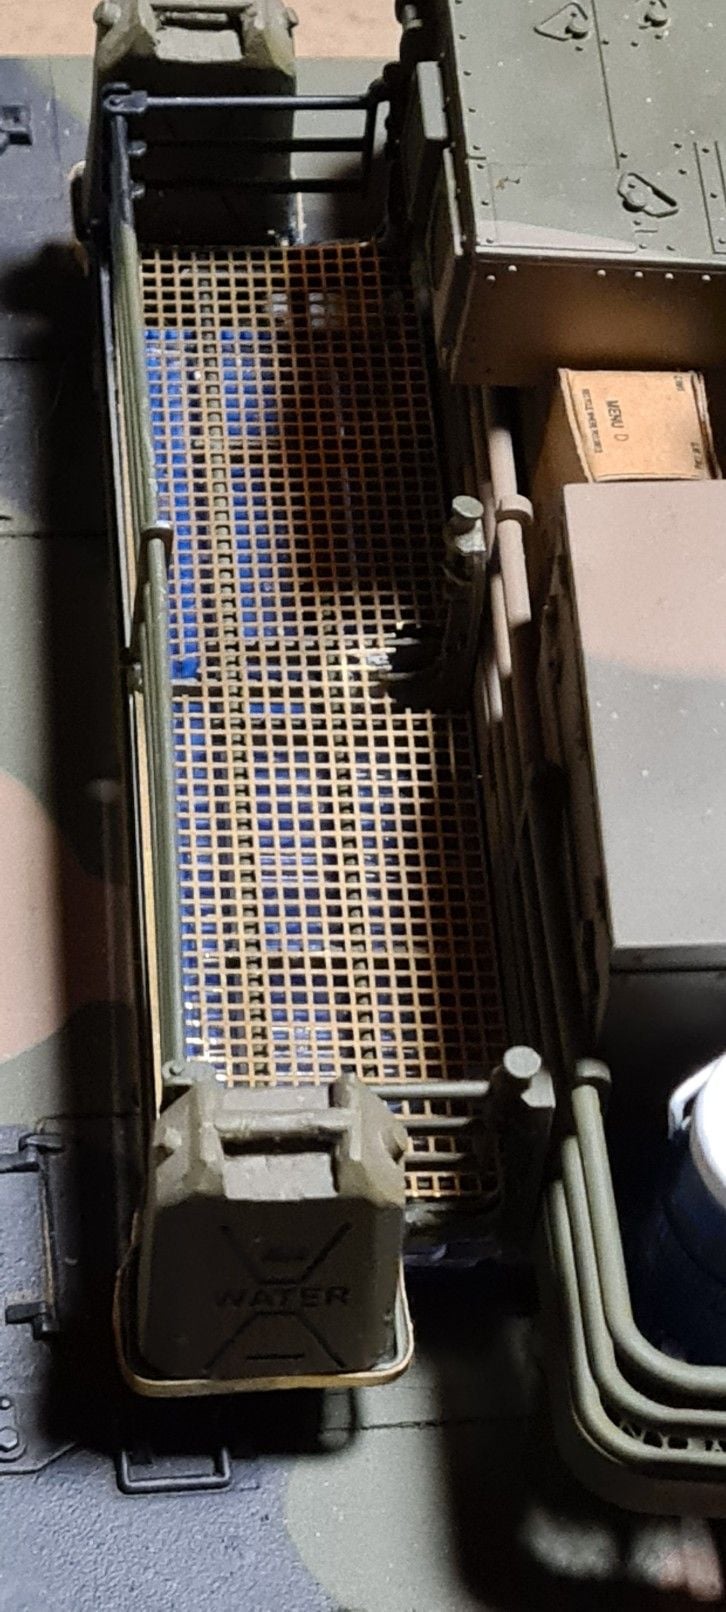
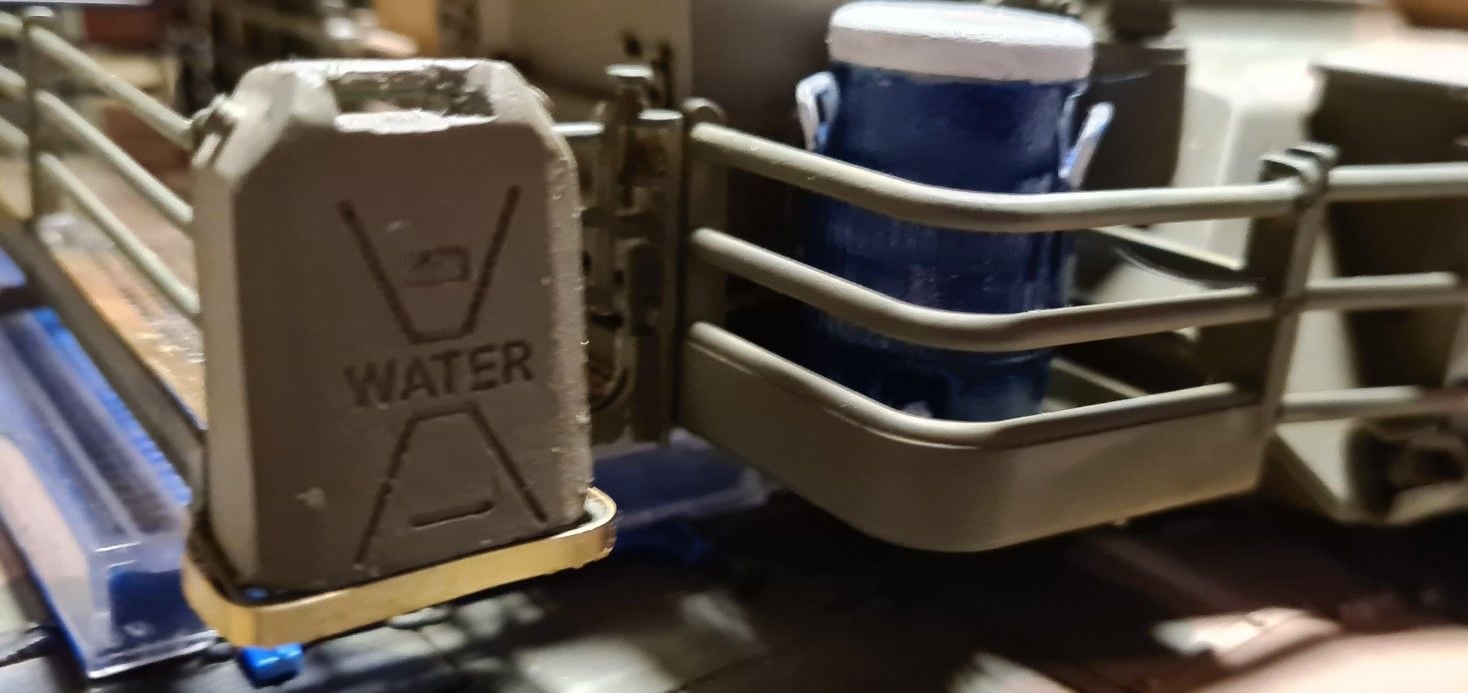
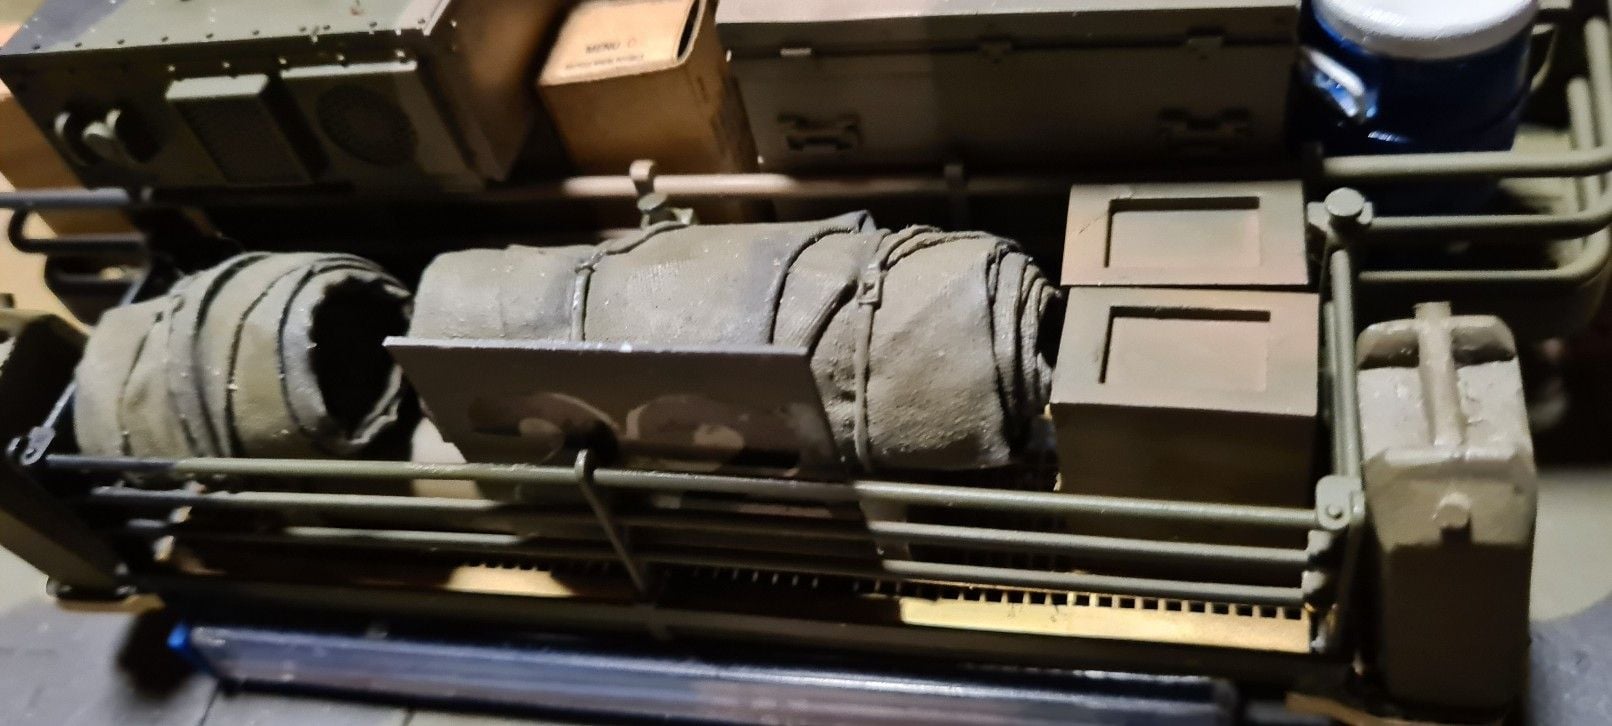
mounts for bustle 2 x rails wirh 4mm flat brass and finishing the wiring upper hull at this stage 3 connections one for working light servo jst also 5 amp 5v bec on /off switch and servo connection for animated figurine .


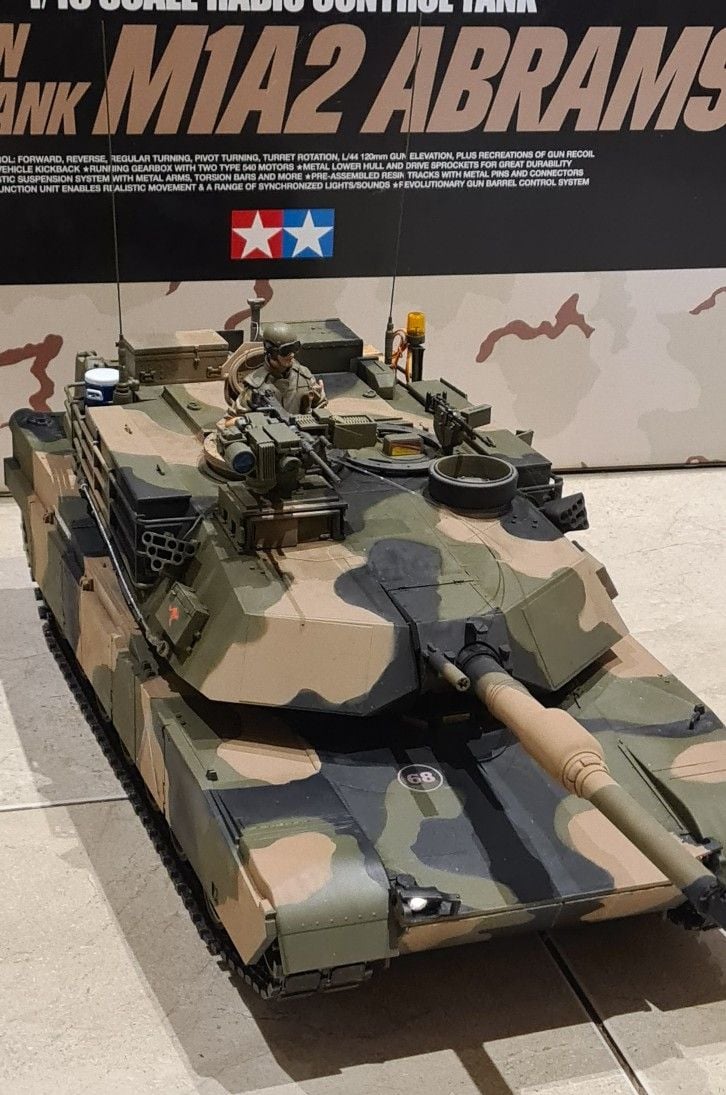

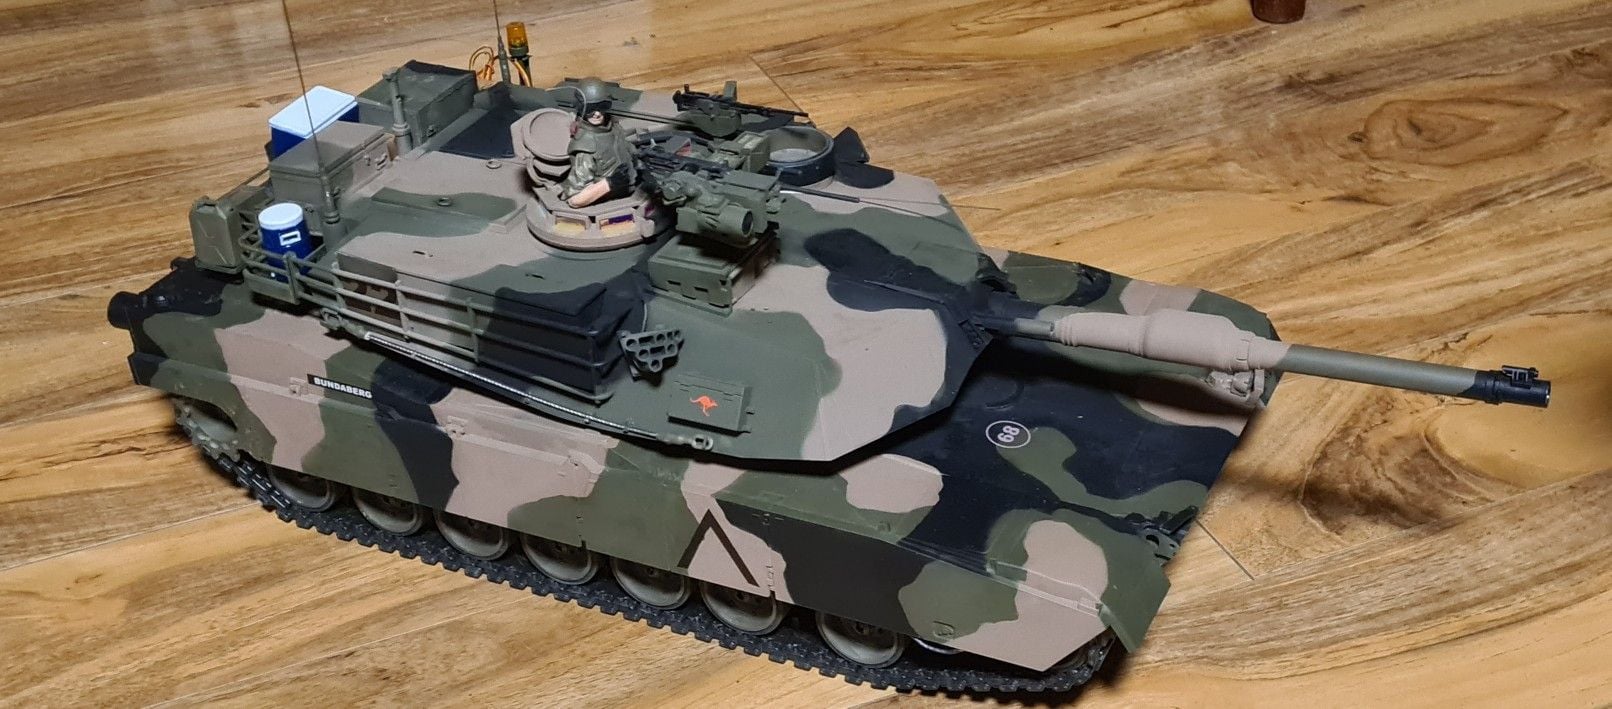
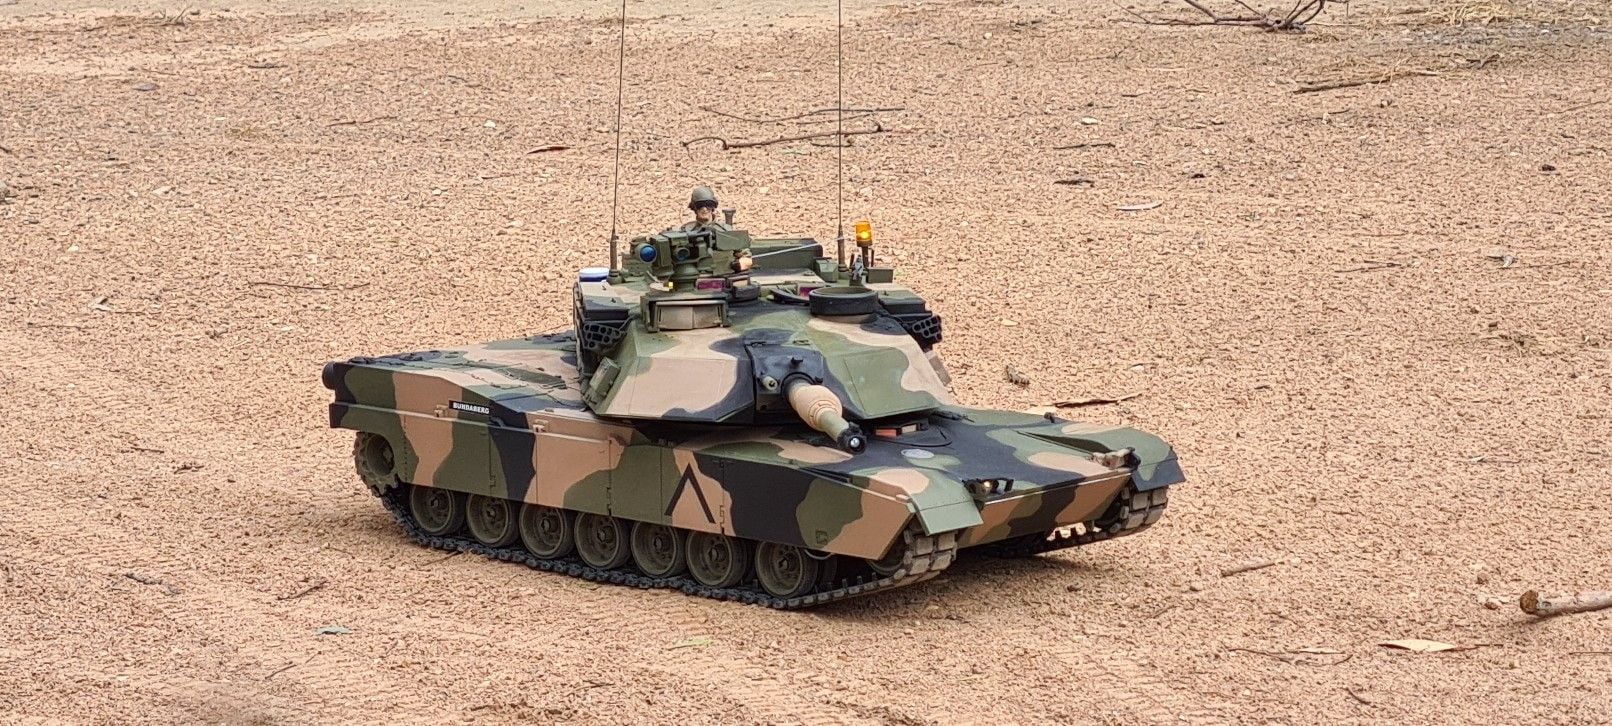
was a difficult decision originally building American version in nato colours due to some individual not mentioning names had certain bad remarks i decided sure why not .
😁
Wunderbar in collaboration with some of the top 1/16 rc tank builders in the world "Dream it then build it ".
How do I test a successful build if I can push the model with my finger forwards and it moves with minimum resistance there is no binding then it's a good runner.
mounts for bustle 2 x rails wirh 4mm flat brass and finishing the wiring upper hull at this stage 3 connections one for working light servo jst also 5 amp 5v bec on /off switch and servo connection for animated figurine .
was a difficult decision originally building American version in nato colours due to some individual not mentioning names had certain bad remarks i decided sure why not .
😁
Wunderbar in collaboration with some of the top 1/16 rc tank builders in the world "Dream it then build it ".
How do I test a successful build if I can push the model with my finger forwards and it moves with minimum resistance there is no binding then it's a good runner.
Last edited by SERVUS; 11-15-2020 at 05:41 AM.
The following users liked this post:
Conan_the_Hungarian (11-17-2020)
11-15-2020, 01:11 PM
#208
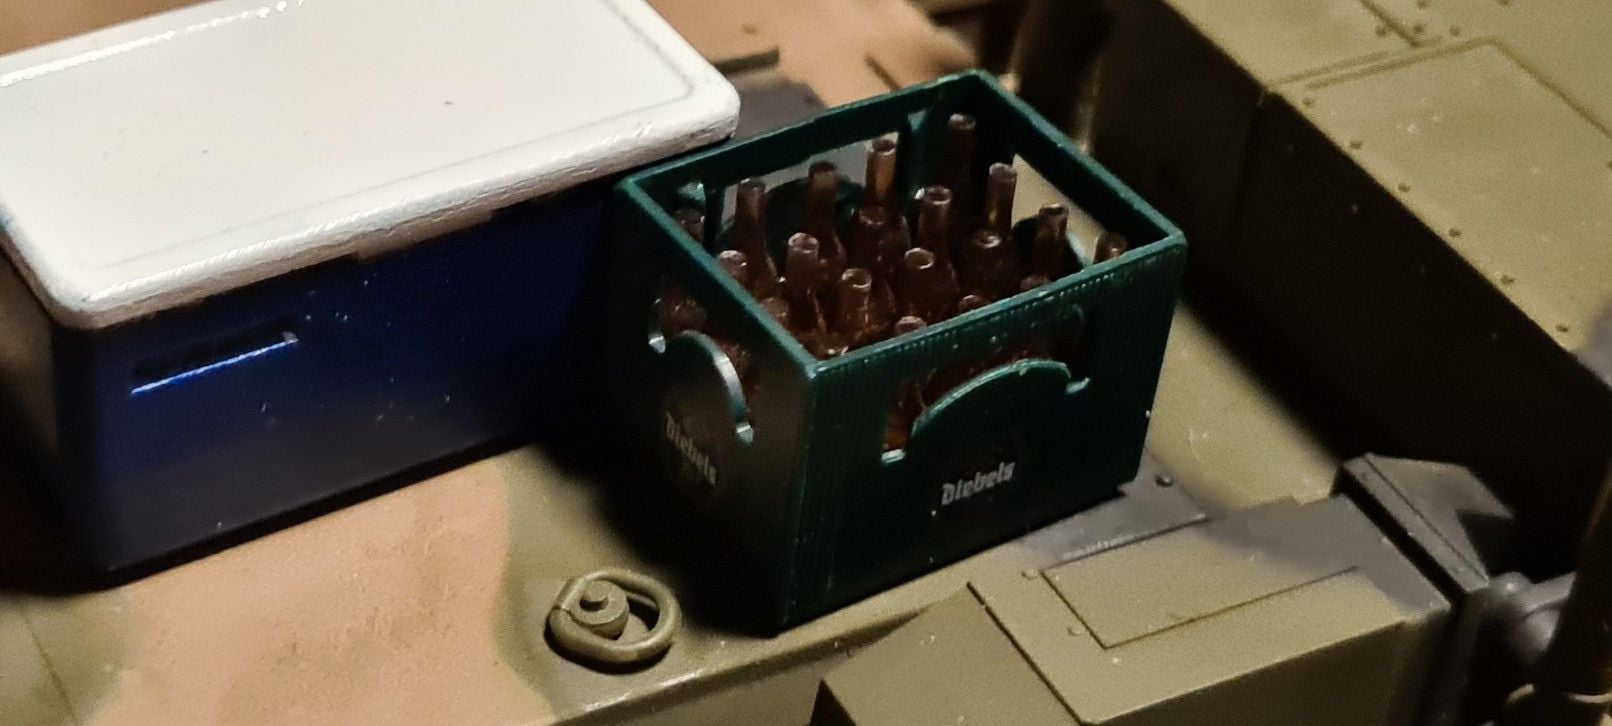
Load up Bier ready to go.
Early in the morning 5:30 am and thinking about attacking this barracuda umbrella ?...
Do not cut the Levi jeans 🙈

wiring up 2 x 40mm blower fans to sit under the rear upper hull vents this will also keep the dust out and cool the abram down it does generate some heat was surprised .
Now I am not sure this will work I will give it a go and attach to the speaker wire that way have control with volume up and down with transmitter .

Have odds and ends from previous builds stored nein it isn't hoarding 🤥 rc tankers know where everything is 🤣.
Use some USA gorilla grip 🖐
Last edited by SERVUS; 11-15-2020 at 10:03 PM.
The following users liked this post:
Conan_the_Hungarian (11-17-2020)
 11-18-2020, 08:35 AM
#210
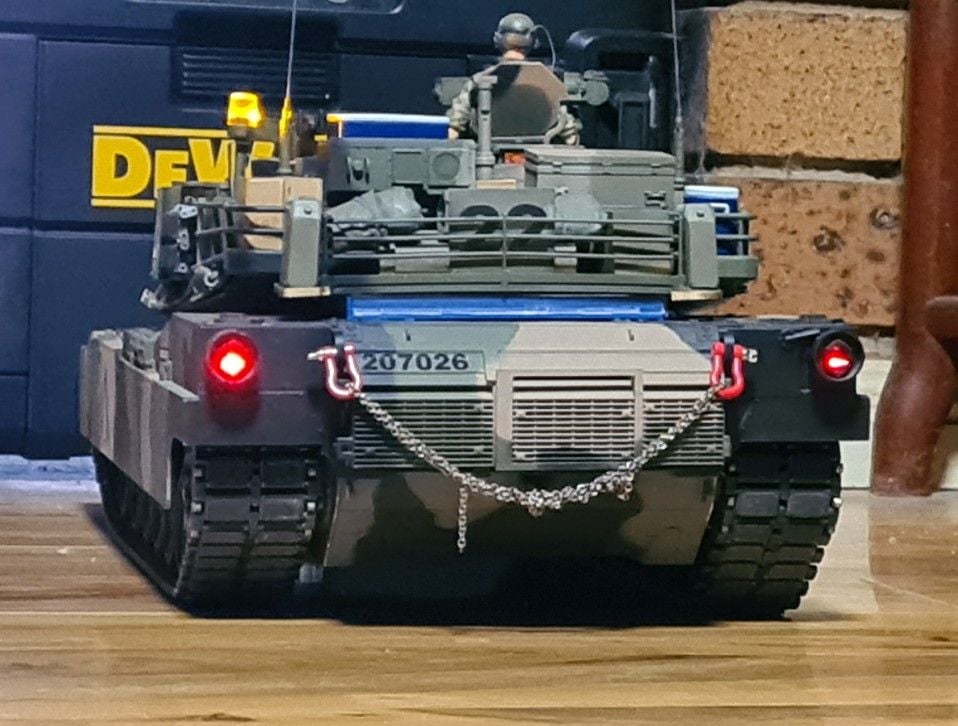
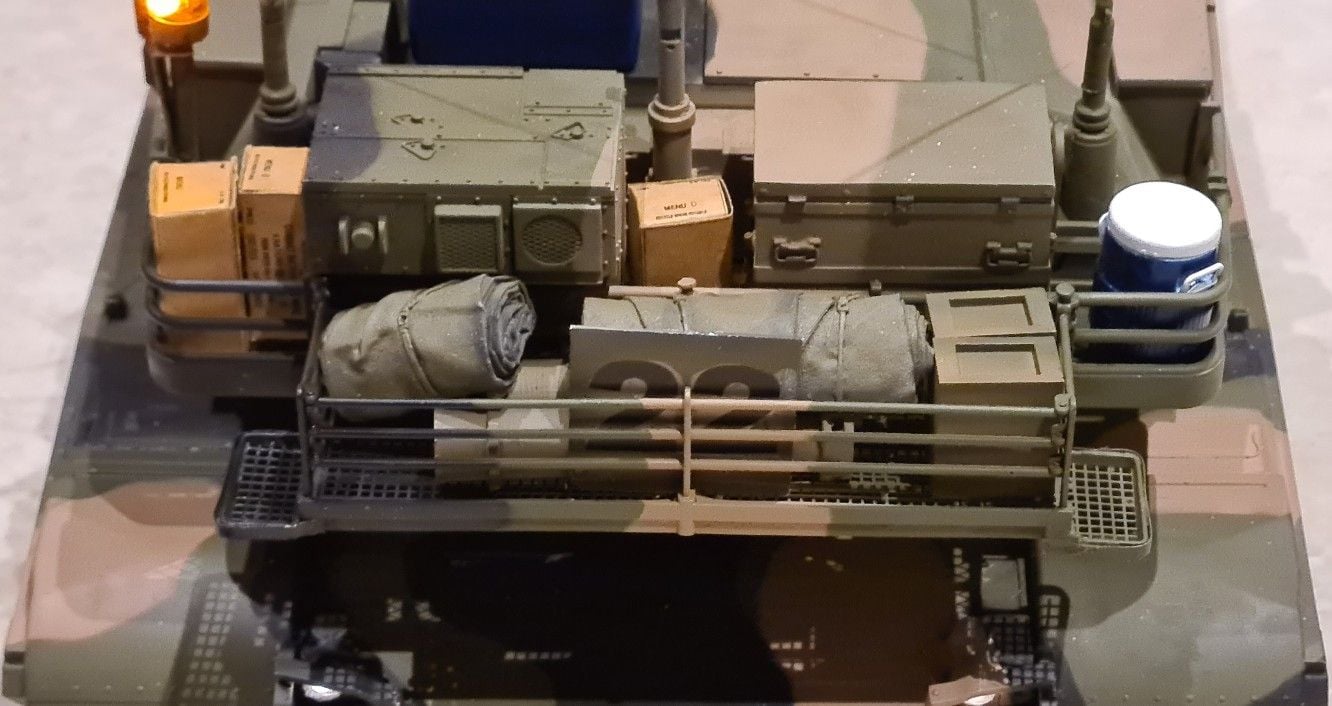
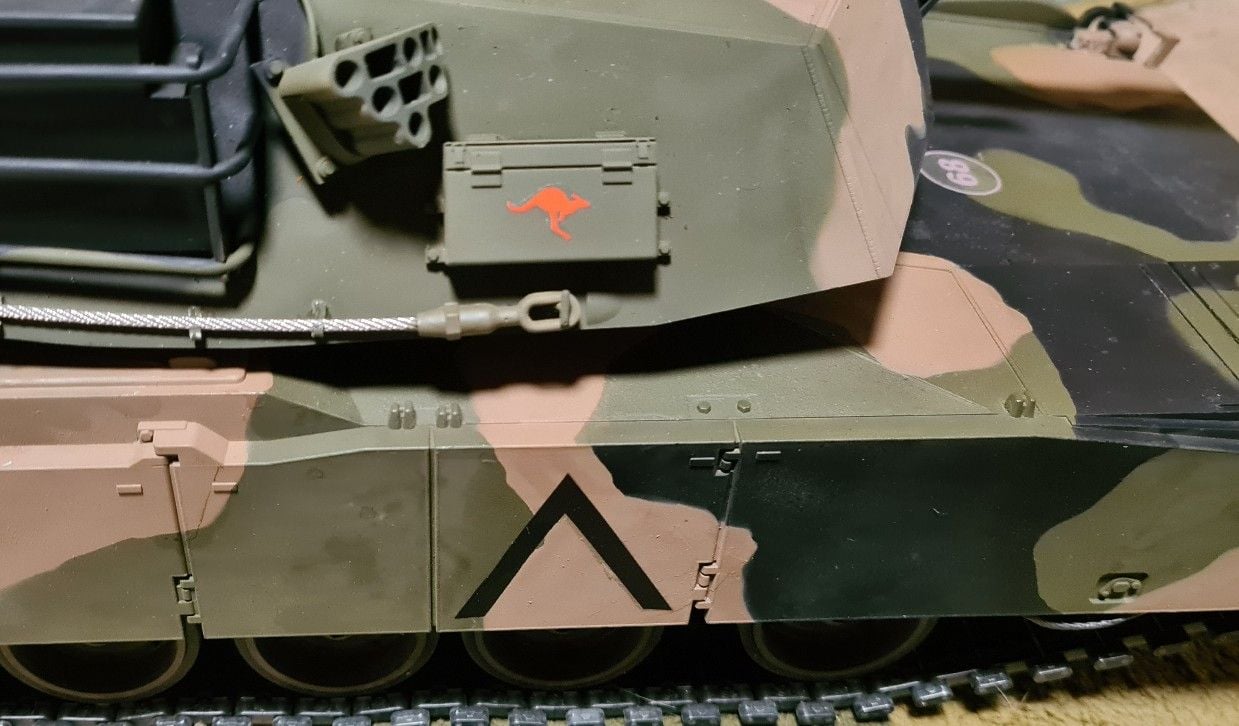
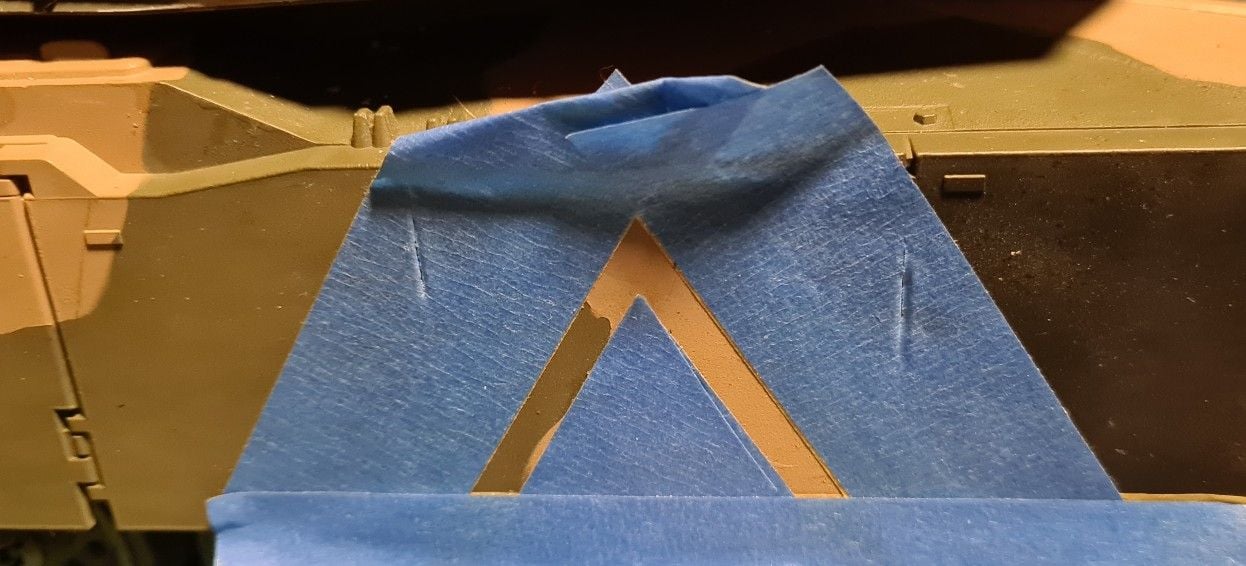
For those that may not know what the chevron is for, they are meant to indicate the military group the marked vehicle belongs to.
An upward facing chevron means the vehicle belongs to A company.
A rear facing chevron means B company.
A front facing chevron belongs to C company.
A down facing chevron means D company.
One dot in the chevron means 1st platoon.
Two dots in the chevron means 2nd platoon.
Three dots in the chevron means 3rd platoon.
A triangle with a single dot in it means 1st platoon of D company.
 11-18-2020, 10:42 PM
#212
Thanks for the kind words John and the technical explanations tankme you have been all a tremendous help.
So I decided to place a two fan system and it works well .


So I decided to place a two fan system and it works well .
Last edited by SERVUS; 11-18-2020 at 10:45 PM.
11-19-2020, 07:57 AM
#213
Well unfortunately first mishap goodness that flap is a concern nothing holding it take the turret off a few times to change batteries it is not going to last so do the next best thing beef it up .
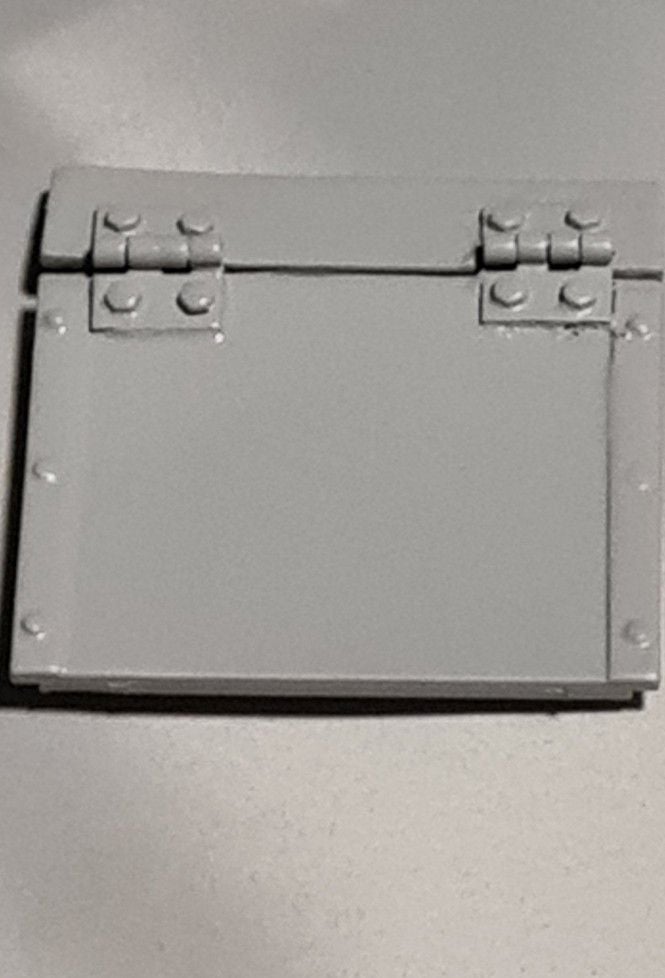
not a concern any more replaced with actual brass hinges
looks good works real well and easier to install the upper turret slips straight in now .
If this happens do not panic it can be rectified .
Simple to do carefully remove the moulded hinges then replace with workable.
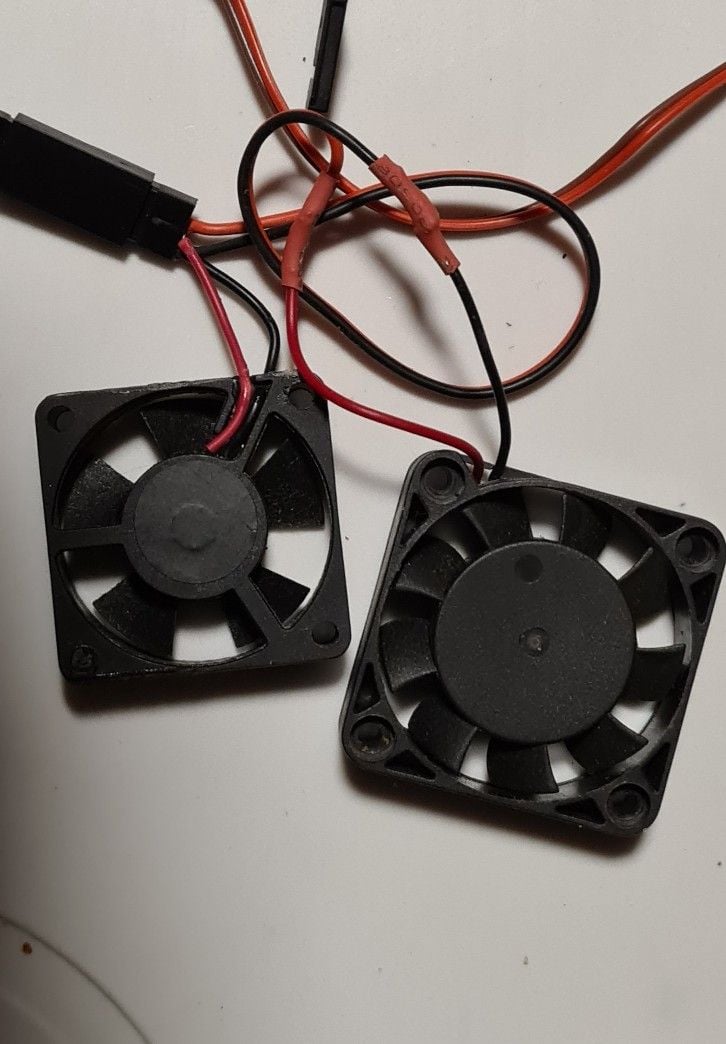
All wired up ready for install.
one vent smaller than the other hence two different sized blower fans.
The fans will push air out .
Showing Fan installed on the Tamiya Abram
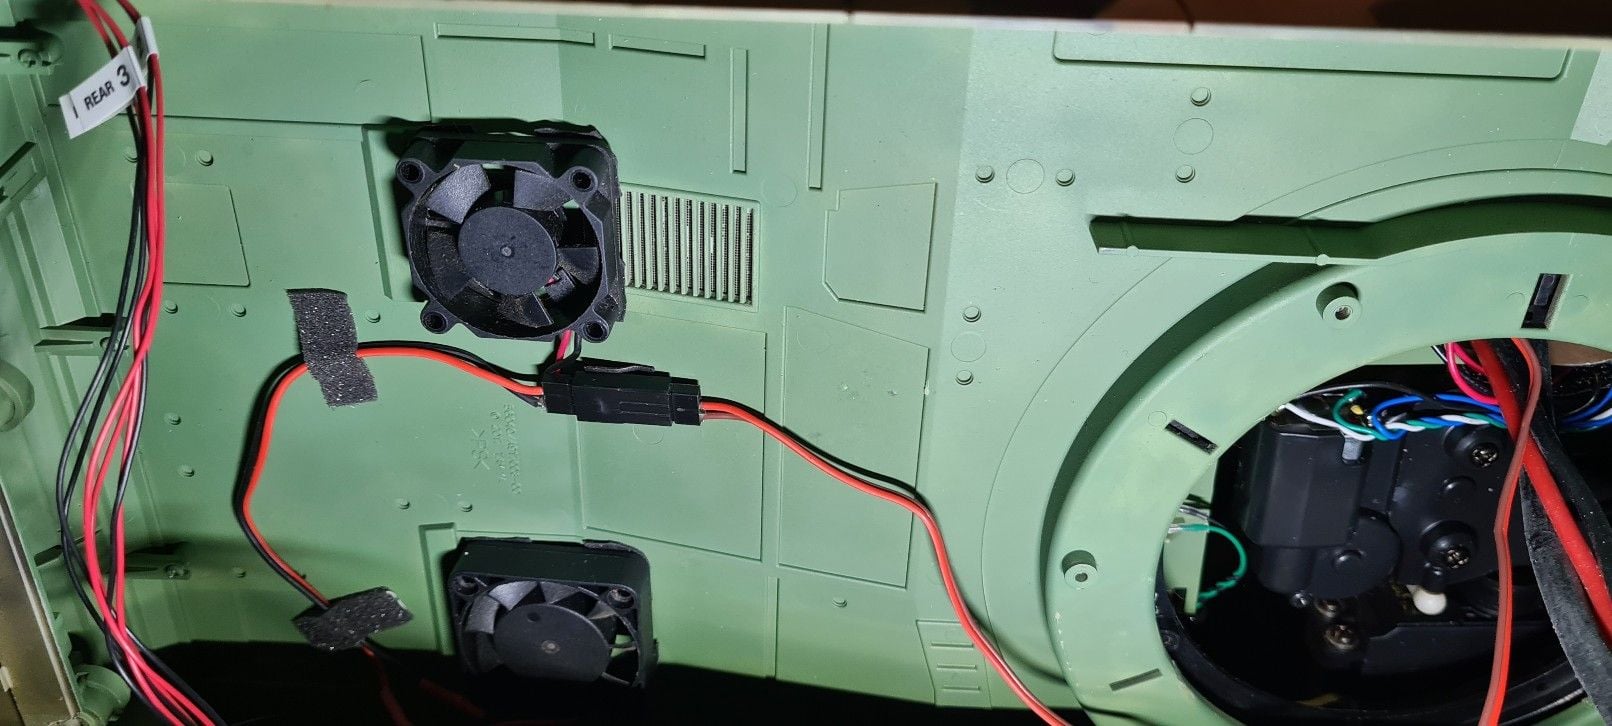
Power up the fans with a few options .
Option 1:- speaker.
Option 2:- 5v straight from reciever channel 1 y cable .
Option 3:- Proportional direct from Drive 540 can motor , I decided that i wanted constant power so i have taken option 2 .
Super happy with results venting the warm air as it should also keeps the dust out of the hull after a few months I will open and see how efficient it has been
.it is creating a vortex sucking air from upper turret so far the air coming out of the rear is also cool .
not a concern any more replaced with actual brass hinges
looks good works real well and easier to install the upper turret slips straight in now .
If this happens do not panic it can be rectified .
Simple to do carefully remove the moulded hinges then replace with workable.
All wired up ready for install.
one vent smaller than the other hence two different sized blower fans.
The fans will push air out .
Showing Fan installed on the Tamiya Abram
Power up the fans with a few options .
Option 1:- speaker.
Option 2:- 5v straight from reciever channel 1 y cable .
Option 3:- Proportional direct from Drive 540 can motor , I decided that i wanted constant power so i have taken option 2 .
Super happy with results venting the warm air as it should also keeps the dust out of the hull after a few months I will open and see how efficient it has been
.it is creating a vortex sucking air from upper turret so far the air coming out of the rear is also cool .
Last edited by SERVUS; 11-20-2020 at 06:48 AM.

 11-23-2020, 12:23 AM
#215
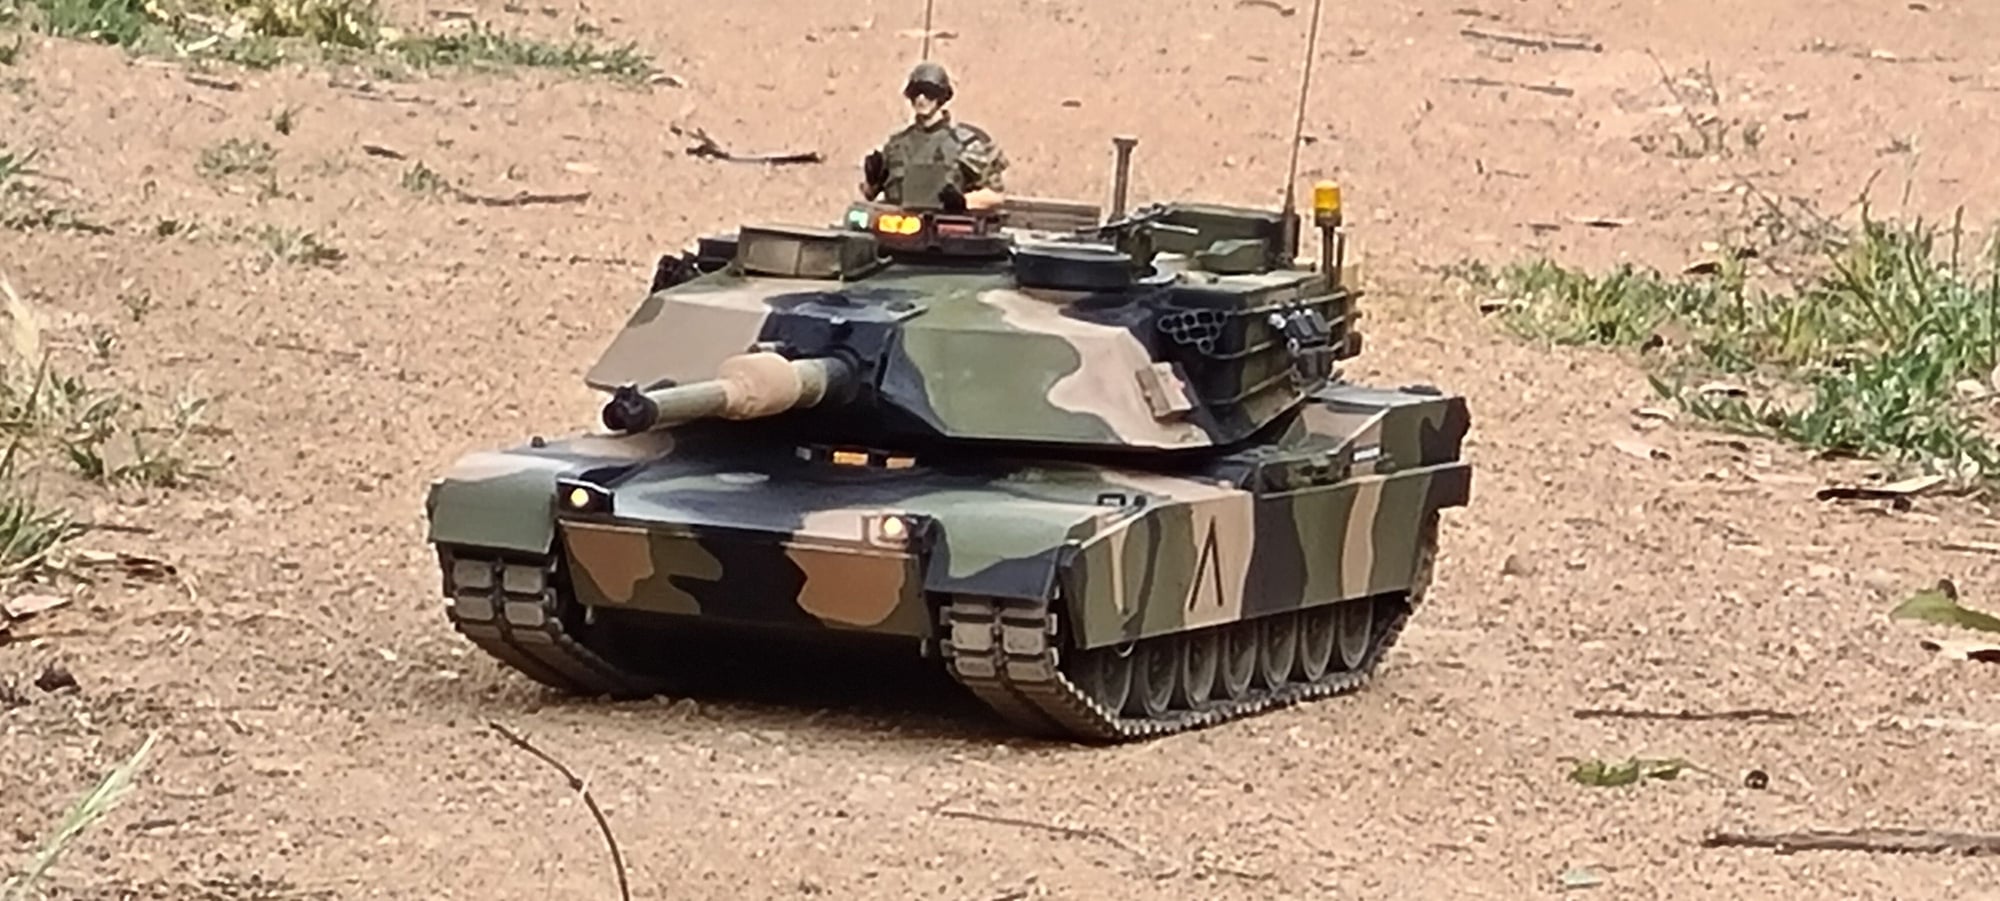
Running really well and adjustment of tracks then it went further so I am going replace the can motors.
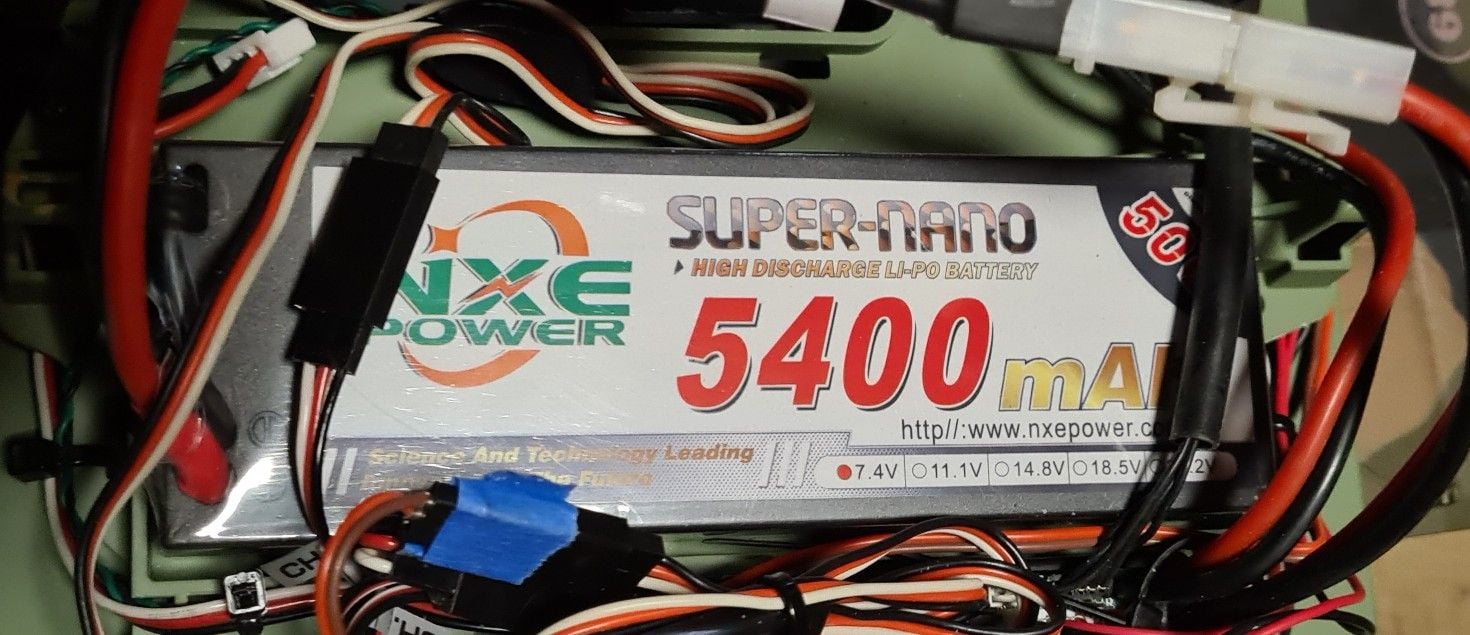
Running lipo 2s 5400 mah no problems .
Running lipo 2s 5400 mah no problems .
Last edited by SERVUS; 11-23-2020 at 12:39 AM.
11-23-2020, 12:37 PM
#216
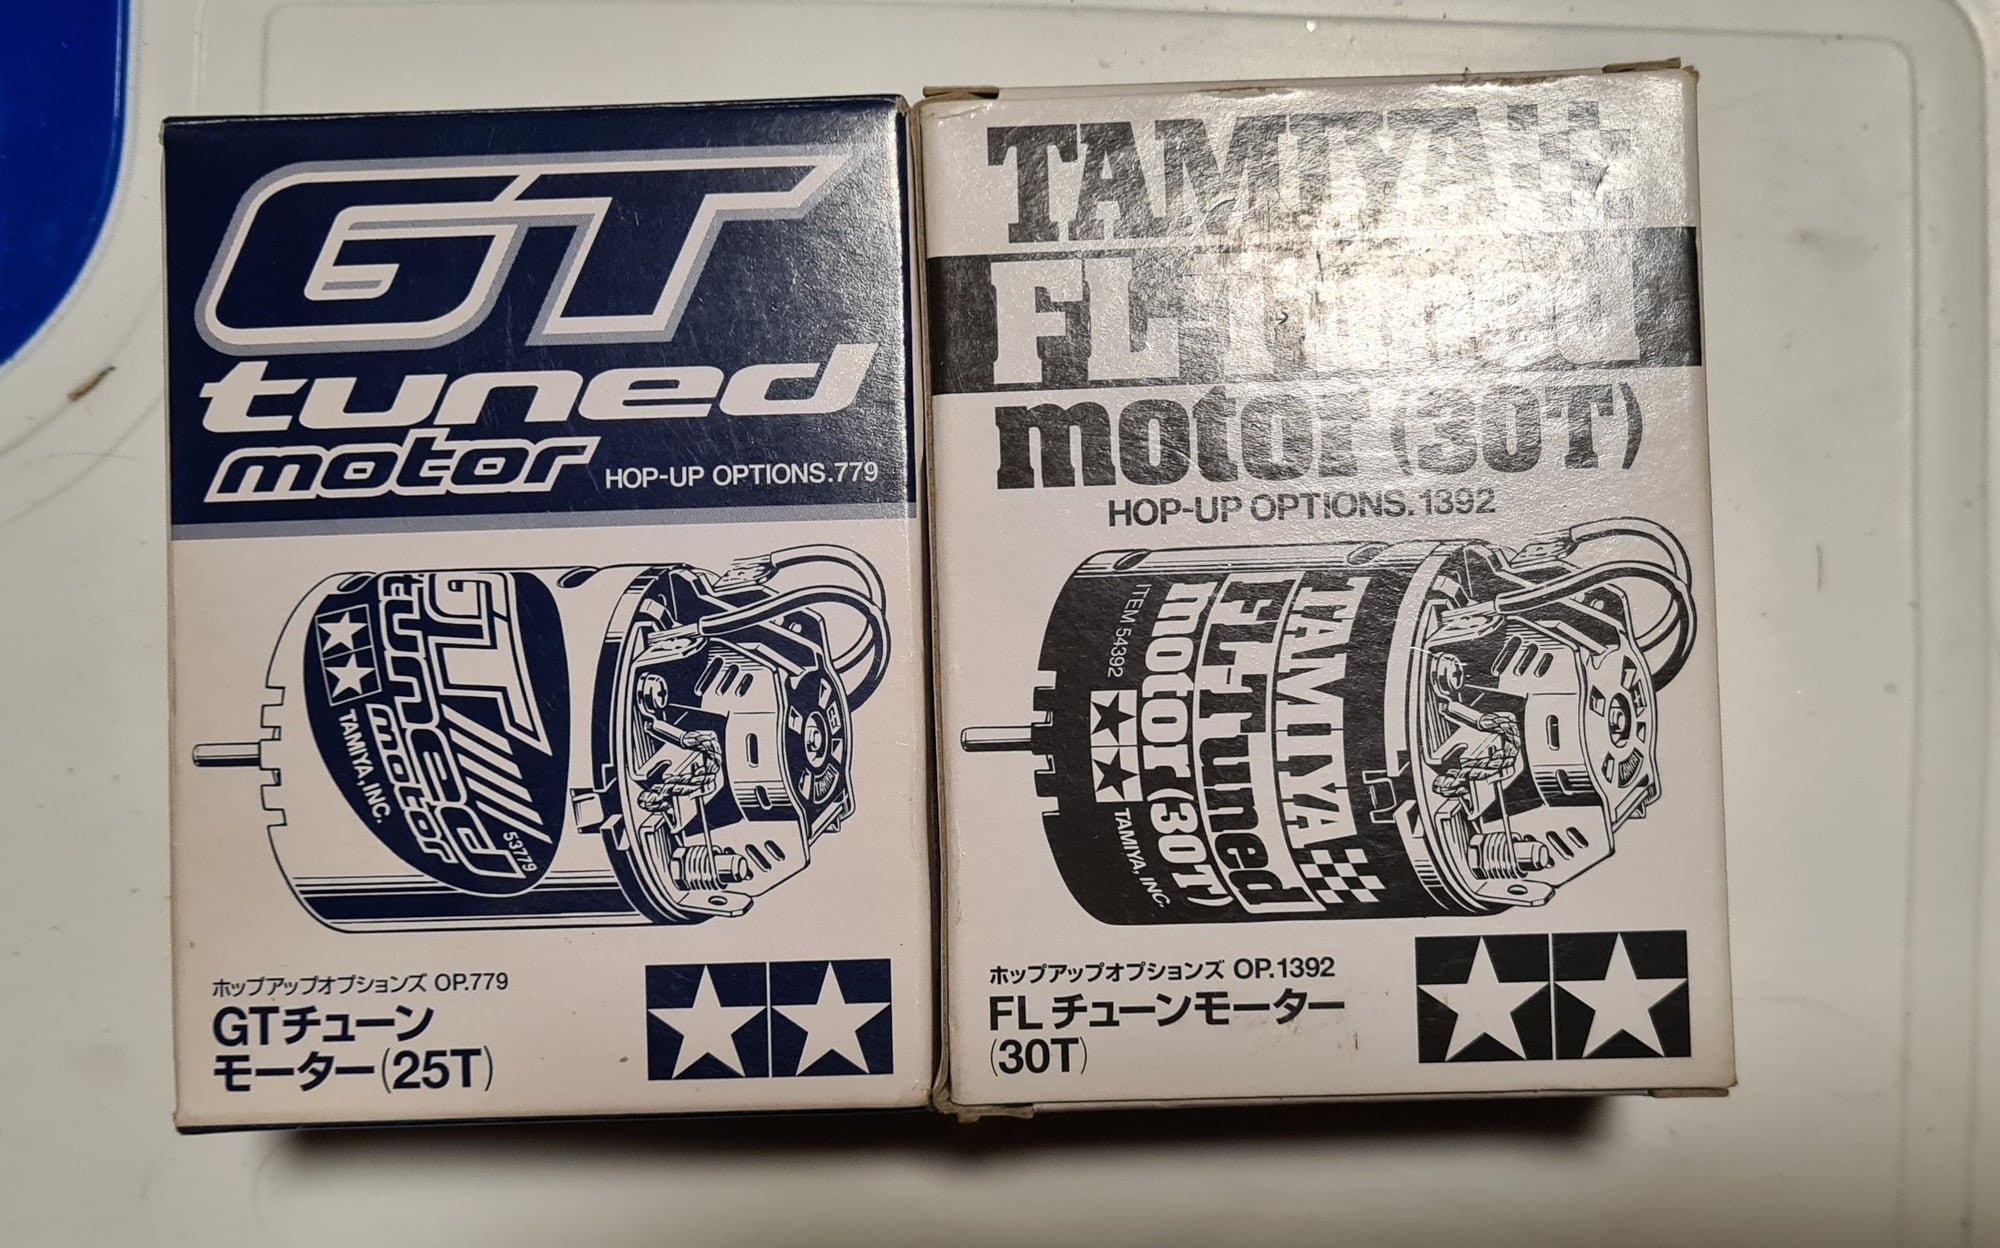
The Tamiya Abrams with the stock motors is already over powered for its transmission with a 7.2v NiMH battery. With mine I went down in motors to 20 turn = lower torque but higher top end speed. This made for easier/softer low speed handling vs stock motors, yet higher top end scale speeds and no loss in overall rough terrain off-road performance. The lower turn motors also put less stress on the transmission gears.
Last edited by Fsttanks; 11-23-2020 at 12:43 PM.
11-23-2020, 04:19 PM
#217
Thanks i will change to metal gears i have 3 more sets of plastic and switched to low power on board not run at high .
I have the metal set in the 2a6 .
I agree it will probably be very easy to strip gears if not careful .
On test run i did noticed the abram picks up foreign objects in tracks easier than other models .
I have the metal set in the 2a6 .
I agree it will probably be very easy to strip gears if not careful .
On test run i did noticed the abram picks up foreign objects in tracks easier than other models .
Last edited by SERVUS; 11-23-2020 at 08:50 PM.
11-23-2020, 05:43 PM
#218
Thanks i will change to metal gears i have 3 more sets of plastic and switched to low power on board not run at high .
I have the metal set in the 2a6 .
I agree it will probably be very easy to strip gears if not careful .
On test run i did noticed the abram picks up foreign objects in tracks easier than other models .
I have the metal set in the 2a6 .
I agree it will probably be very easy to strip gears if not careful .
On test run i did noticed the abram picks up foreign objects in tracks easier than other models .
The following users liked this post:
SERVUS (11-23-2020)
11-23-2020, 09:50 PM
#219
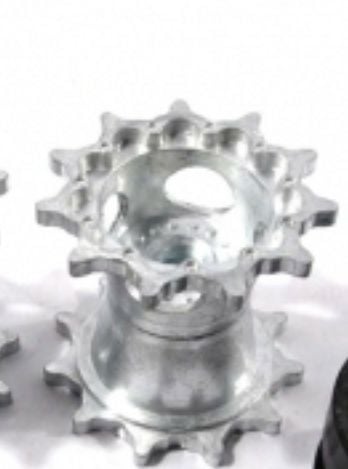
Interesting to hear i will keep that in mind . just wondering if the tight tolerances of the Abram drive sprocket design compared to other models which on visual is less having a wide straight gap between teeth purhaps leaving the cut out would cause debris to be trapped in the middle of the teeth and track which could have no ability to clear effectively .
eg
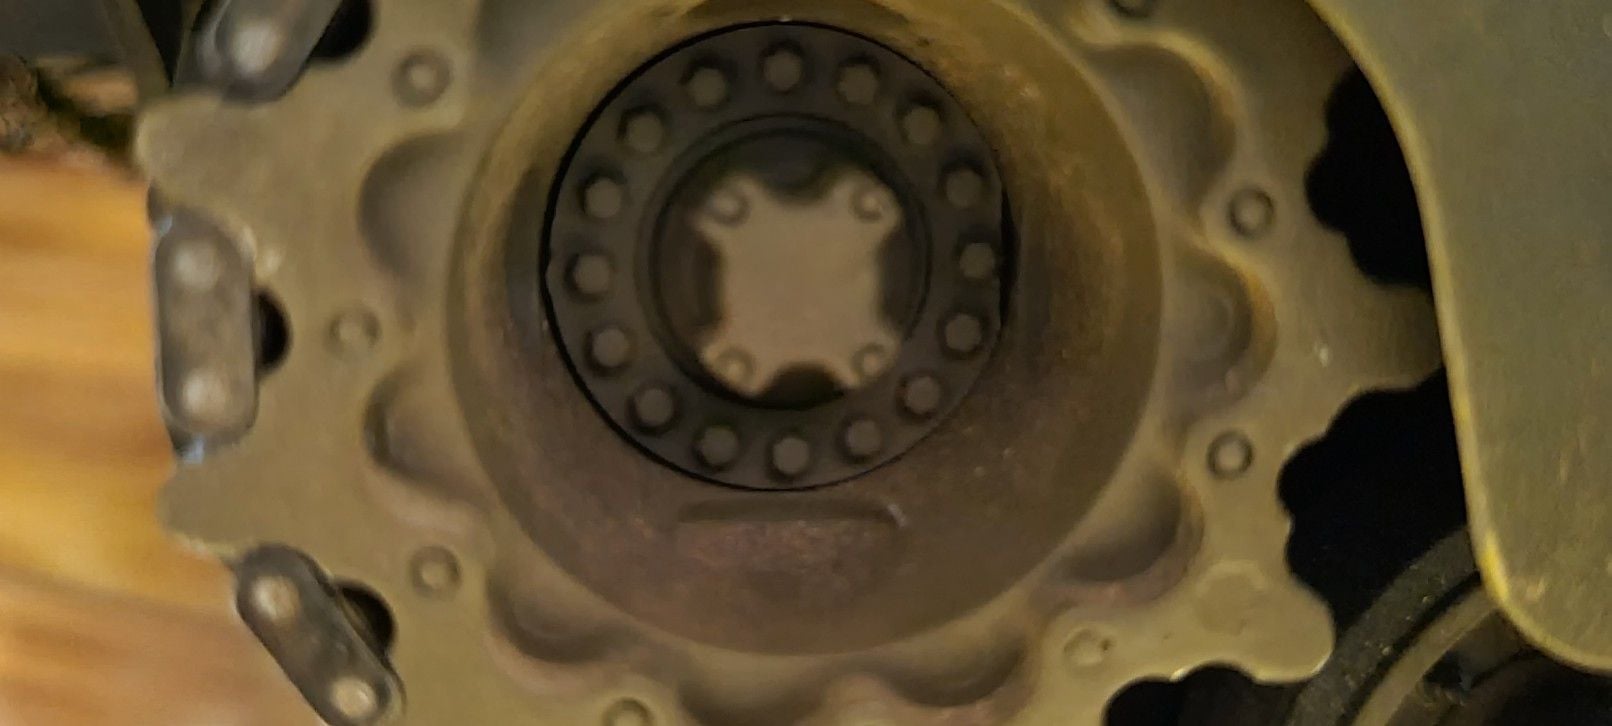
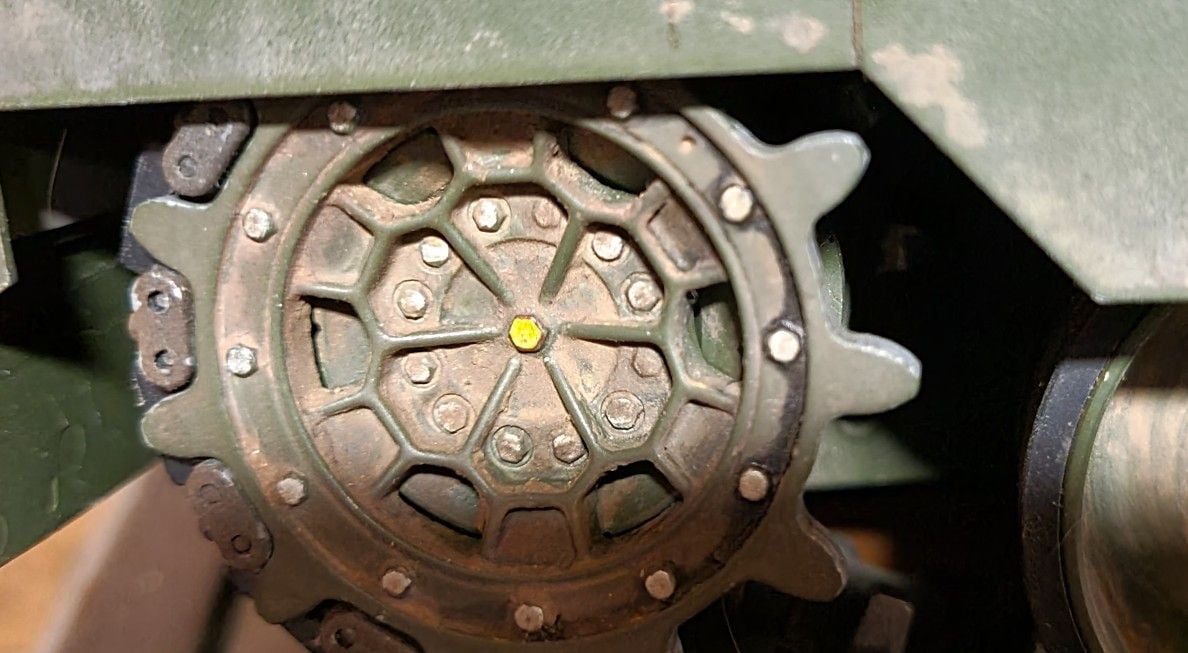
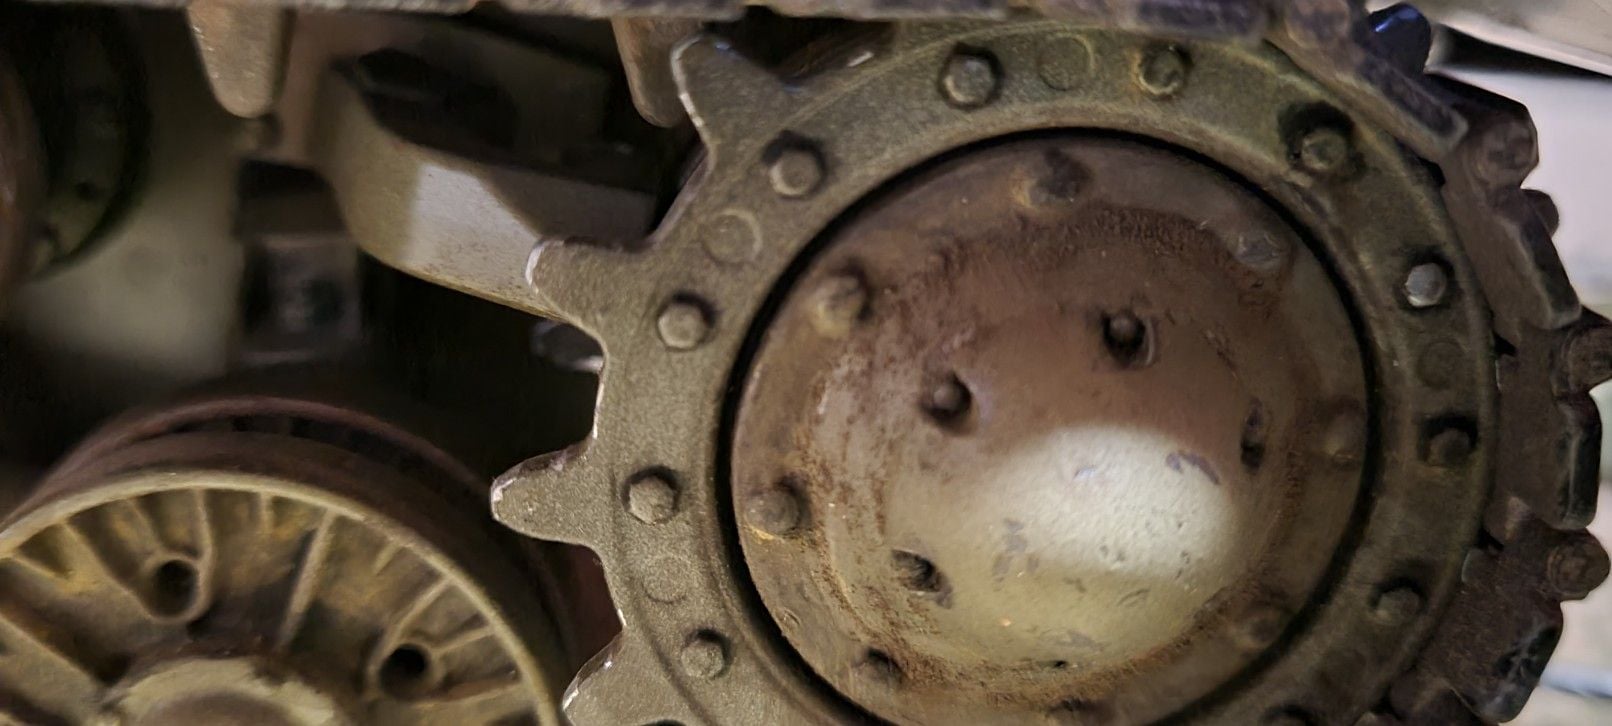
Having the cut outs in the sprocket would negate the debris fouling the sprocket and track effectively they are there for a reason except Tamyia did not make provisions for this .
eg
Having the cut outs in the sprocket would negate the debris fouling the sprocket and track effectively they are there for a reason except Tamyia did not make provisions for this .
Last edited by SERVUS; 11-23-2020 at 10:24 PM.
11-23-2020, 11:42 PM
#220
Interesting to hear i will keep that in mind . just wondering if the tight tolerances of the Abram drive sprocket design compared to other models which on visual is less having a wide straight gap between teeth purhaps leaving the cut out would cause debris to be trapped in the middle of the teeth and track which could have no ability to clear effectively .
eg
Having the cut outs in the sprocket would negate the debris fouling the sprocket and track effectively they are there for a reason except Tamyia did not make provisions for this .
eg
Having the cut outs in the sprocket would negate the debris fouling the sprocket and track effectively they are there for a reason except Tamyia did not make provisions for this .
I bought a spare set of Tamiya sprockets that I intended at some point to have functional debris cleaning wholes added should my Tamiya Abrams every need them. So far it has not and runs great in all but thick mud. But then what tank runs good in thick mud.

Last edited by Fsttanks; 11-23-2020 at 11:47 PM.
11-24-2020, 09:24 AM
#221
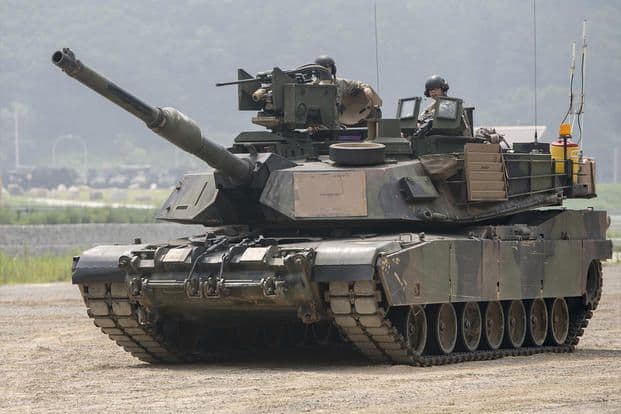
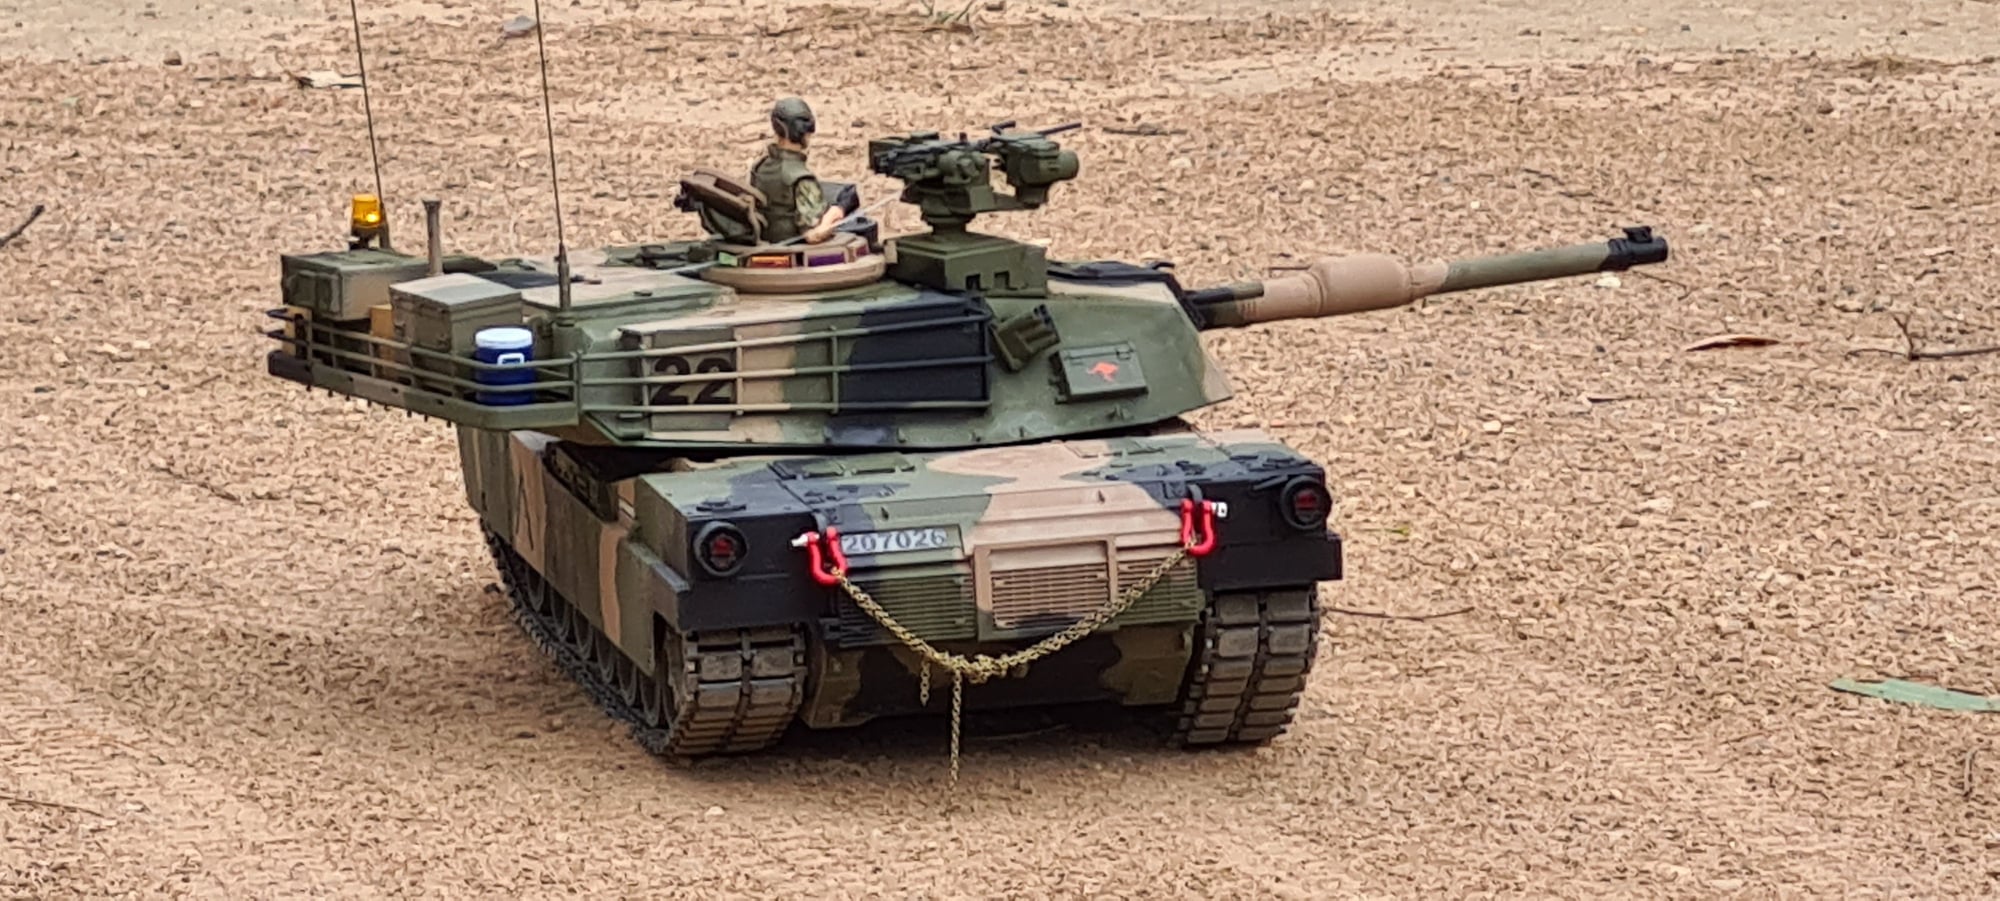
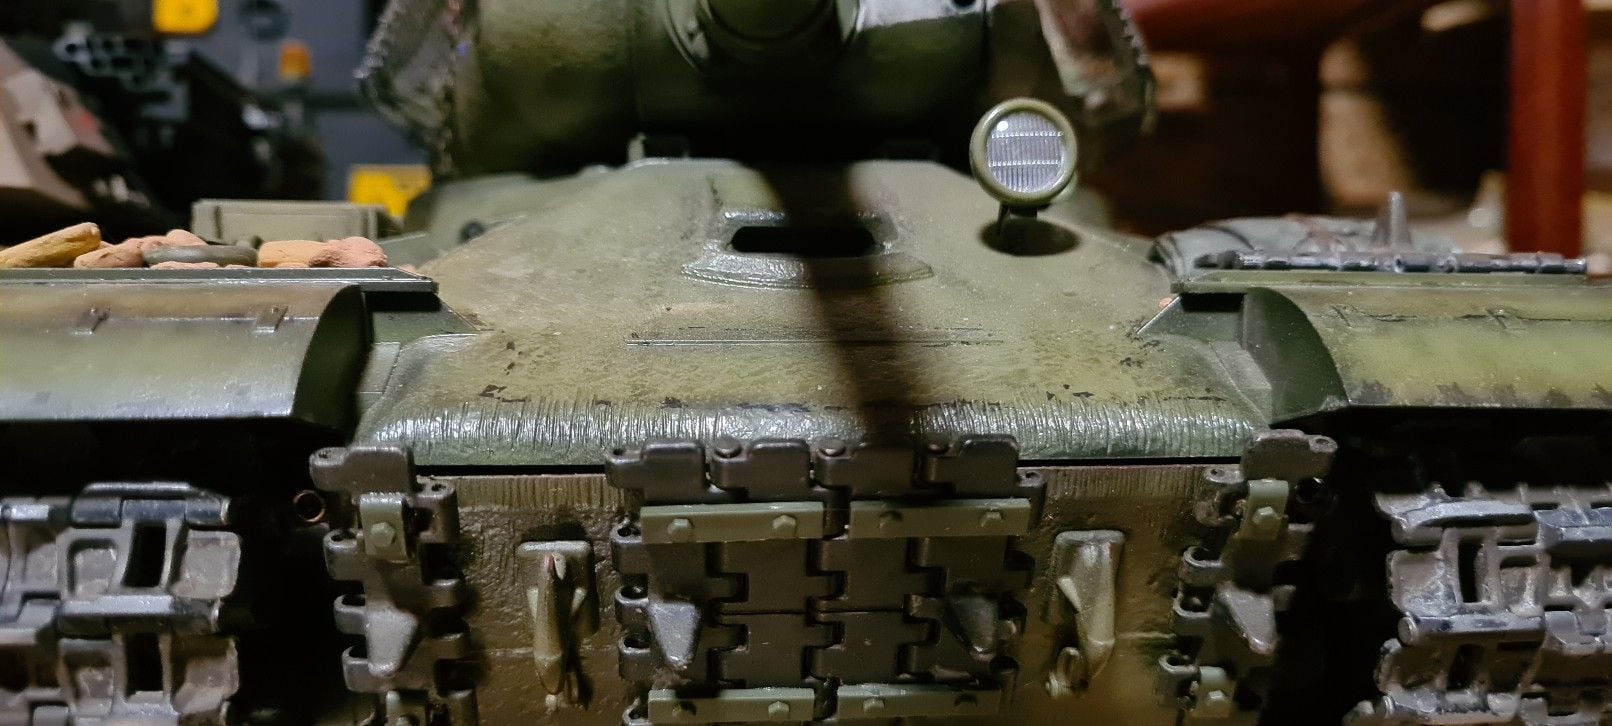
Nice pictures fsttanks all natural weathering can not beat it and detail is fantastic .
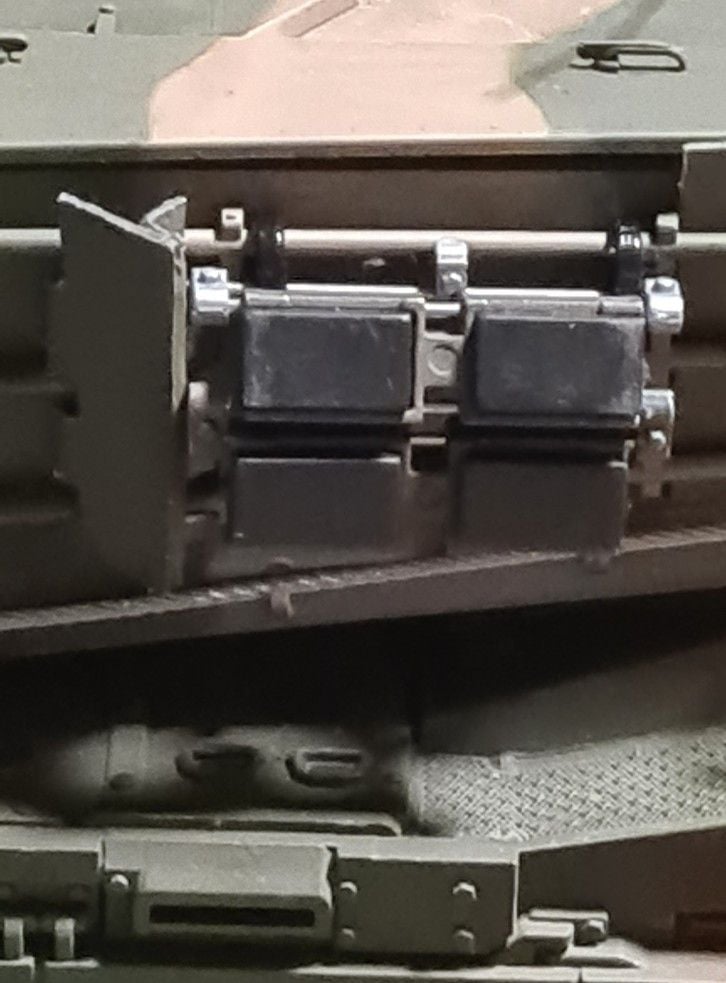
also I noticed a few little details

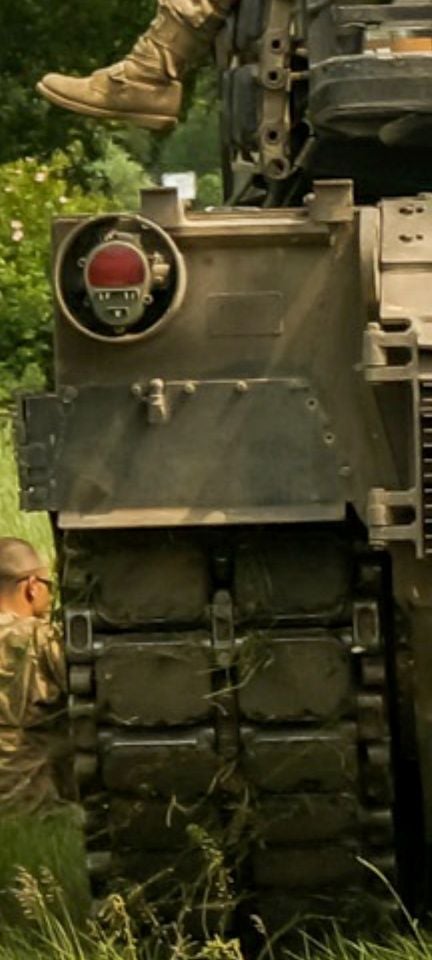
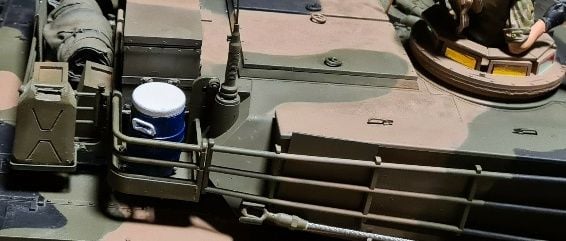
Communication phone box and rear fender light and fender guards.
also I noticed a few little details
Communication phone box and rear fender light and fender guards.
Last edited by SERVUS; 11-24-2020 at 10:37 AM.
11-24-2020, 09:35 AM
#222
Looking after these tamiya tanks getting expensive now goodness me Not to mention HL double what they were 4 years ago .
One of the most expensive part of this build to date has been the paint just me i prefer to paint every section inside and out .
Only issue i found was fixing the noise coming from drivers hatch vibrating that was distorting the sound at high volume .
There is some more still to go best keep plugging away it .
Last edited by SERVUS; 11-24-2020 at 10:18 AM.
11-24-2020, 11:05 AM
#223
The top square box is the slave receptacle for jump starting the tank or jump starting another vehicle off the tank. The rectangular box below it is of course the tank phone as you said. The metal guard on that light is actually there to protect the back up camera. The camera is mounted in the lower part of the housing in that trapezoid cutout area. These are the ends of the slave cable. I bought a set for my Abrams: https://www.shapeways.com/product/SX...li=marketplace