


Ziroli 1/6 Hellcat Build


 04-13-2016, 07:04 PM
#29

Thread Starter
Would like to be moving faster...
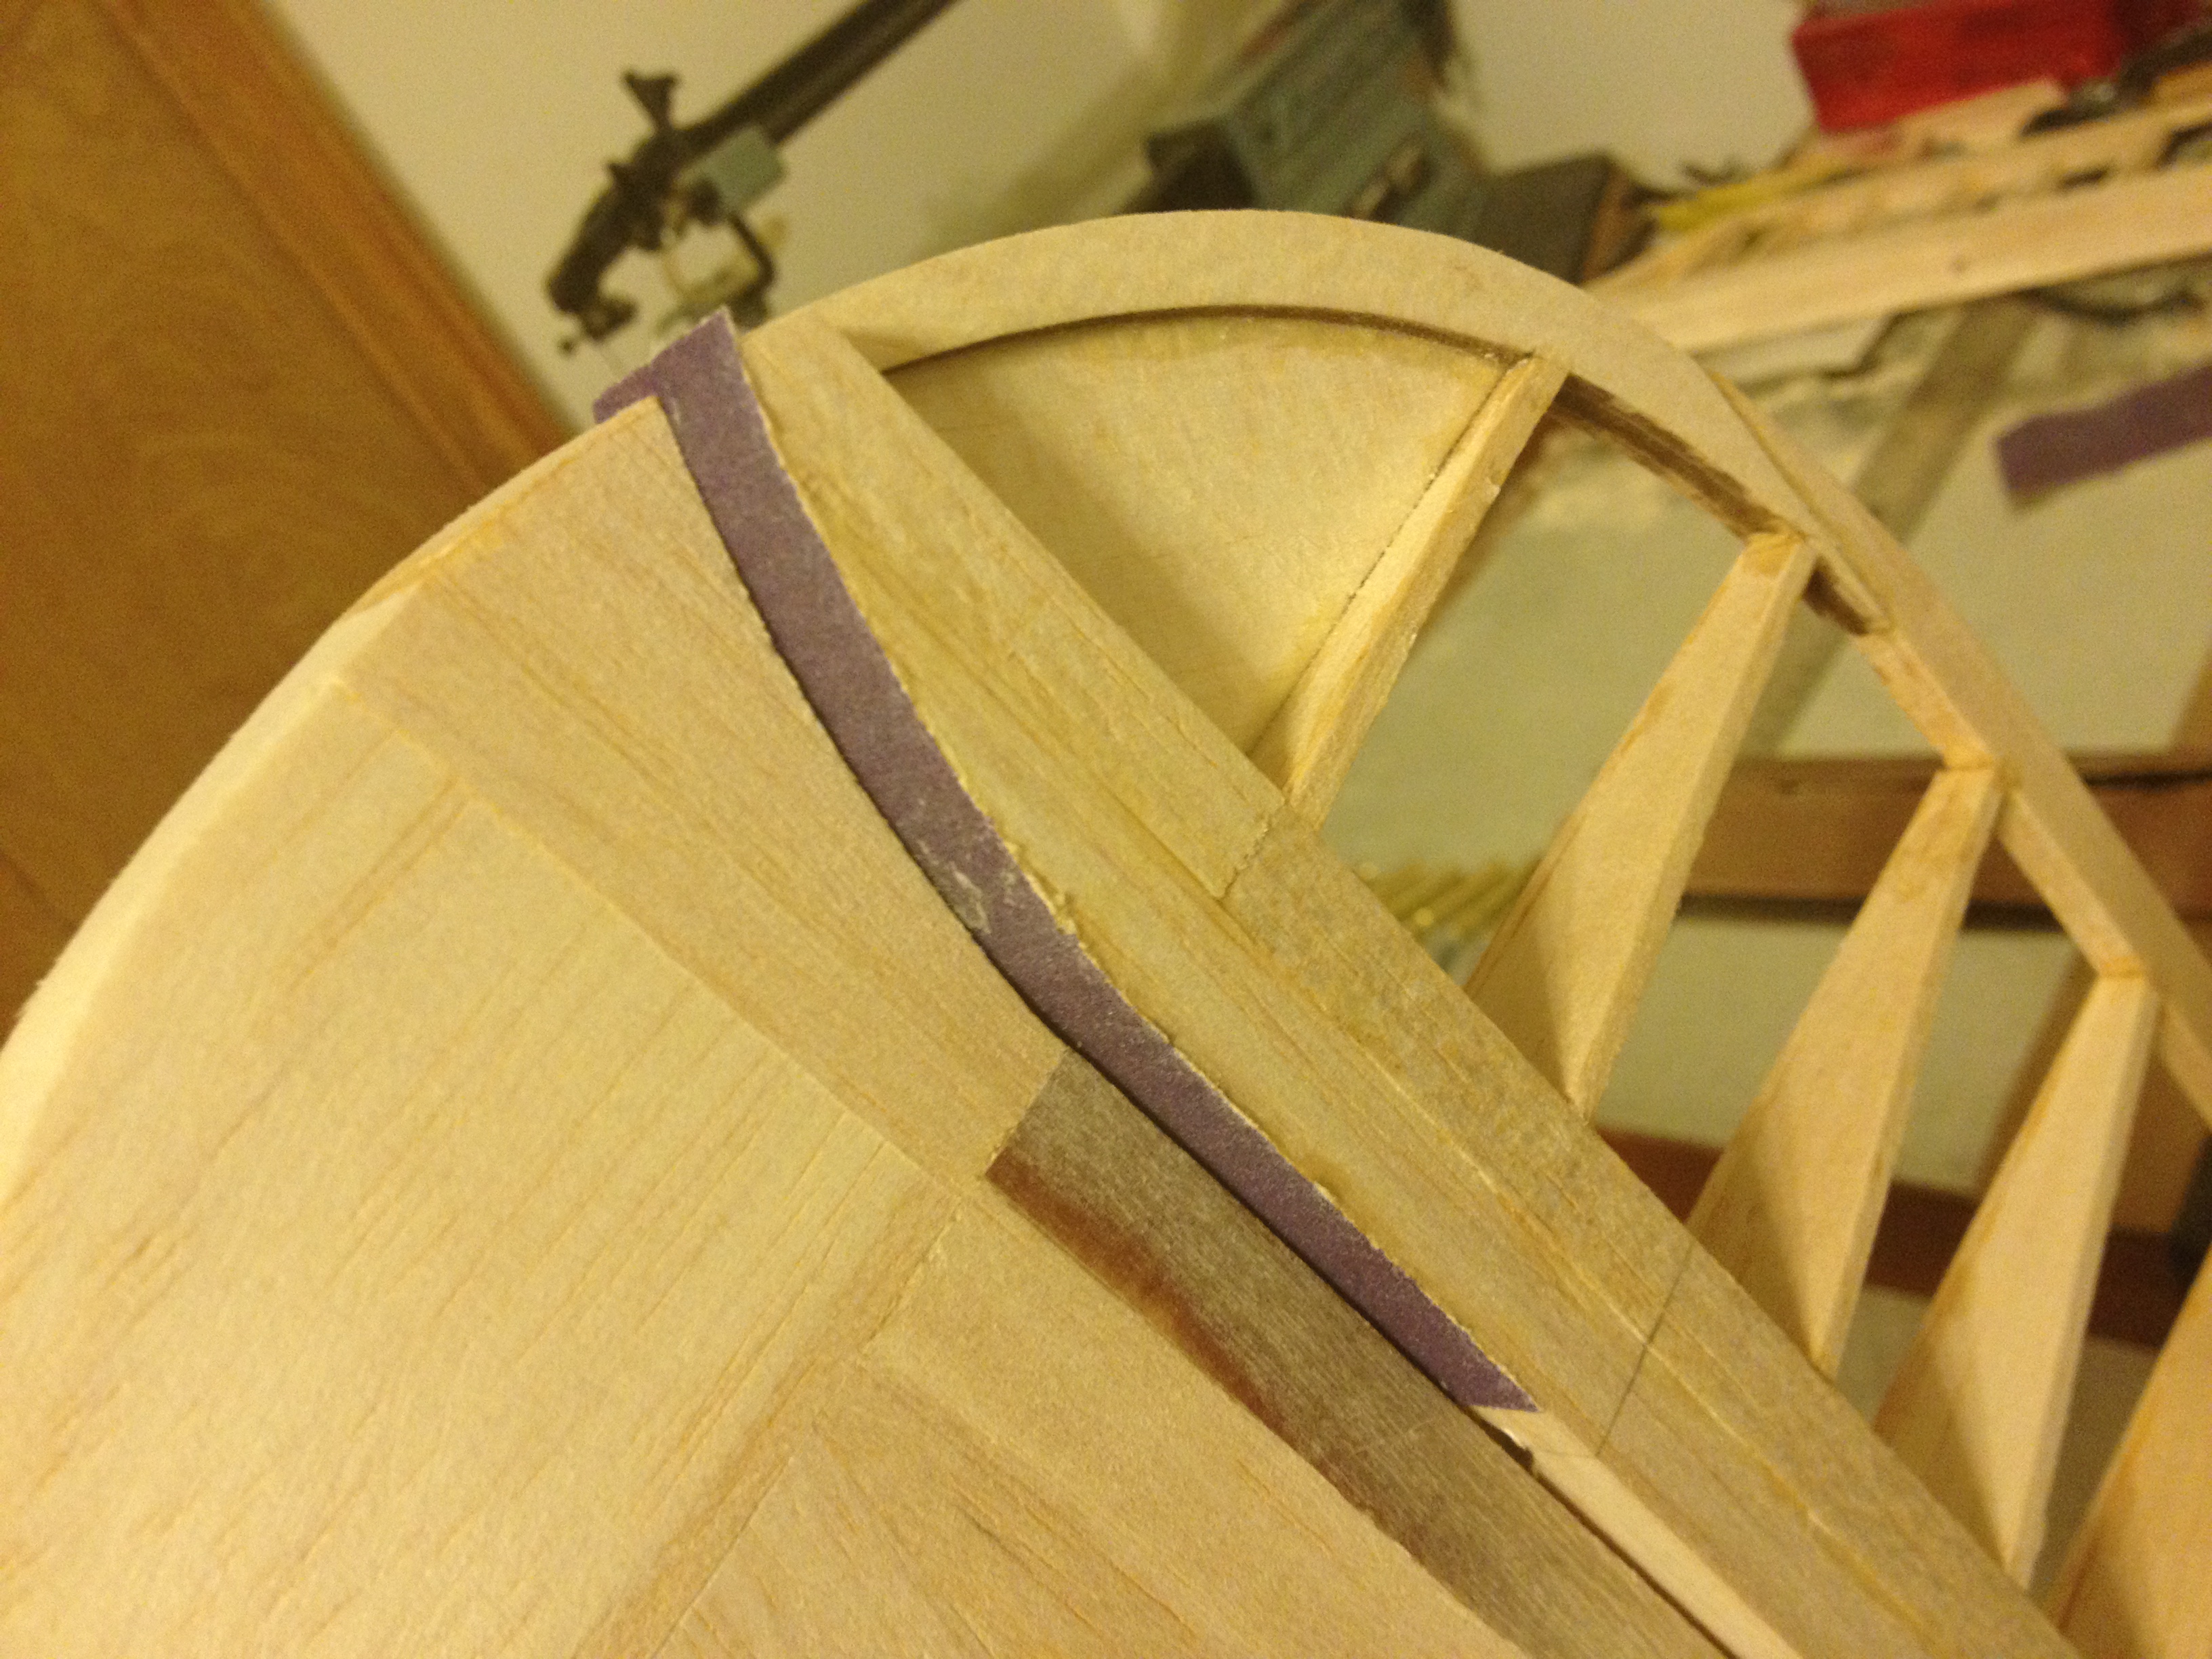
Rudder is fully hinged, ply-balsa-ply sandwich for pull-pull control rod and rod installed, rudder top and fin top installed and rear radio mast cut /shaped from aluminum and fitted. Used aluminum as ply version on my Byron broke several times when putting it in my vehicle - need to be more careful, but these were not hard hits...
Finish filling/sanding still required, and rudder trim tab is yet to do. Overall, though, pleased with my changes and work - getting better at this.
Tried drilling the 3 holes shown in some full-scale cutaway drawings and seen below in this drawing:
Didn't work out - my drills left a ragged mess in the soft balsa. So, the rudder top in picture above is 2nd attempt. As these holes are not visible in any pictures of full-scale F6F's, I'm leaning toward leaving them out. Would be nice to have these holes, to save a bit of tail weight, but I also don't want any visible impression of them in the covering, since they don't show in full-scale aircraft.
Have located and drawn the circle in the front fire wall for mounting the single air canister - stealing idea from Mirce's twin canister setup on his larger bird. Will supply a picture once canister is mounted.
Kind regards until next time!
04-13-2016, 07:46 PM
#30

My Feedback: (34)
Join Date: Dec 2001
Location: Modesto,
CA
Posts: 446
Likes: 0
Received 0 Likes
on
0 Posts
You're getting there Dale, 
I ordered my glass fuse kit from Ziroli earlier this week... two to three week lead time.... I probably won't be able to start on it until July.
I ordered my glass fuse kit from Ziroli earlier this week... two to three week lead time.... I probably won't be able to start on it until July.
04-15-2016, 06:30 PM
#31
Thread Starter
AC2: I'm missing a glass fuse, at this point. Ah, the work that it cuts from a build!

Air canister is in! Might have been easier to create holes before assembling fuse, but I didn't see Mirce's pictures until too late. Some measurements and old drafting skills to establish center points, compass to draw circles, drill consecutive holes just inside circle to remove most of the material, then sand up to circles with a drum sander on a 90 degree Dremel mount. No problem!
Need to get elevator control rod exits figured out - putting the elevator servos up on either side of the engine box, as in Mirce's pictures. At smaller scale, getting the exits through the rear former(s) and fuse side seems a bit tricky...but, must get this done. Once done, the rest is easy, even if the rest includes a lot of work, yet. Ah, dang, forgot having to fit the squarish fiberglass cowl to the eggish shaped firewall - that's going to take some cutting and glassing, filling and sanding, I'm sure.
So, took a detour - started cutting out parts from the Dynamic Balsa cockpit kit.... What? This must get done, too!
04-15-2016, 08:34 PM
#32
My Feedback: (34)
Join Date: Dec 2001
Location: Modesto,
CA
Posts: 446
Likes: 0
Received 0 Likes
on
0 Posts
Yeah if it were not for me finding a glass fuse I would not have bothered building the kit... I just don't have the time to build an all-wood kit right now. I have a stinson arf to build before I start my P-47 arf.
Ziroli told me that the glass fuse will not be available much longer so I had to jump on it right away.
Something about the guy that's building them he will not be building that much longer ...I don't know all the details but I just had to make sure I got one secured.
Keep up the good work you're my therapy for now LOL
04-15-2016, 10:49 PM
#33
When I ordered my second Hellcat I ask to get them on 2009 Top Gun. I bought glass fuselage and rest of kit will be same as usual.
Everything wait me at Frank Tiano office, from where I pick up all F6F stuff.
After few day, thanks God I was still in USA, in hotel room I want to check parts and saw that all wooden parts are for wooden fuselage. Next day I went back to Frank in Lakeland and ask him am I right, something is not good here.
We look together and come to same conclusion...
He call Nick and in next few days all missing parts wait for me in Franks office.
I wore the F6F glass fuselage over half of Florida, can you imagine how big is box, than in airplane and in Serbia.
I was only one on our airport with card box, he, he...
When I start working on model I saw that glass fuselage is heavy and more complicated for work.
Other thing is, side of the fuselage was "soft", I don't like it...
I don't tell that is bad, I just don't like it...
Because I have parts for almost two Hellcats I order parts for one more wings and tail from Ziroli. Glass fuselage and those parts I sold to my friend, so we work together on two models parallel.
http://www.nsmodelers.rs/warbirds/he...jekat/jun-2011
Glass model was much heavier than standard wood fuselage model, and that was before location CG.
My friend is old man, he never finish that Hellcat, so I haven't information how much weight he will need CG of his F6F.
No regrets for glass fuselage.
My second Hellcat was 18,5 kg and with ZG 80 fly great.
On that building I change all I thing that was bad done on my first F6F model. I'm glad that you watch my building, I flew that airplane almost 100 time without any issue.
If you need even lighter model you can save weight on filler for panel lines.
I made panel lines on different way on my Panther (facelift) and now on Galeb G2. I apply vinyl lines and don't remove it from surface. Than near them I add rivets and all other details.
In that case, you don't need to apply primer to made "channels".
Final result is that panel lines are not channels it's look like convex...
Best regards
Mirce
04-17-2016, 08:05 AM
#34
Thread Starter
Main radio mast installed. Again, made from aluminum, but this one was salvaged from the Byron, paint removed and wet sanded back to new.
Going back to wrestling with the elevator controls. I think fiberglass rods are out and Sullivan 4-40 Gold-n-Rods are in. This isn't a pattern plane, not used for 3-D aerobatics, so issues with expansion/contraction that I've read about, probably are least of my concerns. I just can't seem to find a way to use the fiberglass rods without cutting into numerous formers. I'd be using holes bigger than I want to see - concerned about strength loss, and I would still likely need to have long 4-40 rods with bends in them. On my Byron, I had fg rods with 4-40 ends with no bends - best setup, all straight. But a glass fuse is cavernous....just don't see it happening, here.
Have seen where some builders use a combination of fg or cf rods and flex rods. I could do this, with "servo to rear of plane" using fg rod, say to F10, and then connecting to flex rod for passing through a former and exiting fuse side. But, I'm leery of having a mechanical connection deep in the fuse where its not easy to inspect.
So, today, I'm narrowing my choices to the Sullivan flex rods or mounting the servos in the h-stab - the latter being my 'last resort' choice.
Haven't cut anything, yet, just placed the rods in the fuse and taped an elevator horn in position.
Two options inside the fuse - run the rods parallel up fuse sides (easier to provide support) or crossed (less friction):
I don't have the cockpit kit in, yet - don't know if the crossed rods would clear the bottom of the cockpit - if not, then bending the flex rods around the cockpit will likely increase friction, losing any benefit of this method. Running the rods up the fuse sides is likely the best solution - easier to provide support and similar friction losses as crossed rods. Will need to get cockpit cut out and rough positioned to confirm.
Exiting the fuse, there is a stringer in the way - will need to remove it and cut new slots on either side of the exit point in order place stringers above and below the exit point
So, I see a 'weight forward' solution with the Sullivan rods. If anyone has any experience using Sullivan 4-40 Golden-n-Rods in a military giant scale application - good, bad, indifferent, please, let me know.
Last edited by DaleCS; 04-20-2016 at 02:08 PM. Reason: typo
04-20-2016, 02:04 PM
#35
Thread Starter
If you need even lighter model you can save weight on filler for panel lines.
I made panel lines on different way on my Panther (facelift) and now on Galeb G2. I apply vinyl lines and don't remove it from surface. Than near them I add rivets and all other details.
In that case, you don't need to apply primer to made "channels".
Final result is that panel lines are not channels it's look like convex...
Best regards
Mirce
Do you have pictures of this lighter method in your build thread? Having trouble find it. And, do you use this method in place of your "detail & finish sets" or together?
I can imagine pictures of you transporting that box - and the worry about getting it back to Serbia with no damage!
The Byron f/g fuse was 'soft,' also. Looked good, flew well. When on display at giant scale airshows, I did not demonstrate the soft sides to visitors! You and your friends will point out your faults - no need to share them with strangers! The plane was very durable - surviving a few 'gear up' landings without any damage, not even a mark in the paint. Oh, and there was a tree that I flew it through, once - my spotter was very softly saying 'Bring it up, bring it up, you're a little low....' After I landed and pulled the leaves out of the cowling, I told him "Next time, YELL AT ME!"
Everyone wanted to add a tree 'kill' marking on the fuse, next to the zero 'kill' markings....Dale
04-20-2016, 11:34 PM
#36
Here you can find pictures of "new" panel lines method, start from post #311:
http://www.rcuniverse.com/forum/rc-j...serbia-13.html
Also, on my F9F Panther "facelift", I use same method:
http://www.rcuniverse.com/forum/rc-j...-serbia-4.html
Story start from post #99 and work with panel lines from post #117...
My opinion about glass fuselage is from my experience. I think that I wasn't say nothing bad, just my point of view.
Value of topics like this is when you can find different ideas and experiences. Some you can use, some don't, with some you can agree or not...
Sorry if I hurt someone, not intended...
Best regards
Mirce
04-22-2016, 02:47 PM
#37
Thread Starter
My opinion about glass fuselage is from my experience. I think that I wasn't say nothing bad, just my point of view.
Value of topics like this is when you can find different ideas and experiences. Some you can use, some don't, with some you can agree or not...
Sorry if I hurt someone, not intended...
Best regards
Mirce
Value of topics like this is when you can find different ideas and experiences. Some you can use, some don't, with some you can agree or not...
Sorry if I hurt someone, not intended...
Best regards
Mirce
I do miss the quickness of my Byron build....and I see much filling, sanding in my future.
I'd do another glass fuse, but I'd do it like AC2 is doing - summertime! Do all the high VOC stuff out on the back porch under our elevated deck, or in the garage, with fans blowing.
Thank you for the links to your "new" panel line method - will check them out!
04-22-2016, 05:21 PM
#38
My Feedback: (34)
Join Date: Dec 2001
Location: Modesto,
CA
Posts: 446
Likes: 0
Received 0 Likes
on
0 Posts
I remember my Yellow aircraft P-47 fuse too....I was afraid I would crush it. It was my first glass fuse. When compared to my Devine P-40 that was sheeted foam the P-40 felt indestructable!
Want the glass fuse to speed up building time. Should be here by Monday!
Want the glass fuse to speed up building time. Should be here by Monday!
04-26-2016, 02:28 PM
#39
Thread Starter
Belly pan is back in place, rough fit to underside of wing center section. The holes I drilled in the pan's forward and rear walls, and through corresponding fuse walls, turned out to be very handy. I don't know if I'll use them for mounting the belly pan, but they were useful in positioning the pan while marking for material removal.
Started by taking a tracing from the side view drawing to mark the intersection line between the pan and wing center underside. Knowing that this wouldn't be exact (drawing is flat, pan is curved, I didn't remove material done to the line I made.- just enough so that I could get the front of the pan in place to put dowels through my firewall holes, holding the front of the pan in place.
Of course, there was too much material left, so the rear of the pan would not slide up into position. I then used some scrap 1/8" balsa, pressed against the rib bottoms, simulating the wing sheeting, to use as a guide to draw a line along the excess material. Then, sand down to the line, put the pan back in place, draw another line.....repeat, repeat, repeat until enough material is removed.
I do wish I hadn't put the rear pan former right smack up against its fuse counterpart - I don't know what changed - wood is alive - one side of pan is "interference fit" tight at this joint, while the other side has a gap.that will need filling. Might be best if I just cut if free and reposition it. Yes, that's what I'll do.
Co-worker, not in this hobby, but following this thread, said he couldn't judge how much was left to do or effort required. Well, I started a list and its got over 150 'to do's on it,' and I'm not done adding to the list, yet! Haven't put effort (hours) estimates to each task, yet...... Might not do that - sounds too much like what I do at work!
04-26-2016, 05:15 PM
#40
Thread Starter
Here you can find pictures of "new" panel lines method, start from post #311:
http://www.rcuniverse.com/forum/rc-j...serbia-13.html
Also, on my F9F Panther "facelift", I use same method:
http://www.rcuniverse.com/forum/rc-j...-serbia-4.html
Story start from post #99 and work with panel lines from post #117...
My opinion about glass fuselage is from my experience. I think that I wasn't say nothing bad, just my point of view.
Value of topics like this is when you can find different ideas and experiences. Some you can use, some don't, with some you can agree or not...
Sorry if I hurt someone, not intended...
Best regards
Mirce
http://www.rcuniverse.com/forum/rc-j...serbia-13.html
Also, on my F9F Panther "facelift", I use same method:
http://www.rcuniverse.com/forum/rc-j...-serbia-4.html
Story start from post #99 and work with panel lines from post #117...
My opinion about glass fuselage is from my experience. I think that I wasn't say nothing bad, just my point of view.
Value of topics like this is when you can find different ideas and experiences. Some you can use, some don't, with some you can agree or not...
Sorry if I hurt someone, not intended...
Best regards
Mirce
I skipped to end of your thread, to see if Galeb had flown - saw your pictures on #364. Beautiful country.
05-13-2016, 07:01 PM
#42
Thread Starter
AC2 - glad to hear your fuse arrived - you'll be passing me, soon!
See your from Merced. My mother had a cousin out in Dos Palos. Saw them once on a trip through the west when I was kid. One of her cousin's sons was a crop dusting pilot. Still remember making ice cream on their back porch, the old fashioned way with a crank ice cream maker.
See your from Merced. My mother had a cousin out in Dos Palos. Saw them once on a trip through the west when I was kid. One of her cousin's sons was a crop dusting pilot. Still remember making ice cream on their back porch, the old fashioned way with a crank ice cream maker.
05-13-2016, 07:36 PM
#43
Thread Starter
Having a problem with my computer - so, using workaround, now to make updates. A bunch of Windows 10 apps have failed and it looks like only way to fix it is to reset my computer. Everything is backed up, but last thing I want to do after working on a computer all week is to spend hours fixing my own computer. Ugh! Will have to do so, eventually. In the meantime, making a bit more progress on the Hellcat.
Also, I'm checking out mountain bikes - rented one for the weekend - bigger frame, new technology - hoping a better fitting bike helps. Tried a few different models last weekend at a manufacturers demo day - still two wheels, a frame, chain and some gears, but the details, oh my, what a difference! Flew down the trails and climbed hills at speeds I thought I'd never see. I may actually catch up to co-workers that I ride with!
Back to building...

Creating the H-stab tips.

H-stab tips rough sanded to shape.

Hinges for elevators assembled with brass extensions, roll crimped and epoxied.
To ensure that the trailing edge shape of the H-stab tips matched the curved leading edge of the elevator tips, glued sandpaper to the elevator tip and used it to shape the H-stab tip.

.
Push rods for elevators installed. Also, can see smaller white tubes installed. The white tubes will be used as guides for rudder pull-pull cables
Working on CF cockpit reinforcements.
Also, I'm checking out mountain bikes - rented one for the weekend - bigger frame, new technology - hoping a better fitting bike helps. Tried a few different models last weekend at a manufacturers demo day - still two wheels, a frame, chain and some gears, but the details, oh my, what a difference! Flew down the trails and climbed hills at speeds I thought I'd never see. I may actually catch up to co-workers that I ride with!
Back to building...
Creating the H-stab tips.
H-stab tips rough sanded to shape.
Hinges for elevators assembled with brass extensions, roll crimped and epoxied.
To ensure that the trailing edge shape of the H-stab tips matched the curved leading edge of the elevator tips, glued sandpaper to the elevator tip and used it to shape the H-stab tip.
.
Push rods for elevators installed. Also, can see smaller white tubes installed. The white tubes will be used as guides for rudder pull-pull cables
Working on CF cockpit reinforcements.
05-17-2016, 06:50 PM
#44
Thread Starter
CF reinforcement of cockpit completed. Couldn't find exact CF material per print, so used 0.196" square tube and 0.125"x0.375" flat. Epoxied the flats in place first, then cut the ends and notched them with a Dremel cutoff wheel. So, I have an interlocking CF frame around the cockpit,

Next: I think I'll redo the wing center section top sheeting at the rear. I cut and sanded the sheeting flush to rib #2, as shown on the print. But after assembling center section to fuse, I see that the inboard flap will actually be inboard the fuse, if I build it to print.

For now, the wing fits the fuse, so I'm assuming the wing and fuse drawings were both scaled in x and y directions to the same ratio. If so, then this would be a drawing error - as drawn, the fuse end of the inner flap is inside the fuse, when built to print.
Has anyone else run into this? I'll need to search other build threads.
Current plan is to remove the wing center top sheeting in this area, replacing it with longer bits, that I can then sand flush to the fuse. Then, when building the inner flaps, move the innermost rib outward, outside of the fuse, and set it on an angle so that it sits in a plane parallel to the fuse.
I really need to head out and get some close up pictures of the Kalamazoo Air Zoo F6F-5 Hellcat (http://www.airzoo.org/page.php?page_id=138)
Next: I think I'll redo the wing center section top sheeting at the rear. I cut and sanded the sheeting flush to rib #2, as shown on the print. But after assembling center section to fuse, I see that the inboard flap will actually be inboard the fuse, if I build it to print.
For now, the wing fits the fuse, so I'm assuming the wing and fuse drawings were both scaled in x and y directions to the same ratio. If so, then this would be a drawing error - as drawn, the fuse end of the inner flap is inside the fuse, when built to print.
Has anyone else run into this? I'll need to search other build threads.
Current plan is to remove the wing center top sheeting in this area, replacing it with longer bits, that I can then sand flush to the fuse. Then, when building the inner flaps, move the innermost rib outward, outside of the fuse, and set it on an angle so that it sits in a plane parallel to the fuse.
I really need to head out and get some close up pictures of the Kalamazoo Air Zoo F6F-5 Hellcat (http://www.airzoo.org/page.php?page_id=138)
Last edited by DaleCS; 05-18-2016 at 05:41 PM.
 05-18-2016, 05:34 PM
#46
Thread Starter
The Minnesota Vikings reference - are you originally from the North?
05-18-2016, 06:33 PM
#47
My Feedback: (34)
Join Date: Dec 2001
Location: Modesto,
CA
Posts: 446
Likes: 0
Received 0 Likes
on
0 Posts
No problem im from SF bay area but been in Modesto many years...
When I was a kid we moved to Denver to be near mothers family and at that same time I started watching football. They televised more midwest teams in Denver and vikings happened to be one of the best teams in the 70's......been all downhill since lol..ugh
im from SF bay area but been in Modesto many years...When I was a kid we moved to Denver to be near mothers family and at that same time I started watching football. They televised more midwest teams in Denver and vikings happened to be one of the best teams in the 70's......been all downhill since lol..ugh
06-09-2016, 02:50 PM
#50
Thread Starter