TOPRC/GatorRC P-51 Mustang 89"

 04-27-2021, 03:27 PM
#429

Join Date: Aug 2012
Location: San Antonio, TX
Posts: 62
Likes: 0
Received 0 Likes
on
0 Posts
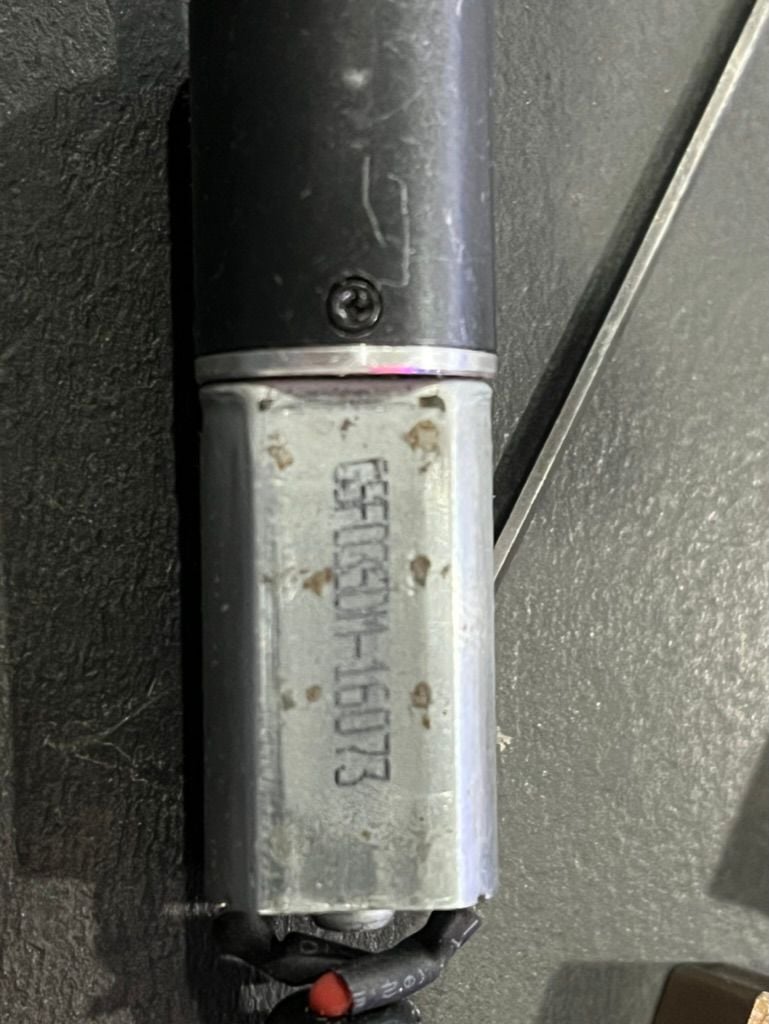
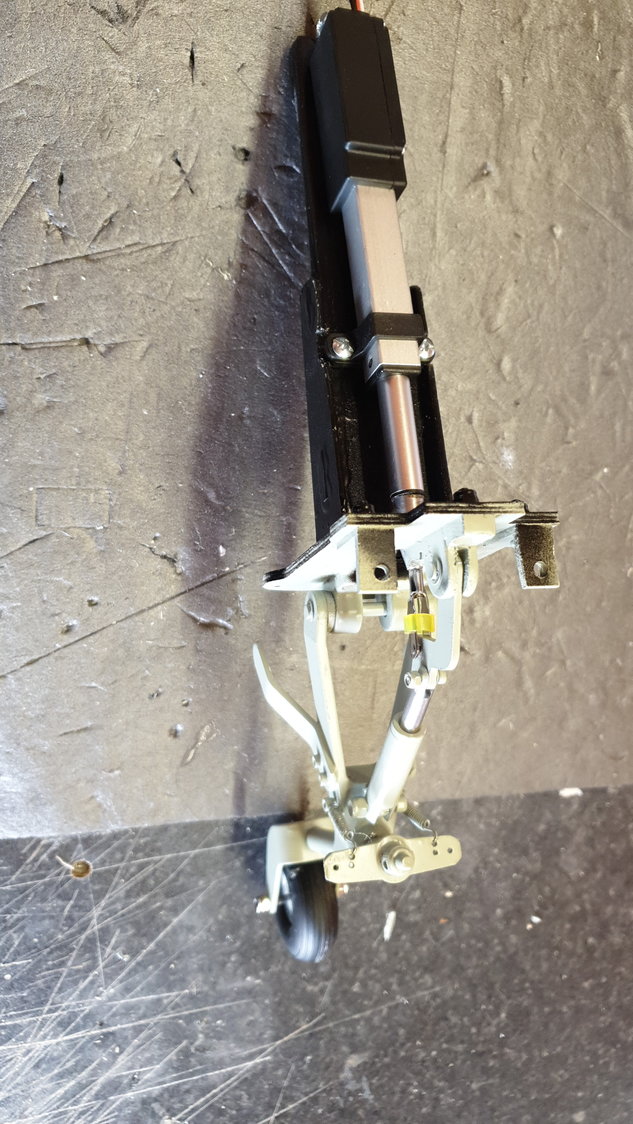
Hi, I've got a problem.....the P-51 Tailwheel....I'm a modeler since the 70's so I'm a builder and a longtime flyer.....my issue is the control arm for steering of the tailwheel and the tailwheel shaft itself. After about 3 flights, the set screws failed to hold the wheel short and on landing it did a perfect ground loop due to a freewheeling tailwheel.
I've taken it apart and there is no easy fix. Can't solder the steel shaft to the set collar of the control horn, which is aluminum. Can't torque down too hard on the collar as it'll just strip out the threads of the control horn.
As of now, I can't fly this great plane due to a very poorly designed tailwheel control mechanism. Anyone else have this issue and how did you fix it. I've tried filing a flat on the shaft but it's not secure enough to cause adequate control of the tailwheel on takeoff or landing.
Thanks, Brad Leininger
04-27-2021, 06:30 PM
#430
My Feedback: (66)
"Can't solder the steel shaft to the set collar of the control horn, which is aluminum. Can't torque down too hard on the collar as it'll just strip out the threads of the control horn."
Brad
Can you replace the collar with a DuBro collar?
I am assembling my TOPRC P-51 right now and am going to work on the tail wheel tomorrow. I am planning to replace the original non scale strut with a Robart strut. Will look into the tail wheel design and let you know what I find out.
Joshua
Brad
Can you replace the collar with a DuBro collar?
I am assembling my TOPRC P-51 right now and am going to work on the tail wheel tomorrow. I am planning to replace the original non scale strut with a Robart strut. Will look into the tail wheel design and let you know what I find out.
Joshua
04-28-2021, 09:14 AM
#431
Join Date: Aug 2012
Location: San Antonio, TX
Posts: 62
Likes: 0
Received 0 Likes
on
0 Posts
Thx Joshua, but it’s not the wheel collar at issue; that’s just a spacer. It’s the actual control arm that won’t stay tight in place on the main shaft. And it’s aluminum.
04-28-2021, 12:02 PM
#432
My Feedback: (66)
Can you re-thread the 2 setscrews to 4-40 UNC, file flats on the side of the shaft and then mount it with permanent Locktite (red or even better green - 648)?
Another solution can be to buy a Robart P/N 160104A Steering Arm Assembly. It will fit the TOPRC shaft.
08-13-2021, 09:52 AM
#436
Junior Member
Join Date: Aug 2021
Posts: 2
Likes: 0
Received 0 Likes
on
0 Posts
I have purchased the Gator RC P51 Mustang.Your forum has been very helpfull in comleteing this project.
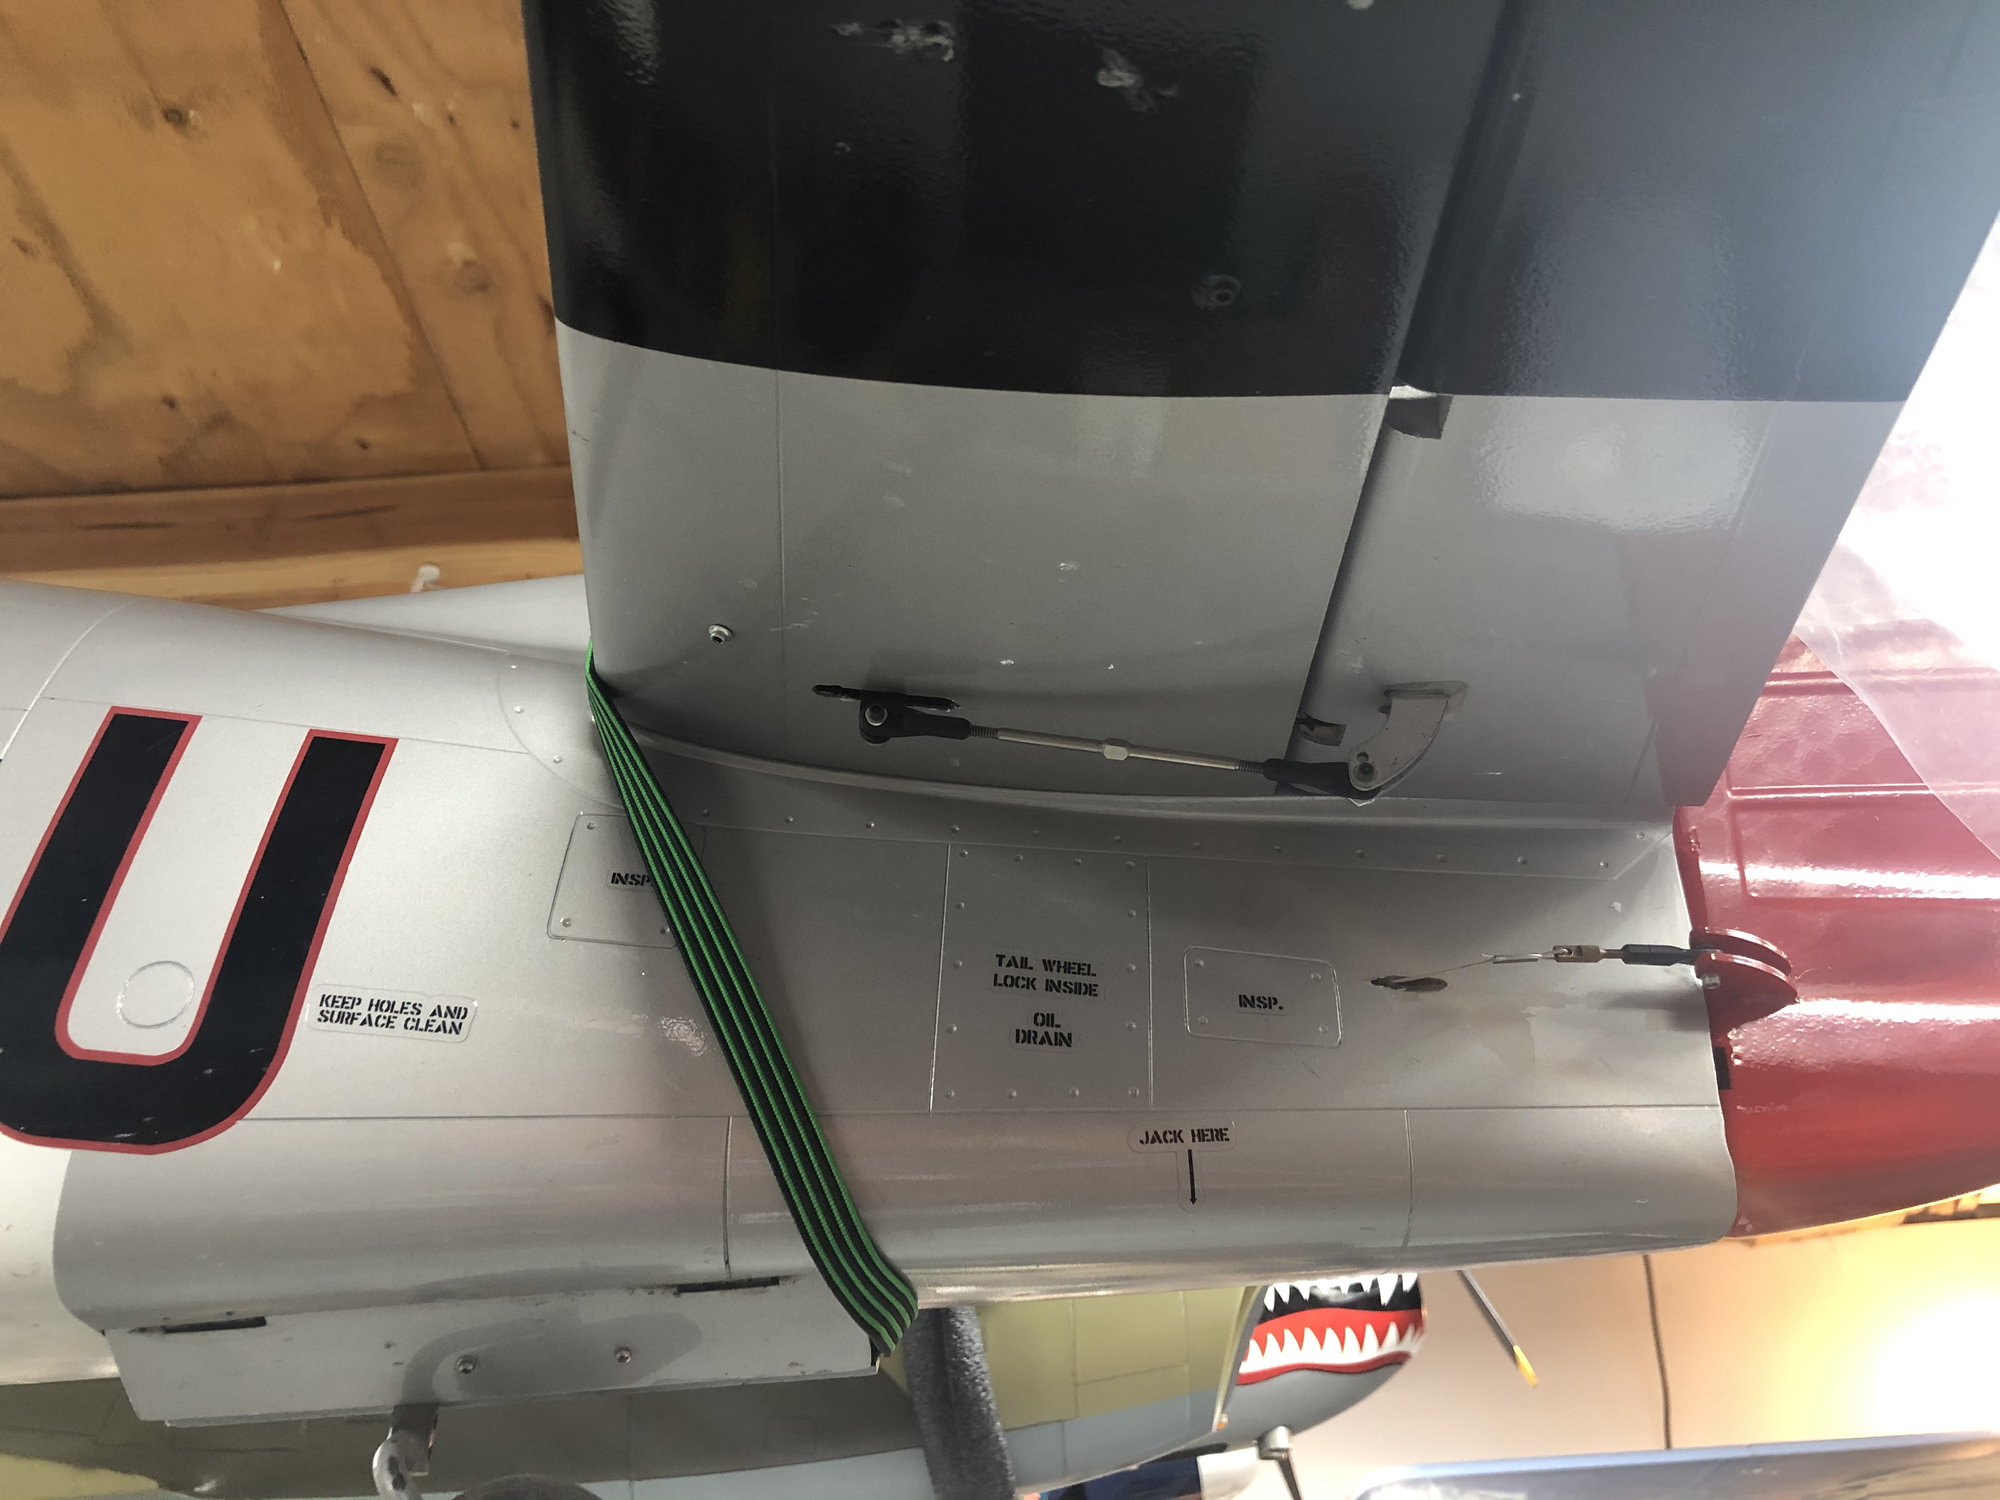
I do have one question, the turn buckle that you are using to open and close the outer doors of the landing gear looks very interesting.
Can you give me information on where to purchase a set, so I can have a better way to figure out the dynamics so to get the doors to work properately.
Thank You
Bob Skupien
08-13-2021, 10:05 AM
#438
My Feedback: (2)
Join Date: Feb 2008
Location: Fullerton, CA
Posts: 101
Likes: 0
Received 0 Likes
on
0 Posts
I have purchased the Gator RC P51 Mustang.Your forum has been very helpfull in comleteing this project.
I do have one question, the turn buckle that you are using to open and close the outer doors of the landing gear looks very interesting.
Can you give me information on where to purchase a set, so I can have a better way to figure out the dynamics so to get the doors to work properately.
Thank You
Bob Skupien
 11-09-2021, 05:45 PM
#443
My Feedback: (26)
I wanted to bounce a question off this thread. I am rebuilding the landing gear plate on my P-51 on one side where the previous owner must have had a rough landing that partially cracked/delaminated 2 of the 4 plywood layers. The quick fix I made did not work….. For better results, I am going to replace those two plies as far outboard as I can access, add 2 new layers on the far side when looking into the well (therefore top side) for extra strength, and maybe even wedge some small square stock under the skins fwd and aft of the retract bracket. My question is about those wood screws the original instructions call for. In theory, if the screw is engaged all he way through the wood, it would pull up on all plywood layers evenly. In practice, it looks like only the first 2 layers, maybe the third, was engaged. That is basically what cracked/delaminated the plywood. Why not use a large footprint “T” nut on the far side with machine screws? While landings might pull on the threads in the T nut, the T nut itself would bear against the WHOLE now 6 ply stackup. I would think that would be stronger. Thoughts?
11-09-2021, 08:05 PM
#444


I wanted to bounce a question off this thread. I am rebuilding the landing gear plate on my P-51 on one side where the previous owner must have had a rough landing that partially cracked/delaminated 2 of the 4 plywood layers. The quick fix I made did not work….. For better results, I am going to replace those two plies as far outboard as I can access, add 2 new layers on the far side when looking into the well (therefore top side) for extra strength, and maybe even wedge some small square stock under the skins fwd and aft of the retract bracket. My question is about those wood screws the original instructions call for. In theory, if the screw is engaged all he way through the wood, it would pull up on all plywood layers evenly. In practice, it looks like only the first 2 layers, maybe the third, was engaged. That is basically what cracked/delaminated the plywood. Why not use a large footprint “T” nut on the far side with machine screws? While landings might pull on the threads in the T nut, the T nut itself would bear against the WHOLE now 6 ply stackup. I would think that would be stronger. Thoughts?
On mine I operated on the rear mount by cutting away a section of the fiberglass bottom skin and removing all the layers and then replacing it with a maple block the same height. Then replaced the skin, filled, sanded and repainted (big job). On the forward mount that was also broken i could not do that with out a major repair on the leading edge. What I did, that worked out very well, was to make another maple block and epoxy it below the broken block. I used a clamp between the old mount and the new block below while it cured to hold everything stright. There is plenty of room for it below. I then used long #6 socket head cap sheet metal screws to mount the gear. It is super strong and it would have saved me a lot of time if I used that technique on the rear mount.
I have flown it a lot this year with no issues.
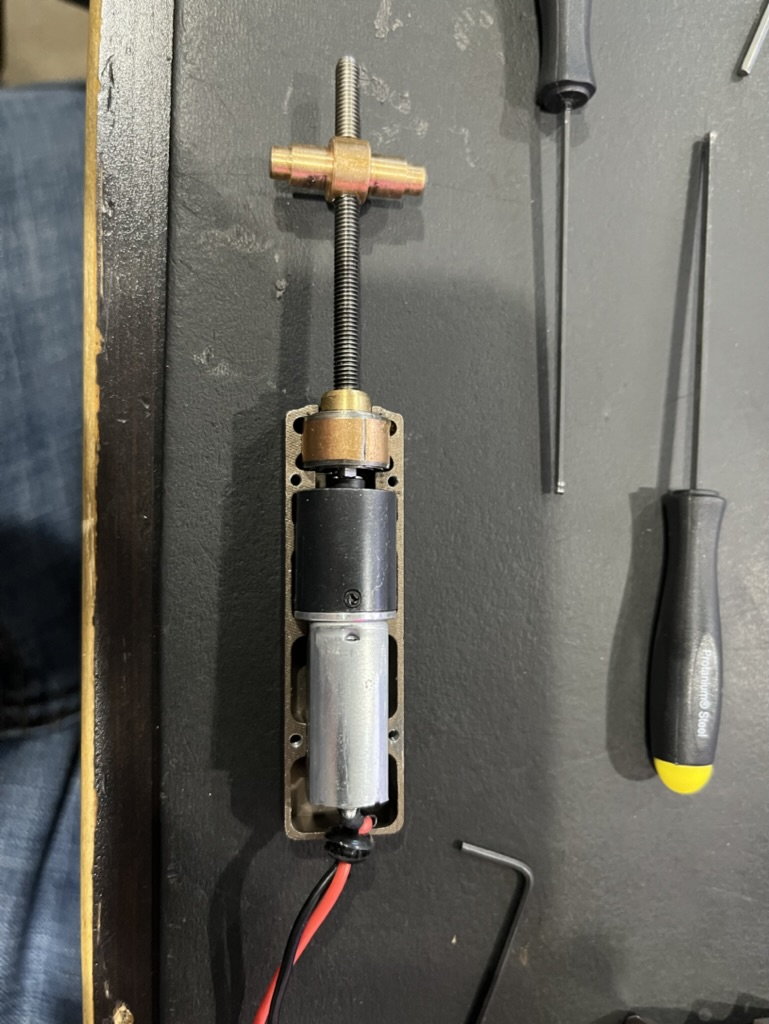
By the way i'm using pneumatic aluminum gear by Sierra as I heard some were having issues with the electric gear.
11-23-2021, 07:23 AM
#445
My Feedback: (26)
Thanks for the info Lou and sorry about the long delay in replying. I have the rails rebuilt and straightened out the LG strut by using an 5/16 steel rod with the tip rounded to work the strut from the inside out. I am looking at replacing the TopRC gear with Robart's electric gear if this doesn't hold up. Anyone know if Robart's electric gear have any issues? Won't be able to fly this plane for a few more weeks. The last pattern contest of the 2021 season is in a few weeks. Need to practice.
Mike C
Satellite Beach, FL
Mike C
Satellite Beach, FL
11-23-2021, 03:15 PM
#447

Mike , If you go with the Robart electrics they work fine as long as you go with 3s dedicated power source with Robarts recommended 9v voltage regulator . Under 9v you may have slow gear and problems with the gear stalling or " amping out " . I have Robart electrics in several planes and have had no issues since going with 9 volts. I have also powered my 6 to 12v Igntion and retracts off the same power source without any issues .
11-23-2021, 04:15 PM
#448
Join Date: Aug 2007
Location: tadcaster, UNITED KINGDOM
Posts: 23
Likes: 0
Received 0 Likes
on
0 Posts
i had a set of robart electric retracts for a hanger 9 60cc corsair 2 motors failed had a job getting a replacment from robart this plane had not flown ended up going air been a few comments about robart electric retracts not all good
11-24-2021, 09:04 AM
#449
My Feedback: (26)
Thanks for the info gents. Lou, email me at [email protected] please. Should be able to pay you a visit sometime in the new year. You are about 2 hours from me.