


TopRCModel FW-190


 11-05-2019, 06:28 PM
#627

My Feedback: (6)
Well I posted earlier.... its not there!
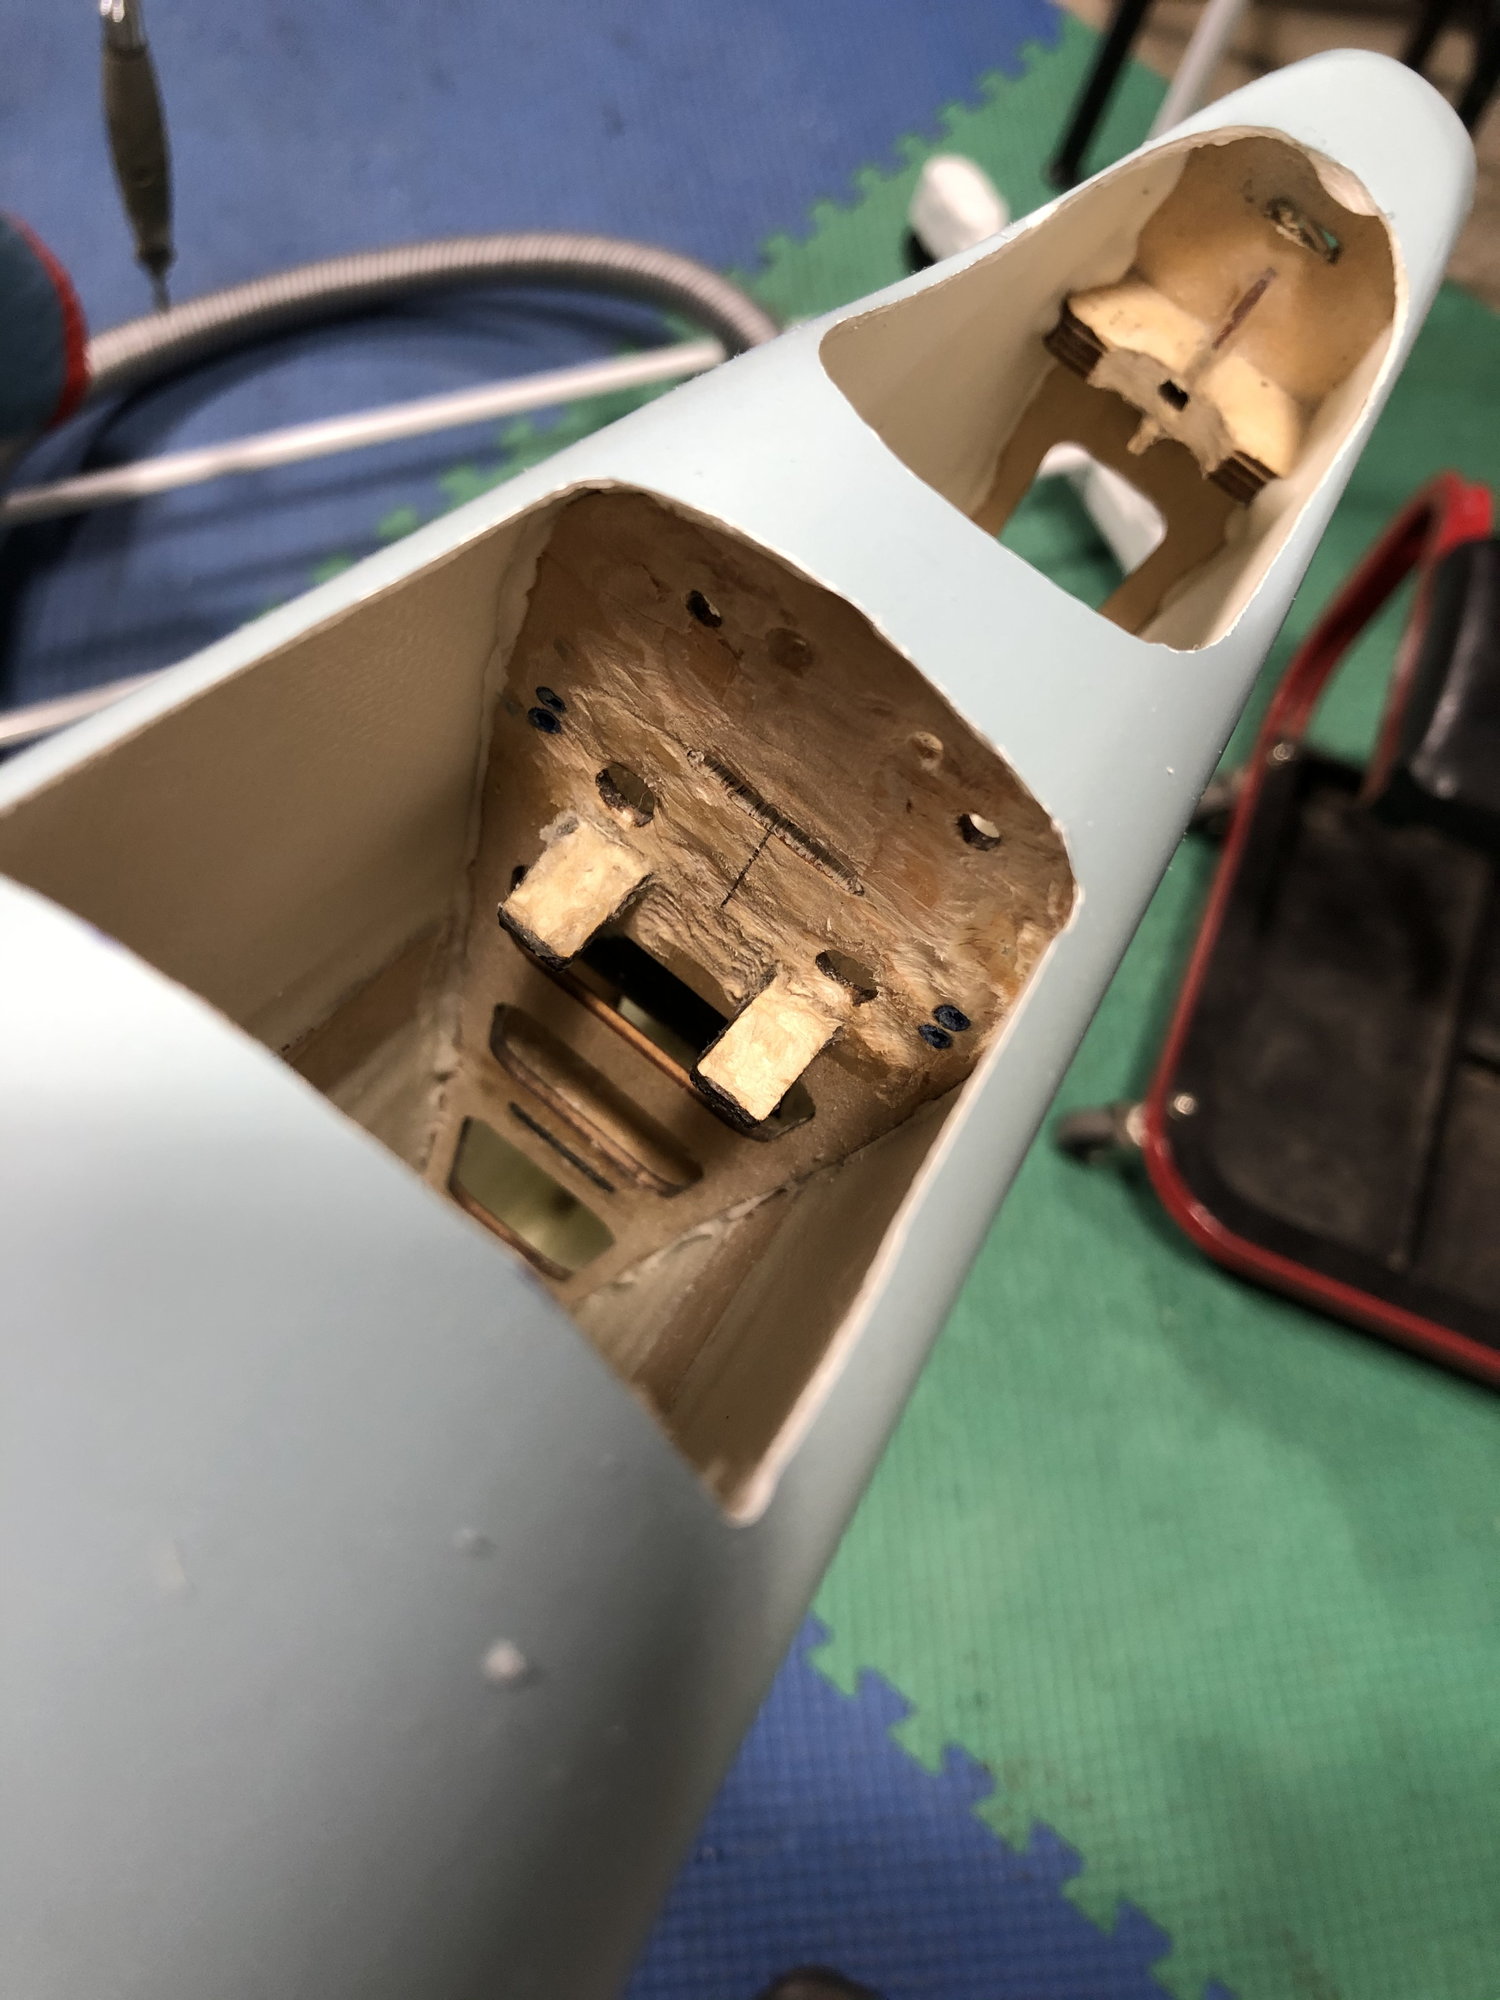
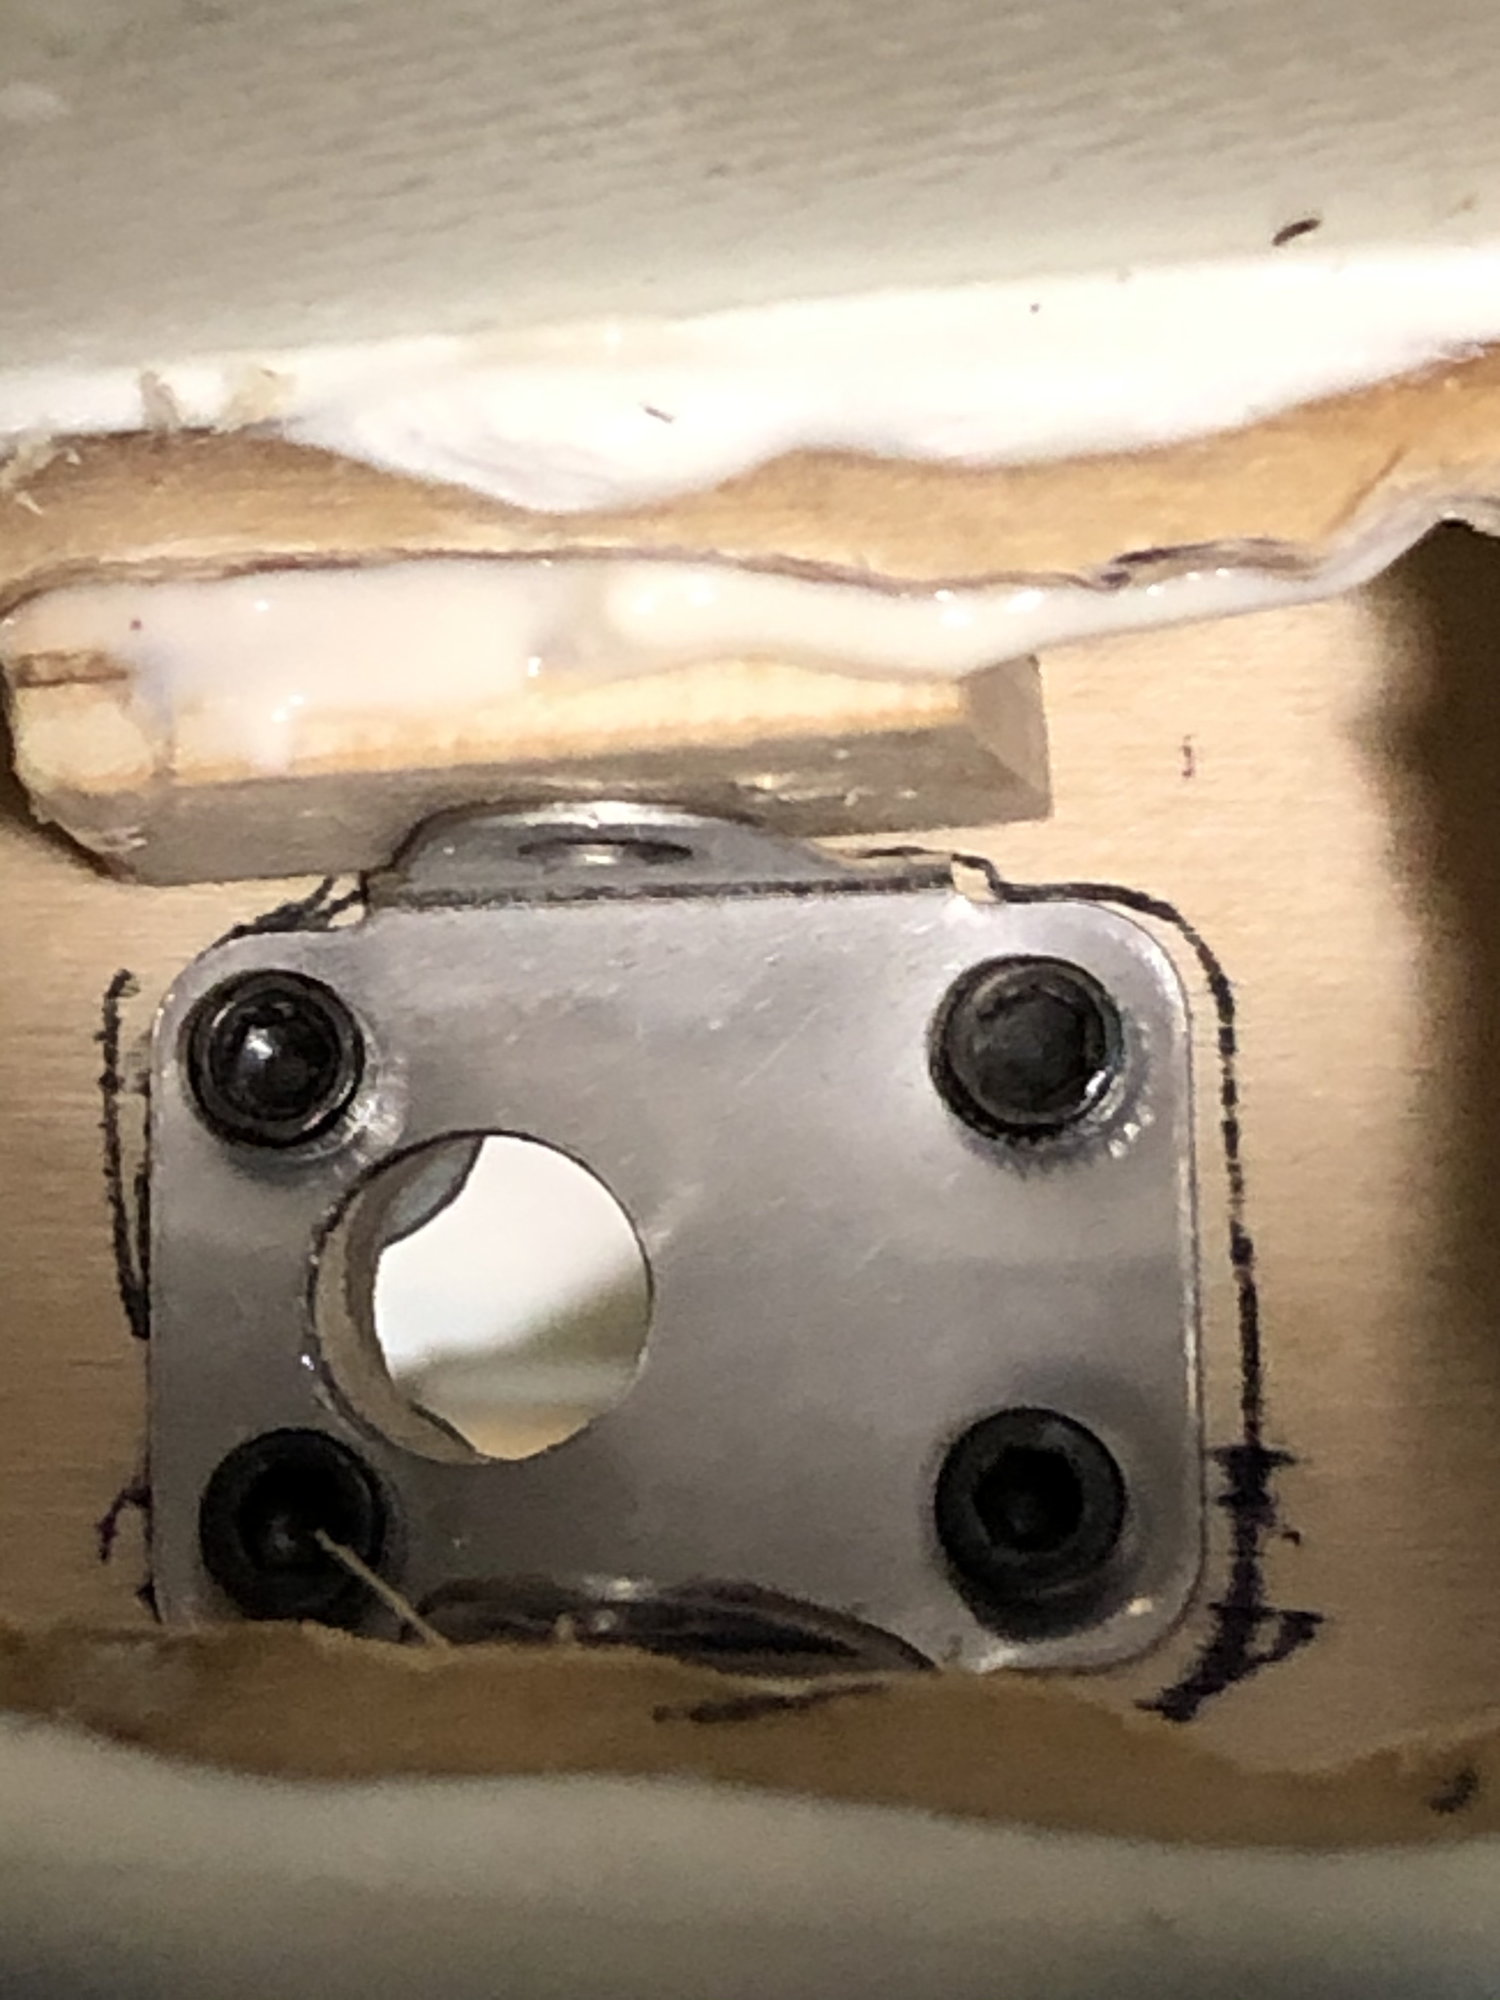
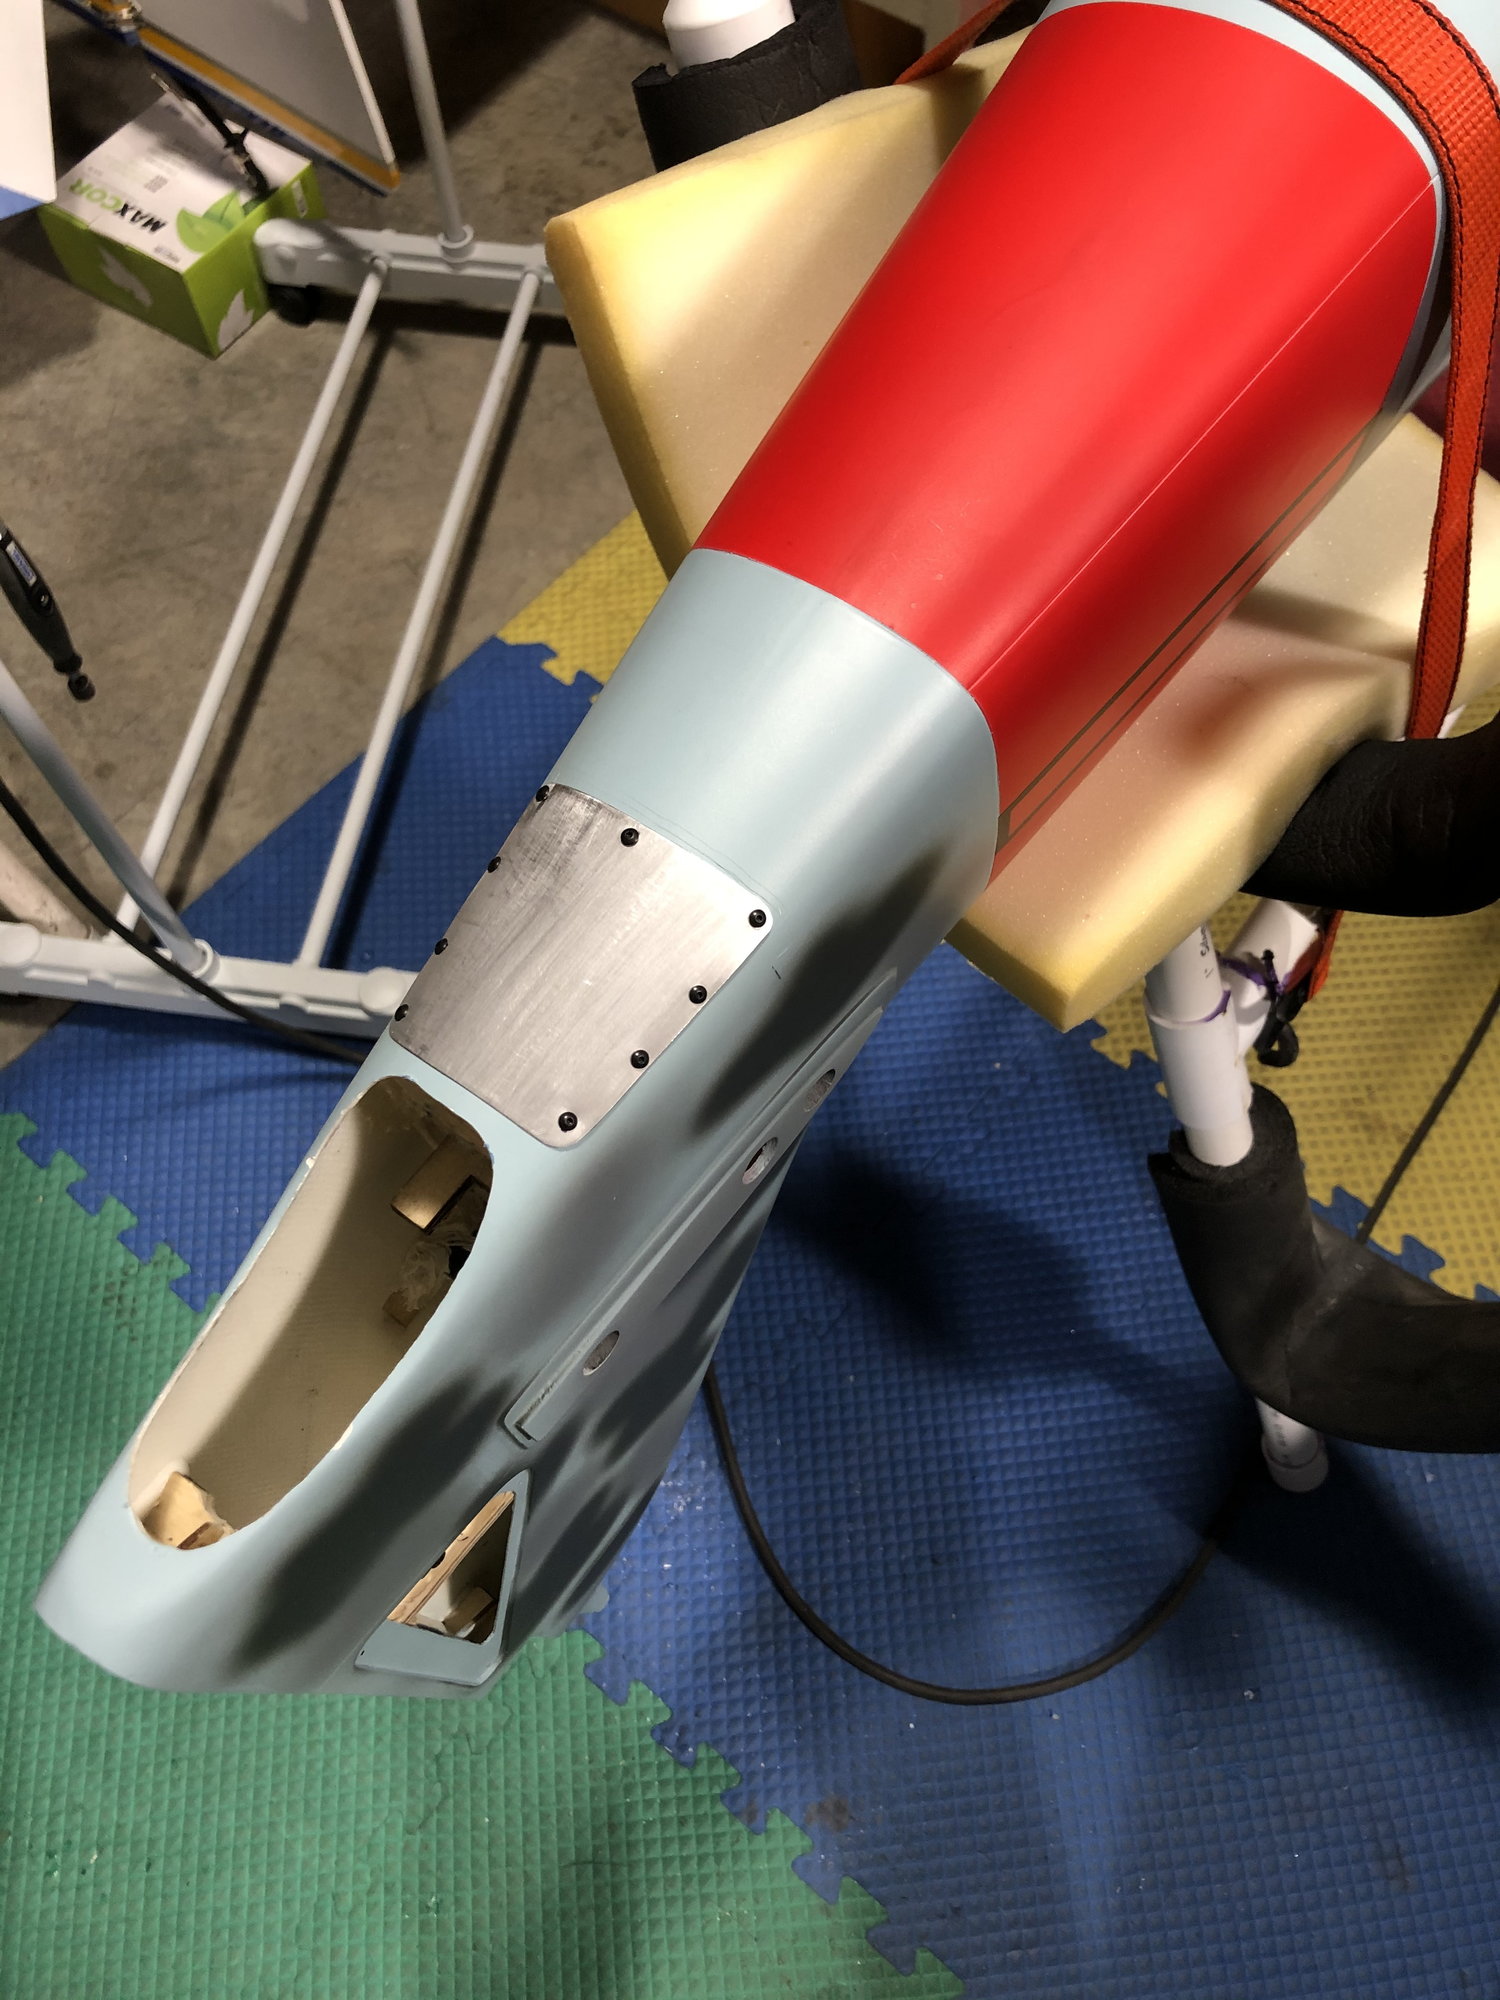
I'm too am in the mix. I'm installing the Sierra TW in my plane I completely took out the bulkhead and did several mockup test pieces to determine the geometry for the TW steering.
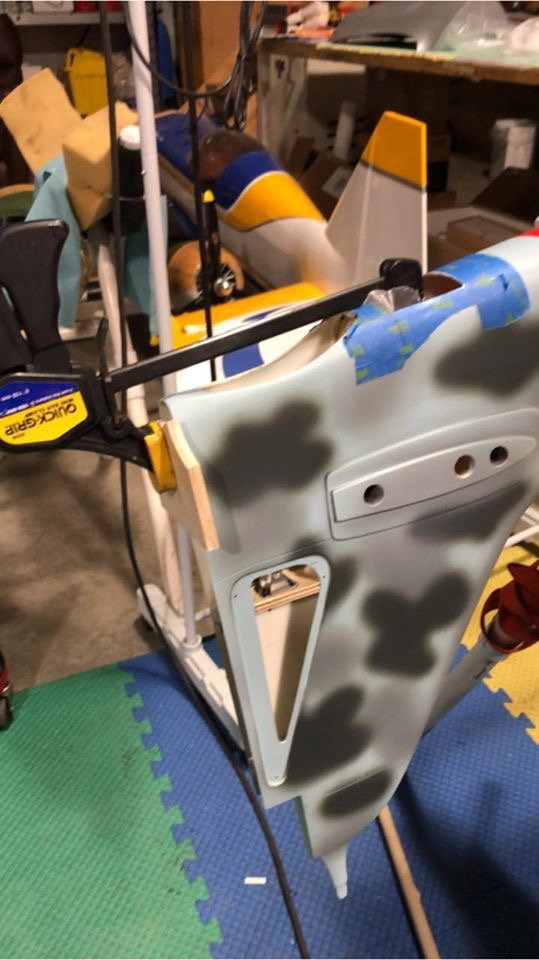
I opened up the belly a bit more and did some reinforcement as there is some weakness around the tail.
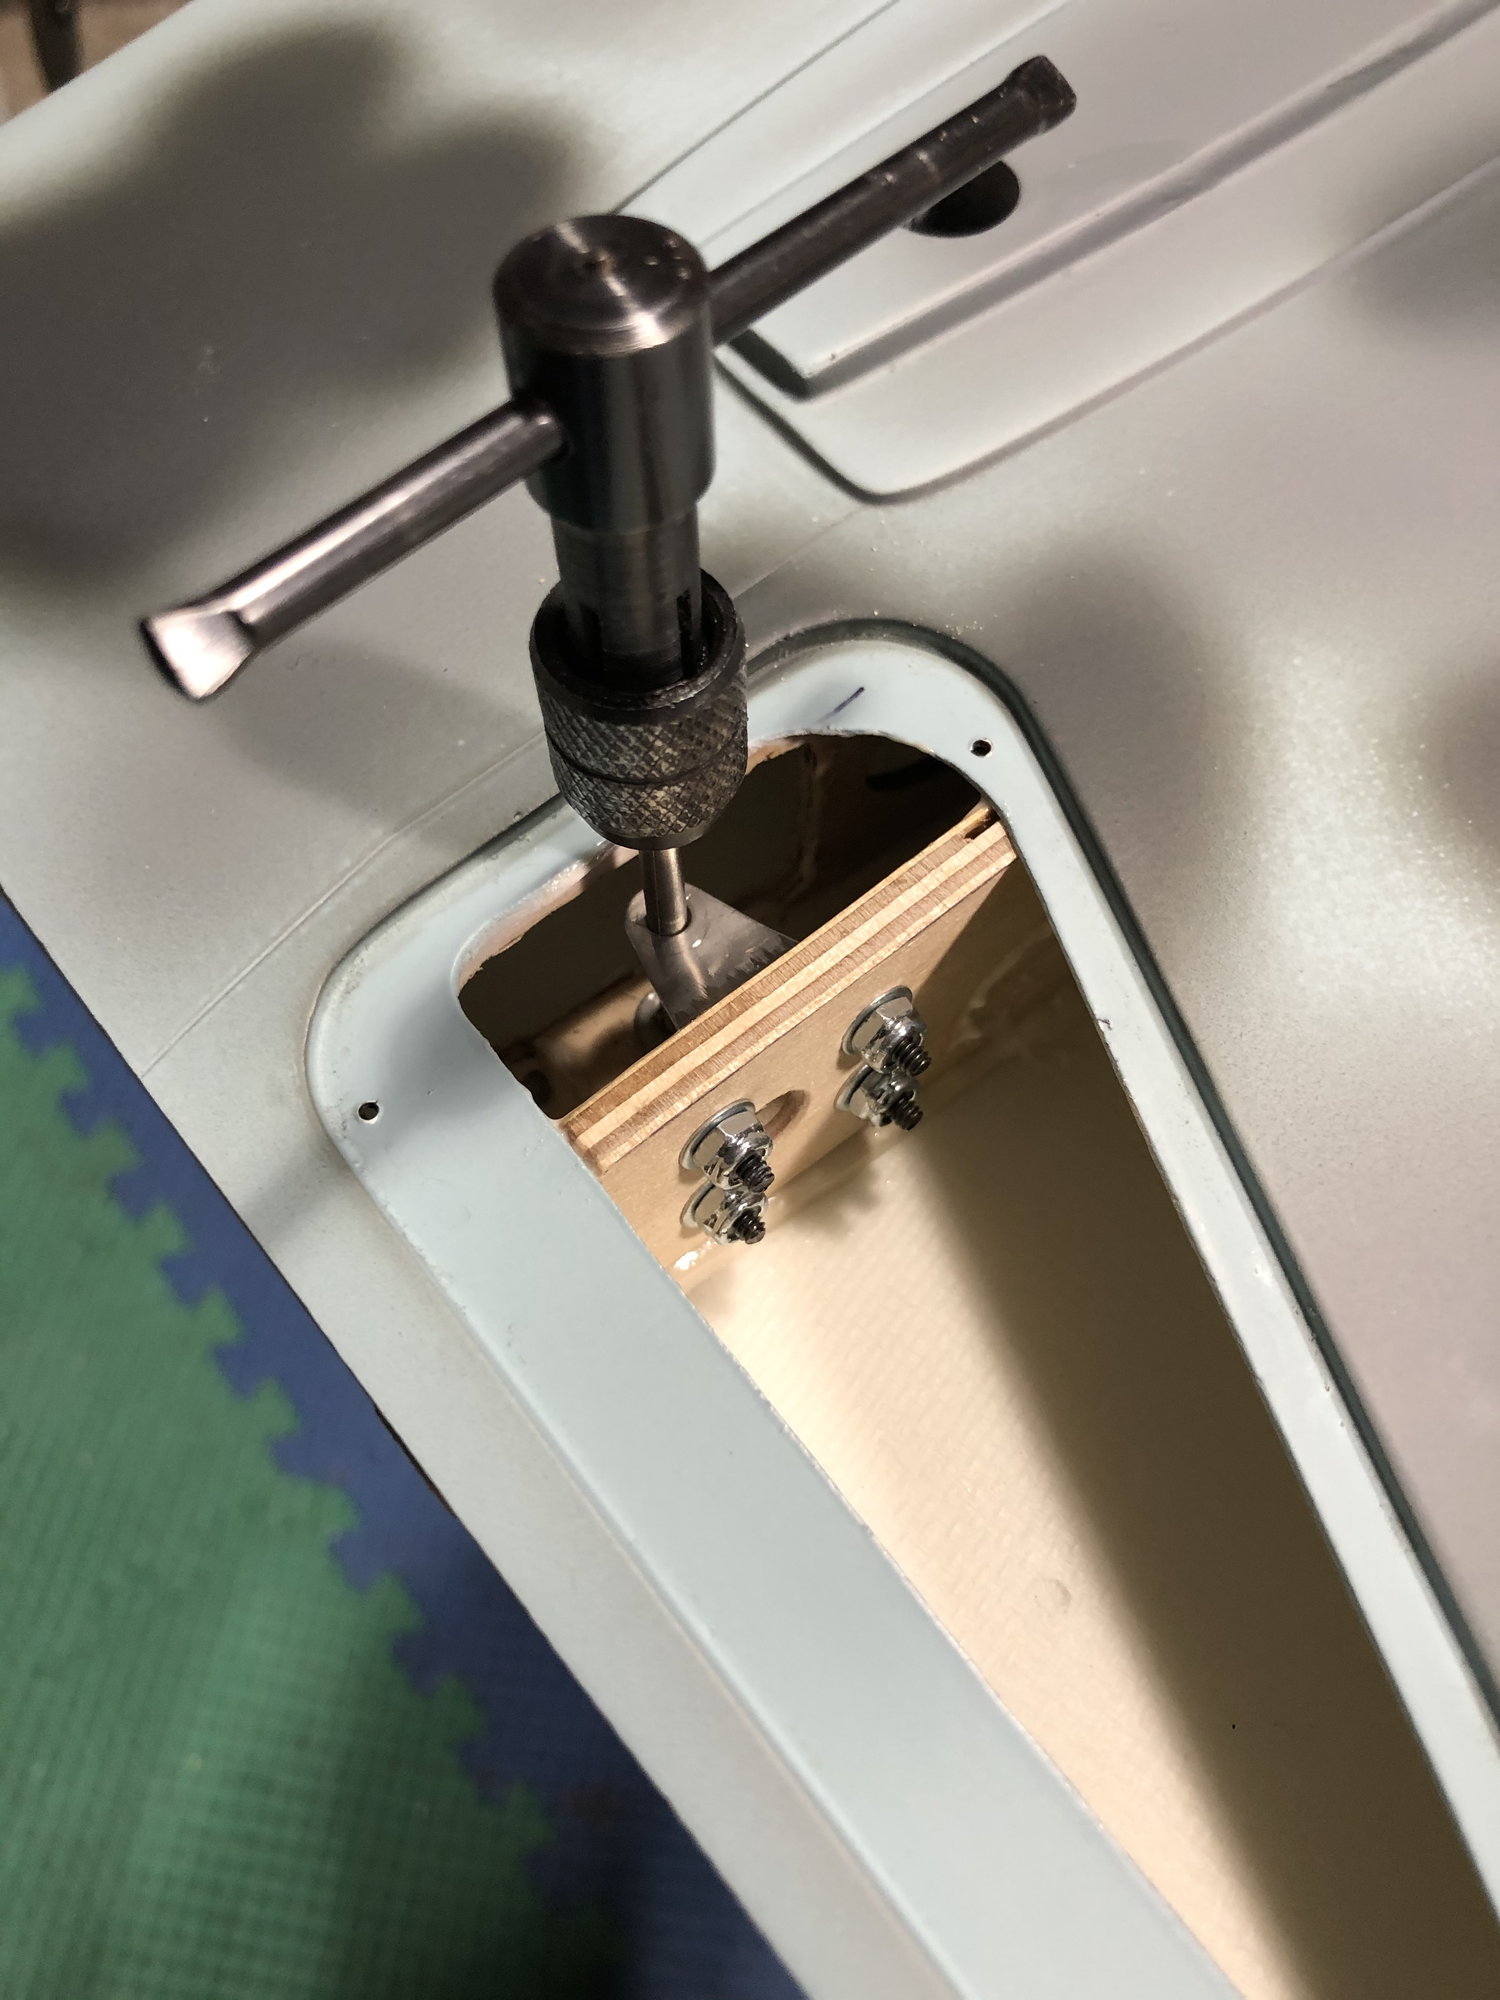
I used the steering linkage setup from the TF Giant Scale P-40 by installing the ball link posts on the steering arms and loop wire around the posts. I am doing my info on RCSB.com
Sparky
I'm too am in the mix. I'm installing the Sierra TW in my plane I completely took out the bulkhead and did several mockup test pieces to determine the geometry for the TW steering.
I opened up the belly a bit more and did some reinforcement as there is some weakness around the tail.
I used the steering linkage setup from the TF Giant Scale P-40 by installing the ball link posts on the steering arms and loop wire around the posts. I am doing my info on RCSB.com
Sparky

 11-07-2019, 08:20 AM
#630
Join Date: Jan 2007
Location: Dubai, UNITED ARAB EMIRATES
Posts: 500
Likes: 0
Received 2 Likes
on
2 Posts
So today we took the FW190 up for her maiden, its been built by someone else, and I got it at a good price, completed, with GP88 engine, servo's, batteries...everything. I know the builder had a tough time with the retracts, and eventually opted for some Electron units, that he was able to fit the struts to, and they work ok.
I should have gone over the plane more thoroughly, but cursory looks seemed the plane was ok. It flew, and flew well, but not without problems....but fortunately those all presented themselves on the ground, rather than in flight. The engine is new and performed well, but we were never going to wring it out. The engine has plenty power, and would improve with time, but I desperately dislike the 2-stroke noise in a bird like this...so it will be removed and sold. Most likely going to go with the UMS 125 as well, the Moki is way to dear for me, and the FG90 is going to be marginal on power, and will very likely be at full tilt most of the time.
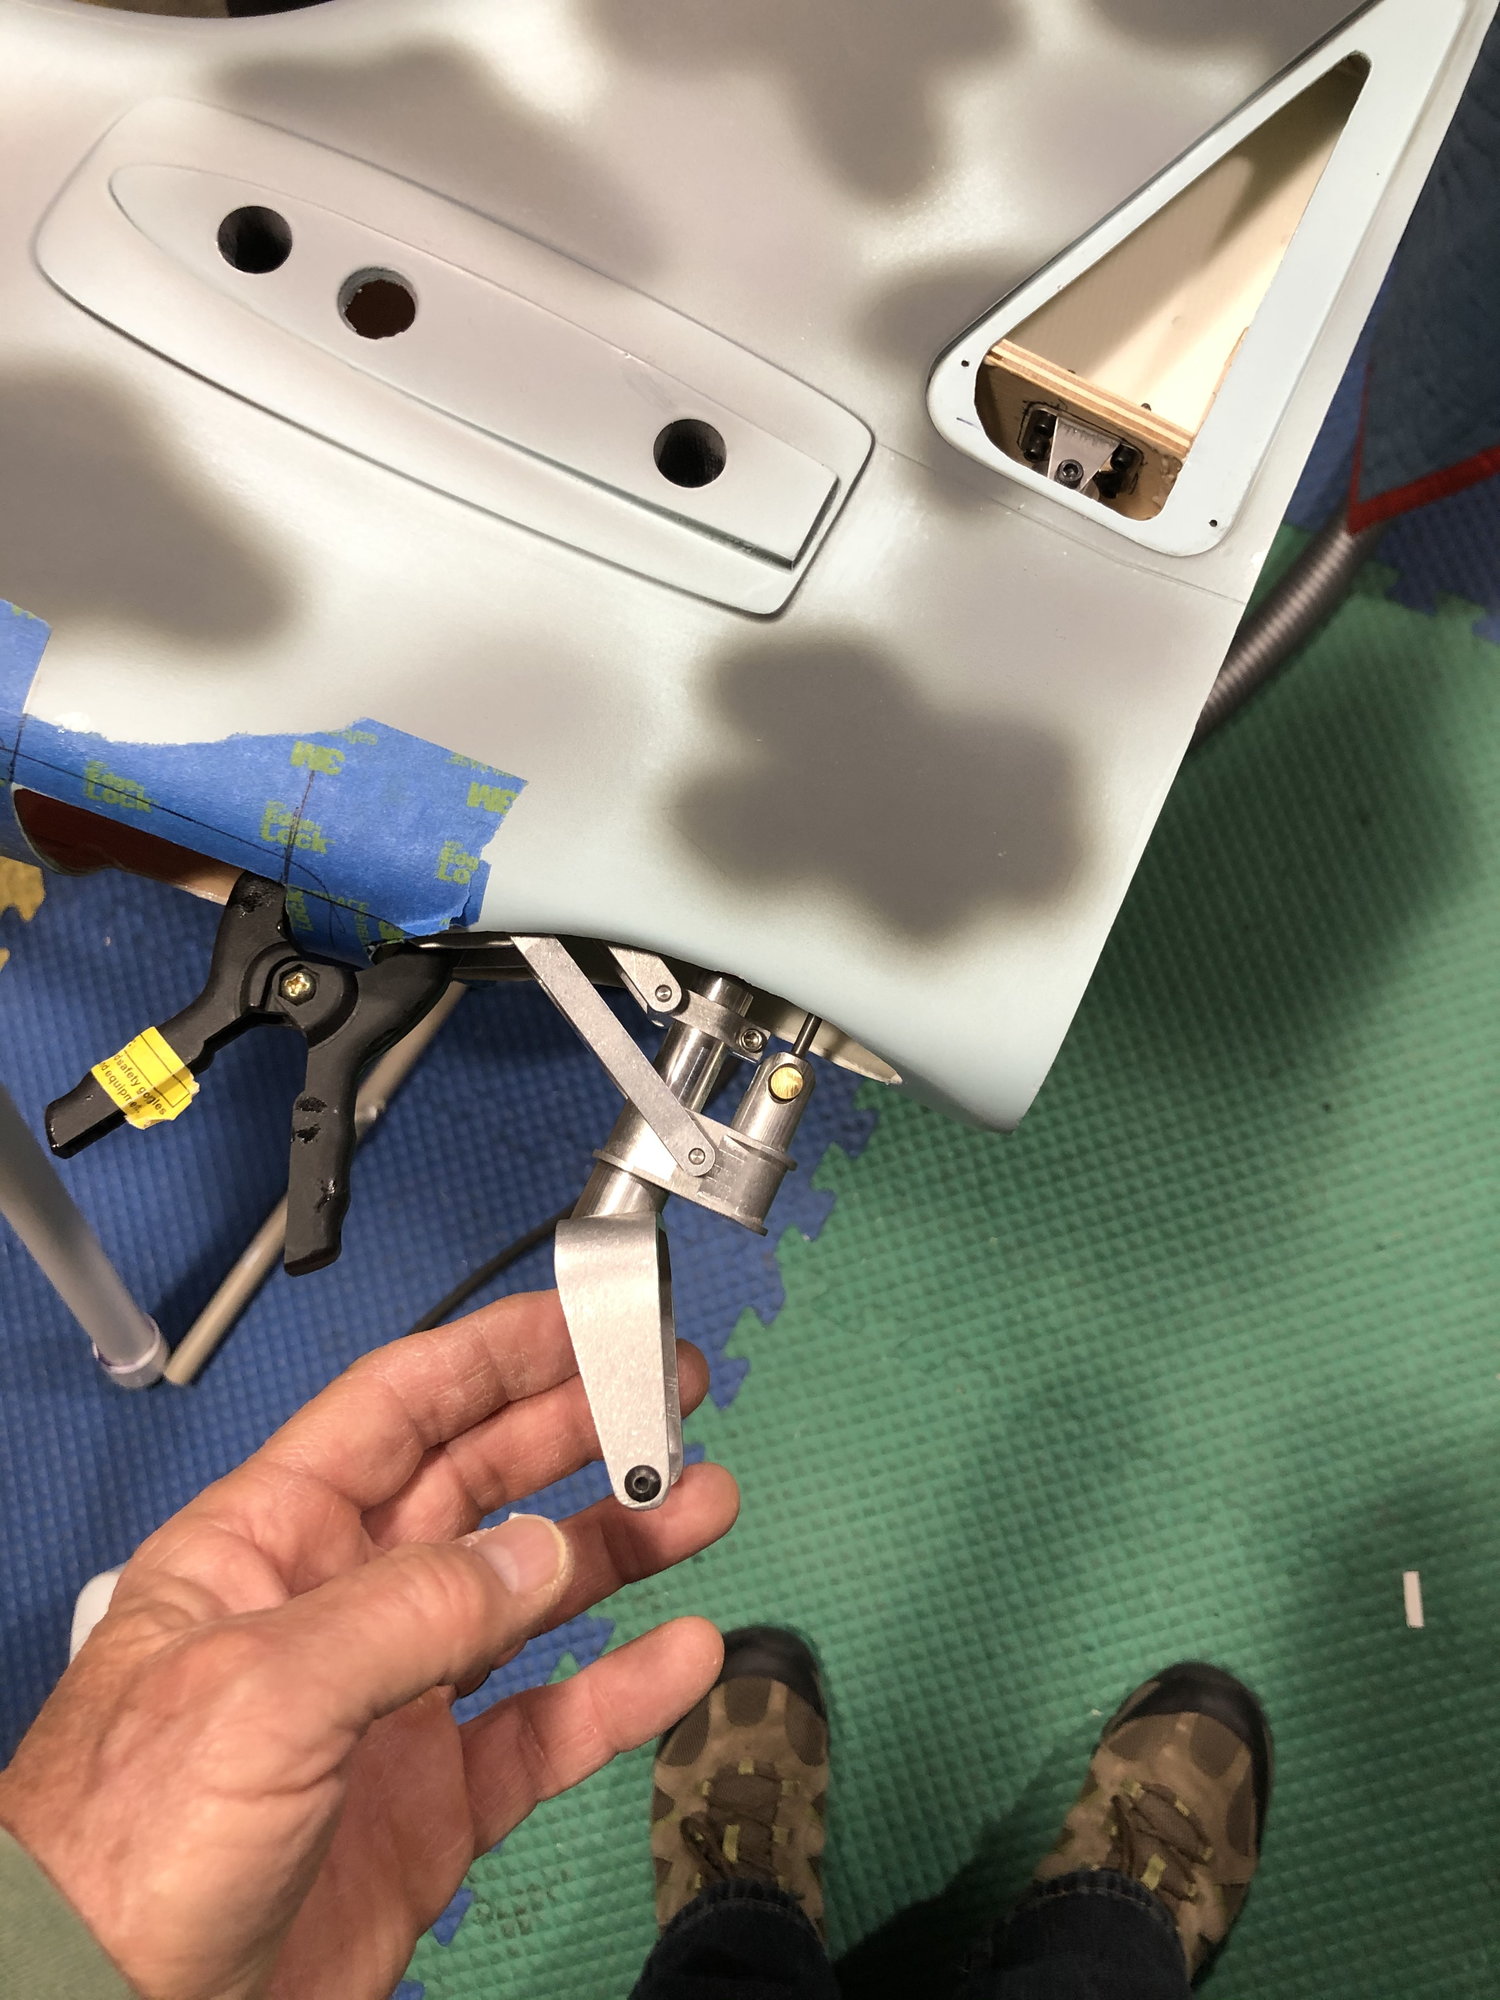
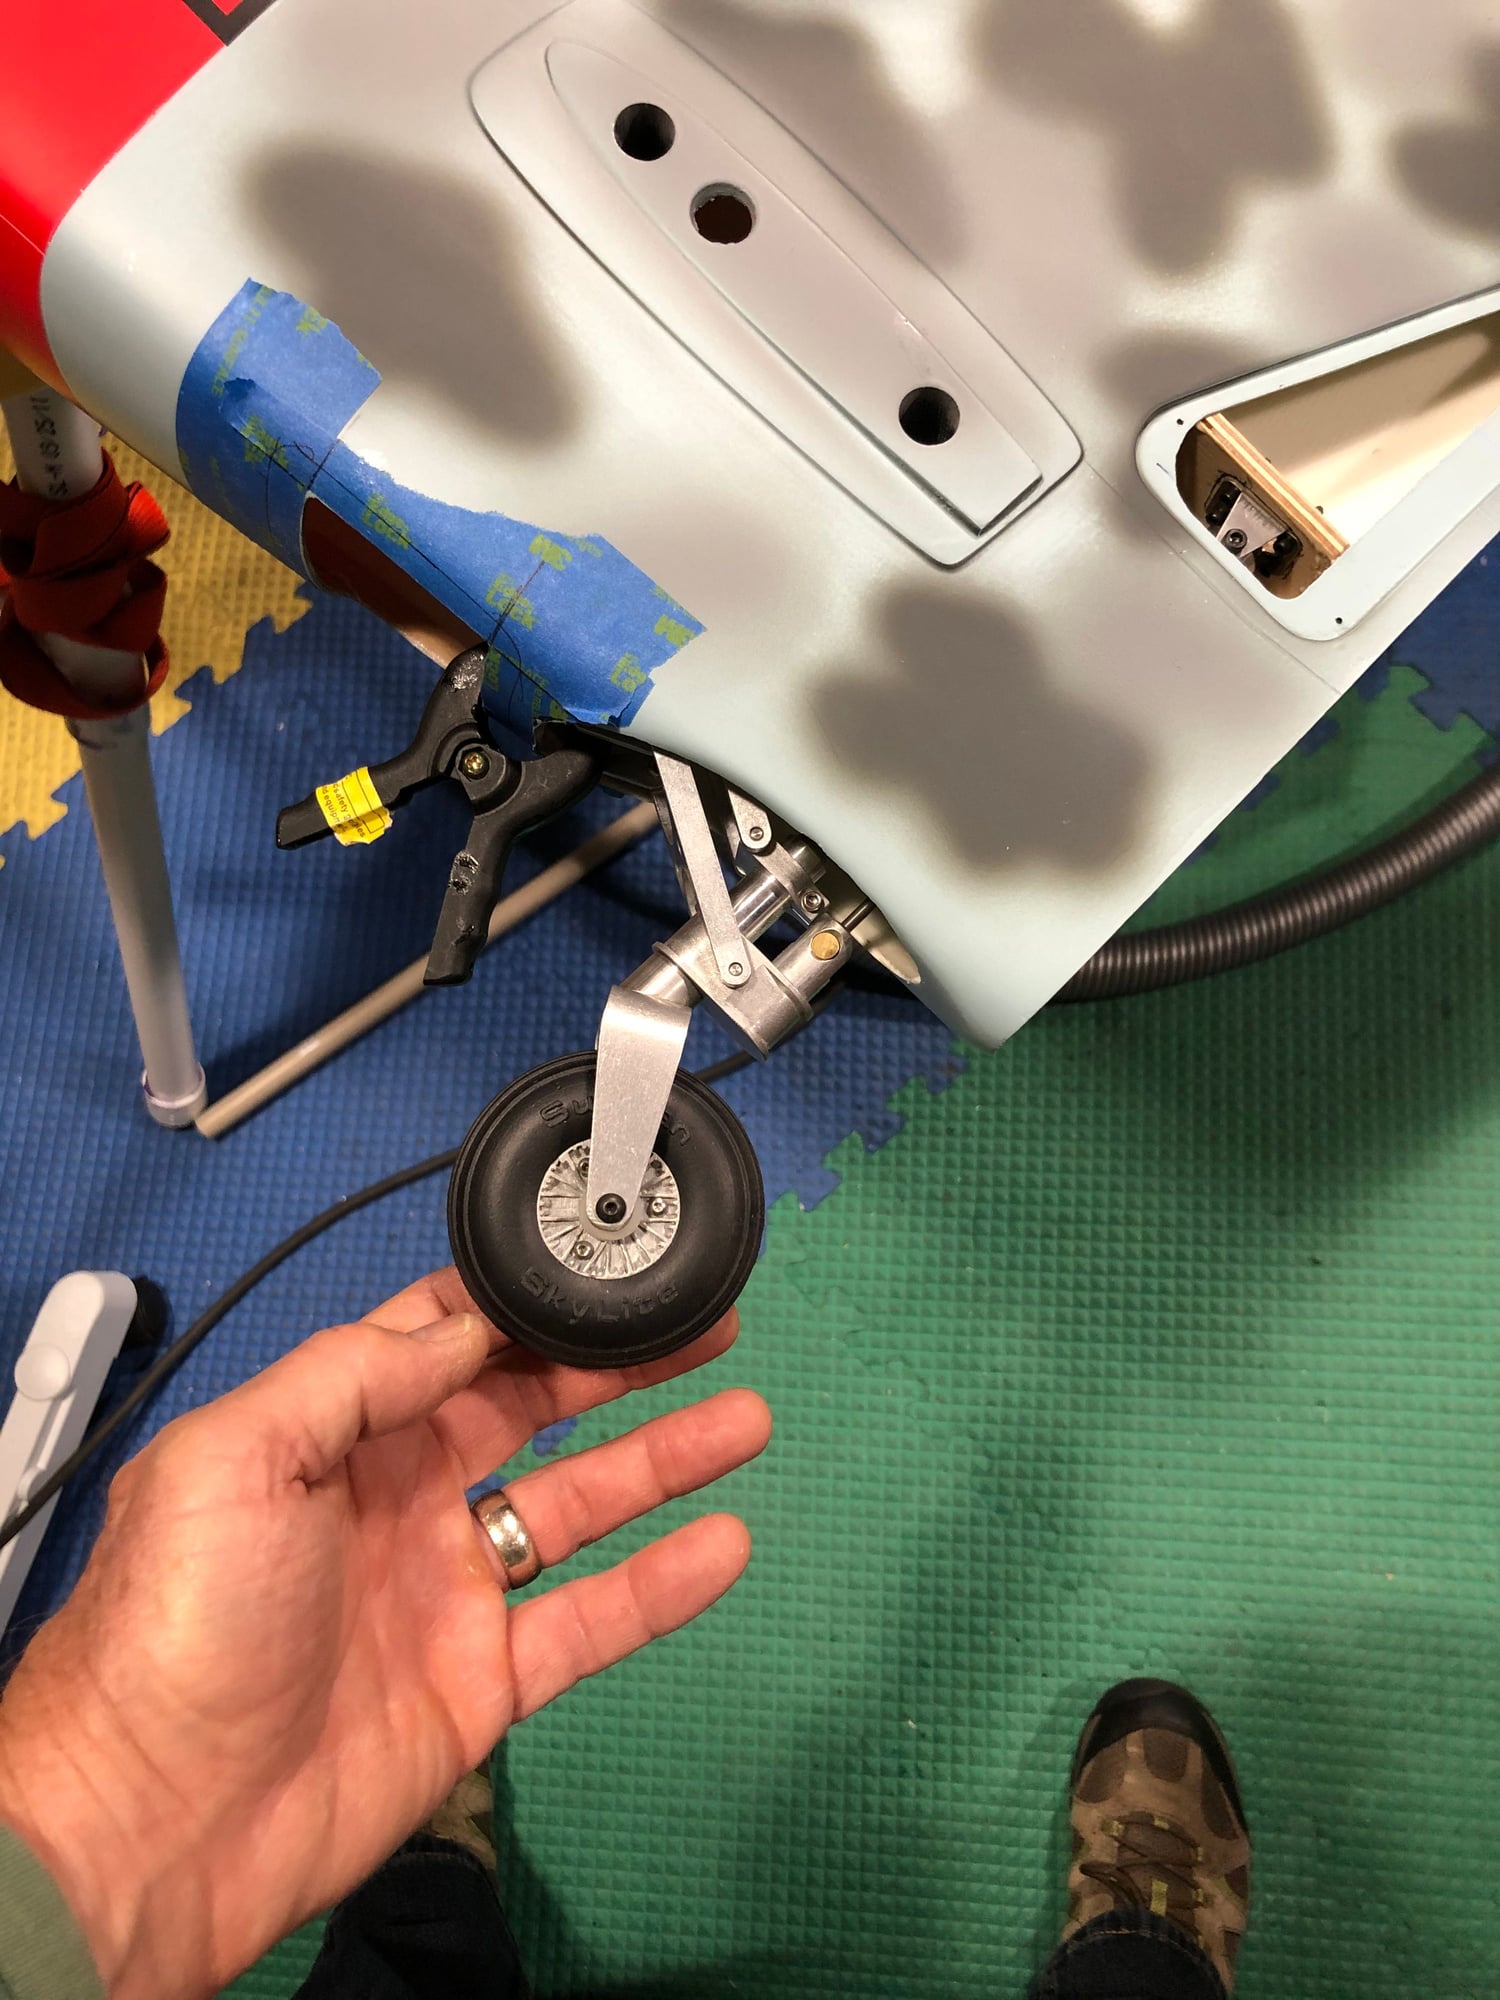
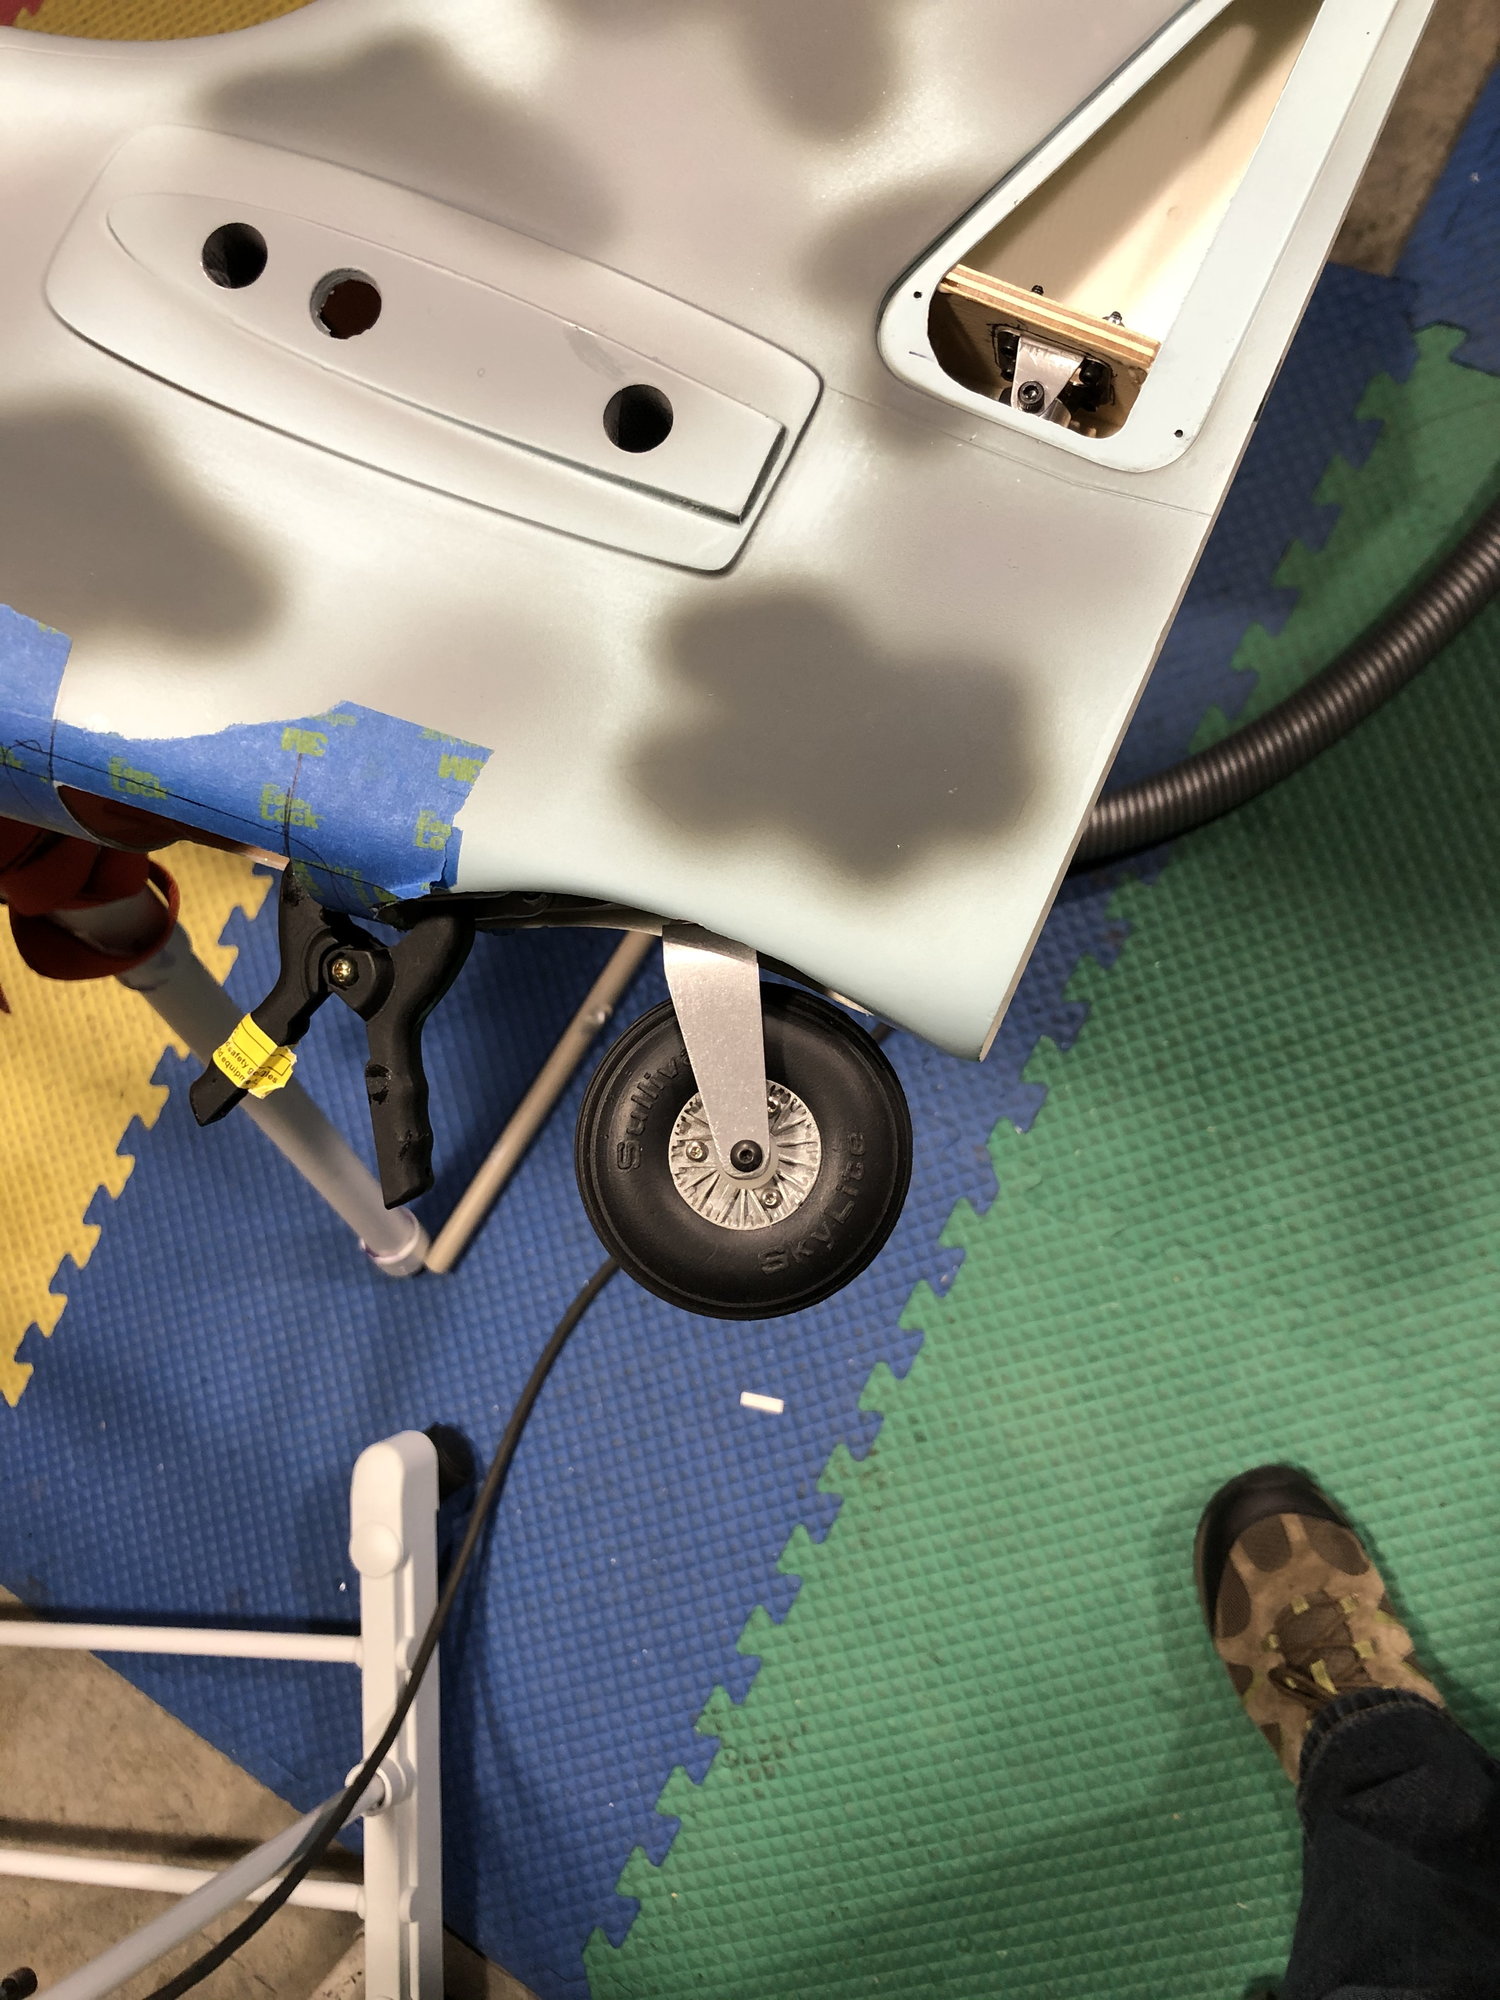
So the MAIN problems are ALL gear related.The mains extend and retract well, and are quite tough...but the slop on them is ridiculous, especially in the scissors, lots of lateral movement. Because the electrons dont have the fram that the stock and Sierra ones have, we had to omit the downlock brace...
The tail wheel, with all the slippages is aslo a mess. Previous owner couldnt get the stock air system working, so it is forced into the down position....a bit disappointing, but not a show-stopper.
What I need is a set of struts to replace these ones, but I need them to fit into the electron trunnions...anyone know if Sierra sell struts only?
I should have gone over the plane more thoroughly, but cursory looks seemed the plane was ok. It flew, and flew well, but not without problems....but fortunately those all presented themselves on the ground, rather than in flight. The engine is new and performed well, but we were never going to wring it out. The engine has plenty power, and would improve with time, but I desperately dislike the 2-stroke noise in a bird like this...so it will be removed and sold. Most likely going to go with the UMS 125 as well, the Moki is way to dear for me, and the FG90 is going to be marginal on power, and will very likely be at full tilt most of the time.
So the MAIN problems are ALL gear related.The mains extend and retract well, and are quite tough...but the slop on them is ridiculous, especially in the scissors, lots of lateral movement. Because the electrons dont have the fram that the stock and Sierra ones have, we had to omit the downlock brace...
The tail wheel, with all the slippages is aslo a mess. Previous owner couldnt get the stock air system working, so it is forced into the down position....a bit disappointing, but not a show-stopper.
What I need is a set of struts to replace these ones, but I need them to fit into the electron trunnions...anyone know if Sierra sell struts only?
11-07-2019, 05:59 PM
#633
My Feedback: (6)
N8622T:
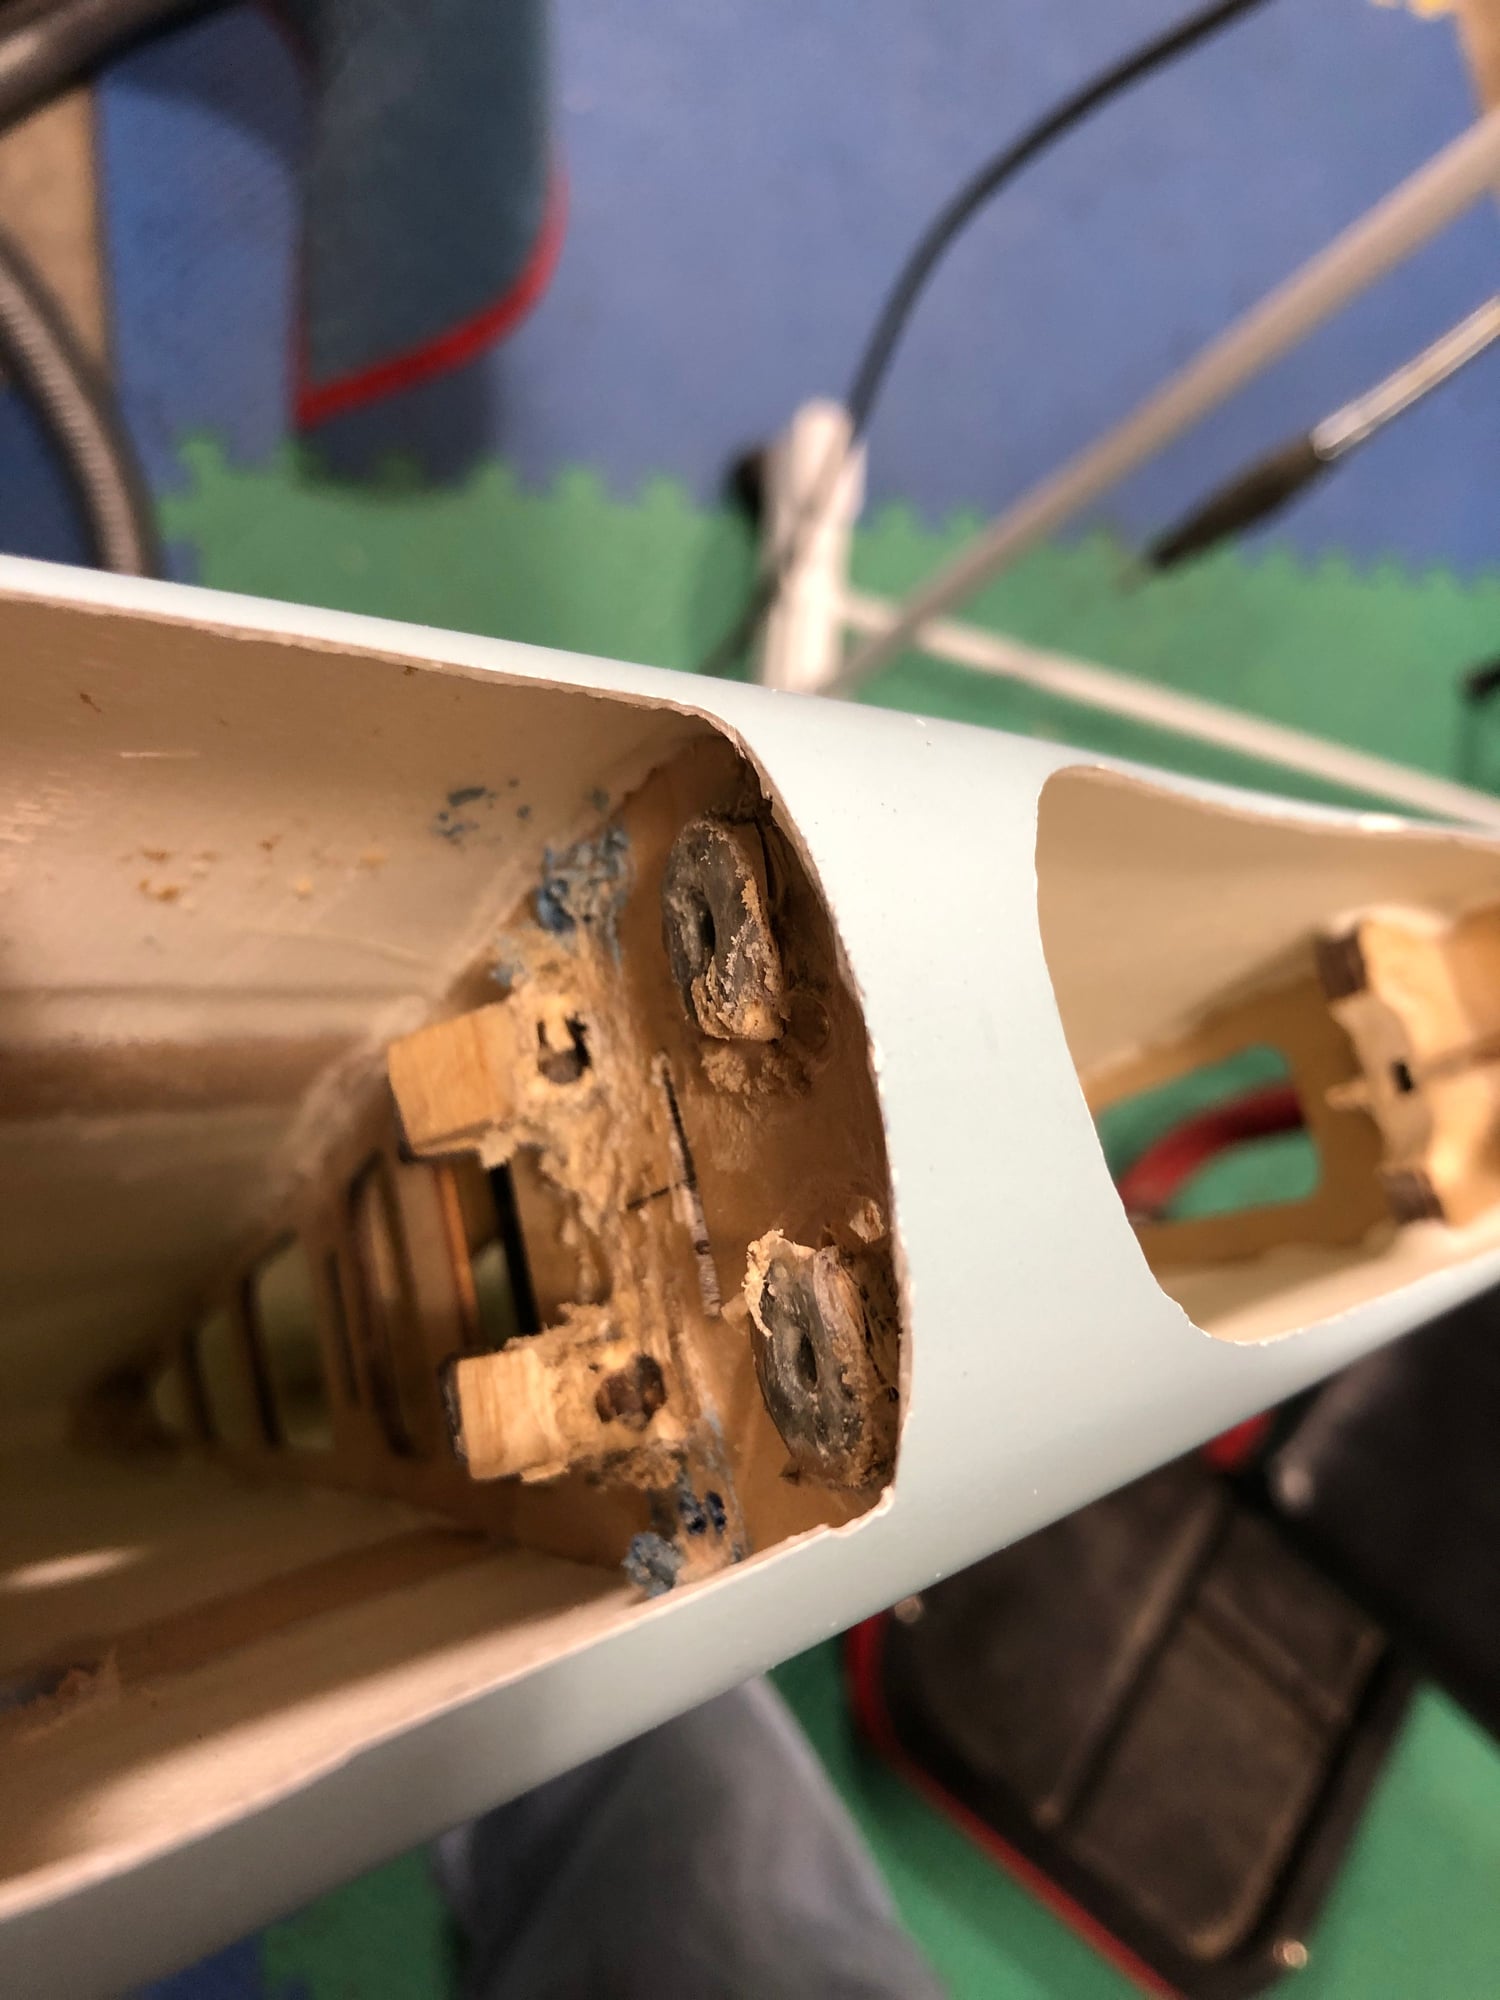
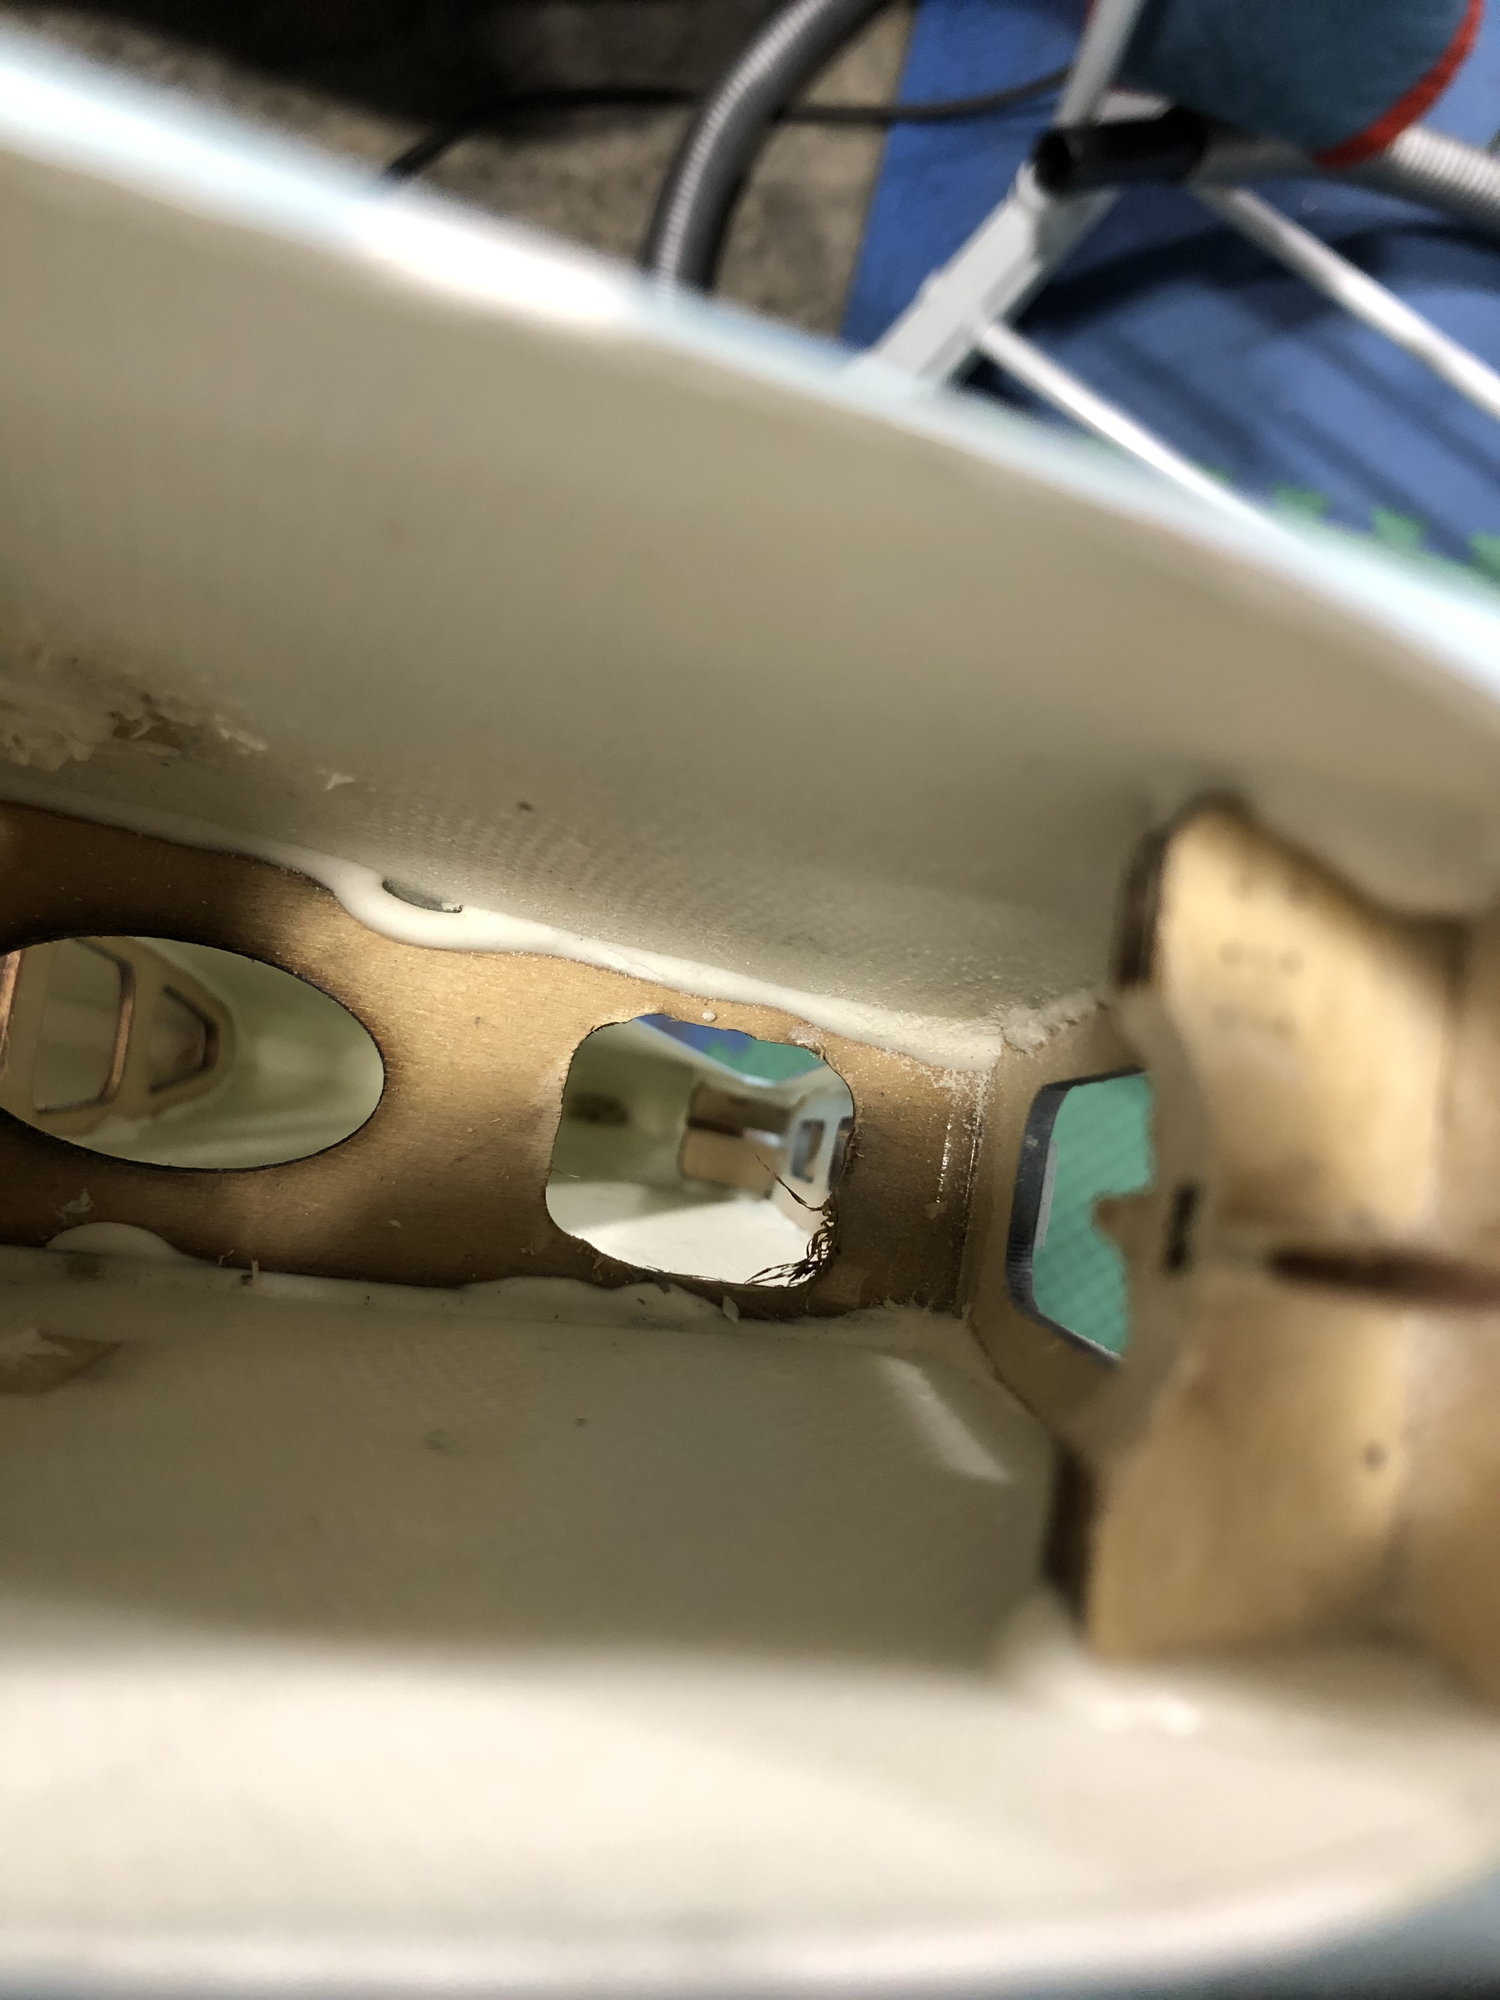
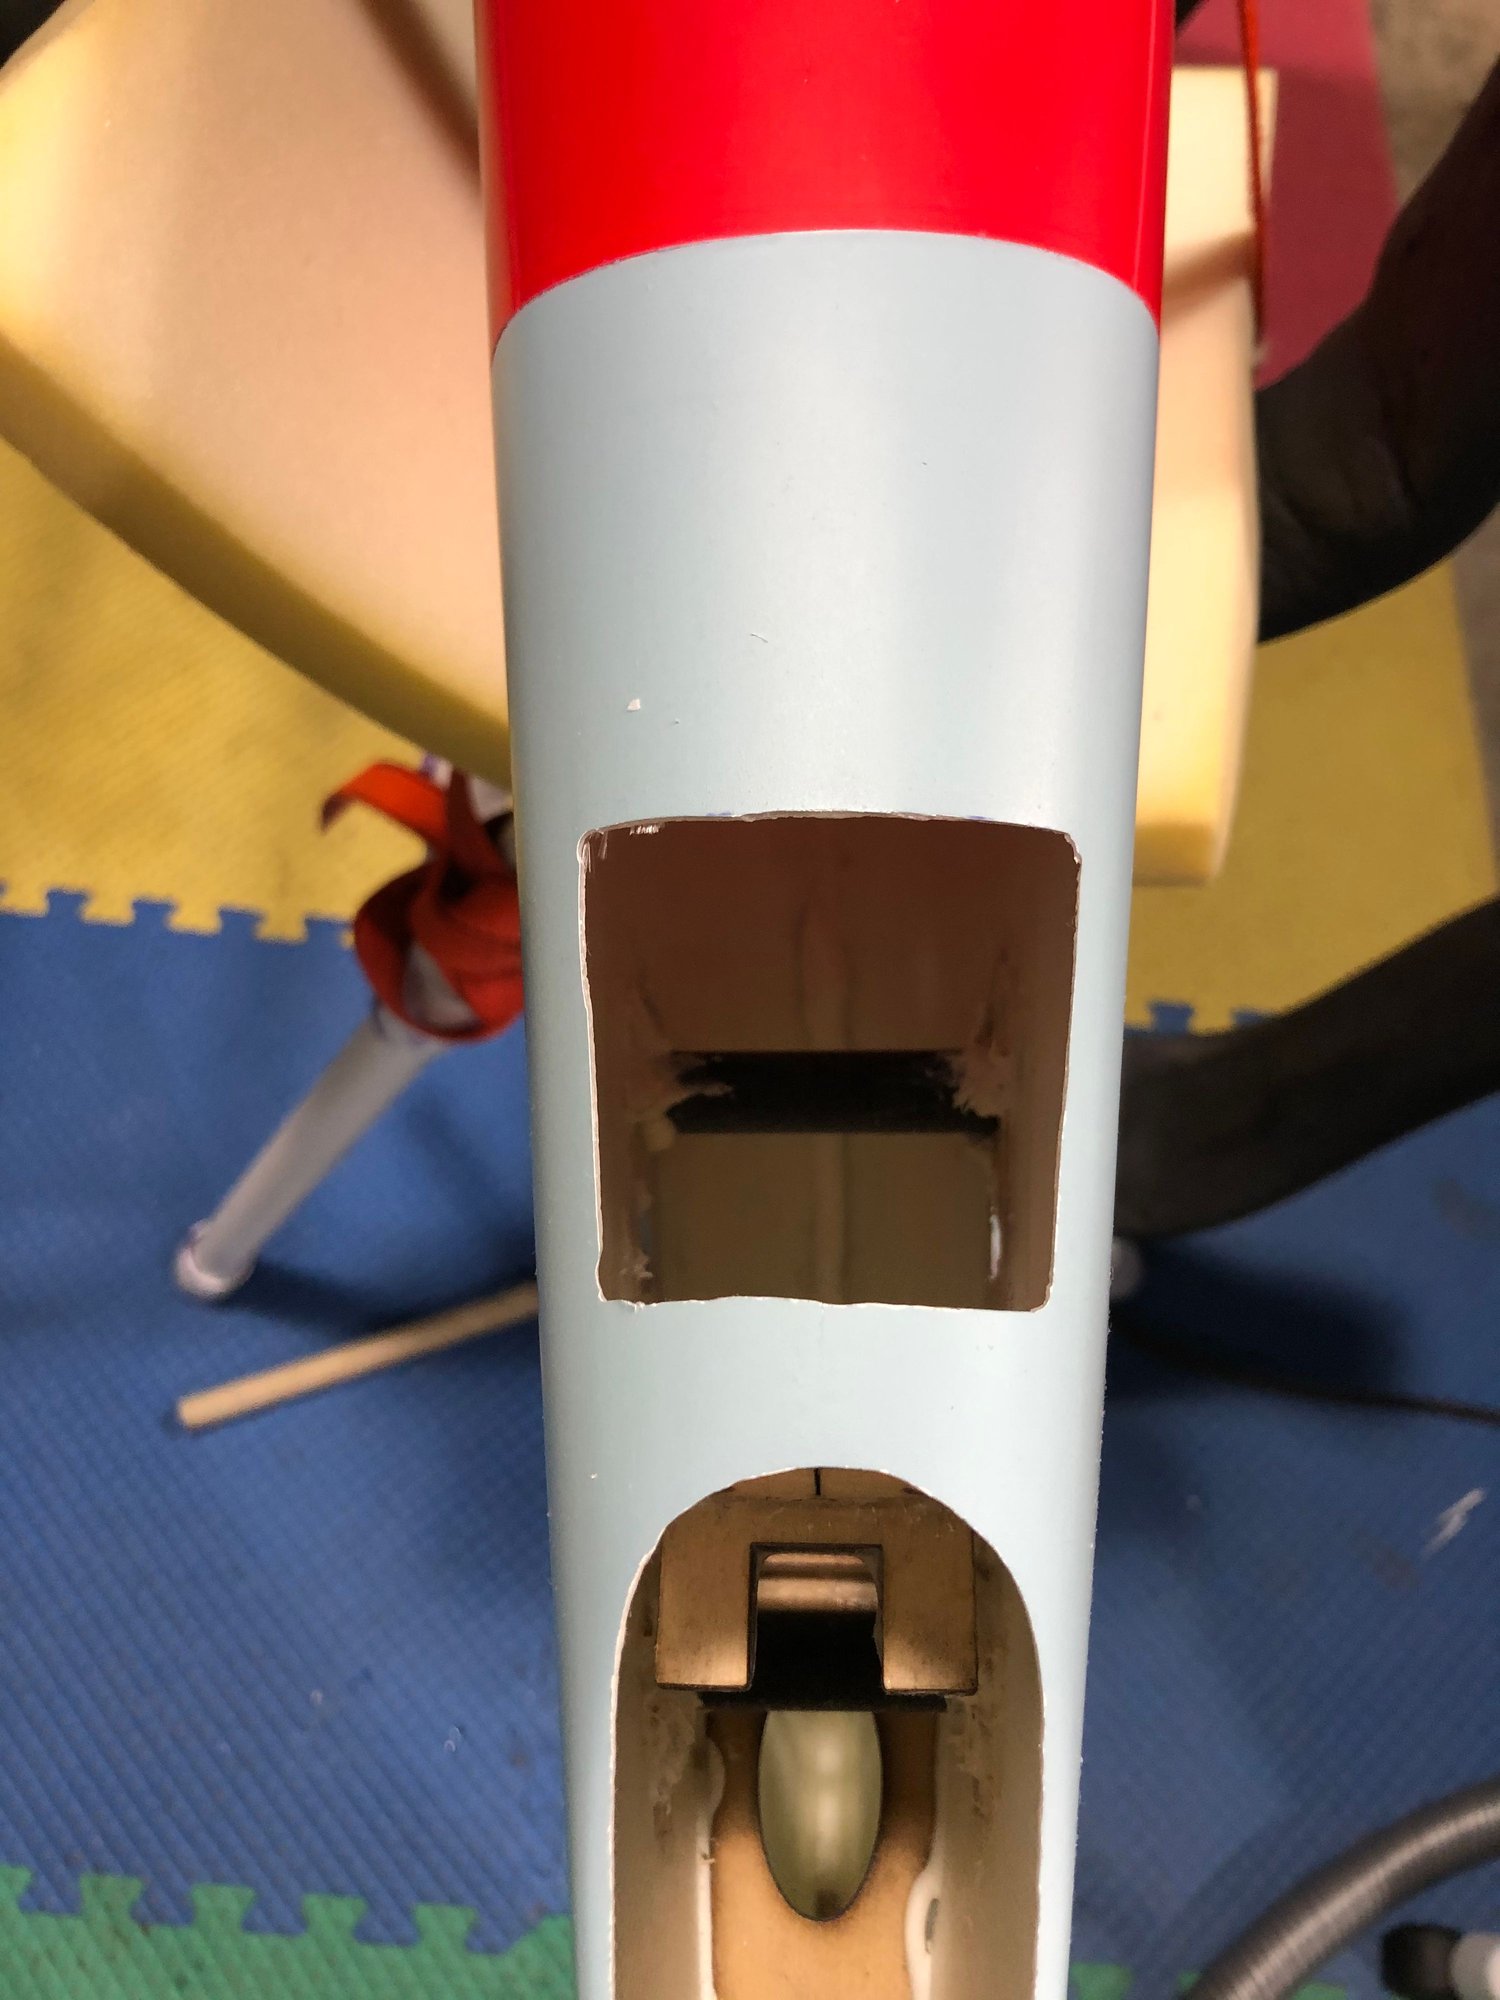
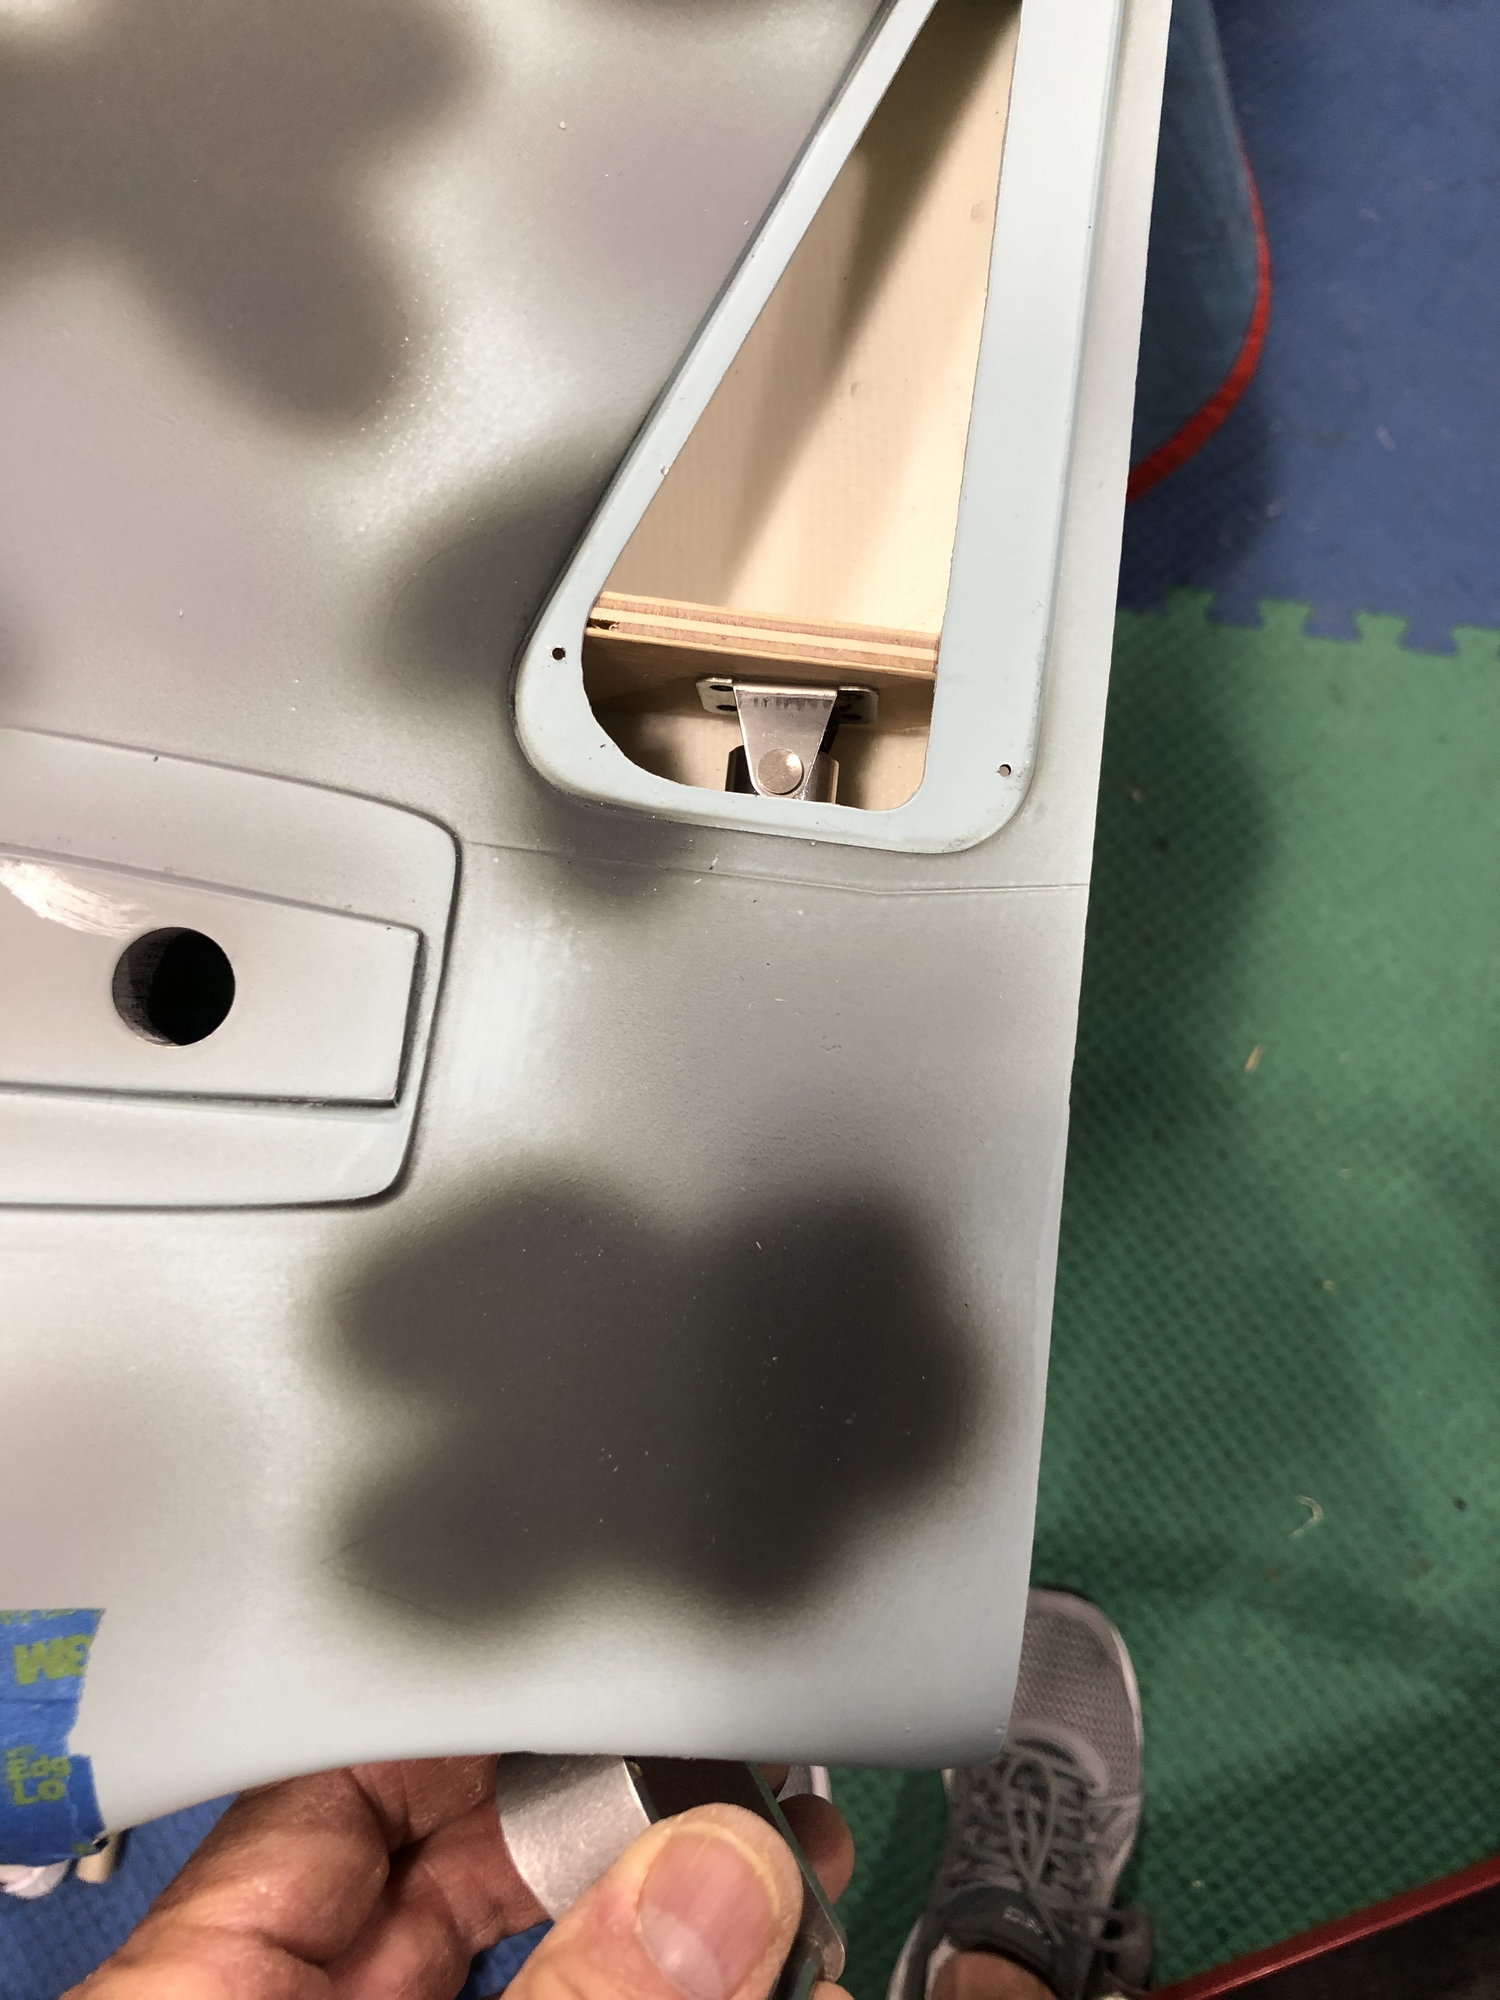
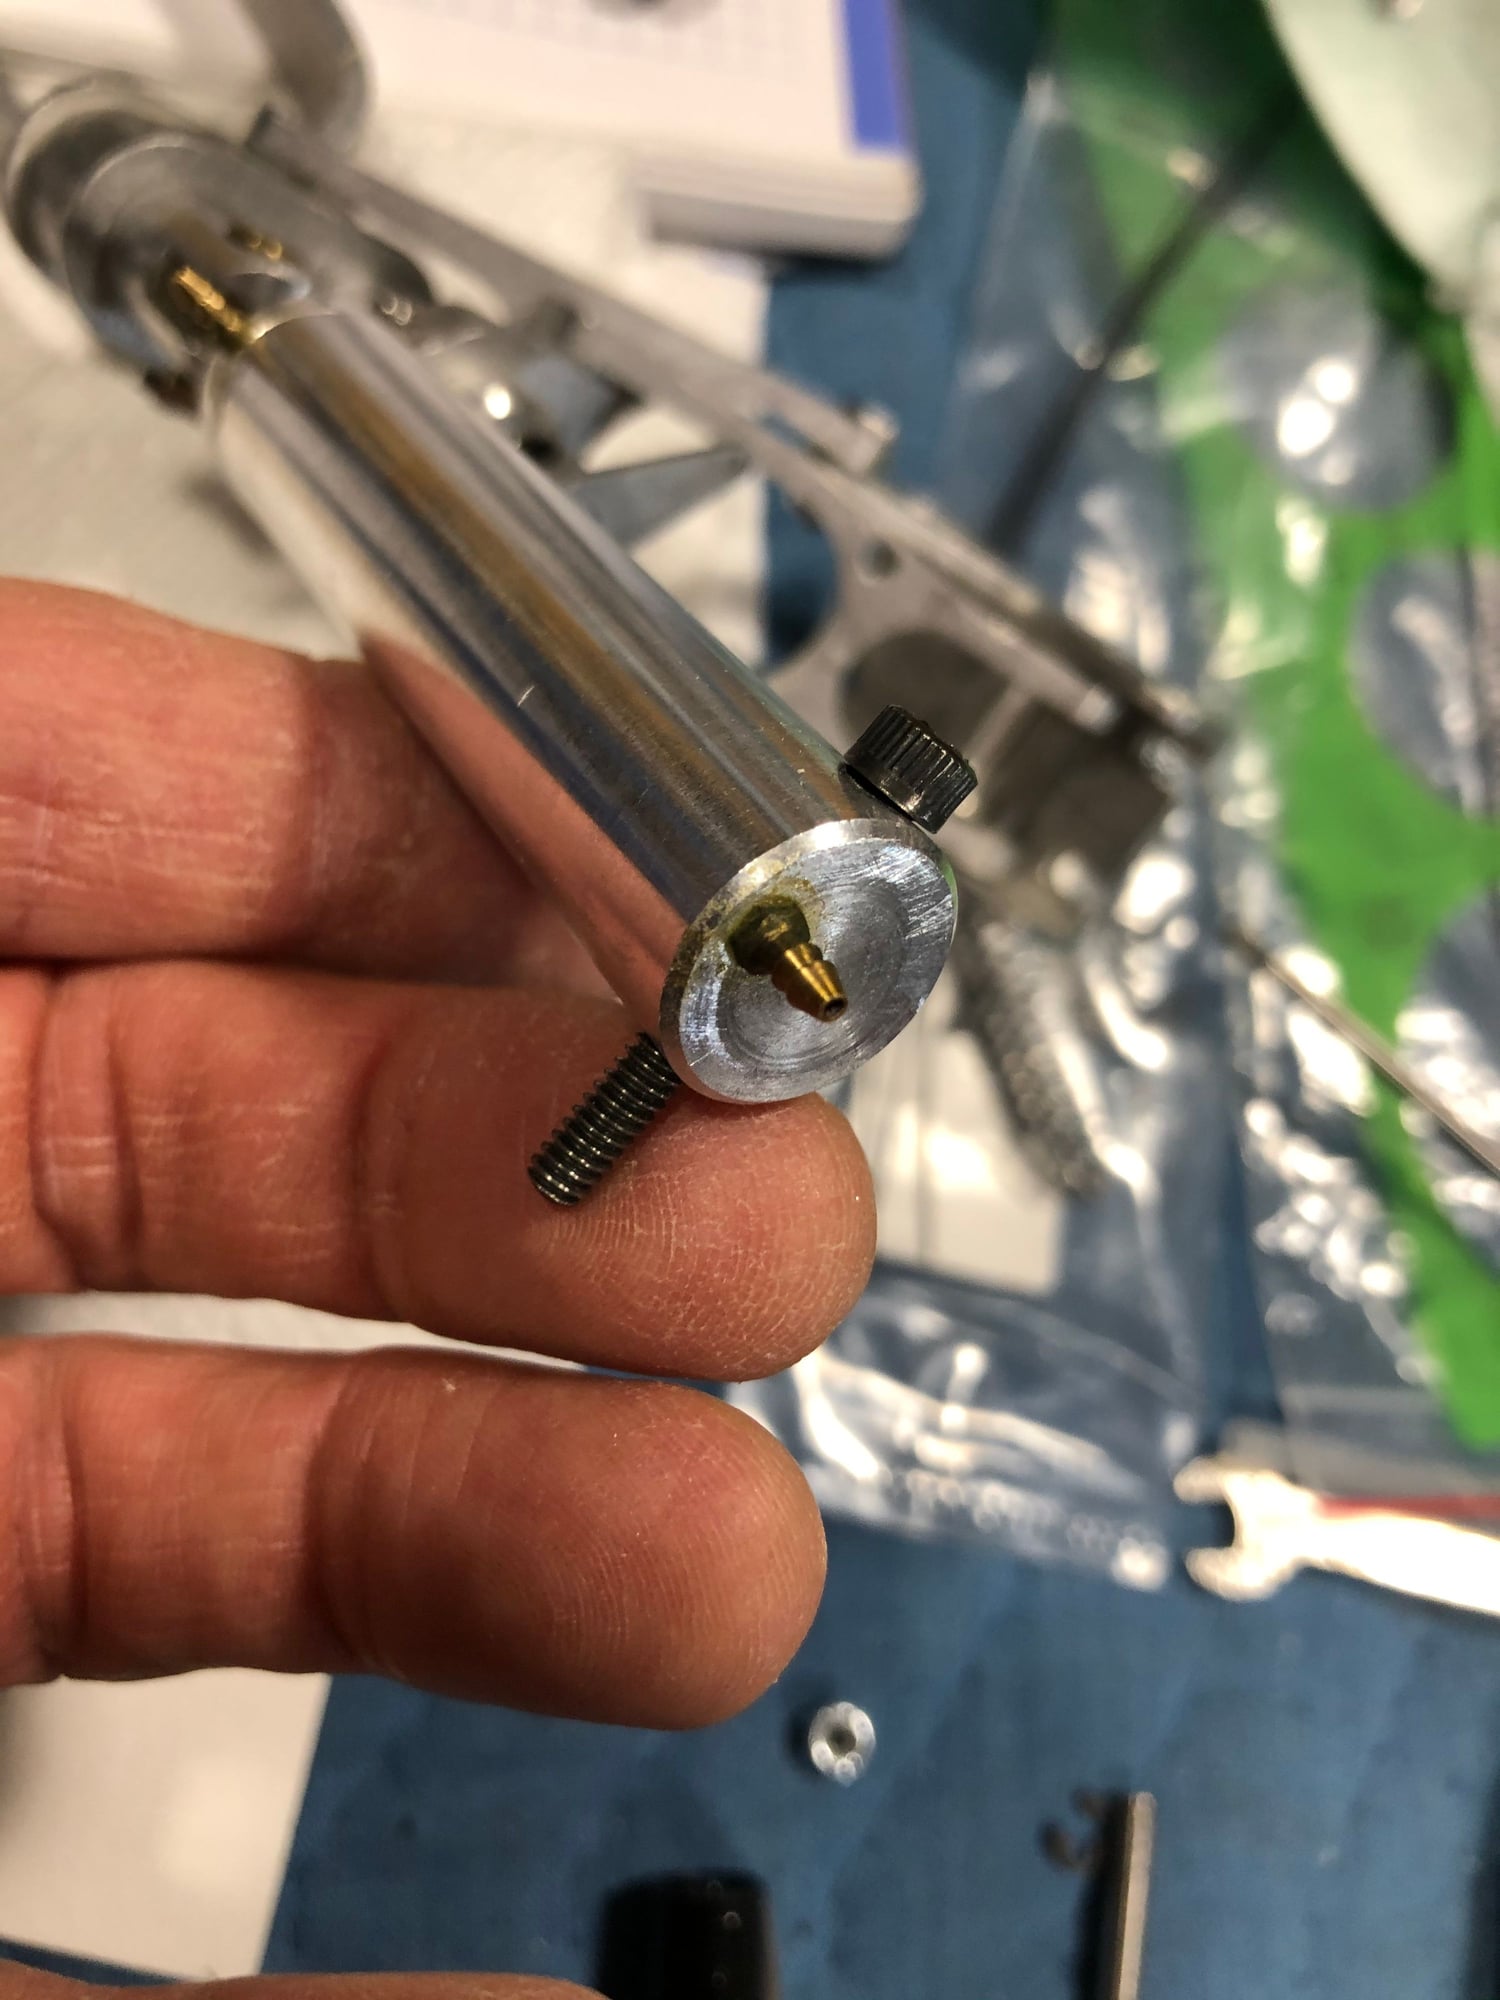
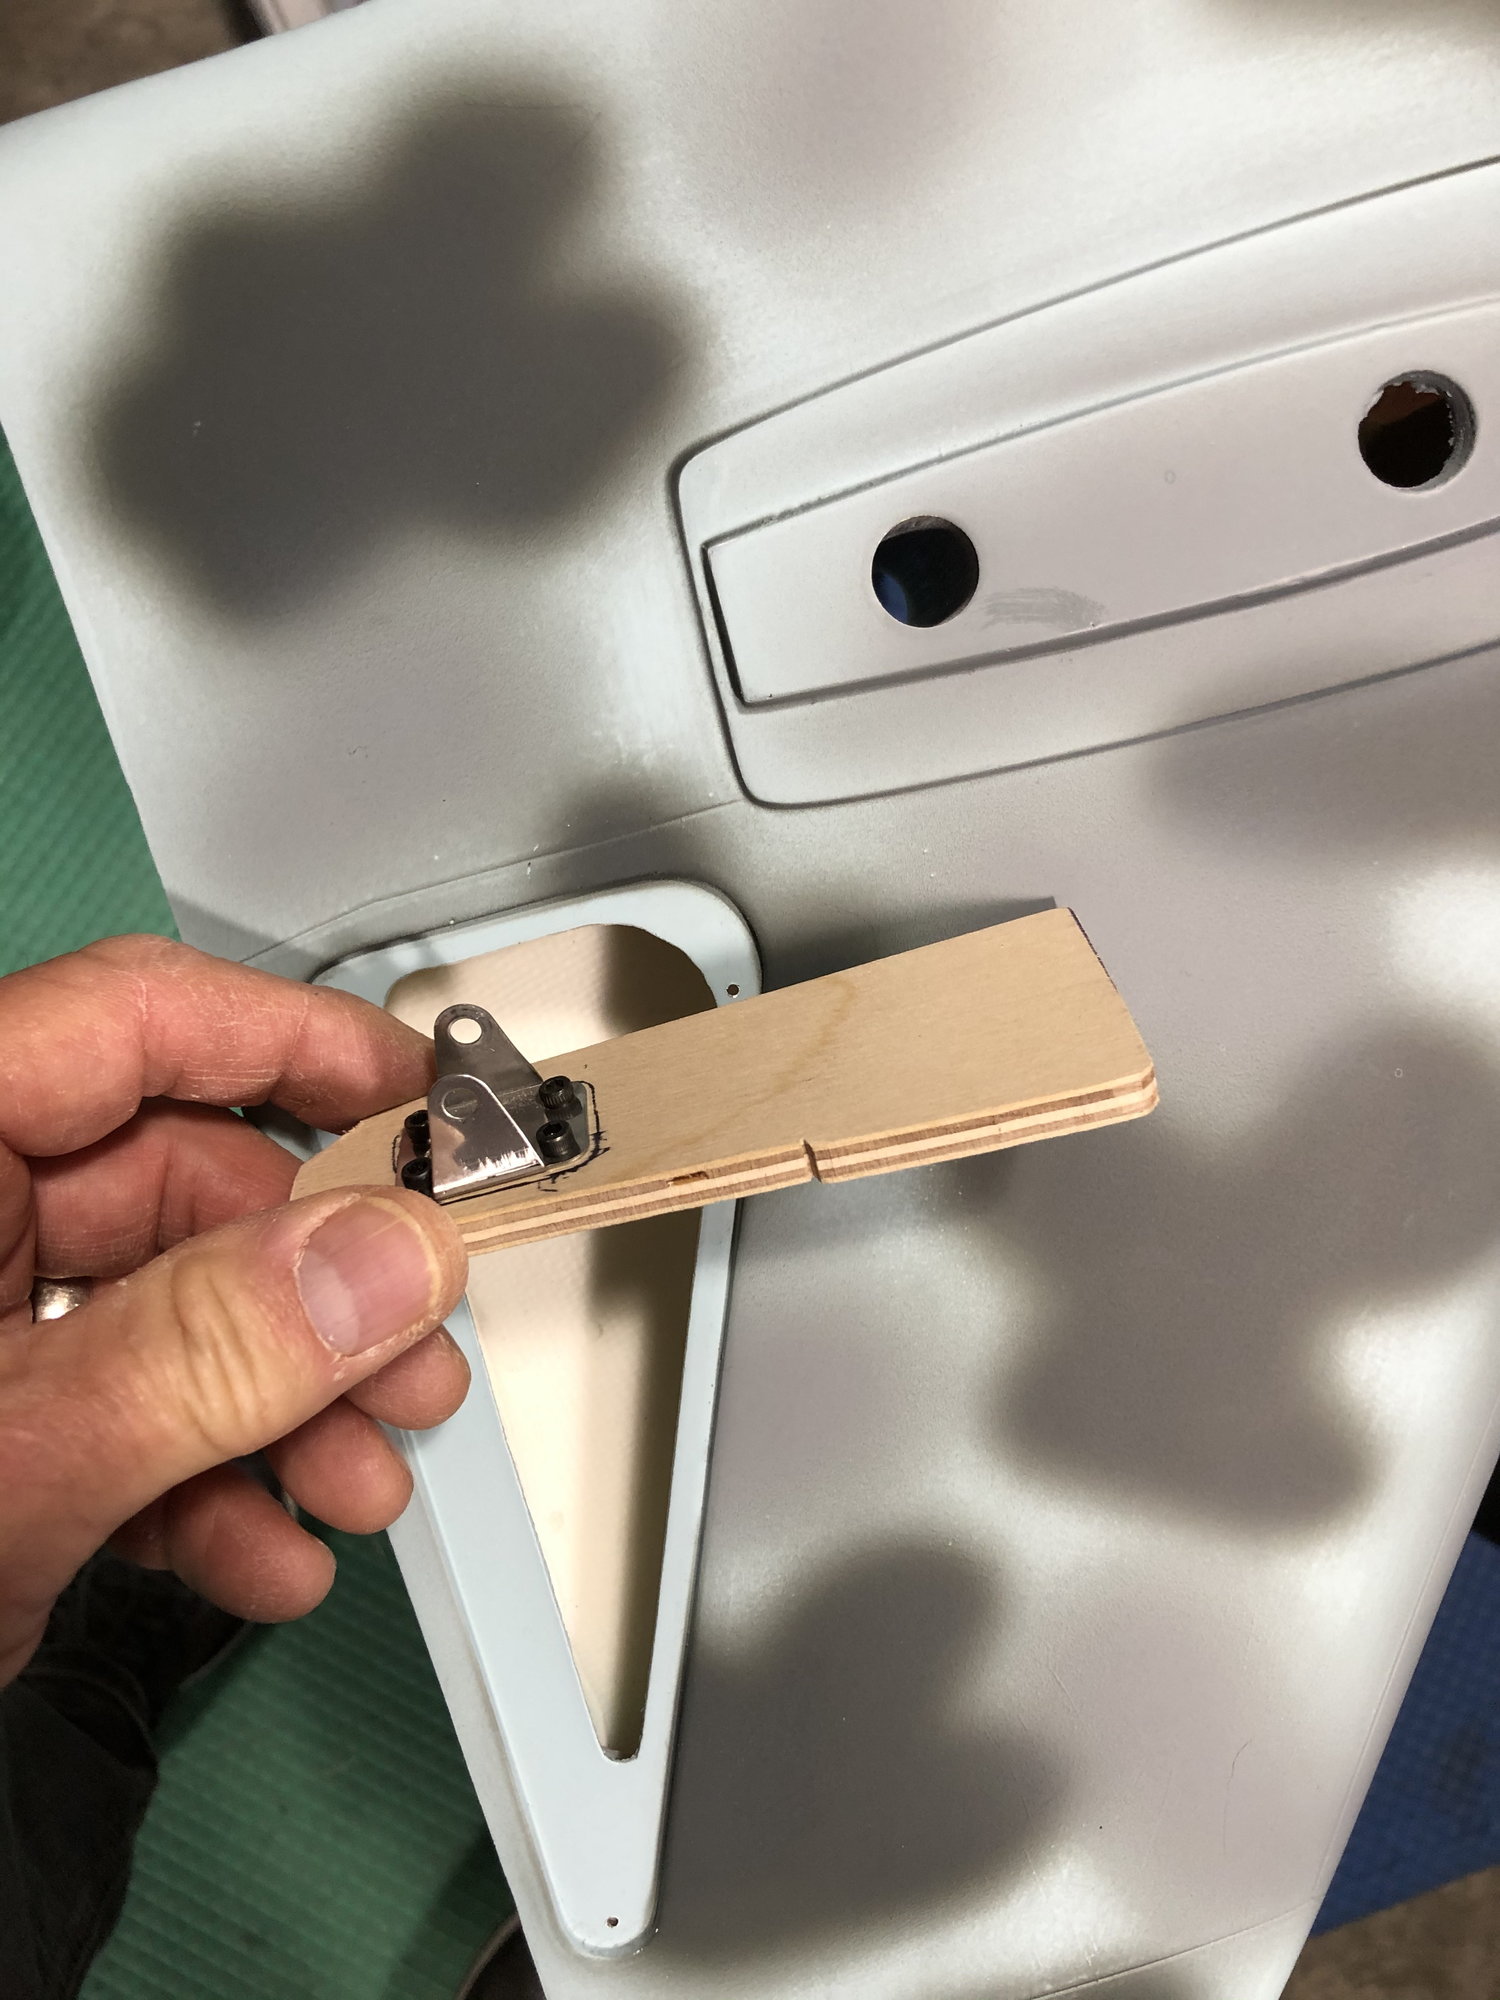
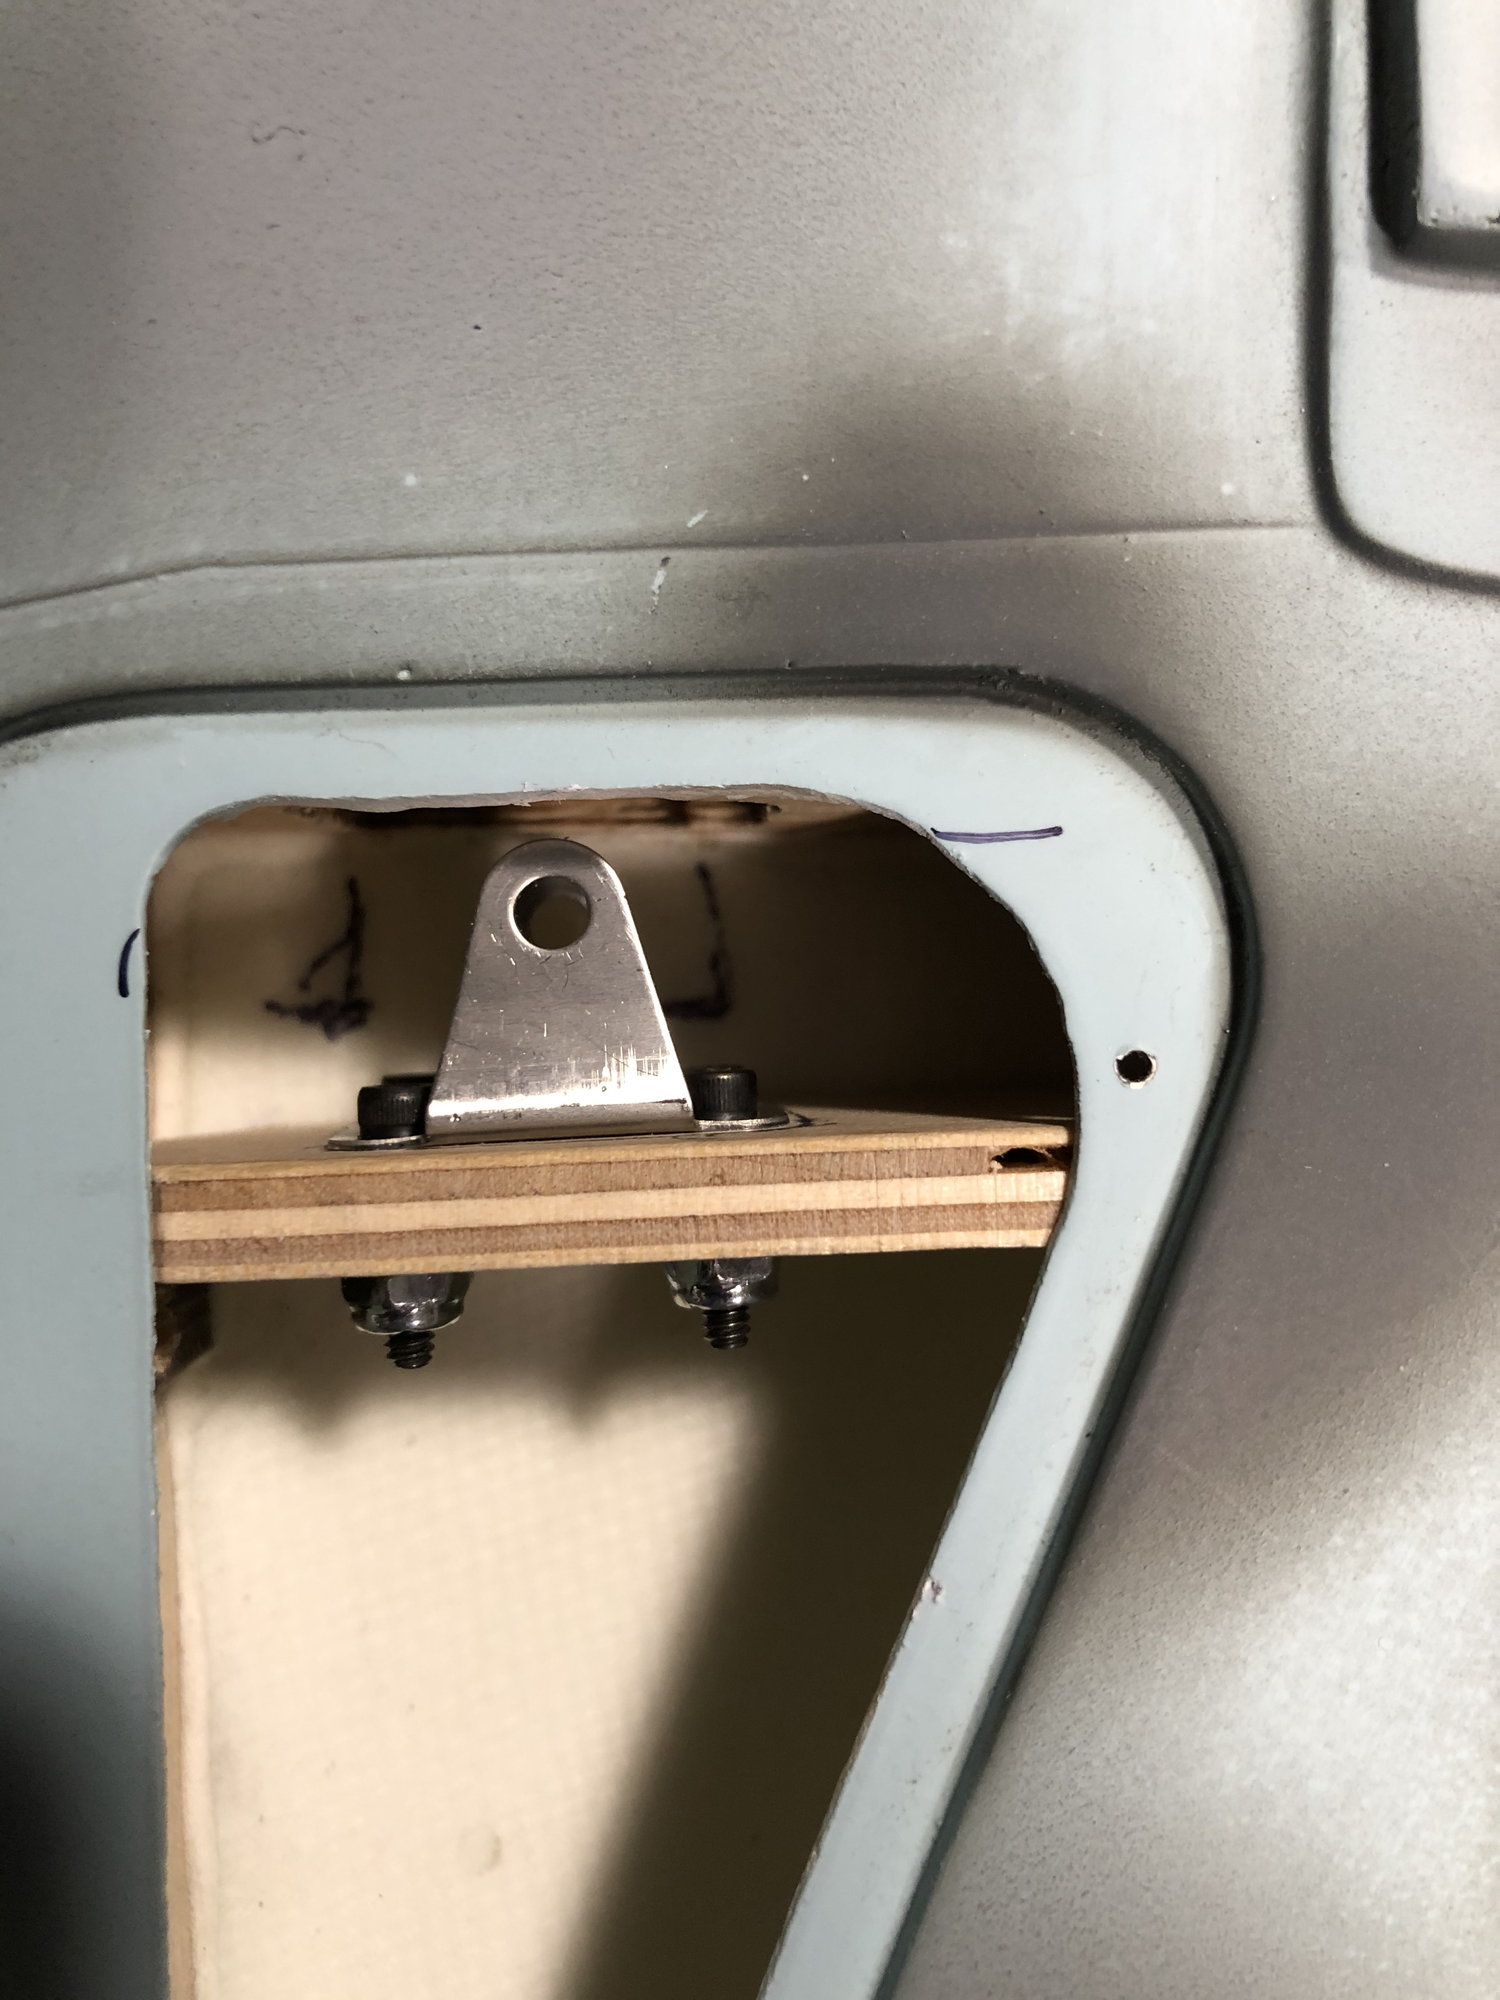
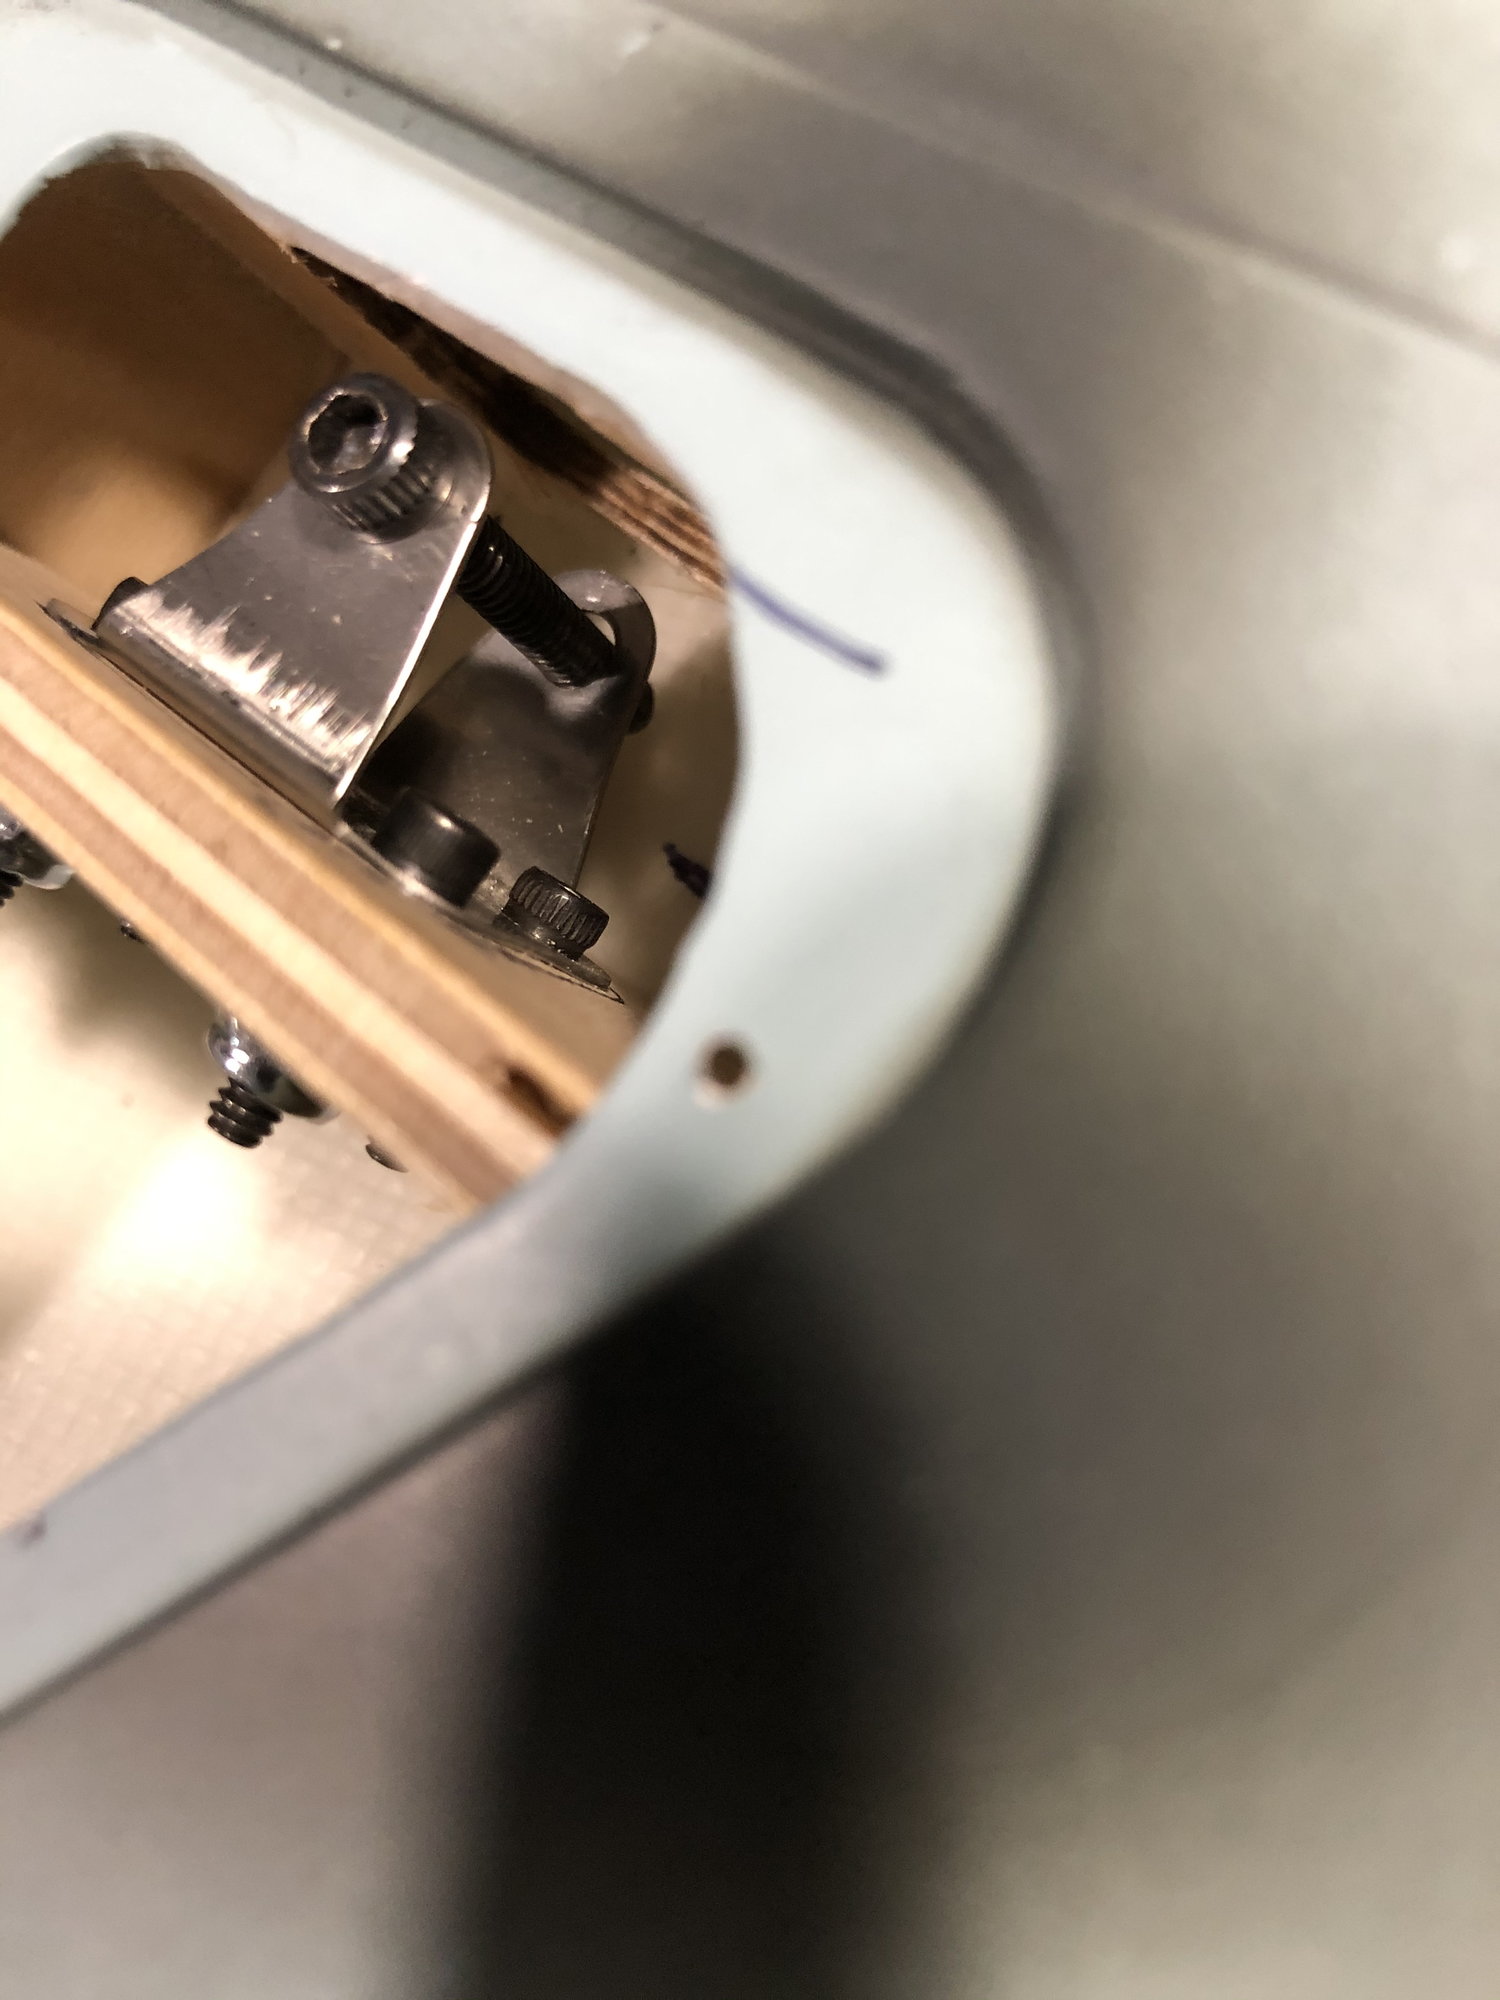
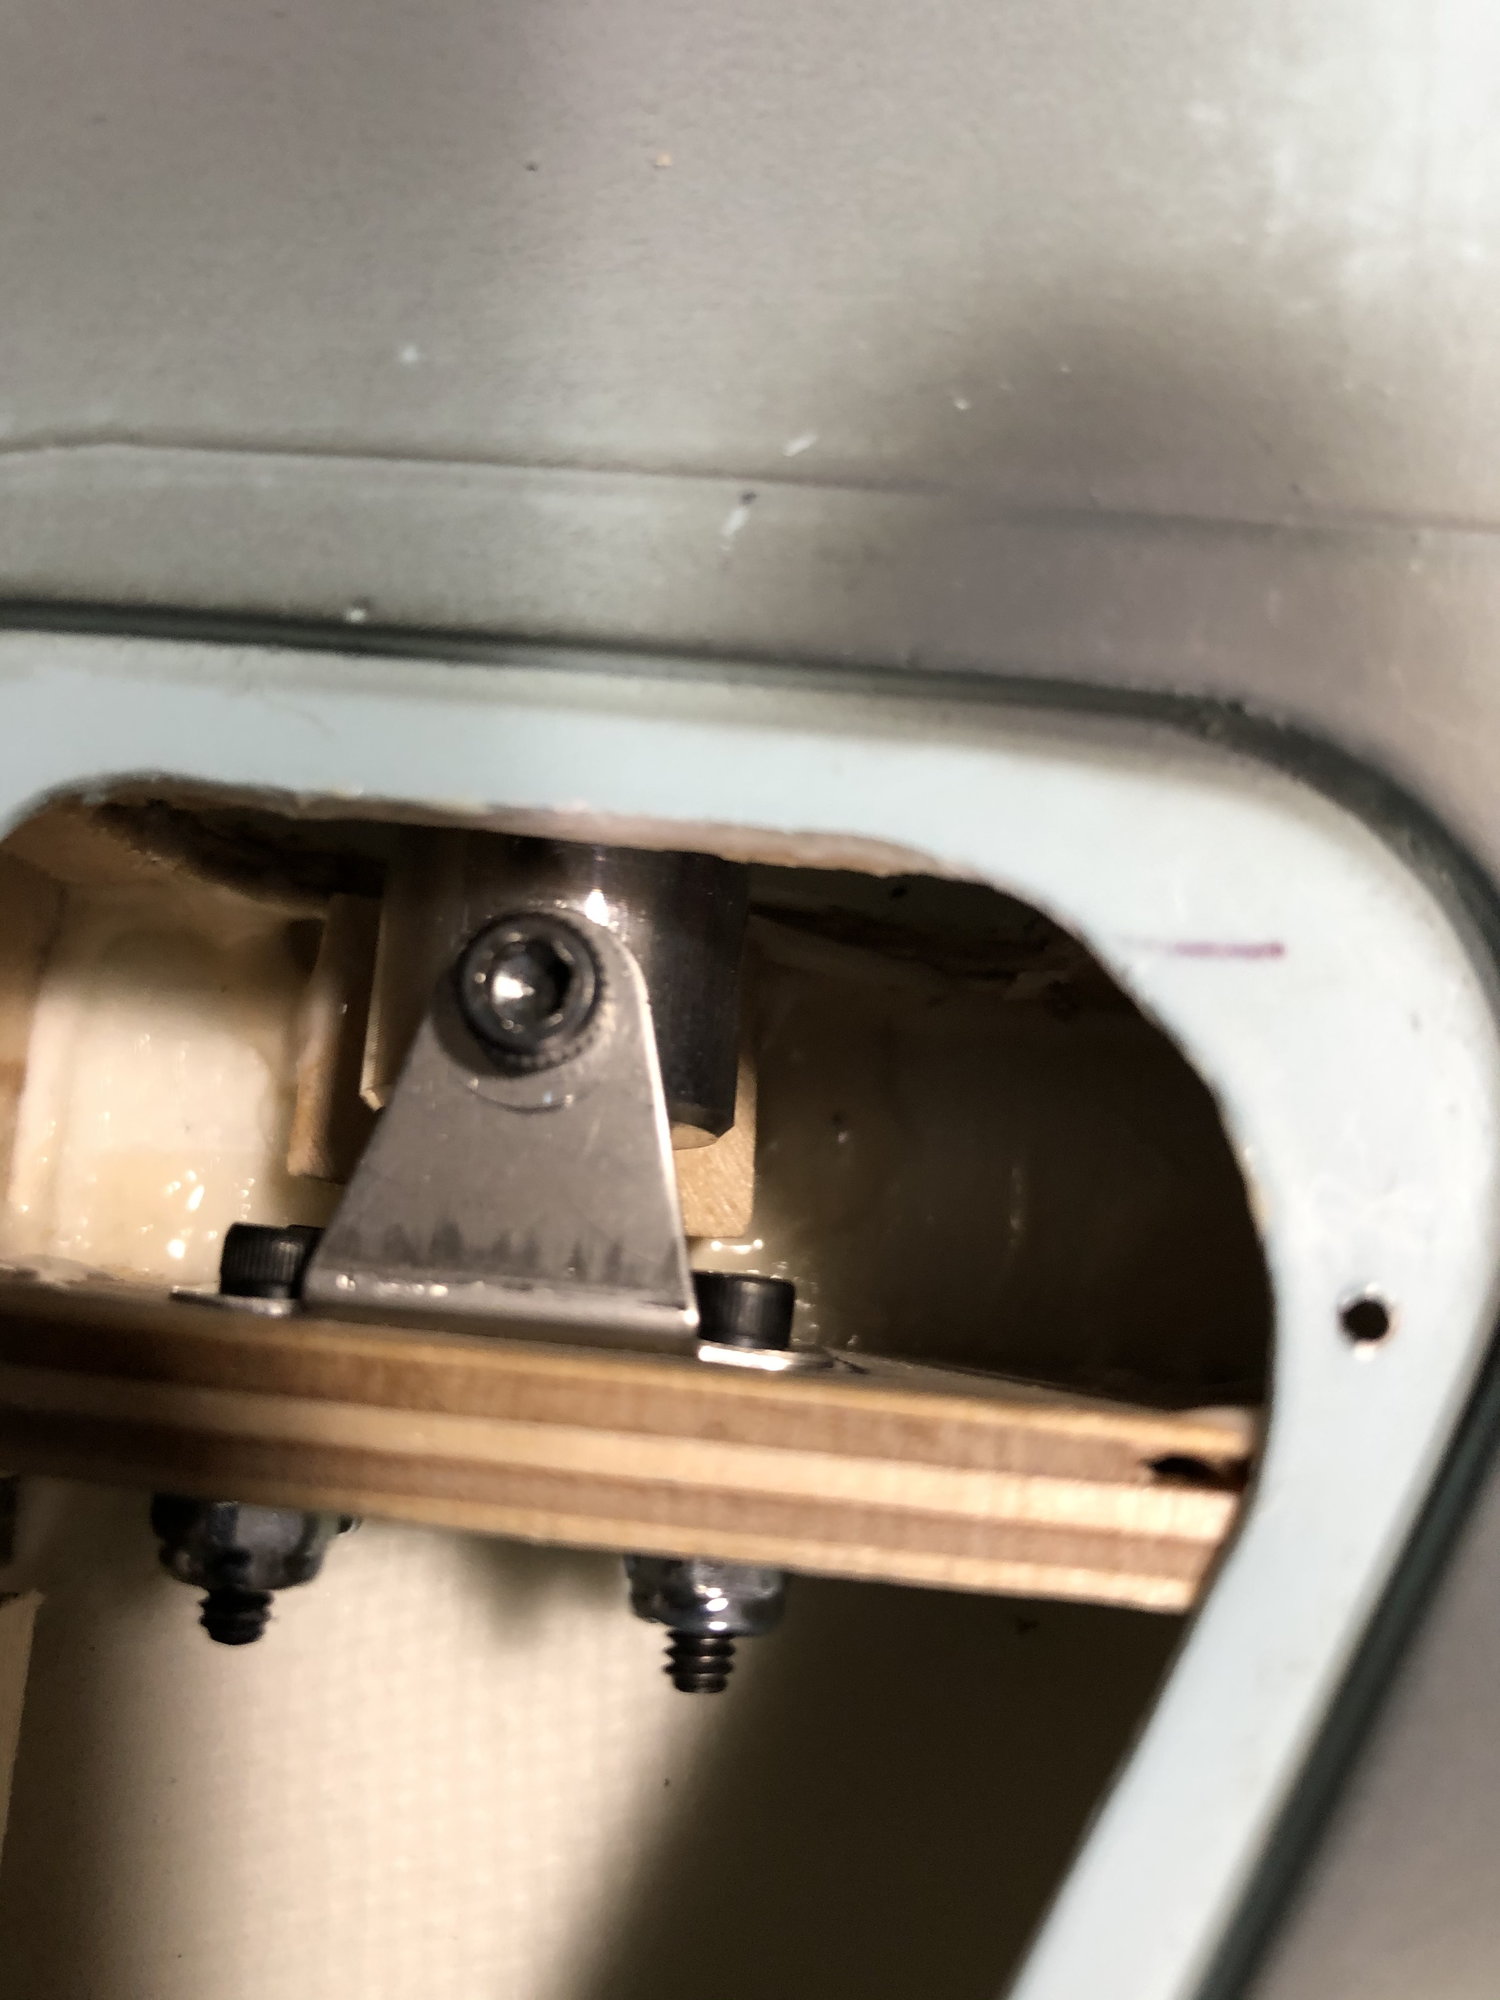
I am installing the sierra TW in my FW as well. I am making the pin at the top removable. If you have the 4 screws at the top Im not sure how to remove it for maintenance if it has problems. I've been warned the air cly is problematic and i will replace mine when it becomes a nuisance but "Ill fly to failure" Screw the mount to the wood support then pull the circlip so the pin can come out then put a small shim at the inside of the door so that it holds the pin in place with the access door in place,
Sparky

 11-25-2019, 10:34 PM
#647
Member
I received my sierra retracts back from Down and Locked they did some very nice work.
My question for you guys is after putting the shims in to get the face of the retract just under the wing skin level. What are you using to mount them?
T-nuts?
Thanks
Scott
My question for you guys is after putting the shims in to get the face of the retract just under the wing skin level. What are you using to mount them?
T-nuts?
Thanks
Scott
11-26-2019, 09:58 AM
#648
My Feedback: (6)
I am using the opposite approach.
For shims I only added what I needed to clear the mechanism as the gear swings. It rises above the frame of the retract during the cycle.
I'm using 1/8" 5 ply wood. Tim Evans suggested adding material to the bottom side of the retract rails, and I'll use 6X32 bolts with blind nuts.
The doors that I have definitely have some thickness to them so I figure the further away from the bottom wing skin with the landing gear the better. I can shim the doors with standoffs to bring them in line with the bottom airfoil.
Sparky
11-26-2019, 09:04 PM
#649
Member
I am using the opposite approach.
For shims I only added what I needed to clear the mechanism as the gear swings. It rises above the frame of the retract during the cycle.
I'm using 1/8" 5 ply wood. Tim Evans suggested adding material to the bottom side of the retract rails, and I'll use 6X32 bolts with blind nuts.
The doors that I have definitely have some thickness to them so I figure the further away from the bottom wing skin with the landing gear the better. I can shim the doors with standoffs to bring them in line with the bottom airfoil.
Sparky
For shims I only added what I needed to clear the mechanism as the gear swings. It rises above the frame of the retract during the cycle.
I'm using 1/8" 5 ply wood. Tim Evans suggested adding material to the bottom side of the retract rails, and I'll use 6X32 bolts with blind nuts.
The doors that I have definitely have some thickness to them so I figure the further away from the bottom wing skin with the landing gear the better. I can shim the doors with standoffs to bring them in line with the bottom airfoil.
Sparky
When you say blind nuts, are you talking about the kind that go in from the top like a rivet or the t-nut type with the barb into the wood from the bottom?
11-26-2019, 11:33 PM
#650
Join Date: Jan 2007
Location: Dubai, UNITED ARAB EMIRATES
Posts: 500
Likes: 0
Received 2 Likes
on
2 Posts
Guys,
I've read a lot about the rubbish retracts that come with the plane, and in fact, I have Electron units fitted on the plane I bought. What I have found though, is that the Electron units, as brilliant as they are, have a VERY small footprint in the mount position, and they are eventually going to cause a failure in the mounts unless I beef them up to the max. I am reluctant to do this as it will mean opening the fibre glass, and I am not intersted in that really. So, the other plan is to get some of the original parts, namely the retract body, perhaps with the new electric offering. I dont need the oleo's, wheels, tail wheel setup and controller. All I need is the retract frame, trunnion and the support arm between the frame and oleo. I am going to see if the electric motor/gearbox is up to snuff, but I doubt it. Alternatively, it looks like I can retrofit some Electron linear actuators in their place.
So, the question is, what was WRONG with the original sets, without referring to any pneumatics, as I wont be using that. Was it bad geometry or similar. Iknow that Darryl mentioned the oleos are too thin and some bad machining or something, but outside of that....what gives?
My local dealer says TopRC will help get the parts, but I dont know what I am in for, money wise....waiting to hear. He had a set of the original air units, and they look pretty sturdy and have a decent action to them, and they will fit in the right places....I will just mod the action.
Appreciate any positive criticism...