


Maj. Woody's Topflight Hellcat
 04-30-2020, 03:28 AM
#26

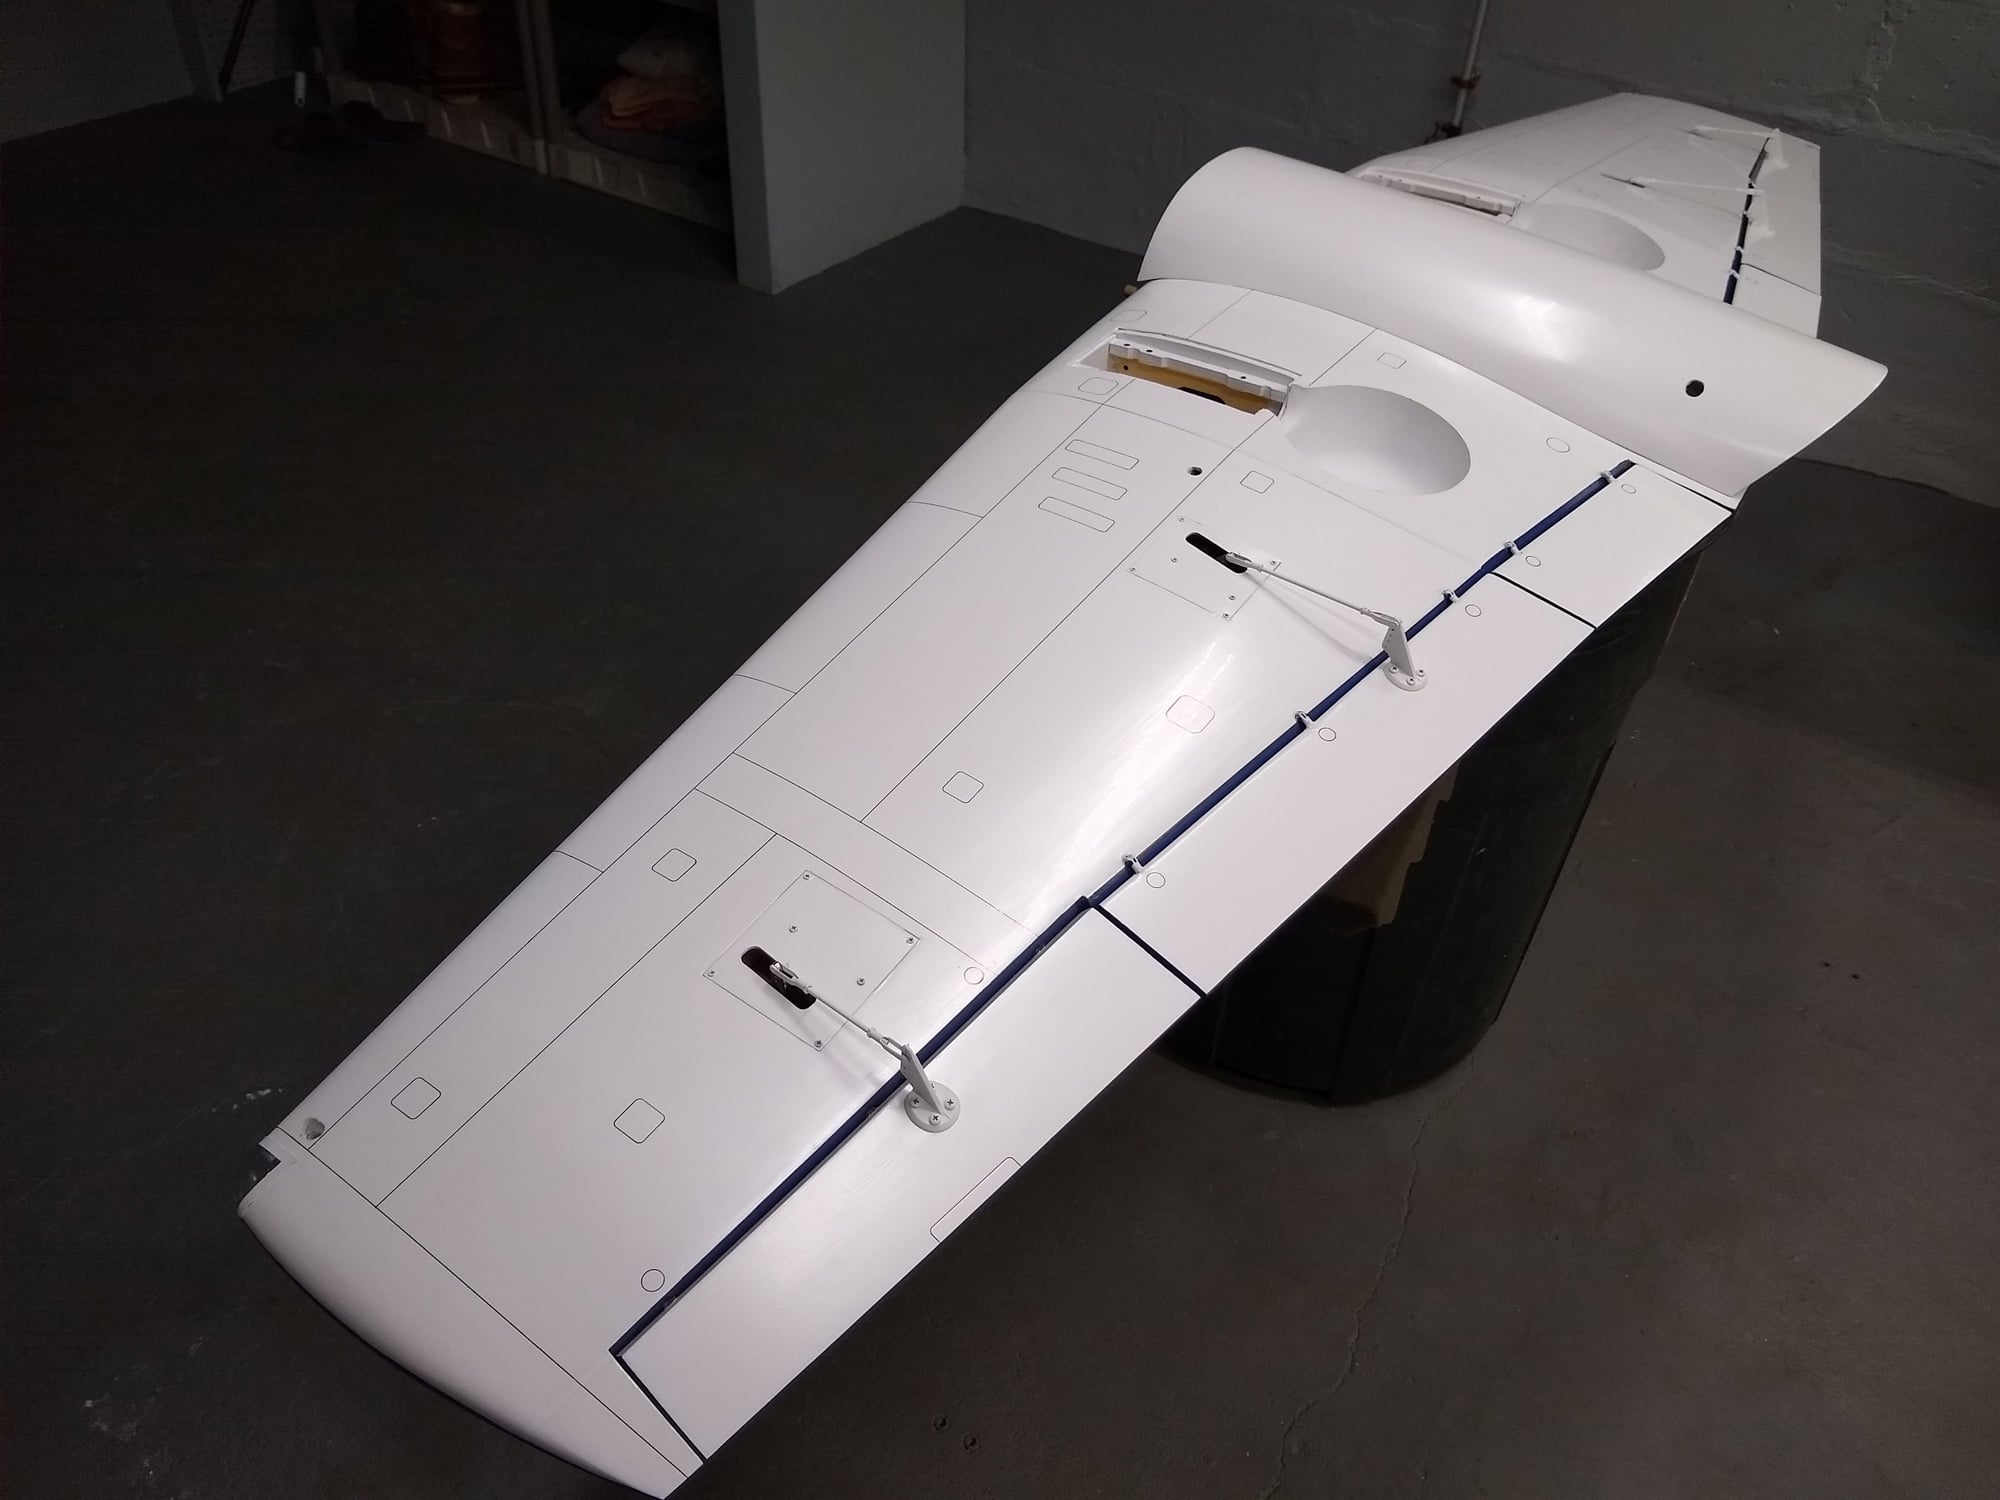
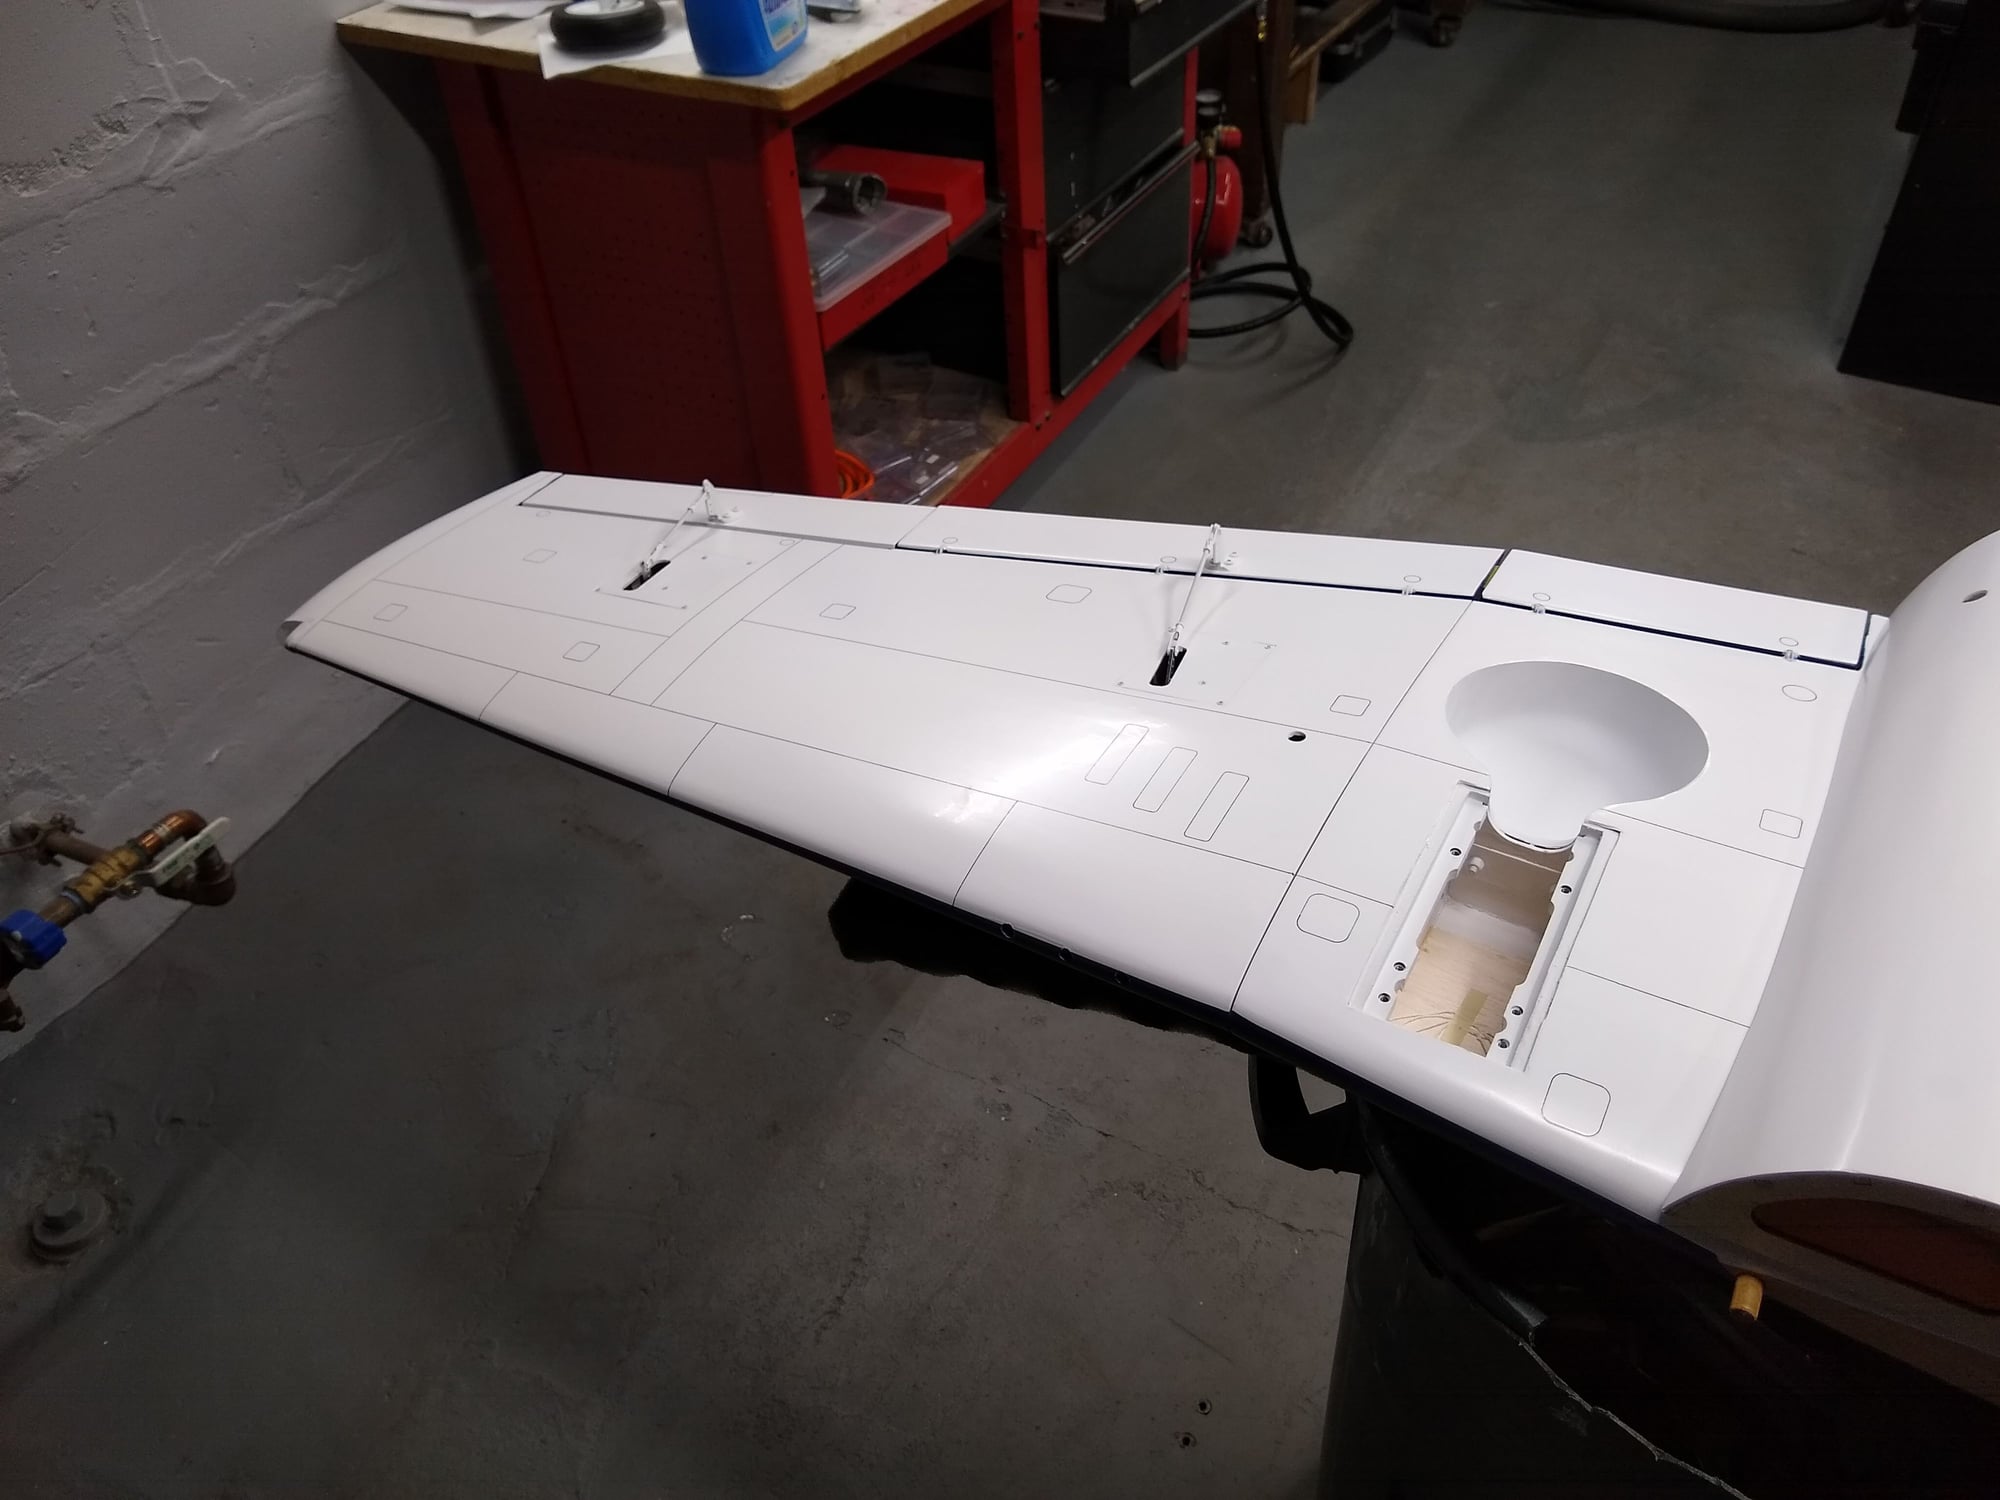
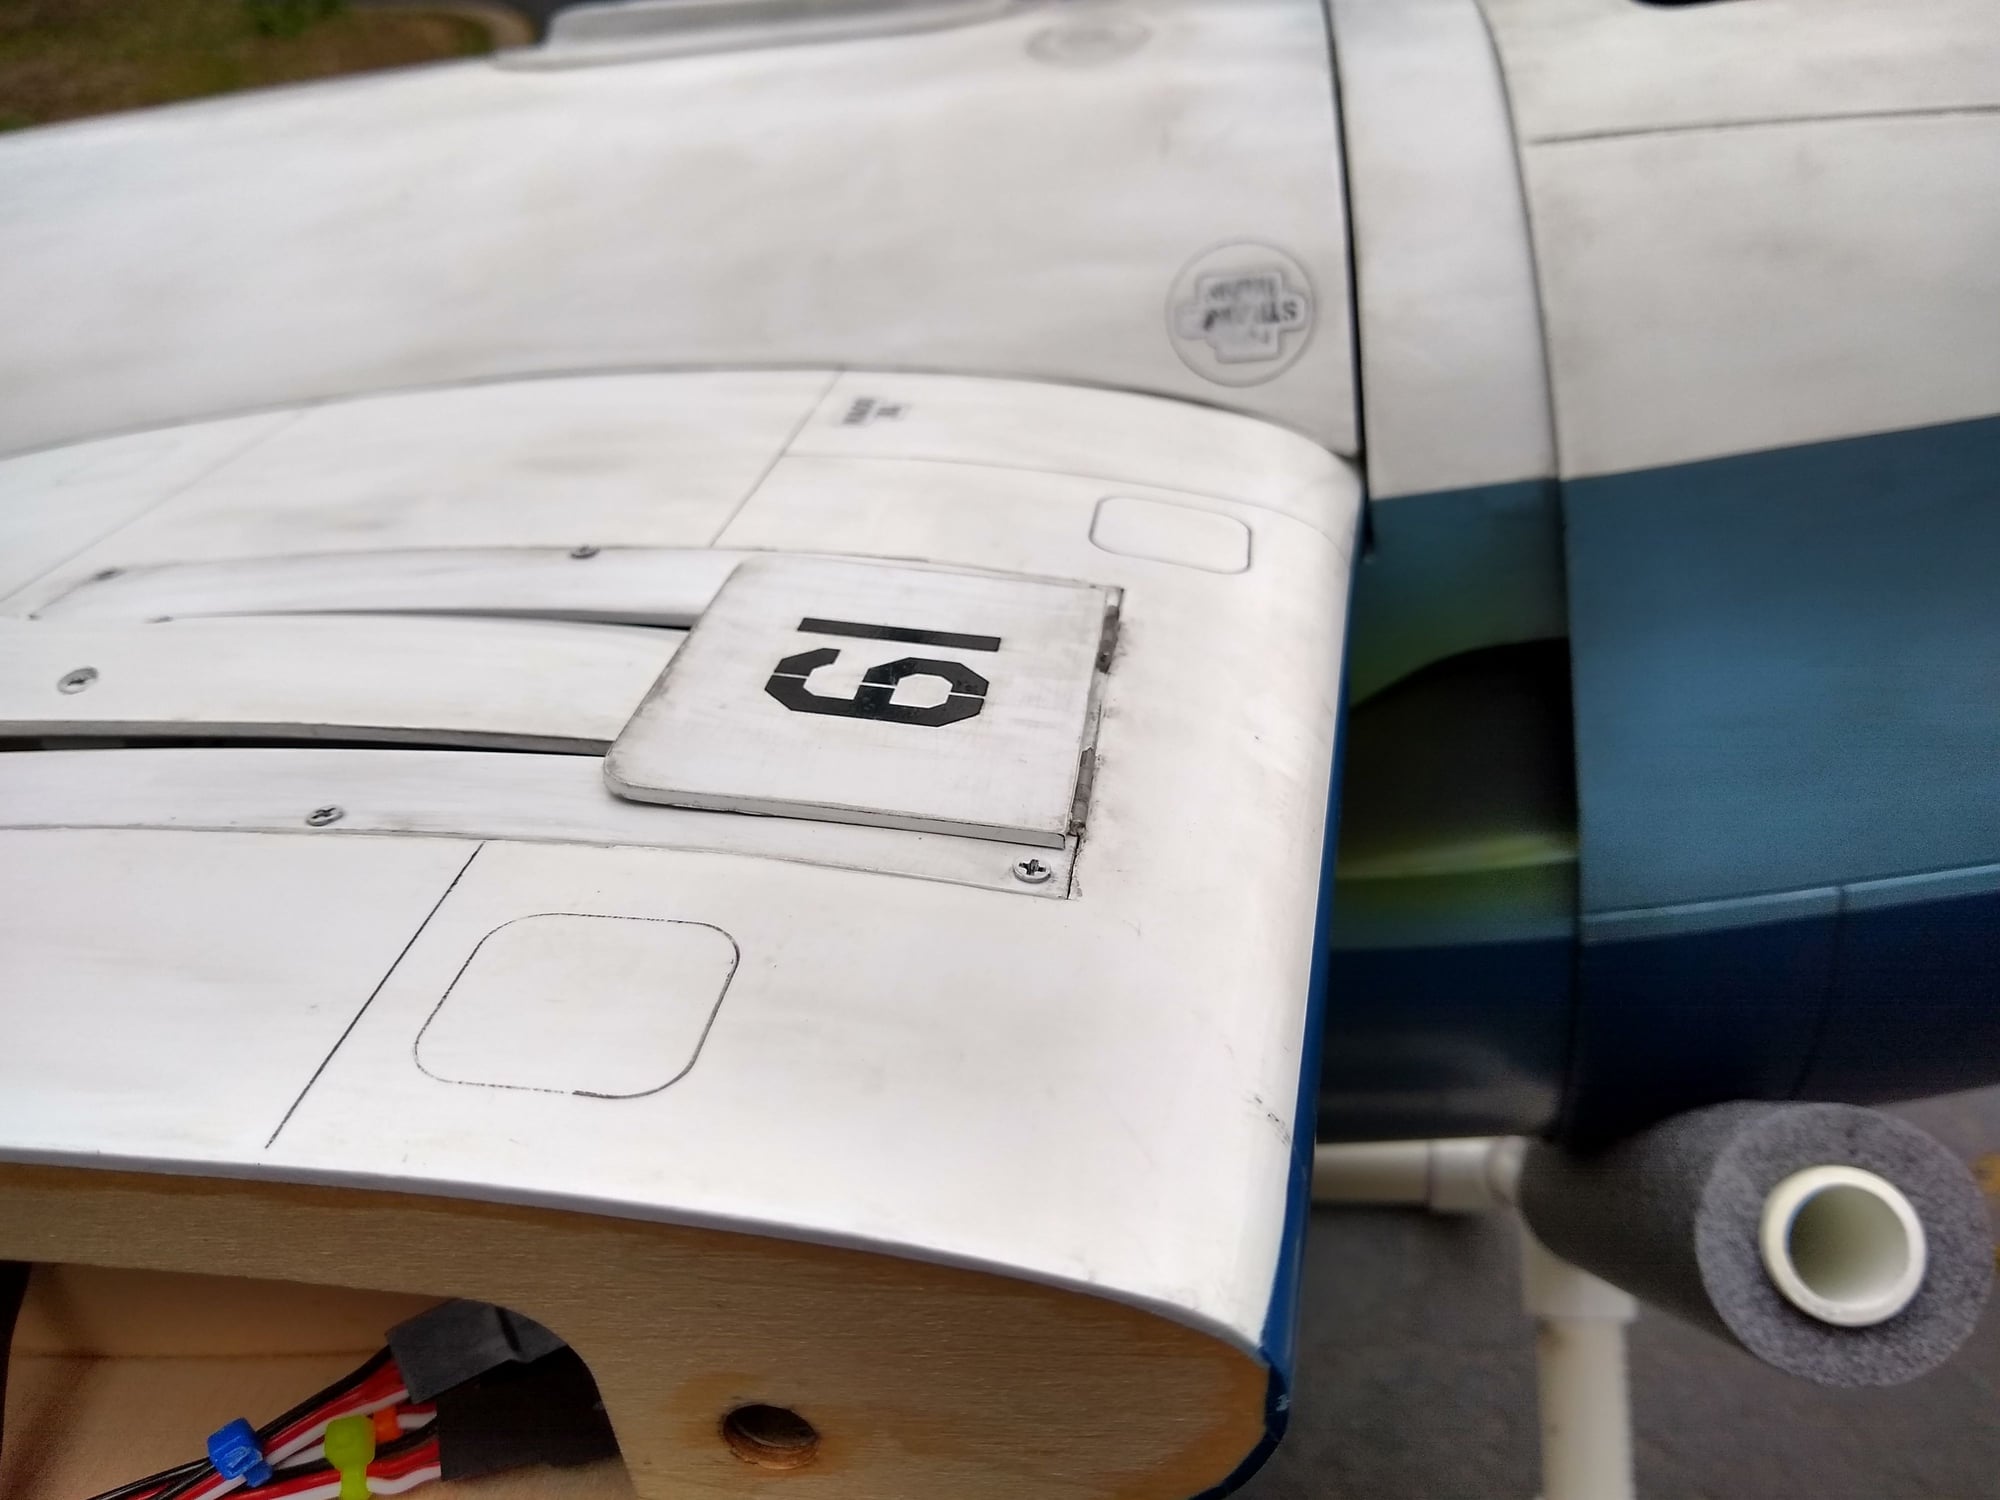
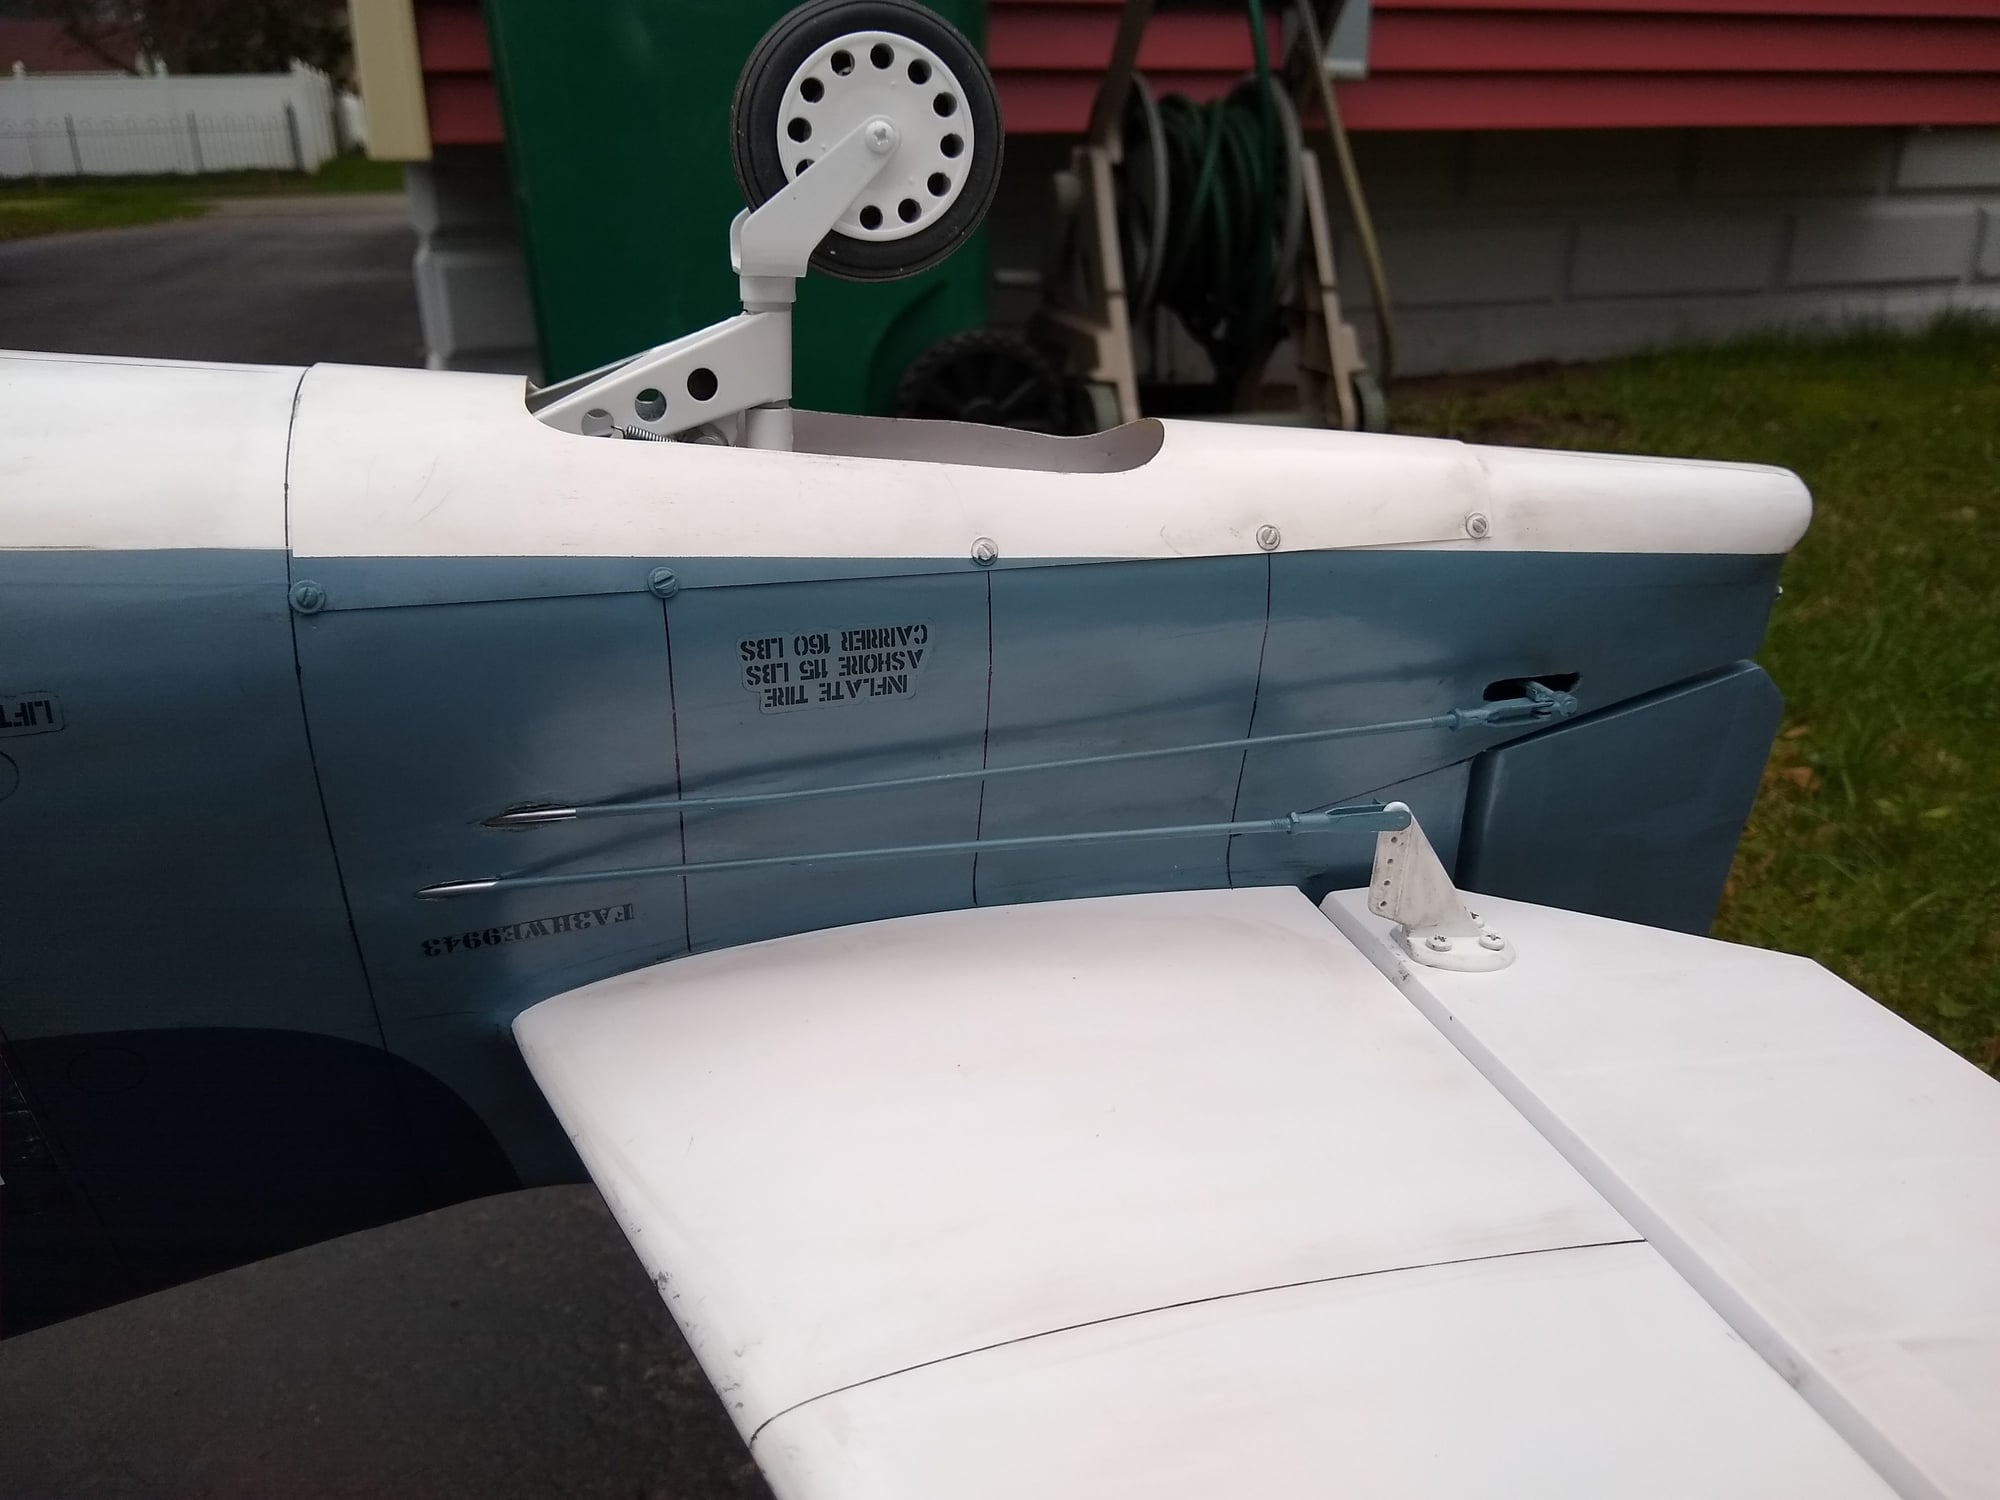
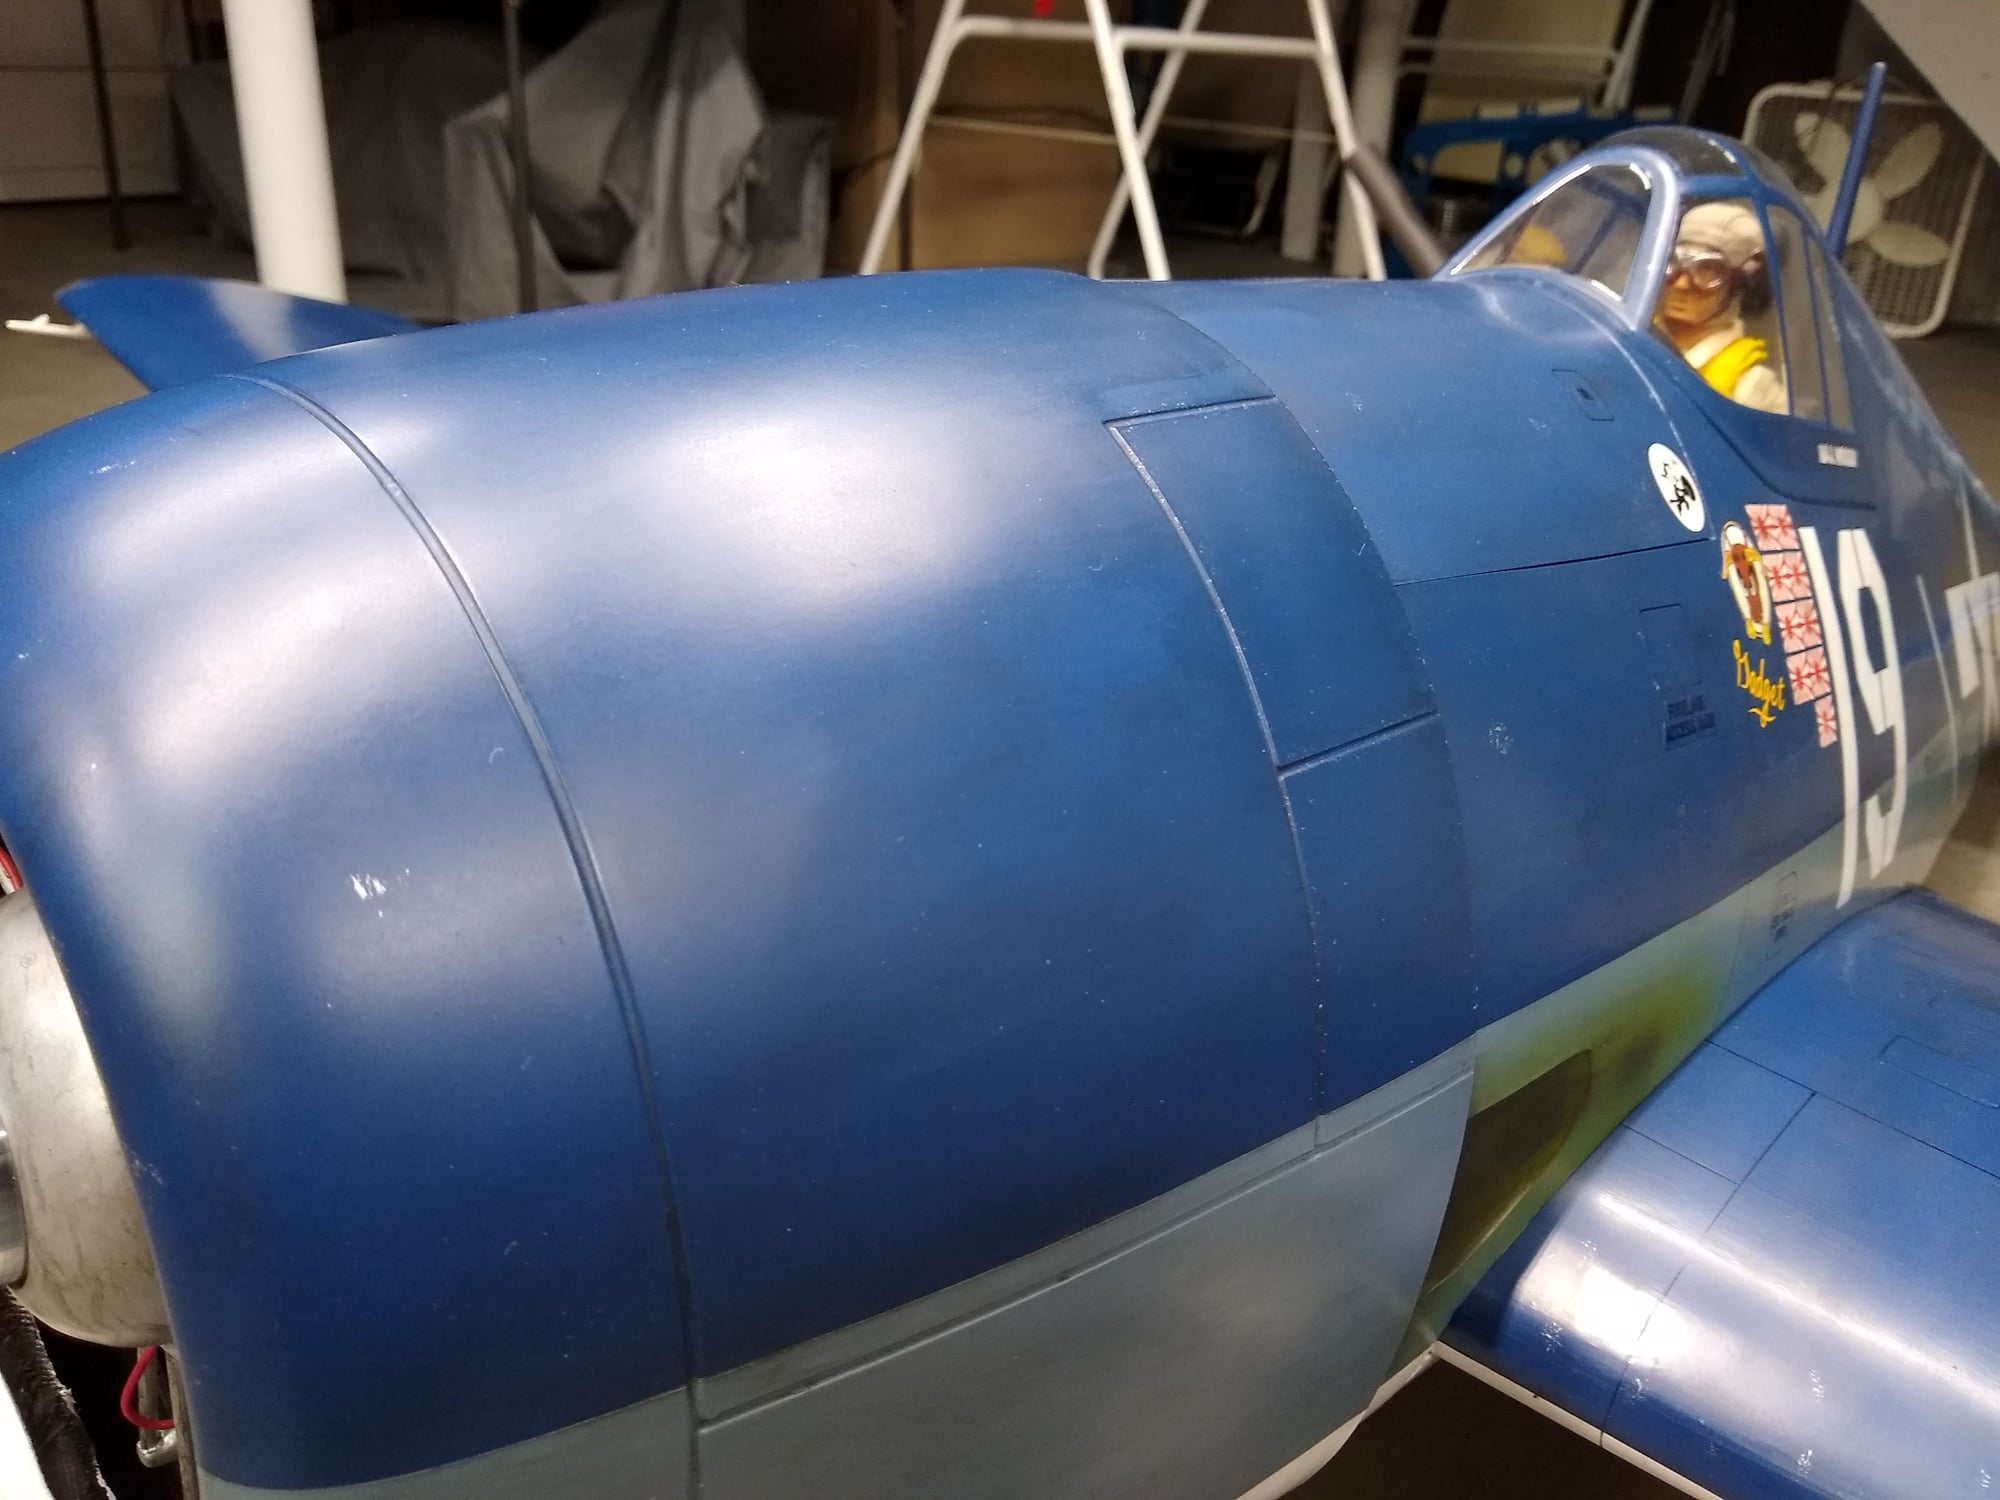
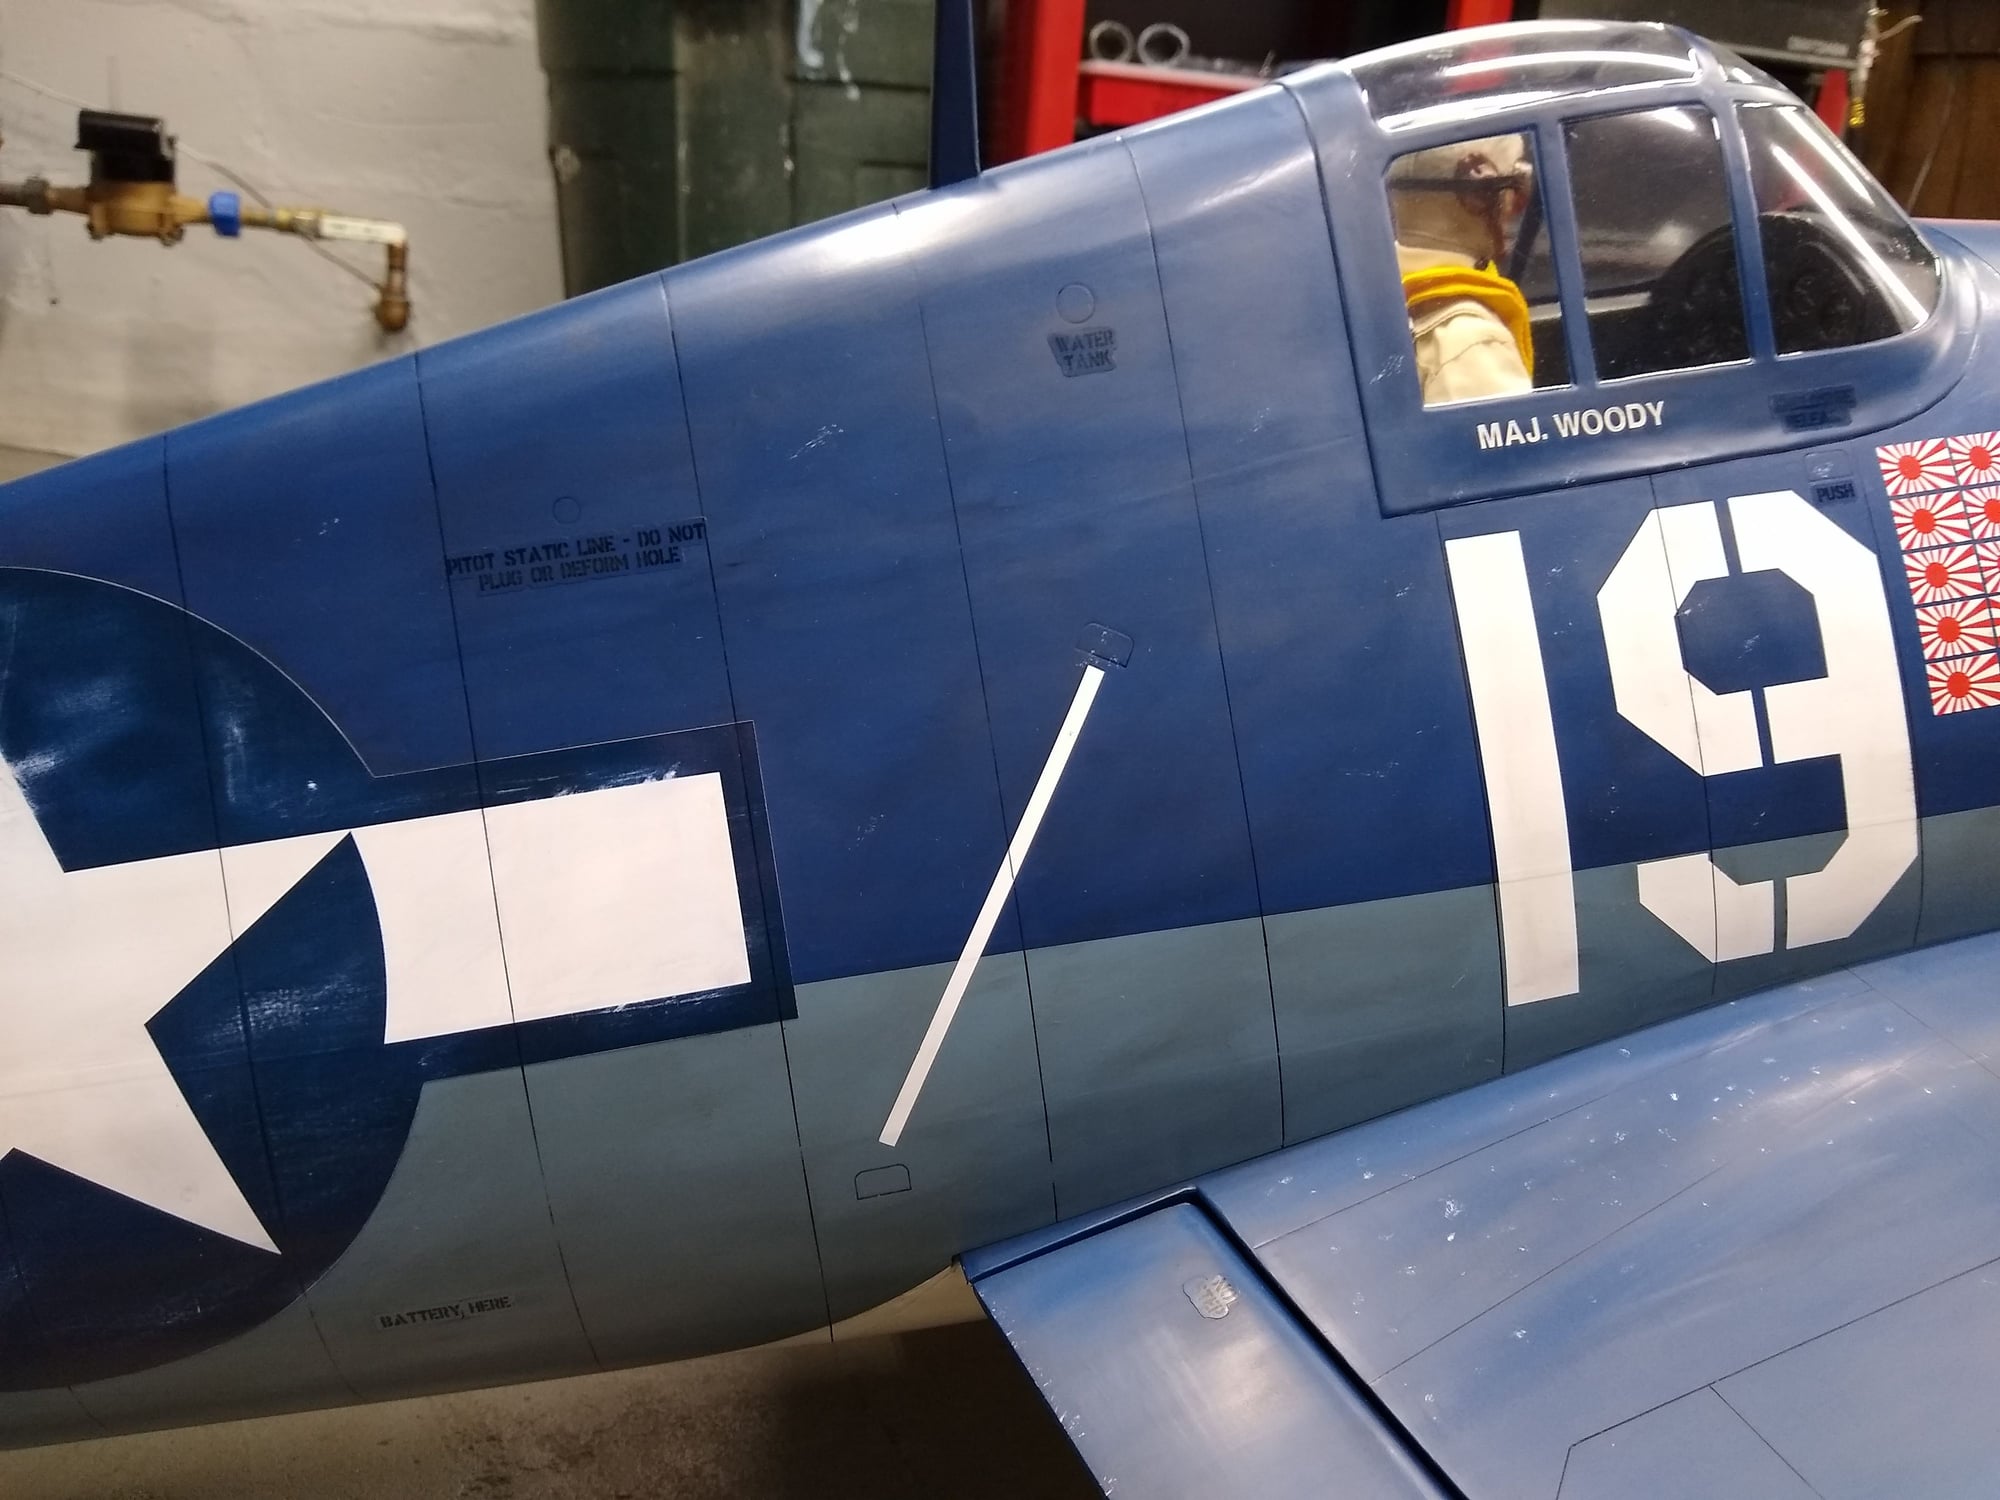
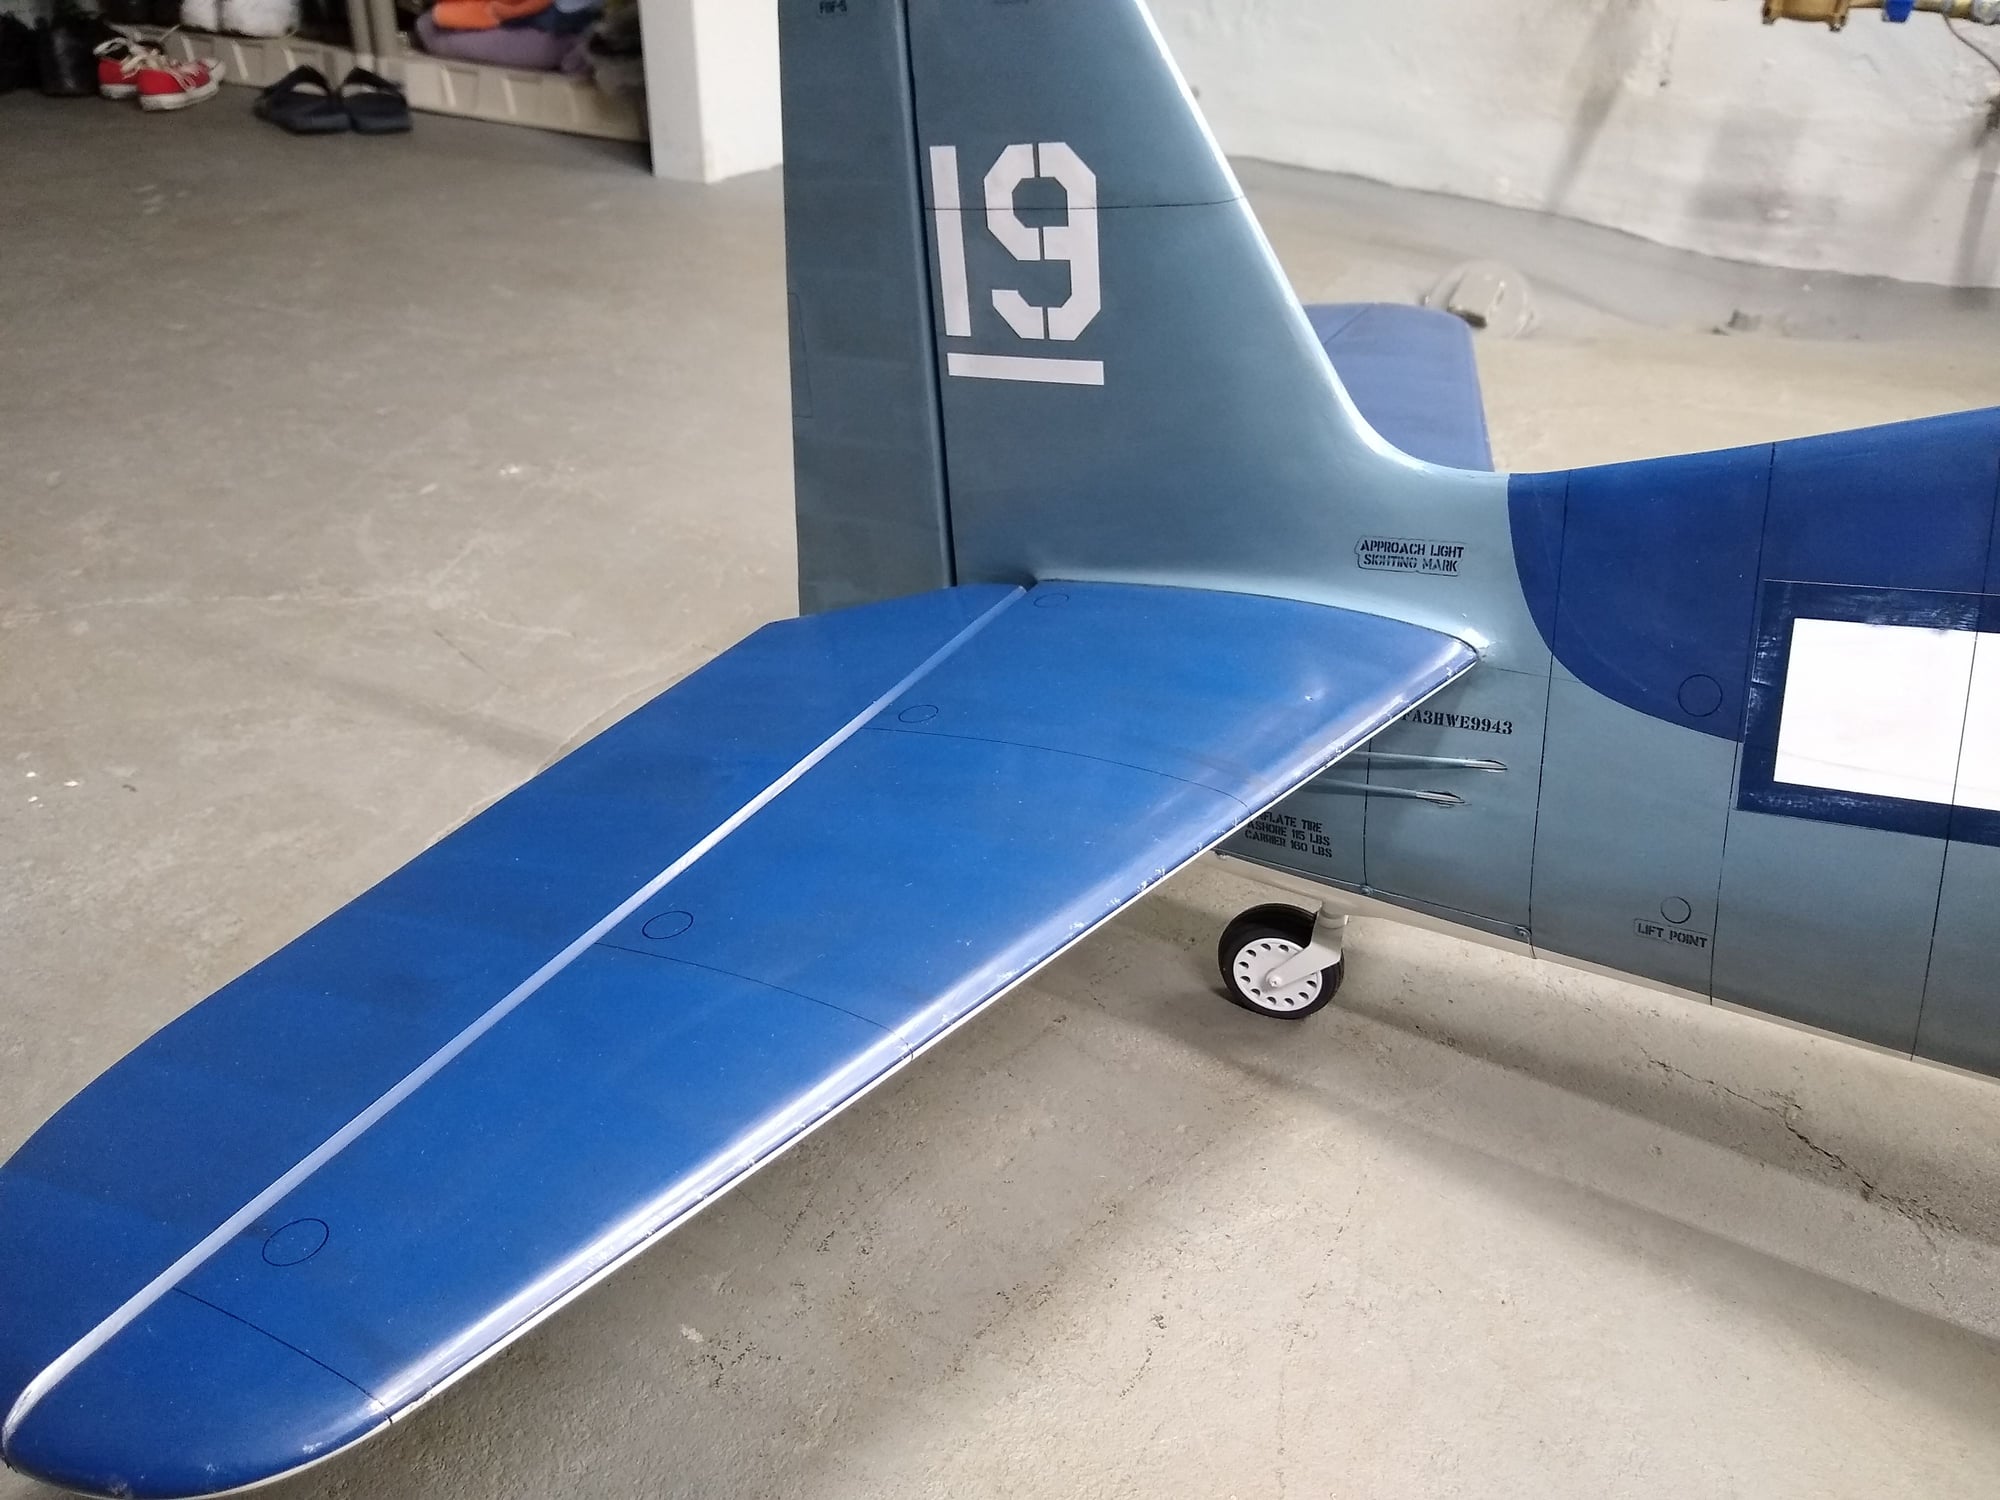
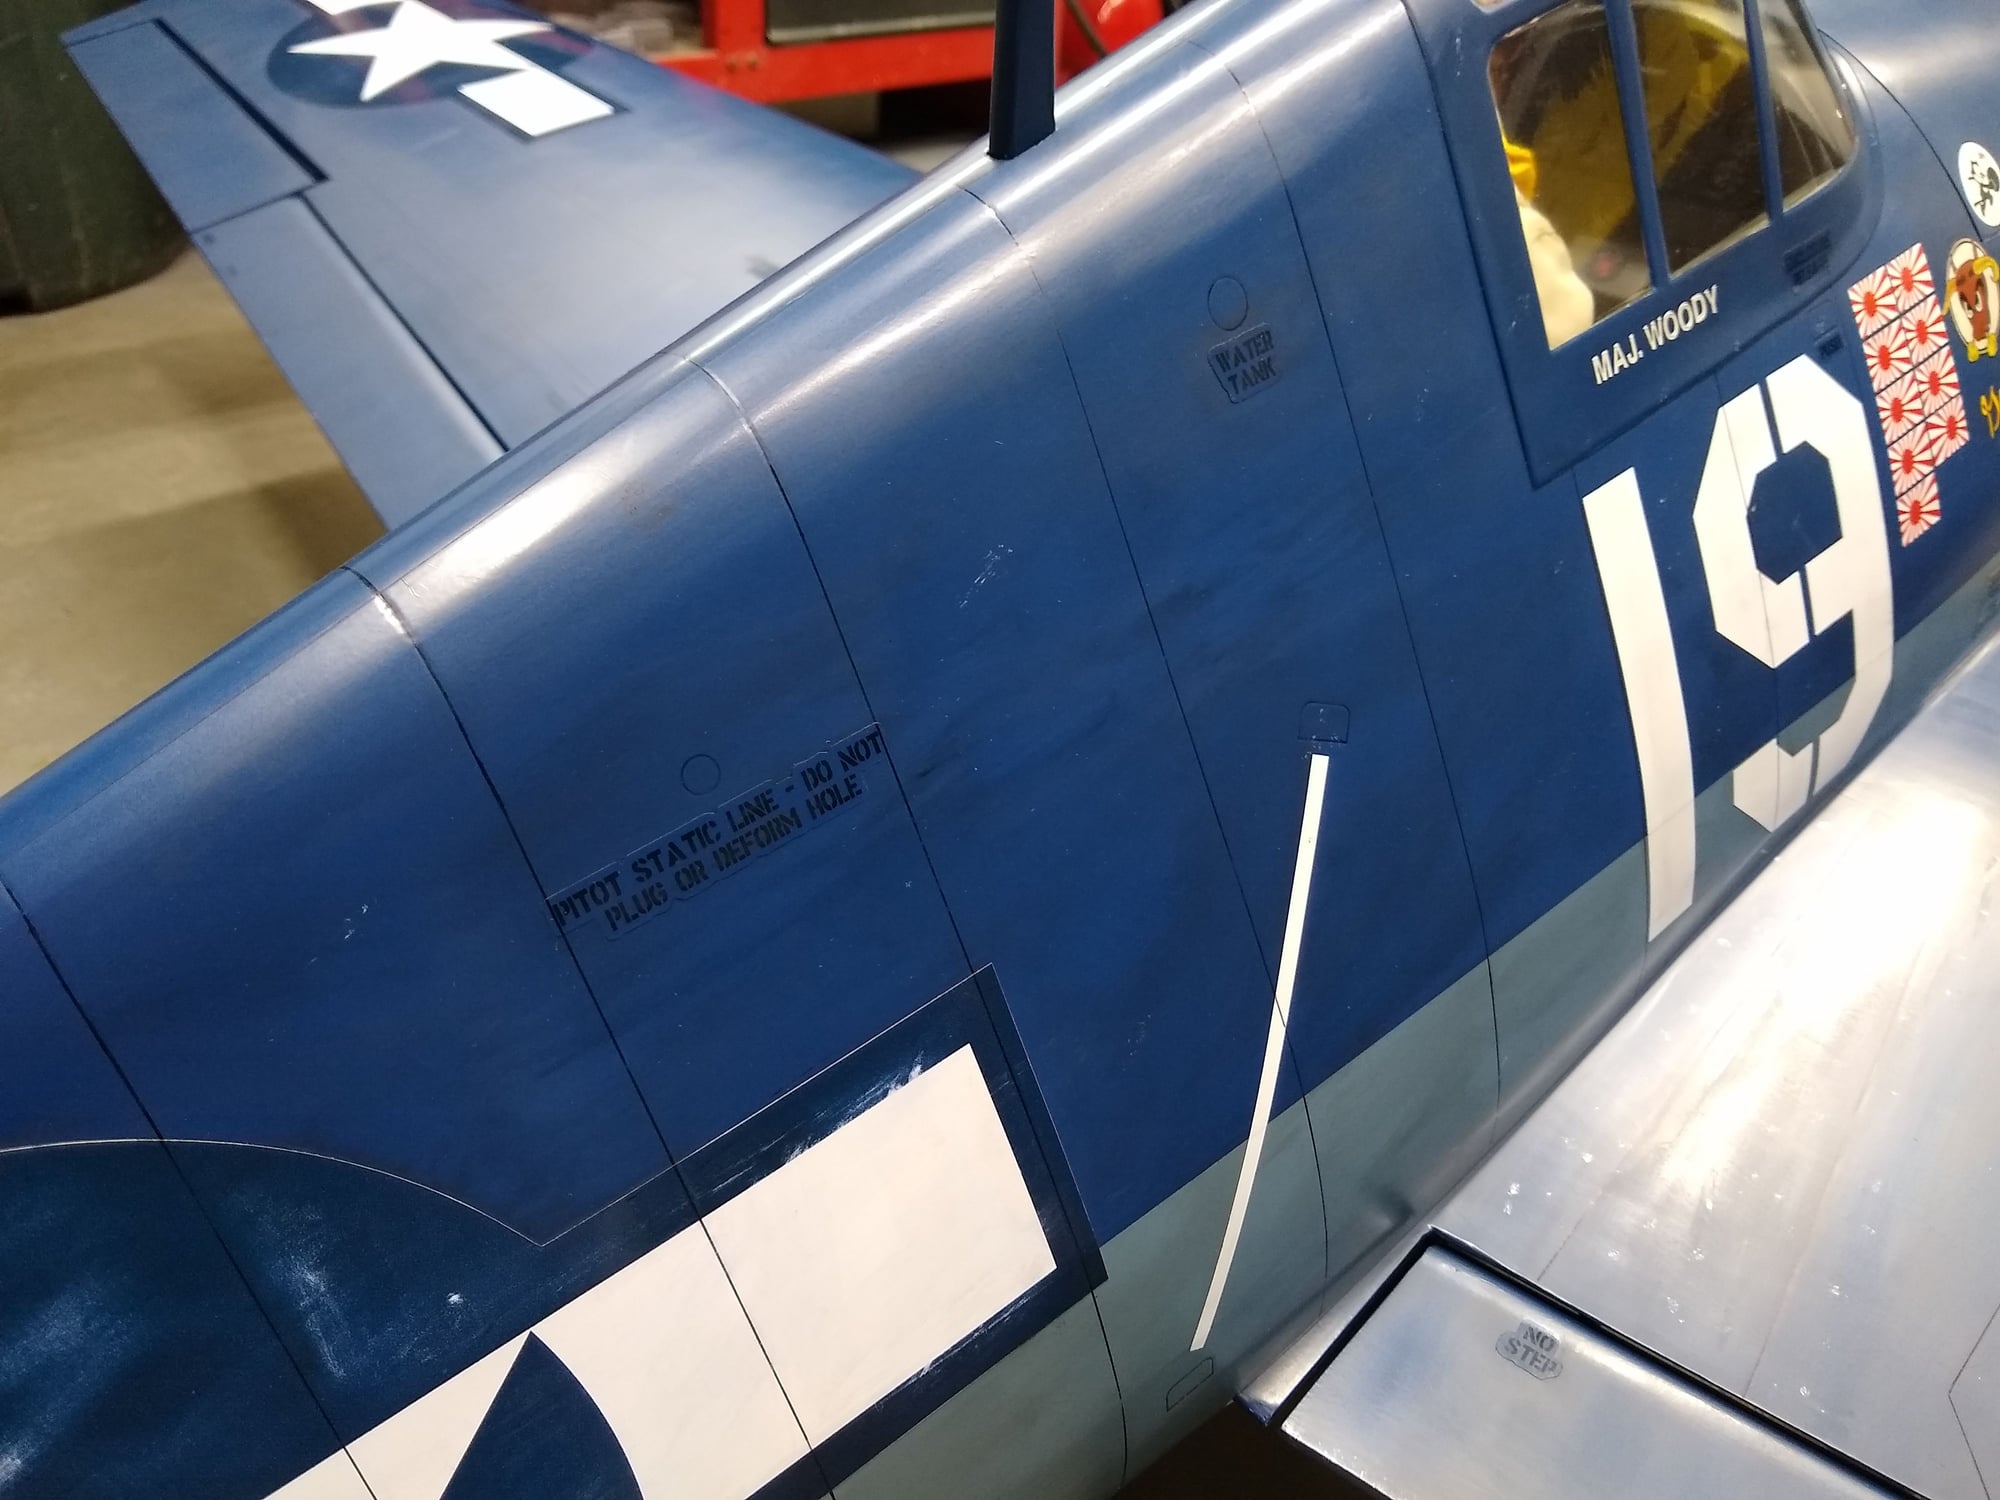
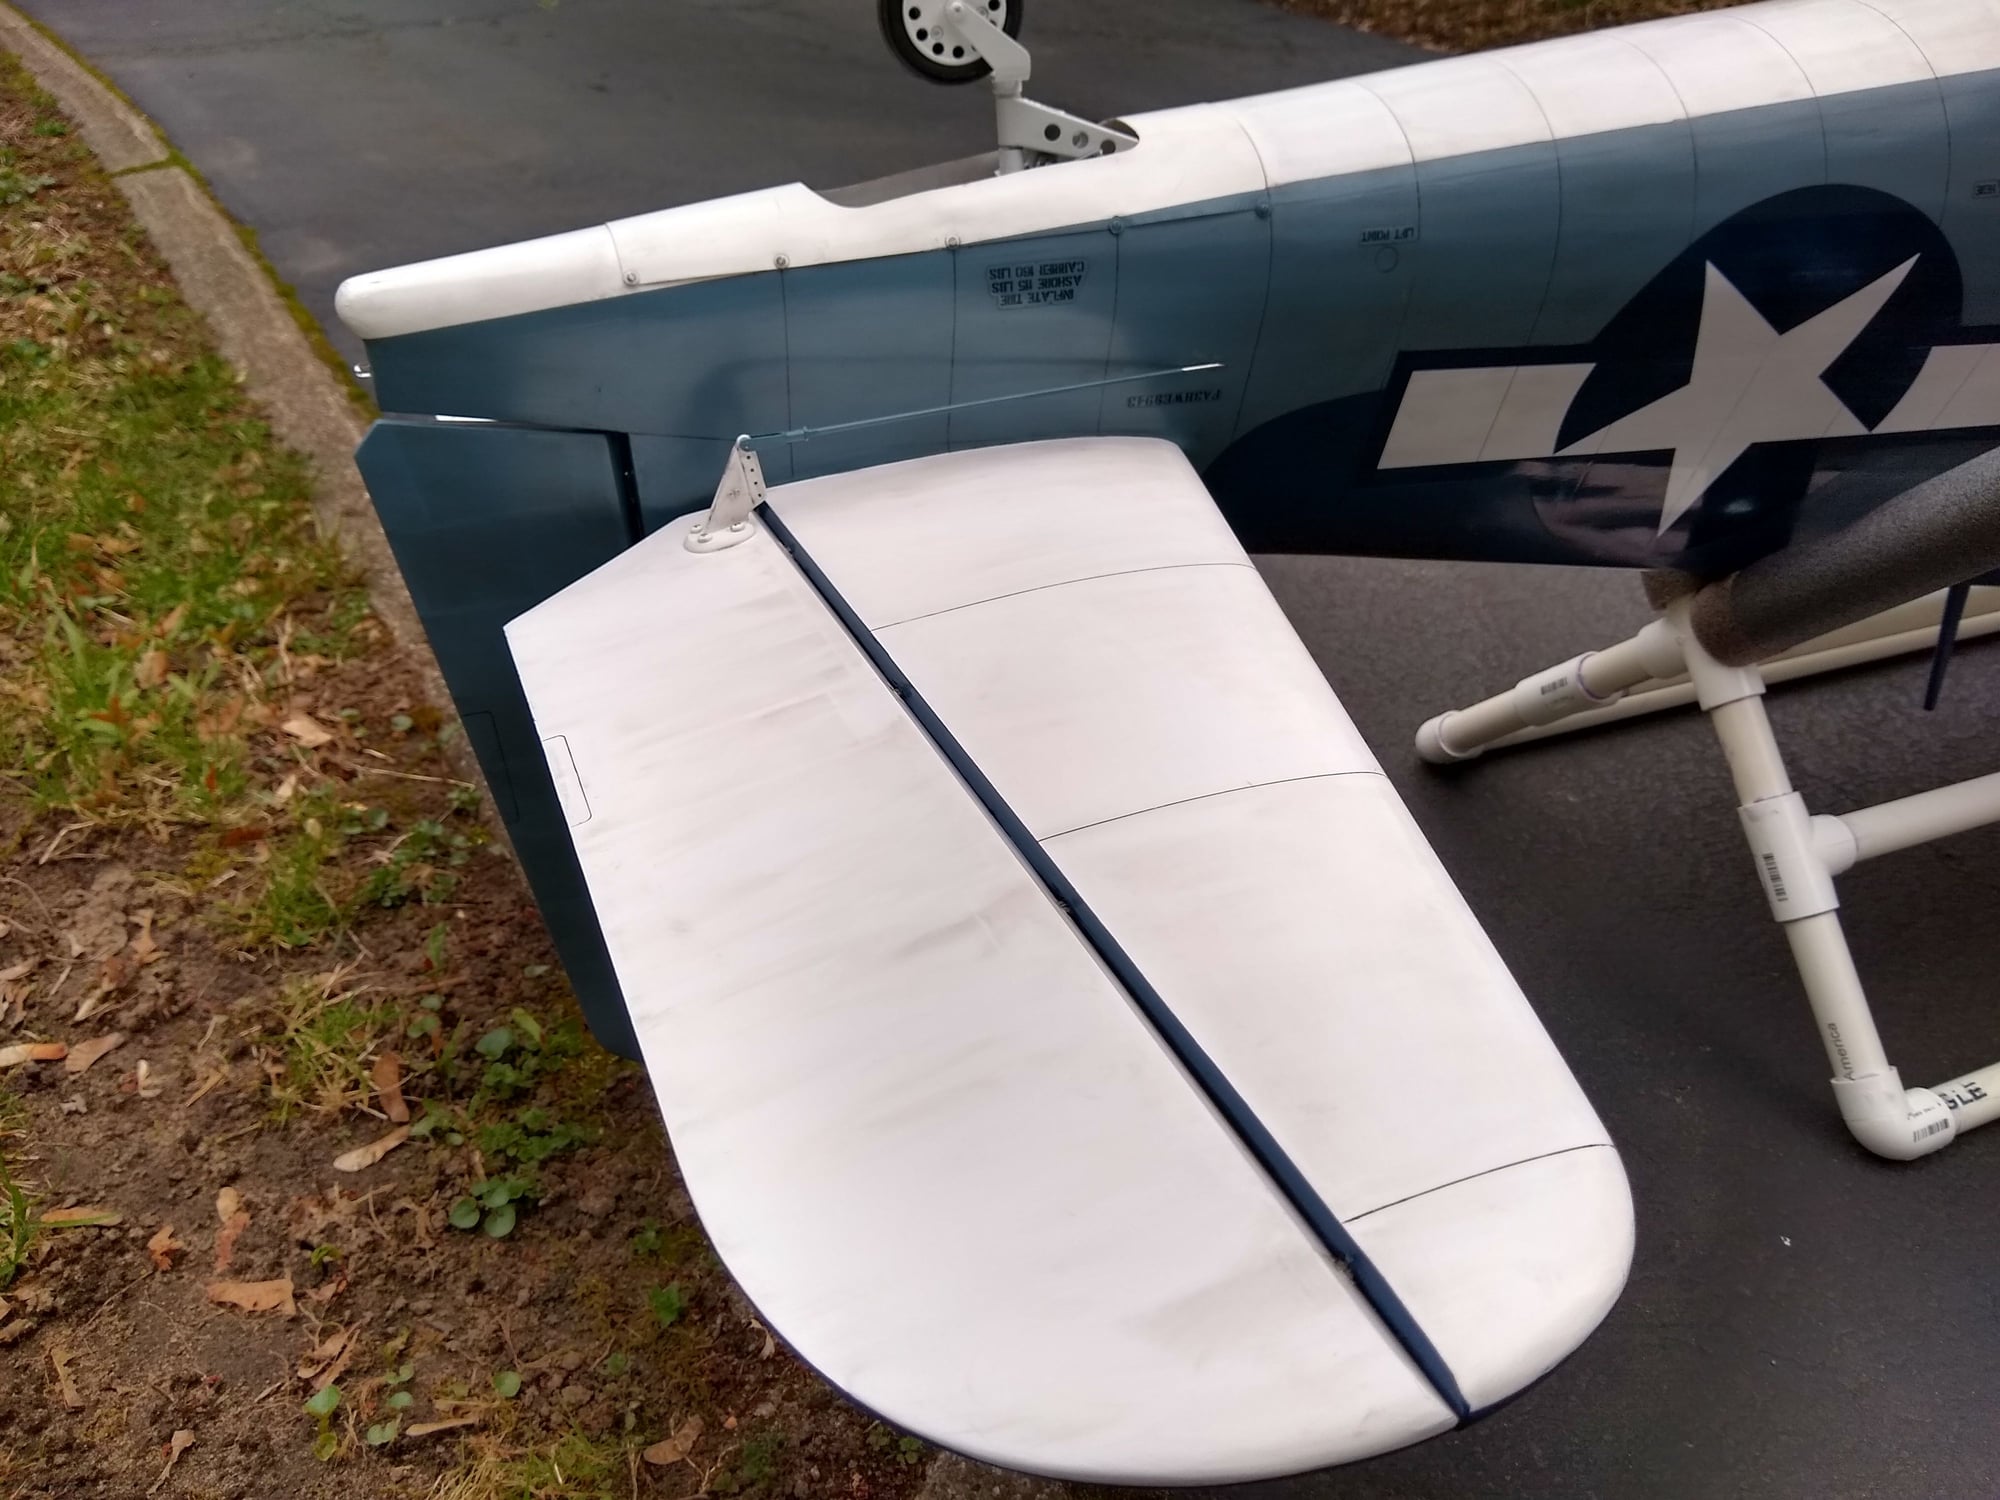
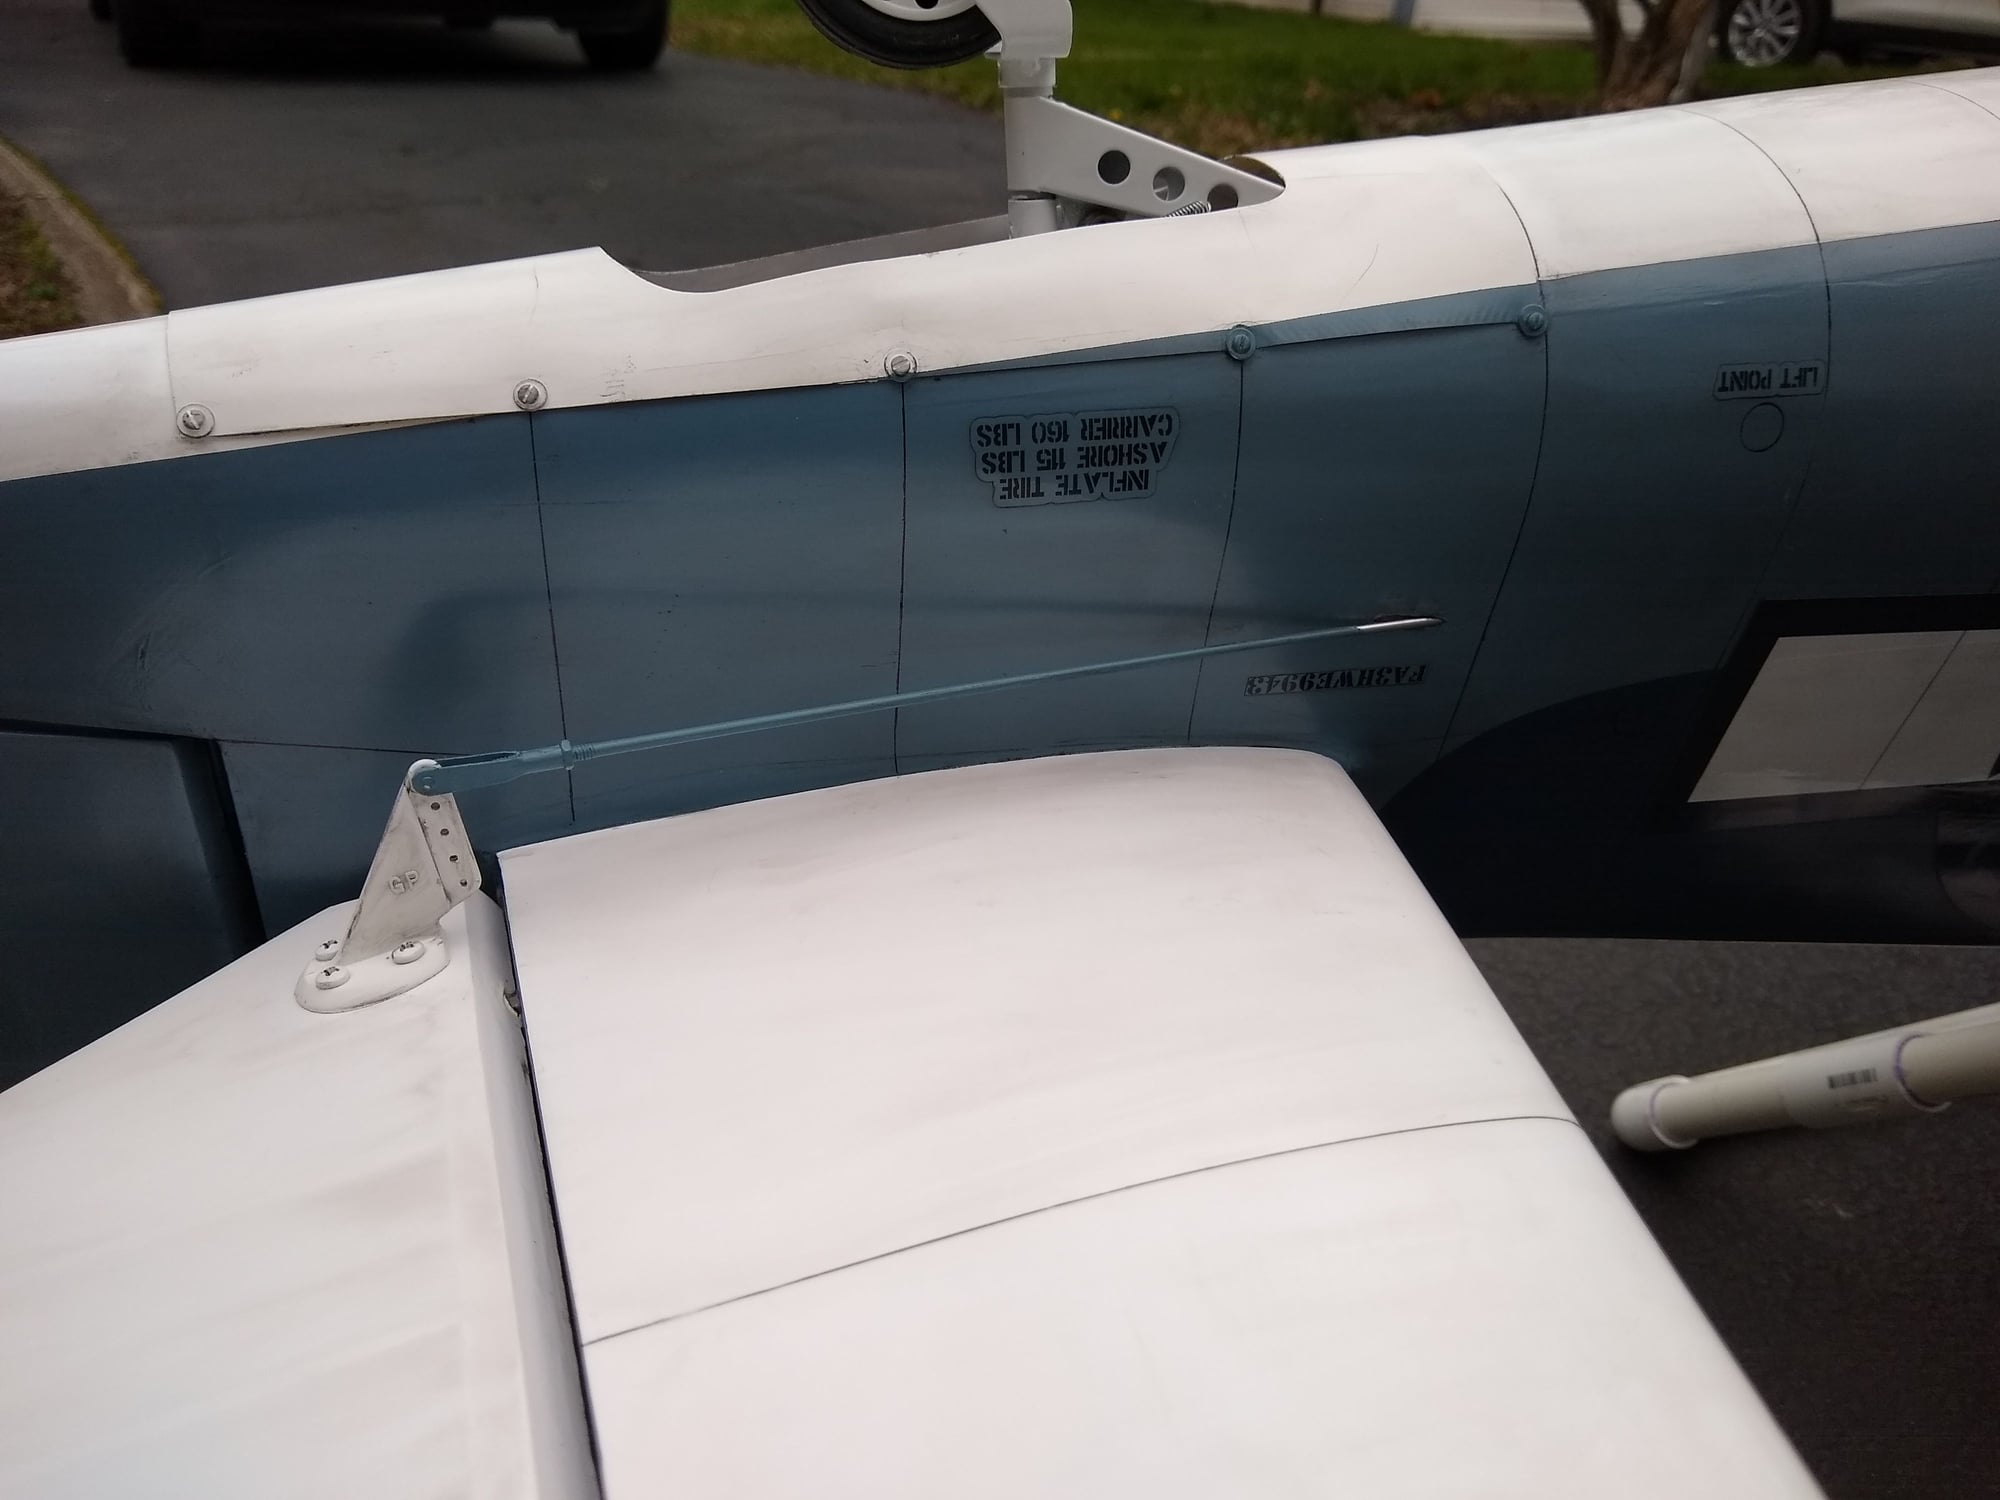
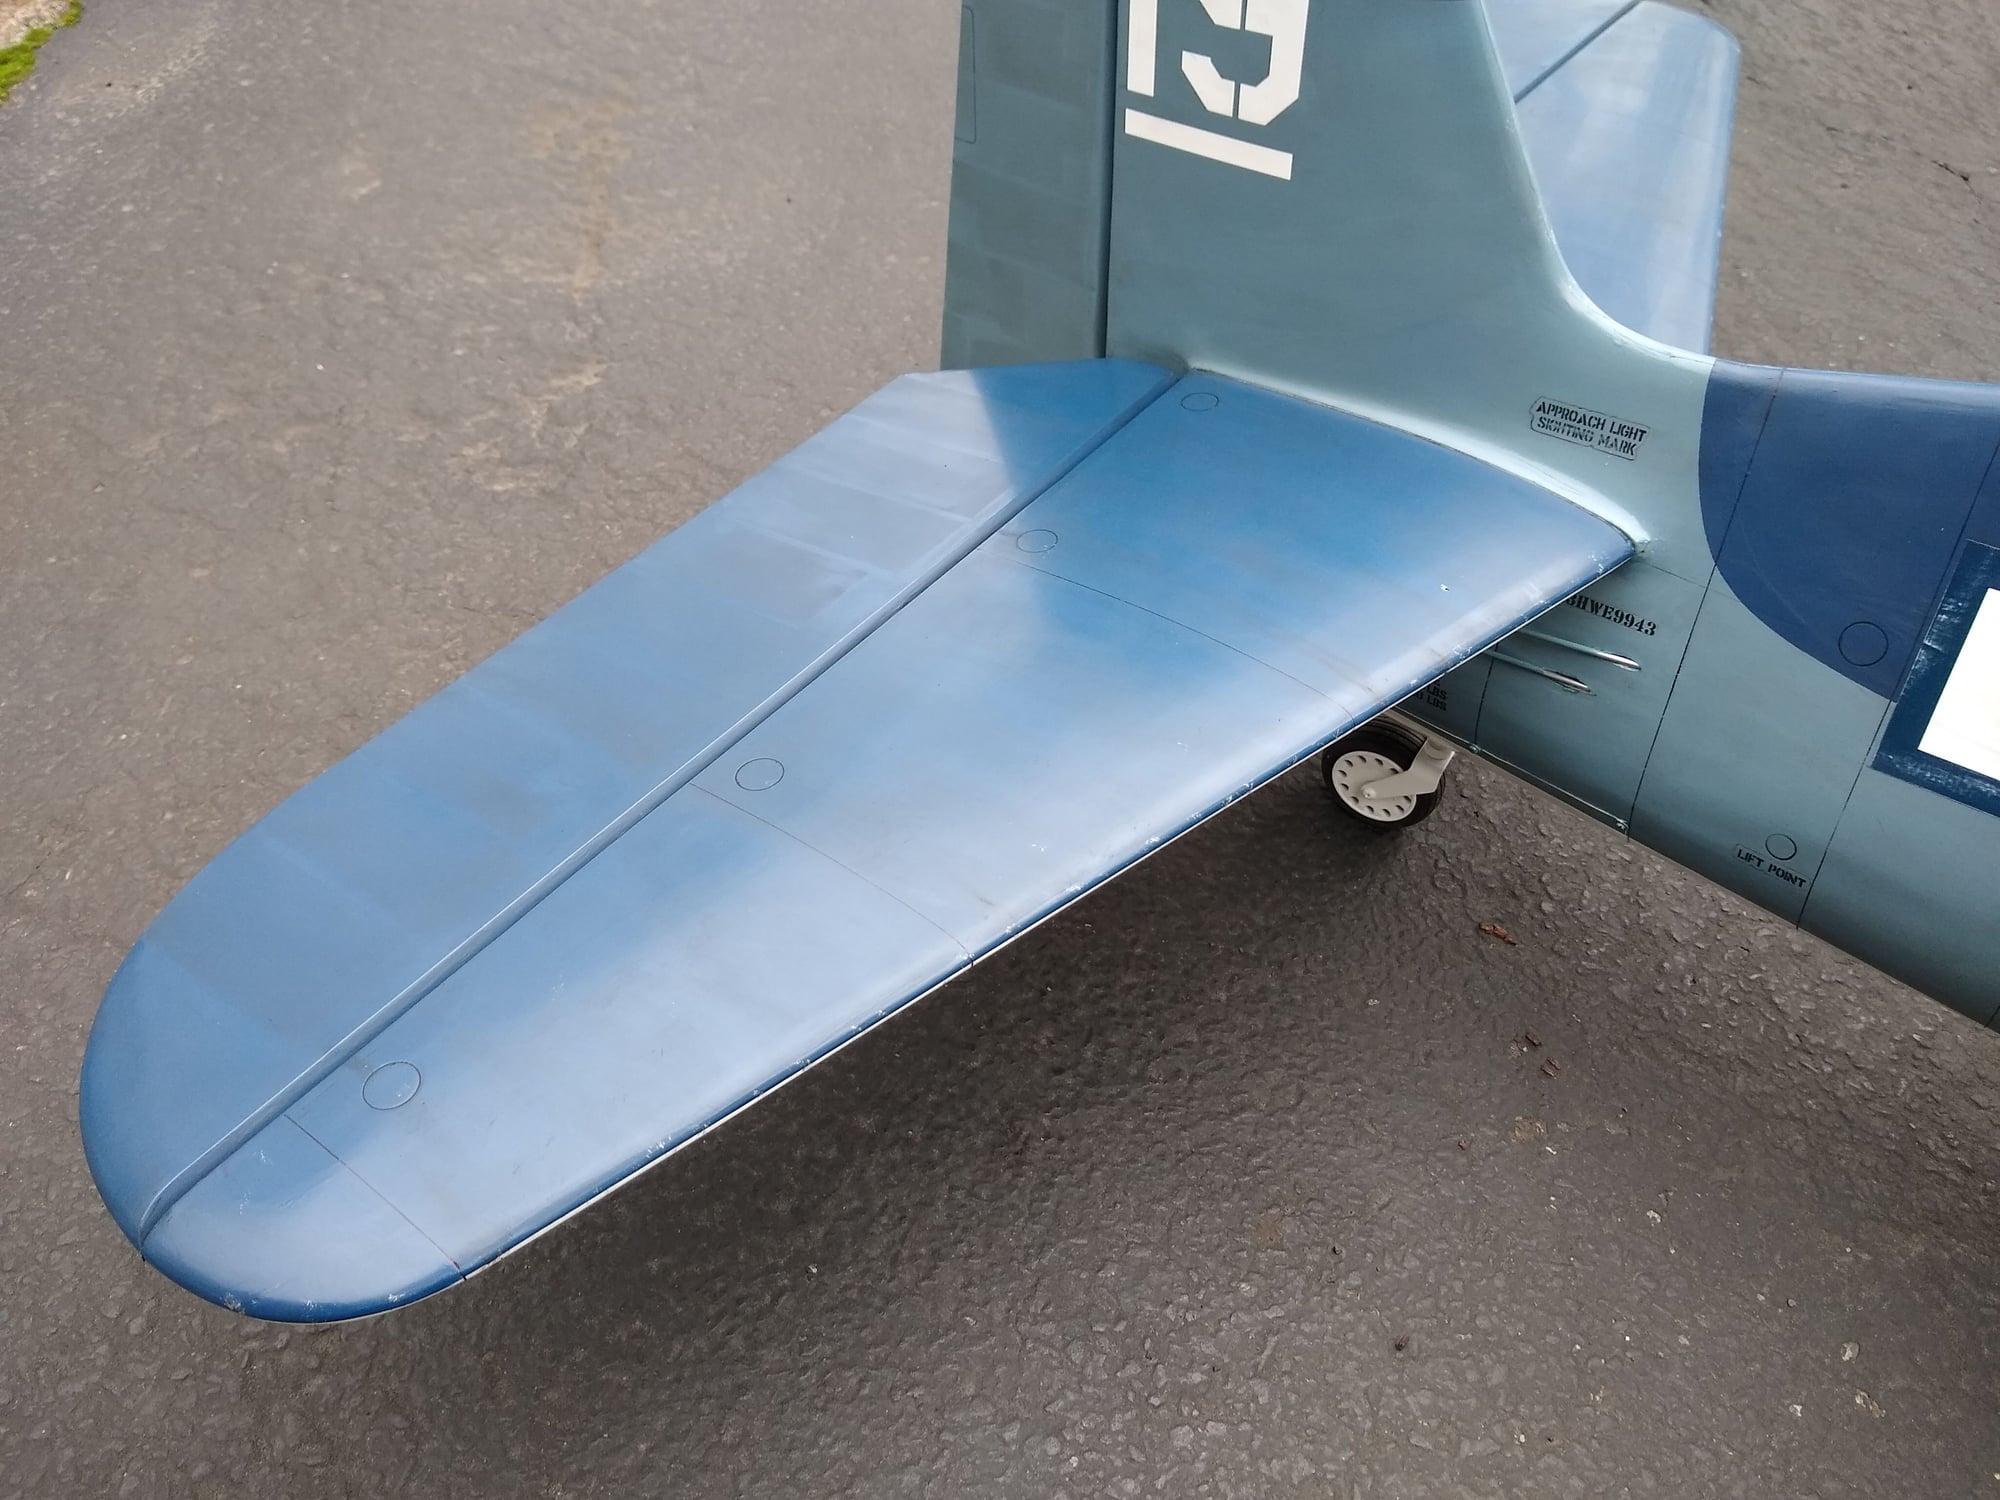
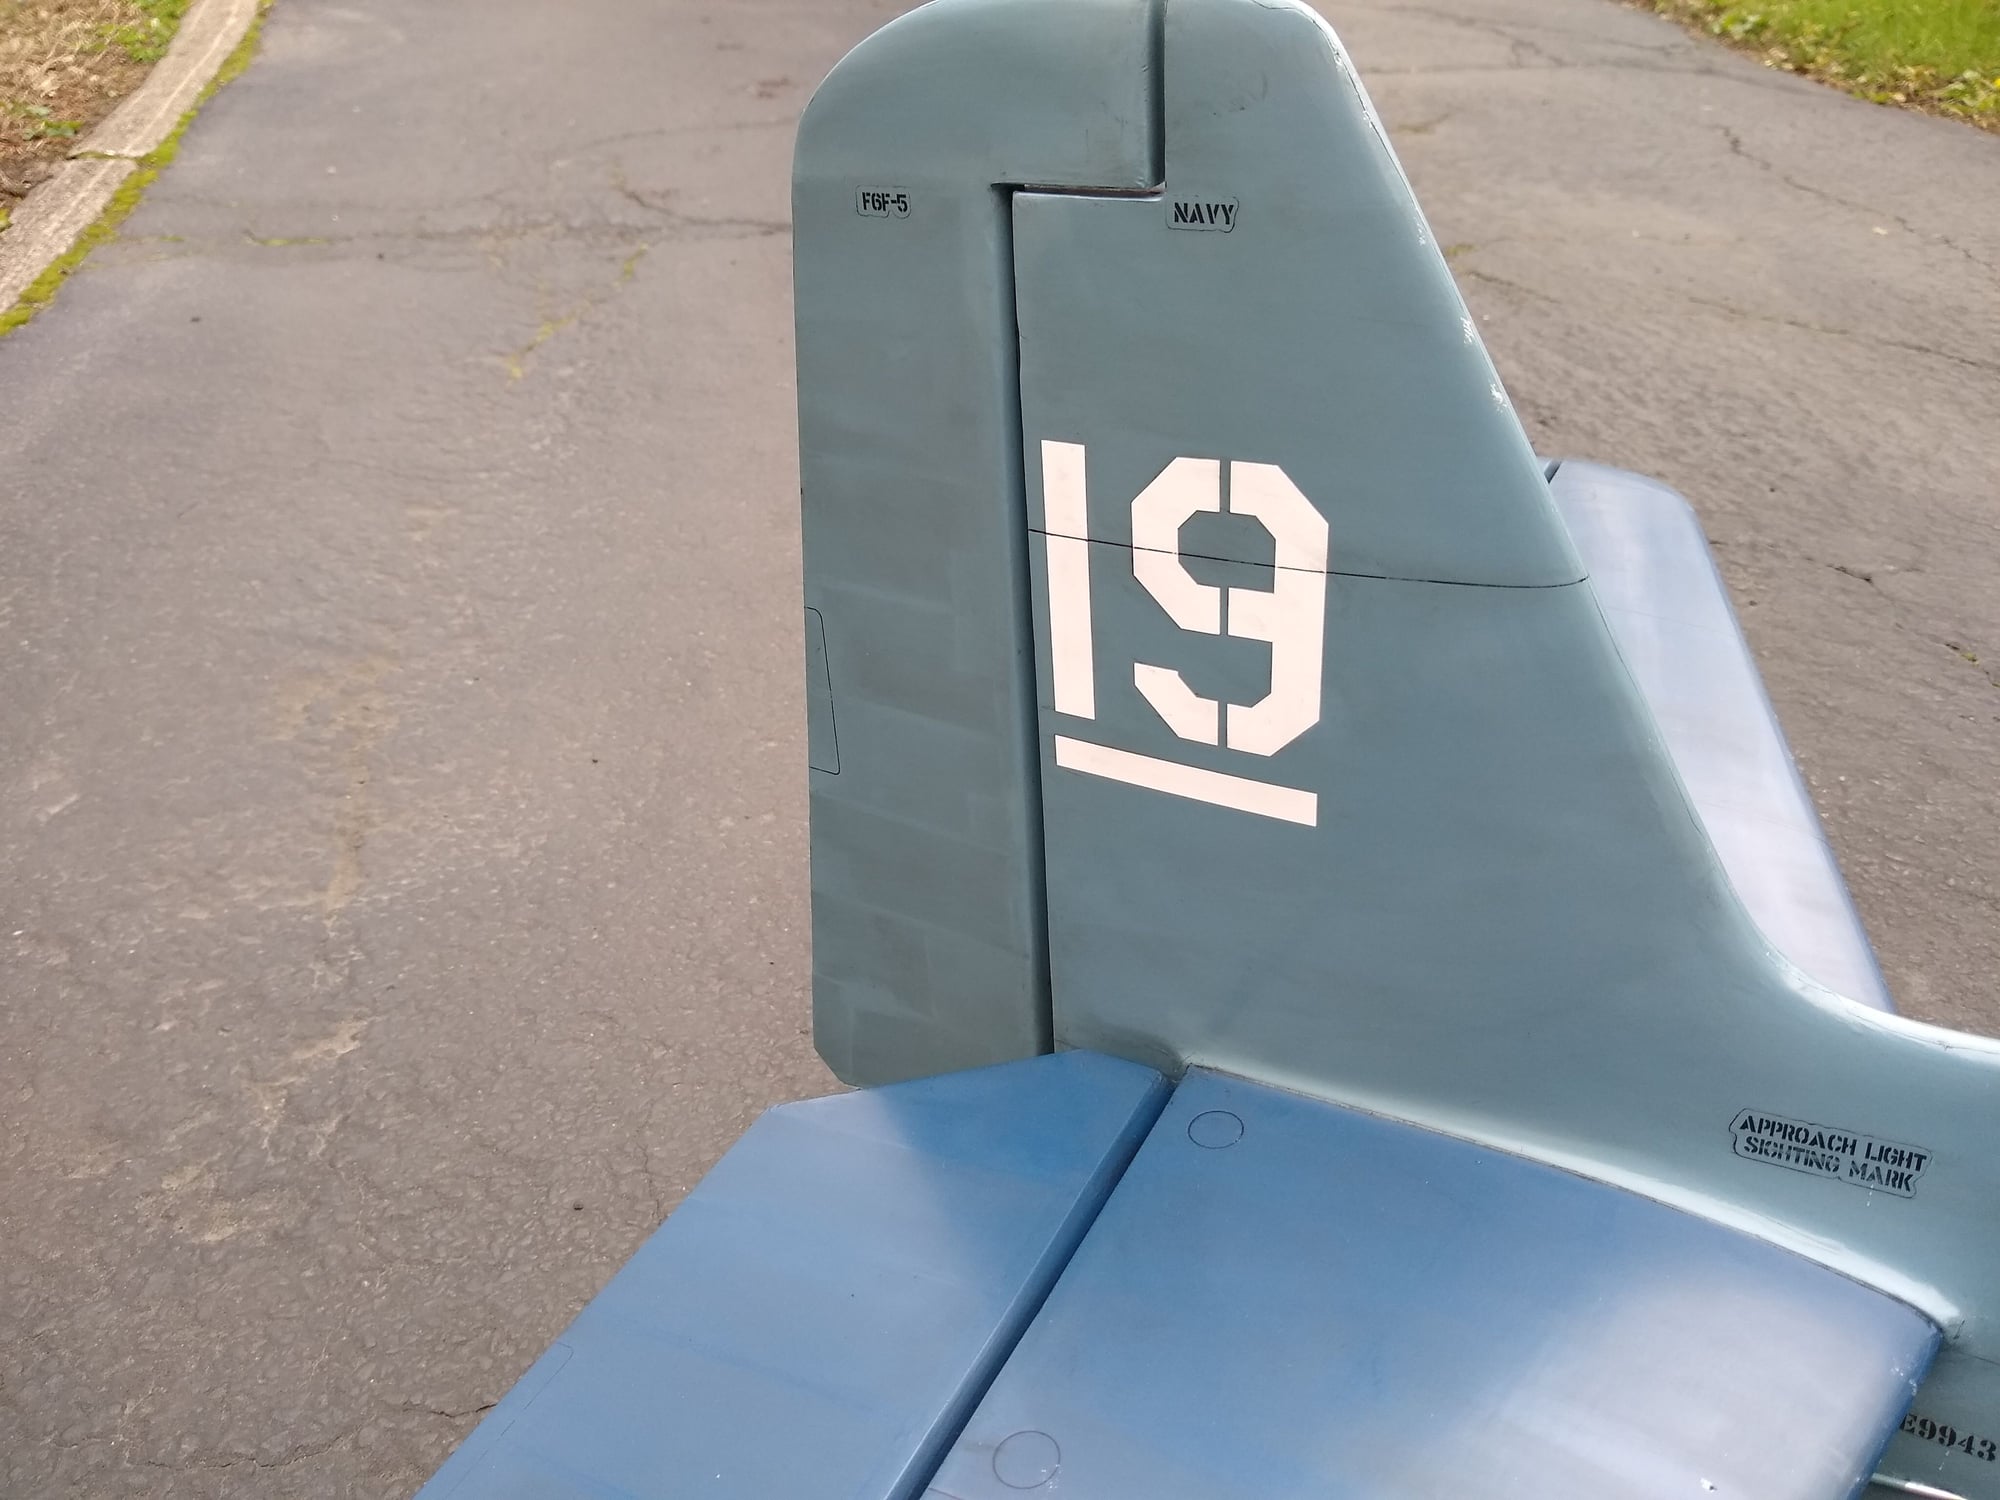
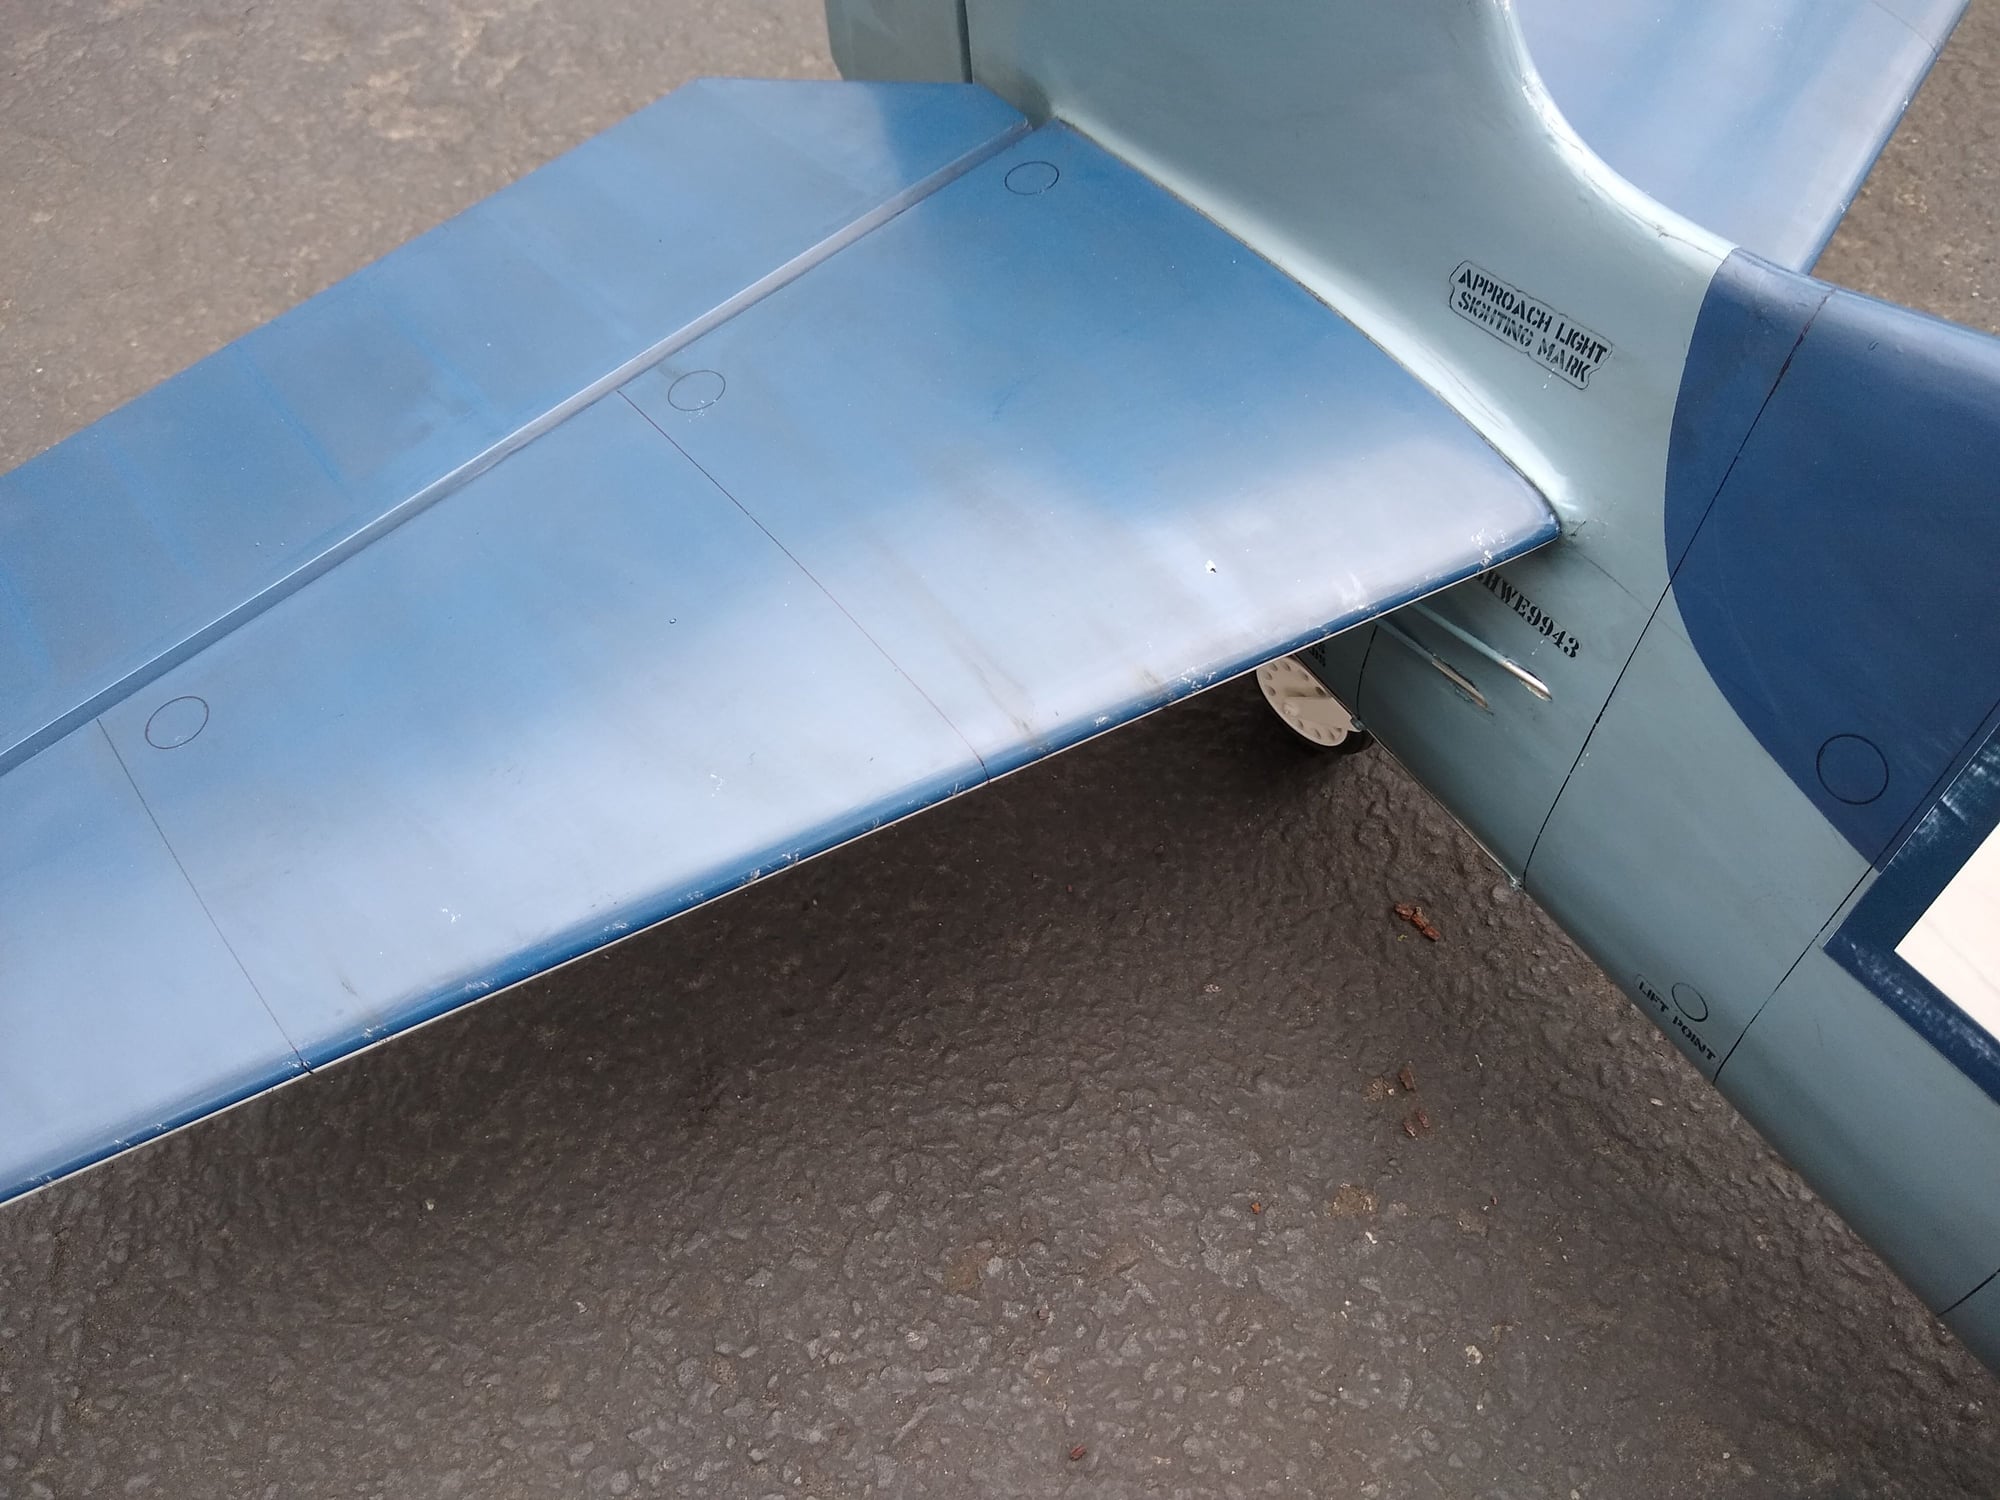
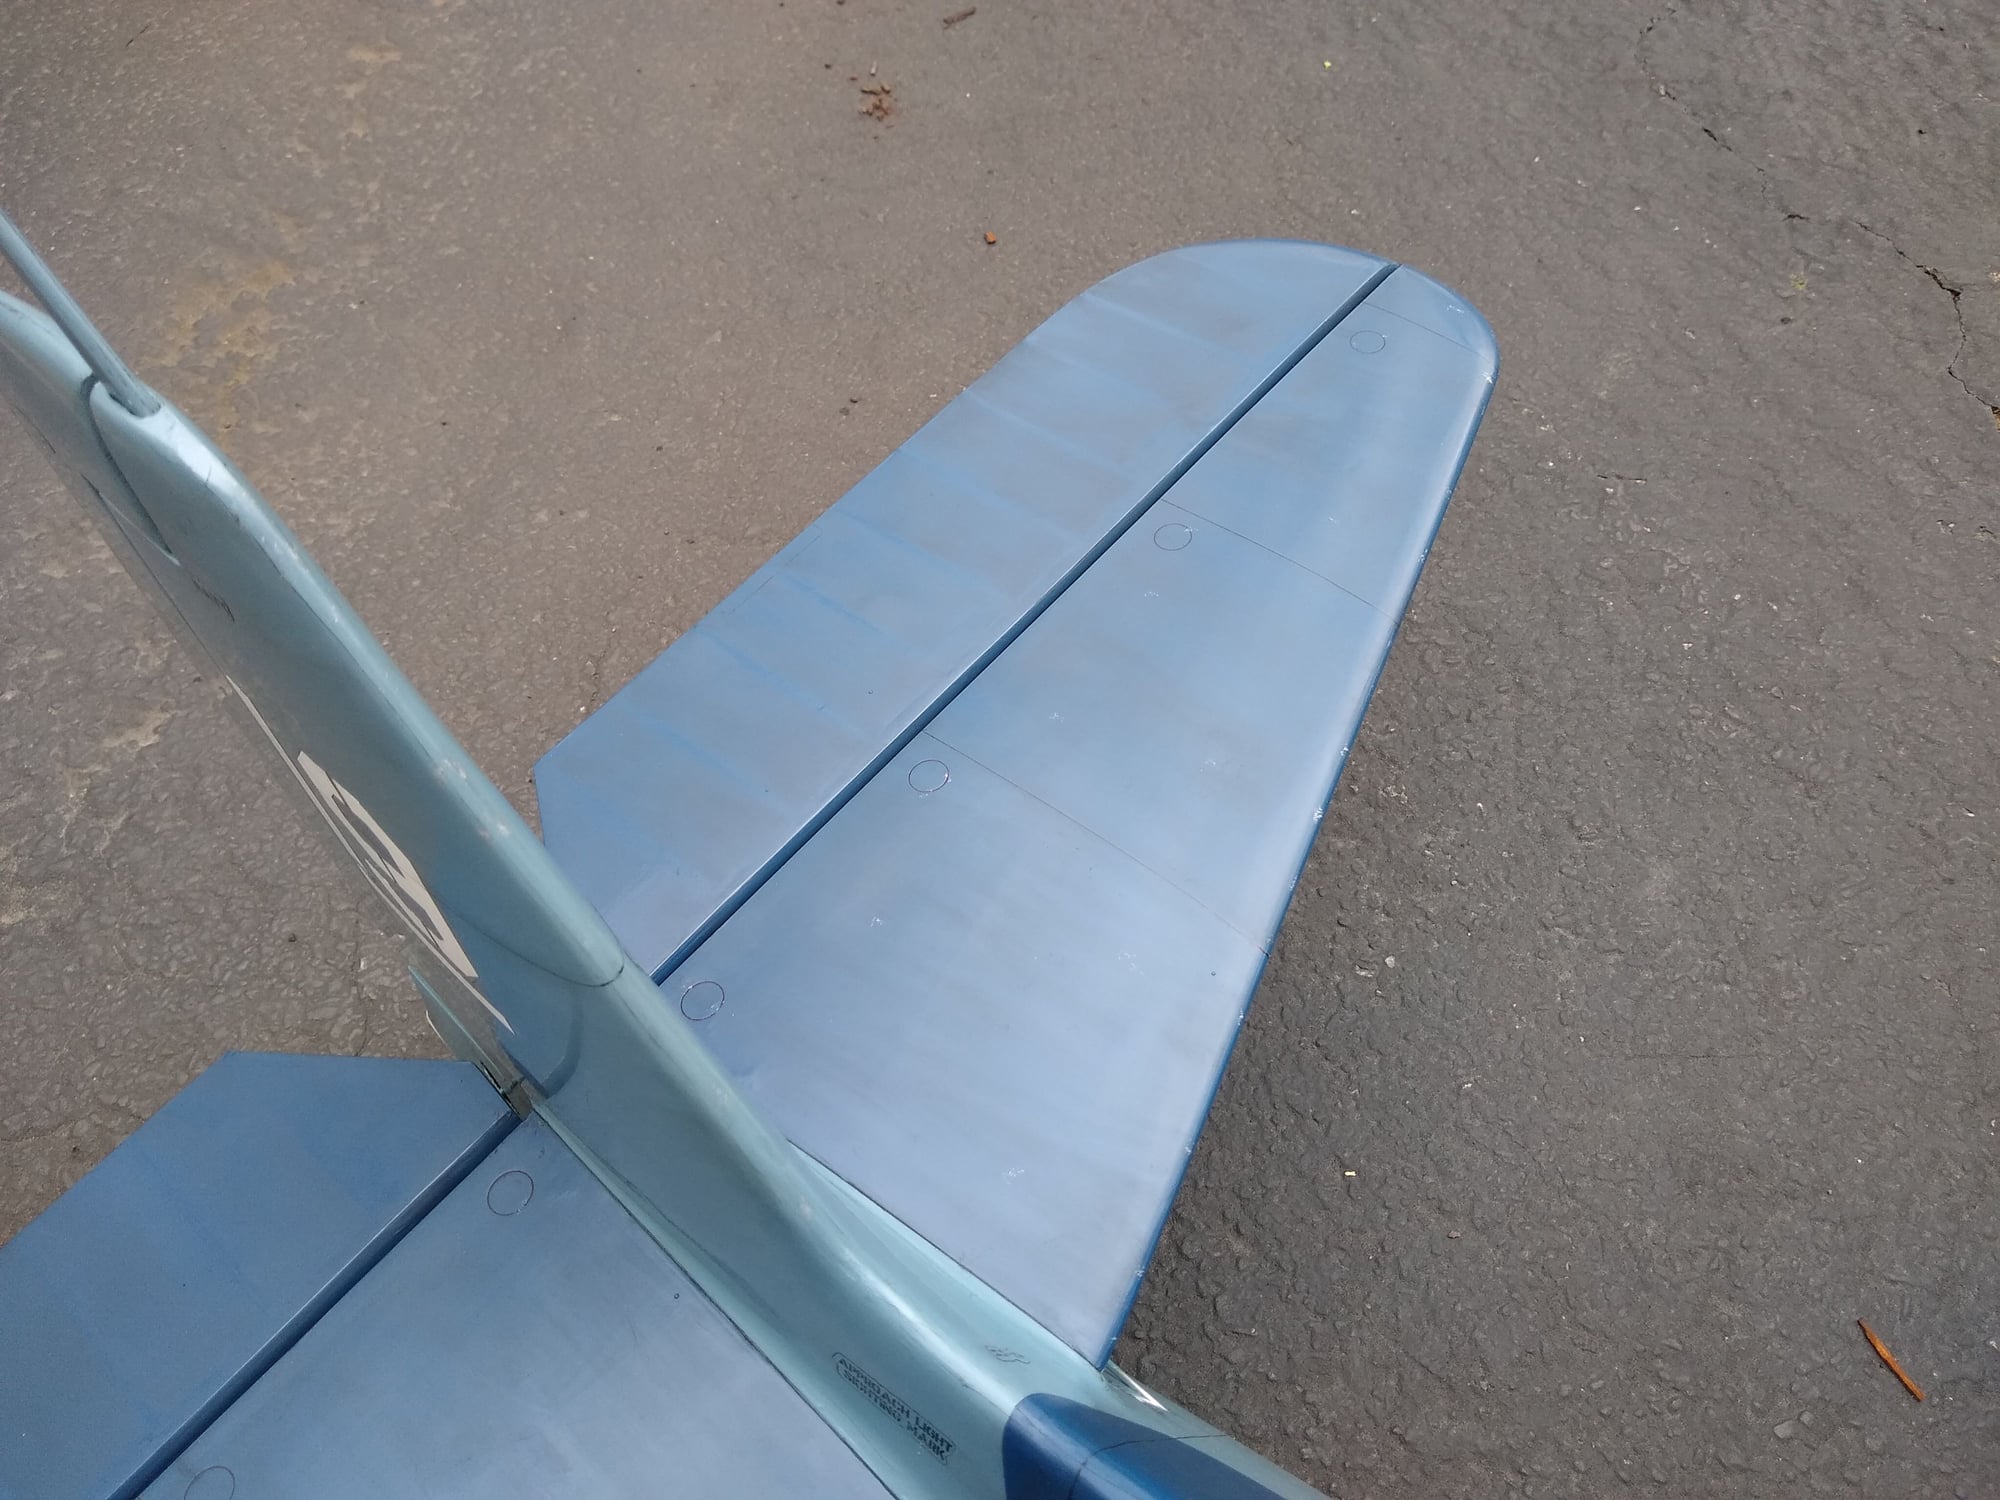
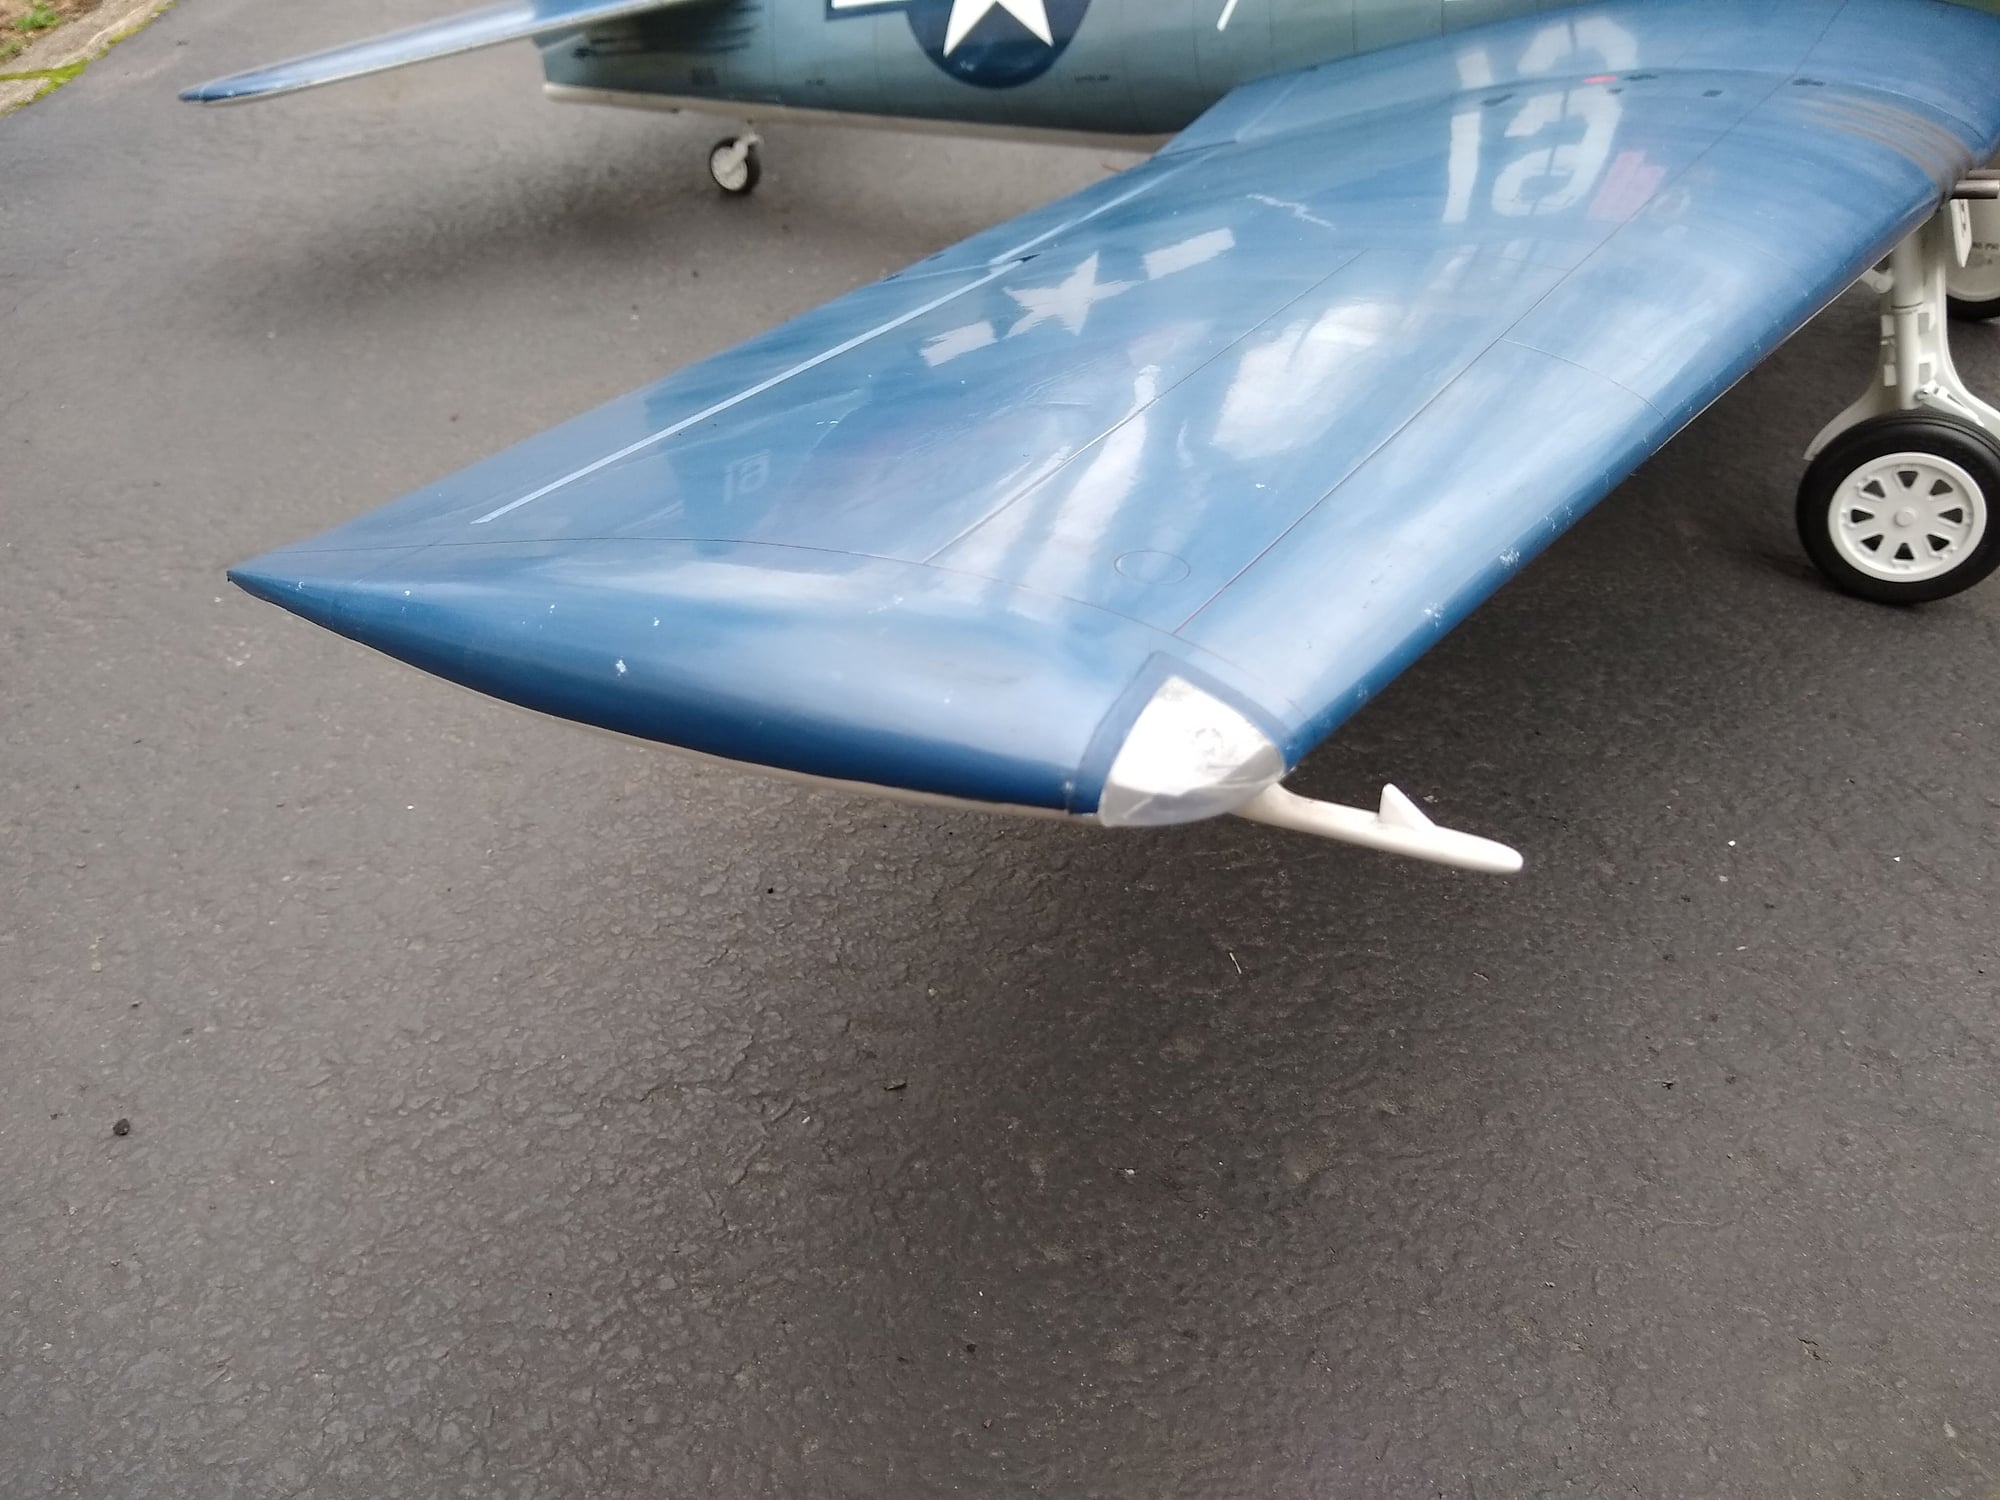
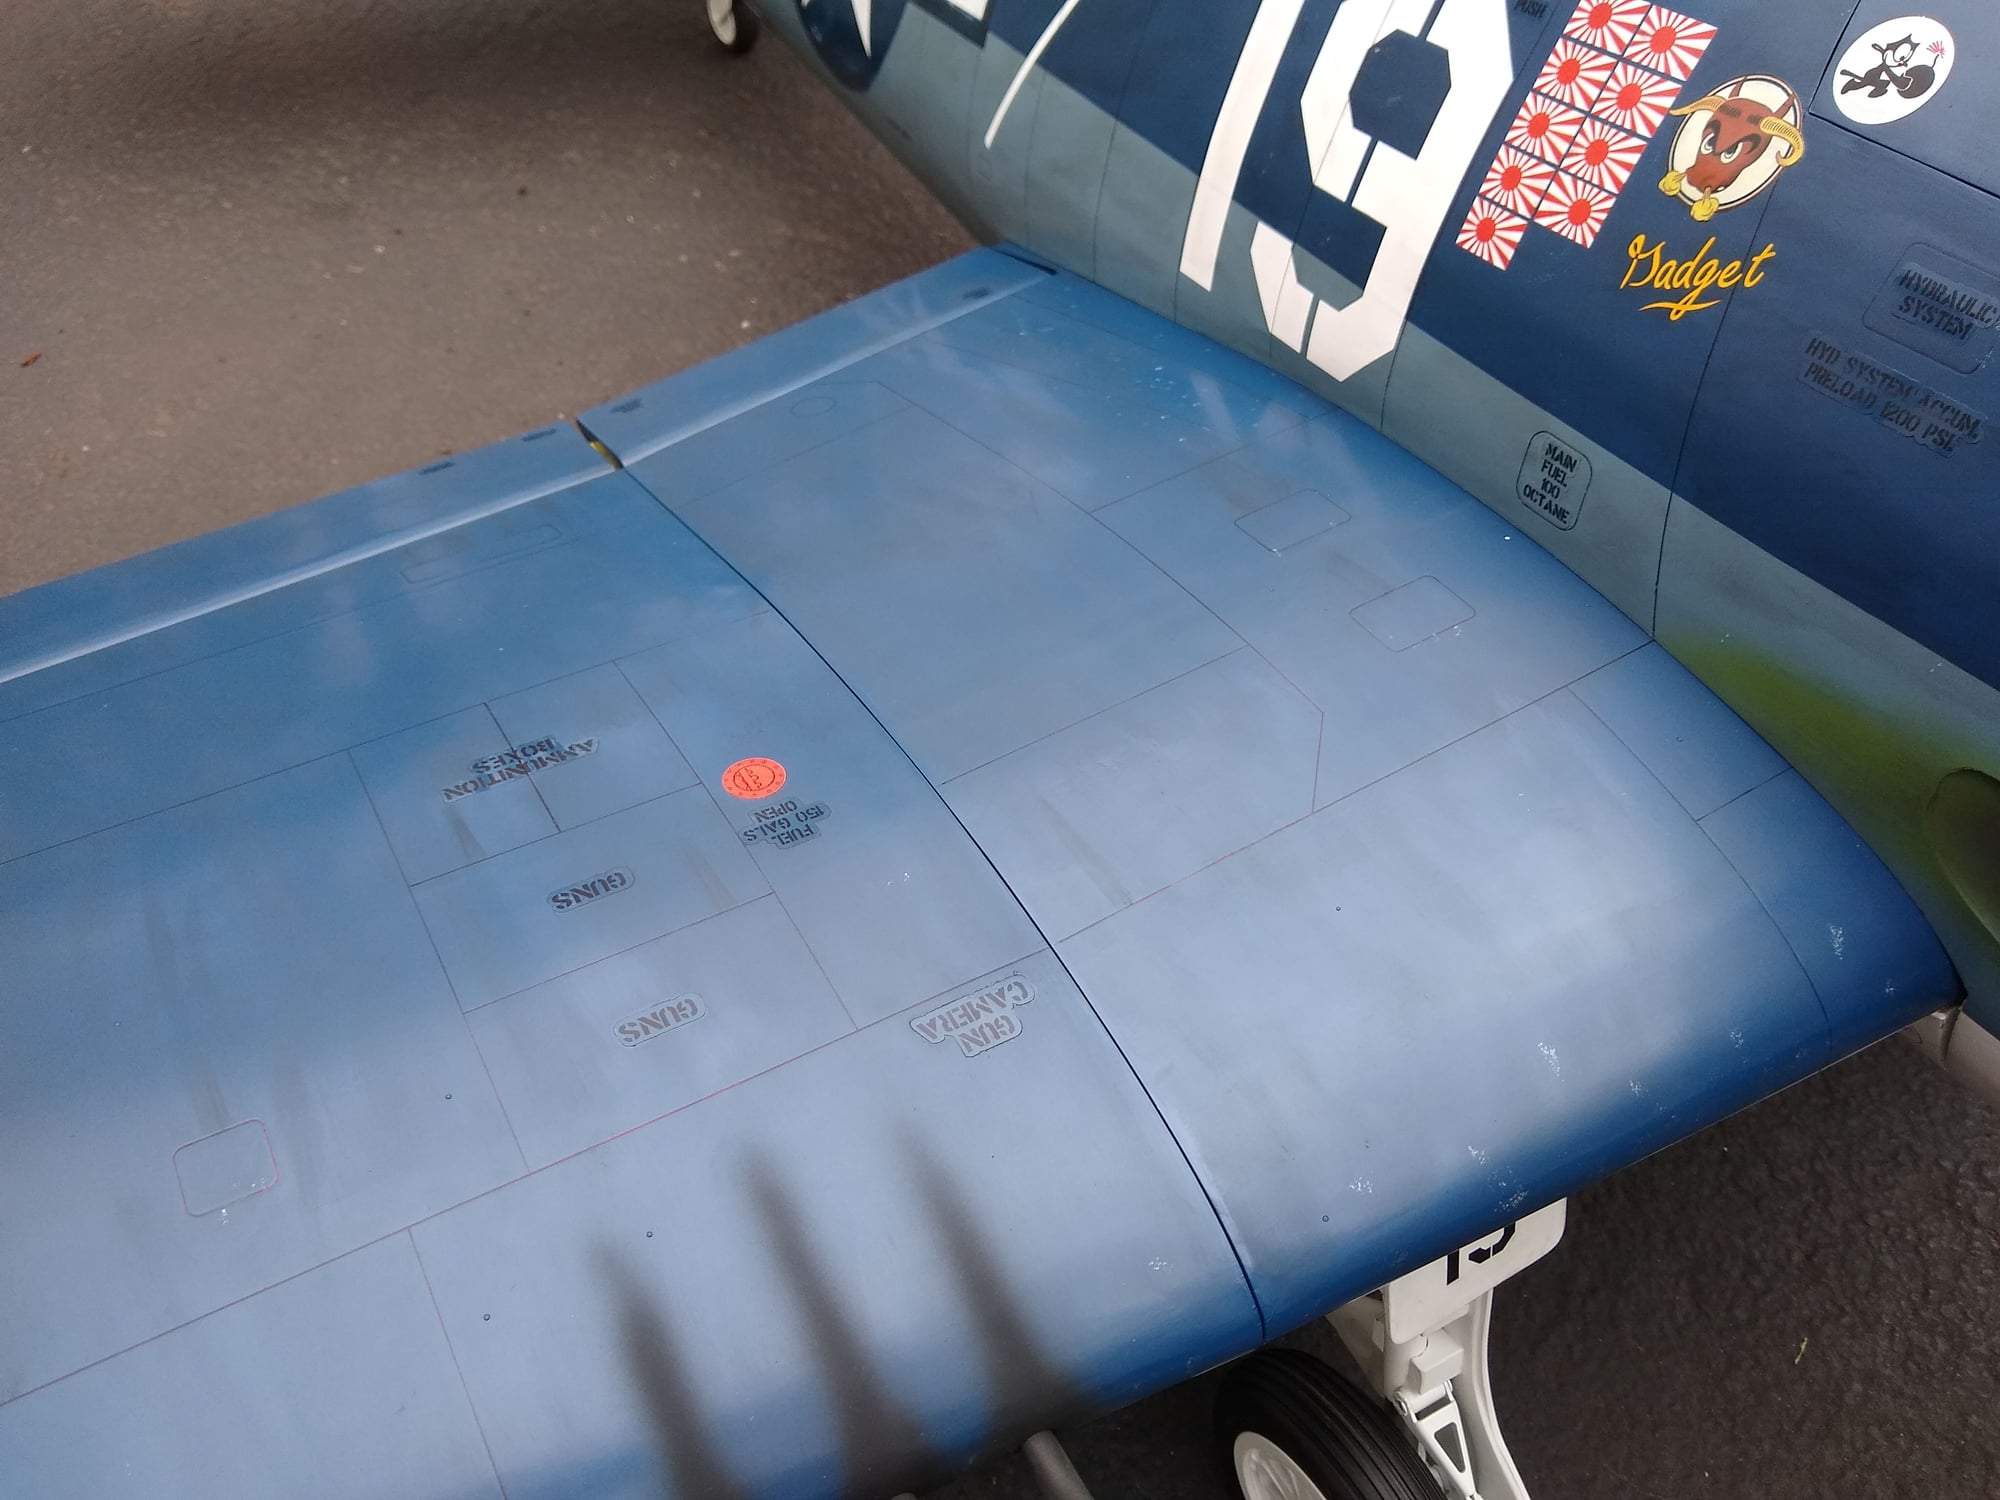
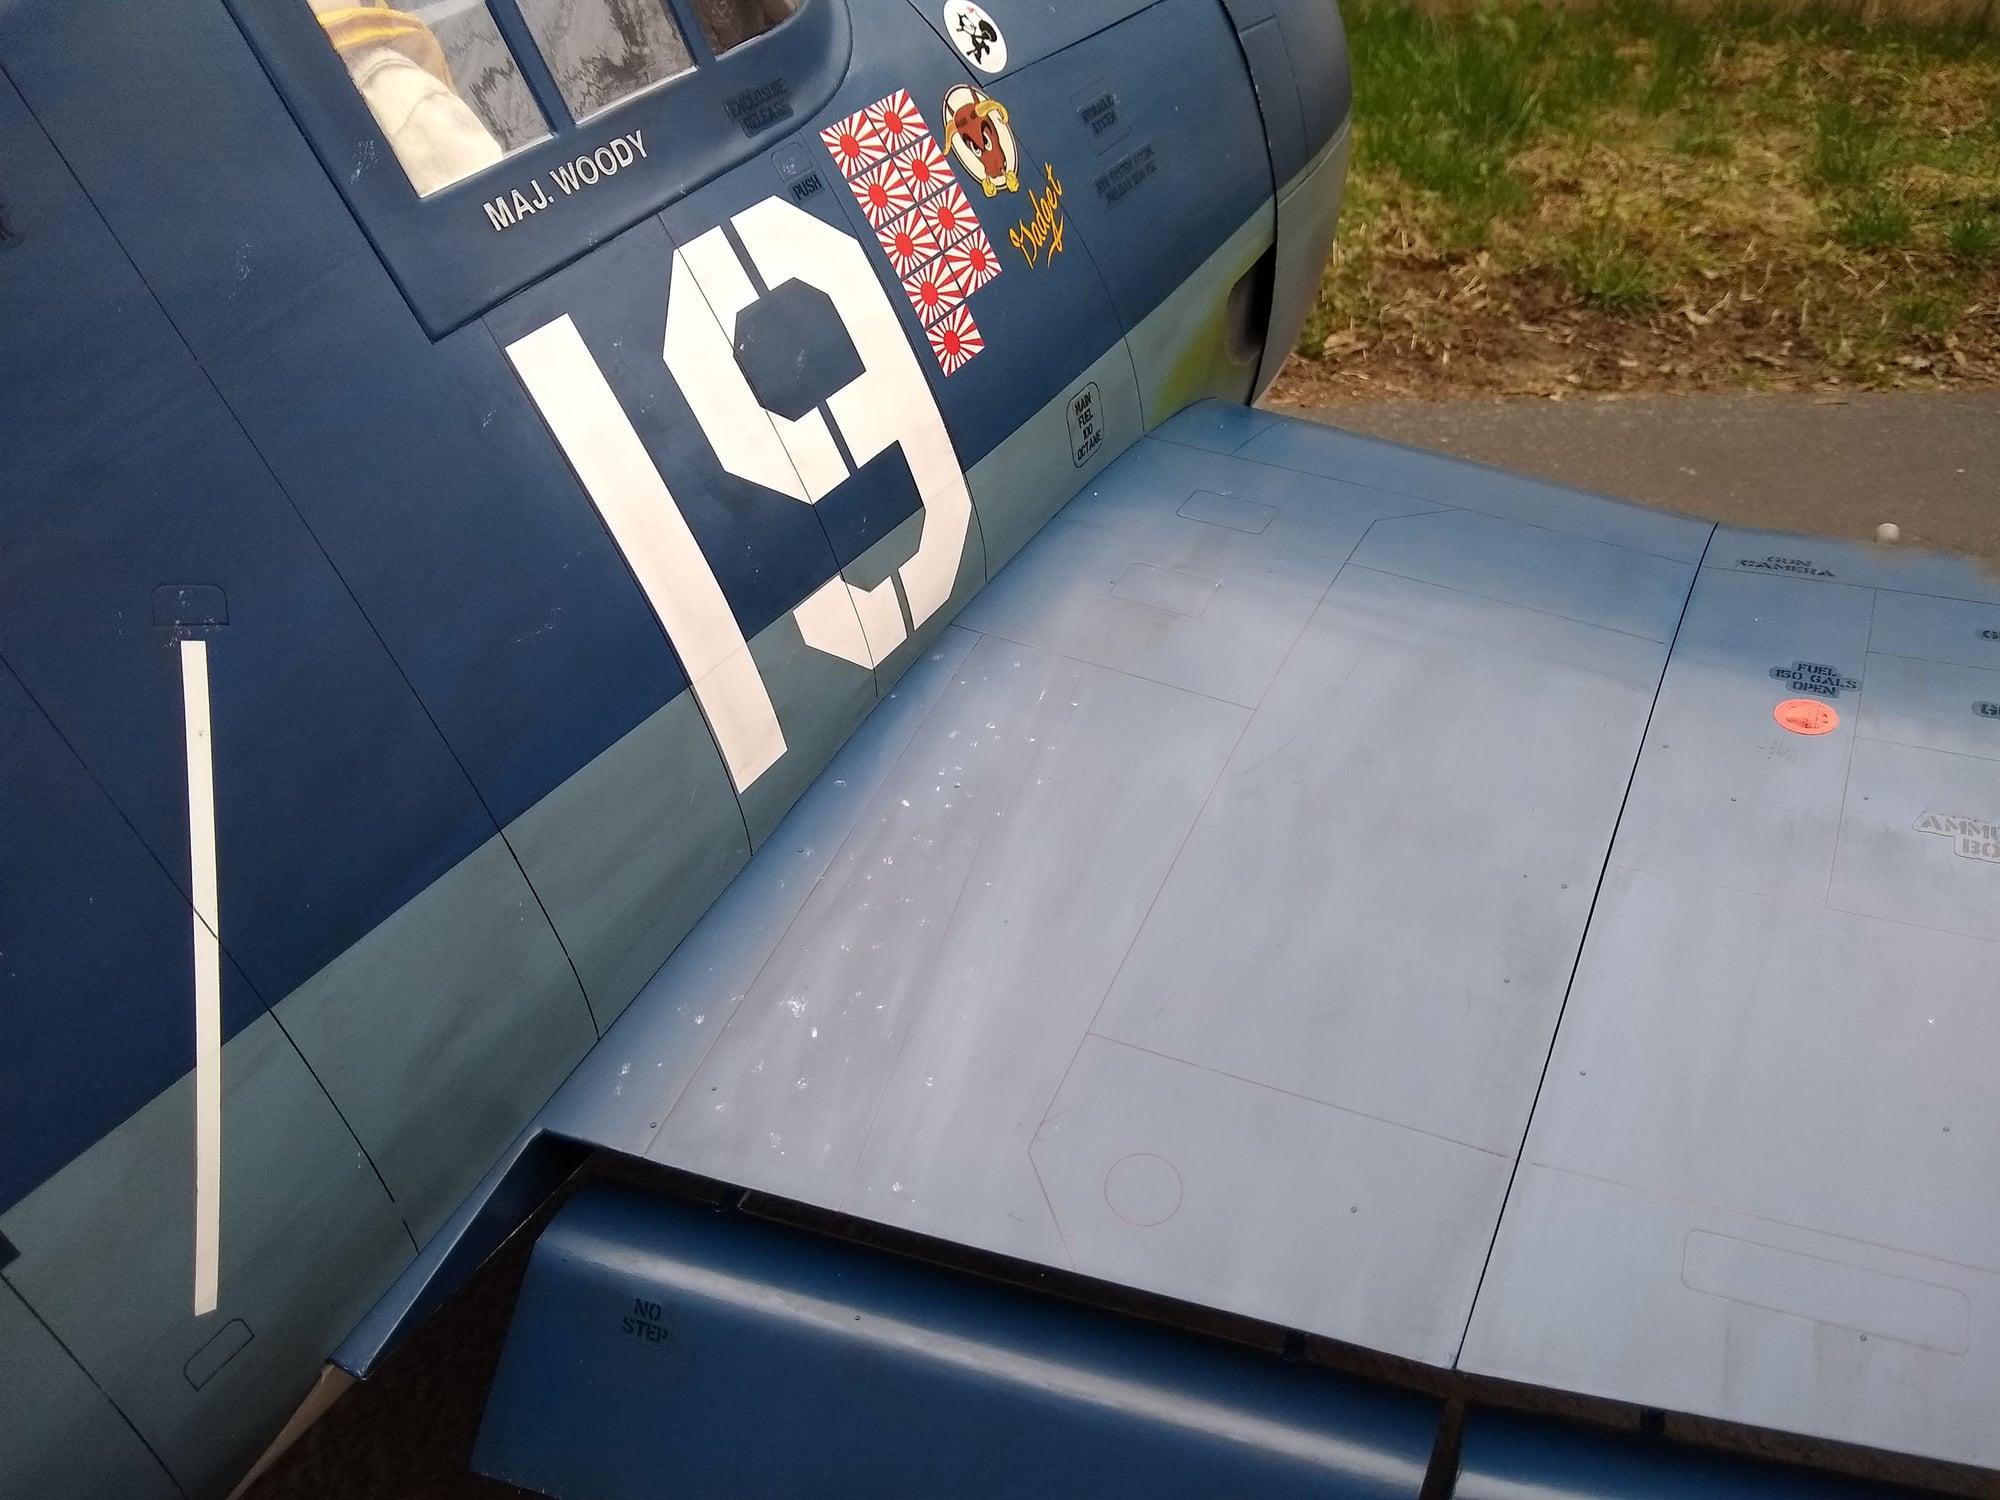
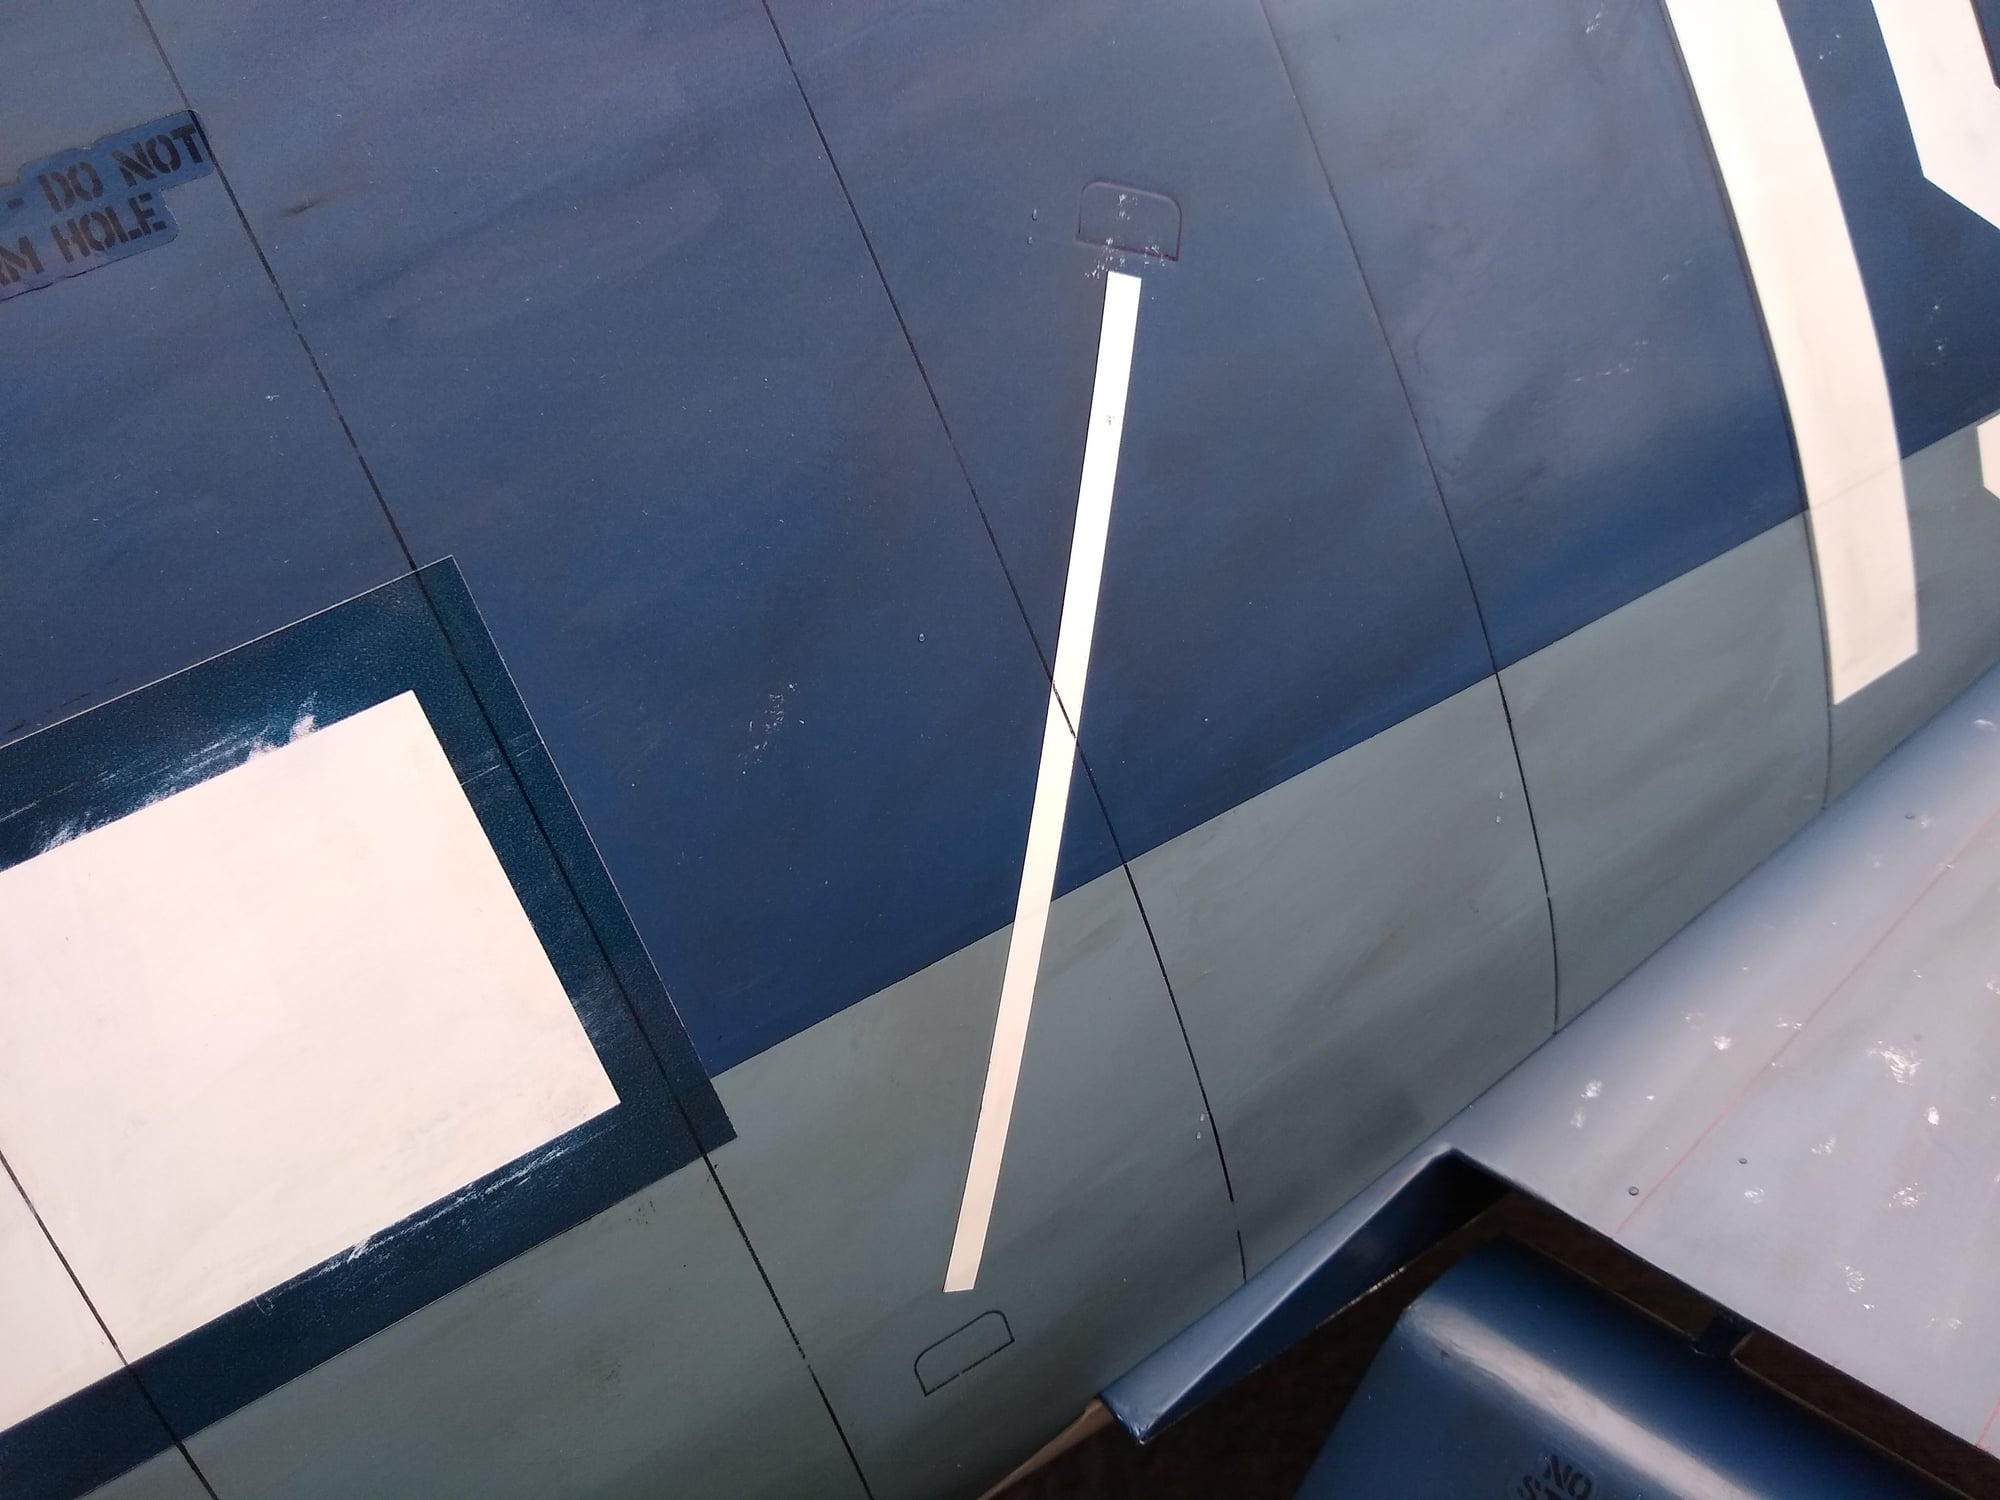
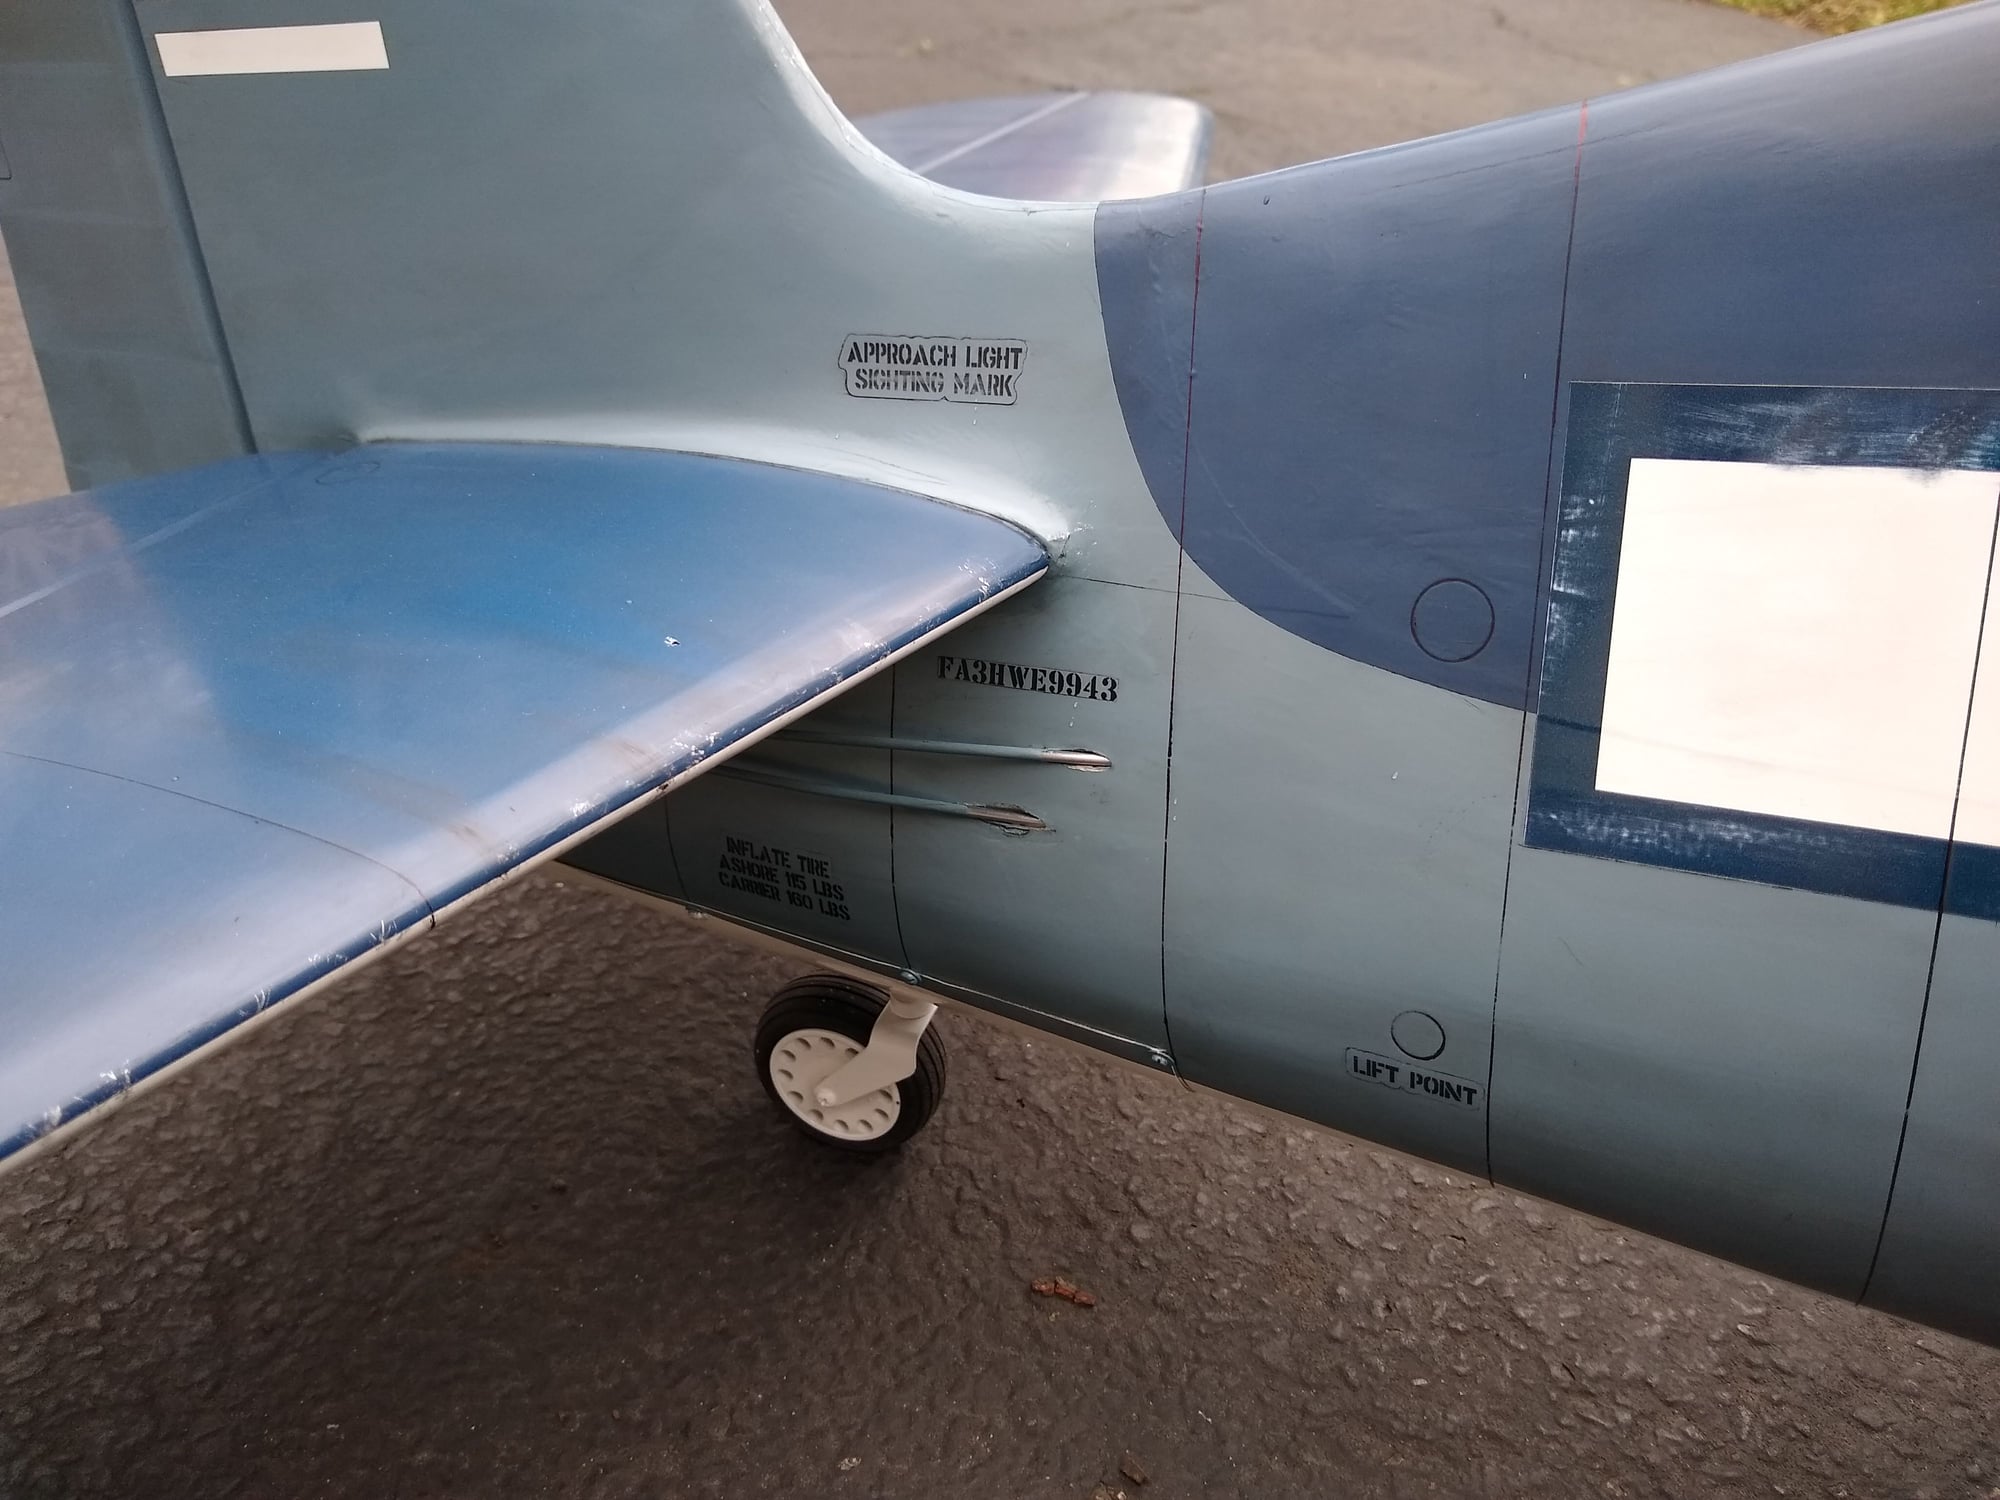
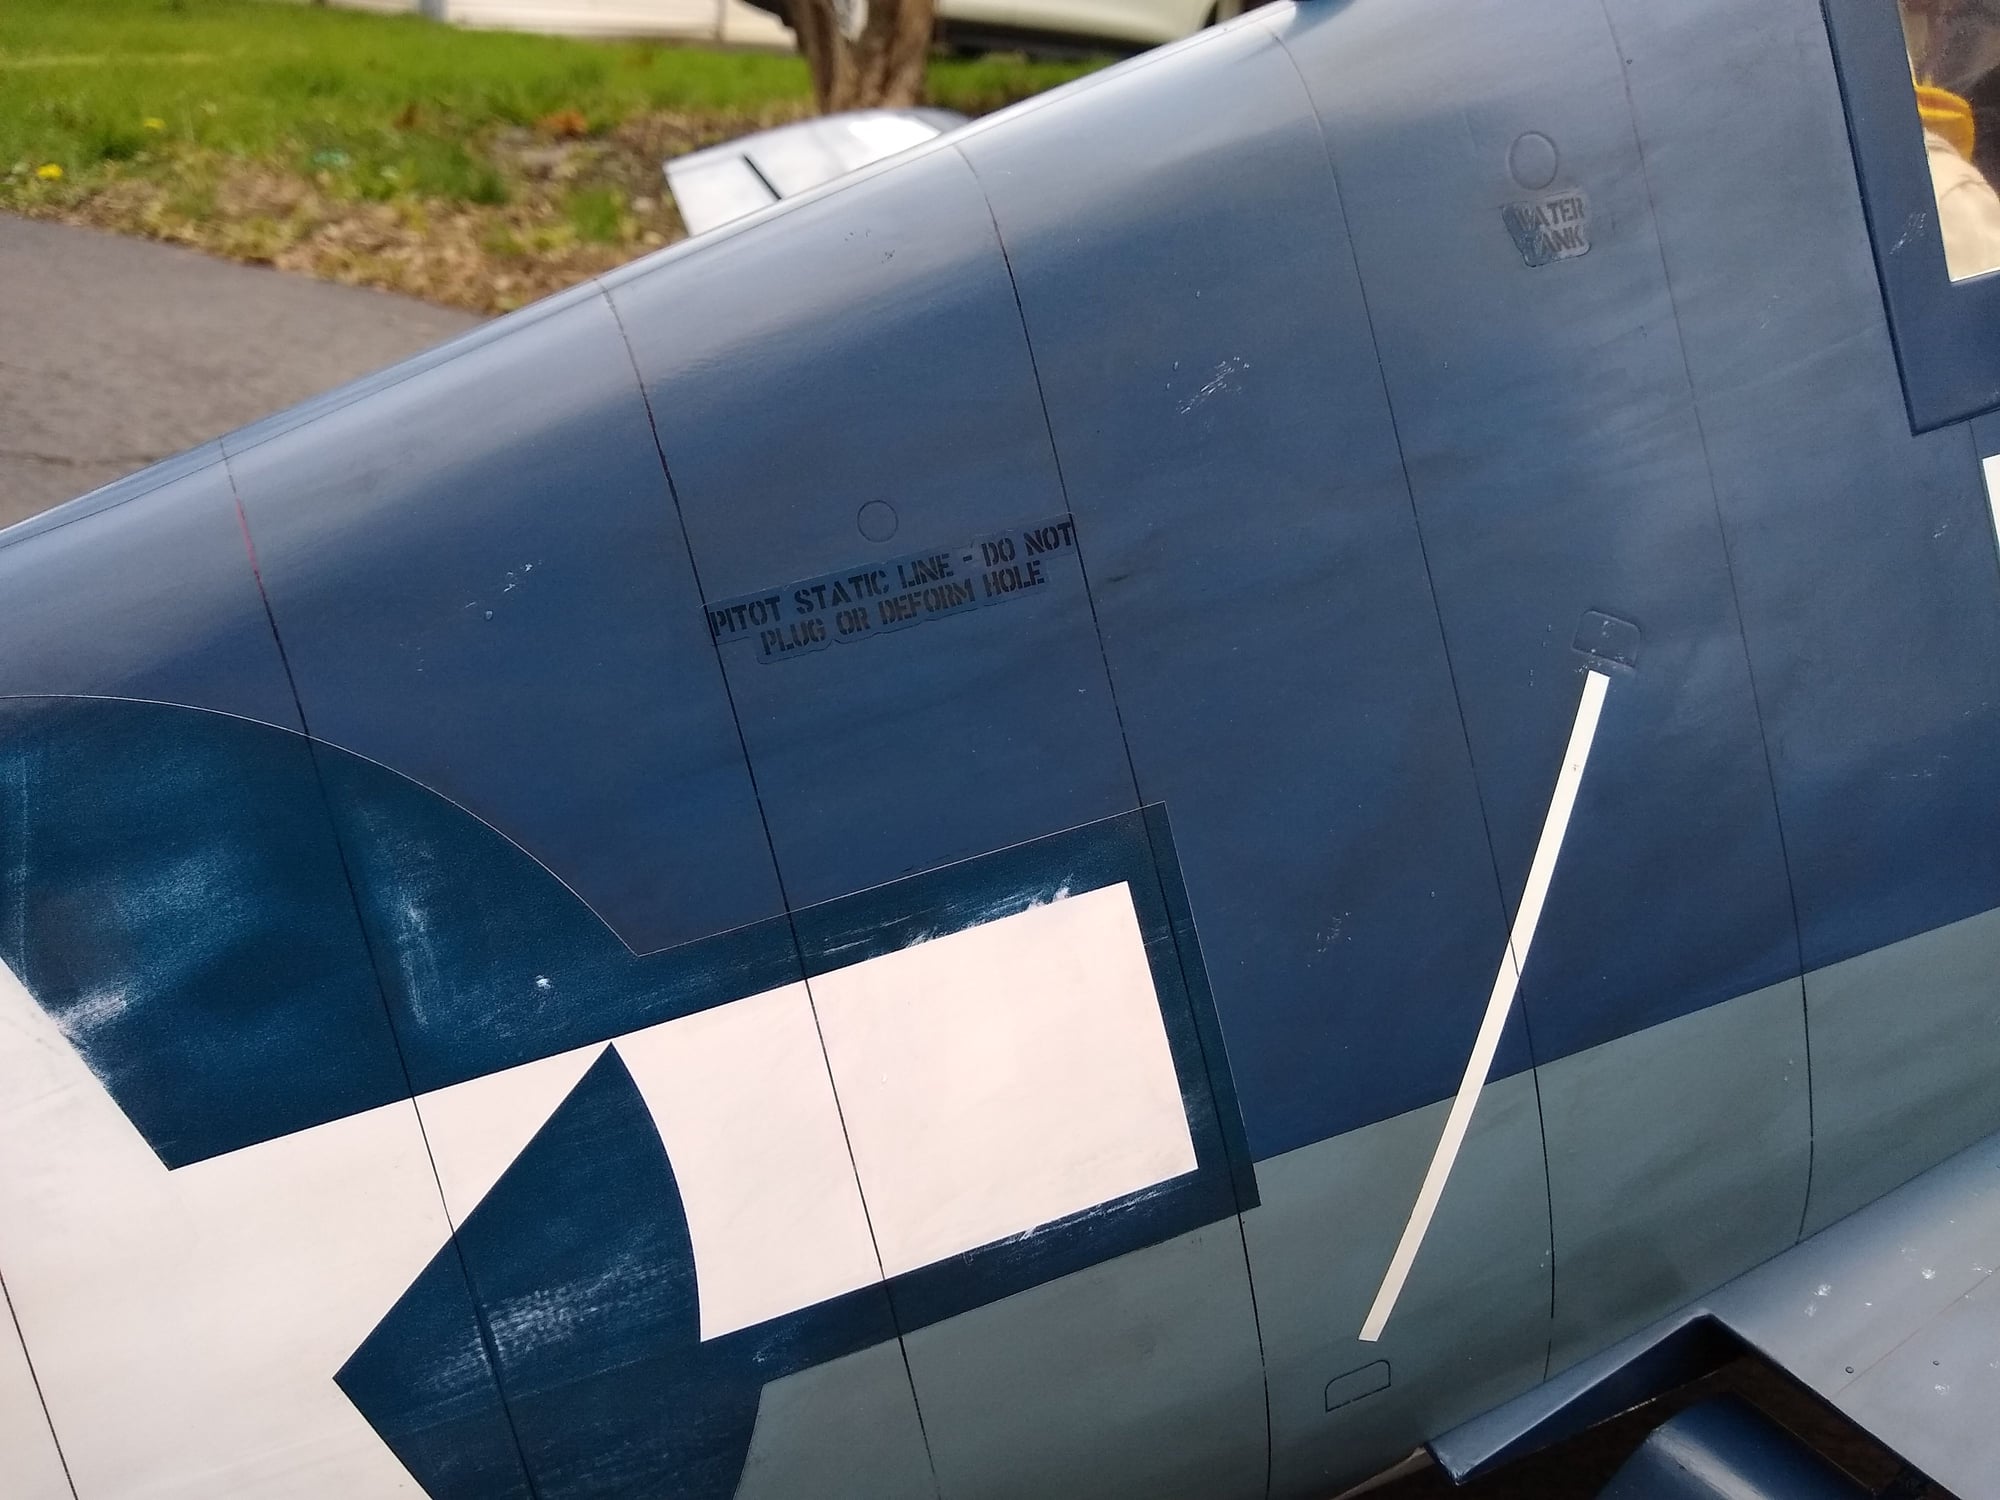
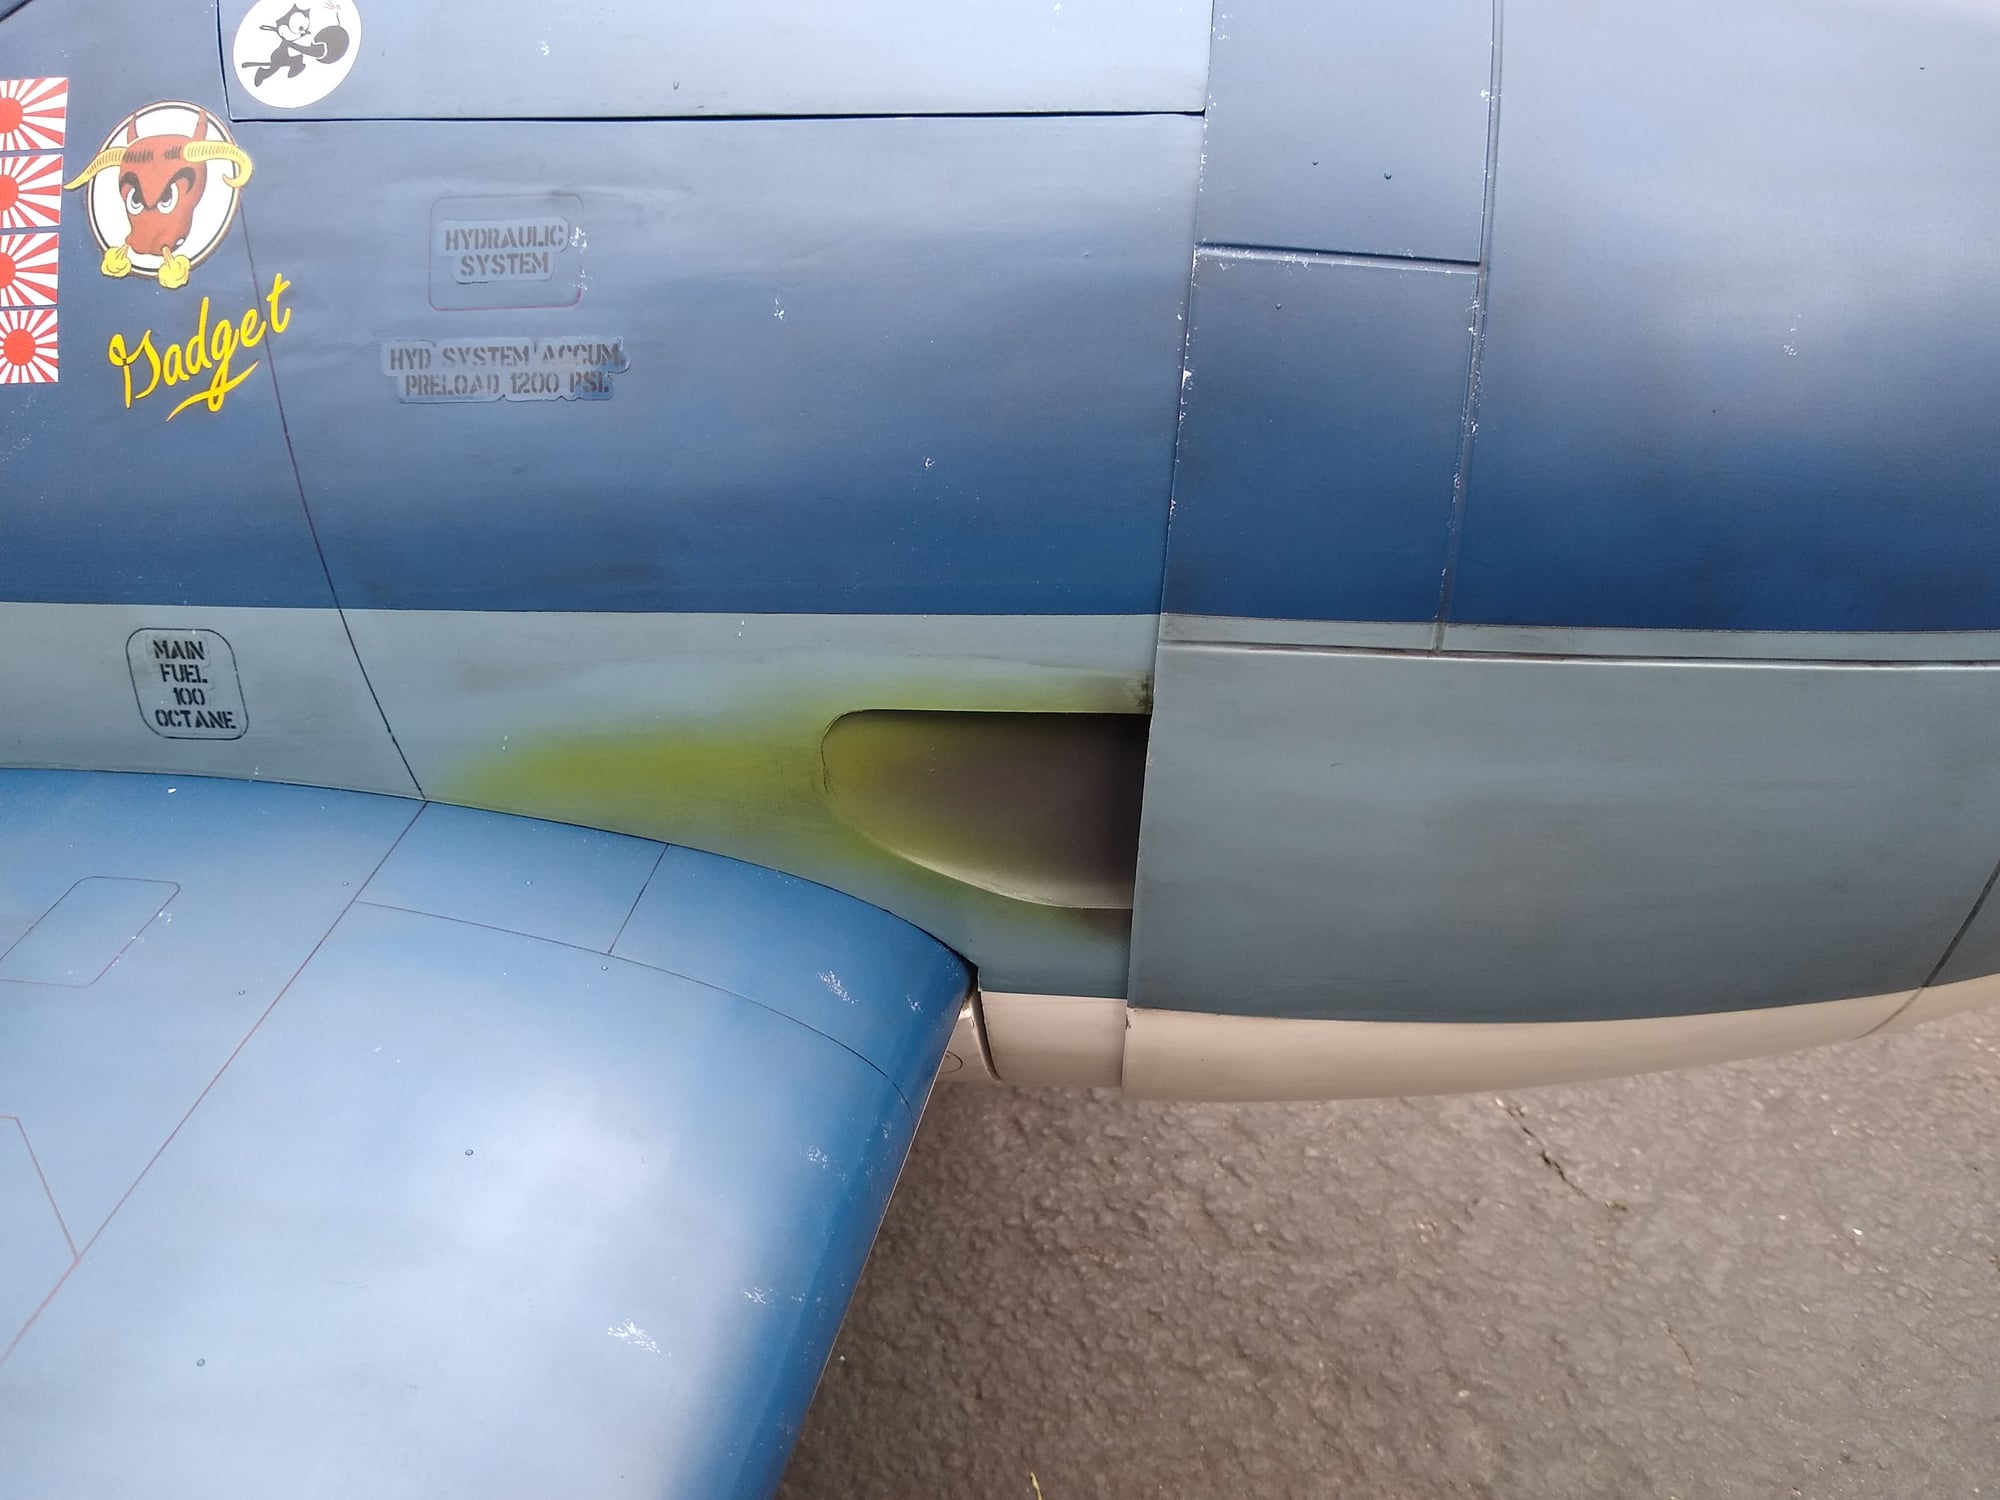
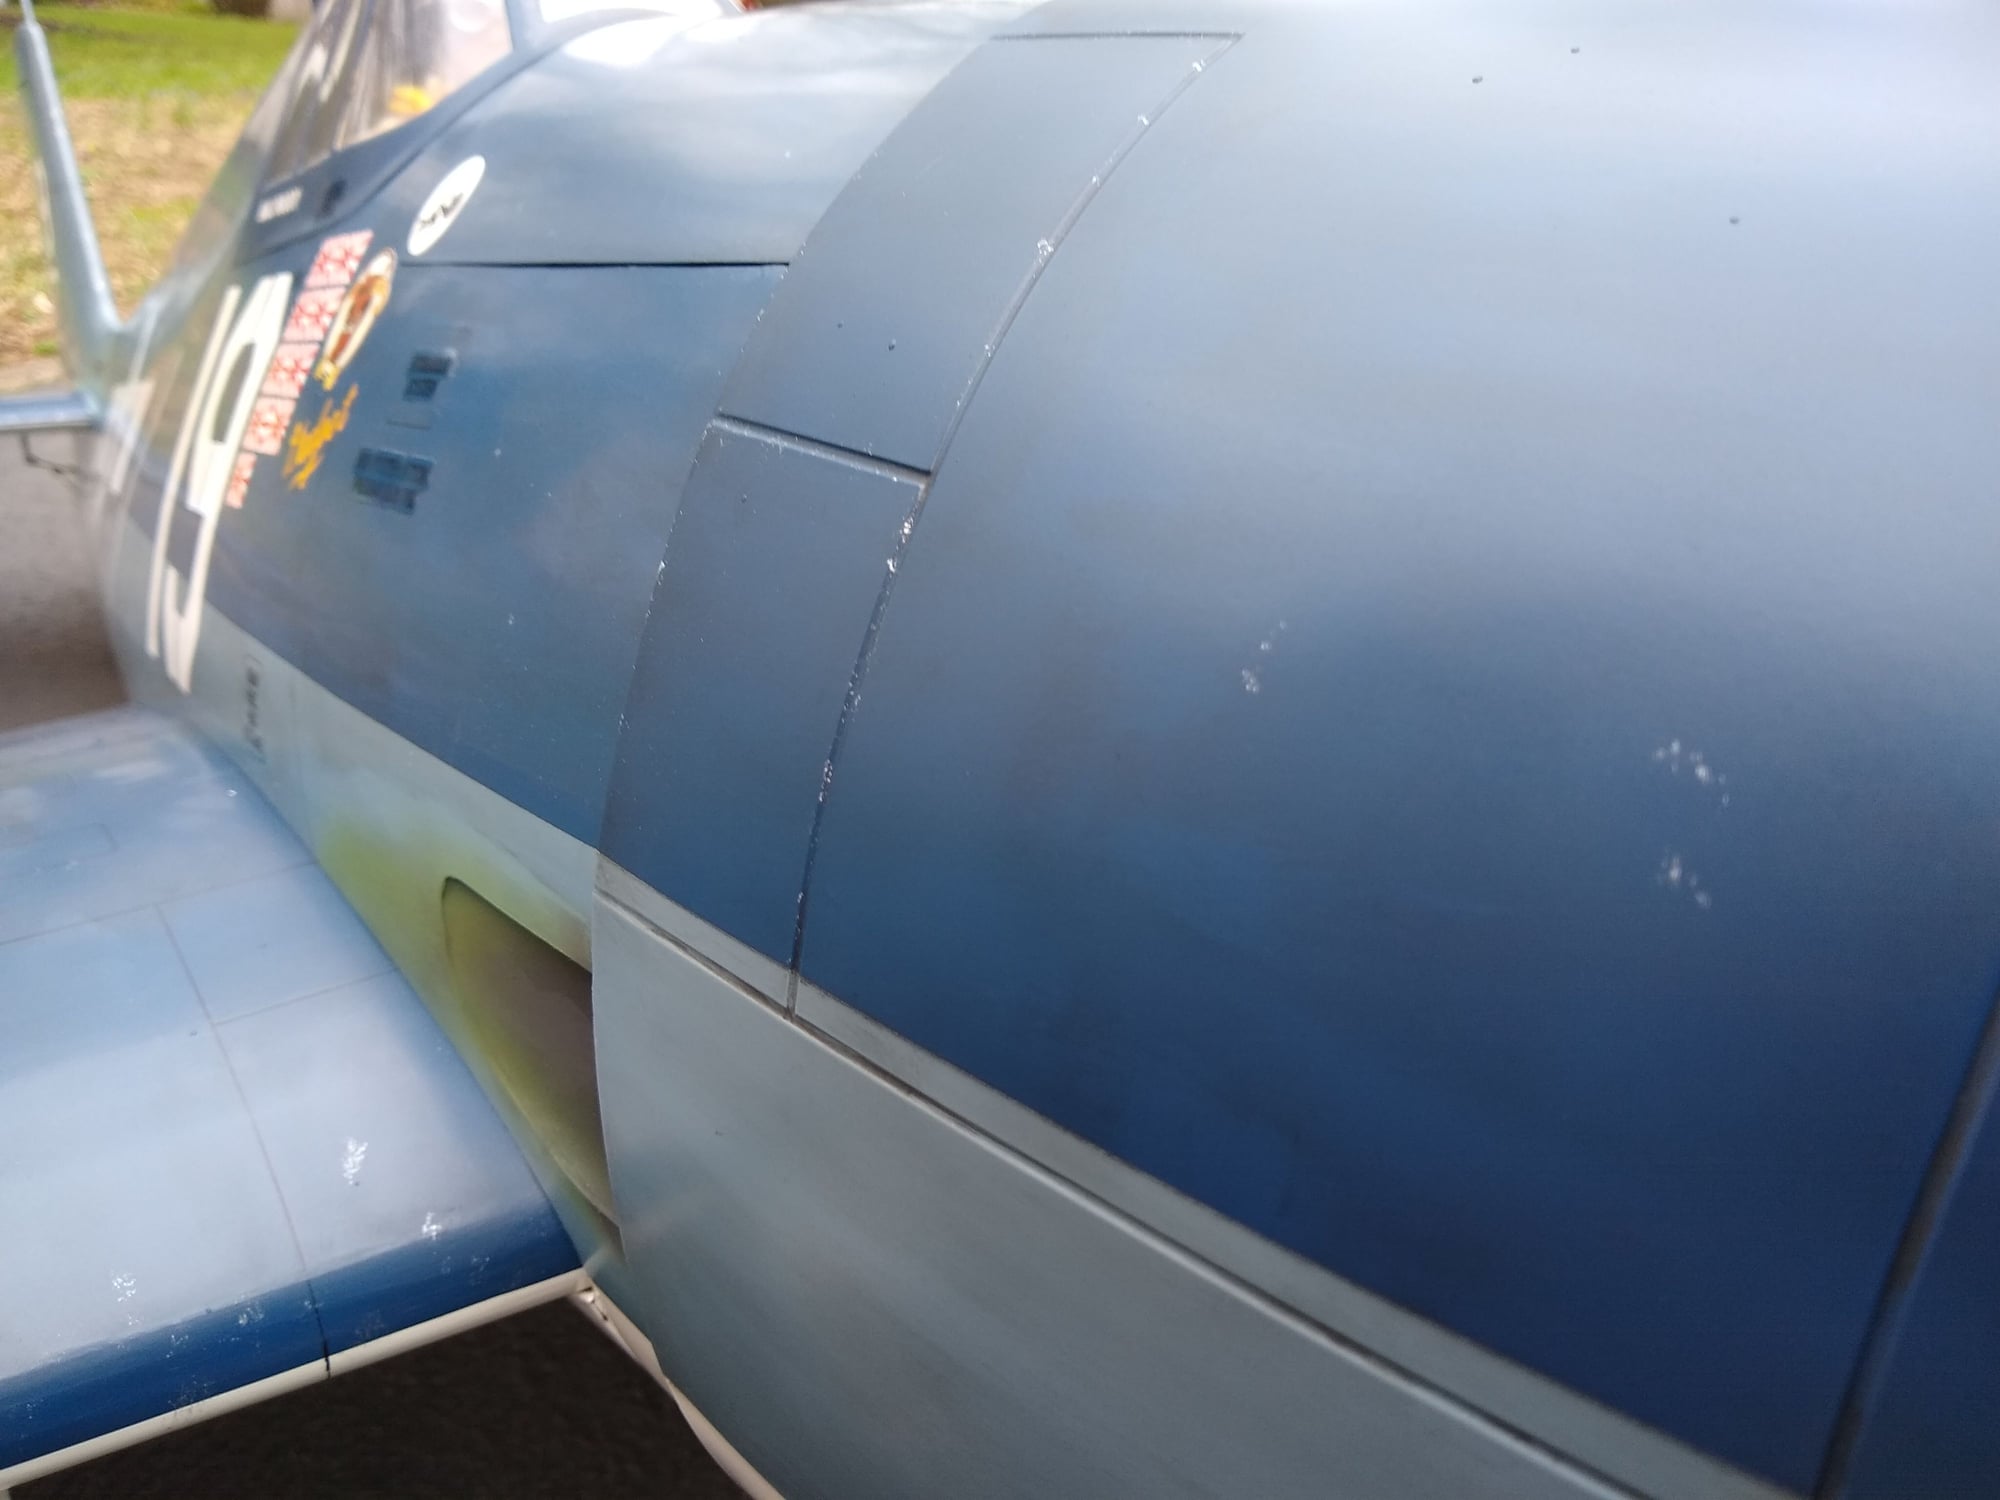
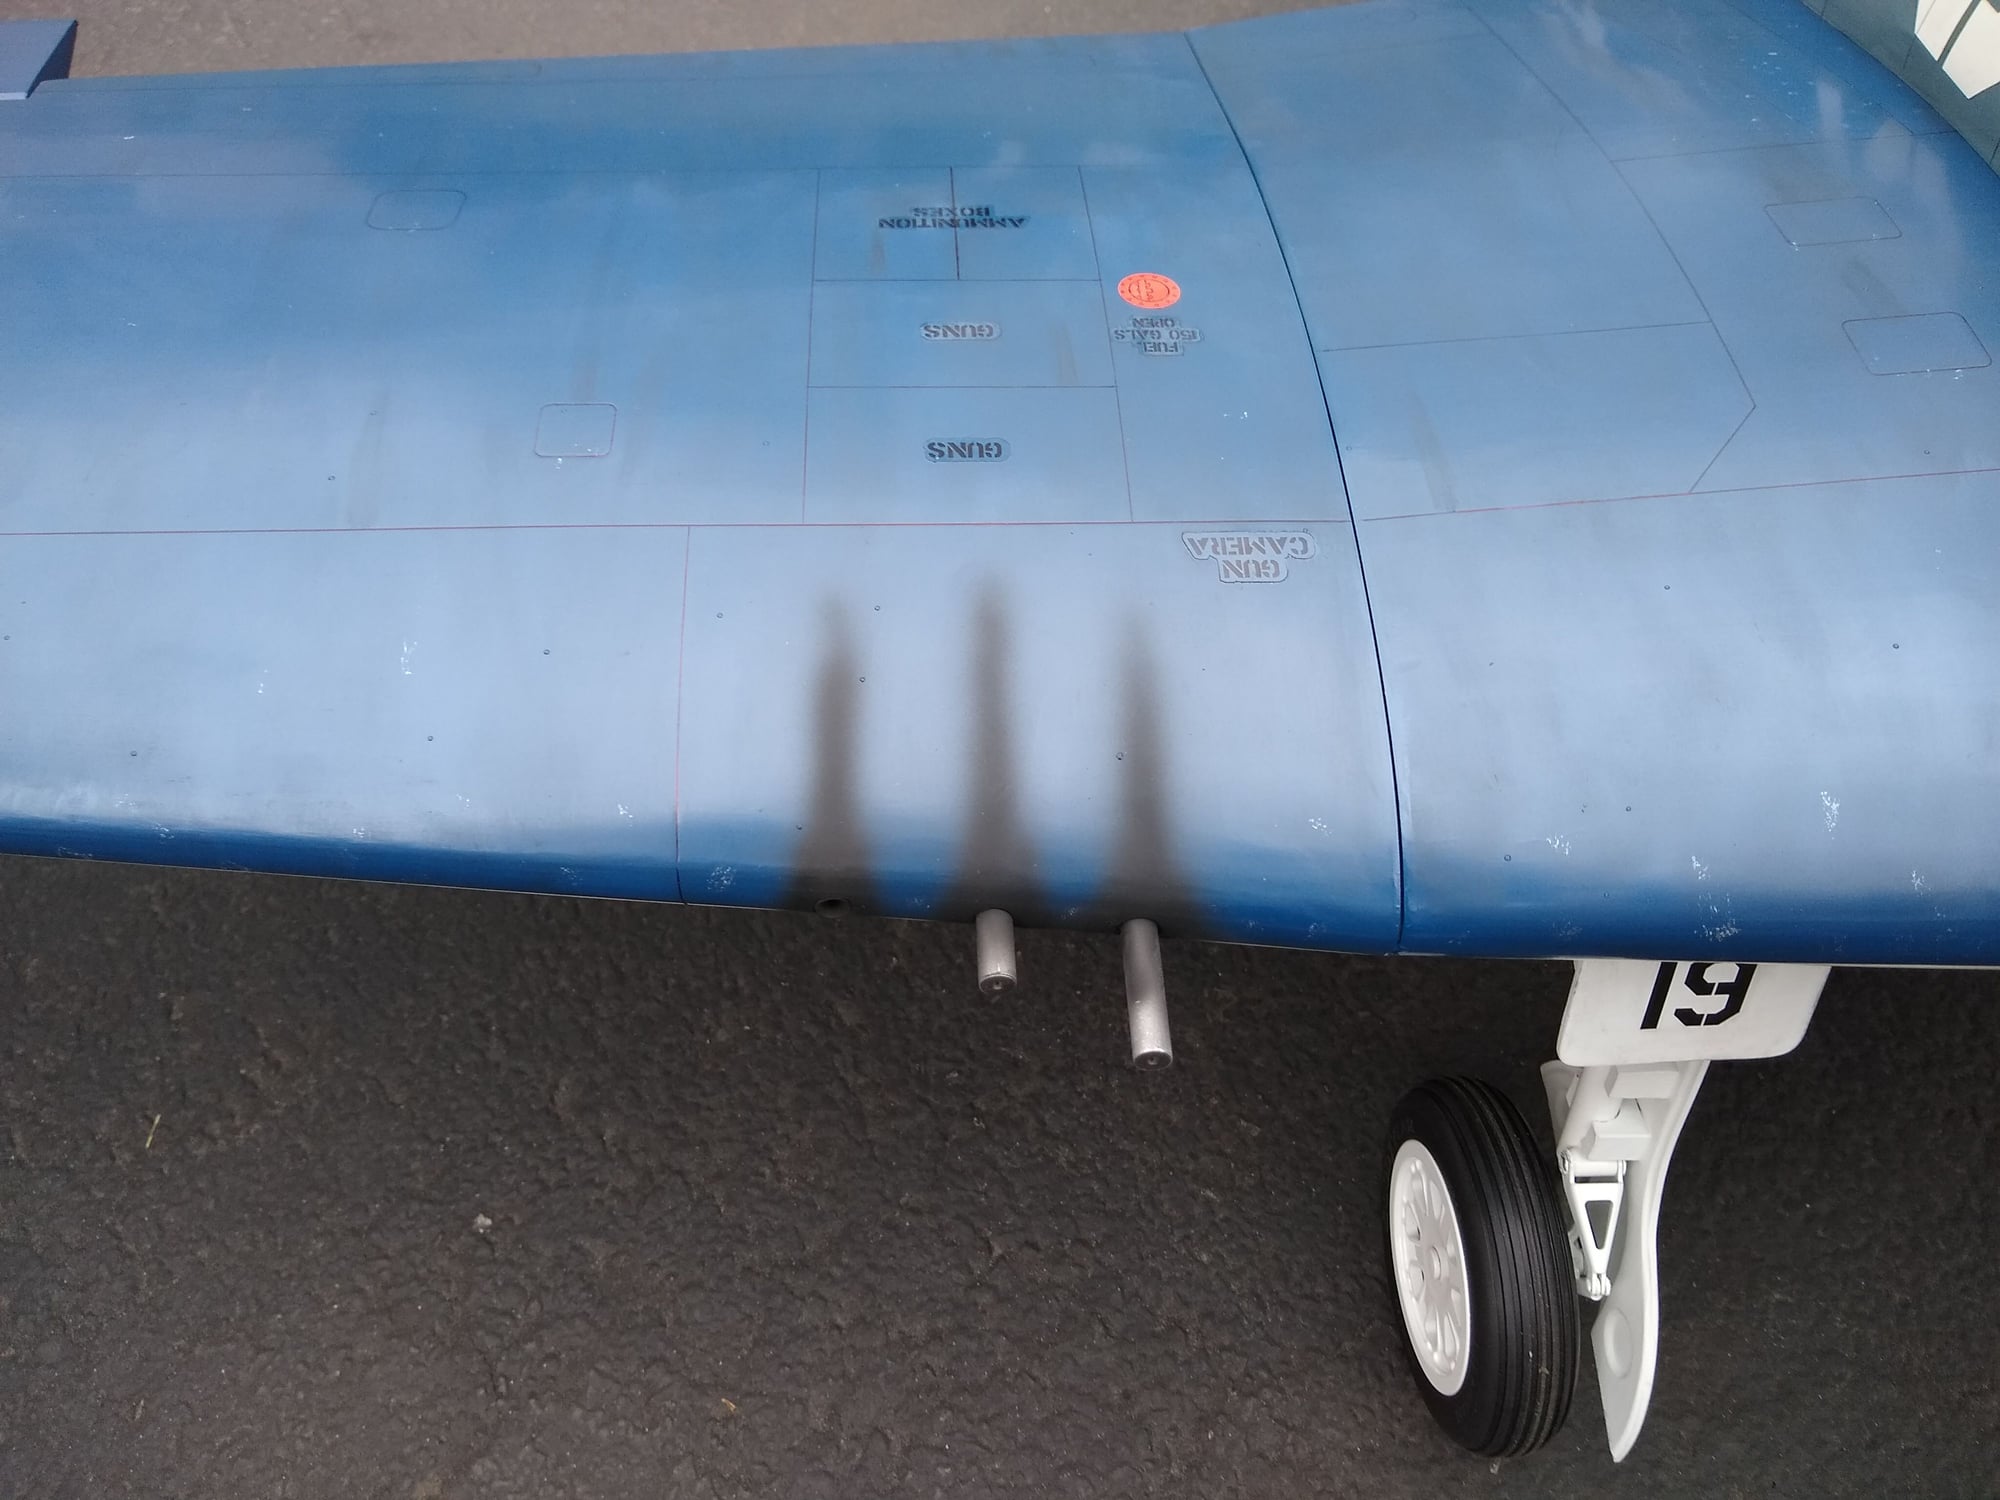
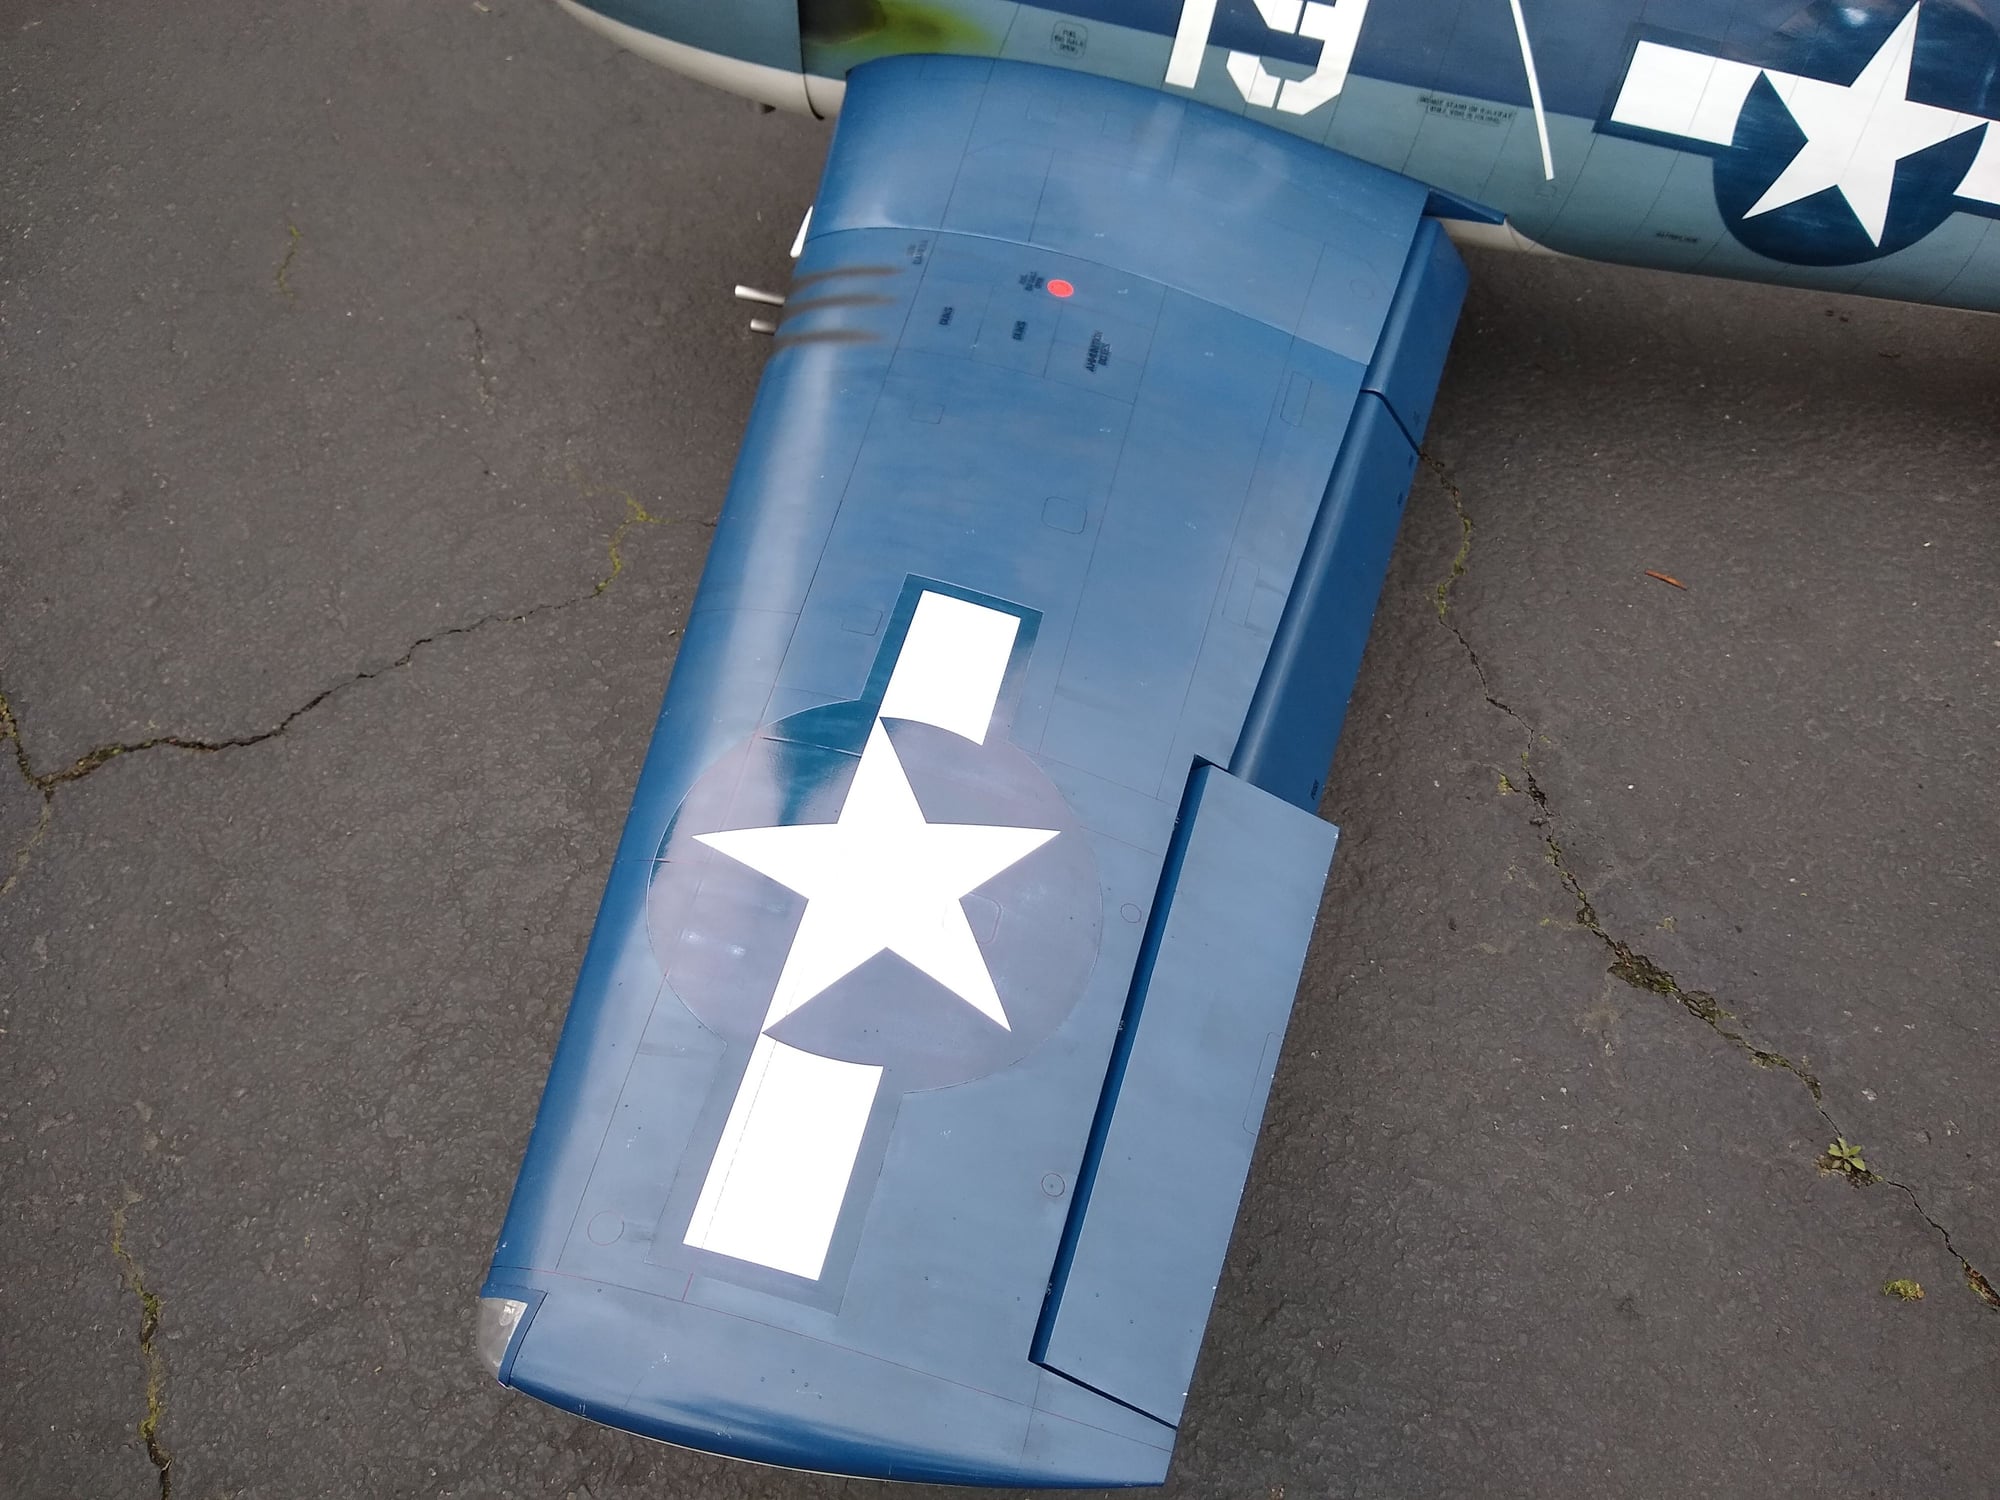
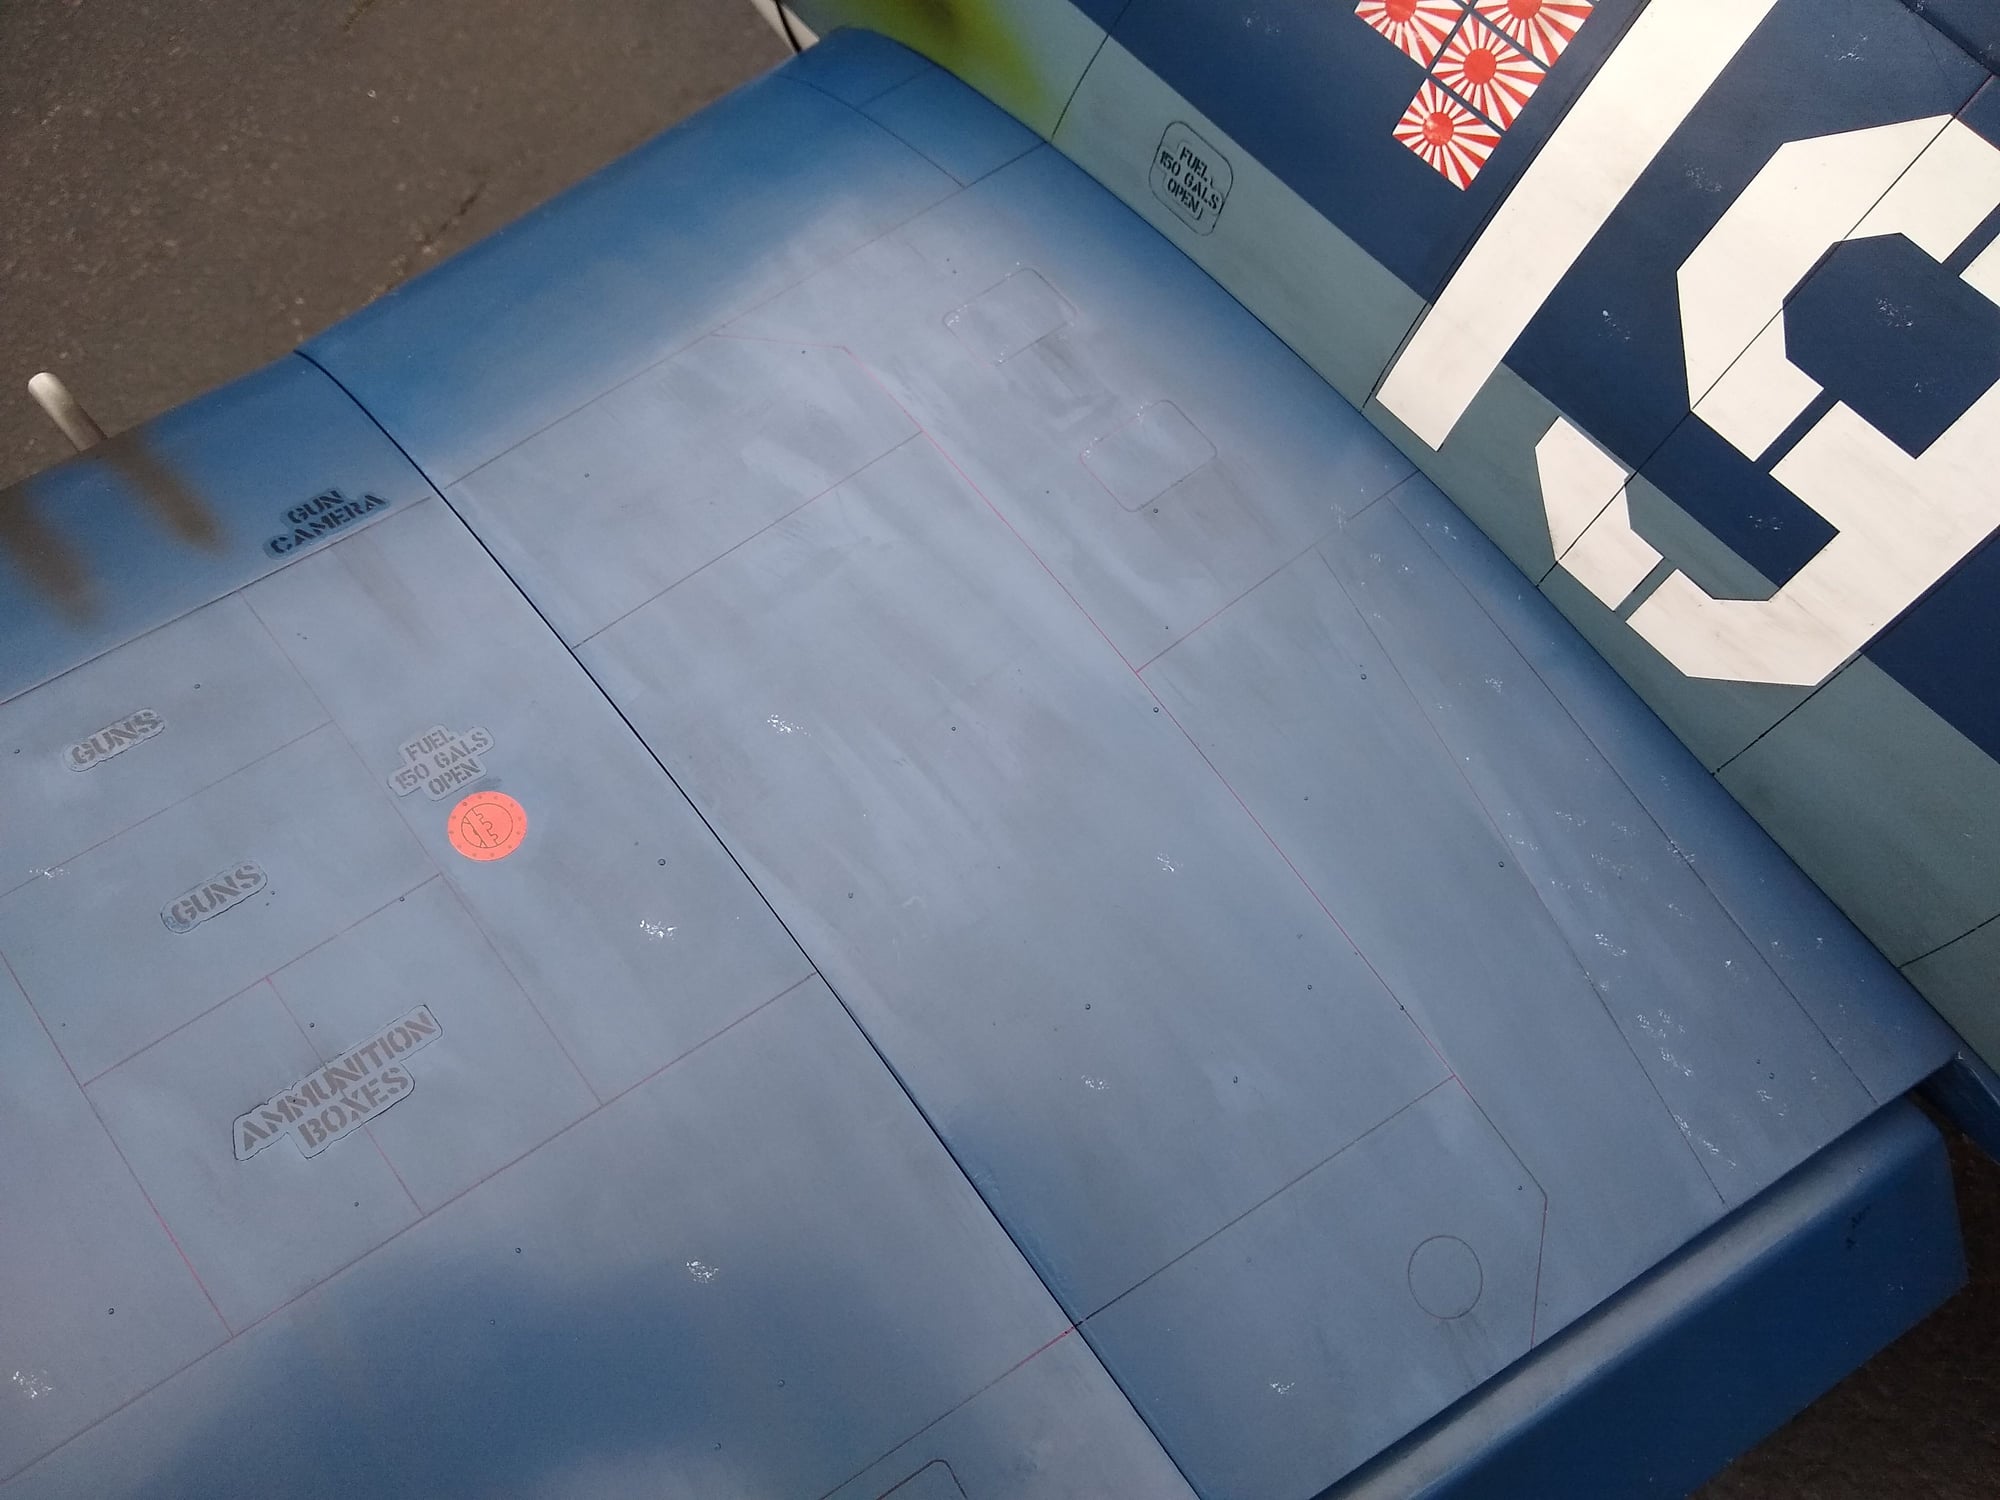
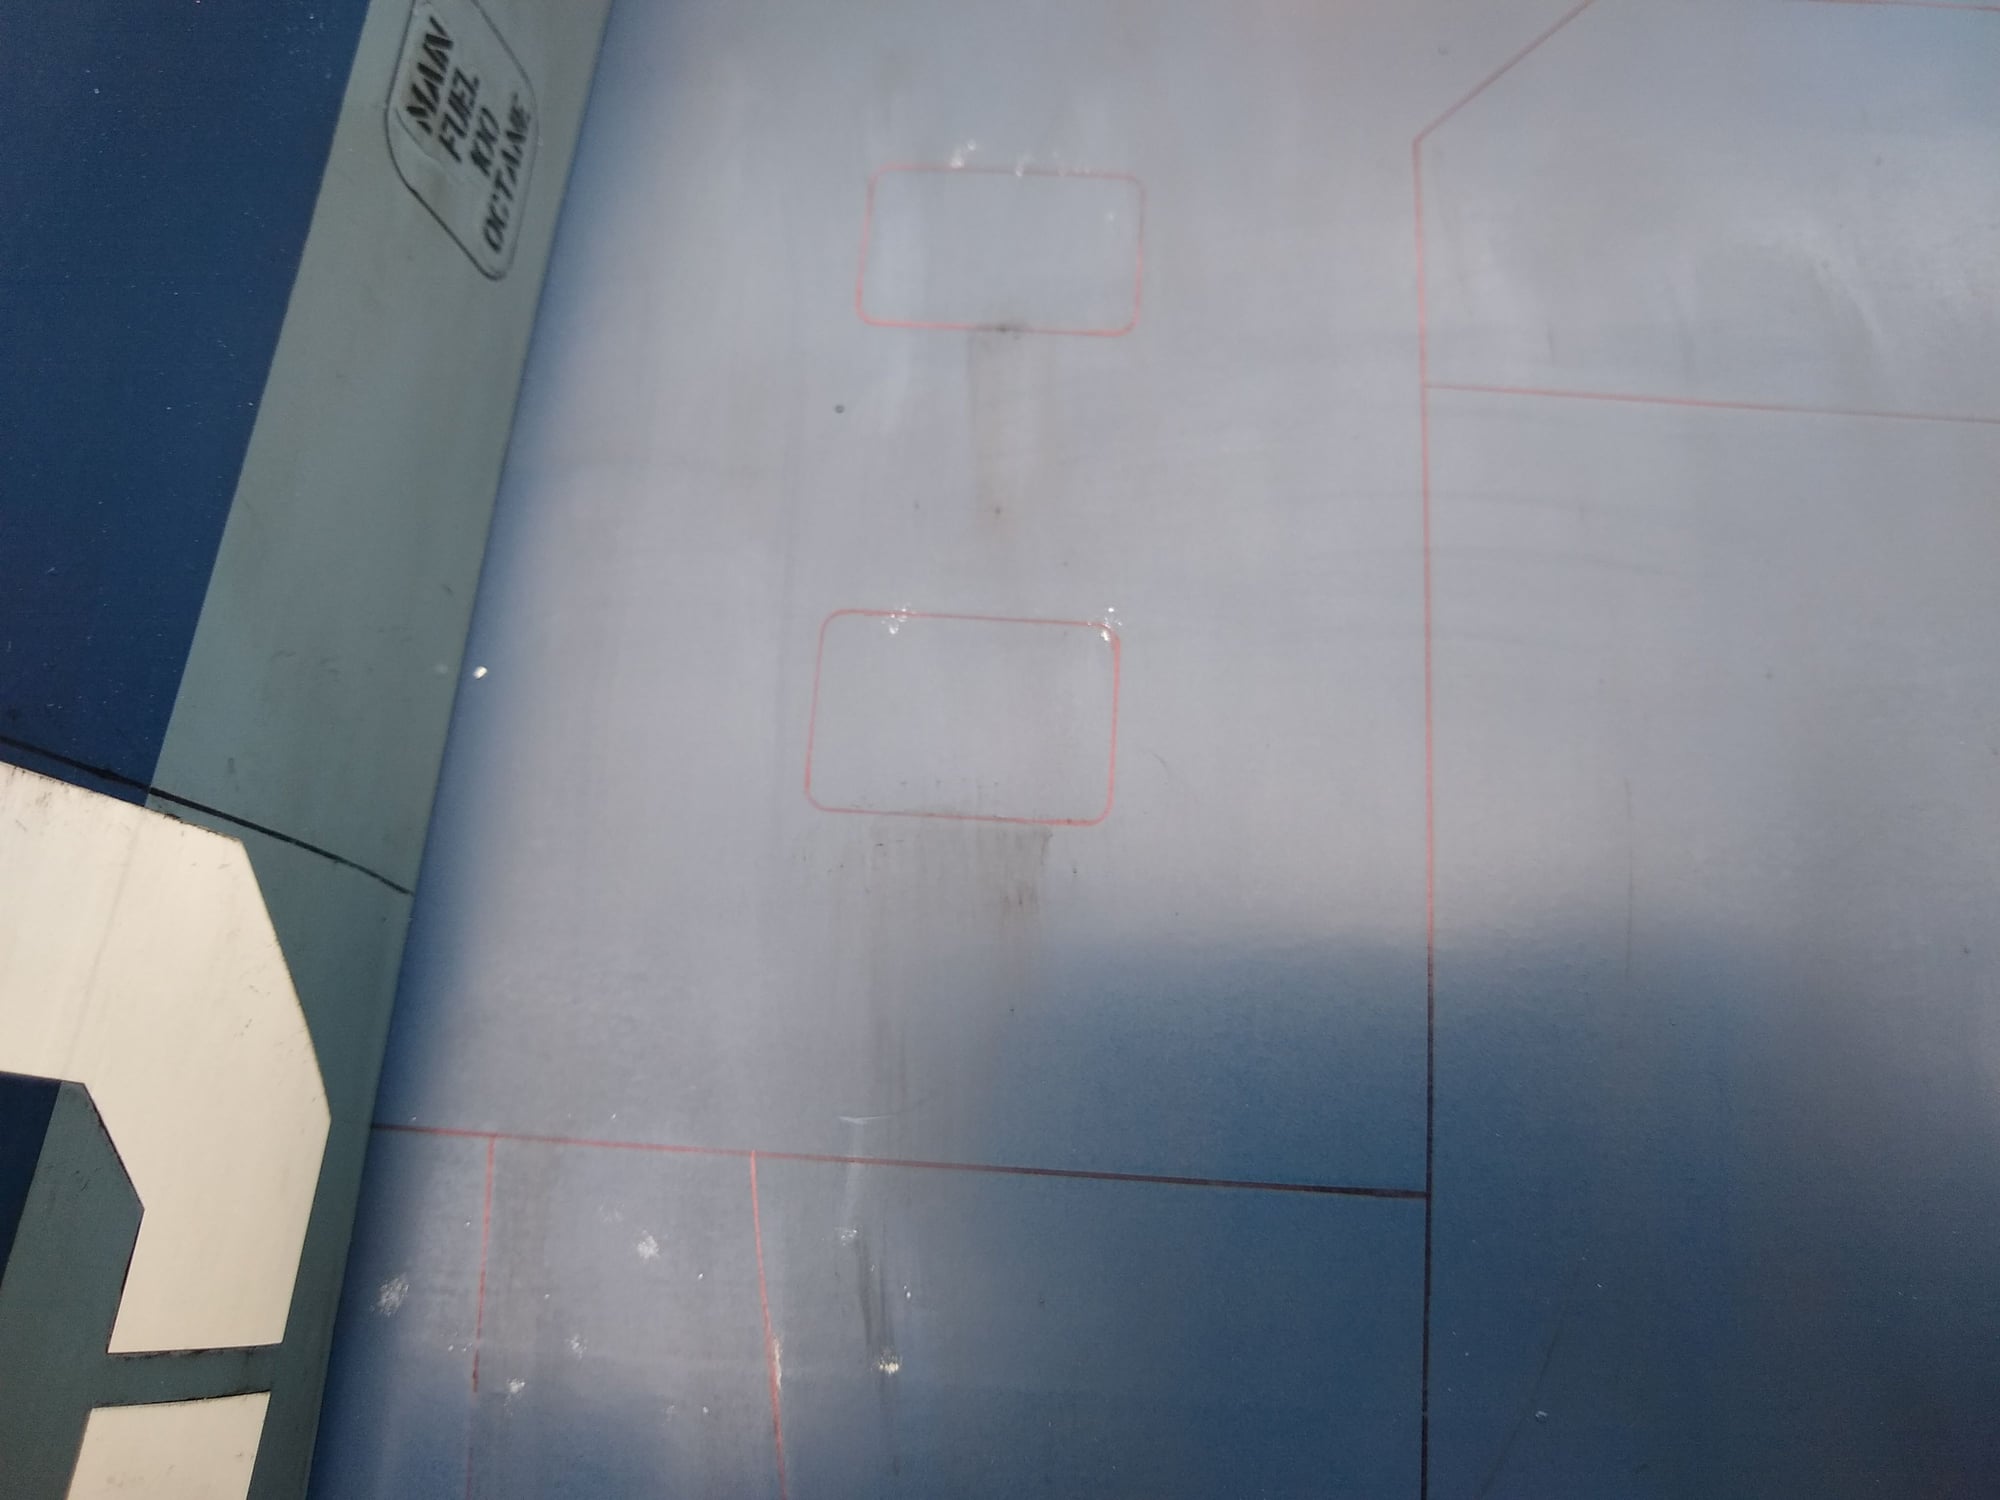
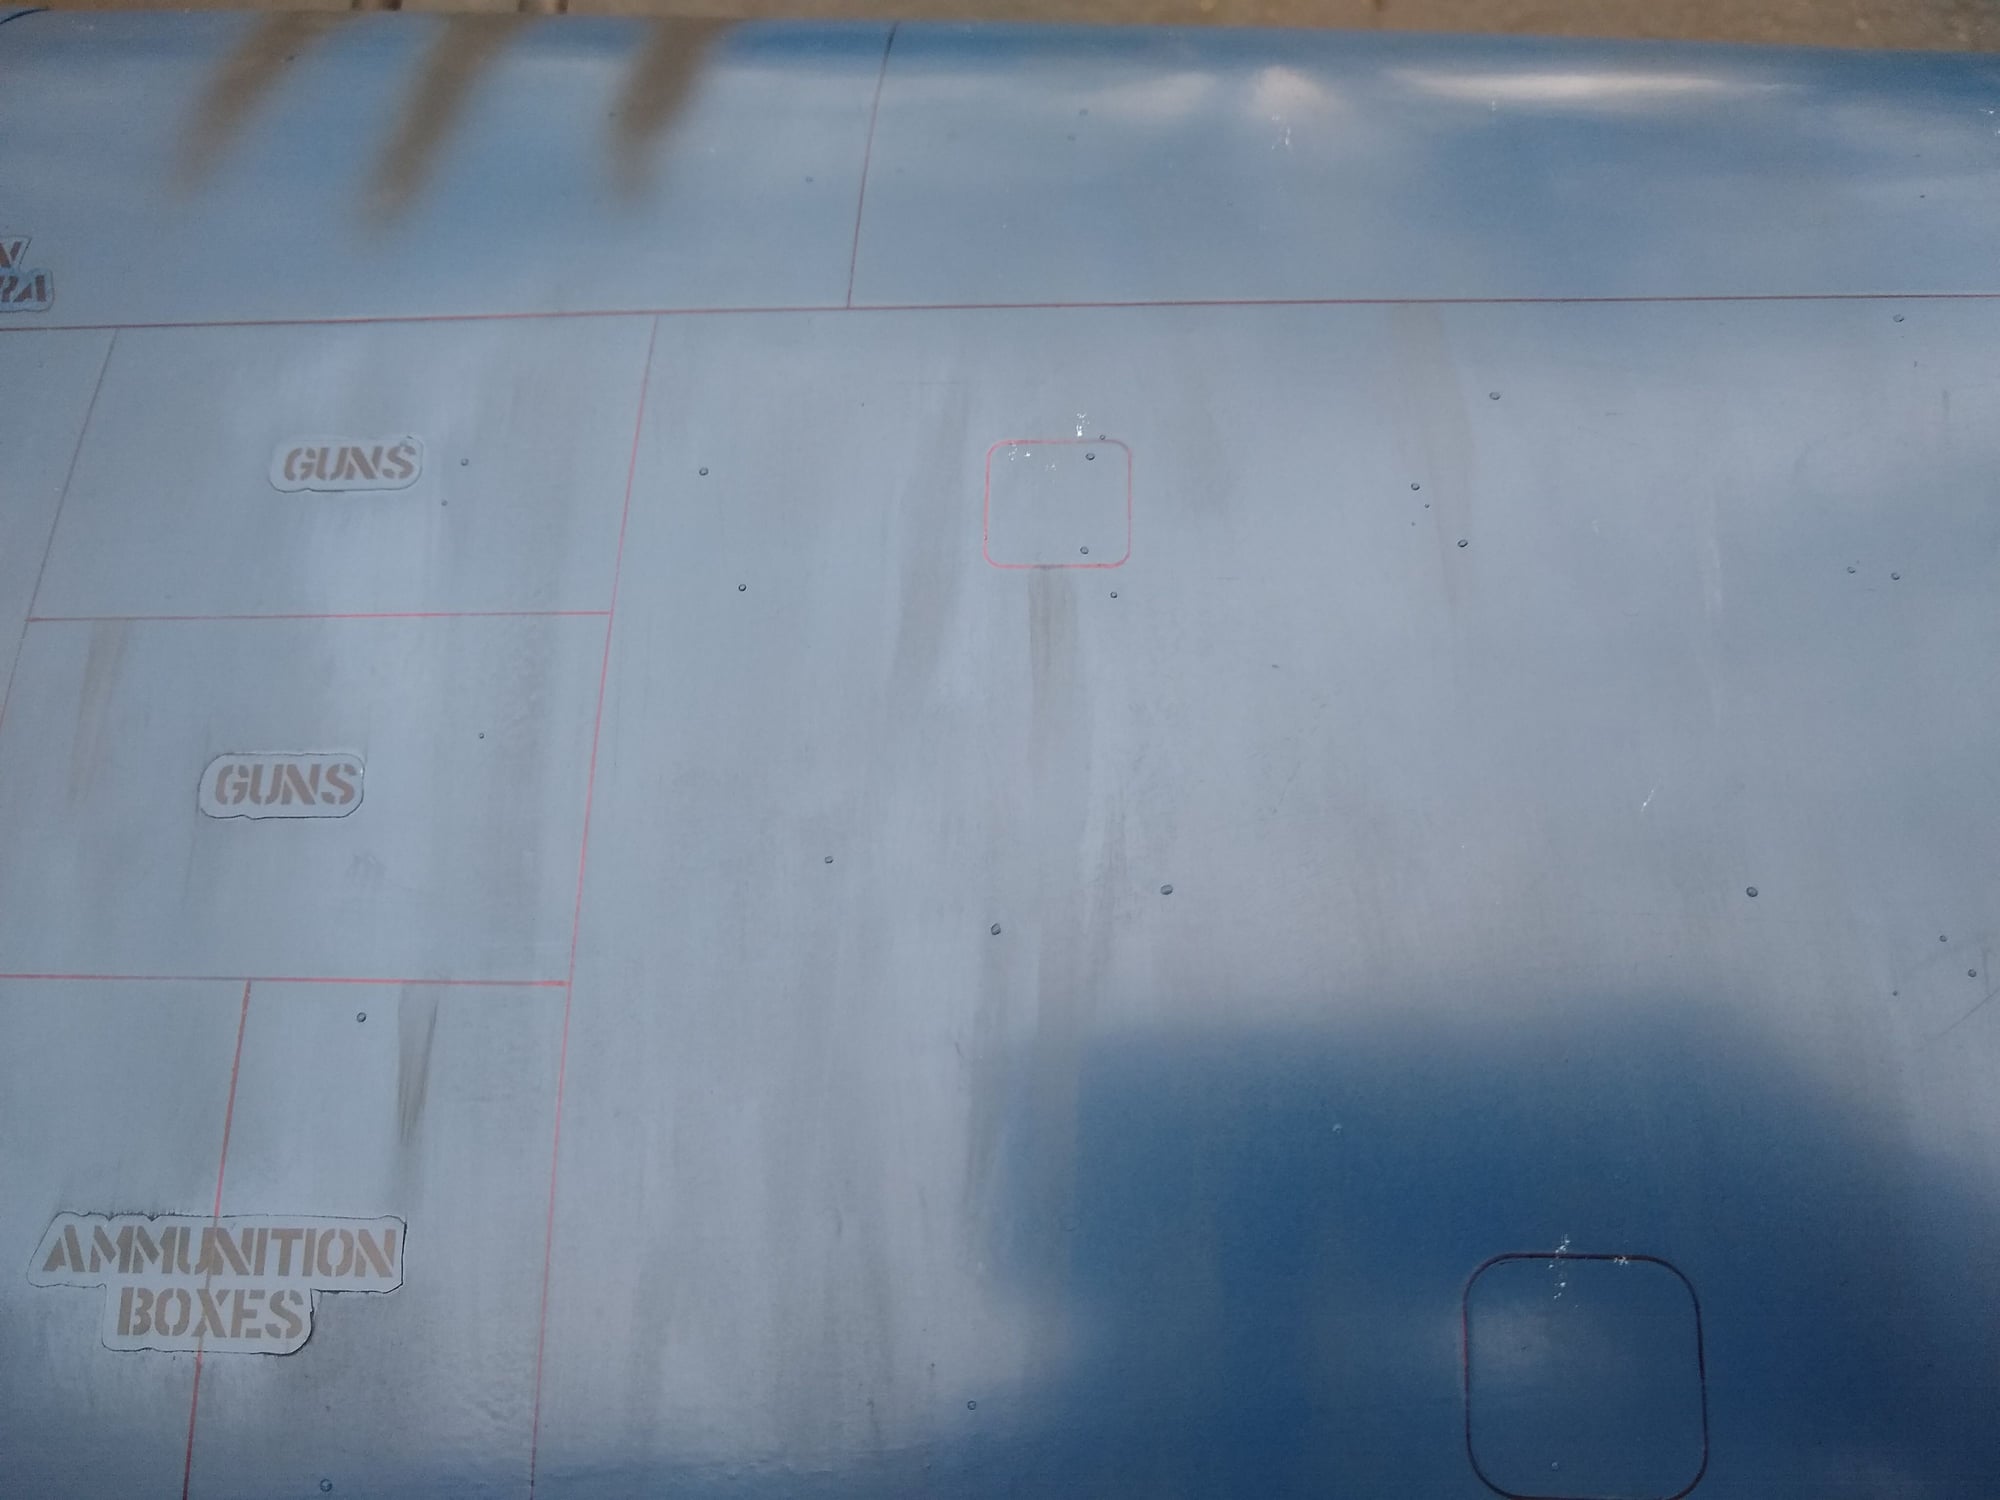
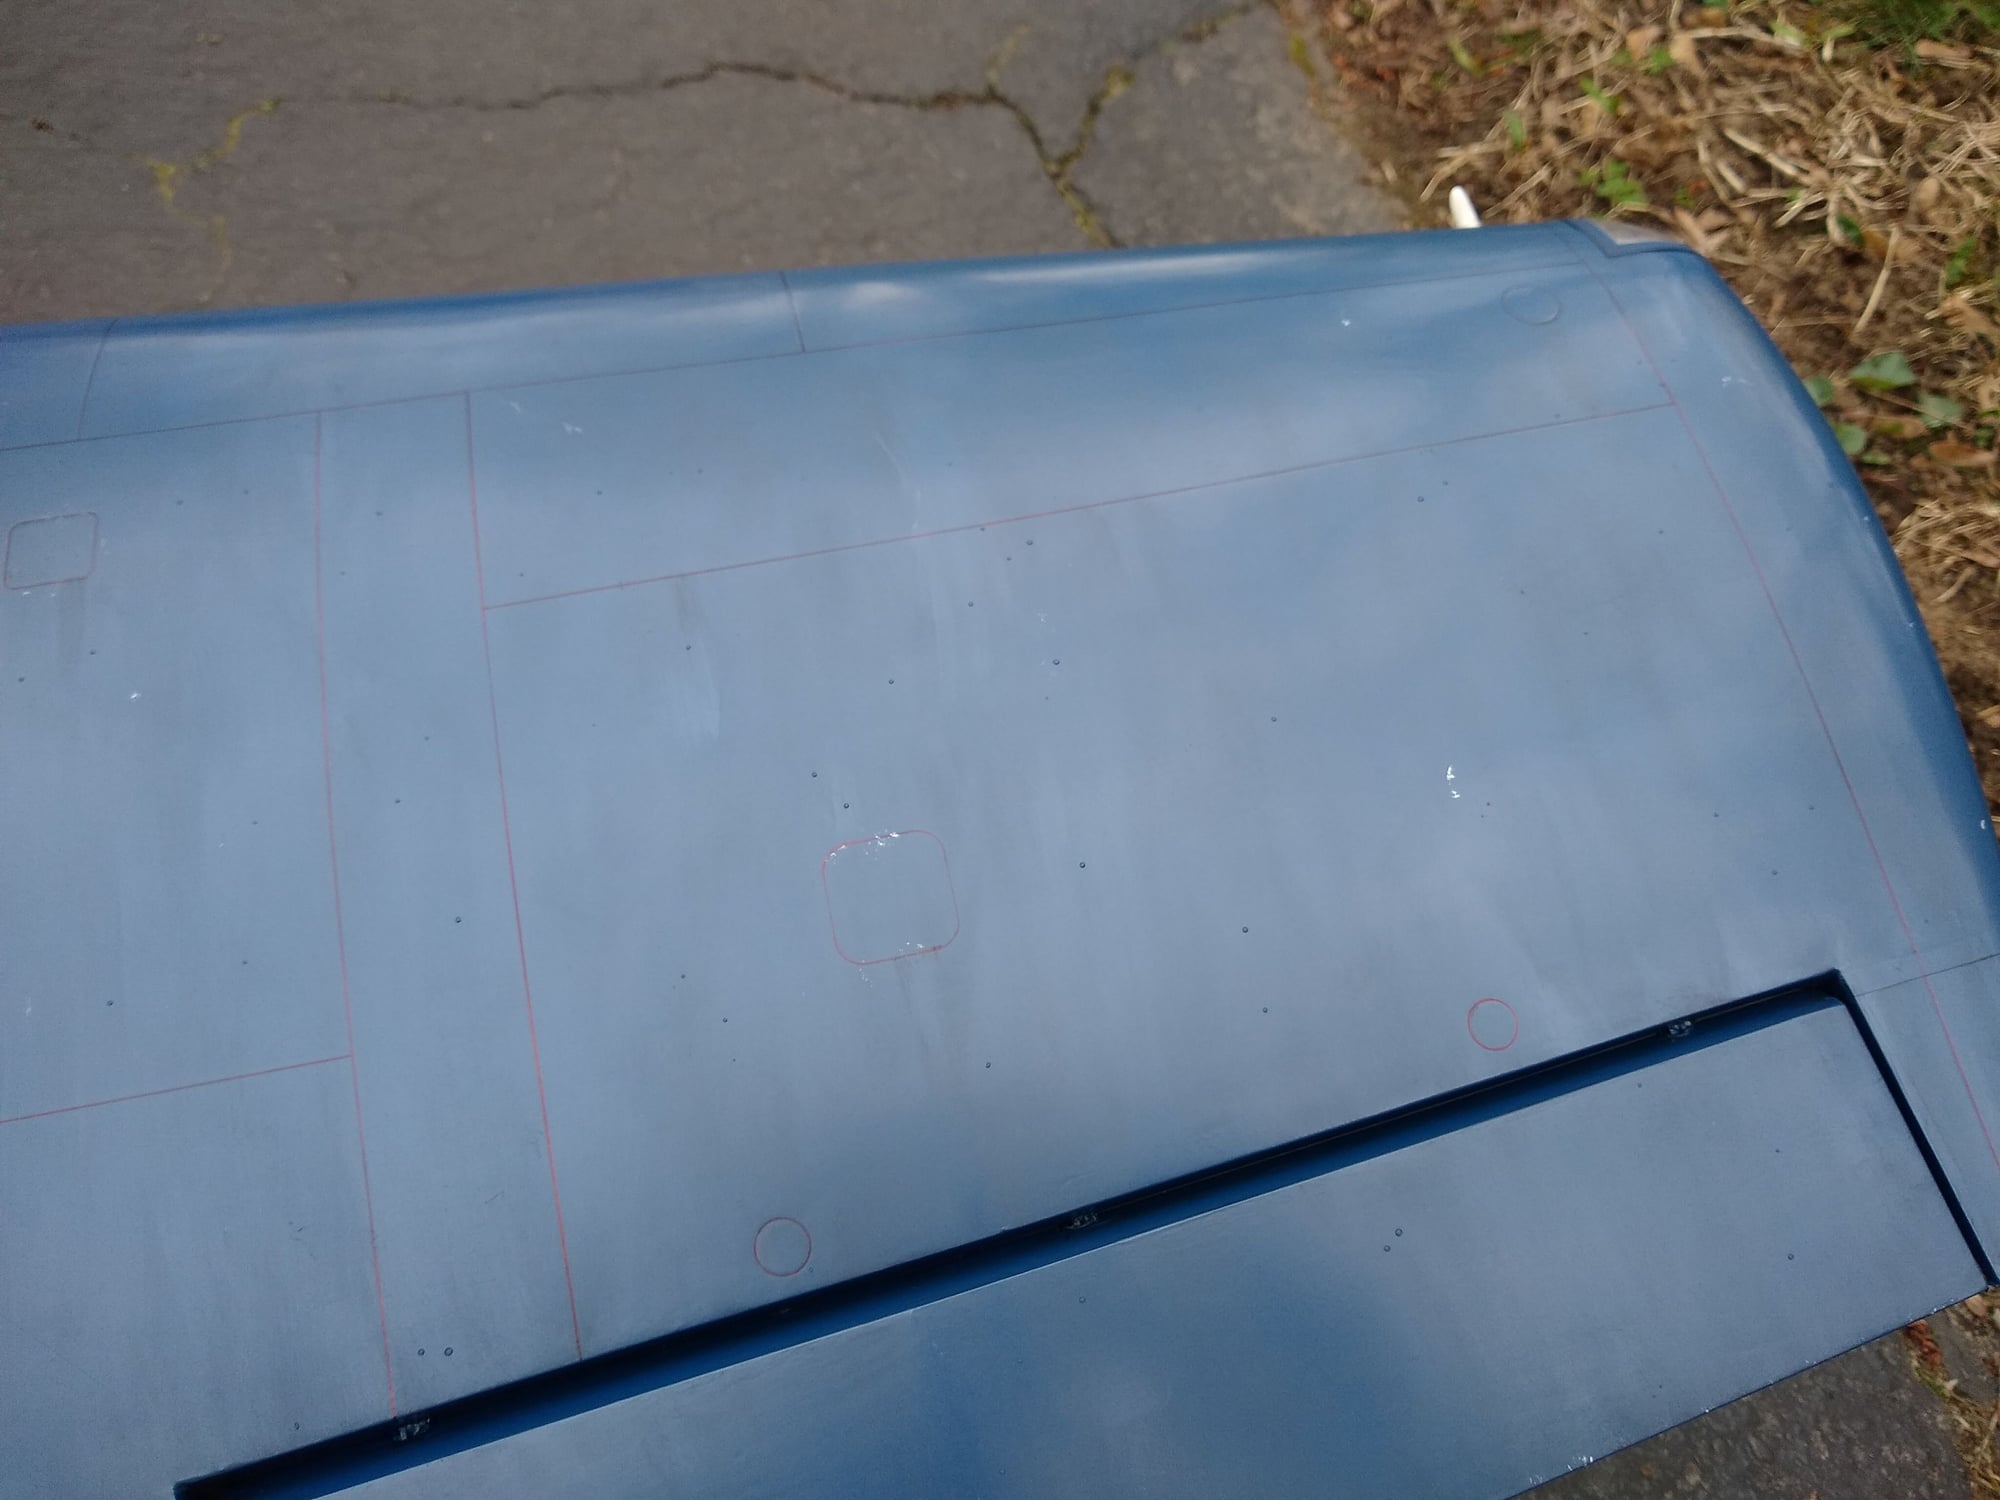
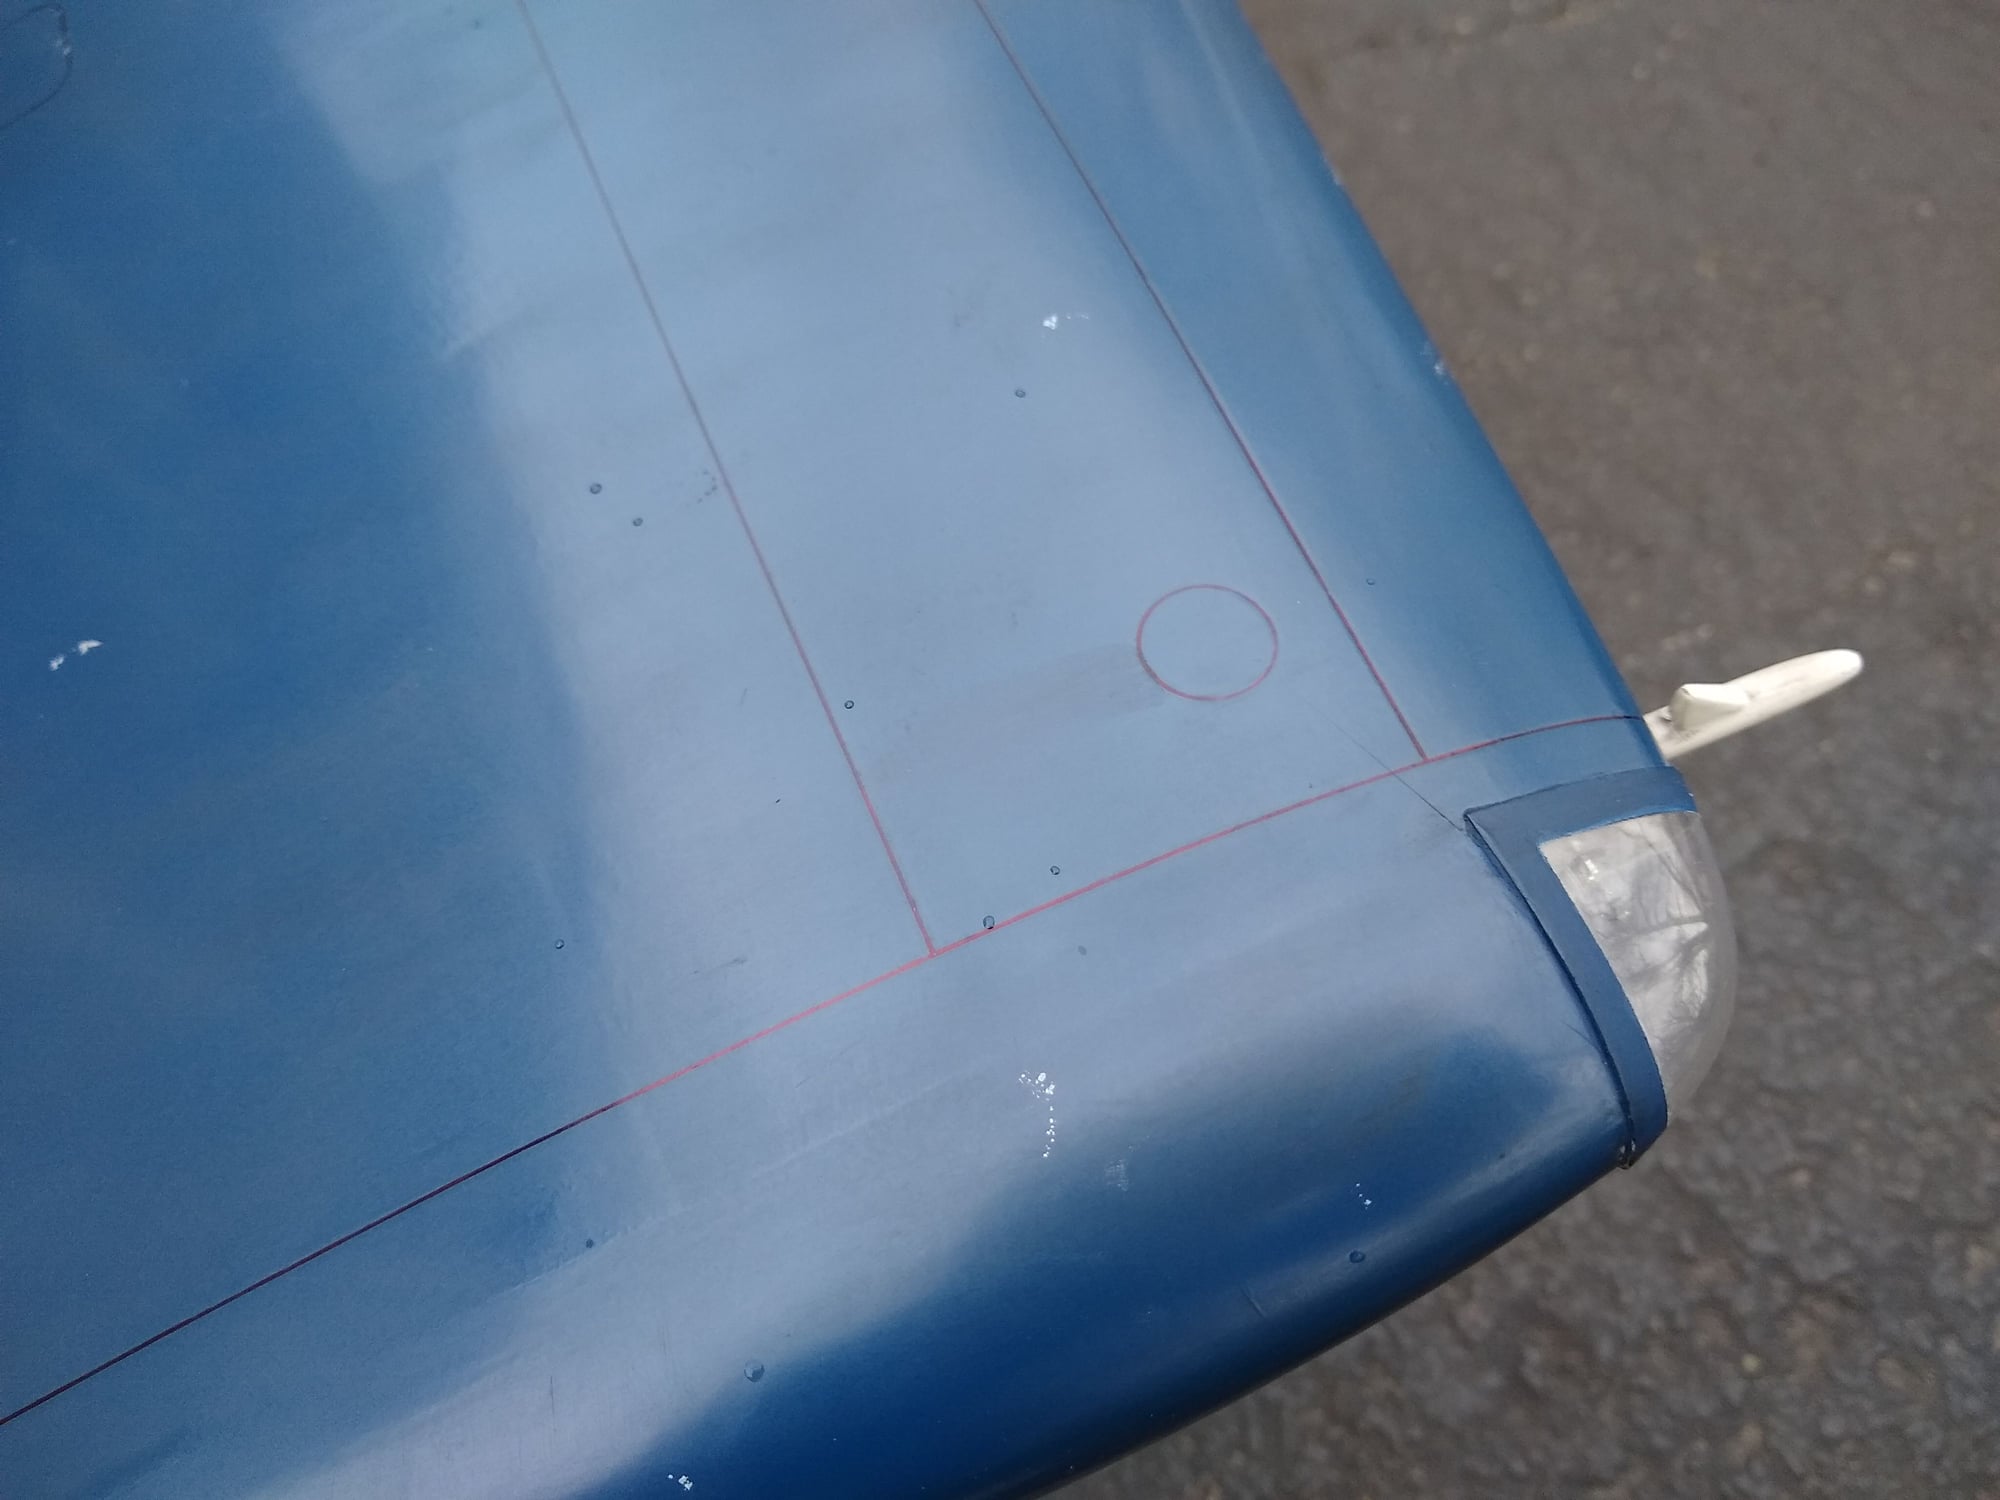
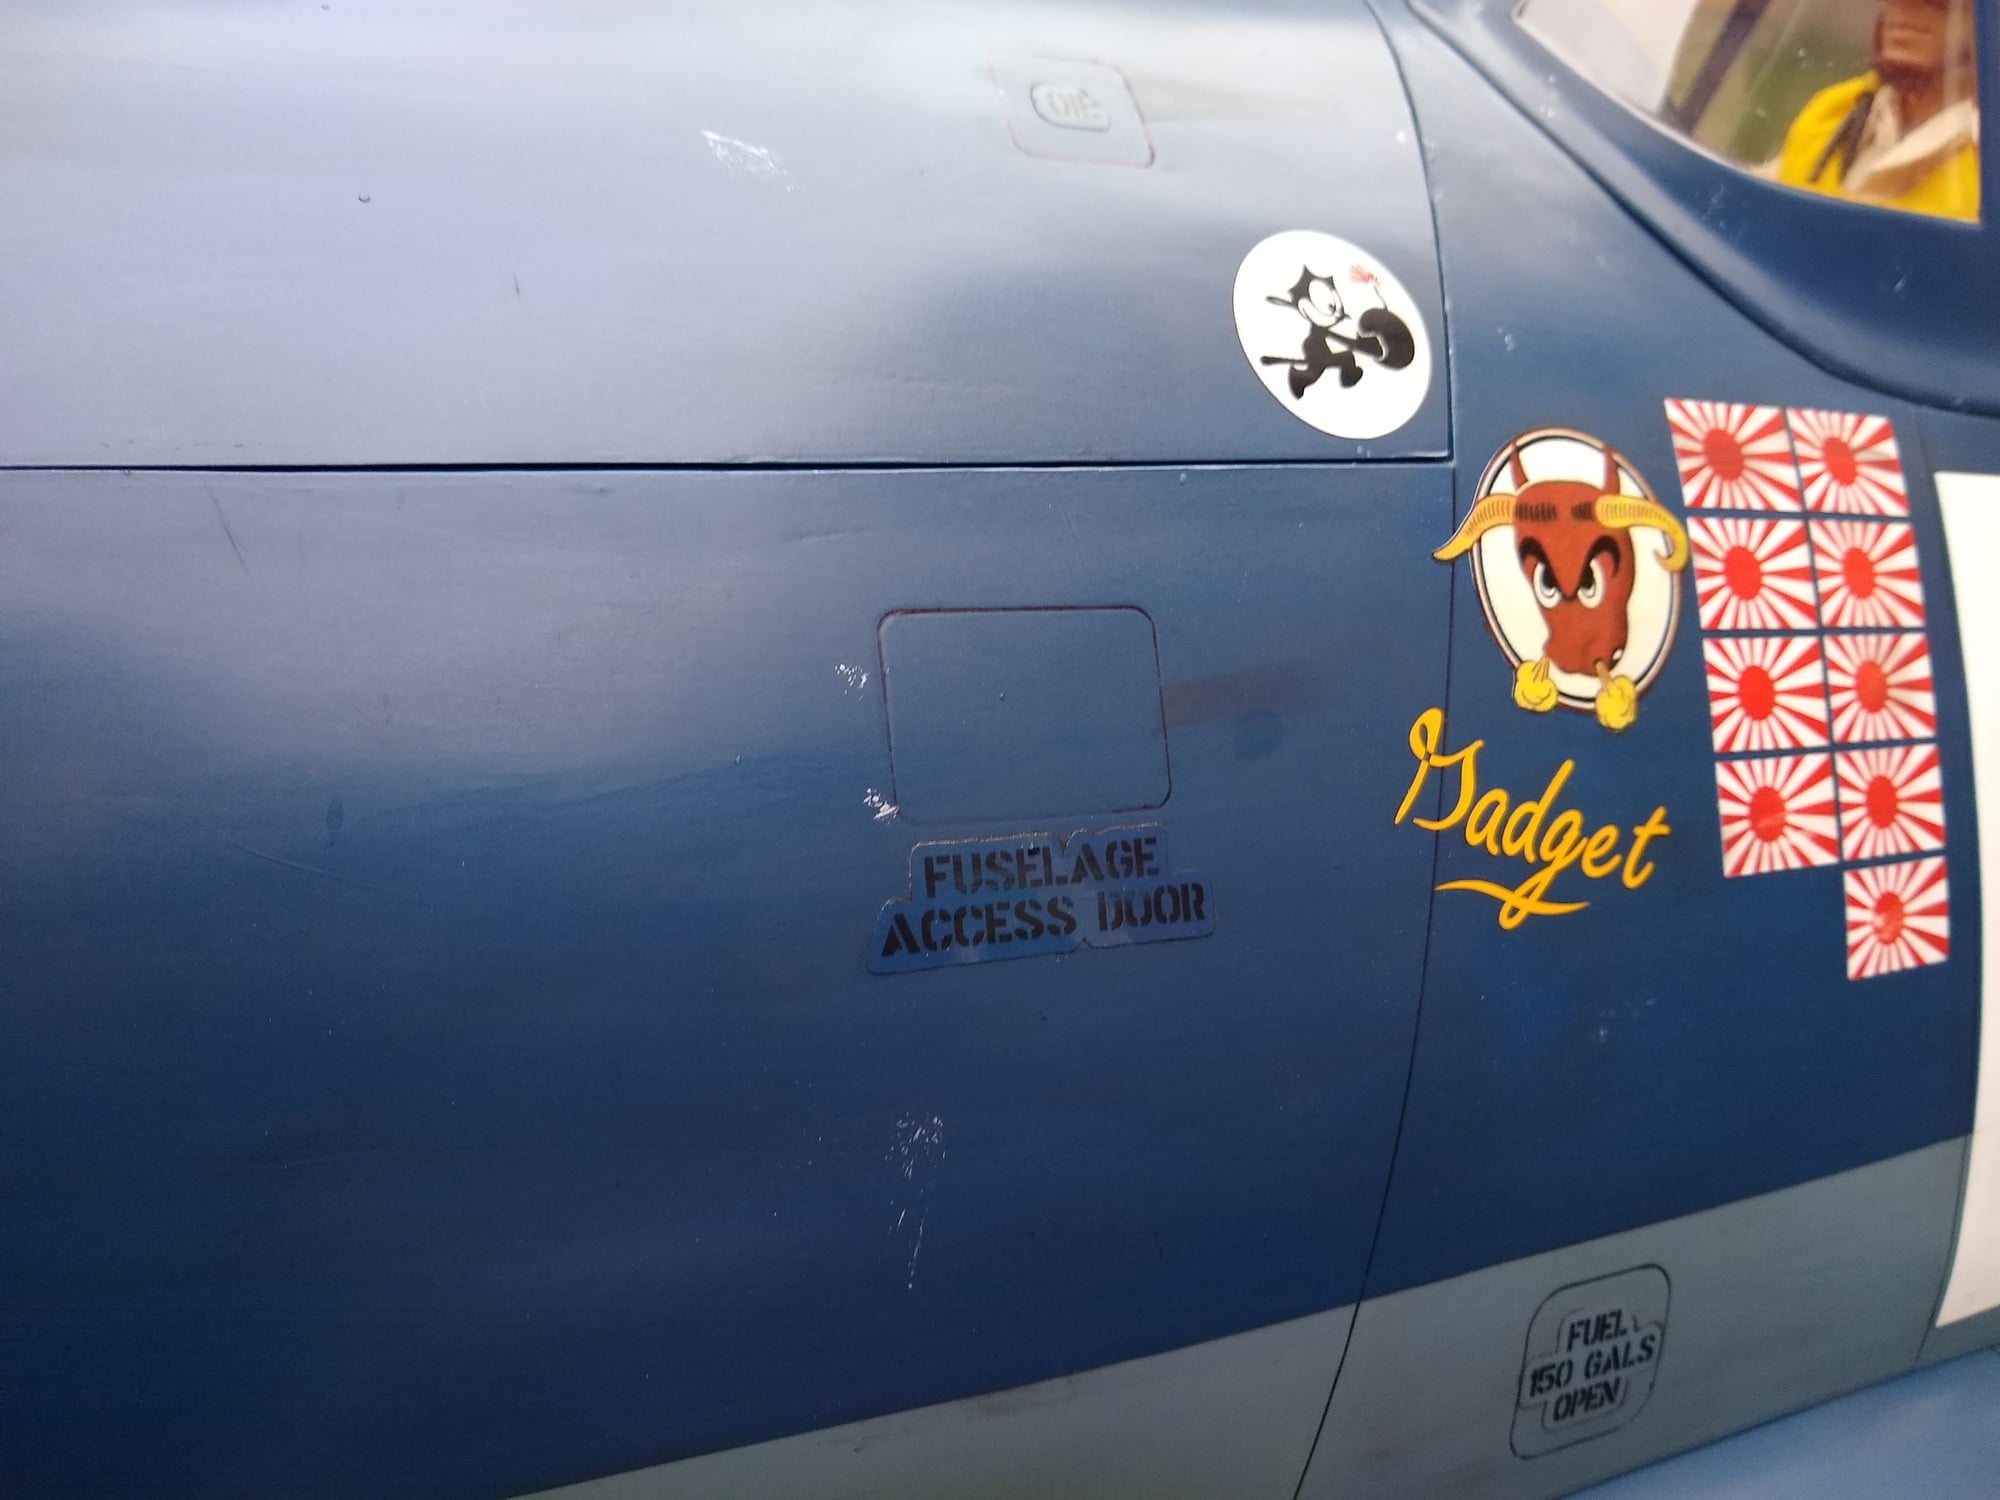
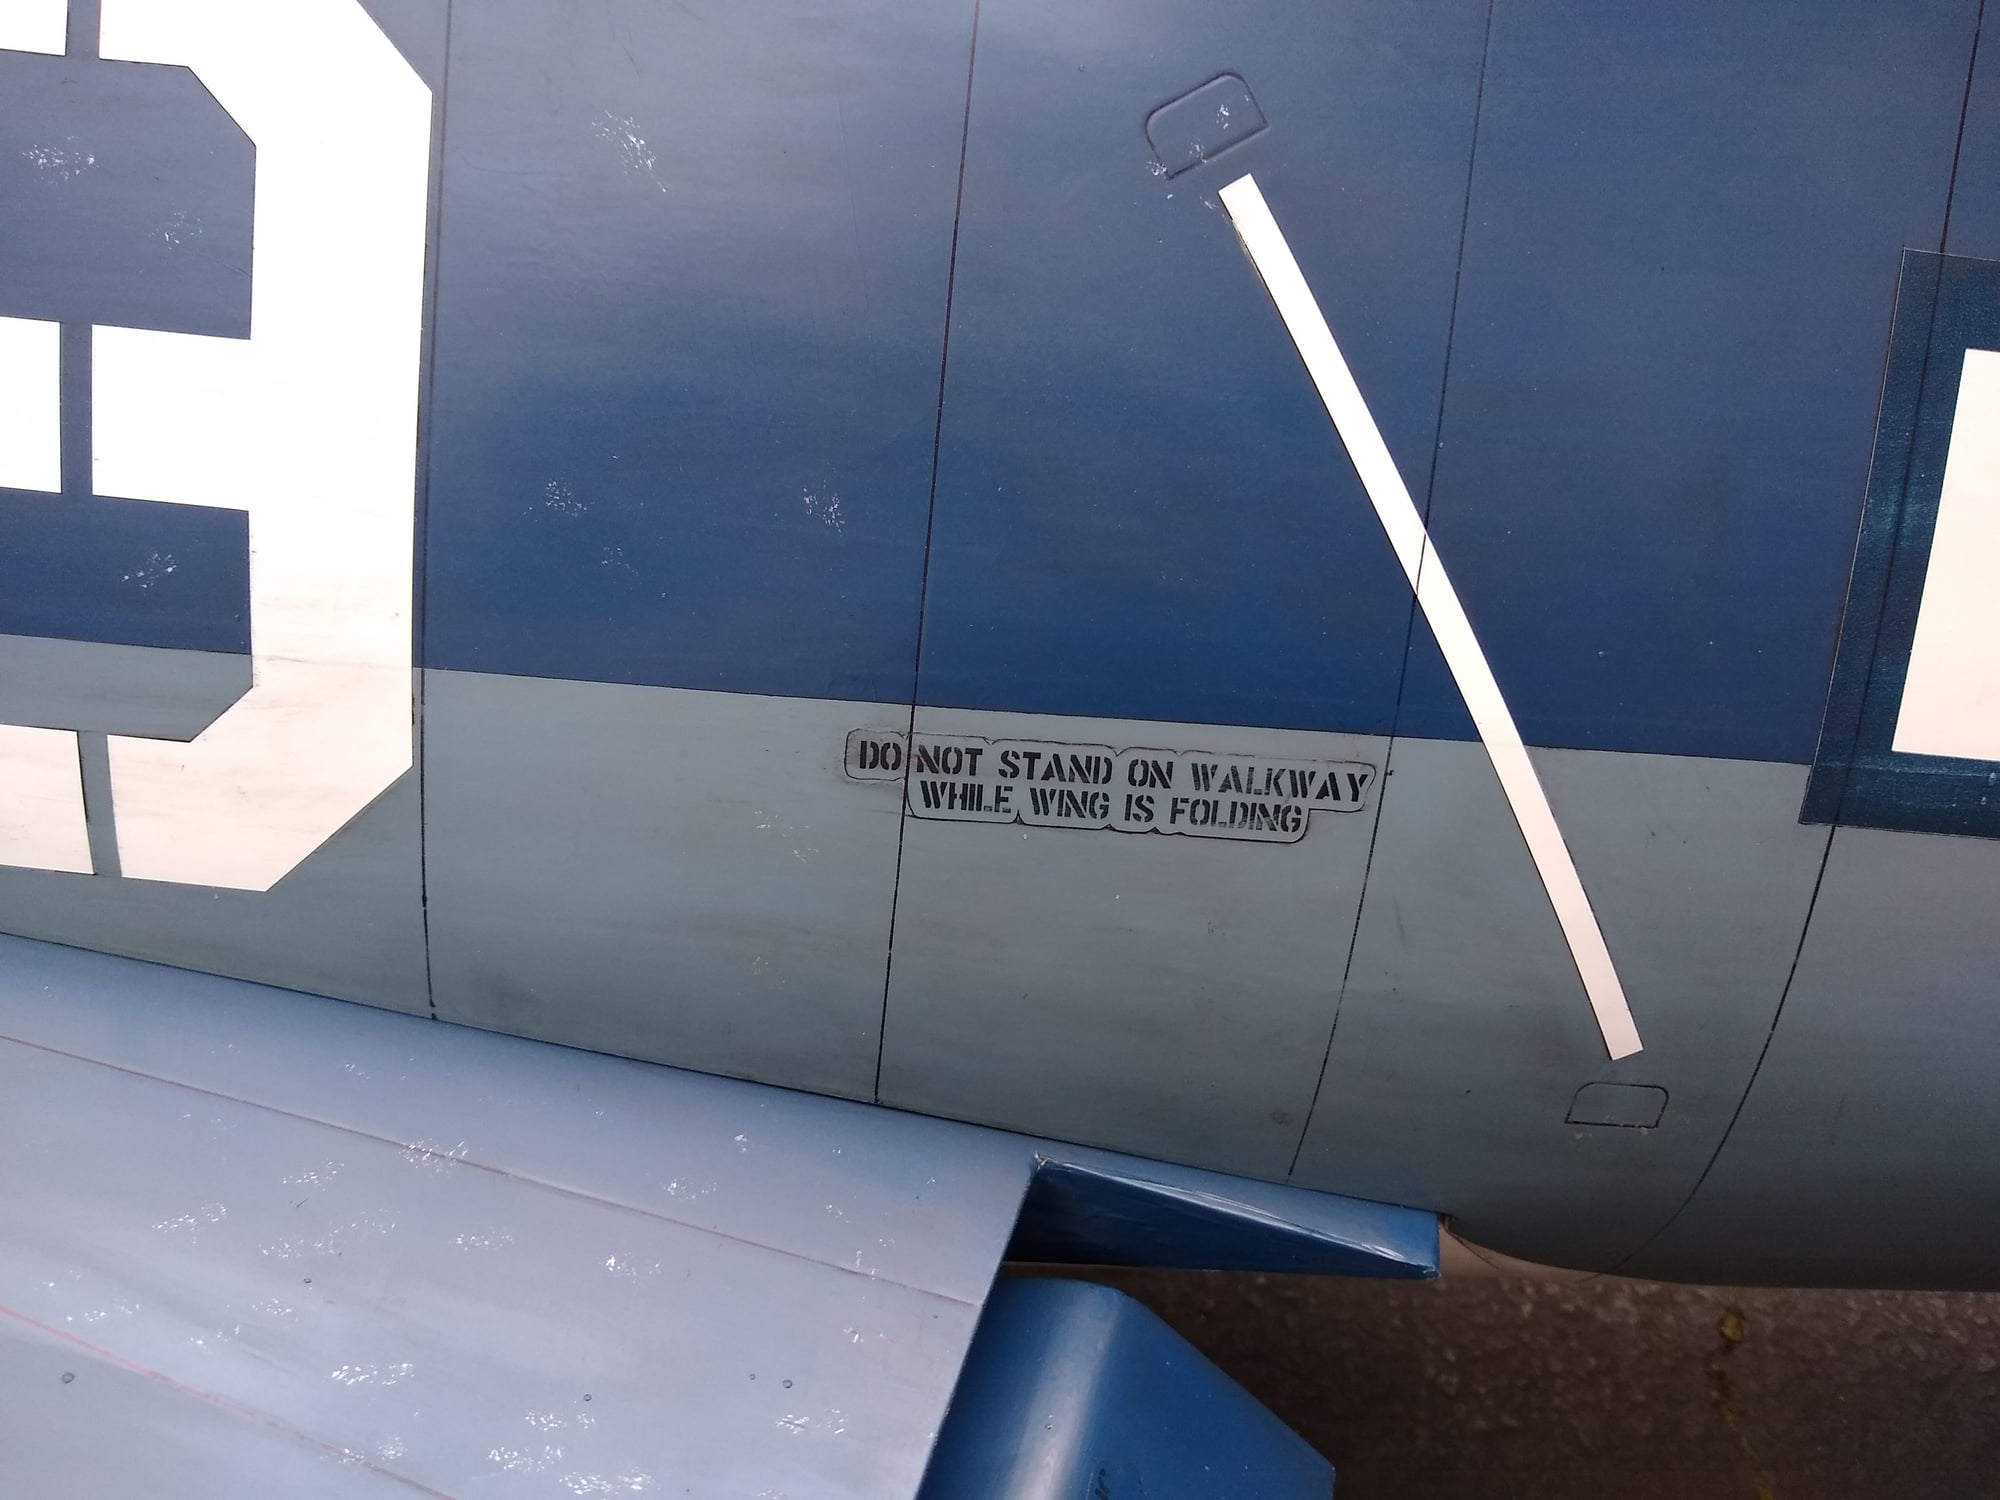
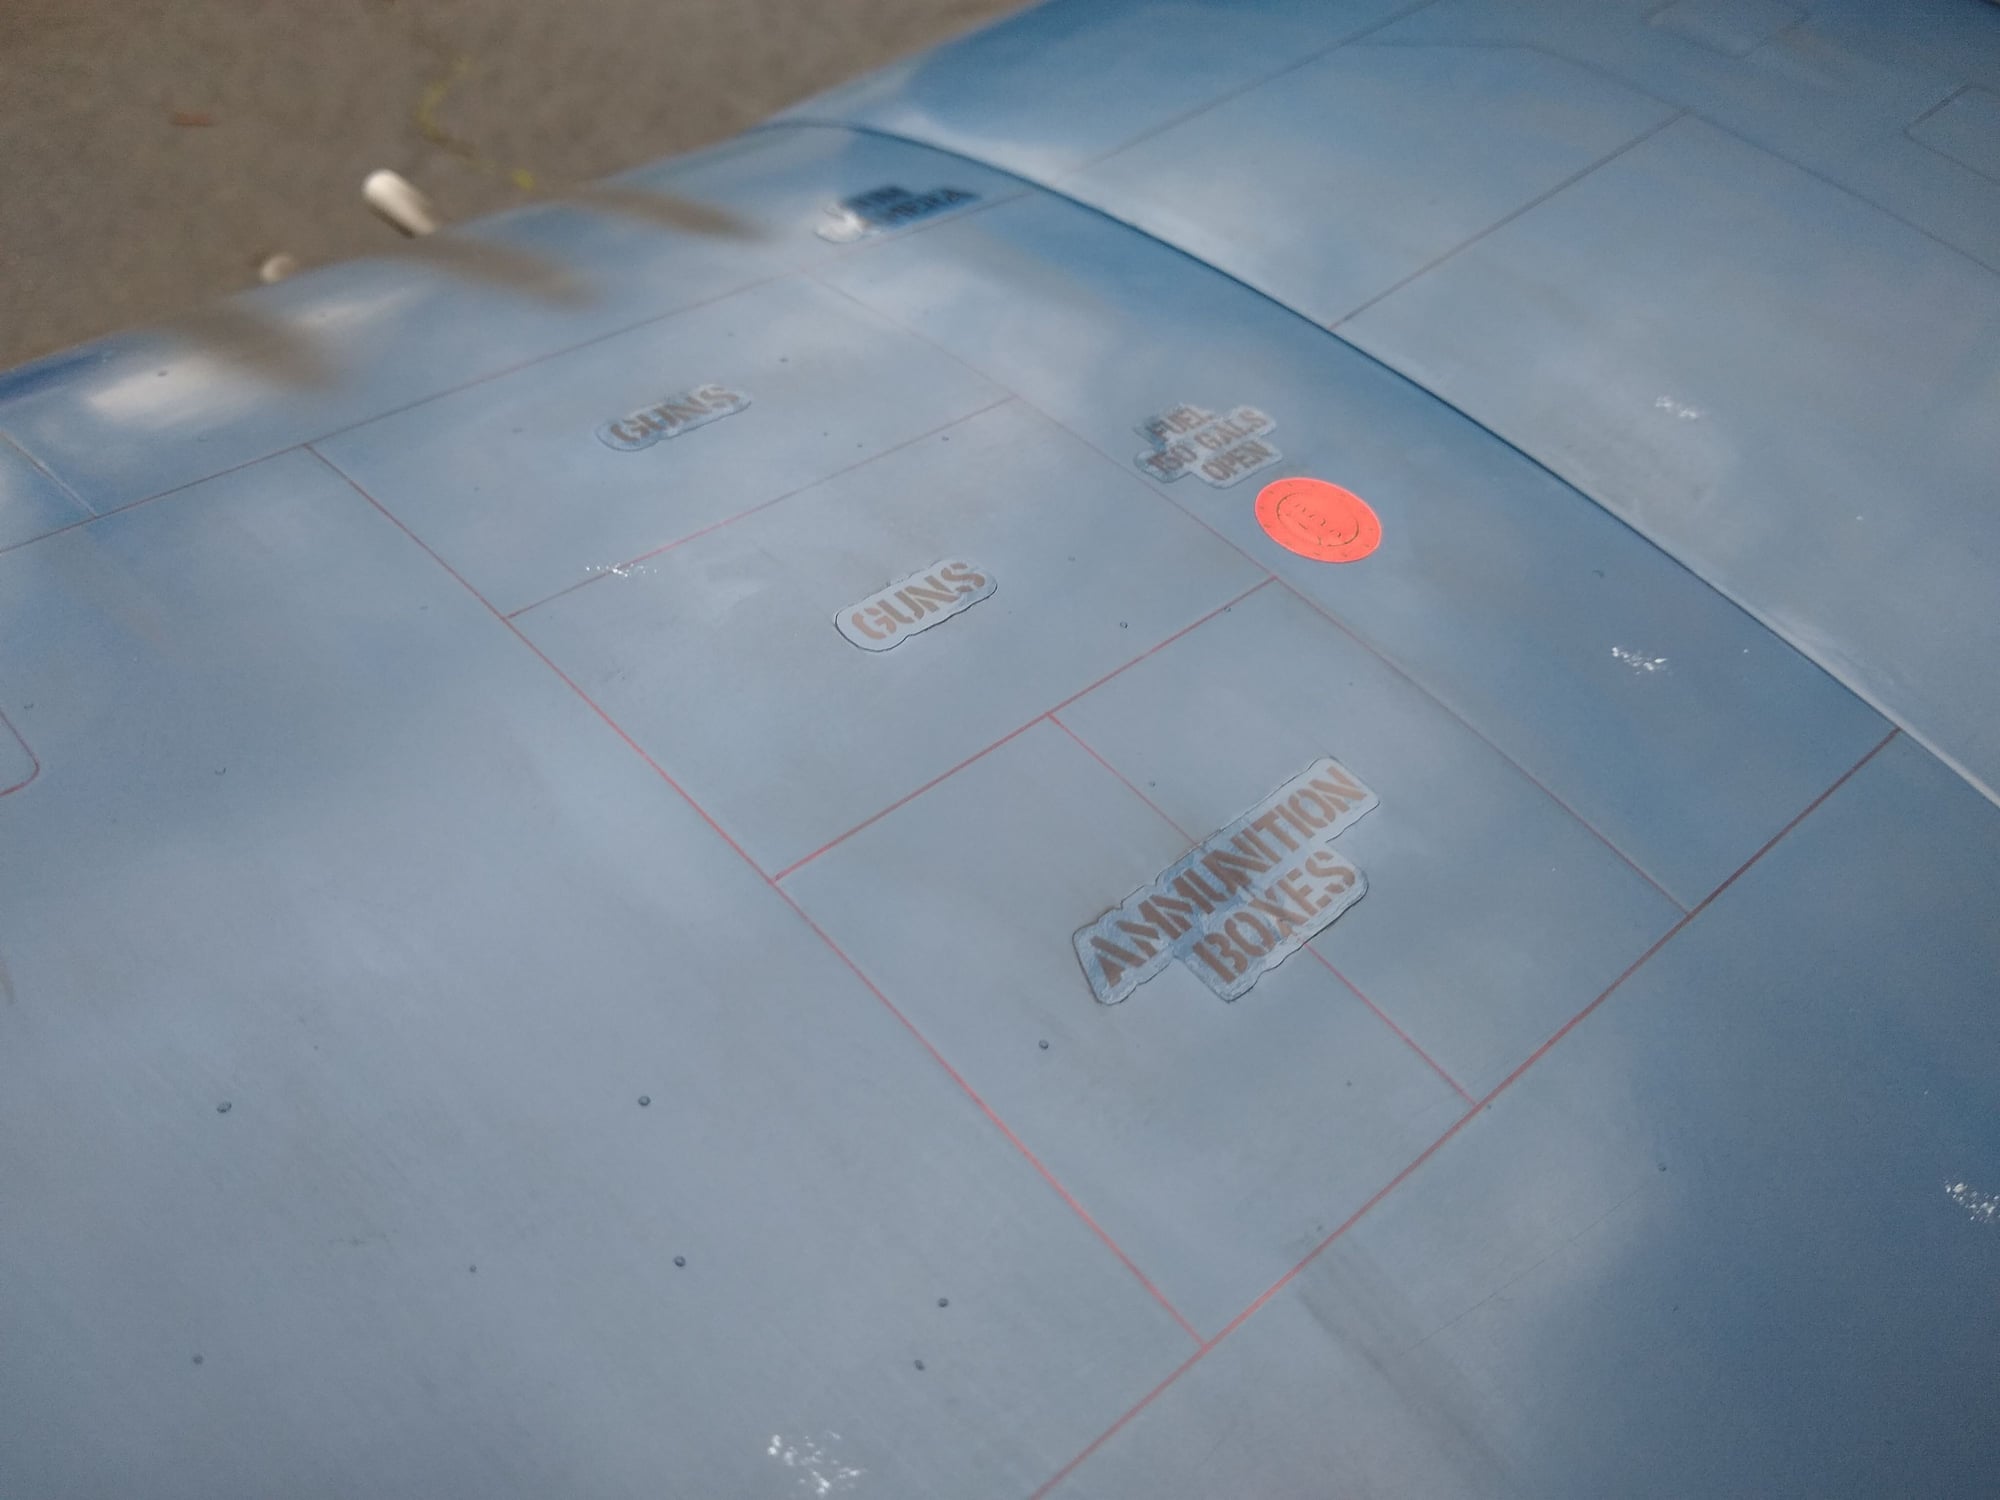
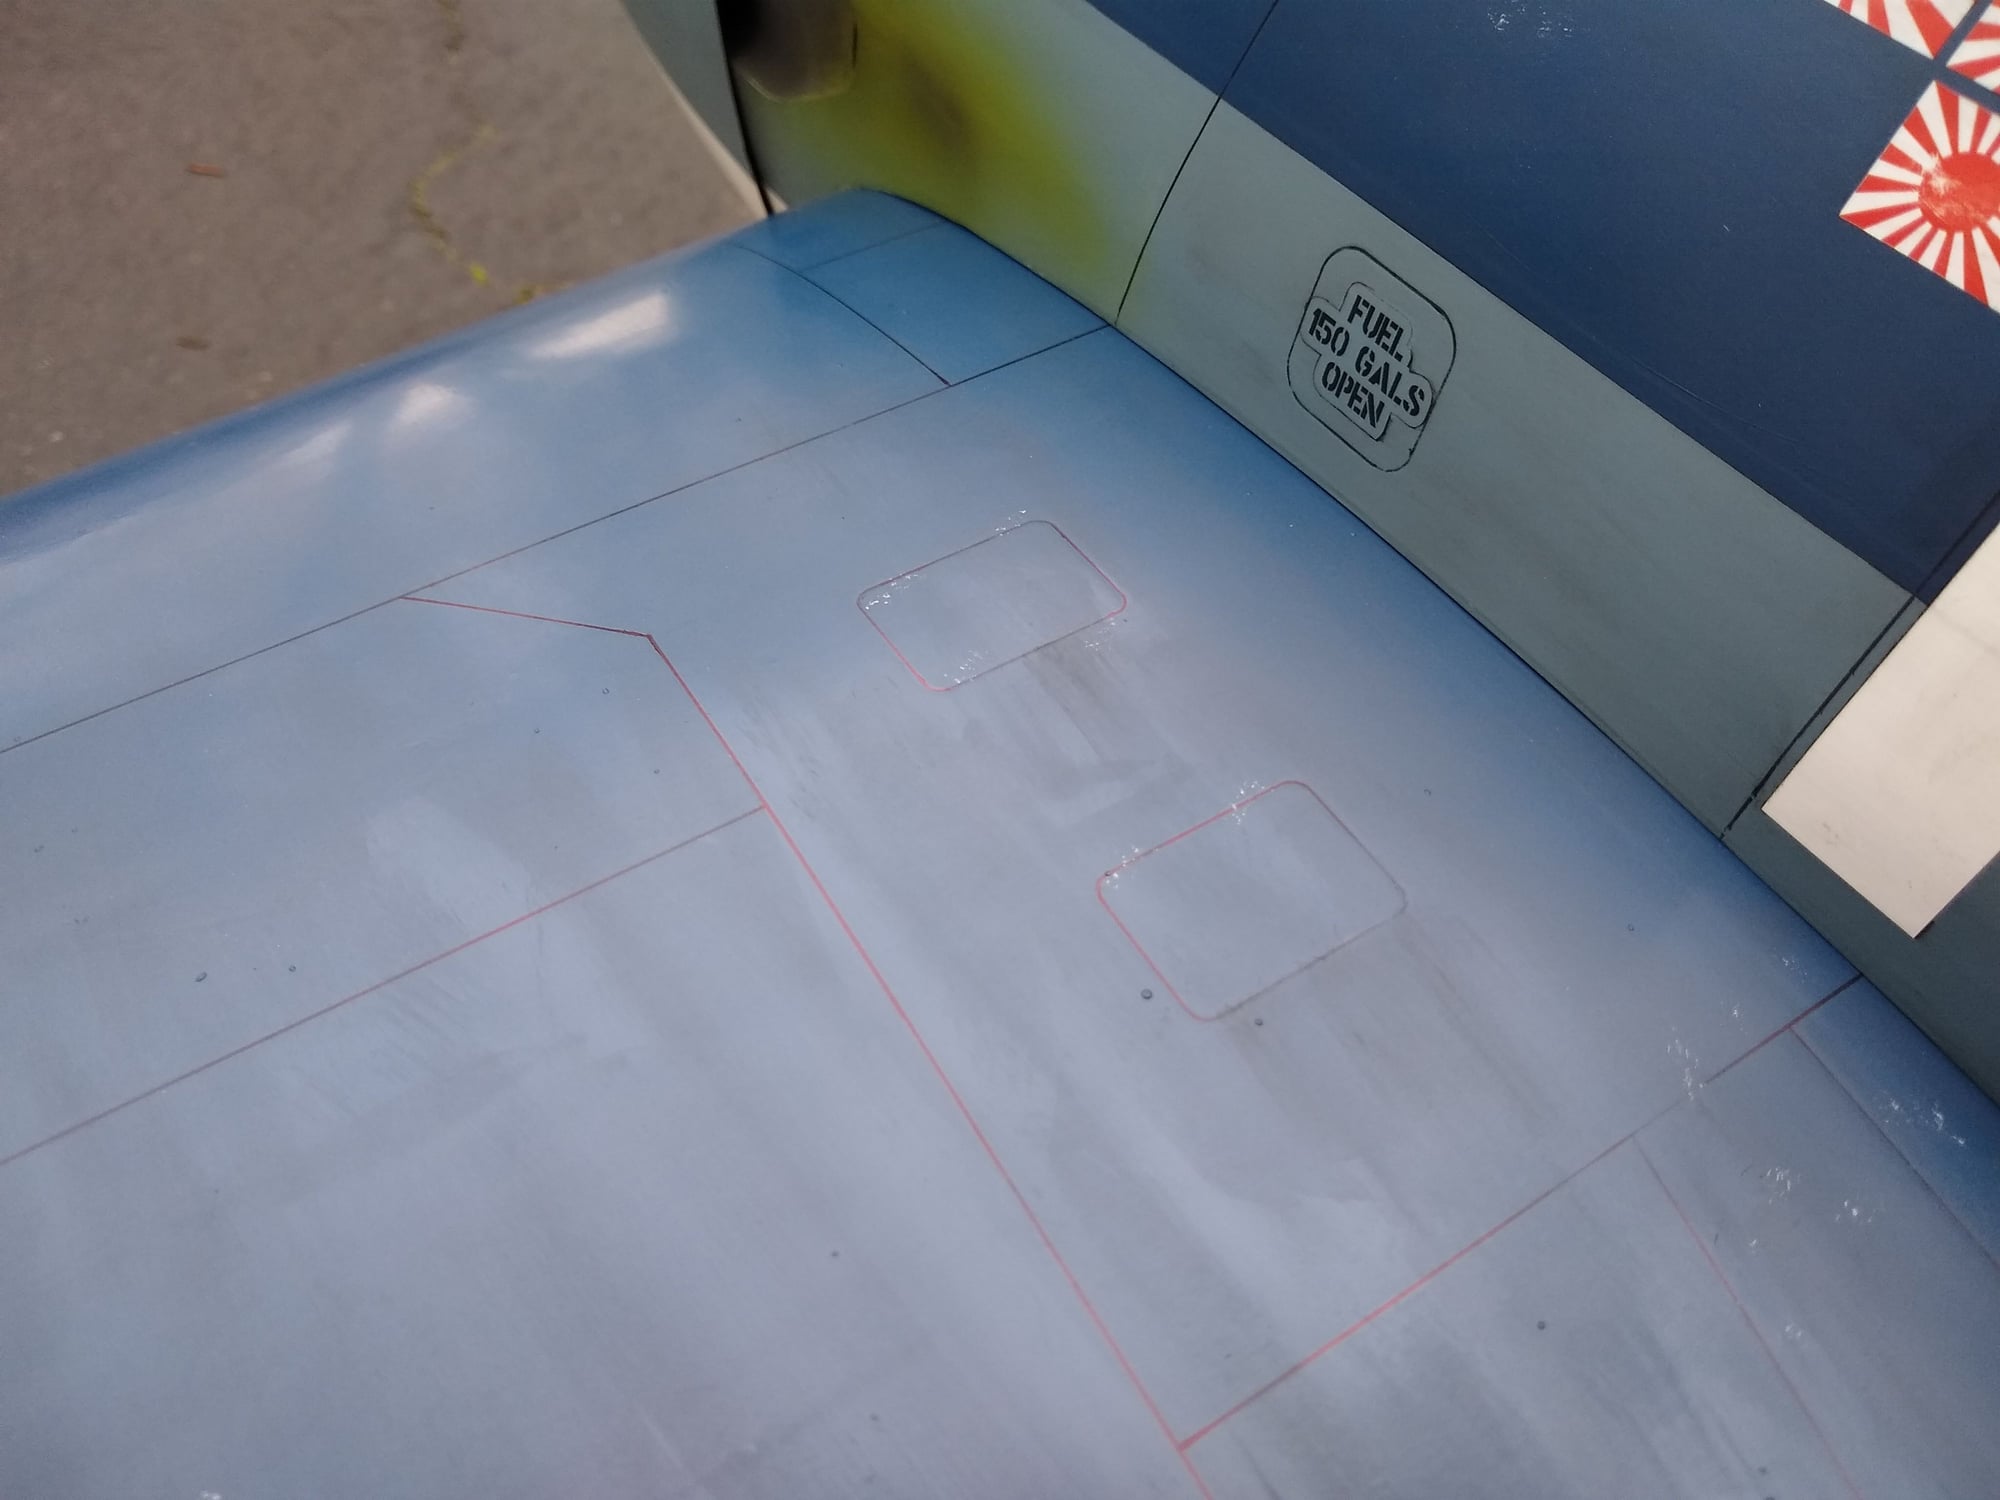
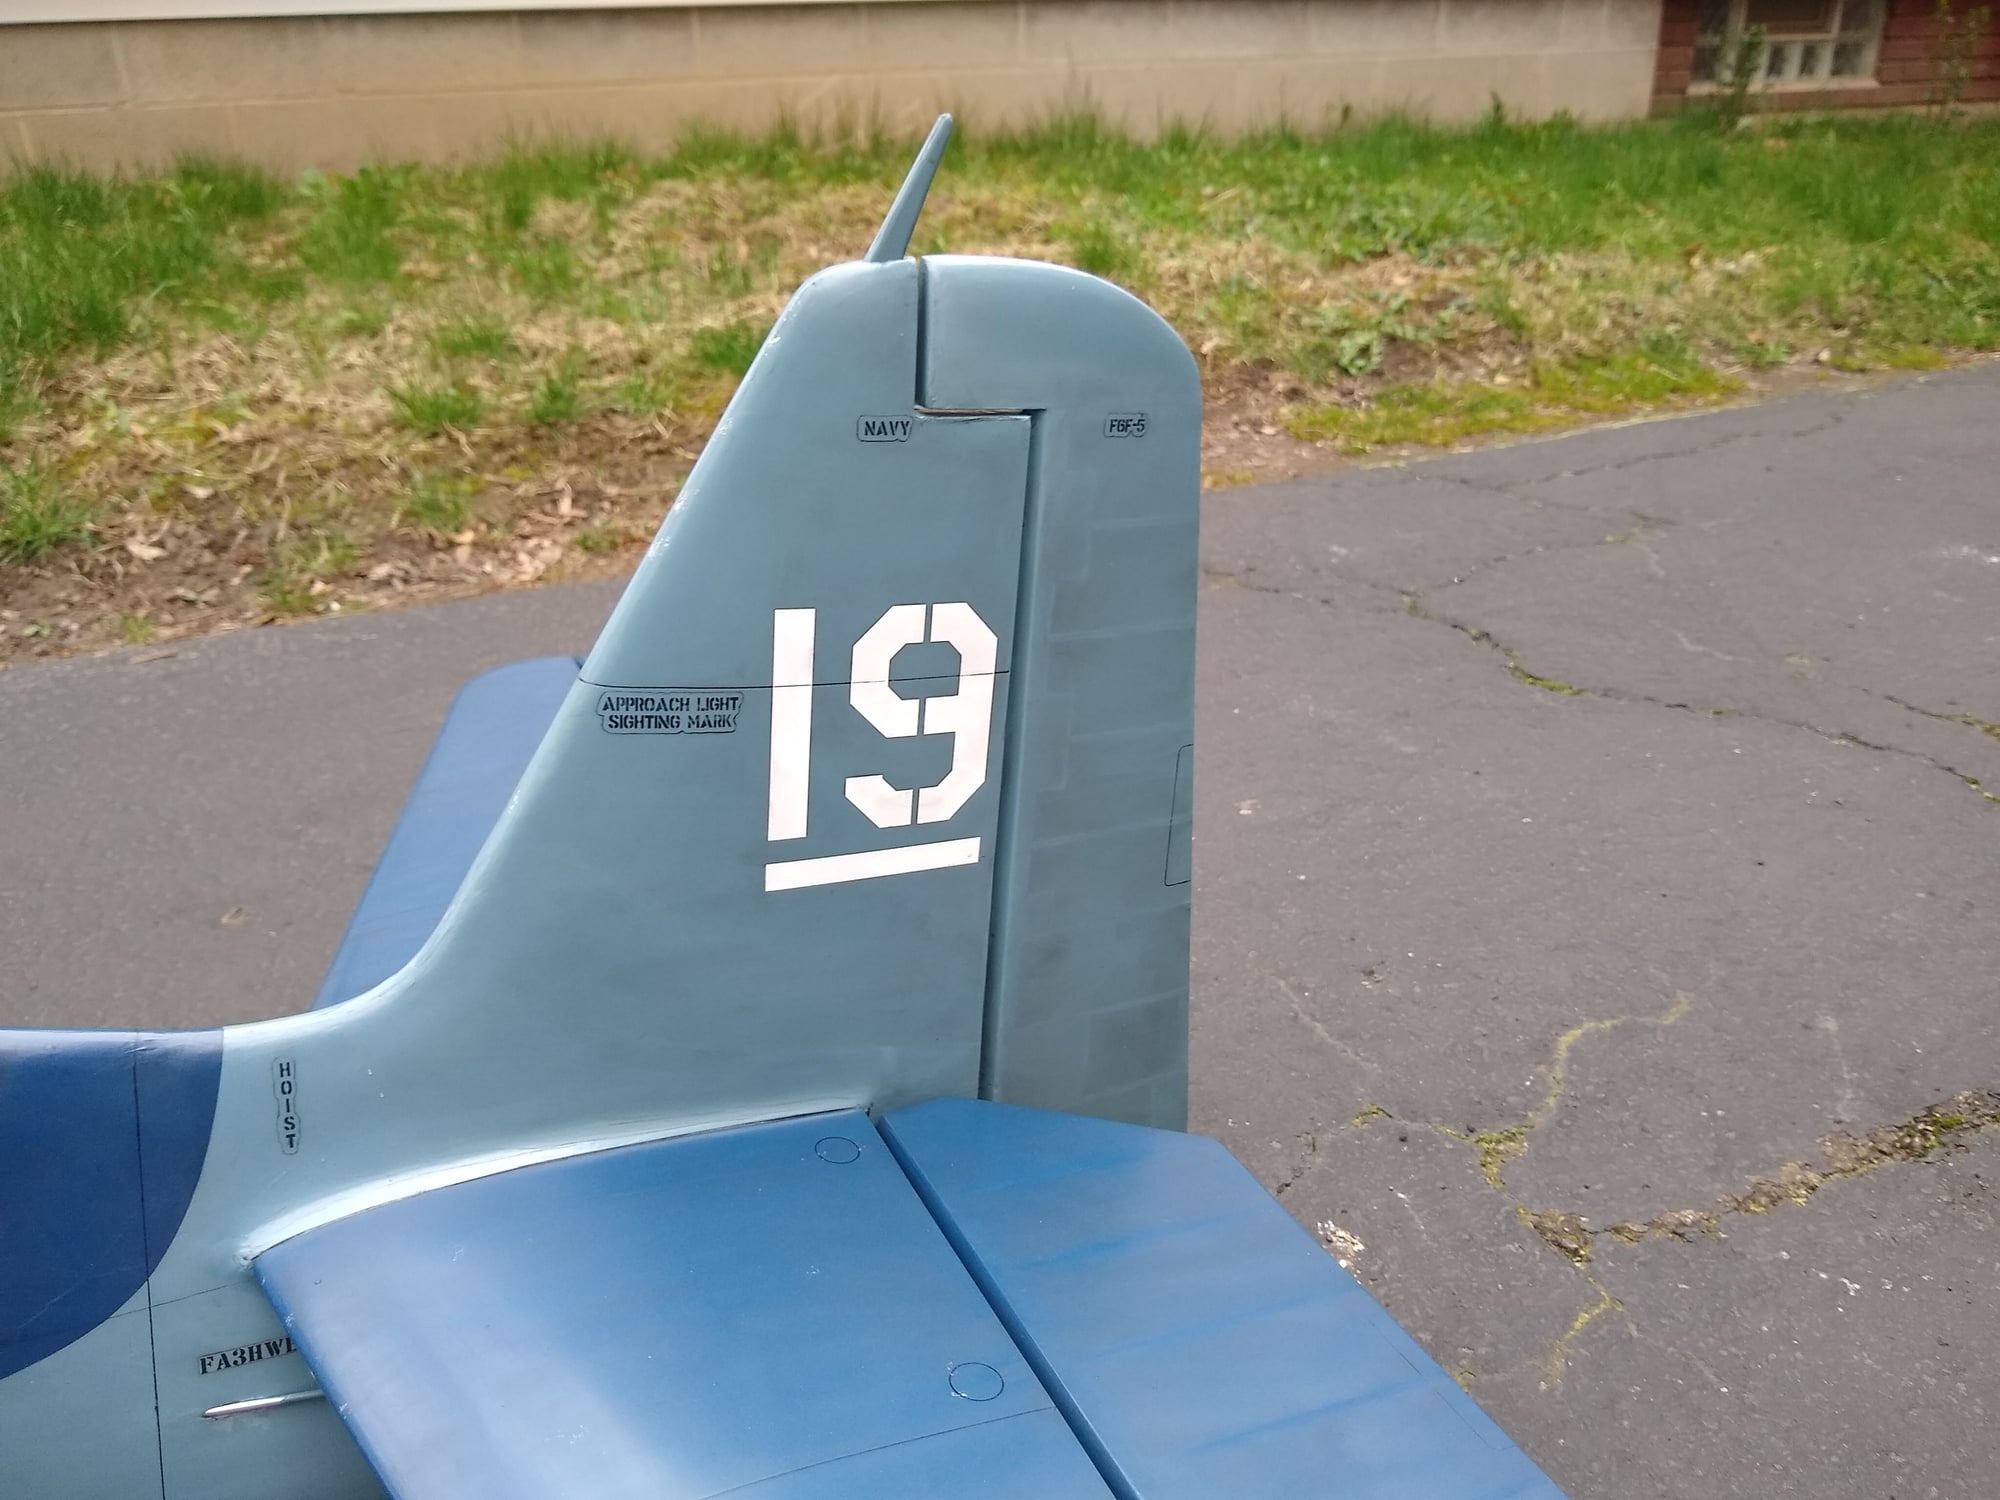
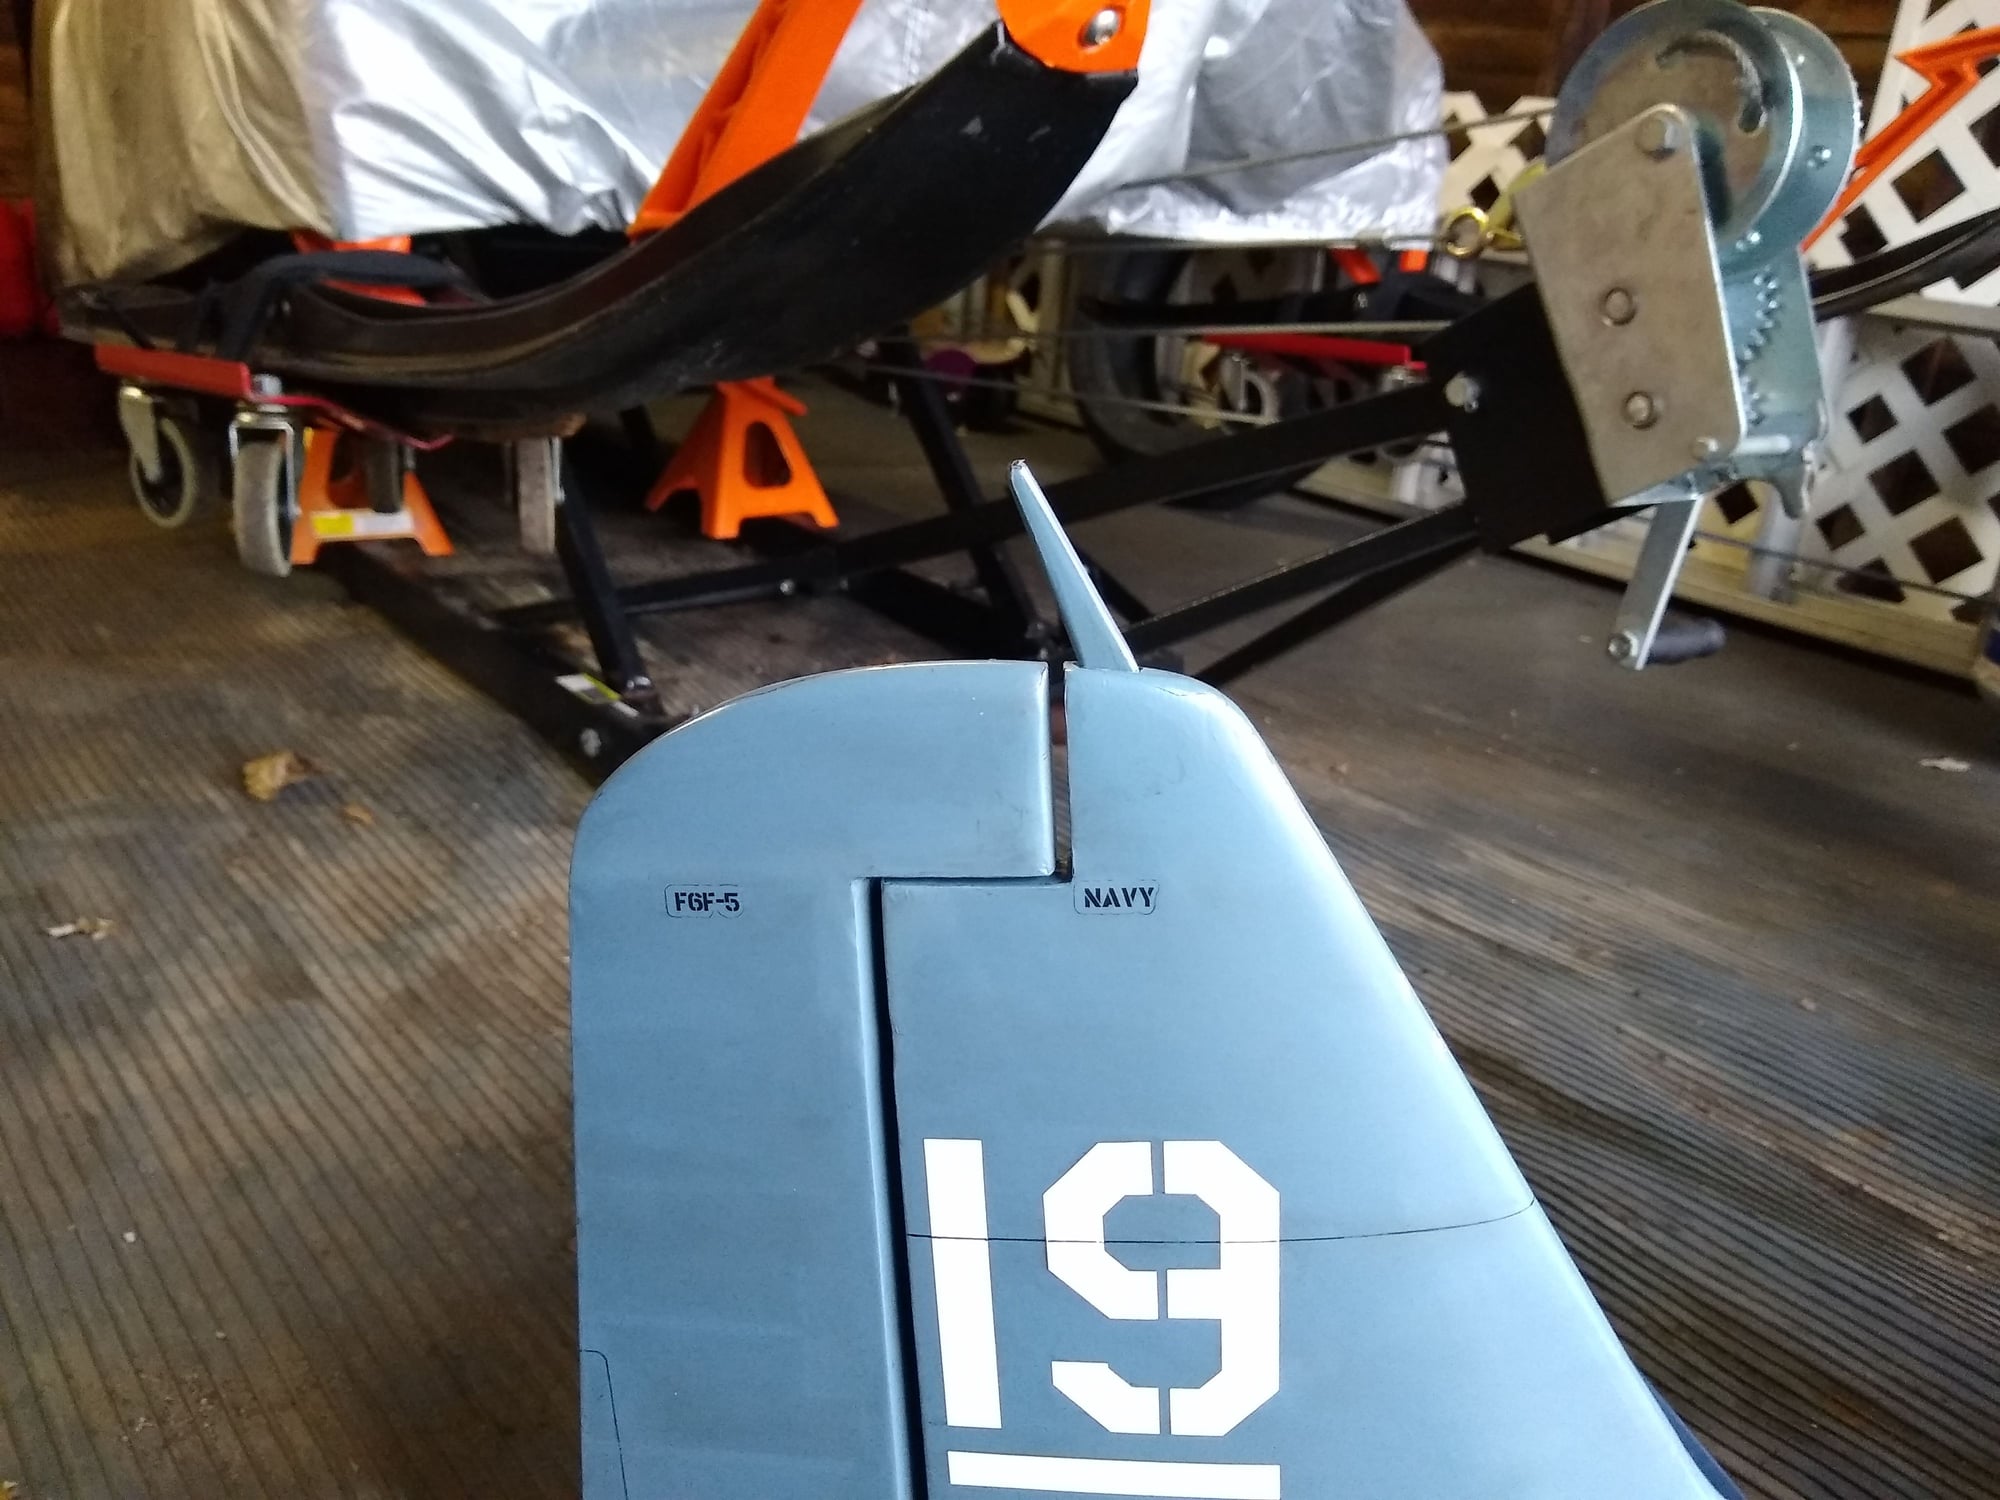
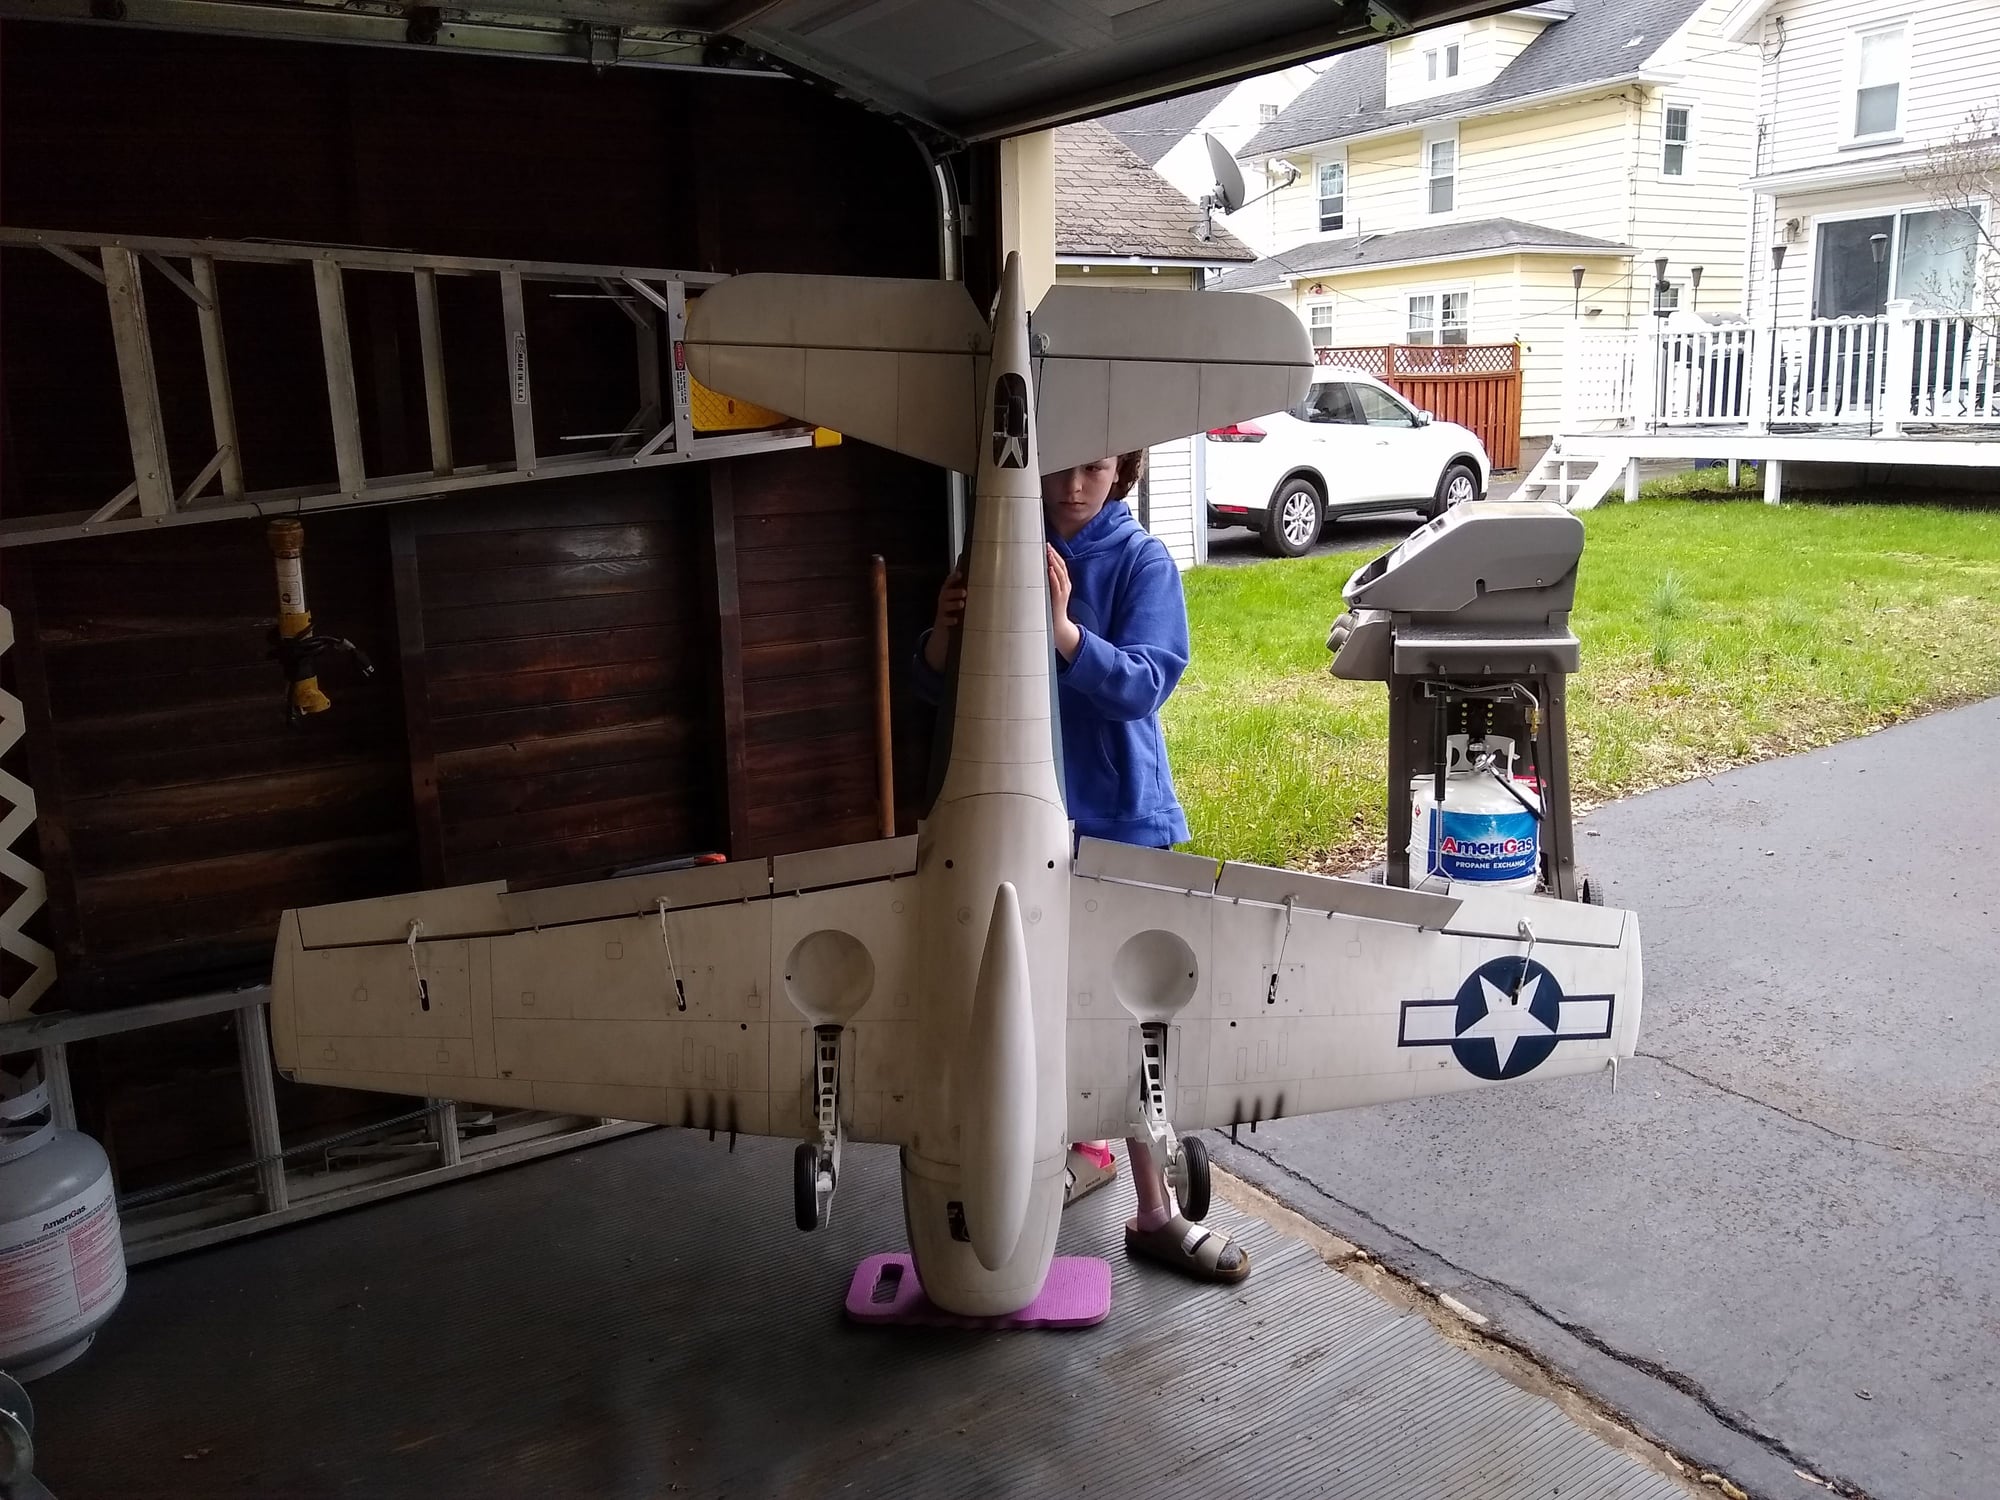
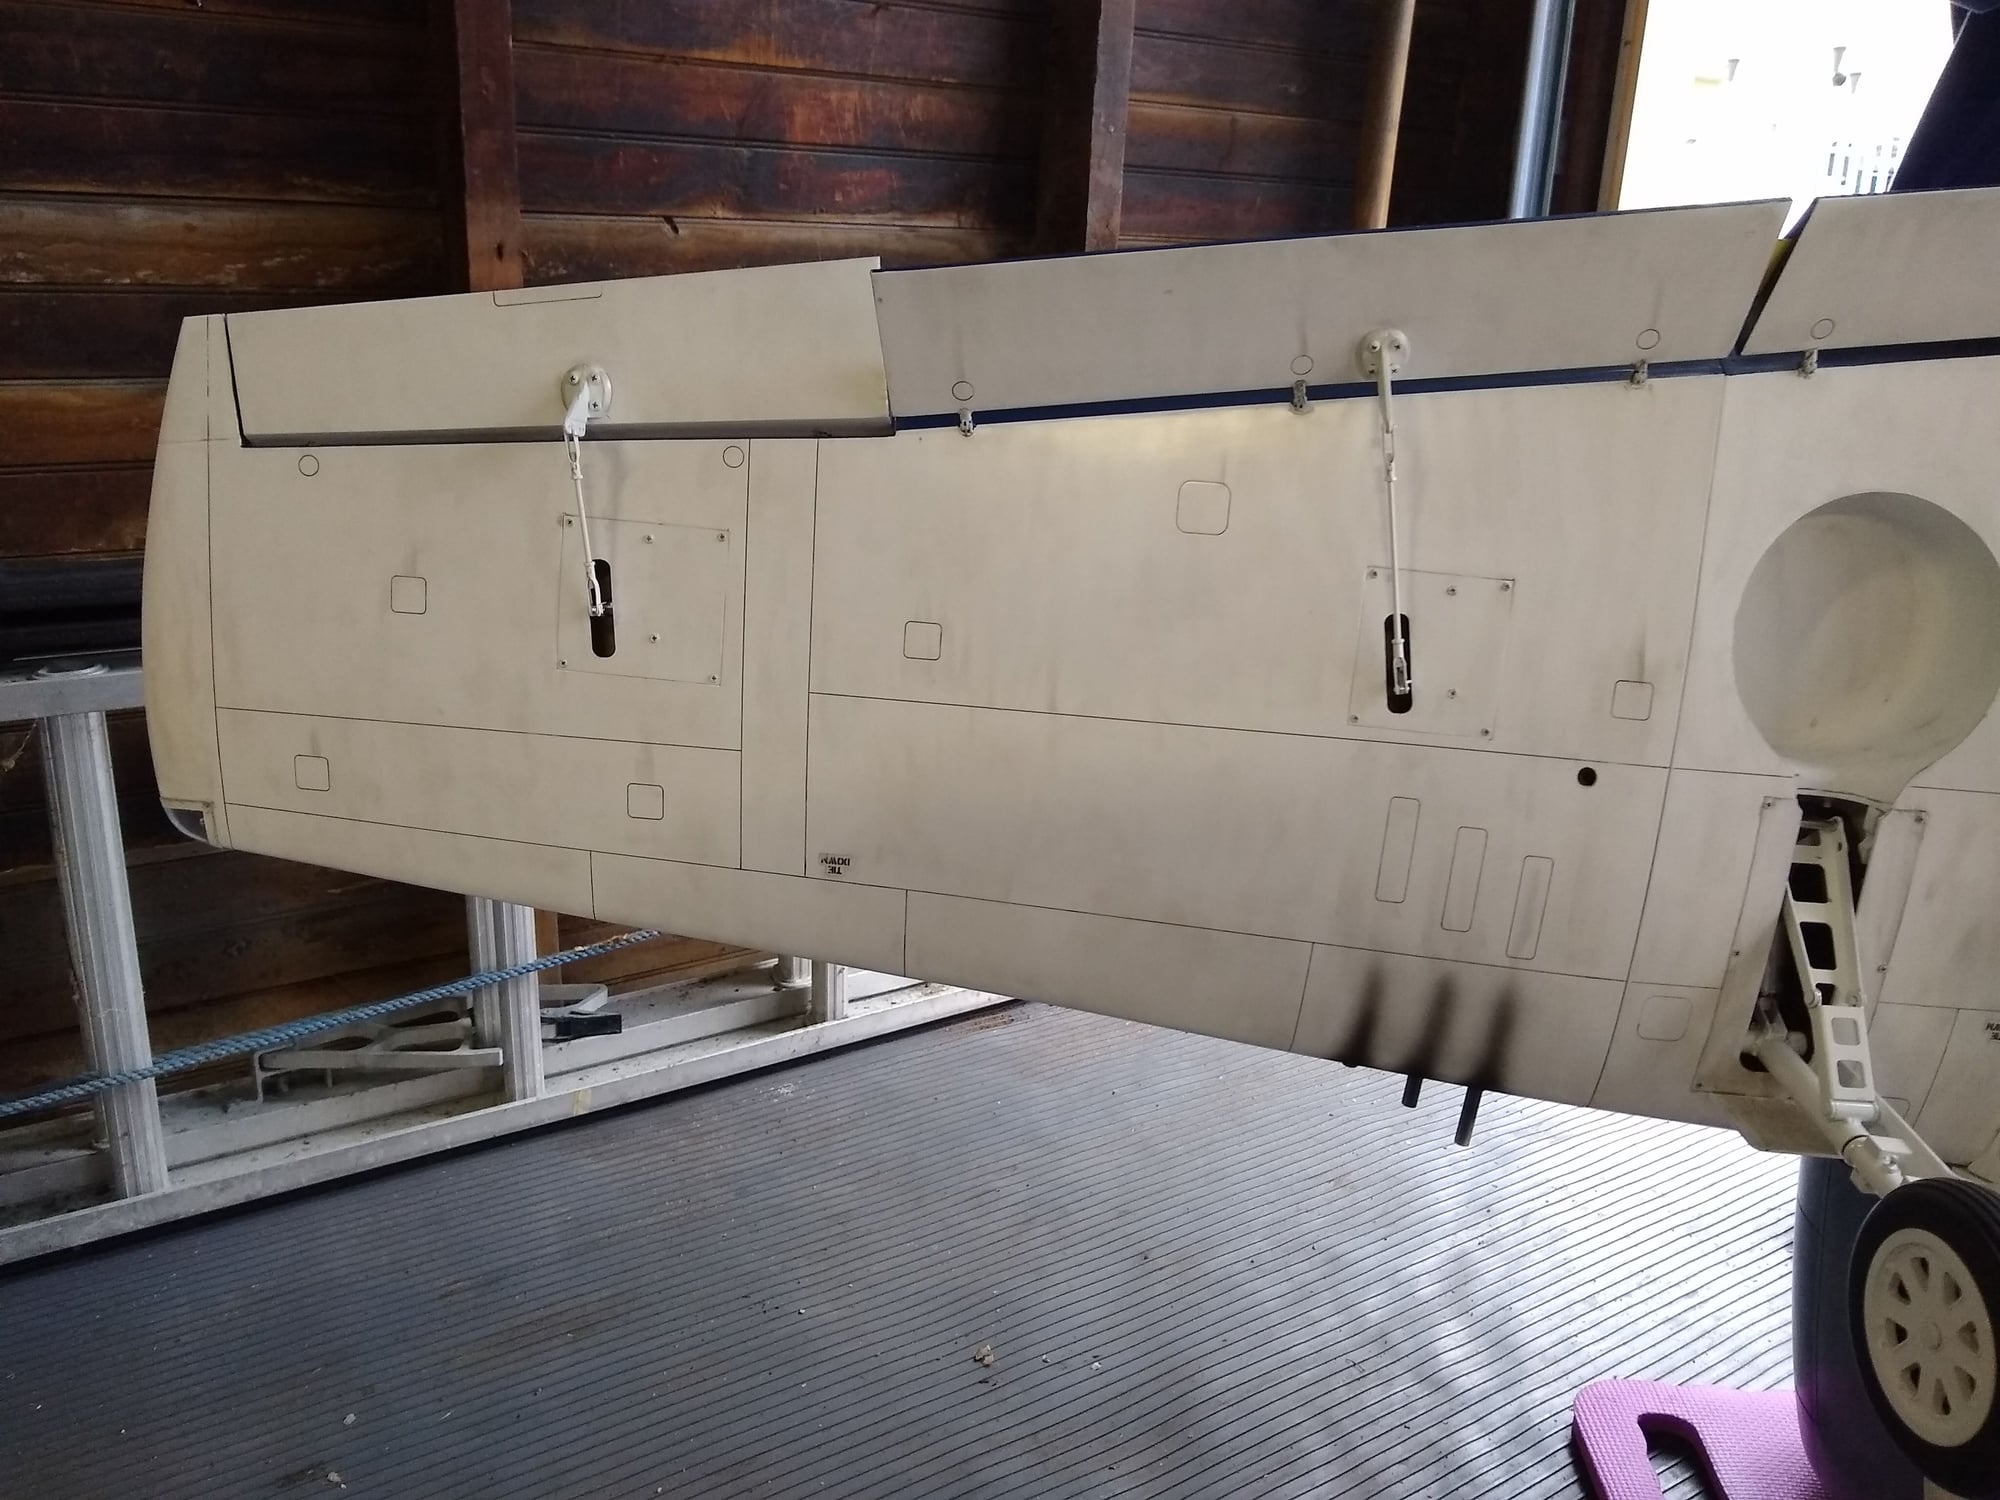
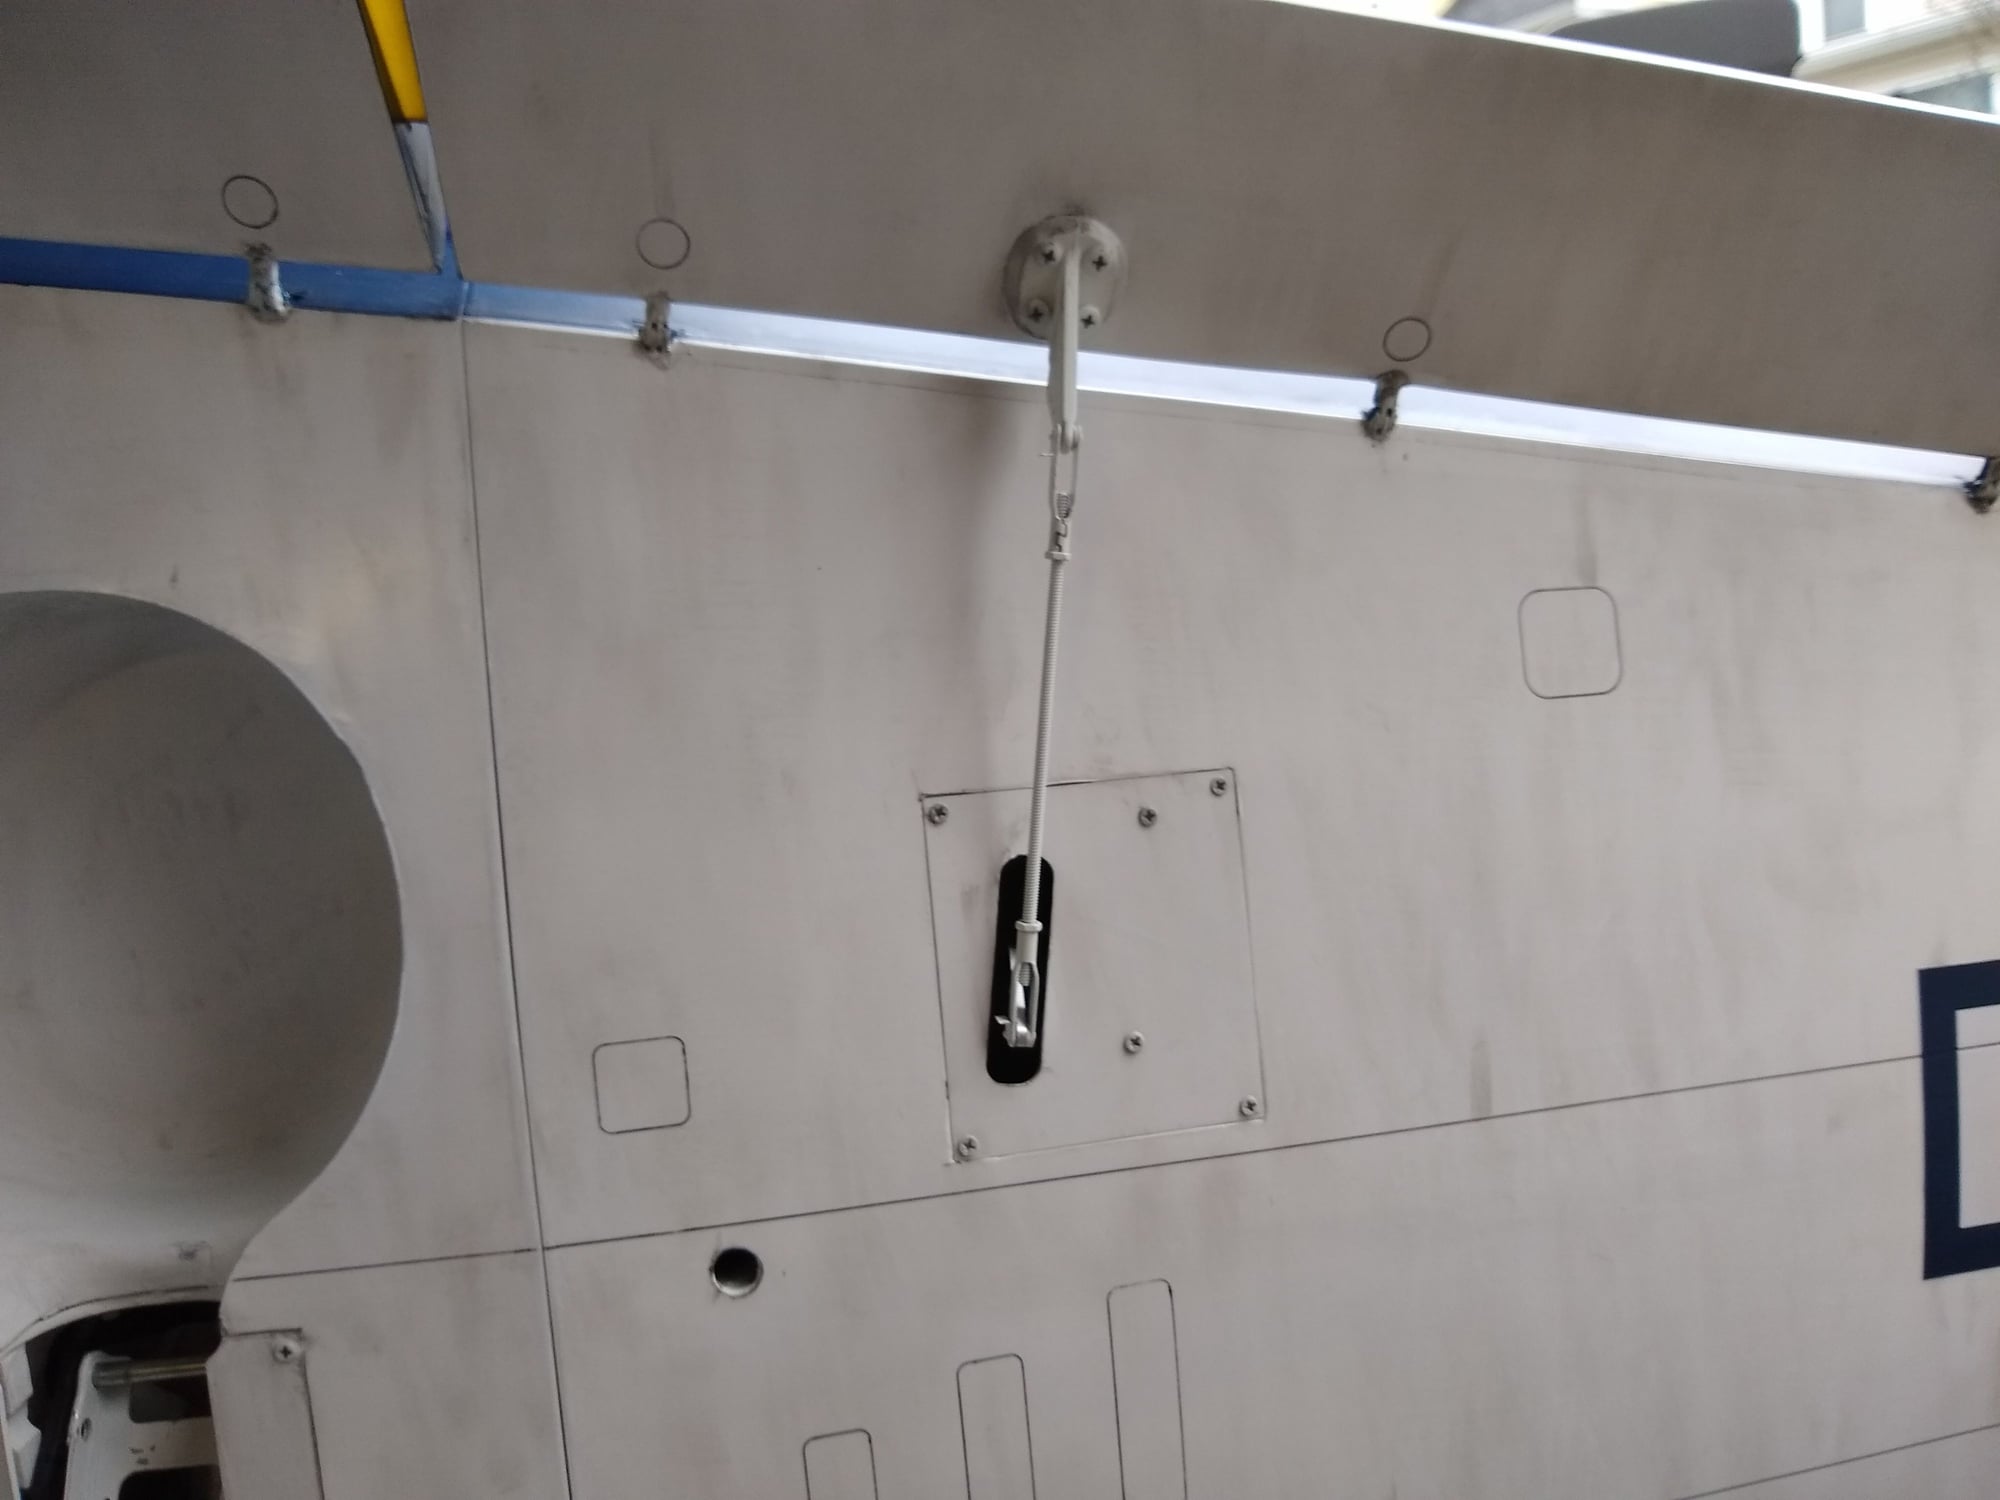
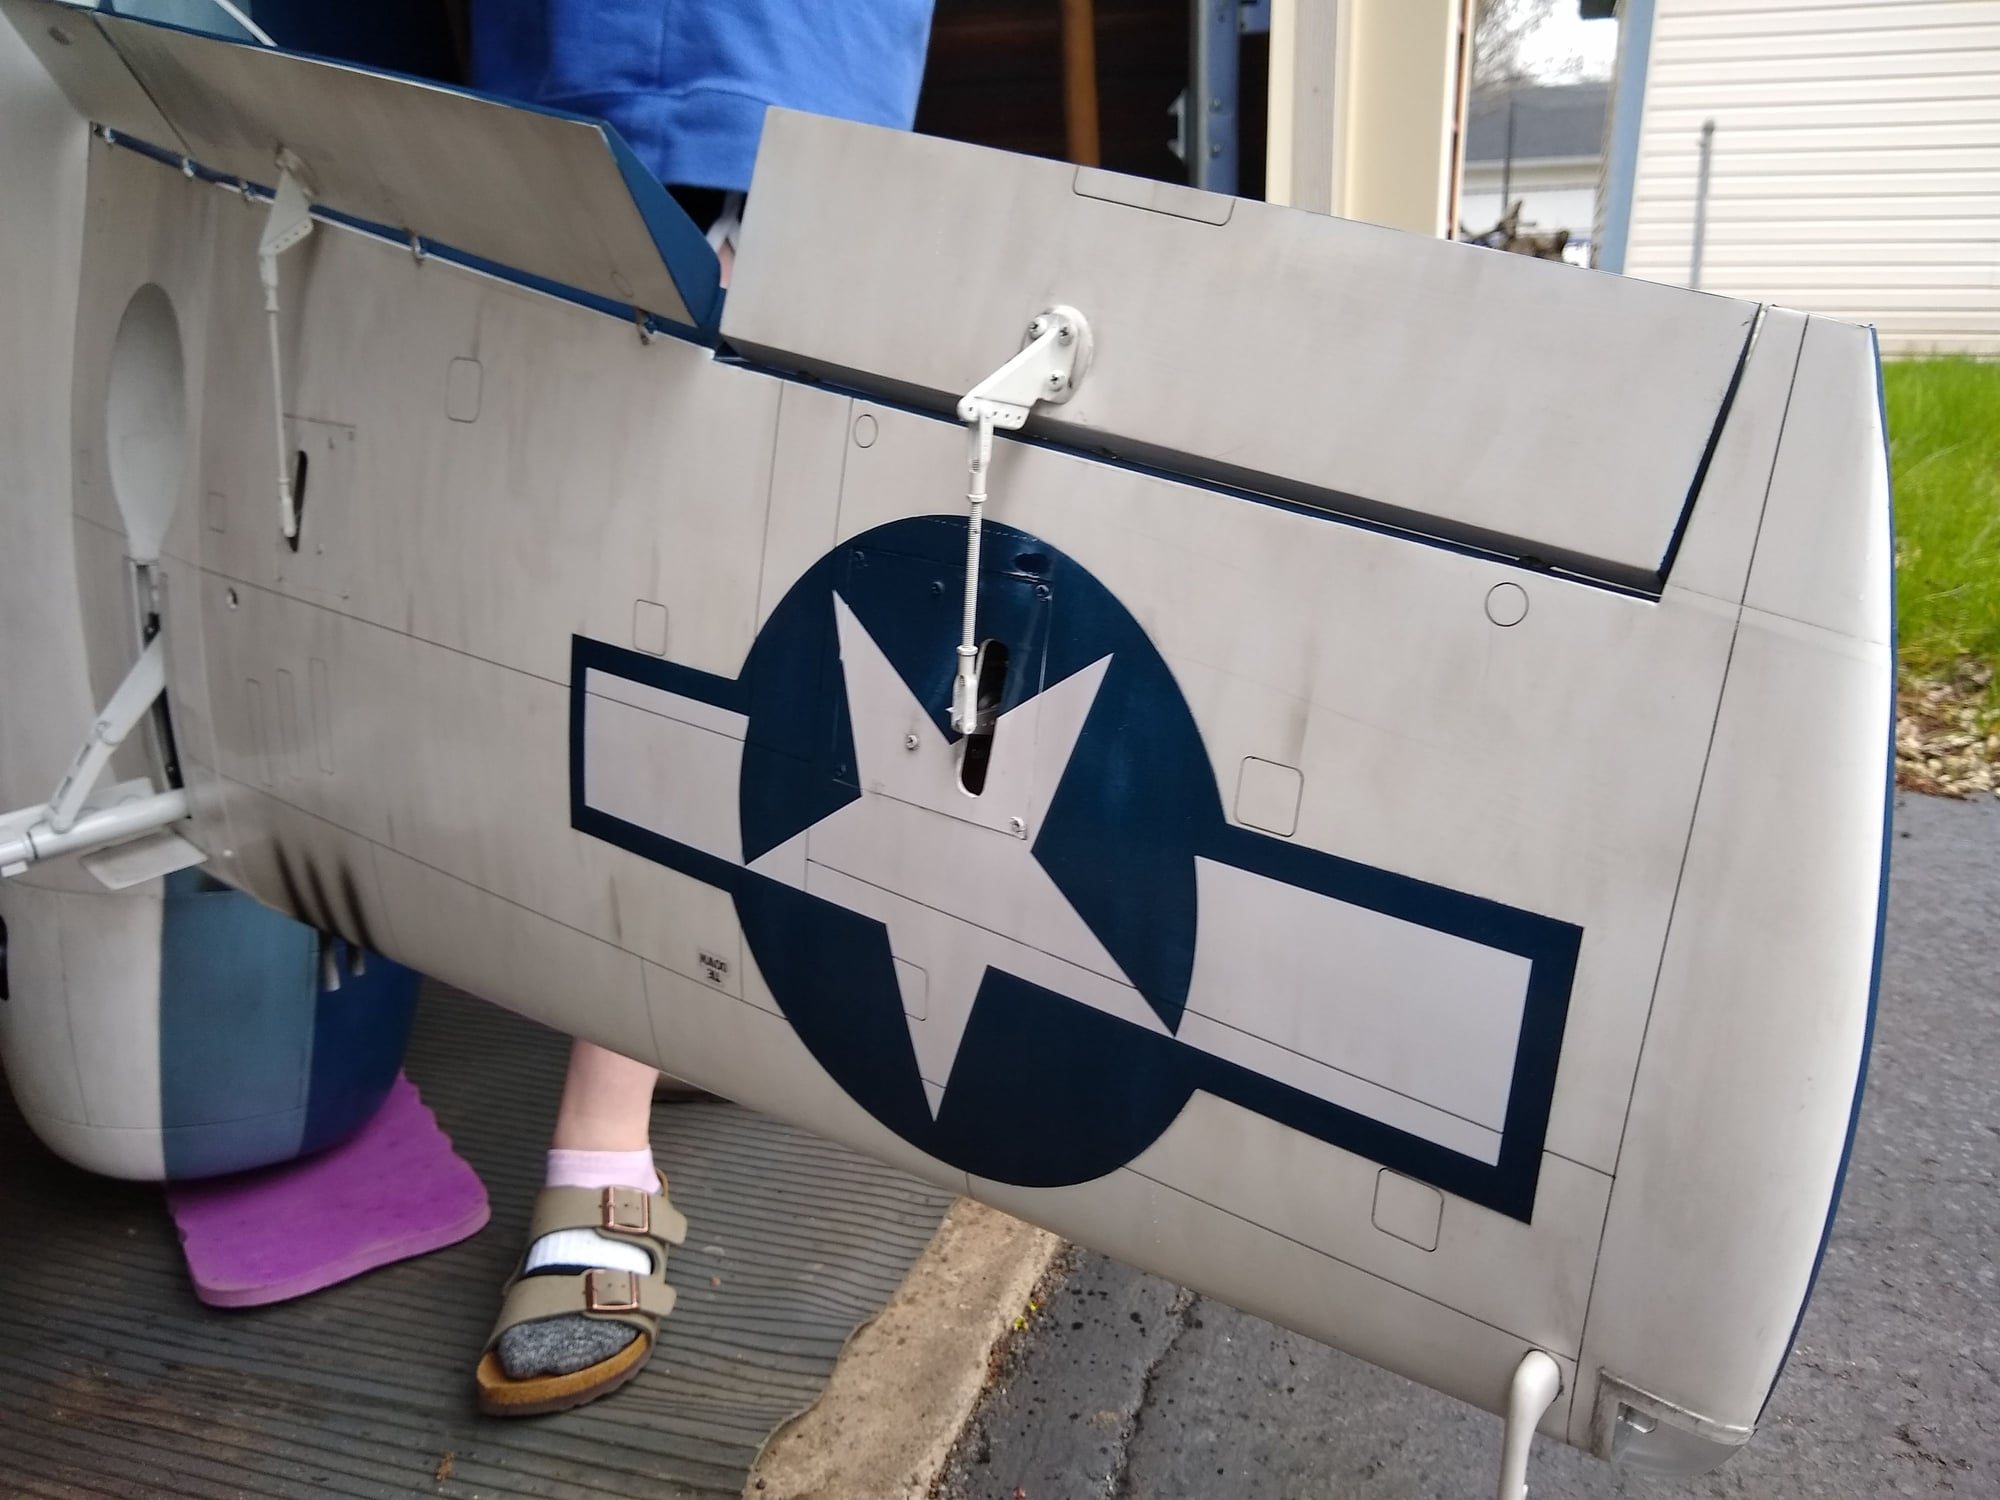
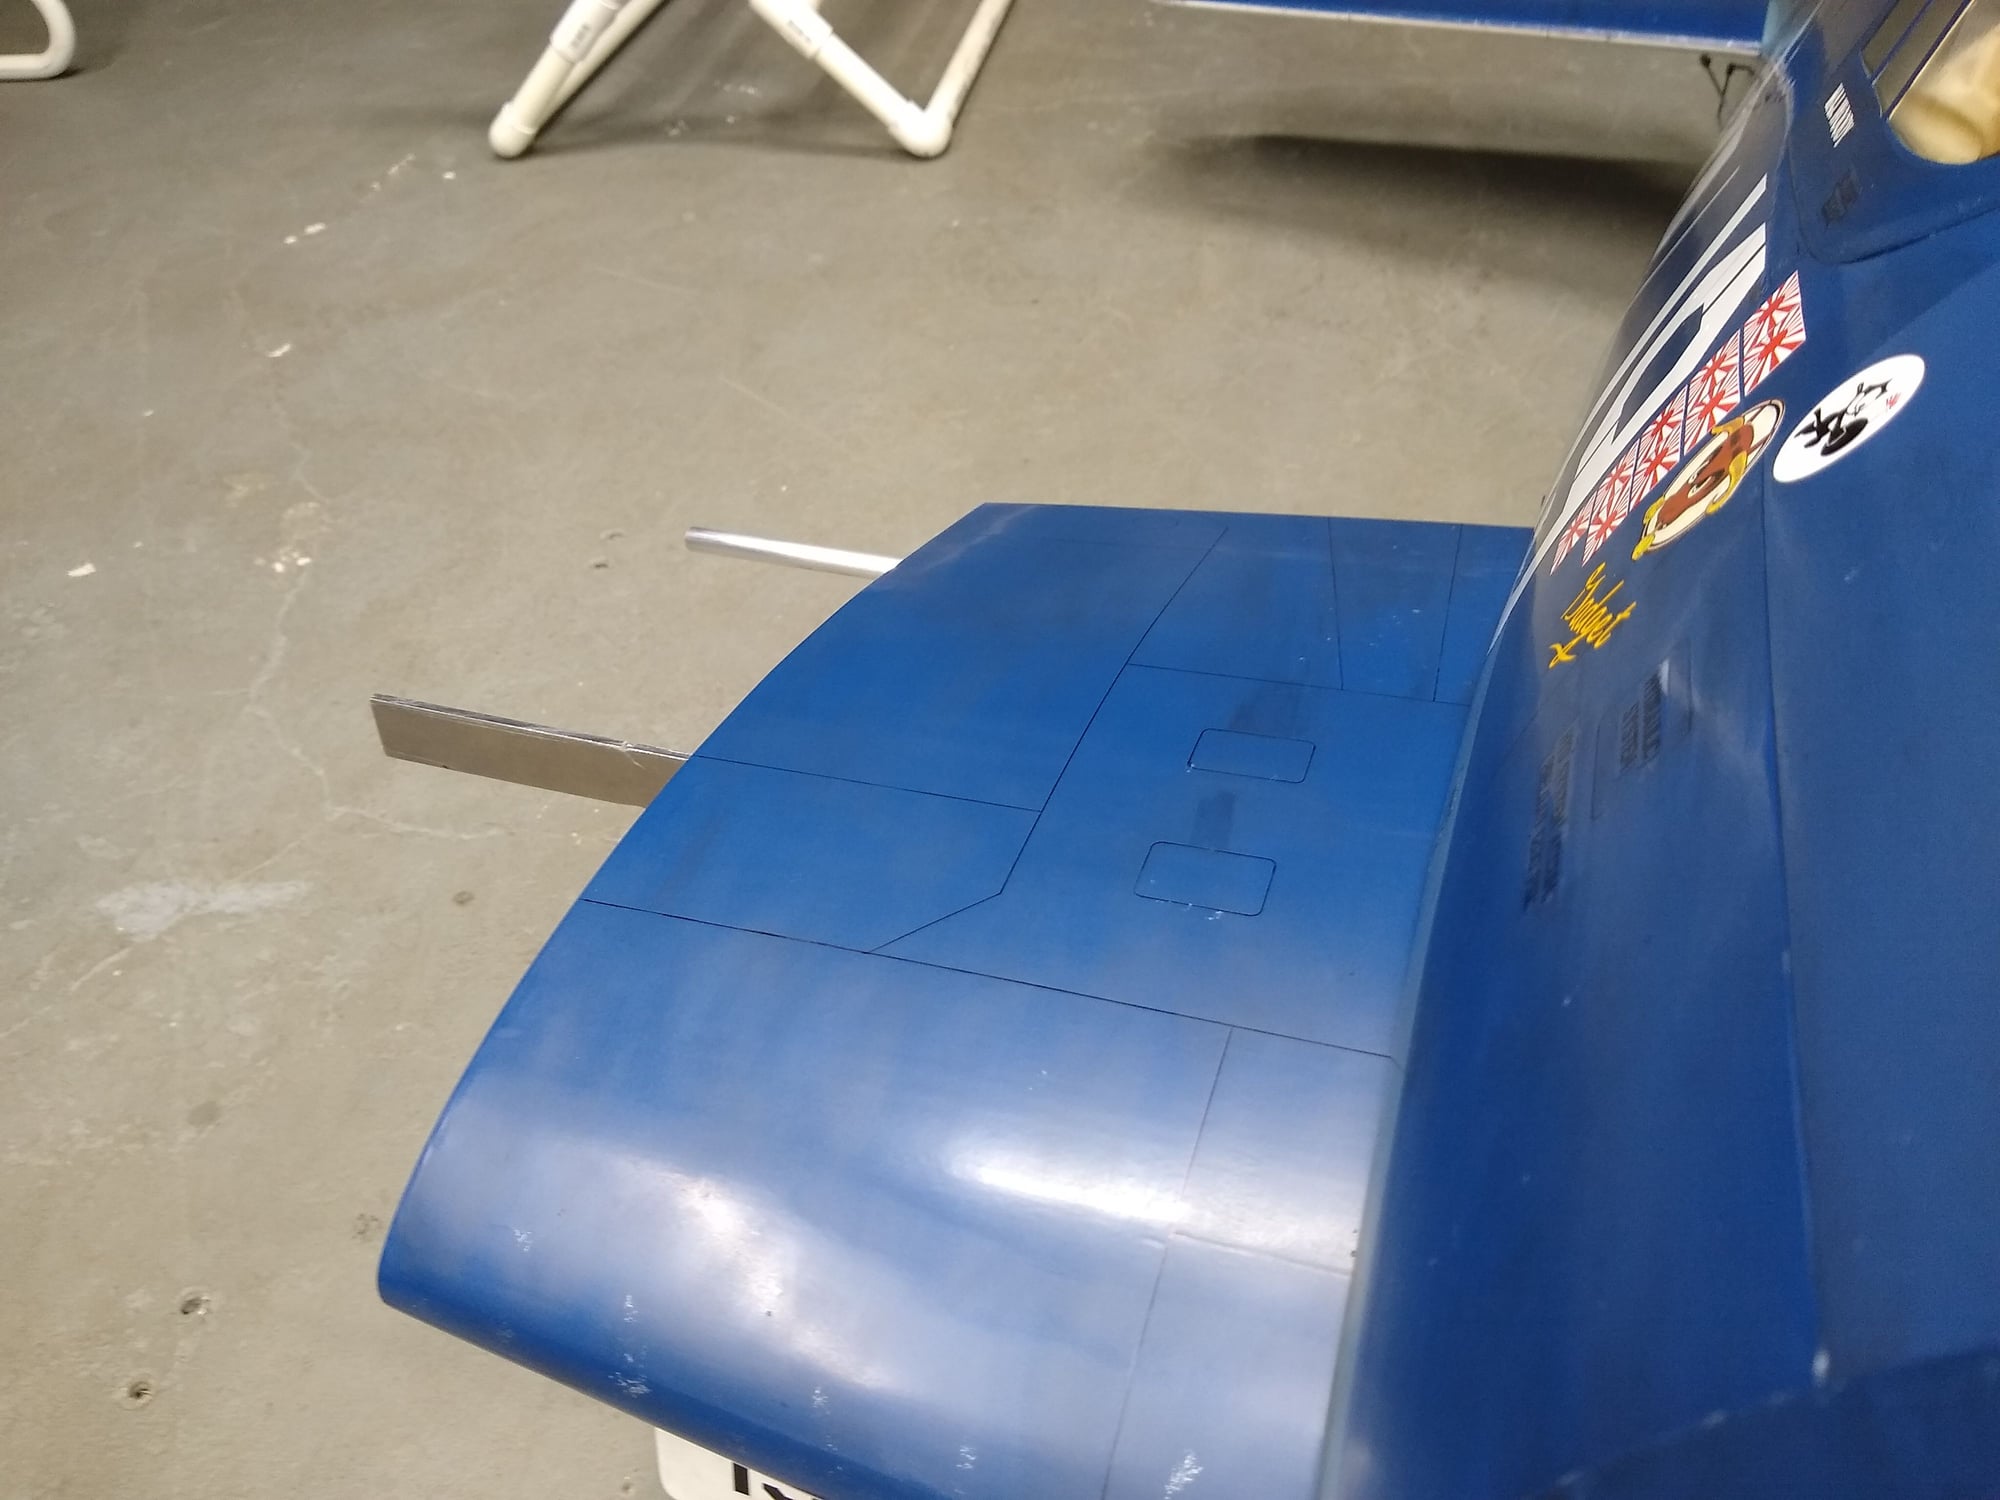
I experimented drawing panel lines on some scrap balsa that I covered with Monokote. I tried several techniques but settled on a Papermate fine point black ink pen. Raw gas, oily exhaust and windex do not have any effect on the lines once they are dry. If need be they are easily removed with alcohol and then replaced. It took me several days to do all the lines. I did the entire plane top and bottom. It was very challenging to do the fuse and have the lines wrap all the way around. I spent a tremendous amount of time measuring and lining things up. The pen also puts a nice depression into the balsa and not only gives a nice effect, but make replacing lines easy if needed. I used 3 views to layout the lines but they are only directionally correct for a sport scale model. I added a number of hatches as well.
 04-30-2020, 03:37 AM
#27
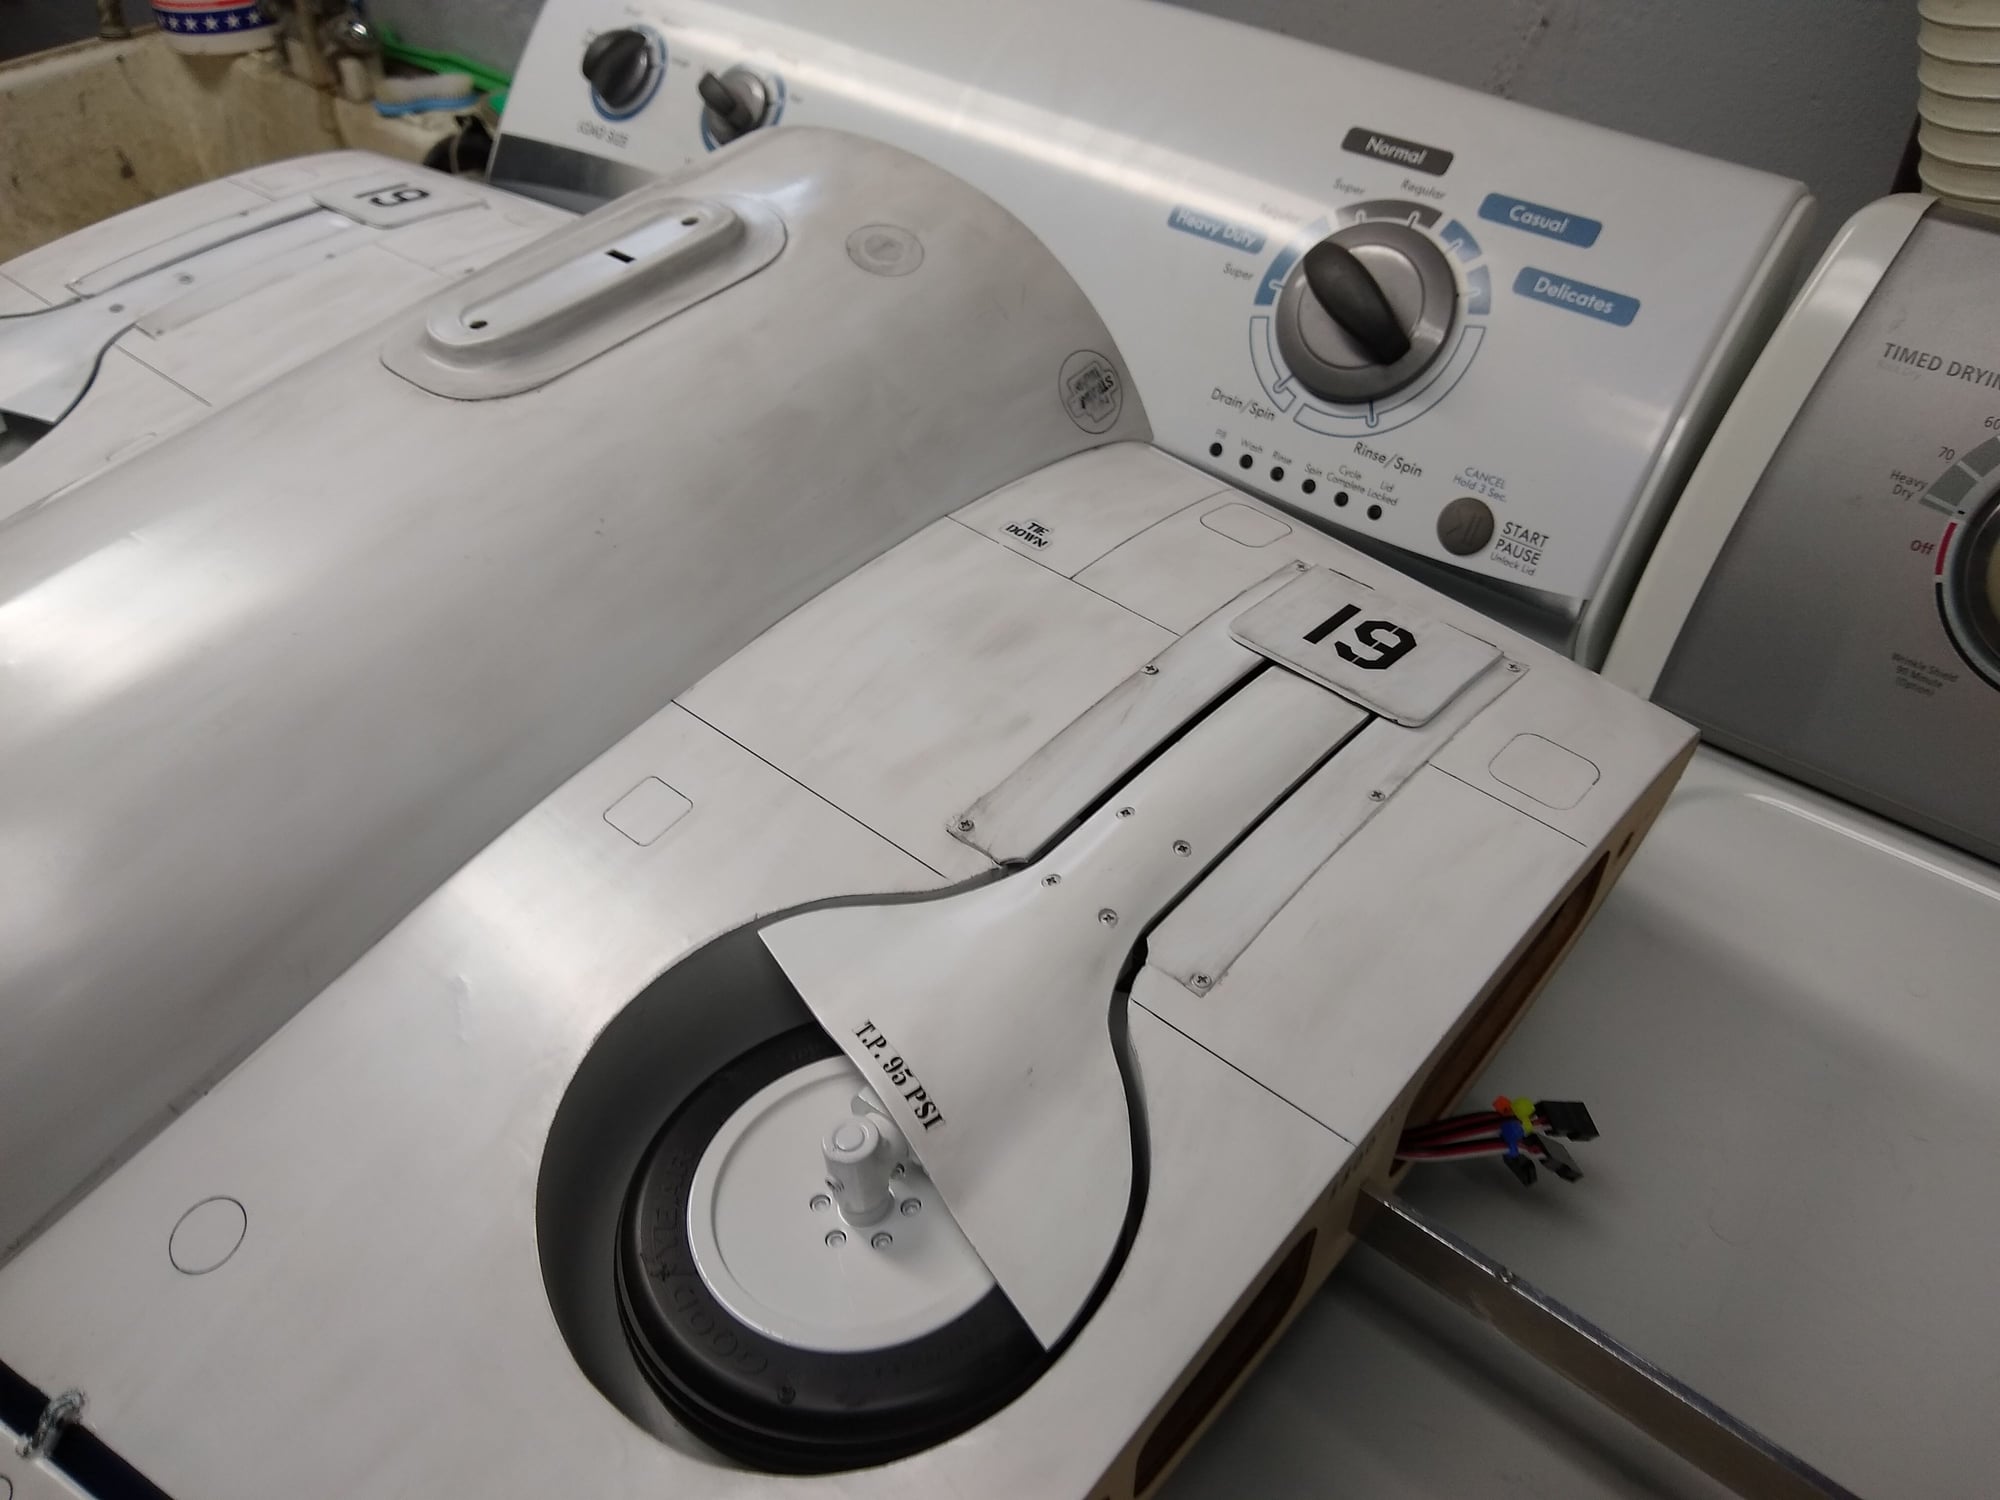
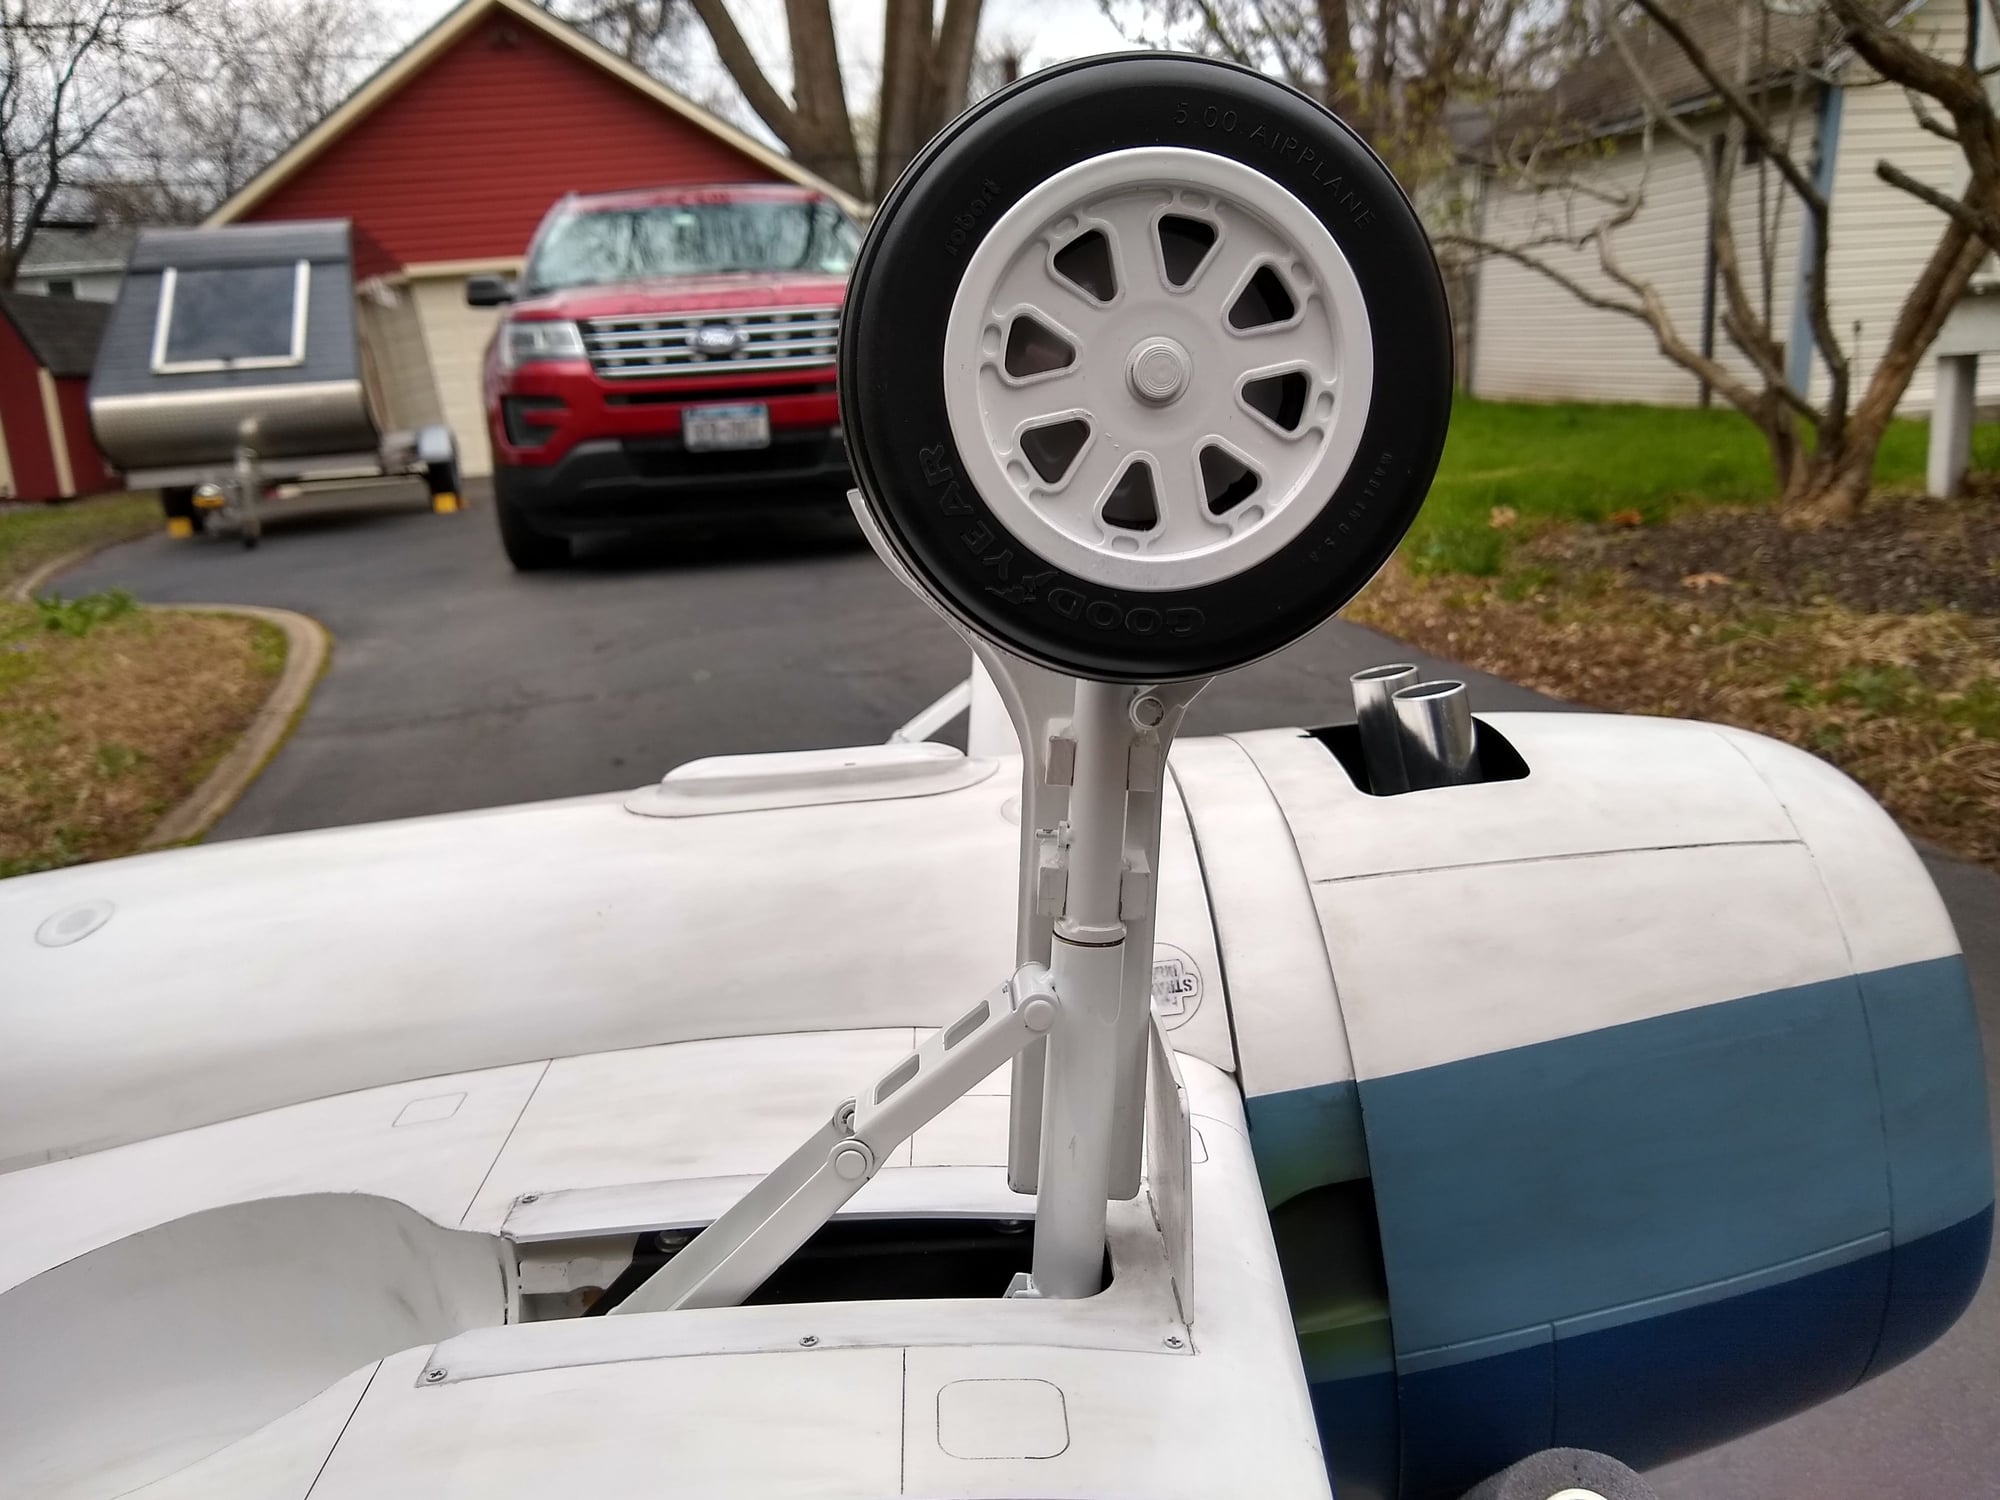
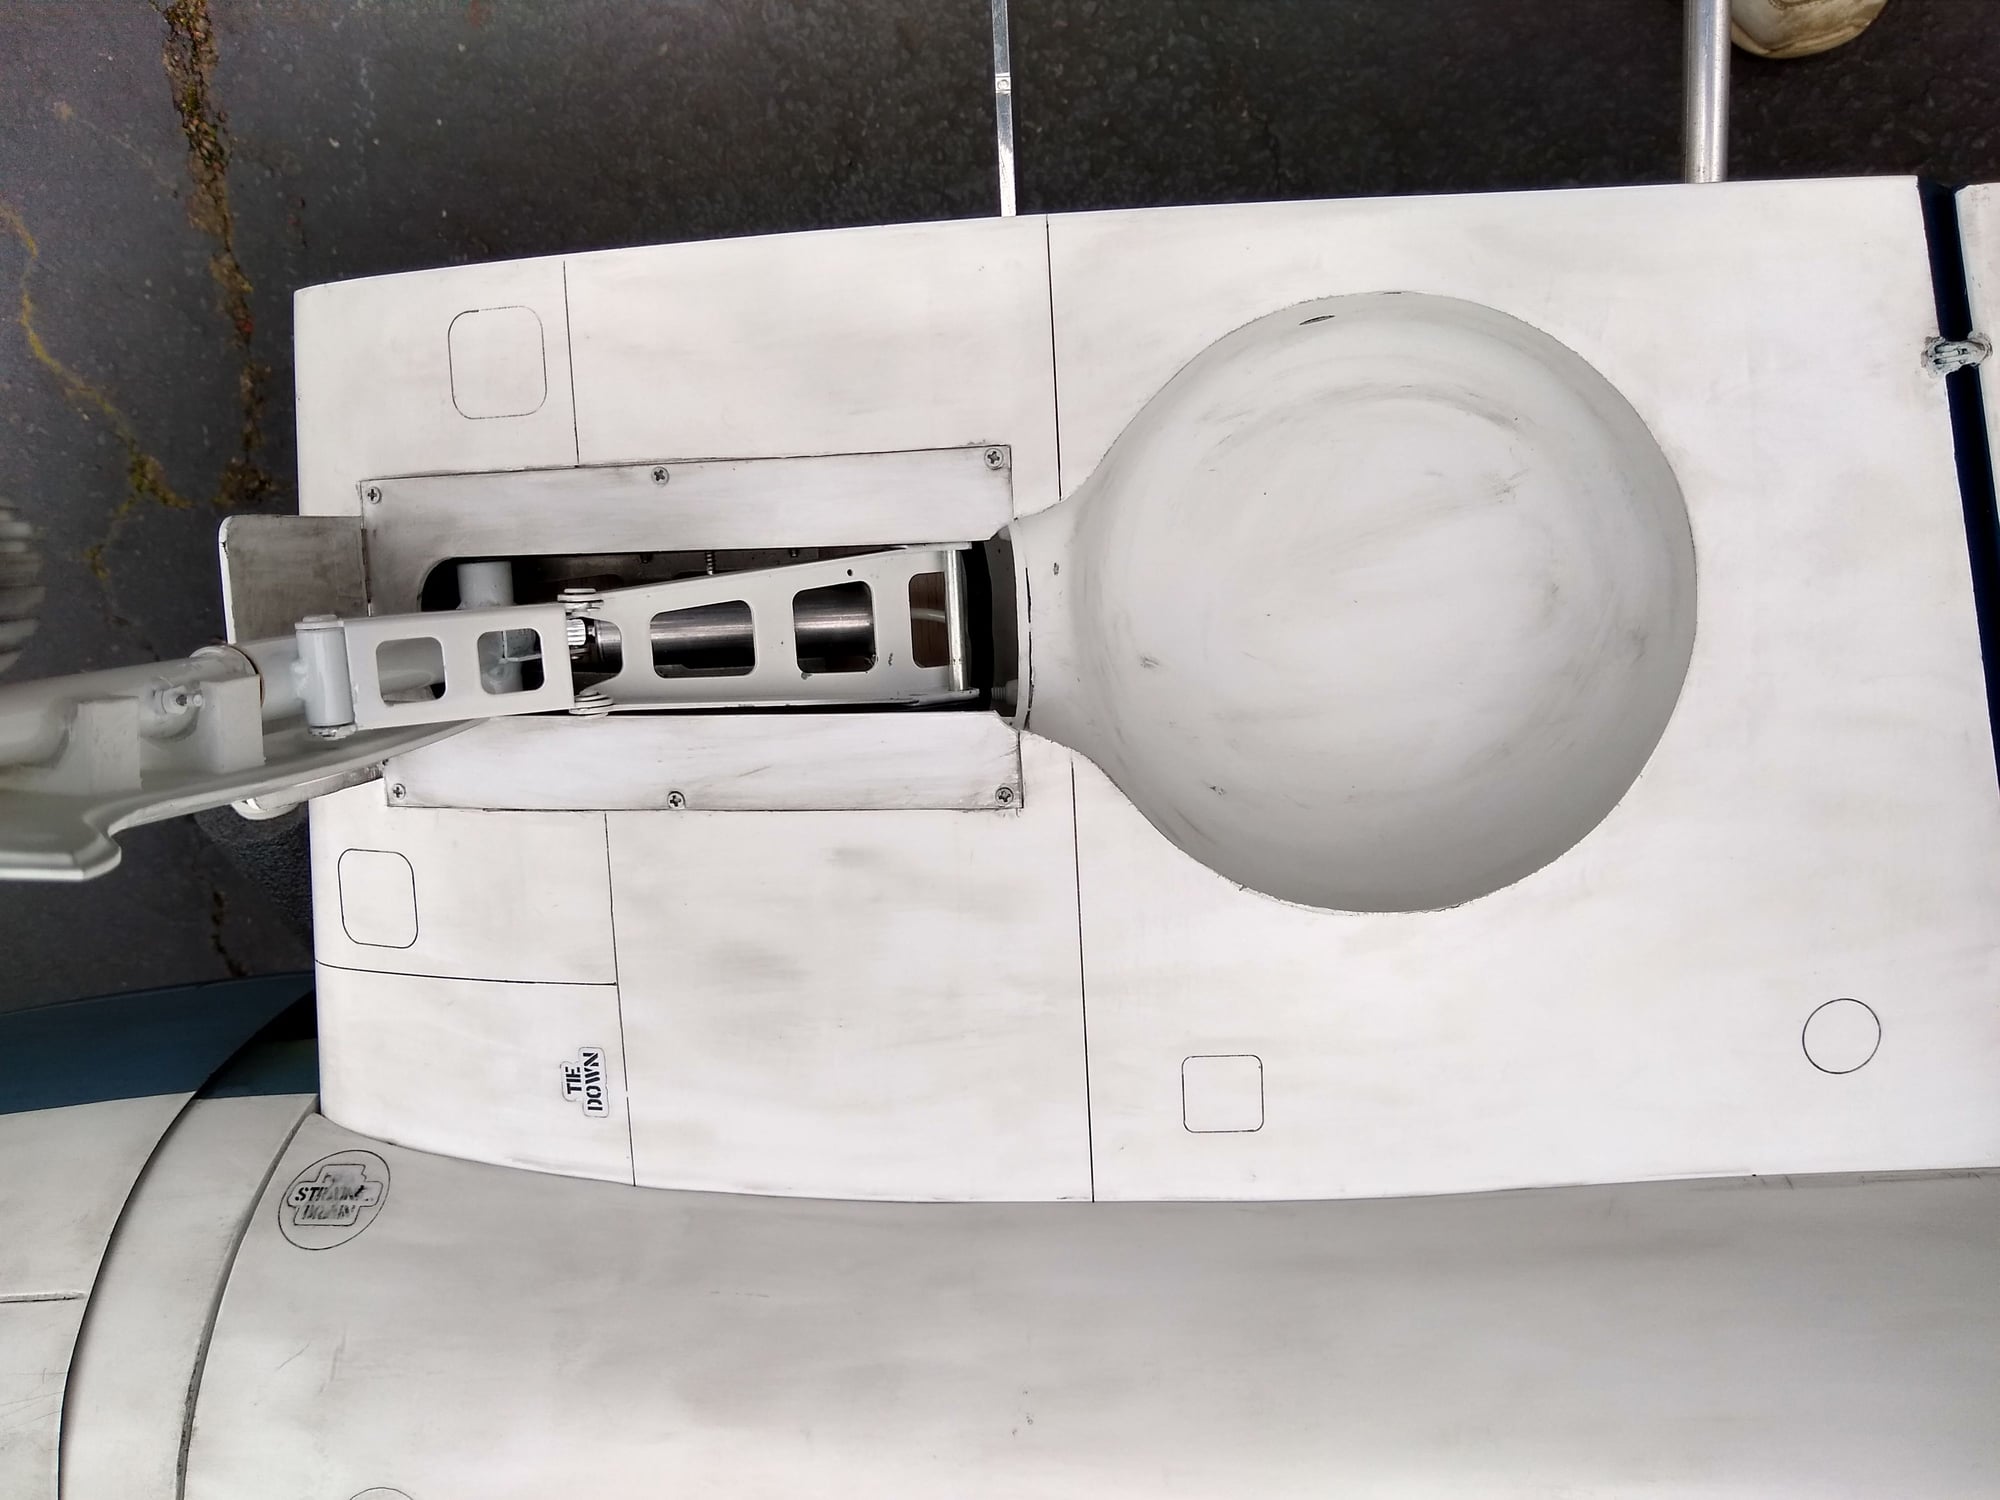
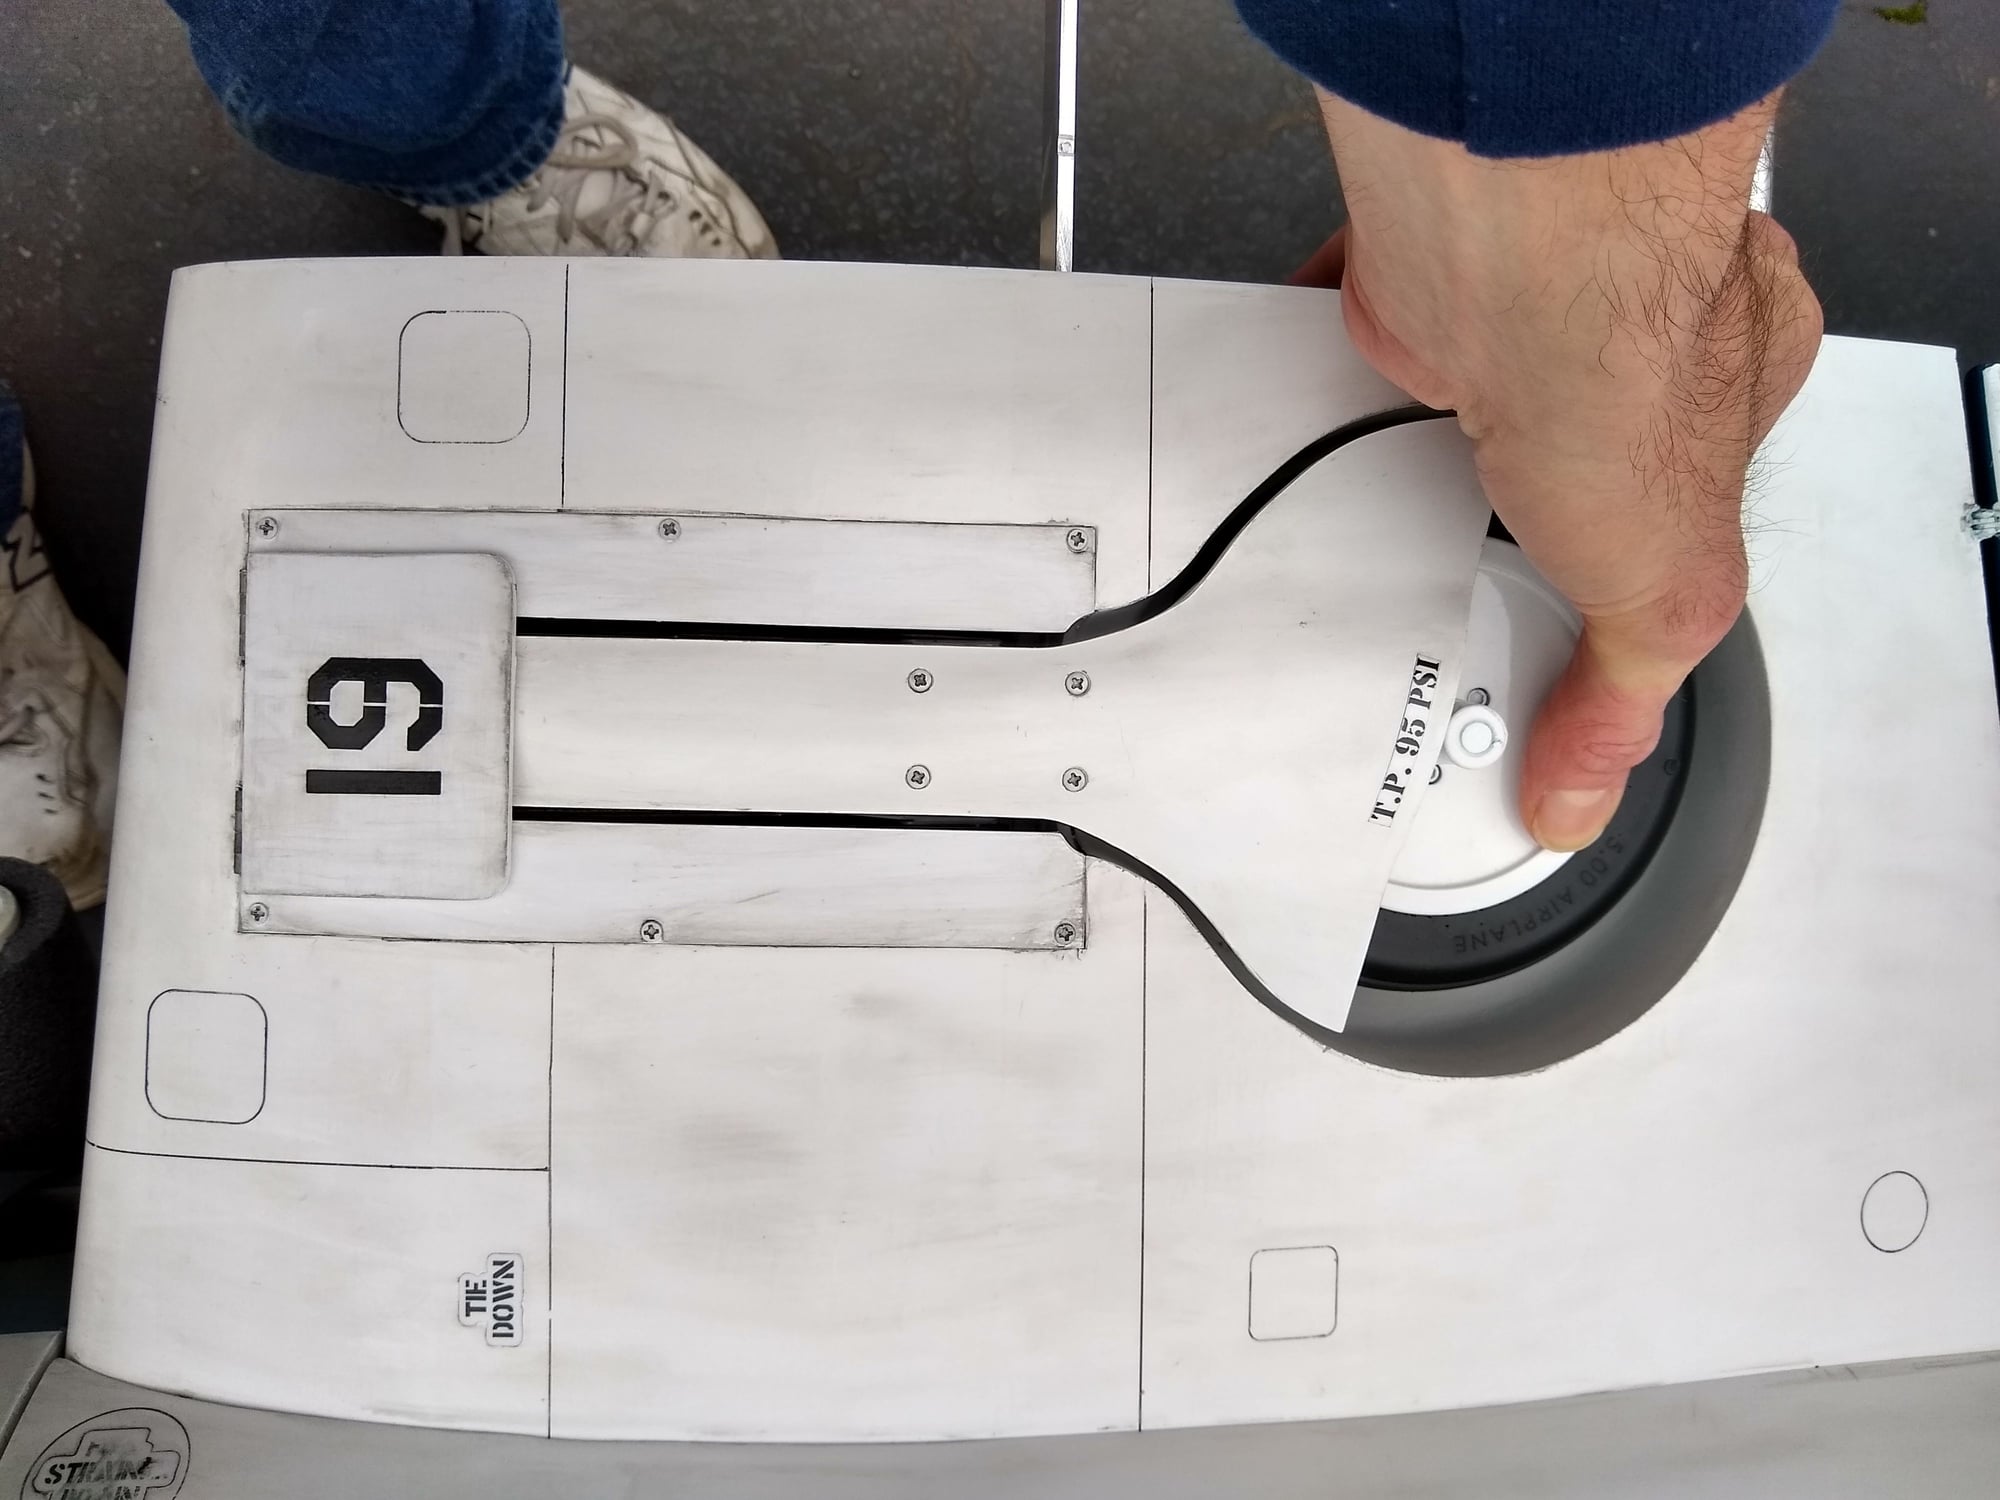
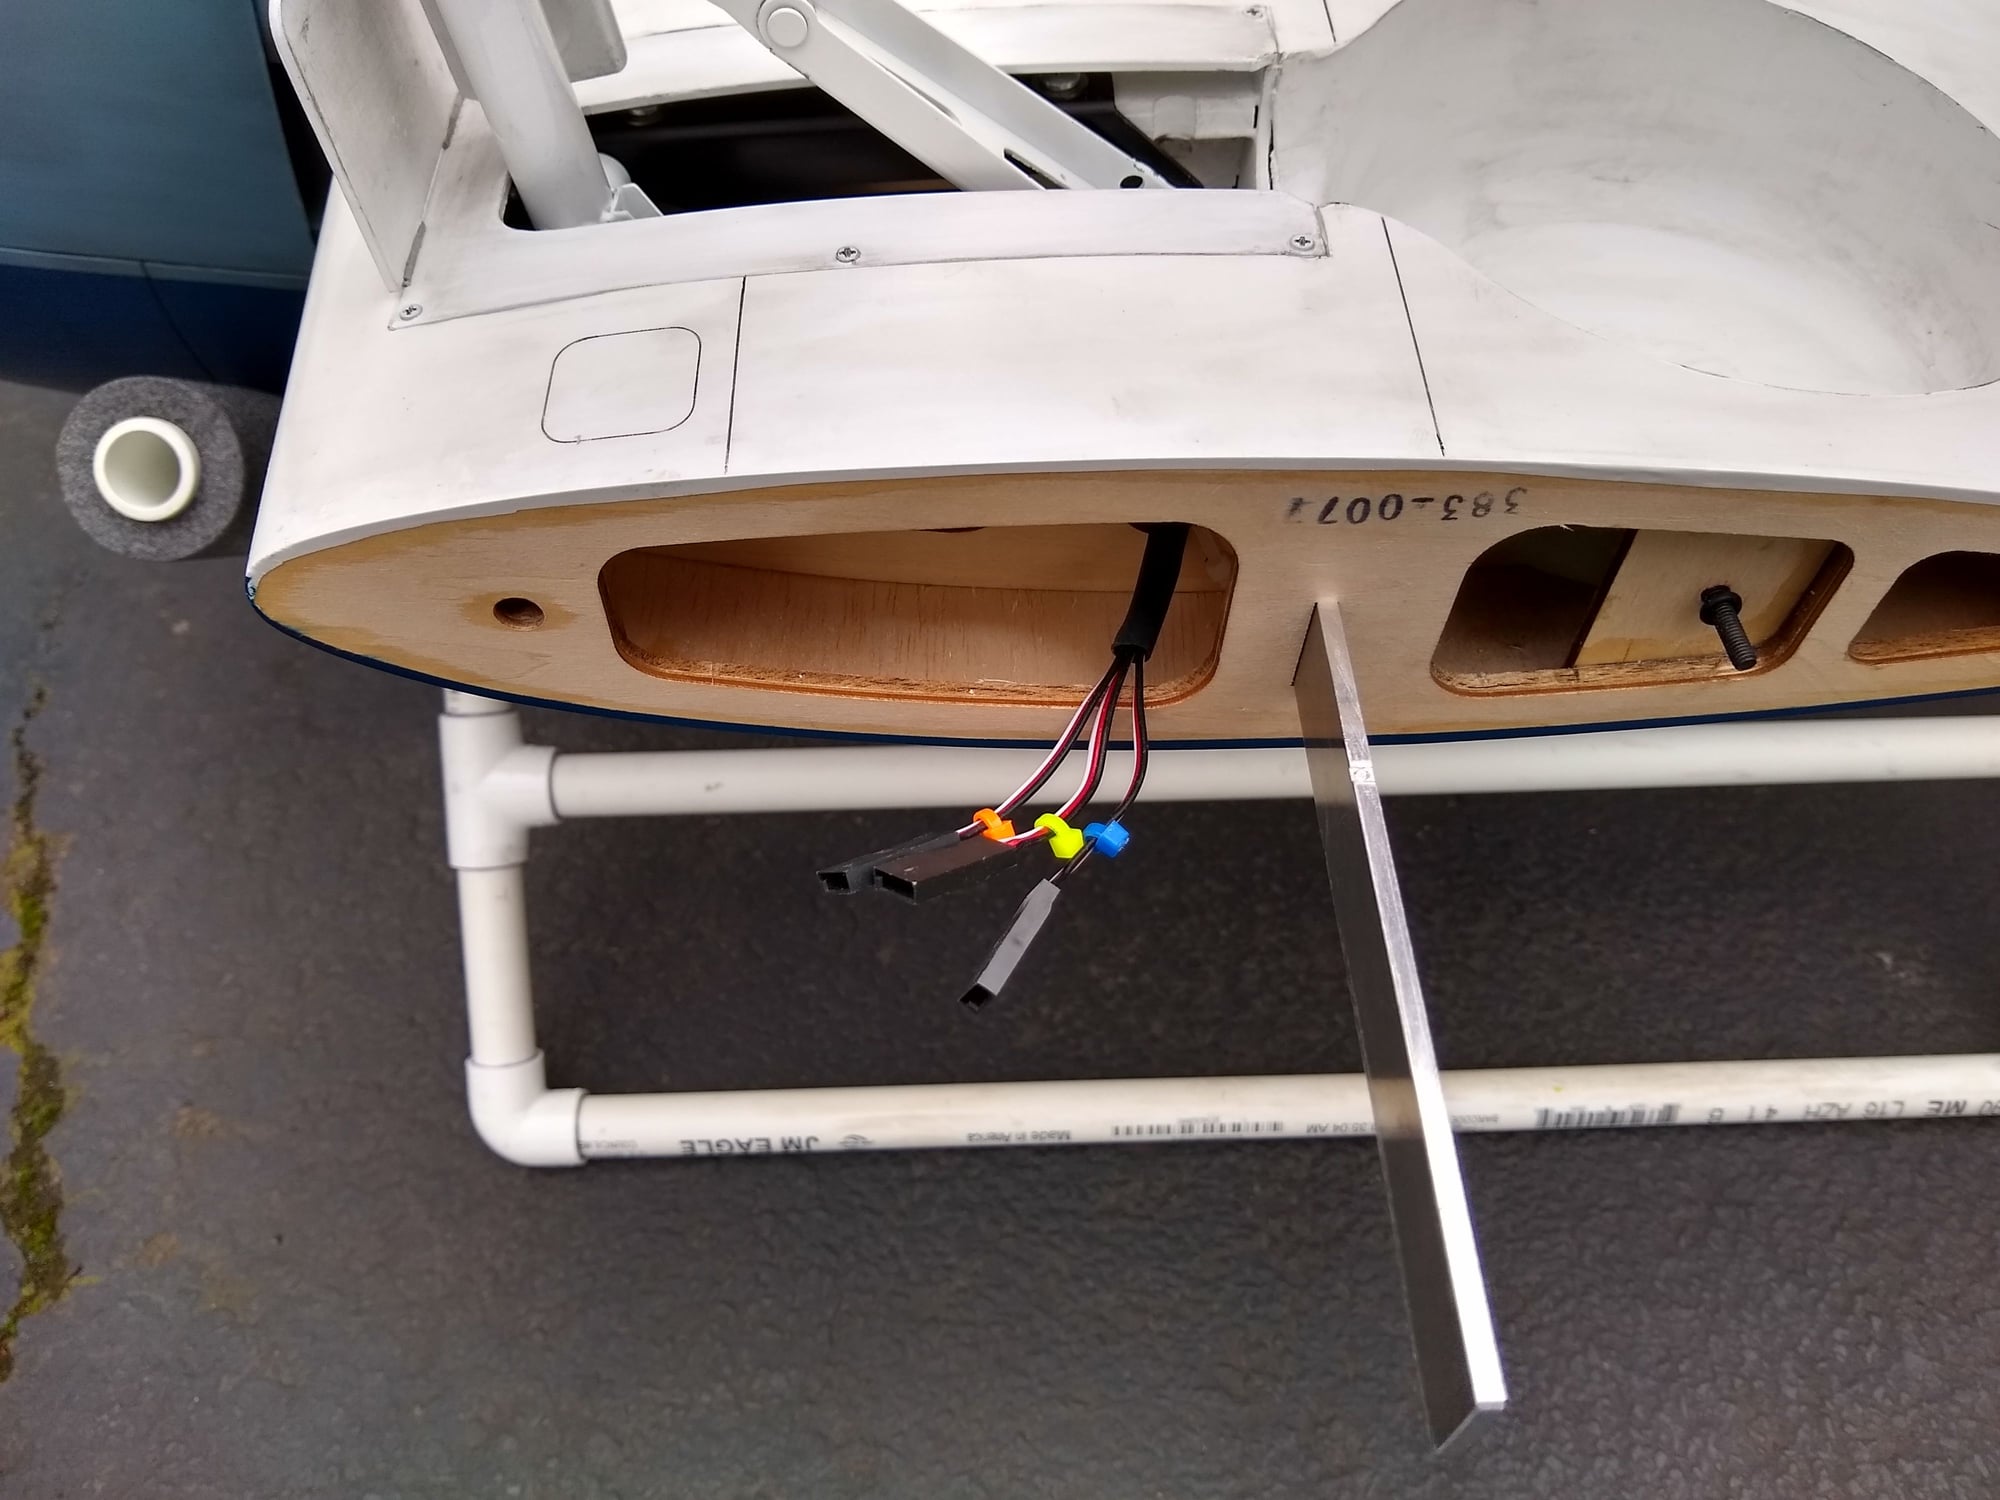
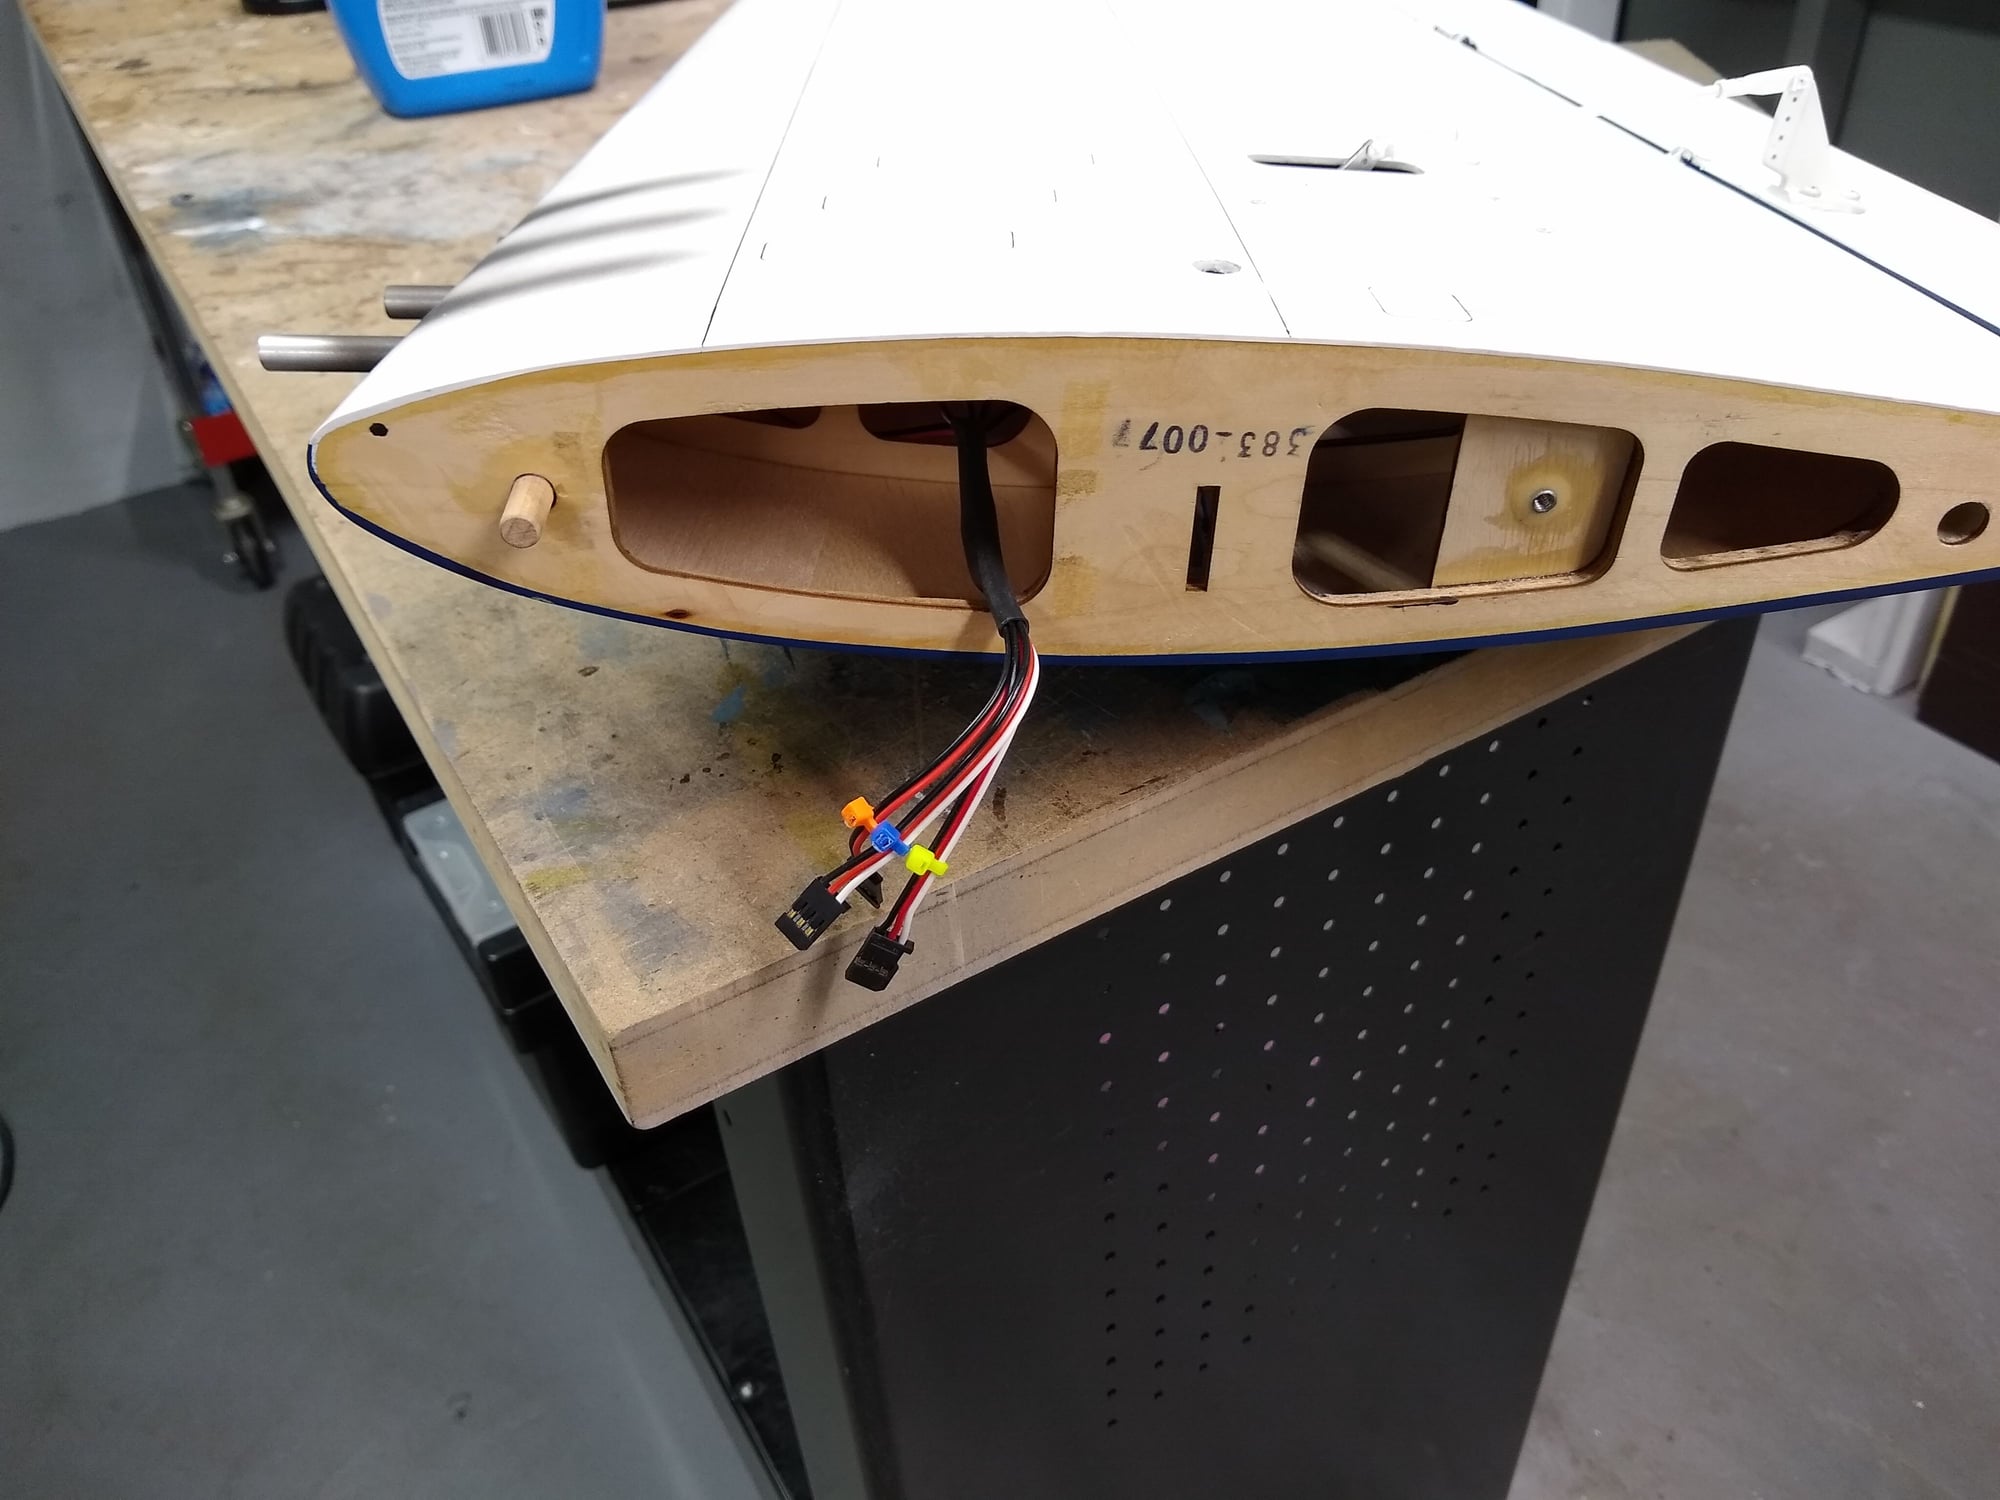
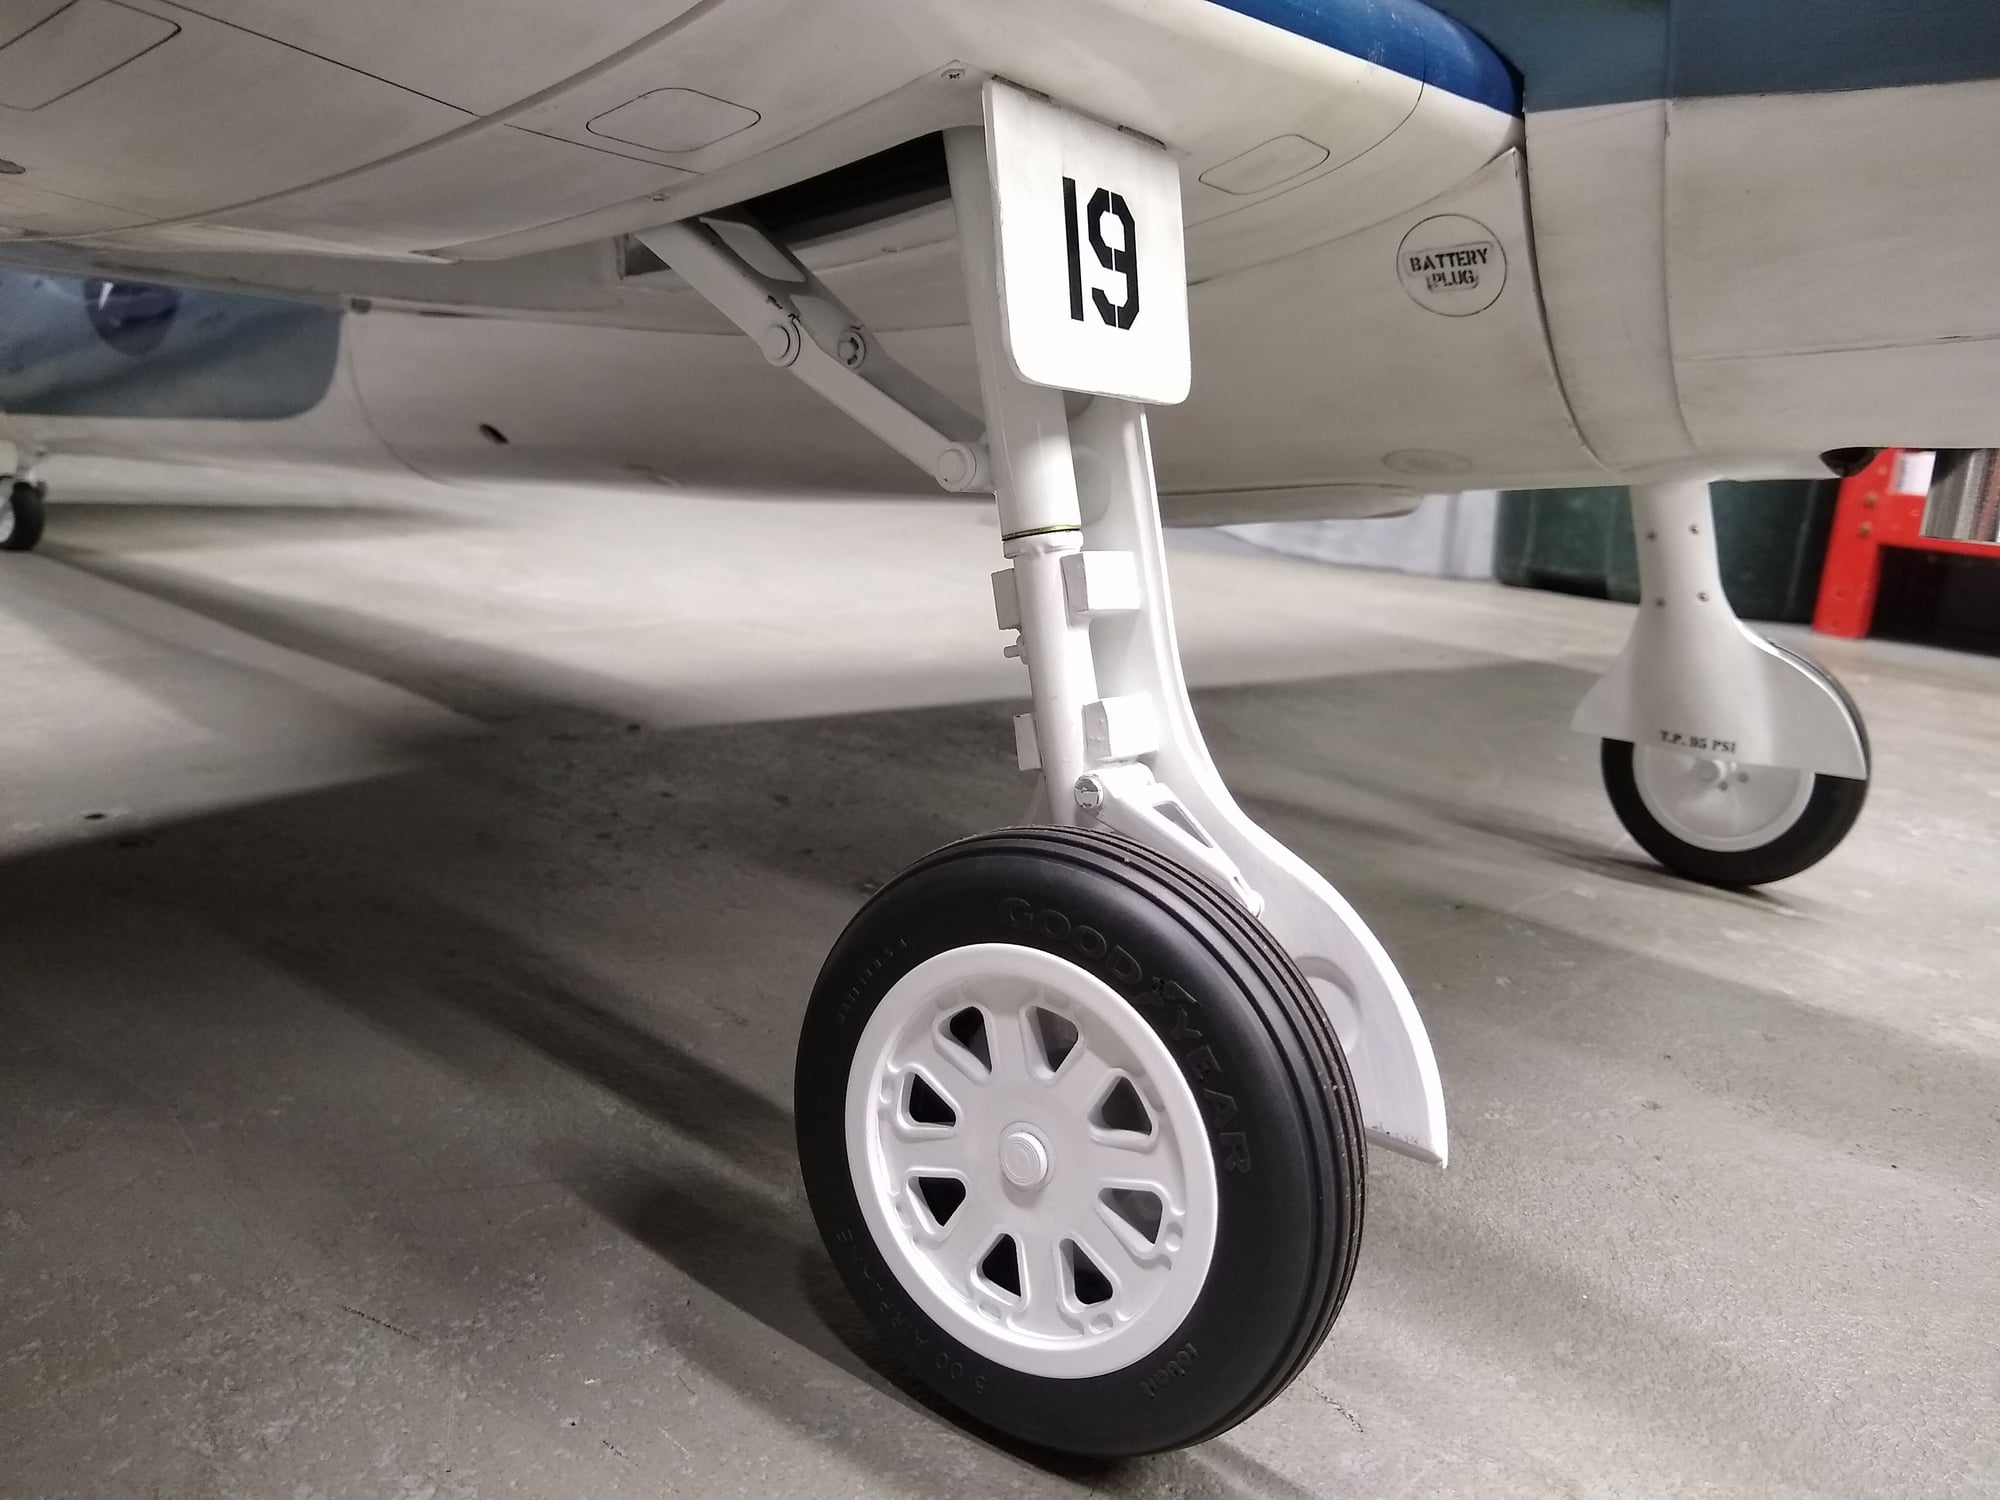
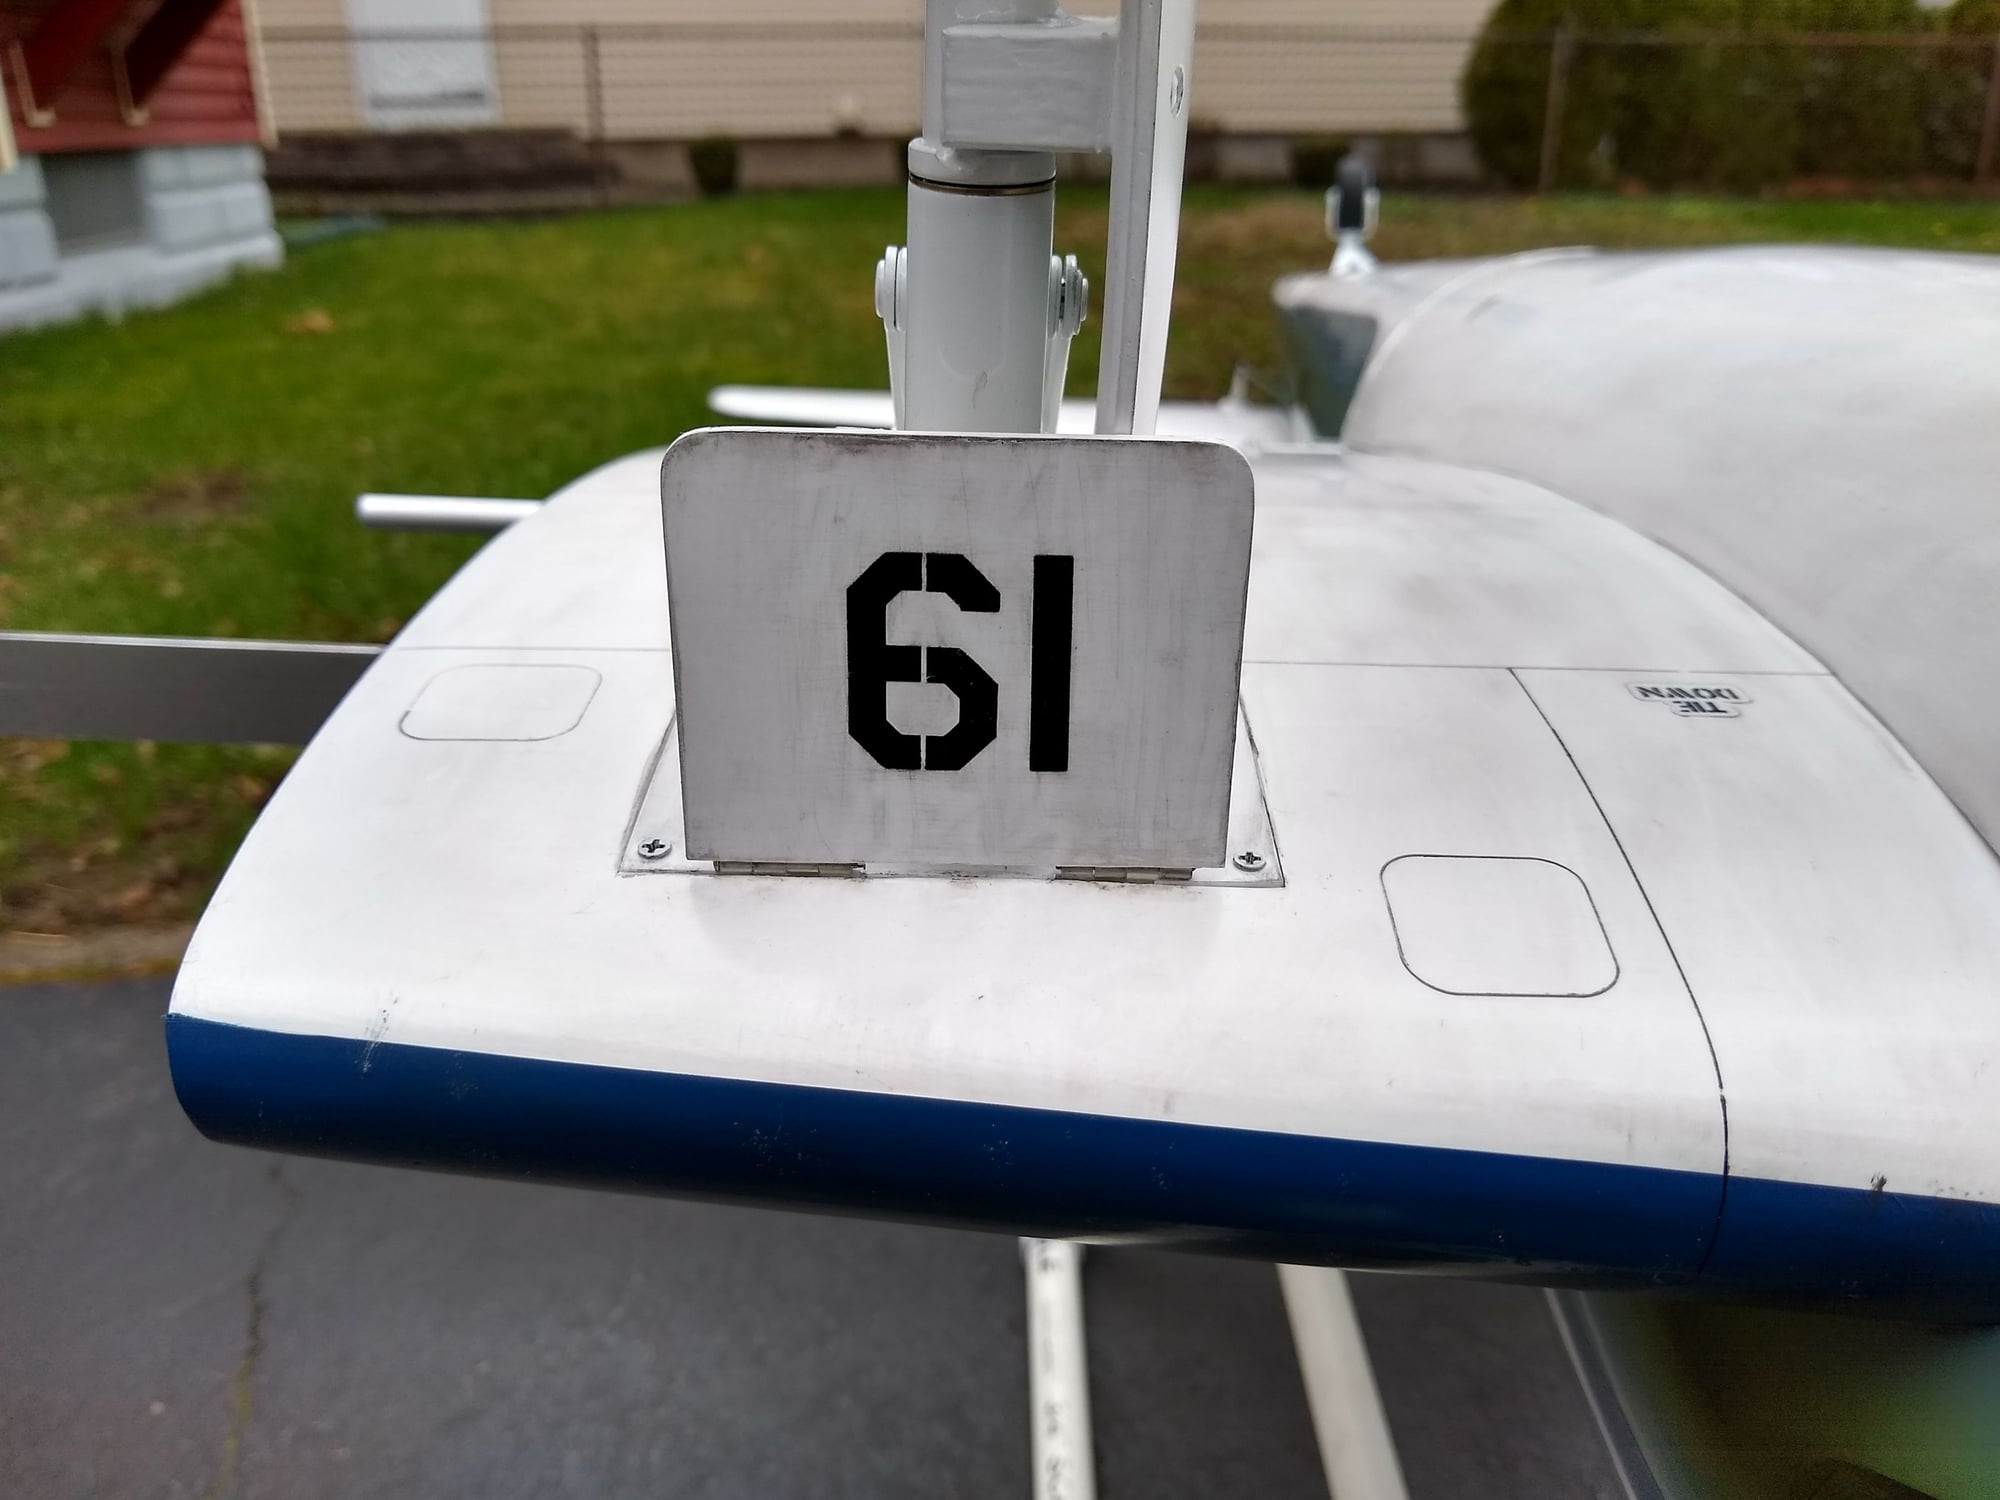
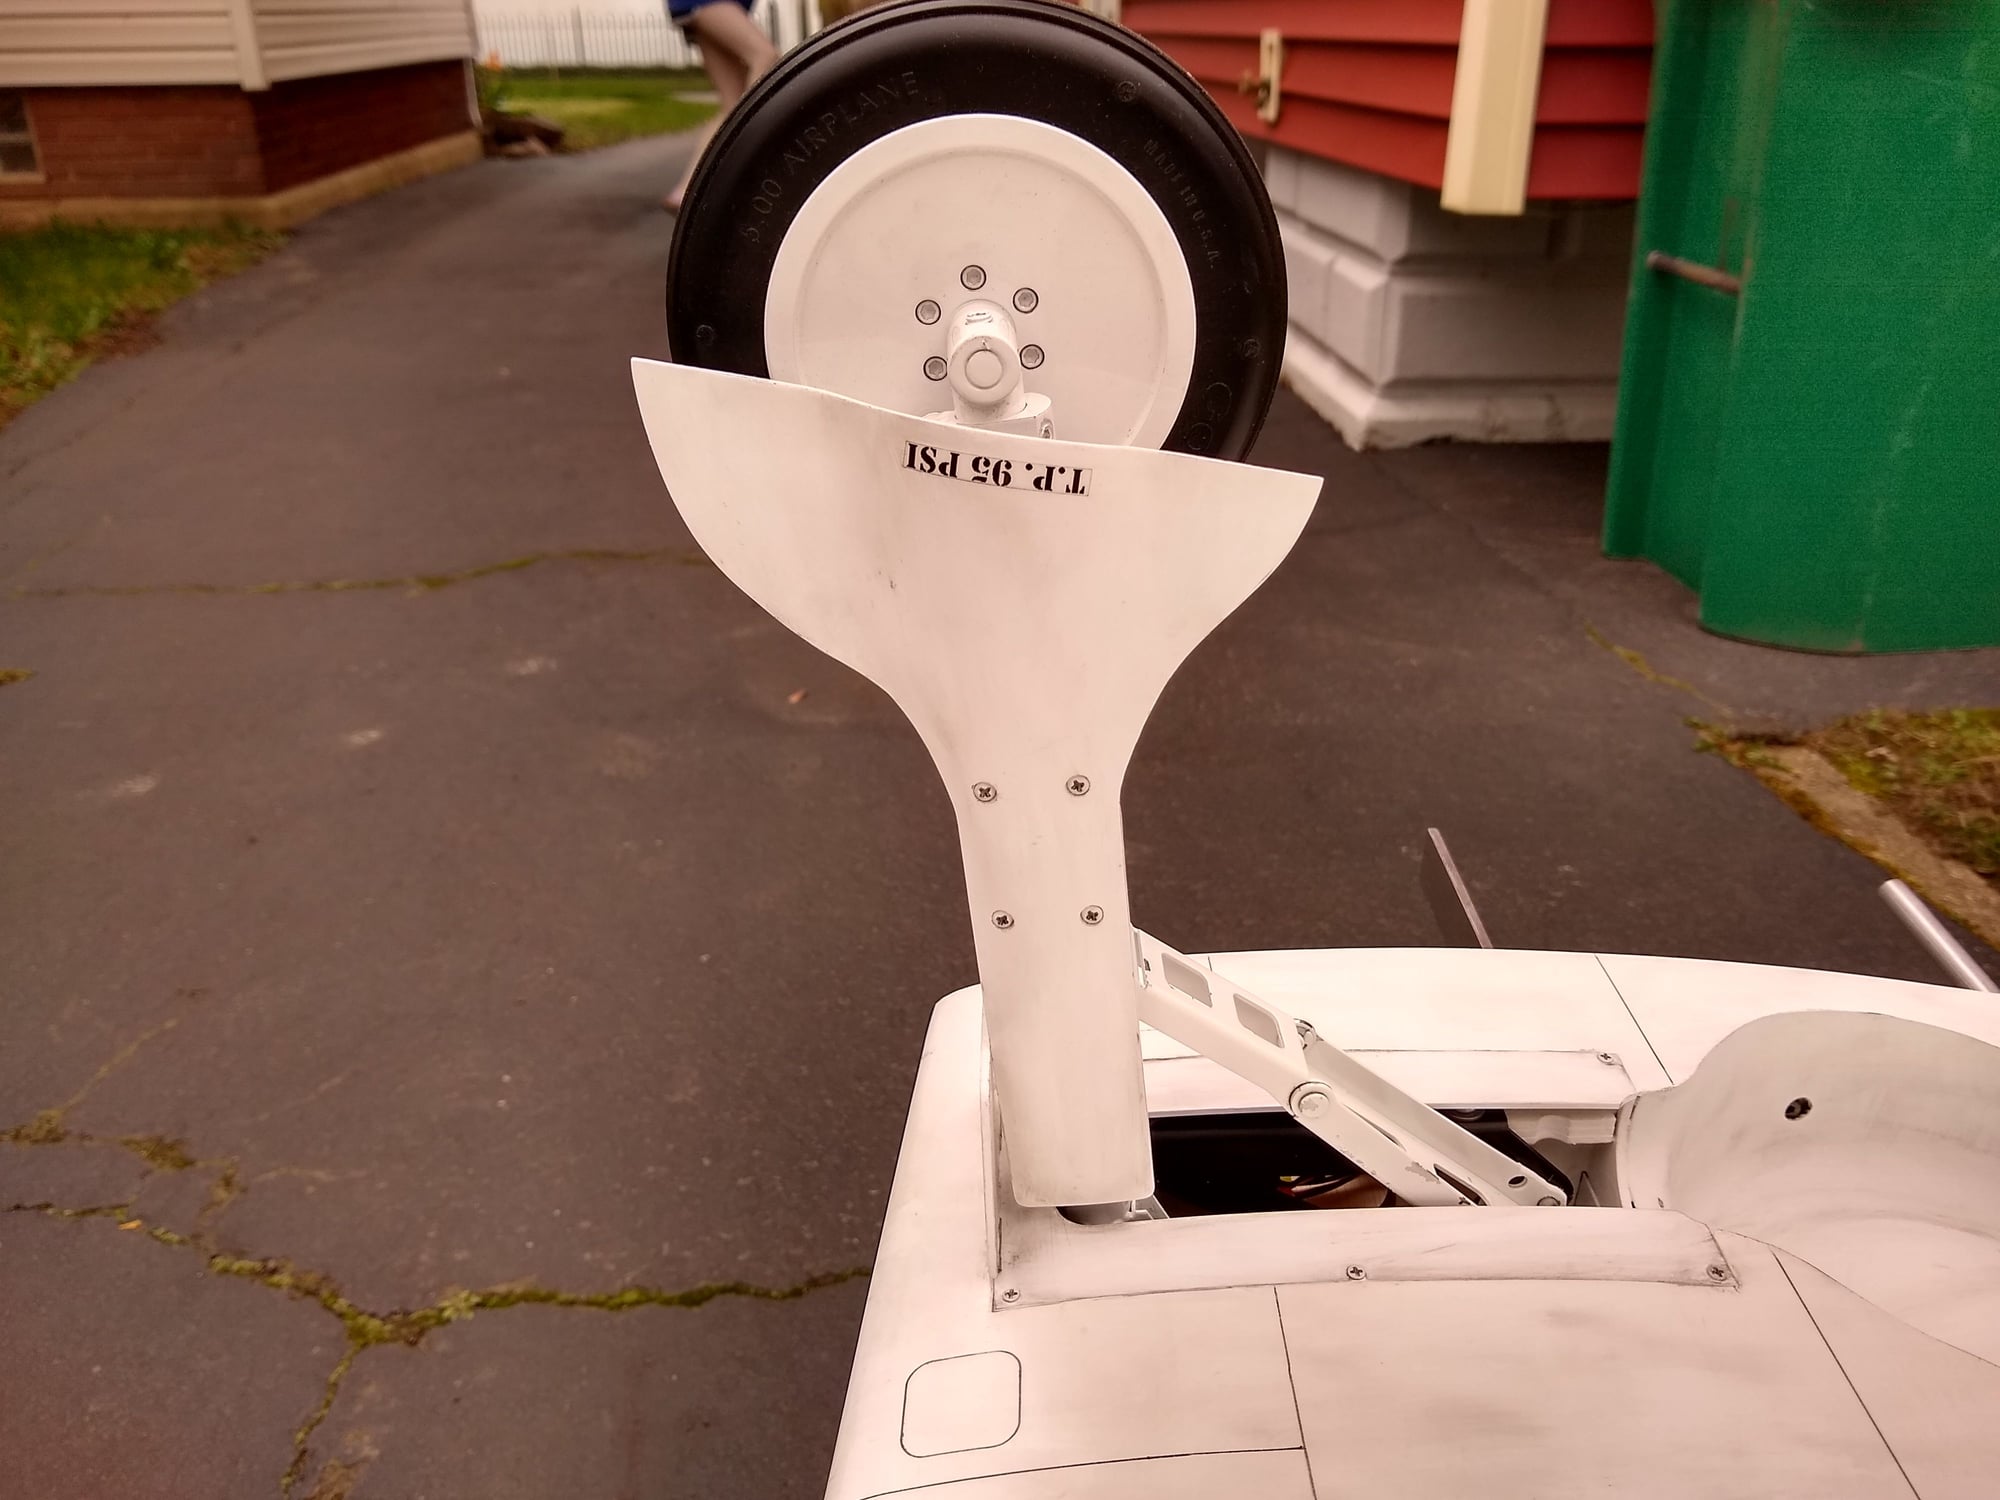
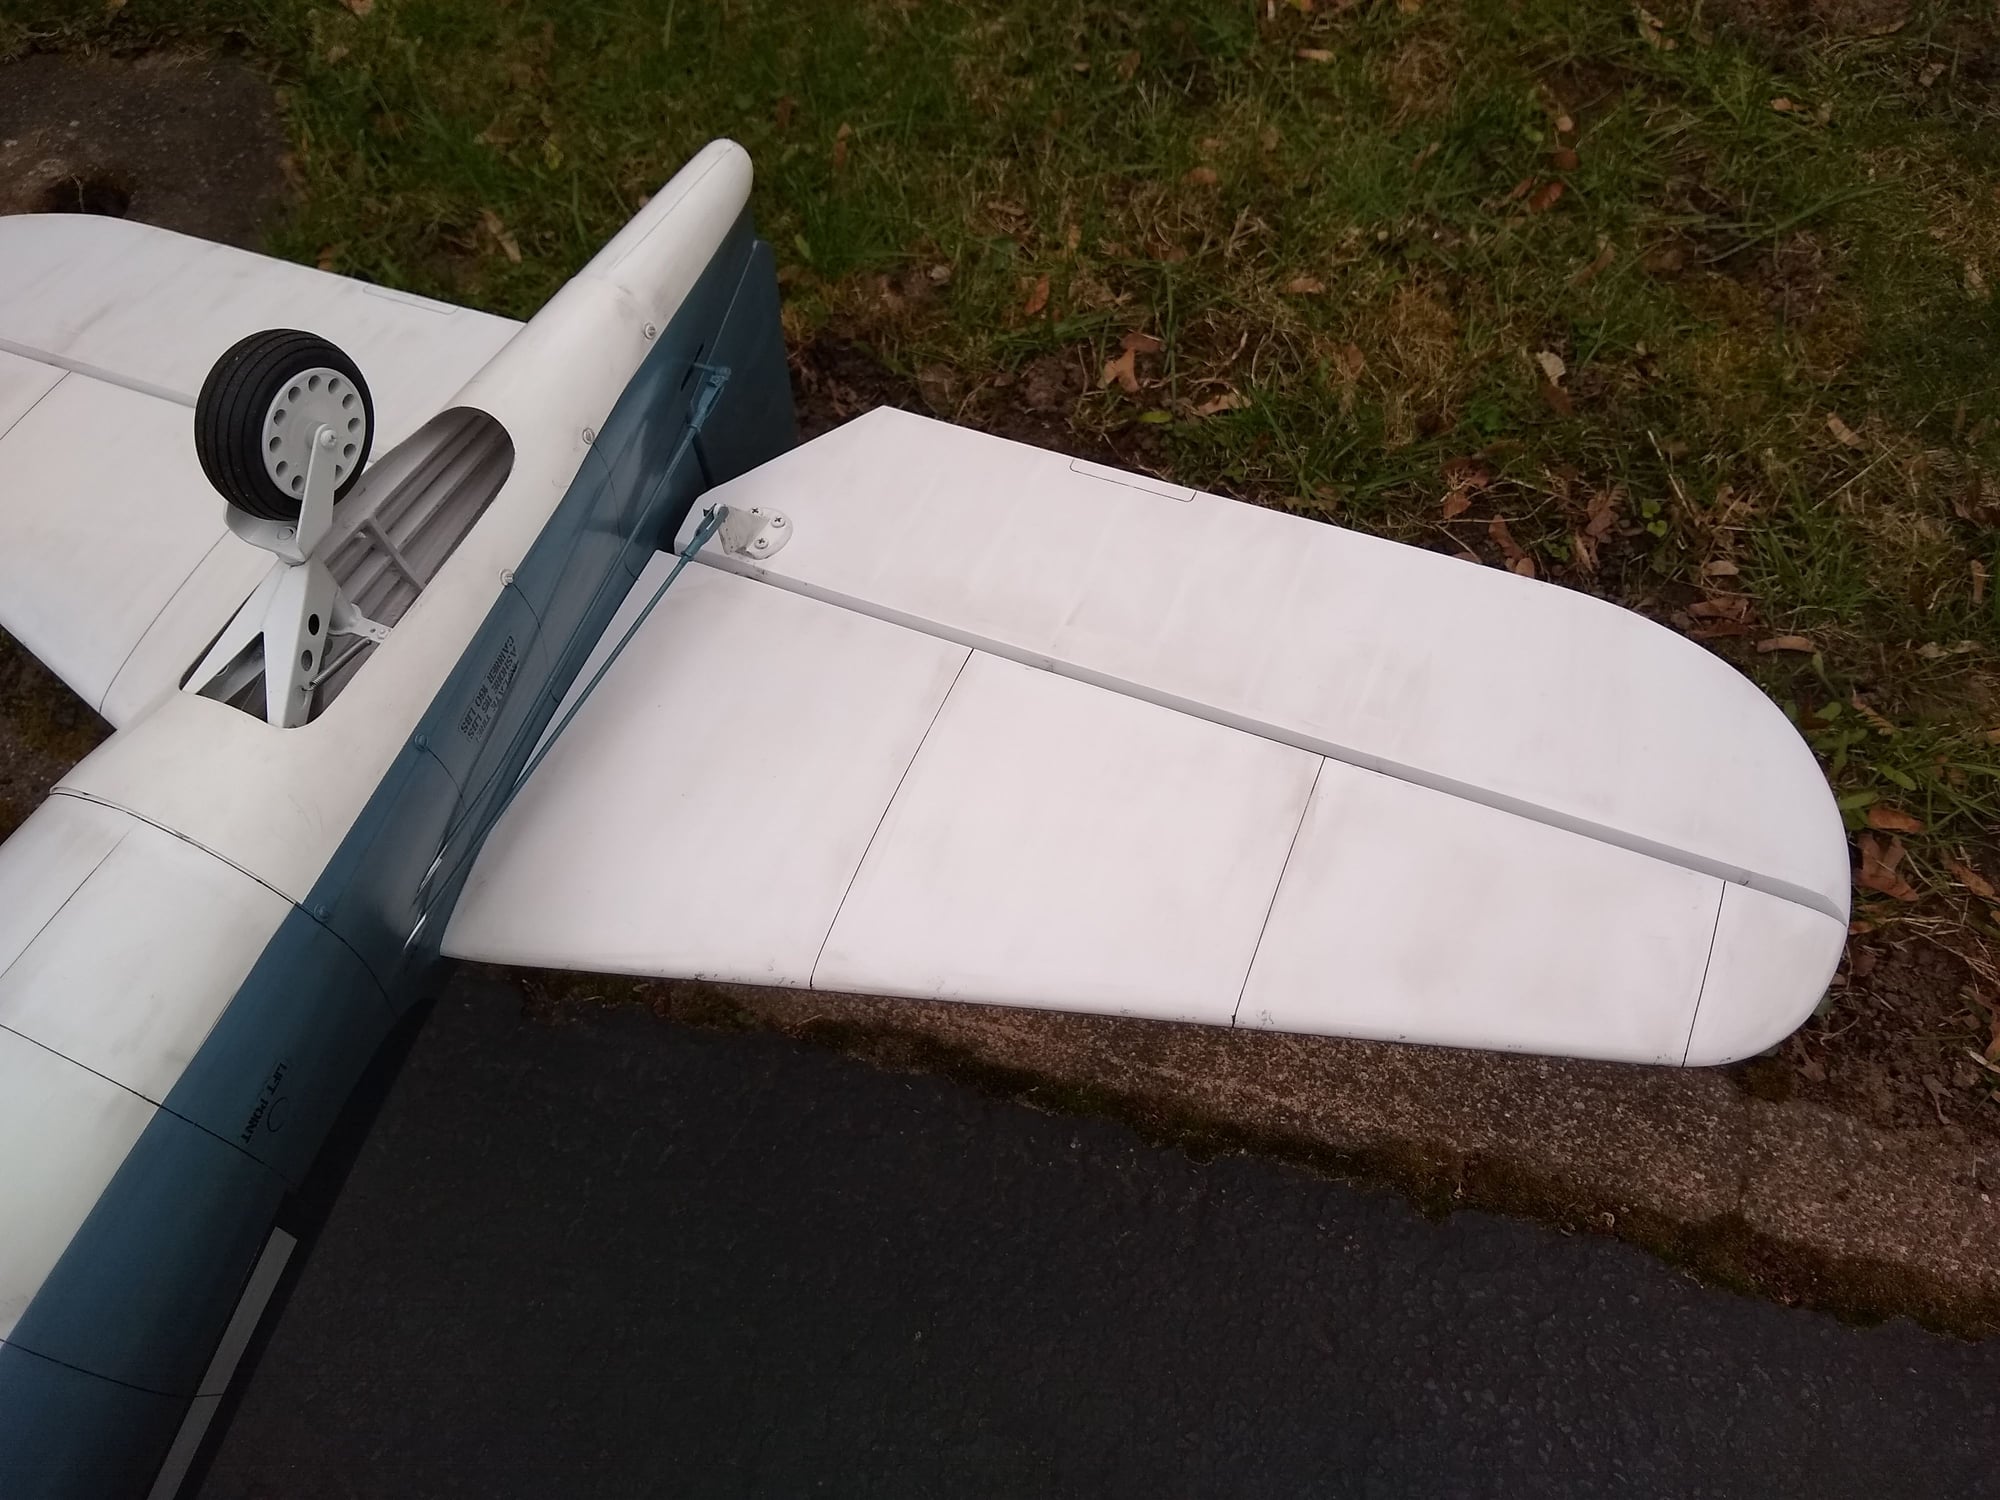
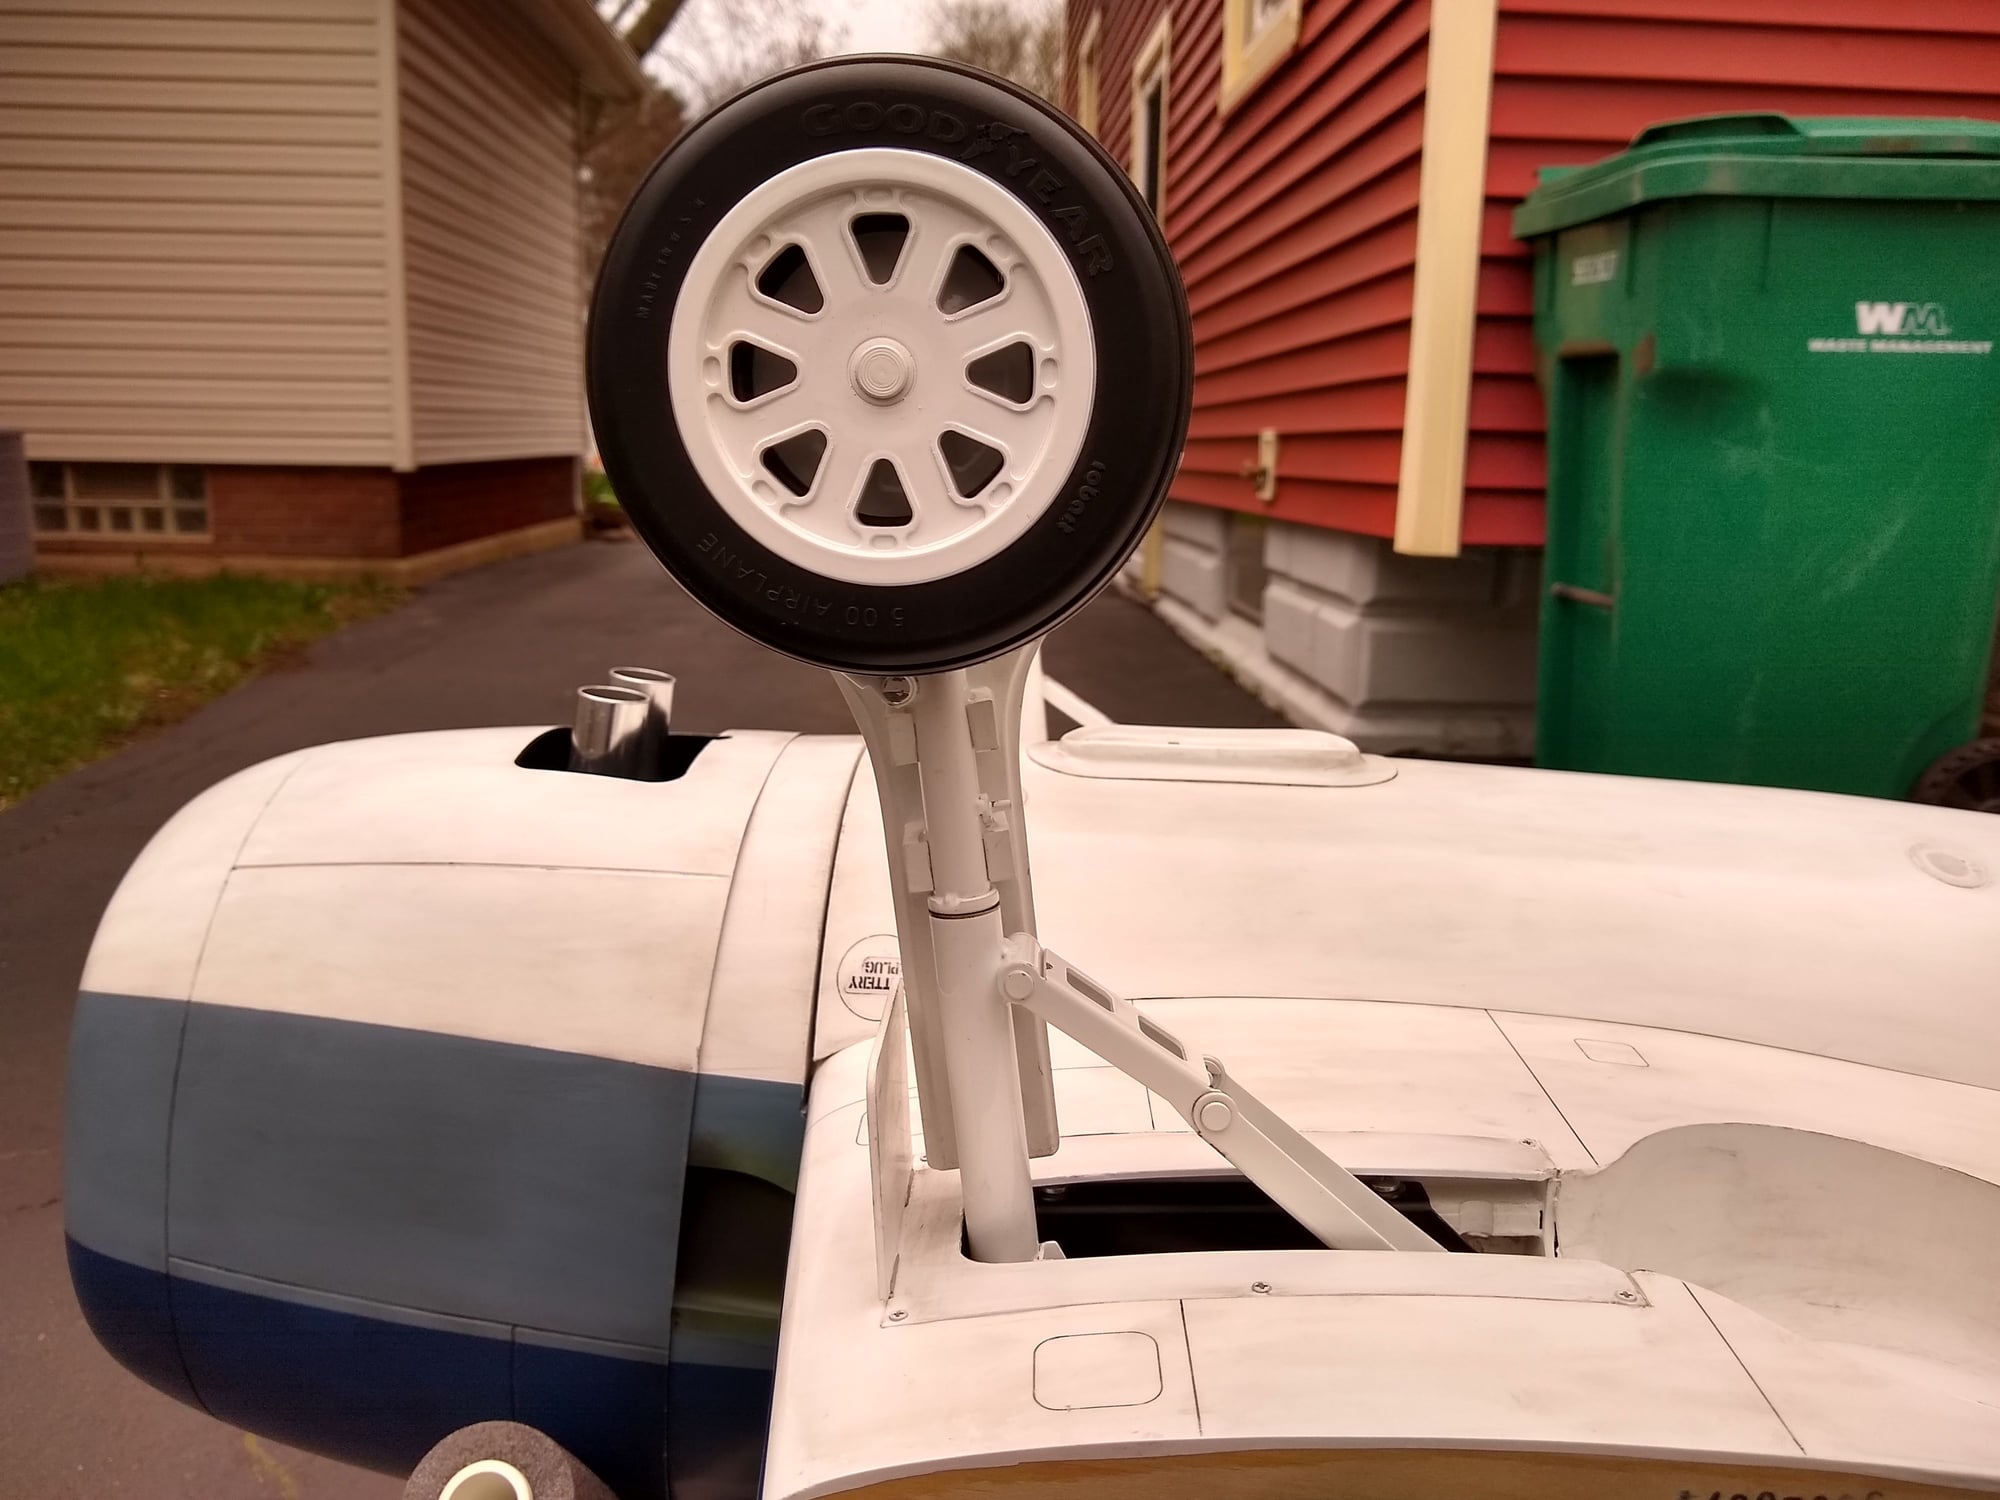
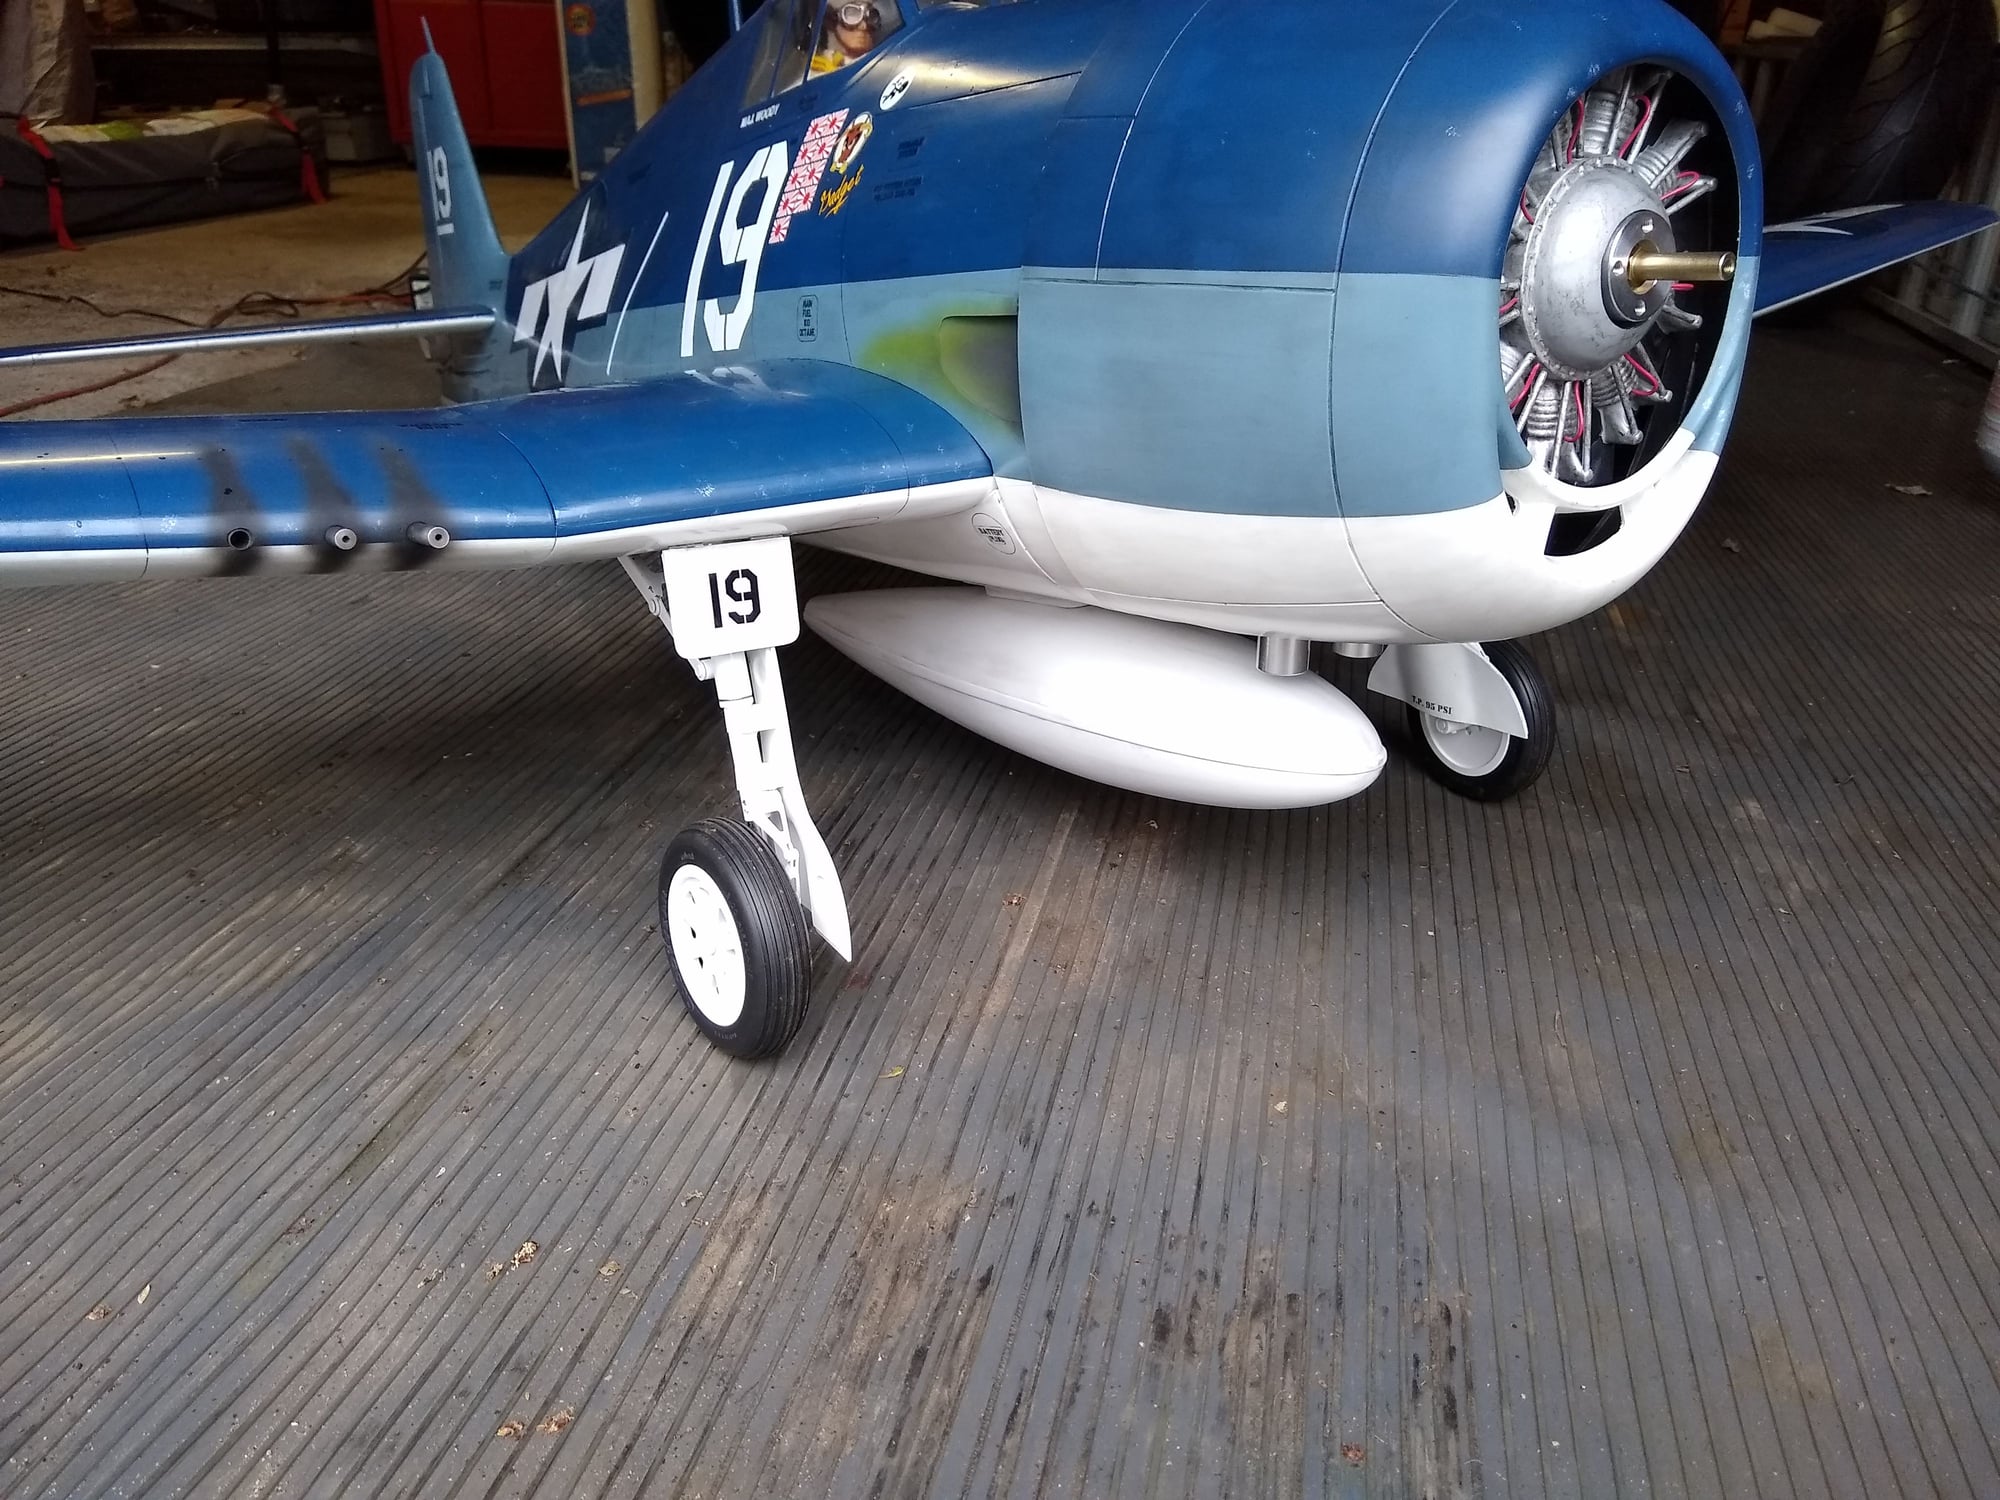
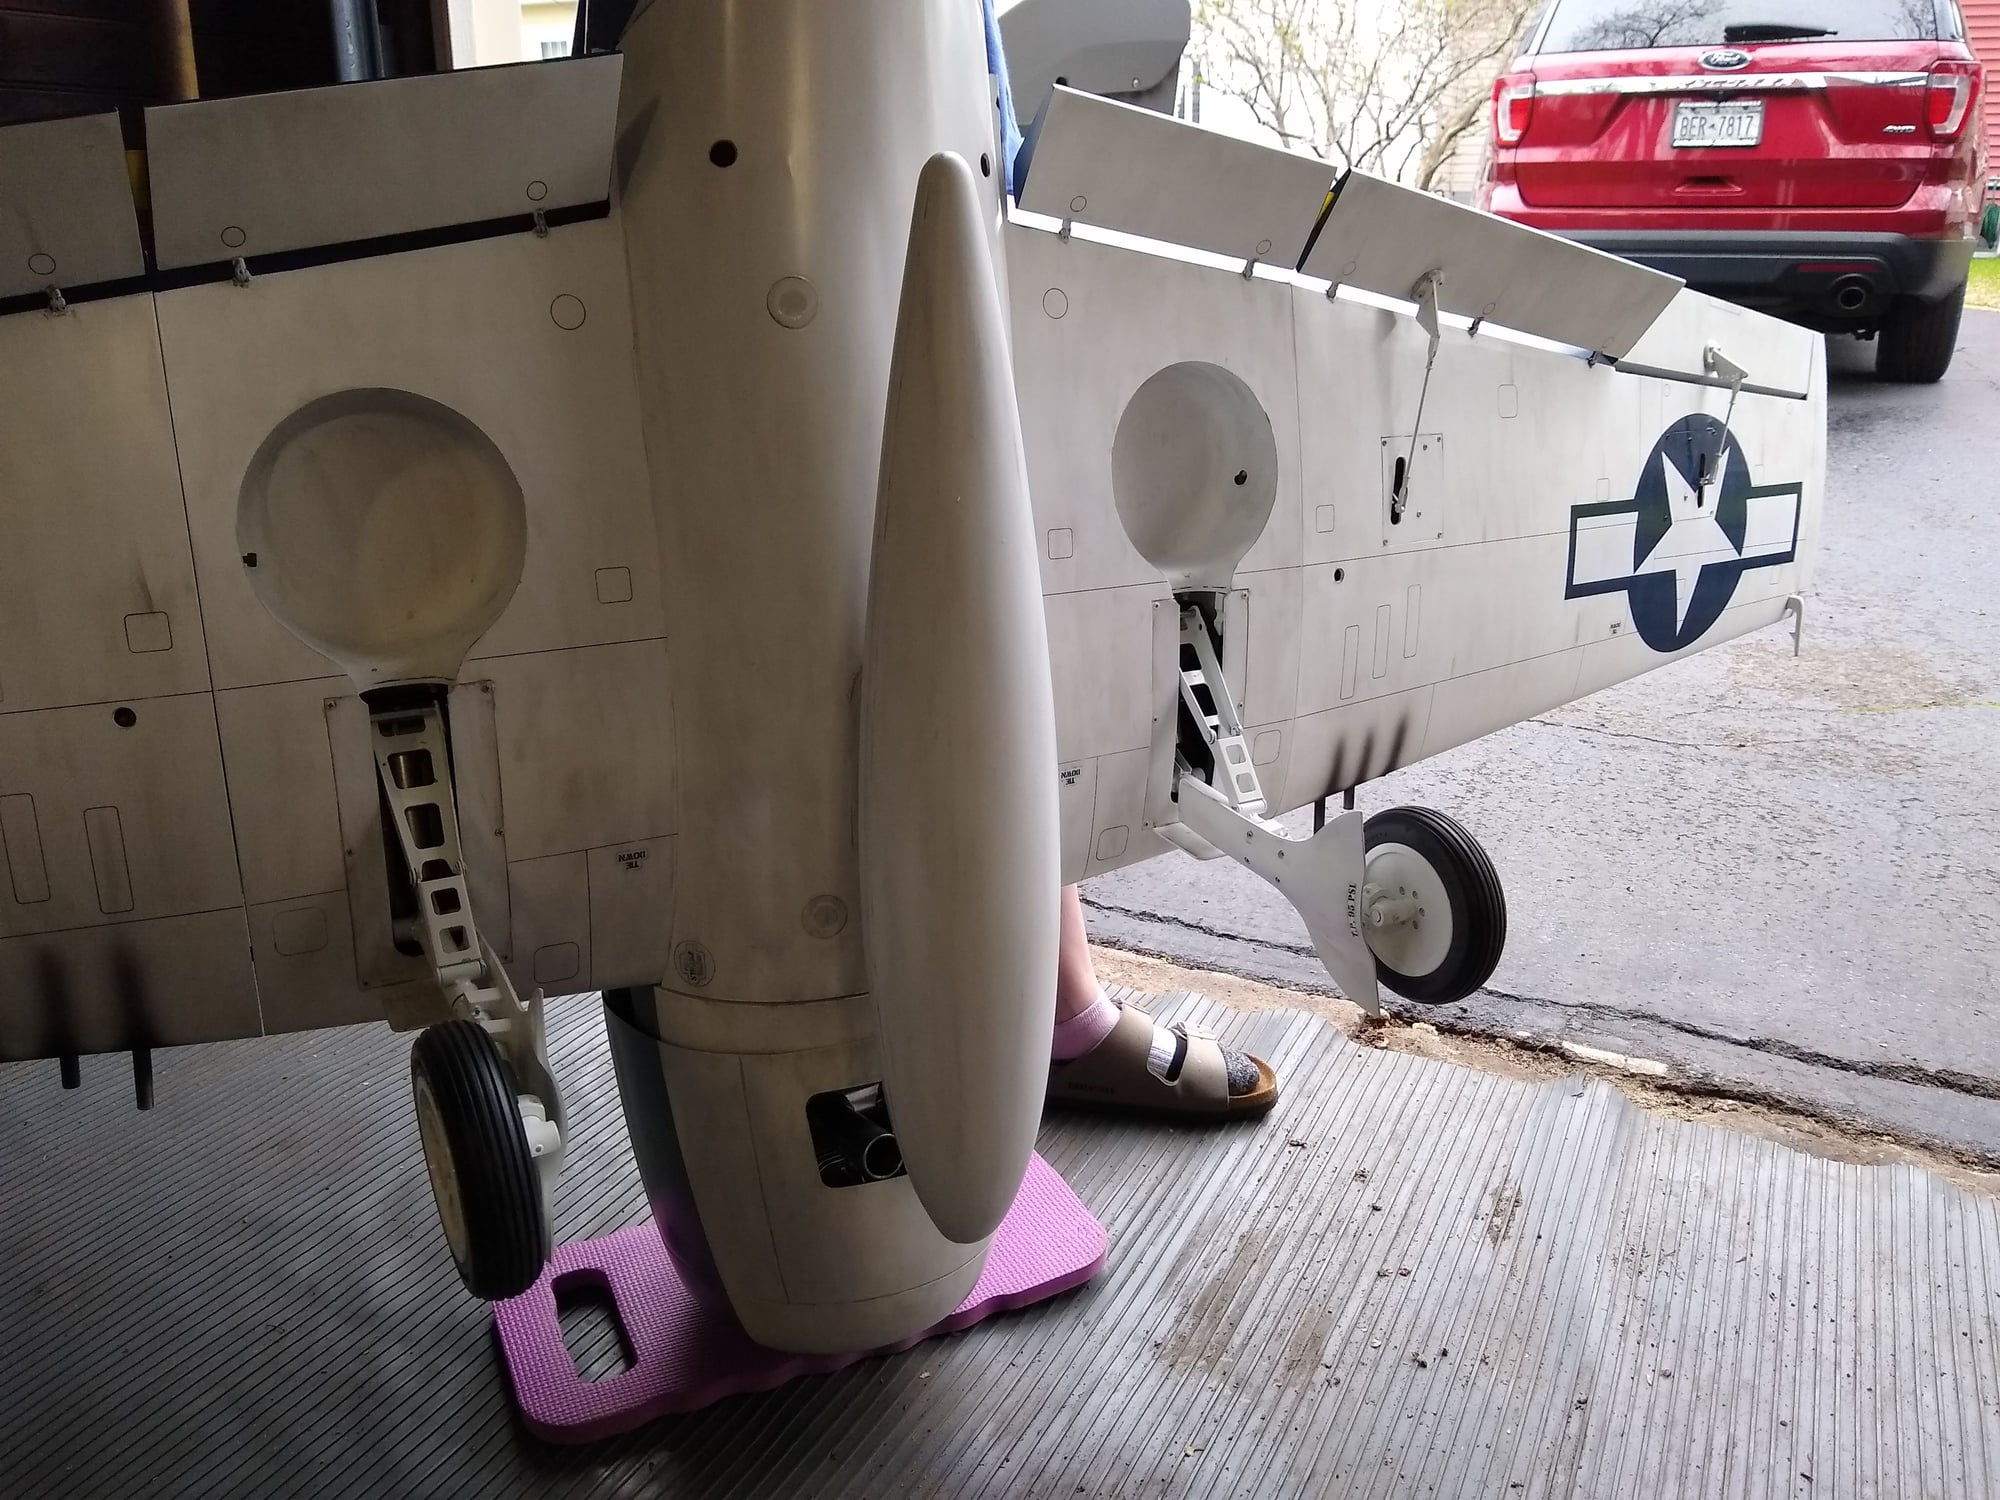
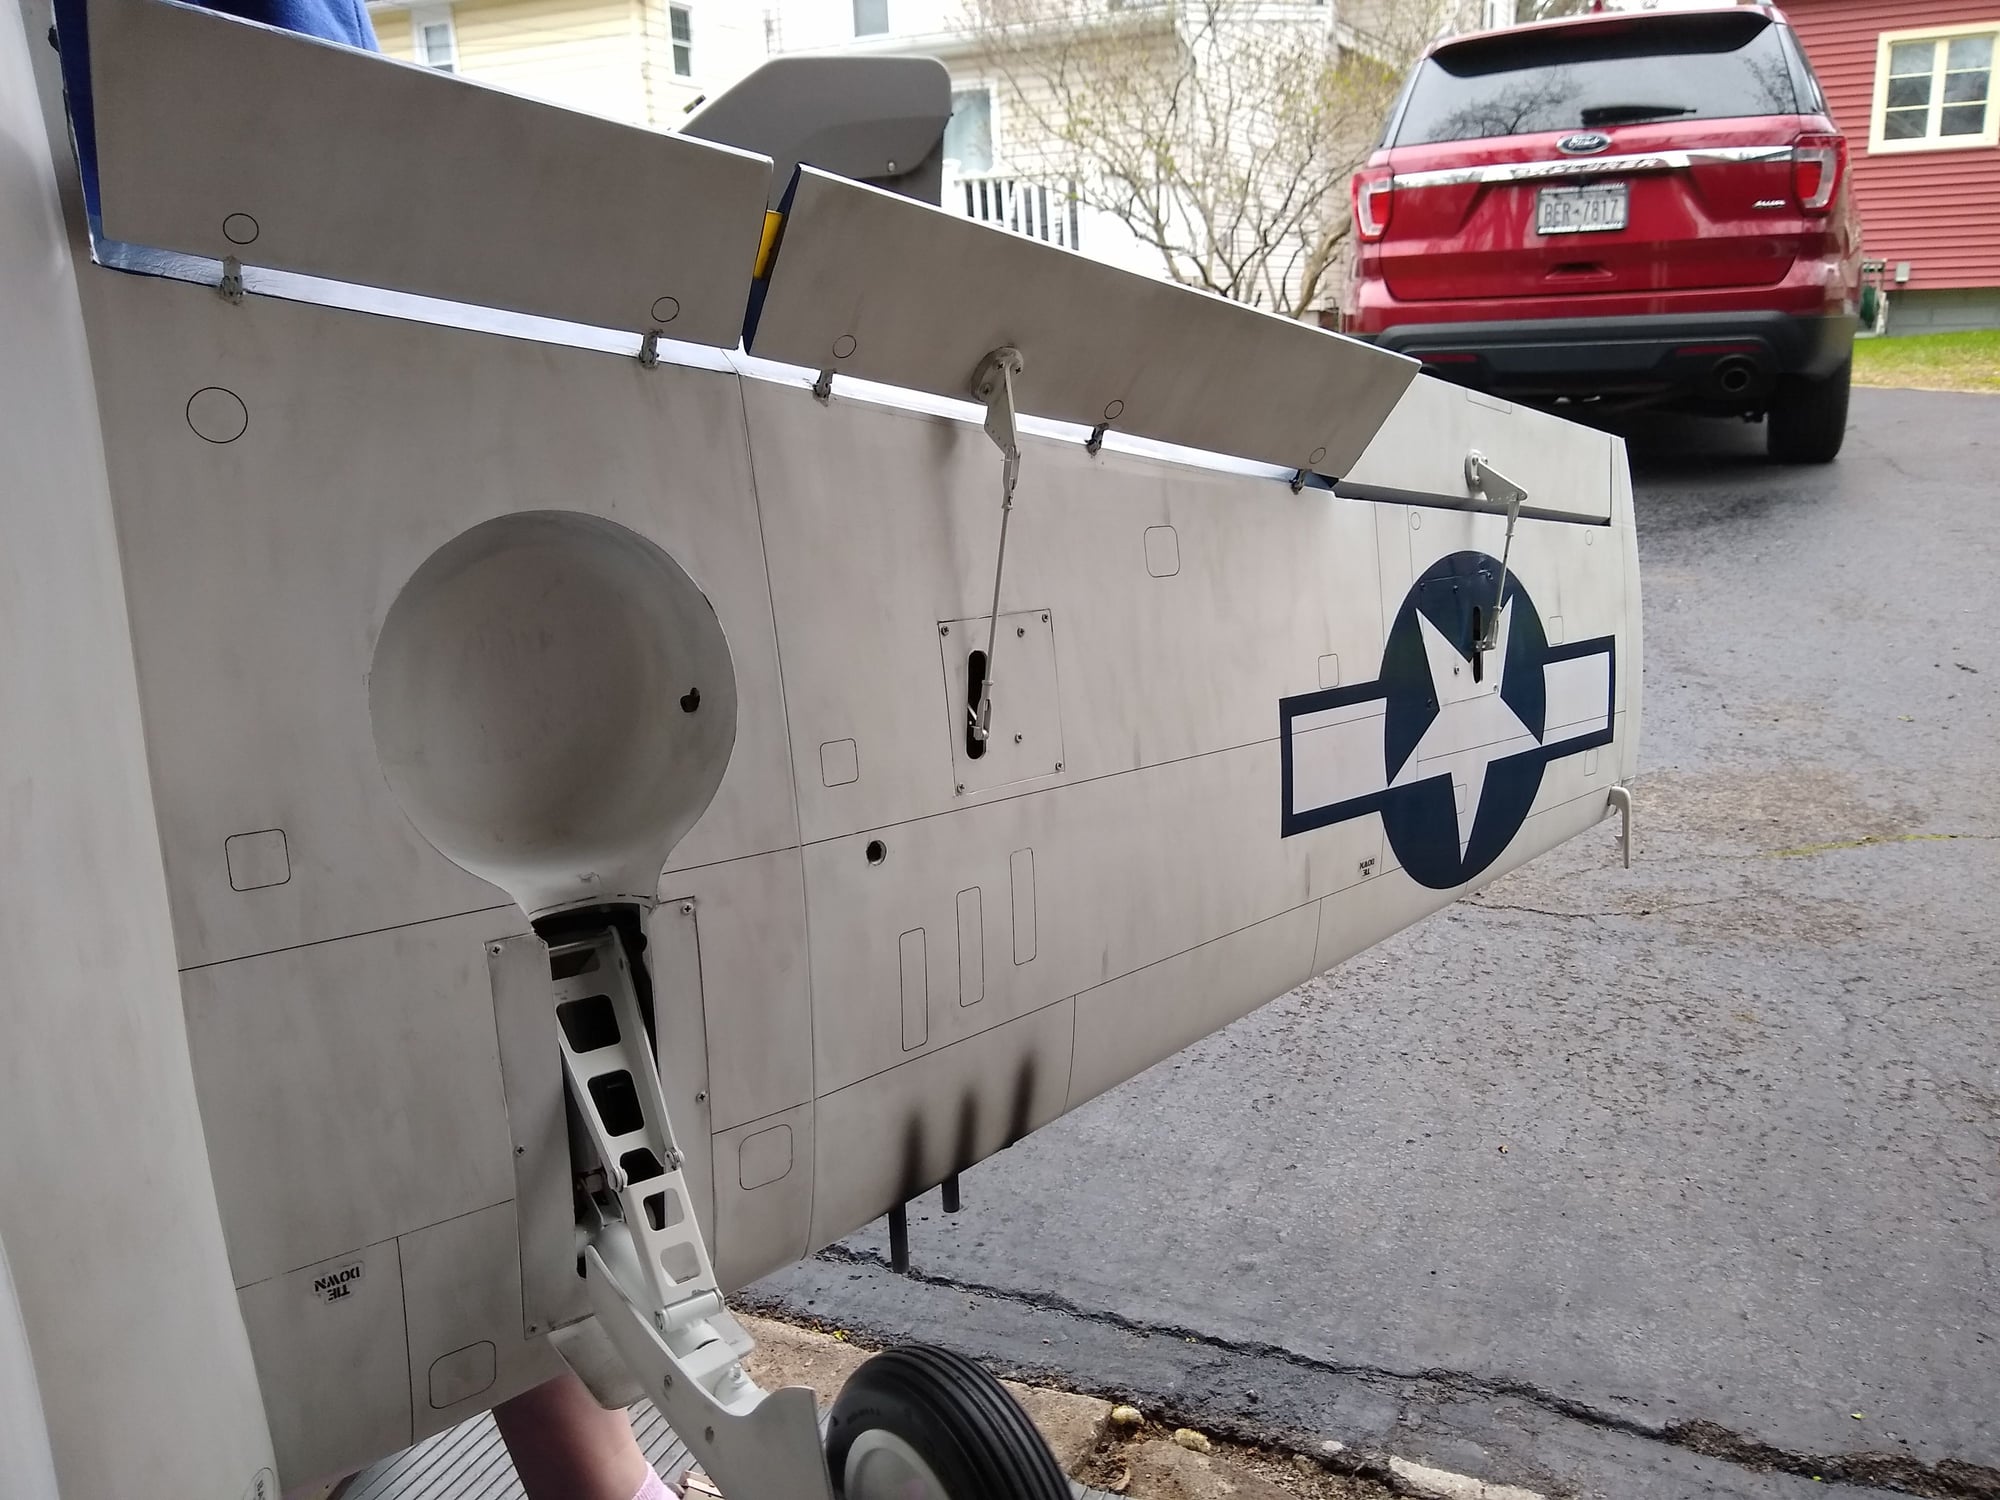
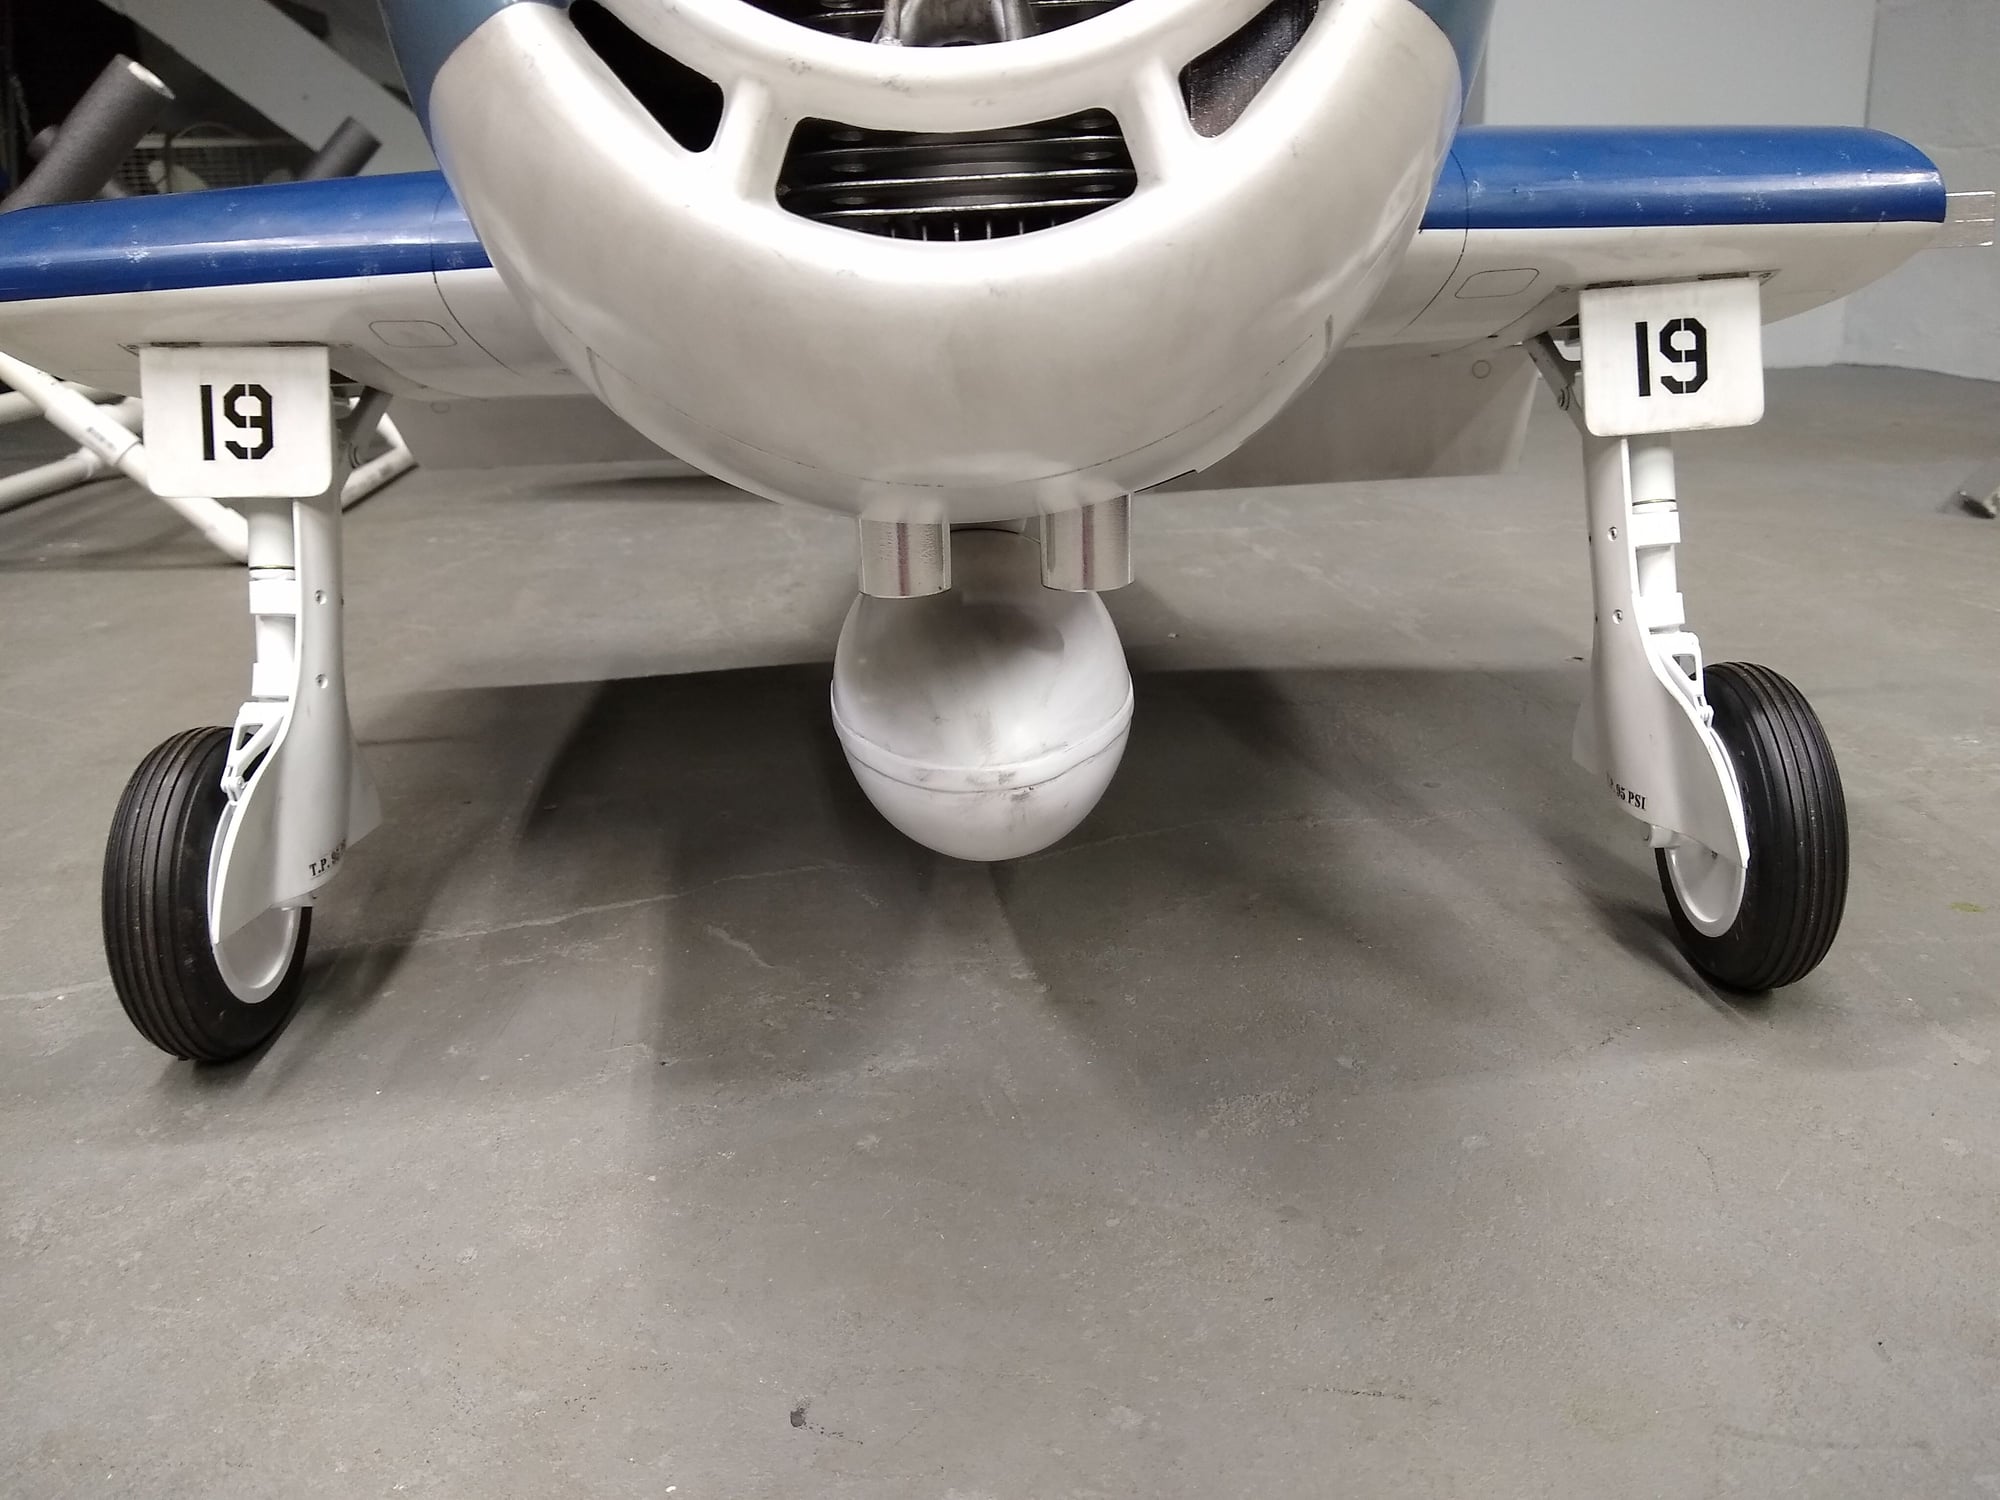
For the wing center section, I painted the wheel wells and gear doors flat white, added the small front gear doors, scratch built new gear covers (the stock ones had clearance holes in them and the gaps between the doors were uneven). I also disassembled the Robart gear and reversed the strut links. As delivered the are facing the wrong direction for a Hellcat. While apart I painted the scissor links and other parts of the retracts white. Robart only paints the strut itself.


04-30-2020, 03:43 AM
#29
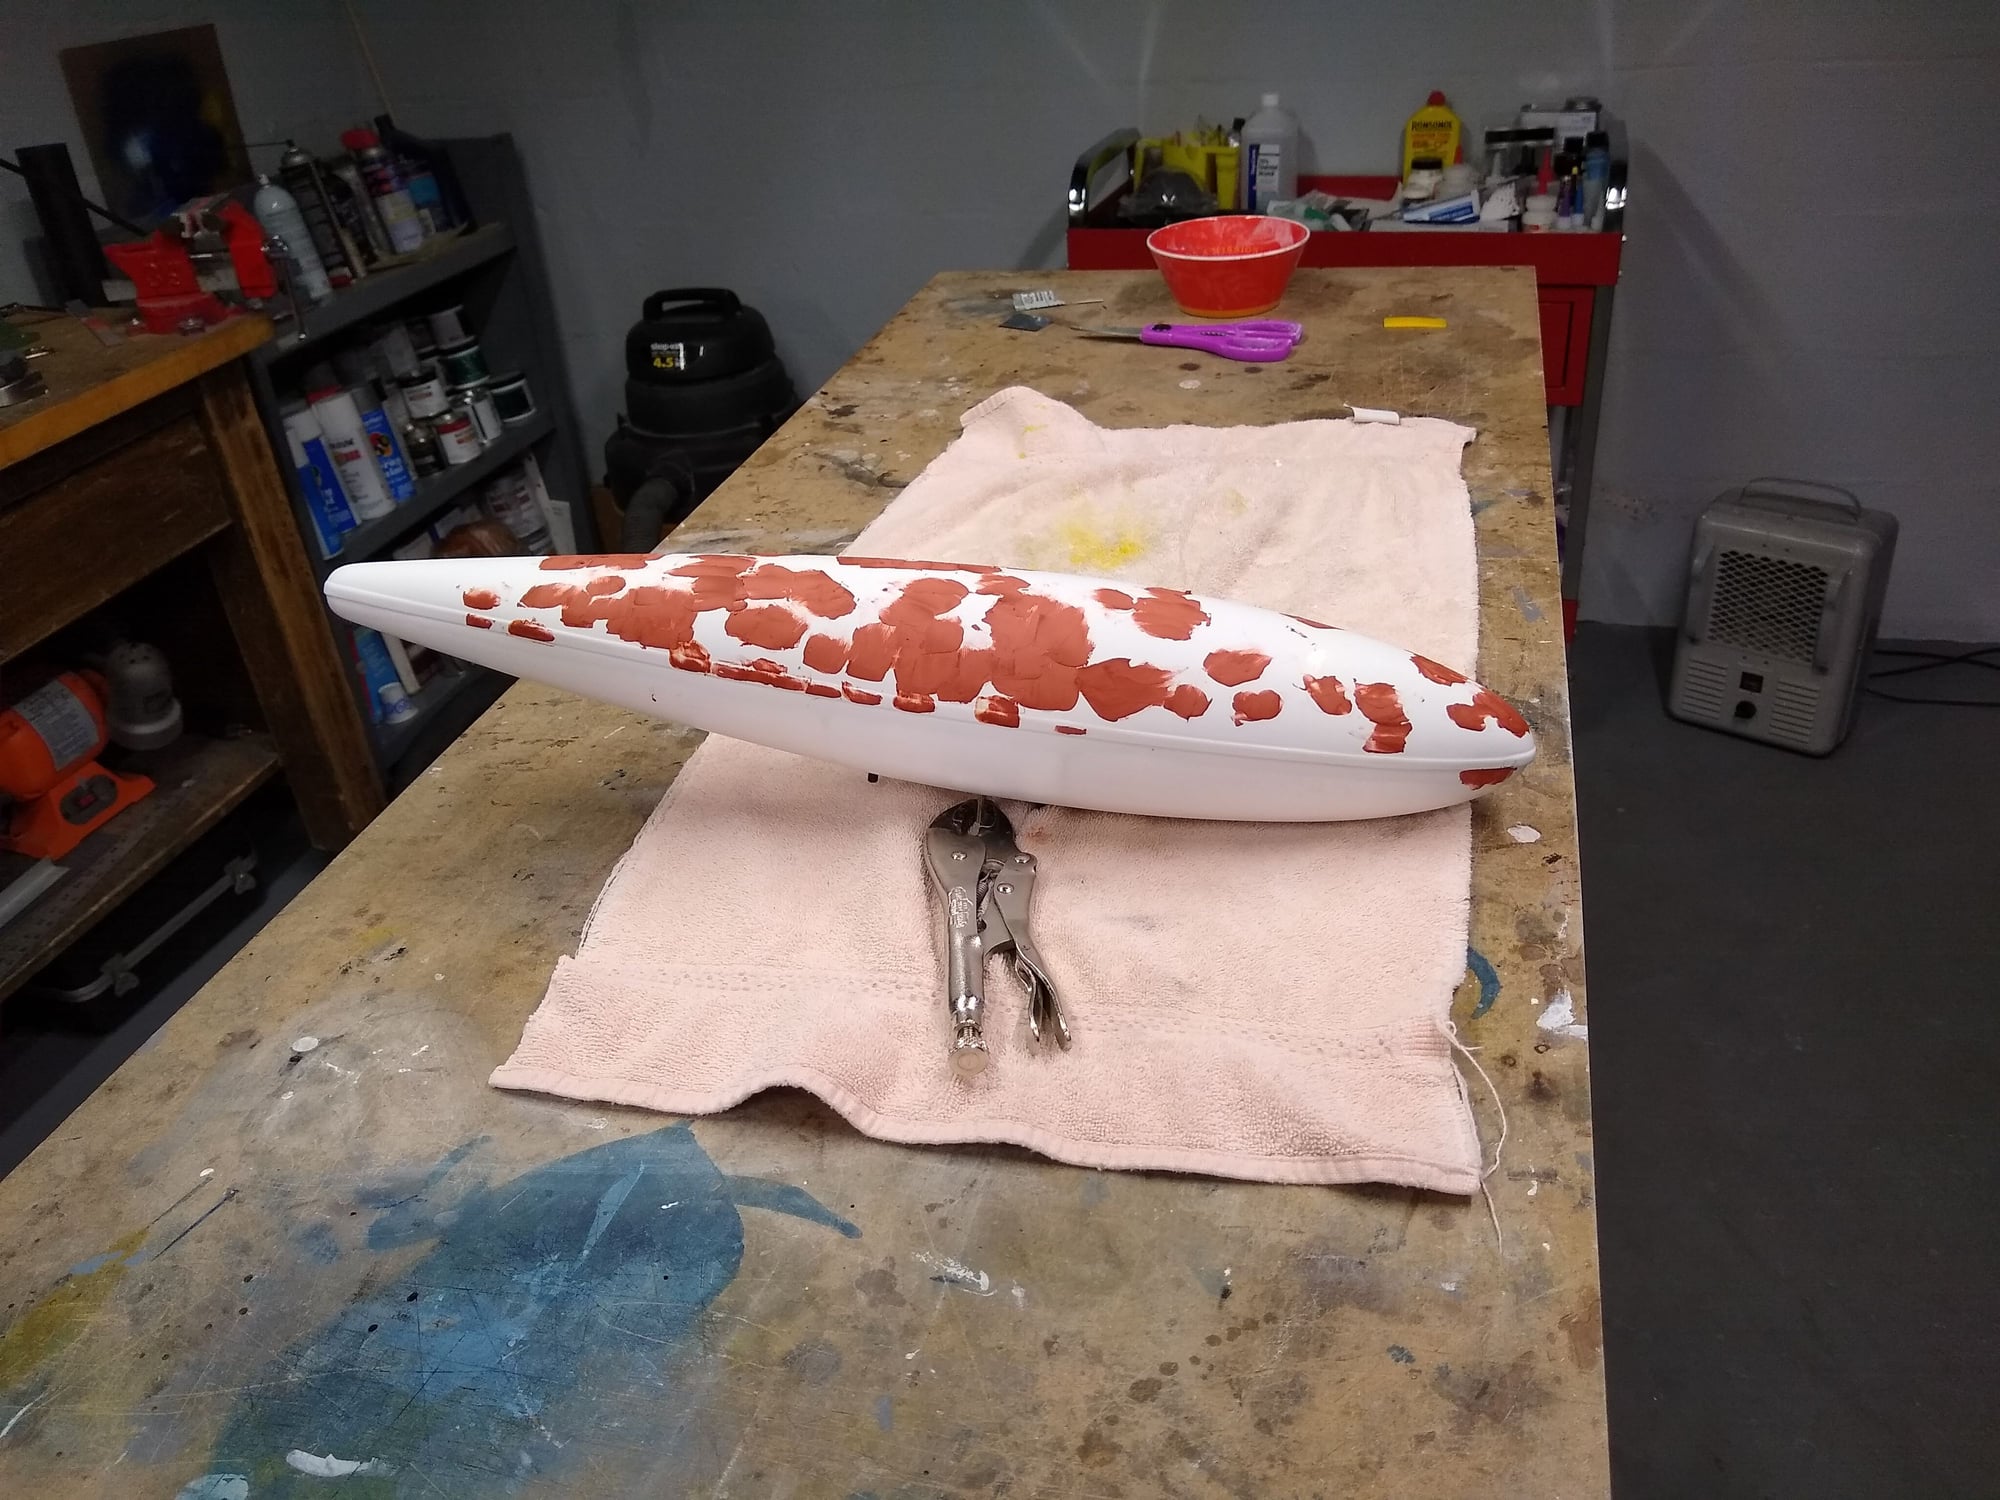
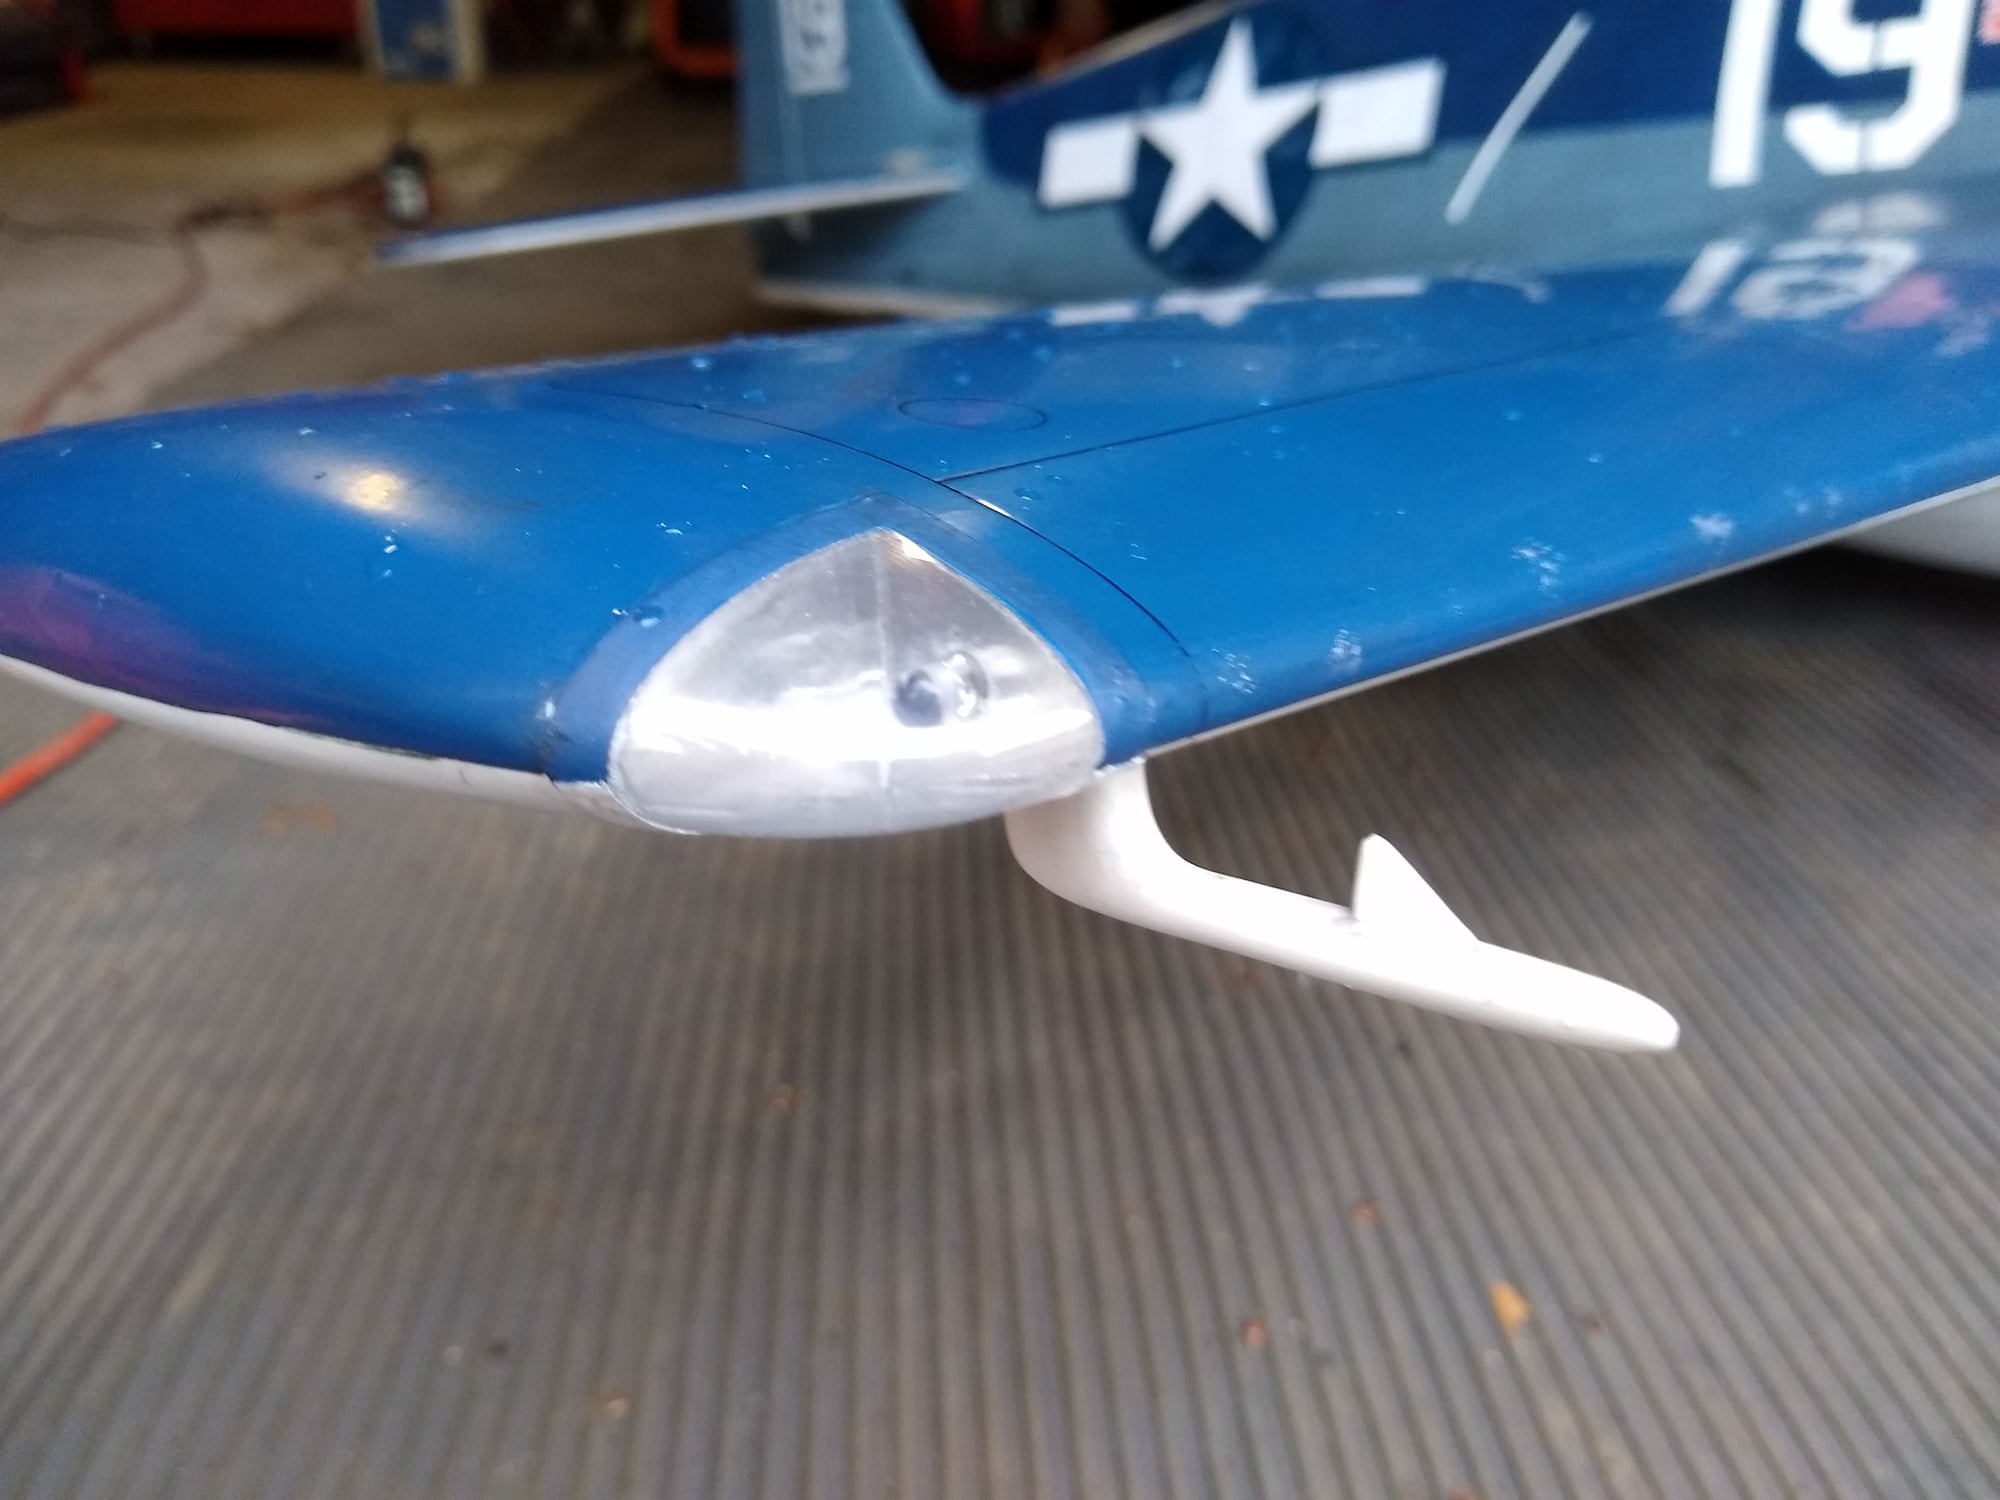
I went with the drop tank option and spent a lot of time reinforcing the internal structure. The entire inside of the drop tanks has been glassed with fiberglass cloth and thin CA. Wood parts have been reinforced as needed. I also spent a lot of time getting the halves to fit properly. With that accomplished, I filled, primed and painted the tank as it's finish as delivered was poor.

 04-30-2020, 04:51 AM
#32
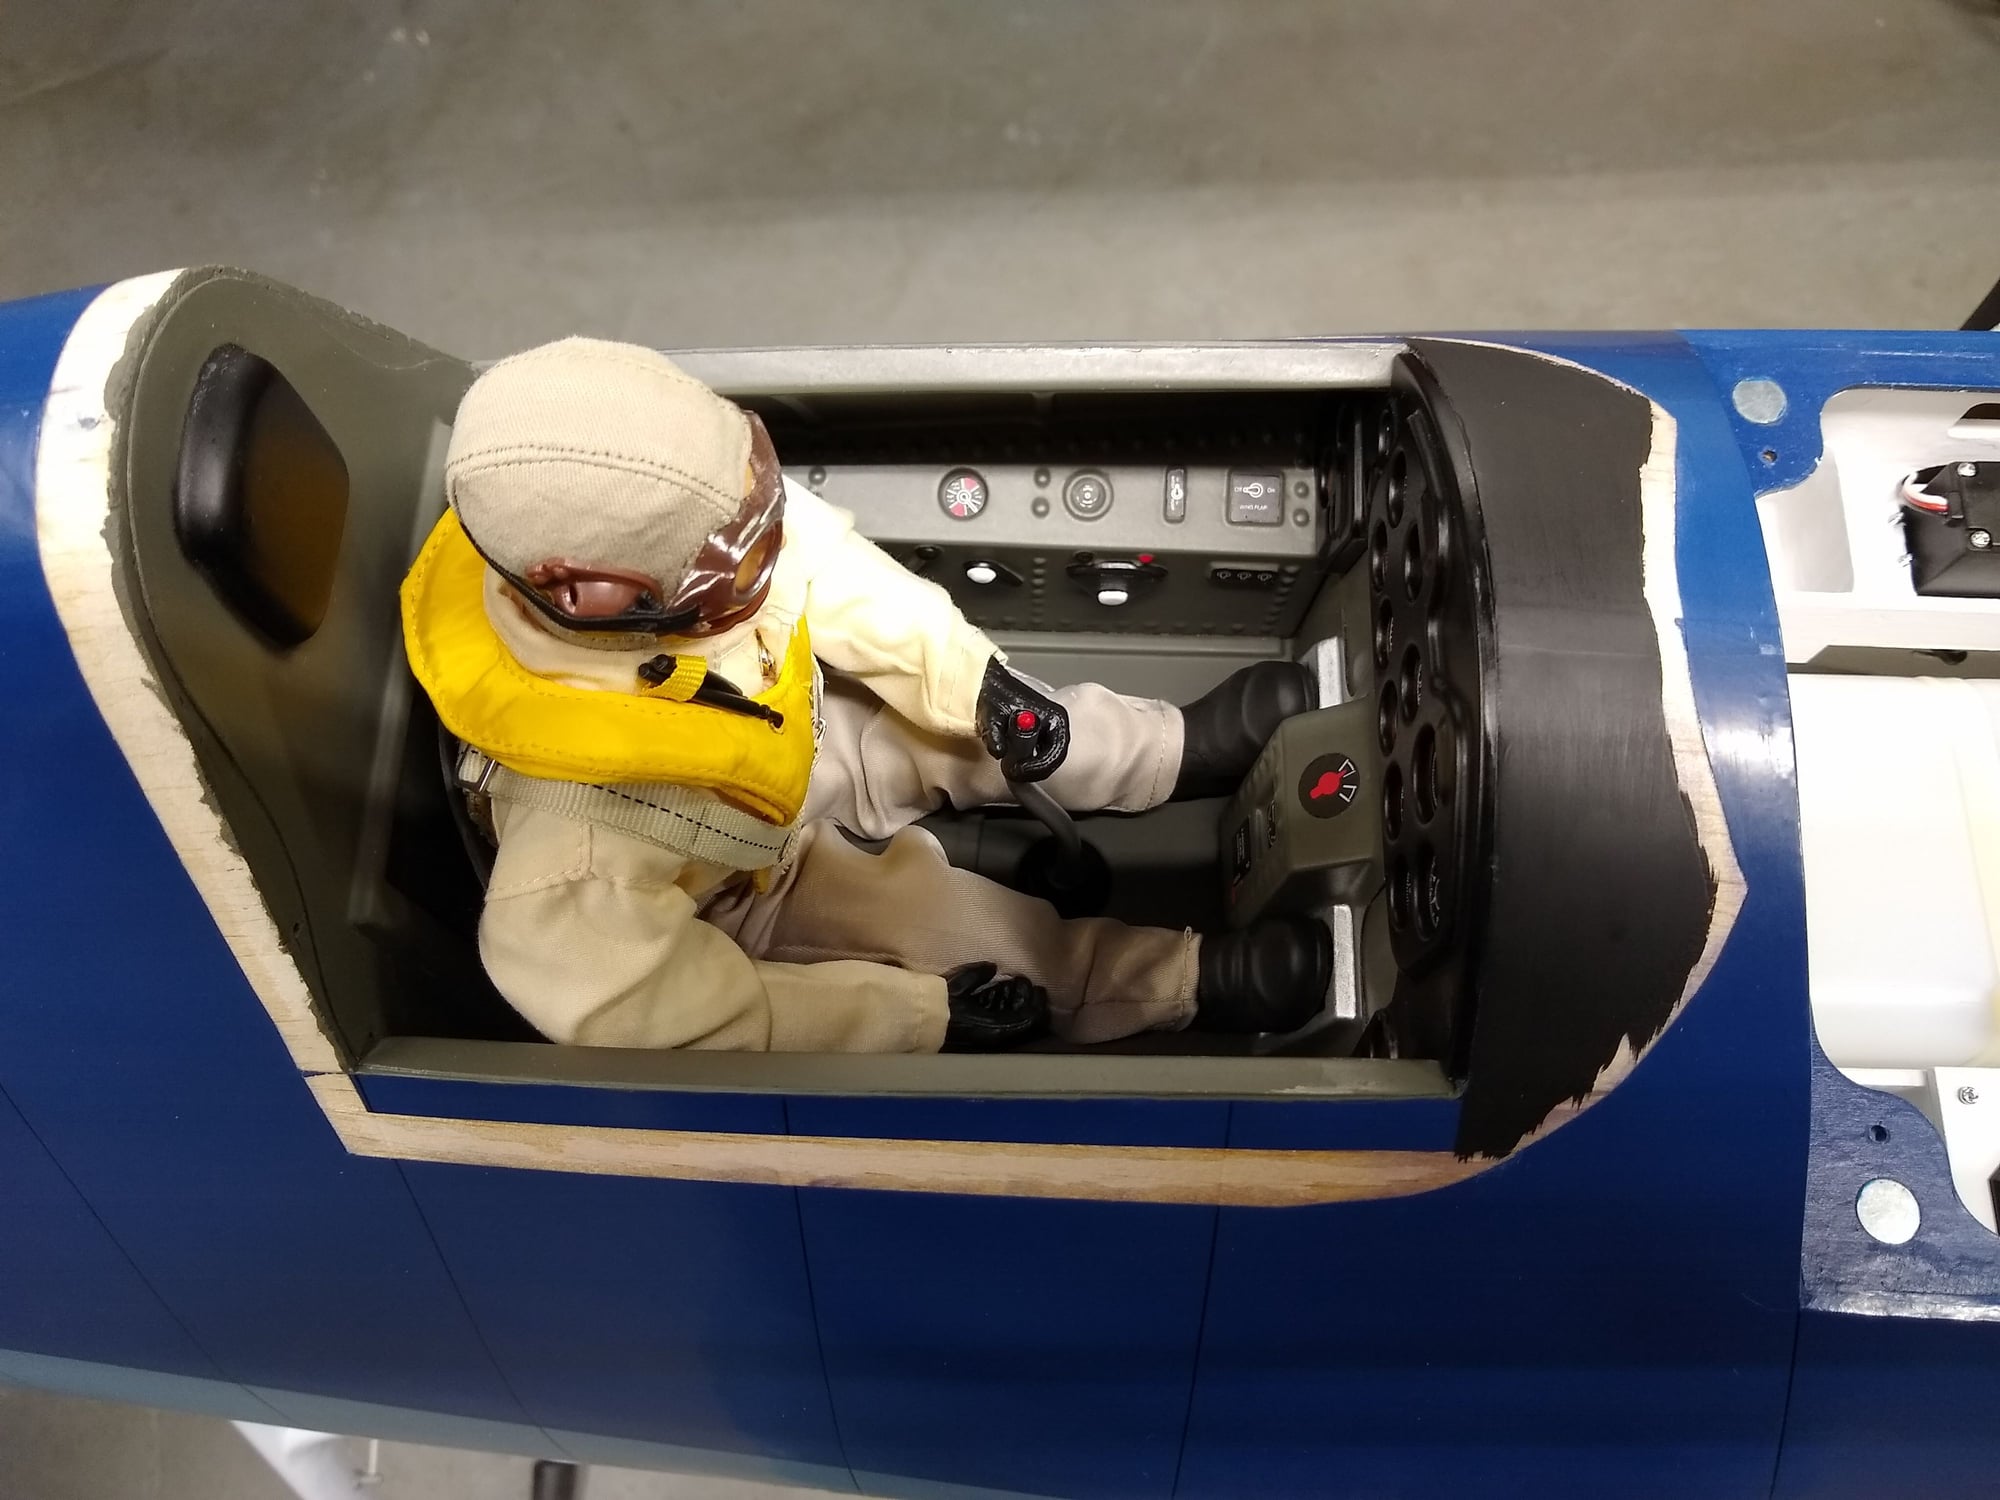
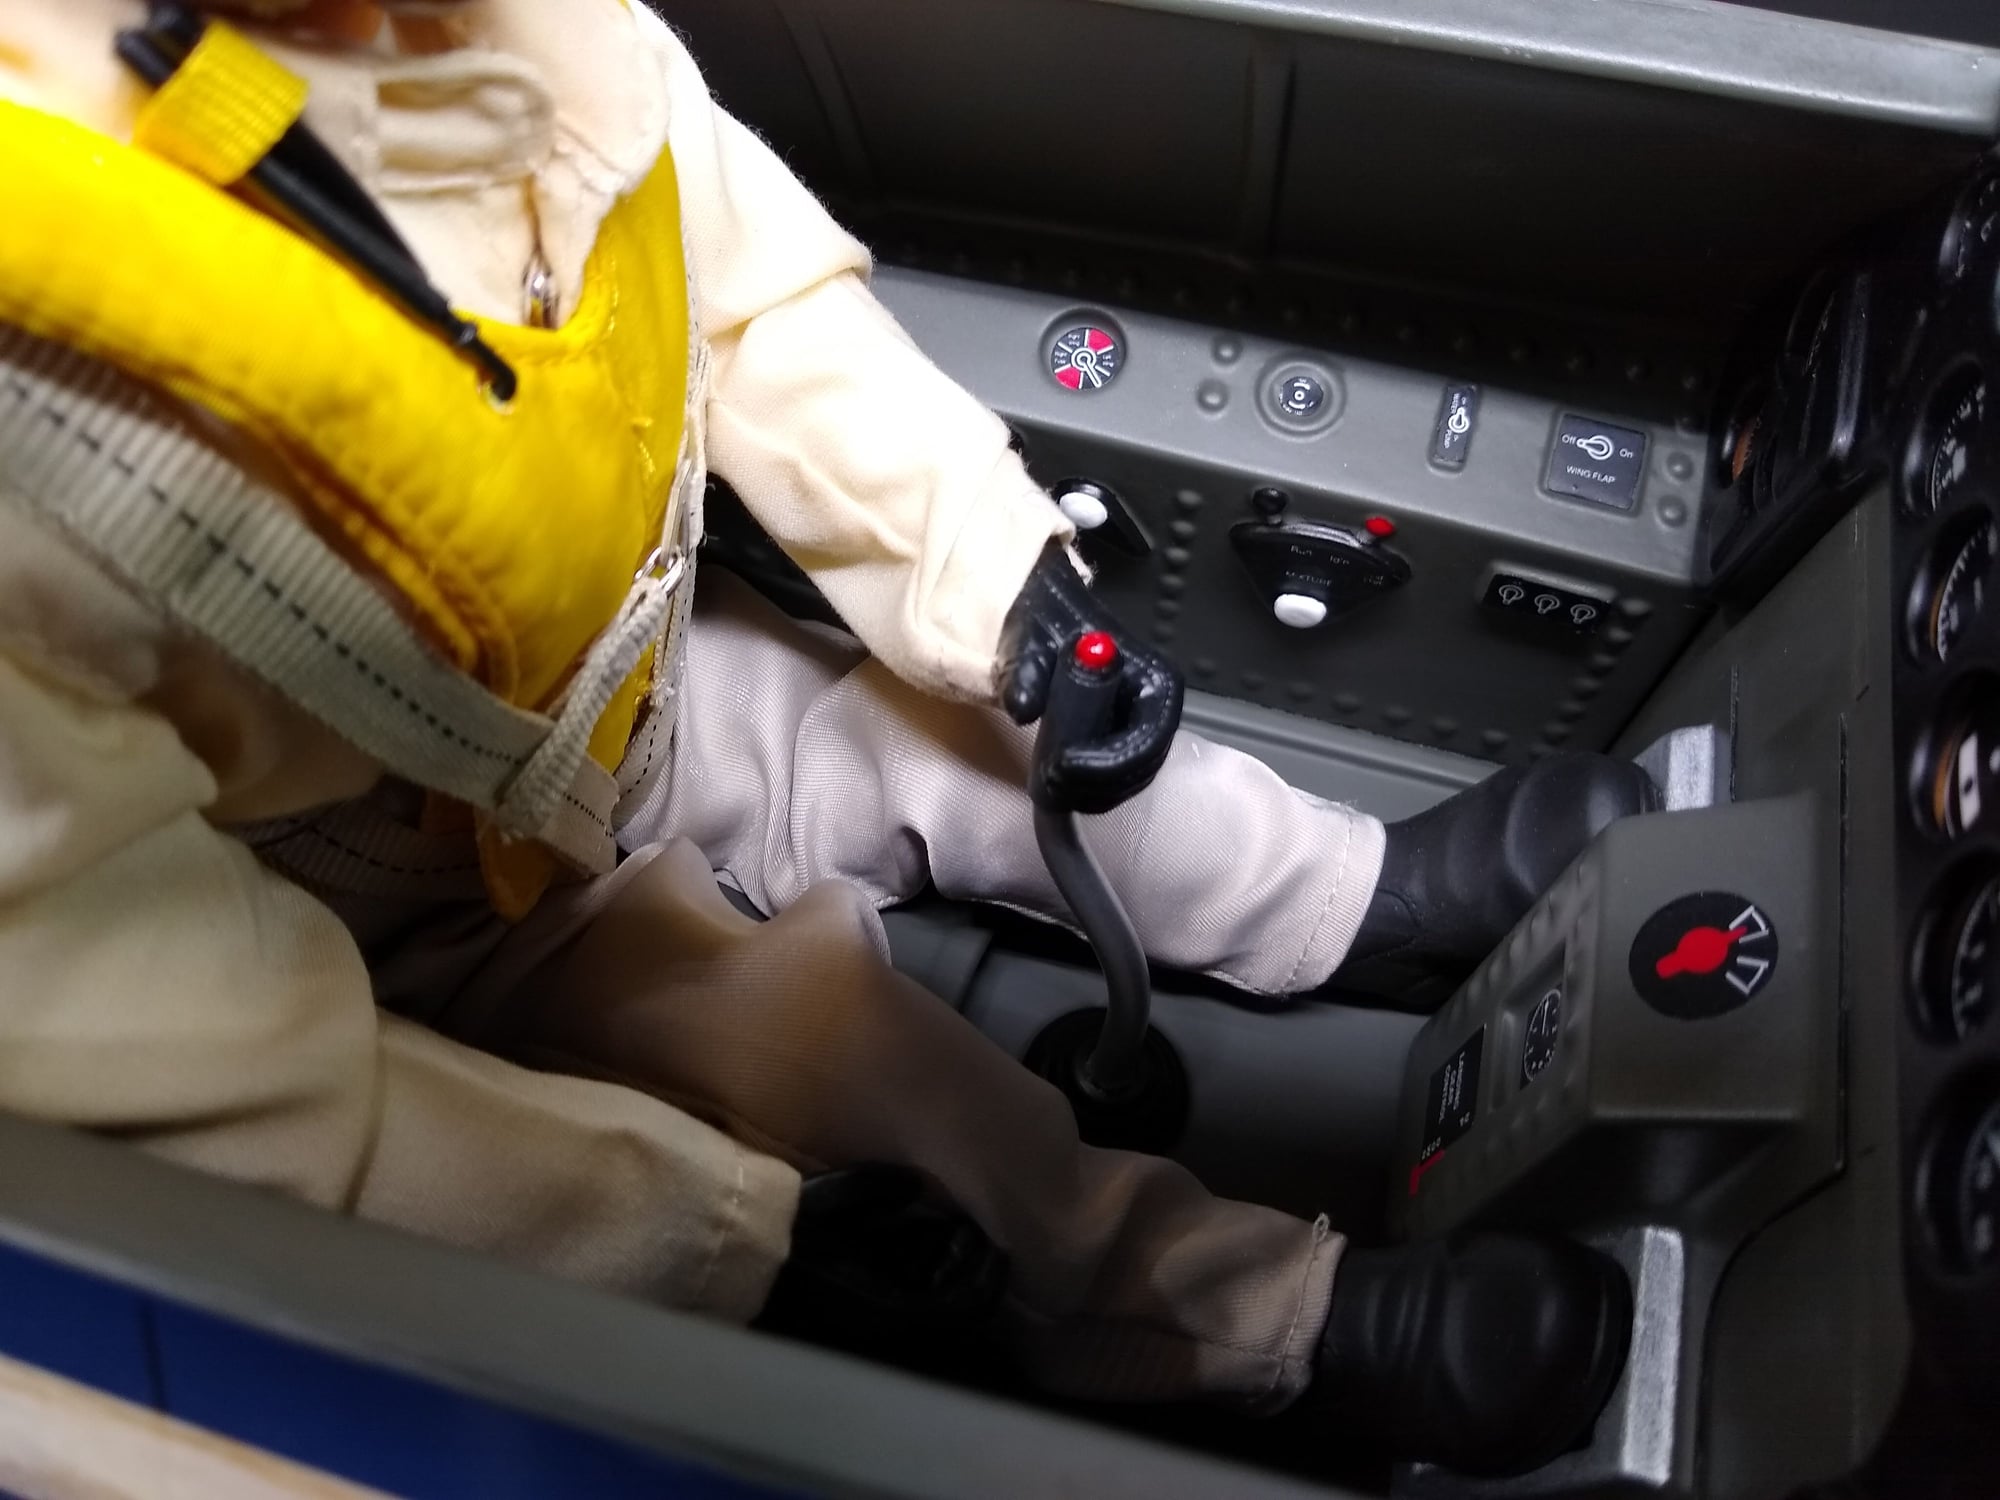
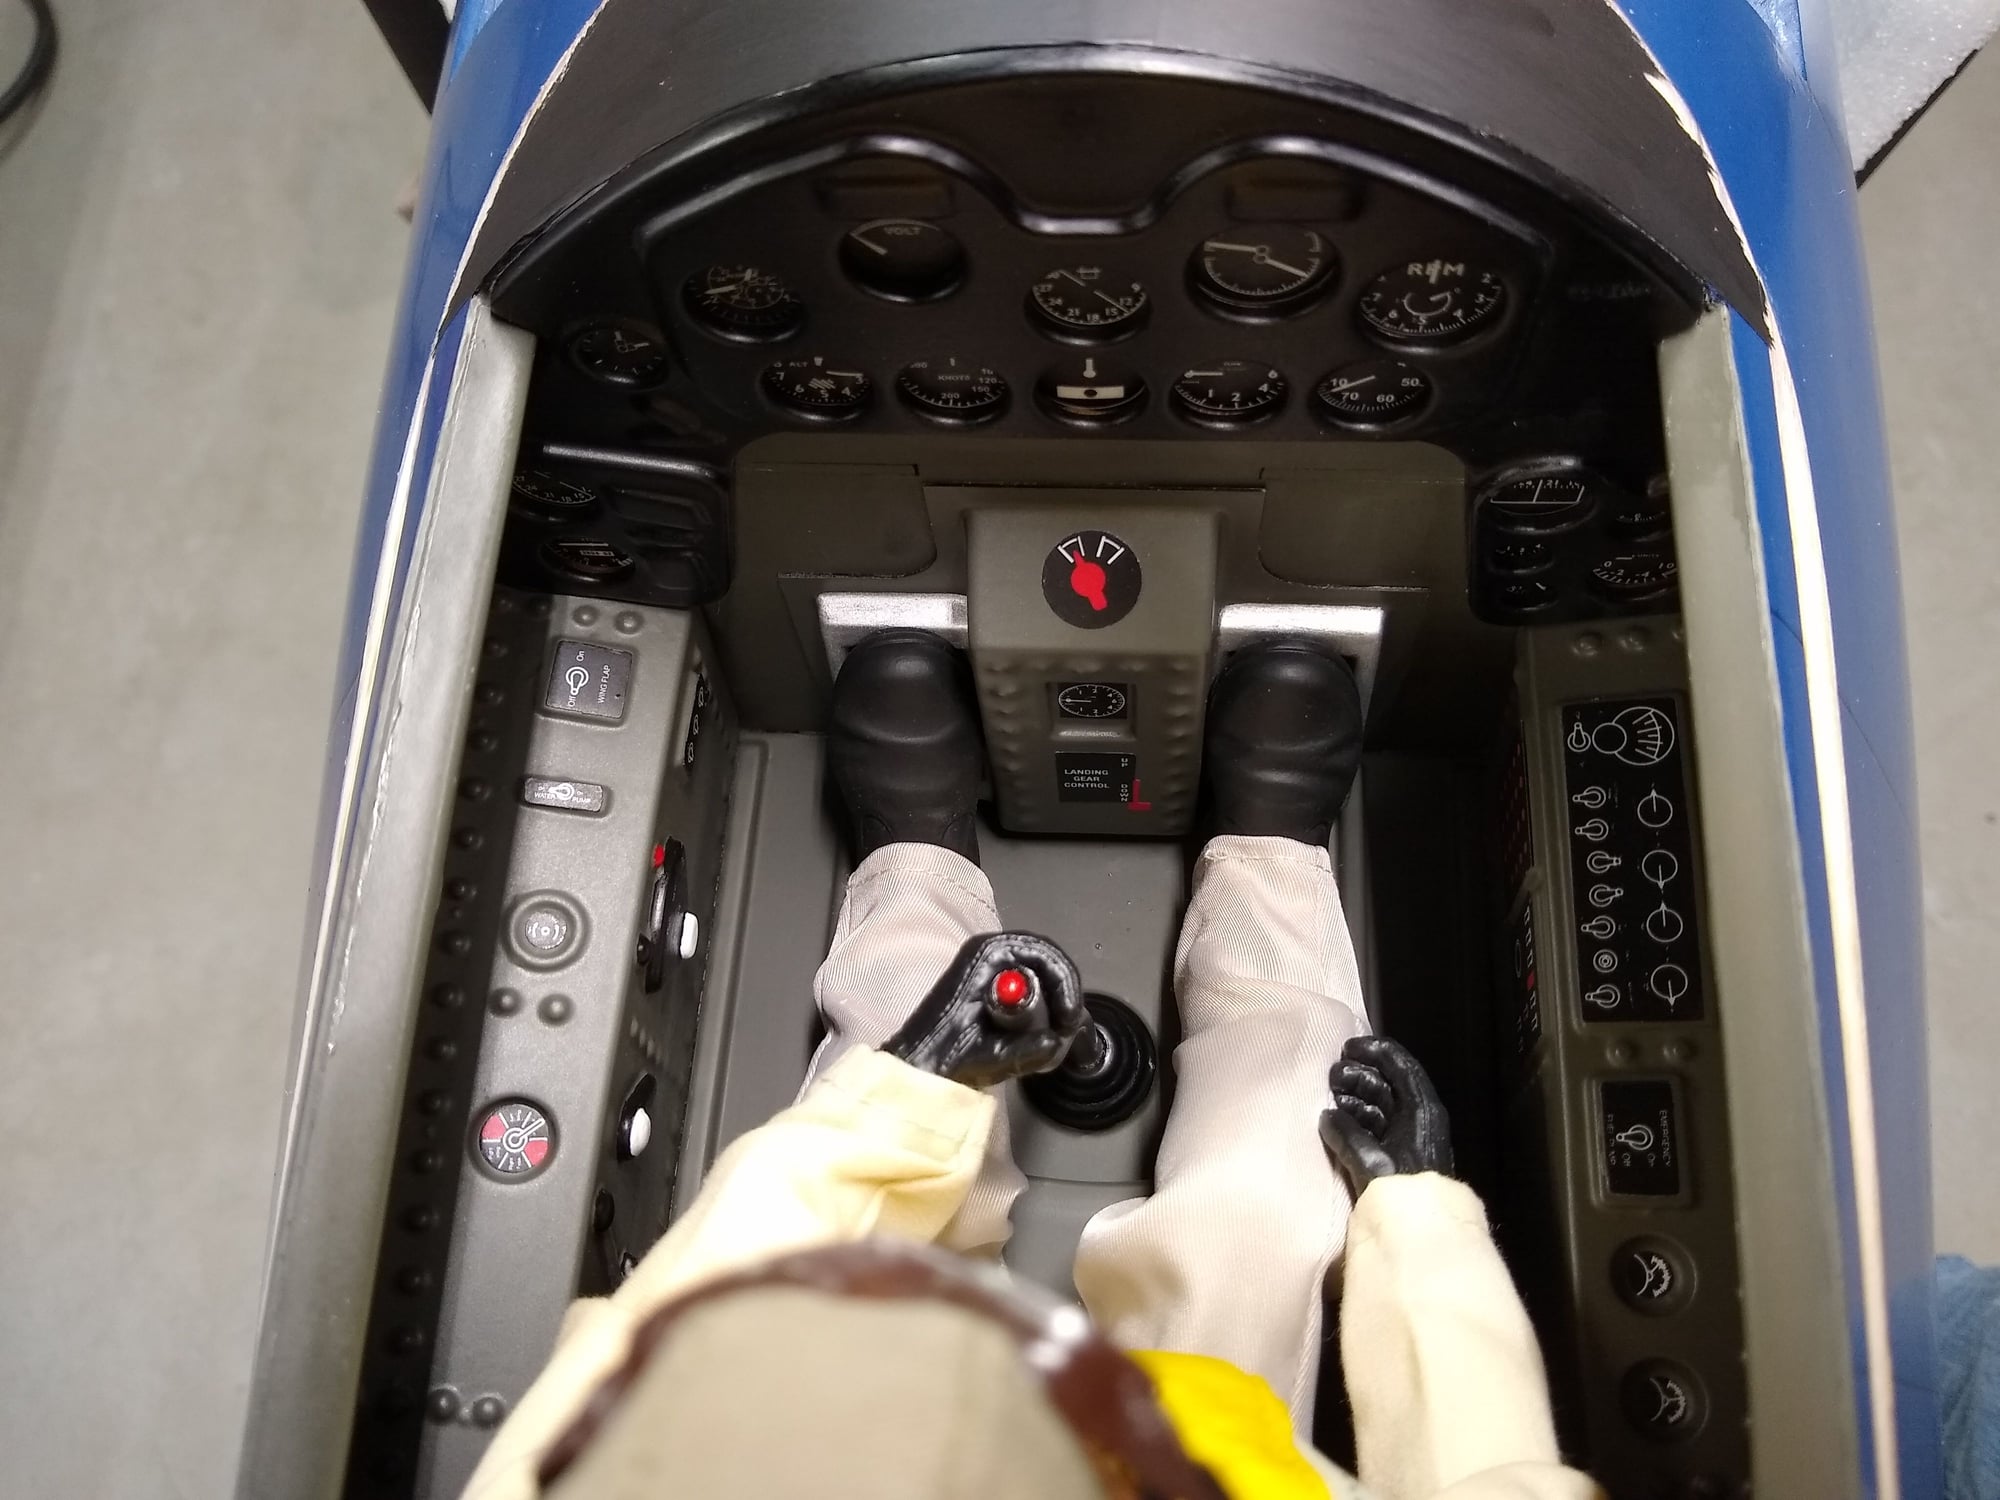
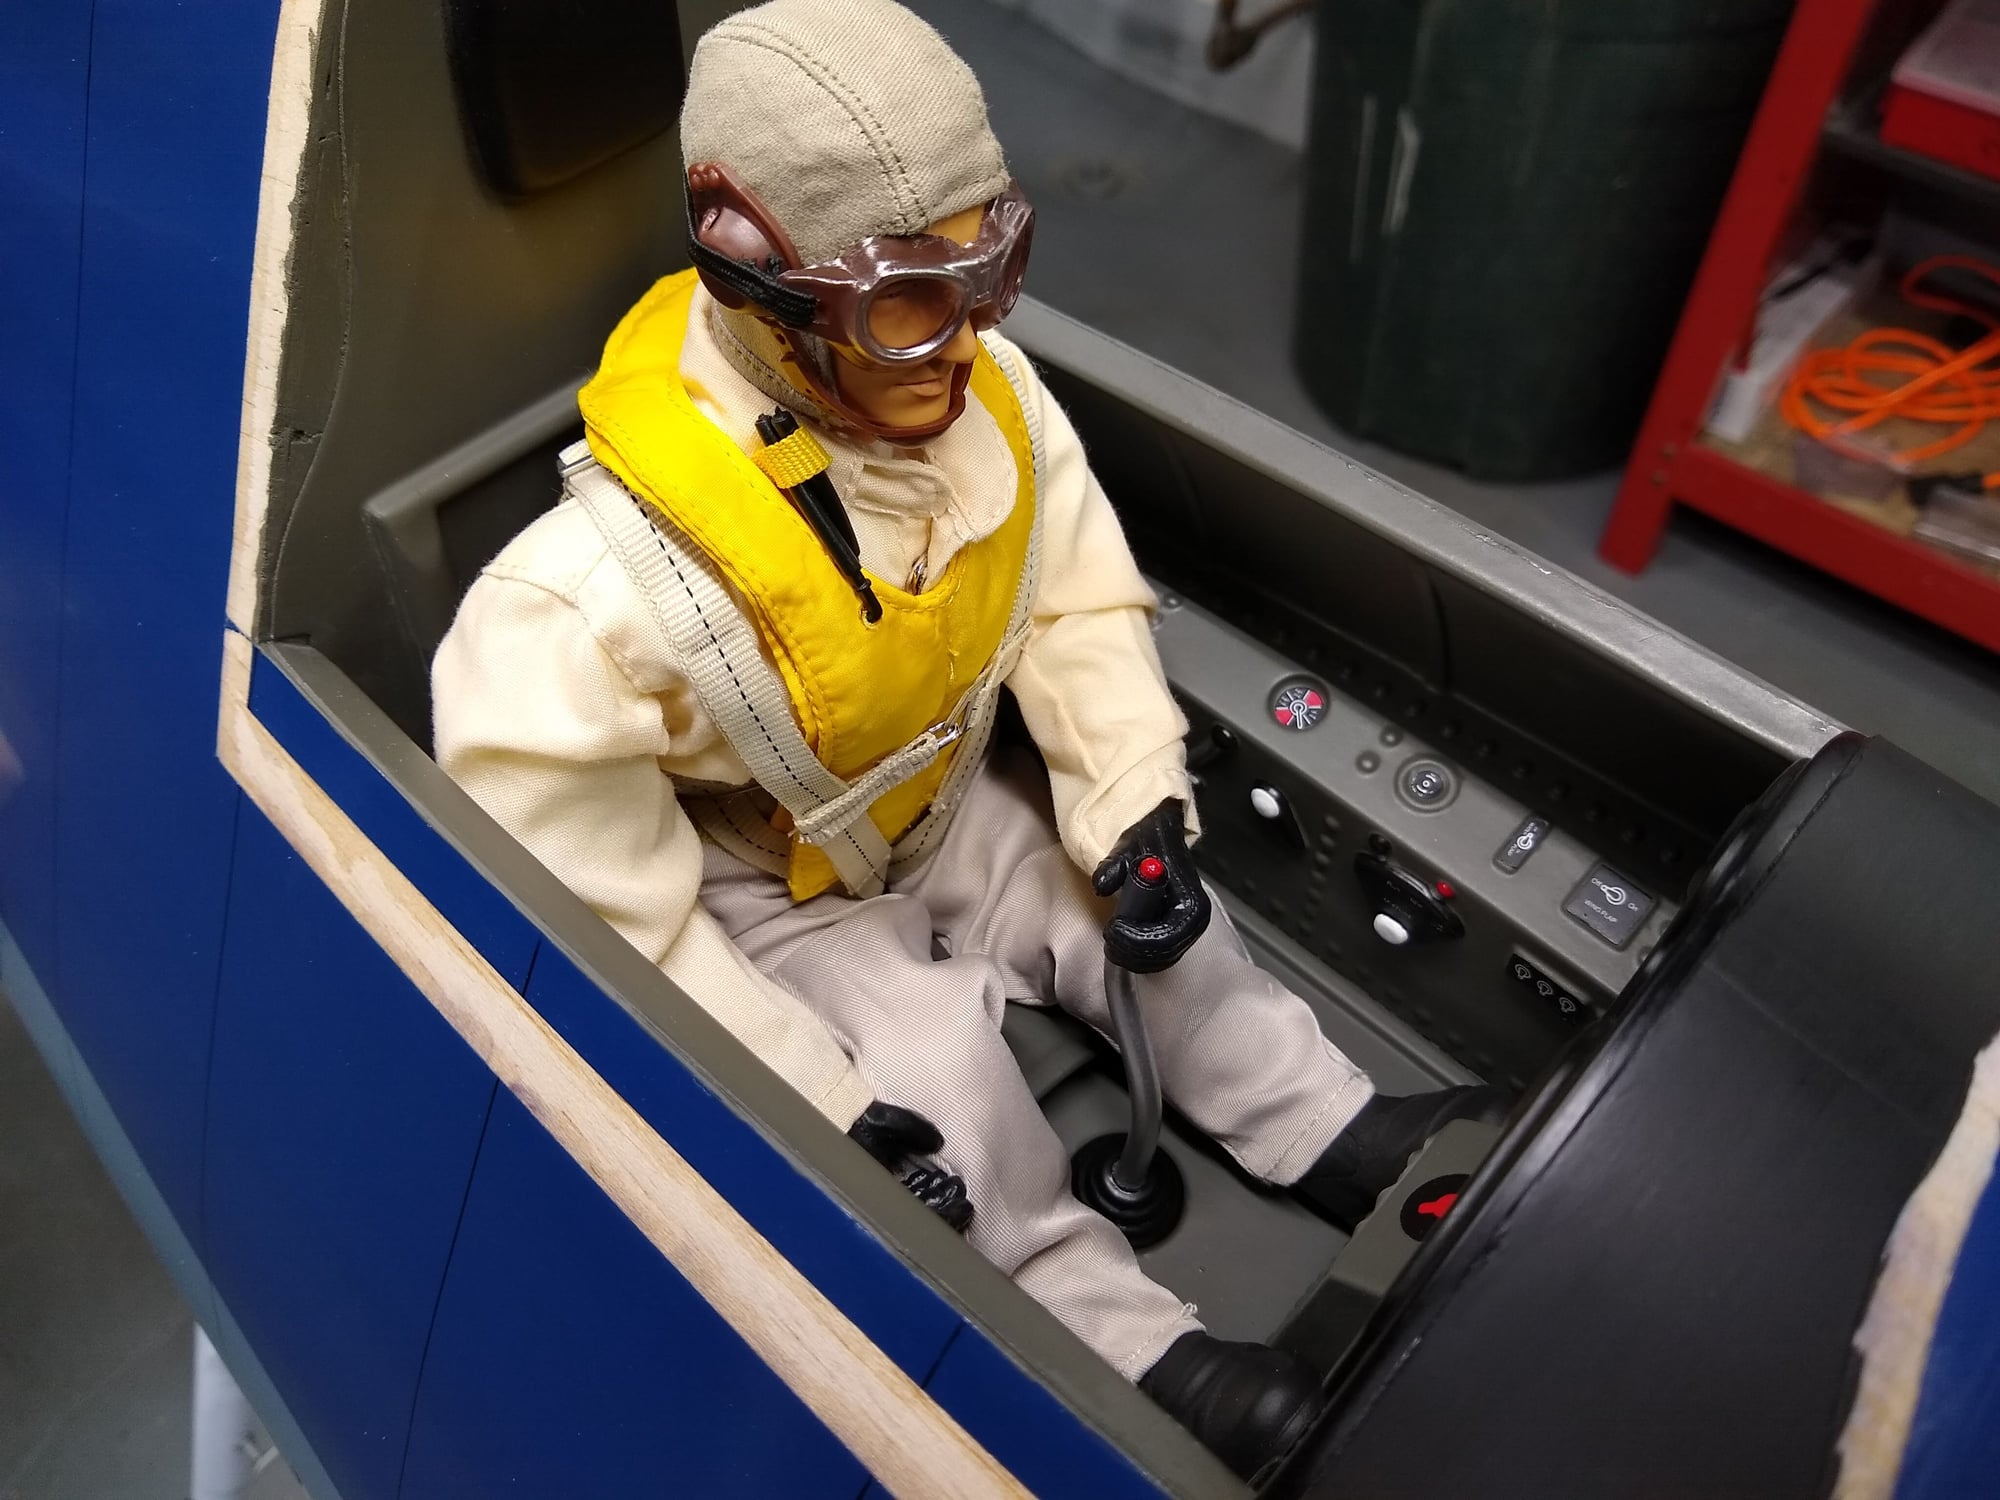
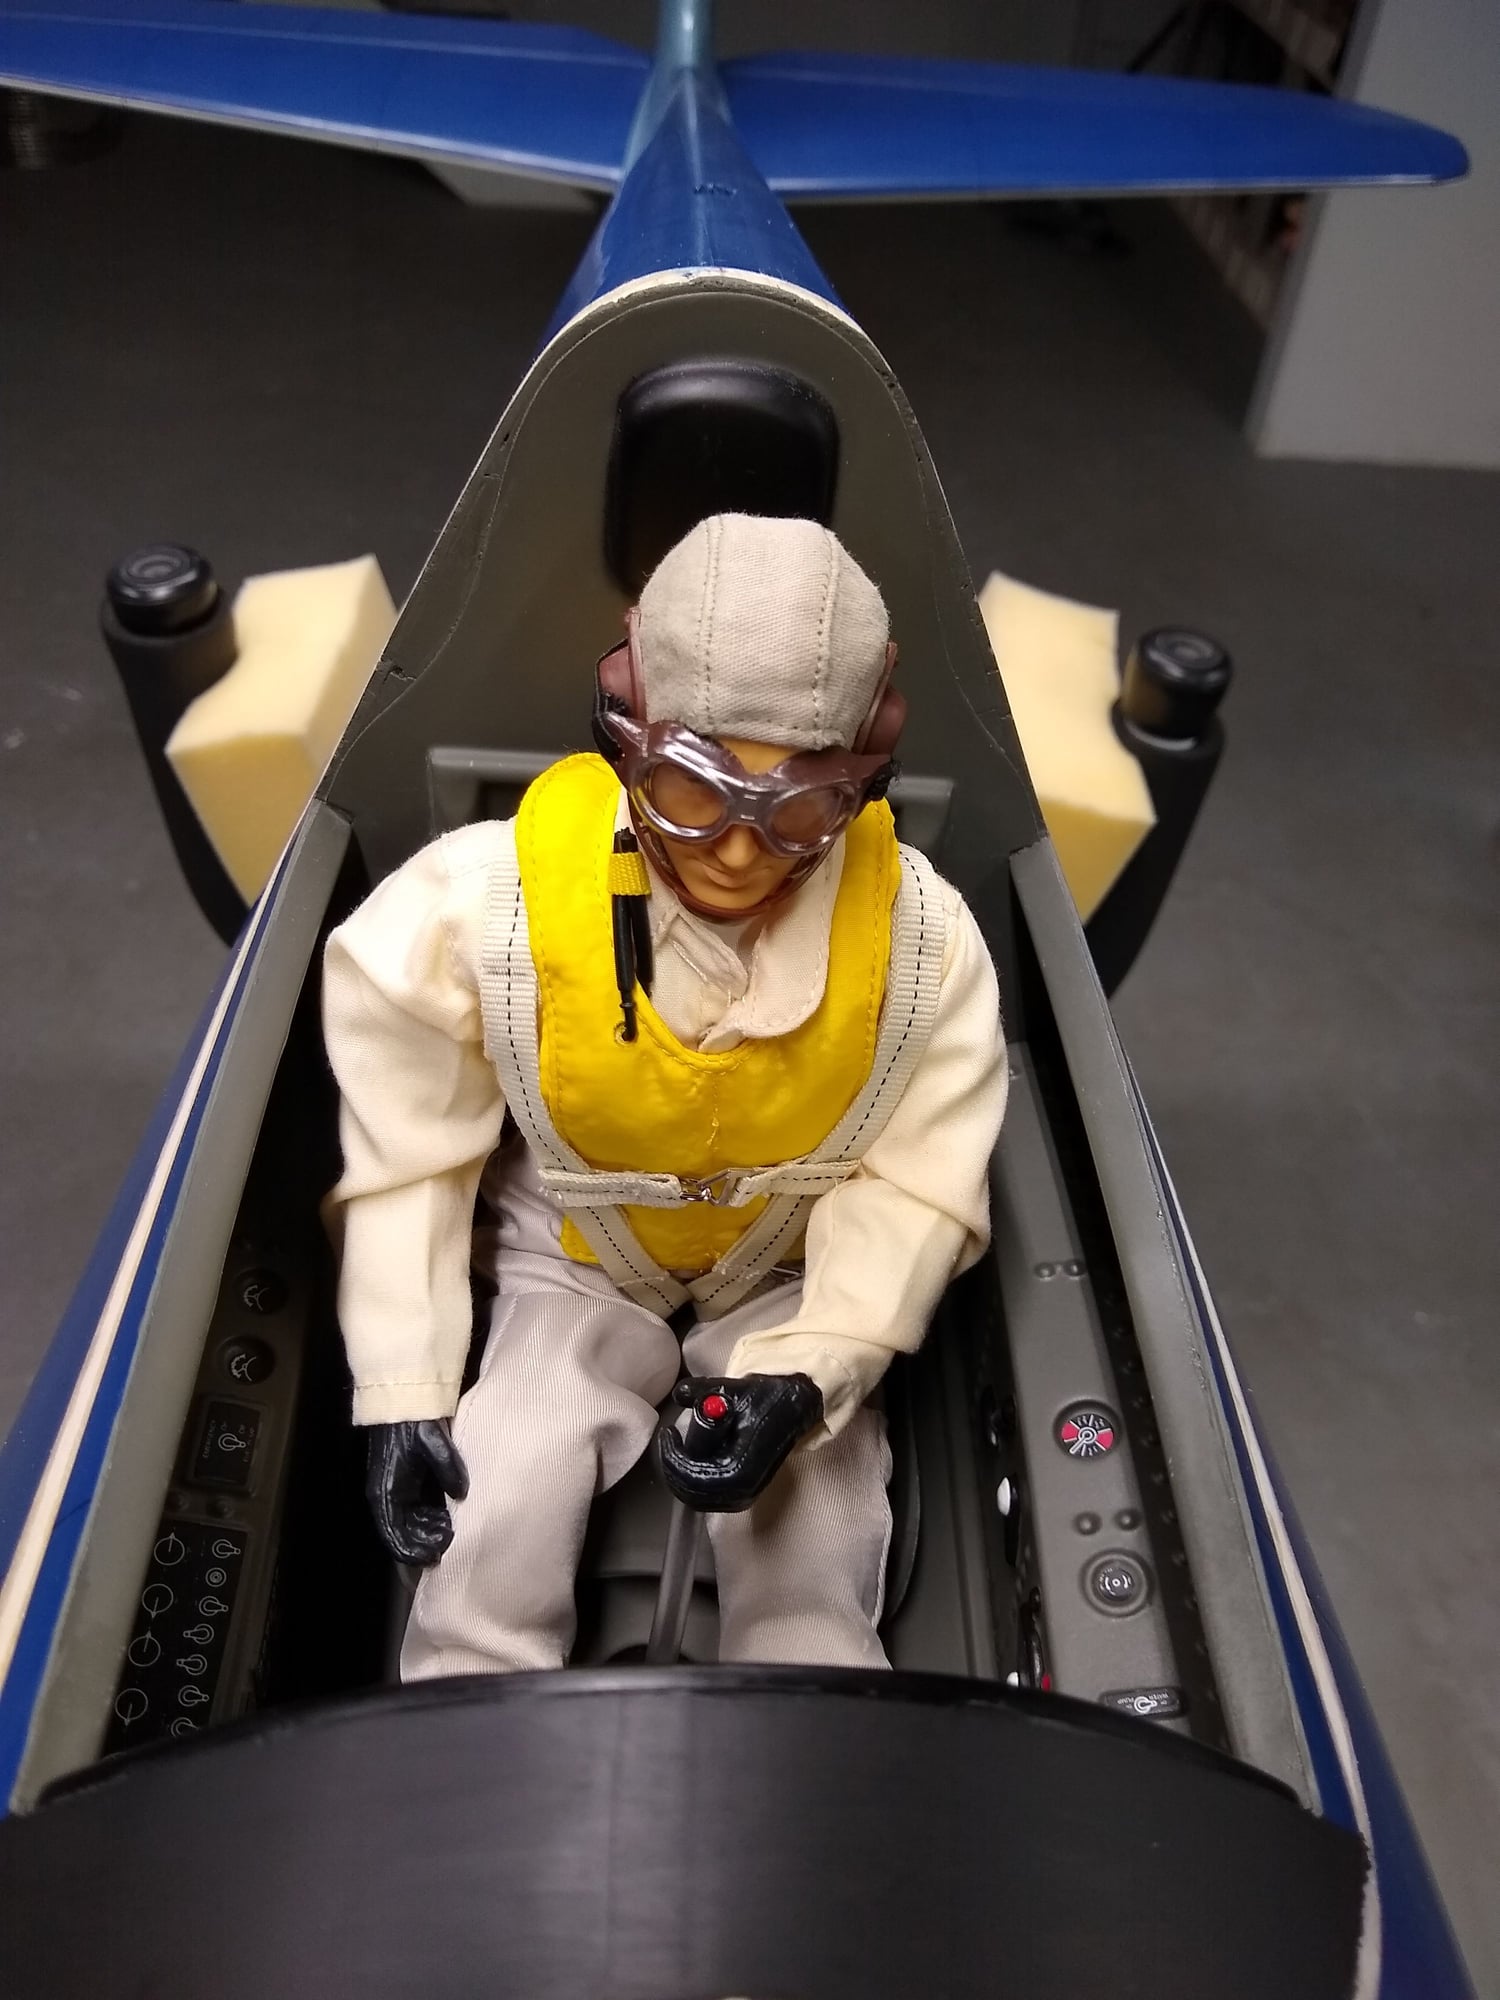
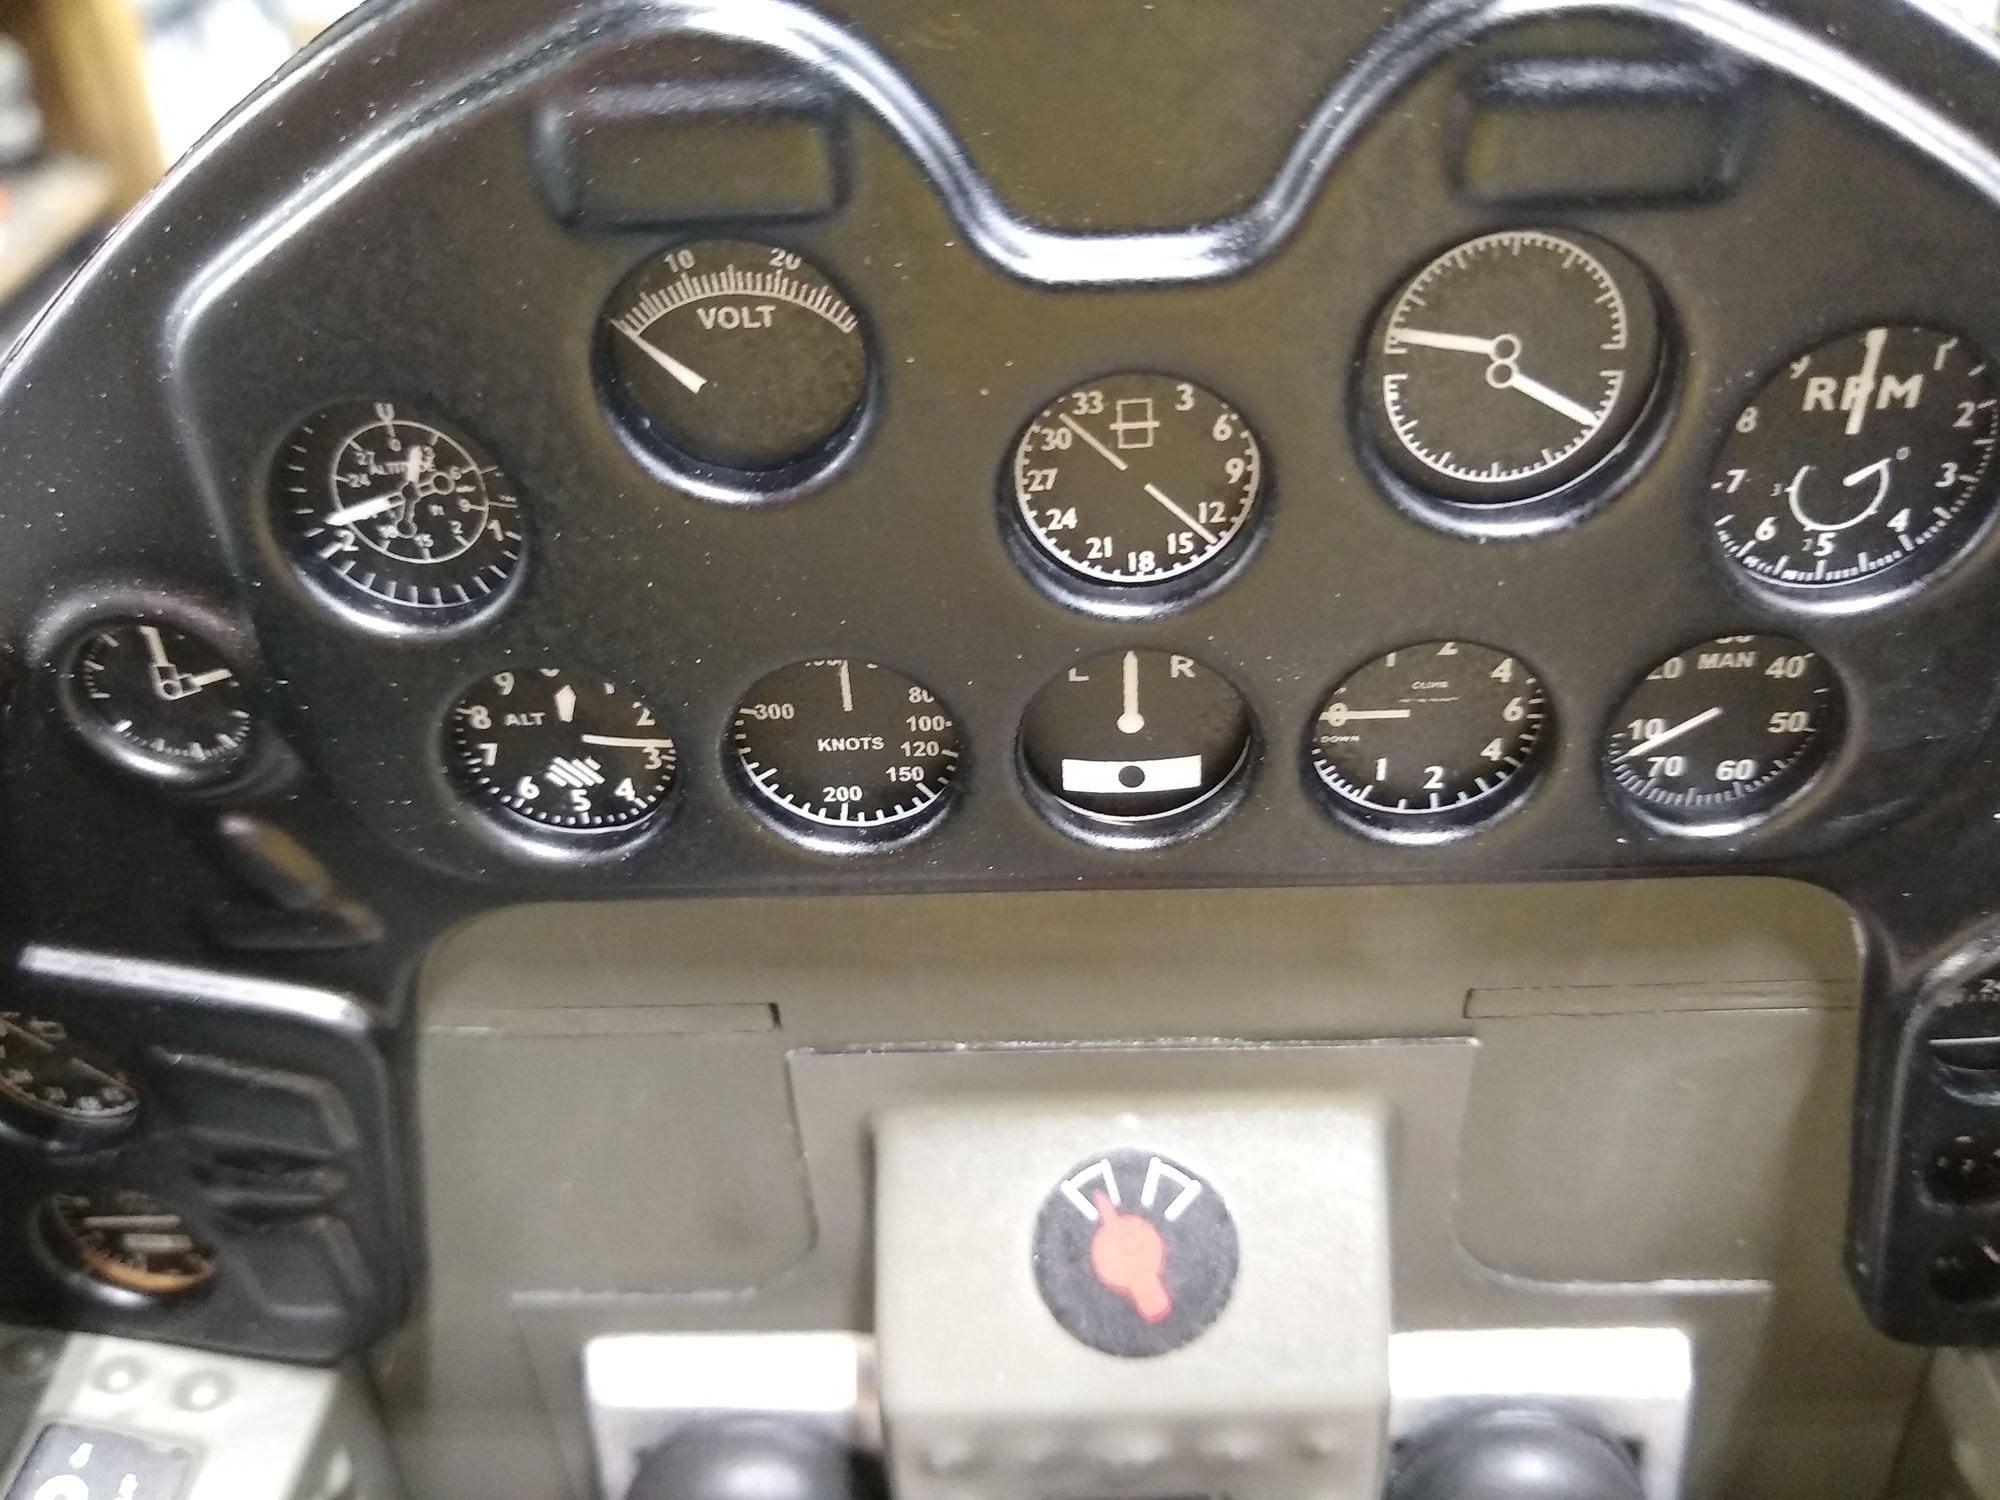
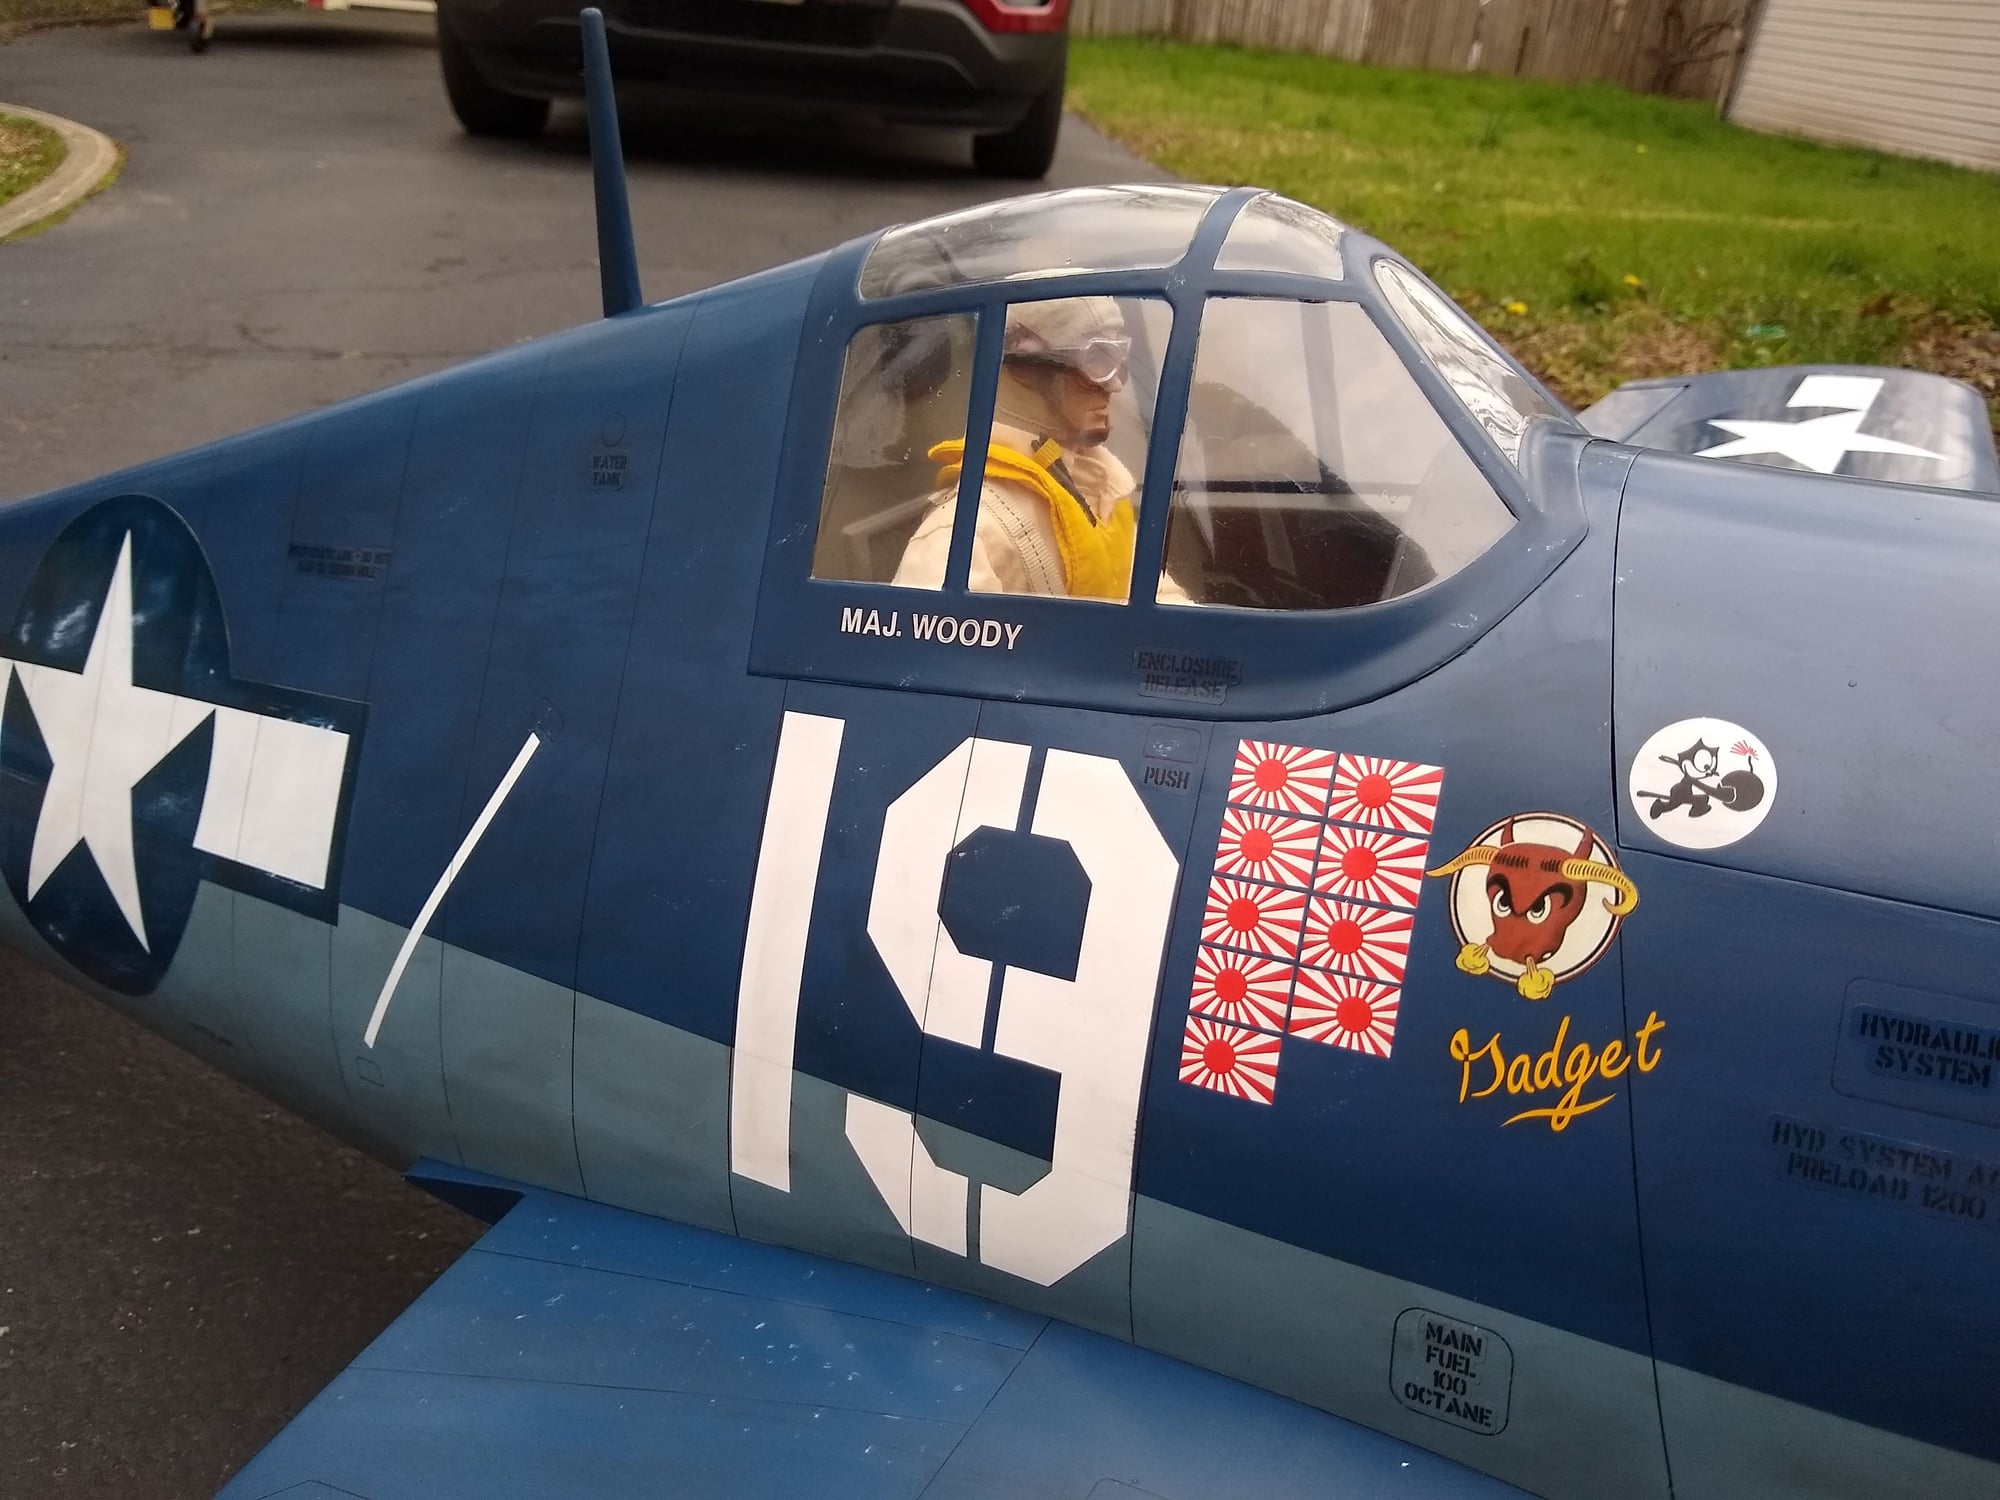
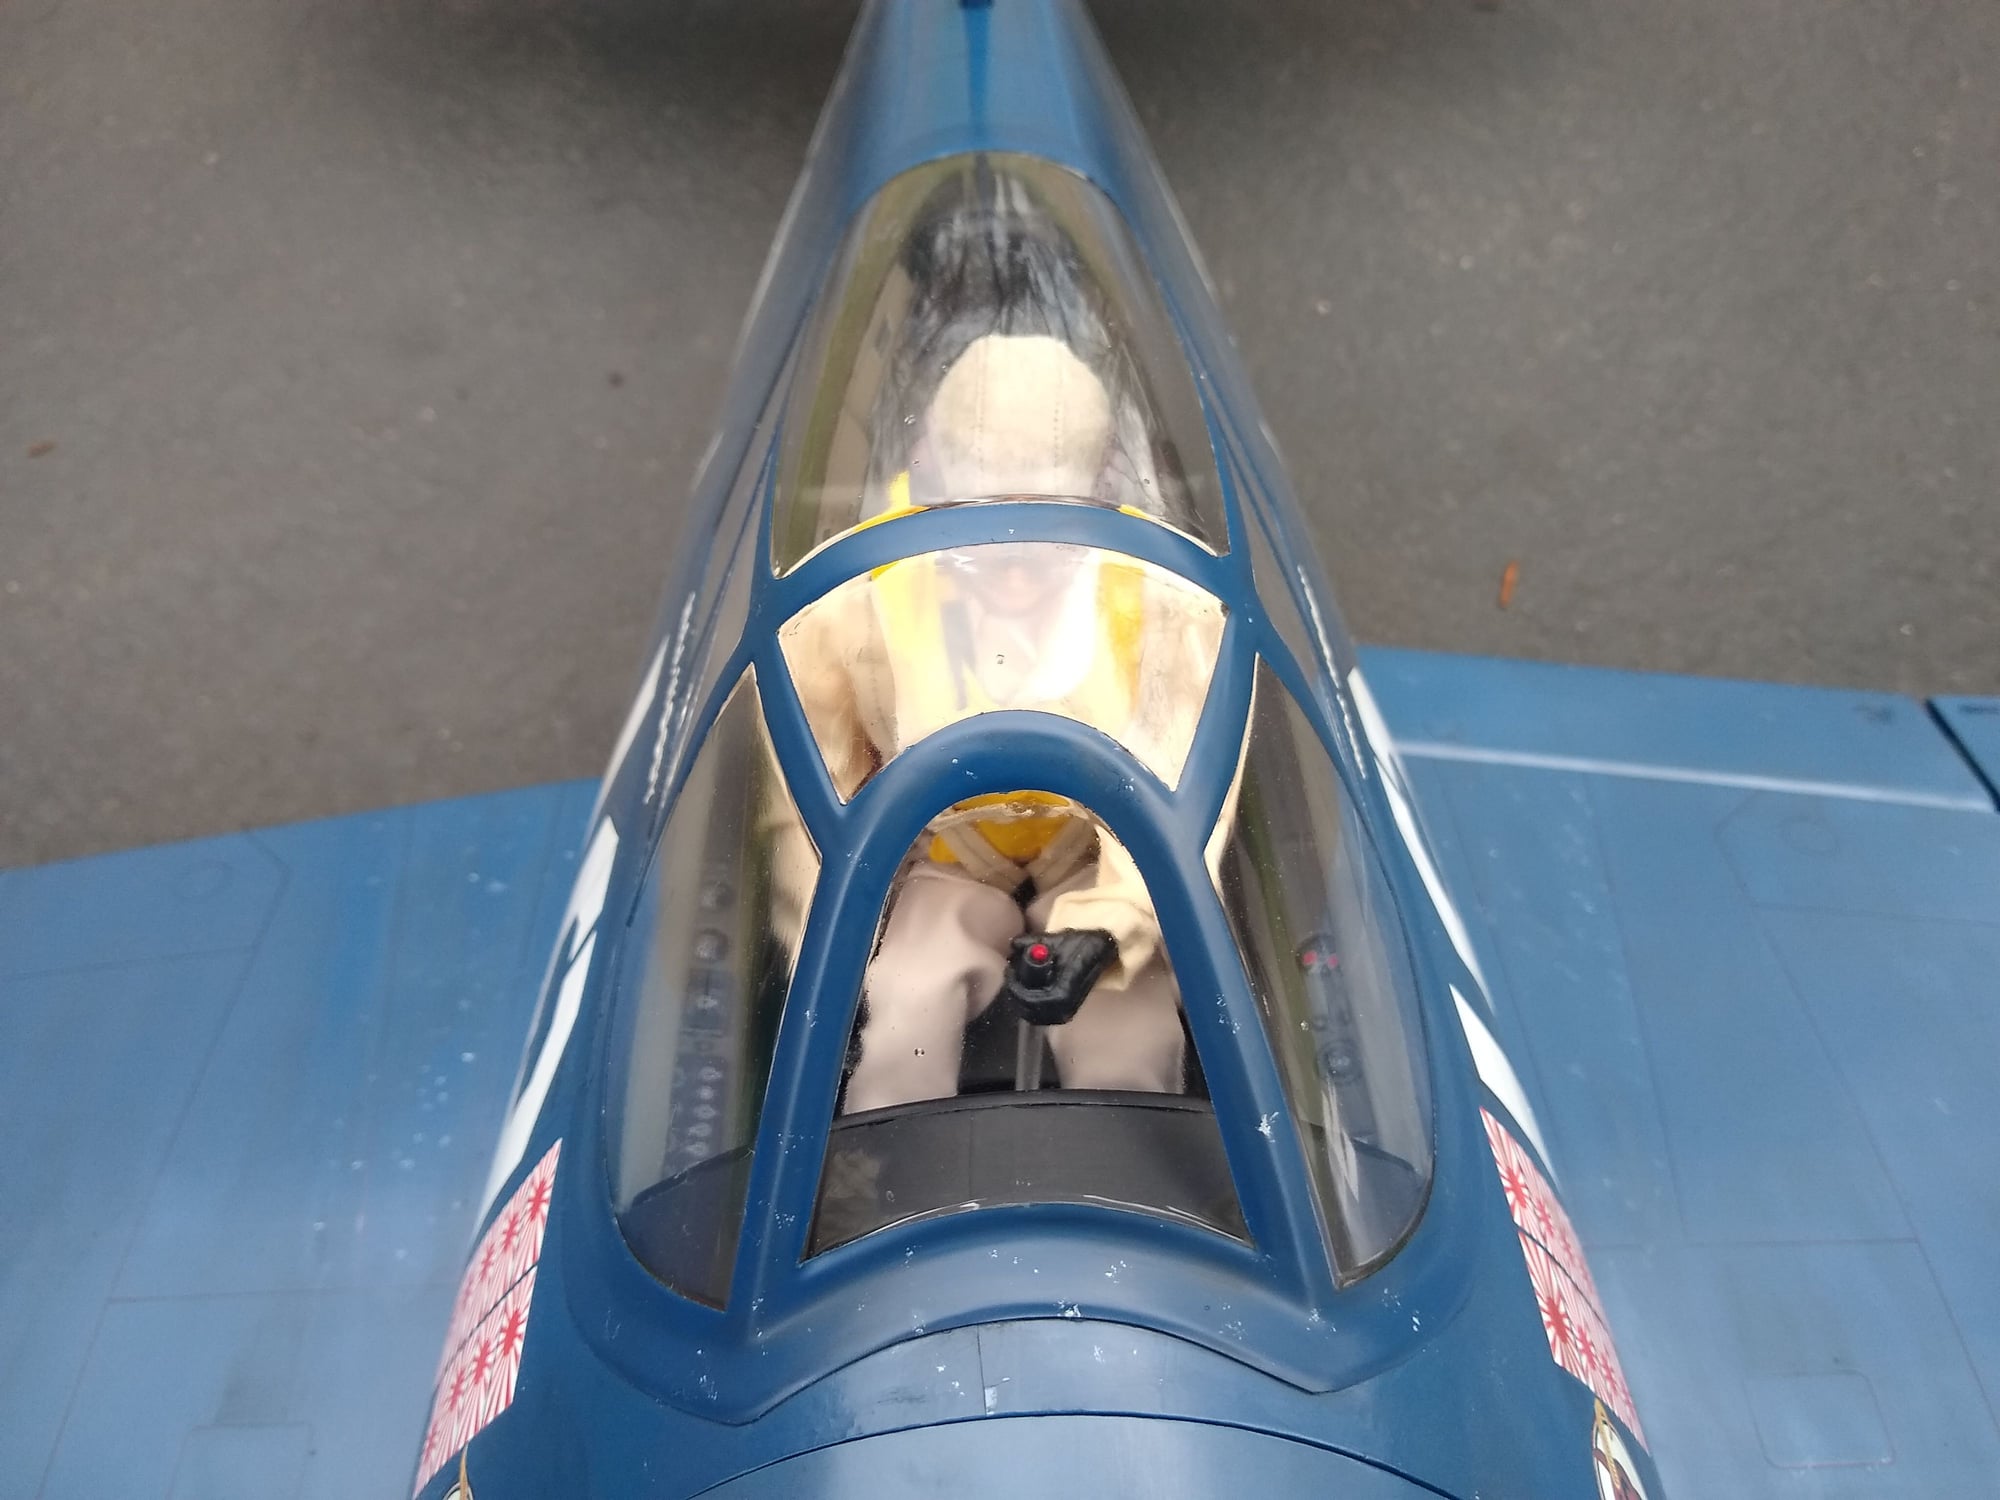
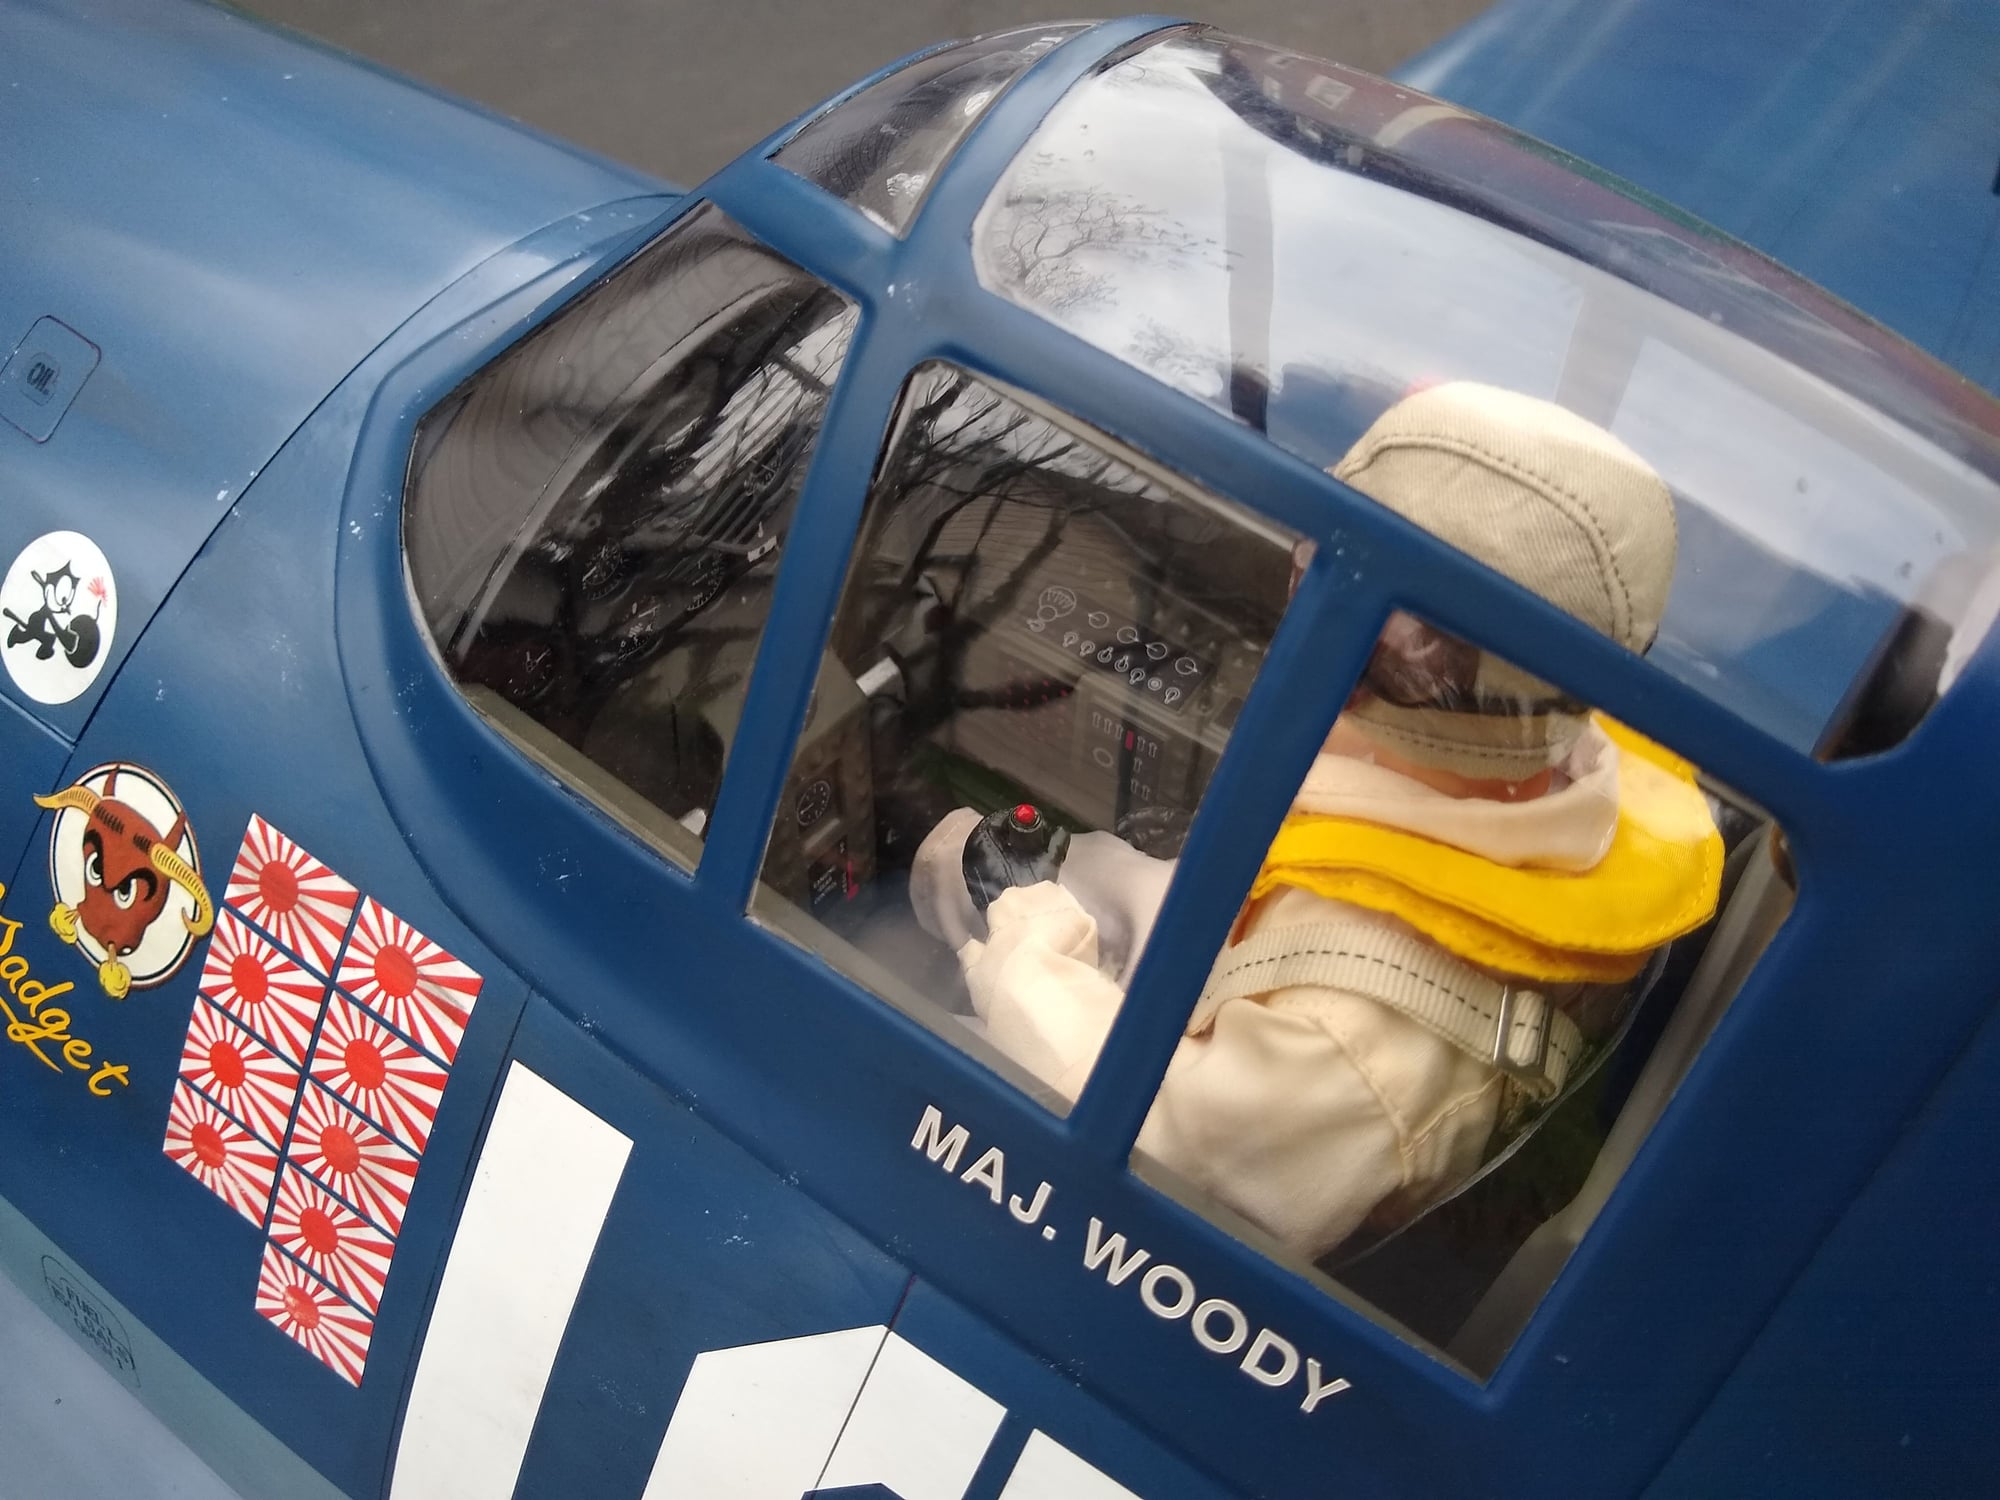
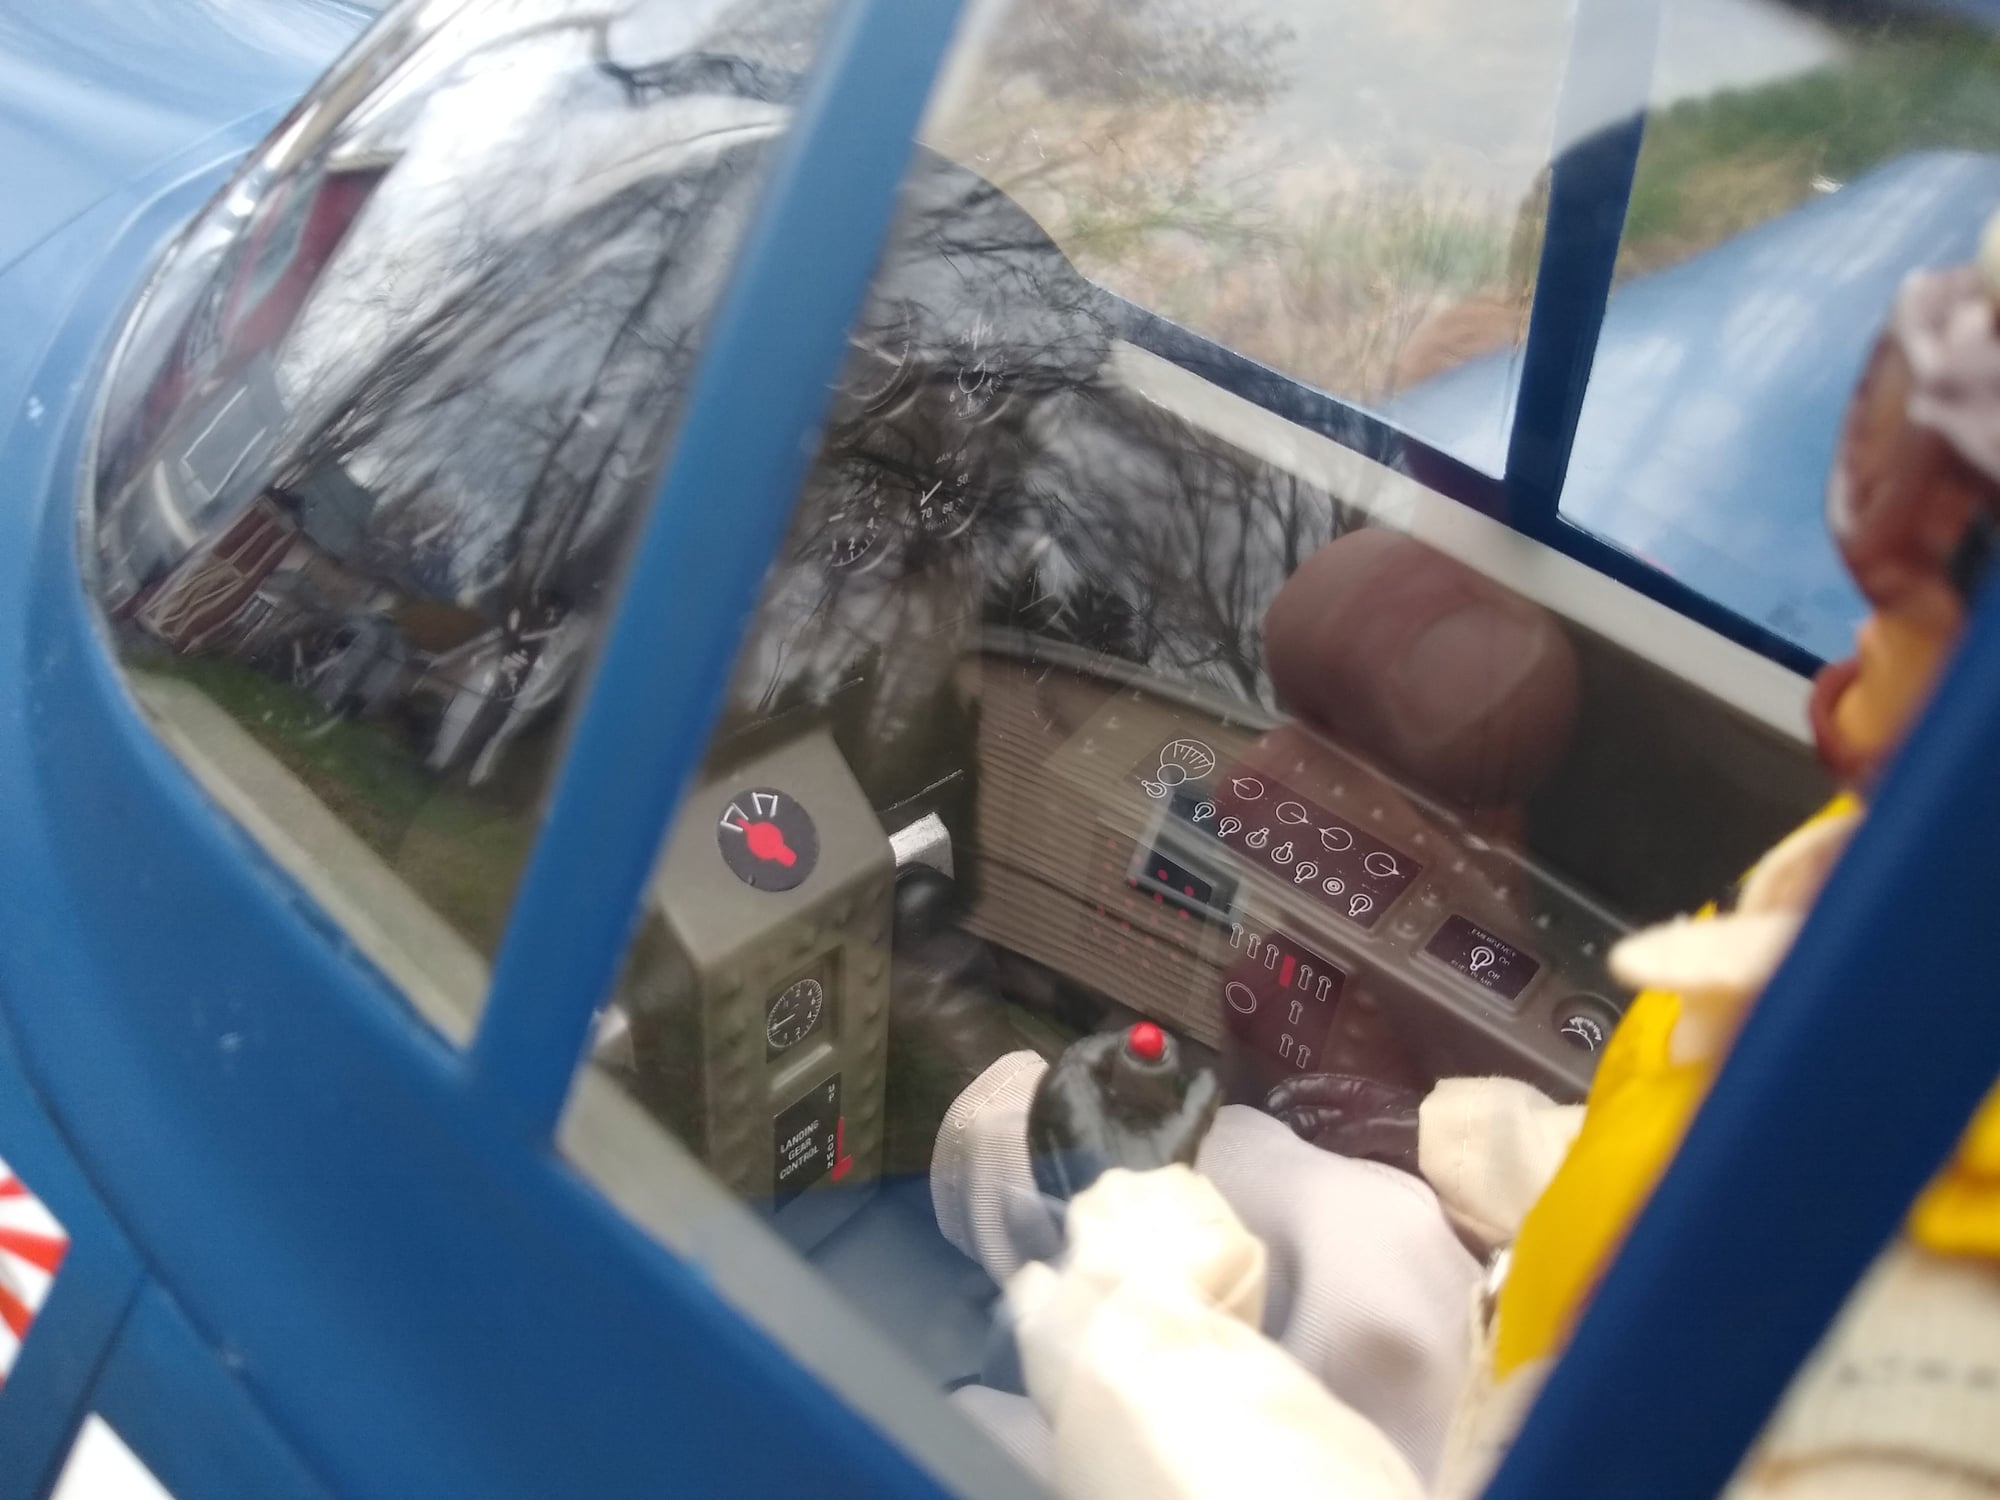
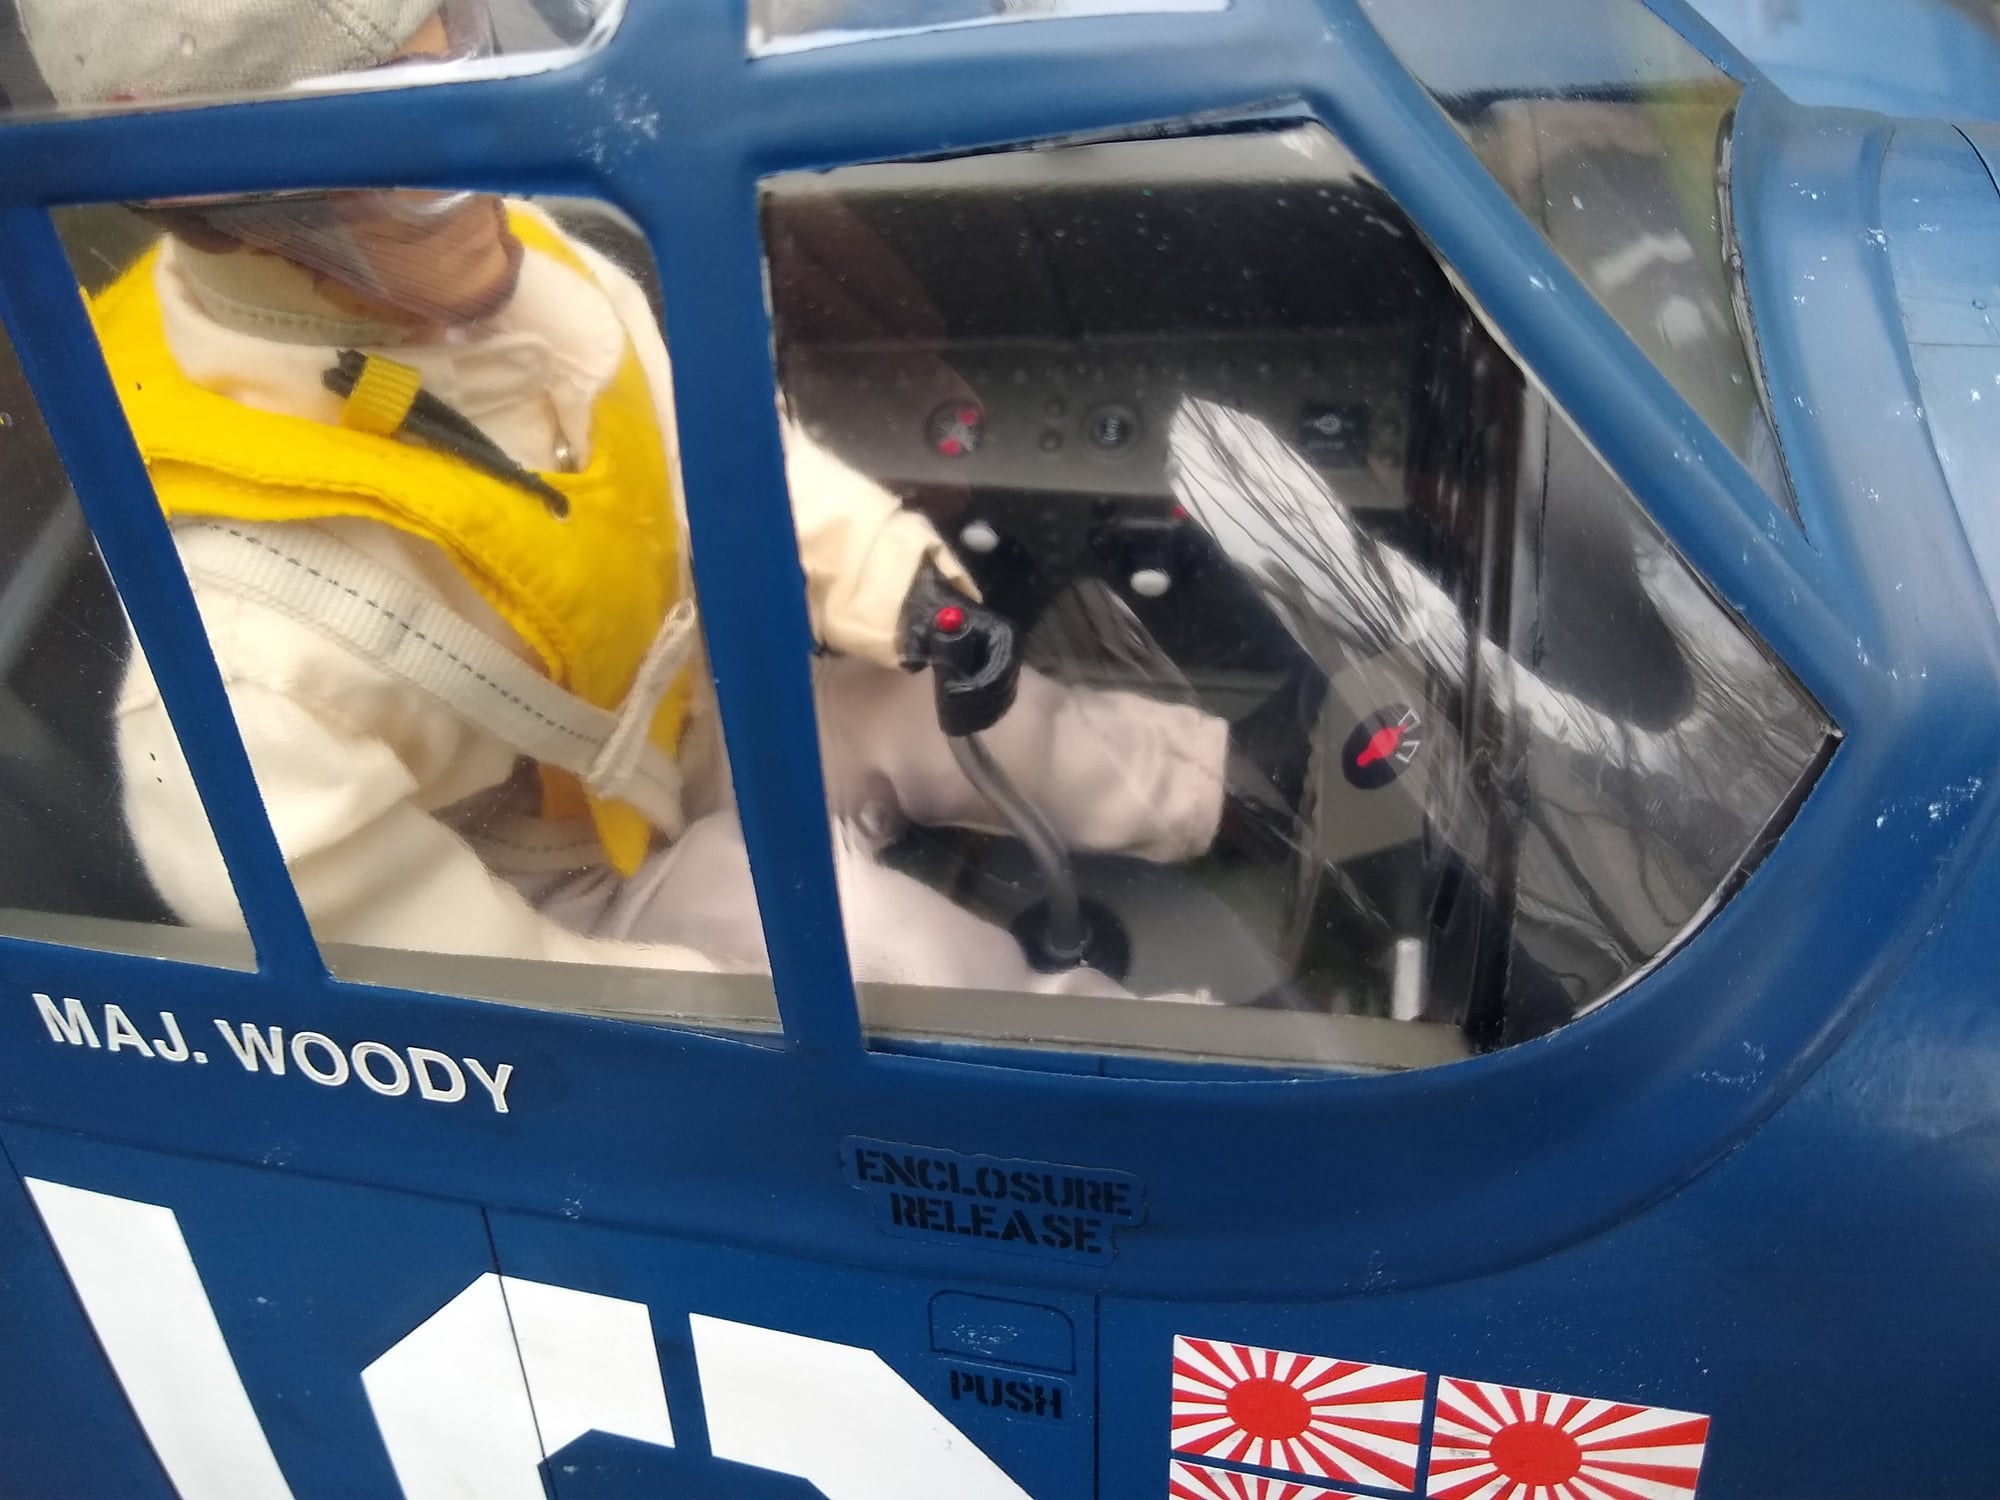
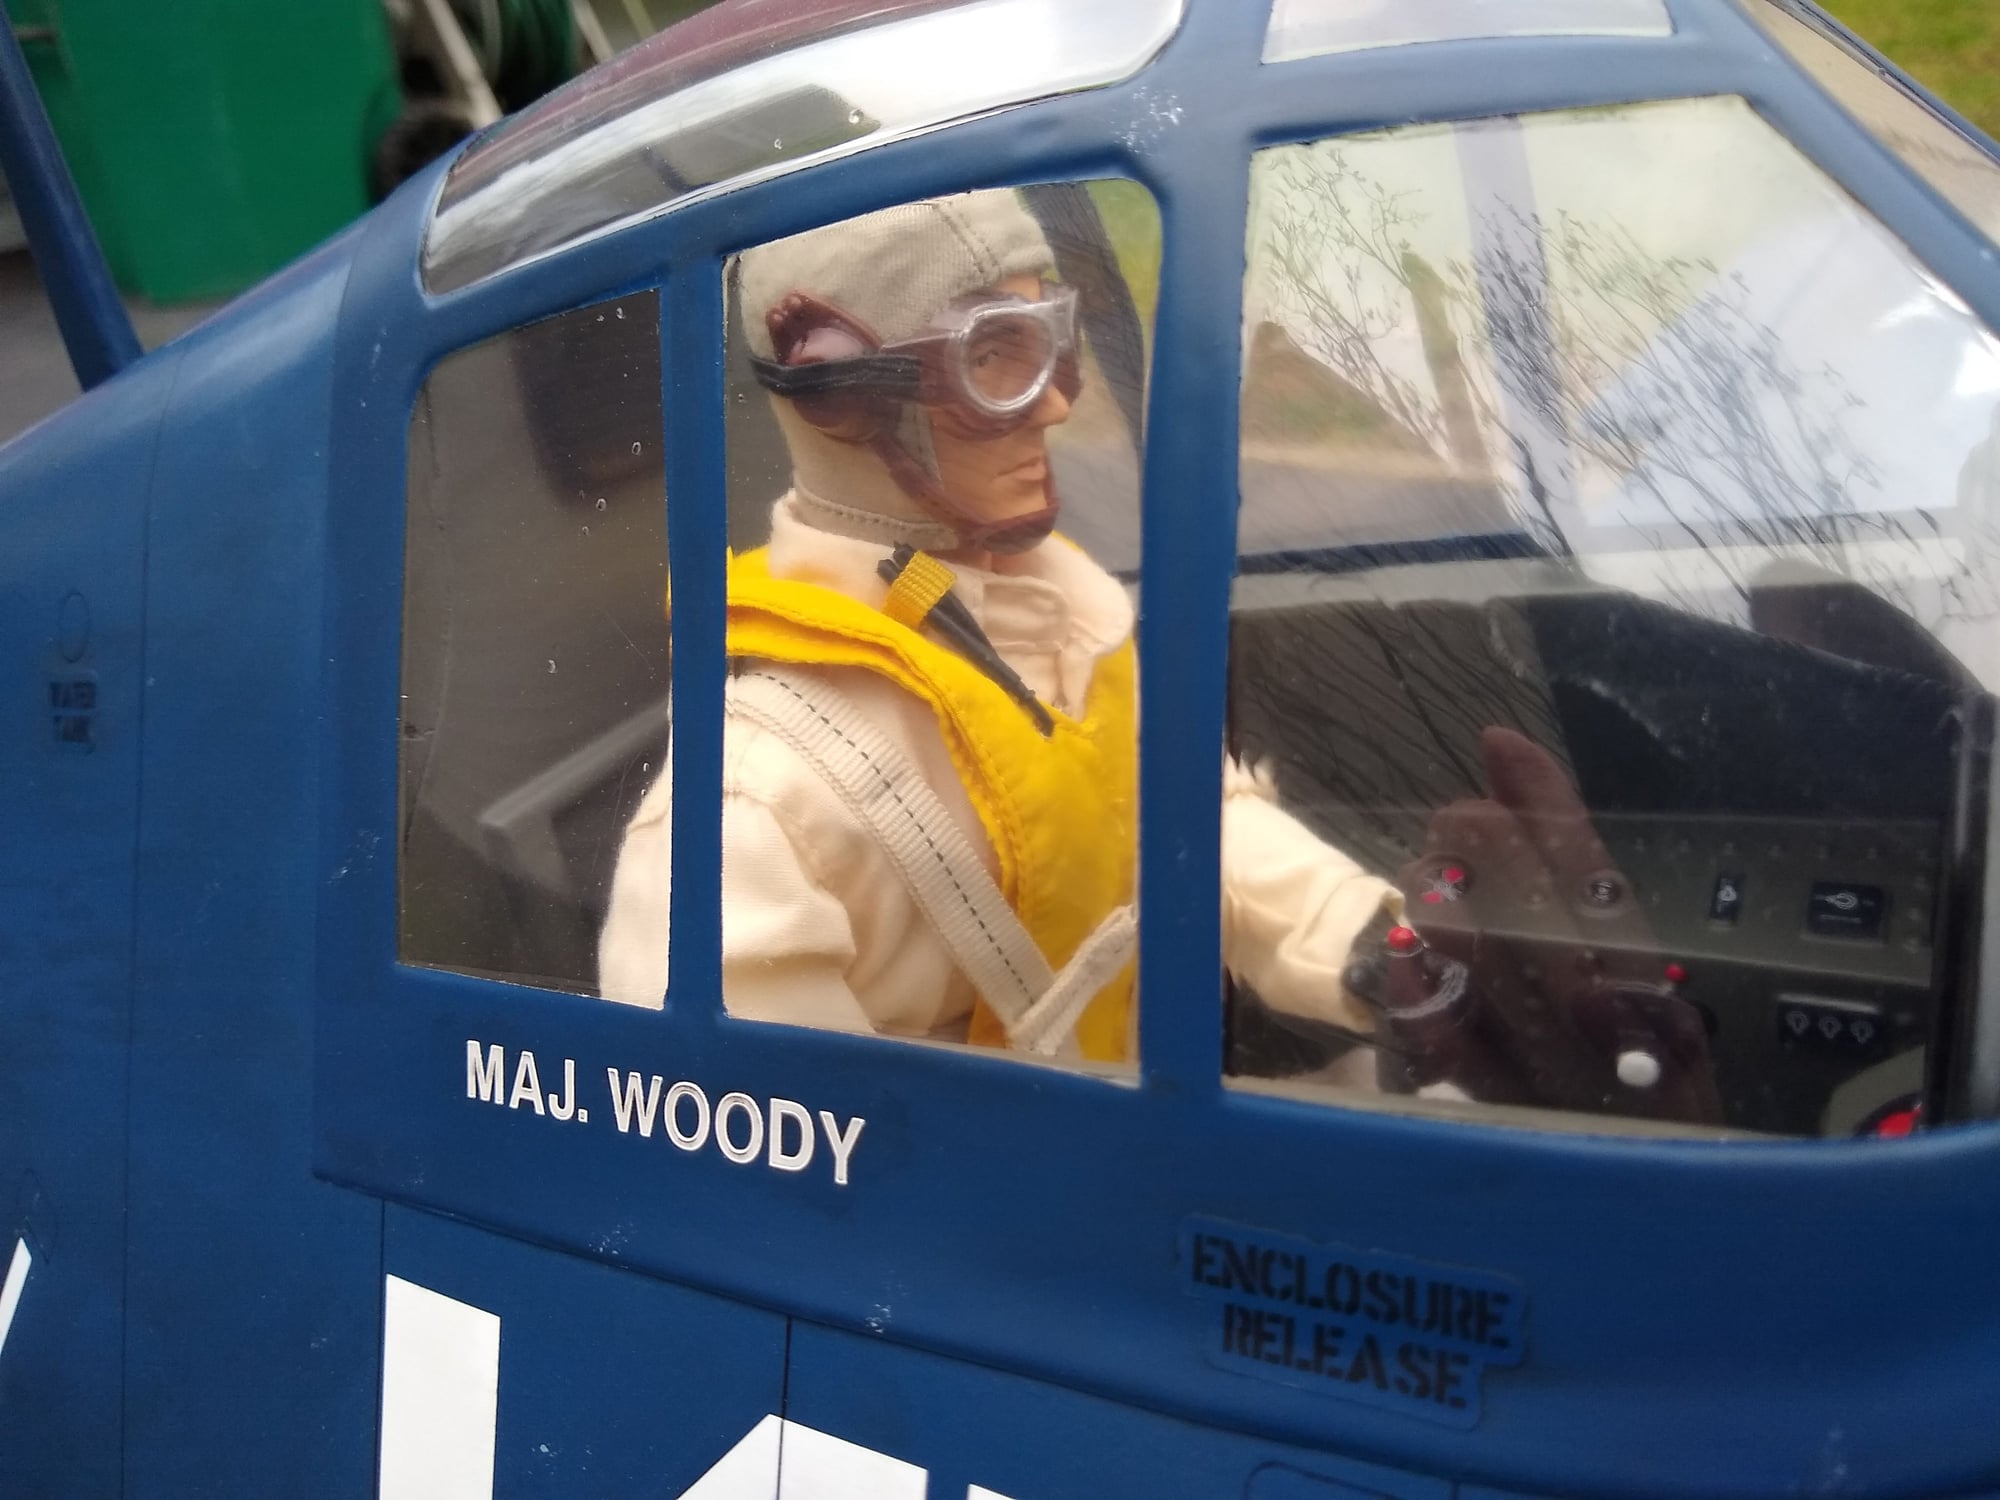
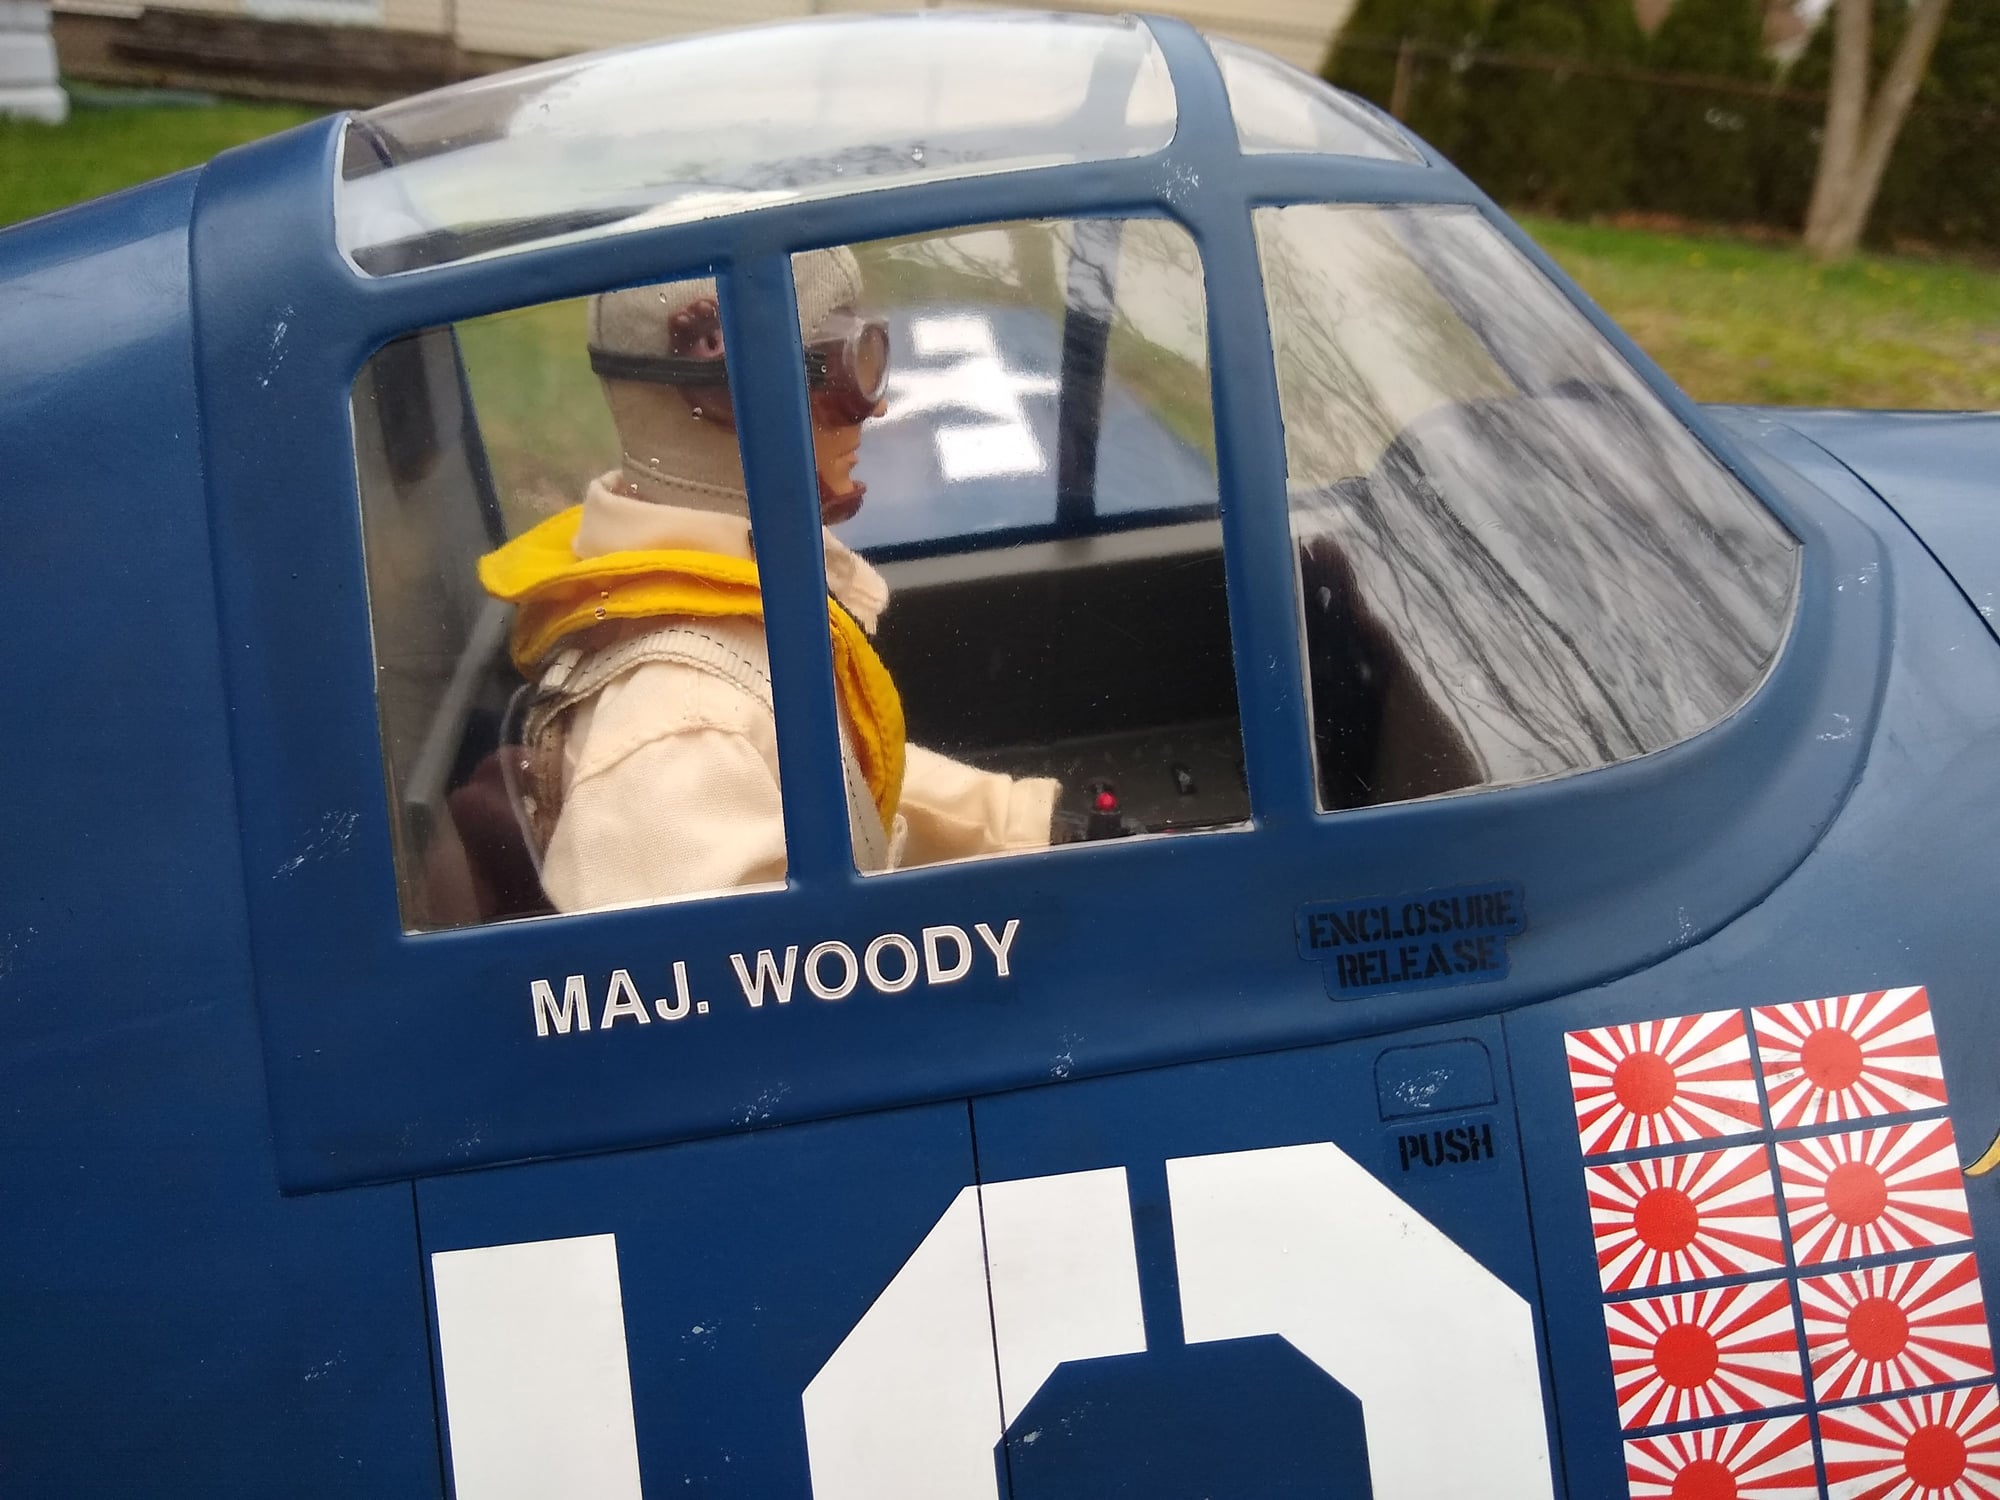
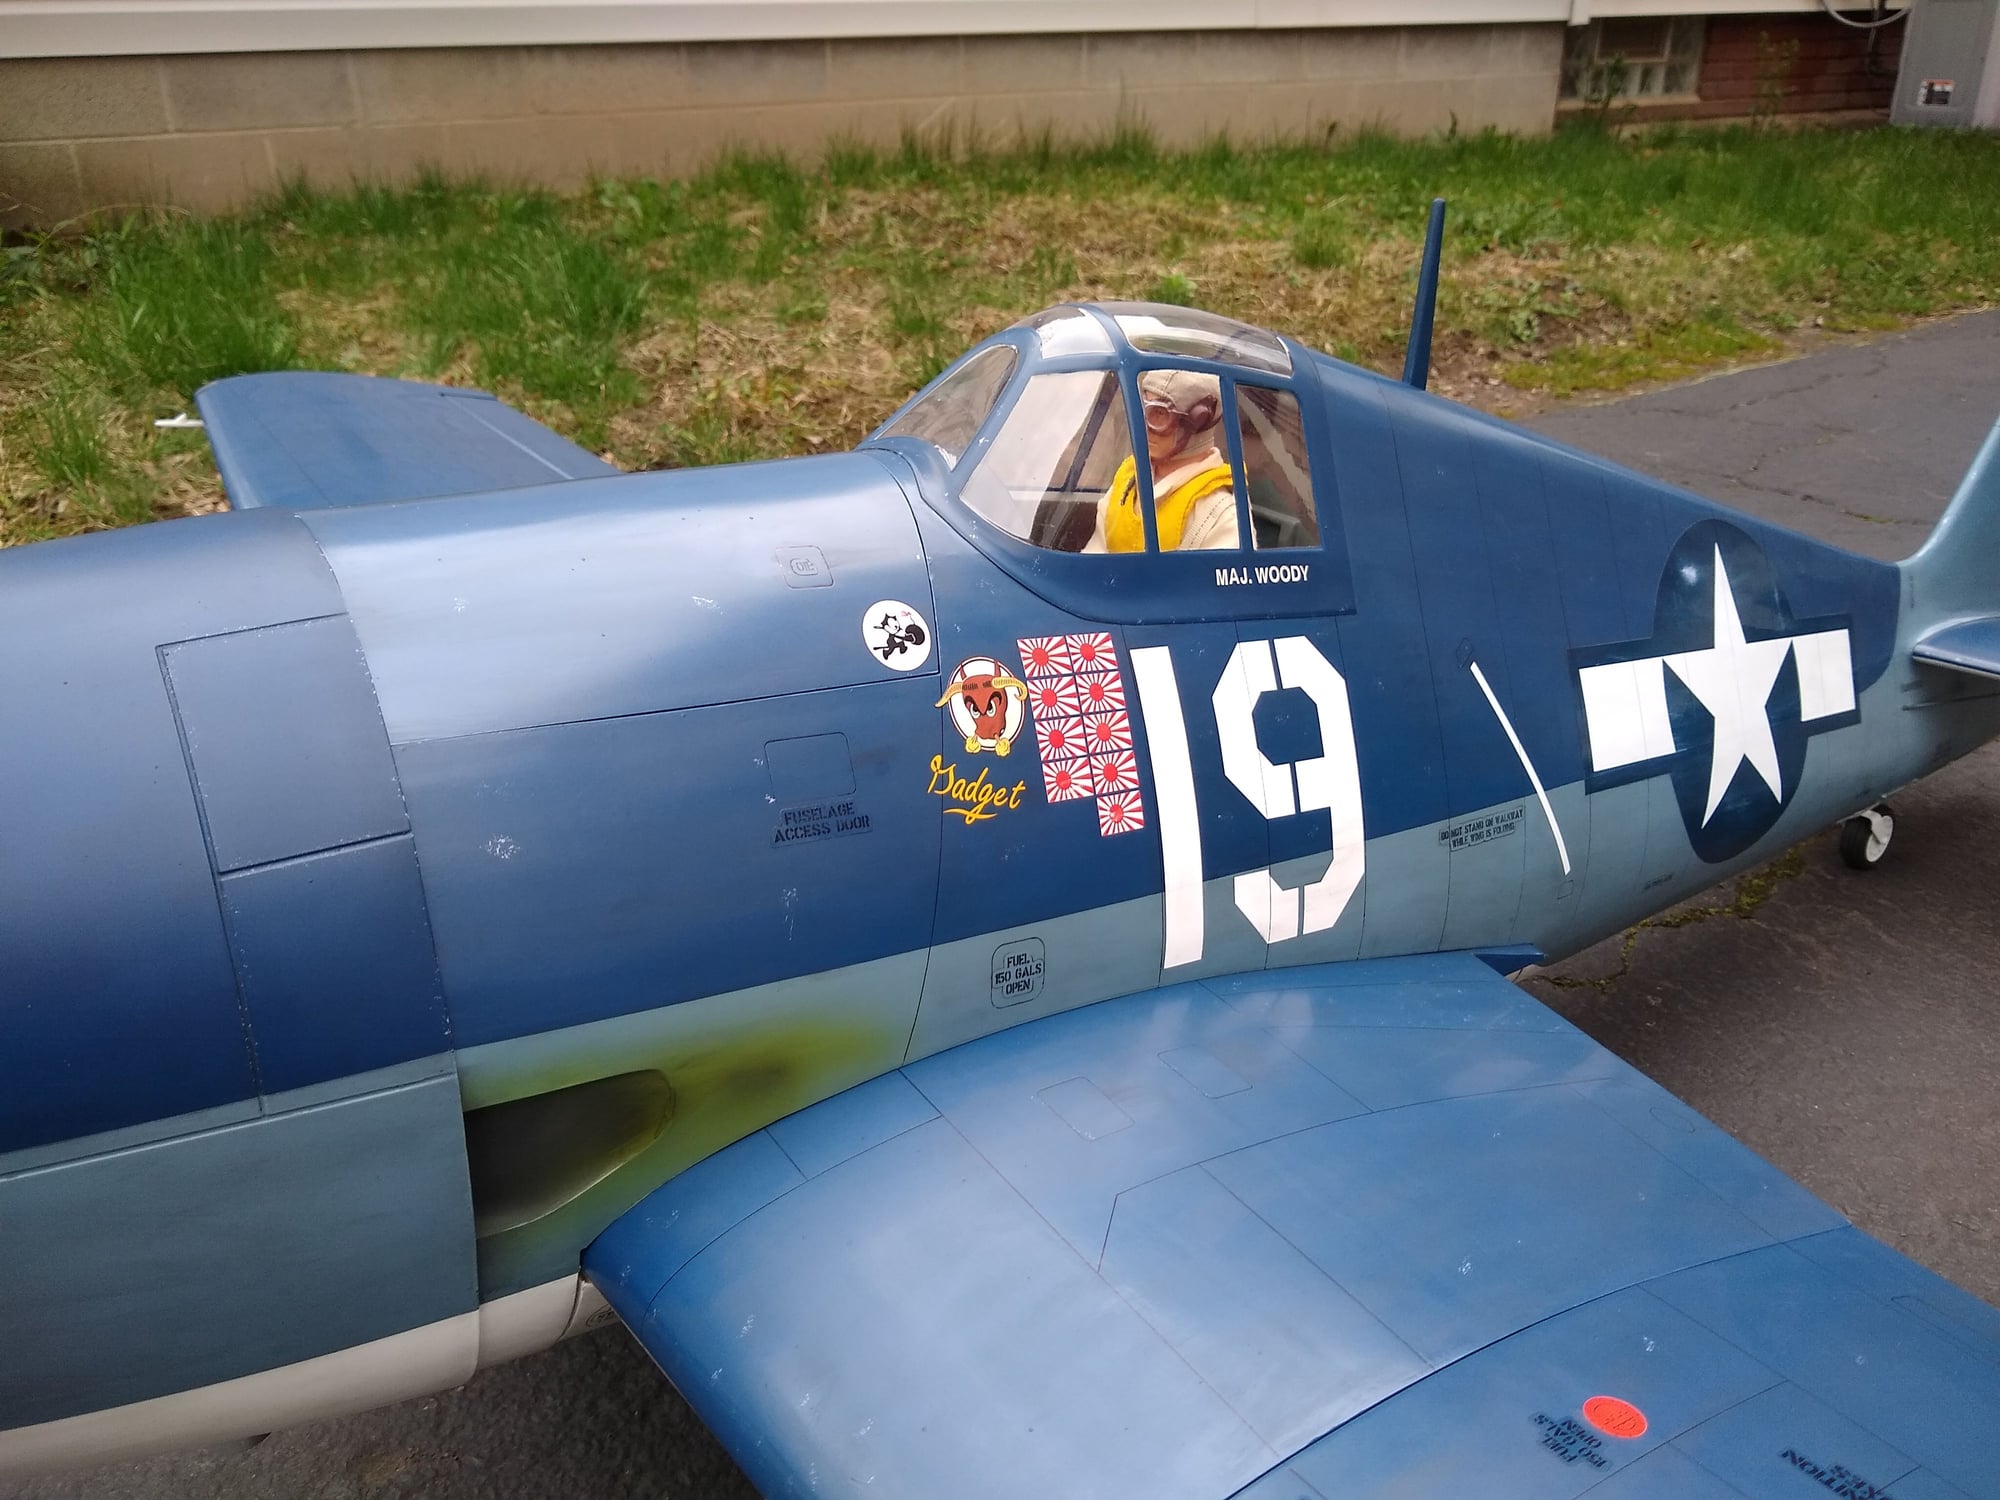
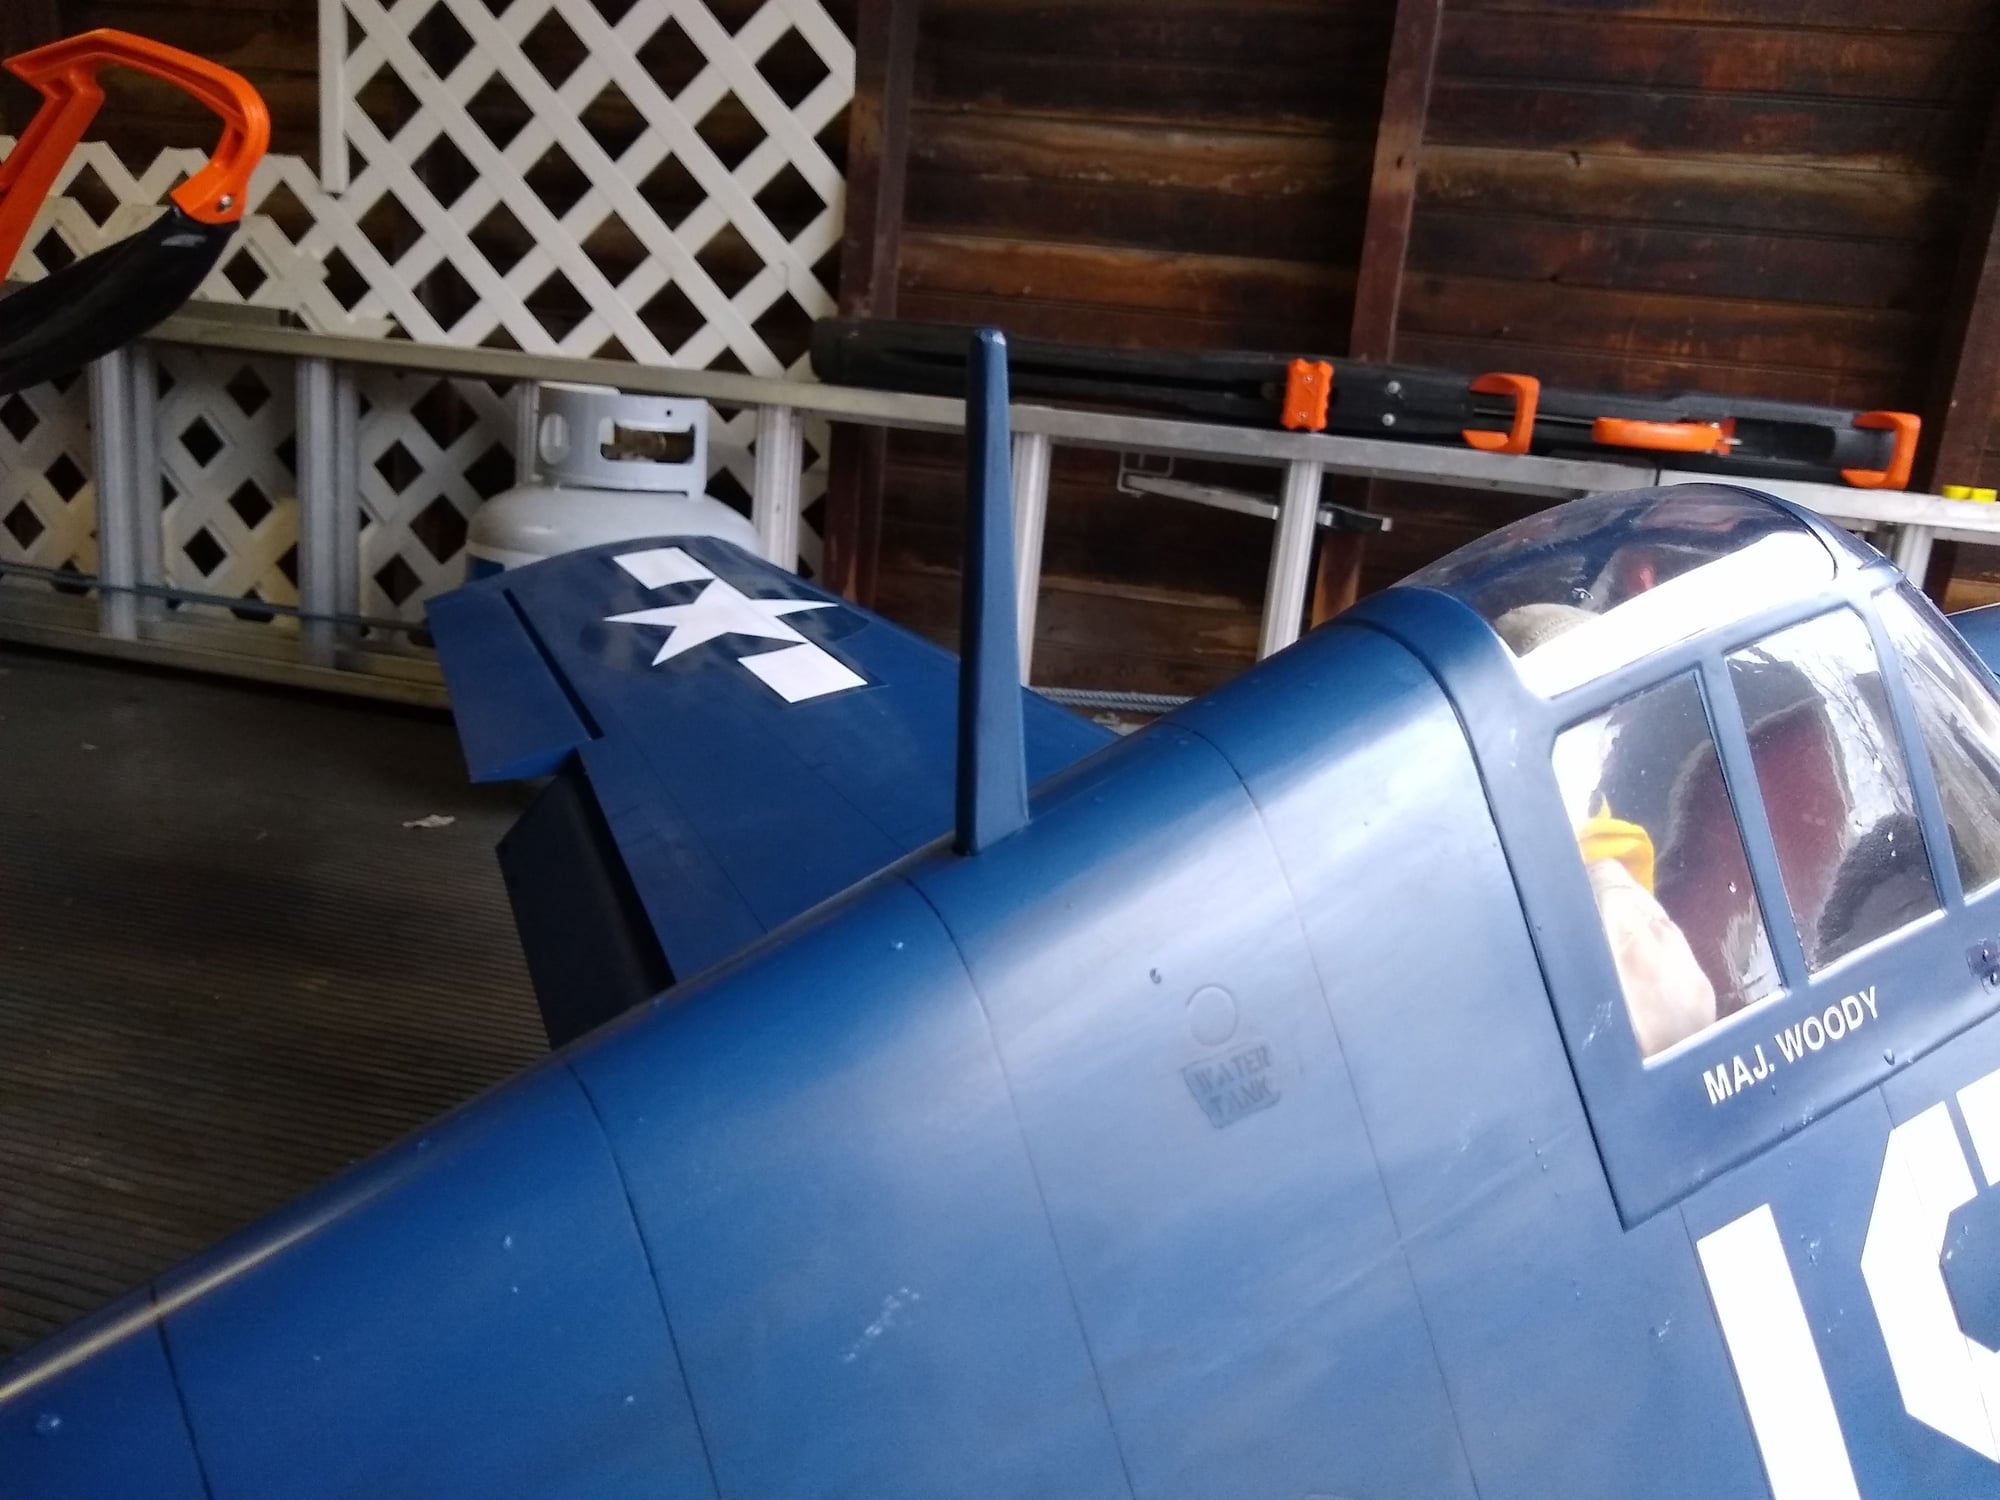
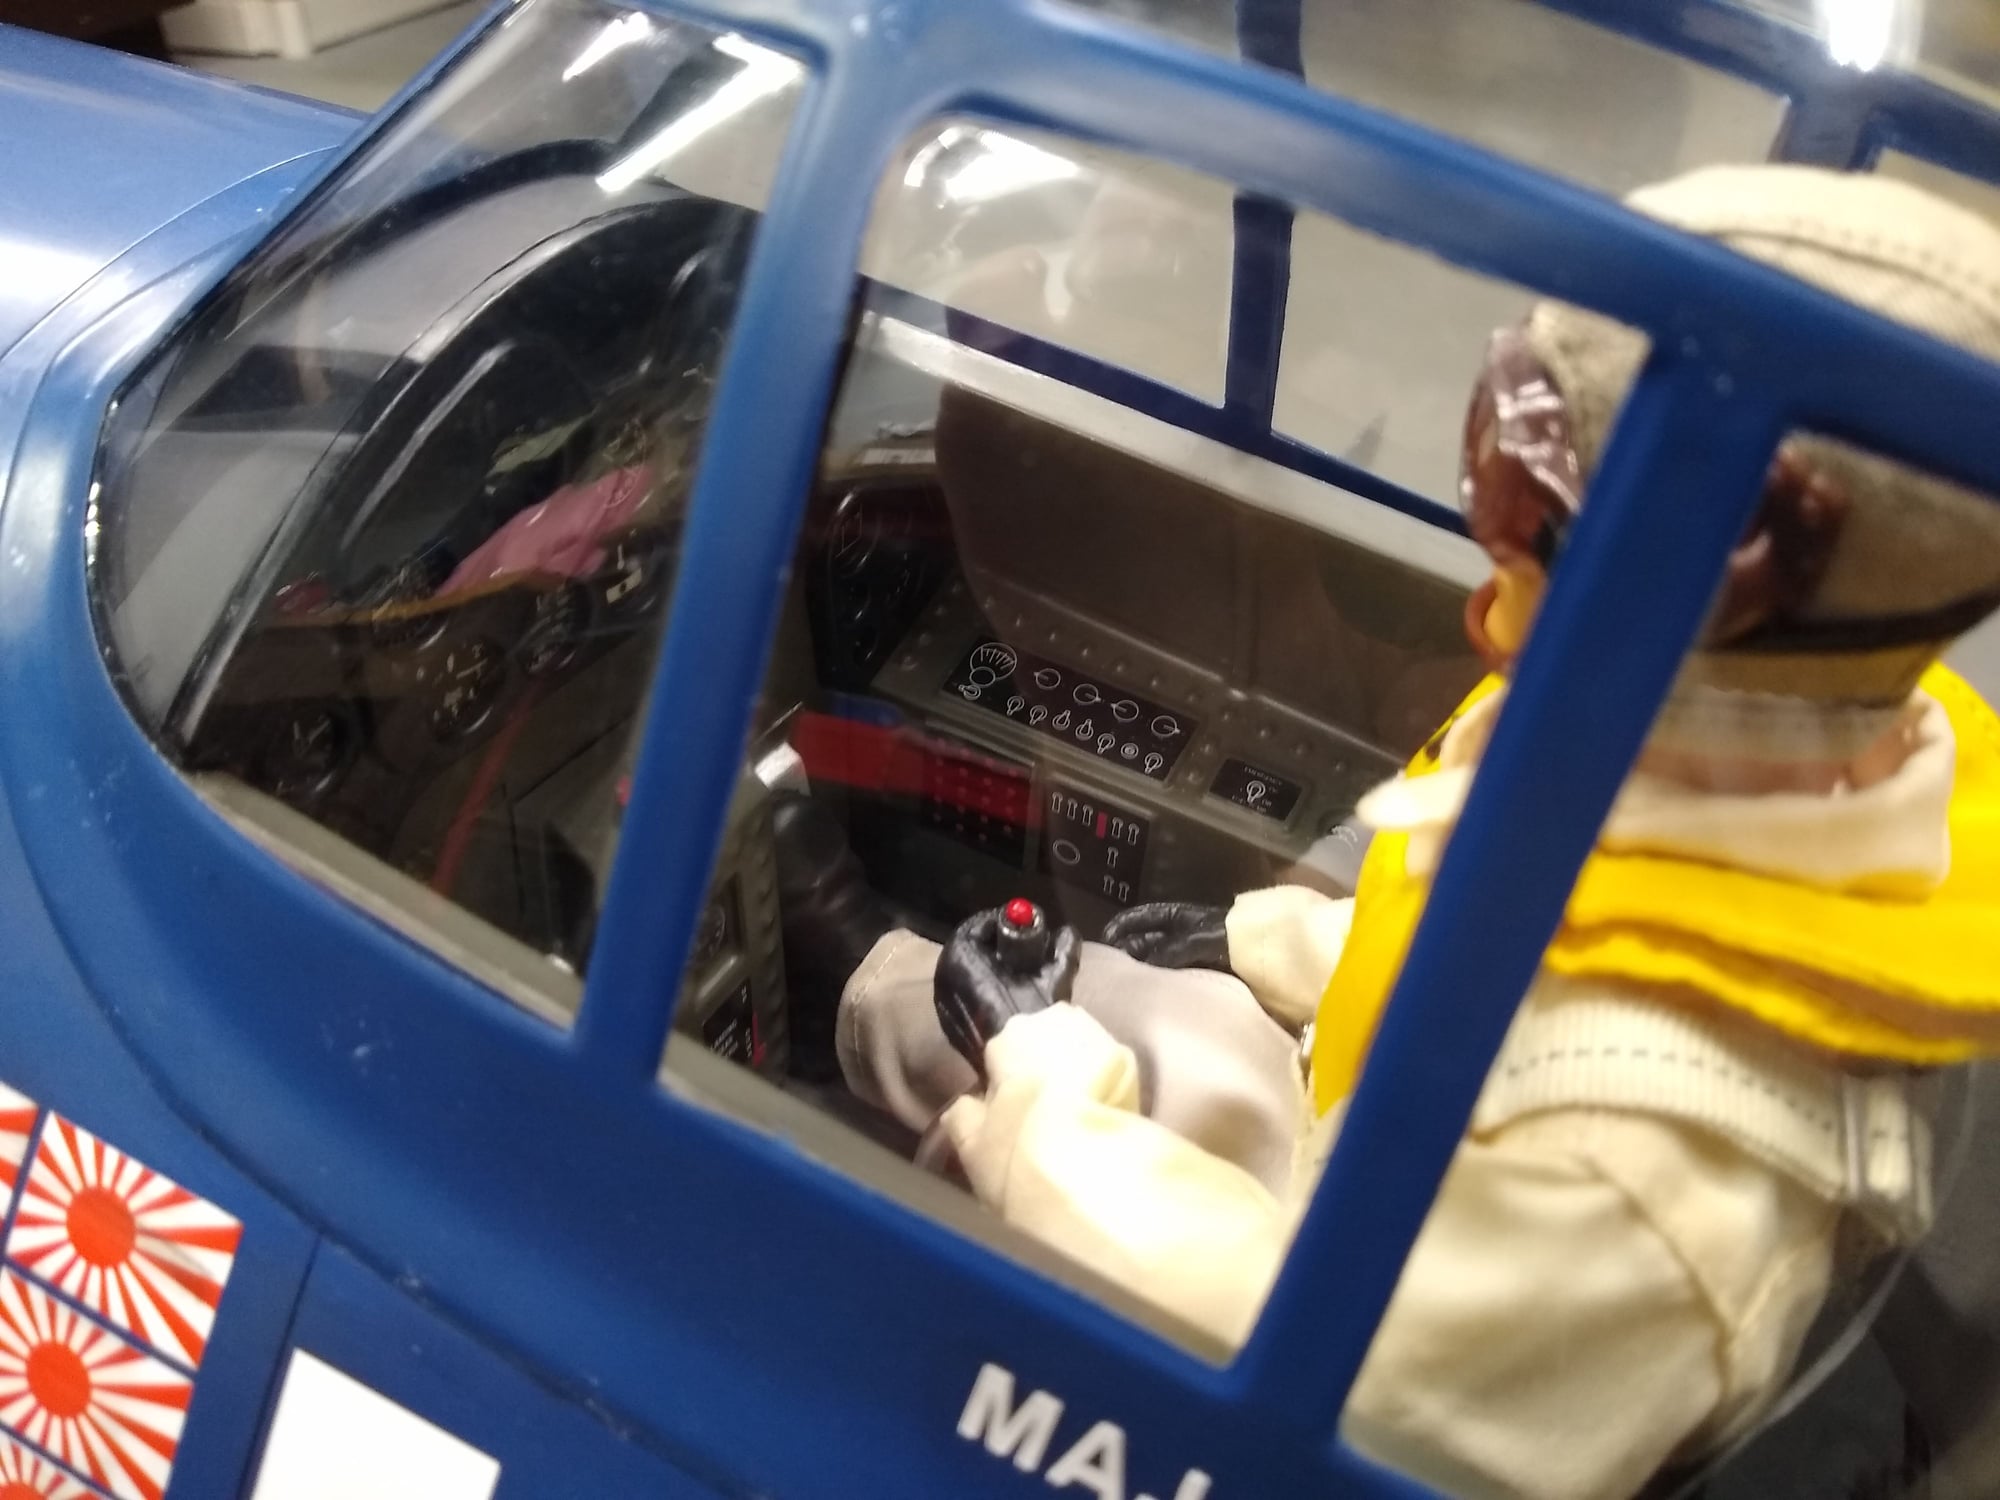
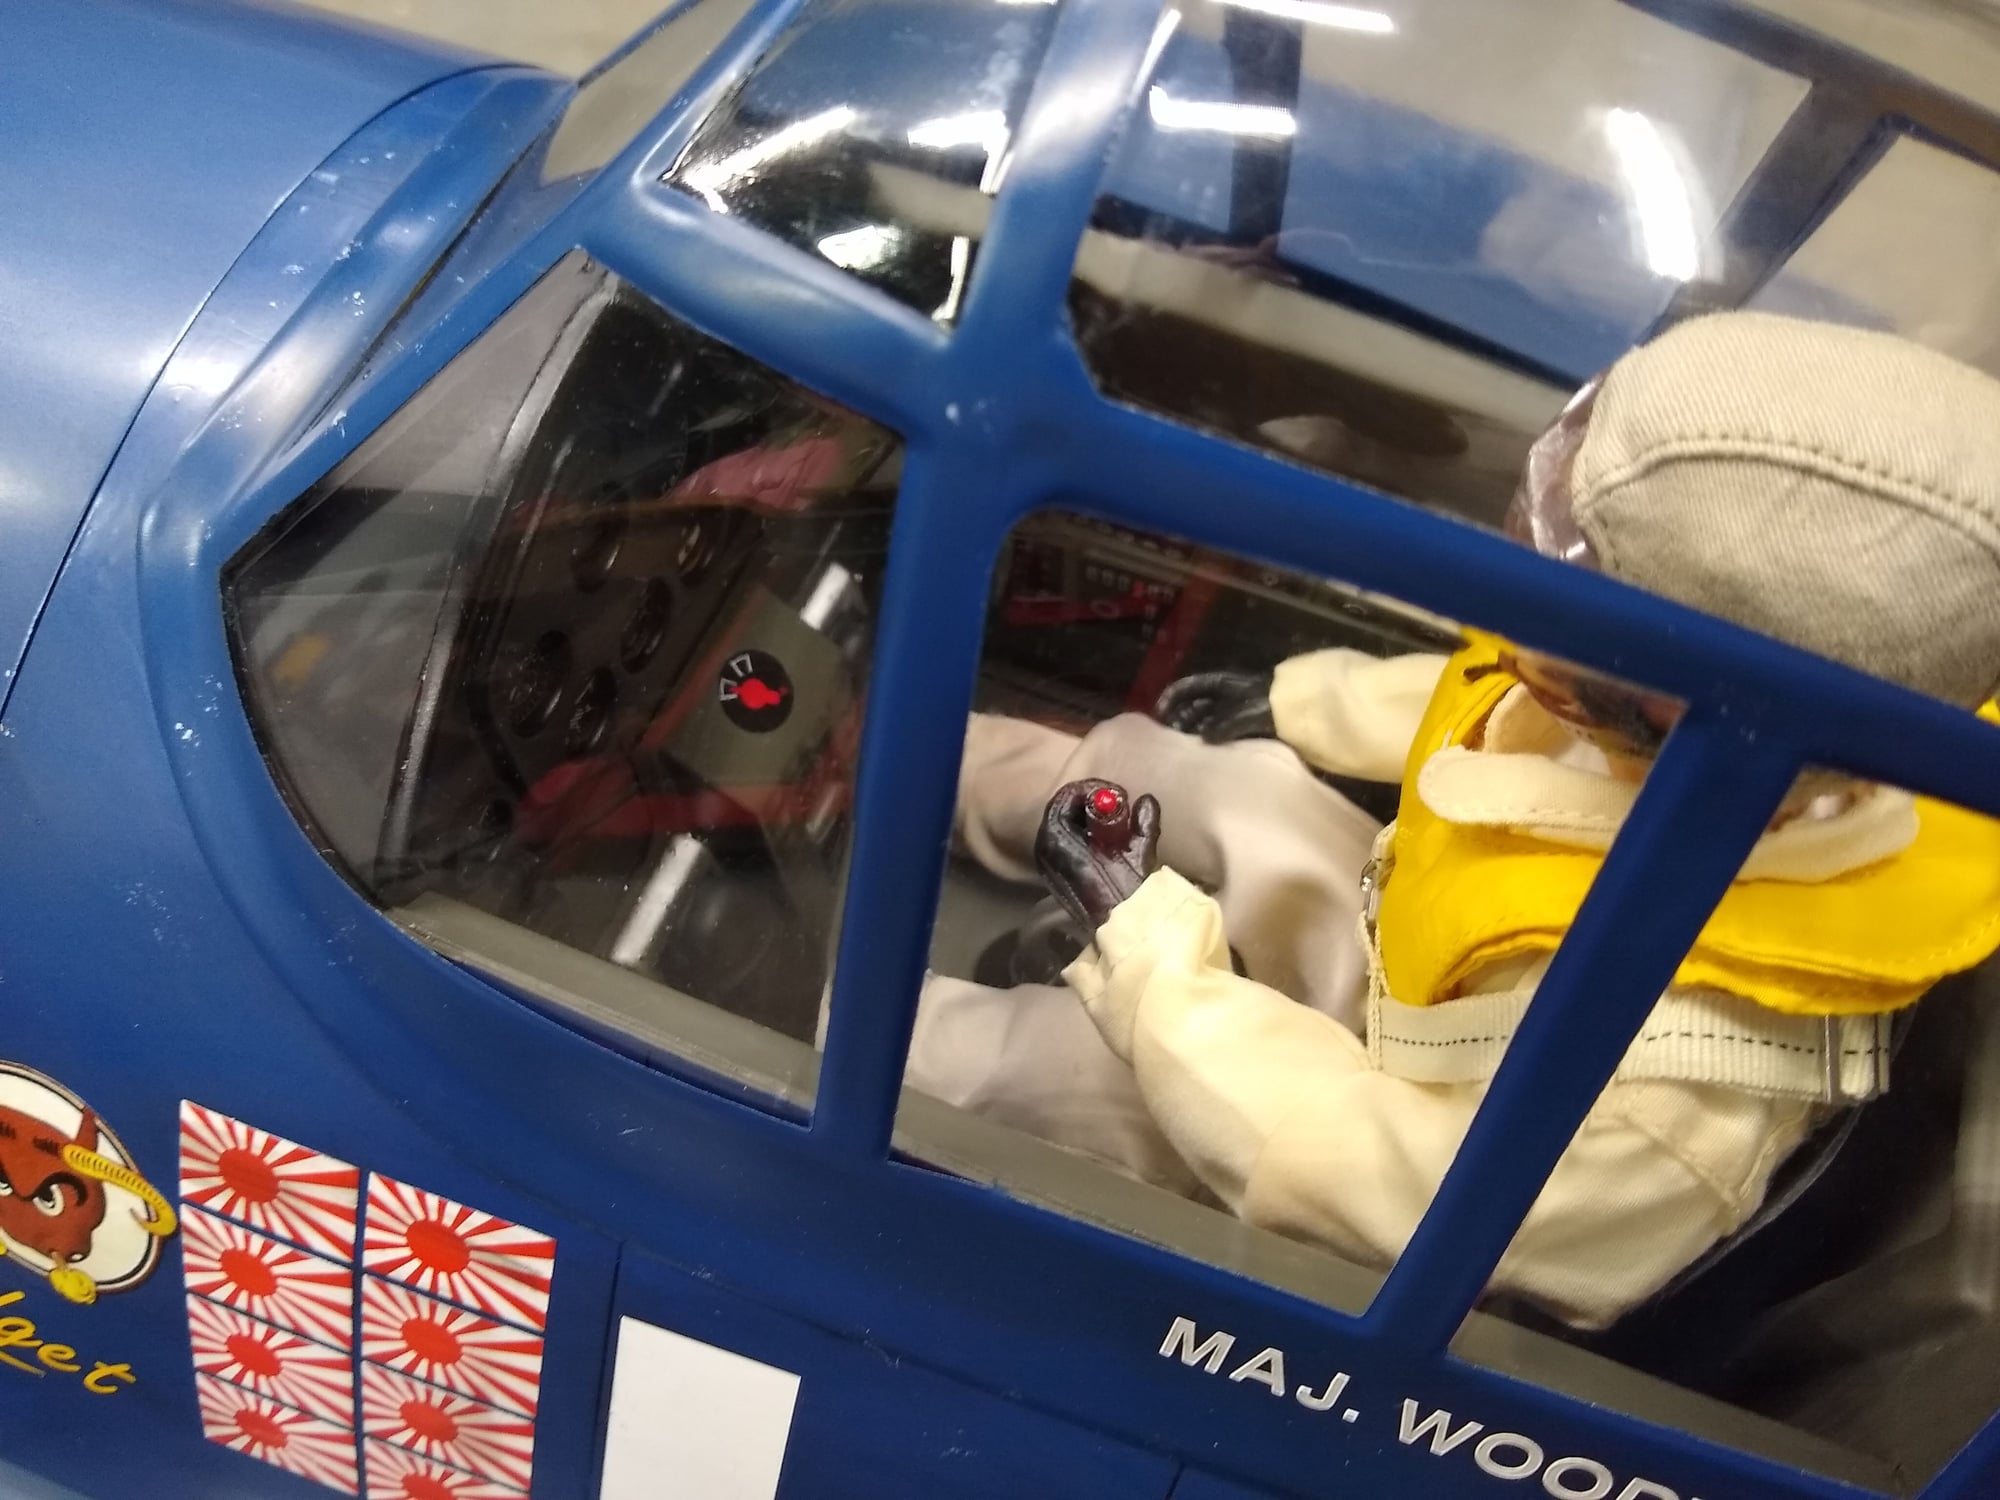
Here is a look at the cockpit. I used the full body US Navy Pilot from Warbird Pilots. The decals included in the kit are really poor quality. They delaminate from themselves leaving the sticky part on the surface and the printed image peeling away. To deal with this issue I clear coated all the cockpit panels after the decals were installed. Also of note is that the instruments on the one piece decal do not line up with the cutouts on the instrument panel. To correct this I had to individually cut out the instruments and place them in the correct positions. I also scratch built my own control stick by bending some brass tubing and adding some other details. Lastly, I painted the glare shield flat black to match the instrument panel.

 04-30-2020, 05:05 AM
#36
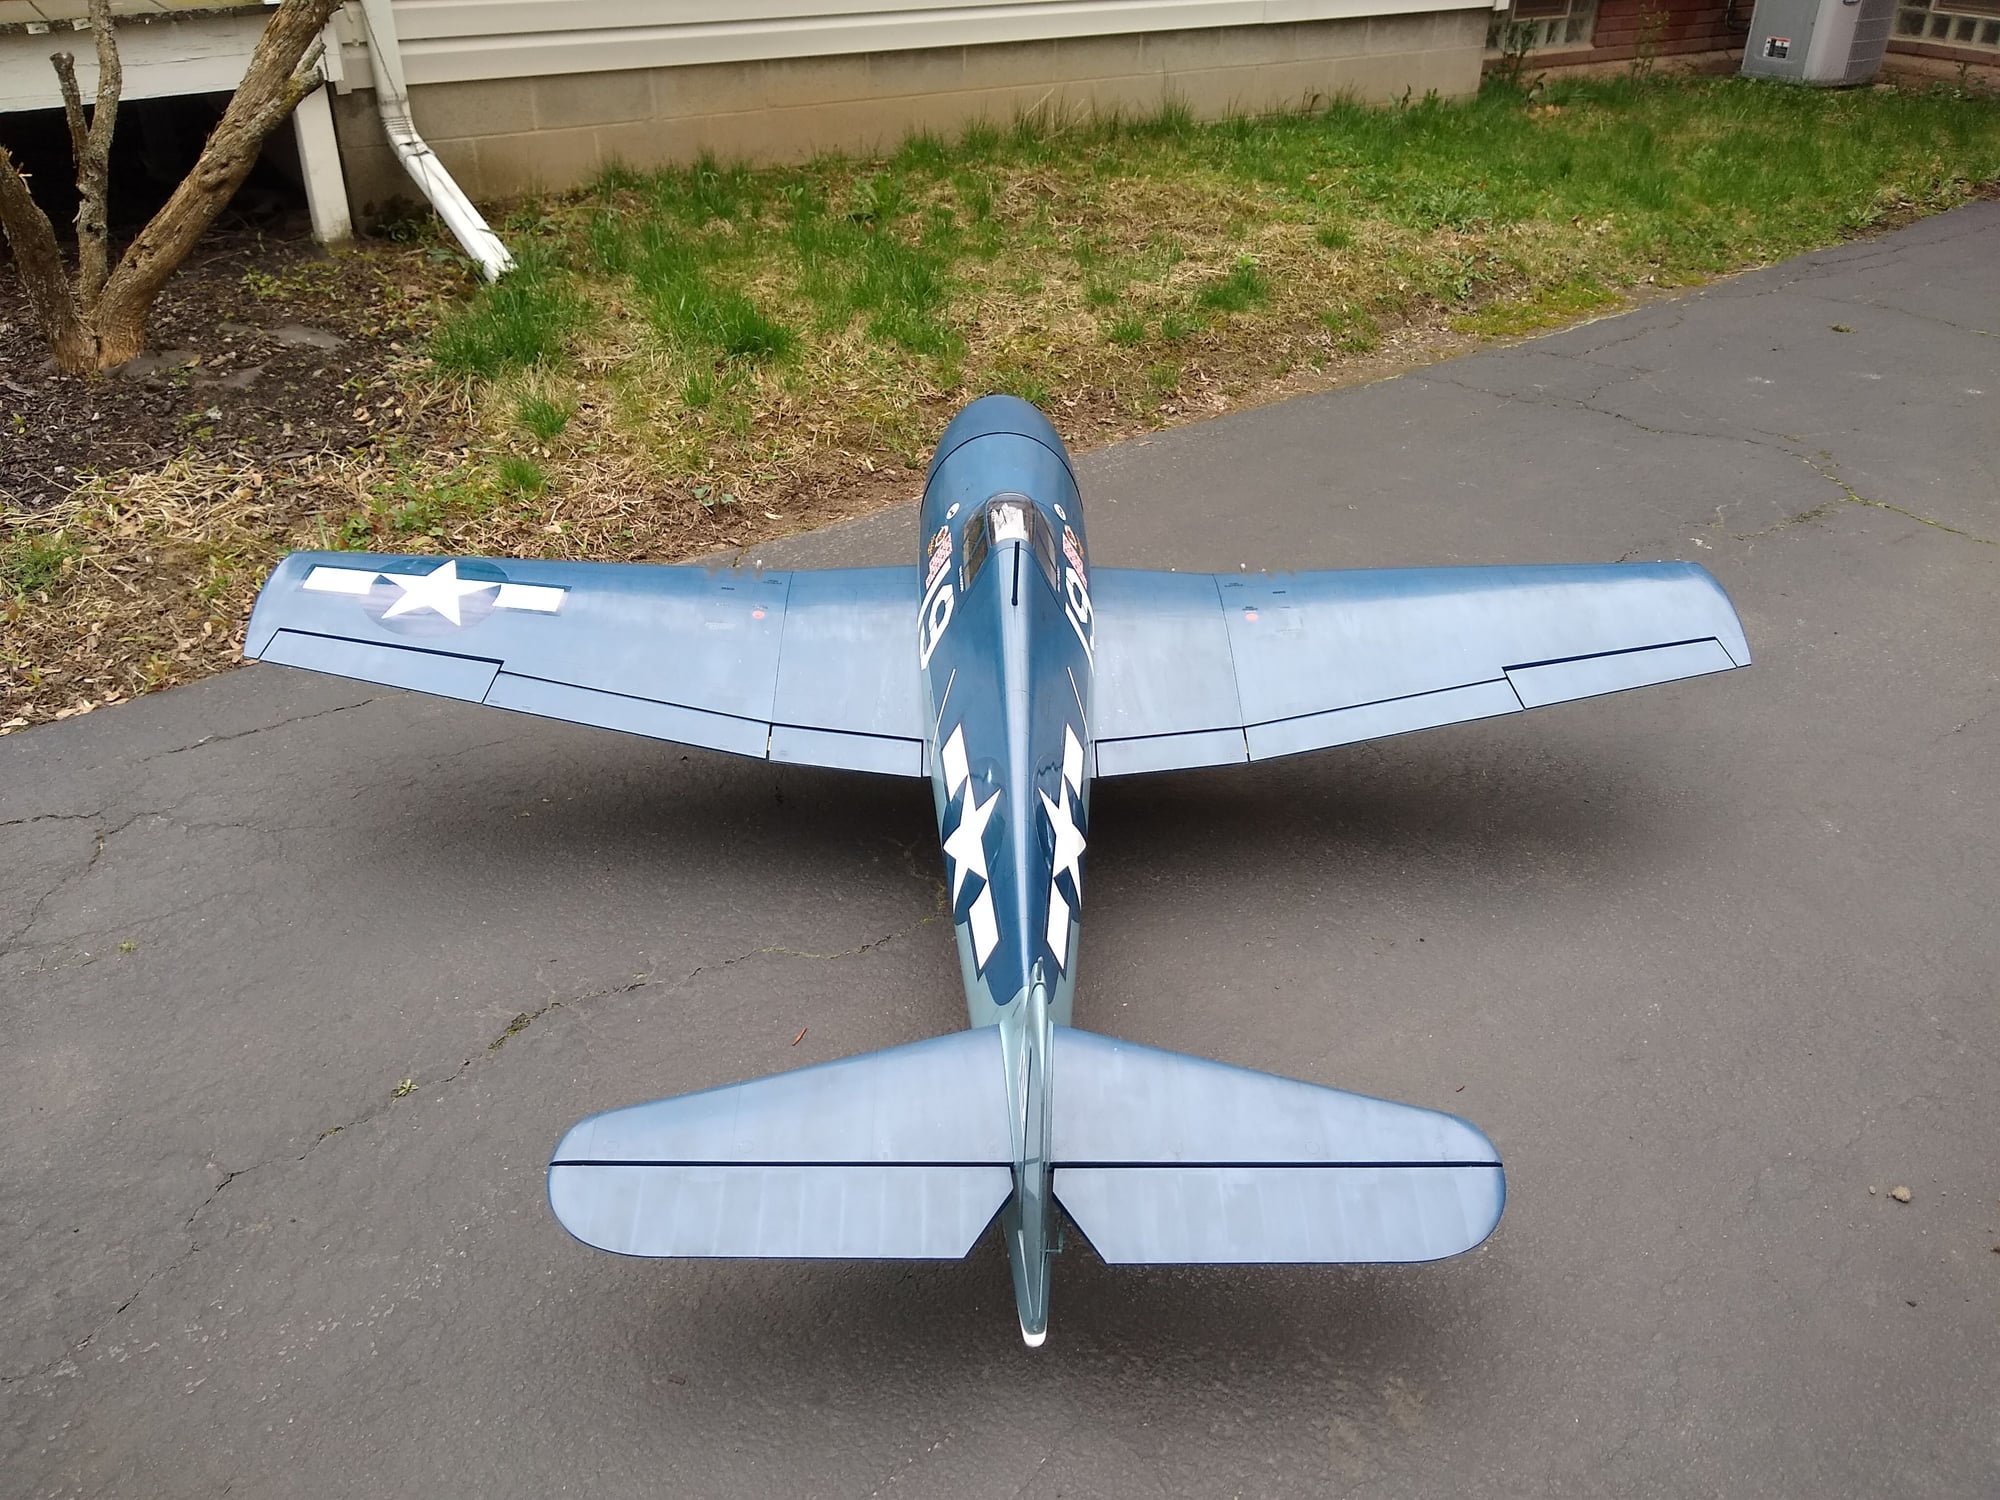
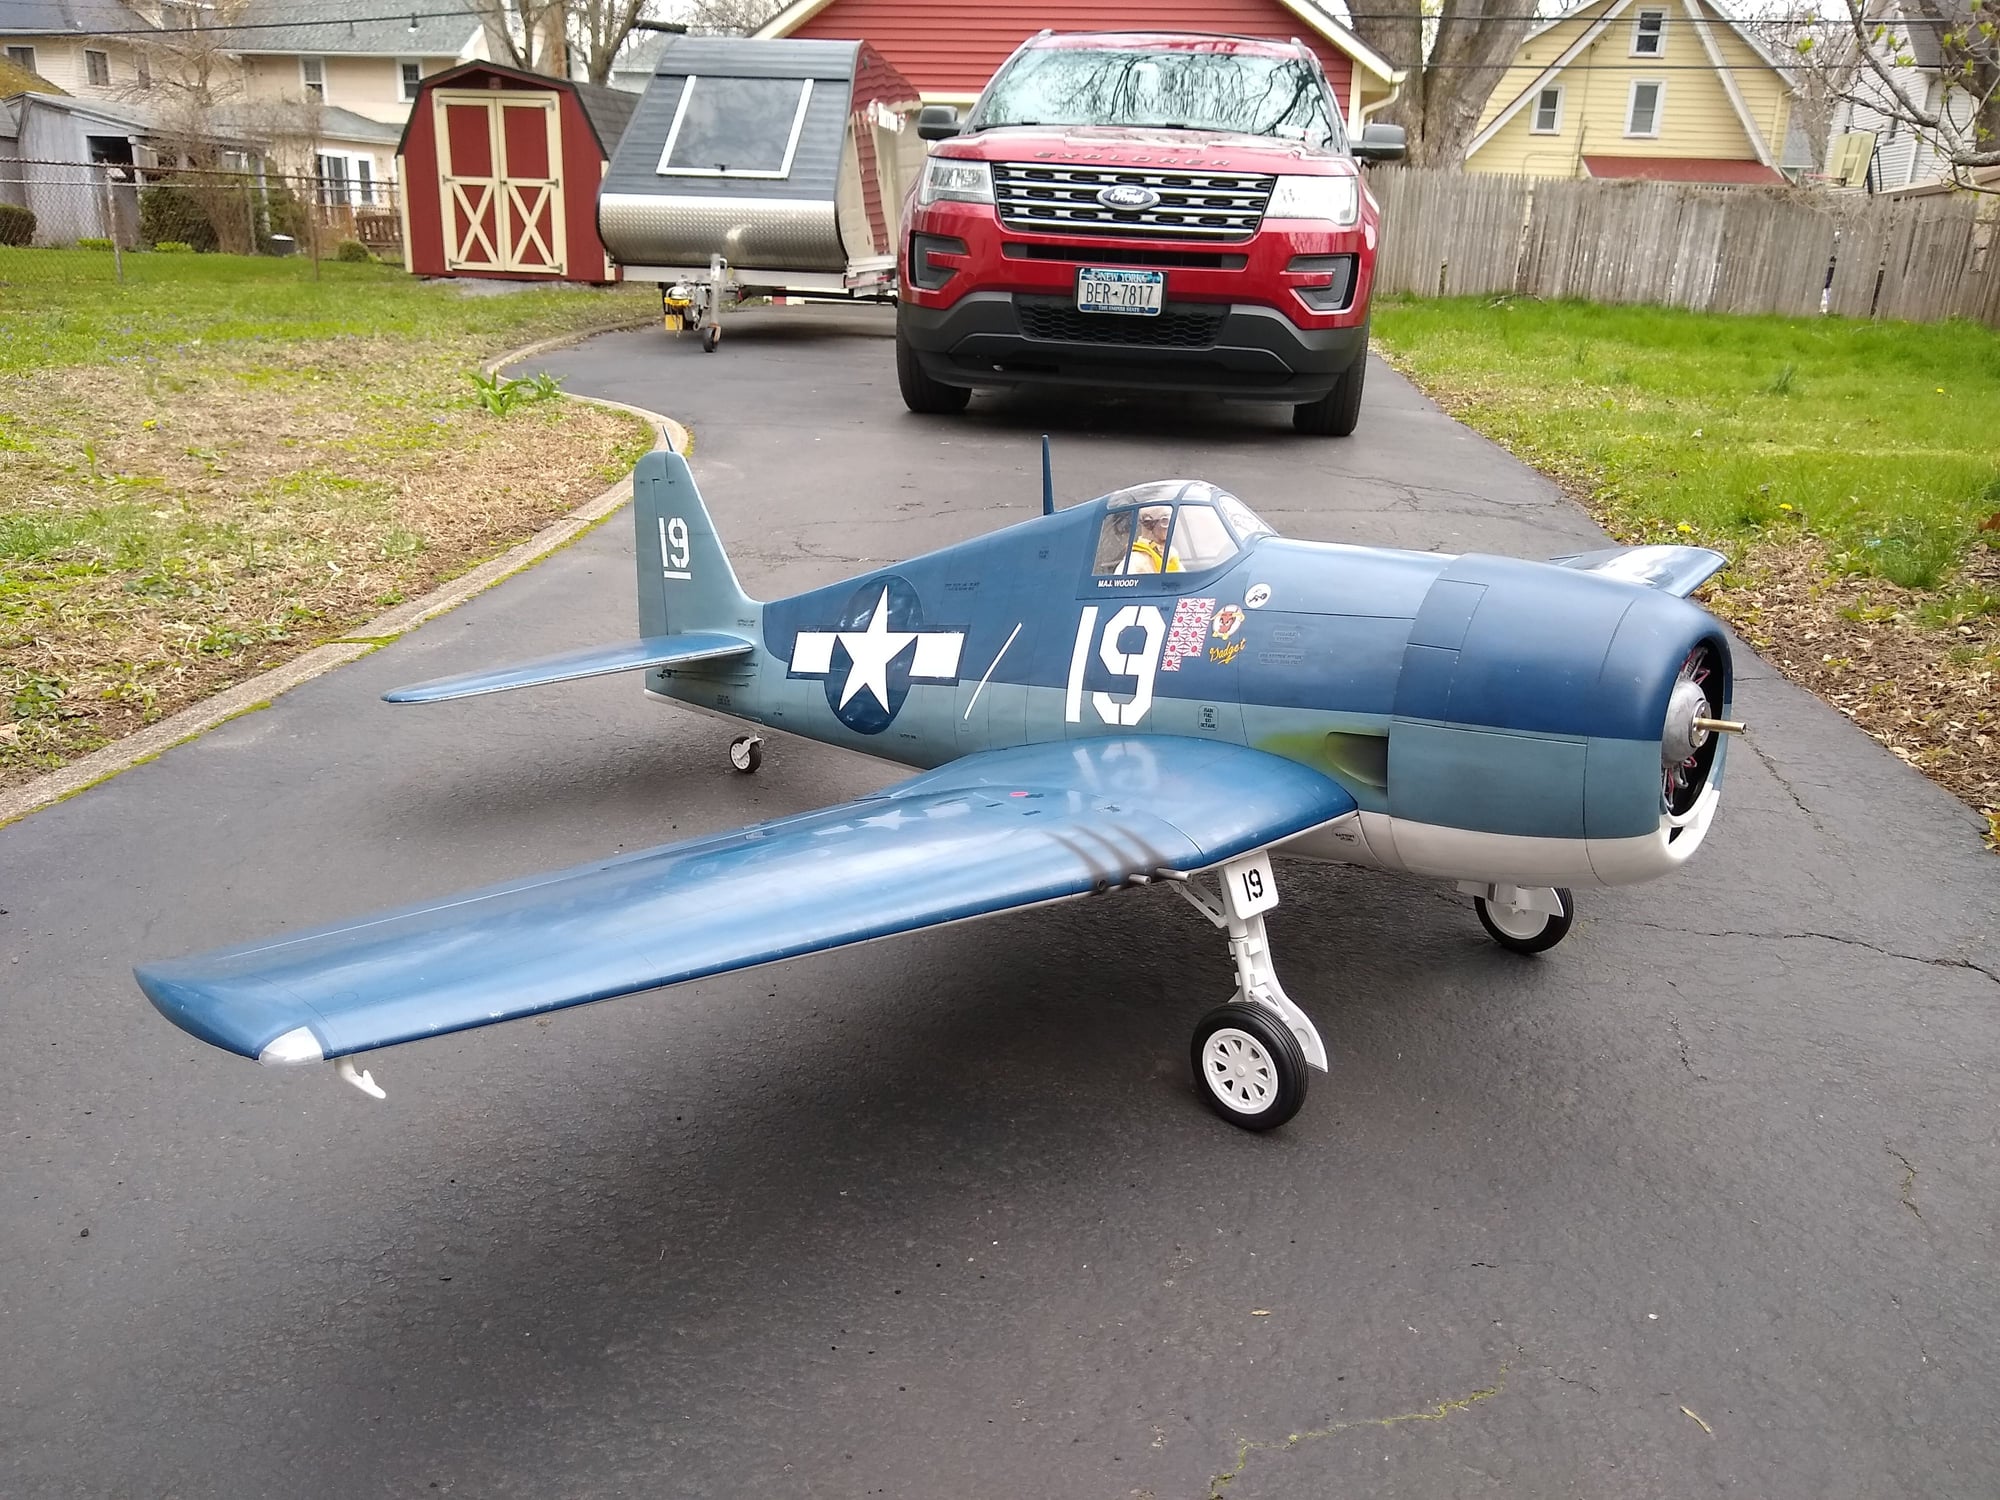
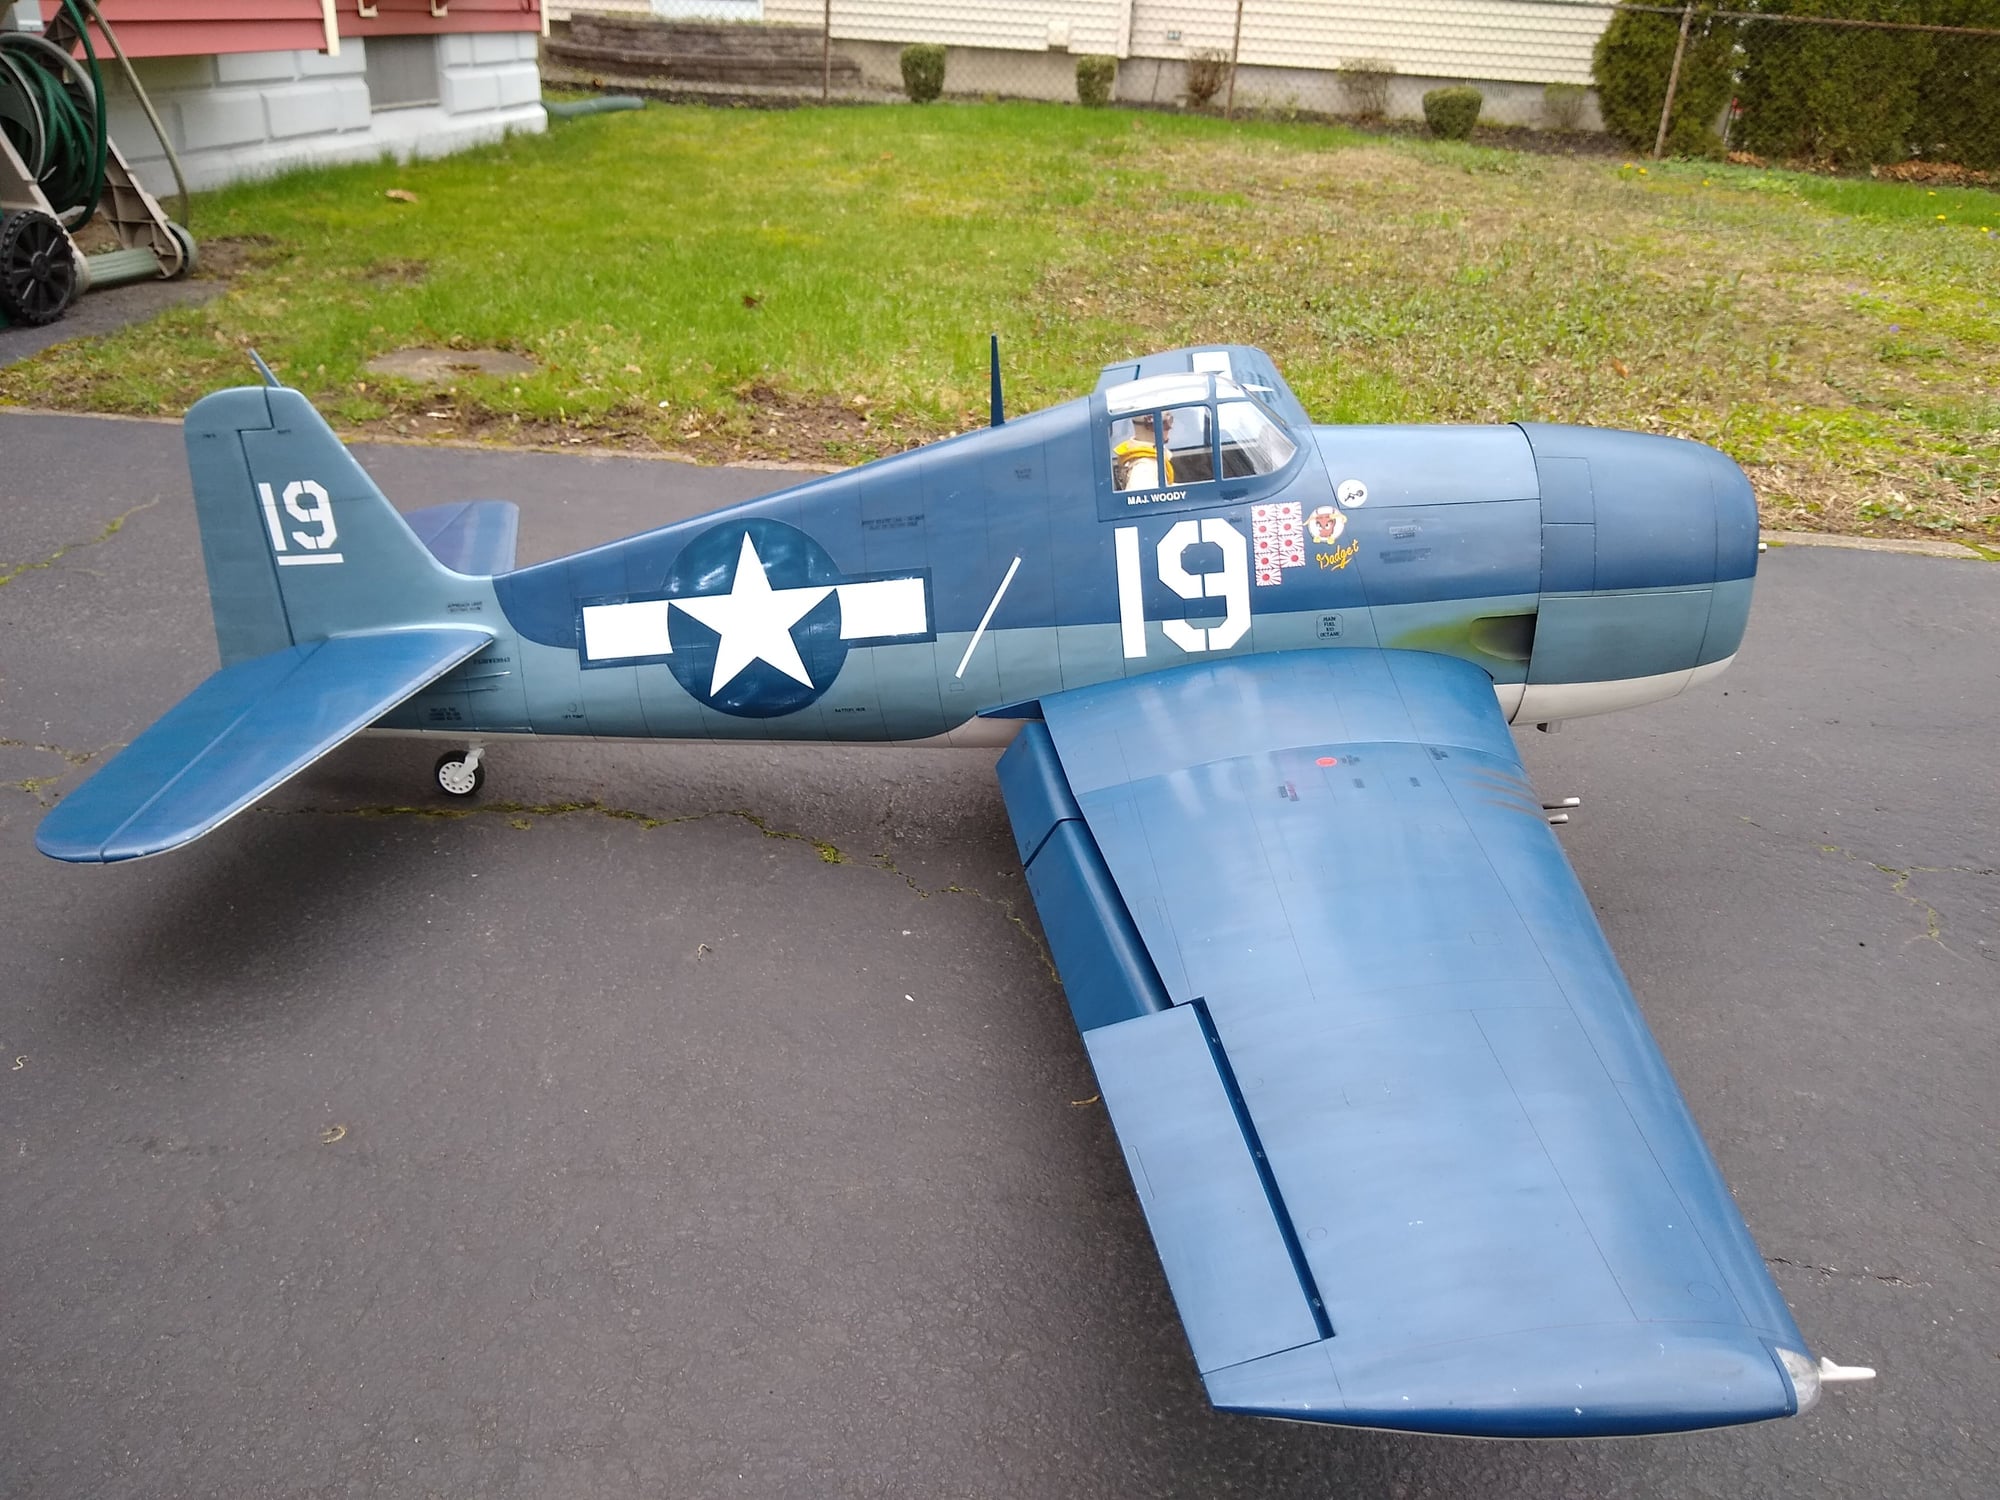
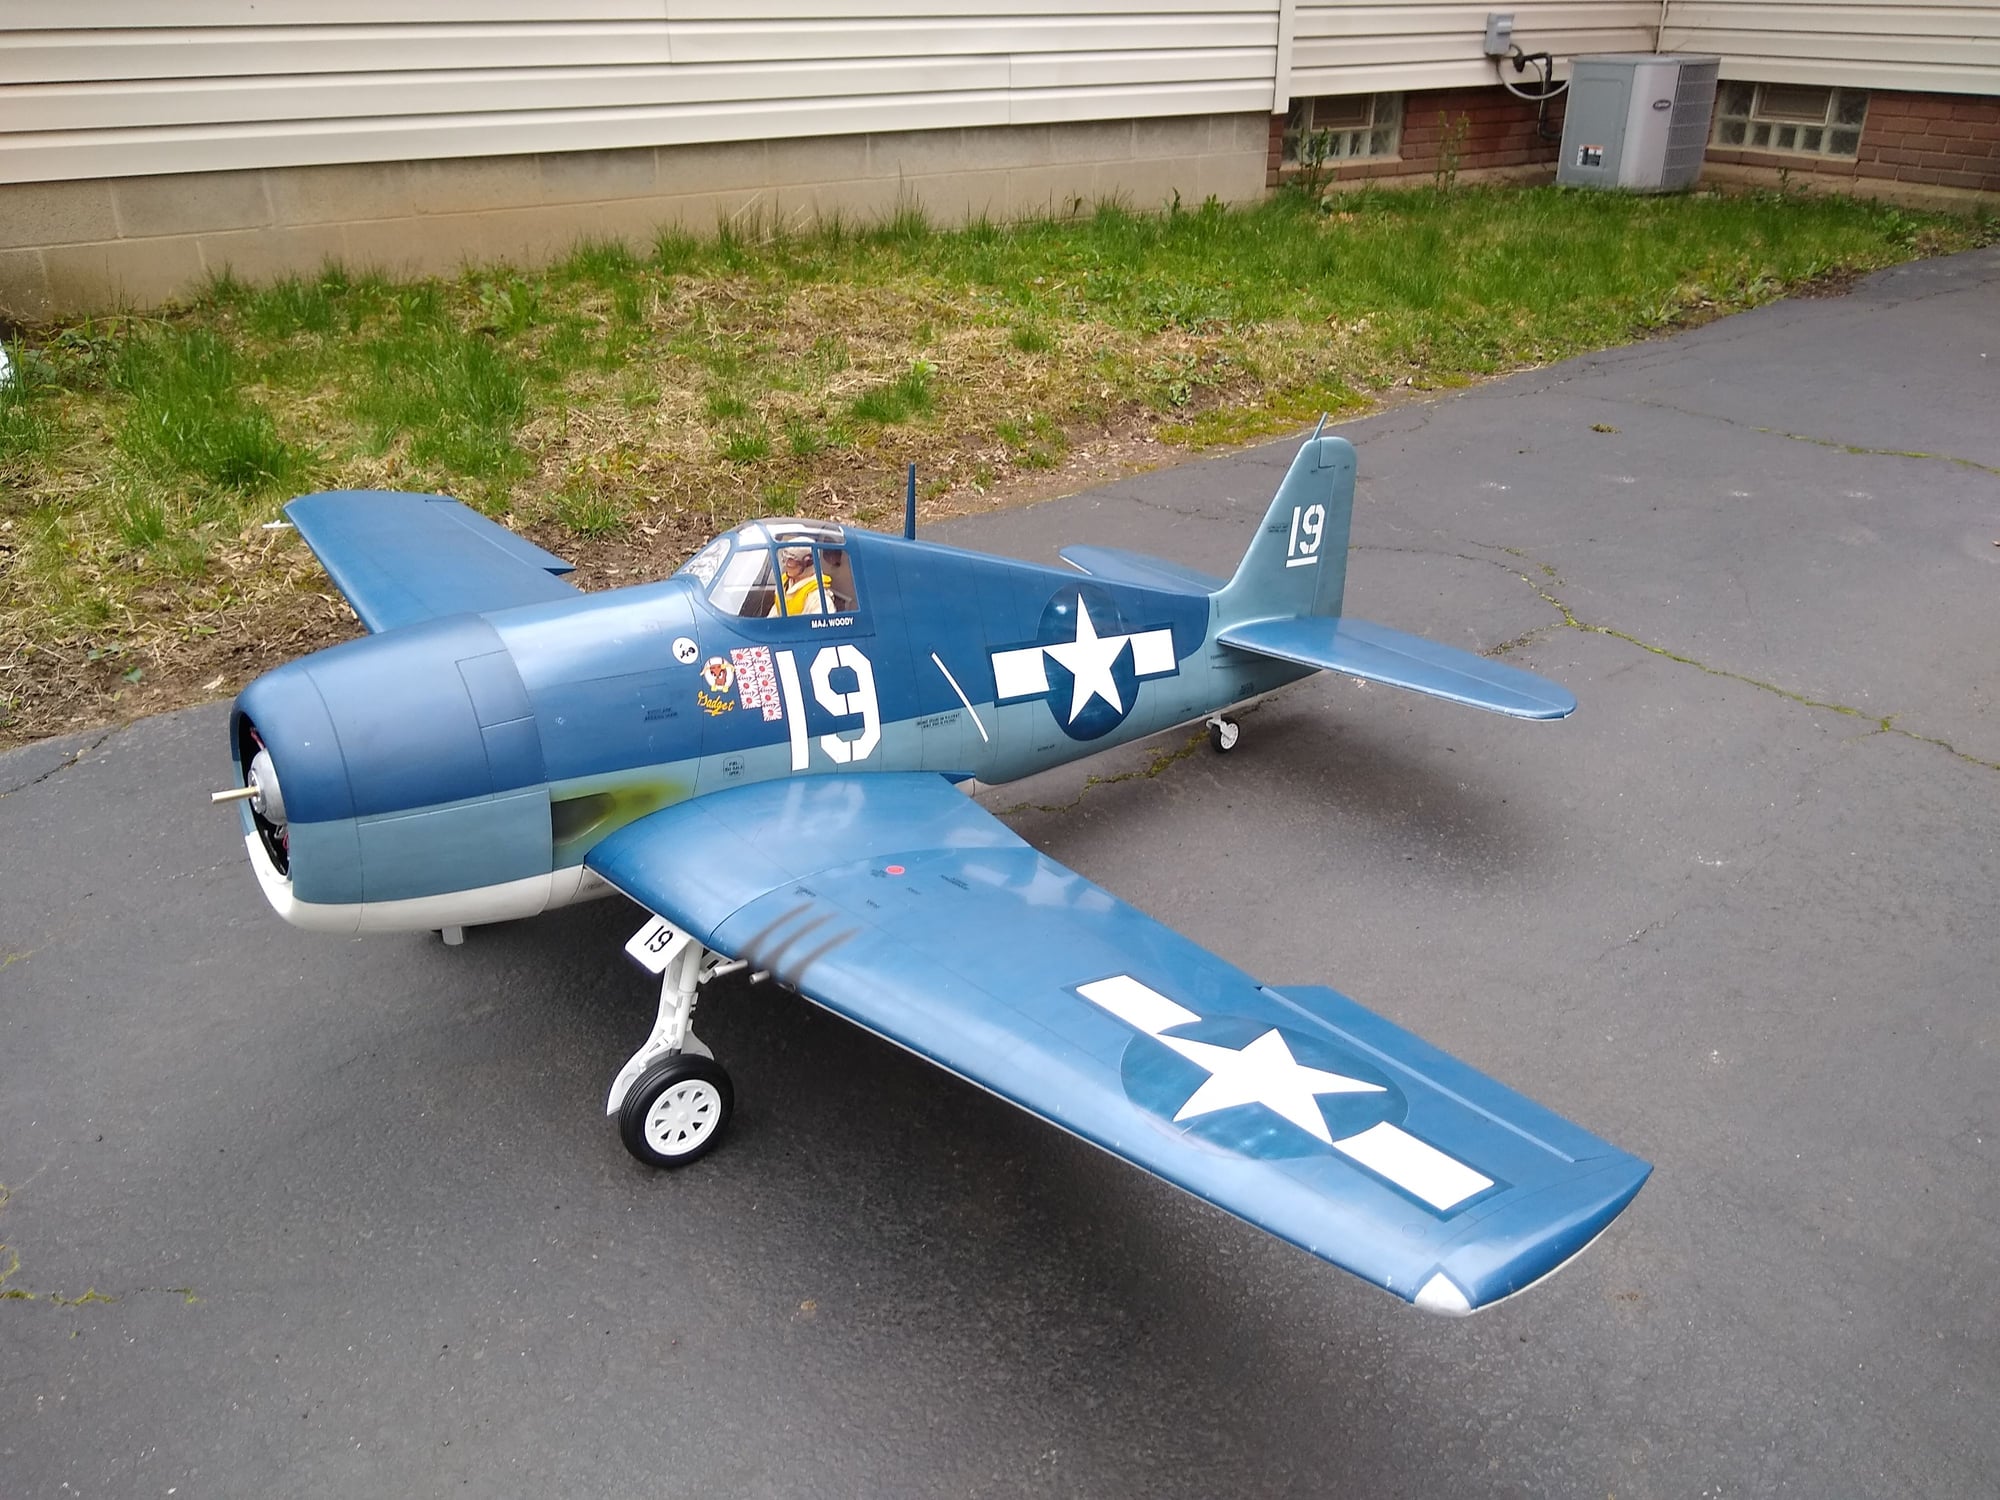
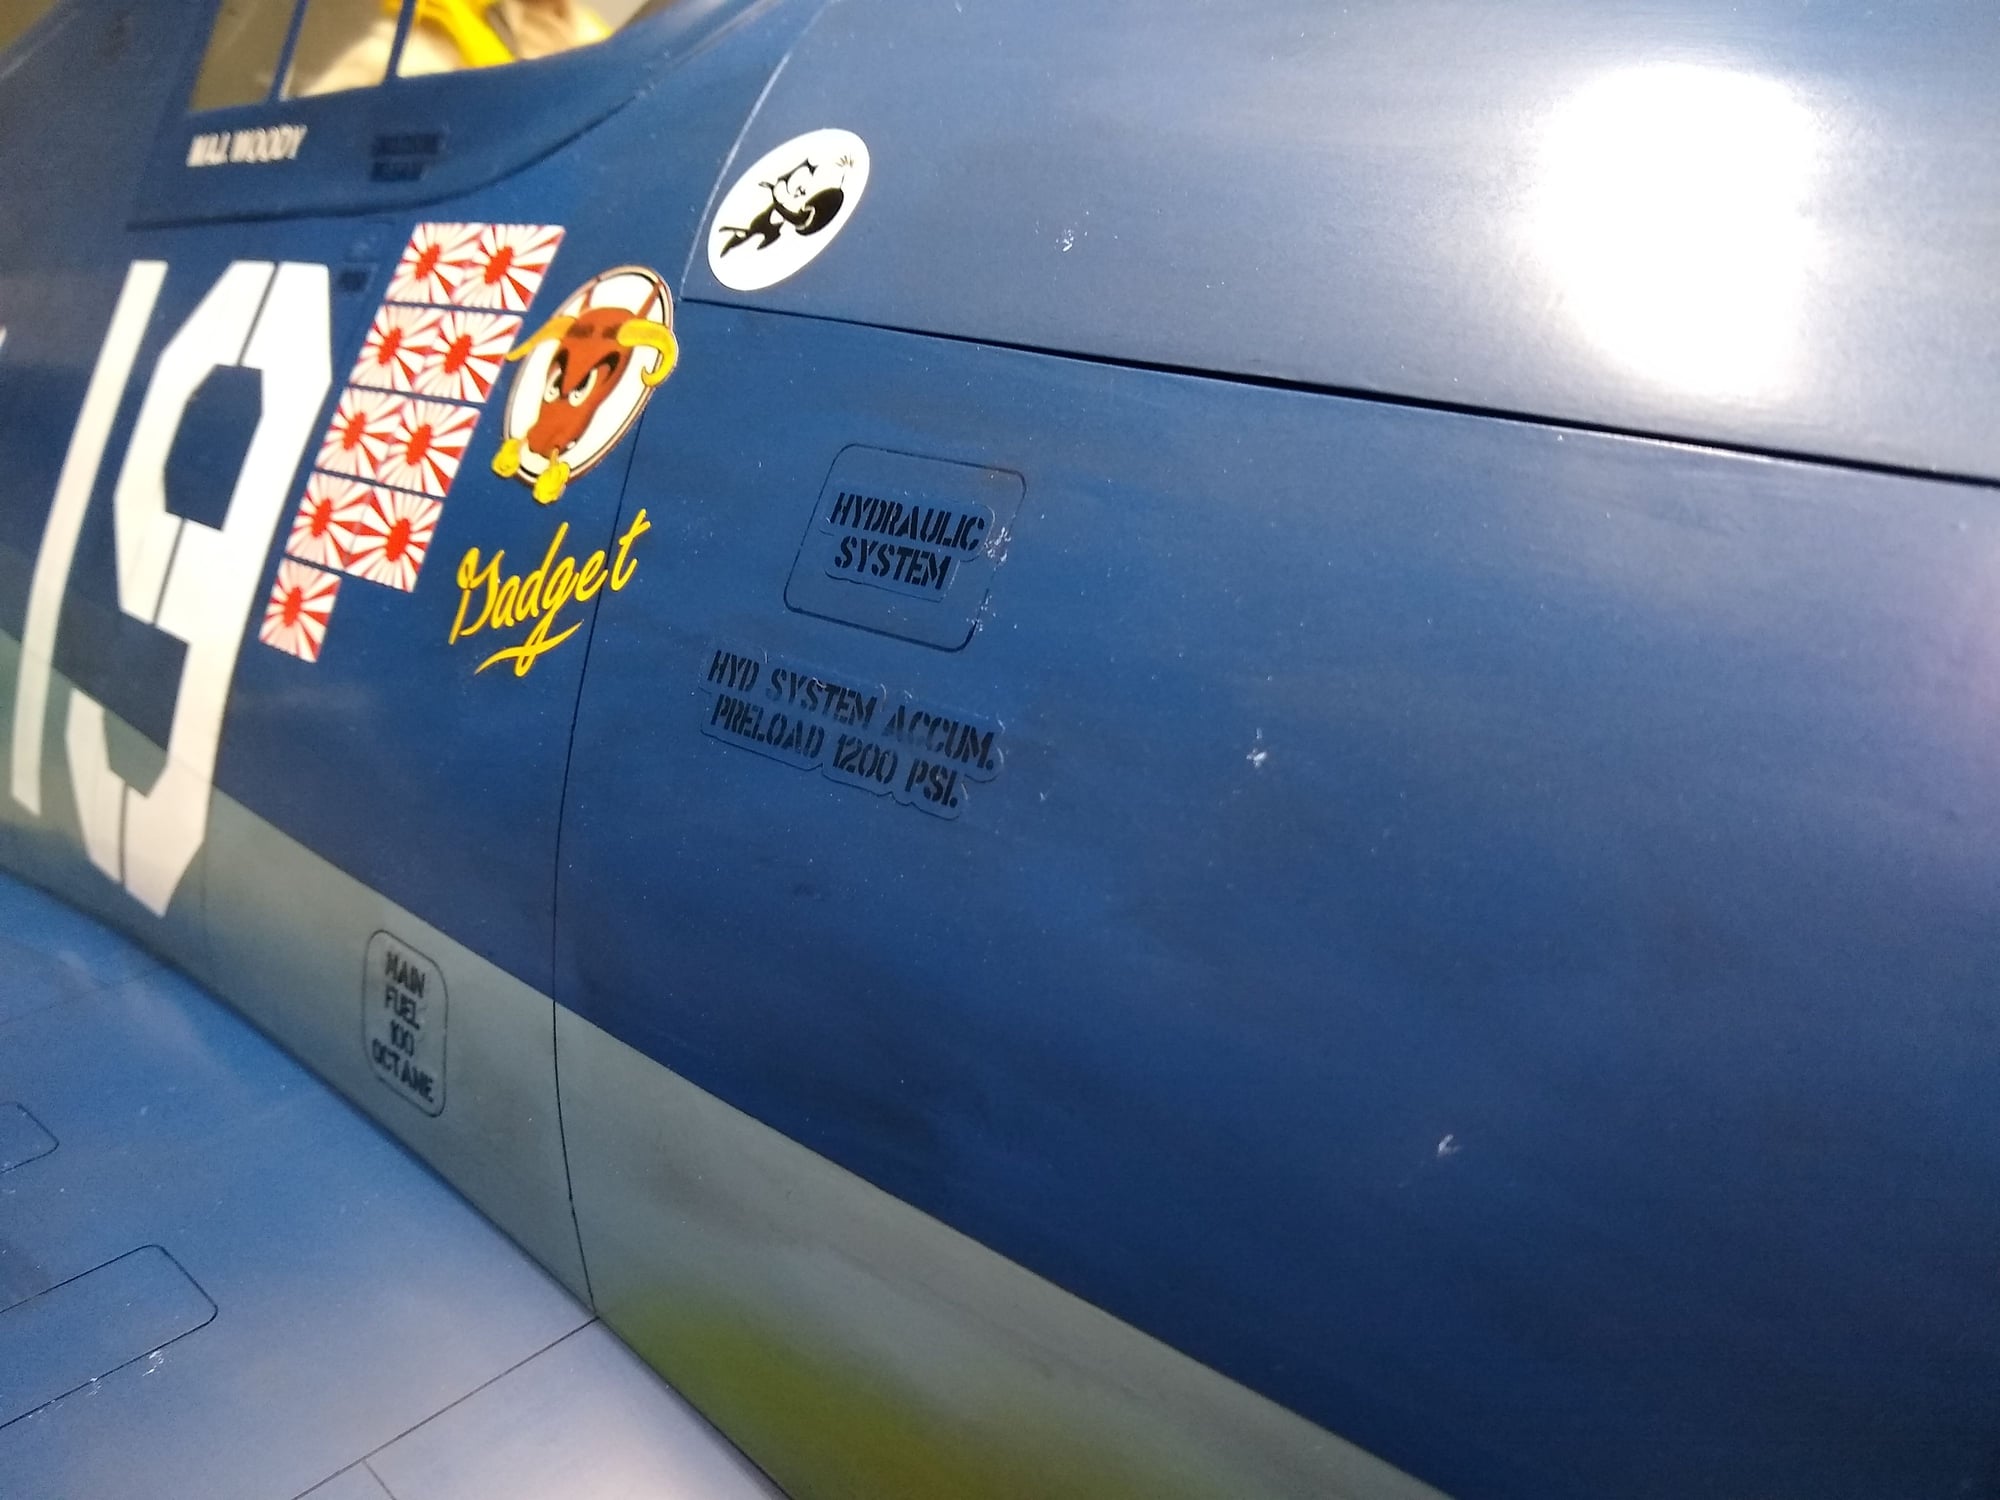
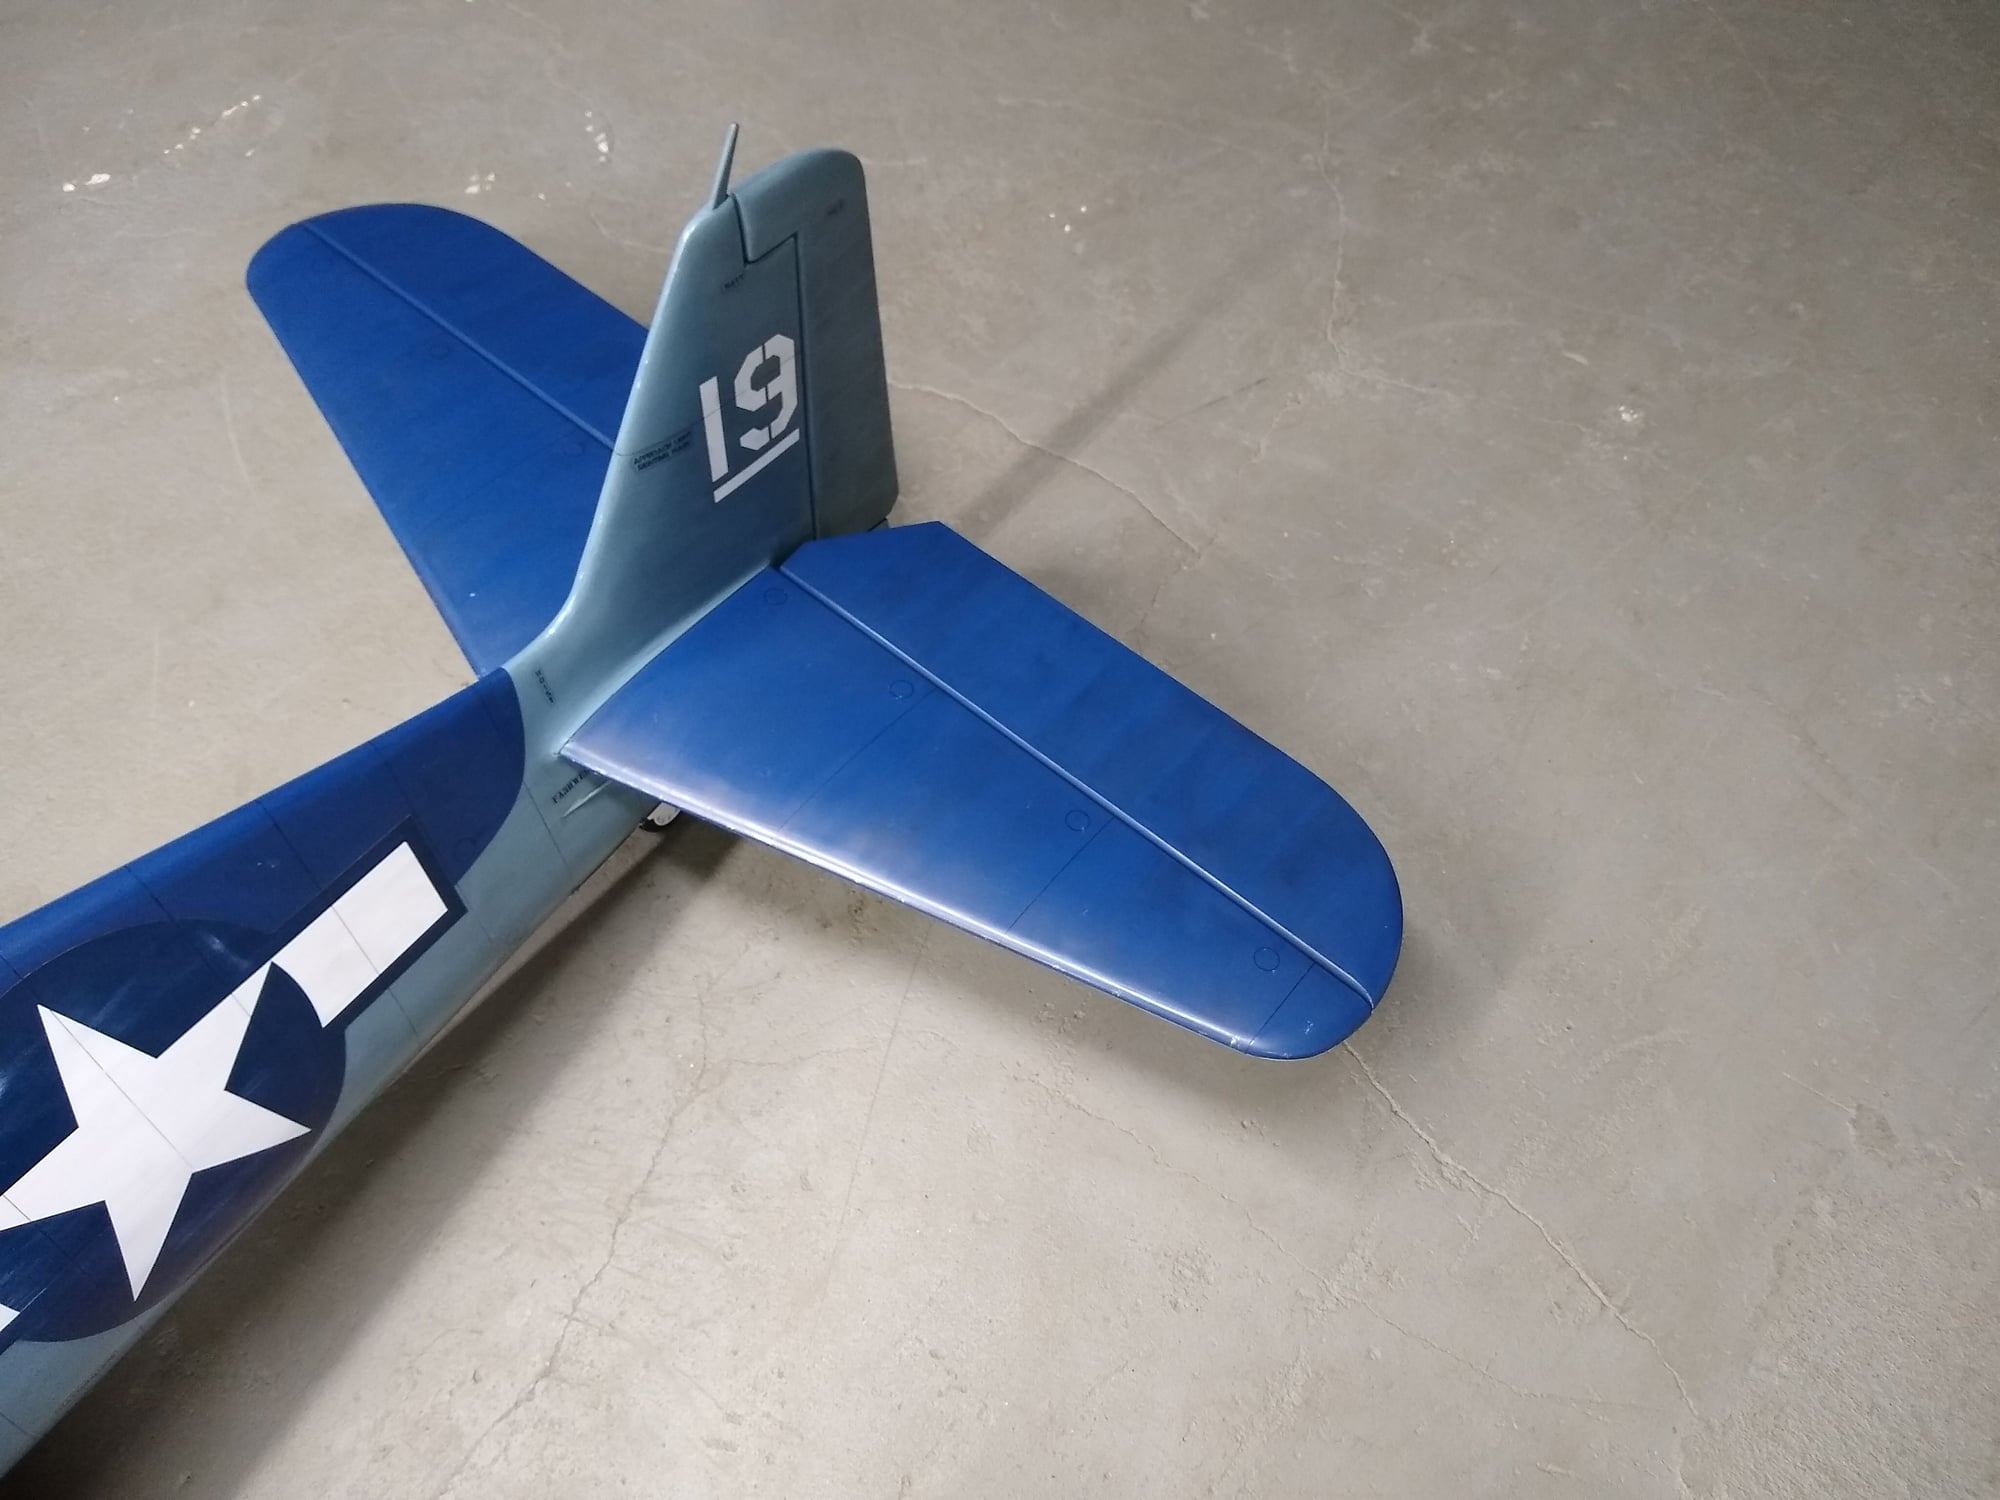
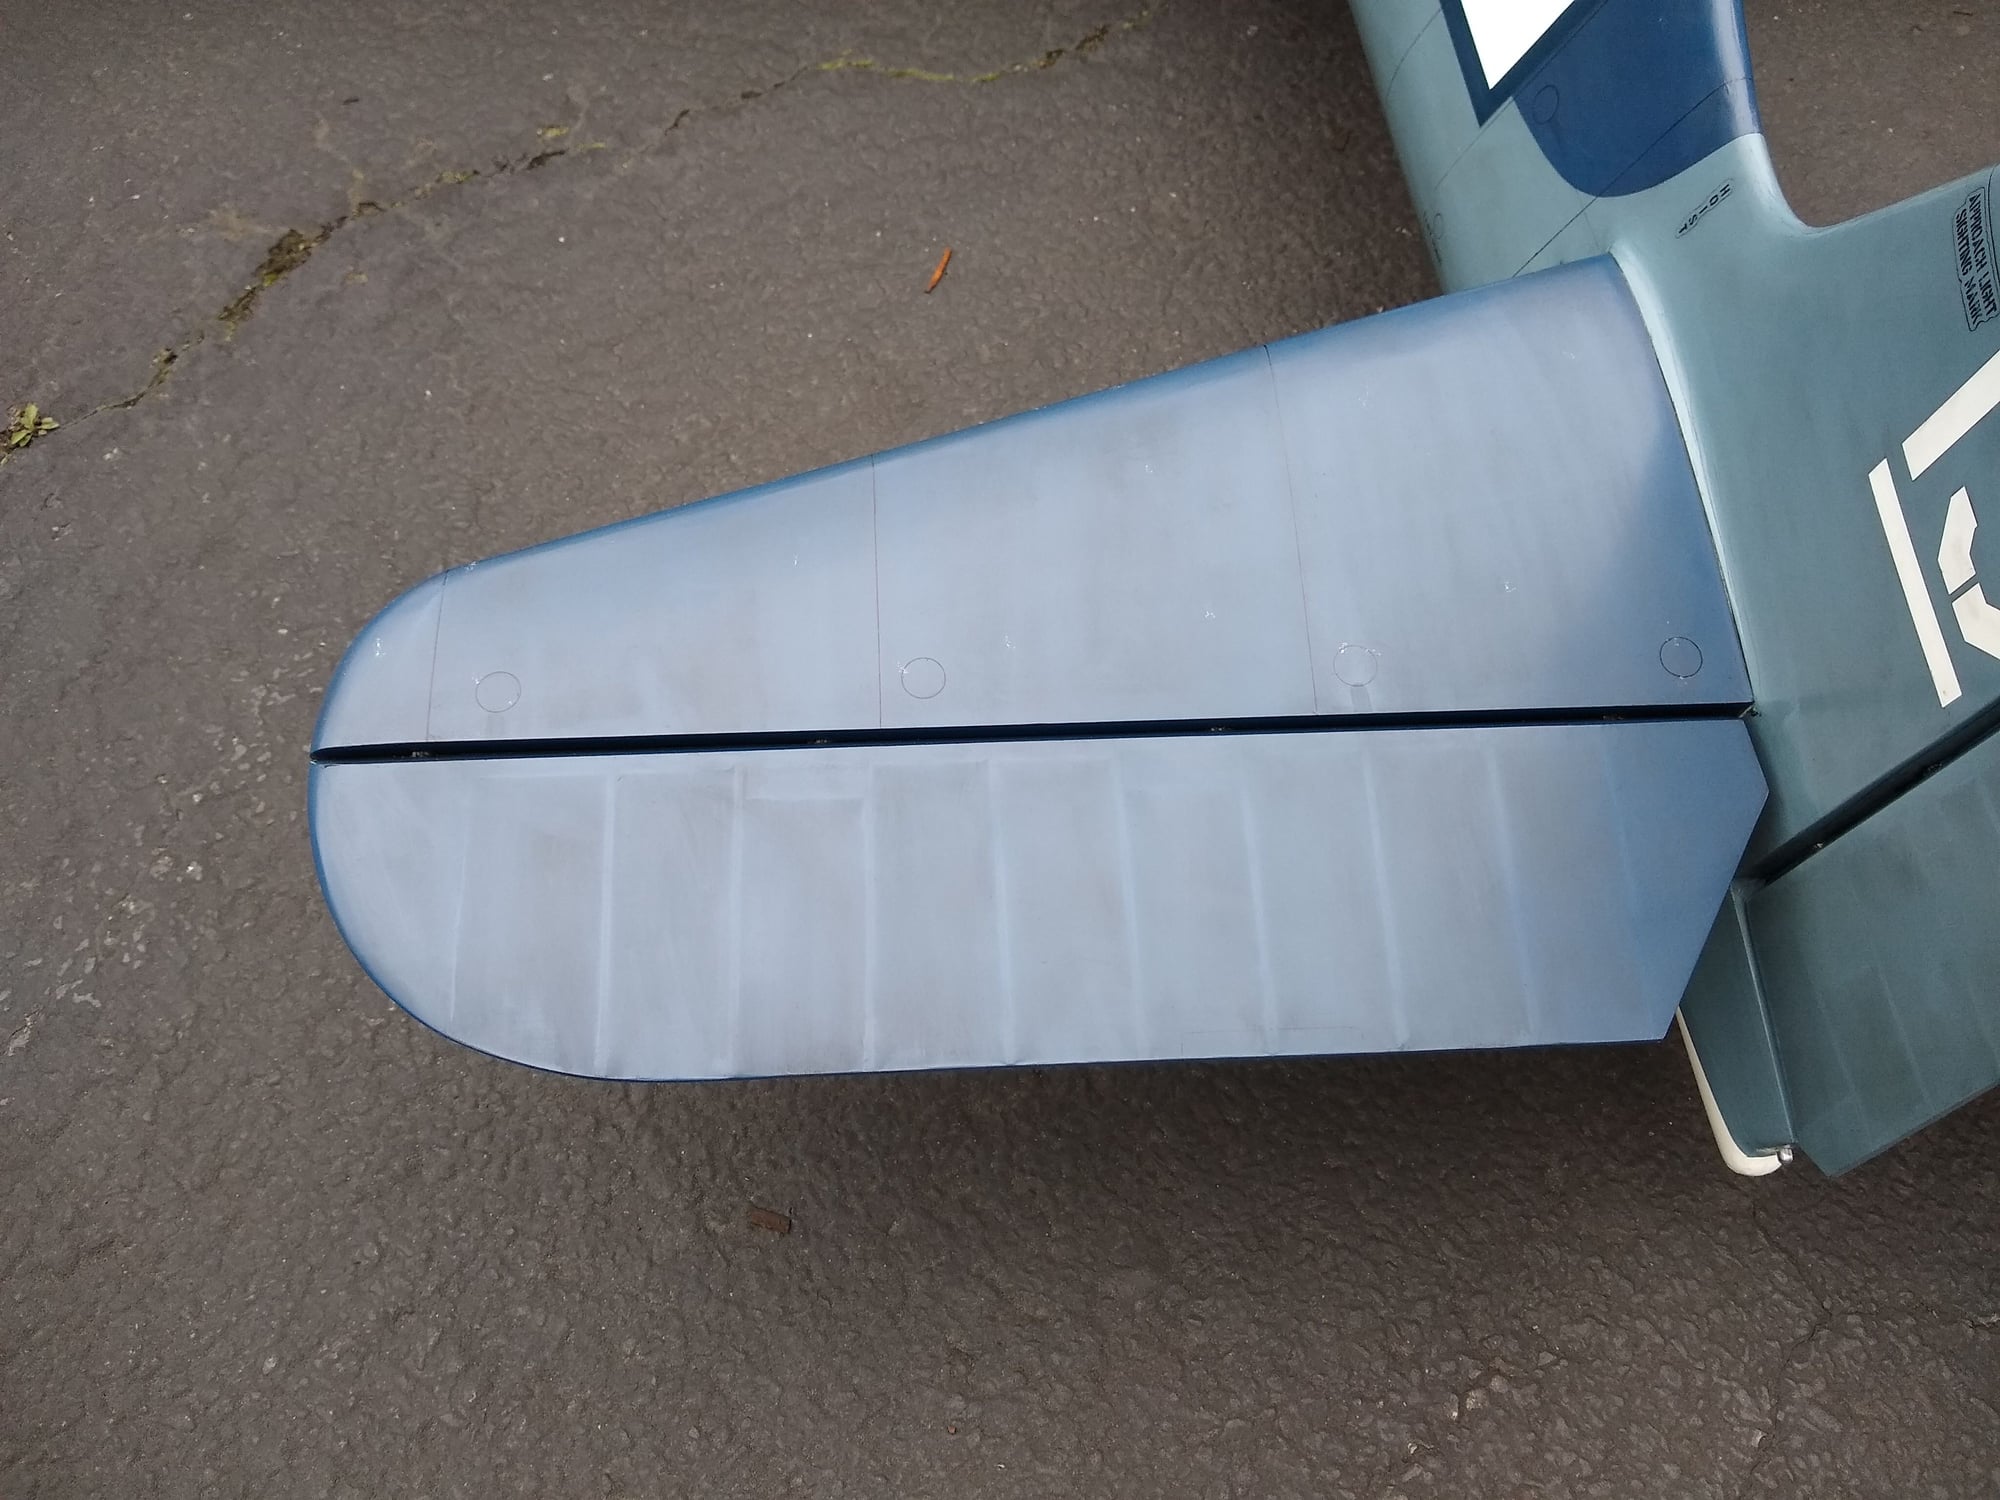
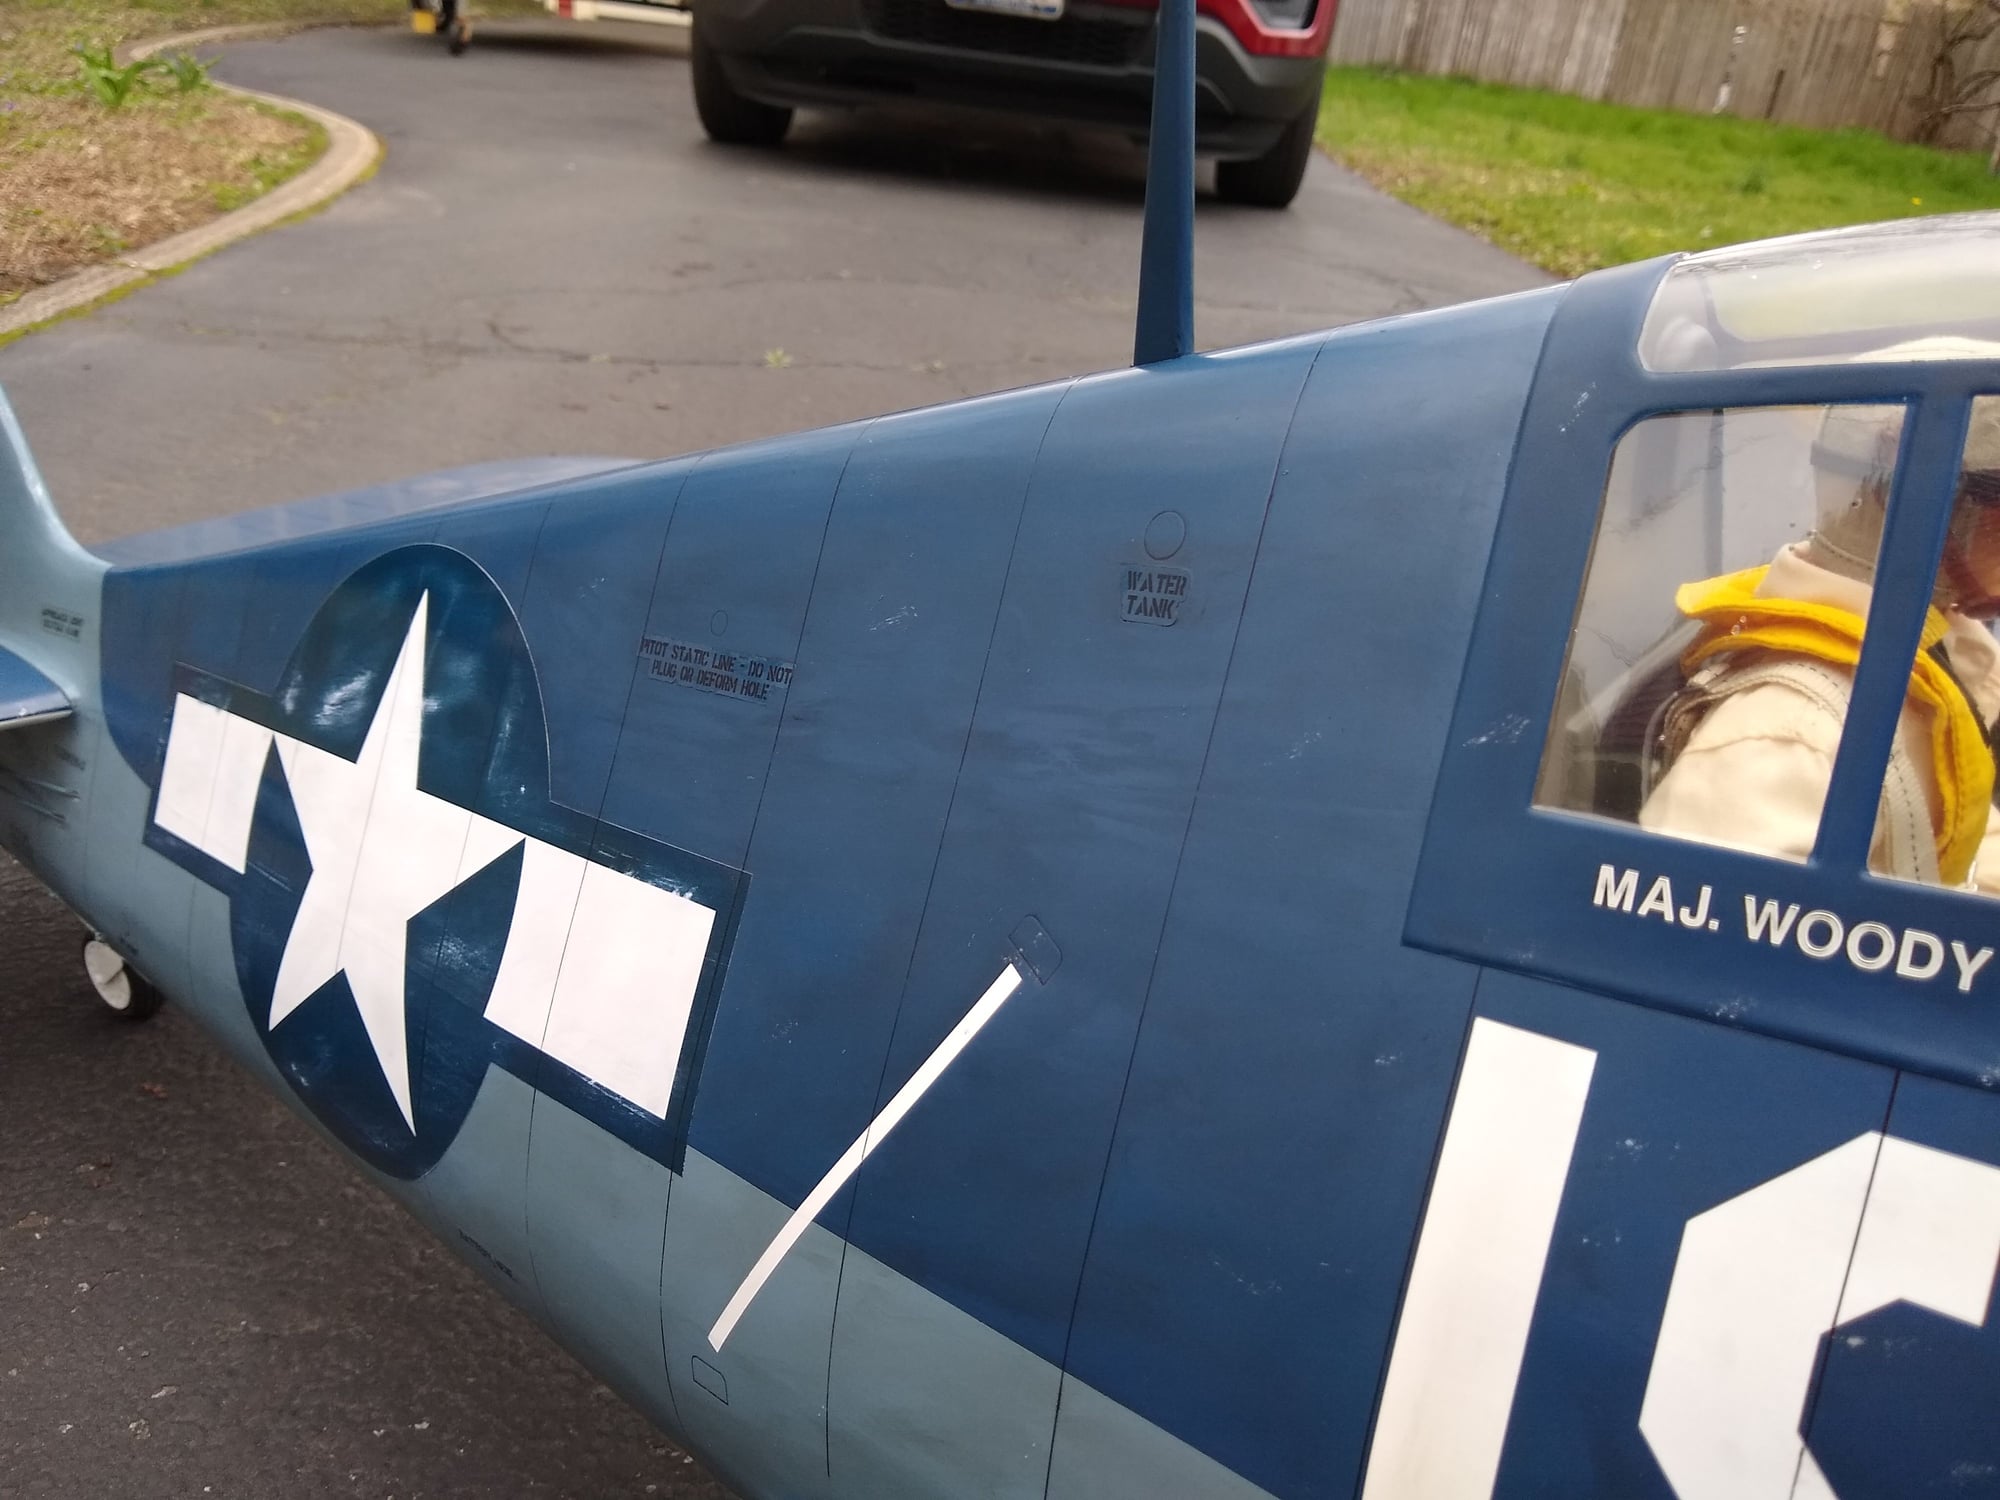
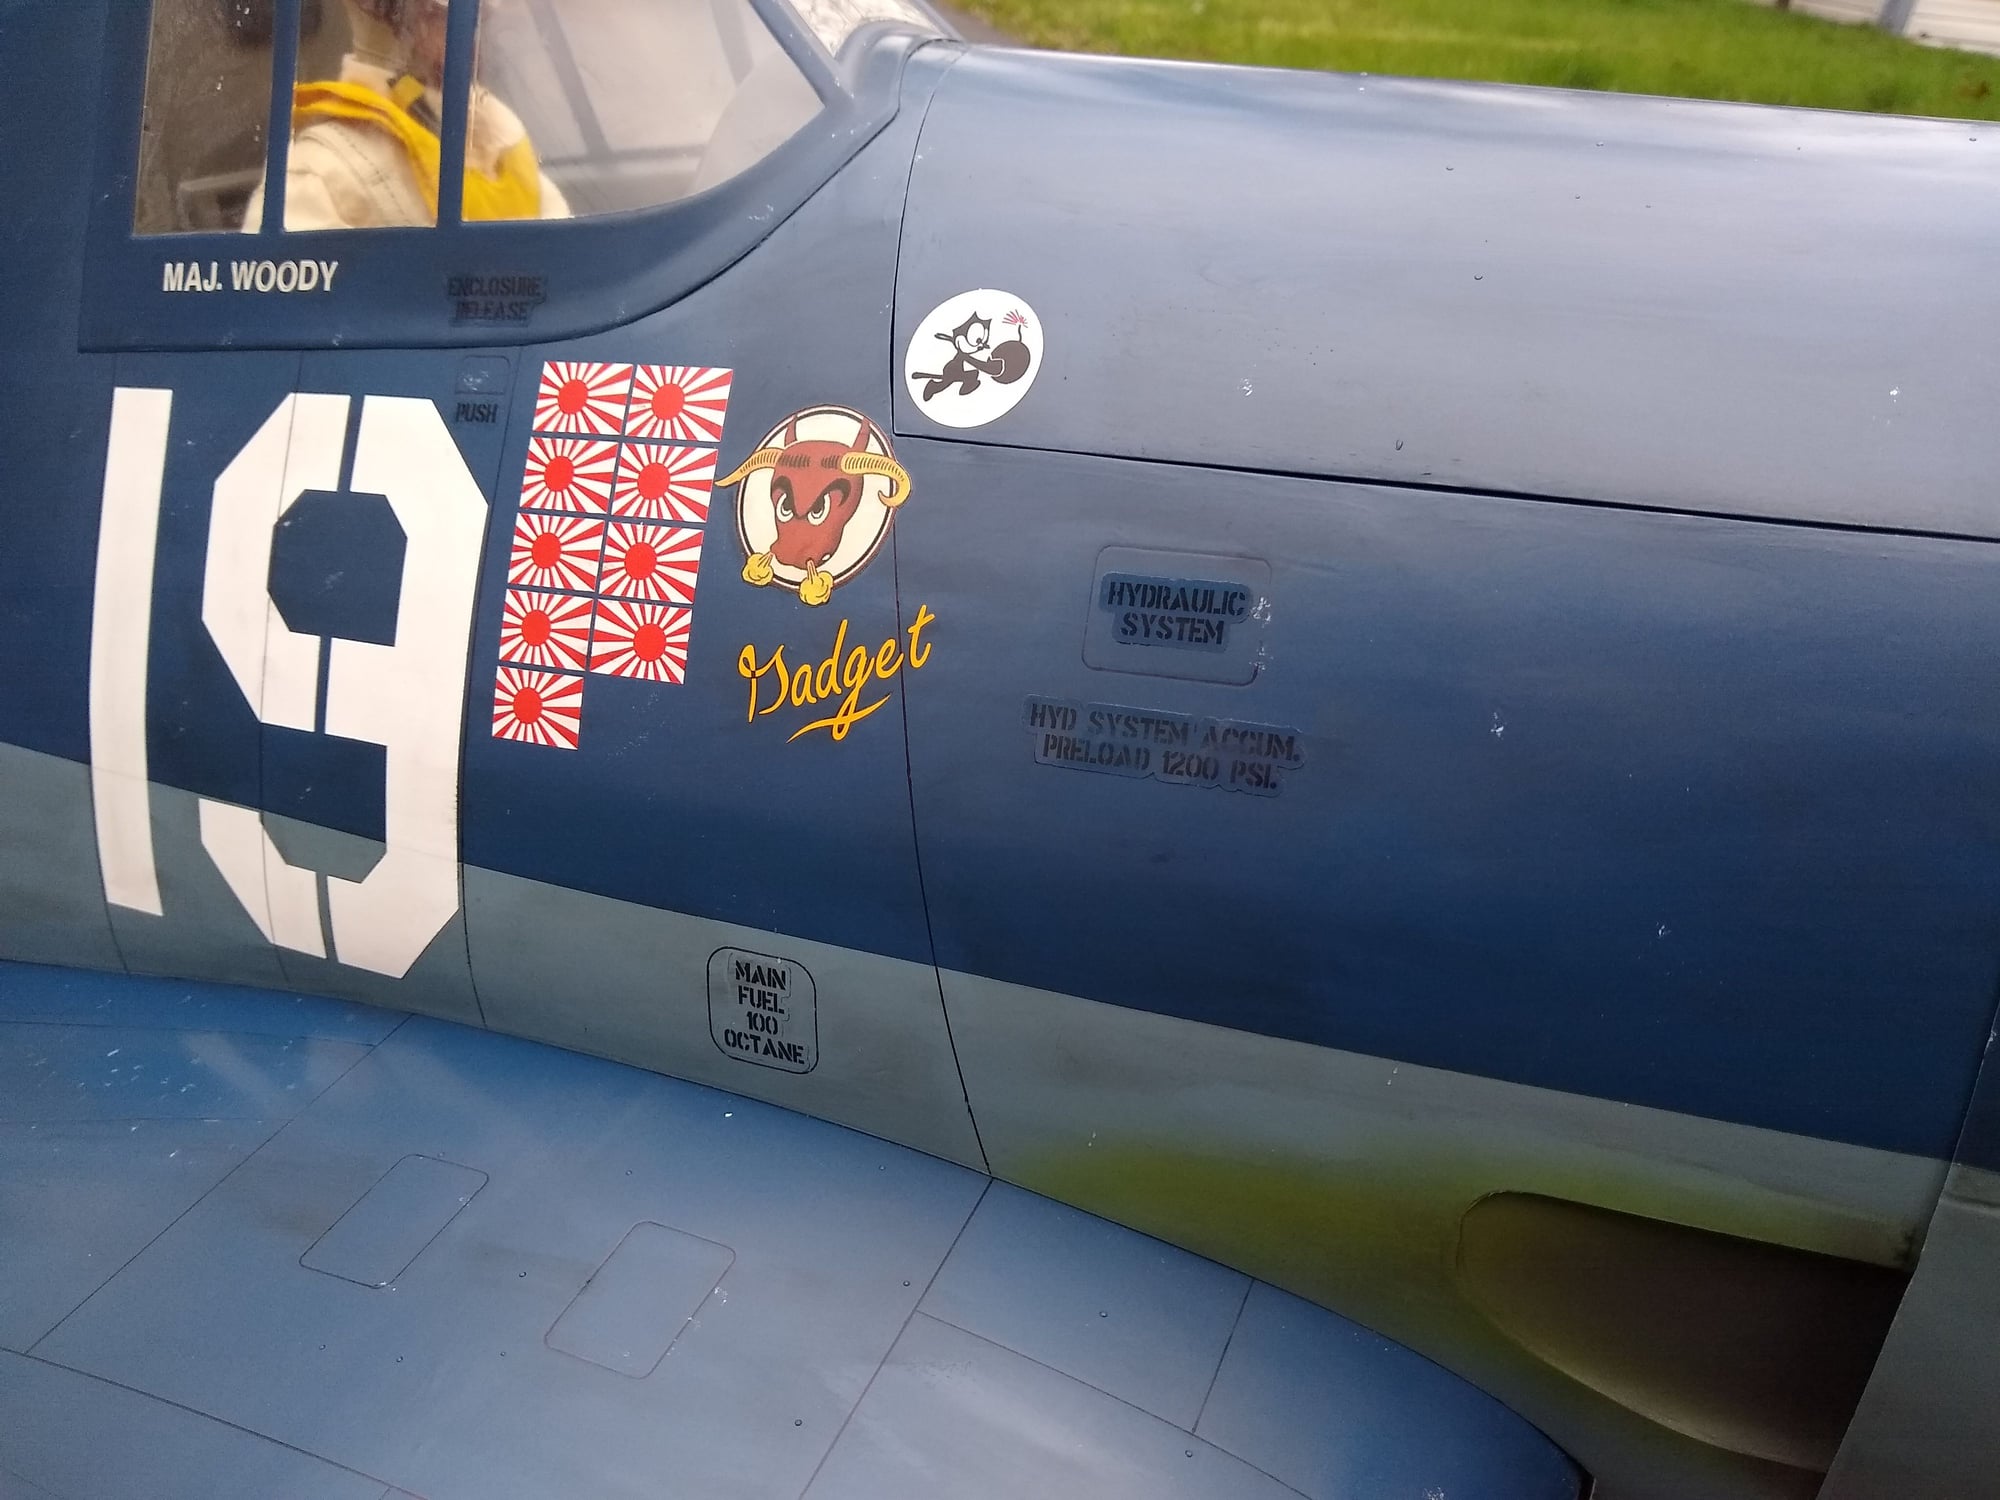
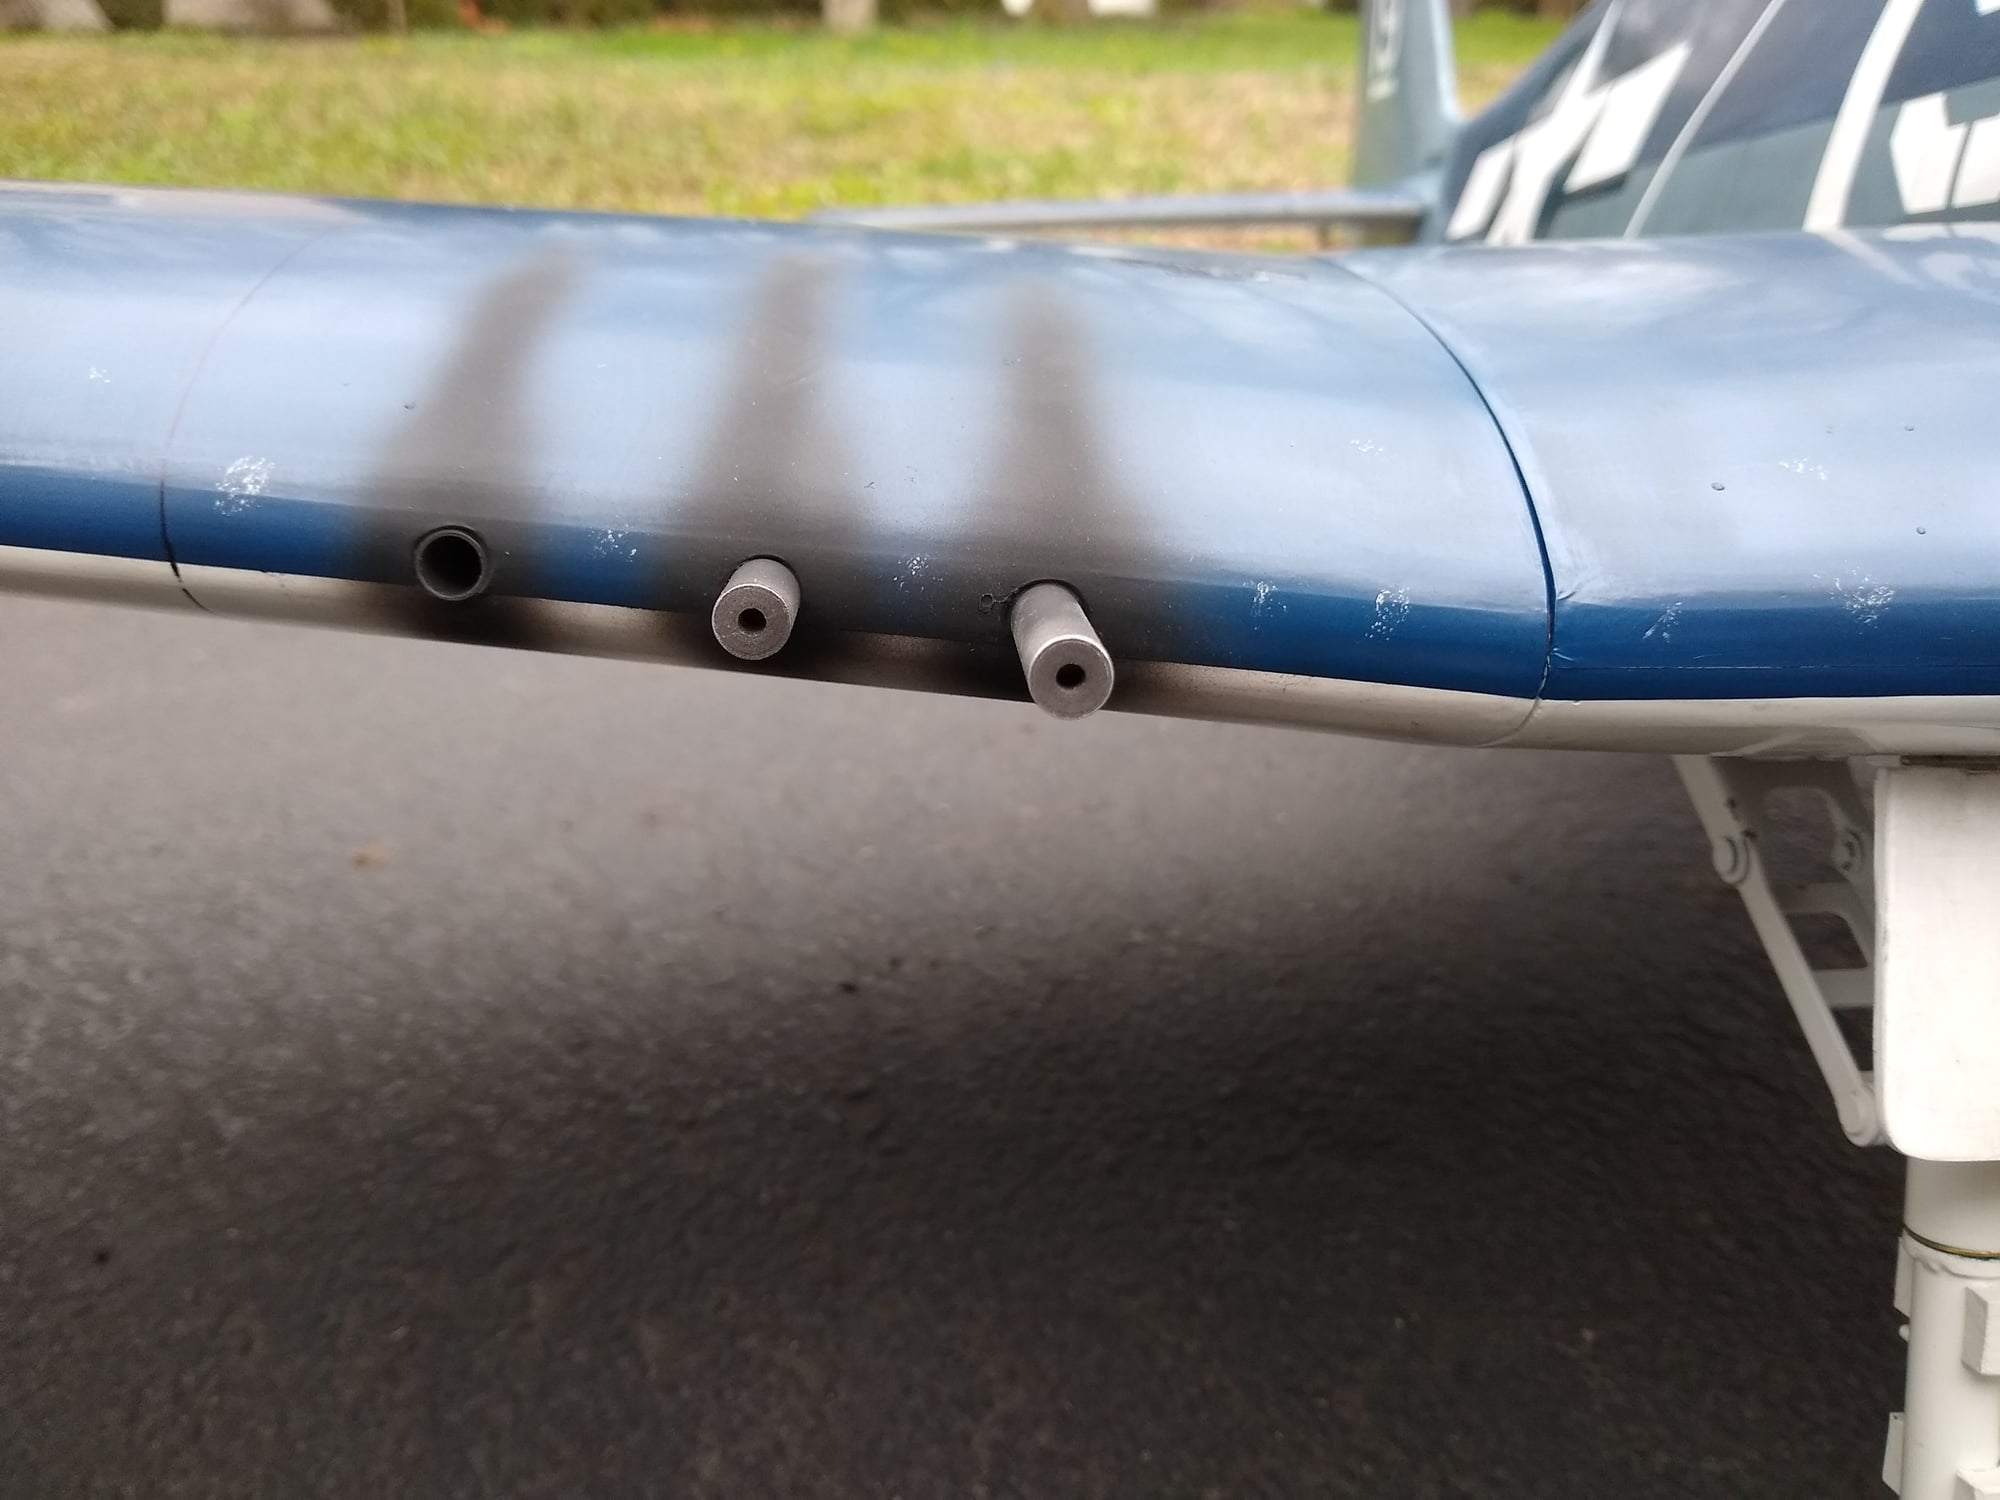
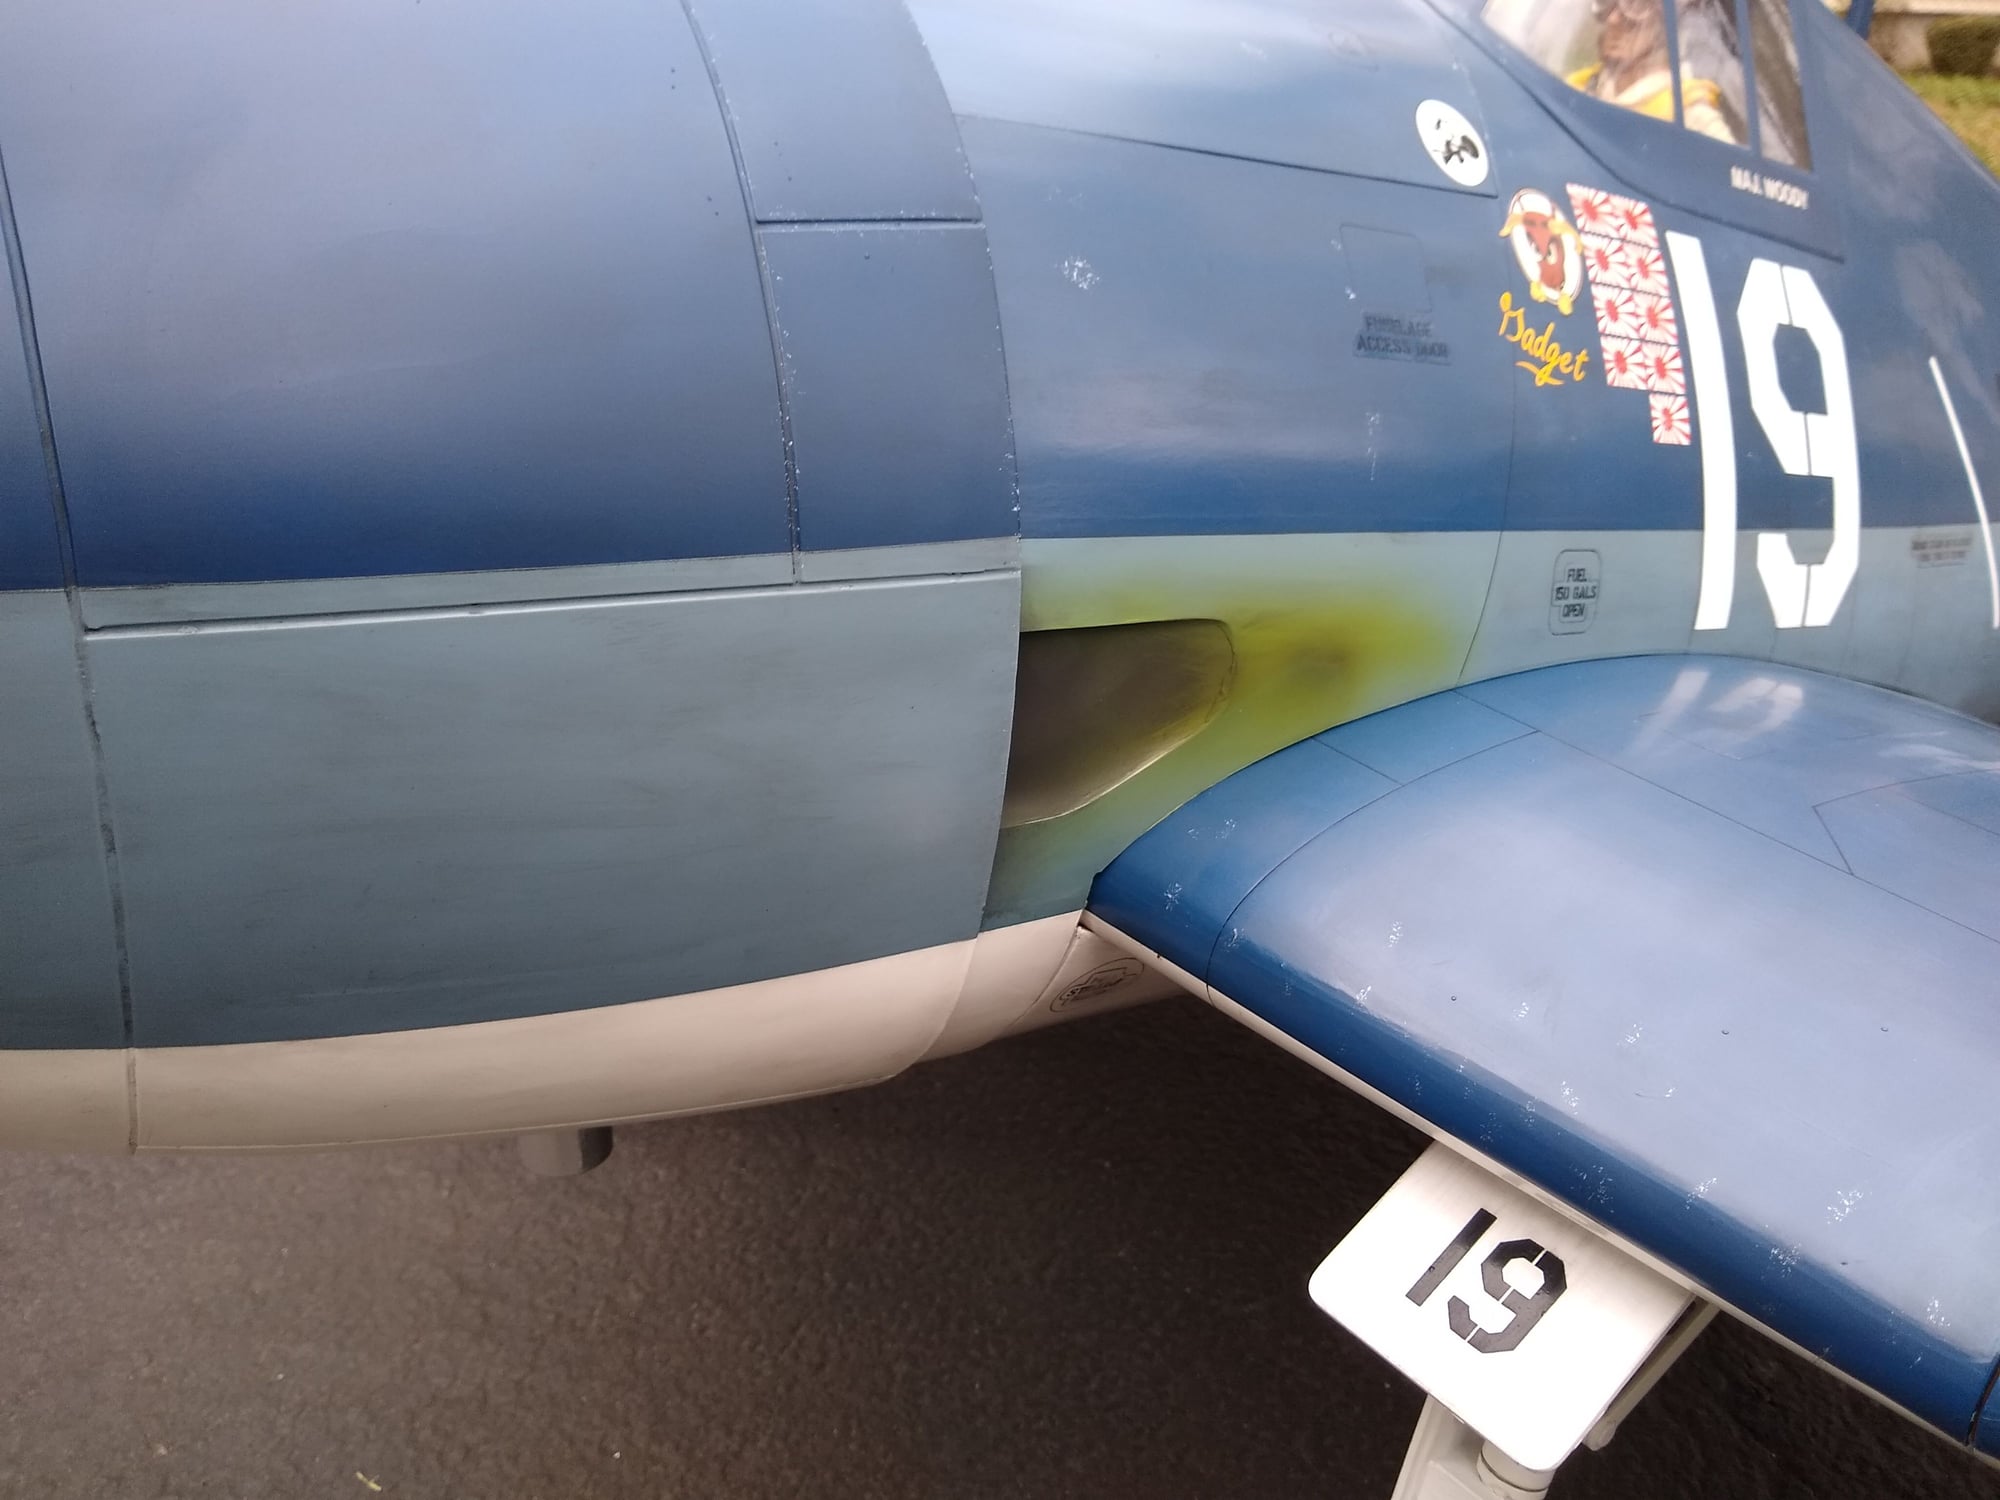
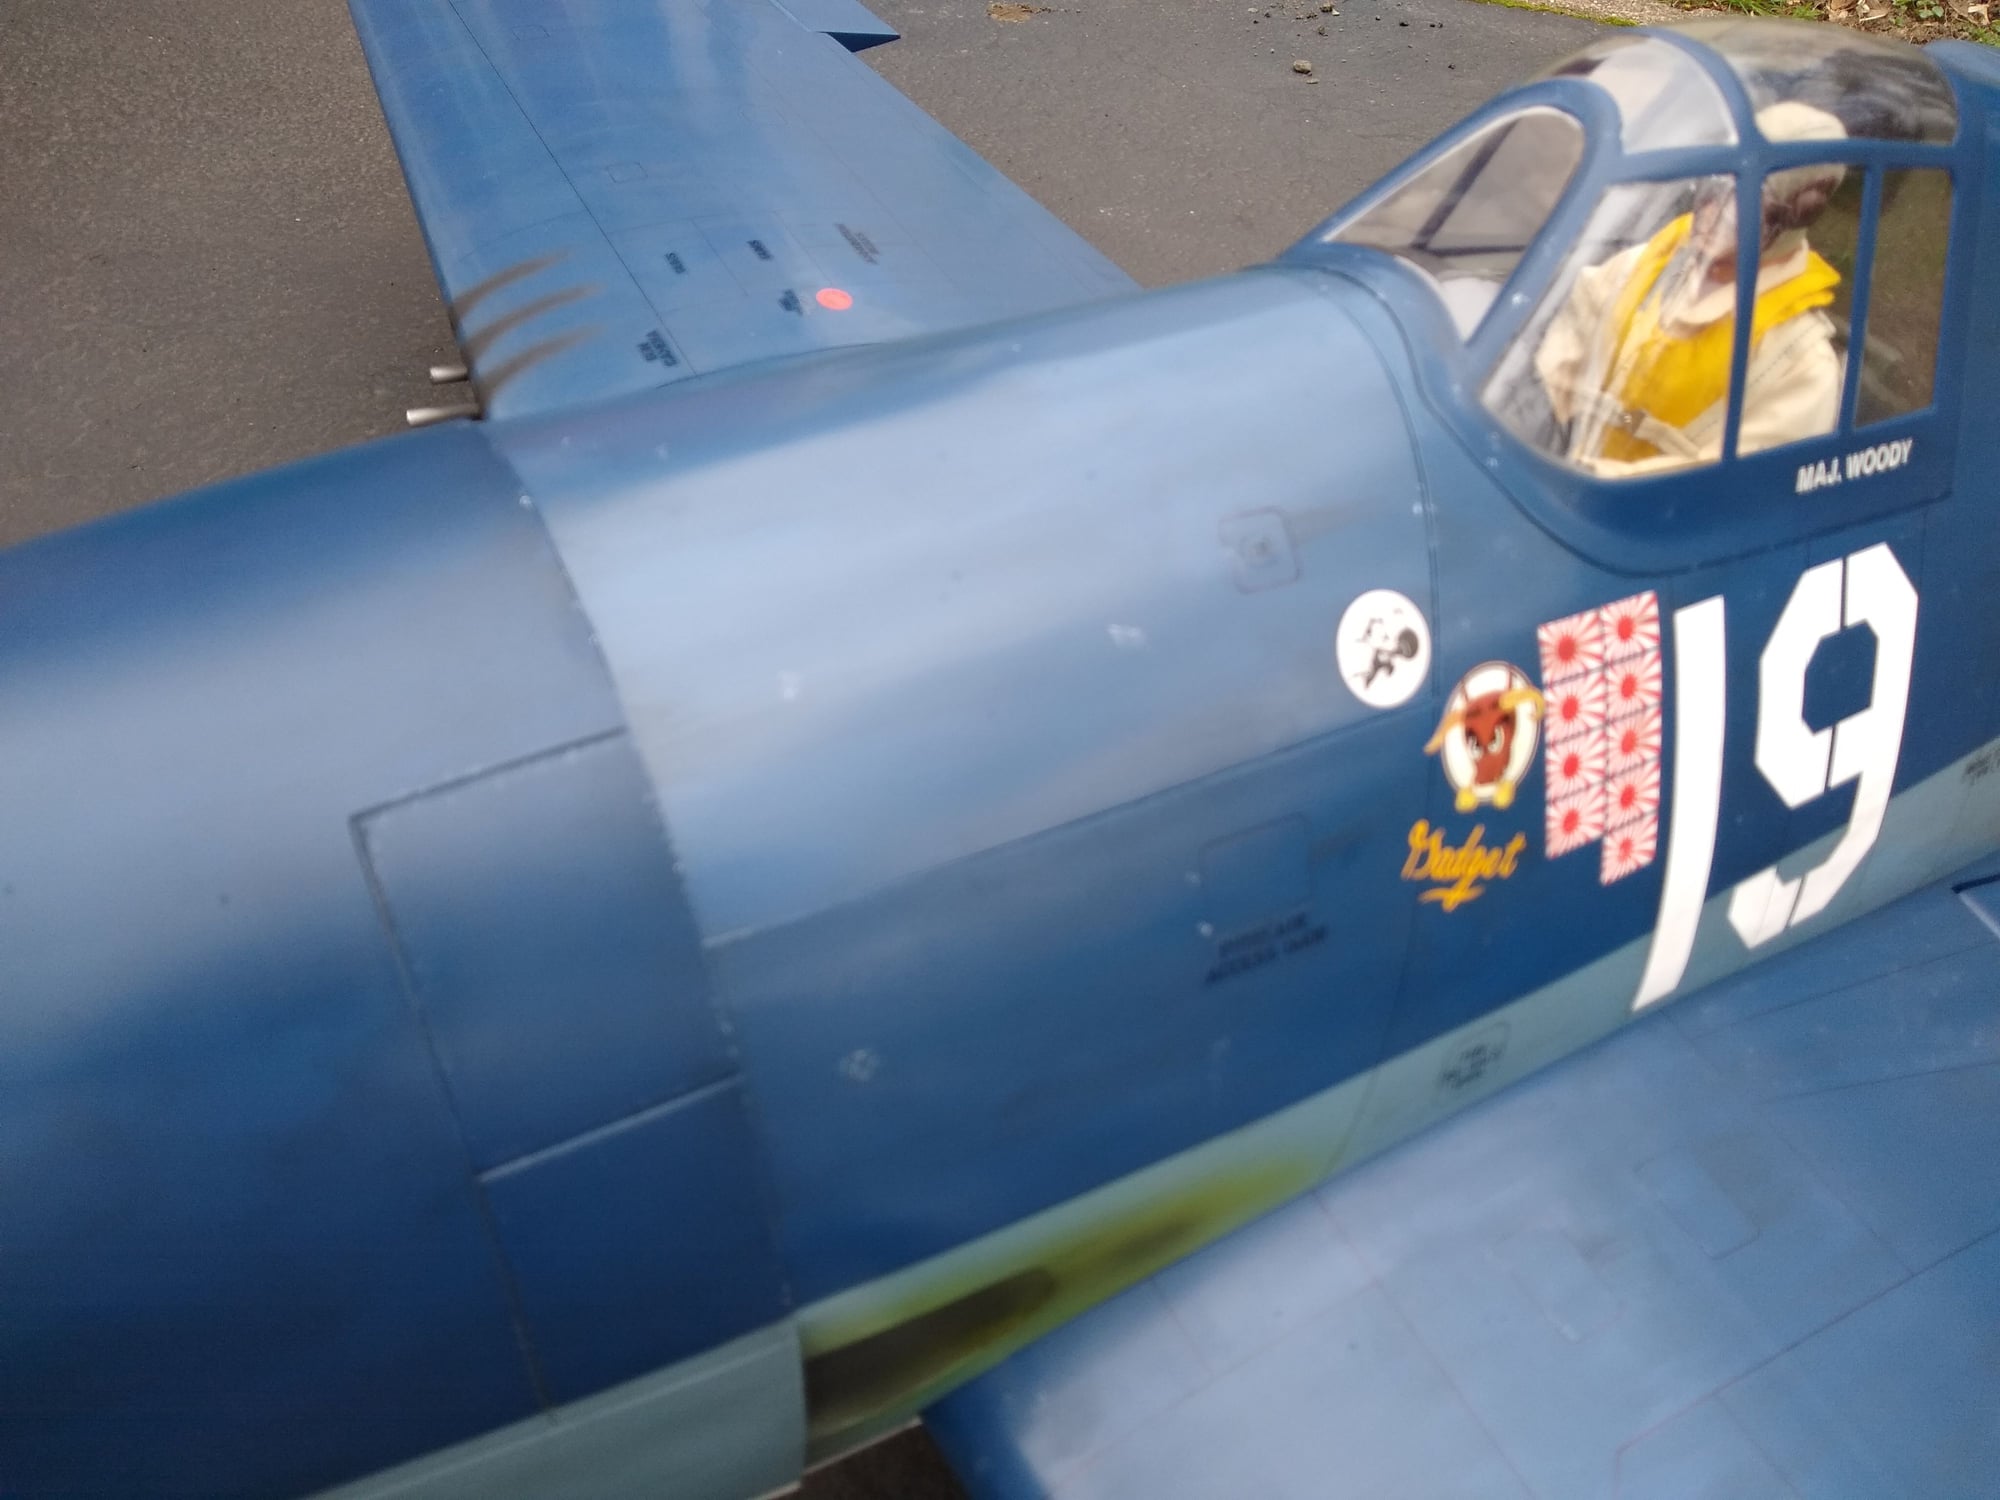
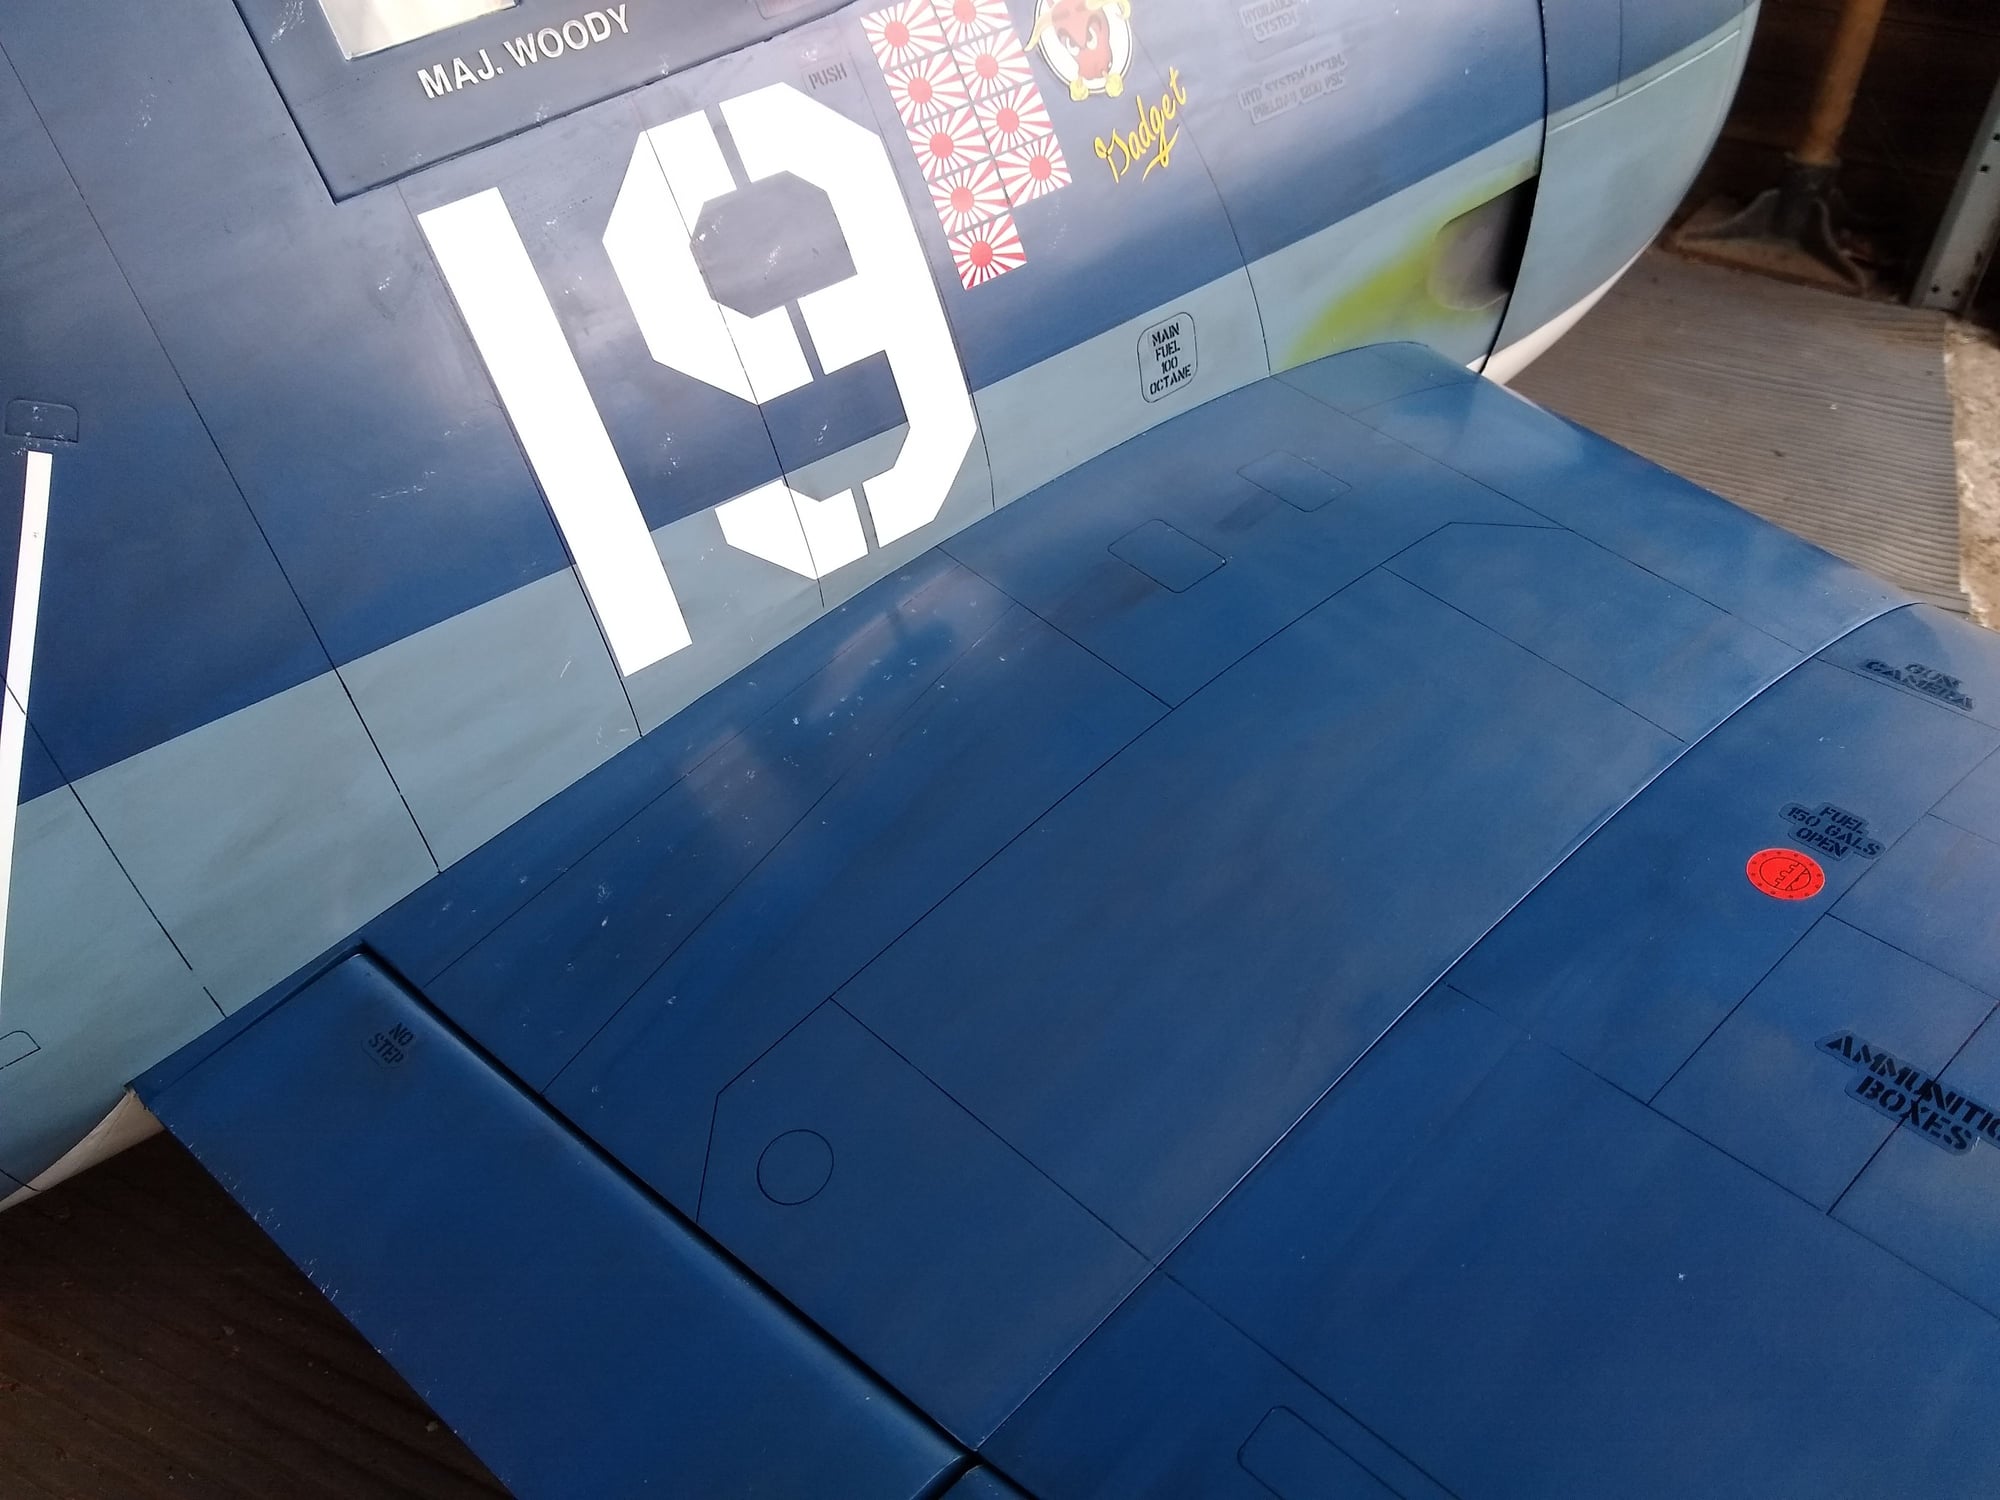
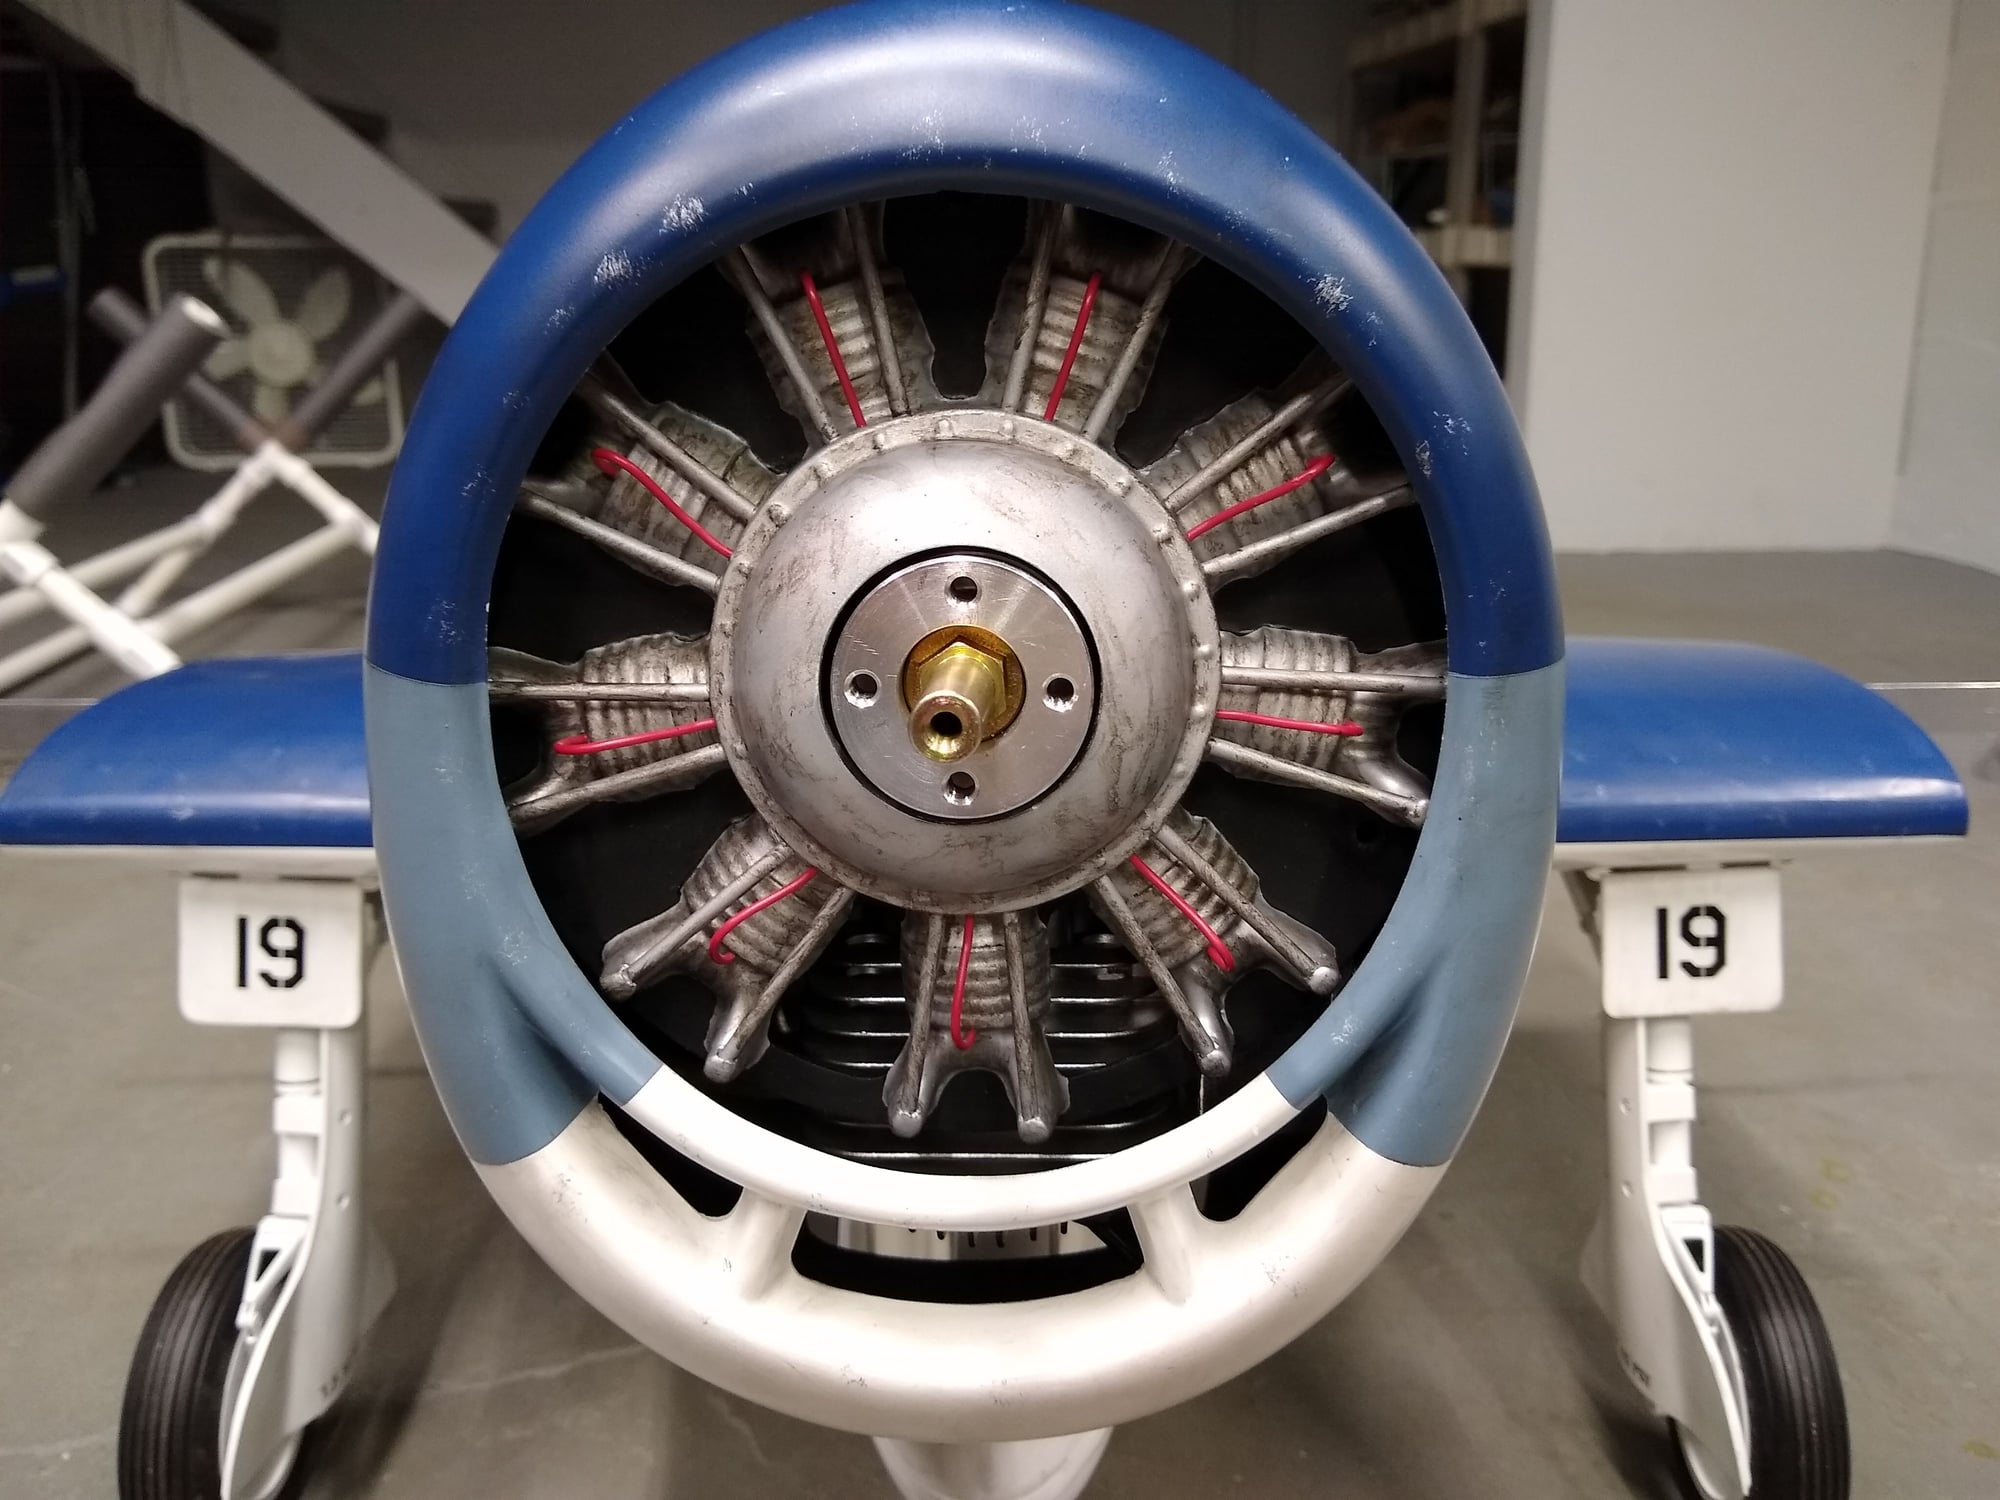
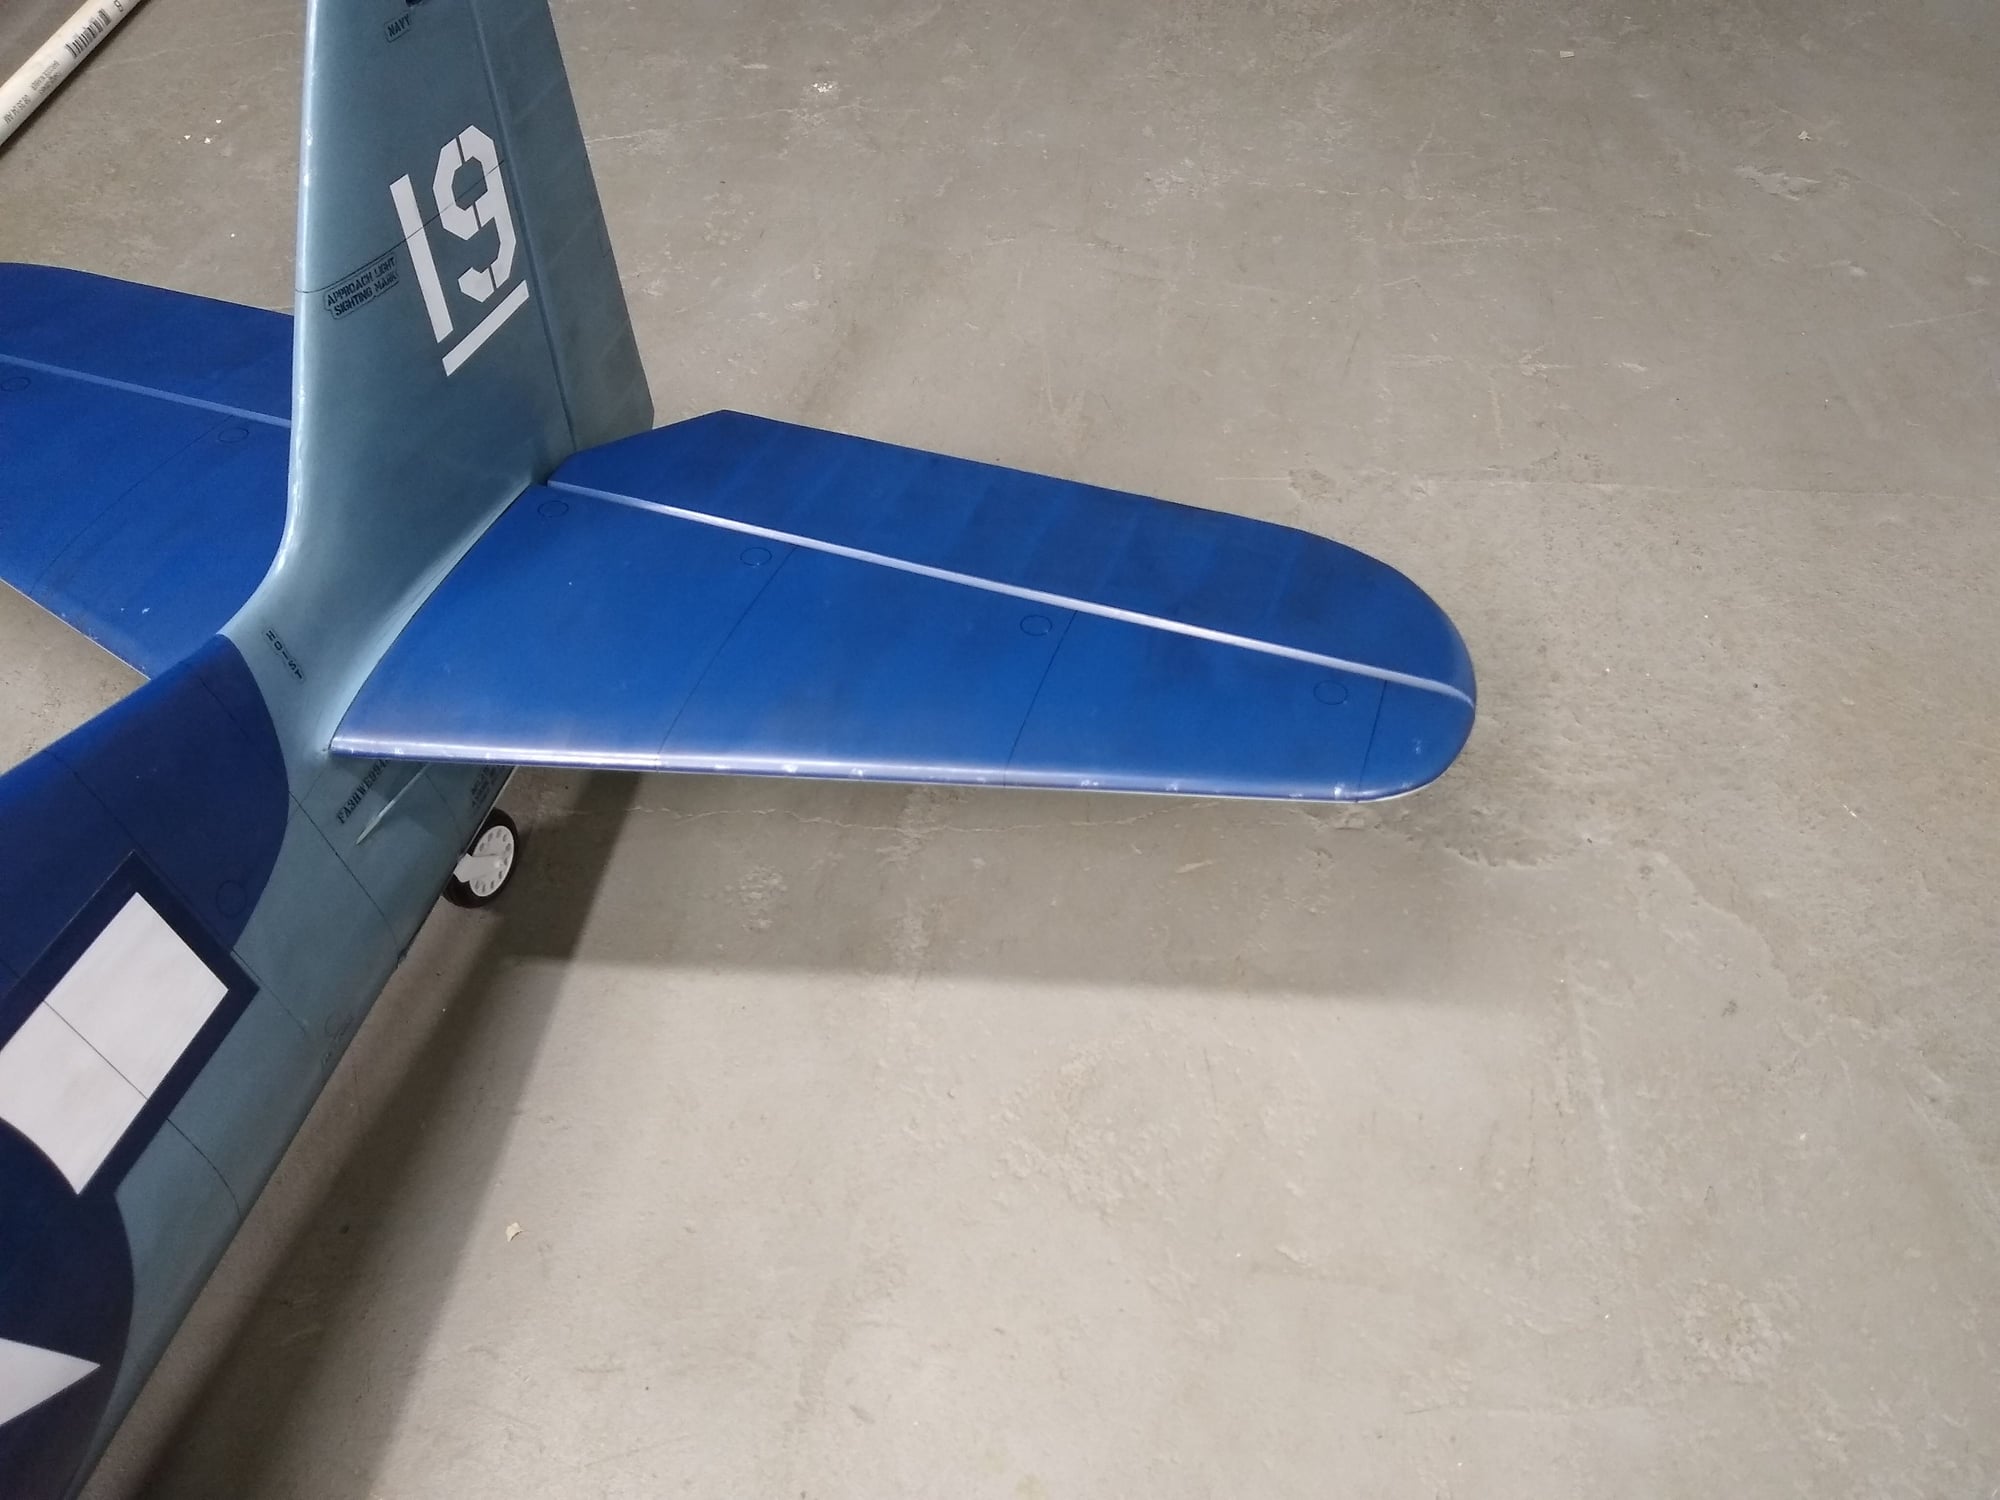
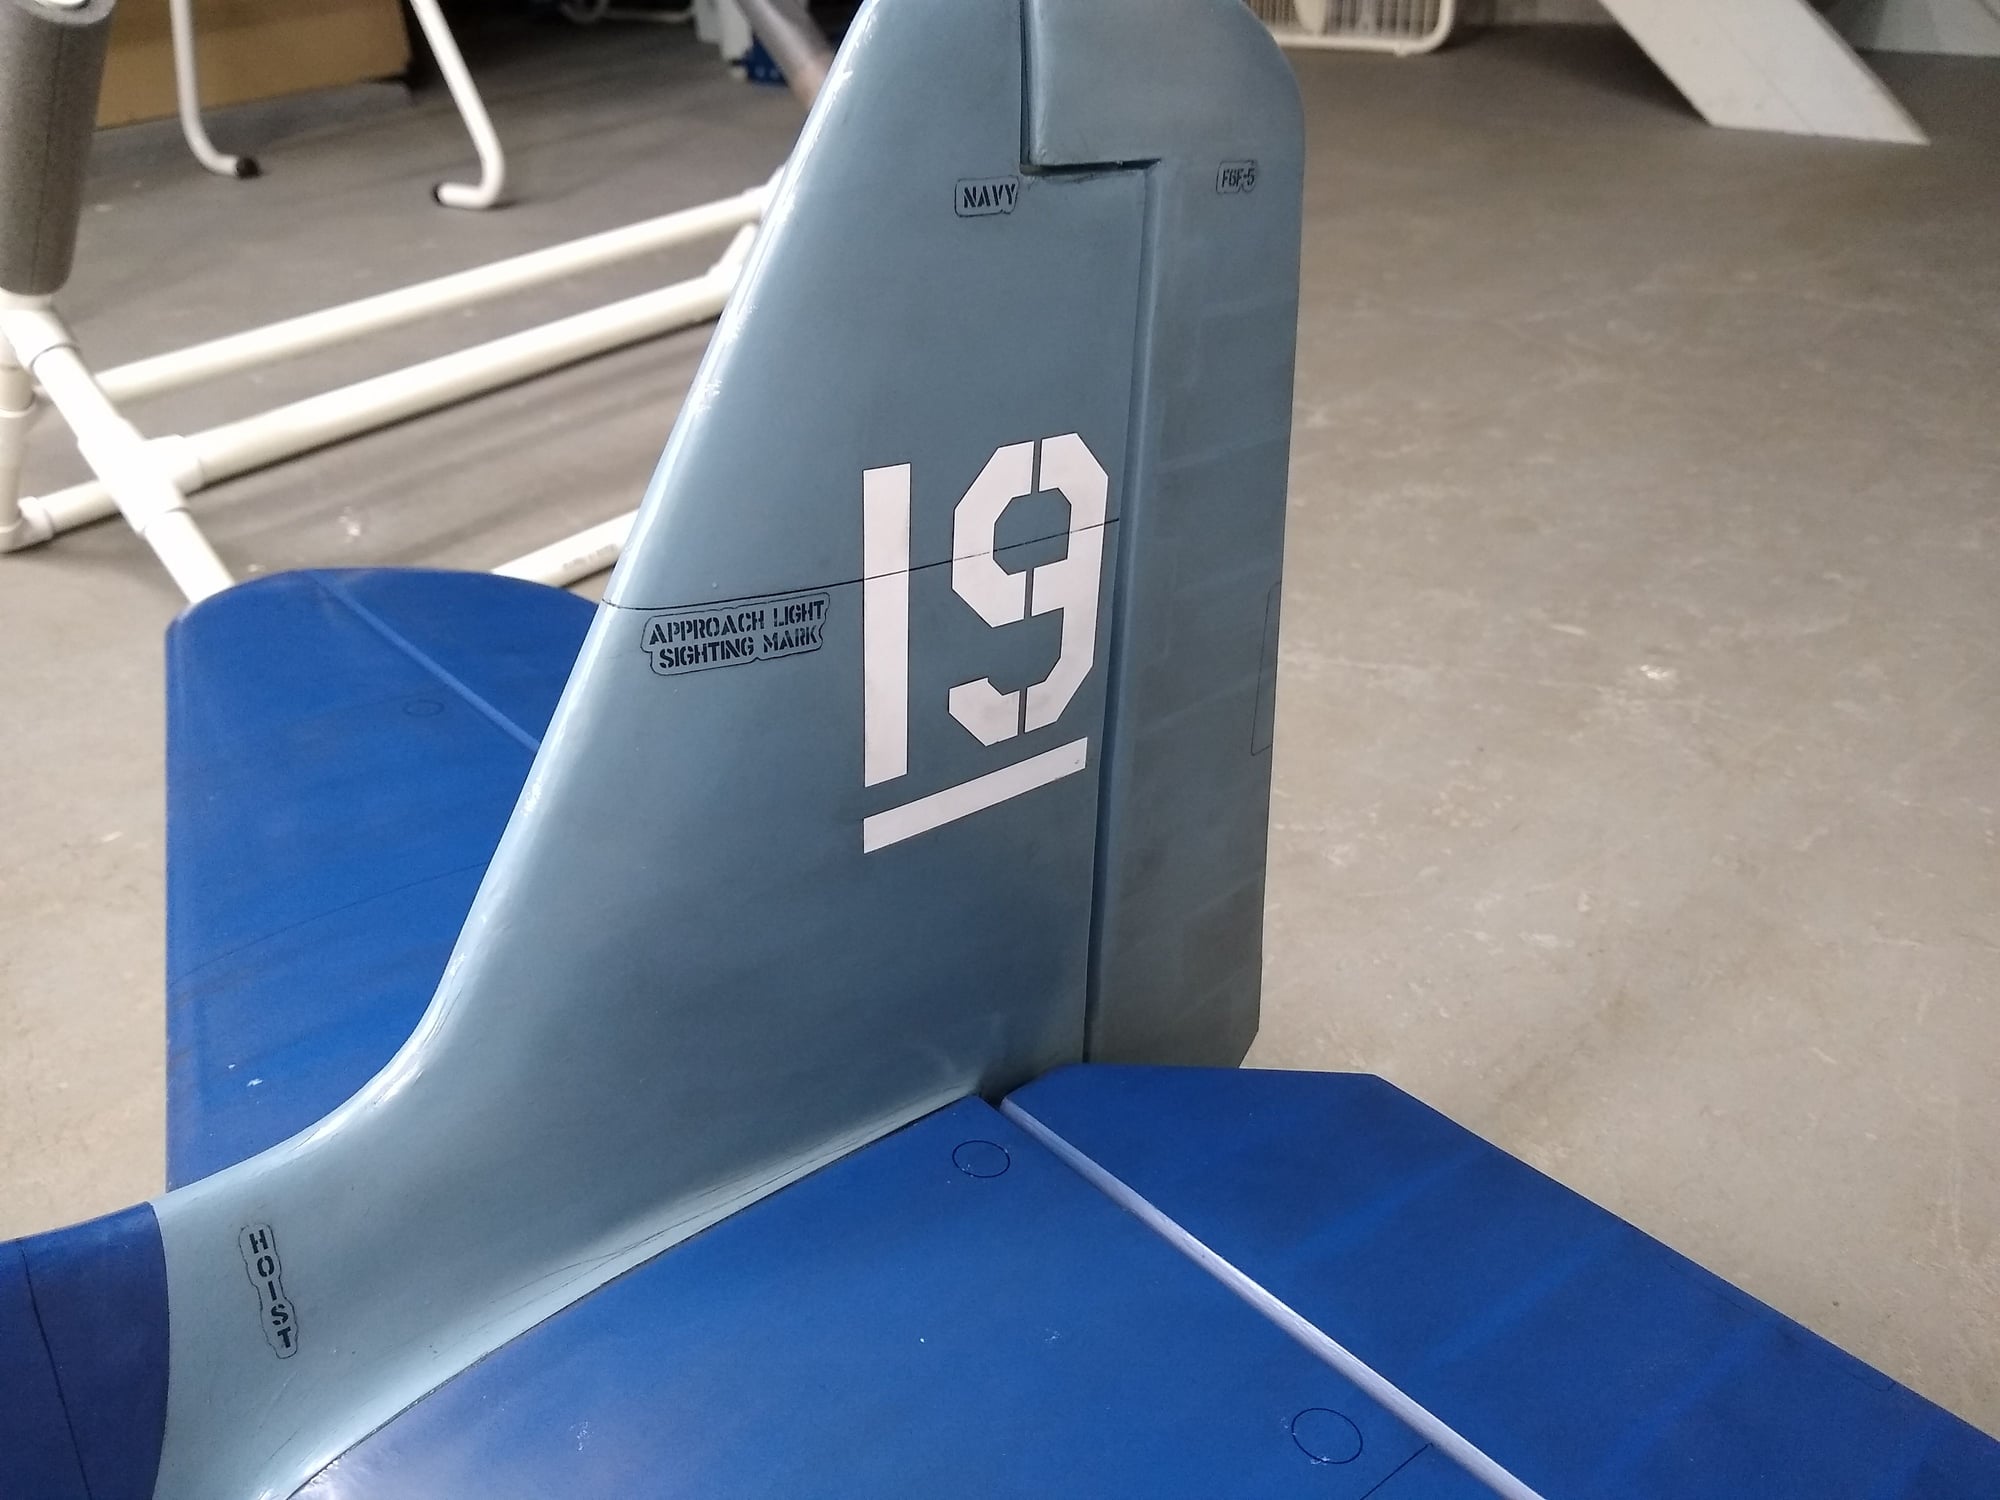
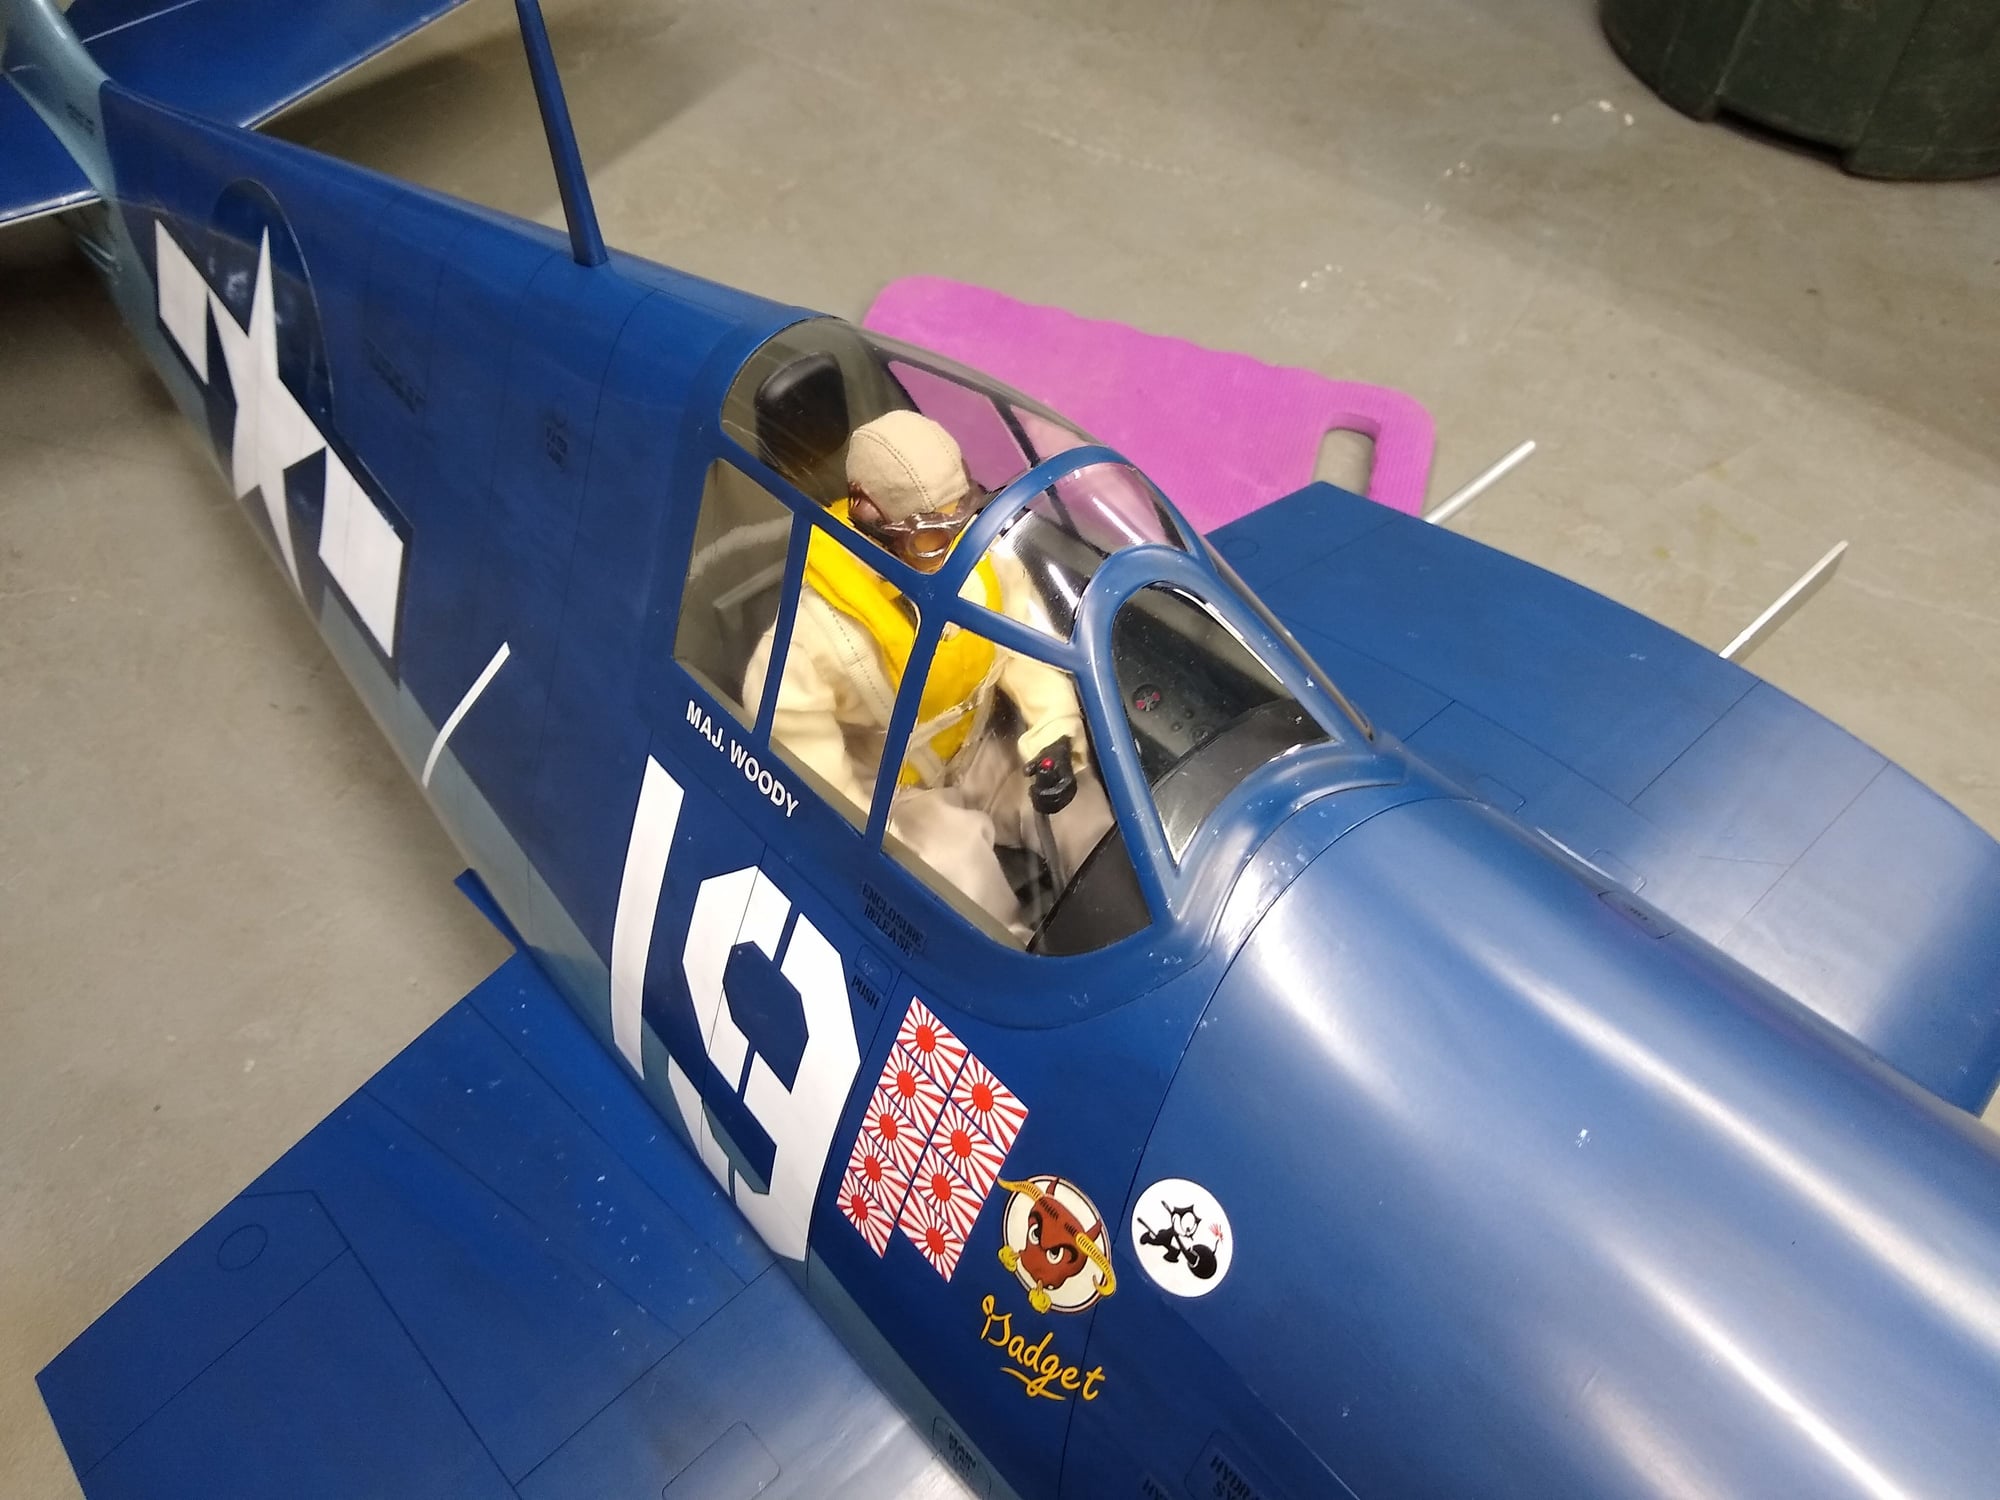
Here are some pictures of the completed model. The prop is off since the cowling will be coming off when I break in the engine. The graphics are from Callie Graphics. Being that the model is covered in Monokote, I did what I could in terms of weathering. I thought it turned out pretty good although for some reason it does not look the same in pictures. In real life the Monokote is not so shinny and the weathering is visible. in pictures its hard to see the weathering on the dark blue and it looks shiny. You may see raindrops on the plane as it was sprinkling when I took the photos.


 05-23-2020, 06:37 PM
#44
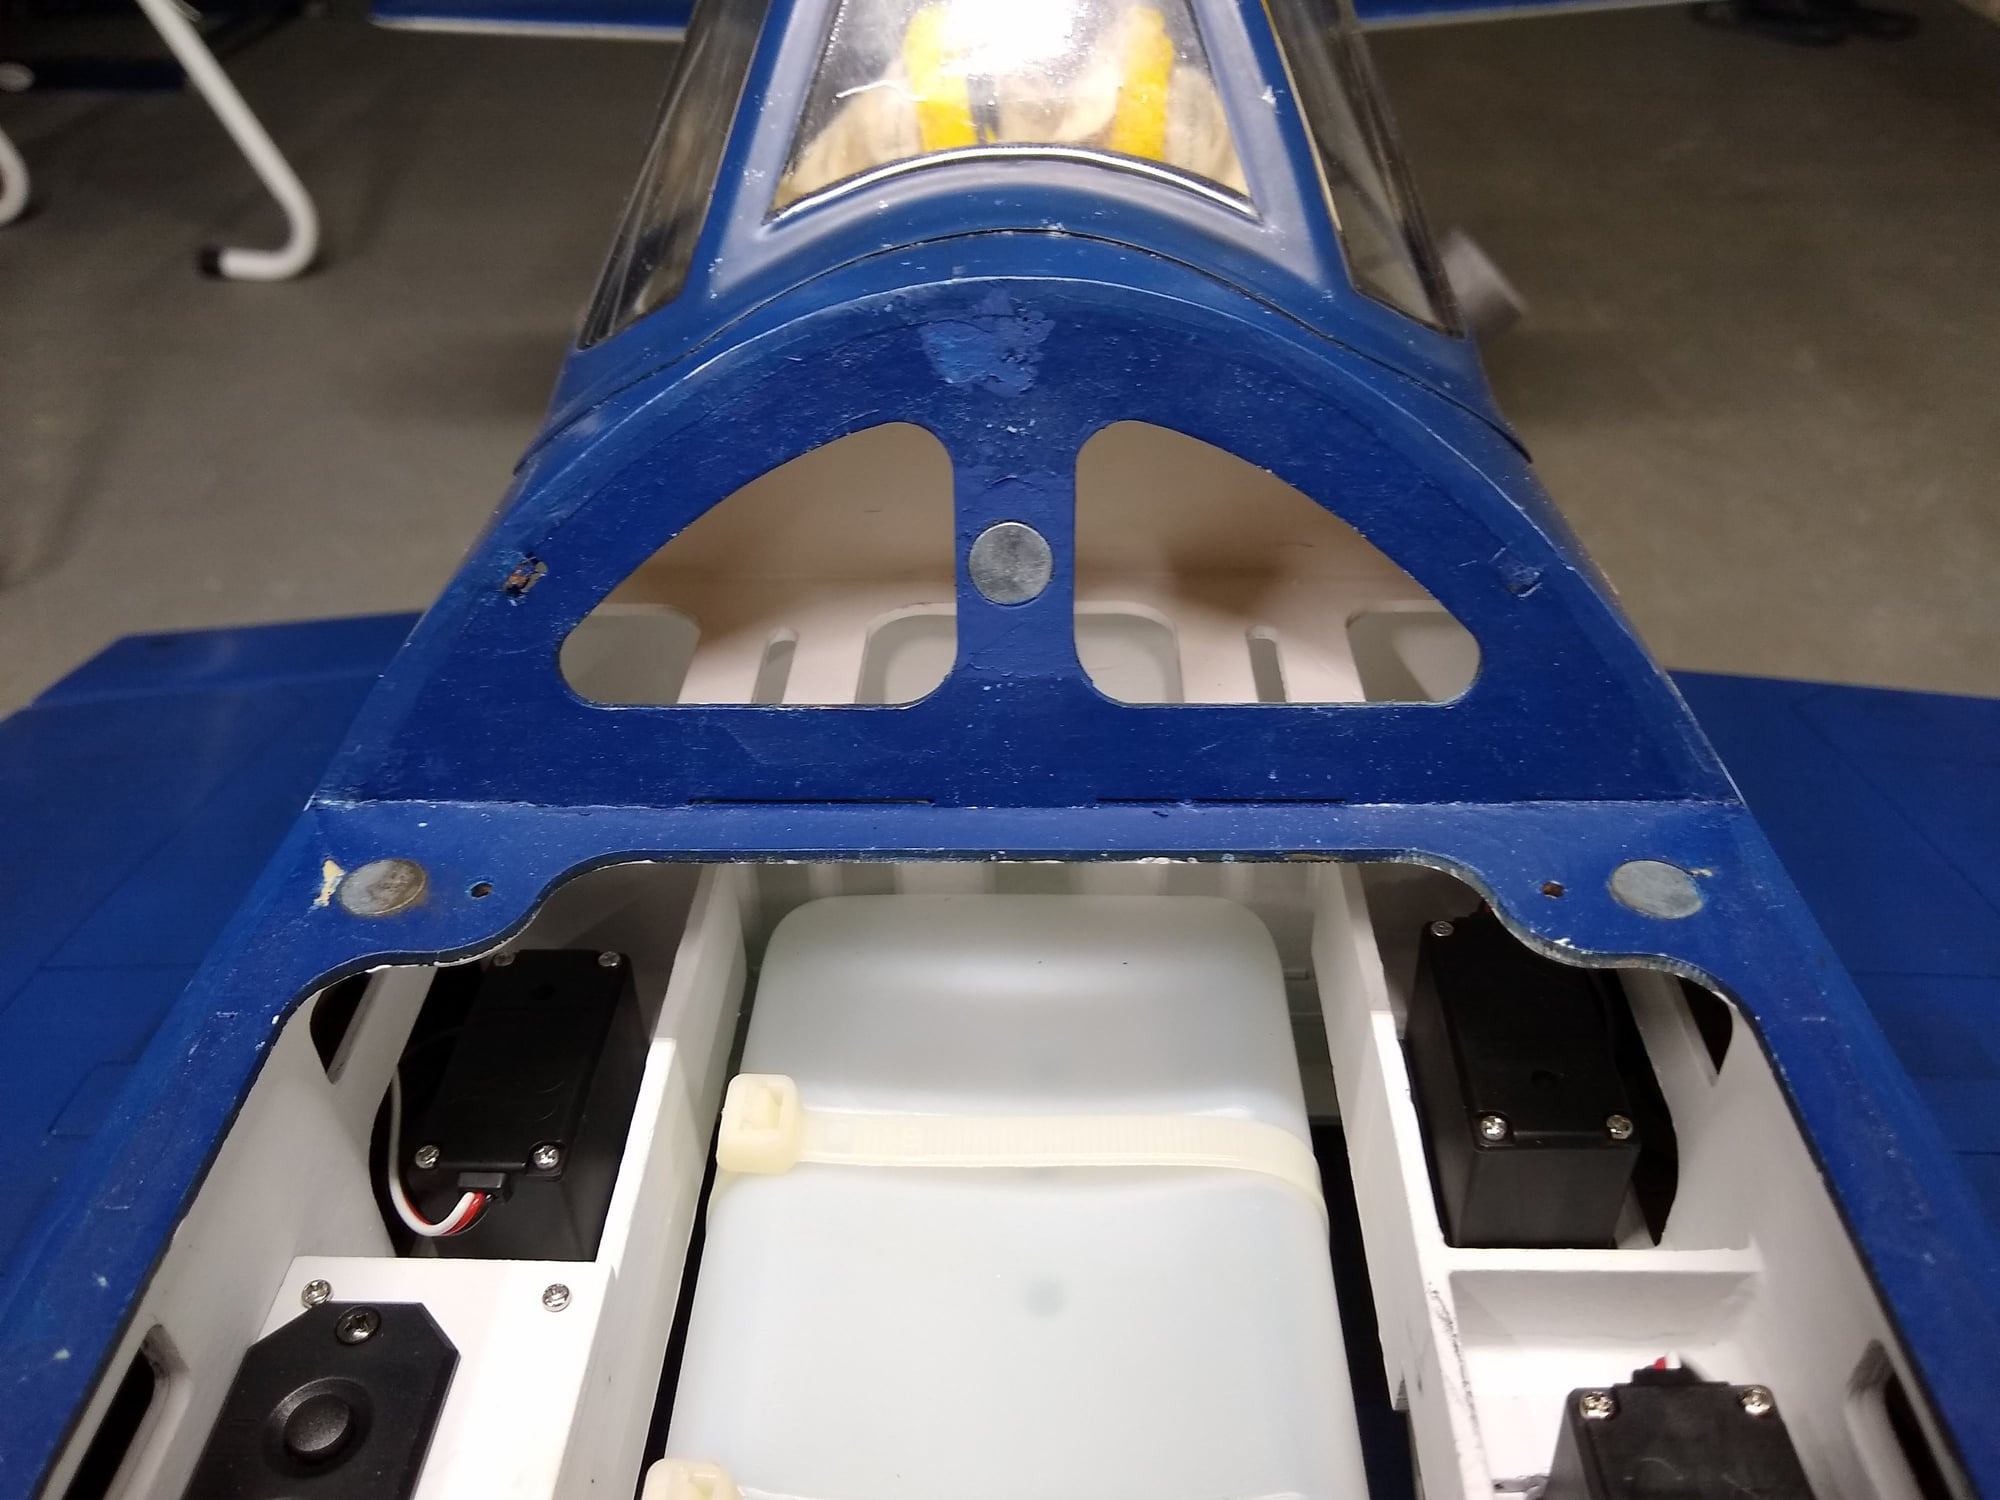
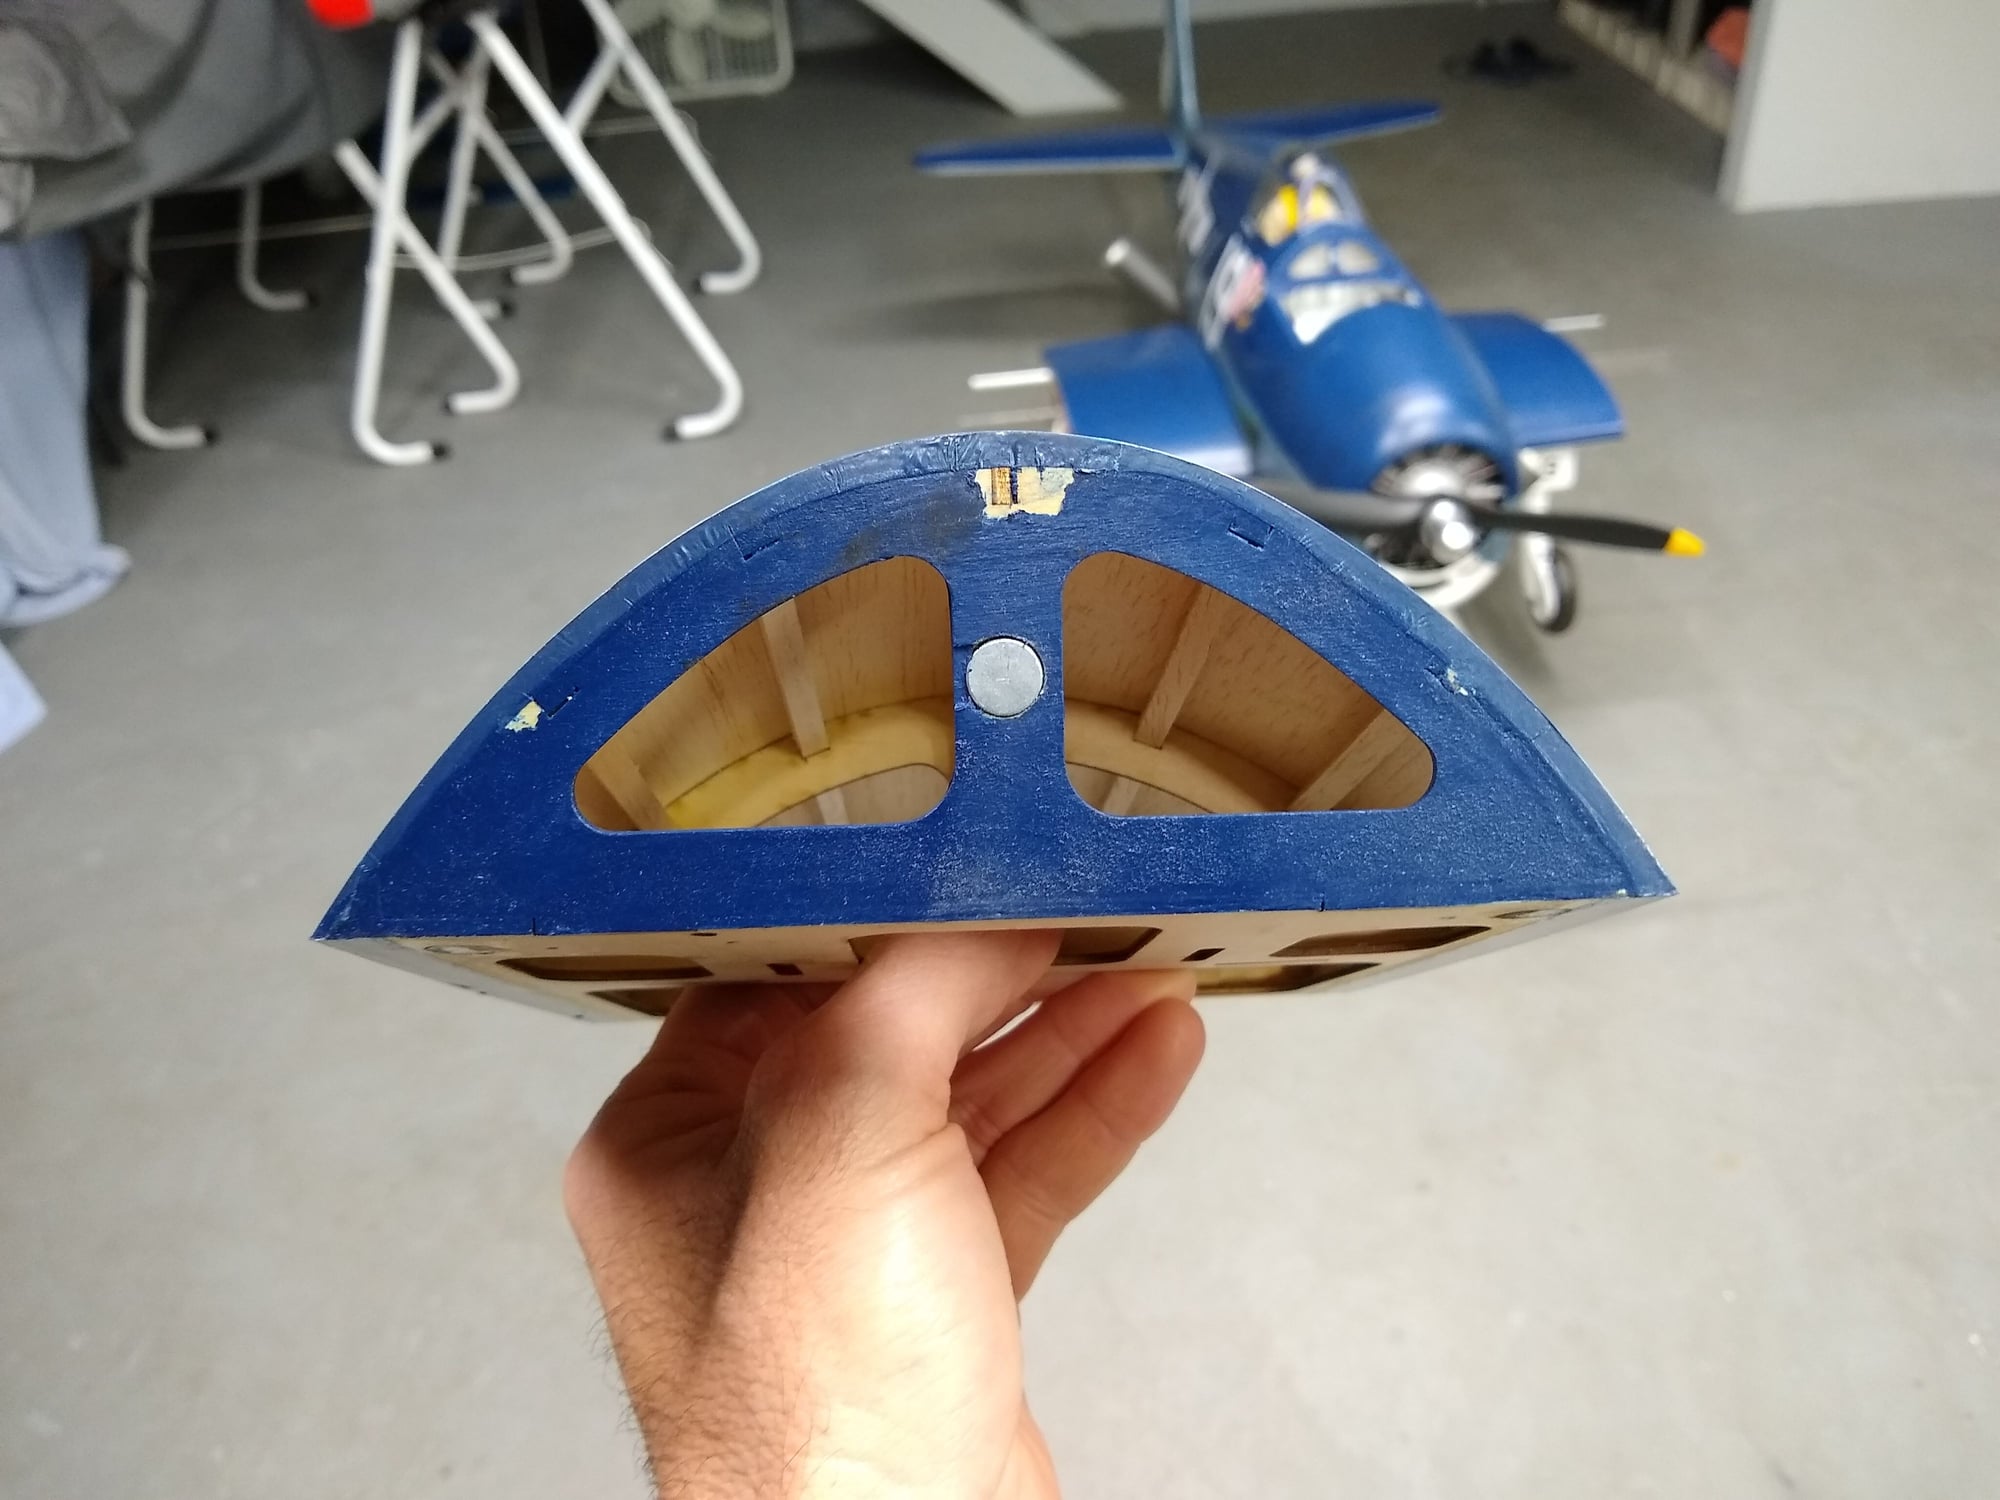
Well I test flew the Hellcat today. I arrived at the field early to set up and run the DLE 61 for the first time. I had a Falcon 23X8 and 22X10 with me. Both wood but I painted them flat black with yellow tips. I started with the 23X8 thinking I would immediately switch to the 22X10 after the first flight. The DLE fired right up and both the high and low needs were perfect out of the box! I did my usual test of letting it idle for at least one full minute then slamming the throttle forward. The DLE did not sag or burble but instead responded immediately. The 23X8 was taching at 6600-6700 on the ground. I also took some temps from my brief ground runs, one with the cowl off and then on. Everything was normal. Taxing out I noticed the Hellcat handles like a Cadillac and those big Robart wheels aside from looking dynamite, rolled on grass like it was pavement. Our fields 600 foot runway is like a golf course green however. With takeoff flap set, I slowly advanced the throttle and the tail was flying almost immediately. Very little right rudder was needed and she was off the ground and climbing with authority in no time. Now back to the prop. At half throttle the Hellcat was flying at a very brisk pace. I felt no need to fly her any faster. Going to full throttle for a loop resulted in a very large maneuver. Absolutely gobs of power. No running out of steam with this one. I did some cuban eights and steep climbing aileron rolls and again the DLE just keeps pulling. Rolls, slow and medium were very precise but I felt the ailerons were kind of dead off center but picked up authority as you increased the travel. I dont use expo but was thinking of possibly putting some in to make the ailerons more sensitive off center. In the end though its a warbird and never going to handle like my ultra flash. The ailerons were set at the recommended throws but as you may recall I decided to go with one inch on the elevator and I'm glad I did because it felt just perfect to me. The recommended 3/8 low rate in 5/8 high rate just does not suit my flying style which although smooth I like sensitive airplanes. as others have noted the first notch and then the full landing flap resulted in no pitch change. The airplane behaved very well throughout the whole pattern and final approach was very solid with the airplane feeling like it had a lot of lift yet was penetrating nicely and just didn't feel heavy at all. My first landing was an absolute greaser on the mains with the tail still flying but the airplane wasn't slowing down at all and the end of the runway was approaching so I went around. The next landing equally as nice I was able to get her stopped before the end. I put in four flights today and they were all just awesome with some low high-speed passes and a full range of maneuvers. I'm going to stick with the 23 X8 prop is it's giving me a great speed envelope and absolutely tons of pulling power. All of my landings again where these super smooth wheel landings but the plane seem to roll out forever and I was using the entire runway. Going to take her out again tomorrow or Monday and I'm going to have to get her up to altitude and see how slow it'll actually fly because I have a feeling I'm coming in a little hotter than I need to. One thing I did notice was that when idling if you go abruptly to full throttle the magnetic hatch seems to lift for a second then snap back down so I just added a third magnet on the vertical pillar to complement the two that are on the base of the hatch. I'll see how that works out on my nest next trip out. All in all I'm thrilled with this airplane. I'm glad I spent all the extra time detailing it because the airplane has a lot of presence at the field.
Last edited by MaJ. Woody; 05-23-2020 at 06:44 PM.
The following 2 users liked this post by MaJ. Woody:
CAPT John (05-23-2020),
Chris Nicastro (05-25-2020)
The following users liked this post:
CAPT John (05-24-2020)
05-25-2020, 06:43 PM
#46

Great result!
The guys commented on final approach the Hellcat looks like the real thing coming in to catch a wire.
Im flying the Corsair with the DLE 61 and Mejzlik 24x10 carbon prop and it�s not a good combo. Pretty good vertical but hits a wall when flying level. In flight I�m getting 6500 to 6800 rpm from telemetry and the temps are normal. I refer the 55RA and Xoar 22x10 combo by far. I might try a 23x8 like you and see or maybe a 23x10 for more speed and to get all the revs out of this engine.
Last edited by Chris Nicastro; 05-25-2020 at 06:45 PM.
