


FokkeRC 1/5 Spitfire MKIX build log

 03-04-2022, 06:02 PM
#227

Thread Starter

Work calls, unfortunately I�m not going to get a ton of building in for another week and a half.
Good ideas/input on the canopy. When I have had time, I�ve been looking at various ways to go about it. Still undecided.
Good ideas/input on the canopy. When I have had time, I�ve been looking at various ways to go about it. Still undecided.
03-04-2022, 07:43 PM
#228
Senior Member
I'm actually watching very closely, how you finish out the fuselage. I'm assuming you are planning panel lines, etc.
With the lightning in the works, looking for techniques.
I have a difficult idea (scale of 1 to ten...somewhere around 13) of possibly making each individual panel somehow, then affixing to the fuselage structure...trying to figure out best materials to pull it off. Thats if I can find a detail line drawing of the skin in three views..
Yes, I know the easy way is to mask and use fill primer..
(I have been accused on fb of making things way more difficult for myself when building a plane, thanks to the mustang's modified engine, so....why stop now lol)
Wyo, while you are lazing about "working" and neglecting your spitfire (grin) ponder this and tell me if you think it will work, or peel off lol.
make base for panel from balsa sheet, shape as needed with isupropyl, clean it well, then I could a. Apply very light glass/resin to the panel, once cured, flitemetal..affix to structure with a. Hysol, b. 30 min zap epoxy, or c. med CA..or b..just balsa, no glass then flitemetal. For the wings and tail surfaces use fliteskin in a similar manner, gorilla, then flitemetal.
Once done, a "wash" of a very transparent black tint paint to pop the panel edges, followed by a scotchbrite pad to create a "brushed" finish on the flitemetal. The paint would most likely be a klass kote paint (two part epoxy paint and is fuel proof) mixed with reducer to create the wash. (The wash I may or may not do...just depends on how it looks when the panels are on.)
A warbird, in combat, wouldn't be all polished to a mirror, more of a brushed, or even natural aluminum if in air superiority "raw" scheme. This would be accomplished with a klasscote satin clear over whole plane as last step. Also result in a sealed fuselage at the panel junctions Fuel could never get to the wood.
What you think?
There would be the added possible benefit of making a couple of the panels, like what you did for switch etc, removable by magnets without having to slice and dice Runen's structure. Thinking the ammo hatches in the nose of the lightning..one side switch and charging, then on either boom for fuel fills. Just not sure on those..
Input is always good, especially before more money spent lol
Last edited by Txmustangflyer; 03-04-2022 at 08:01 PM.
03-05-2022, 06:13 AM
#230
Thread Starter
make base for panel from balsa sheet, shape as needed with isupropyl, clean it well, then I could a. Apply very light glass/resin to the panel, once cured, flitemetal..affix to structure with a. Hysol, b. 30 min zap epoxy, or c. med CA..or b..just balsa, no glass then flitemetal. For the wings and tail surfaces use fliteskin in a similar manner, gorilla, then flitemetal.
Once done, a "wash" of a very transparent black tint paint to pop the panel edges, followed by a scotchbrite pad to create a "brushed" finish on the flitemetal. The paint would most likely be a klass kote paint (two part epoxy paint and is fuel proof) mixed with reducer to create the wash. (The wash I may or may not do...just depends on how it looks when the panels are on.)
A warbird, in combat, wouldn't be all polished to a mirror, more of a brushed, or even natural aluminum if in air superiority "raw" scheme. This would be accomplished with a klasscote satin clear over whole plane as last step. Also result in a sealed fuselage at the panel junctions Fuel could never get to the wood.
What you think?
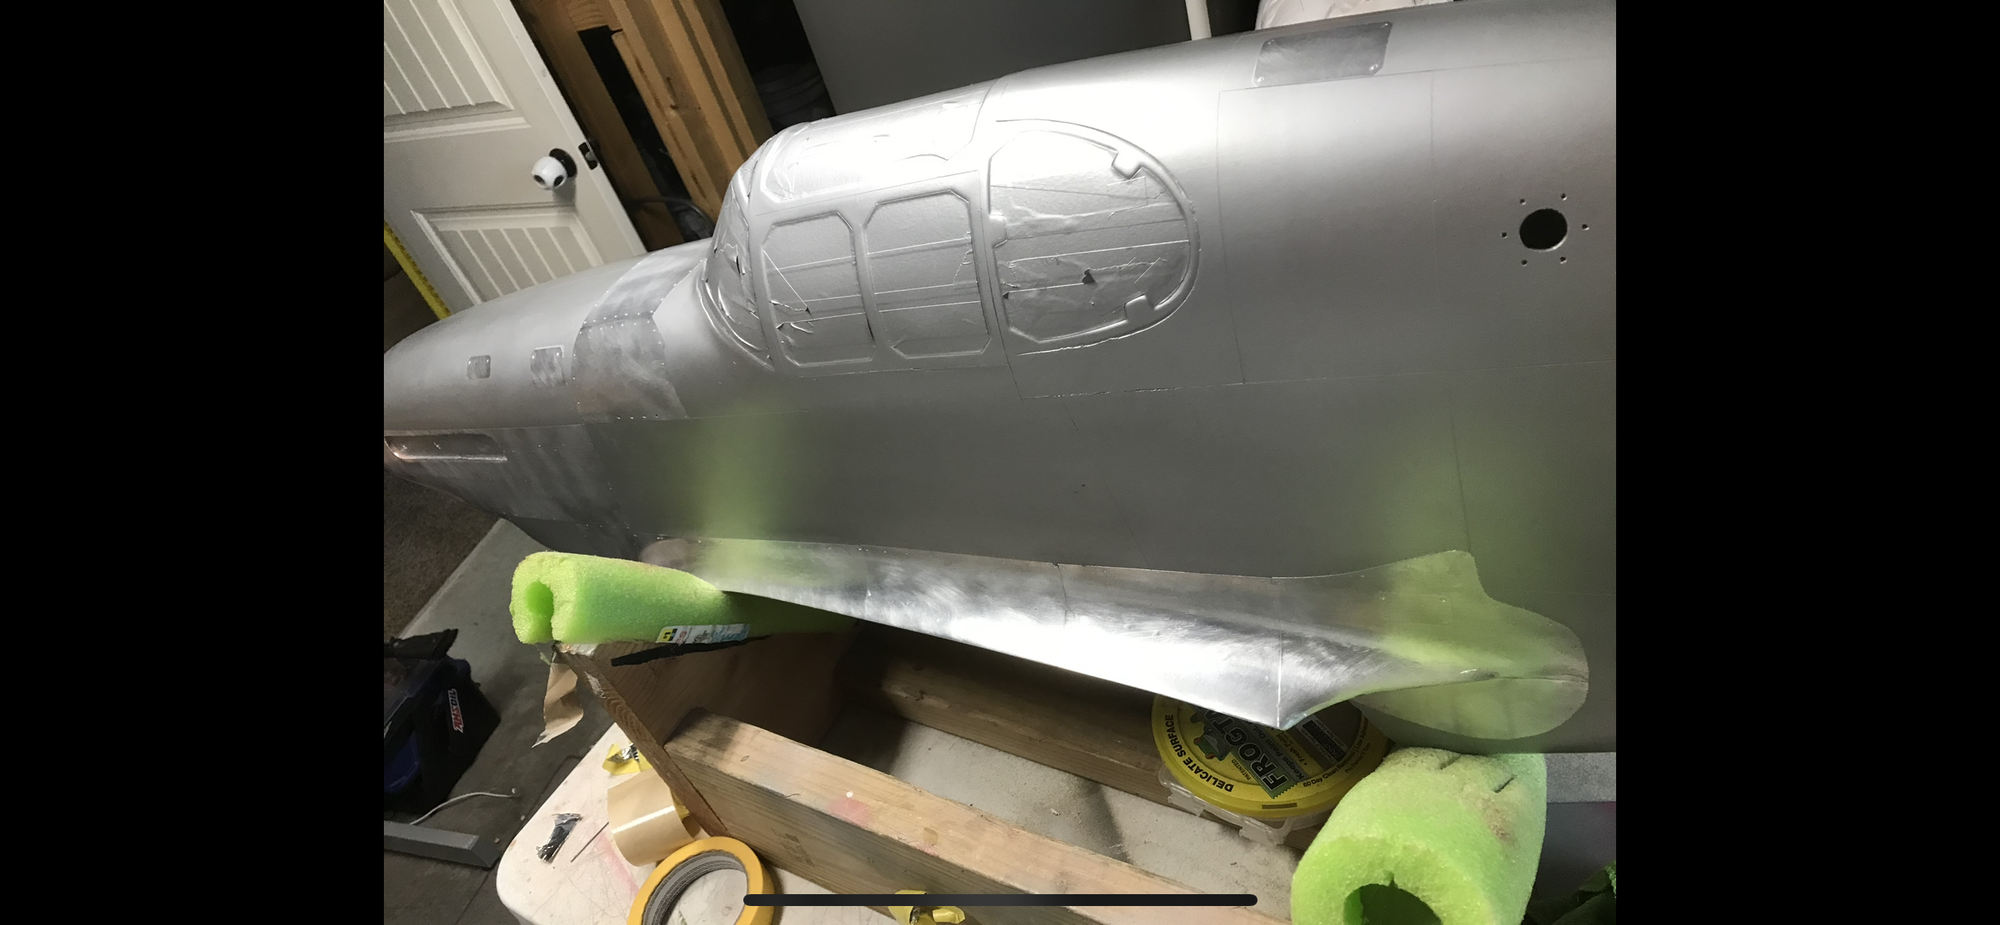
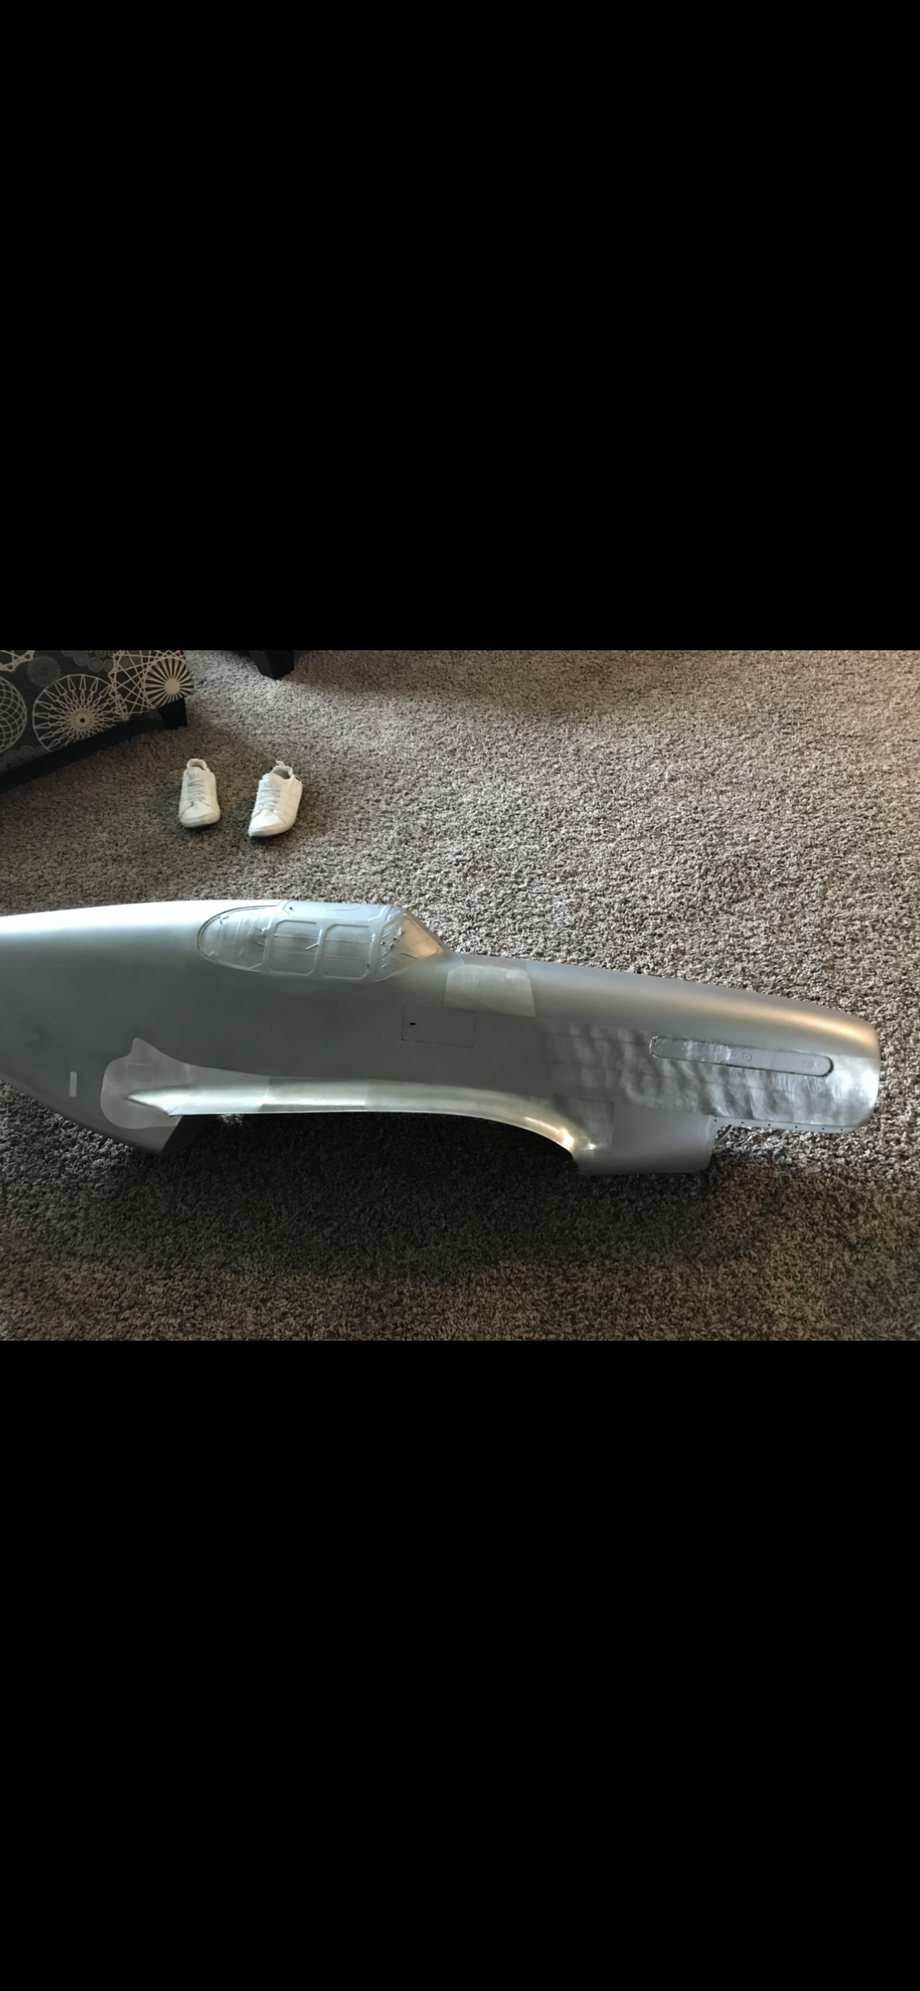
My process for panels is all completed after I�ve glassed and primed and sanded and primed again. I map them all out from a 3-view, then I scribe them in using a flexible straight edge as a guide. I don�t scribe into the glass, it�s just through the primer. It creates a much smaller gap between panels but still prominent enough to run a wash after paint to bring them out. I will then aluminum tape(flitemetal etc) various panels and buff them up with .0000 steel wool. On raised panels I�ll use fliteskin to raise them .010�. After panels are completed I�ll then run my aluminum hatchwork/access panels, raised and flush rivets. Then I can think about painting.
03-05-2022, 07:33 AM
#231
Thread Starter
Pictures are worth a thousand words, here�s a few of the process I use in various stages. I�m sure there are other possibly better methods out there. This is just what I�ve adopted.


03-05-2022, 03:55 PM
#232

Join Date: Jan 2009
Location: Watertown, NY
Posts: 312
Likes: 0
Received 0 Likes
on
0 Posts
If you don't mind, what plans and/or kits did you build this Mustang and thunderbolt from? I am currently very interested in fokkerrc 1/5th P51 and the finish and look of yours, inspire me.
Thanks.
Thanks.
03-05-2022, 04:11 PM
#233
Thread Starter
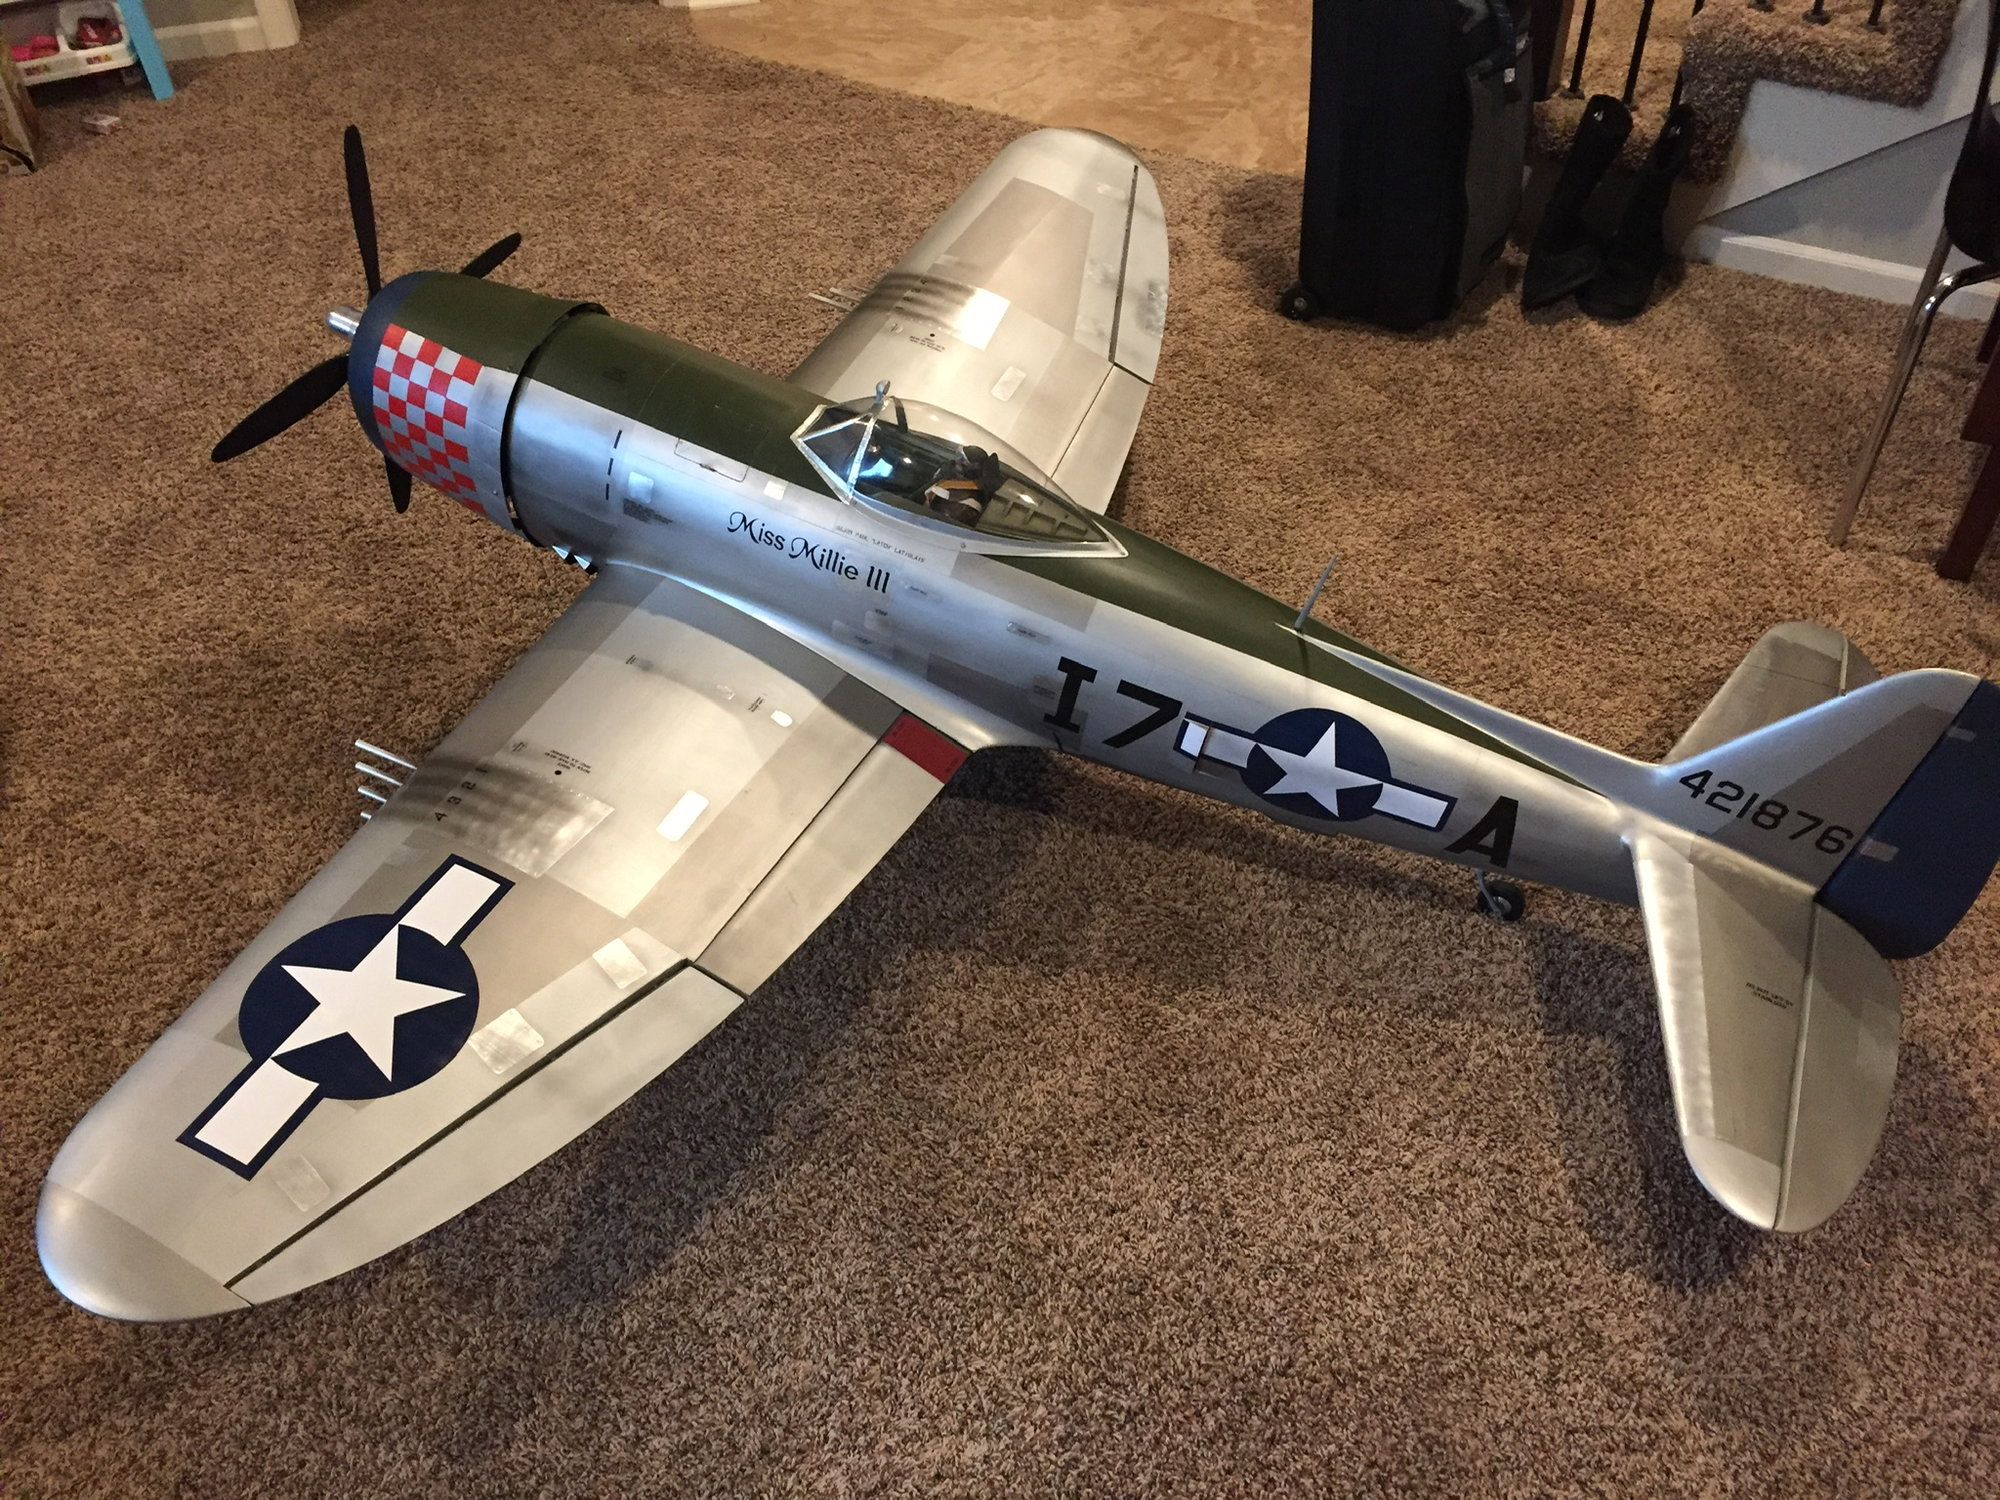
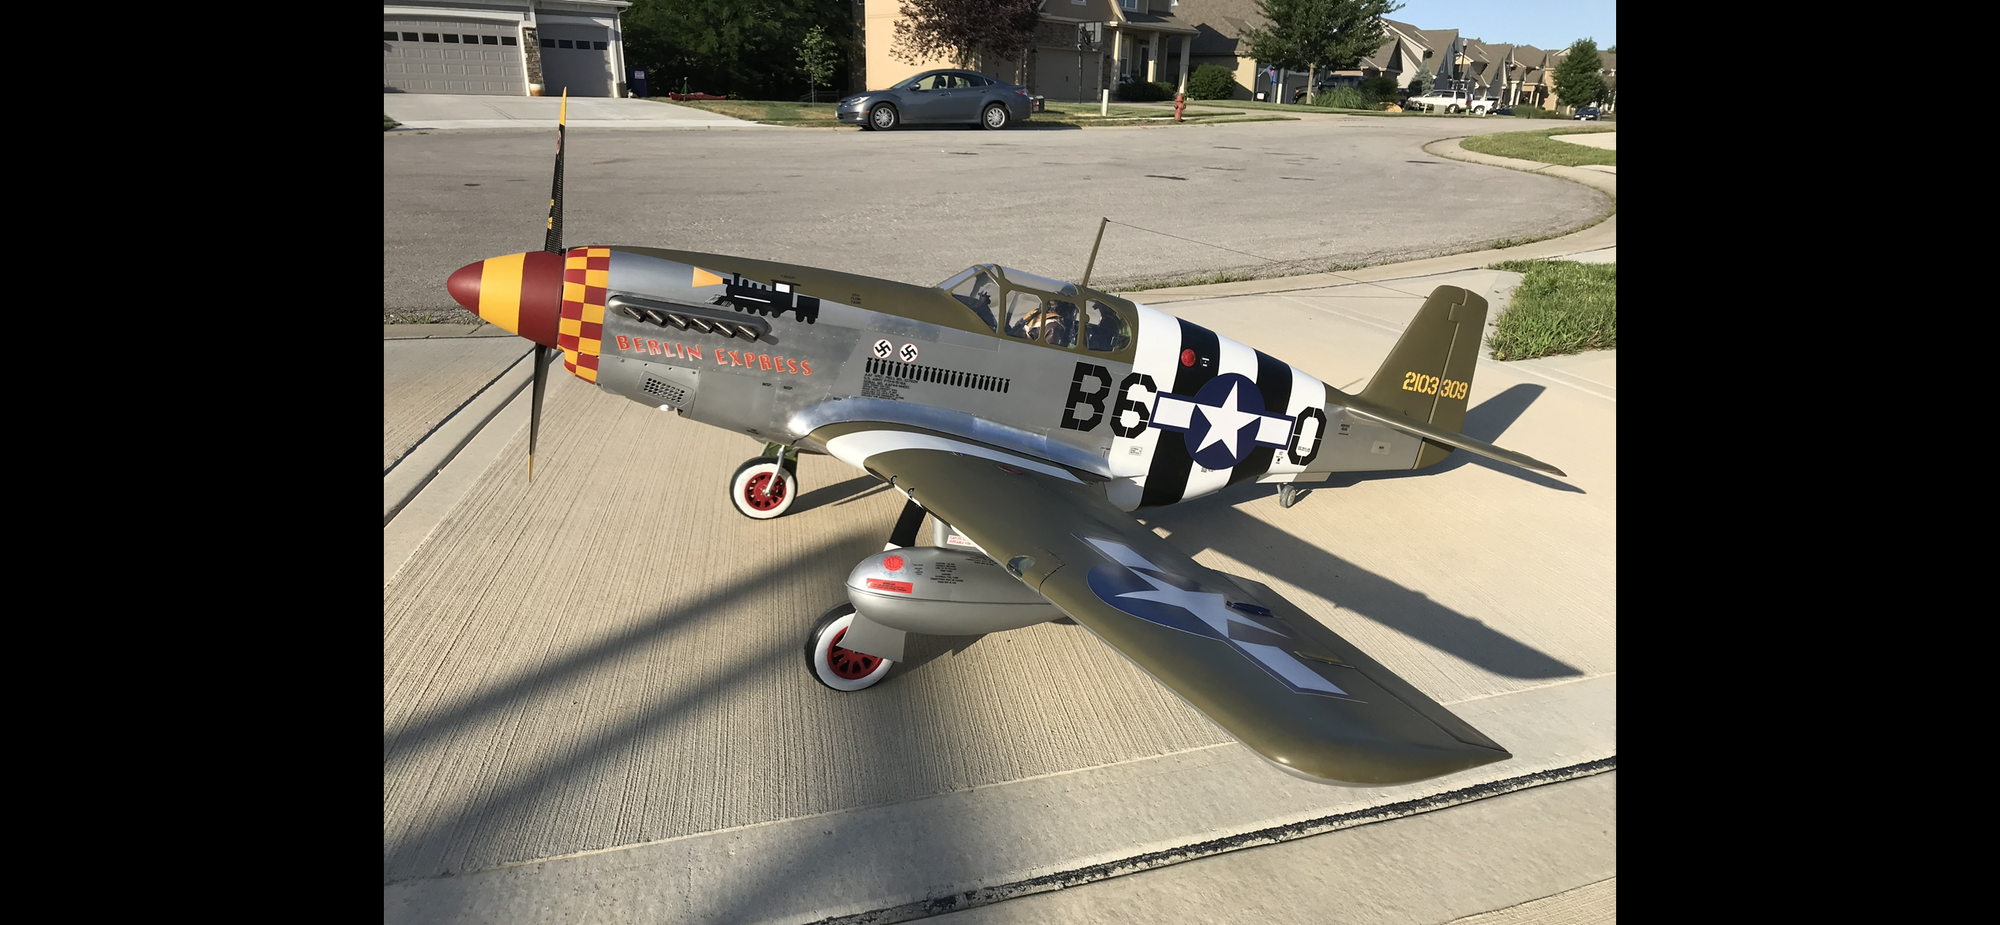
Hey Pilot, the mustang is a TopFlite Giant Scale ARC modified to a B model. The Bubble Top P-47 is a TopFlite Giant Scale ARC. The Razorback is the original Hangar 9 D-1 .60 size, which was stripped glassed and painted as well.
03-05-2022, 04:21 PM
#235
Join Date: Jan 2009
Location: Watertown, NY
Posts: 312
Likes: 0
Received 0 Likes
on
0 Posts
I am for sure going to get the Top flite .60 I found on FB market place and try and achieve similar results. I feel if I do that I will be ready to do a Fokkerrc Mustang in the bigger scale. Right now I am scratching a small Ryan STA from plans and detailing out My Hangar 9 Carbon Cub 15cc, with floats.
You all give me so much inspiration to start these projects, huge smile right now!
Thanks and nice work.
03-05-2022, 04:35 PM
#236
Senior Member
Hanger 9 build
We are all here to help, to the best we can.
If you want a real ARF challenge, tackle a hanger 9 60 cc mustang..its a "builders" ARF. See my thread on it..
I've made mine harder still, but yeah, its a tough nut to crack, just fixing what needs fixing.
We are all here to help, to the best we can.
If you want a real ARF challenge, tackle a hanger 9 60 cc mustang..its a "builders" ARF. See my thread on it..
I've made mine harder still, but yeah, its a tough nut to crack, just fixing what needs fixing.
Last edited by Txmustangflyer; 03-05-2022 at 06:35 PM.
03-06-2022, 05:11 AM
#237
Thread Starter
WOW!
I am for sure going to get the Top flite .60 I found on FB market place and try and achieve similar results. I feel if I do that I will be ready to do a Fokkerrc Mustang in the bigger scale. Right now I am scratching a small Ryan STA from plans and detailing out My Hangar 9 Carbon Cub 15cc, with floats.
You all give me so much inspiration to start these projects, huge smile right now!
Thanks and nice work.
03-06-2022, 02:11 PM
#238


The mustang from fokkerc sounds cool, but keep in mind that his kits leave it all to the builder. There is no manual like a ziroli and there will be no guidance as you�d be one of the first to build. John is a lot more experienced builder than he lets on and has faced a LOT of challenges with the the build that he had to figure out. I�m not trying to tell you not to get a fokkerc kit, but they are absolutely not easy. The reward is a true, scale airplane. For an experienced builder it doable.
03-07-2022, 04:04 PM
#240
Thread Starter
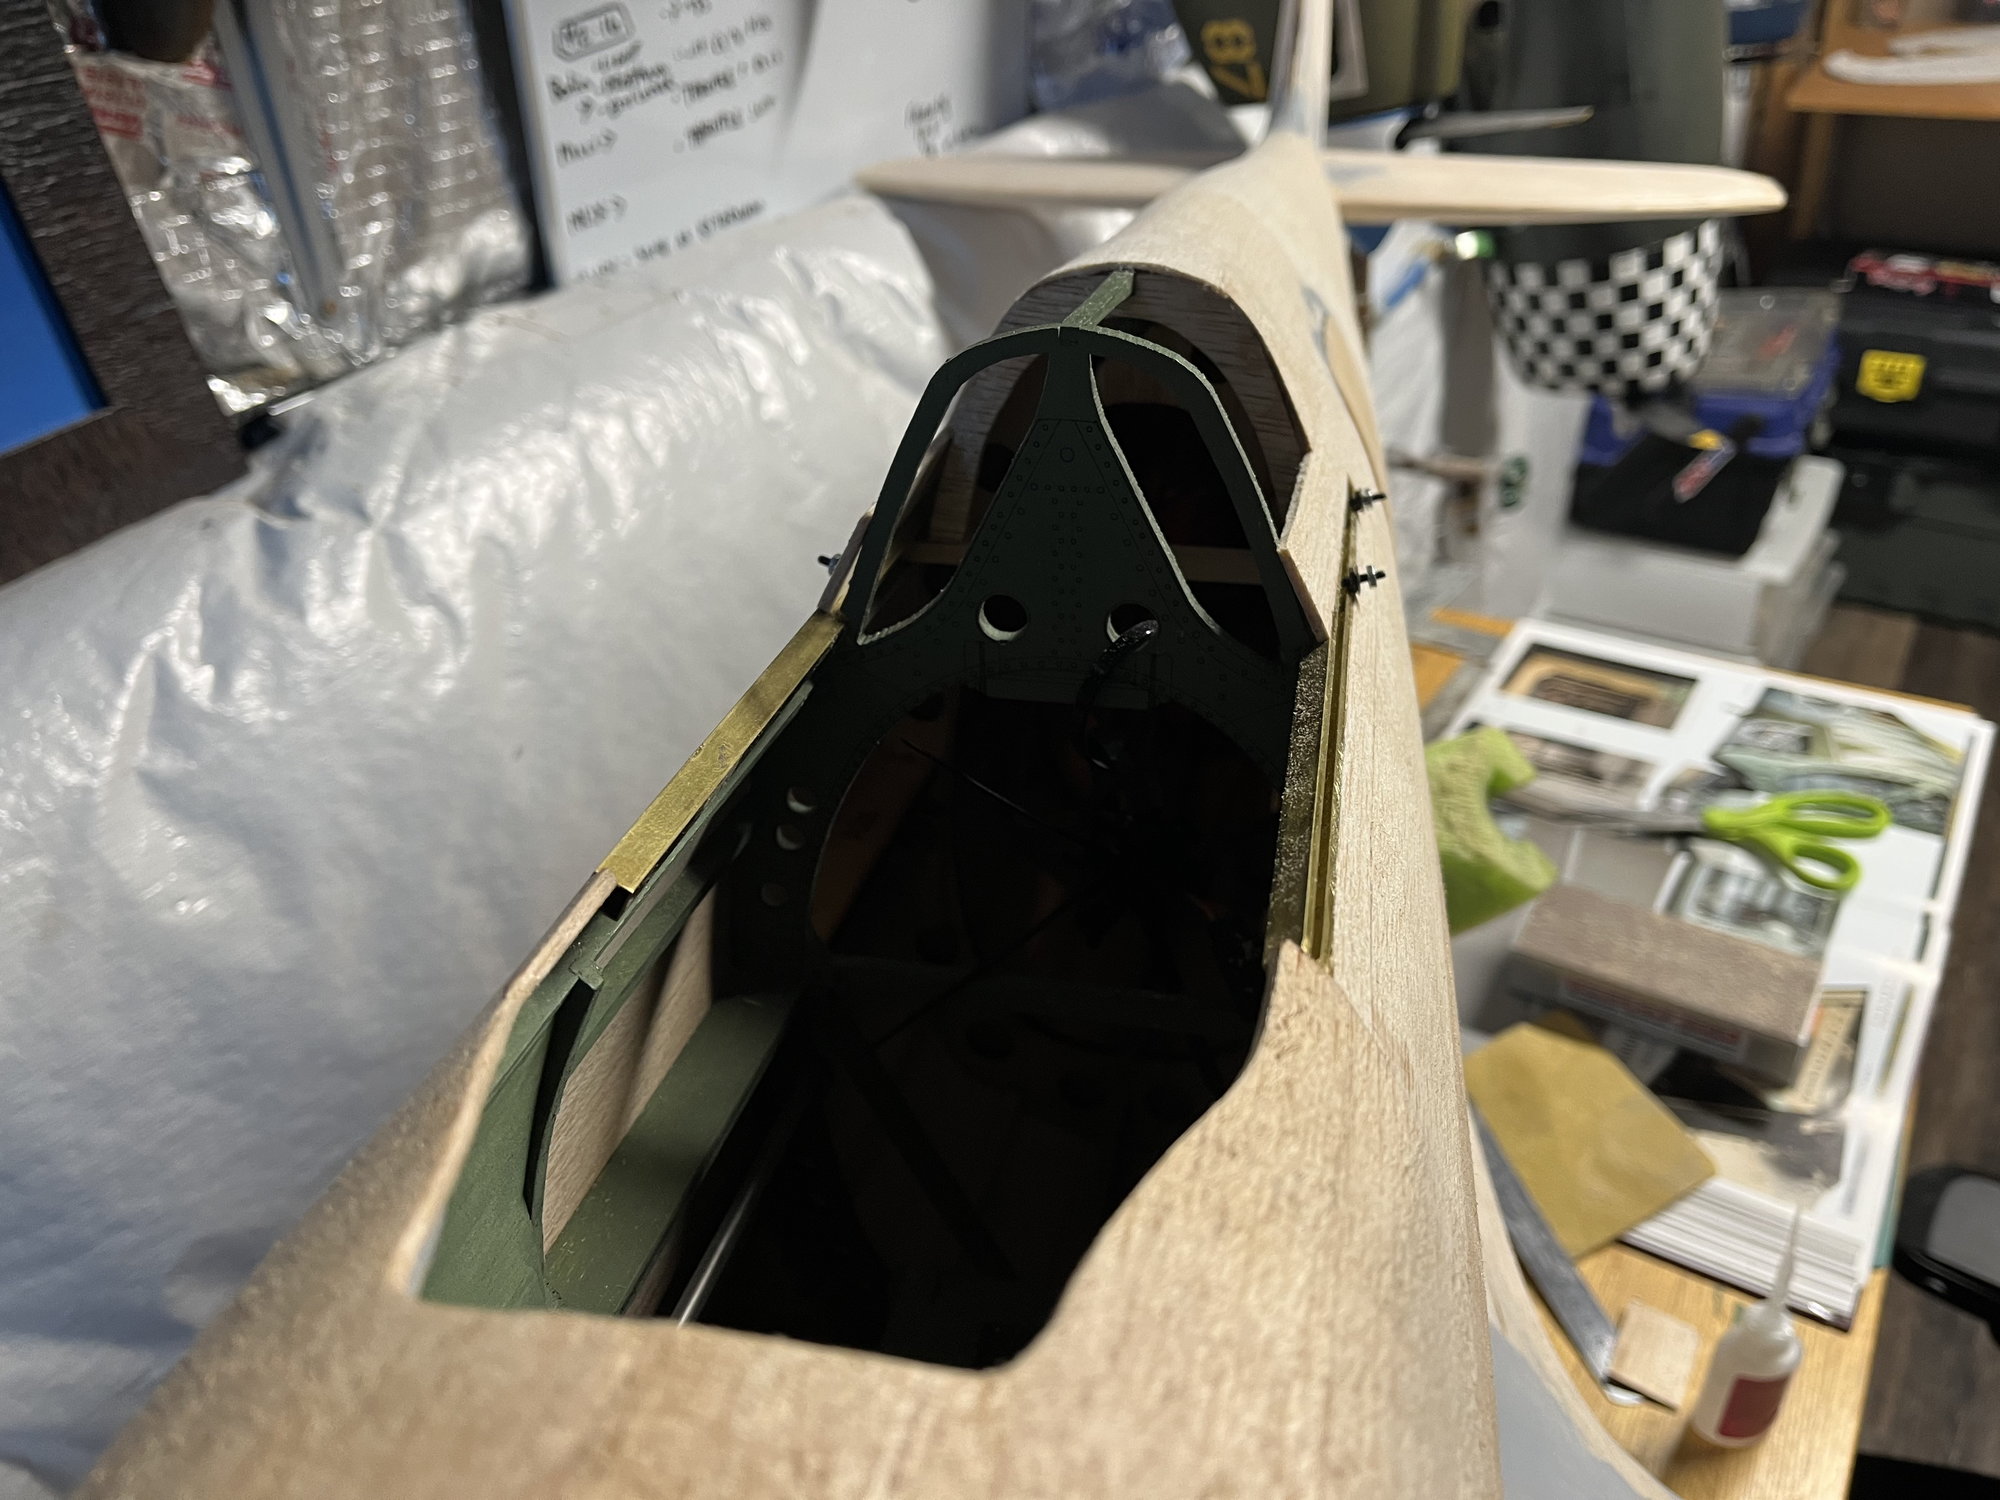
I had a hot second today to jump into the build, rails are mounted. I�m excited to finish up skinning the forward fuse so I can get moving on splitting the cowl into a two-piece with a removable lower section.
 03-07-2022, 05:24 PM
#243
The rails came from canopy rails for warbirds which I believe was owned by a modeler that has since passed. They are now sold by ziroli I think. I am not sure if they still are. I bought them years ago and gave up on a sliding canopy because I suck (haha) and gave them to John.
https://ziroligiantscaleplans.com/sc...t-warbird.html
https://ziroligiantscaleplans.com/sc...t-warbird.html
Last edited by spitfire66; 03-07-2022 at 05:29 PM.
03-07-2022, 05:50 PM
#244
Thread Starter
The rails came from canopy rails for warbirds which I believe was owned by a modeler that has since passed. They are now sold by ziroli I think. I am not sure if they still are. I bought them years ago and gave up on a sliding canopy because I suck (haha) and gave them to John.
https://ziroligiantscaleplans.com/sc...t-warbird.html
https://ziroligiantscaleplans.com/sc...t-warbird.html
03-08-2022, 10:35 AM
#246
Join Date: Jan 2009
Location: Watertown, NY
Posts: 312
Likes: 0
Received 0 Likes
on
0 Posts
The mustang from fokkerc sounds cool, but keep in mind that his kits leave it all to the builder. There is no manual like a ziroli and there will be no guidance as you�d be one of the first to build. John is a lot more experienced builder than he lets on and has faced a LOT of challenges with the the build that he had to figure out. I�m not trying to tell you not to get a fokkerc kit, but they are absolutely not easy. The reward is a true, scale airplane. For an experienced builder it doable.
This is why my first attempt at scale building is my TF-P51 .60. I know those are a sport scale, but the plan is to make it more real scale and add a lot of my own parts to it. I would like to even attempt molding my own fiberglass parts and see how that goes. I guess a sort of prelude into giant scale modeling some day.
The Fokkerc kits are on my radar for sure....I like how they come with the major structure perfectly cut and scale build from real aircraft plans. I don't have the good machinery to cut out perfect parts for a large plane, so that is a major plus. I also like how the frame up is similar to the real aircraft, not a box type construction. I have always had this idea of using cut and shaped aluminum from soda cans to make the skin, lol. That would work on a frame like that I think.
I wiould like to get a 1/5th FW-190 Anton-8. His scale is amazing IMO....tons and tons for all the detail I want.
03-10-2022, 04:42 AM
#247
Thread Starter
Yepp I understand.
This is why my first attempt at scale building is my TF-P51 .60. I know those are a sport scale, but the plan is to make it more real scale and add a lot of my own parts to it. I would like to even attempt molding my own fiberglass parts and see how that goes. I guess a sort of prelude into giant scale modeling some day.
The Fokkerc kits are on my radar for sure....I like how they come with the major structure perfectly cut and scale build from real aircraft plans. I don't have the good machinery to cut out perfect parts for a large plane, so that is a major plus. I also like how the frame up is similar to the real aircraft, not a box type construction. I have always had this idea of using cut and shaped aluminum from soda cans to make the skin, lol. That would work on a frame like that I think.
I wiould like to get a 1/5th FW-190 Anton-8. His scale is amazing IMO....tons and tons for all the detail I want.
03-16-2022, 12:05 PM
#248
Thread Starter
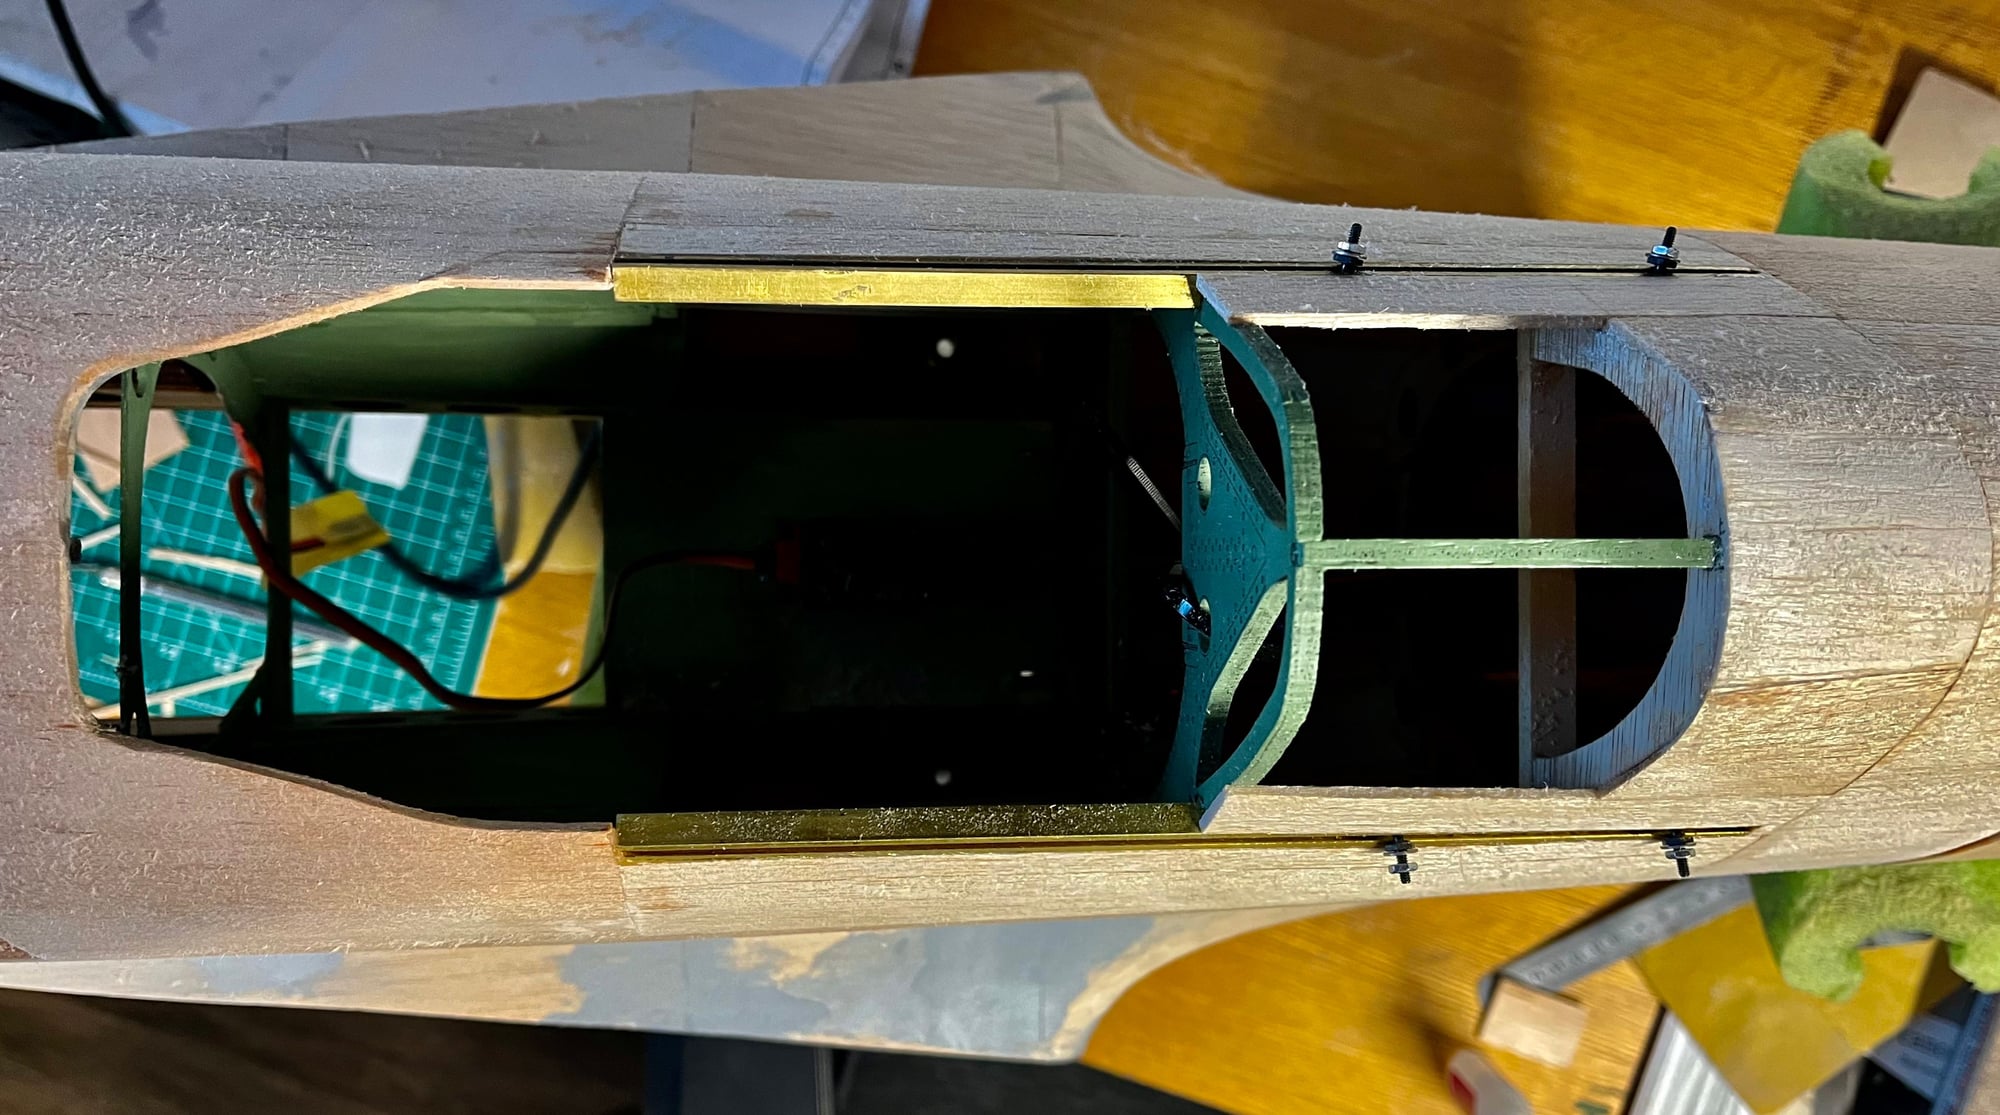
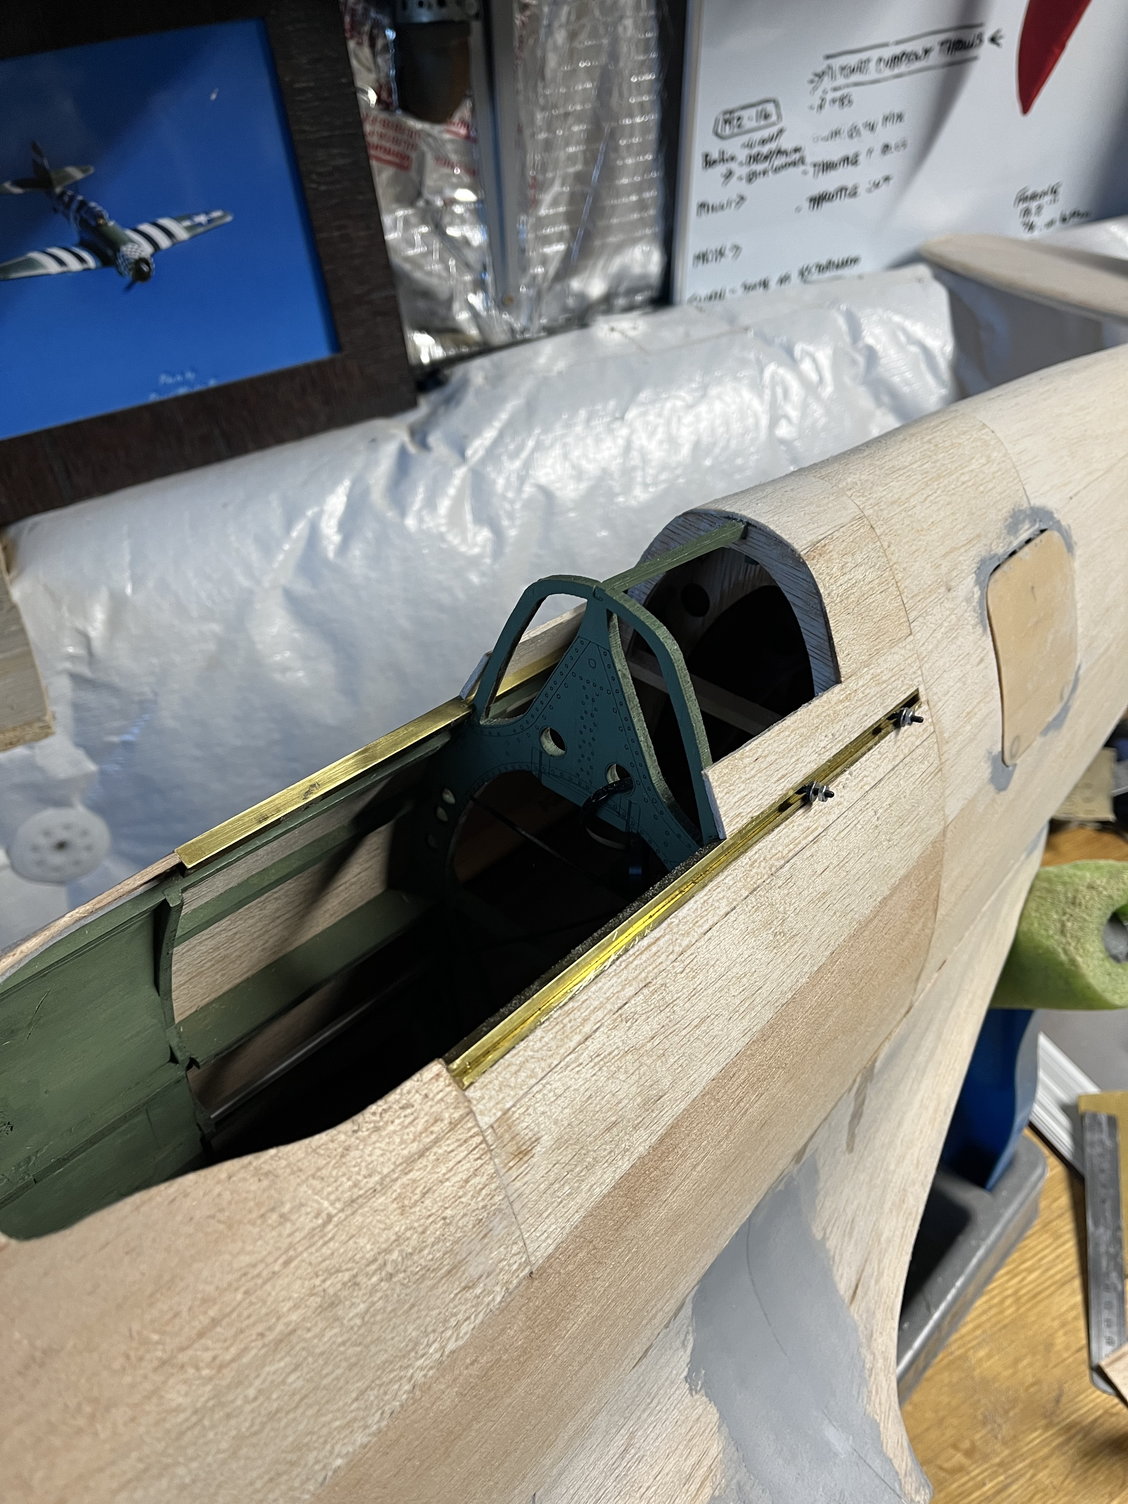
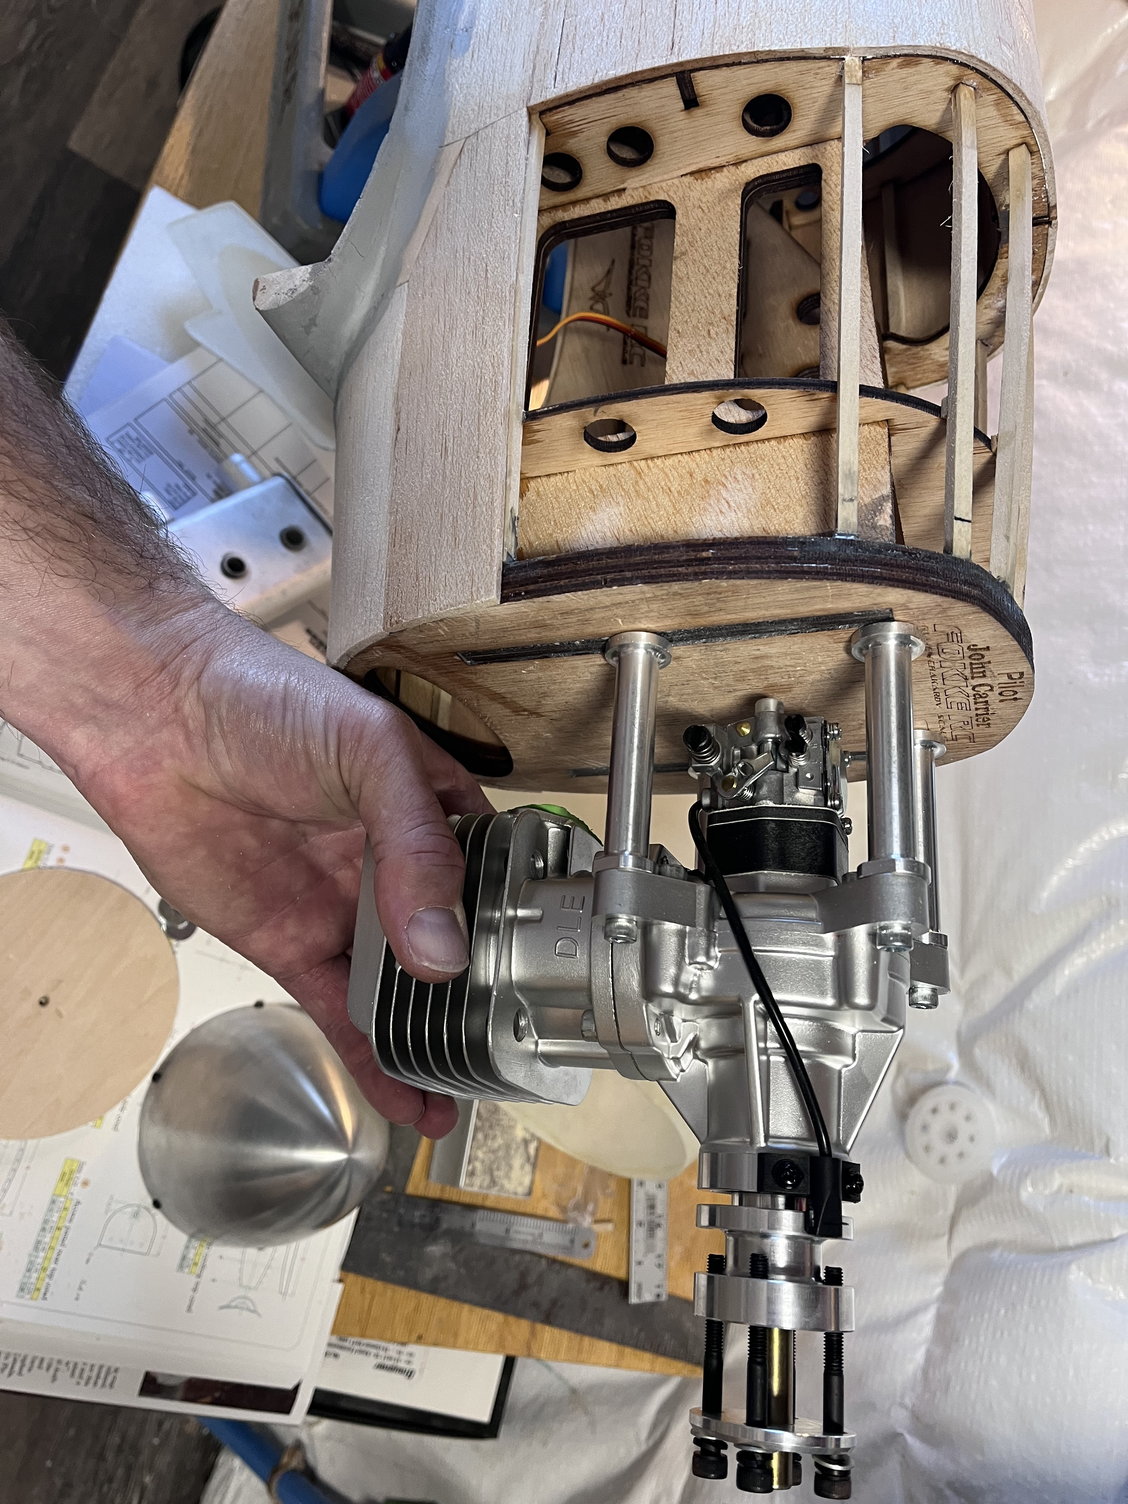
And speaking of roadblocks, I just ran into one. I�m getting things together to split and mount my upper cowl. I�ll soft mount my engine after the upper cowl is mounted. However I was just getting a feel for the locations I�d need to drill for my standoffs and ran into the problem. The fuselage box interlocks into the firewall right in the way of my lower stand-off locations. I realized holding the engine up to it I will not be able to simply drill and mount. Talking with some friends, I think my best bet will be 1/4� thick stainless steel plates(upper and lower). I�ll mount the stand offs to these from backside, then double the plate in the center and mount both plates to the firewall from the front. I was going to need a bit of spacing(1/2� or so) to get my spinner to mate with the cowl so I think this will work when the time comes. Attaching a photo of where the standoffs would meet the firewall.
03-16-2022, 12:16 PM
#249
Senior Member
Wyo, my zenoah mounts in a similar fashion and it was a pain getting the firewall drilled on the H9 for the top bolts. If you can still do so, pull the cowl, drill, then mount..my top bolts, as a result of being an ARF have an angle to them. I don't like it, at all, but short of cutting the firewall out completely, no way around it.
I dunno if you can see it in this picture, but the plate is nearly as big as the firewall. Upside, its strong as #$%@, downside, I wish I could have drilled the firewall out of the fuselage. Something I will do before gluing the firewalls in the
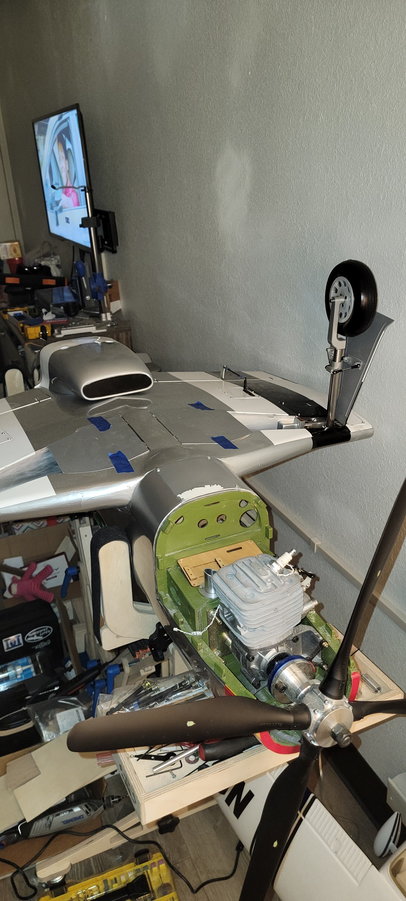
Lightning. So if your upper cowl isn't glued yet, tape it in position, mark holes, pull the upper cowl then drill and mount the plates. It will be much much easier.
I could have went straight through the firewall to the engine, but its actually a ptetty narrow pattern, three of the bolts would have went through the ply filler plug..was my origional plan till I got a good look.
I dunno if you can see it in this picture, but the plate is nearly as big as the firewall. Upside, its strong as #$%@, downside, I wish I could have drilled the firewall out of the fuselage. Something I will do before gluing the firewalls in the
Lightning. So if your upper cowl isn't glued yet, tape it in position, mark holes, pull the upper cowl then drill and mount the plates. It will be much much easier.
I could have went straight through the firewall to the engine, but its actually a ptetty narrow pattern, three of the bolts would have went through the ply filler plug..was my origional plan till I got a good look.
Last edited by Txmustangflyer; 03-16-2022 at 12:22 PM.
03-16-2022, 12:46 PM
#250
Thread Starter
Problem is I physically can�t mount the lower(wider) standoffs thru the firewall, they�re butted up against 3/8 ply fuse former that is interlocked thru the firewall. No way to get a bolt through the back side or drill for that matter. But I can mount them to a plate then drill and mount the plate to the firewall. I�ll come up with a drawing for what I�m planning, all I have so far is a rough sketch.

