


Build thread: readying the Hanger 9 mustang 1/5th scale.


 01-28-2022, 09:19 PM
#104
Senior Member
Thread Starter
Its rock solid though..aa it is also epoxied to the hinge tube its about as solid as the full tab..its going nowhere. Plus being a flap its used twice during a flight continued stress, like in the ailerons, is not a factor
Last edited by Txmustangflyer; 01-29-2022 at 09:29 AM.
The following users liked this post:
Propworn (03-29-2022)
01-28-2022, 09:24 PM
#105
Senior Member
Thread Starter
Just three more of those to make..good thing..I now have a solud pattern. The rough pattern was about a 16th oversize all the way around so I could work to a tight fit..once all four made, layup ith epoxy and then sand till it slides in snug. Then sheet both sides with cf plate..
the rough lines you see on the upper right of the firewall is the notch that has to go for the carb, then built back to return structural strength.
added: second piece is now done, super snug fit. Those two are now laminated together with epoxy and sitting in place the other two will be done as singles and inserted individually from the back side, completing the plug. Then, the firewall will be sheathed in cf plate front and back. That should give the firewall plenty of strength, even after the carb notch is cut out and then boxing the notch will restore the integrety of the engine box. That framework will be reinforced with a cf mat/epoxy lamination.
then I can start playing with the klass kote.
Last edited by Txmustangflyer; 01-29-2022 at 01:43 AM.
 01-29-2022, 12:18 PM
#108
Senior Member
Thread Starter
The plug id now done. Zap a gap adhesive used to lock plugs into firewall and epoxy to secure plugs to each other.

now ready to be sheathed with cf plate.
now ready to be sheathed with cf plate.
01-29-2022, 01:17 PM
#109
Senior Member
Thread Starter
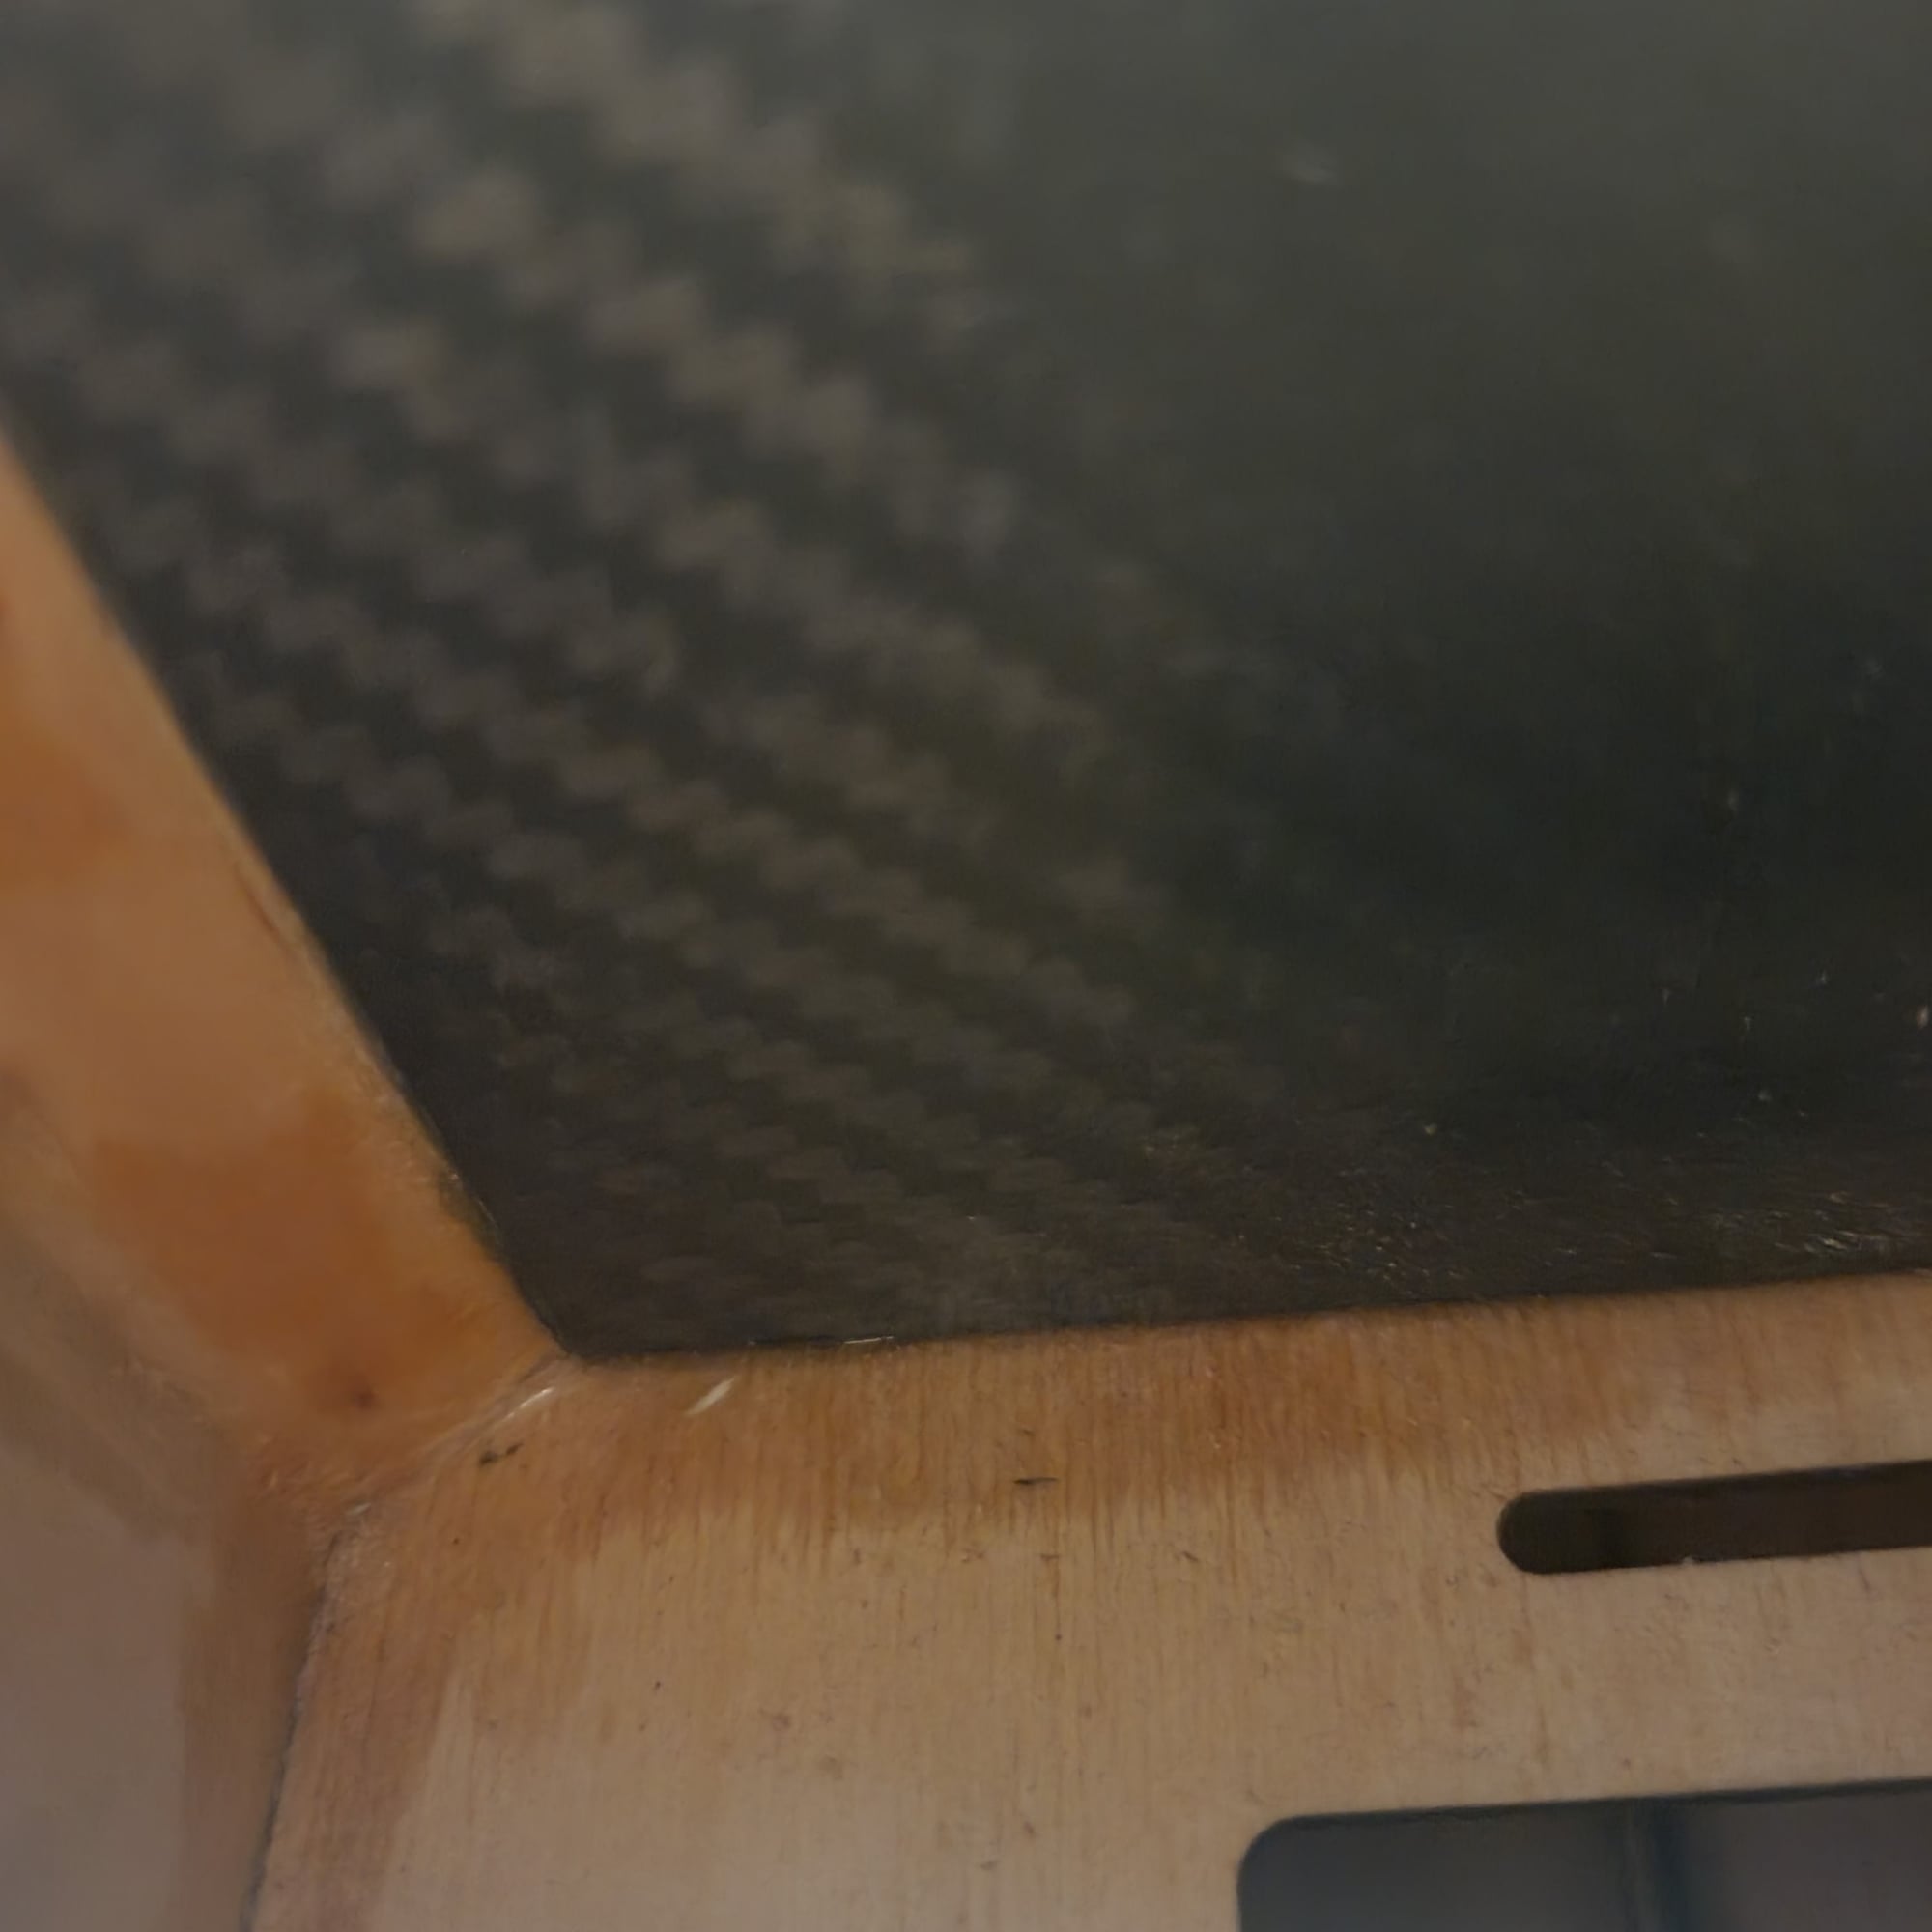
The first CF plate n place. (The easy one) Plate was 100 percent covered with 10 ml of 5 minute epoxy, placed, then taped in place until it went off. No matter where I tap either origional structure or new, I get that nice, solid sound. Not time for the back side which will have to be done in two smaller plates to get into the opening.
The Zenoa's steel mounting plate will then be bolted through the cf and firewall on engine install.
The Zenoa's steel mounting plate will then be bolted through the cf and firewall on engine install.
 01-29-2022, 03:54 PM
#111
Senior Member
Thread Starter
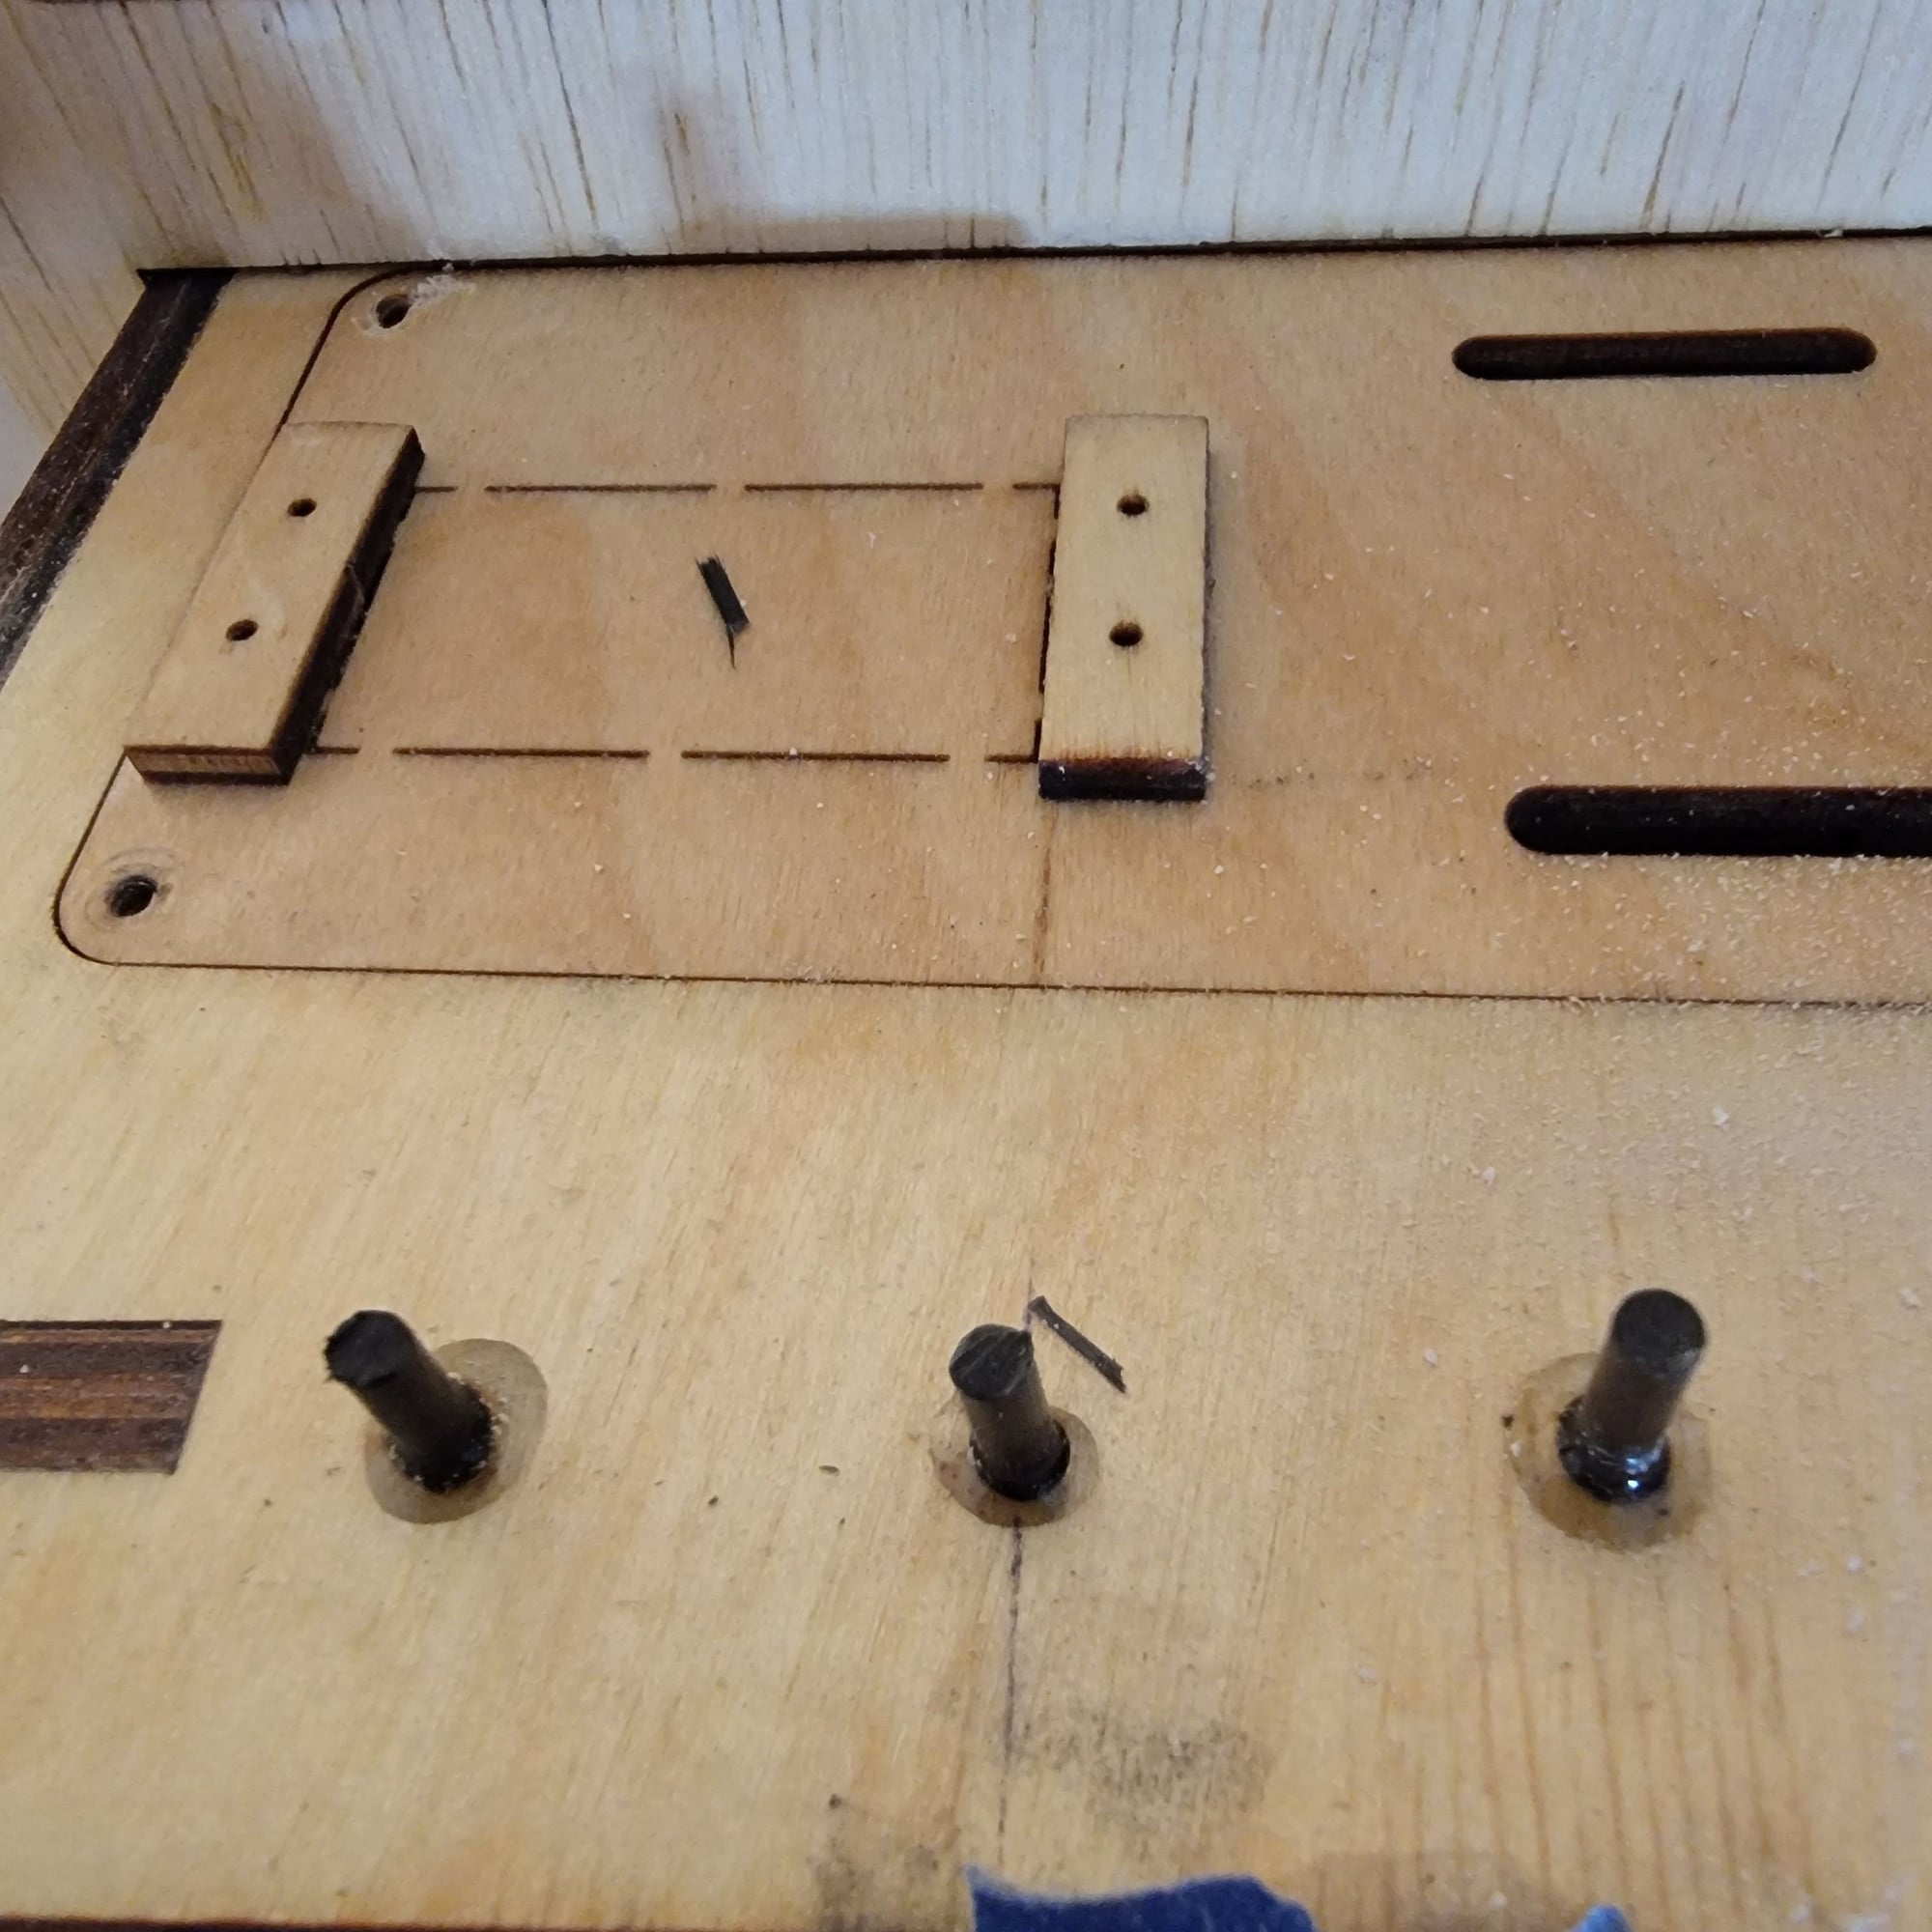
CF dowels inserted. Thes will be cut level and sanded smooth, they will pin the firewall in place.
Since I am waiting for a new retract controller setup from dreamworks rc to run the retracts and doors, I'm working on trying to get the firewall notched for the carb. More to come on that. Once the epoxy has set up I'll trim the dowels off.
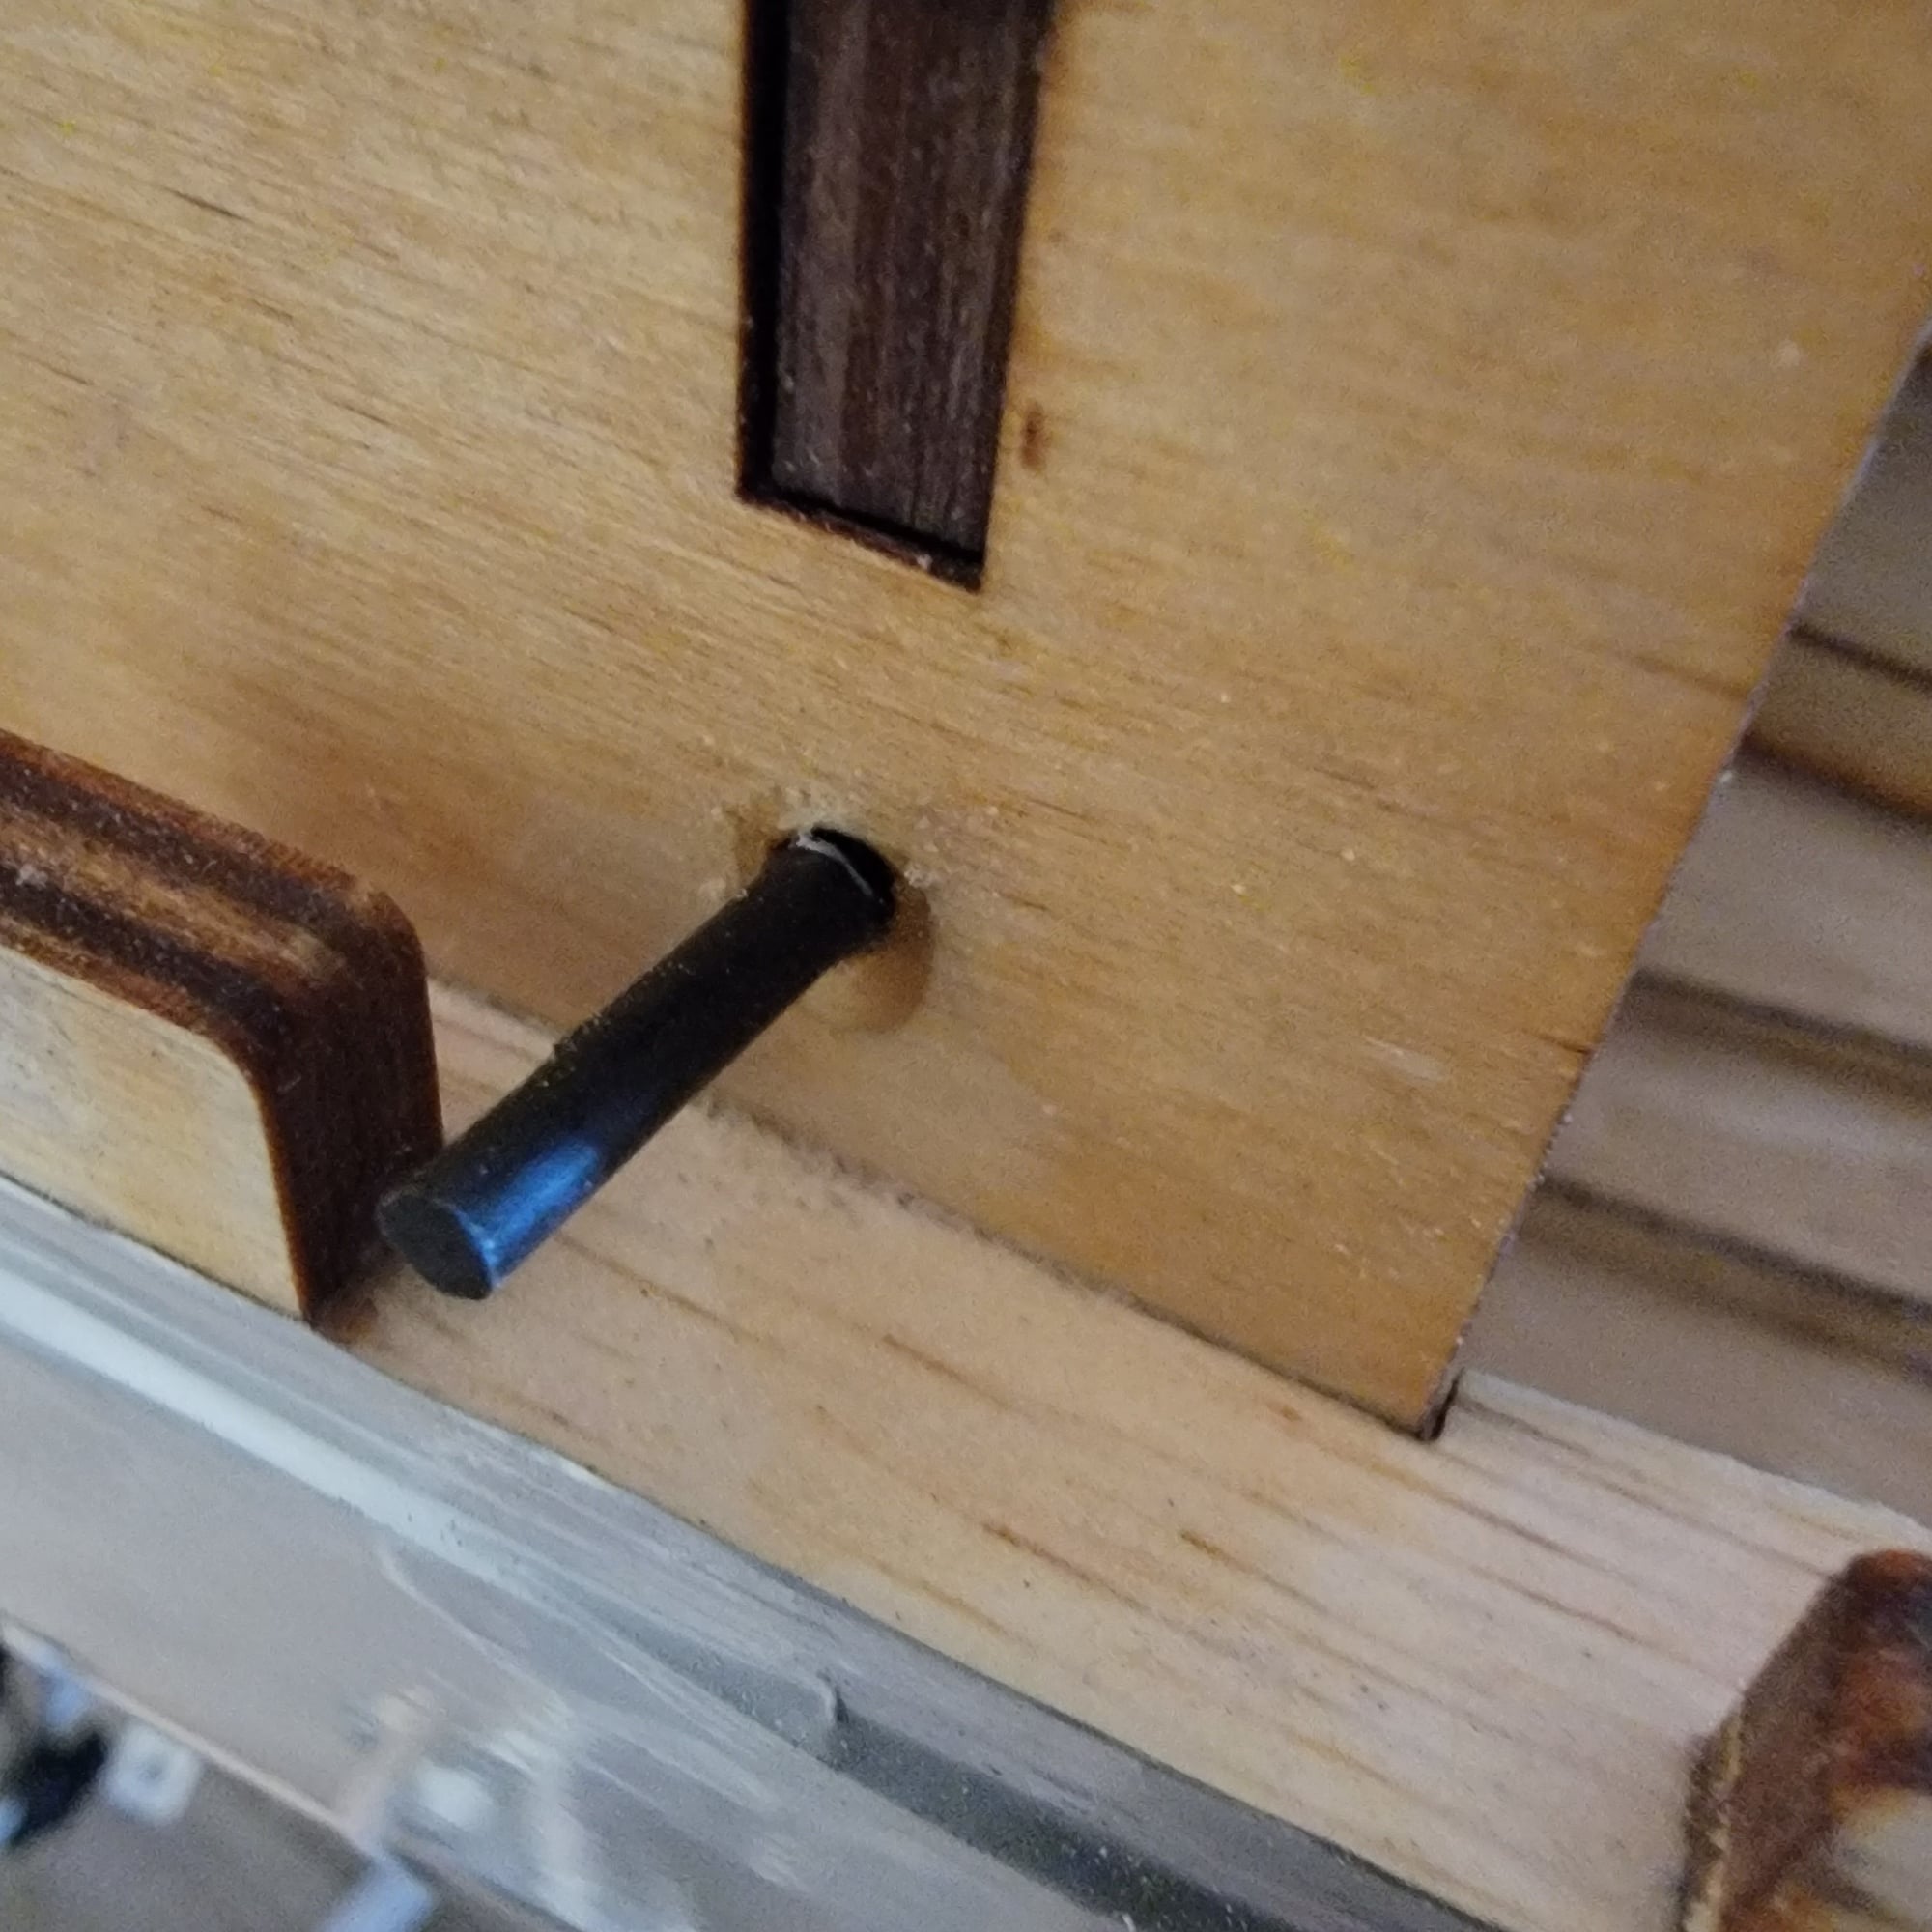
Since I am waiting for a new retract controller setup from dreamworks rc to run the retracts and doors, I'm working on trying to get the firewall notched for the carb. More to come on that. Once the epoxy has set up I'll trim the dowels off.
01-29-2022, 06:11 PM
#112
Senior Member
Thread Starter
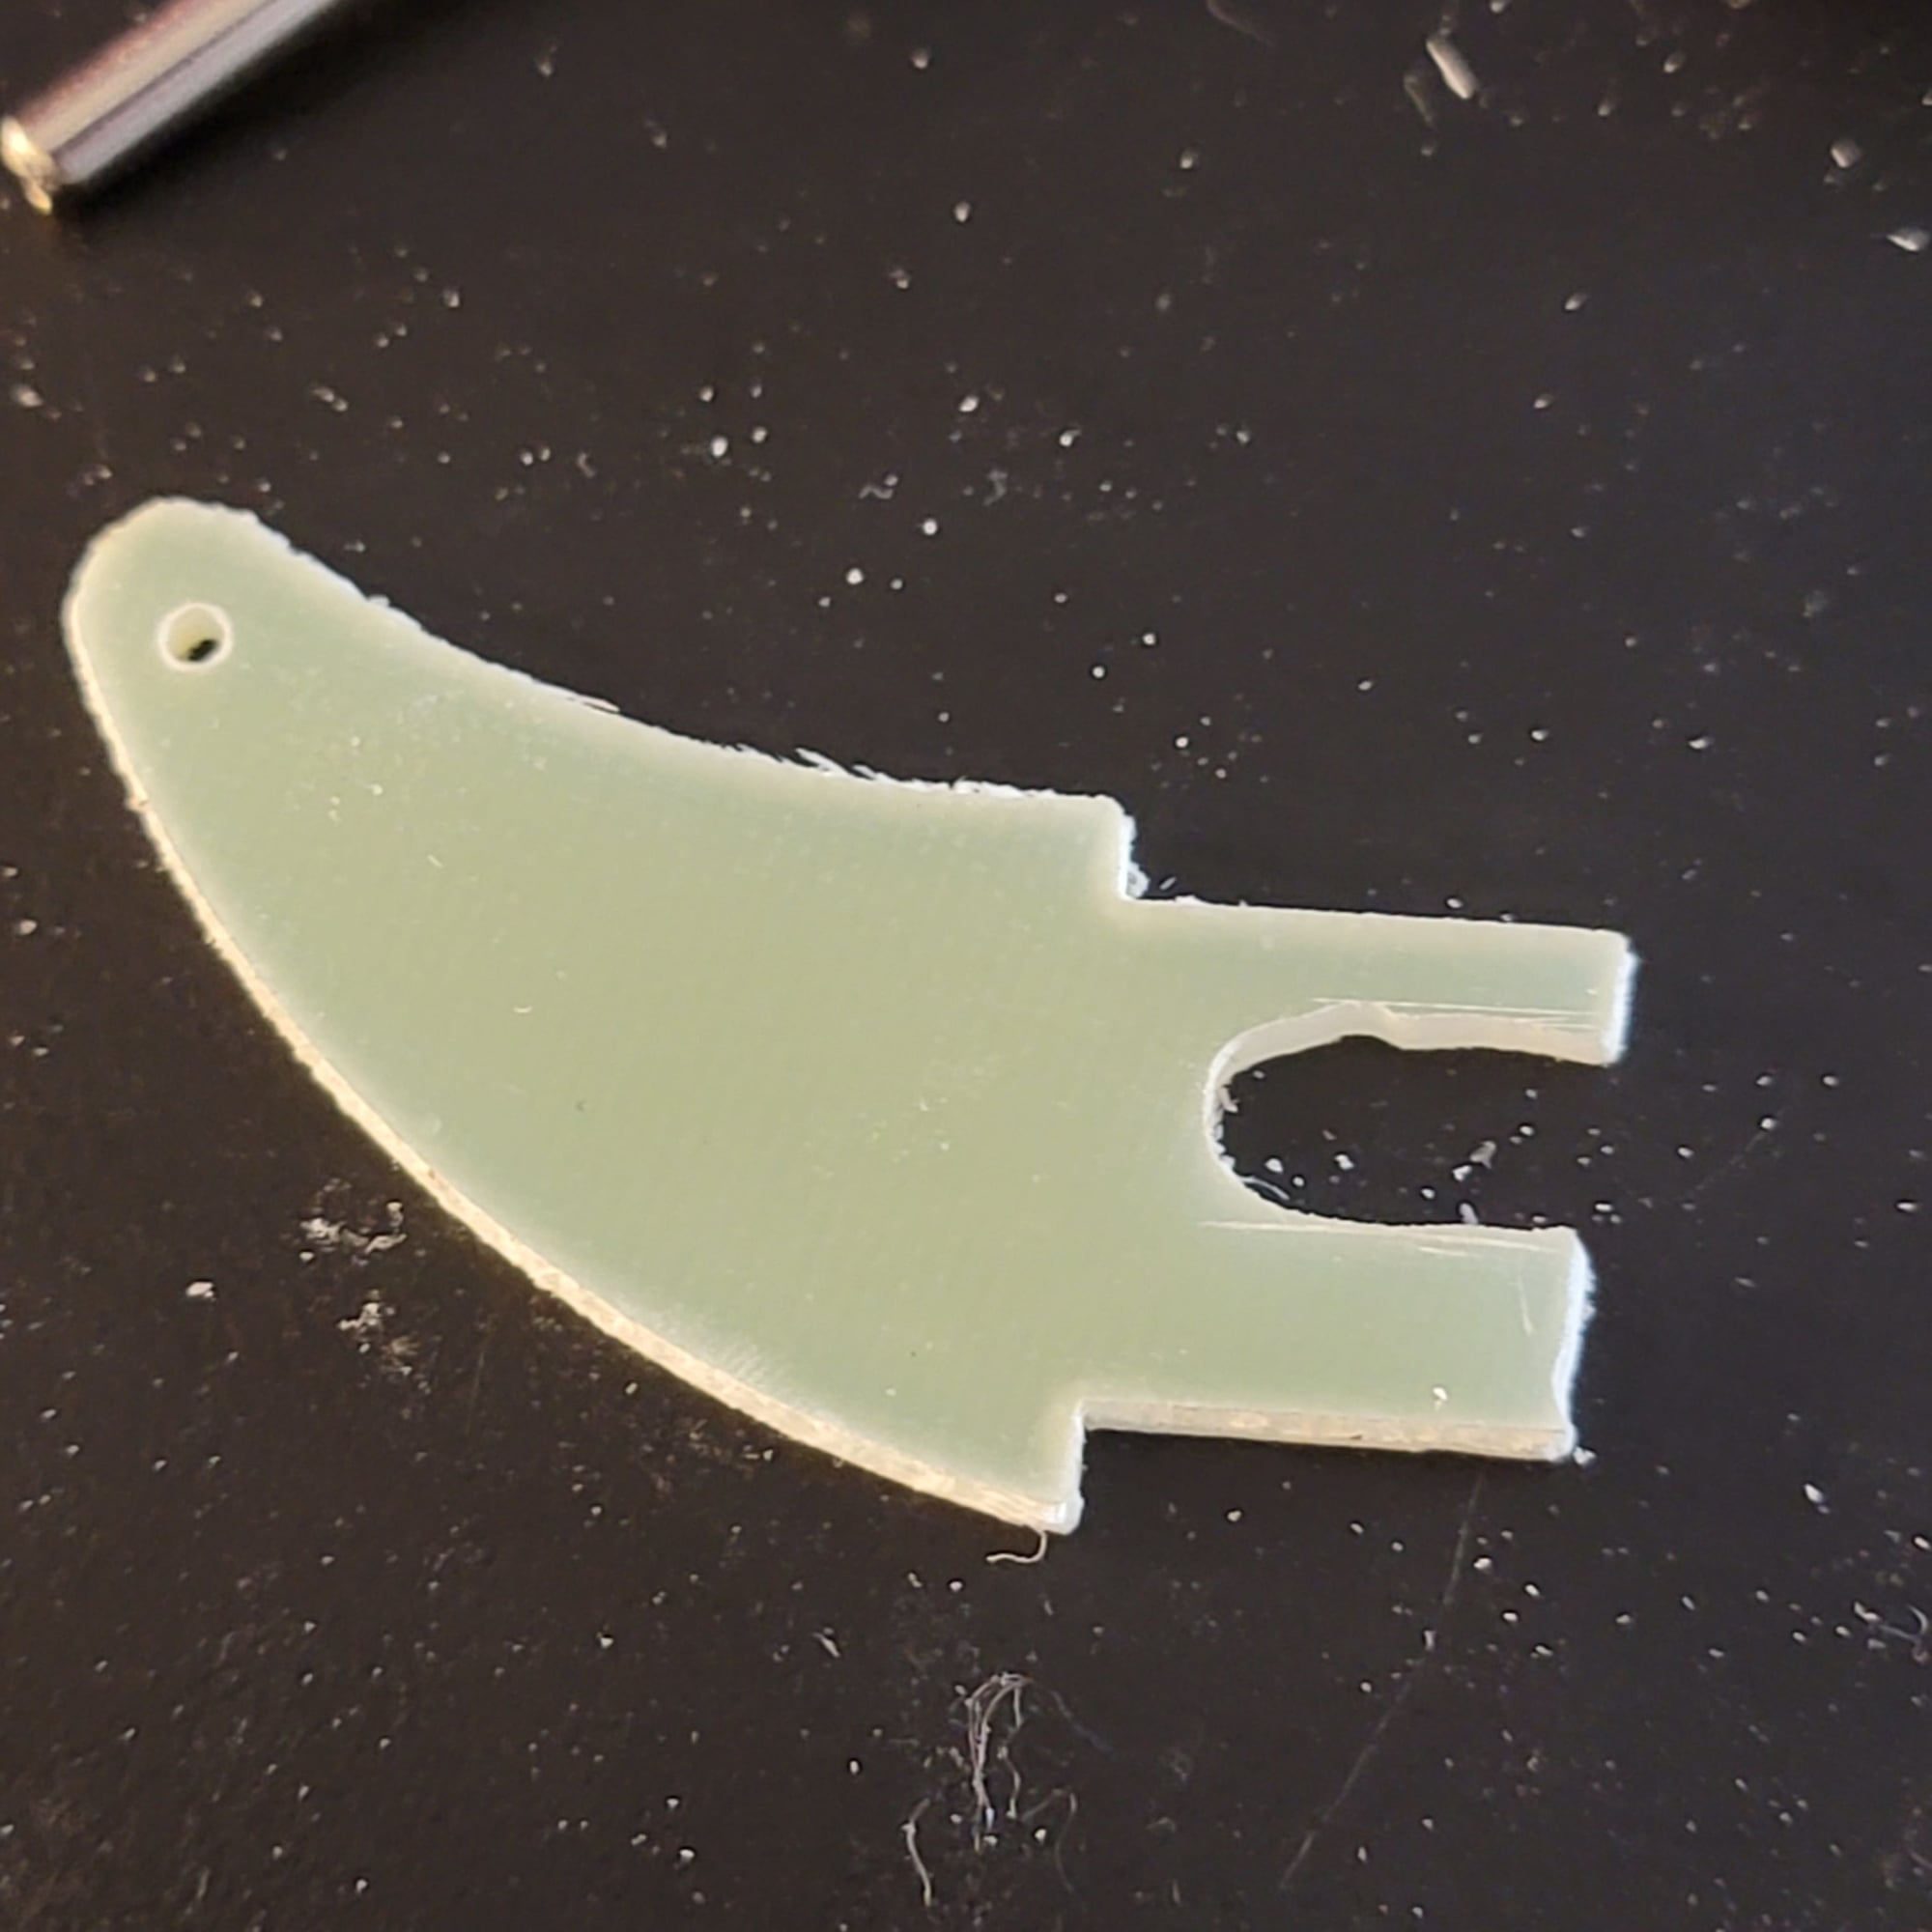
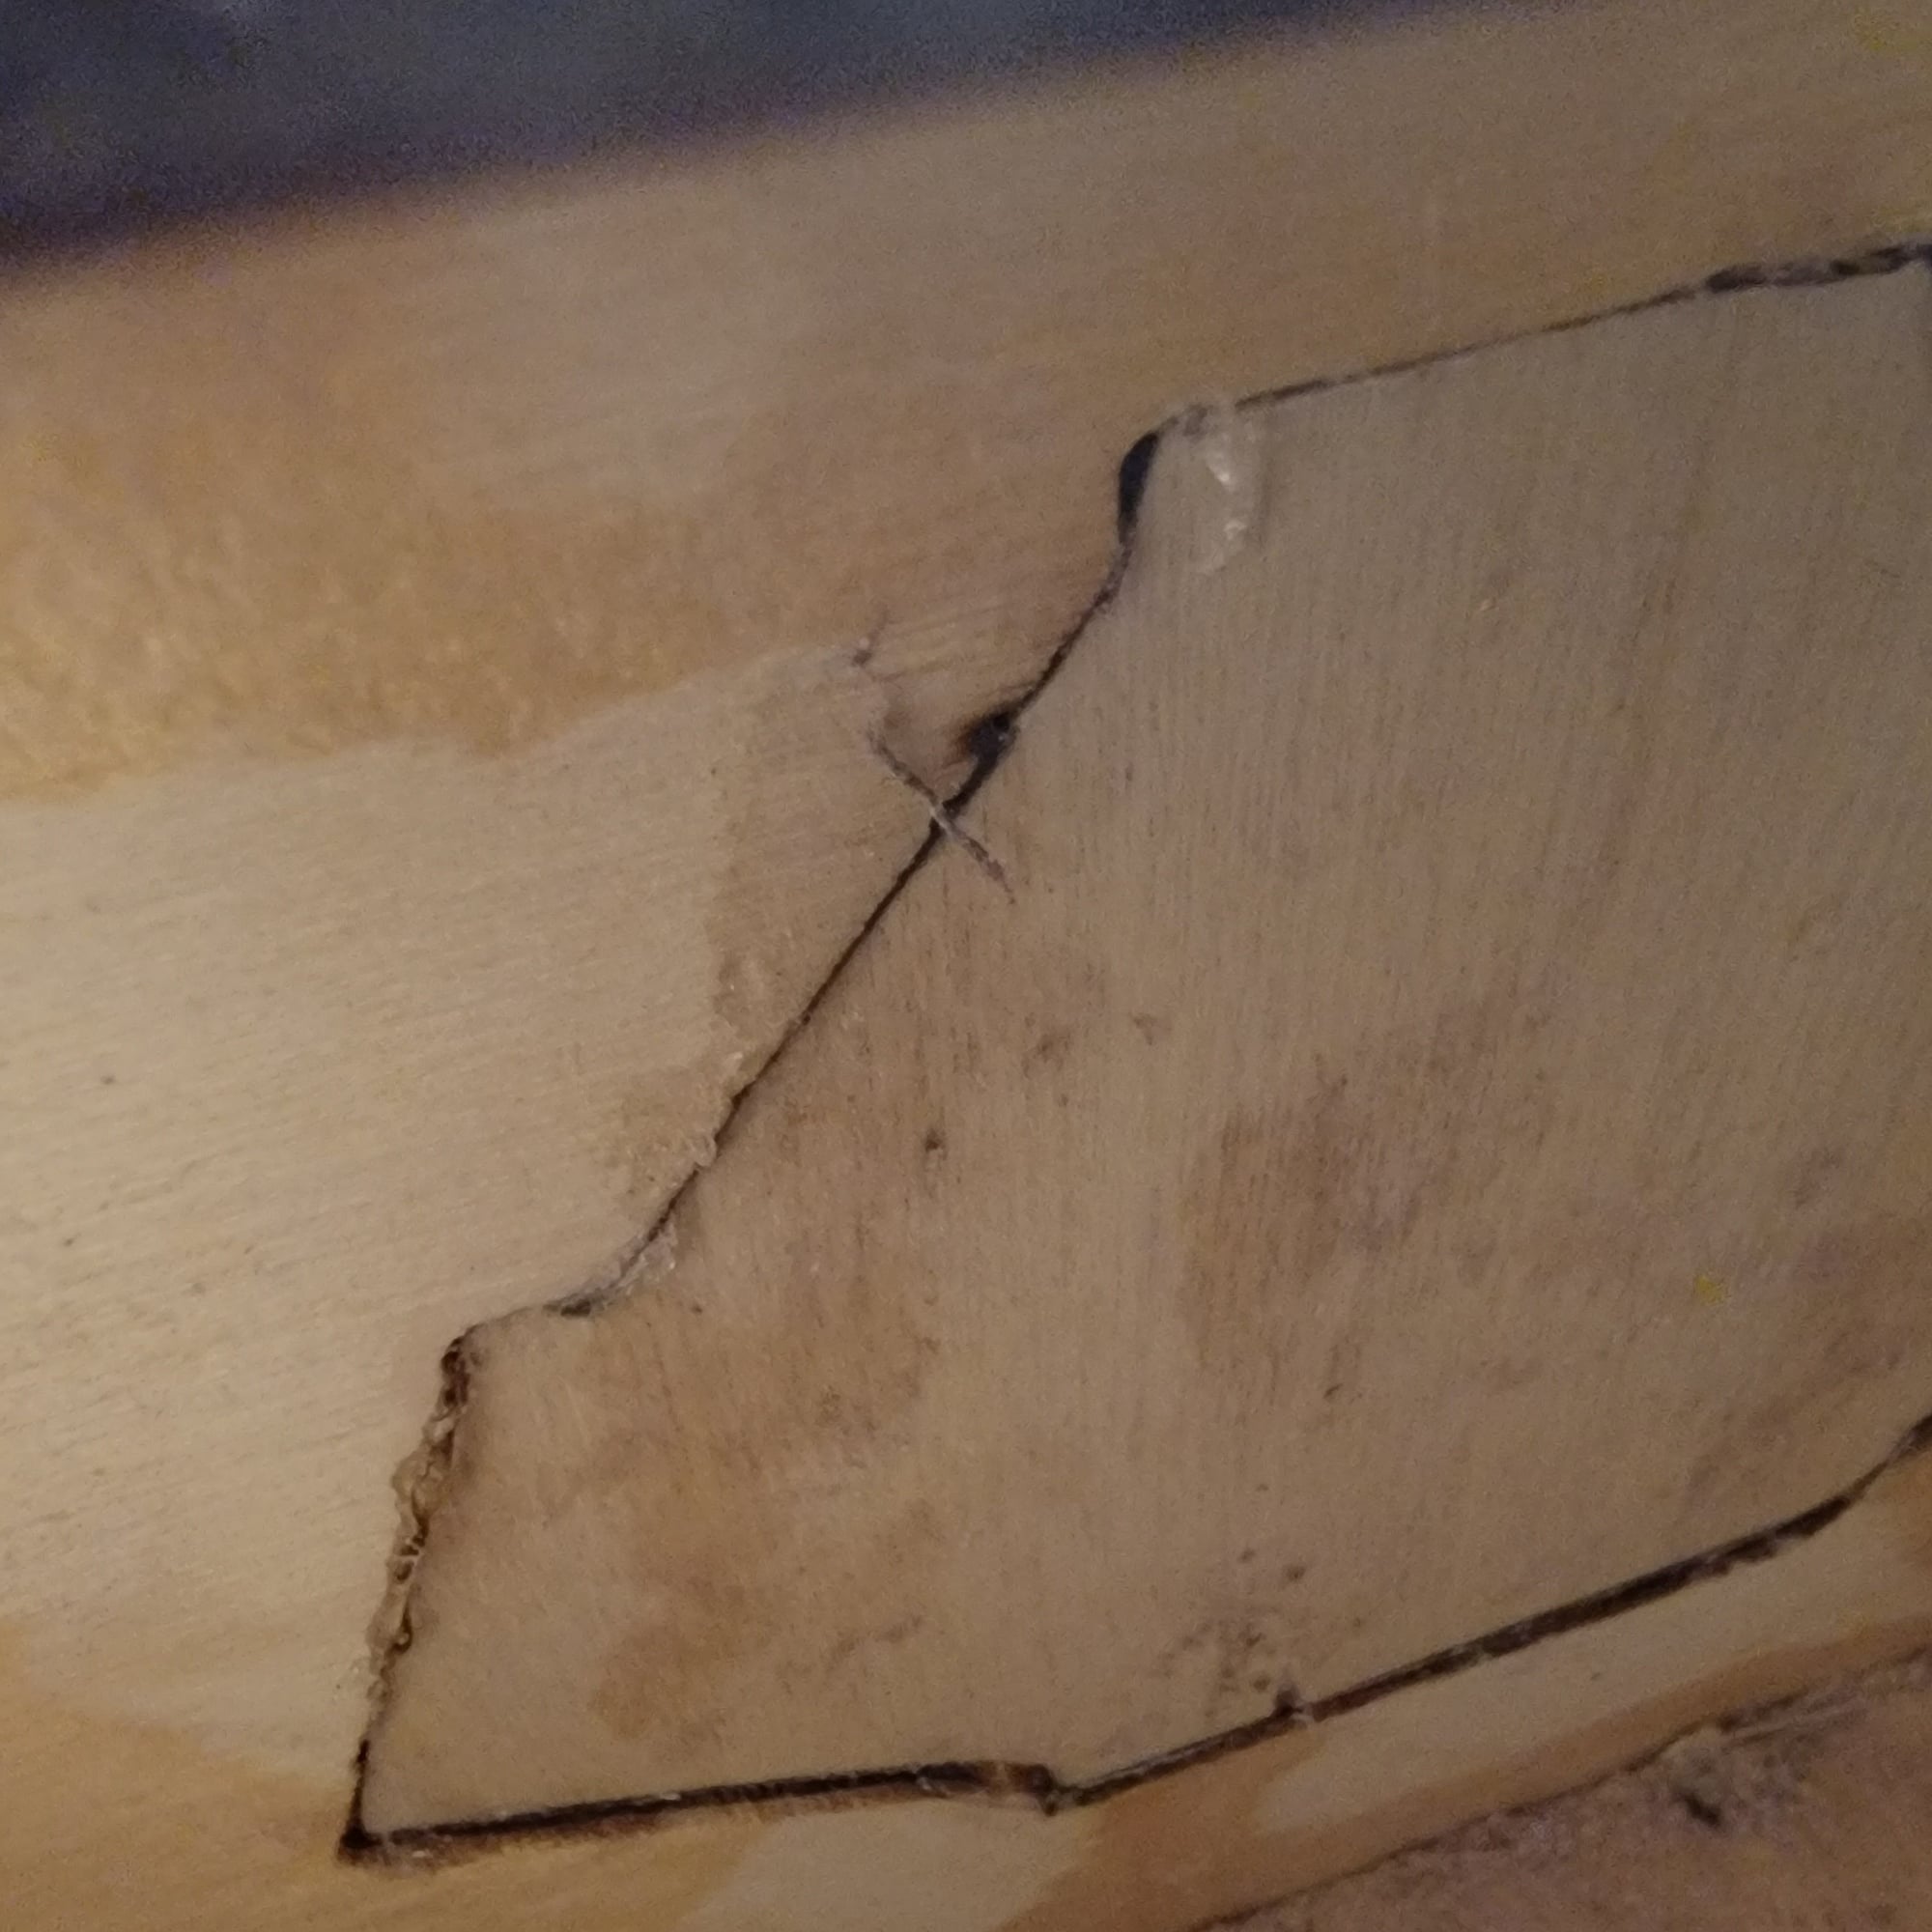
Working on carburetor notch. It will be boxed in with aircraft ply to restore the structure and gussets will be placed tying it back into the existing structure at sides of fuselage as well as top. The back cf plate popped off during the cutting. It will be put back in place.
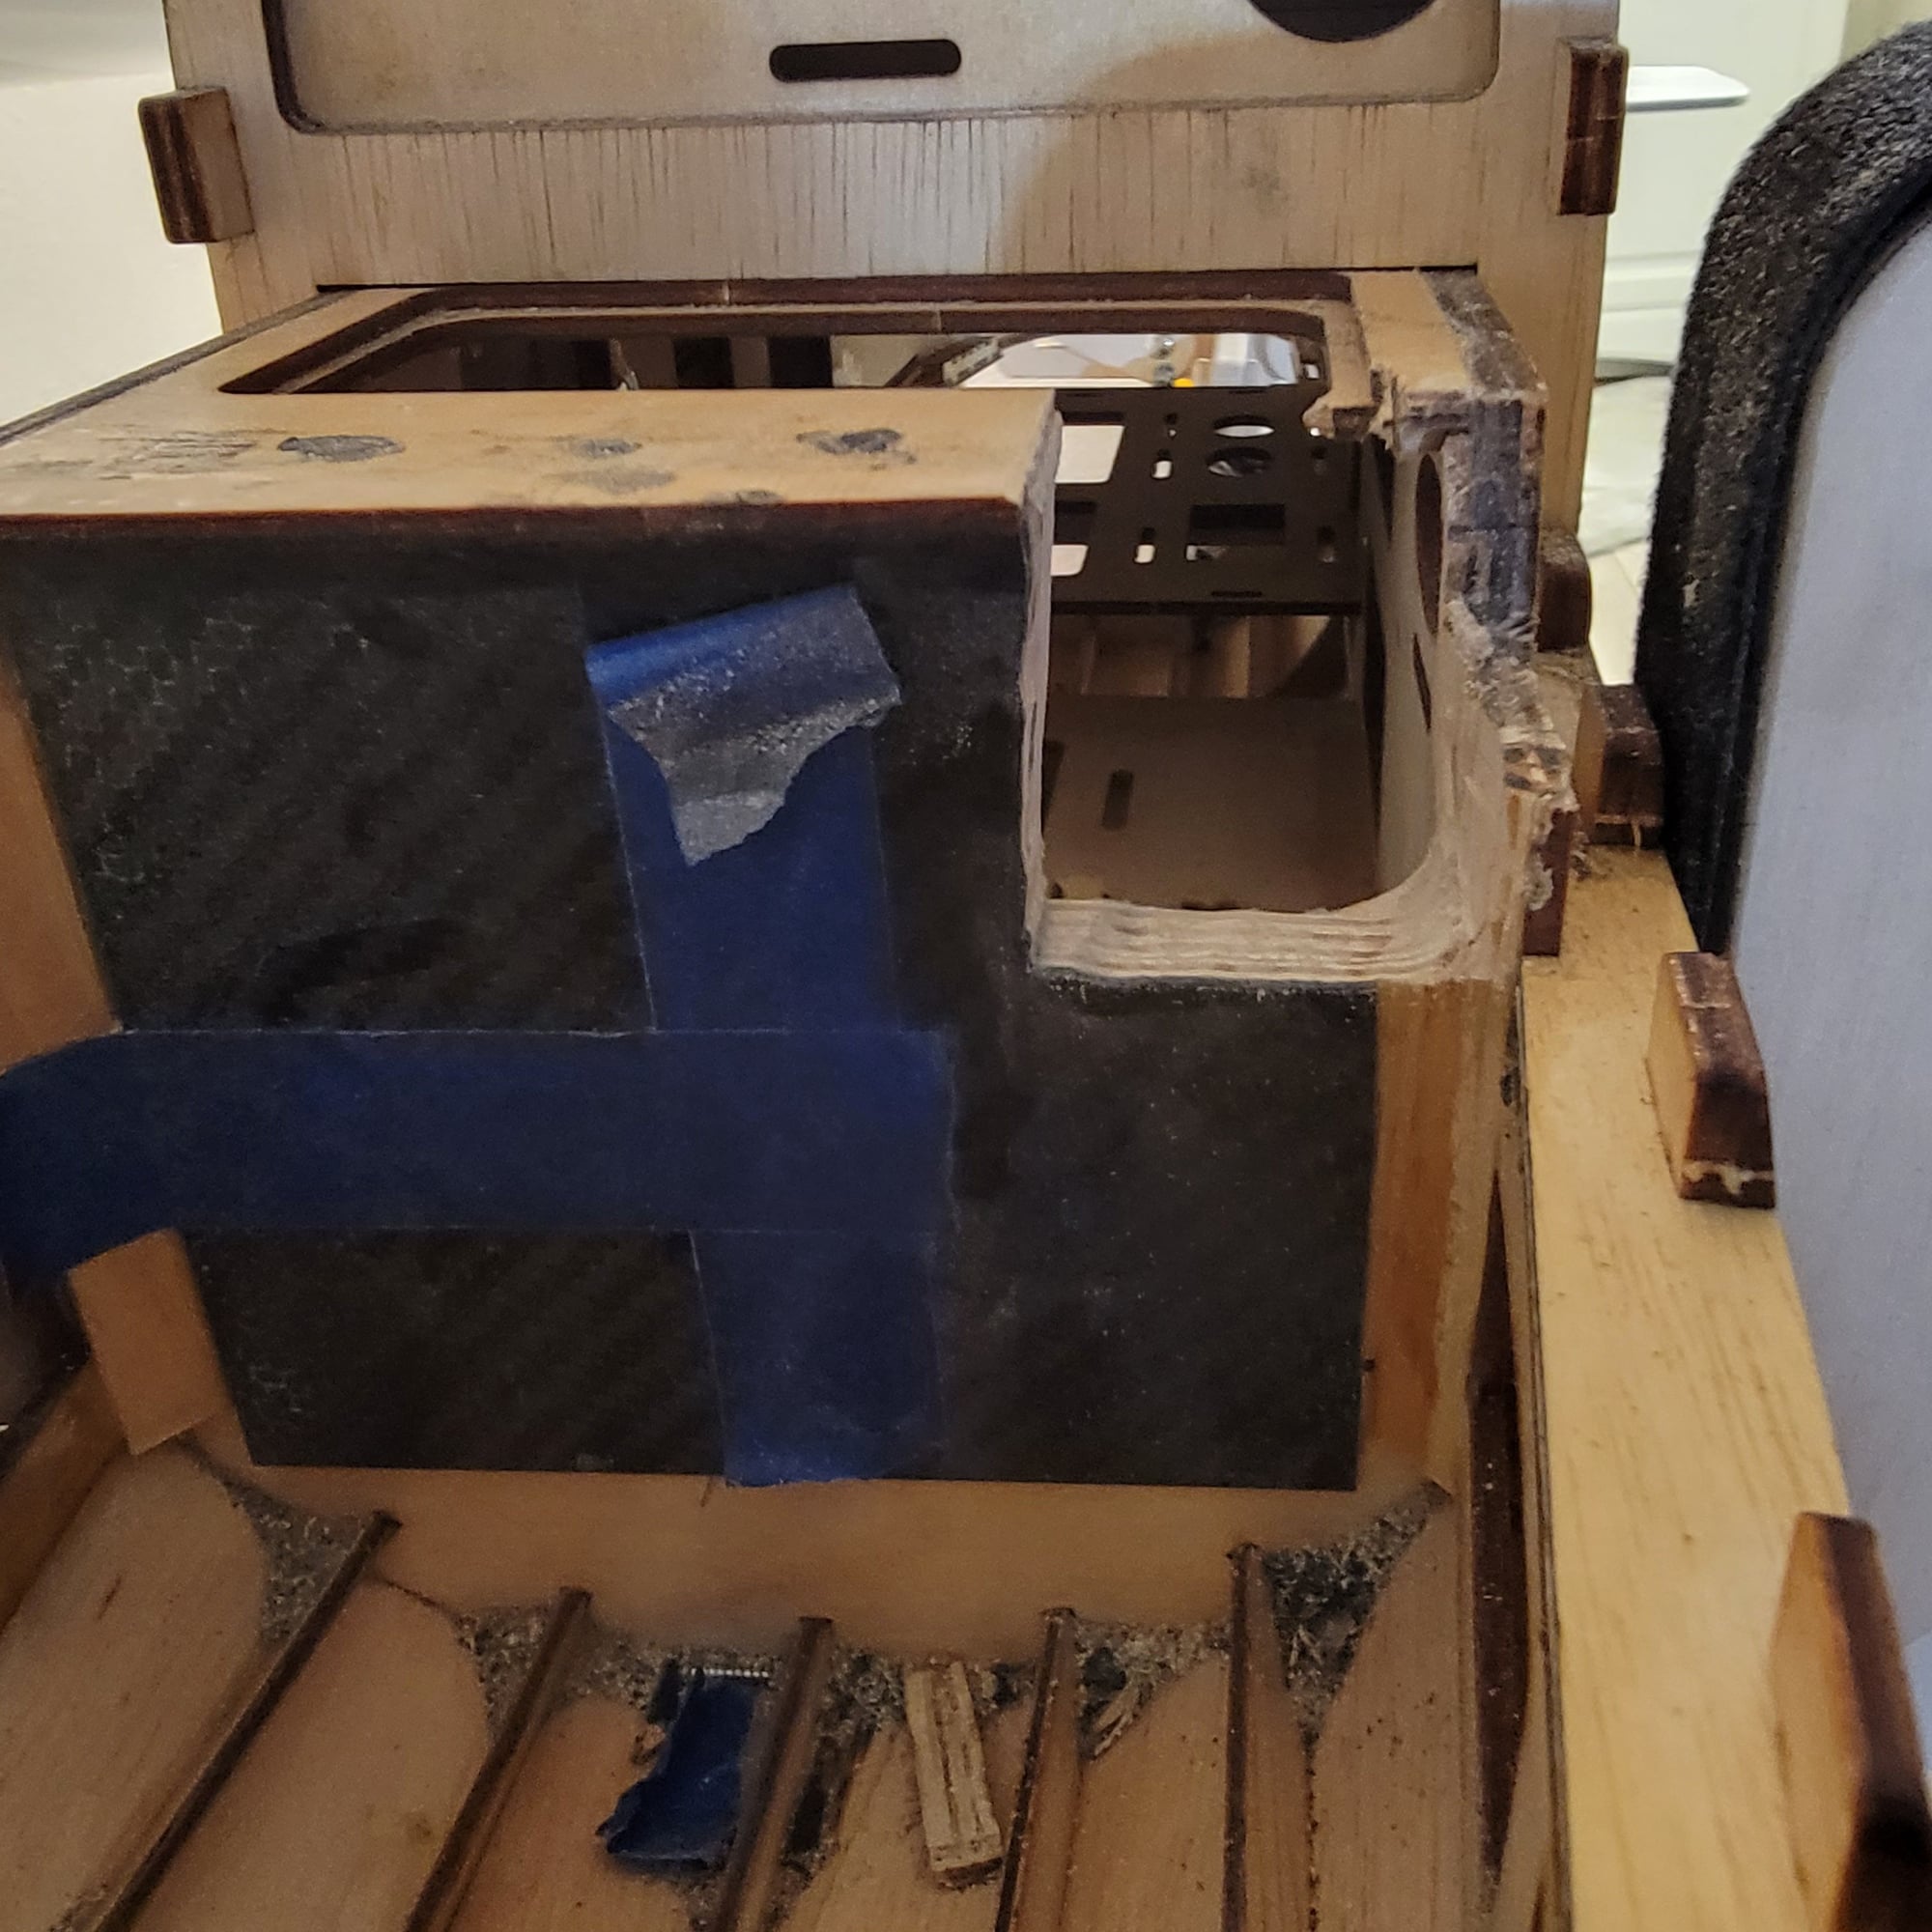
the tape is to mark crankshaft center. Had to use tape cuz cf don't take to being marked too well.
still a lot of work to do to the notch.
the tape is to mark crankshaft center. Had to use tape cuz cf don't take to being marked too well.
still a lot of work to do to the notch.
Last edited by Txmustangflyer; 01-30-2022 at 07:22 AM.
01-30-2022, 10:05 AM
#113
Senior Member
Thread Starter
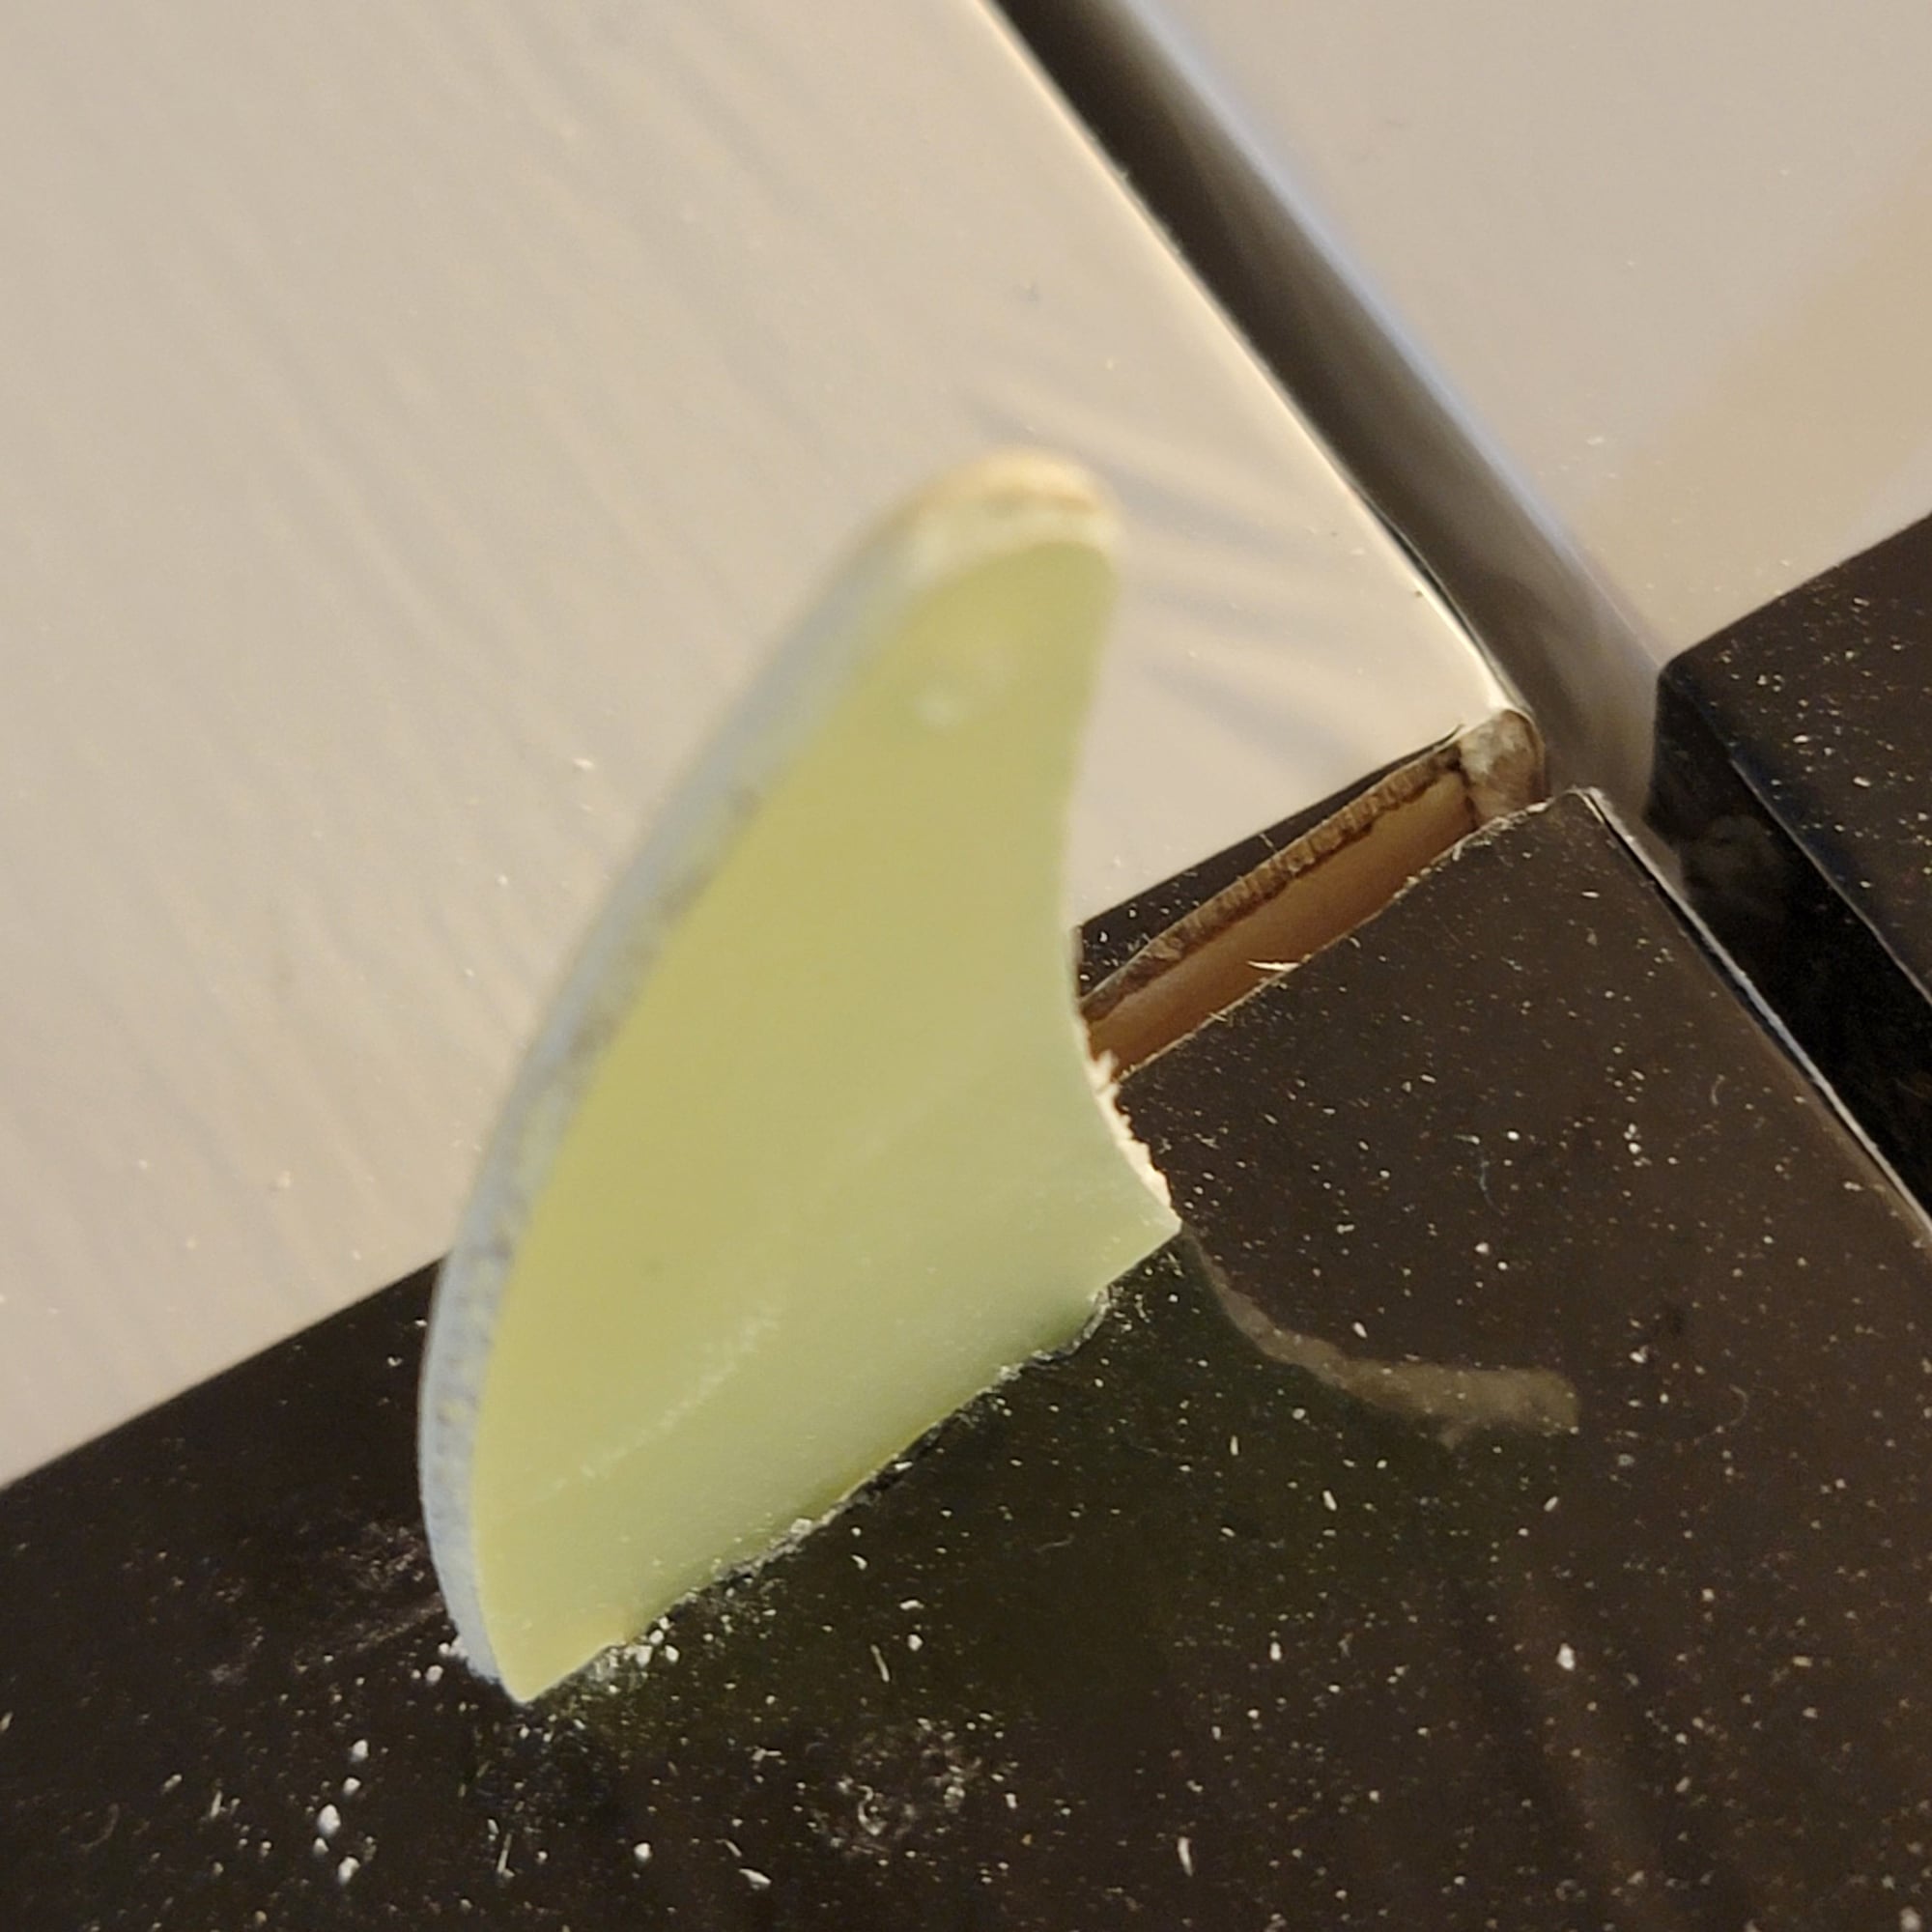
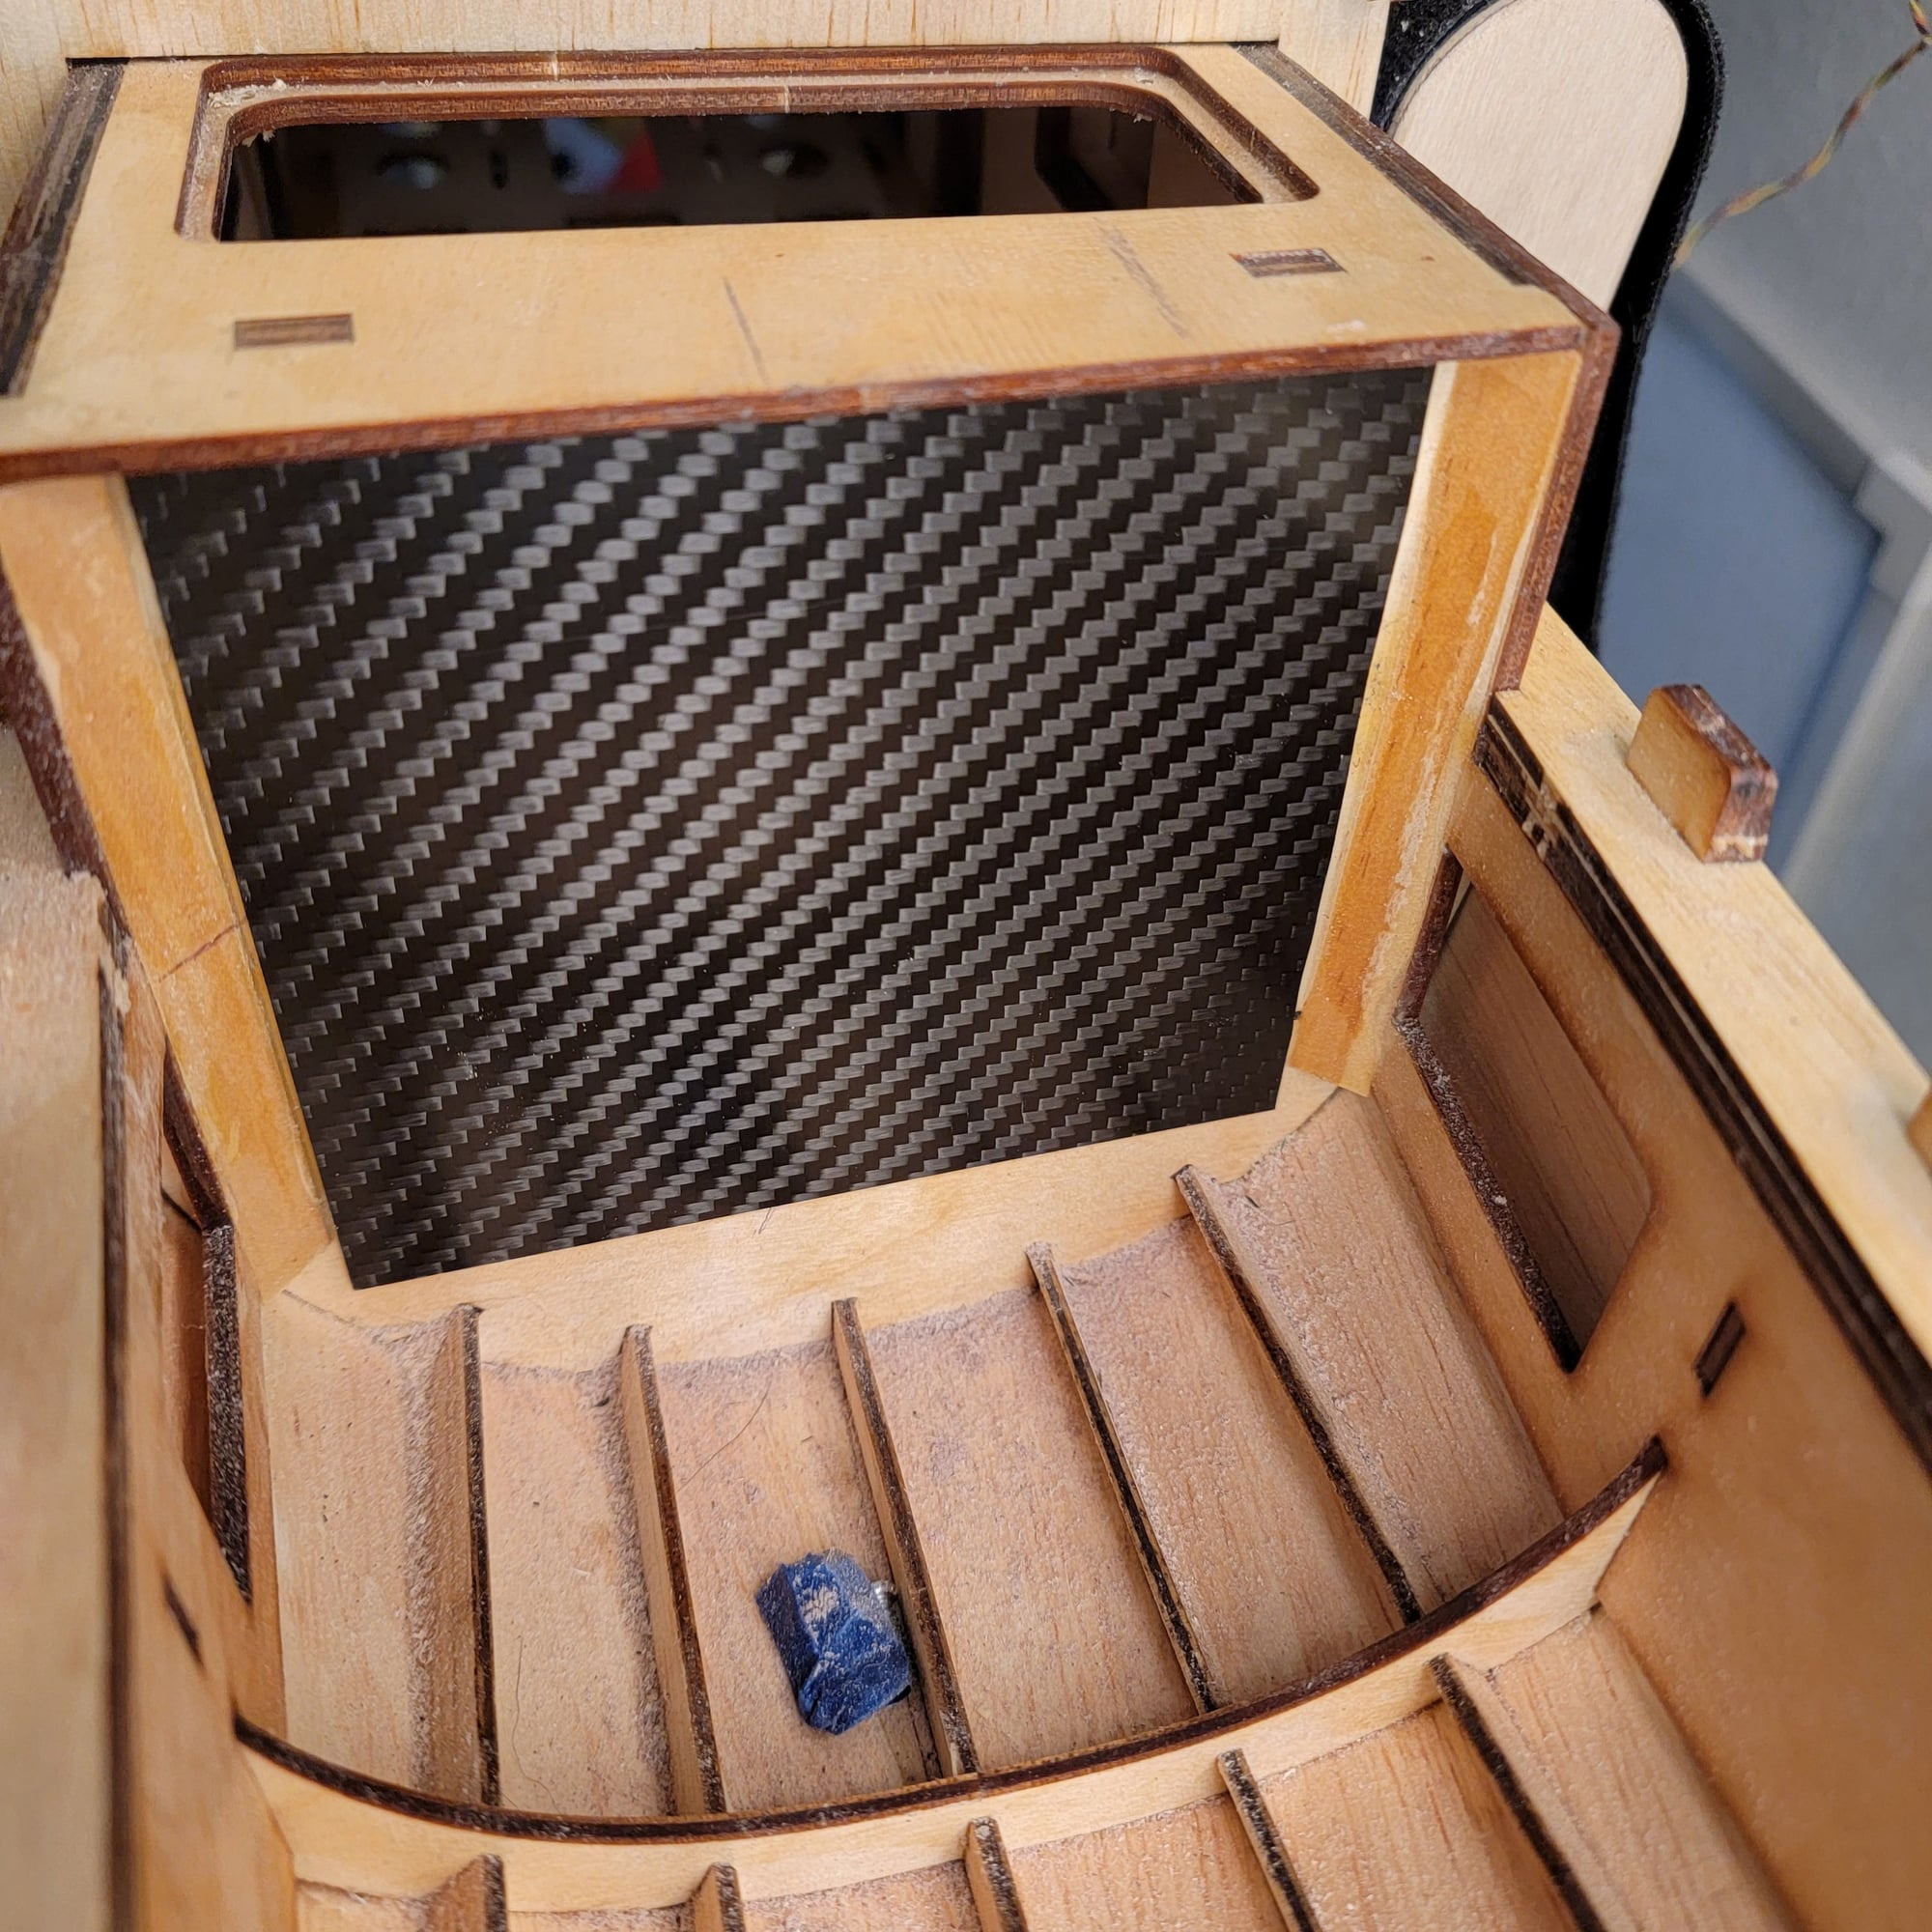
The notch is getting close yo being finished. CF gussets placed and epoxied in.
Strucure is back. With exception of final shaping and sealing a couple of gaps.
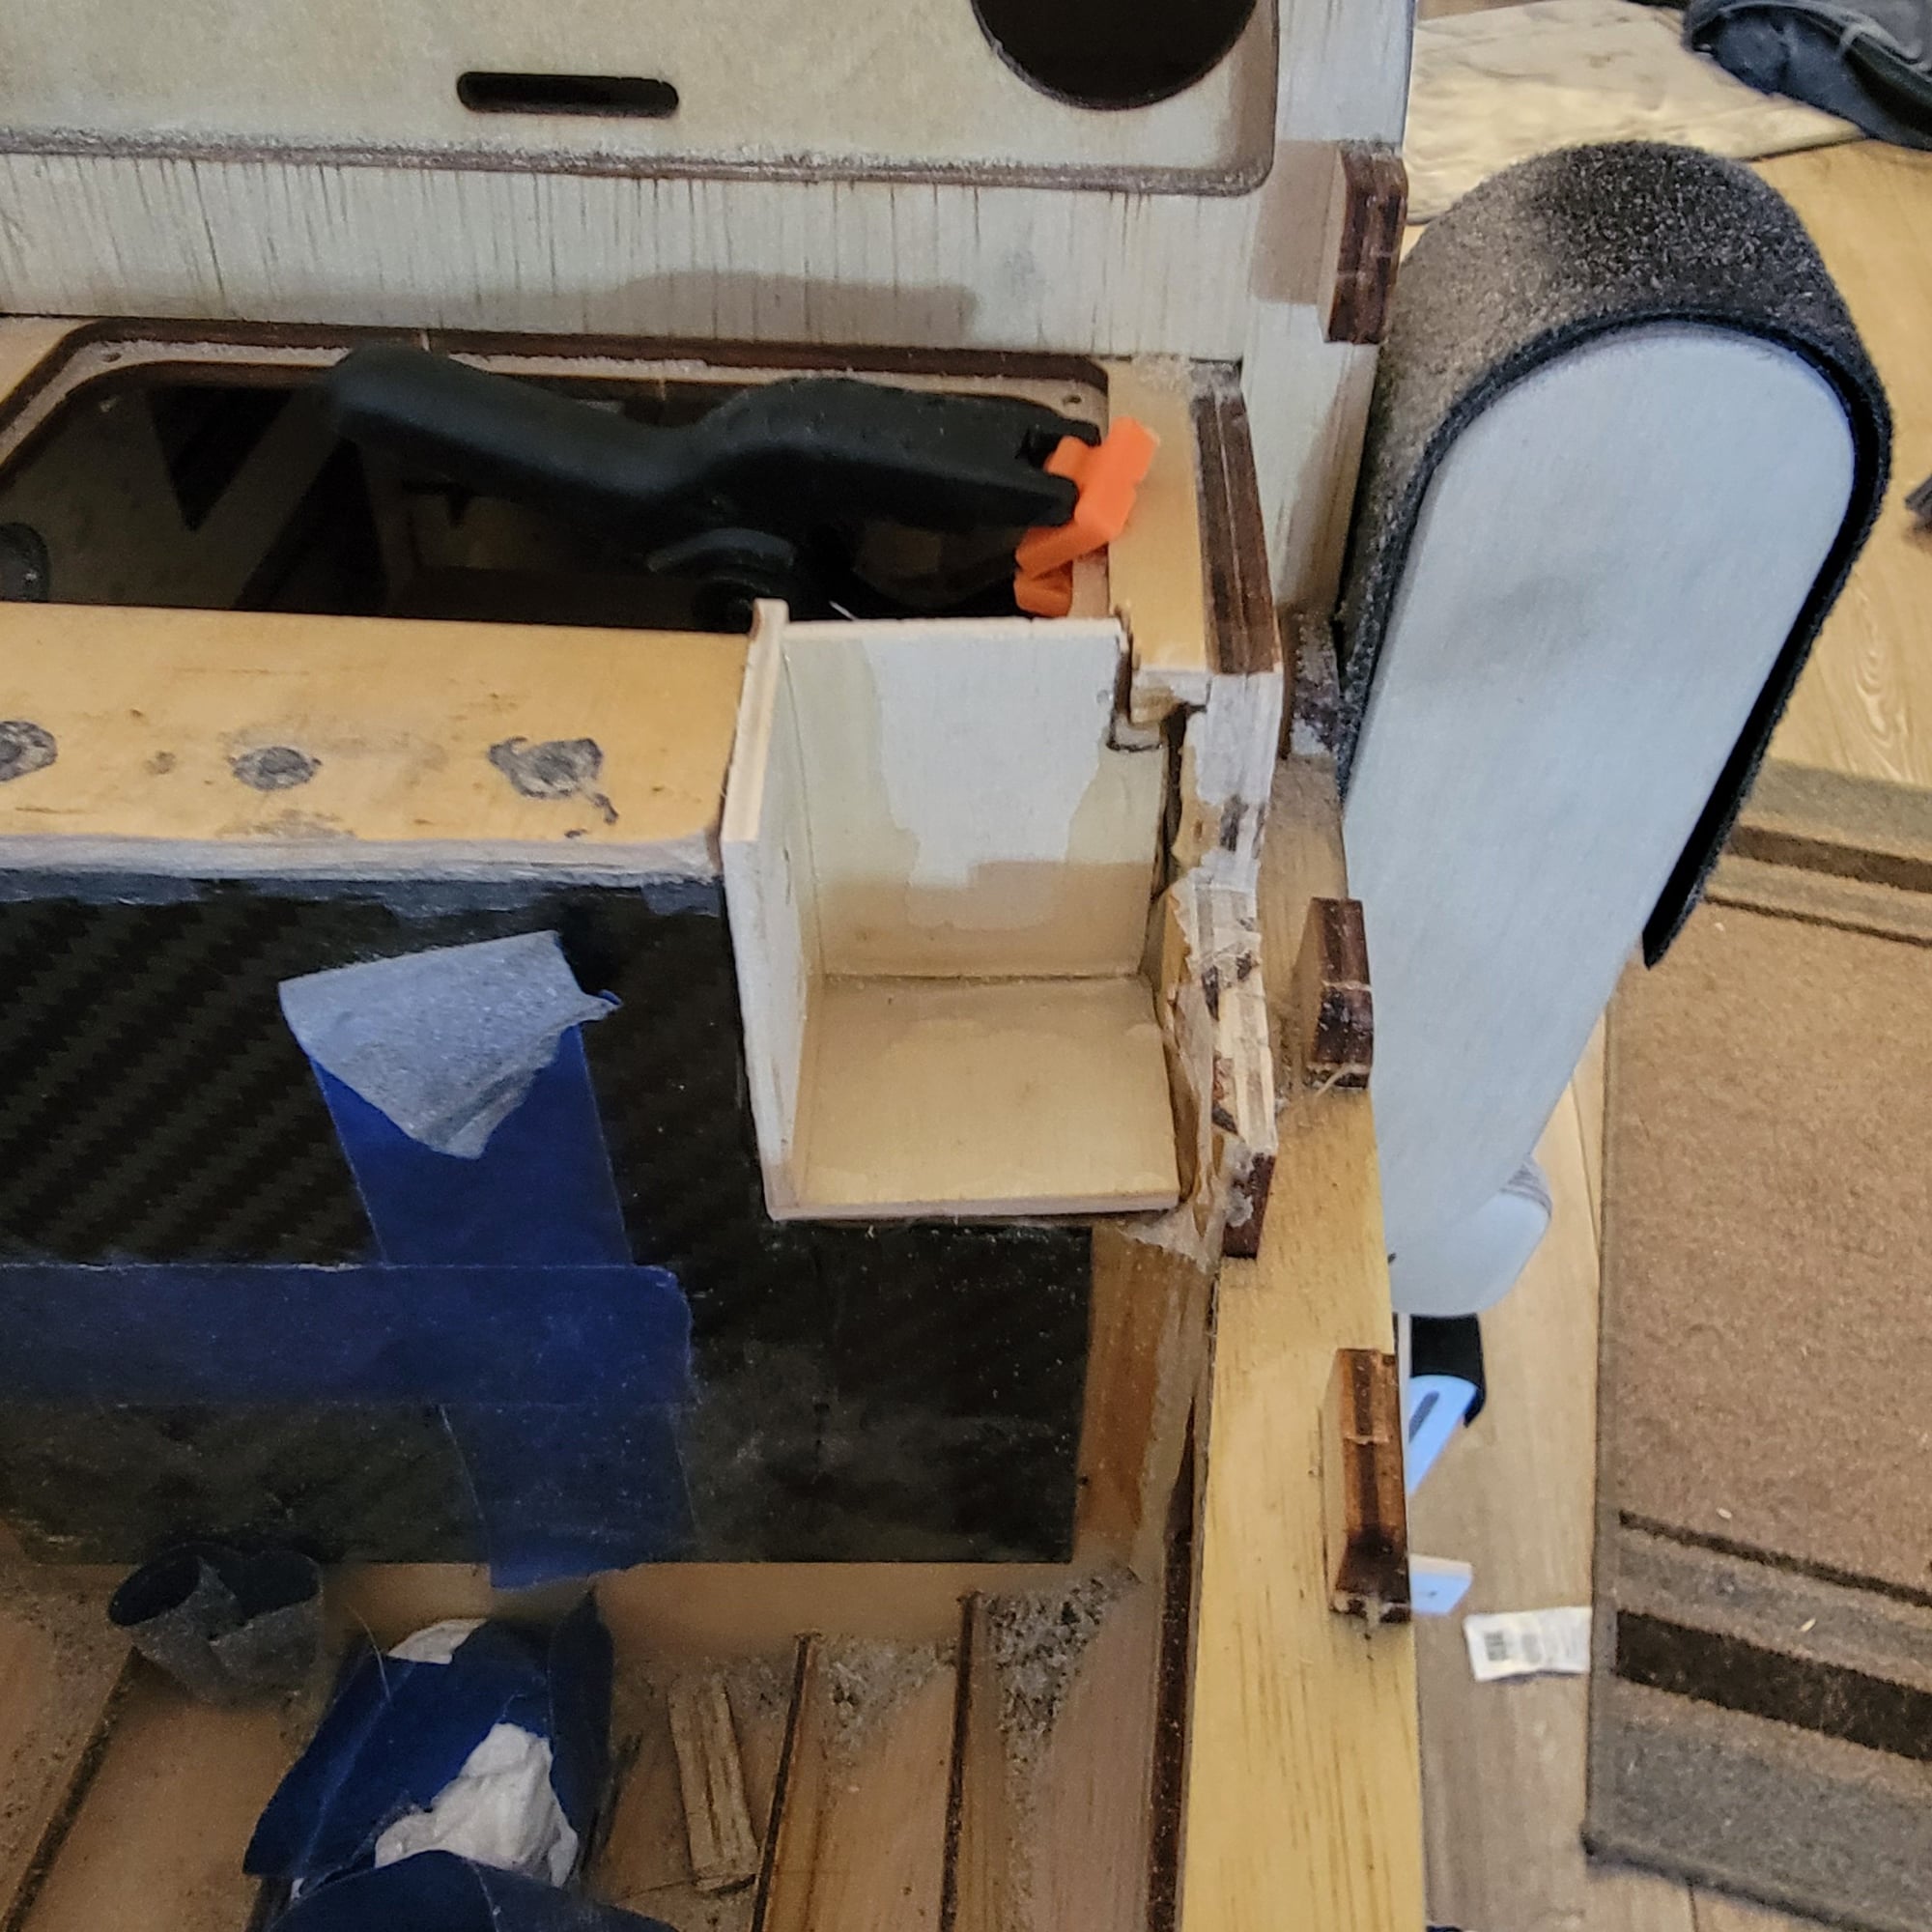
Time to take a break for a few hours, let all the epoxy set really good, then time to modify the zenoah's mounting plate for the carb and notch and maybe, just maybe, get the firewall drilled. If I can get that done today then I can get some klass kote mixed up tomorrow and get the engine bay painted.
Strucure is back. With exception of final shaping and sealing a couple of gaps.
Time to take a break for a few hours, let all the epoxy set really good, then time to modify the zenoah's mounting plate for the carb and notch and maybe, just maybe, get the firewall drilled. If I can get that done today then I can get some klass kote mixed up tomorrow and get the engine bay painted.
Last edited by Txmustangflyer; 01-30-2022 at 10:31 AM.
01-30-2022, 10:55 AM
#114
Senior Member
Thread Starter
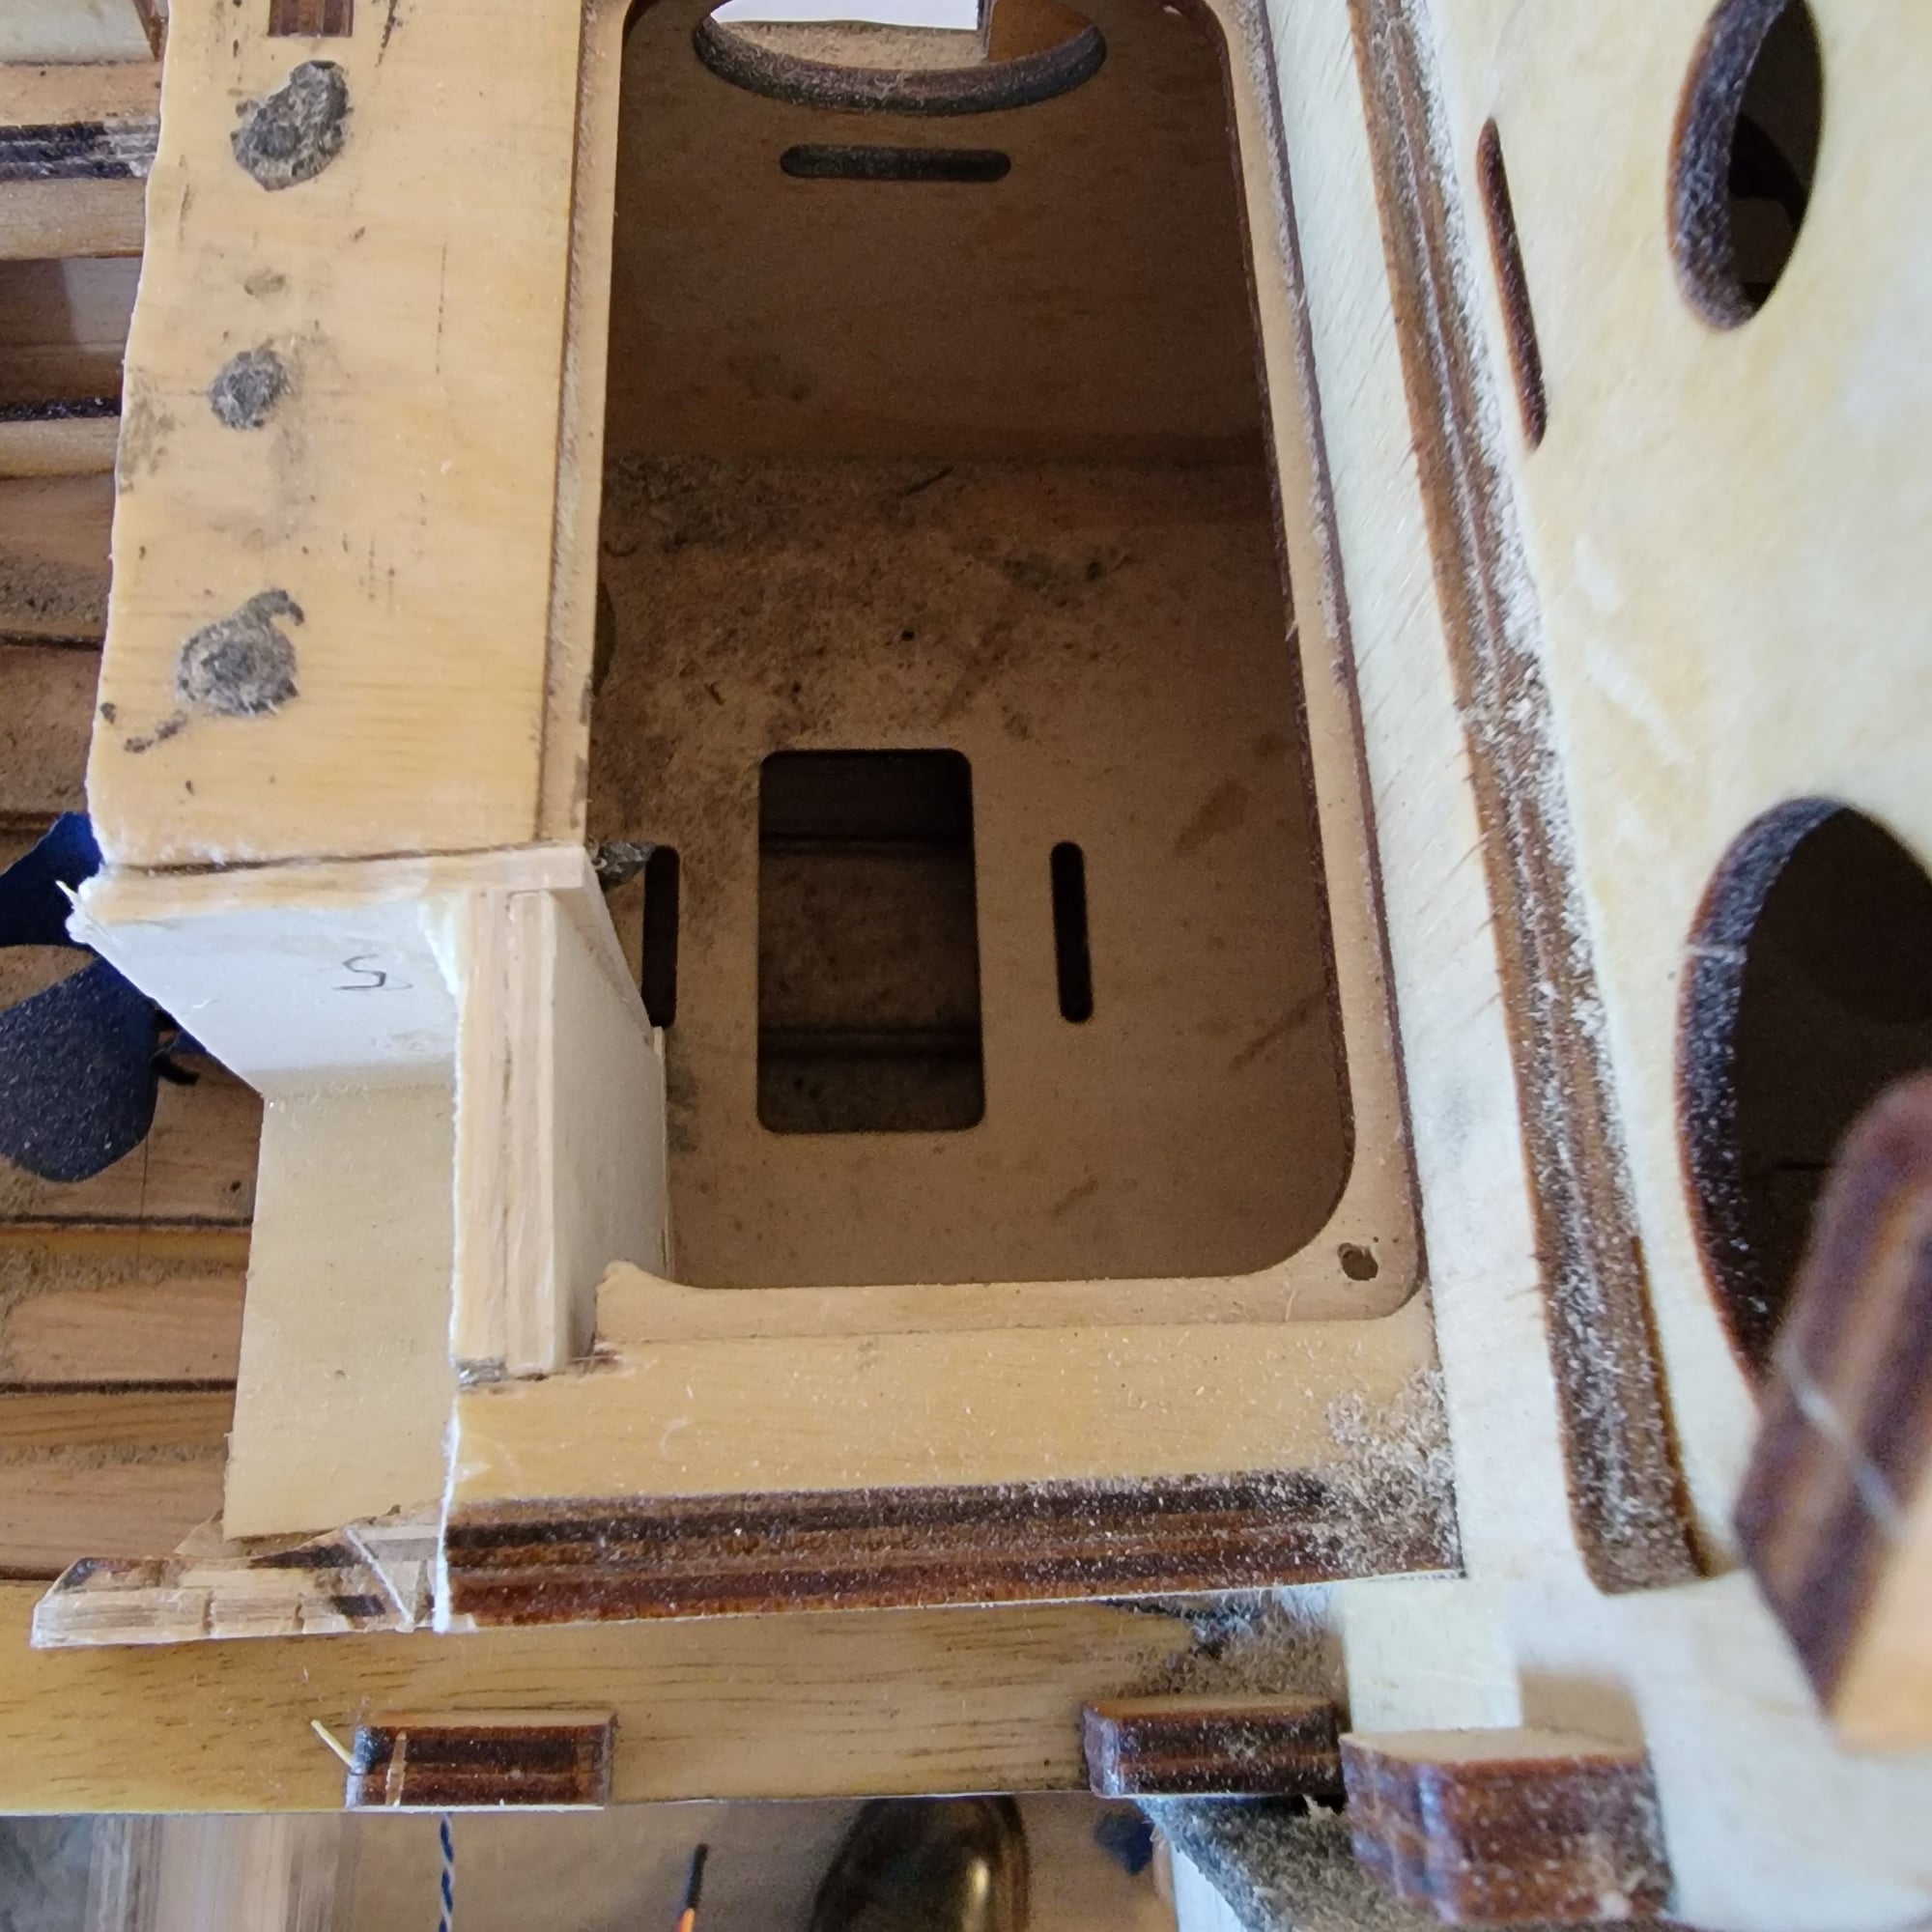
Heres another shot from above. You can just see the end of one of the cf gussets poking out (it will be sanded off..its knife sharp at moment. Next step is restoring the notch for the plywood panel that covers that opening.

 01-30-2022, 02:23 PM
#116
Senior Member
Thread Starter
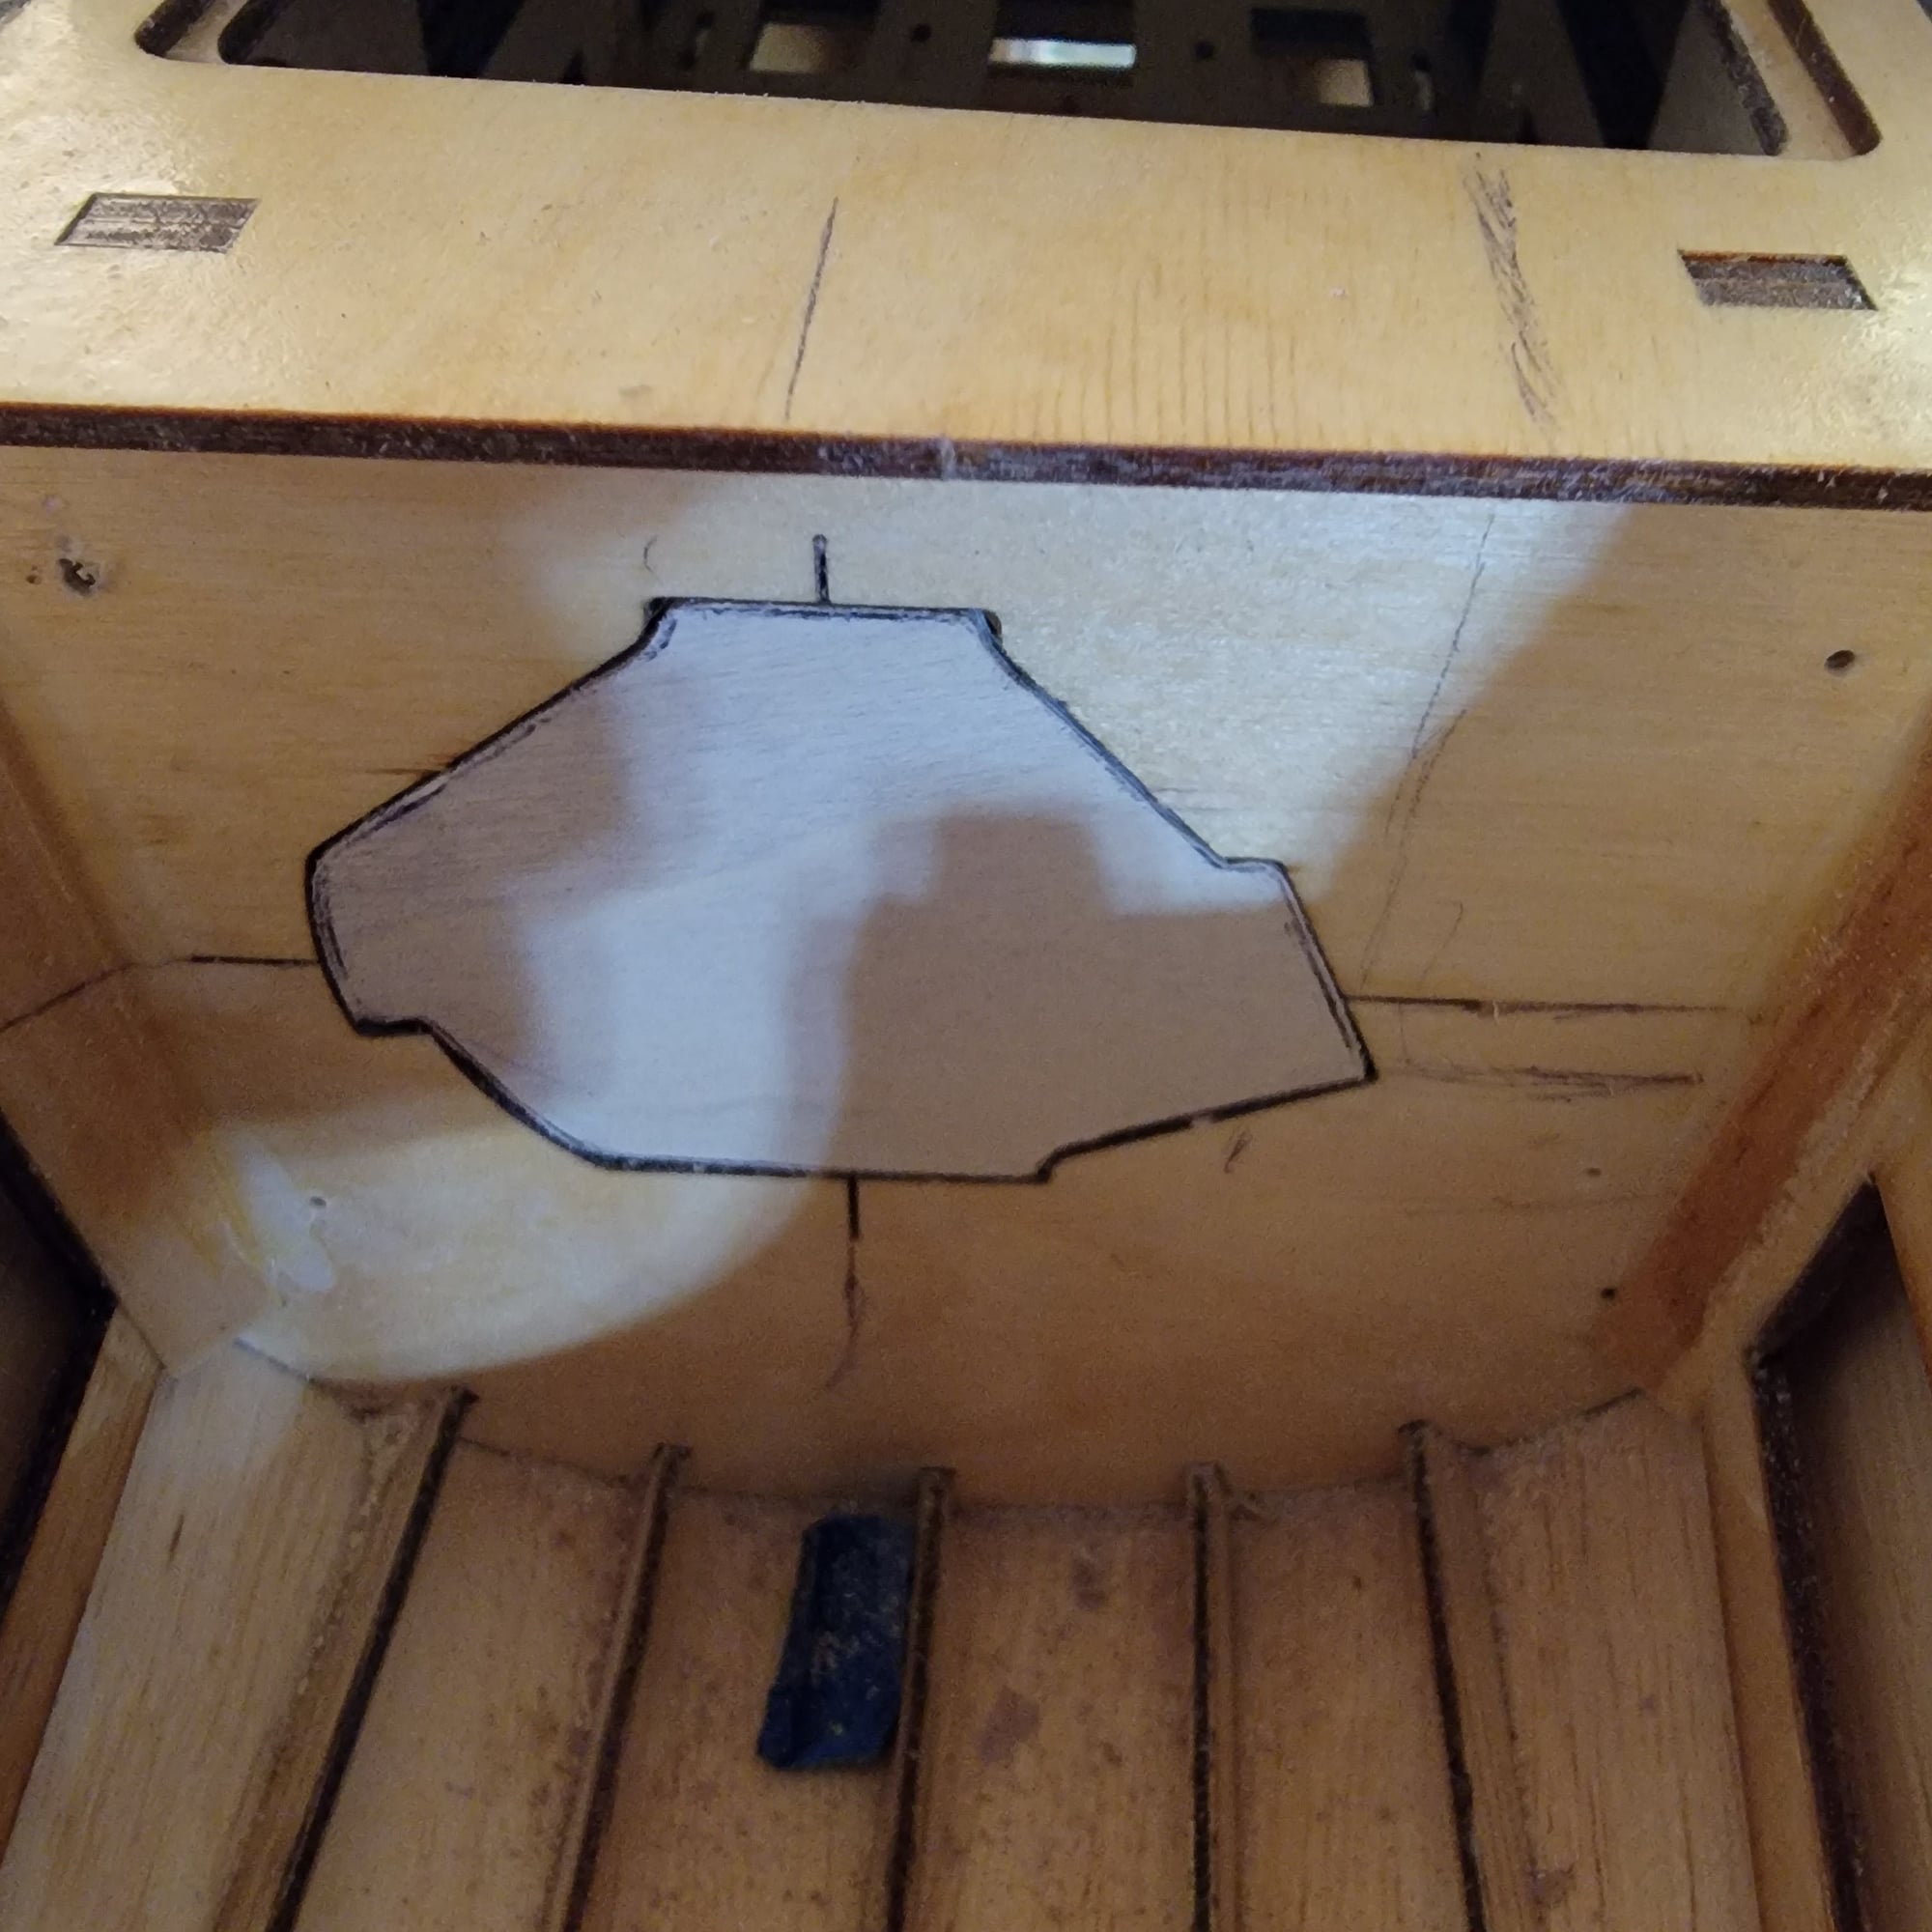
Hole for air to carb now cut. Its still a bit undersized. Debating the cf mat.
Not sure it will be needed. I've put around 25 pounds of force in direction of thrust to the firewall. Zero flex at any joint.
small notch out below (plane inverted still) is to allow small adjustments of the carb needles.
Just holding engine in position, Only small cuts will be needed to clear spark plug and the front of cylinder. Overall, I'm pleased with it. Some things I could have done a bit better, but as they are not structural parts and will be covered with zinc oxide pigmented Klass Kote, not too concerned. Even the little bit of flex the bottom plate of the engine box had with the access hatch removed is gone. Not sure of weight difference but I figure its about the same as unmodified..the Xicoy scales will tell the tale once its time to CG. Time to vacuum it all out and get back to the usual stuff. You can just see the 1/8th inch hole at thrust line in the CF.
If this teaches anything, hopefully it teaches kit designers to keep the engine mounting boxes a bit narrower. This simple modification was a lot of work. That ply is hard stuff and did not cut easily, even with 2.5 inch diameter wood saw blades it took almost two hours to get the origional material removed to make the notch. You can see in some of the first pictures how rough the opening was. It took a LOT of sanding and filing to get it close to what I wanted. I could have spent another day or two to get it exactly right, but I didn't have the patience. It was either get it done or get lost in it. I got to the point where I feared removing too much material so I stopped where it was at. I'm sure before its all said and done I'll have to make some minor adjustments in a spot ir two but it does fit, the choke has the room it needs. I will have to tune the engine on a stand before final mounting. I can get to the needles for minor adjustments, but not for a cold tune.
That may happen next time home from work, after a trip to Deer Park Texas for a tru-turn spinner with engine and the varioprop in tow. Between now and then I need to figure out what I'm doing wrong with the telemetry setup. The x20 isn't seeing the gas engine sensor pack. Also by then, the new retract controller and programmer from dreamworks rc will be in. It will be a thrash at that point. Gear doors, mounting the tail wheel, cockpit and thats just about it.
other than plumbing, wiring, cg and incidence tuning.
Last edited by Txmustangflyer; 01-31-2022 at 09:40 AM.
01-31-2022, 12:54 PM
#117
Senior Member
Thread Starter
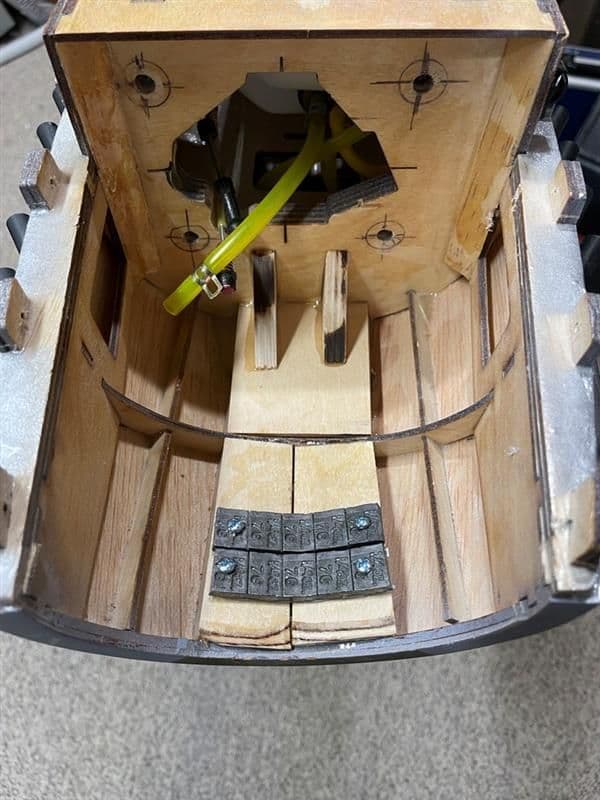
Now stalled on a few things. Kit was shorted parts for the pull pull setups for rudder and tail wheel. The new retract controller has shipped but not here, and cockpit should be delivered today.
01-31-2022, 01:21 PM
#118


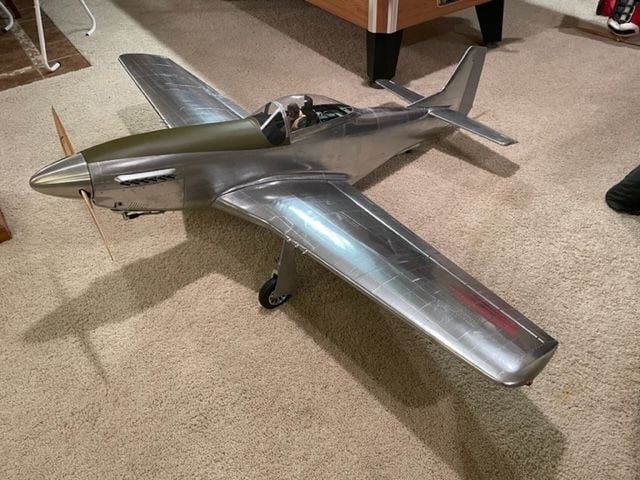
I was short a couple of the crimp collets for the pull pull, as well as the cable linkage. I had some lying around. Got the plane pretty much done except for graphics. Put it on the wheels to check balance. Needs about 10 oz. of nose weight. Total weight should be about 33 lbs. Not bad considering the amount of detailing I added.
01-31-2022, 01:24 PM
#119
I added some strength to the upper nose, used some lead shot in epoxy in the section right against the firewall. I'll fine tune the balance with weight farther out on the nose. It's all reinforced, shouldn't have any problem holding 8 oz. or so (couple oz. of glue and wood along with it).
01-31-2022, 01:28 PM
#120
Here's a photo of the final engine install with the cowl mounted. I'm working on the graphics now. Painting everything on, takes some time. Hopefully I'll have some final photos soon showing how it turned out. Then it's the long wait to May or so for the weather to get nice enough for a maiden flight in Iowa.

 01-31-2022, 05:07 PM
#122
Senior Member
Thread Starter
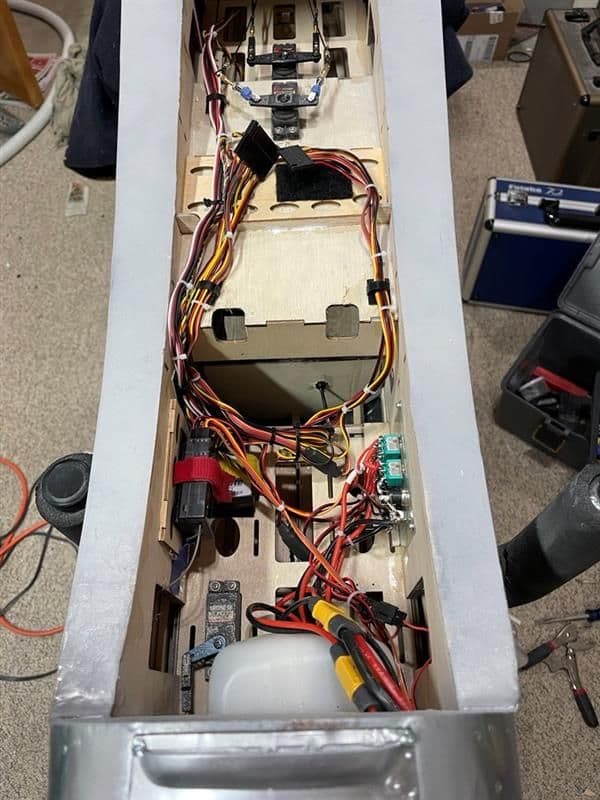
Nice. I was thinking if making some wiring holders to glue at spots along the peremeter of the fuselage out of 1/8 or 1/16th ply.
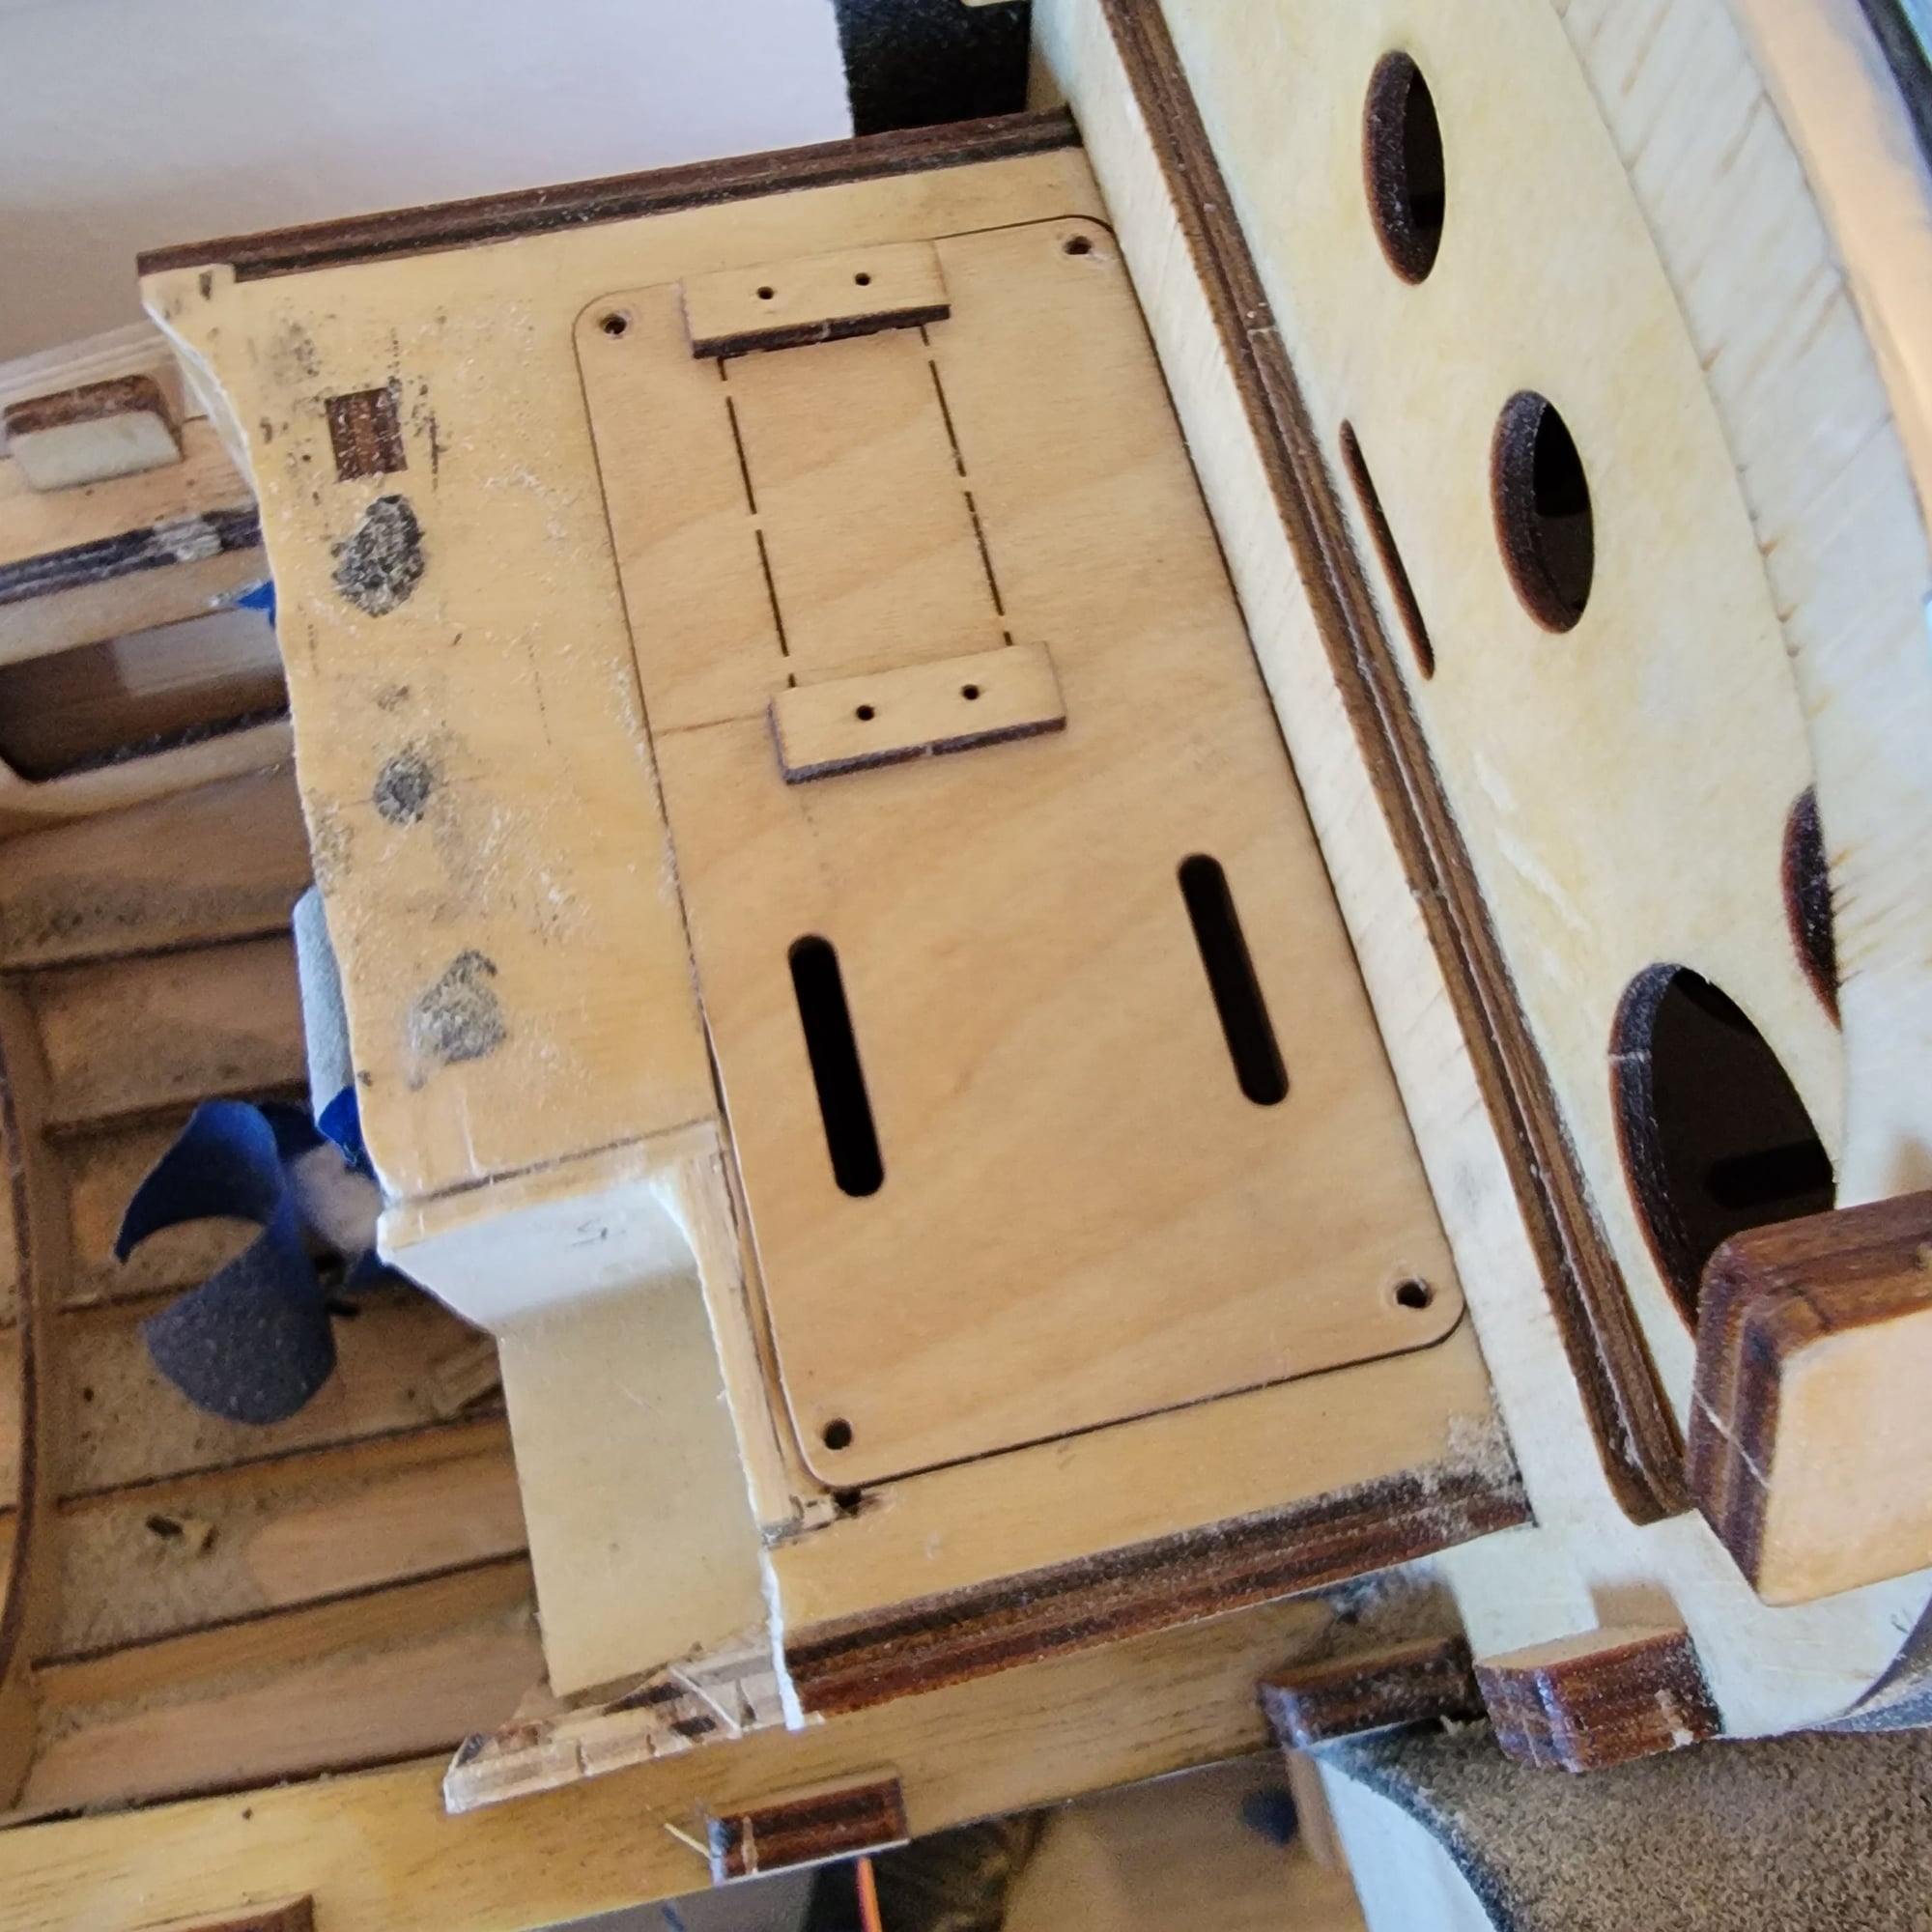
Can you post a shot of the door servo install on center wing?
Can you post a shot of the door servo install on center wing?
01-31-2022, 05:25 PM
#123
Senior Member
Thread Starter
Got notification that Jiri's cockpit was delivered tonight. As I am a good 3/4 the way into a double shot of Makers, I'll pick it up in the morning. I'd started work on getting ready to assemble canopy to frame when the frame took a tumble and basically shattered into 9 pieces. I'll have to wait for tower to get replacements, but will continue working on the cockpit tomorrow. I need to find the frame for the windscreen tomorrow, too. I have zero idea where that walked off to. It was wirh the canopy frame and plastic.
If It doesn't turn up then the replacement will have it. (Sigh) This is what hapoens when you have to be gone 3 to 4 weeks at a time. Things get moved.
If It doesn't turn up then the replacement will have it. (Sigh) This is what hapoens when you have to be gone 3 to 4 weeks at a time. Things get moved.
02-01-2022, 09:26 AM
#124
Senior Member
Thread Starter
Its here! Some switches came off the panel during shipping and the lense popped off the gunsight, easy fixes.
Some trimming will be needed to get it to fit but its mainly some notches. Other than that, everything seems to be in line with the hanger 9 cockpit shell.
Got to run to the lhs, then can start intalling the cockpit in ernest. (Can't find my rubberized CA)
added. Panel will not fit without having to cut in to guage cluster. Will have to use the H9 panel ( veryvery sad) bit am using pieces from jiri's to dress it up.
Last edited by Txmustangflyer; 02-02-2022 at 07:22 AM.
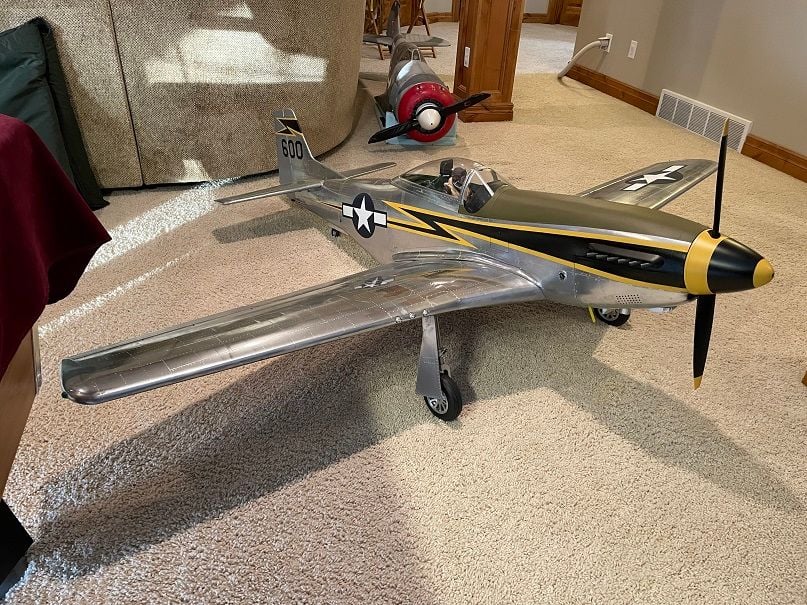
02-05-2022, 07:58 AM
#125
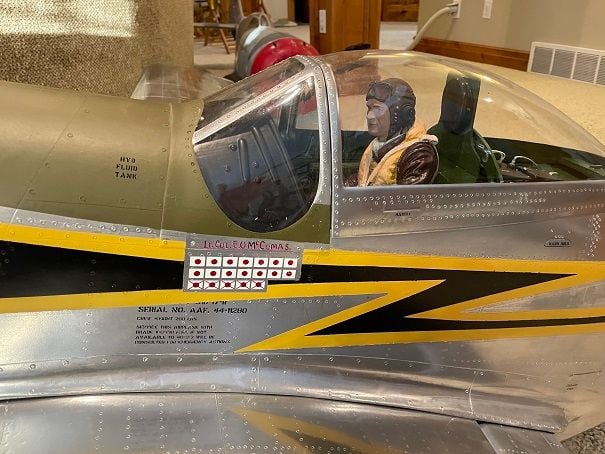
I got most of the detailing done and put it together for a couple basement photos. It didn't turn out too bad. I cheated a little on the graphic, making the yellow a little wider than it was in reality. The Silver paint gives a nice look, but it's a pain because paint doesn't stick to it too well unless you sand off some of the silver sheen. I expect I'll have to do more weathering as time goes on, but for now it looks like a new plane.
The Best Pilots Sailor Malan is a nice fit. I had to repaint a leather jacket on him. Here you can see some of the detail.
The Best Pilots Sailor Malan is a nice fit. I had to repaint a leather jacket on him. Here you can see some of the detail.