


Build thread: readying the Hanger 9 mustang 1/5th scale.
 04-30-2022, 04:55 PM
#201
Senior Member
Thread Starter
In Git'r done mode now.
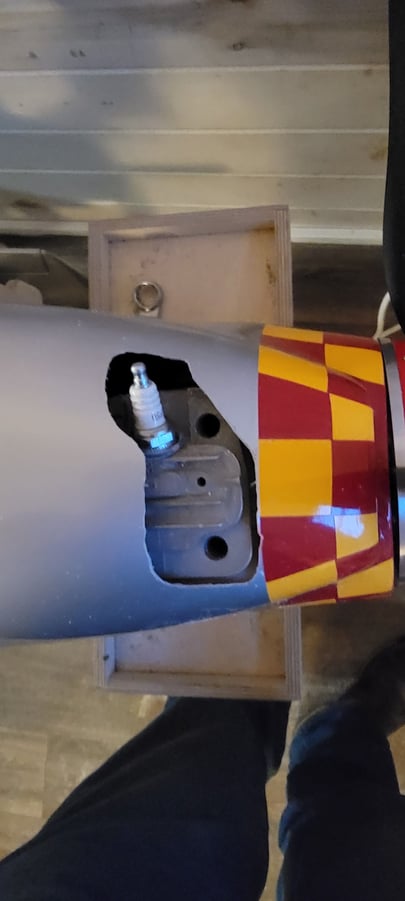
Some clean up and final trimming needed but thats all the Zenoah requires to clear the cowl. Next its marking and drilling the cowl and the mounting blocks after the little bit it needs with a file and a little touch of the dremel on the saw tooth edge.
Hoping for an end of May beginning of June maiden.

 05-01-2022, 03:43 PM
#203
Senior Member
Thread Starter
Instead of progressong on the main gear, I ended up spending most of the day fixing the crapy paint on the cowl as well as the underside hatch immediately behind the cowl. The clear coat peeled on the cowl, even with low tack, same on the canopy (yet to be fixed) and, if you all rememember, that hatch peeled voth the silver and the clear.
If you run into this issue you can try, as I have done, to fix the clearcoat, or strip it all the way diwn and repaint from scratch. I'm going to end up doing the latter to the cowl. Whatever paint they used does not play nicely with tamiya paints.

It cracks and peels as soon as the tamiya hits it. Not ideal. Be ok from a distance, but up close...eww.
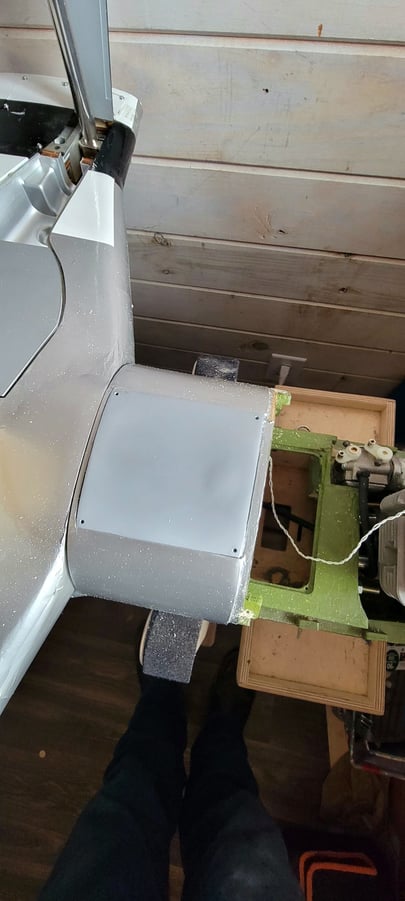
This hatch was stripped to the white plastic, the result is much better. 3 coats of Tamiya TS 76 and three coats Tamiya Satin clear after properly prepping the surface for adhesion. You can see the difference between bottom of cowl and the hatch..its night and day. So, bottom line, if its H9 stock paint, even if it would normally be just a touch up, best strip it bare and start off with your paints of choice all throughout. I dunno what they used, but its either a water-base or a latex and it immediaetle cracked and shriveled when hit with Tamiya.
If you run into this issue you can try, as I have done, to fix the clearcoat, or strip it all the way diwn and repaint from scratch. I'm going to end up doing the latter to the cowl. Whatever paint they used does not play nicely with tamiya paints.
It cracks and peels as soon as the tamiya hits it. Not ideal. Be ok from a distance, but up close...eww.
This hatch was stripped to the white plastic, the result is much better. 3 coats of Tamiya TS 76 and three coats Tamiya Satin clear after properly prepping the surface for adhesion. You can see the difference between bottom of cowl and the hatch..its night and day. So, bottom line, if its H9 stock paint, even if it would normally be just a touch up, best strip it bare and start off with your paints of choice all throughout. I dunno what they used, but its either a water-base or a latex and it immediaetle cracked and shriveled when hit with Tamiya.
Last edited by Txmustangflyer; 05-01-2022 at 03:53 PM.
05-01-2022, 03:46 PM
#204
Senior Member
Thread Starter
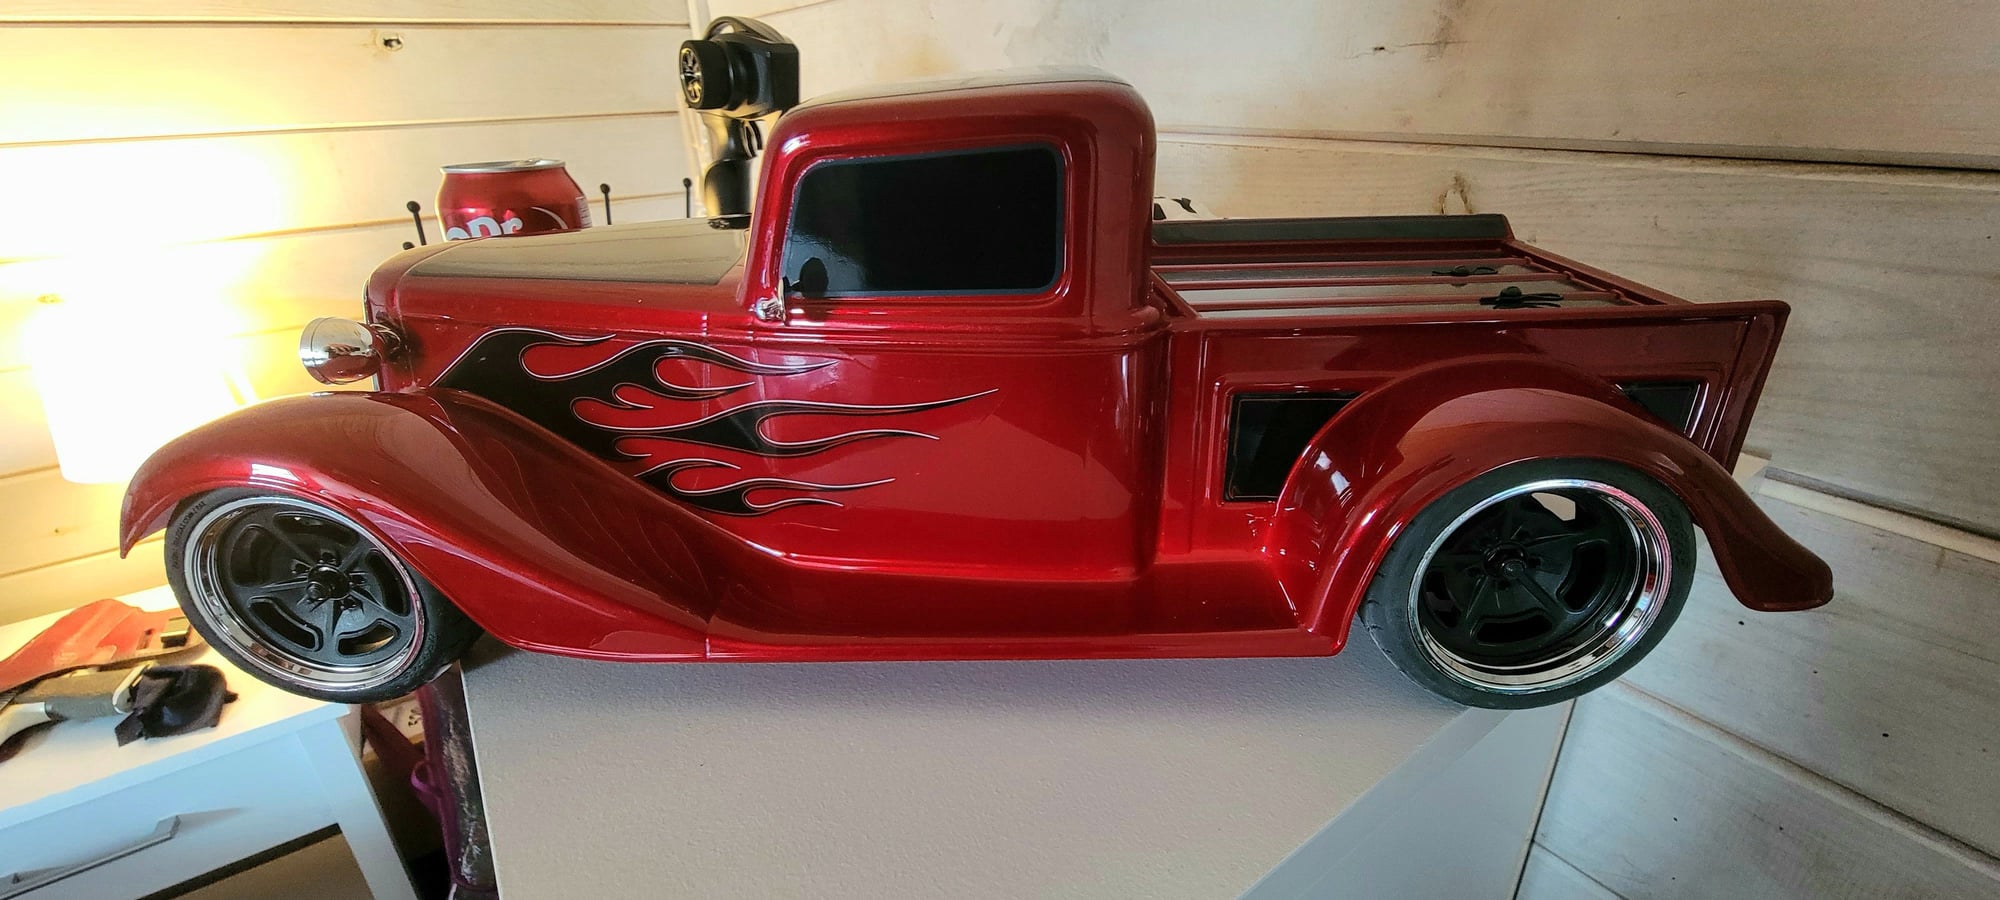
While I was out getting the paint, I stumbled across this at the LHS...Sadly, on their recommended battery setup (traxxis, not the LHS) it now needs a new spur gear (oops..I guess drifting it was not a good idea...but it does it so well..) I either had the motor and pinion so hot it melted the plastic spur gear, or the pinion wasn't meshing correctly with the spur..not sure which but a new 72 tooth is going to be going in until I can find a metal spur gear for it.
Last edited by Txmustangflyer; 05-01-2022 at 03:56 PM.
 05-01-2022, 04:14 PM
#206
Senior Member
Thread Starter
Regardless, a rainy weekend will be spent sanding the cowl bare, priming and repainting. I'm cringing at repainting the checkerboard. Funny part, the tamiya clear didn't bother that paint at all.

 06-12-2022, 11:55 AM
#210

Would 2 part epoxy paint from klass kote work? My hobby group we all started stripping everything down and using engine paint from auto parts stores. I�m not sure how well that would go with the existing setup. Looks like your on the only real solution now. Will you use a mask for checkers or tape and an exacto? It�s time consuming and tedious but can be done. I haven�t done checkers. Wyoturbine did mine on my p47. I don�t think I�ll ask that favor again haha
06-12-2022, 12:10 PM
#211
Senior Member
Thread Starter
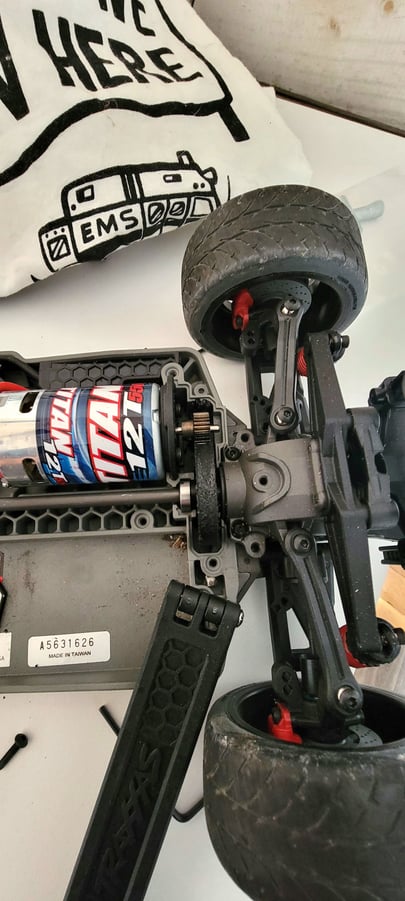
So, while I wait on those things I built a rc 3racing D5MR drift car. I was bored, I came up with a plan. Lol. Be back on the P 51 as soon as I have the needed parts
Last edited by Txmustangflyer; 06-12-2022 at 12:17 PM.
06-12-2022, 12:12 PM
#212
Senior Member
Thread Starter
Would 2 part epoxy paint from klass kote work? My hobby group we all started stripping everything down and using engine paint from auto parts stores. I�m not sure how well that would go with the existing setup. Looks like your on the only real solution now. Will you use a mask for checkers or tape and an exacto? It�s time consuming and tedious but can be done. I haven�t done checkers. Wyoturbine did mine on my p47. I don�t think I�ll ask that favor again haha
07-25-2022, 06:48 AM
#213
Any progress on the project? Still waiting for the big report and hope to hear its everything you said it would be. You did have quite a build up to it on more than one site, and I'm pretty sure people are wondering how it worked out. Hope it does after all that. 
07-28-2022, 03:46 AM
#214
Senior Member
Thread Starter
Left main accuator is bad. I've been waiting on a replacement from E-flite for 4 months now. Still on back order. The Mustang is stalled until I can get it.
We have ran the engine.
The zenoah, with the varioprop idles at 980 rpm, and spins at 6320 at 12 inches pitch on the ground. 14 inches knocks it down to 5700 rpm. It'll fly, first time at 15..with a close eye on telemetry. Test run broke an exhaust bolt, however. So I have some hardened 4 mm bolts I still need to cut down.

Does fit nice though. Cowl opening has been "cleaned up" since picture.
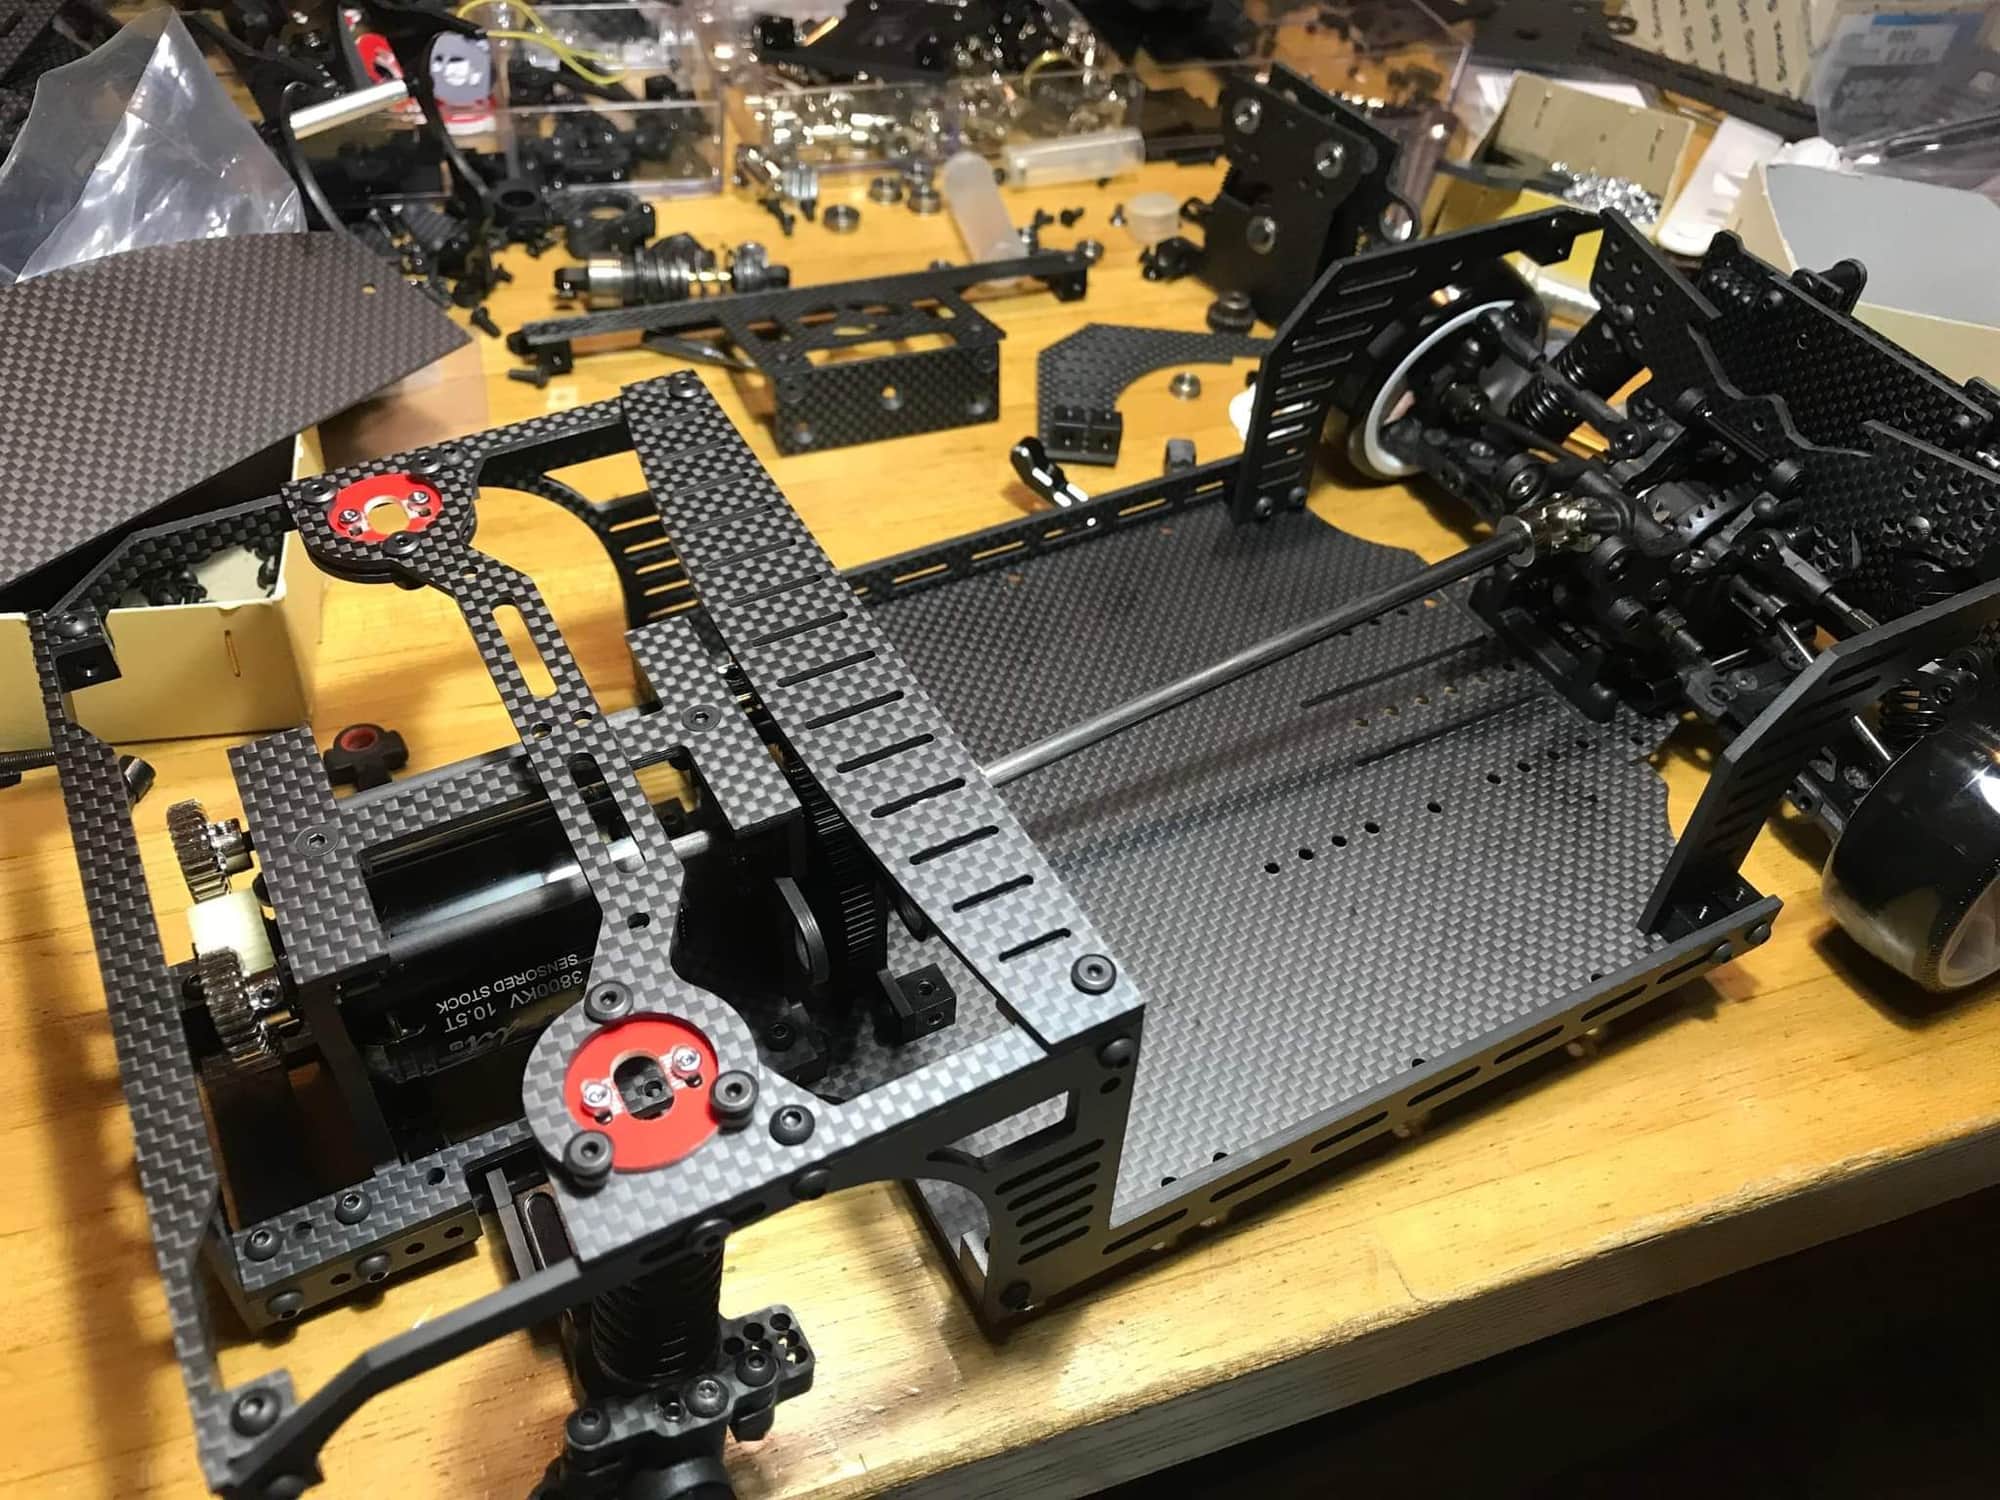
While I wait, building an rc drift chassis.
We have ran the engine.
The zenoah, with the varioprop idles at 980 rpm, and spins at 6320 at 12 inches pitch on the ground. 14 inches knocks it down to 5700 rpm. It'll fly, first time at 15..with a close eye on telemetry. Test run broke an exhaust bolt, however. So I have some hardened 4 mm bolts I still need to cut down.
Does fit nice though. Cowl opening has been "cleaned up" since picture.
While I wait, building an rc drift chassis.
The following users liked this post:
thepamster (11-03-2022)
11-15-2022, 12:31 PM
#217
Senior Member
Thread Starter
Finally moved. The mustang now has its own room. Been stalled due to lack of space but this past trip home we moved to a much bigger house. I can now pull her out and actually walk around her to work.
New mains are in but gotta get them instalked and wired.
Engine has been run in and shes a beast.
final pitch 15 inches at 5800 rpm. 14 inches was too close to prop redline at 6350. Flying pitch will be 16 inches until I'm I'm confident I can edge it back up. Took three people to hold down the portable work bench the test stand is mounted to. Pulls like a frickin freight train. The engine run has me very nervous about the horizontal stabs. But I have a plan, a person, a path. The tube uses a thin plastic insert..A froend us machinibg two titanium inserts with a hole tapoed to accept the mount screw, effectively clsmping the tube to prevent the stab from fluttering, giving a positive lock. Gotta do it cuz shes gonna be a fast one.
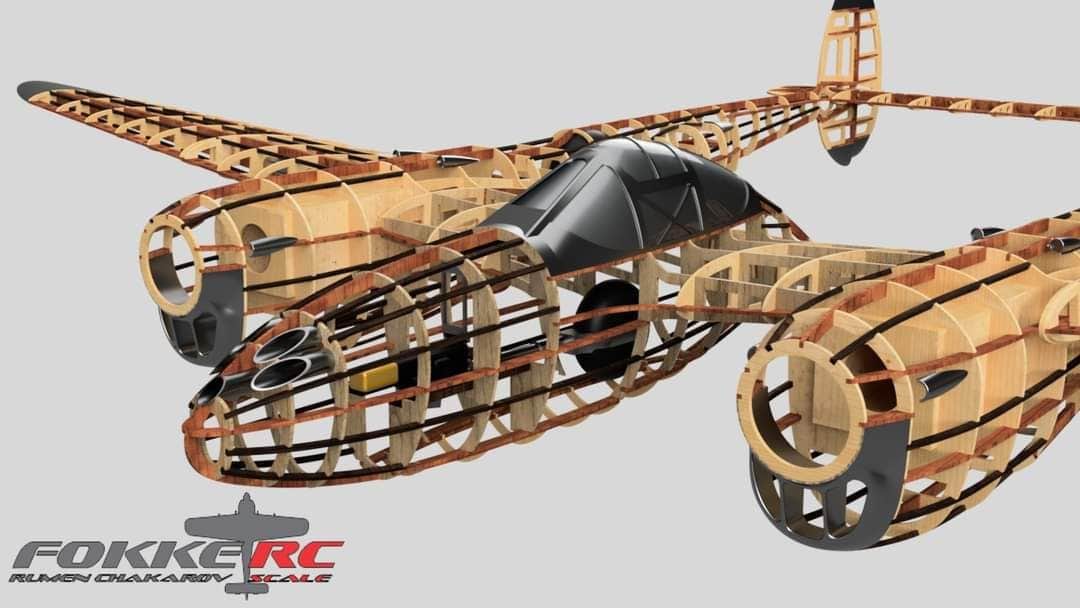
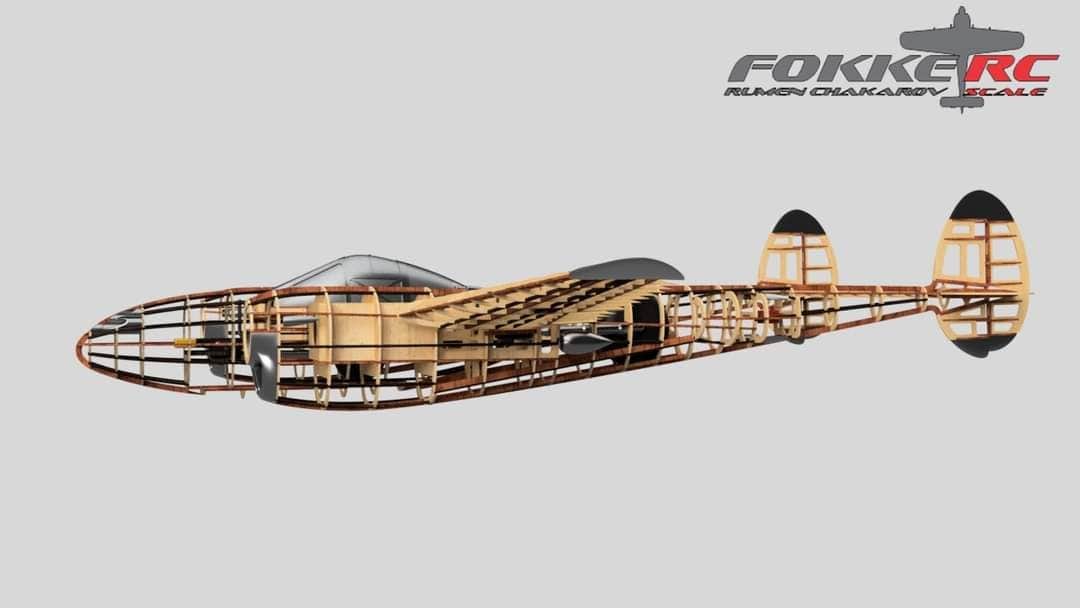
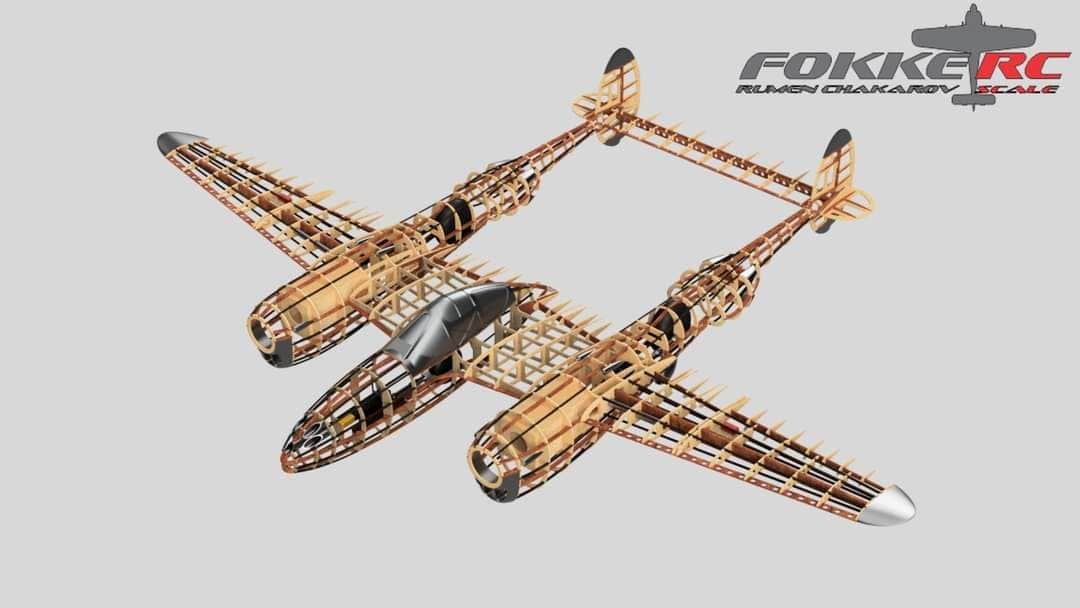
I gotta get her finished up. The P38 will be arriving soon.

New mains are in but gotta get them instalked and wired.
Engine has been run in and shes a beast.
final pitch 15 inches at 5800 rpm. 14 inches was too close to prop redline at 6350. Flying pitch will be 16 inches until I'm I'm confident I can edge it back up. Took three people to hold down the portable work bench the test stand is mounted to. Pulls like a frickin freight train. The engine run has me very nervous about the horizontal stabs. But I have a plan, a person, a path. The tube uses a thin plastic insert..A froend us machinibg two titanium inserts with a hole tapoed to accept the mount screw, effectively clsmping the tube to prevent the stab from fluttering, giving a positive lock. Gotta do it cuz shes gonna be a fast one.
I gotta get her finished up. The P38 will be arriving soon.
Last edited by Txmustangflyer; 11-15-2022 at 12:35 PM.
