adding flaps to an arf
 04-07-2020, 10:39 AM
#126

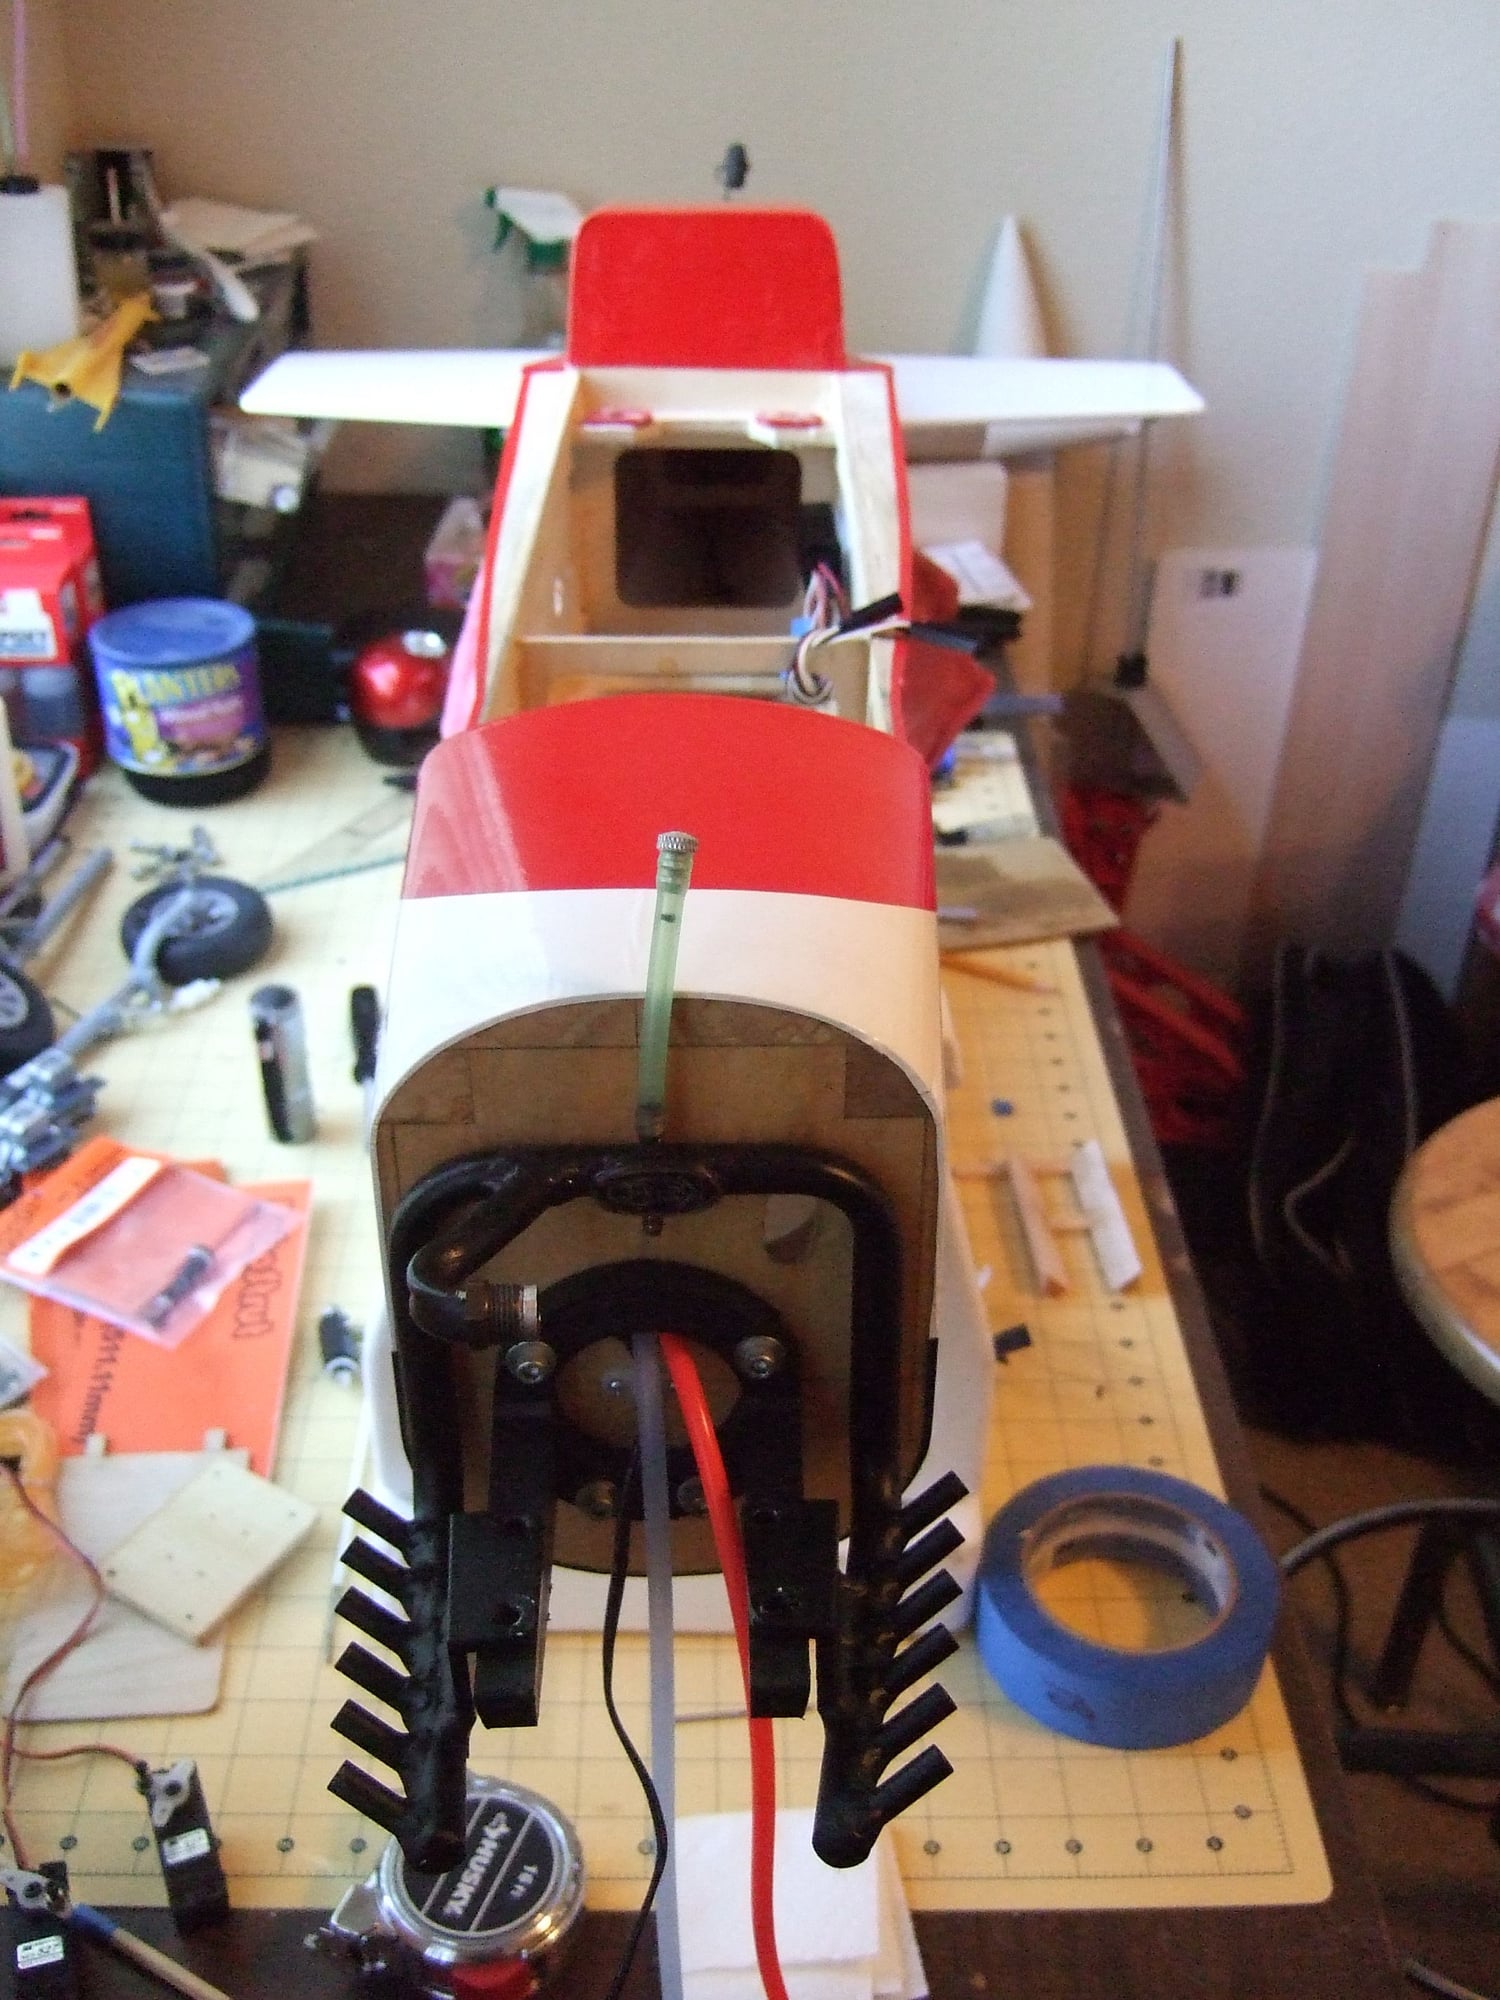
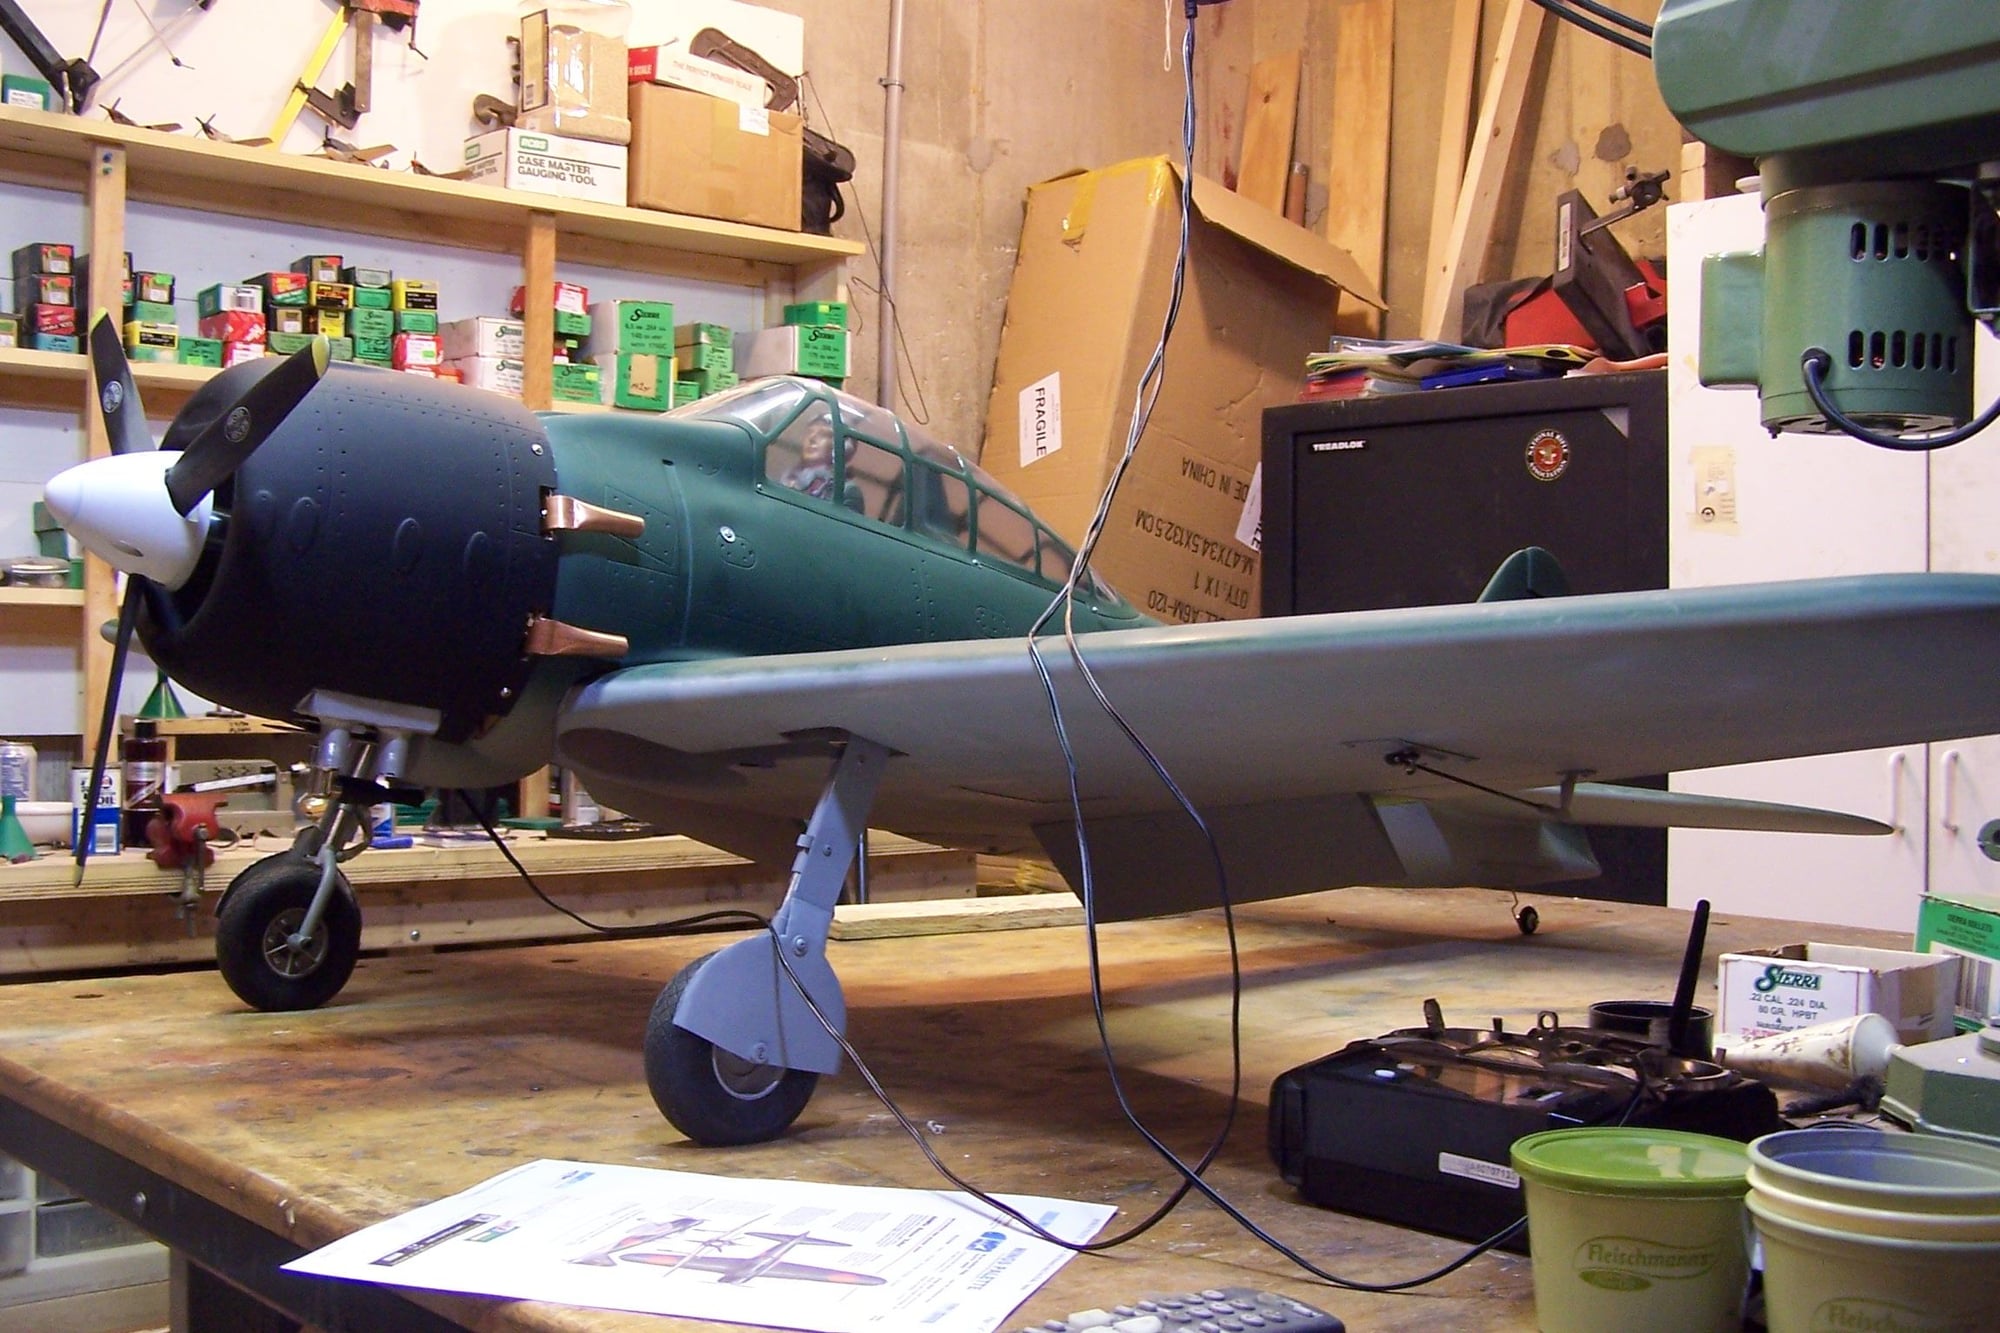
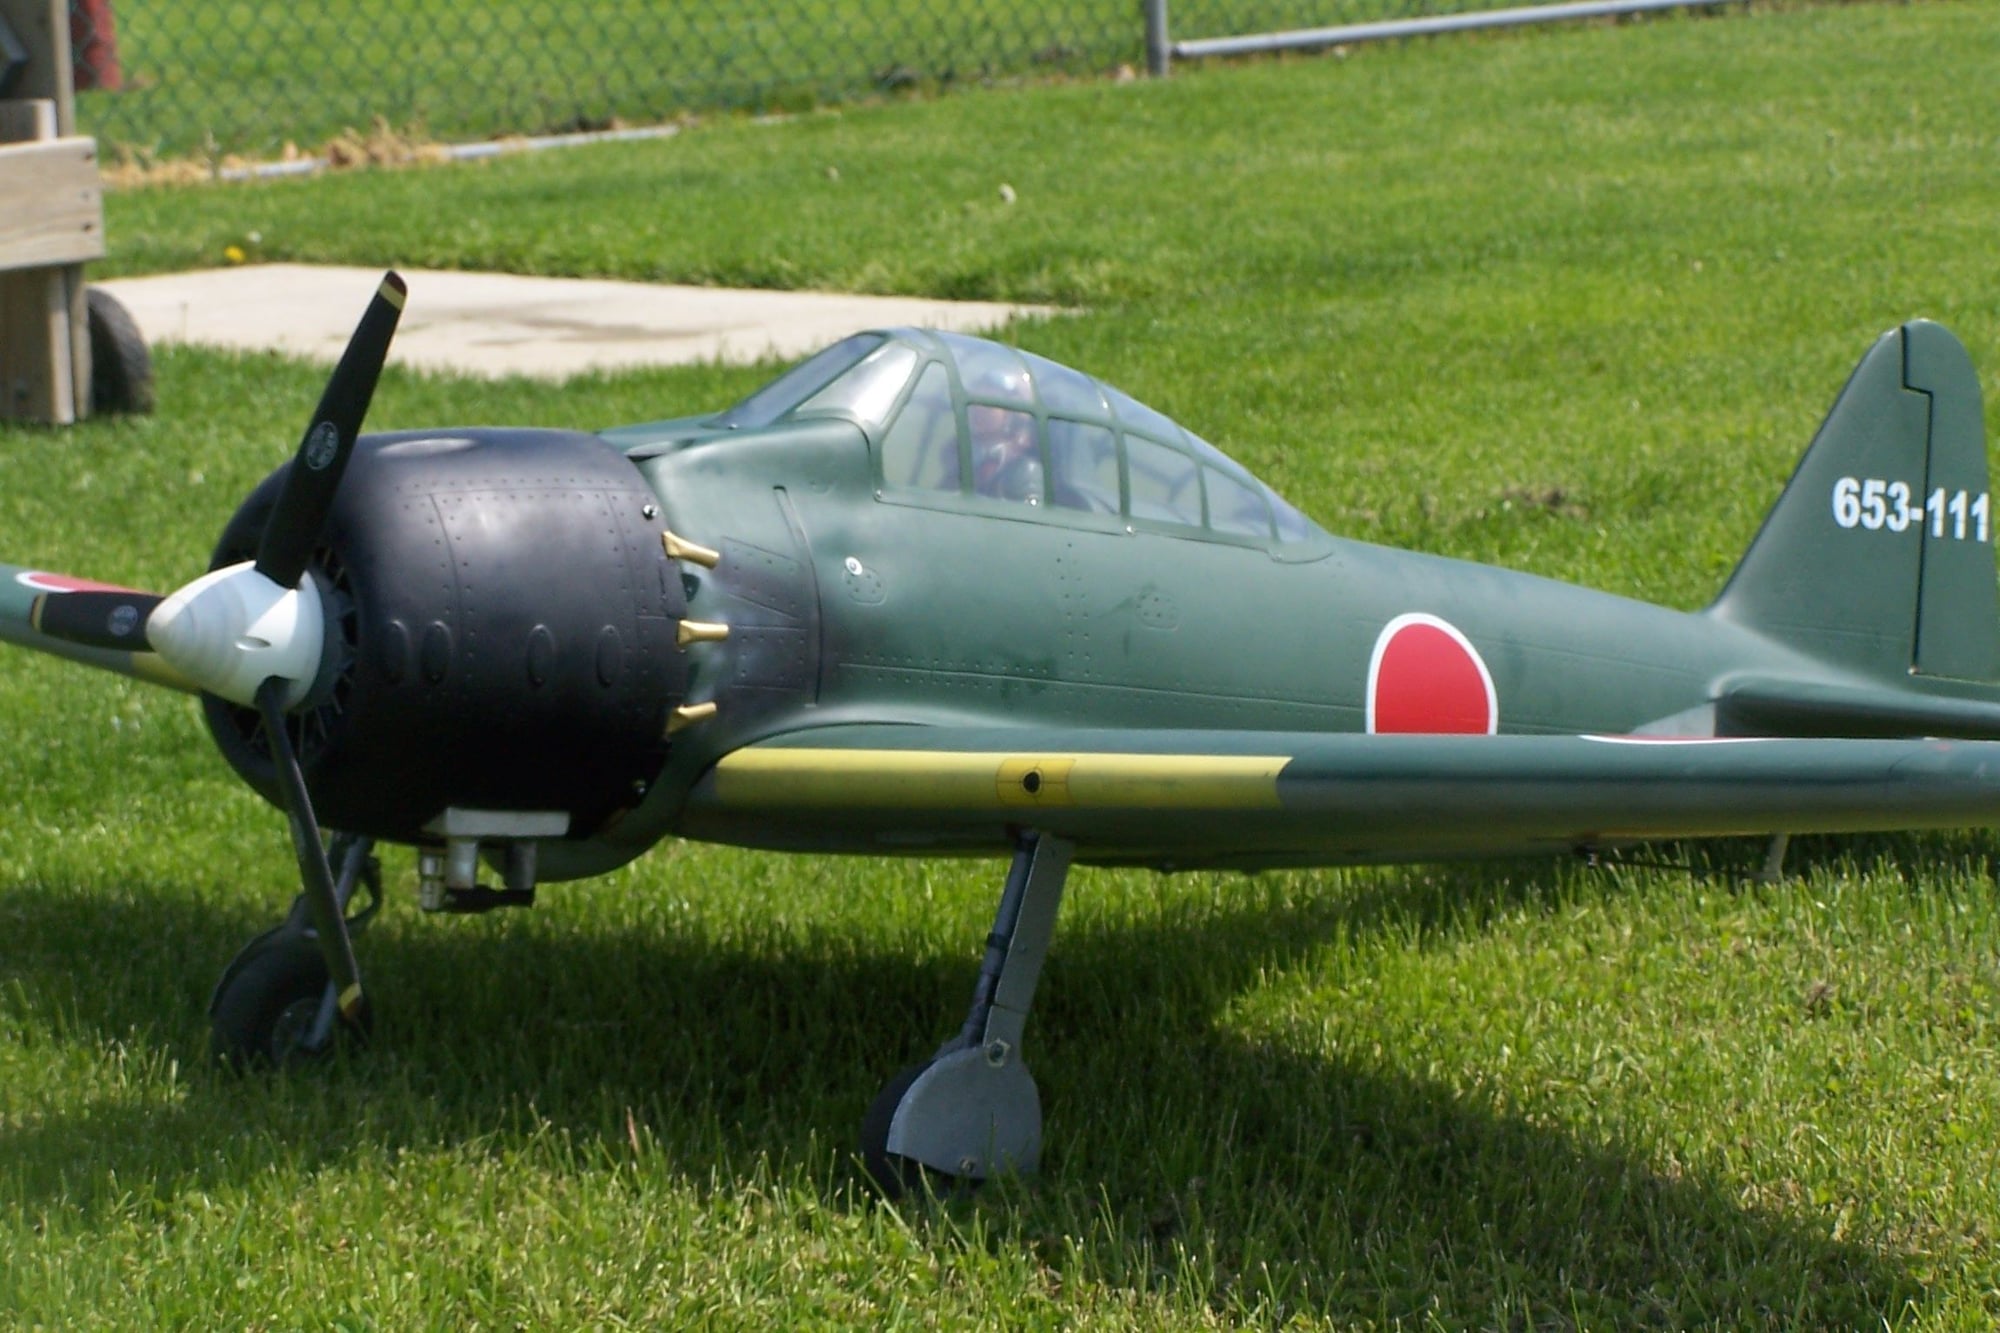
Ten years ago I added flaps to a CMP 72" w/s Zero. Word was it was a floater and the gear mounts were inadequate, so I re-engineered the gear mounts and added flaps. I still have the plane. Over 300 flights, still doing well. Has a converted 25cc gasser.
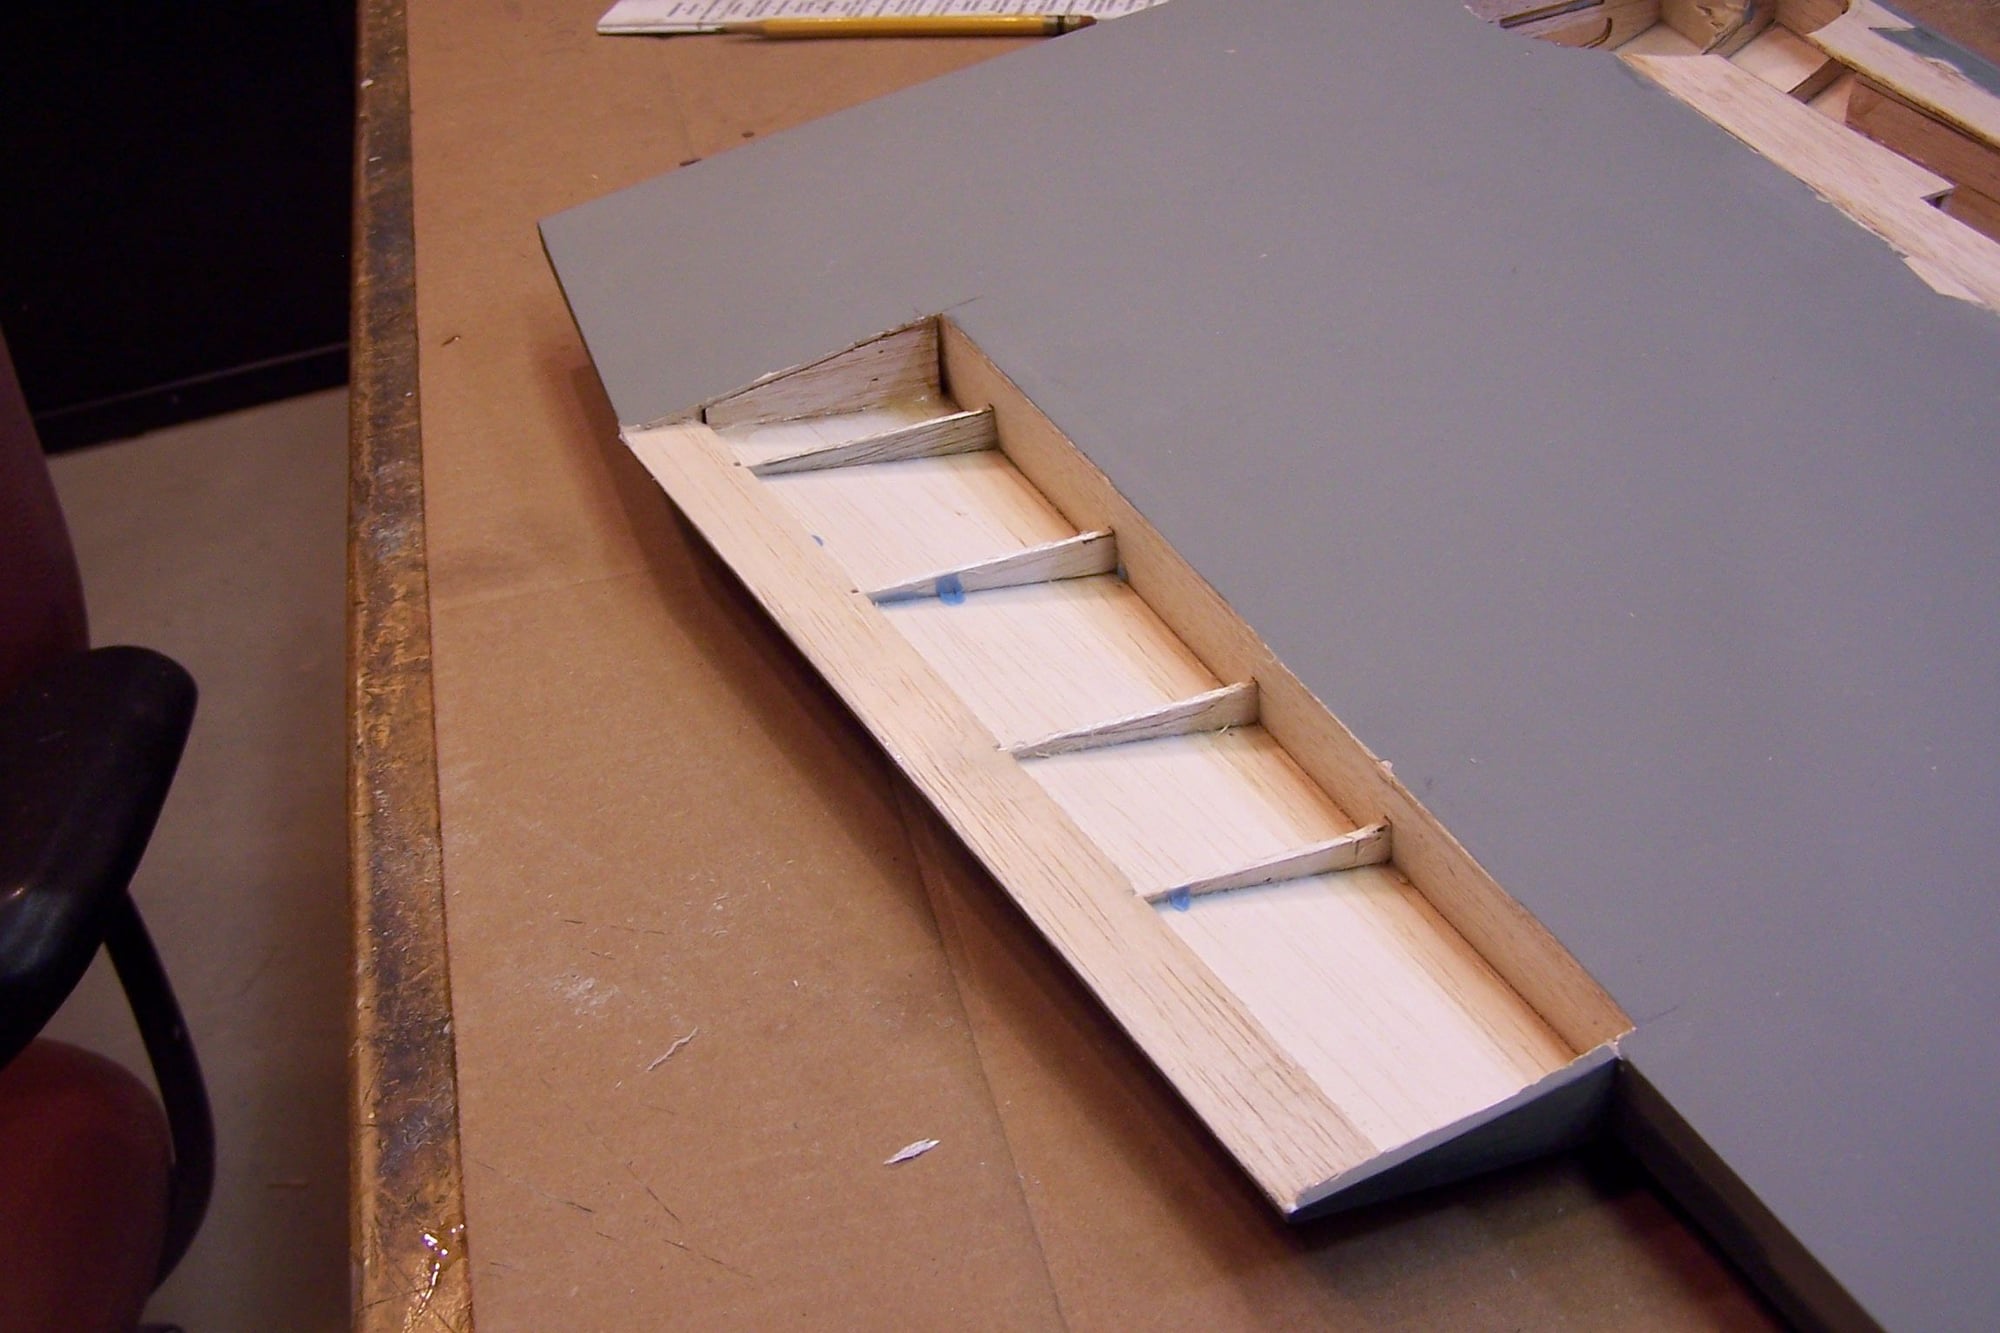
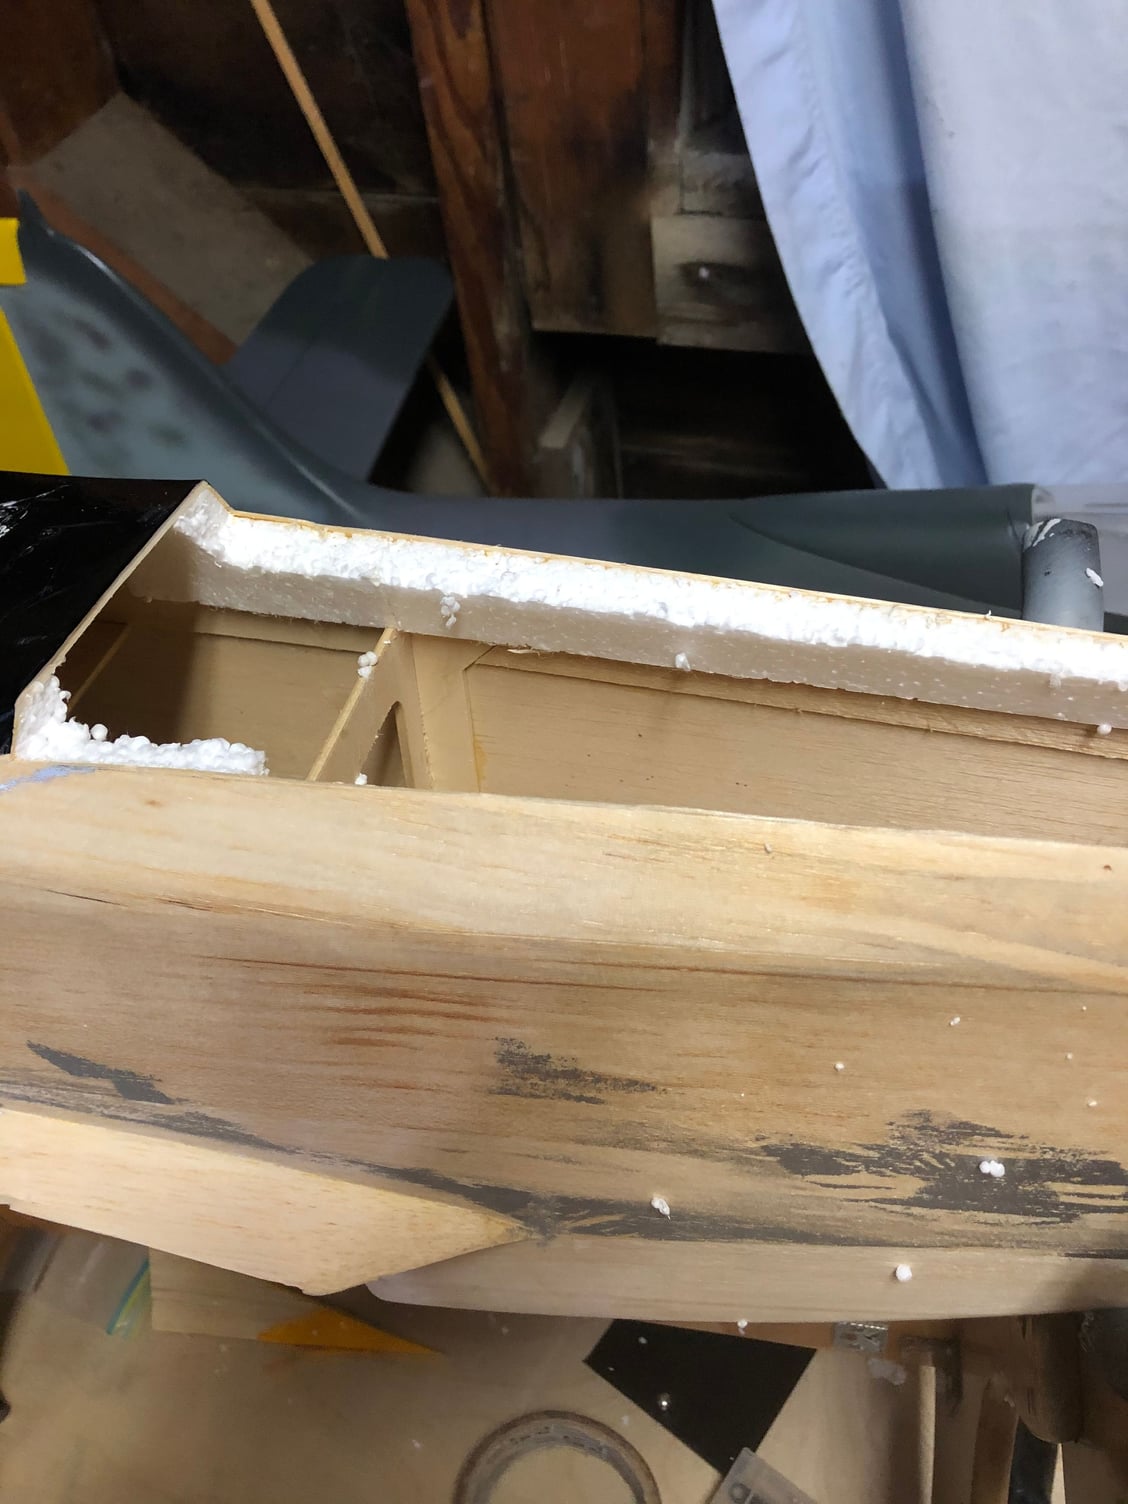
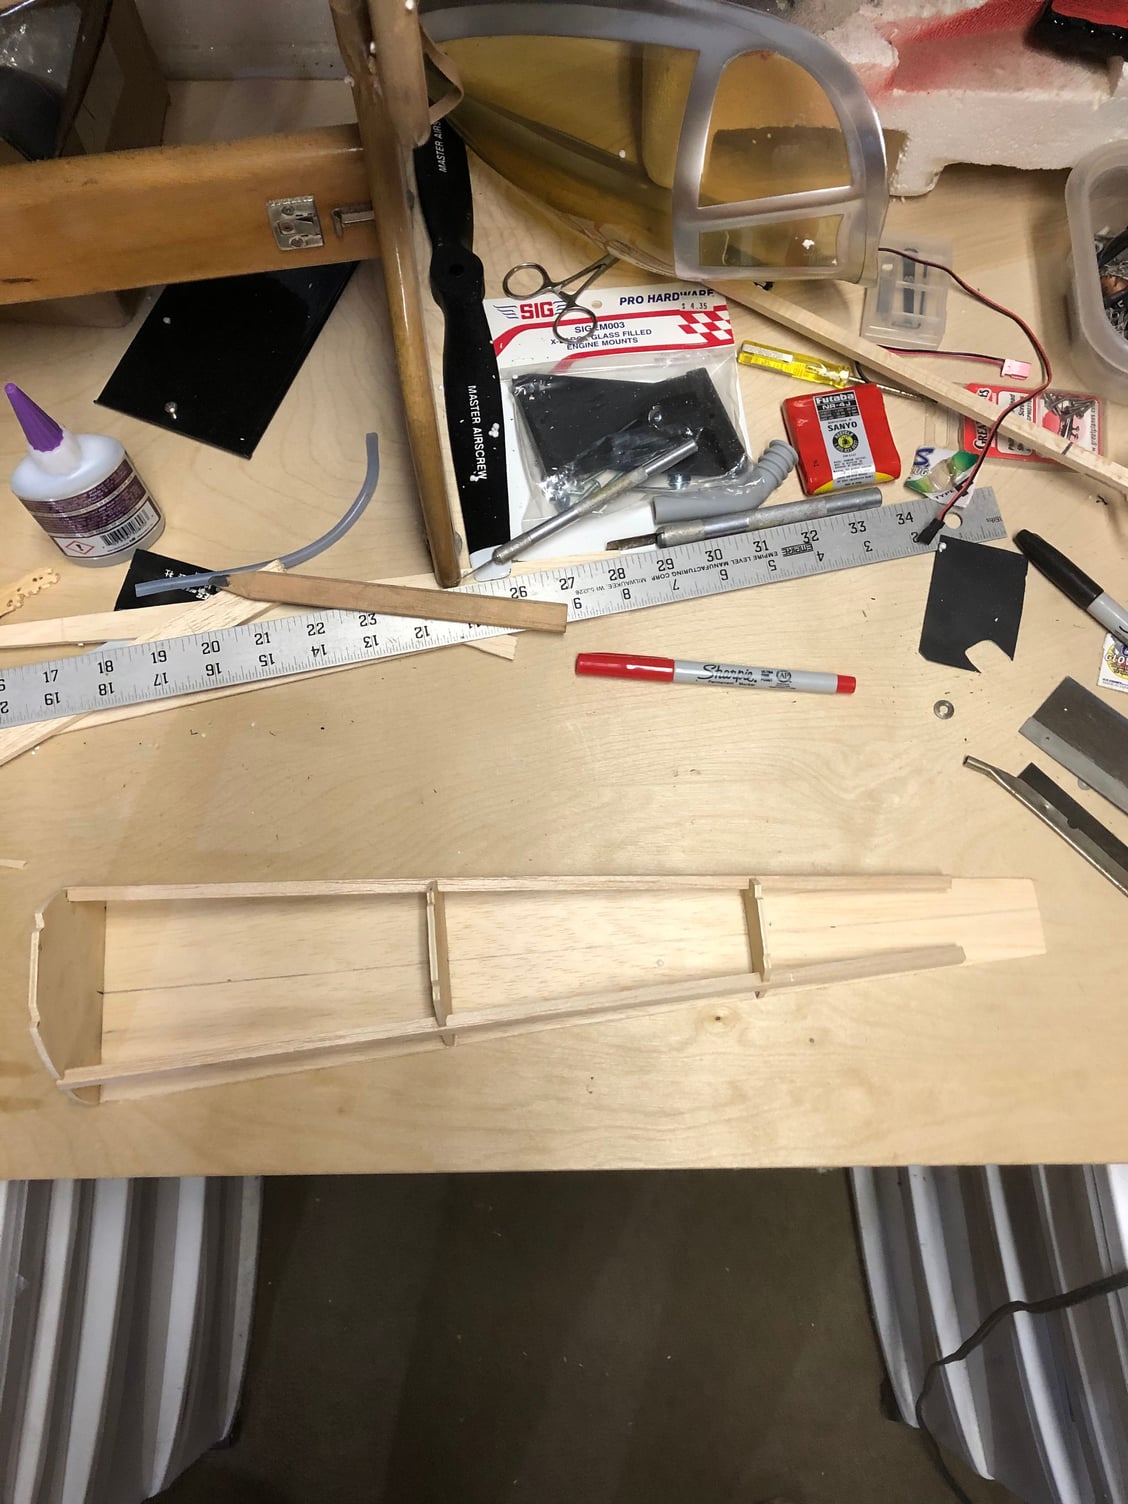
Cut off the bottom sheeting.
Trimmed down the ribs
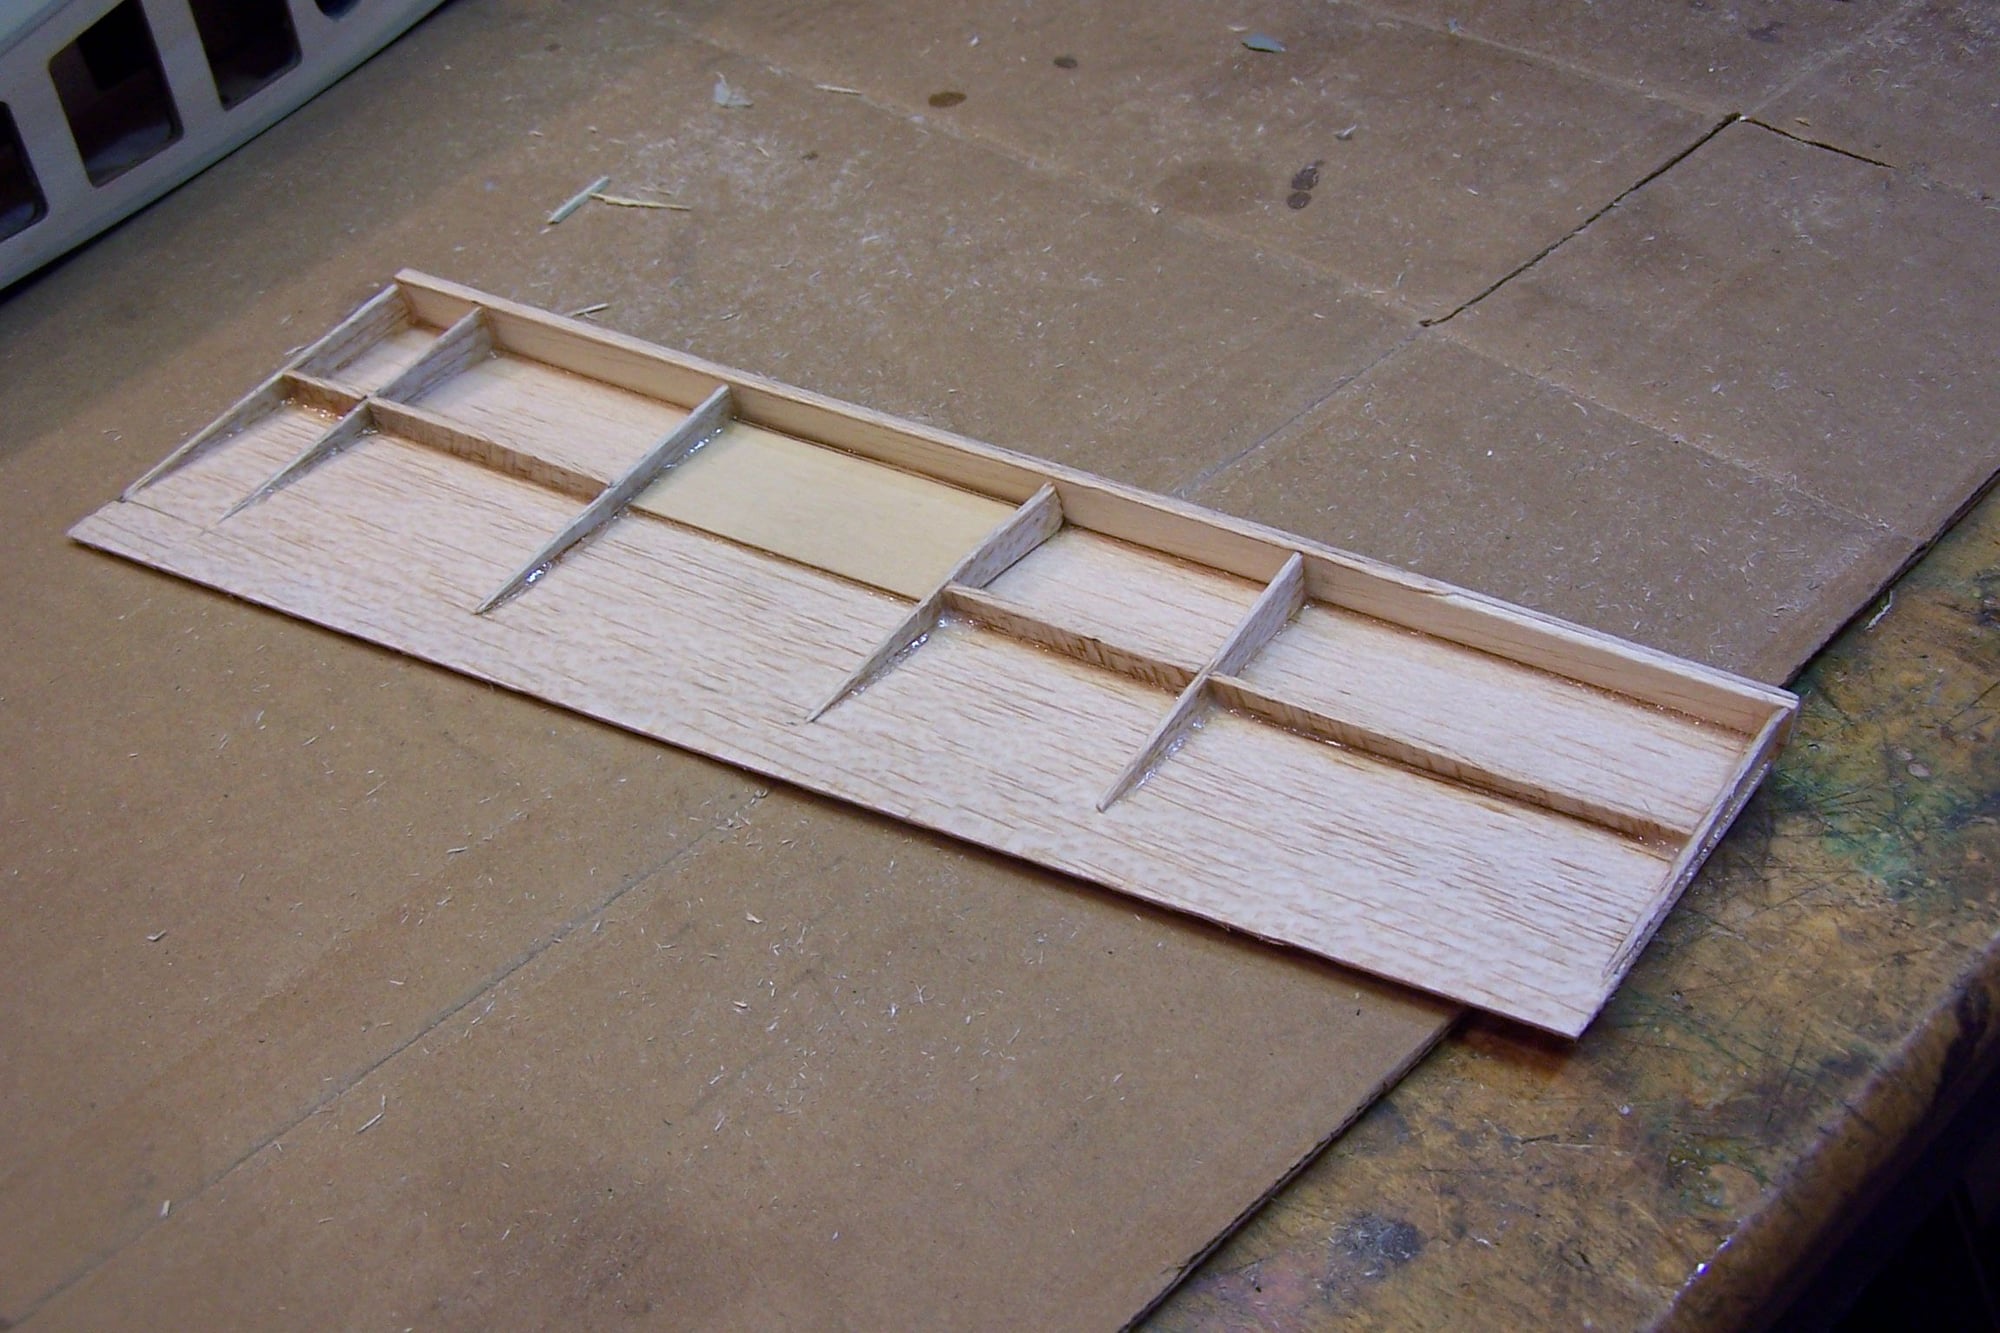
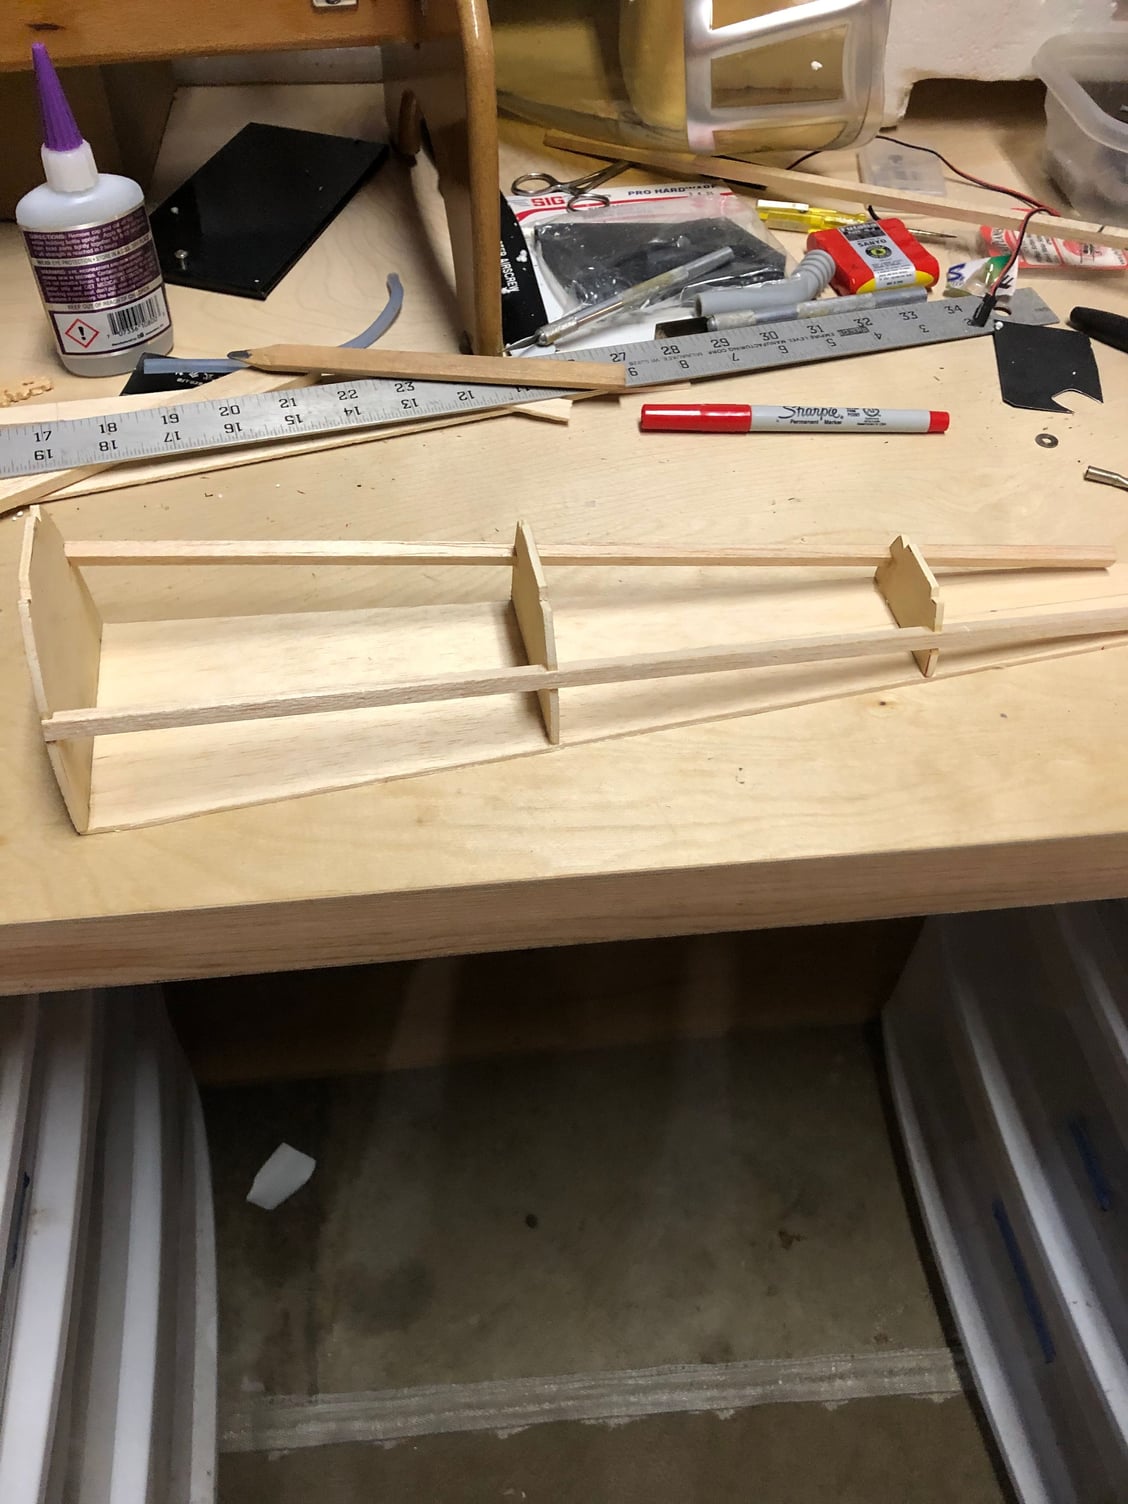
Built the flap
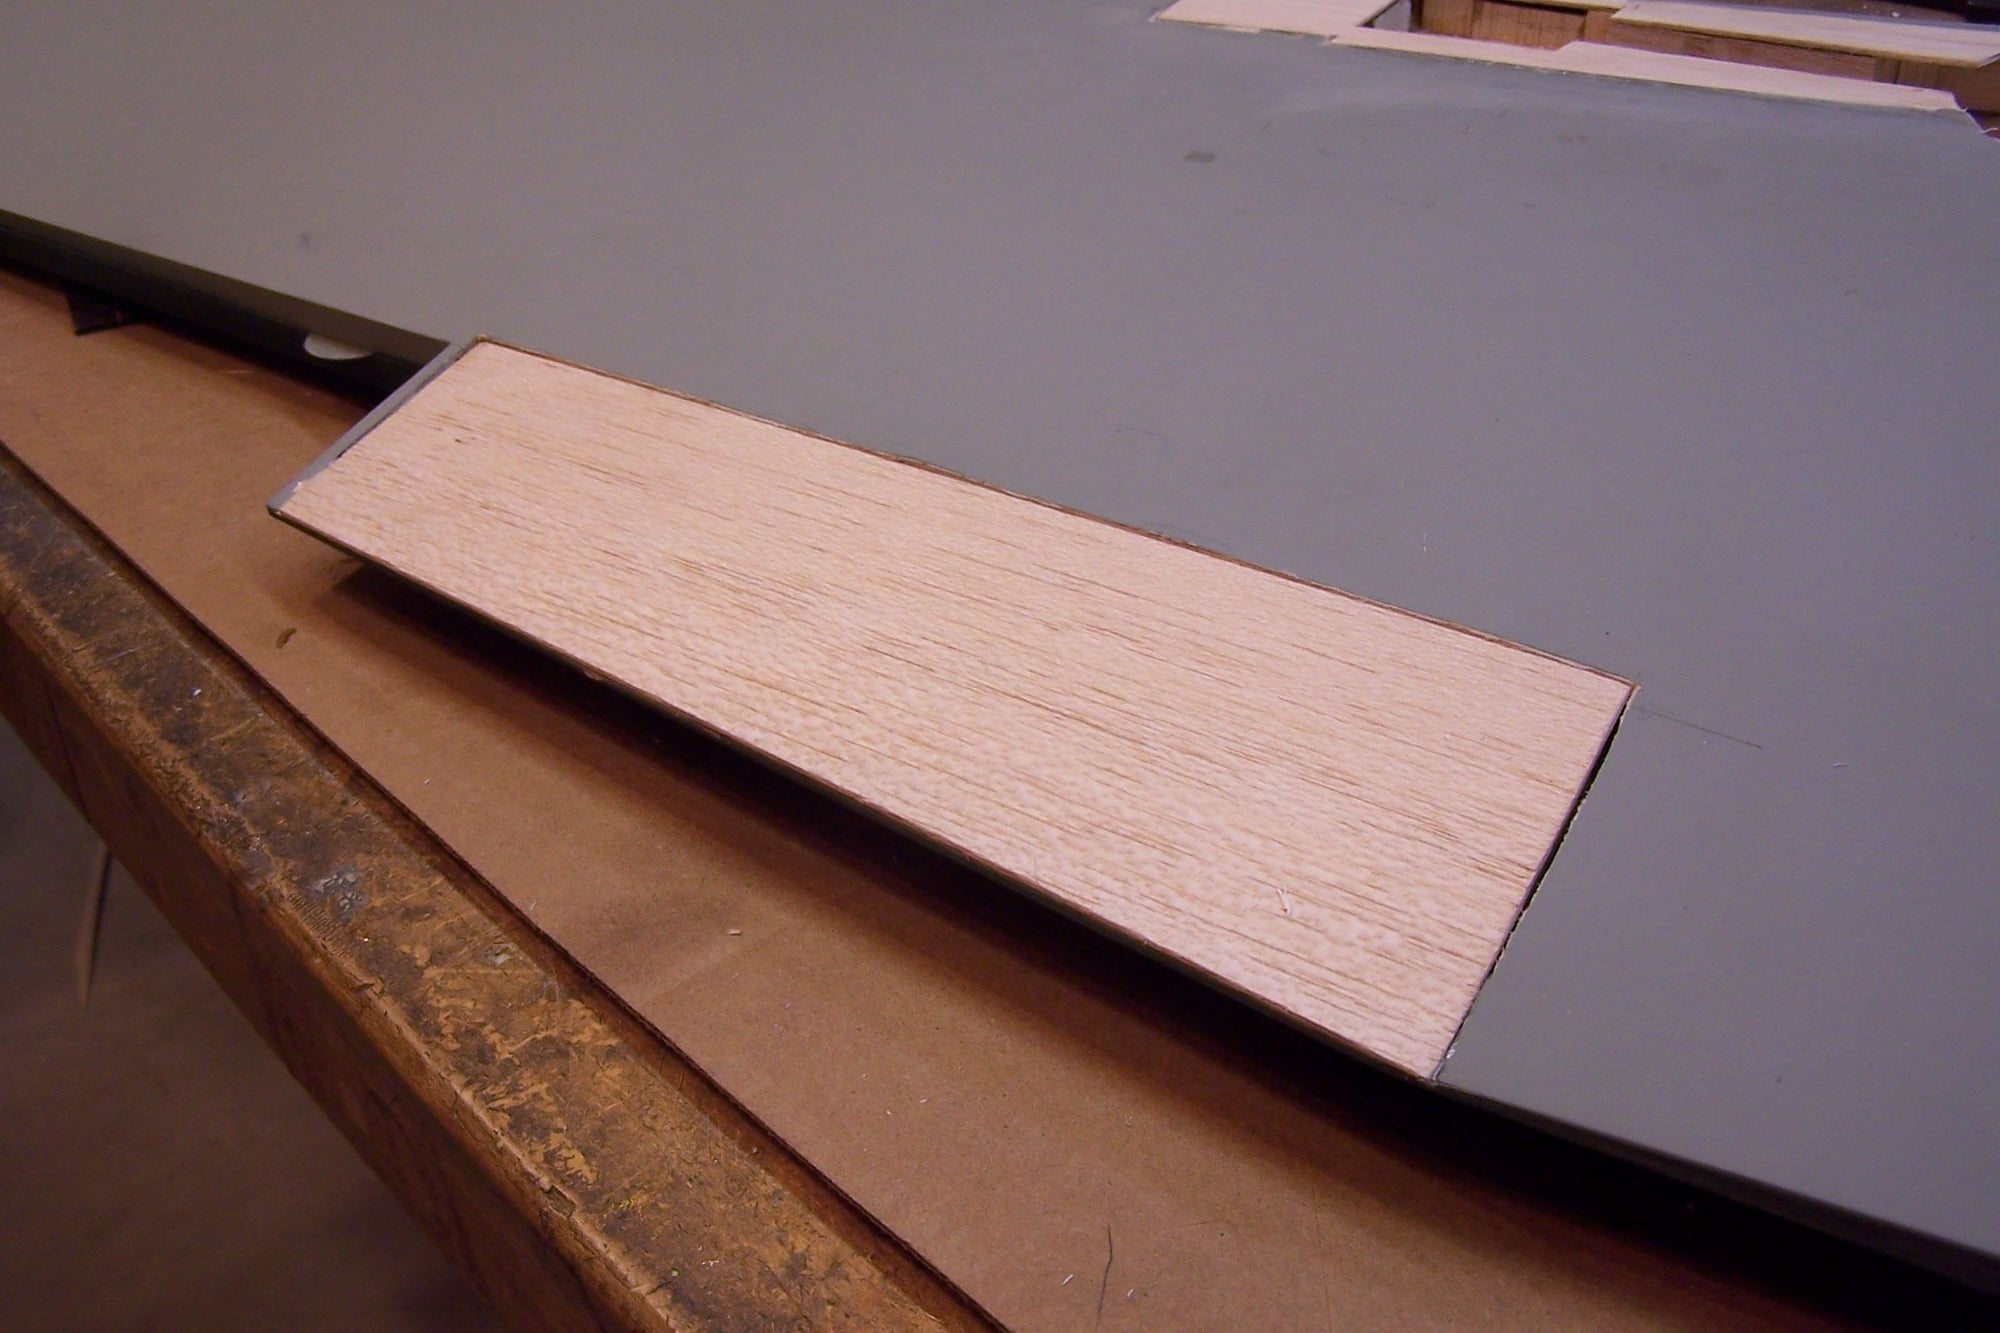
flap in place

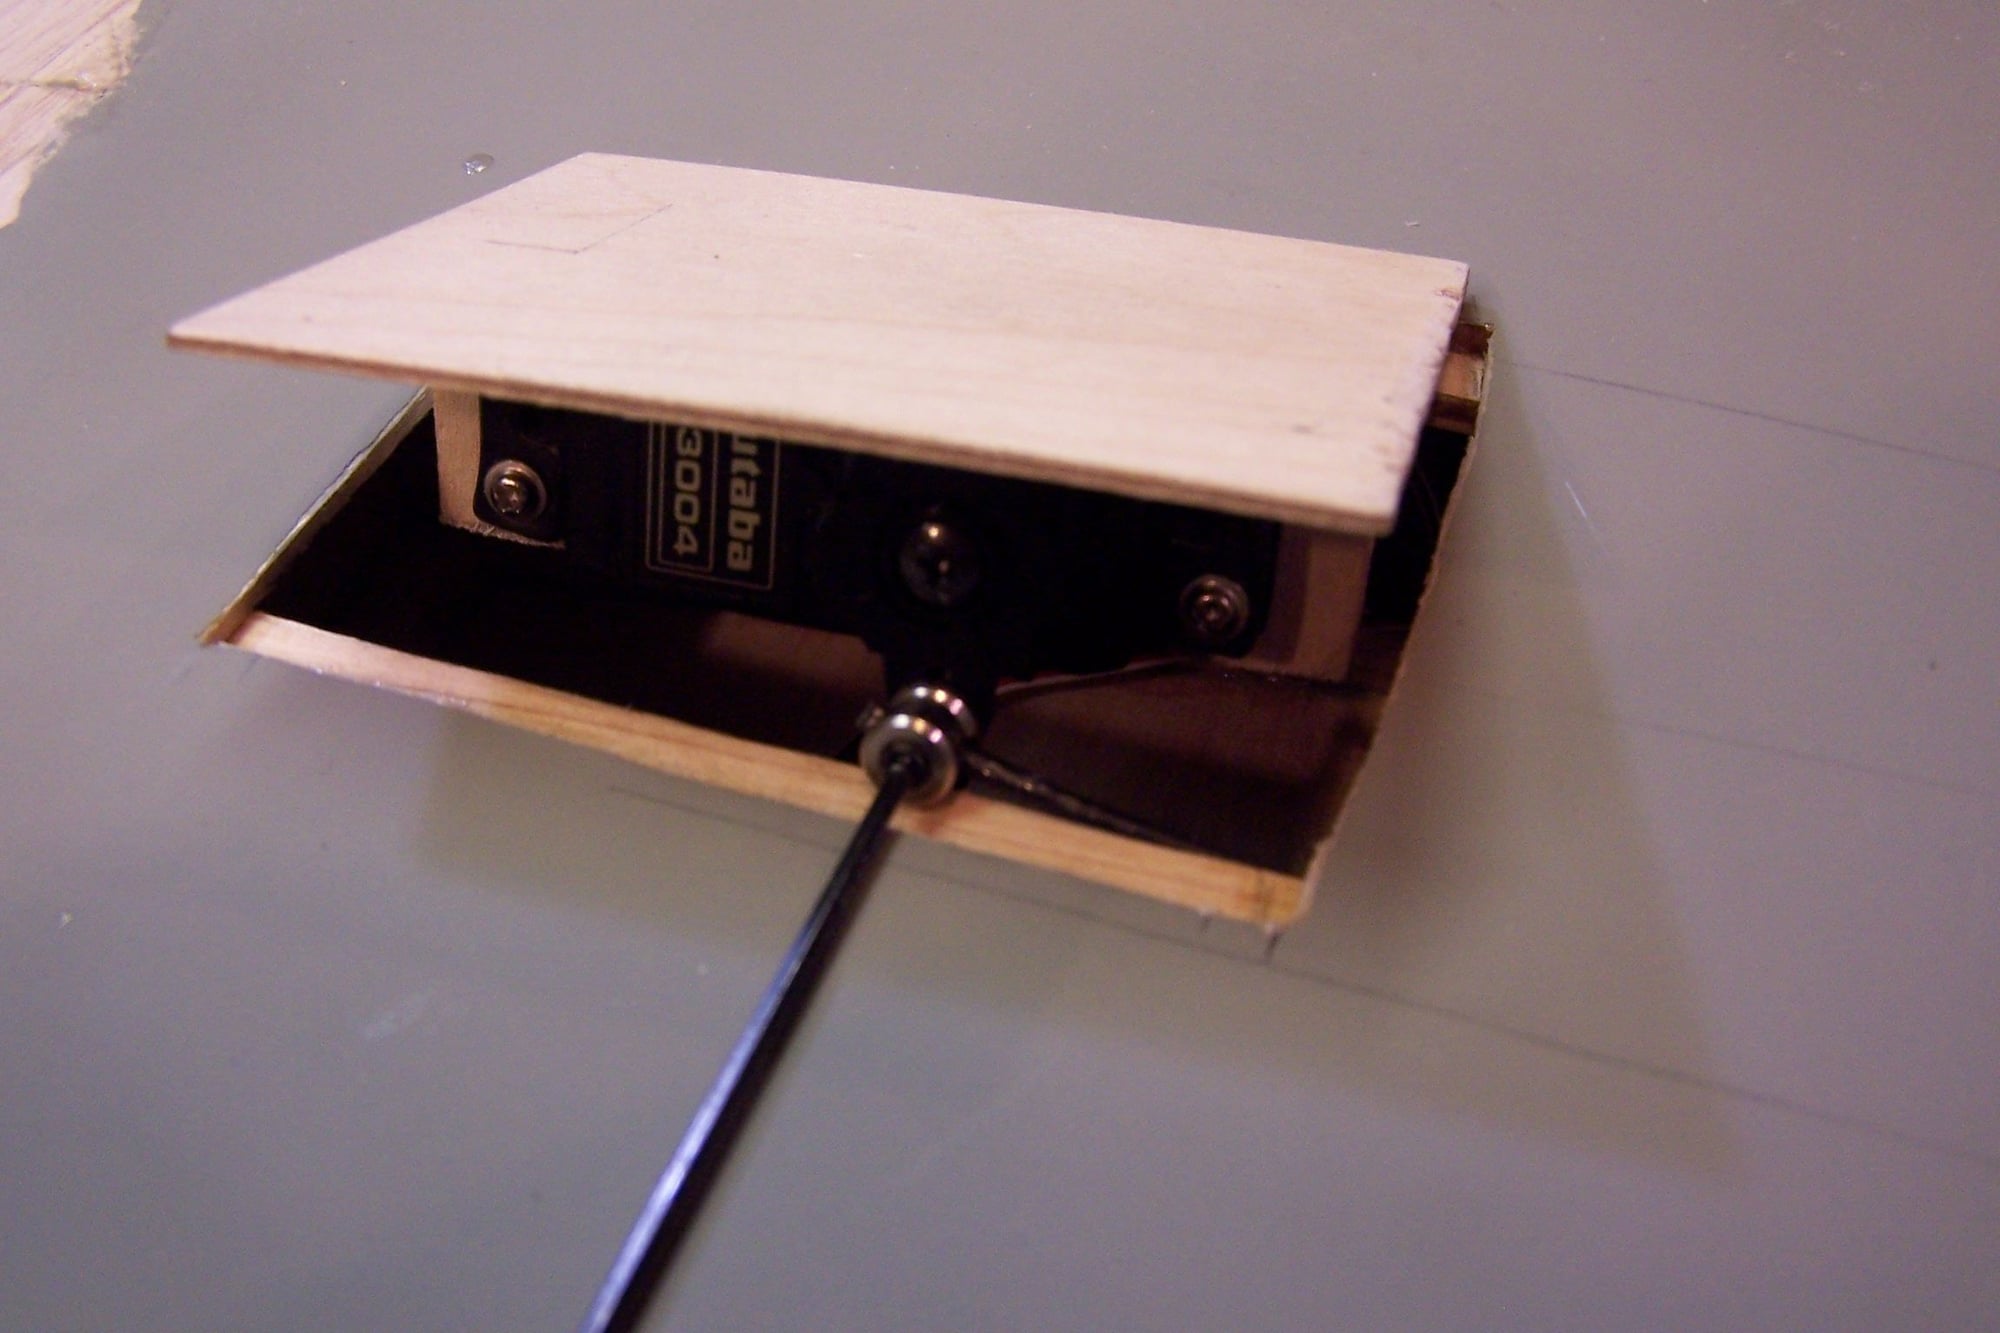
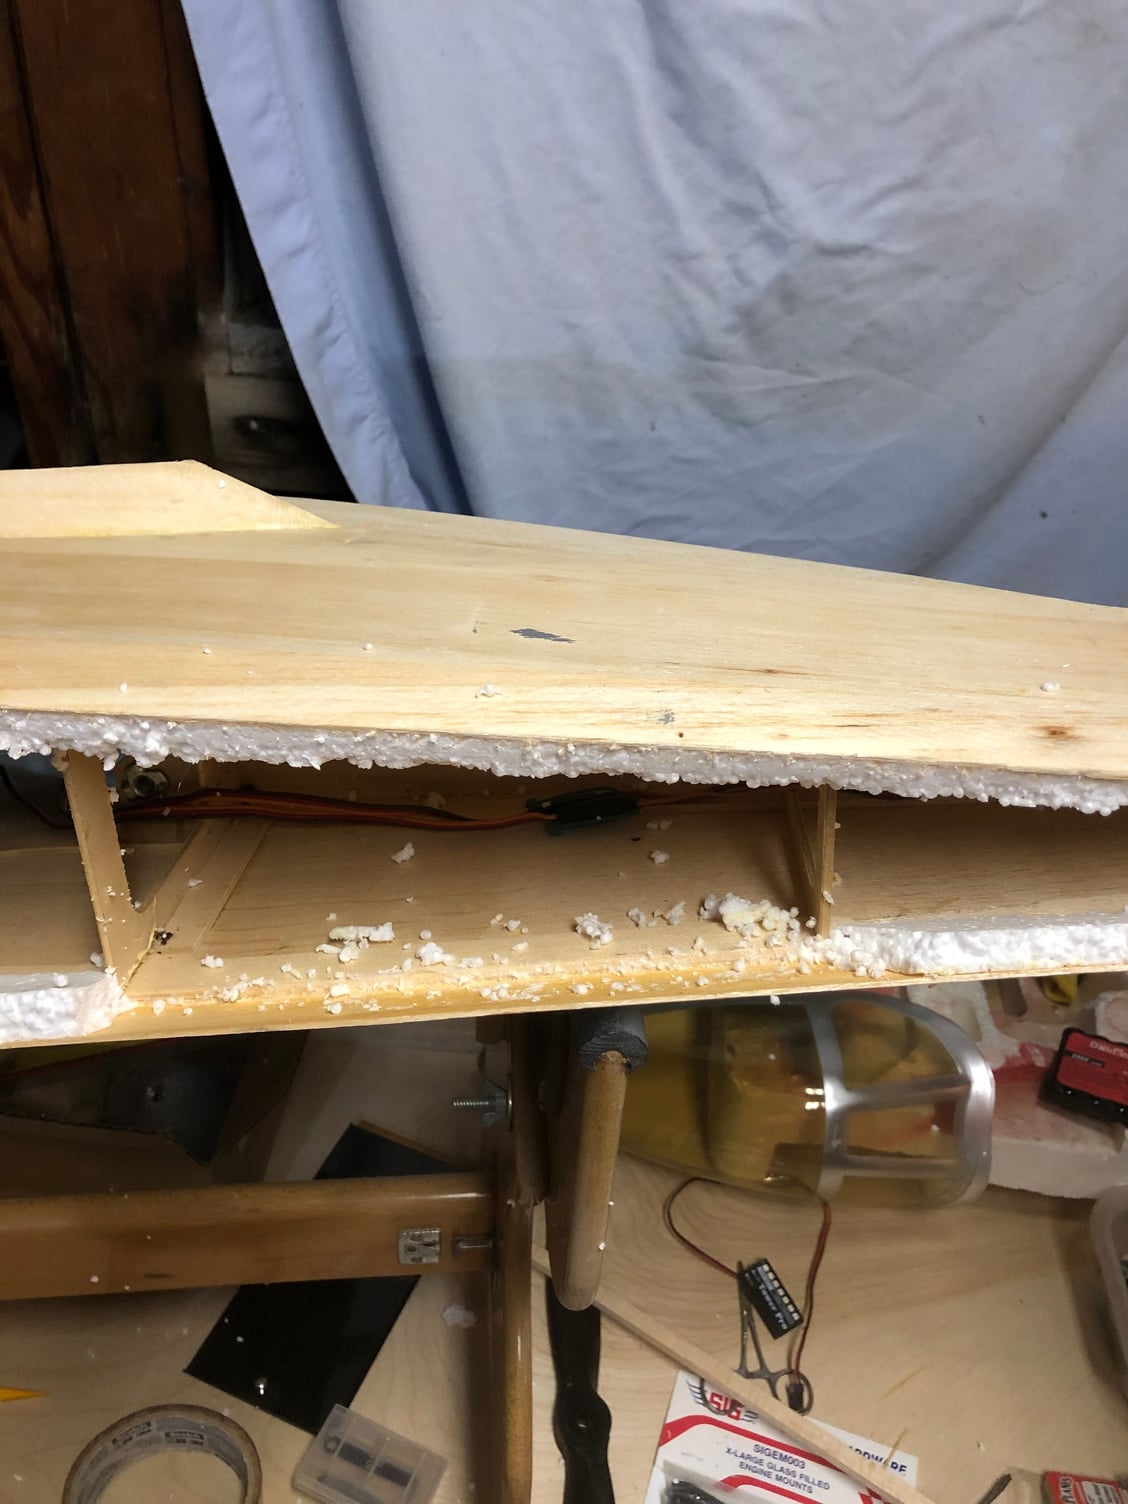
Added servo compartment
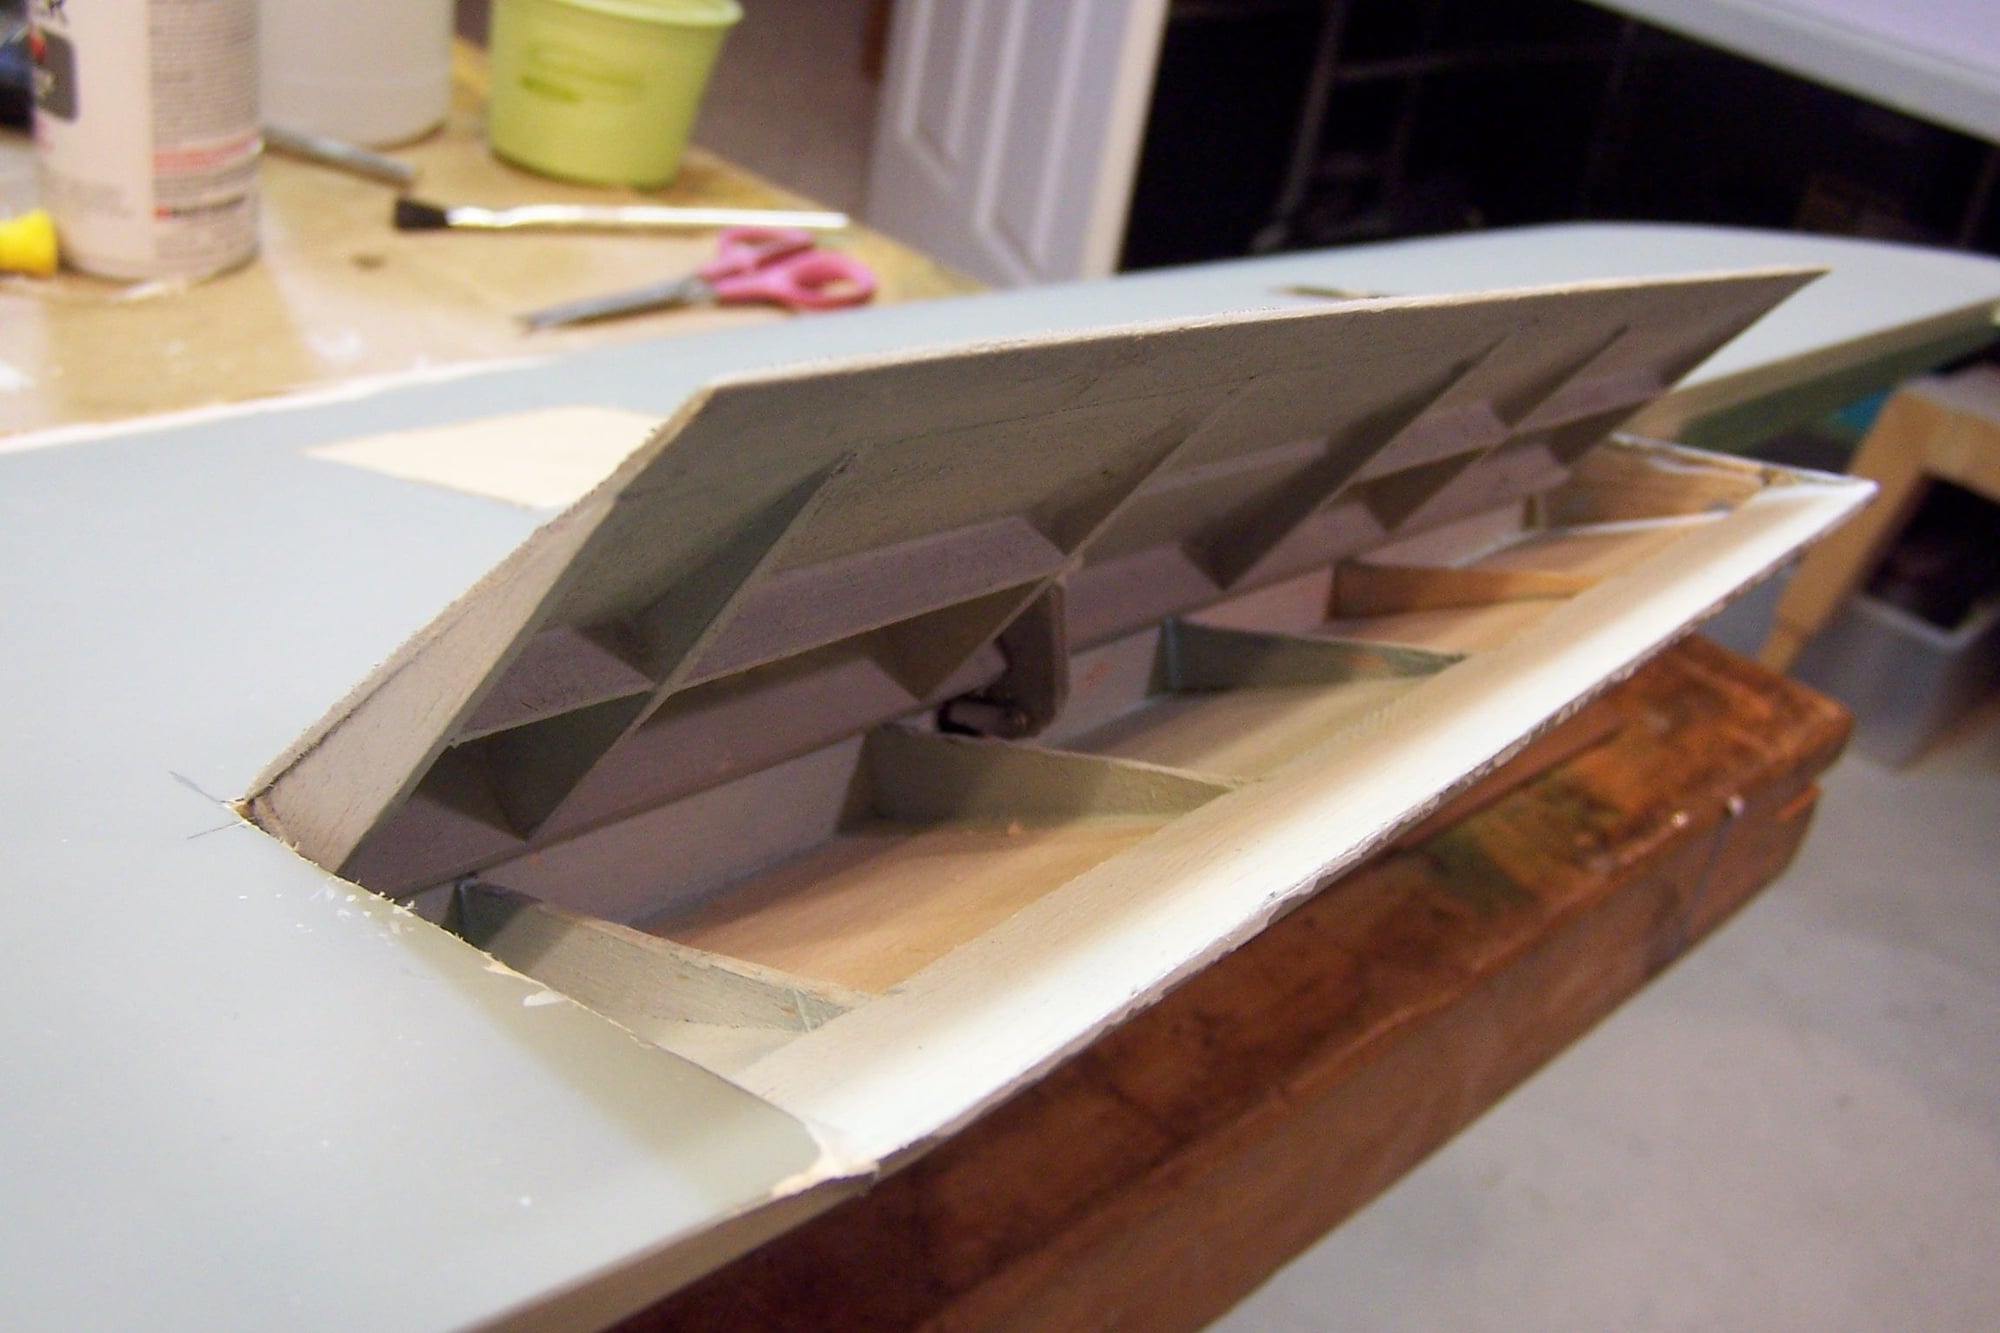
Has internal linkage
Internal linkage is a PIA to adjust, but once done is ok.
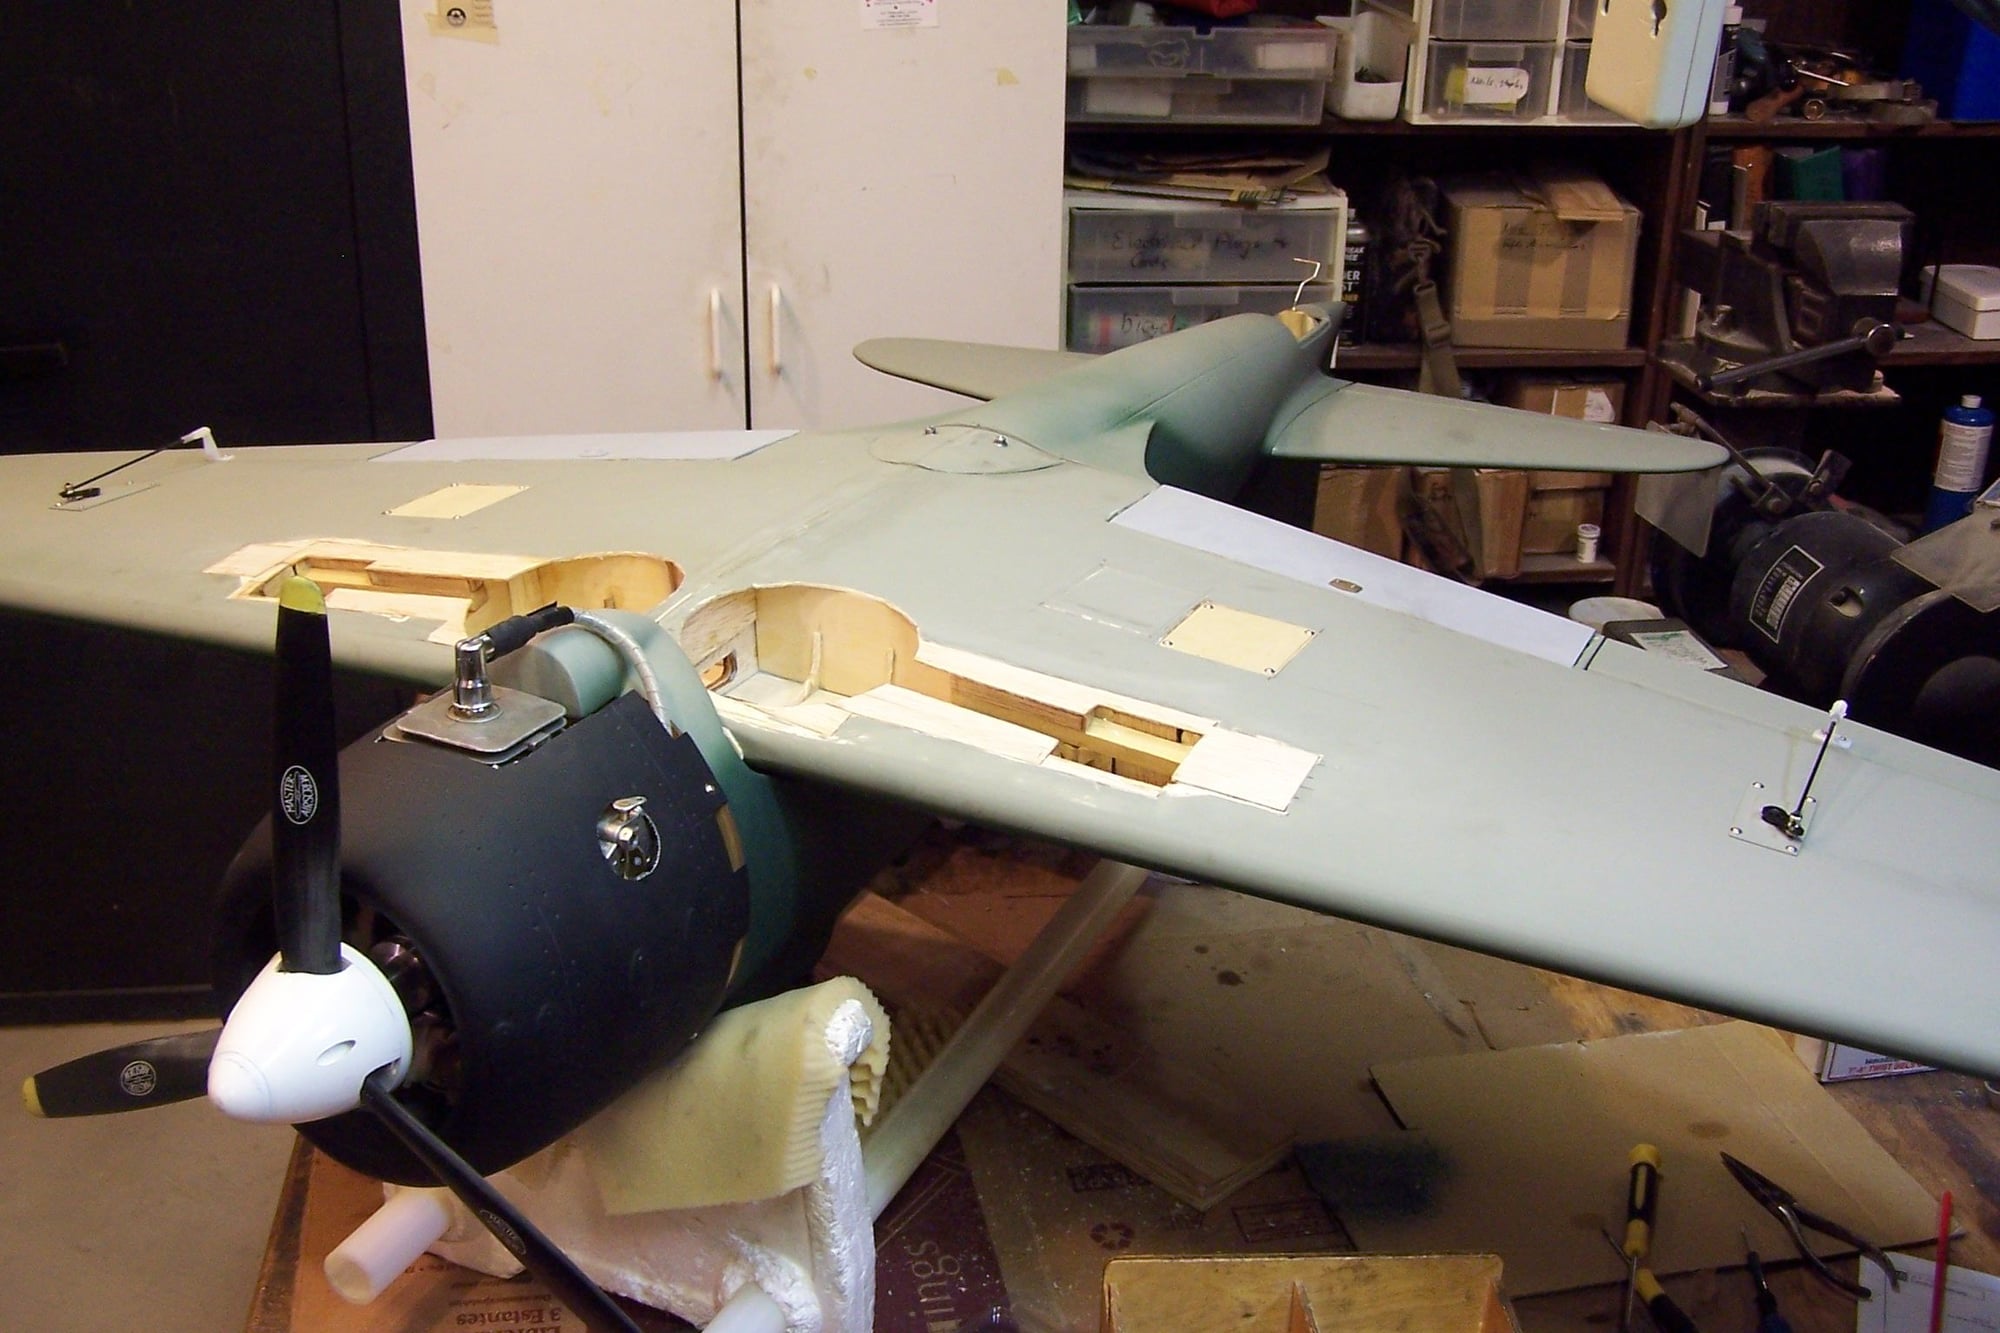
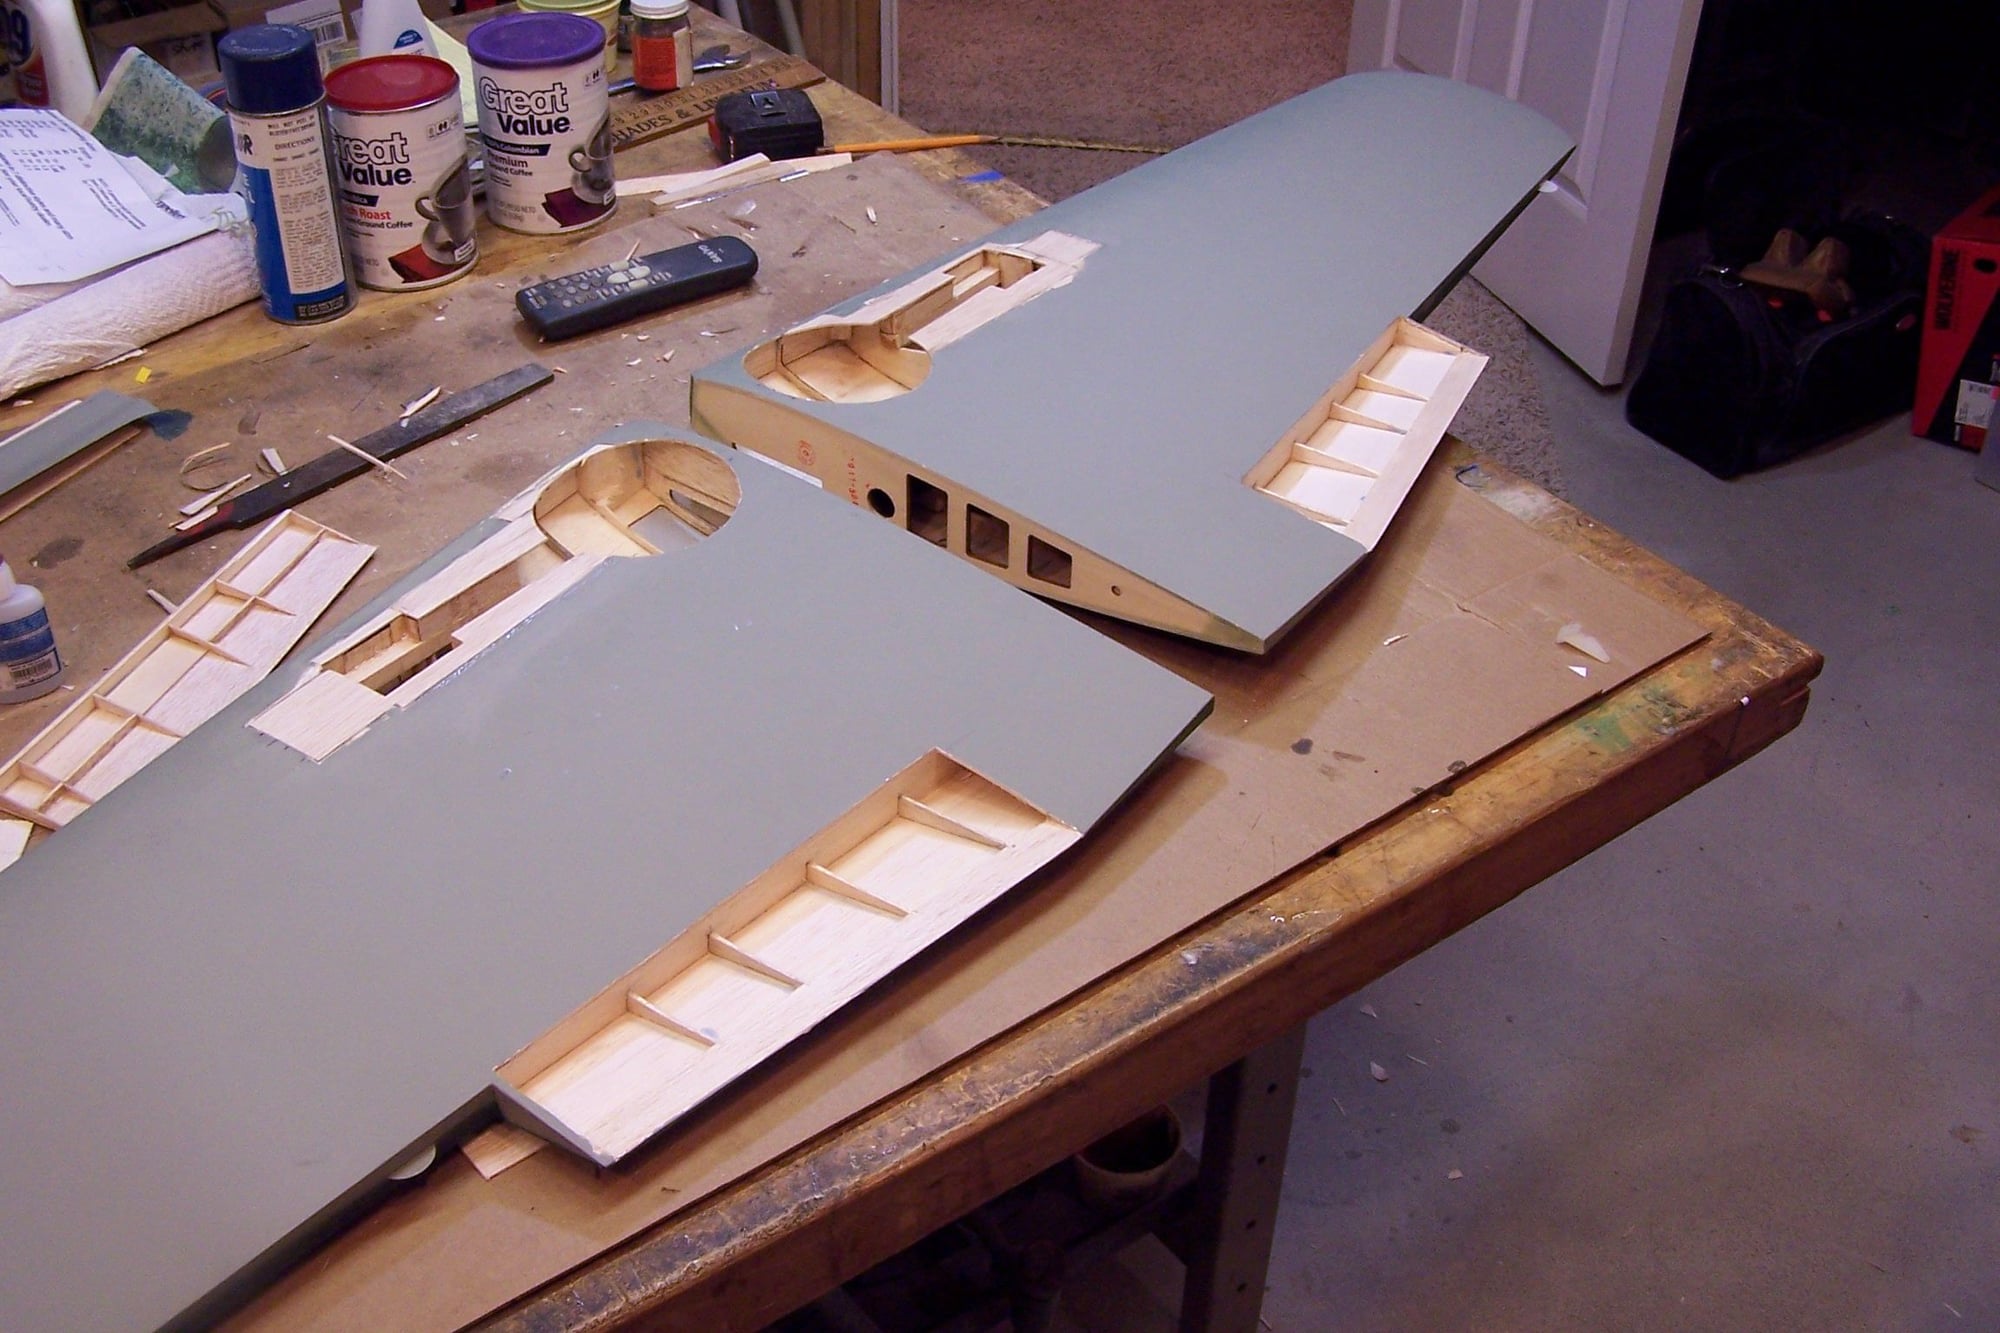
Here is the bottom with new wheel wells and mounts
Flaps and gear finished
Plane finished.
Cut off the bottom sheeting.
Trimmed down the ribs
Built the flap
flap in place
Added servo compartment
Has internal linkage
Internal linkage is a PIA to adjust, but once done is ok.
Here is the bottom with new wheel wells and mounts
Flaps and gear finished
Plane finished.

 06-21-2020, 07:46 PM
#128
My Feedback: (13)
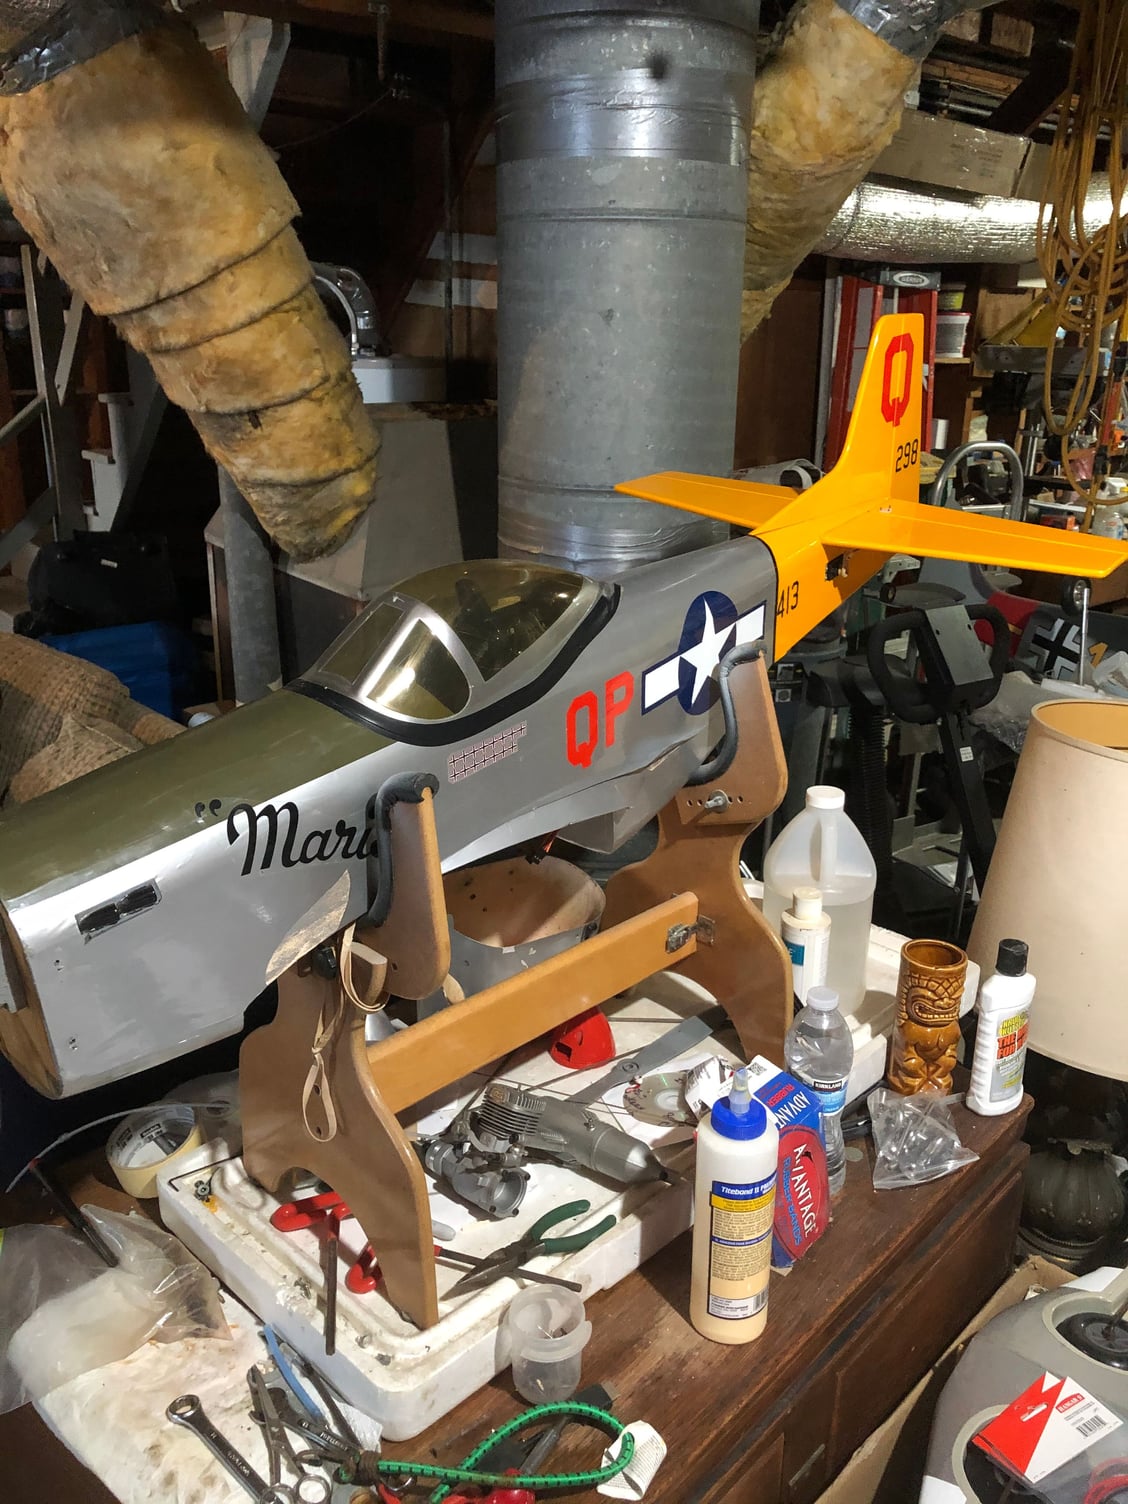
a little update to my project, I have been on a bit of a engine rebuilding tear as of late,and needed to get Marie's powerplant in order which I have done I'm going with a OS 120 4stroke.
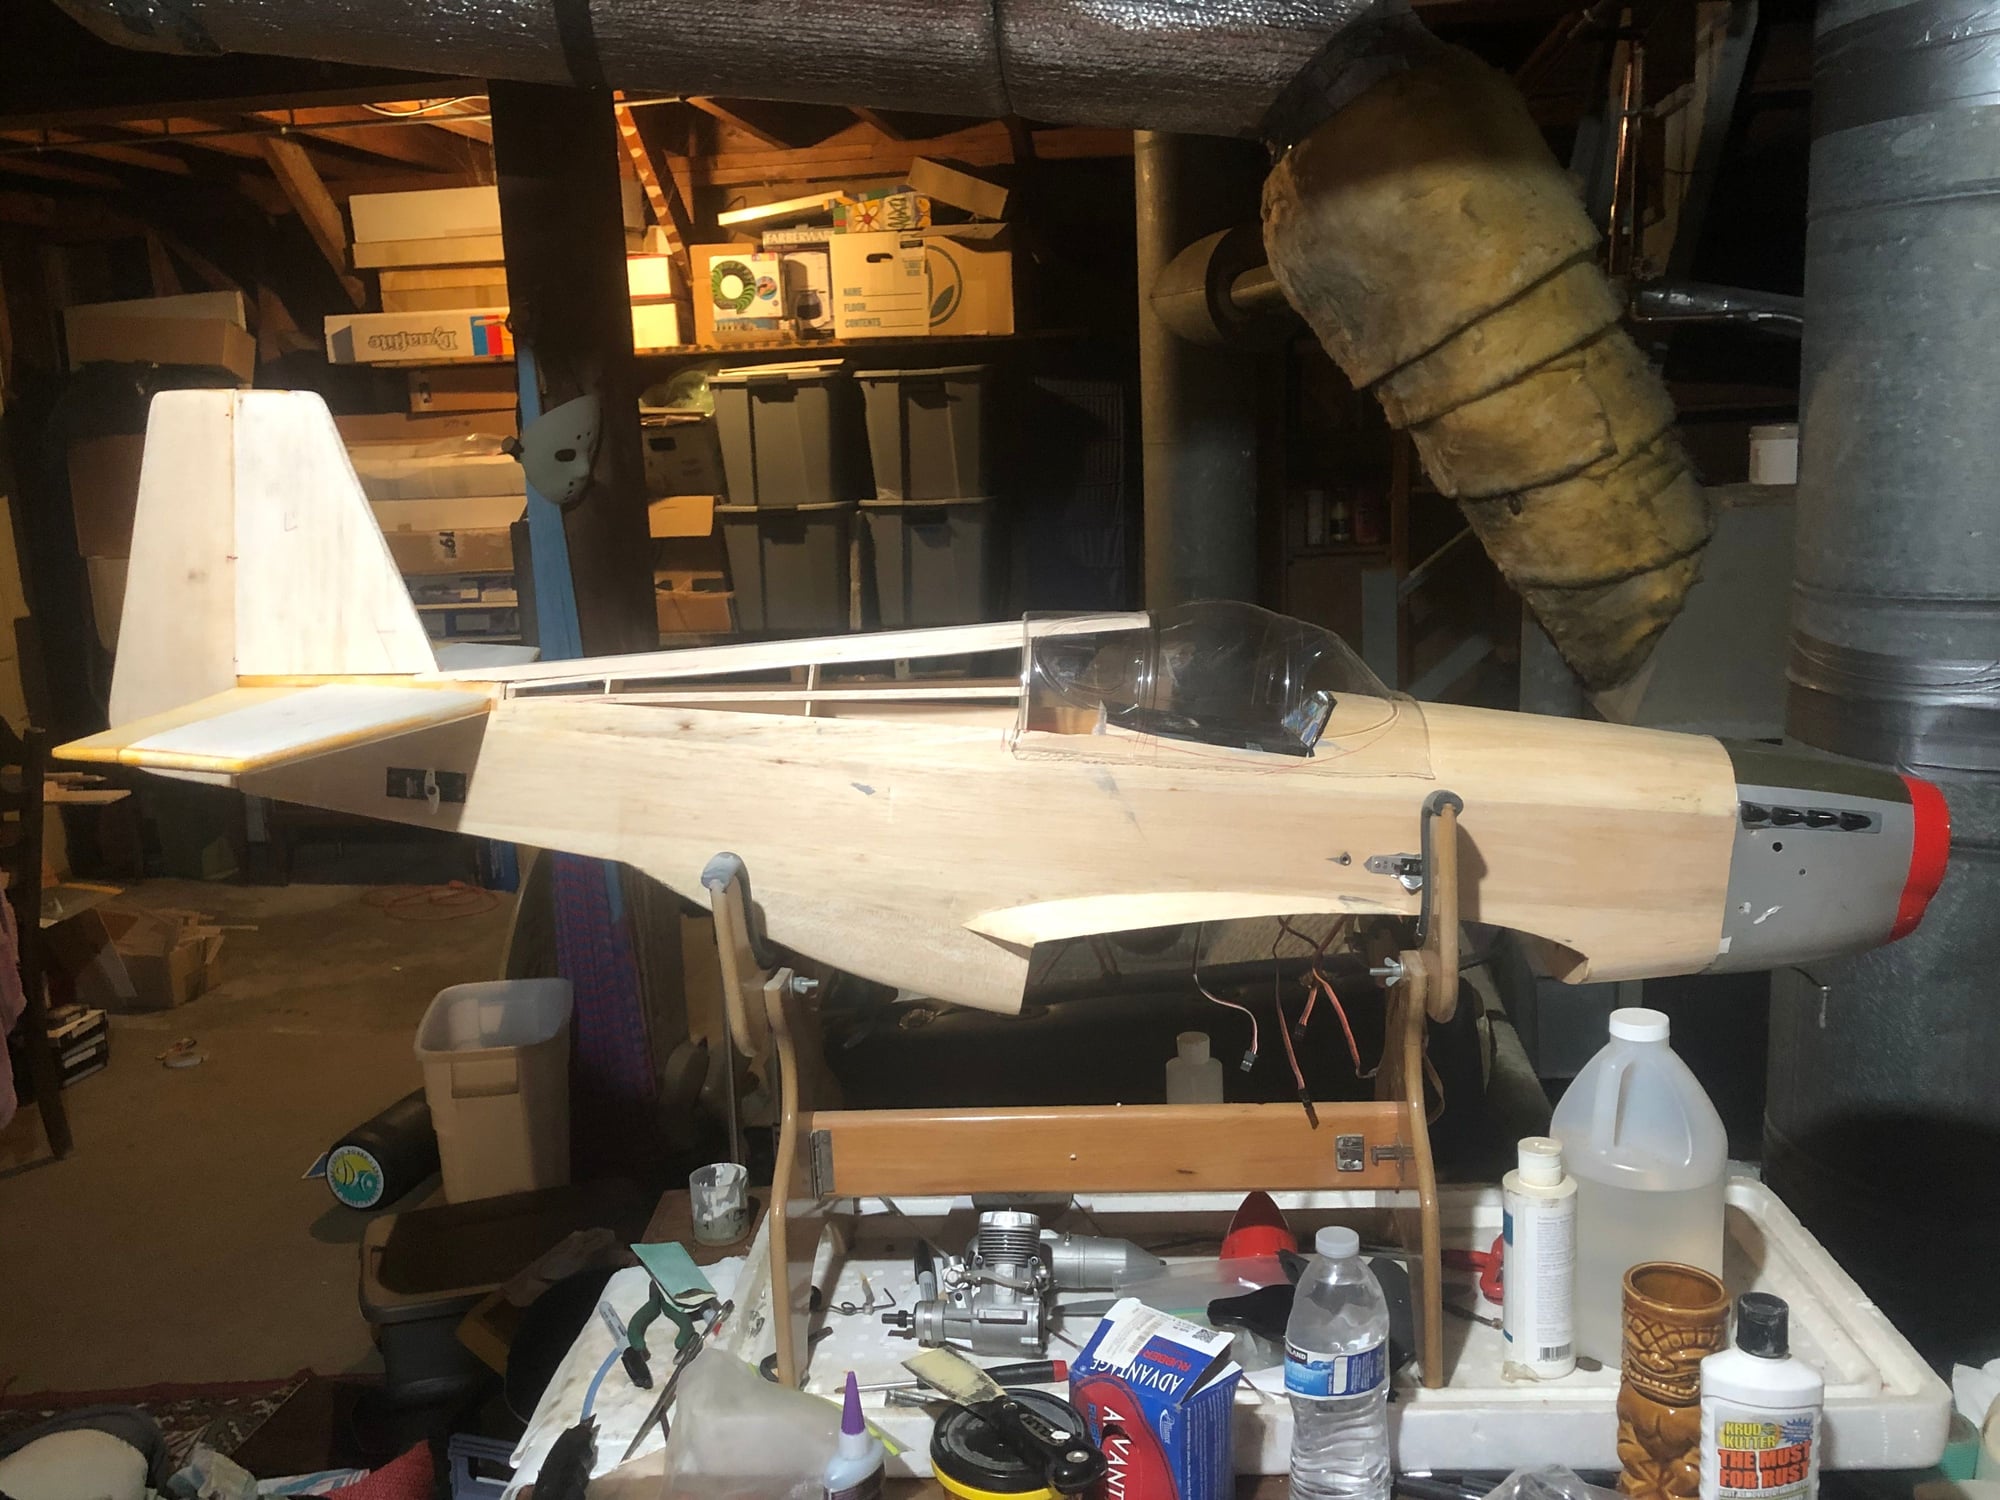
the tear down of old Marie has begun I stripped the covering off the fuse and was really surprised how well the heat gun took care of the ultracoat when I peeled it off without heat it left behind a colored residue but with heat it came clean off the wood just going over the fuse right now checking for imperfections, these H-9 models were built pretty lightly, I used to think guys were crazy for adding wood to the tail planes now I know why now she's as naked as the day she was born a little working on the tail and a little mock up of my Malcolm hood and a pre stripping photo
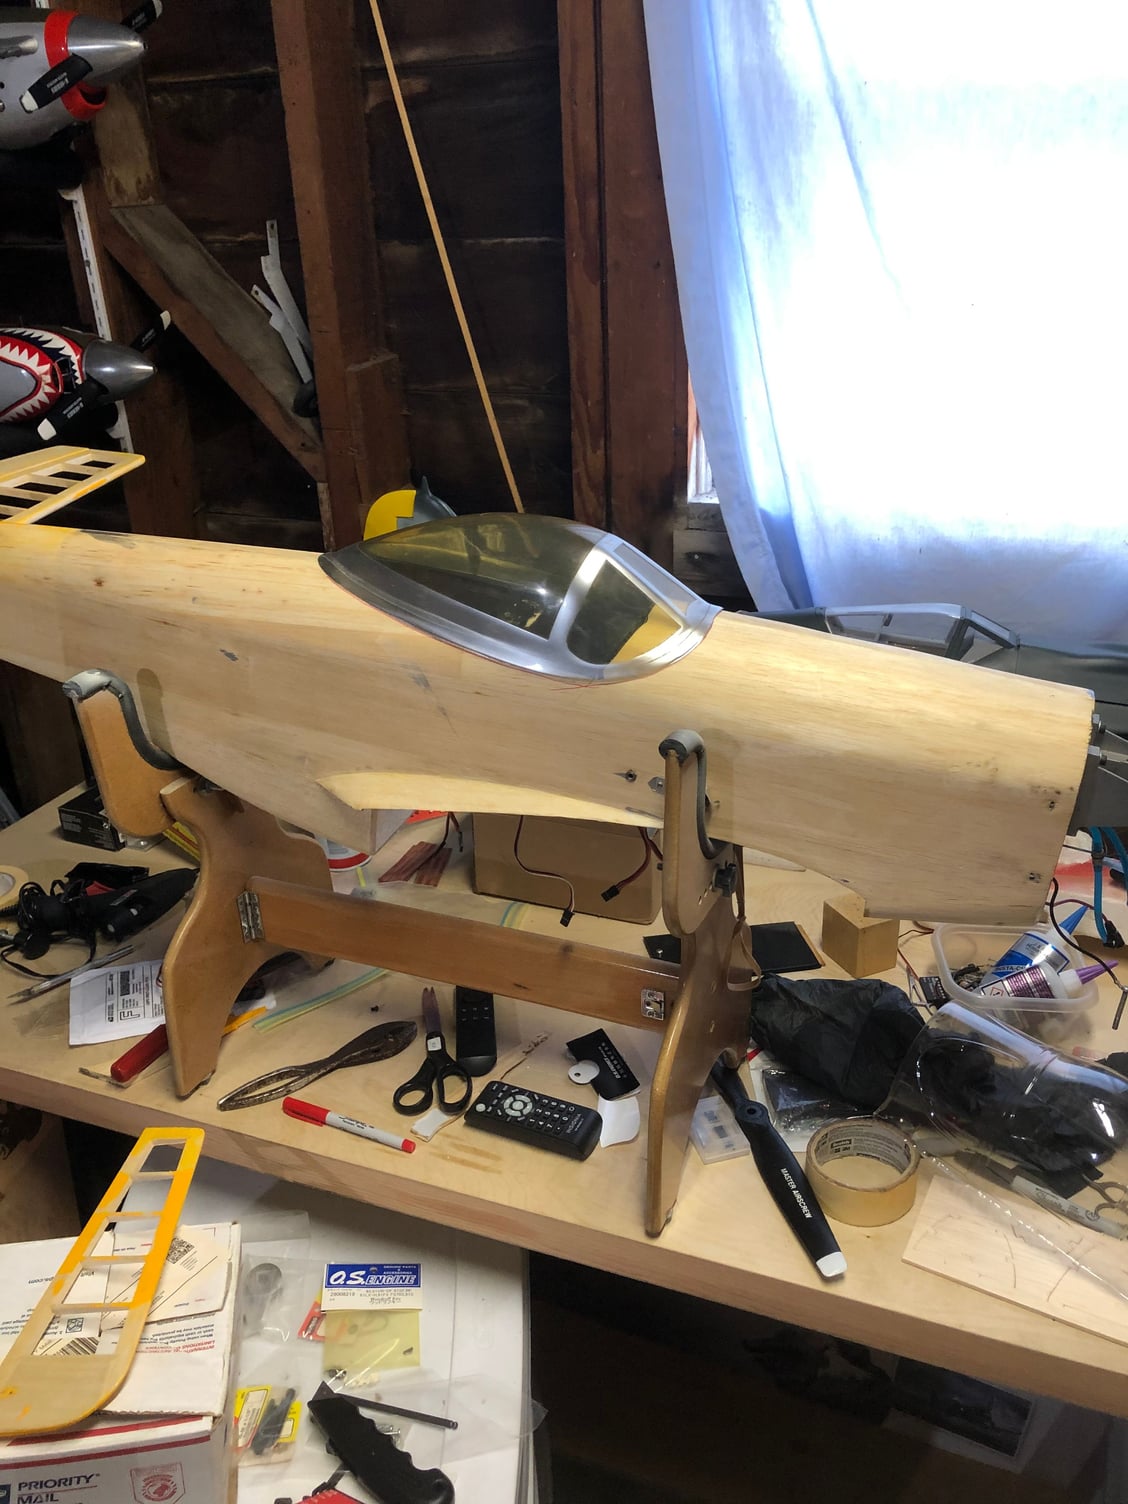
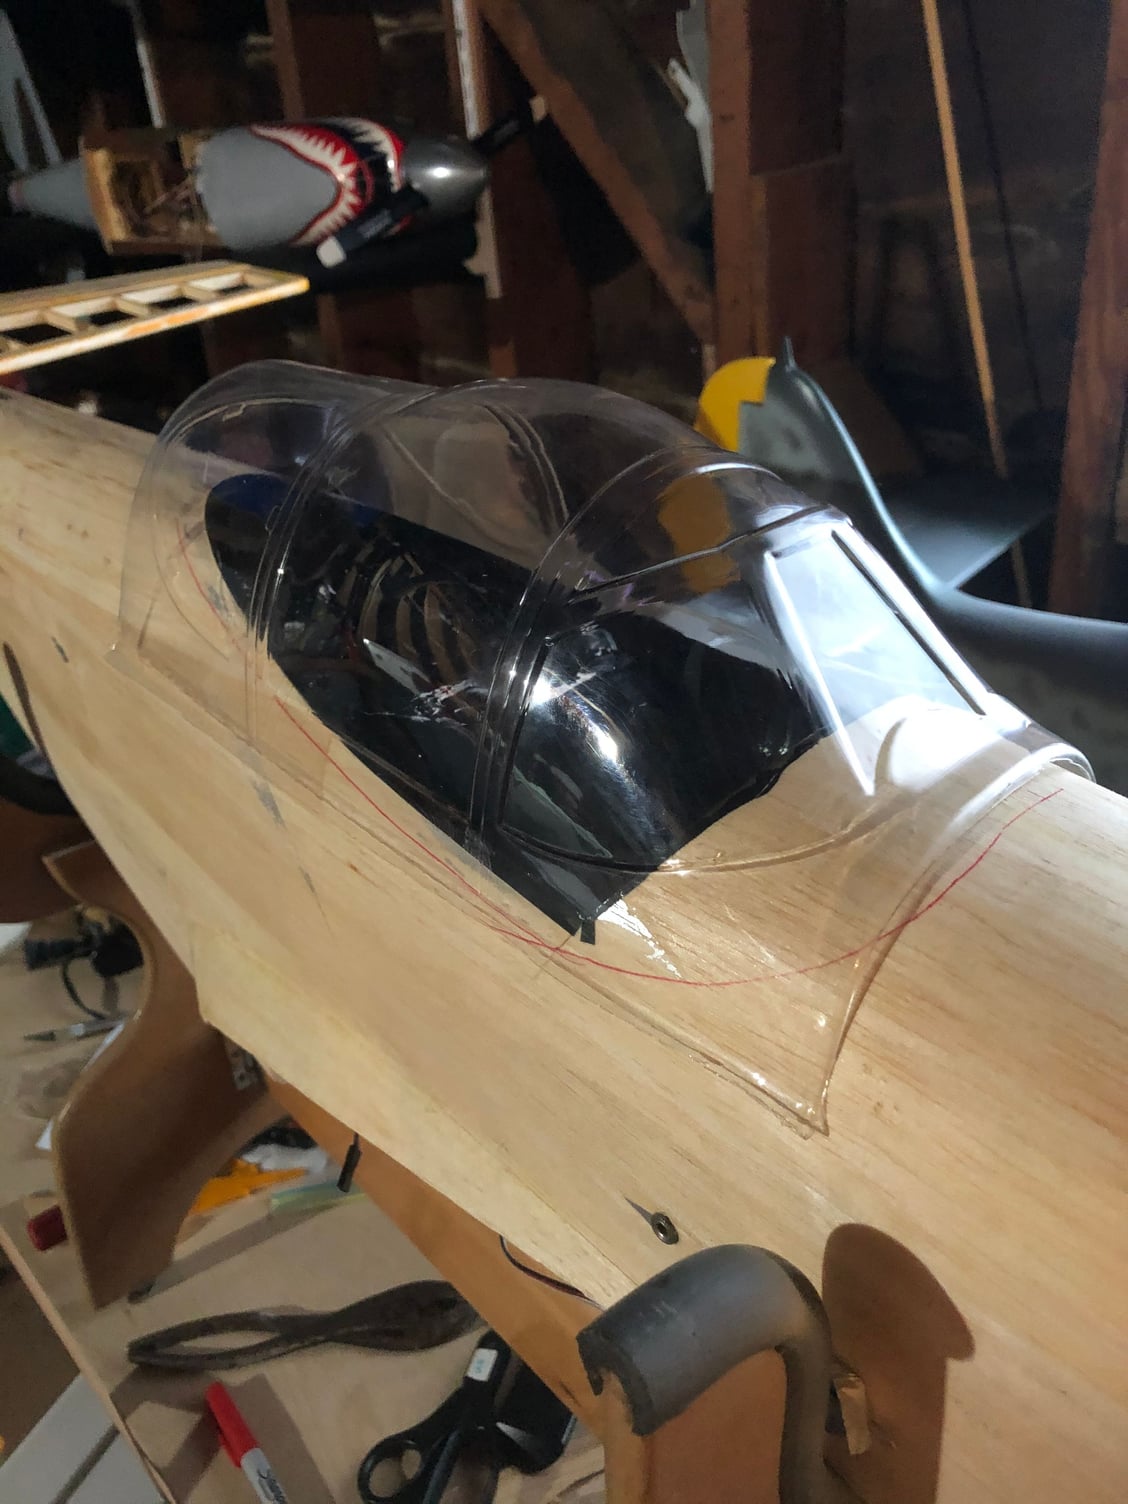
the tear down of old Marie has begun I stripped the covering off the fuse and was really surprised how well the heat gun took care of the ultracoat when I peeled it off without heat it left behind a colored residue but with heat it came clean off the wood just going over the fuse right now checking for imperfections, these H-9 models were built pretty lightly, I used to think guys were crazy for adding wood to the tail planes now I know why now she's as naked as the day she was born a little working on the tail and a little mock up of my Malcolm hood and a pre stripping photo
Last edited by bigtim; 06-21-2020 at 07:57 PM.
06-21-2020, 08:03 PM
#129
My Feedback: (13)
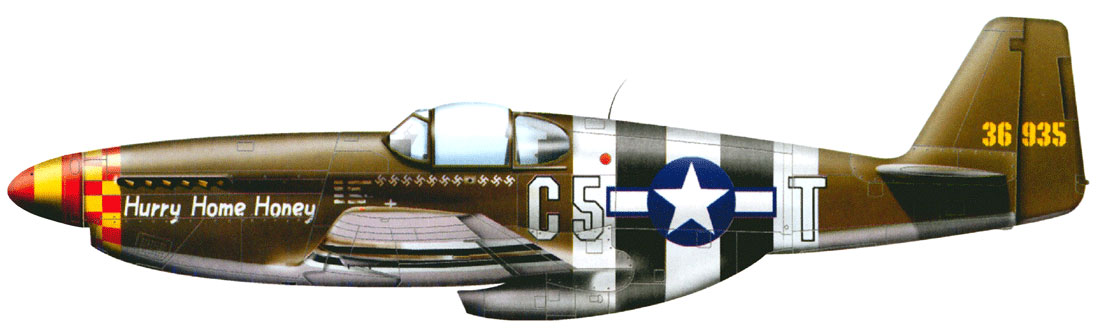
Now I just need to clone the new turtle deck, and sheet the tail surfaces, and move the tail wheel like my original Marie, then I am on to the wing mods, of the flaps I have all the ultracoat to do this scheme including the stickers from the Topflite model something a little different.
Last edited by bigtim; 06-21-2020 at 08:09 PM.
06-22-2020, 04:37 AM
#130
where did you get a Malcolm hood? that covering did come off nice! while looking at here with a critical eye, look at the fuse bottom aft of the wing its pretty square. a belt sander and 3/4 to 1in triangle blocks can fix that for very little work.
my p-51s are all in the attic waiting for me to replace the monokote. next time they get ultra coat, monocot has taken all the uv retardant out (before horizon bought them, I have not given them a chance since then).
Good luck
Joe
my p-51s are all in the attic waiting for me to replace the monokote. next time they get ultra coat, monocot has taken all the uv retardant out (before horizon bought them, I have not given them a chance since then).
Good luck
Joe
06-22-2020, 08:46 AM
#131
My Feedback: (13)
Definitely a bit boxy in the tail we are thinking about the same thing, the scoop section has a rounded area, but the tail needs help,also the V stab is a little bit small according to the TF plans I have for the conversion.
I got the ultra coat covering from my LHS it�s one of the last local stores around and they were closed until just recently because of the shutdown.
I got the canopy on RCU years ago and it�s been sitting in a box ever since a member did a conversion on his mustang, made a plug and pulled some copies and I jumped at the chance to buy one.
06-22-2020, 11:45 PM
#132
My Feedback: (13)
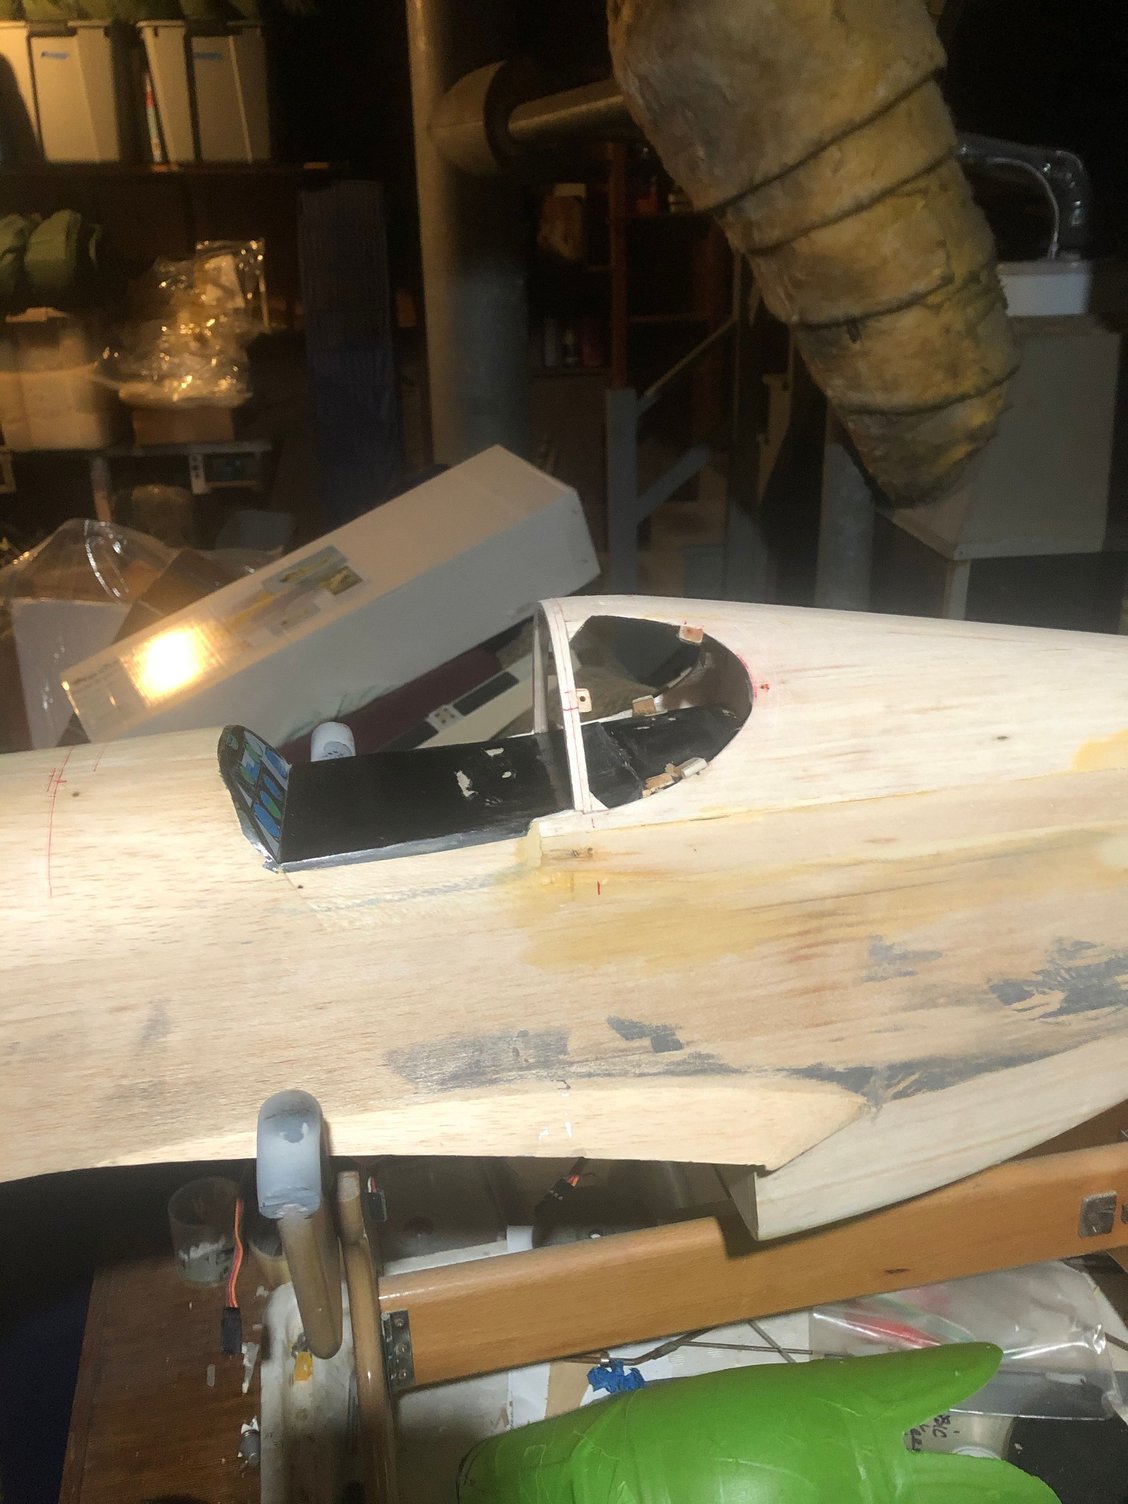
Some progress cut the old turtle deck off lined up some balsa sticks and pinned them to the fuse with the elevator and the cockpit drew some lines and the old exacto knife did the rest.
the sheeting was really thin 1/16 balsa over a foam curved structure, my guess was for weight cut it right before the V stab and once I got through the foam it popped right off.
I then peeled the extra foam strip out of the fuse some sort of spray adhesive contact cement allowed the foam to pop out
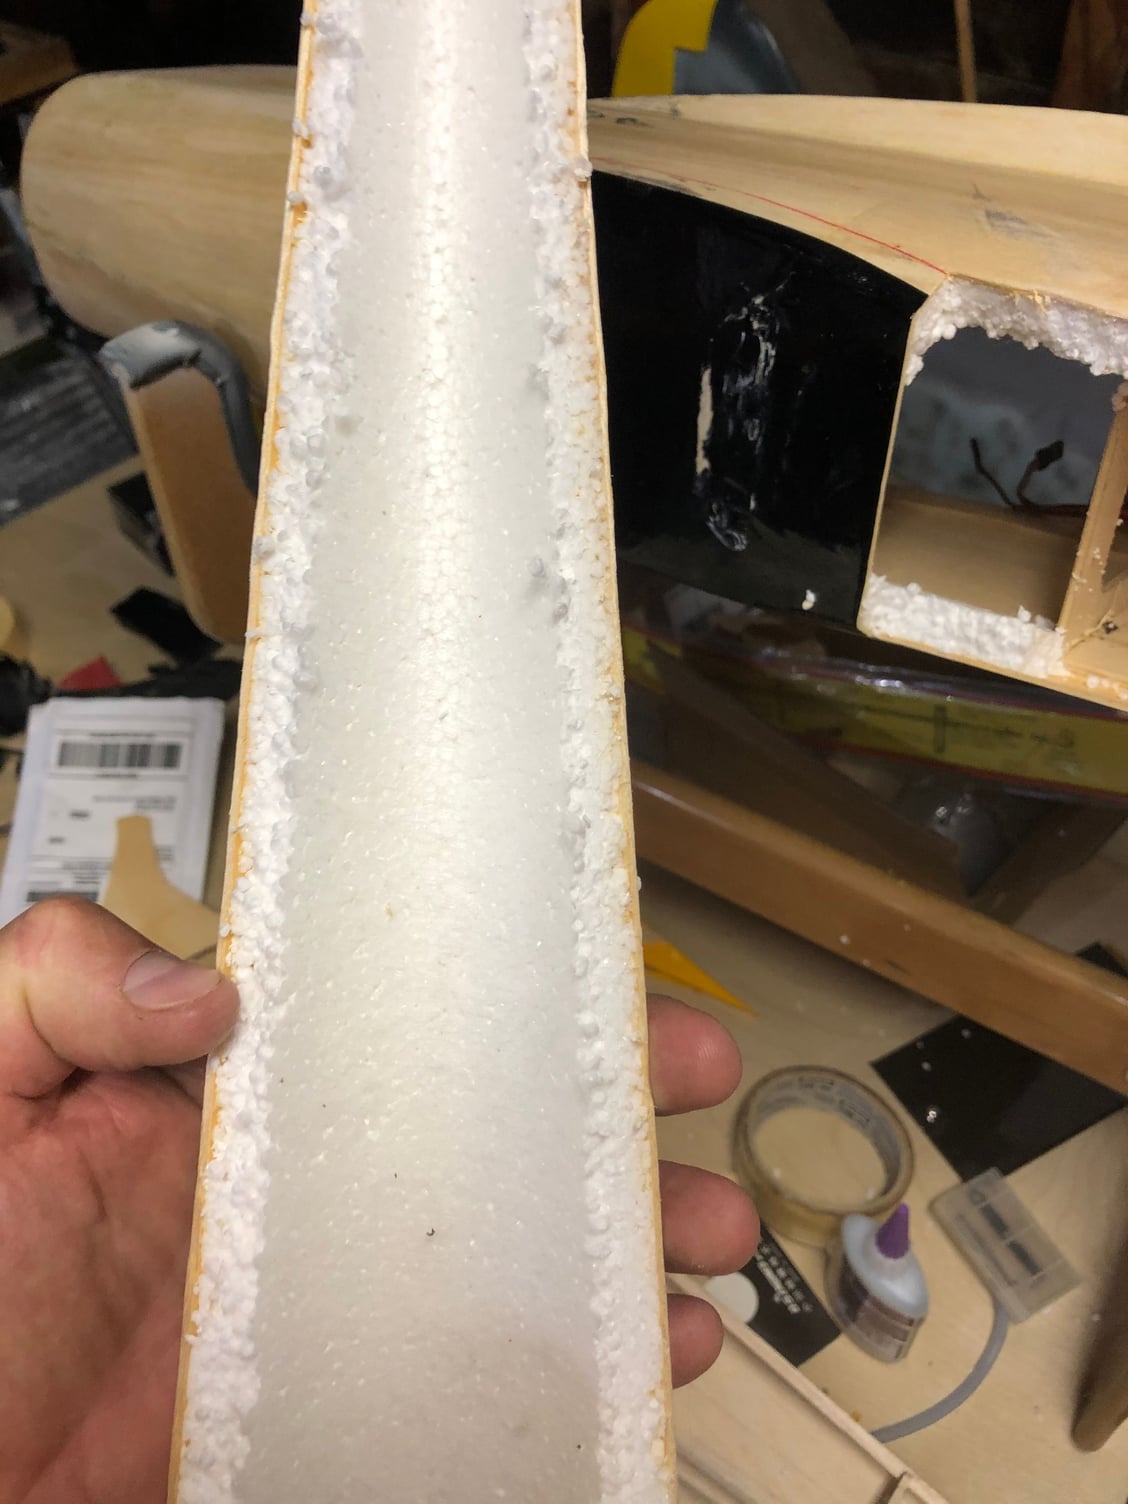
the sheeting was really thin 1/16 balsa over a foam curved structure, my guess was for weight cut it right before the V stab and once I got through the foam it popped right off.
I then peeled the extra foam strip out of the fuse some sort of spray adhesive contact cement allowed the foam to pop out
06-23-2020, 12:05 AM
#133
My Feedback: (13)
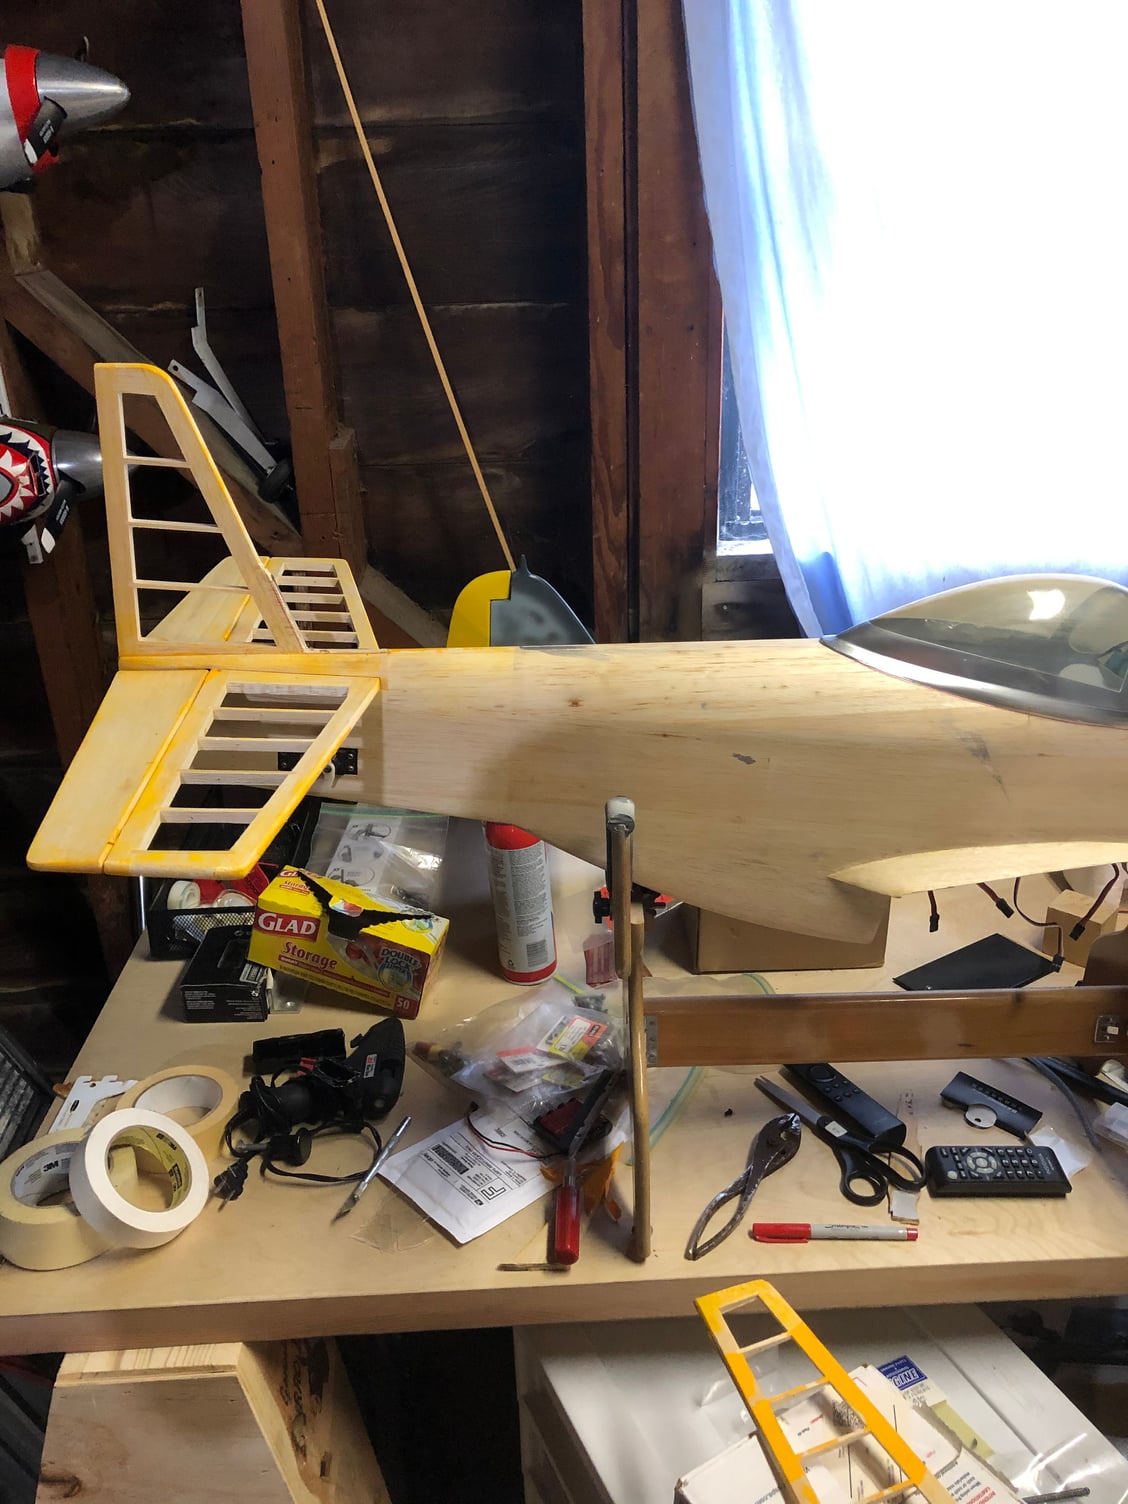
Last night I cloned the formers from a TF P-51B conversion kit I have, if any one wants to do this the TF kit is nearly identical to the Hangar 9 in size.
so I used a 3/32 piece of sheeting as a base for the formersand after cutting them out on my mini Dremmel scroll saw, I did leave out the notching on the bottom so I had a flat surface drew a center line on the former and sheeting and using the TF plans to get distance right glued it up I�m surprised it fits so well I did have to add a tiny spacer at the fuse formers to lift it up into position it did require some trimming to get it into the right position, I also added some wood to the rudder V stab so it has a little more scale and strength before I sheet it I am also going to use Robart hinge pointe So I�ll put some balsa blocks in as hard points
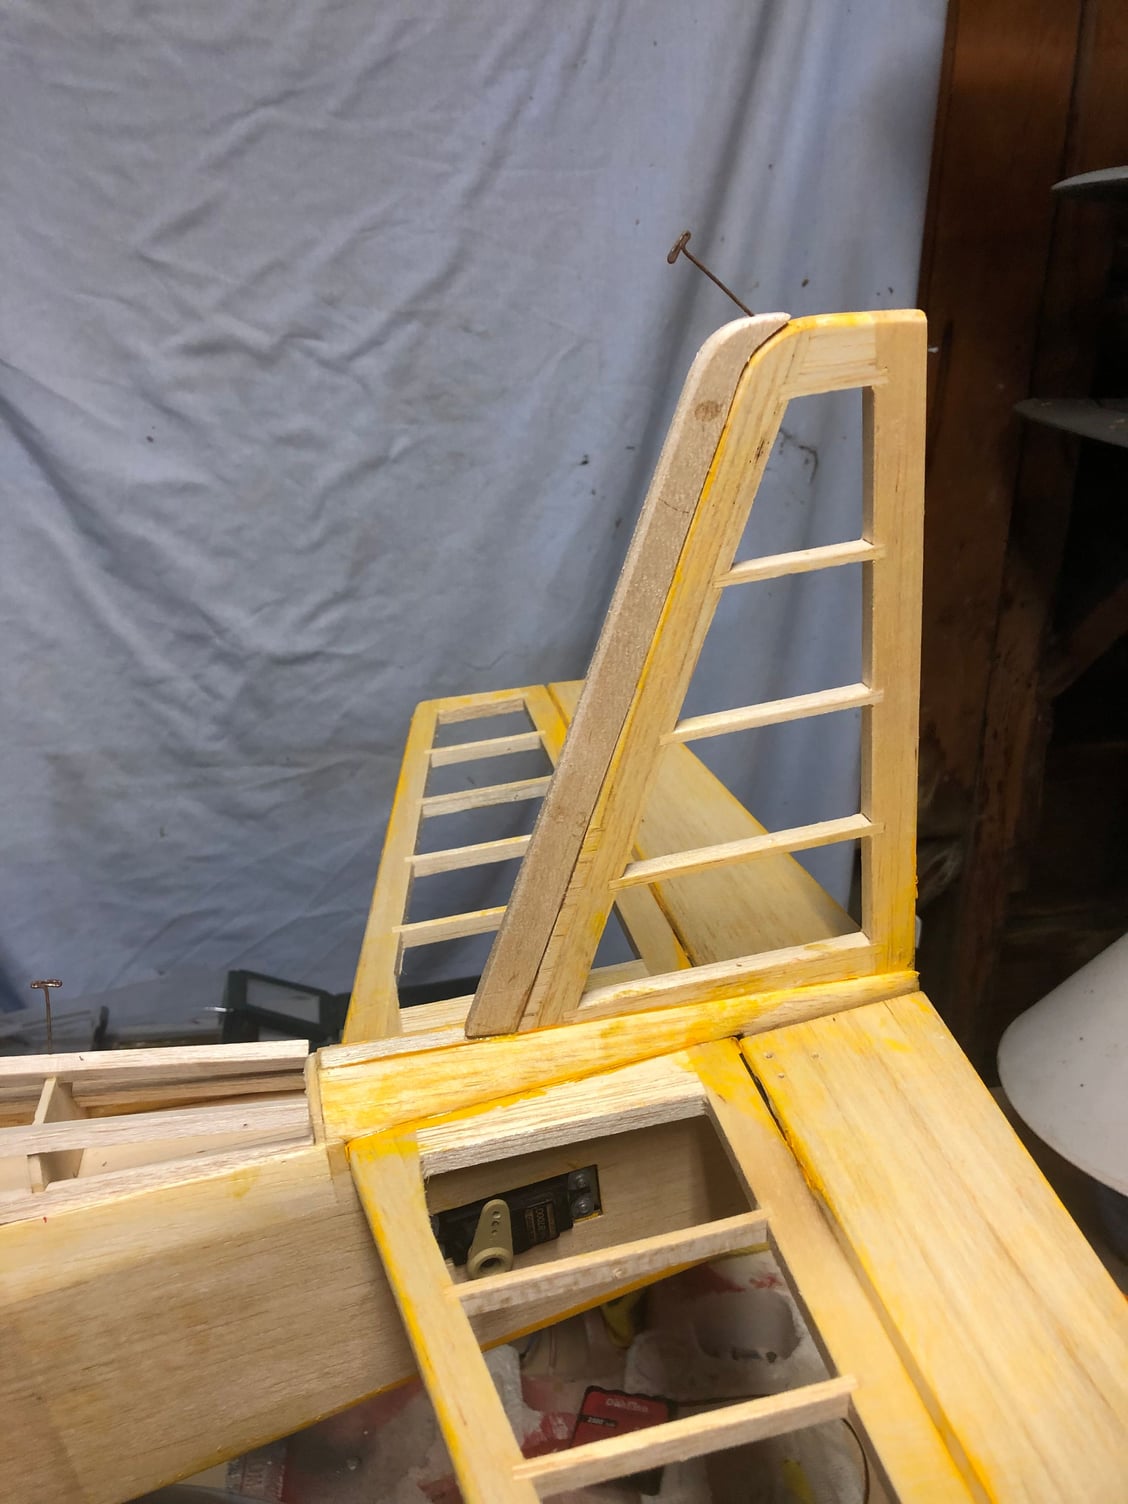
so I used a 3/32 piece of sheeting as a base for the formersand after cutting them out on my mini Dremmel scroll saw, I did leave out the notching on the bottom so I had a flat surface drew a center line on the former and sheeting and using the TF plans to get distance right glued it up I�m surprised it fits so well I did have to add a tiny spacer at the fuse formers to lift it up into position it did require some trimming to get it into the right position, I also added some wood to the rudder V stab so it has a little more scale and strength before I sheet it I am also going to use Robart hinge pointe So I�ll put some balsa blocks in as hard points
Last edited by bigtim; 06-23-2020 at 12:17 AM.
07-02-2020, 12:29 AM
#135
My Feedback: (13)
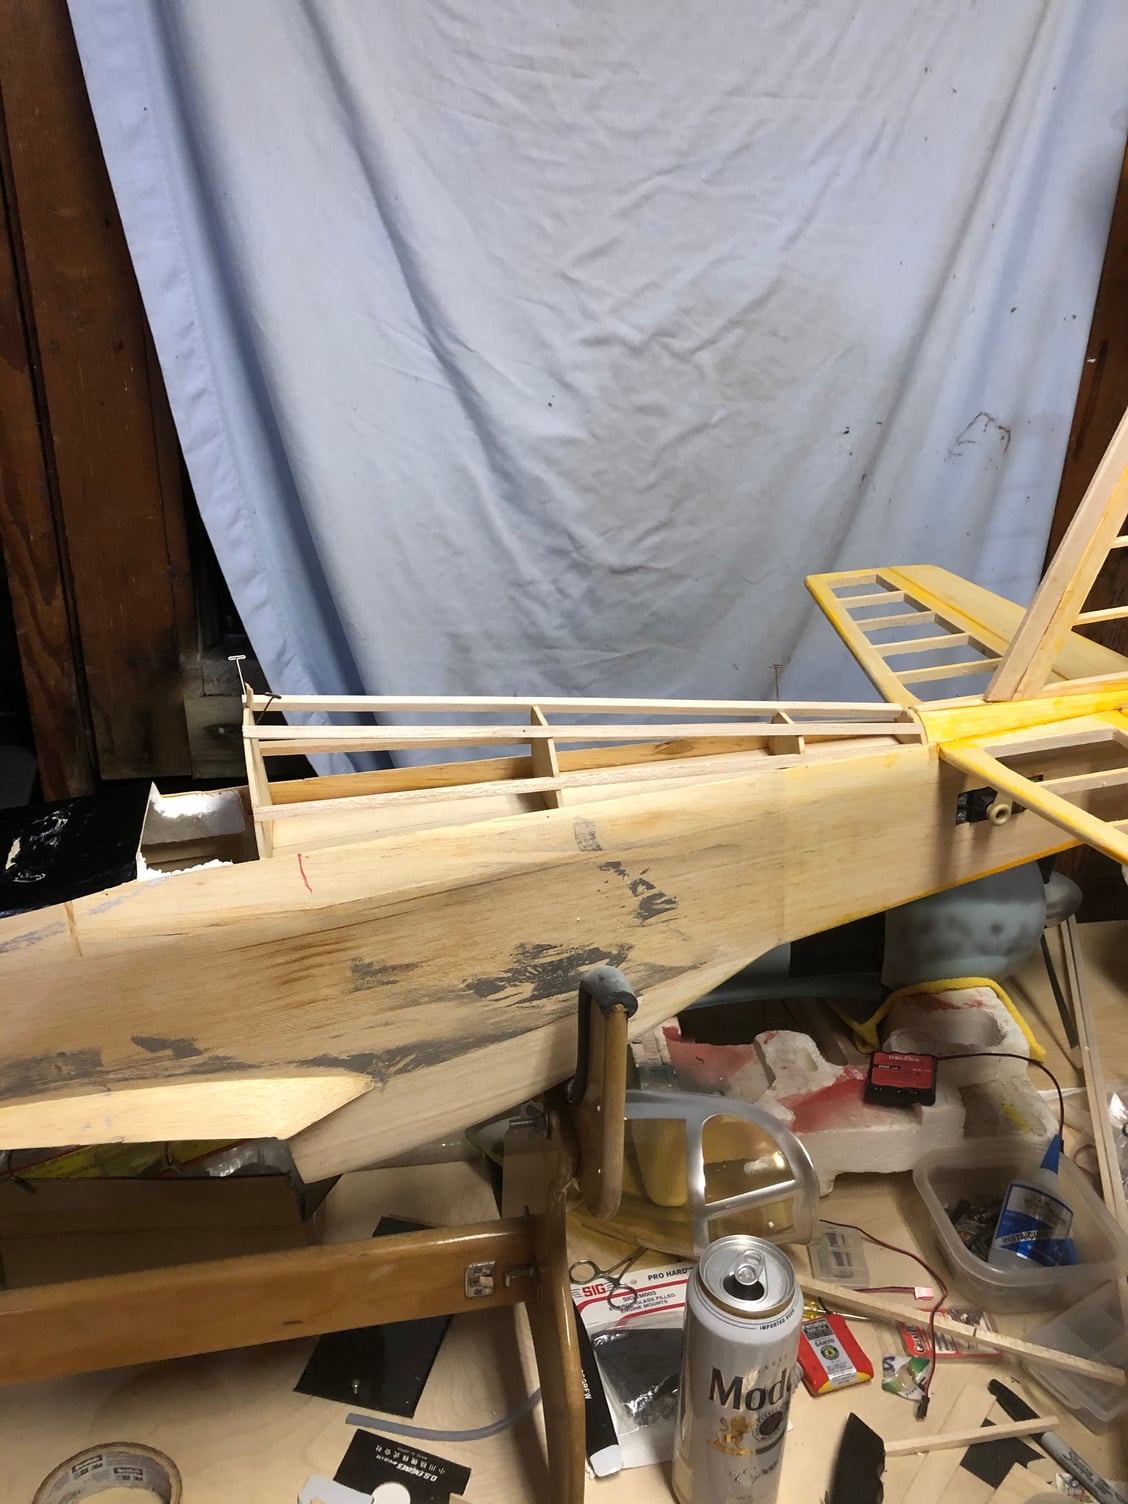
been getting some work done in bits and pieces I traced the tail feathers onto some stiff paper and glued up some skins out of ultra light 1/8 balsa, I then before gluing I sanded in a bit of a airfoil so I didn't need to do all the sanding on the plane making sure to keep the shape consistent with reference lines in strategic areas, a little more work to do to sand in more foil and some blending, also added some hinge points to the rudder not allot of added weight with the light weight balsa
Last edited by bigtim; 07-02-2020 at 12:40 AM.
07-02-2020, 06:09 PM
#137
My Feedback: (13)
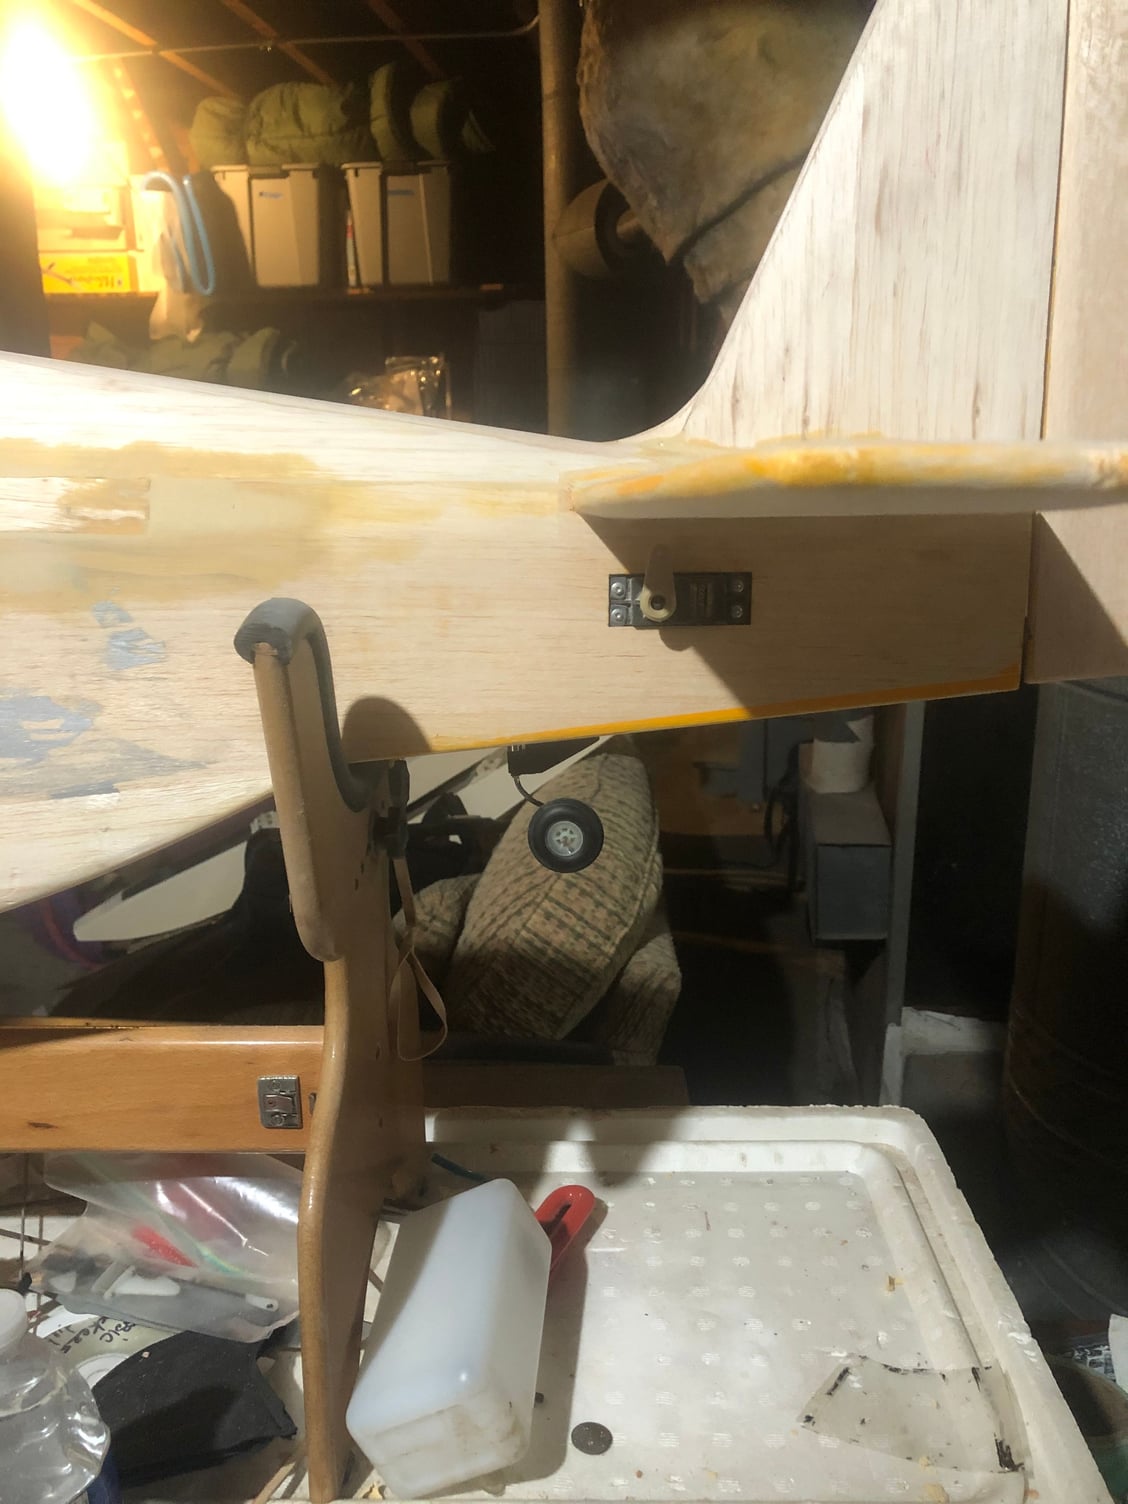
I'm going with a fixed tail wheel but I am moving it to a more scale location that's next just received the Dubro tail wheel,then I can tighten up the fuse with some new wing saddles and some finish sanding.
my goals really were to make some structural improvements to the H-9 airframe but not add to much weight, these planes fly really light and I like that, but the basic structure needs some improving
Last edited by bigtim; 07-02-2020 at 06:18 PM.
07-06-2020, 04:28 AM
#138
as for the turtle deck sheeting, if it were me I would glue some of that 1/4 square (or excess sheeting, though the 1/4 square will make sanding easier) right behind the sheeting you cut then glue or shim it to the bulkheads. cut the length of sheeting you need (canopy to tail) wet only one side ( that will make it bend towards the dry side) and ca the dry side in place on the turtle deck crutch structure you have there. then cut off the access doing one side at a time.
I wish I still had mine (was a h9 look alike) but main spar just gave out.
Joe
I wish I still had mine (was a h9 look alike) but main spar just gave out.
Joe
The following users liked this post:
bigtim (04-20-2021)
04-20-2021, 09:20 PM
#139
My Feedback: (13)
a little bump for this thread and a bit of a update on my progress, been really busy and progress has been slow I also had some trouble getting balsa wood for a while our local hobby shop is going out of business and I bought a whole pile of sticks and sheeting they had left over.
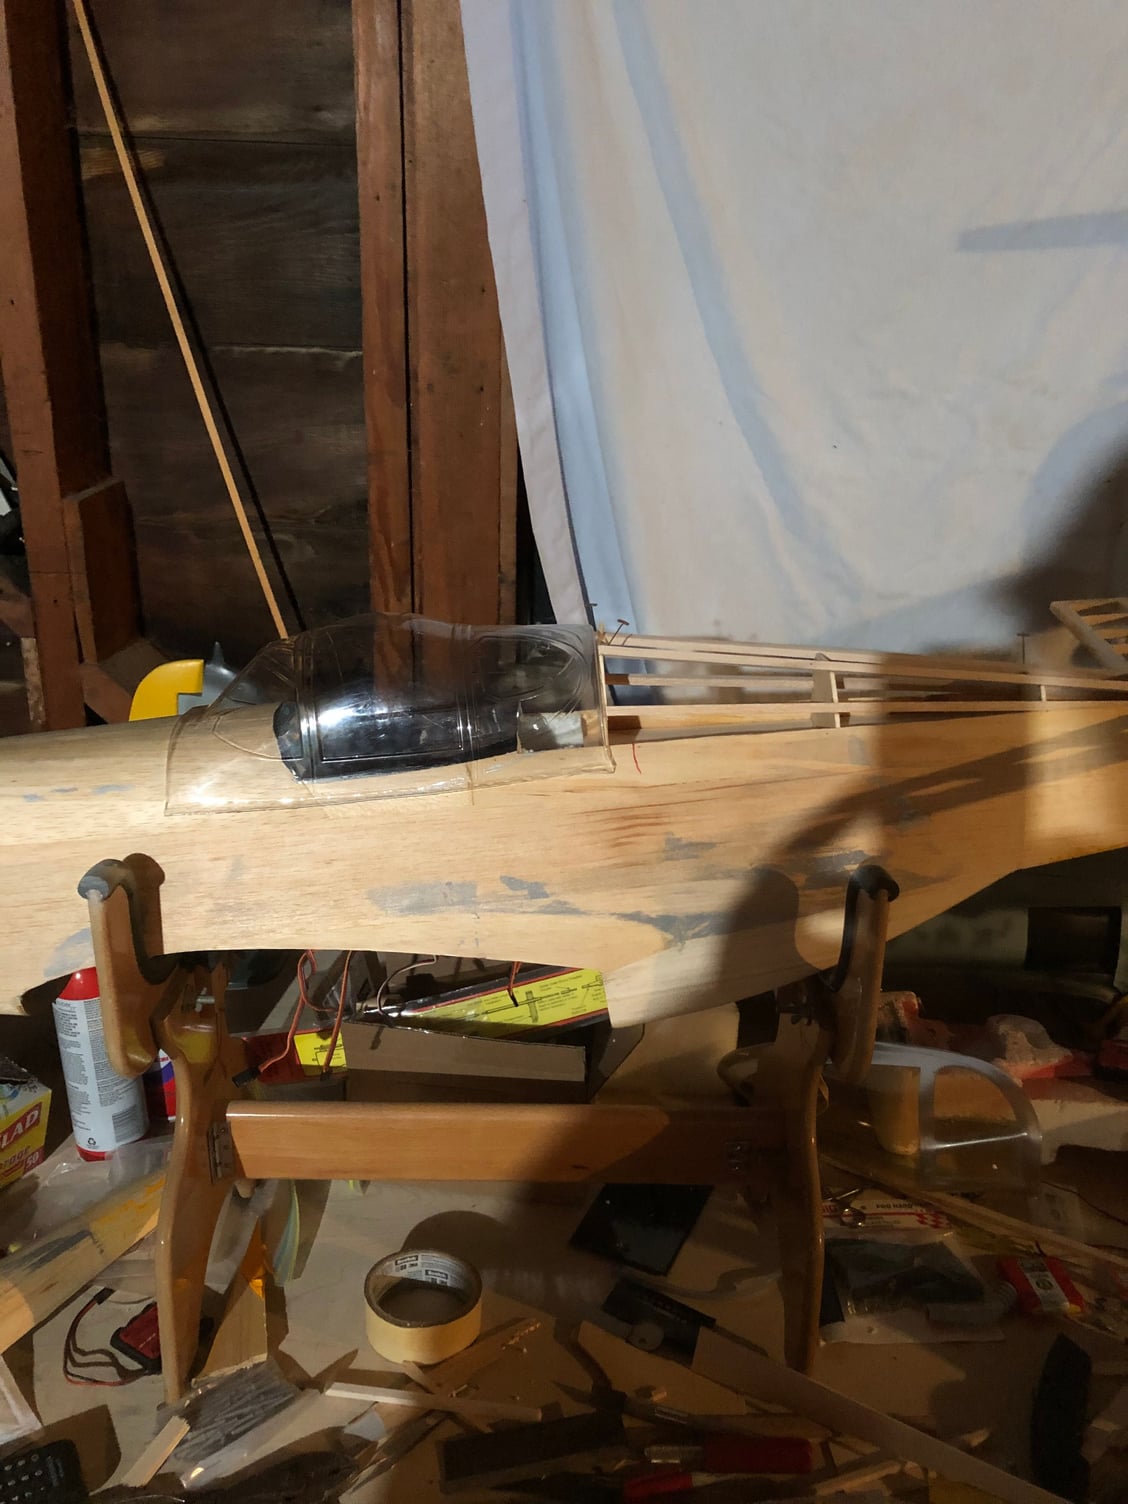
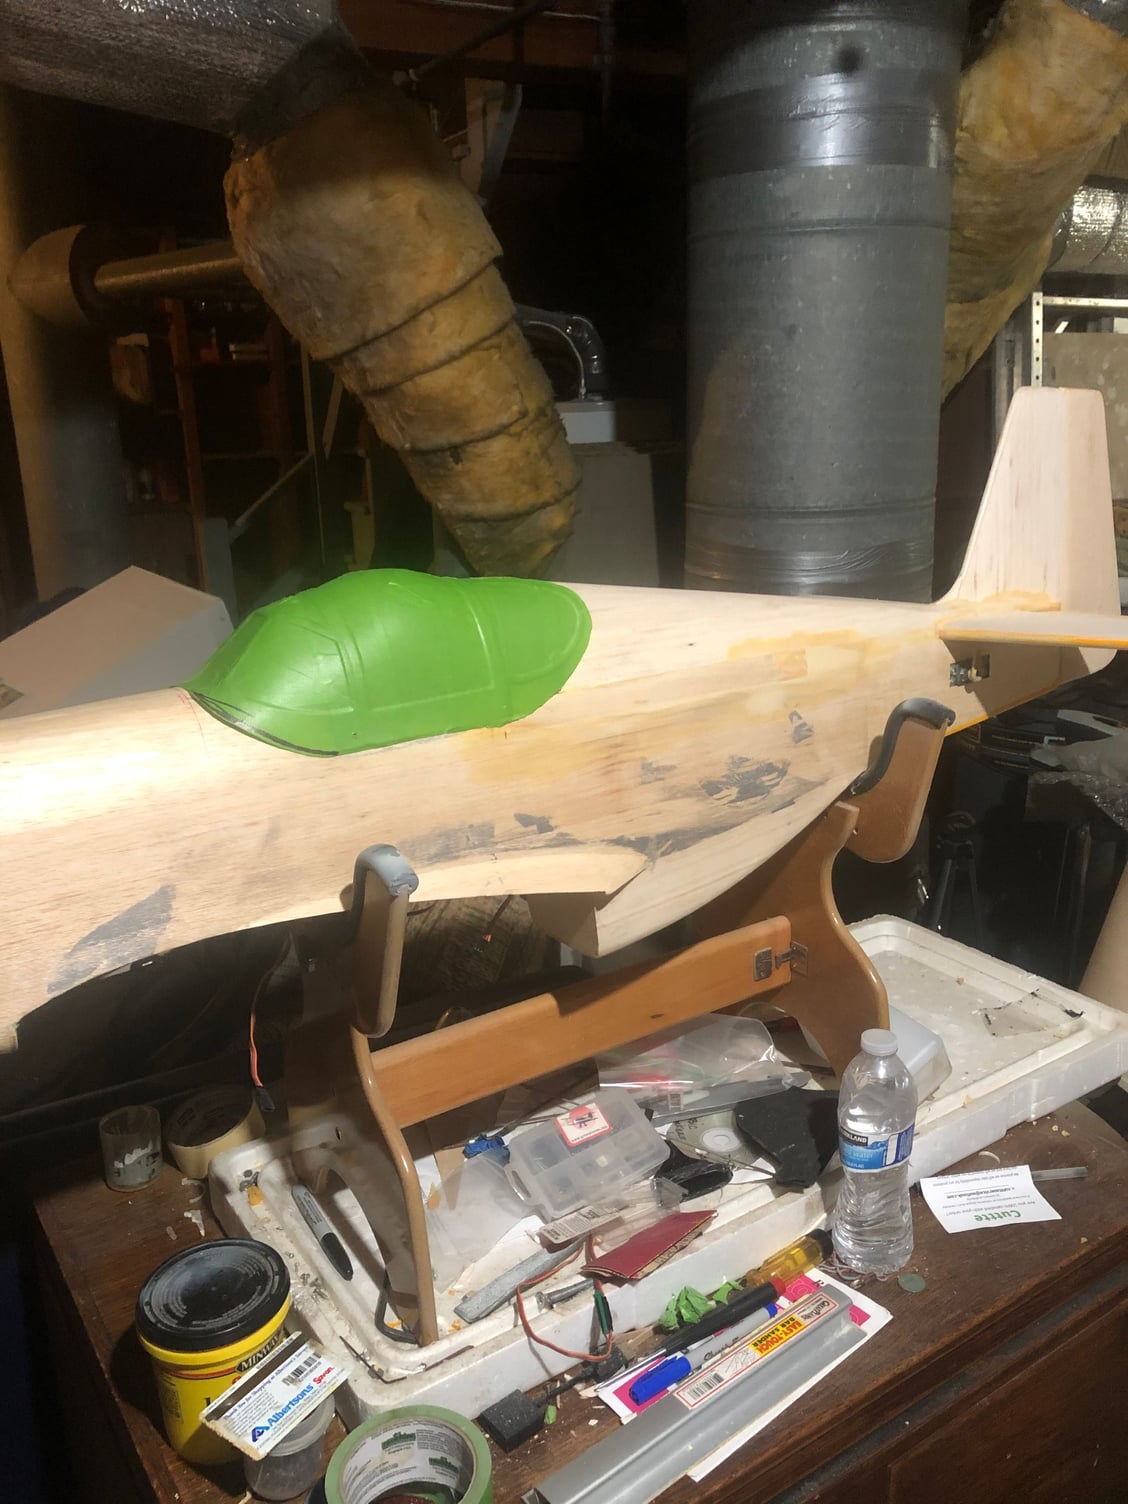
took your advice and beefed up the contact point on the turtle deck and still needed to scavenge some balsa from the old fuse top it came in handy since it was pre bent, also did some work on my canopy mount areas just about ready to cover the fuse after a little bit of sanding and maybe a bit of filling here and there.
ppl lol
Last edited by bigtim; 04-20-2021 at 09:33 PM.
04-20-2021, 09:59 PM
#140
My Feedback: (13)
also got the tail wheel relocated at the same spot as my other Marie, I was going to do some work on the nose and cowl but I think I will just paint it up to match my scheme and roll with it for now.
the cowl needs some sanding as well as repair in some areas and I can do that from the inside with epoxy, also some more little details like fuel proofing the tank area, I glued in a couple of hard points for mounting the canopy and hardened the screw holes with thin CA , just some basic H-9 stuff that needs work on these ARF's.
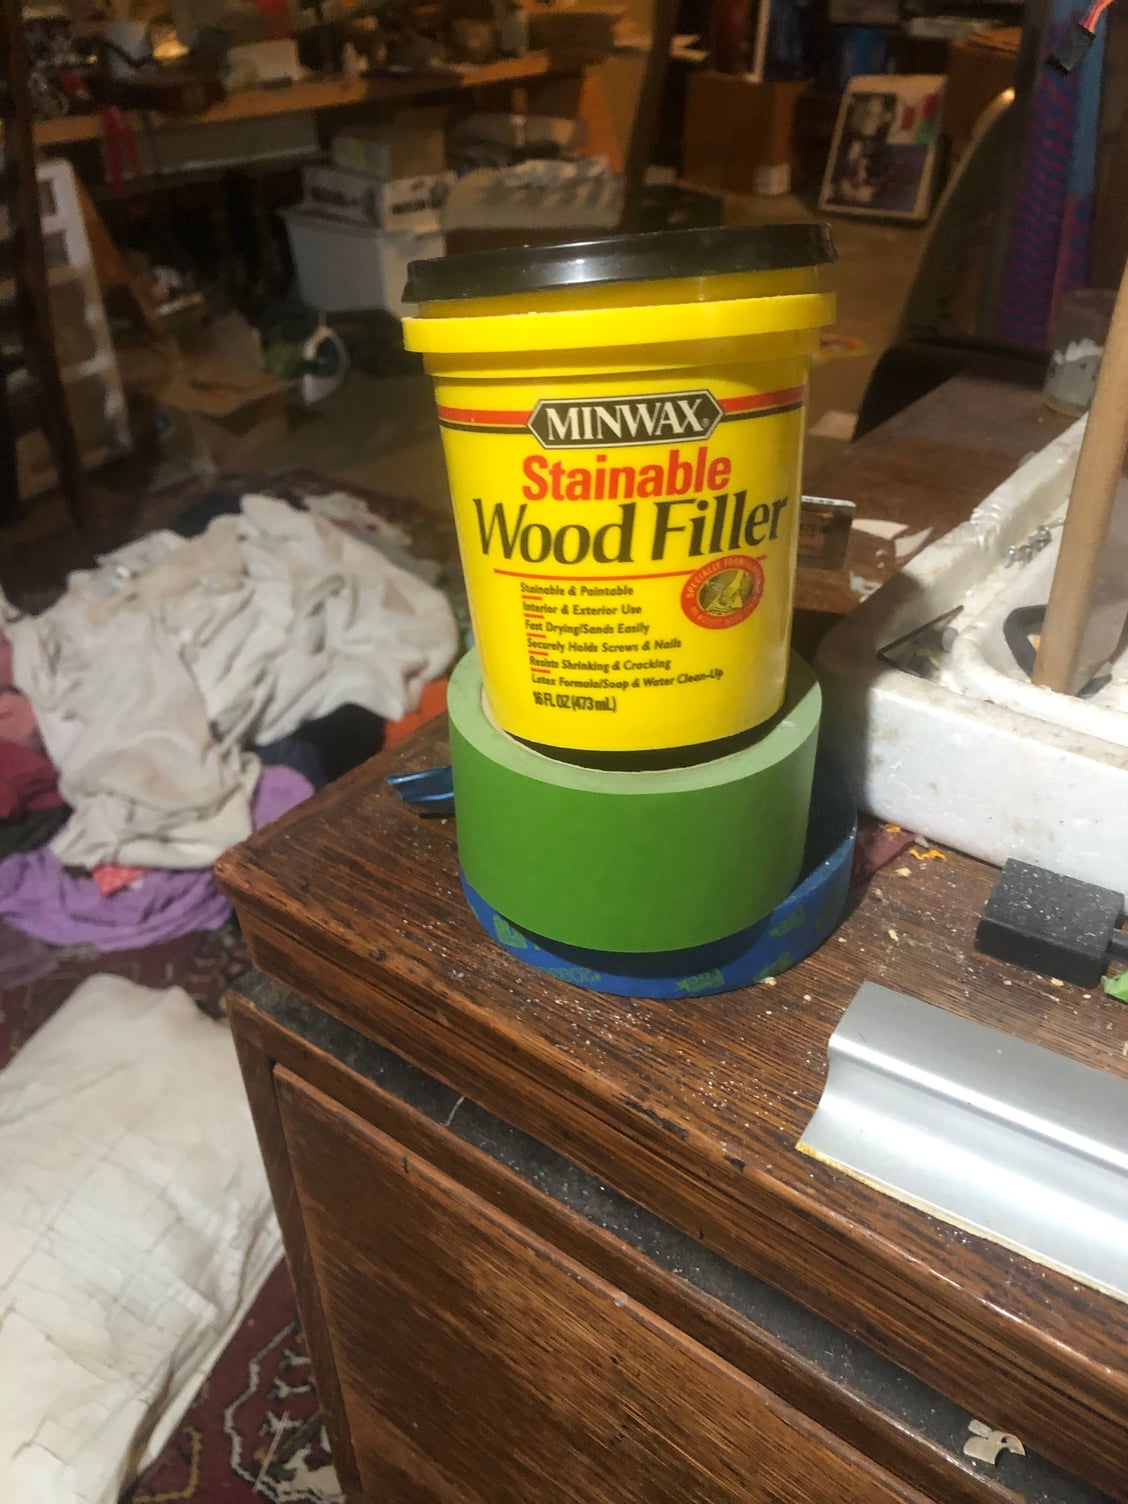
I also included a pic of my favorite filler just because it works so good, I do water it down a touch to make it easier to use, this stuff is the bomb for filling and blending balsa and is really strong and light weight, and way less expensive than some of the other hobby fillers, this can had actually stiffened up and I just added a little water to it and really stirred it up good and it was good to go.
I figure by this weekend or the next I will be on to the covering which I finally spent some money on some real covering tools we shall see how well I can pull off the covering job I have managed to pull off covering with a old discarded iron now I have no excuse.
then on to the flap mod, I also purchased some electric gear and struts so the wing get its own little makeover as well.
the cowl needs some sanding as well as repair in some areas and I can do that from the inside with epoxy, also some more little details like fuel proofing the tank area, I glued in a couple of hard points for mounting the canopy and hardened the screw holes with thin CA , just some basic H-9 stuff that needs work on these ARF's.
I also included a pic of my favorite filler just because it works so good, I do water it down a touch to make it easier to use, this stuff is the bomb for filling and blending balsa and is really strong and light weight, and way less expensive than some of the other hobby fillers, this can had actually stiffened up and I just added a little water to it and really stirred it up good and it was good to go.
I figure by this weekend or the next I will be on to the covering which I finally spent some money on some real covering tools we shall see how well I can pull off the covering job I have managed to pull off covering with a old discarded iron now I have no excuse.
then on to the flap mod, I also purchased some electric gear and struts so the wing get its own little makeover as well.
04-21-2021, 04:55 AM
#141
sounds like you are making some good progress, i on the other hand have been doing 11hr days at work and in my spare time helping out my son. he is buying a house, closing is 3 weeks away, so hopefully life will revert back to normal soon.
that's an awfully large bucket of filler. mine always dry out before i use them up. when they dry out i get little harden peace's that refuse to loosen back up making it circular file bate. have you gotten to that point with the minwax yet?
Joe
that's an awfully large bucket of filler. mine always dry out before i use them up. when they dry out i get little harden peace's that refuse to loosen back up making it circular file bate. have you gotten to that point with the minwax yet?
Joe
06-19-2023, 12:14 PM
#143
That's great work on the conversion and Paladin on the flaps. I bookmarked this thread a long time ago when I started thinking about giving my Miss America a facelift. I've got the Top Flite conversion kit and a new cowling, a reproduction someone was making for awhile. My Miss America has a Saito 100 with a Keleo exhaust system. Looks and sounds really good, but it does make a mess of the plane.