


Flaps with aluminium's pieces
 07-19-2020, 08:36 AM
#1

Thread Starter
Hello. I am here again. I 'll start construction a parasol plane. I haven´t understood which it is aluminium pieces´s positionat the flaps. I don´t find where I´ll put 8 aluminium tabs. I saw the other pieces that are epoxy gluing to wing. I send you a blueprint. Thanks in advance. I can´t upload blueprint. I send you the link. pharaoh-rcm-04-94-1166 aerofred - aerofred
Last edited by stearman70; 07-19-2020 at 08:38 AM. Reason: Gramatic
 07-19-2020, 08:48 AM
#2

Are you talking about the slats that are at the wing leading edge? If so those are supposed to increase lift and lower the stall speed. Depending on where they are placed on the wing they can also be used to force the center of the wing to stall before the outer sections. Personally I would build the airplane without them and twist in some washout ( 1/4" leading edge down ) into the wing while covering provided you are going to use iron on plastic film covering.
07-19-2020, 08:54 AM
#3
Thread Starter
Are you talking about the slats that are at the wing leading edge? If so those are supposed to increase lift and lower the stall speed. Depending on where they are placed on the wing they can also be used to force the center of the wing to stall before the outer sections. Personally I would build the airplane without them and twist in some washout ( 1/4" leading edge down ) into the wing while covering provided you are going to use iron on plastic film covering.
07-19-2020, 09:14 AM
#4
Unfortunately the link you provided only shows the fuselage plan. The only thing I see on the wing on that plan that is aluminum is the leading edge slats. Are you saying there are aluminum flaps at the wing trailing edge too? Can you post a link to picture of the wing plan?
07-20-2020, 08:58 AM
#8

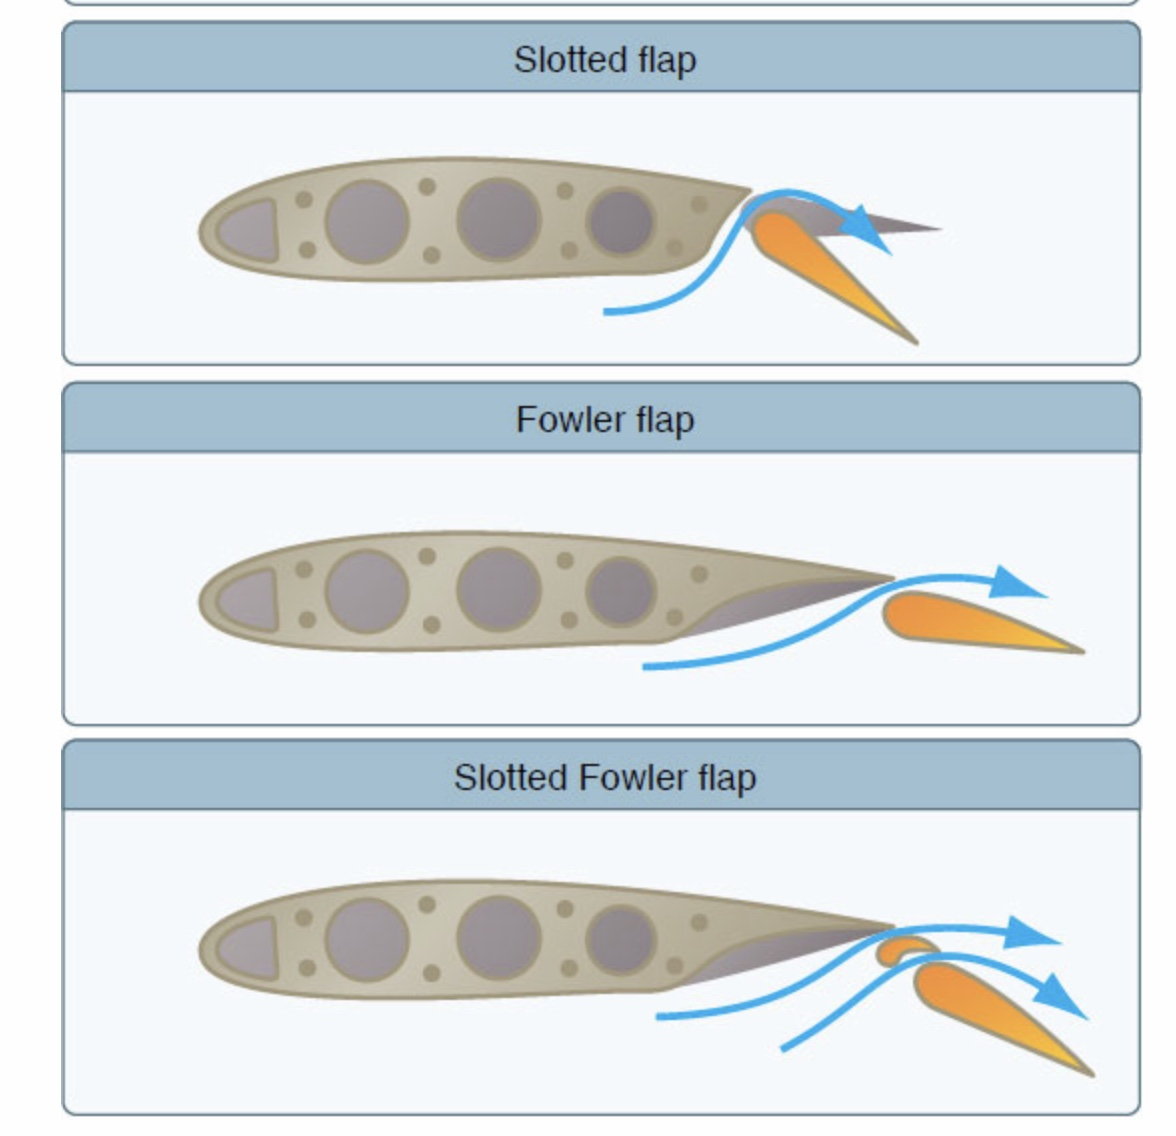
Those 8 tabs are to make the hinges for the flaps. Two tabs are joined with a steel pivot pin to make one hinge. So 8 tabs will give you 4 hinges; 2 hinges per flap. These appear to be a Fowler flap or slotted Fowler flap. The 2 tabs will allow the flap to move back as it moves down.
I’ve marked the wing plan where those hinges are installed. Buenos Días

I’ve marked the wing plan where those hinges are installed. Buenos Días
07-20-2020, 02:11 PM
#9
Thread Starter
Those 8 tabs are to make the hinges for the flaps. Two tabs are joined with a steel pivot pin to make one hinge. So 8 tabs will give you 4 hinges; 2 hinges per flap. These appear to be a Fowler flap or slotted Fowler flap. The 2 tabs will allow the flap to move back as it moves down.
I’ve marked the wing plan where those hinges are installed. Buenos Días
I’ve marked the wing plan where those hinges are installed. Buenos Días
07-20-2020, 04:39 PM
#10
That is just how it is designed. Two hinge points and the pushrod. As the flaps are extended they move back and down. This opens a slot between the wing and the flap. Air flows from under the wing and over the flap. Gives you better slow speed, more stable airflow over the flap and adds a little wing area.
The plan shows an optional cover plate to eliminate the slot.
By my calculation the distance between the hinge points is 9.5 inches. I would move the bellcrank outboard one rib bay. This puts the pushrod more centered on the flap. You will need a snug fit in the pushrod system.
You may also consider adding a third hinge point. Just a thought.
Last edited by ETpilot; 07-21-2020 at 03:02 AM. Reason: Spelling
07-20-2020, 06:54 PM
#11
Thread Starter
I am thinking in add other hinge, just in line with pushrod. I´ll make 12 aluminium tabs.
Covering the groove is more aesthetic or functional ?
Covering the groove is more aesthetic or functional ?
Last edited by stearman70; 07-20-2020 at 07:01 PM. Reason: To add a question.
07-21-2020, 03:01 AM
#12
These flaps are designed to have some airflow over the top. Adding the cover plate would be more for aesthetics. Still even with the cover plate you may still get some airflow. You can test it for a 30-40* flap extension.

 07-21-2020, 03:20 PM
#15
Thread Starter

My last two scratch models. Ugly modified (8 changes ) and devastator (aerofred plane) .
Last edited by stearman70; 07-21-2020 at 03:23 PM. Reason: Send pictures.
07-22-2020, 11:08 AM
#17
Thread Starter
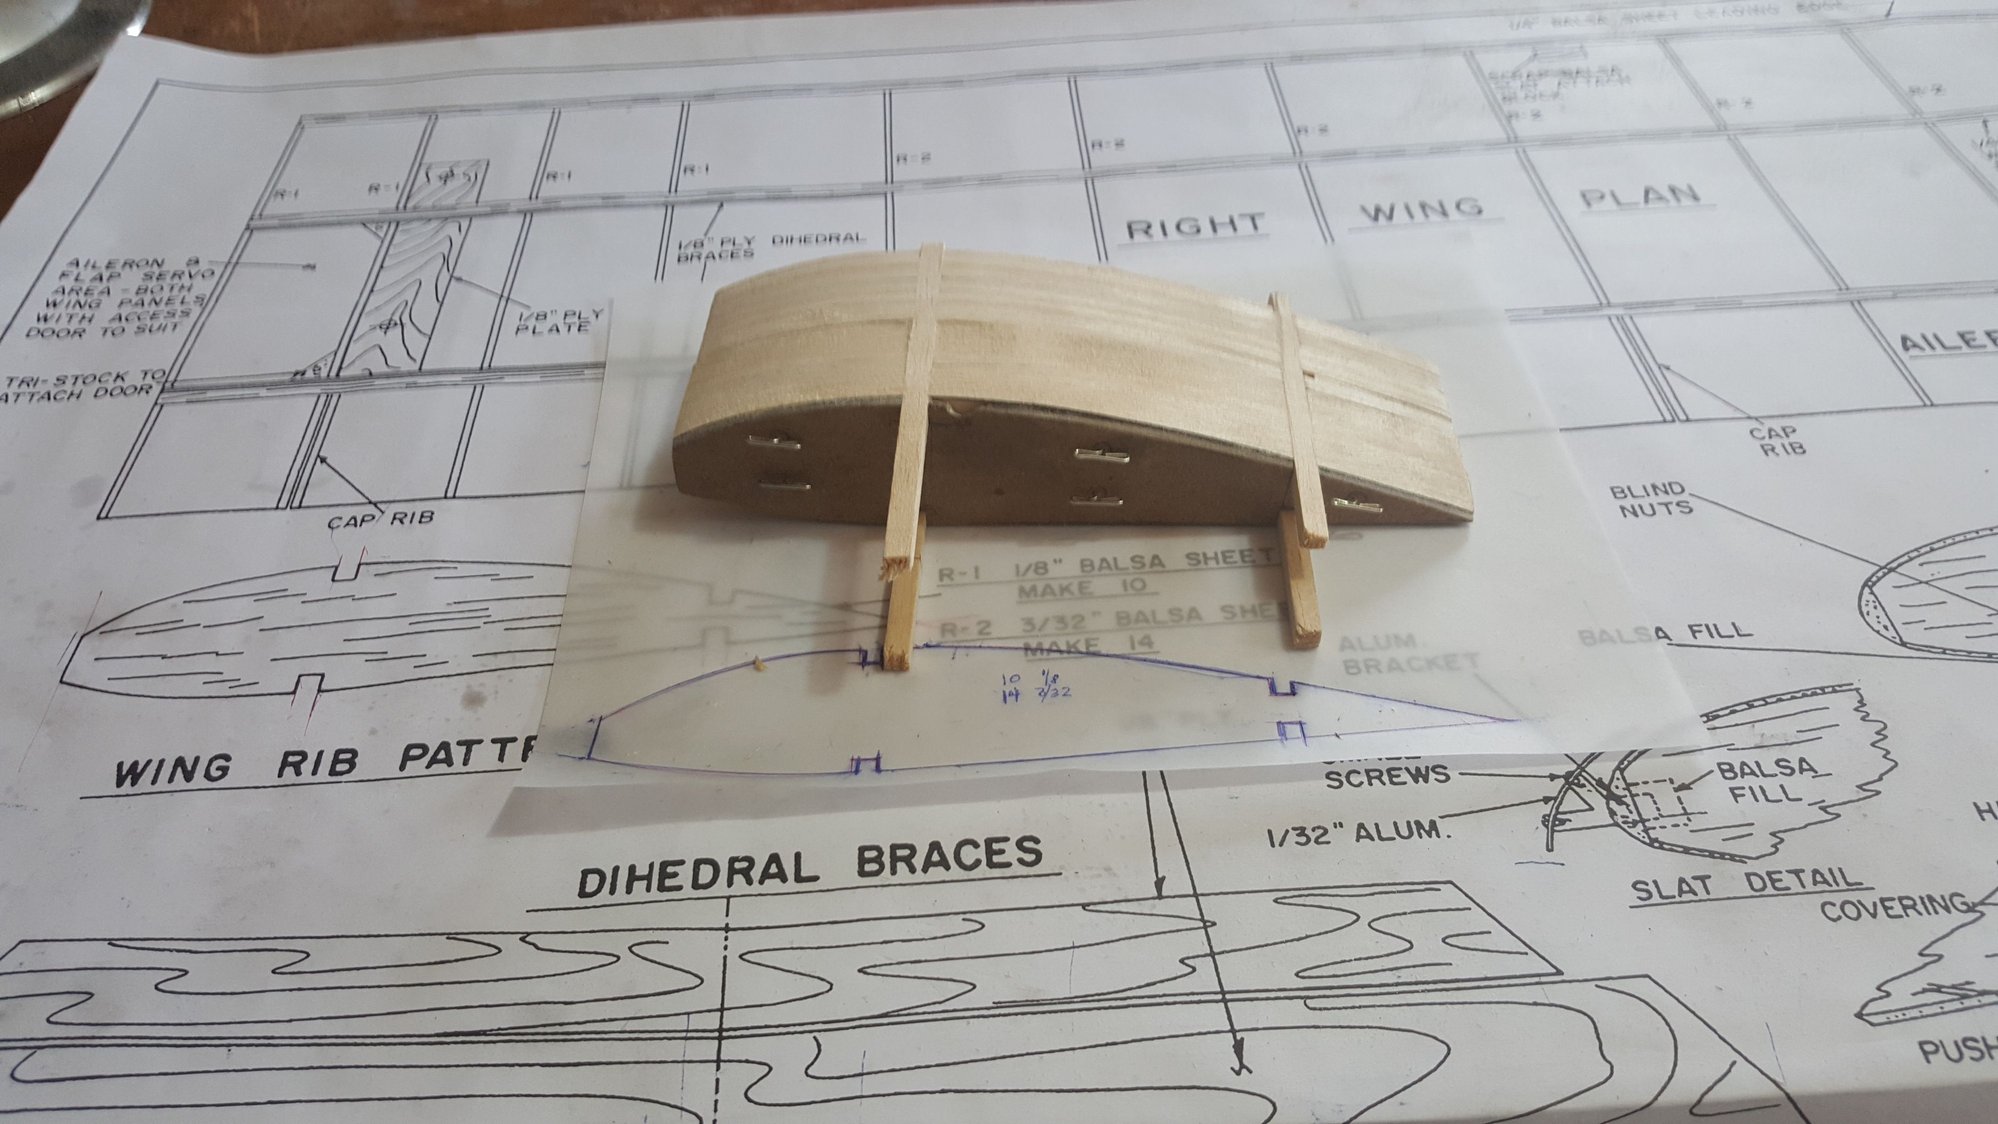
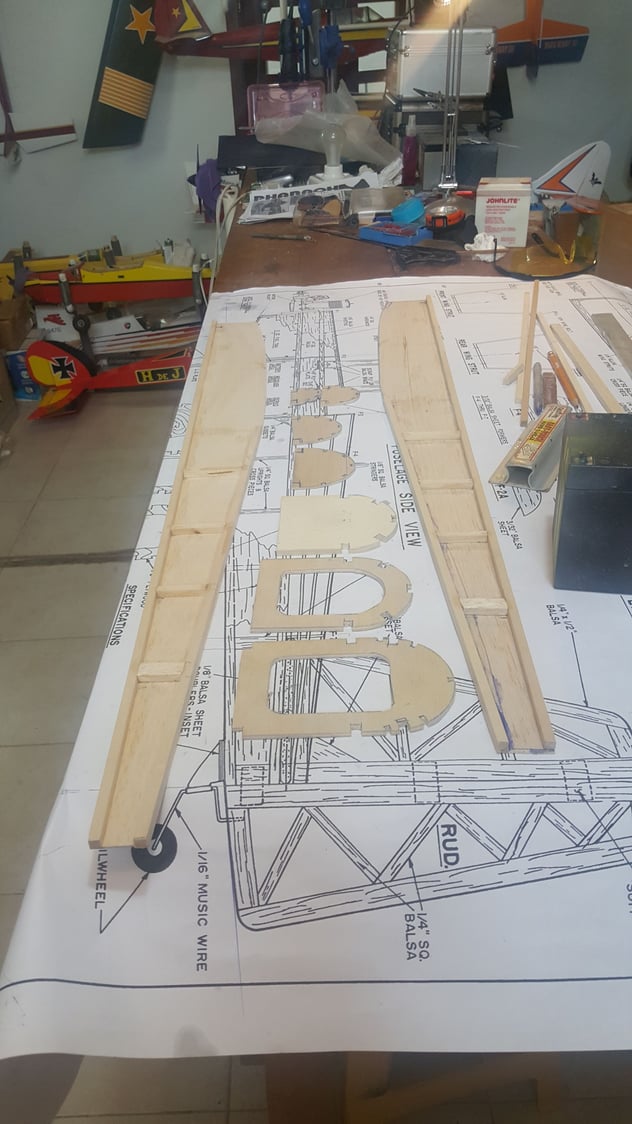
Beautiful planes. Its construction is very clean. Congratulations.The images show the first step in the construction of the pharaoh: The master rib and all the ribs in 1/8 and 3/32 balsa .sheets.
Last edited by stearman70; 07-22-2020 at 11:12 AM. Reason: Add pictures.
07-22-2020, 04:38 PM
#18
Always a good feeling when you start a new build. But, lots more work to do, LOL.
I was looking through my photos for another forum and I found this one. It is my low wing that I previously posted. Just about the same pose but more advanced in the build. LOL.
I was looking through my photos for another forum and I found this one. It is my low wing that I previously posted. Just about the same pose but more advanced in the build. LOL.
07-22-2020, 04:52 PM
#19
Thread Starter
What a good finish! Are you using Chinese film or top flite monokote ? They look excellently lined. Congratulations on your very professional work. Your workshop looks very spacious and very complete. This allows you to work better. What is it his wing span ? 75" ?. For glow .61 or .90 ?
Last edited by stearman70; 07-22-2020 at 04:55 PM. Reason: Add comment.
07-23-2020, 02:24 AM
#20
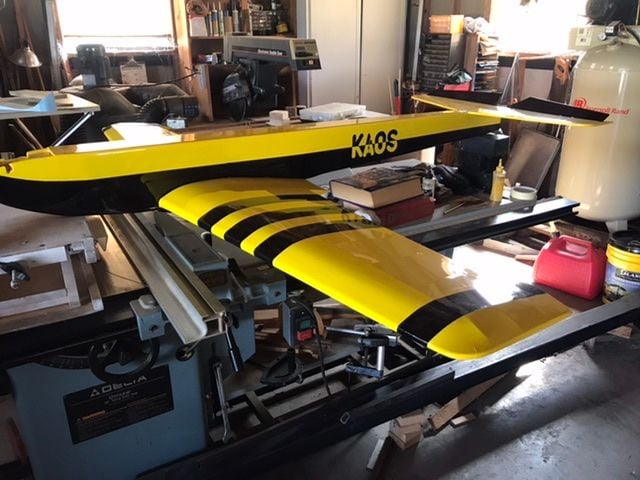
Thanks. The finish is Chinese film. Neucover sold by Value Hobby. Not a lot of variety in colors but enough for my builds. The shop is large but very cluttered right now. I’m trying to reduce the clutter. This pandemic is not helping.
You are good at estimating size. It is 76” WS 72” length. I built it around an OS GGT15. I haven’t run the engine yet. If it doesn’t work out an OS 75AX will fit the mounting holes. I still have to make a canopy. Clear or fiberglass. Leaning toward fiberglass but i have to order some fiberglass.
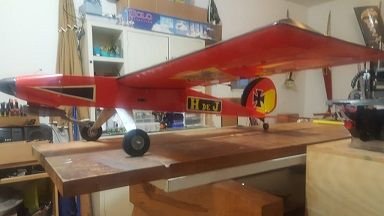
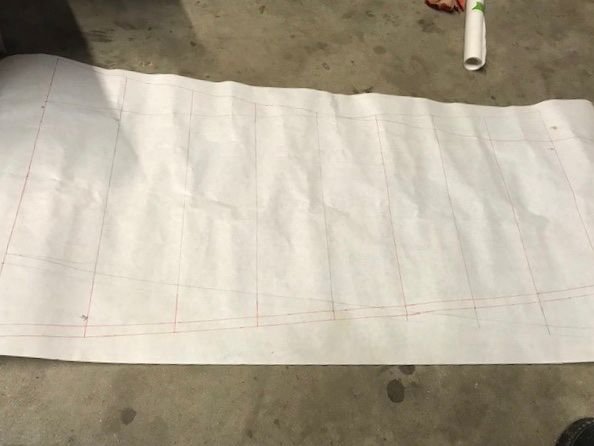
Since I got back into the hobby I’ve carried scratch building to the extreme. I draw my own lines for the build. It is just part of the challenge for me. Here is the finished airplane so far. A sample of my home drawn plans. The wing for this airplane.
Your Pharaoh is an interesting build. Looking forward to see it progress.

You are good at estimating size. It is 76” WS 72” length. I built it around an OS GGT15. I haven’t run the engine yet. If it doesn’t work out an OS 75AX will fit the mounting holes. I still have to make a canopy. Clear or fiberglass. Leaning toward fiberglass but i have to order some fiberglass.
Since I got back into the hobby I’ve carried scratch building to the extreme. I draw my own lines for the build. It is just part of the challenge for me. Here is the finished airplane so far. A sample of my home drawn plans. The wing for this airplane.
Your Pharaoh is an interesting build. Looking forward to see it progress.
07-23-2020, 08:35 AM
#22
Thanks again. I cut the letters from the covering film. It wasn’t an easy thing to do. First I had to determine letter size. I then made templates for the letters. I think I used a reverse template. I cut the top half and the bottom half with an overlap extension. I joined the 2 halves together then placed the individual letters on the airplane. It was time consuming and I messed up a few letters in the process. I had to make a couple of new letters.
I’ll be following your build. I’ve studied your Pharaoh plans a bit.
I’ll be following your build. I’ve studied your Pharaoh plans a bit.
07-25-2020, 01:14 PM
#23
Thread Starter
Hello.
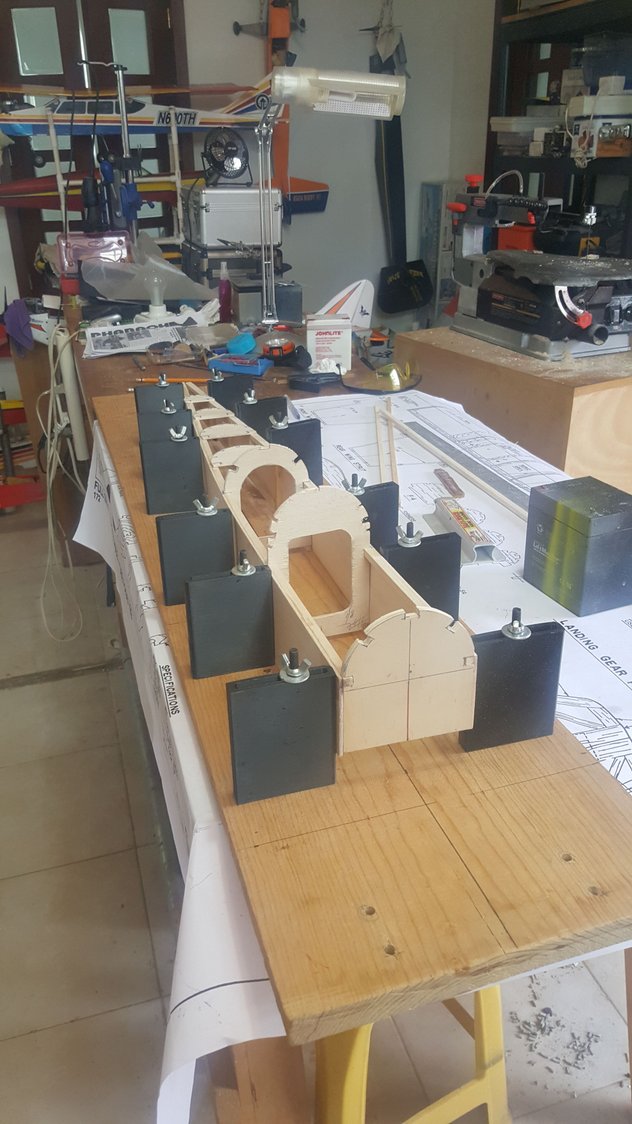
The letters are very professional. All my planes have vinyl letters and images, but I don't make them. I send you the next pictures about pharaoh's construction.
The letters are very professional. All my planes have vinyl letters and images, but I don't make them. I send you the next pictures about pharaoh's construction.
07-26-2020, 03:04 AM
#24
You’ve made good progress. Looking good. Nice fuselage jig. I’ve thought about making one but haven’t yet. I did make a wing jig. Wing jig is good for tapered wings. You have a nice clean and organized workshop. It puts mine to shame. But I’m cleaning up slowly. LOL
07-26-2020, 06:20 AM
#25
Thread Starter
Thanks, It is not big and very clean but works. Did you read the Pharaoh's article ? There is a indication that says " Put 1/16 balsa sheet to cover fuselage's bottom, forward and rear."
I see that for cover bottom forward, I need 1/8 balsa or hard balsa and in the rear part, I don't see balsa cover. What do you thing about it ?
I see that for cover bottom forward, I need 1/8 balsa or hard balsa and in the rear part, I don't see balsa cover. What do you thing about it ?

