


Tooling Gelcoat Problems
 02-23-2018, 09:10 AM
#1

I'm teaching myself how to build a plug/ mold/ composite model, and starting with some of the small pieces before moving on to the more challenging parts. End result will be a scratch built scale jet.
I'm having problems with the tooling gelcoat when making the mold.
I'm using all Fibreglast products: #186 Black Tooling Gelcoat & #77 Polyester Resin with chopped strand mat glass.
I'm using a mixture of 3D printed ABS and glass covered balsa plugs finished with Duratec Surfacing Primer. Parting planes are made from laser cut foam poster board hot glued together.
I initially tried to make their Fibrelease release agent work, but eventually switched to Partall Wax & PVA for much superior results.
My initial mold attempts resulted in severe wrinkling of the gelcoat which I eventually determined was due to me not applying sufficient gelcoat. Once I measured the surface area and worked out a required volume for the recommended 25 mil (0.6mm) thickness I mostly cured the wrinkling issue.
I must have had at least 6 attempts at a plug for this first part - the last attempt with a calculated volume of gelcoat to give a 1mm thick layer did not have any wrinkles, but I had multiple areas of what I would term shrinkage (as can be seen in the photo with the ruler for scale), which made the mold scrap. I'm thinking this may be from excess gelcoat where it had pooled in the corners.
I have bought a gelcoat spray gun with a 2.5mm nozzle for one last attempt with the polyester gelcoat, but I also plan to try switching to an epoxy-based mold (#1098 Epoxy Surface Coat + System 2000 Epoxy Resin & glass cloth).
Does anyone have any suggestions as to how to improve my results with the polyester tooling gelcoat?
Some views of a successful plug/ mold (with some minor wrinkles, but usable) also attached that give me hope that I'm headed in the right direction.
Thanks
Paul
Last edited by JSF-TC; 02-23-2018 at 09:14 AM.
 02-24-2018, 04:36 PM
#2
Well, I have used West Systems for the mold and parts. Wax and PVA for the parting. Wish I had the laser for cutting the parting pieces! For the gel coat I use graphite mixed with the epoxy for the first layer. It has it's advantages, and disadvantages, it doesn't spray, has to be brushed on, so I have had bubbles form in the mold. You might want to forget the tooling gel, and use a dye for the first layers instead and see if that helps, or try mixing graphite in the first layer.
Is it possible that the polyester is getting too hot when curing, and that is what is affecting the gel coat?
Here is one I am prepping to mold, cowl for a Hanger 9 P-47 150.

This is what it used to look like,

Here are a couple I made a couple years ago for a CG Chipmunk and TF P-51. the Chippy is the first one I ever made and didn't have enough graphite for a full tooling coat. The second one I got the WS Graphite, and Collodial powder, worked much better.


All using West Systems. I am going to give Total Boat a try this time, half the price of WS, but same mix ratio and set times.
Is it possible that the polyester is getting too hot when curing, and that is what is affecting the gel coat?
Here is one I am prepping to mold, cowl for a Hanger 9 P-47 150.
This is what it used to look like,
Here are a couple I made a couple years ago for a CG Chipmunk and TF P-51. the Chippy is the first one I ever made and didn't have enough graphite for a full tooling coat. The second one I got the WS Graphite, and Collodial powder, worked much better.
All using West Systems. I am going to give Total Boat a try this time, half the price of WS, but same mix ratio and set times.
Last edited by acdii; 02-24-2018 at 04:39 PM.
02-25-2018, 11:05 AM
#3

You dont really need the tooling gelcoat,at all.Brush your resin on in THIN coats,smoothly.only 2 coats.Let the first go tacky(feel it sticky,but doesn't lift)before applying the 2nd.Then go ahead and laminate the cloth lightweight first,then 3/4 weight.No more than 3 coats or you will bake the surface.
02-25-2018, 11:17 AM
#4
AS far as making a mold,there is a pourable Polyester 2 part mix available from Freeman Foundry Supply, that sets in 10 minutes,Called Quikcast.You simply pour one layer over your plug,(Properly prepped)then as it goes tacky pour another.Let it set 20 mins,then pour a light bonding coat,and stick plywood cubes(3/4 inch)on the tacky layer...pour more quickcast into the cubes and stuff to bond it all together.Let it go hard,and part it.Air pressure is your friend.I have made hundreds of molds with this product
03-17-2018, 01:45 PM
#5
Join Date: Mar 2018
Posts: 10
Likes: 0
Received 0 Likes
on
0 Posts
Im going to throw this out there.Im a fiberglass tooler .I havent made any planes yet but worked in cali making snowboards for sims and Mc Burnie coach craft making kit cars.Miami vice ferrari..Been alot of years since Ive done any tooling but the wrinkles we called orange peeling.The cause of this was to much catalyst in gel coat.Gel coat can be a pain but you only have so much time to laminate on gelcoat before running into bonding issues.The gel coat cant set up to fast because of the heat generated that causes the orange peel affect.Being to thin can also cause this but your thickness is ok..I hope this helps I use bees wax for release.Remeber to clean mold after every part.Im in the process of tooling my first giant scale warbird using carbon fiber kevlar blend to make parts out of.I have a question if anybody knows.Will the carbon fiber kevlar material affect radio signal??
Last edited by fanman61; 03-17-2018 at 01:57 PM. Reason: wrong name for material
03-18-2018, 06:22 PM
#7

Im going to throw this out there.Im a fiberglass tooler .I havent made any planes yet but worked in cali making snowboards for sims and Mc Burnie coach craft making kit cars.Miami vice ferrari..Been alot of years since Ive done any tooling but the wrinkles we called orange peeling.The cause of this was to much catalyst in gel coat.Gel coat can be a pain but you only have so much time to laminate on gelcoat before running into bonding issues.The gel coat cant set up to fast because of the heat generated that causes the orange peel affect.Being to thin can also cause this but your thickness is ok..I hope this helps I use bees wax for release.Remeber to clean mold after every part.Im in the process of tooling my first giant scale warbird using carbon fiber kevlar blend to make parts out of.I have a question if anybody knows.Will the carbon fiber kevlar material affect radio signal??
Kevlar is not a problem, but the carbon will block the radio signal. the usual remedy is to drill small holes in the fuselage and extend the antenna outside.
Be very careful if you plan on using any polyester in the plug or mold, When using carbon you will be using epoxy laminating resin, which doesn't play nice with polyester. It can be done, but styrene migration is a big problem and must be accounted for in your mold release system.
One final thought. West systems resin is probably the worst choice for laminating. It is a boat surfacing resin not intended to be used for laminating. The makers do mix a true laminating resin, called Pro Set, that seems to work fairly well. There are many true laminating resins on the market now, so pick the one that you like. I use MGS, US Composites, and PTM&W resins, depending on what I am making. Do your research and choose wisely.
Scott
03-24-2018, 08:29 AM
#8

My Feedback: (8)

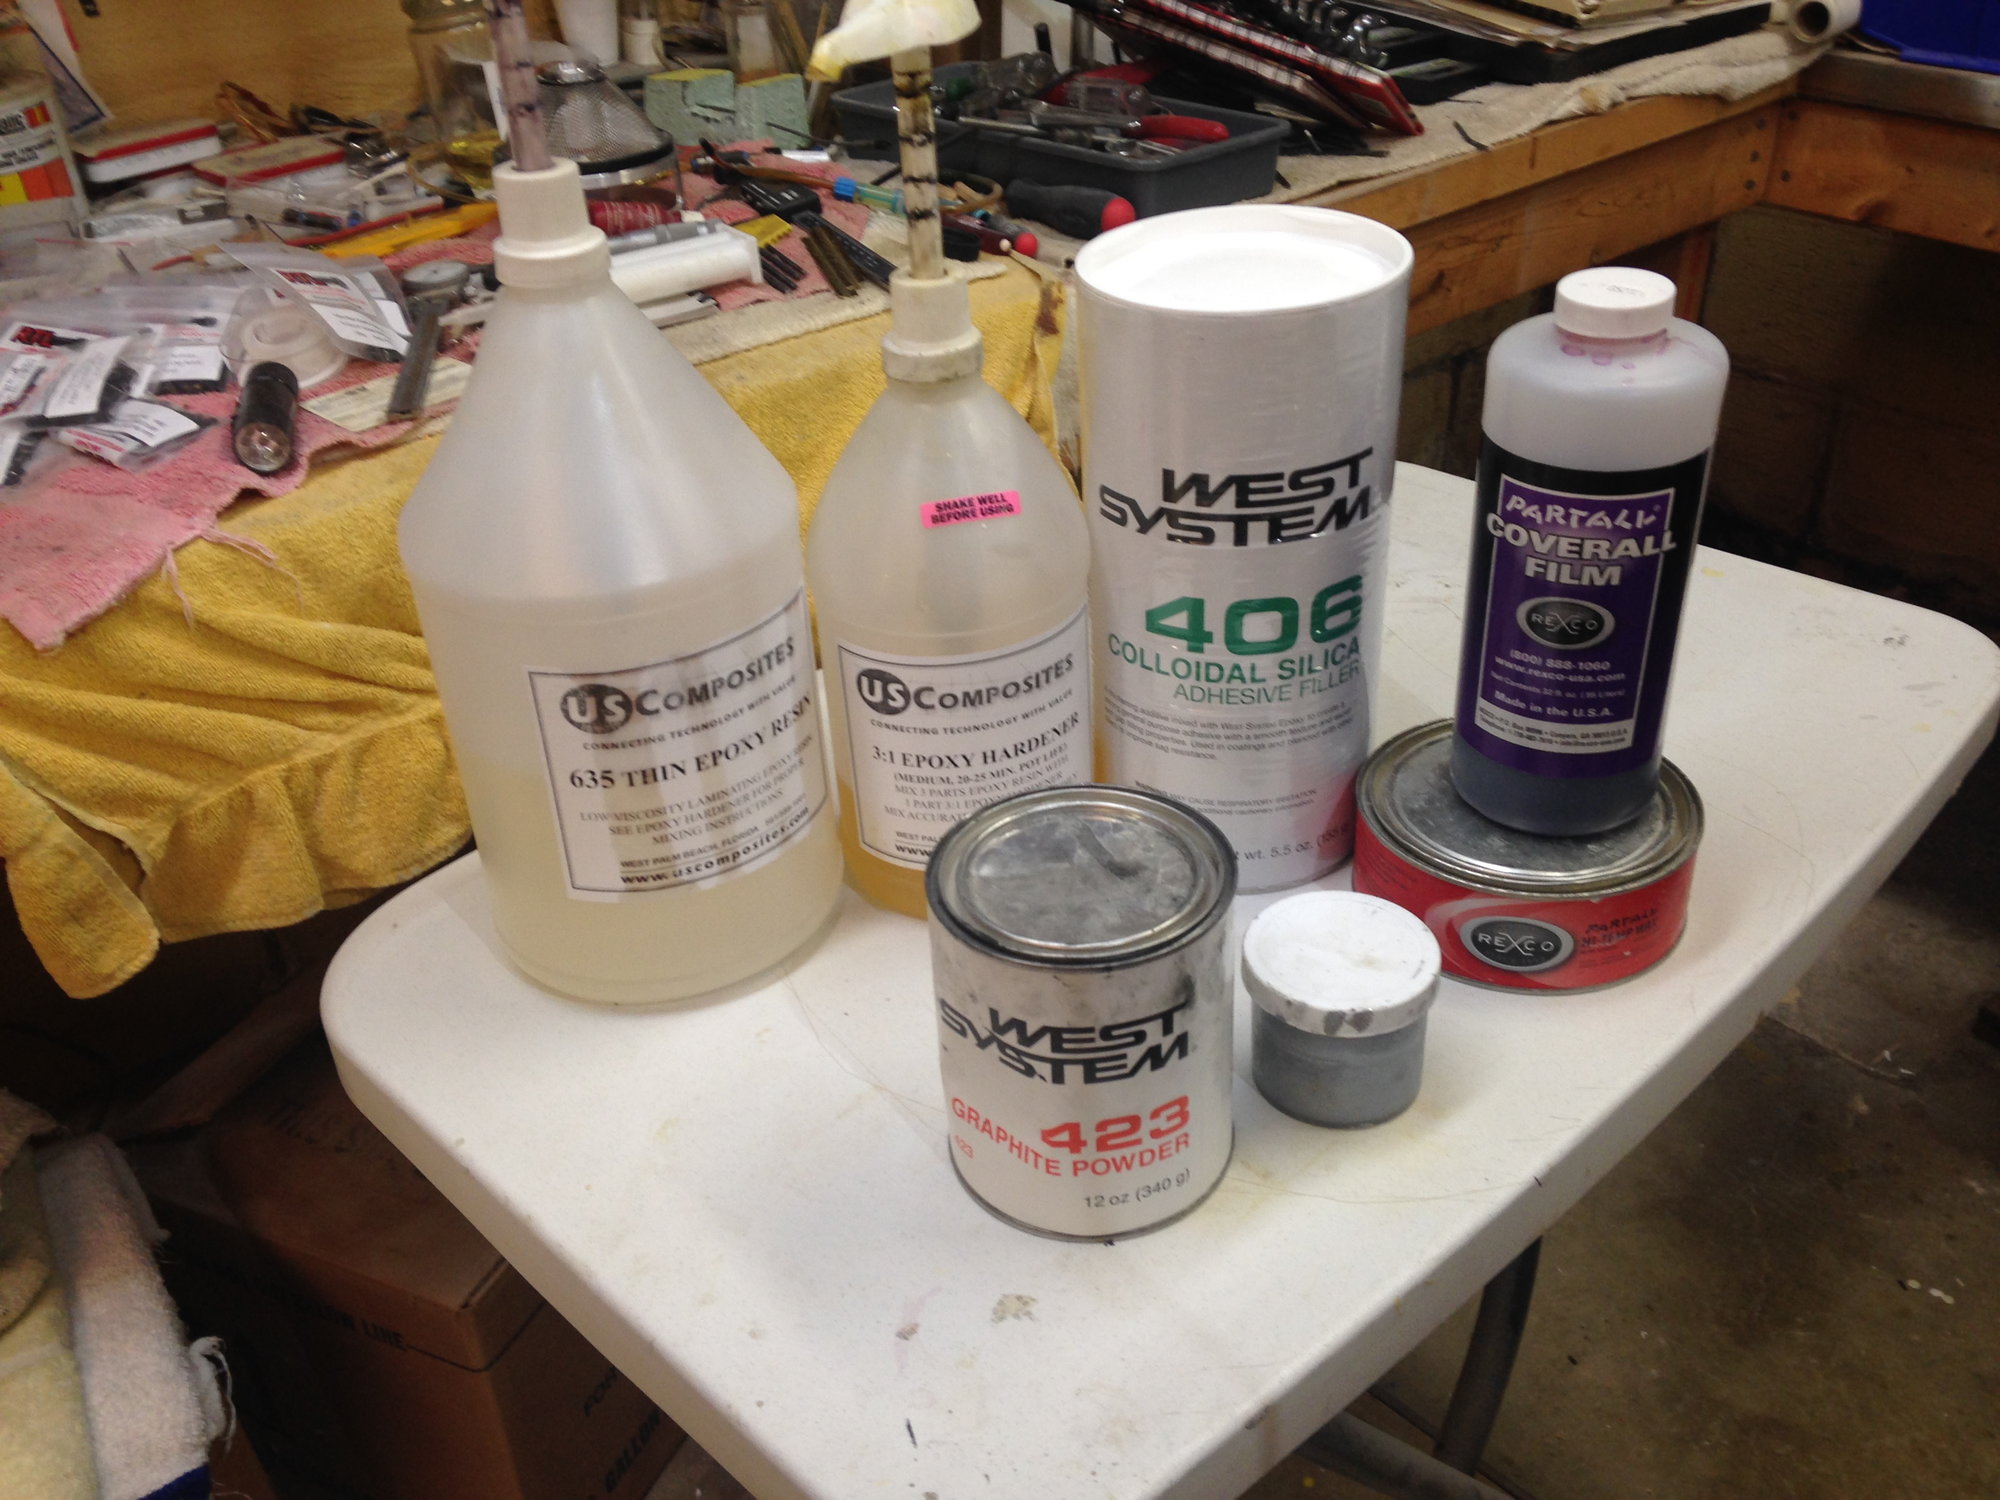
I use a thickened coat of epoxy for my surface coat on my molds and parts. I use West Systems 406 to make my surface coat. With graphite power added for the mold and a pigment added for the part. I have had zero problems doing it this way. I just finished my last mold and part for my A-10 with great success. The wing is balsa and foam for now.
03-24-2018, 10:20 AM
#9
Jefff
Your method is almost exactly what I do. I use the same 635 resin for my surface coat, thickened with silica and microbaloons, and I add carbon nano tubes. I see that you are using the medium hardener. I usually use the slow for laminating just so I can take my time and not run out of time. Post cure is almost mandatory with the slow. A couple days in the box at 110F seems to finish it off.
Nice work on the jets
03-24-2018, 01:00 PM
#10
My Feedback: (8)
Pylonracr
The medium hardener is perfect for me. My basement is always 65* and 60 to 70% humidity. The fuselage is the largest layup. It takes be about 1 hour to get two layers of cloth and extra support in areas. But I only mix up one batch at a time. So it really does not mater if it starts setting up on the cloth when I apply another batch of resin and cloth. It still takes about 1 1/2 hours after to tack up. One thing I did not do was to use some Pel ply inside thee fuse. to take off the extra epoxy and make a better gluing surface .The horizontal, verticals and elevators I vacuum bagged and used PelPly
The medium hardener is perfect for me. My basement is always 65* and 60 to 70% humidity. The fuselage is the largest layup. It takes be about 1 hour to get two layers of cloth and extra support in areas. But I only mix up one batch at a time. So it really does not mater if it starts setting up on the cloth when I apply another batch of resin and cloth. It still takes about 1 1/2 hours after to tack up. One thing I did not do was to use some Pel ply inside thee fuse. to take off the extra epoxy and make a better gluing surface .The horizontal, verticals and elevators I vacuum bagged and used PelPly
