


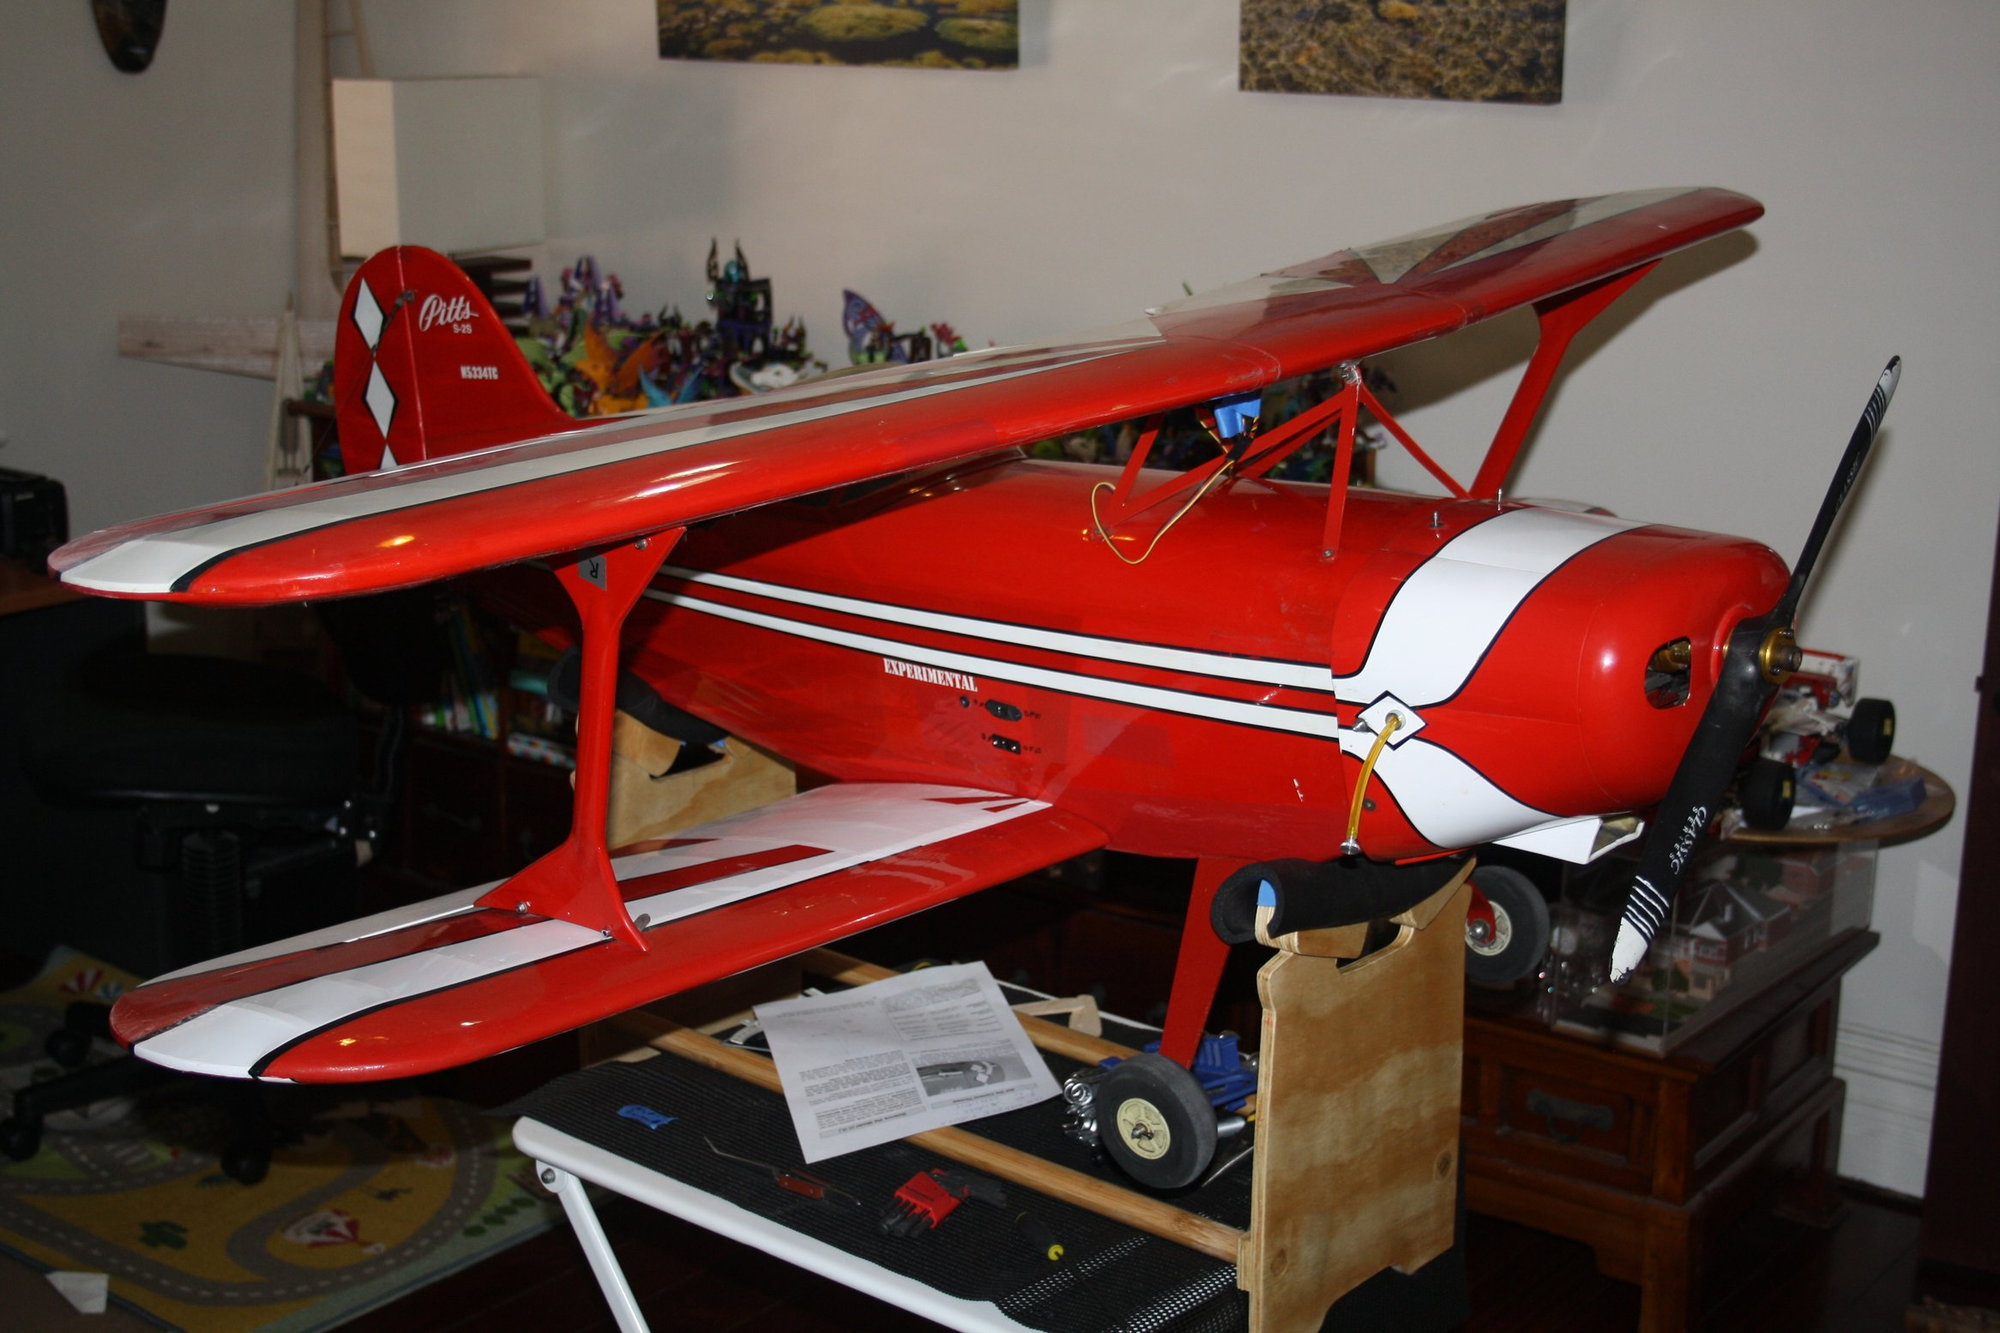
Resurrecting a Great Plans 1/3 Scale Pitts Special ARF

 03-17-2019, 09:41 PM
#28

Thread Starter
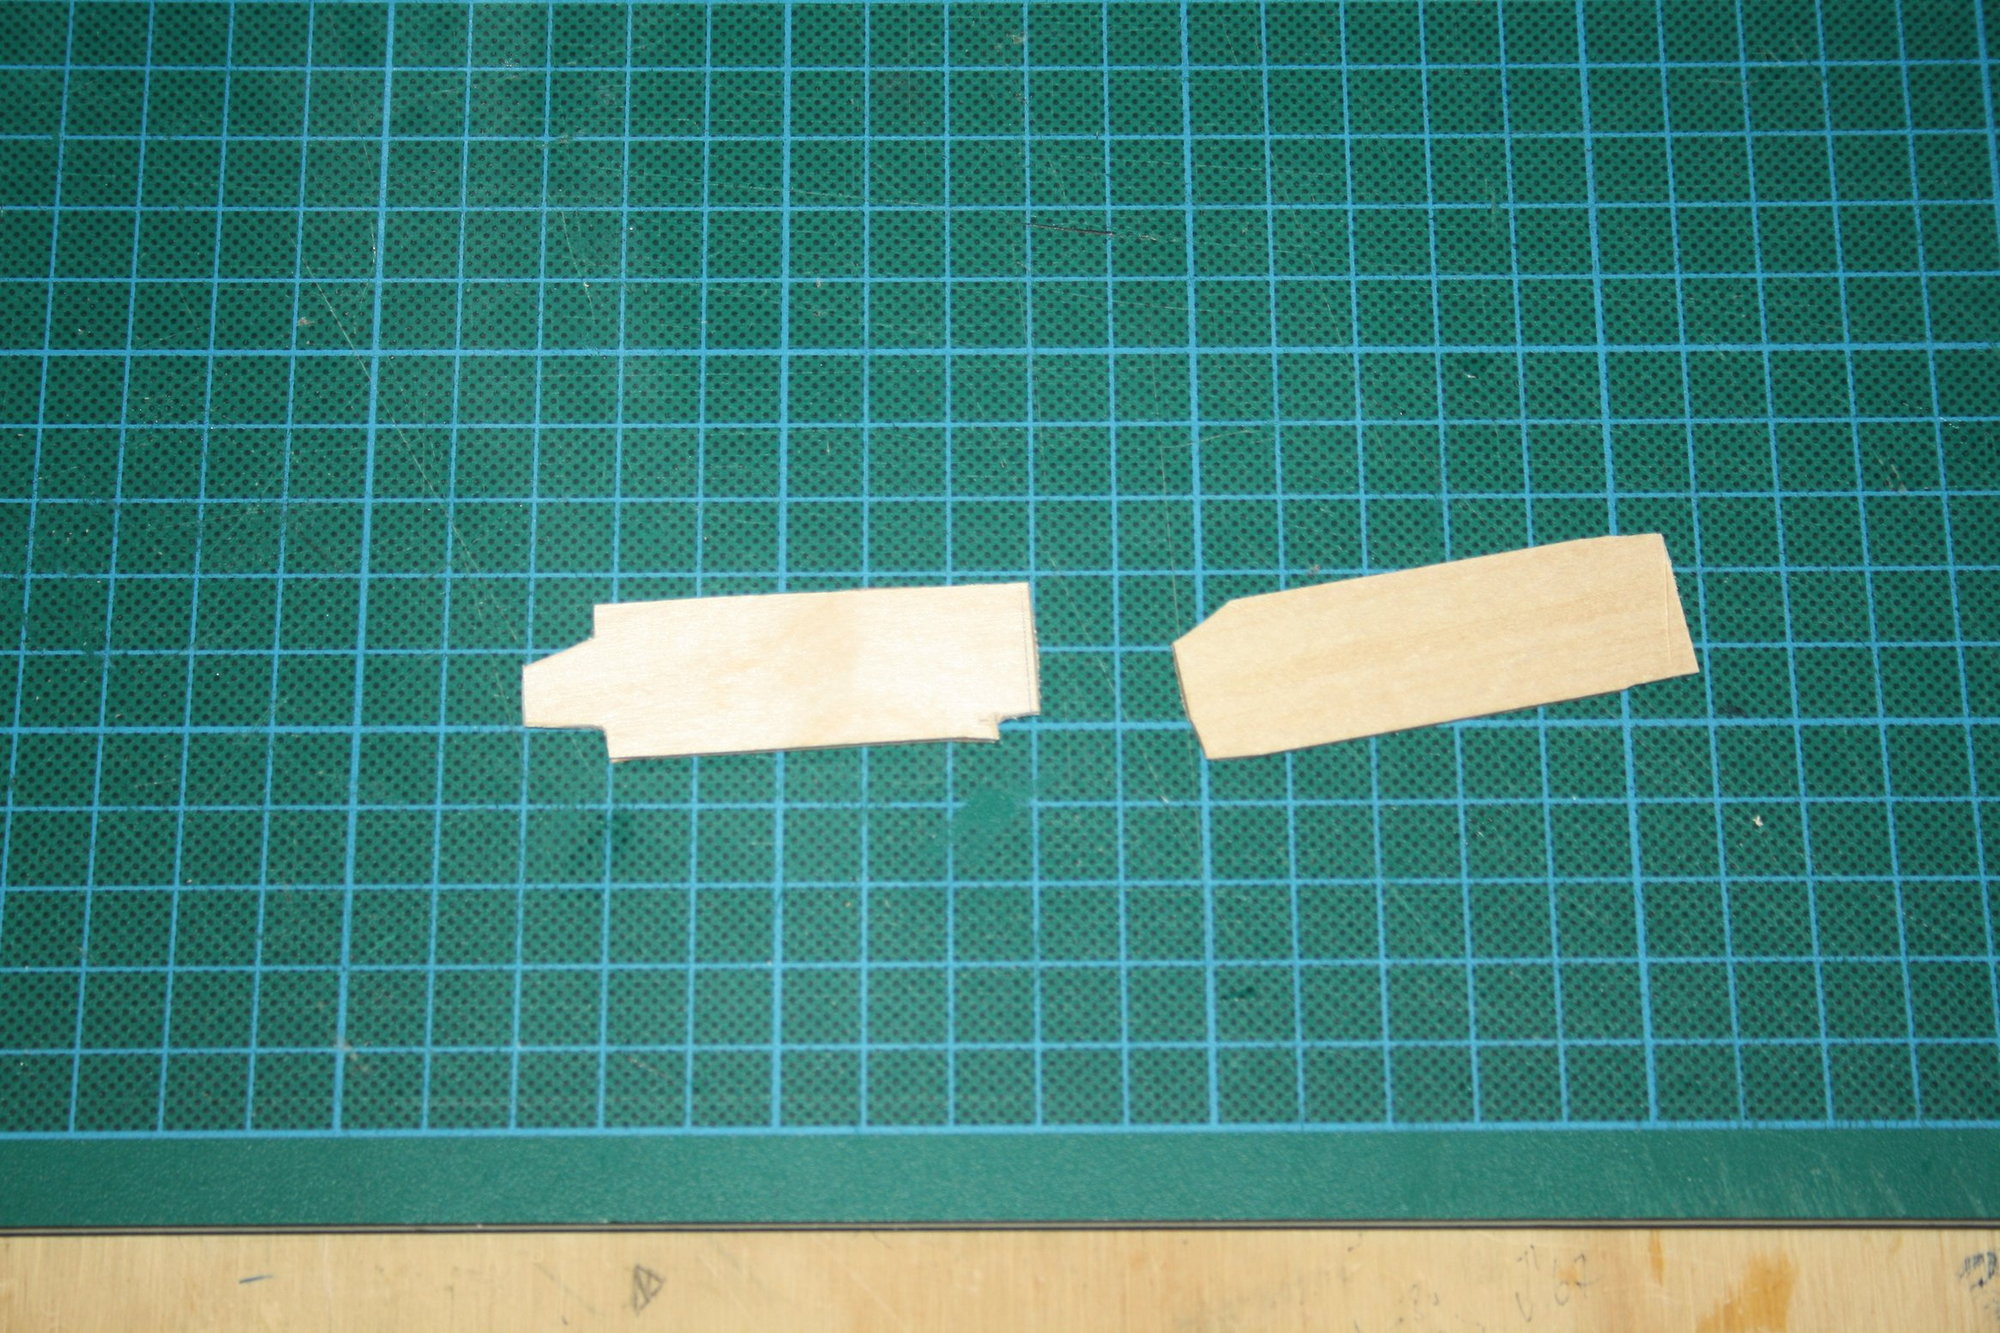
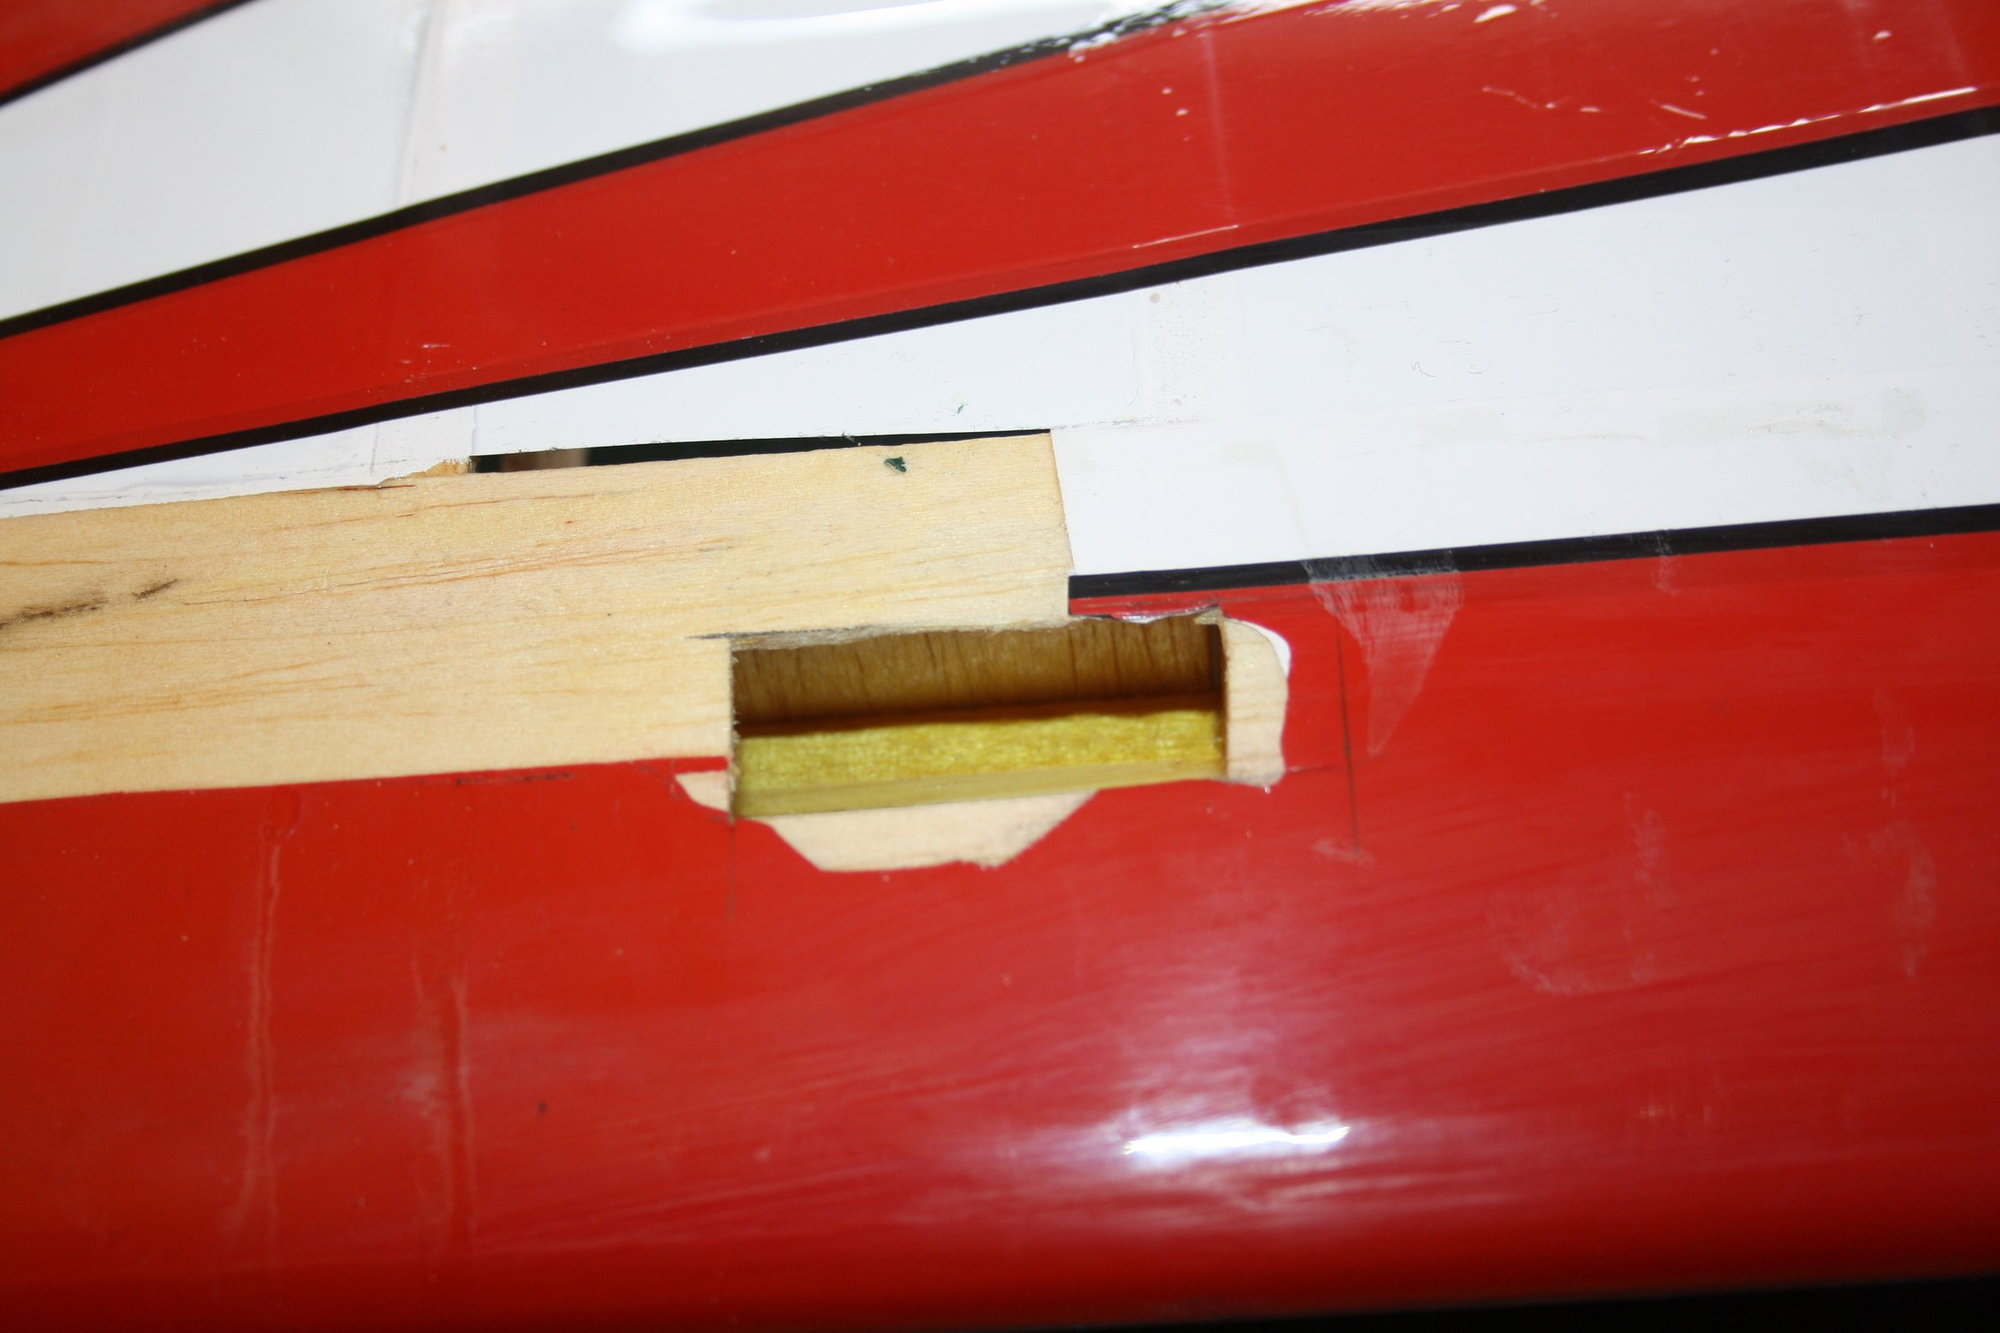
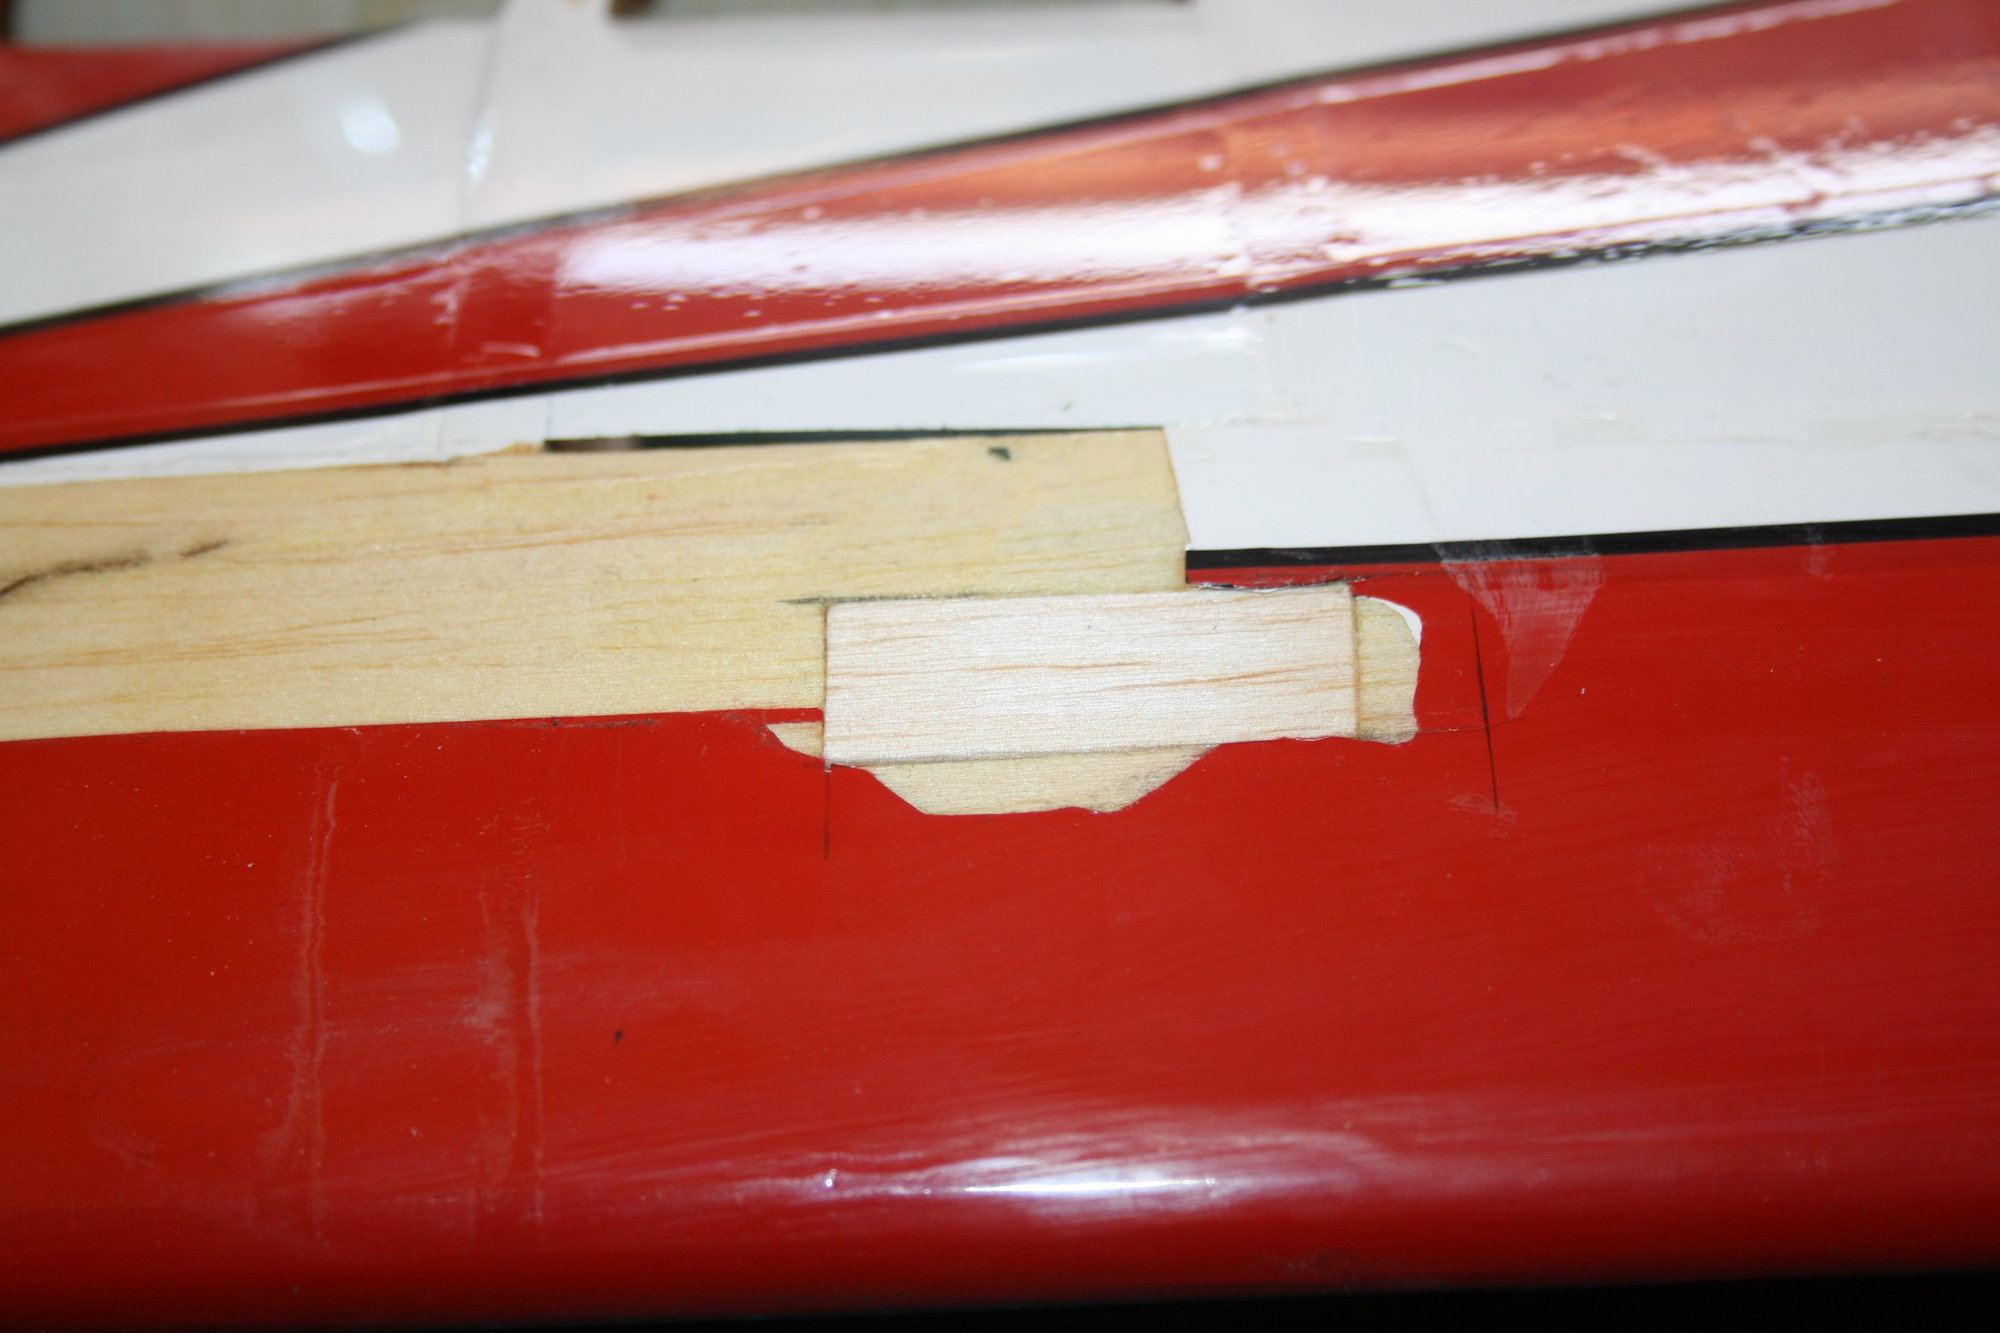
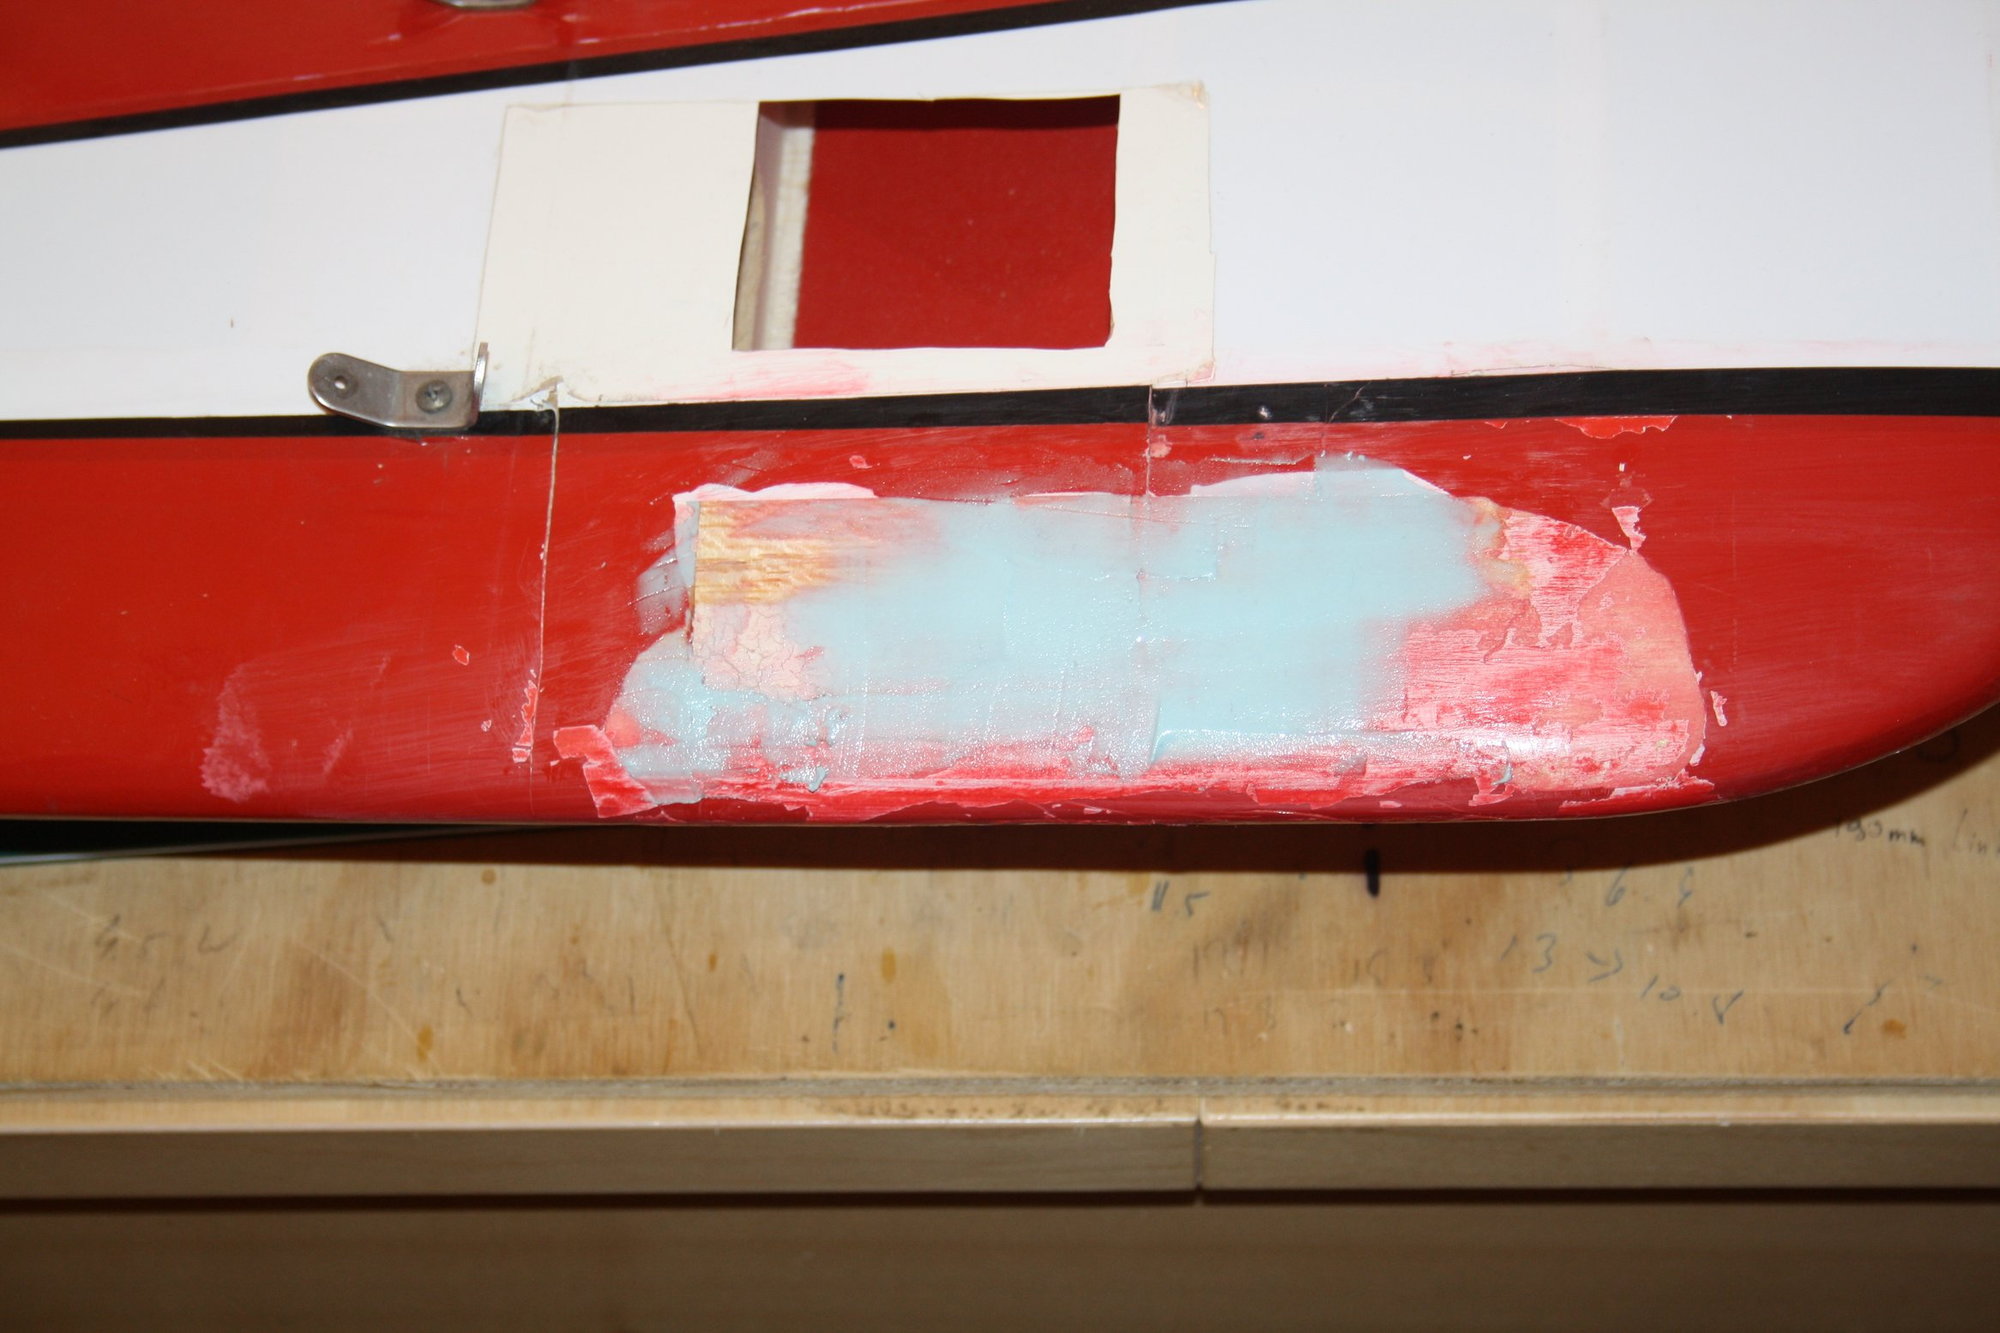
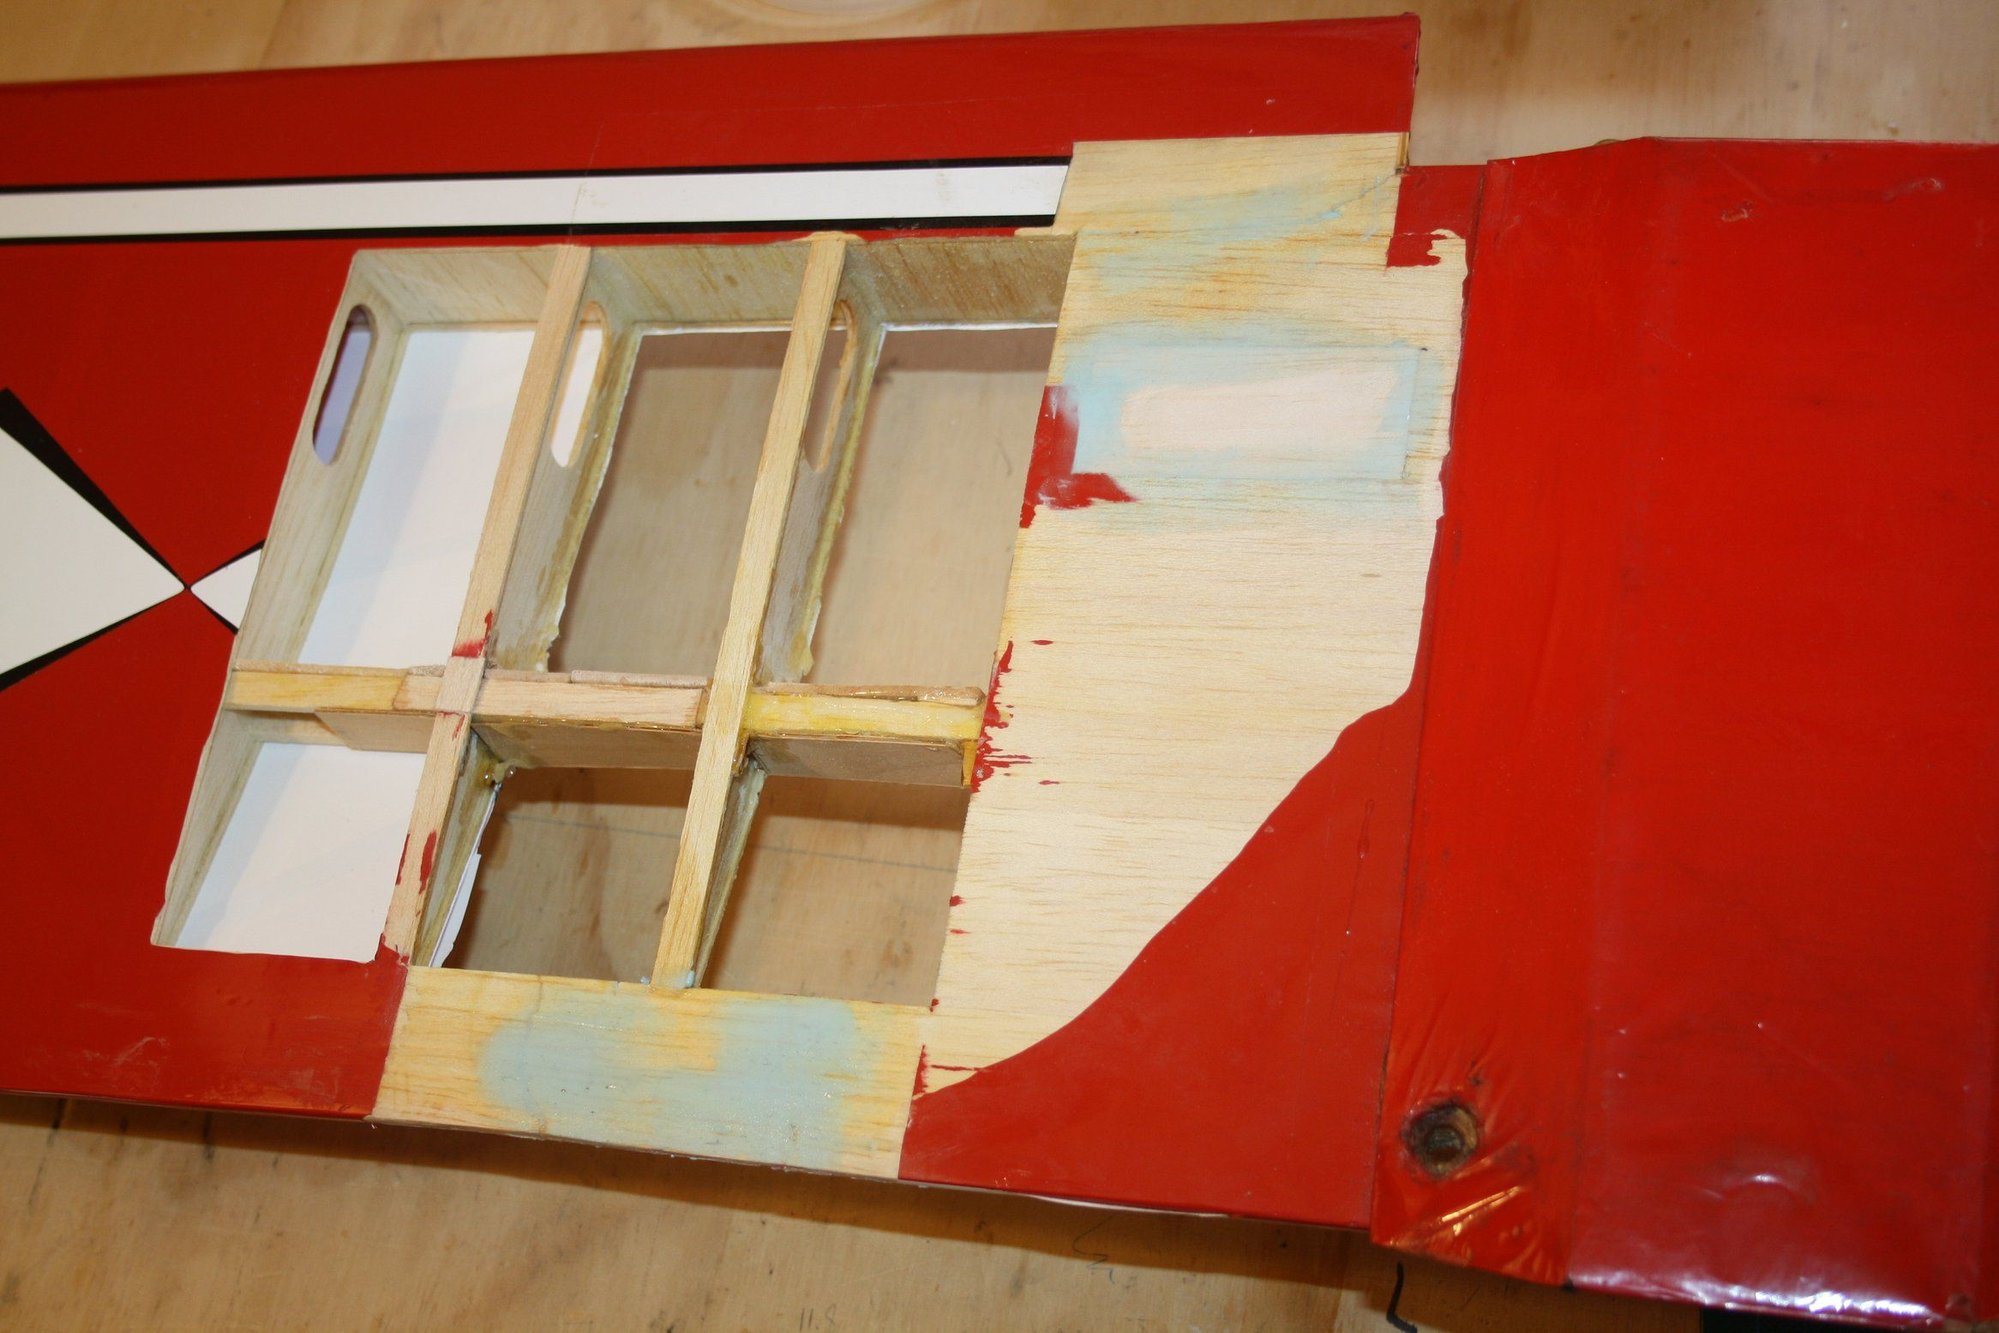
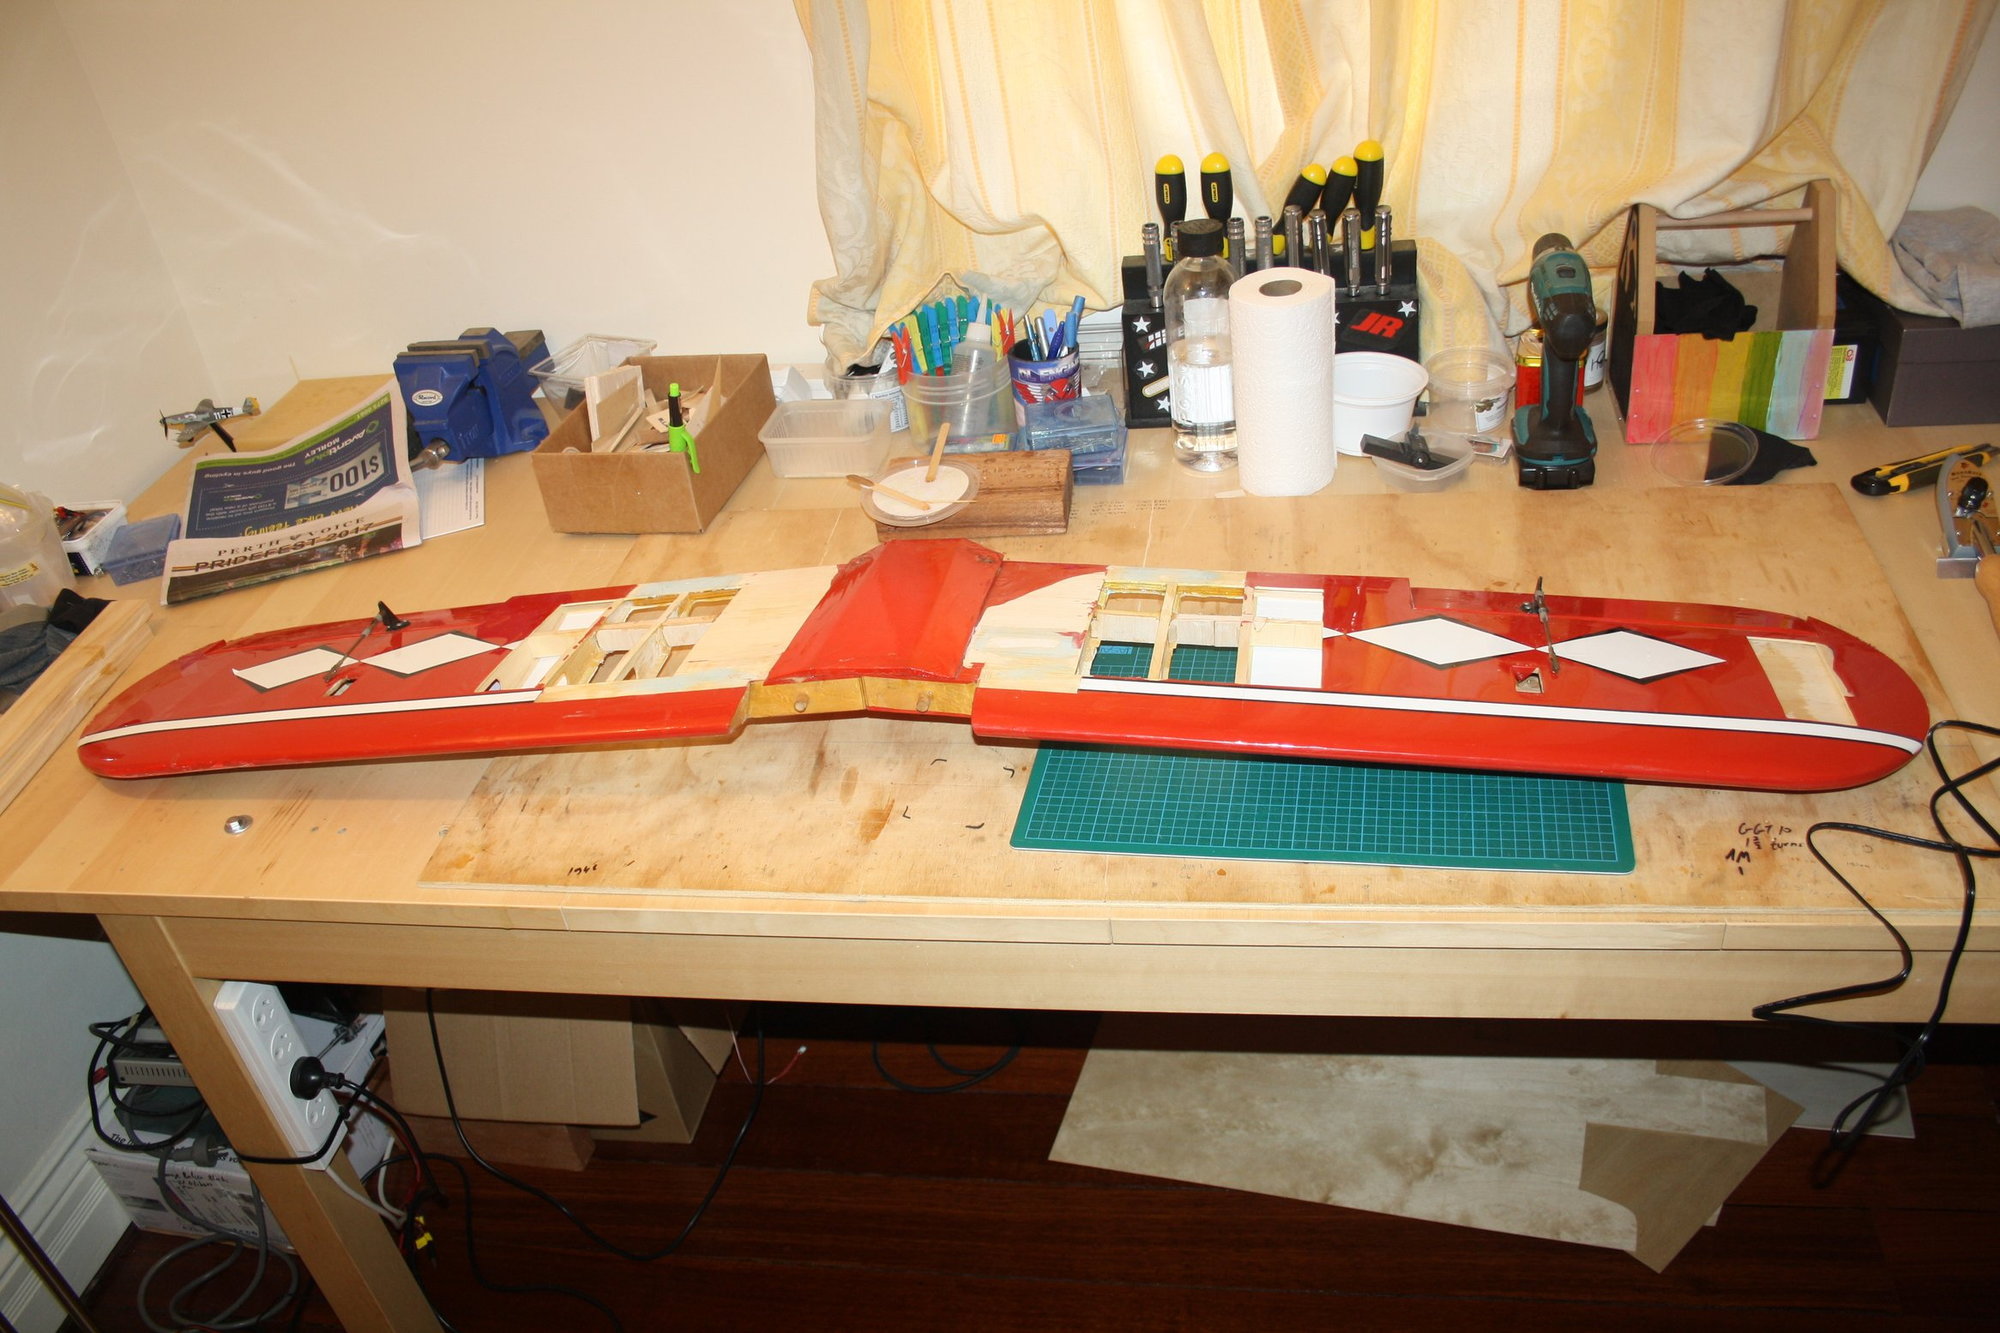
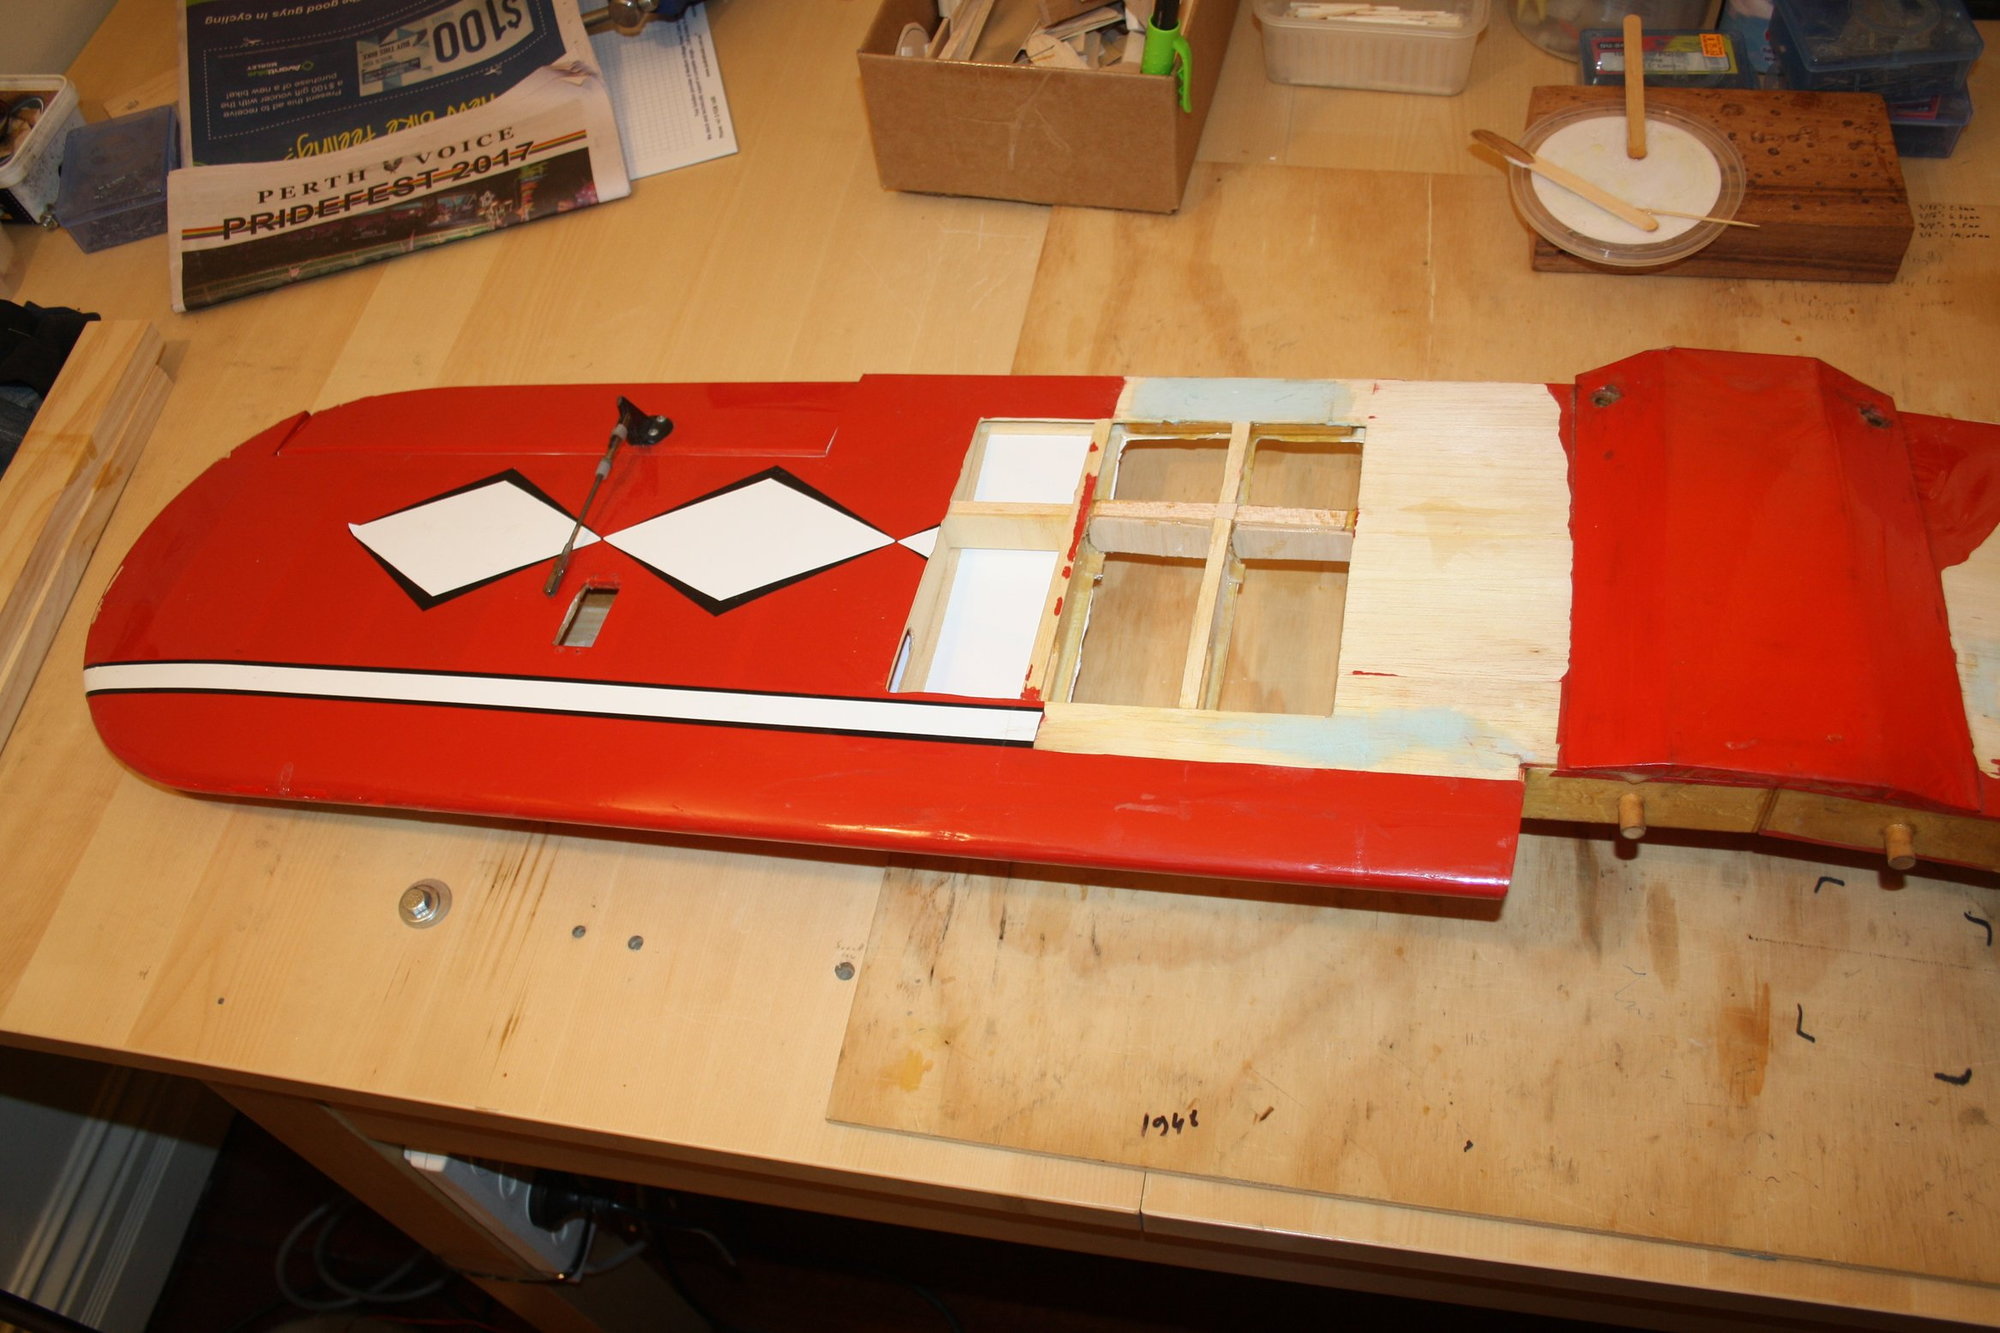
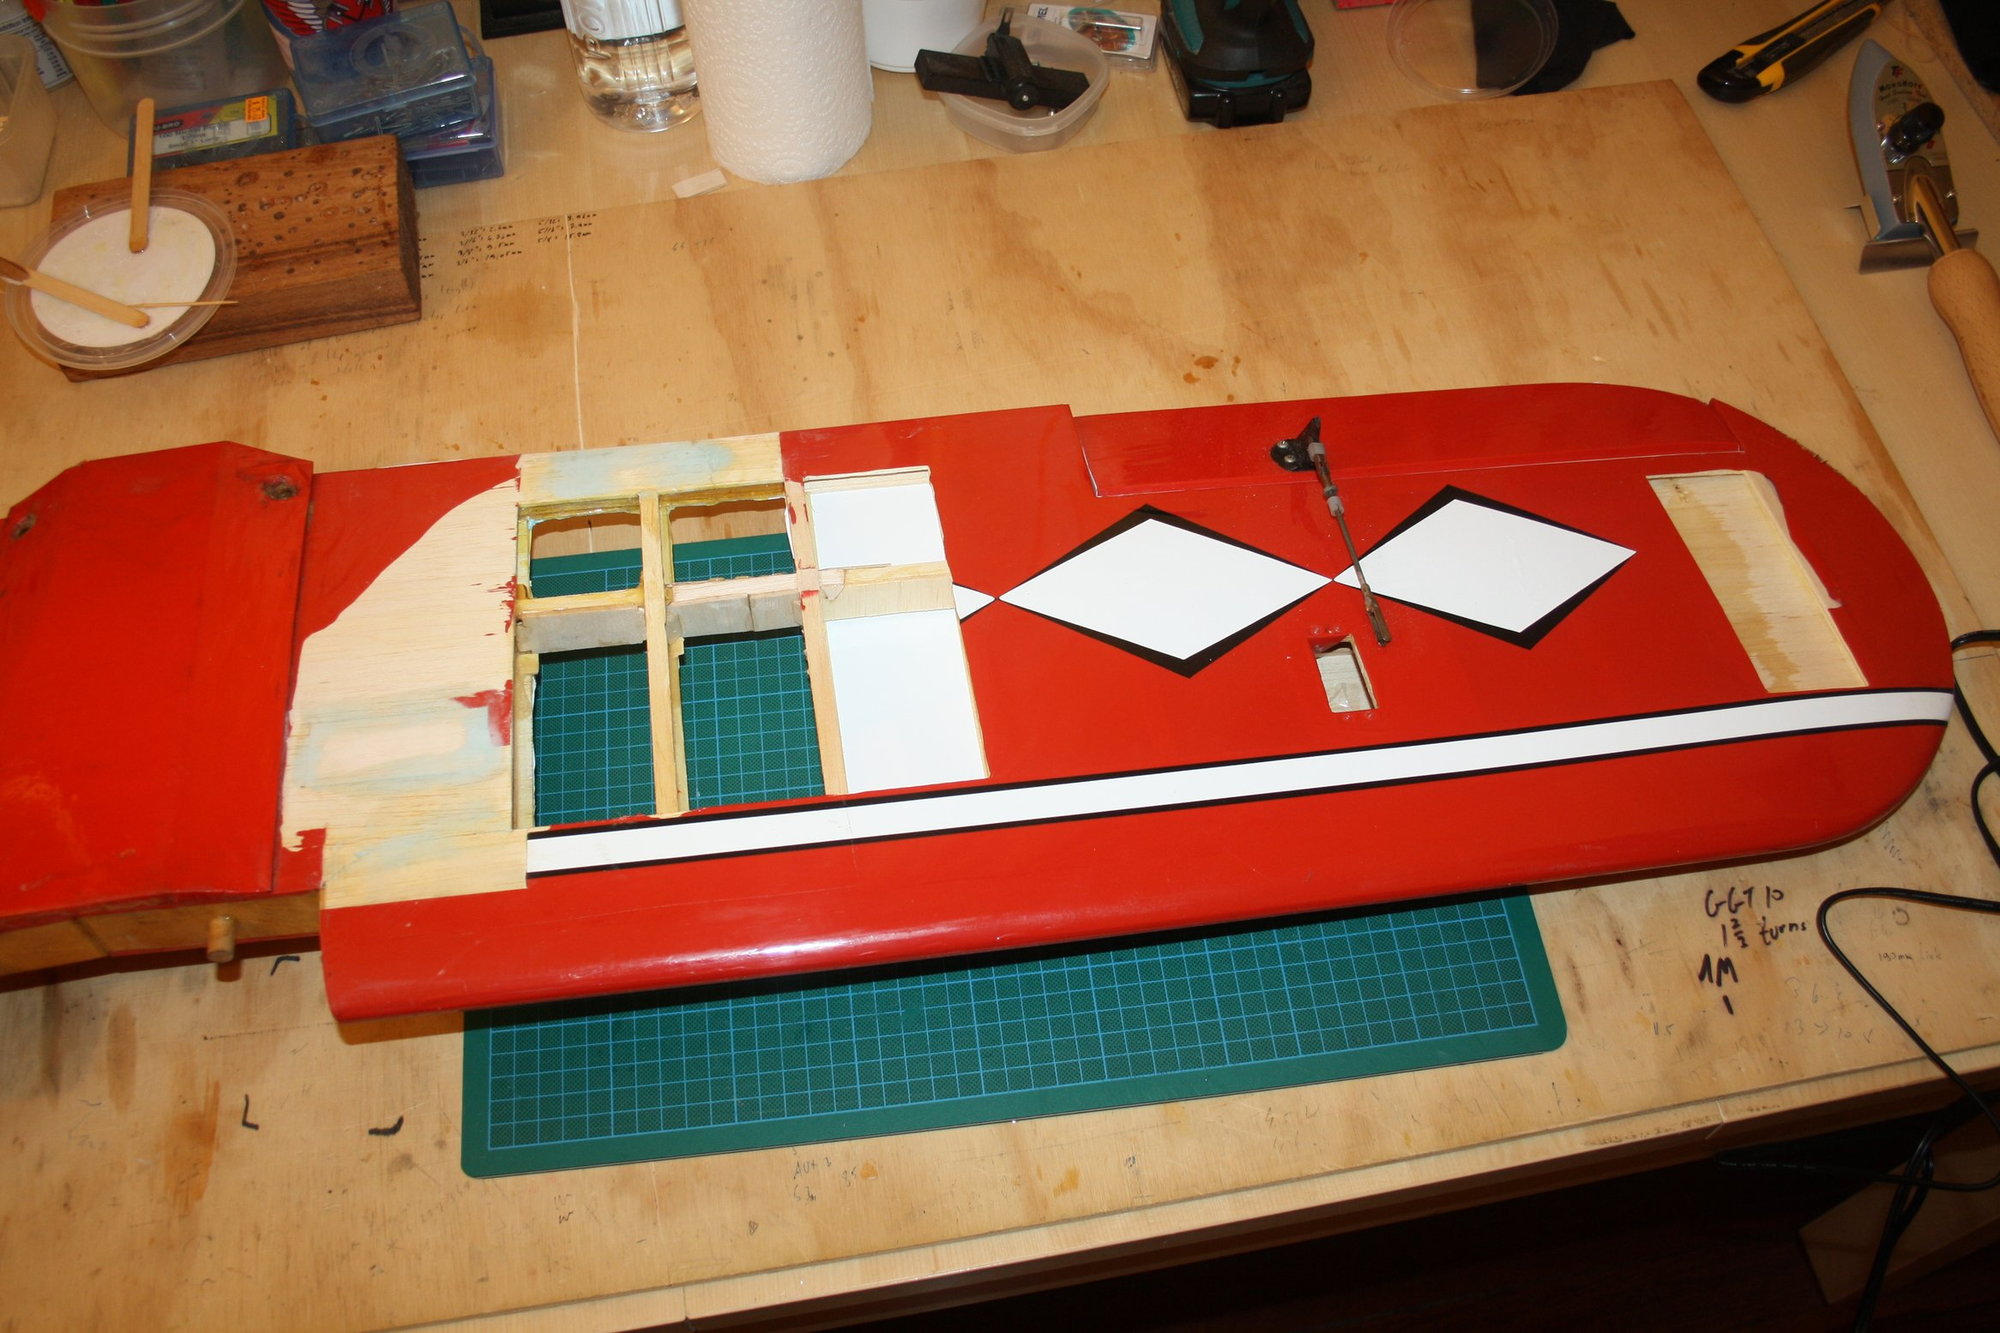
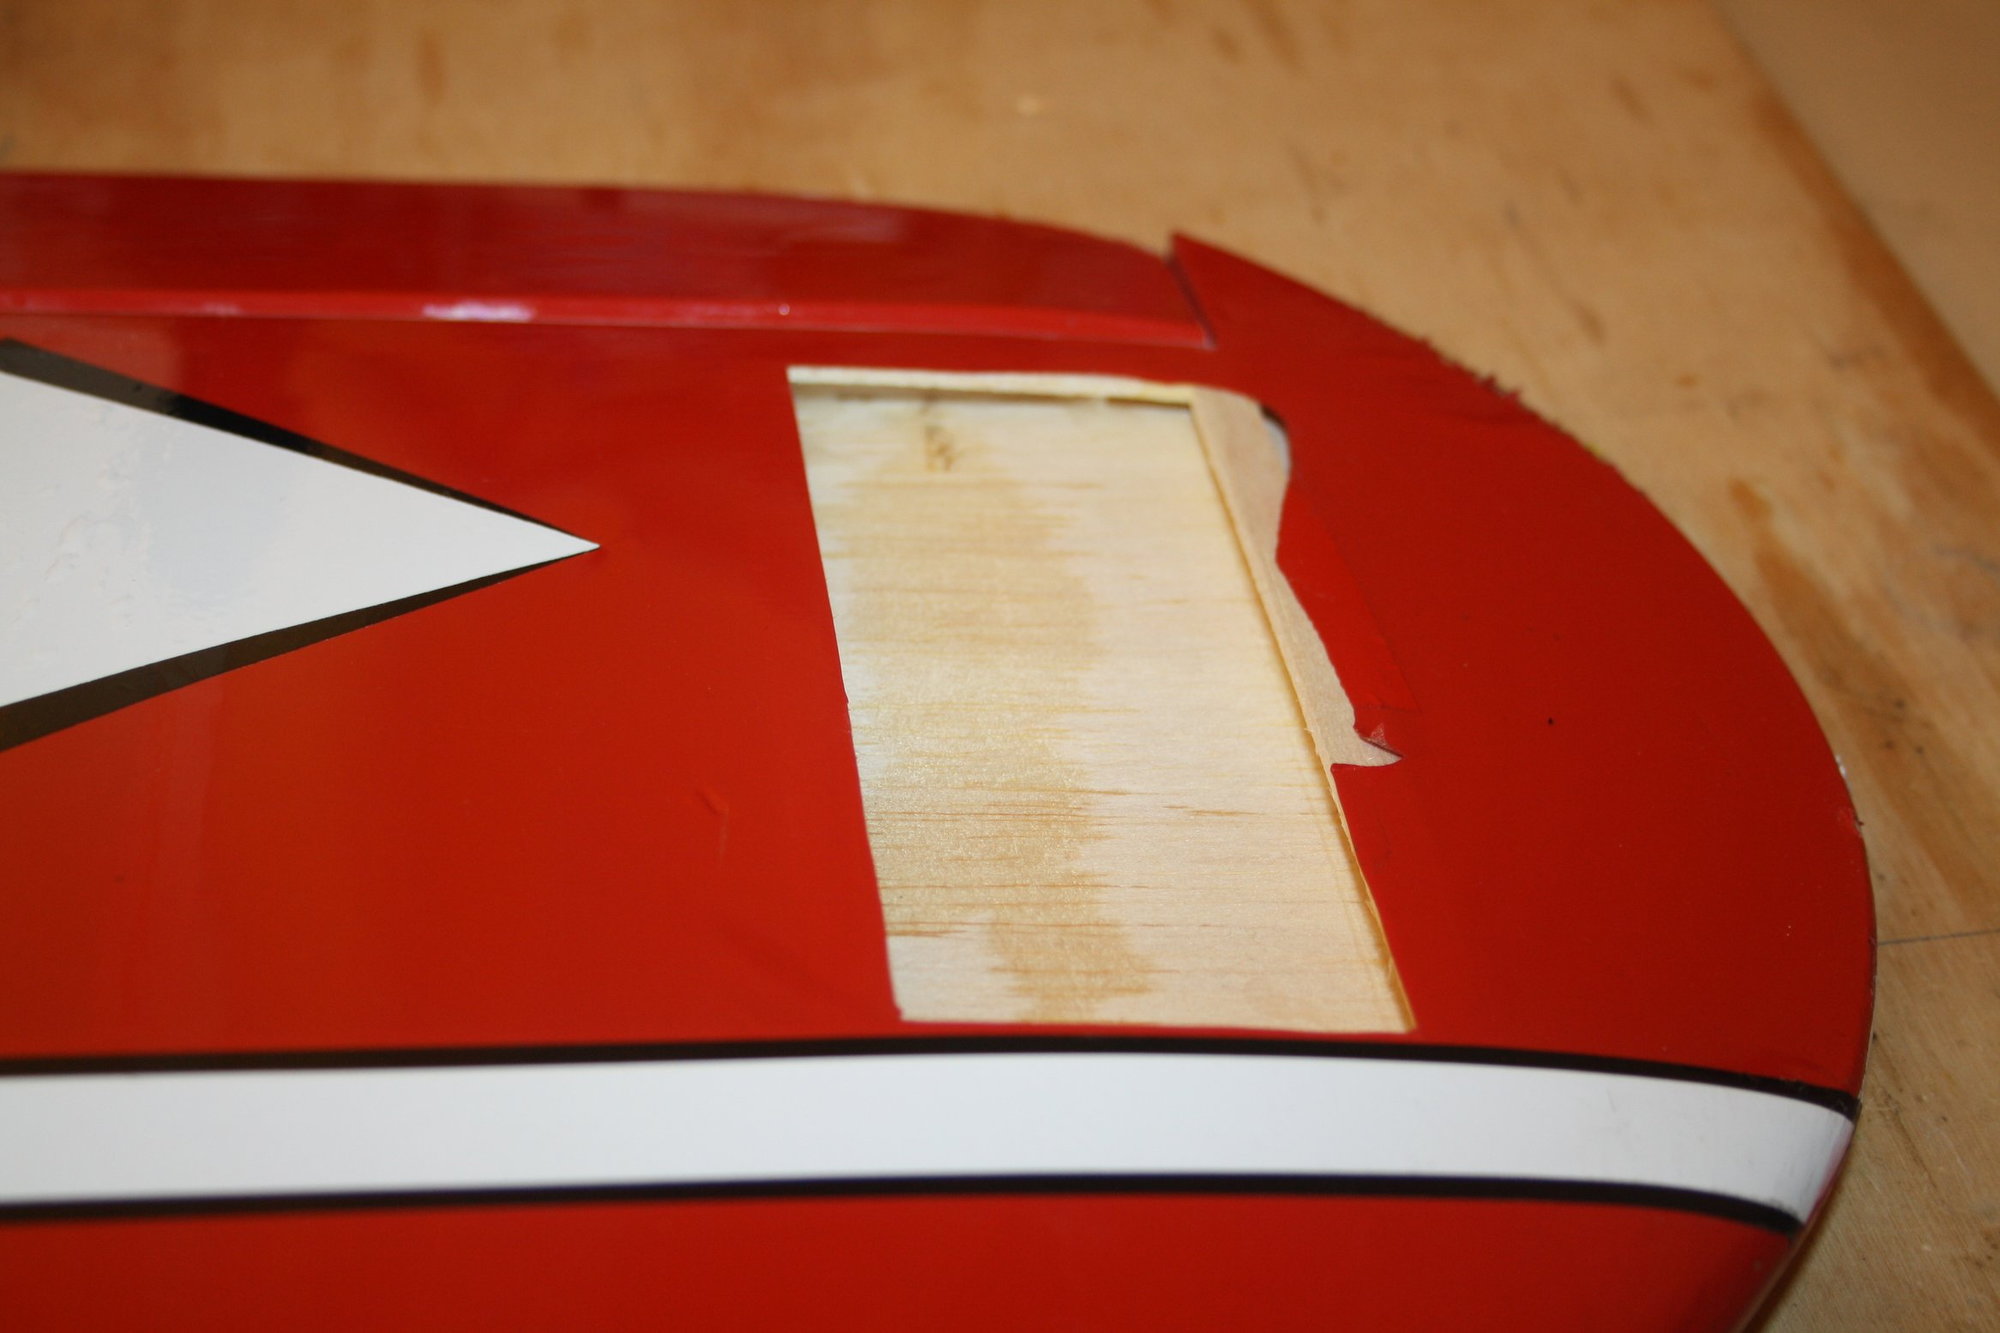
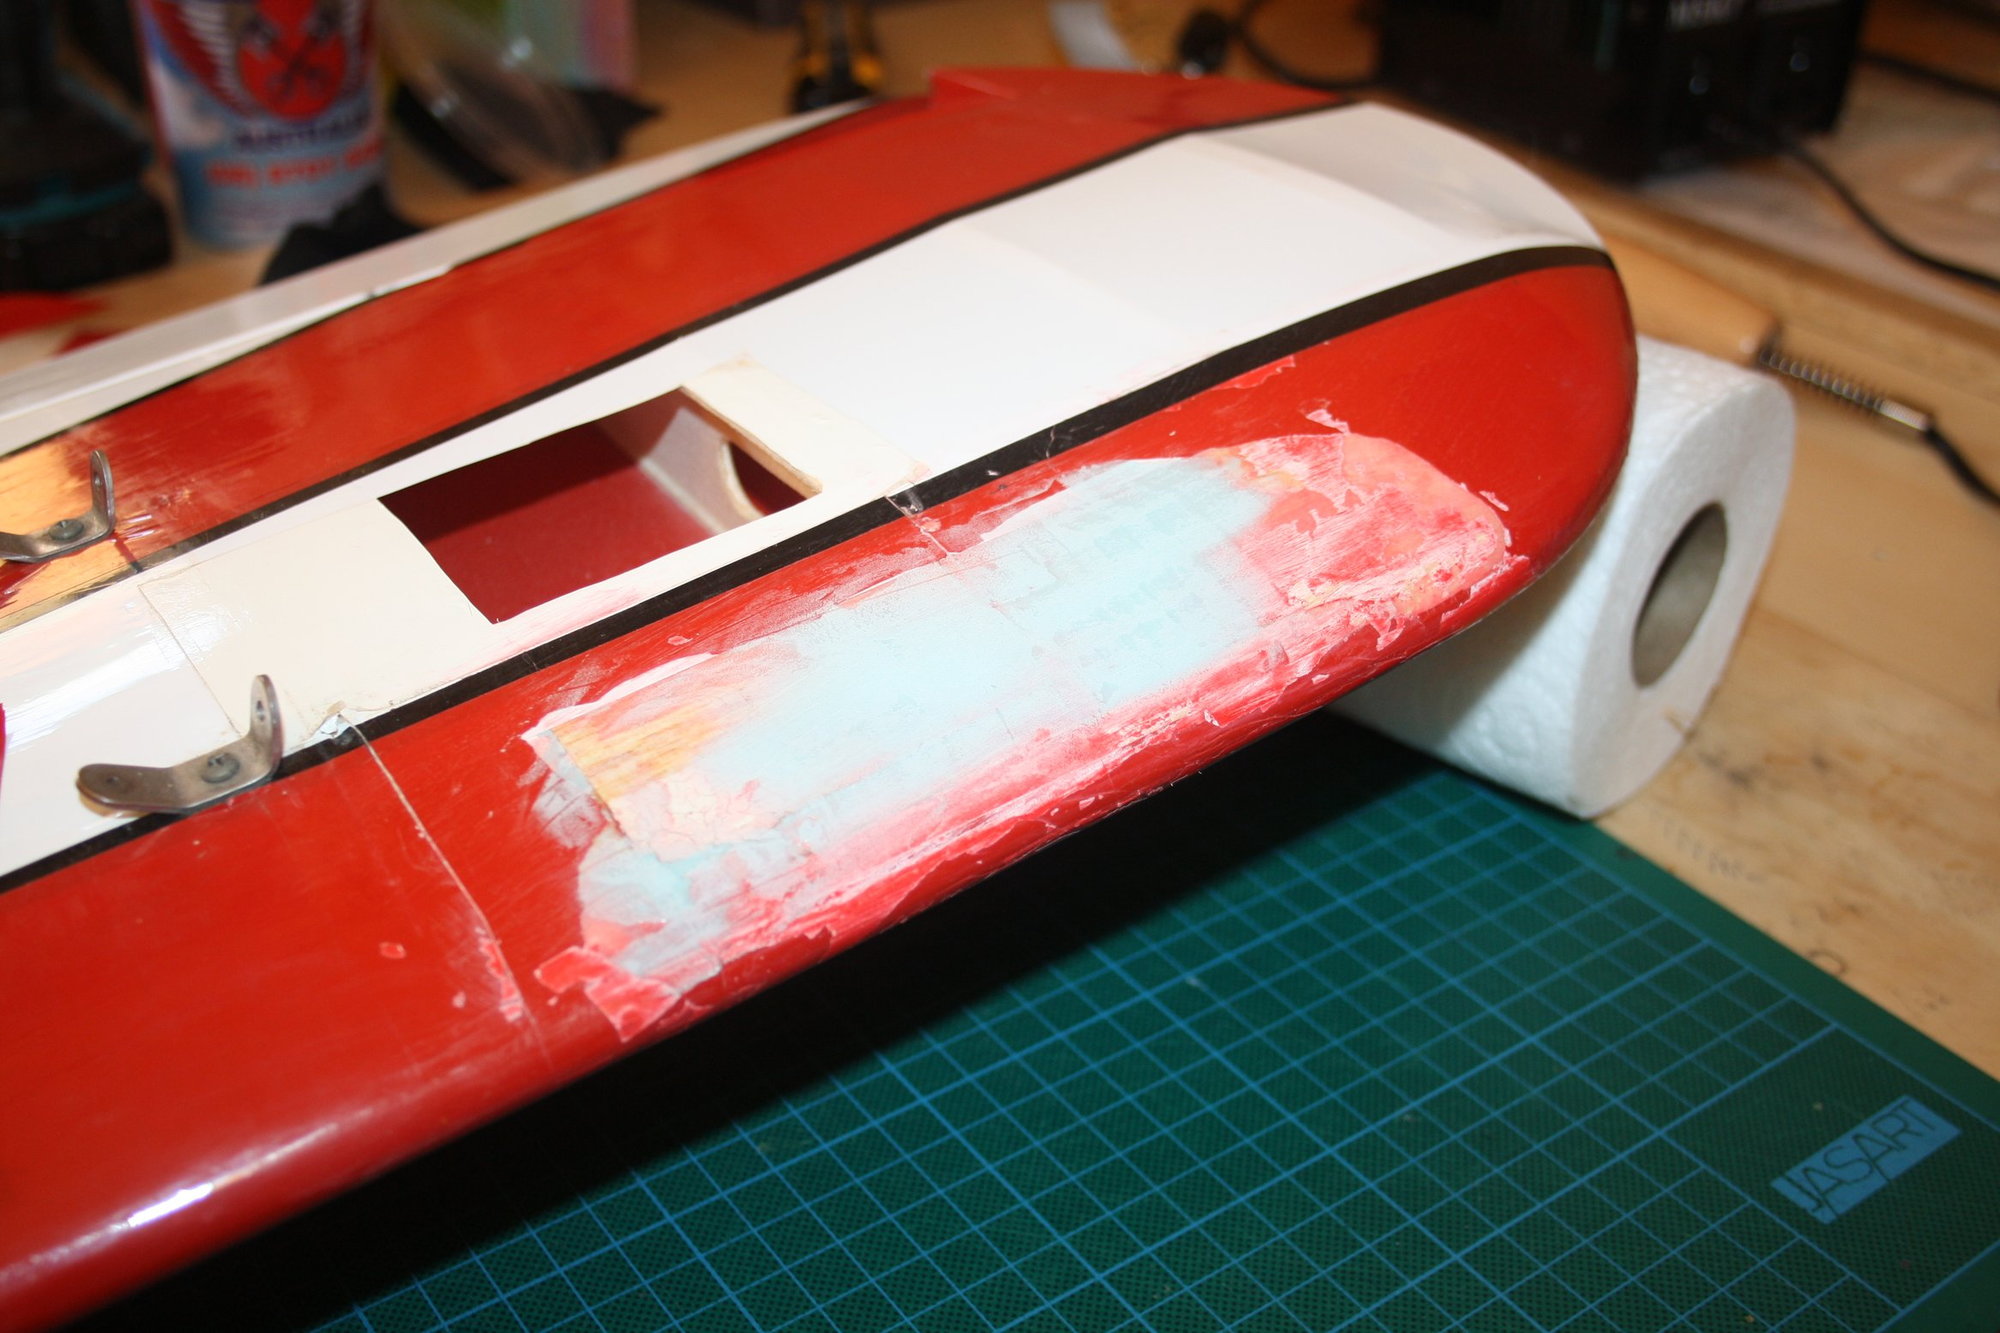
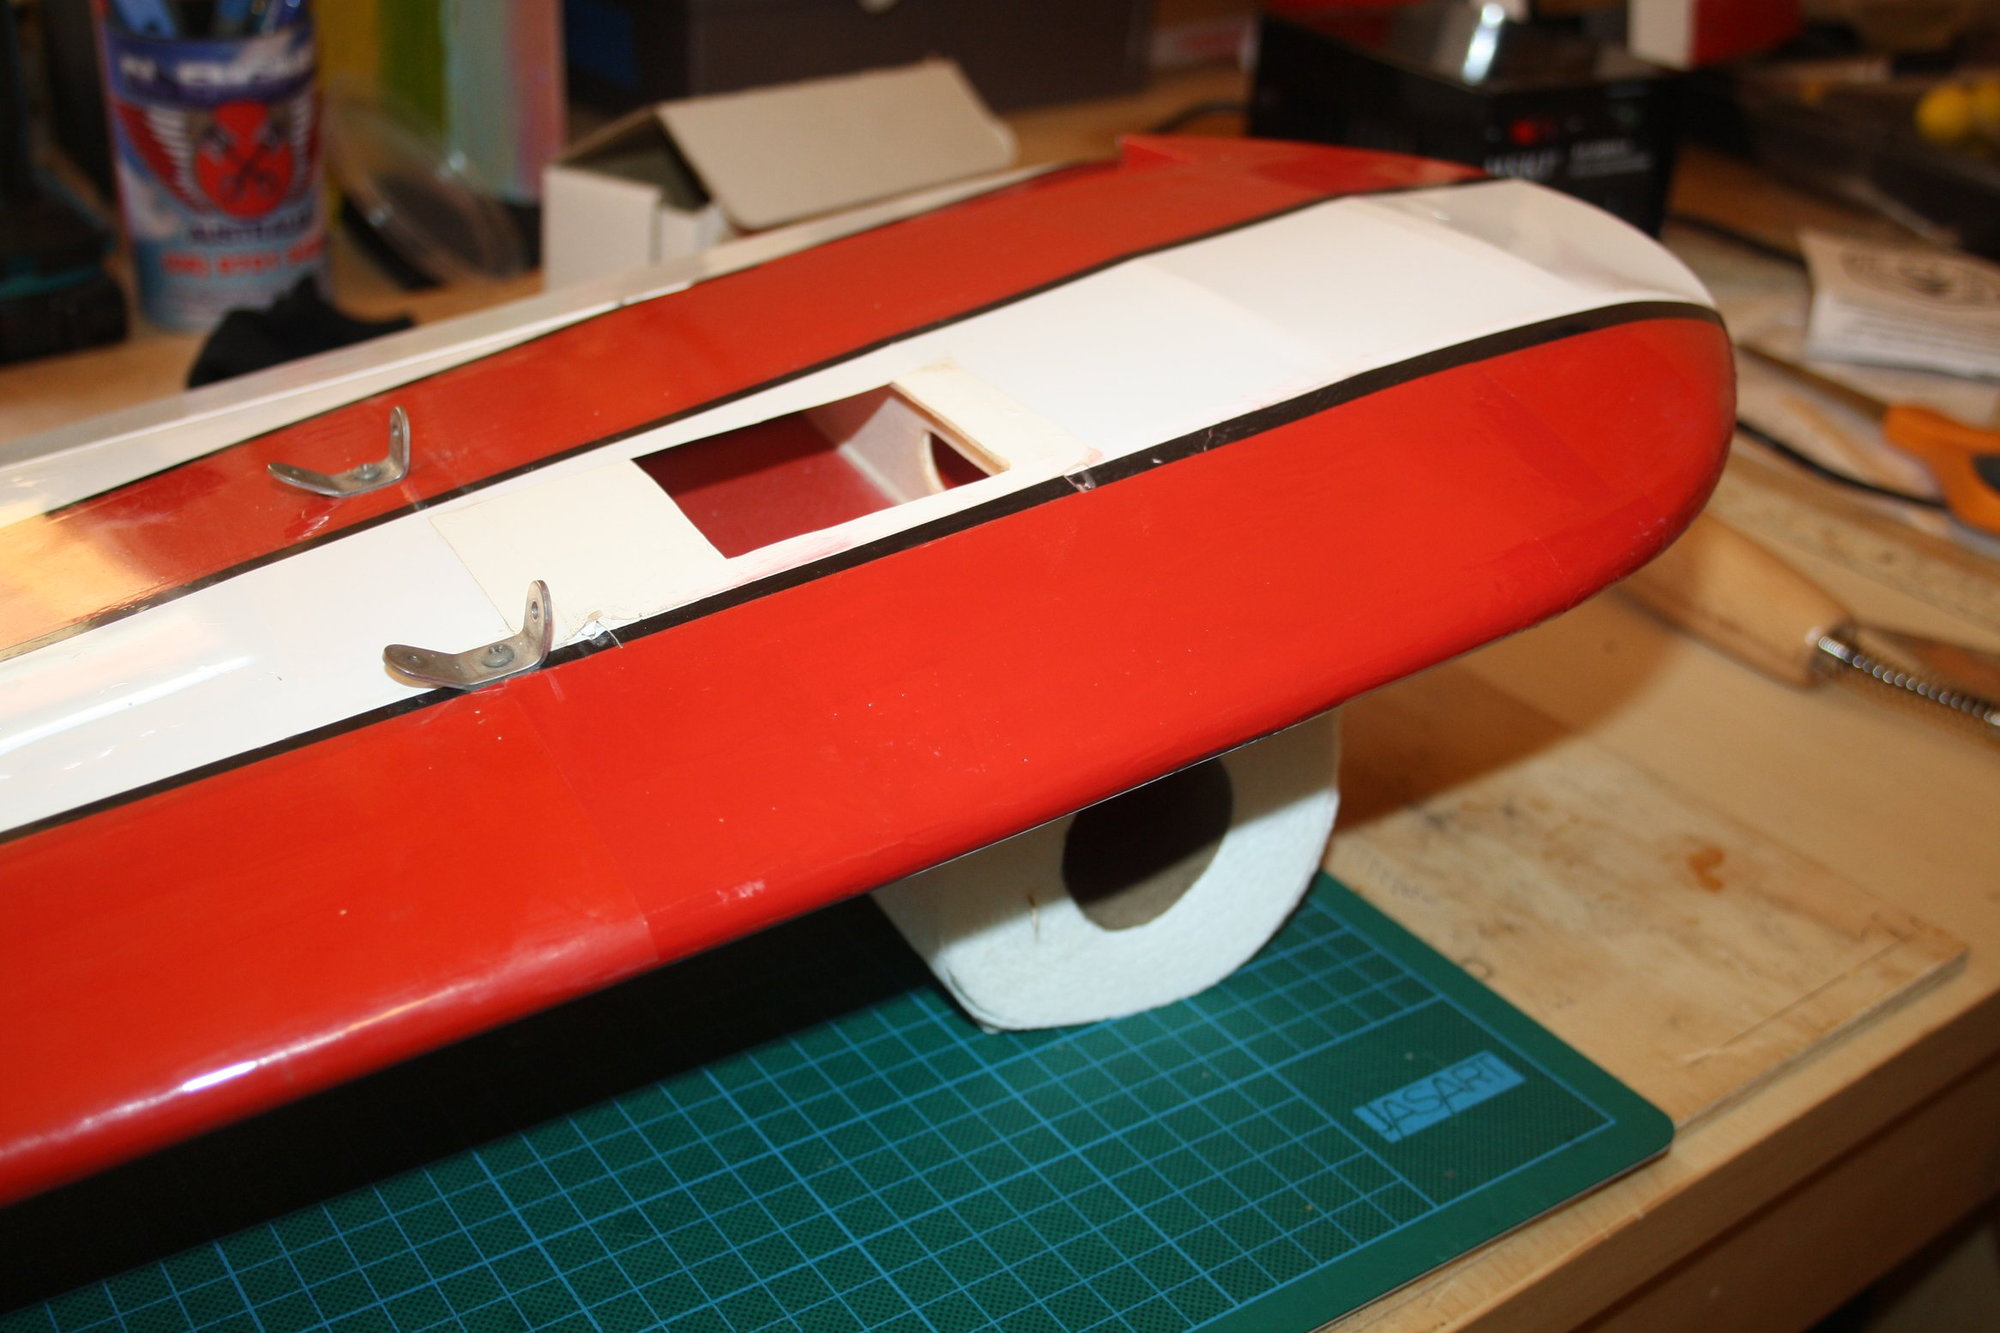
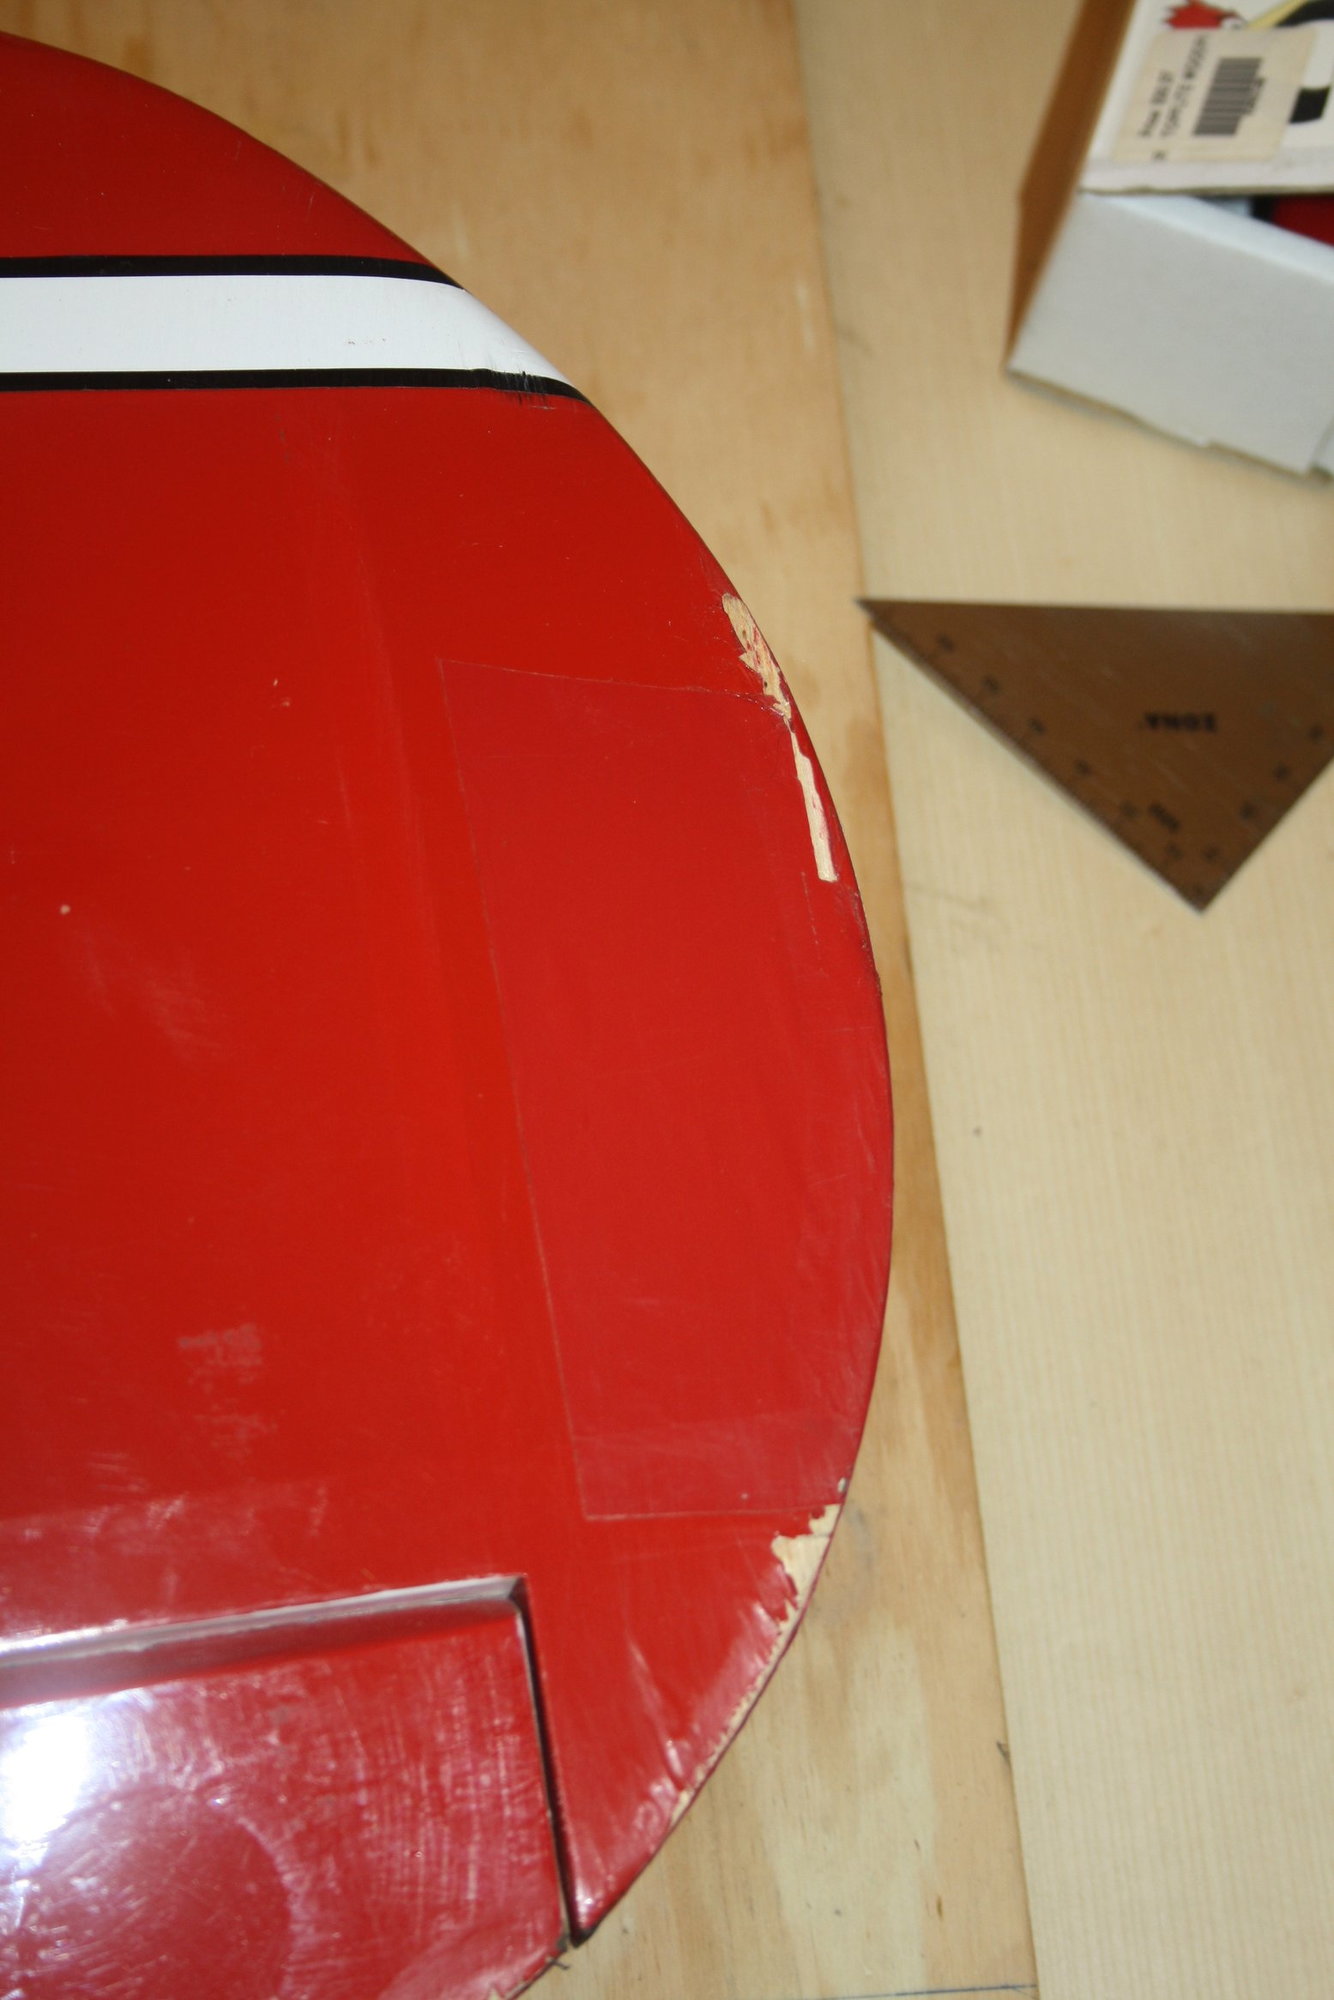
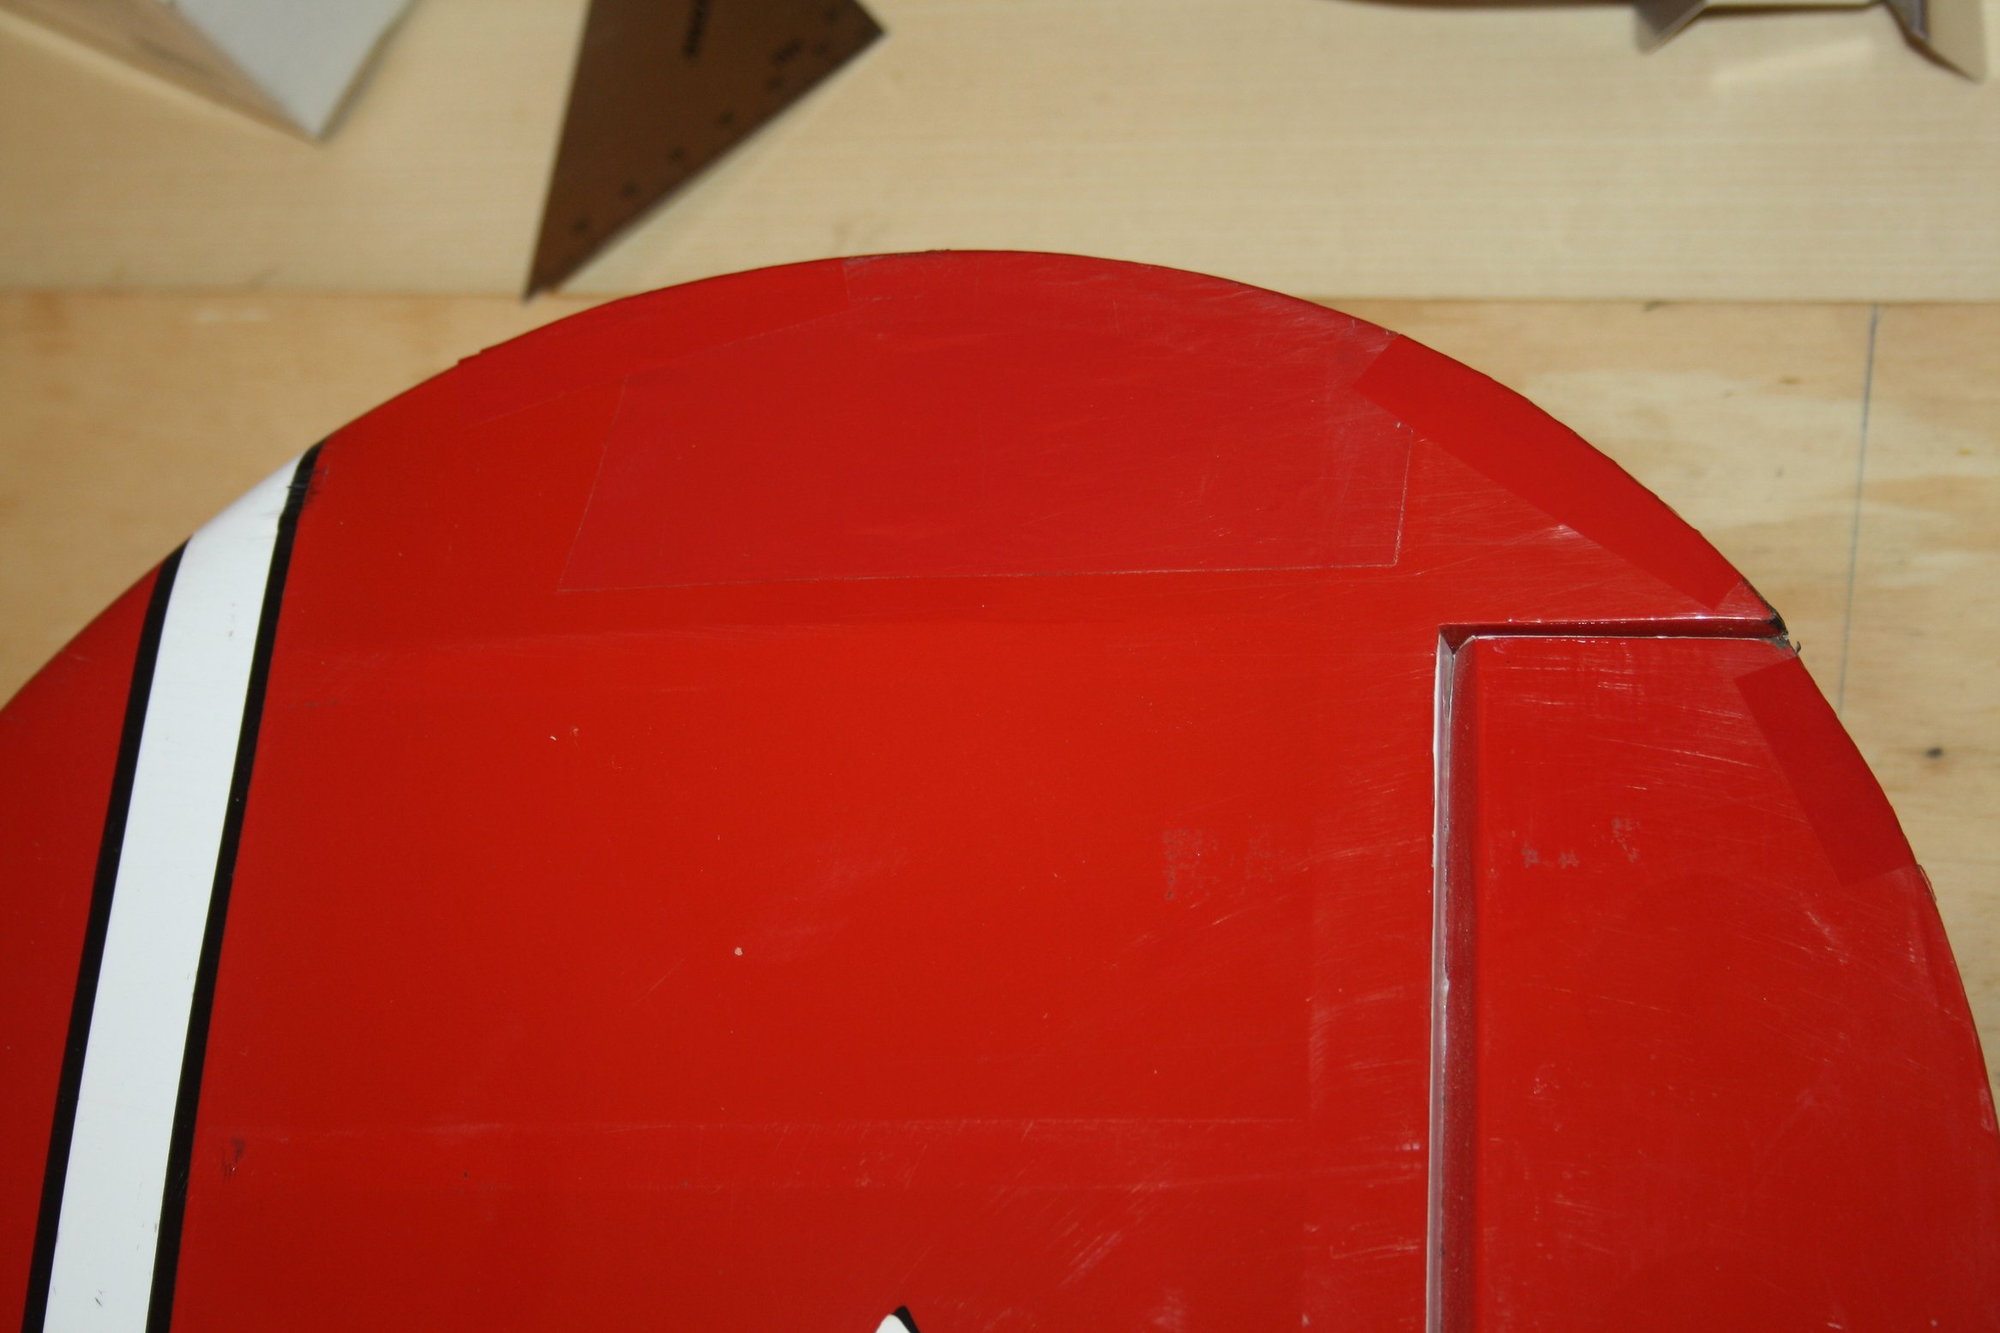
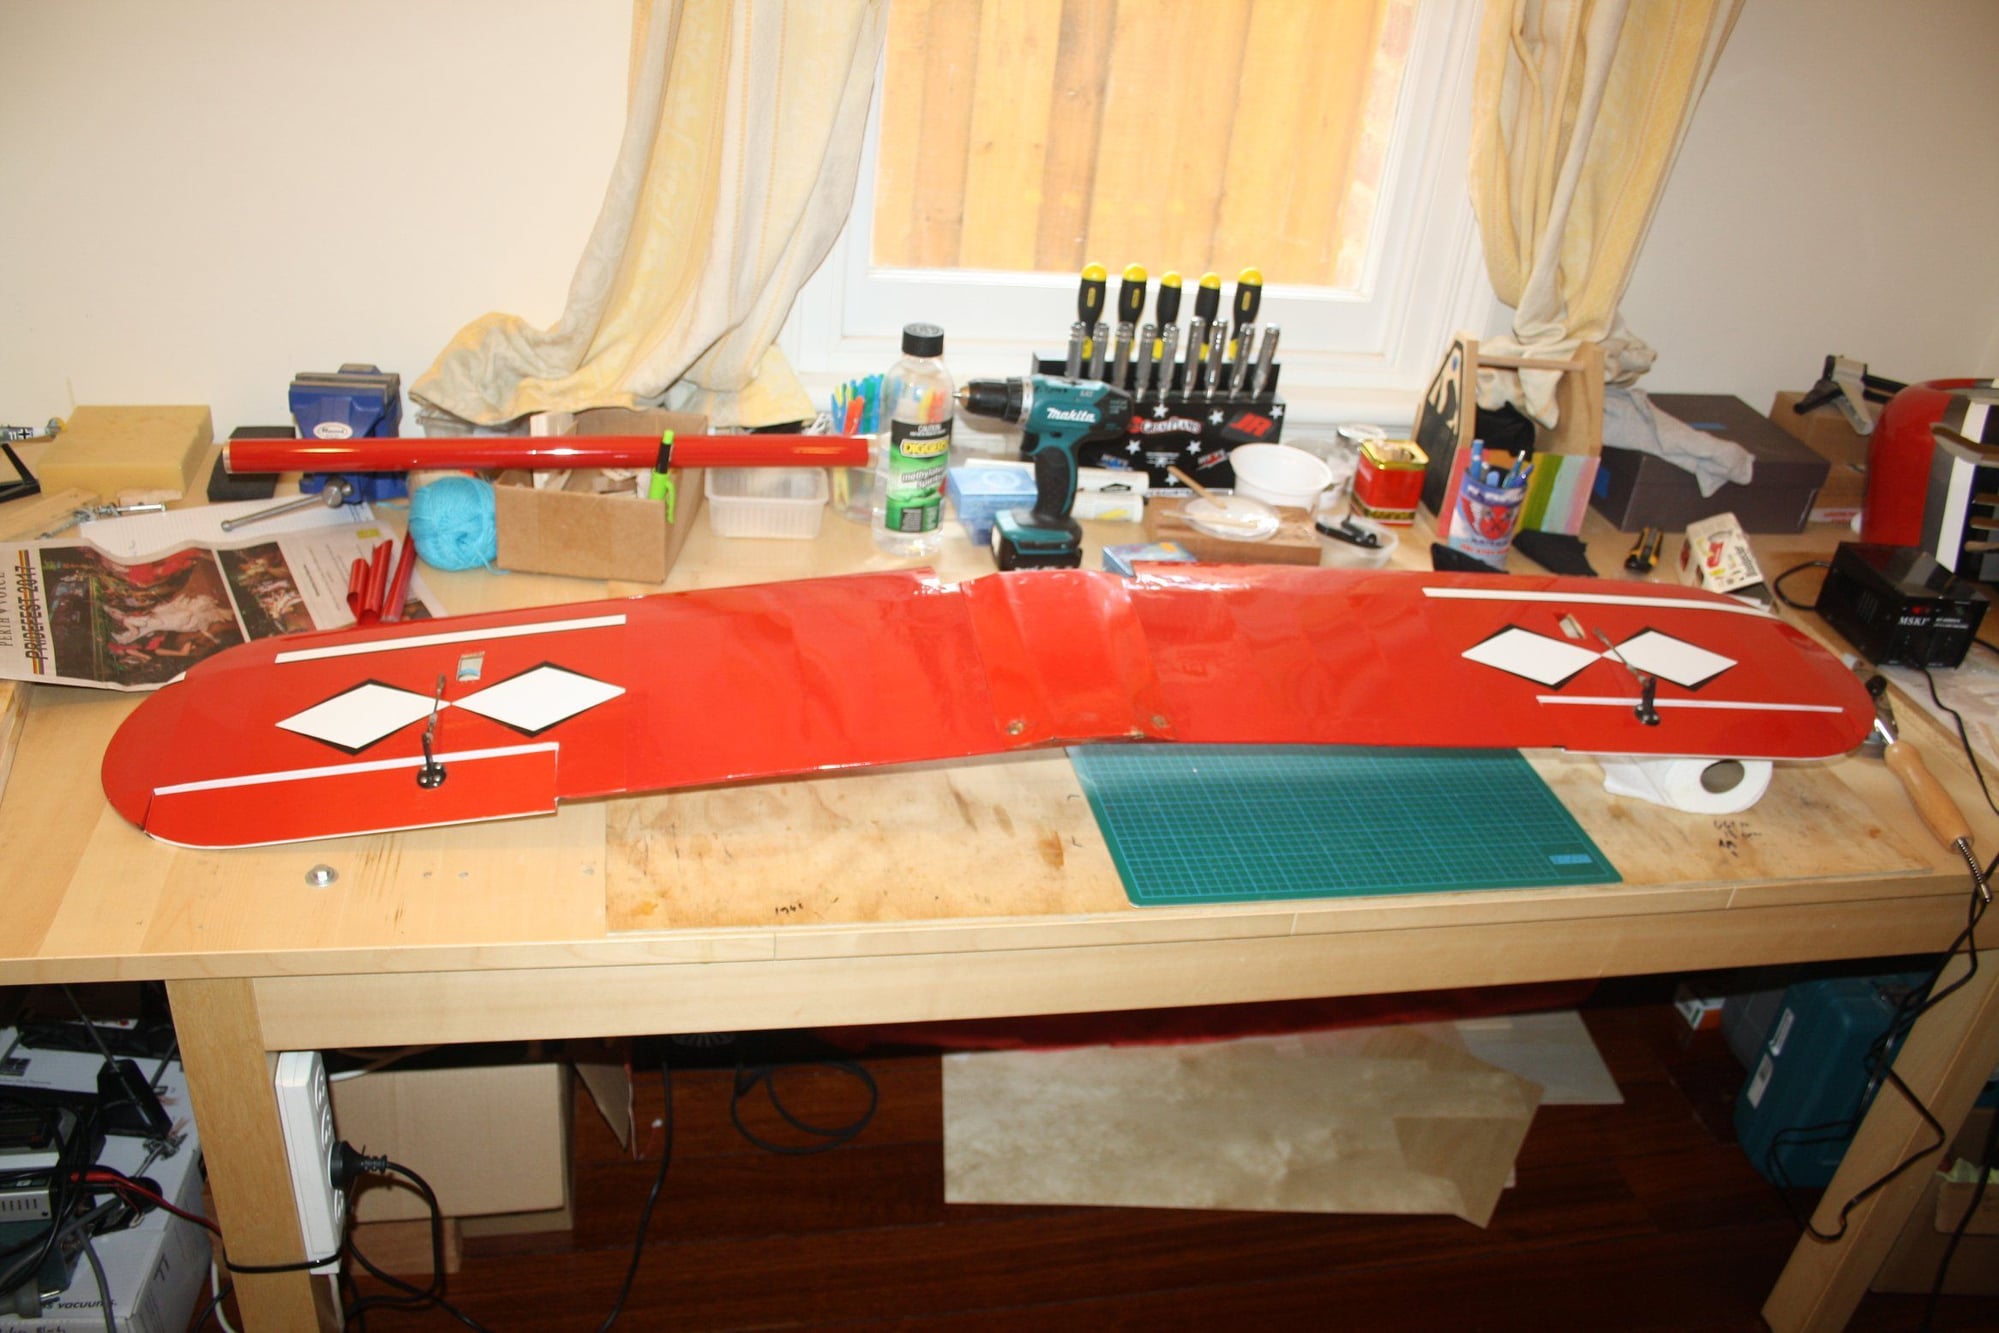
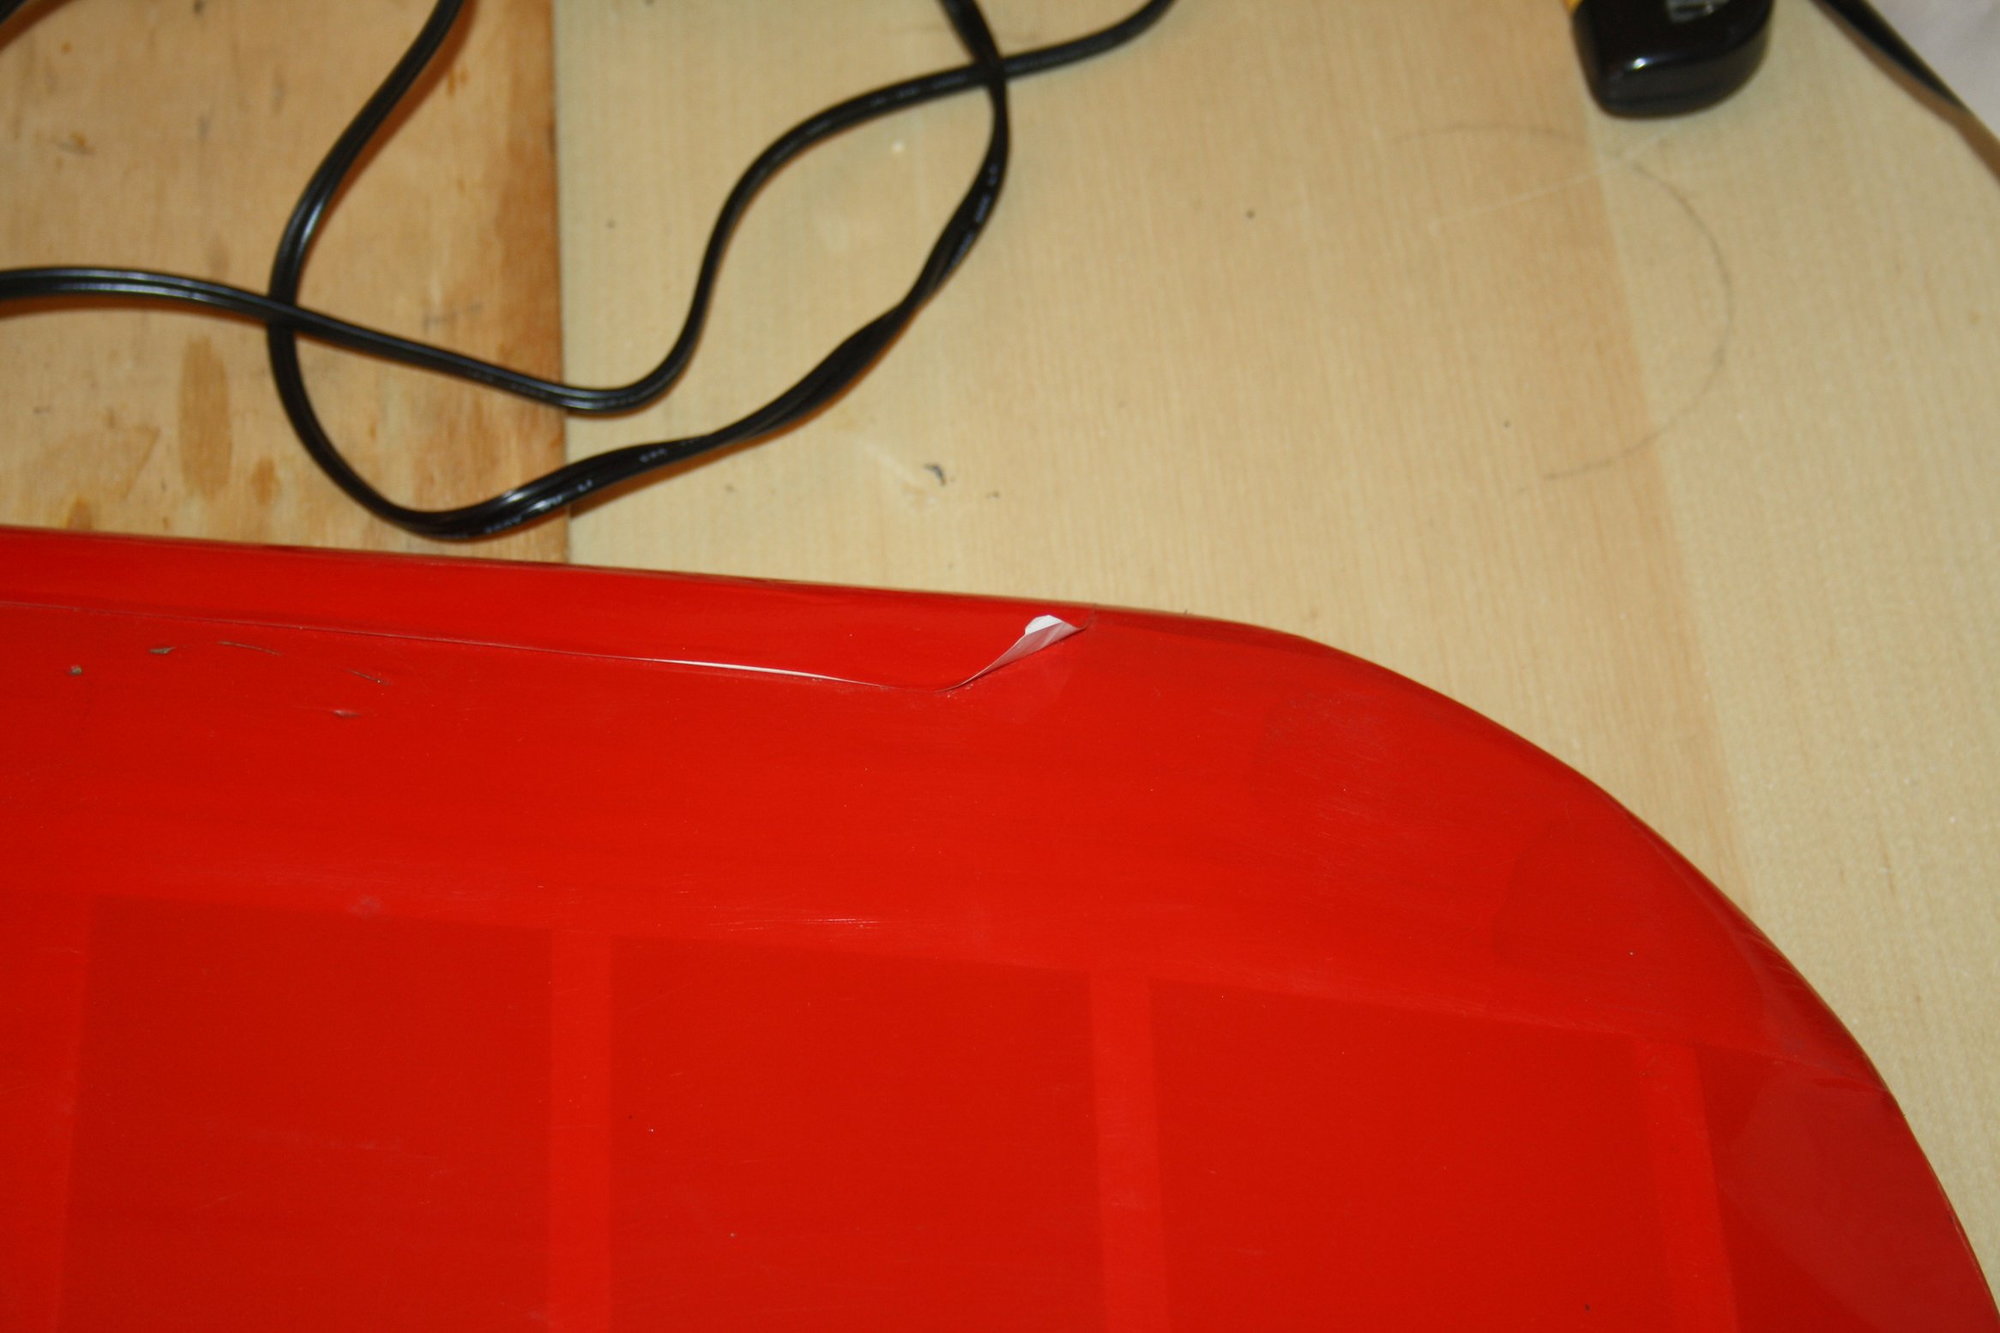
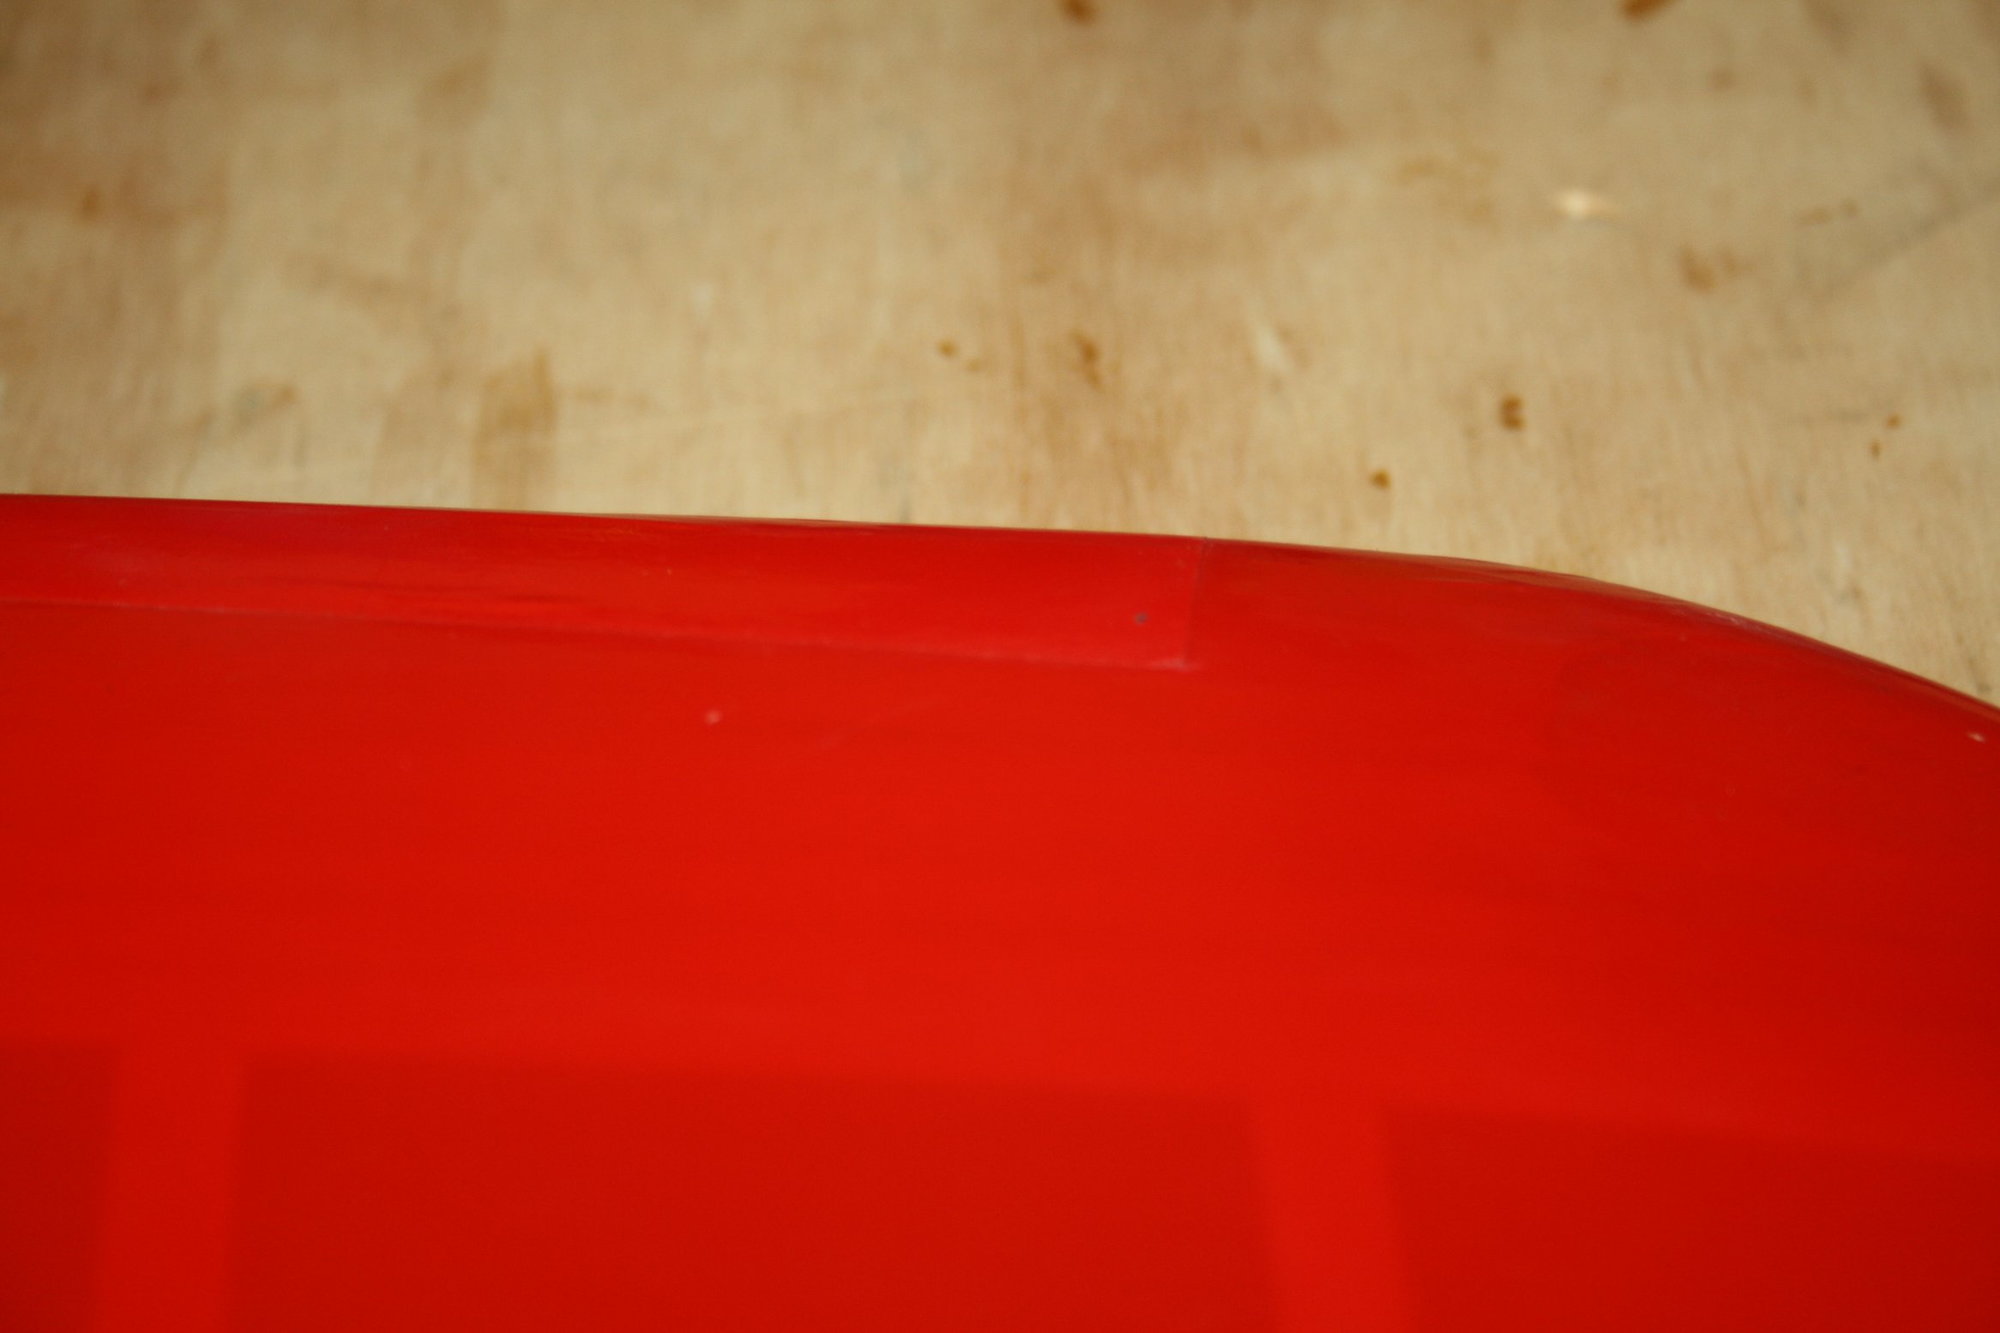
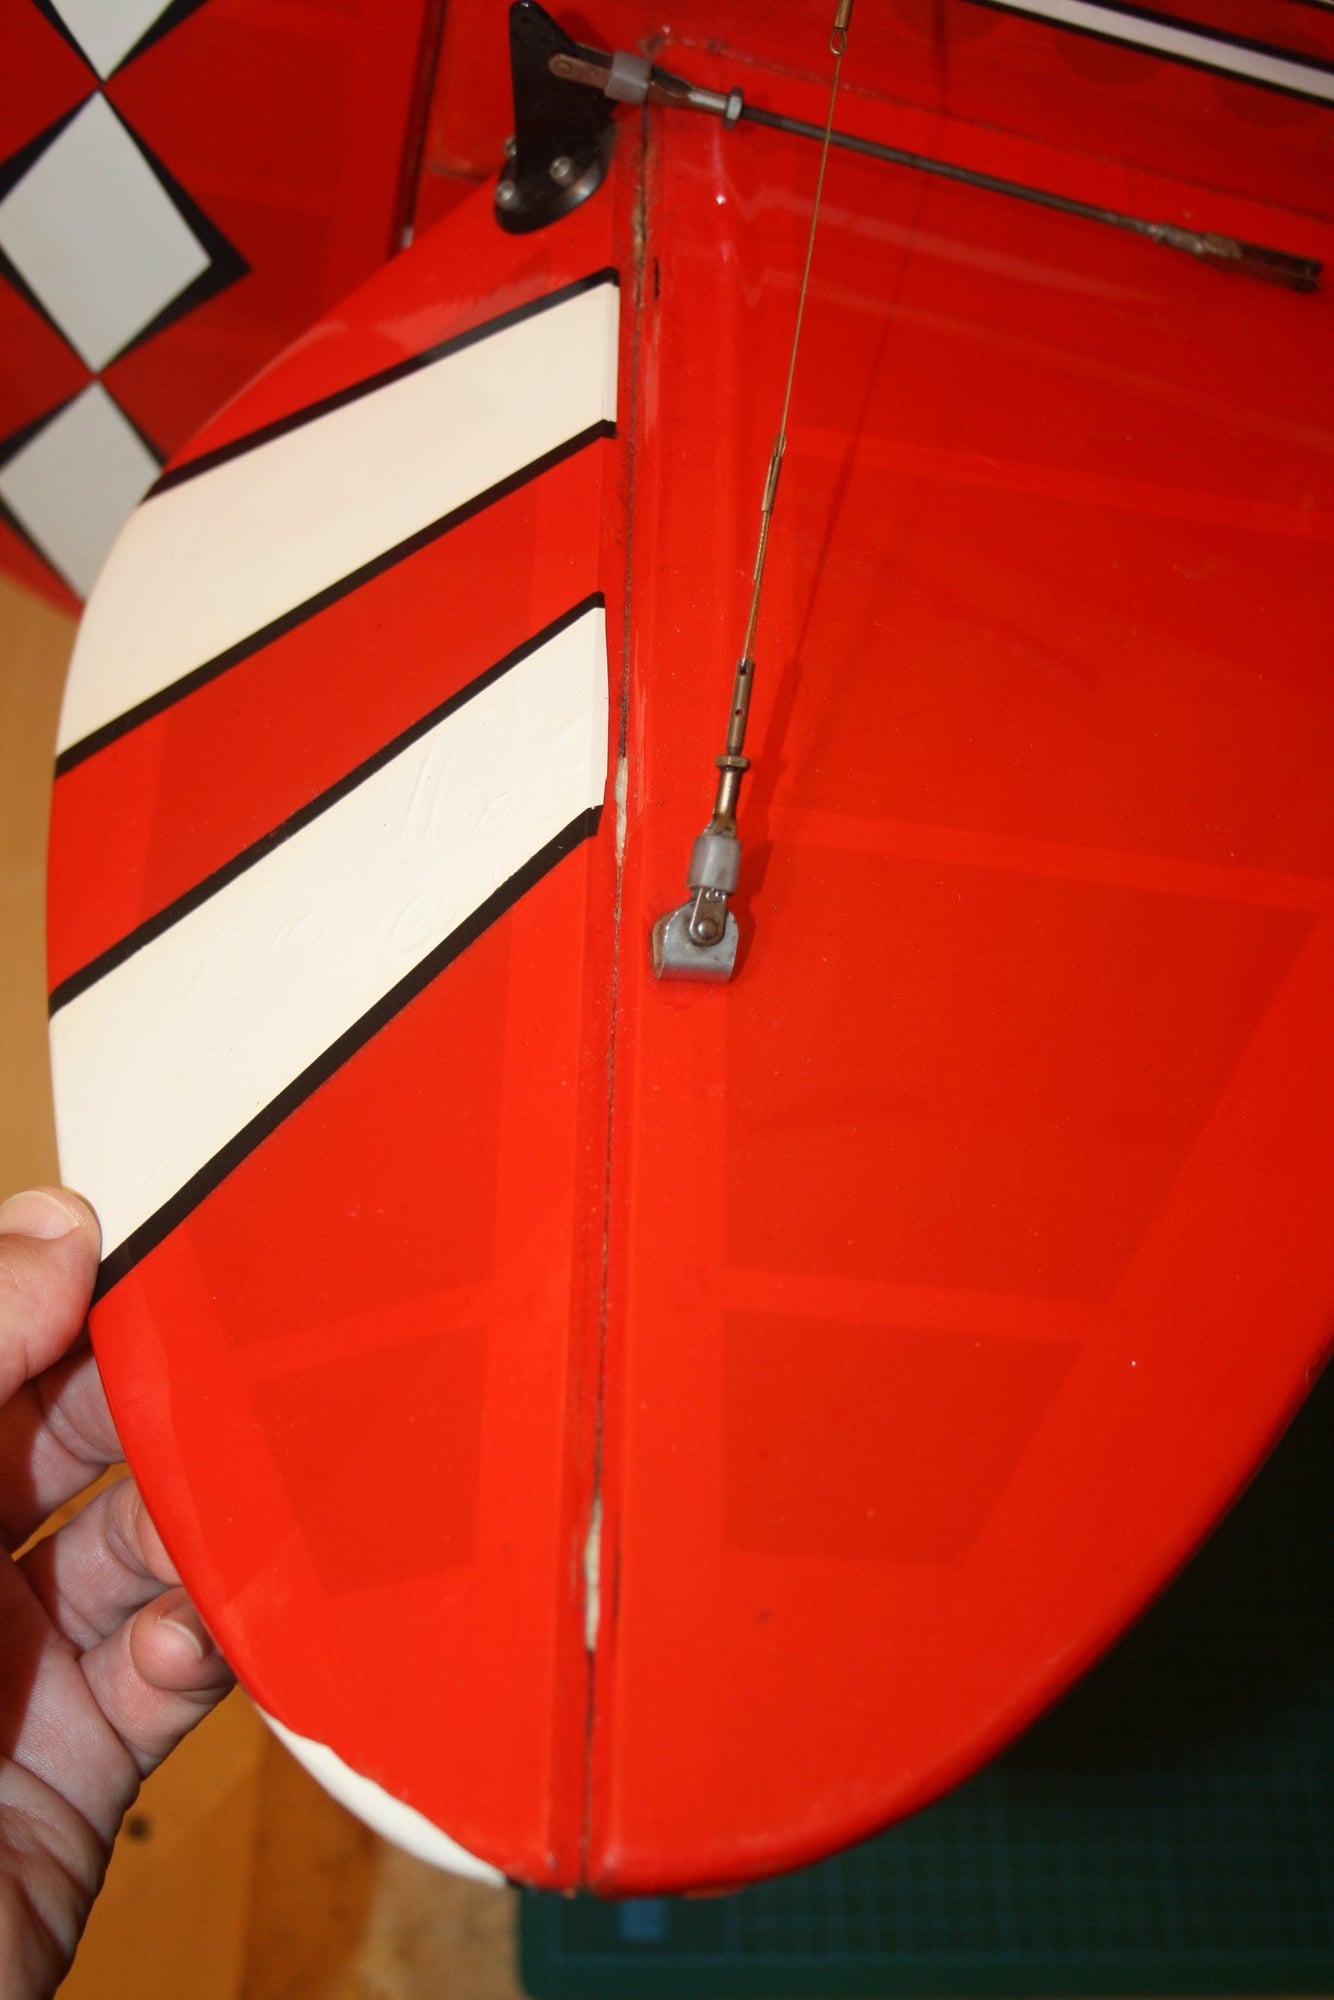
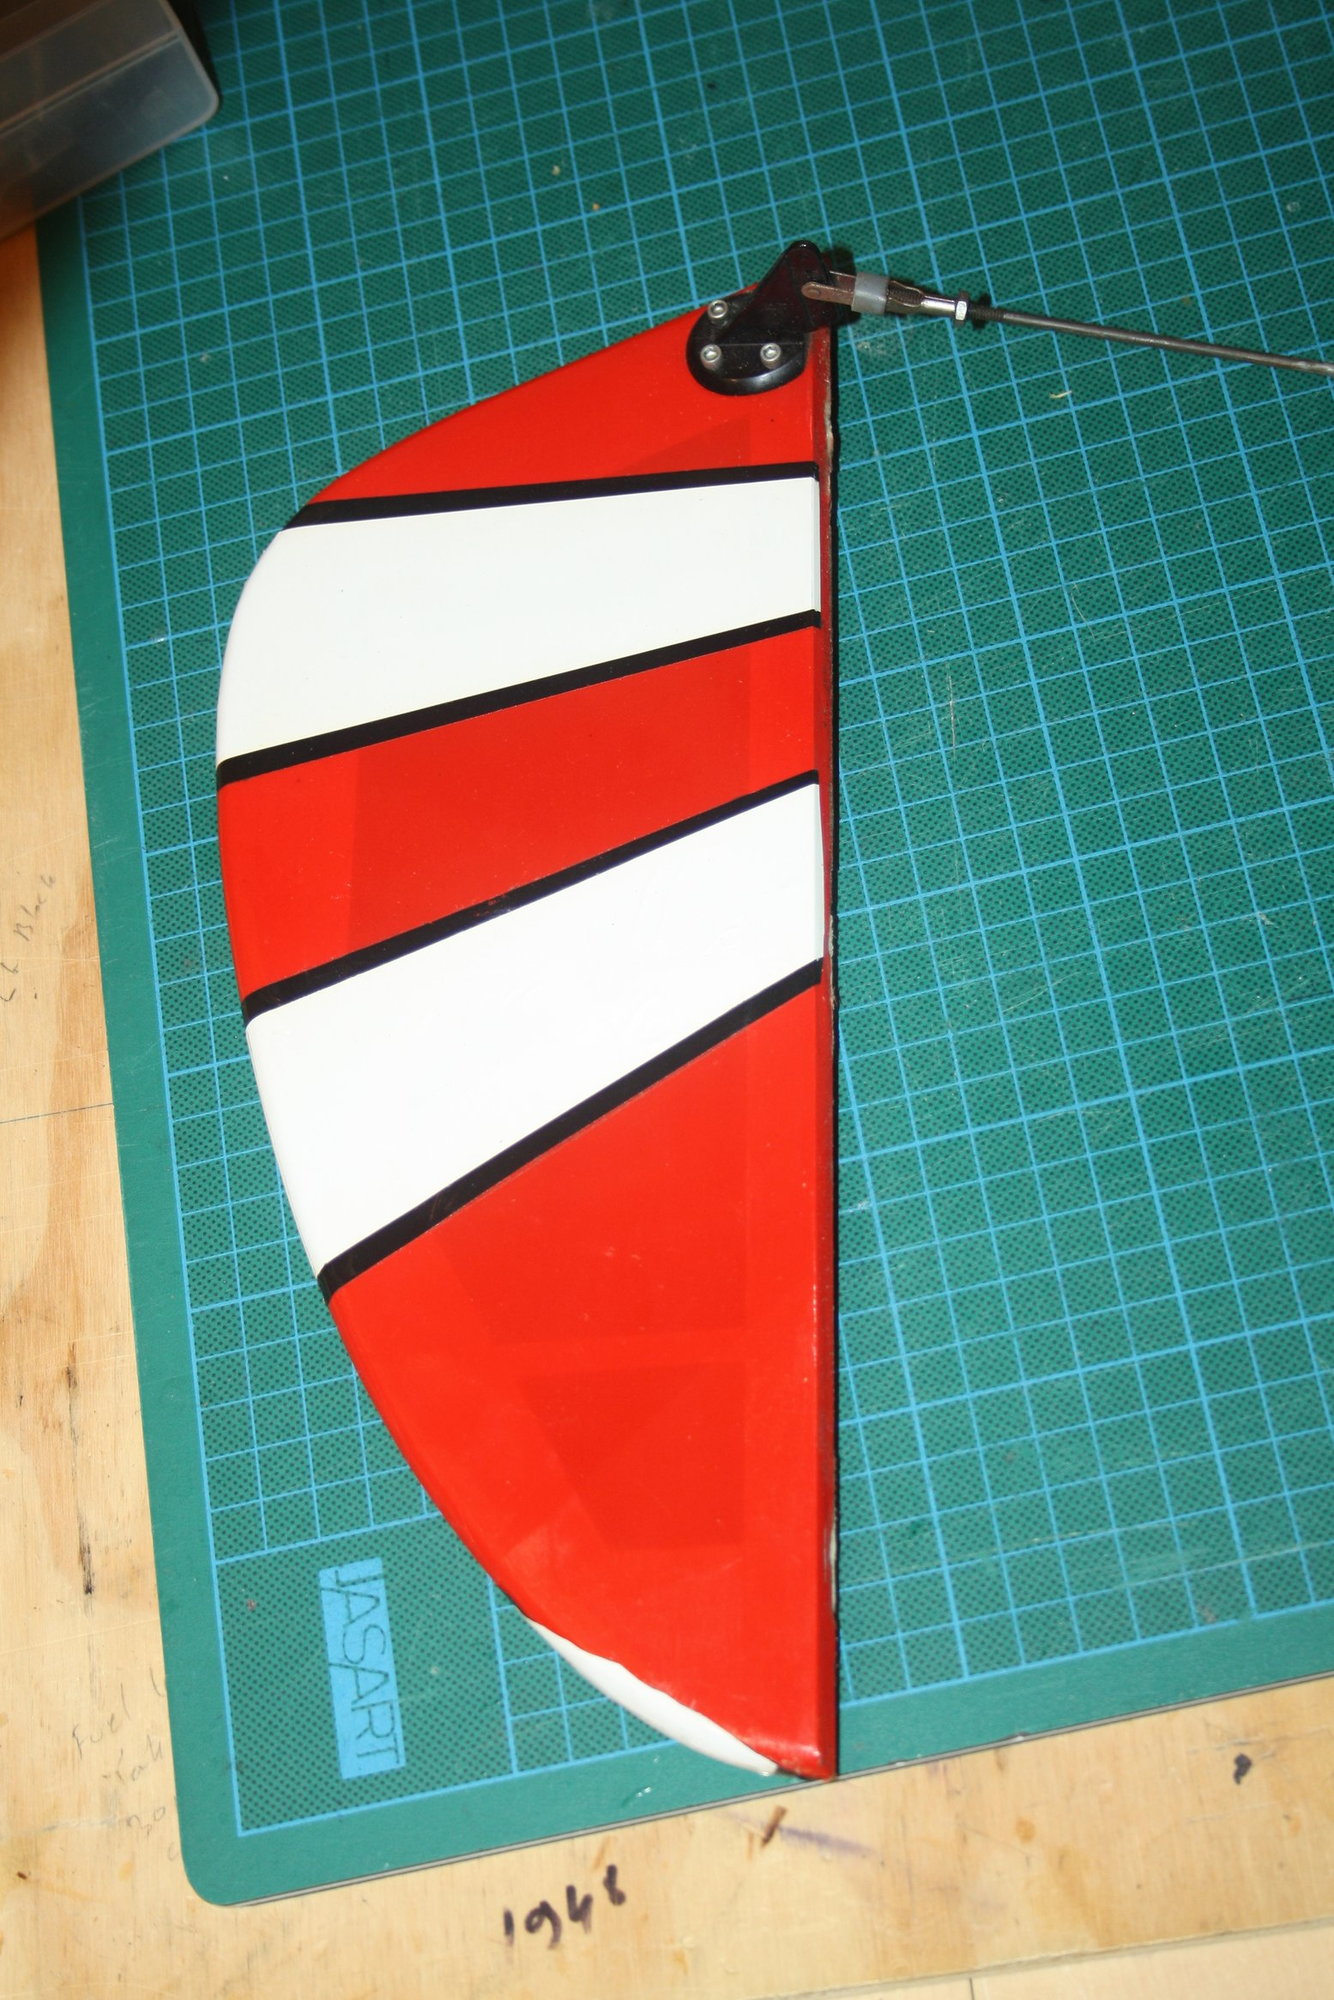
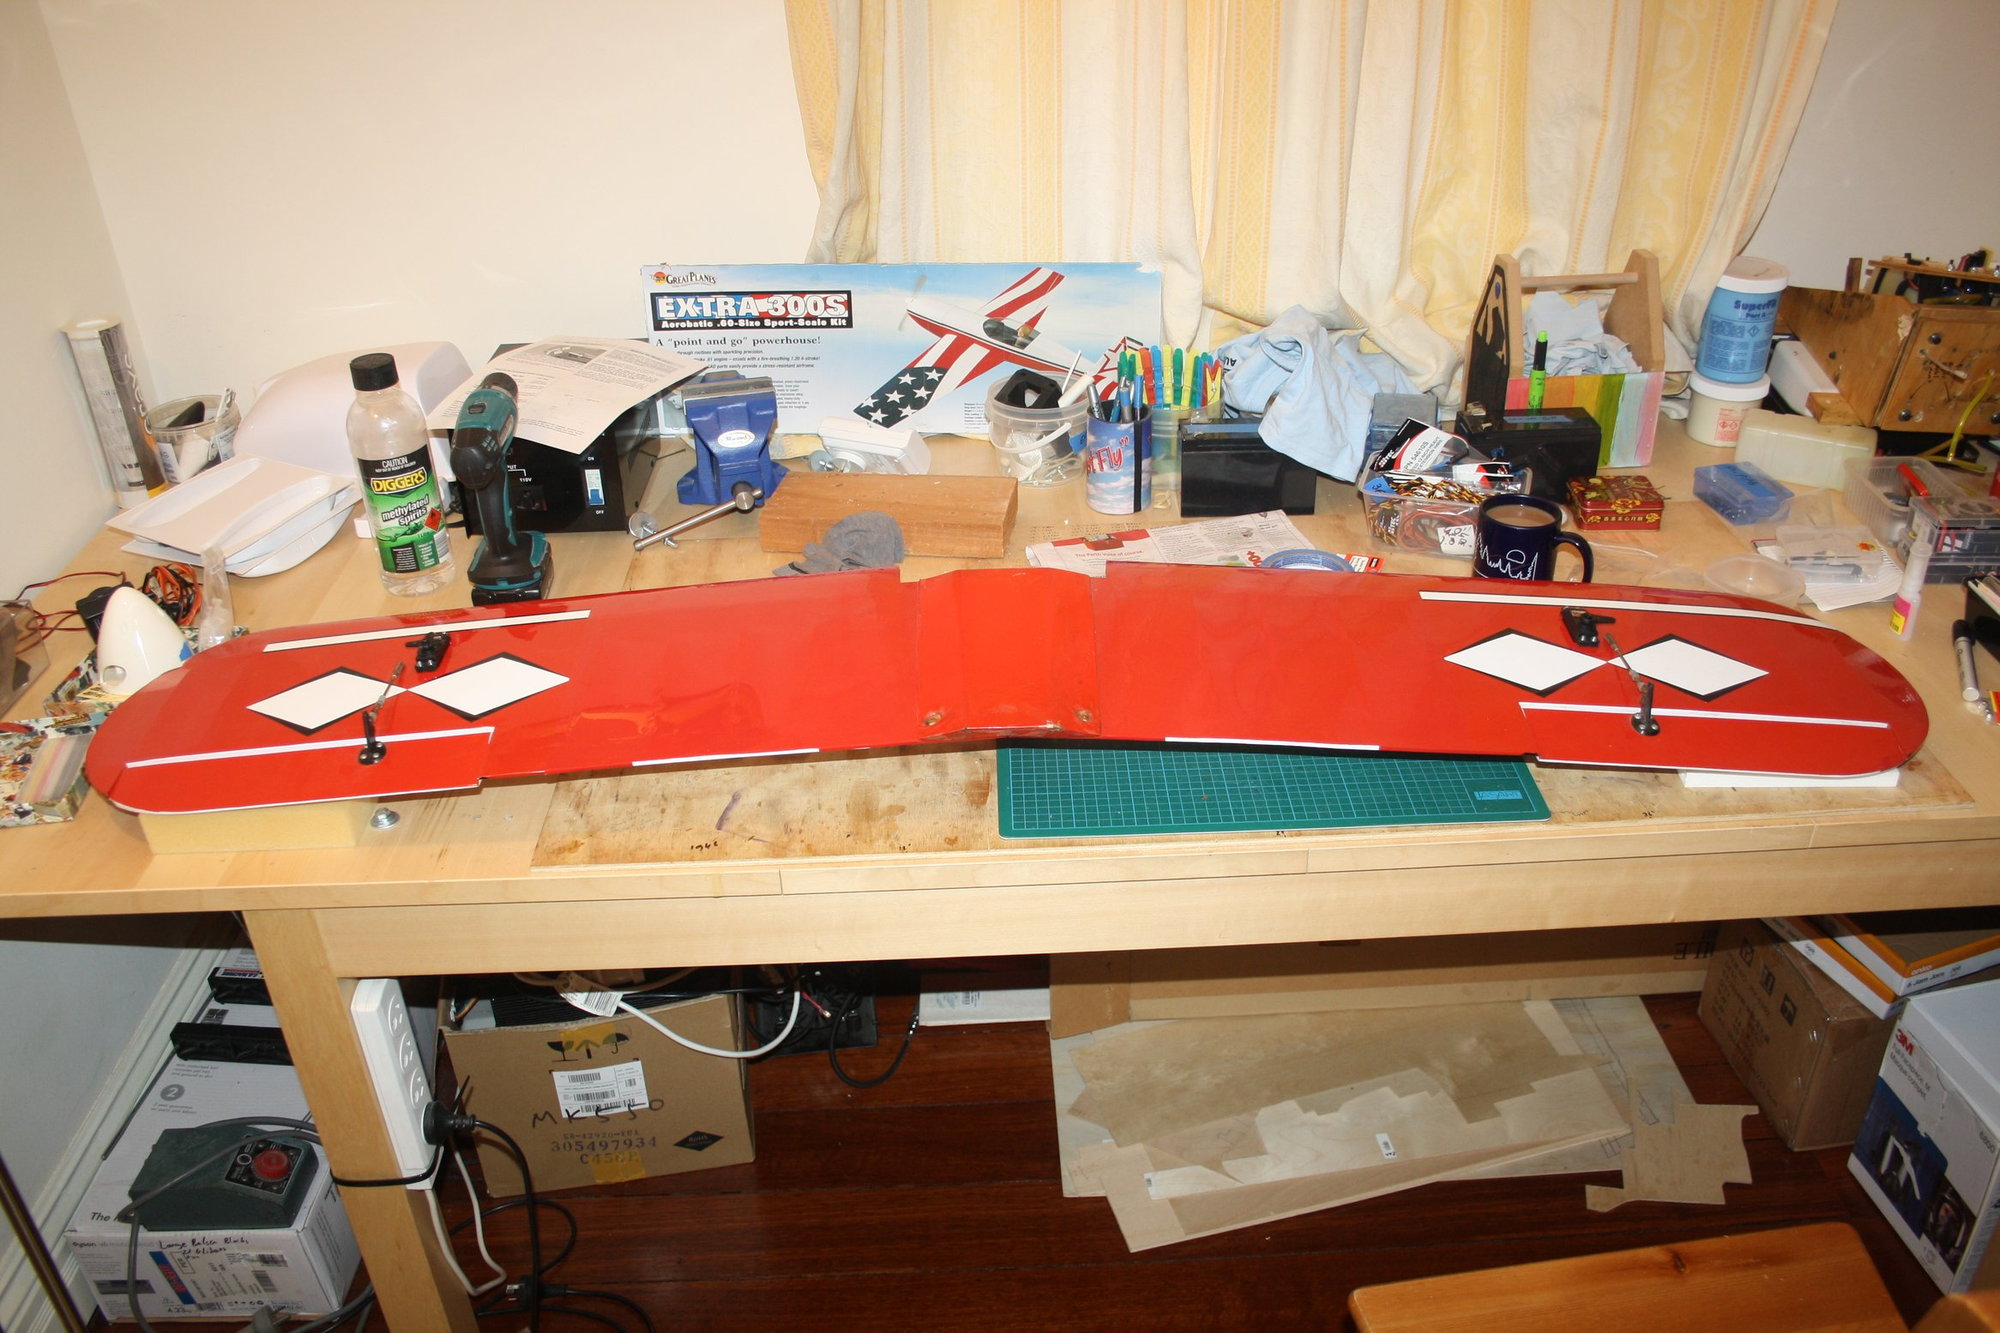
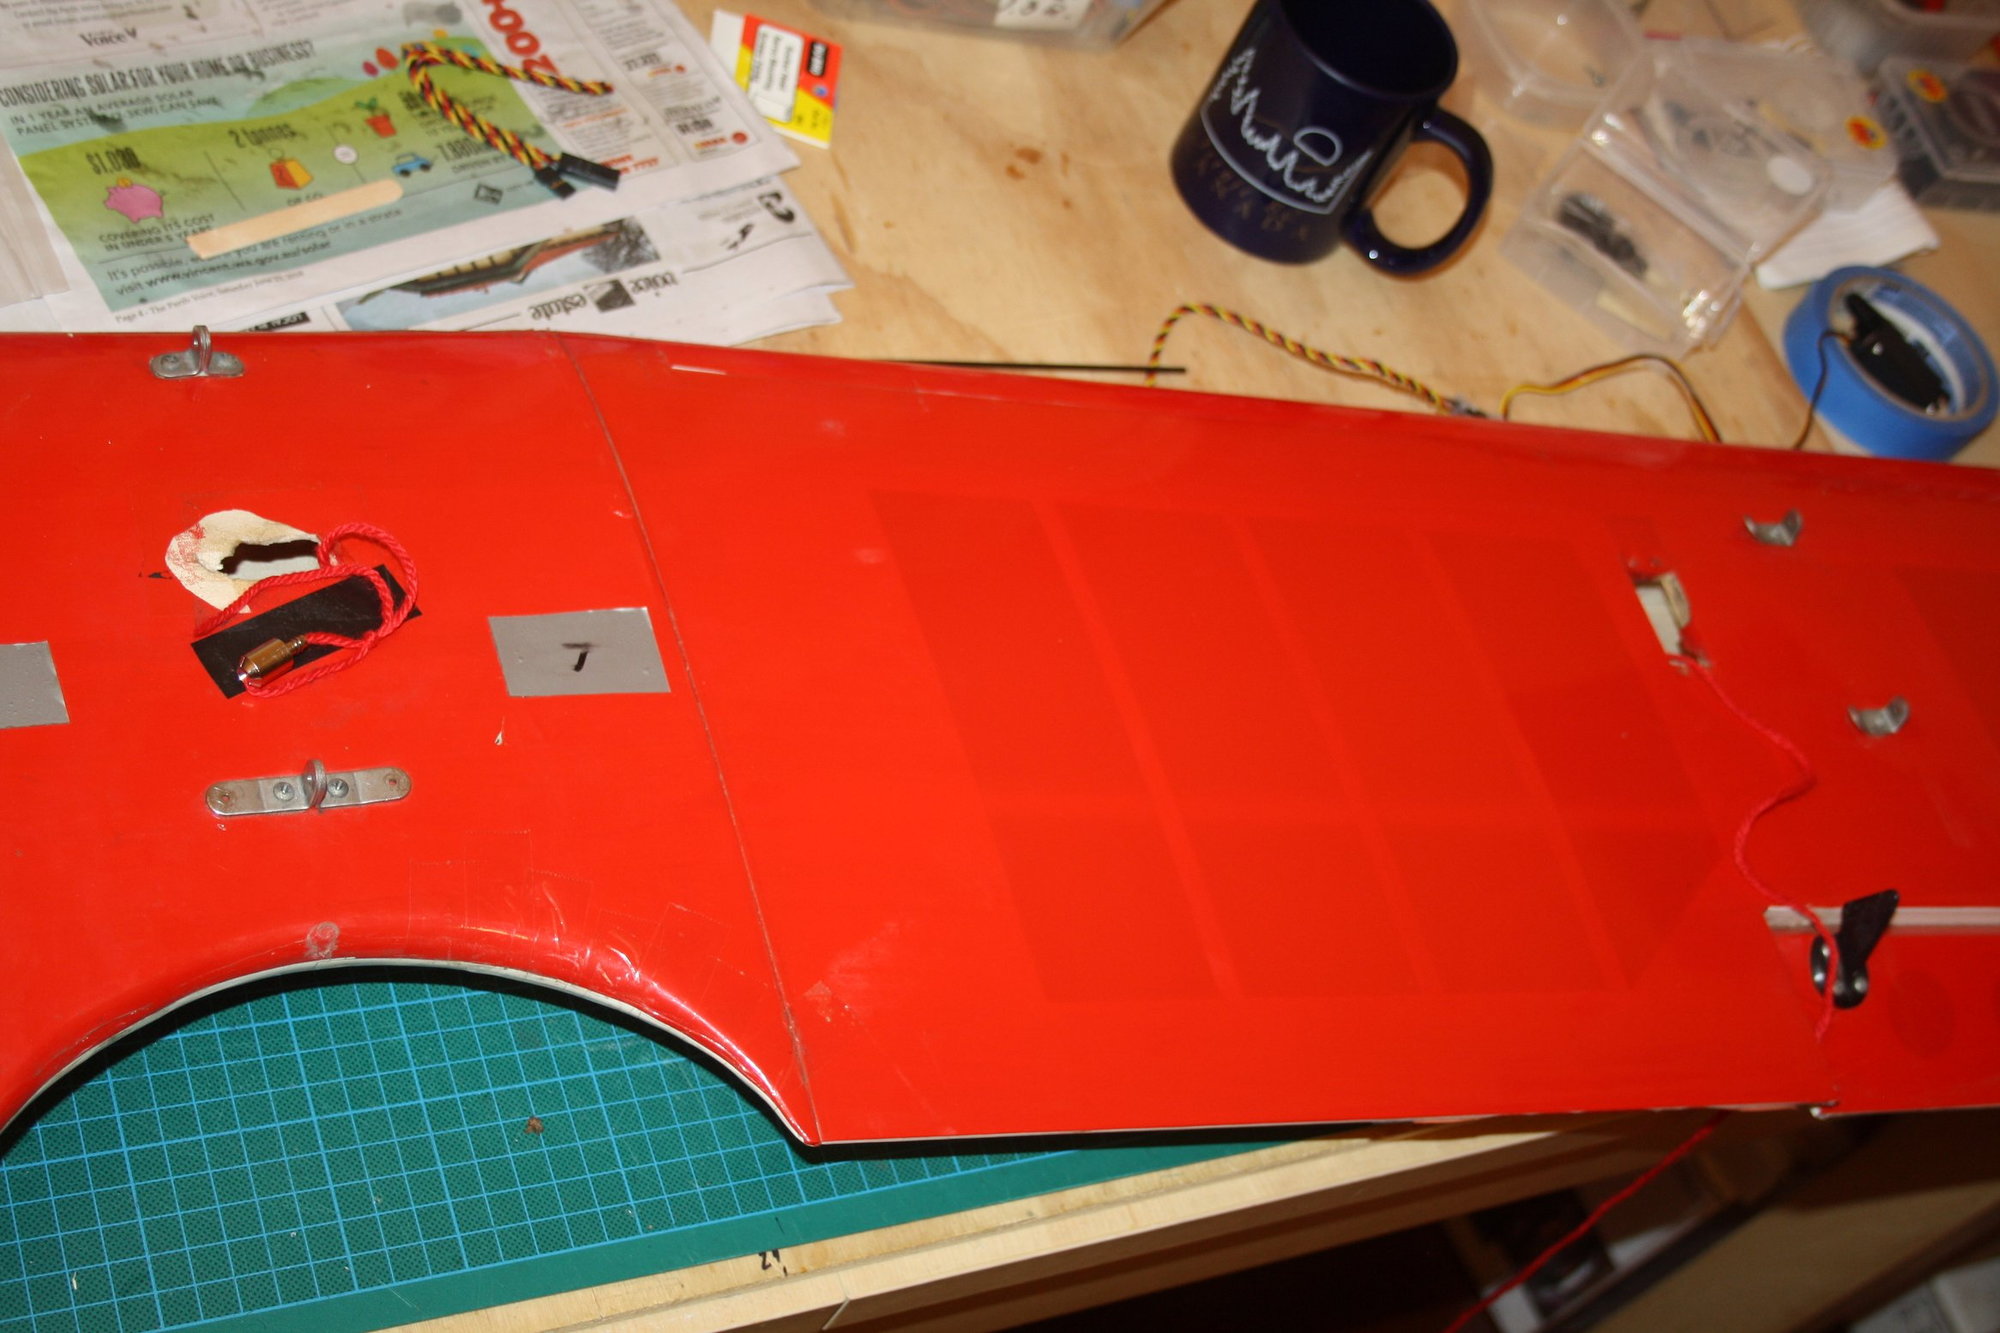
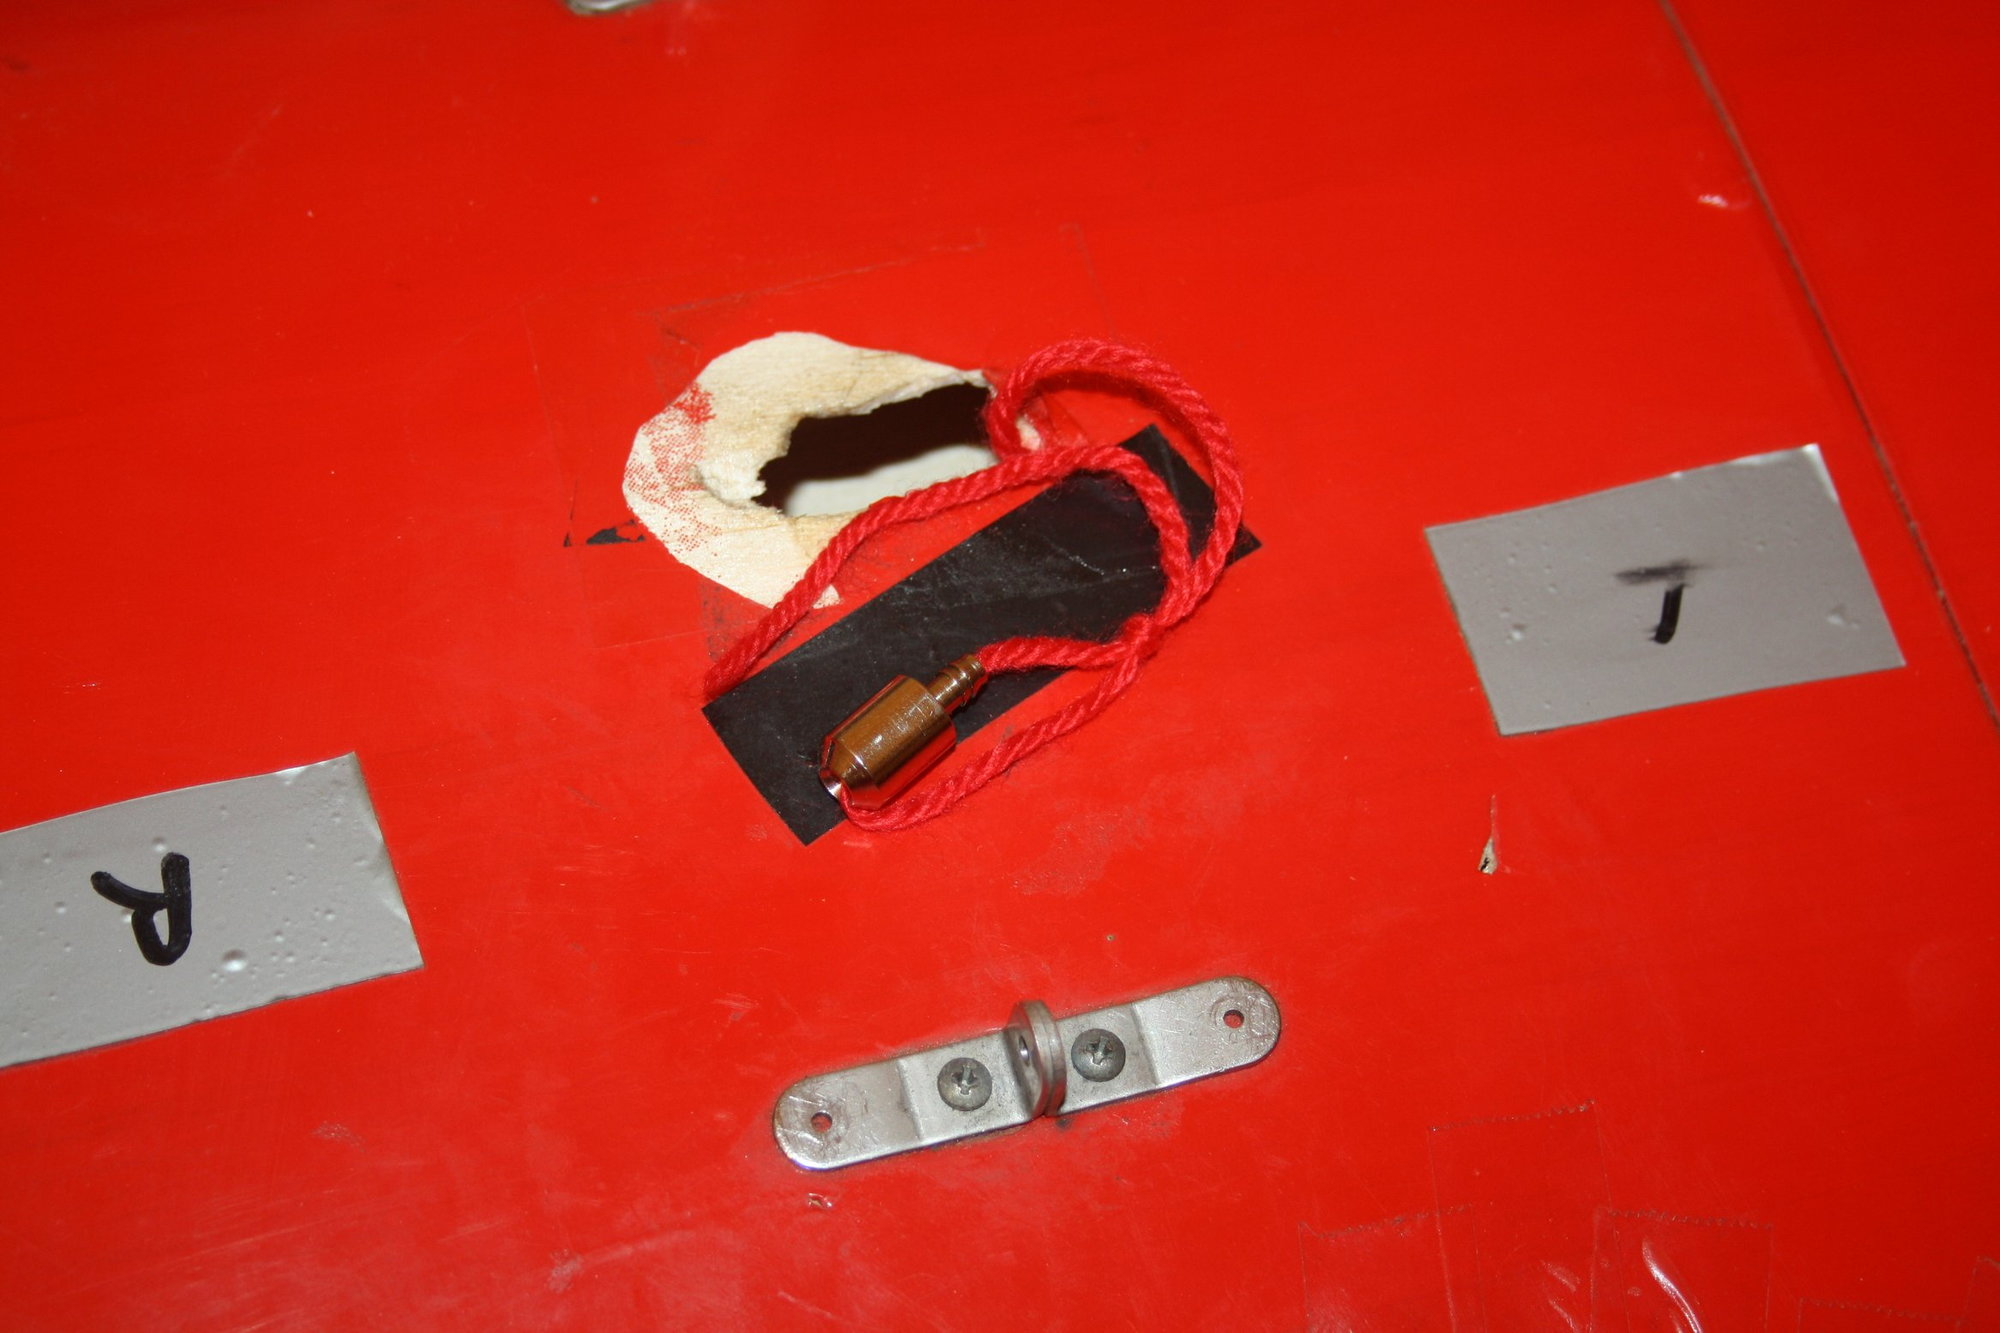
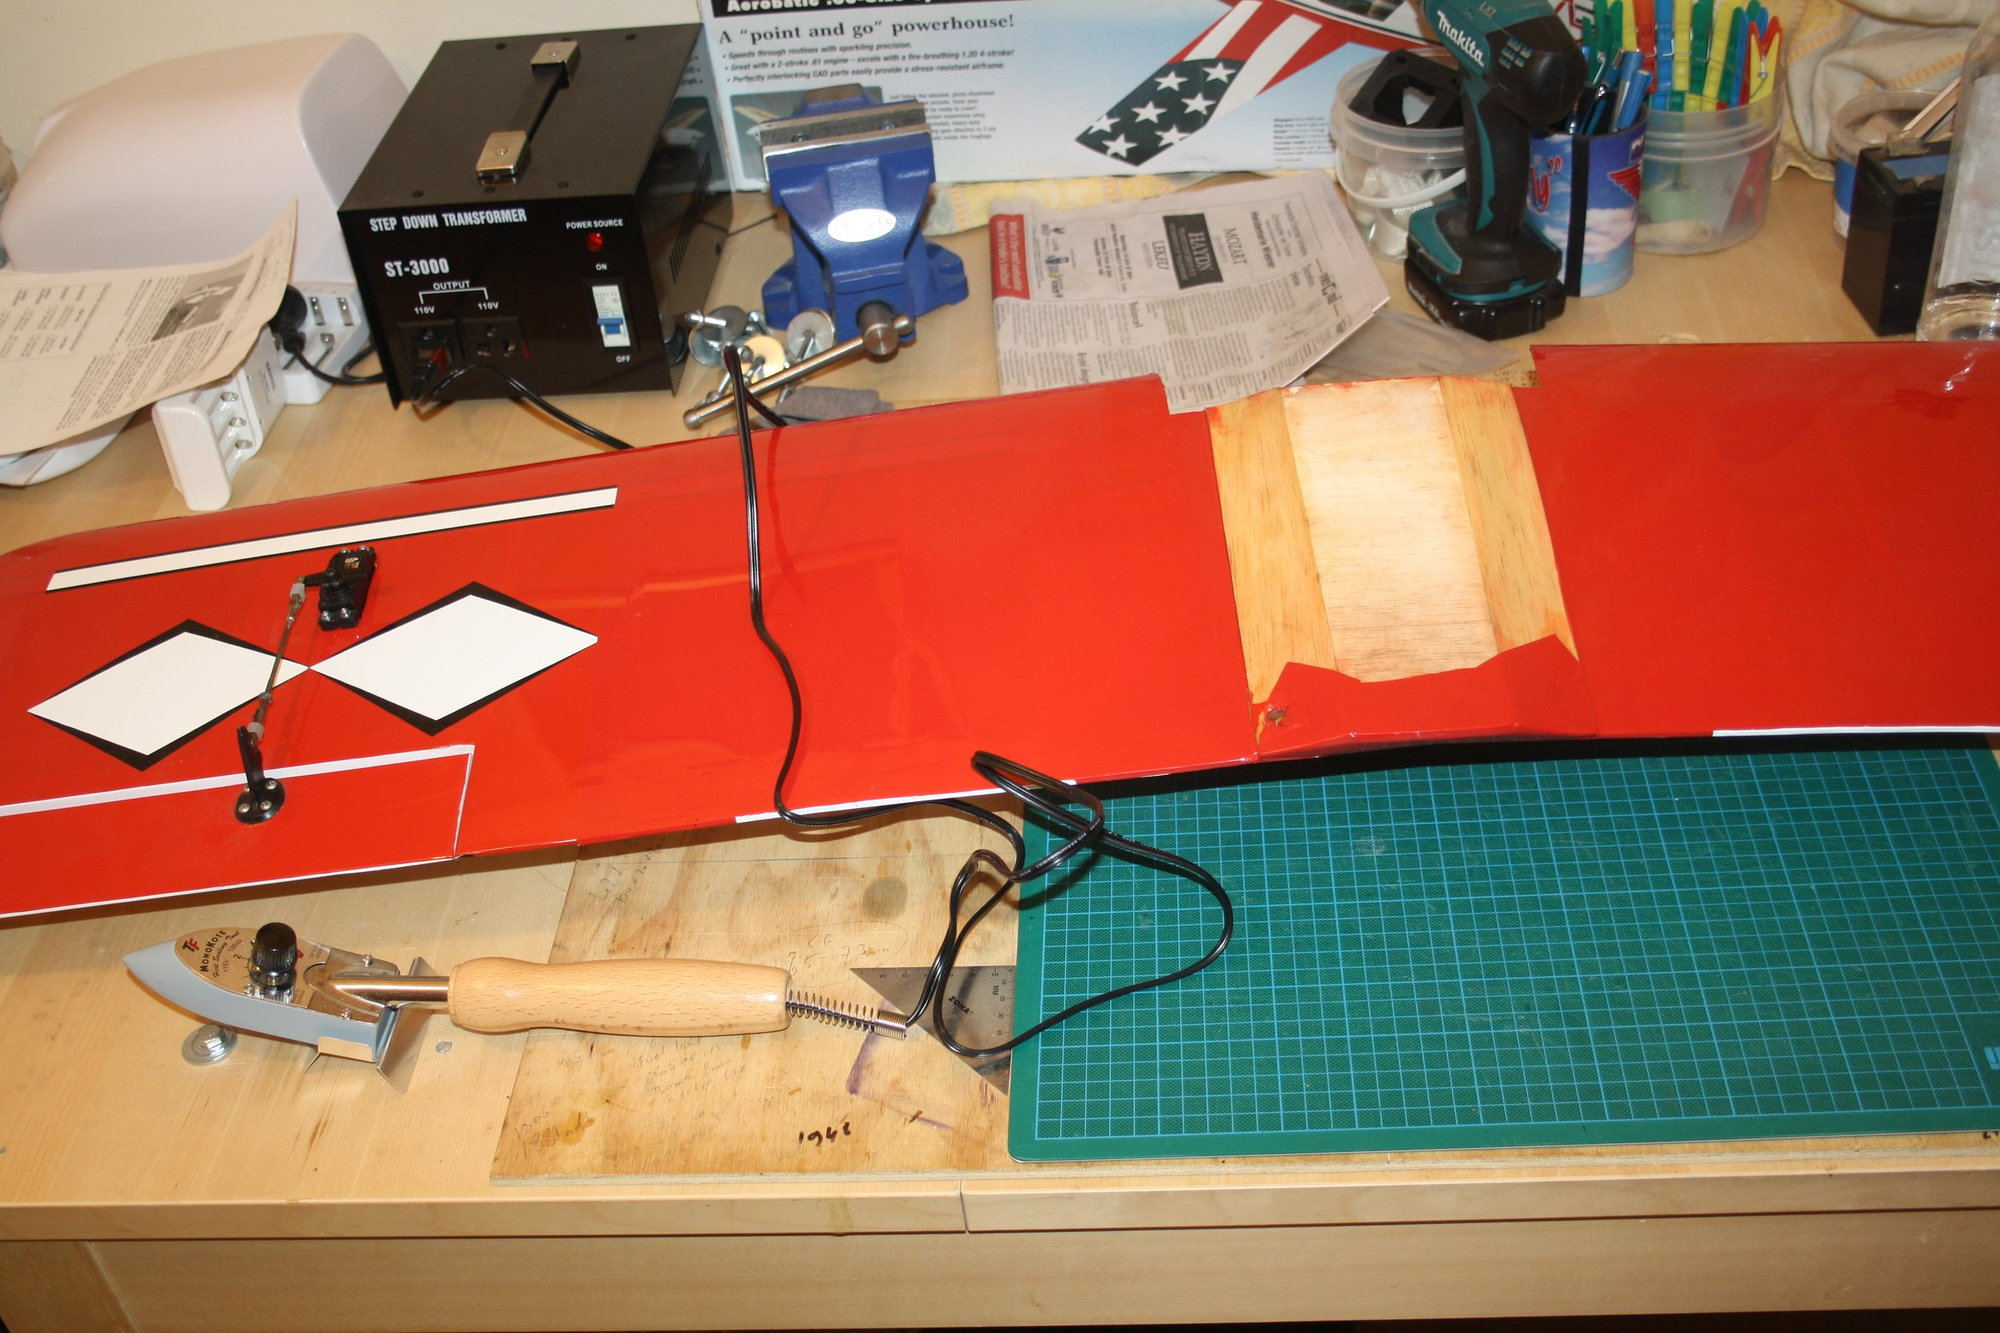
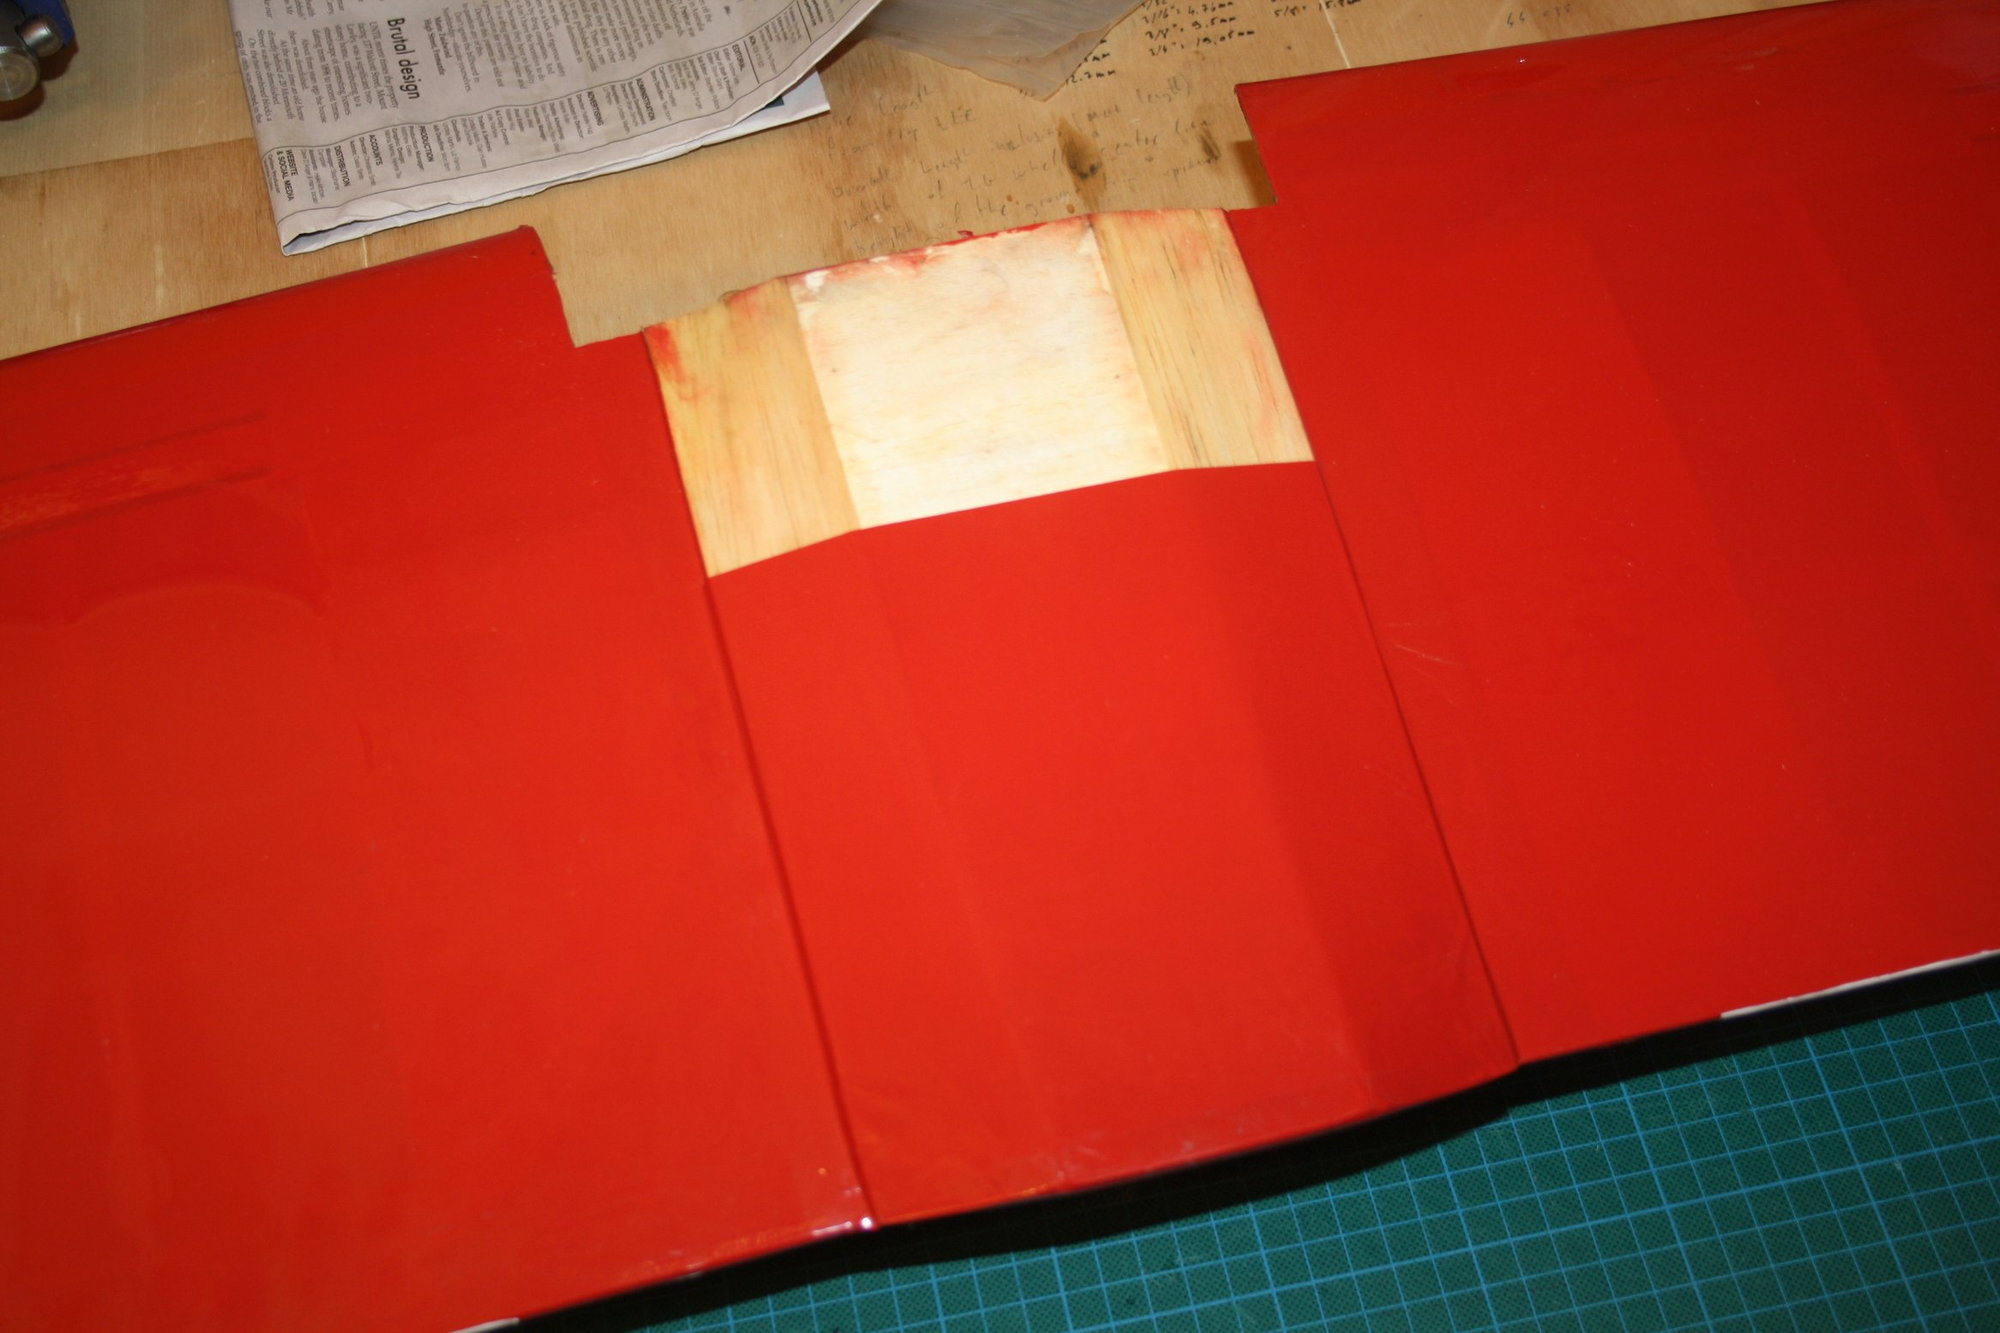
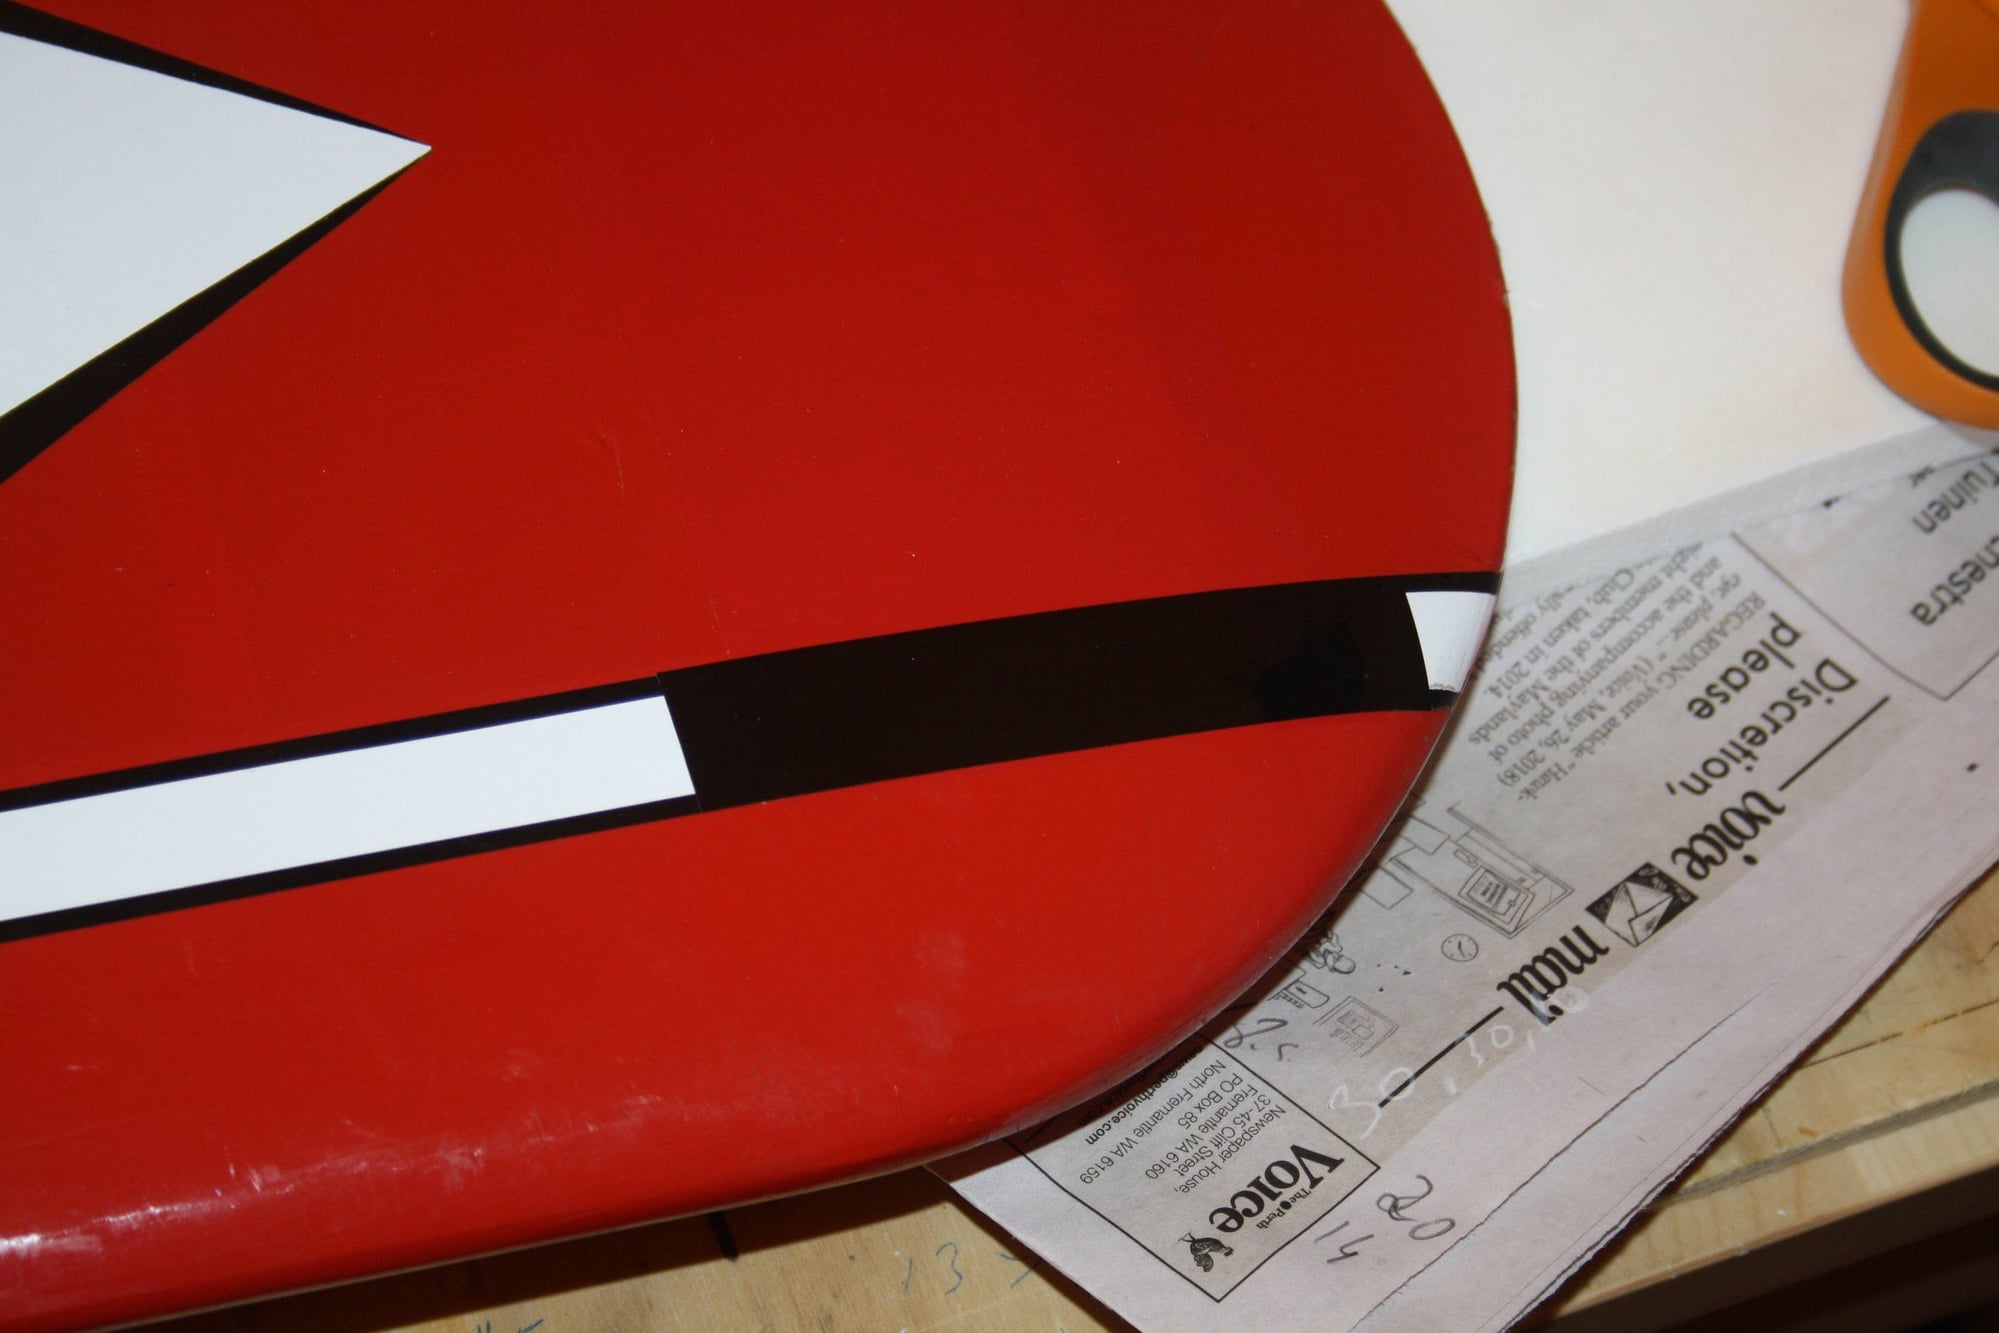
Some more filler and sanding, and another crack in the sheeting near the wing tip fixed and re-covered. Before re-covering I inserted a "rope" to pull the servo wire later on.

 03-22-2019, 05:33 AM
#31
Thread Starter
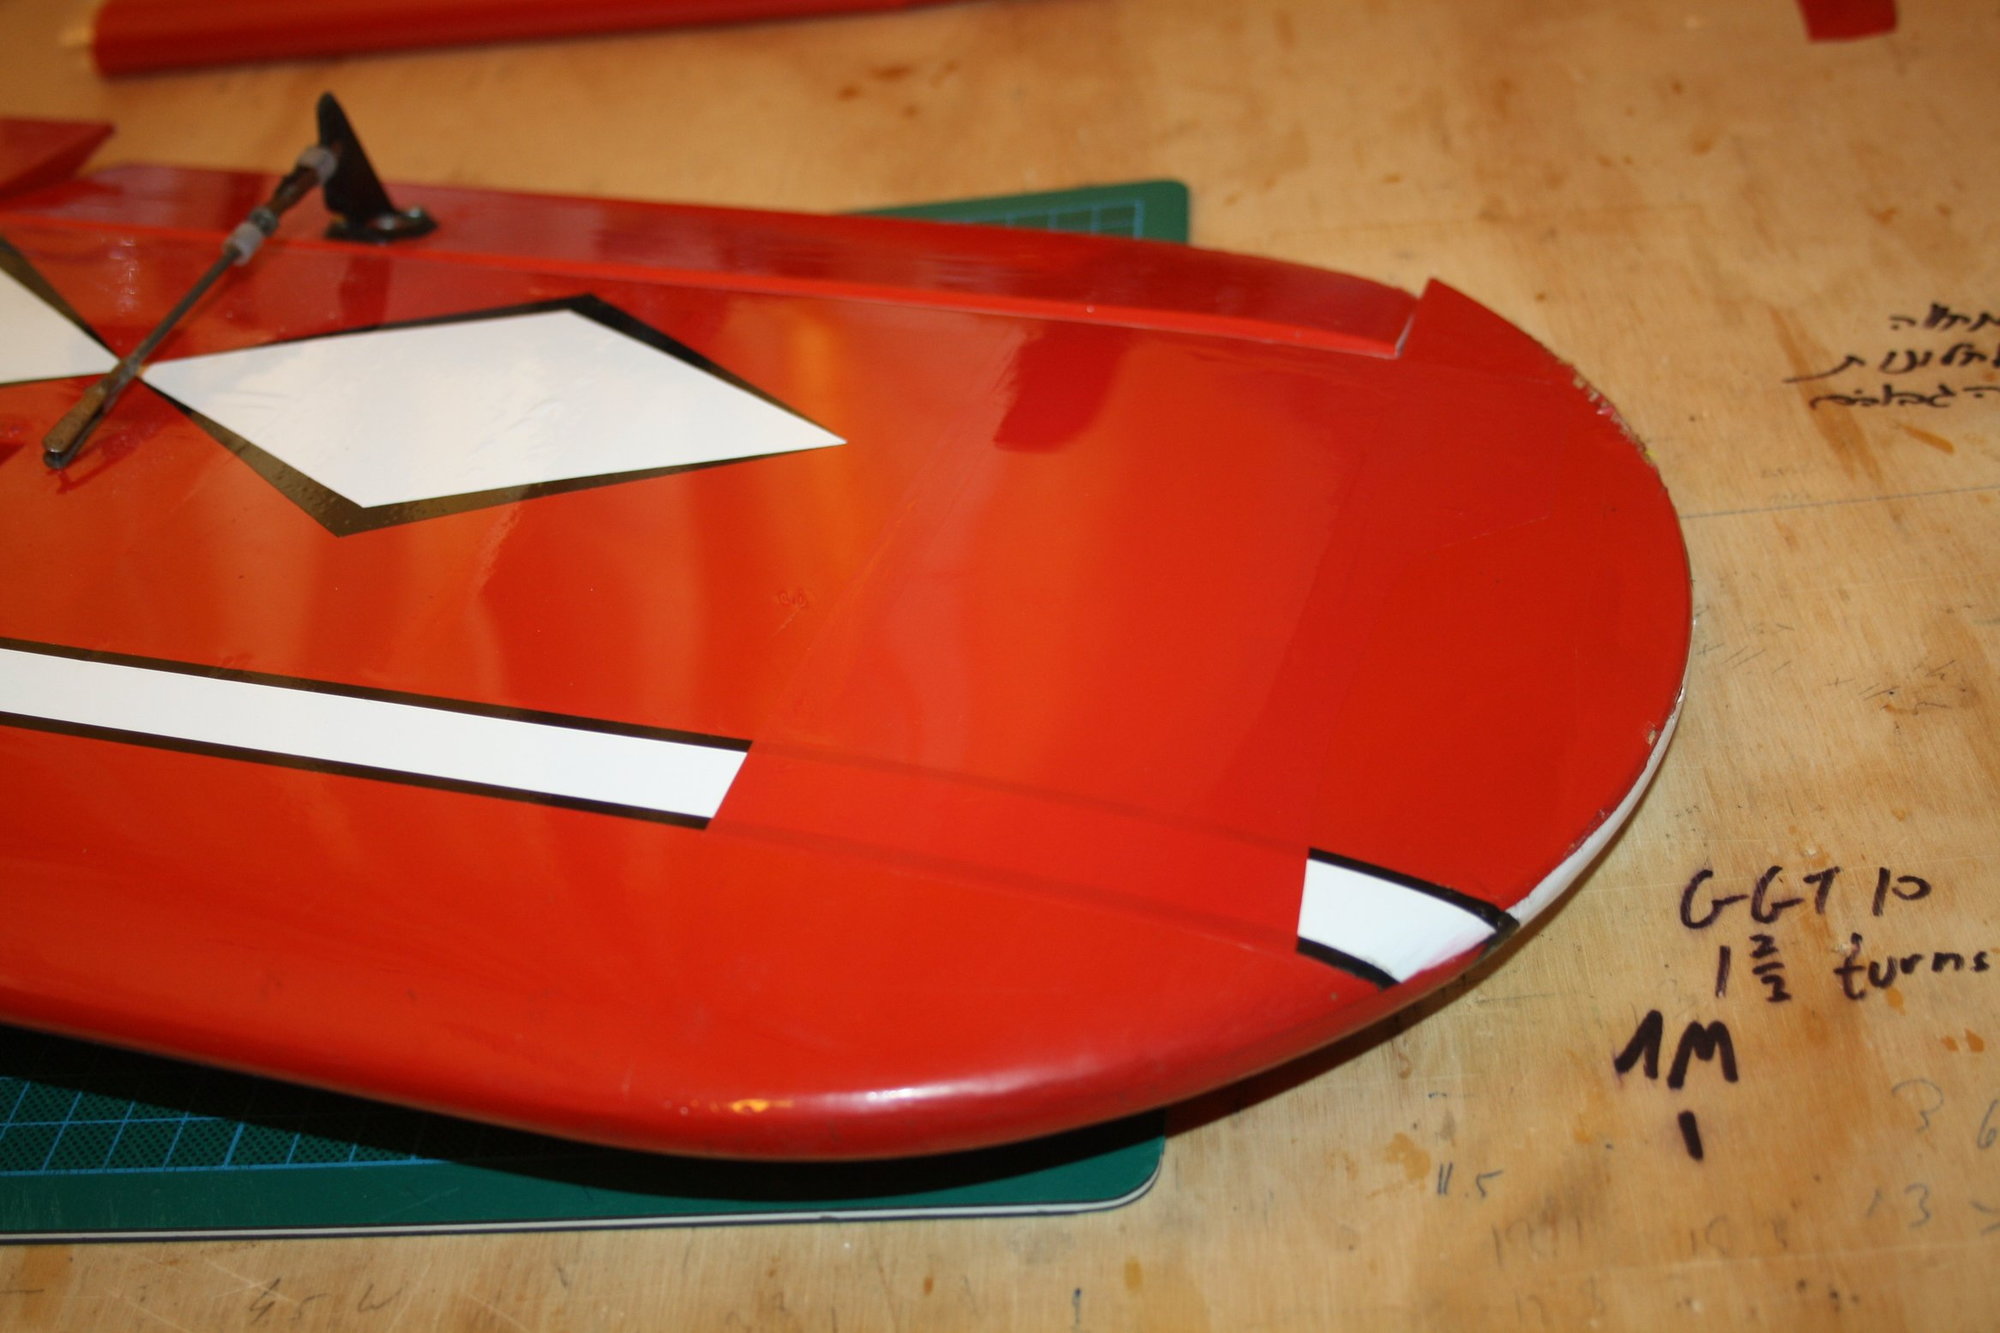
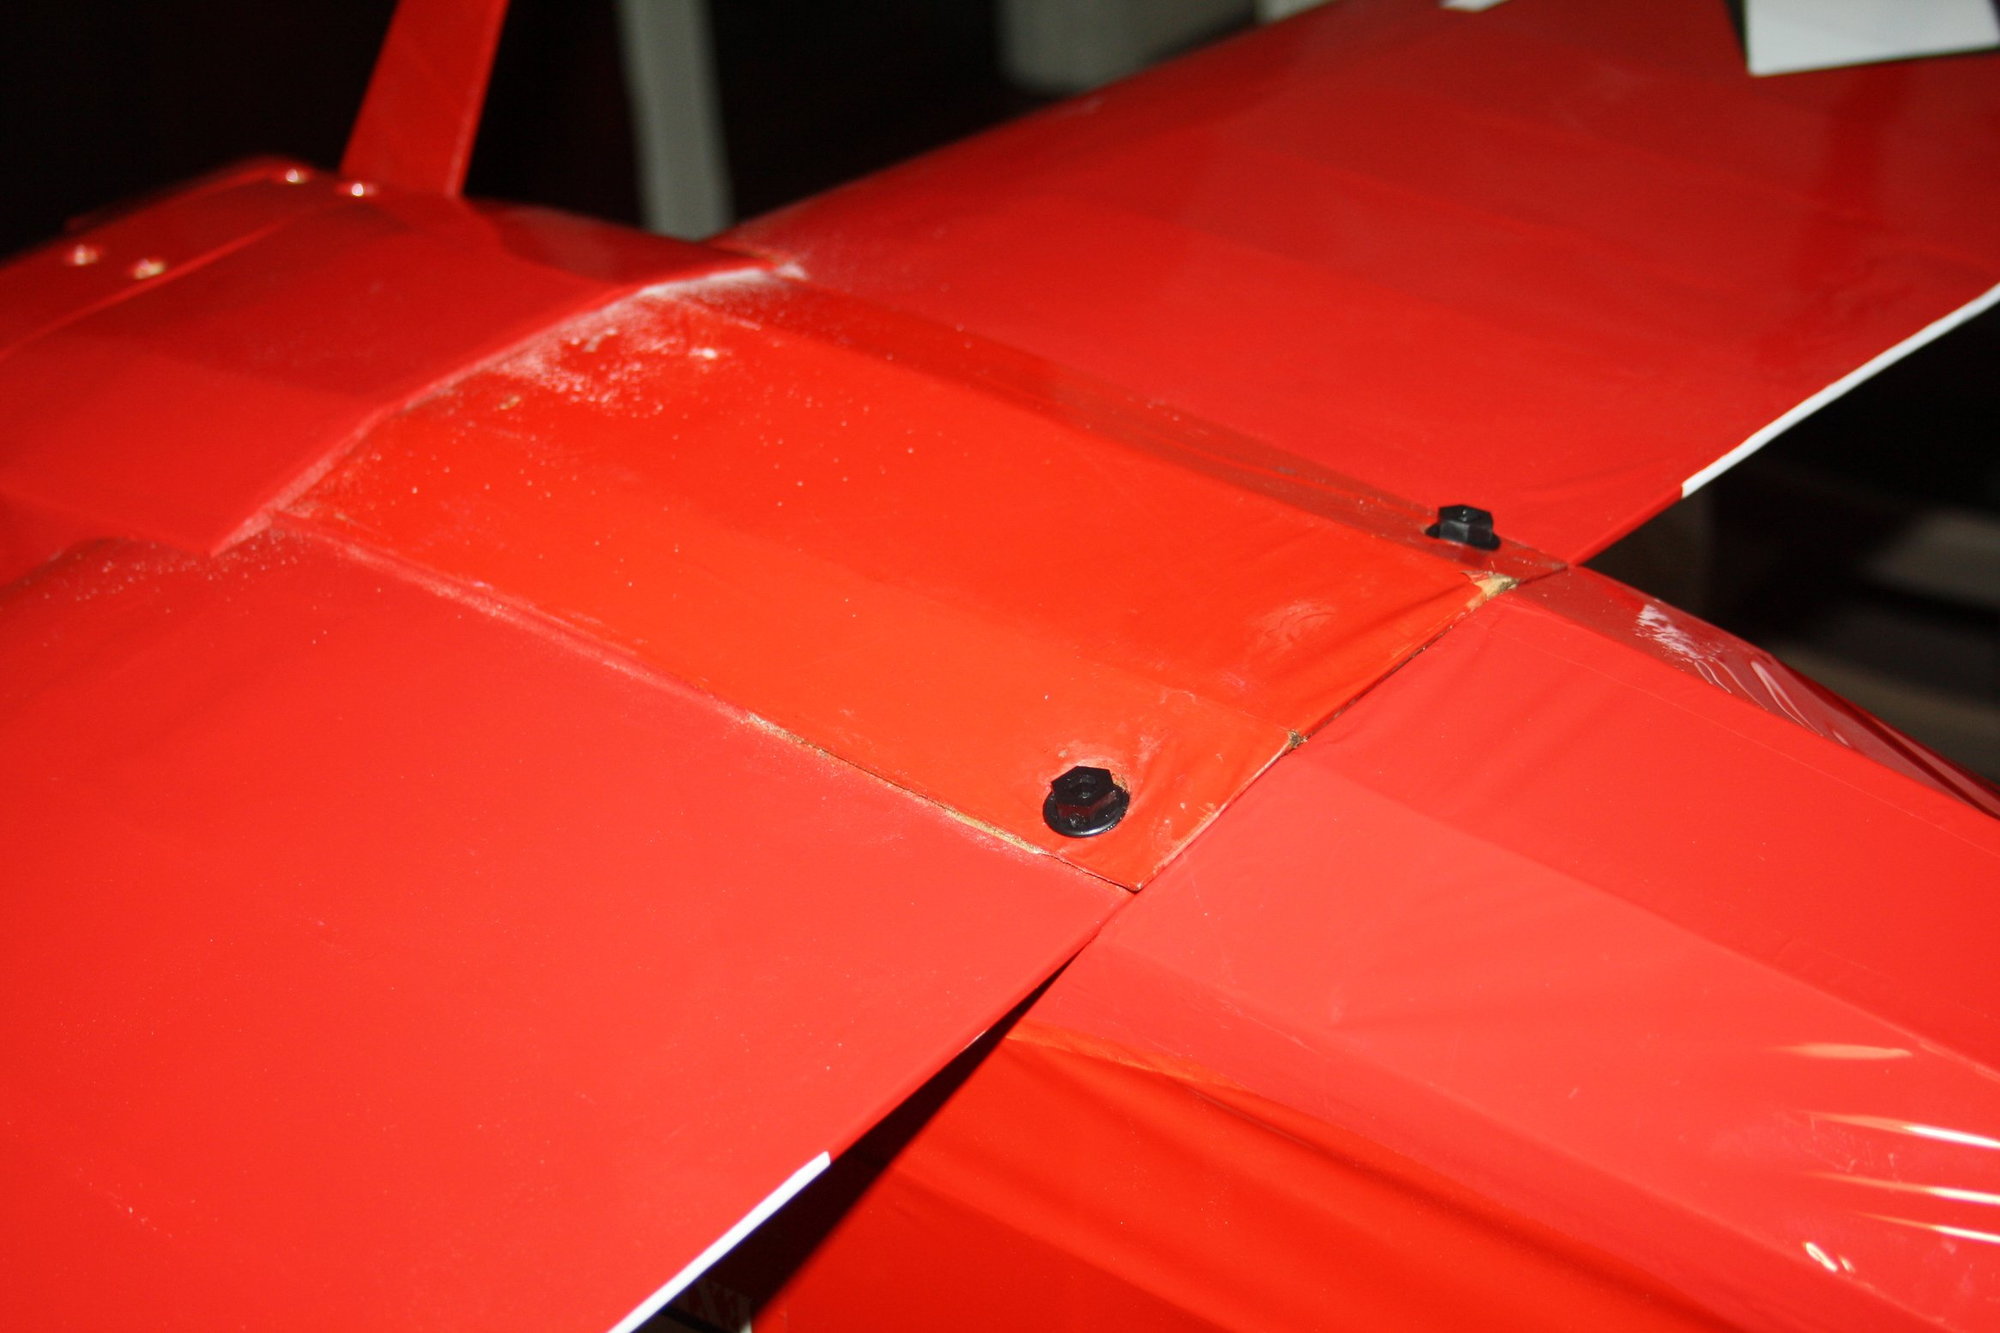
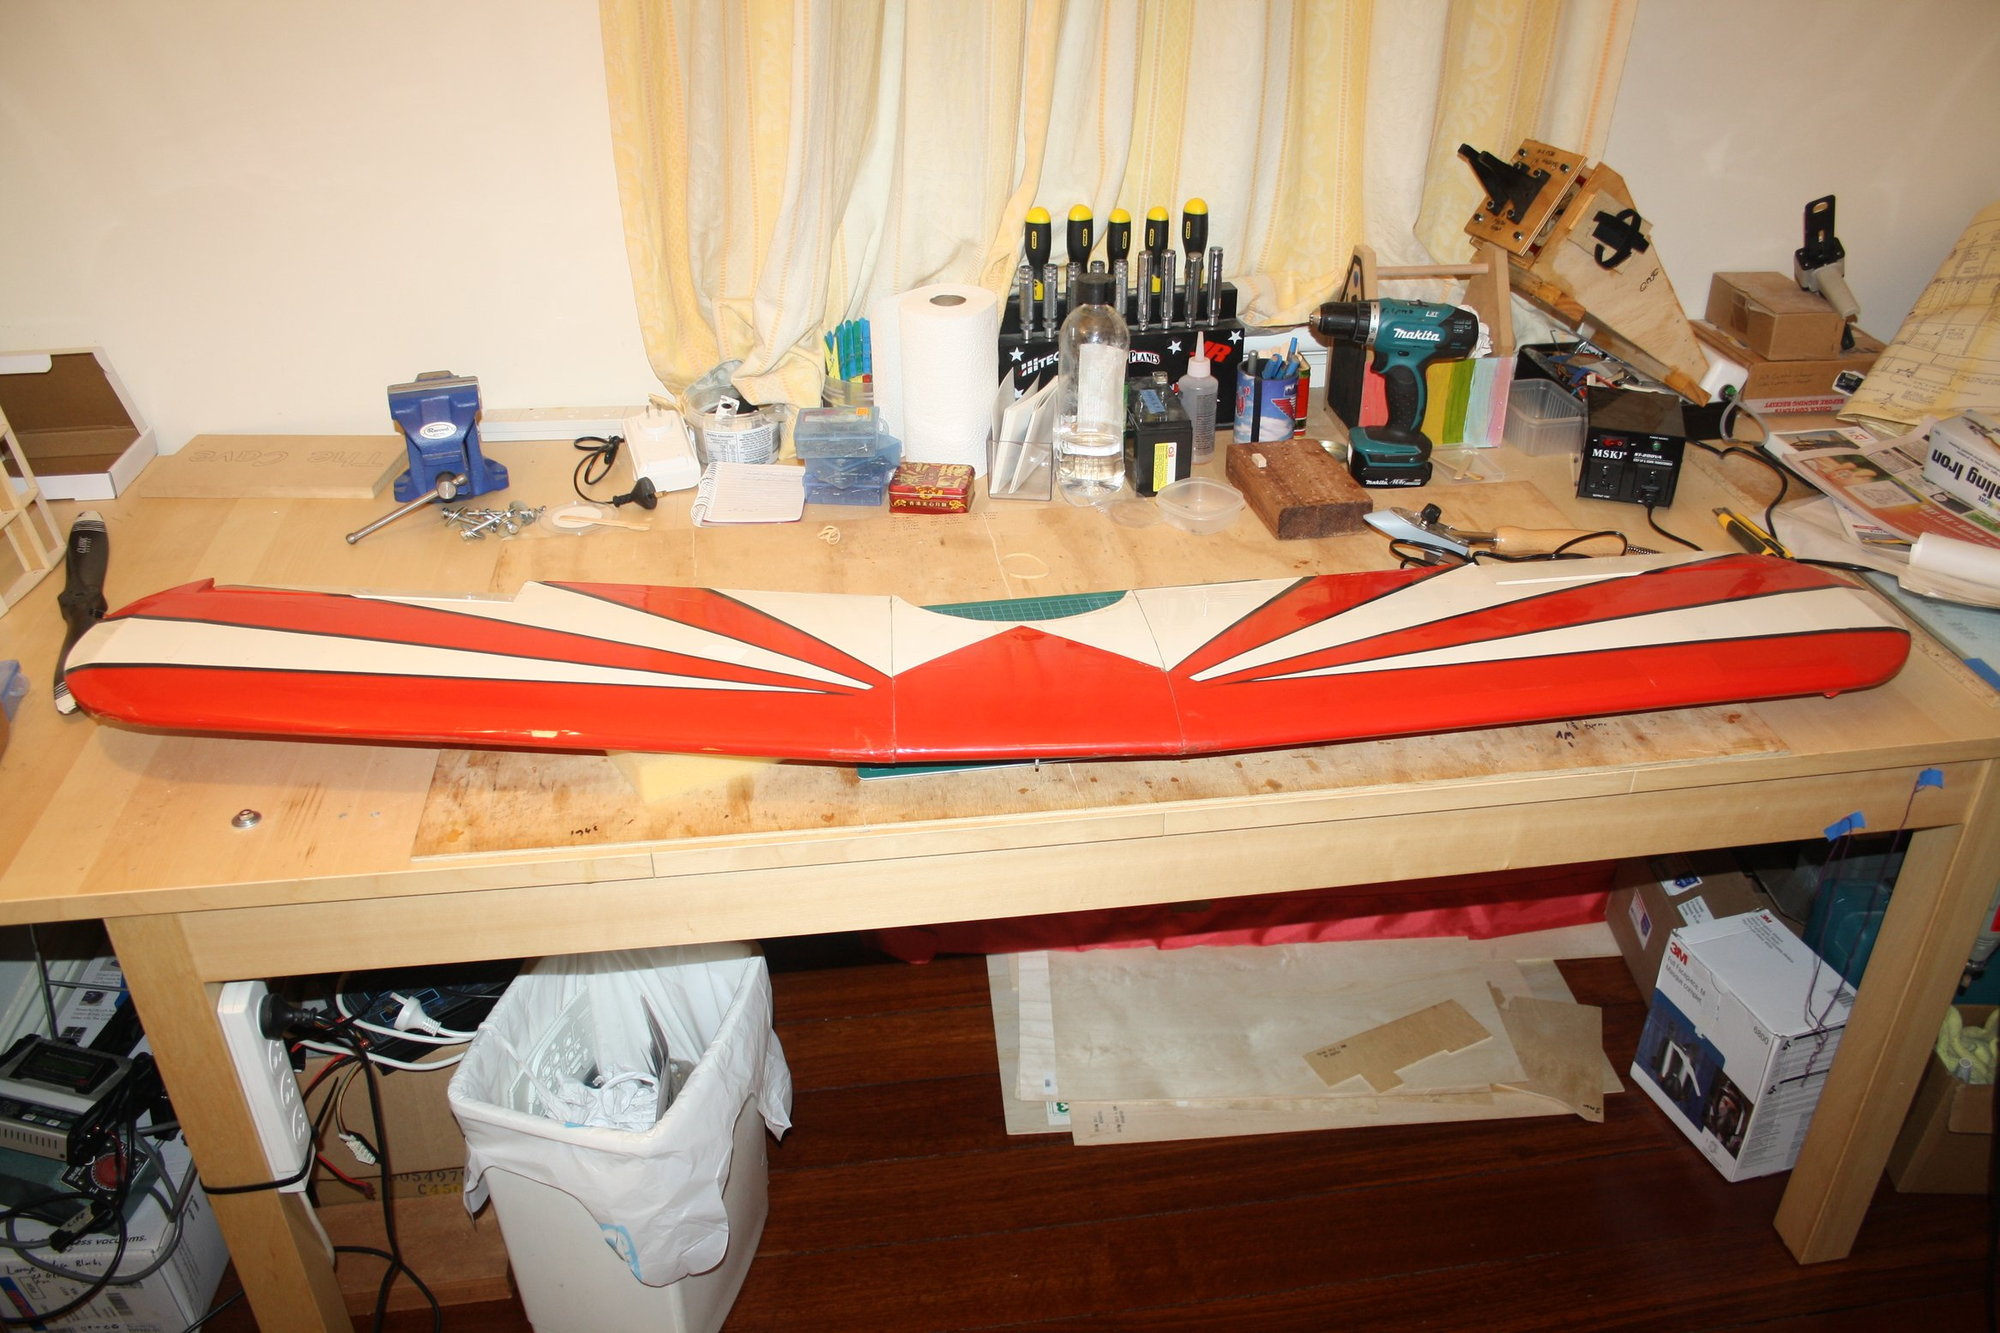
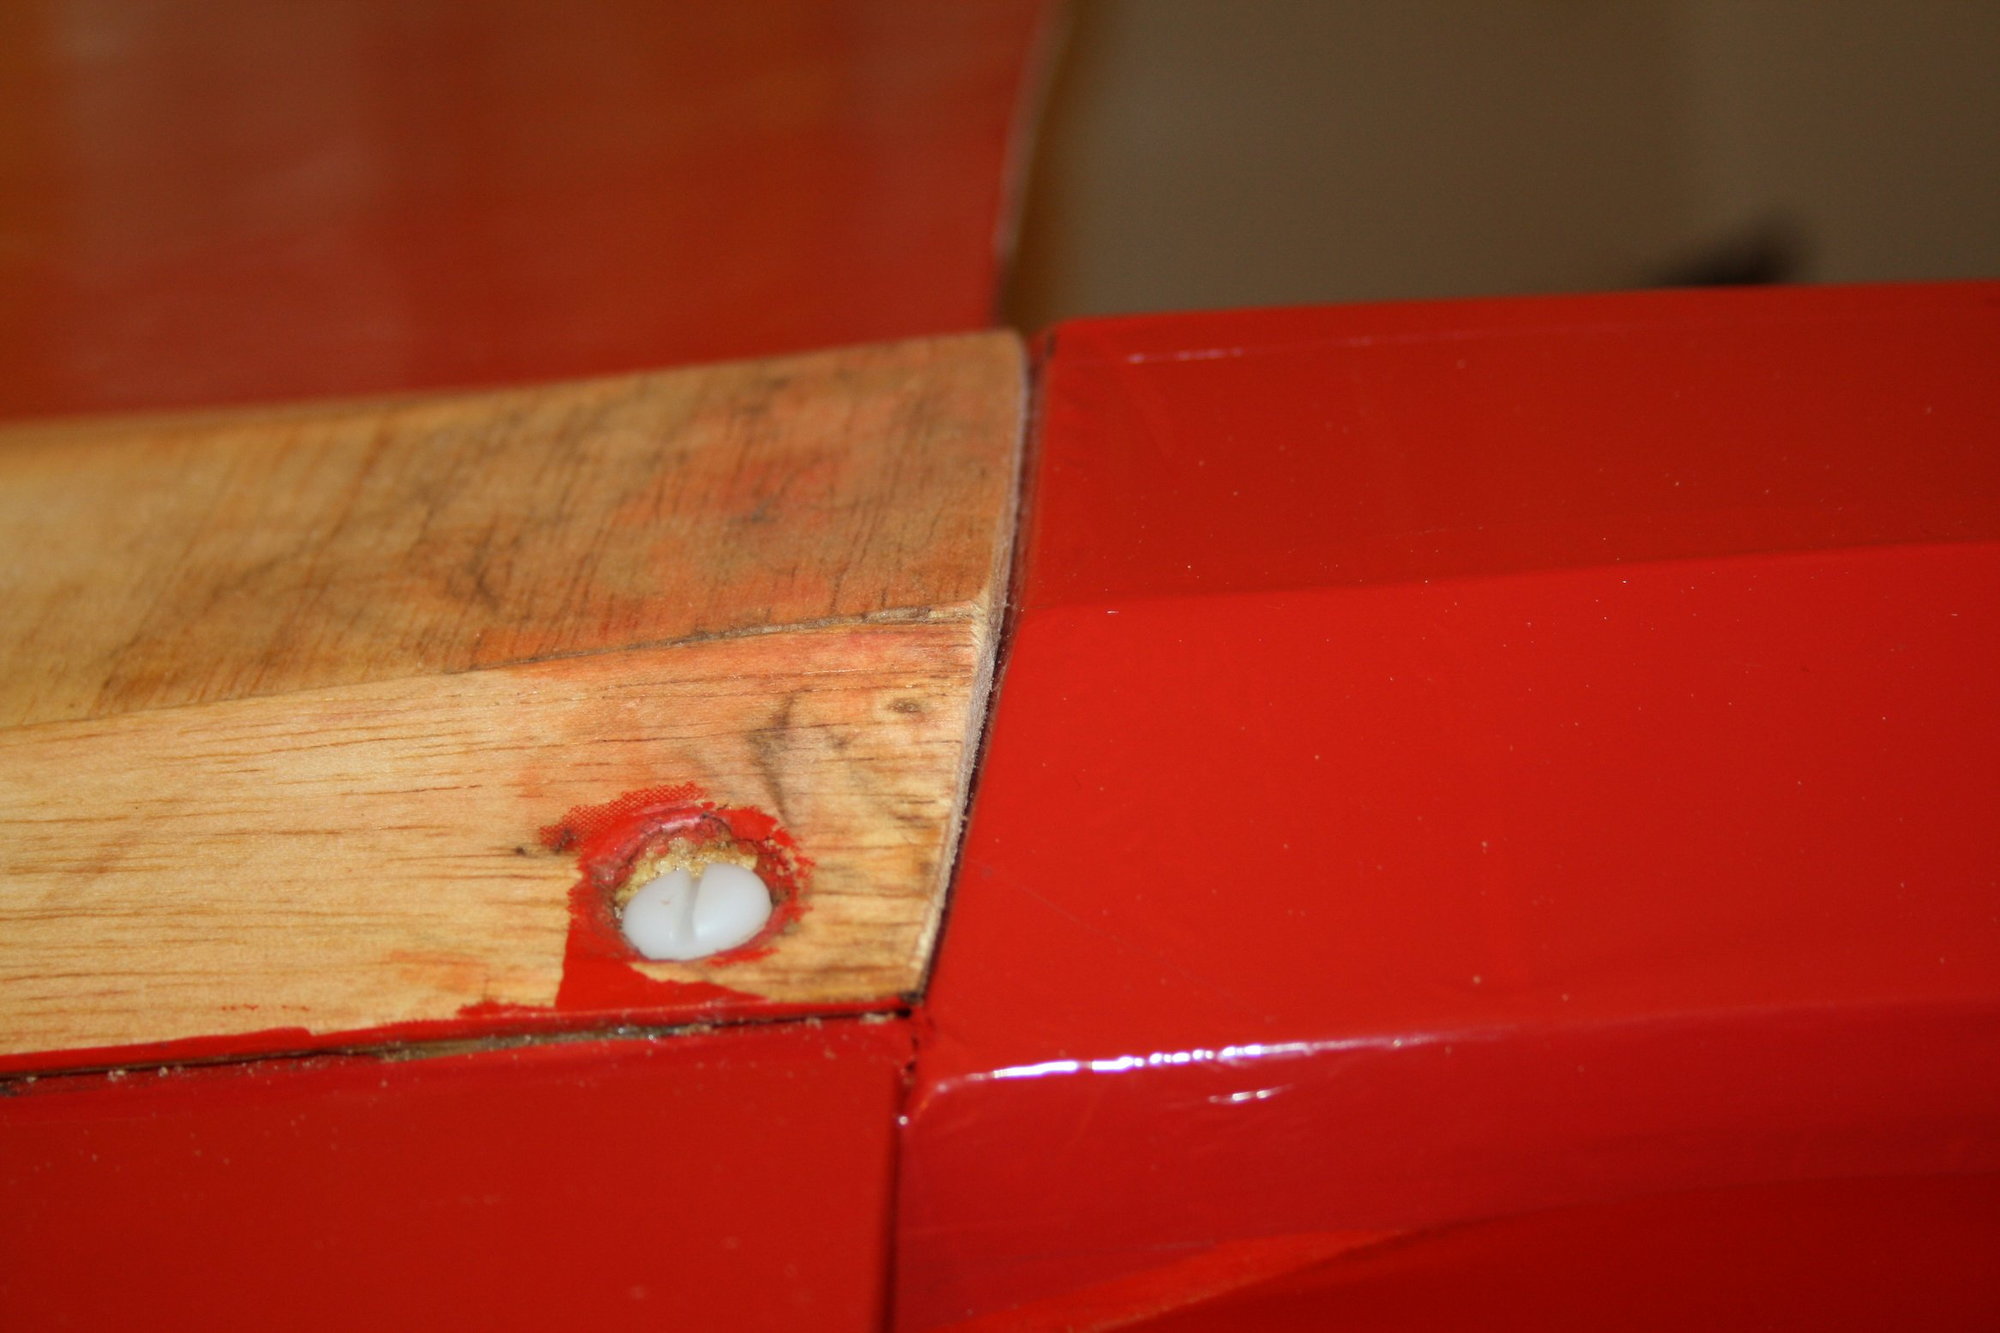
With the wing covering completed, the bottom wing to fuselage attachment was checked. This was found to be unsatisfactory with the wing not sitting properly in the saddle. After some sanding of the locator pins holes (mating area of the LE and fuselage) the wing attached properly.


 03-23-2019, 01:16 AM
#33
Thread Starter
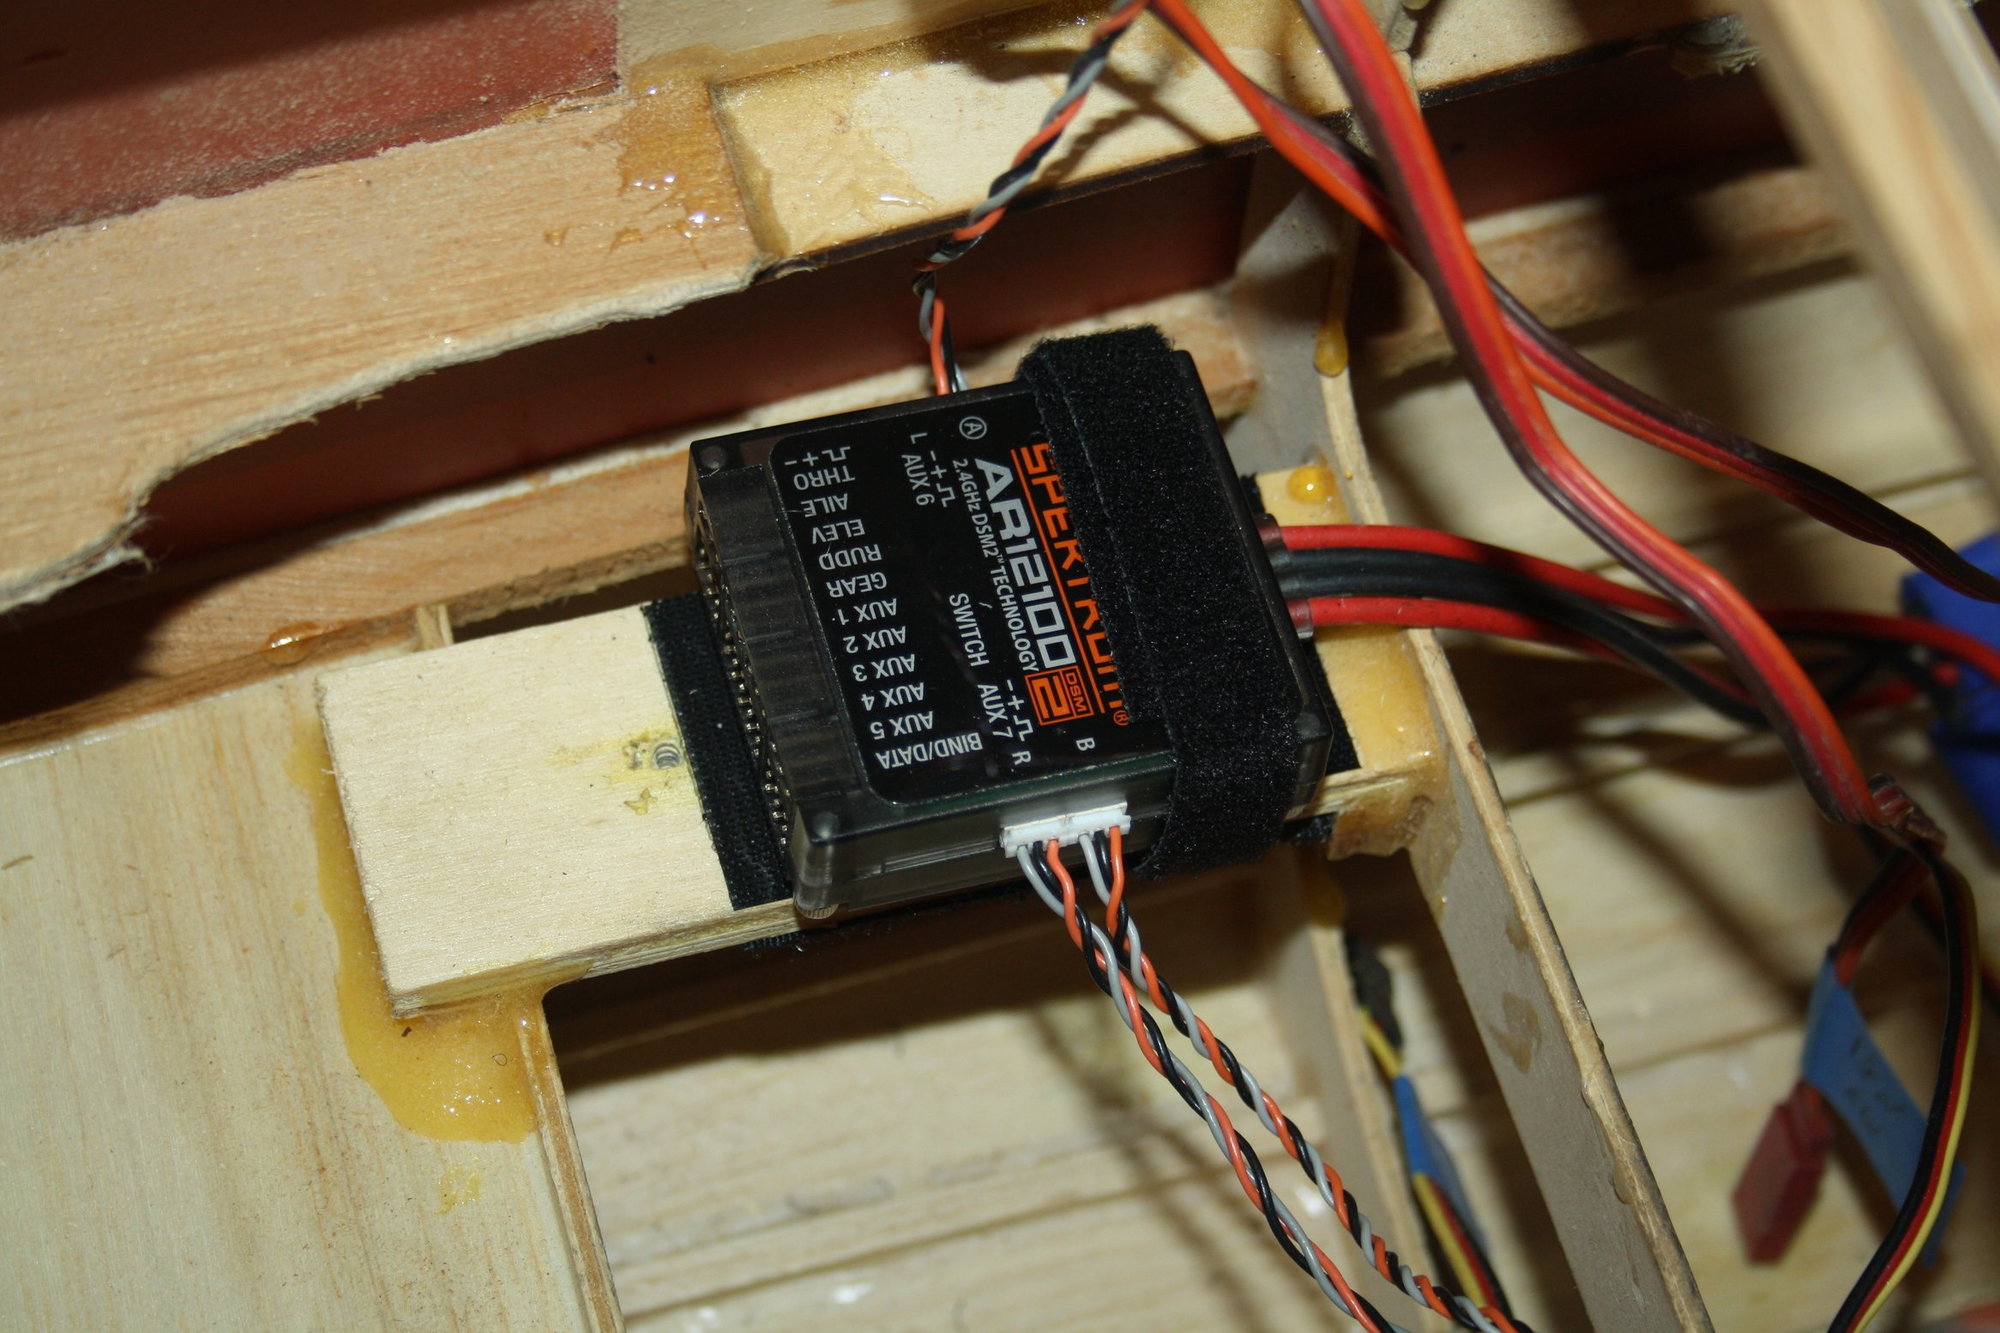
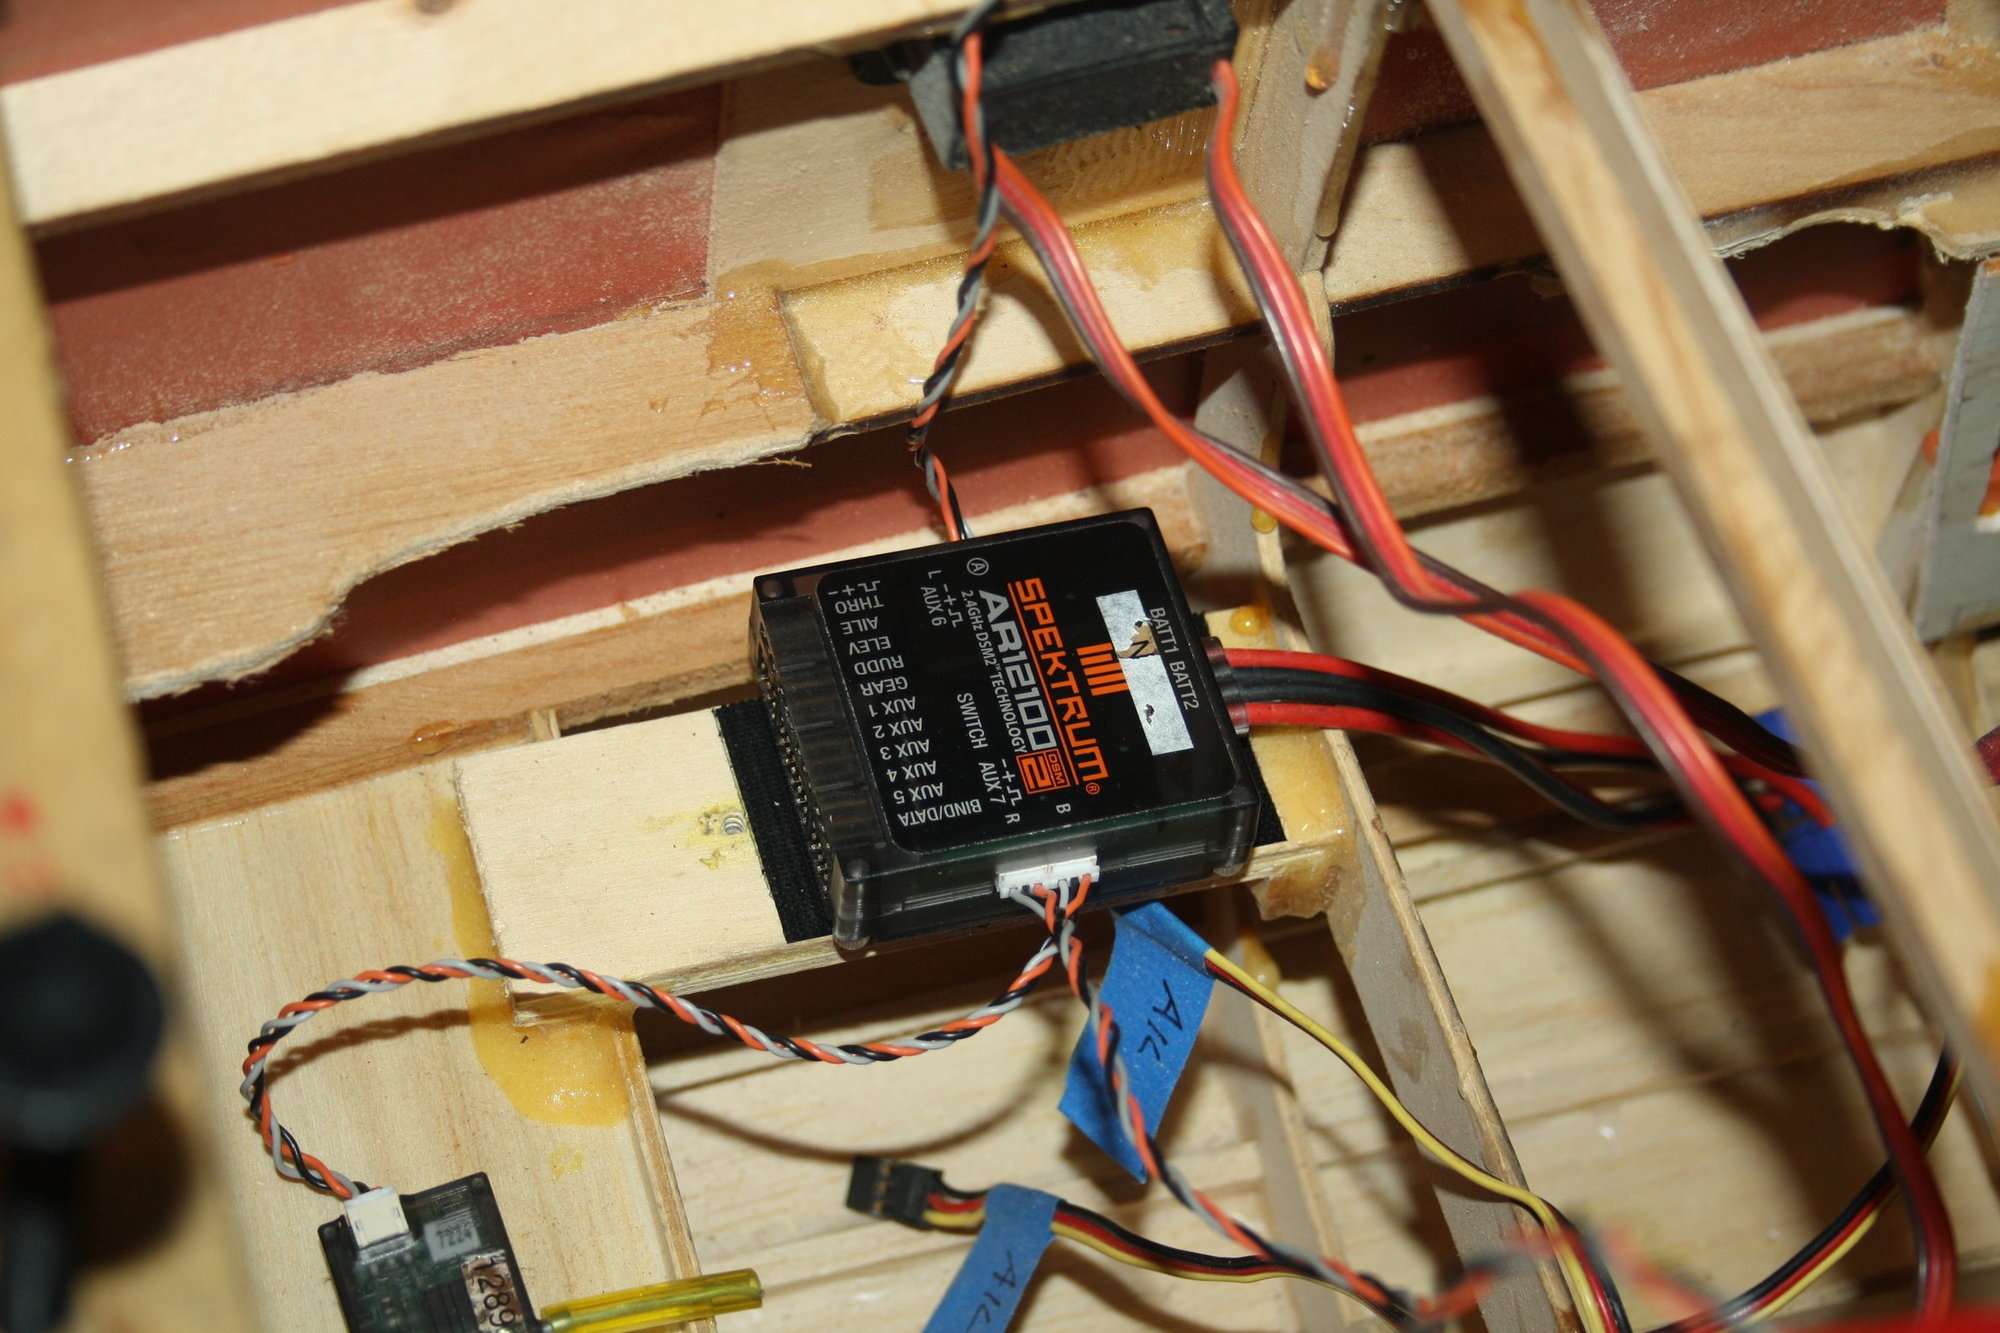
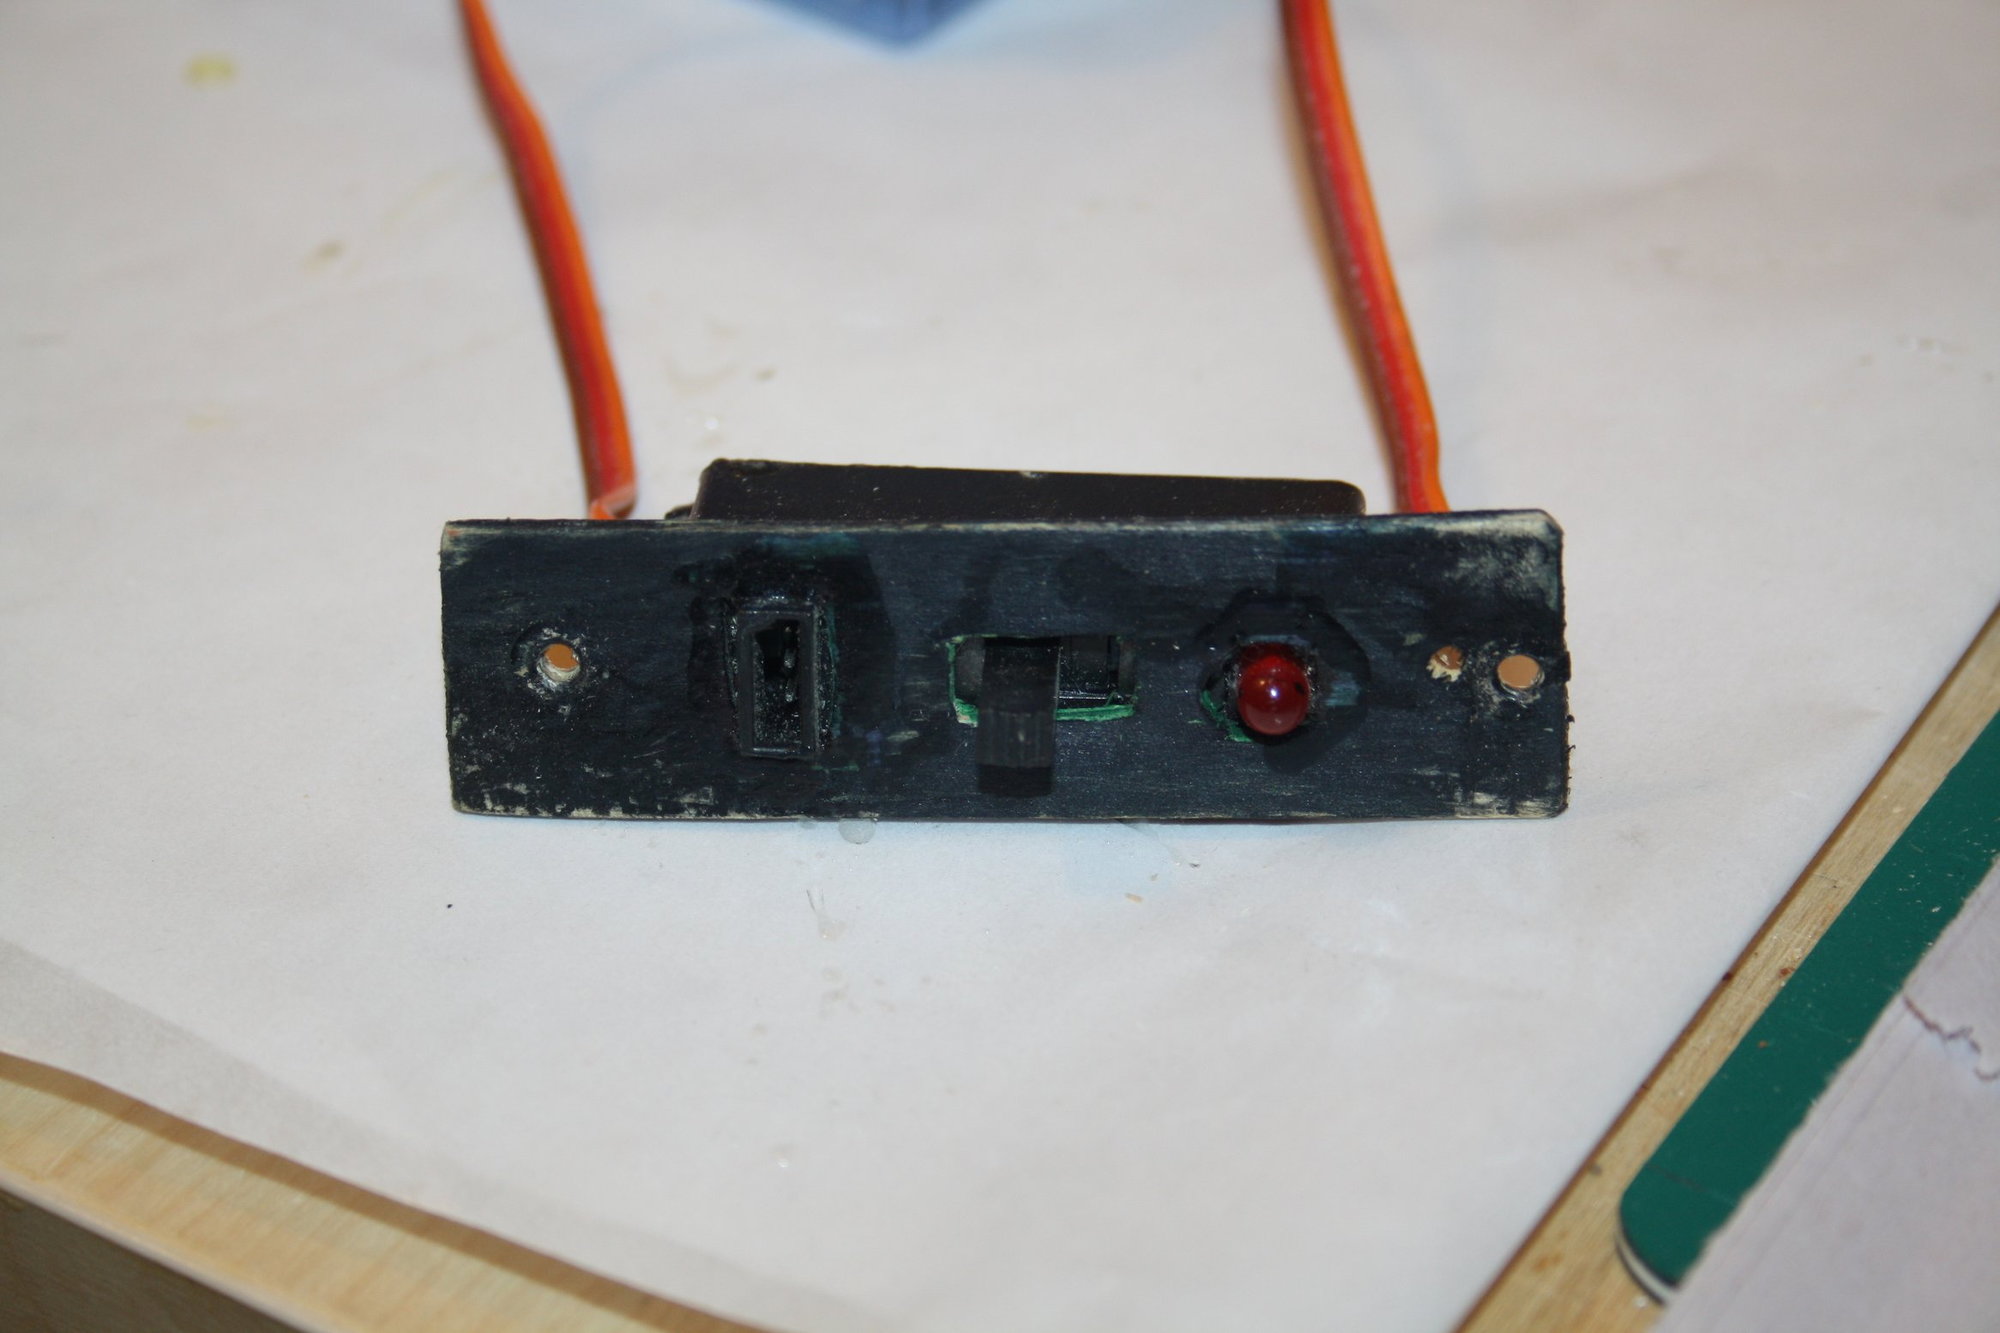
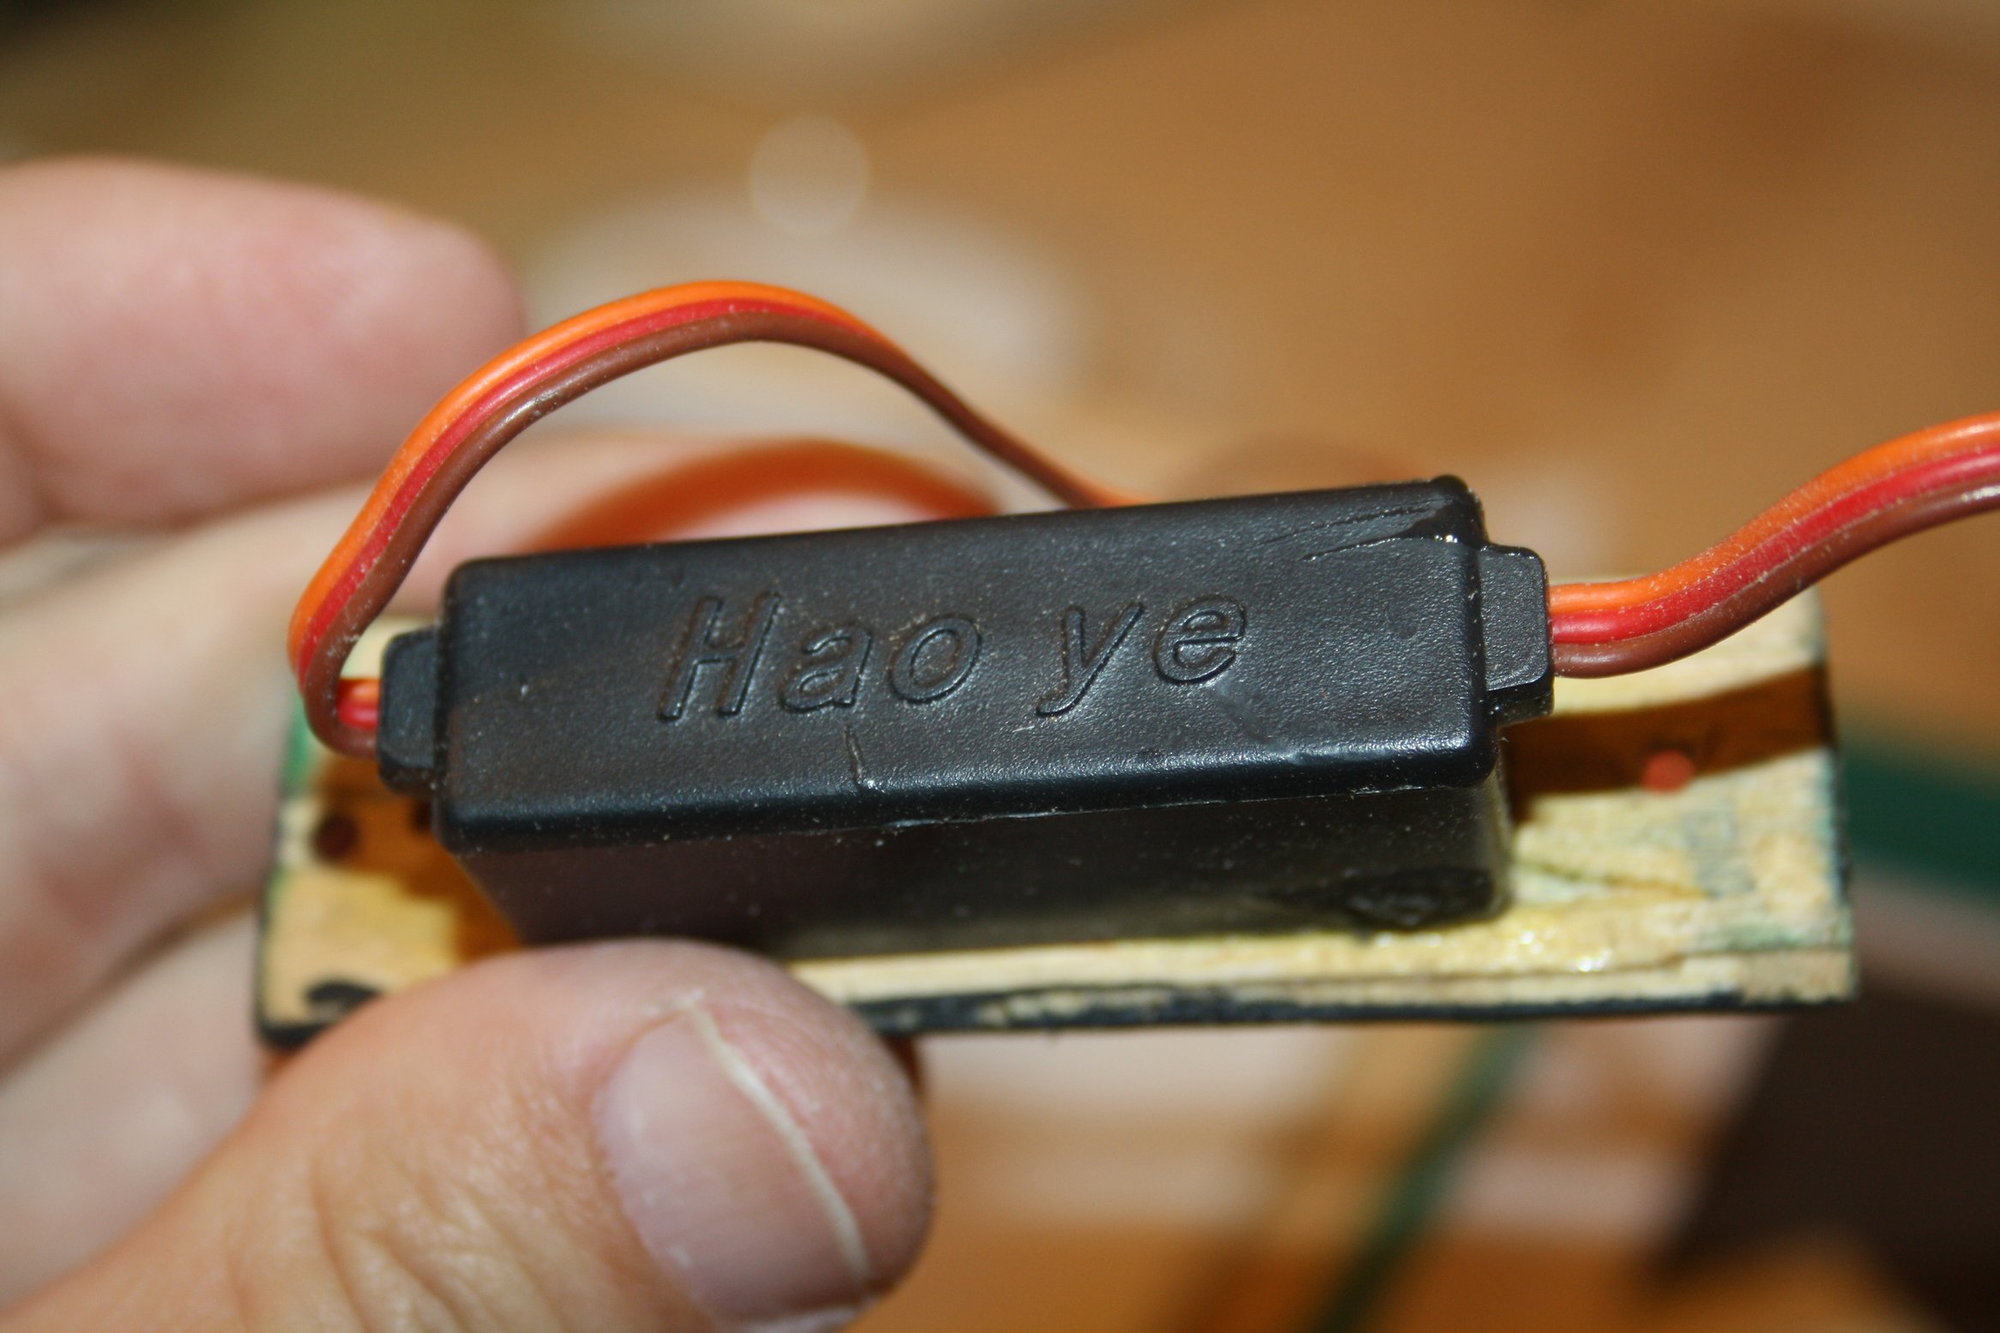
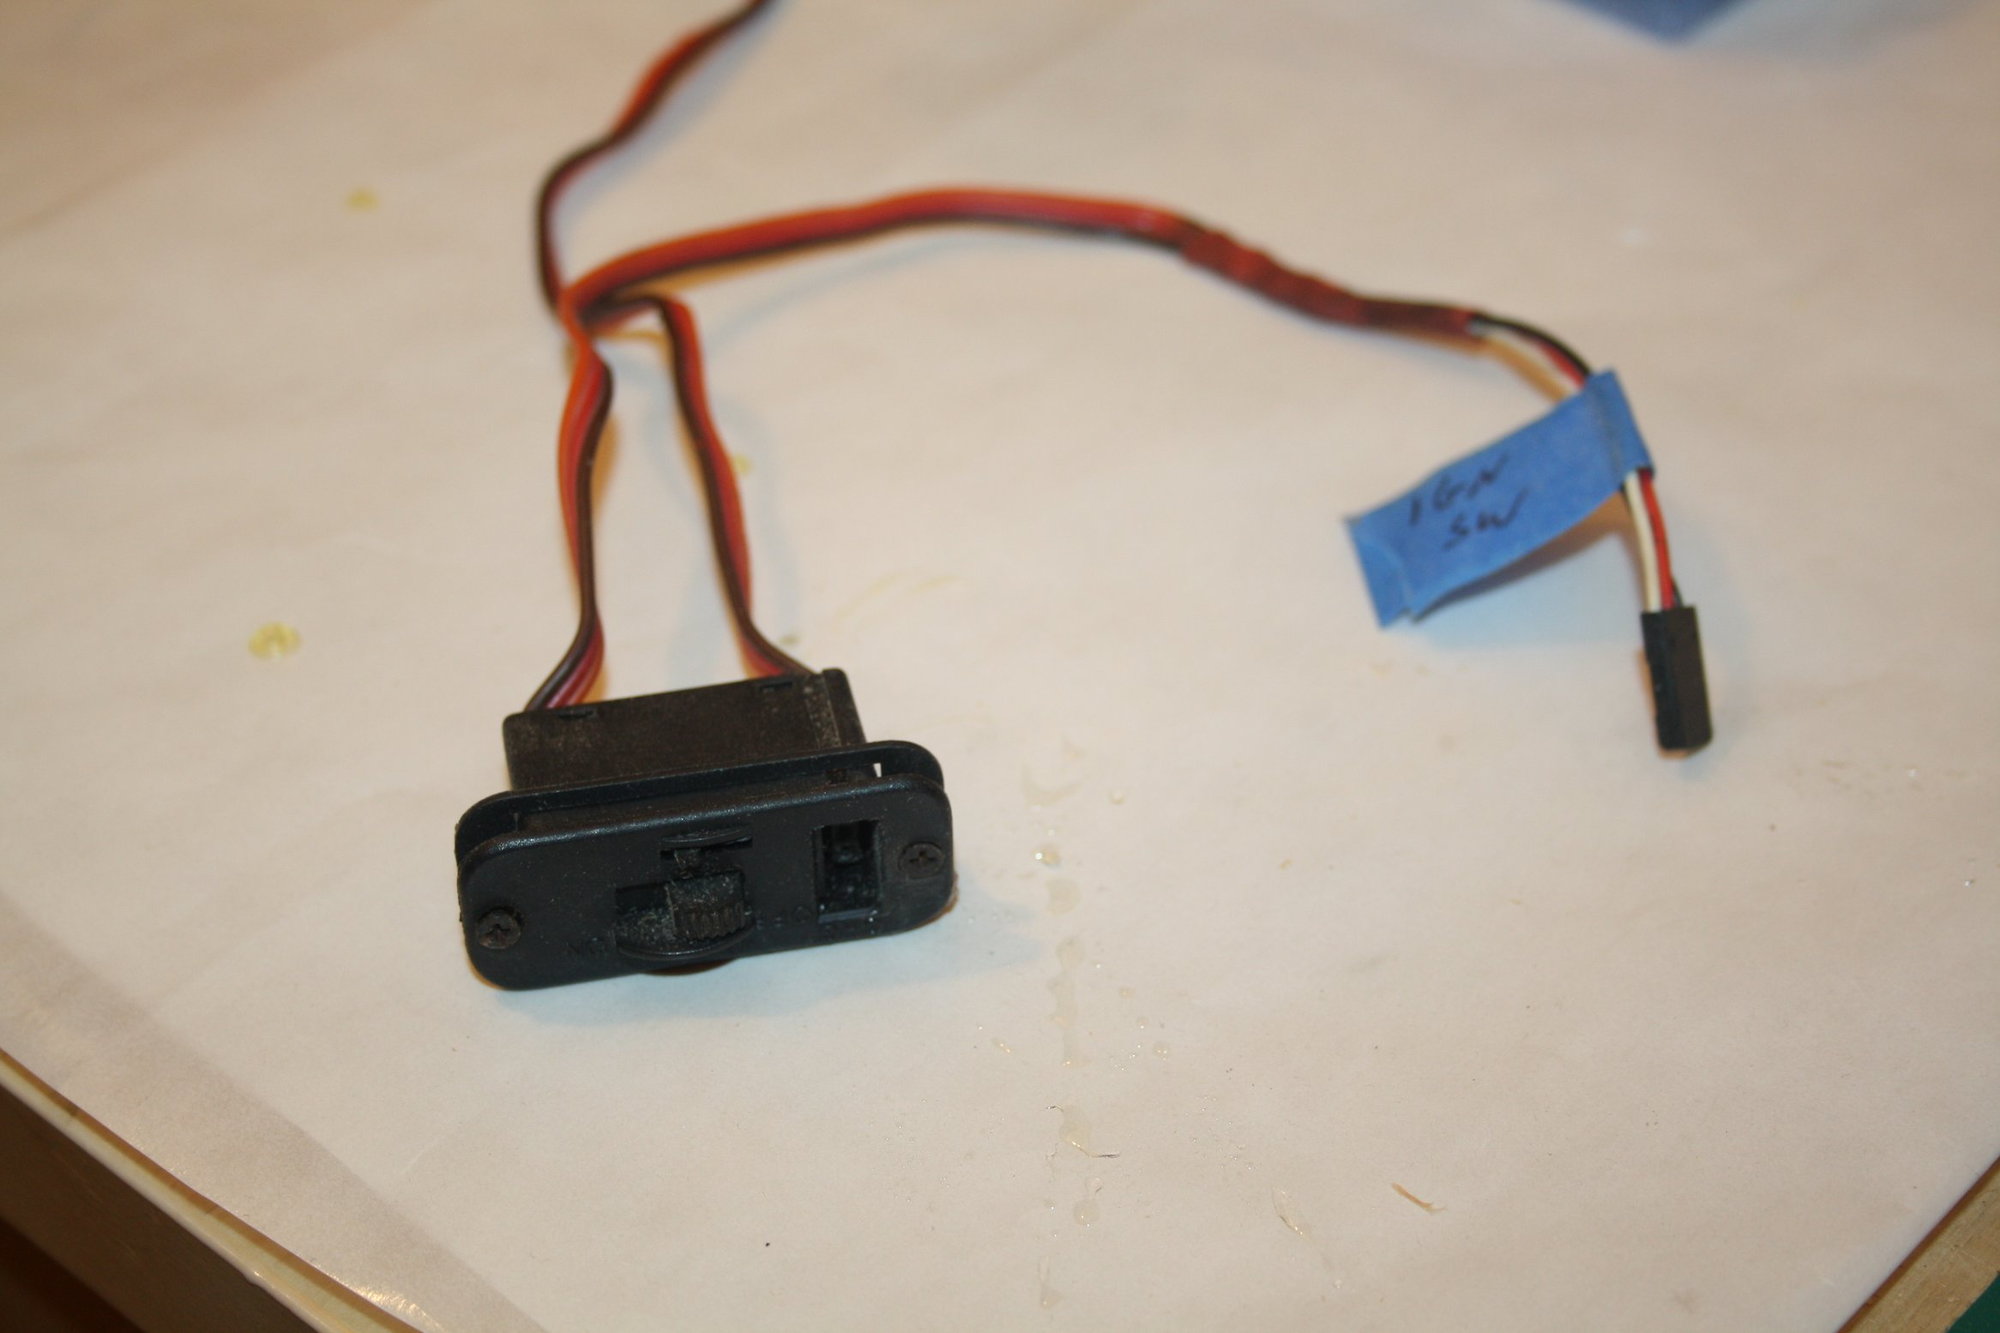
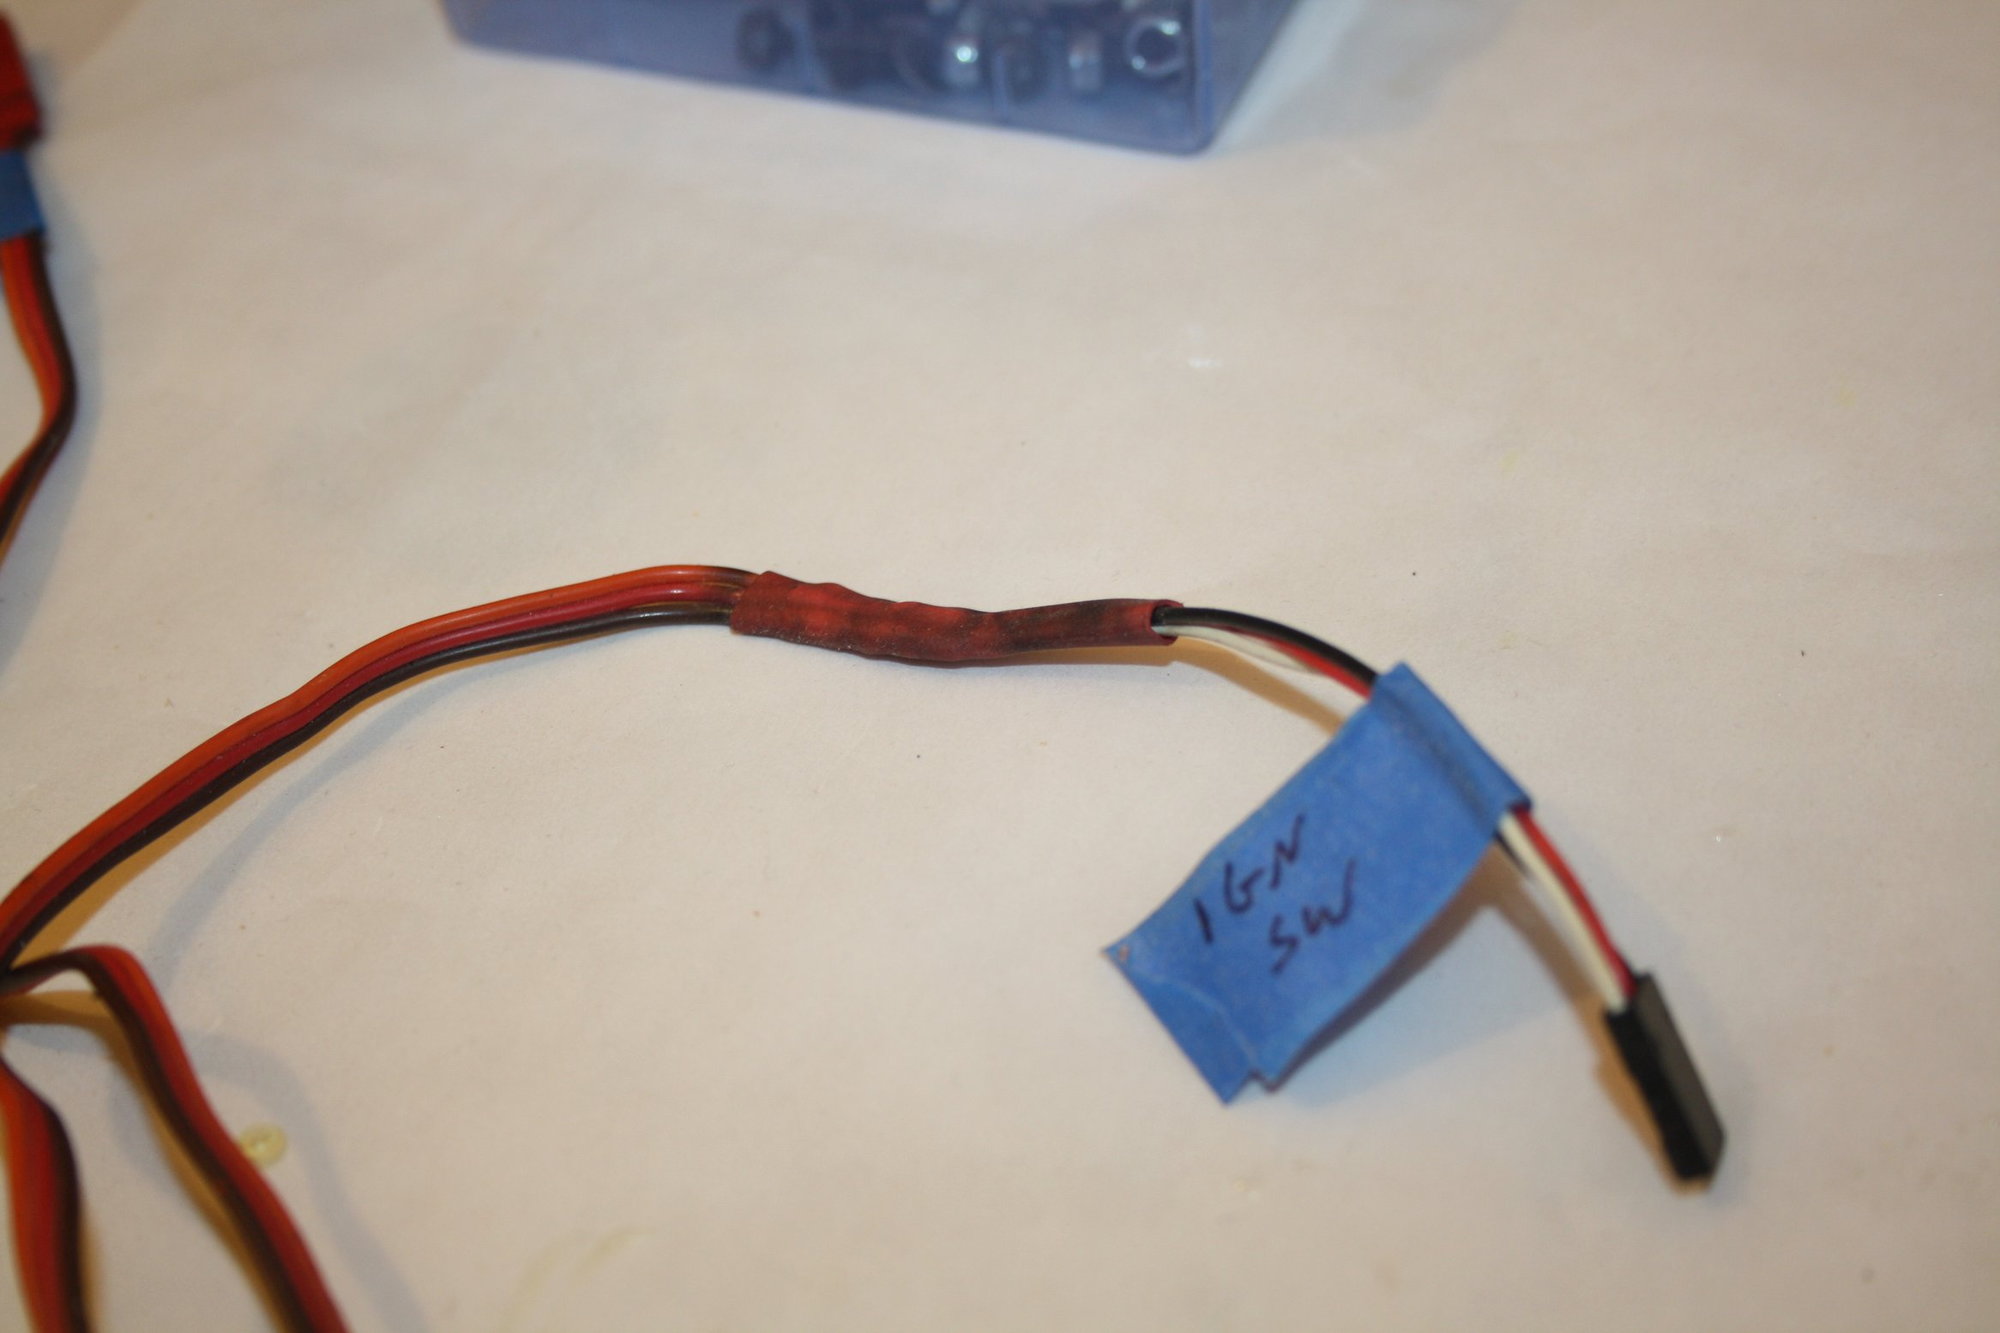
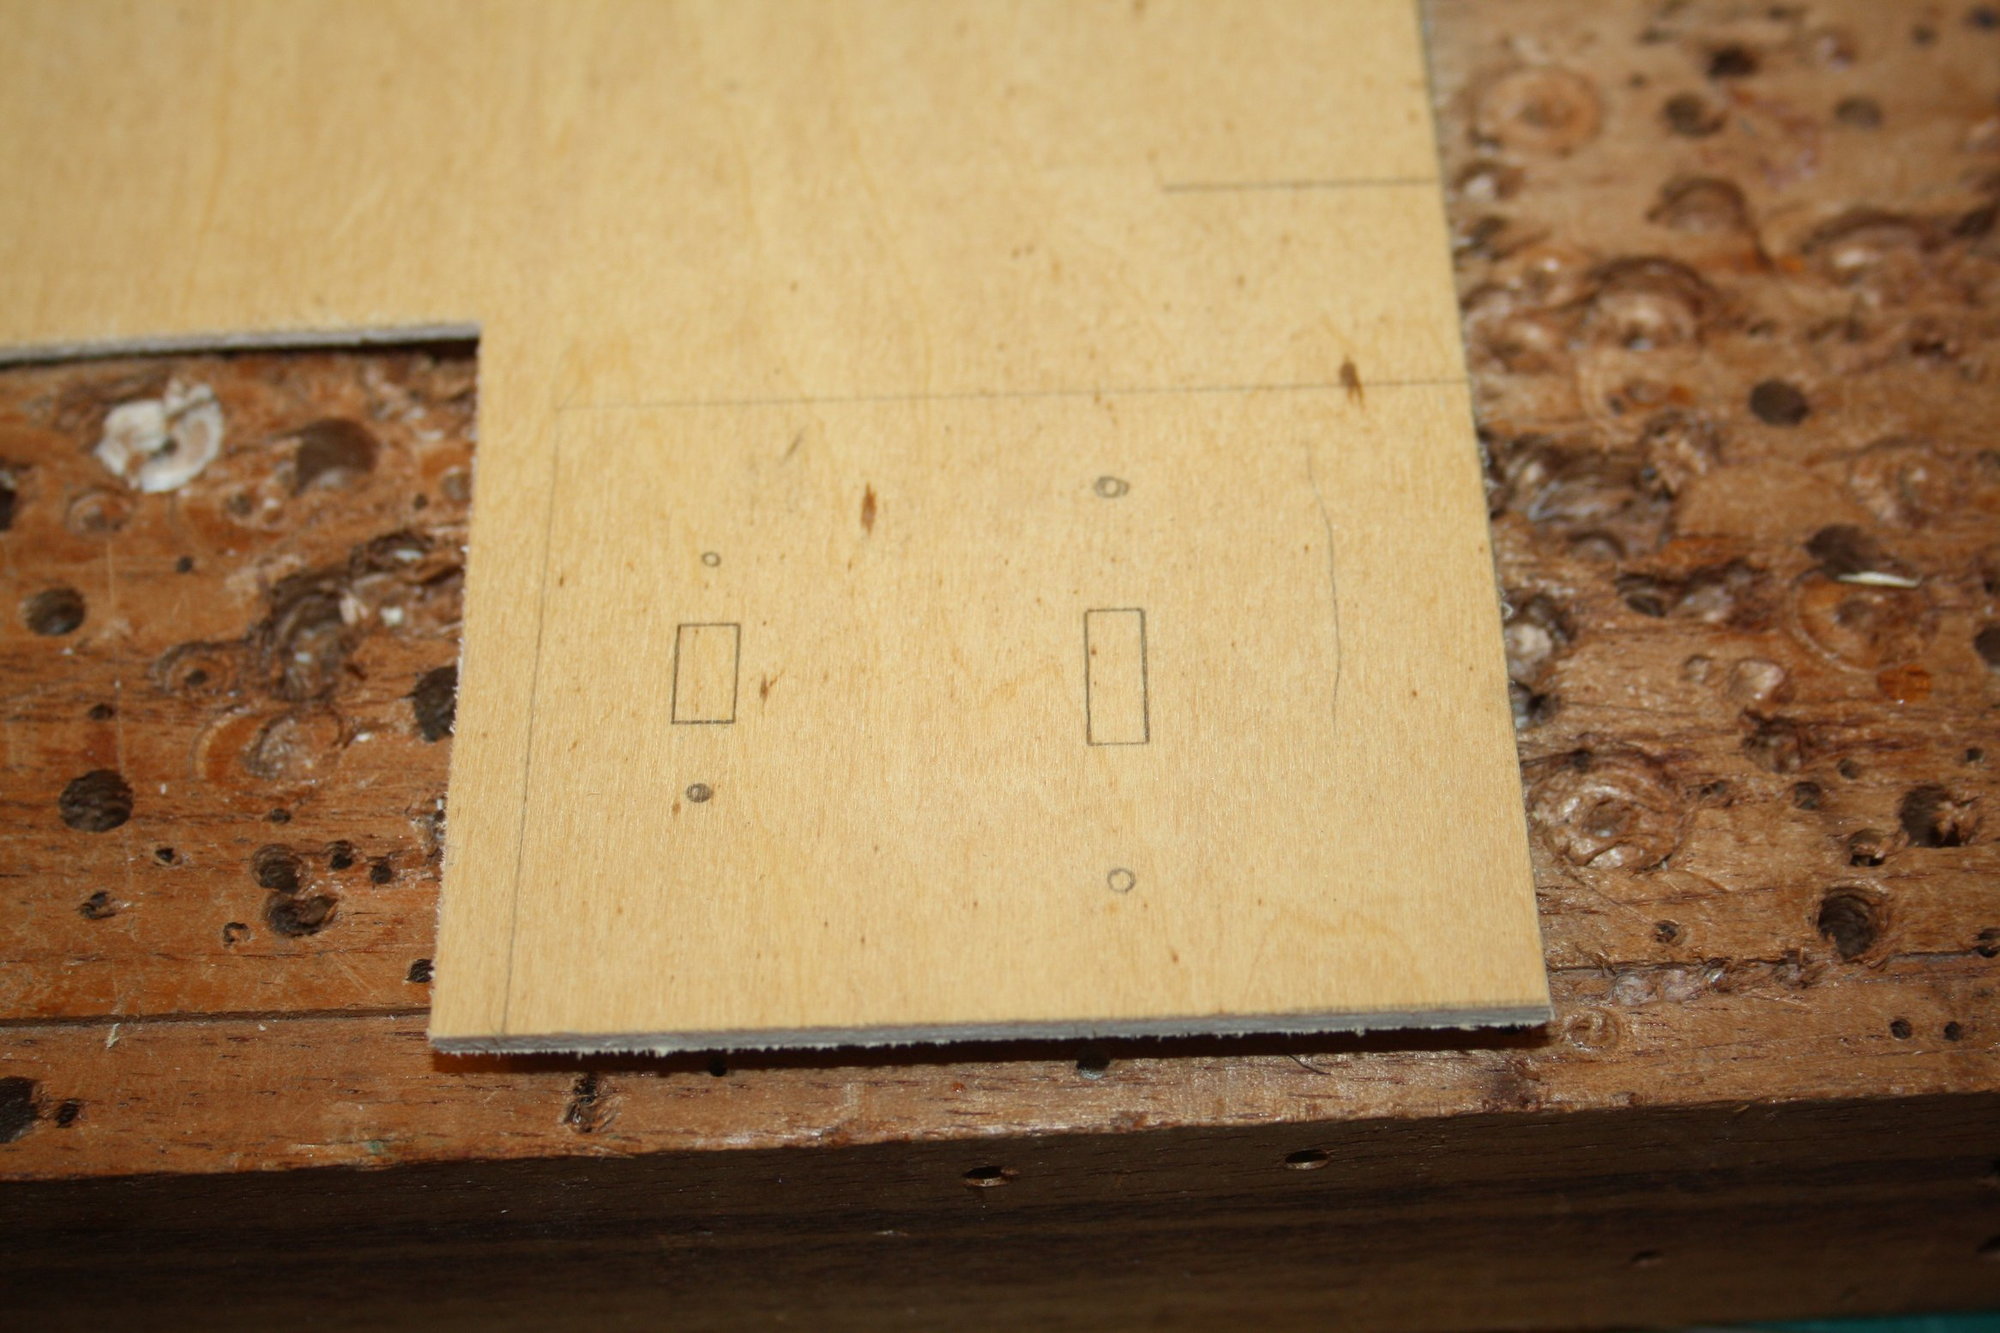
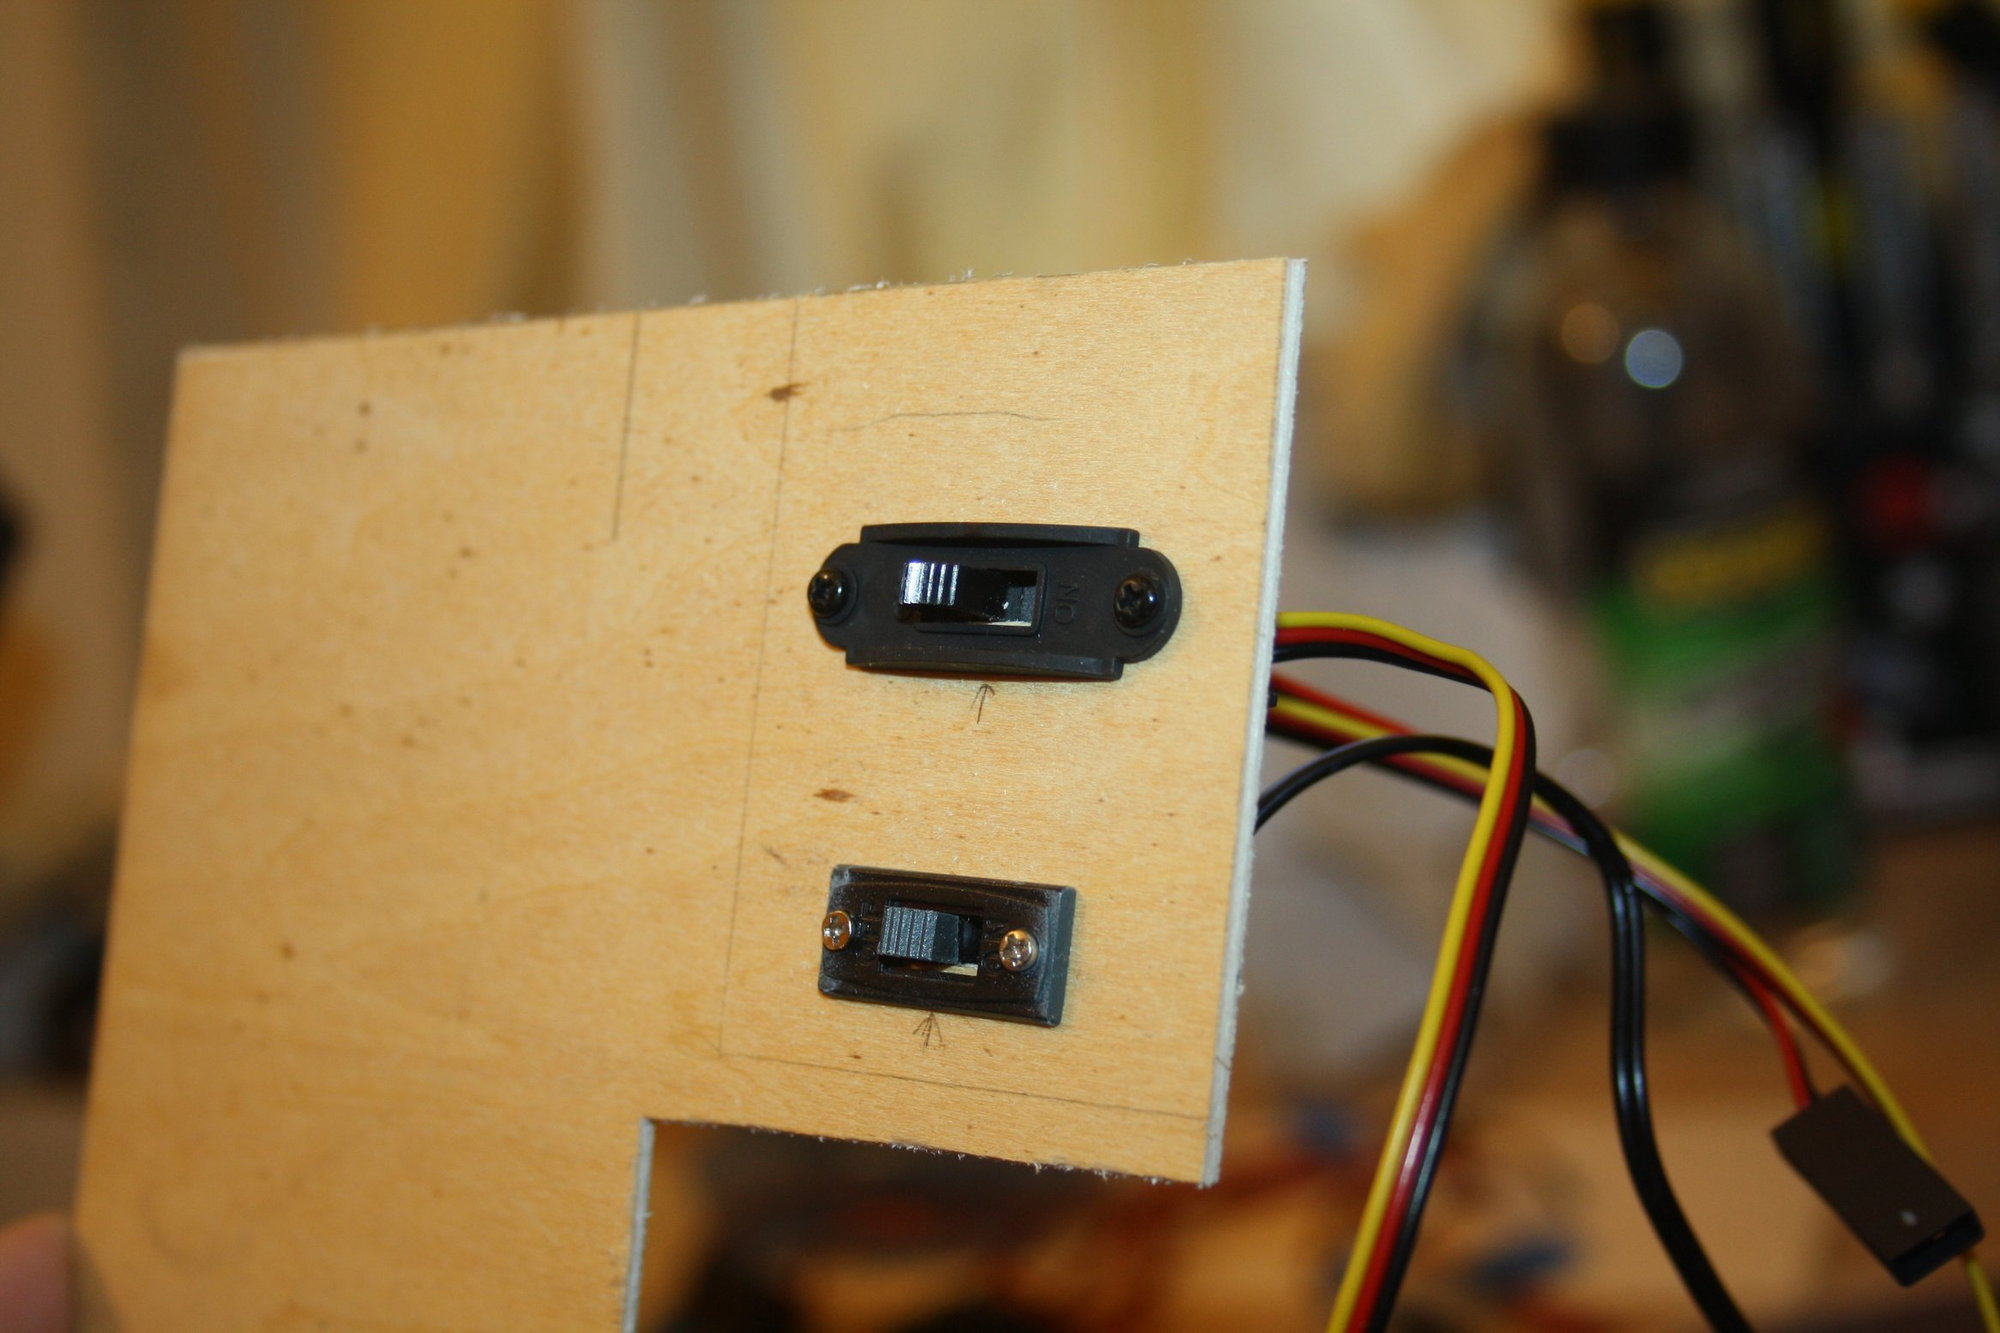
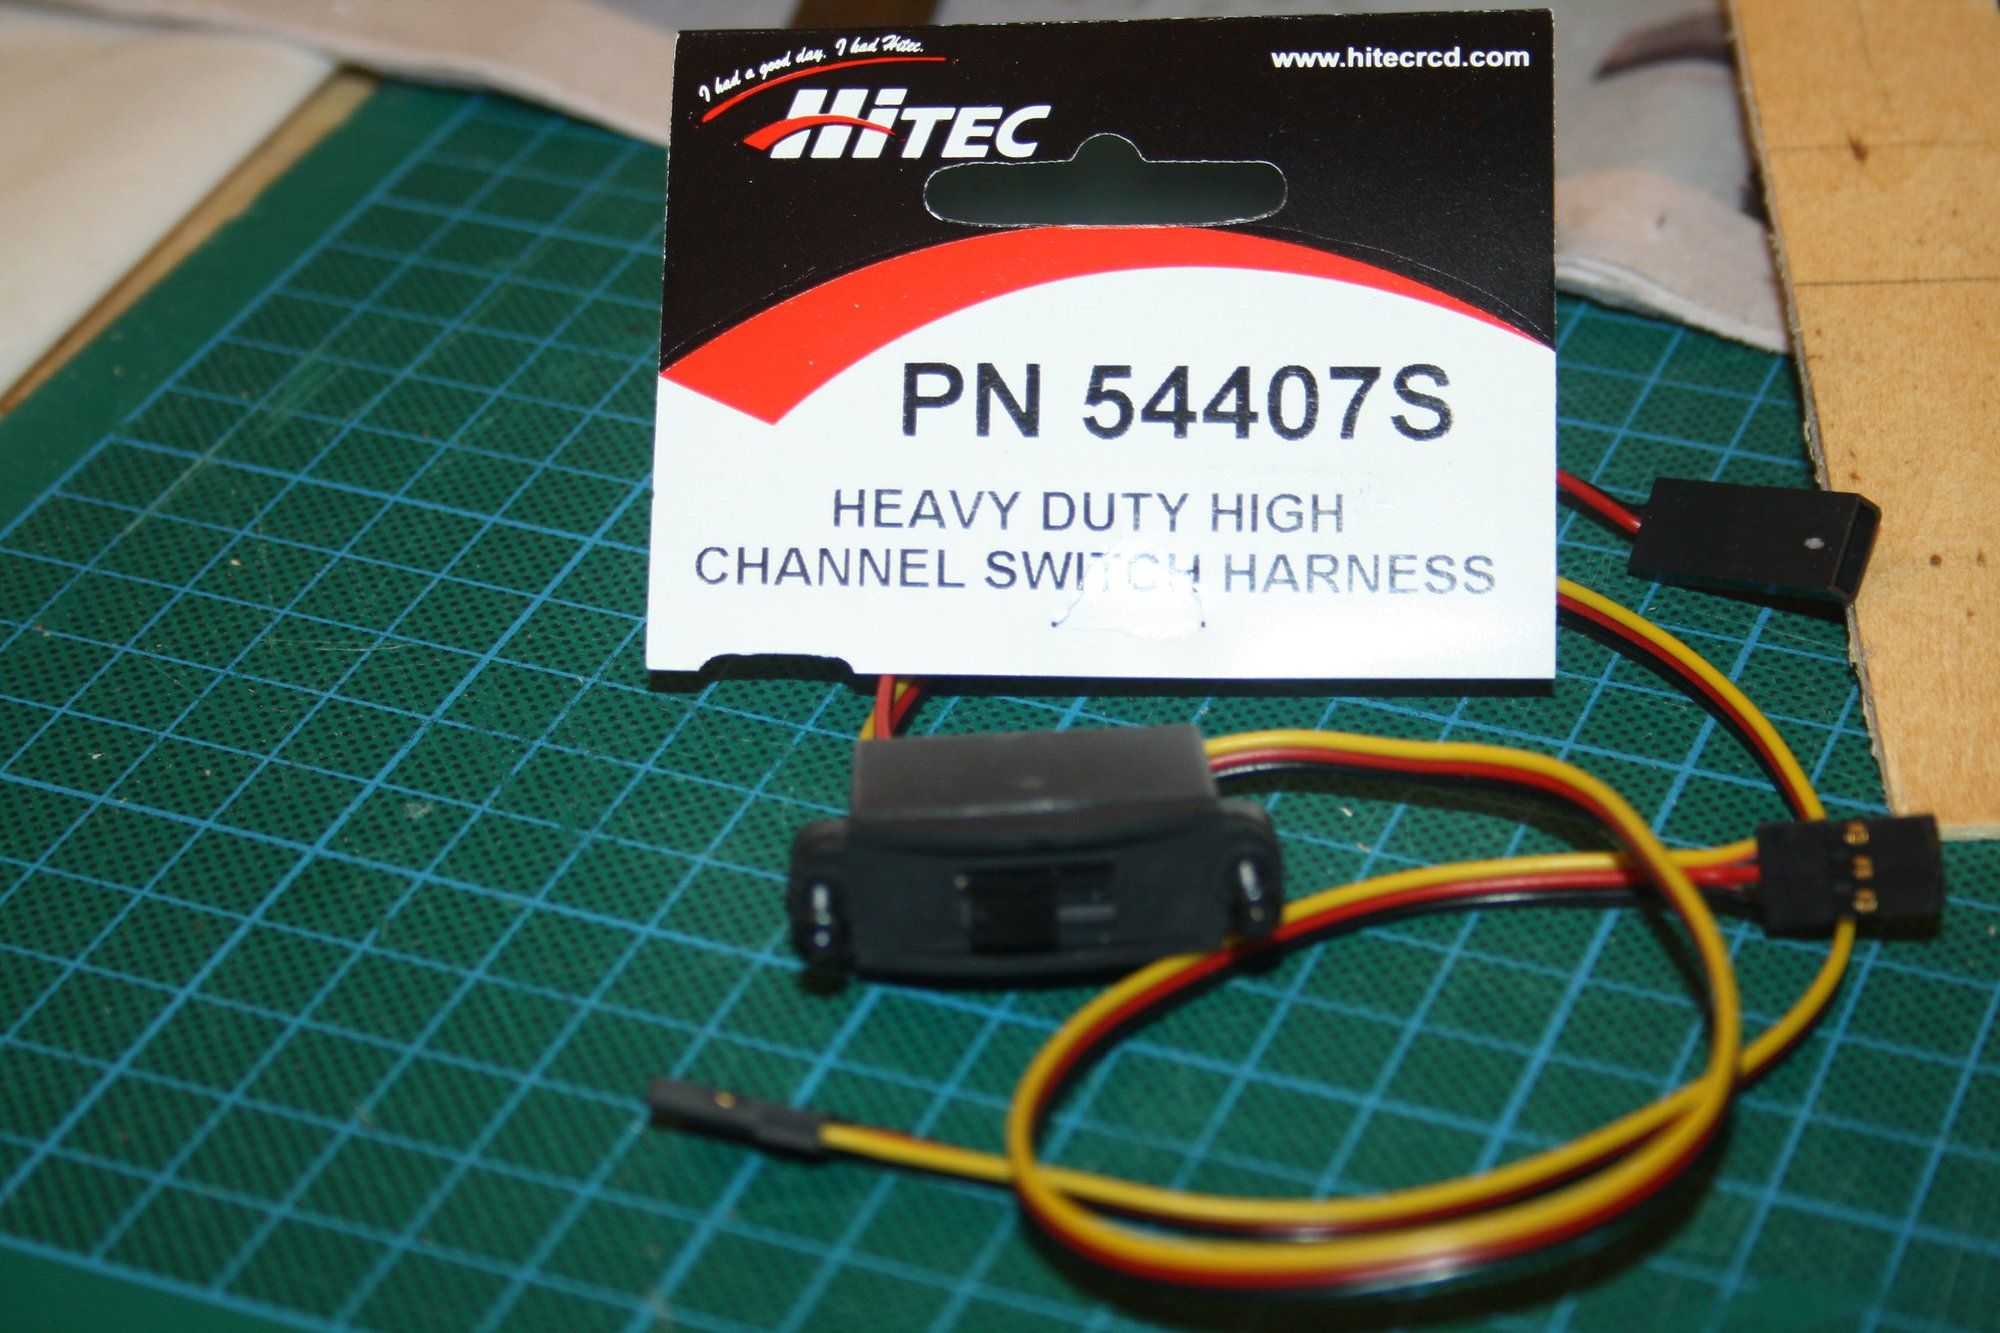
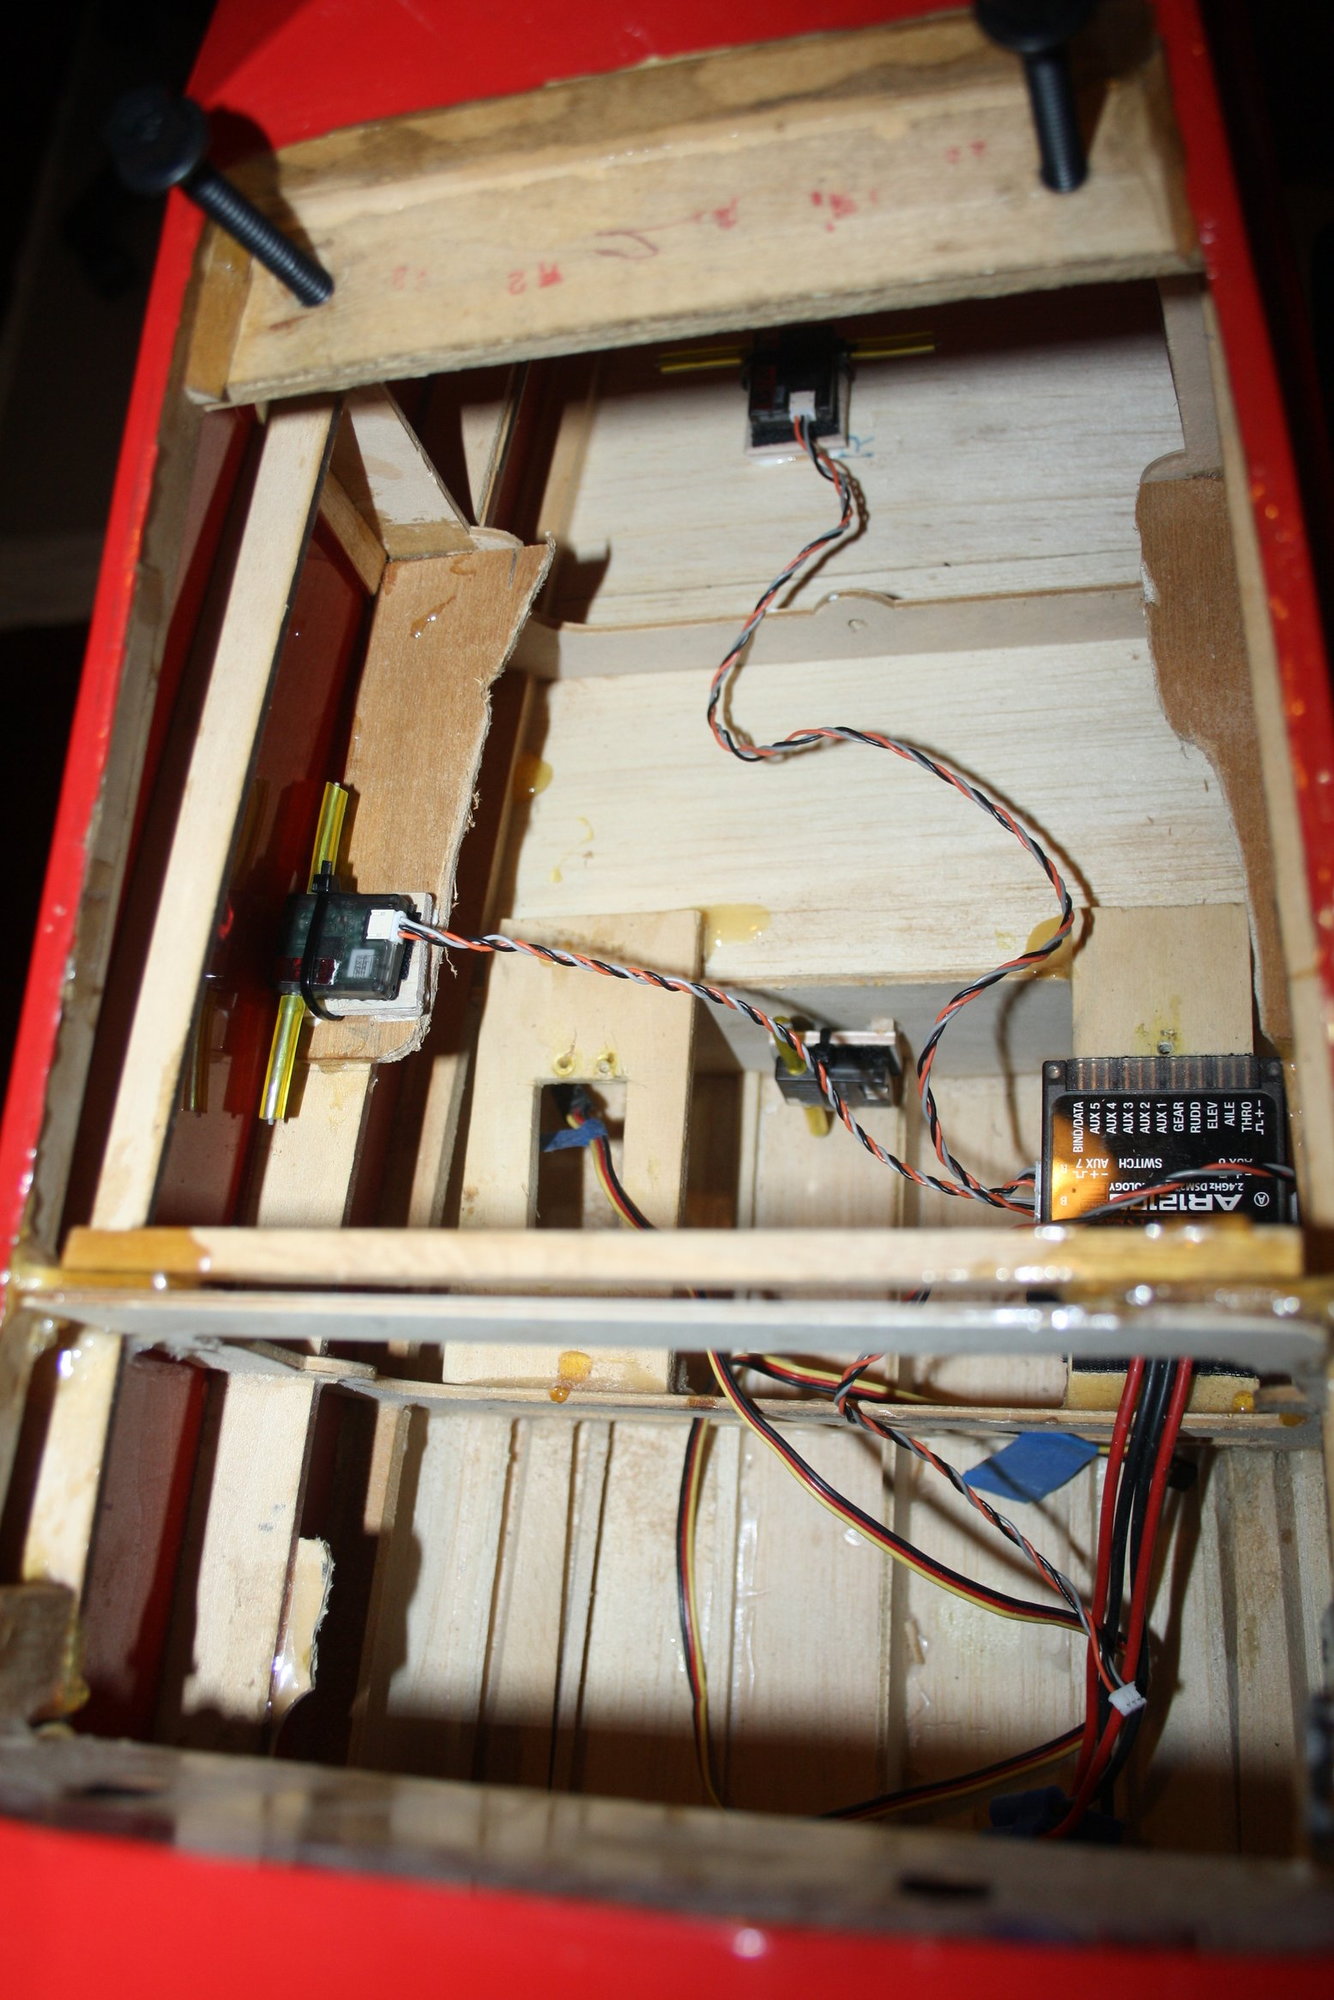
I fitted some of the radio gear. I made mounts for the different components. In addition, I substituted the Chinese "Hao ye" switch and ignition switch which had a soldering done on one of the leads with hew Hitec switch and the Spektrum "fail on" switch that comes with the Power Safe receiver.


 03-24-2019, 04:40 PM
#37
Thread Starter
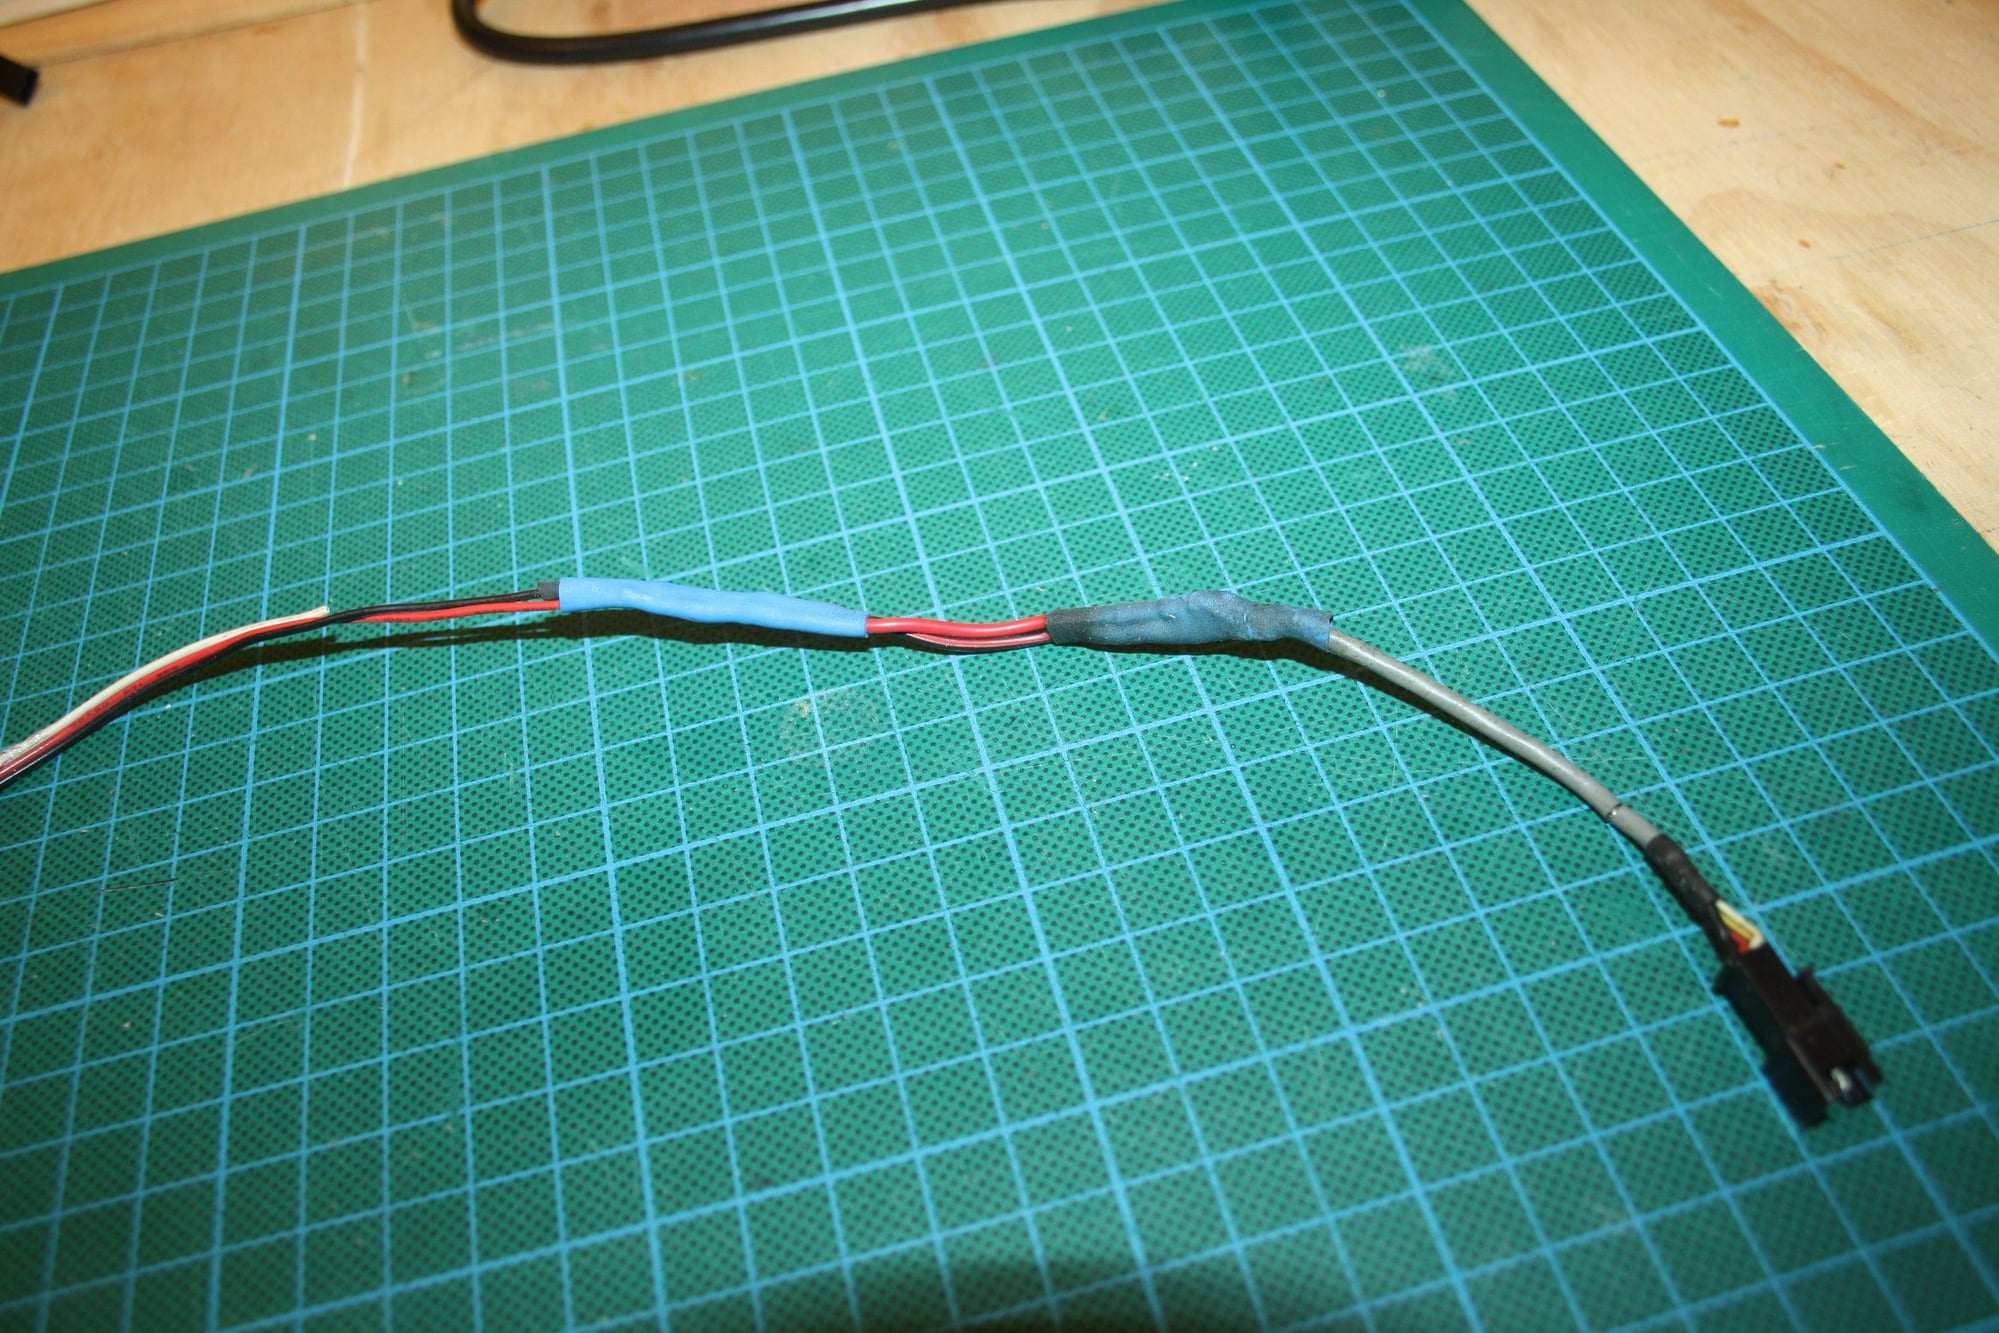
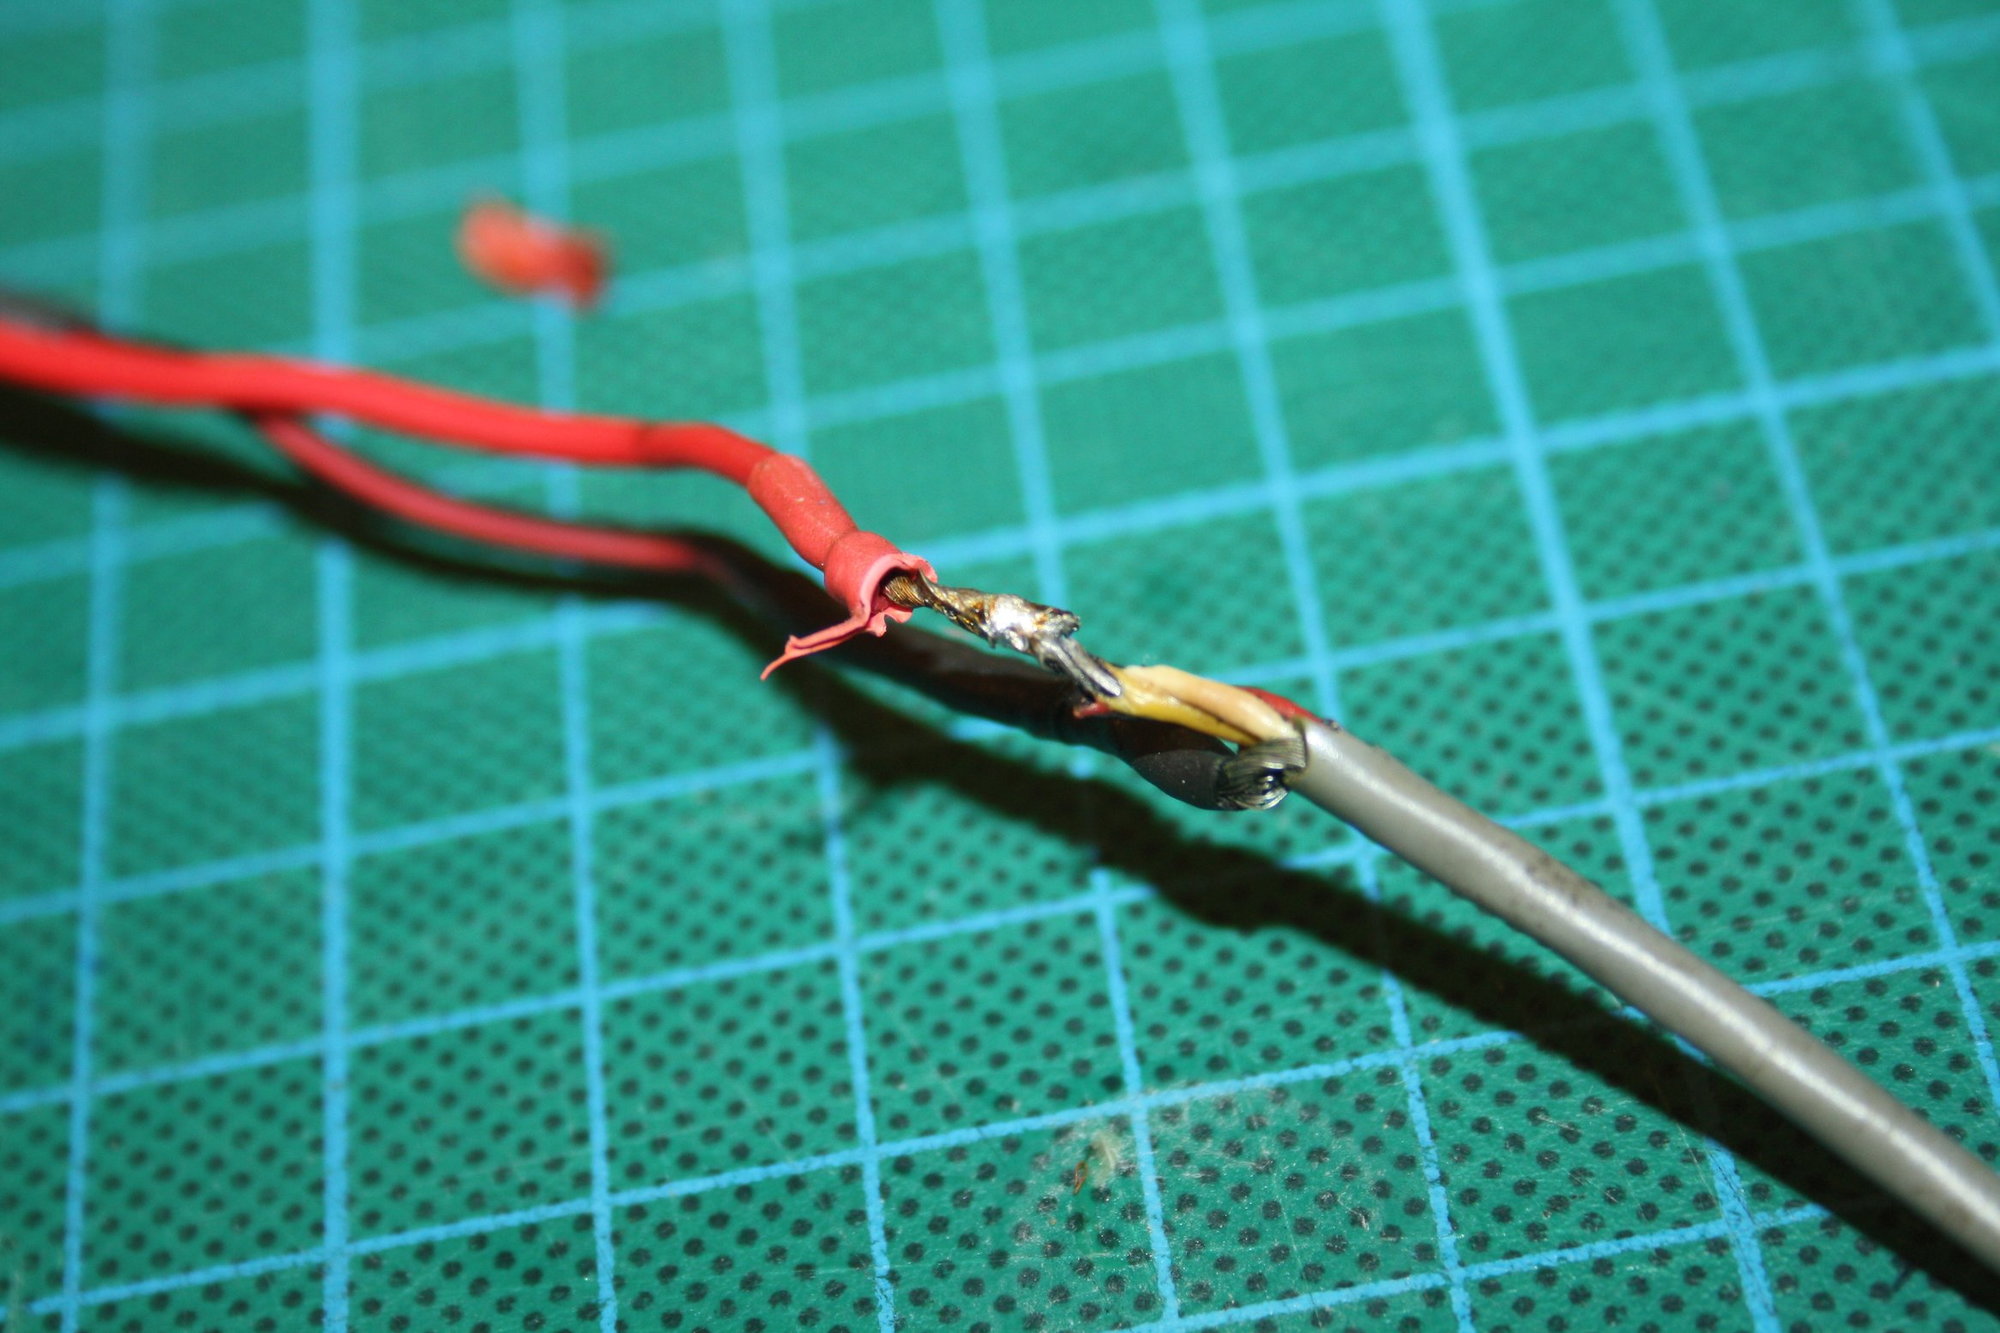
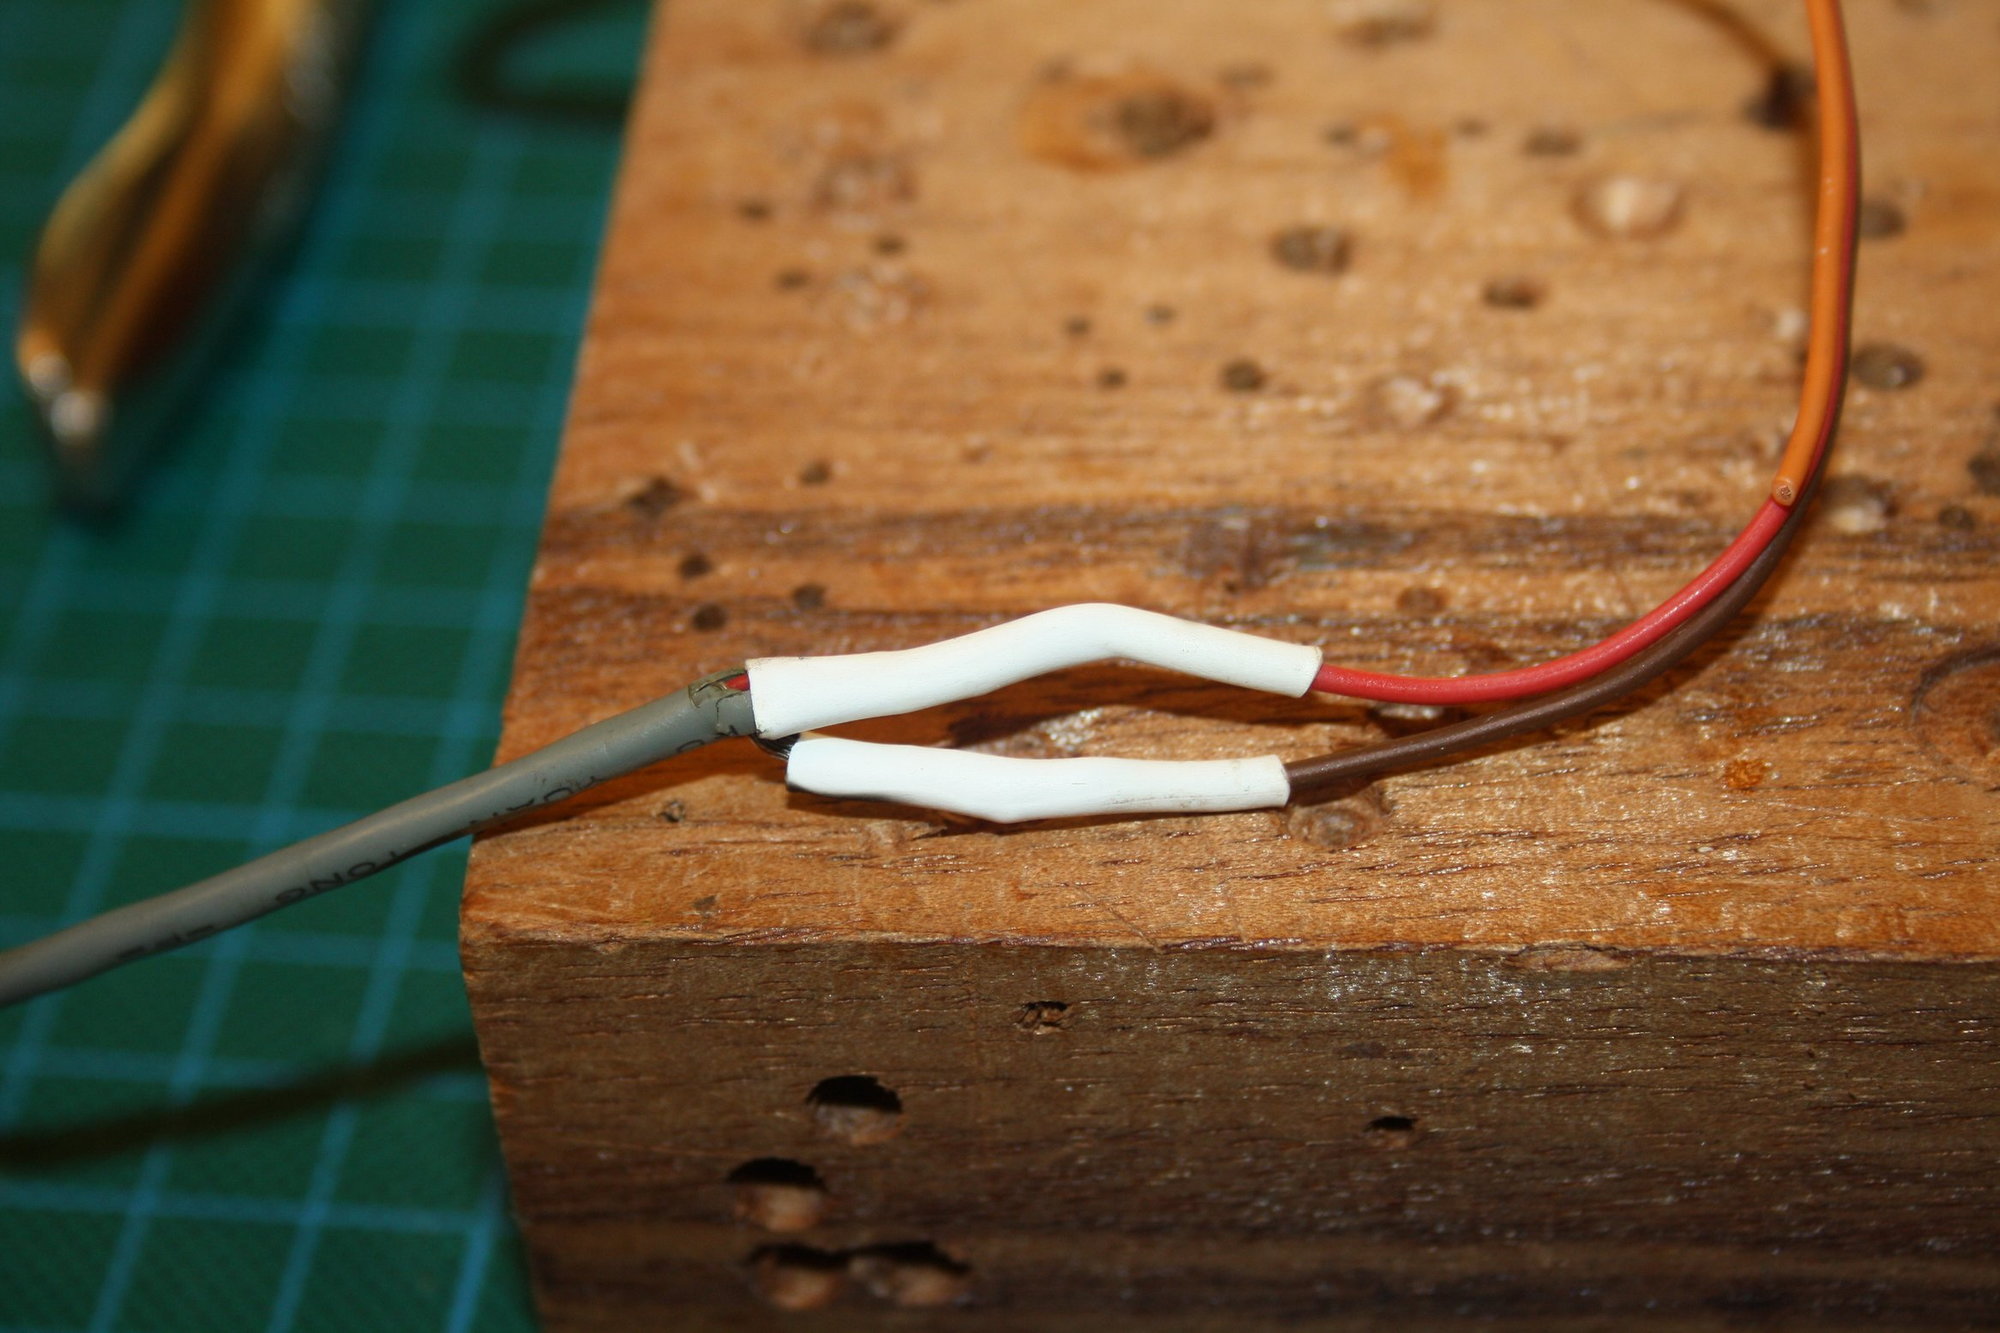
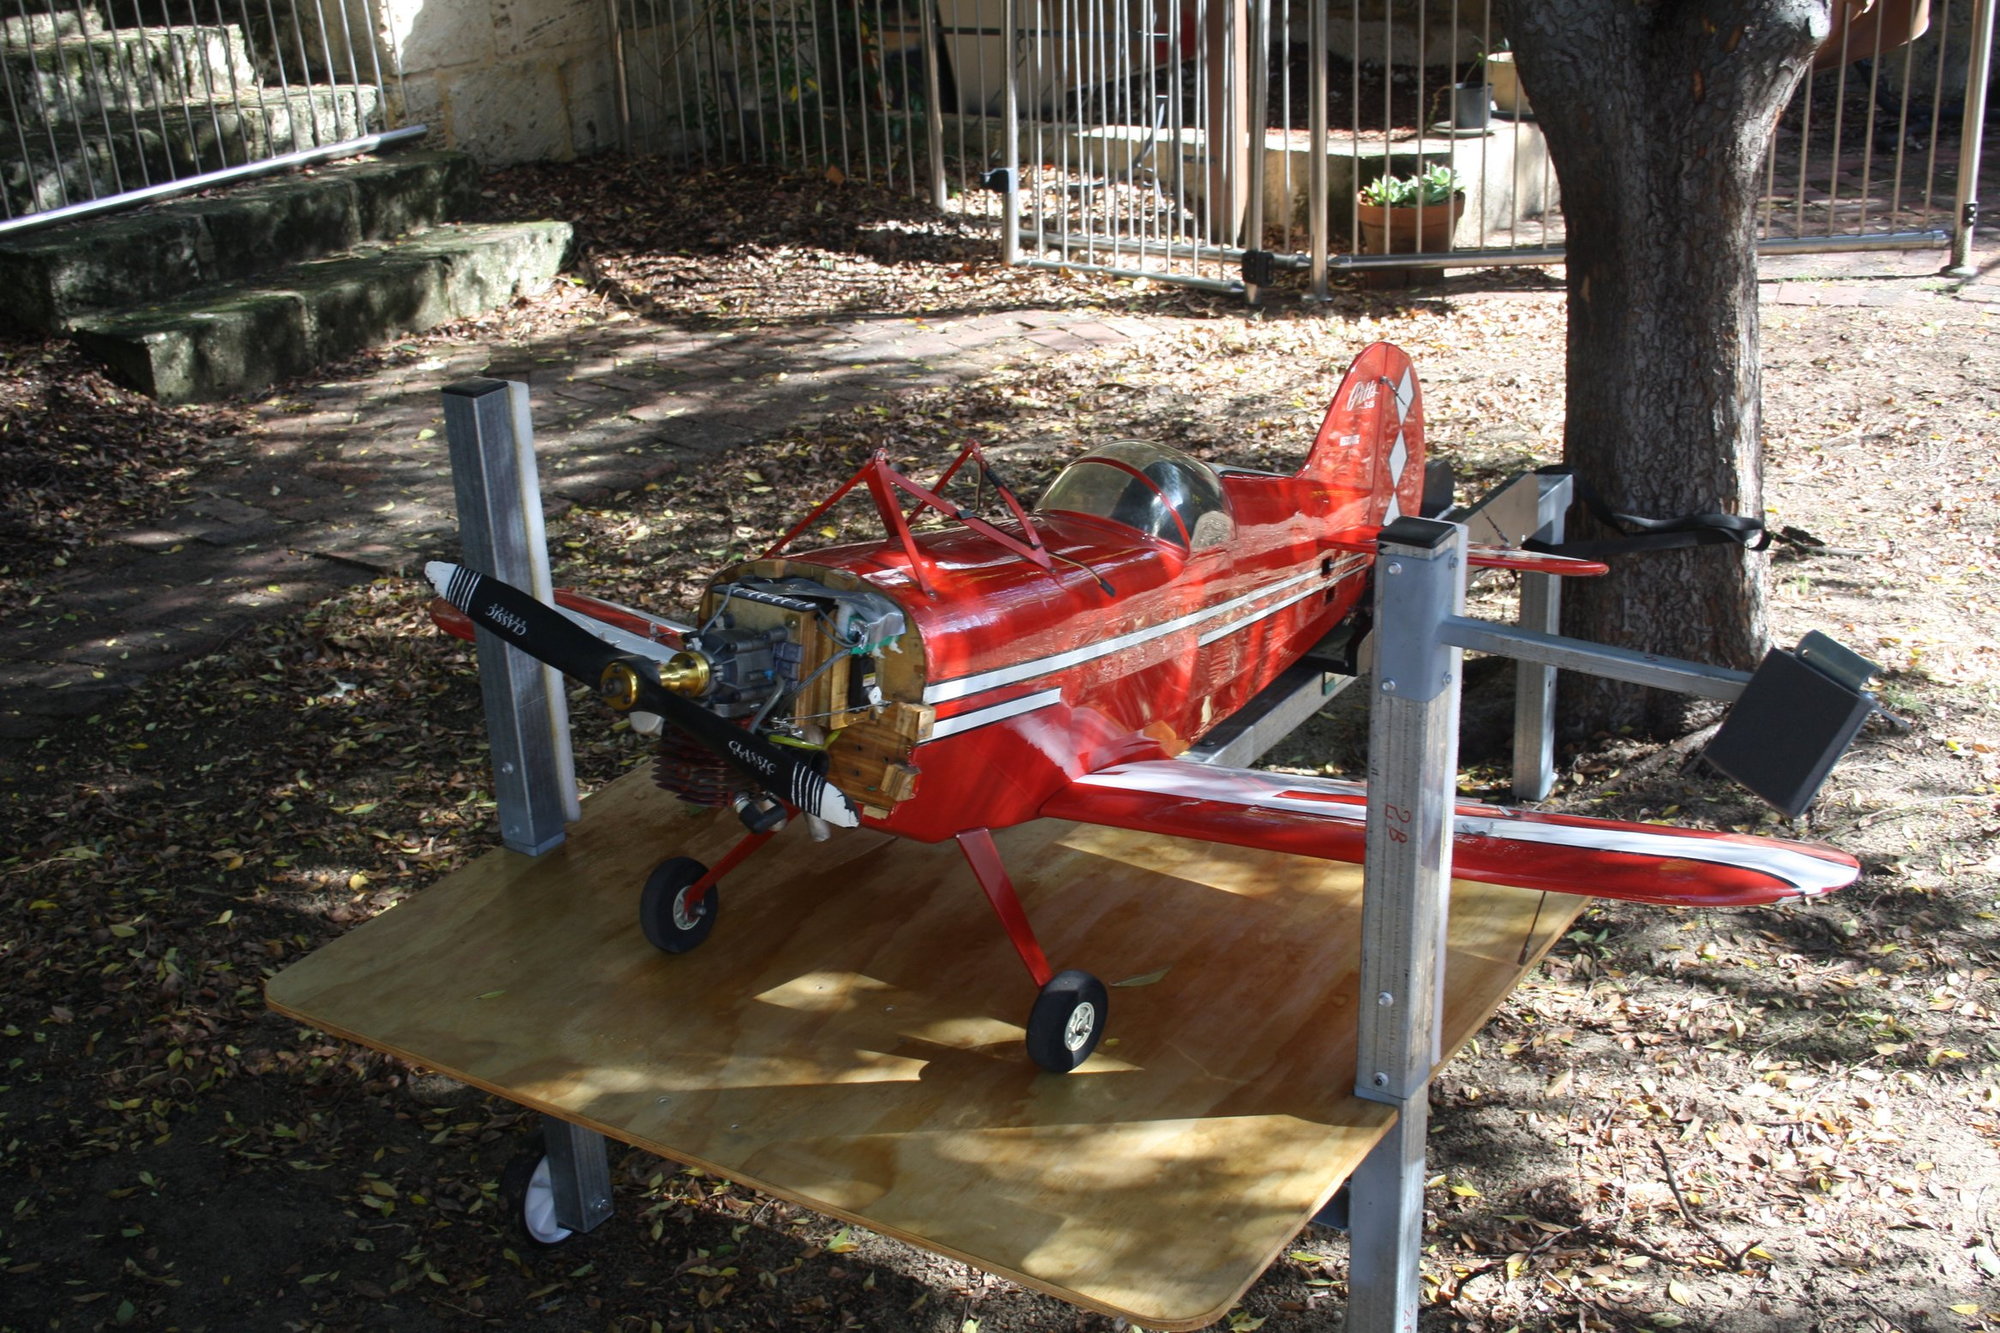
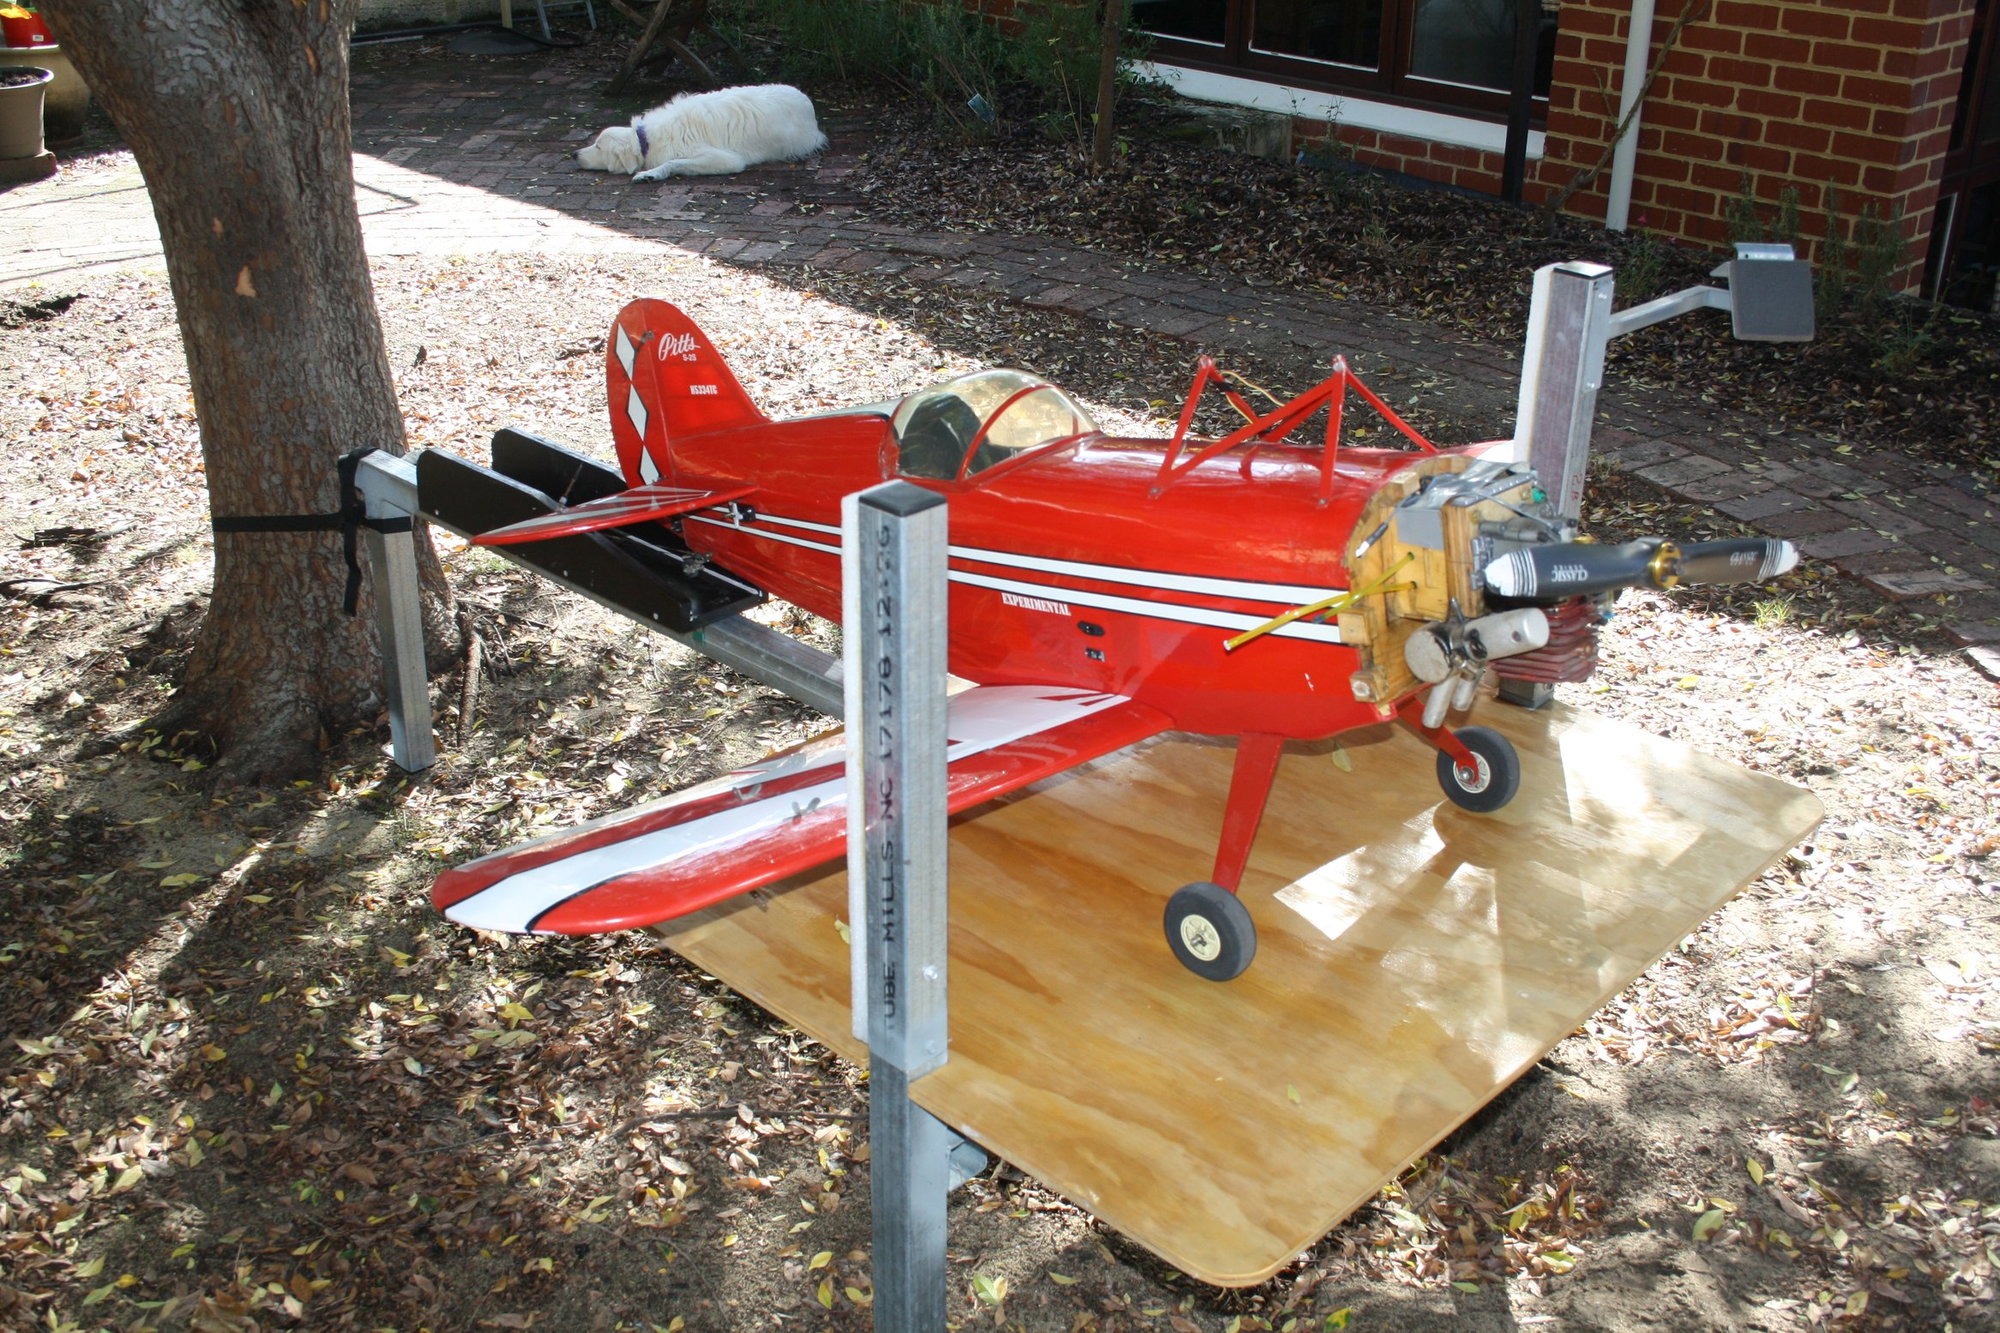
To check that the ignition operates as it should with the repaired cable, and to see if the engine actually works after years of storage, I quickly fired it up on my test stand outside. All worked perfectly.

03-26-2019, 07:00 PM
#38
Thread Starter
Couple of important things that happened:
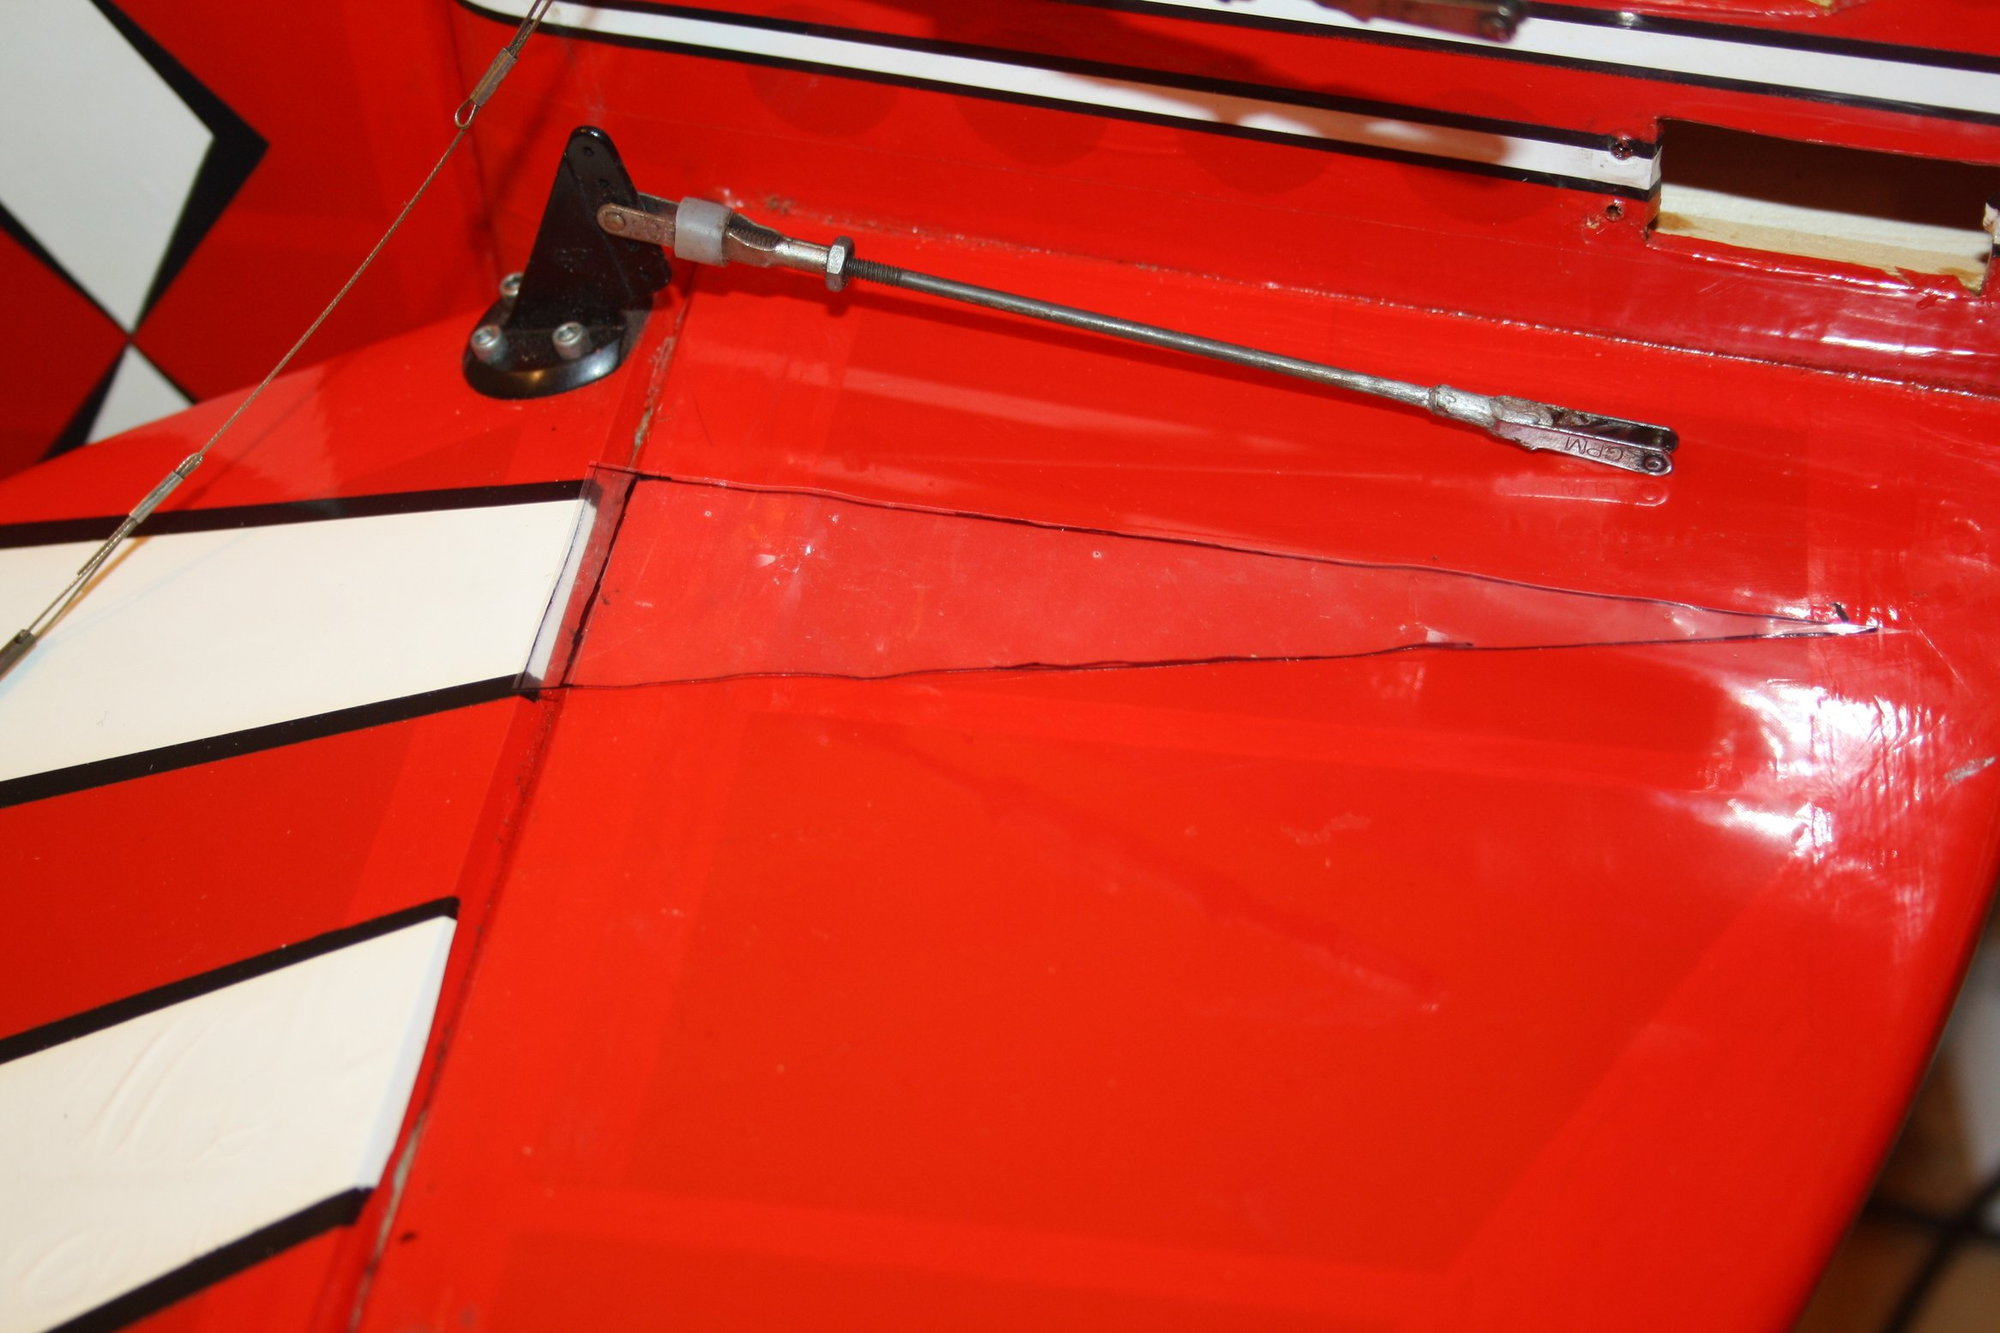
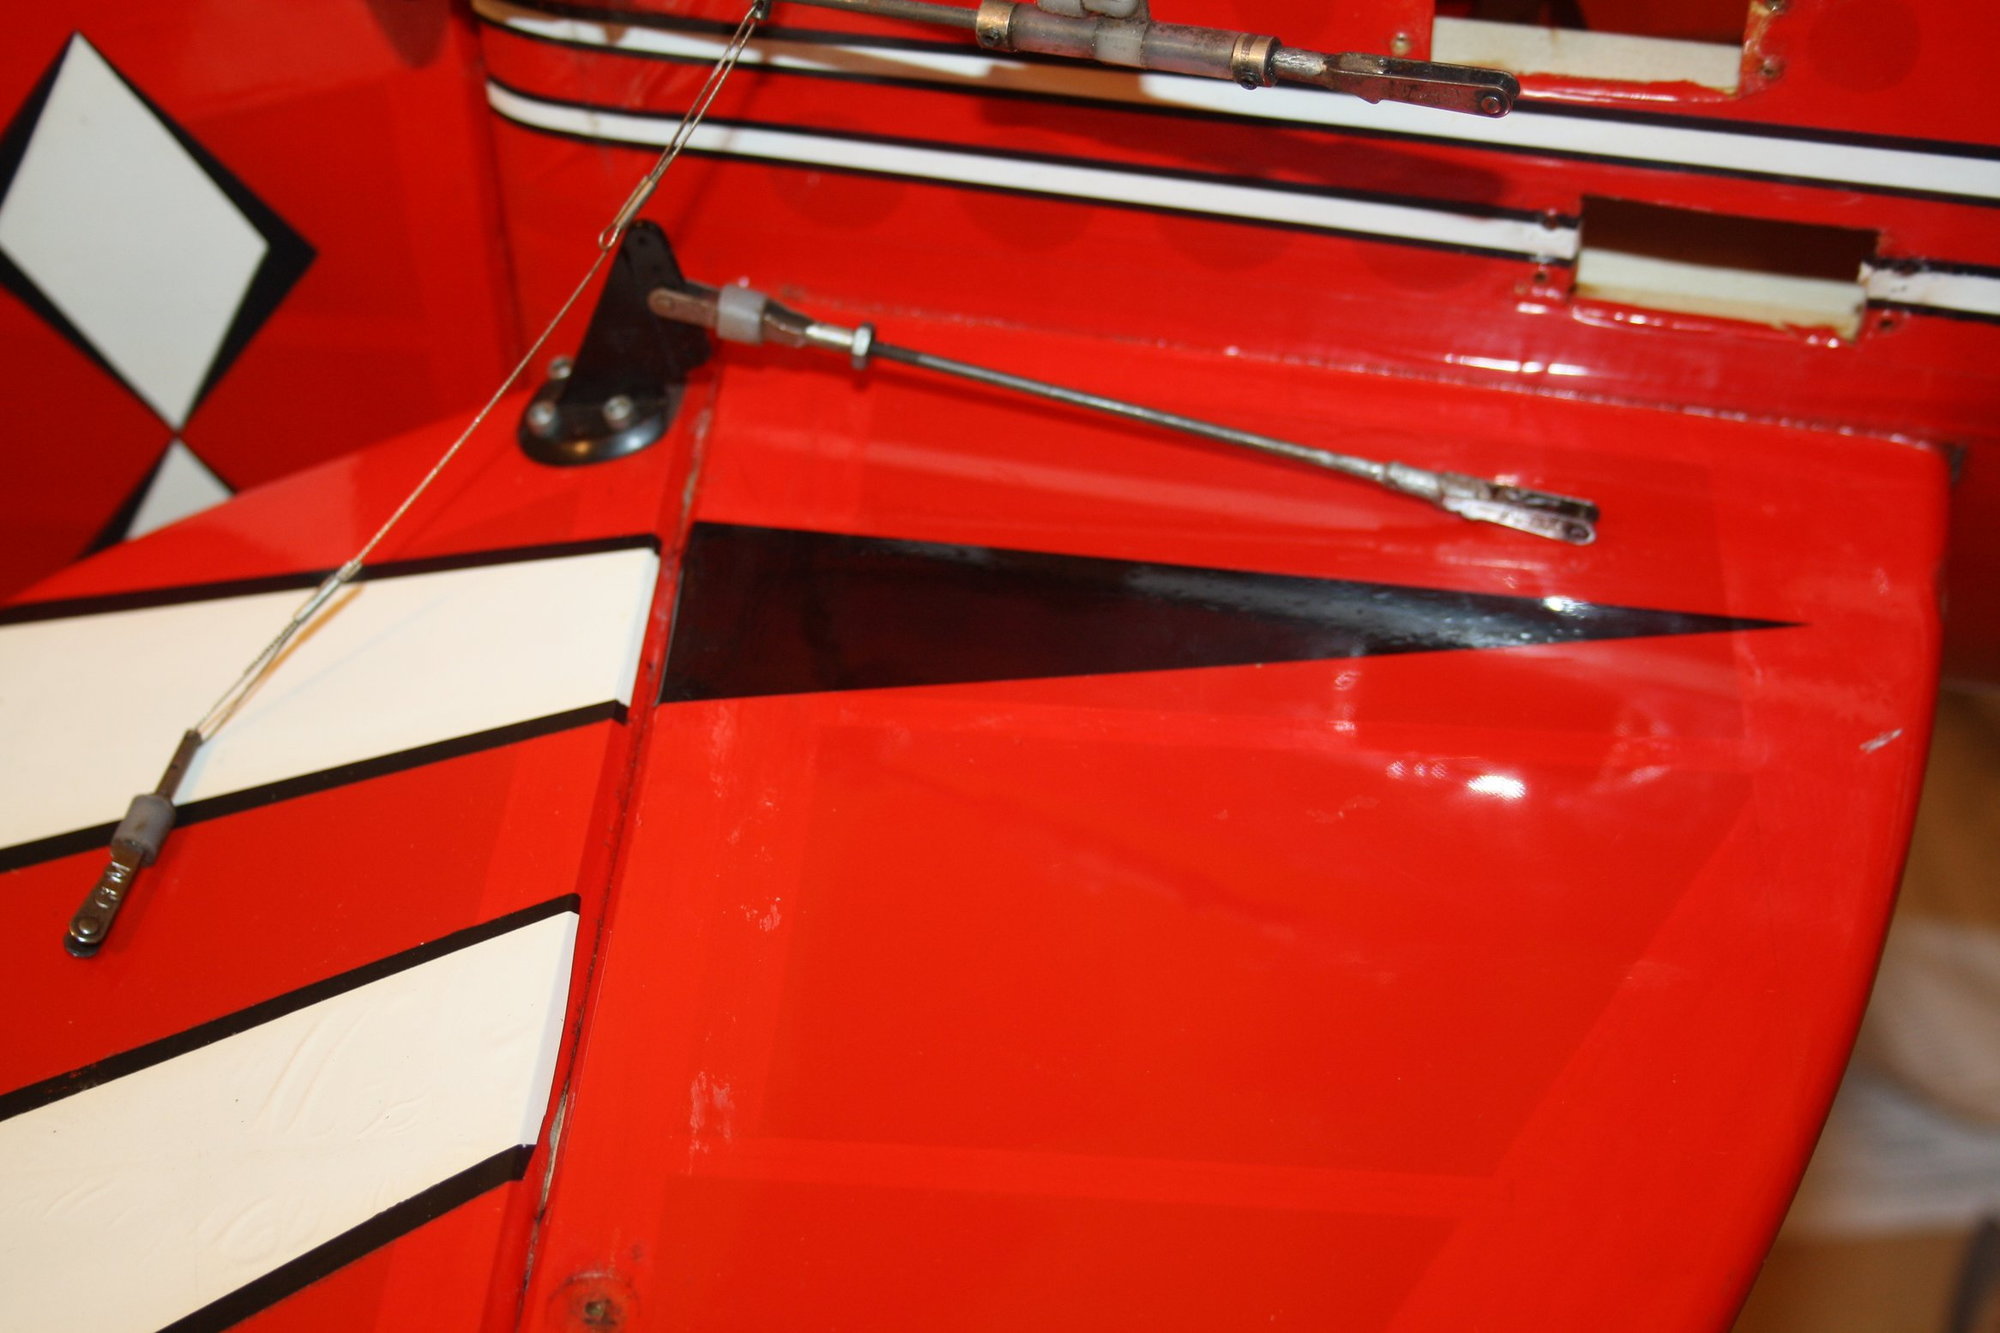
1. While on the stand running the engine, I noticed that one of the elevators hinges is torn (CA hinge)
2. The owner reconsidered the costs associated with getting this aeroplane to flying condition (Heavy Duty servos, flight batteries etc) and decided to give it to me at no cost...
So, first thing first, cutting the elevator off and re-hinging
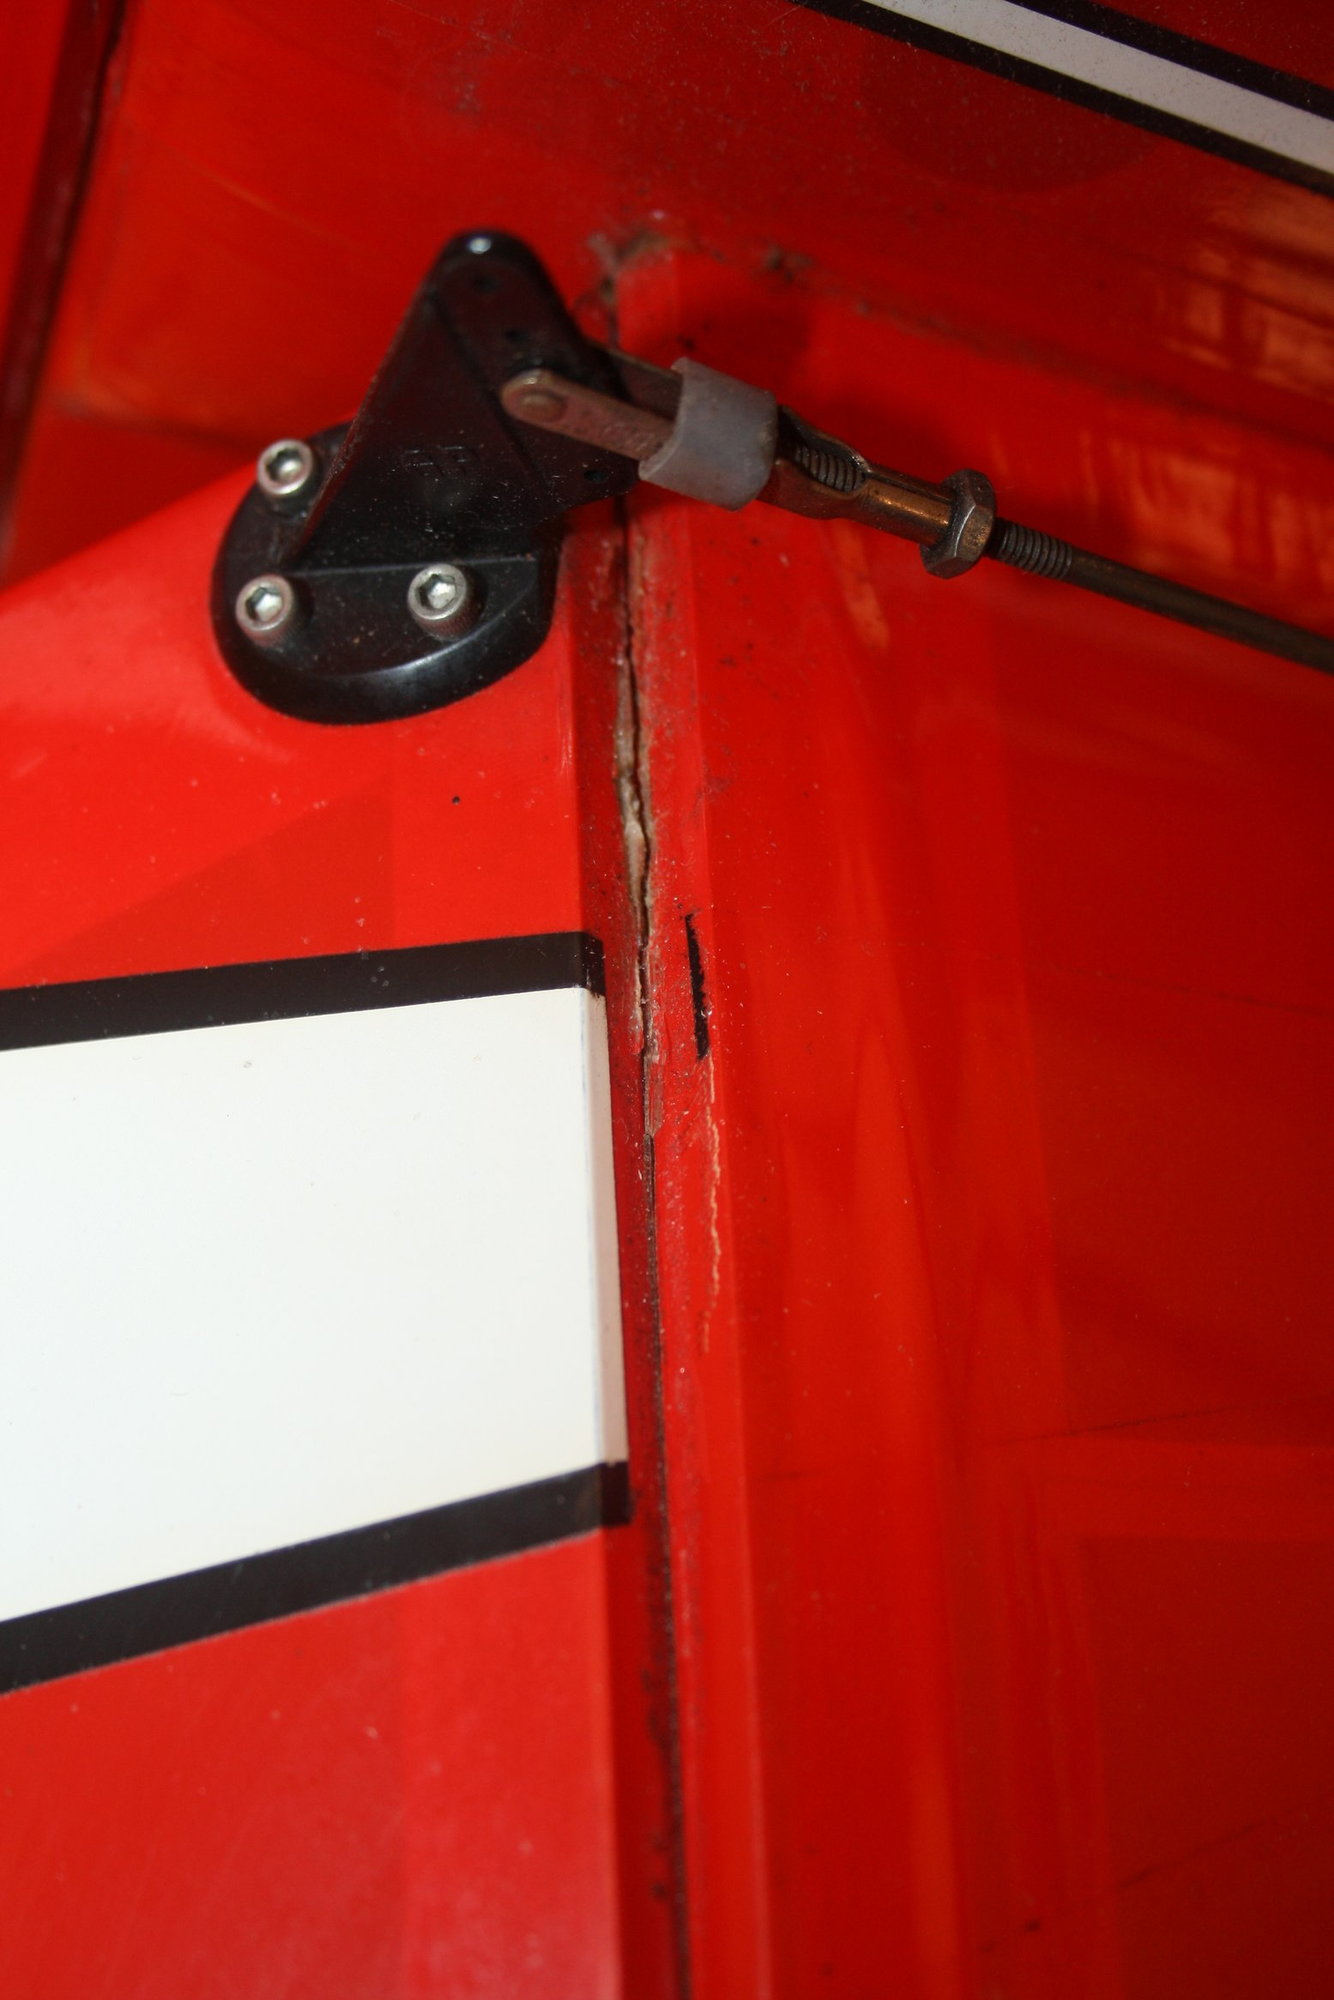

 03-29-2019, 12:32 PM
#40
My Feedback: (1)
Join Date: Sep 2003
Location: Talamanca de JaramaMadrid, SPAIN
Posts: 583
Received 4 Likes
on
4 Posts
Erans, congrats on the restauration work!
I have a similar job ahead but with a Christen Eagle instead of the Pitts.
Please keep us informed on the project progress, the large model inspection results and the maiden, of course.
Best Regards.
I have a similar job ahead but with a Christen Eagle instead of the Pitts.
Please keep us informed on the project progress, the large model inspection results and the maiden, of course.
Best Regards.
03-29-2019, 11:41 PM
#41
Thread Starter
Thank you jescardin, I hope you will enjoy restoring the Christen Eagle as much as I do with the Pitts.
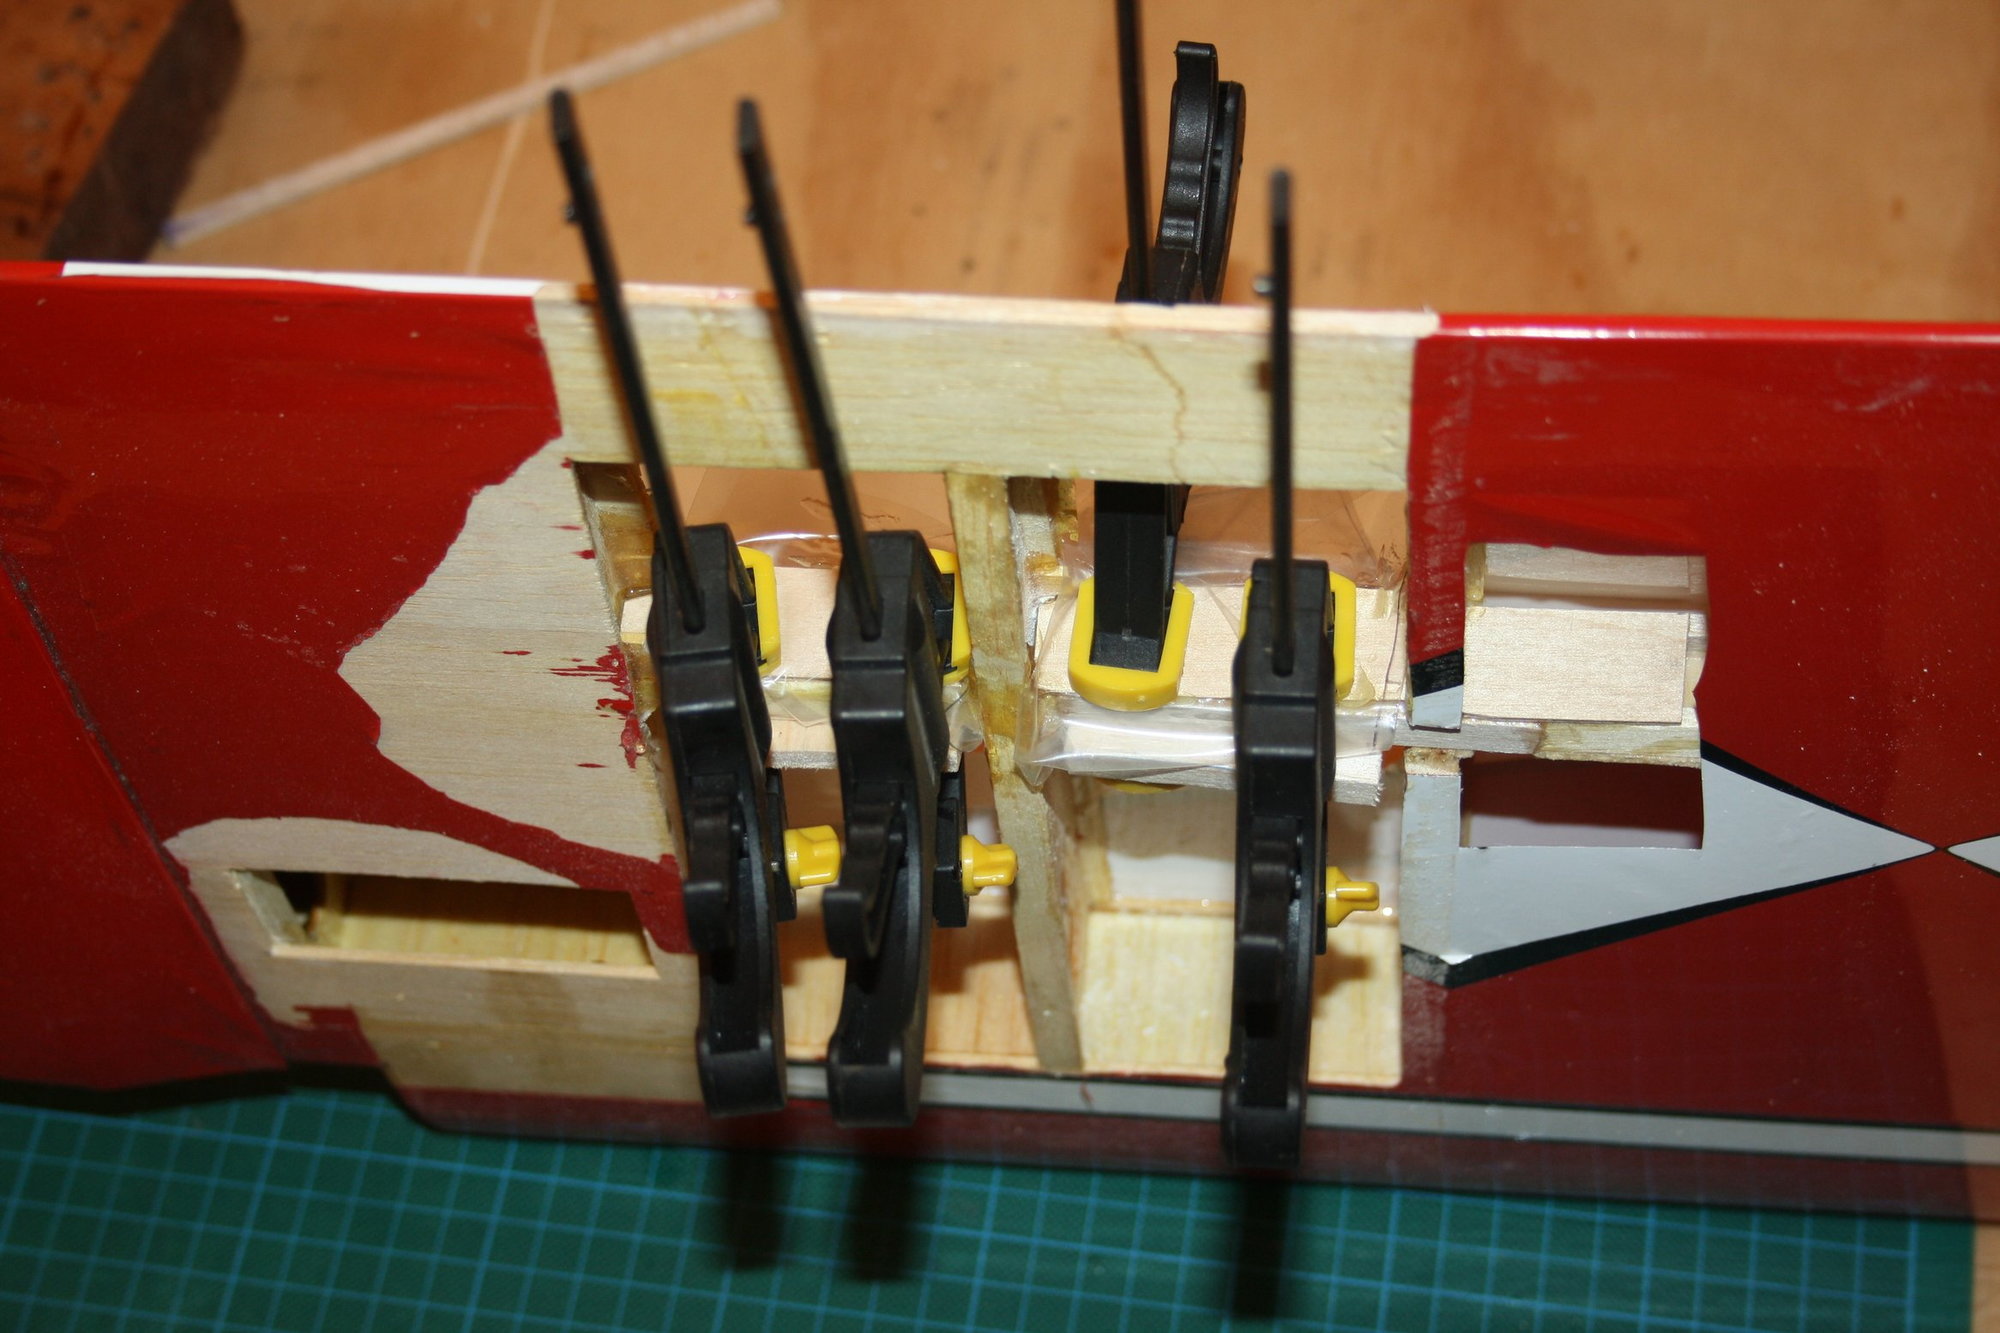
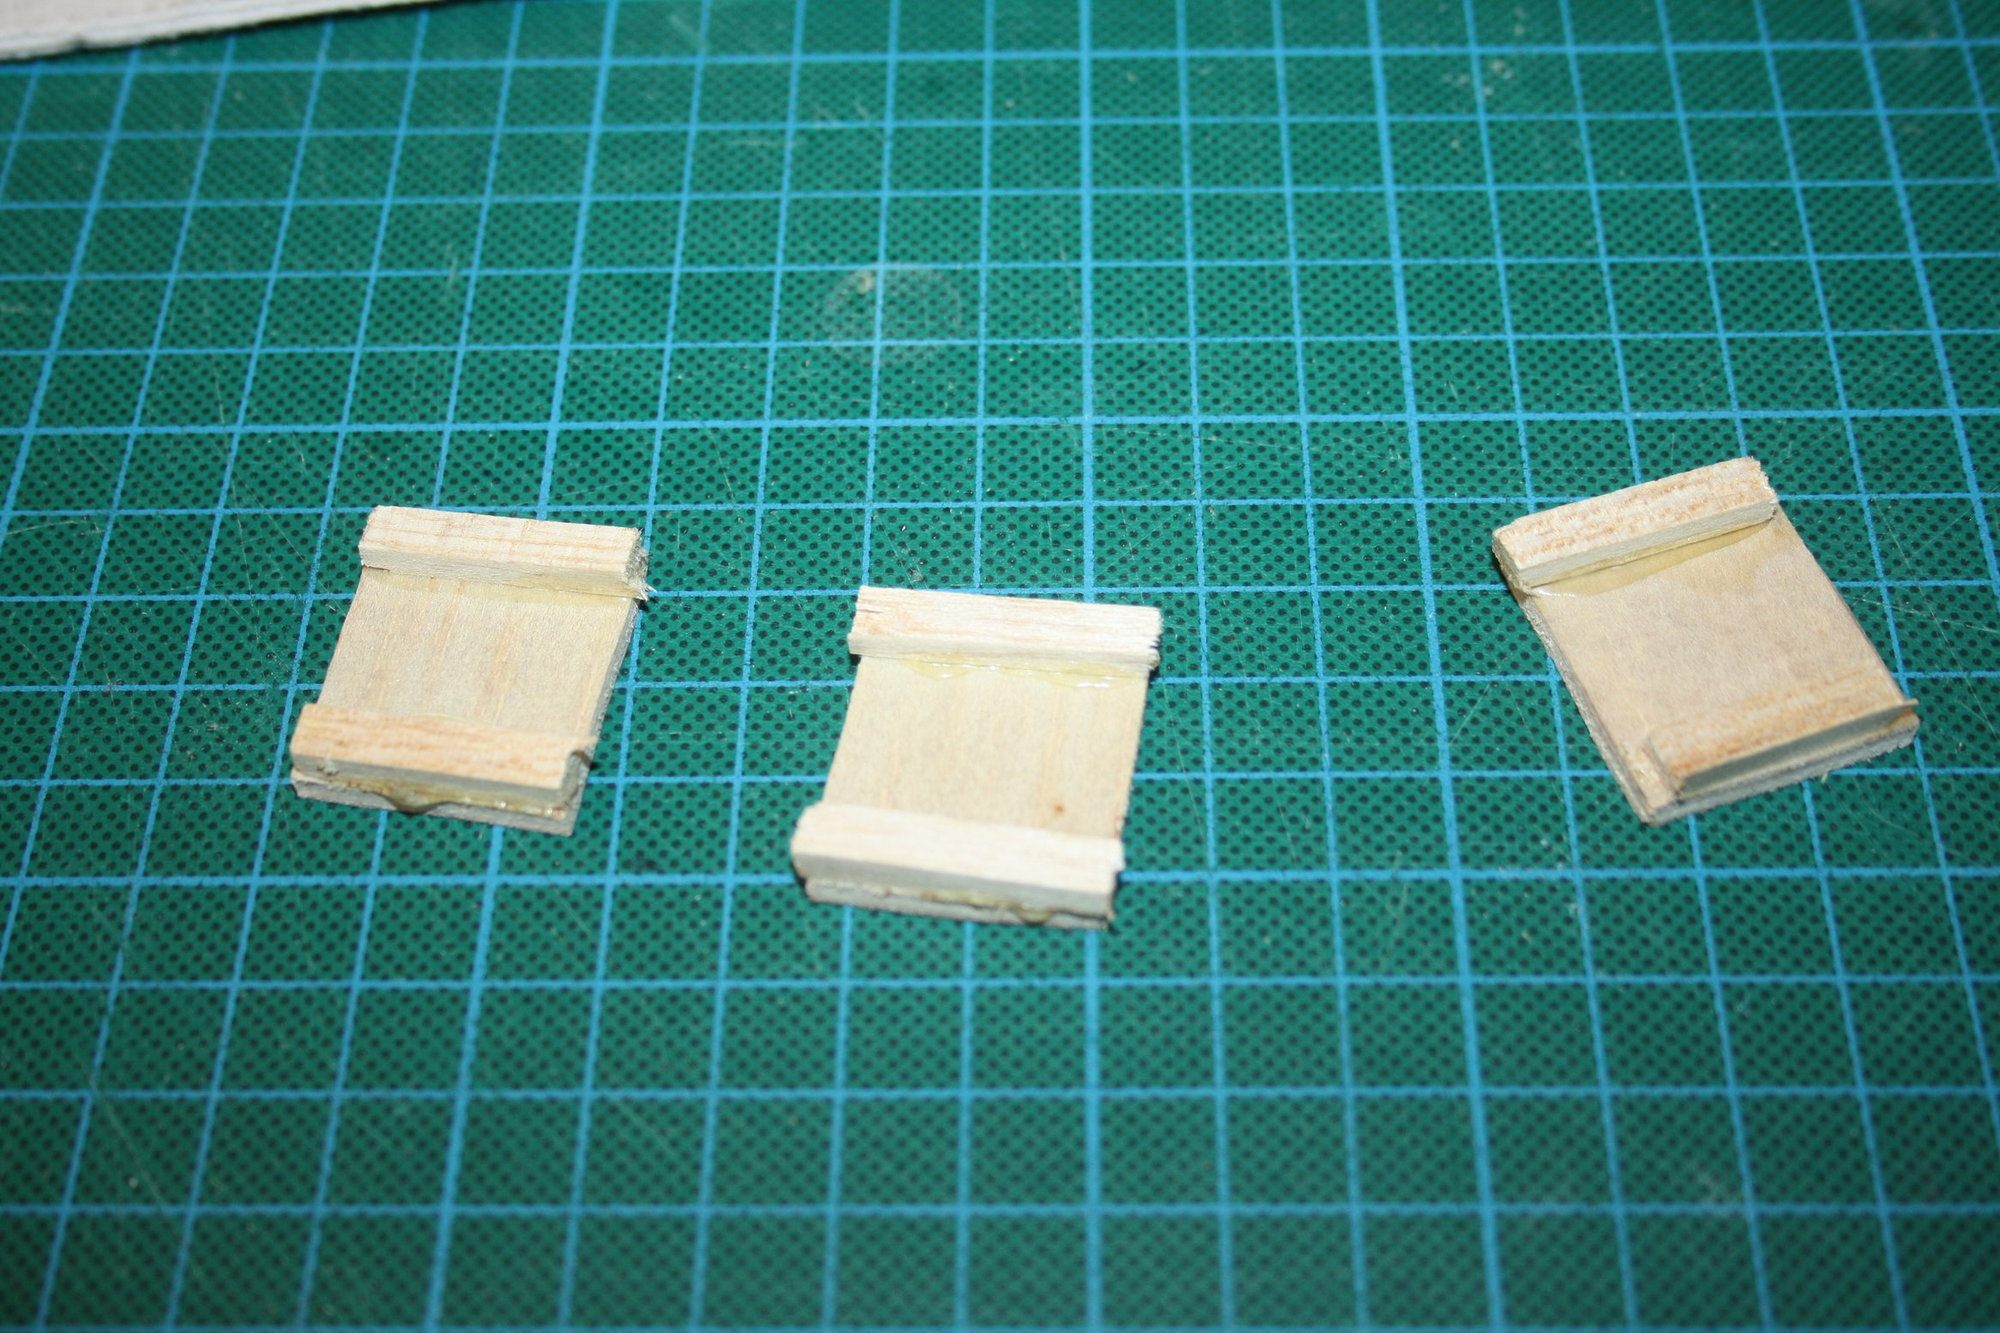
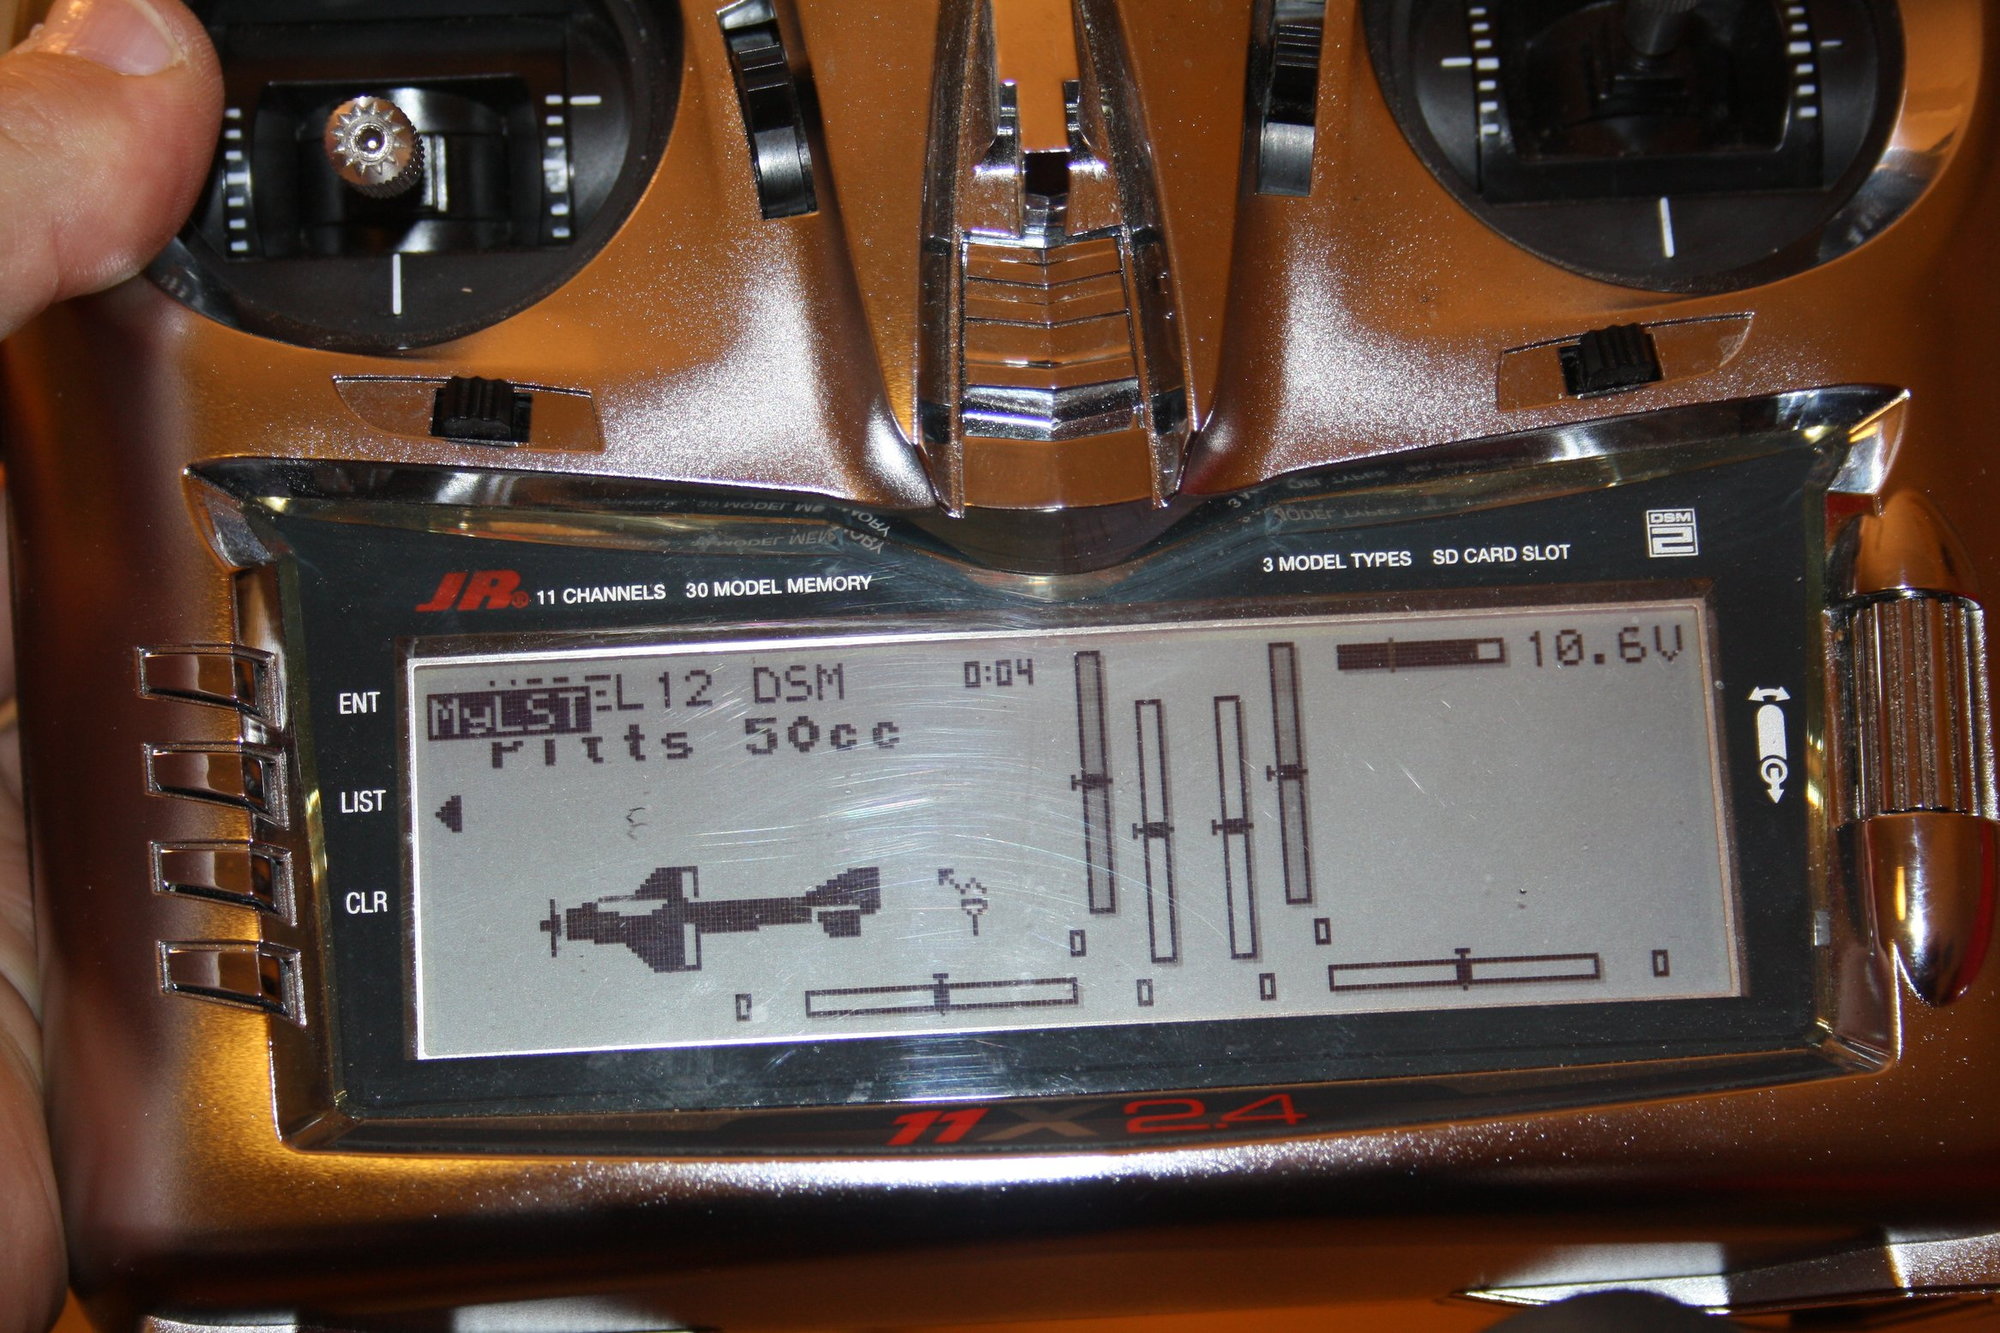
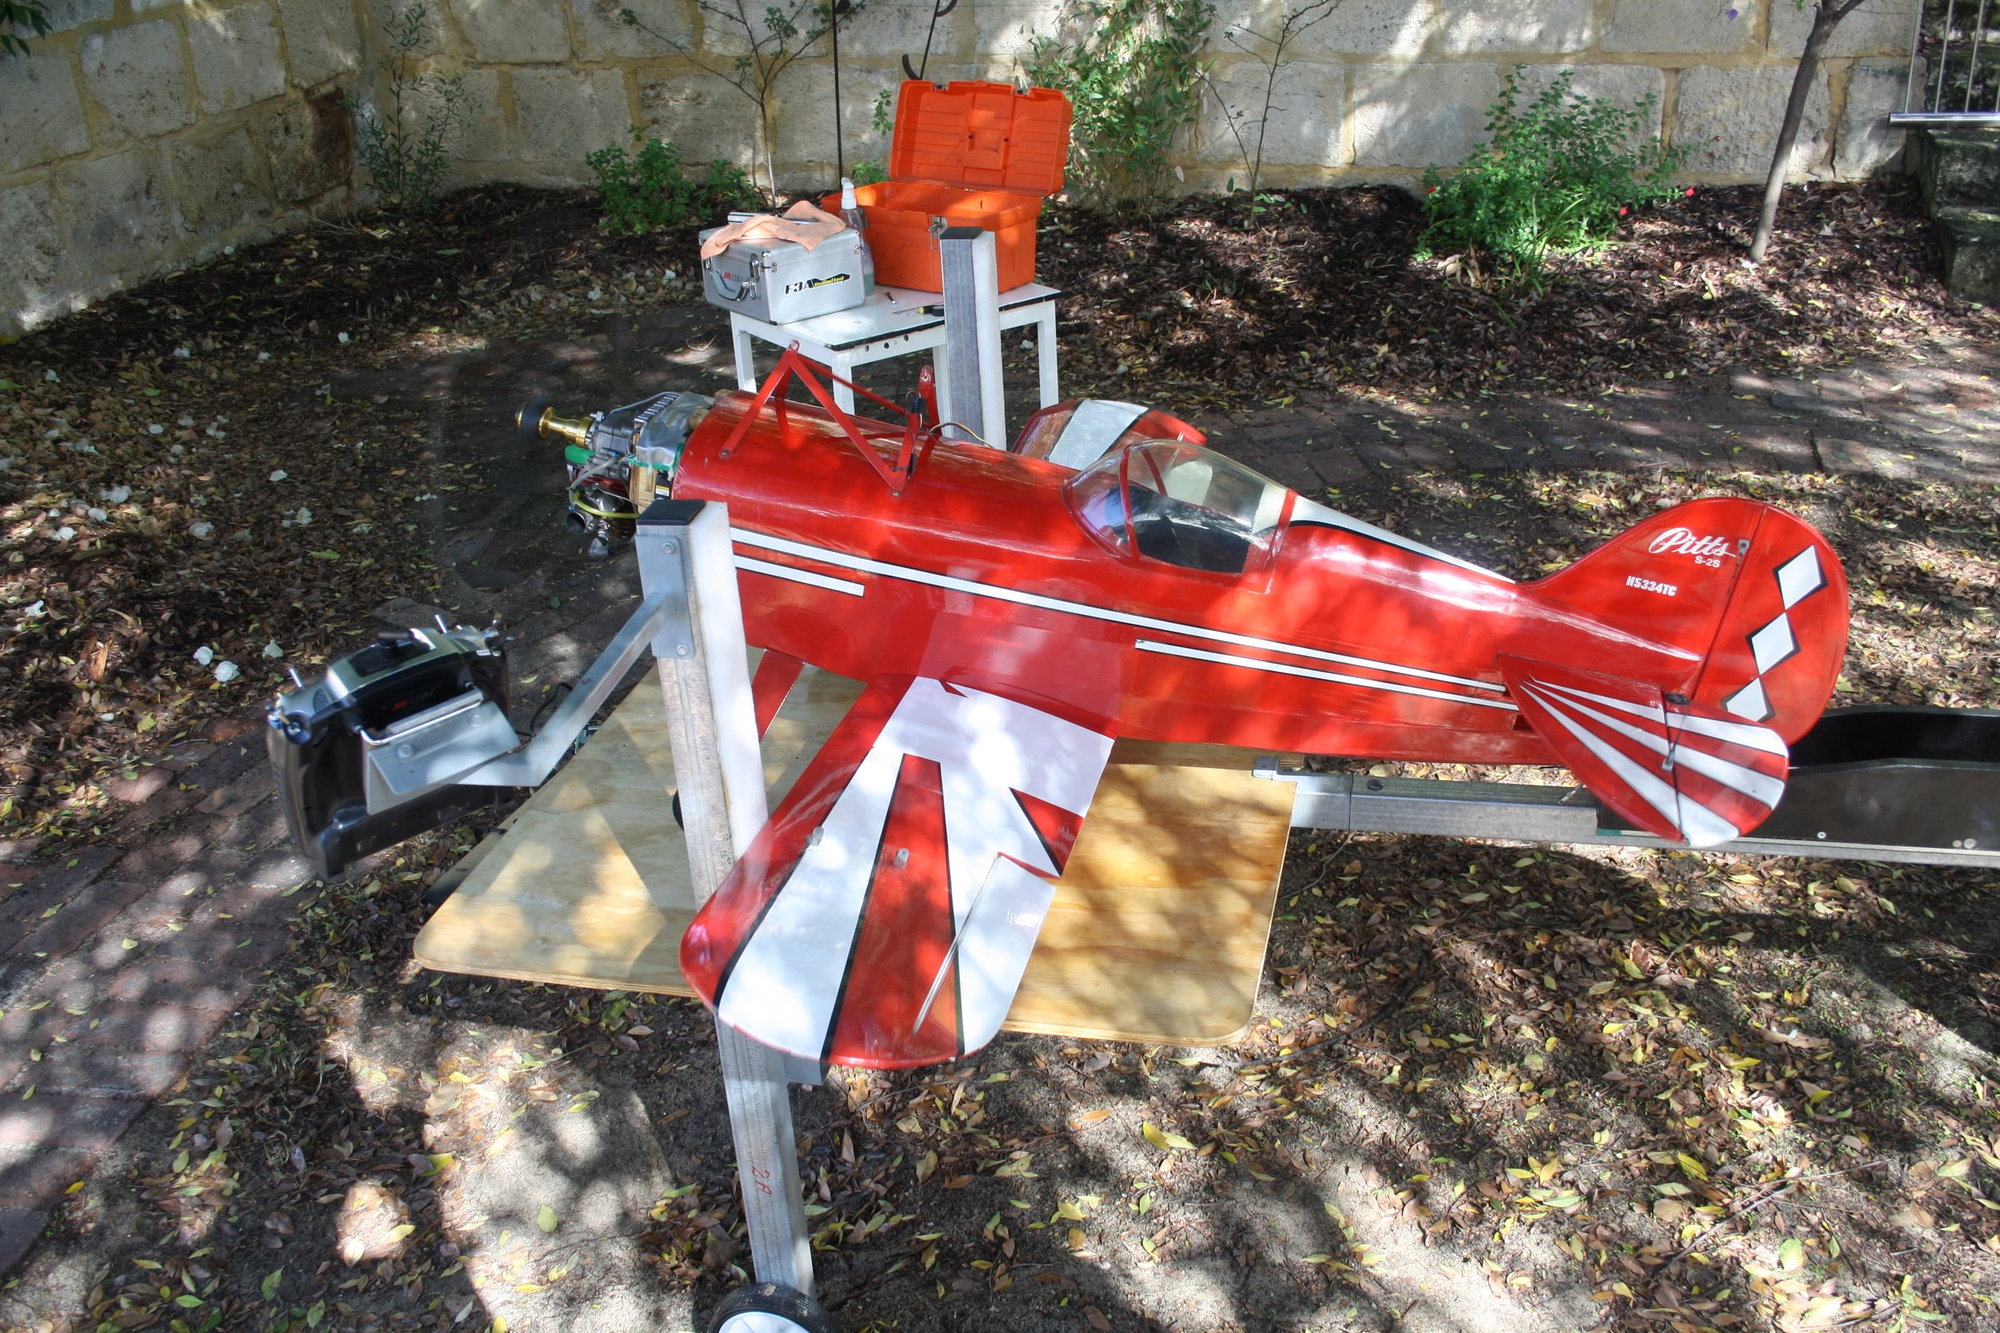
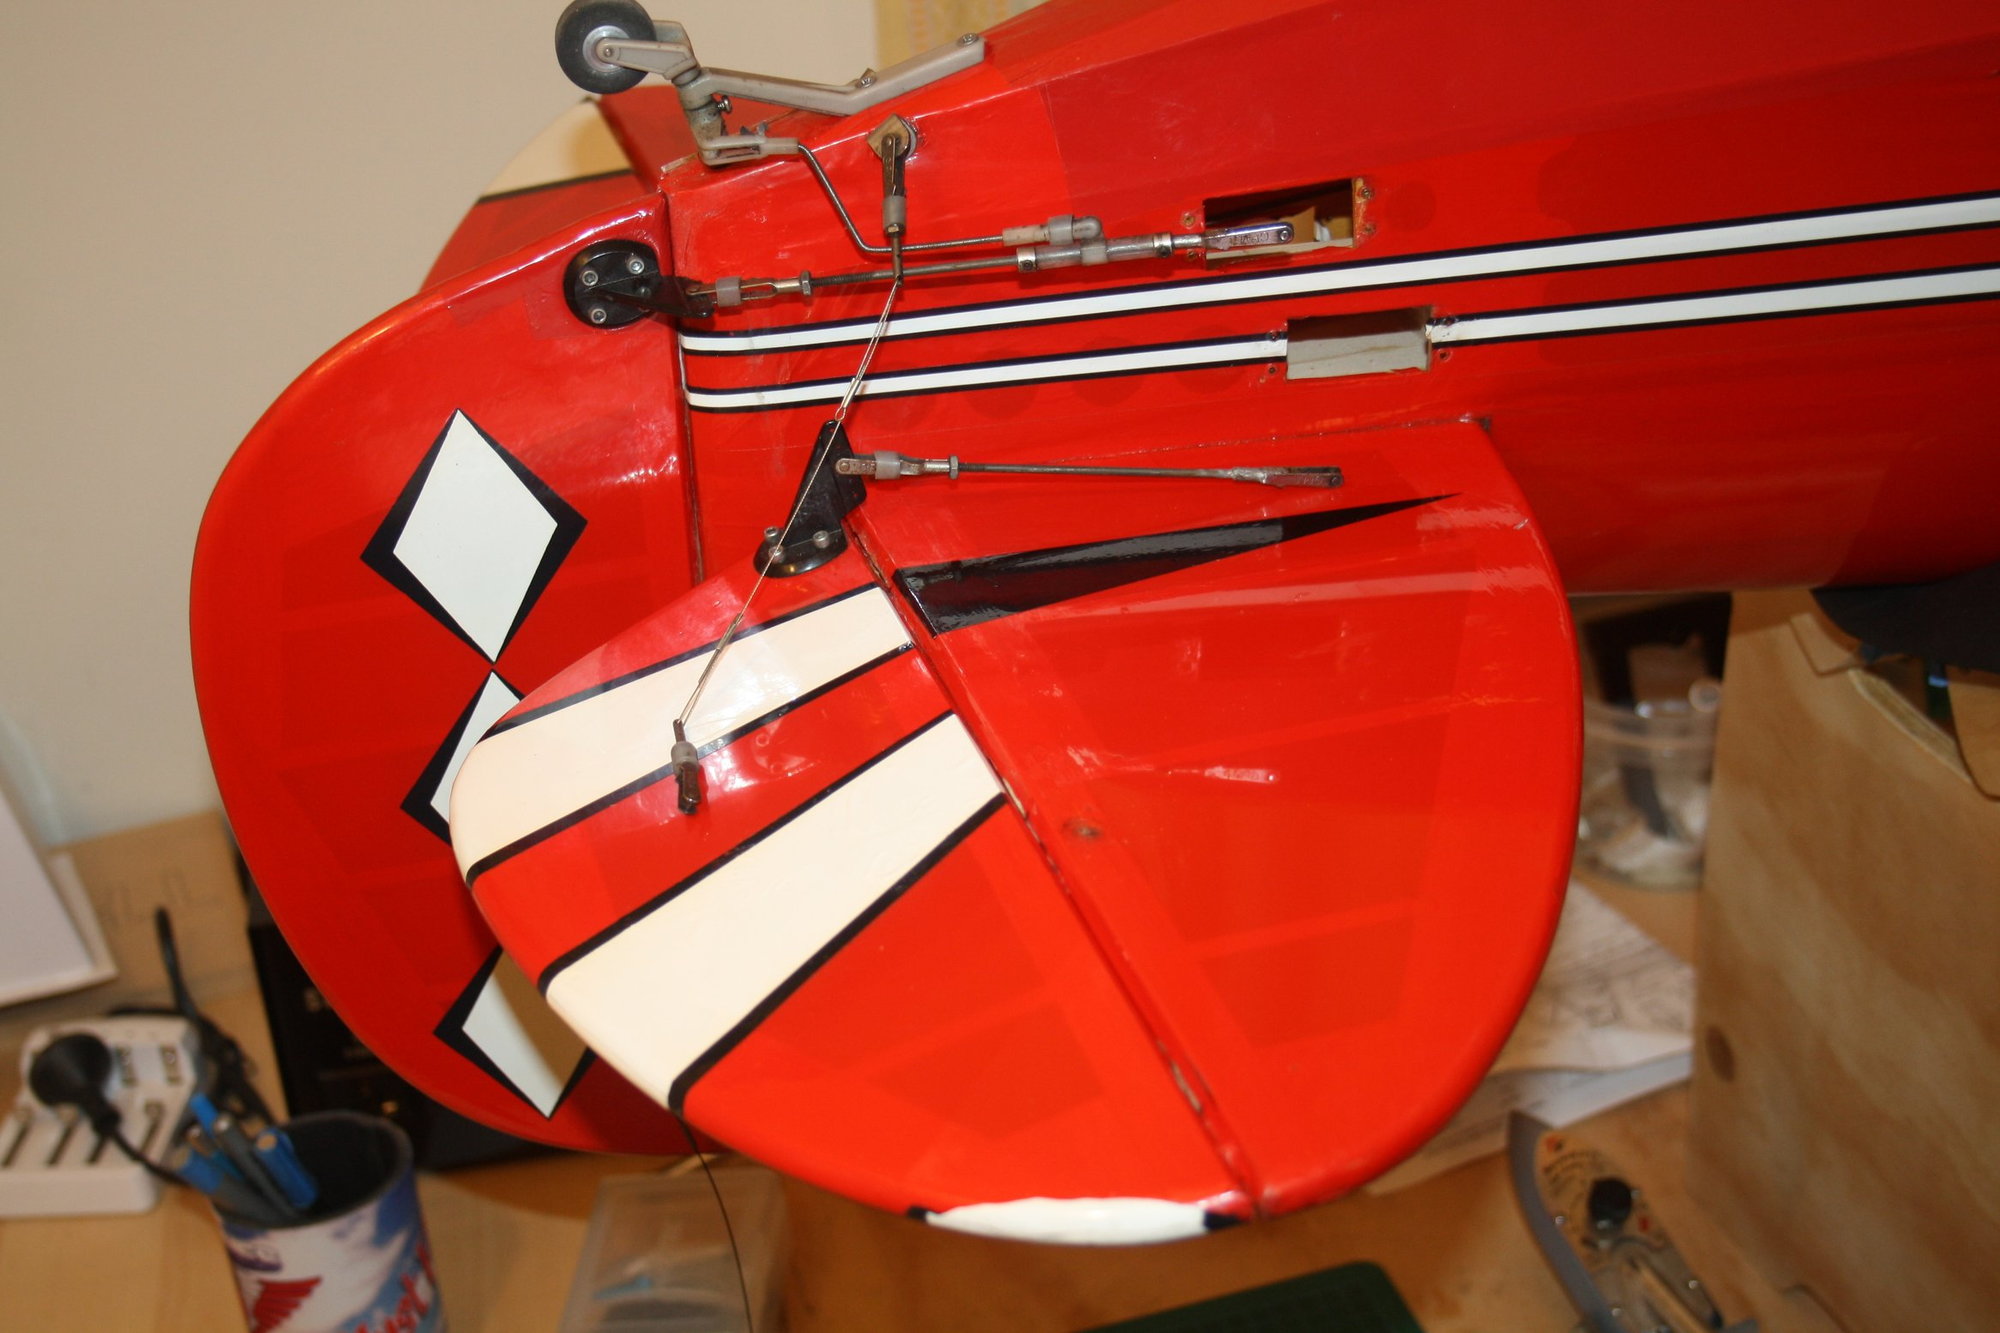
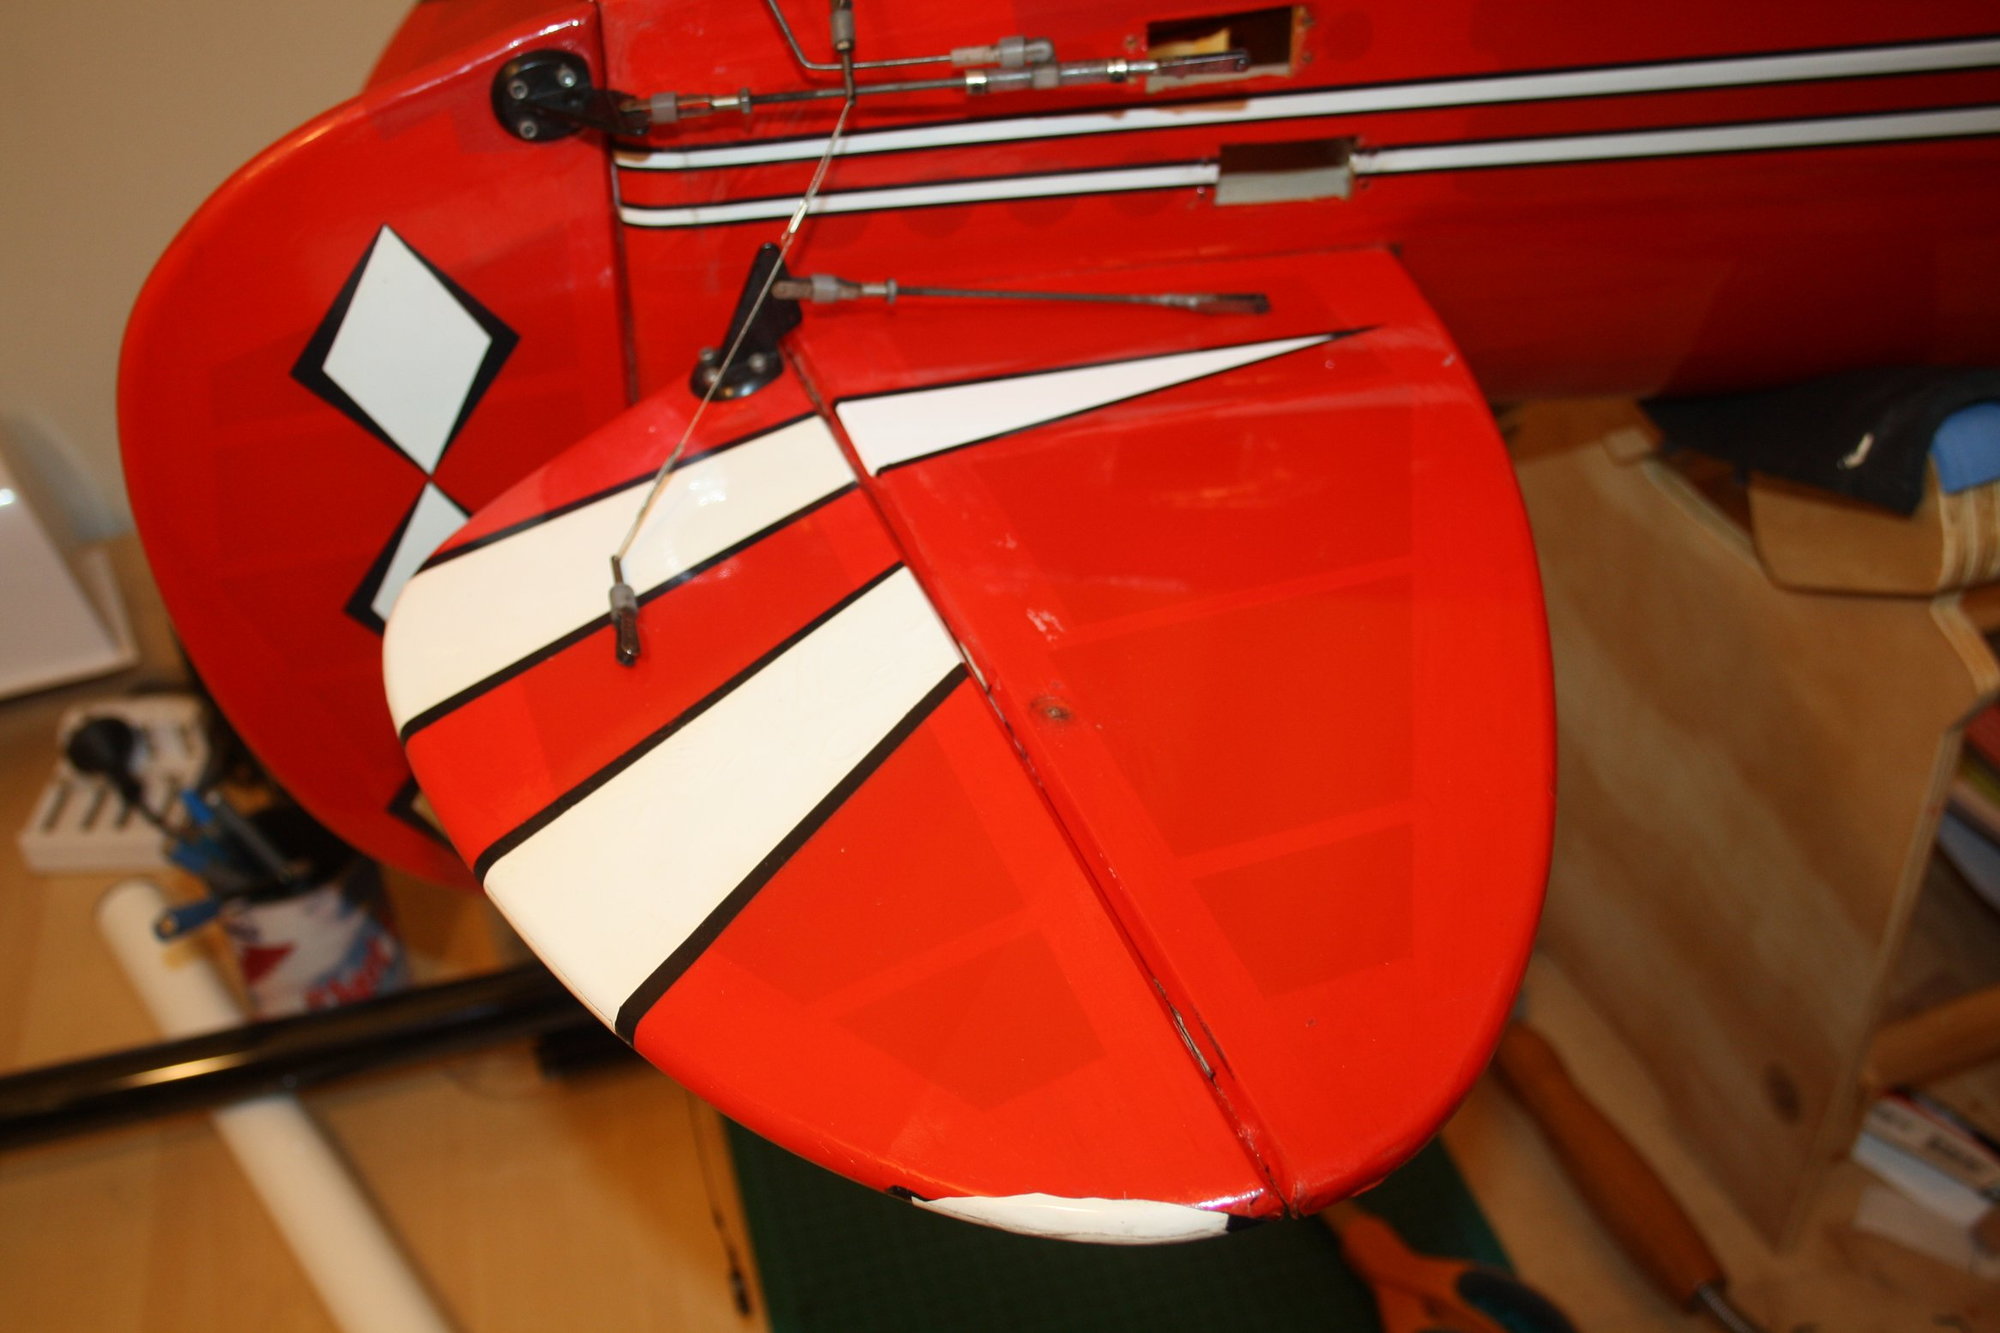
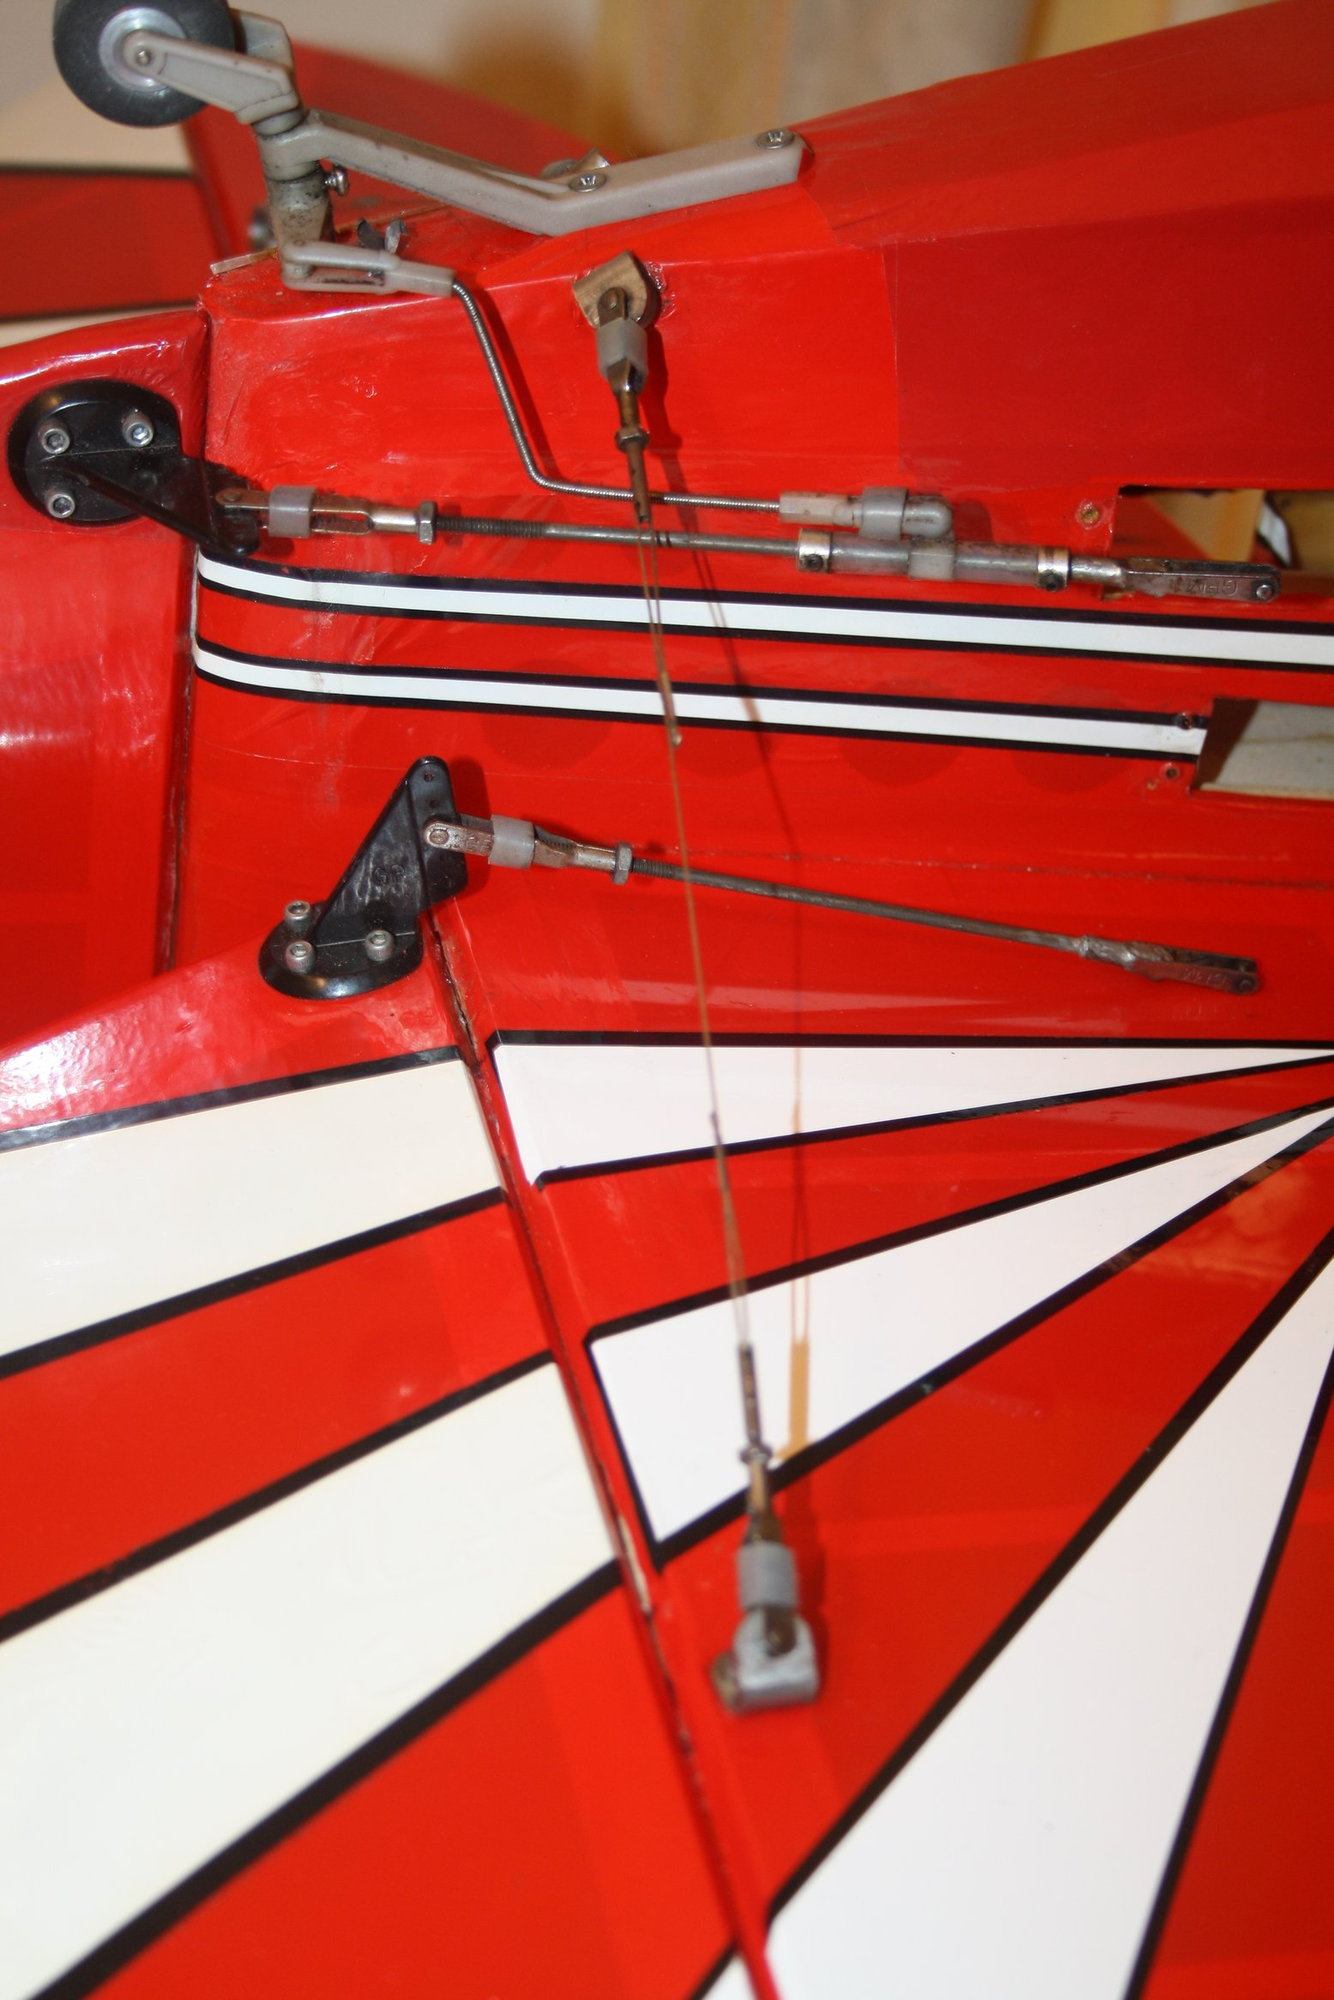
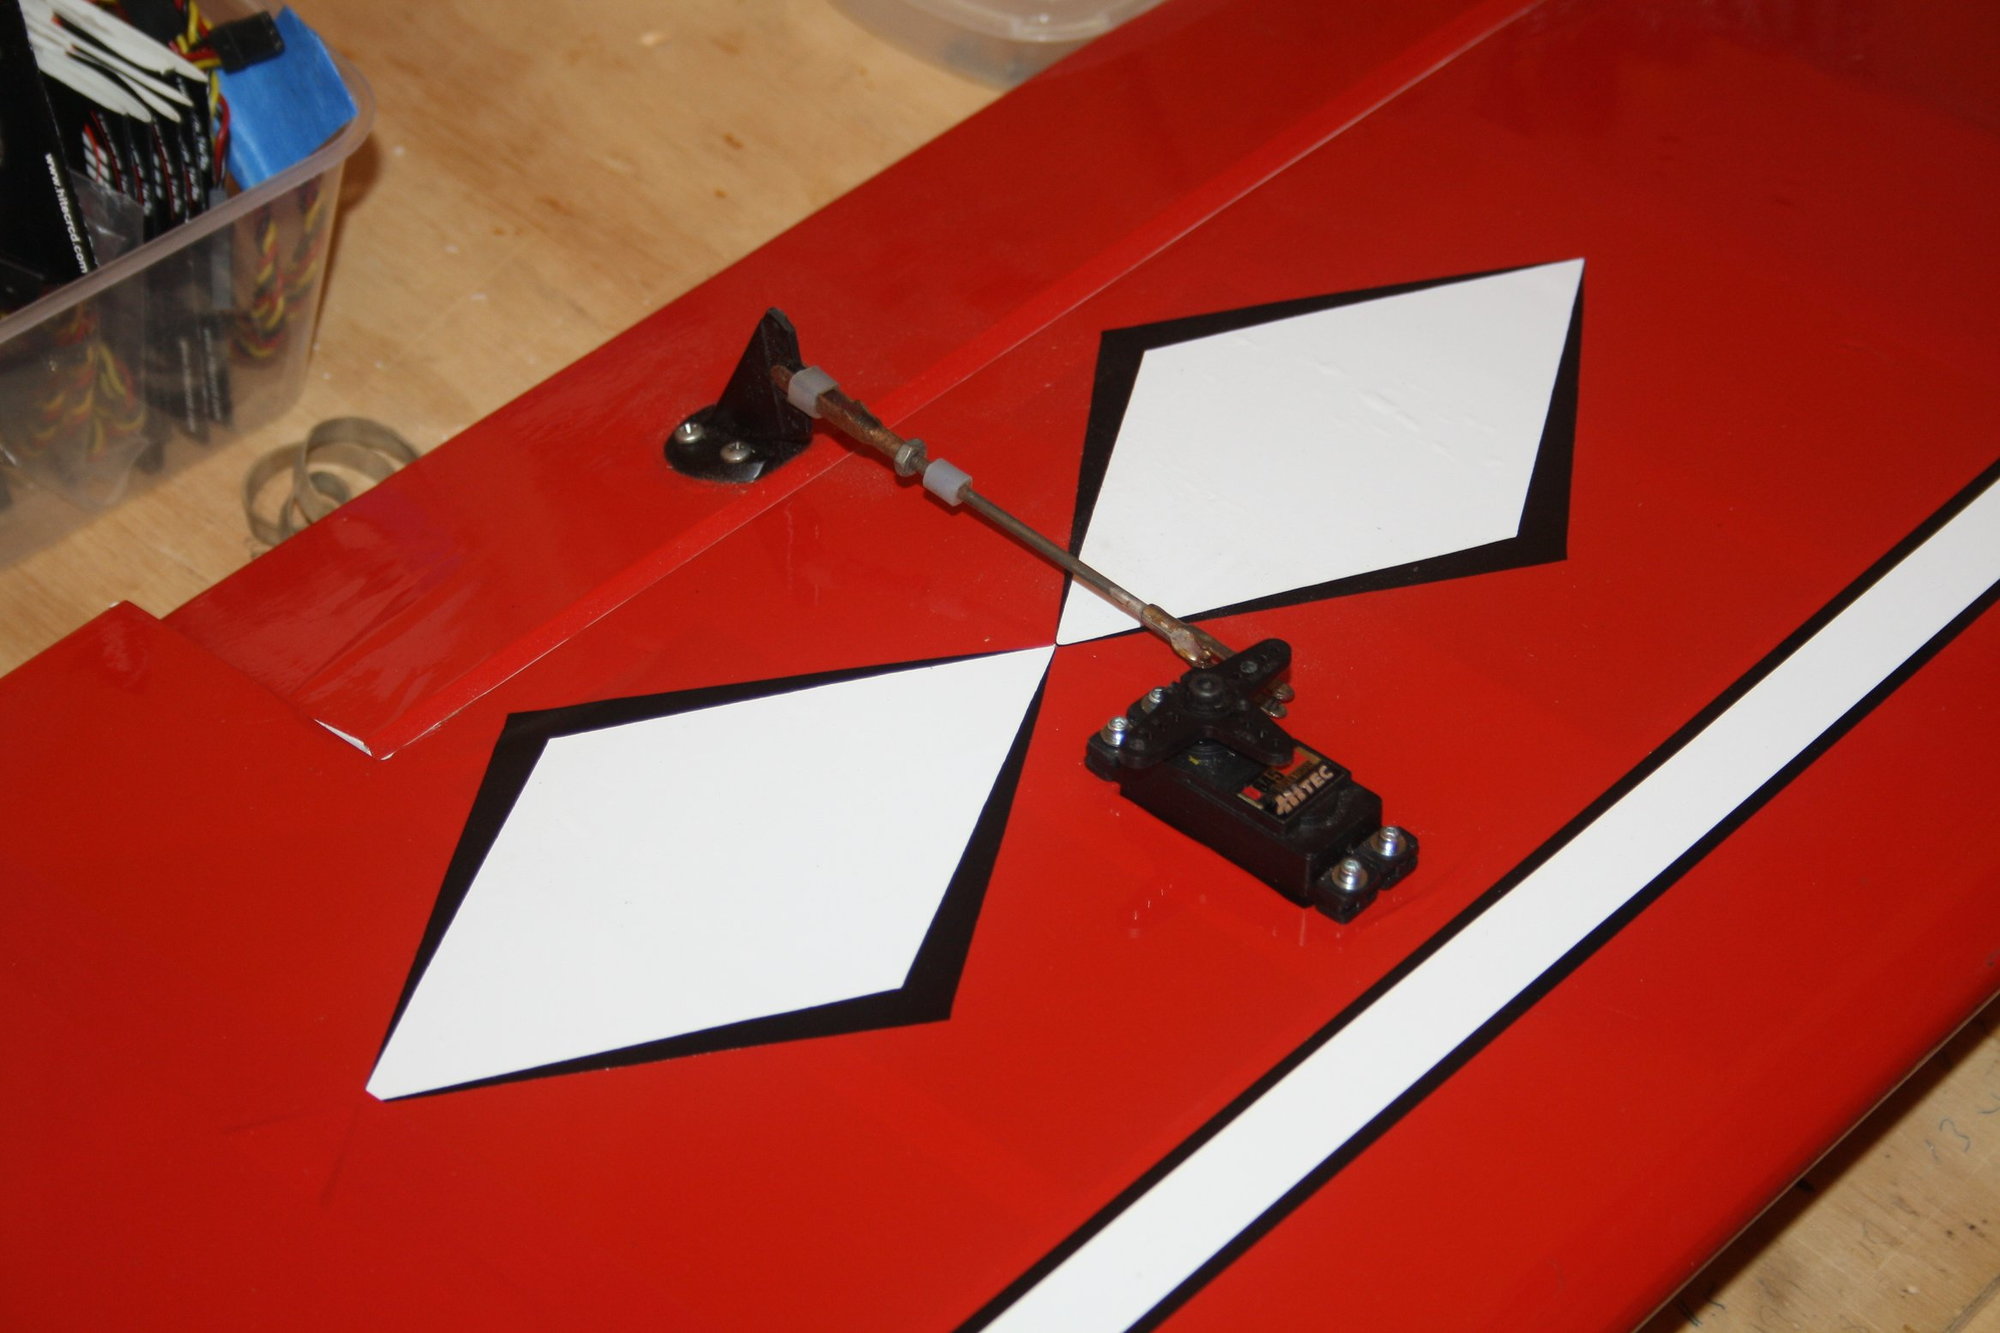
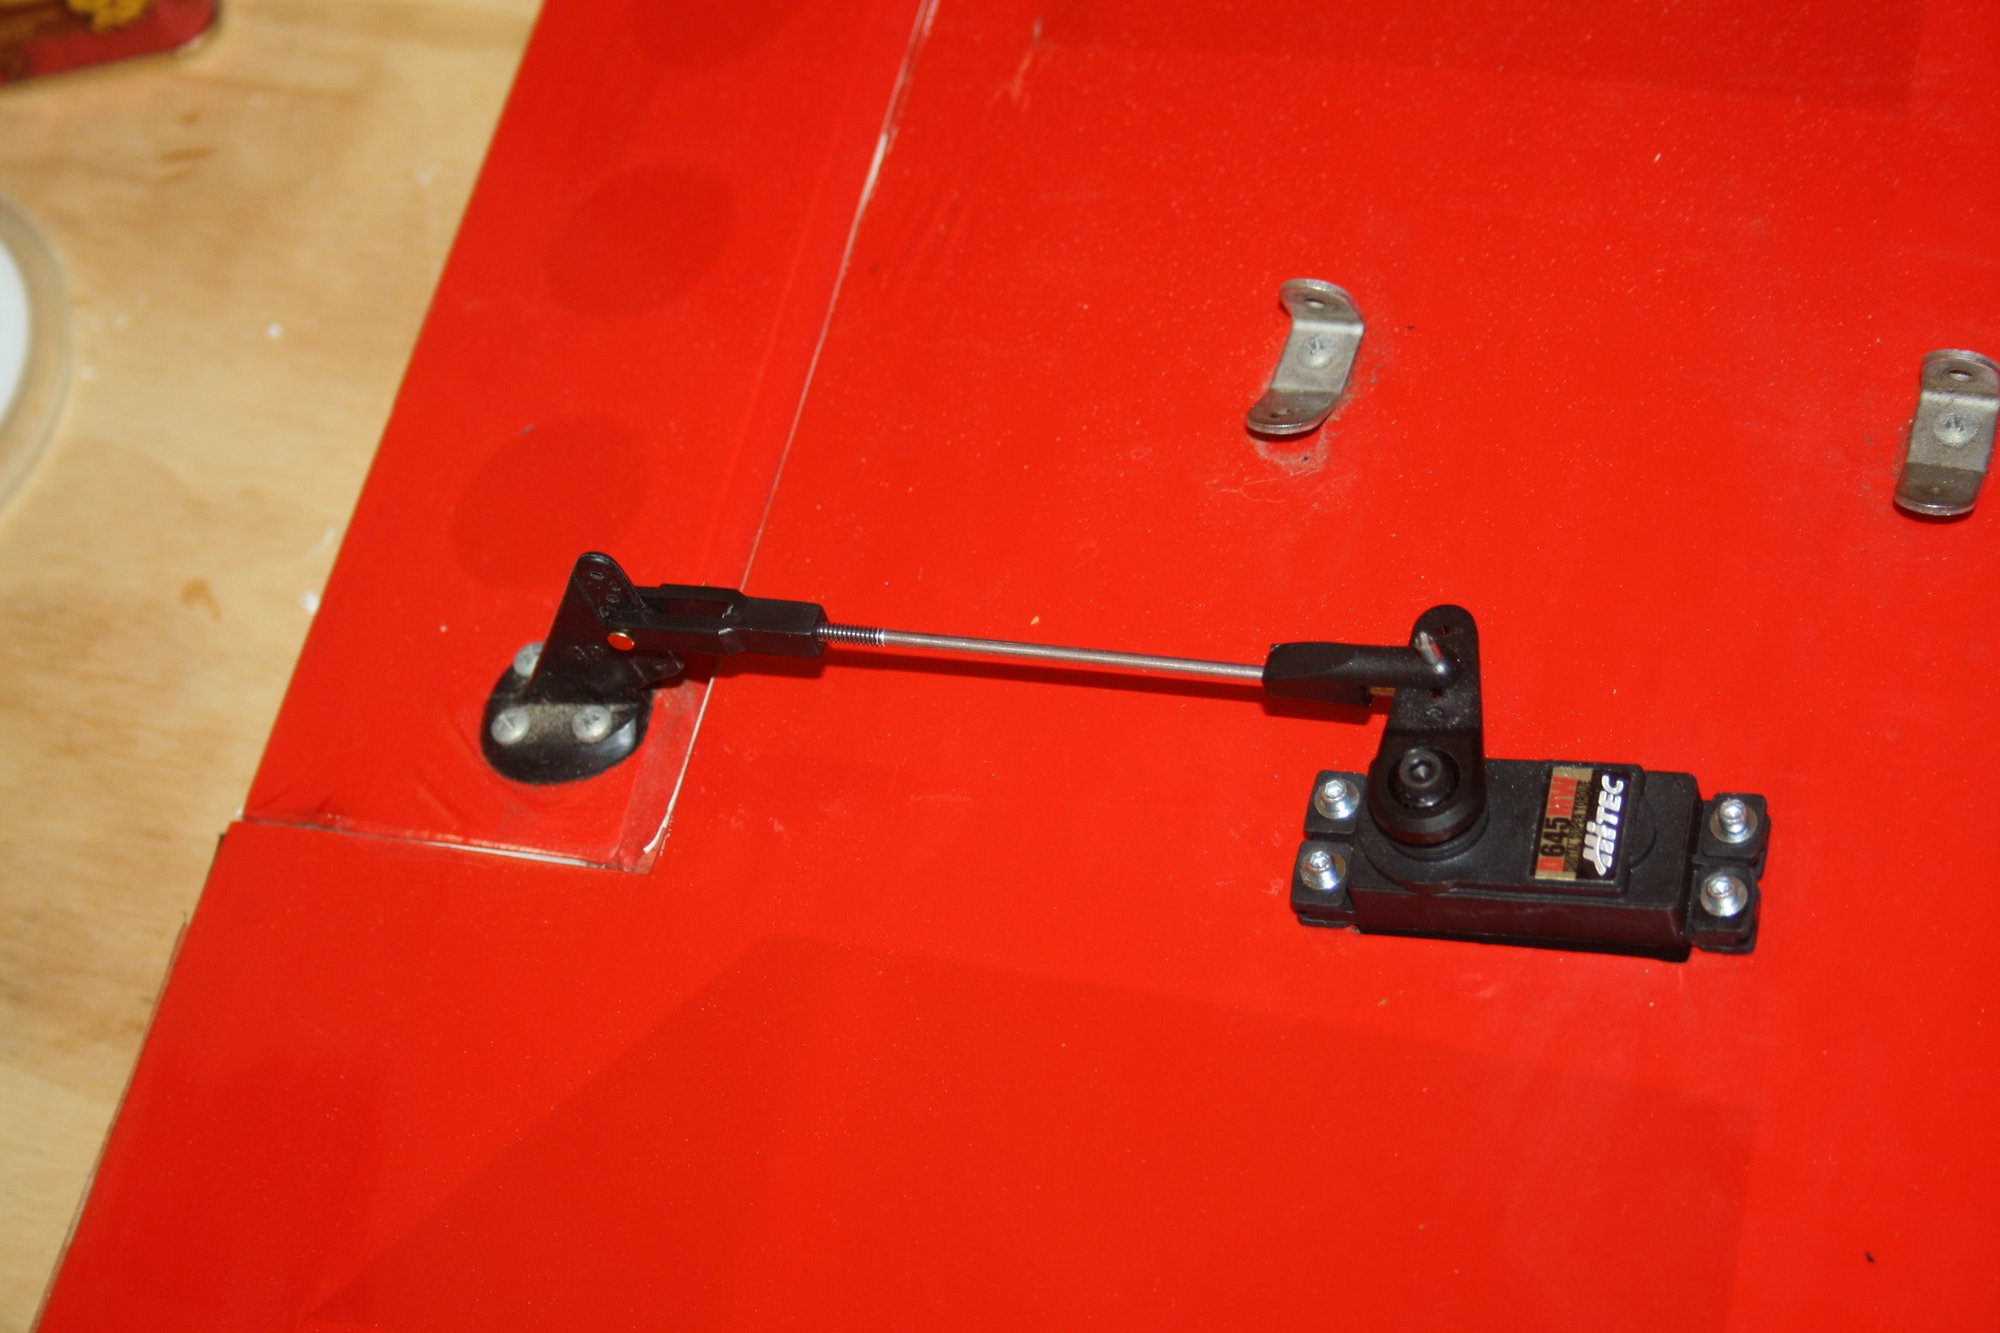
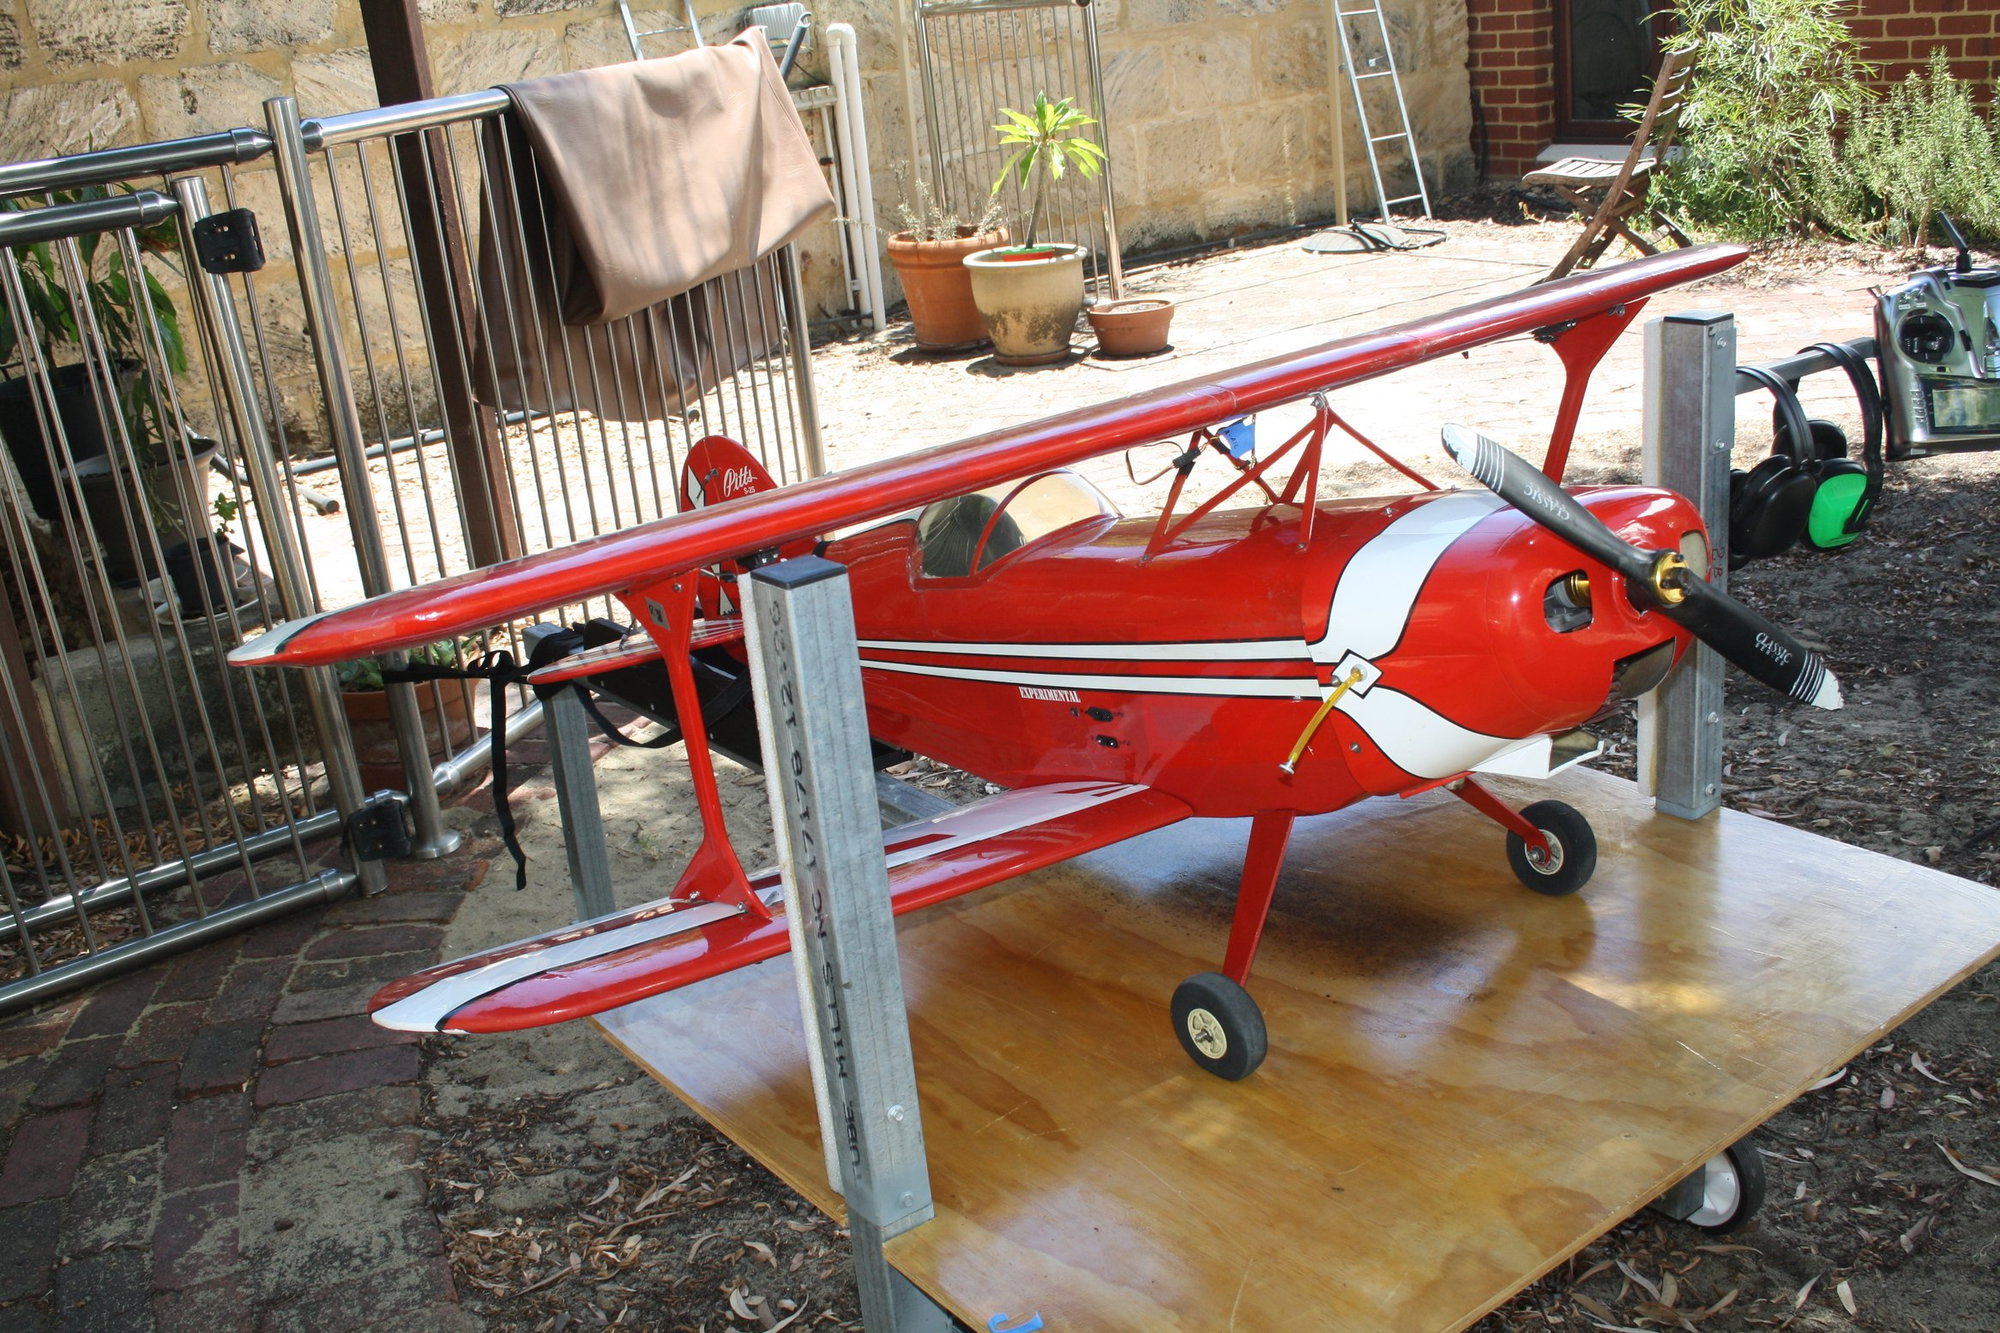
I set up the Pitts on my JR transmitter and went ahead with installing the tail servos. This required placing some hardwood for the servo screws to have something to bite into.
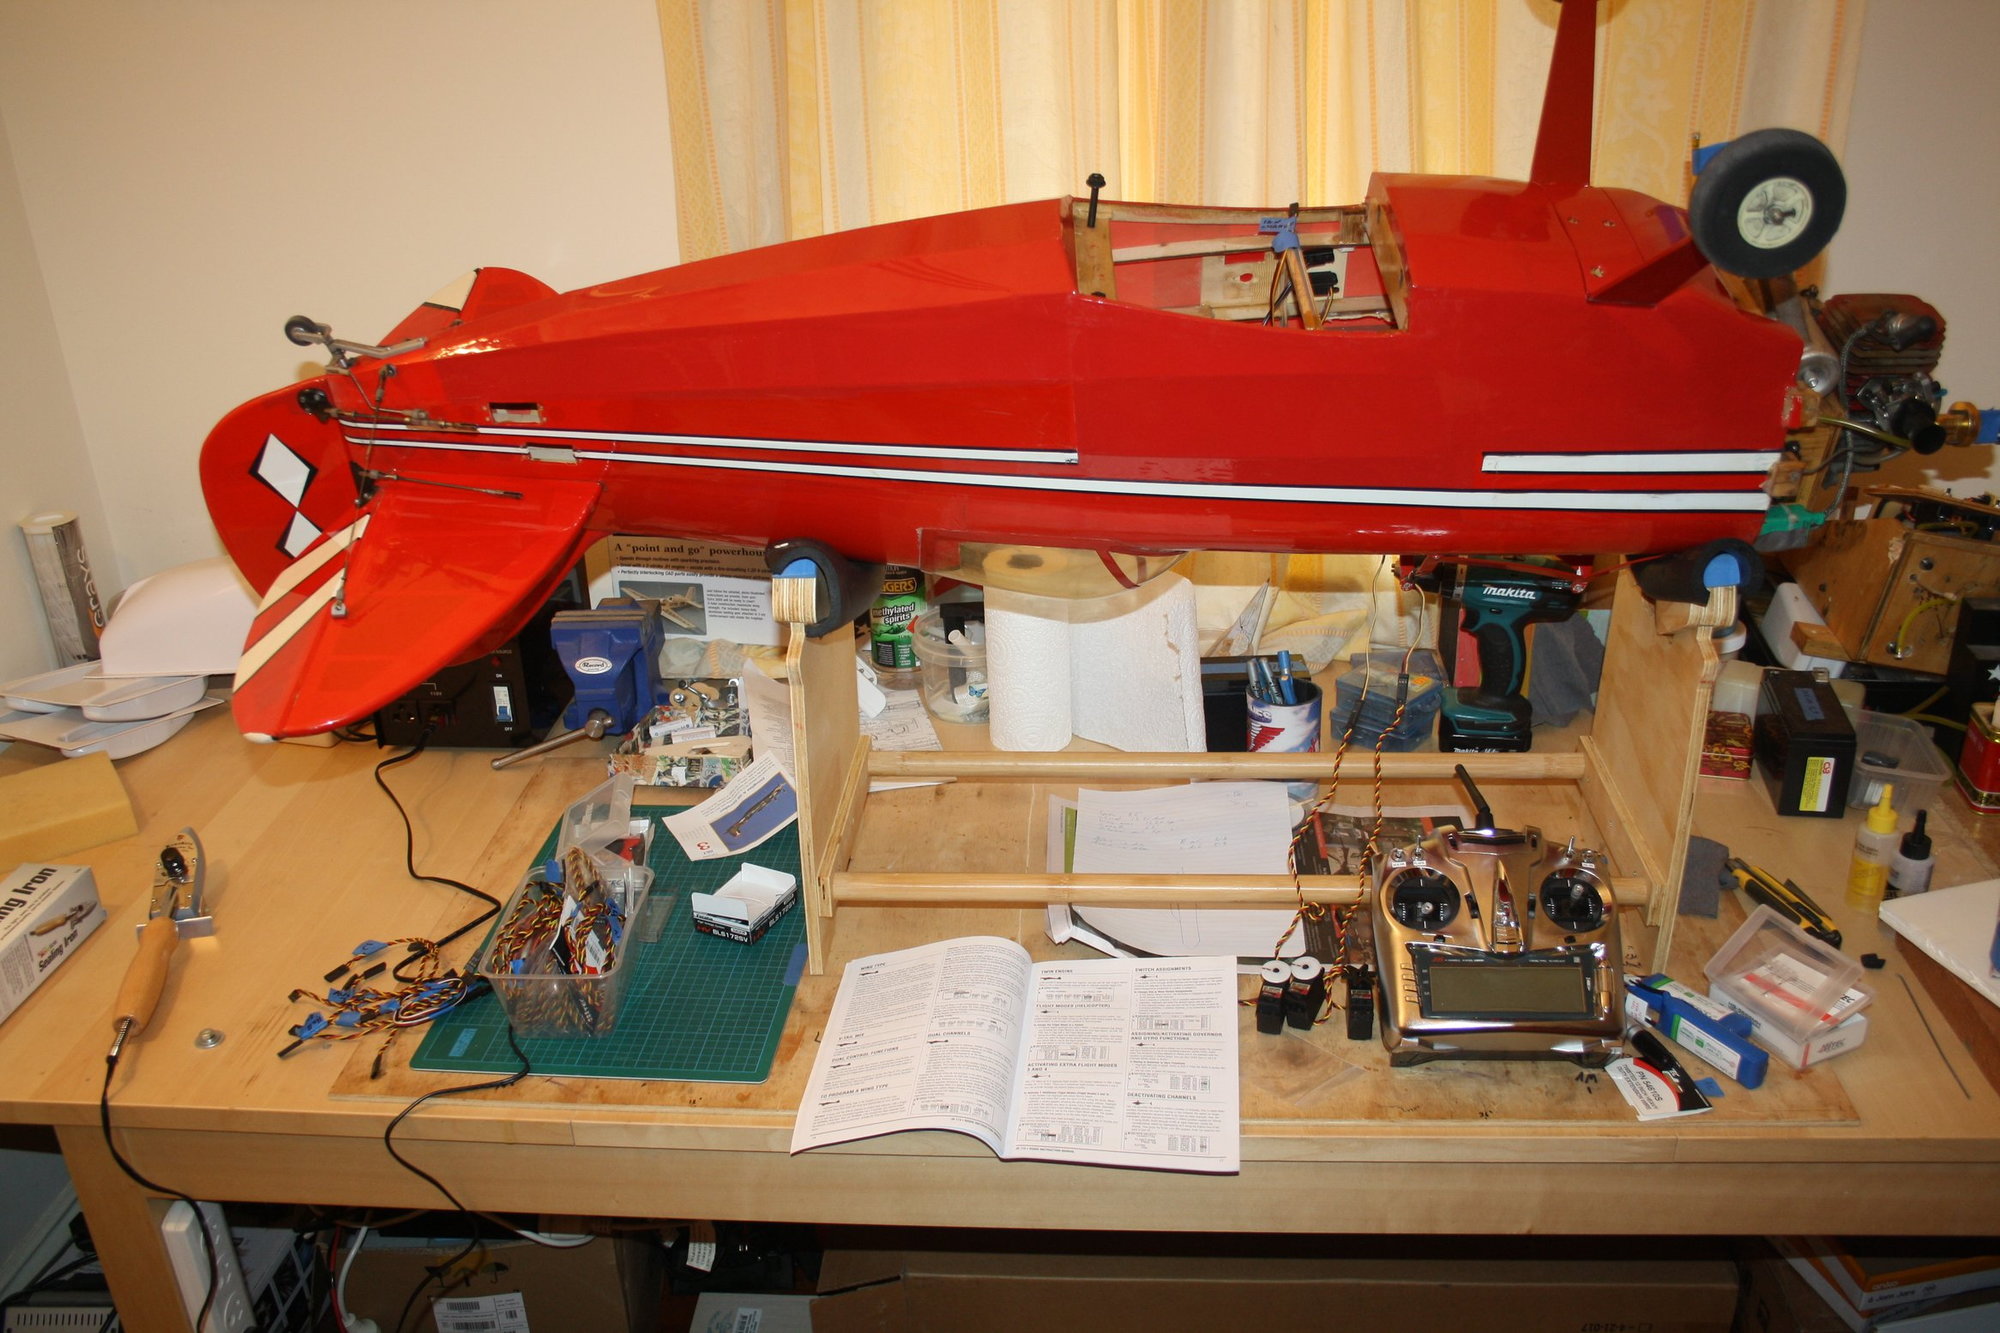
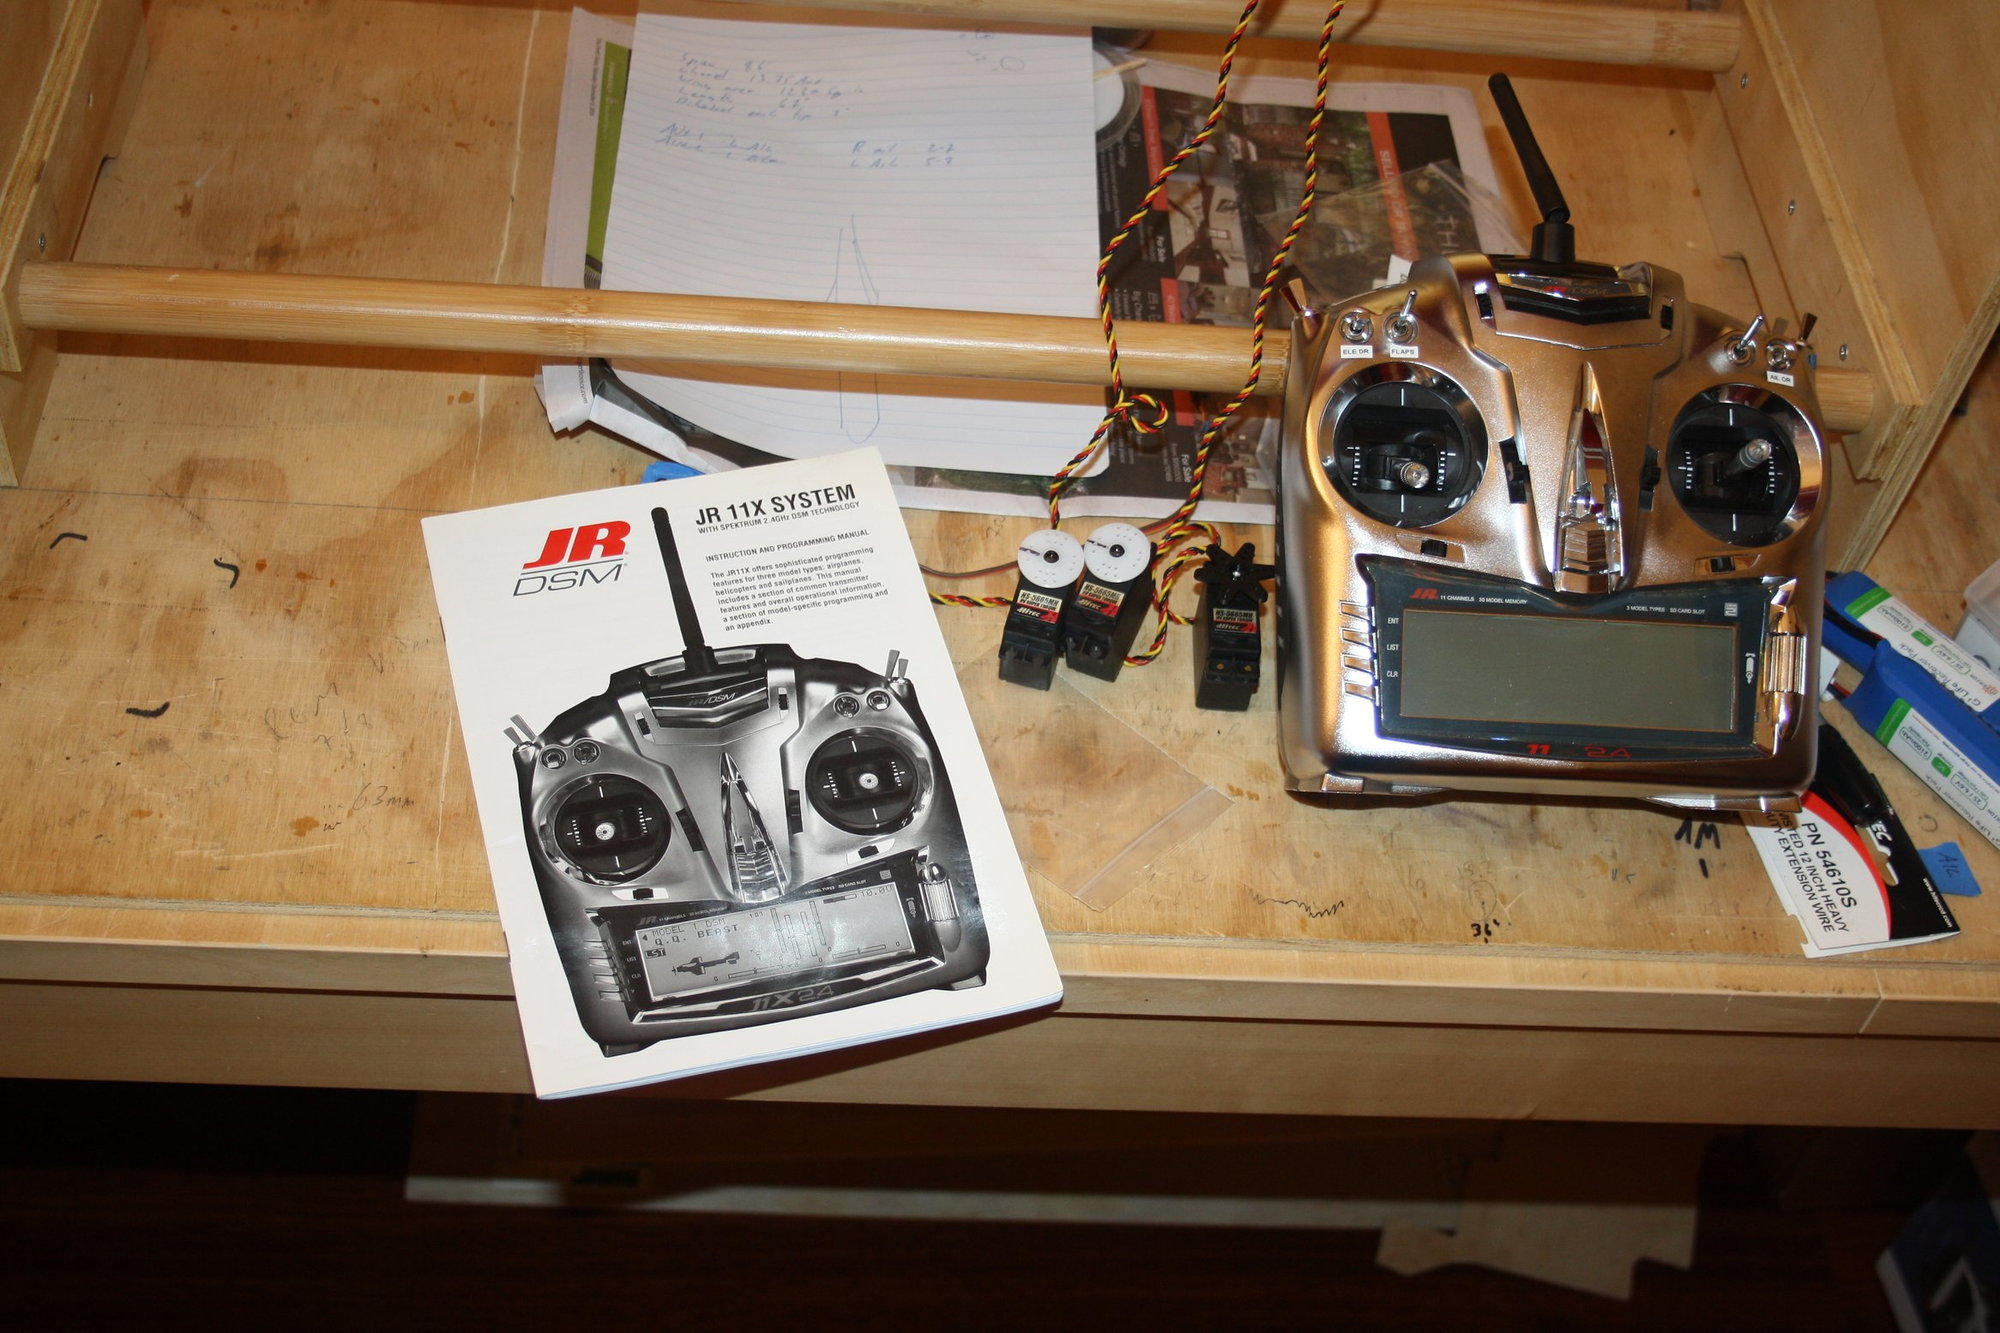
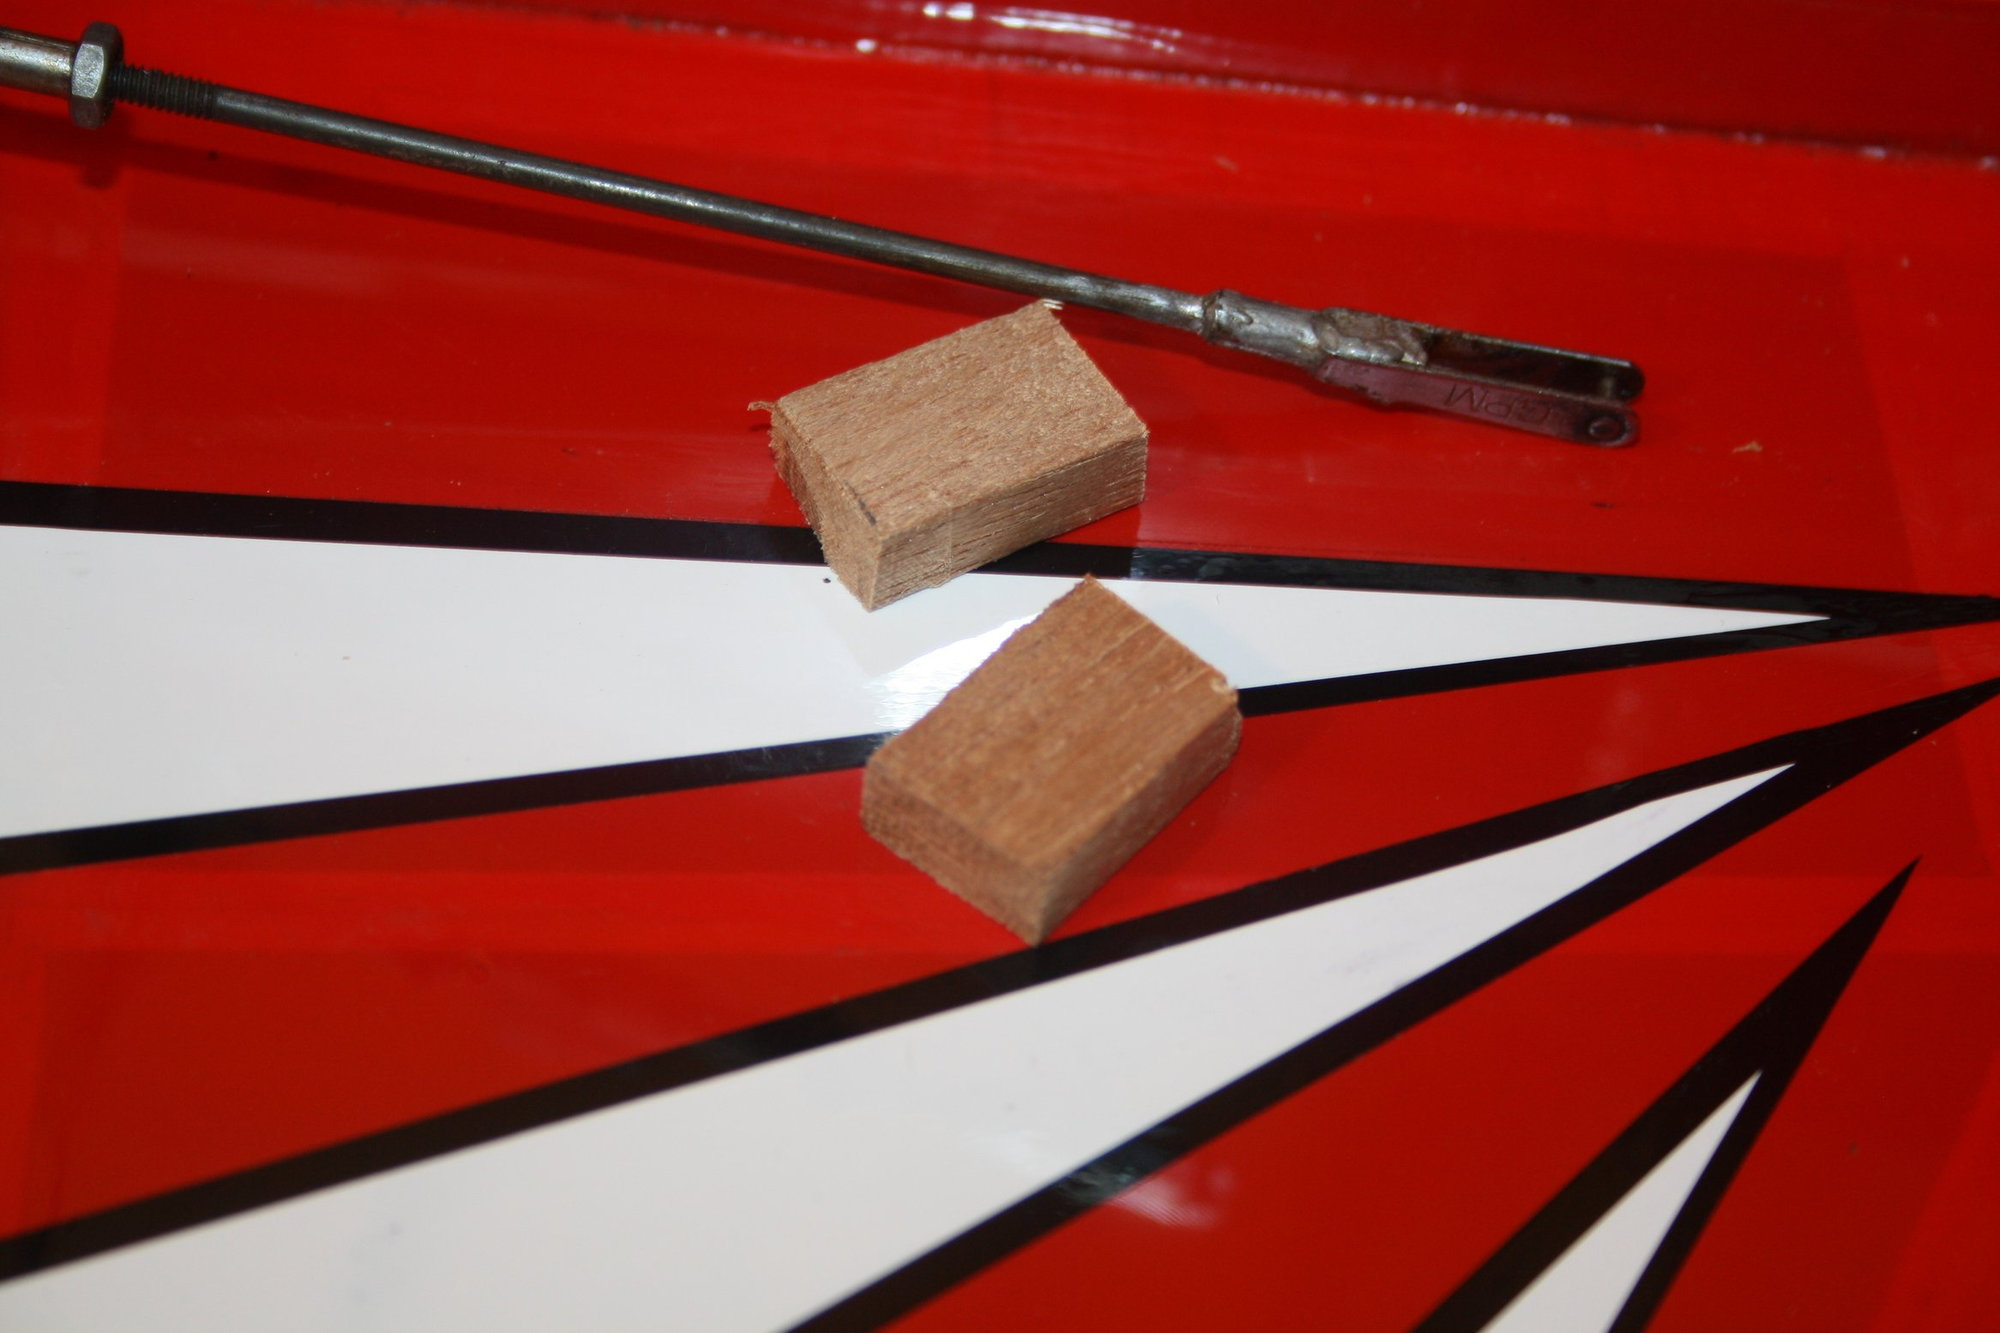

I set up the Pitts on my JR transmitter and went ahead with installing the tail servos. This required placing some hardwood for the servo screws to have something to bite into.
04-02-2019, 12:19 AM
#42
Thread Starter
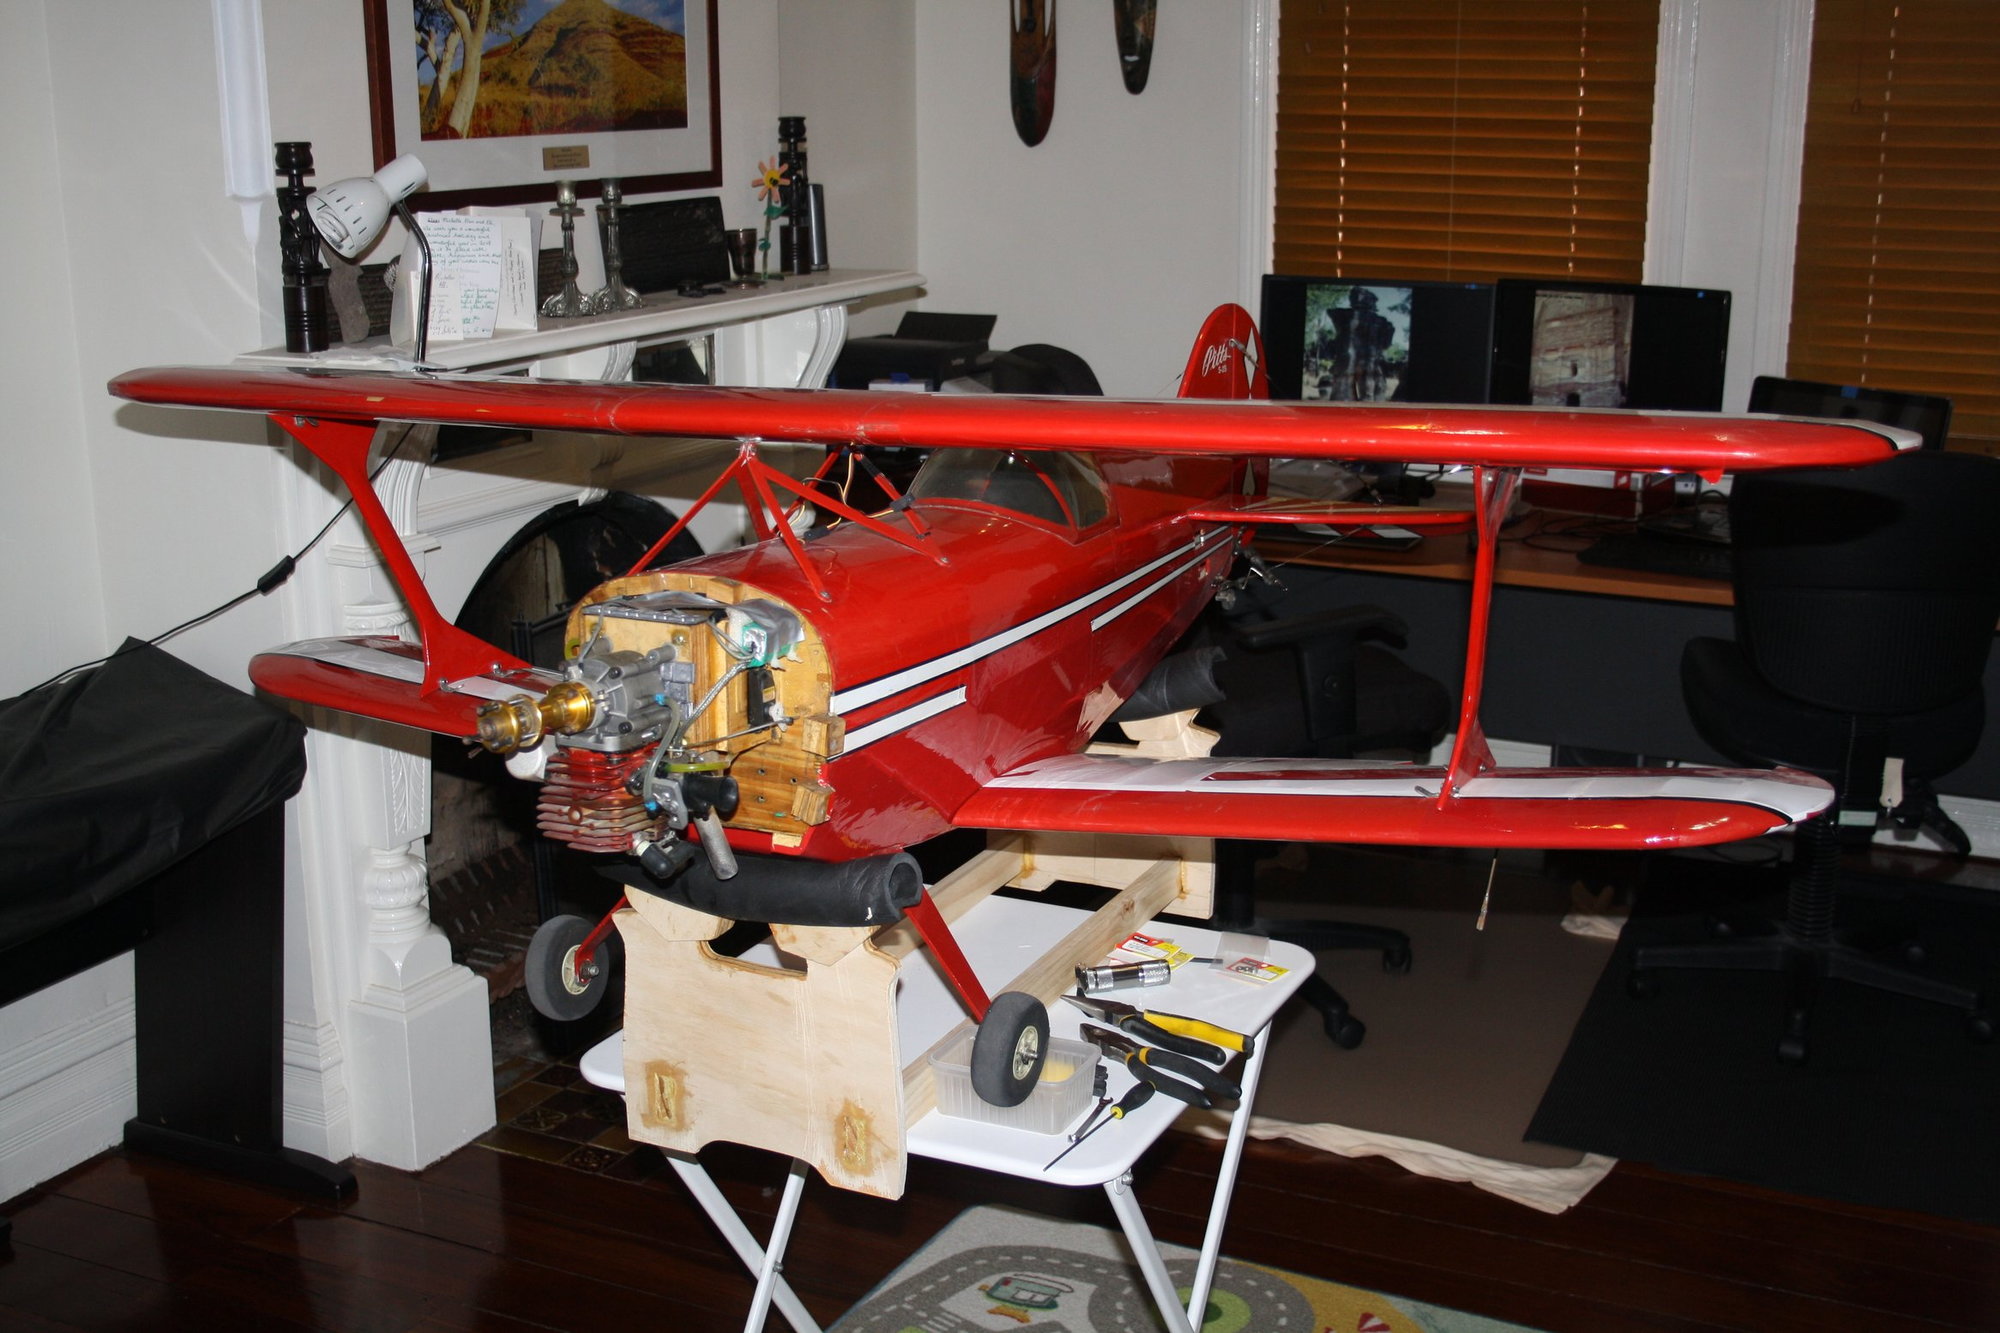
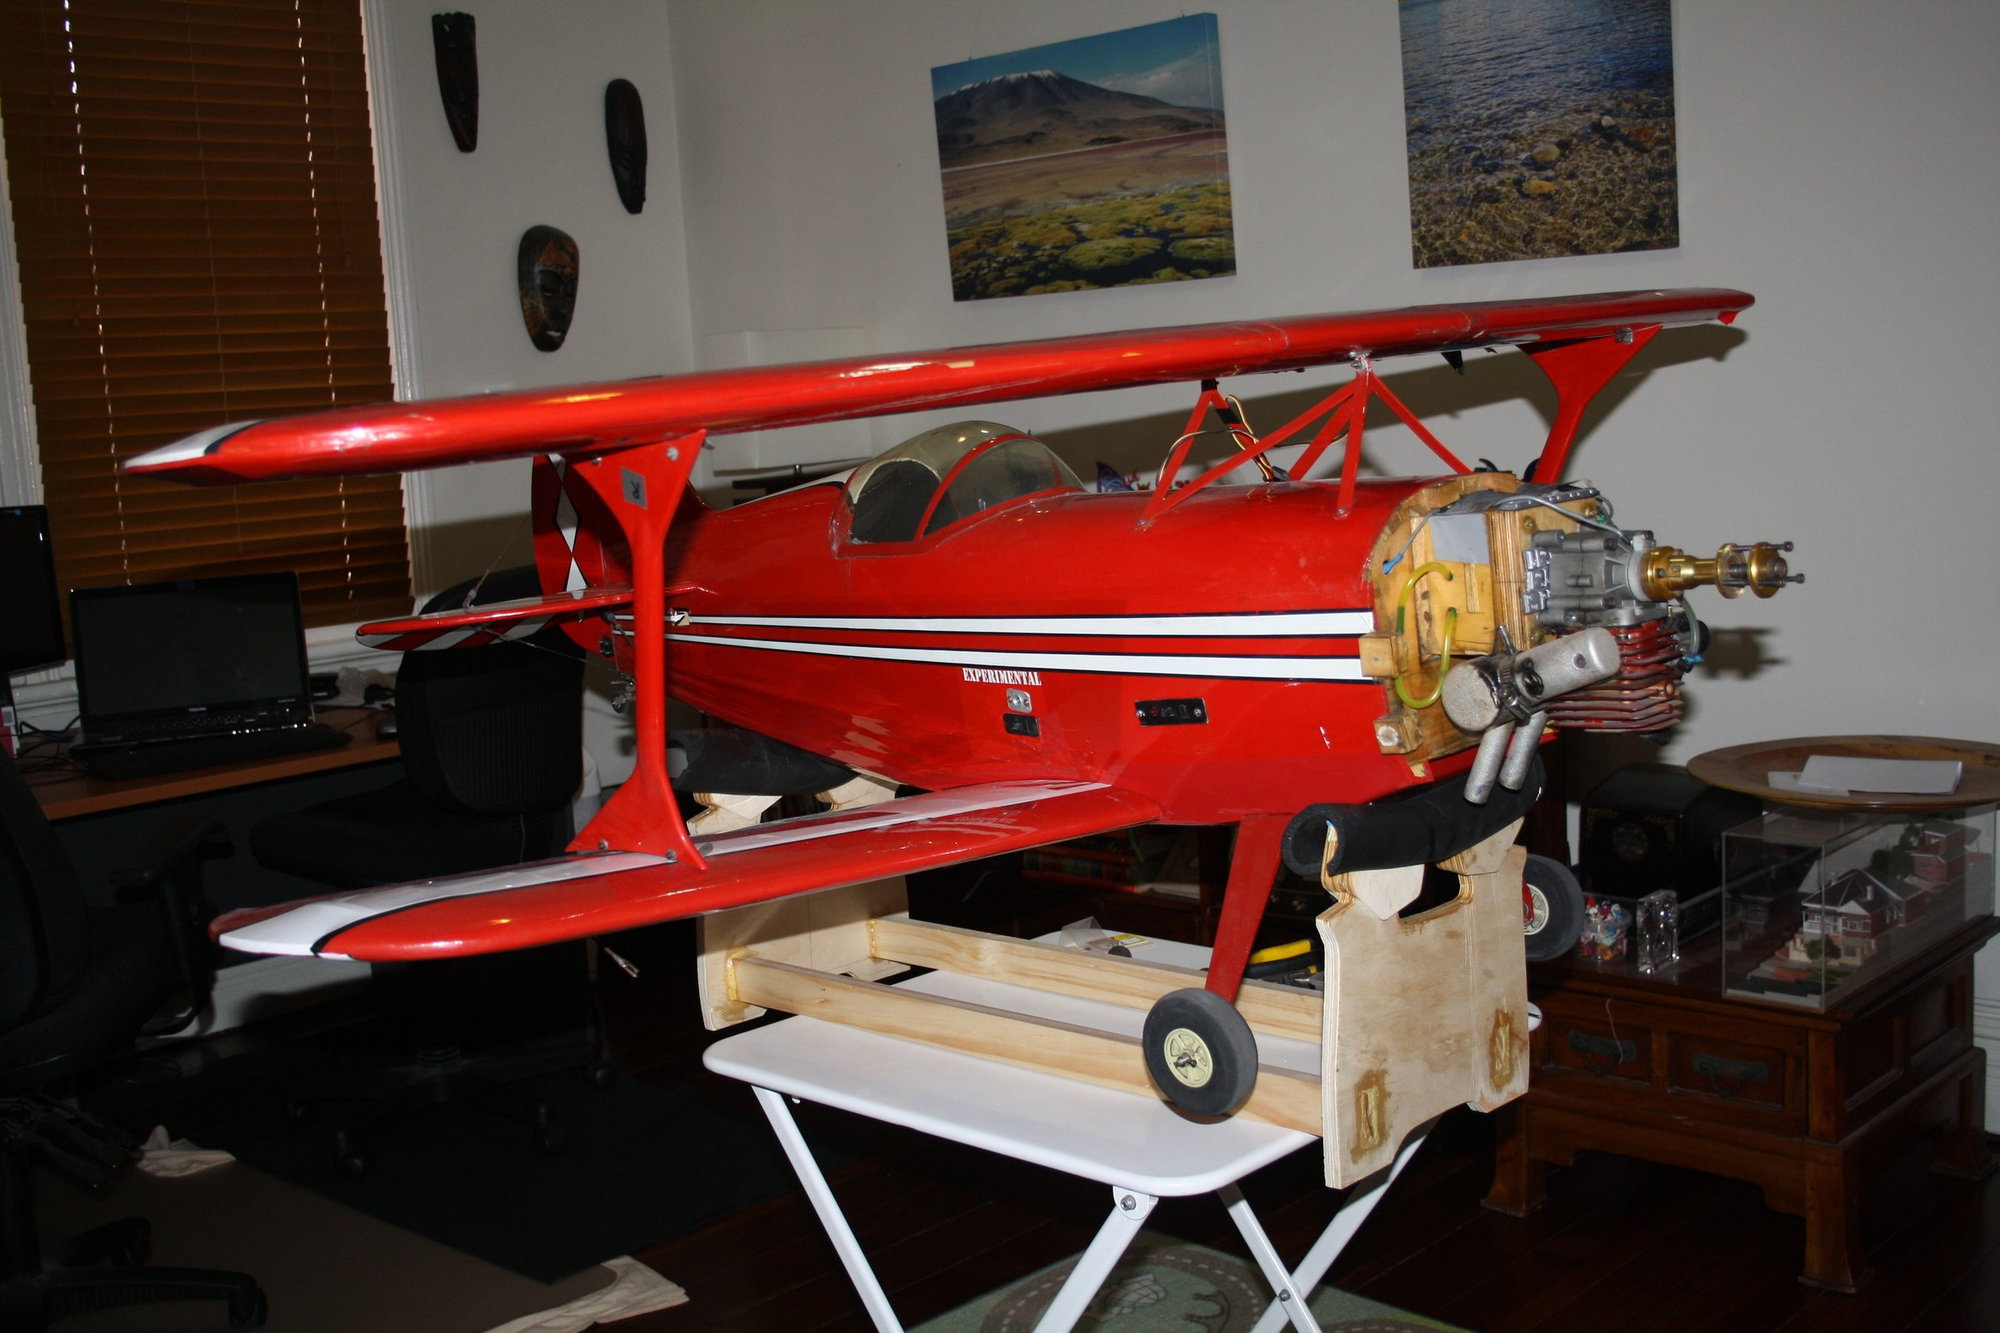
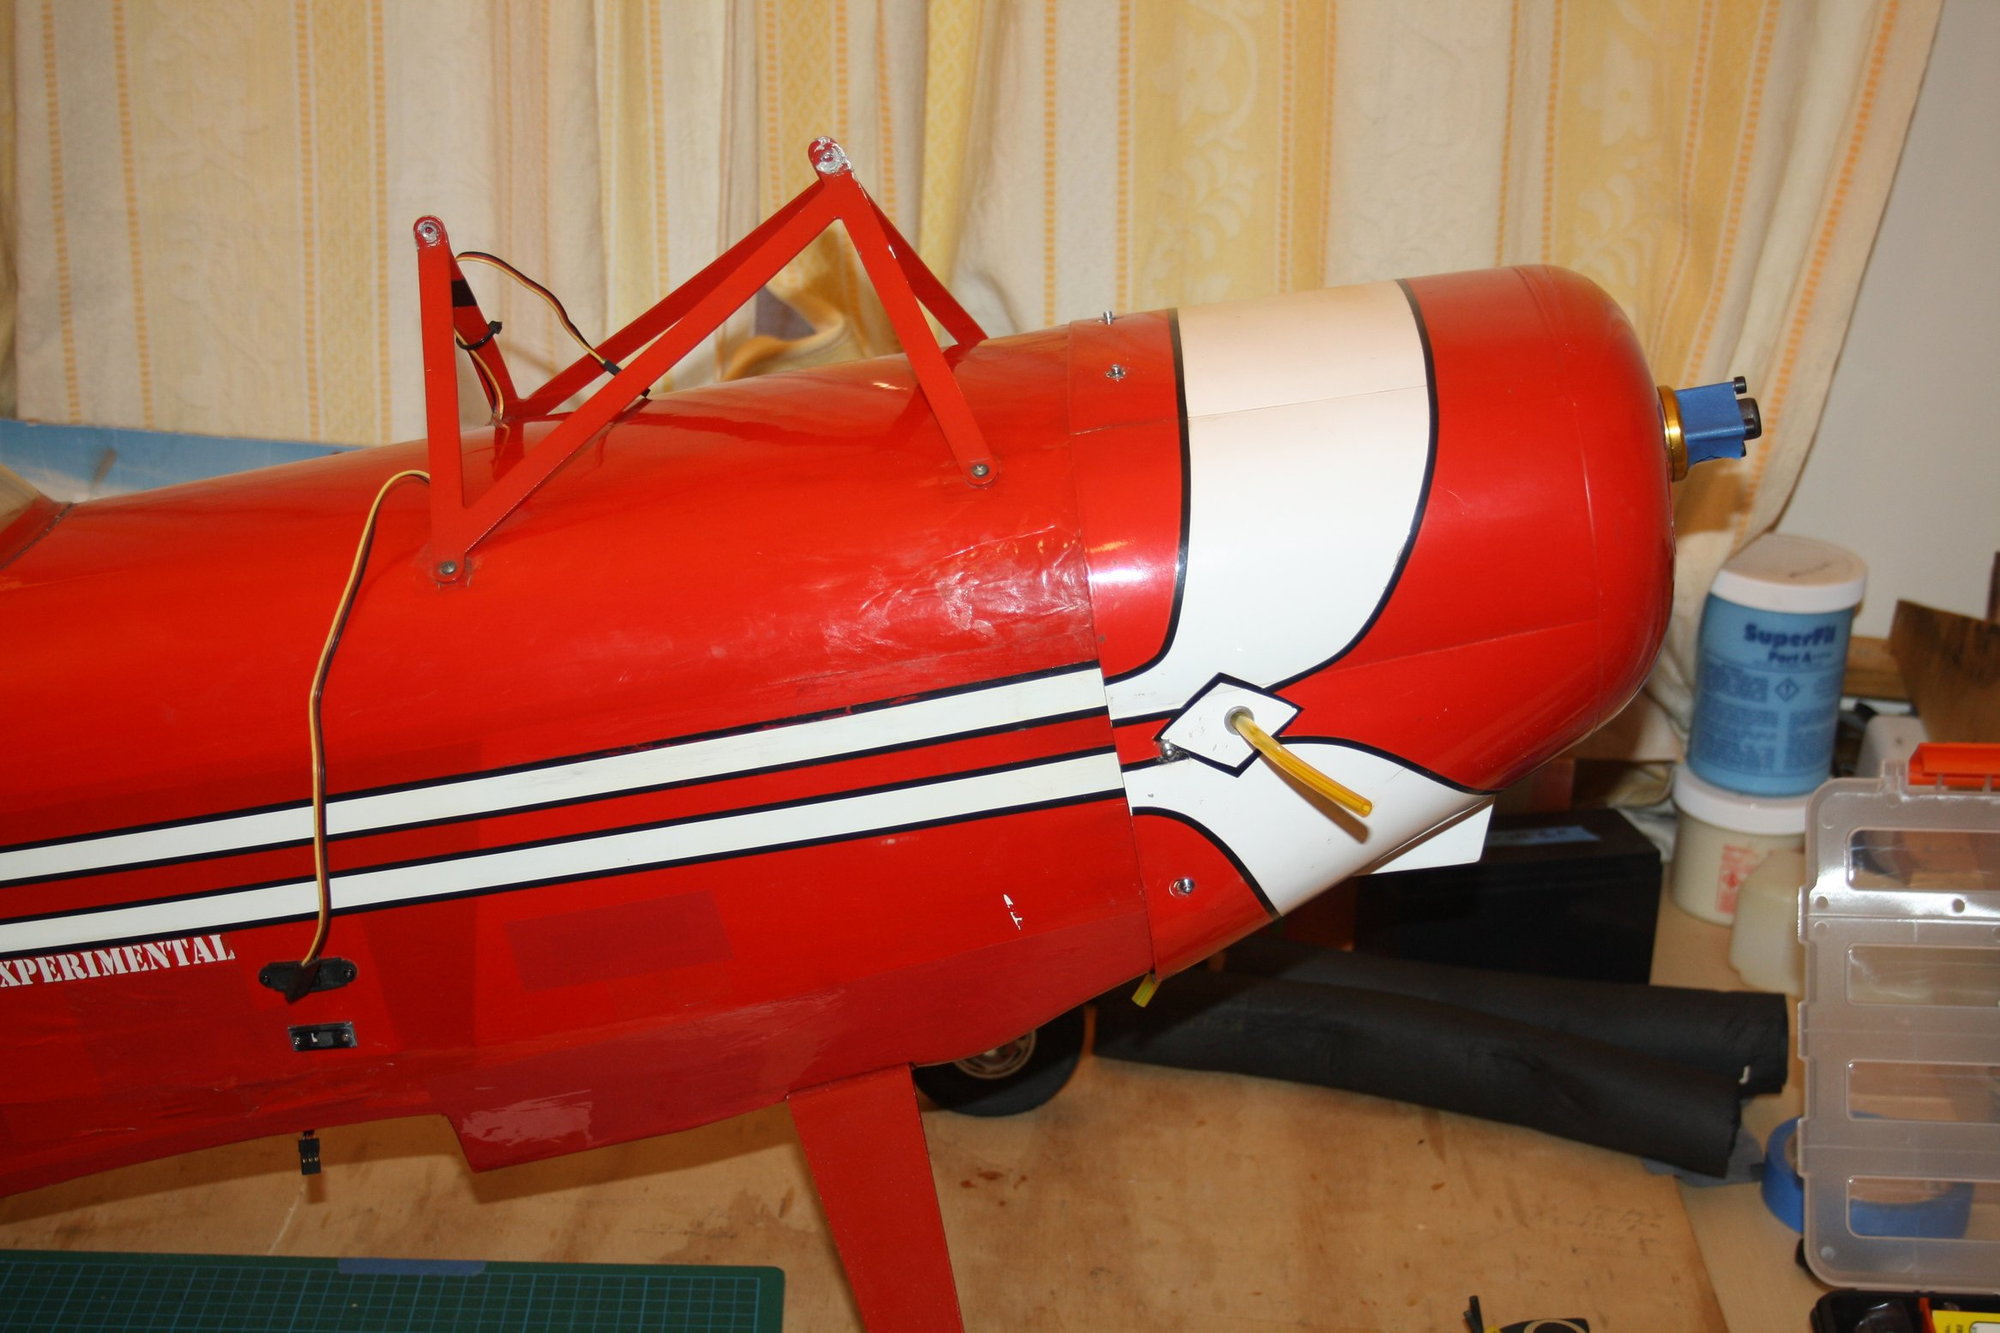
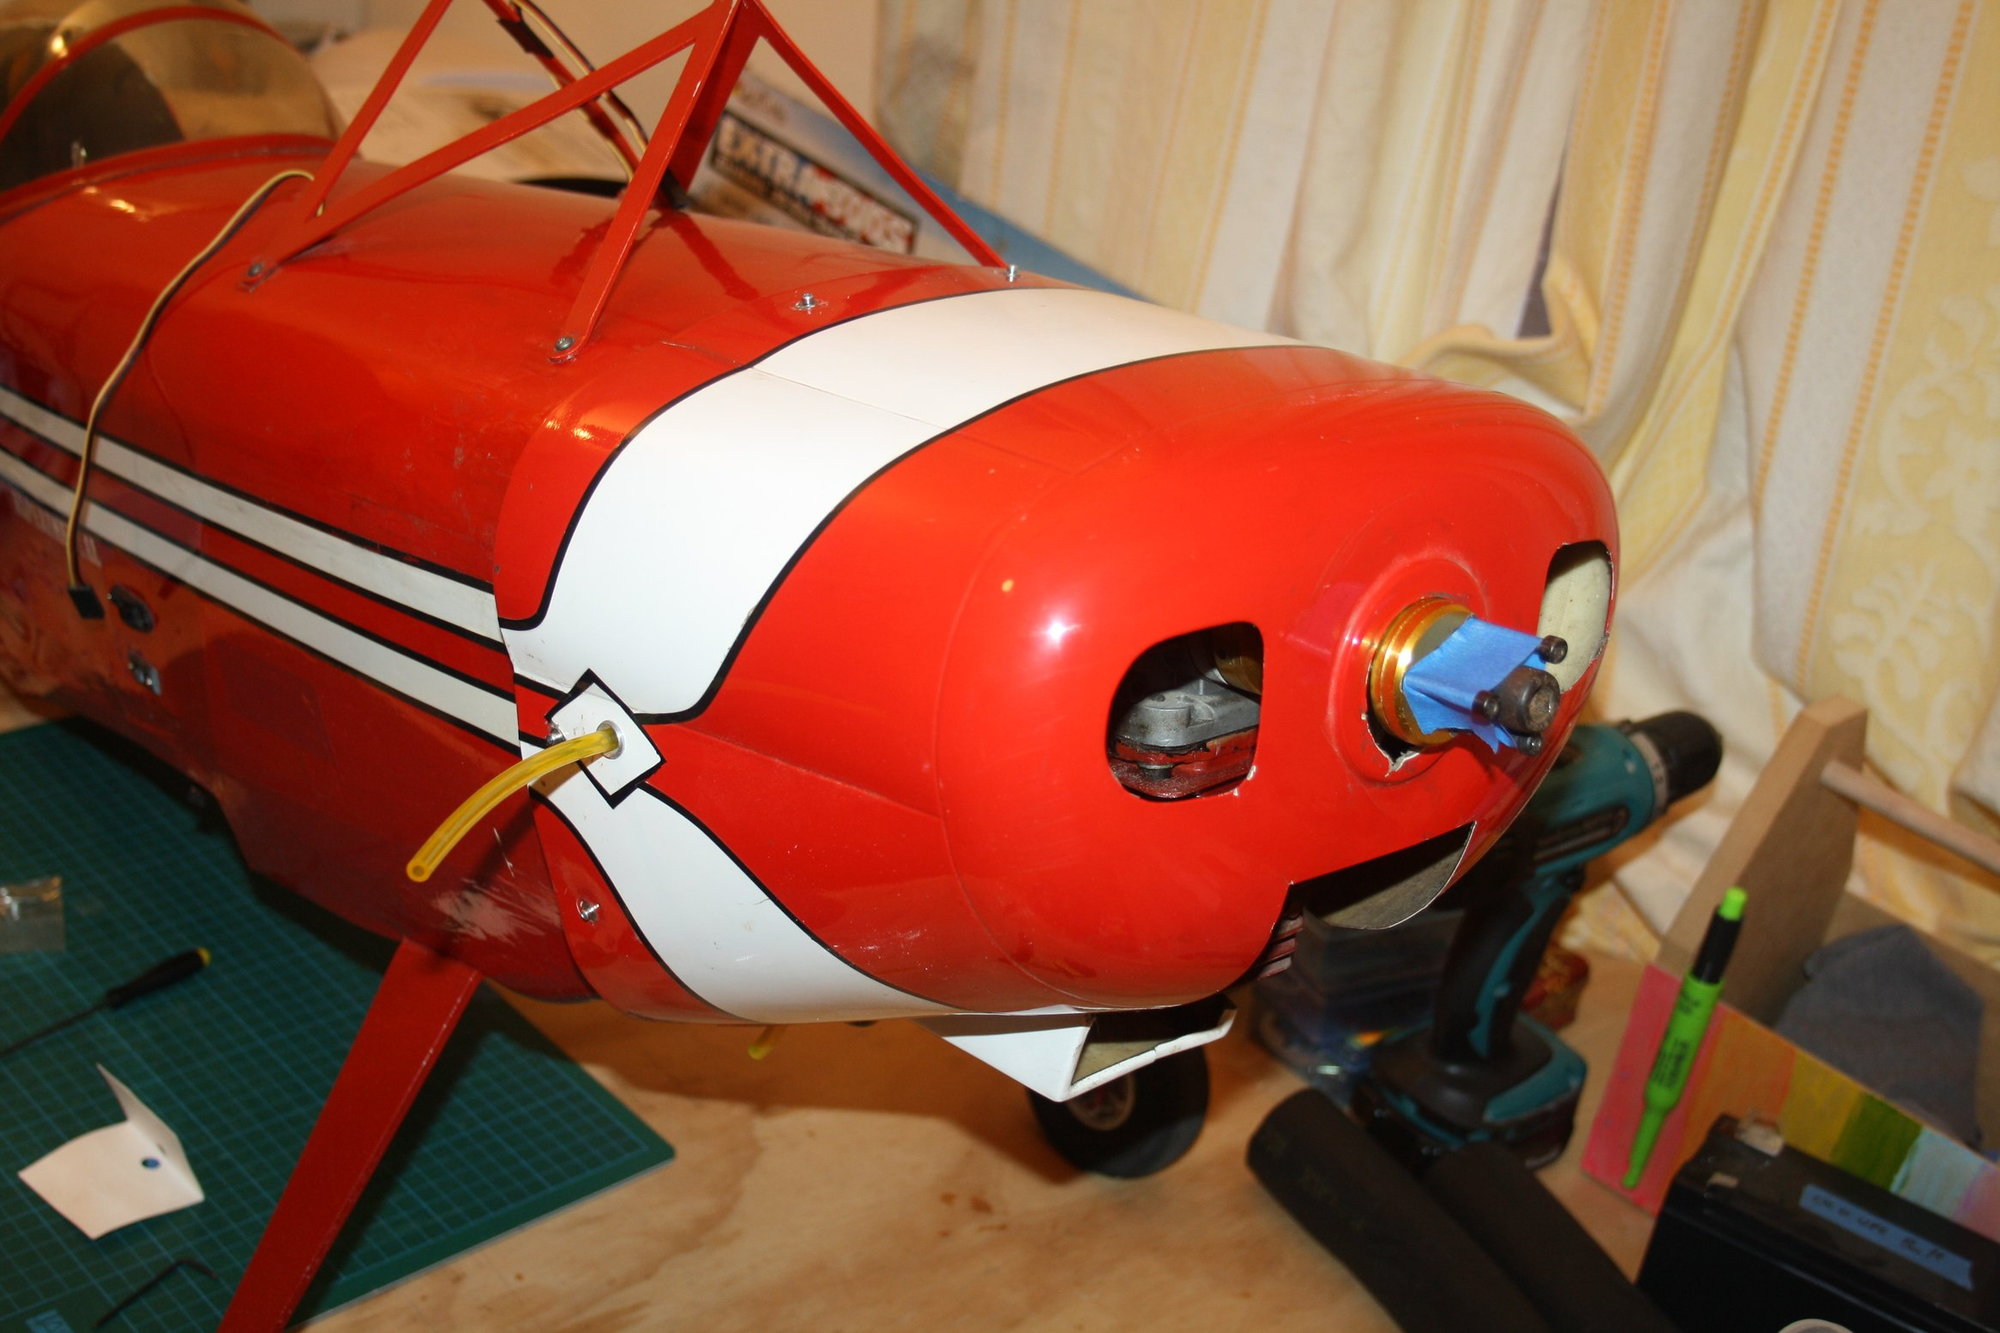
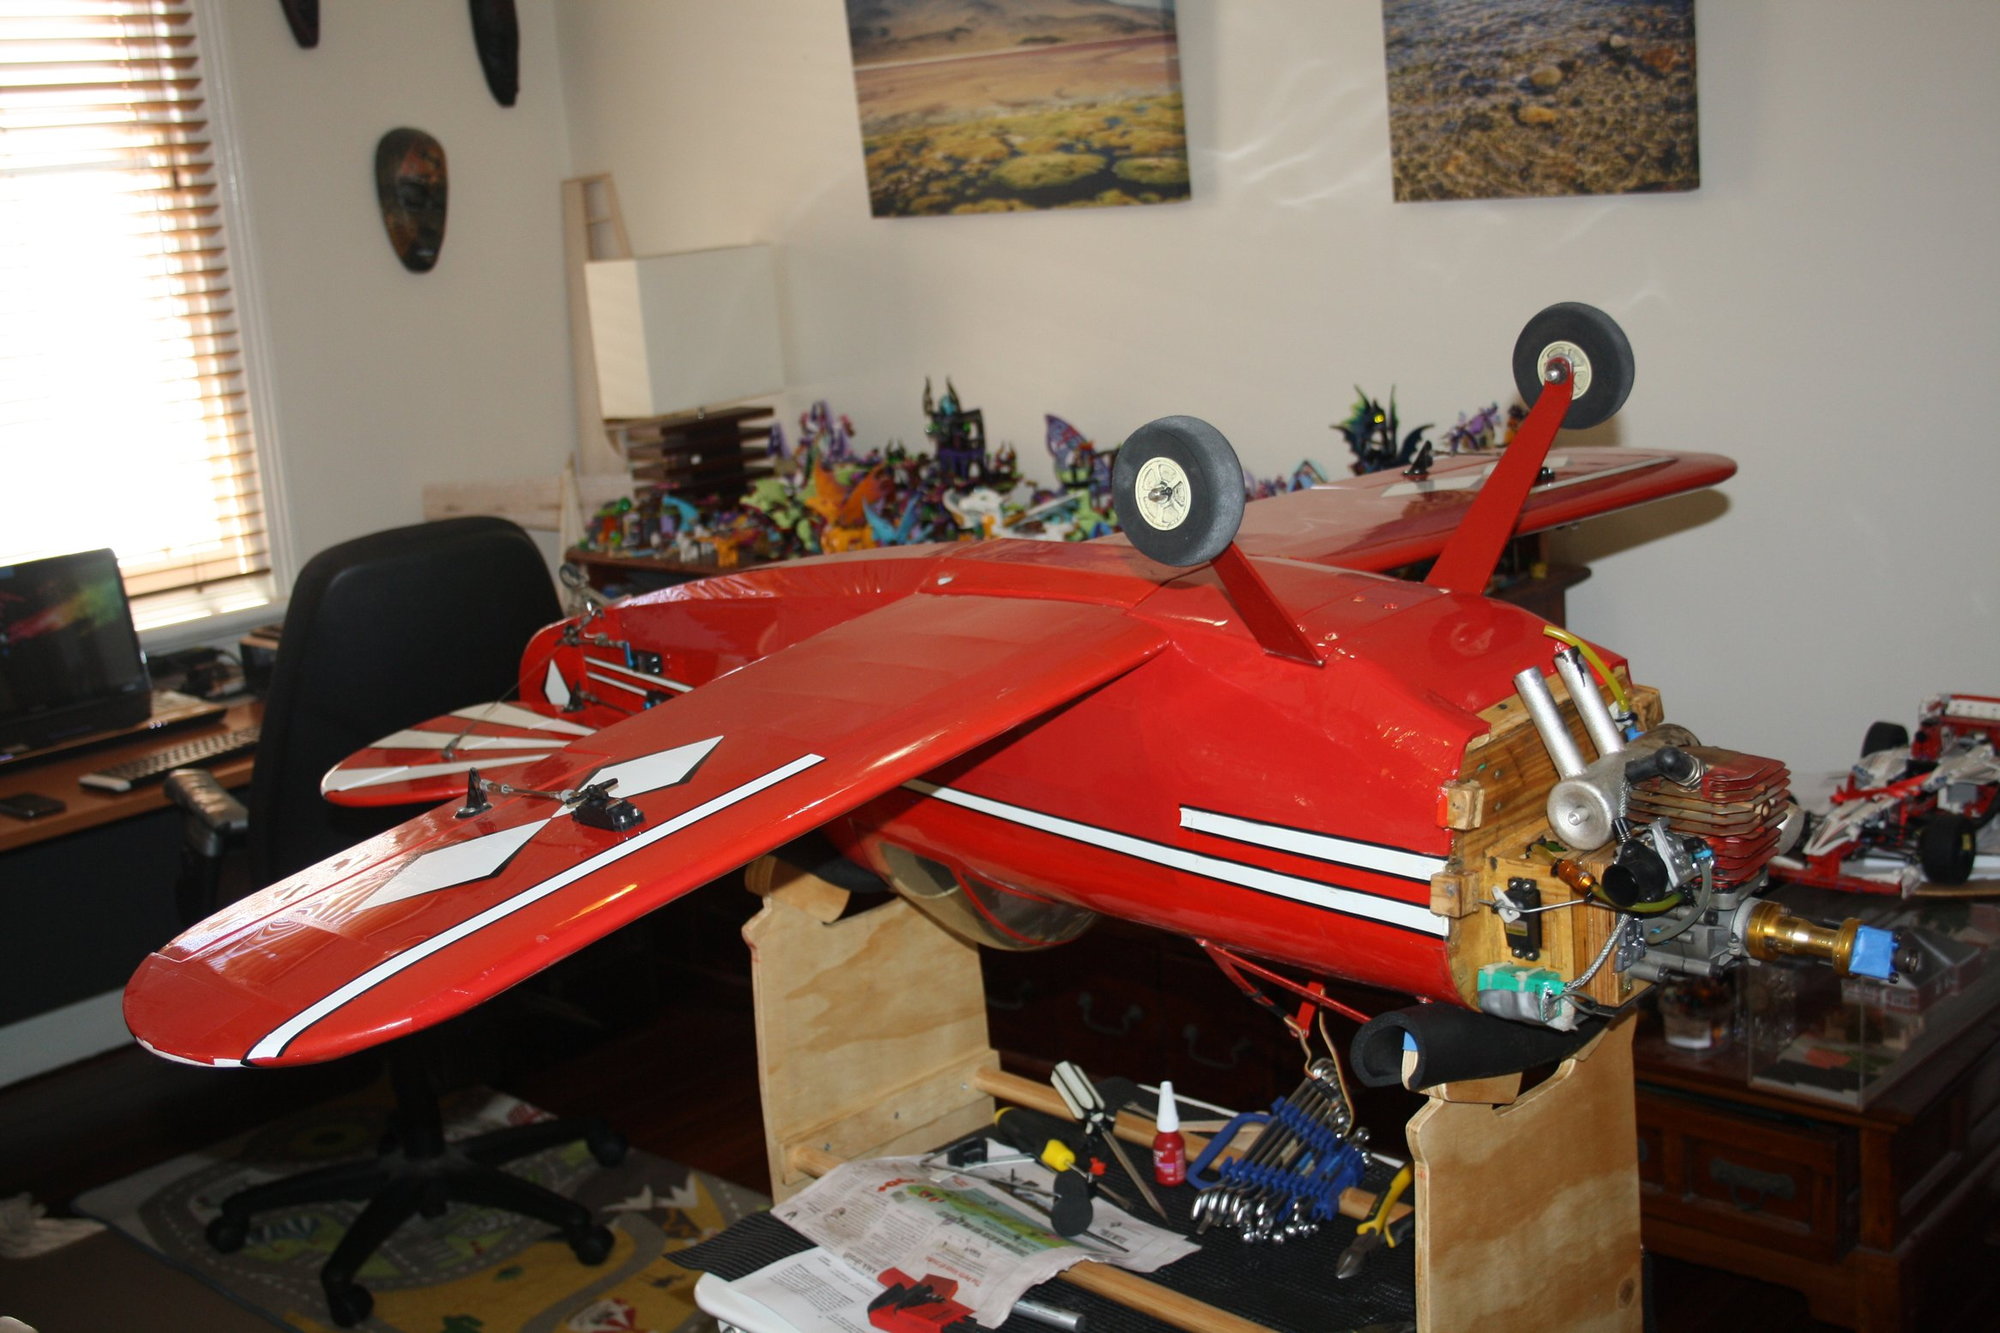
Doing some bits and pieces around the front of the aeroplane.
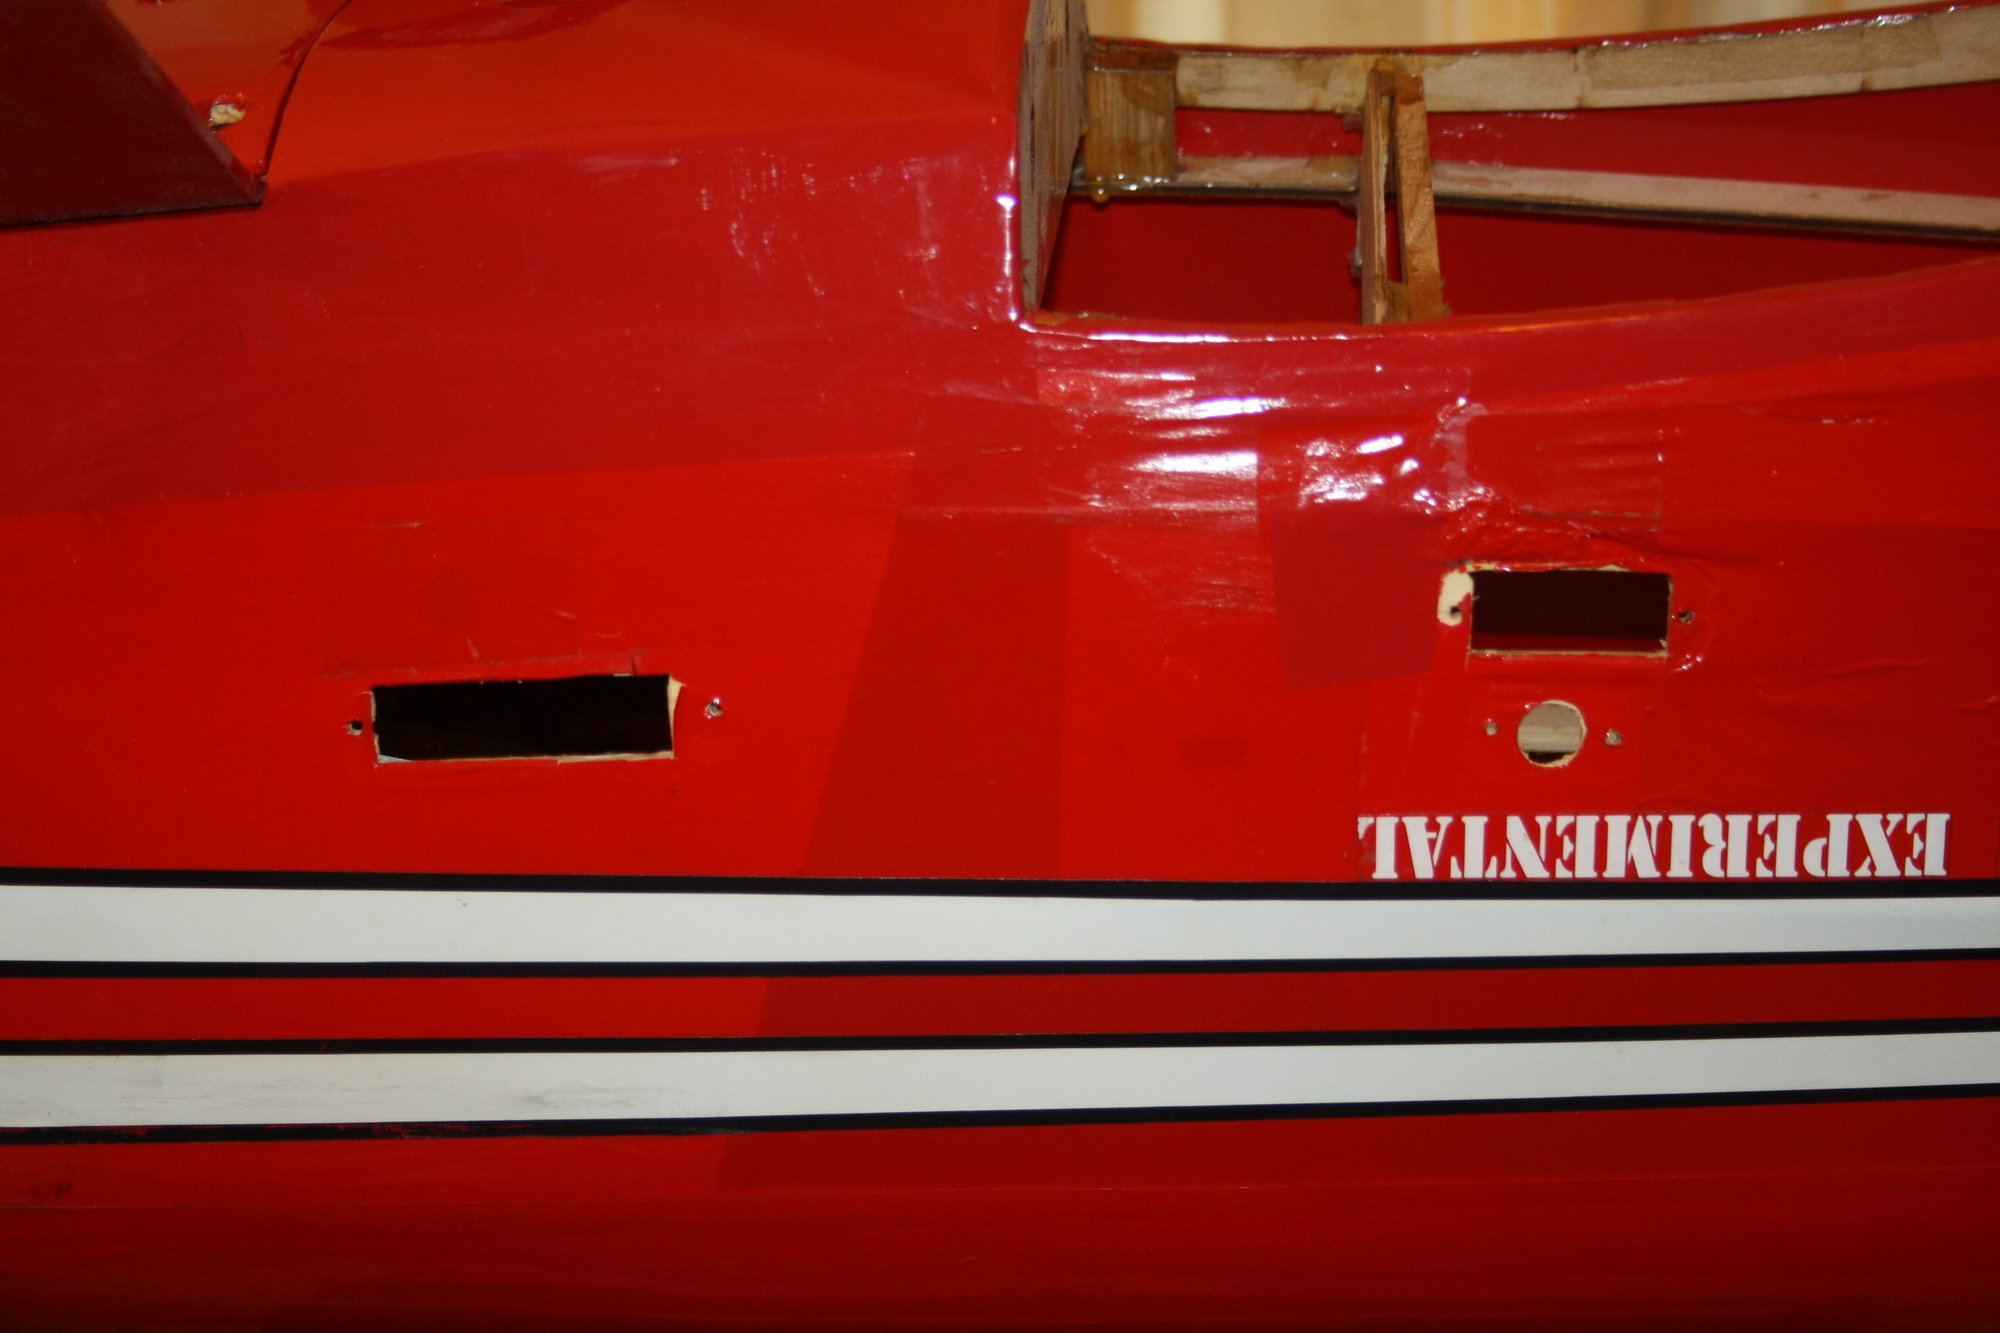
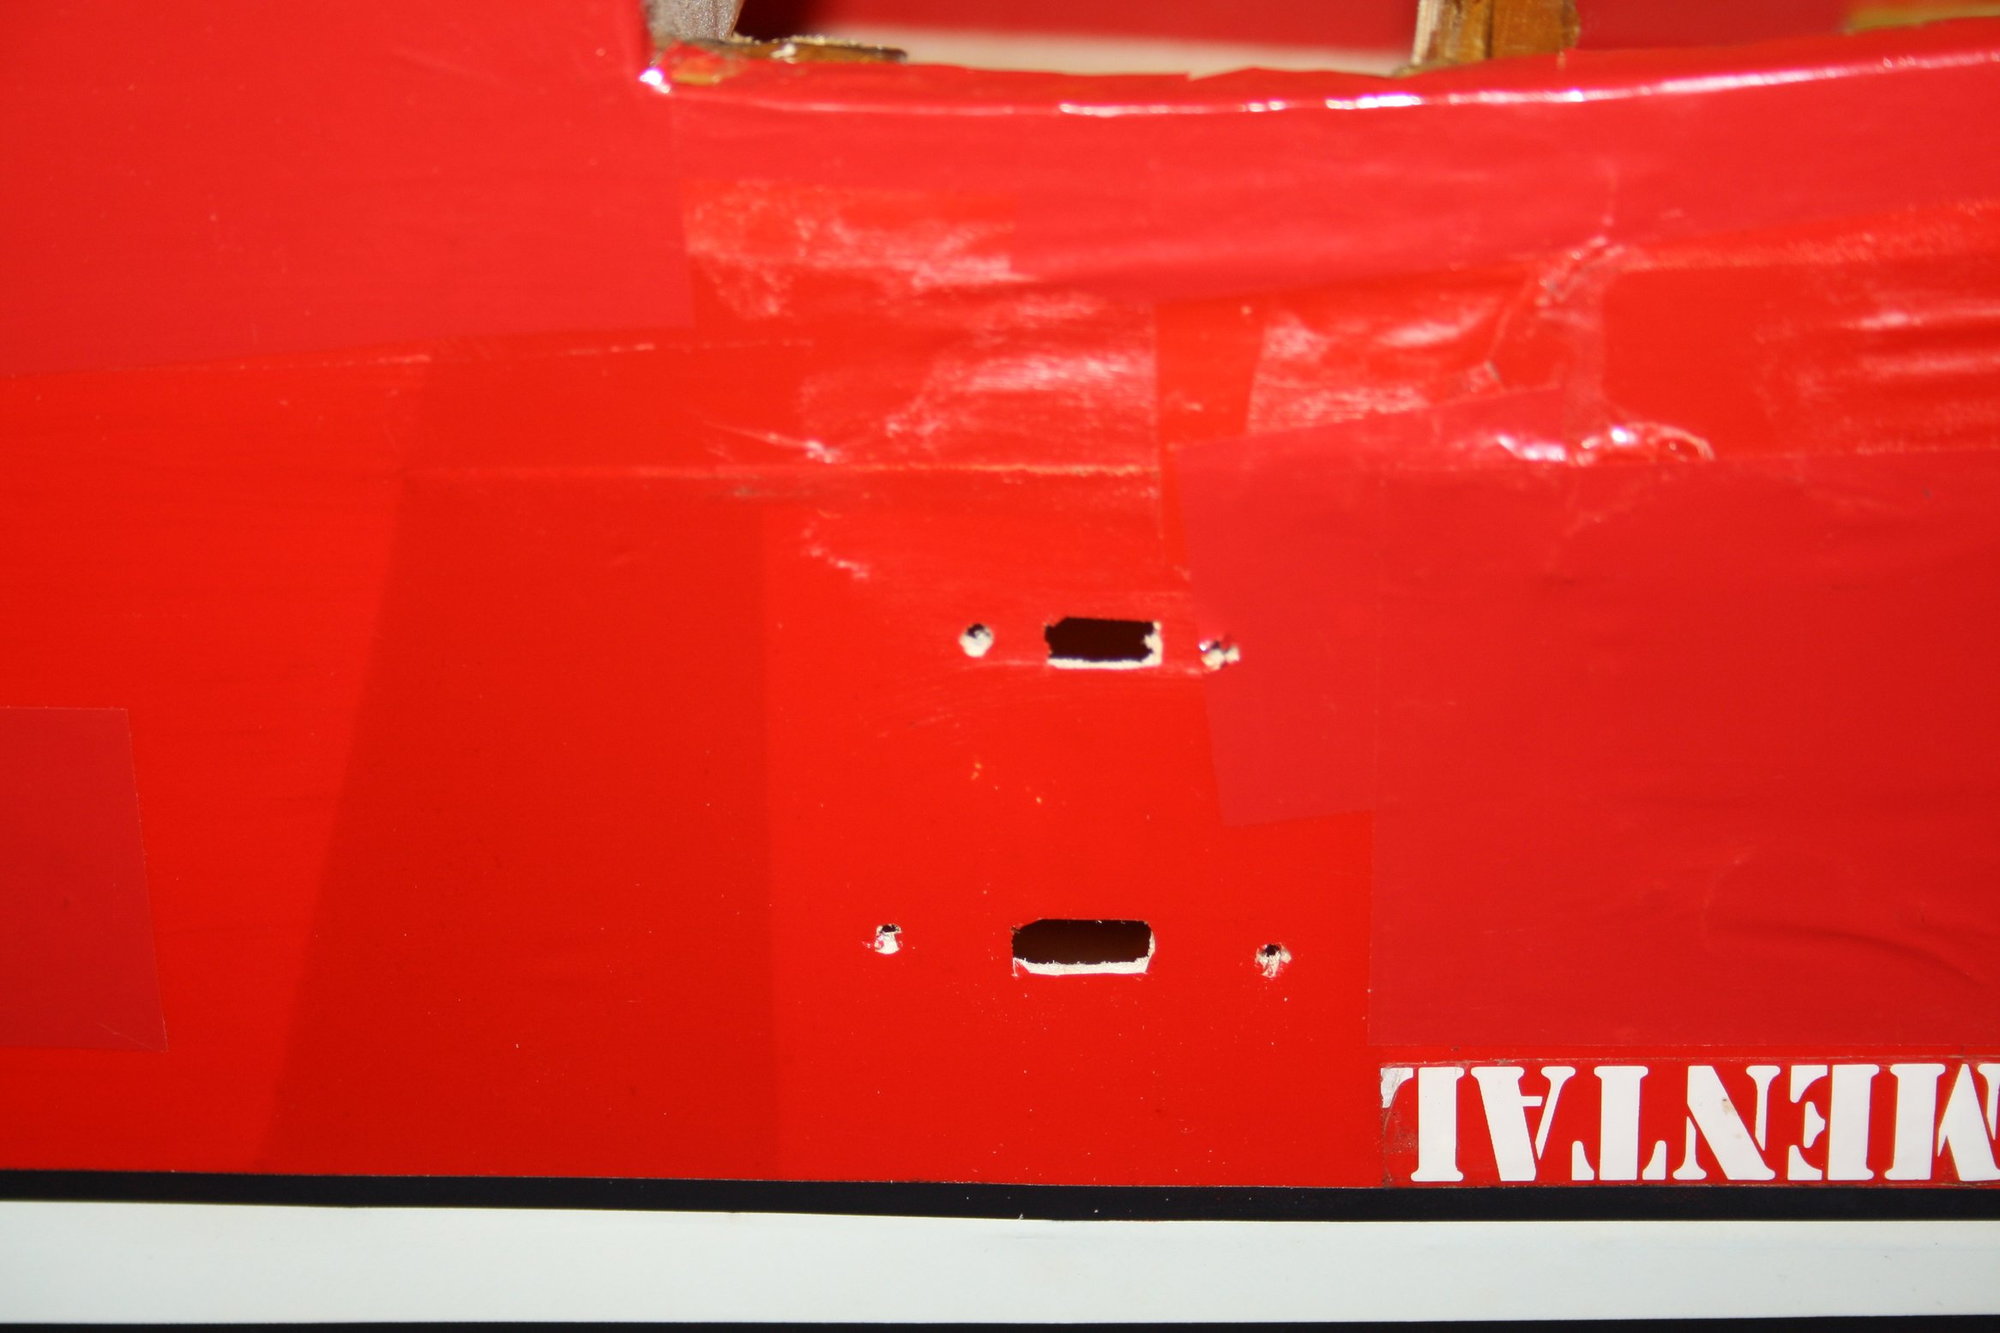
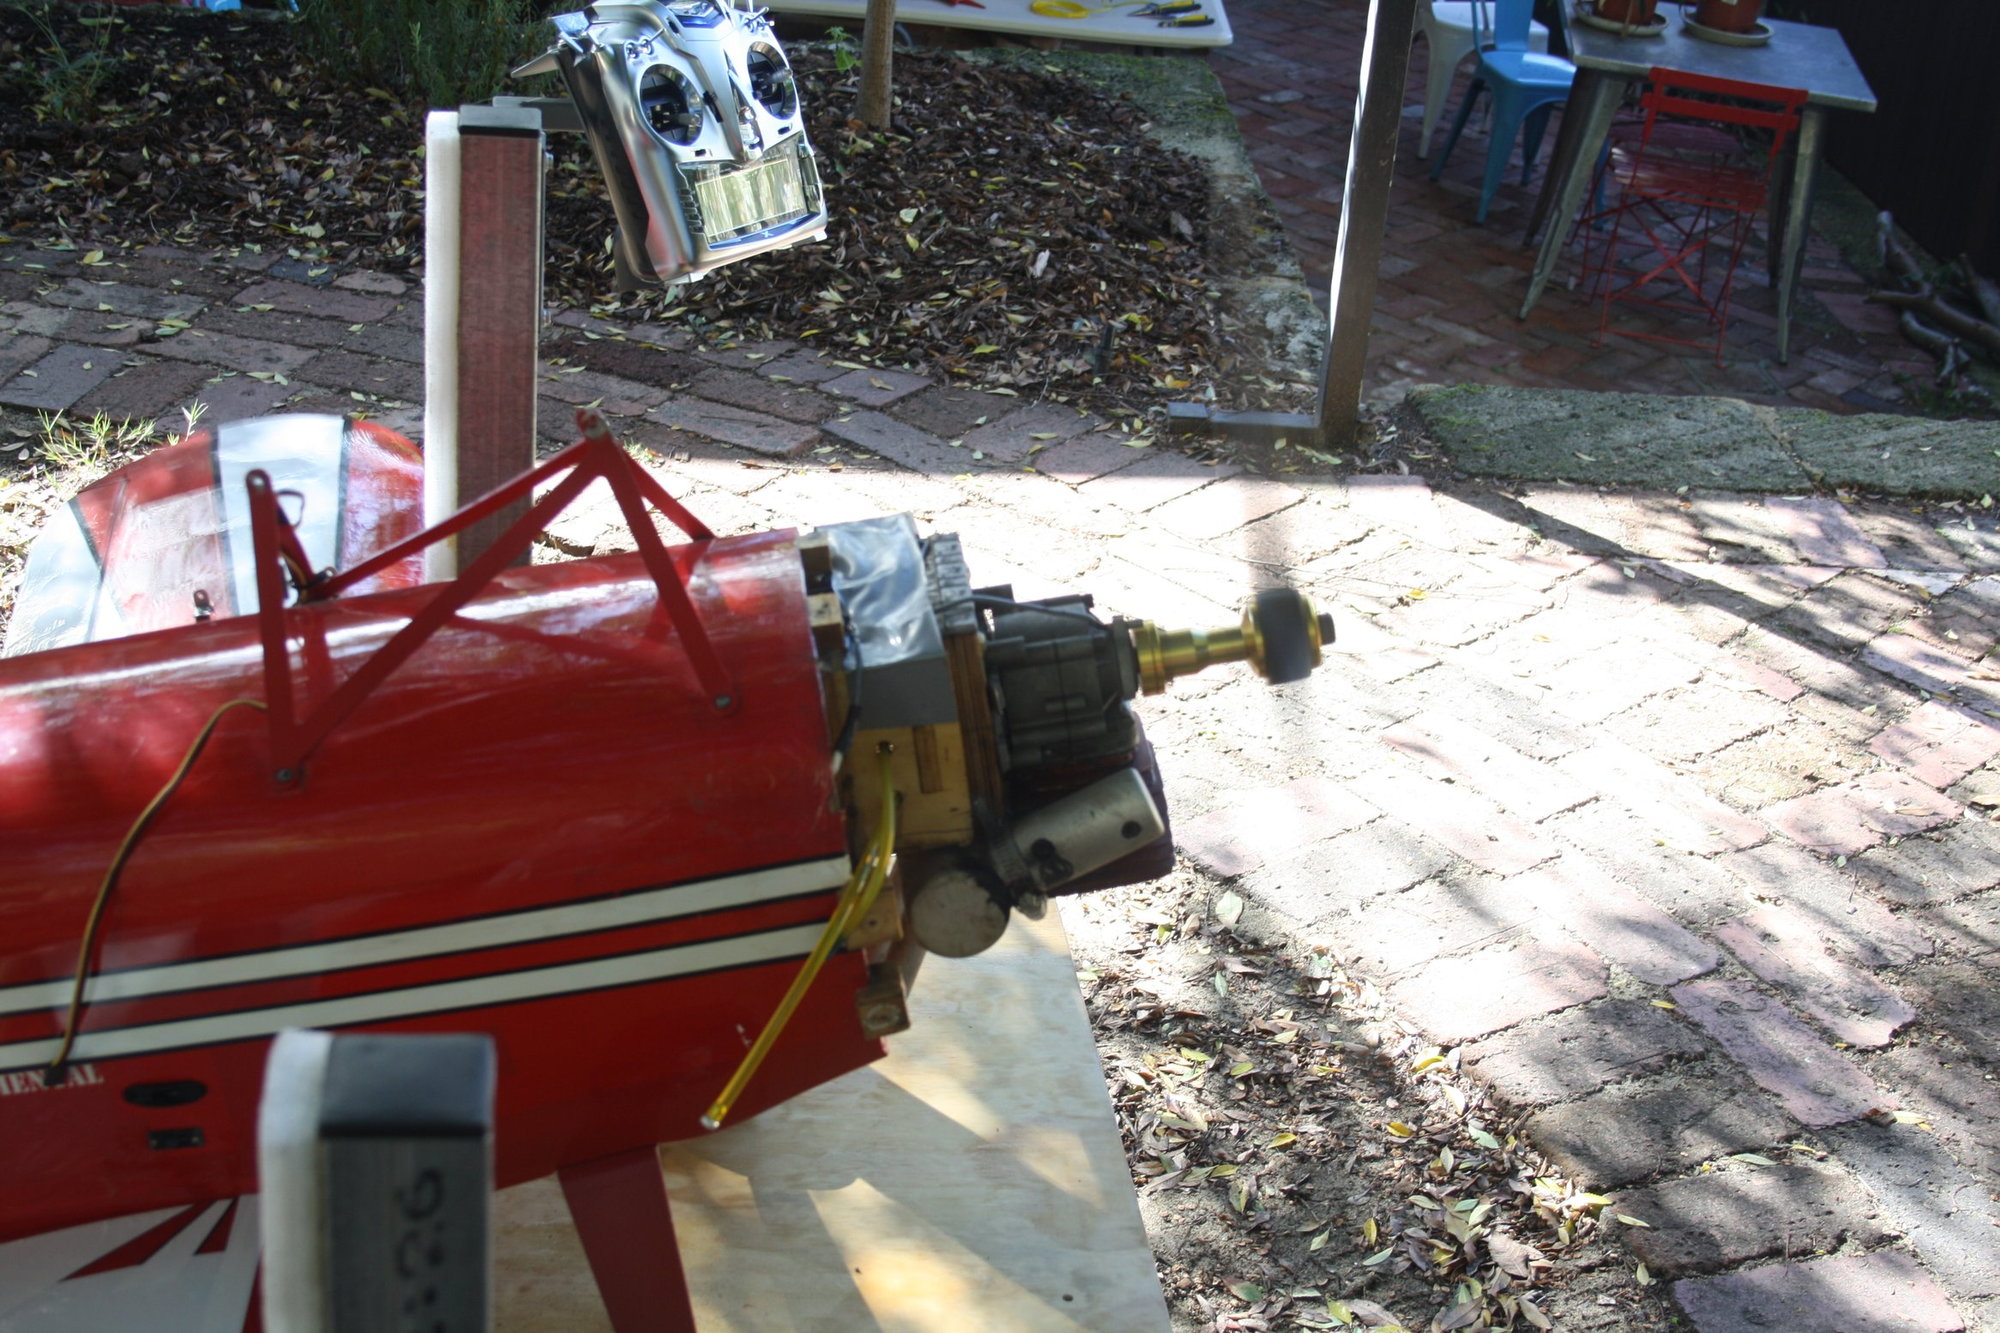
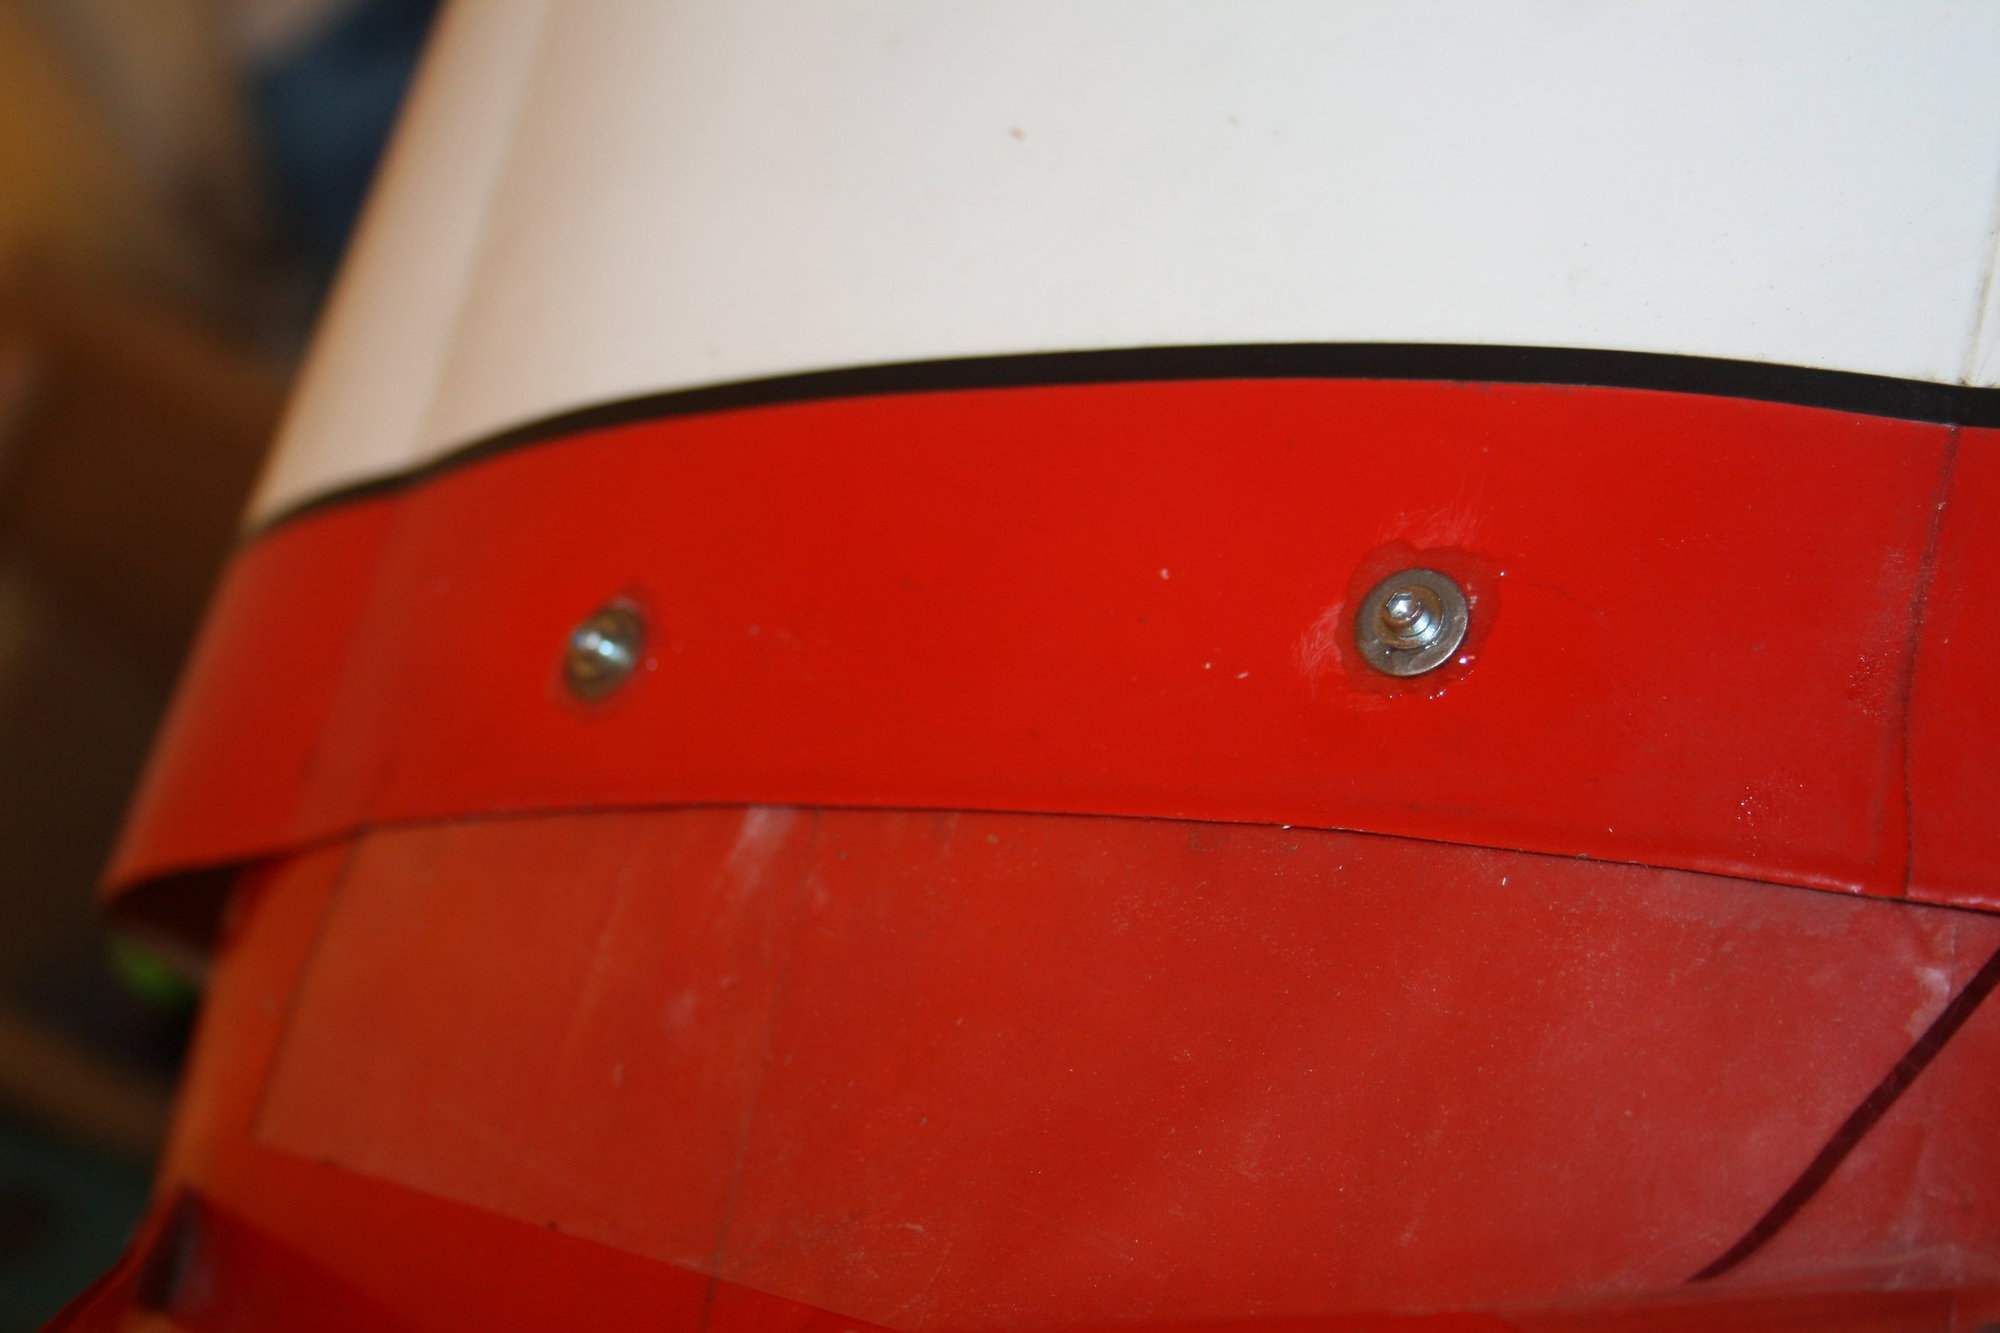
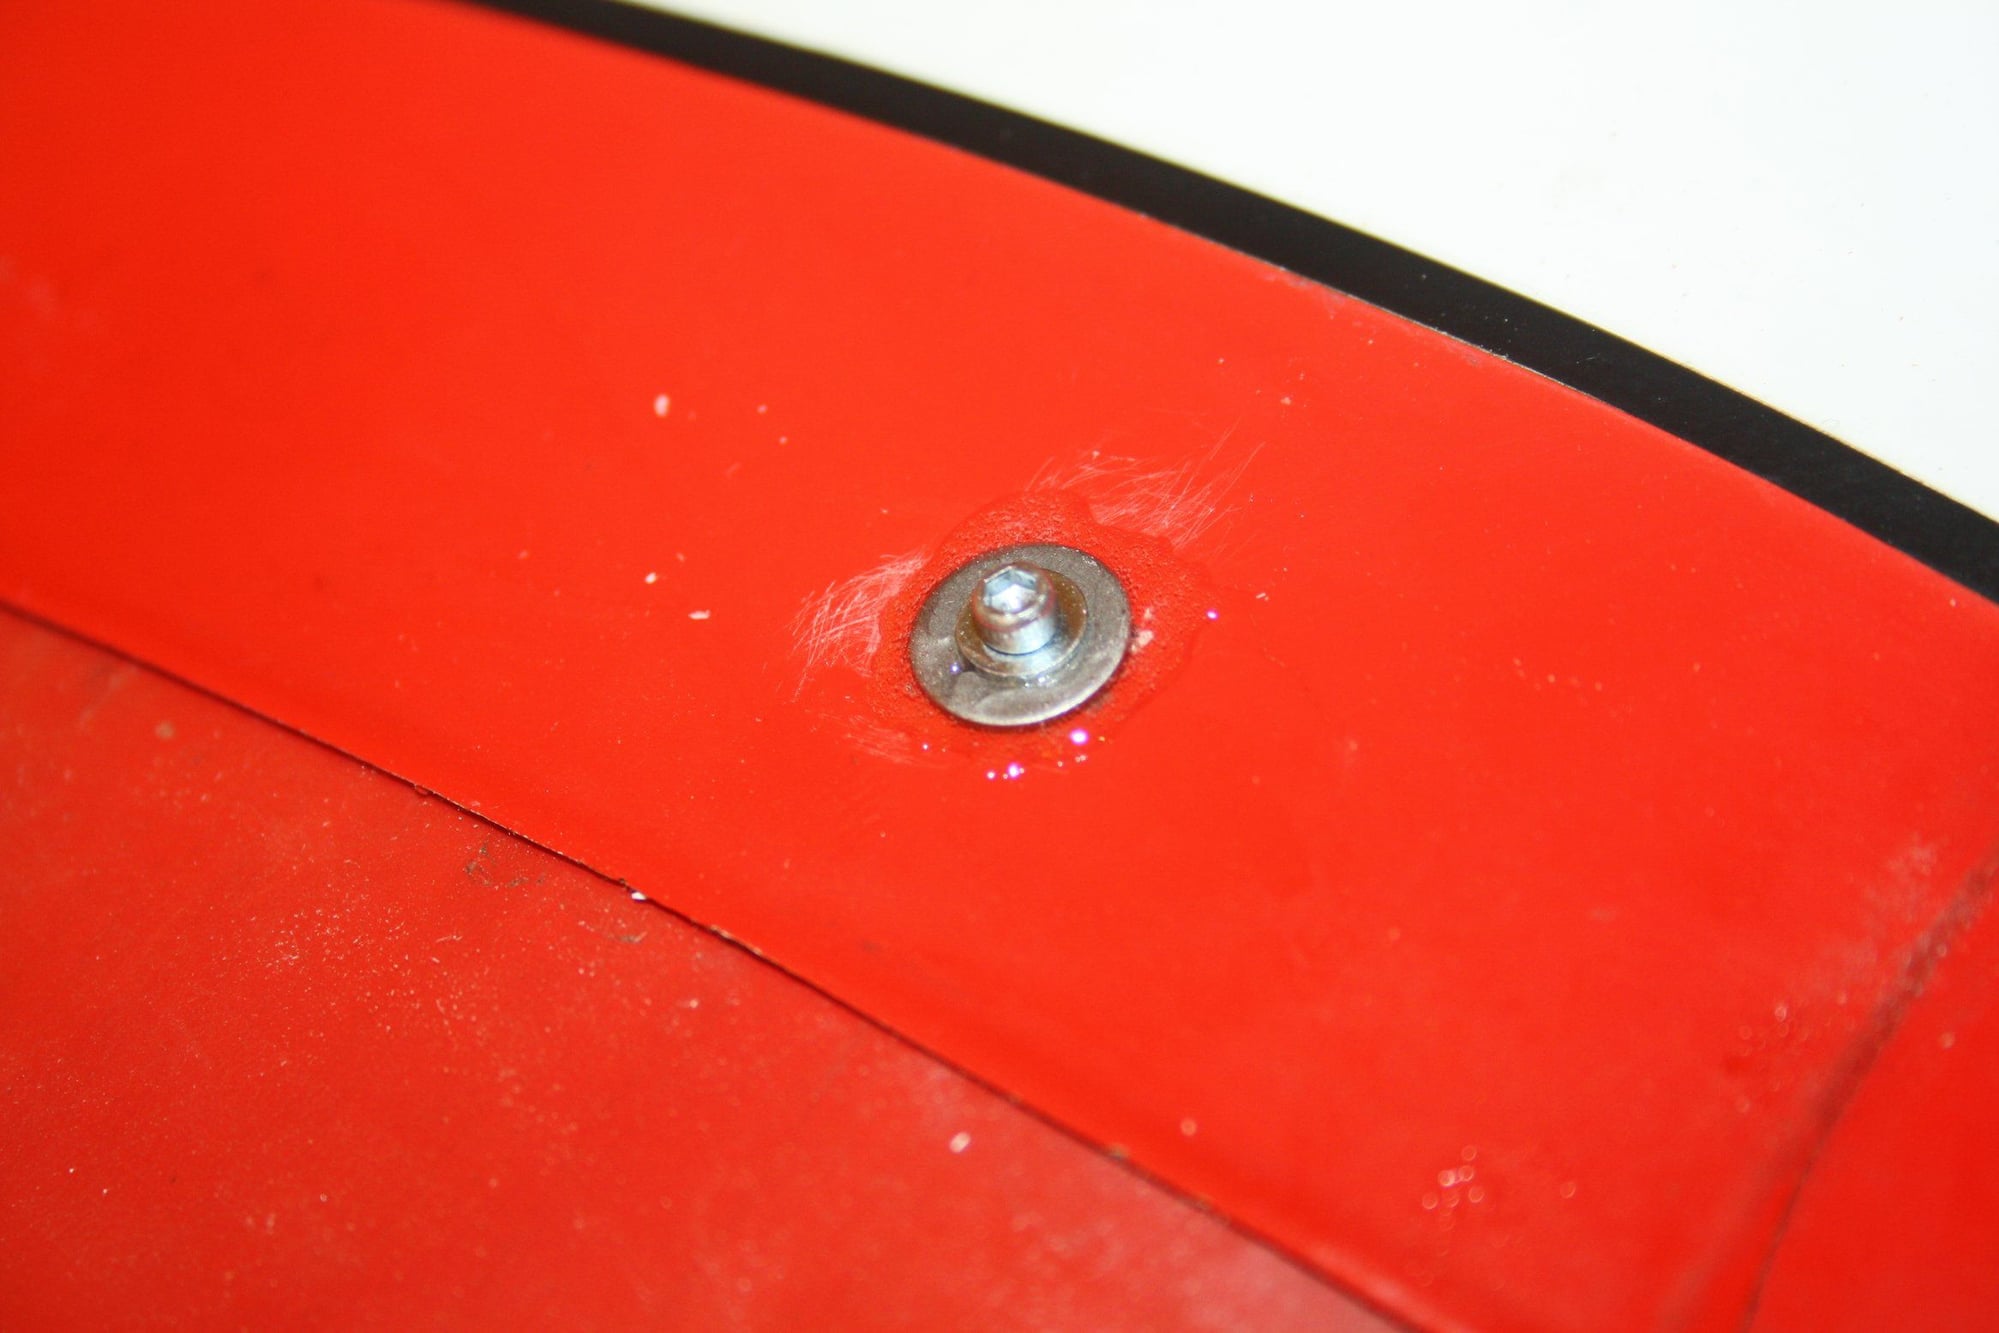
The Cowl cutting has been enlarged to clear the muffler stacks . "servo screws" were used to mount the cowl to the fuselage.
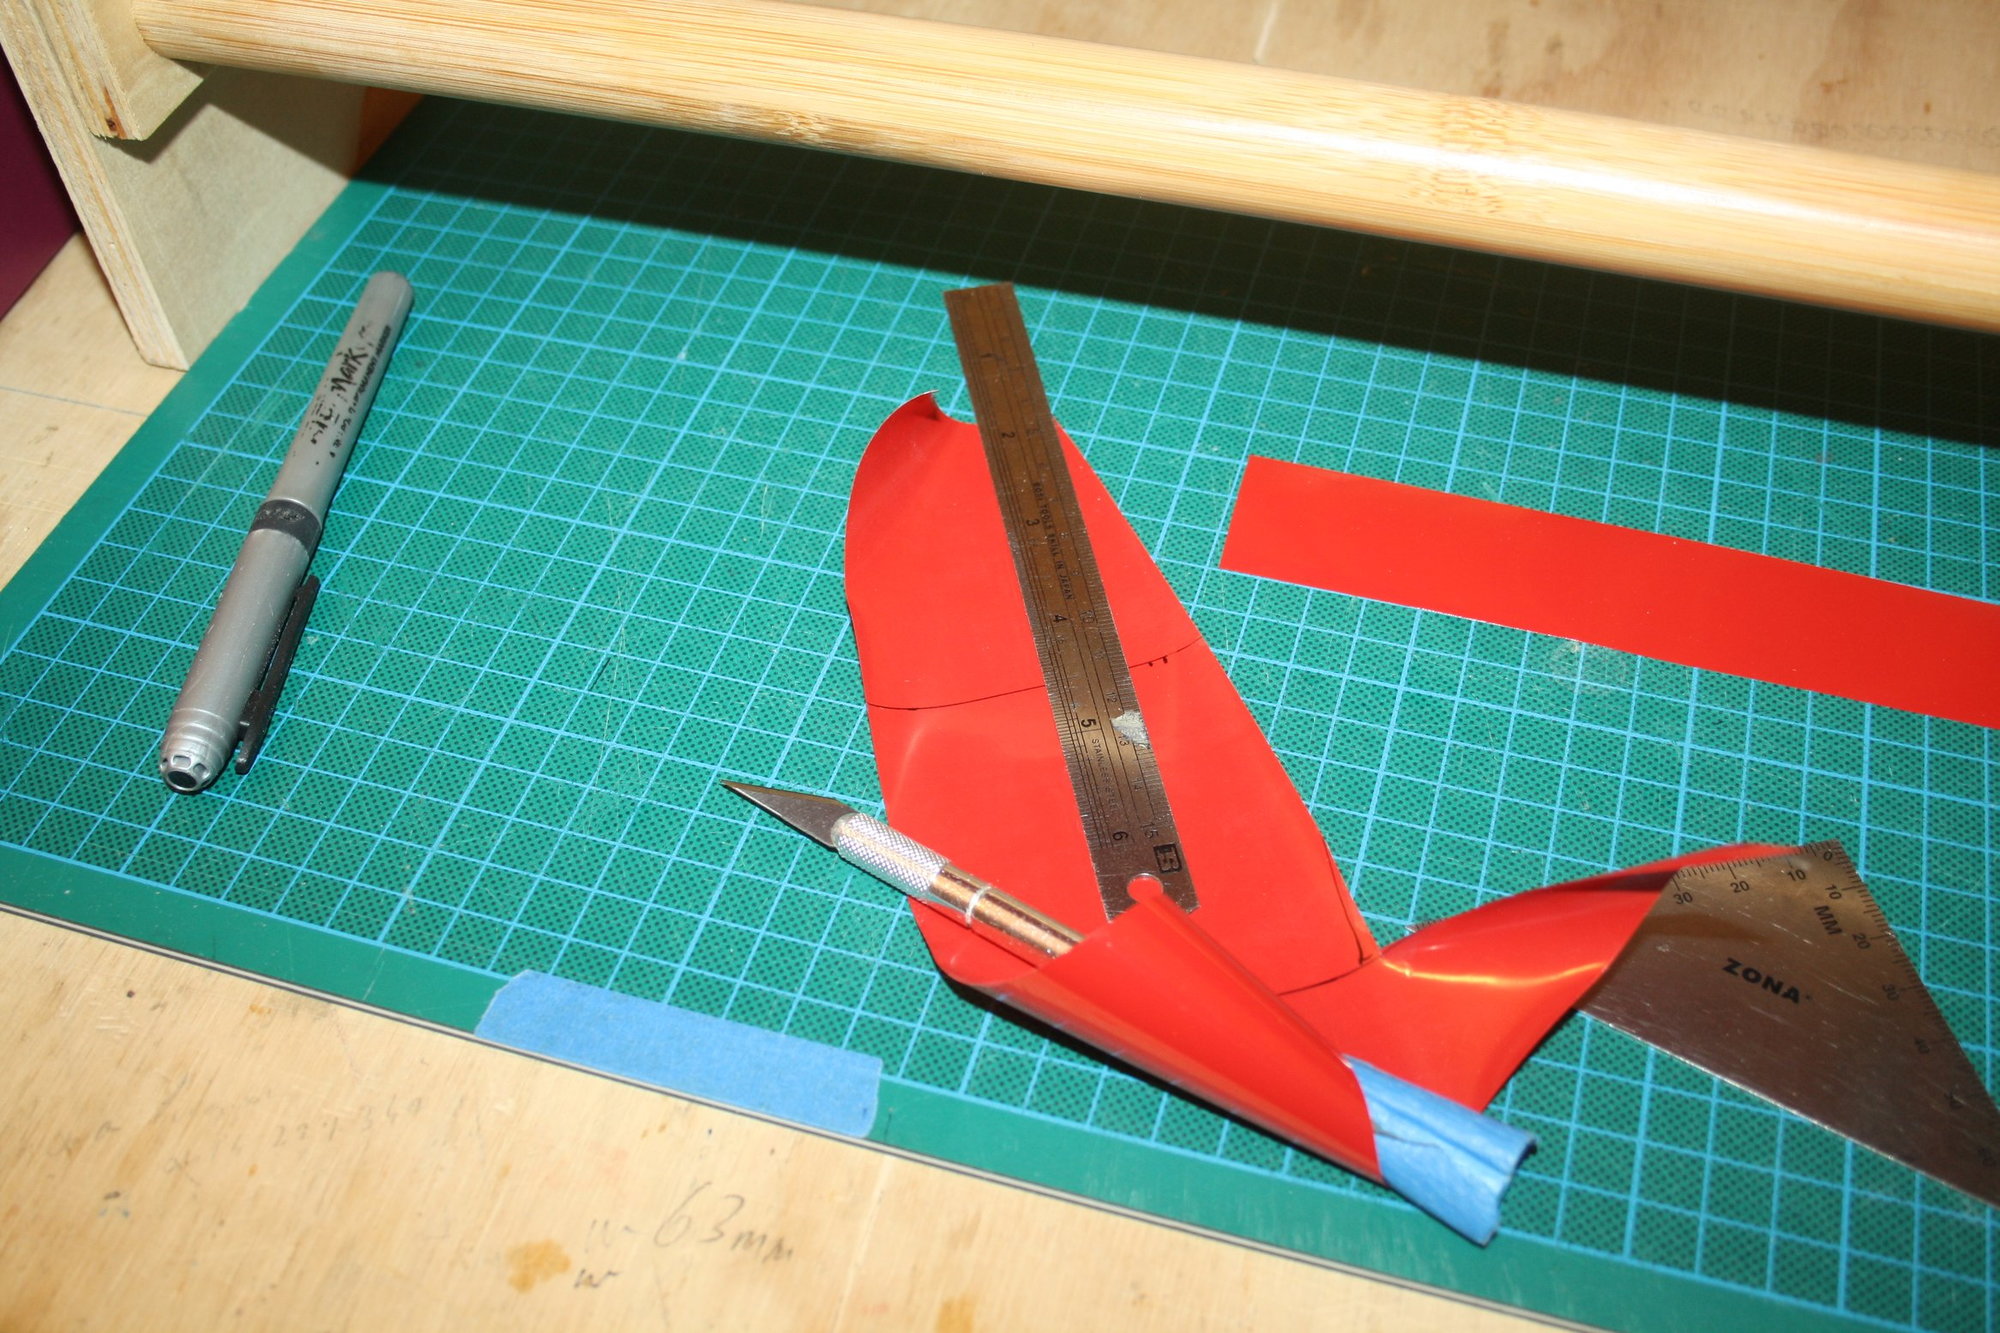
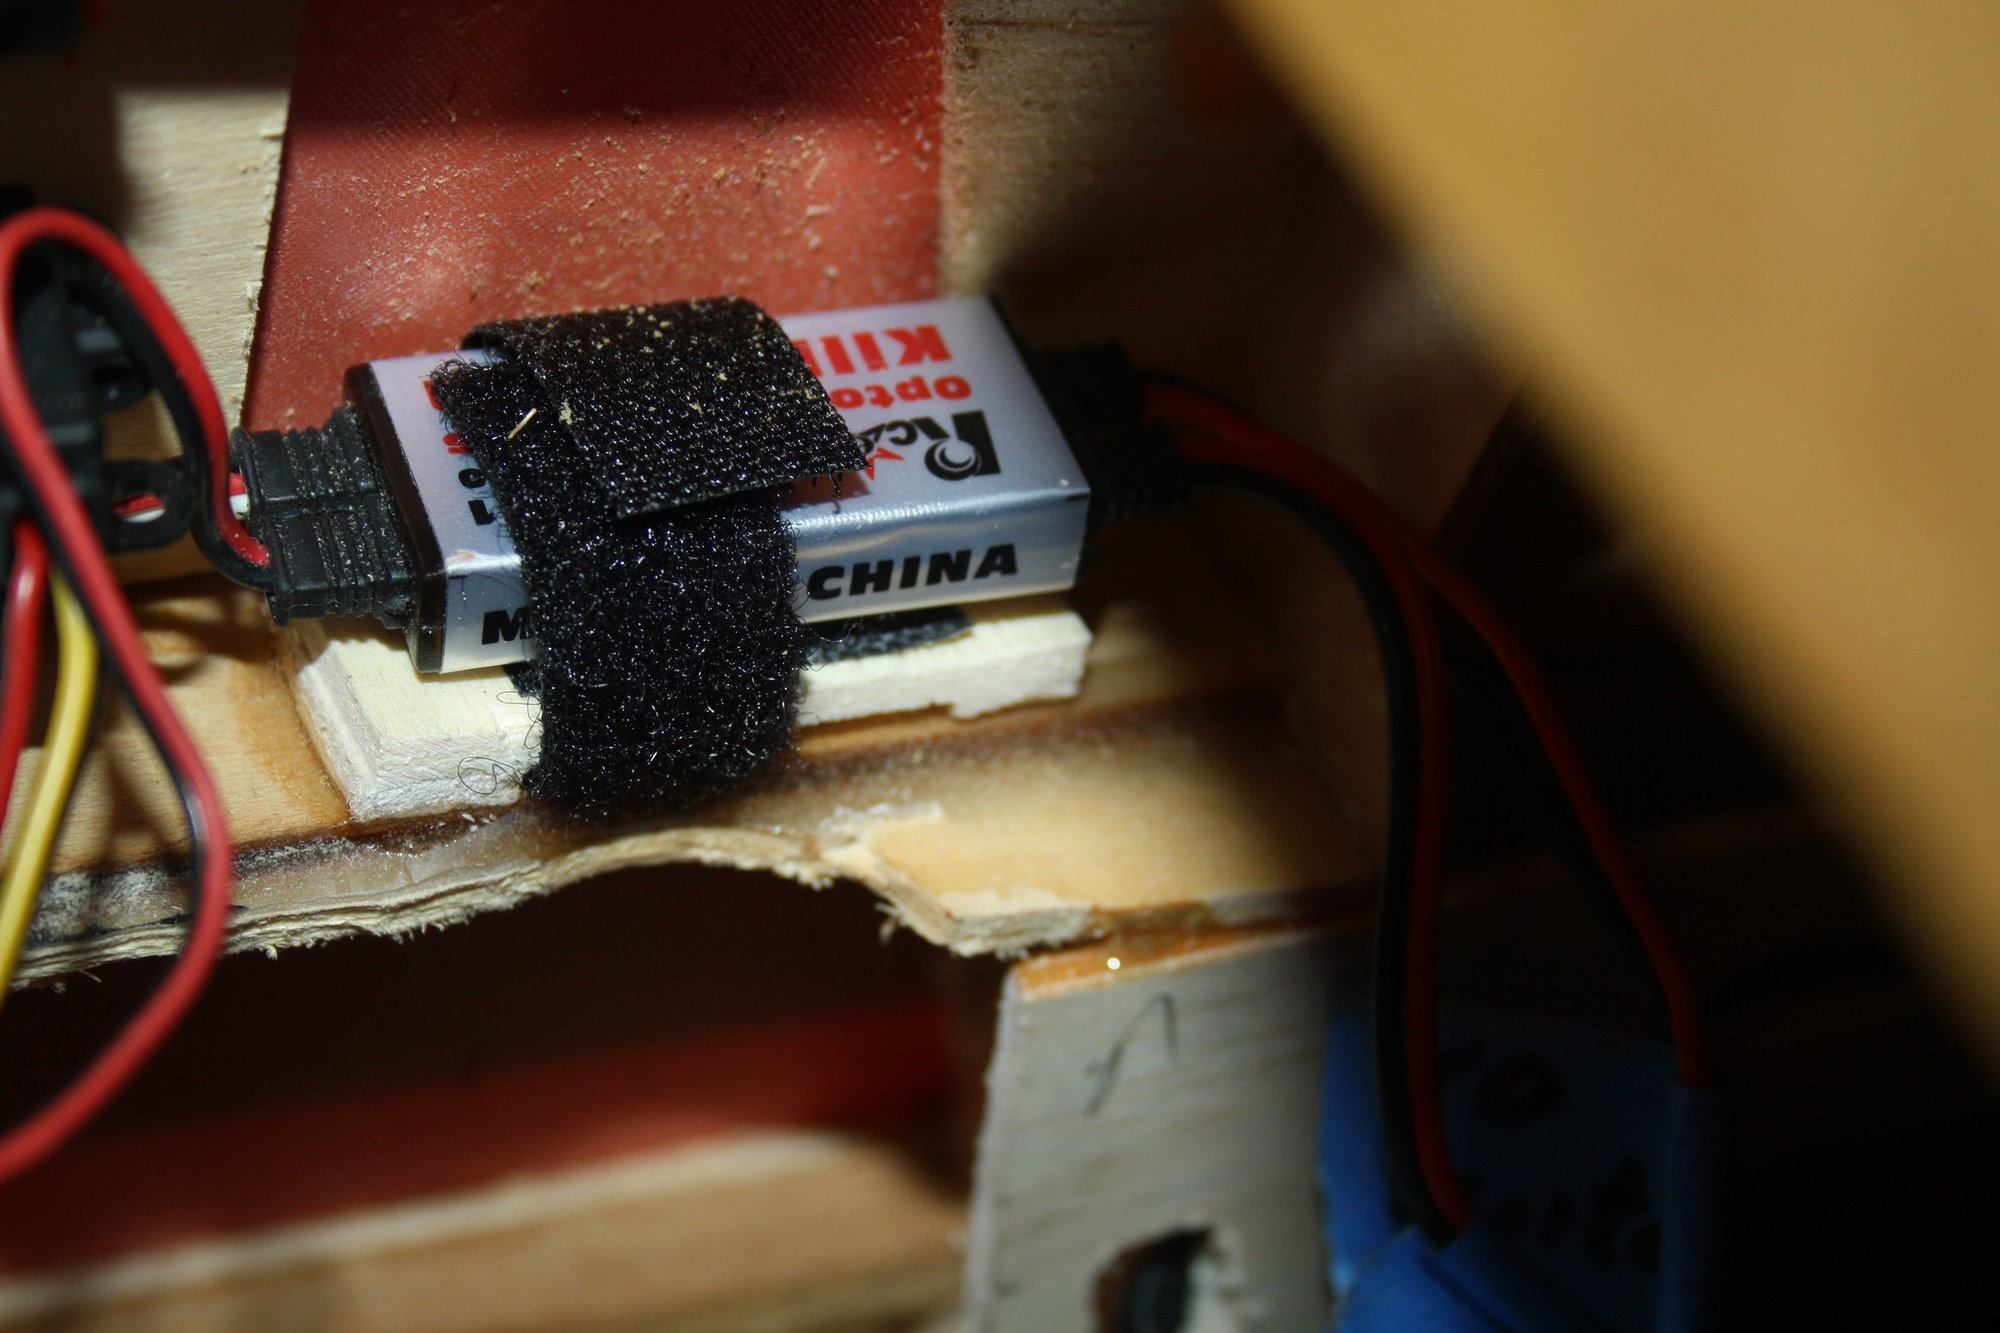
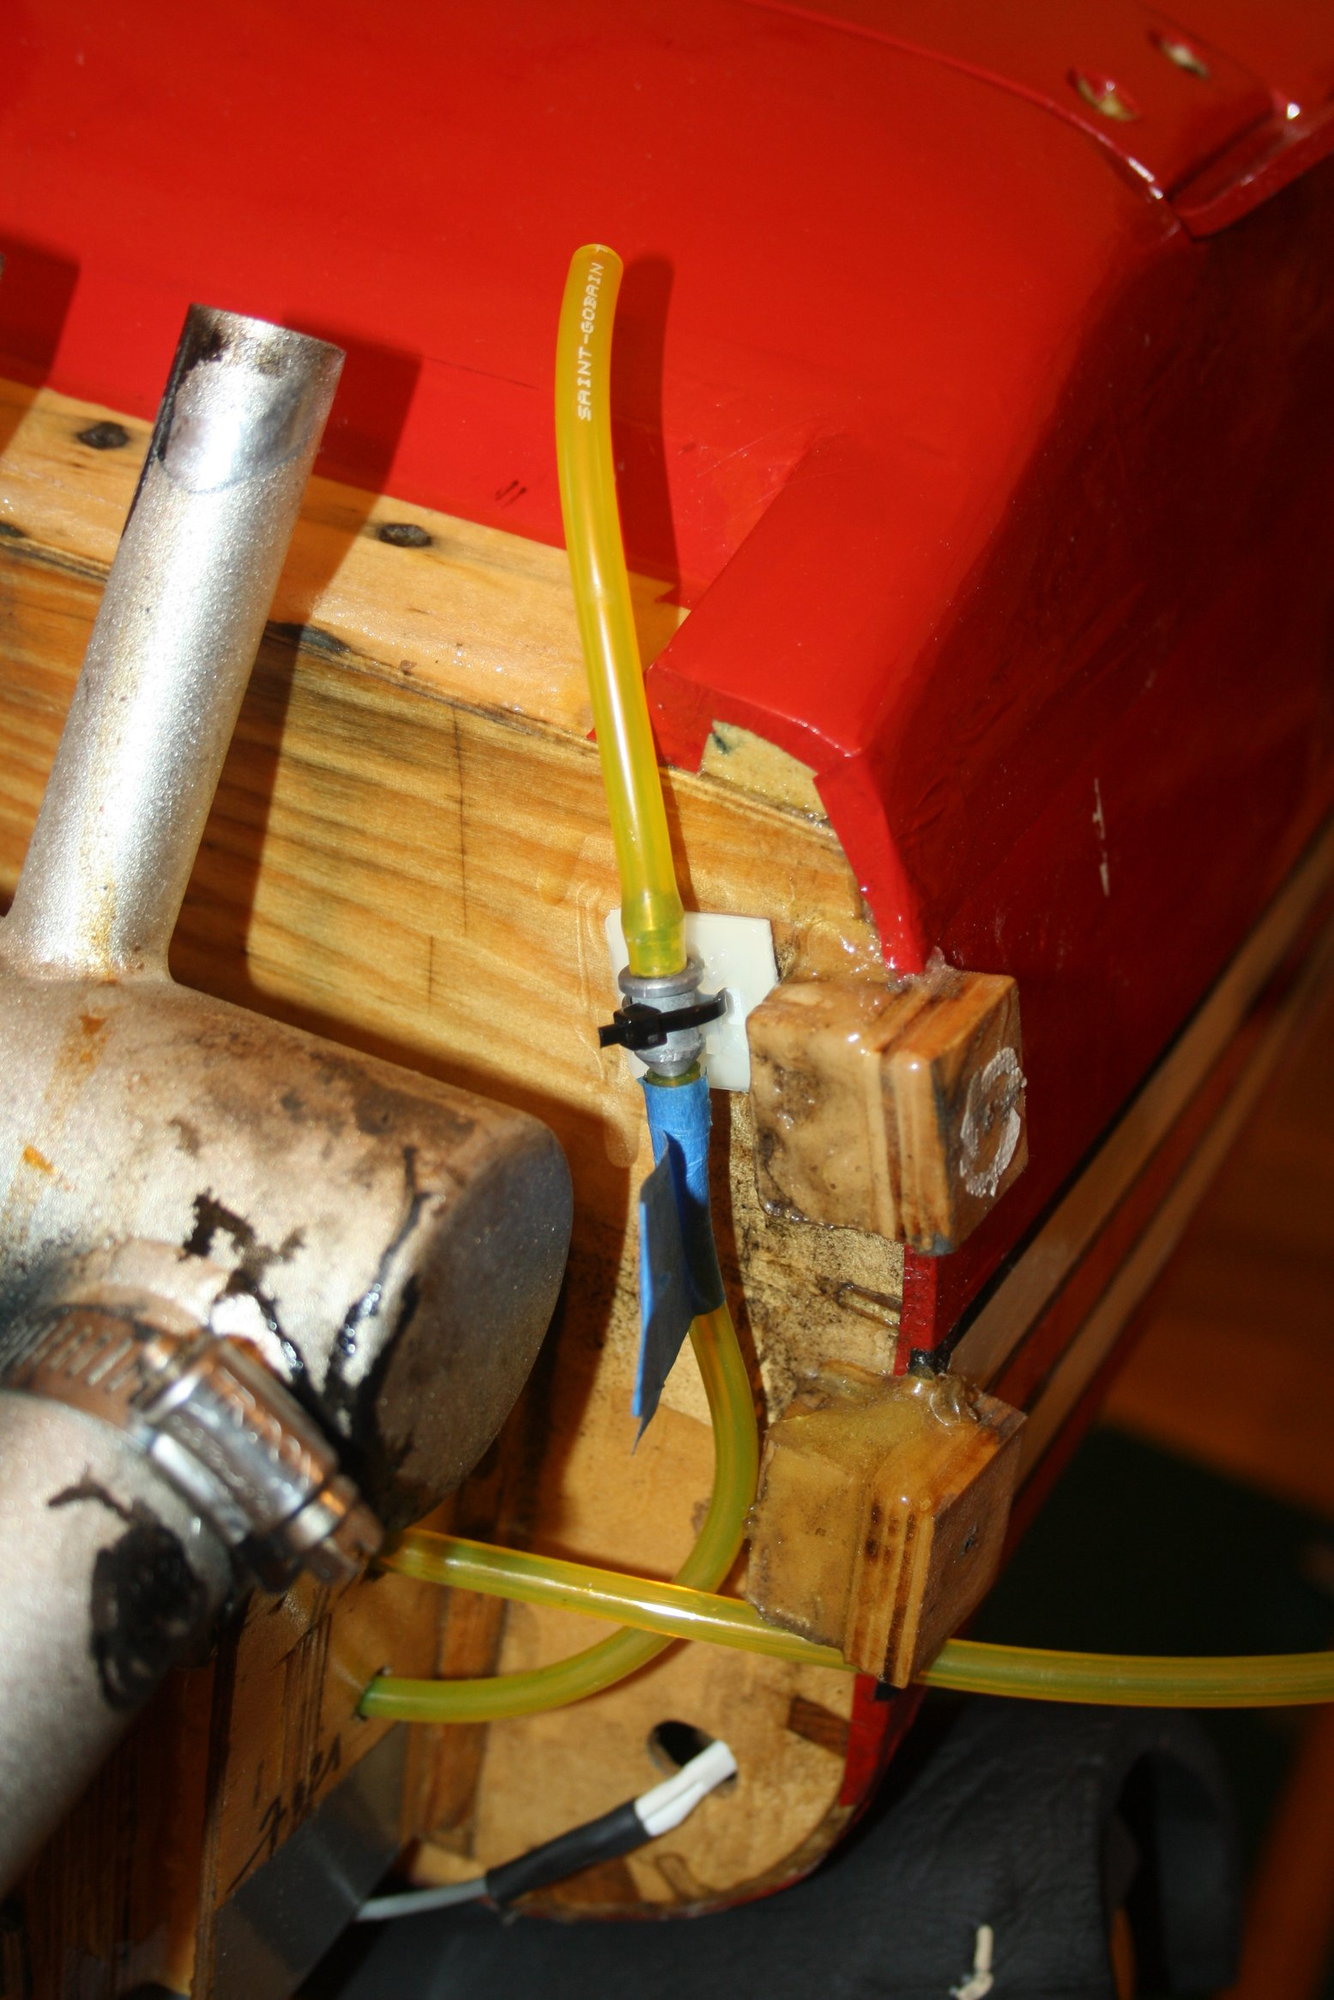
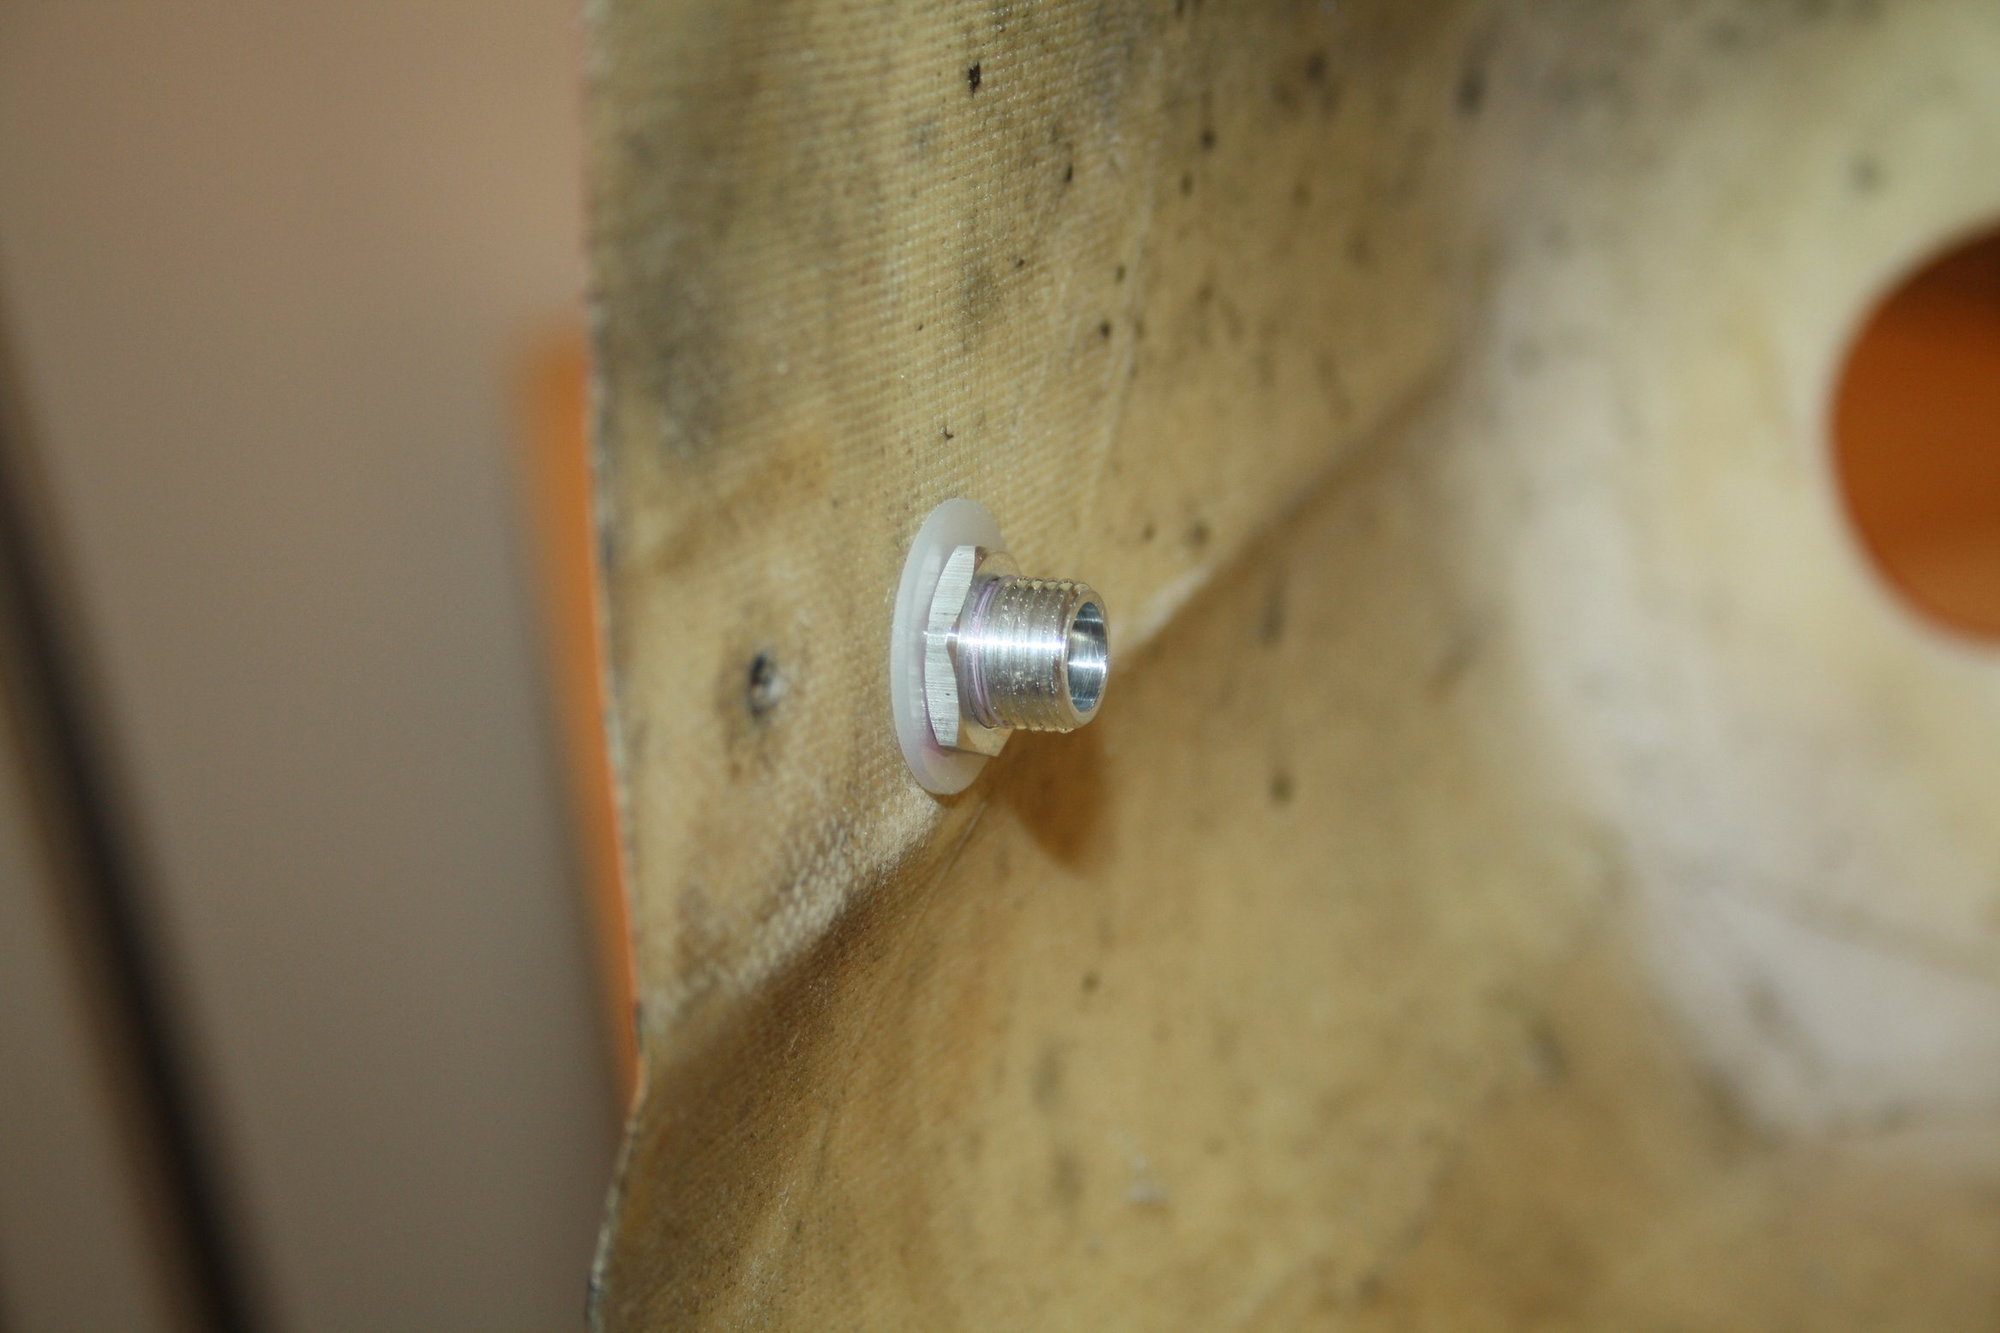
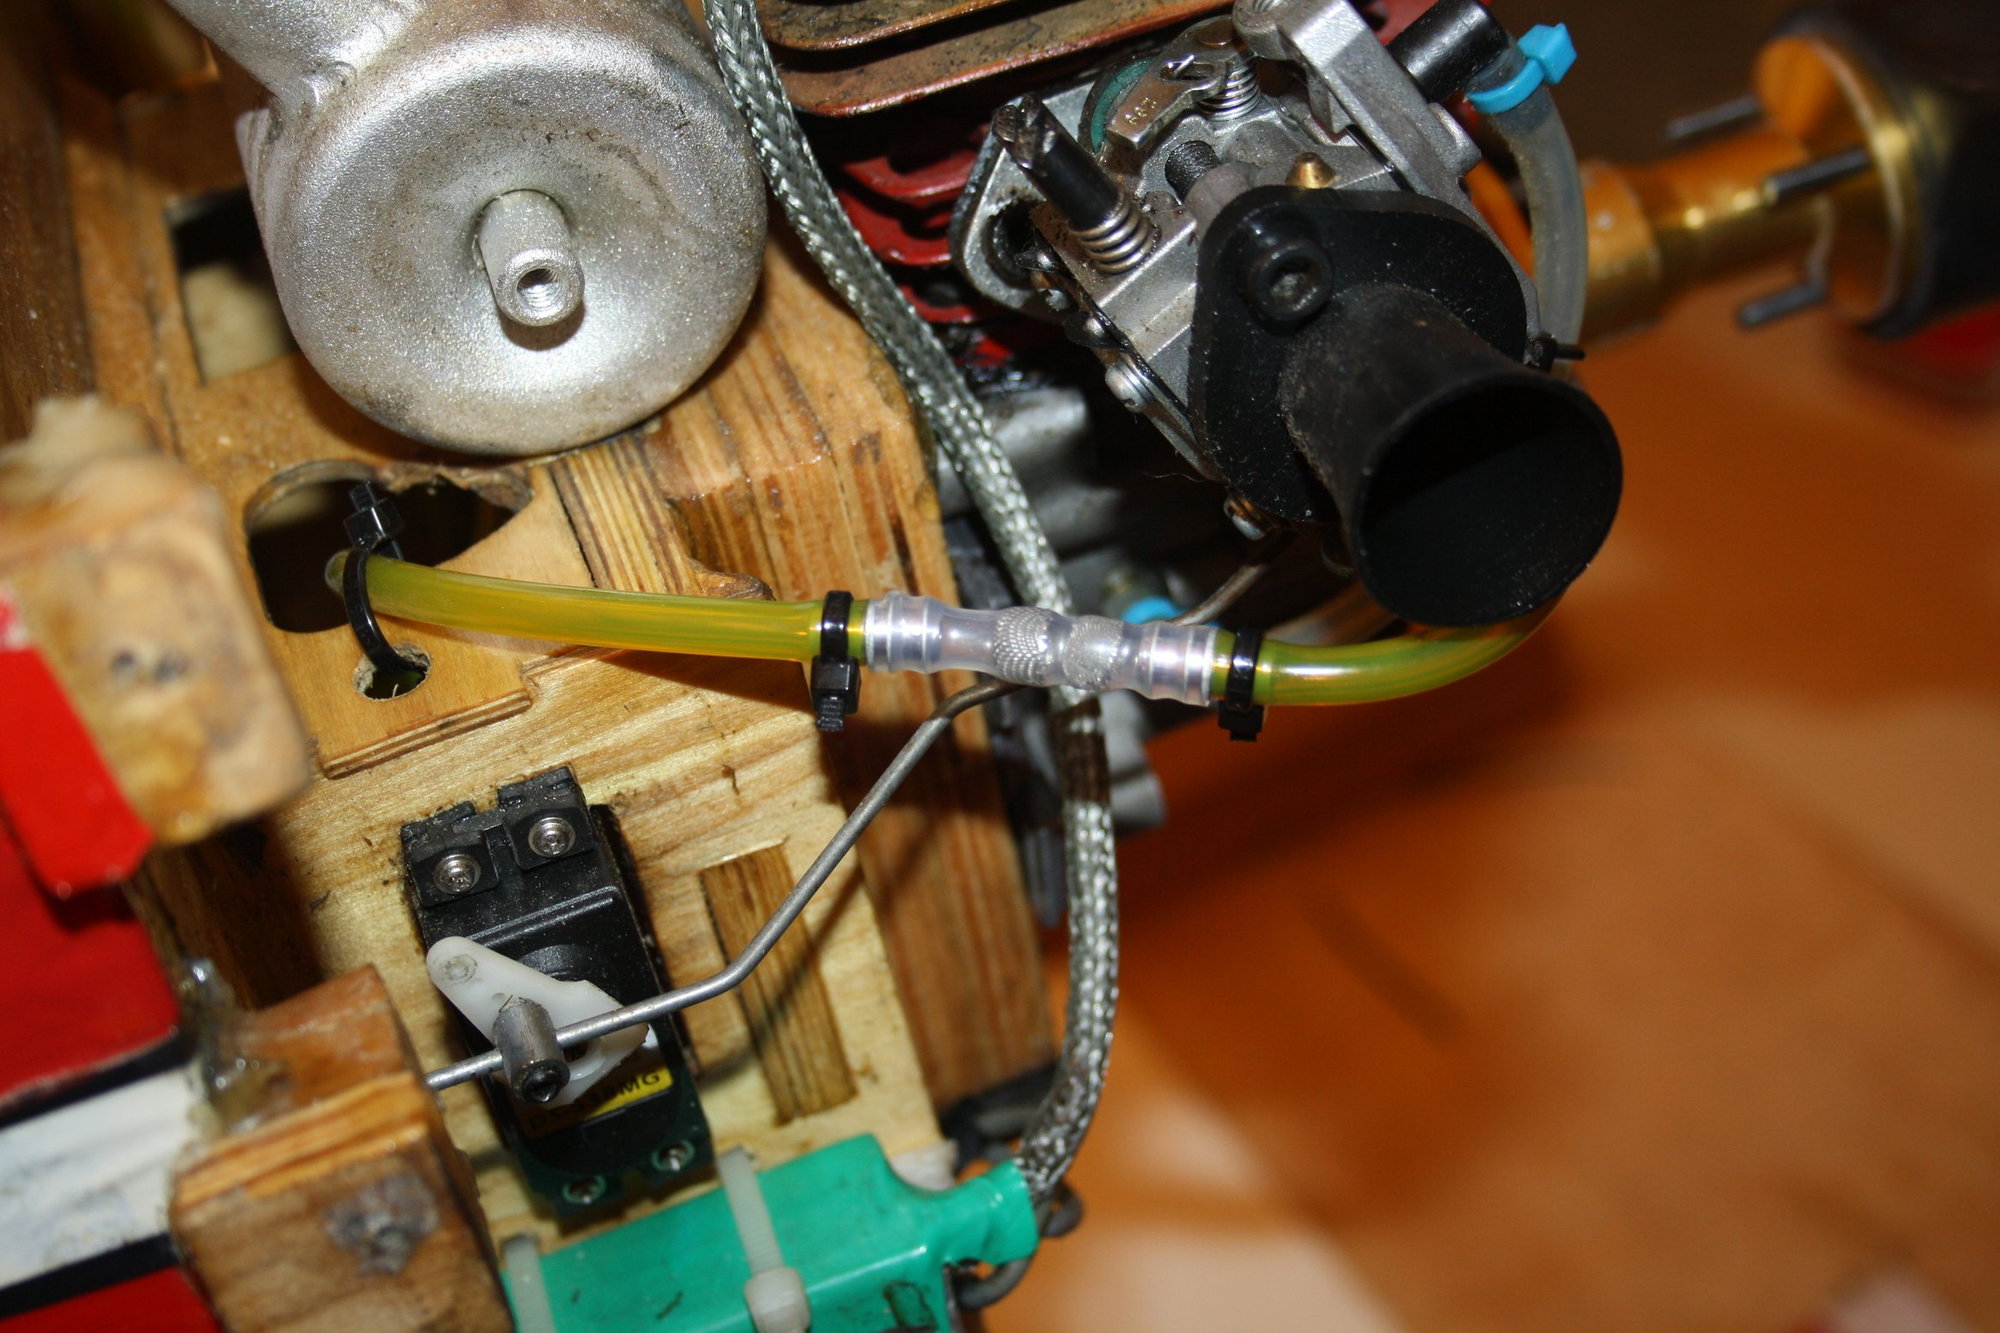
I installed the Rcexl electronic kill-switch and associated LED light, and extended the fuel tank vent line to exit from the cowl bottom.
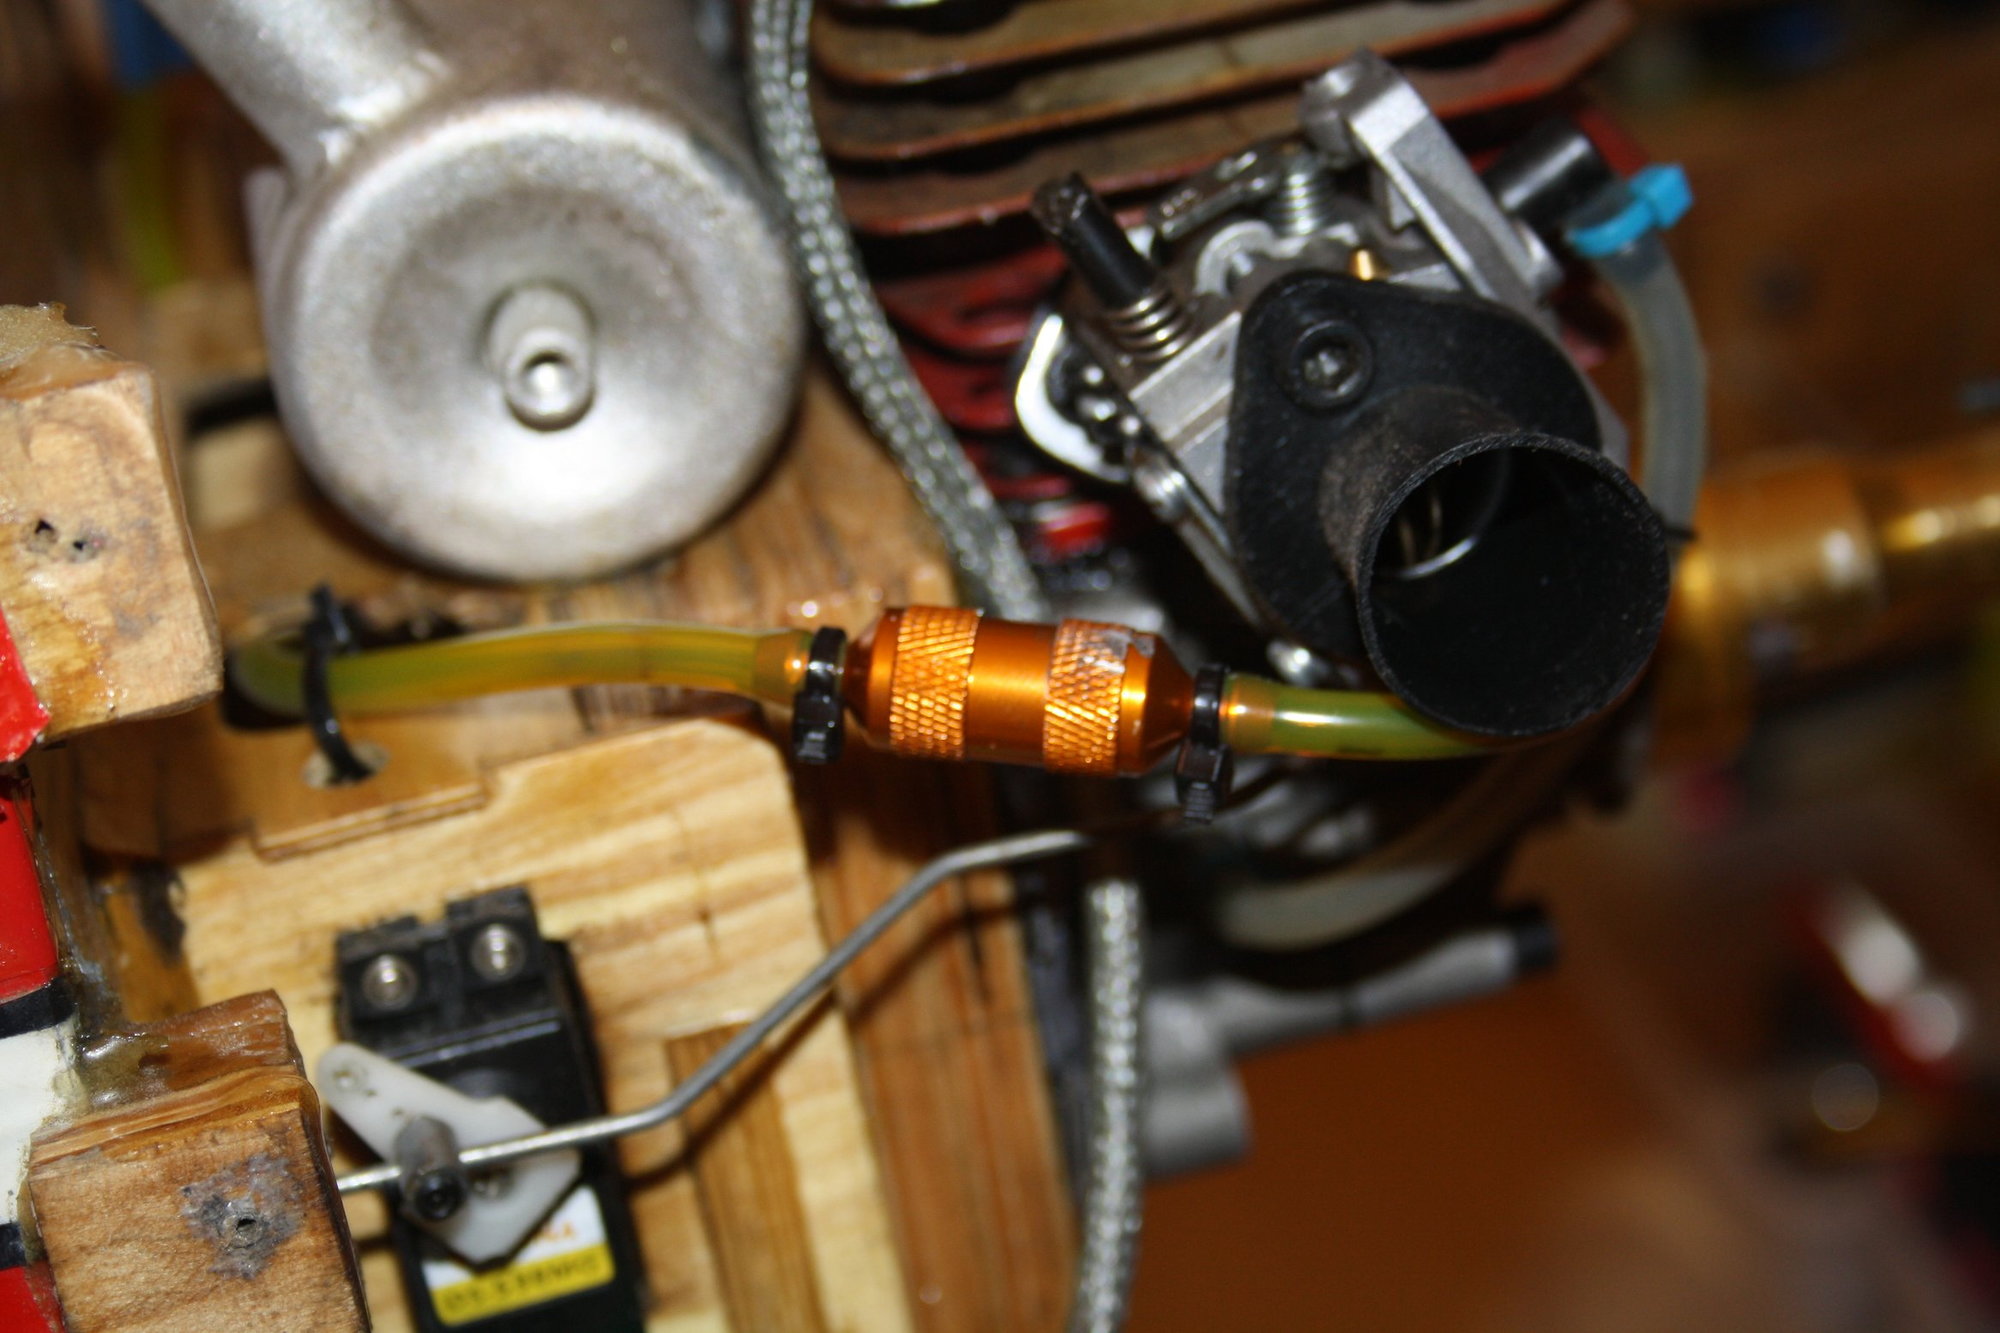
Simple fuel dot was attached to the cowl, and a filter inserted on the fuel line to the carburettor.

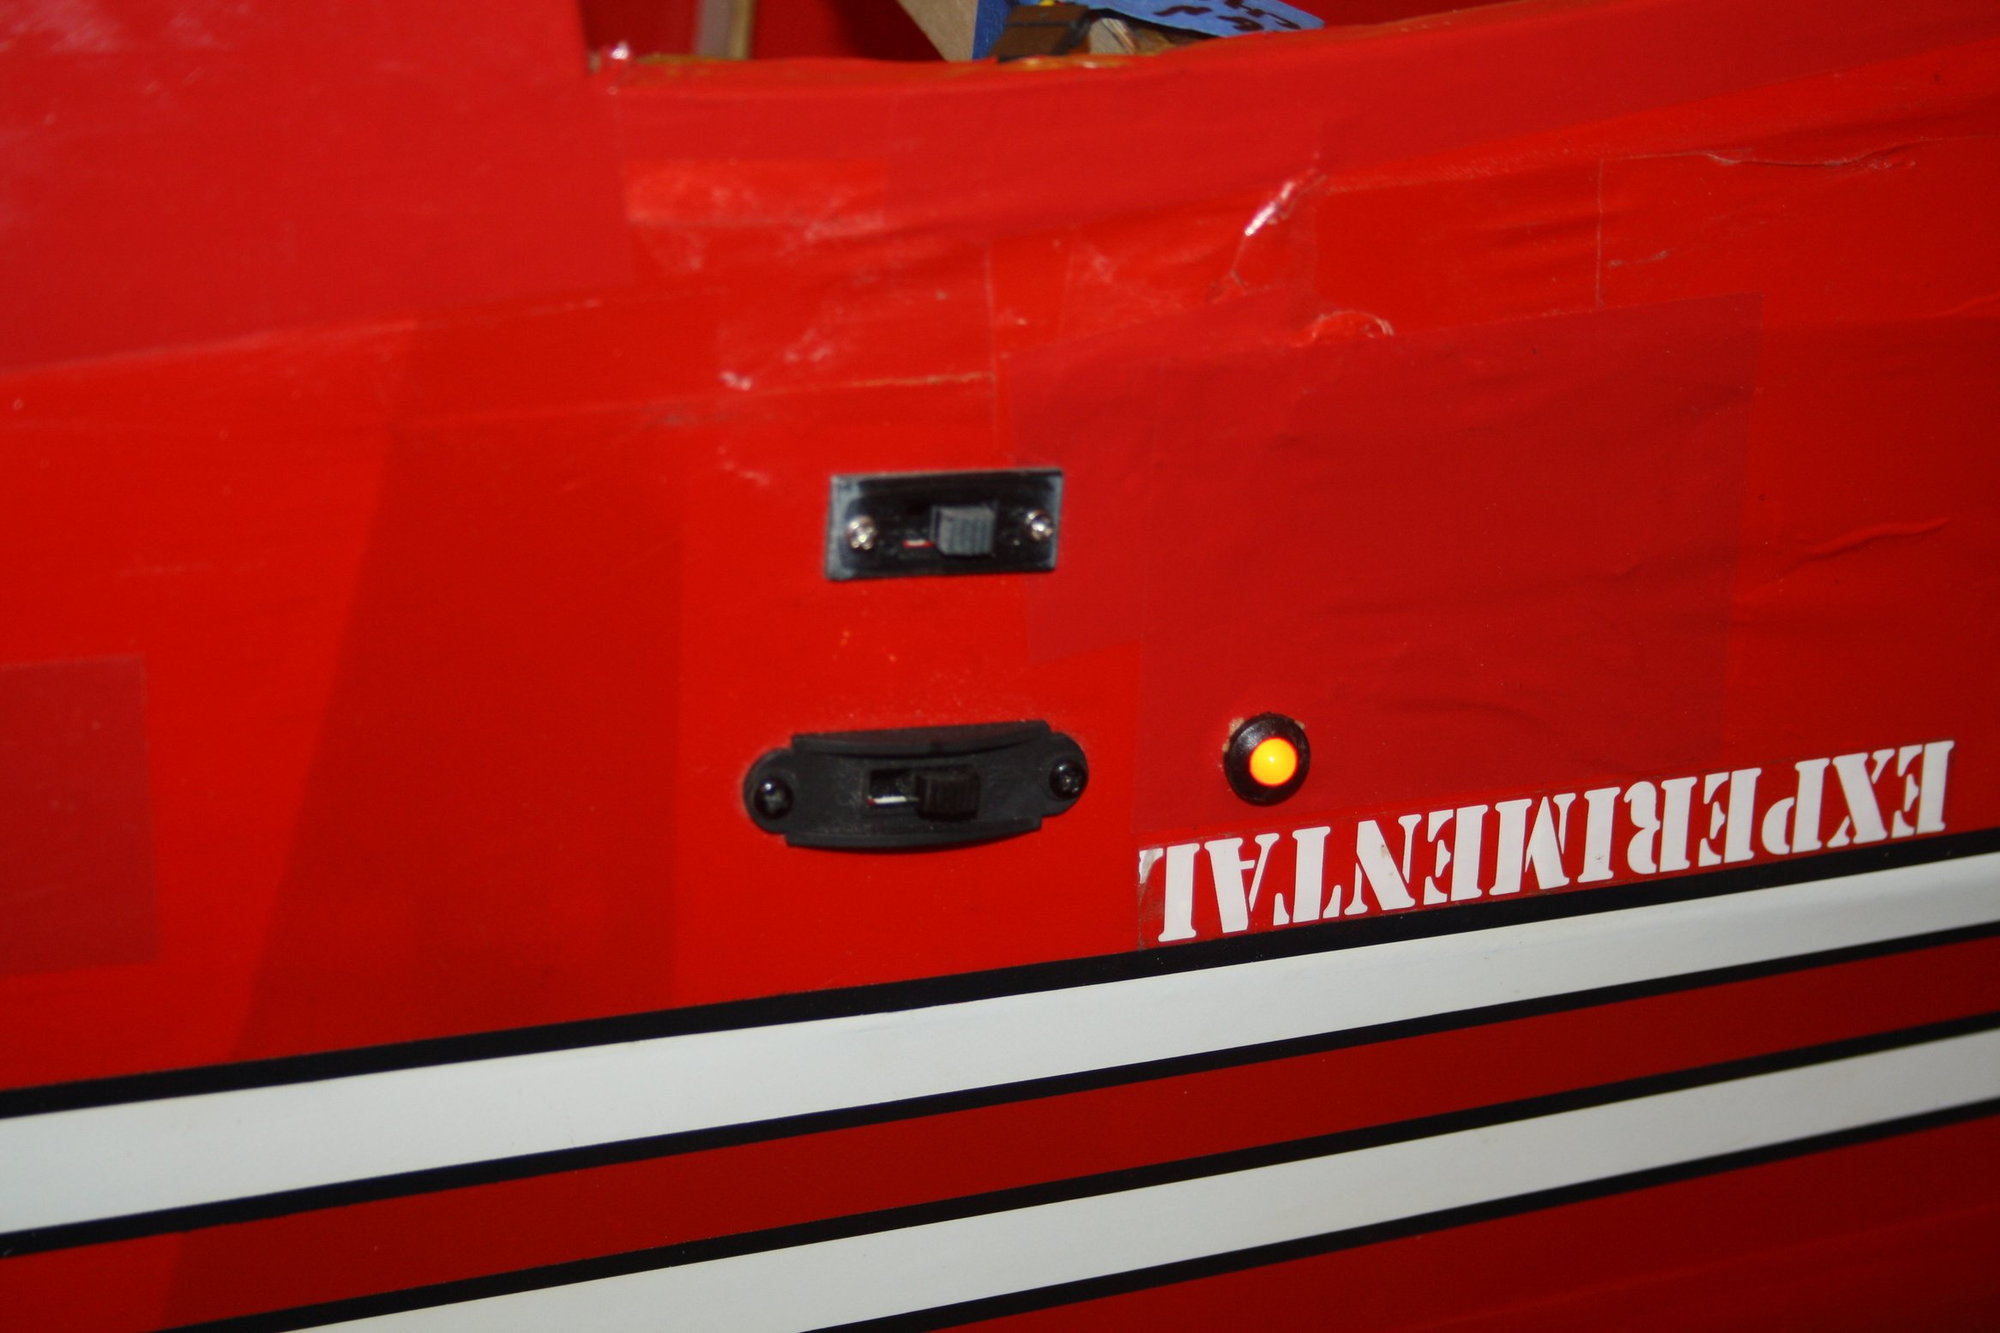

The Cowl cutting has been enlarged to clear the muffler stacks . "servo screws" were used to mount the cowl to the fuselage.
I installed the Rcexl electronic kill-switch and associated LED light, and extended the fuel tank vent line to exit from the cowl bottom.
Simple fuel dot was attached to the cowl, and a filter inserted on the fuel line to the carburettor.
04-05-2019, 07:16 PM
#43
Thread Starter
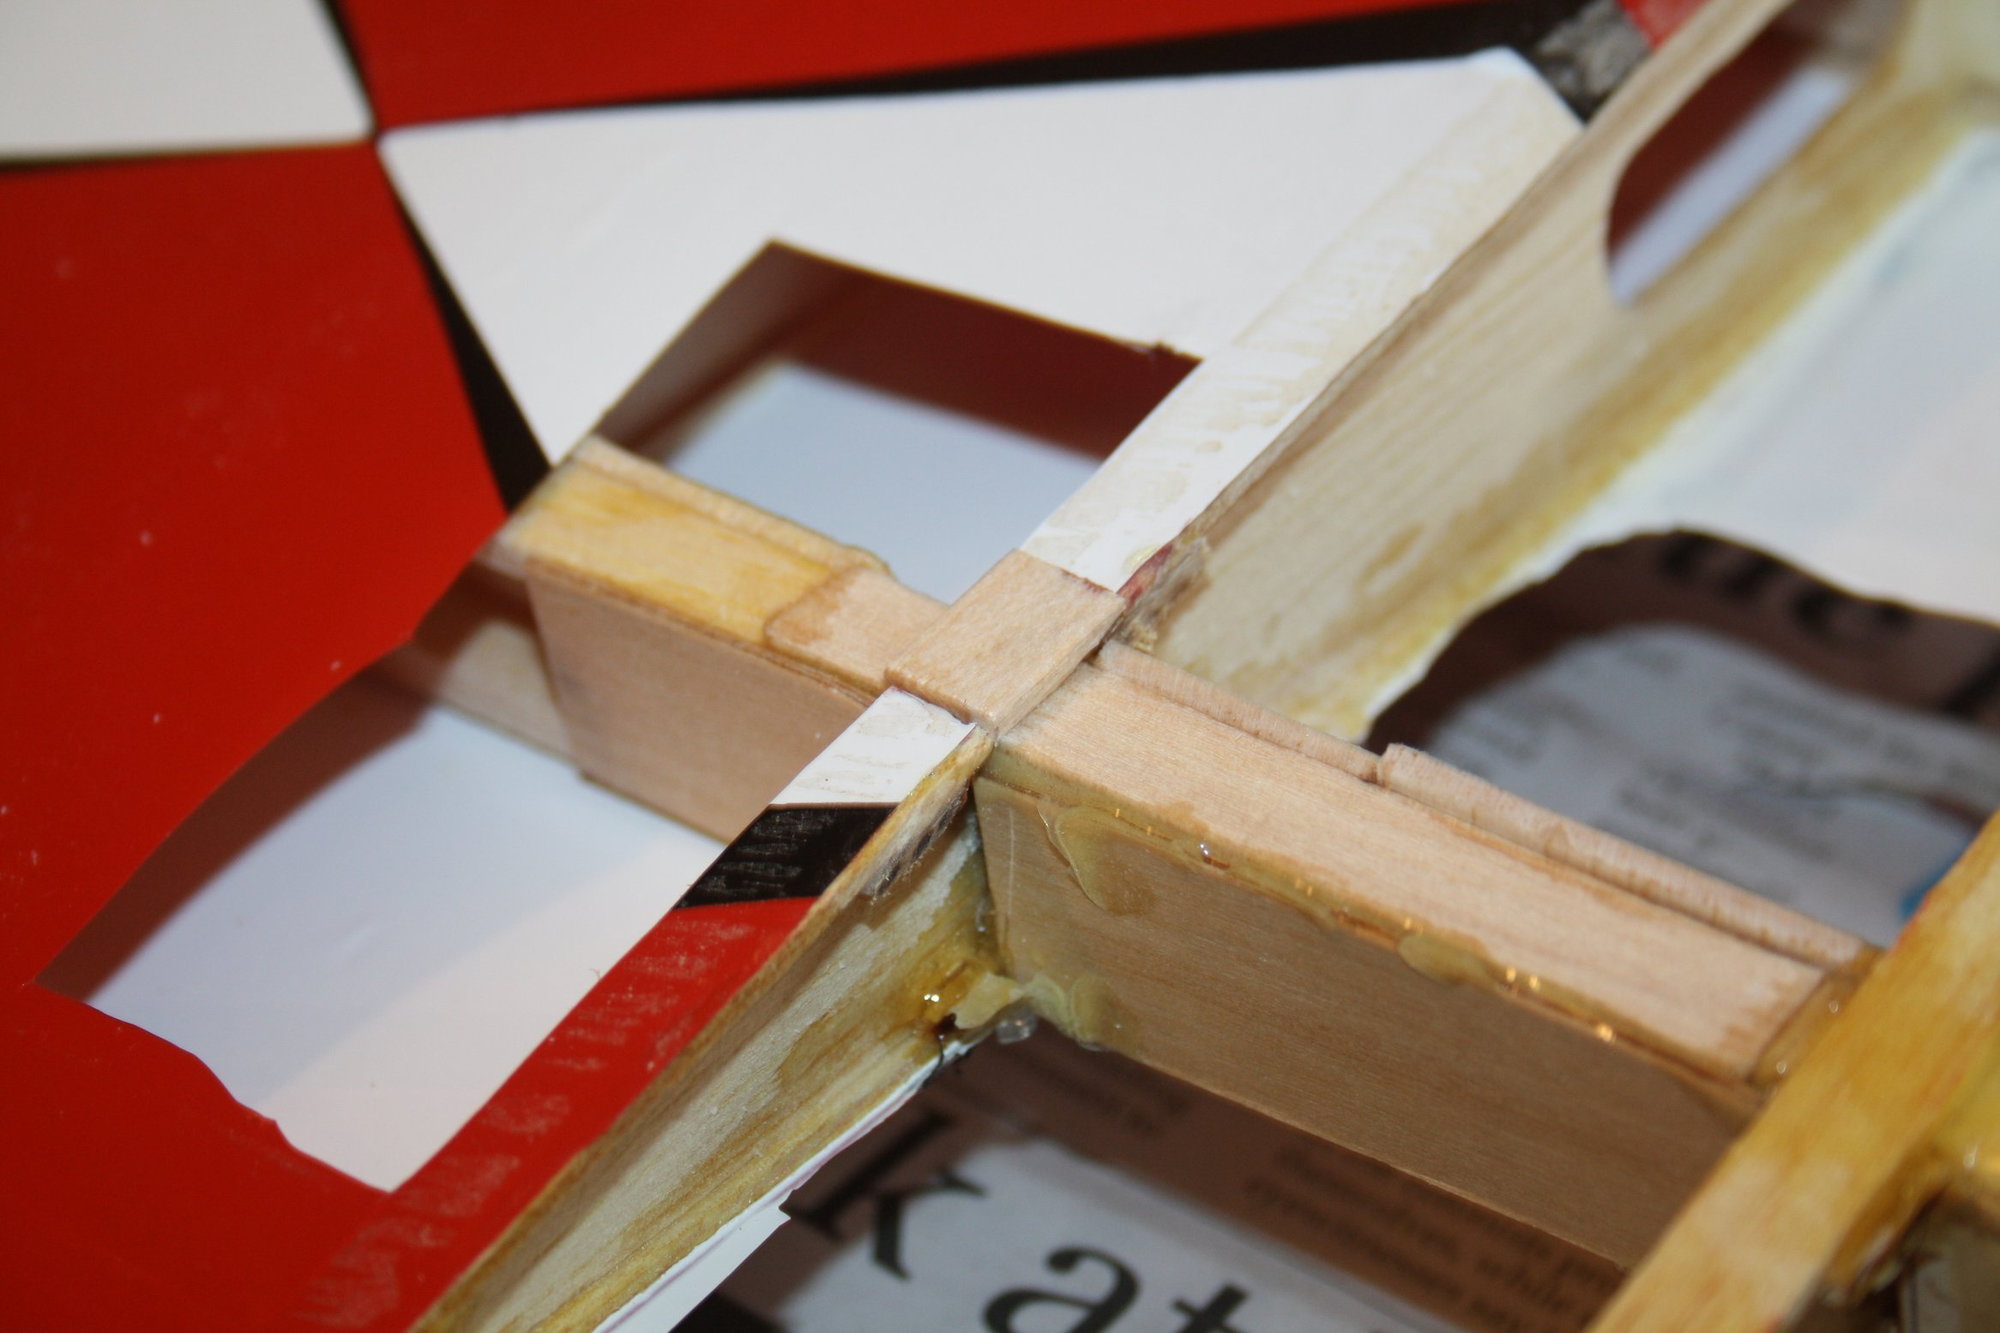
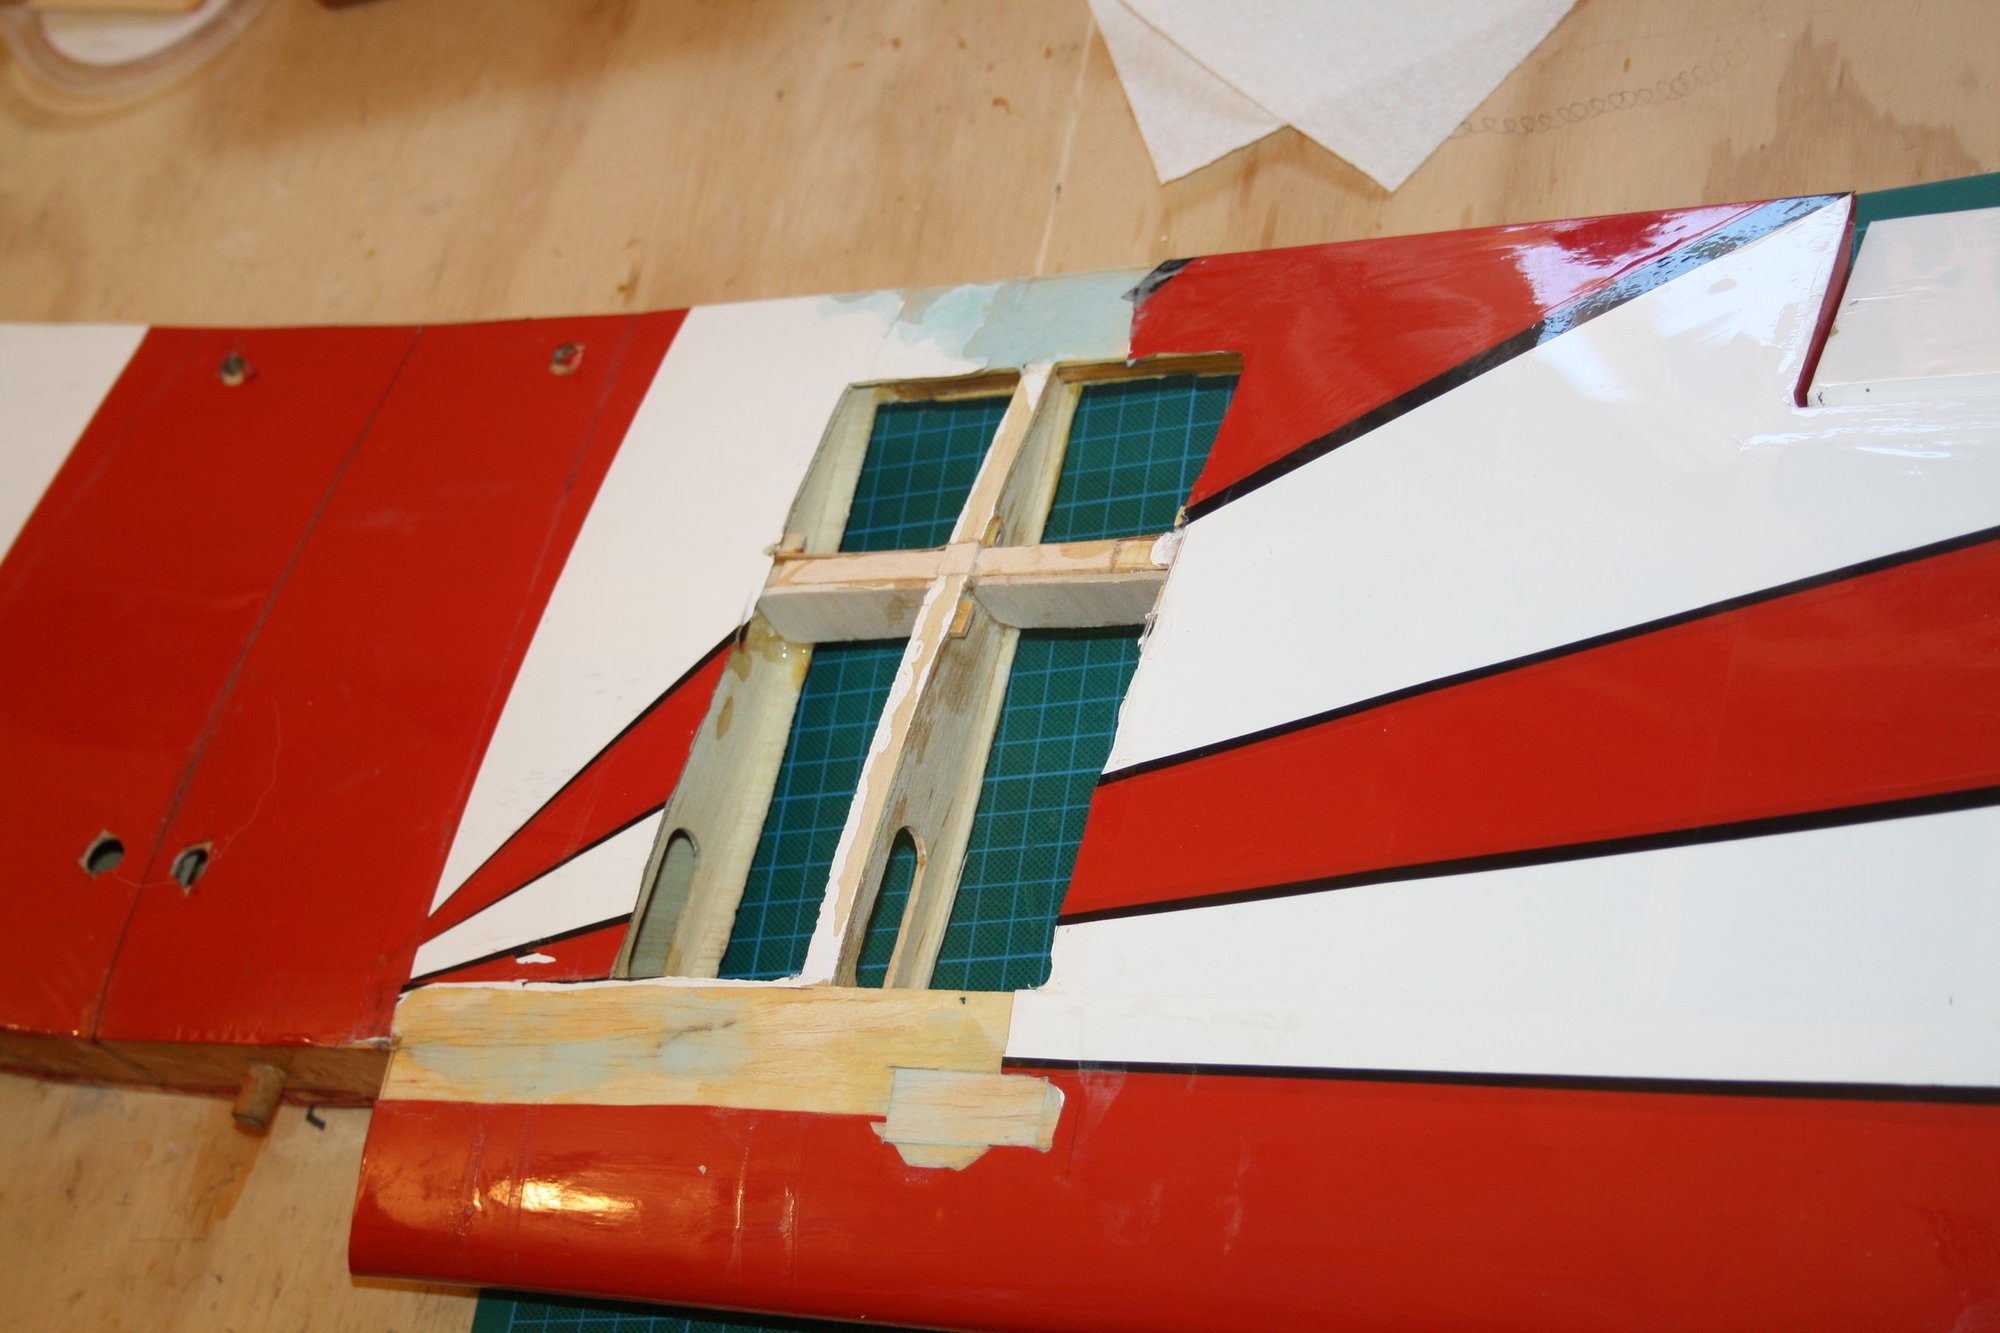
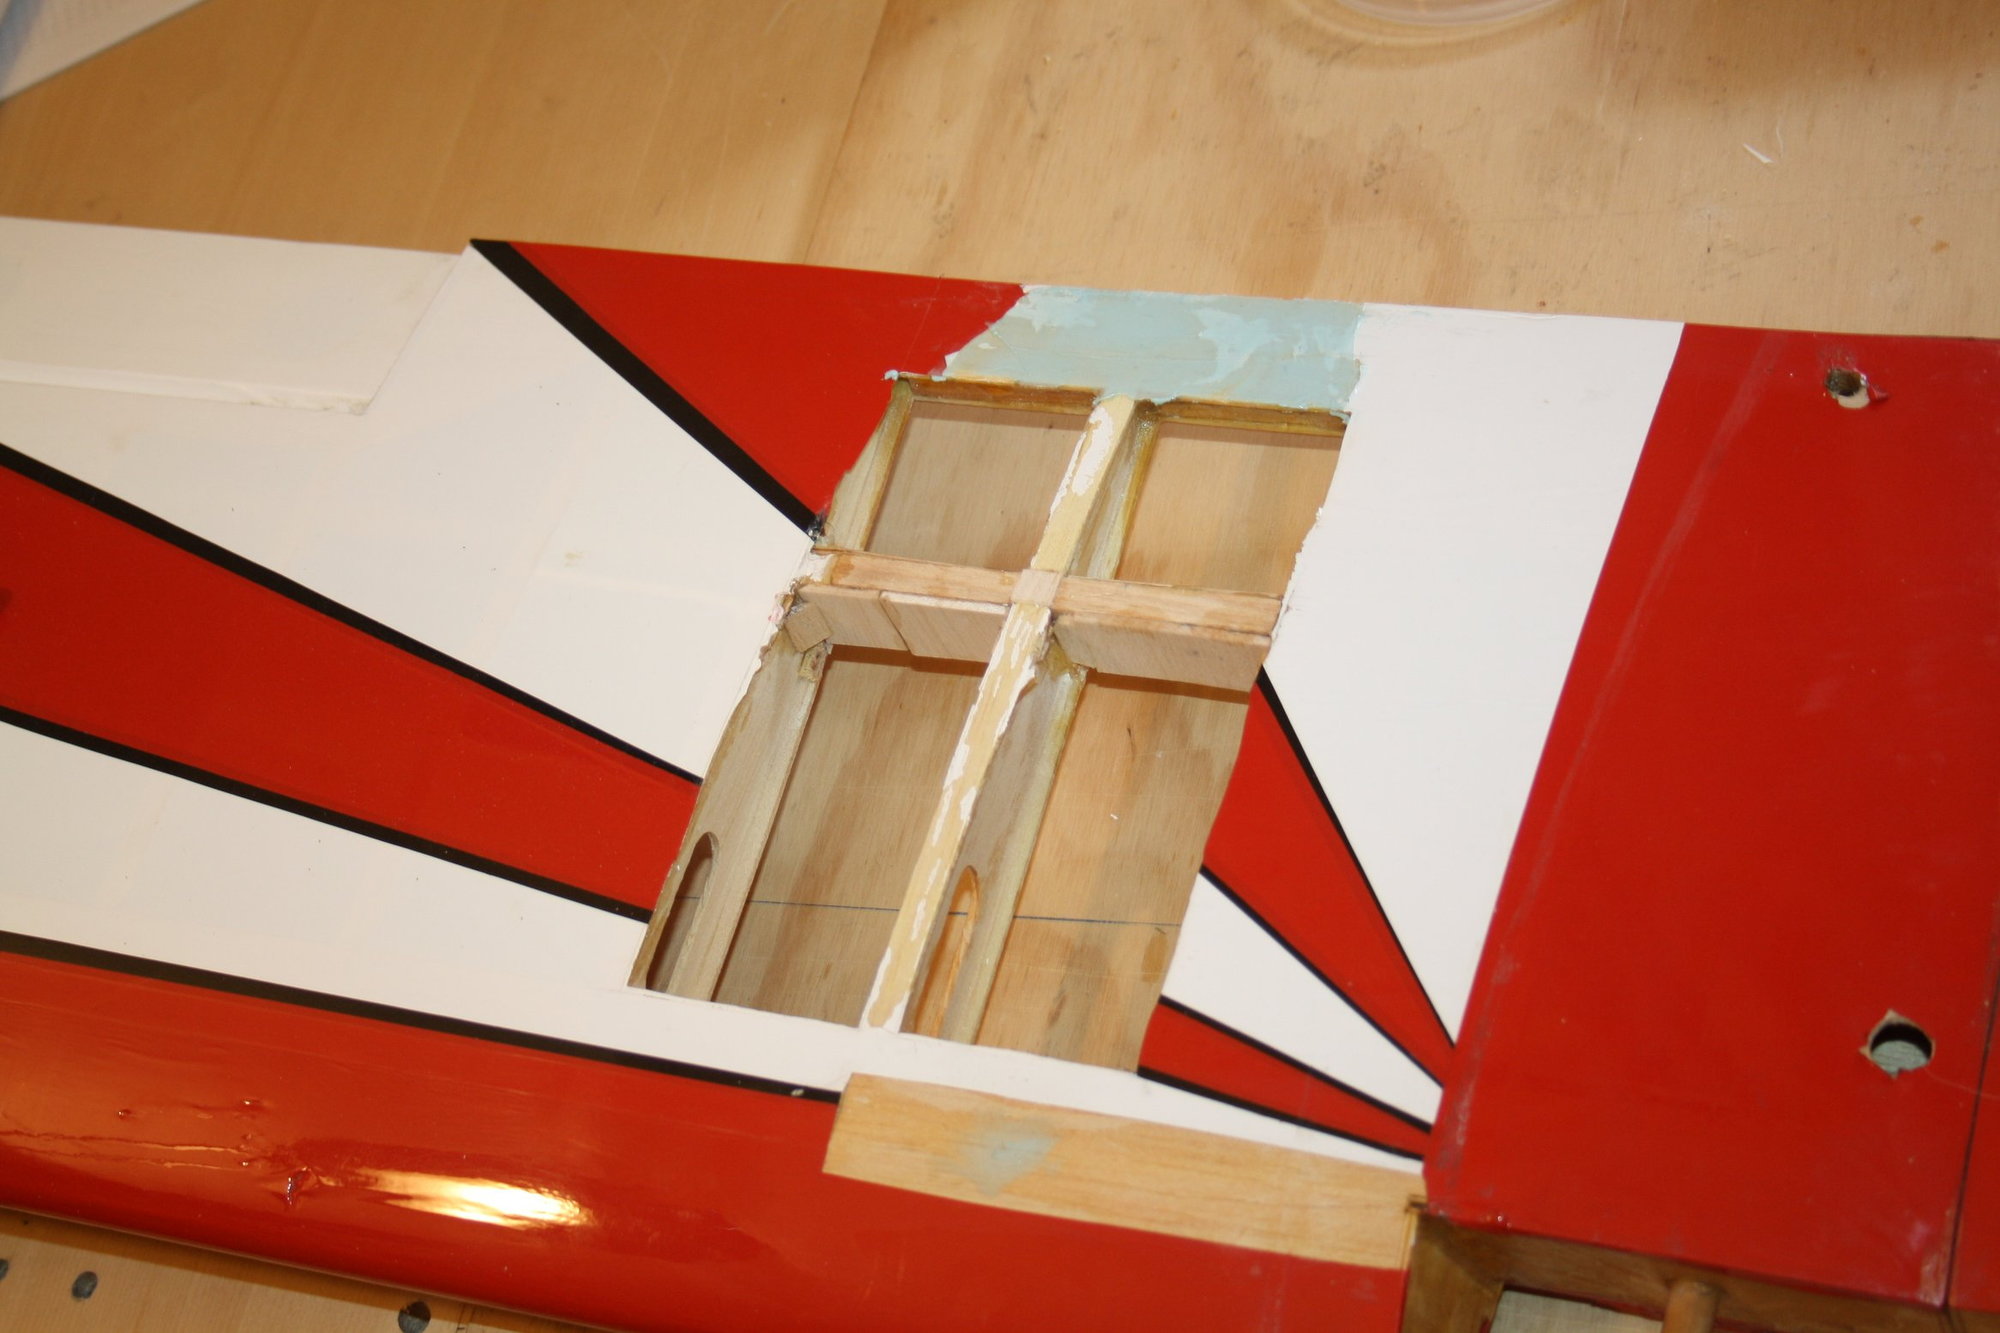
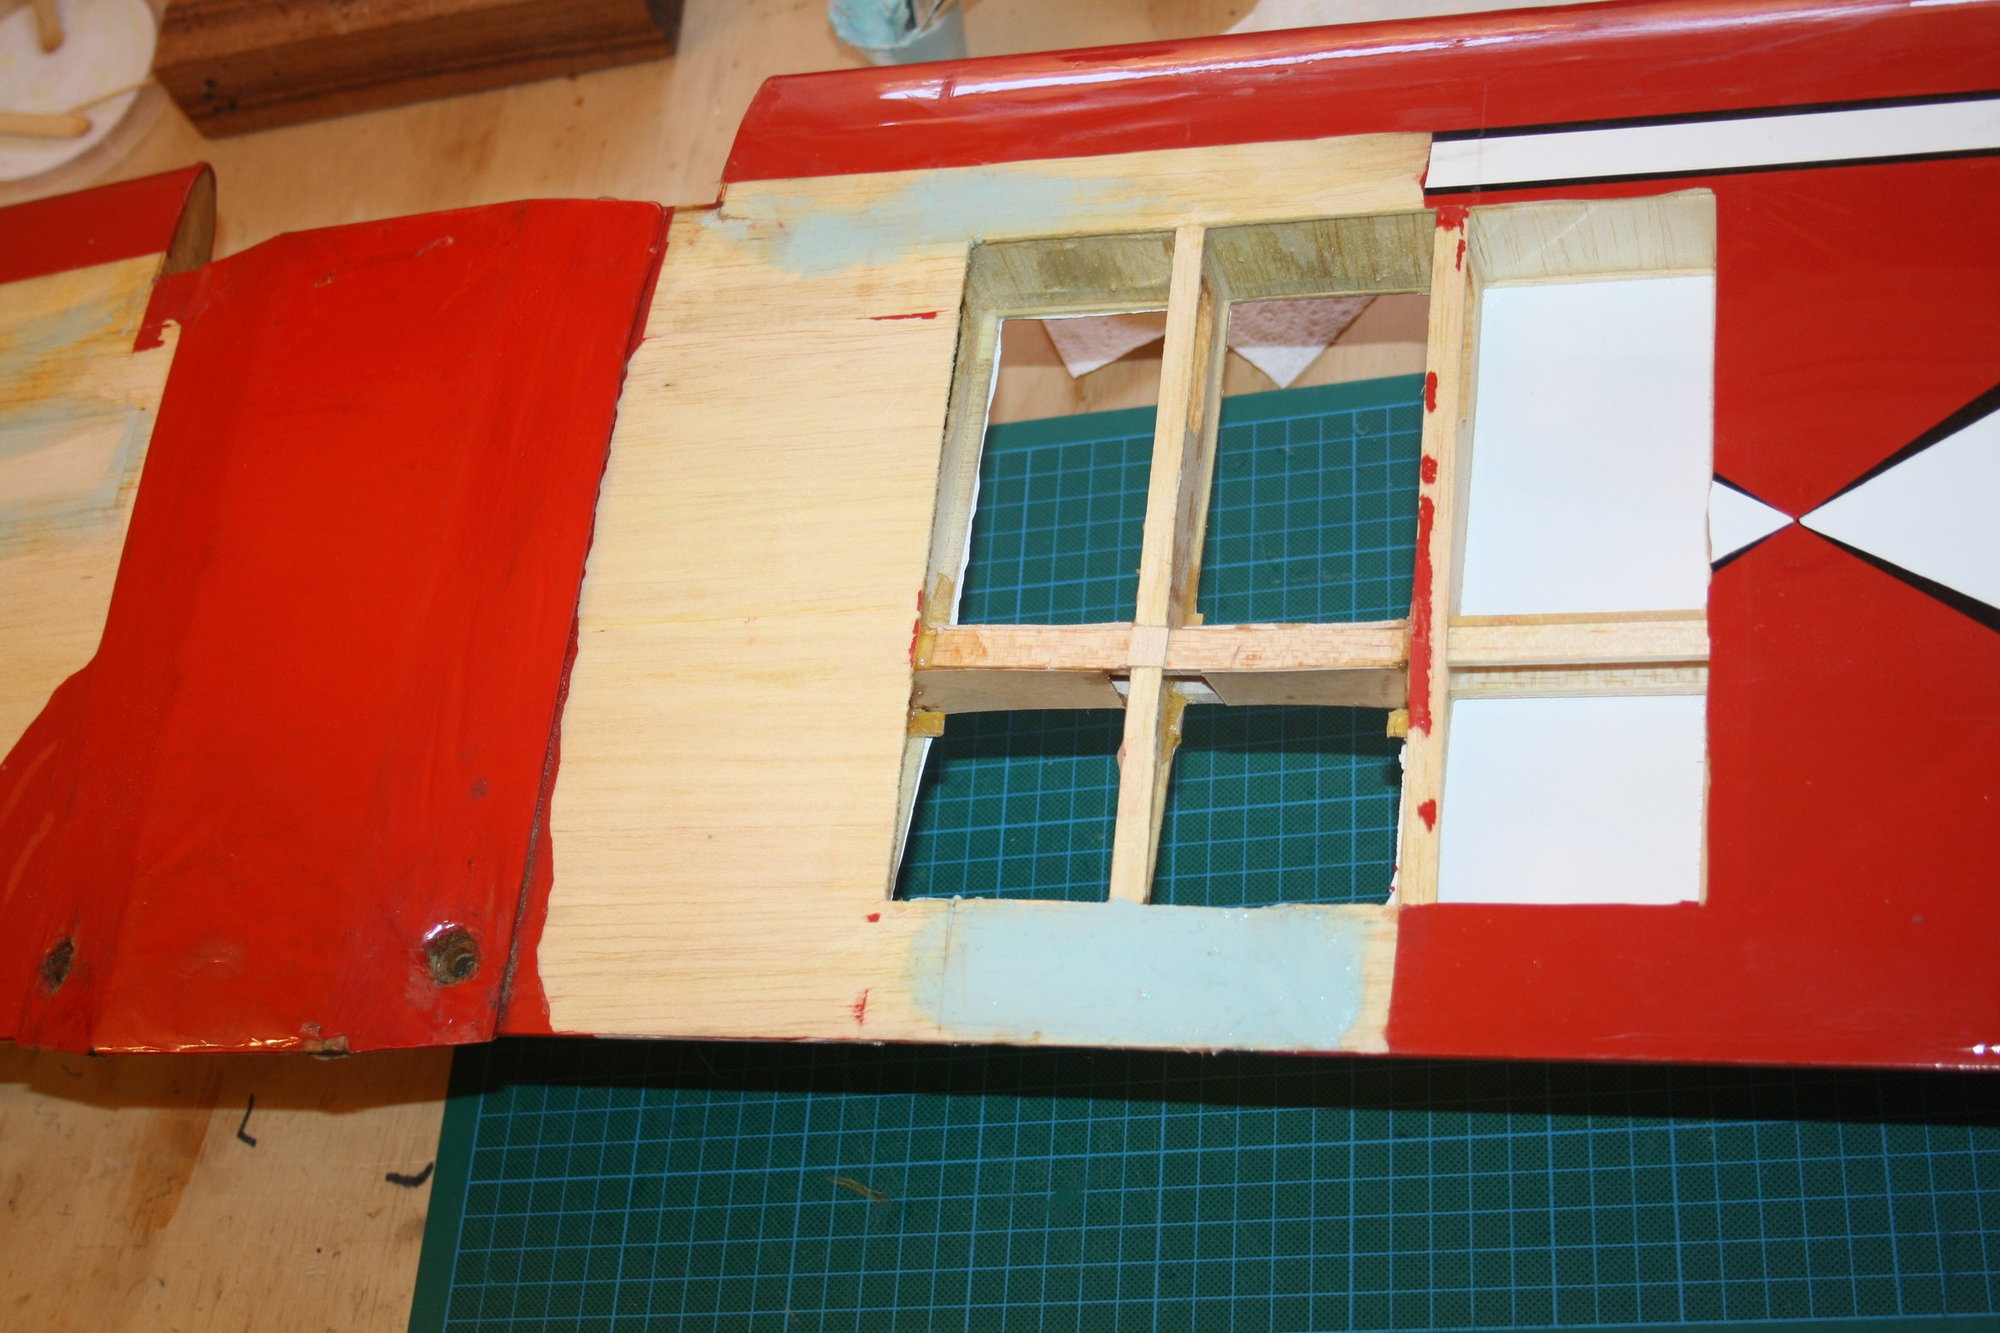
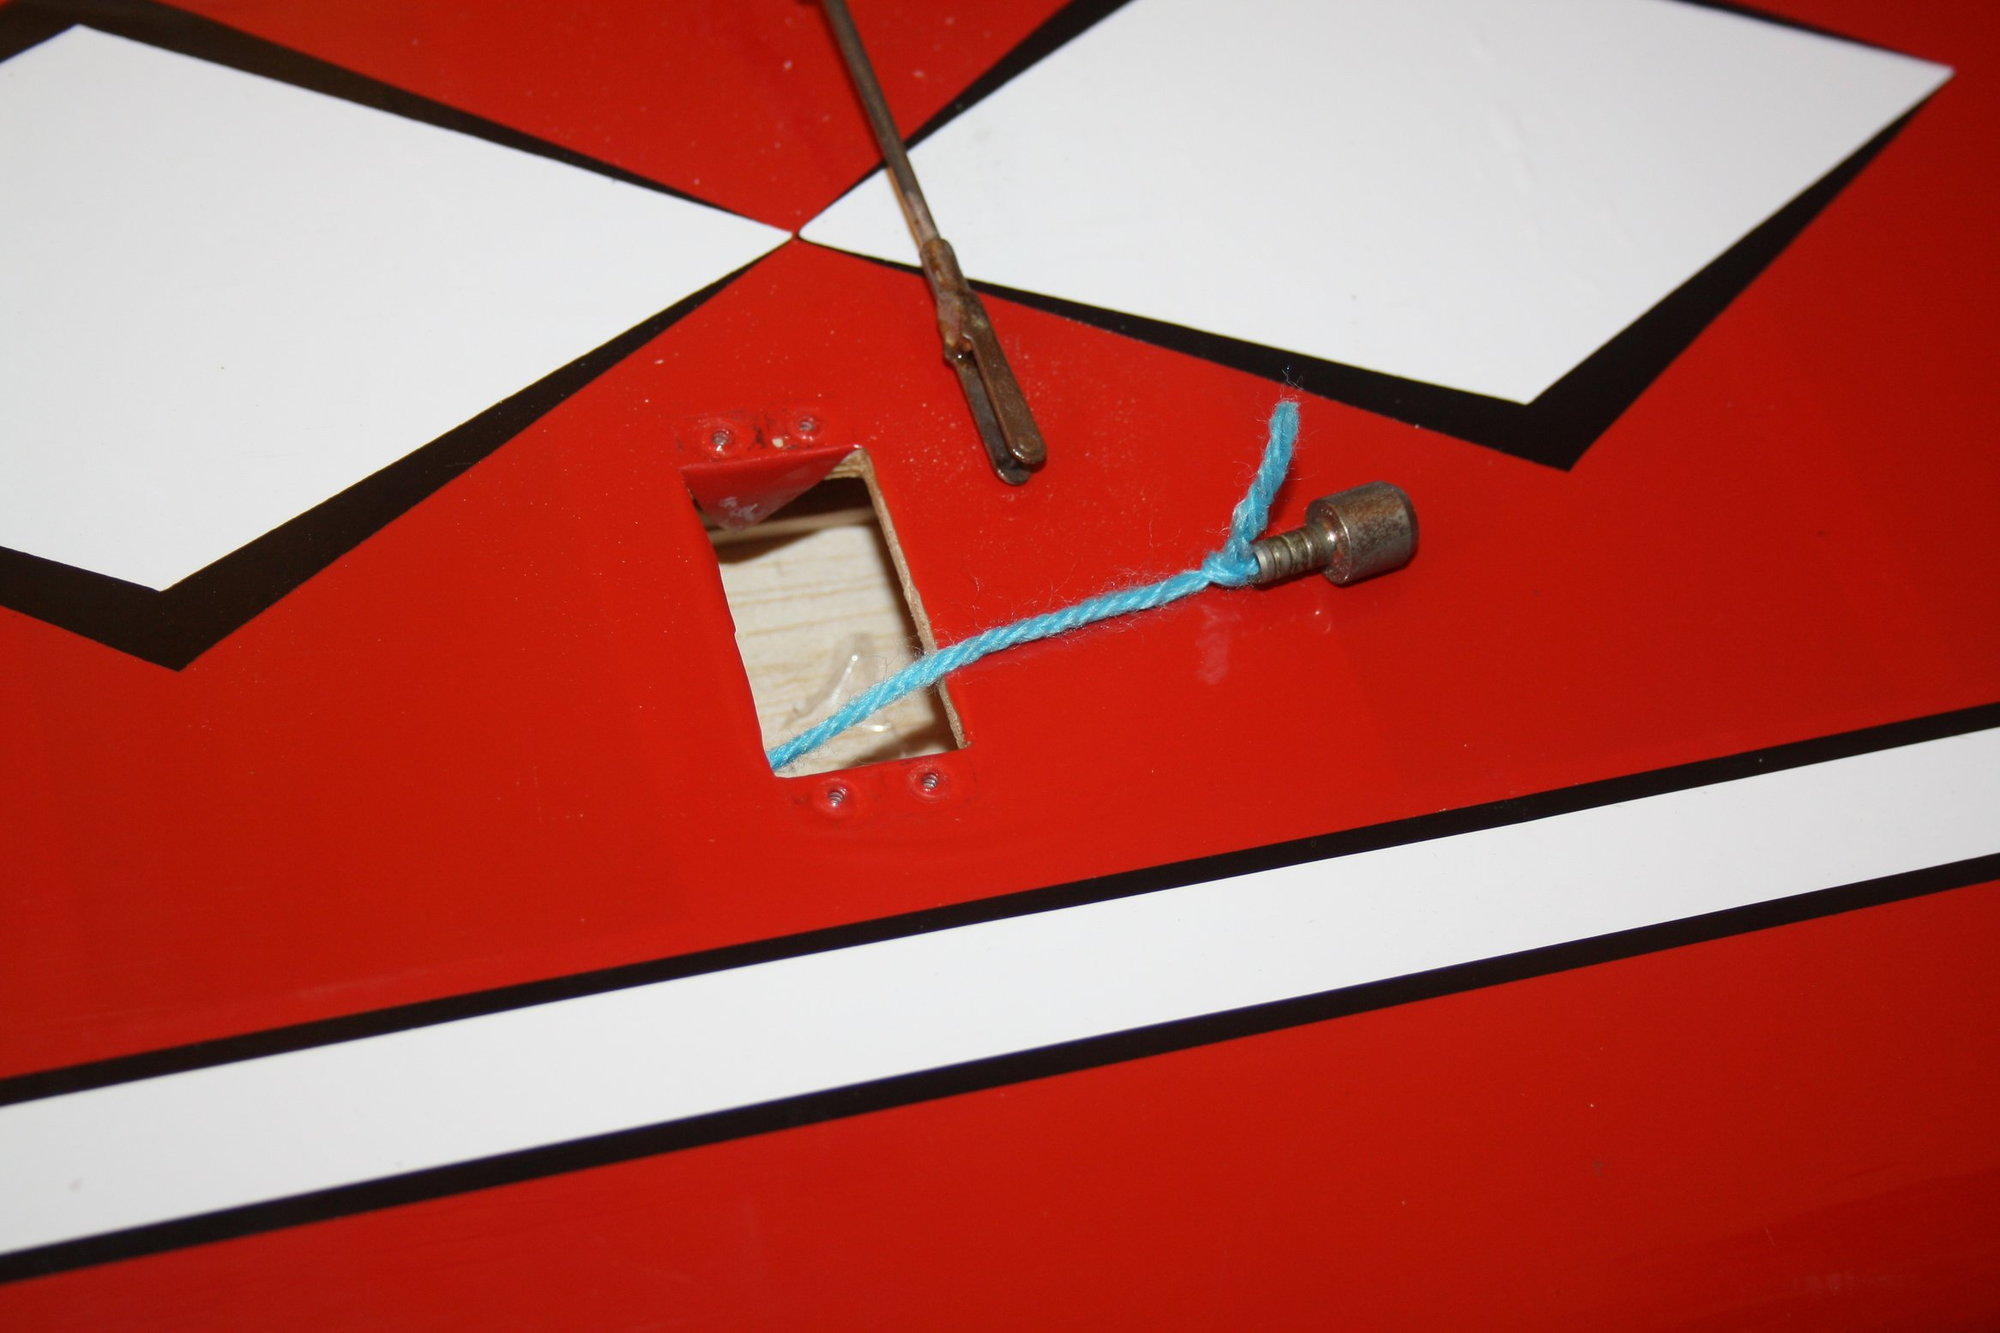
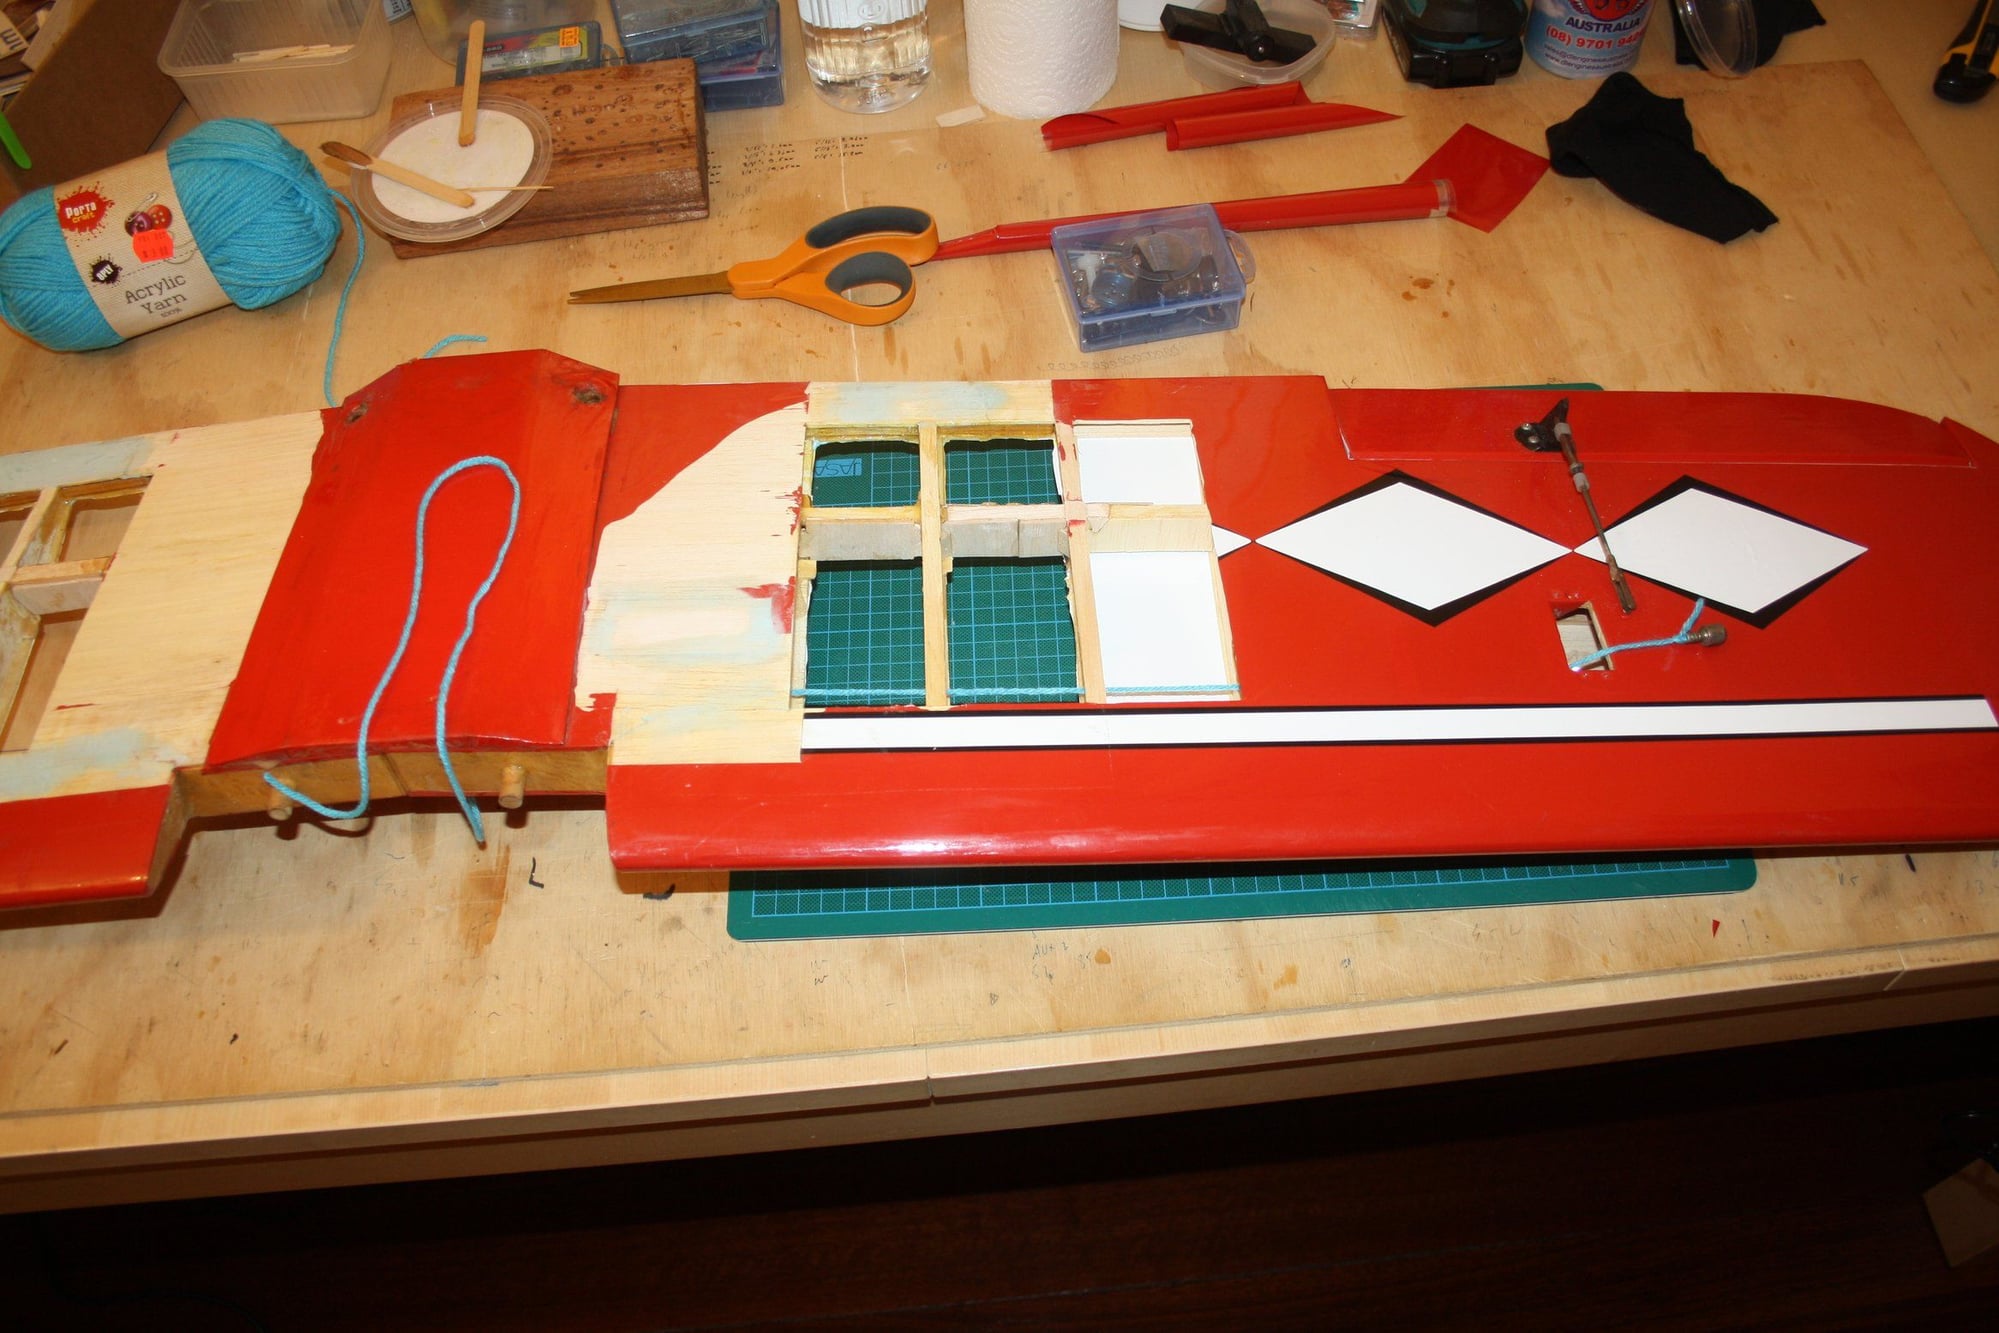
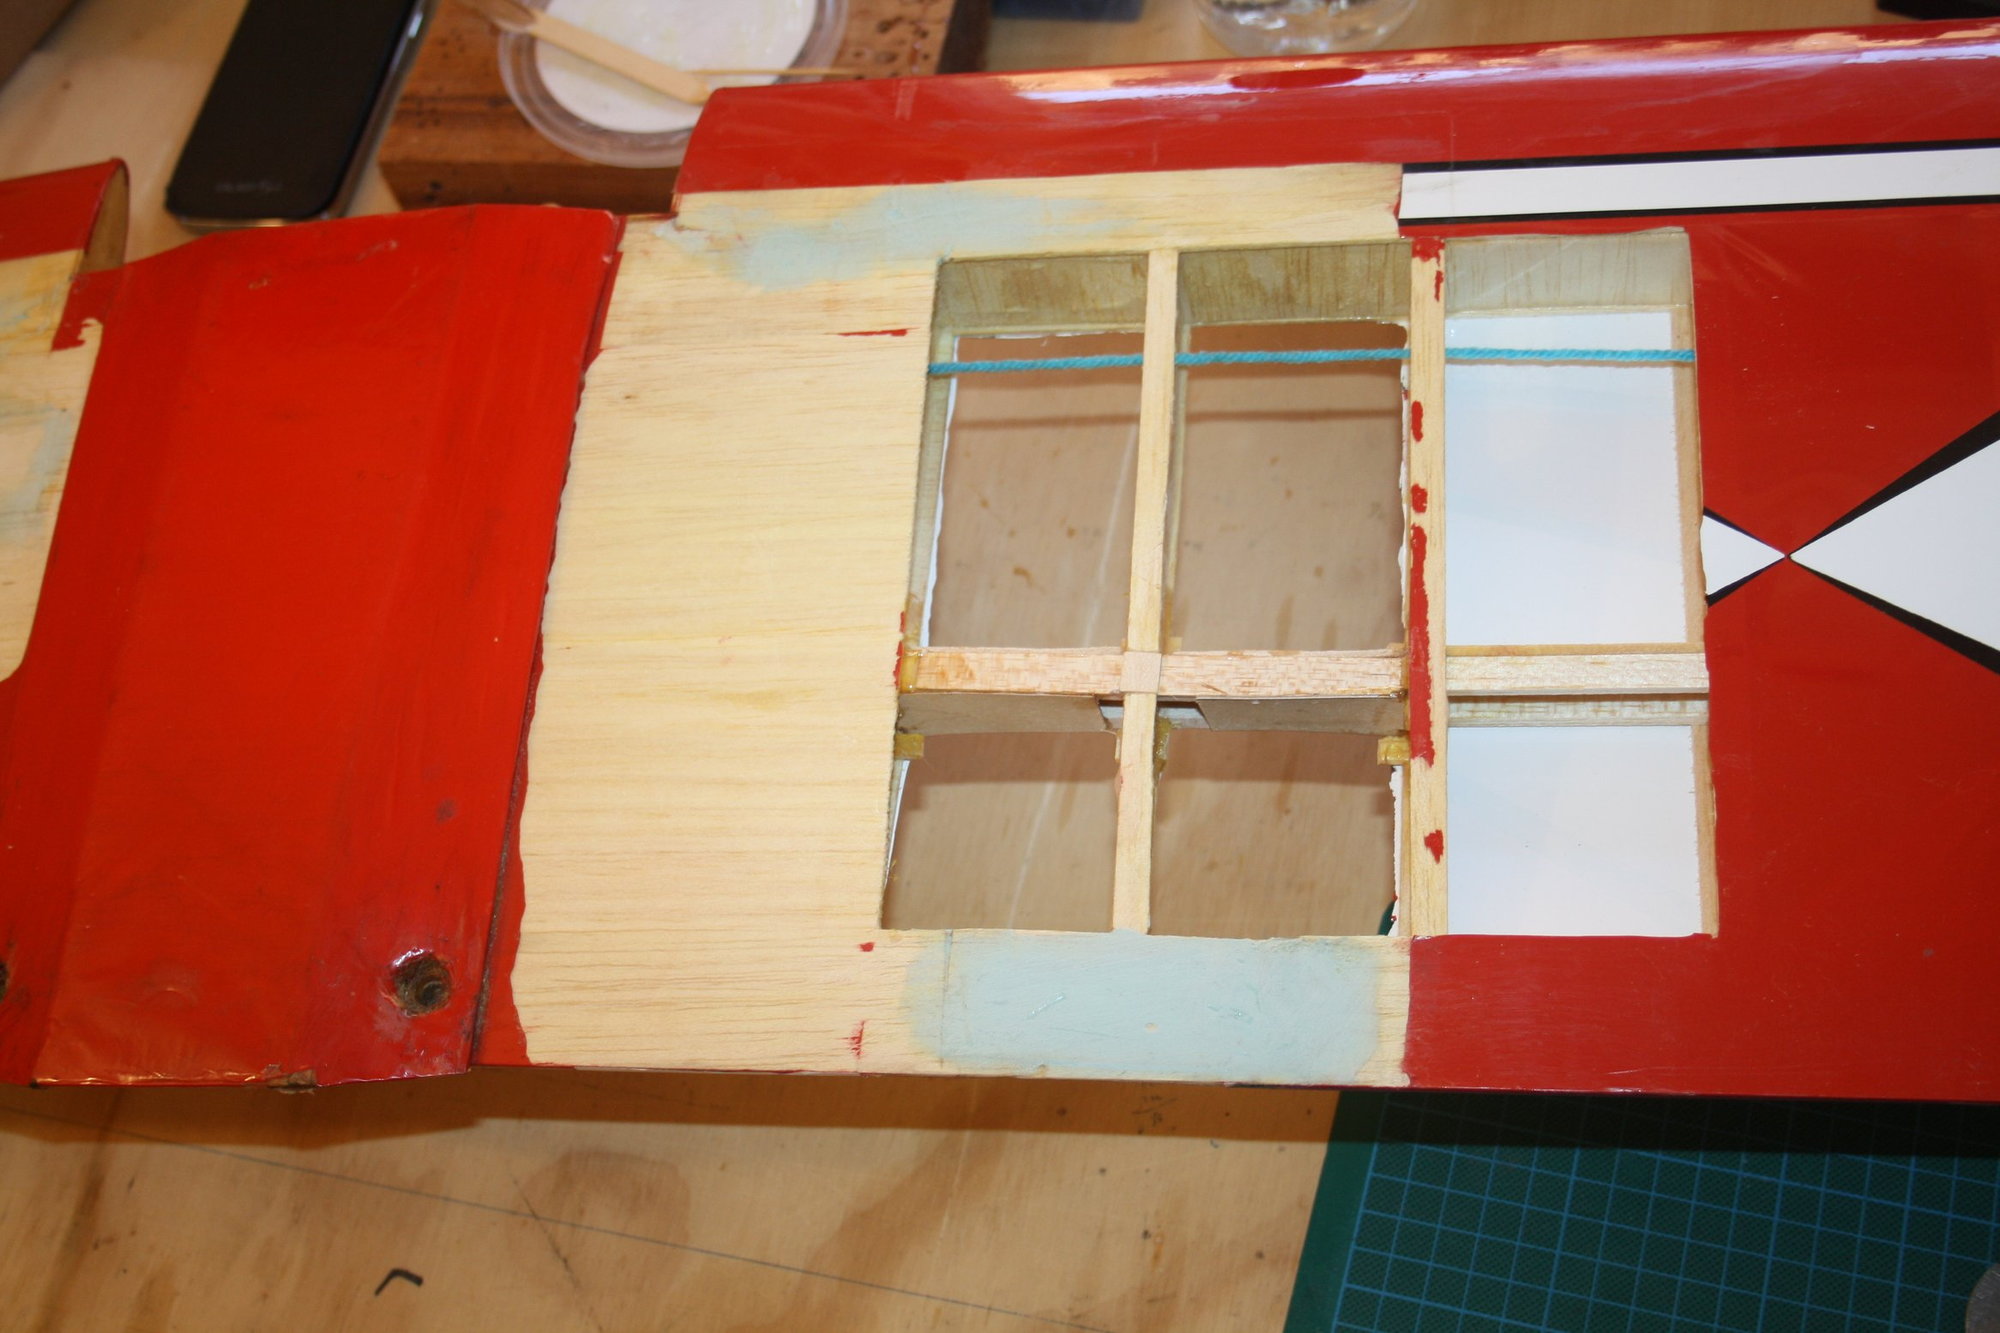
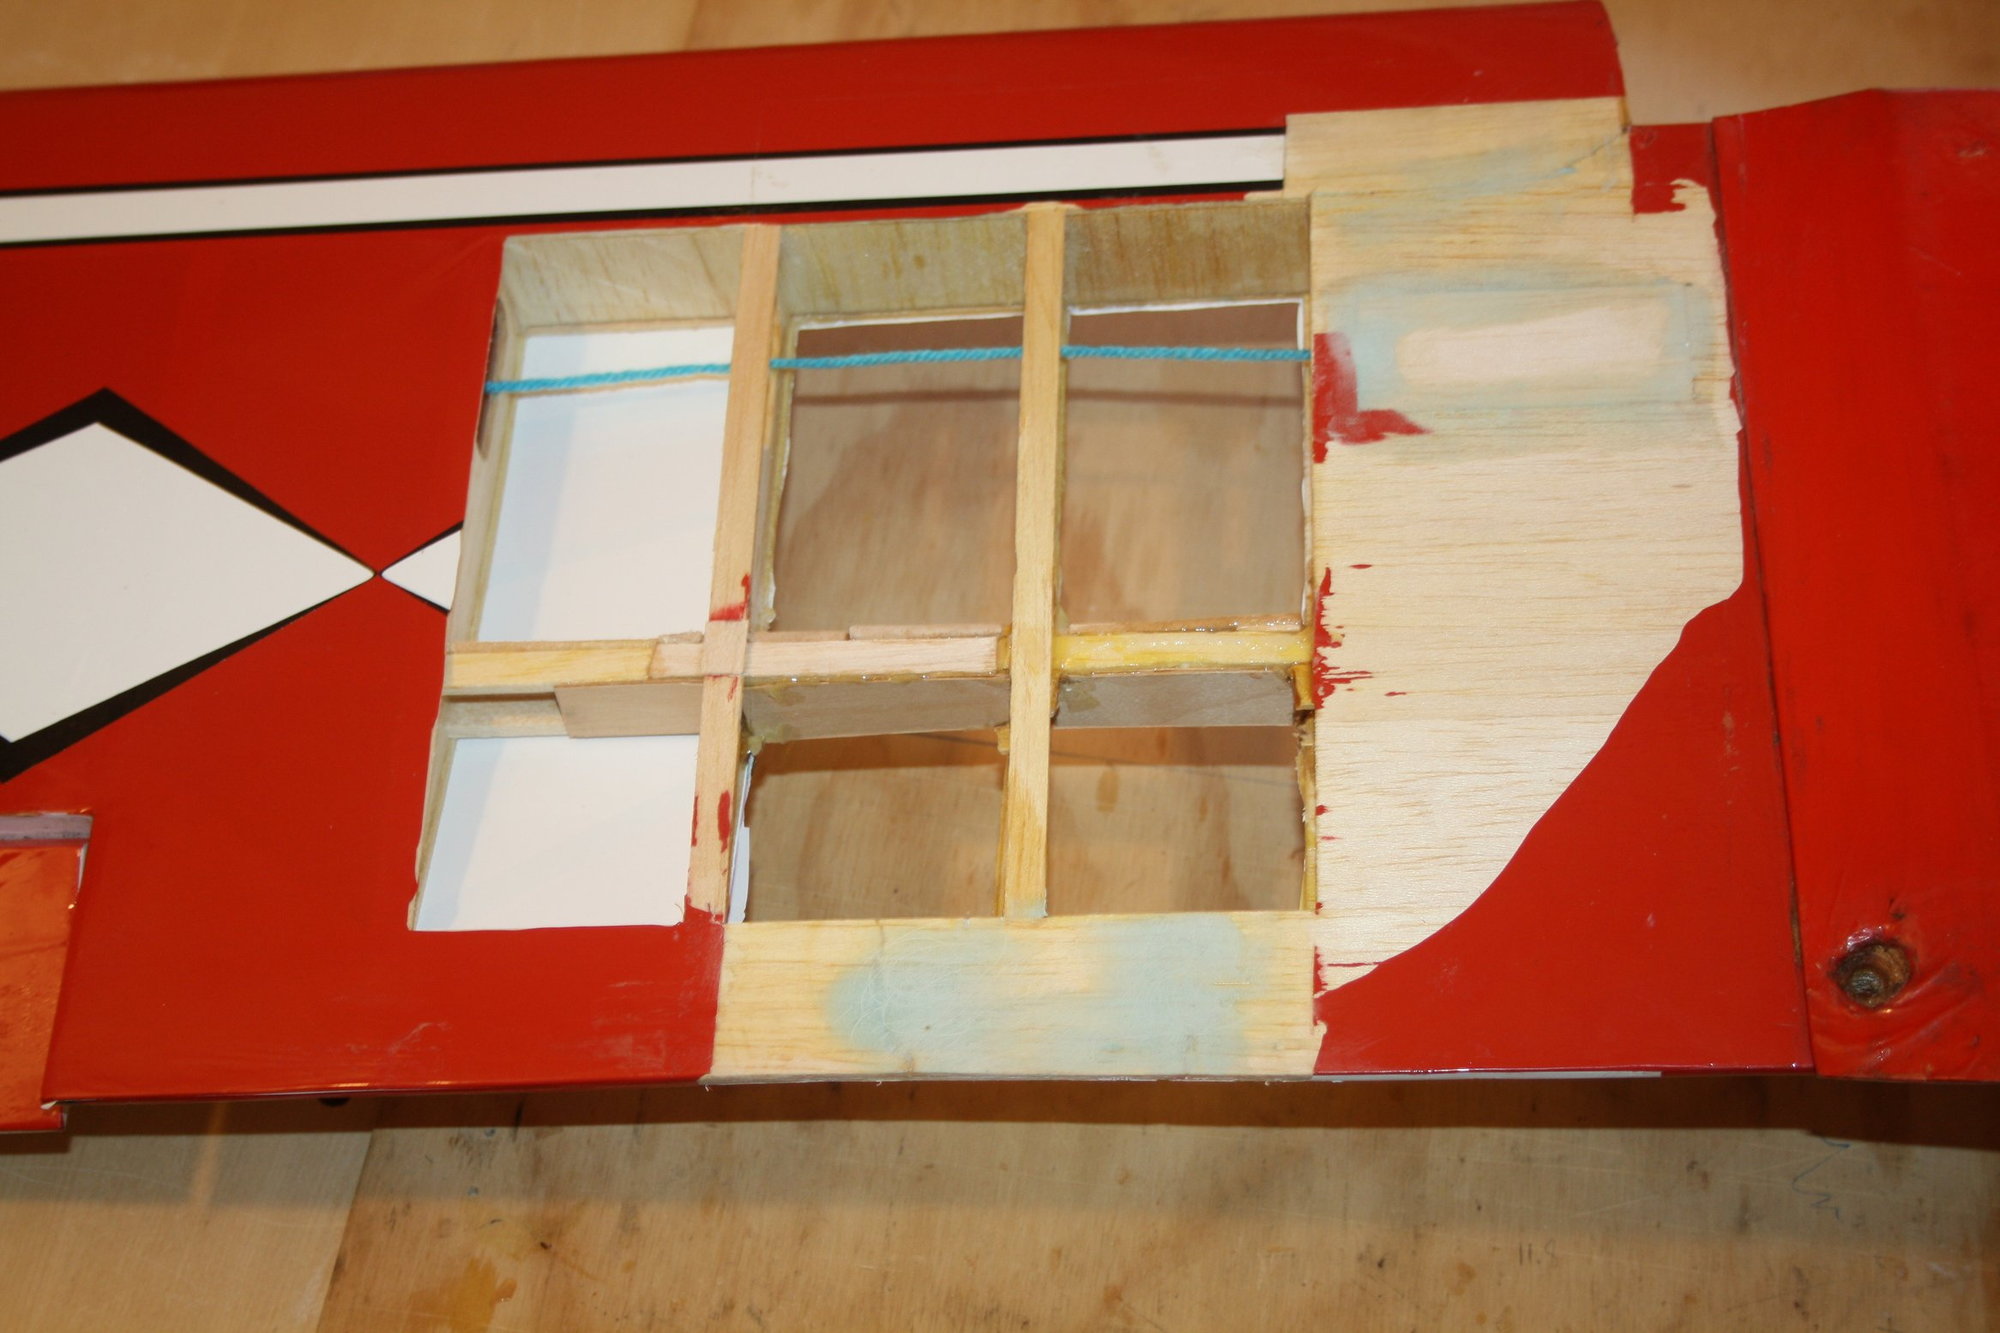
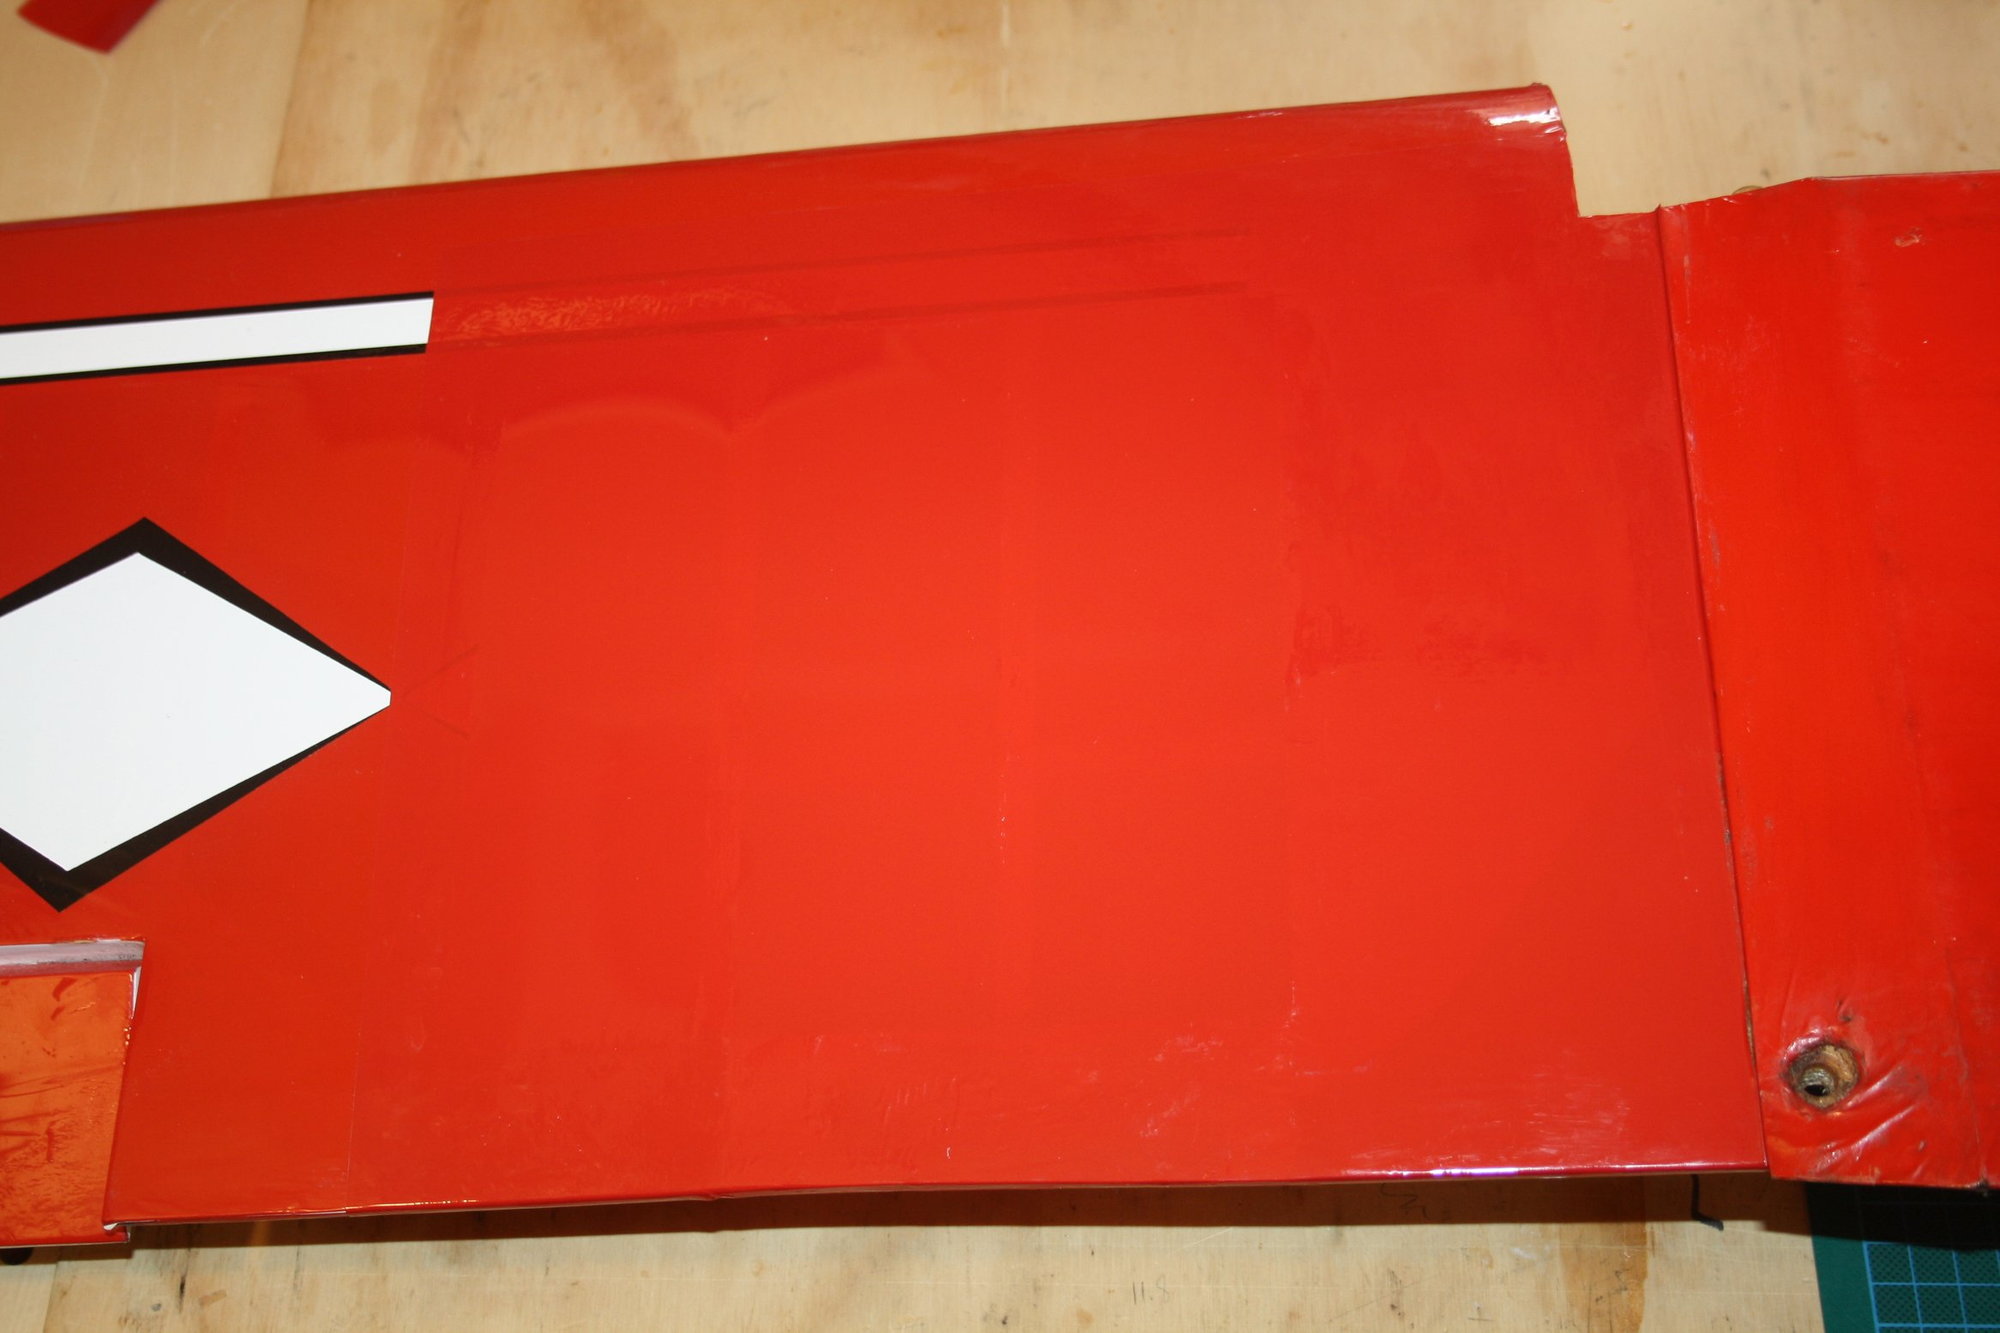
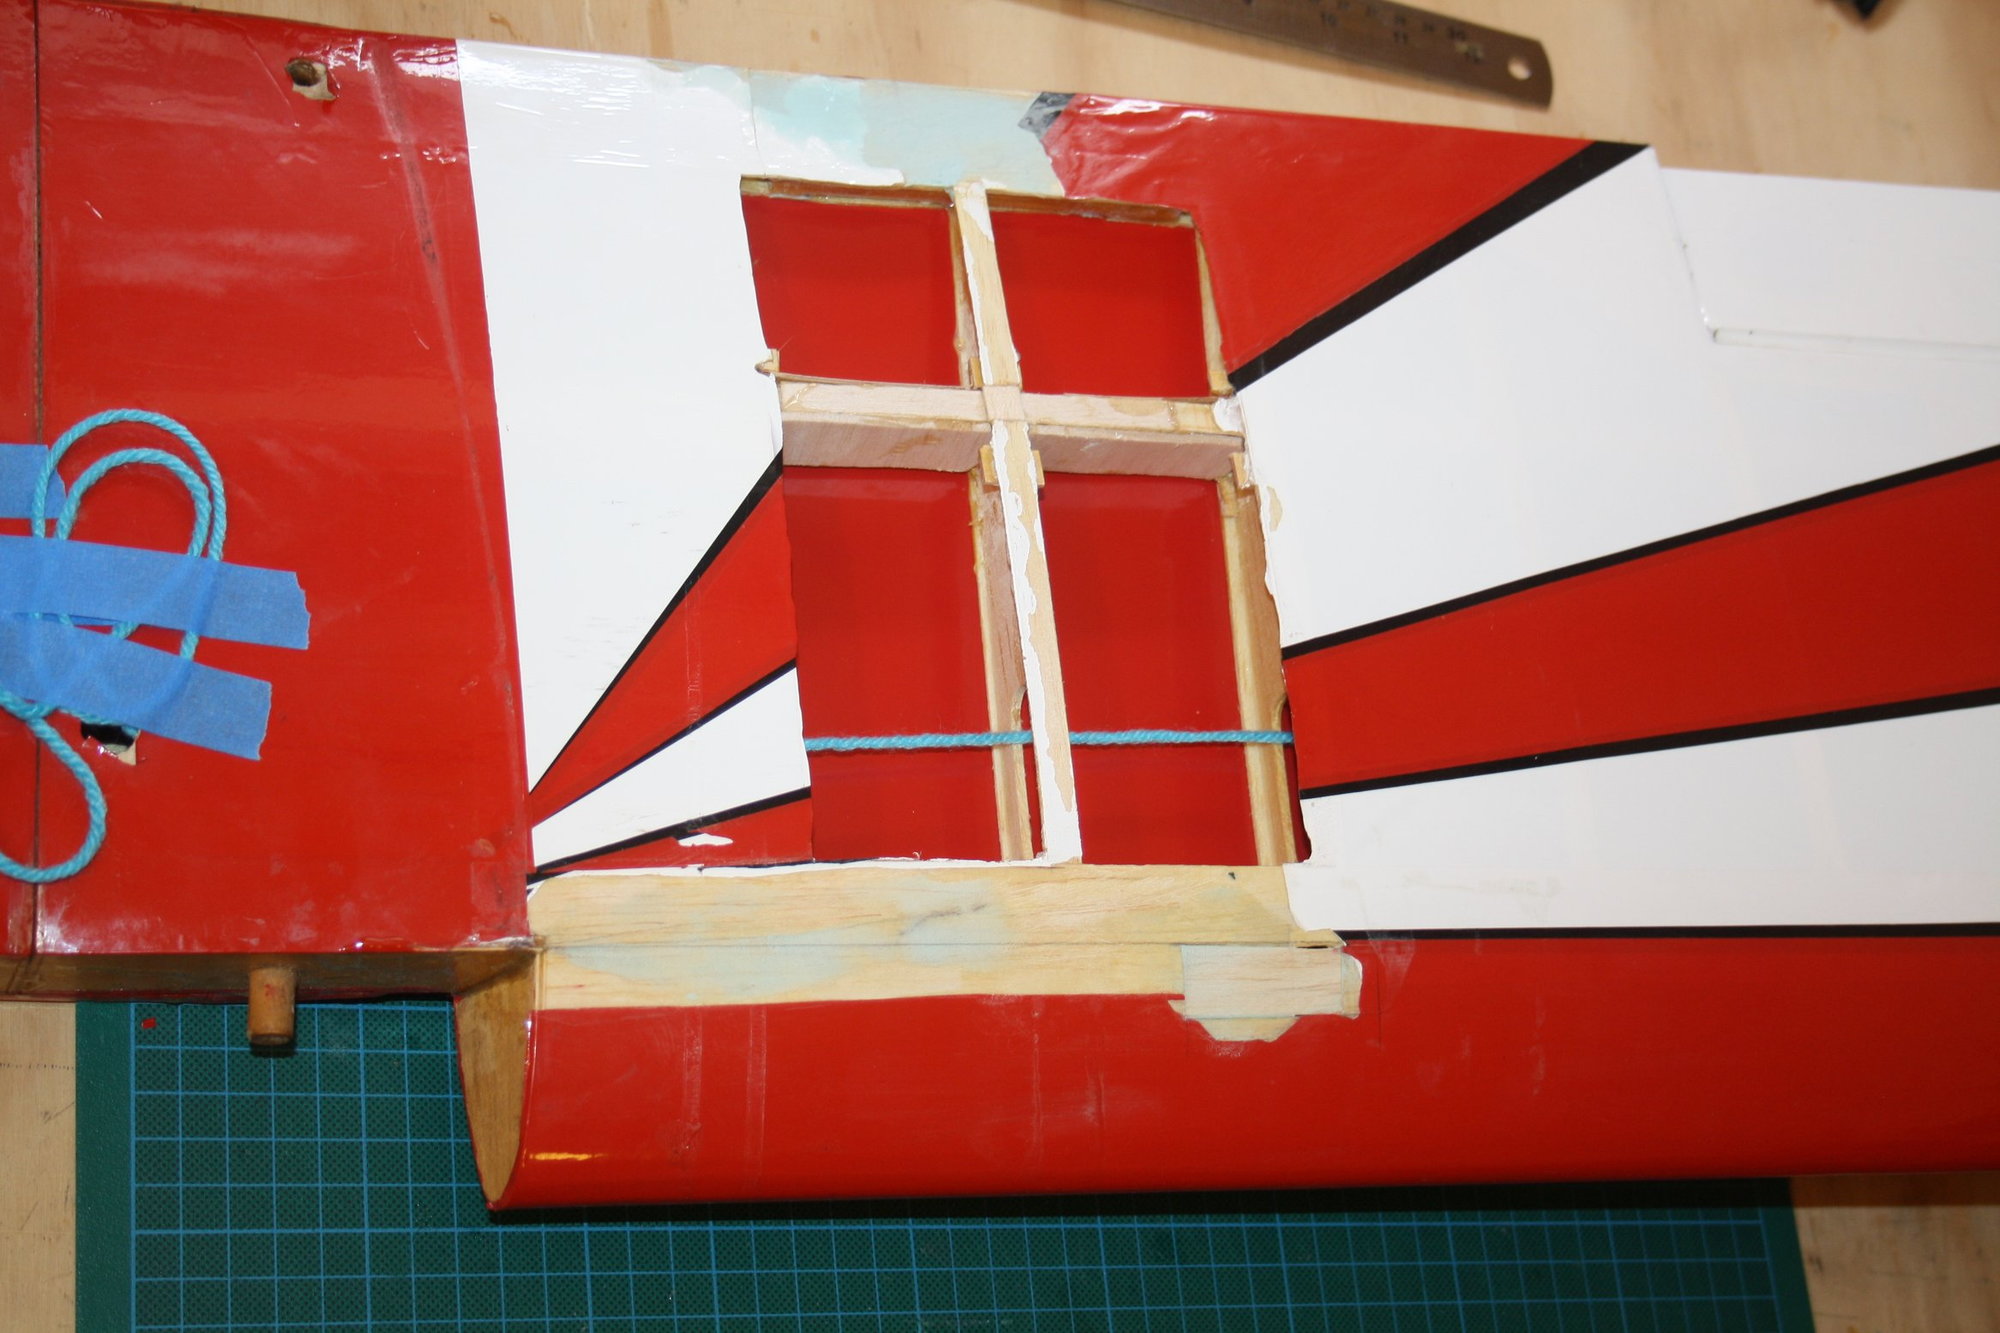
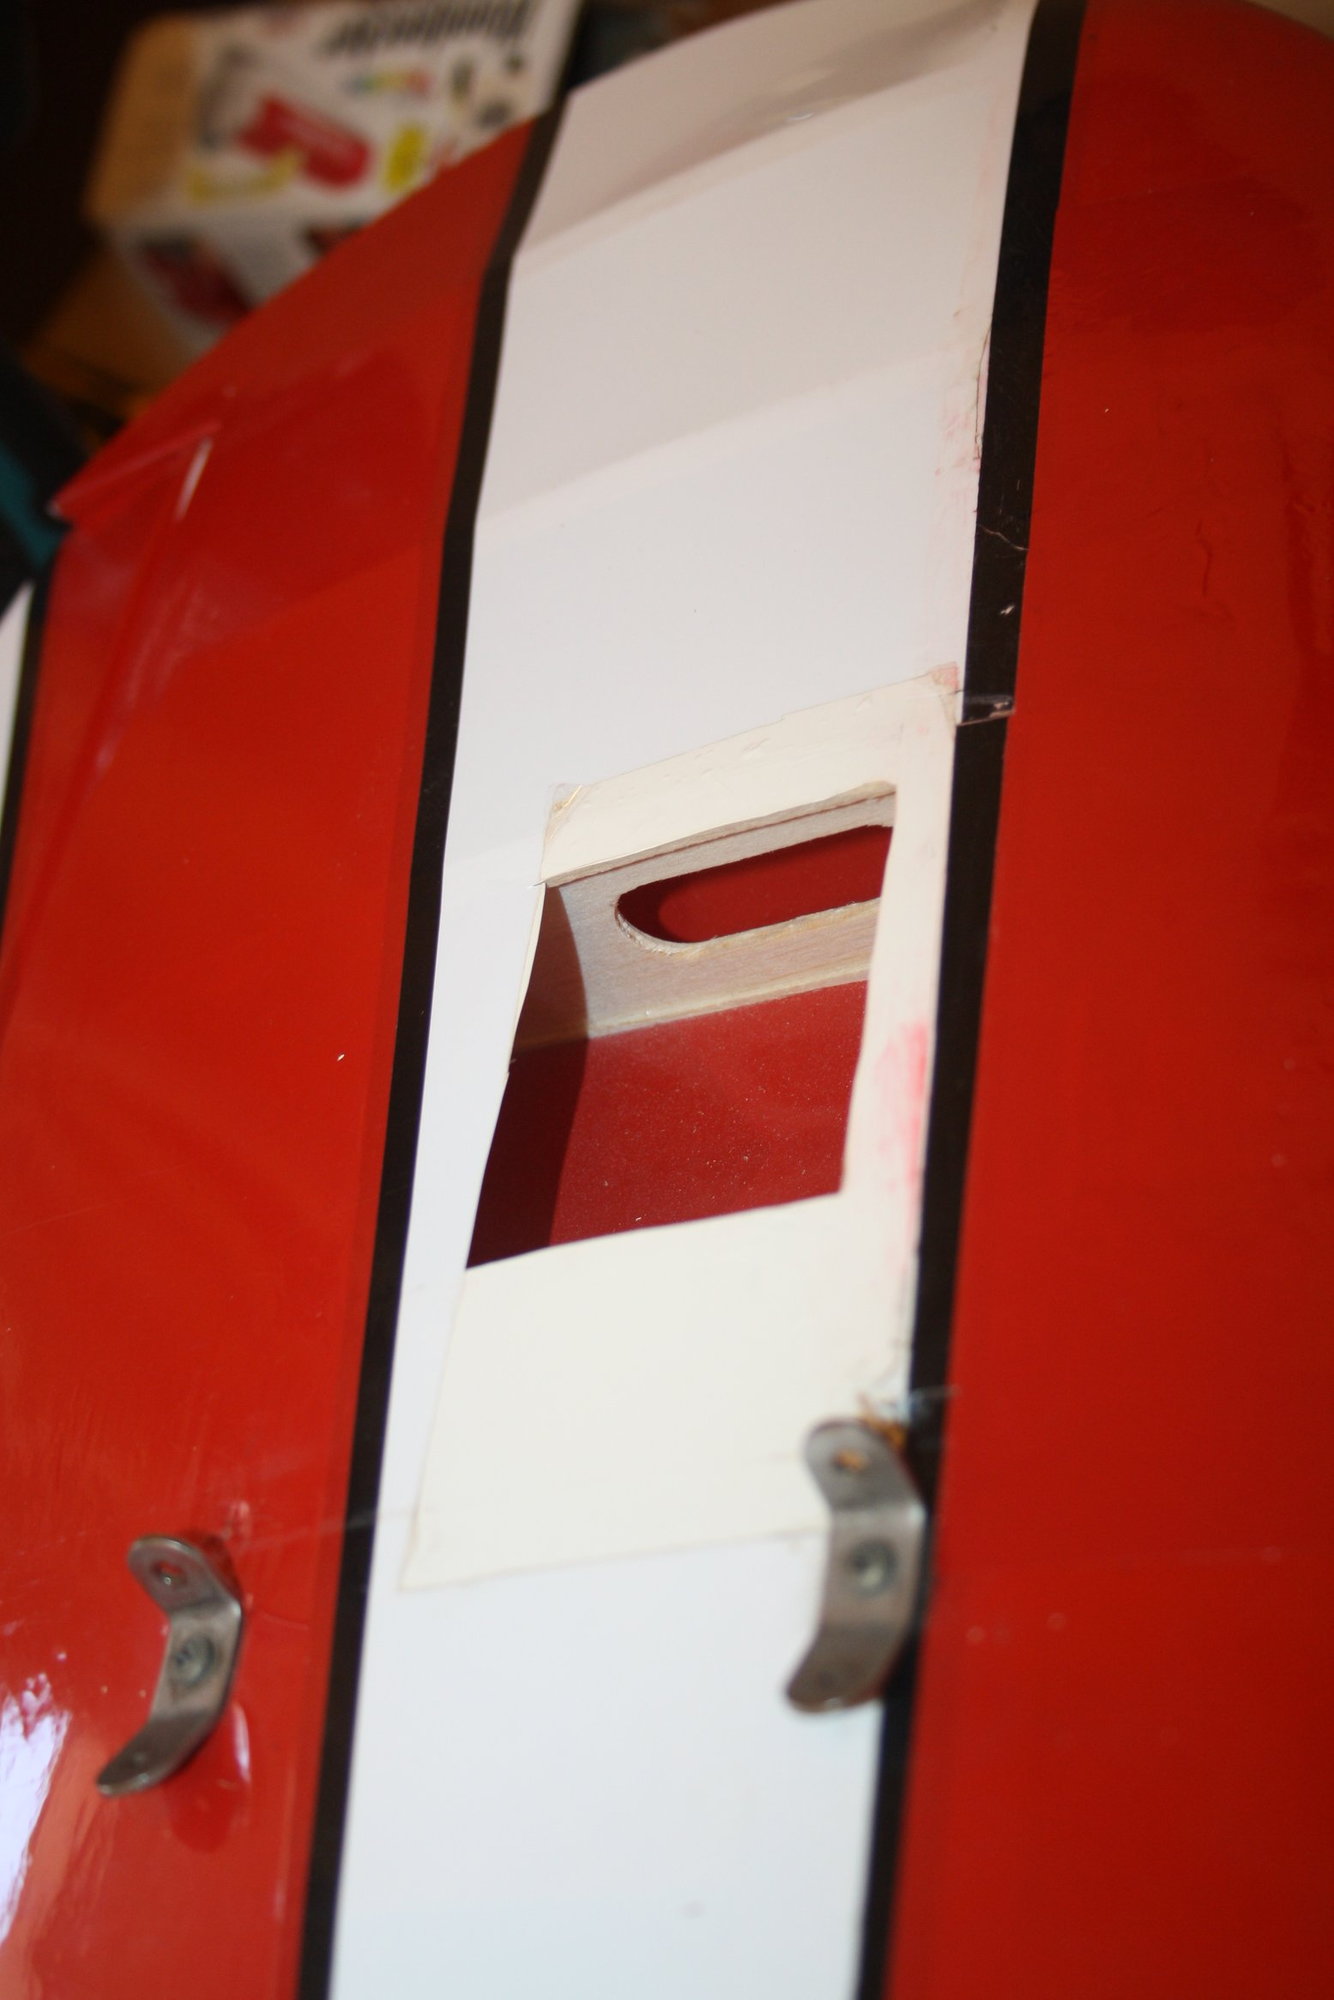
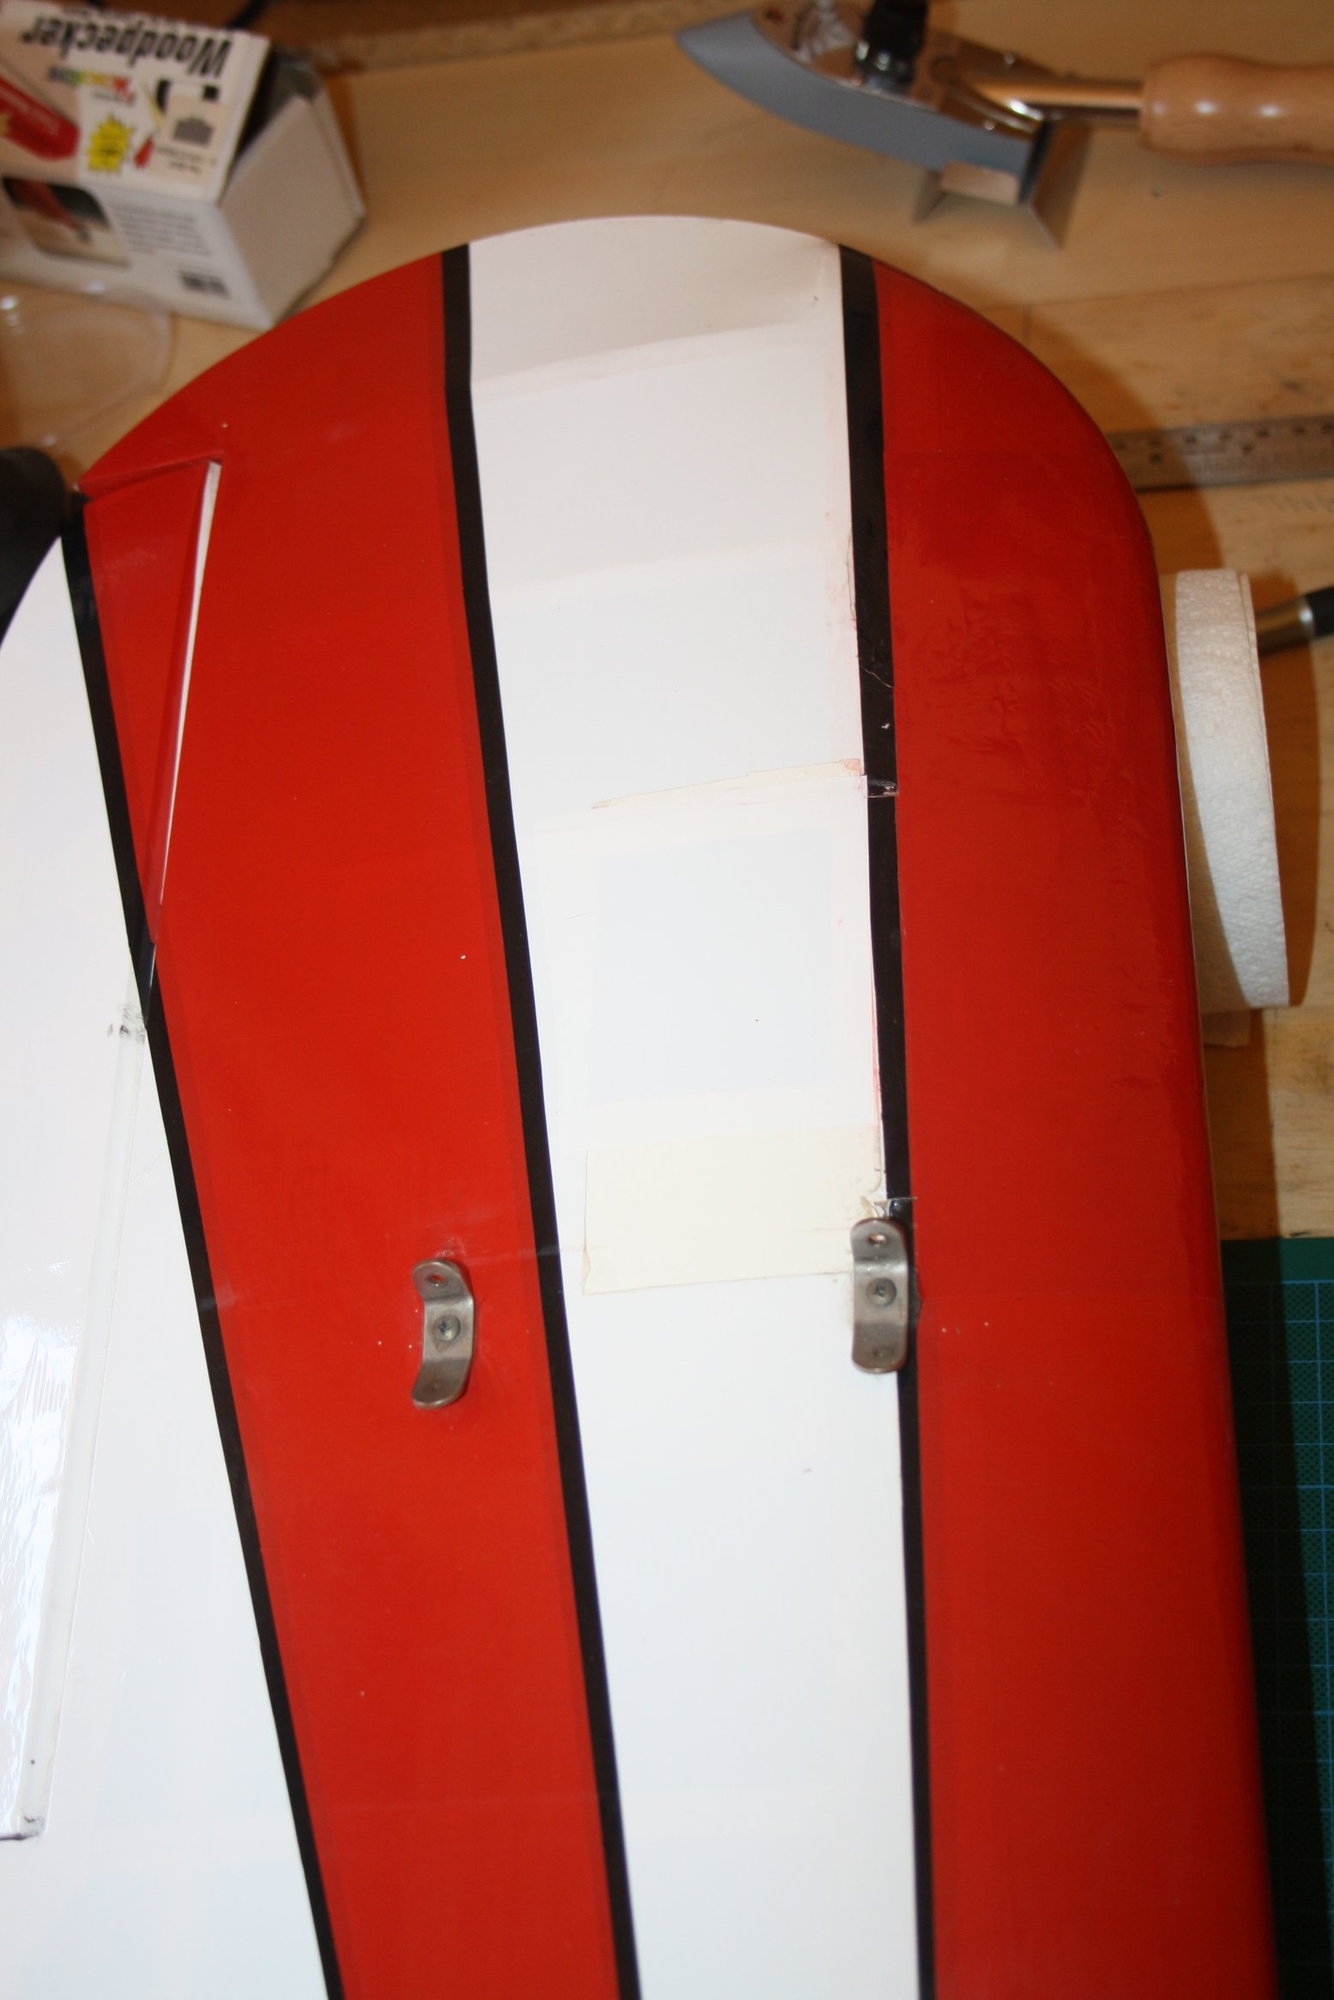
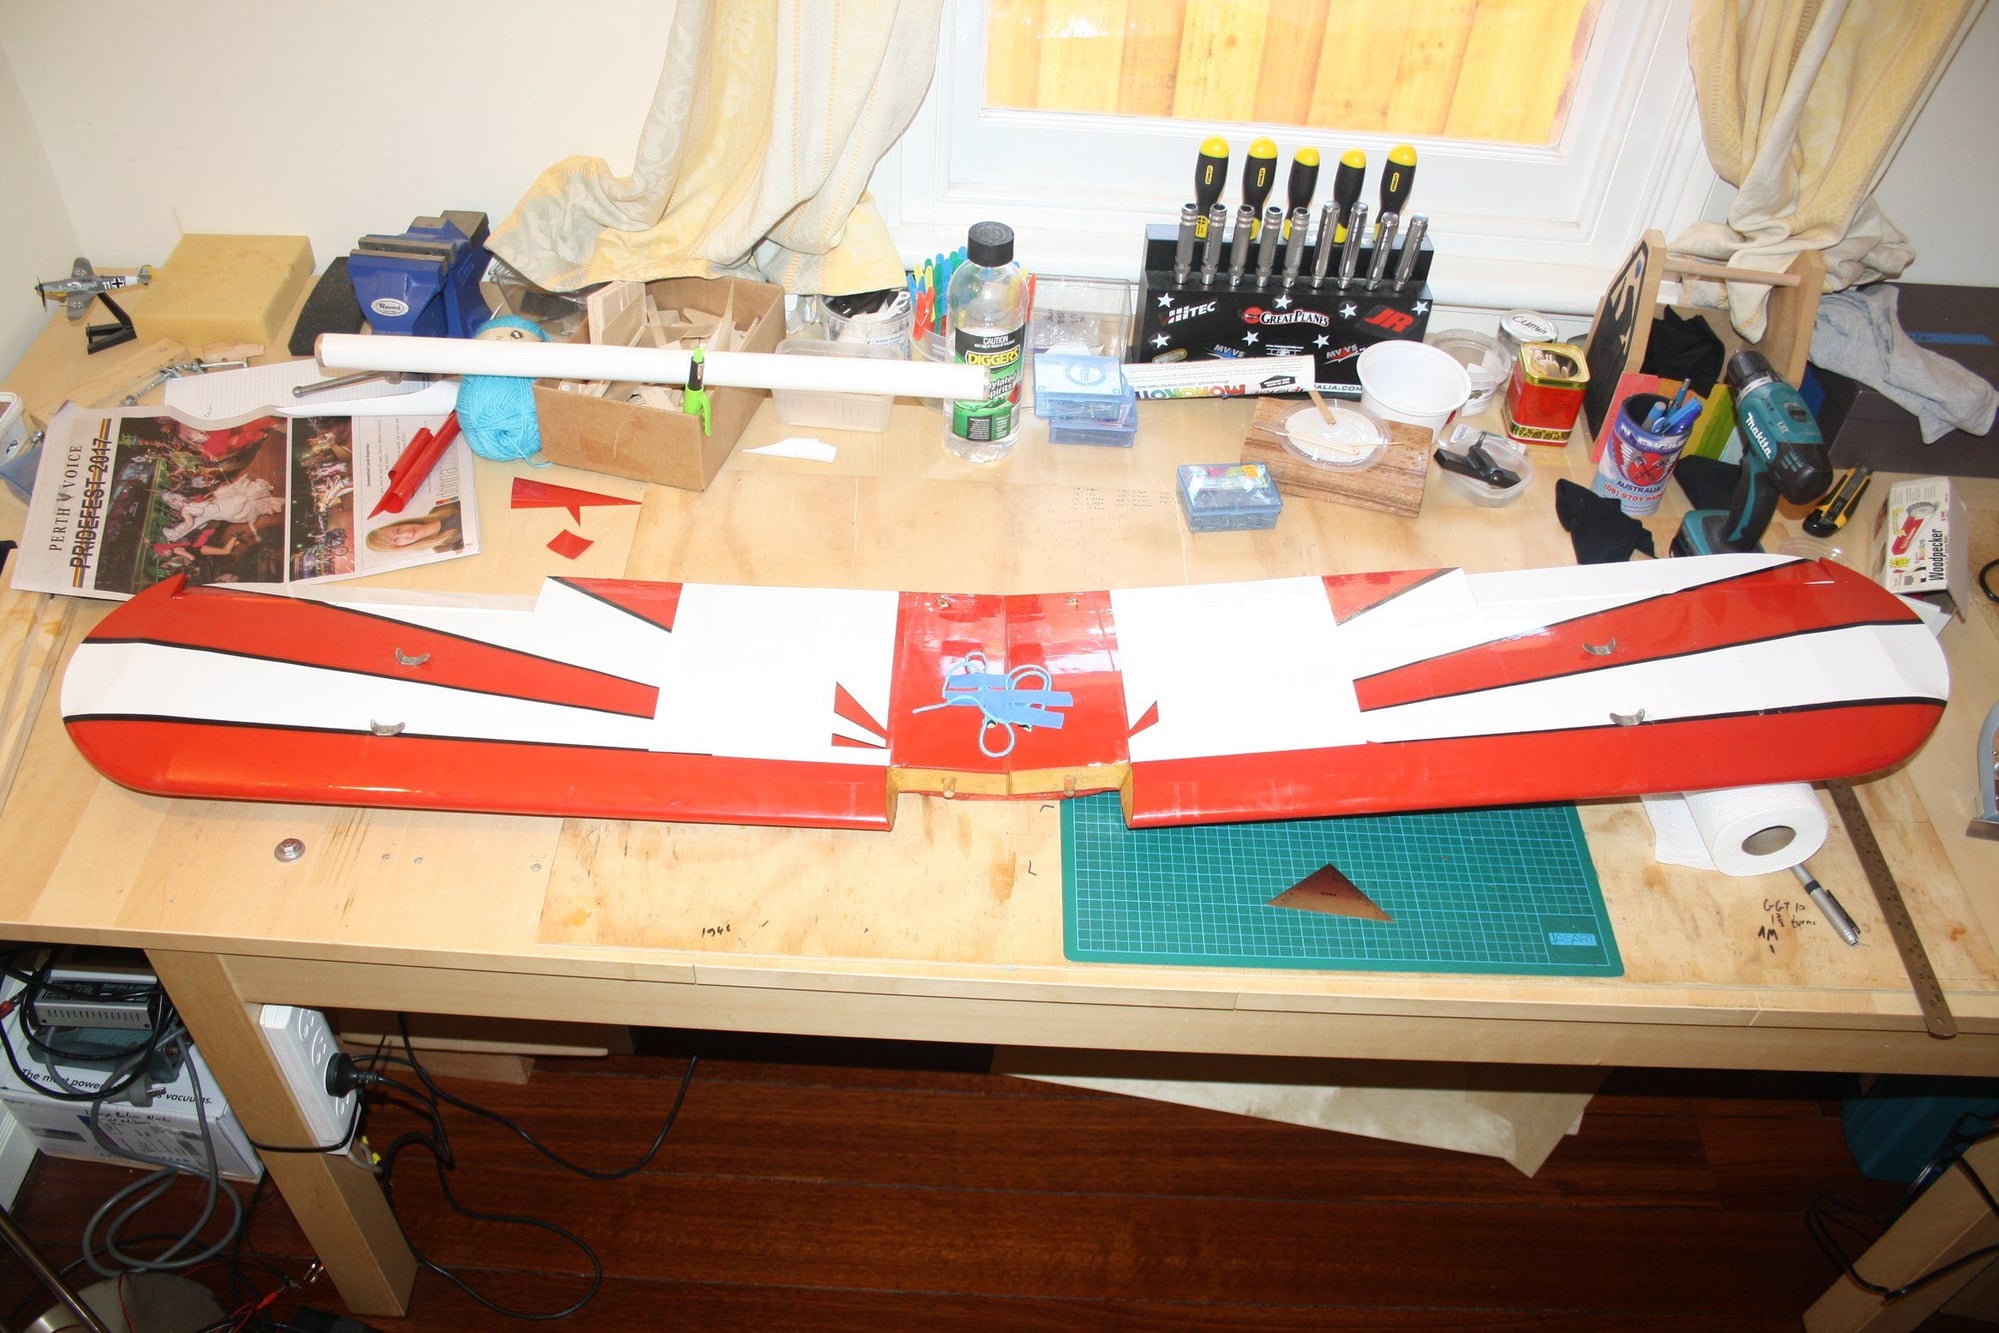
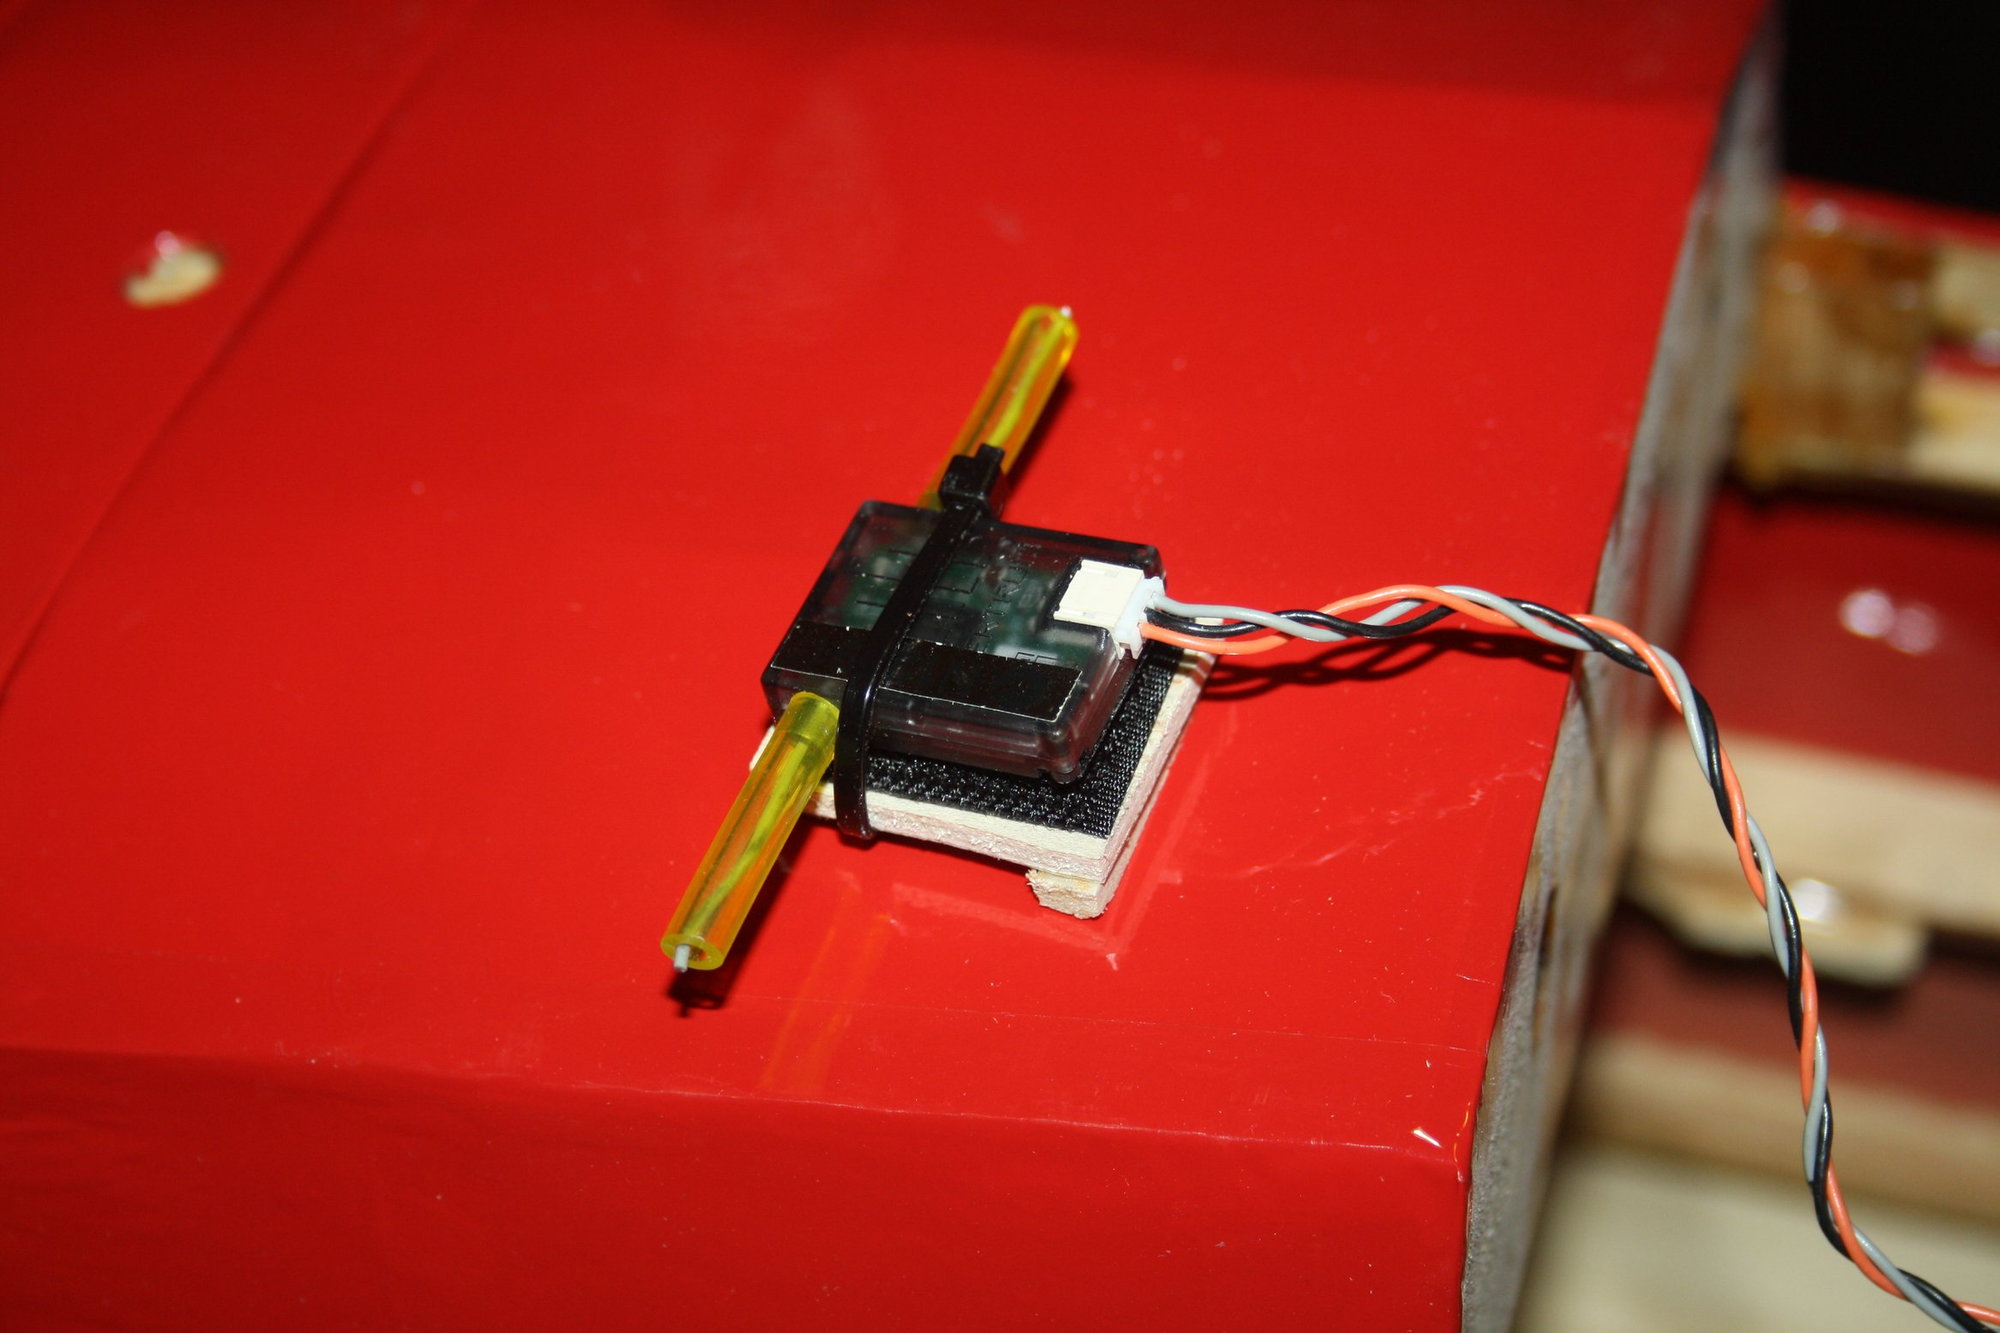
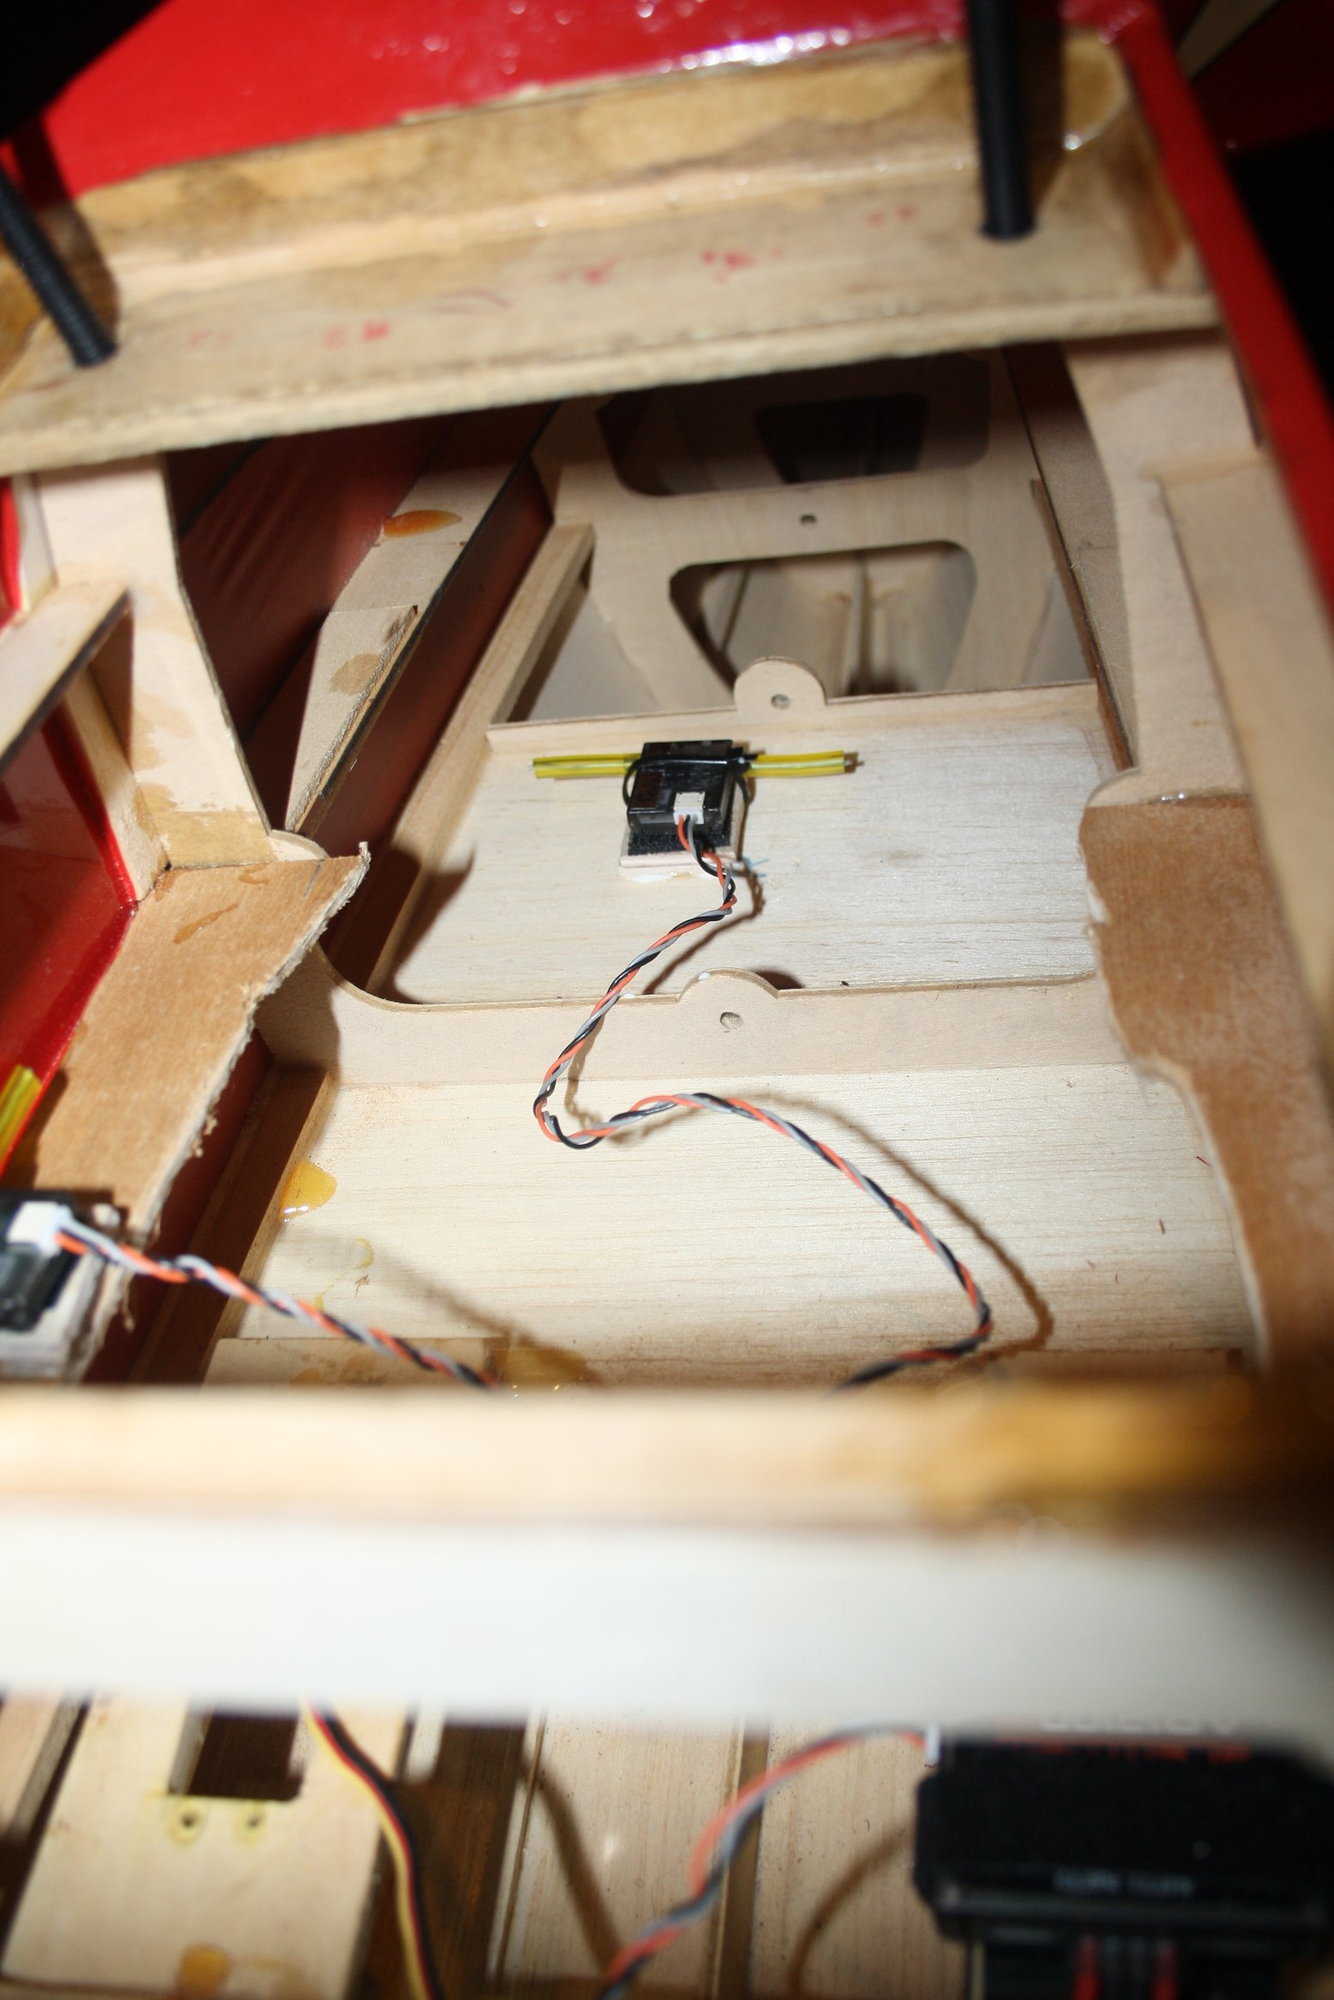
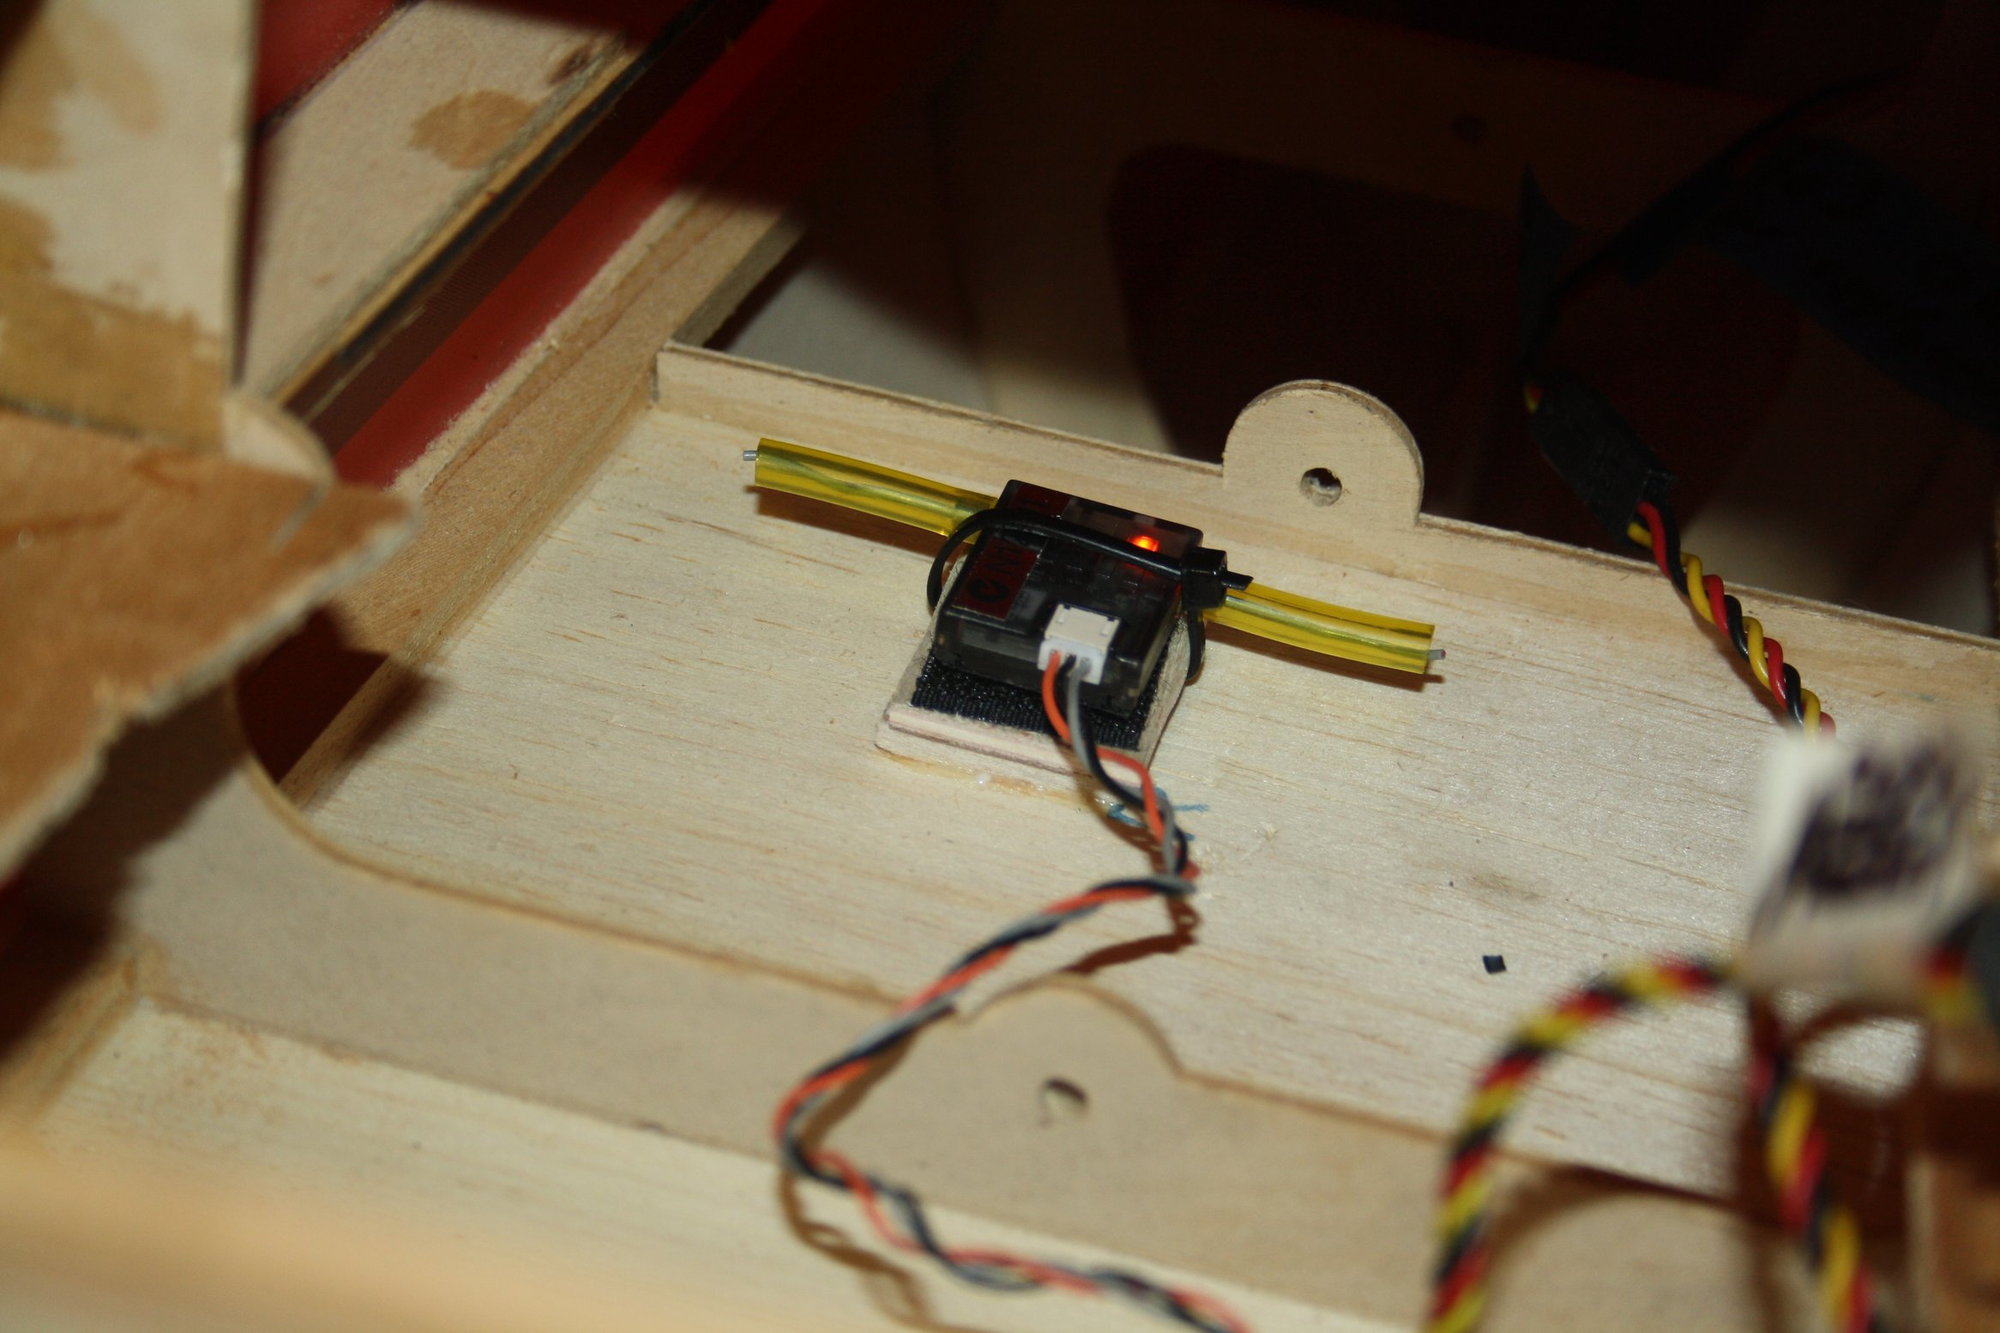
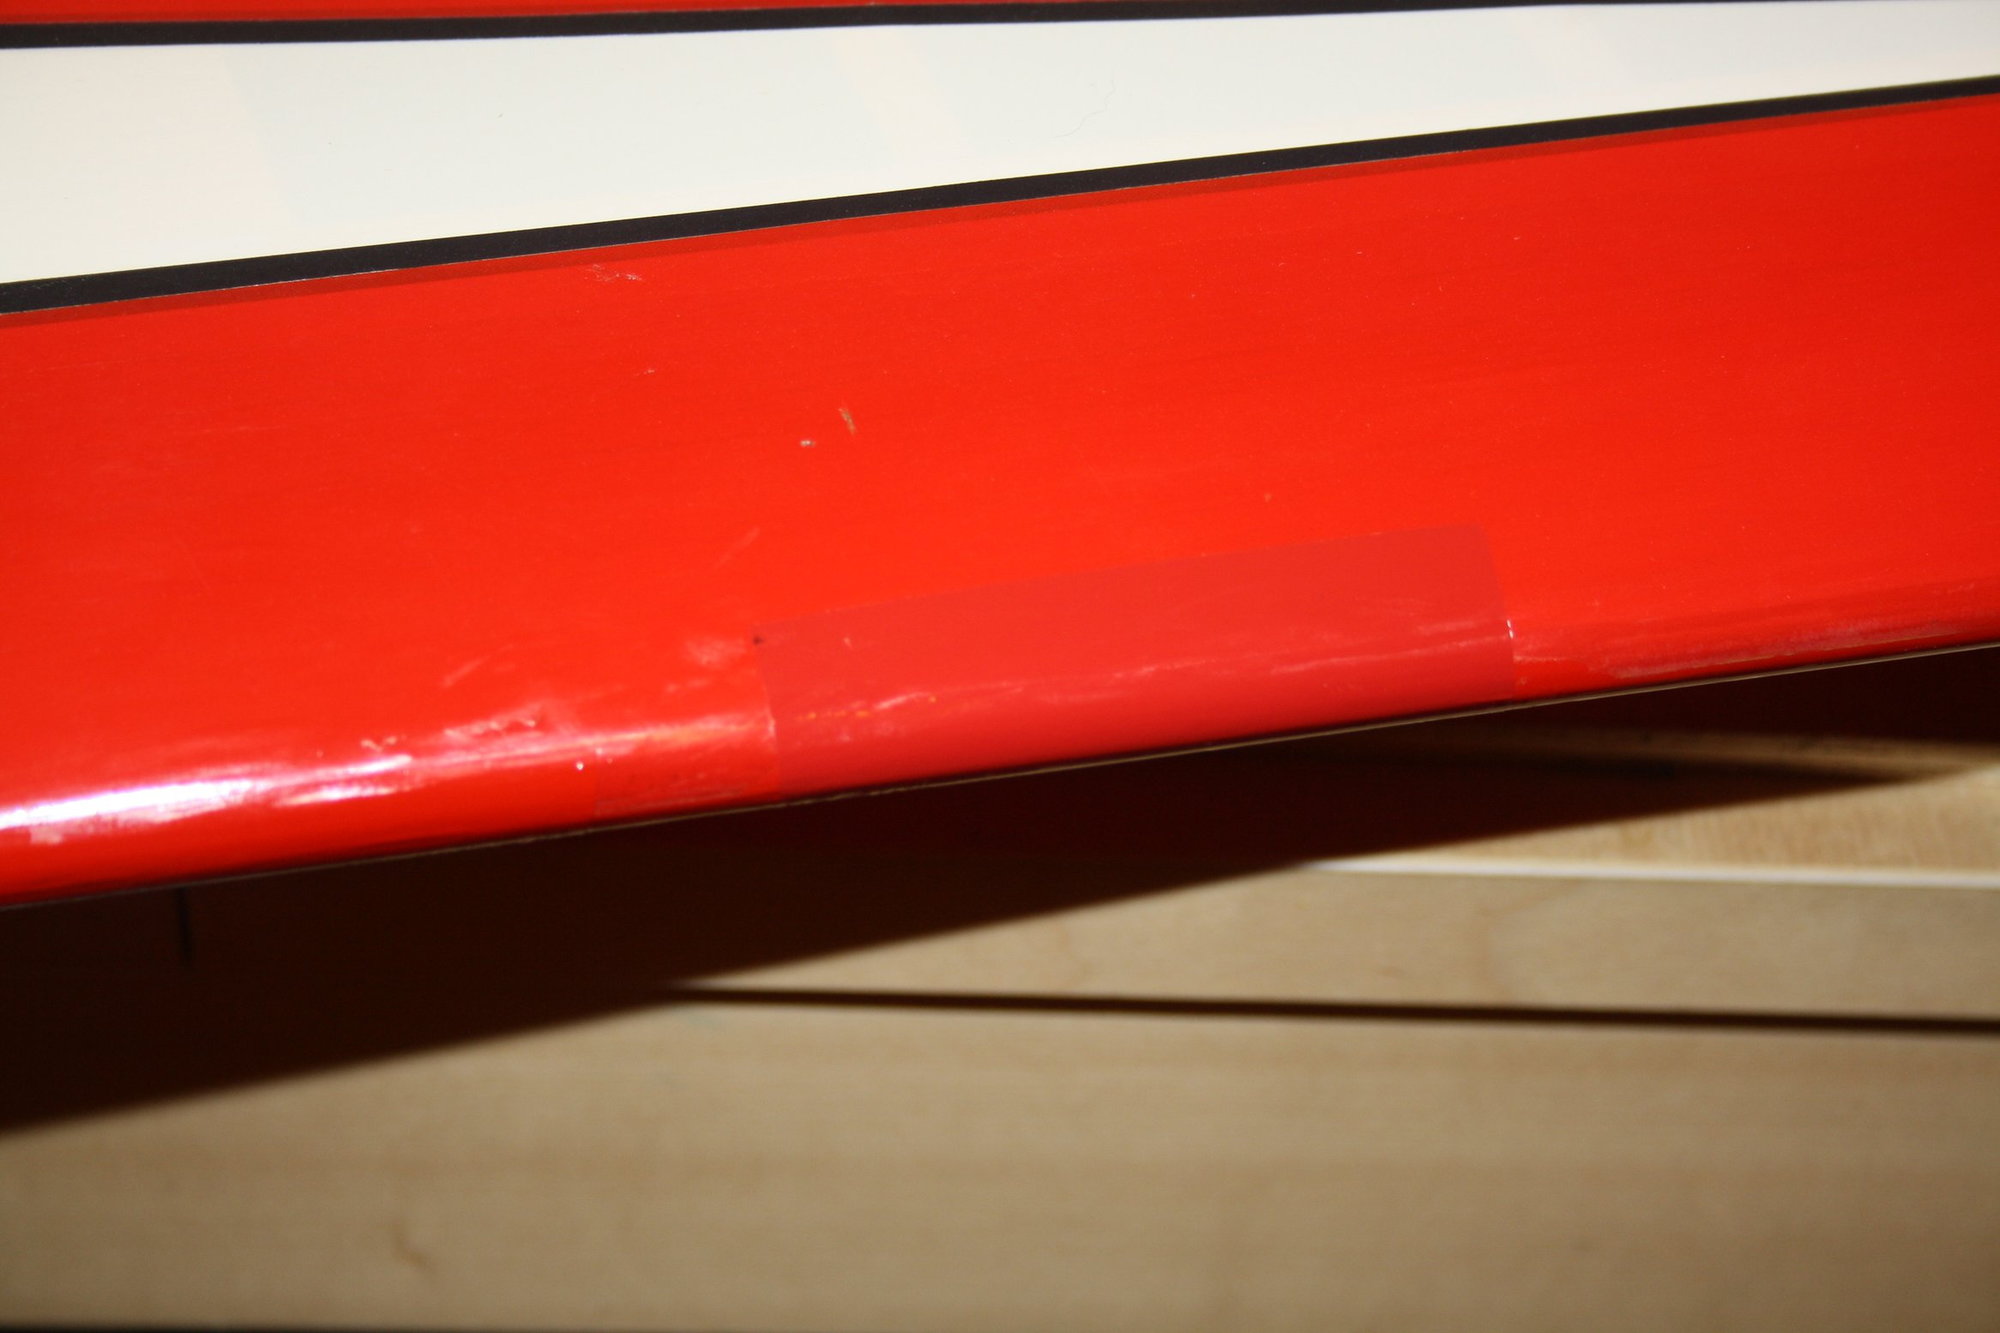
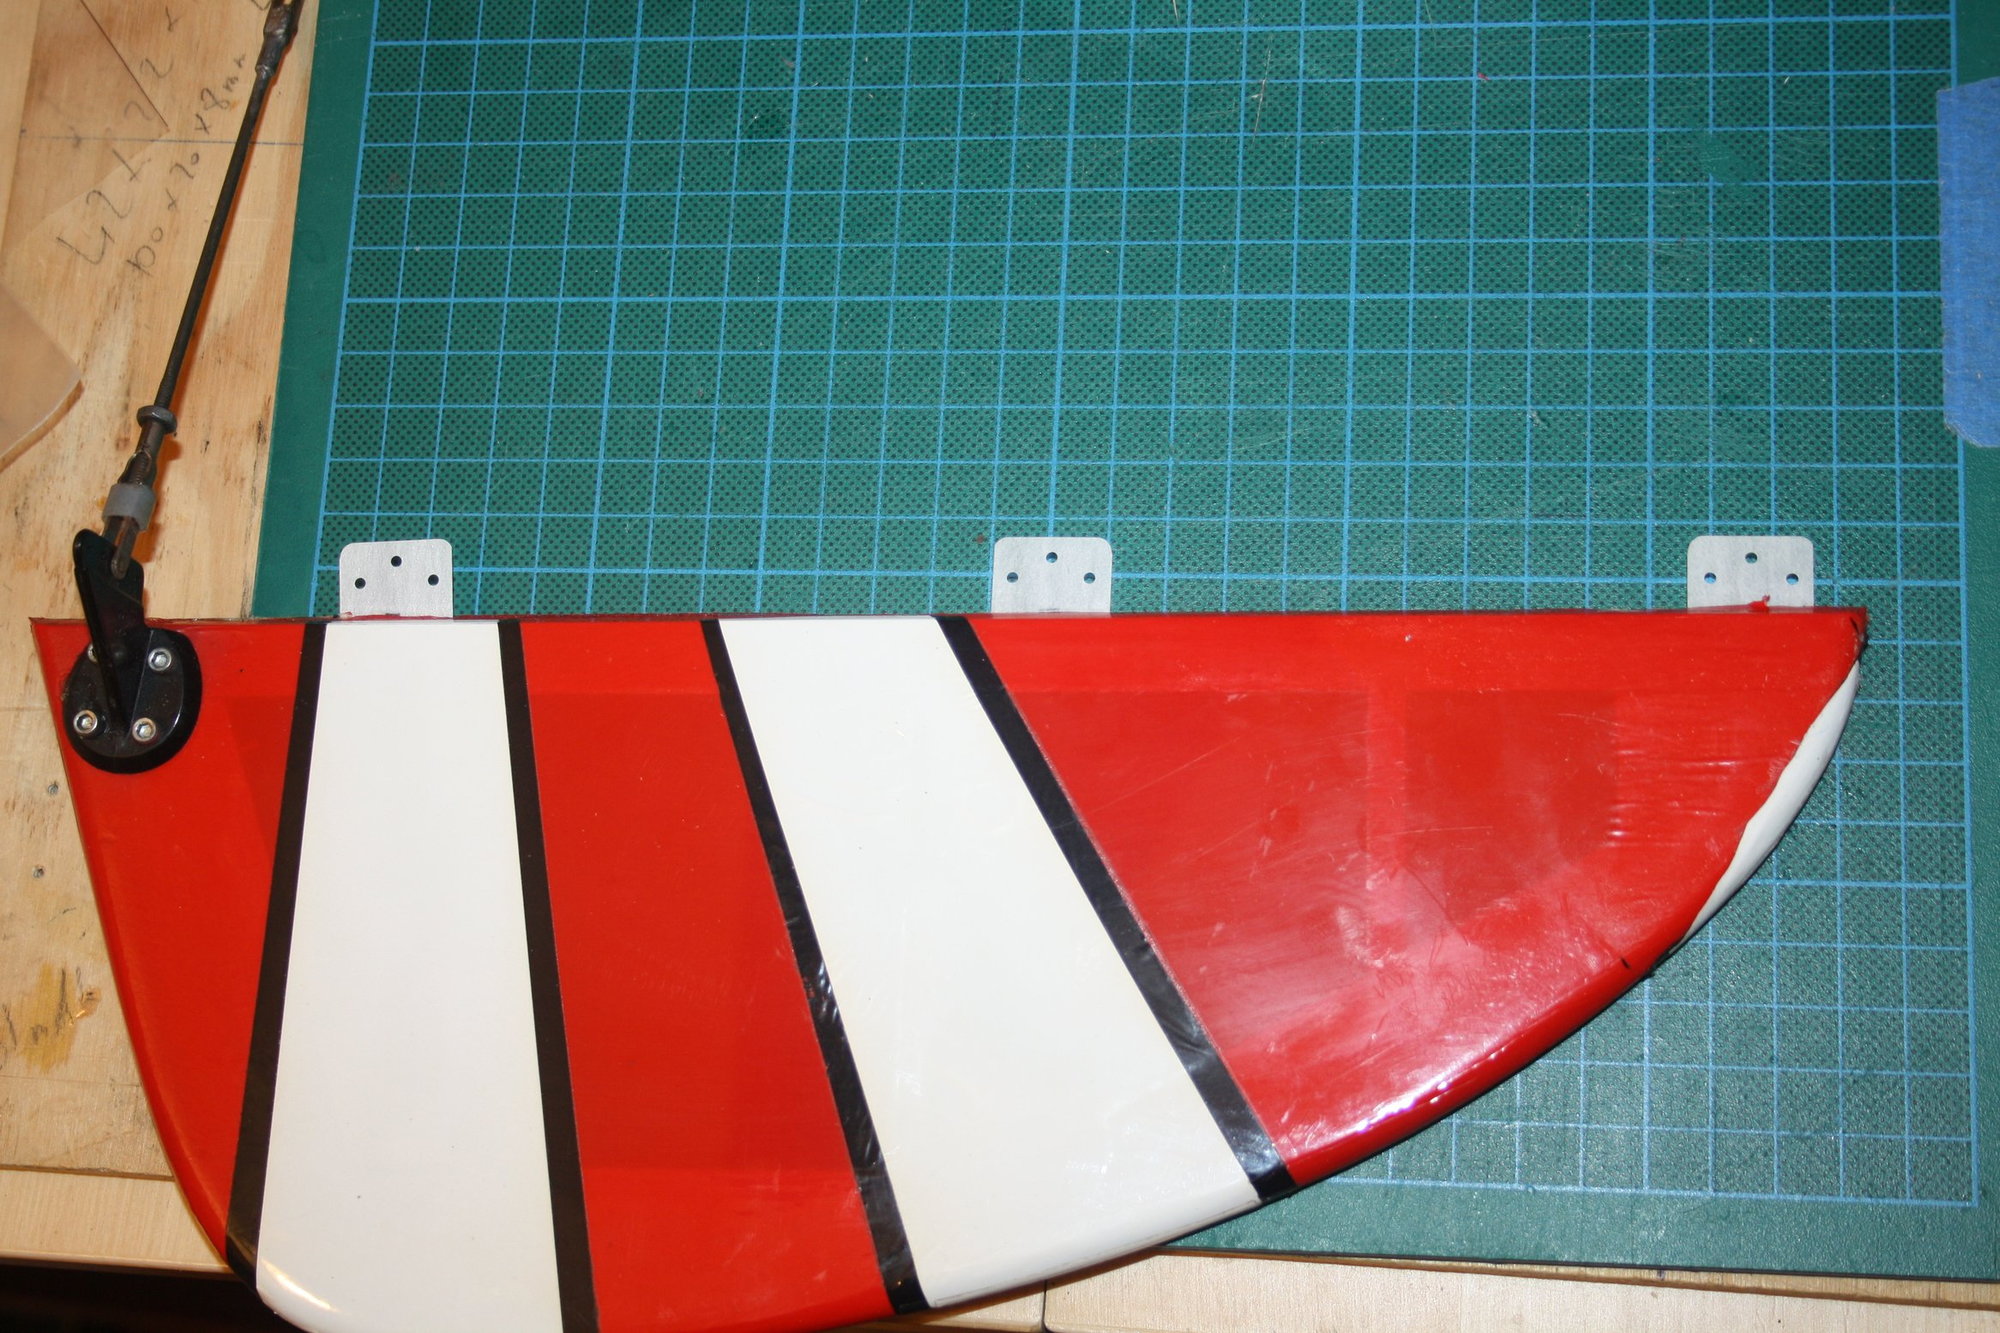
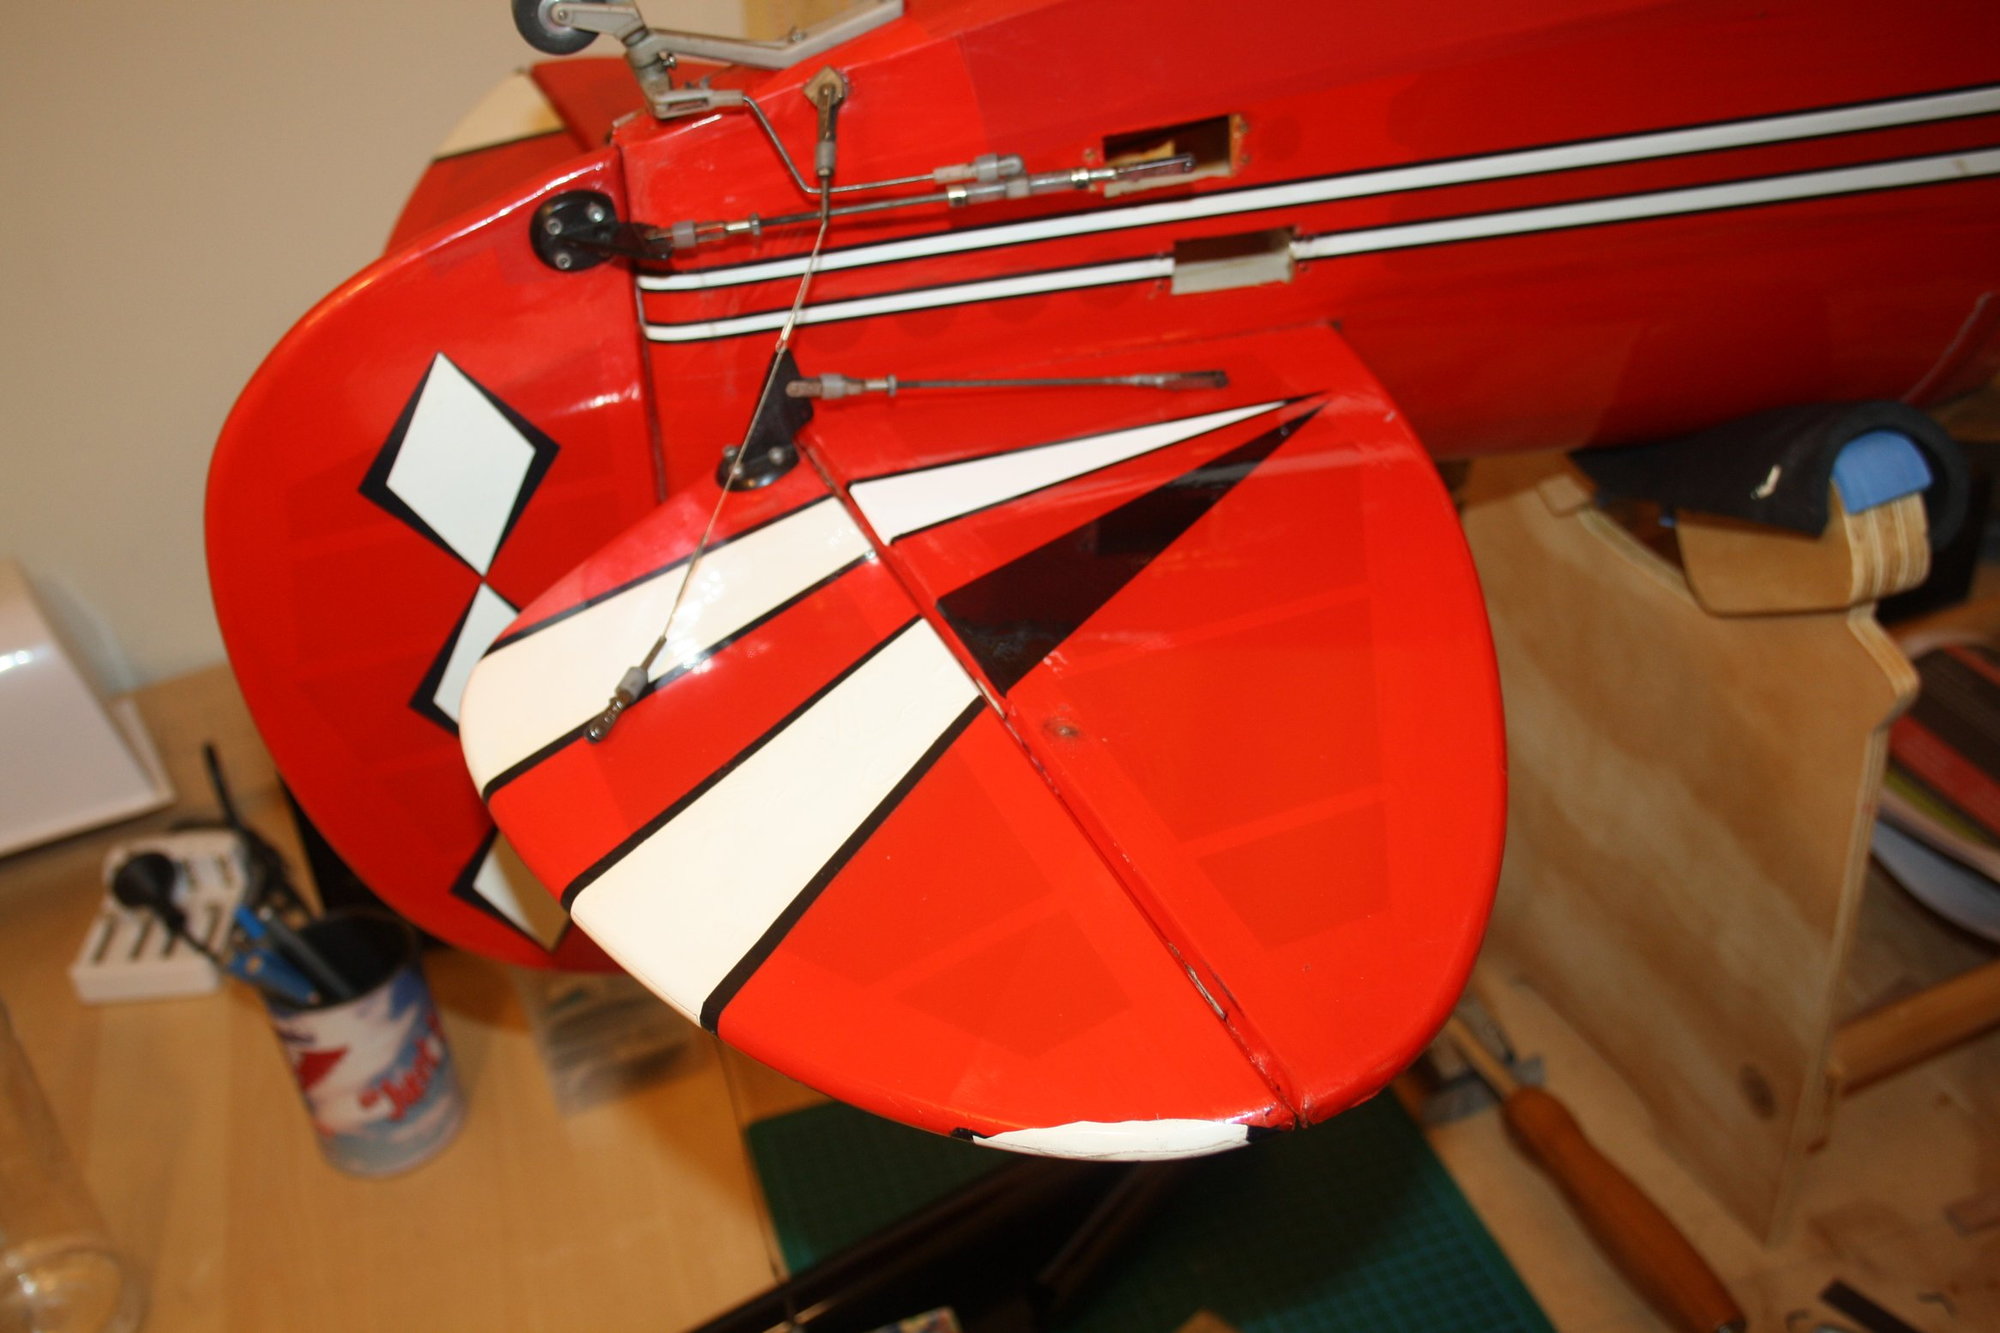
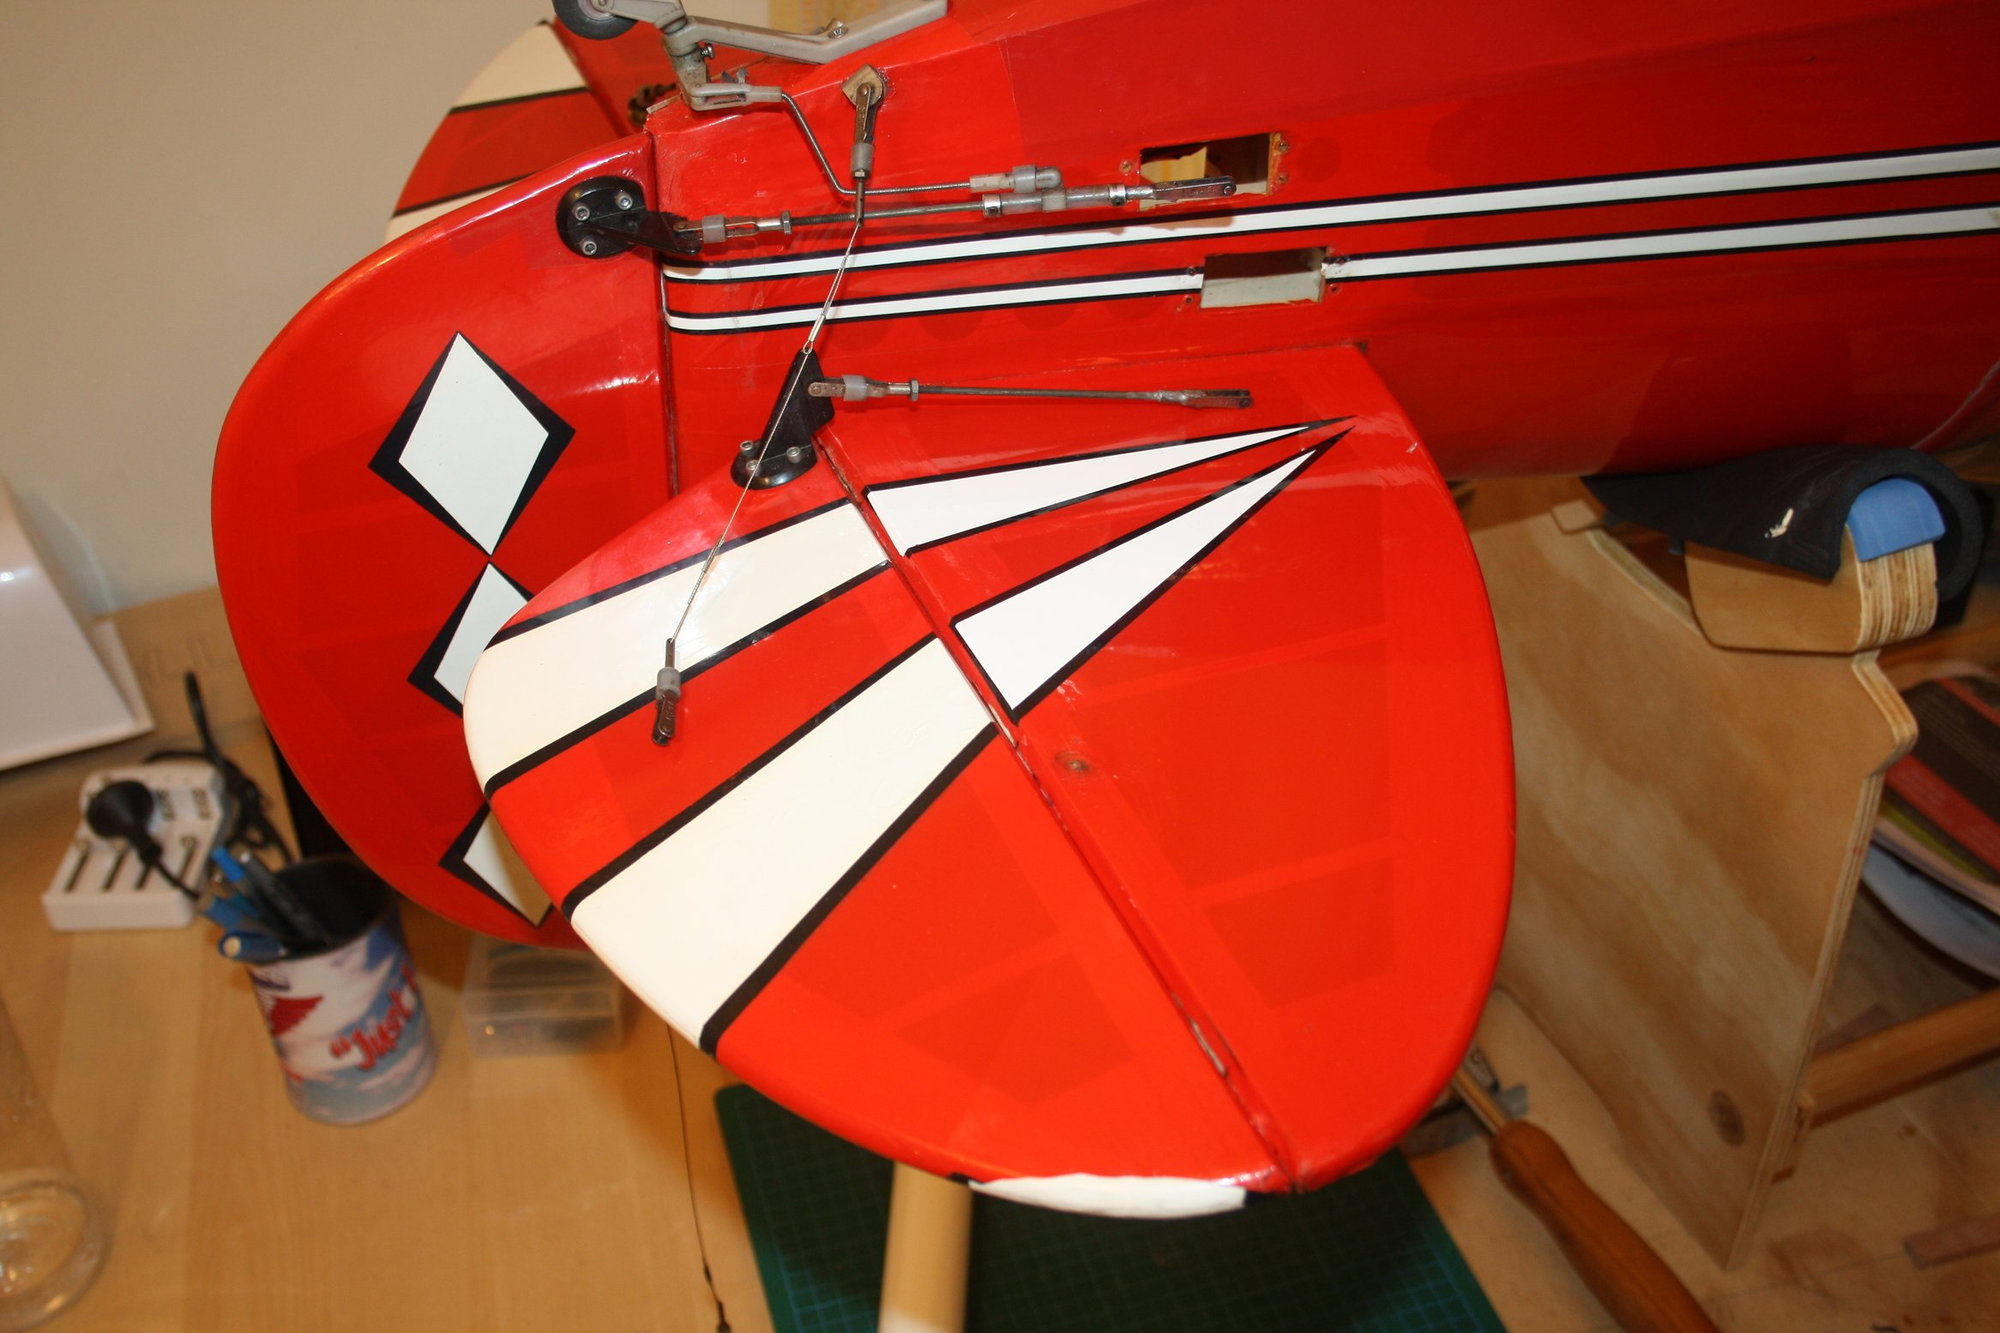
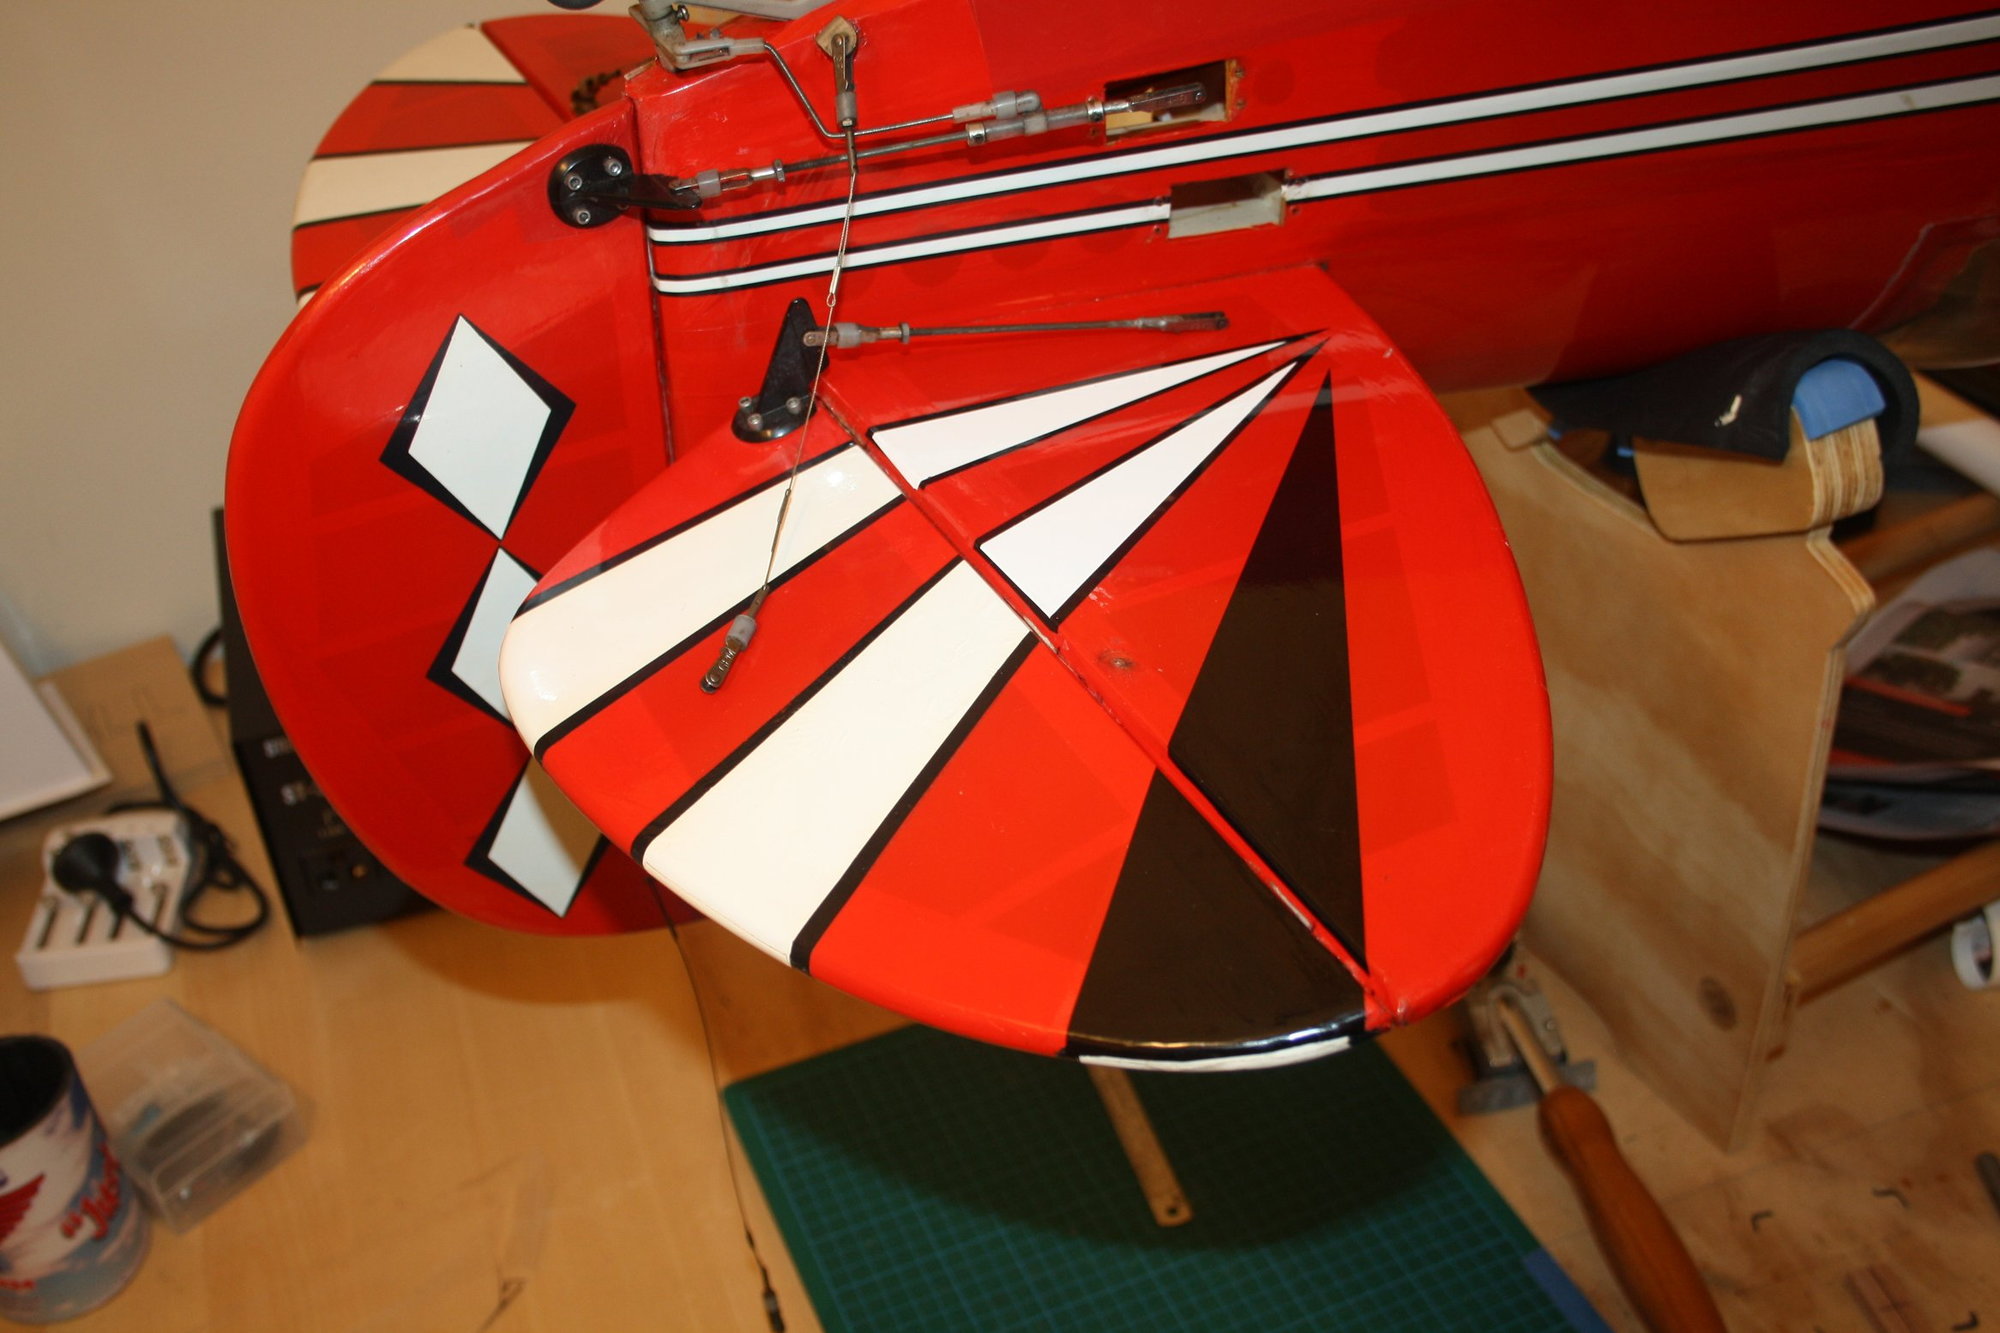
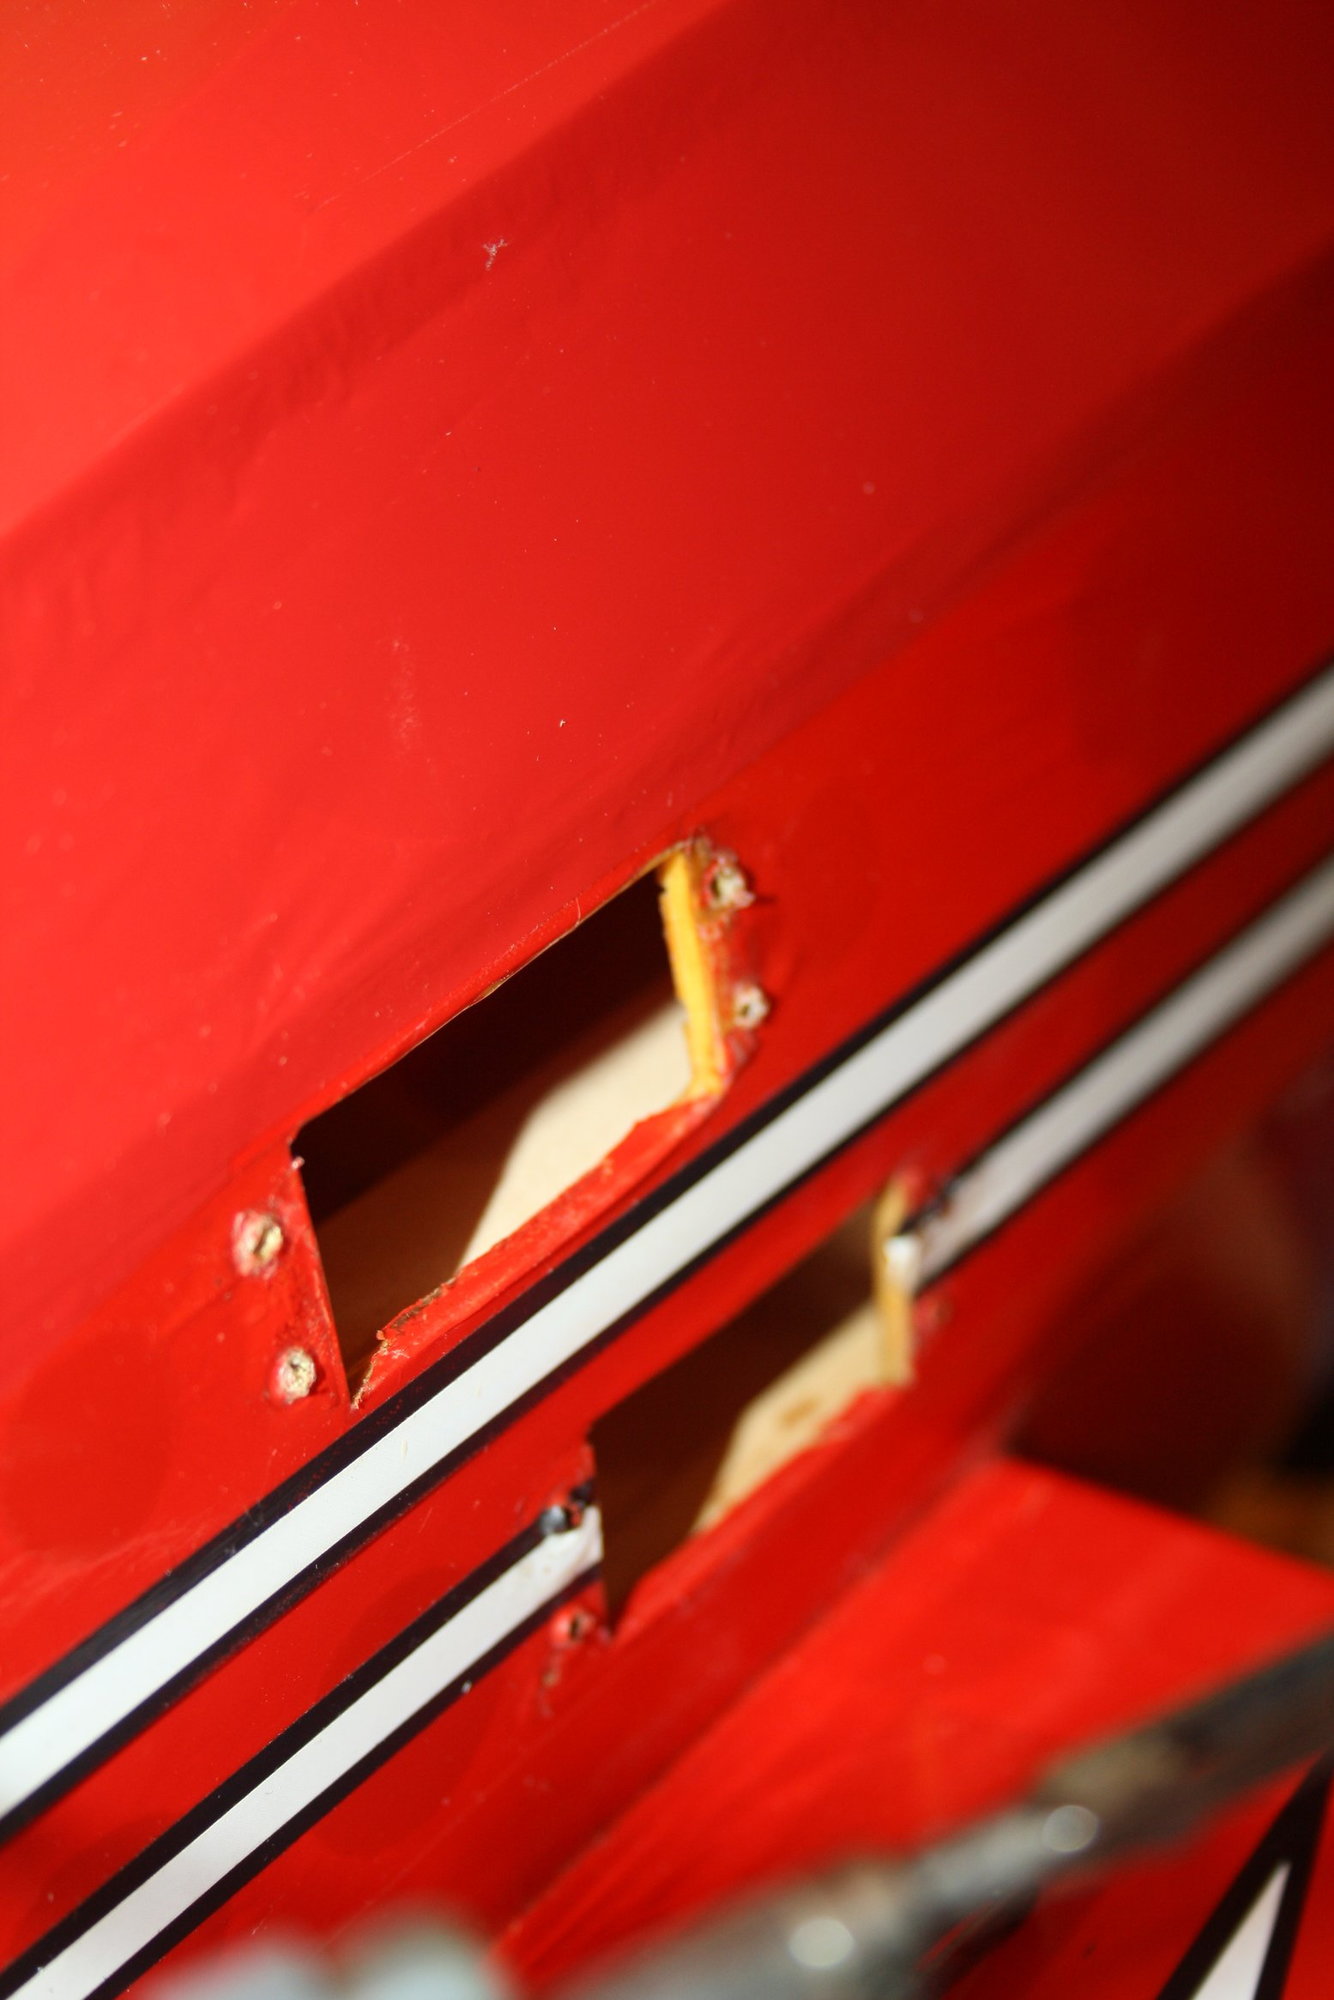
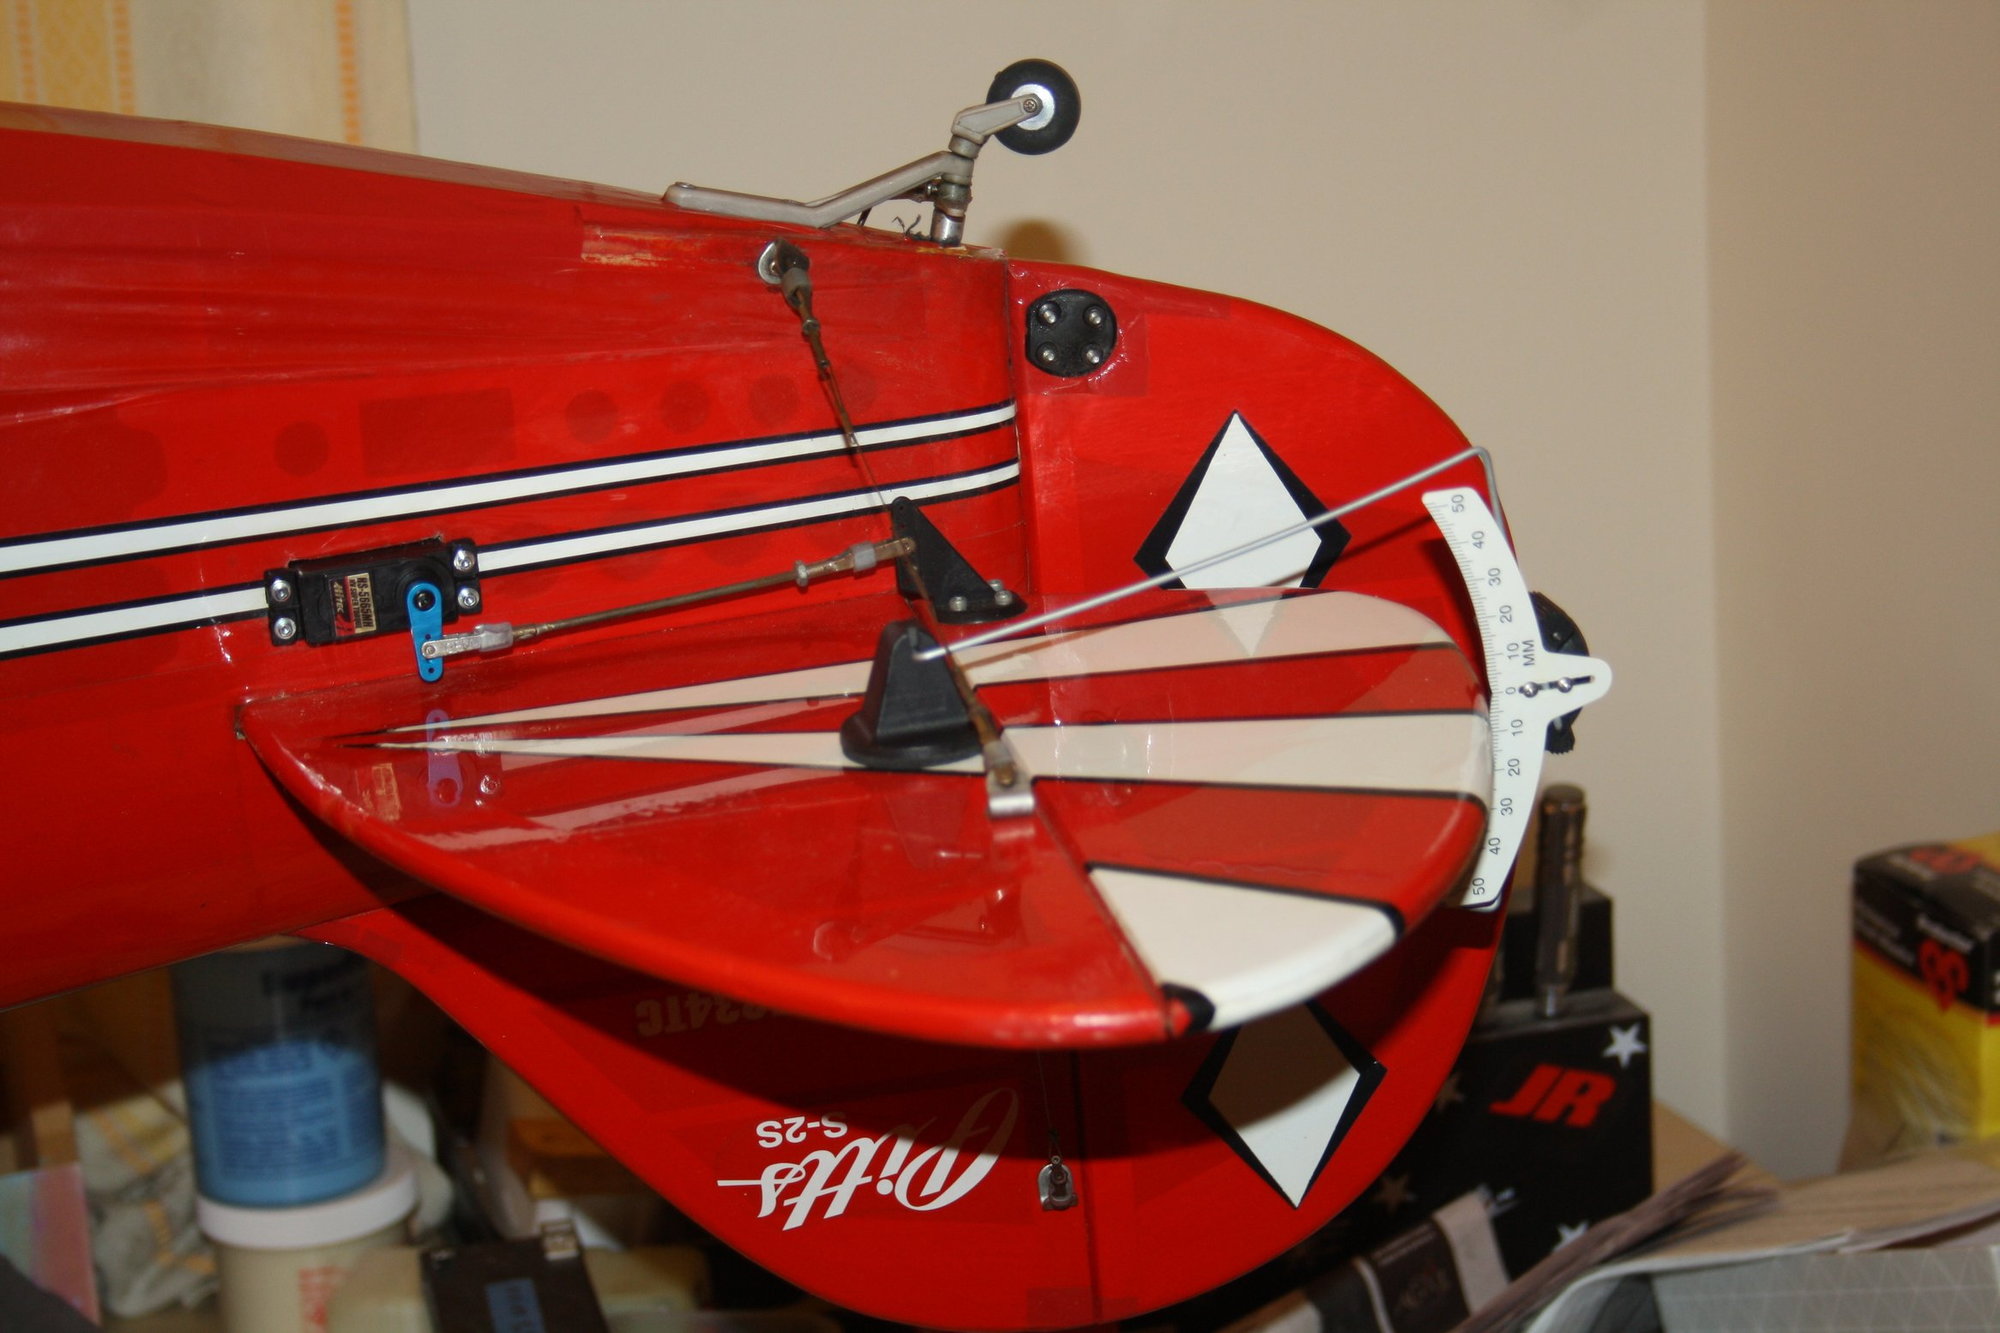
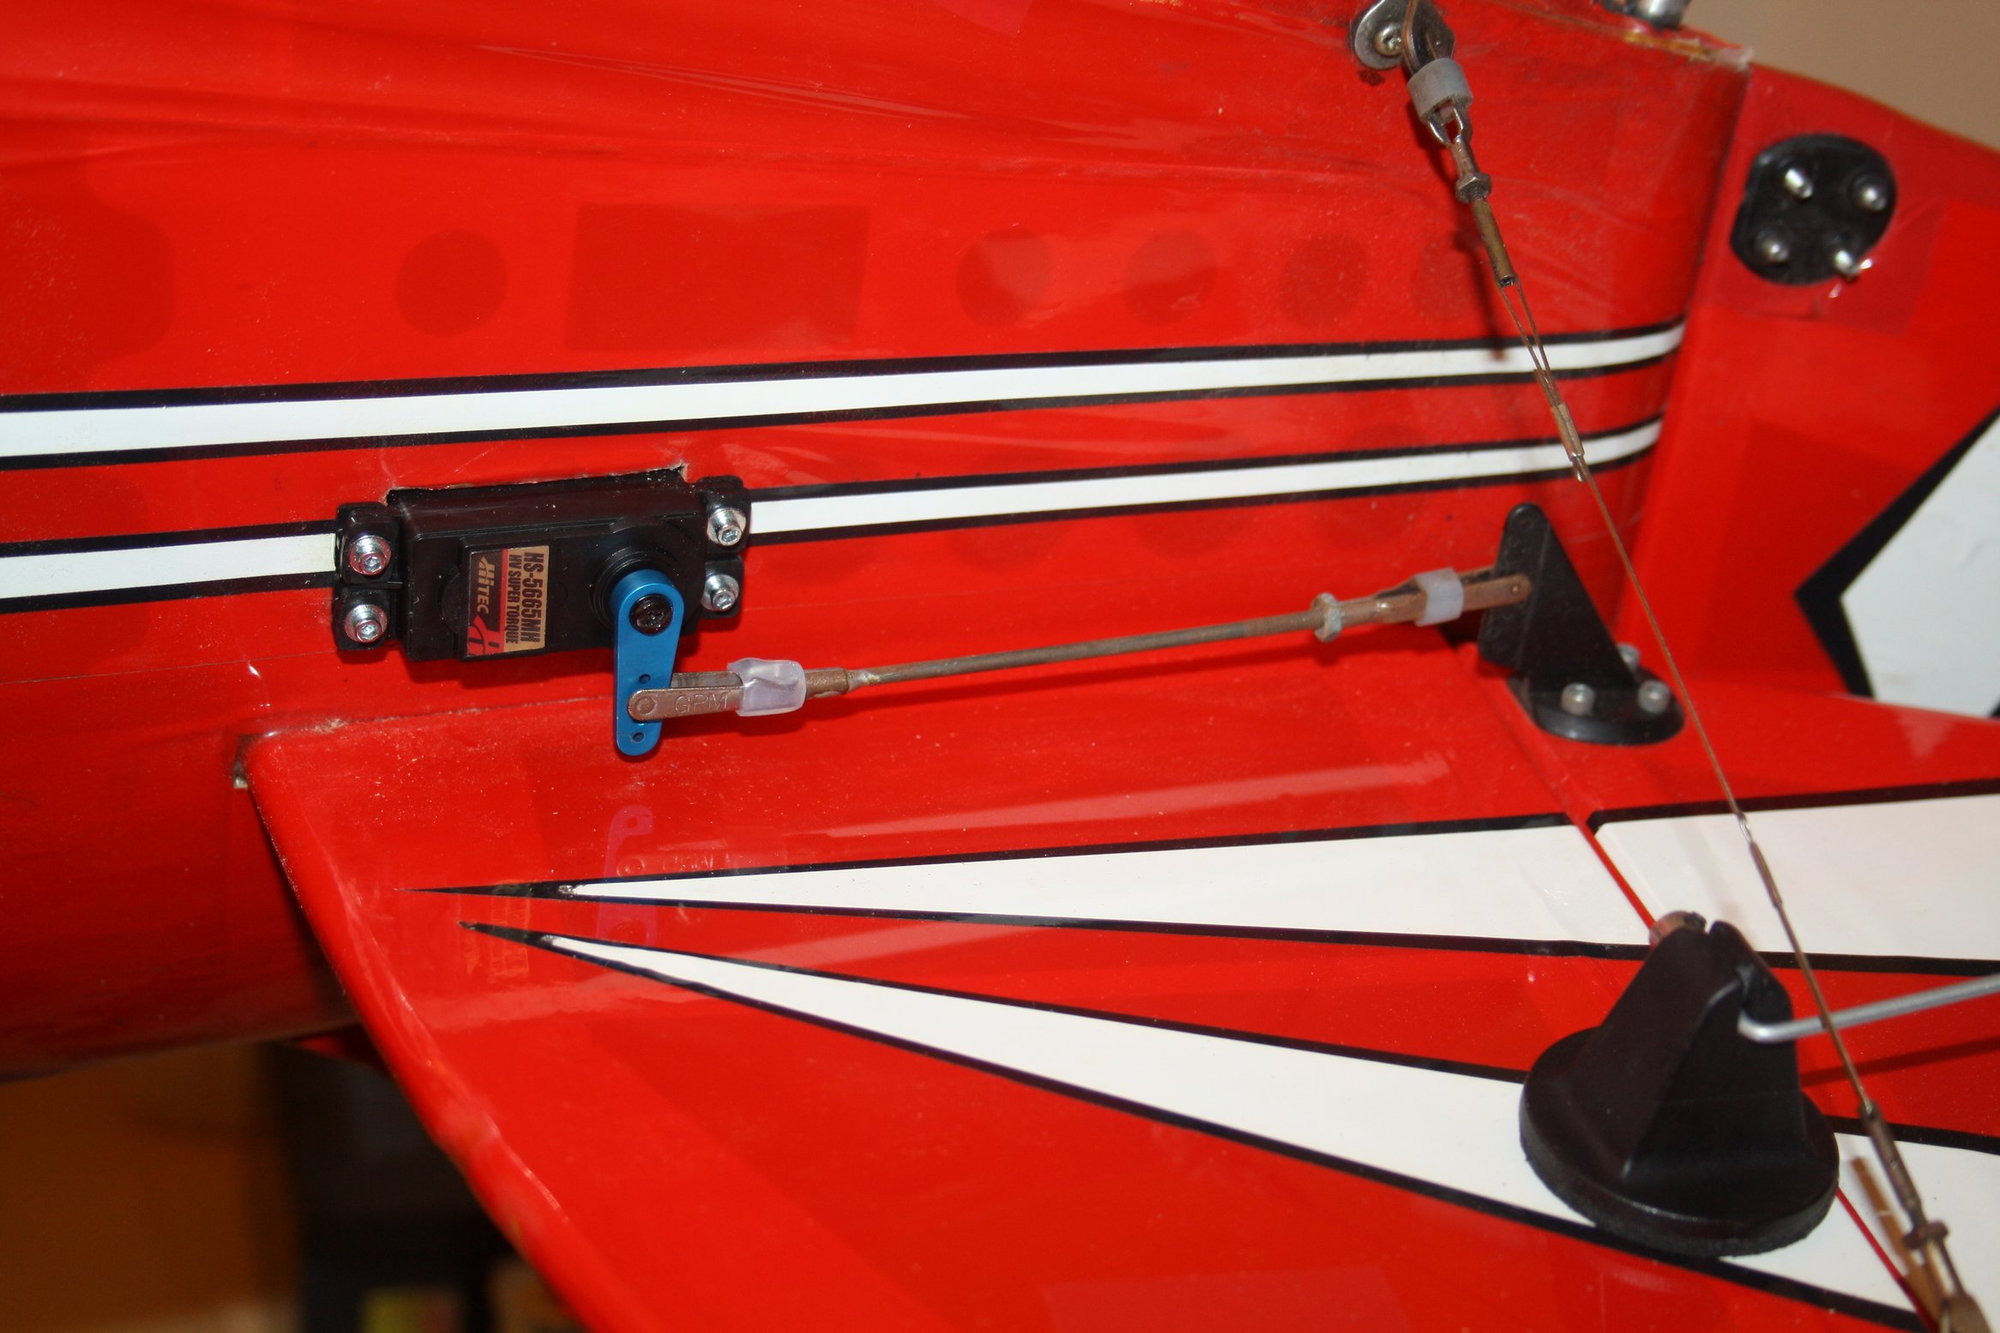
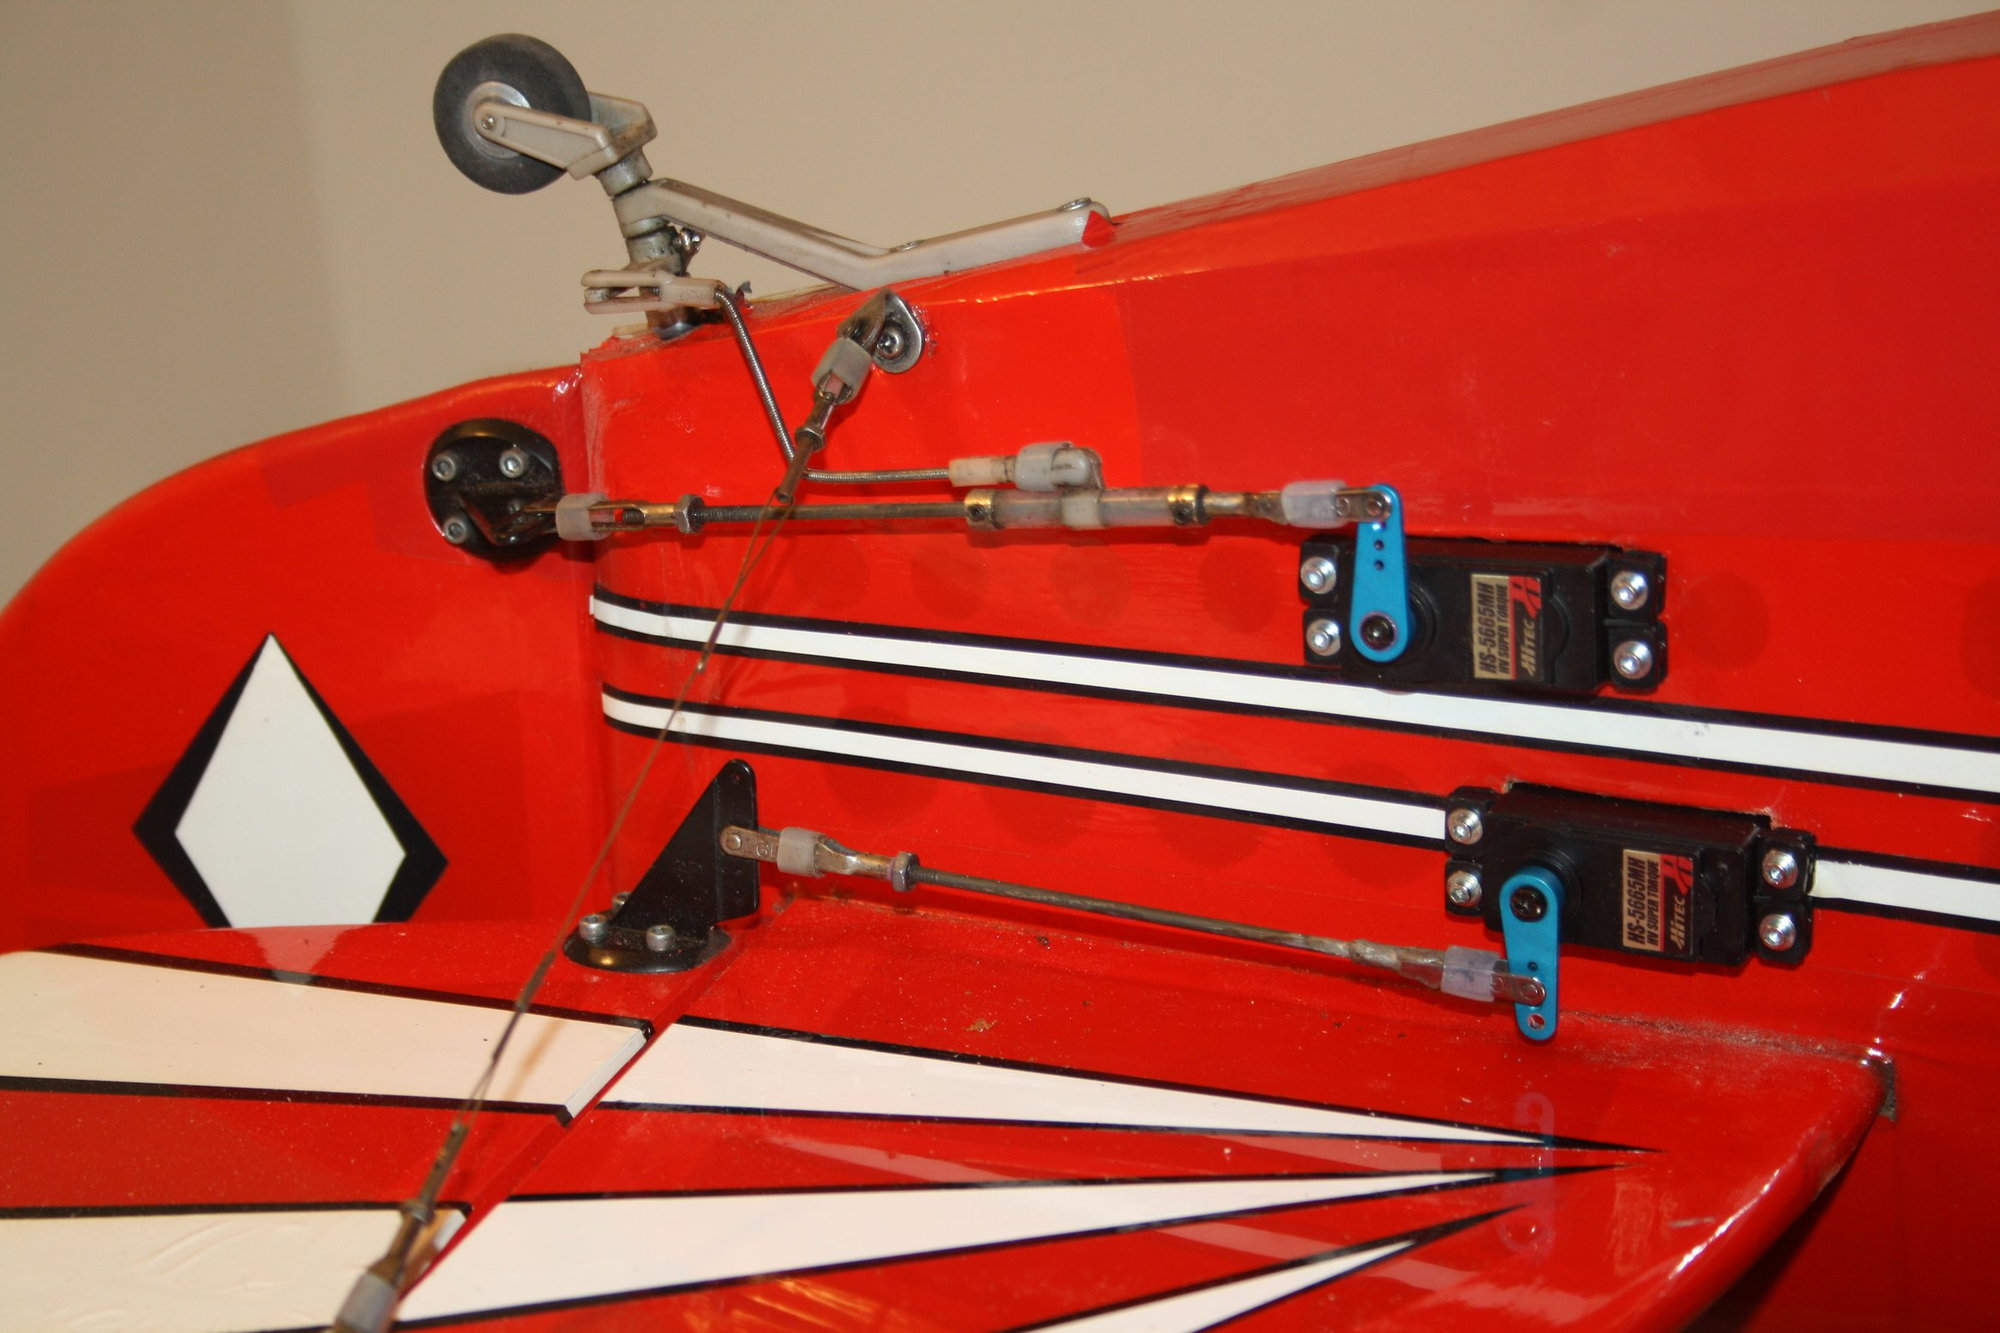
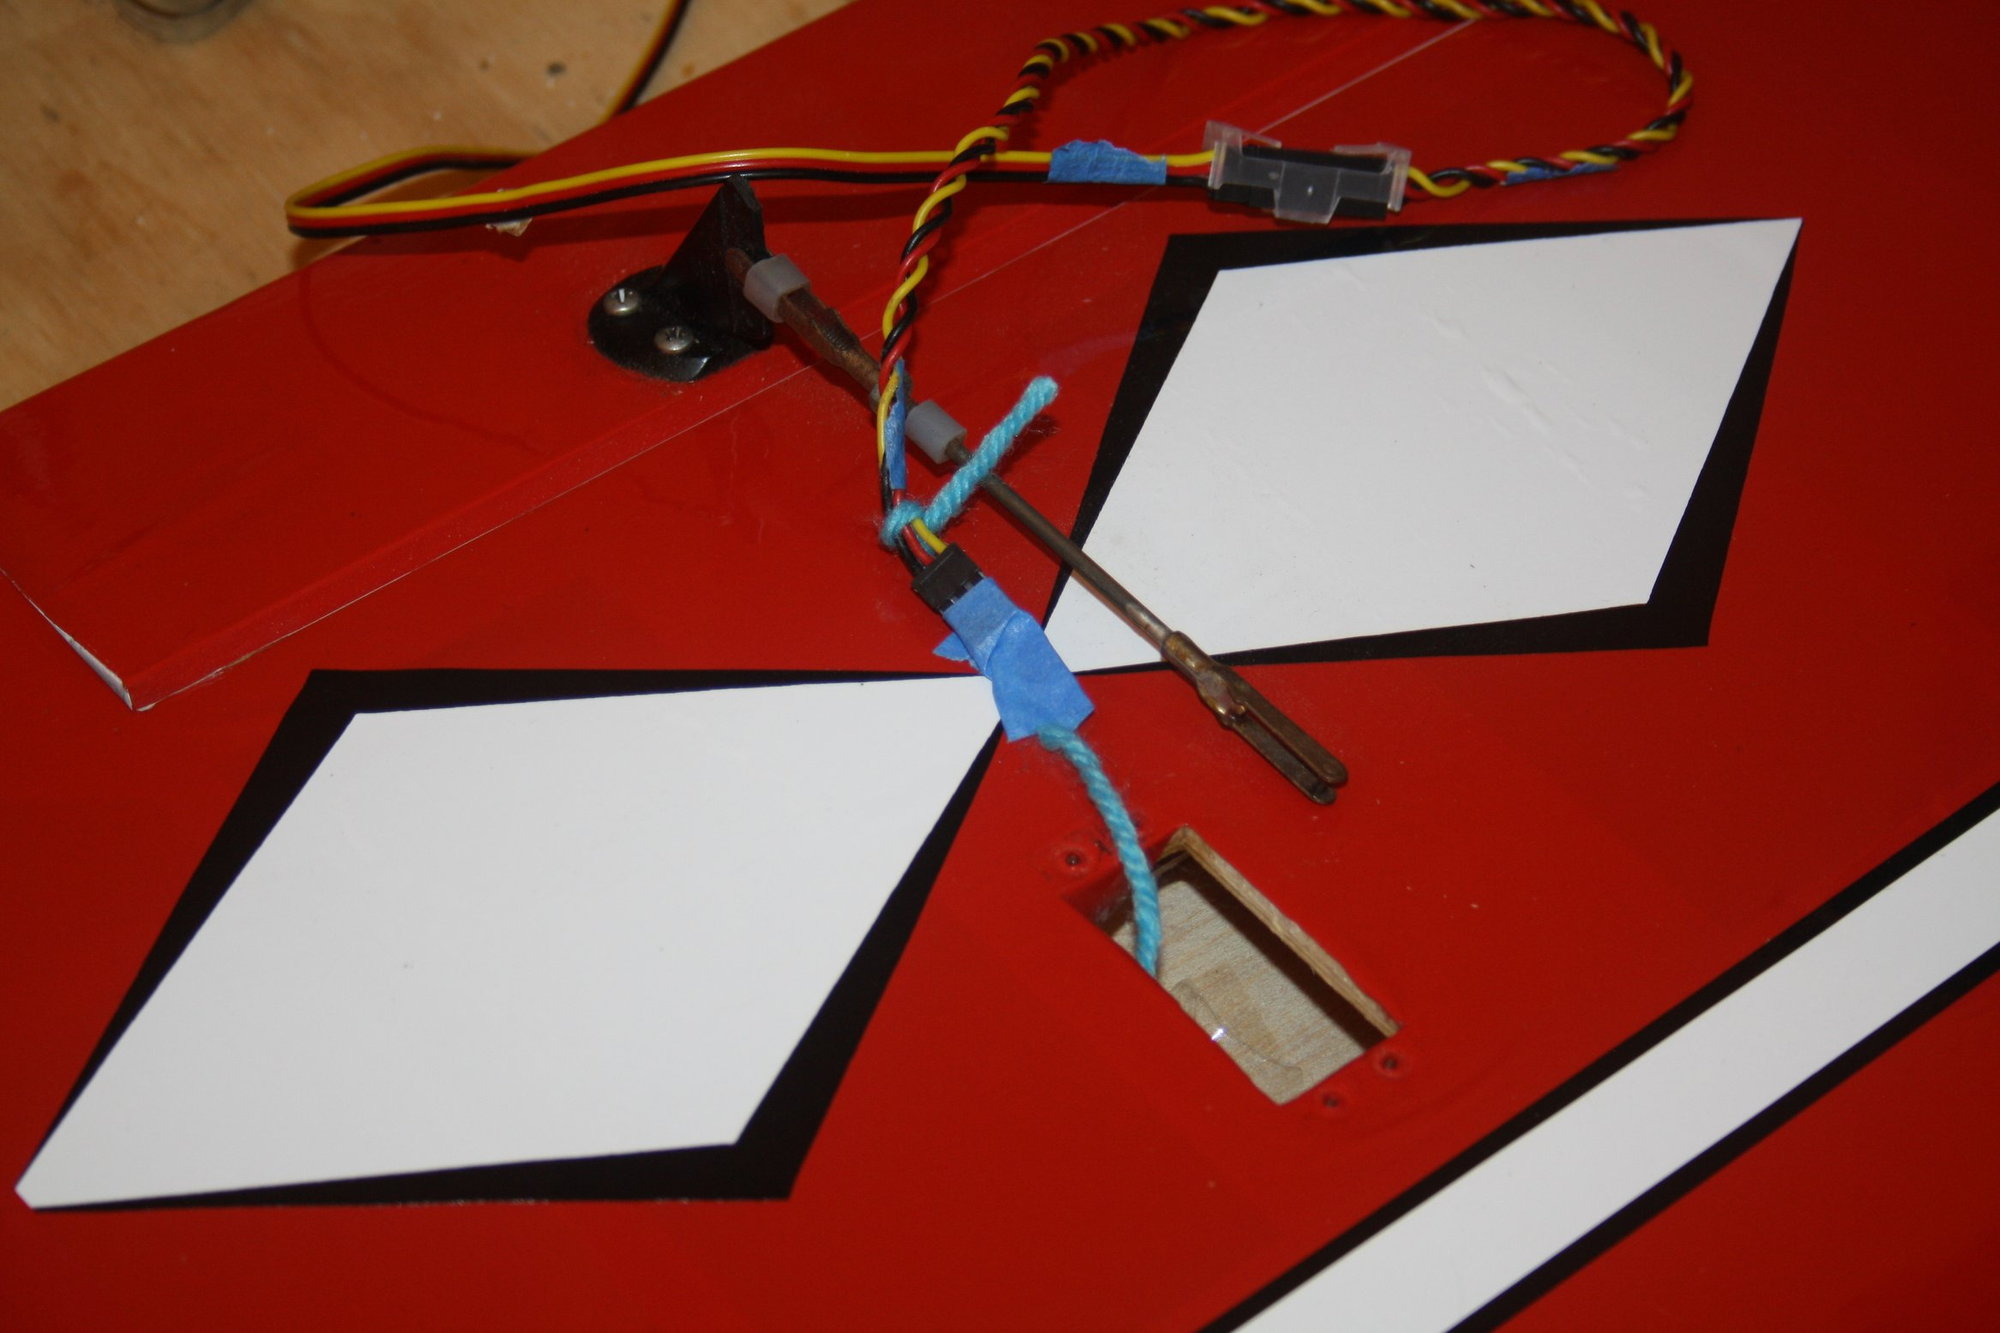
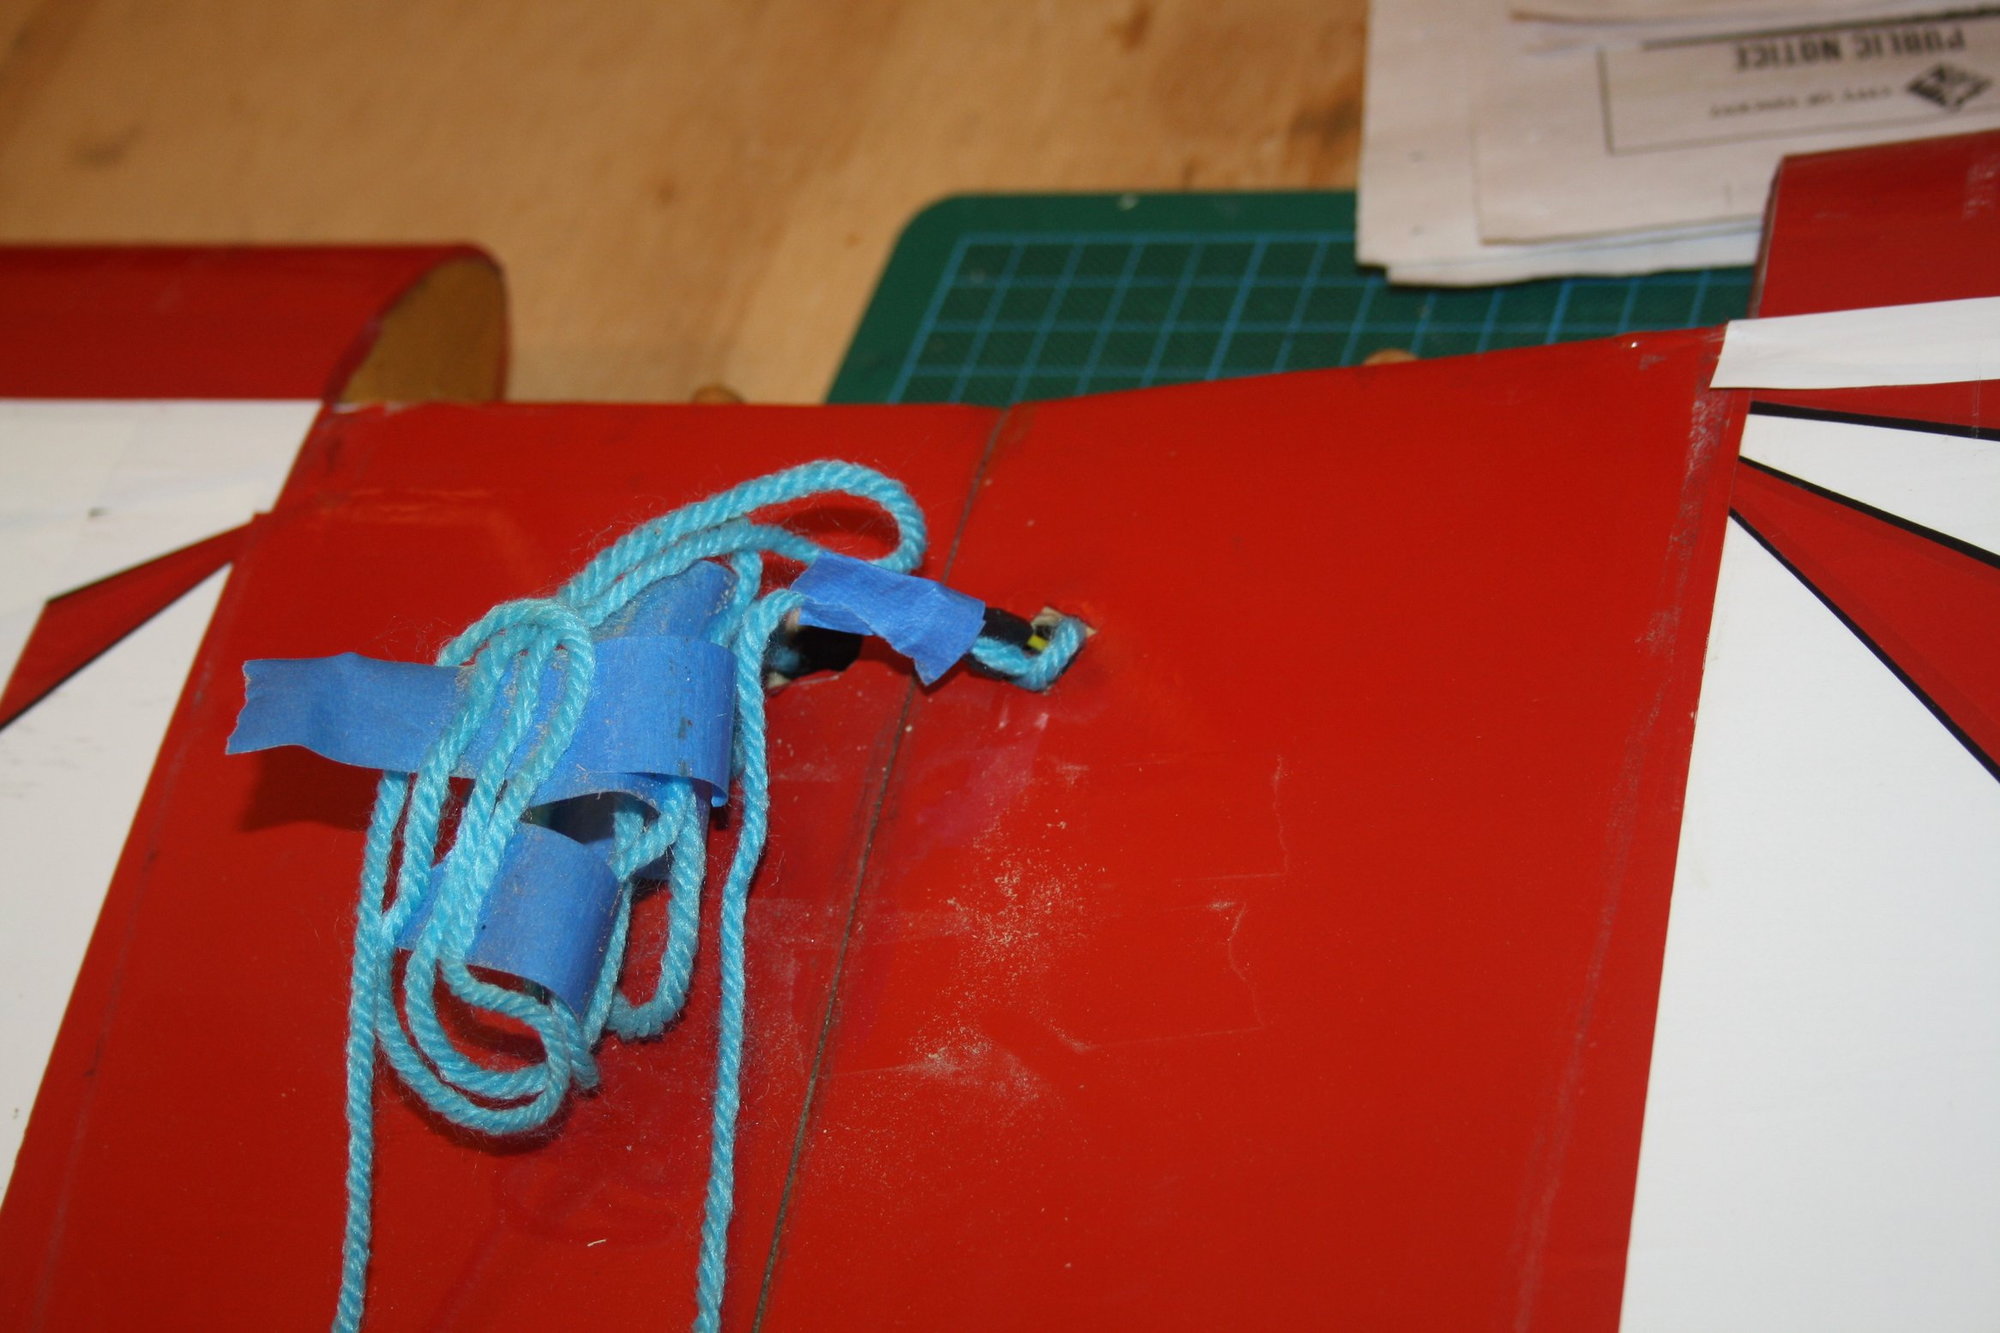
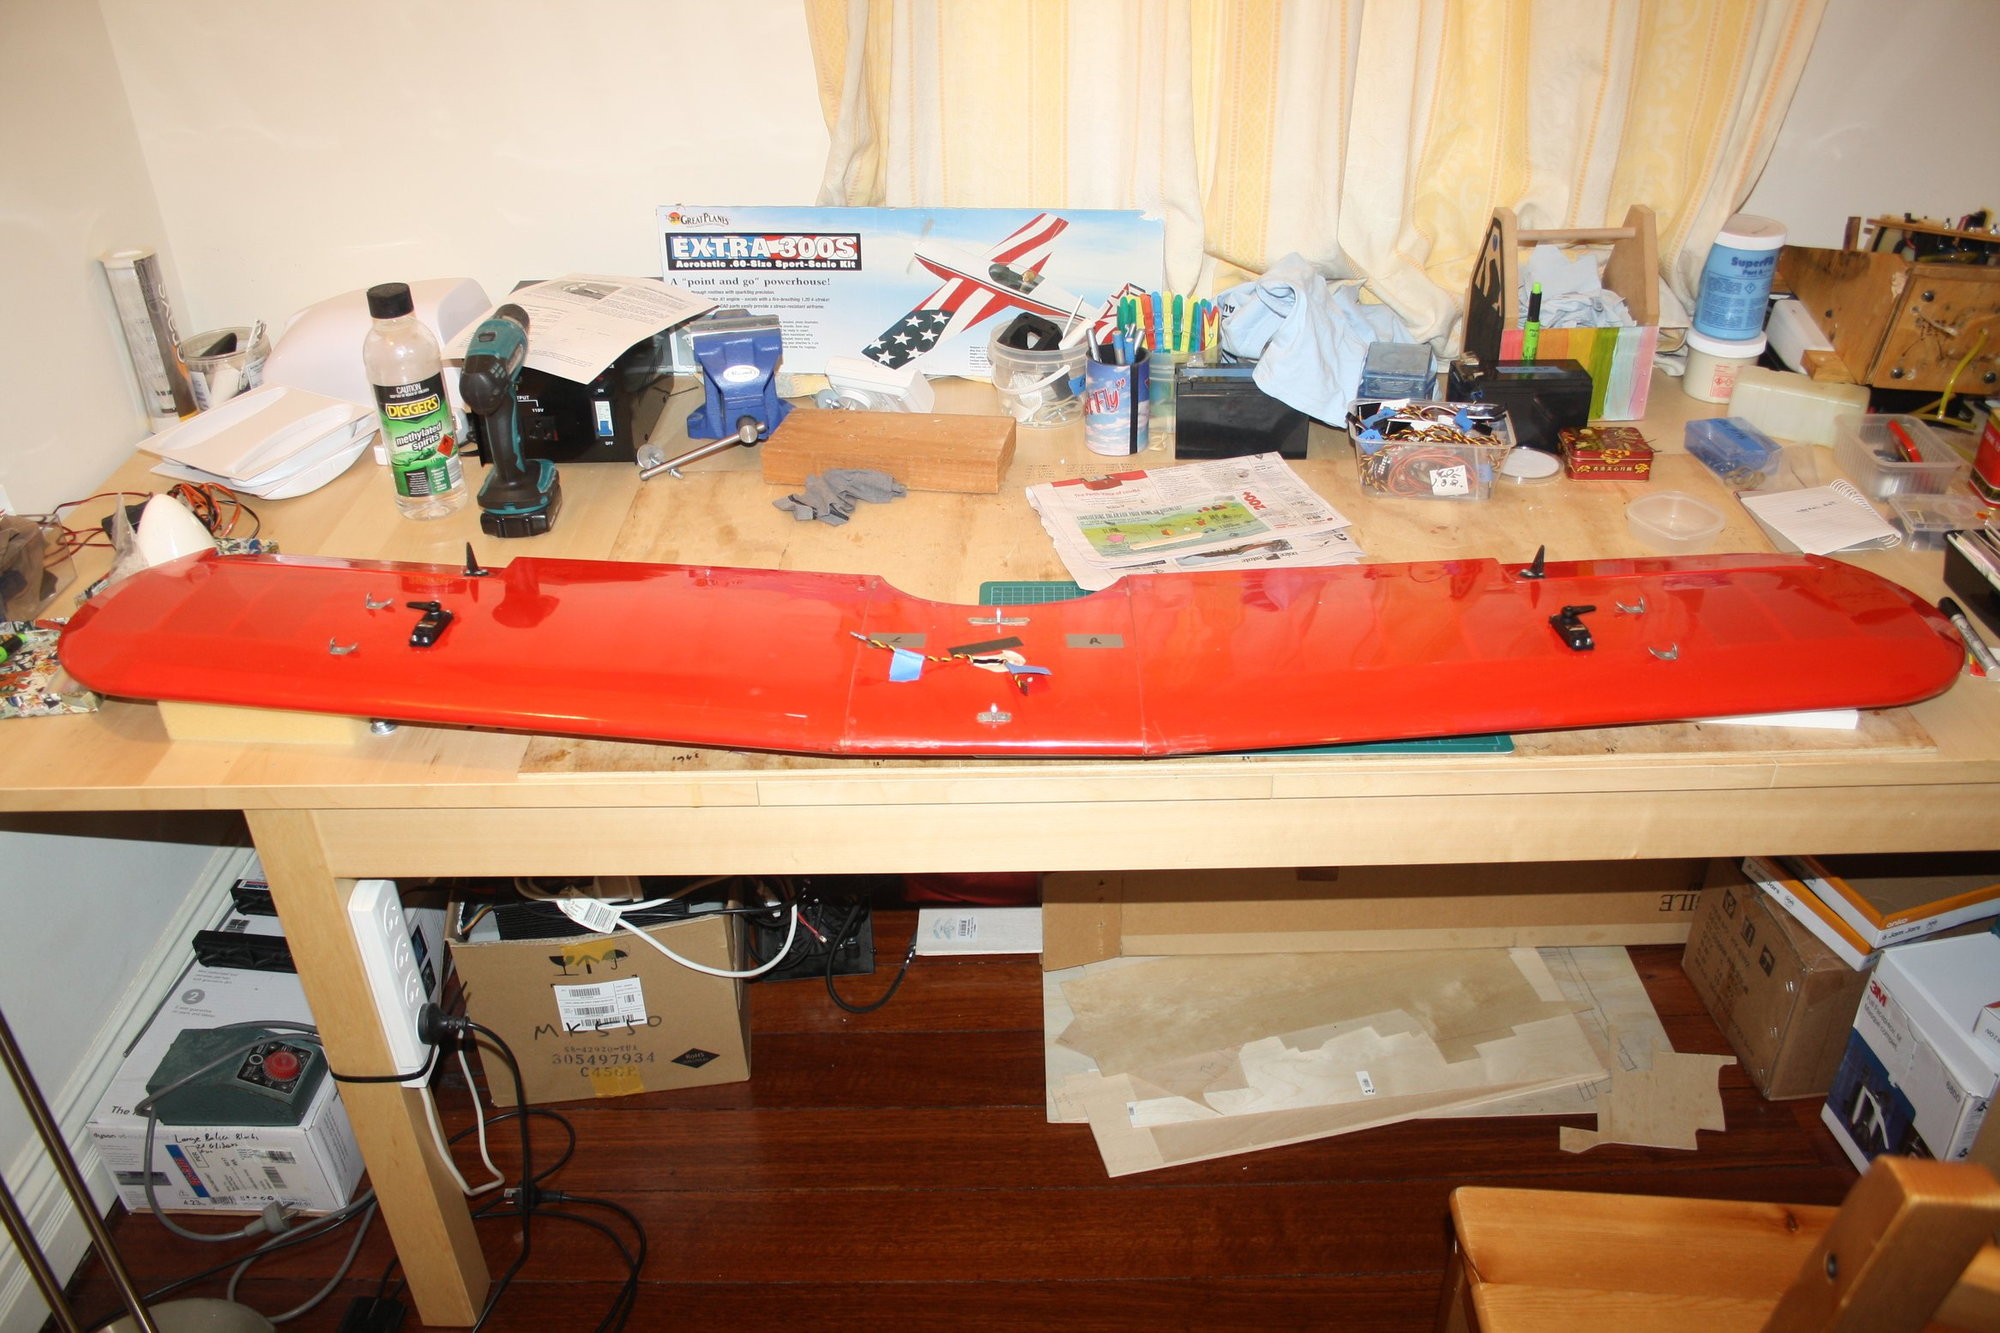
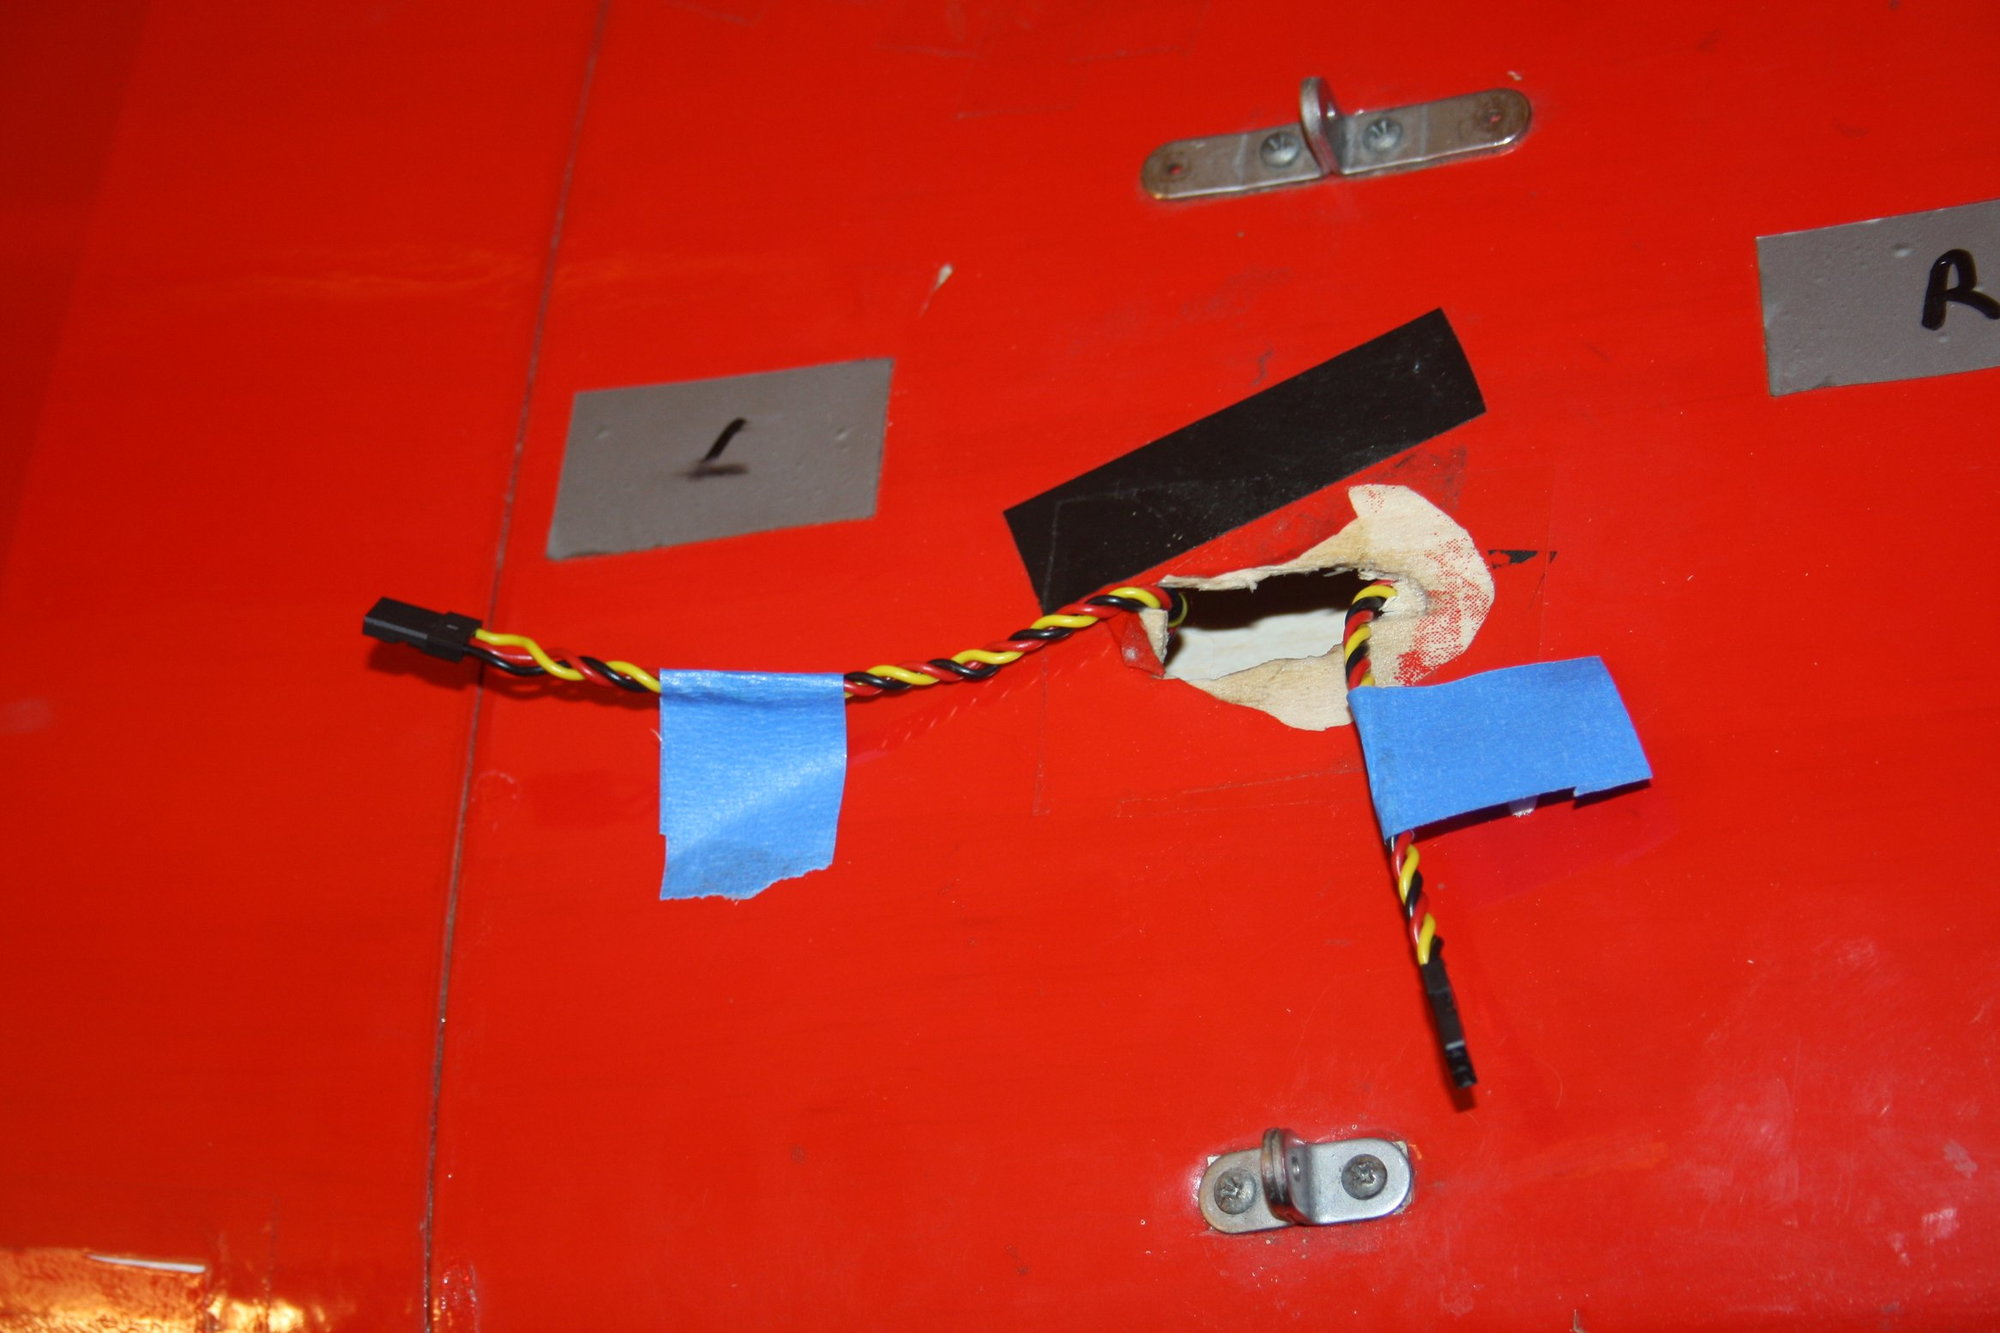
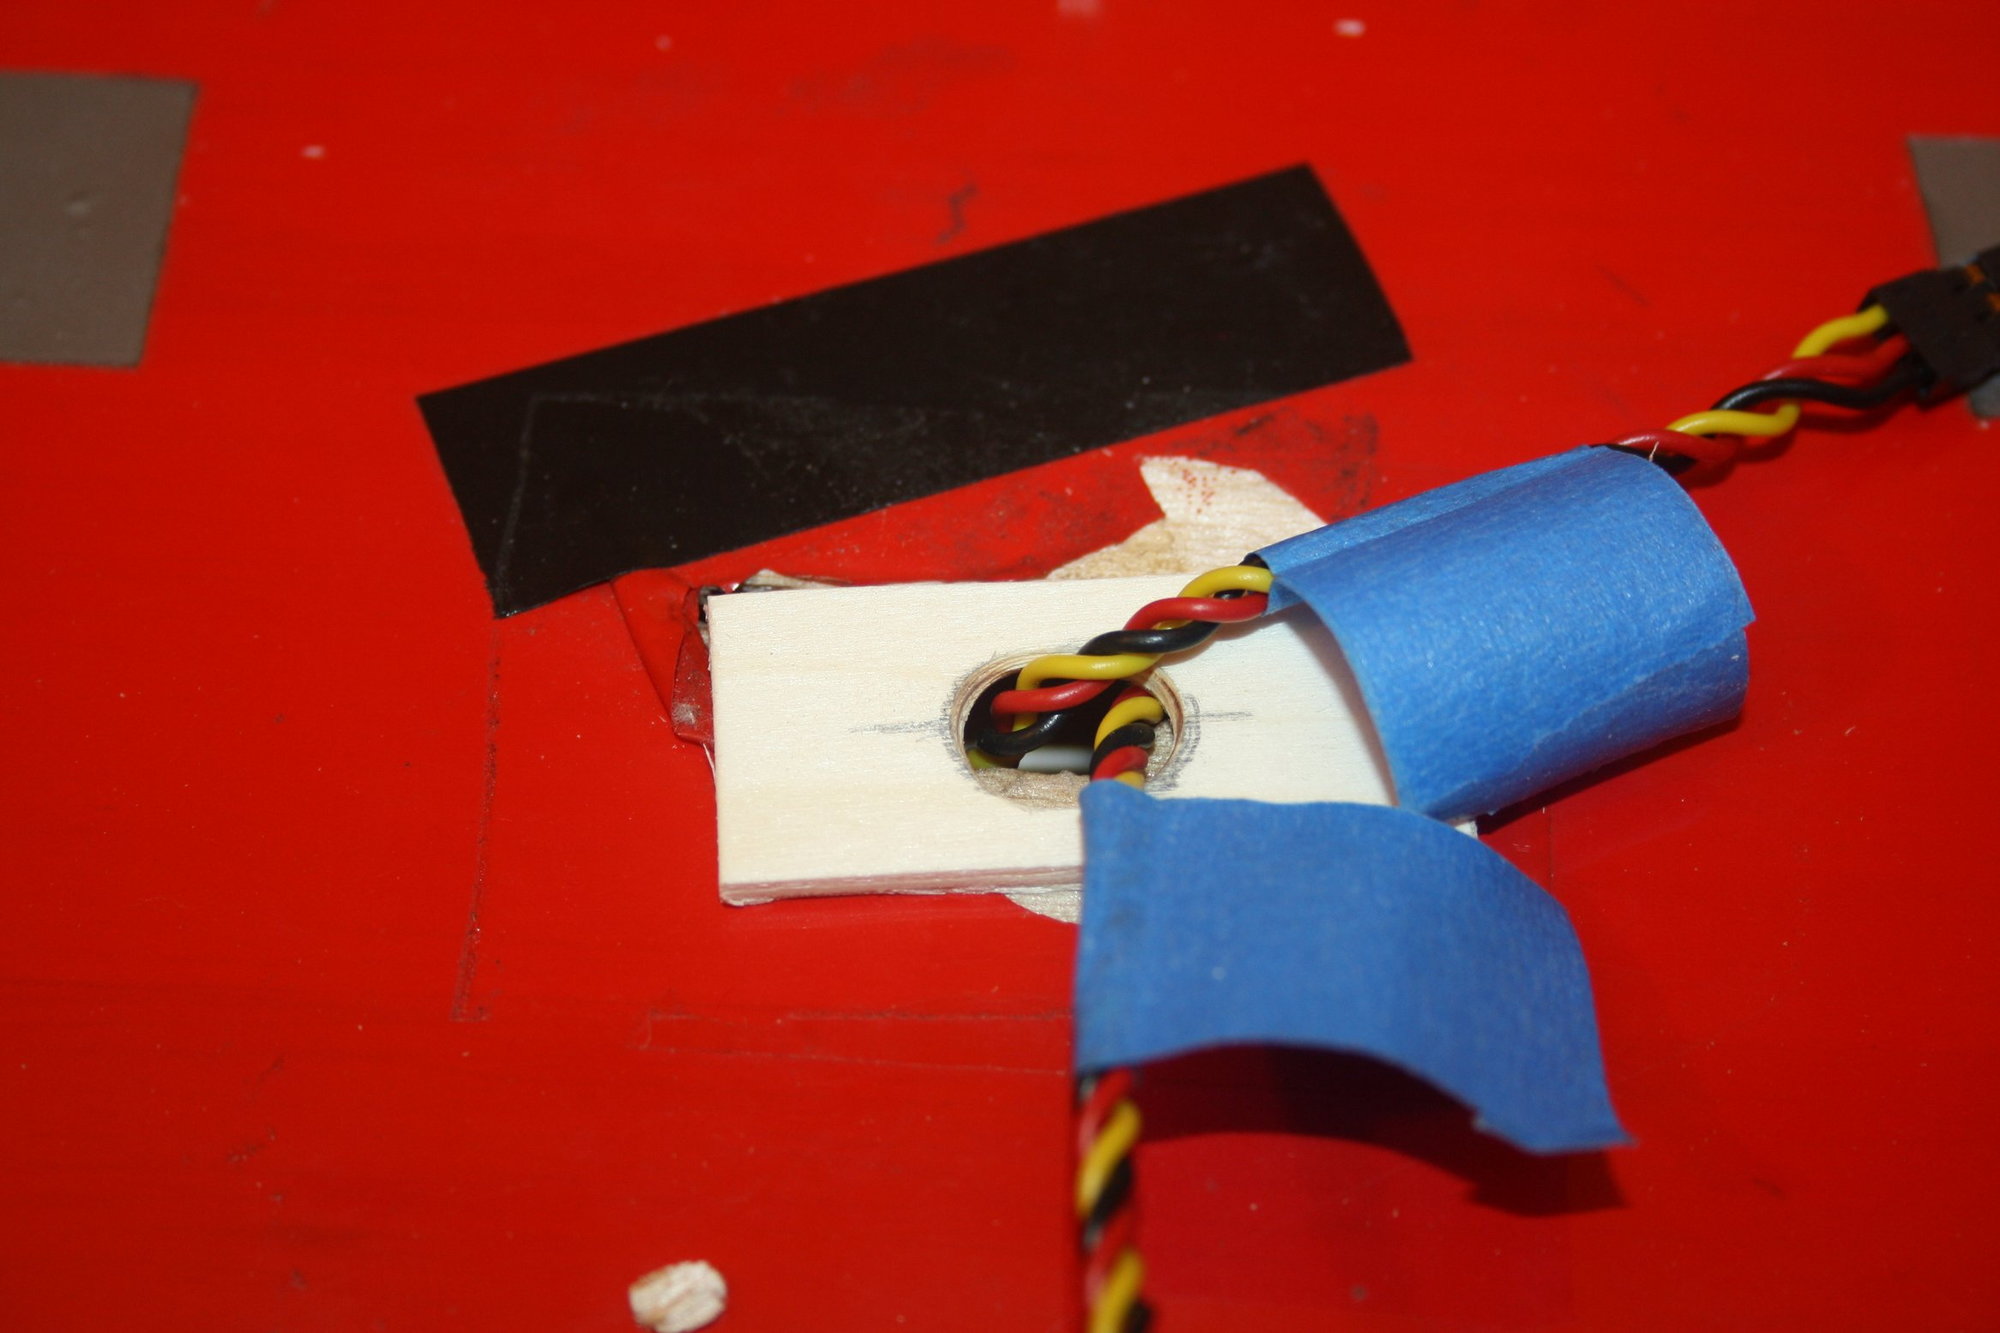
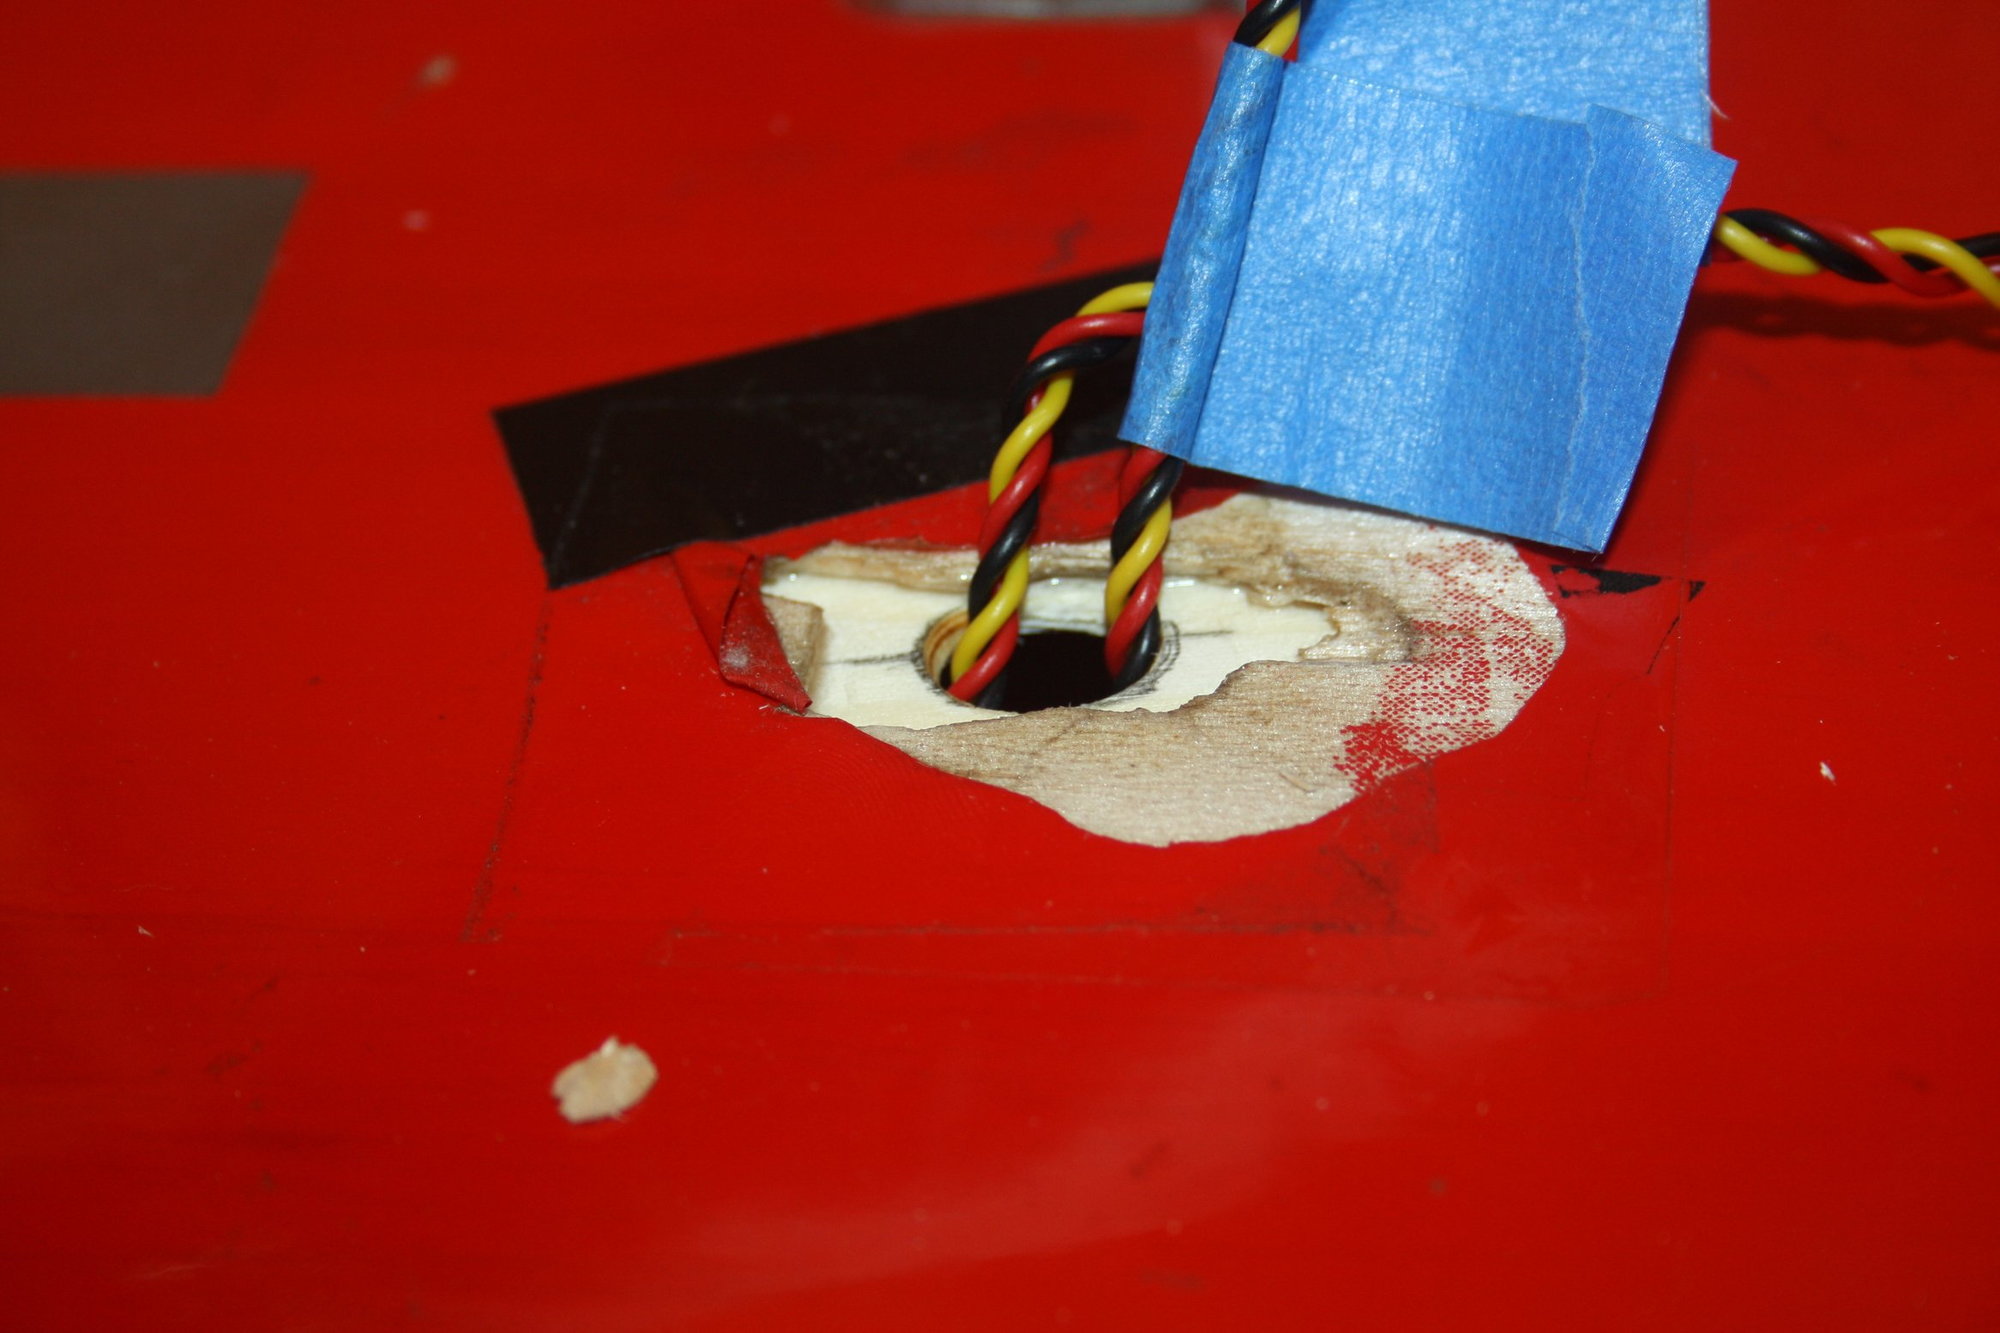
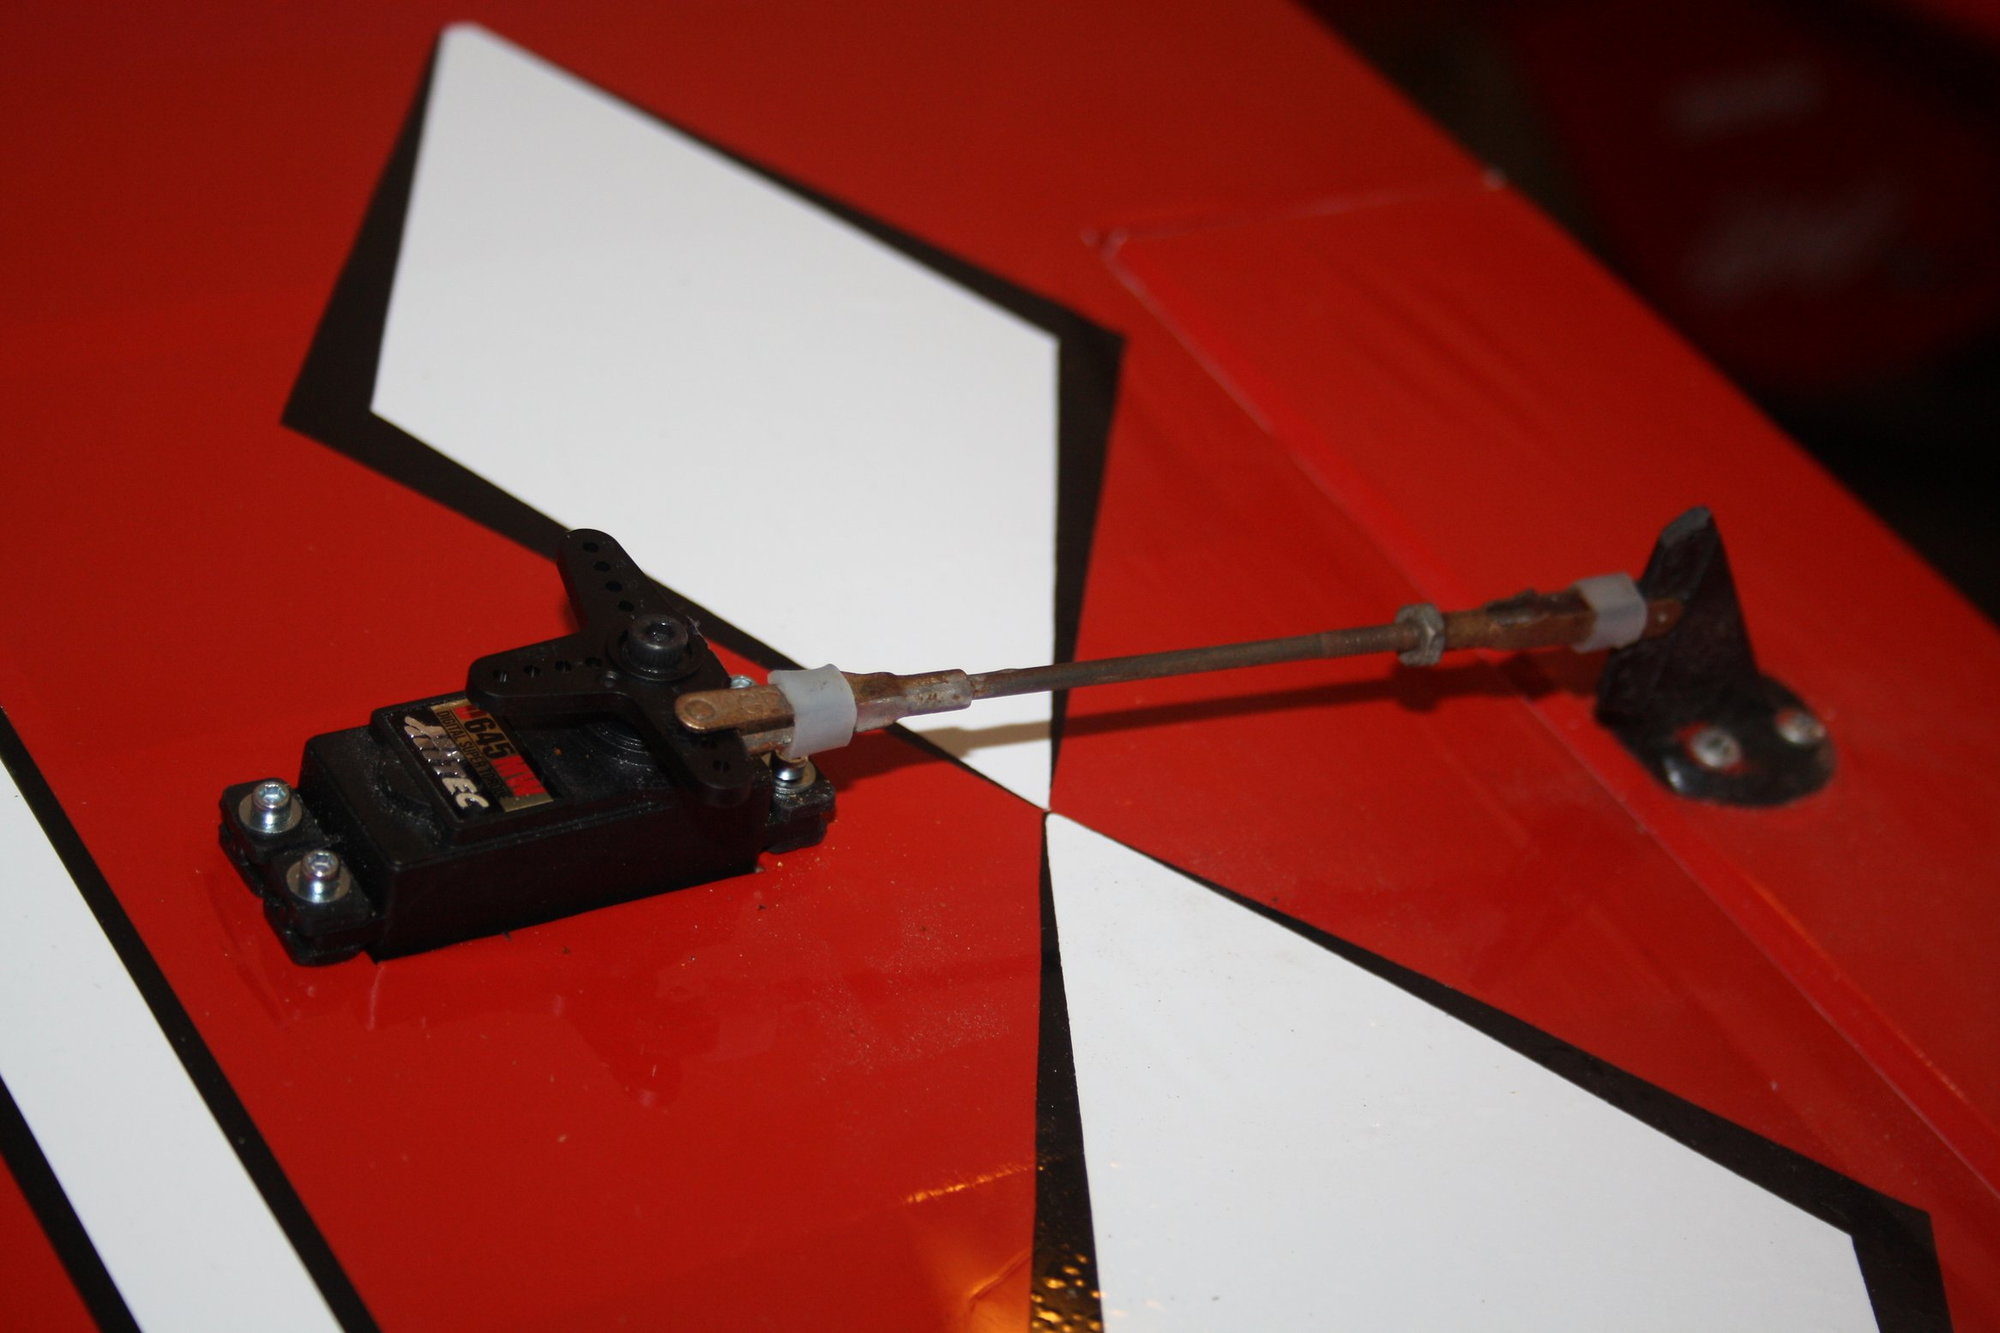
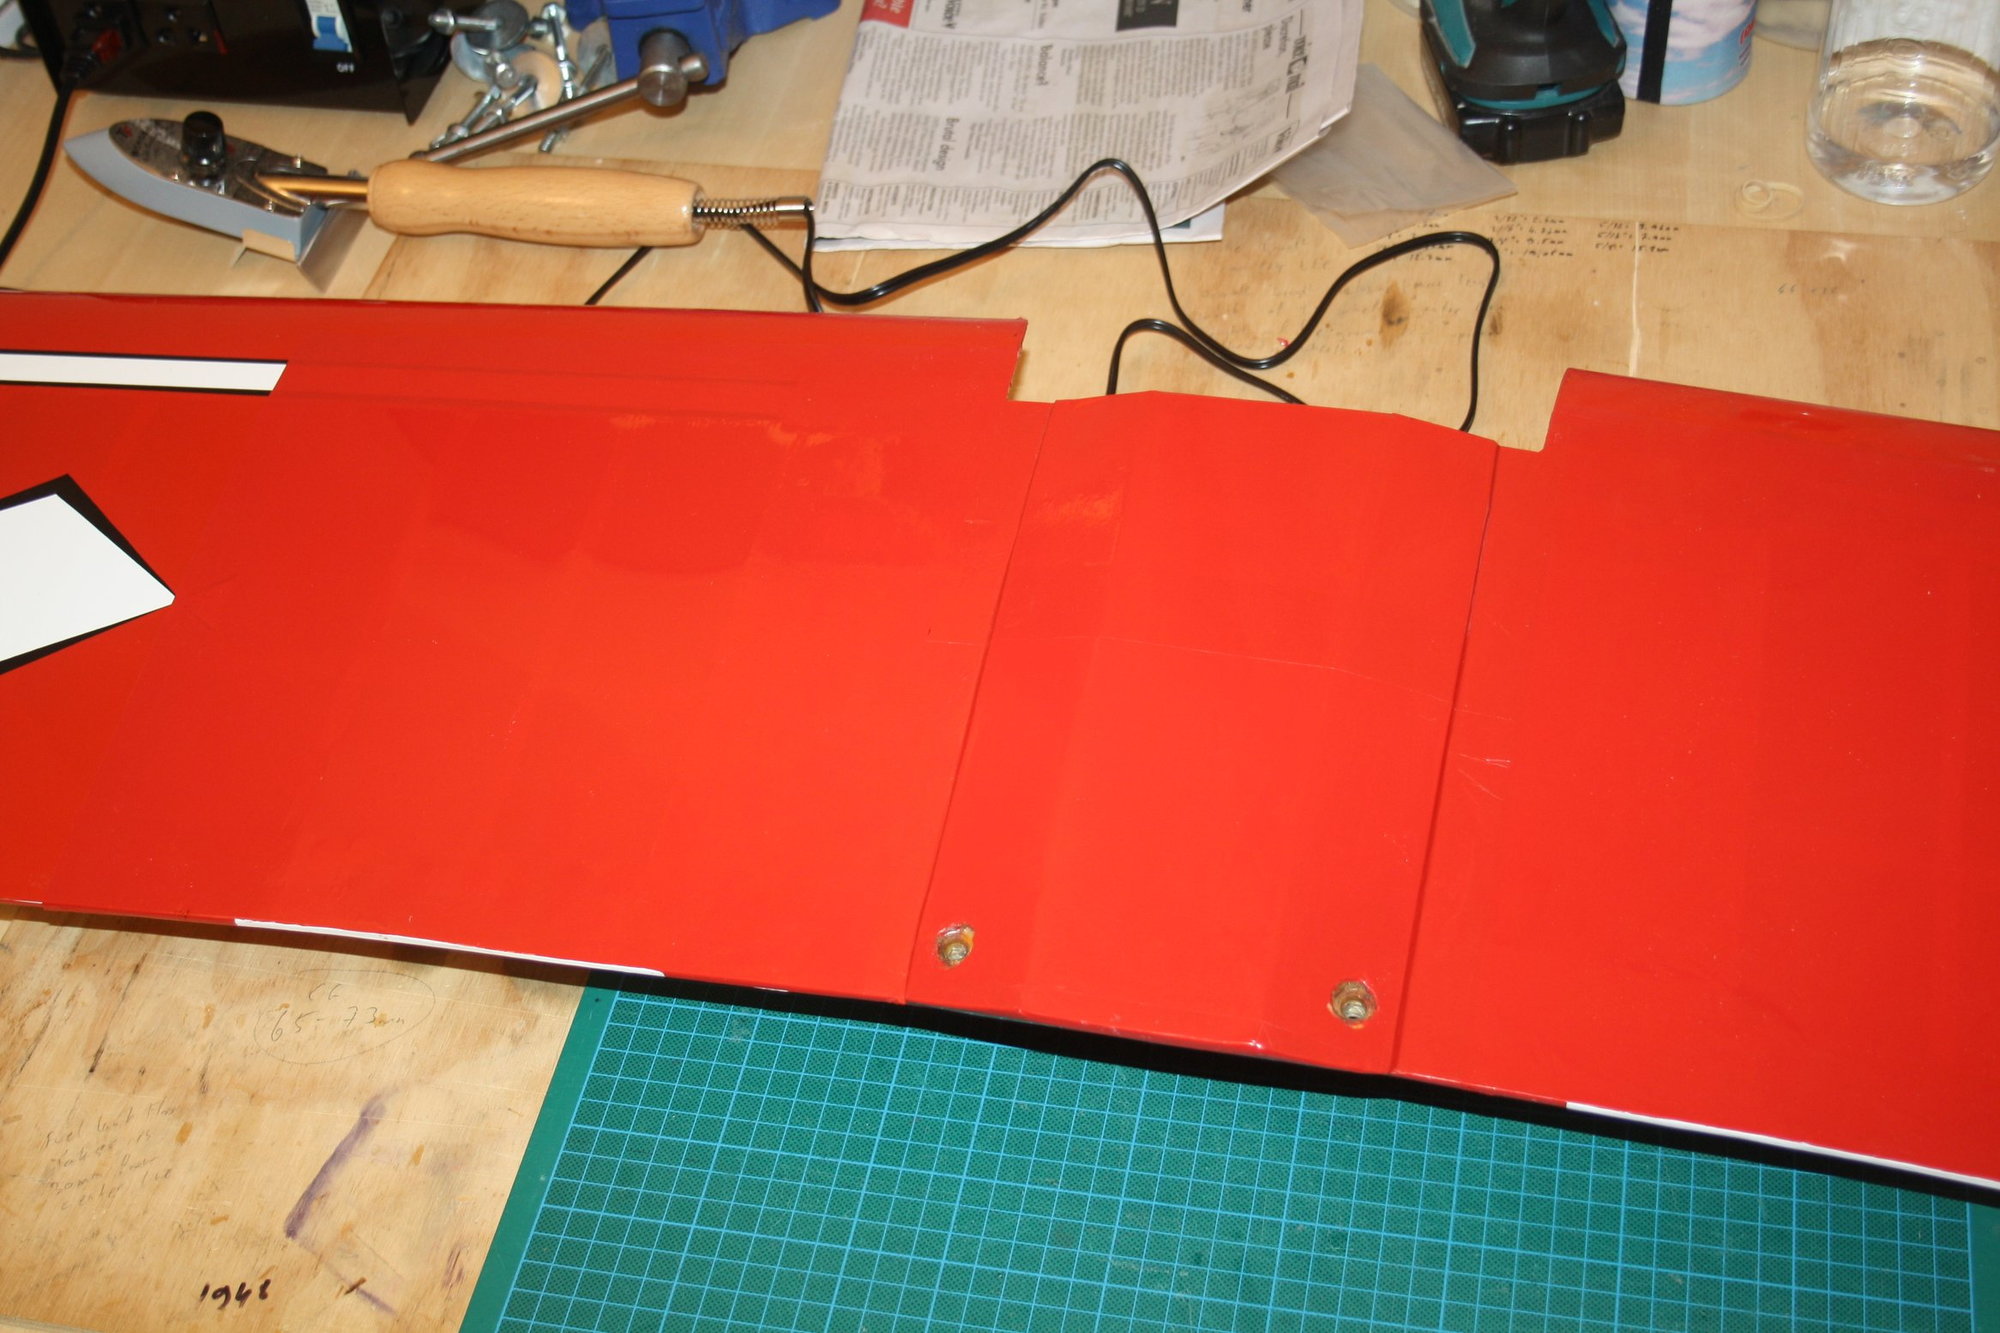
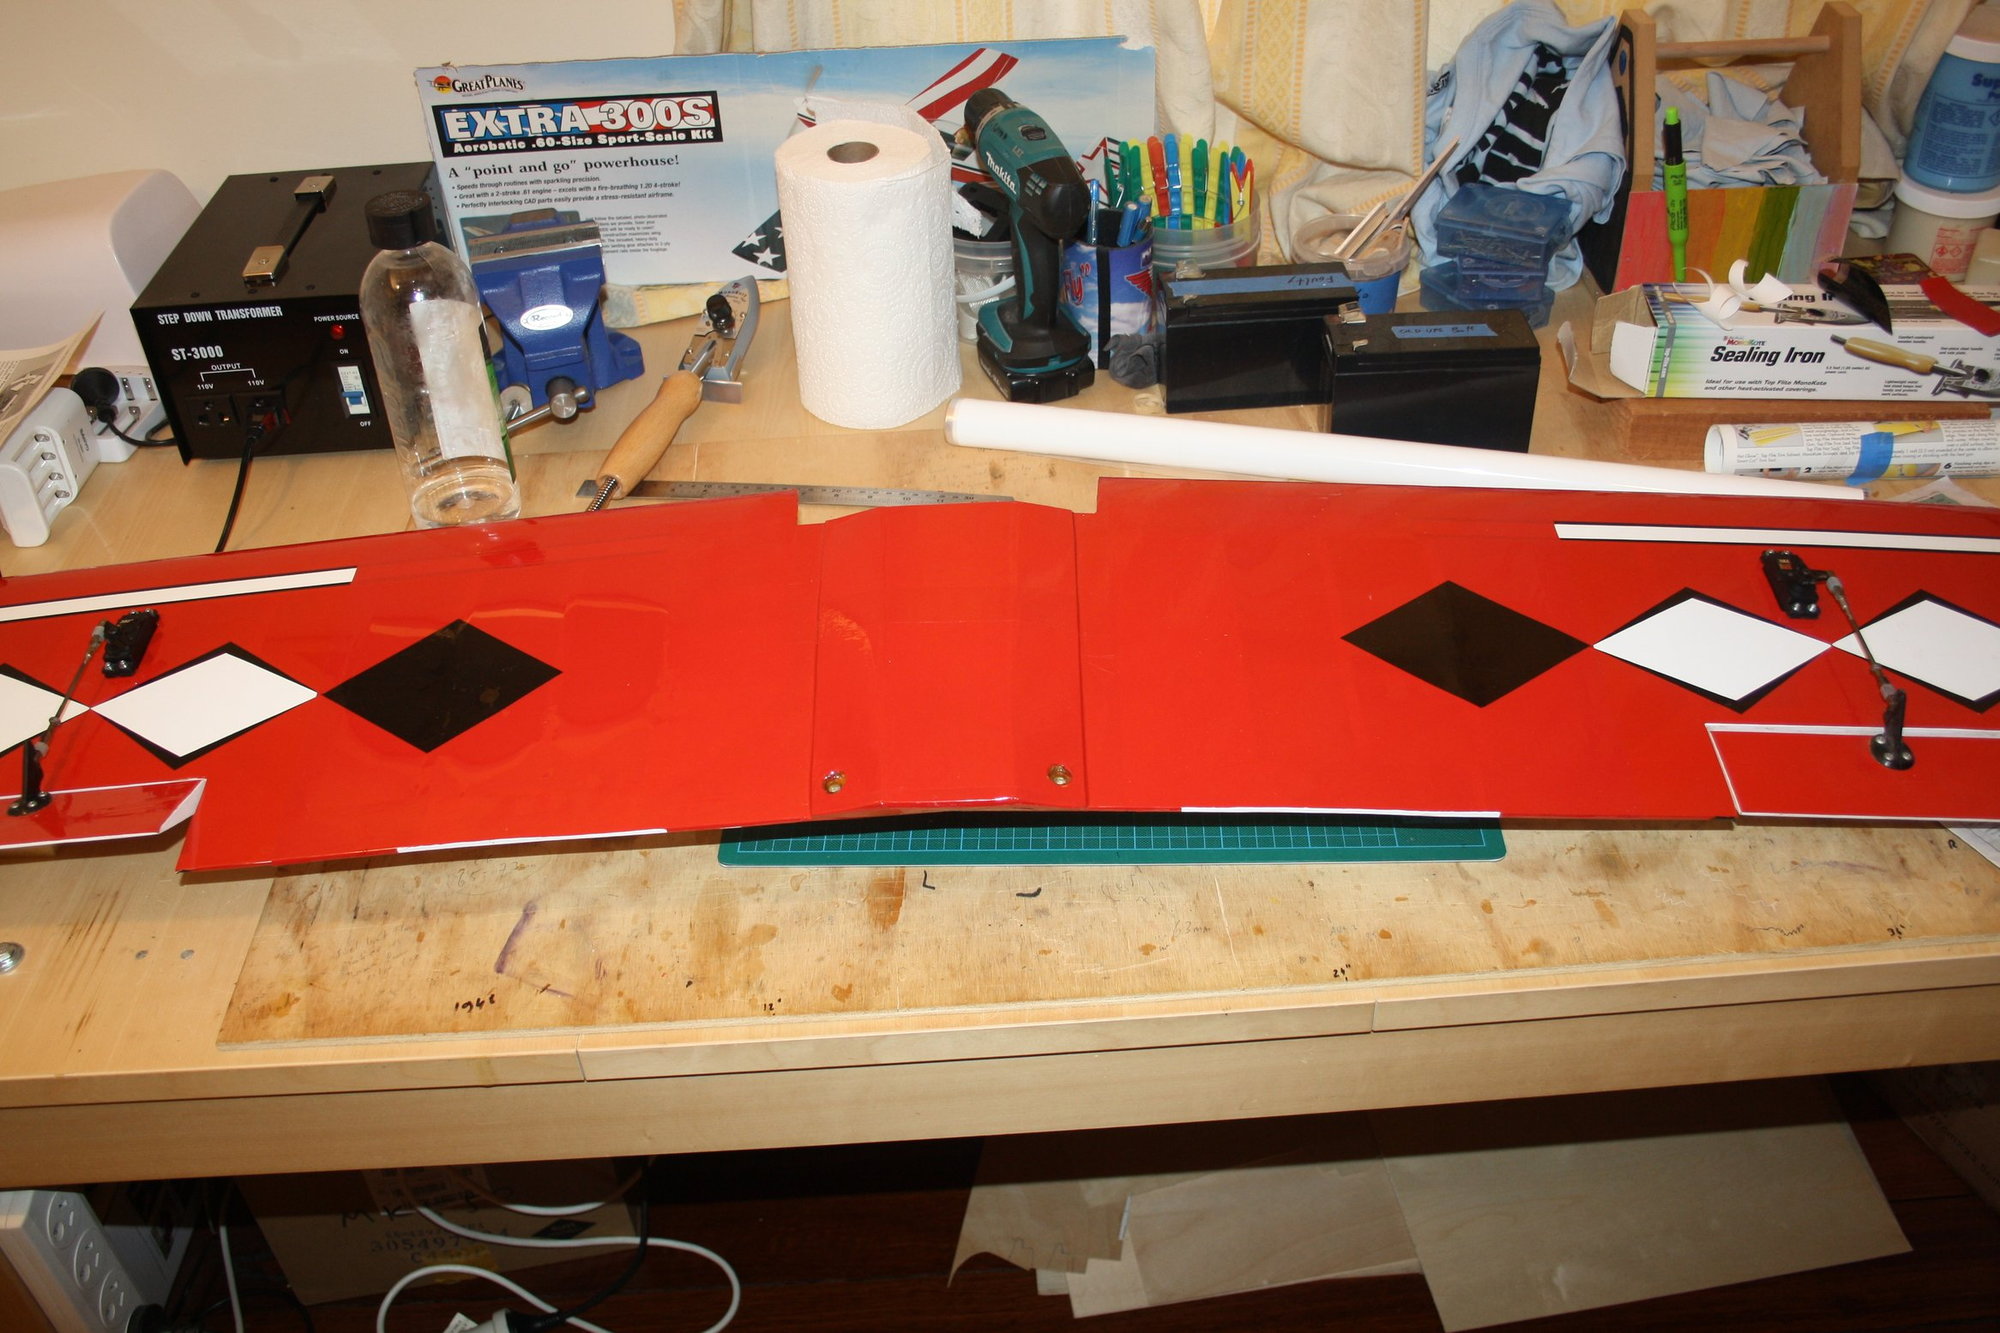
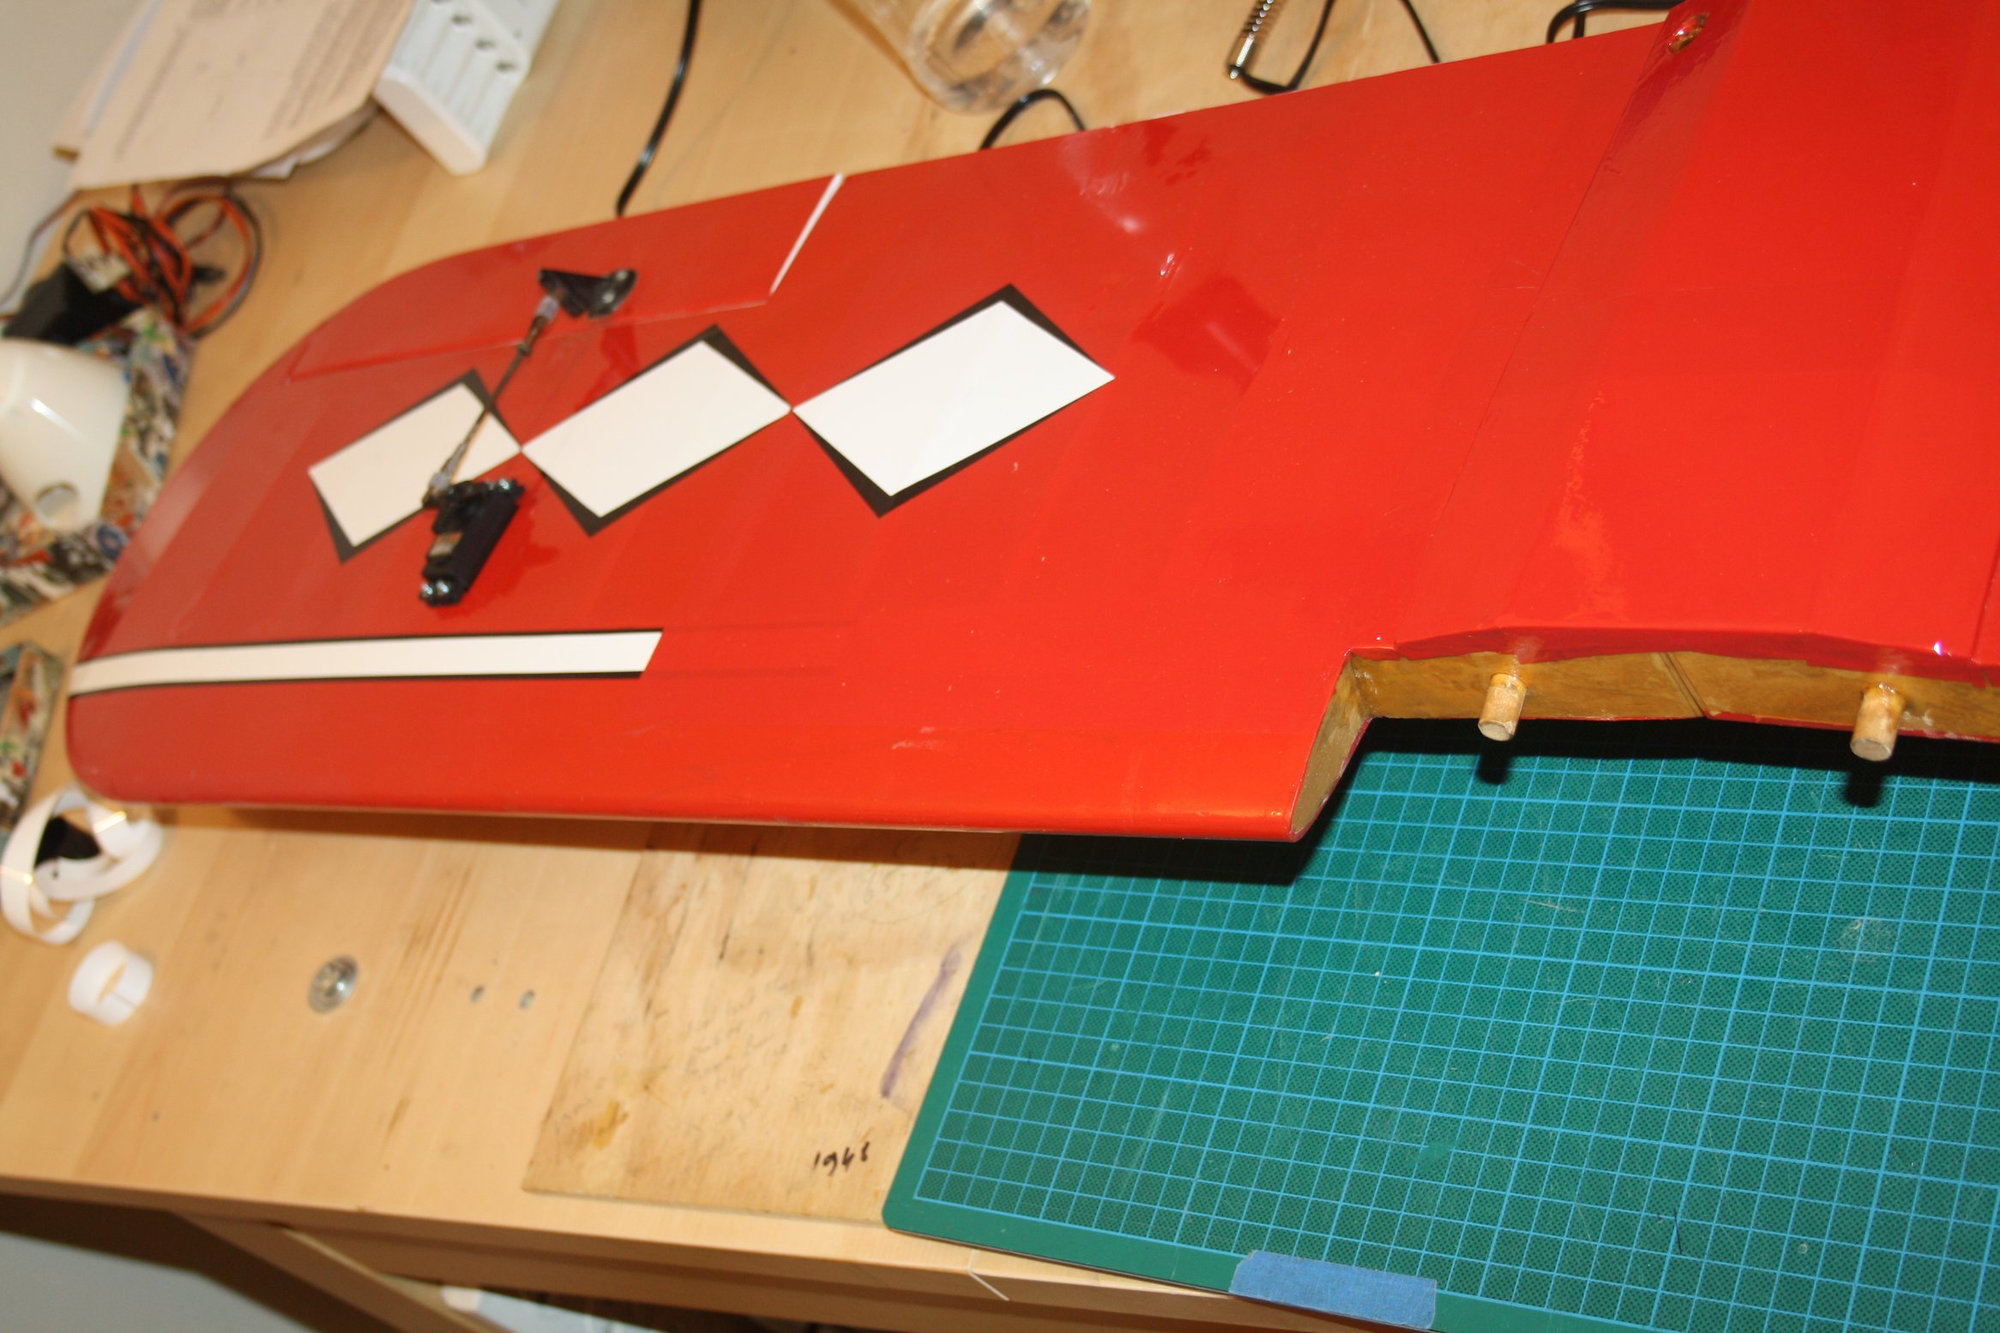
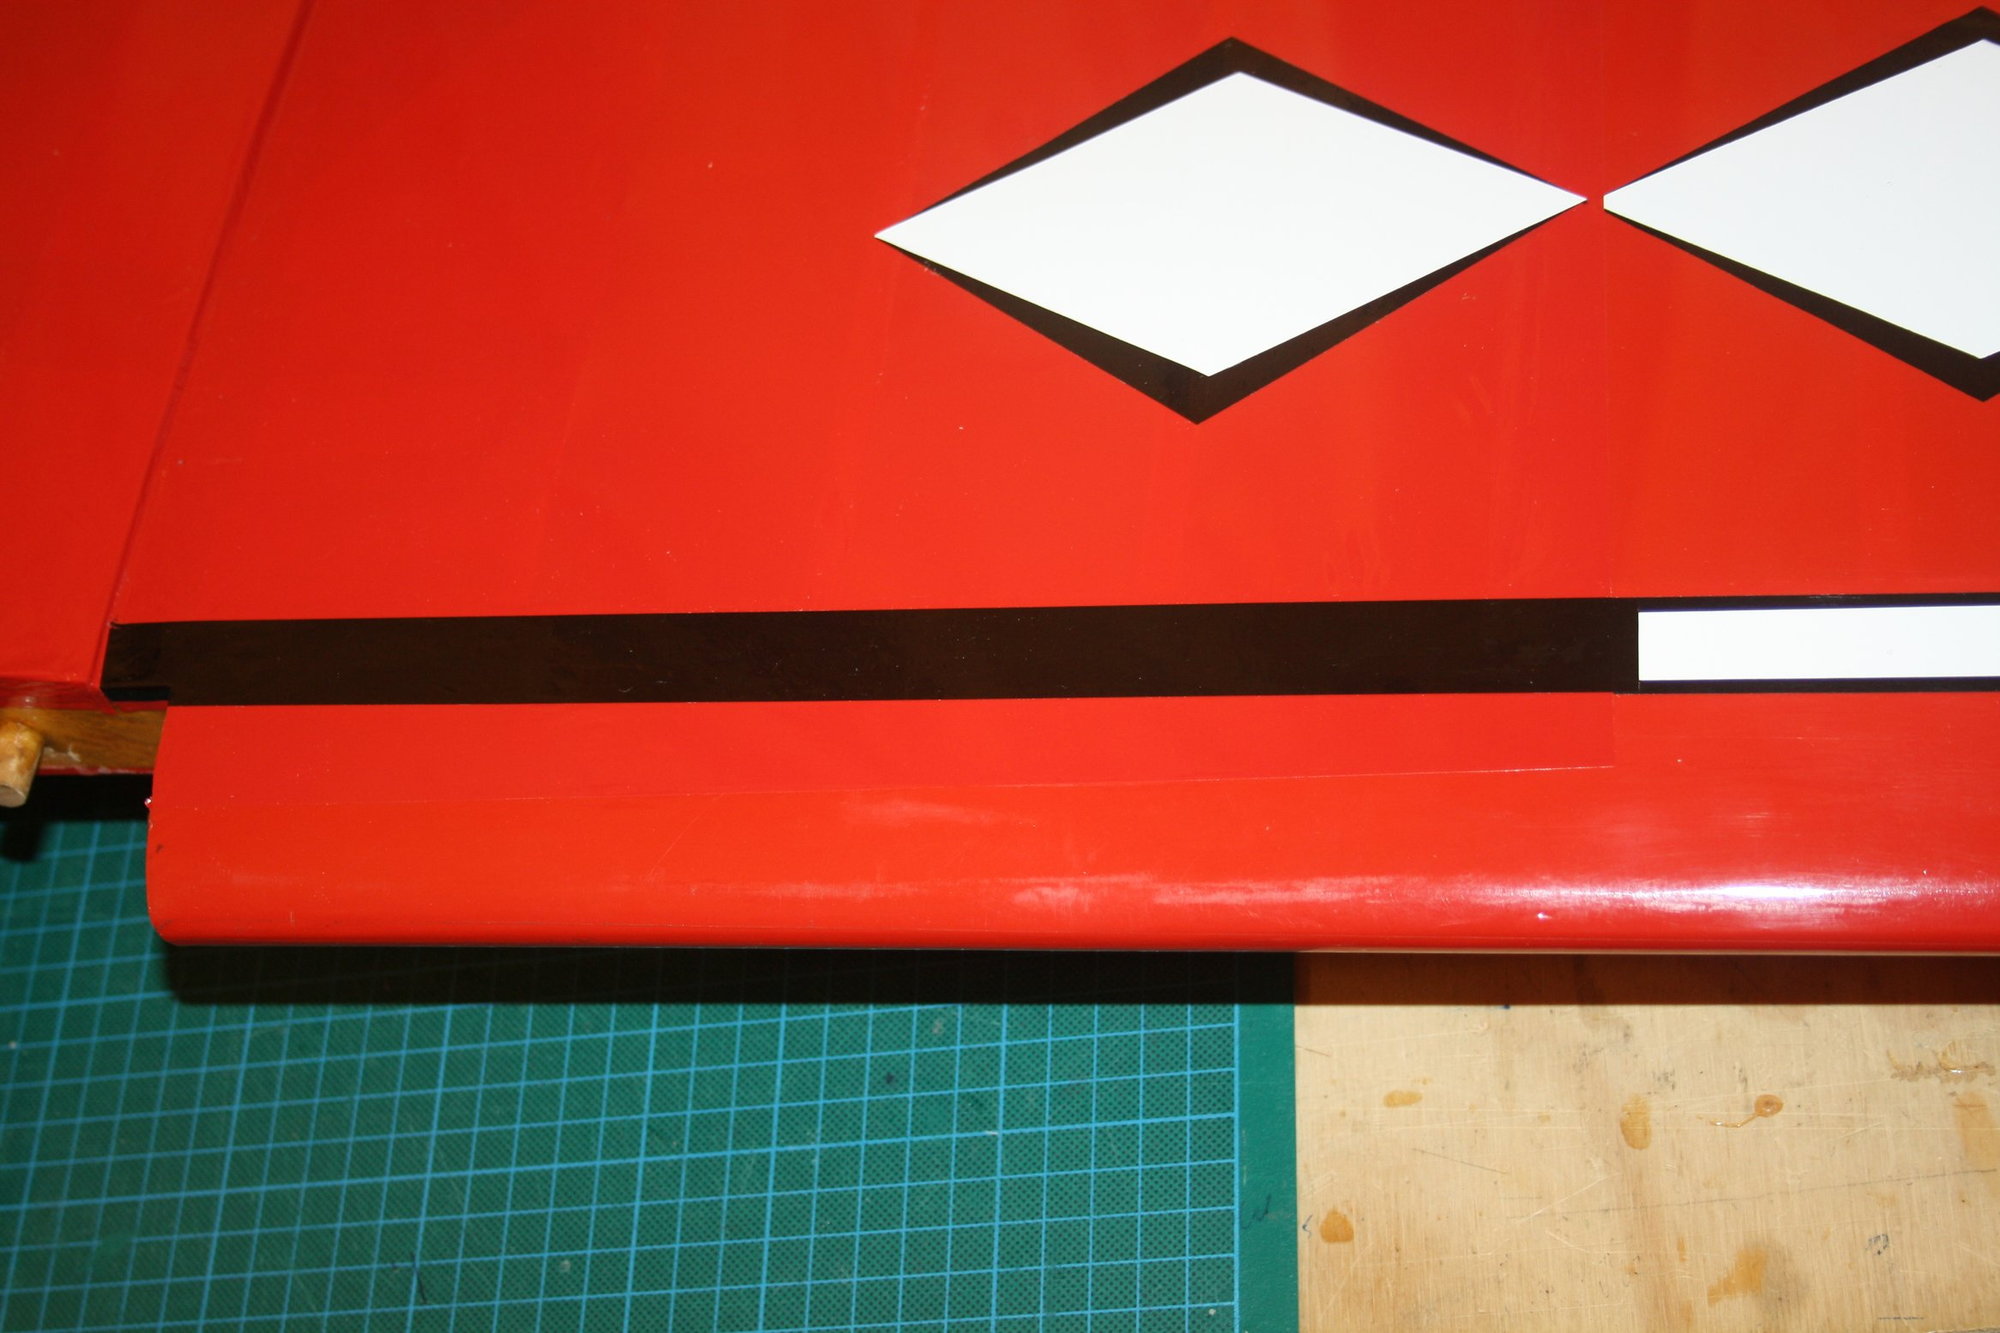
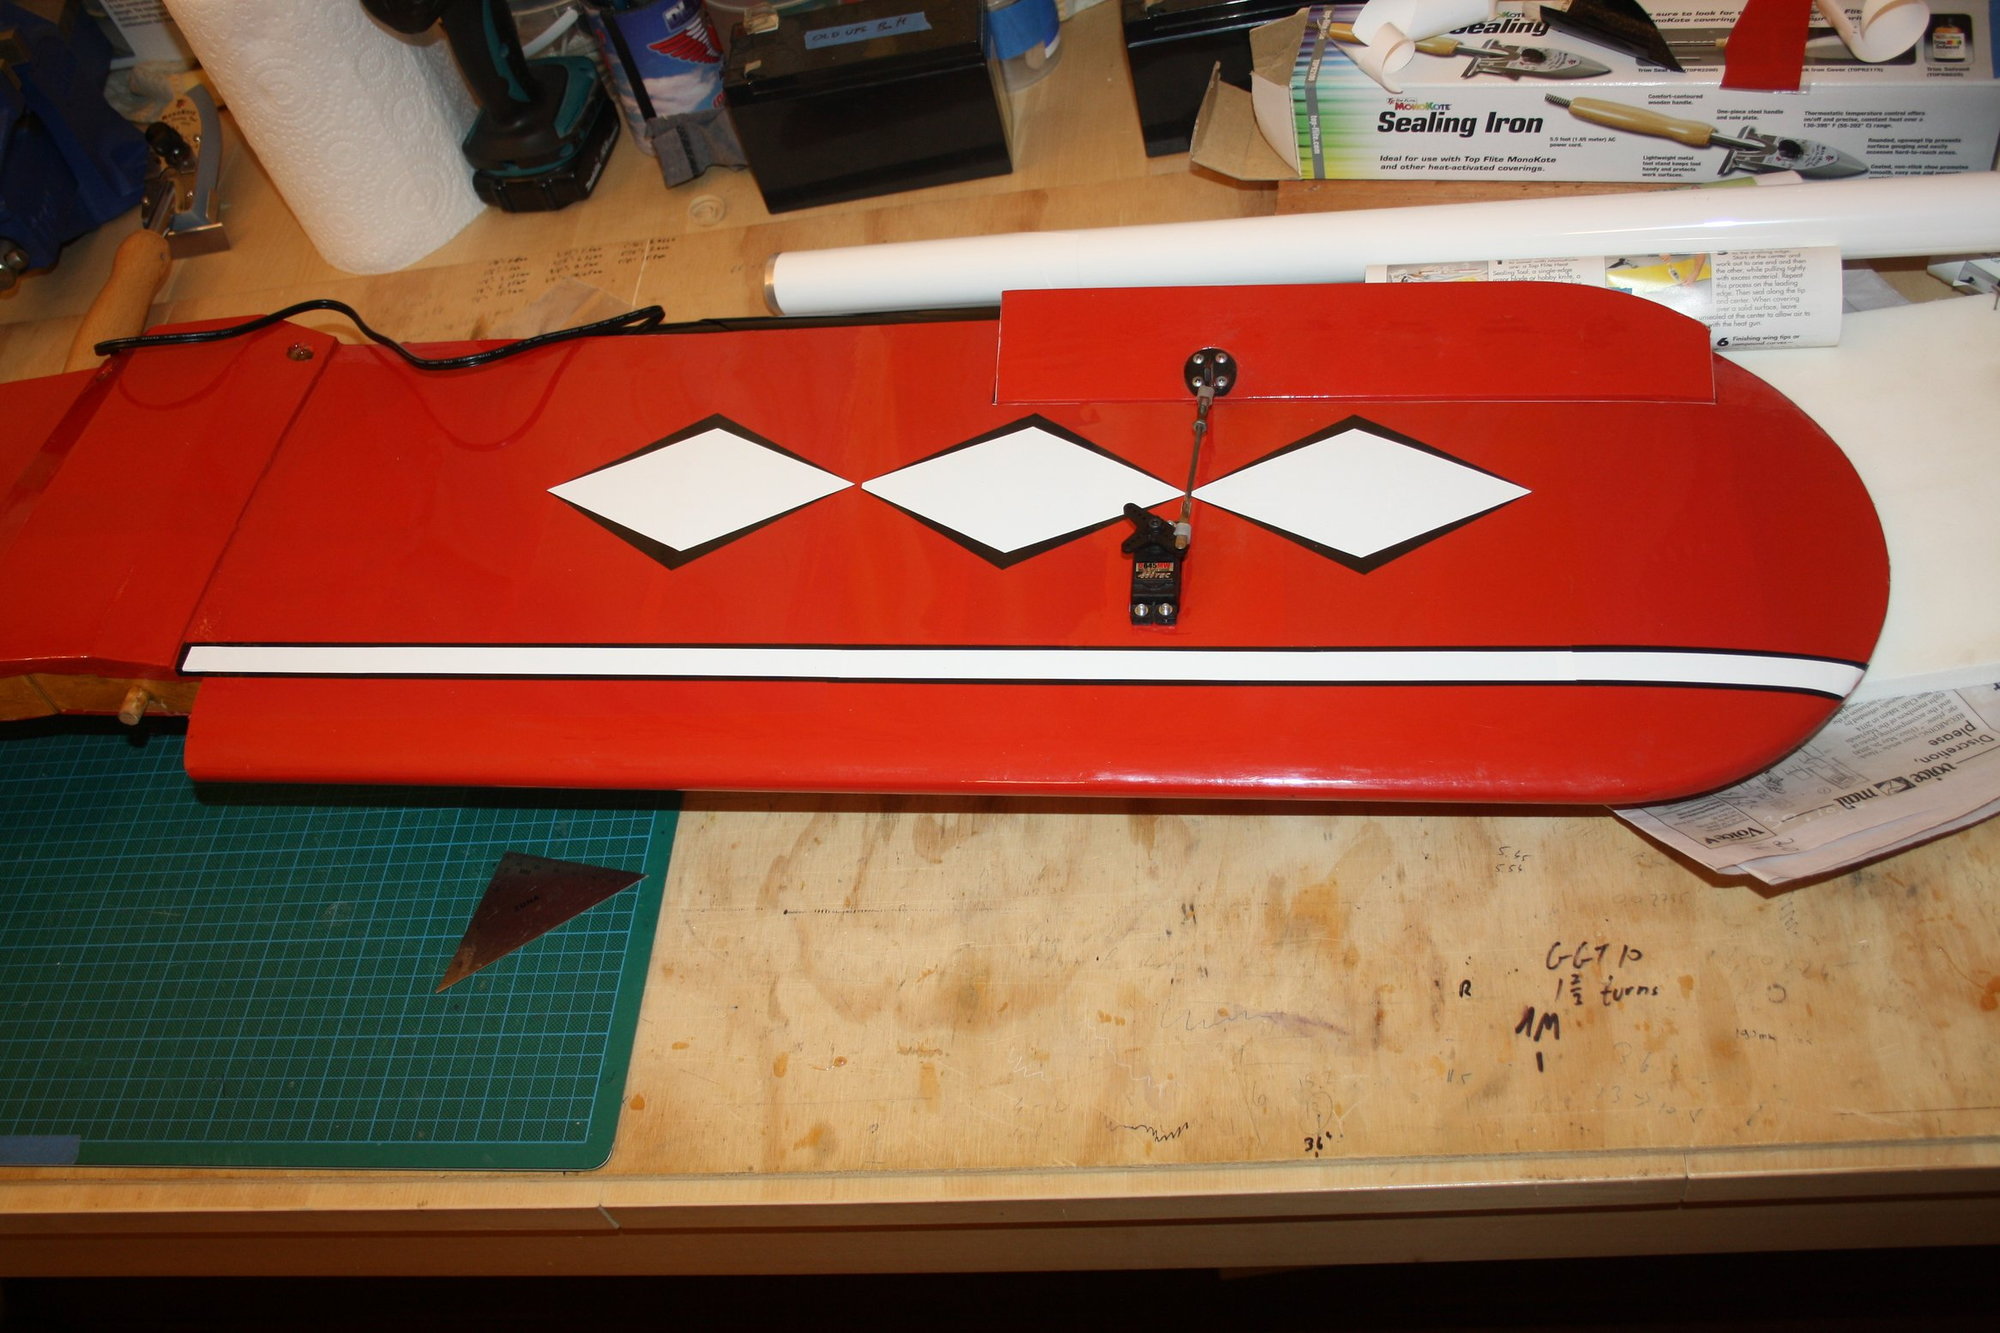
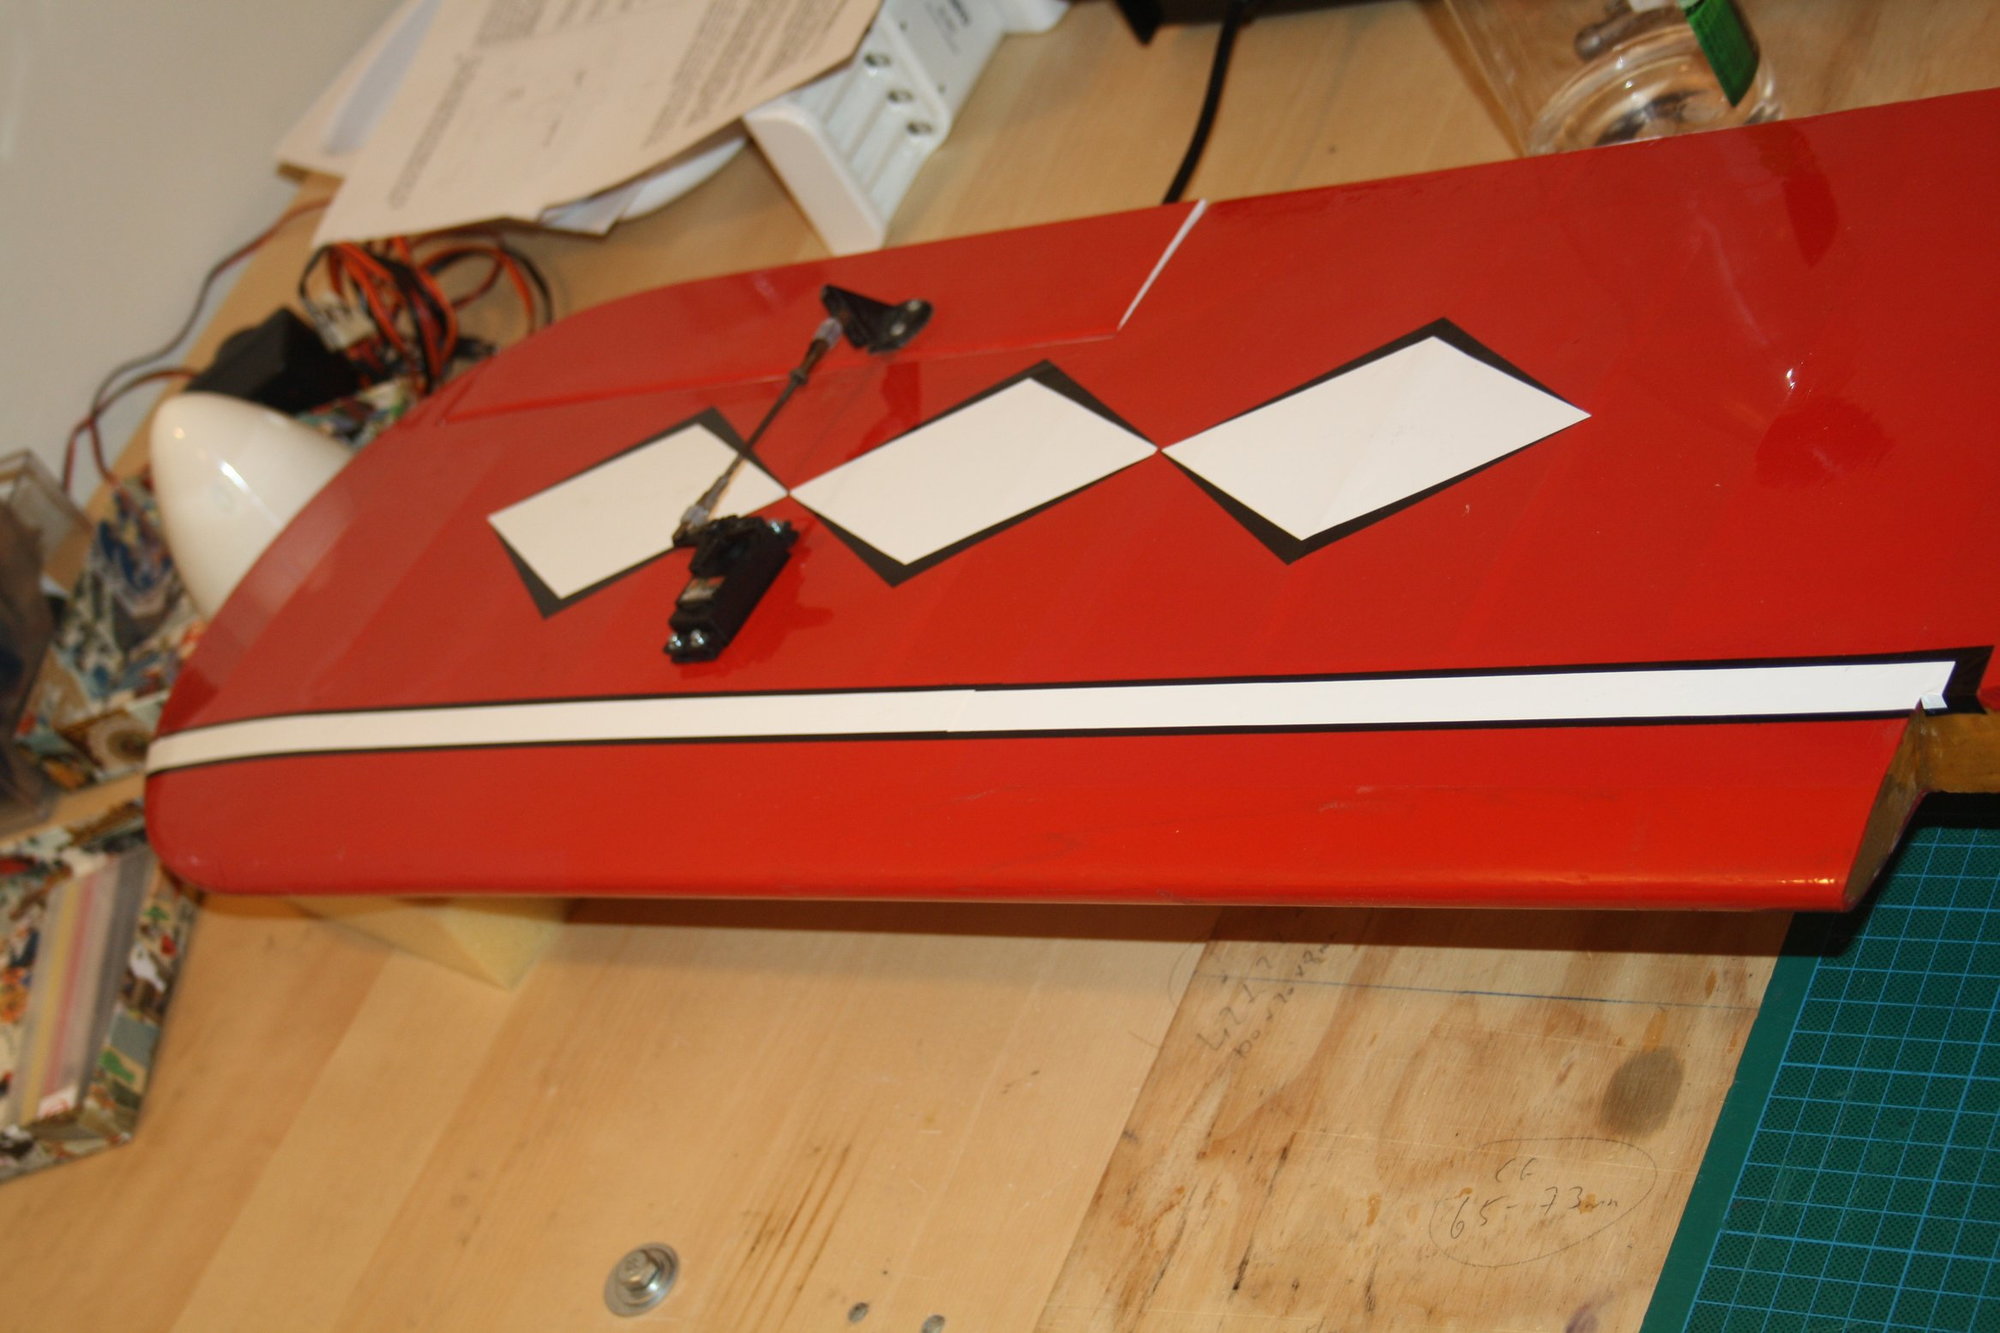
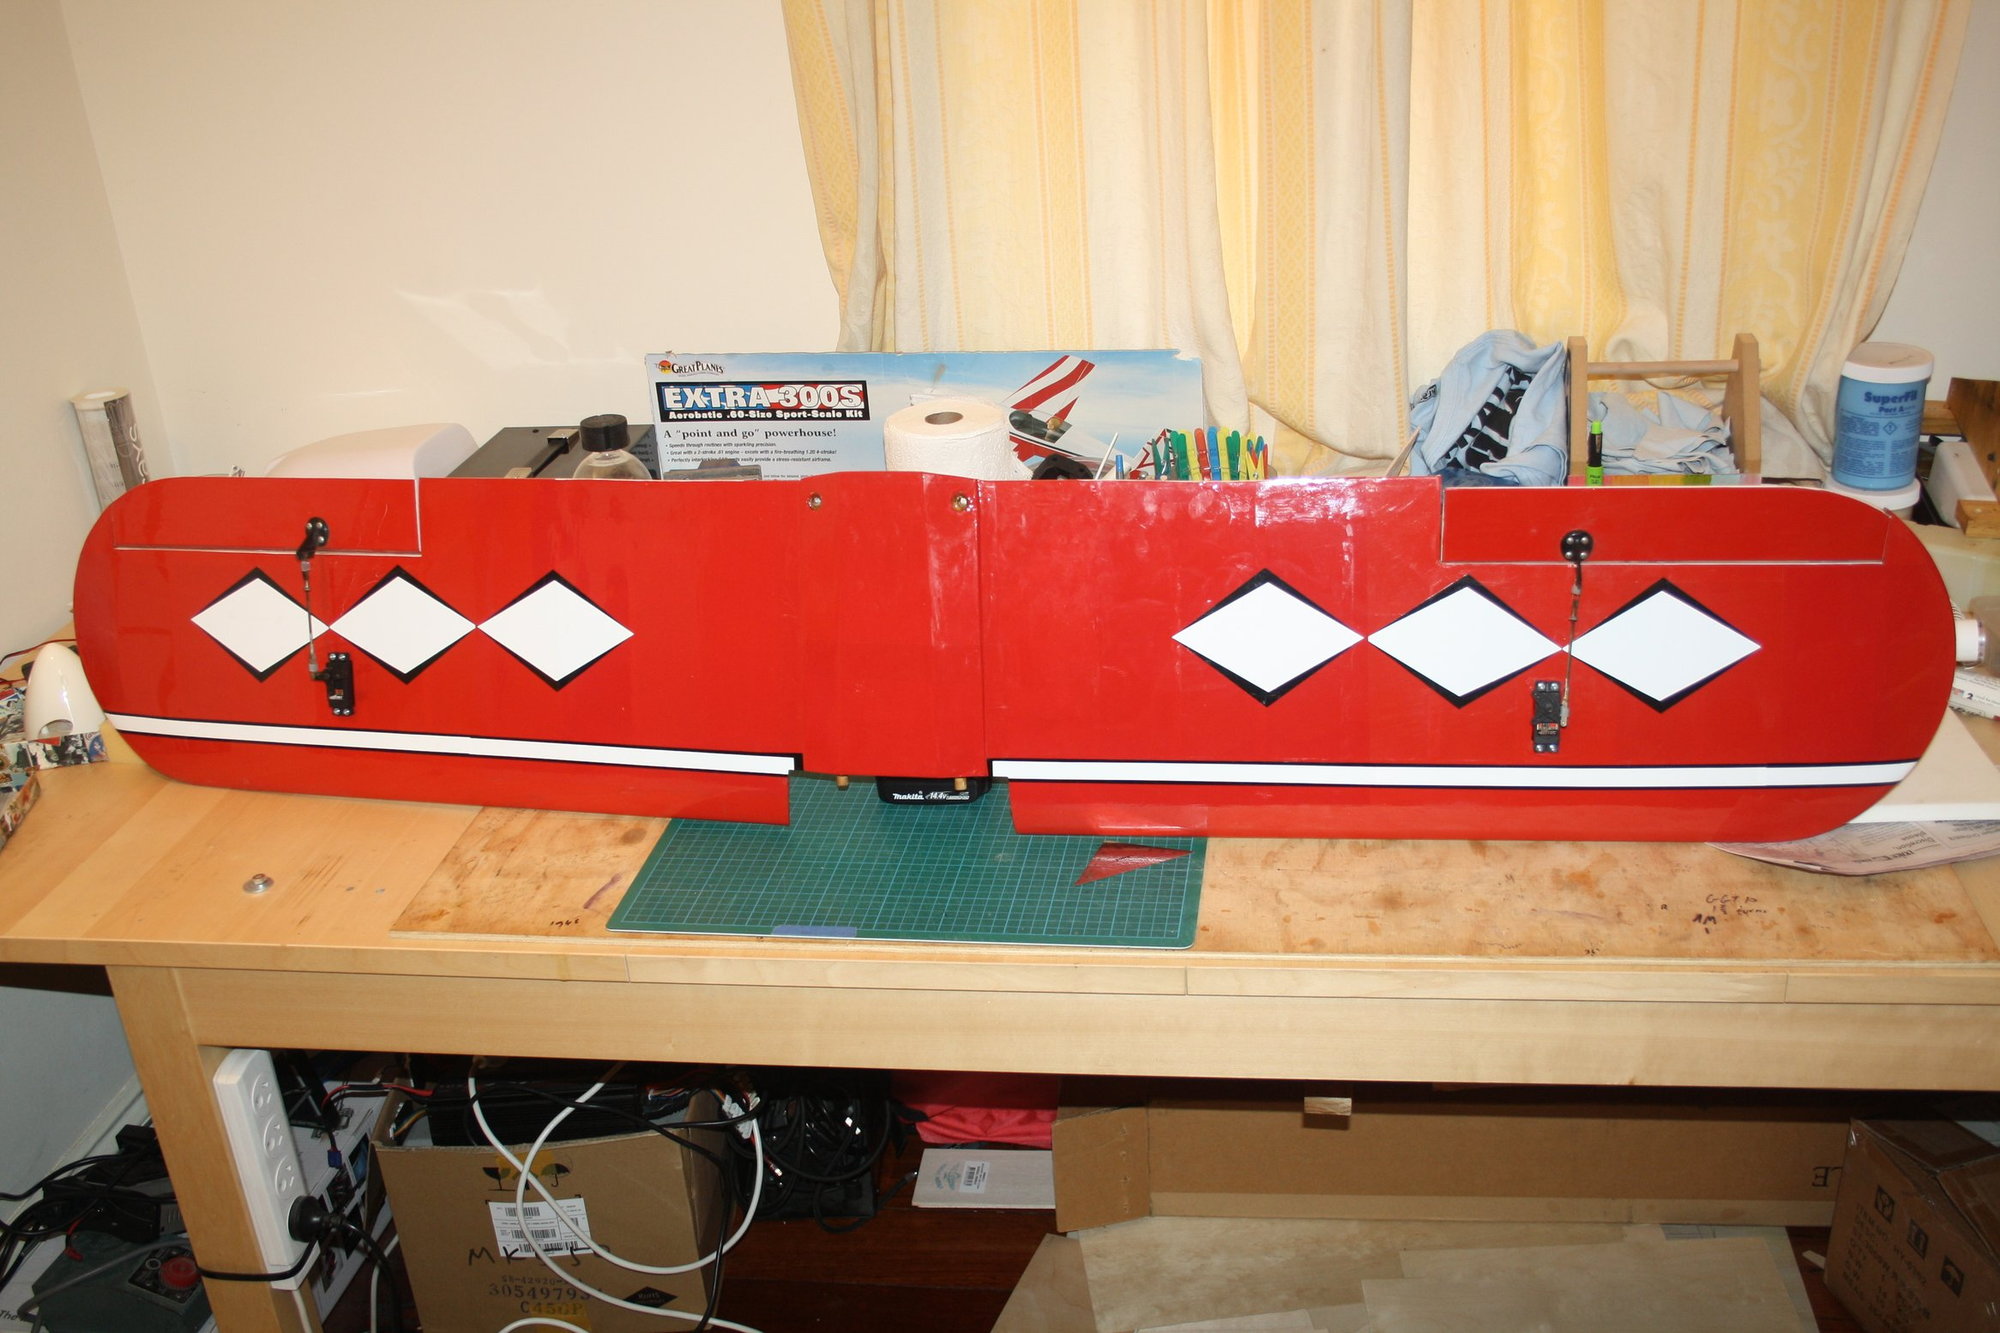
Got the servos into the wing. The bottom wing had a string put in when repaired to pull the servo extension leads to the exit at the centre. For the top wing I used fuel tank clunk as a weight to thread the string, which worked well.
I also repaired the exit hole for the wires in the top wing.


I also repaired the exit hole for the wires in the top wing.

 04-06-2019, 11:31 PM
#45
Thread Starter
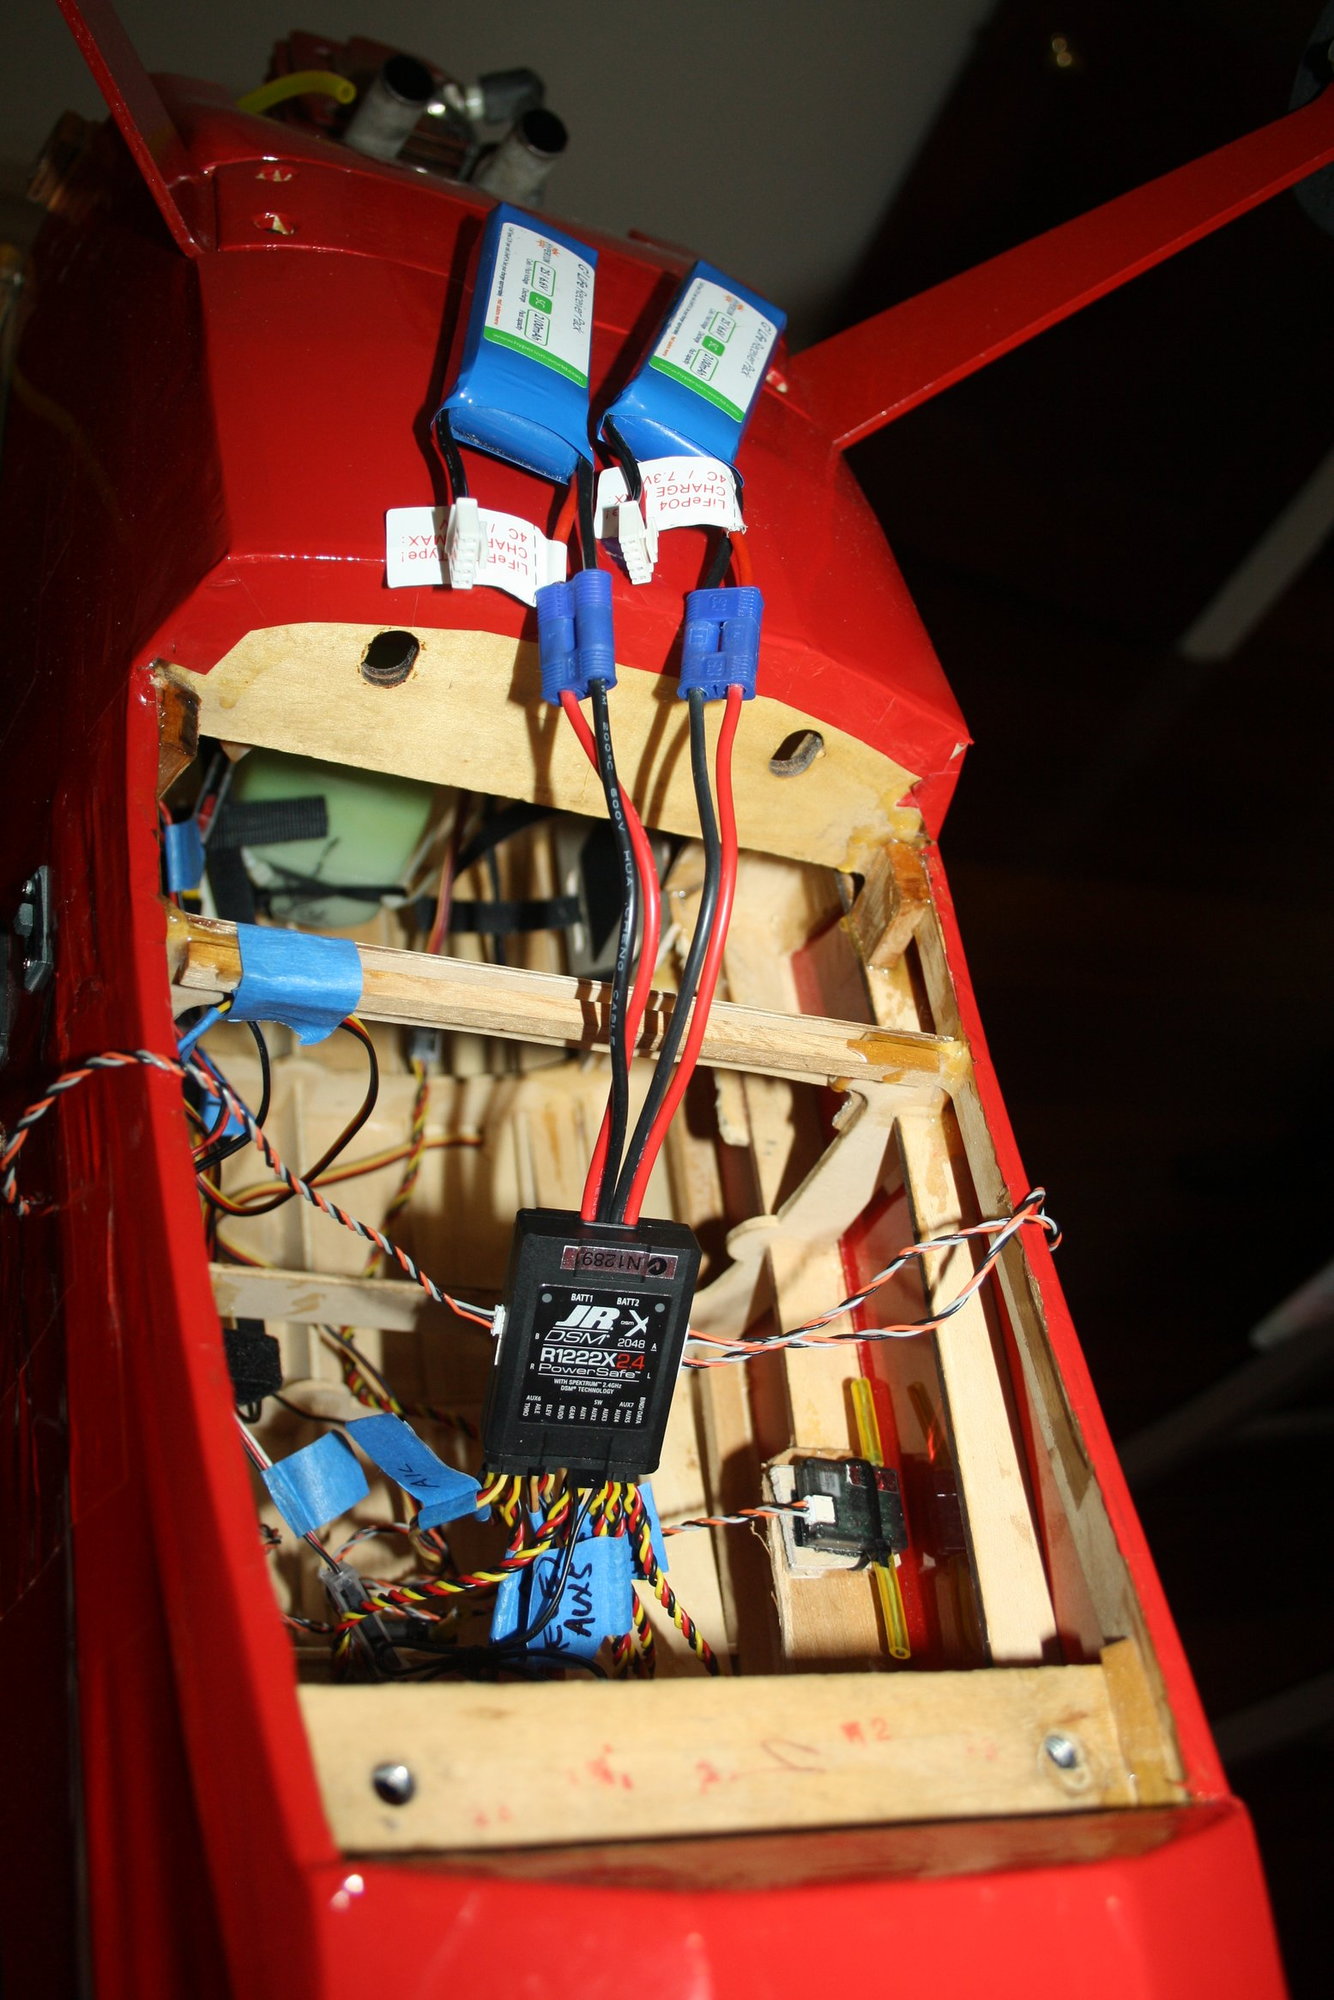
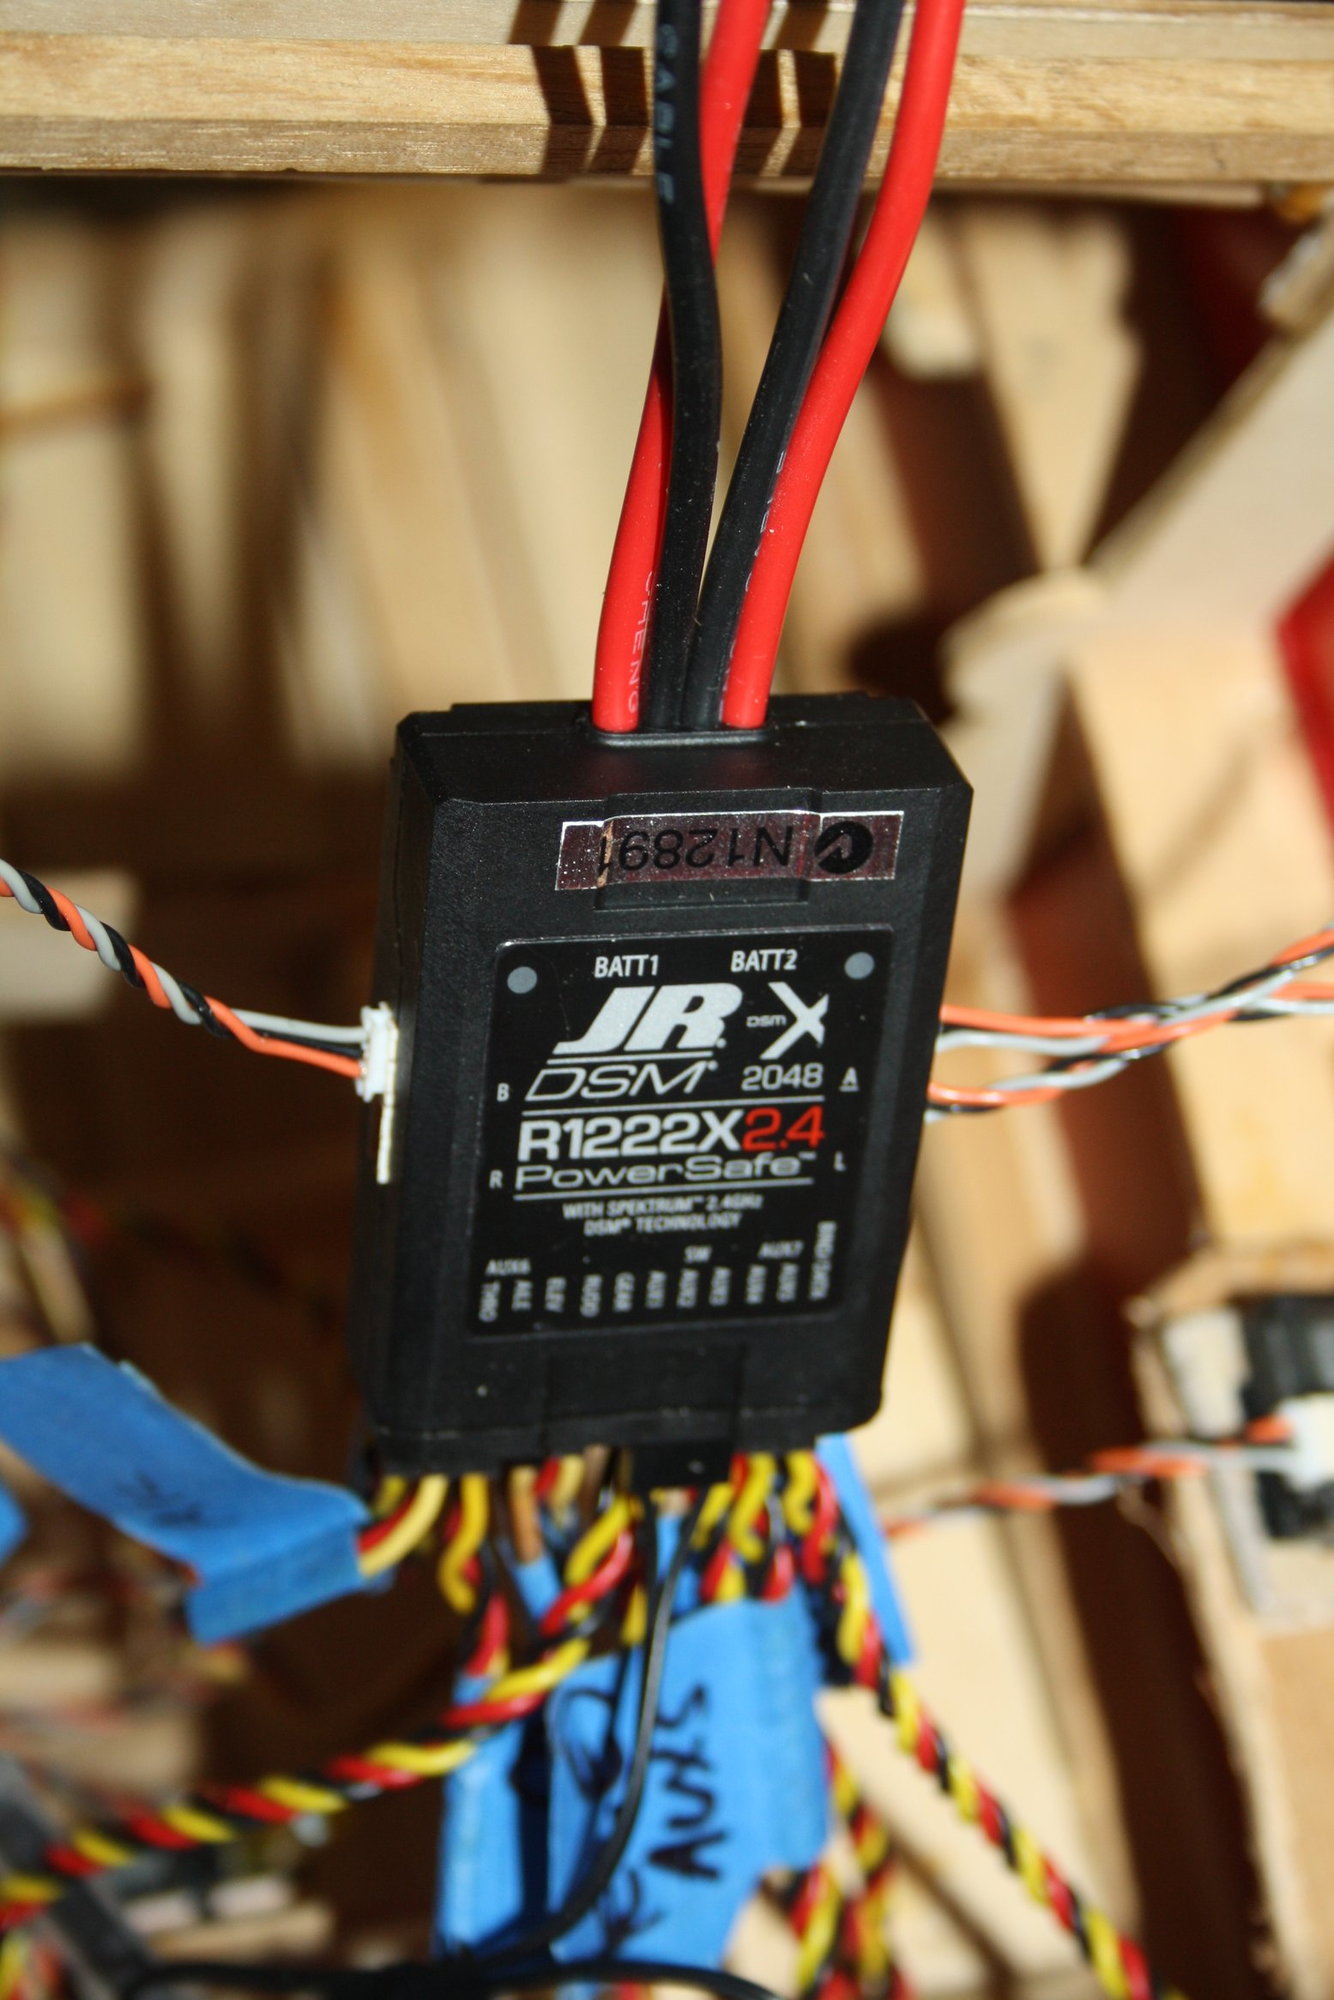
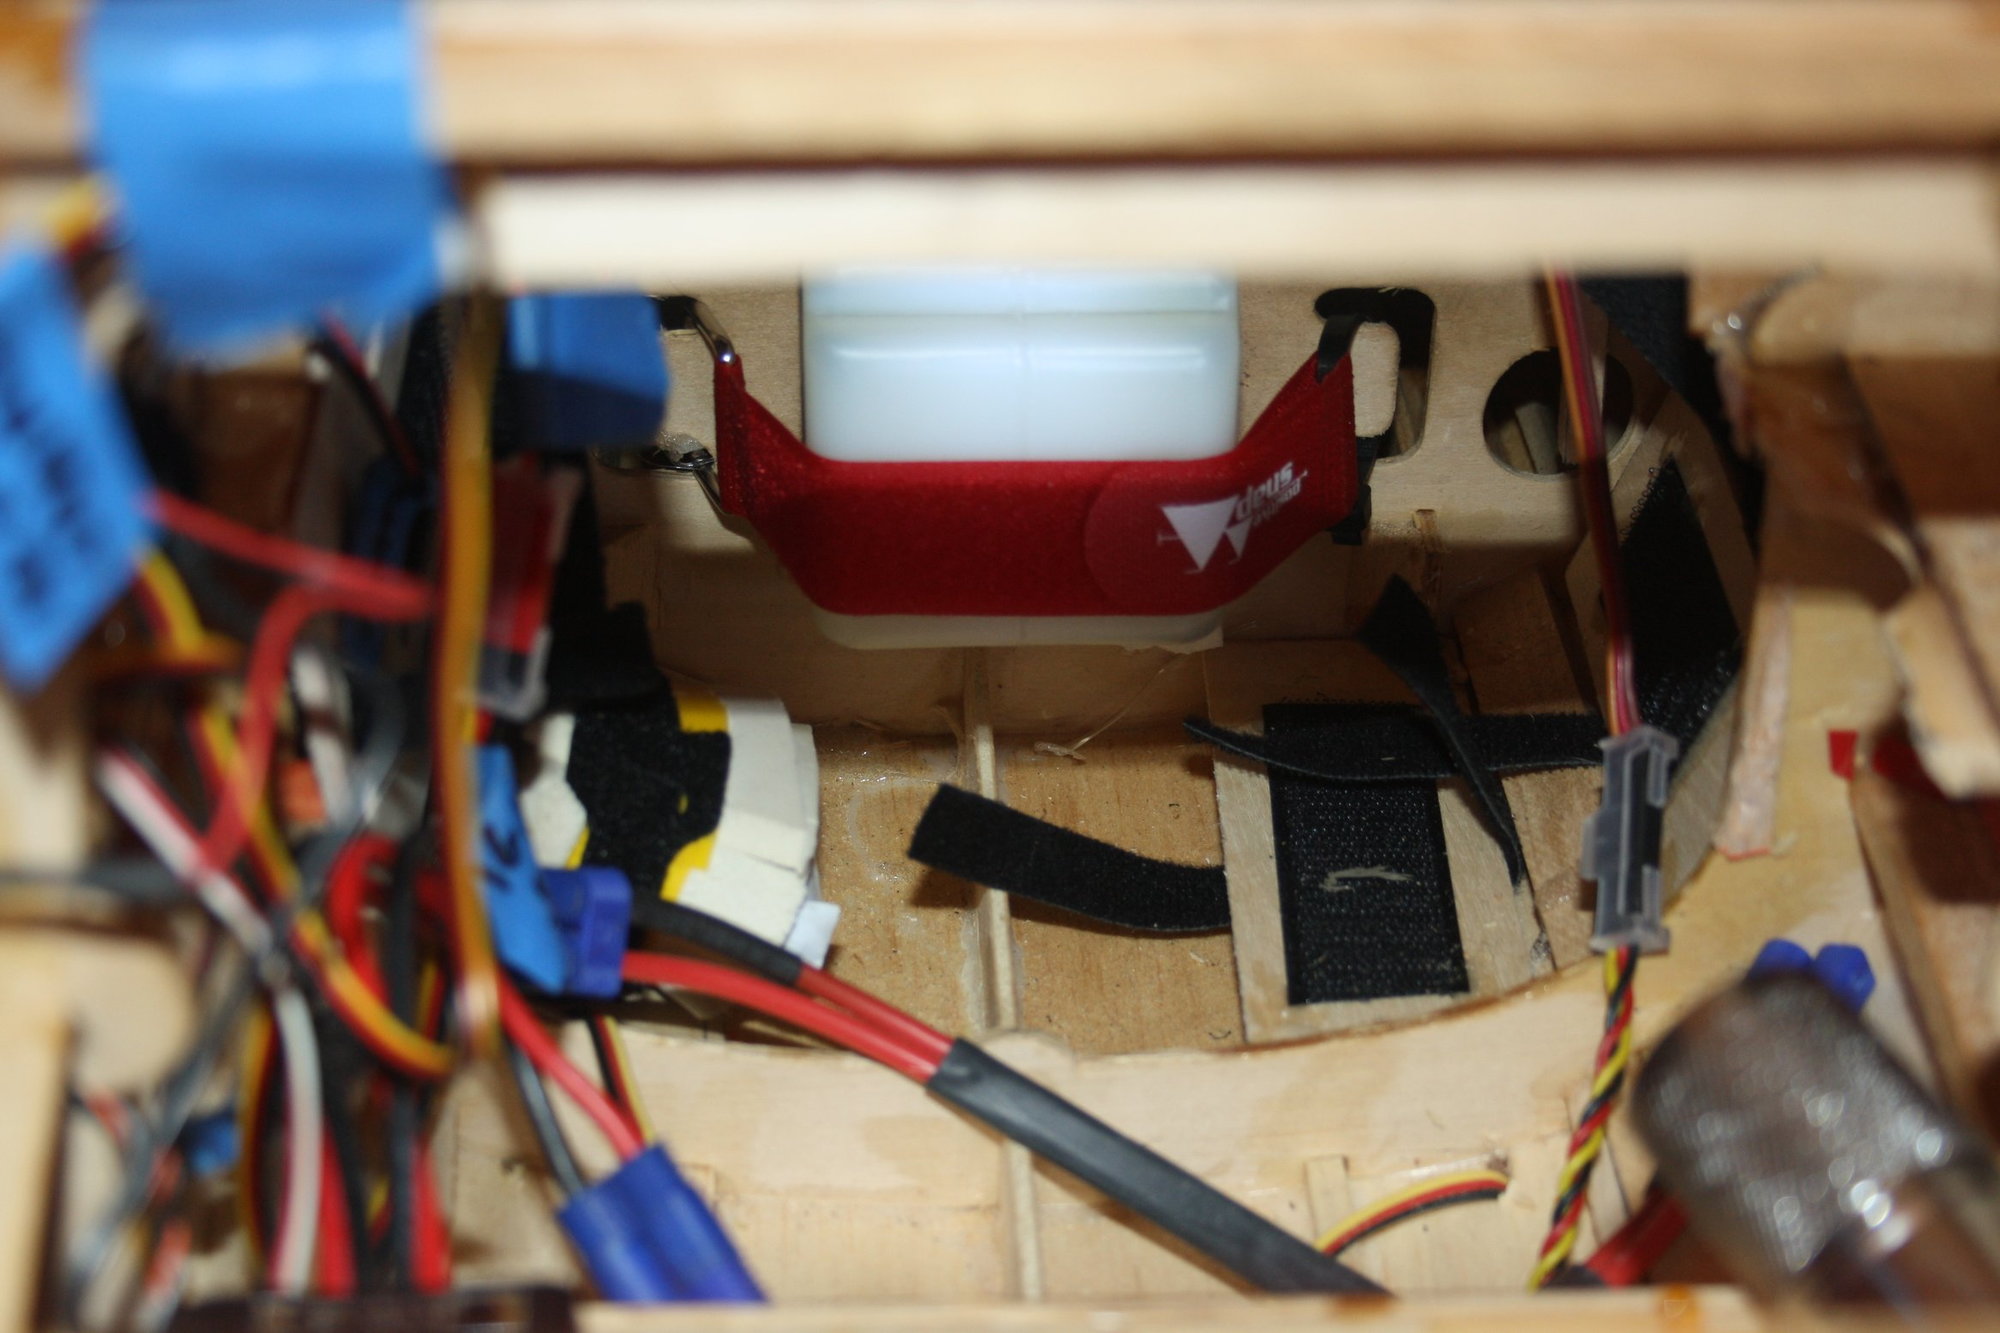
Since this aeroplane is now my aeroplane, I will be using LiFe batteries instead of the NiMh that the previous owner wanted.
In addition, I use common batteries on my aeroplanes which require easy access mounts. So, ripping the "old" mounts and making new ones...

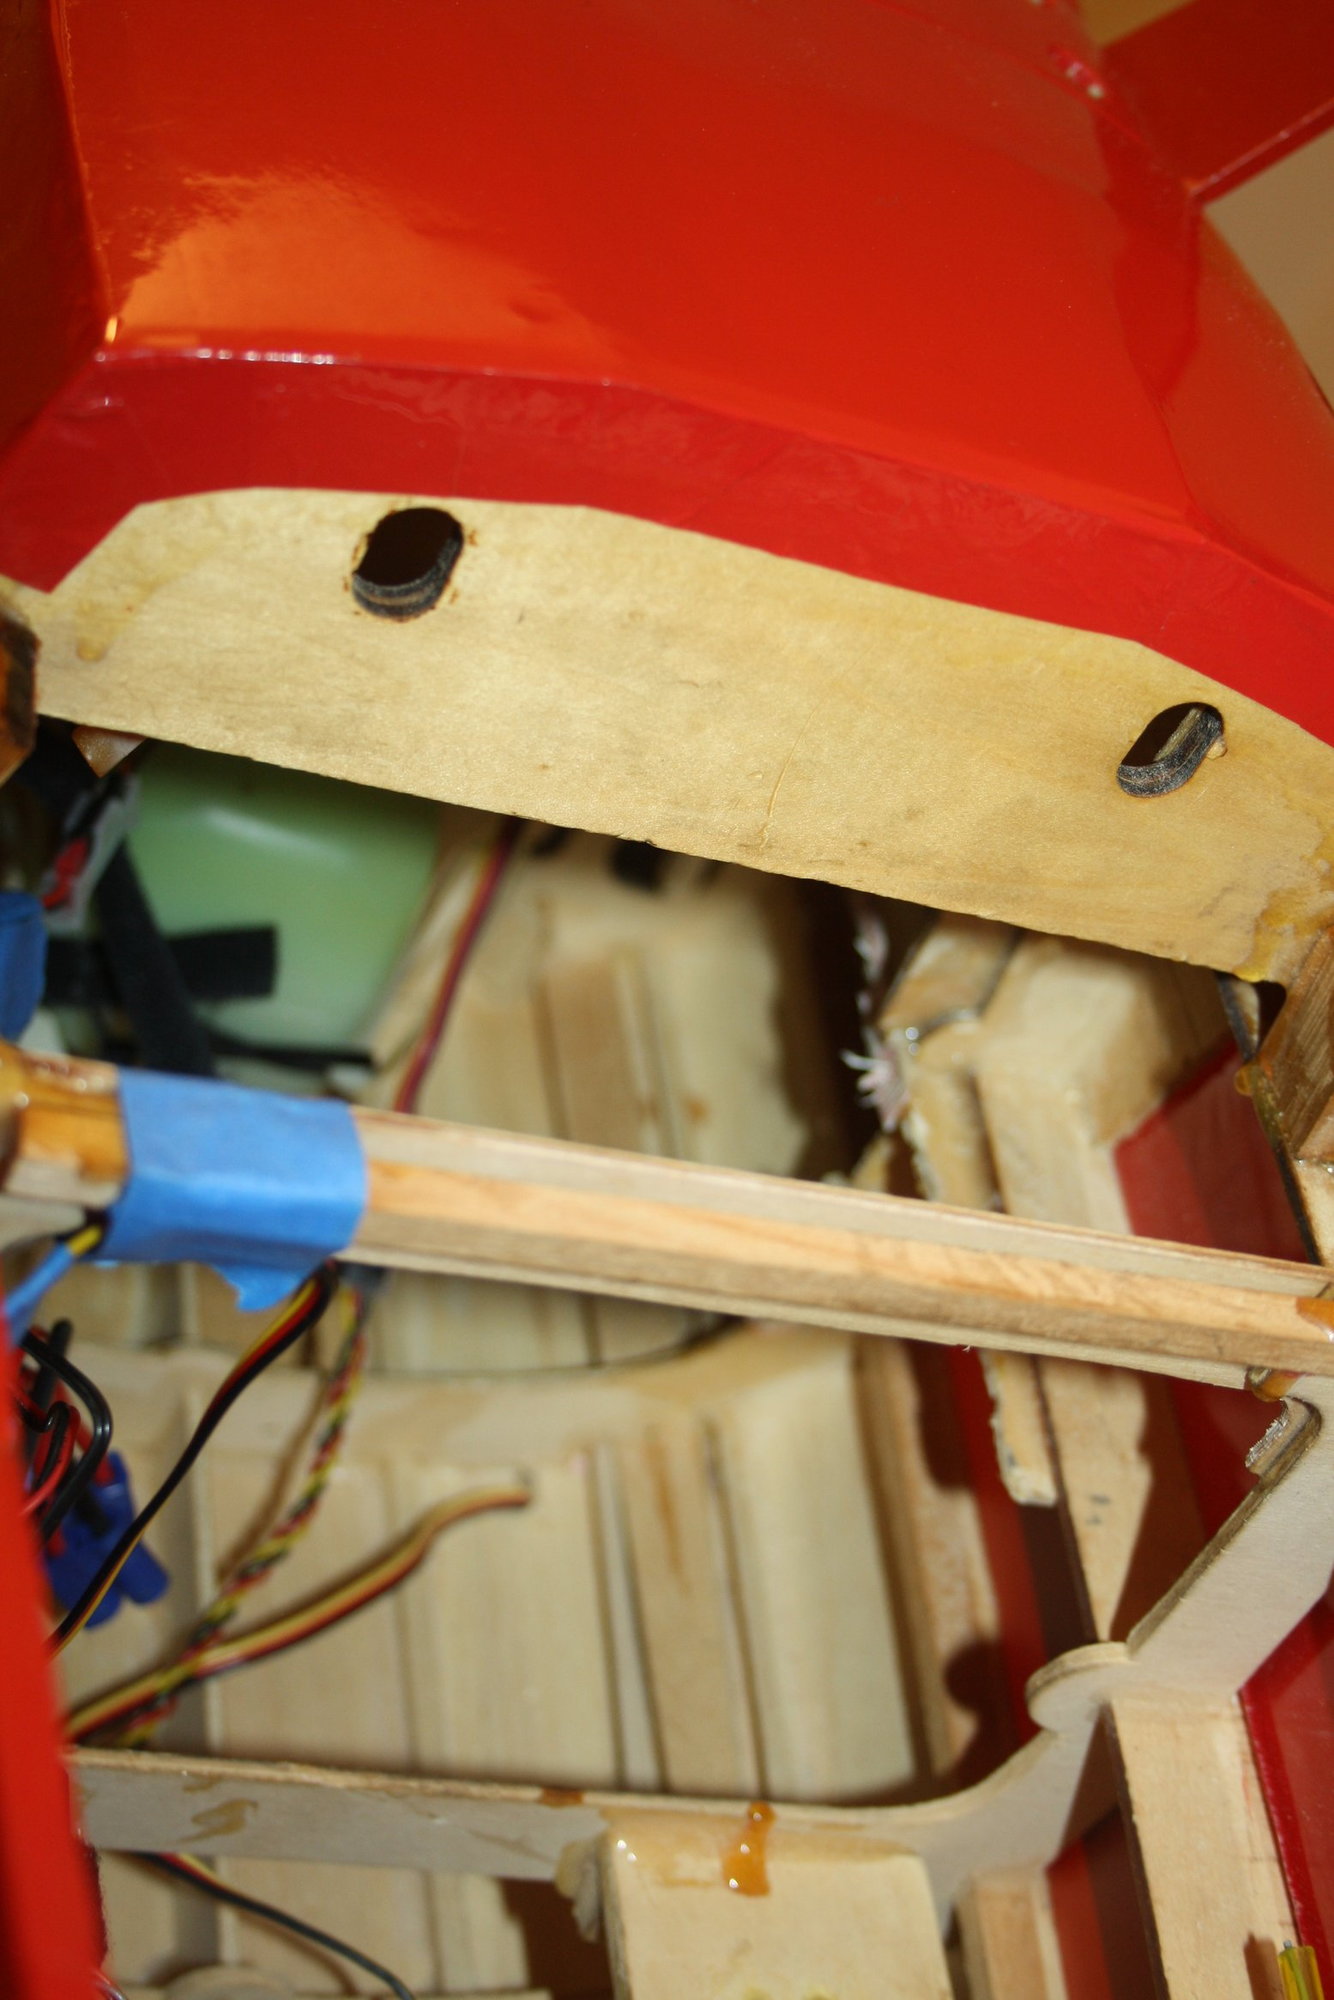
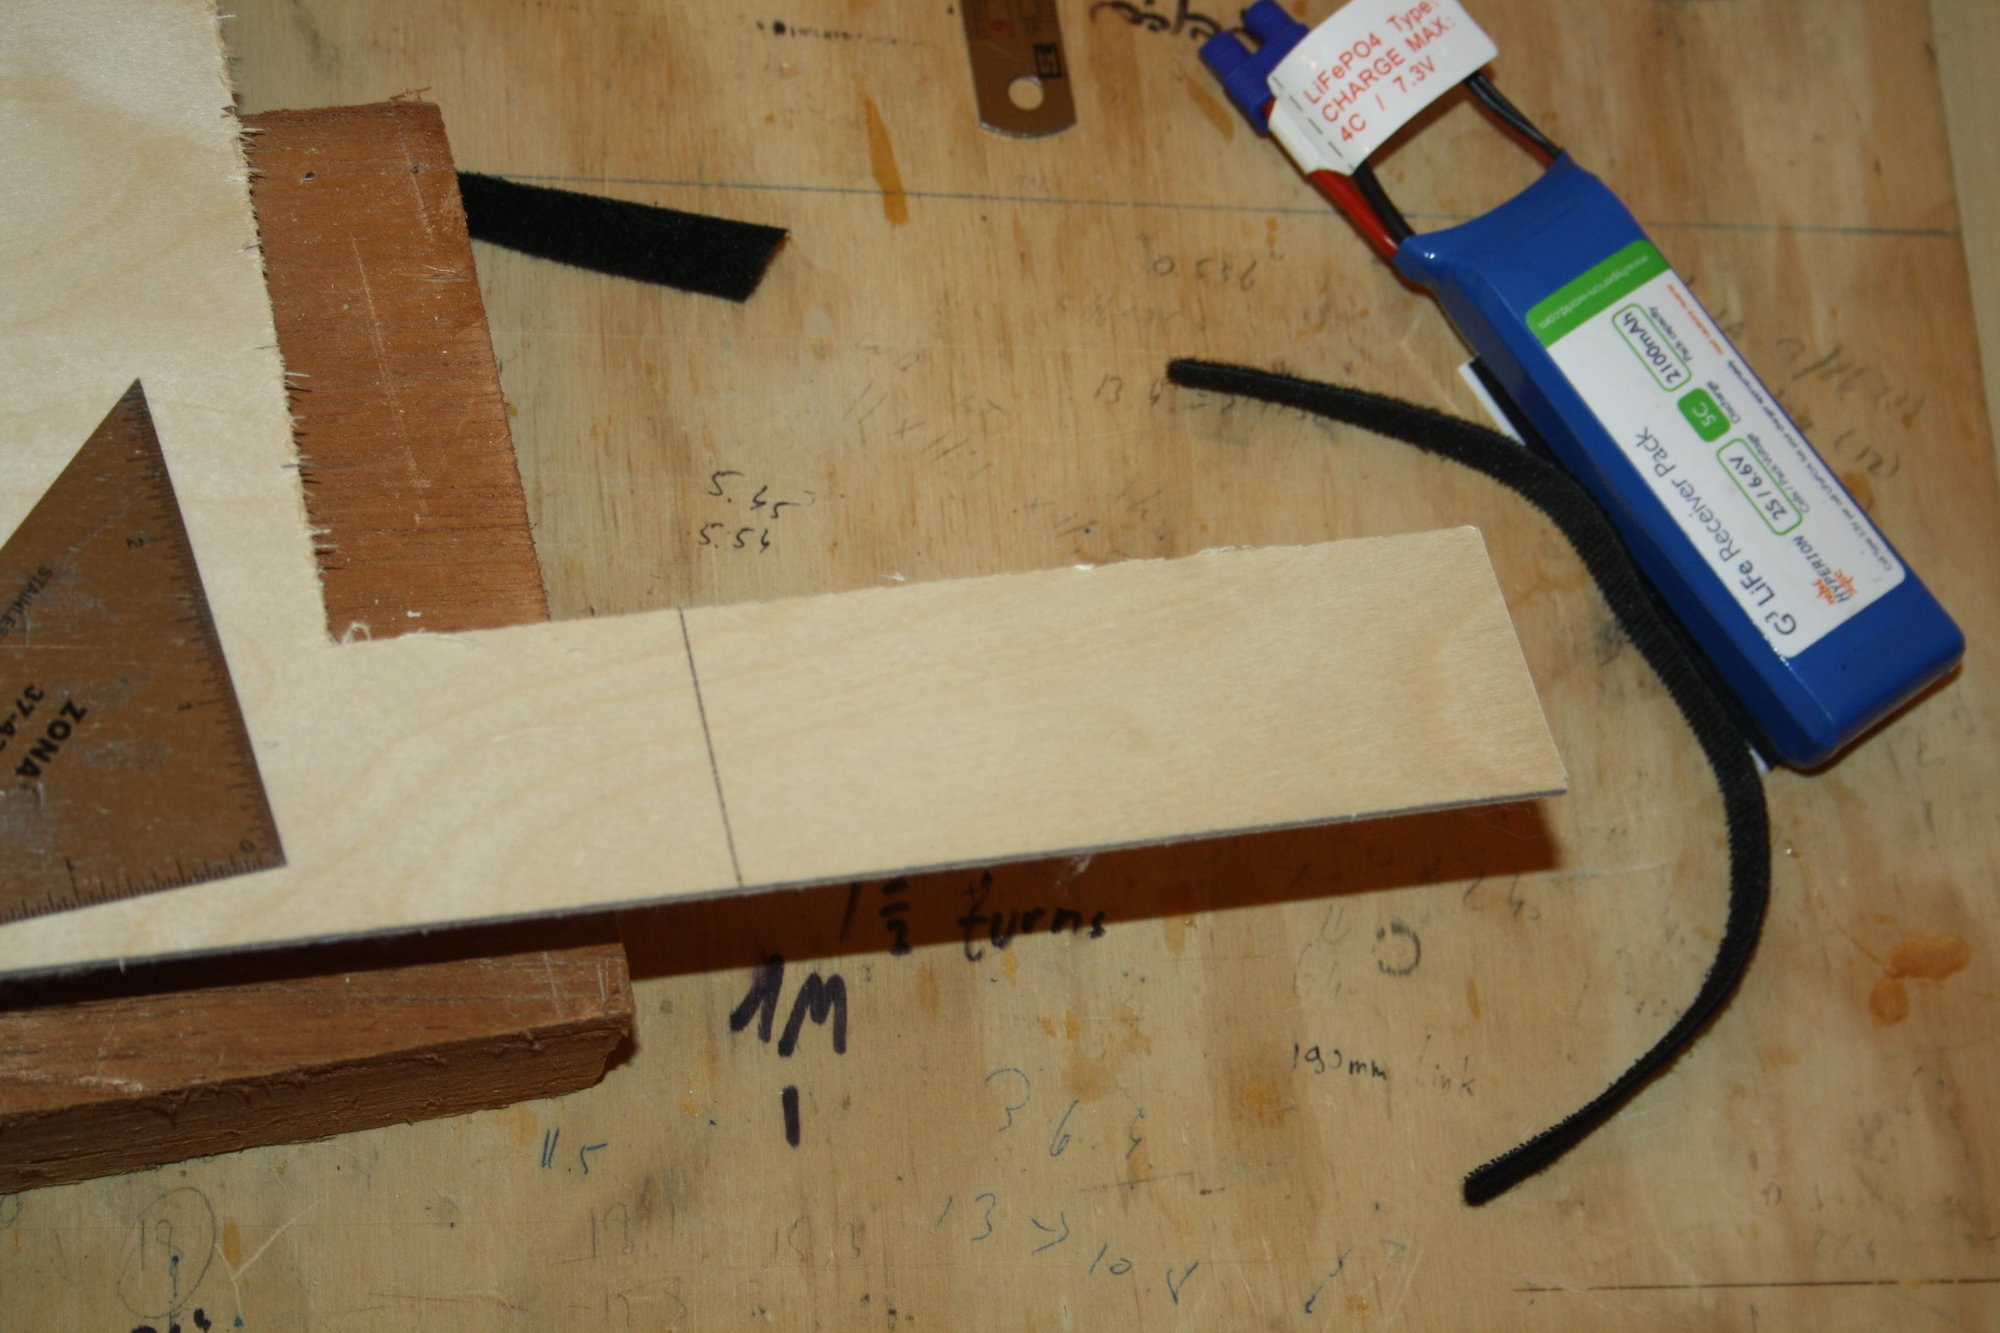
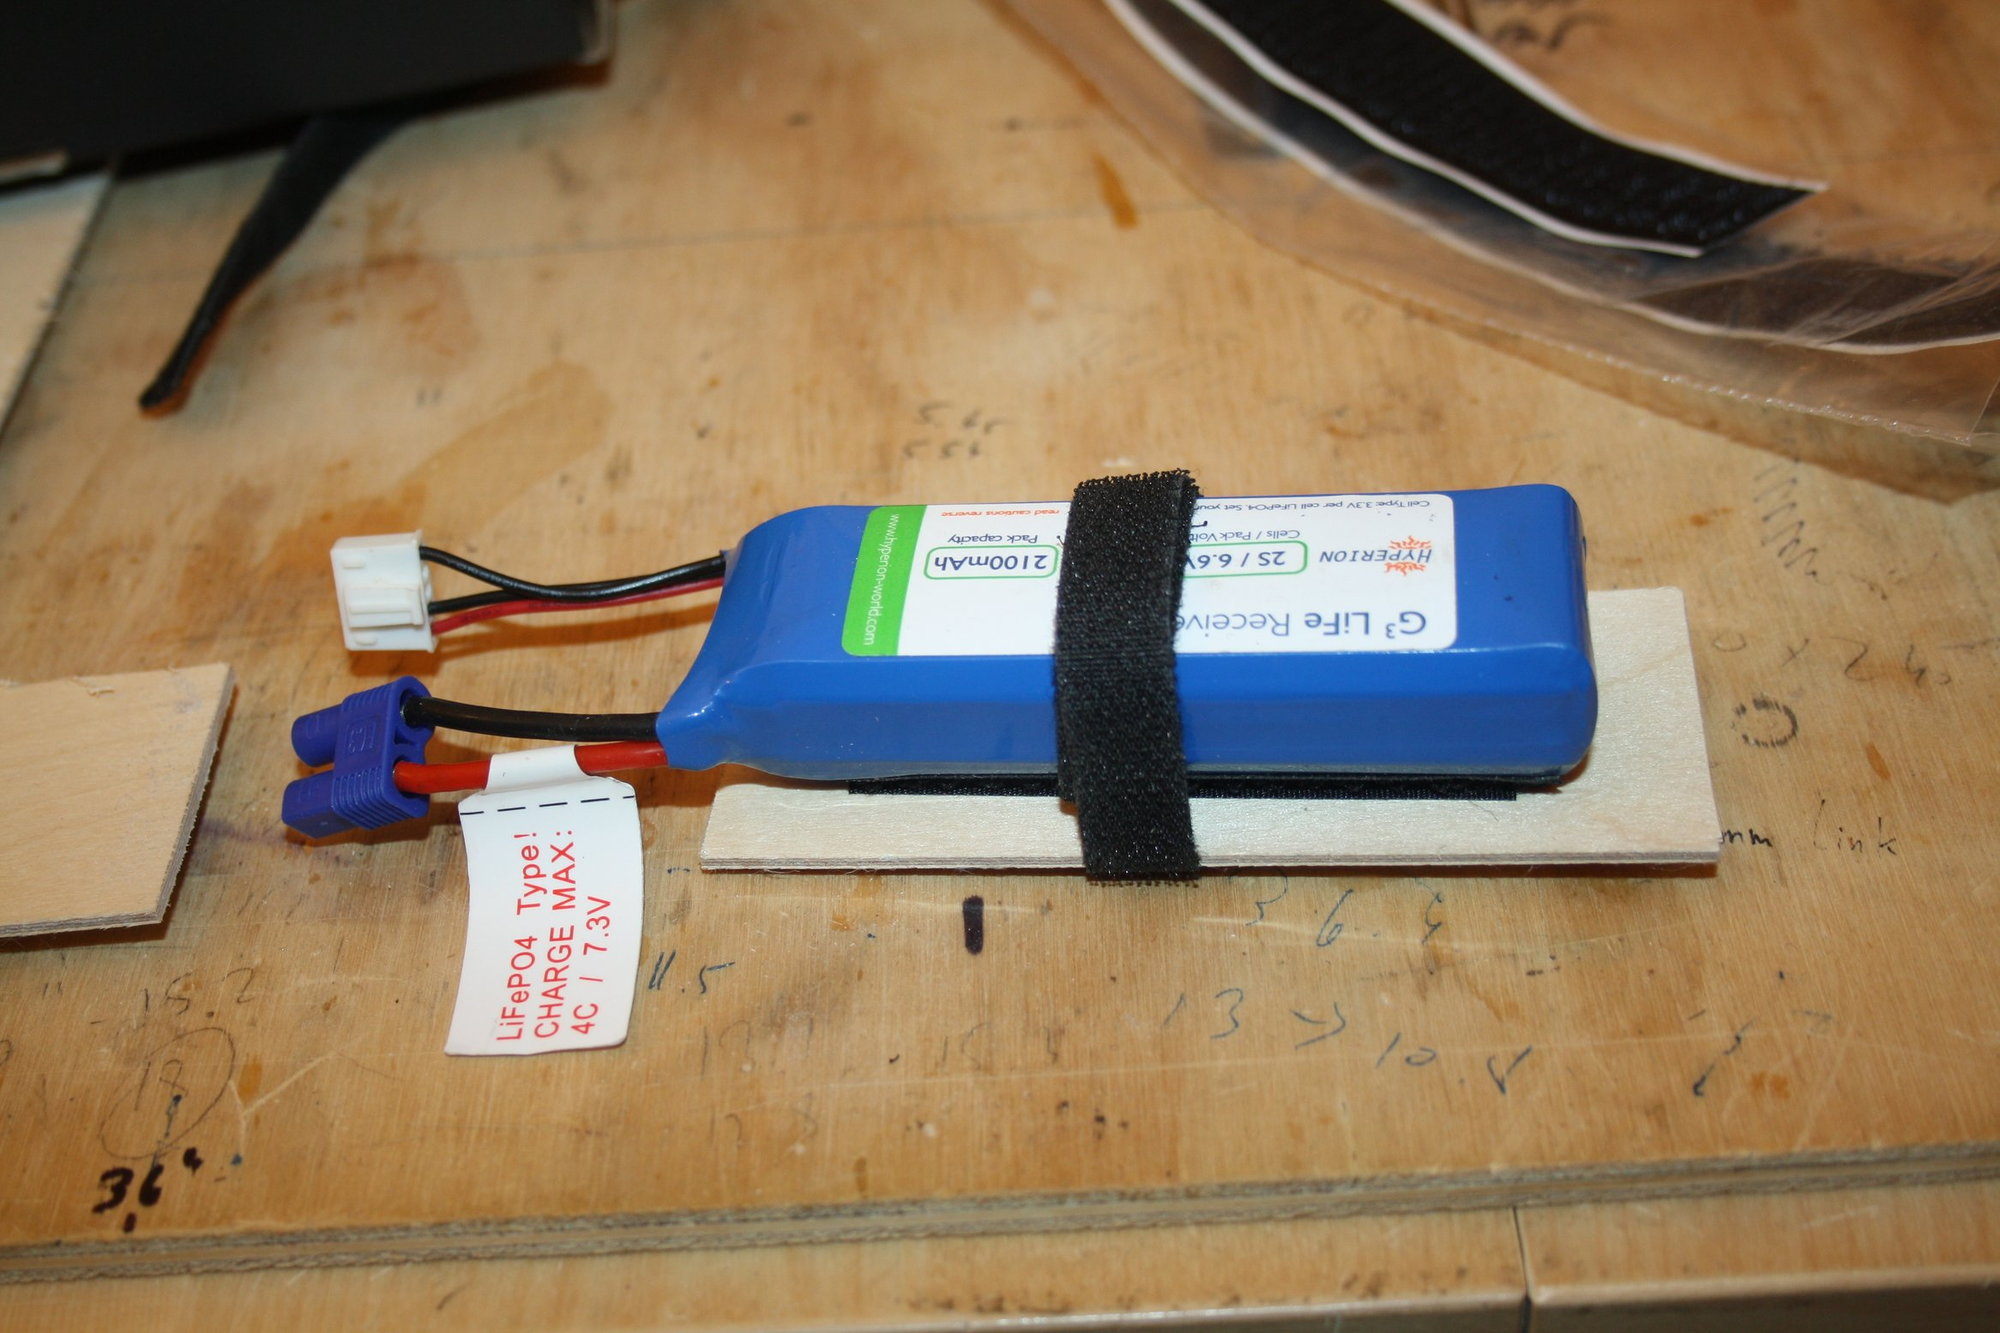
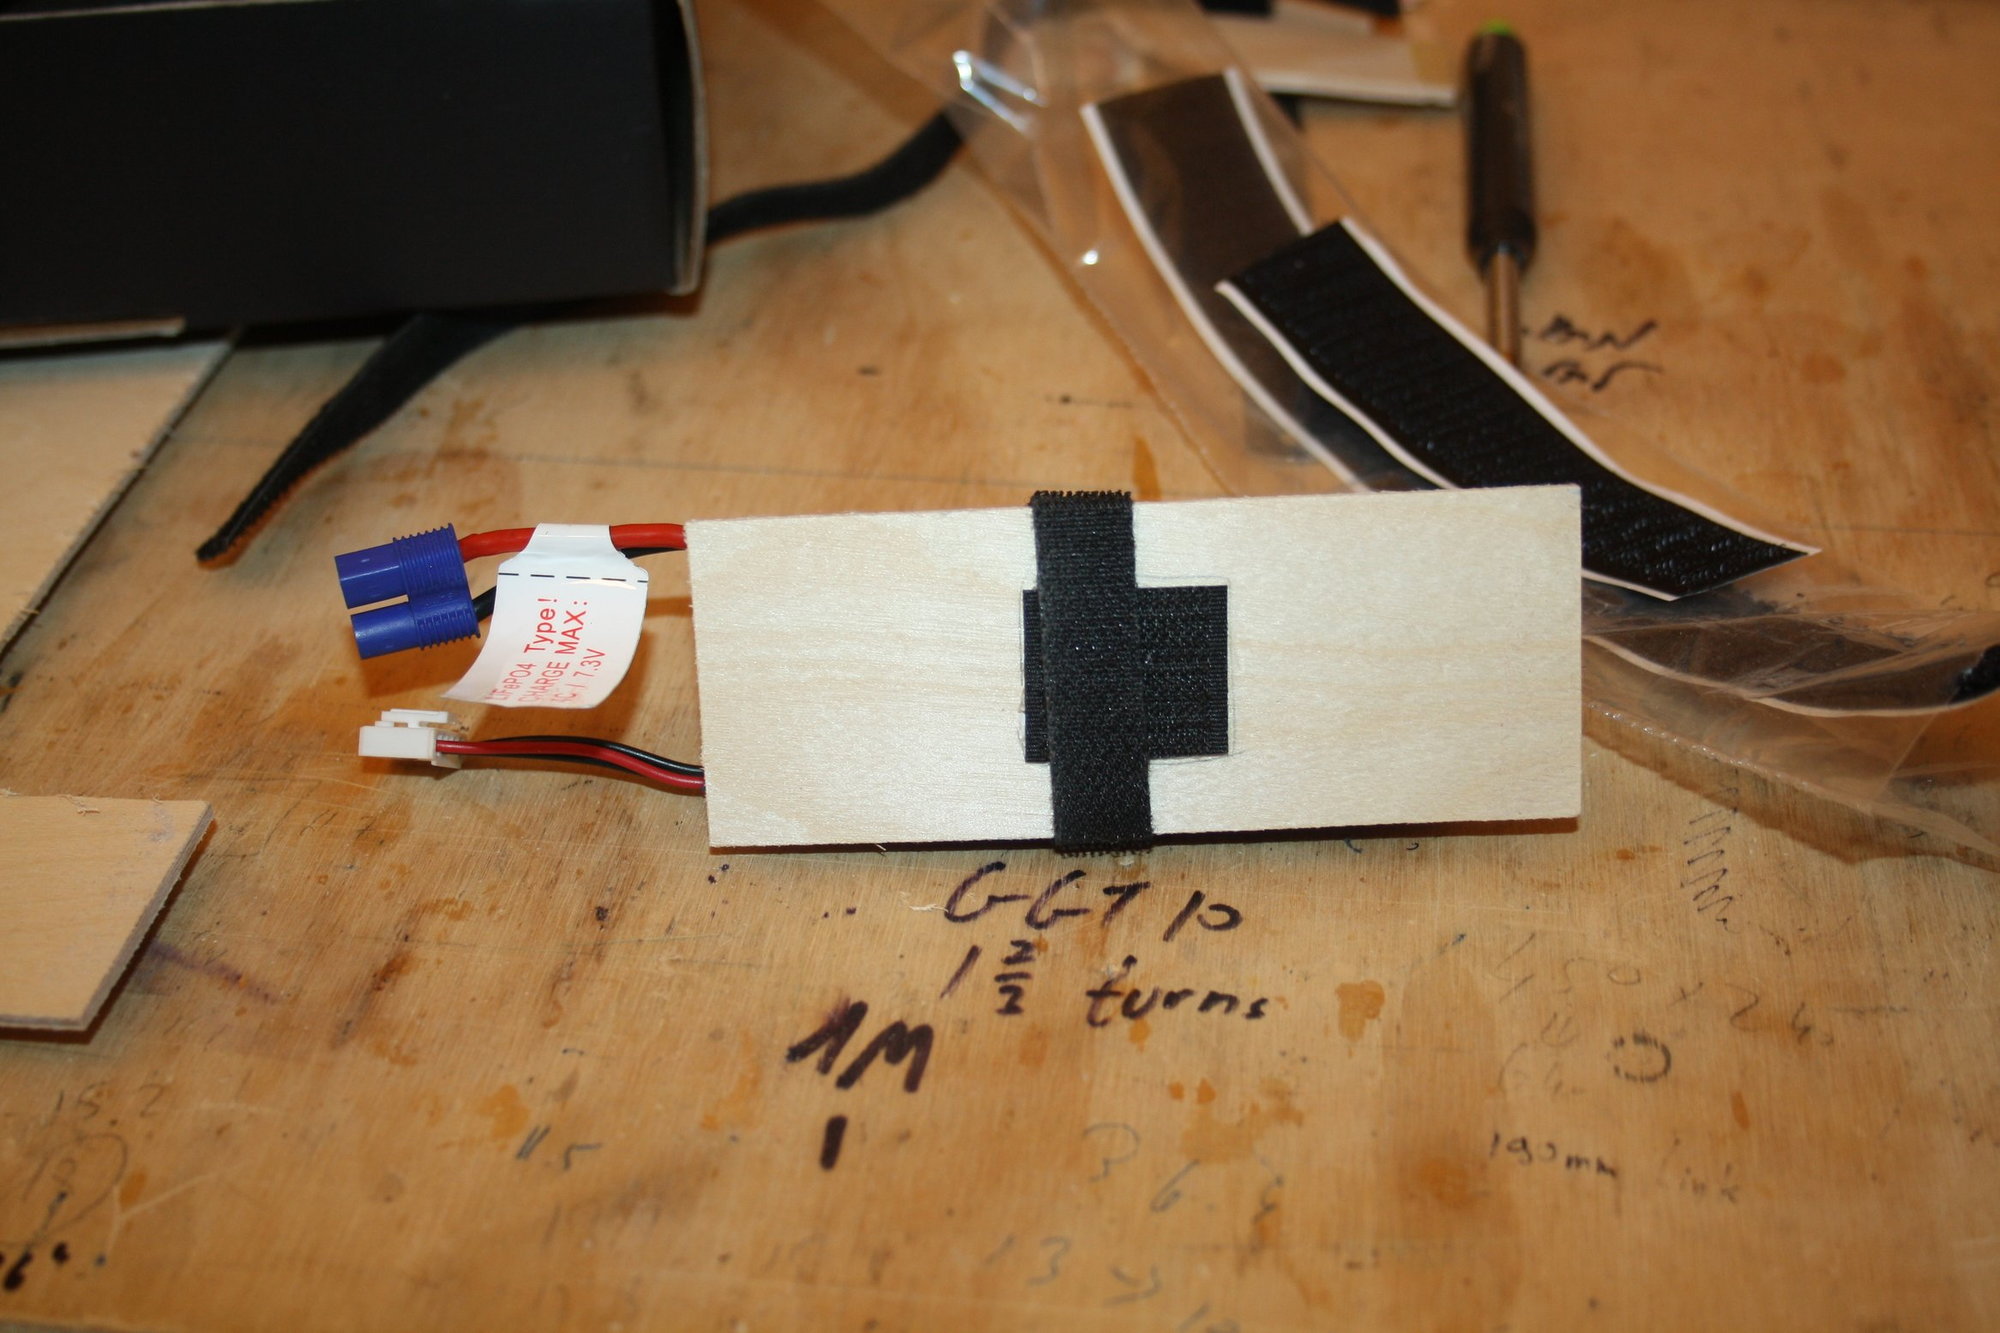
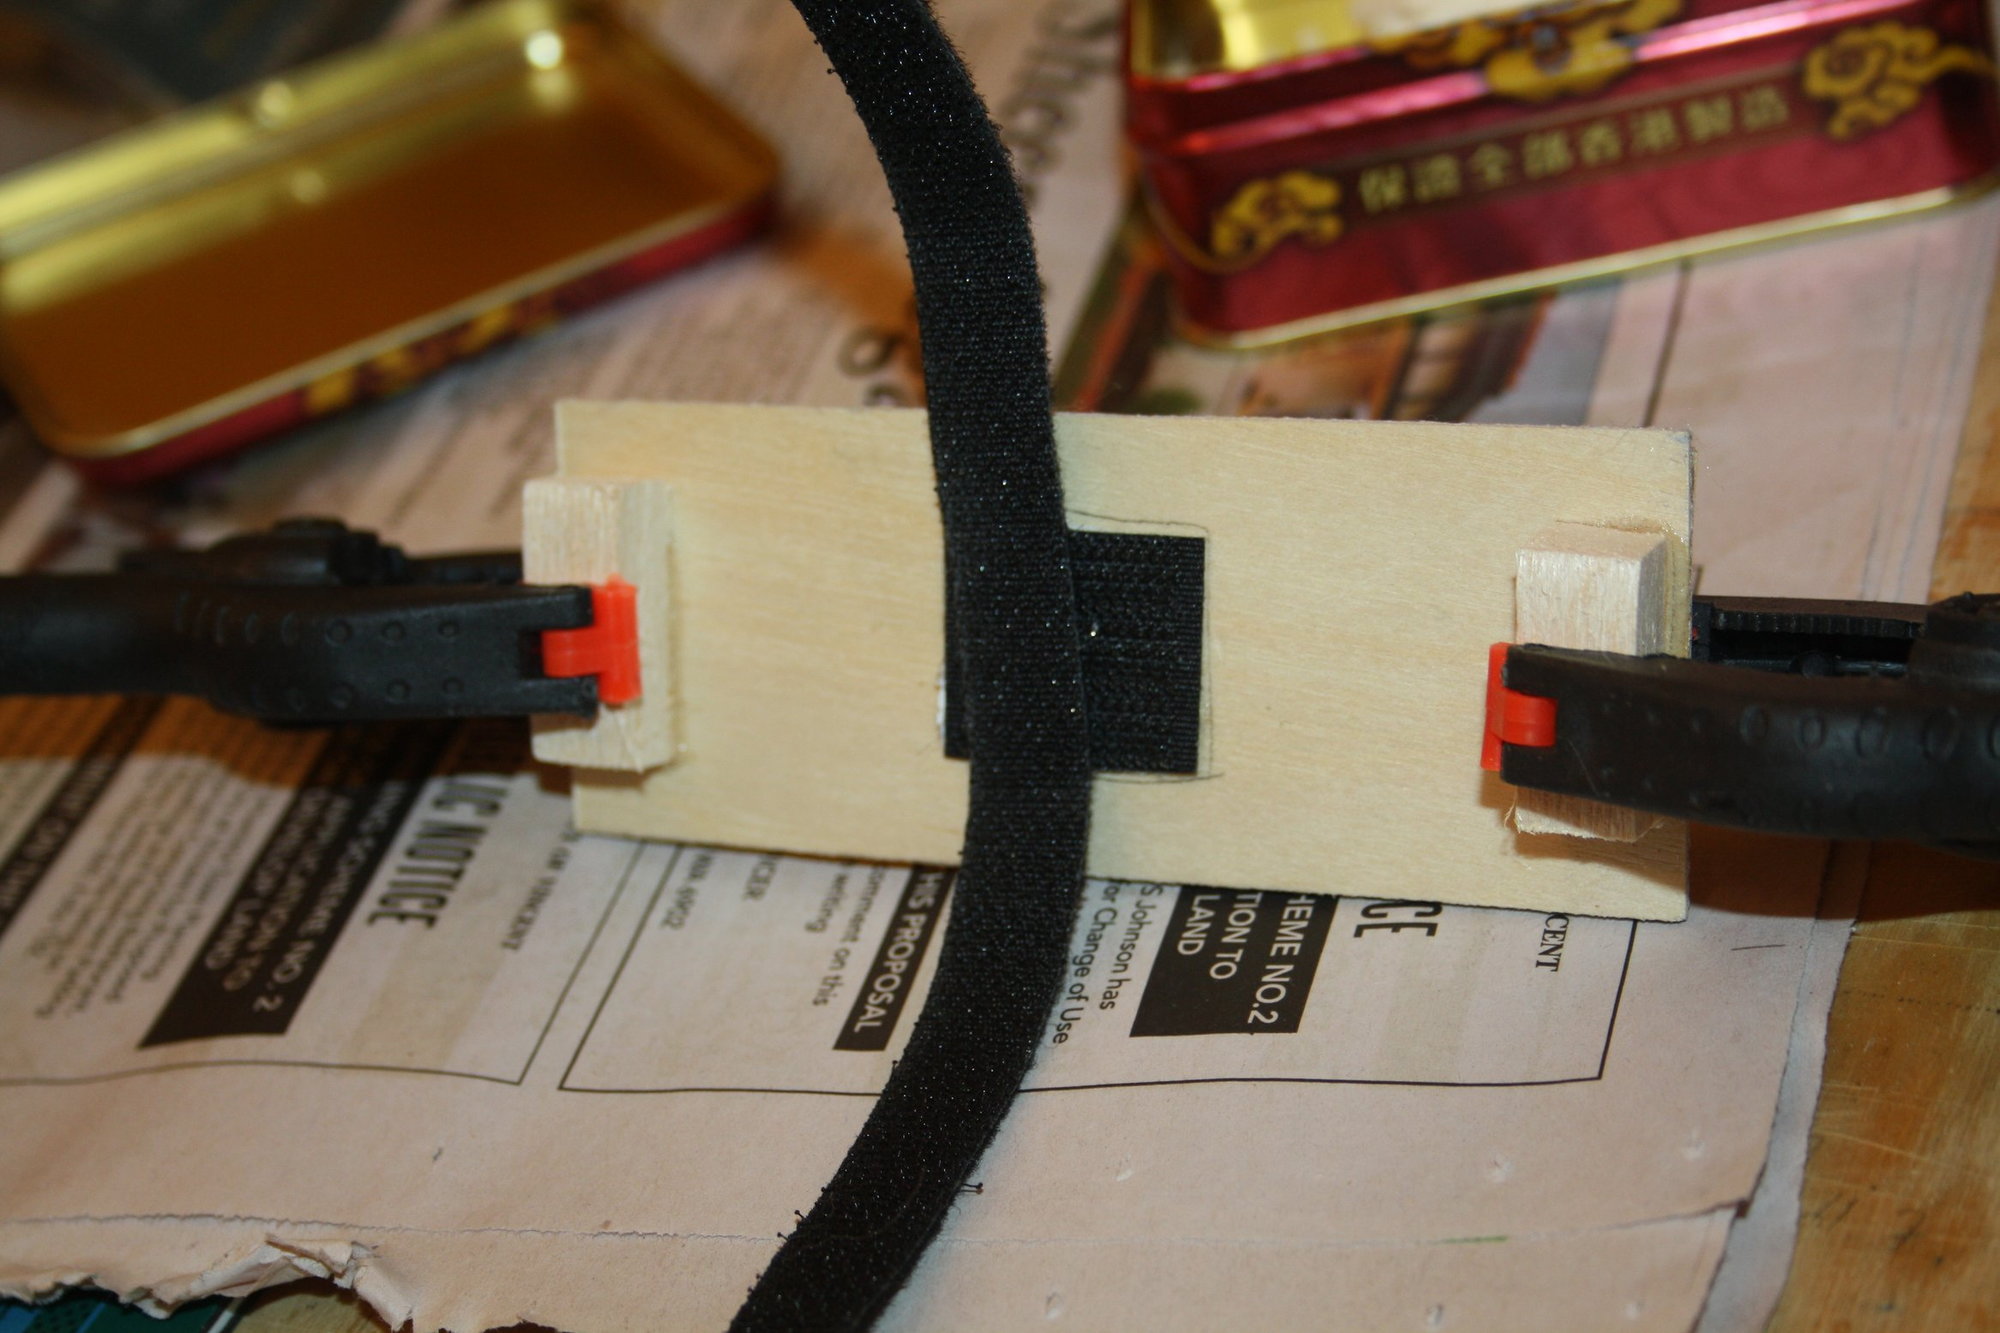
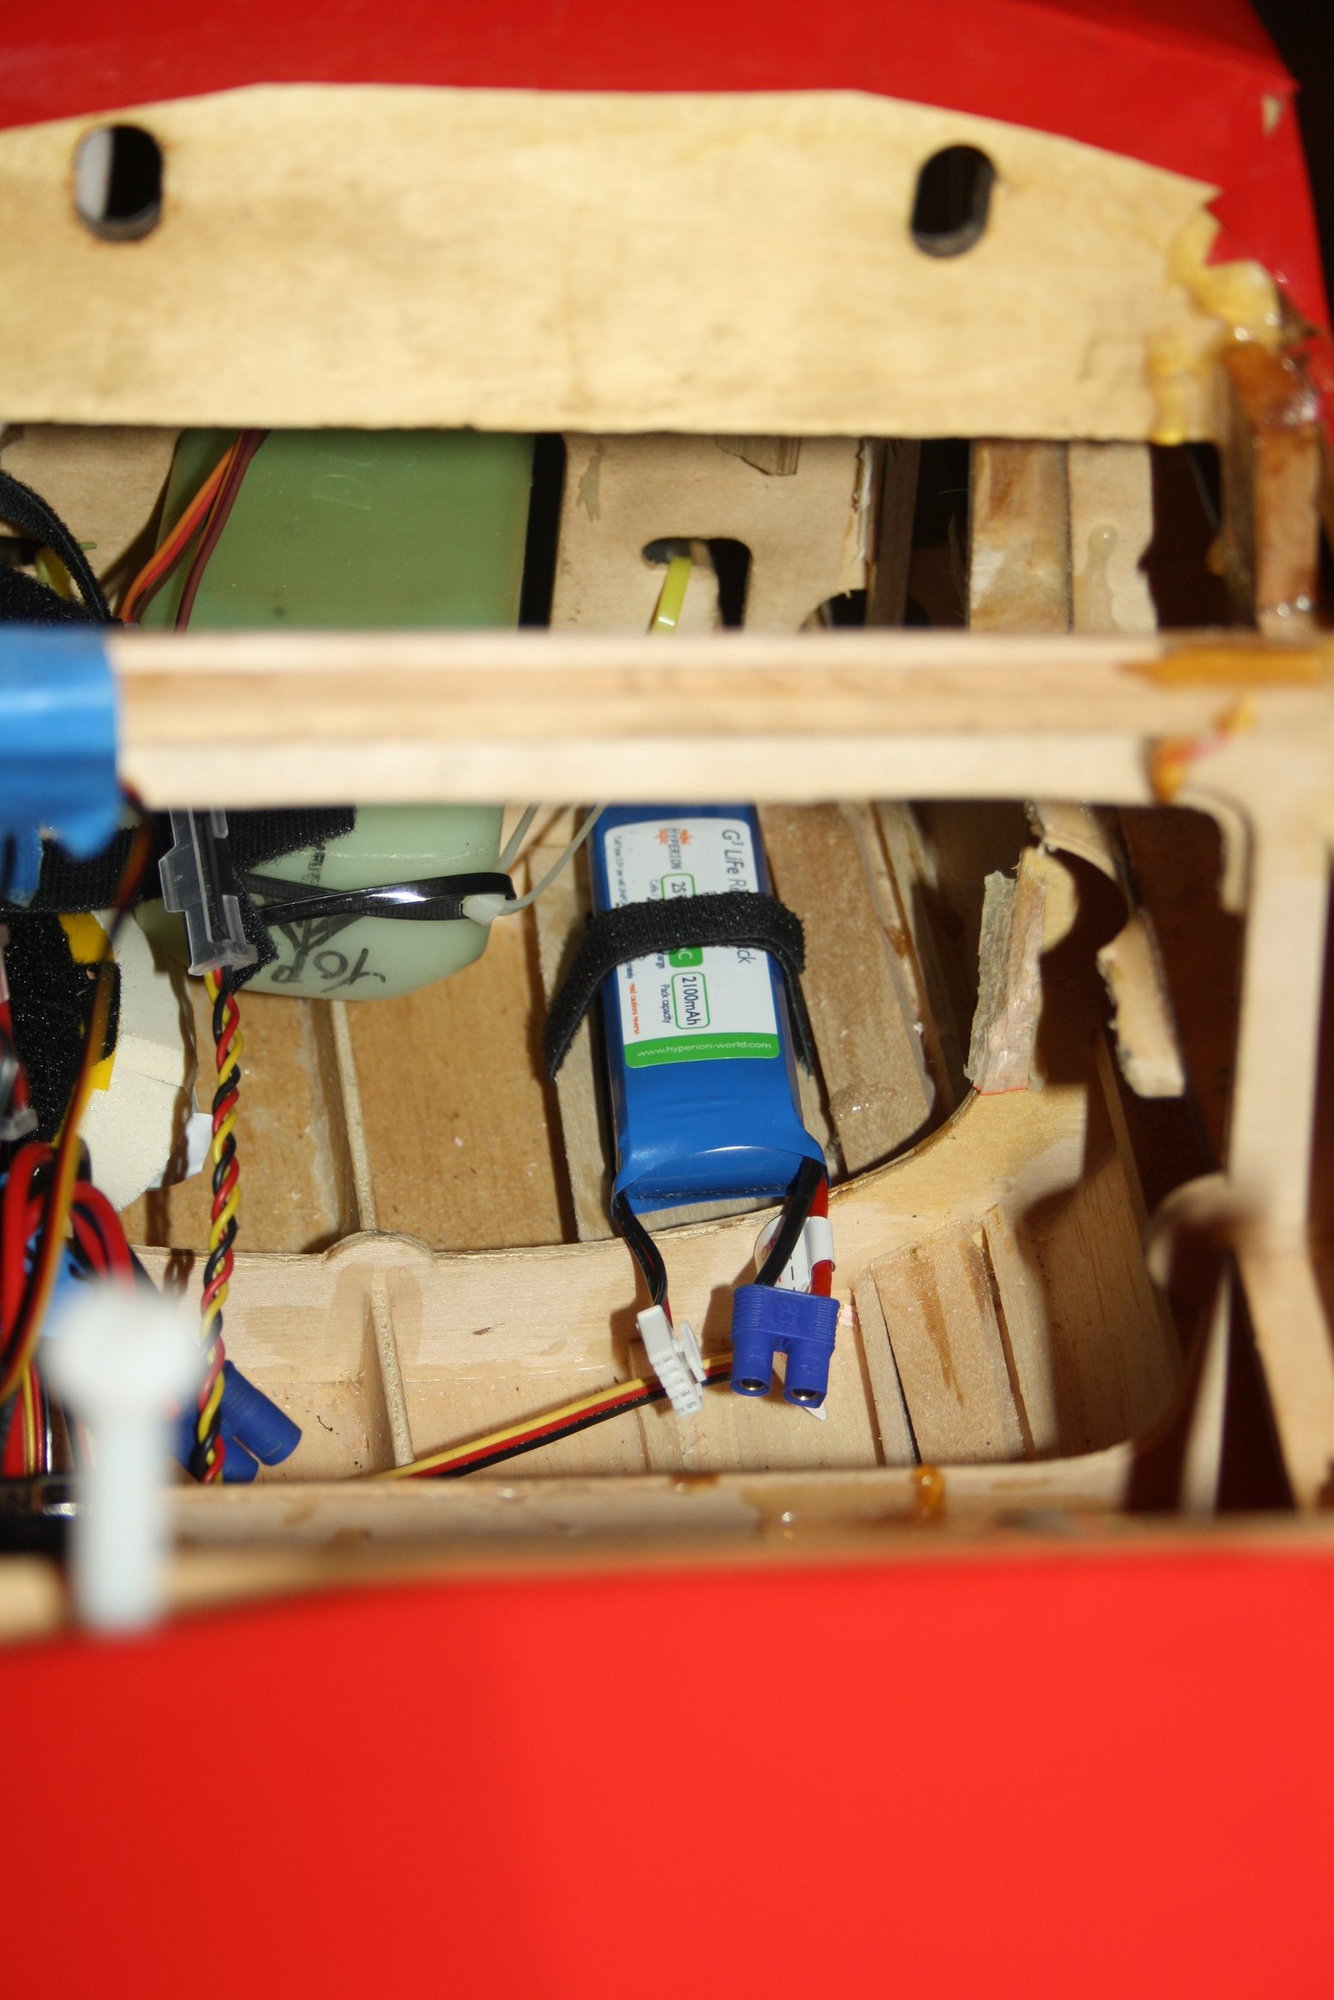
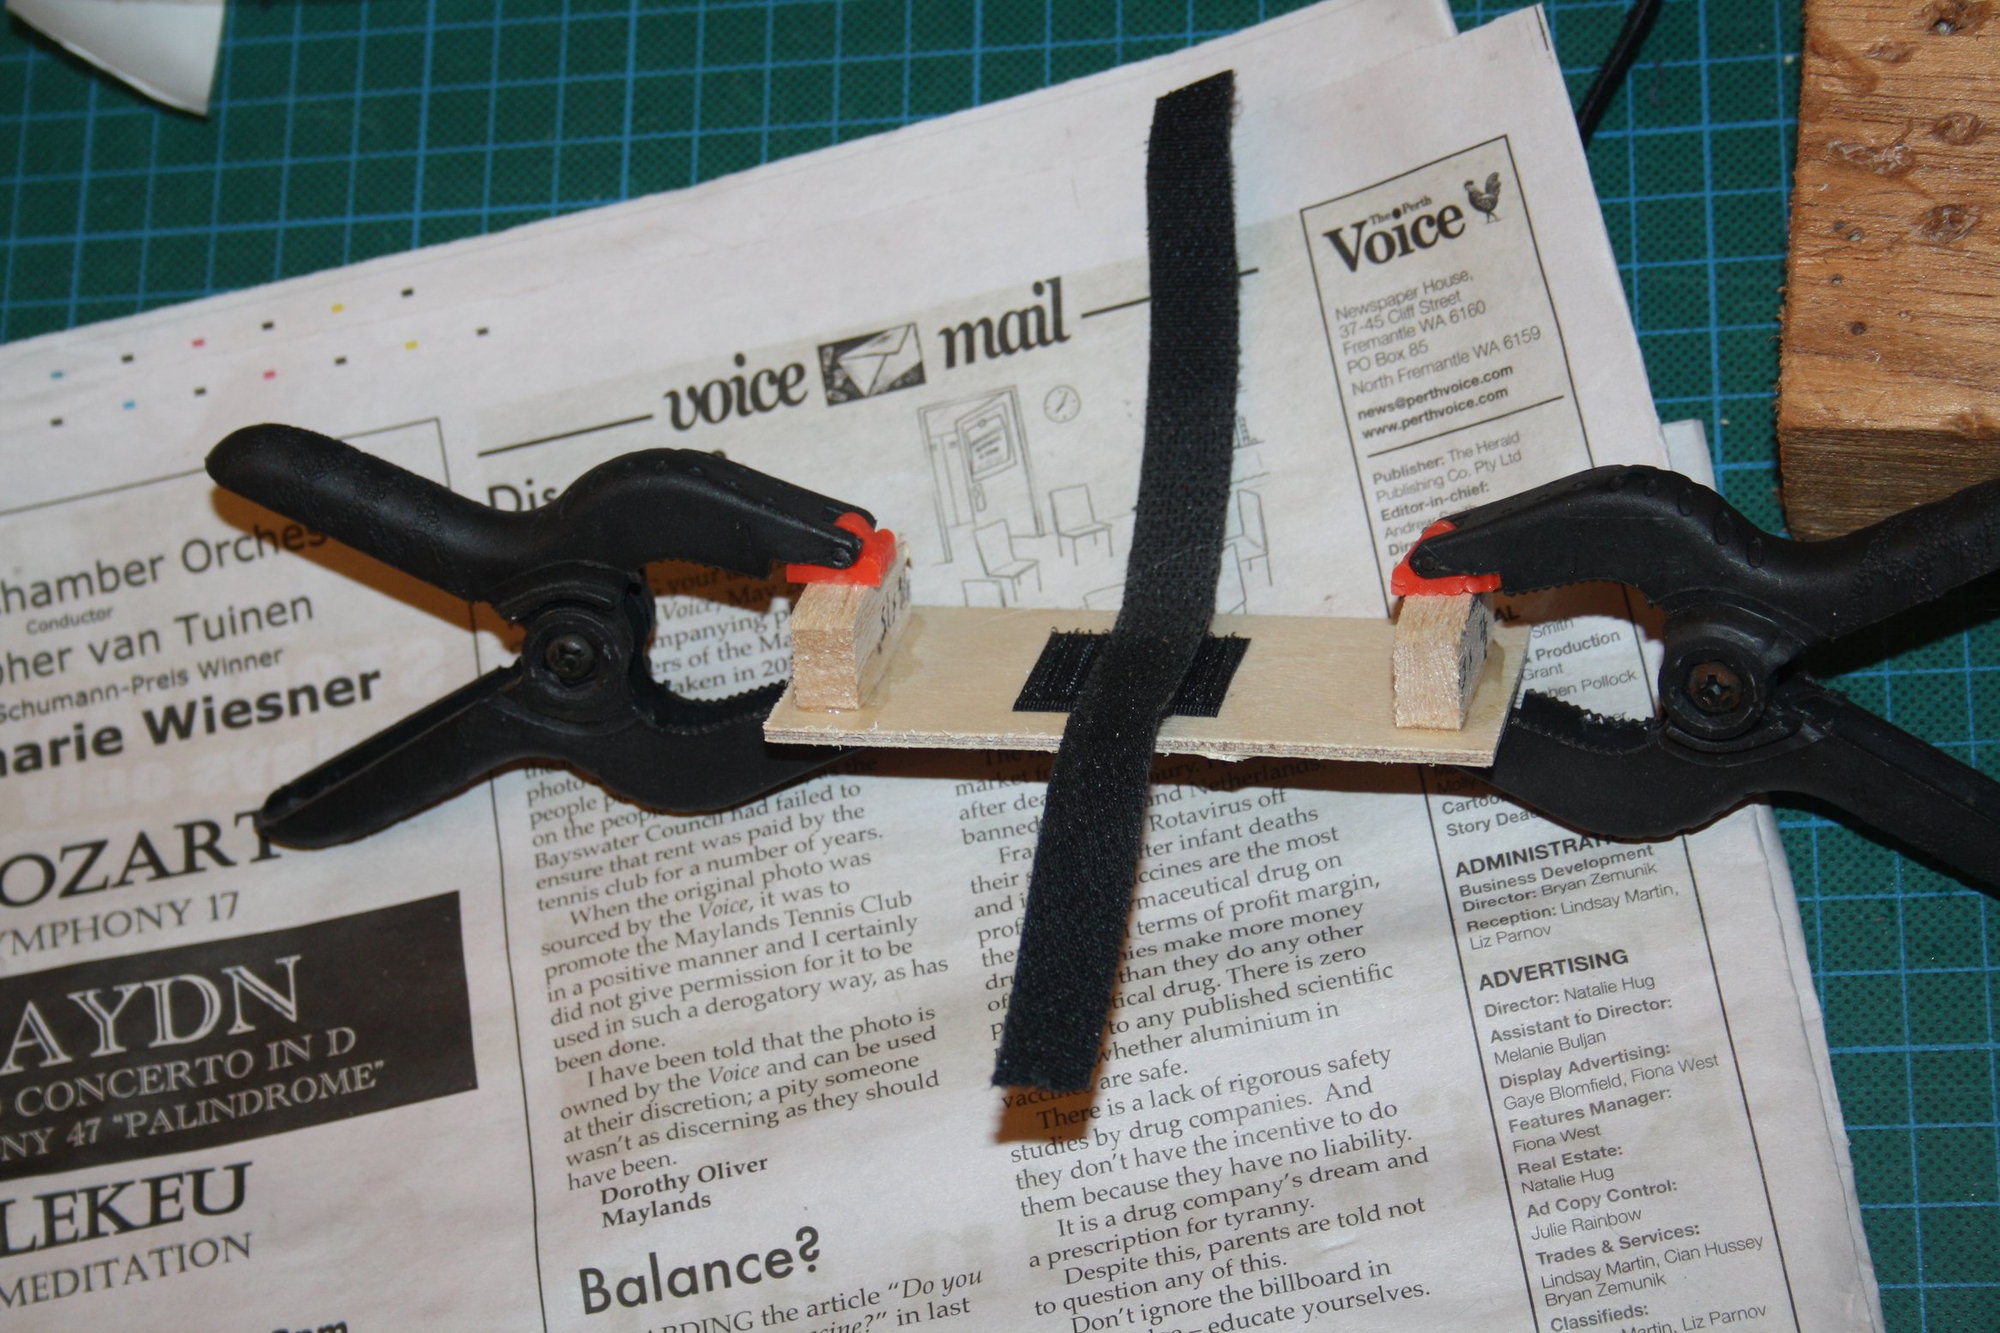
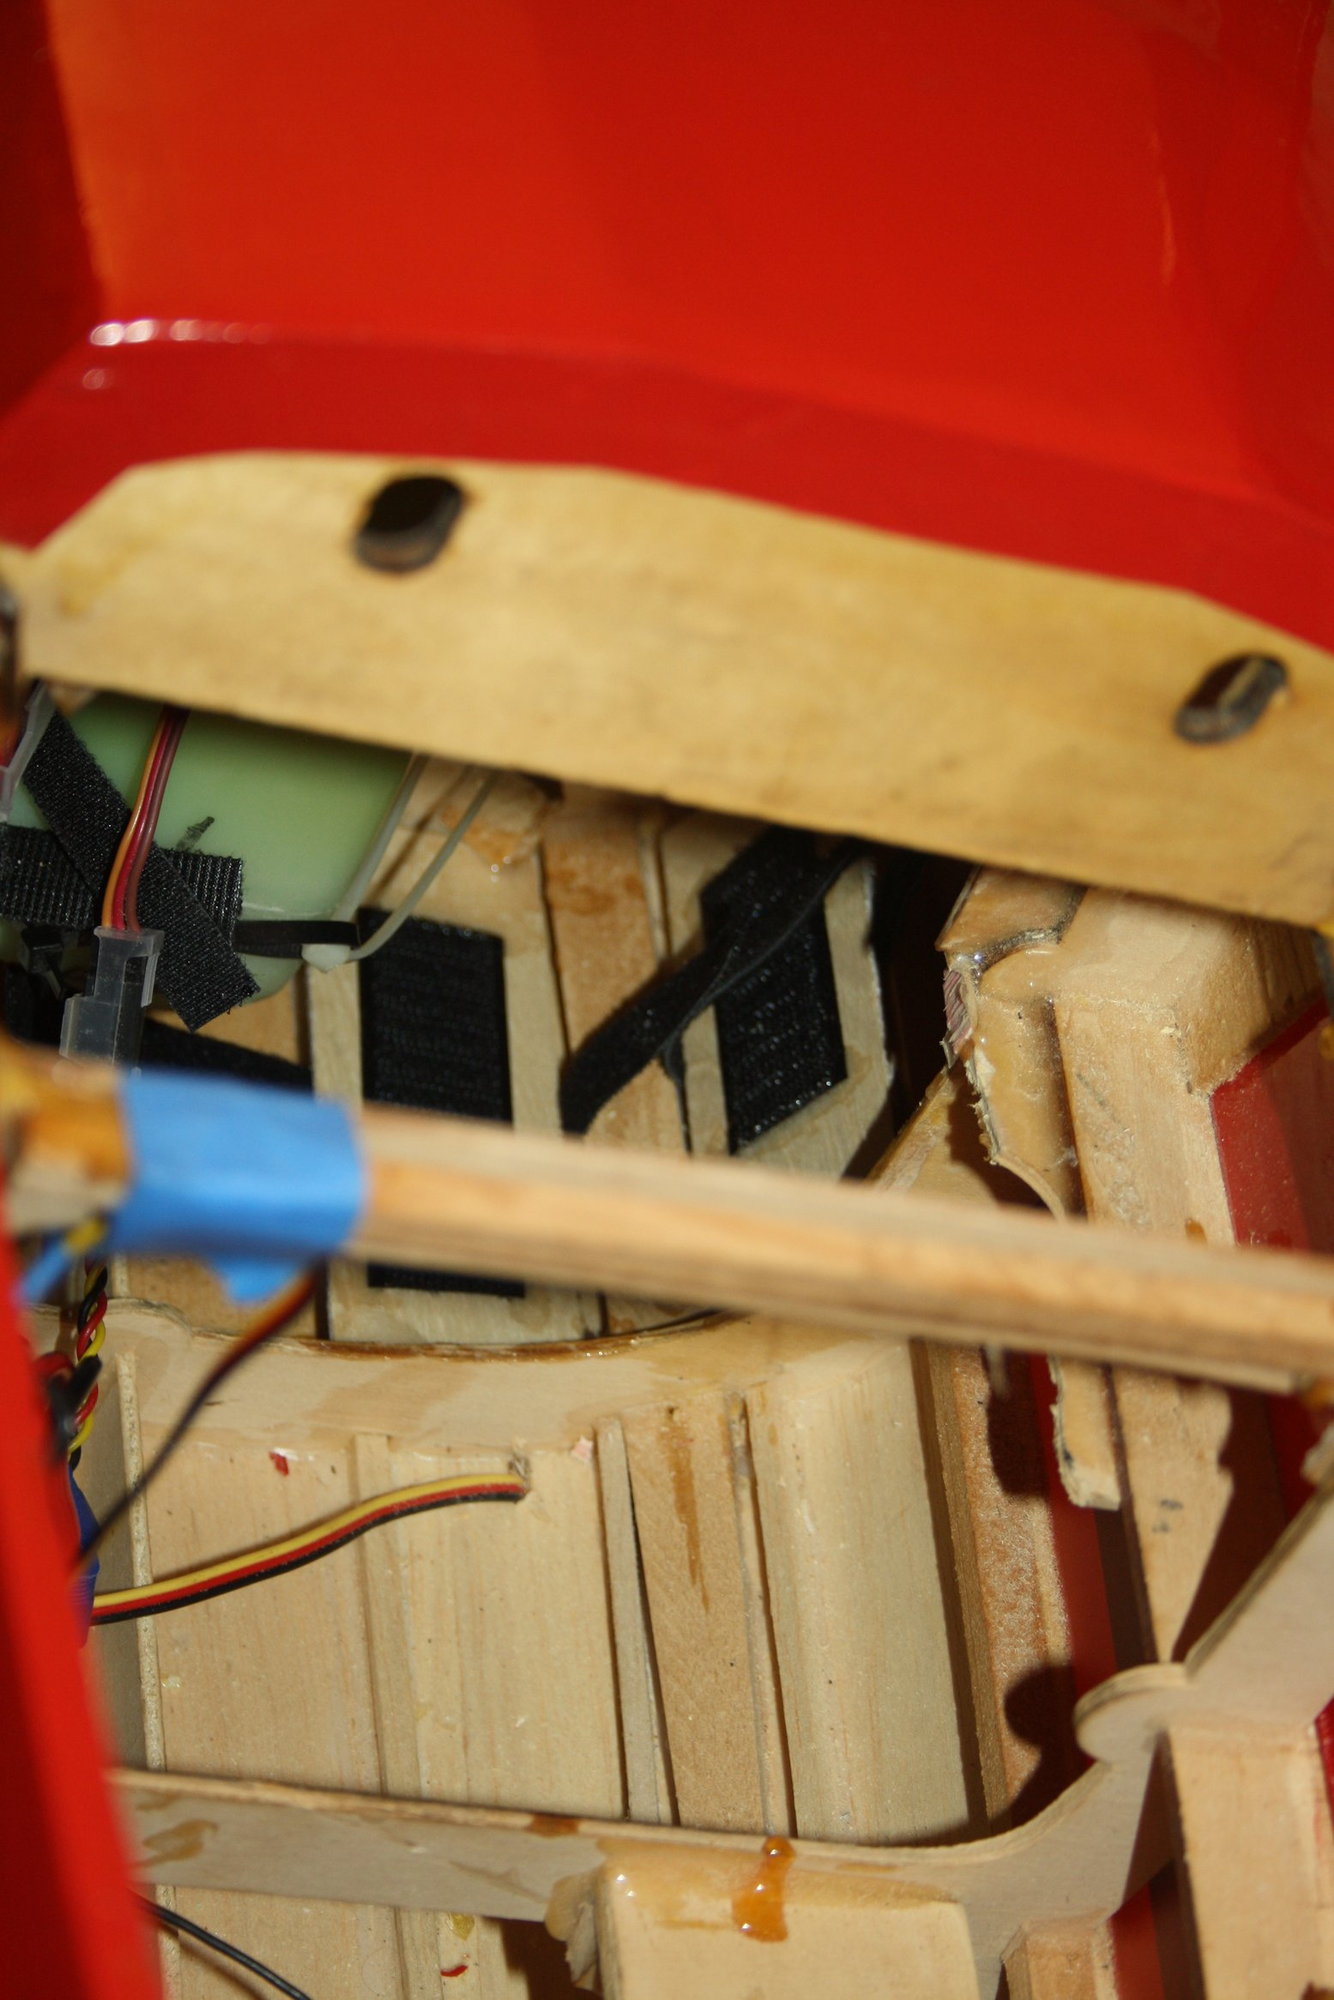
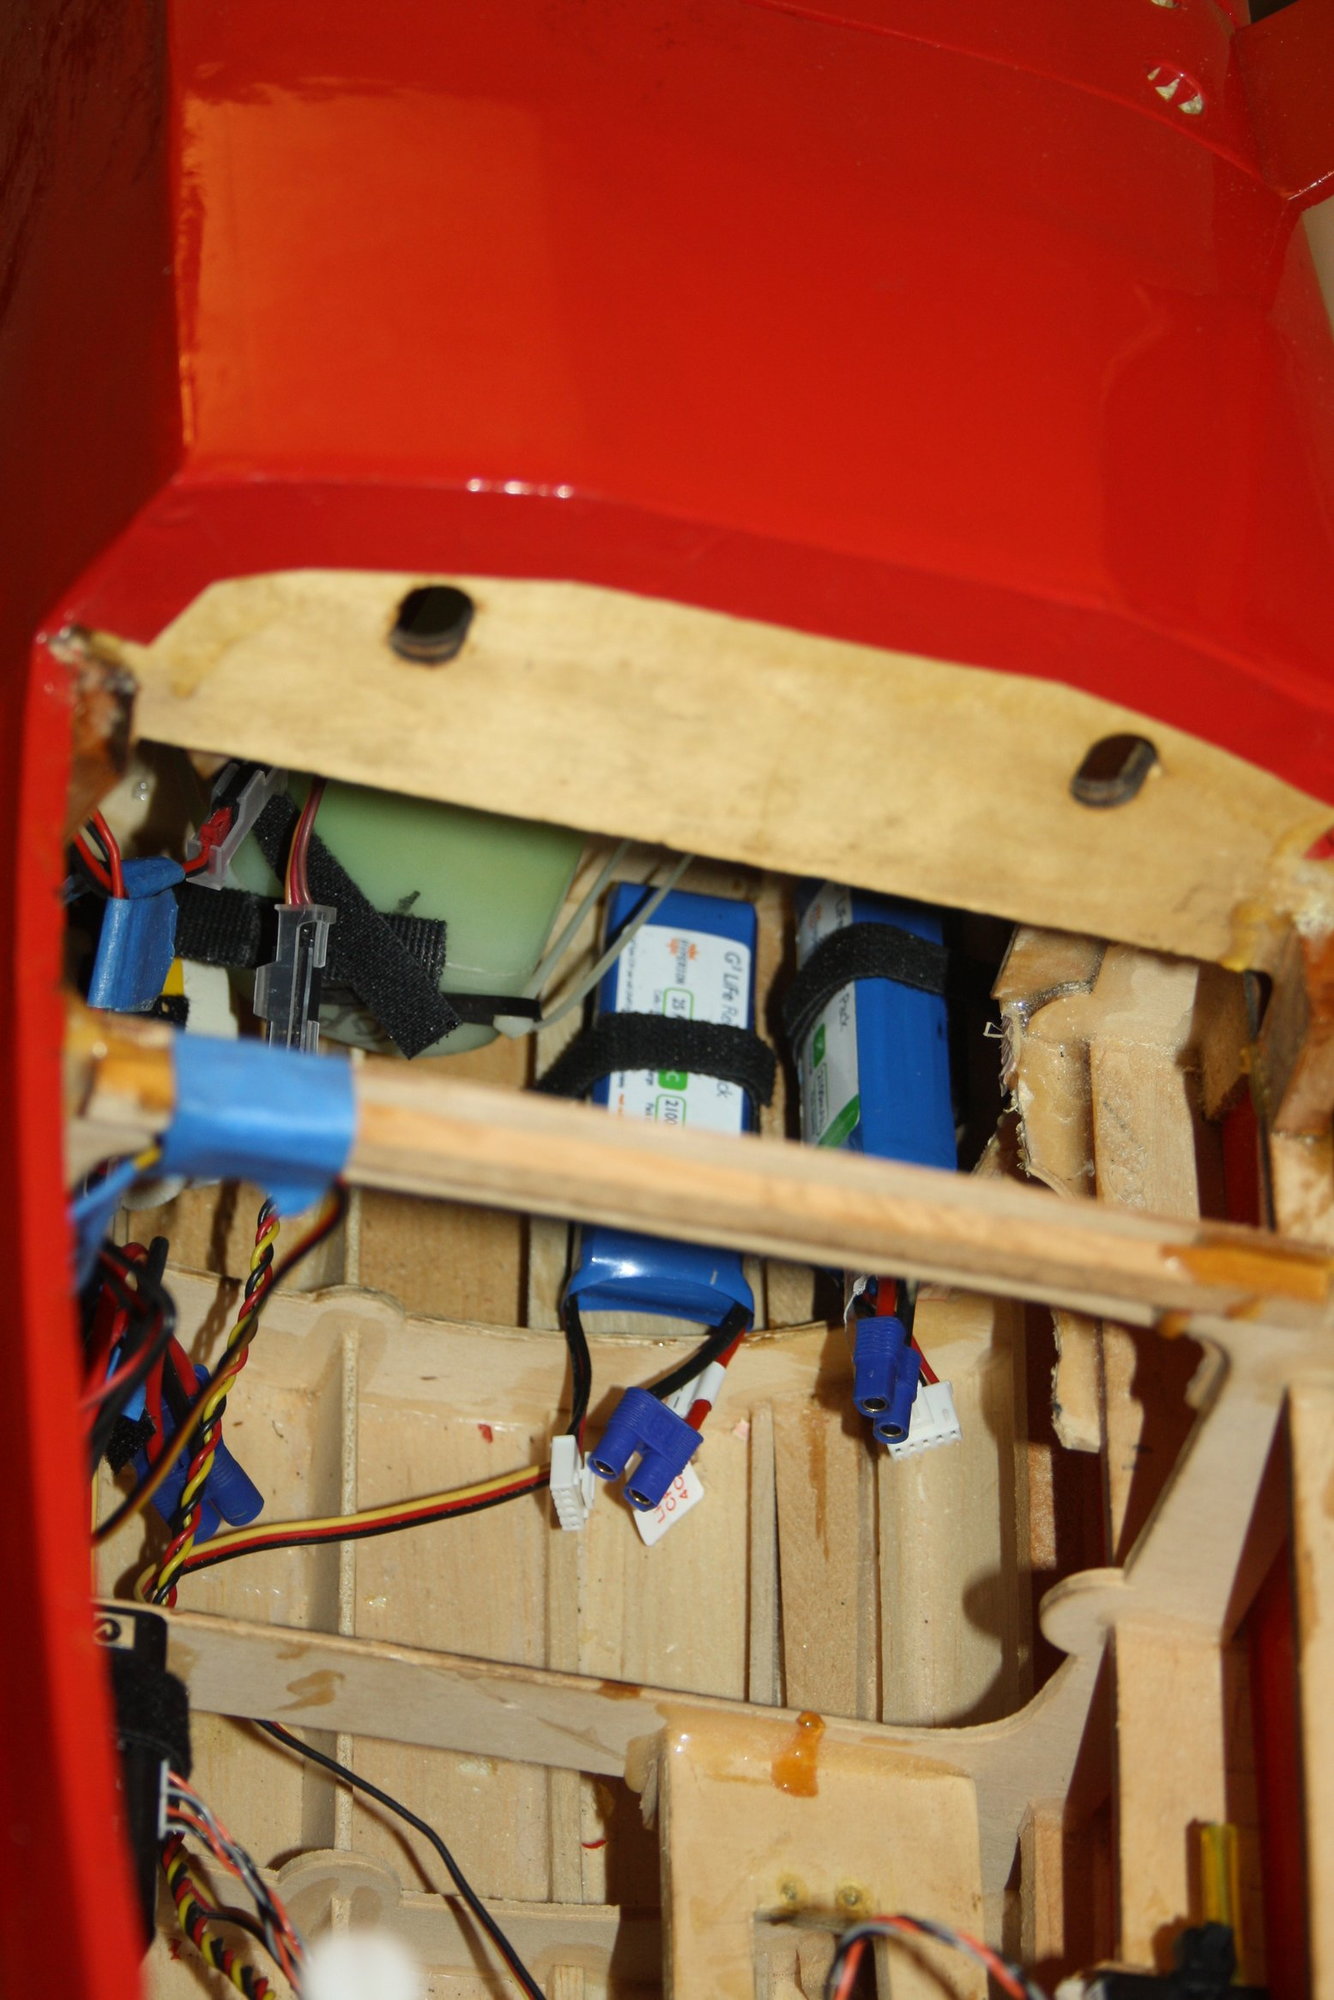
In addition, I use common batteries on my aeroplanes which require easy access mounts. So, ripping the "old" mounts and making new ones...
04-08-2019, 09:51 PM
#46
Thread Starter
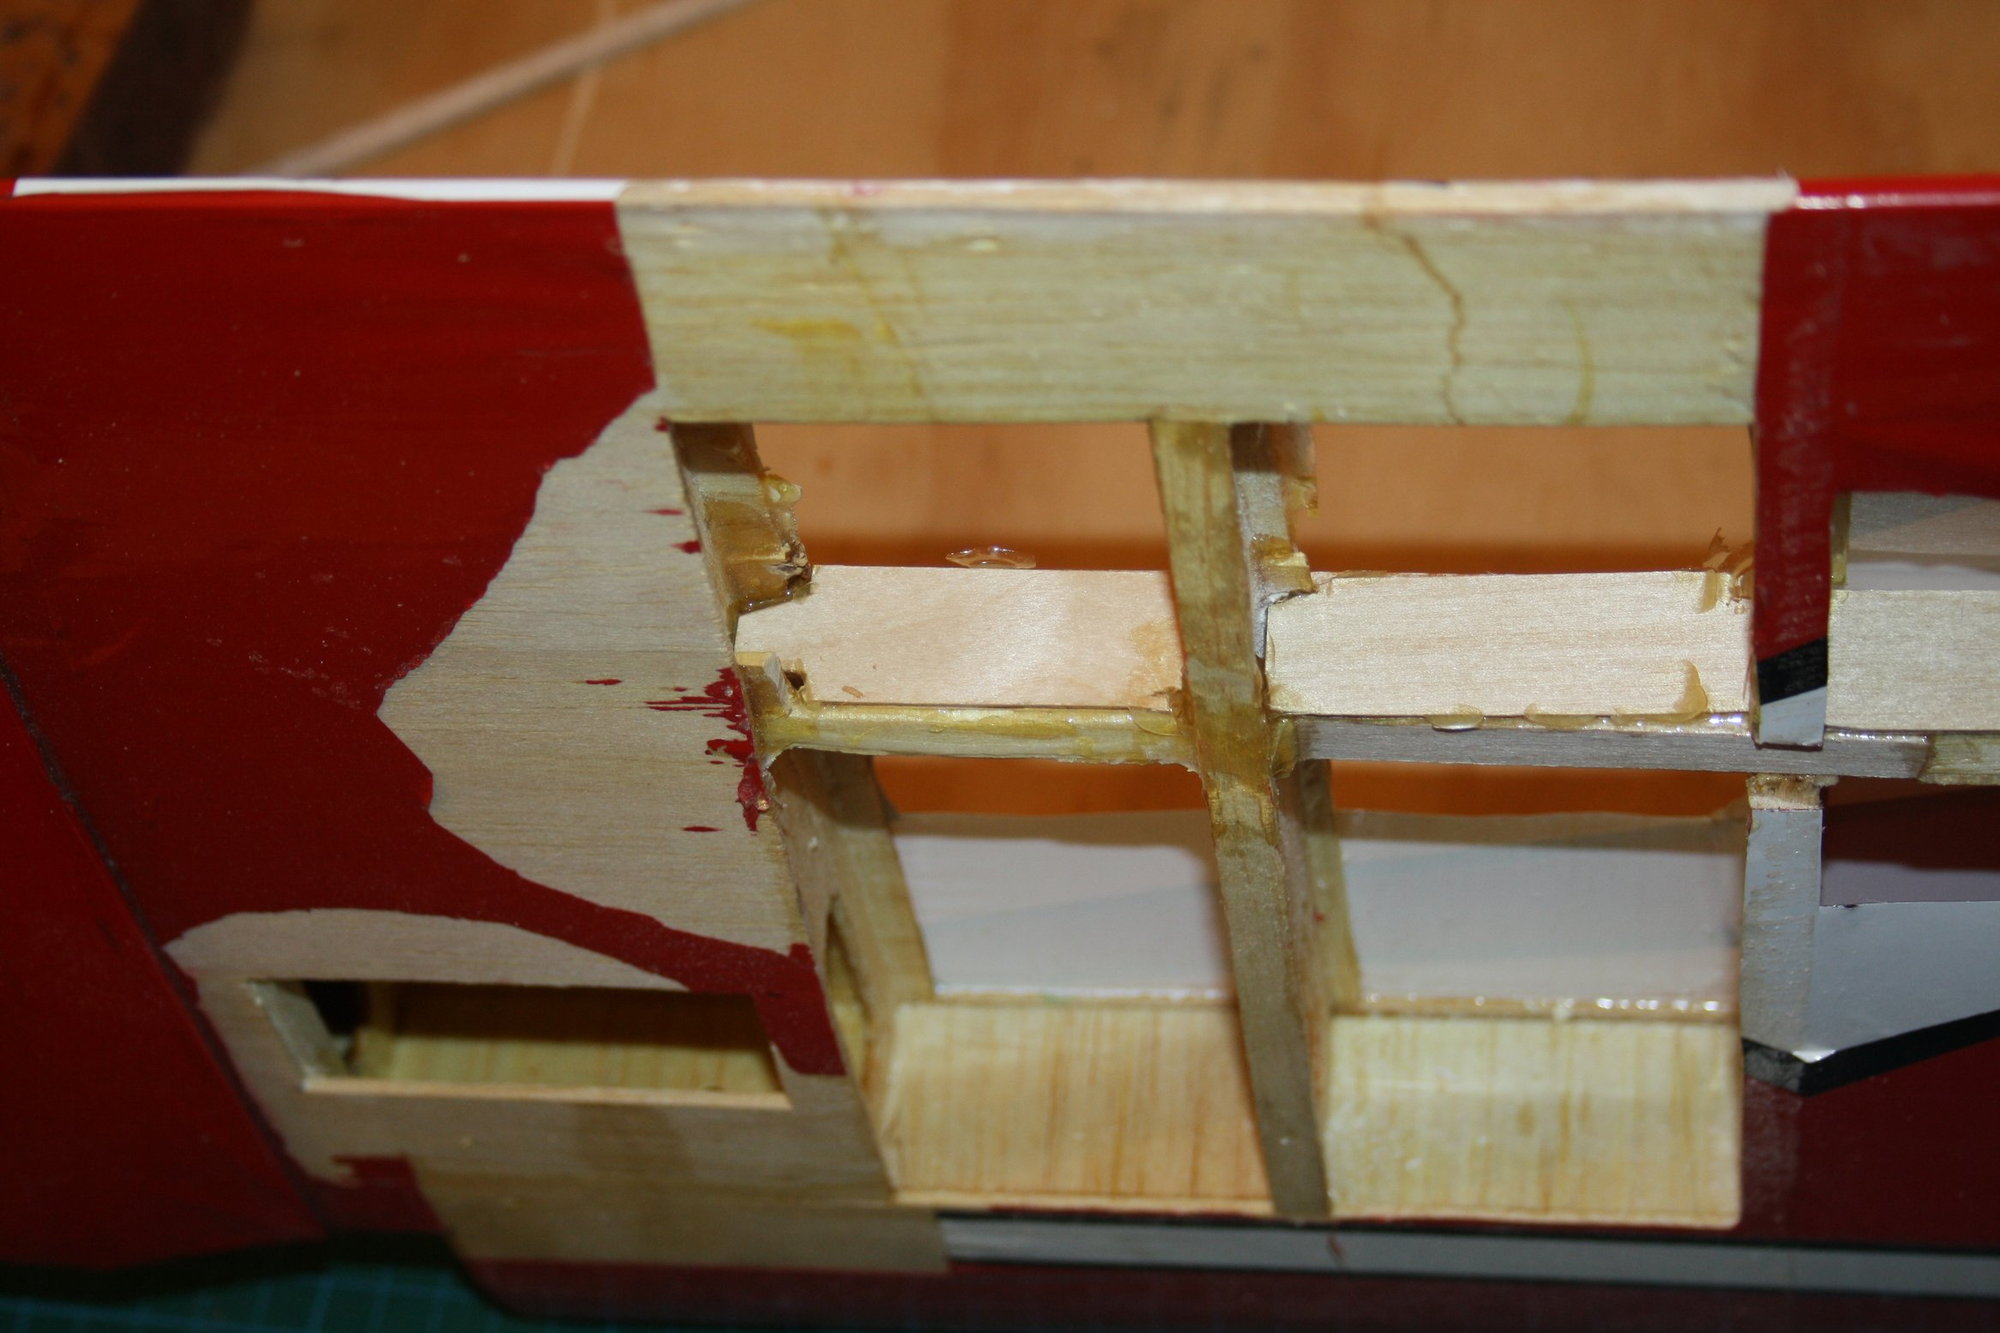
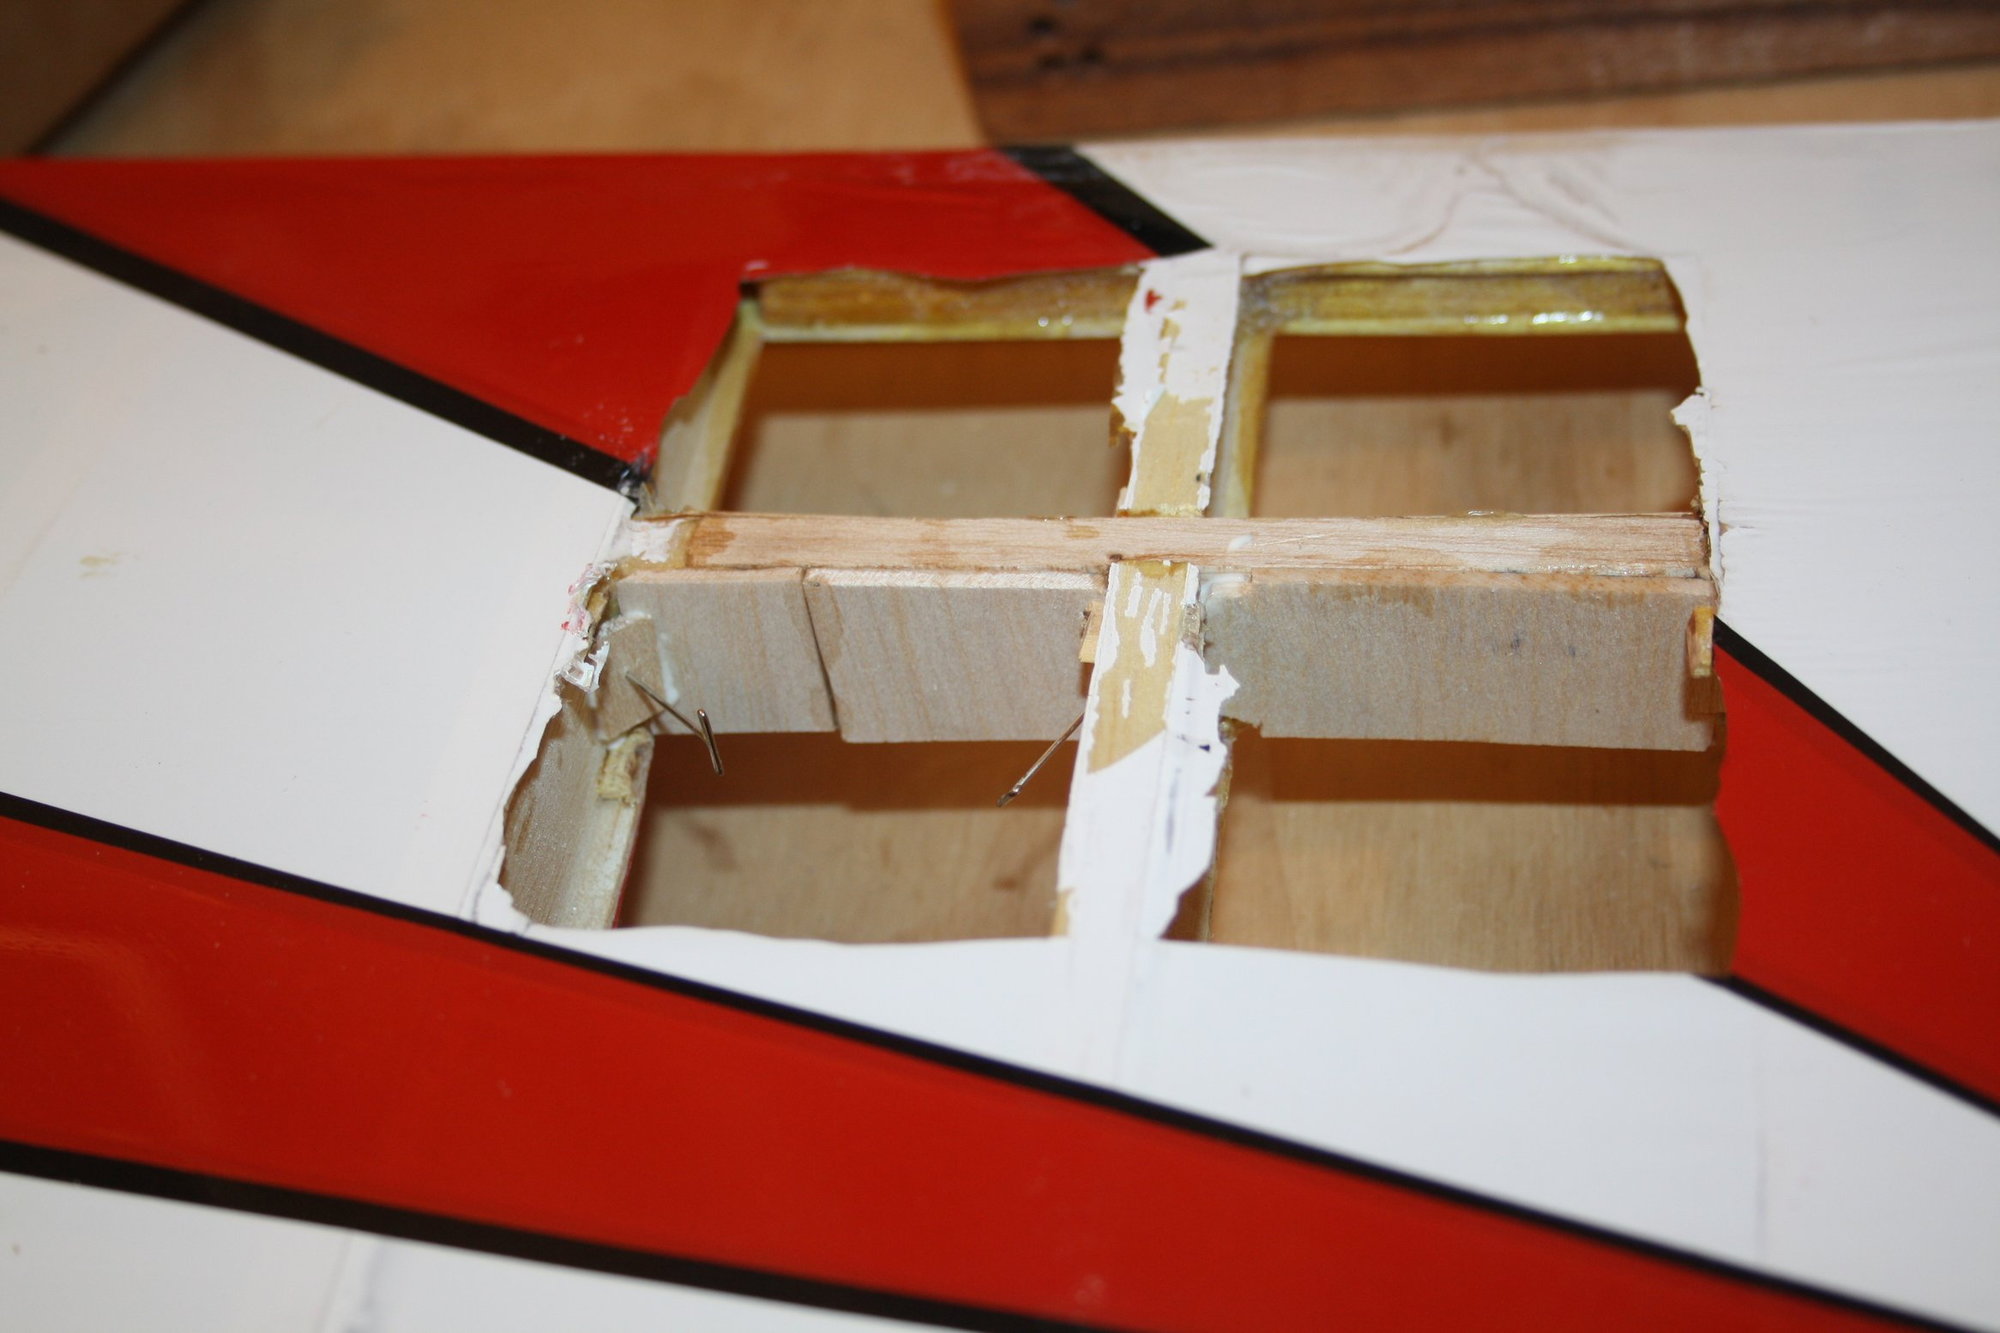
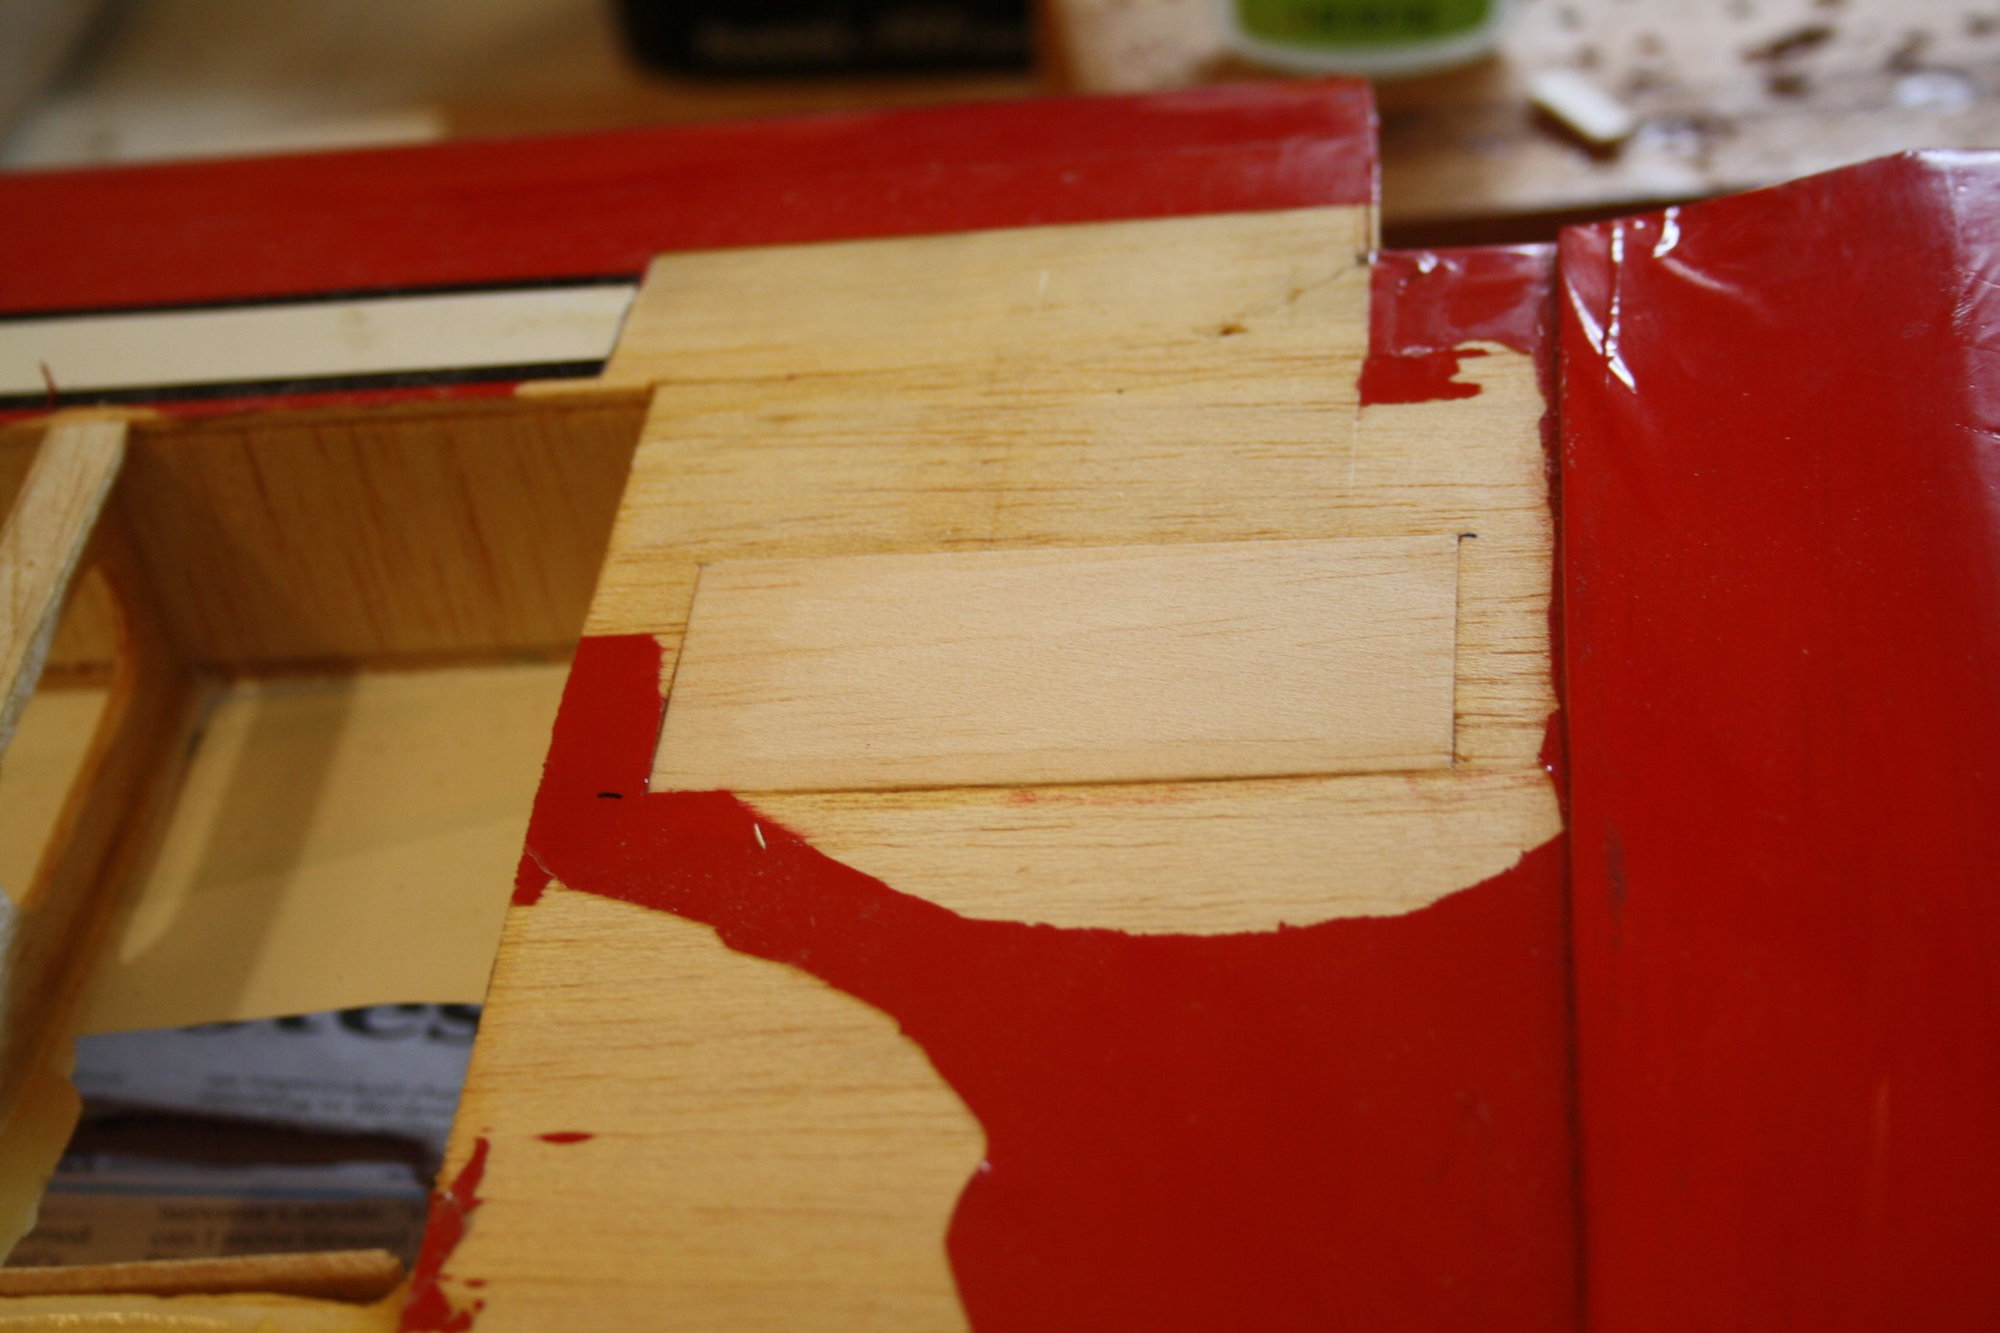
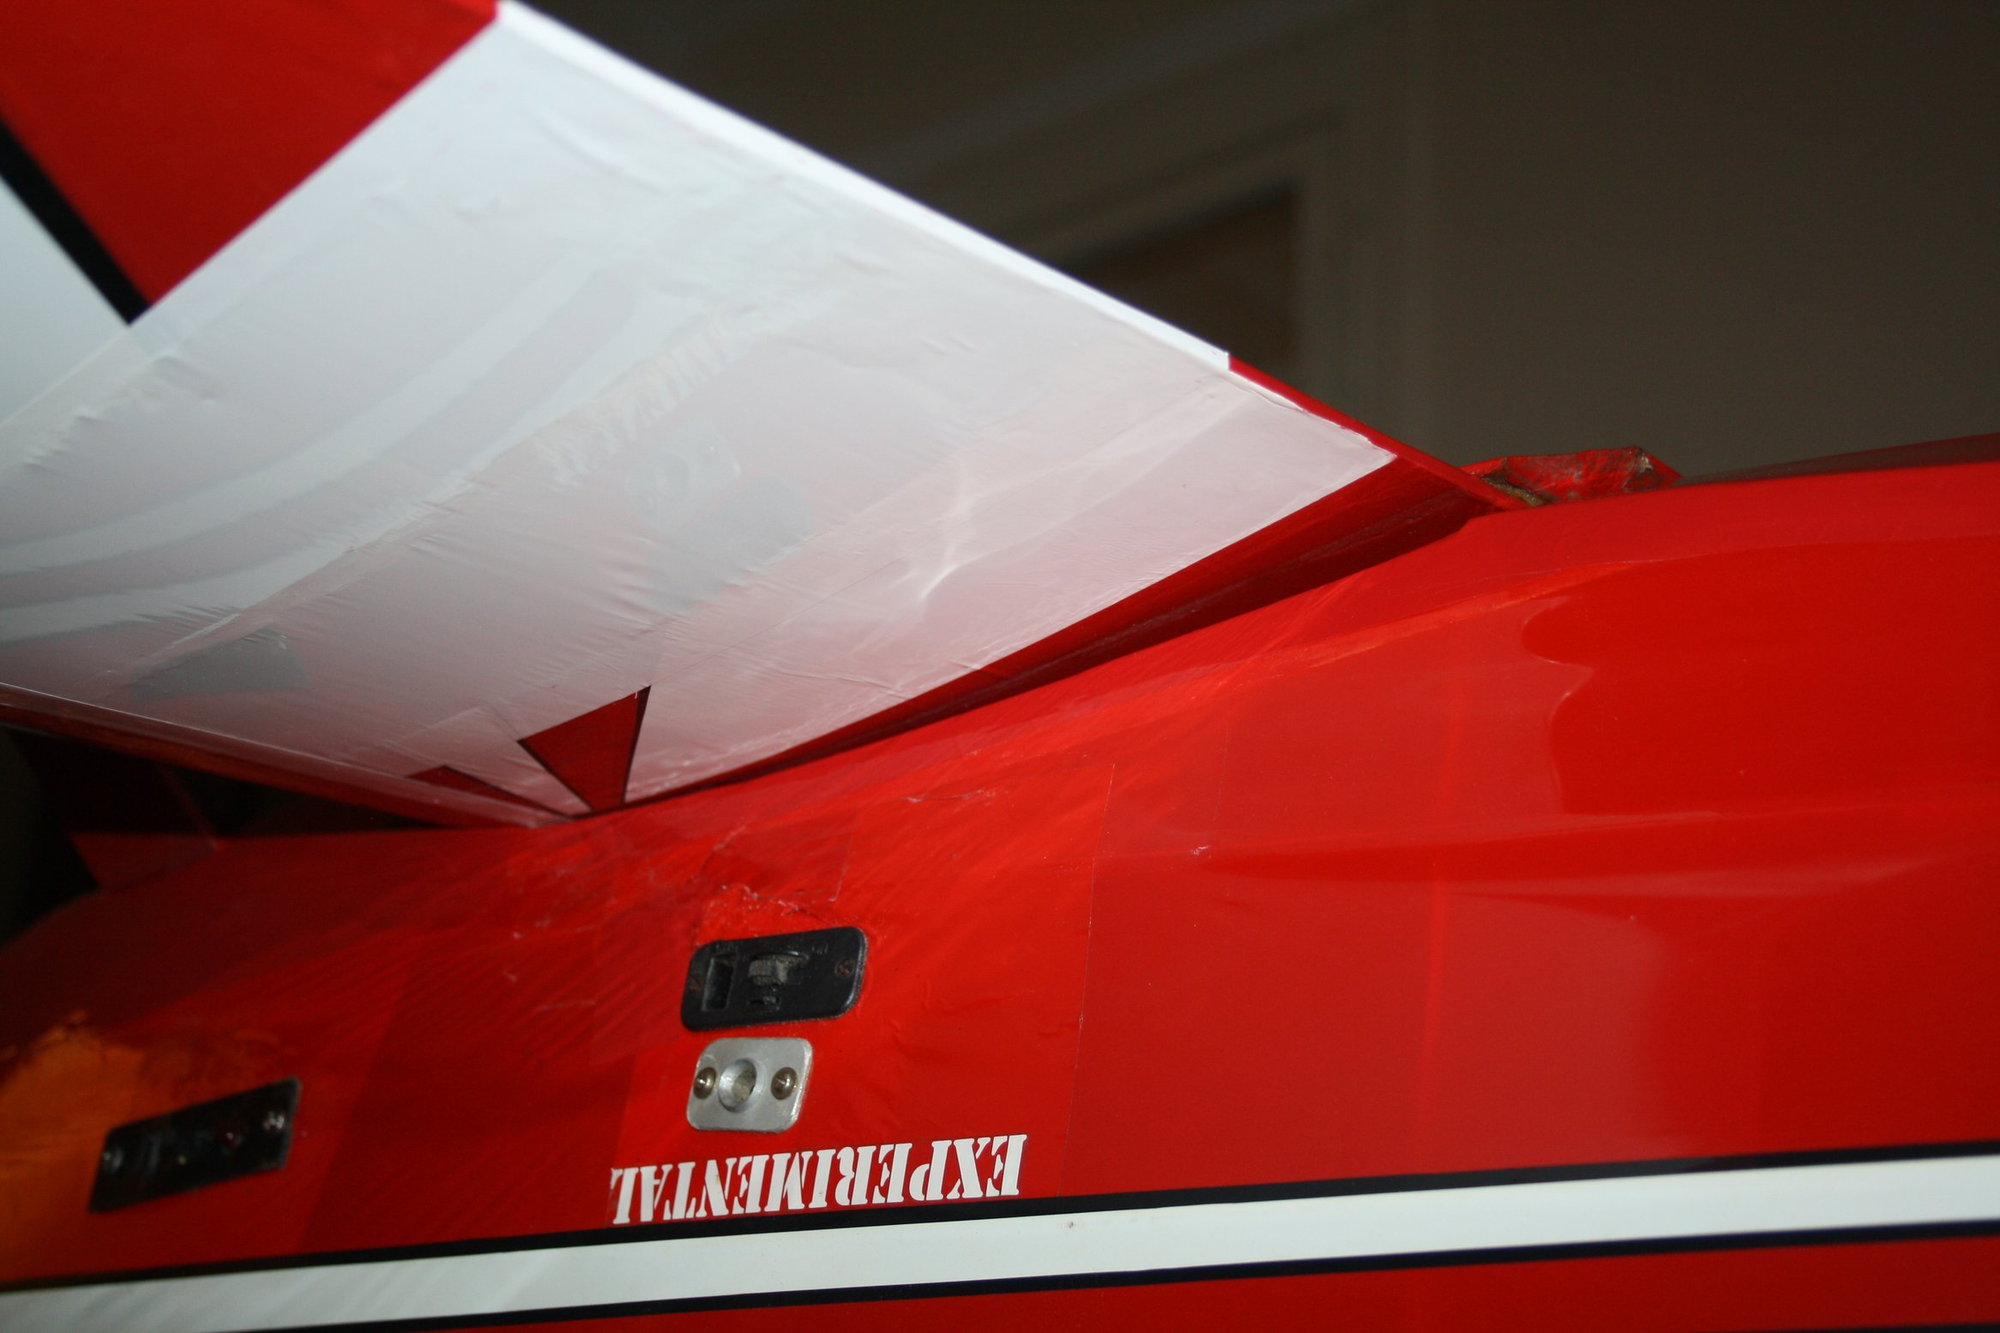
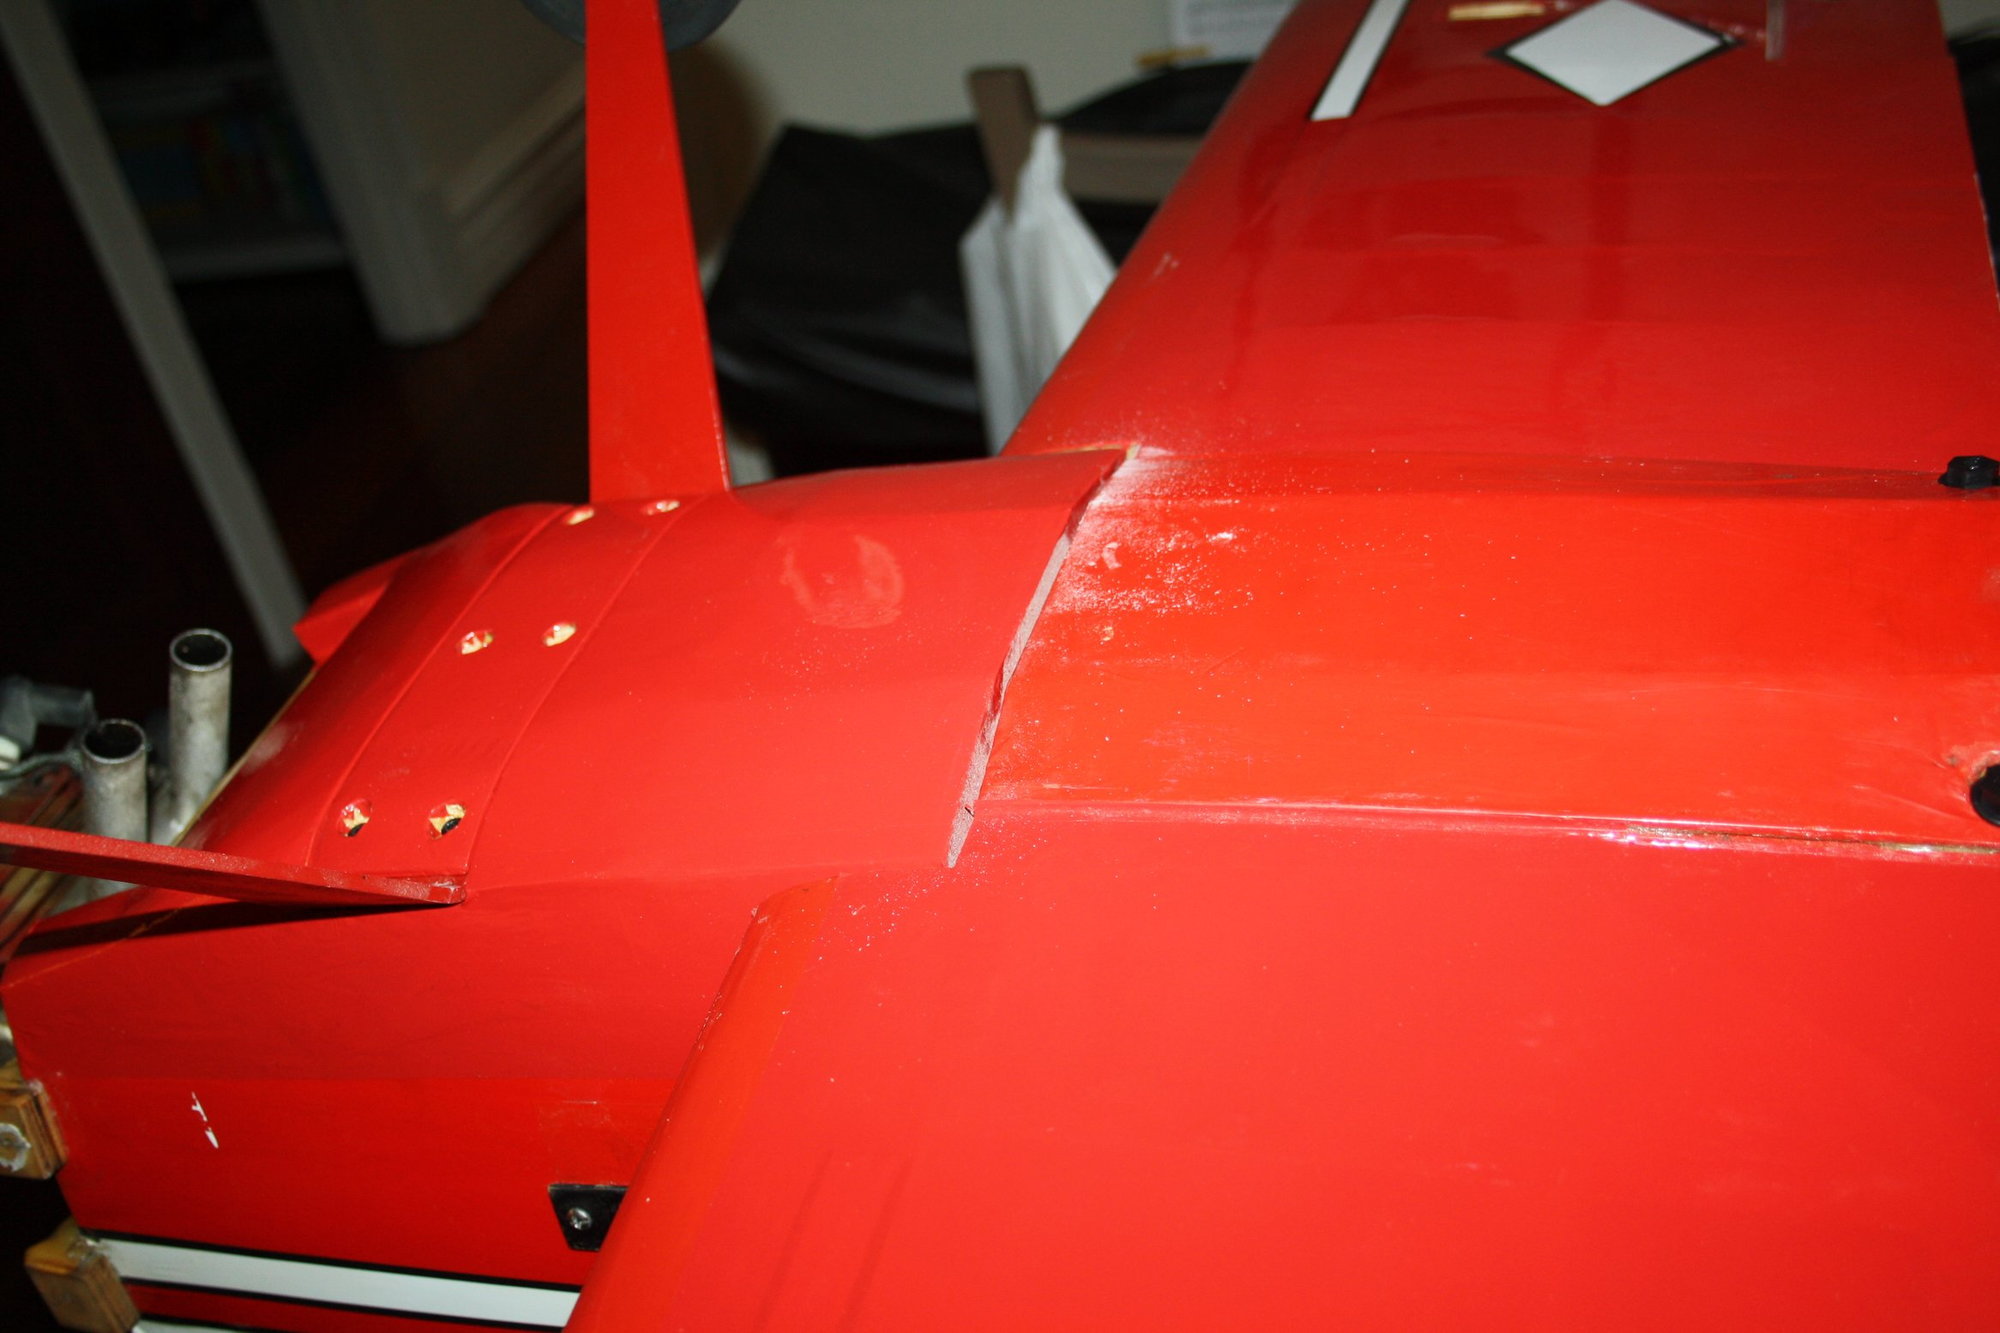
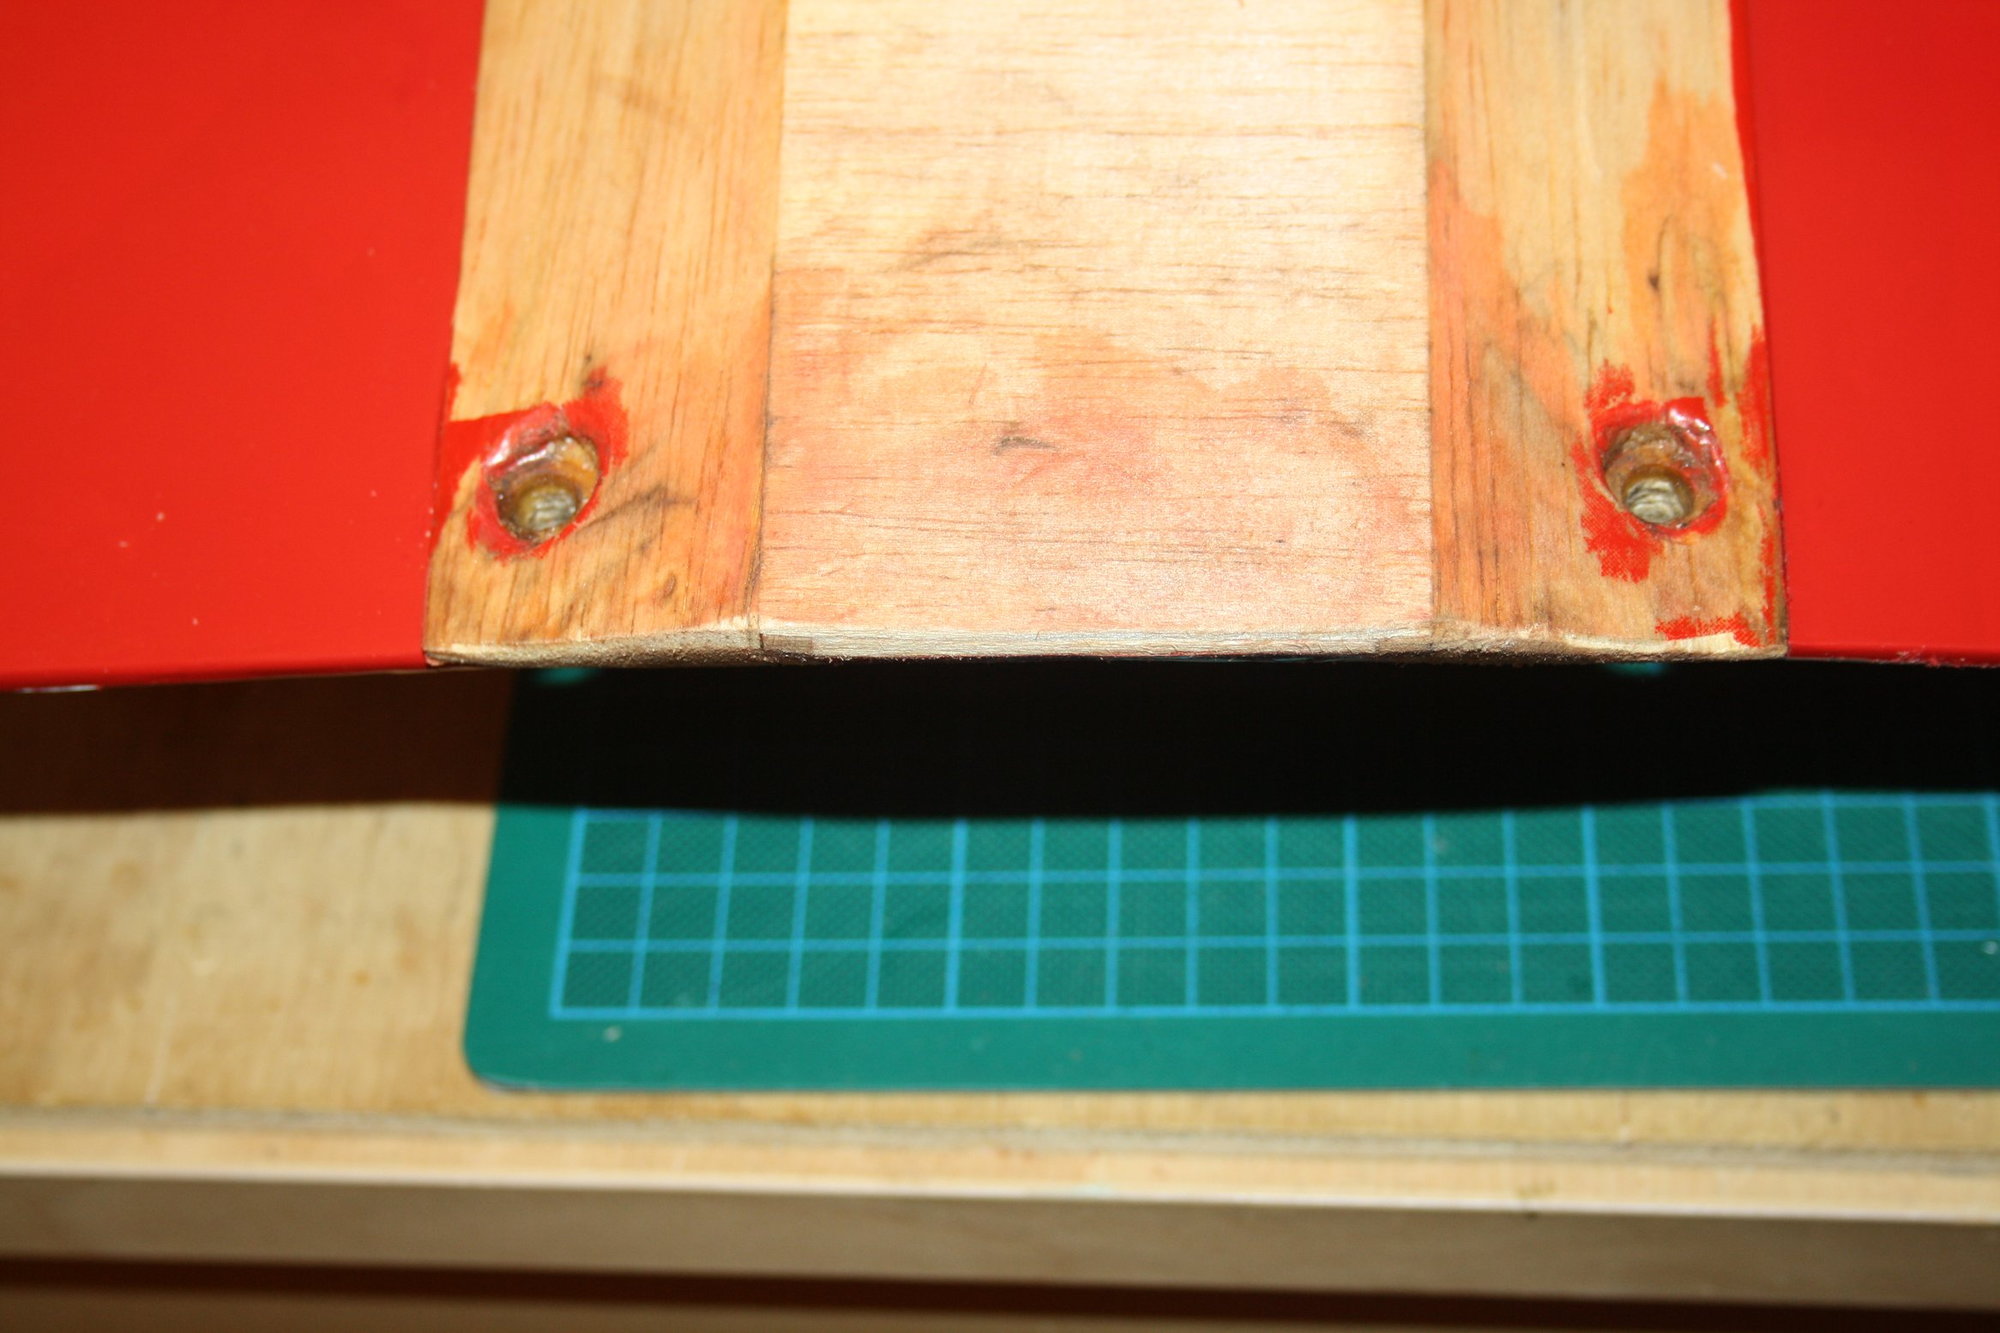
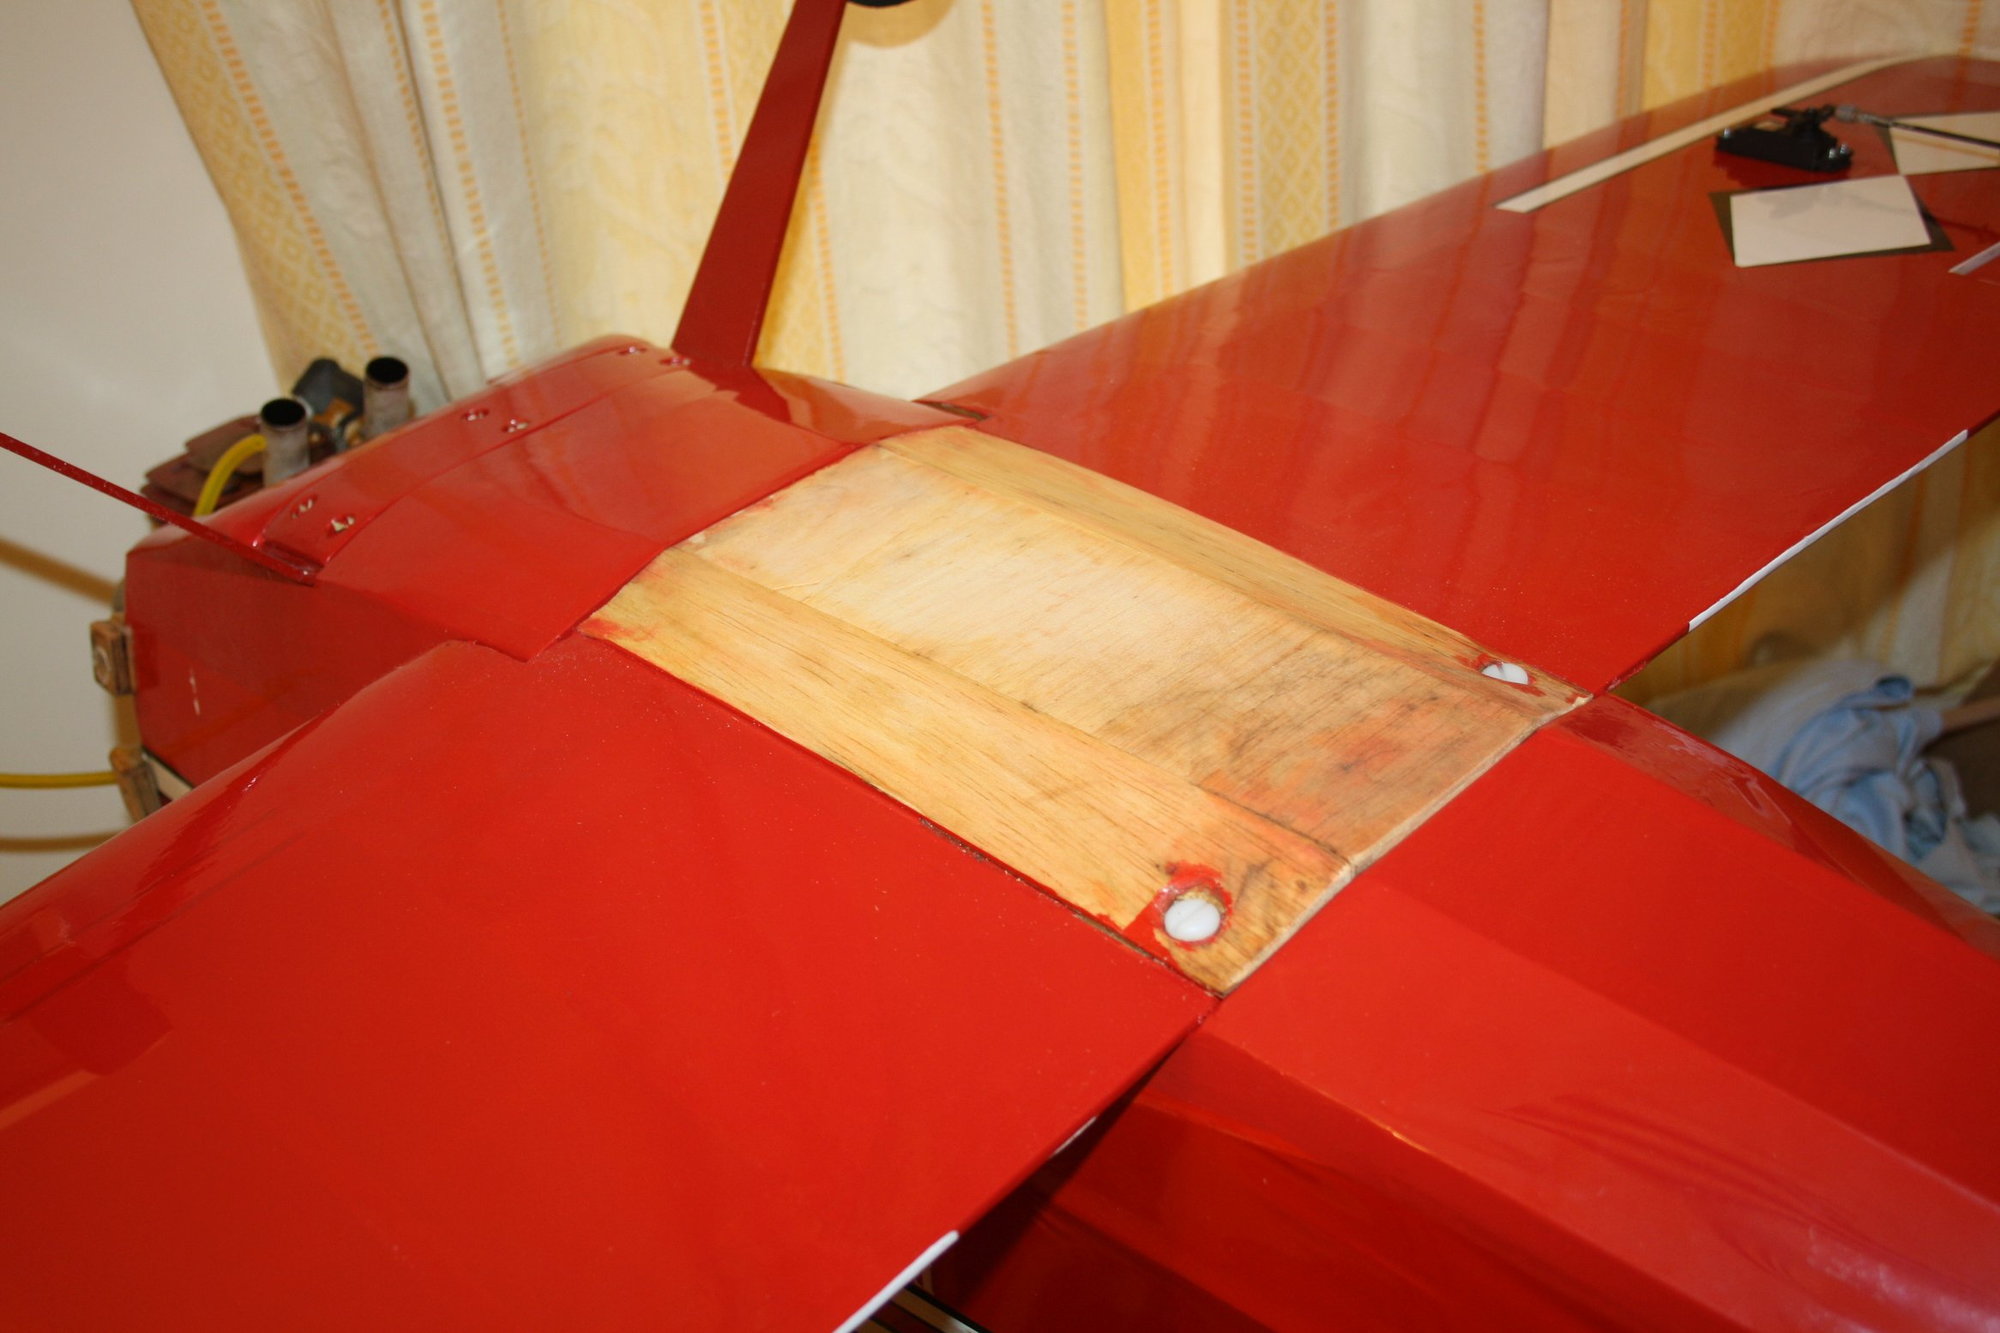
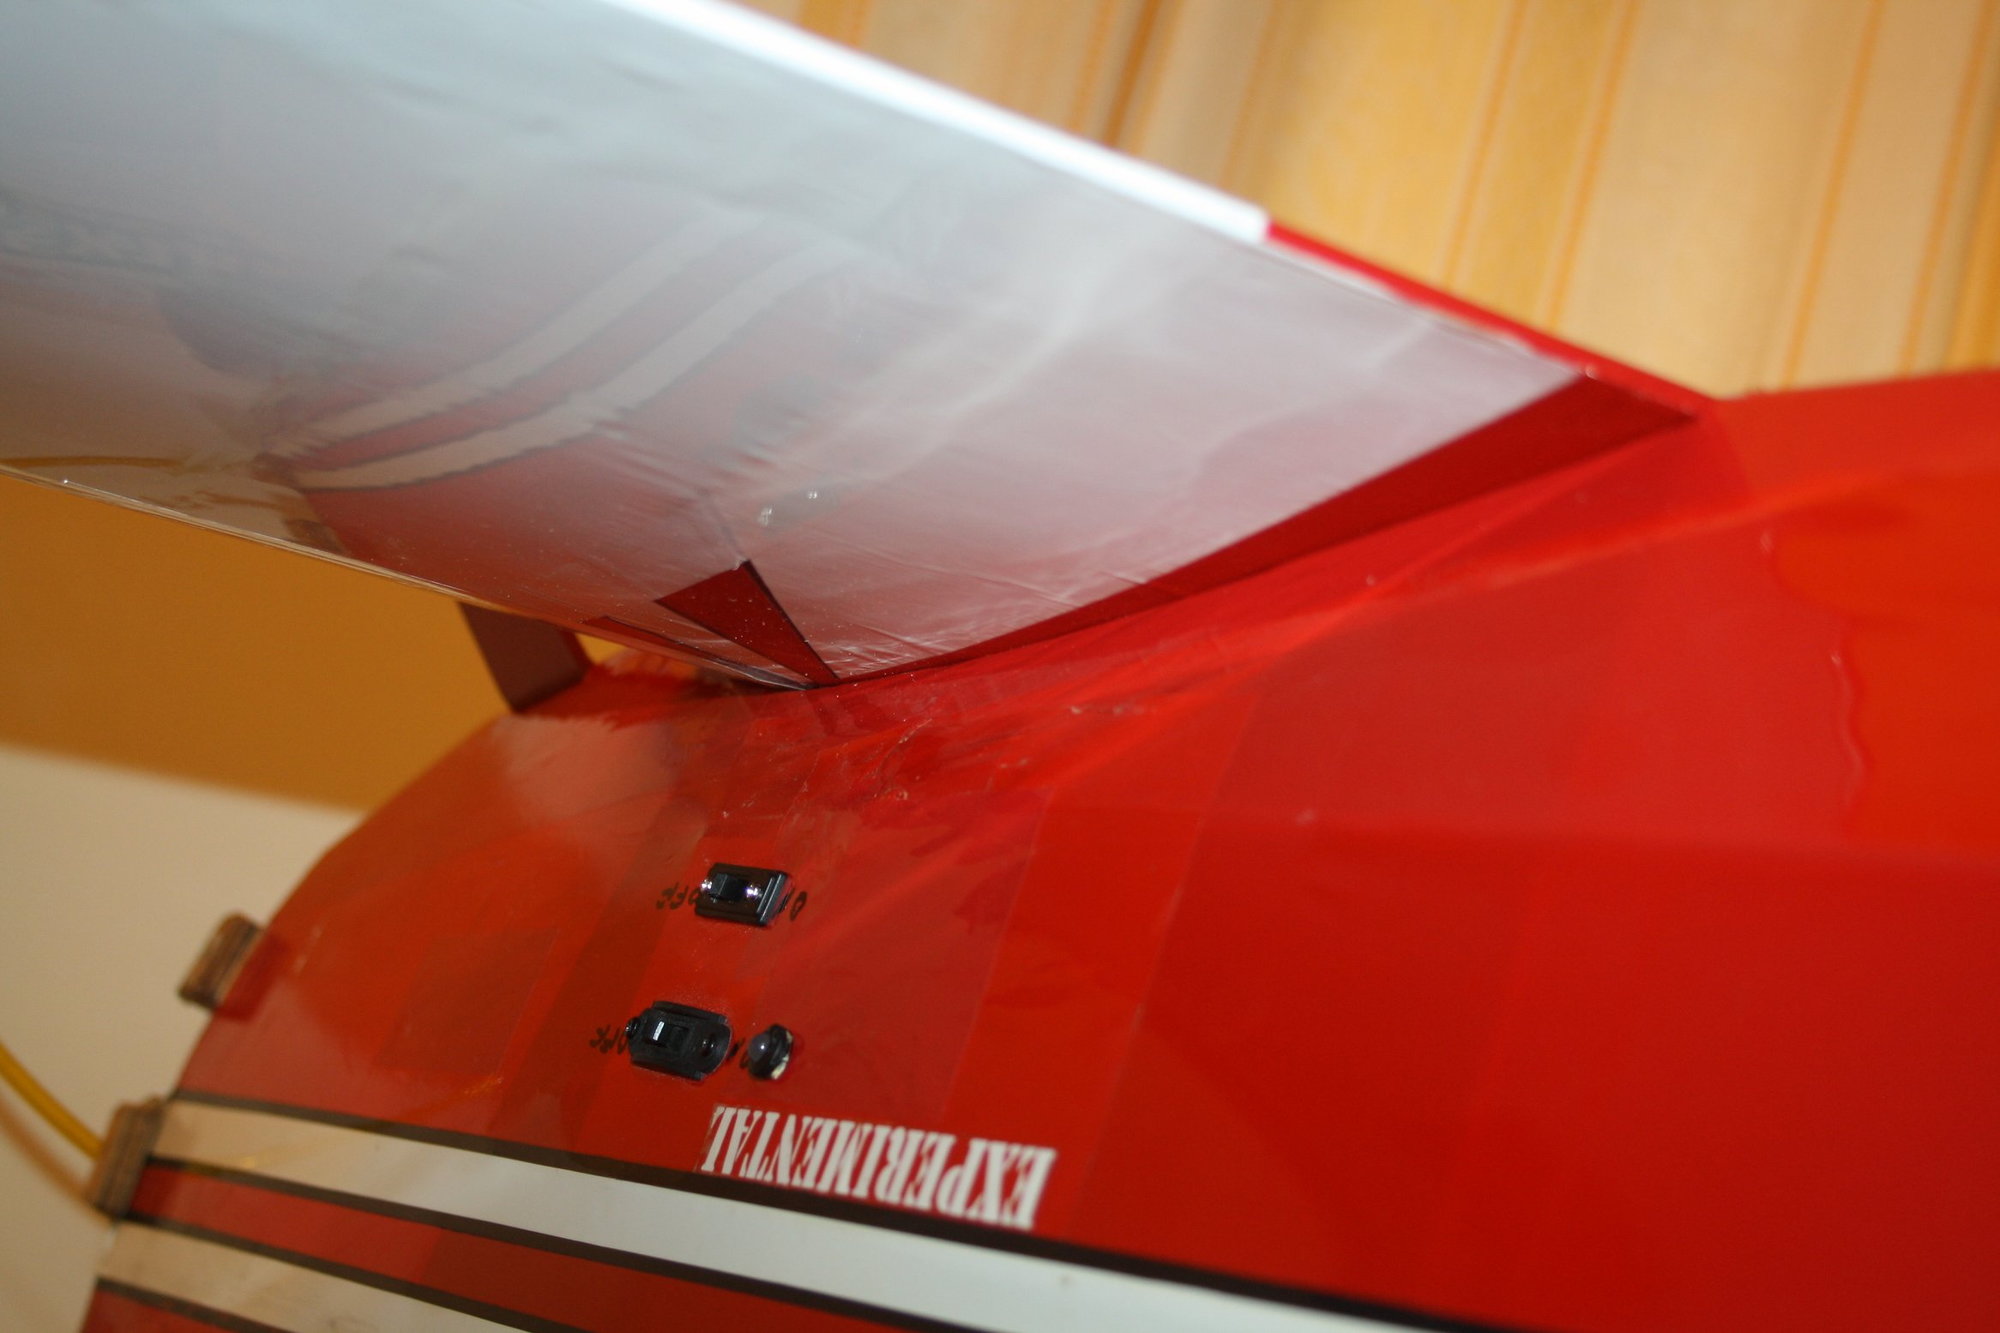
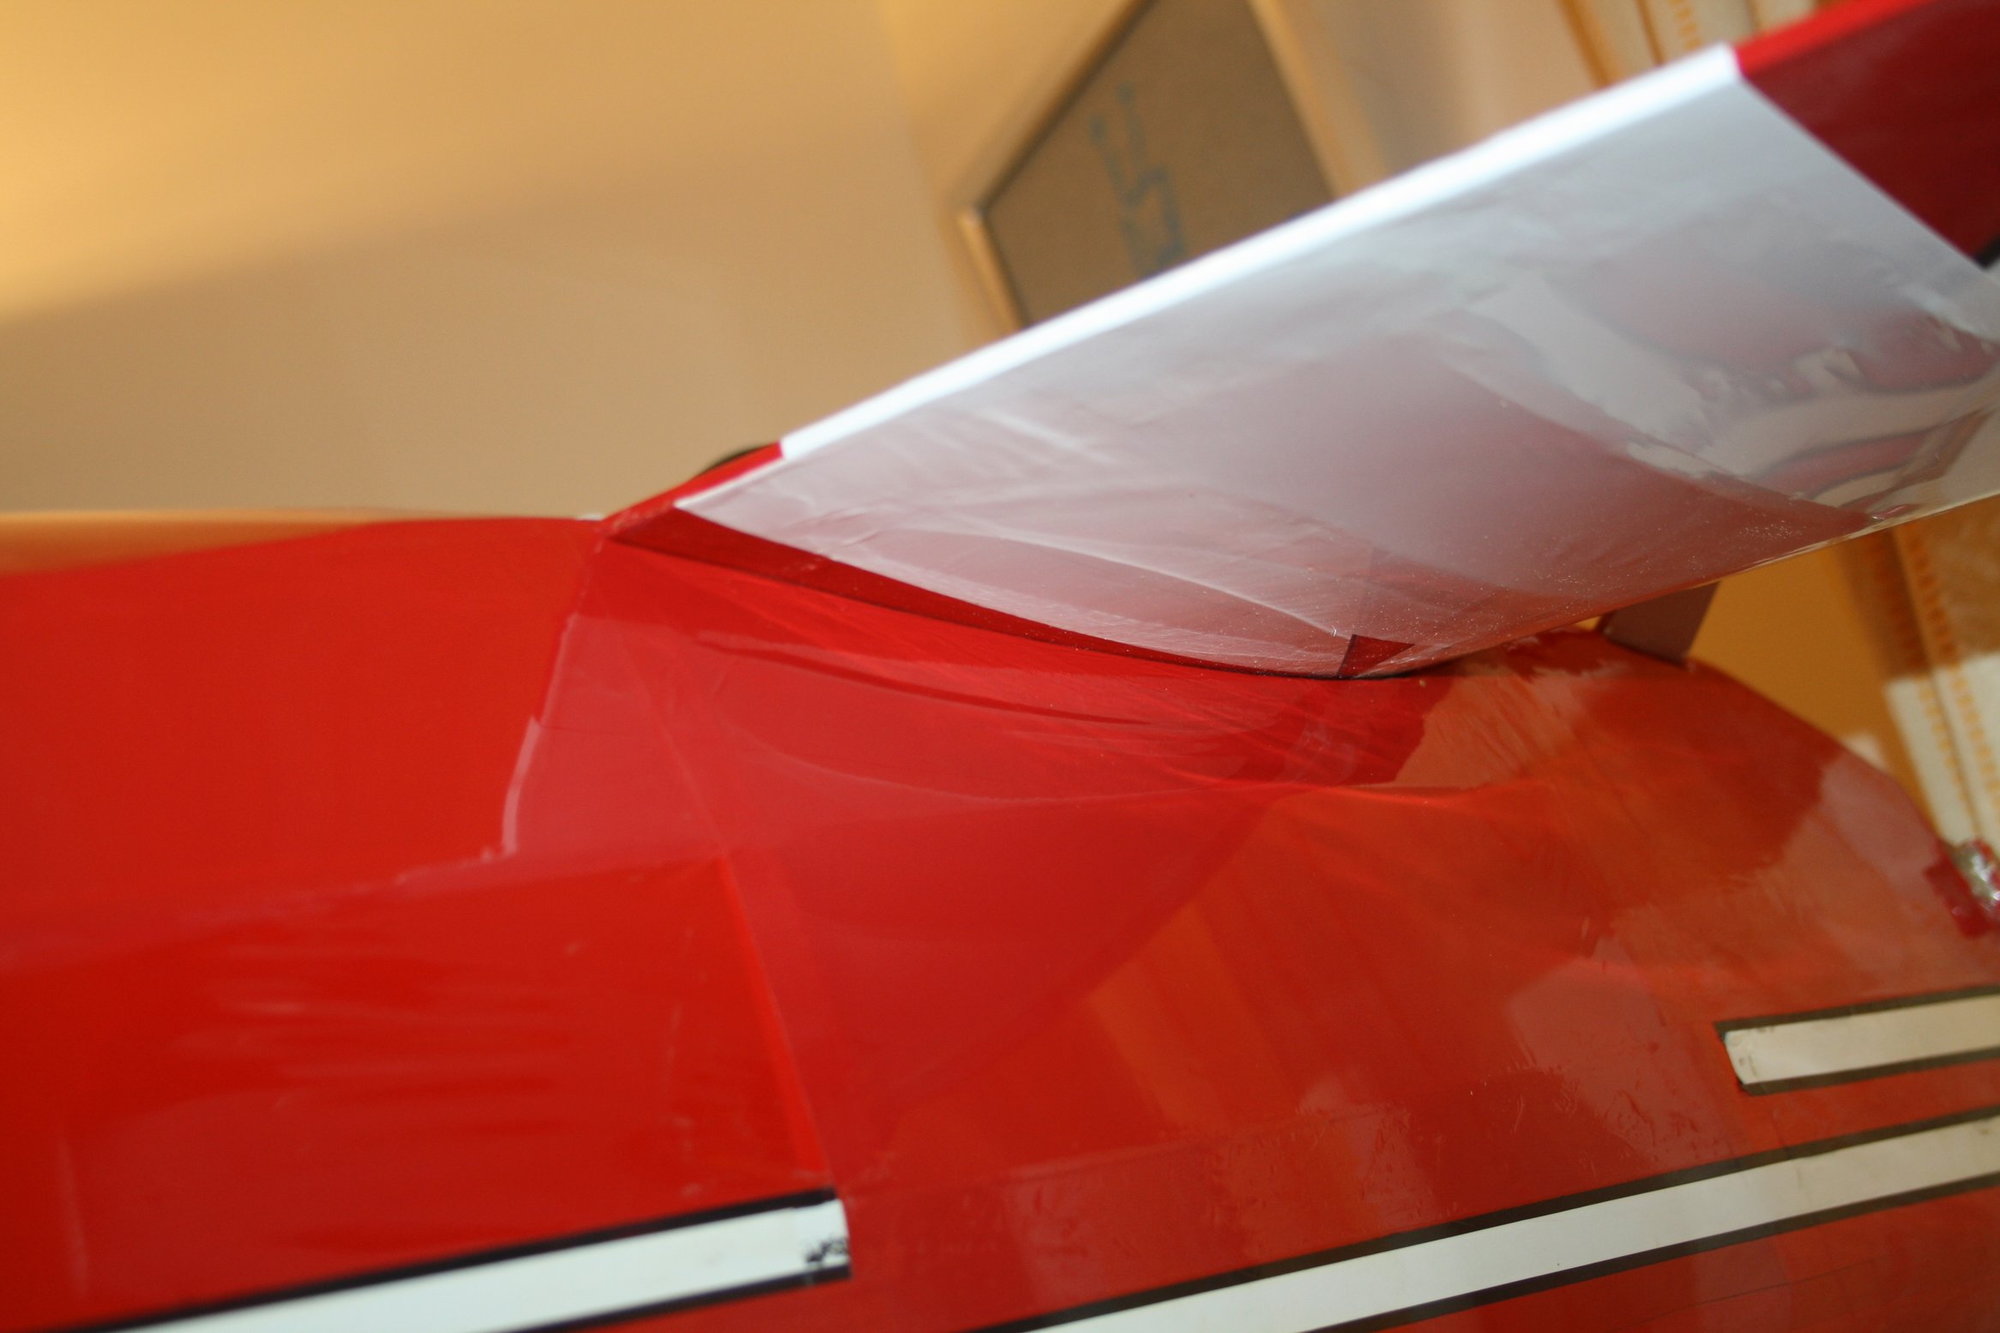
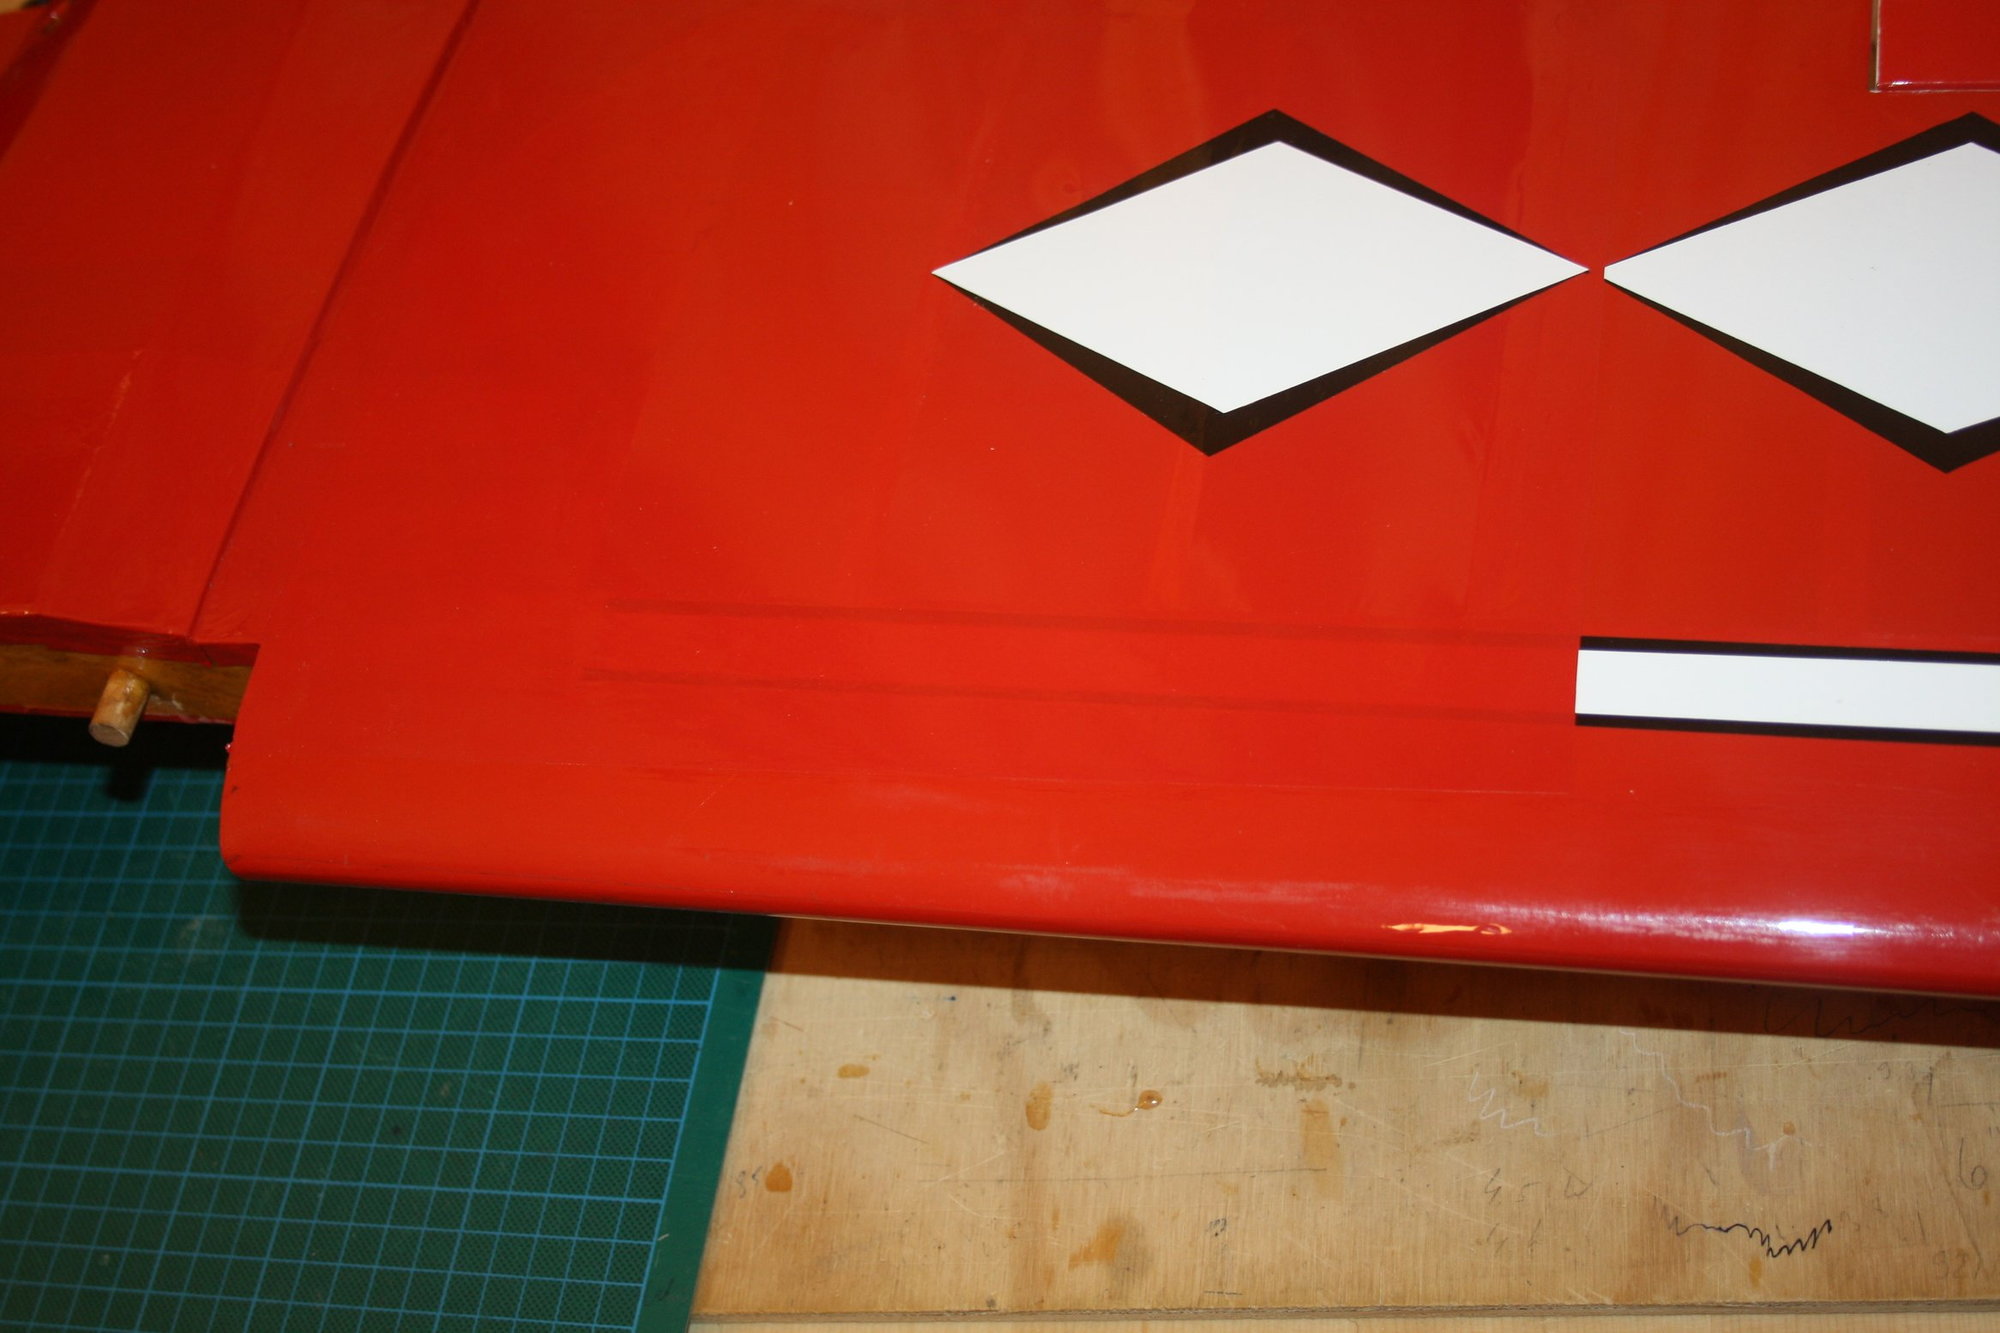
When I had the aeroplane assembled, I was still not entirely happy with the way the bottom wing sat in the saddle. The belly-pan was interfering. I therefore had it trimmed and the belly pan re-covered.


 04-09-2019, 09:41 PM
#49
Thread Starter
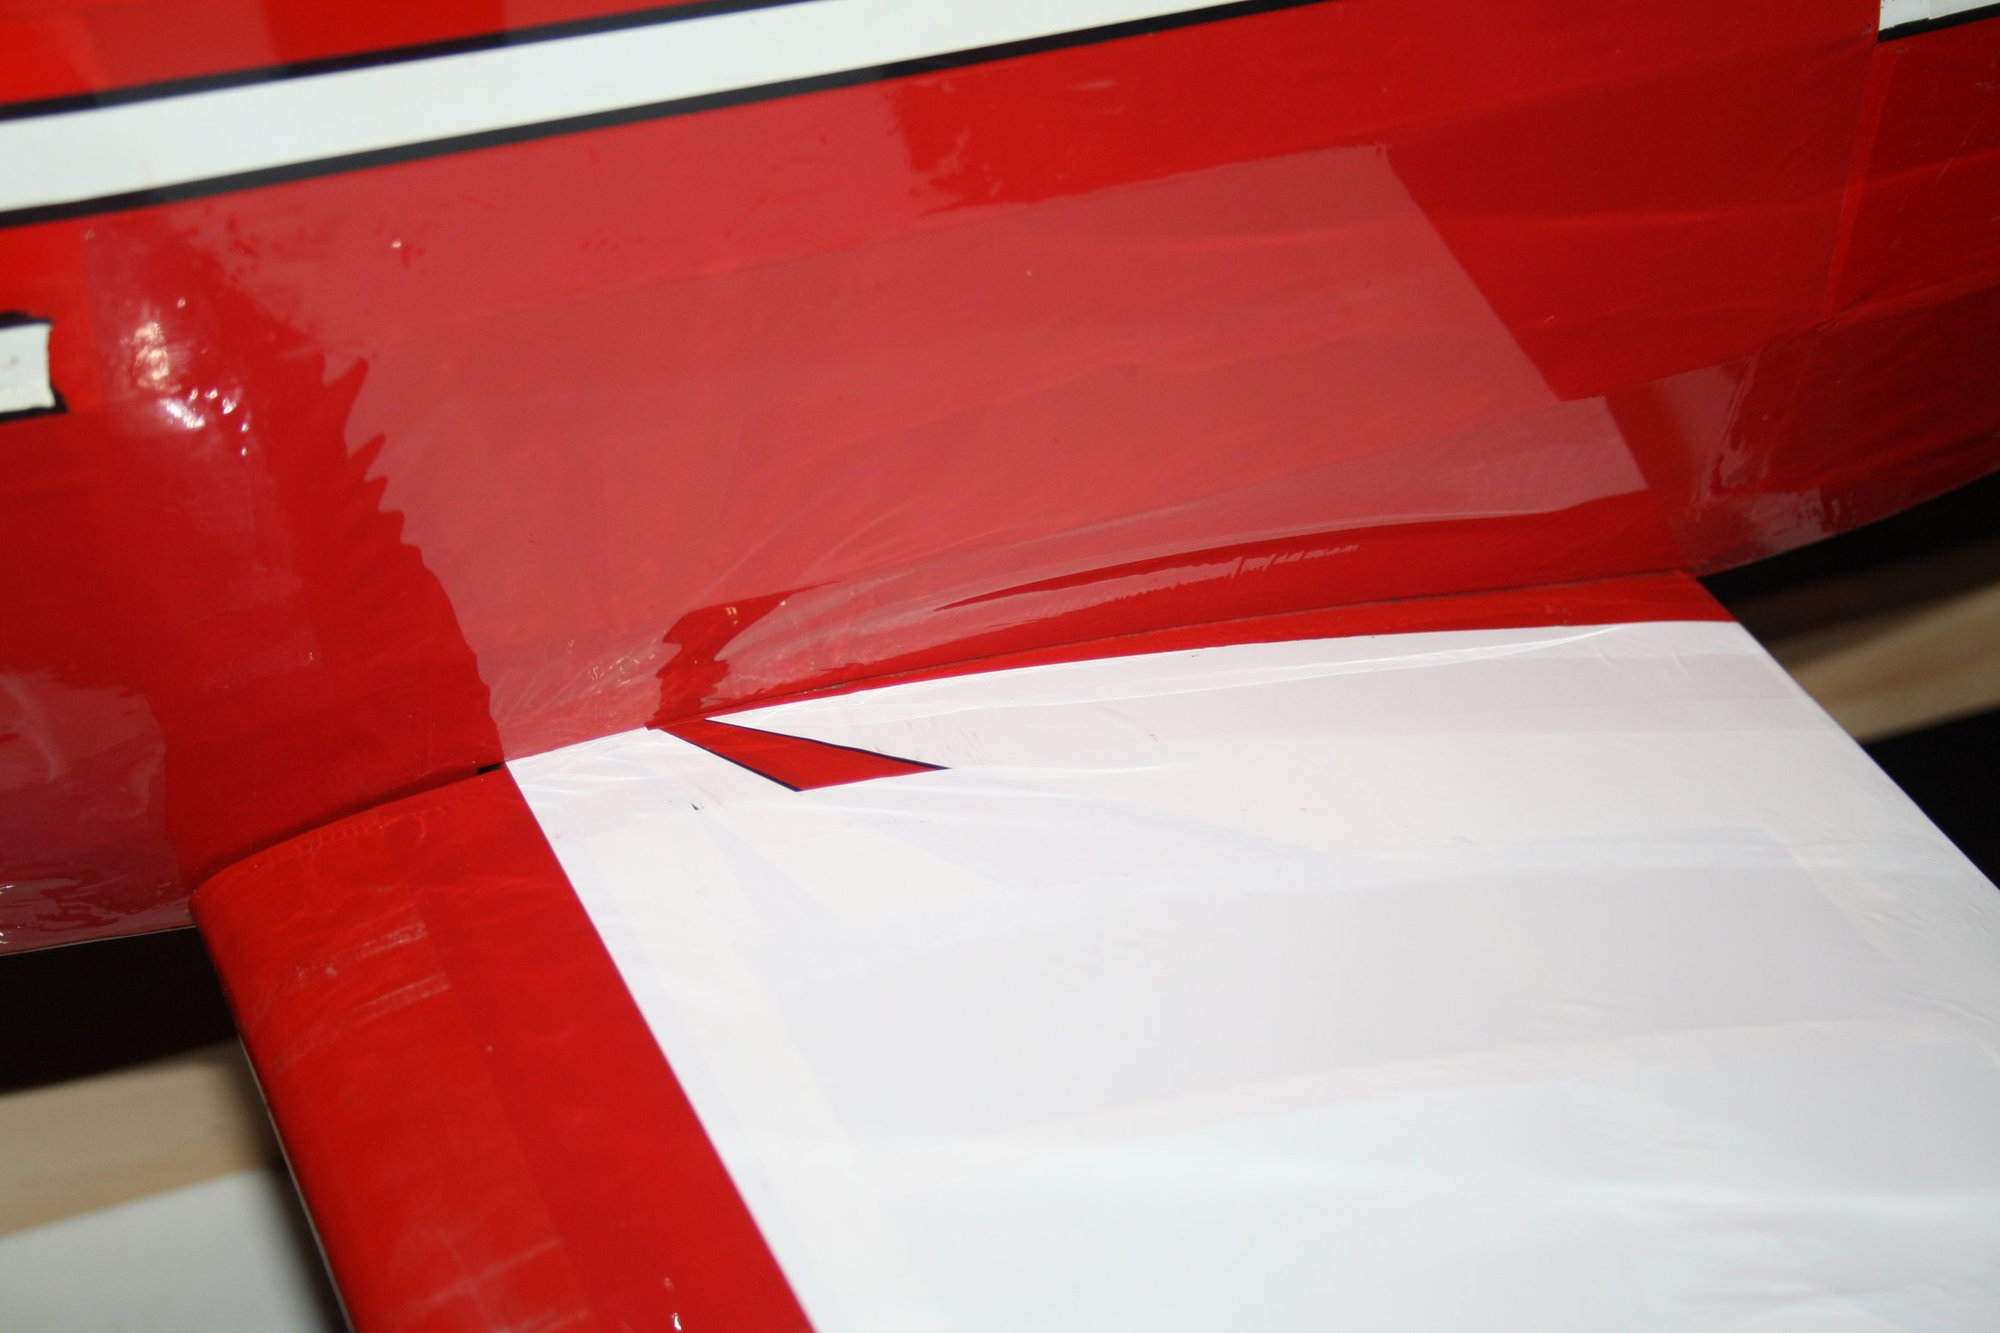
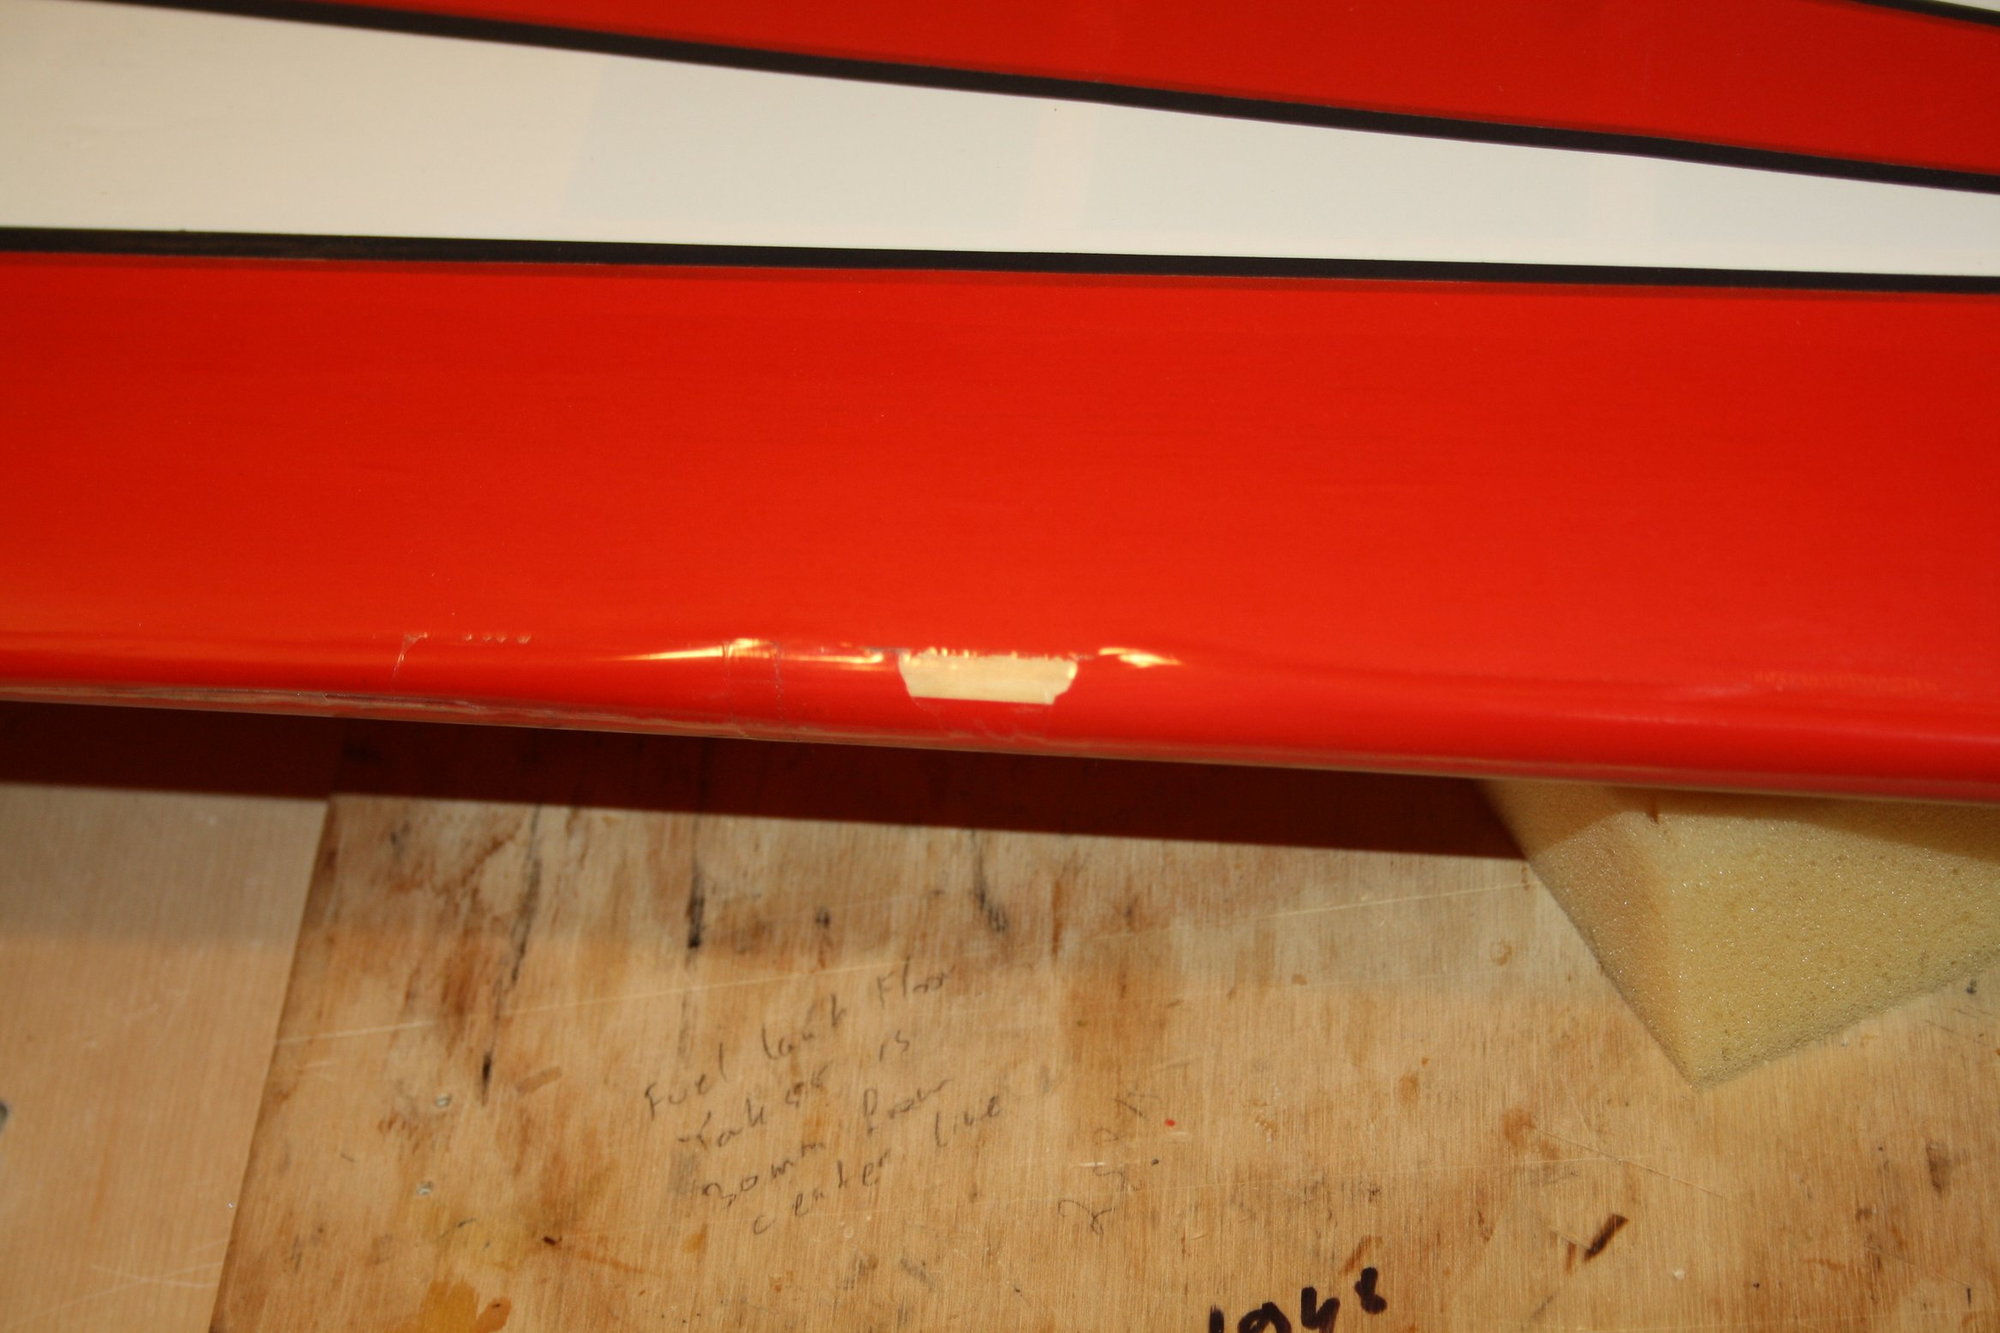
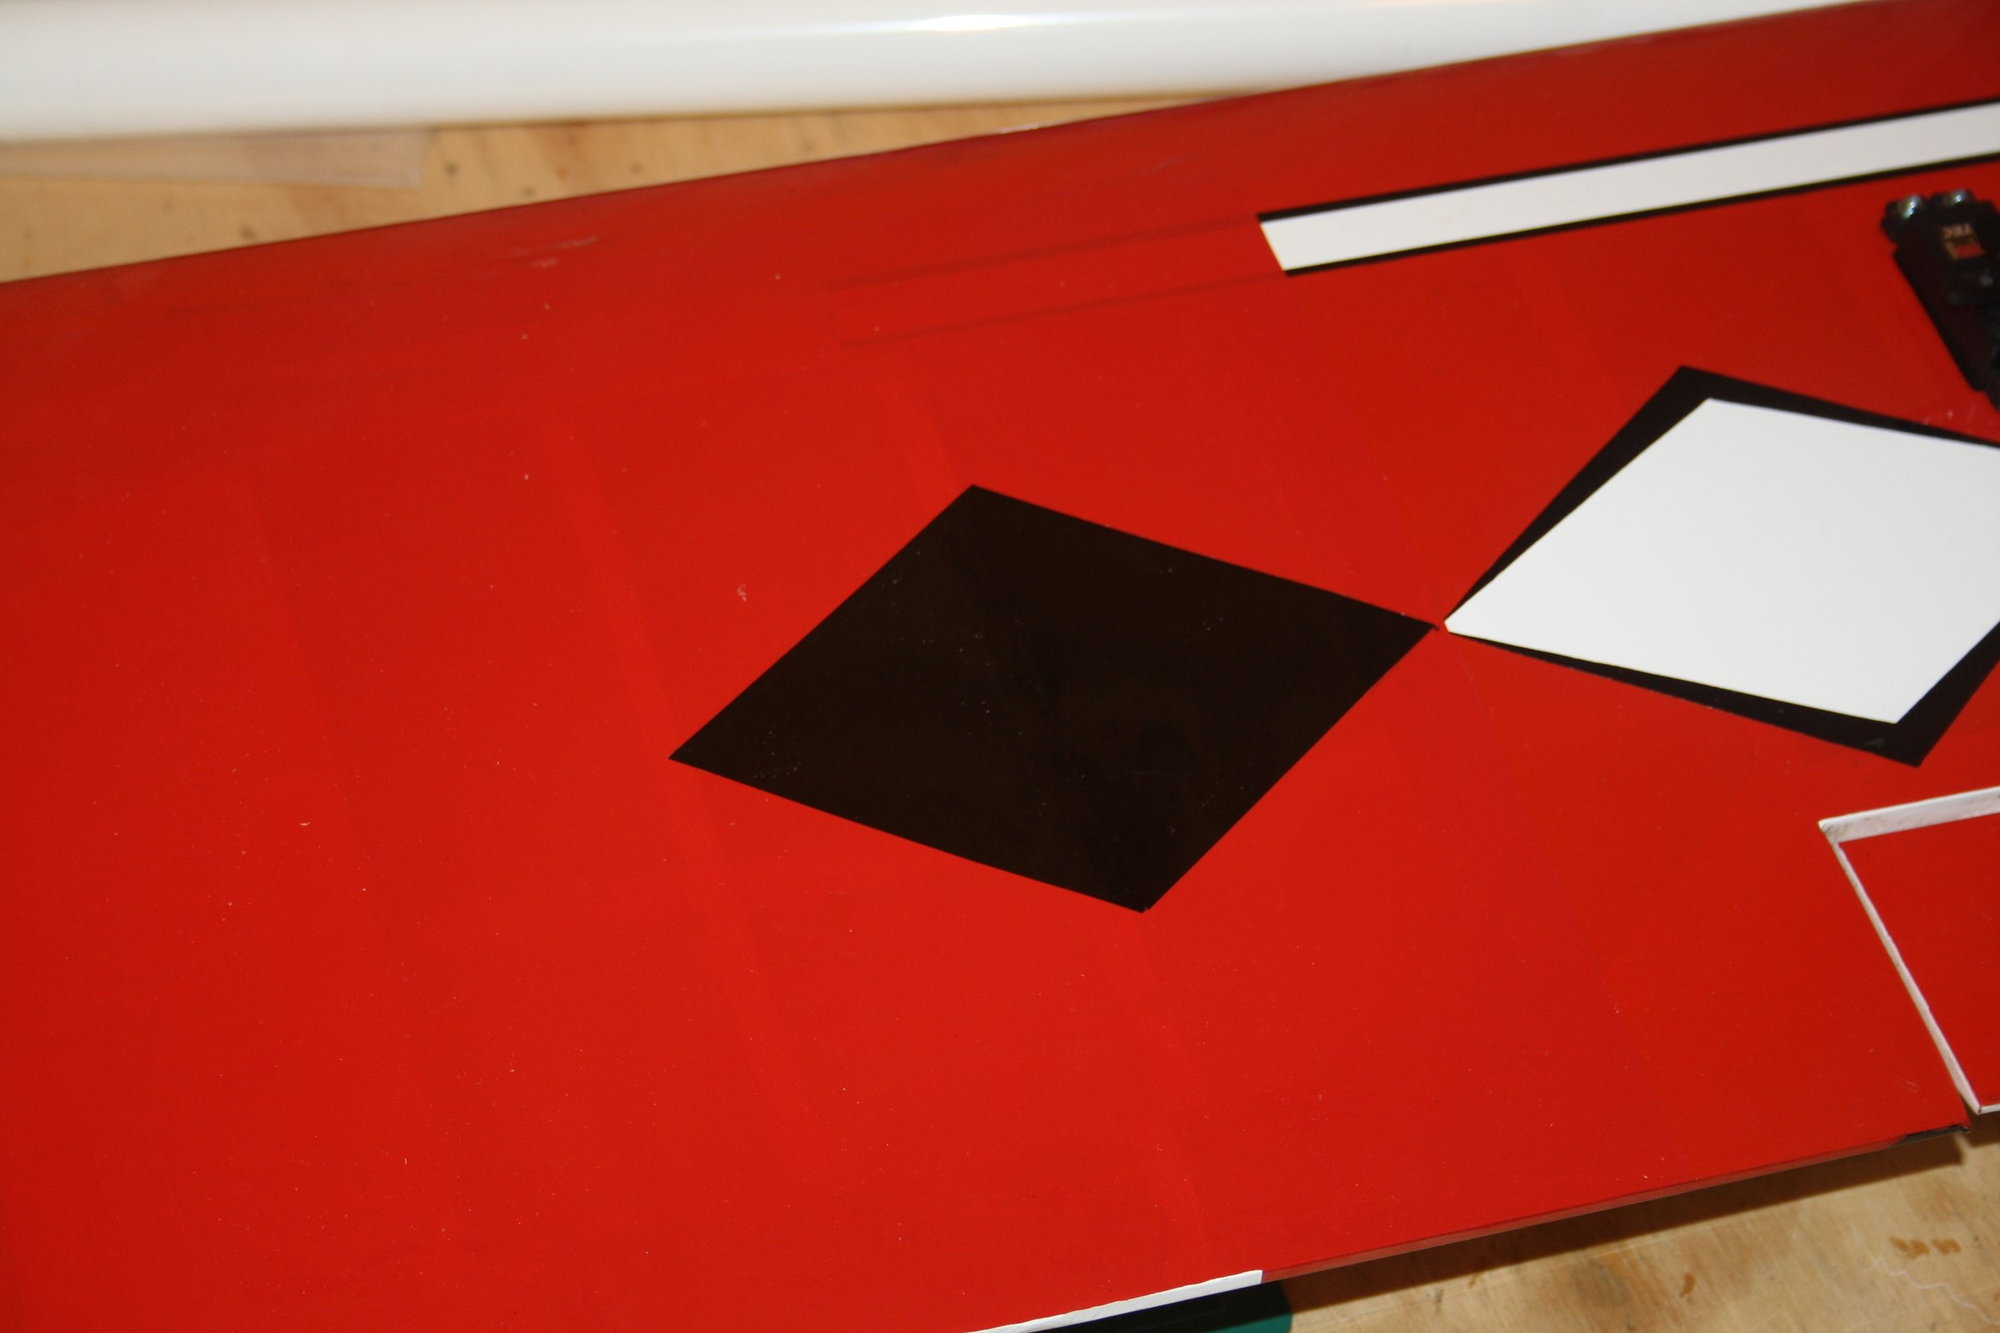
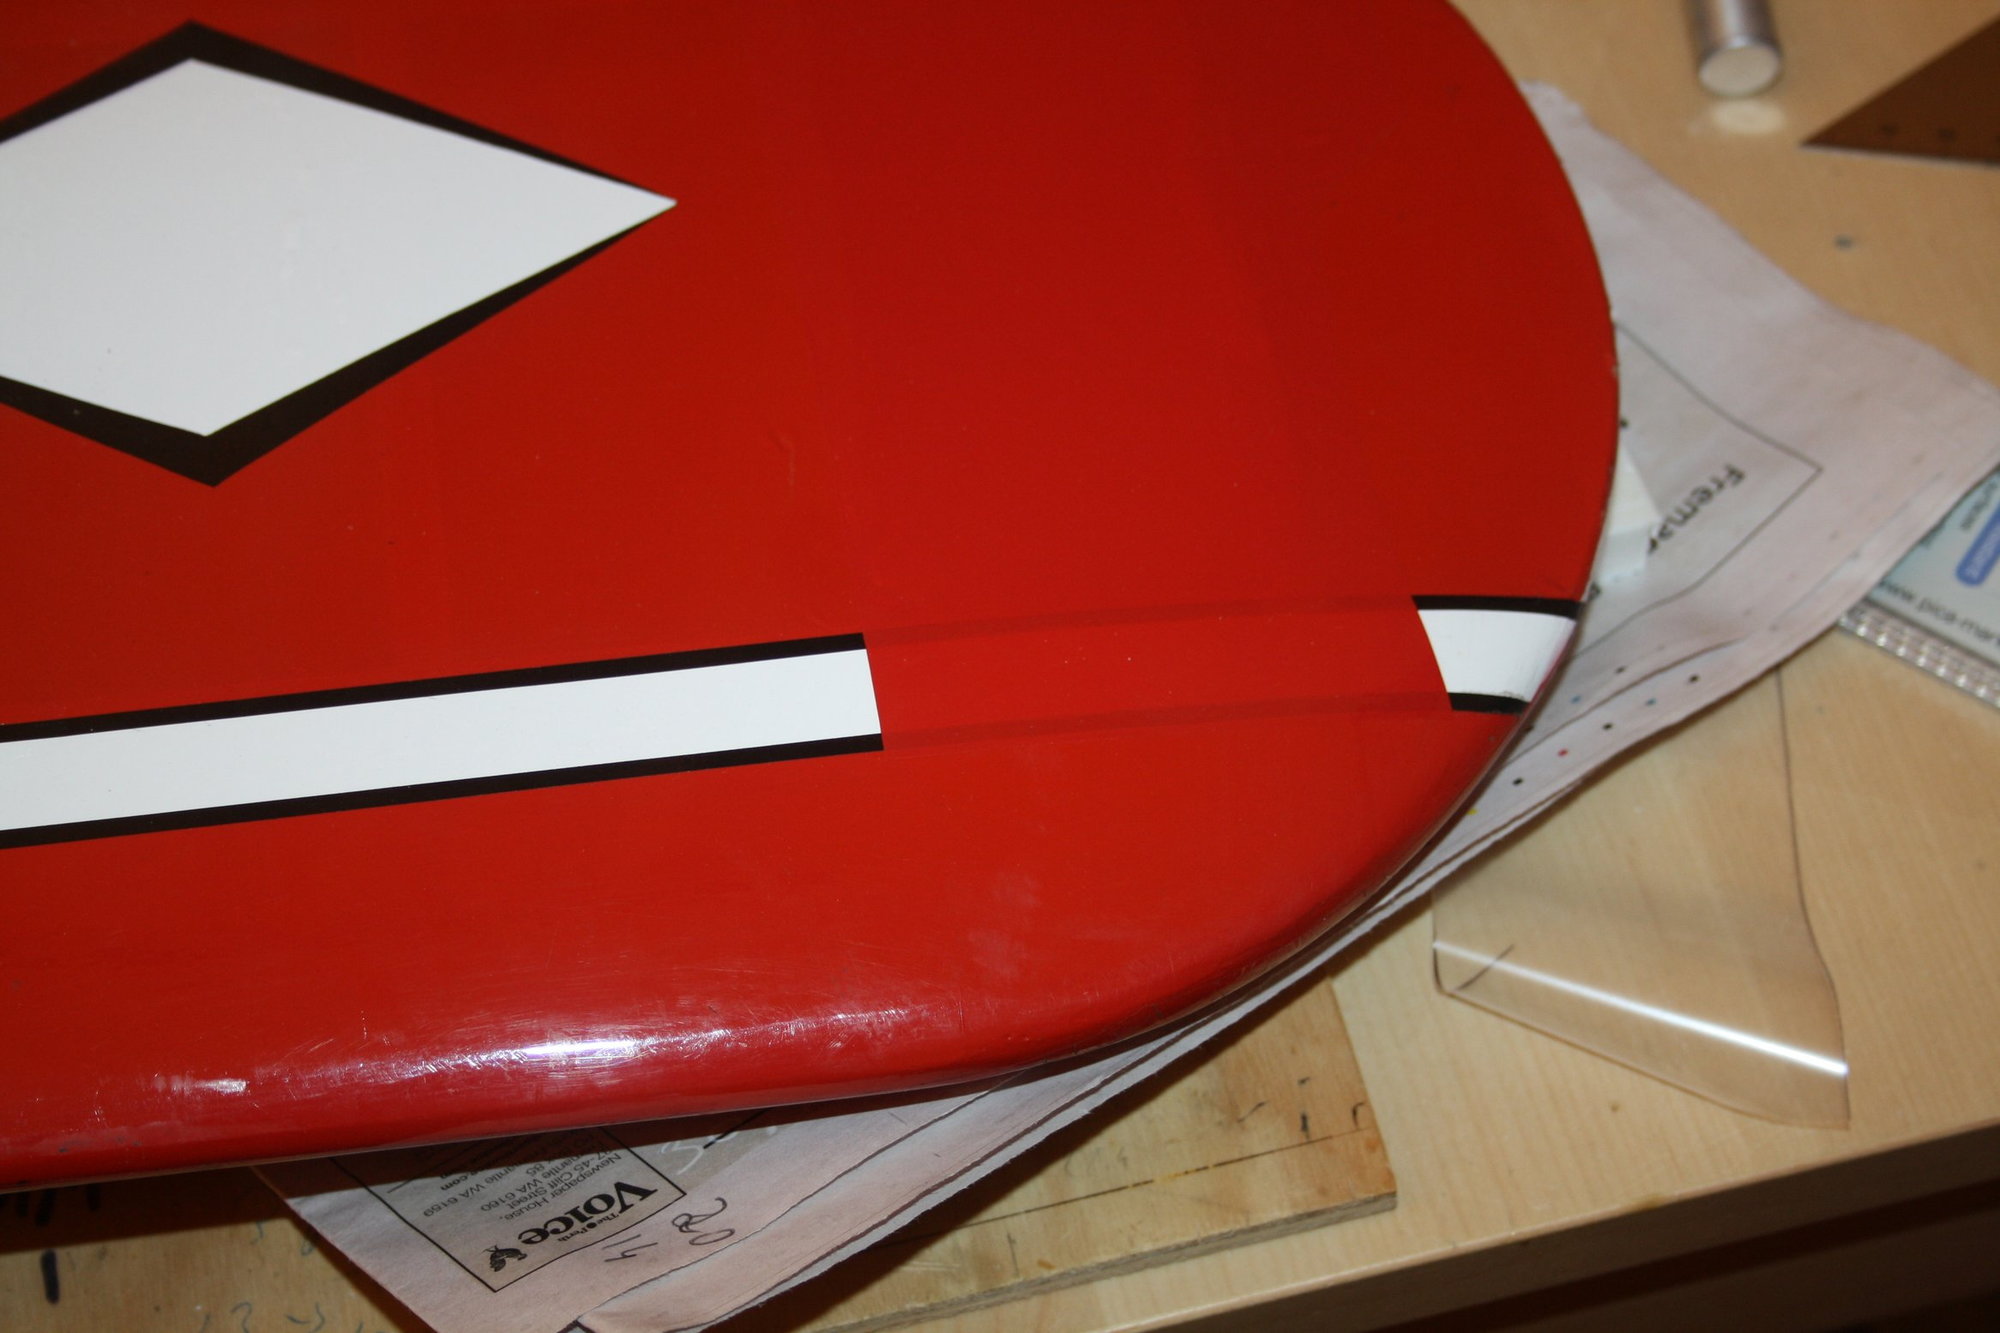
Thank you foodstick, I appreciate your comment. While I will attempt to fix most covering issues I already decided to leave the two white areas on the bottom wing until after the test flight. I cannot be bothered with it at the moment : )
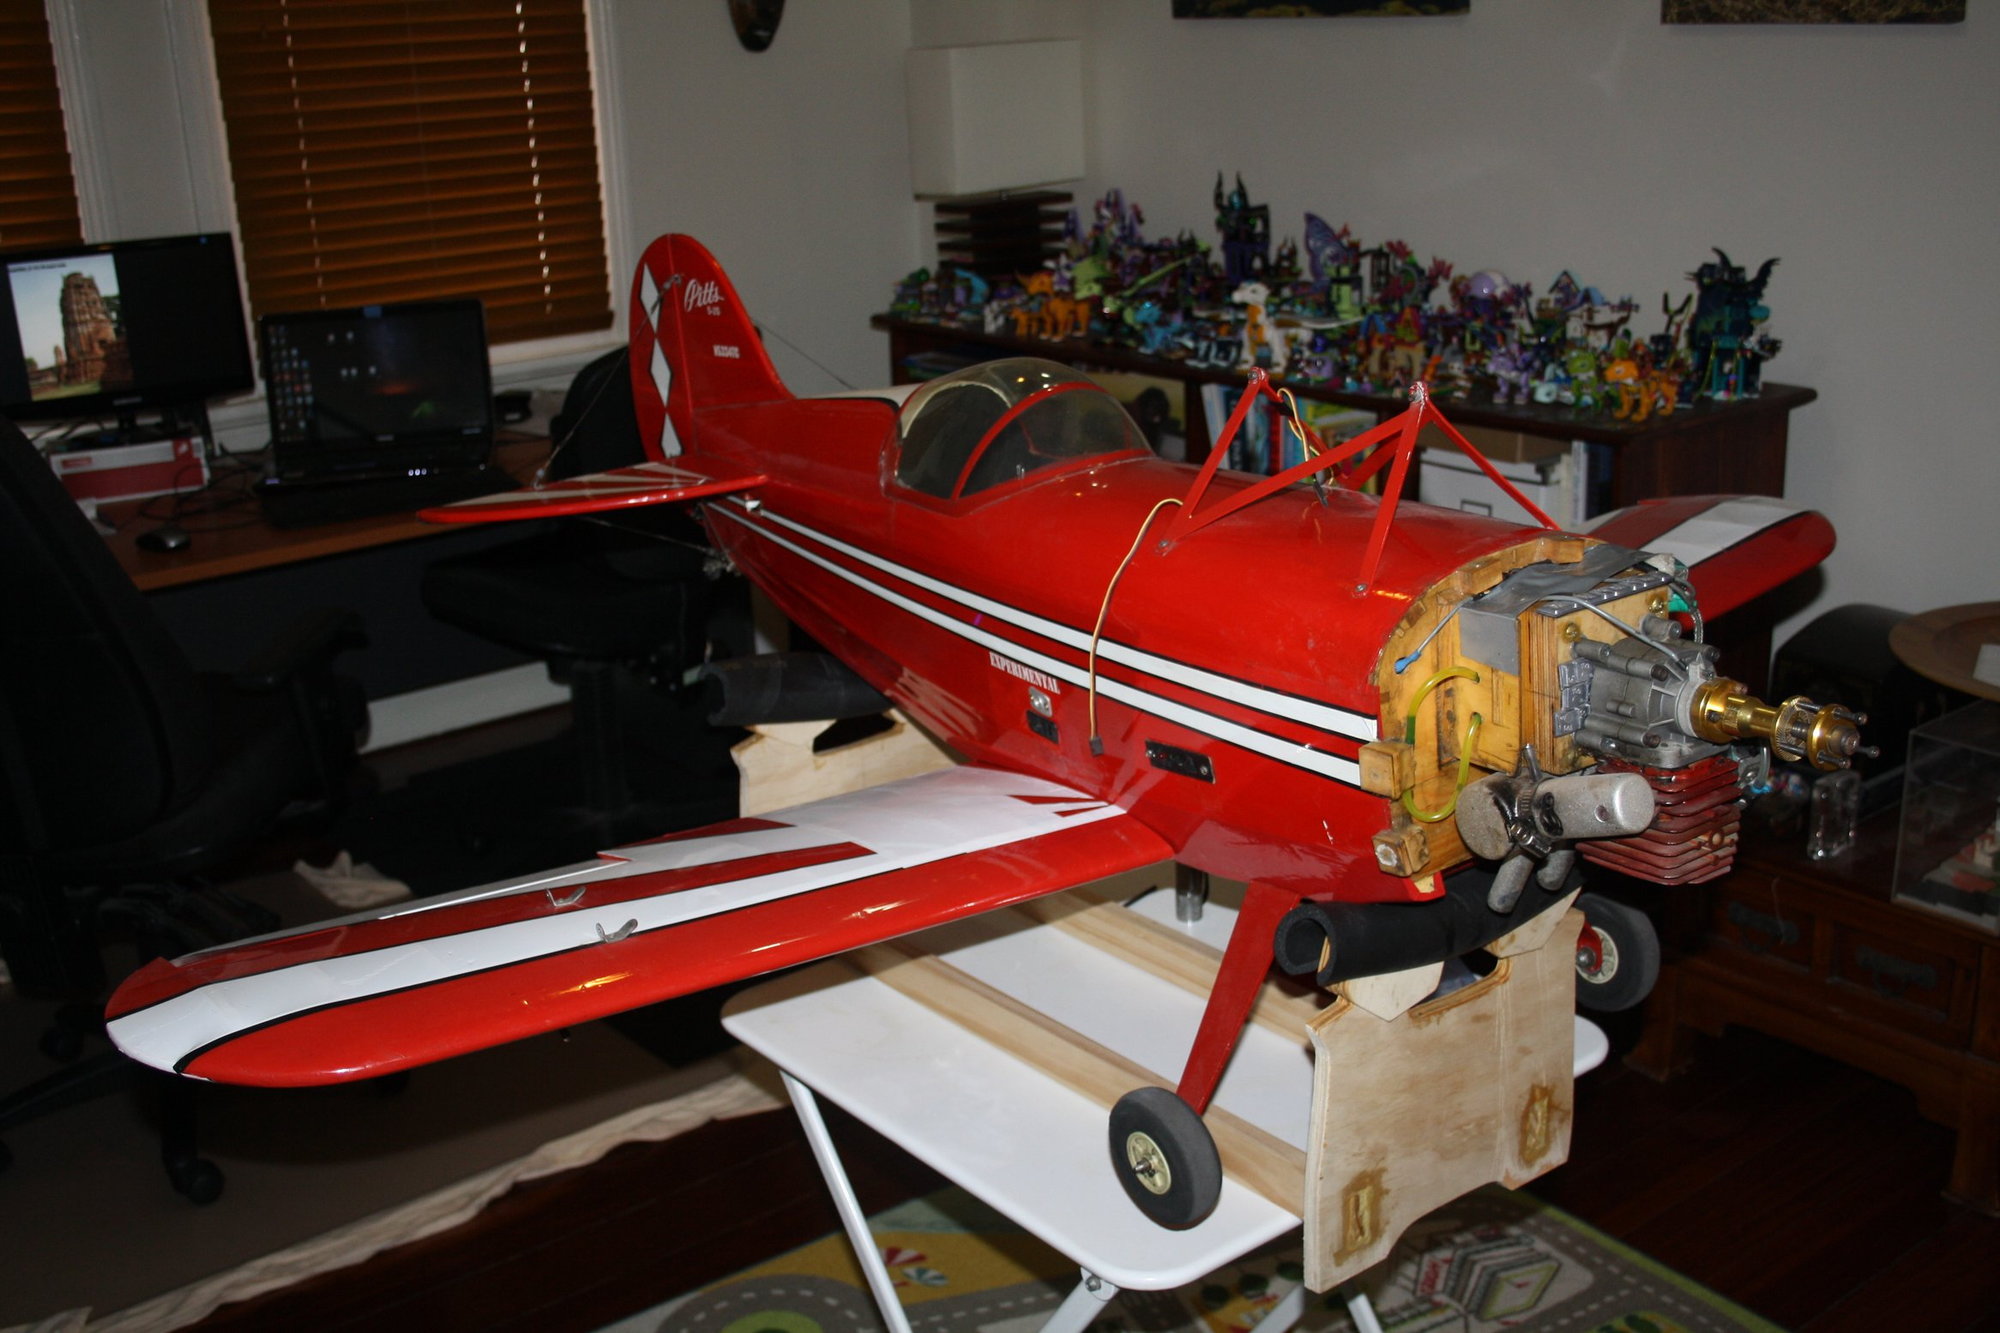
It was time for another engine run to verify that all is working as it should. Unfortunately there were more fuel related issues and I decided to change the filter which may have been leaking air and while at it, I replaced the fuel tank which I didn't like anyway, as it was mounted on its side.
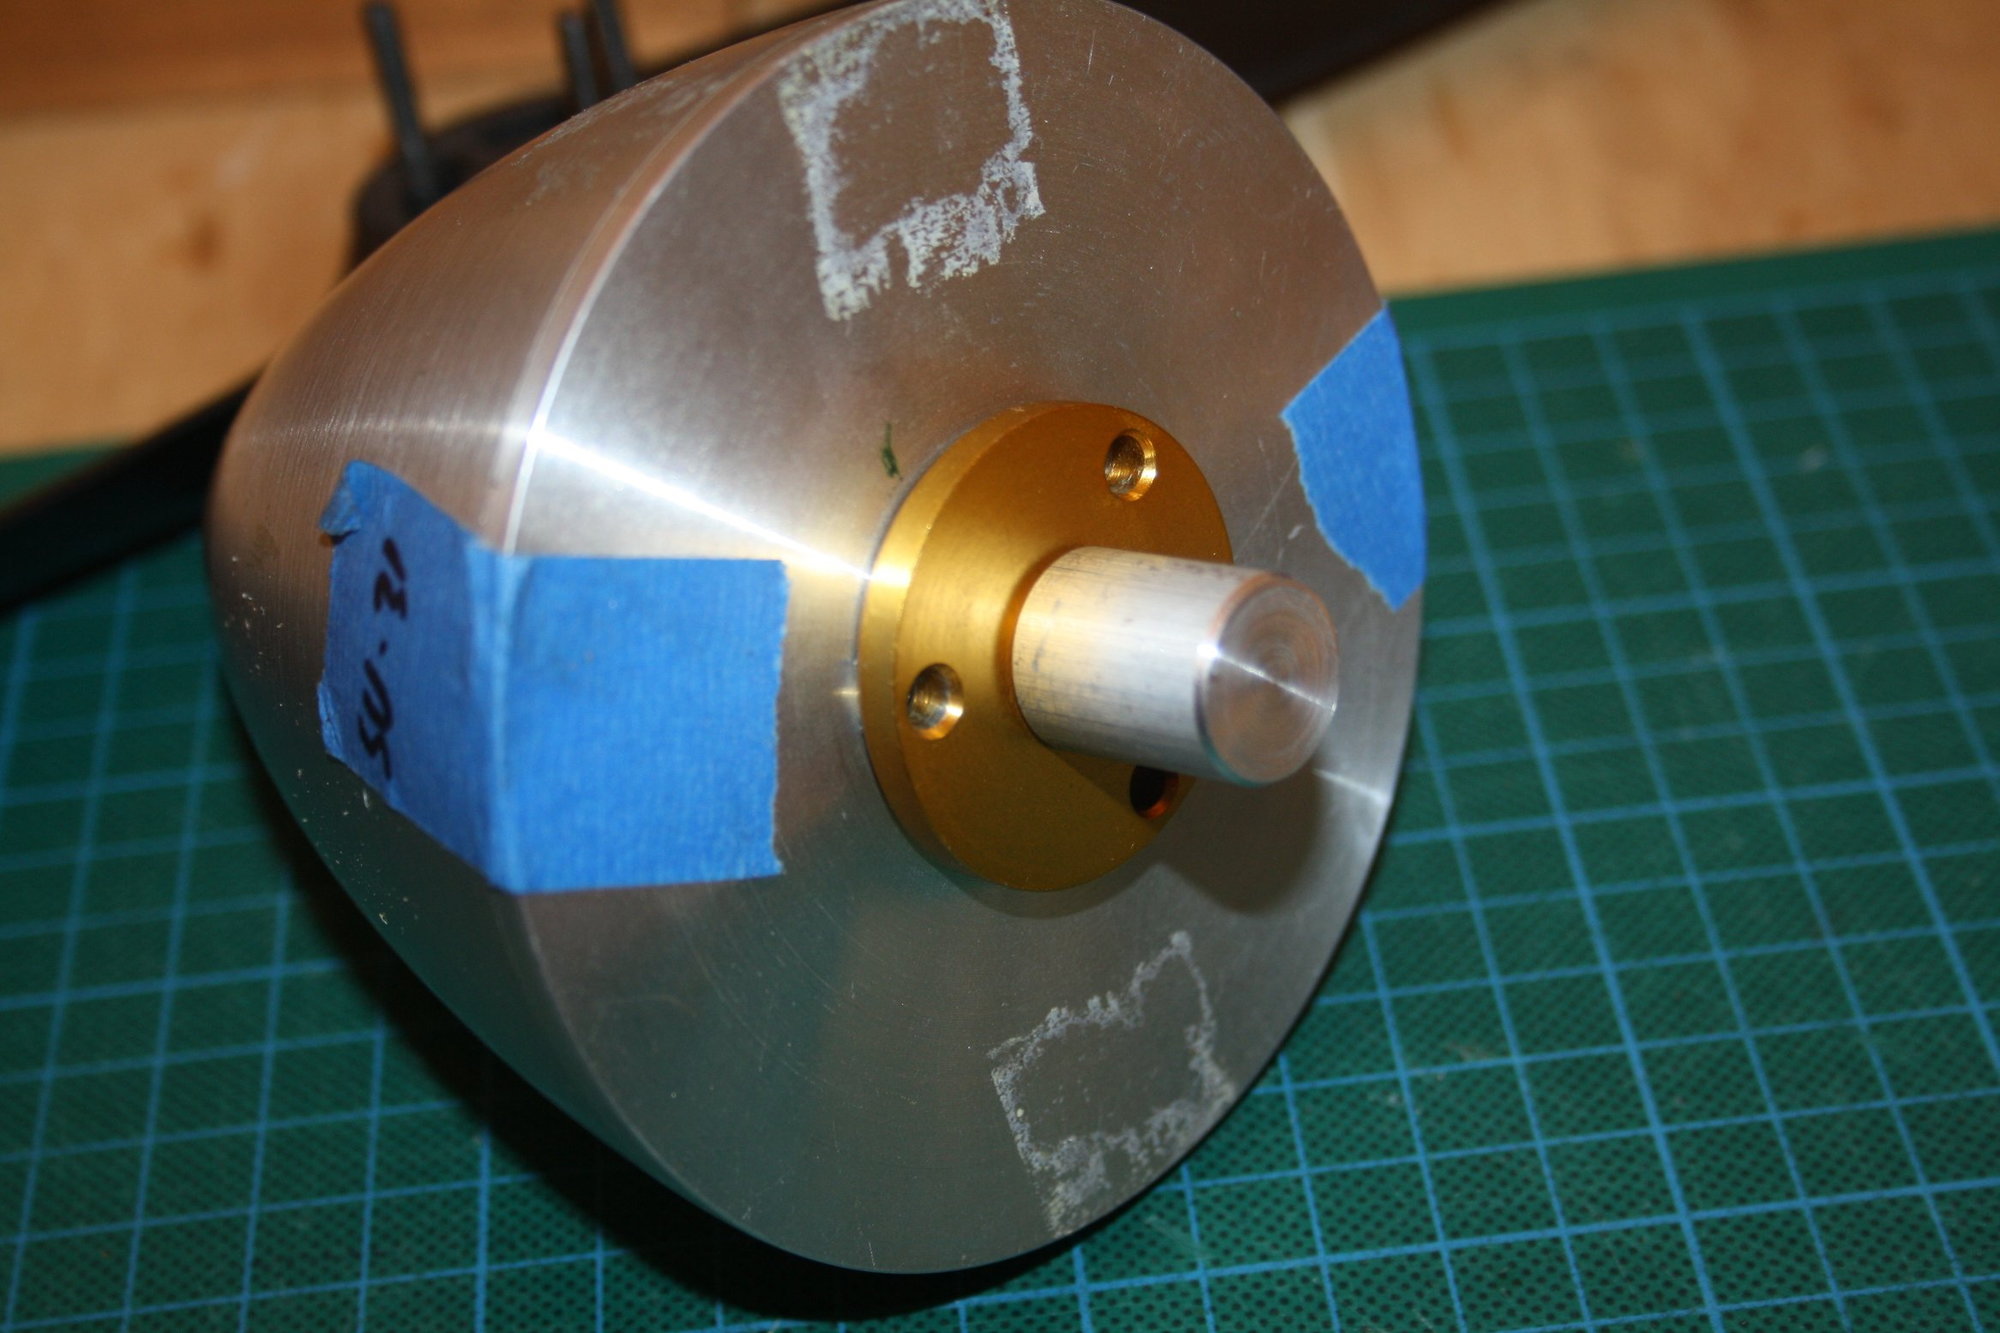
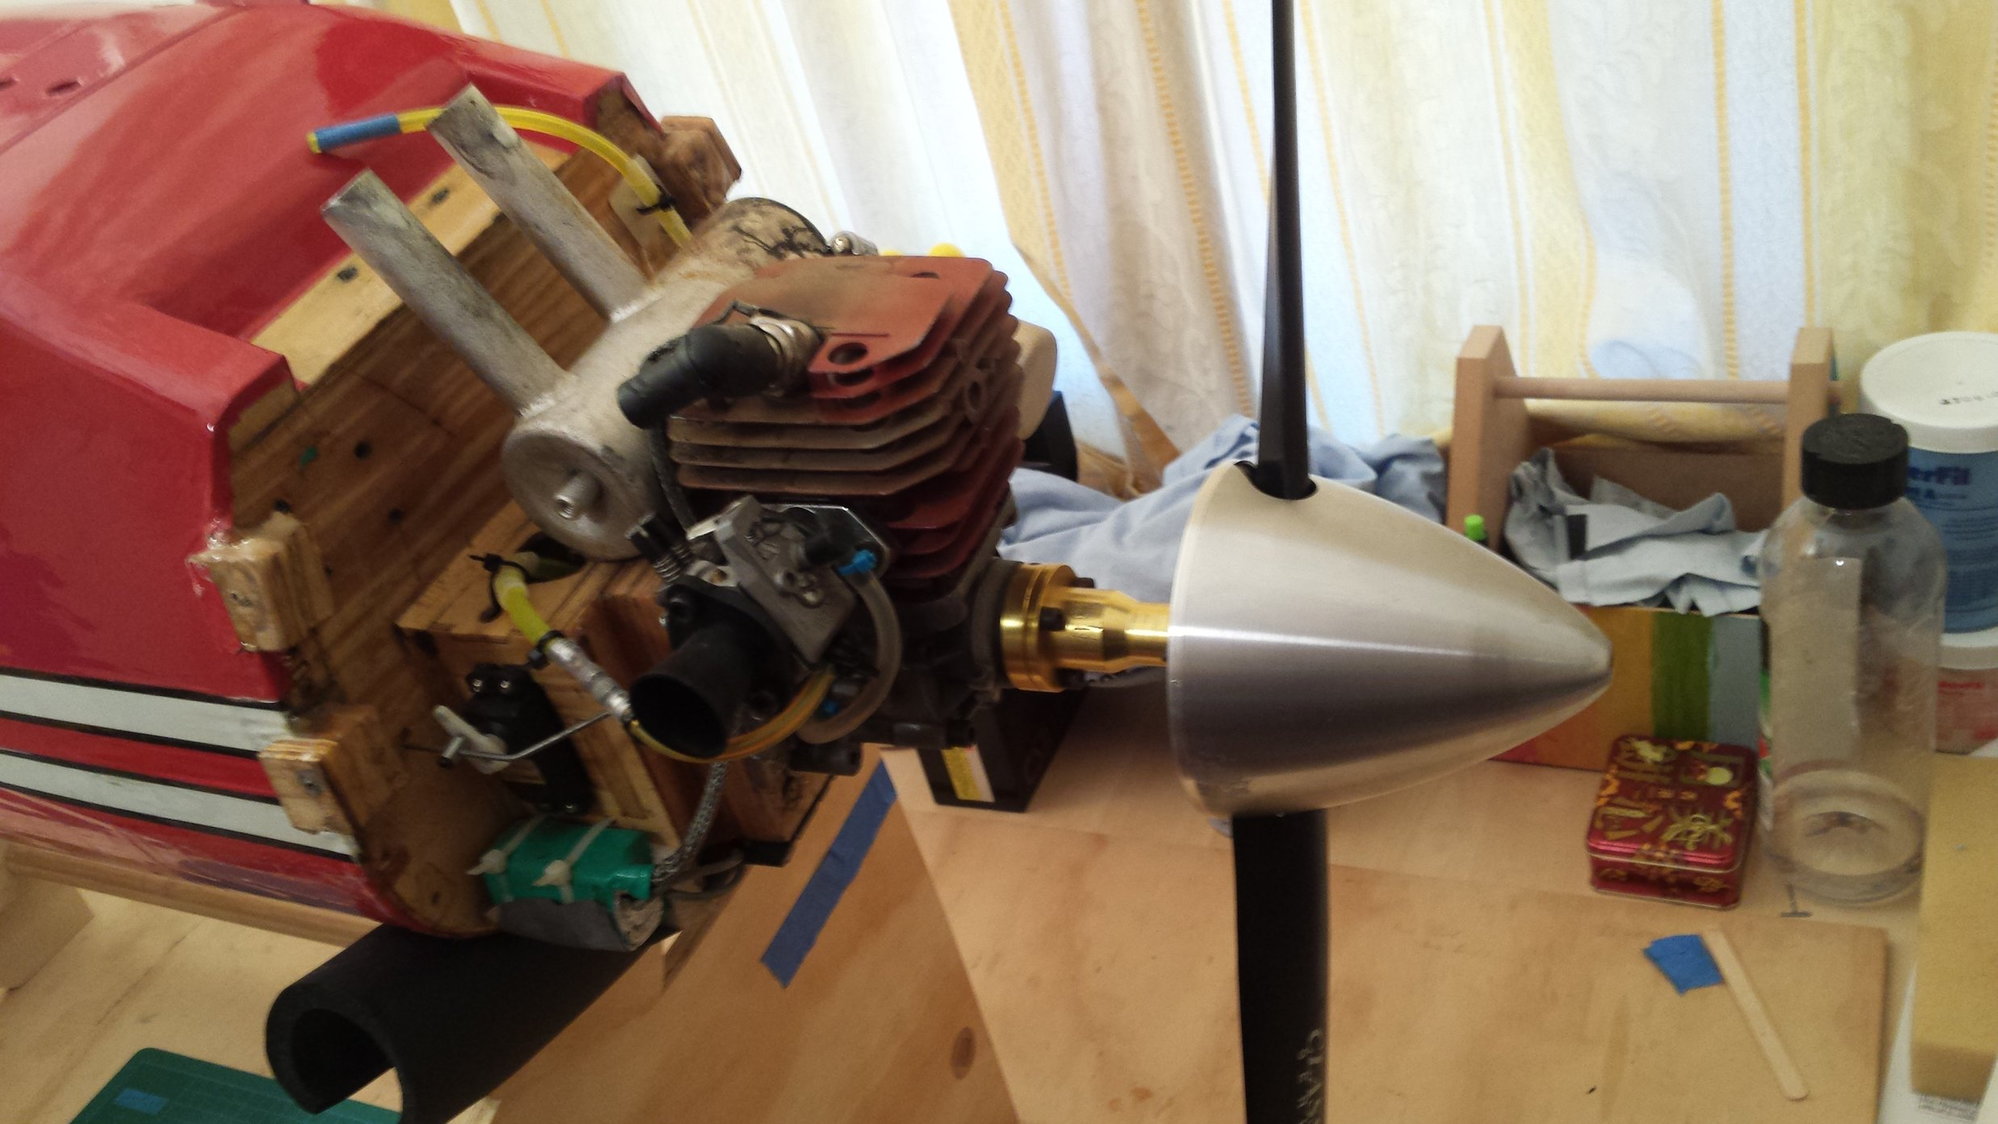
One other problem is the lack of spinner. It is specifically an issue with this CRRC Pro 45cc as there is no "shaft" for the prop and therefore no thread at the end of the shaft for standard aluminium spinner centre bolt. However, a club member offered to assist with this and invited me to visit his shed and he will "see what he can do"...
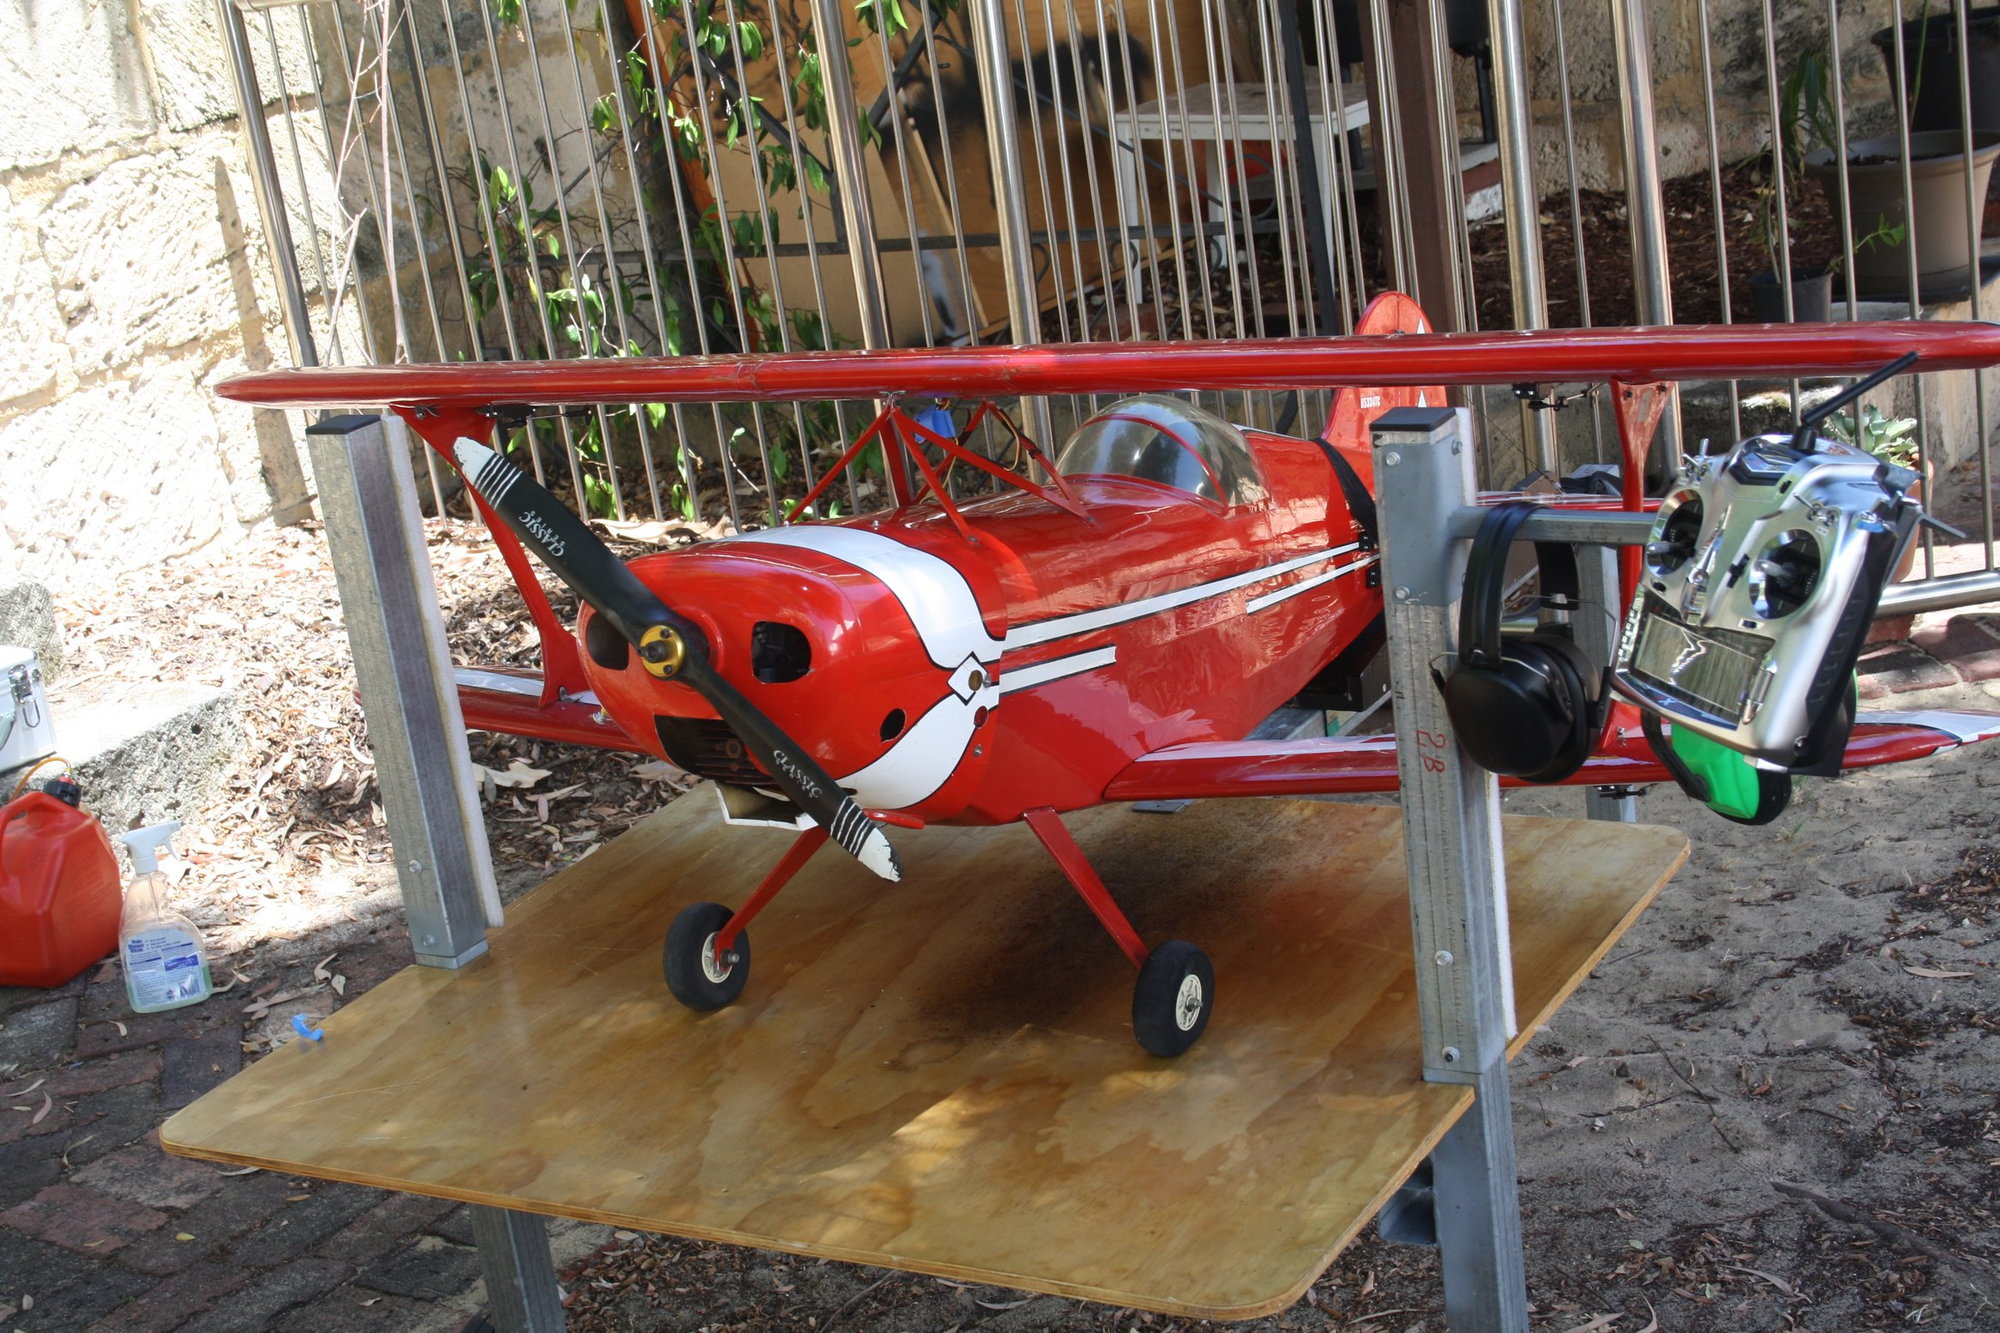
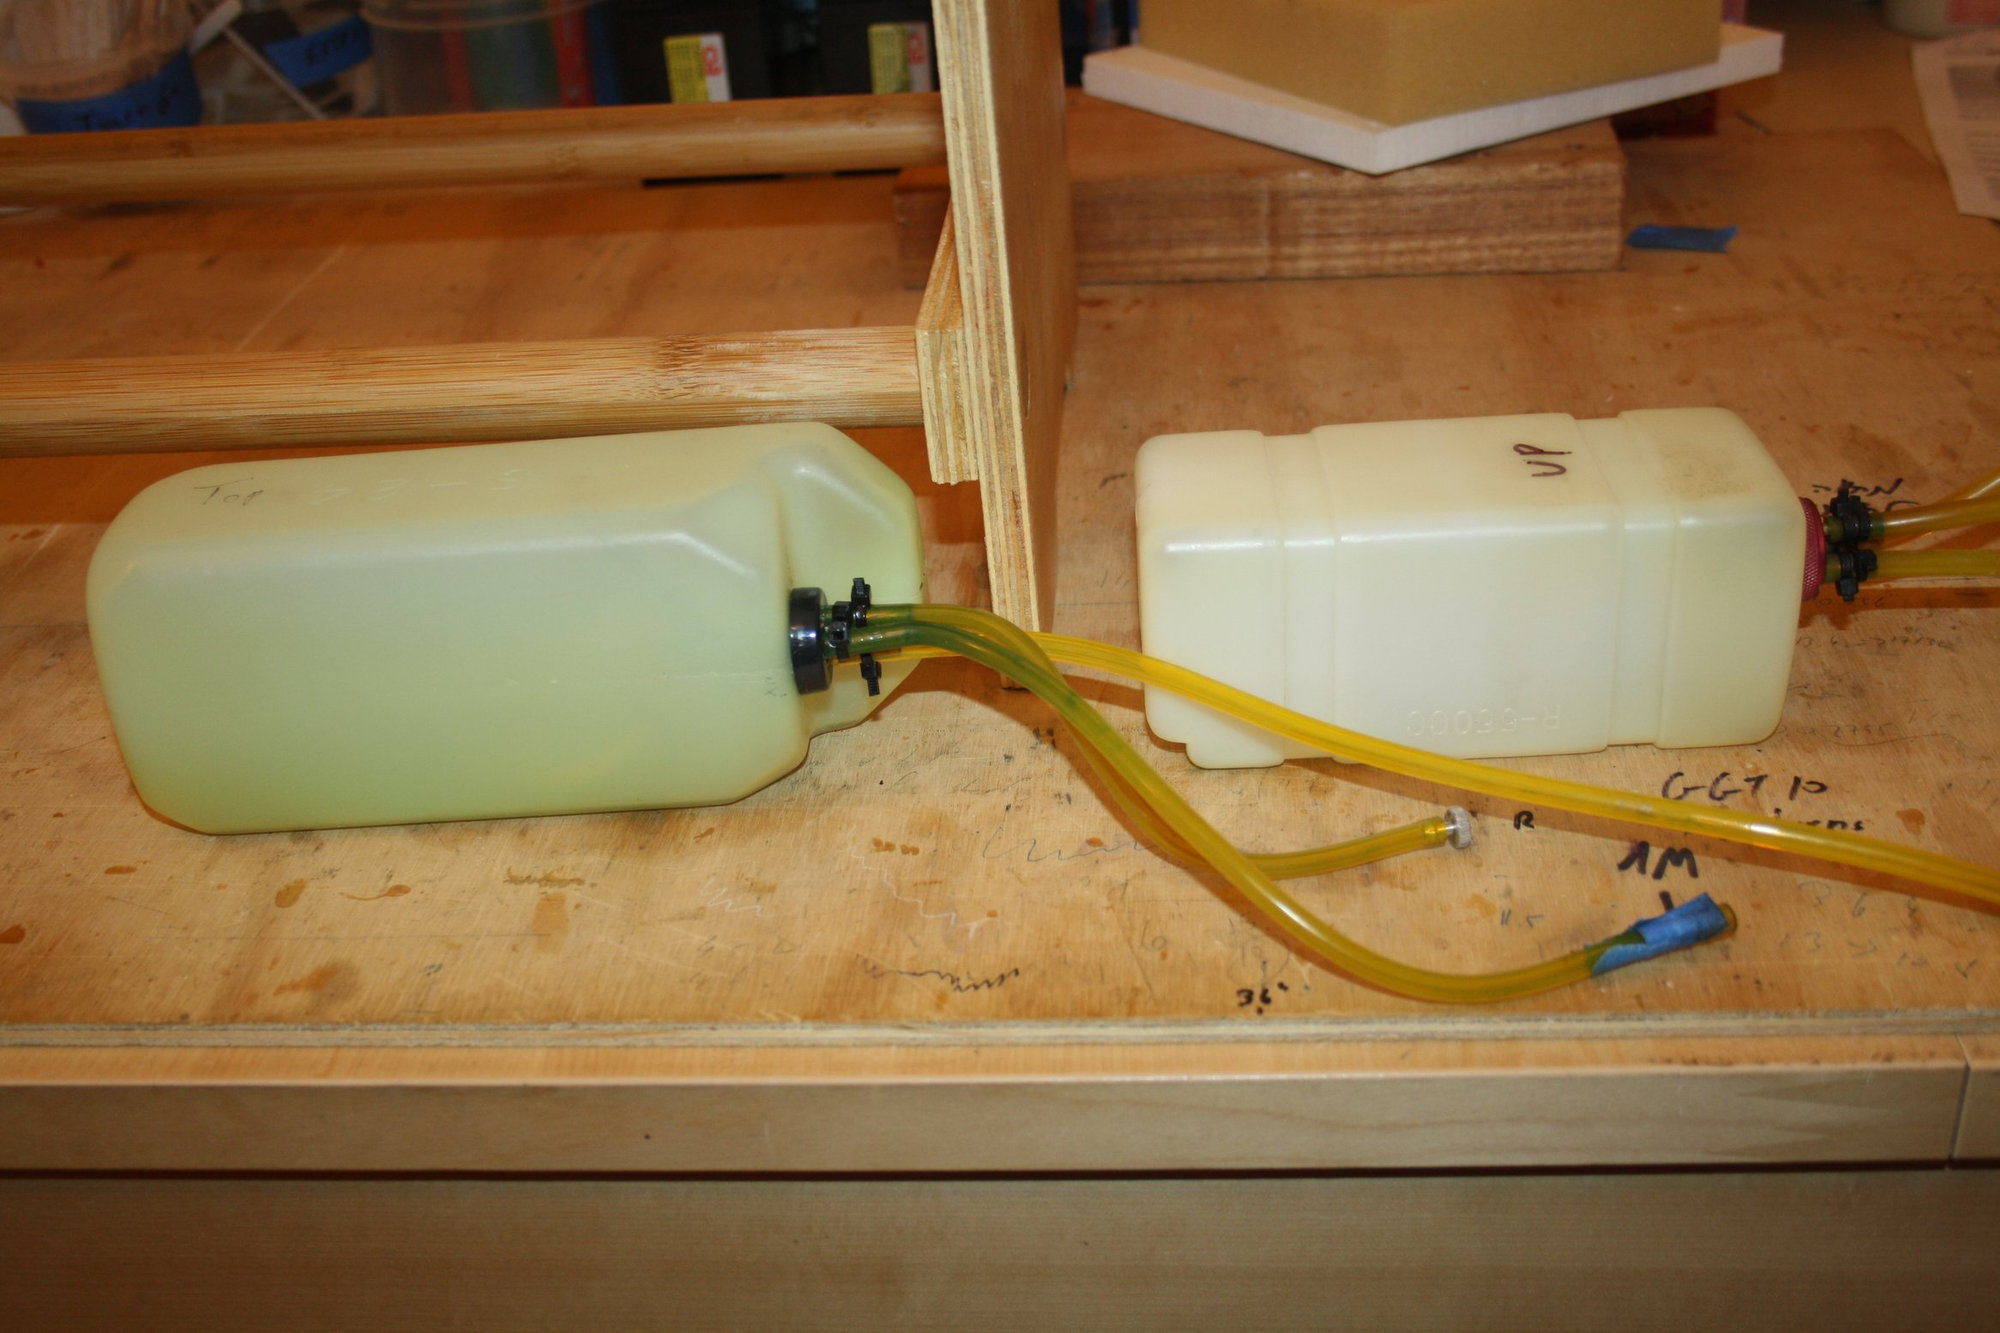
It was time for another engine run to verify that all is working as it should. Unfortunately there were more fuel related issues and I decided to change the filter which may have been leaking air and while at it, I replaced the fuel tank which I didn't like anyway, as it was mounted on its side.
One other problem is the lack of spinner. It is specifically an issue with this CRRC Pro 45cc as there is no "shaft" for the prop and therefore no thread at the end of the shaft for standard aluminium spinner centre bolt. However, a club member offered to assist with this and invited me to visit his shed and he will "see what he can do"...
Last edited by erans; 04-09-2019 at 09:44 PM.
04-11-2019, 12:05 AM
#50
Thread Starter
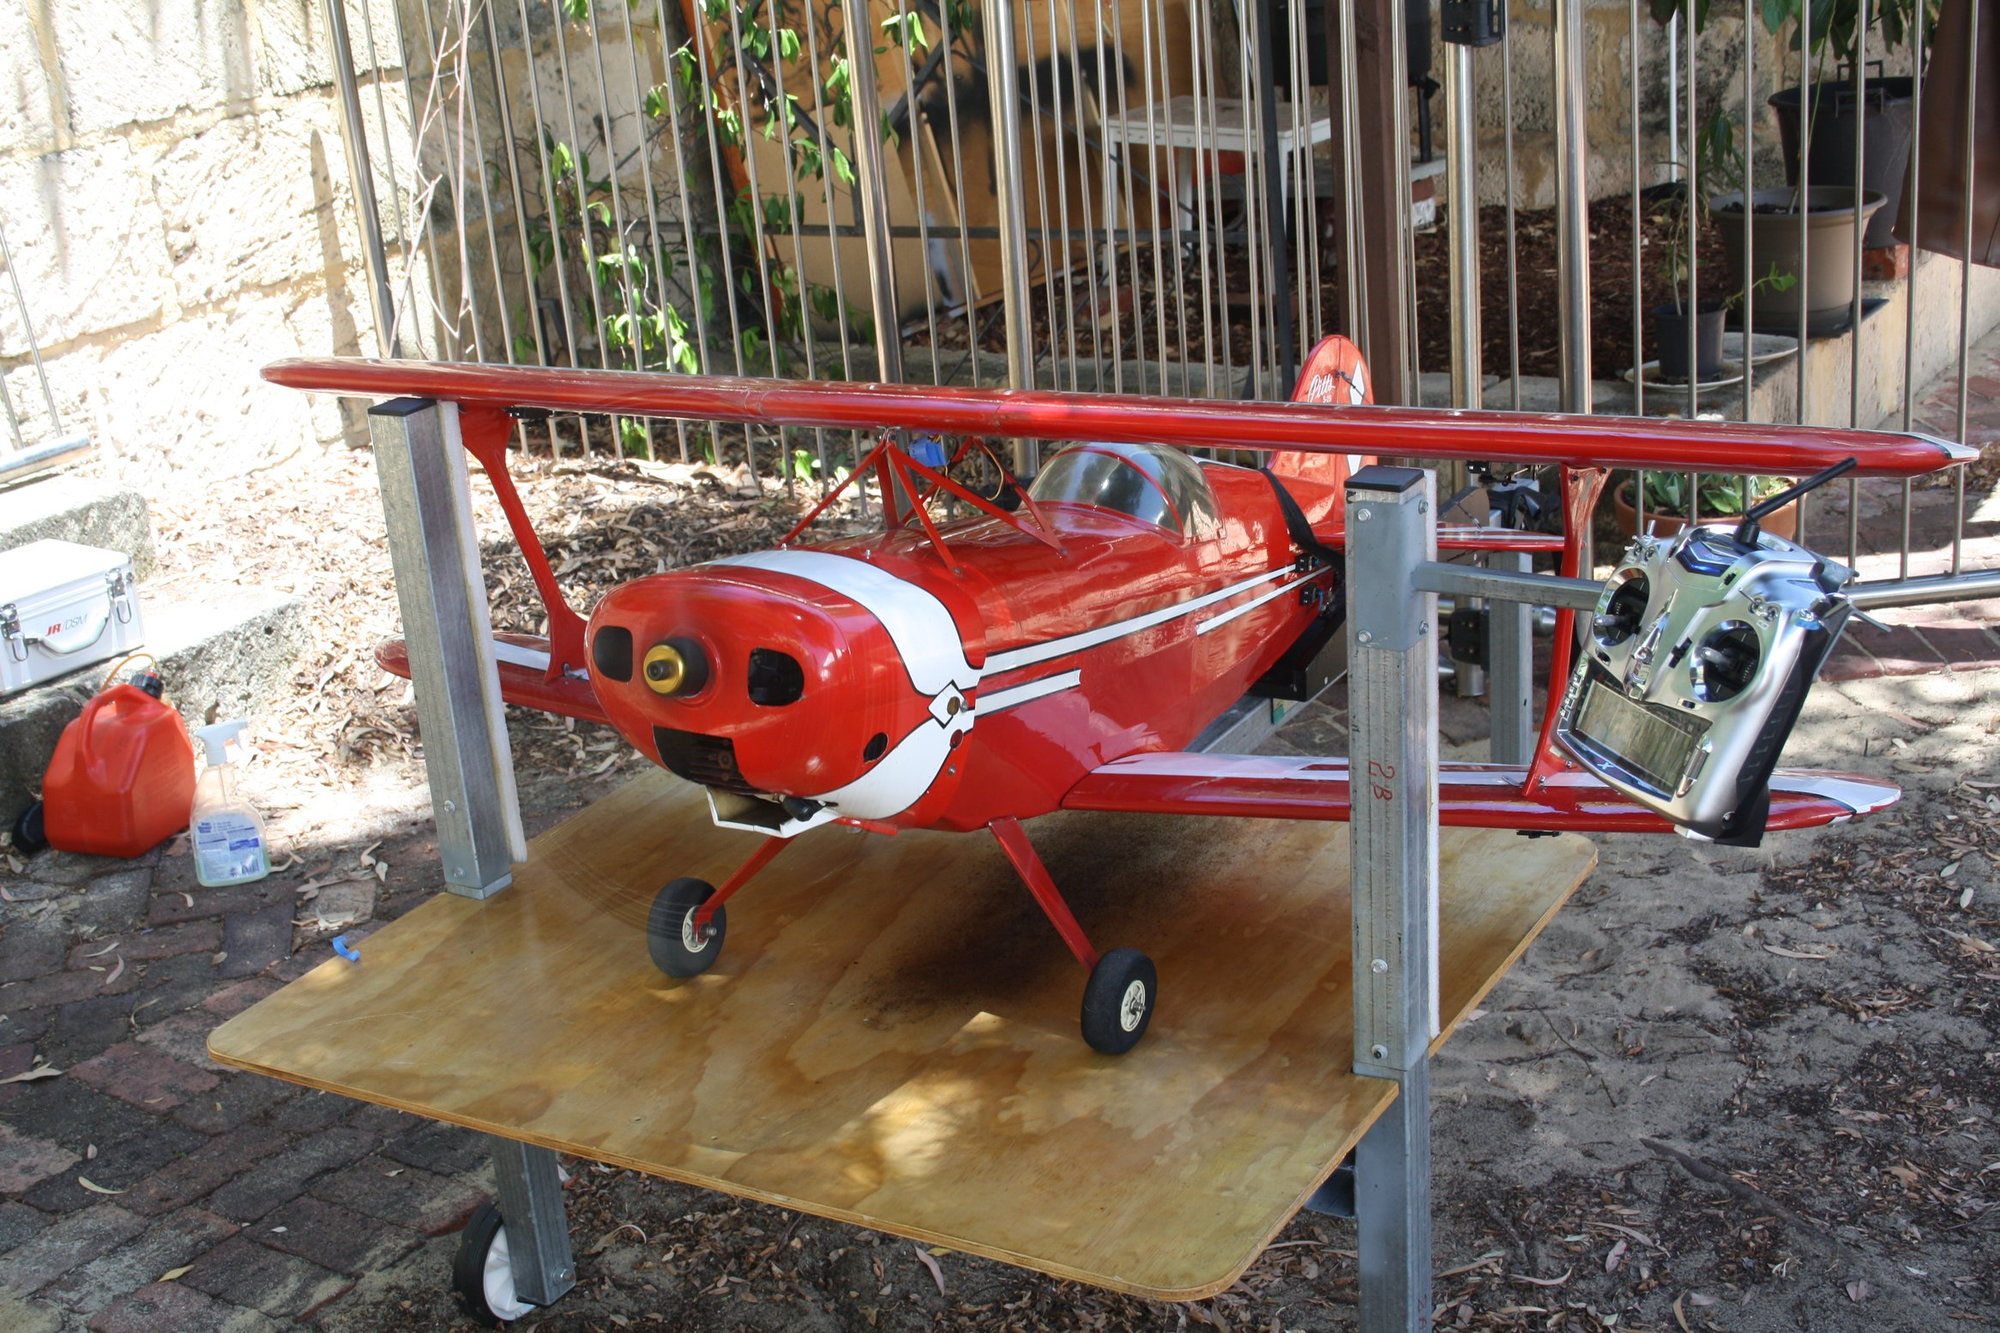
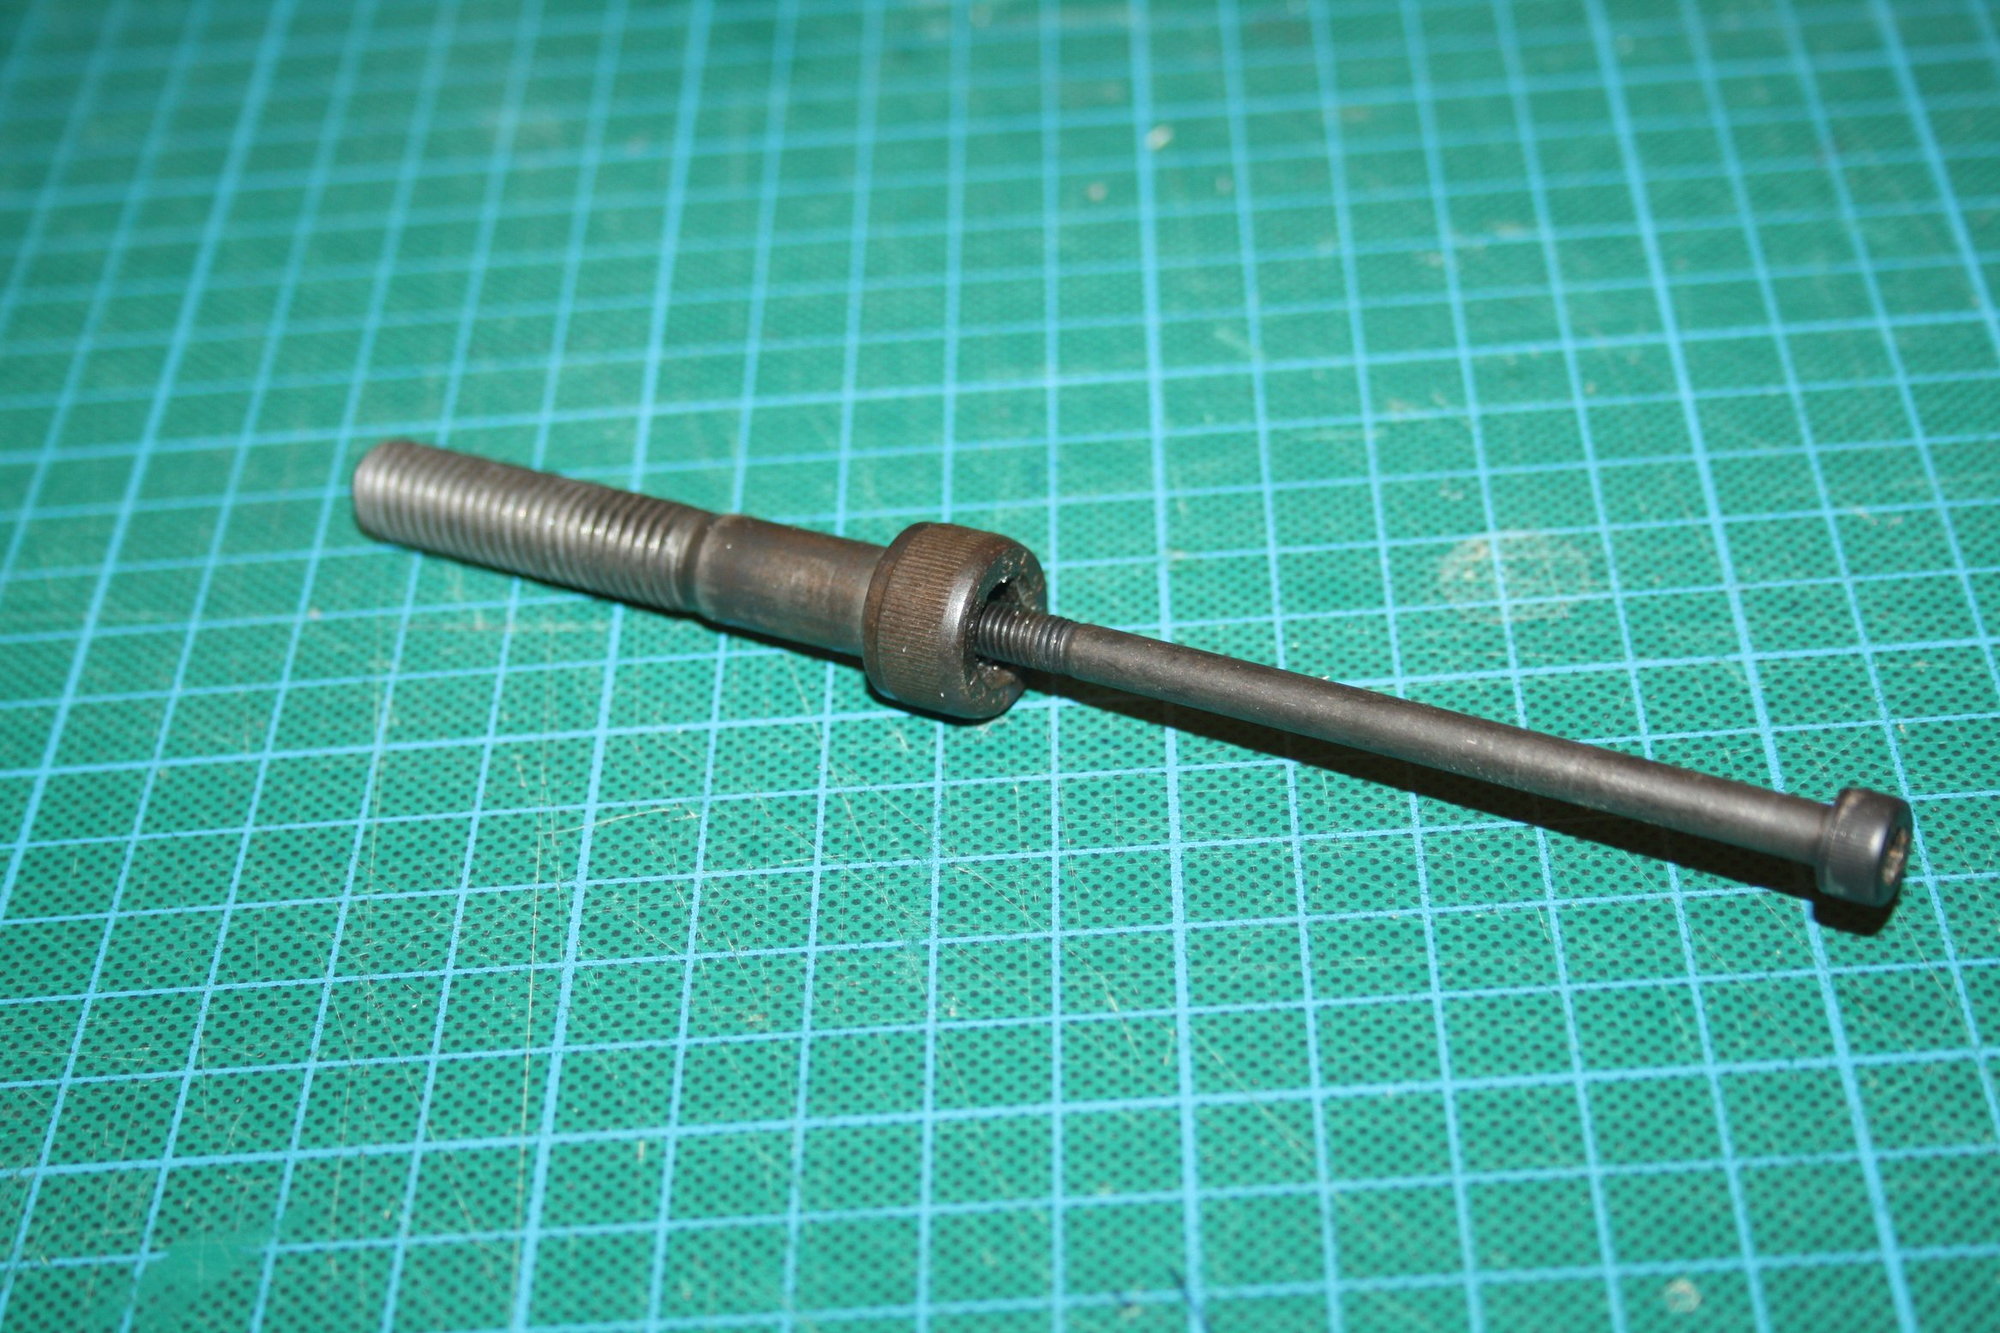
My club mate idea for the spinner problem was to machine the M10 bold head and create a M5 thread in it...
He also machined from aluminium for me an adaptor that allows me to use the 3 hole guide to drill props and the back-plate of the spinner (until I get a drill guide made from high tensile steel).
The spinner was previously used on my Great Planes SU-31 and had the back plate drilled with 4 holes pattern.
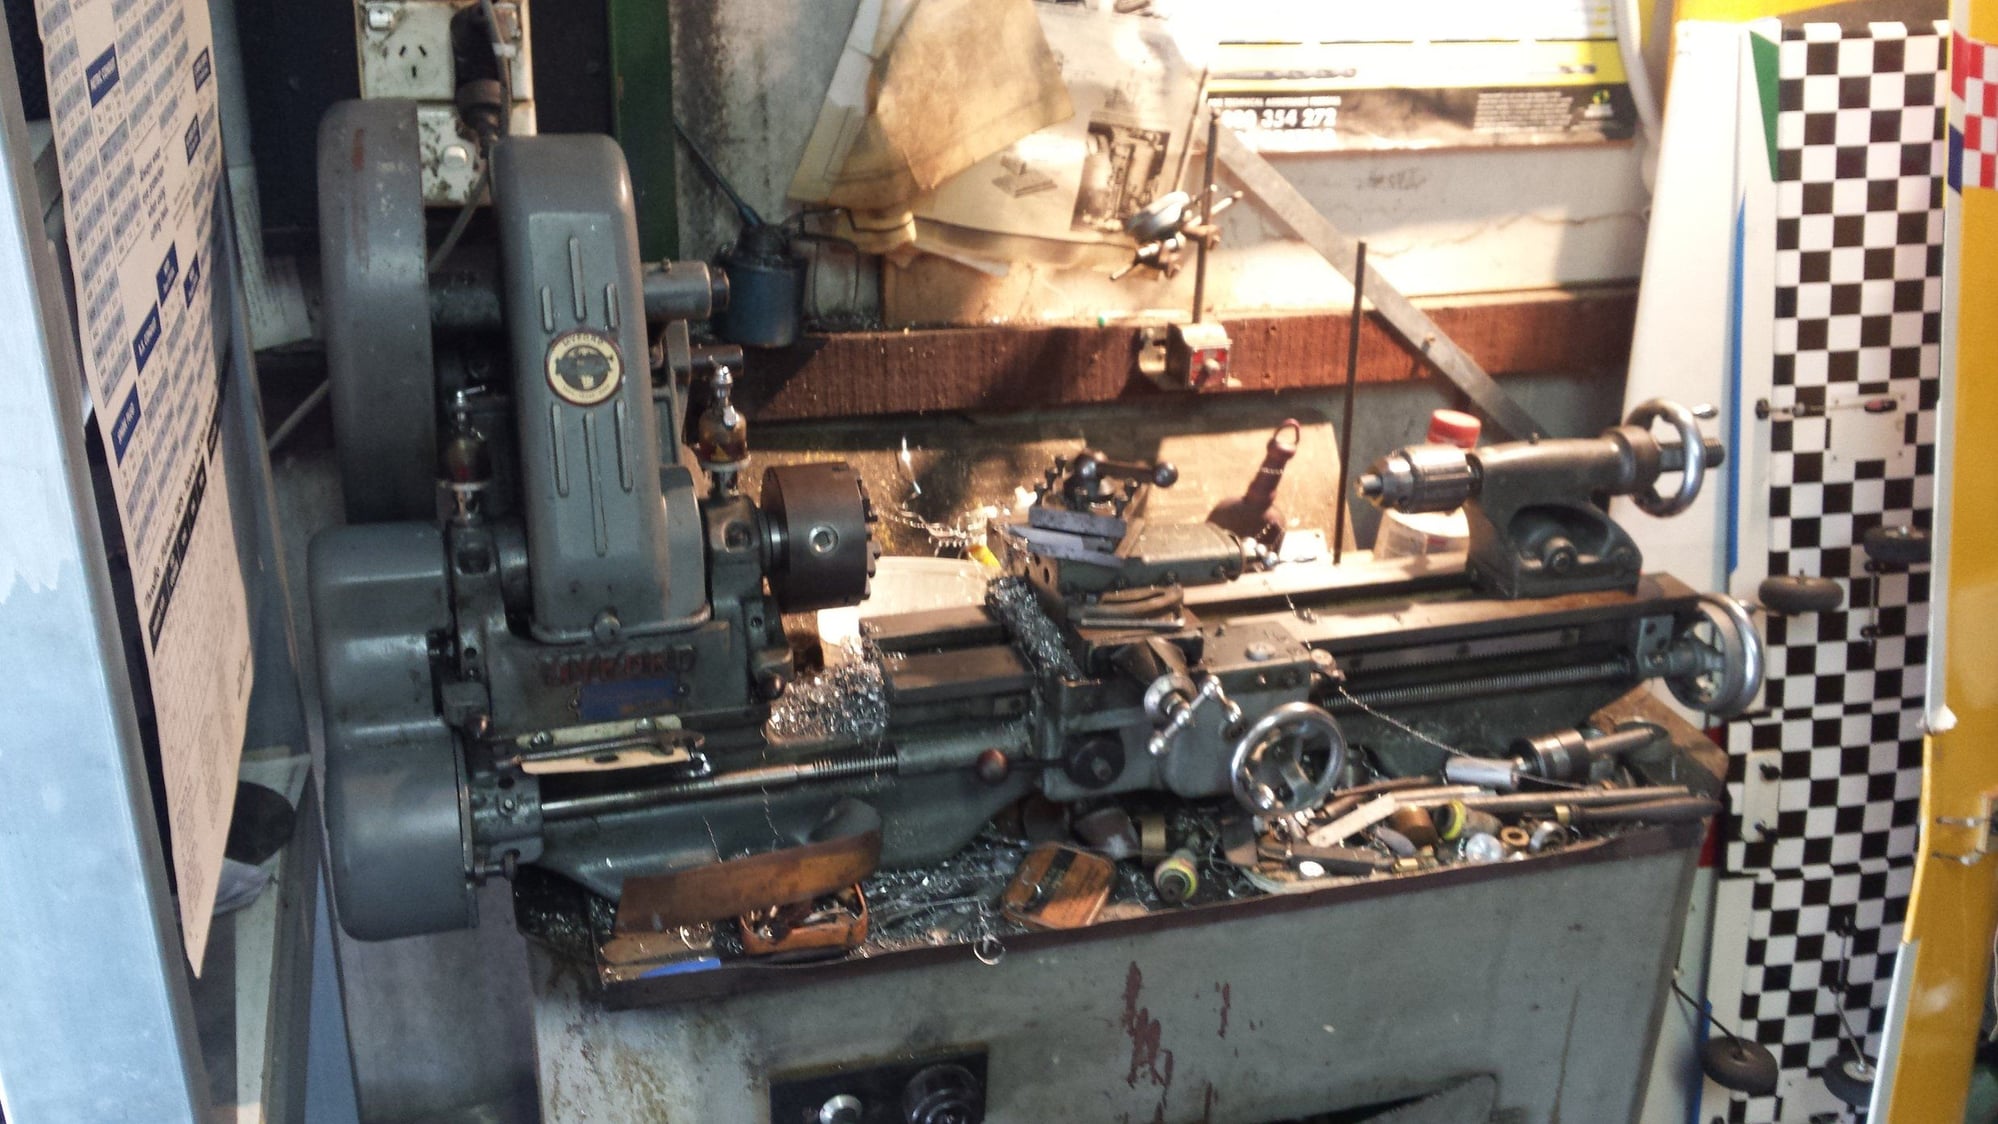
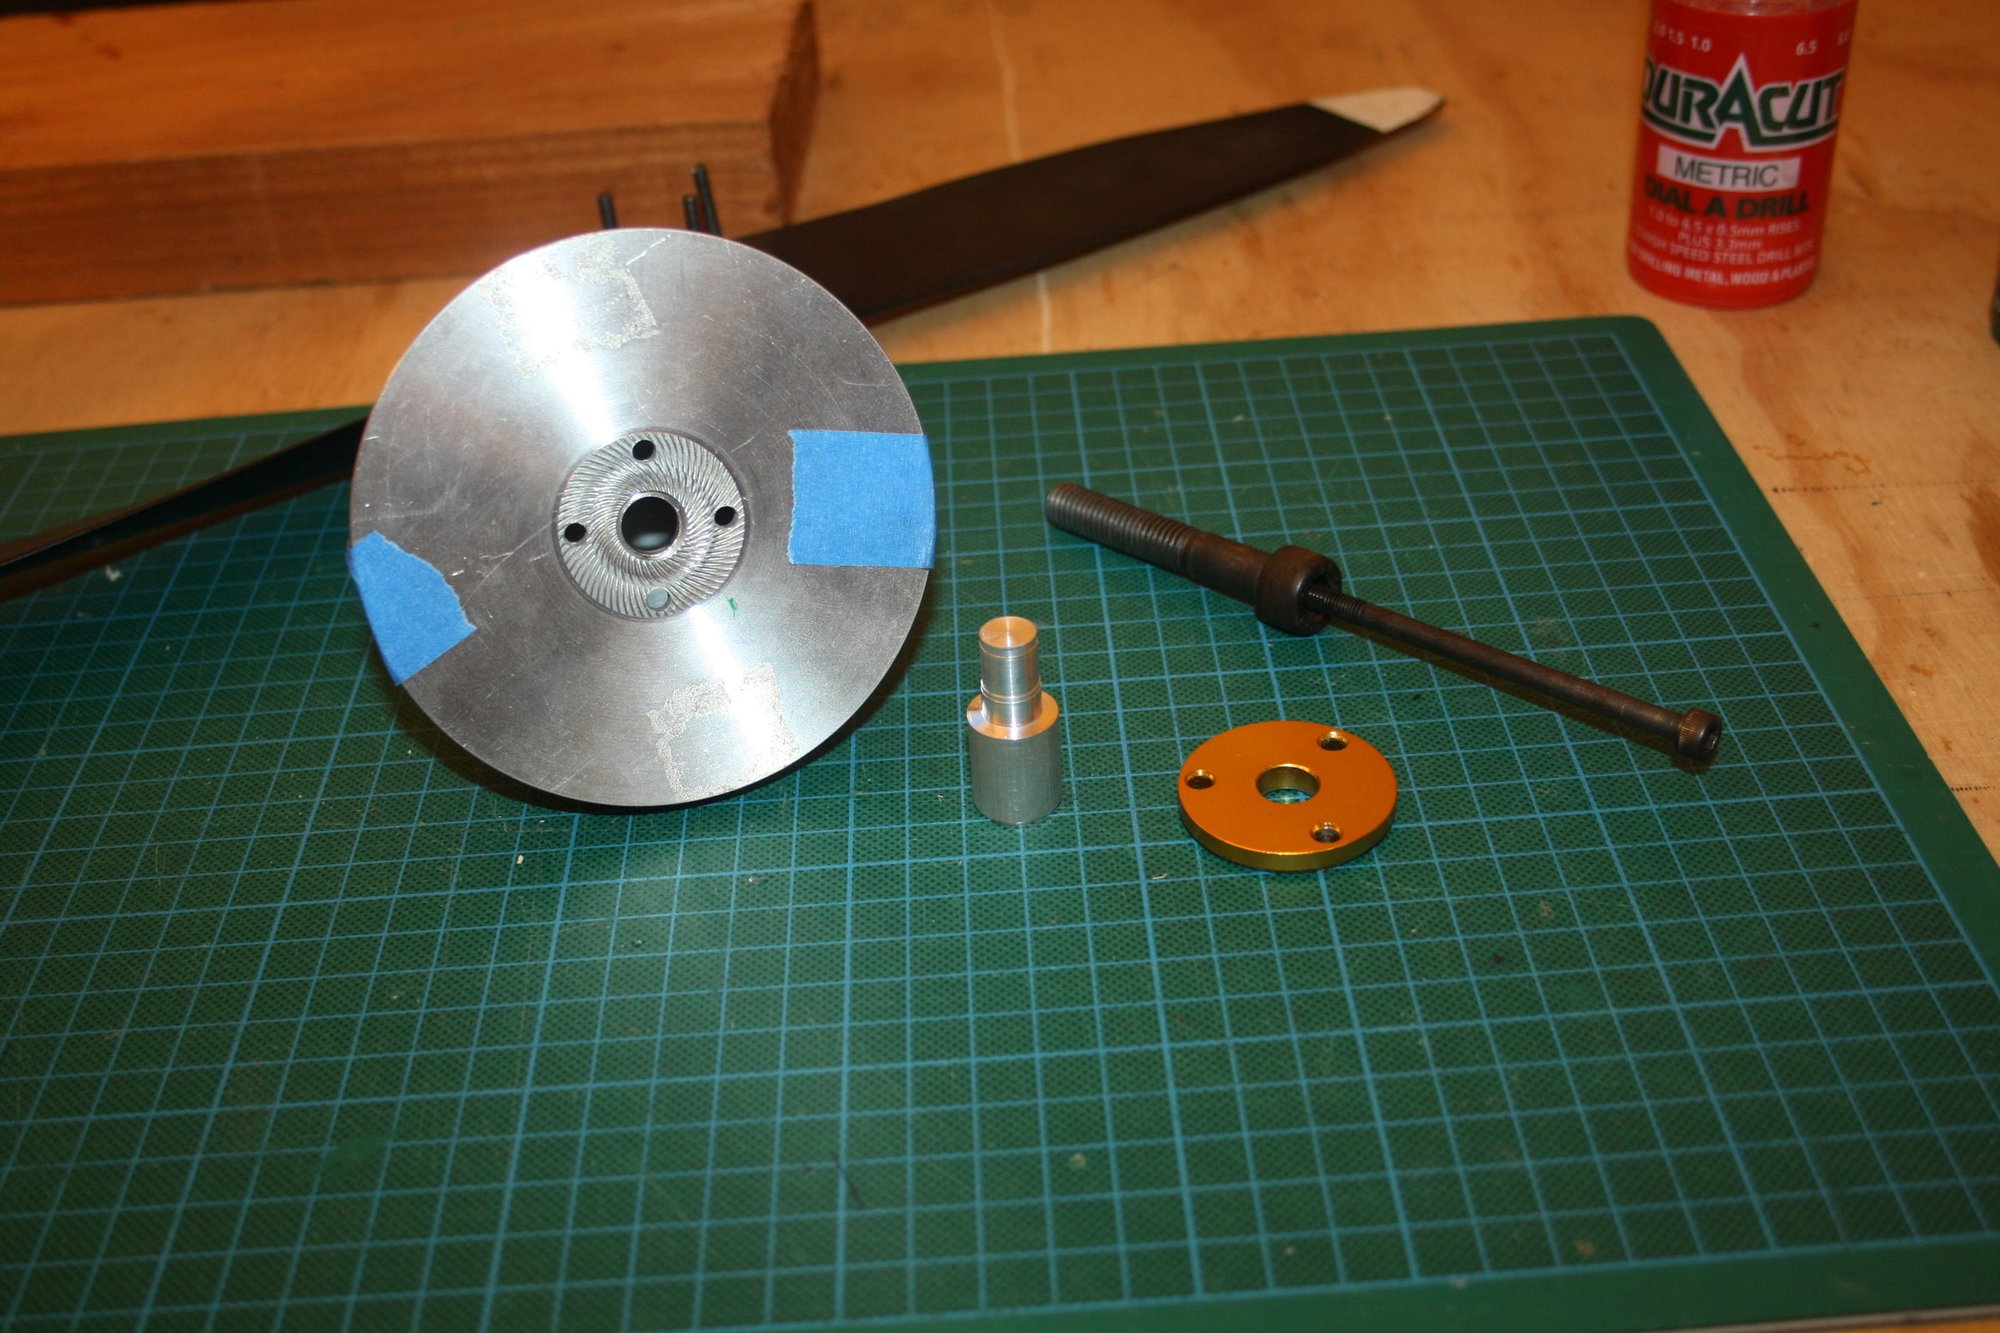
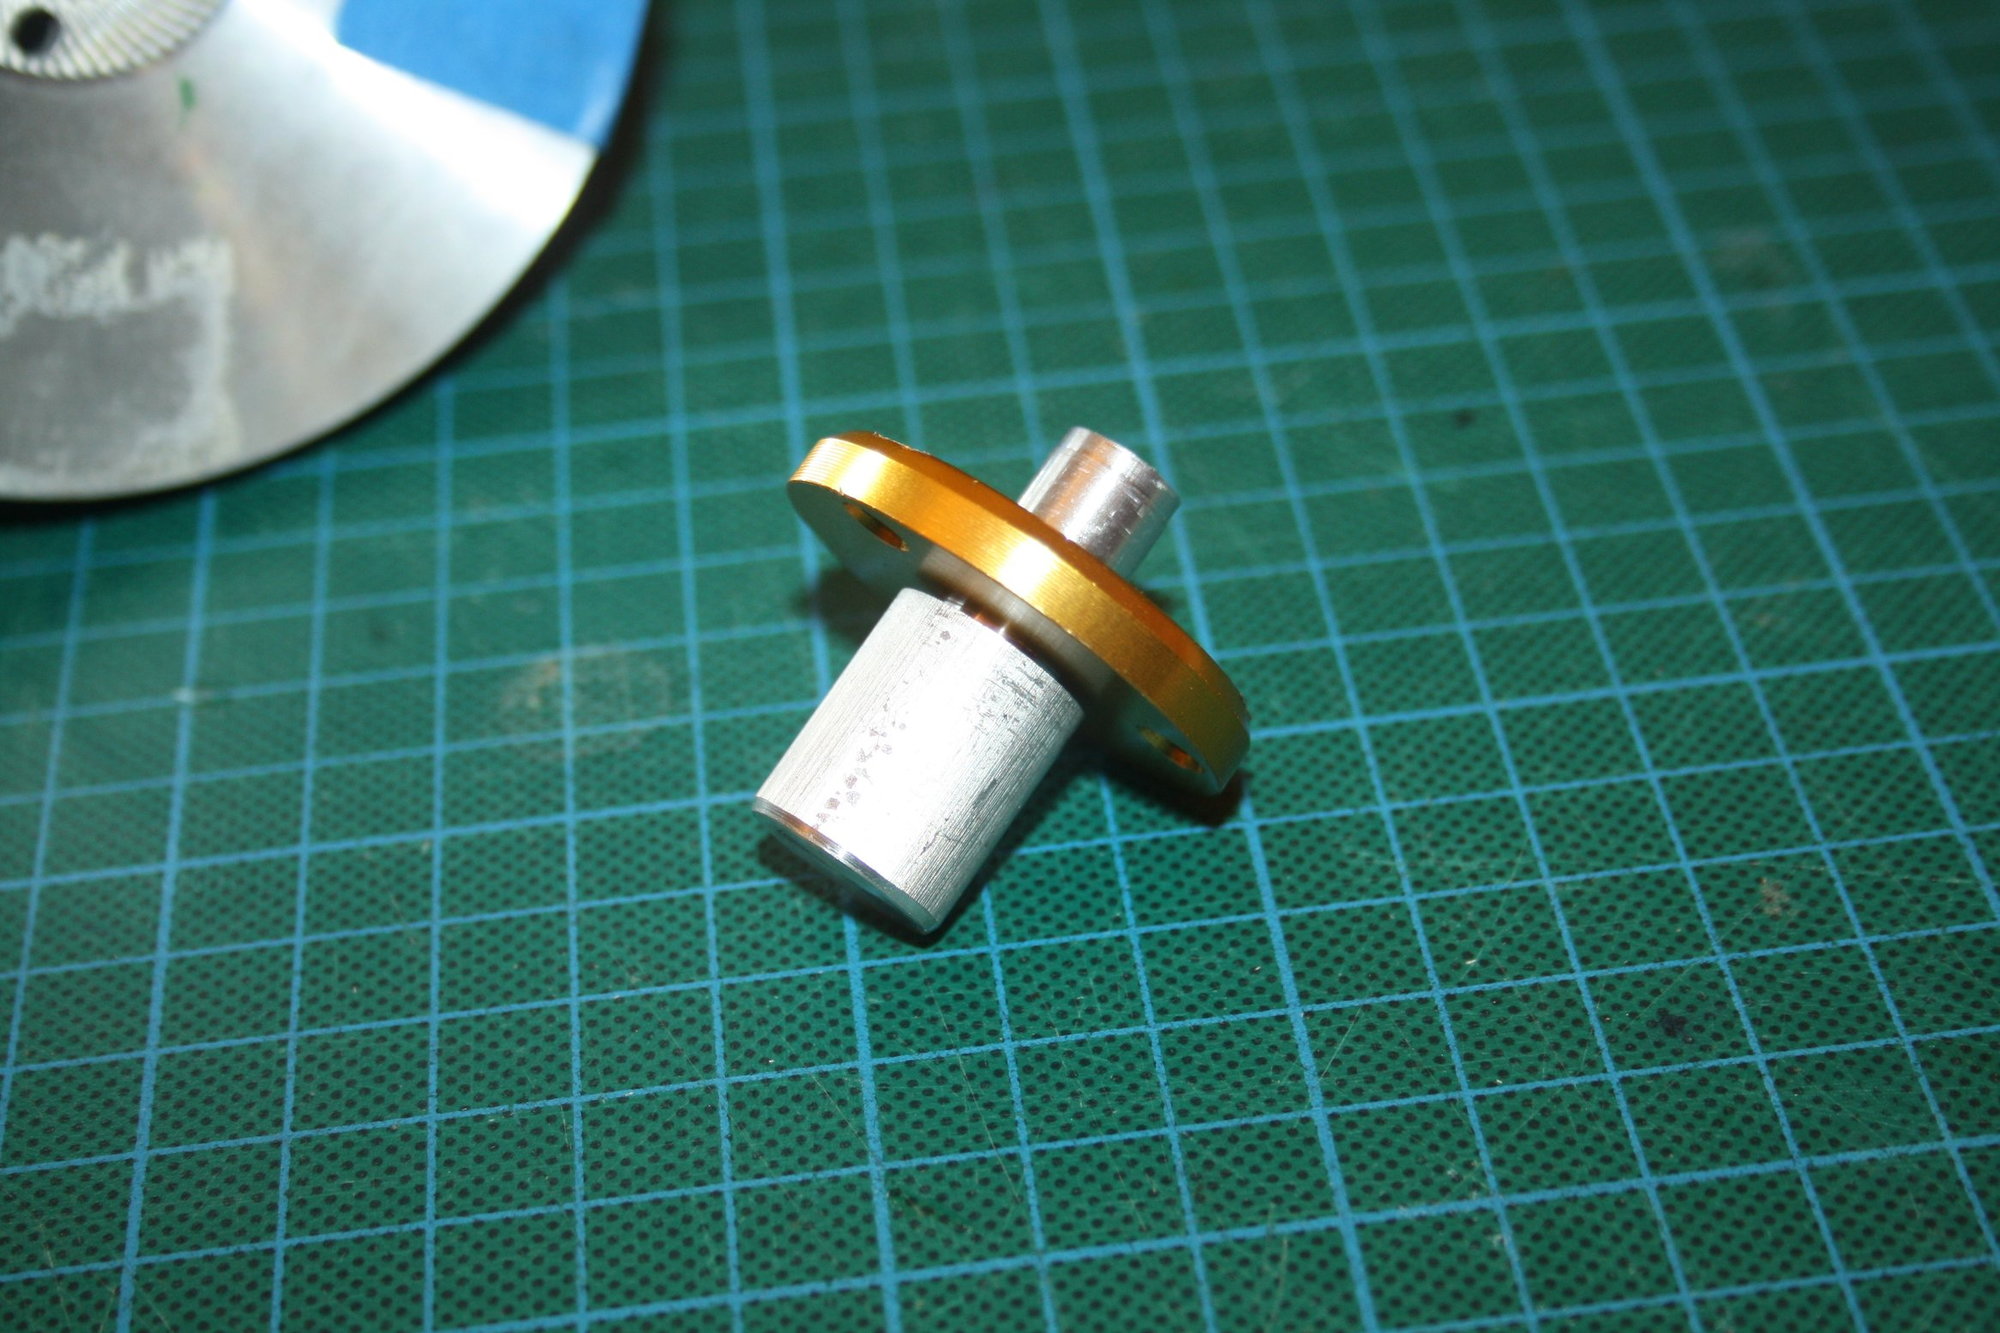
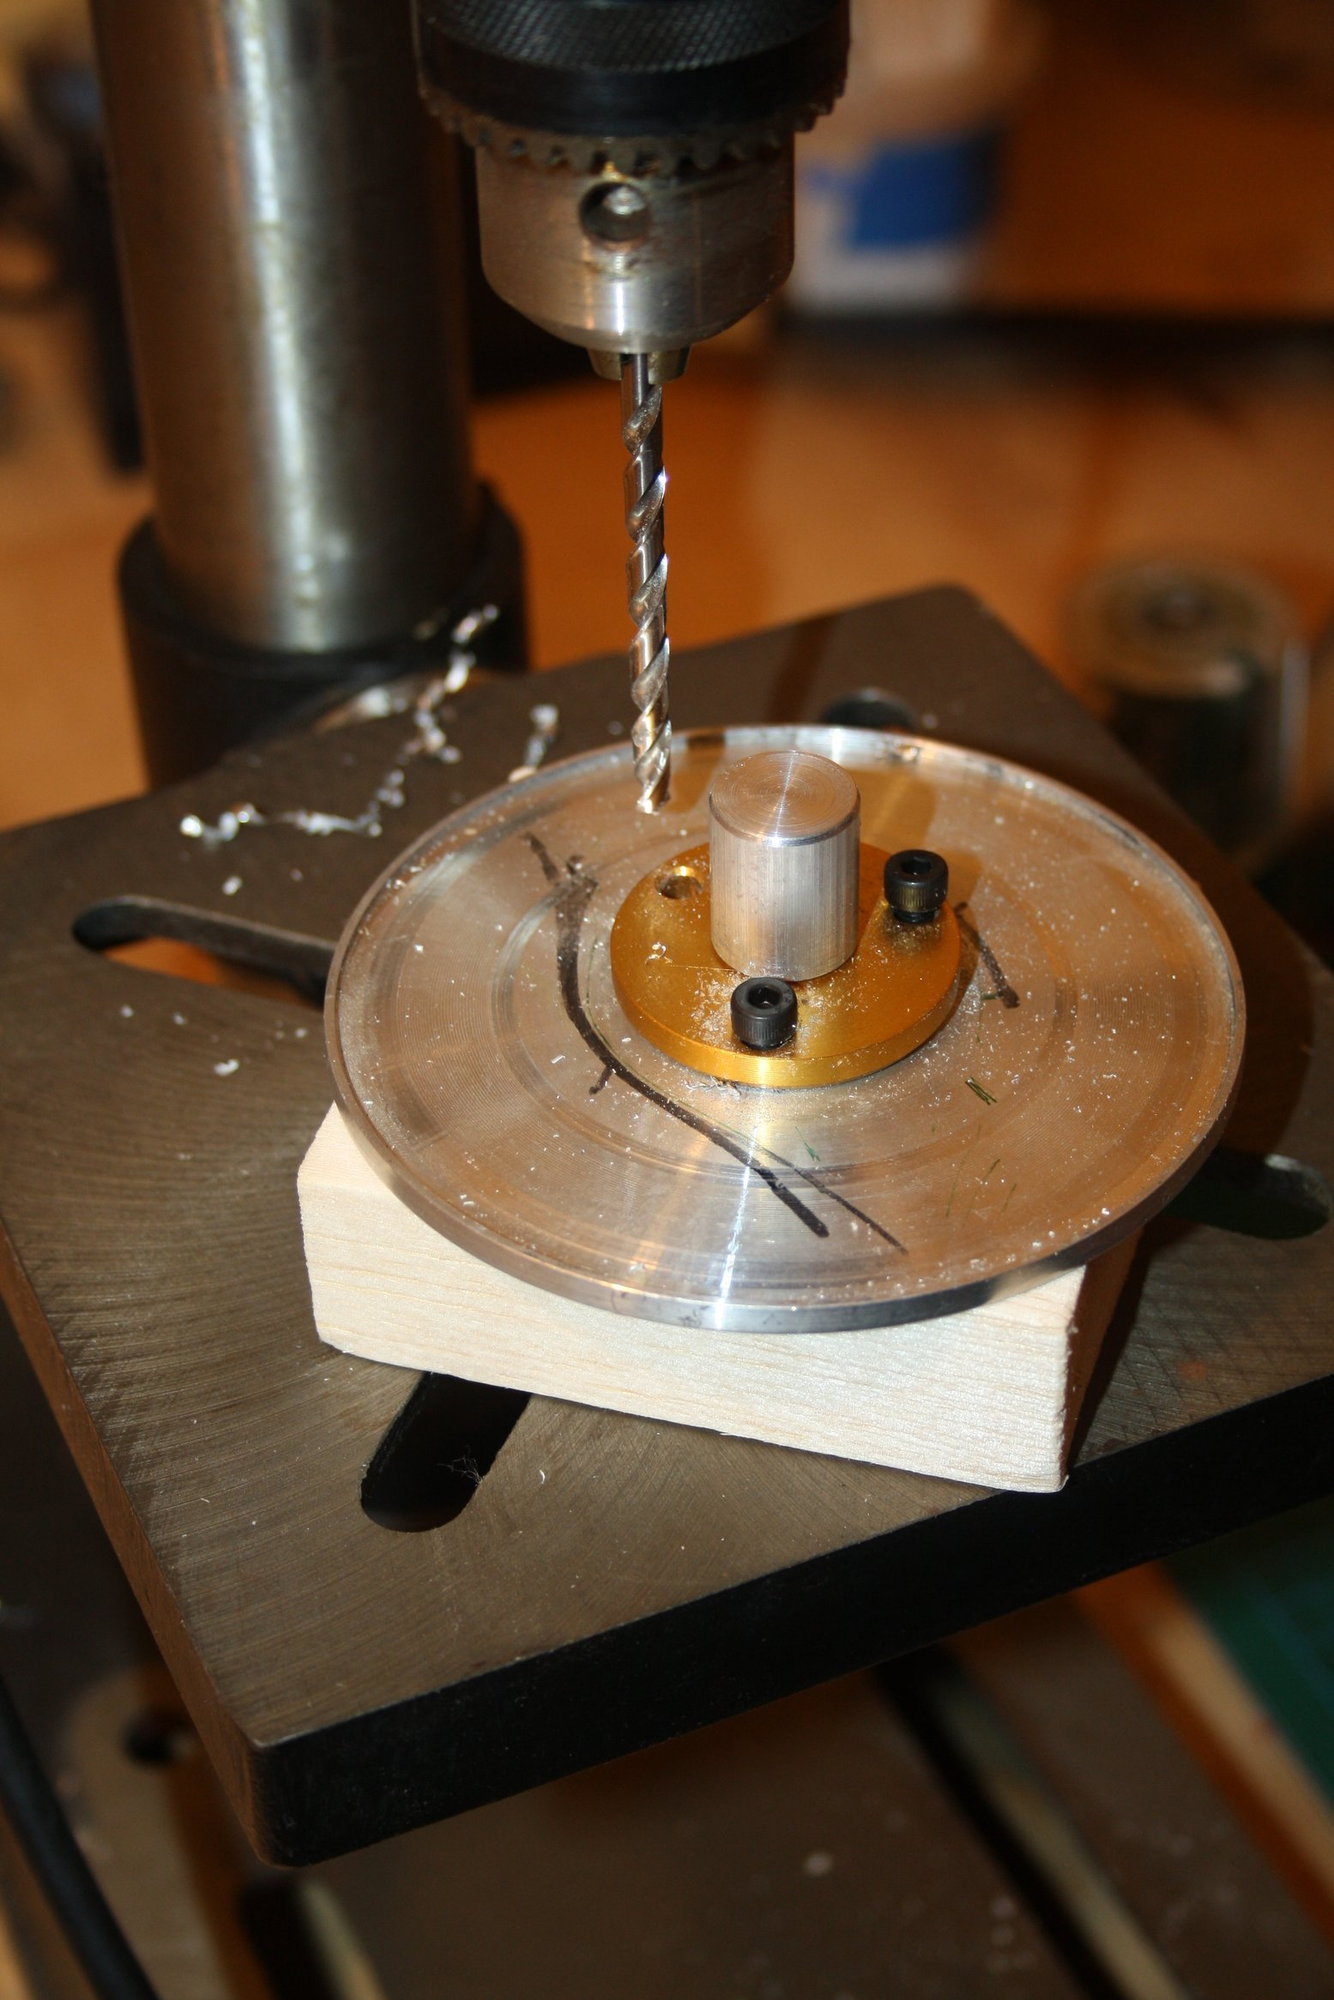
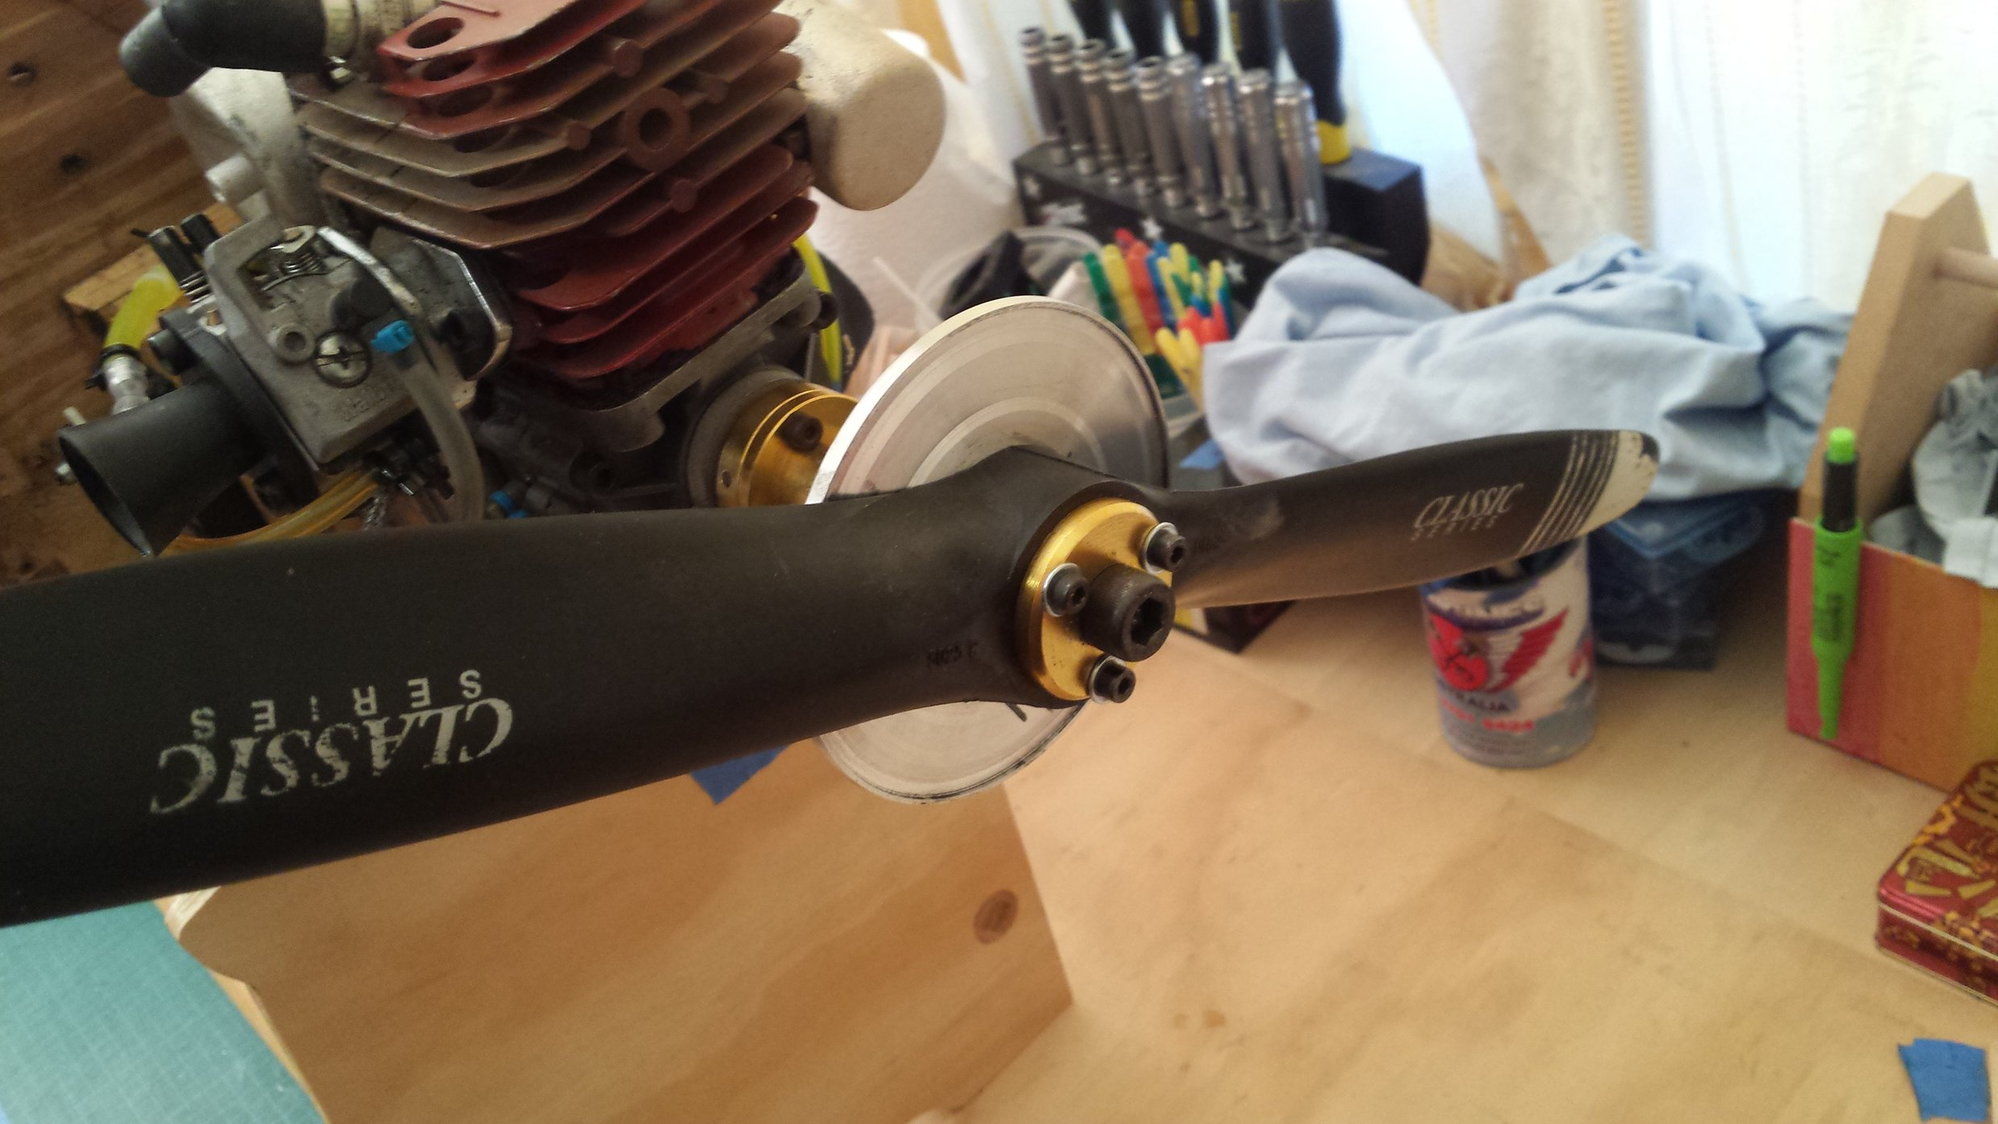
Last edited by erans; 04-11-2019 at 12:07 AM.