Resurrecting a Great Plans 1/3 Scale Pitts Special ARF
 02-19-2019, 07:36 PM
#1

Thread Starter
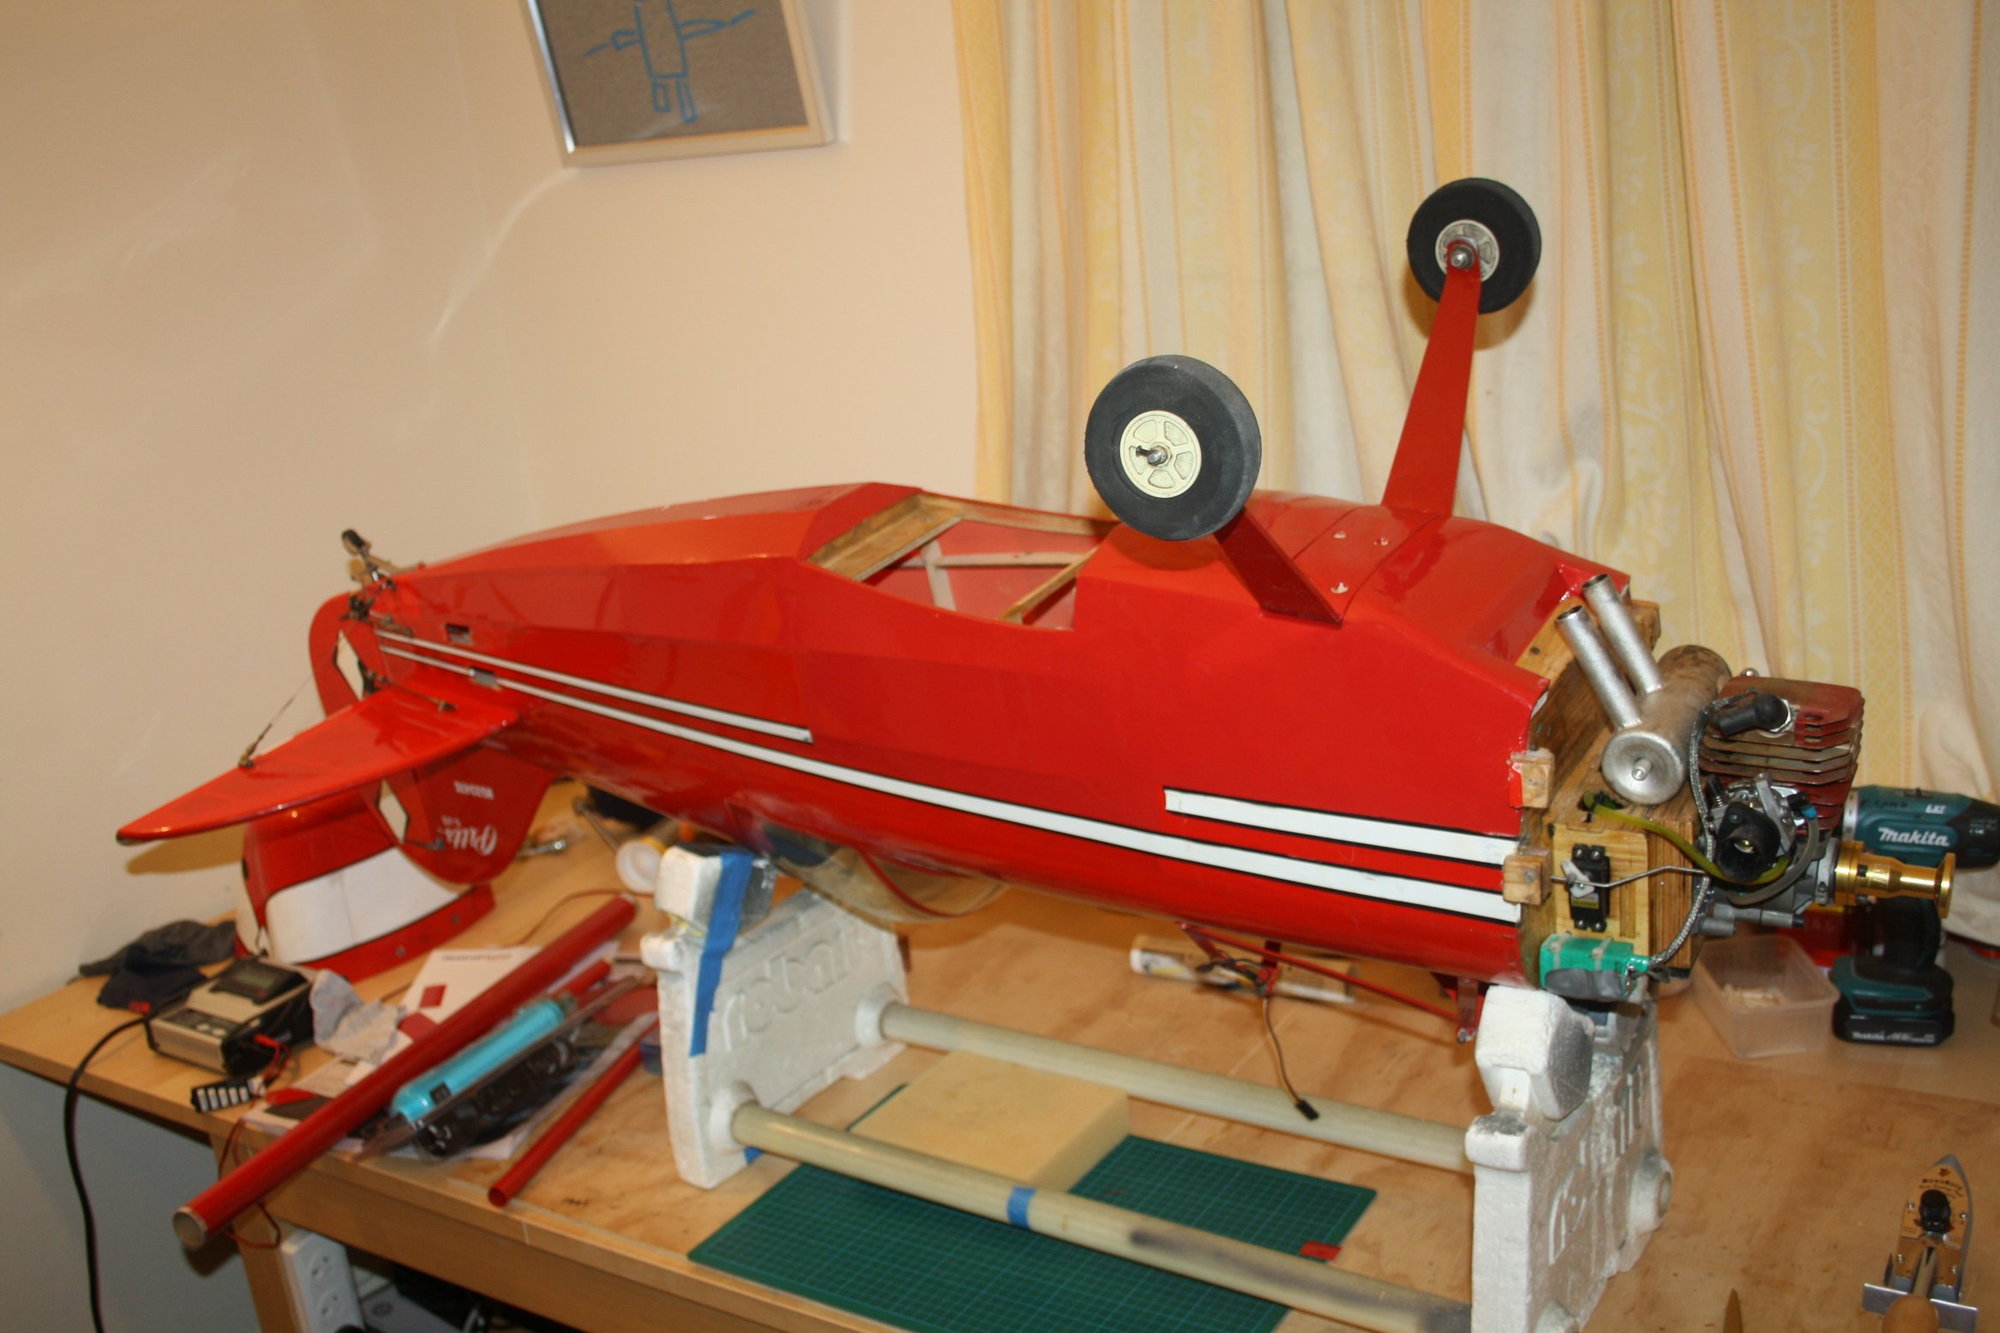
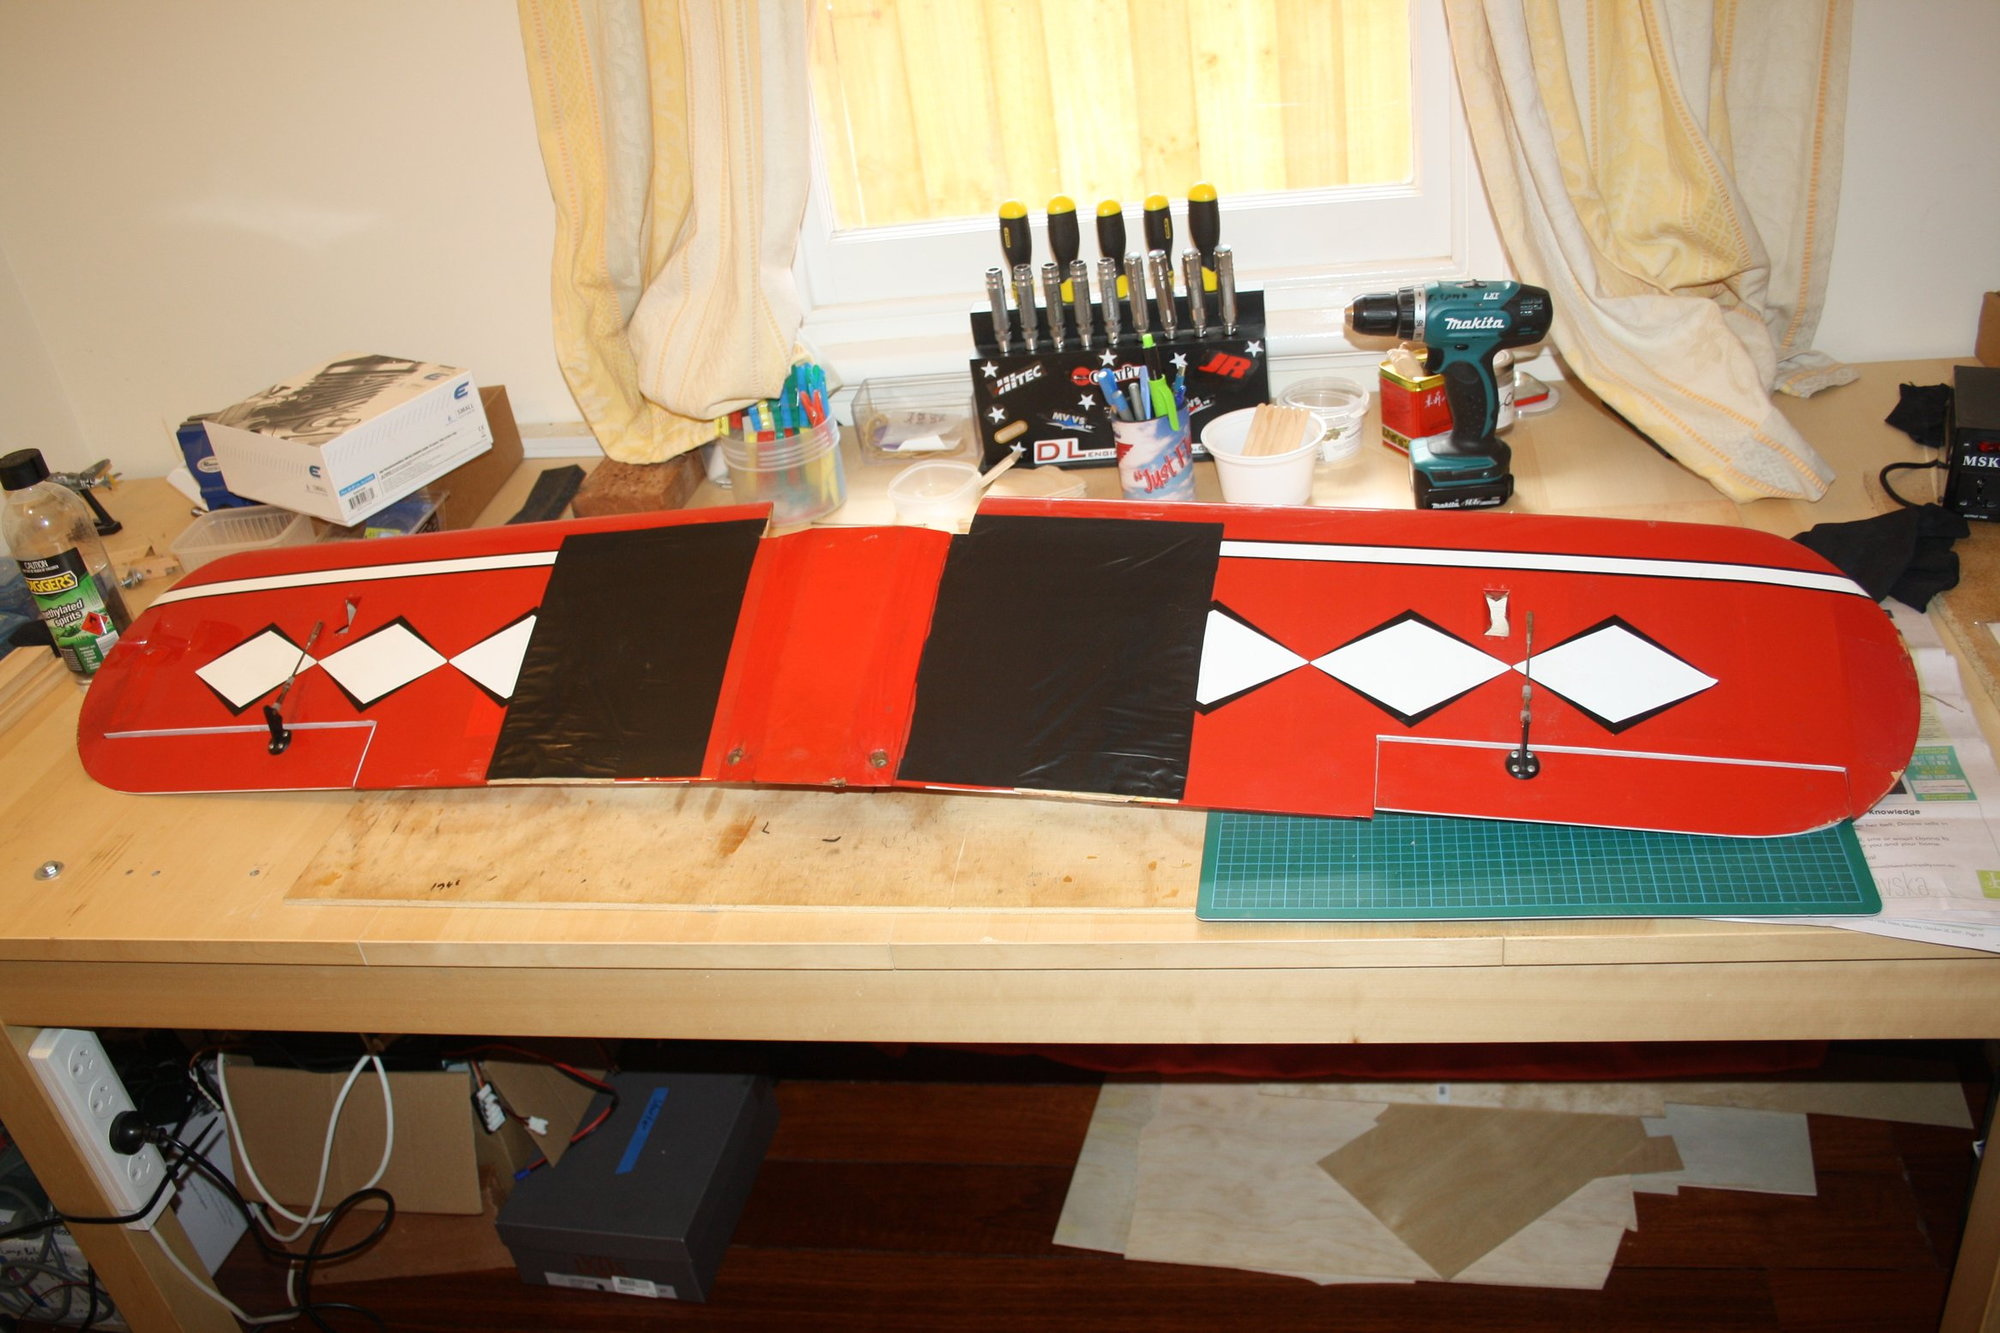
A friend received a Great Planes "1/3 Scale" (in reality it is more like 1/3.5) Pitts Special and asked if I would like to assist in resurrecting it to flying condition, which here in Australia will require it to pass a Heavy Model Inspection prior to be allowed to be flown, being over 7kg in weight.
The full history of this aeroplane is unknown. It was received with a 50cc CRRC-Pro engine, which is a very old petrol engine.
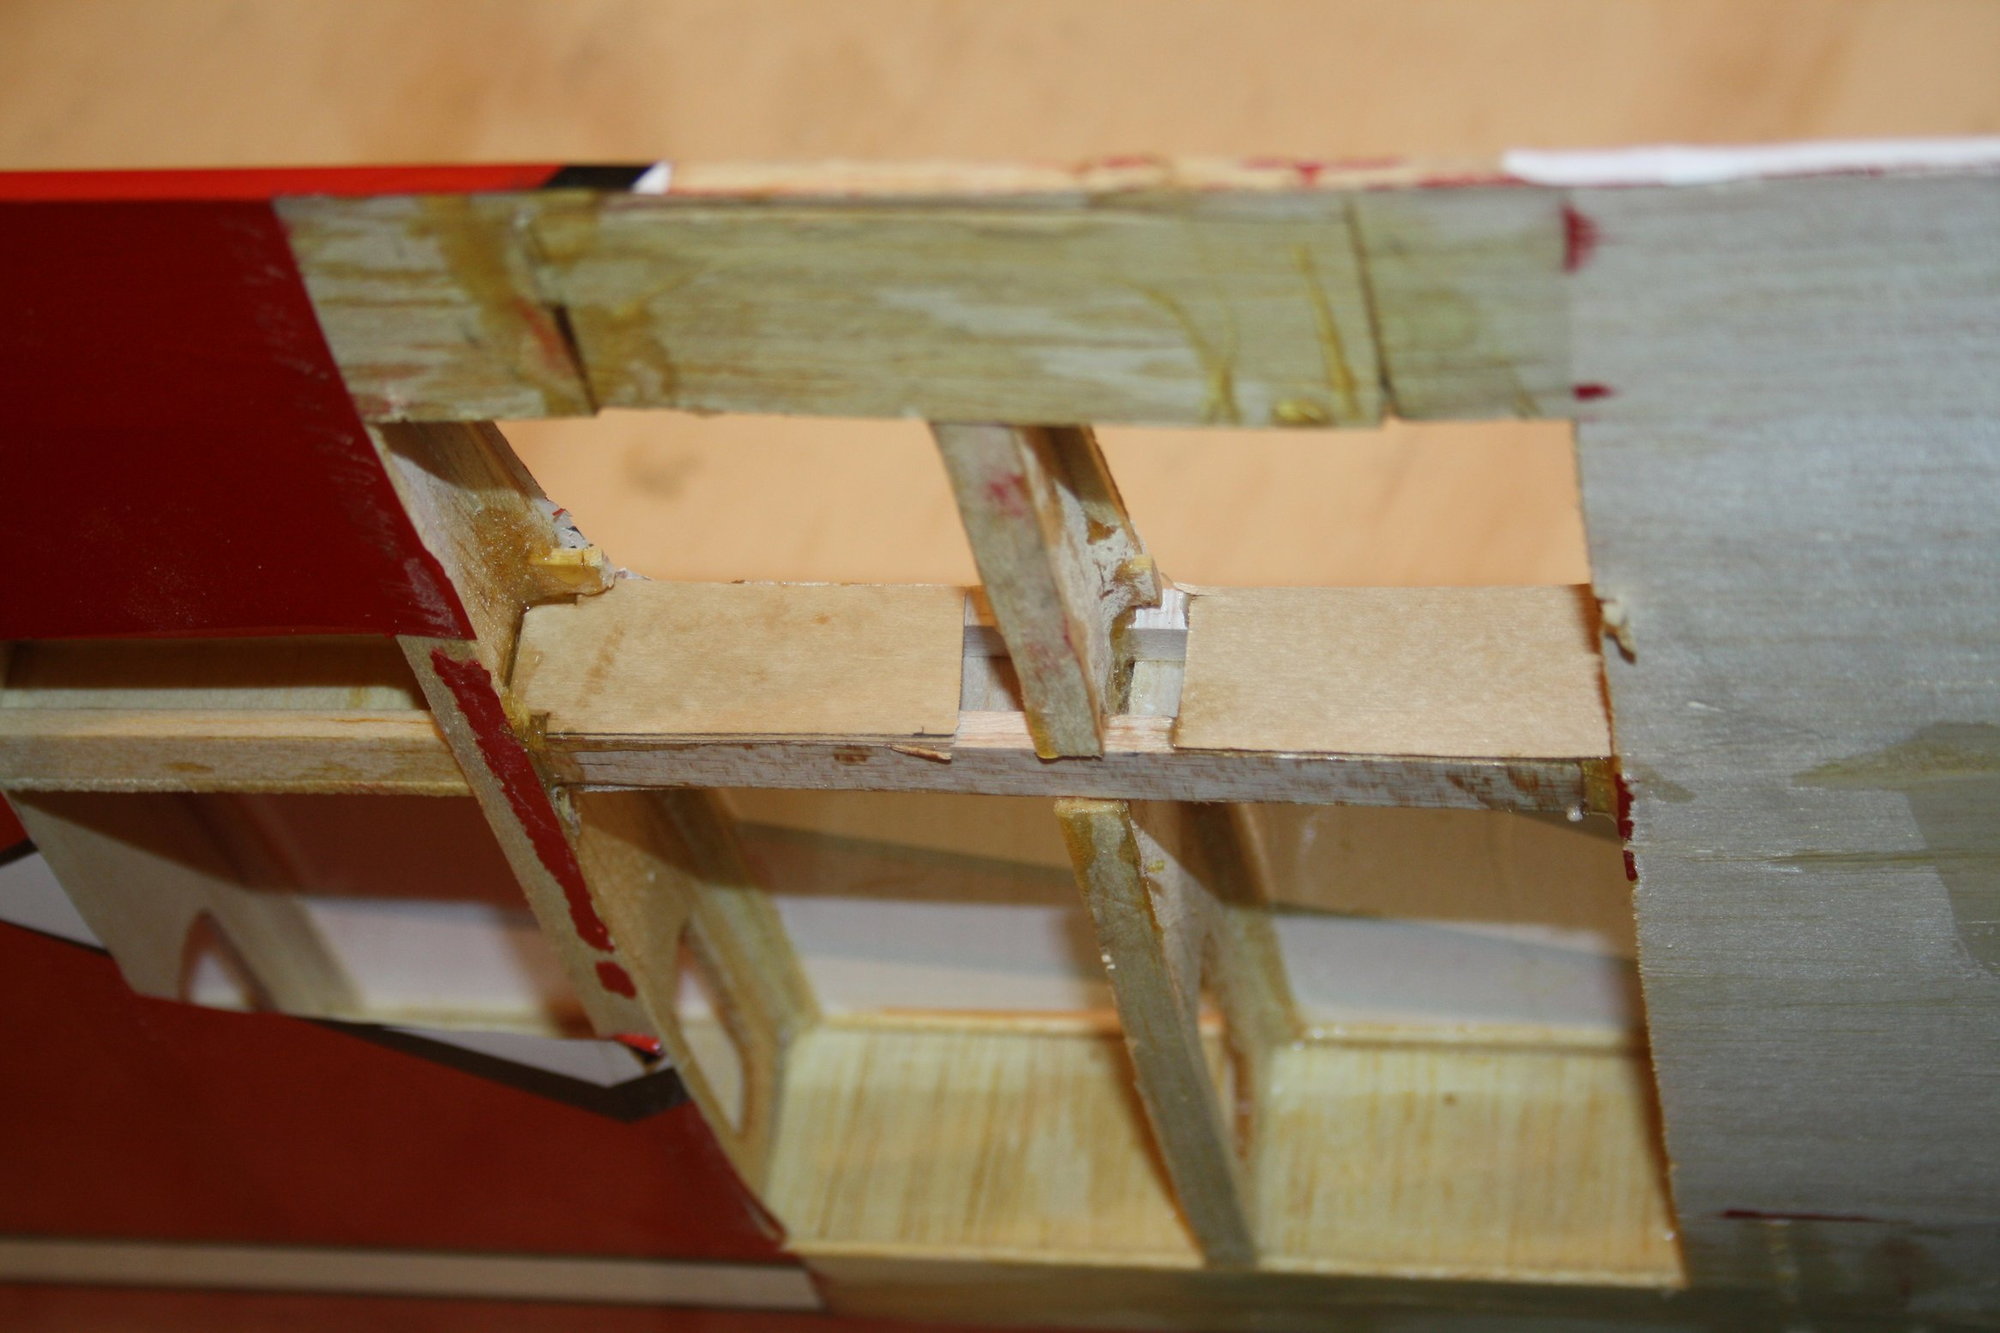
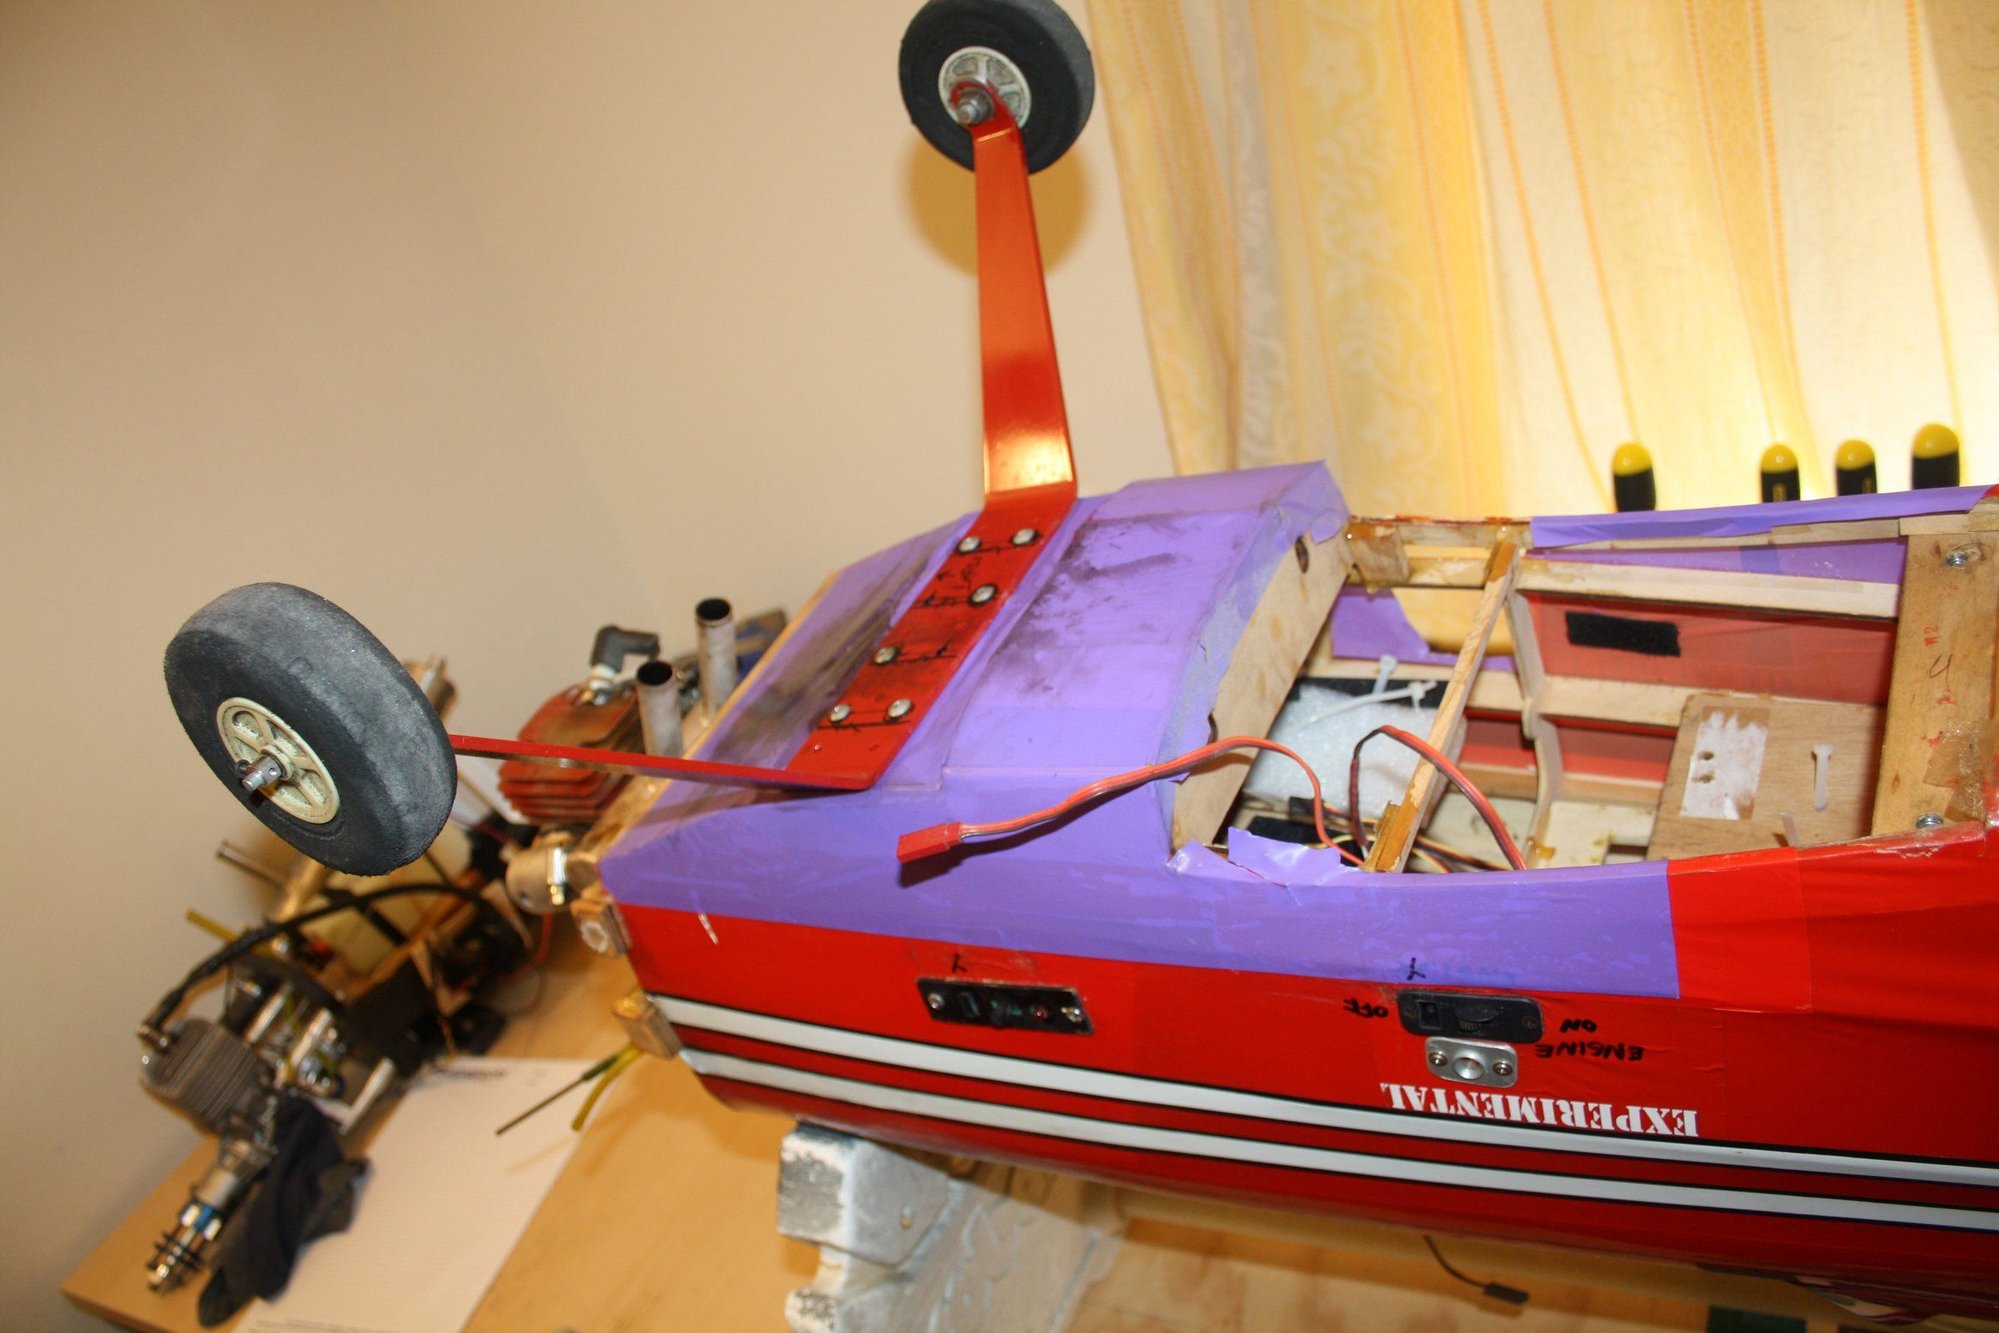
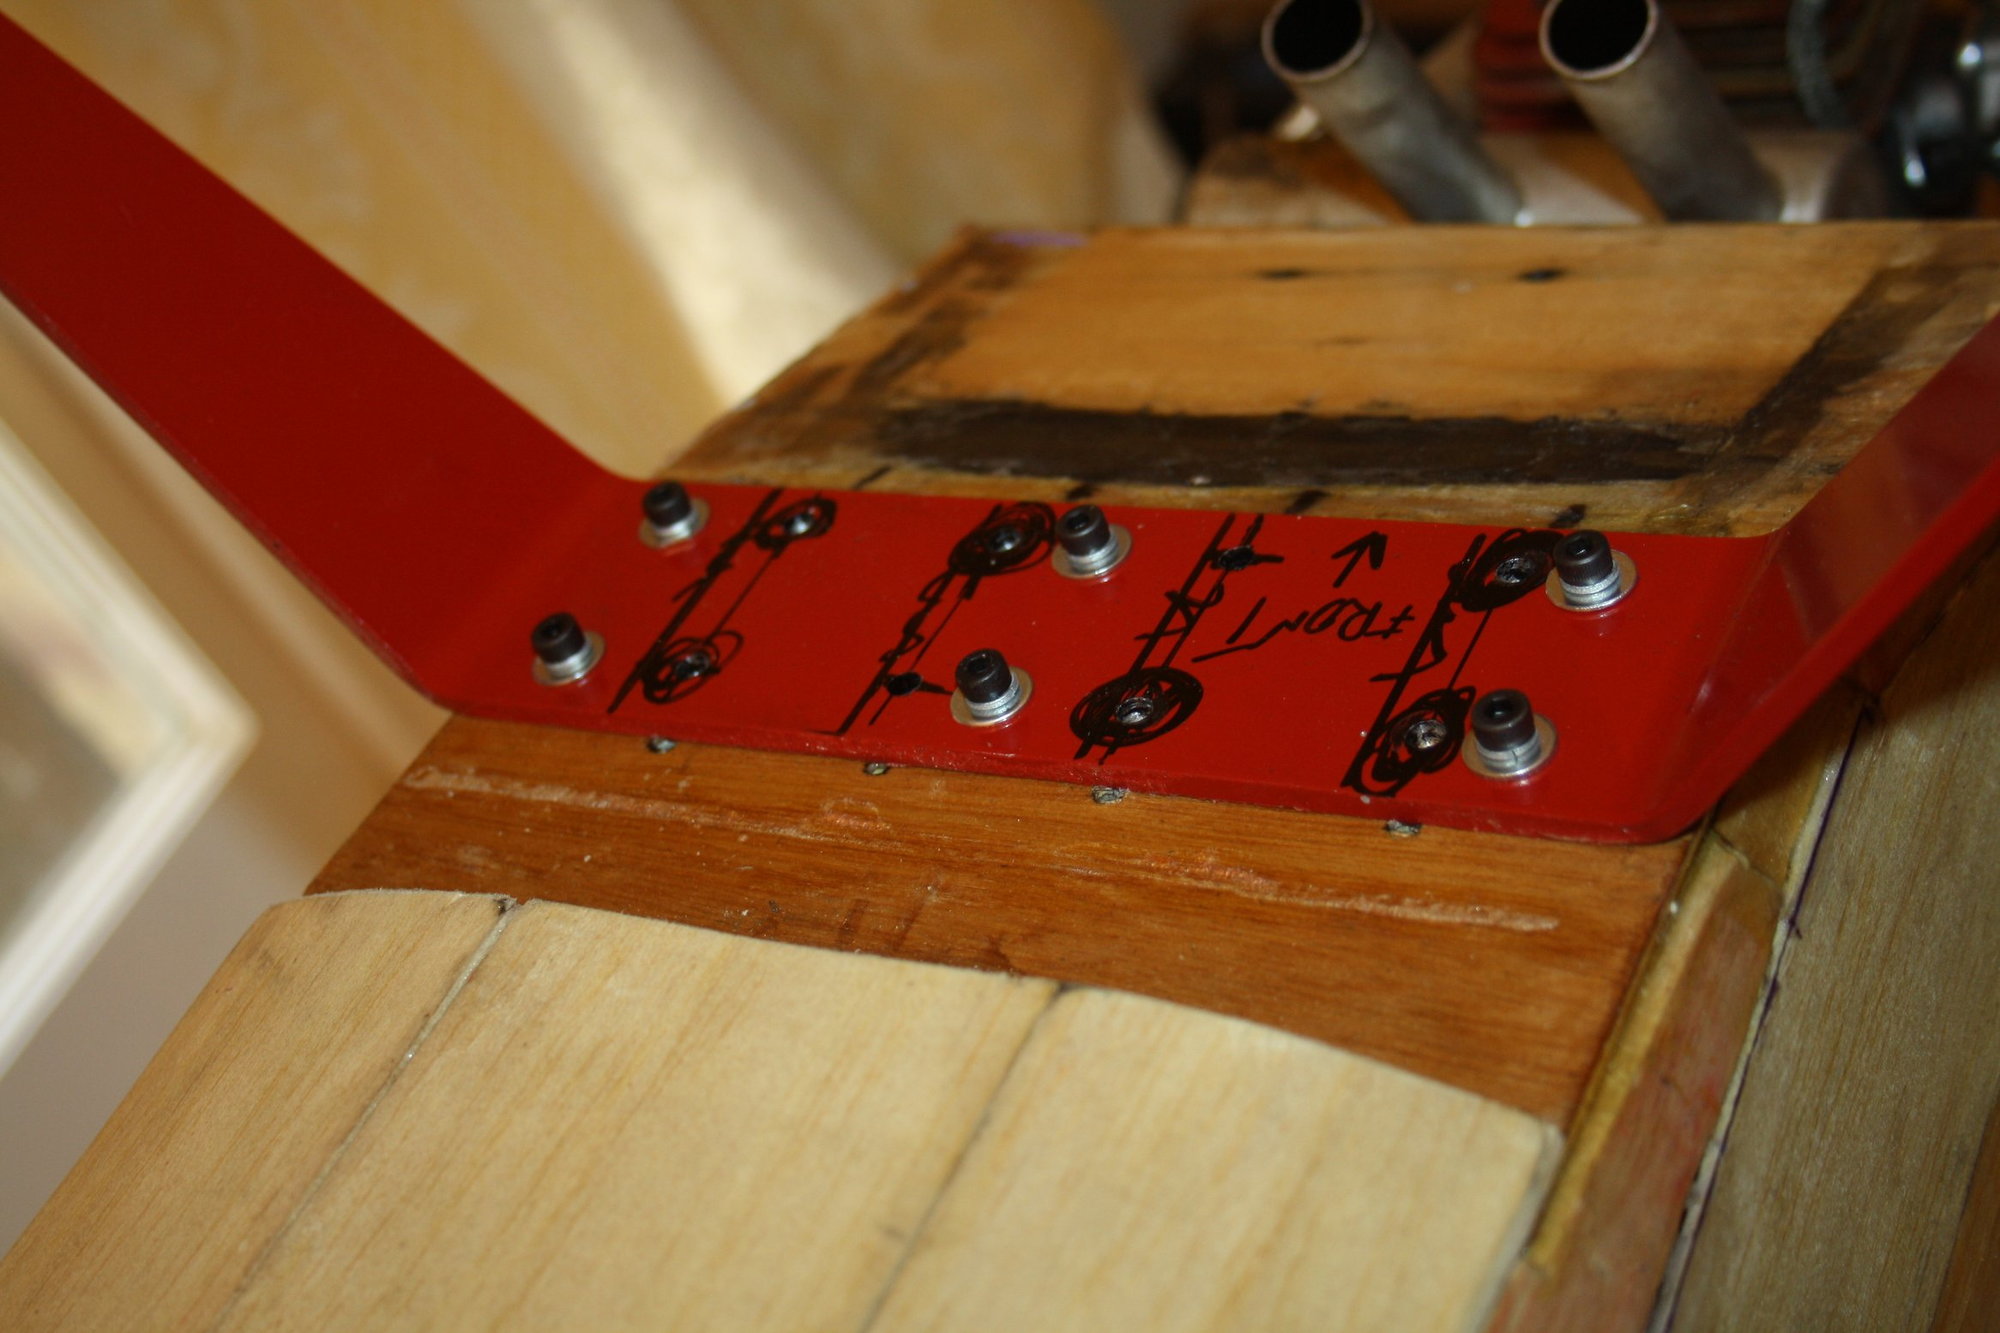
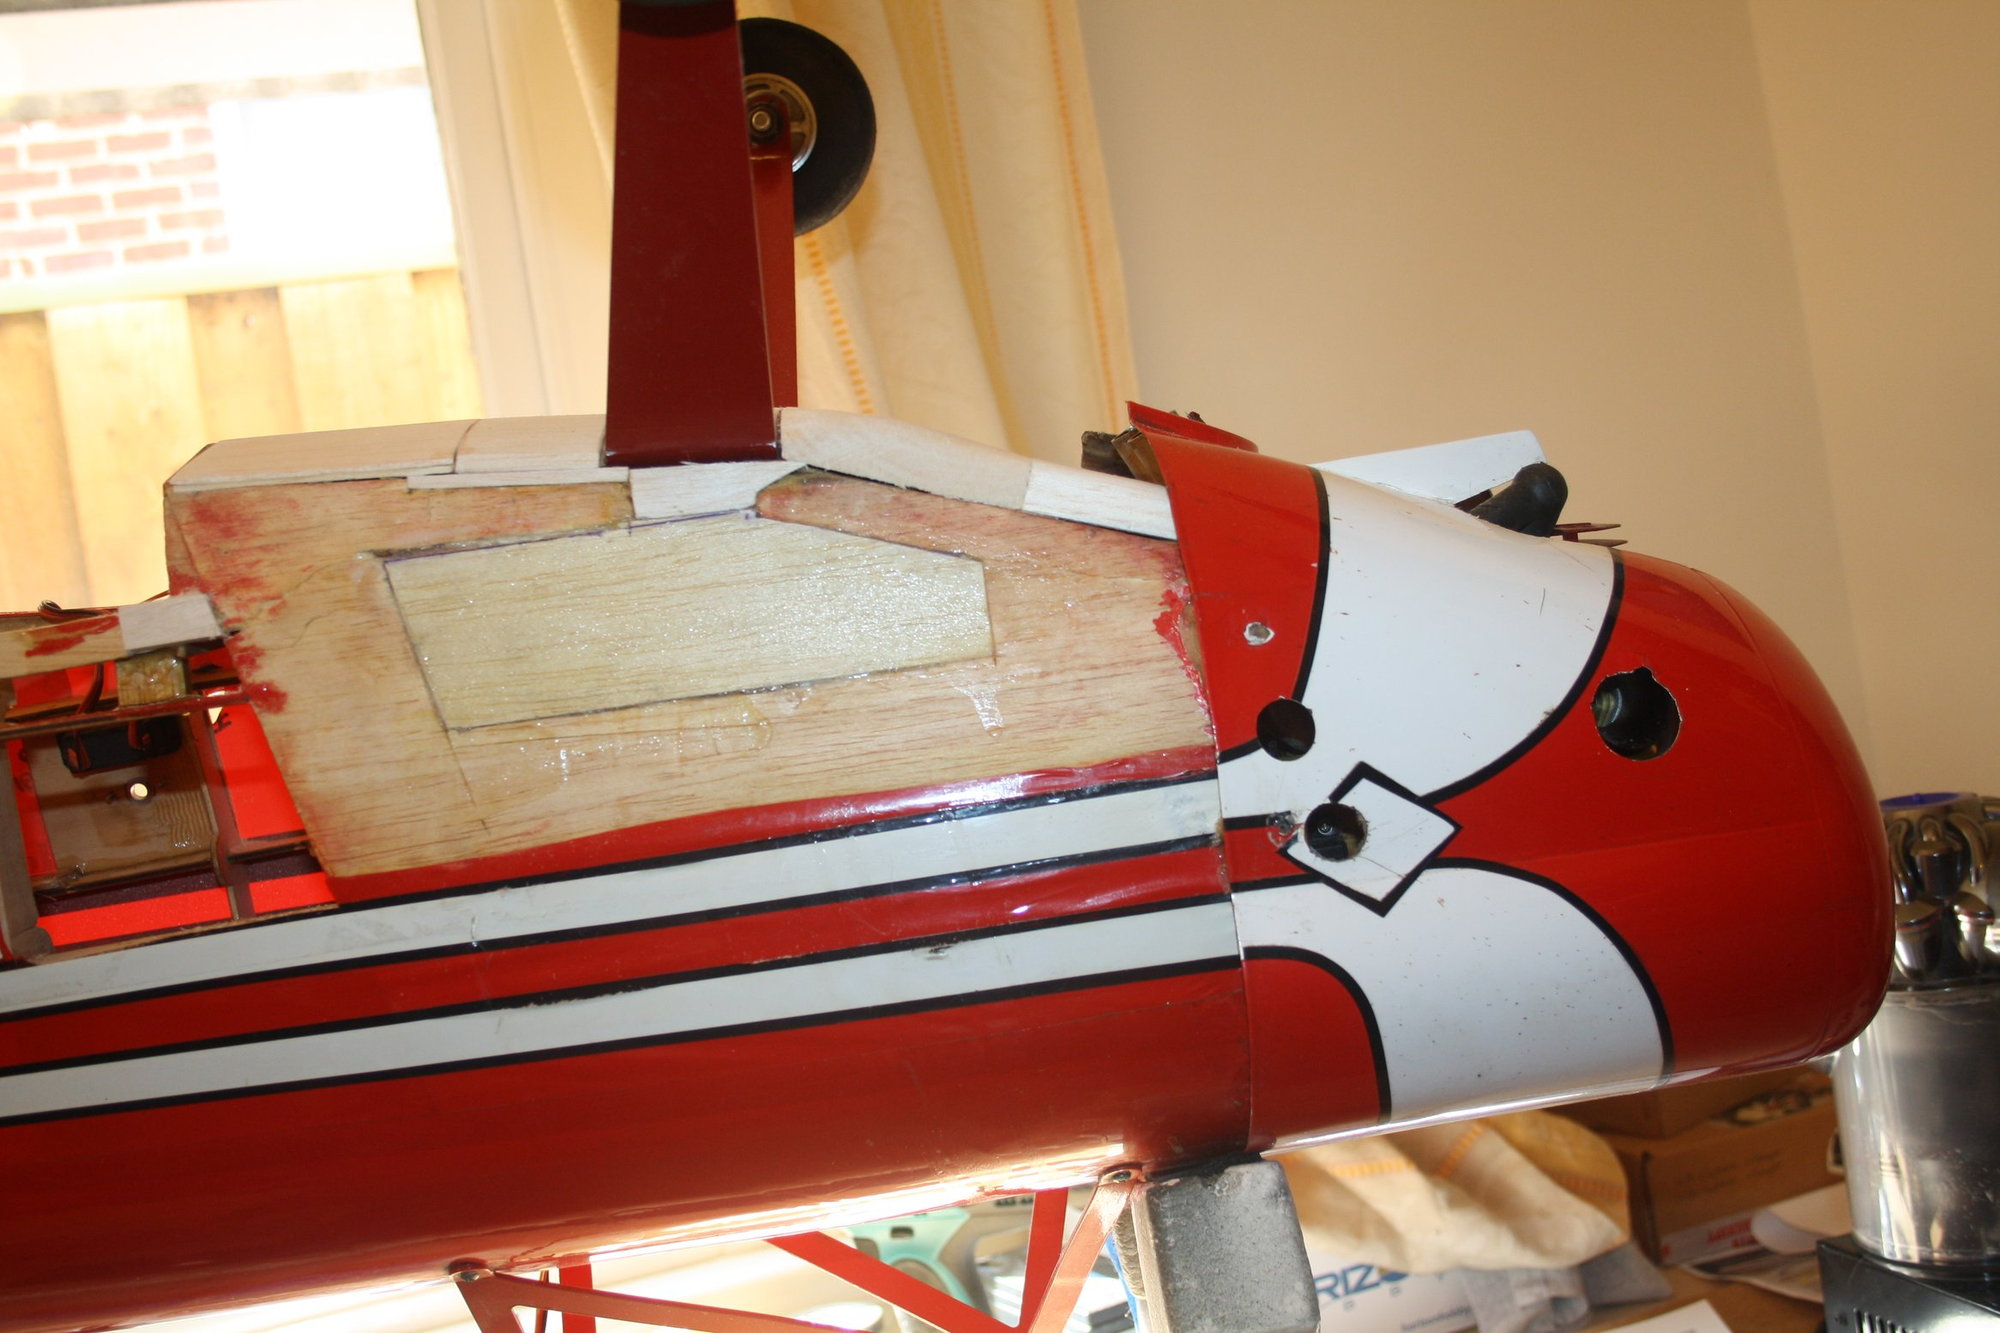
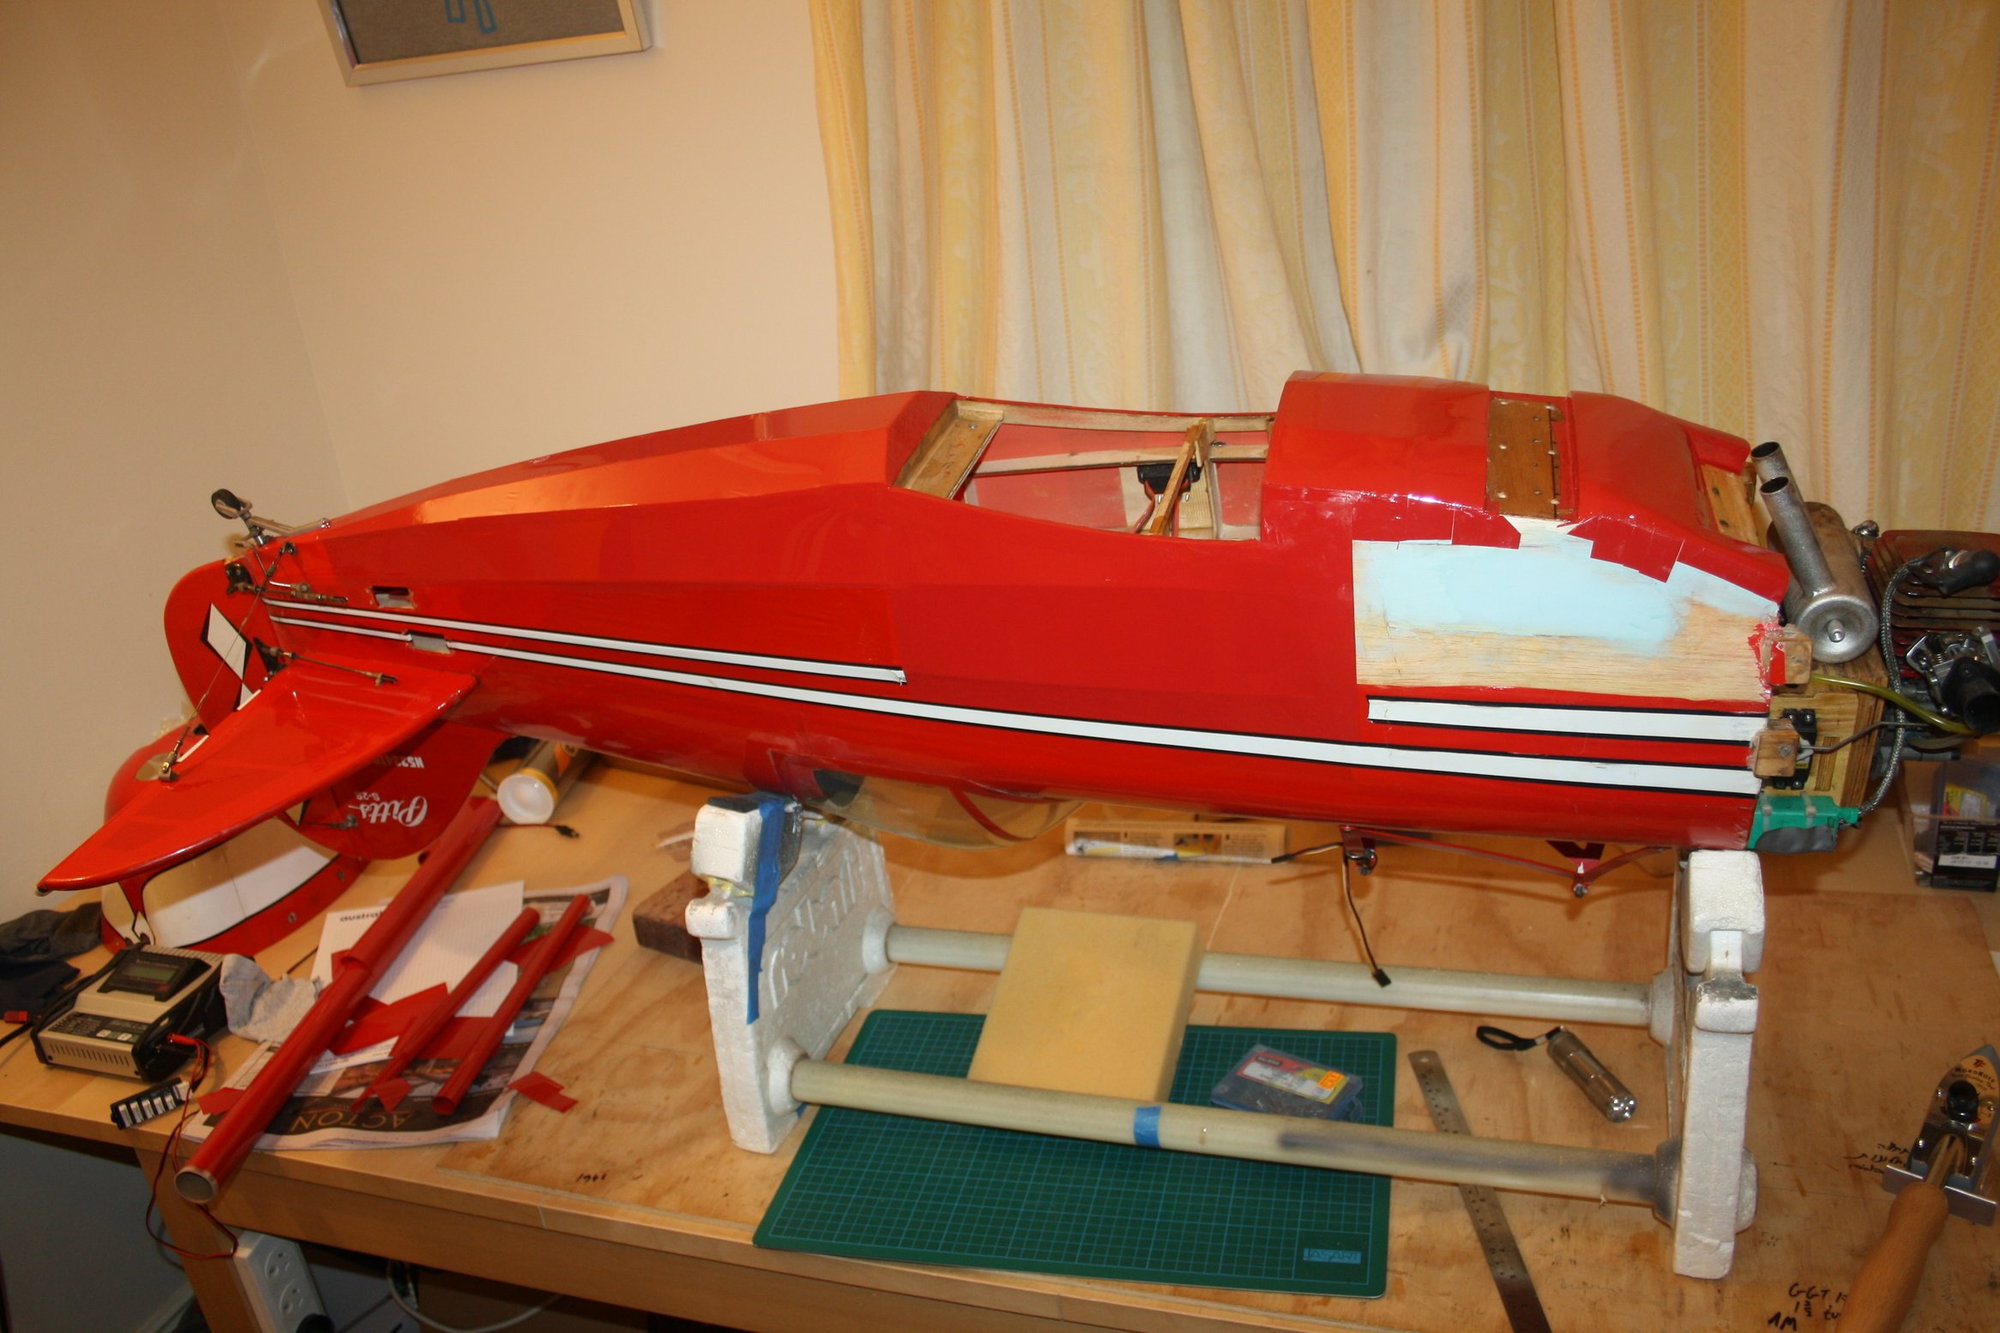
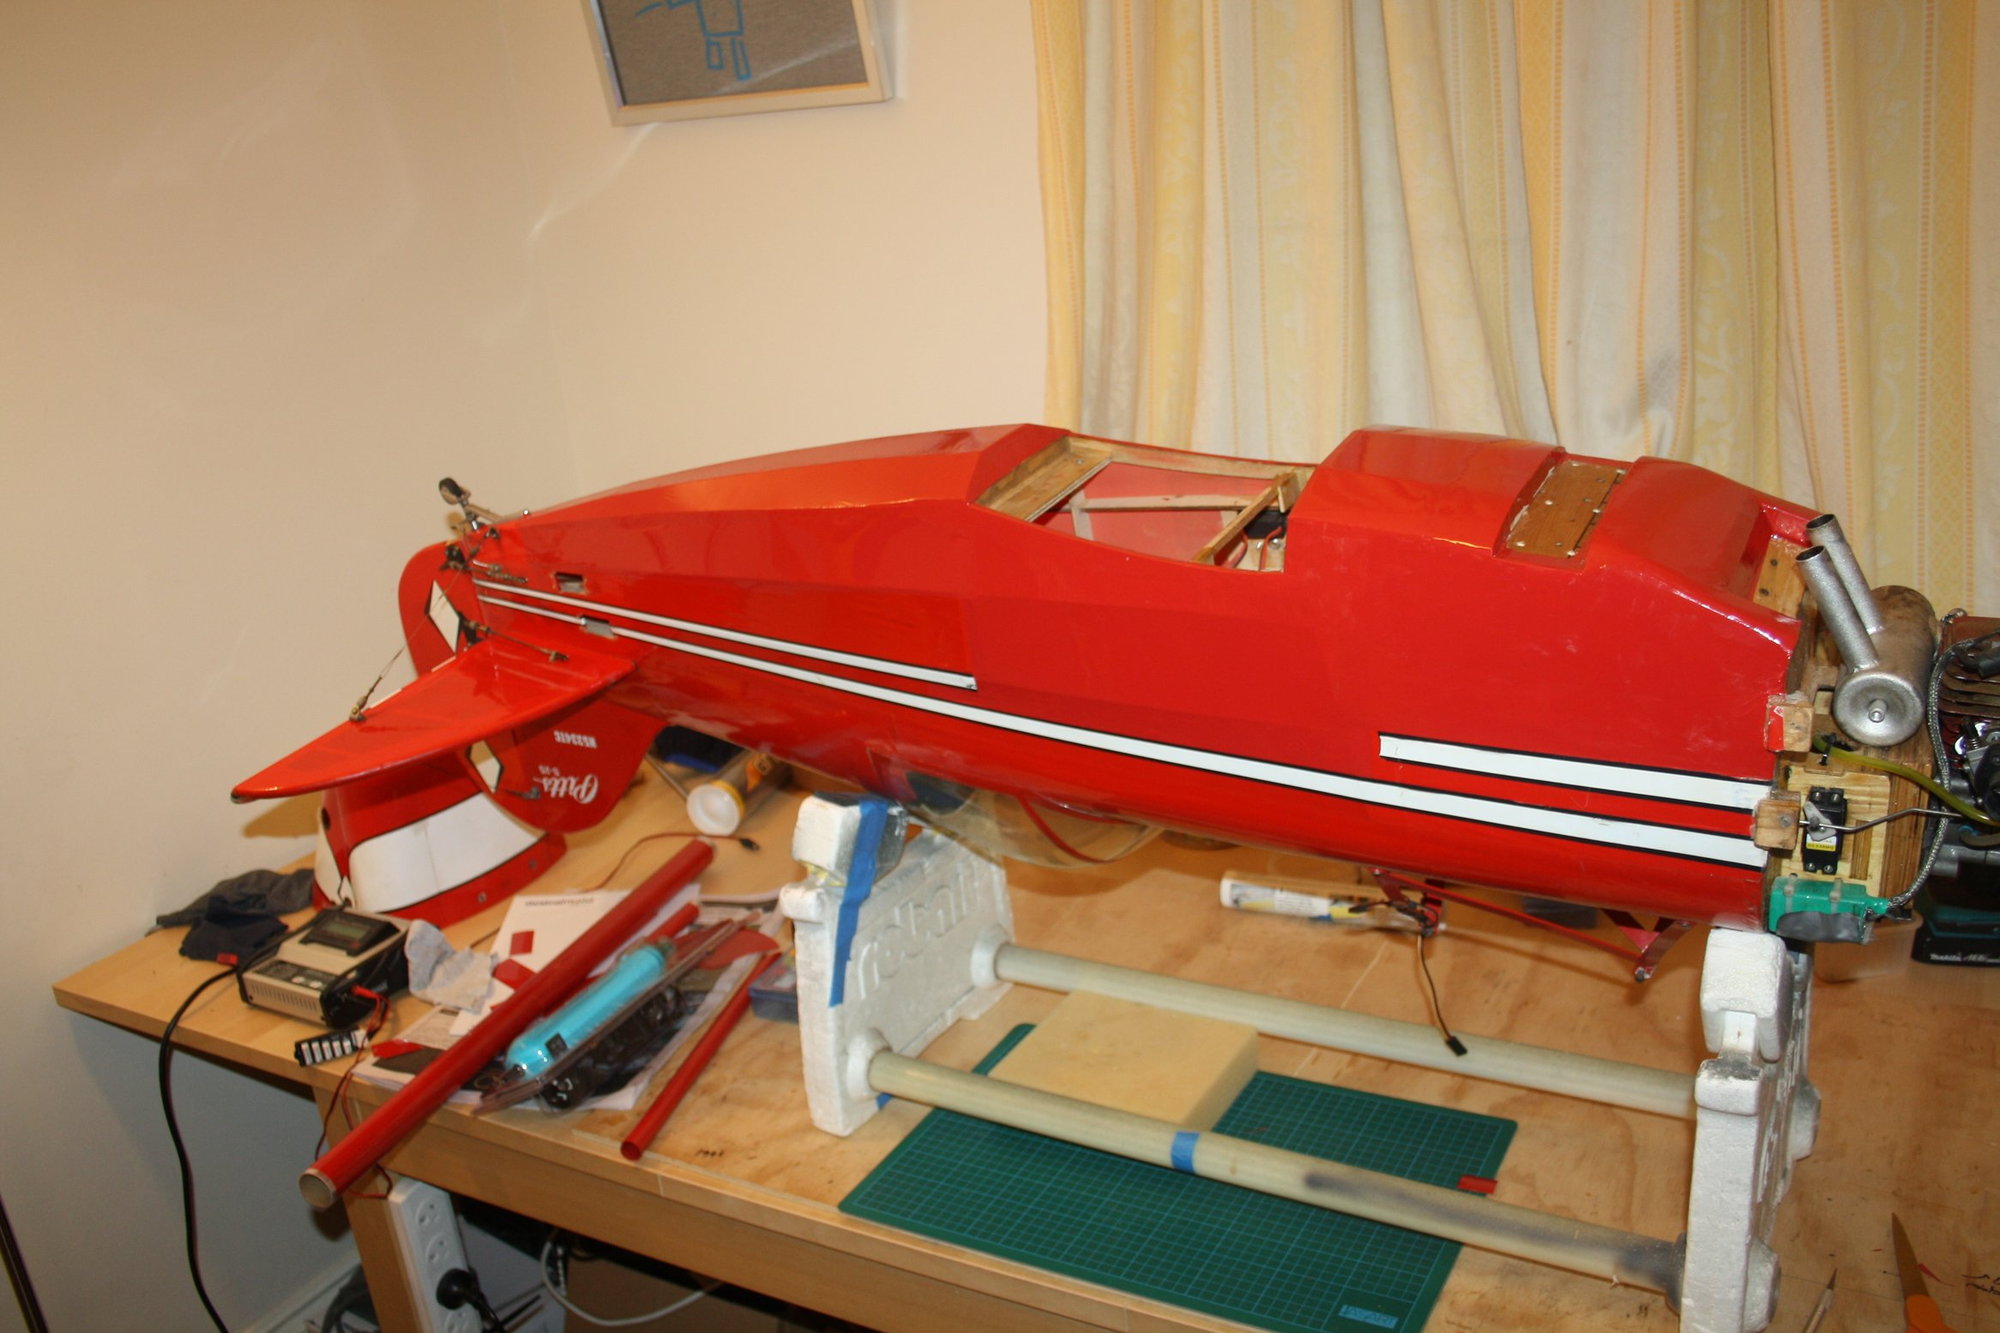
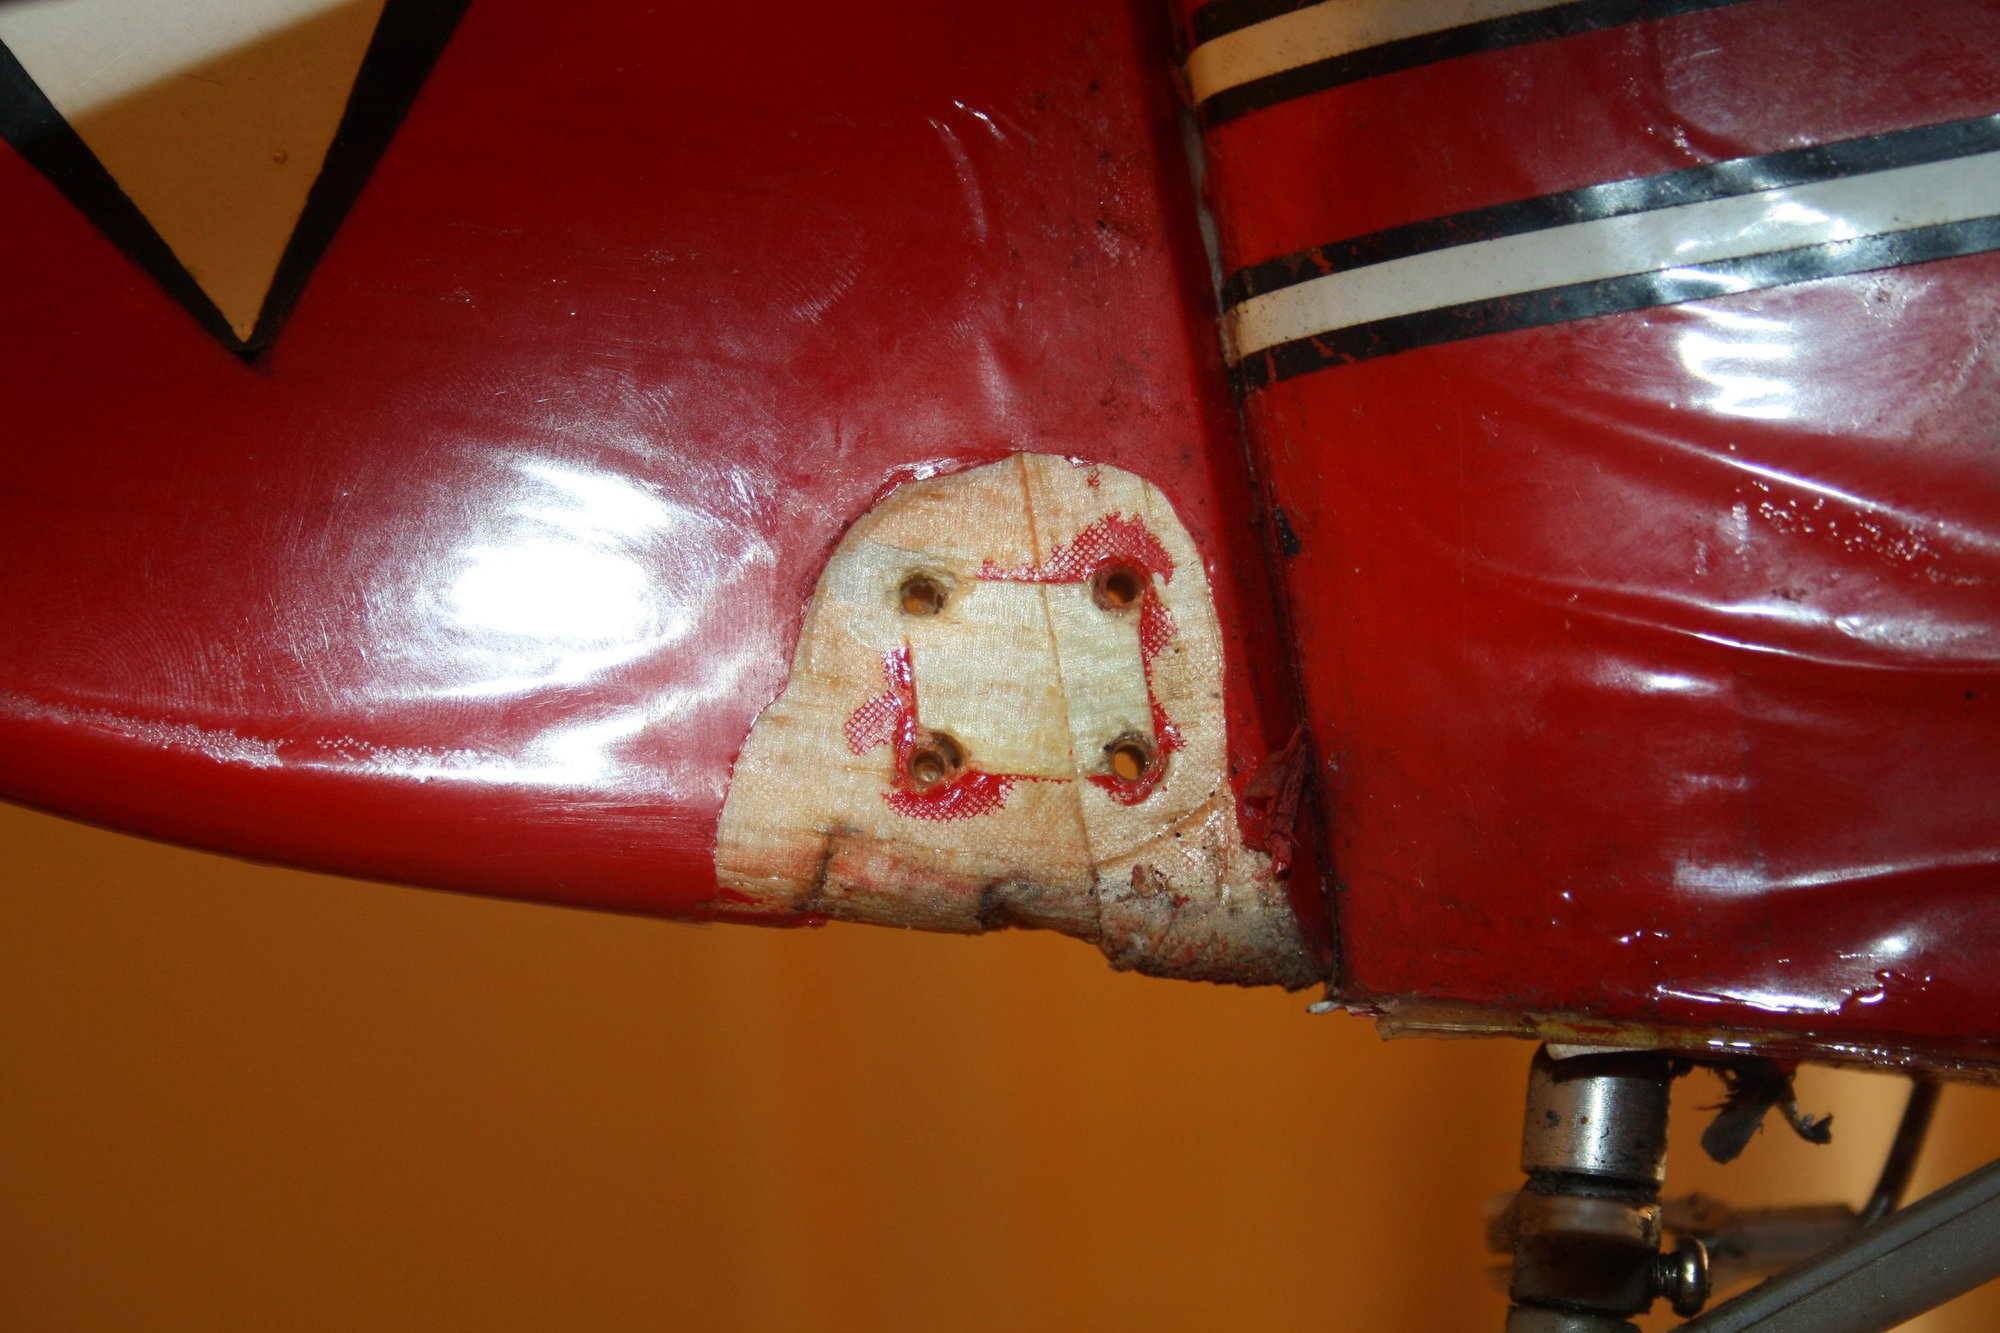
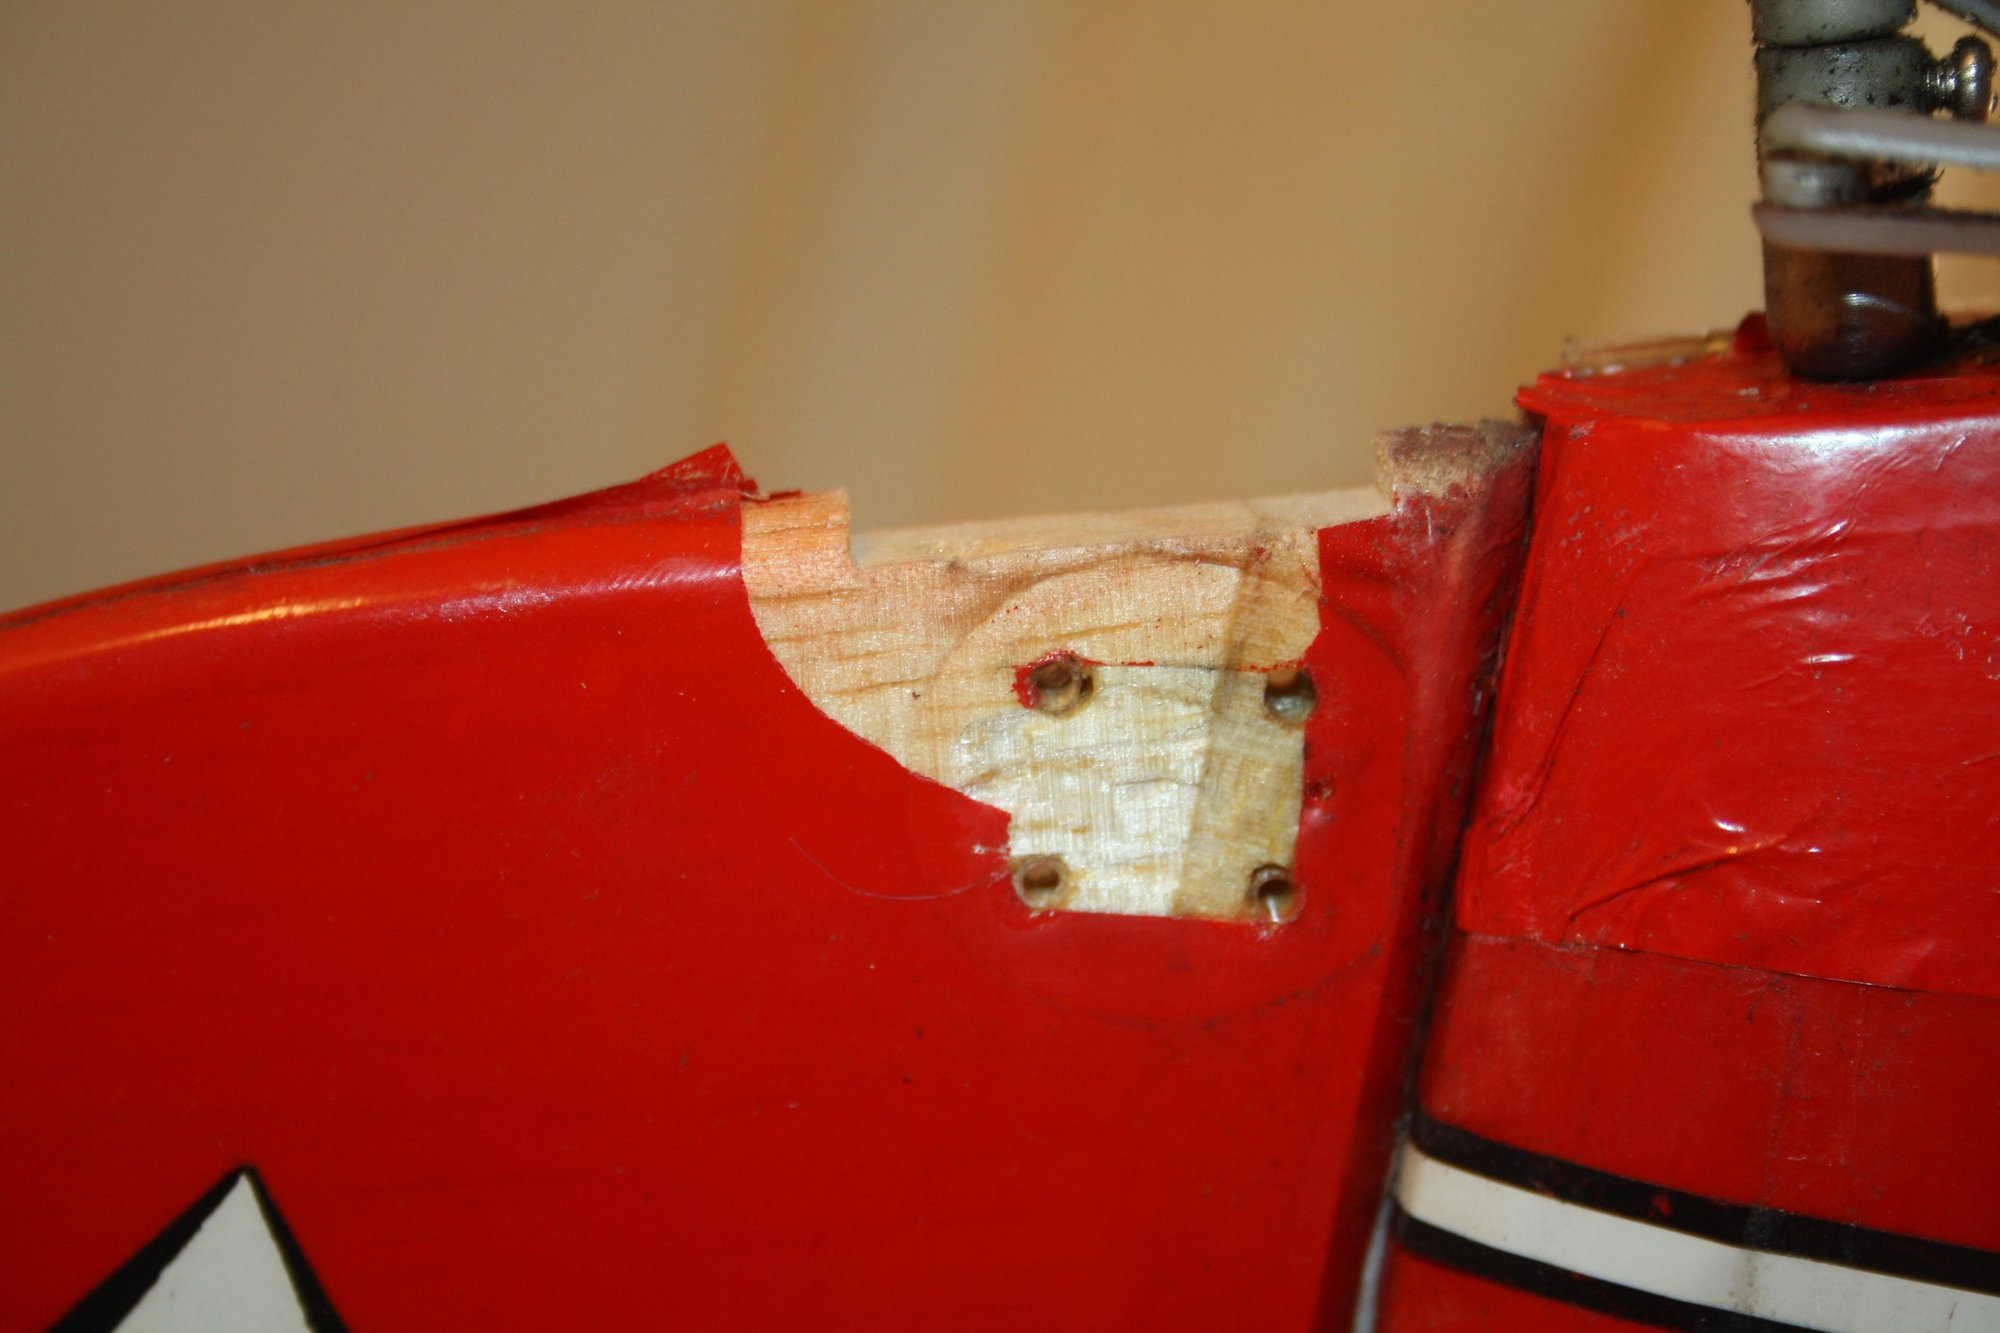
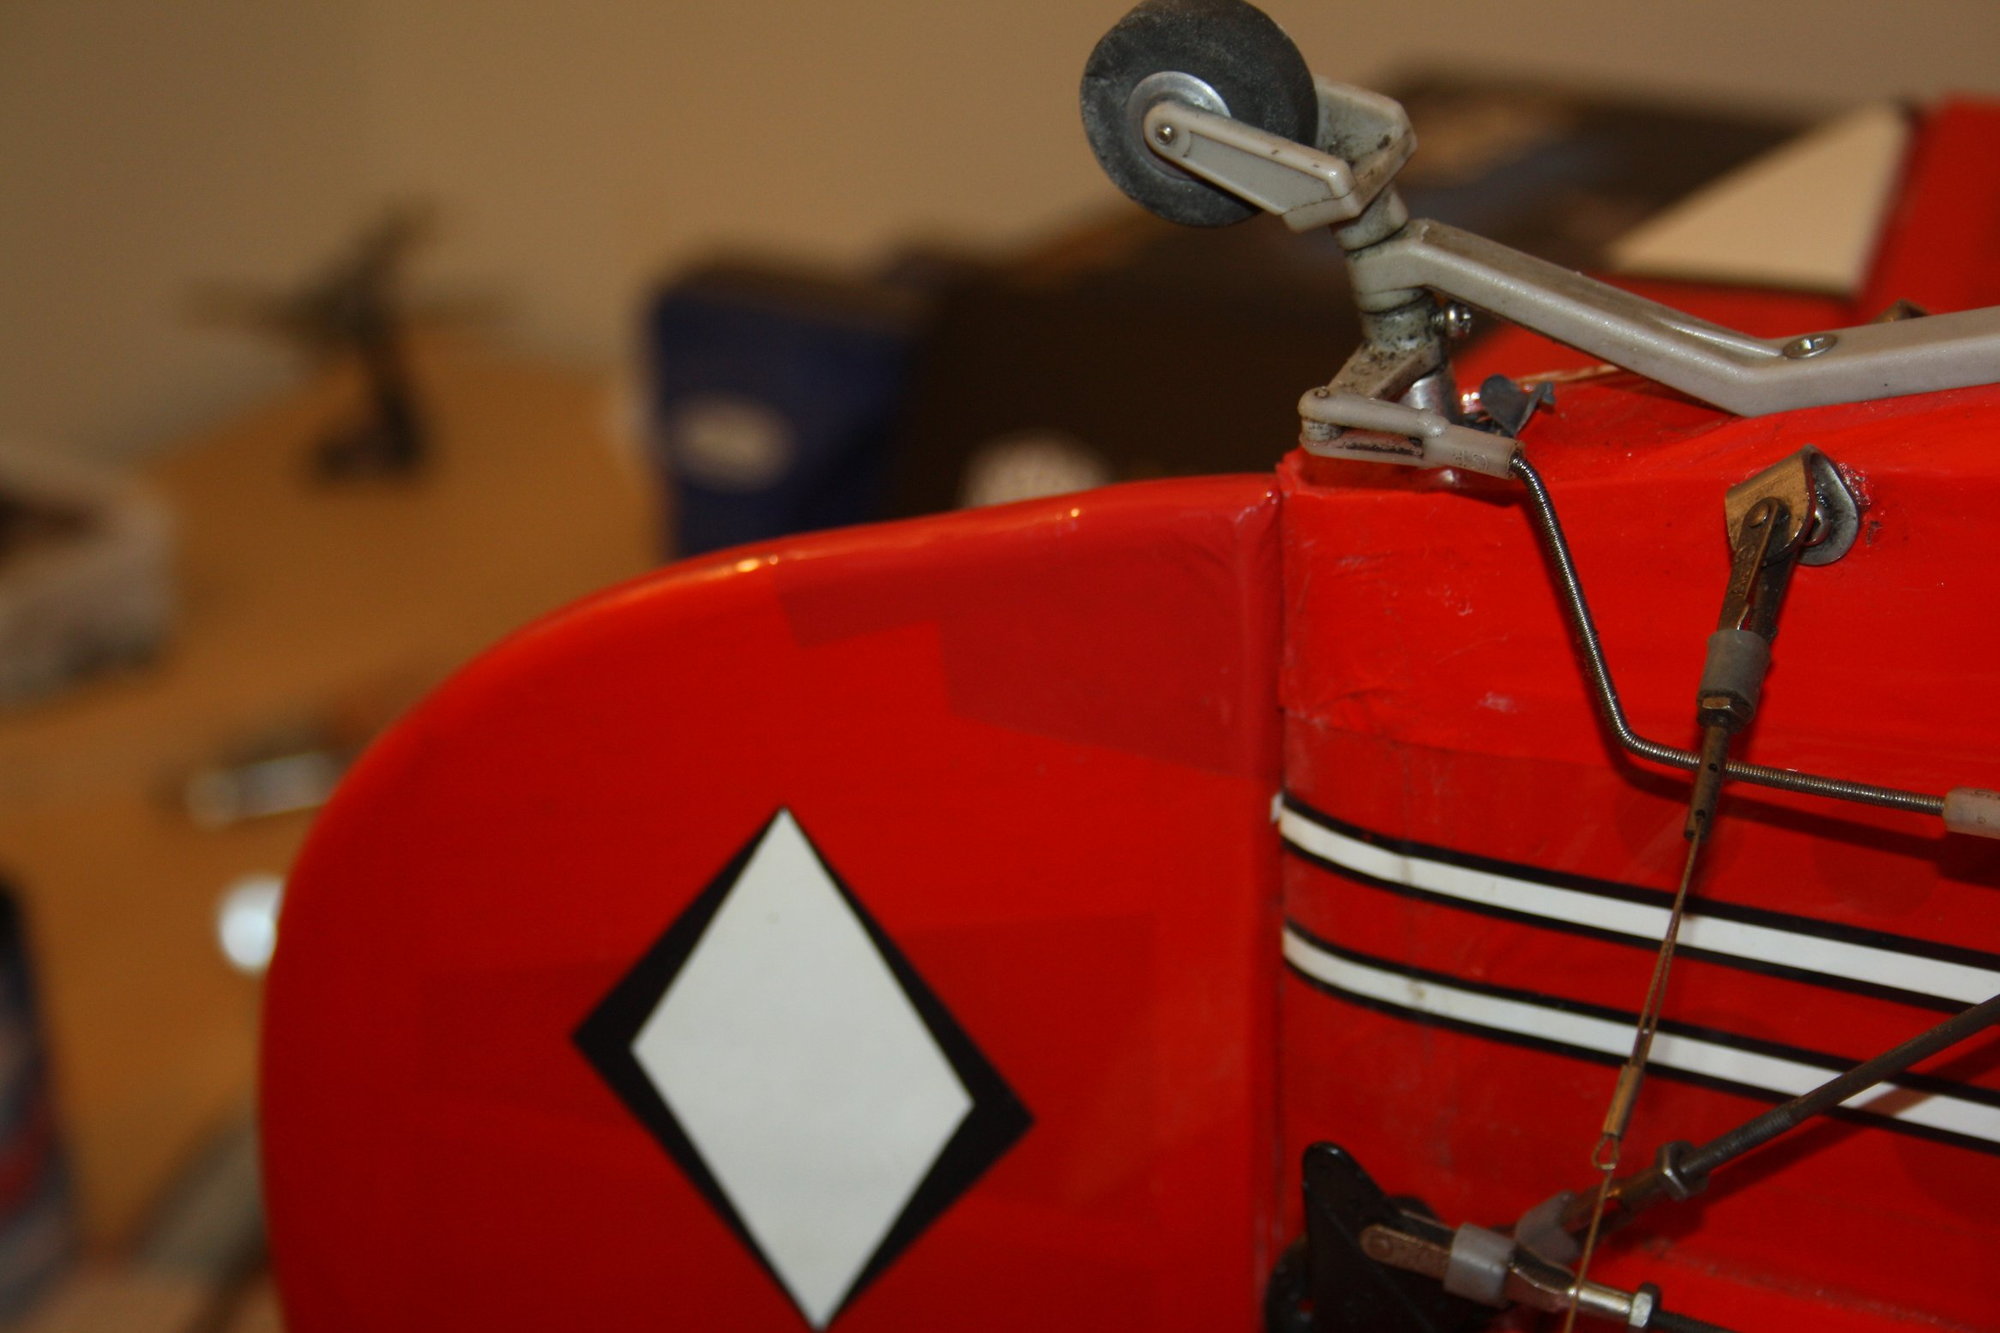
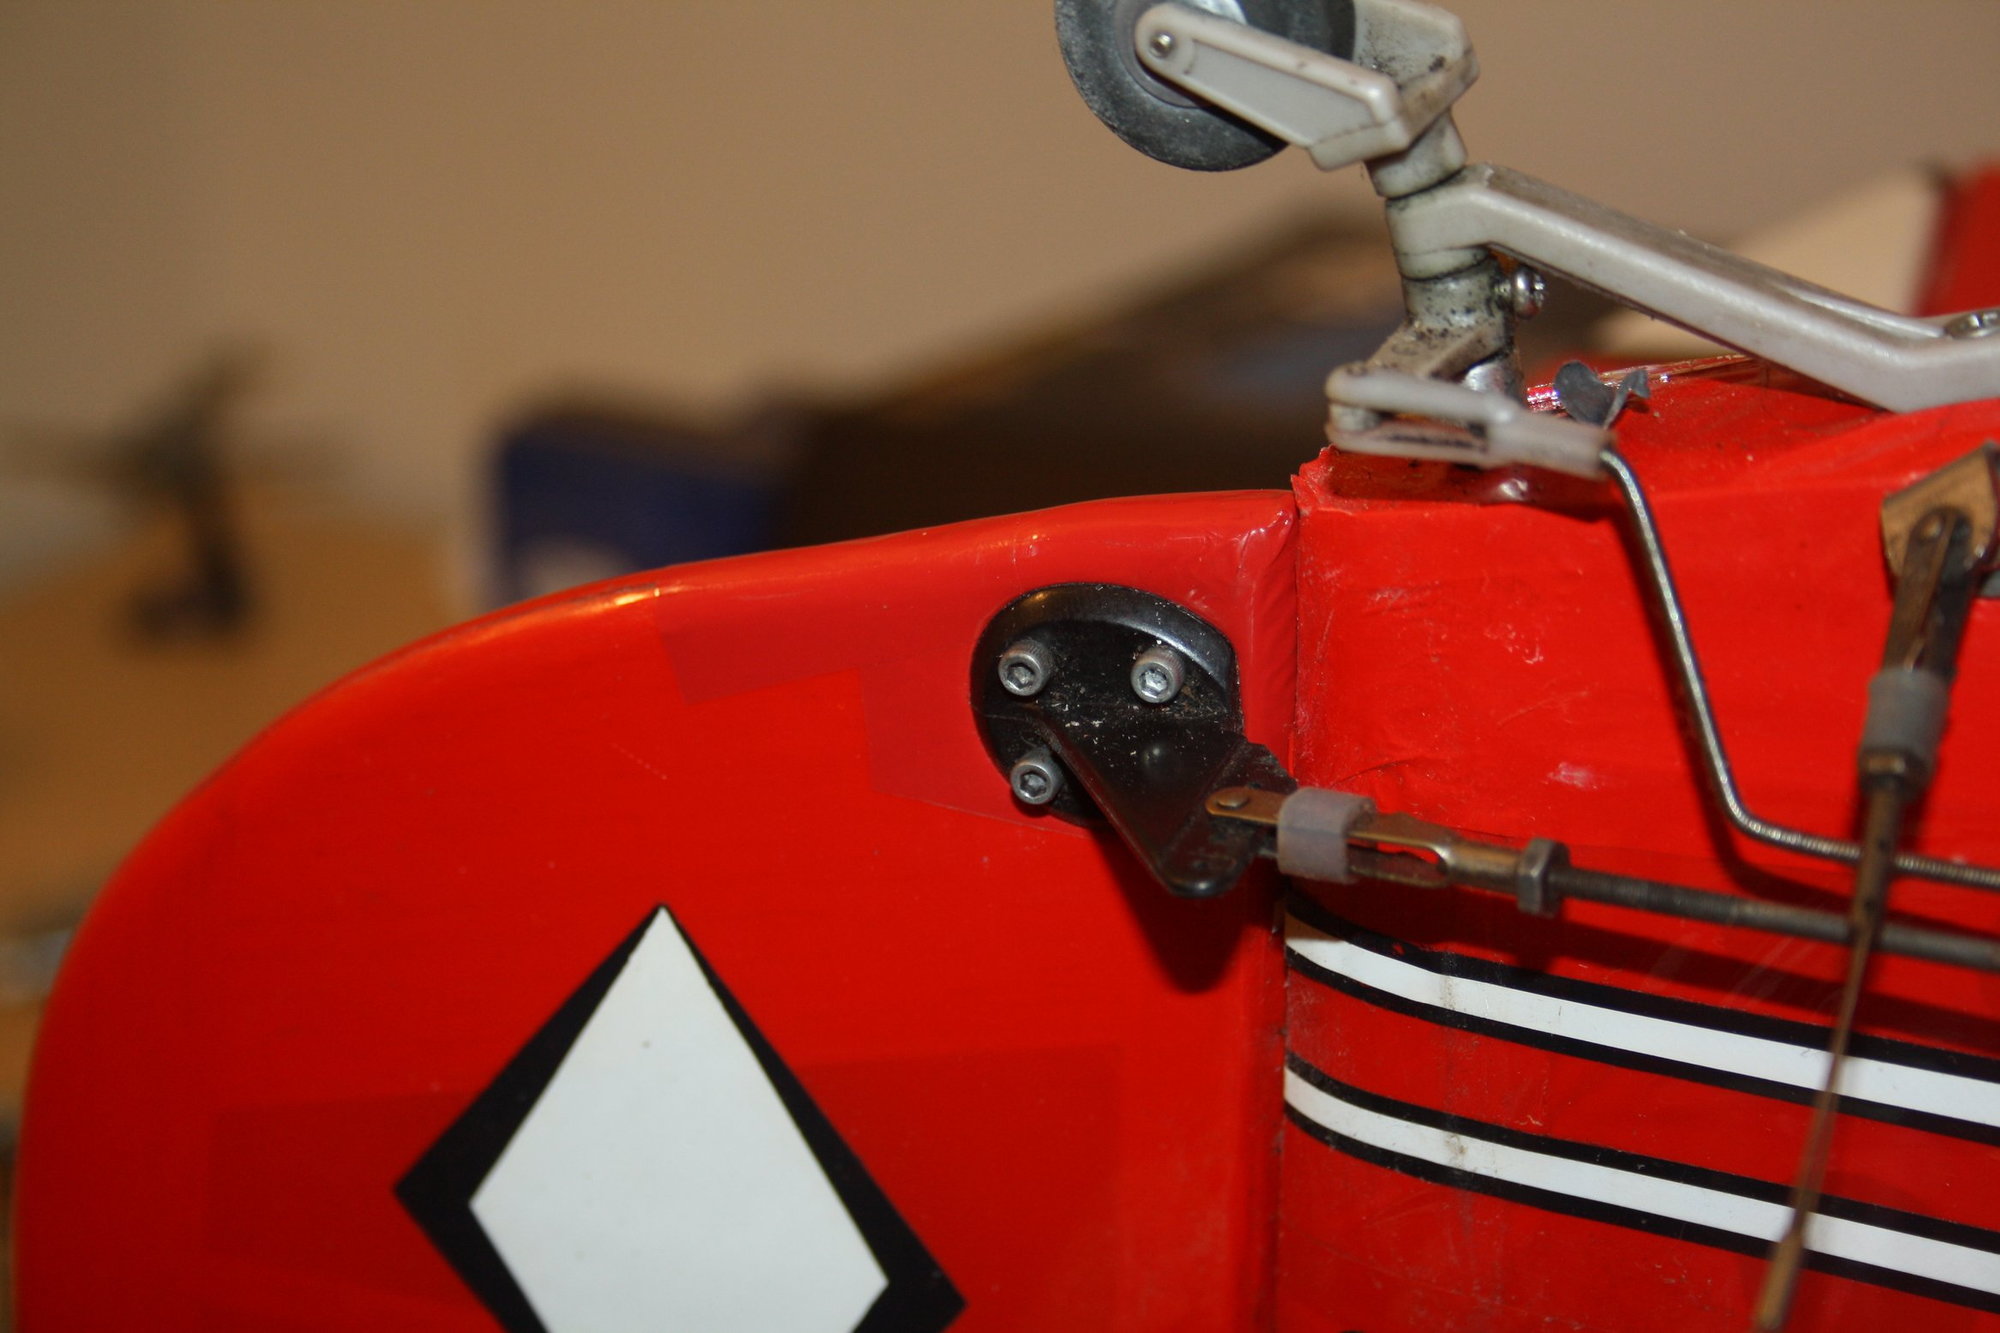
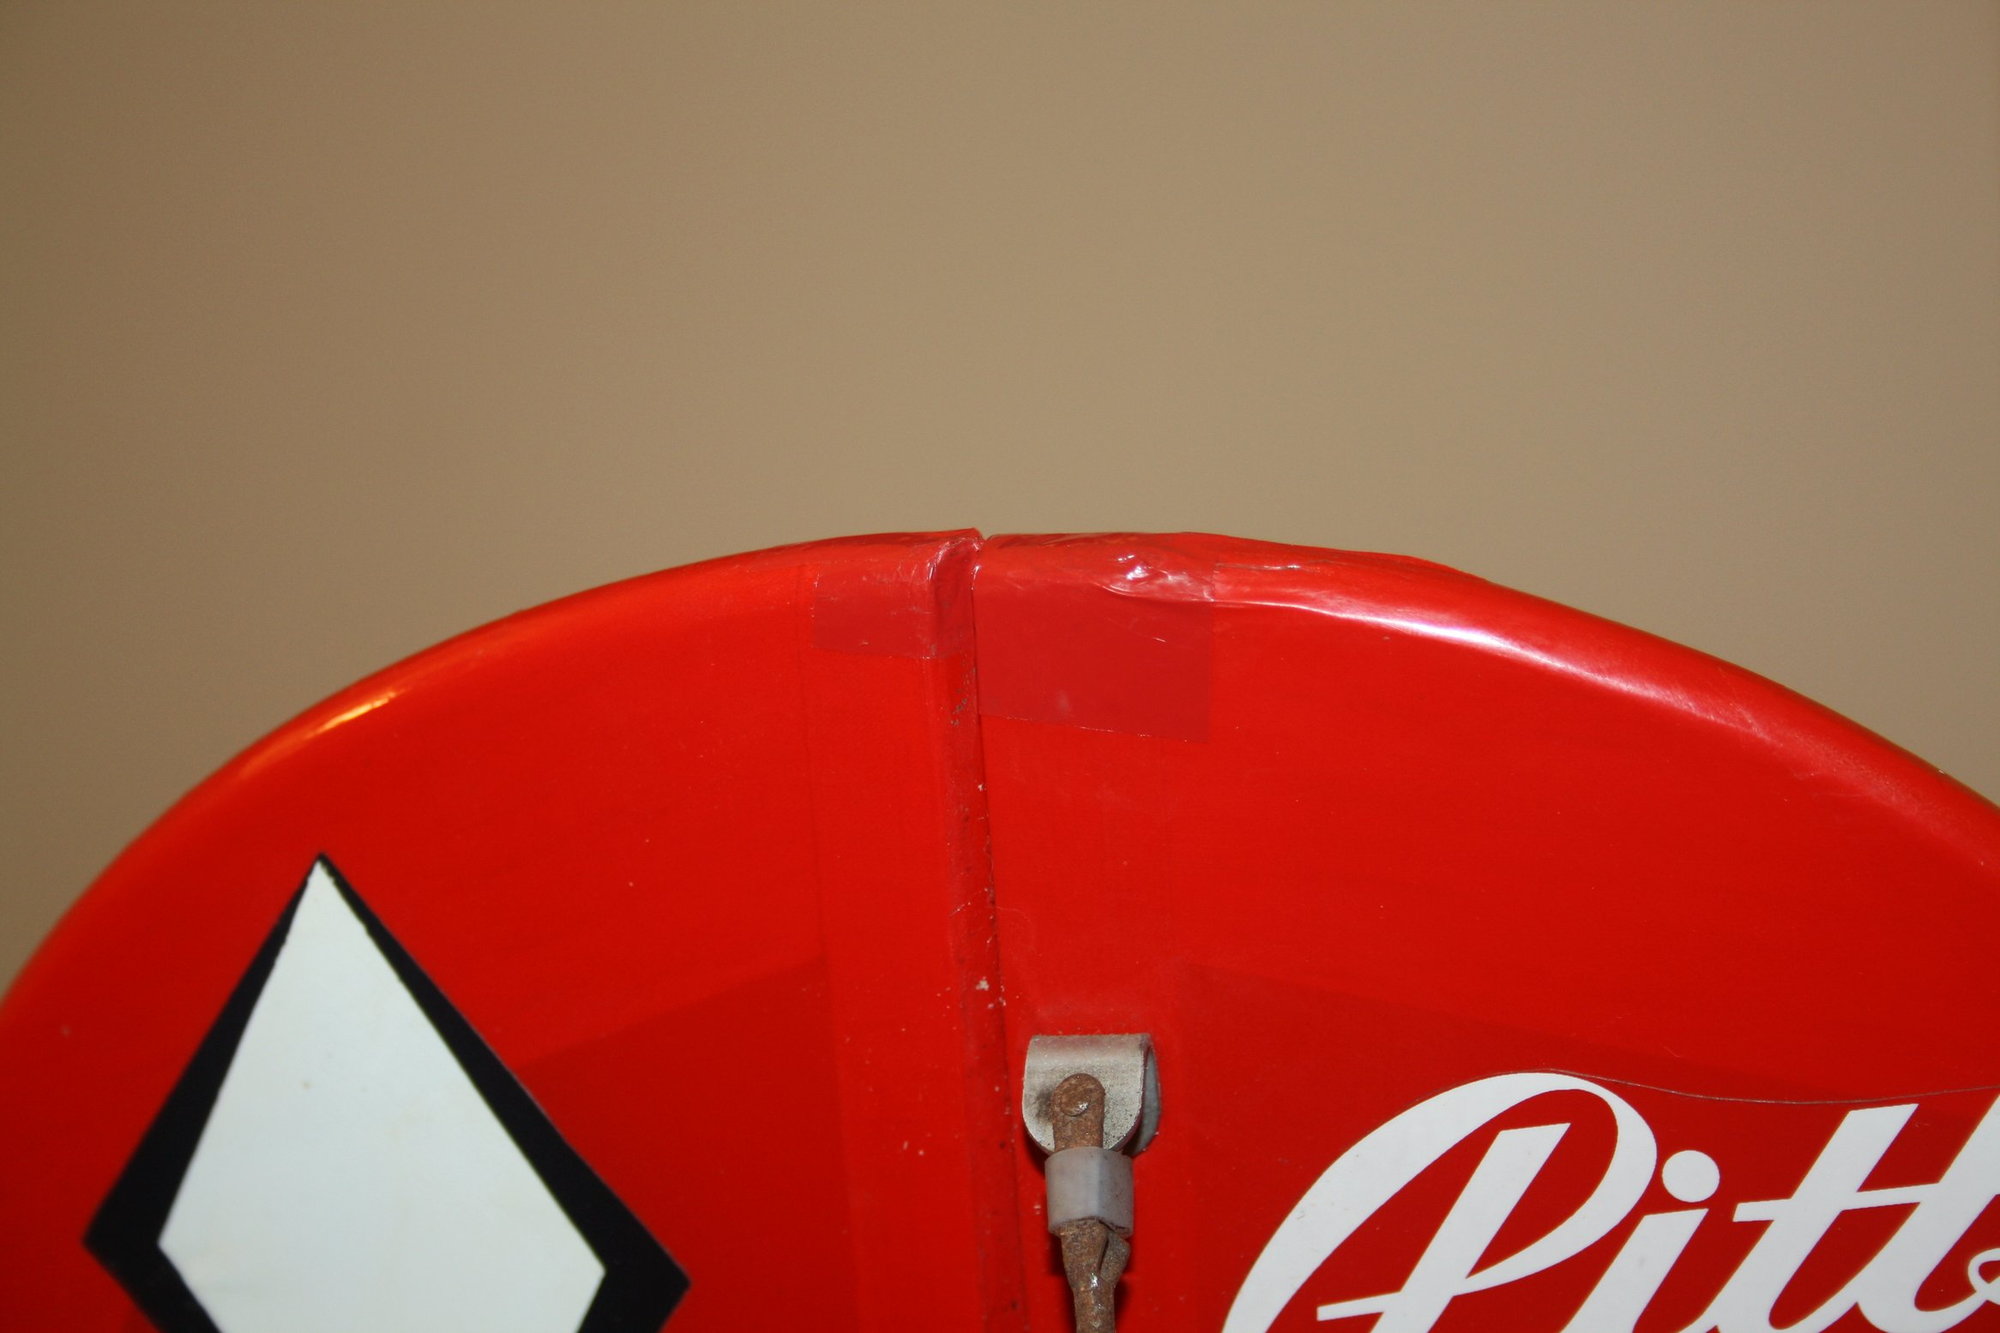
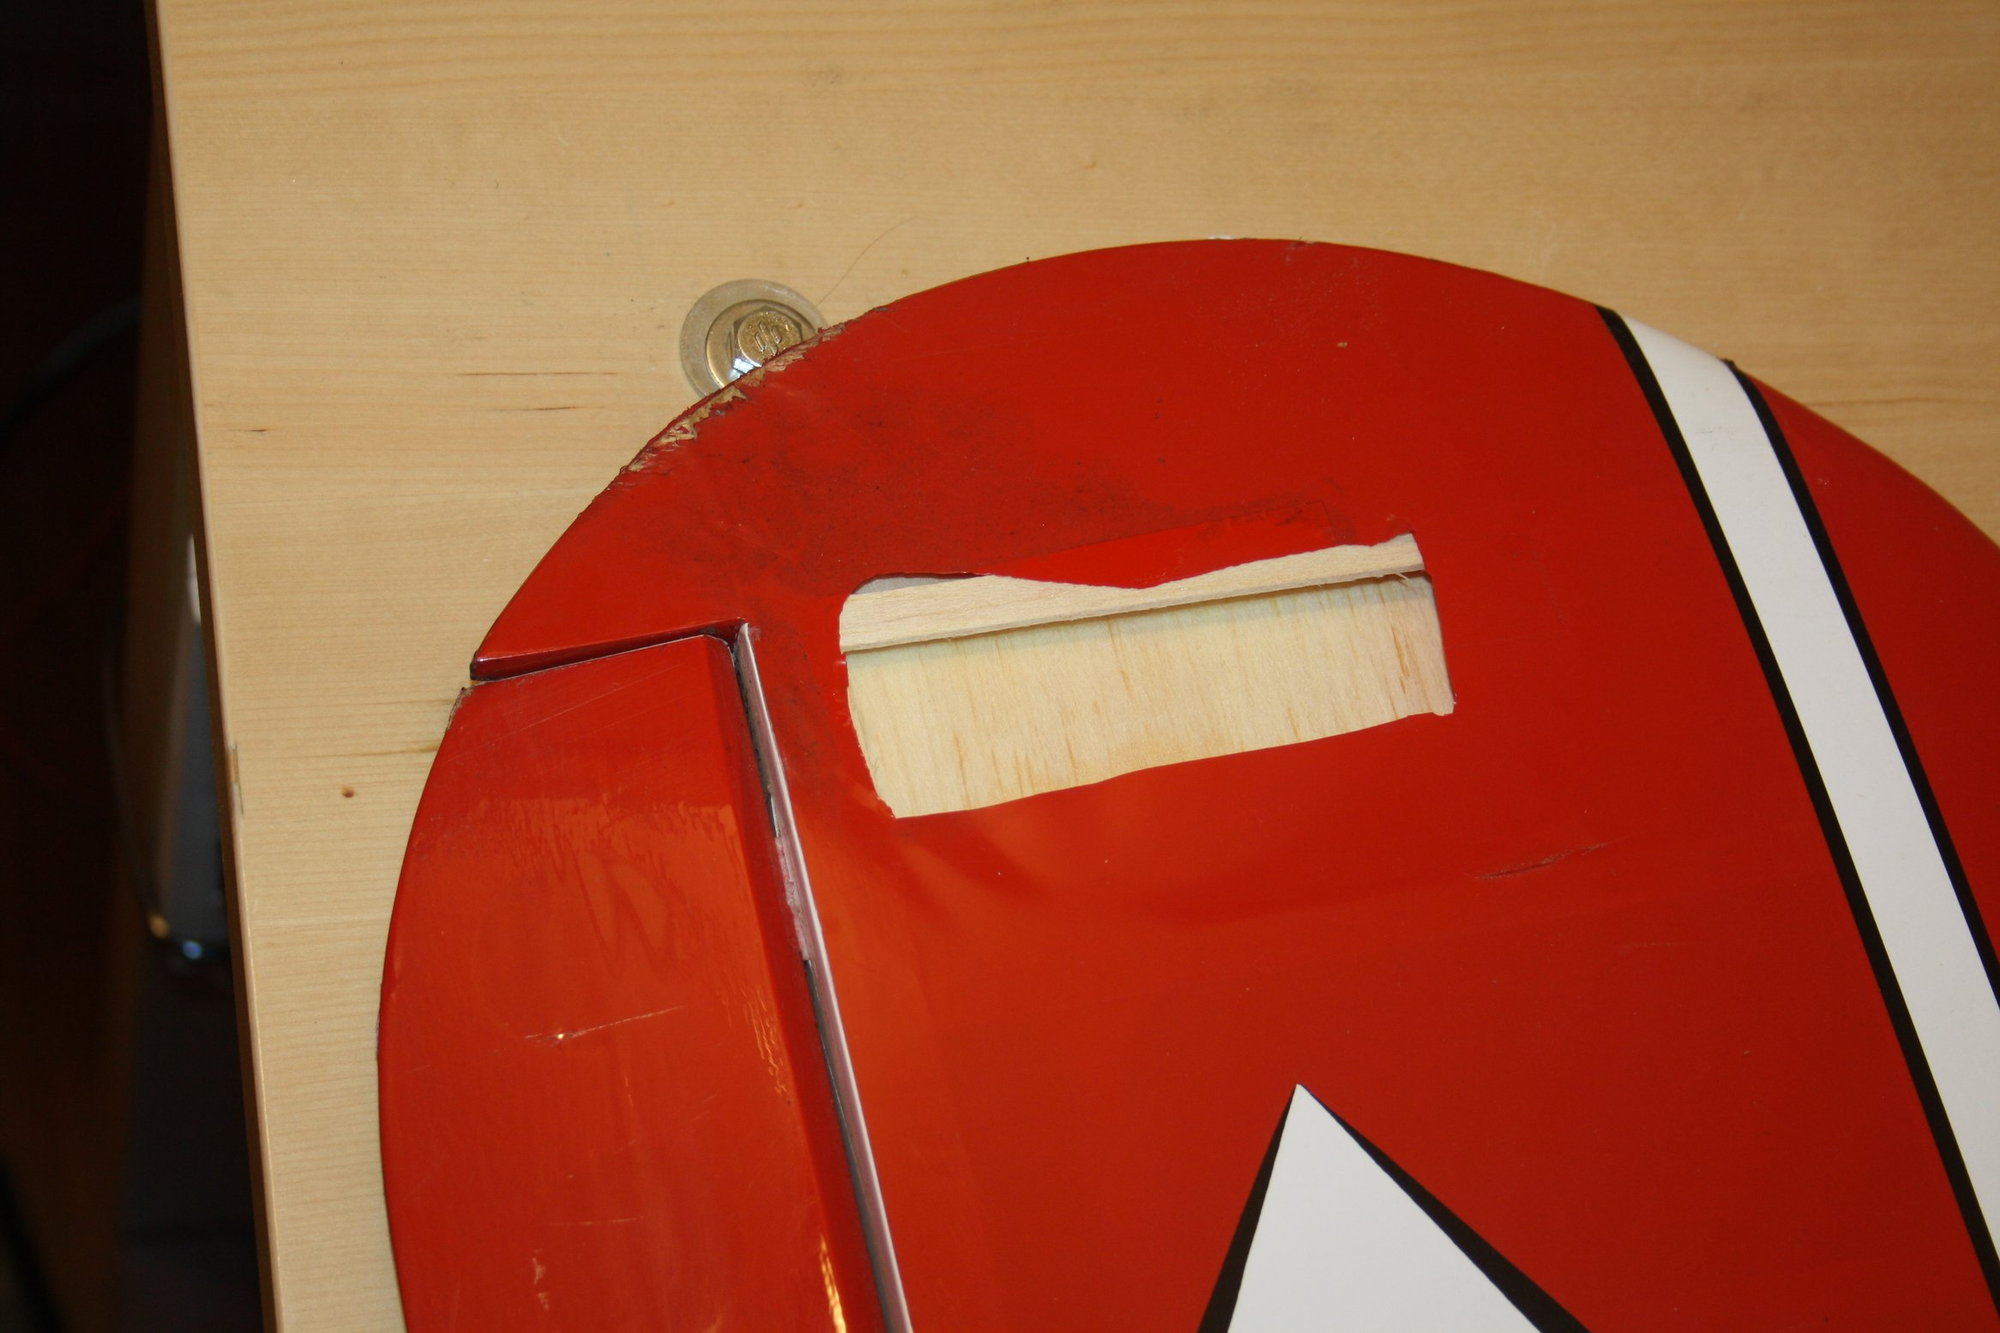
I received the fuselage only at this stage. It was immediately noted that at the very least it had a landing which damaged the landing gear, as is obvious by the crude repair.
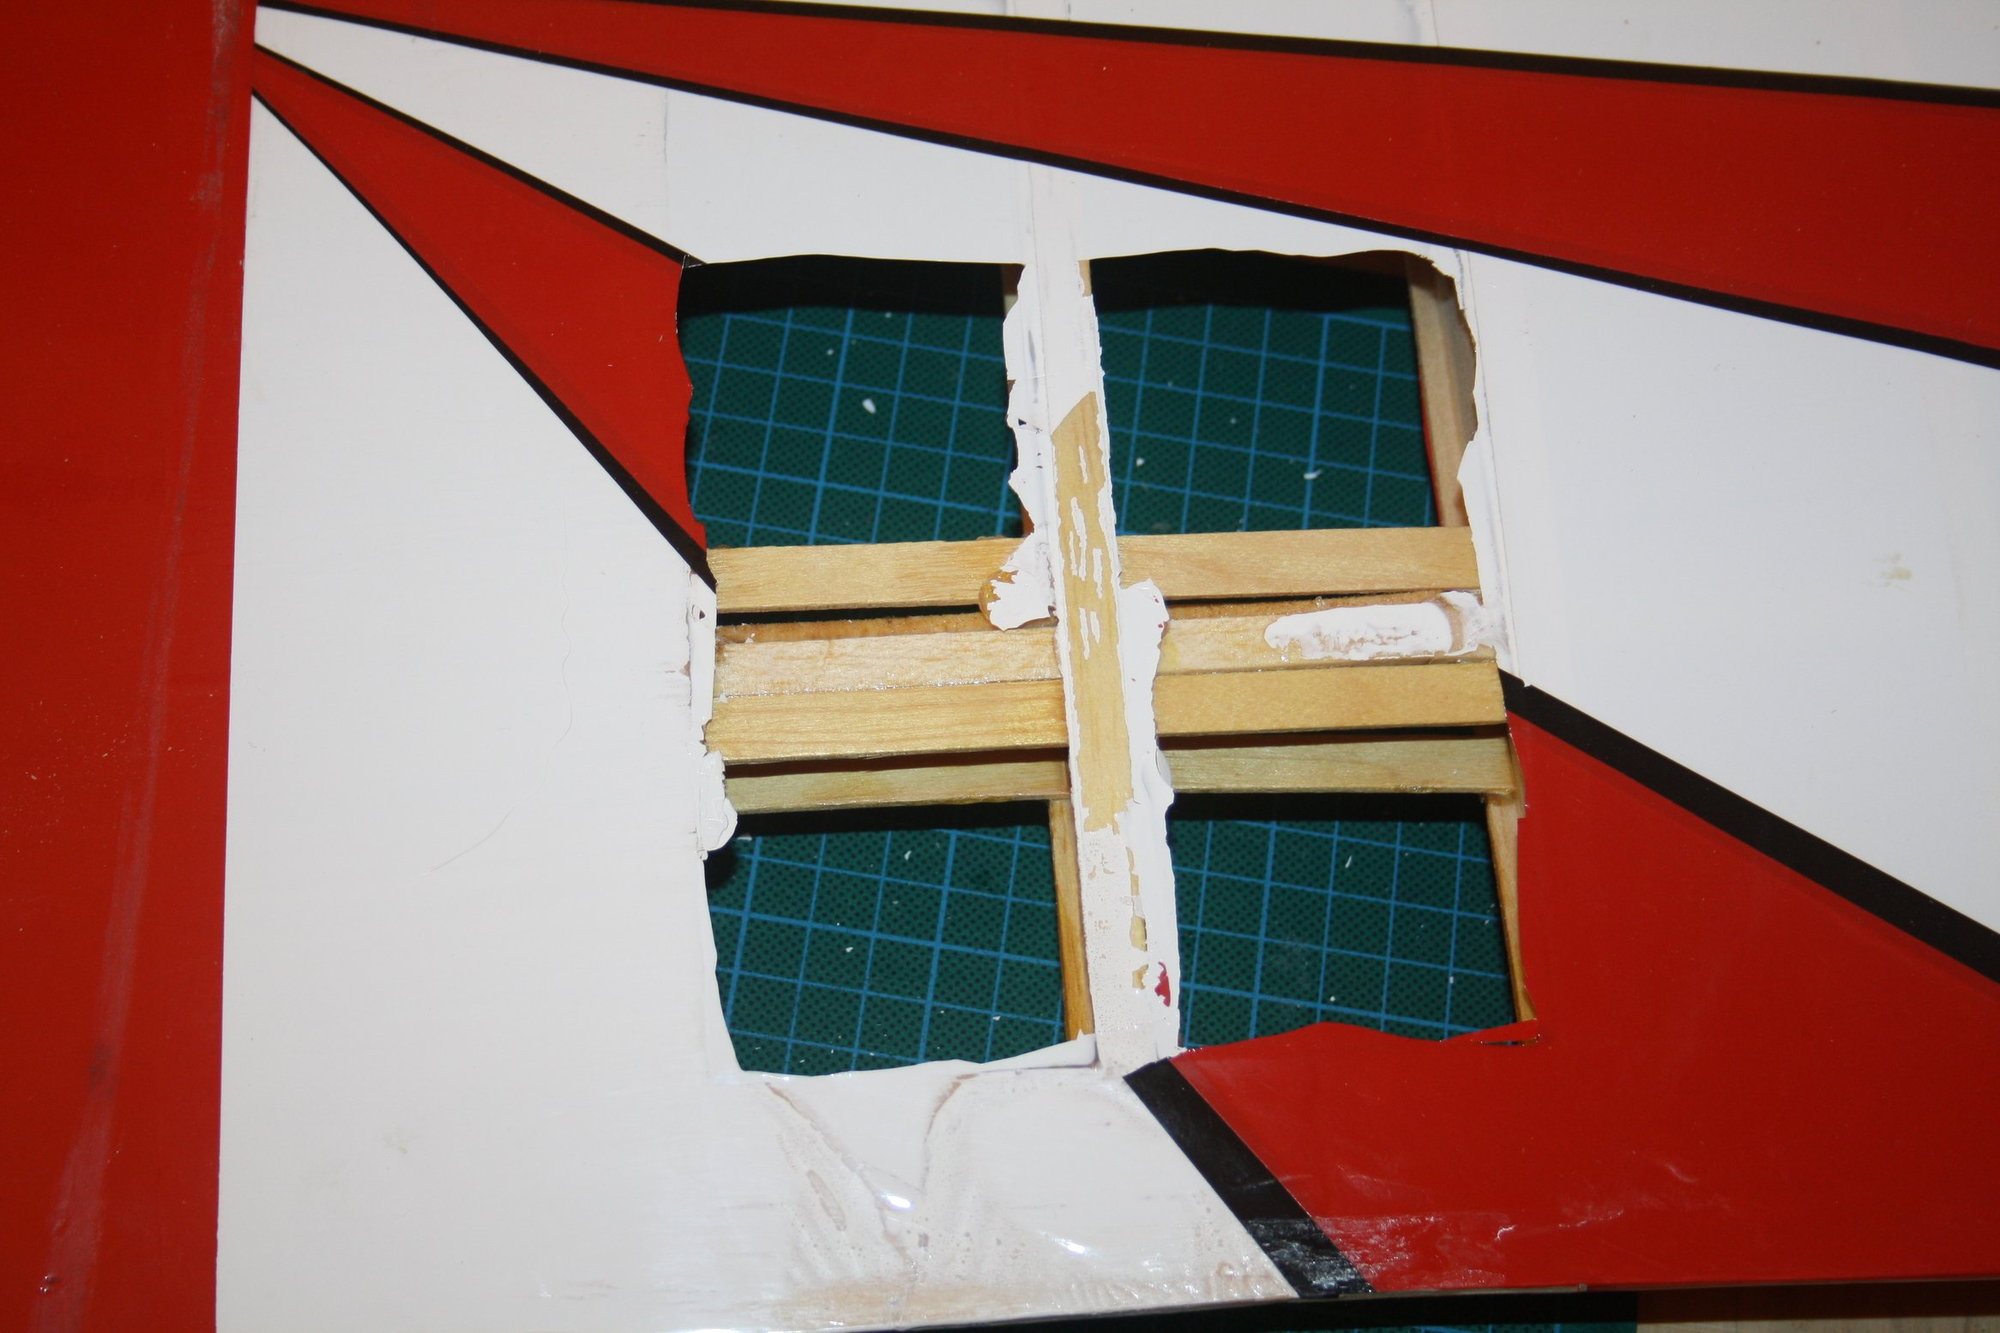
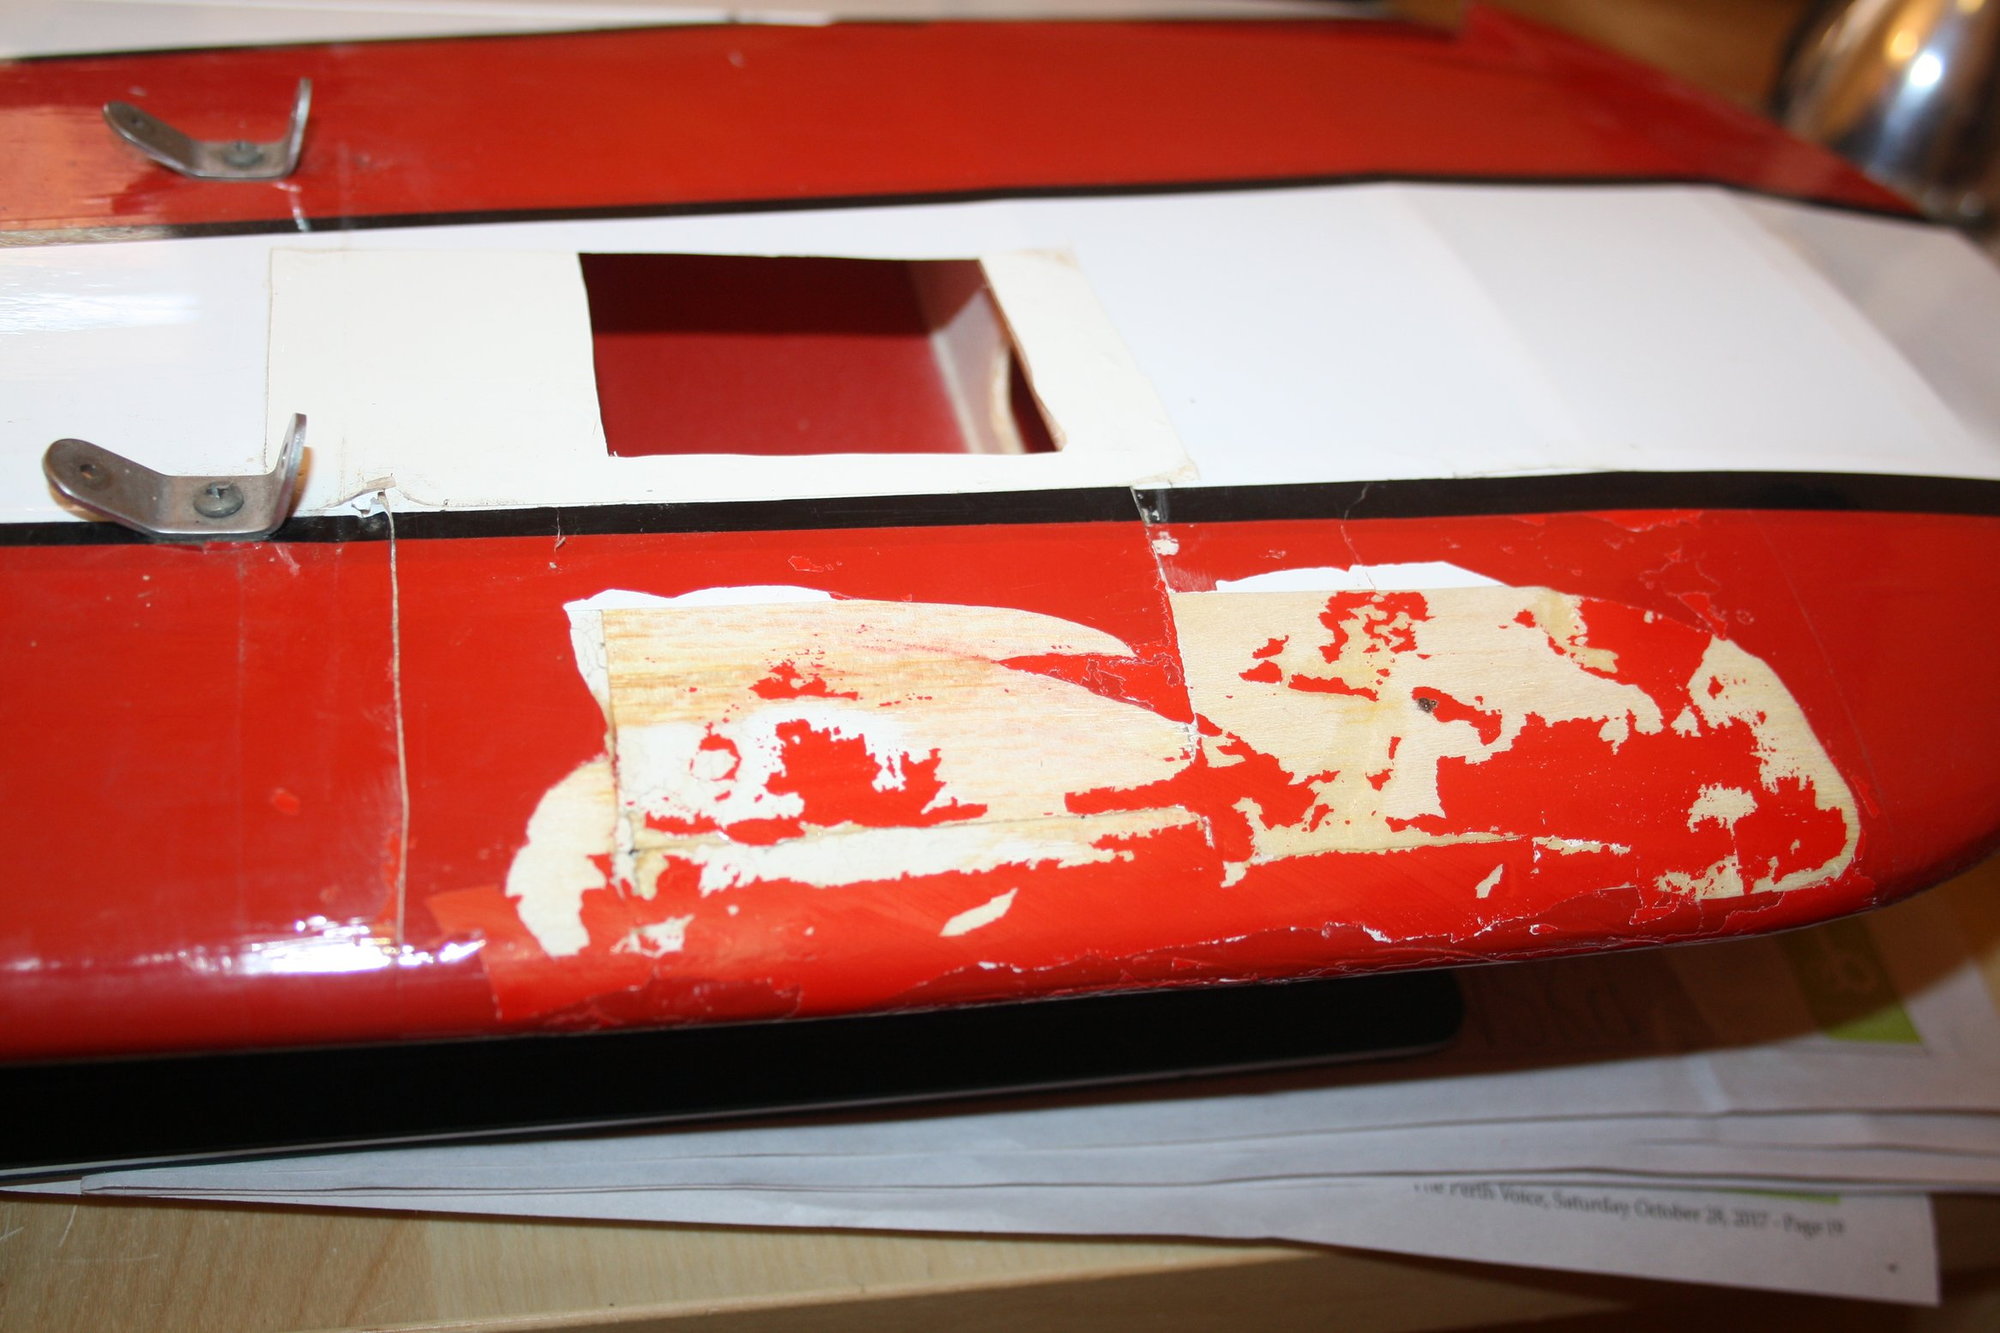
I went ahead and assessed the required work by removing some of the covering where I suspected to find damage.
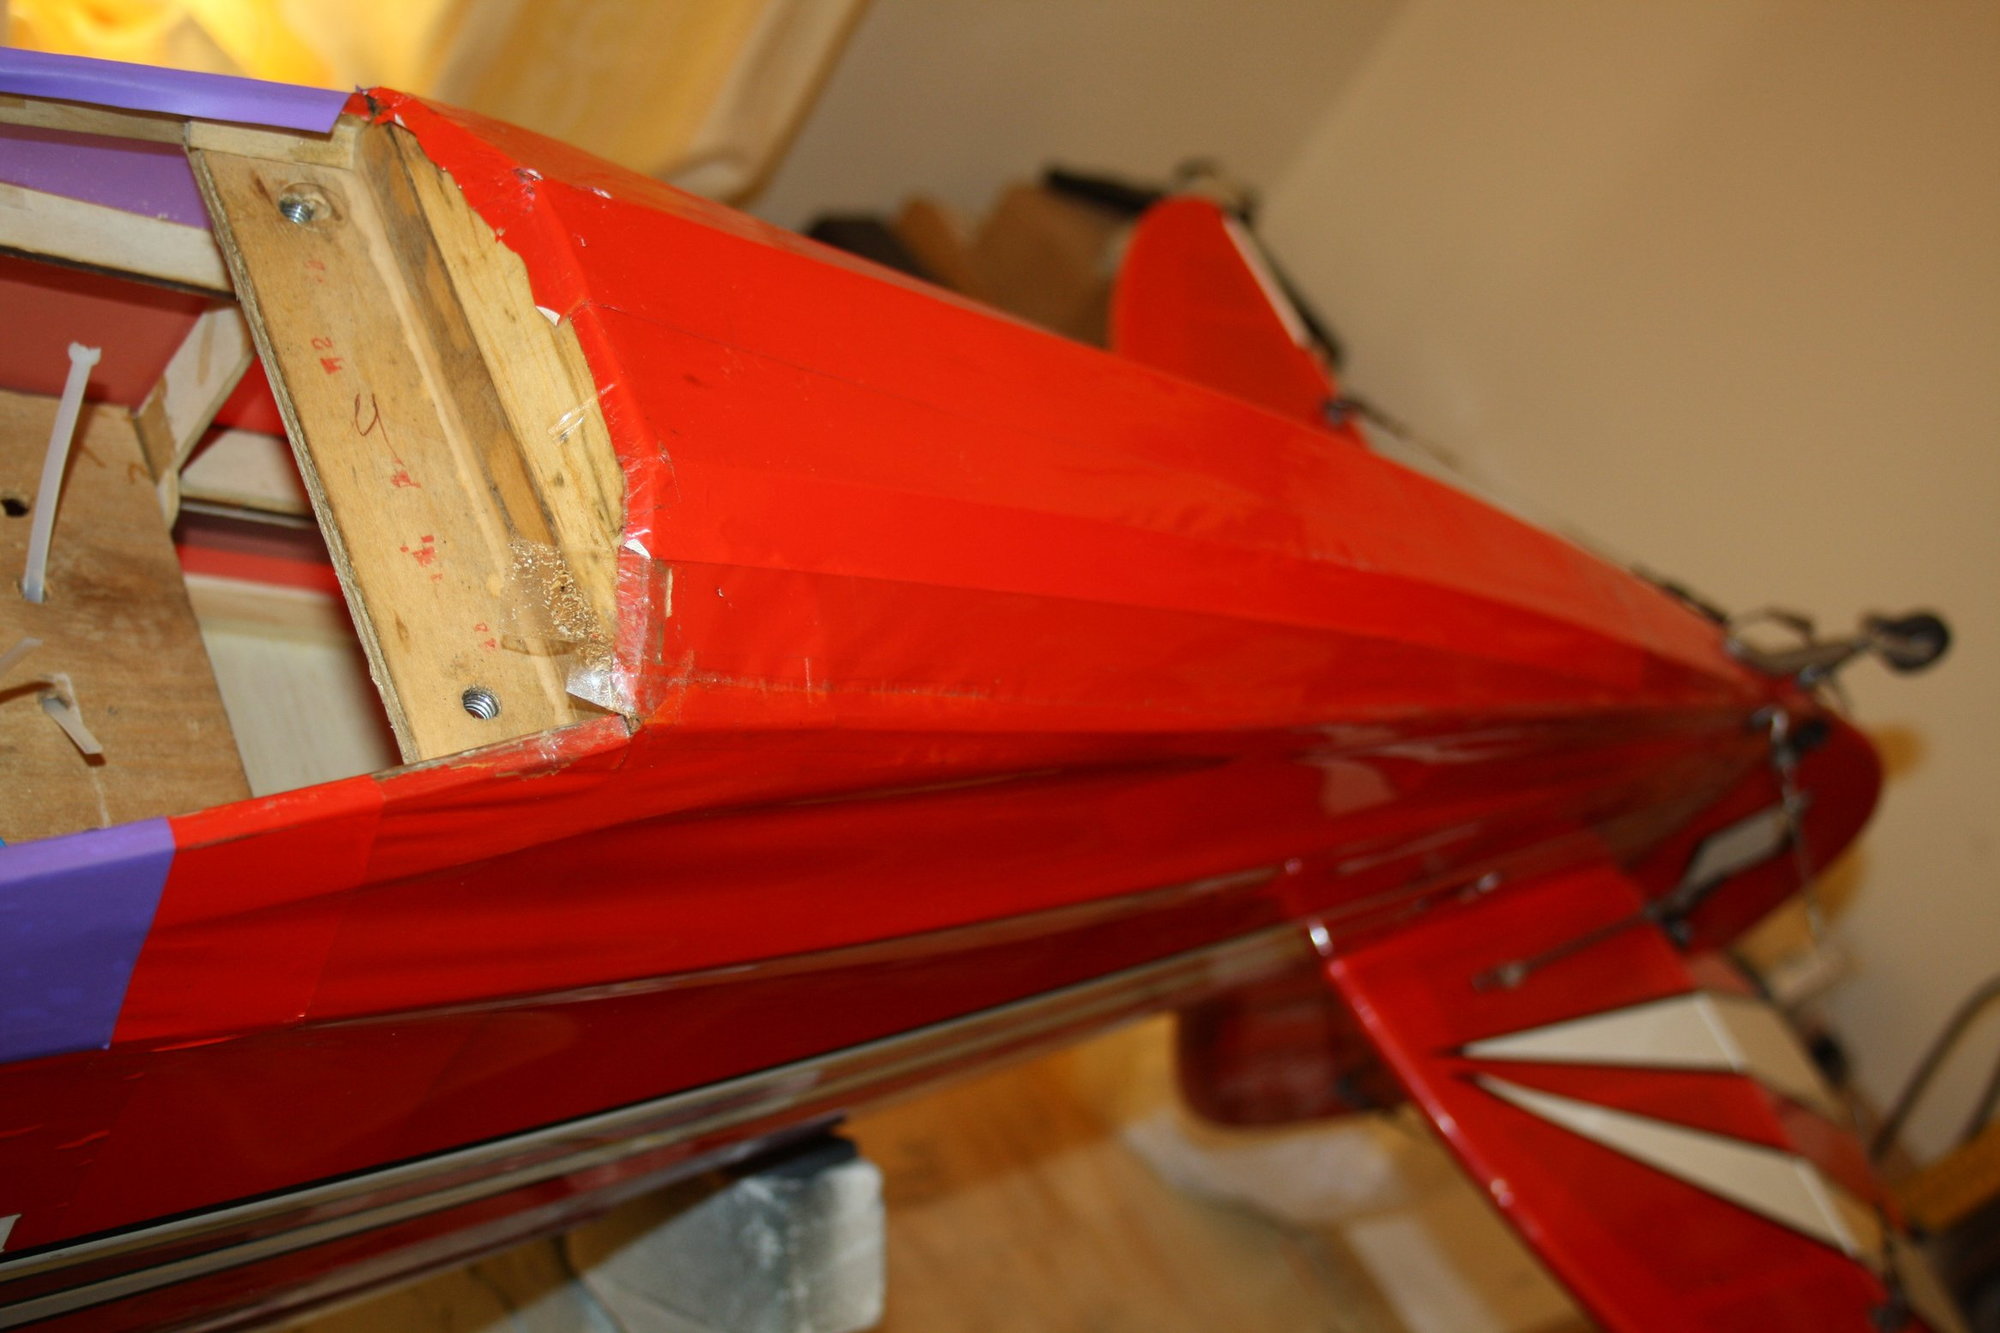
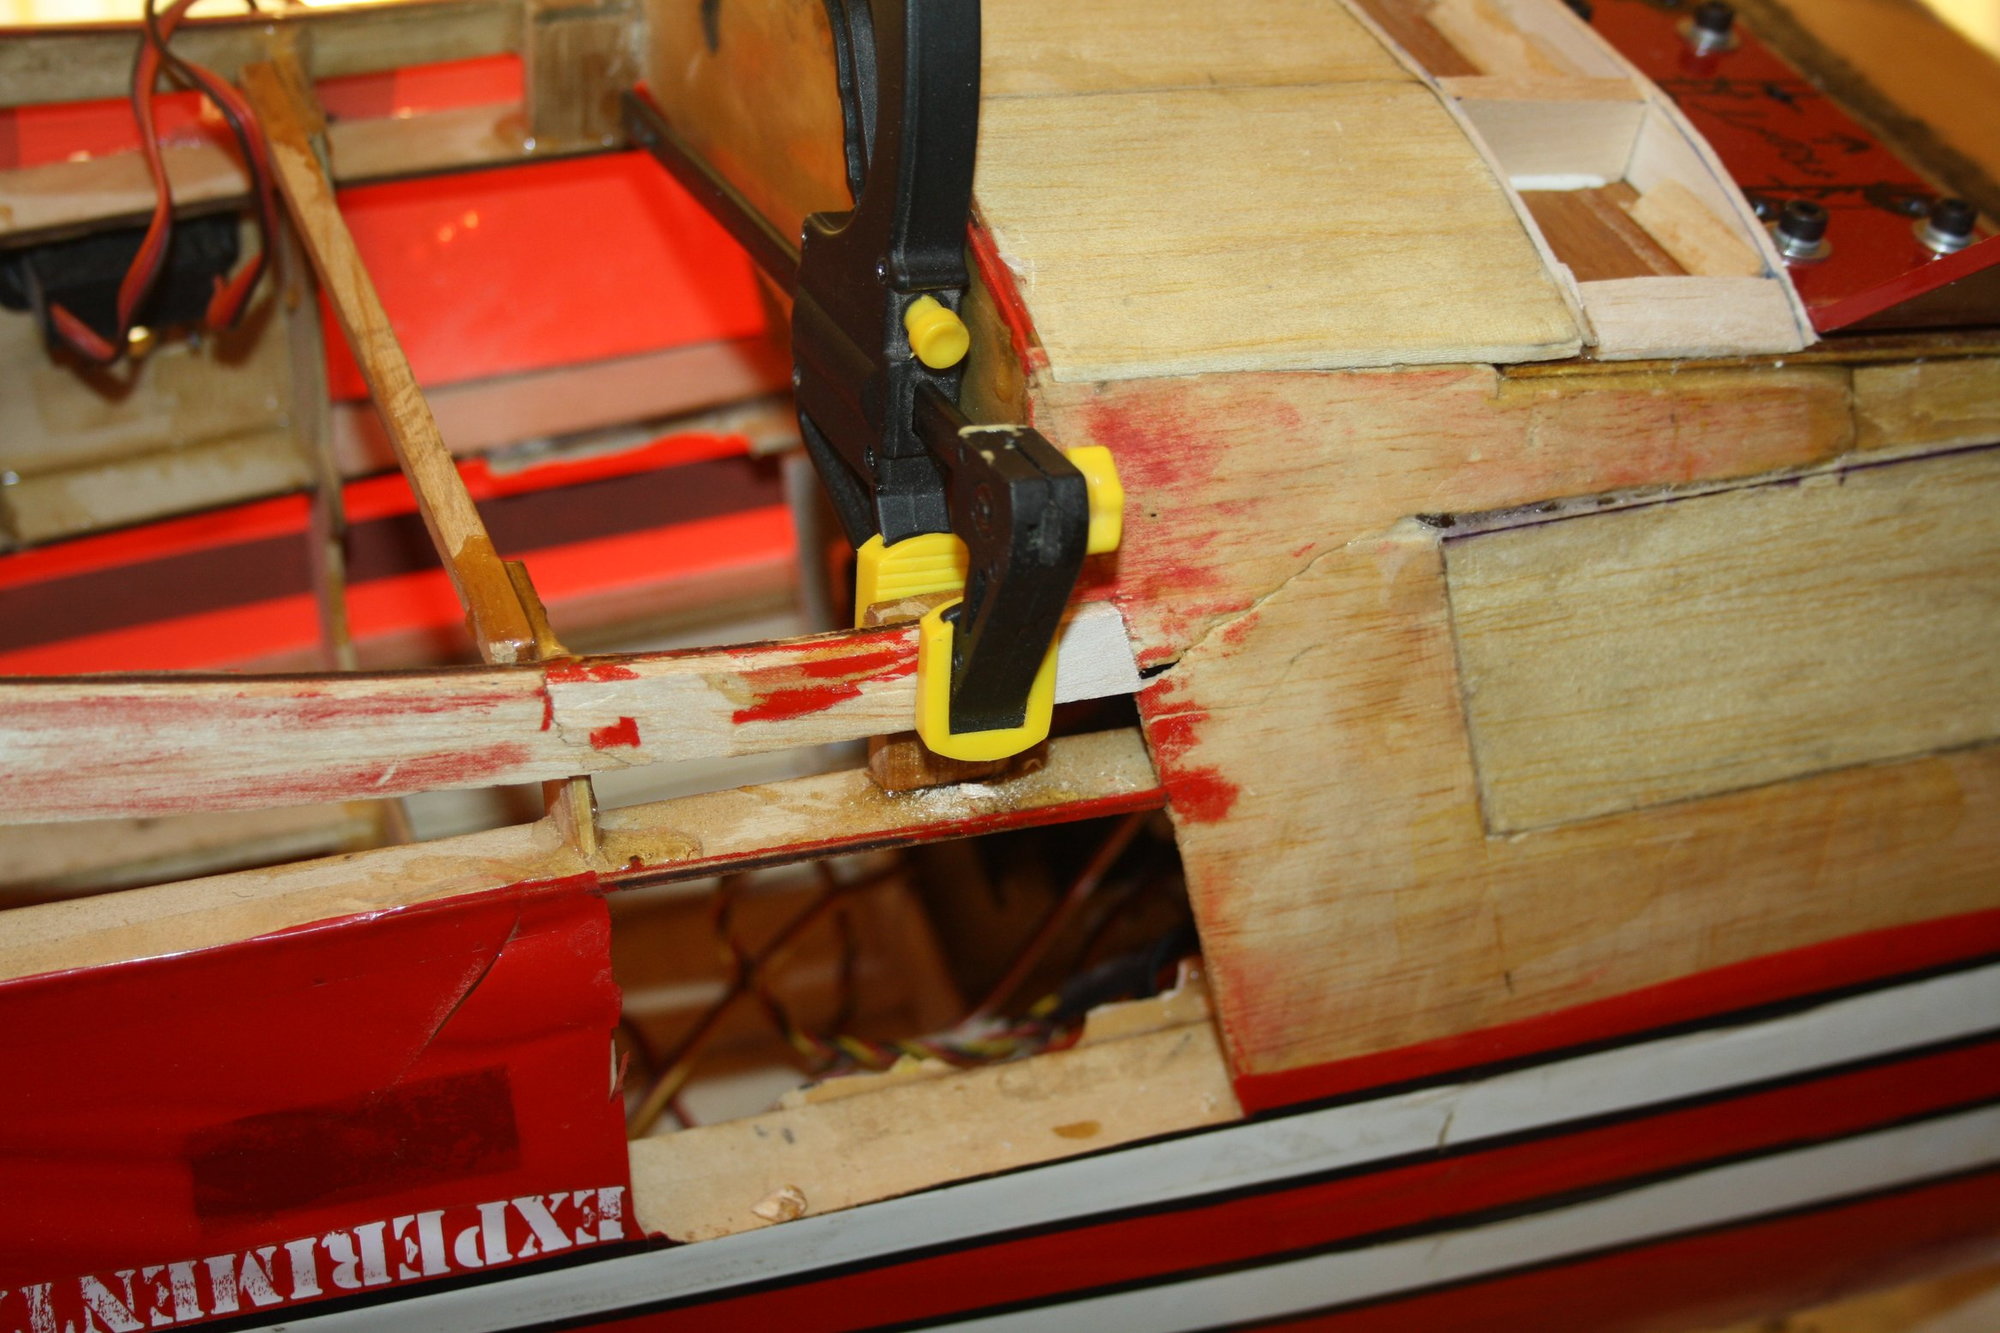
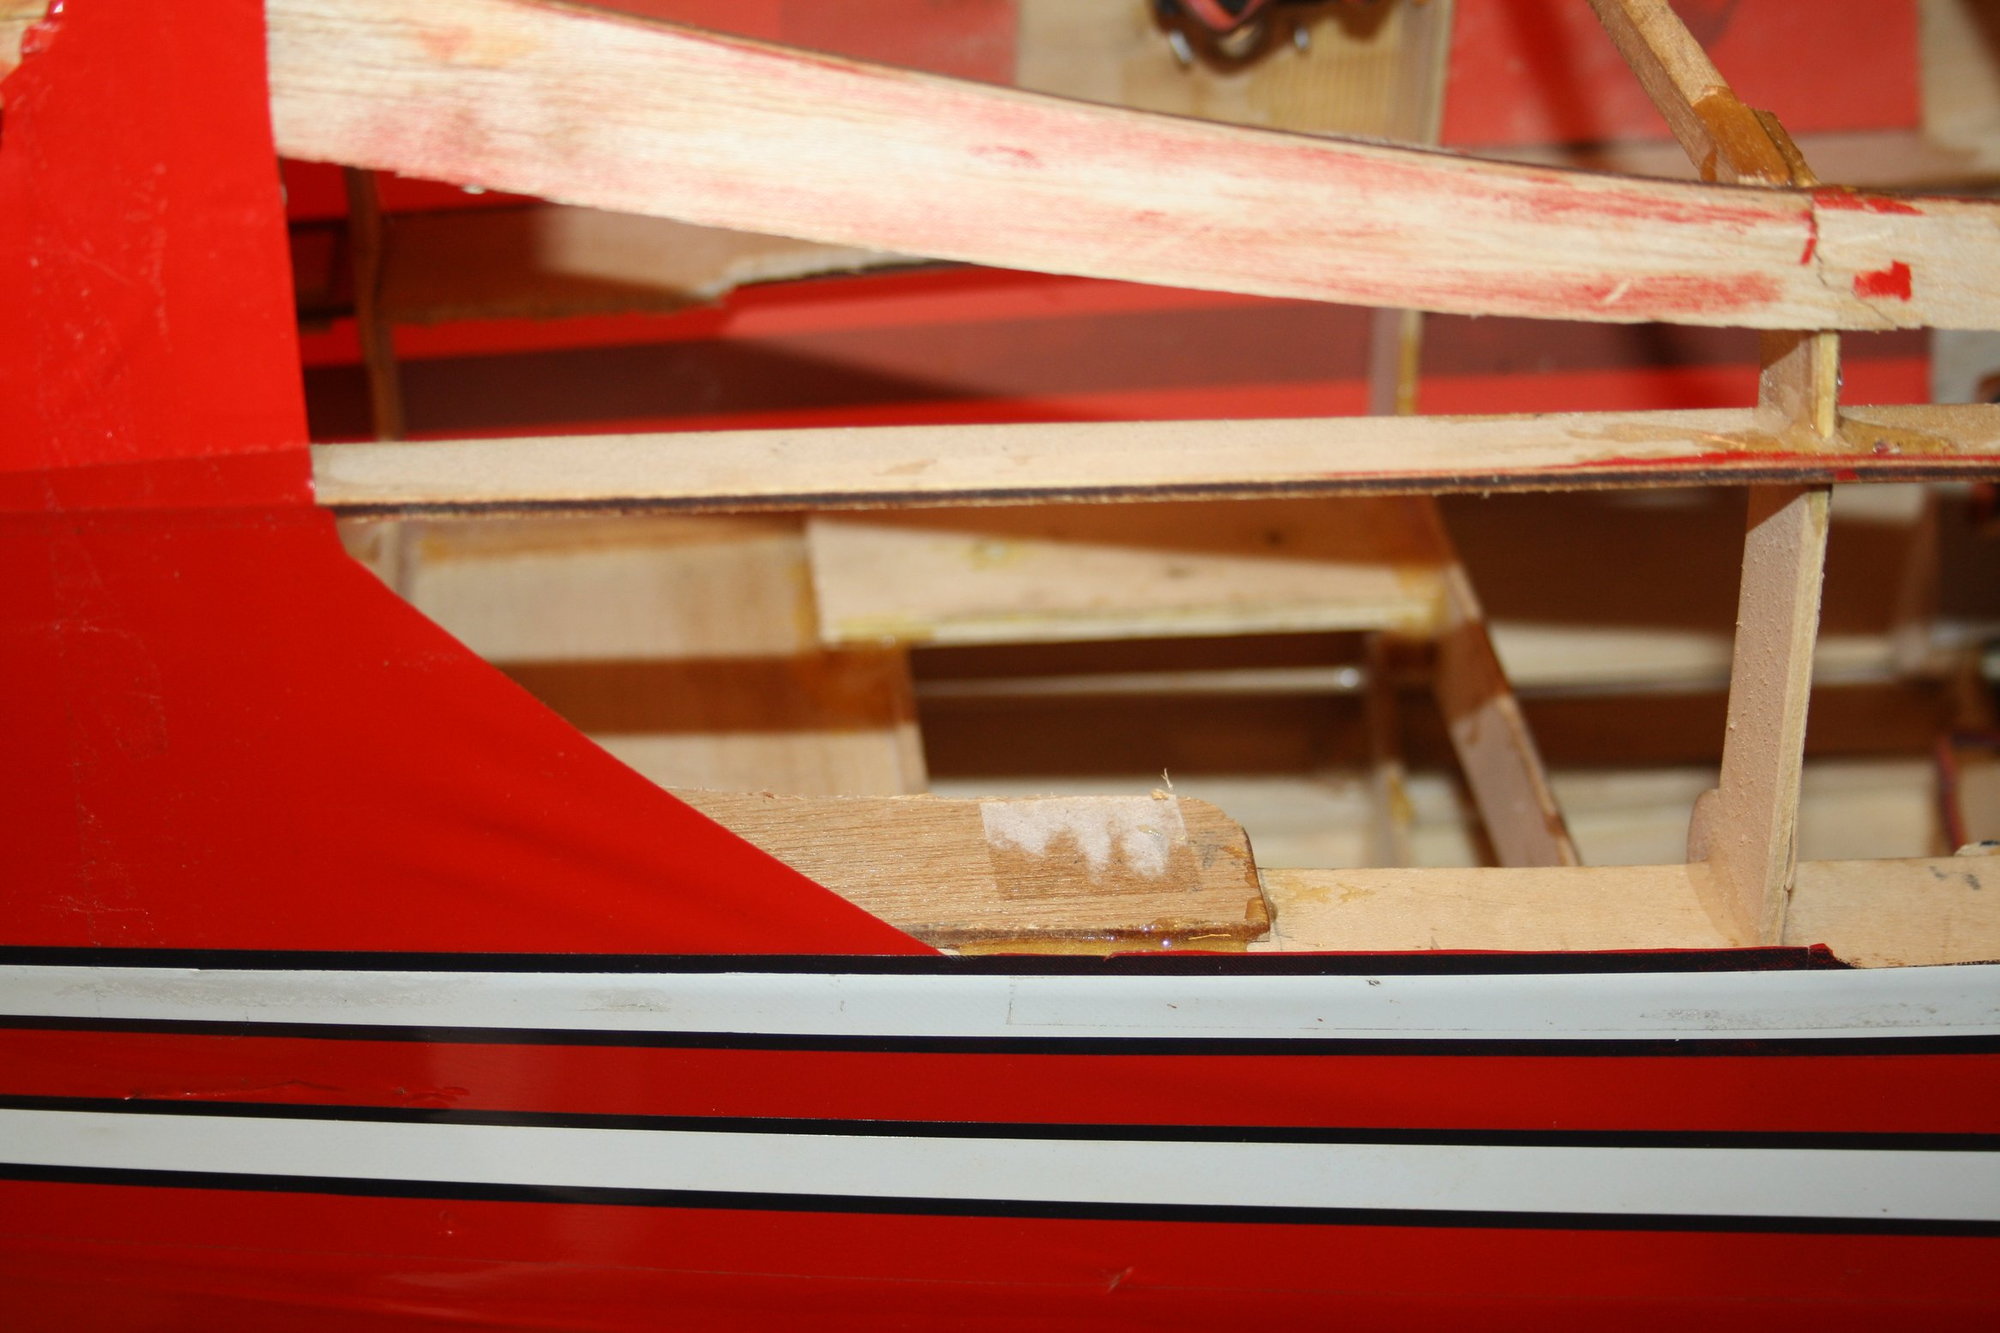
Also in the photos below you can see a square hardwood "fix" that was done to the former where the wing saddle is, a hole in the horizontal stabiliser and covering held by clear tape all the way to the back of the aeroplane.
The full history of this aeroplane is unknown. It was received with a 50cc CRRC-Pro engine, which is a very old petrol engine.
I received the fuselage only at this stage. It was immediately noted that at the very least it had a landing which damaged the landing gear, as is obvious by the crude repair.
I went ahead and assessed the required work by removing some of the covering where I suspected to find damage.
Also in the photos below you can see a square hardwood "fix" that was done to the former where the wing saddle is, a hole in the horizontal stabiliser and covering held by clear tape all the way to the back of the aeroplane.
Last edited by erans; 02-19-2019 at 07:40 PM.
 02-20-2019, 01:40 PM
#2

Good for you for fixing this, I have a friend that has rebuilt a favorite Pitts of his so many times I am not sure if anything but parts of the tail are from the original plane... He finally put it in so hard there was no chance to rebuild.. But it had MANY lives  It took one of the younger members of the club a couple minutes to pull the motor out of the field ! One of those crashes where the back of the firewall was below ground.
hope it goes well.
It took one of the younger members of the club a couple minutes to pull the motor out of the field ! One of those crashes where the back of the firewall was below ground.hope it goes well.
02-20-2019, 07:19 PM
#3
Thread Starter
foodstick - Great to hear that your friend enjoyed his Pitts to the very end. My personal philosophy is that if you have a crash, do it proper. It seems that your friend did just that.
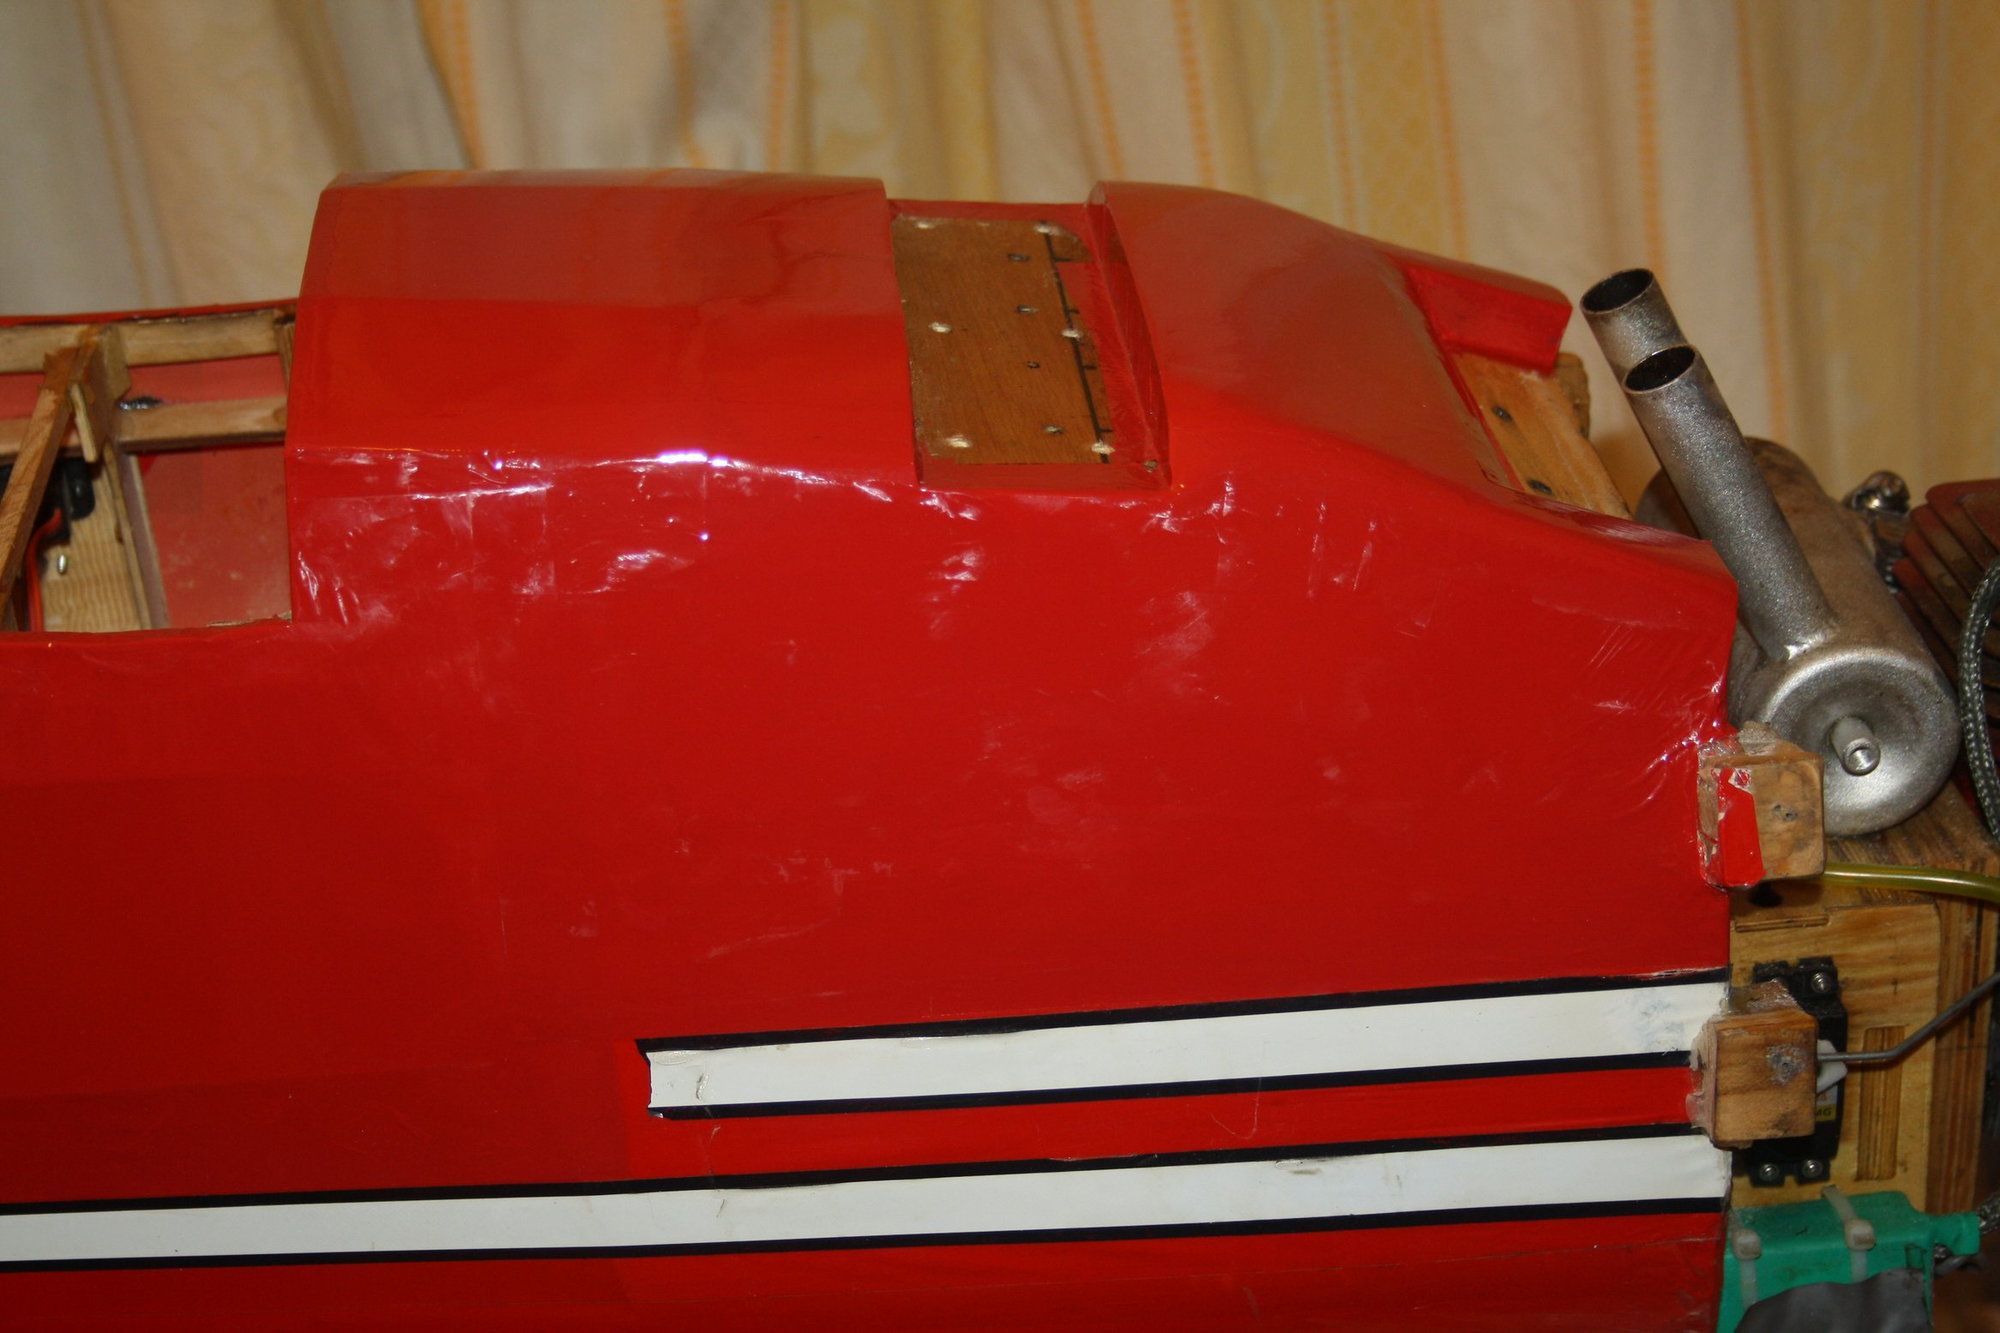
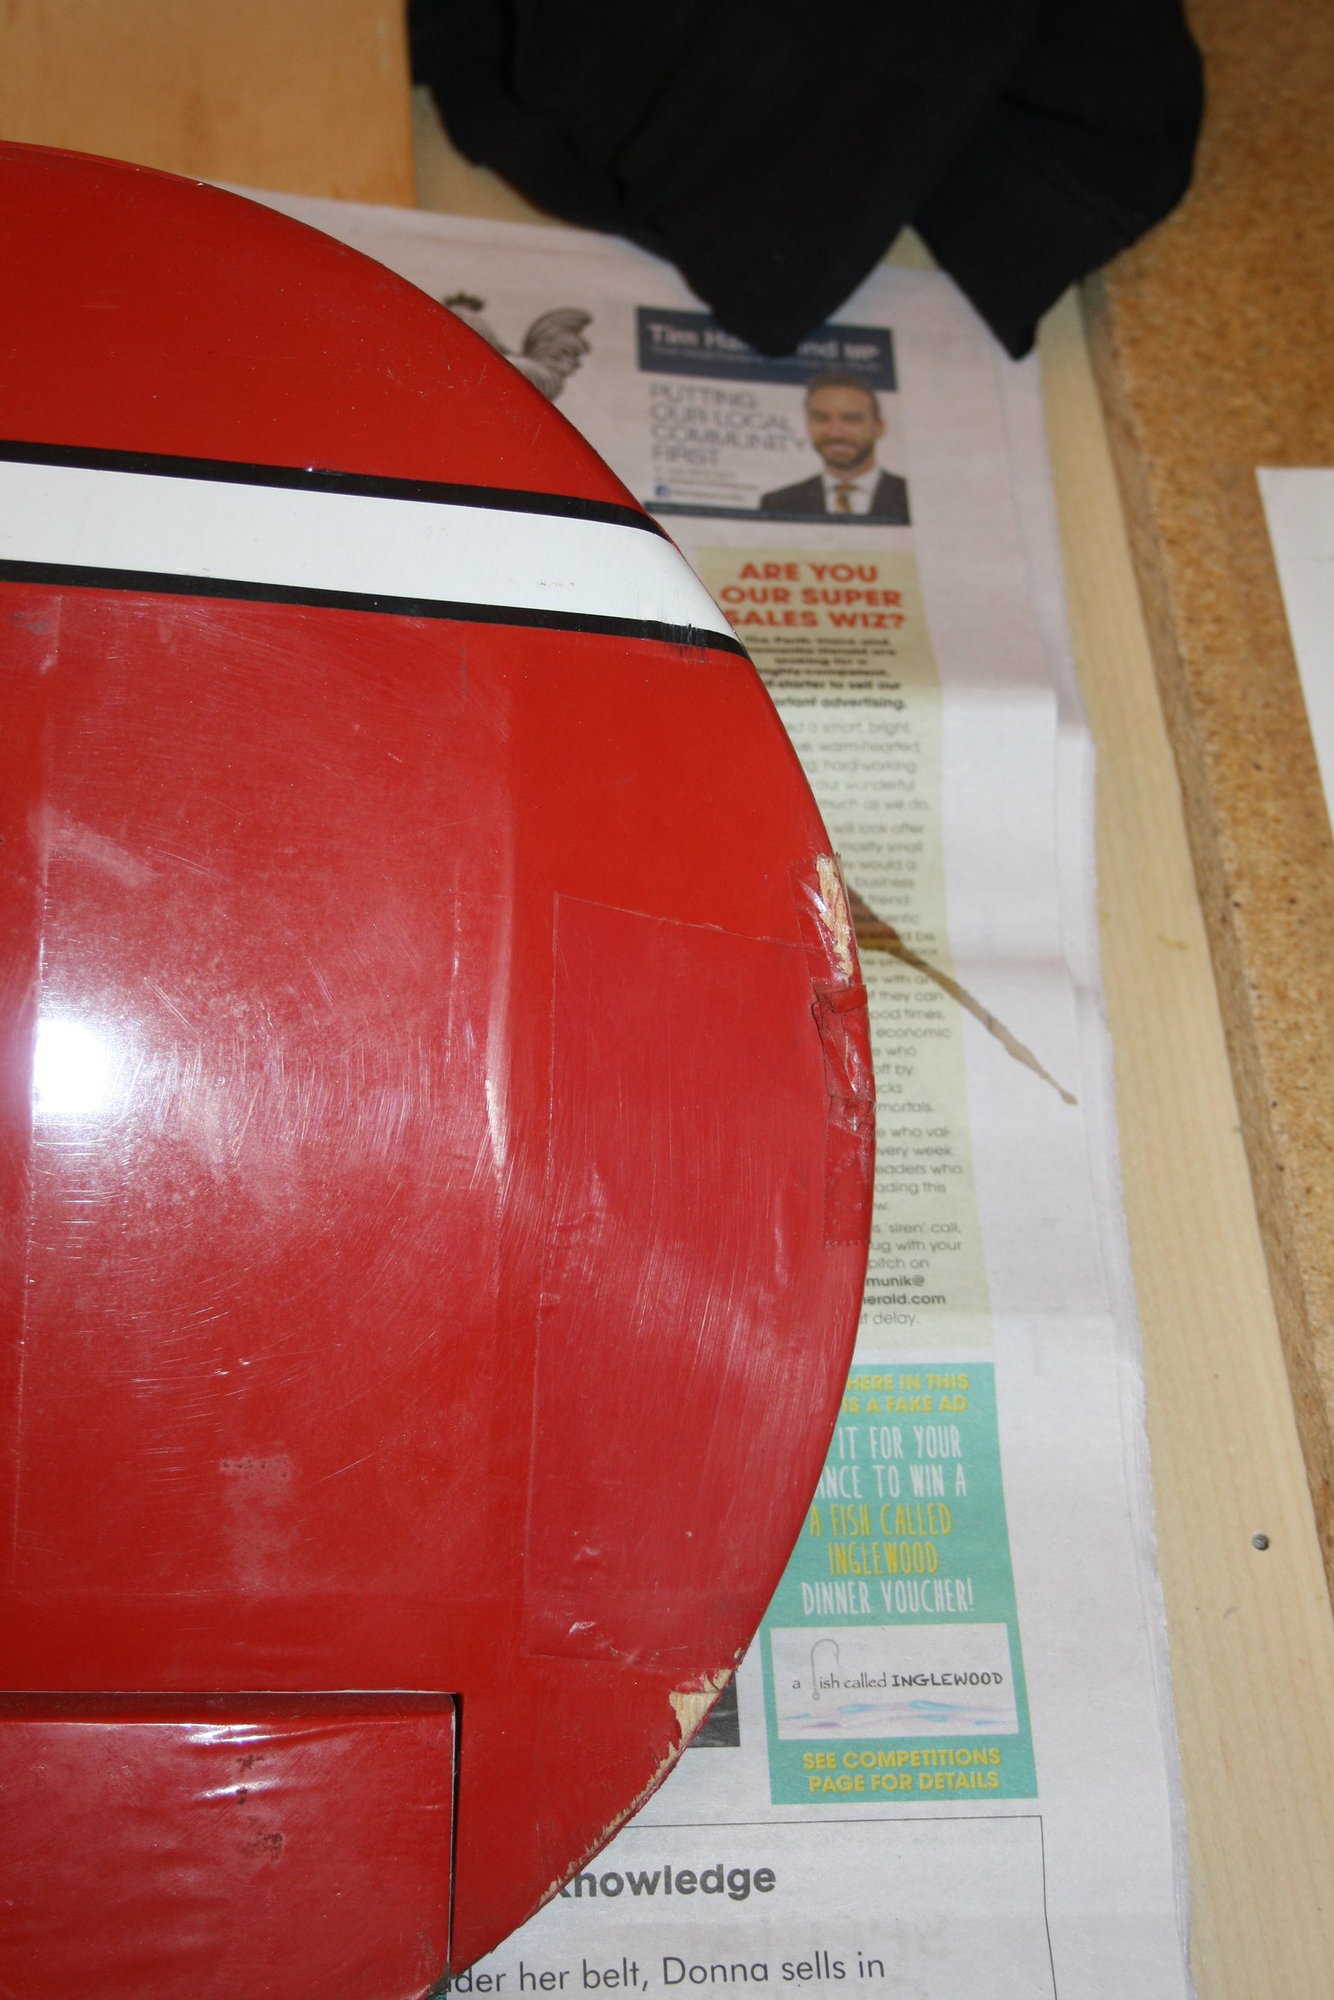
I started assessing the required work on the obvious section at the front. Removing the covering, it is not a pretty sight...
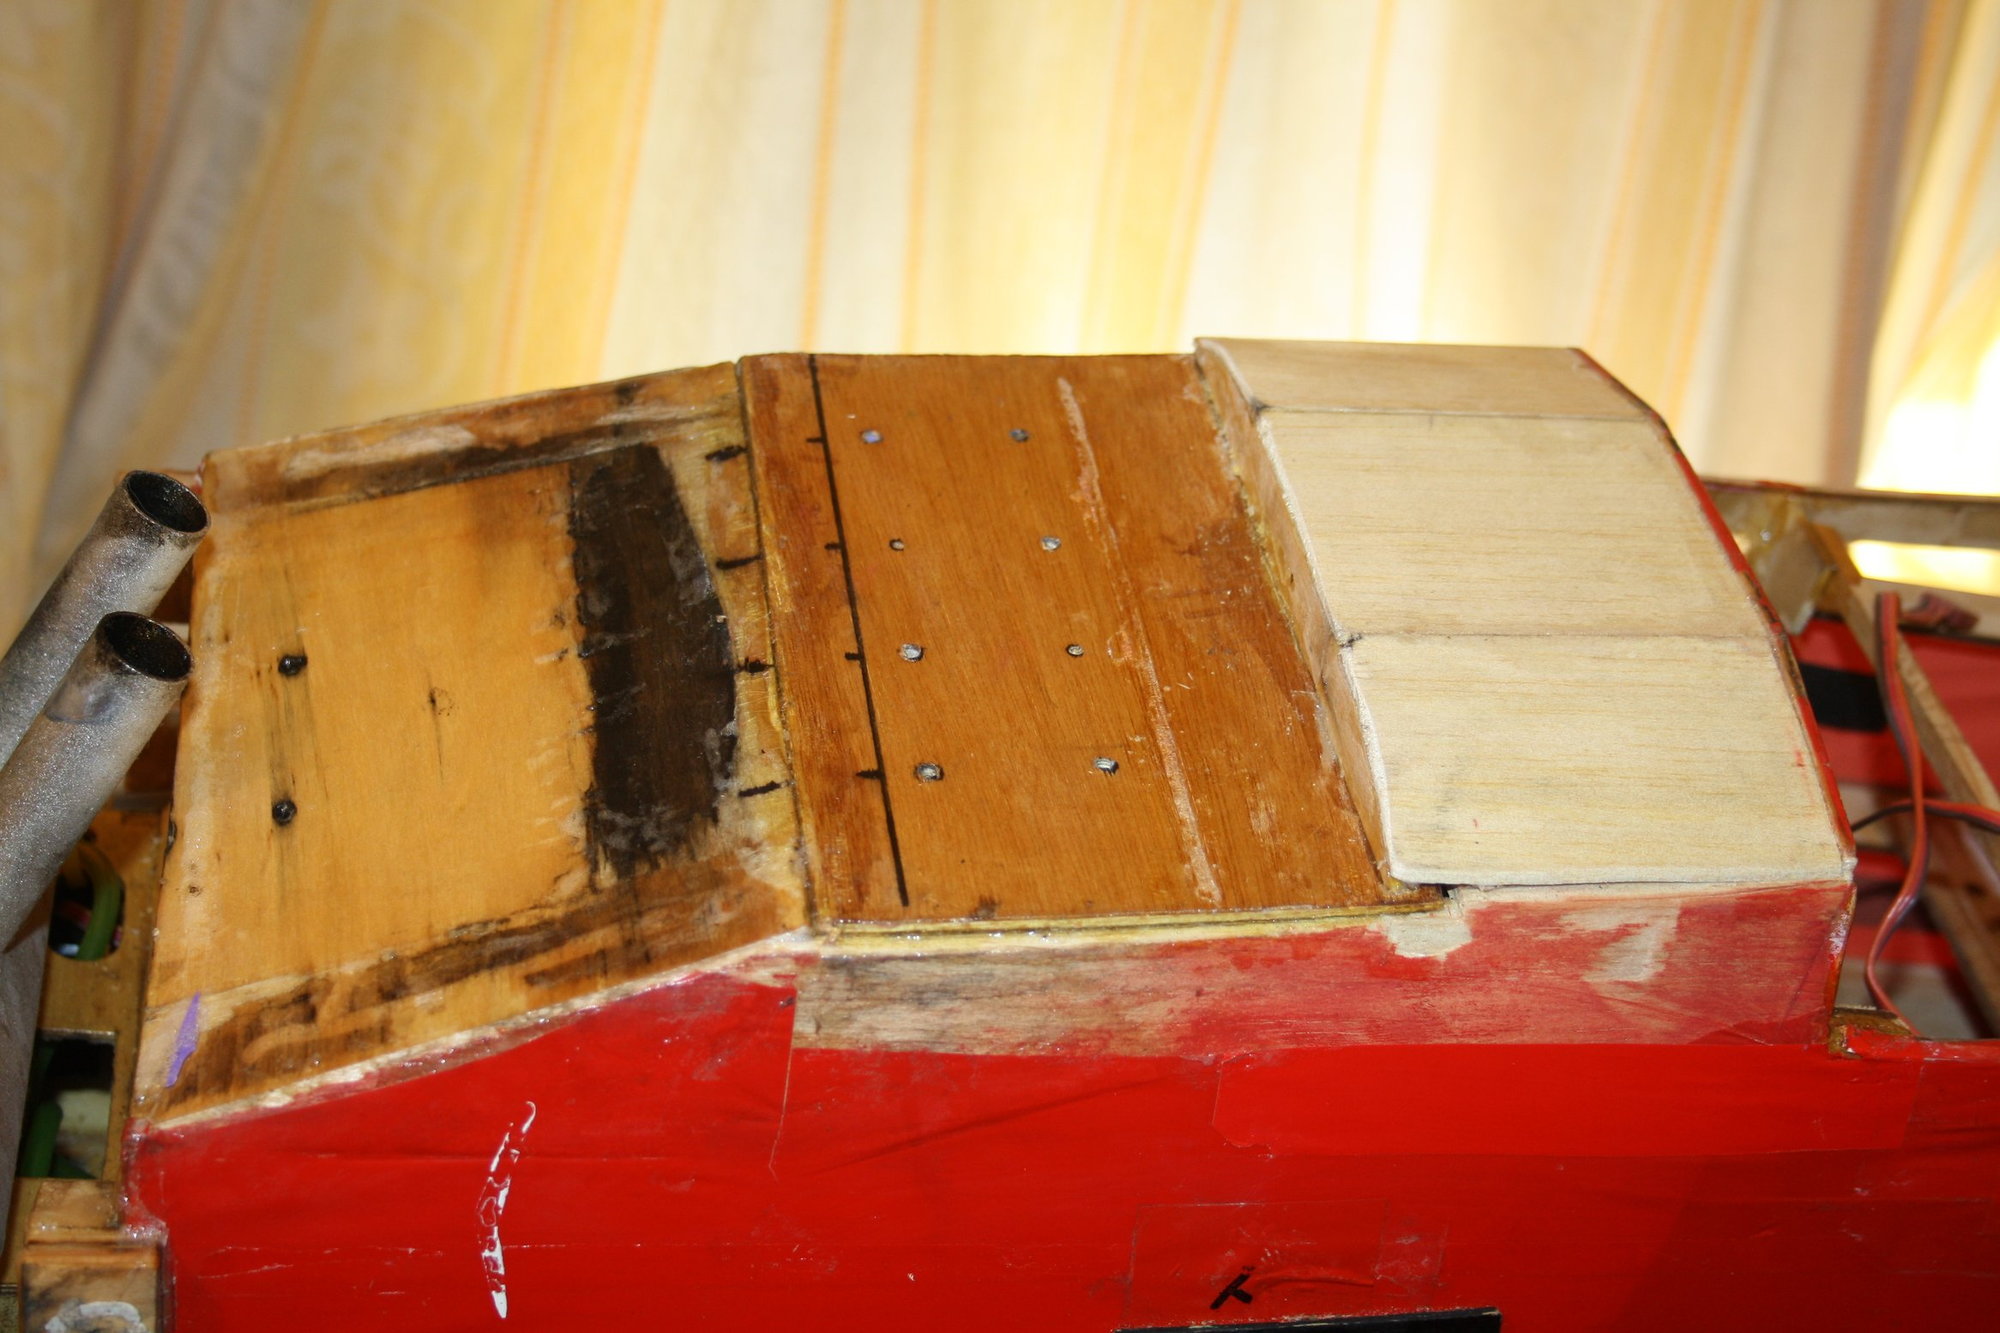
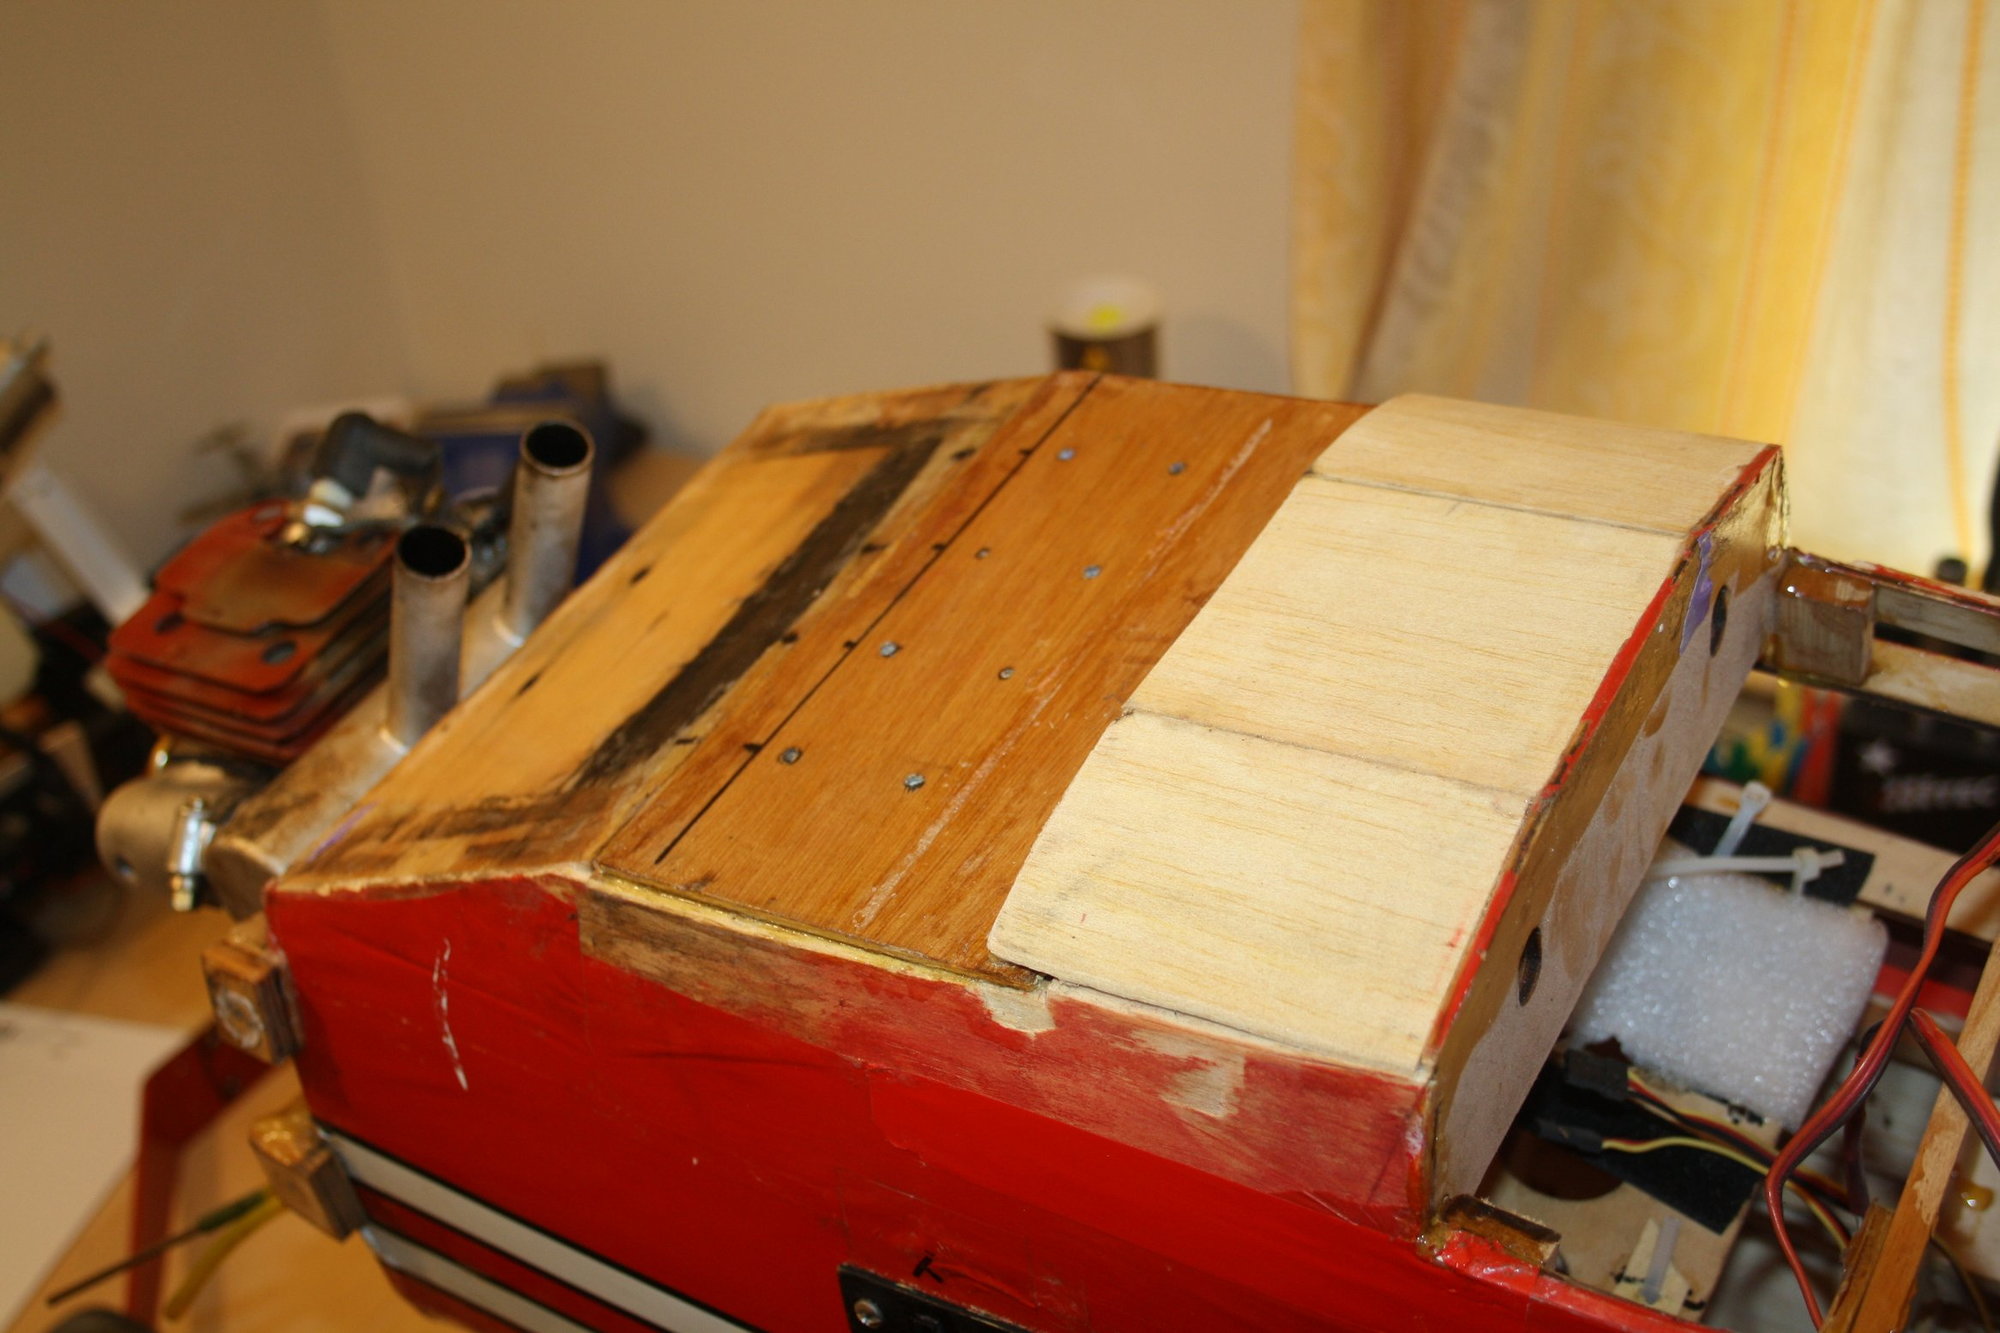

I started assessing the required work on the obvious section at the front. Removing the covering, it is not a pretty sight...
02-20-2019, 07:29 PM
#4
Thread Starter
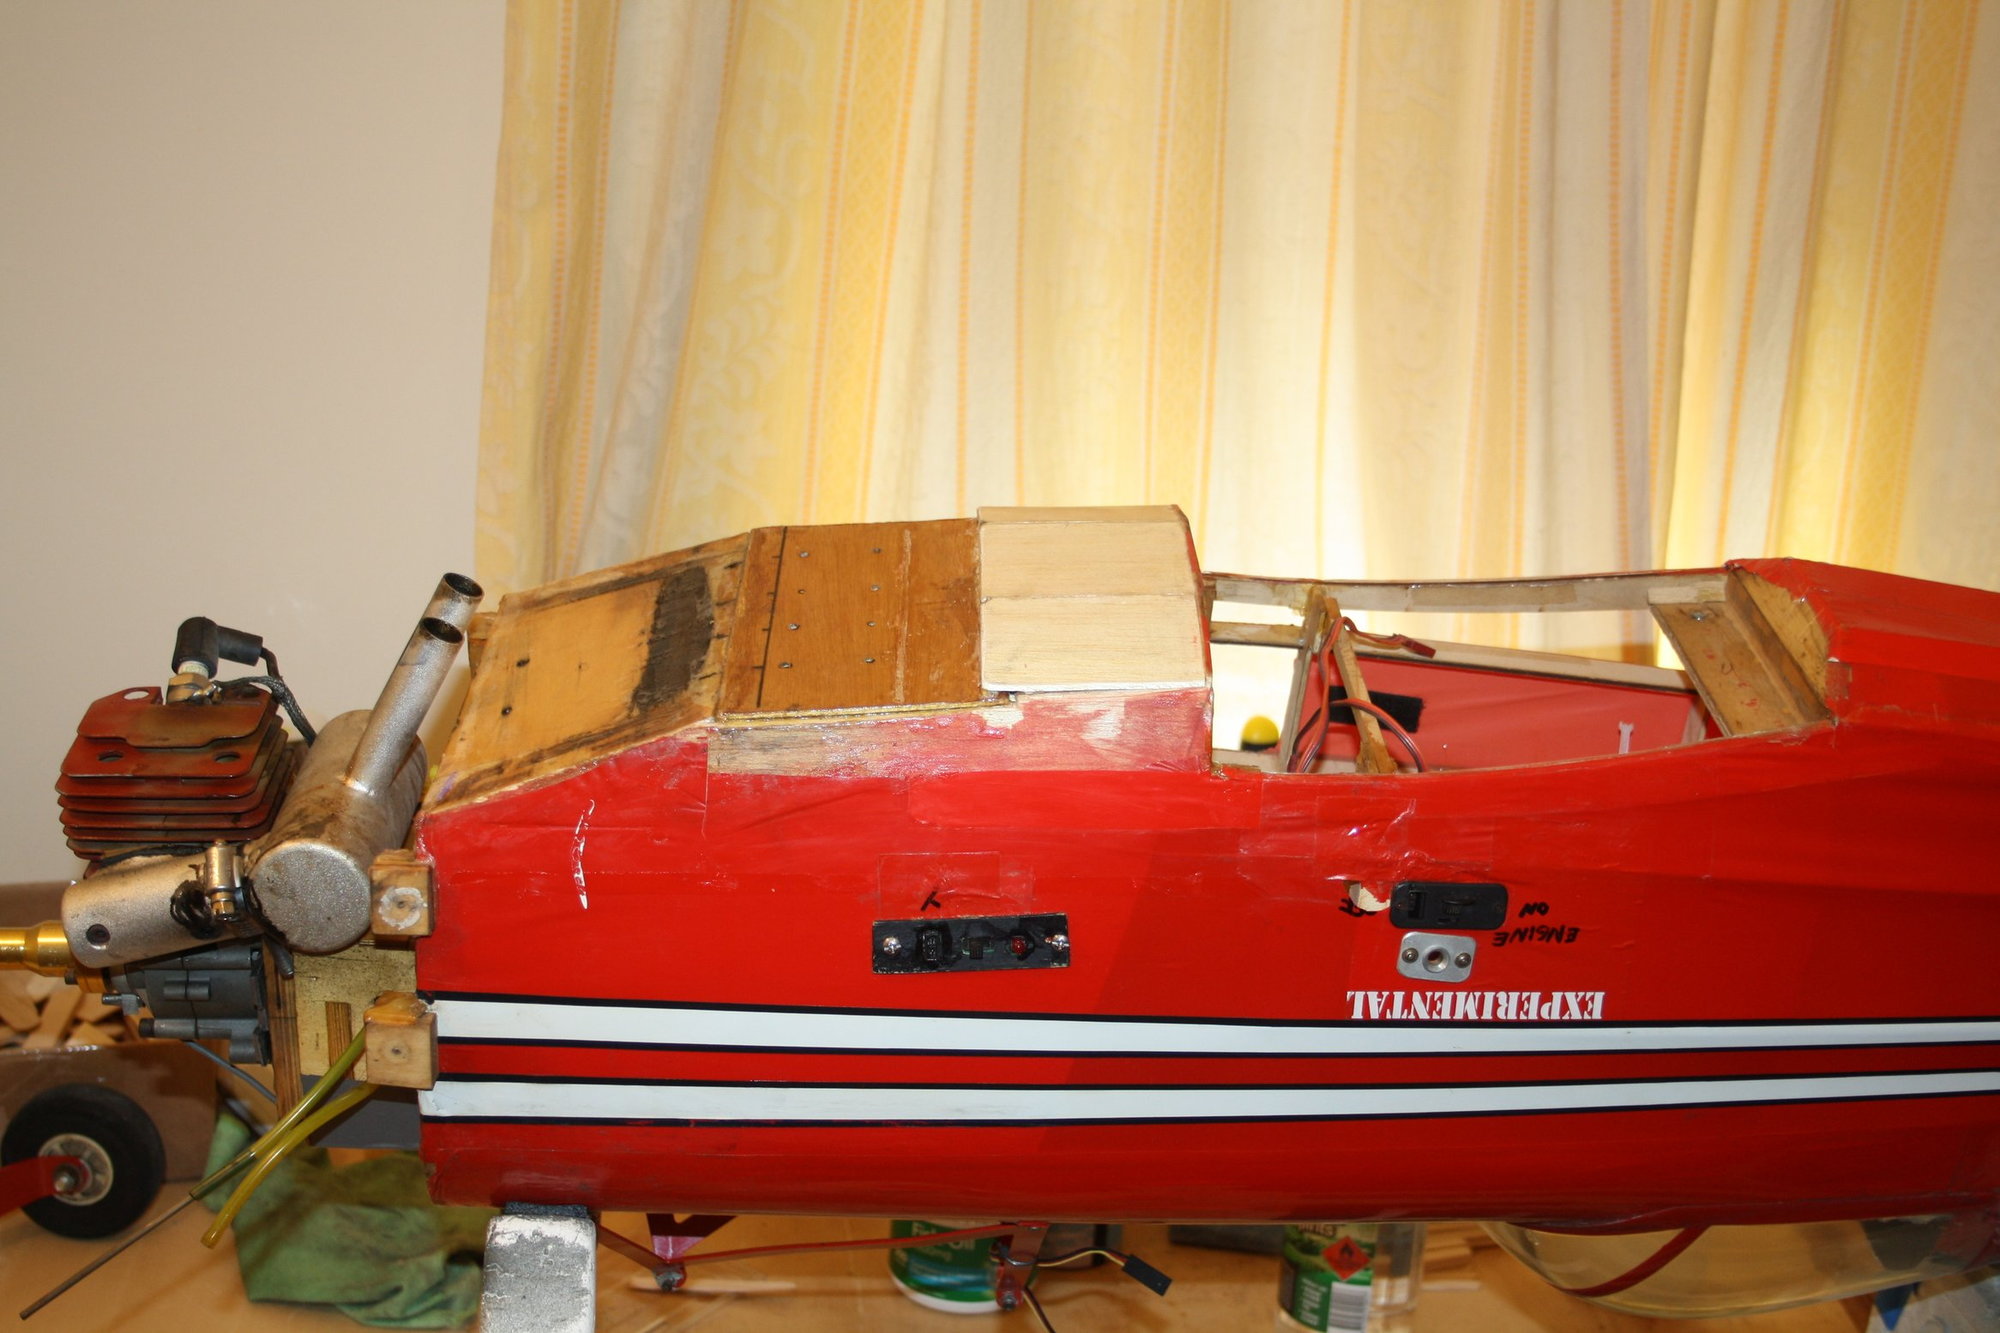
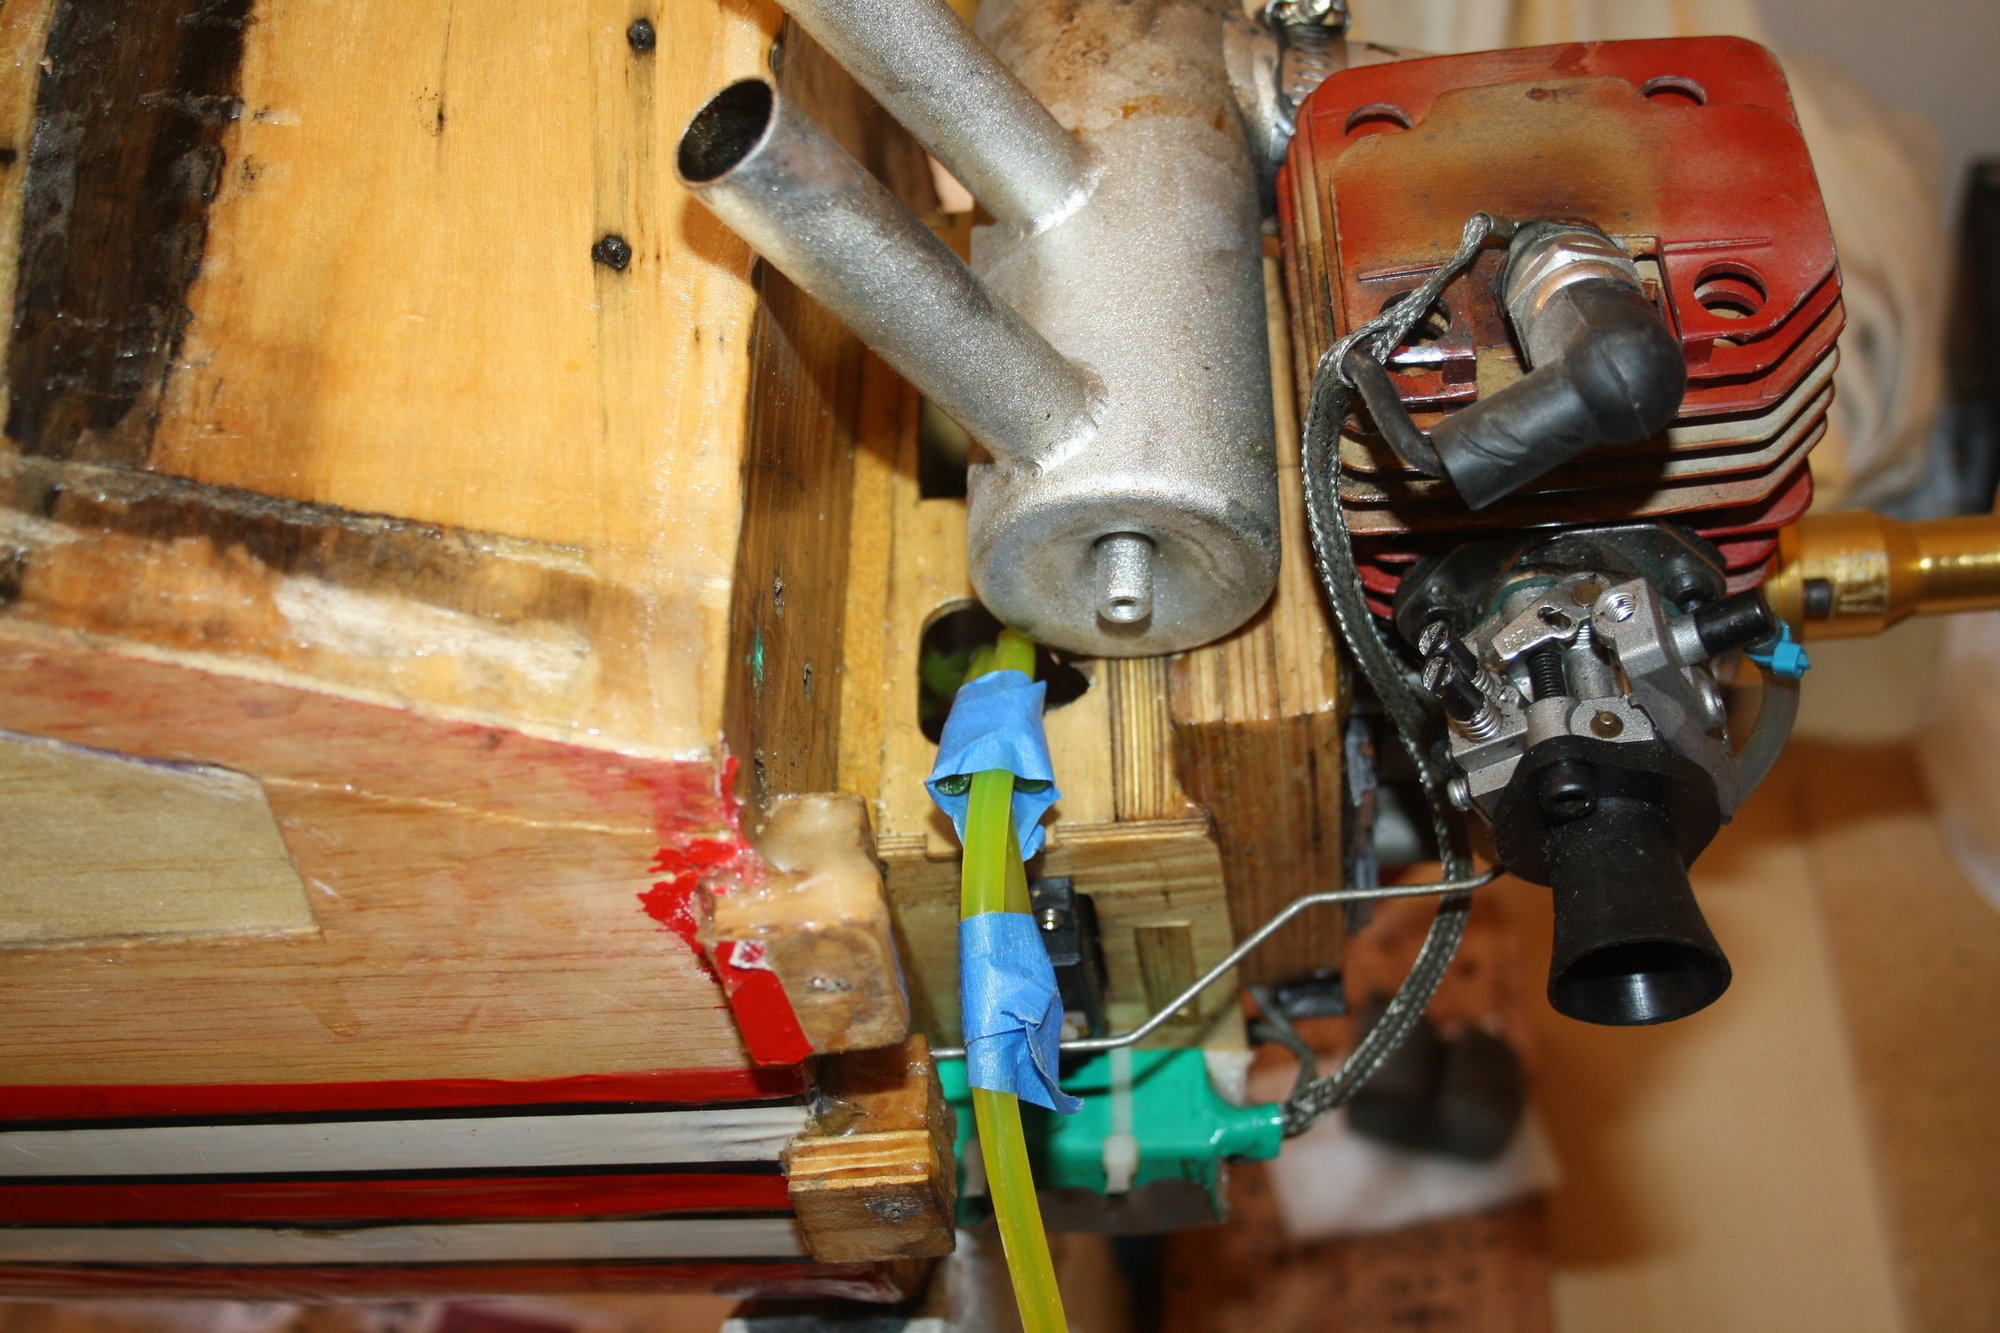
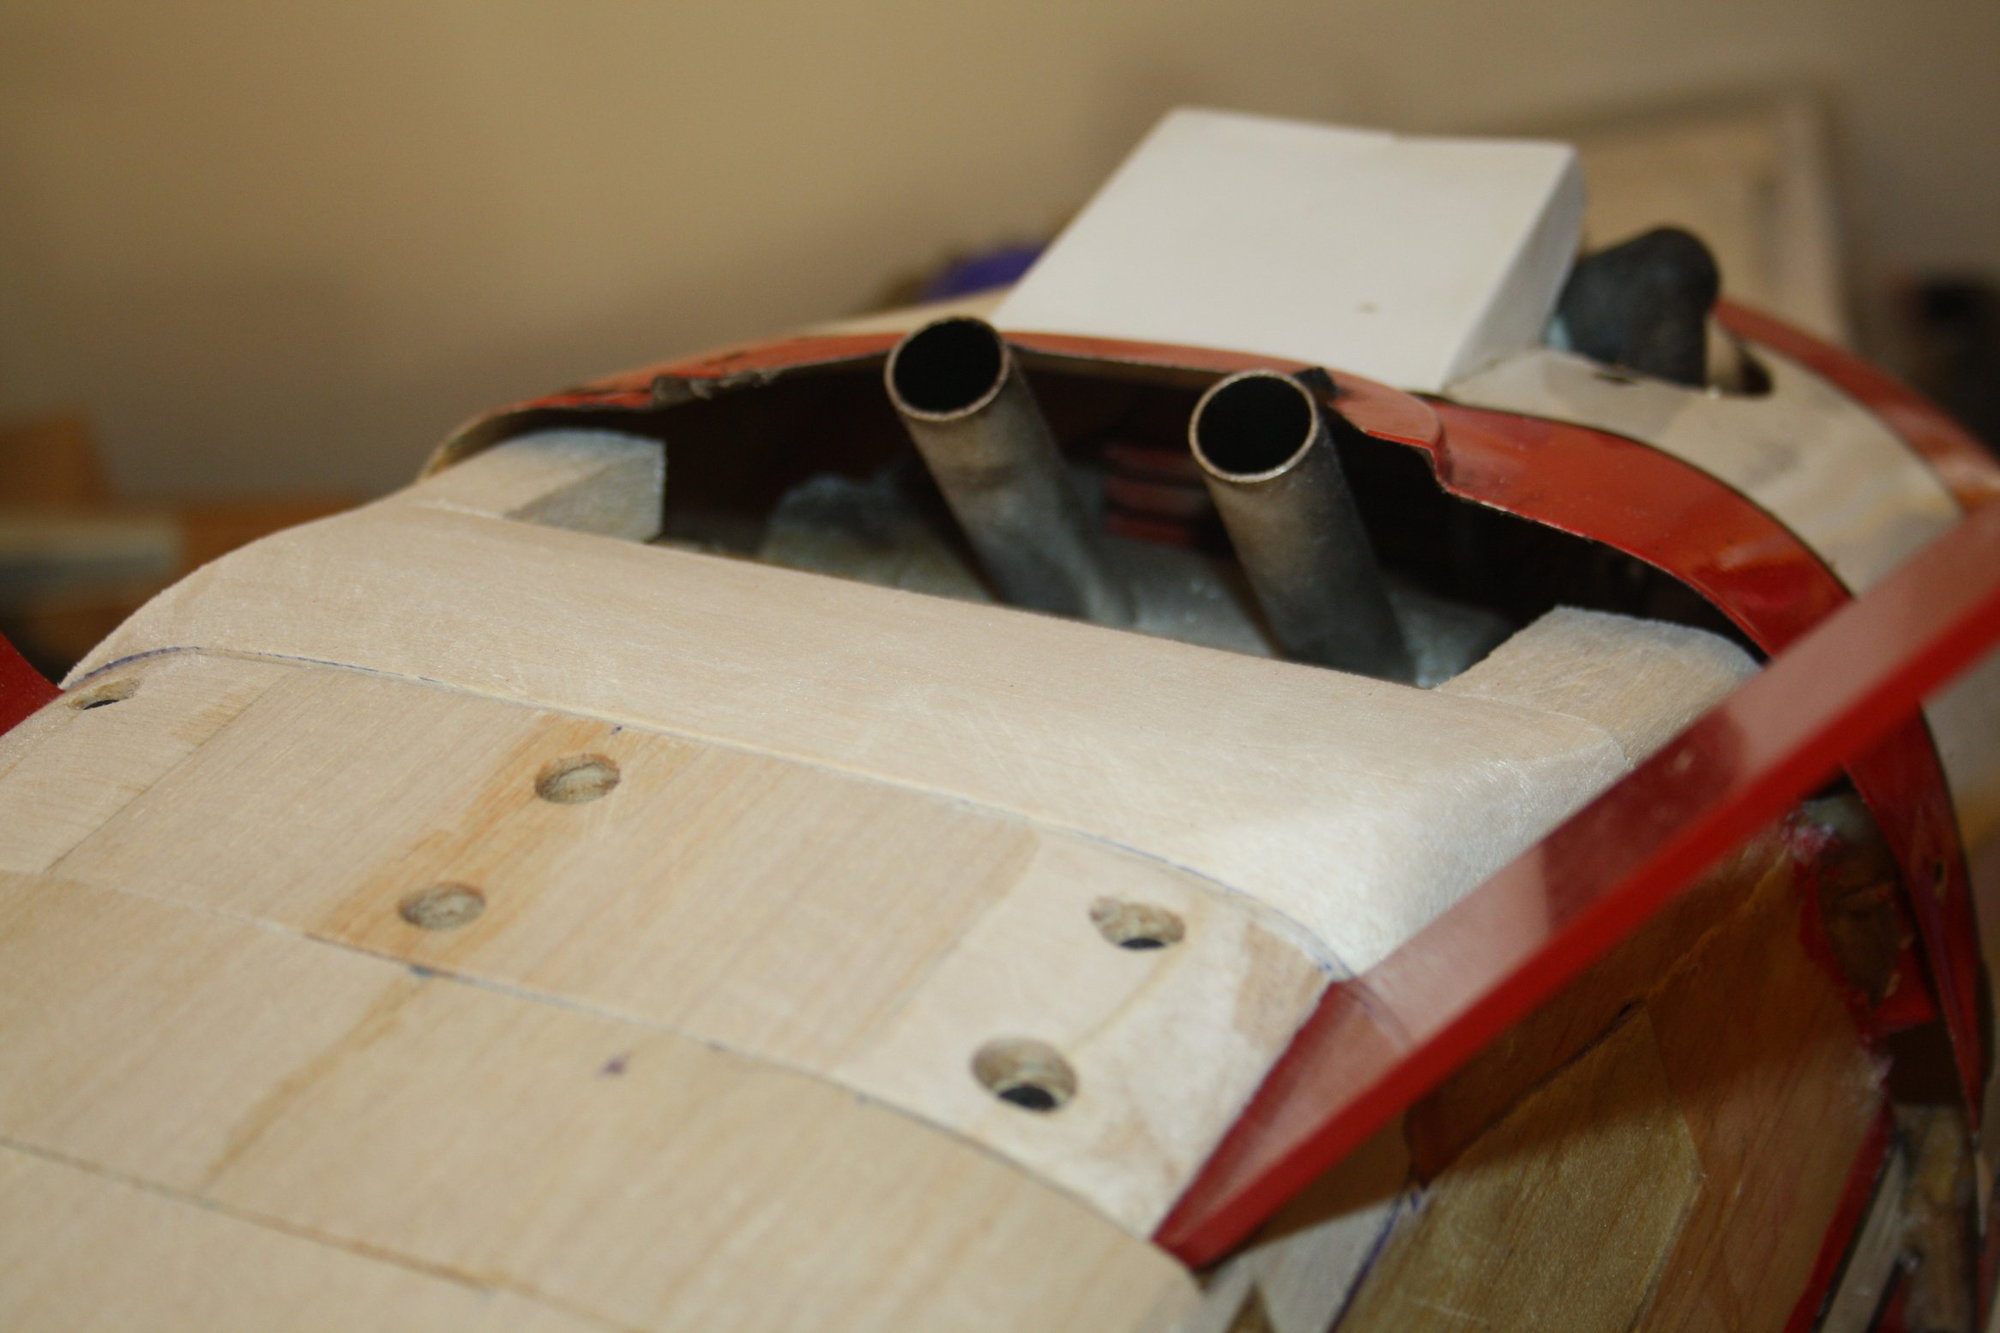
While at it, I cut out the tray that was added in the front to allow me getting my hands into this area.
I also looked into the fuel tank which was side mounted and plumbing in bad shape. My friend wanted to keep this fuel tank, so it was re-plumbed and put back in place.
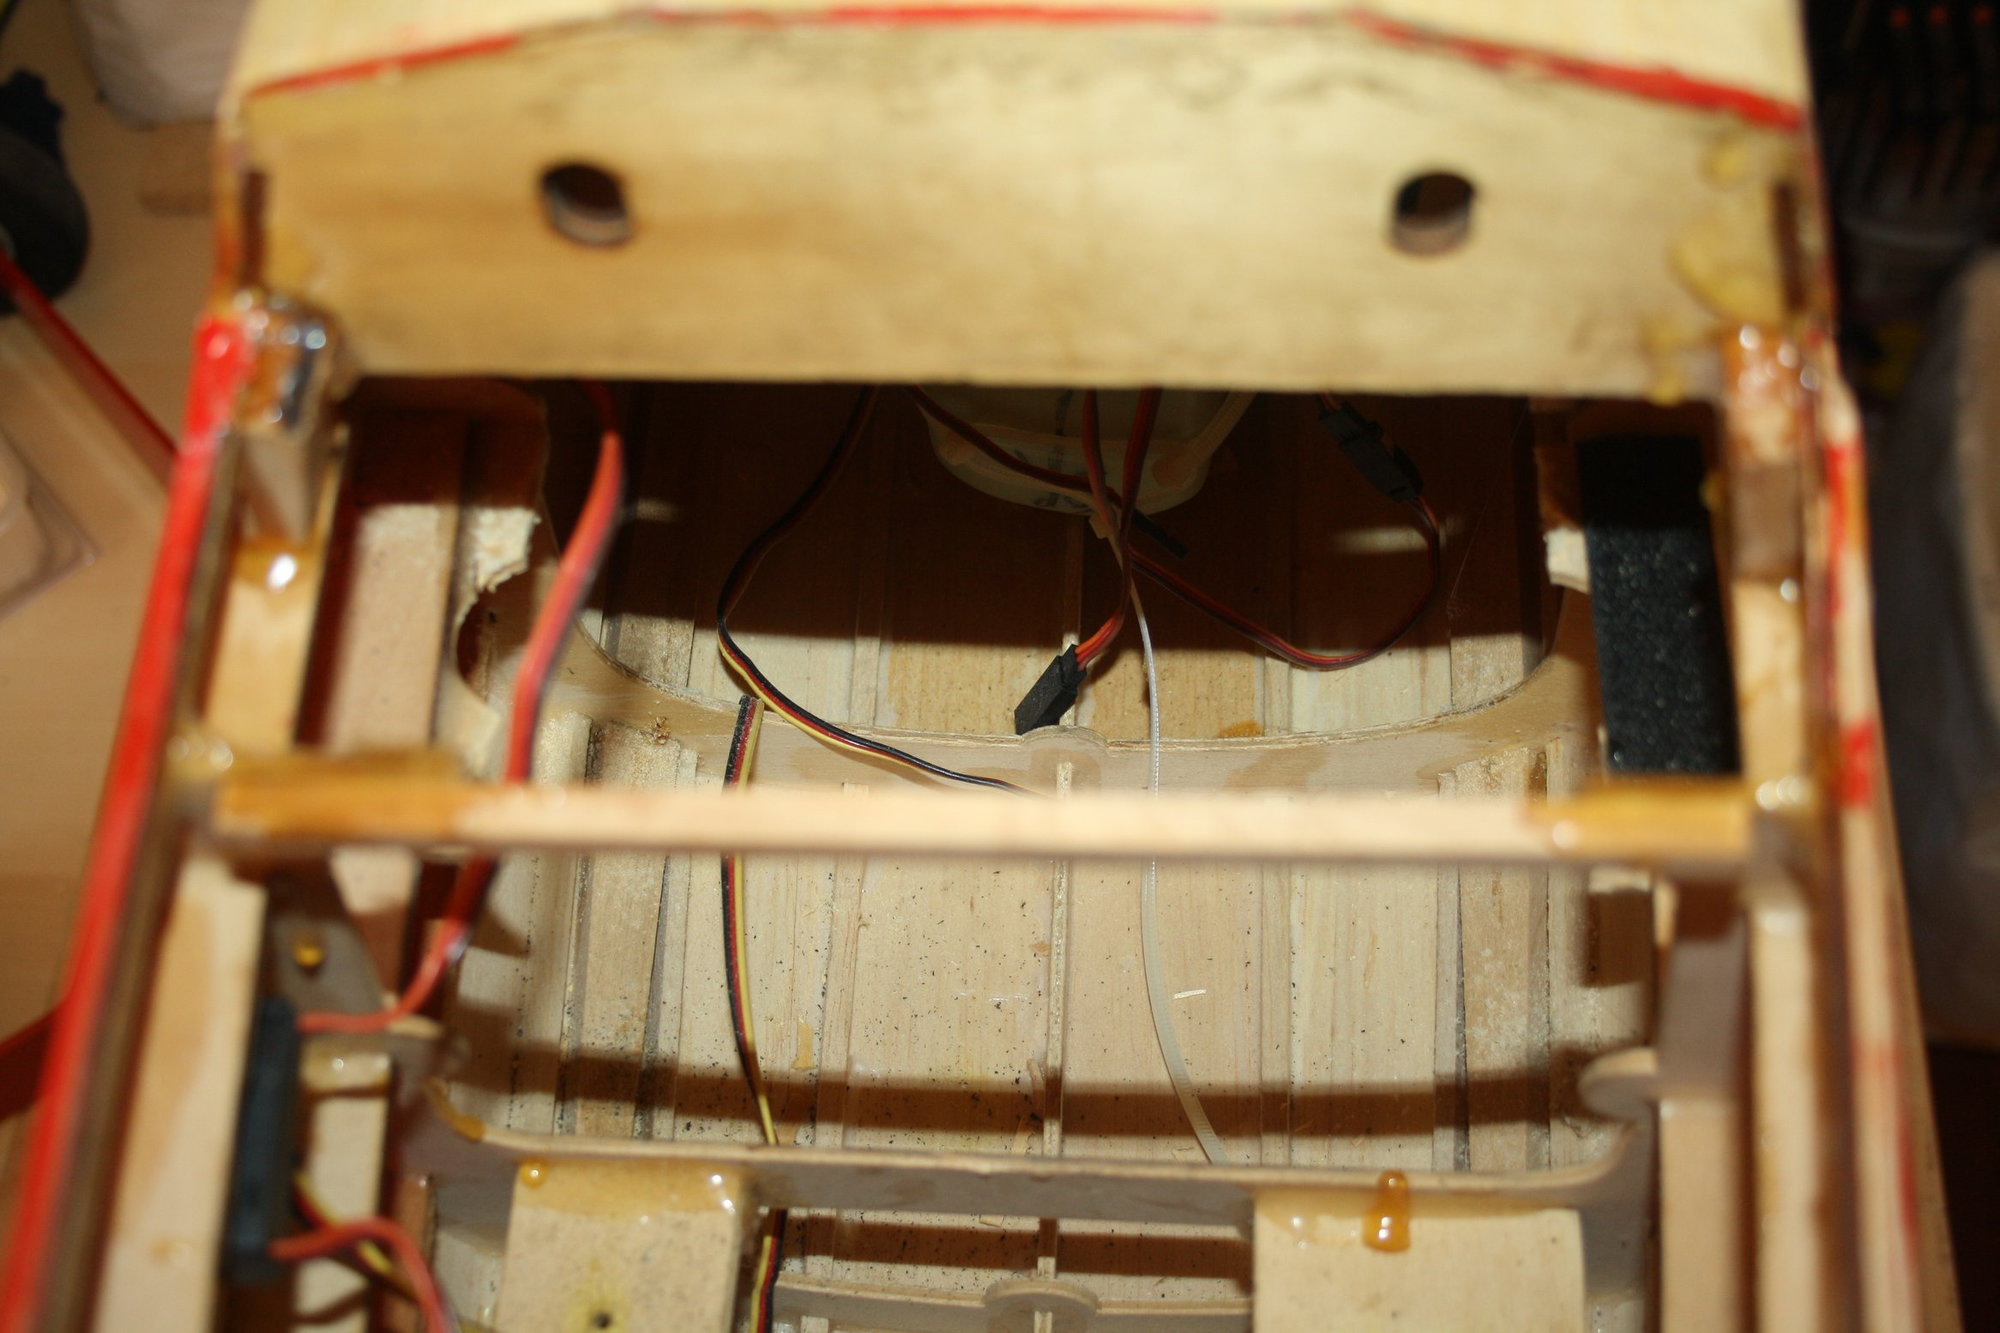
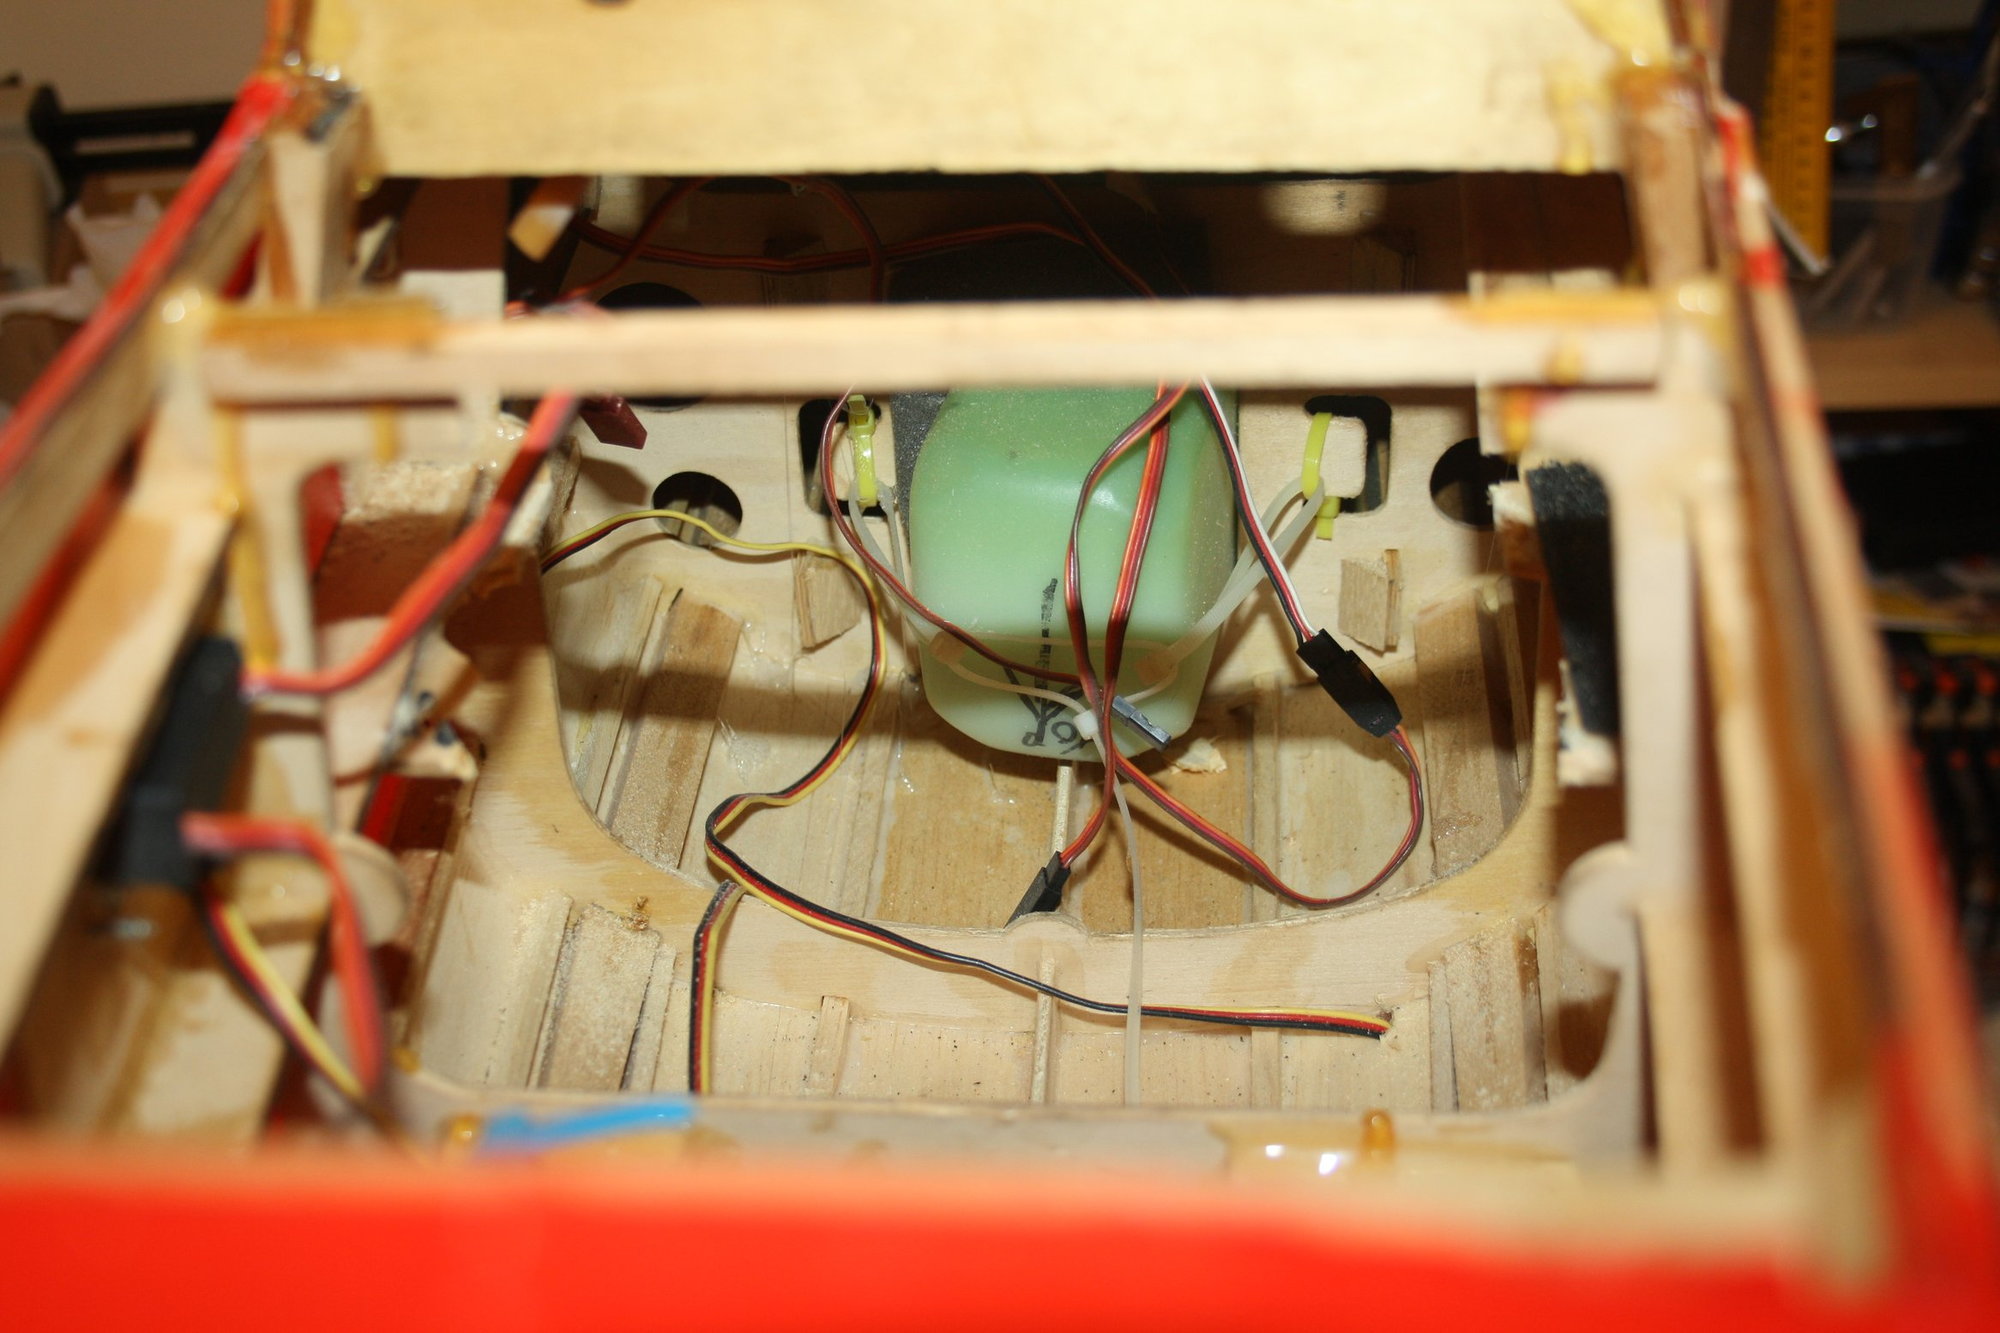
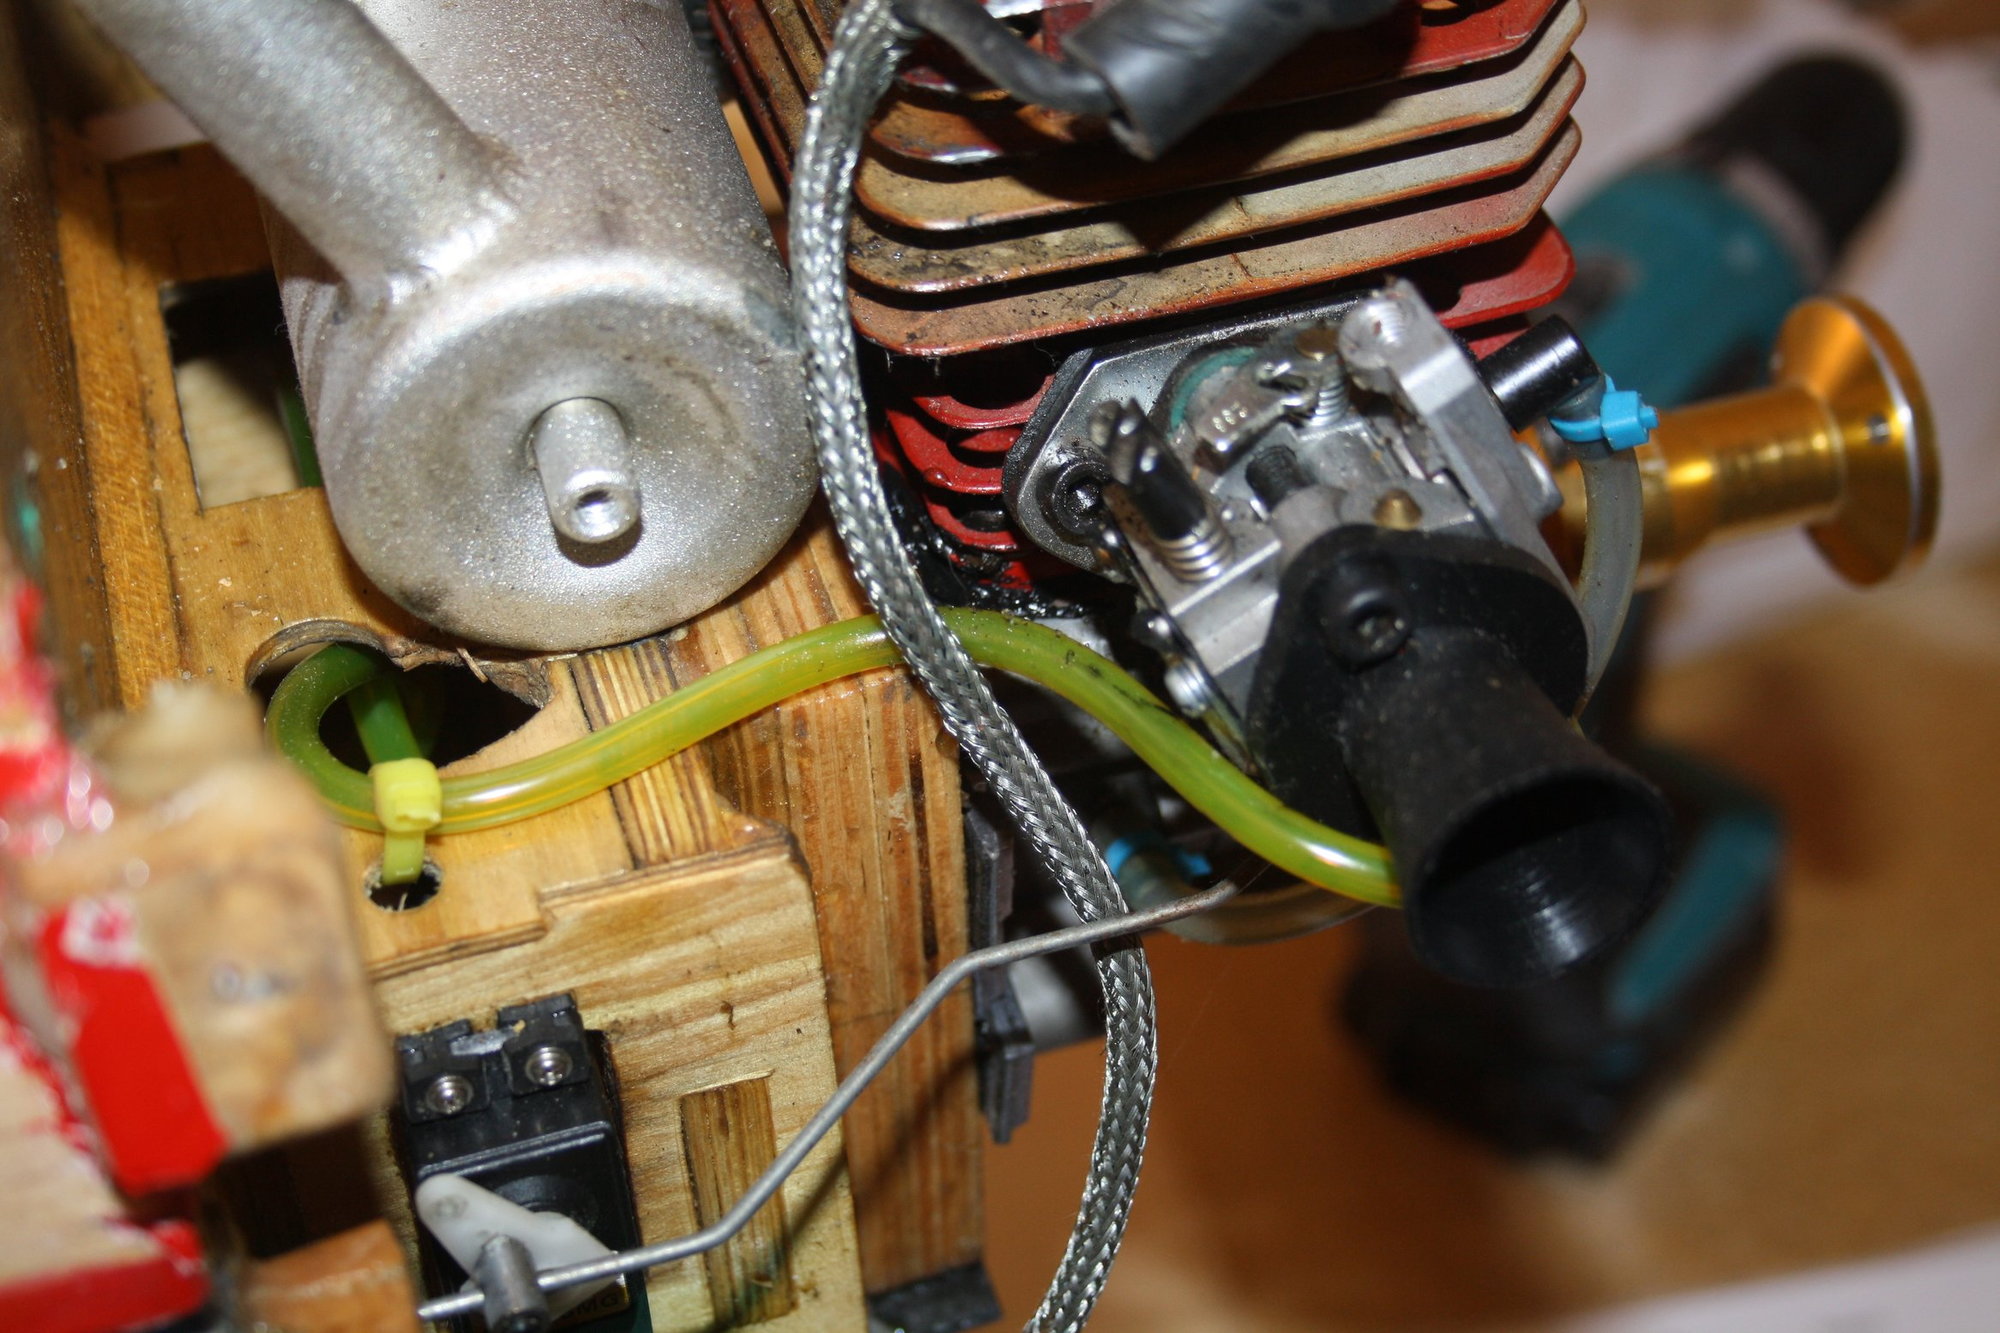
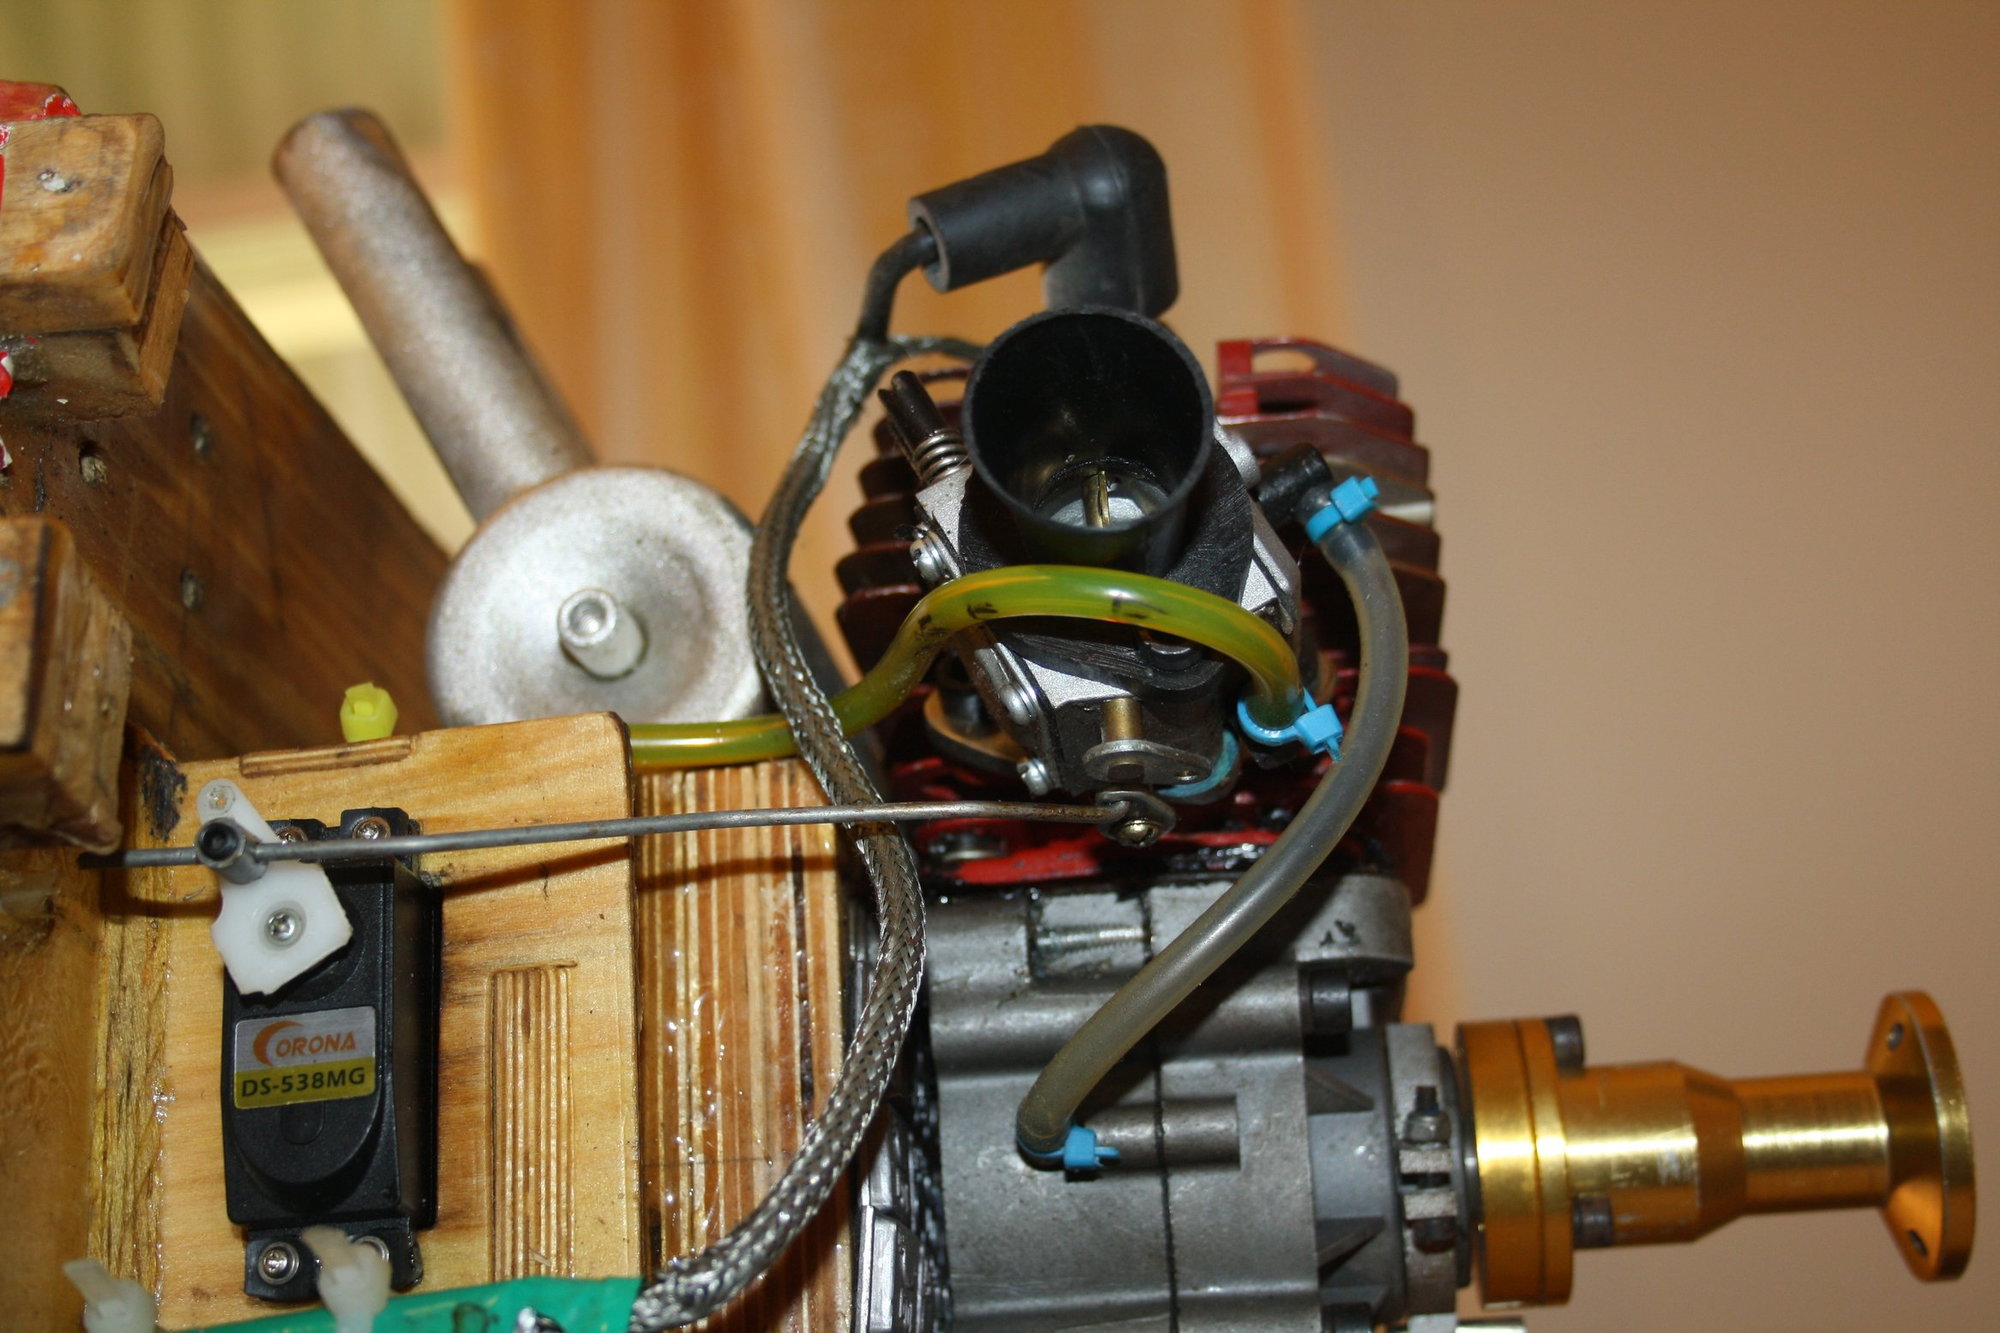
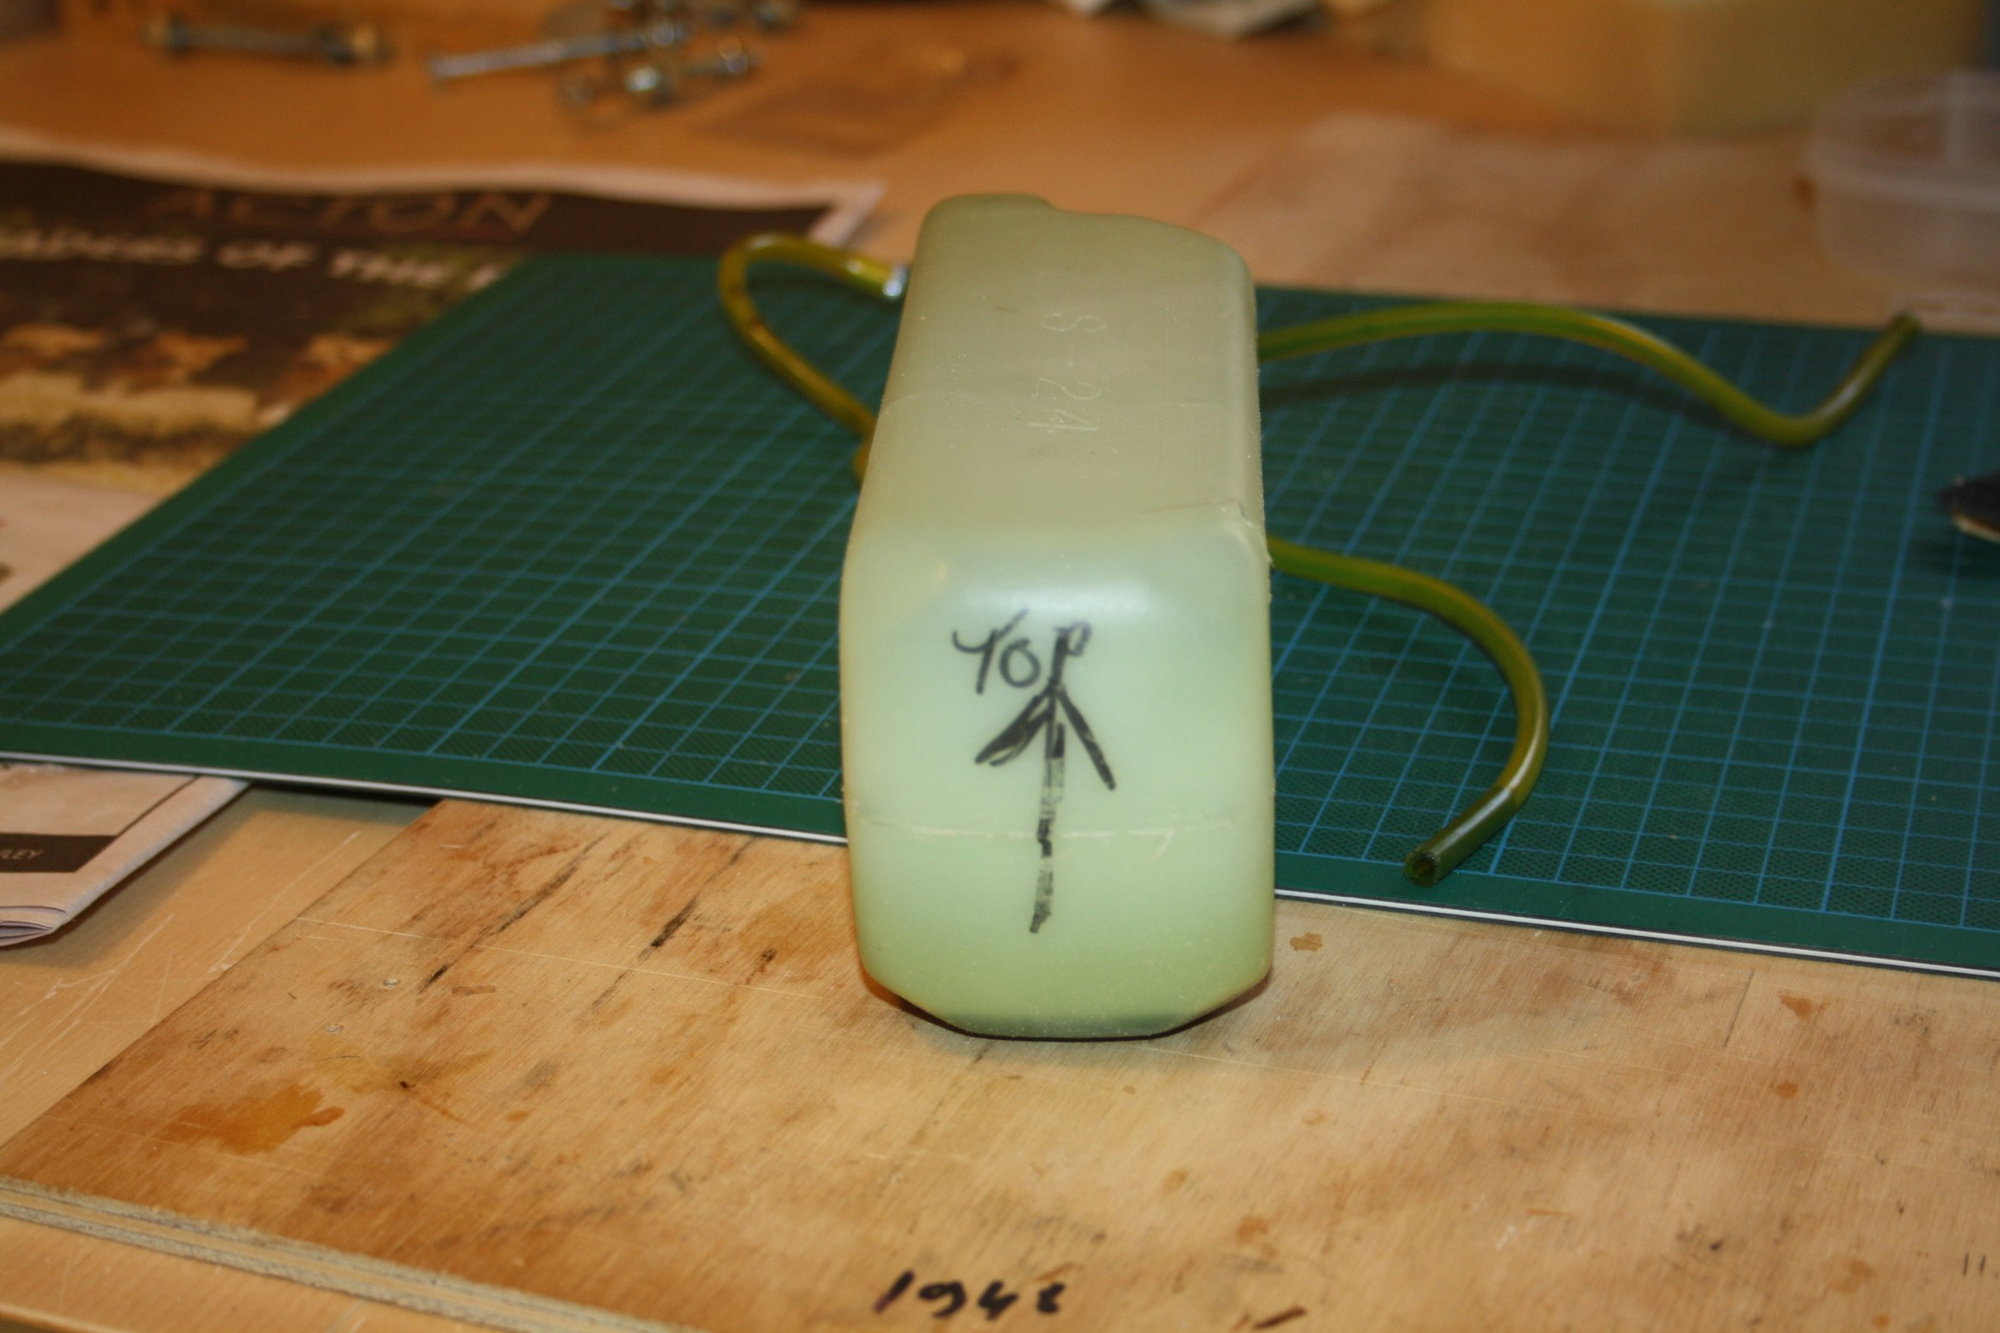
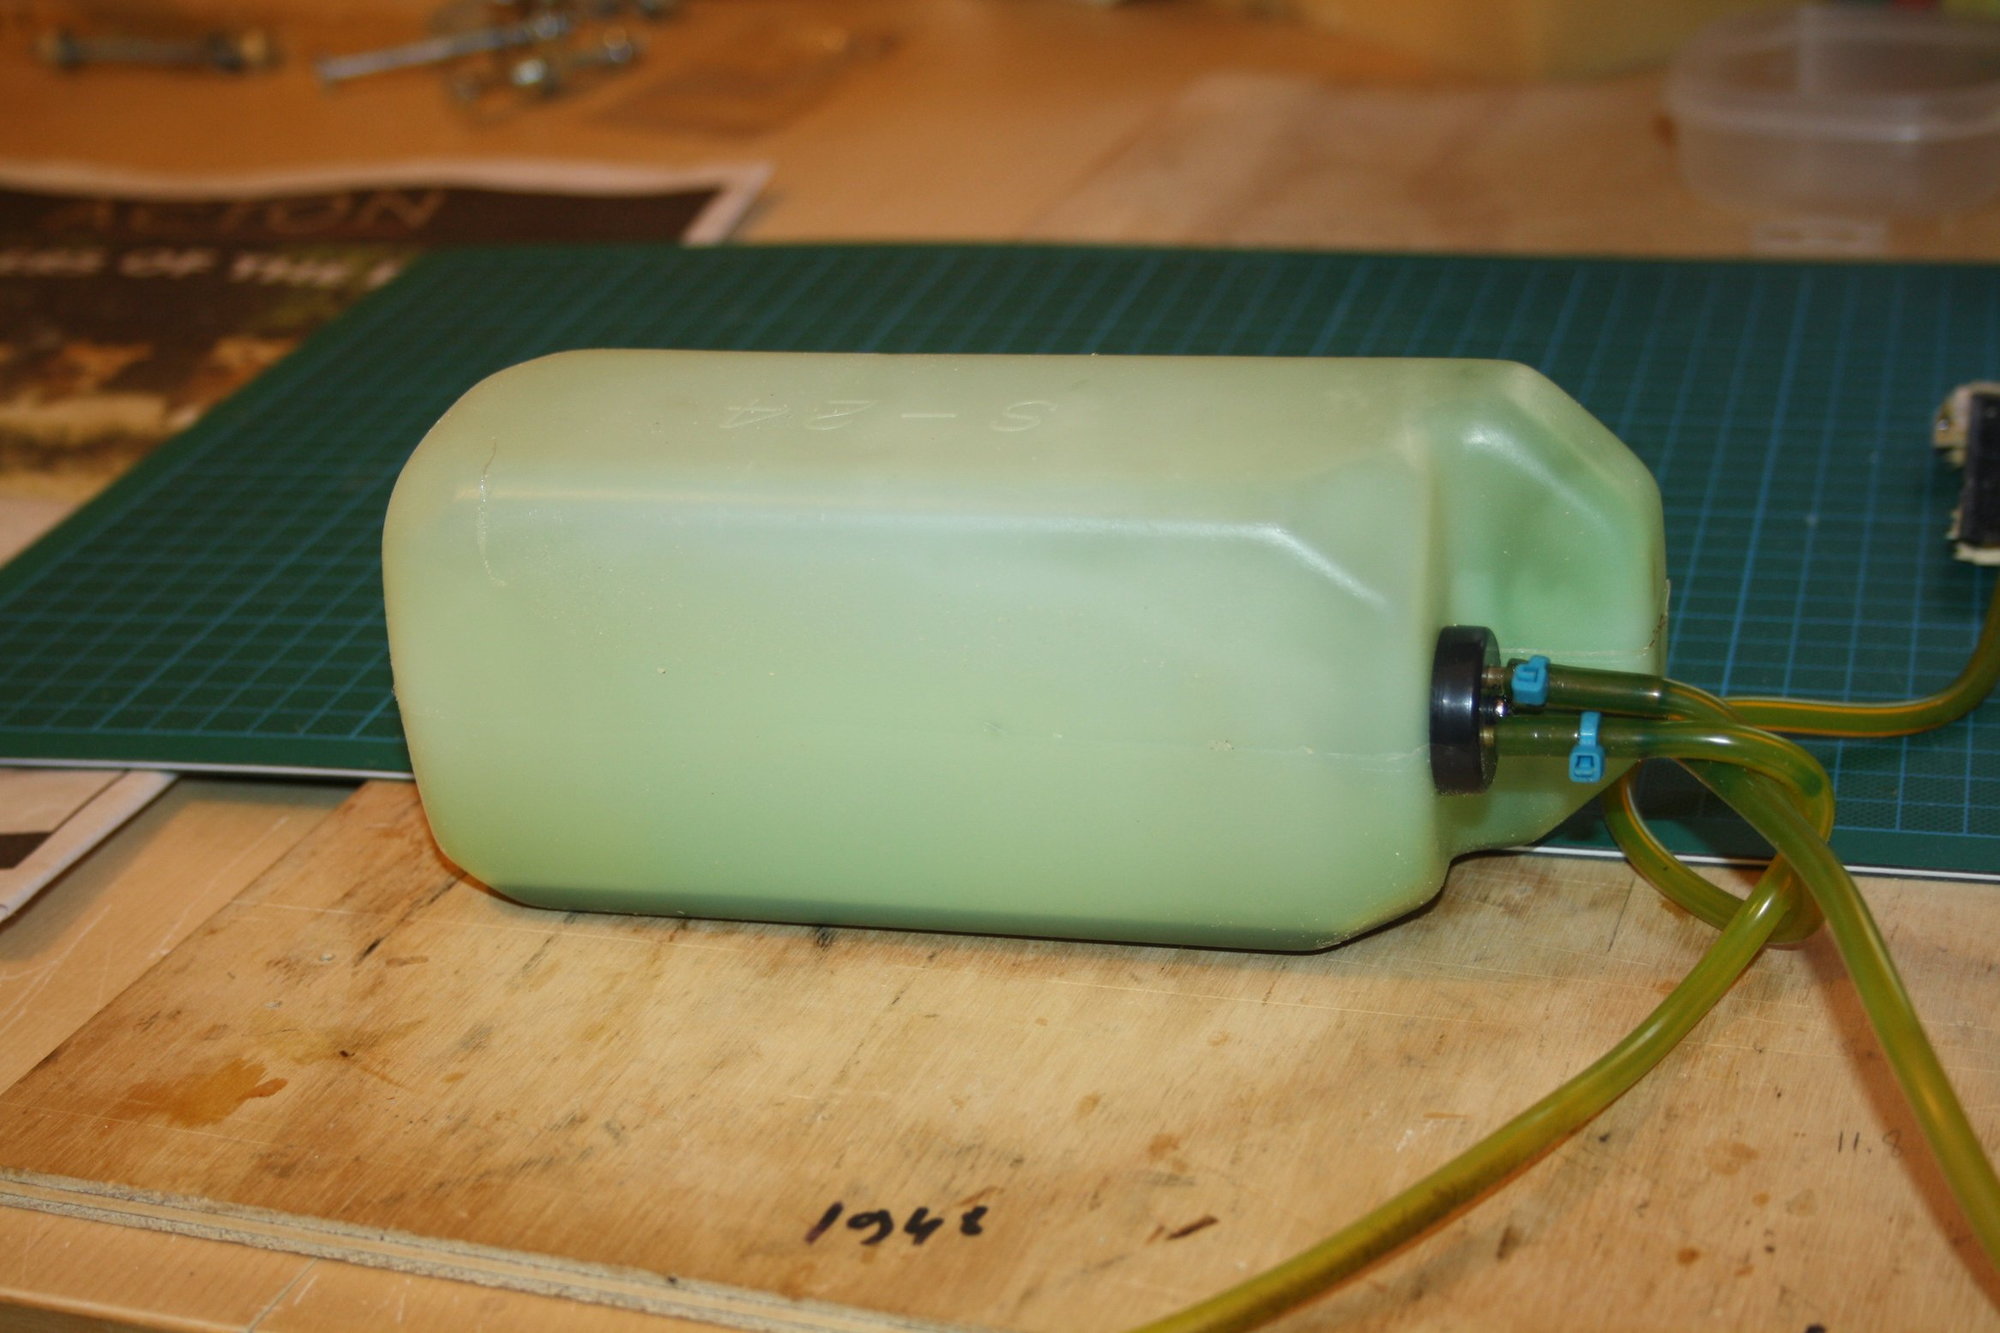
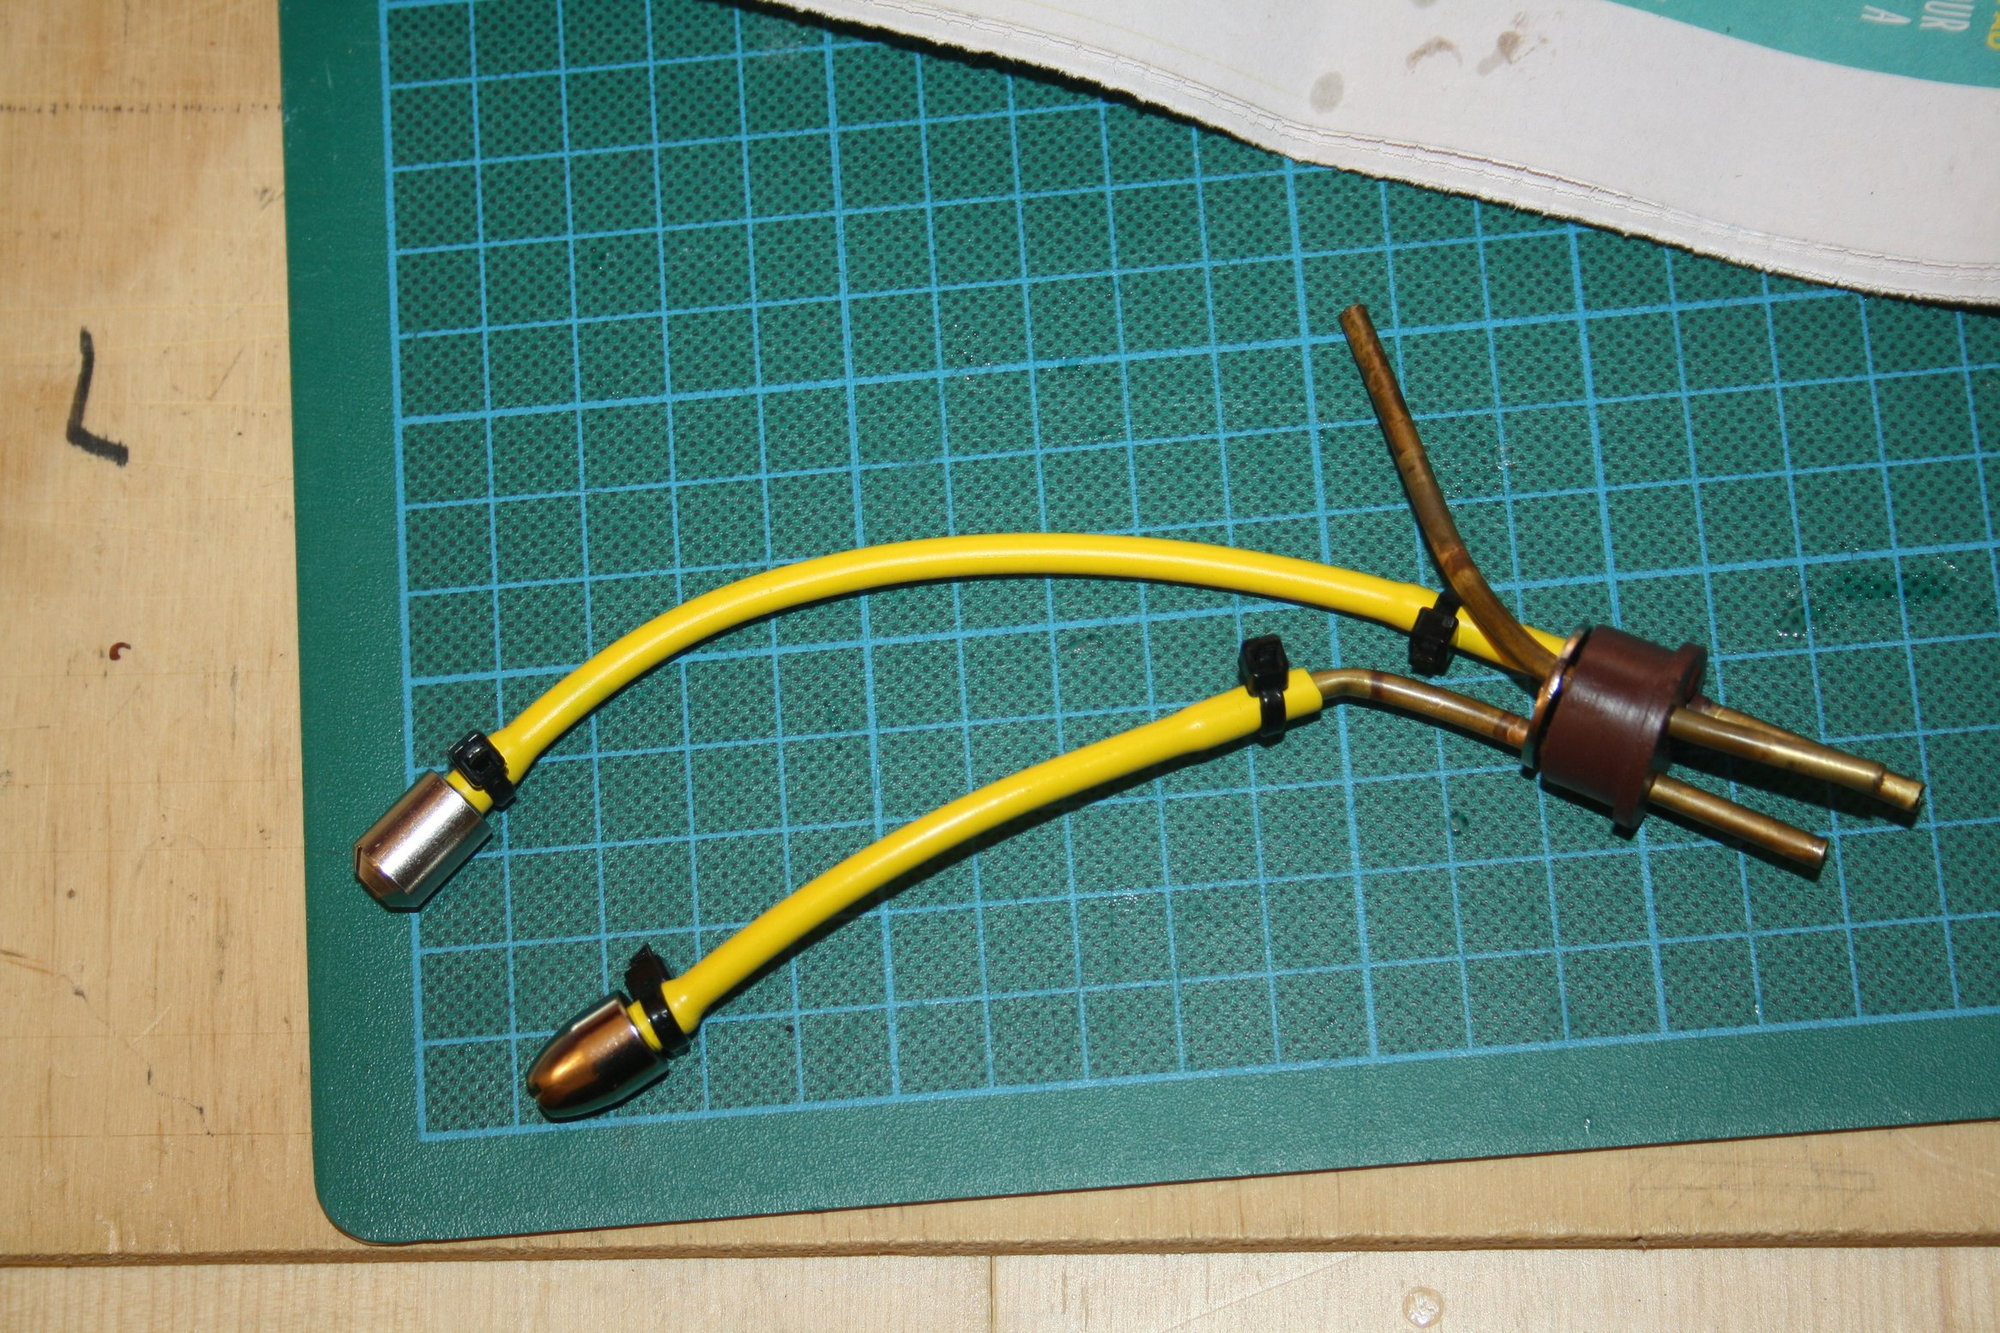
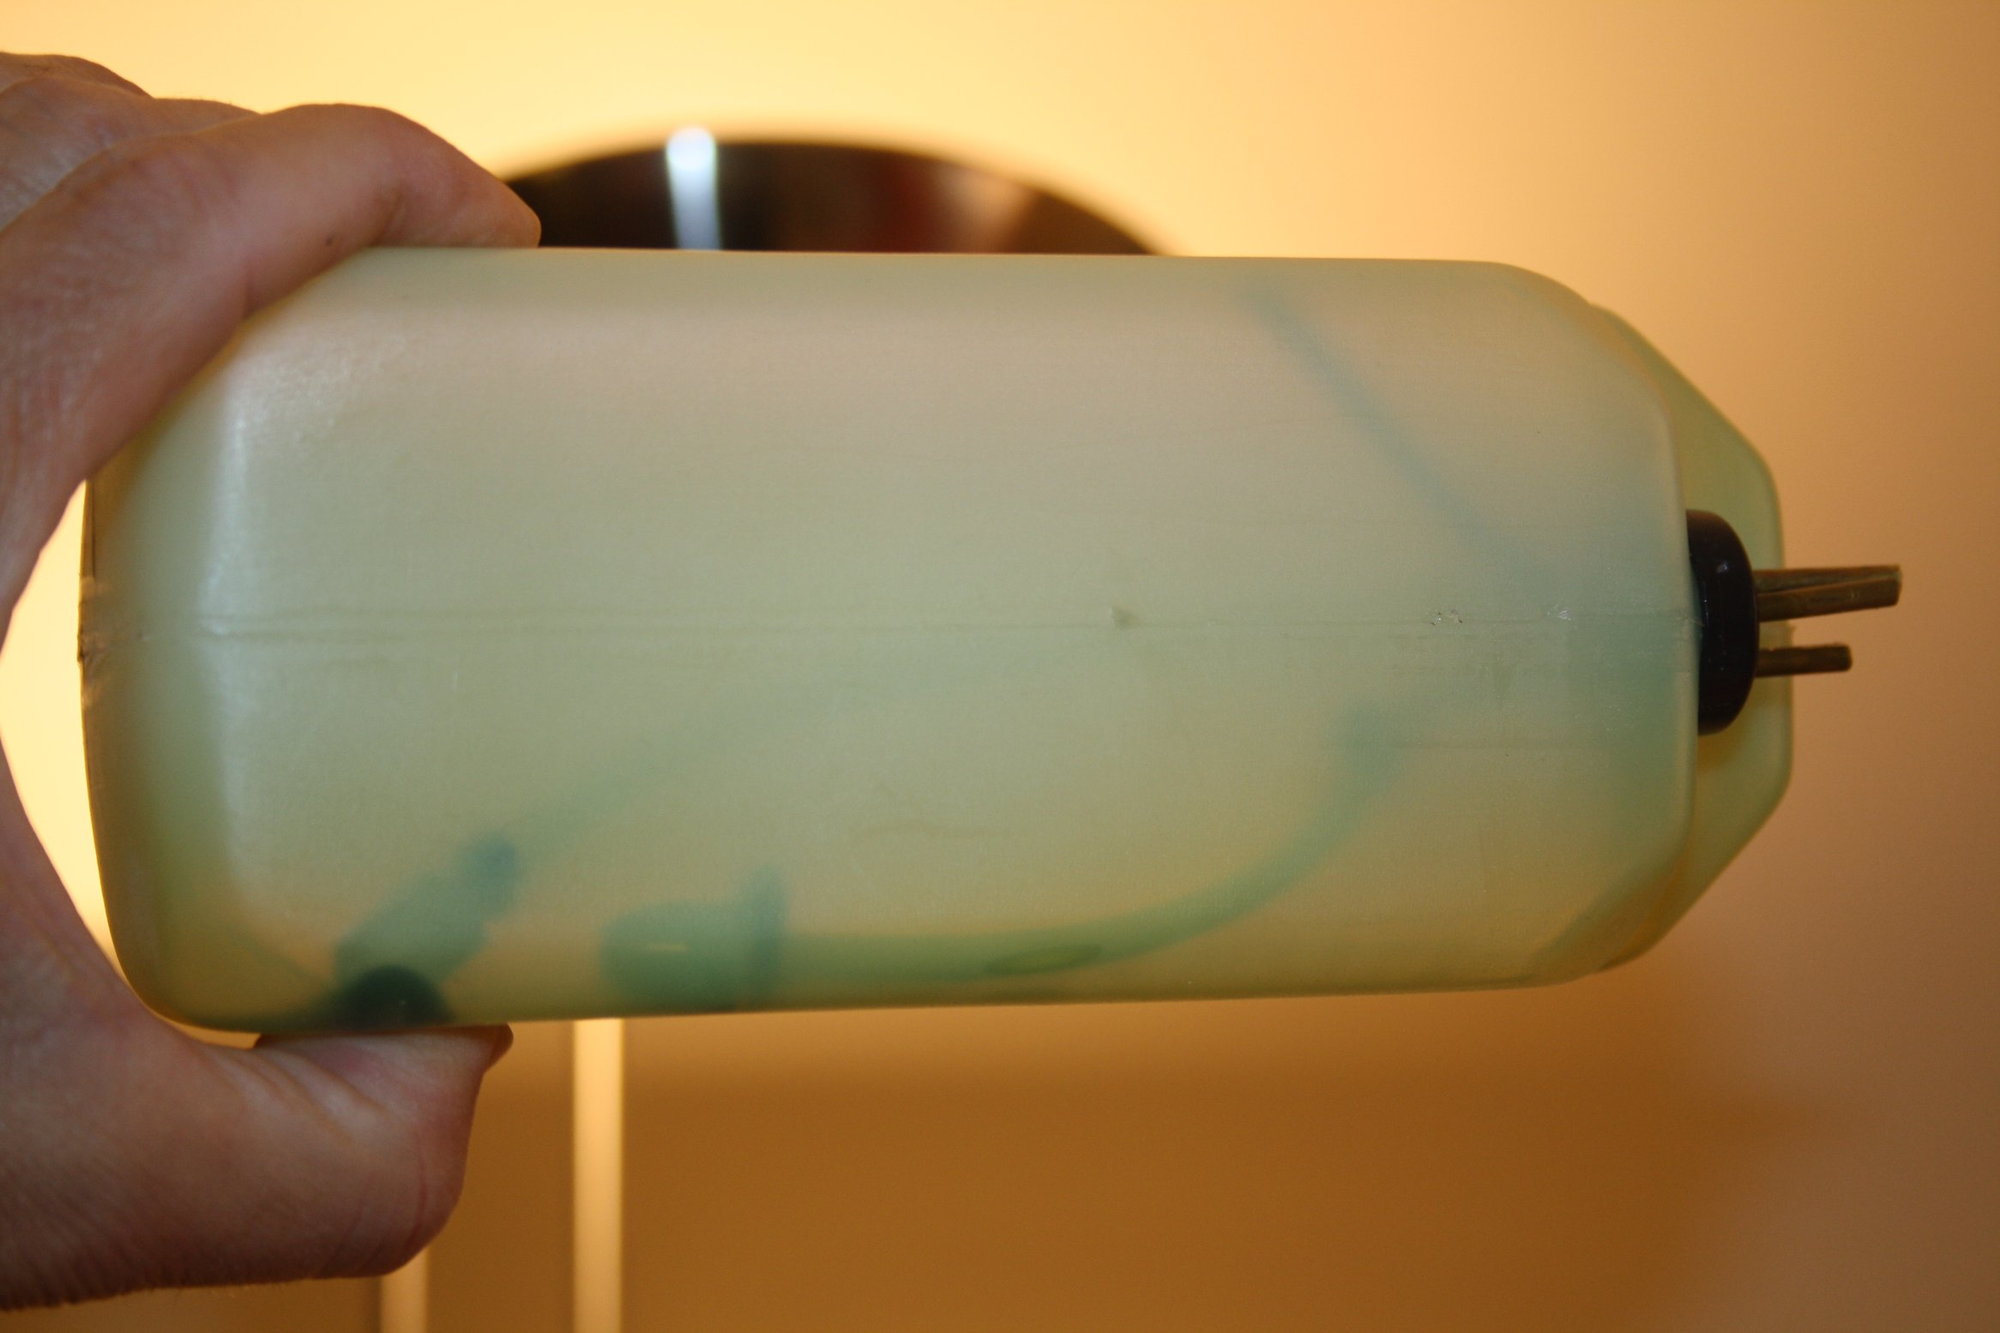

I also looked into the fuel tank which was side mounted and plumbing in bad shape. My friend wanted to keep this fuel tank, so it was re-plumbed and put back in place.
Last edited by erans; 02-20-2019 at 07:32 PM.
02-21-2019, 05:00 AM
#5
Banned
With an unknown like this that has obviously had a few rough times, I'd be tempted to strip all the covering off and look for hidden damage in the entire structure. More time and more hassle but in the end, you'll know what you have and the inspection will probably go much better.
02-21-2019, 05:39 PM
#6
Thread Starter
Appowner - While I am tempted, this is not my own aeroplane and the owner do not have too much cash to spend on it. I will be doing the repair work within these limitations.
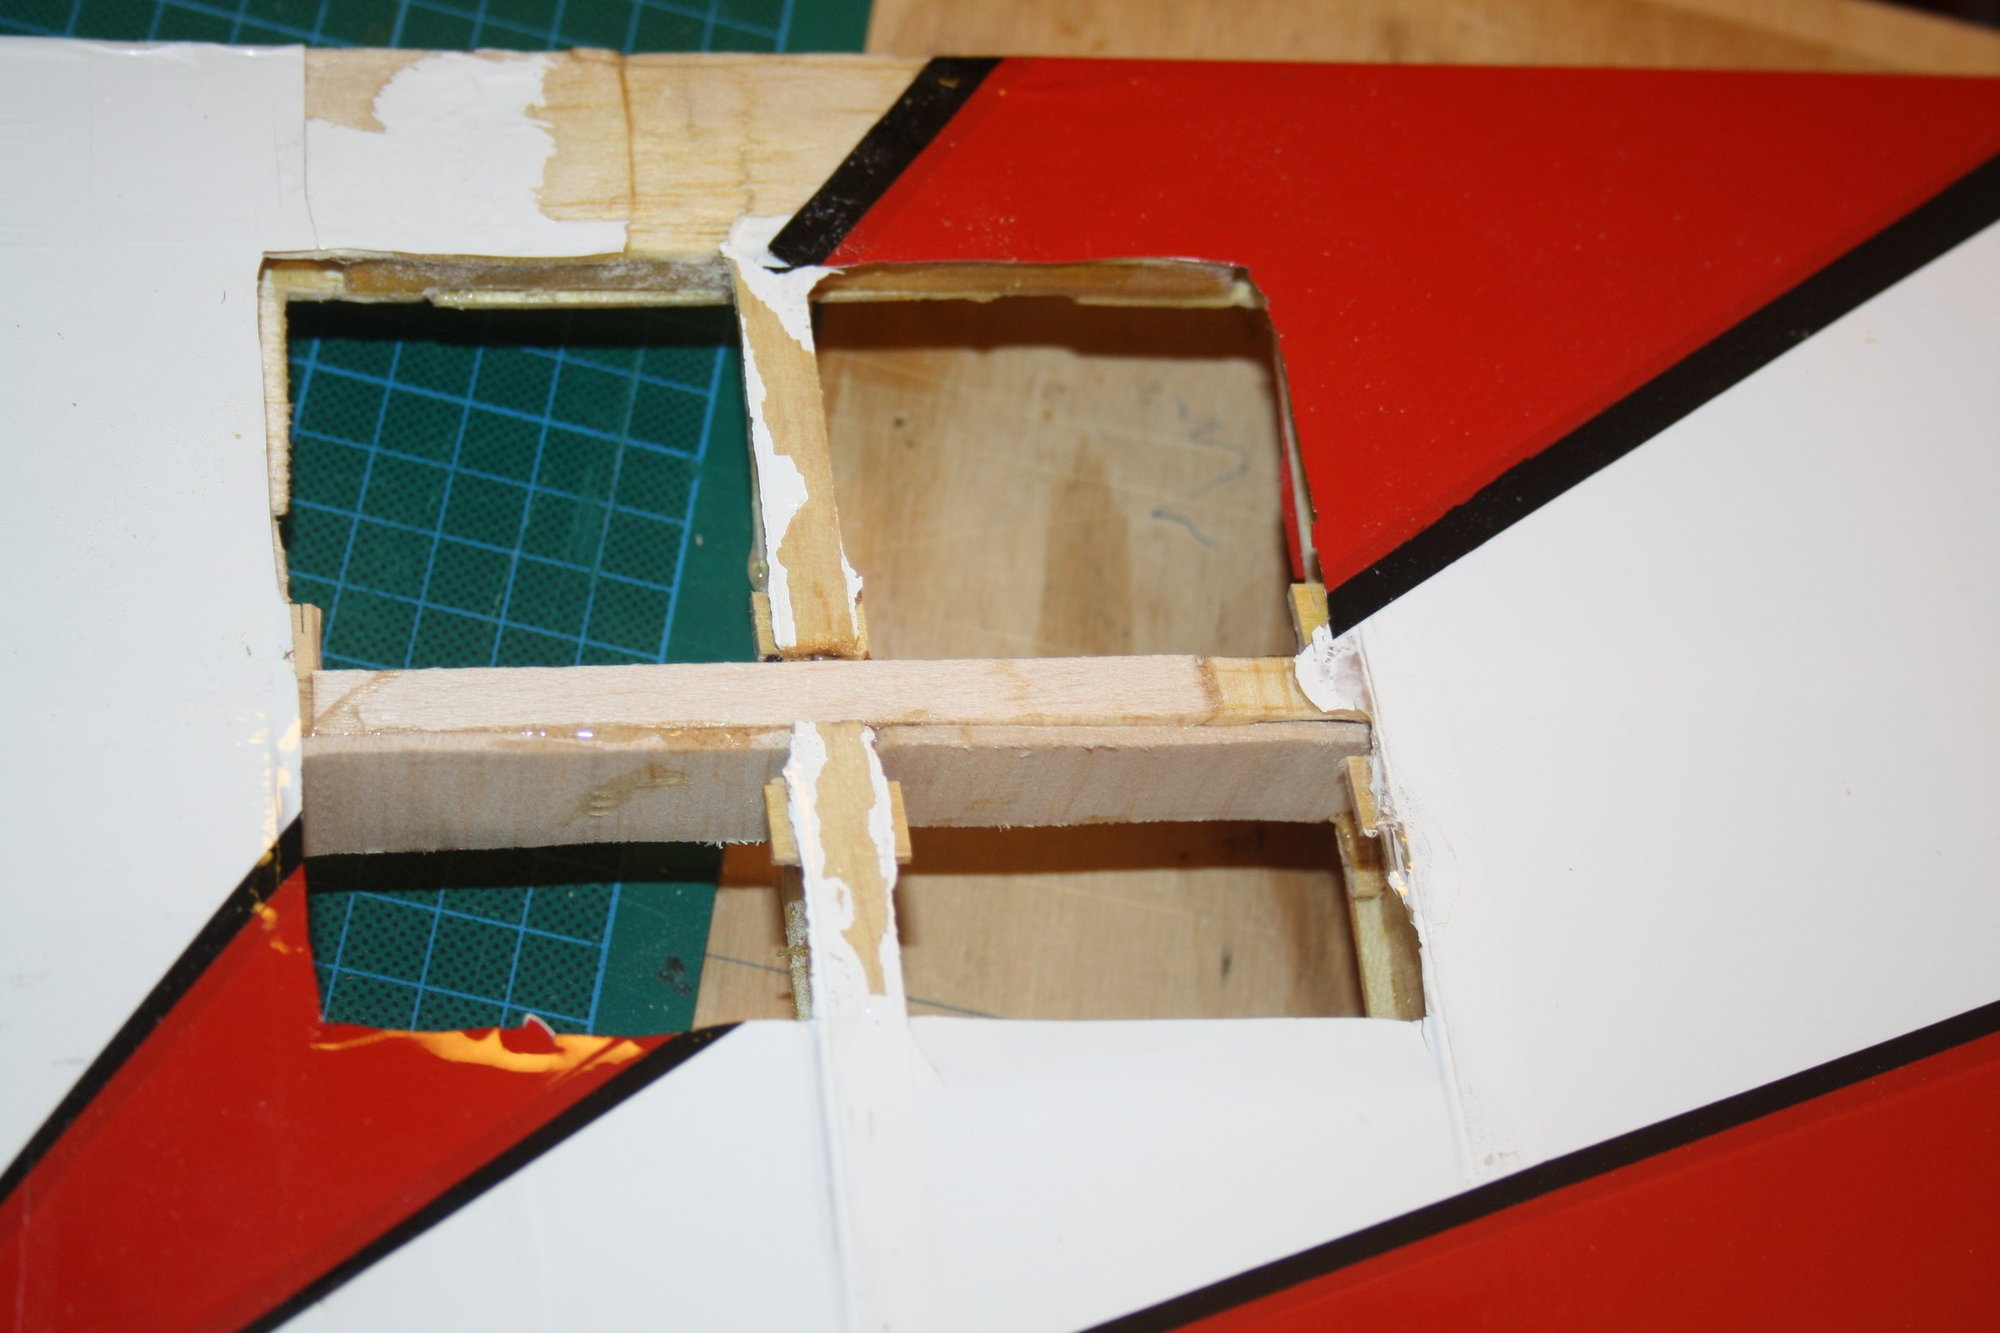
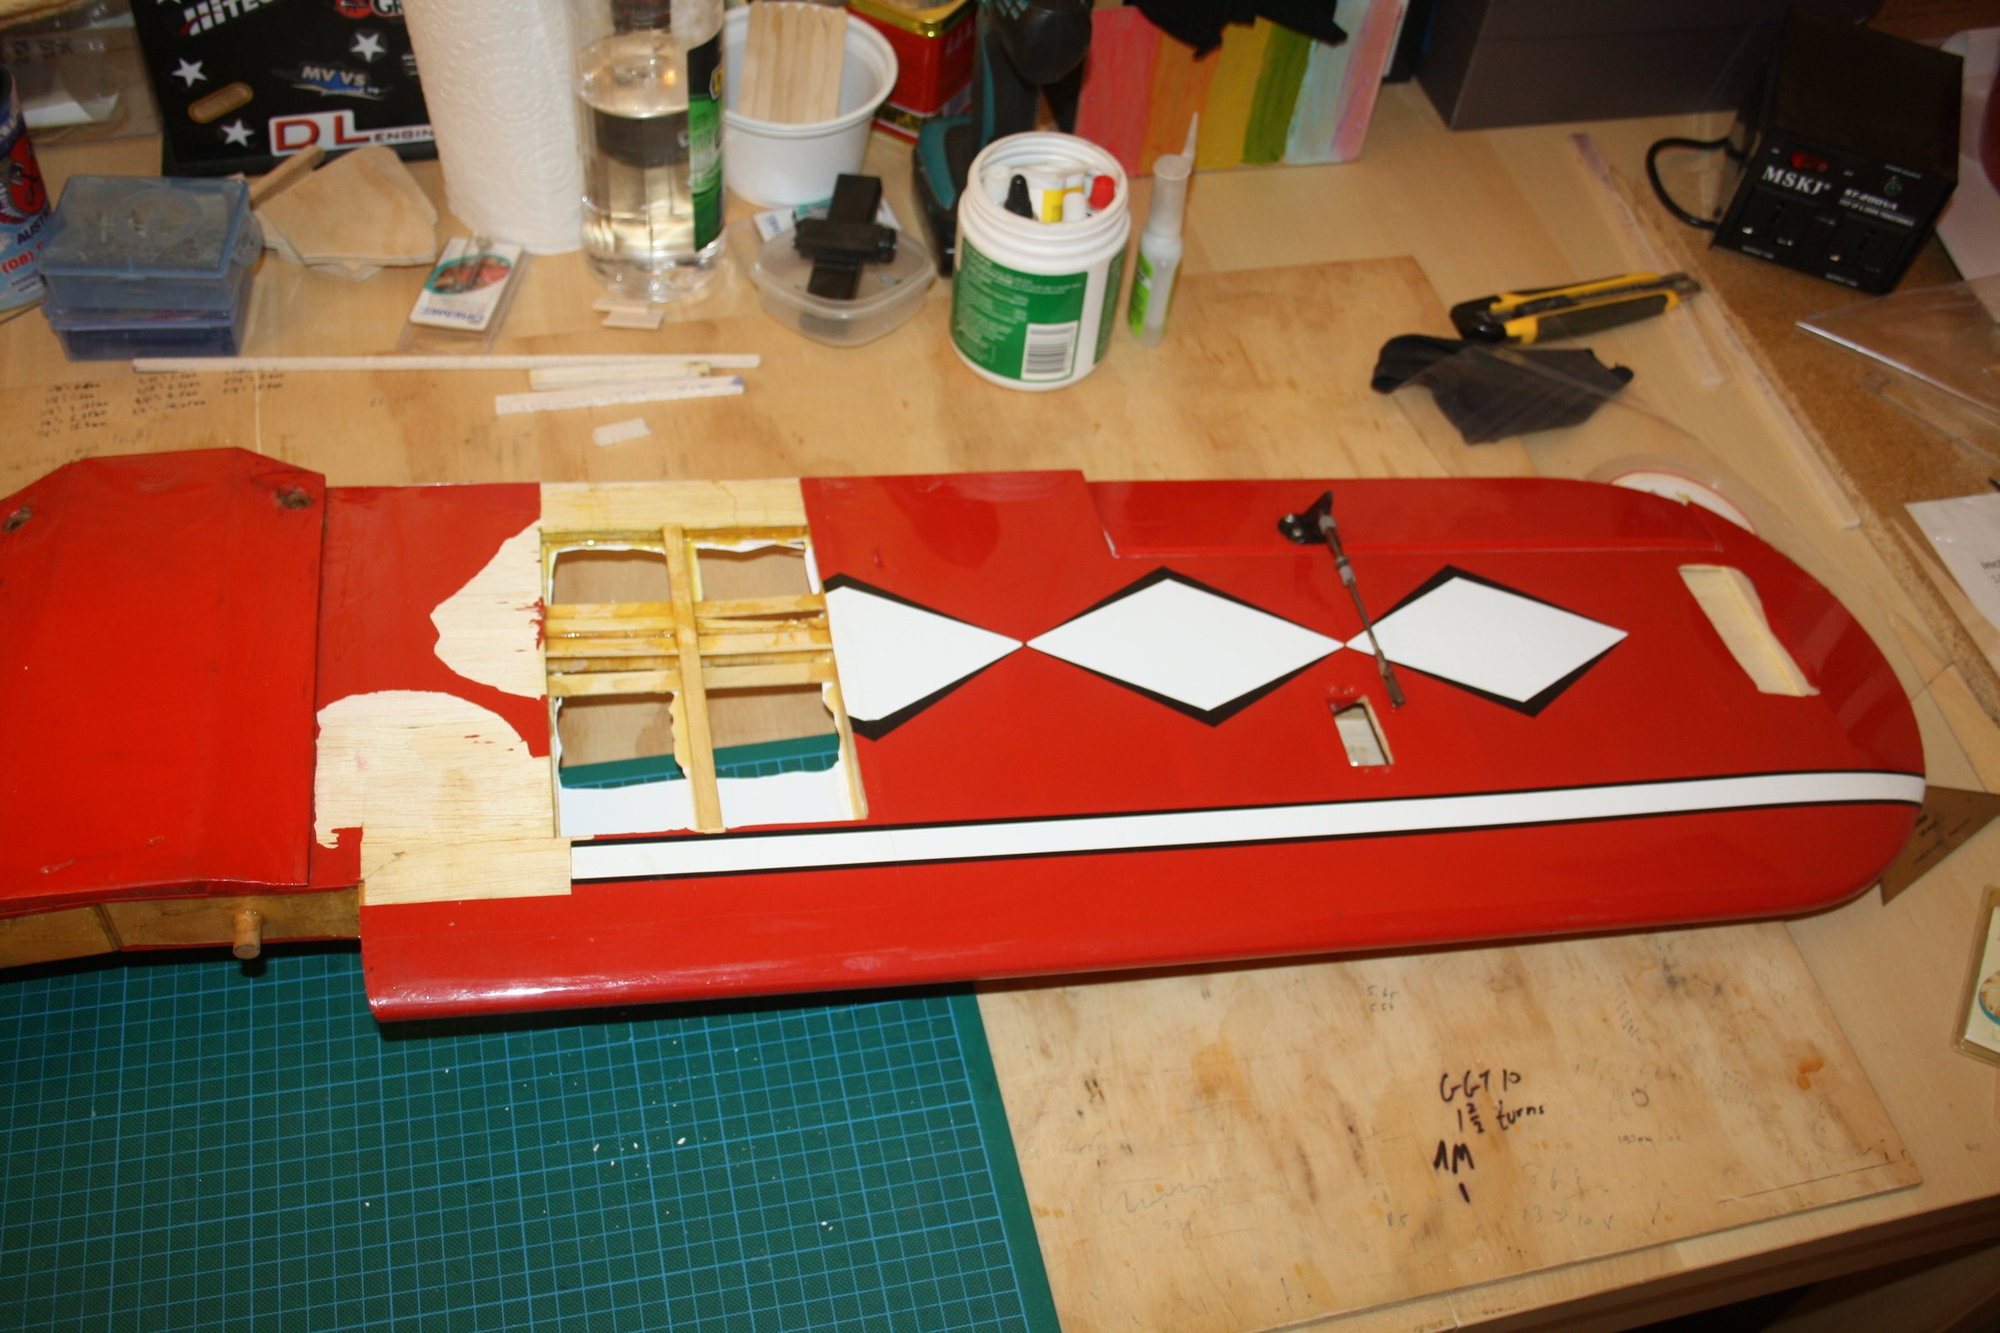
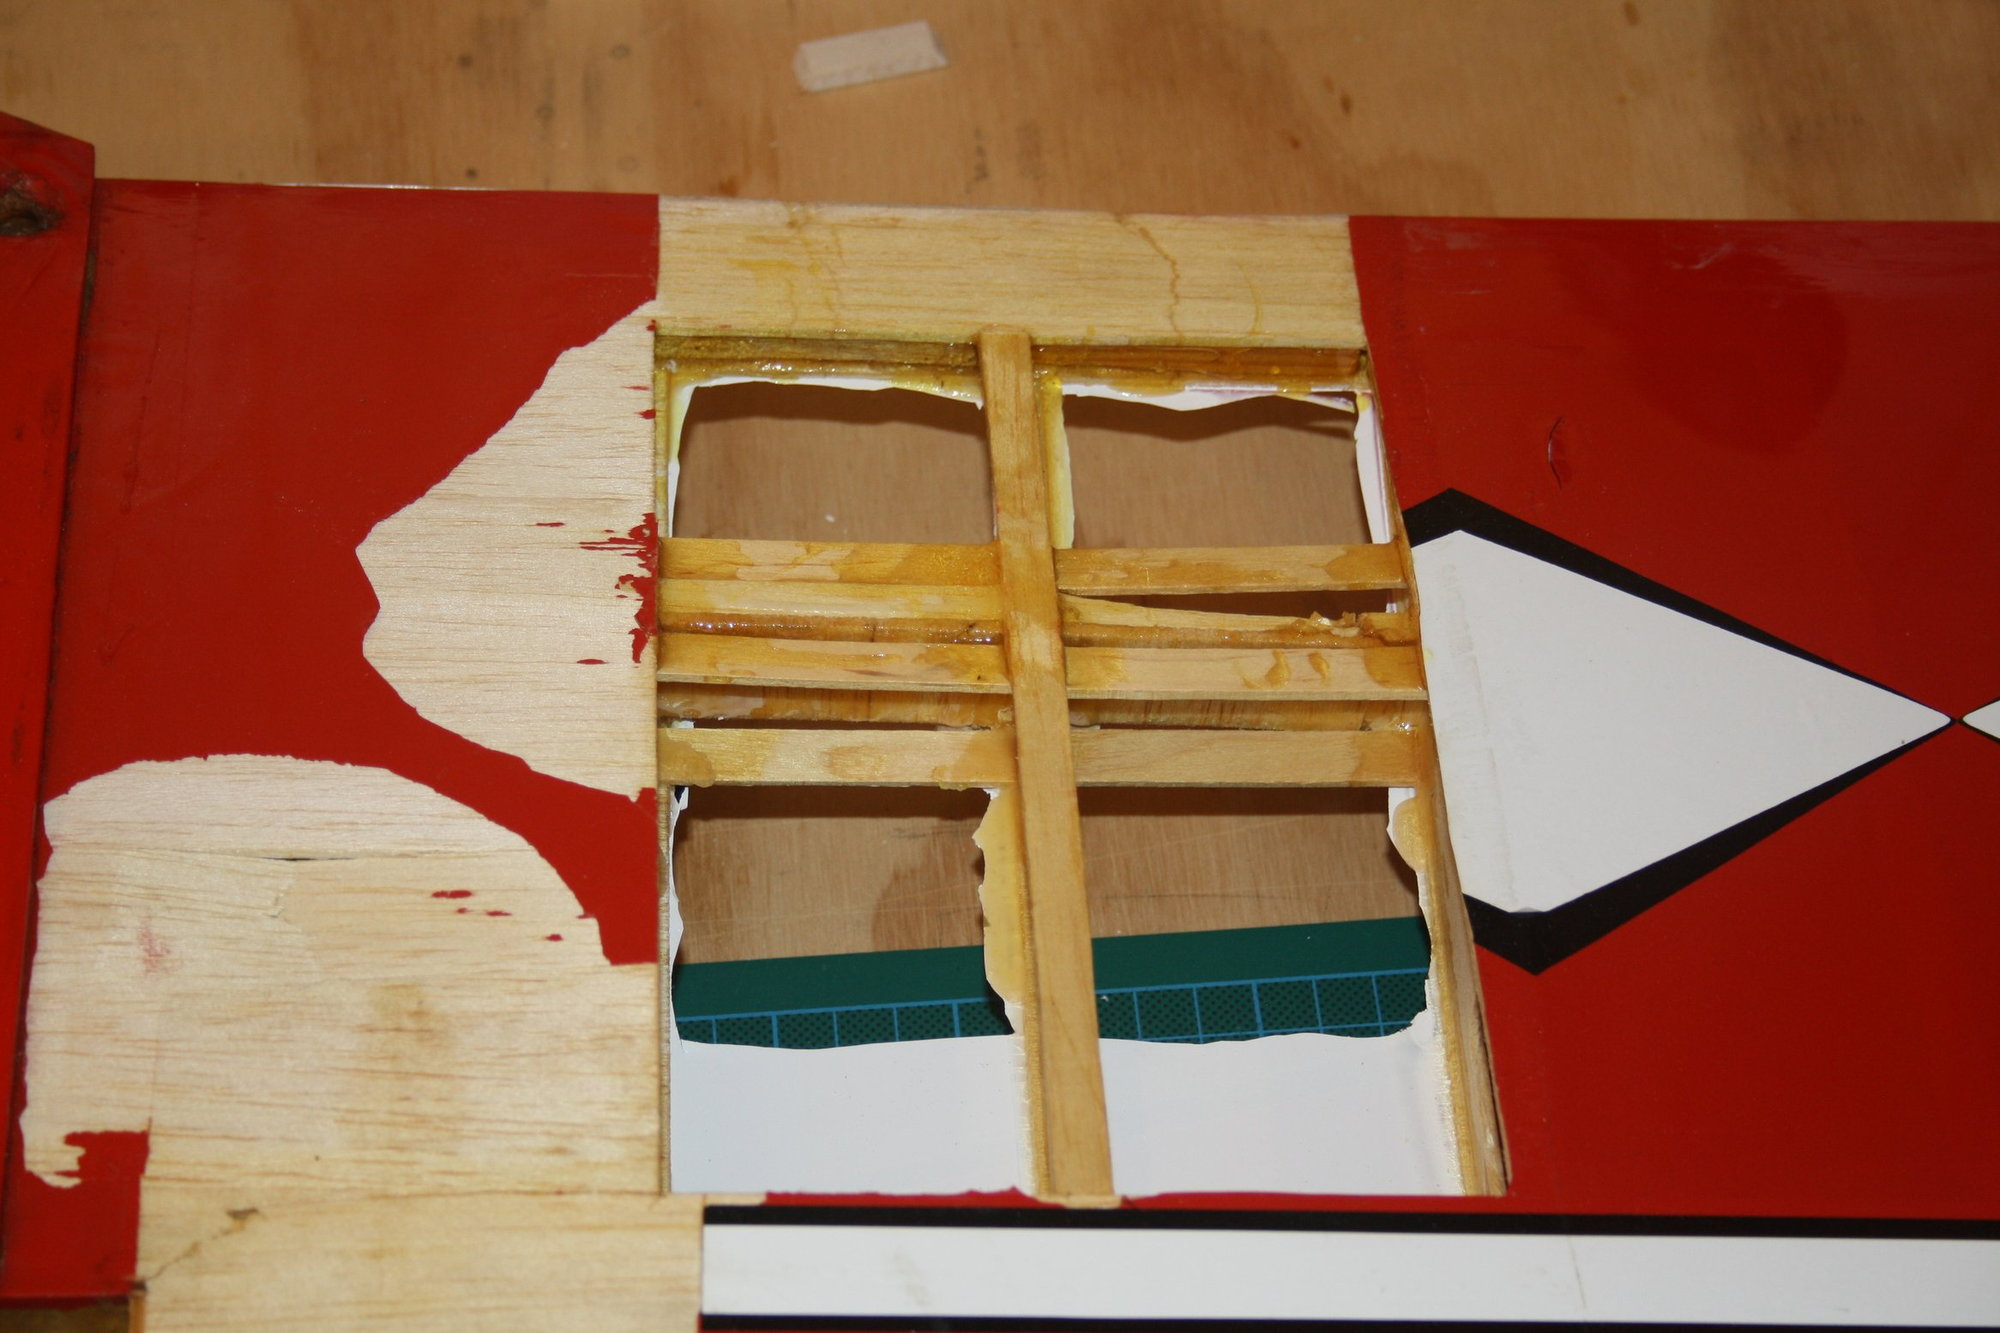
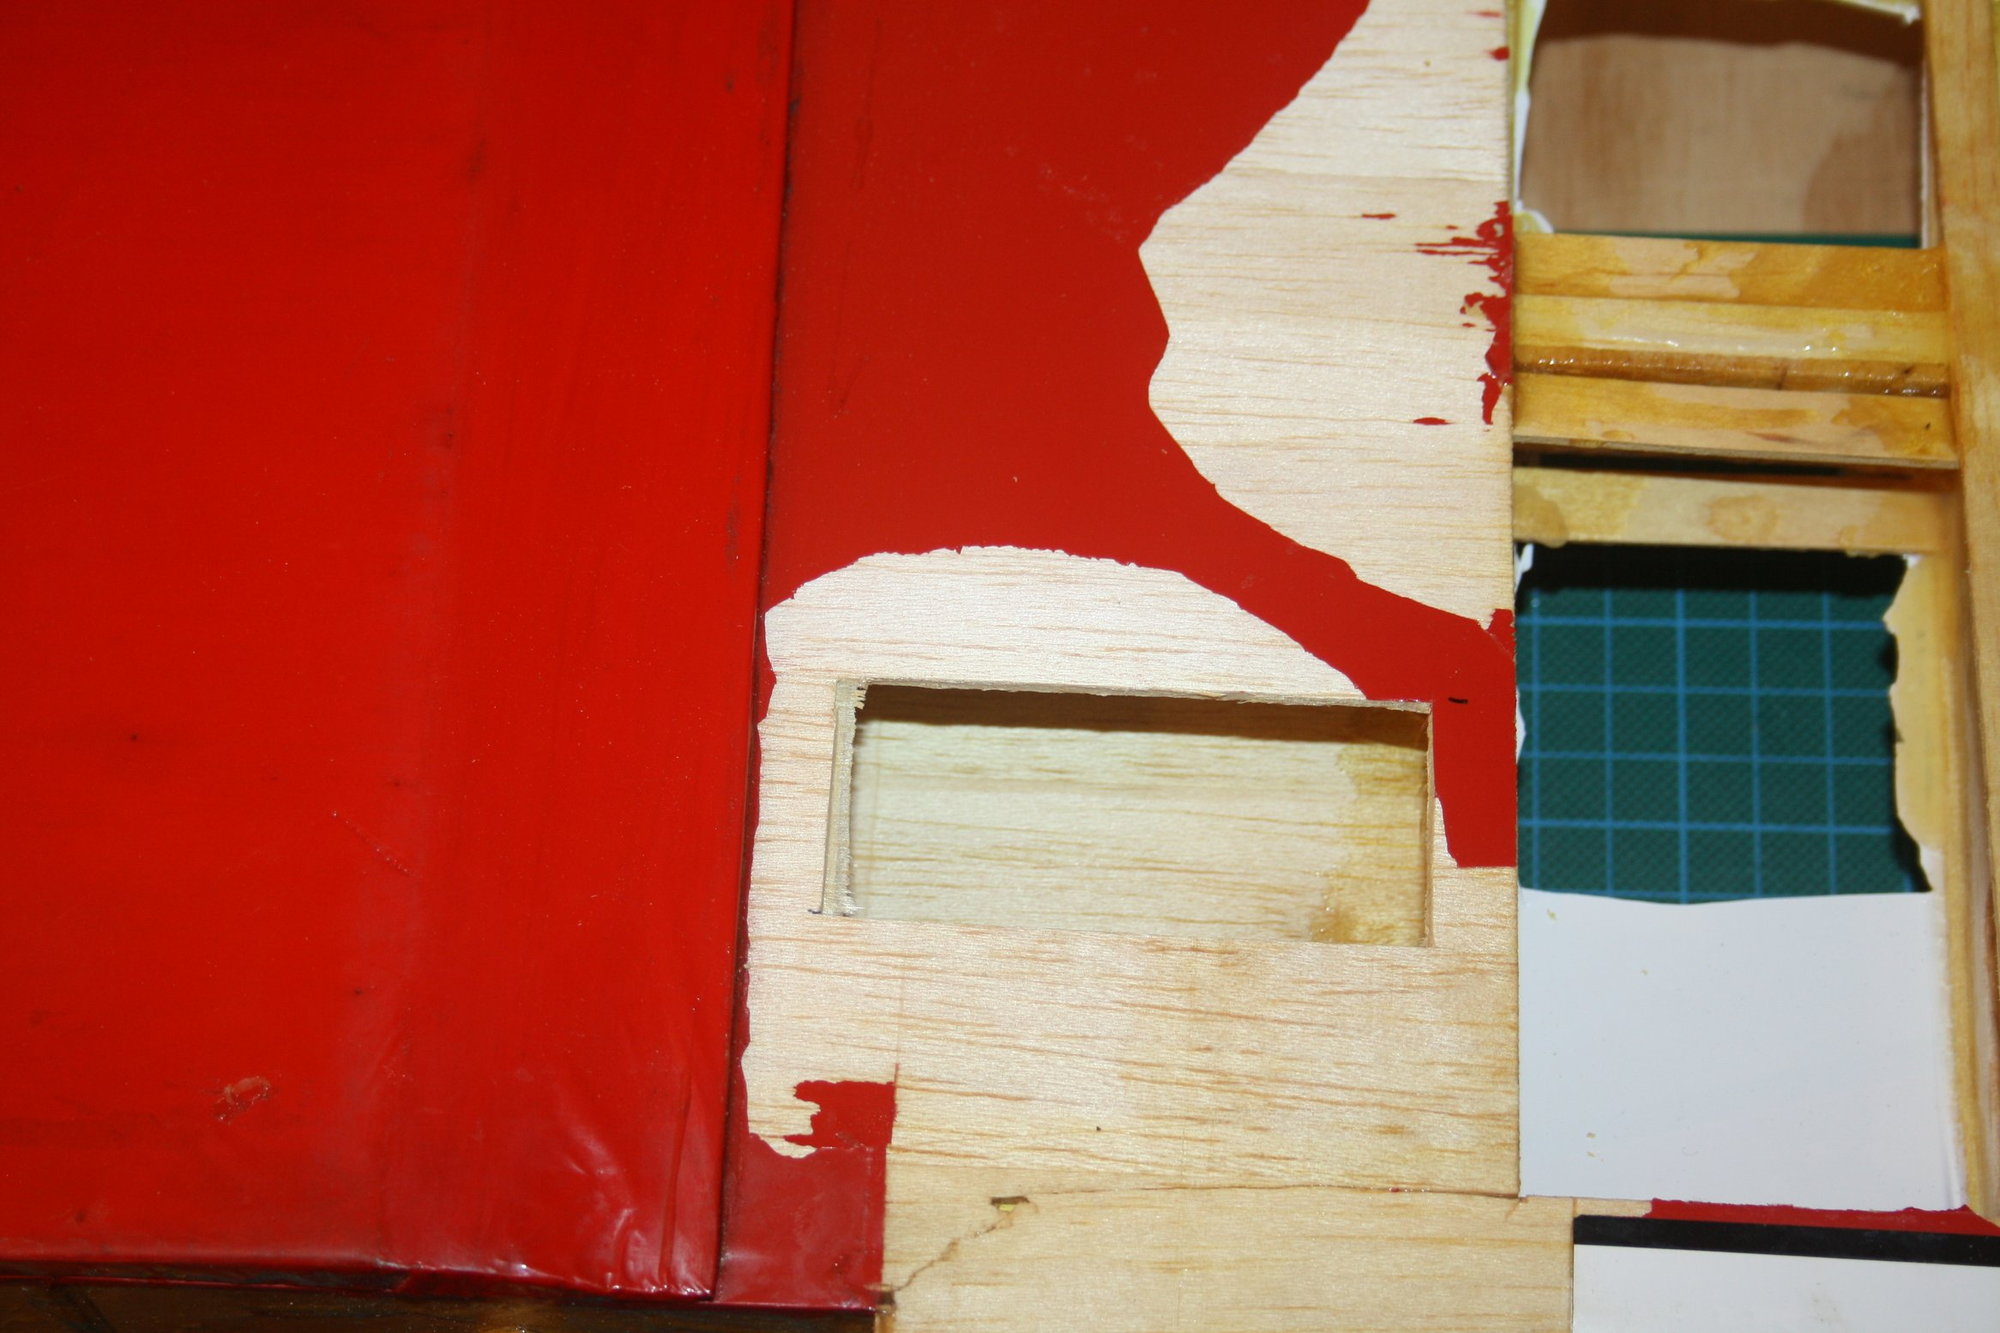
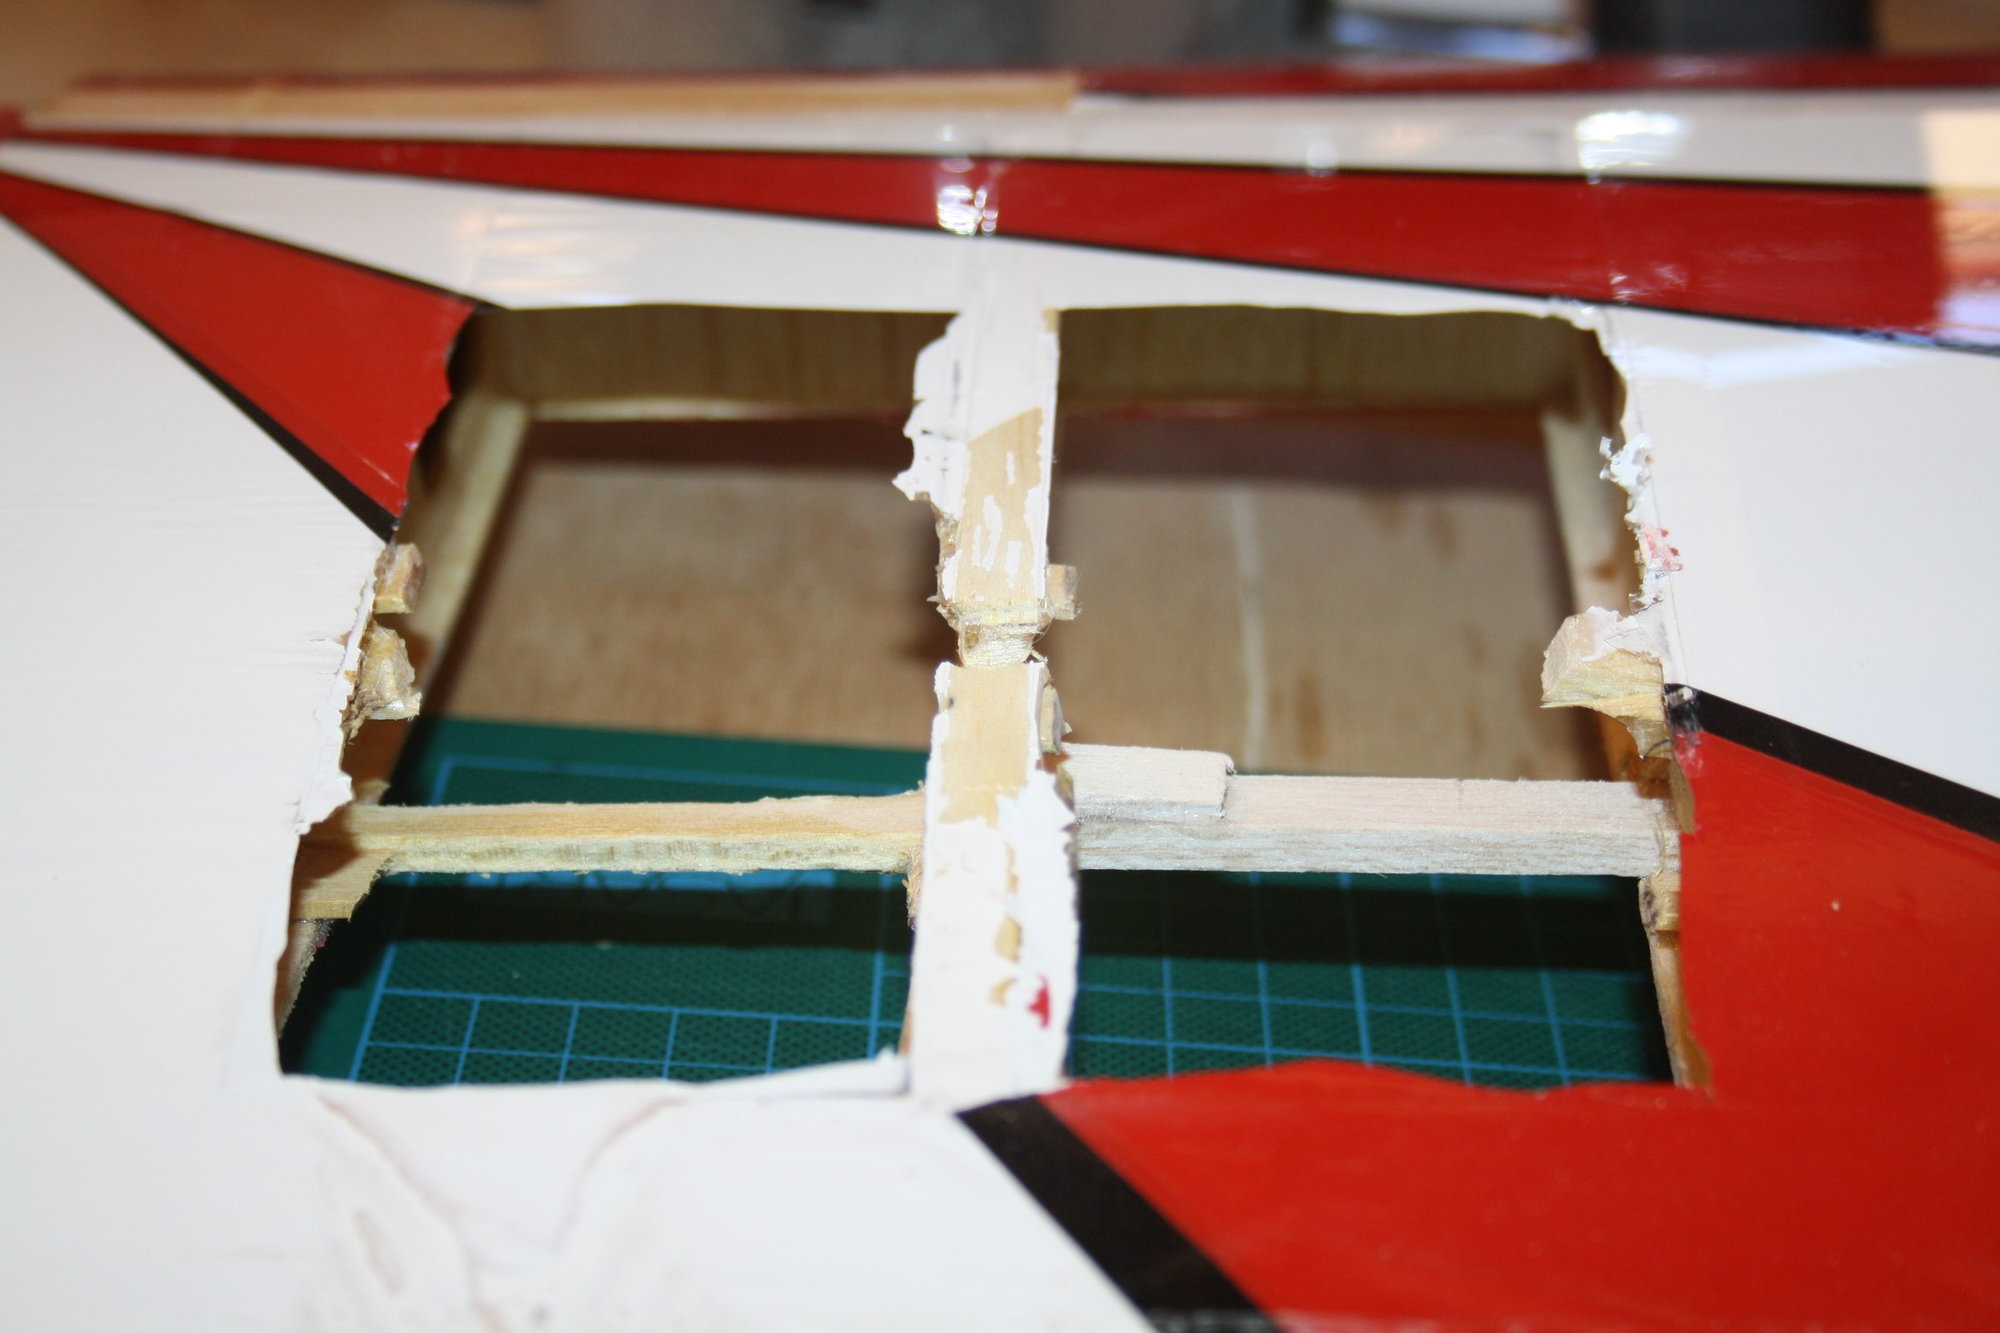
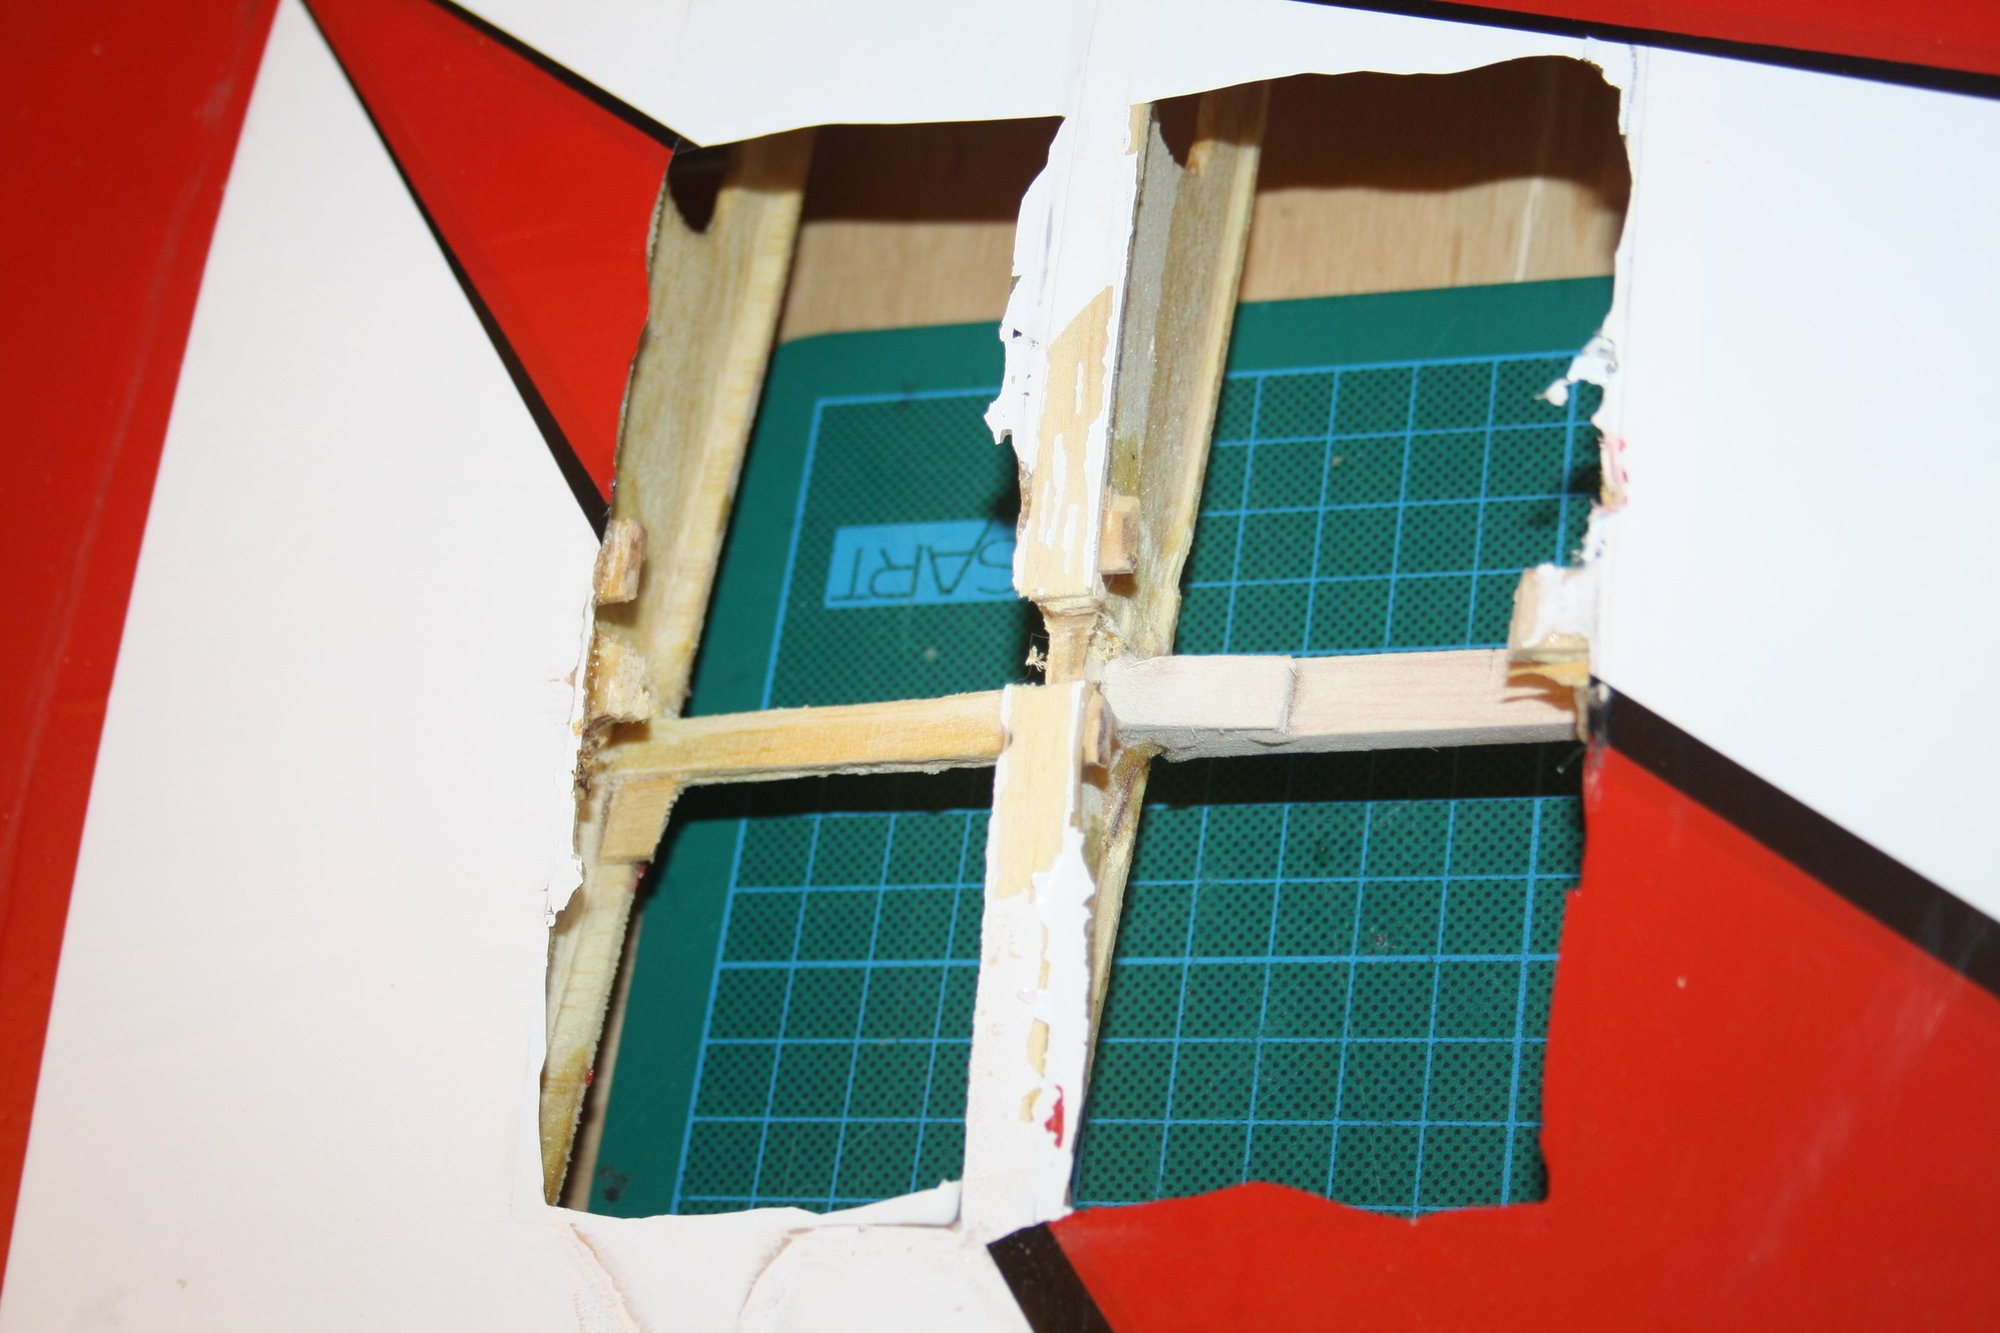
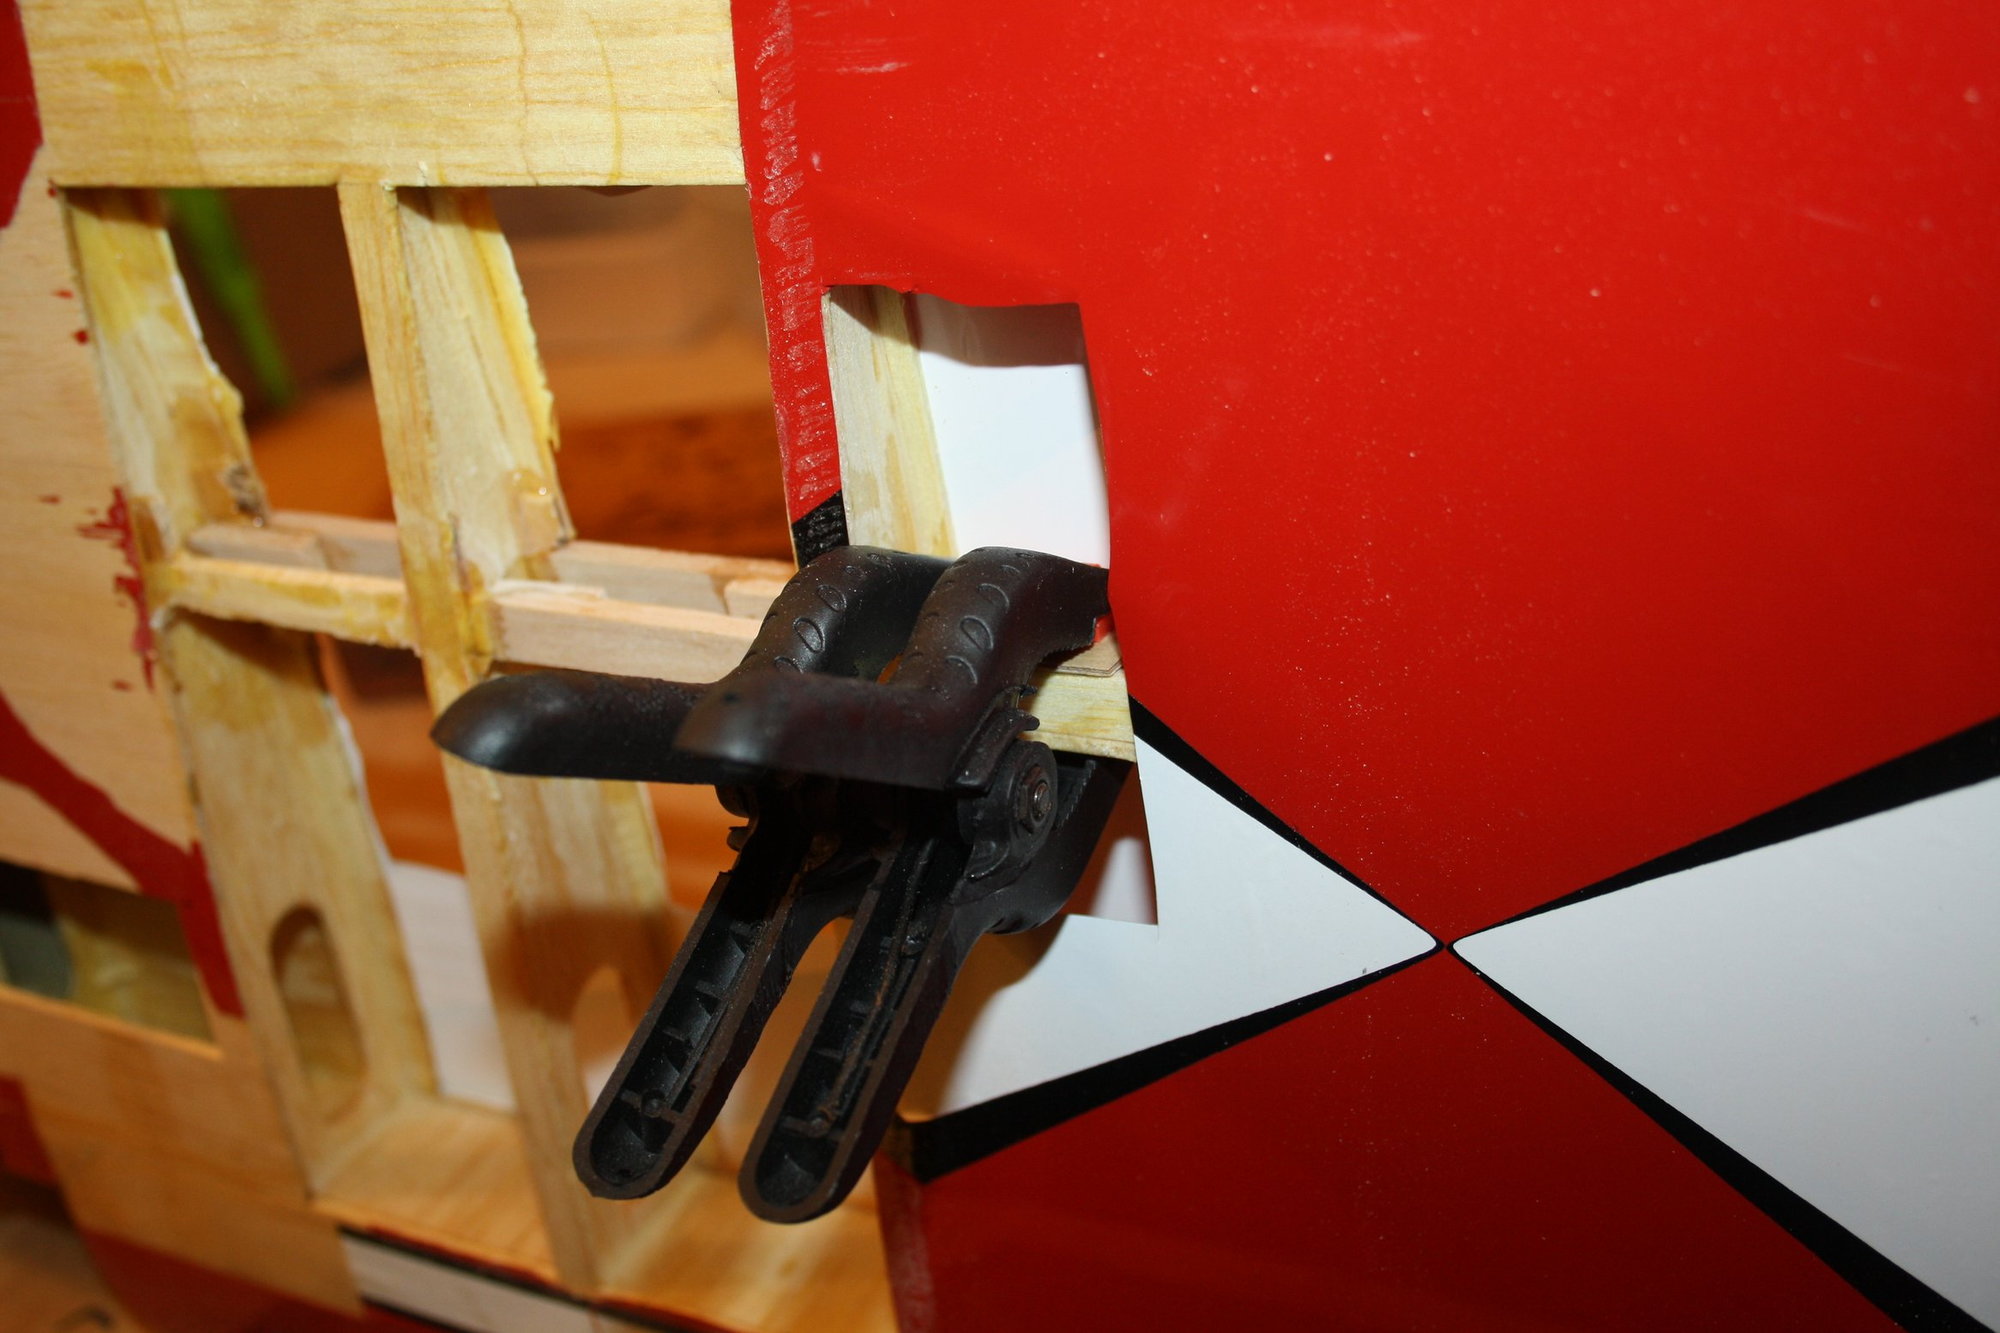
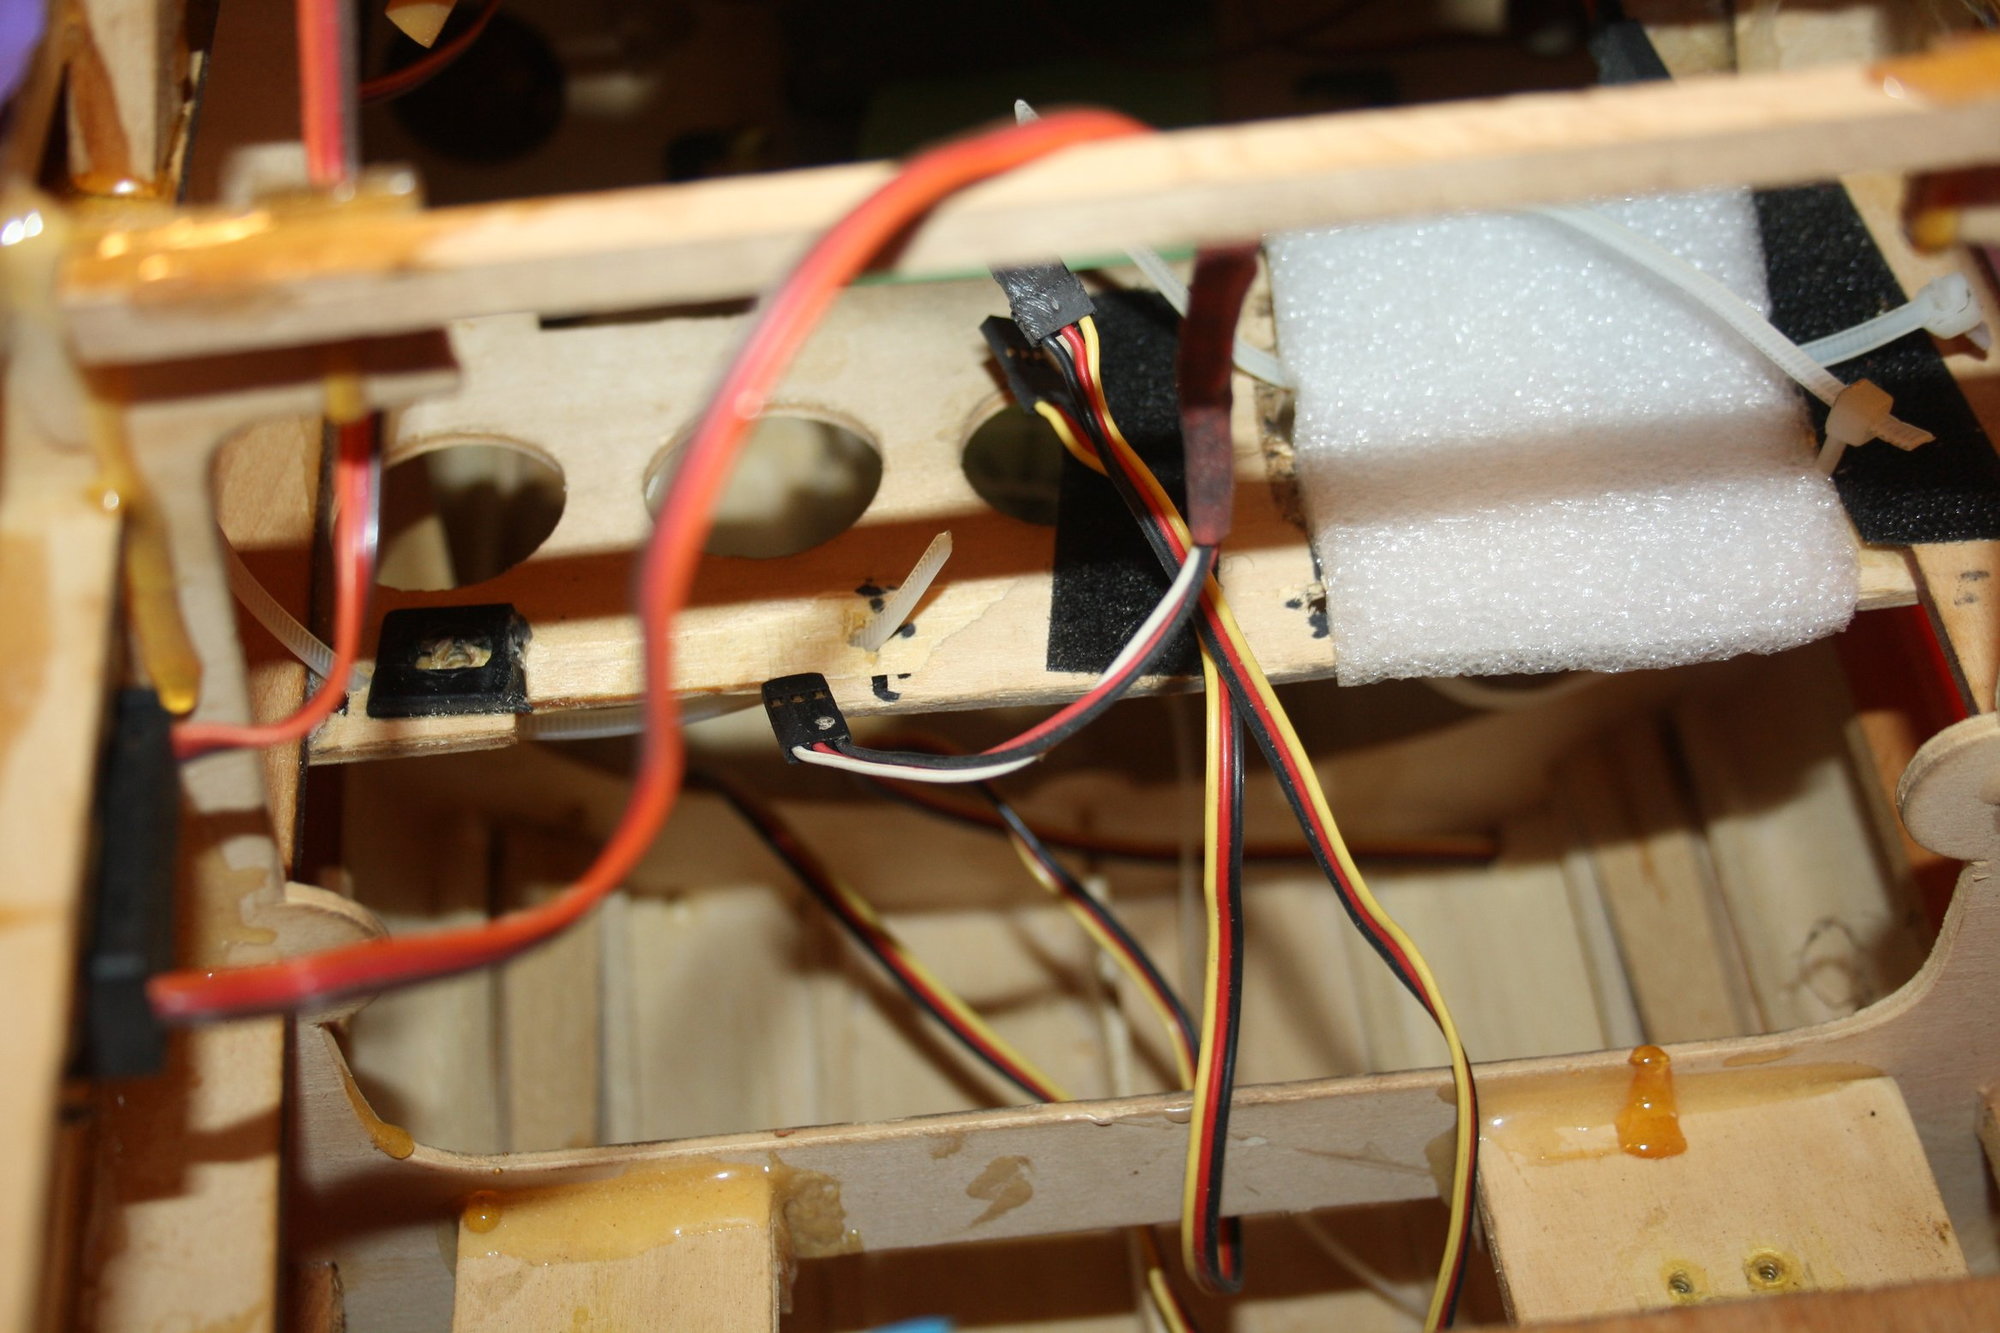
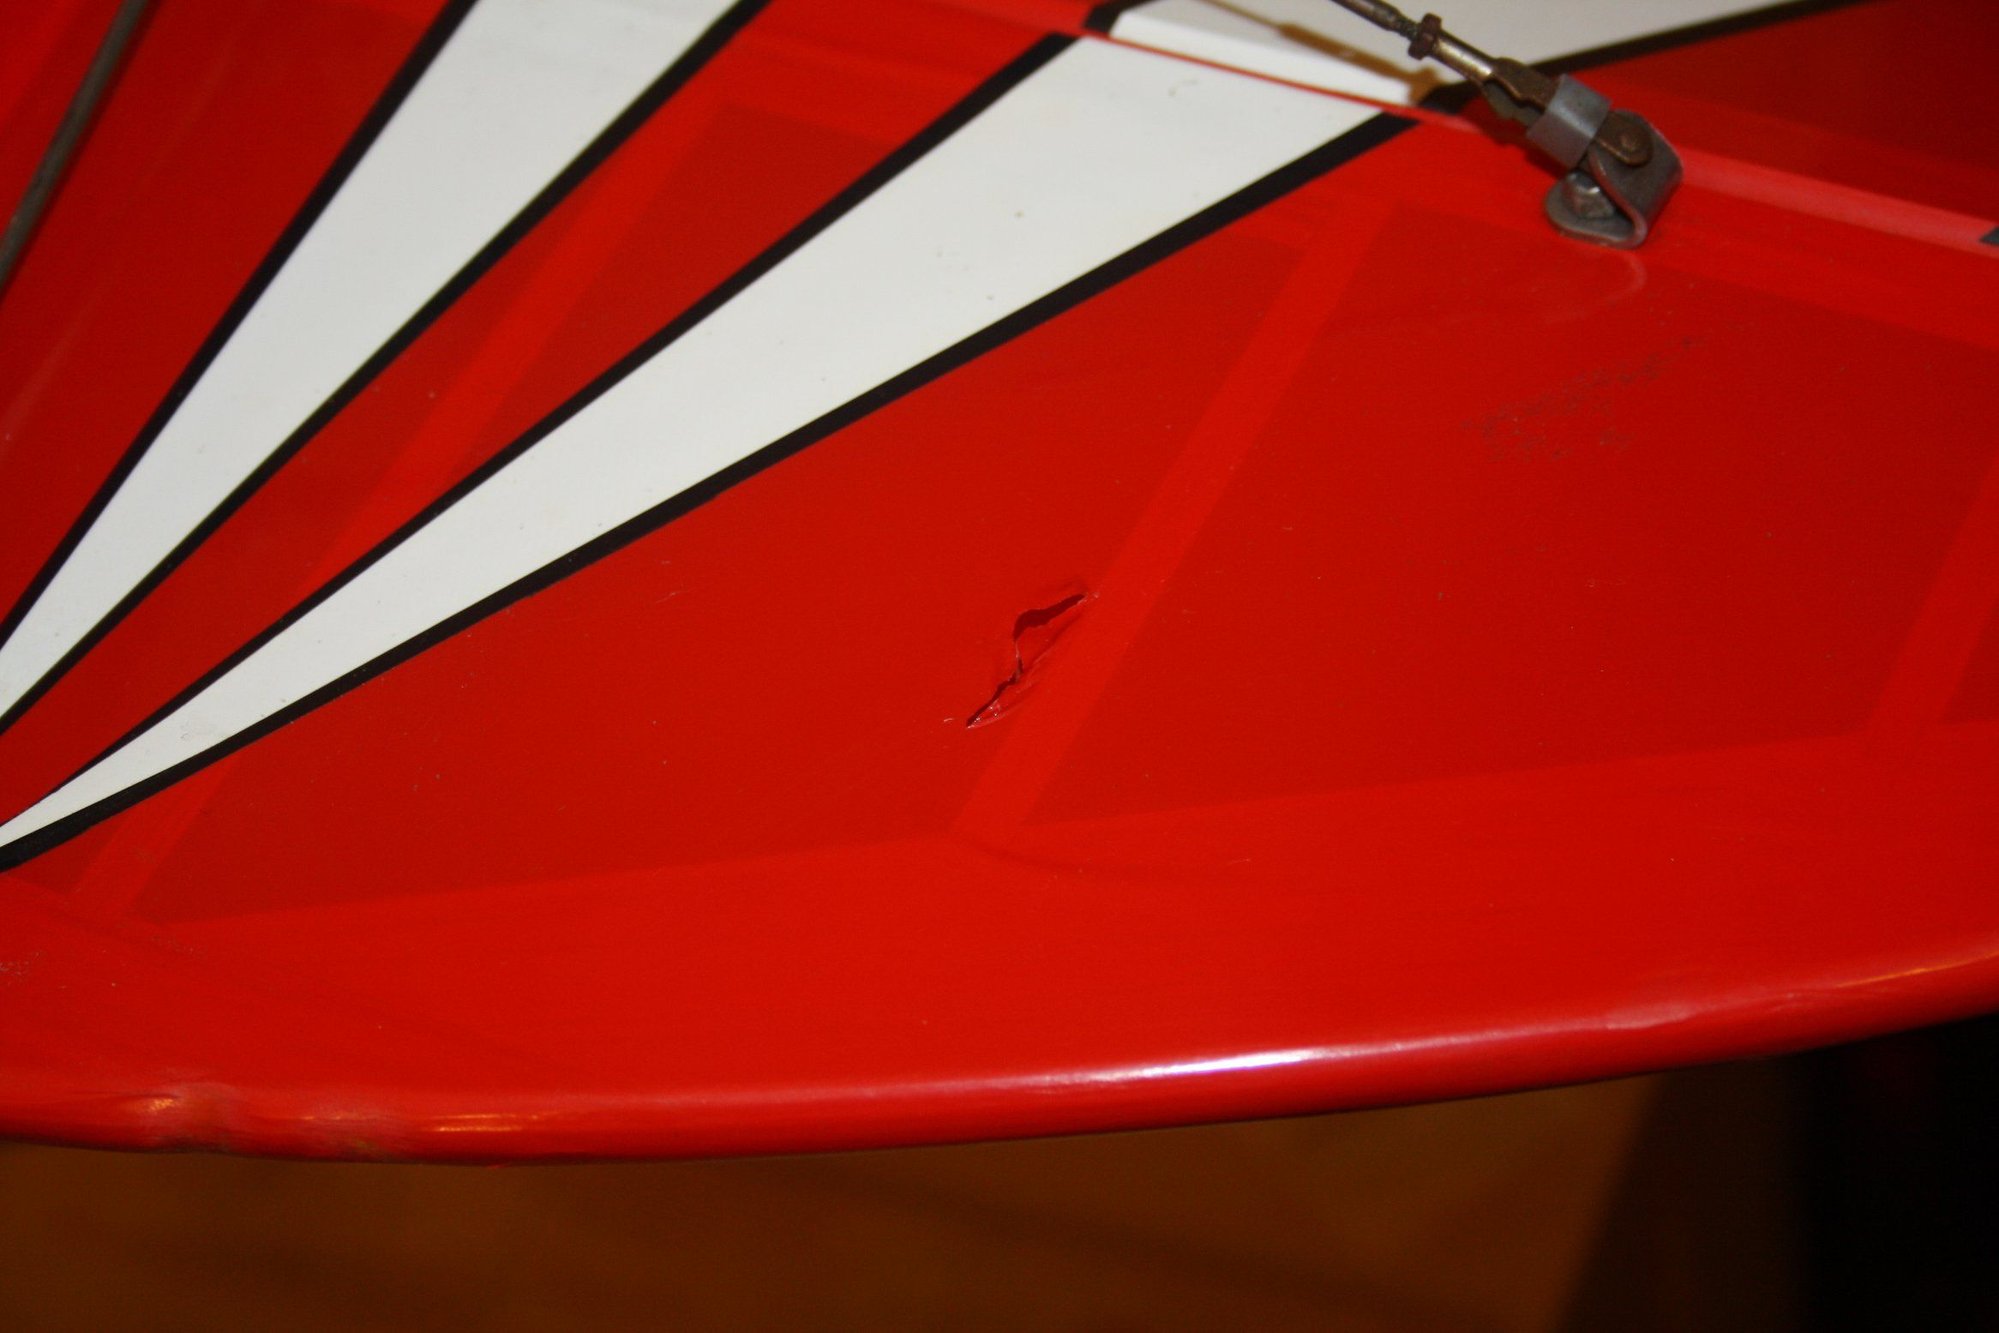
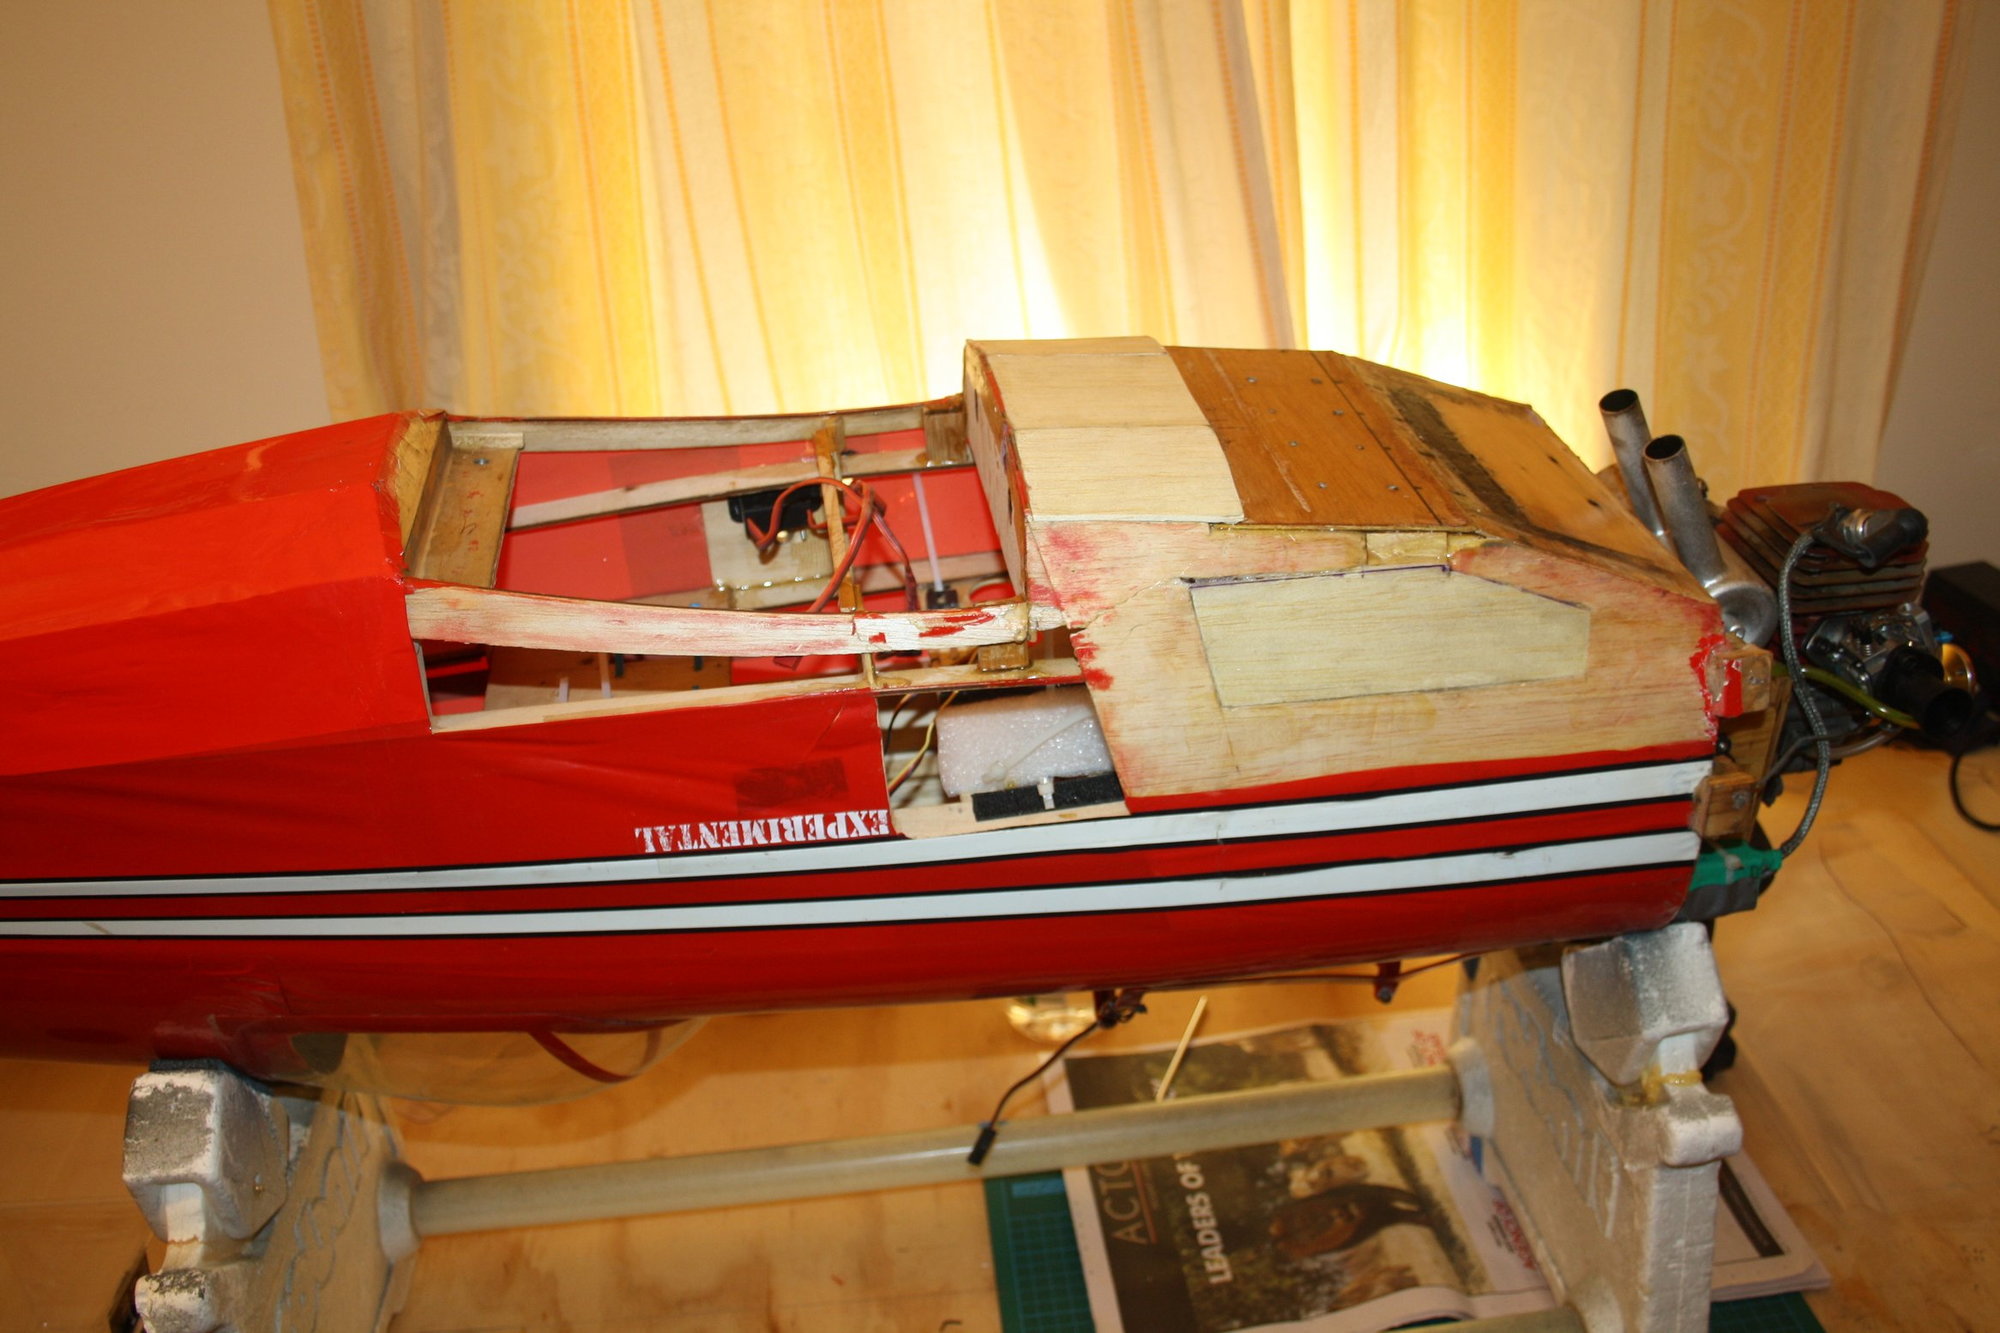
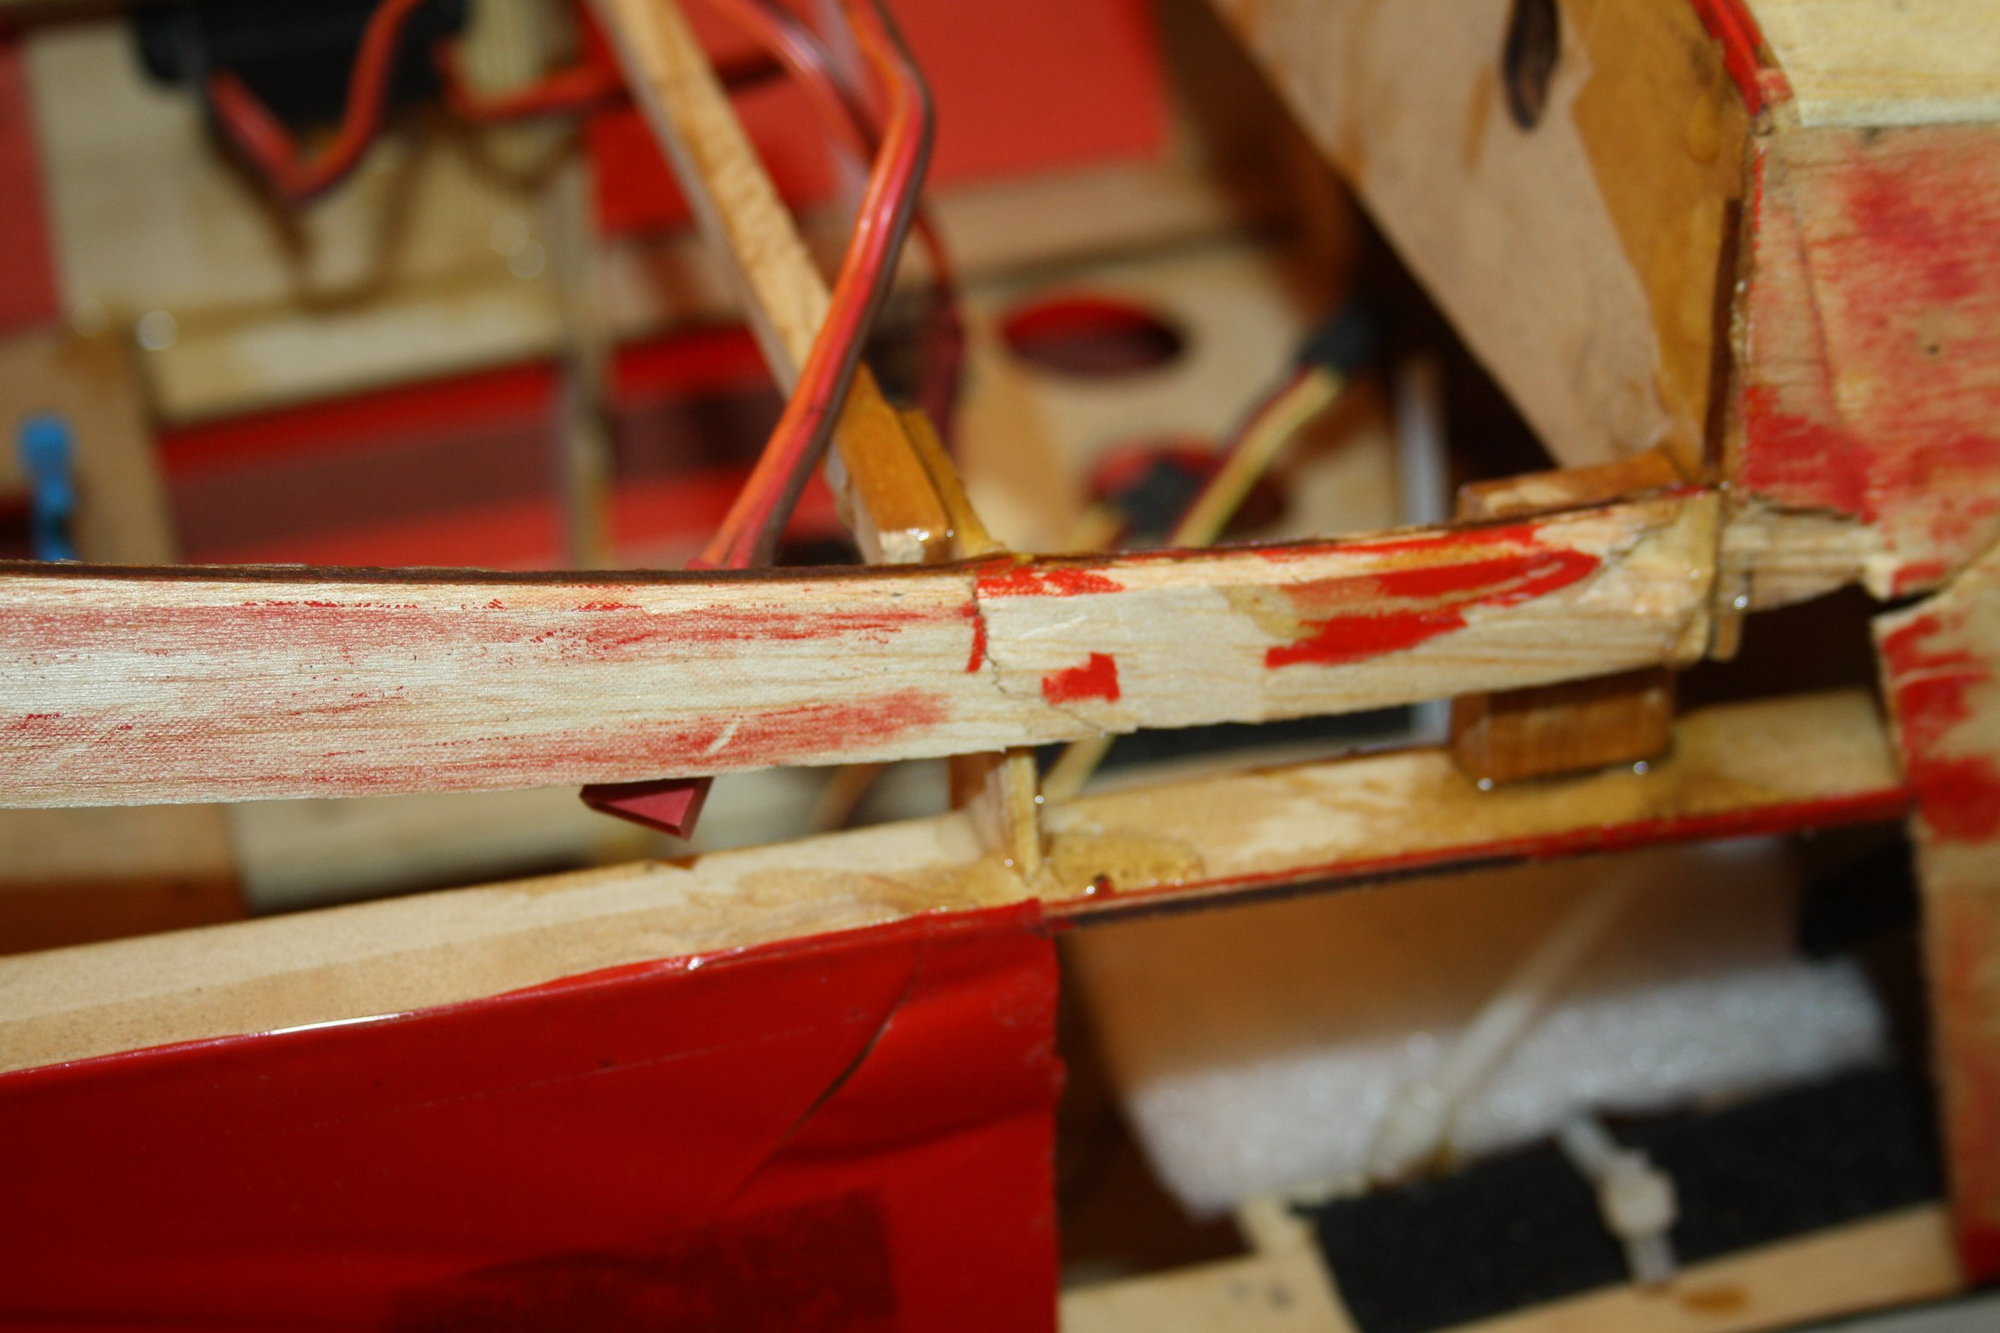
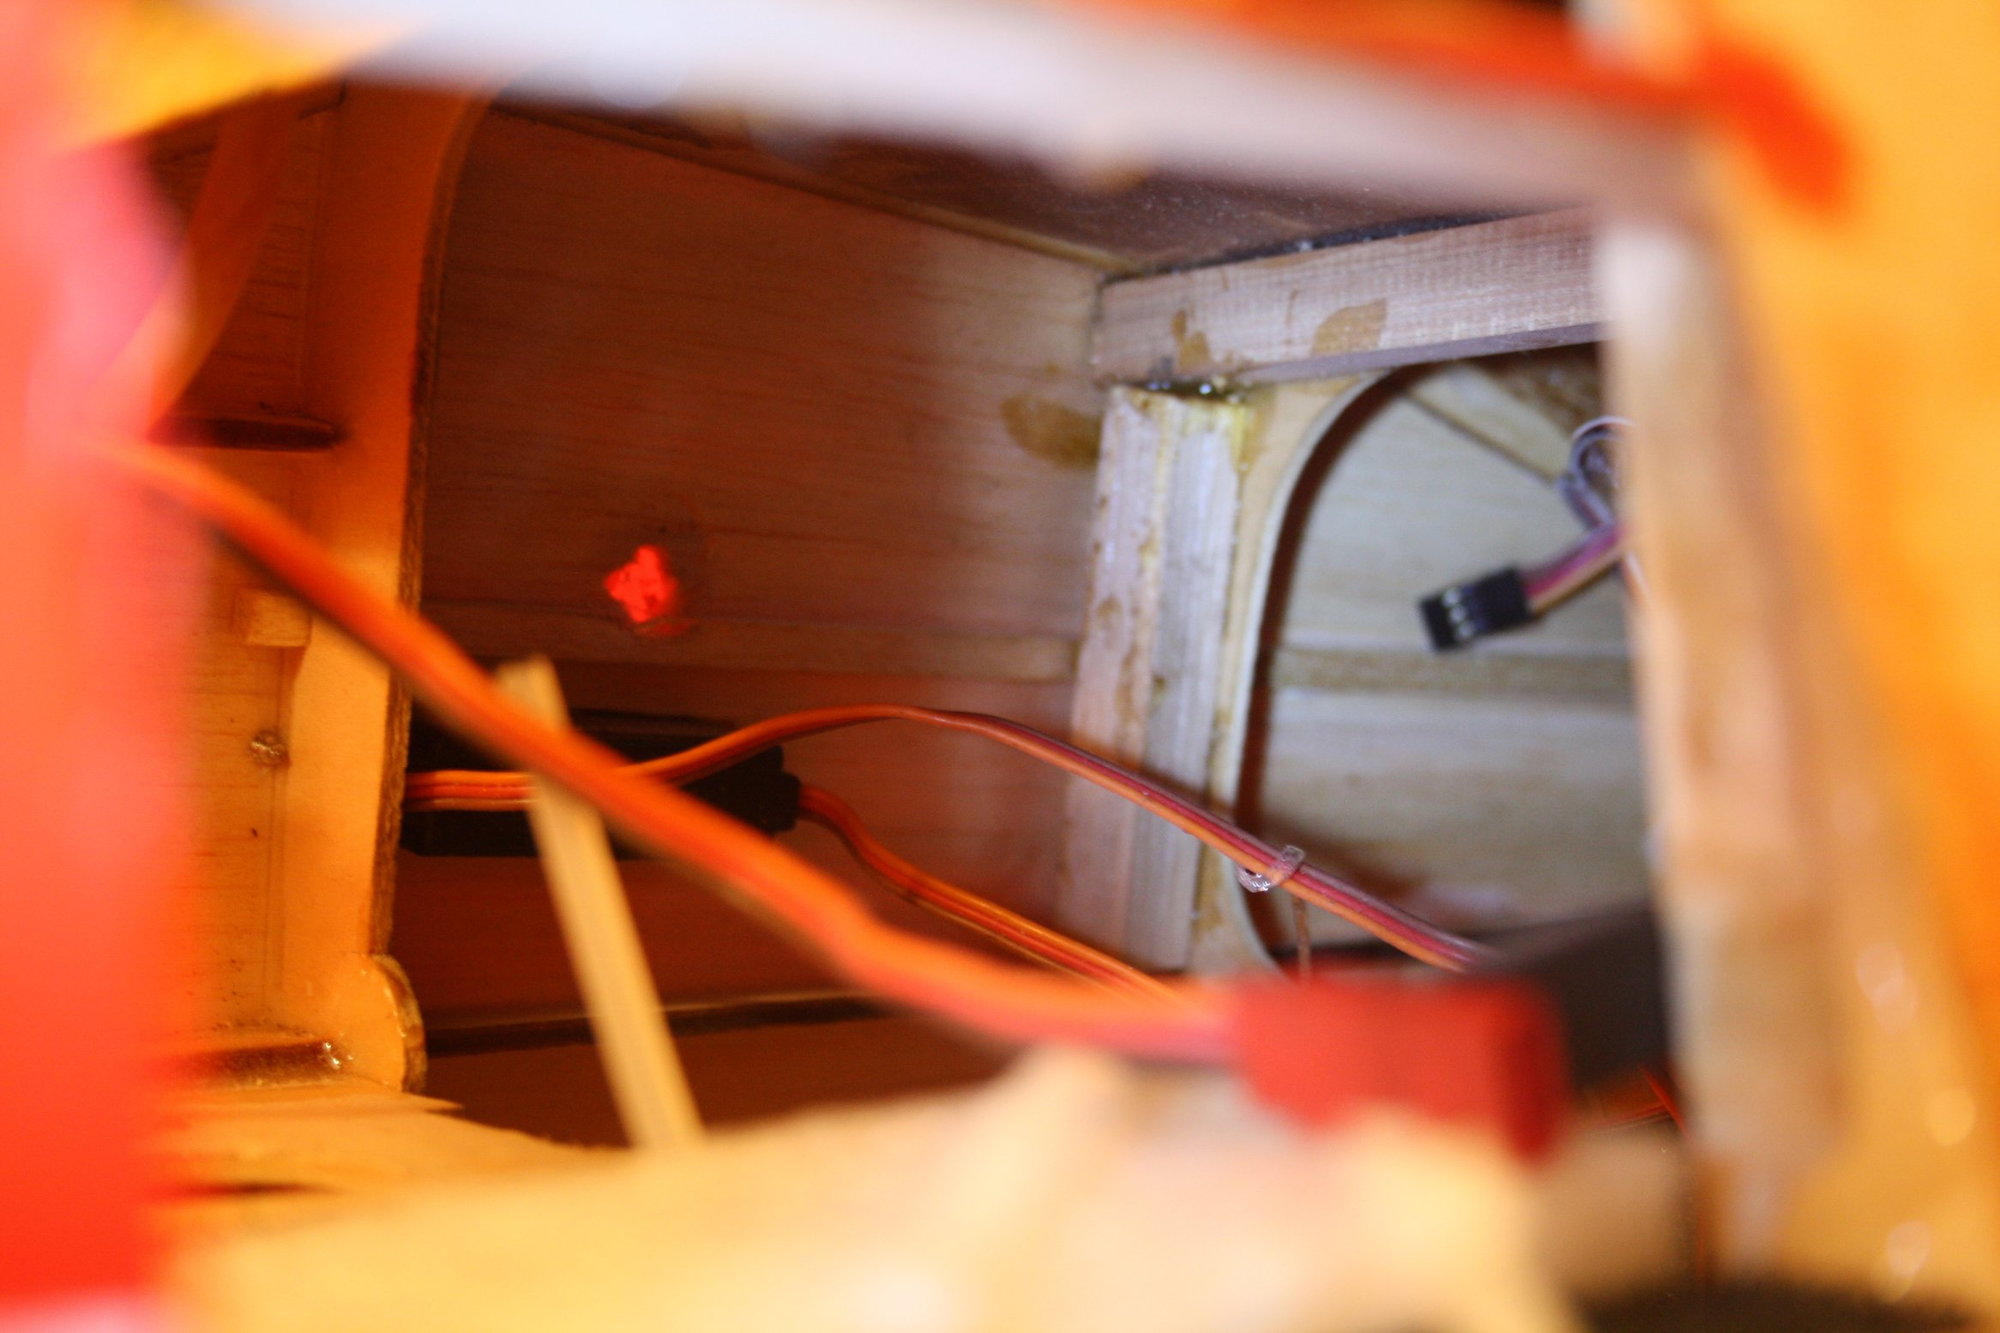
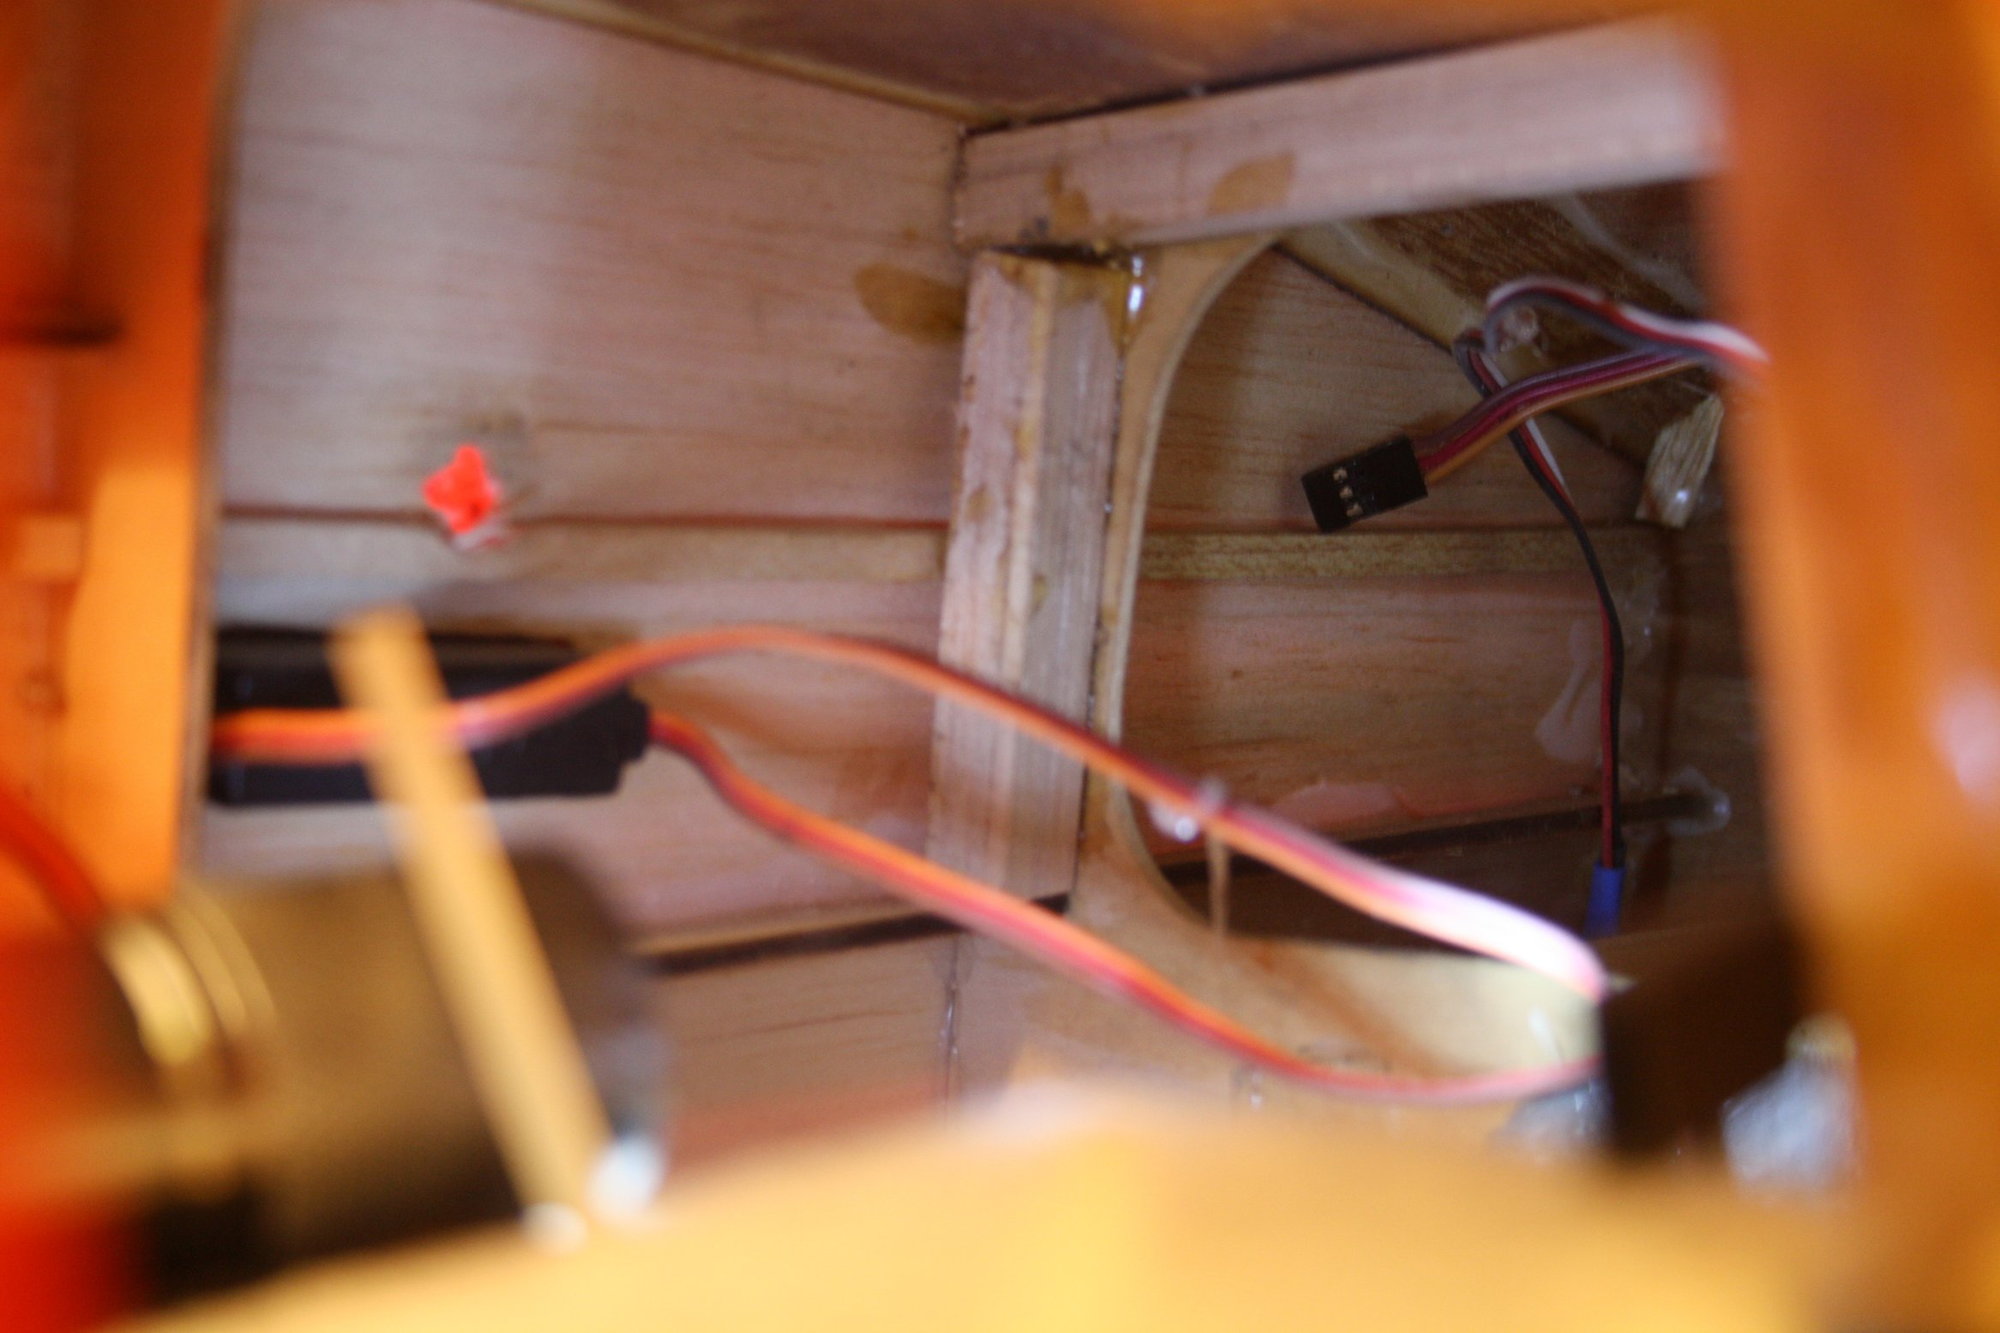
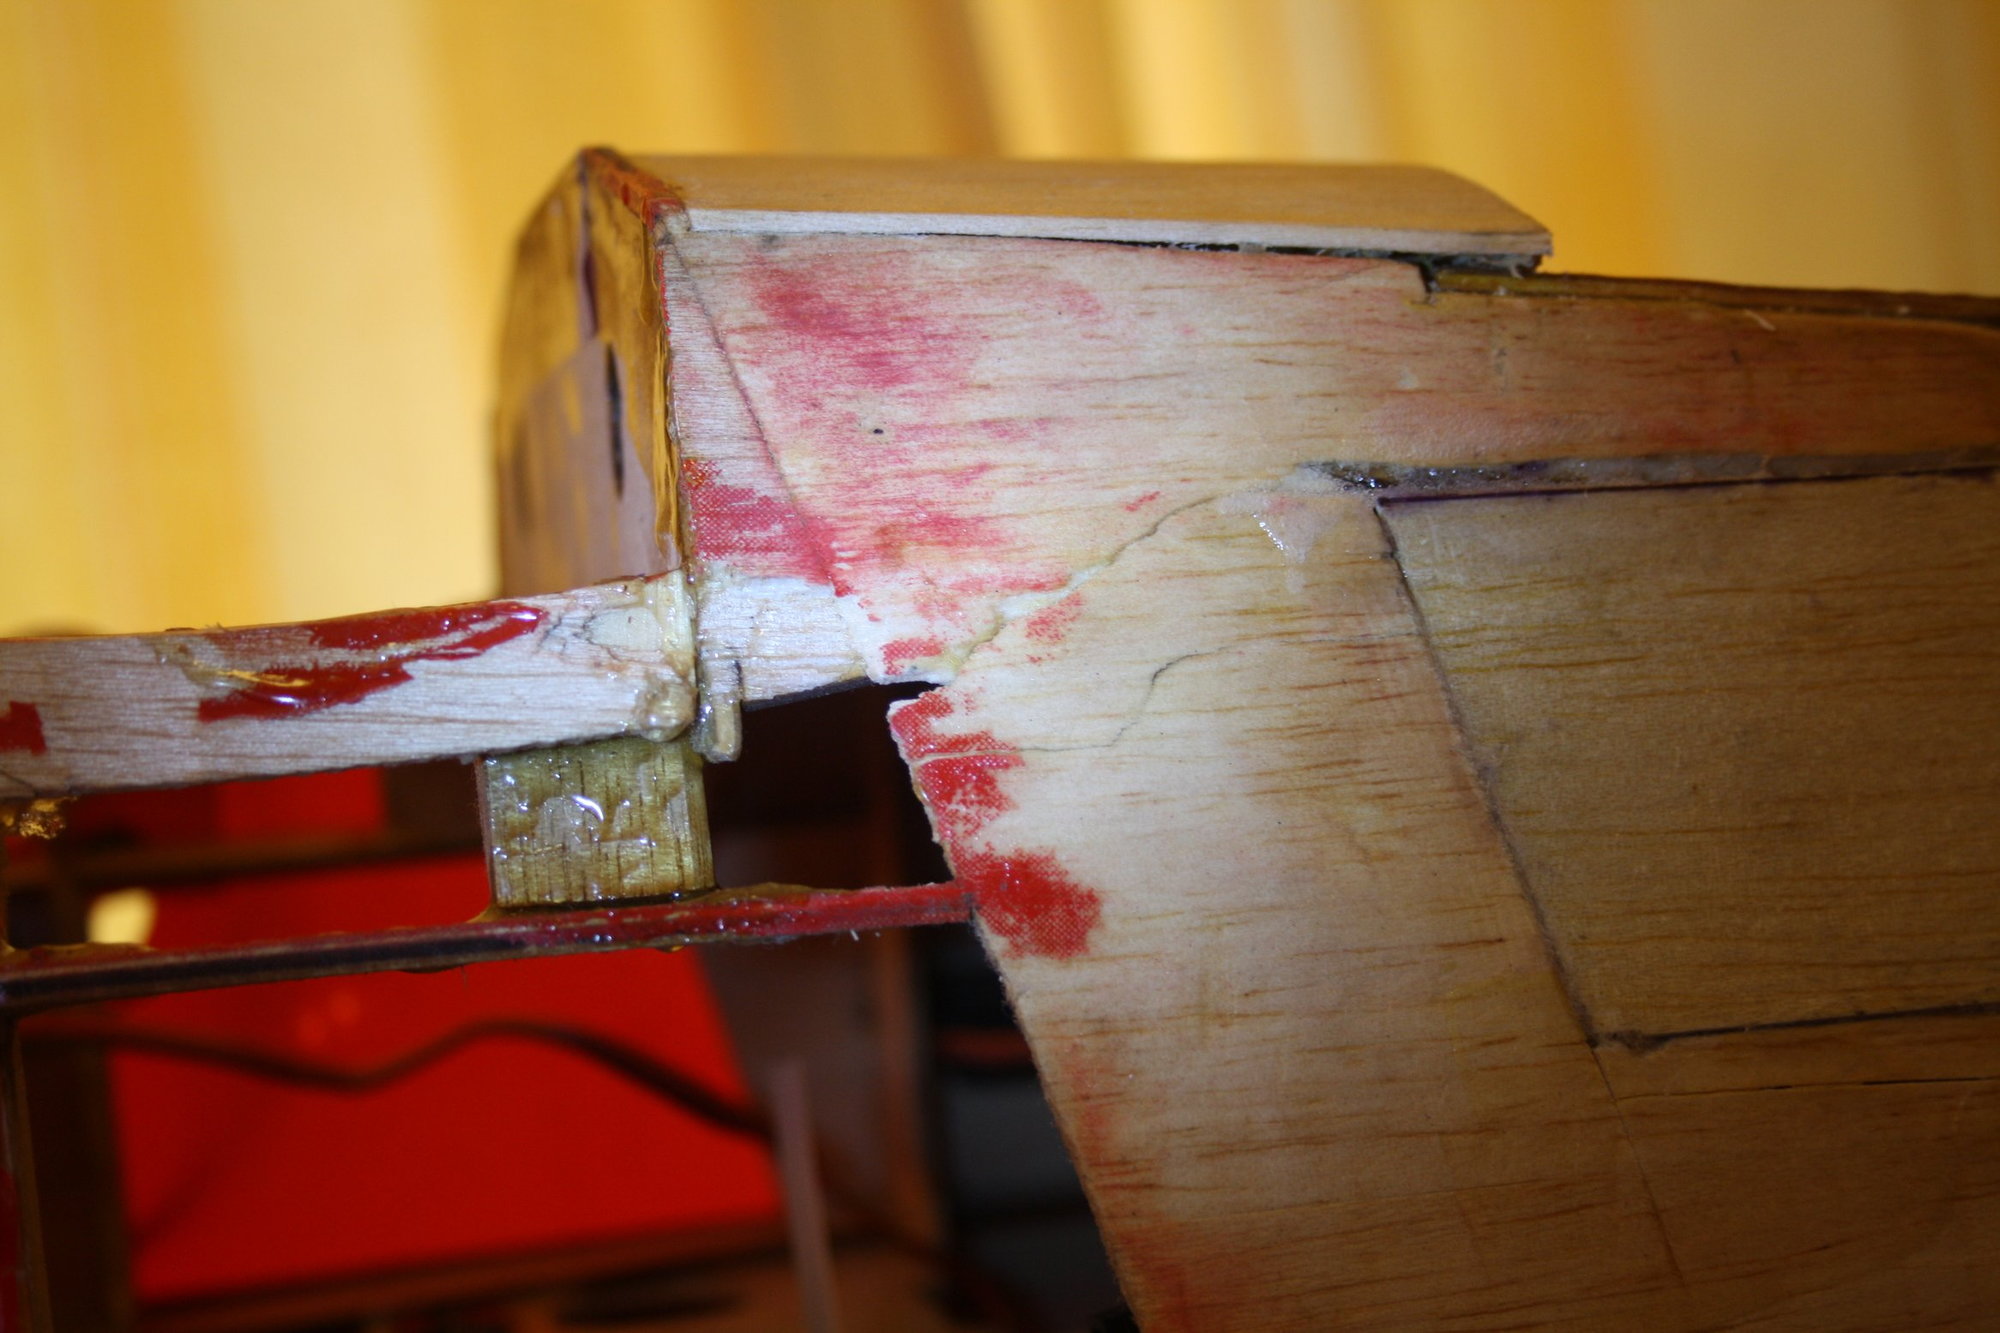
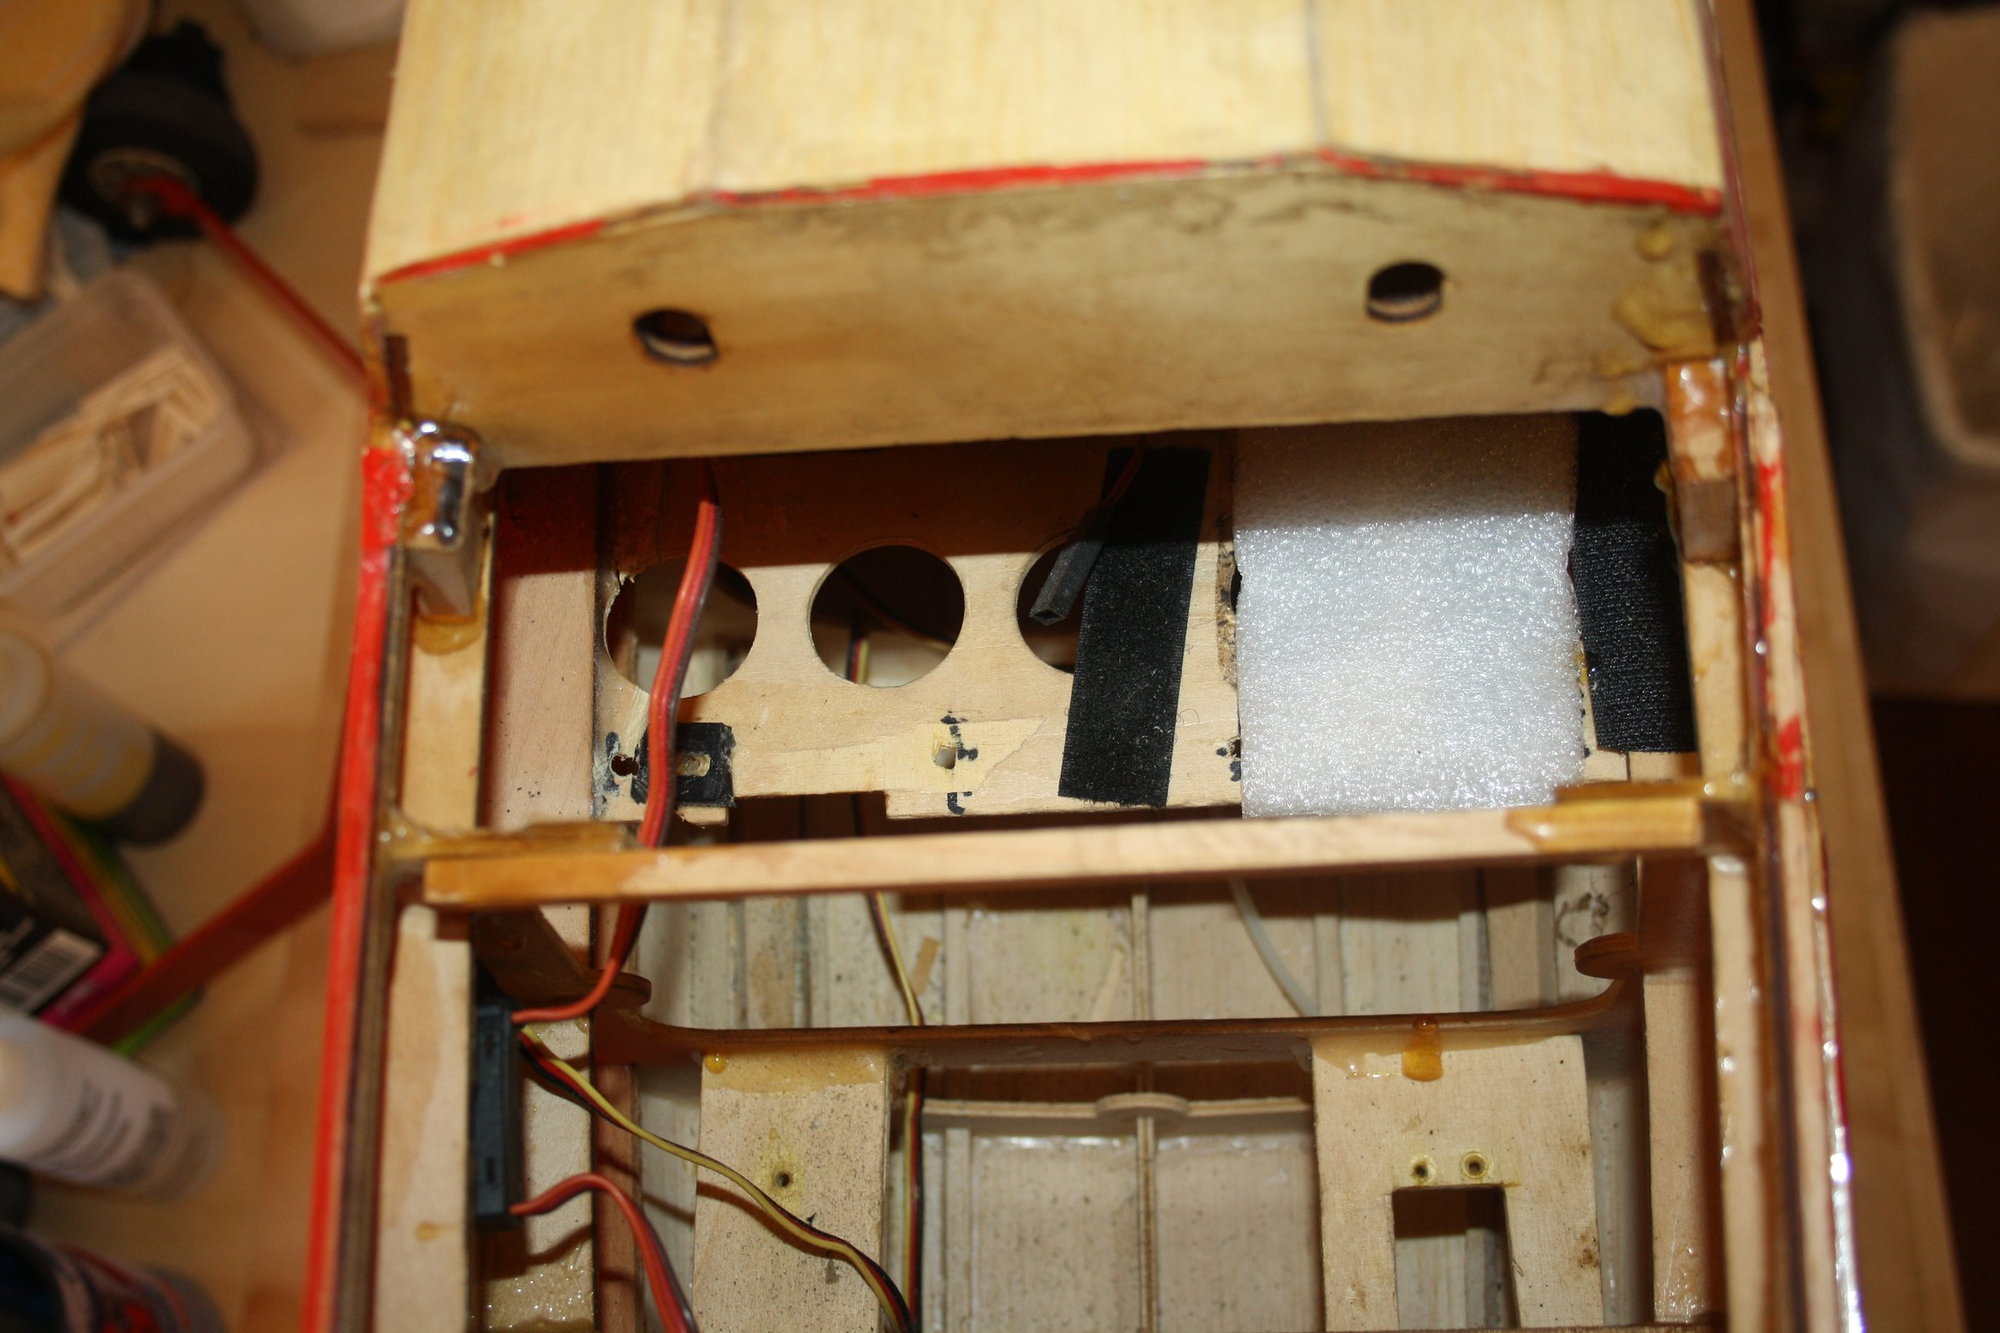
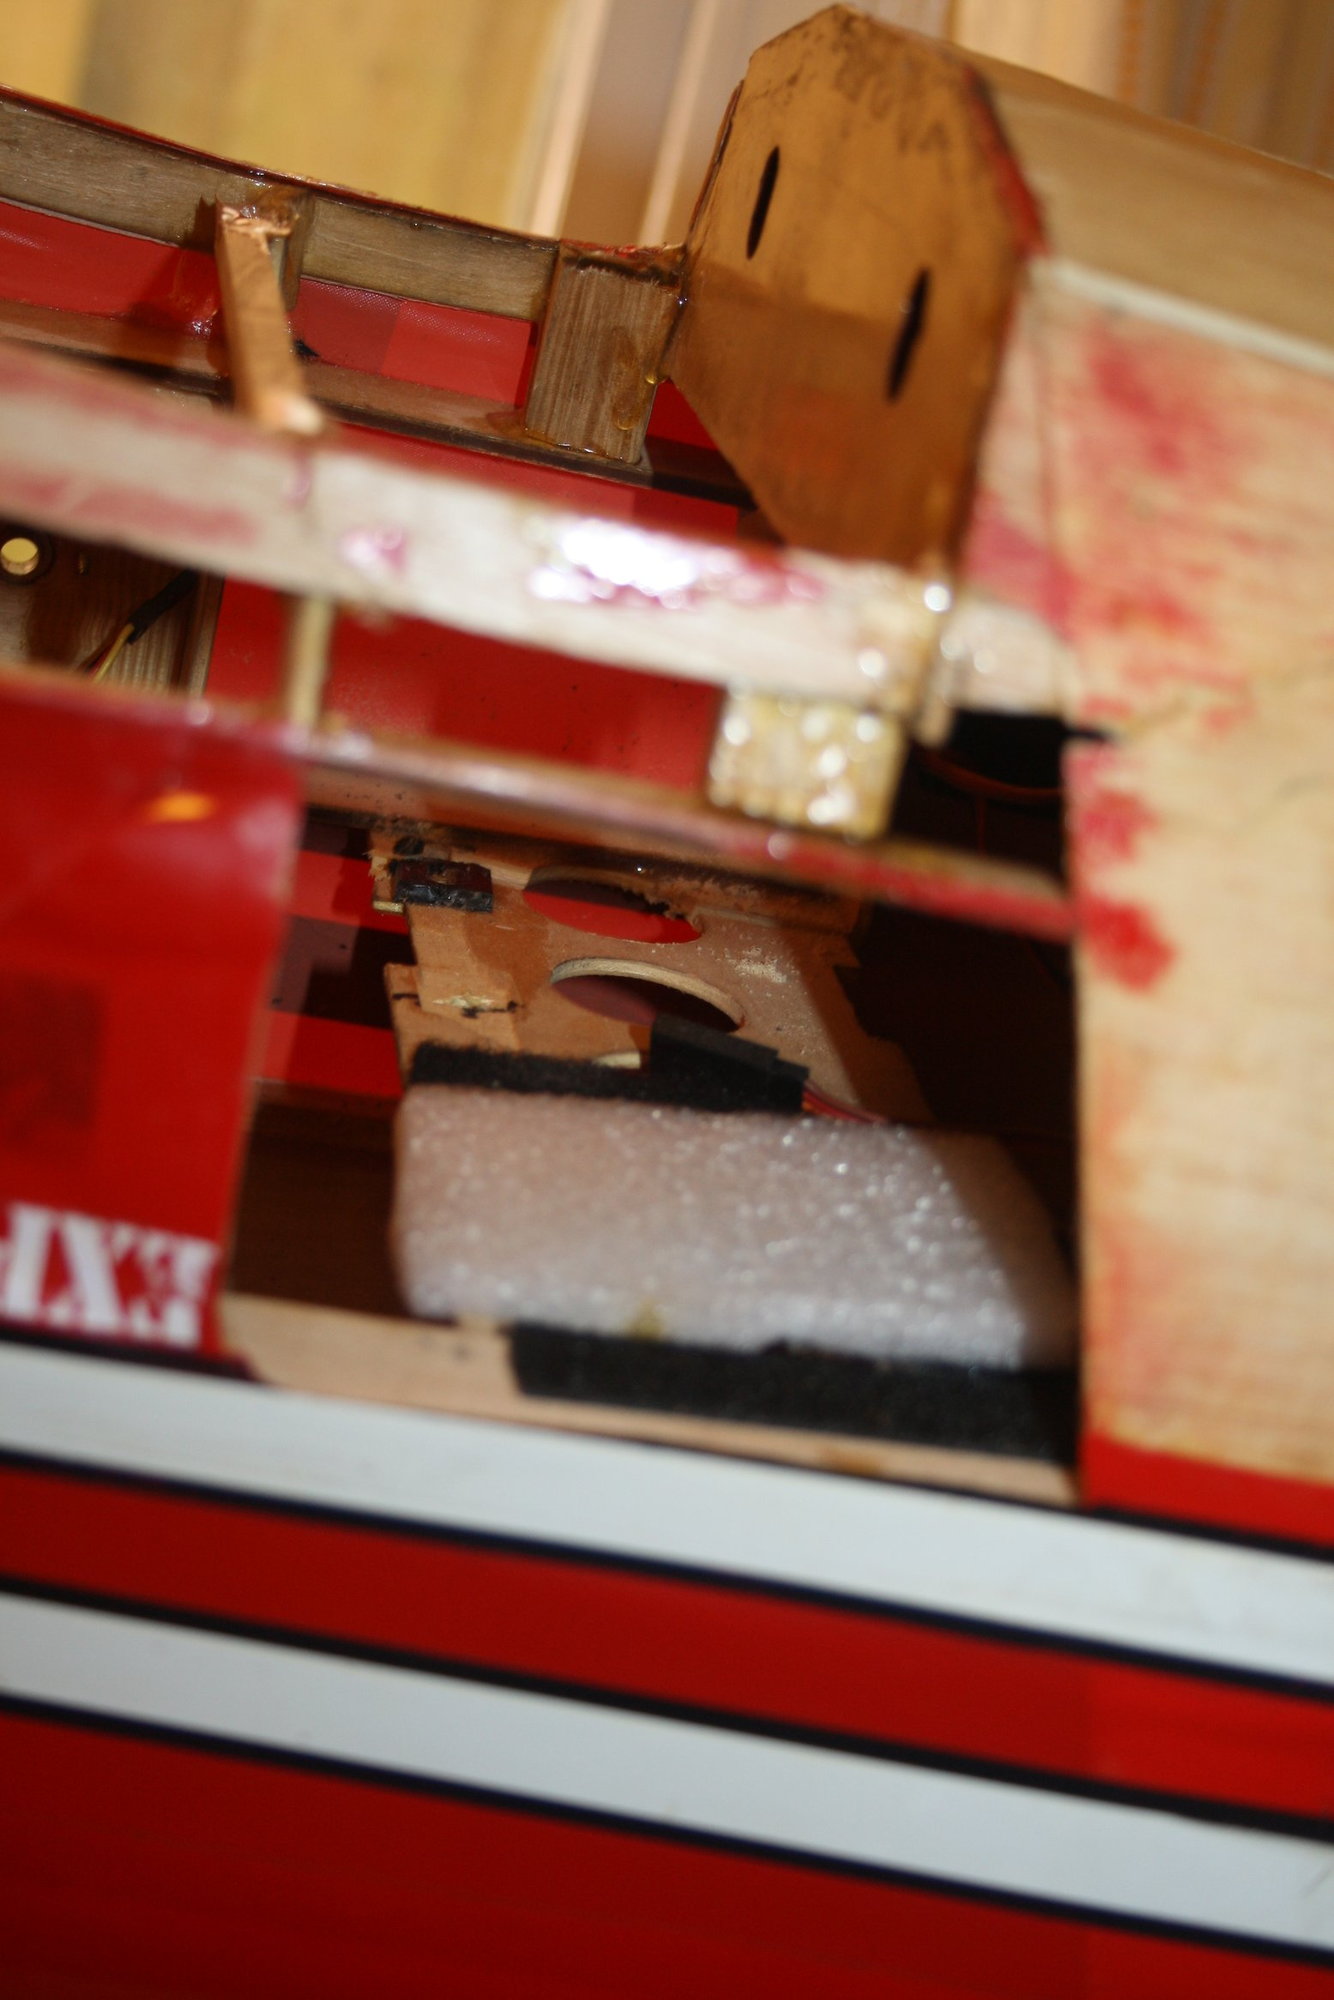
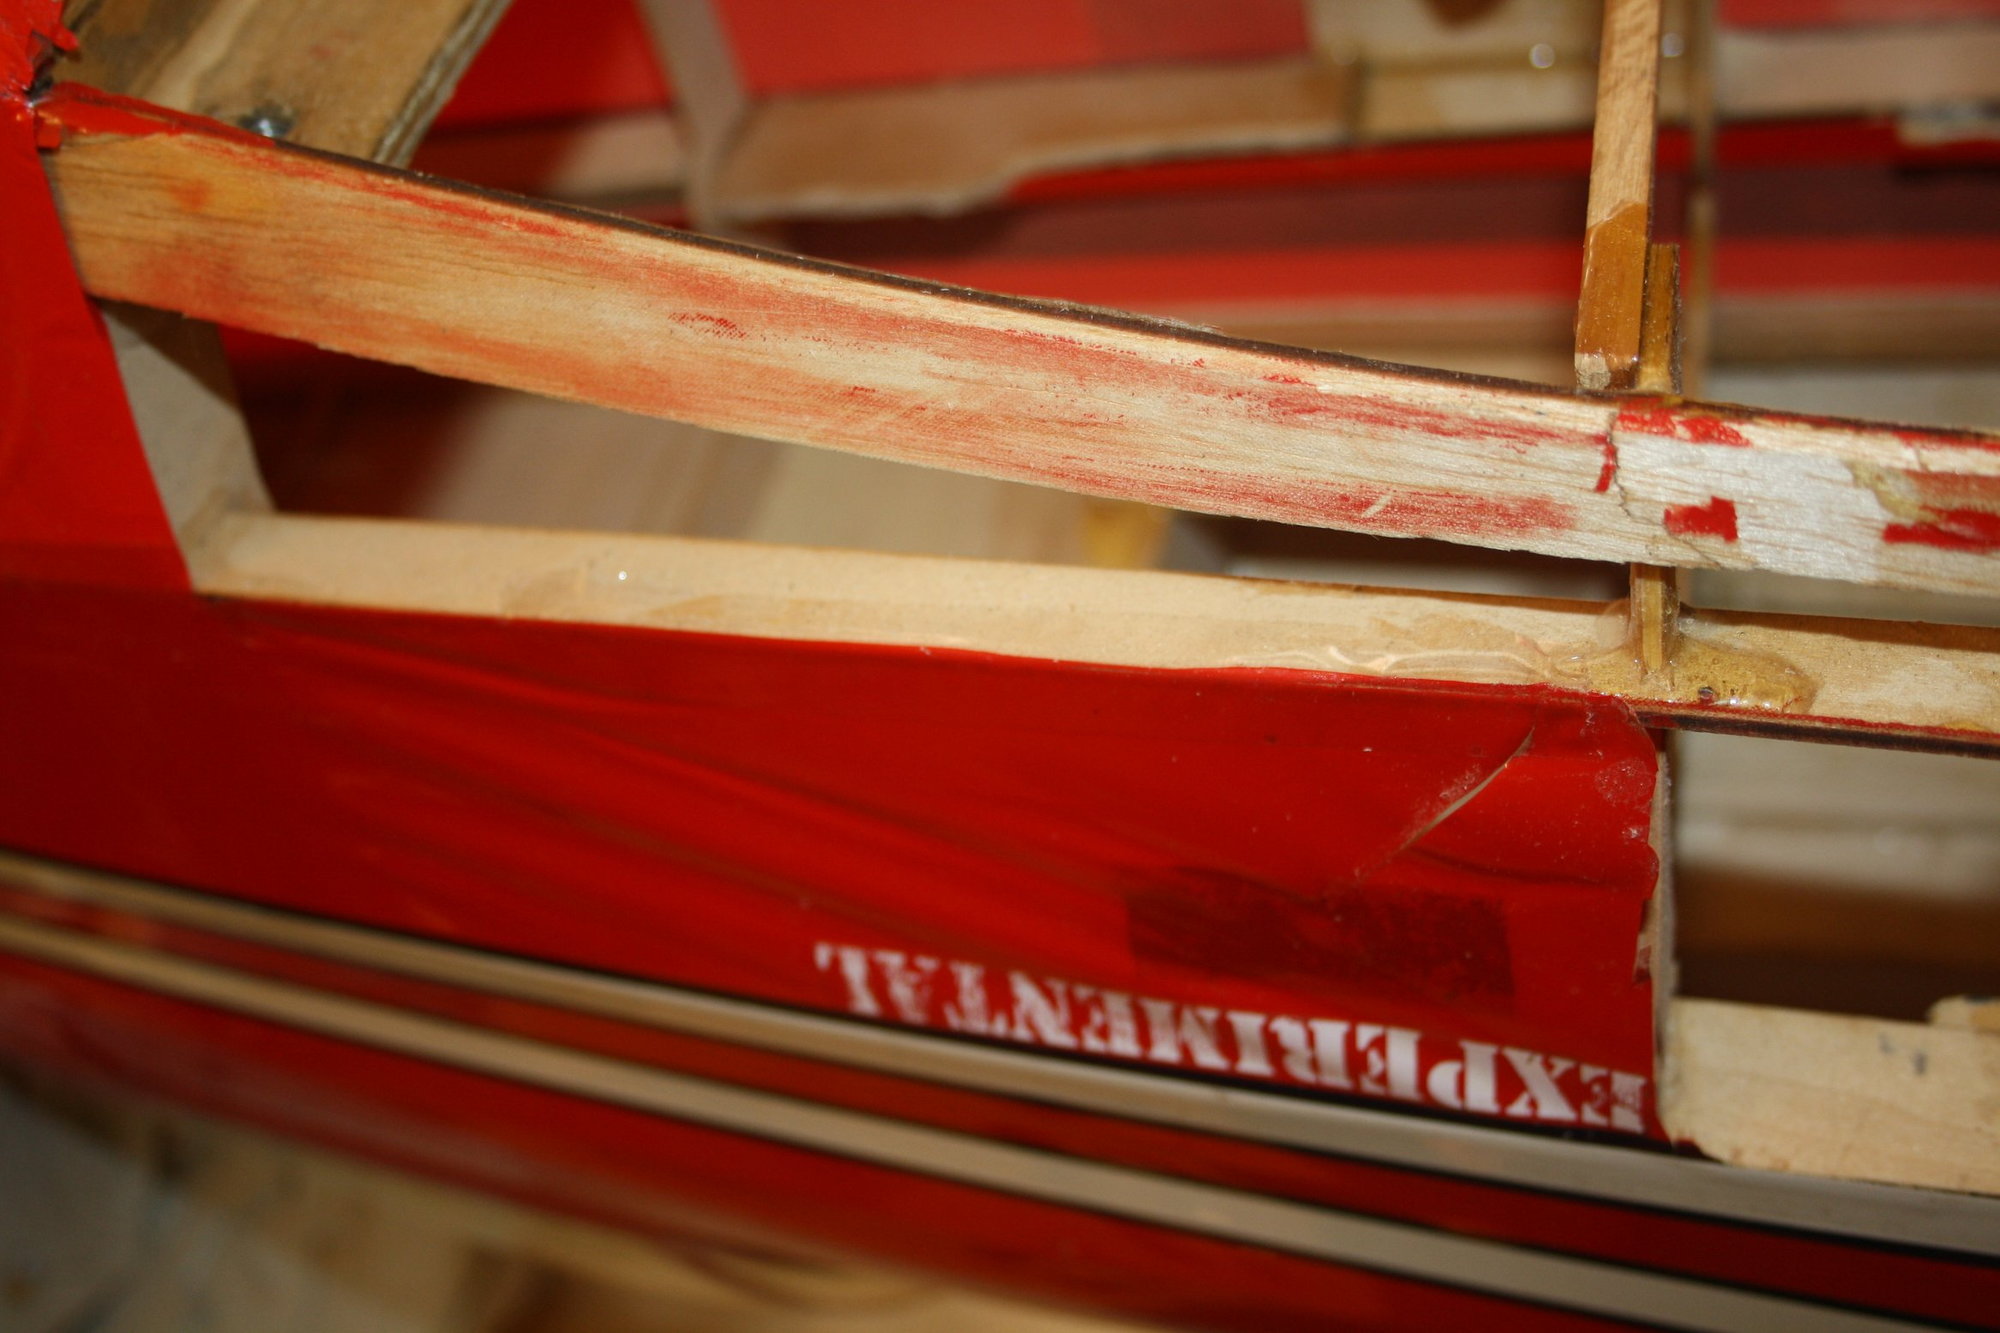
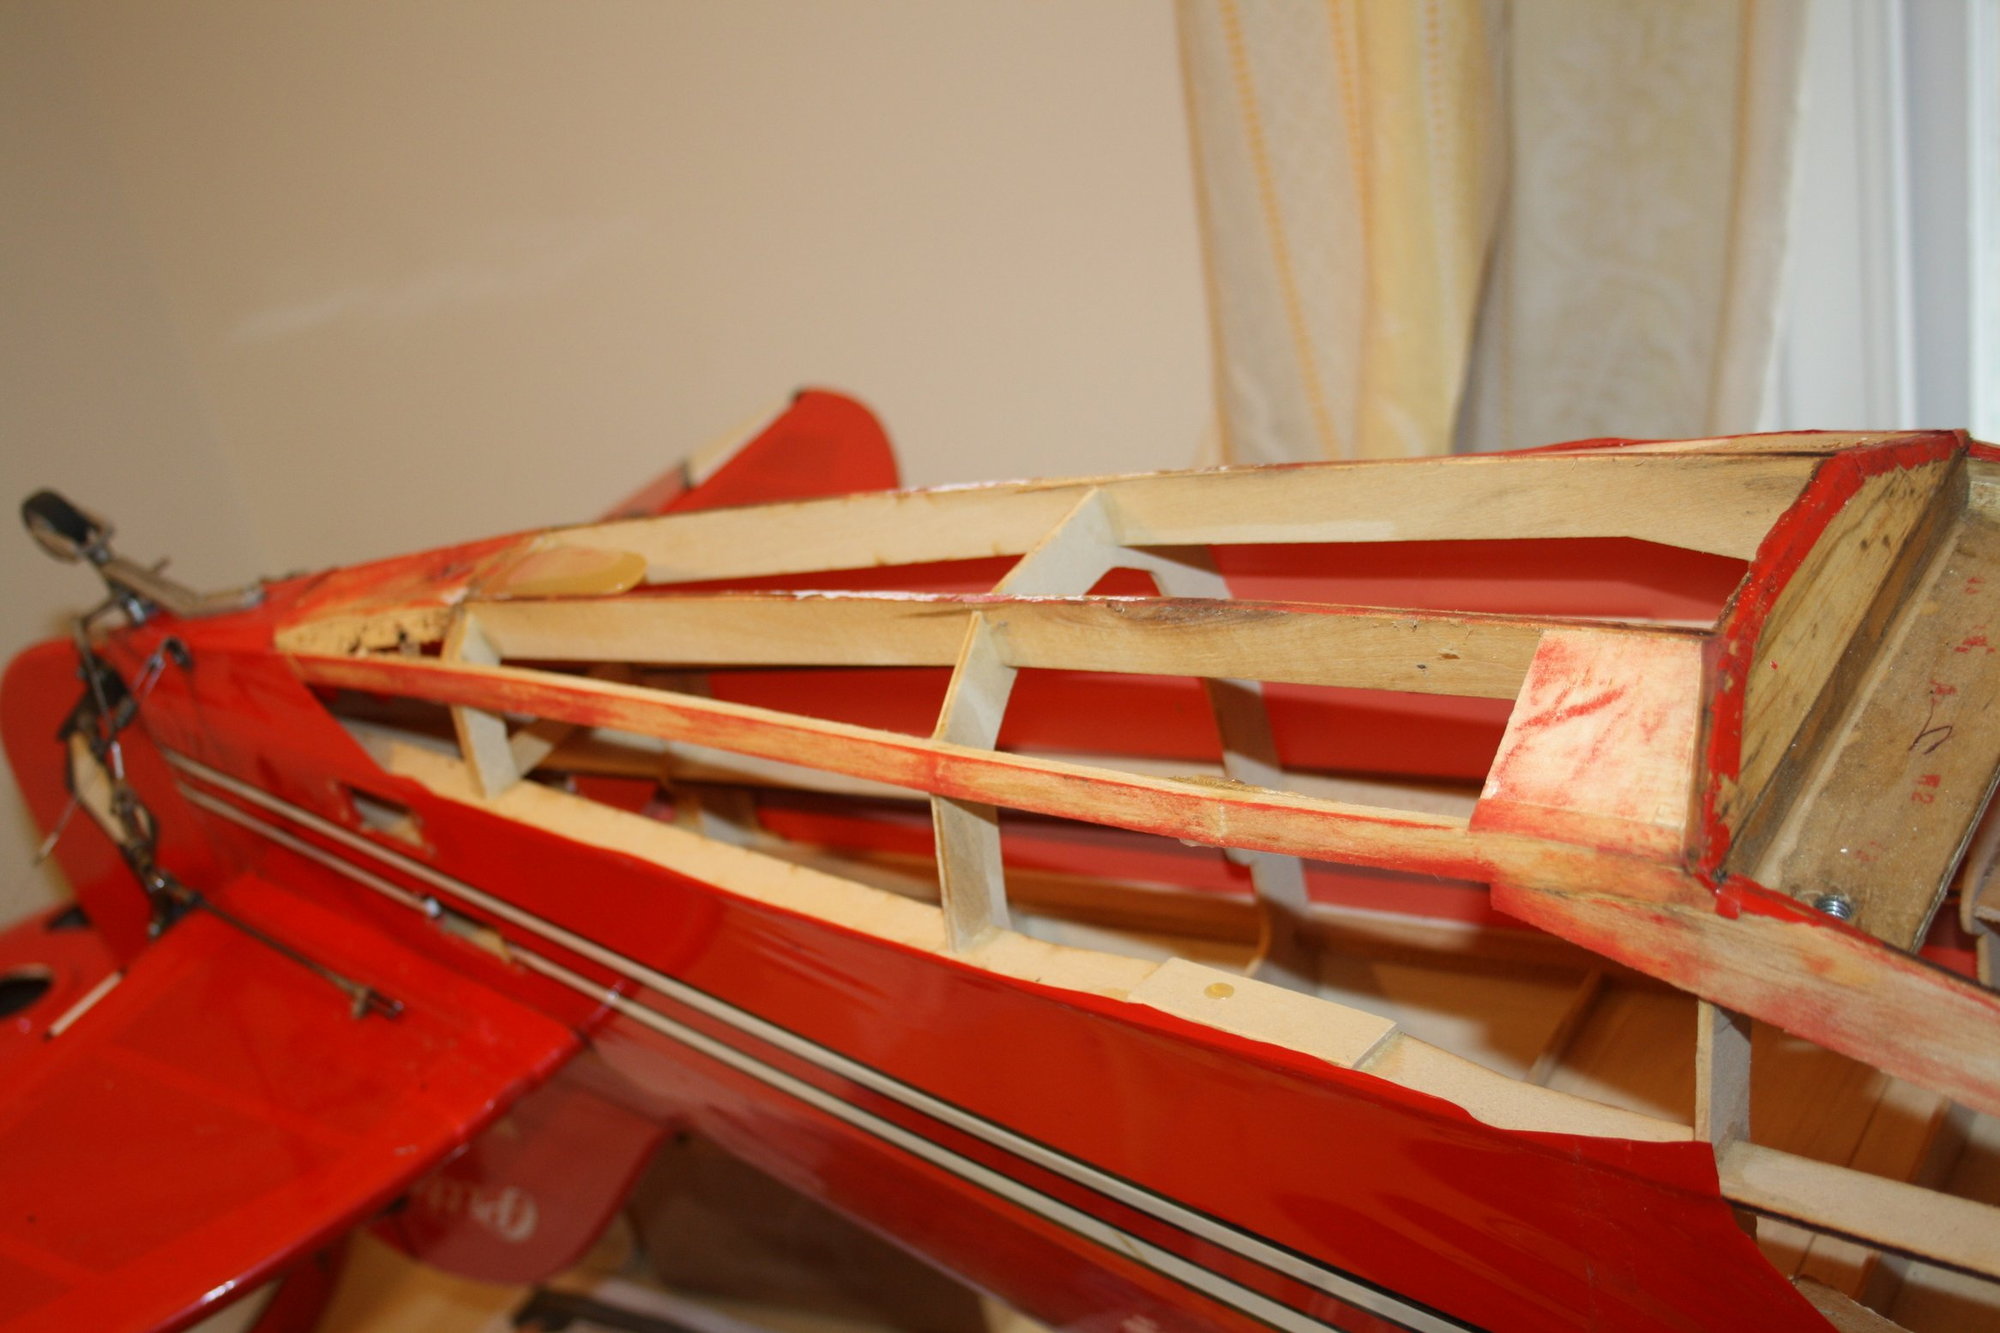
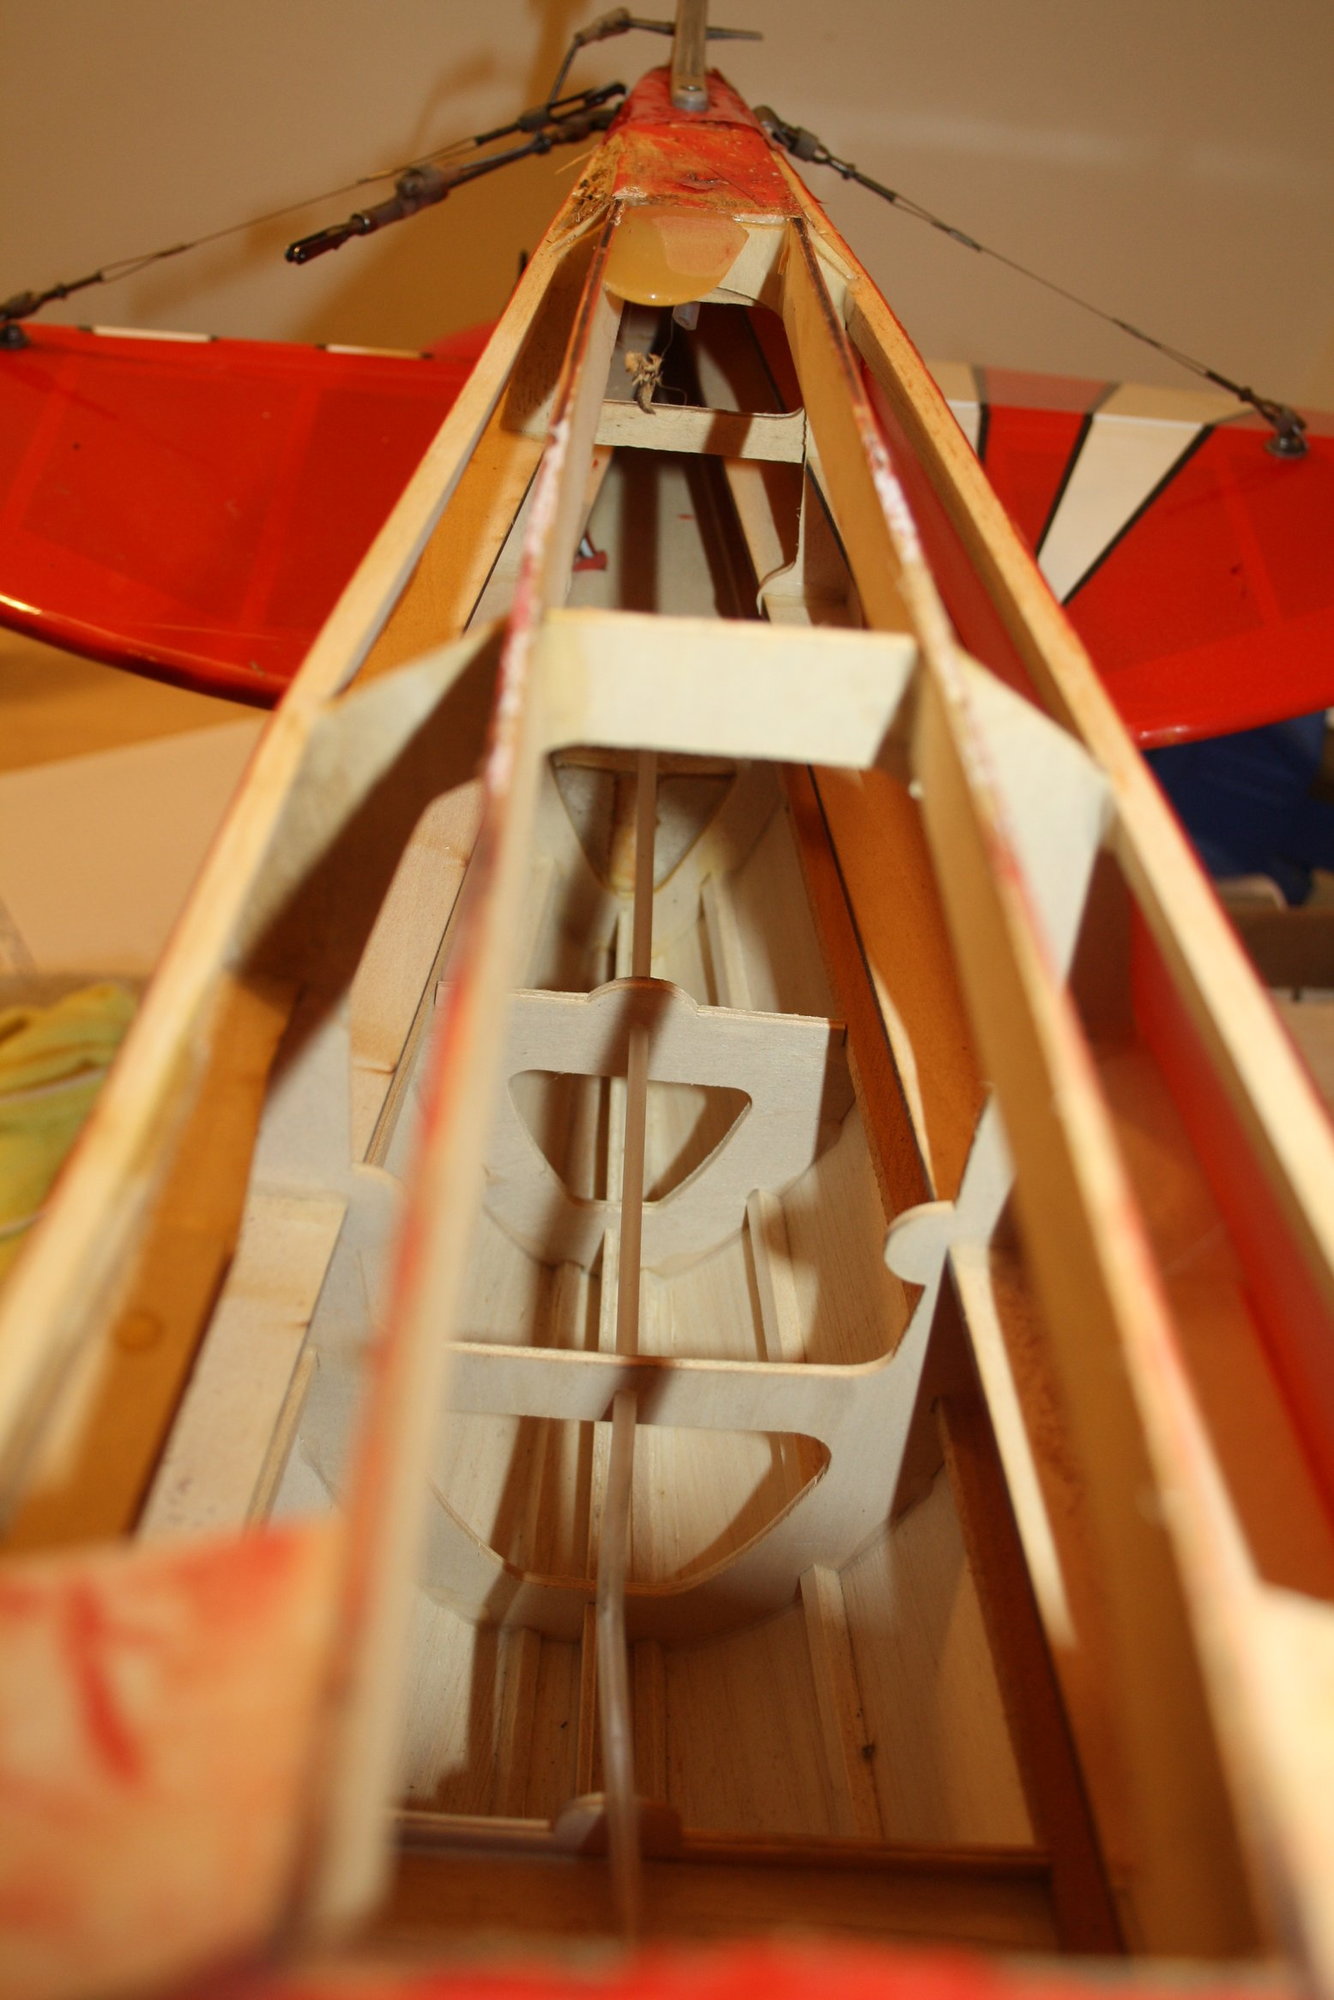
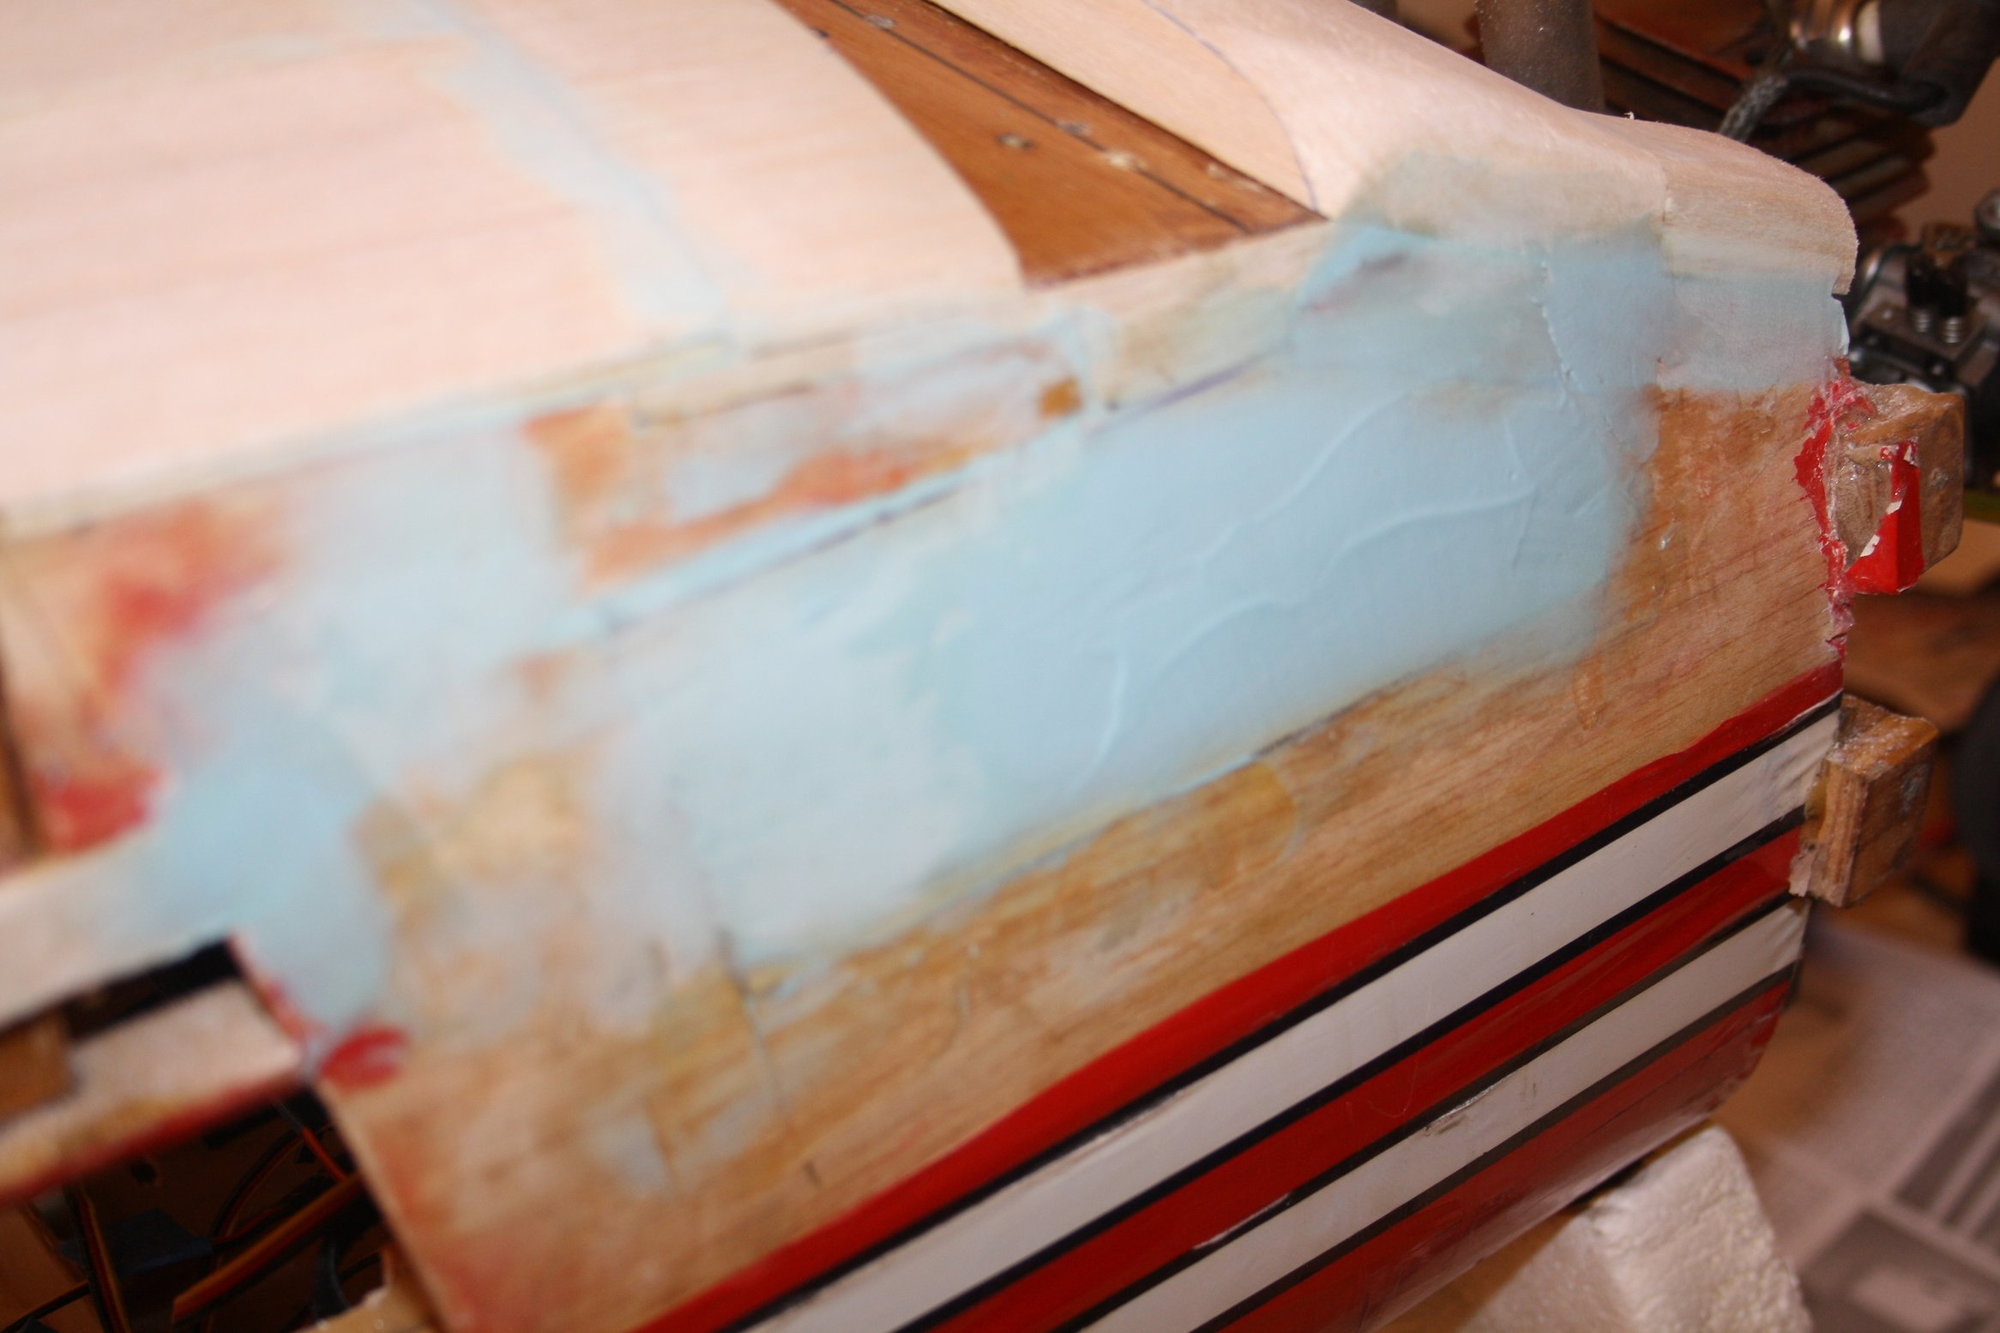
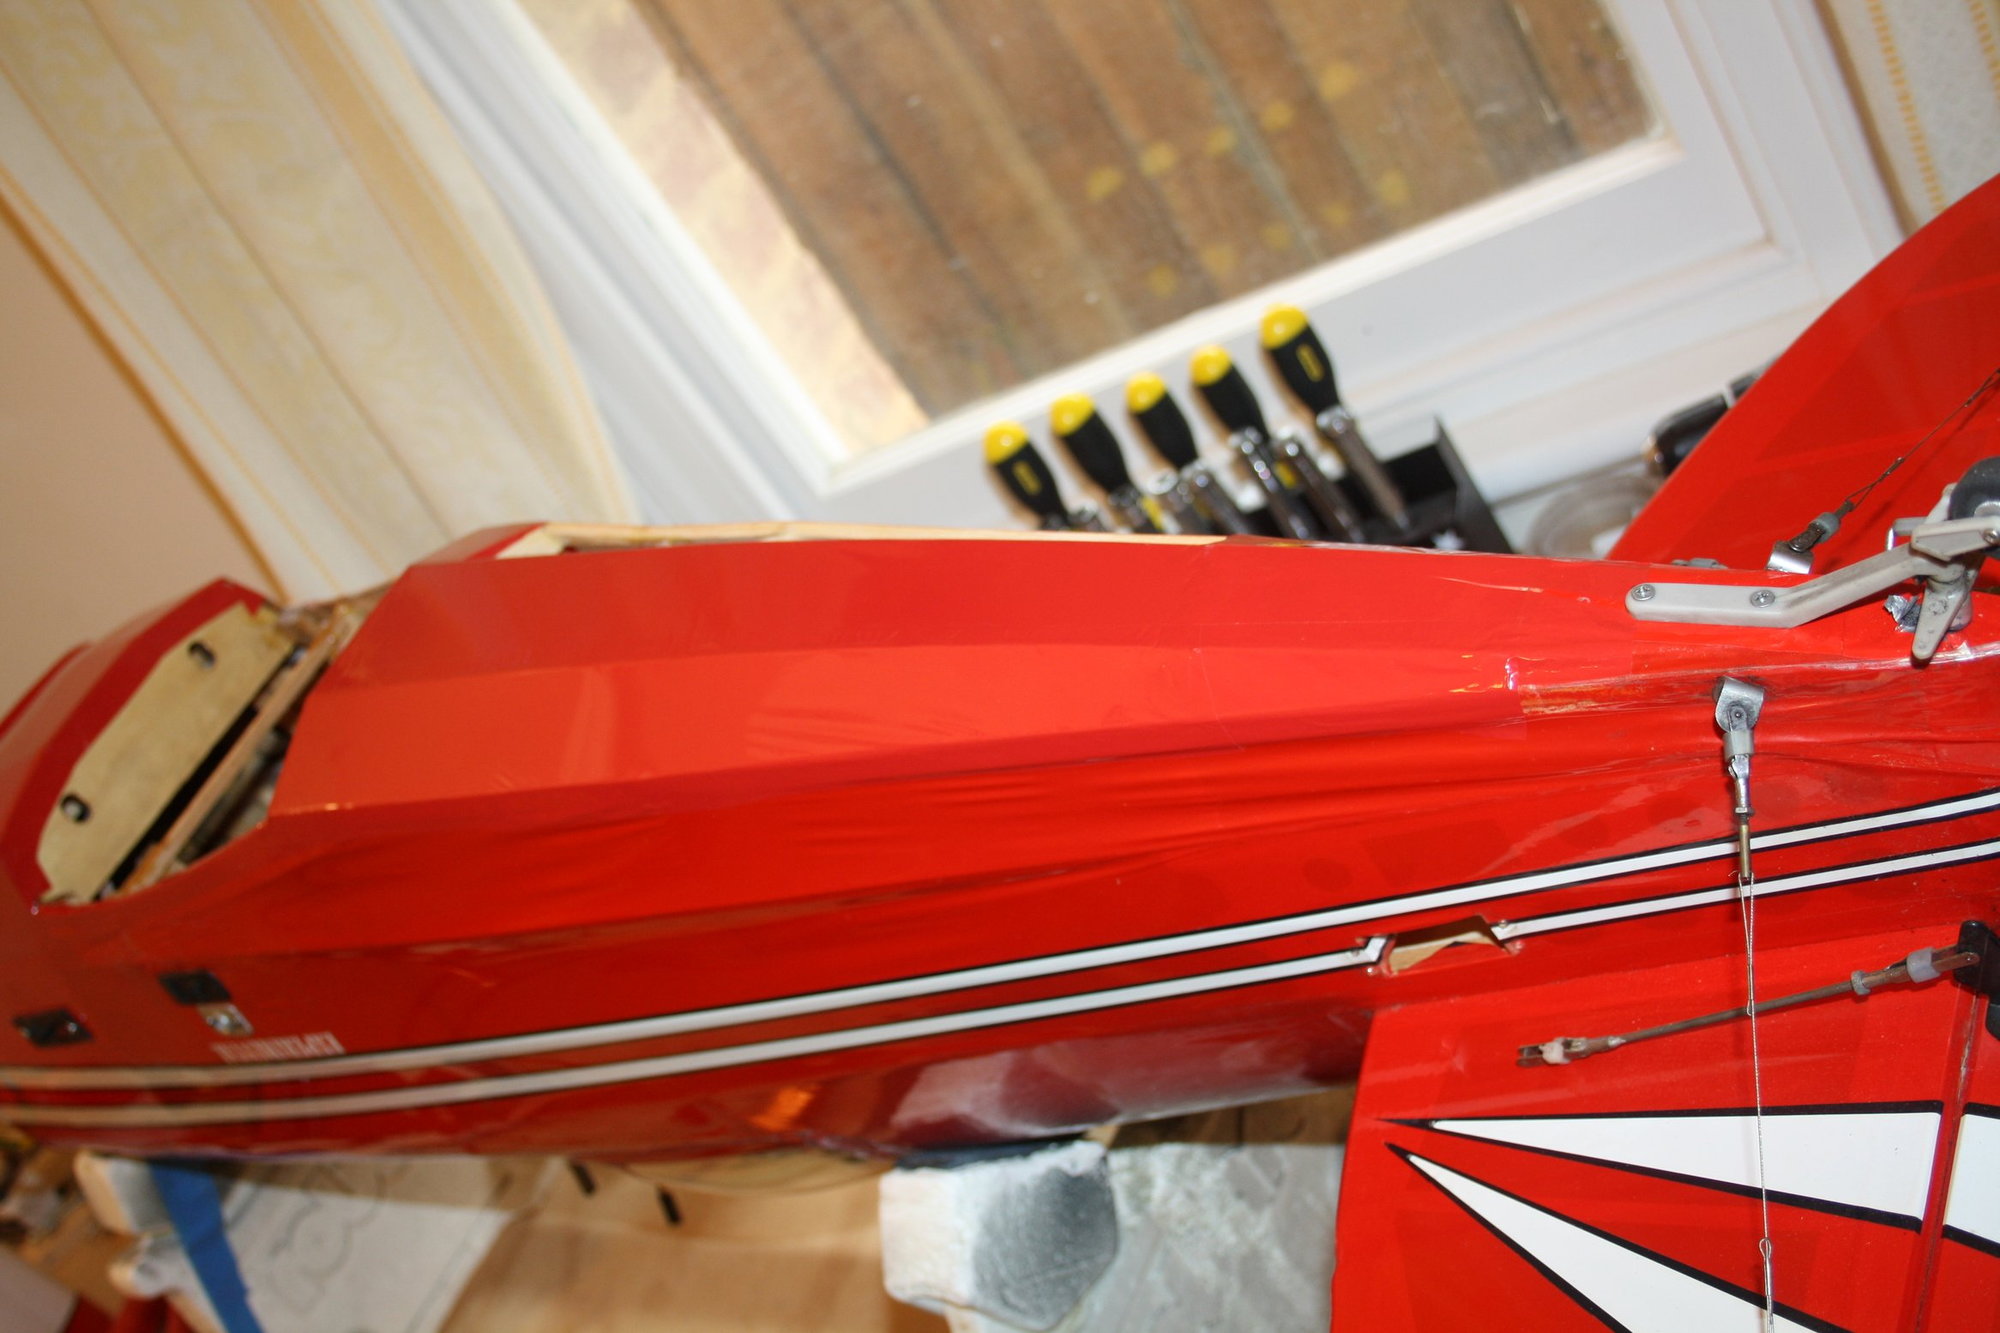
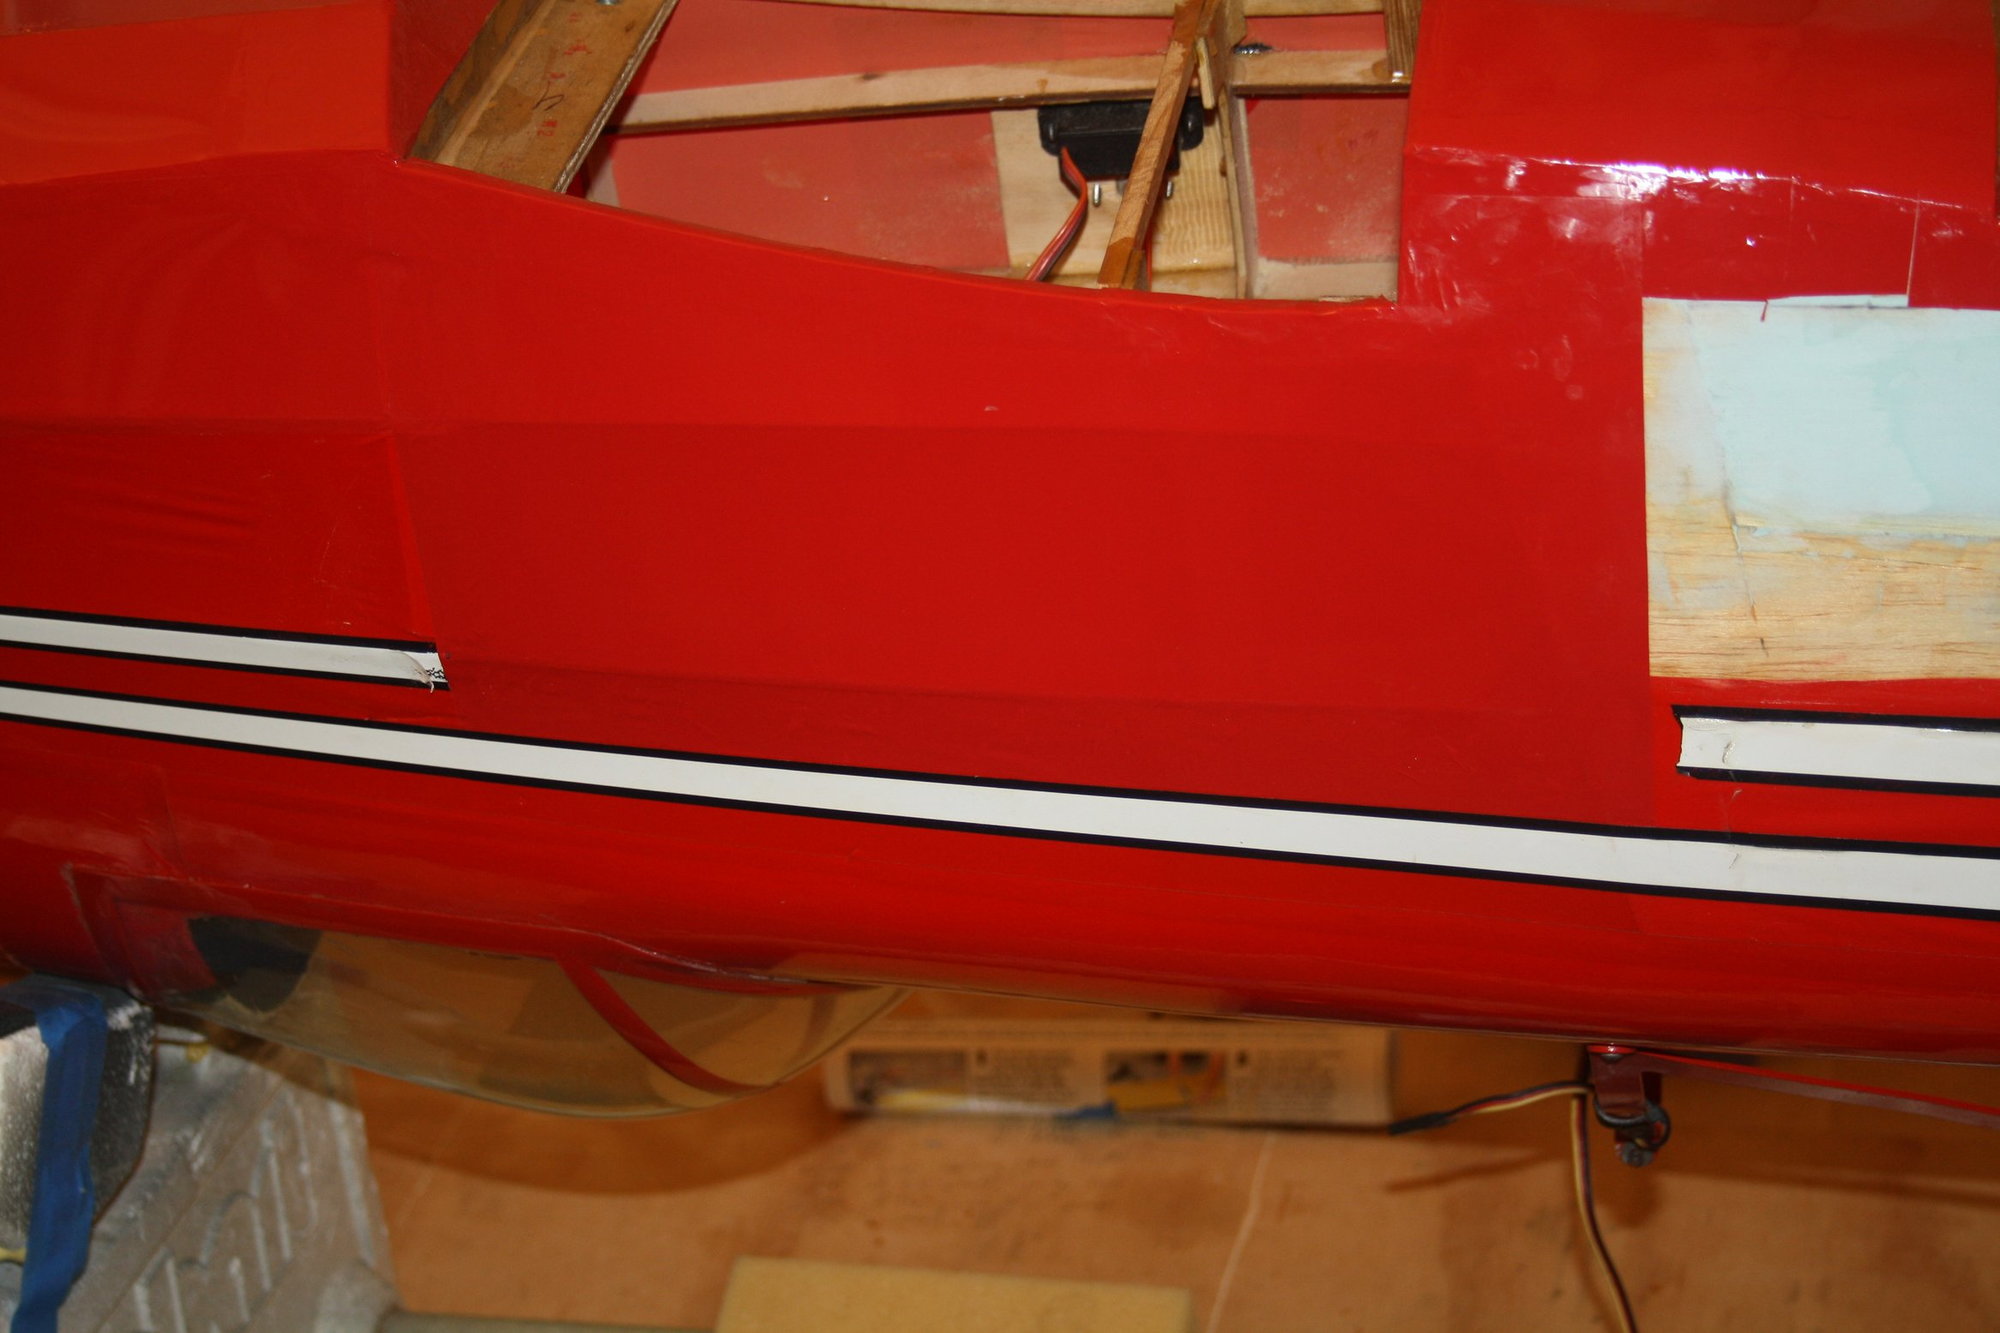
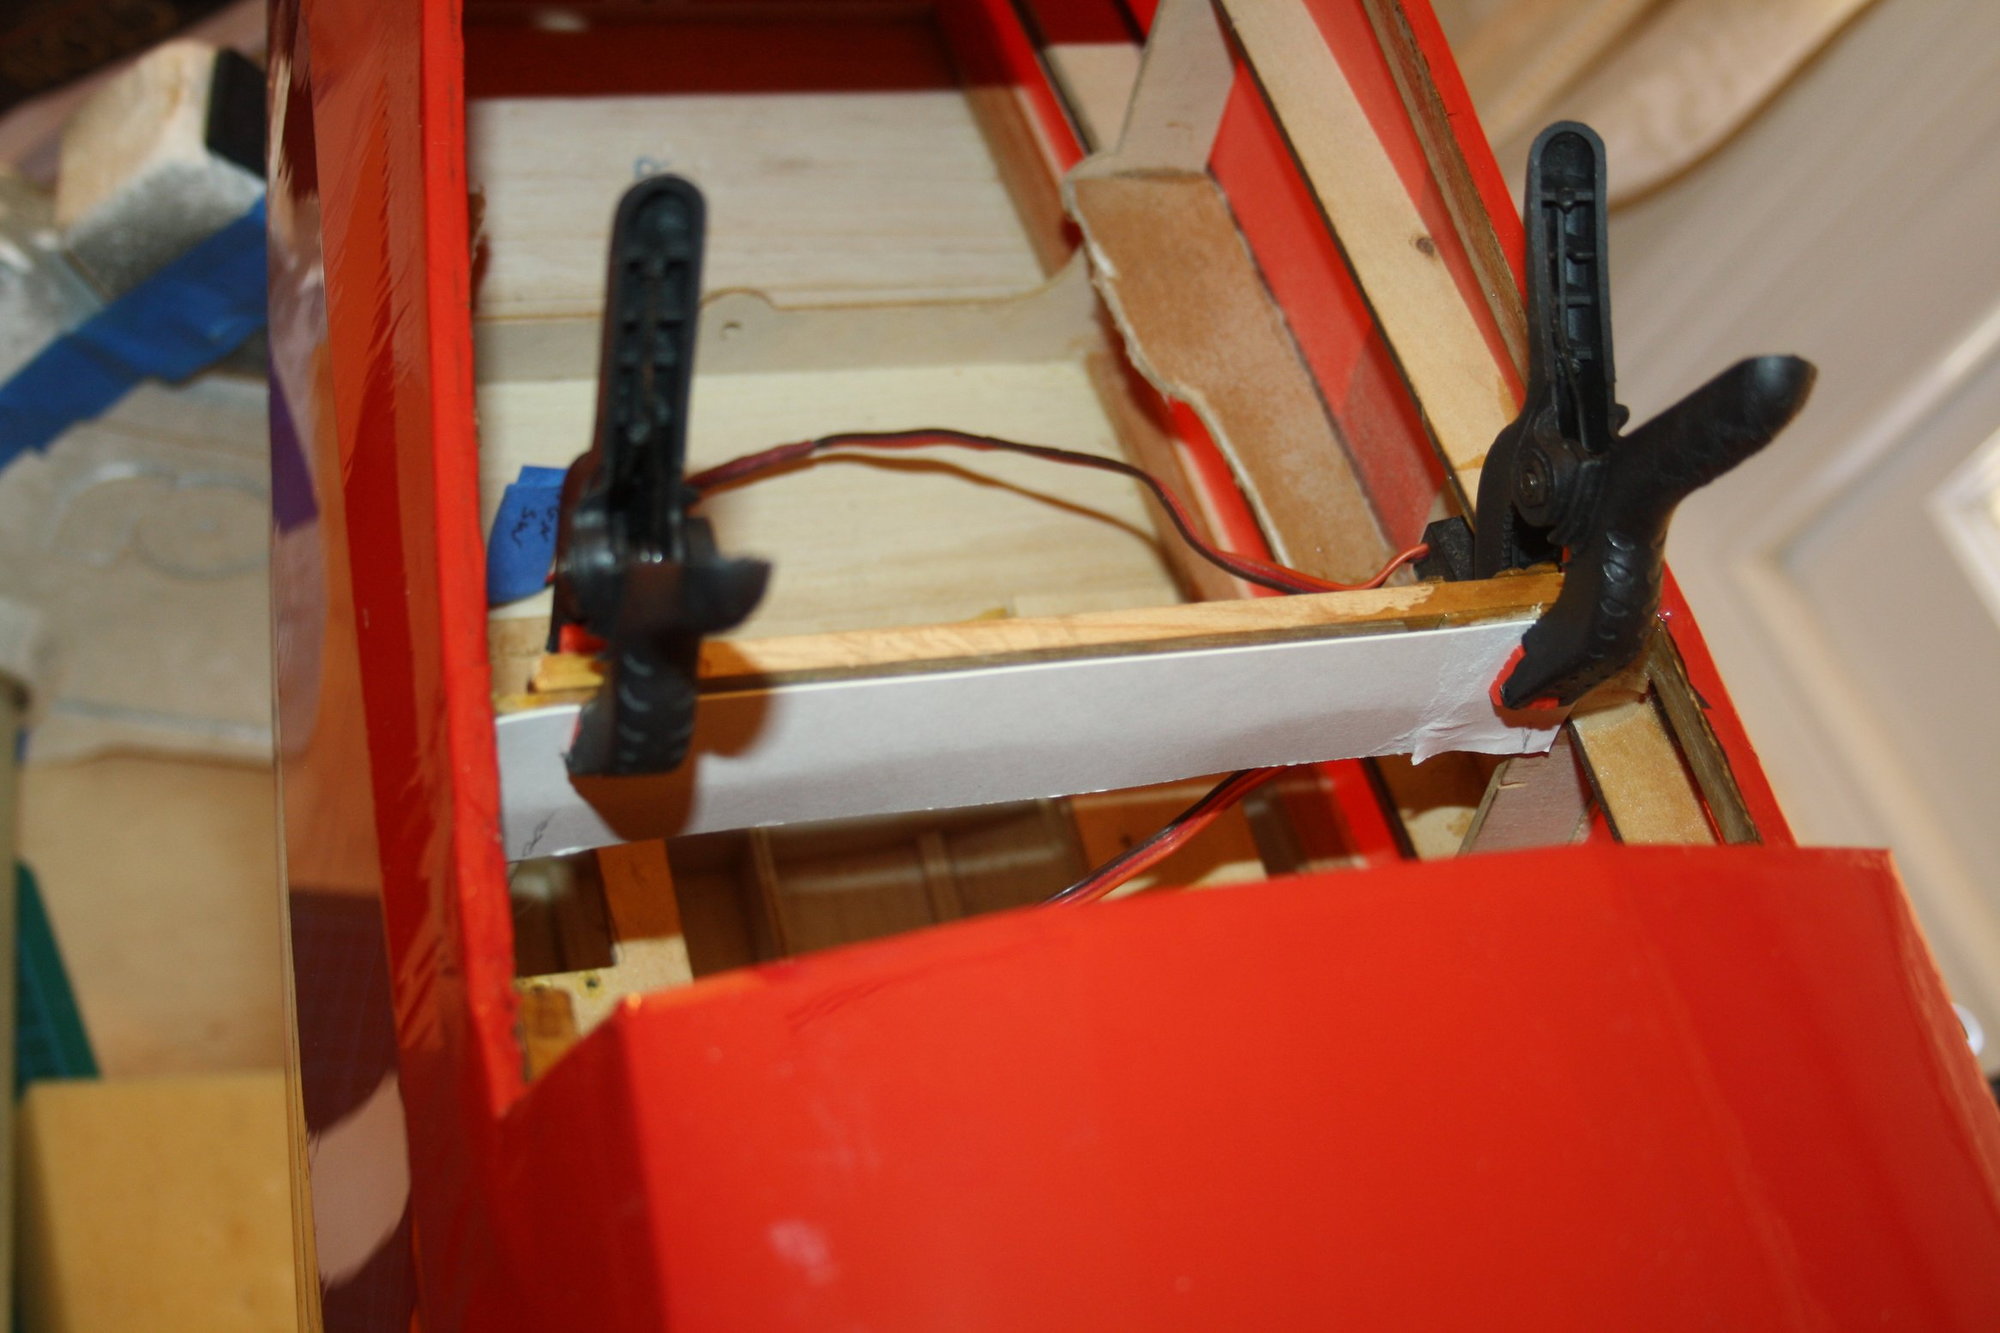
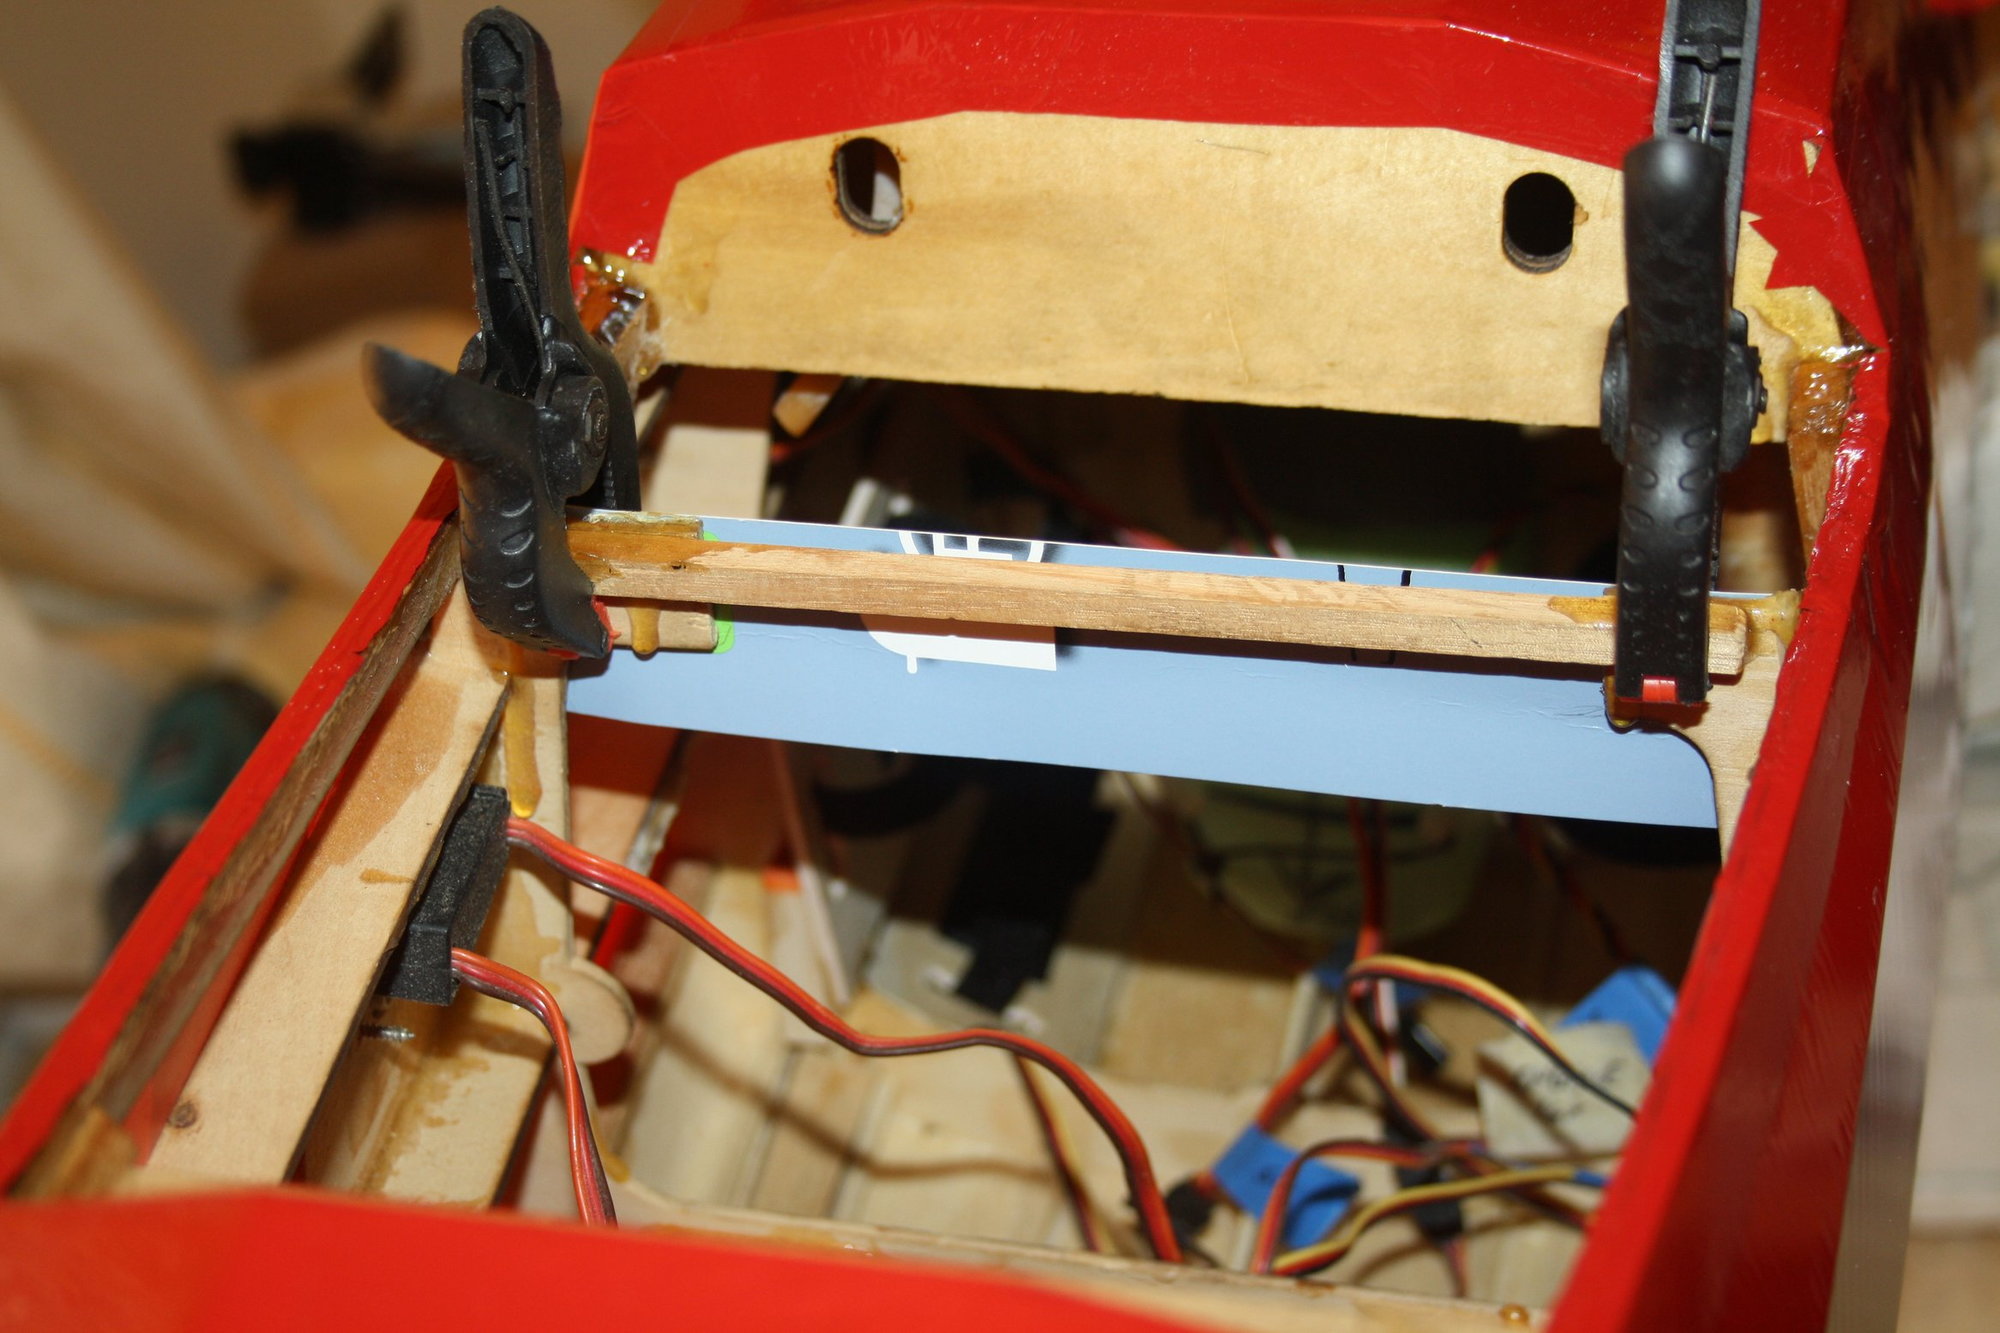
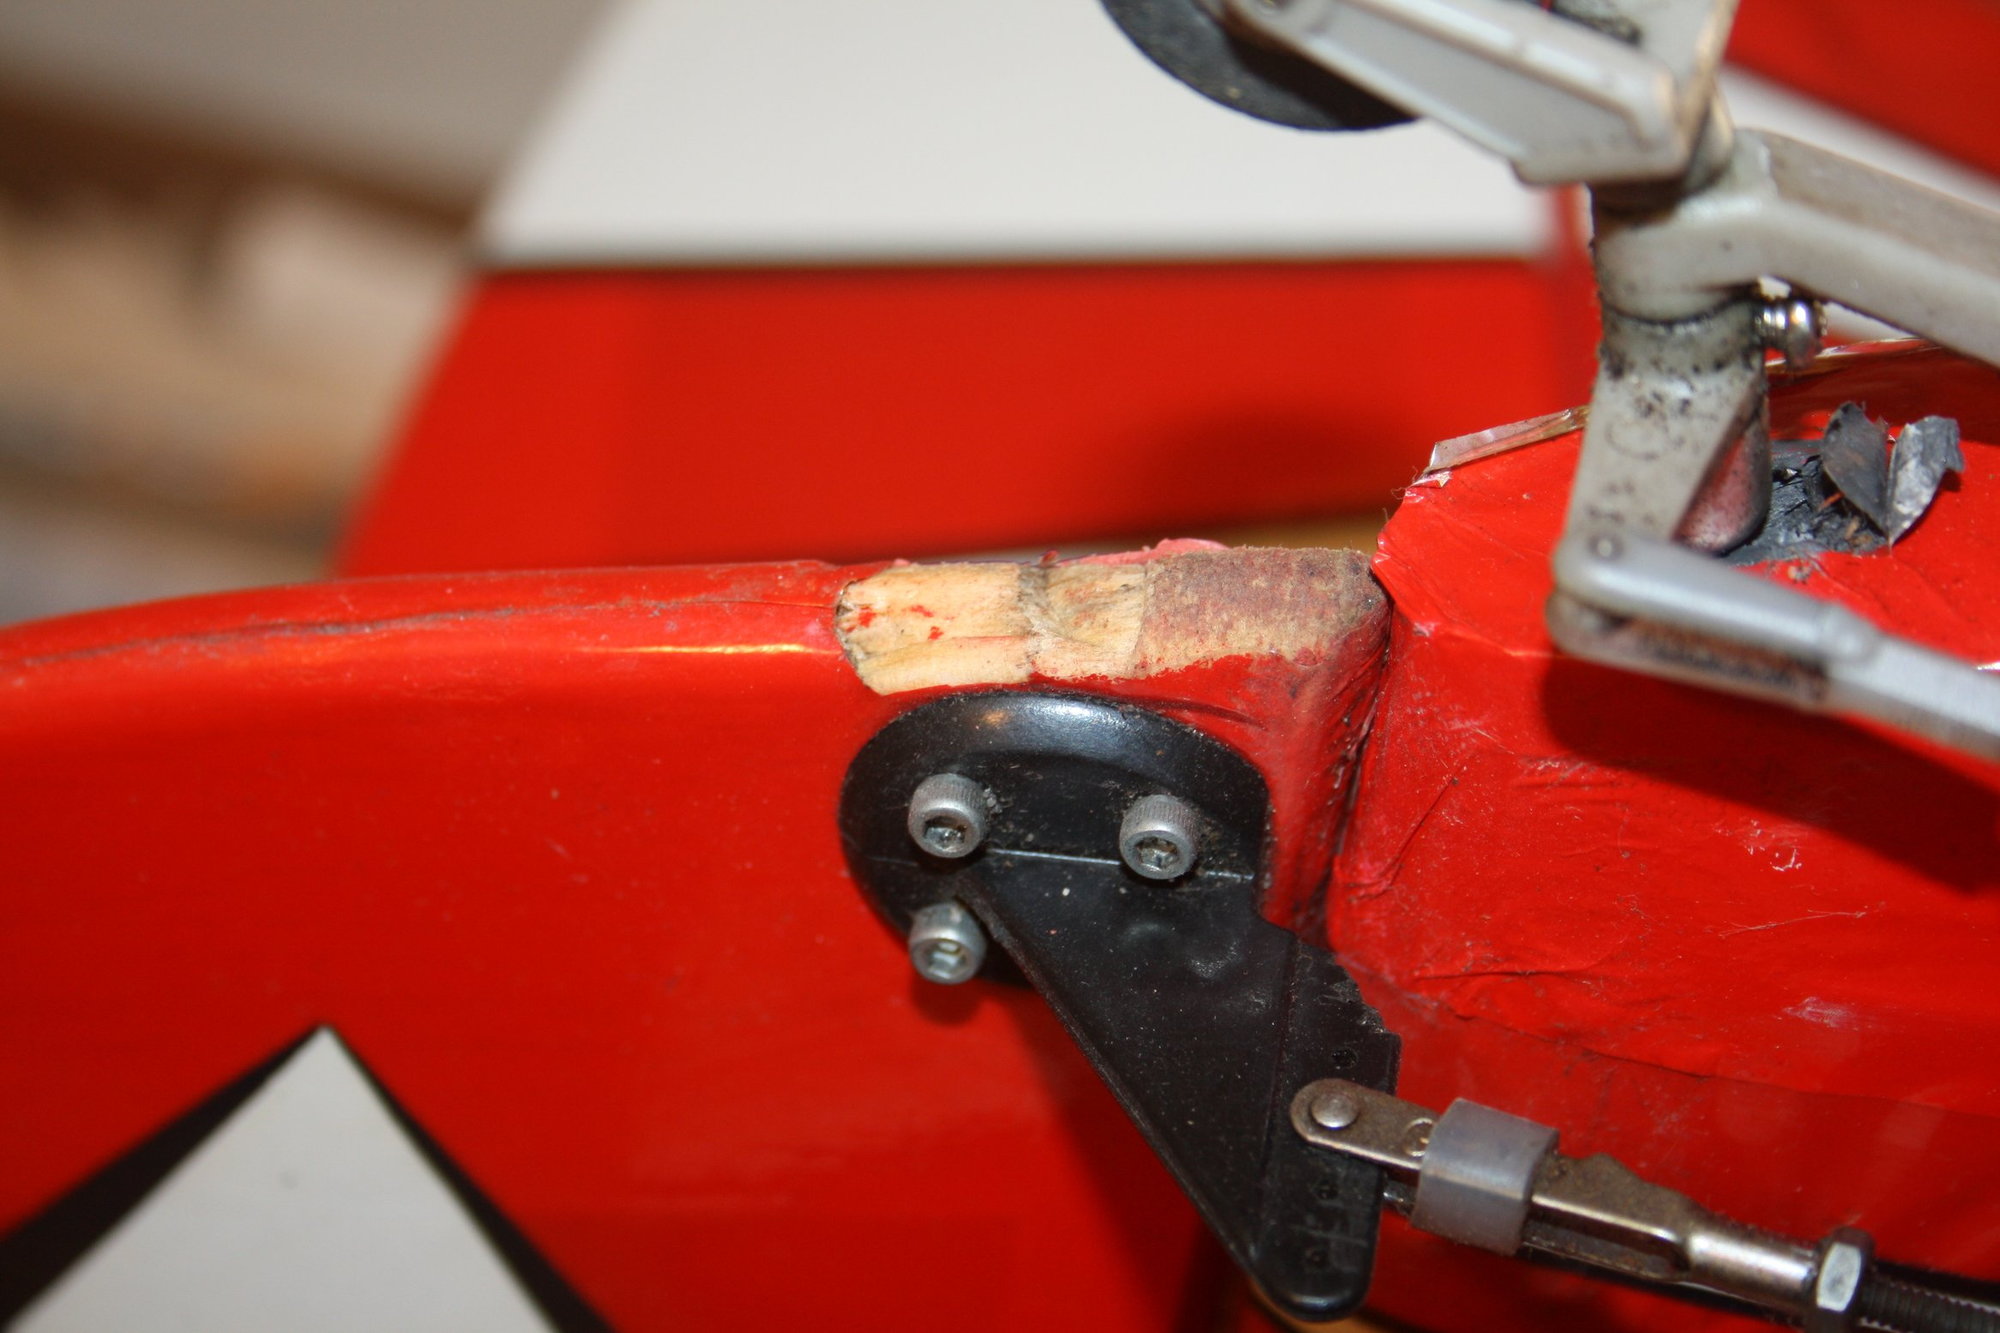
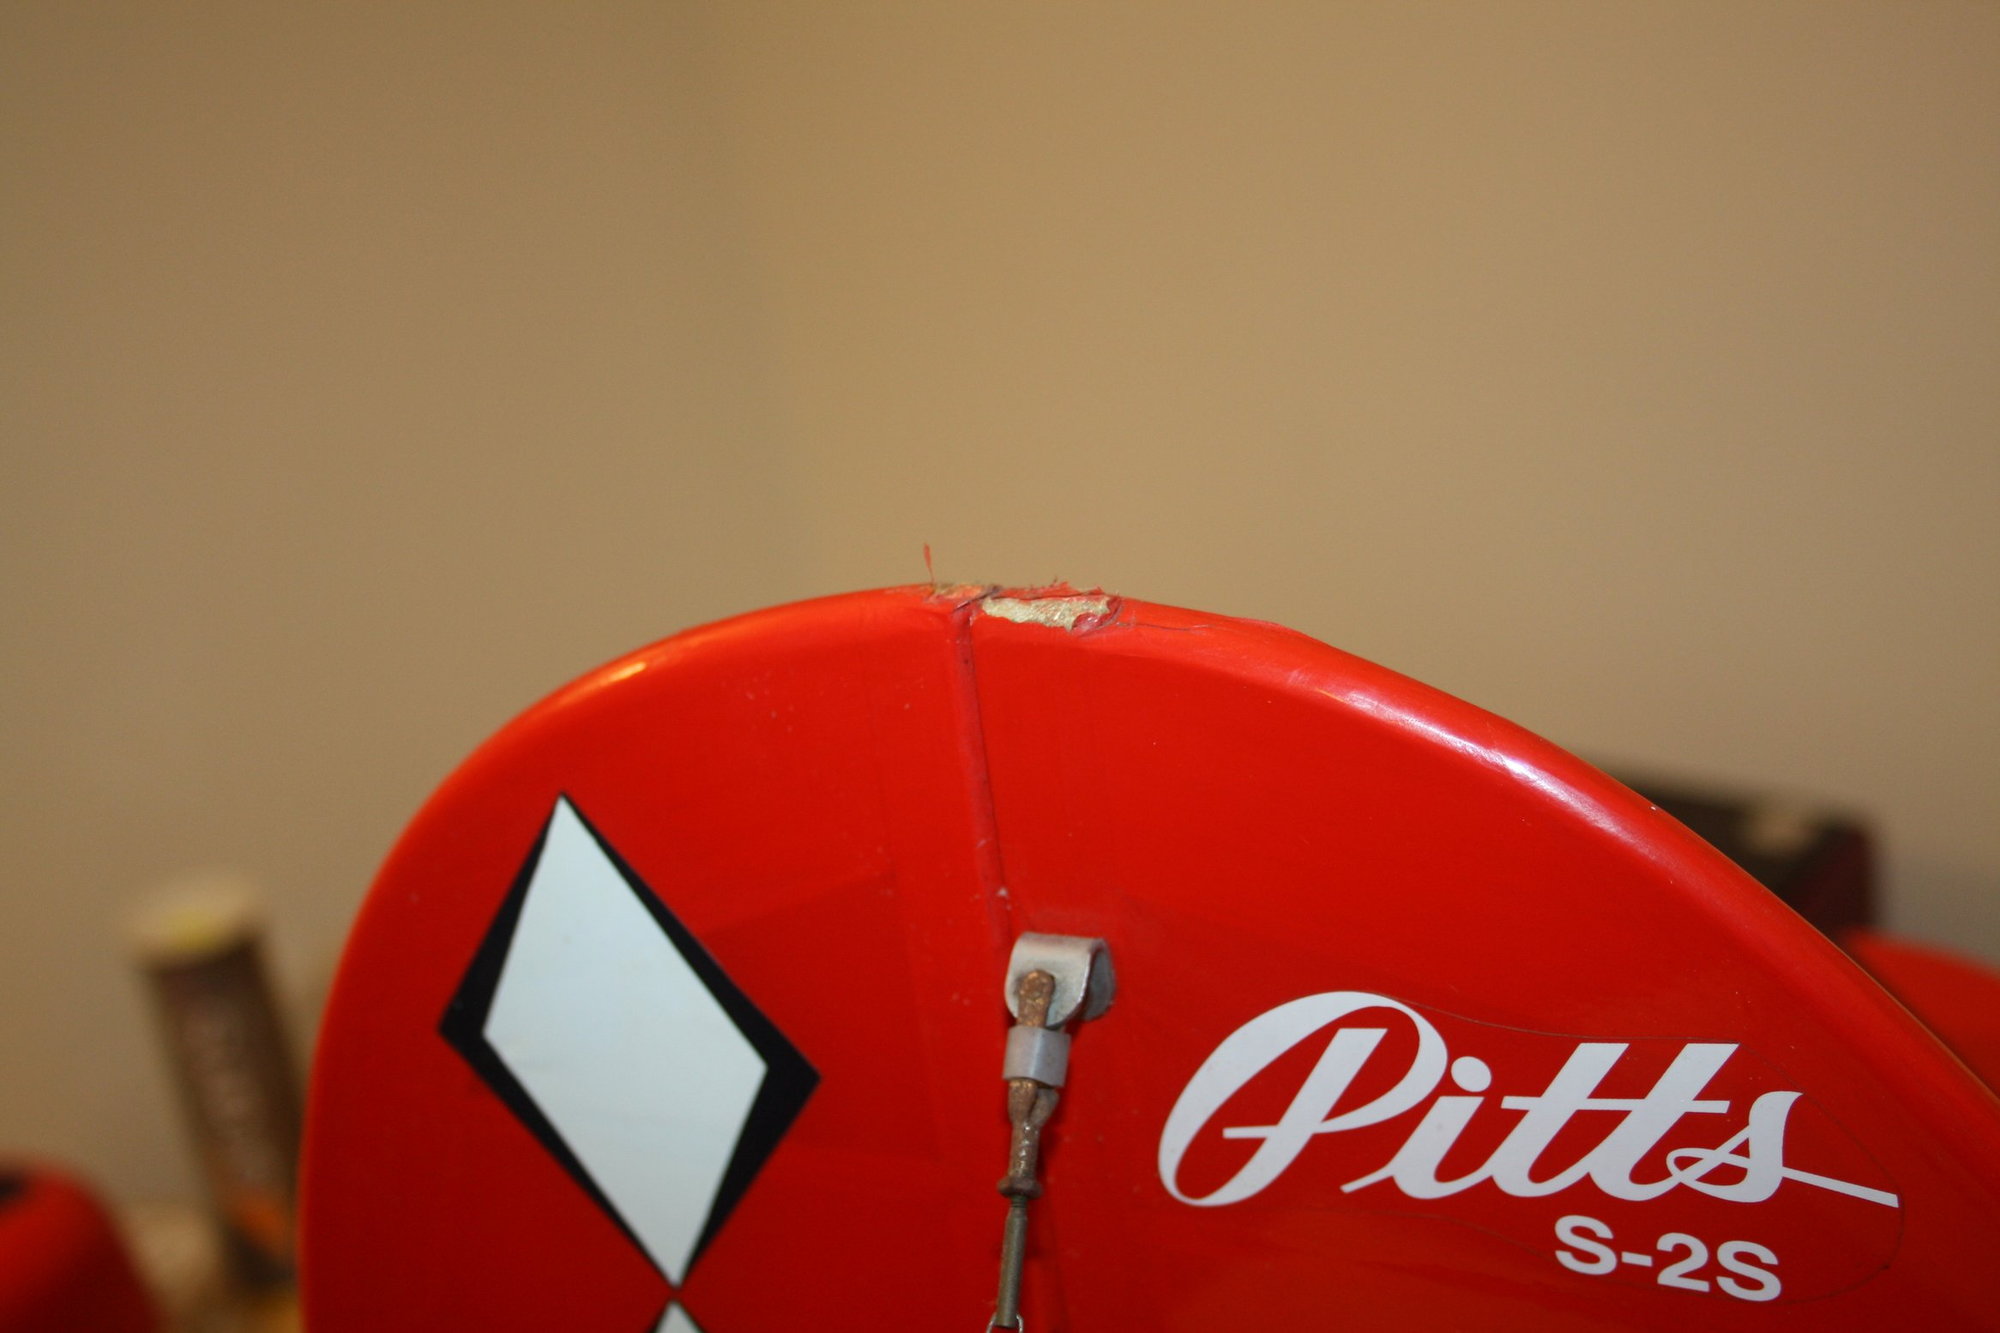
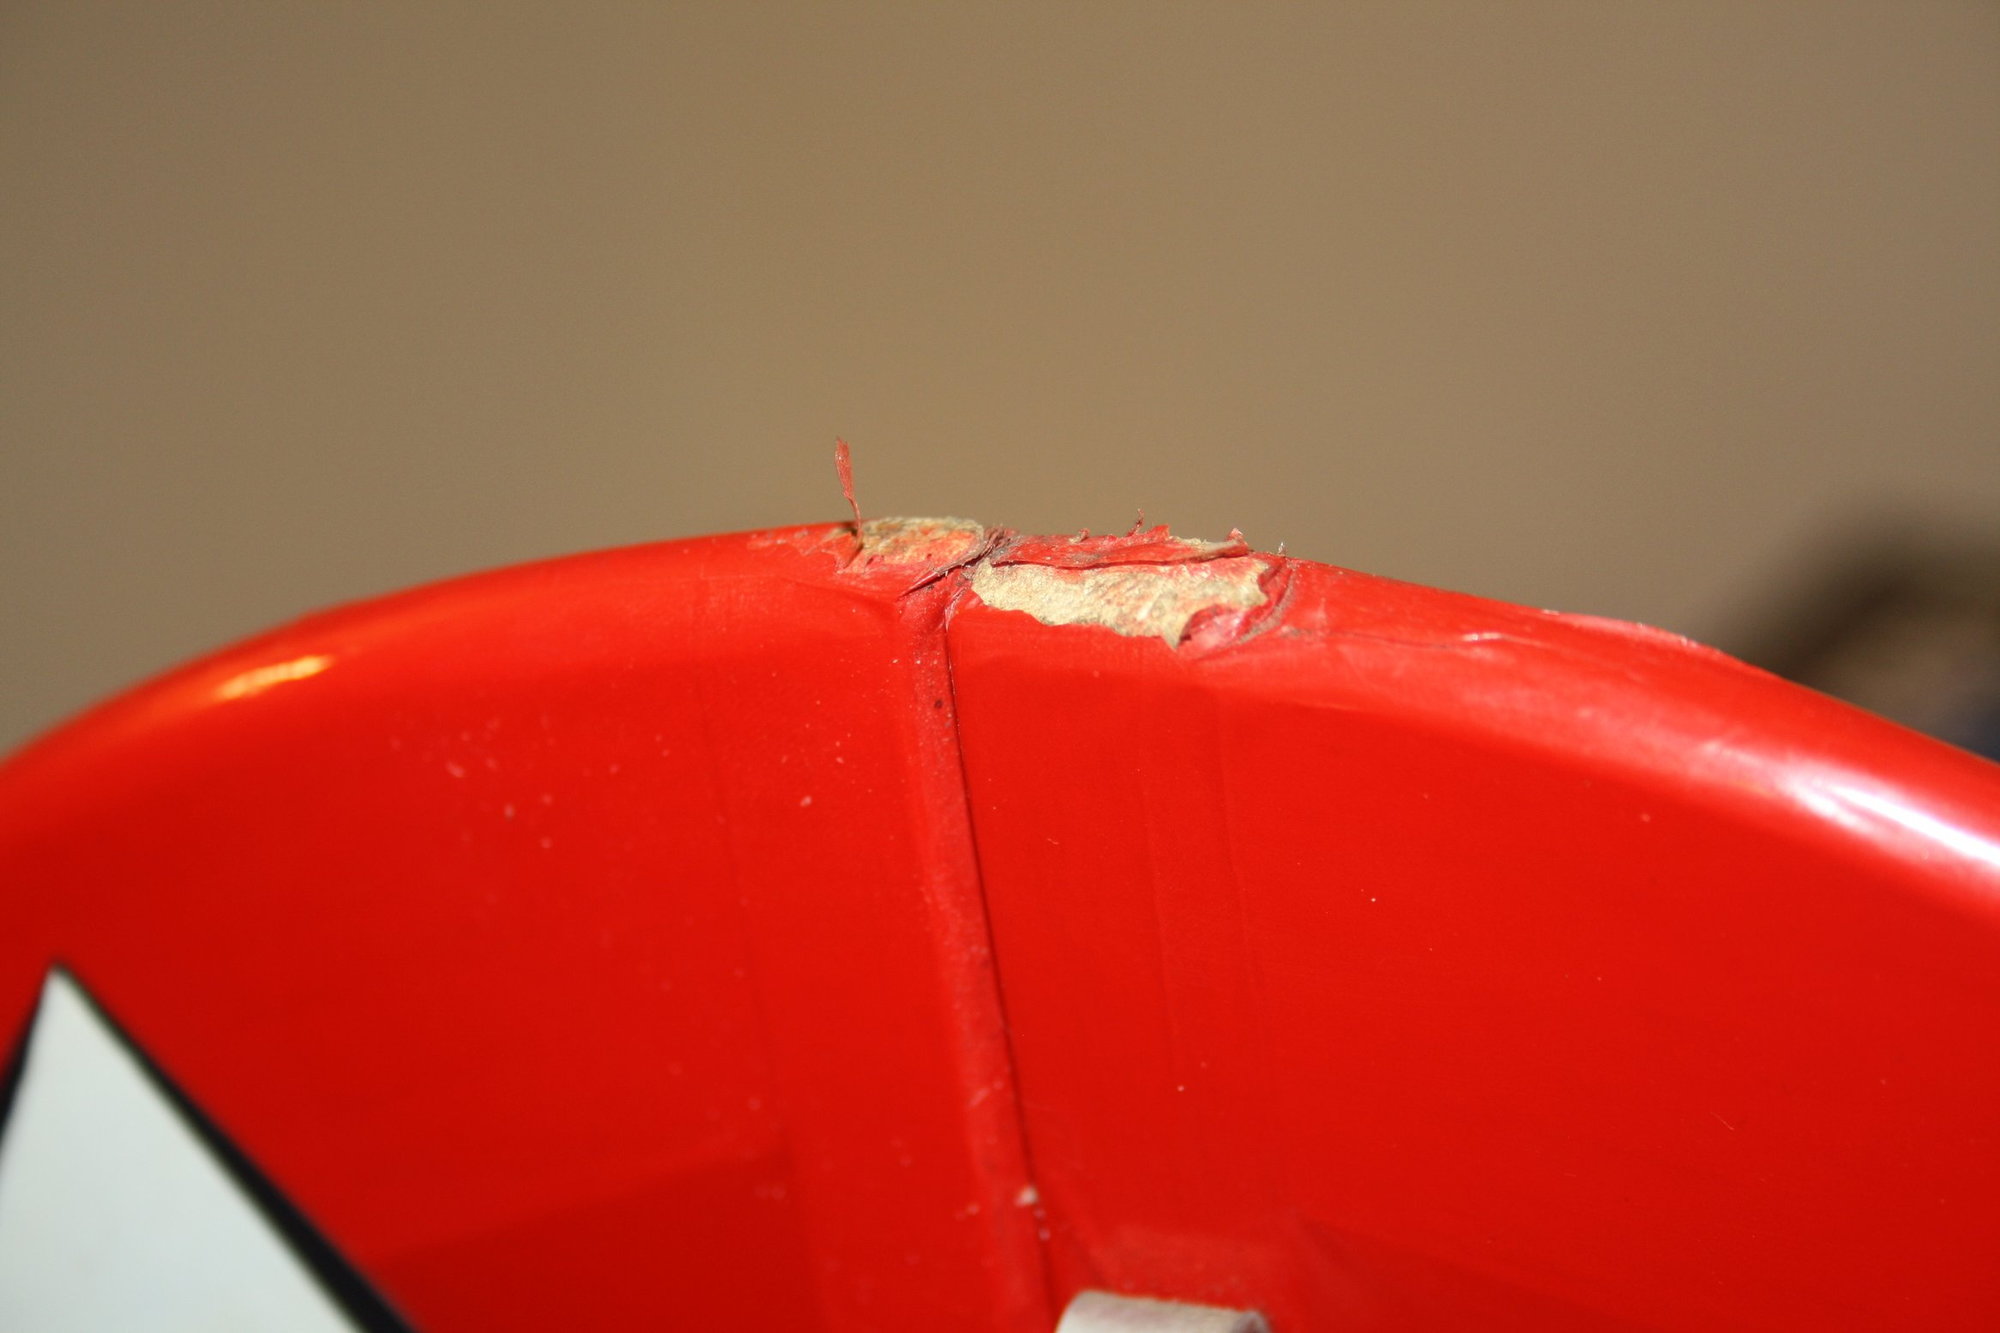
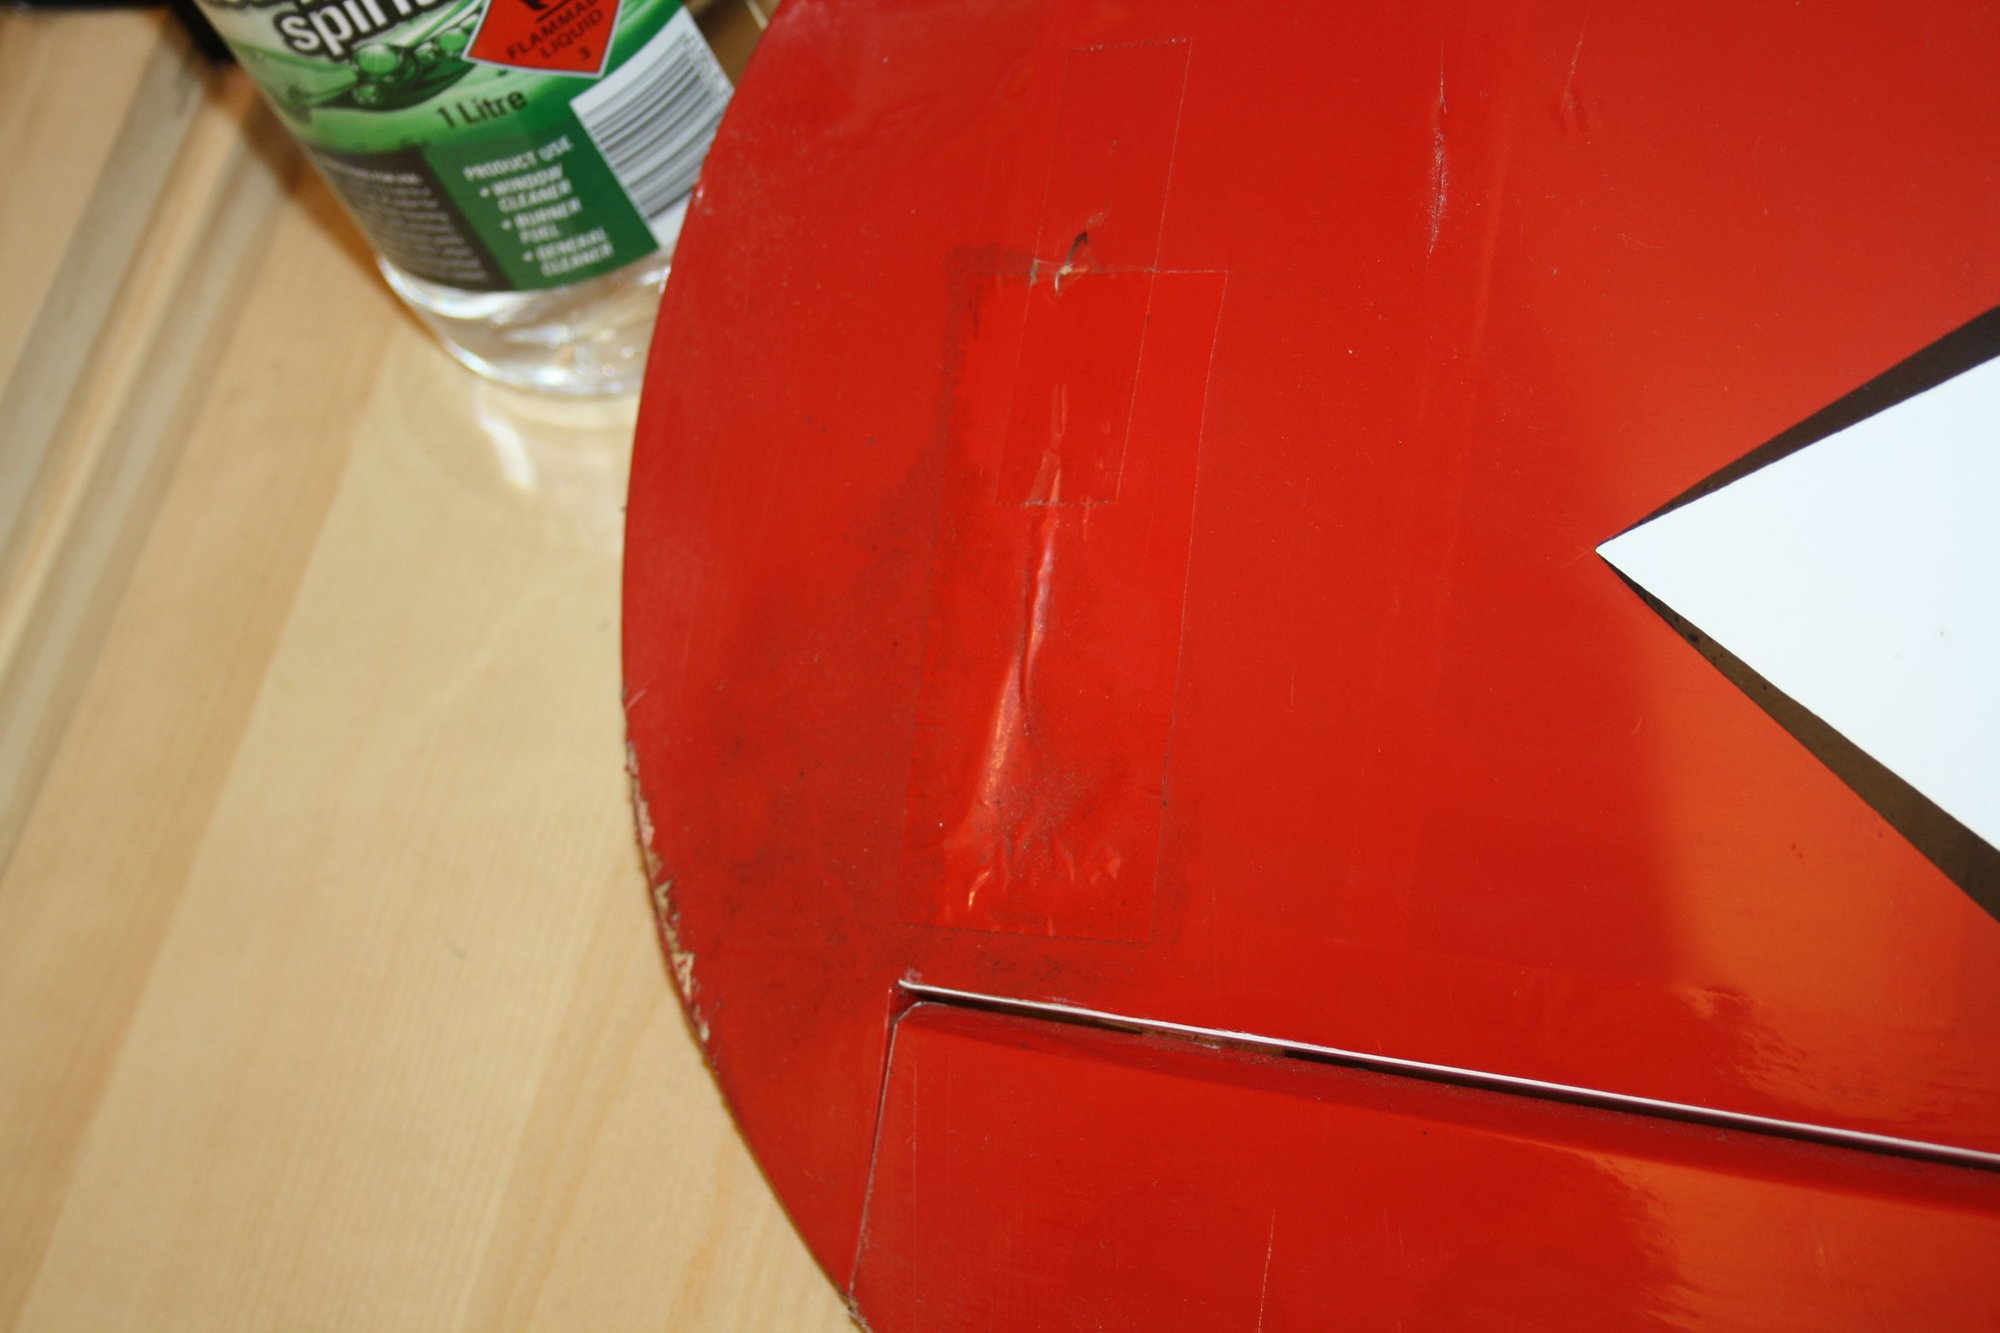
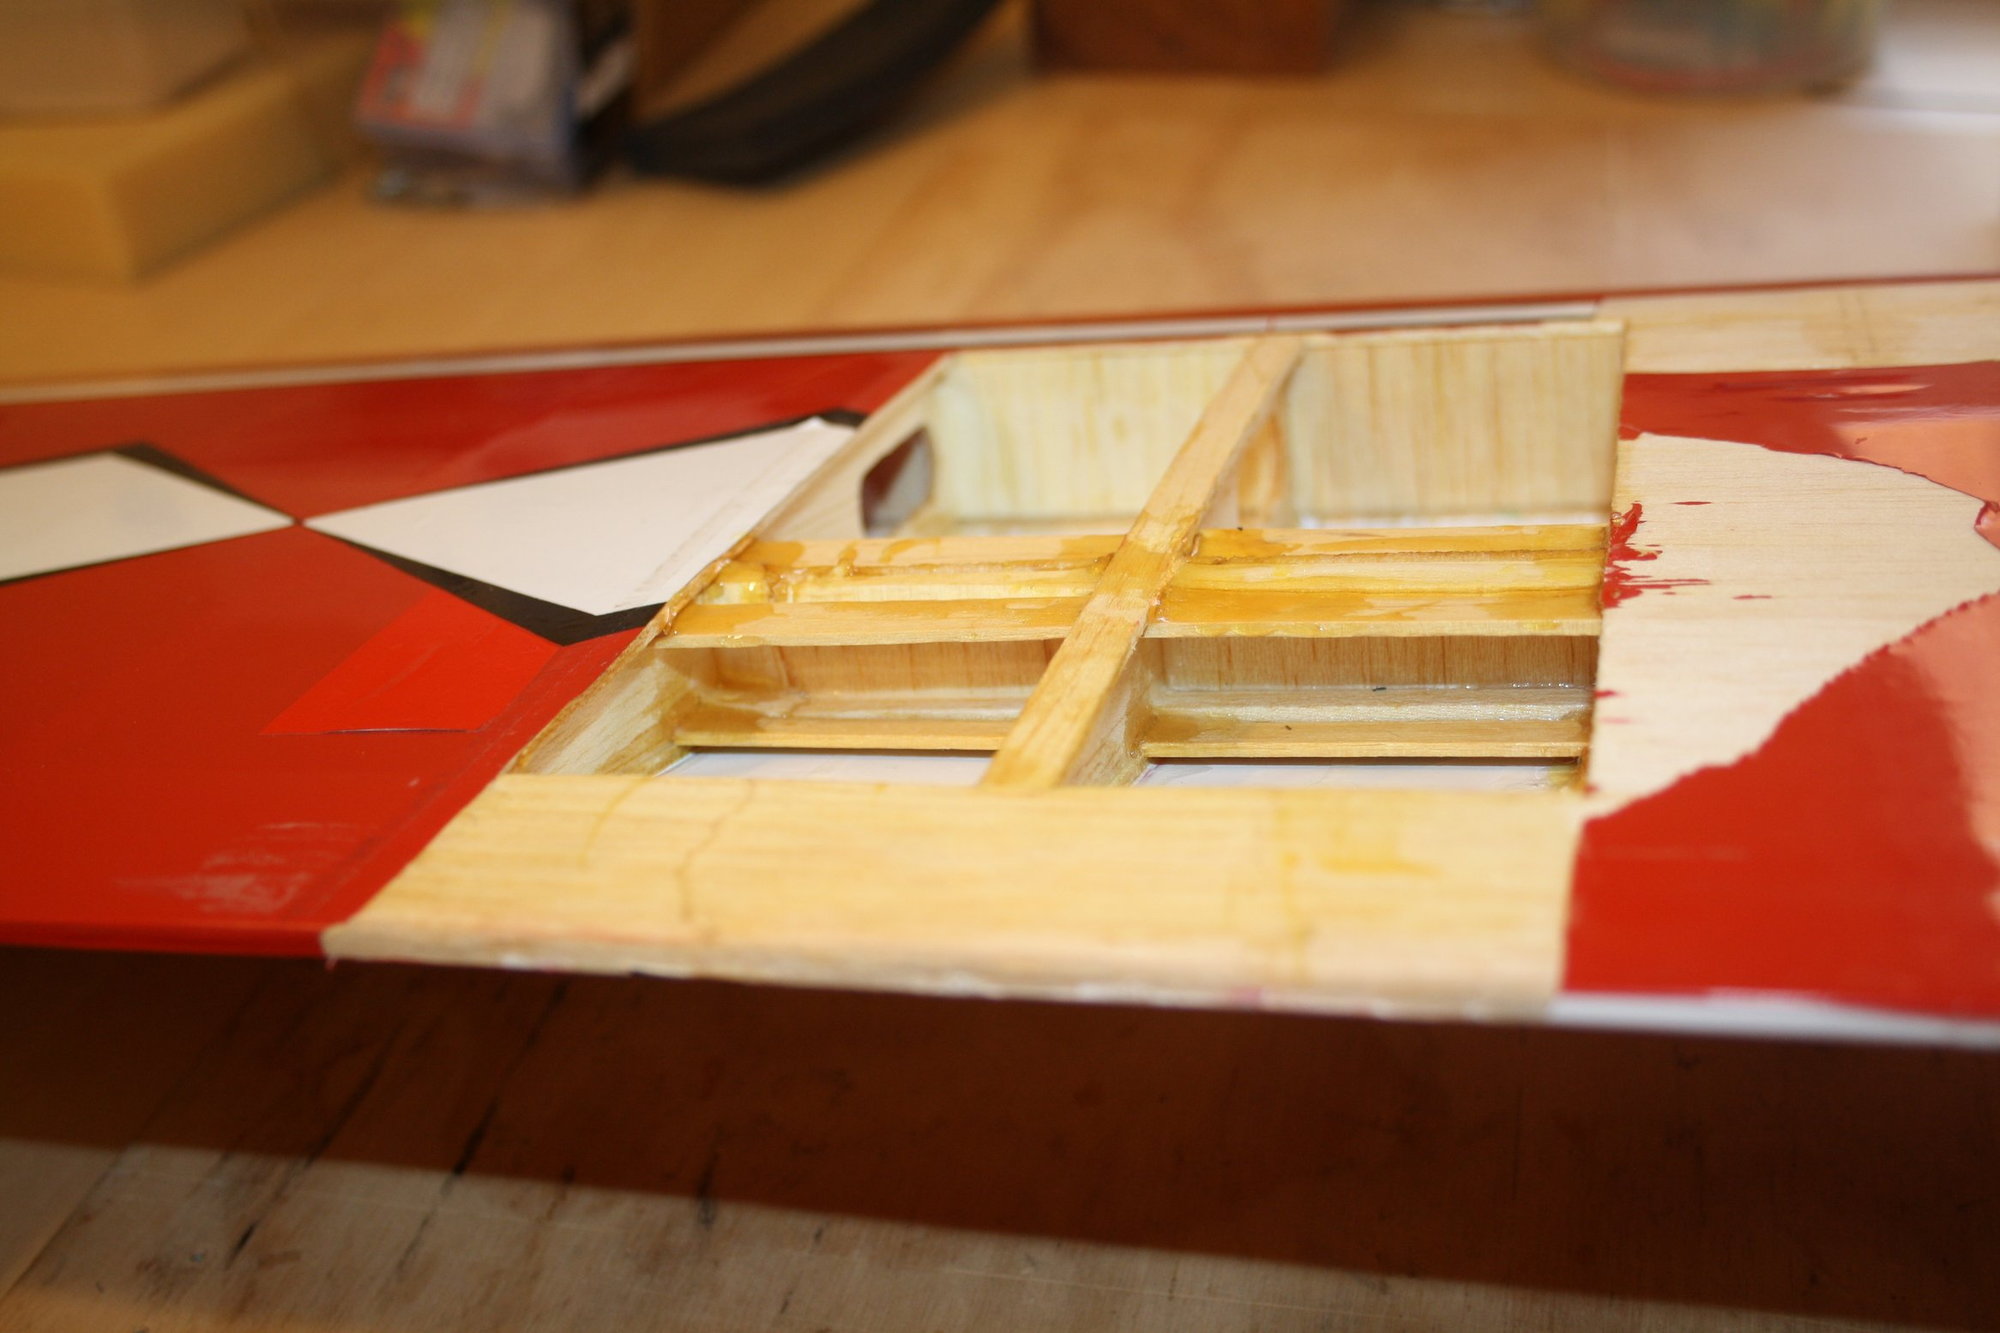
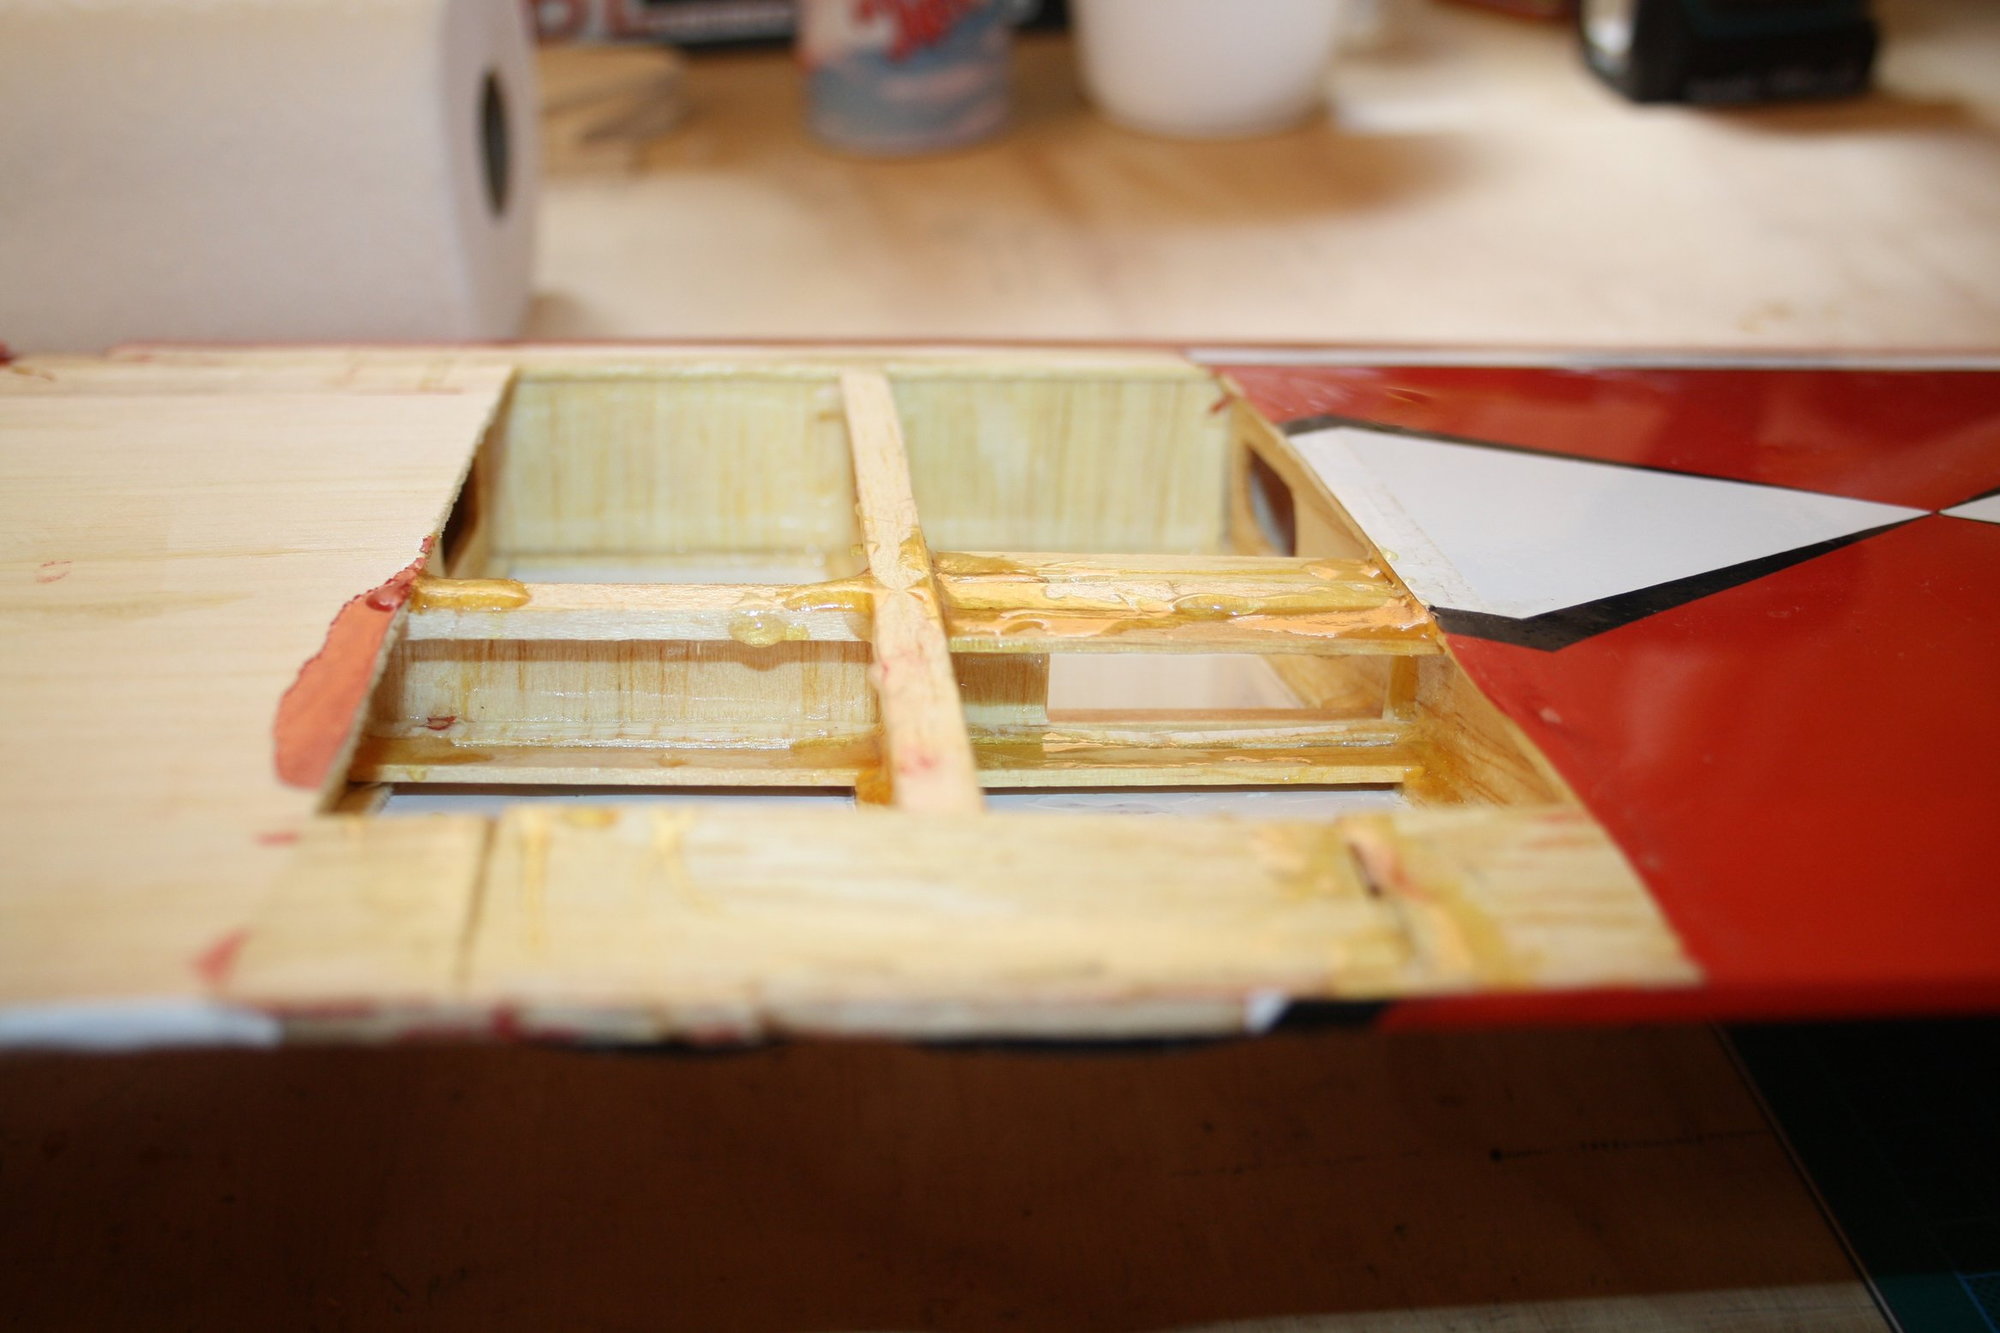
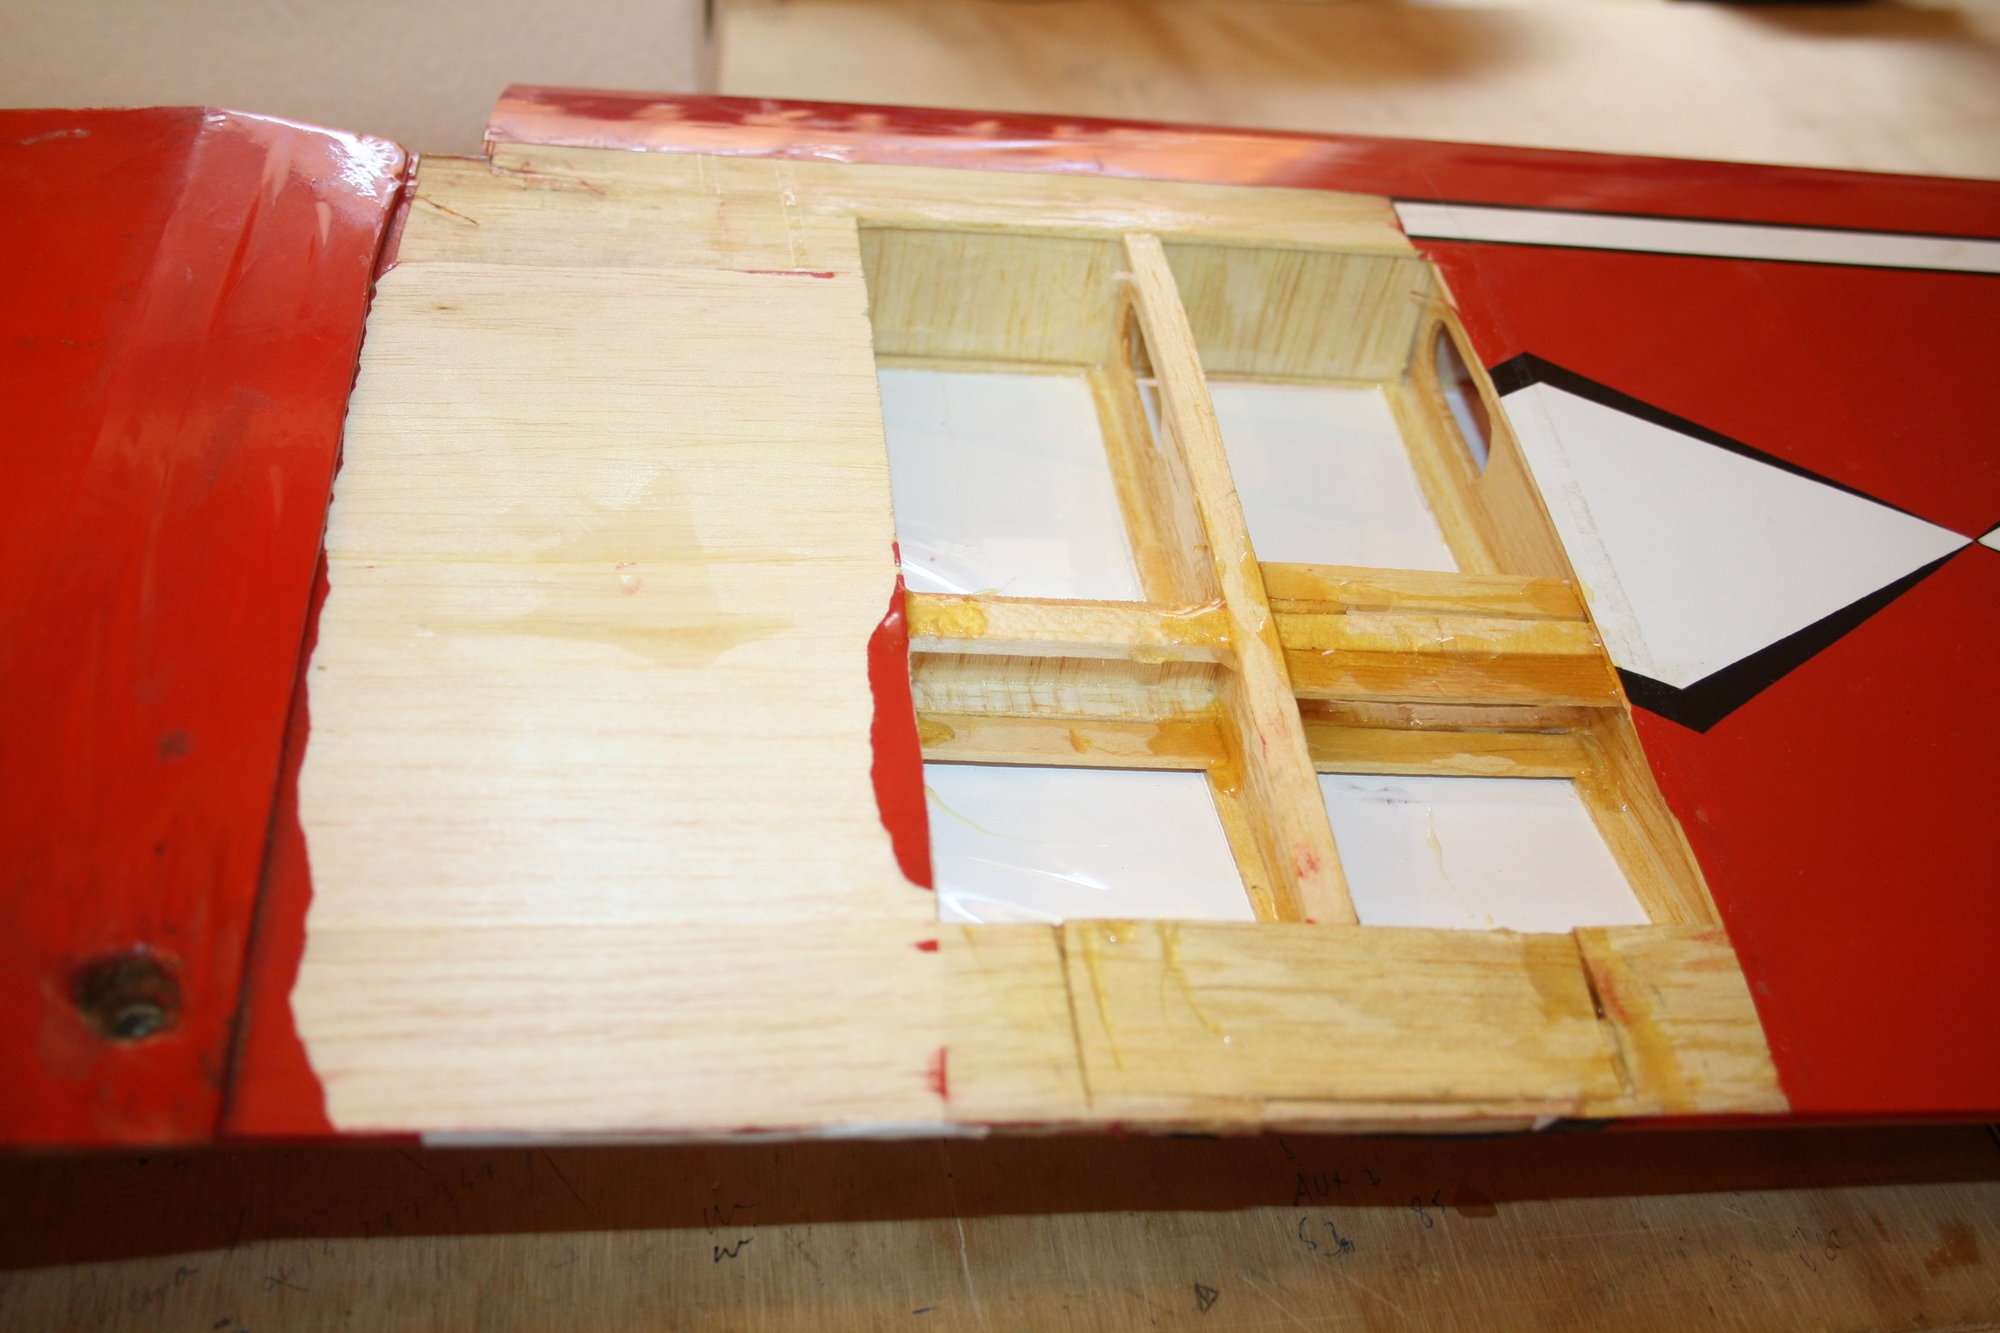
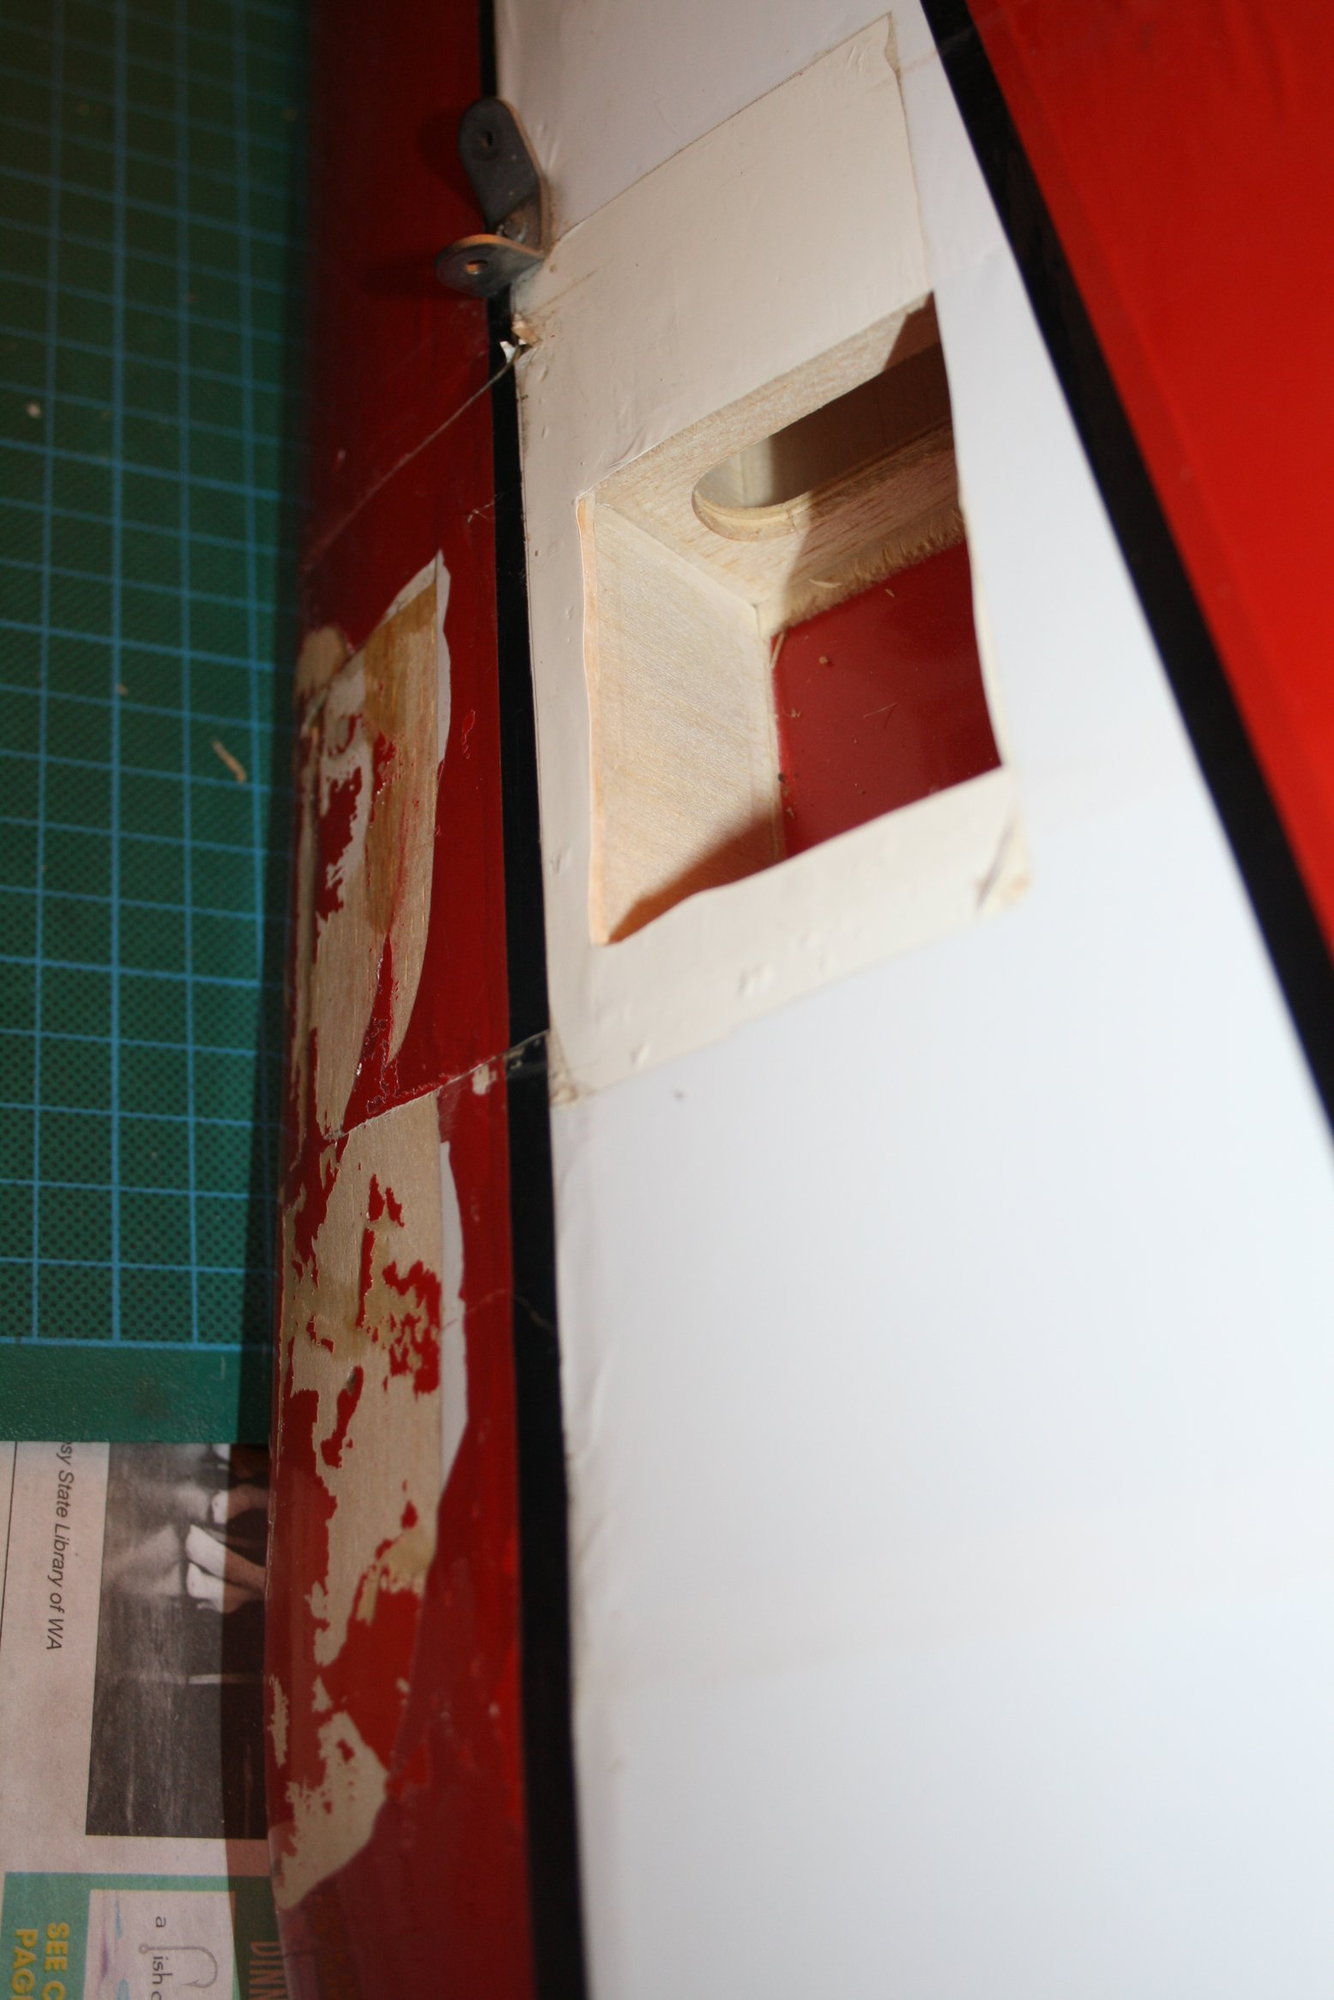
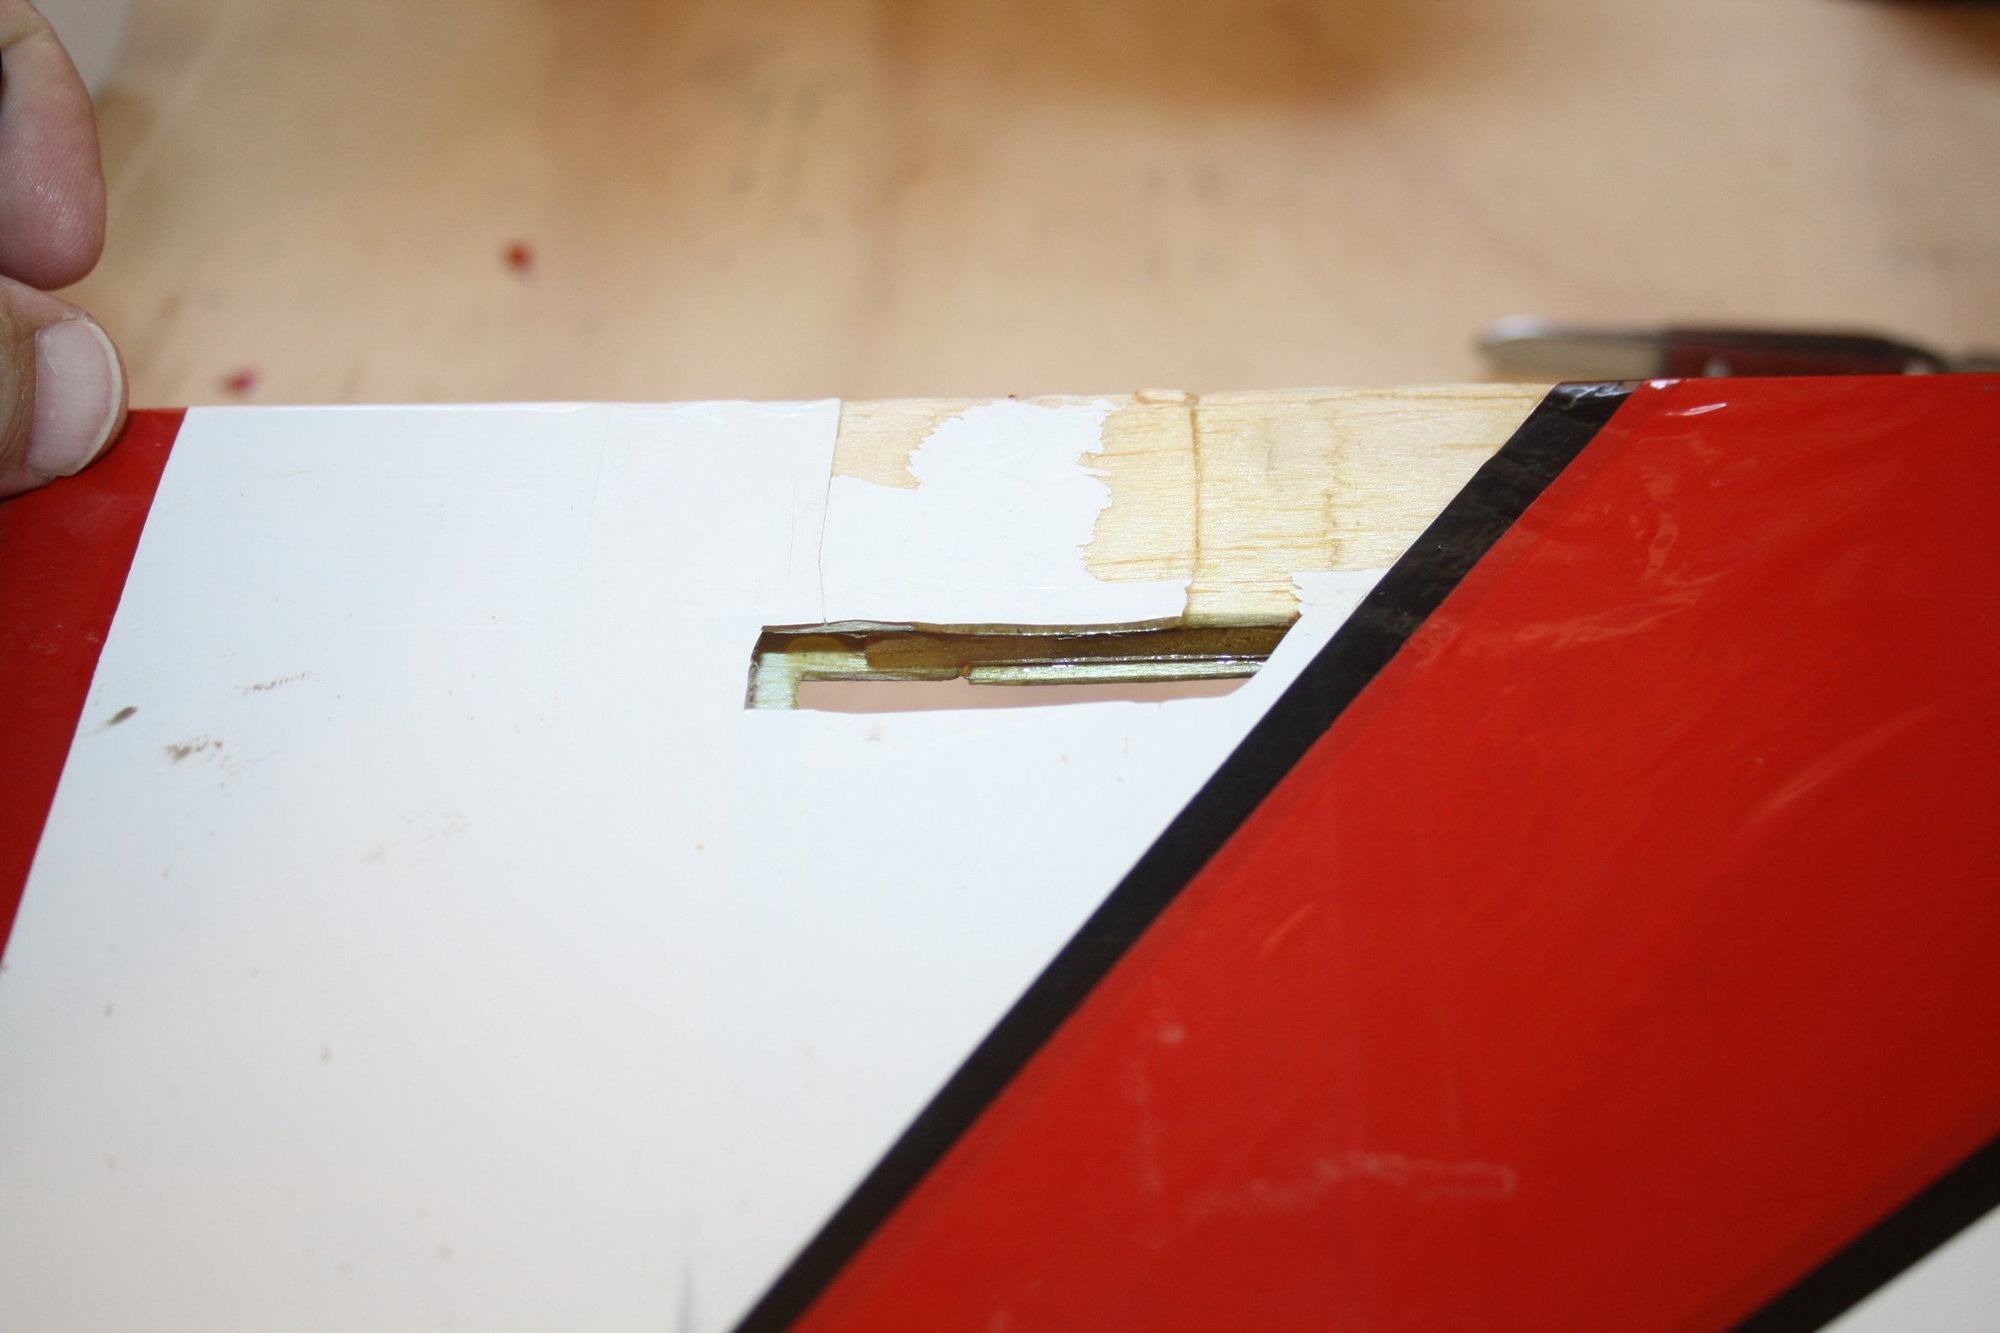
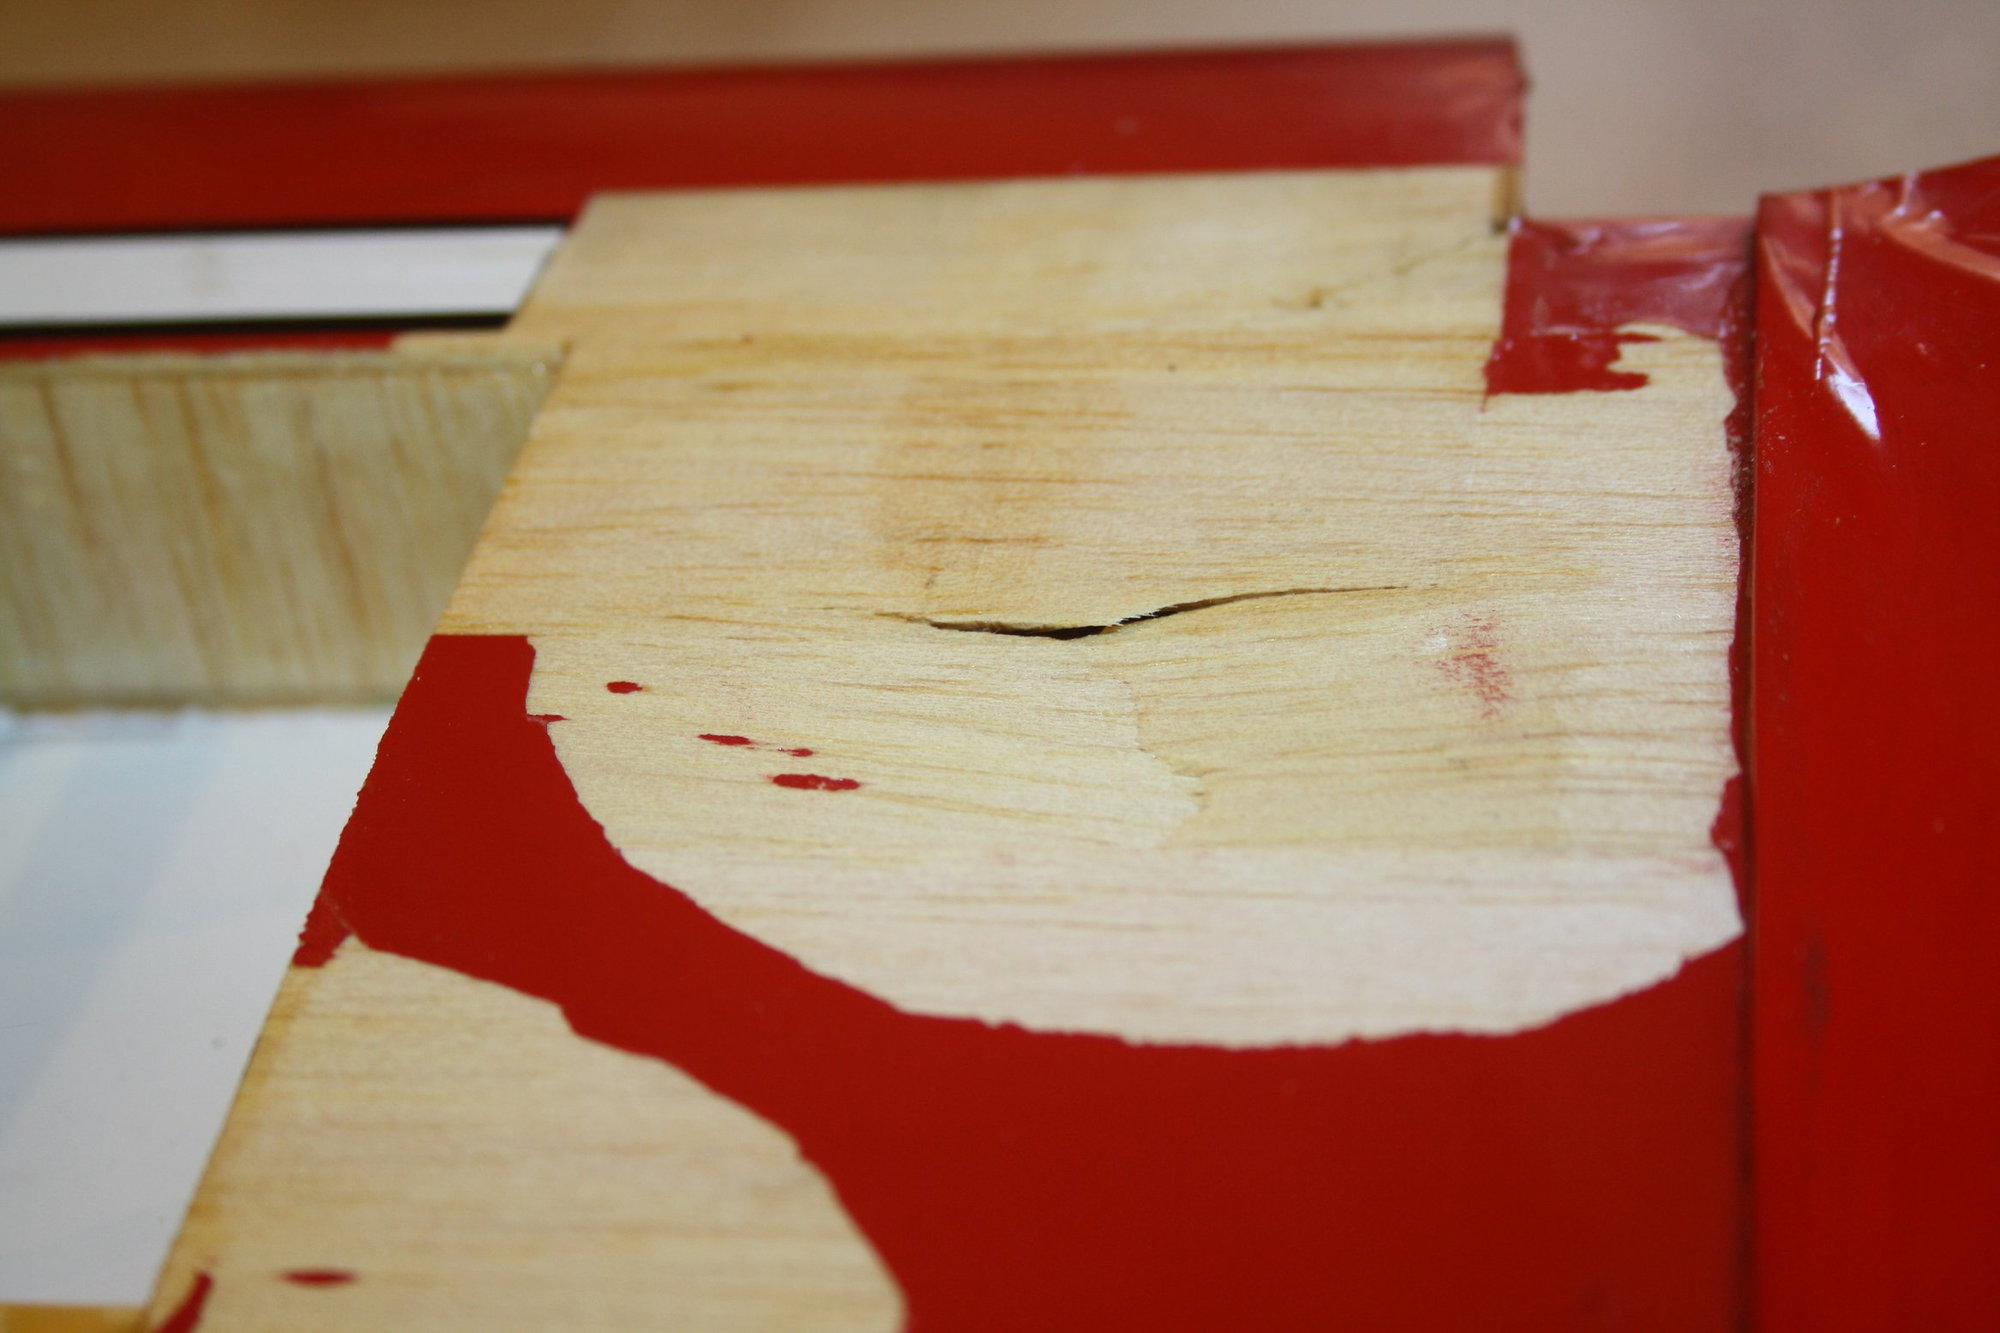
As mentioned before, the bottom of the fuselage covering was "held by tape" and of inferior covering material, which raise suspicion that some damage was covered. It was easy to spot one area of concern as shown in the photos. I used a torch to look to the back, and had to remove another tray that was interrupting the investigation and was not part of the original aeroplane anyway. Considering the amount of additional led weights at the firewall I am confident that additional weight at the back will not be needed.
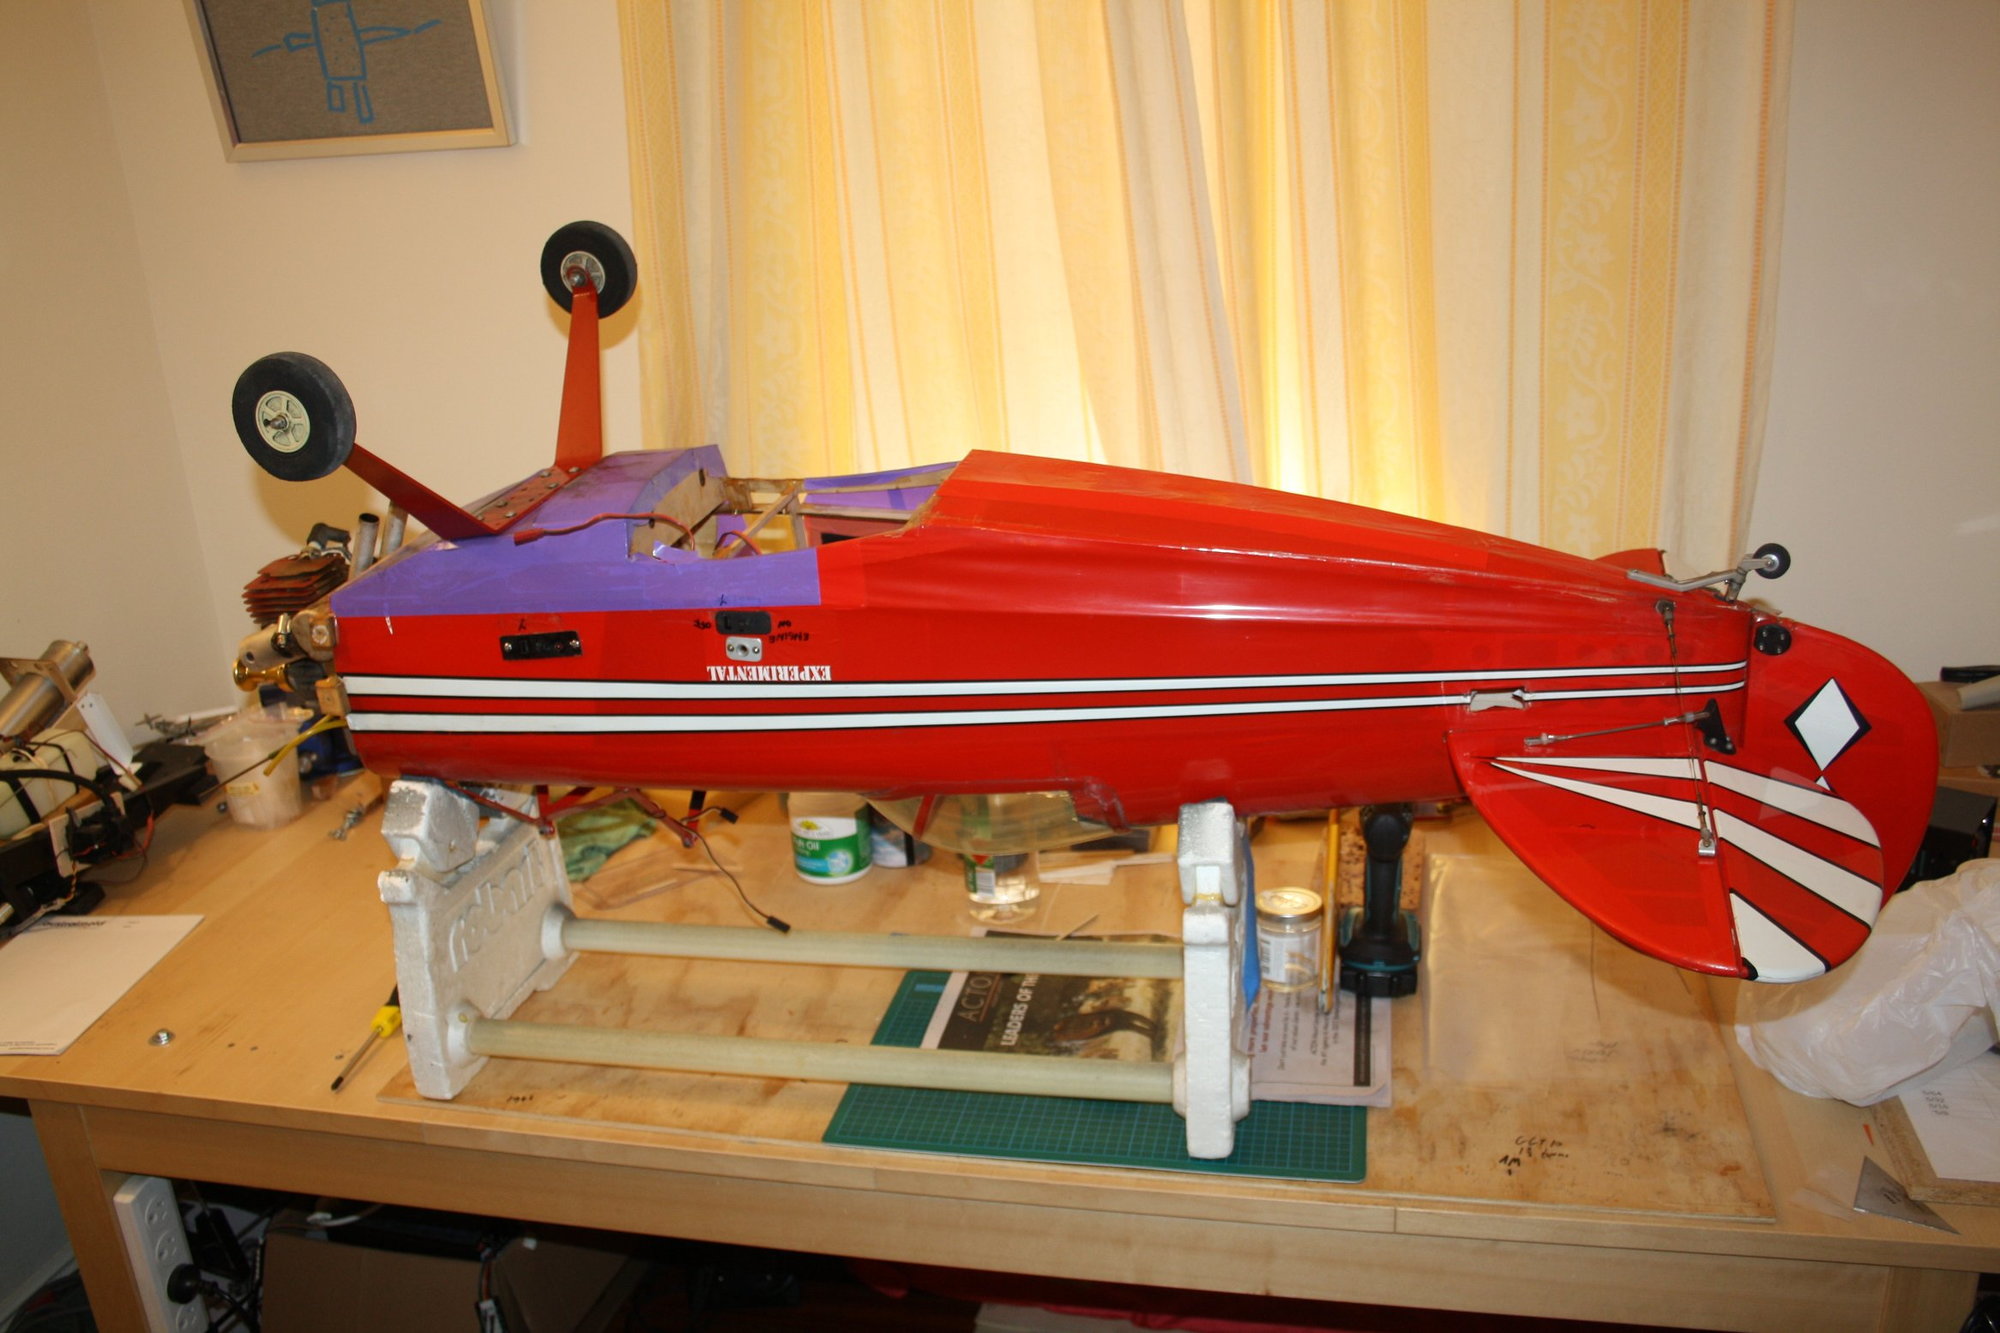
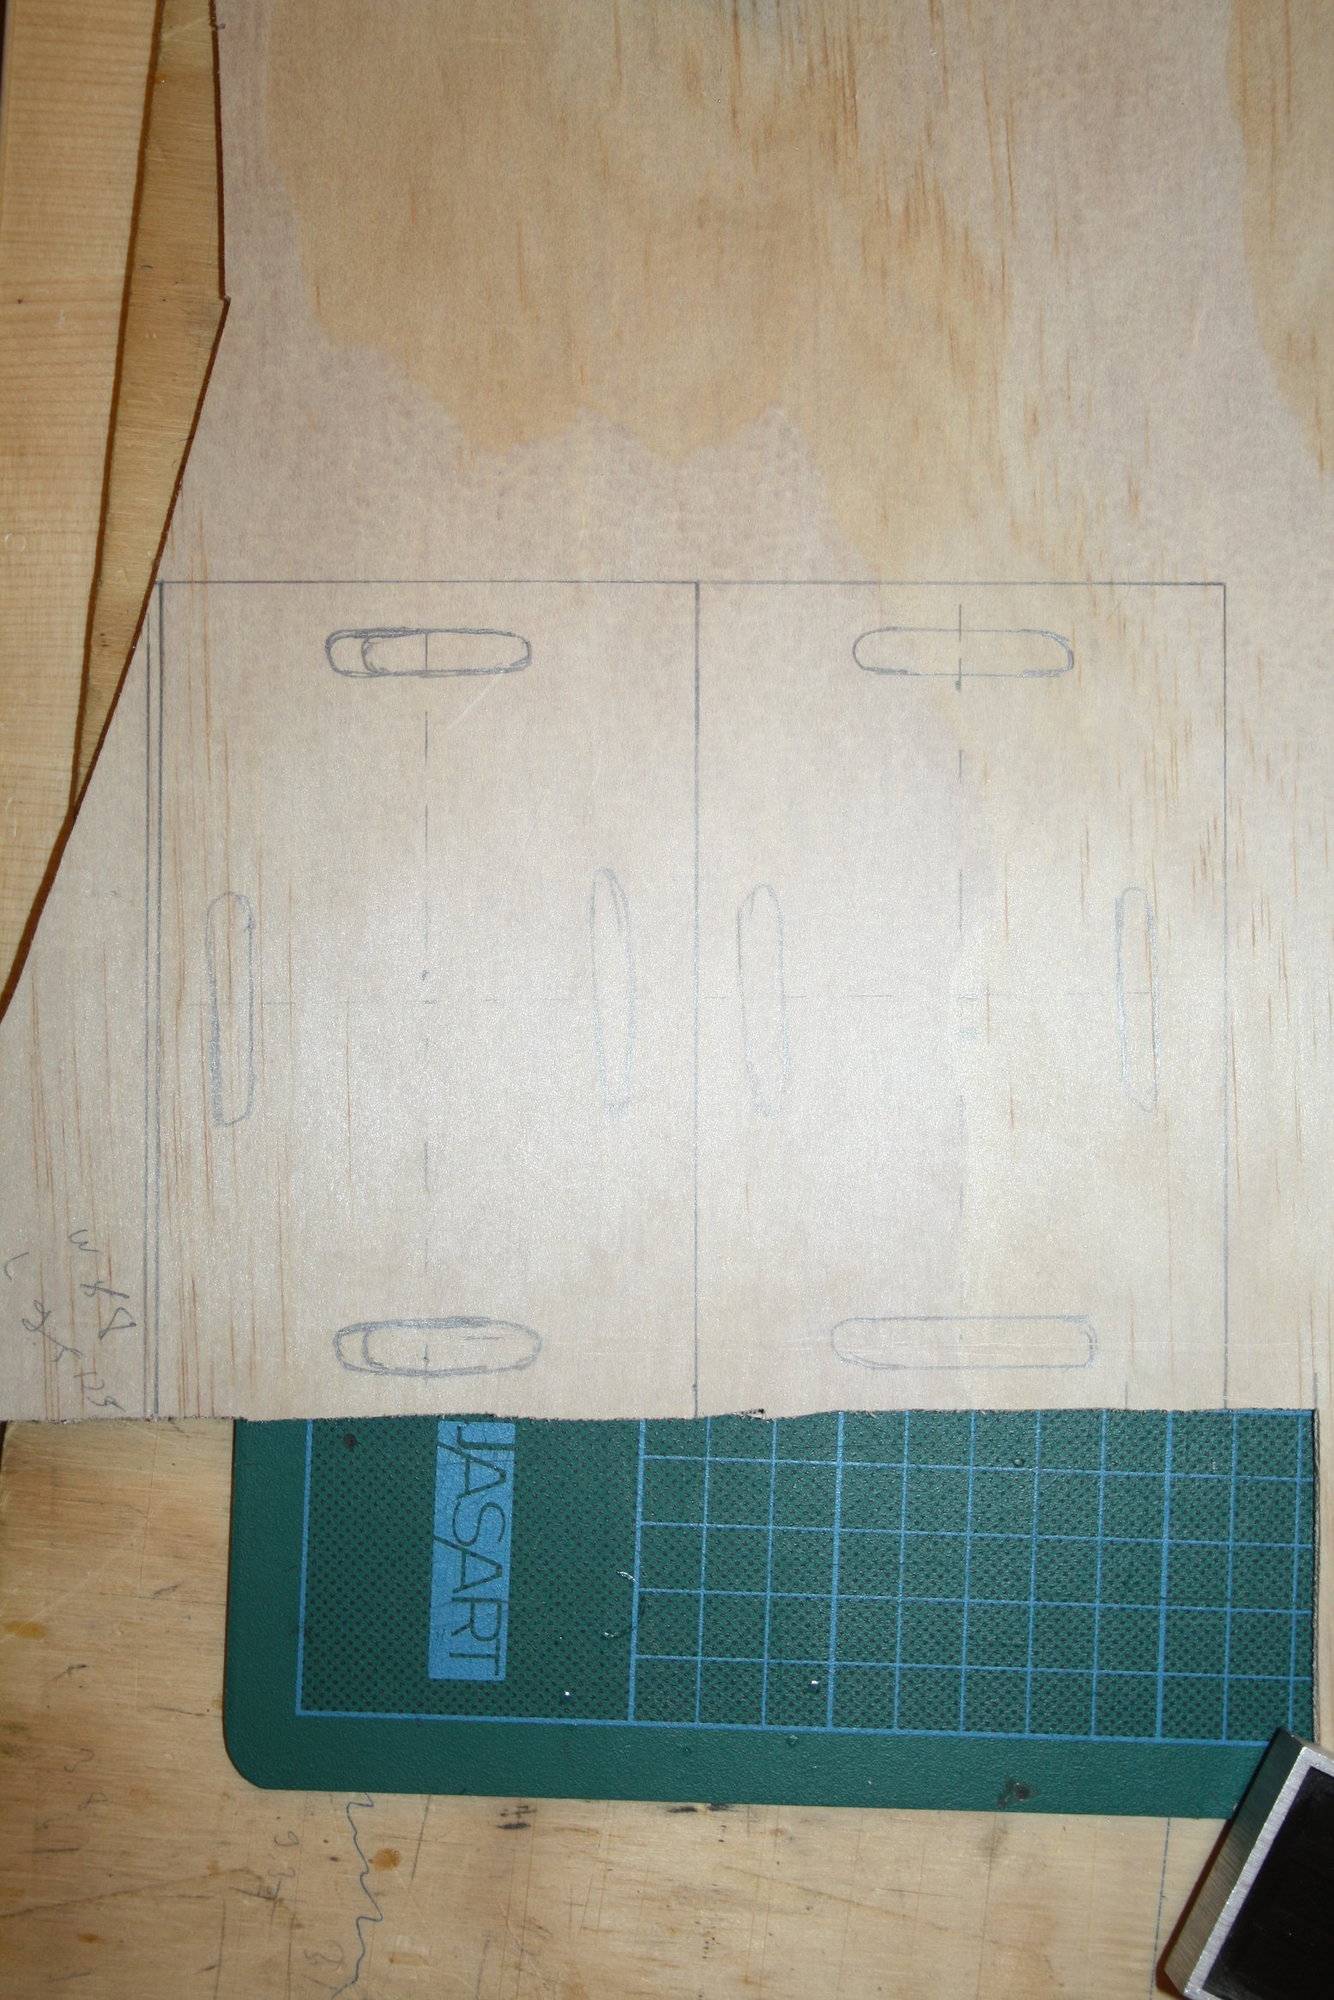
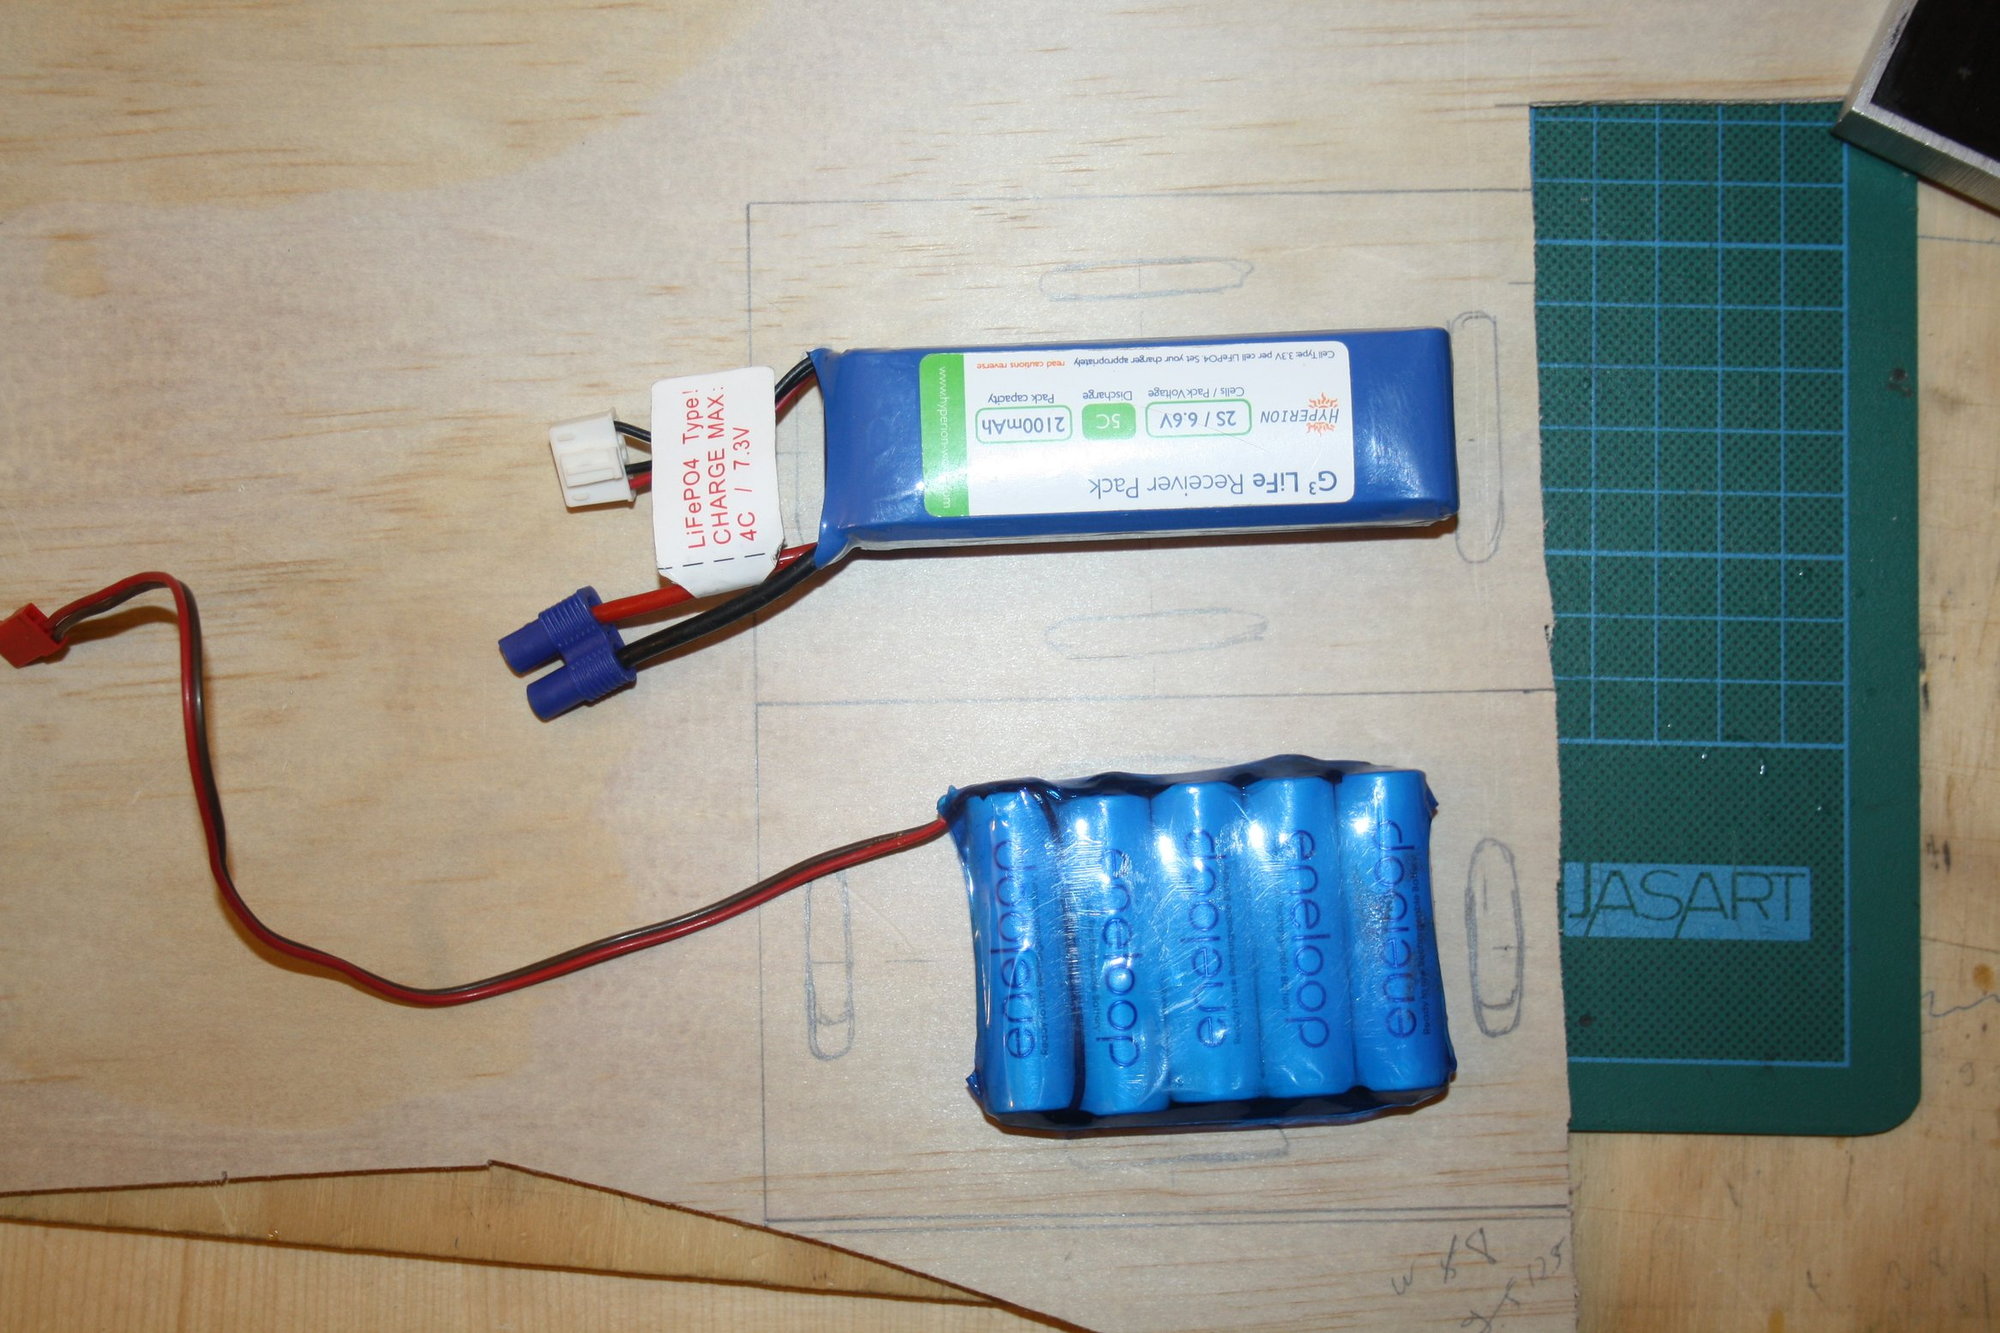
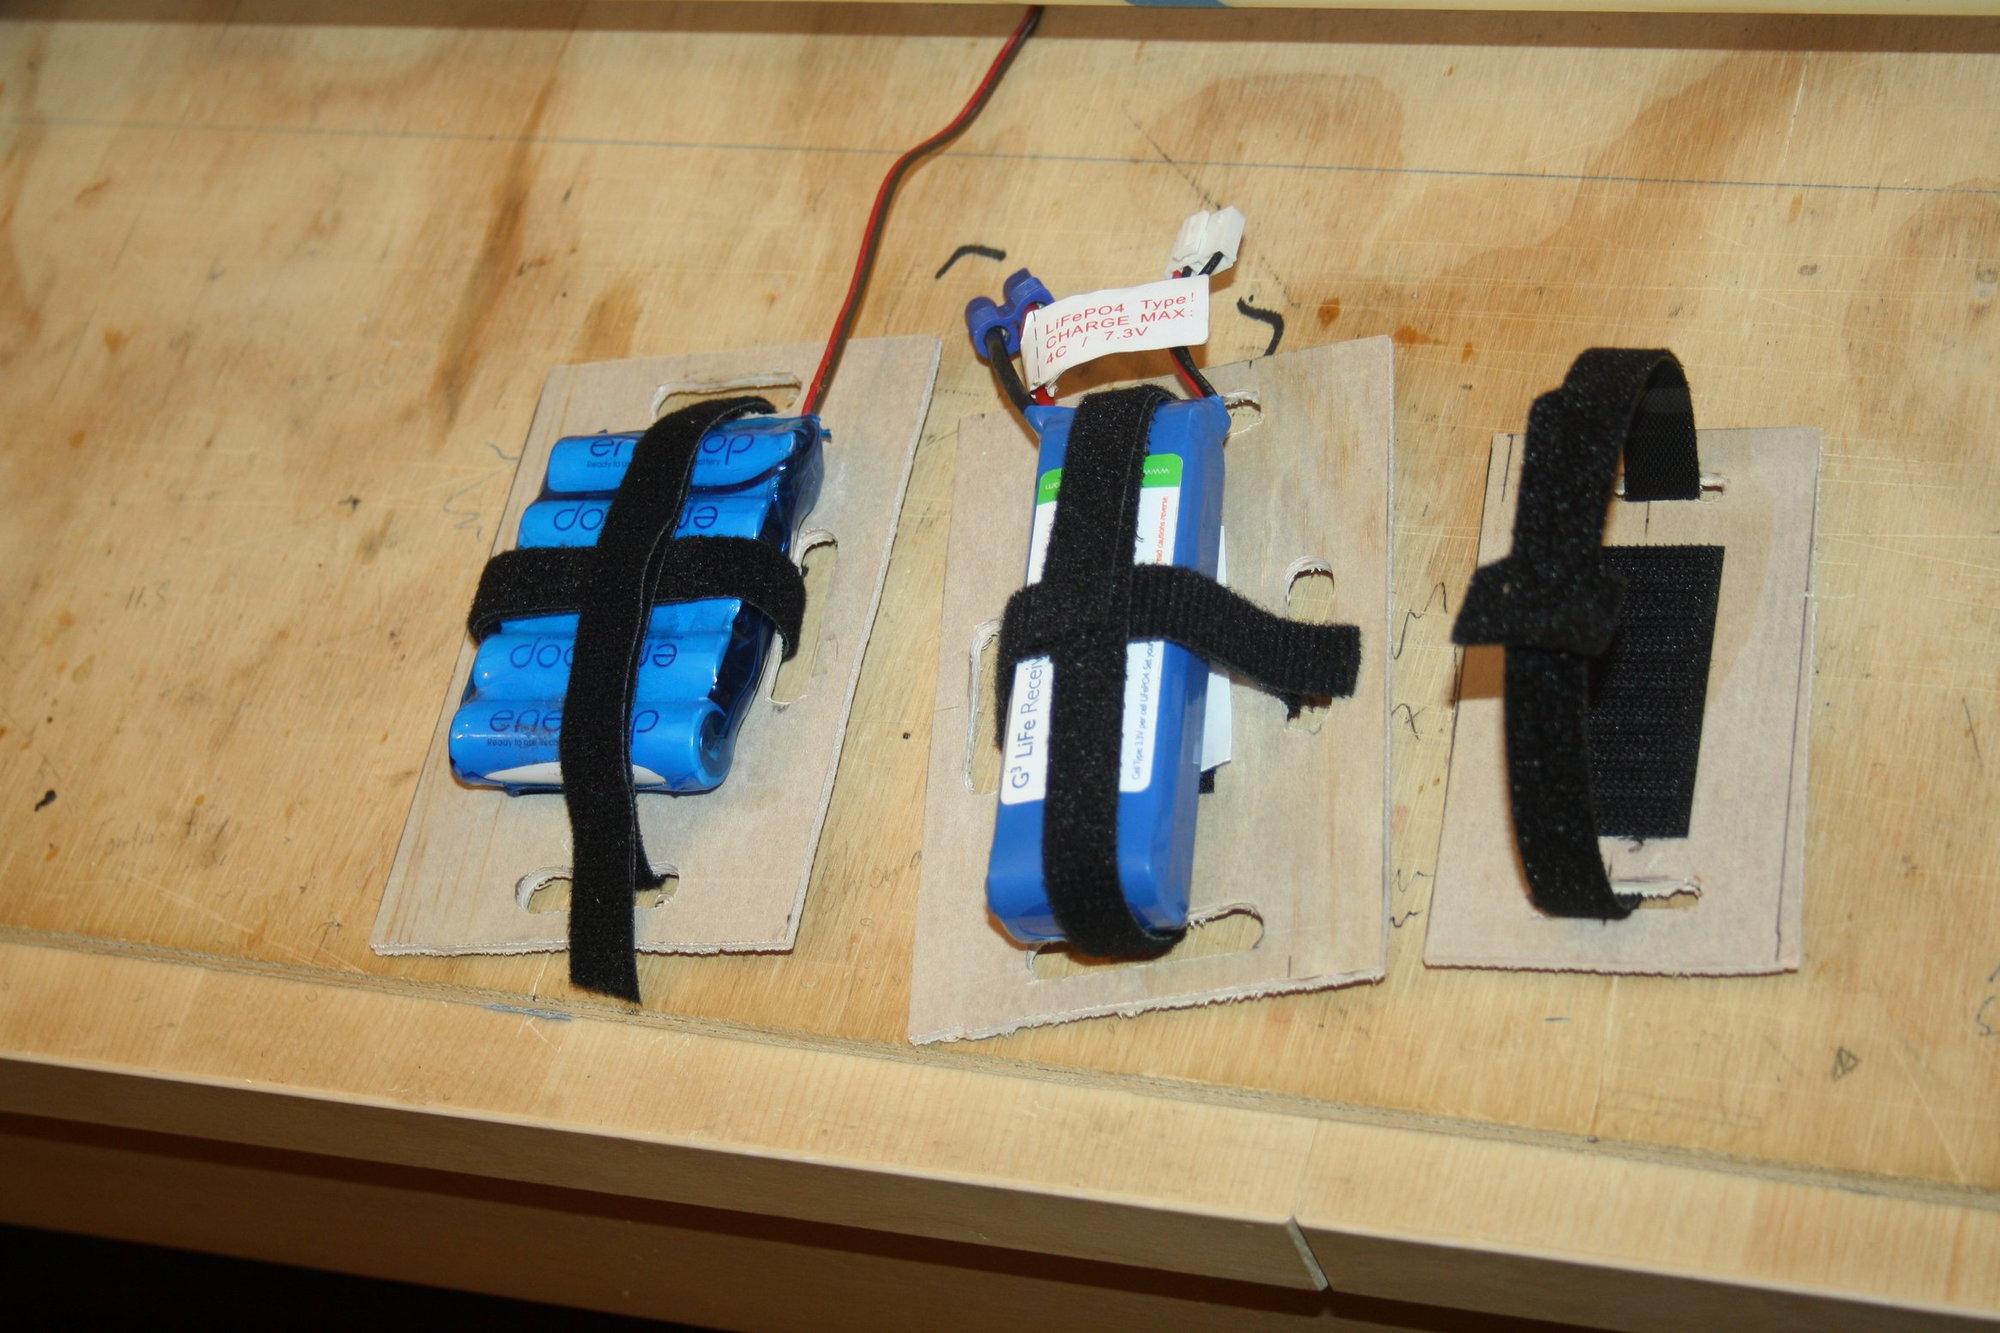
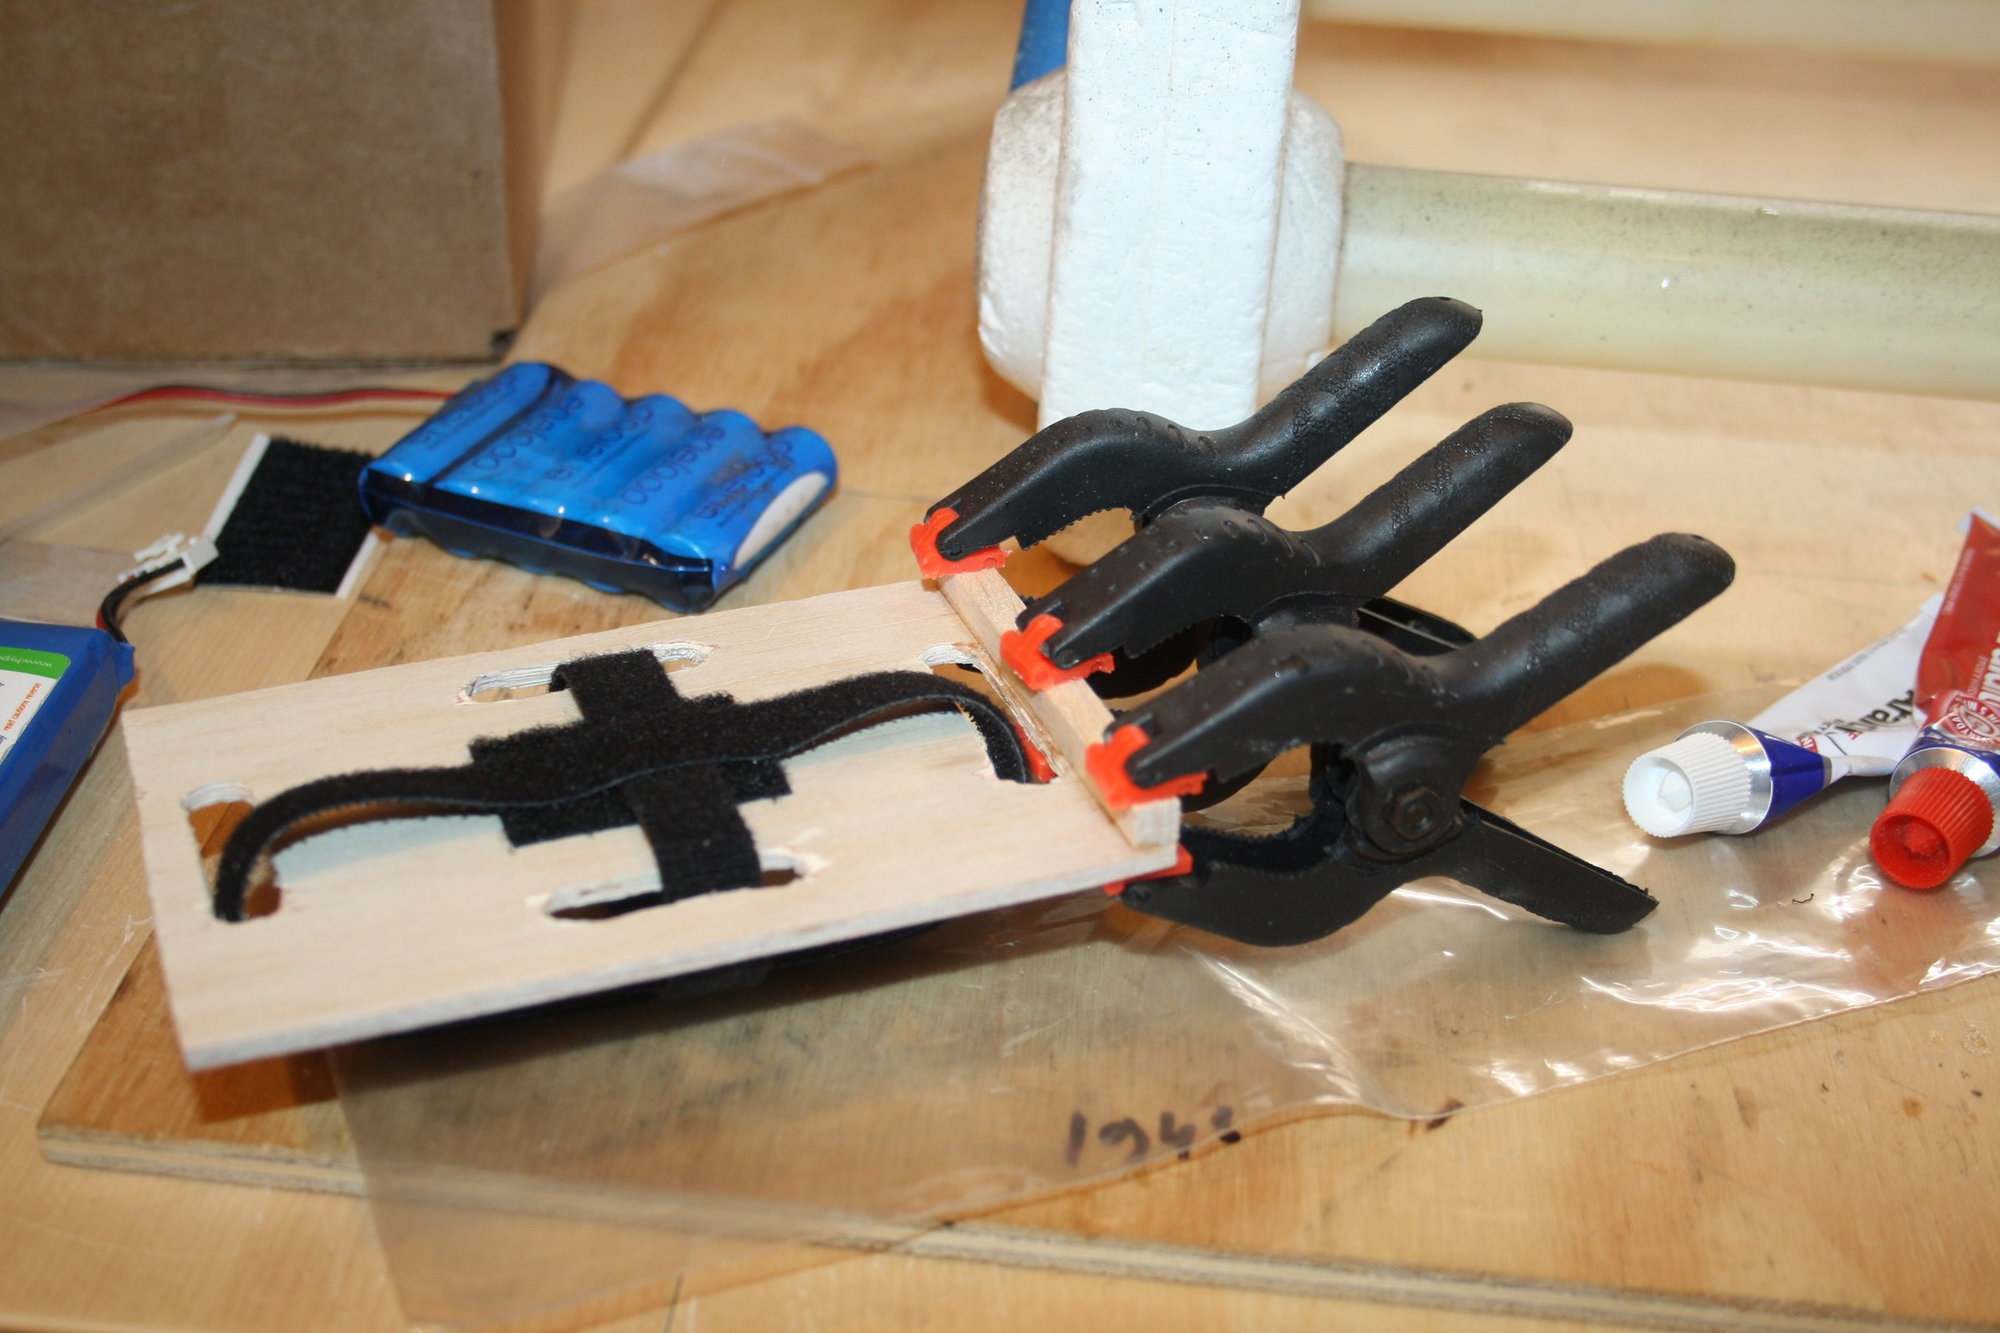
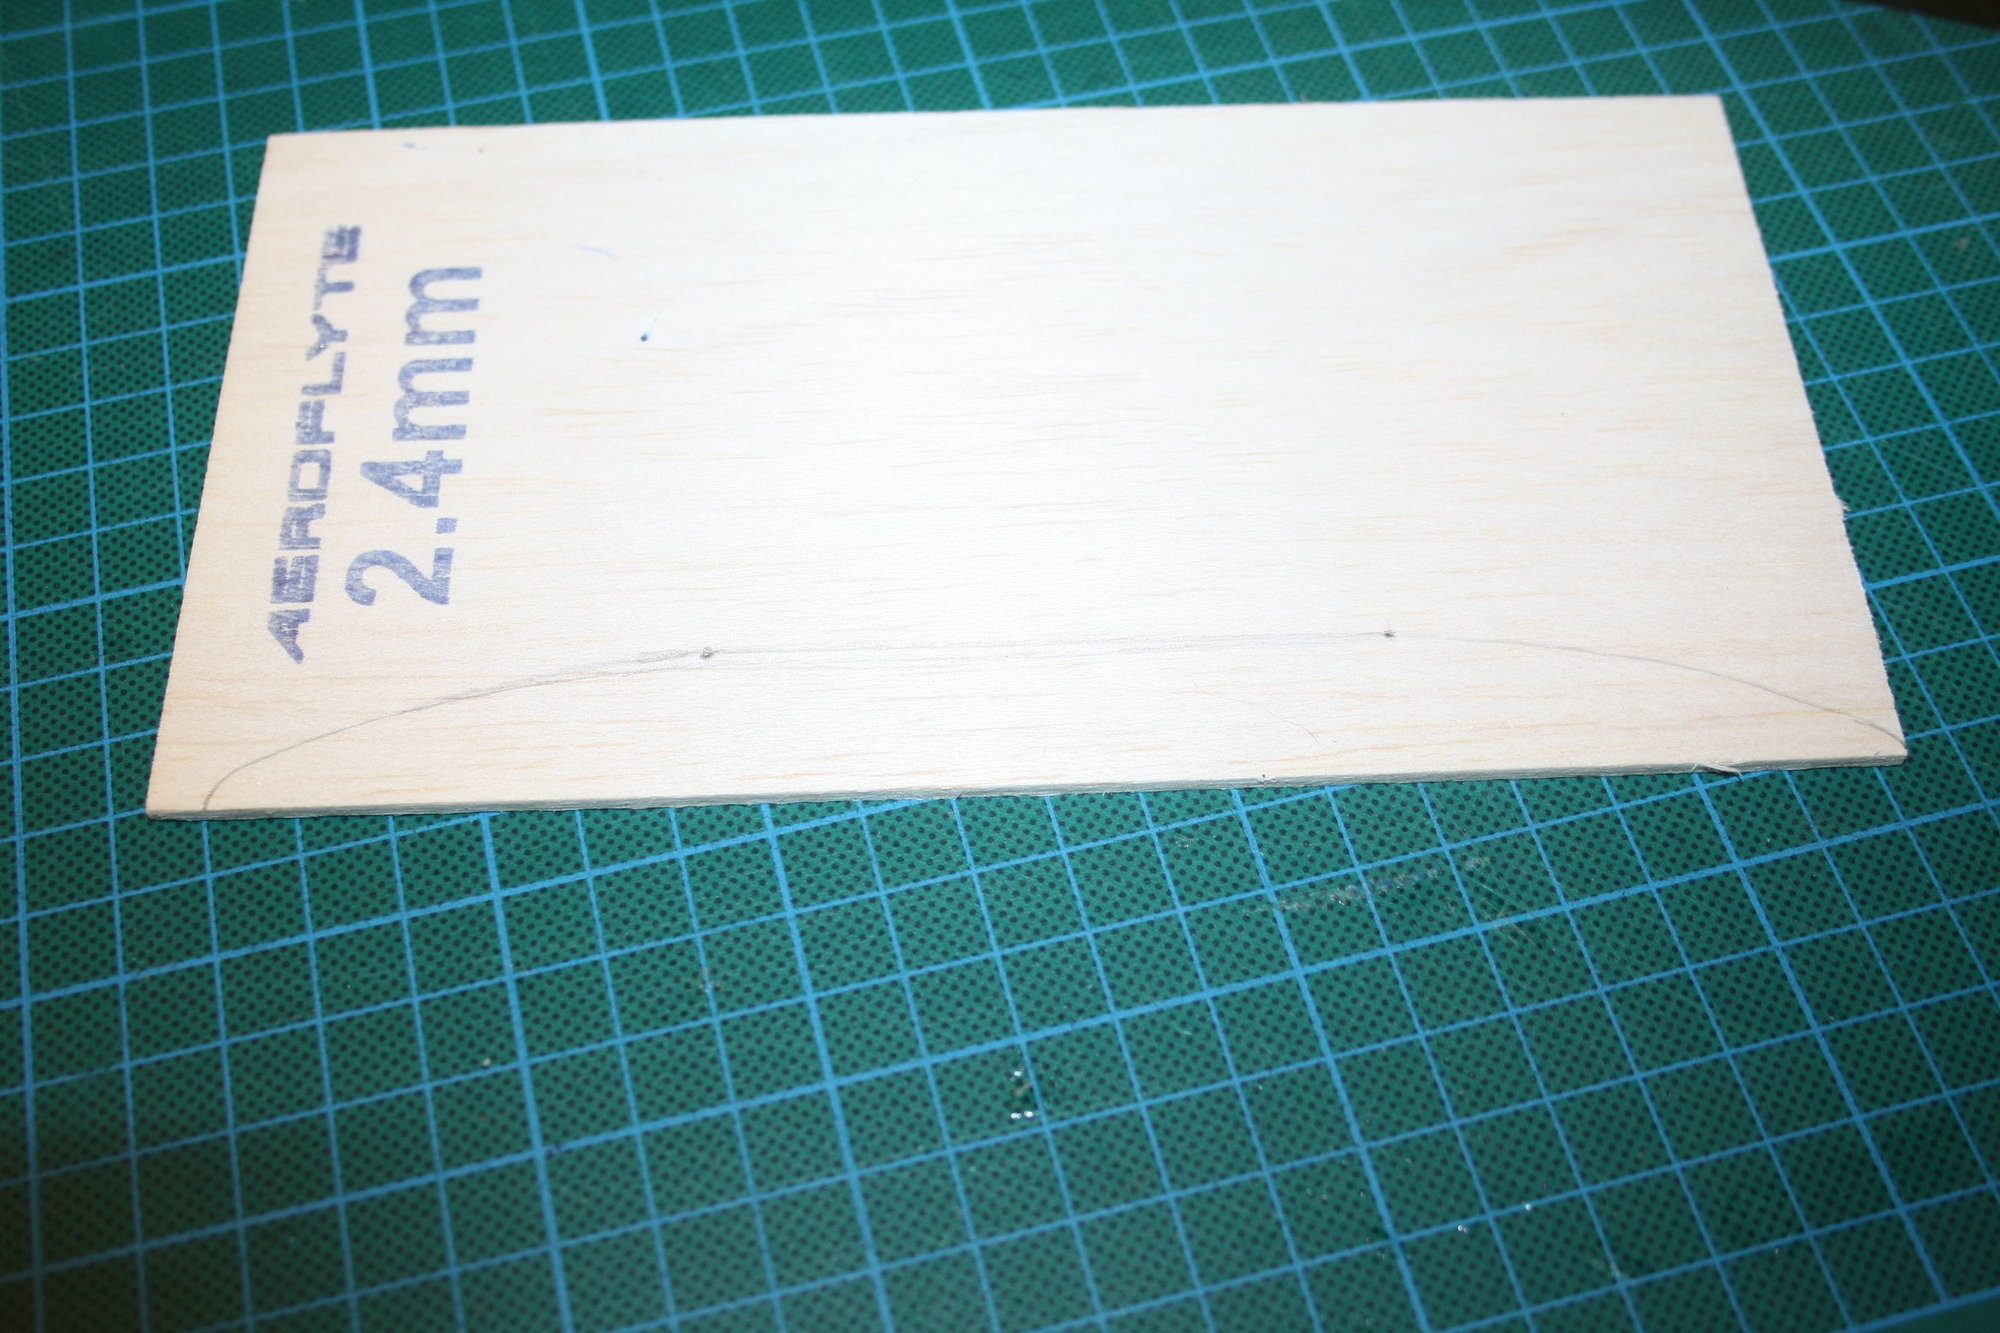
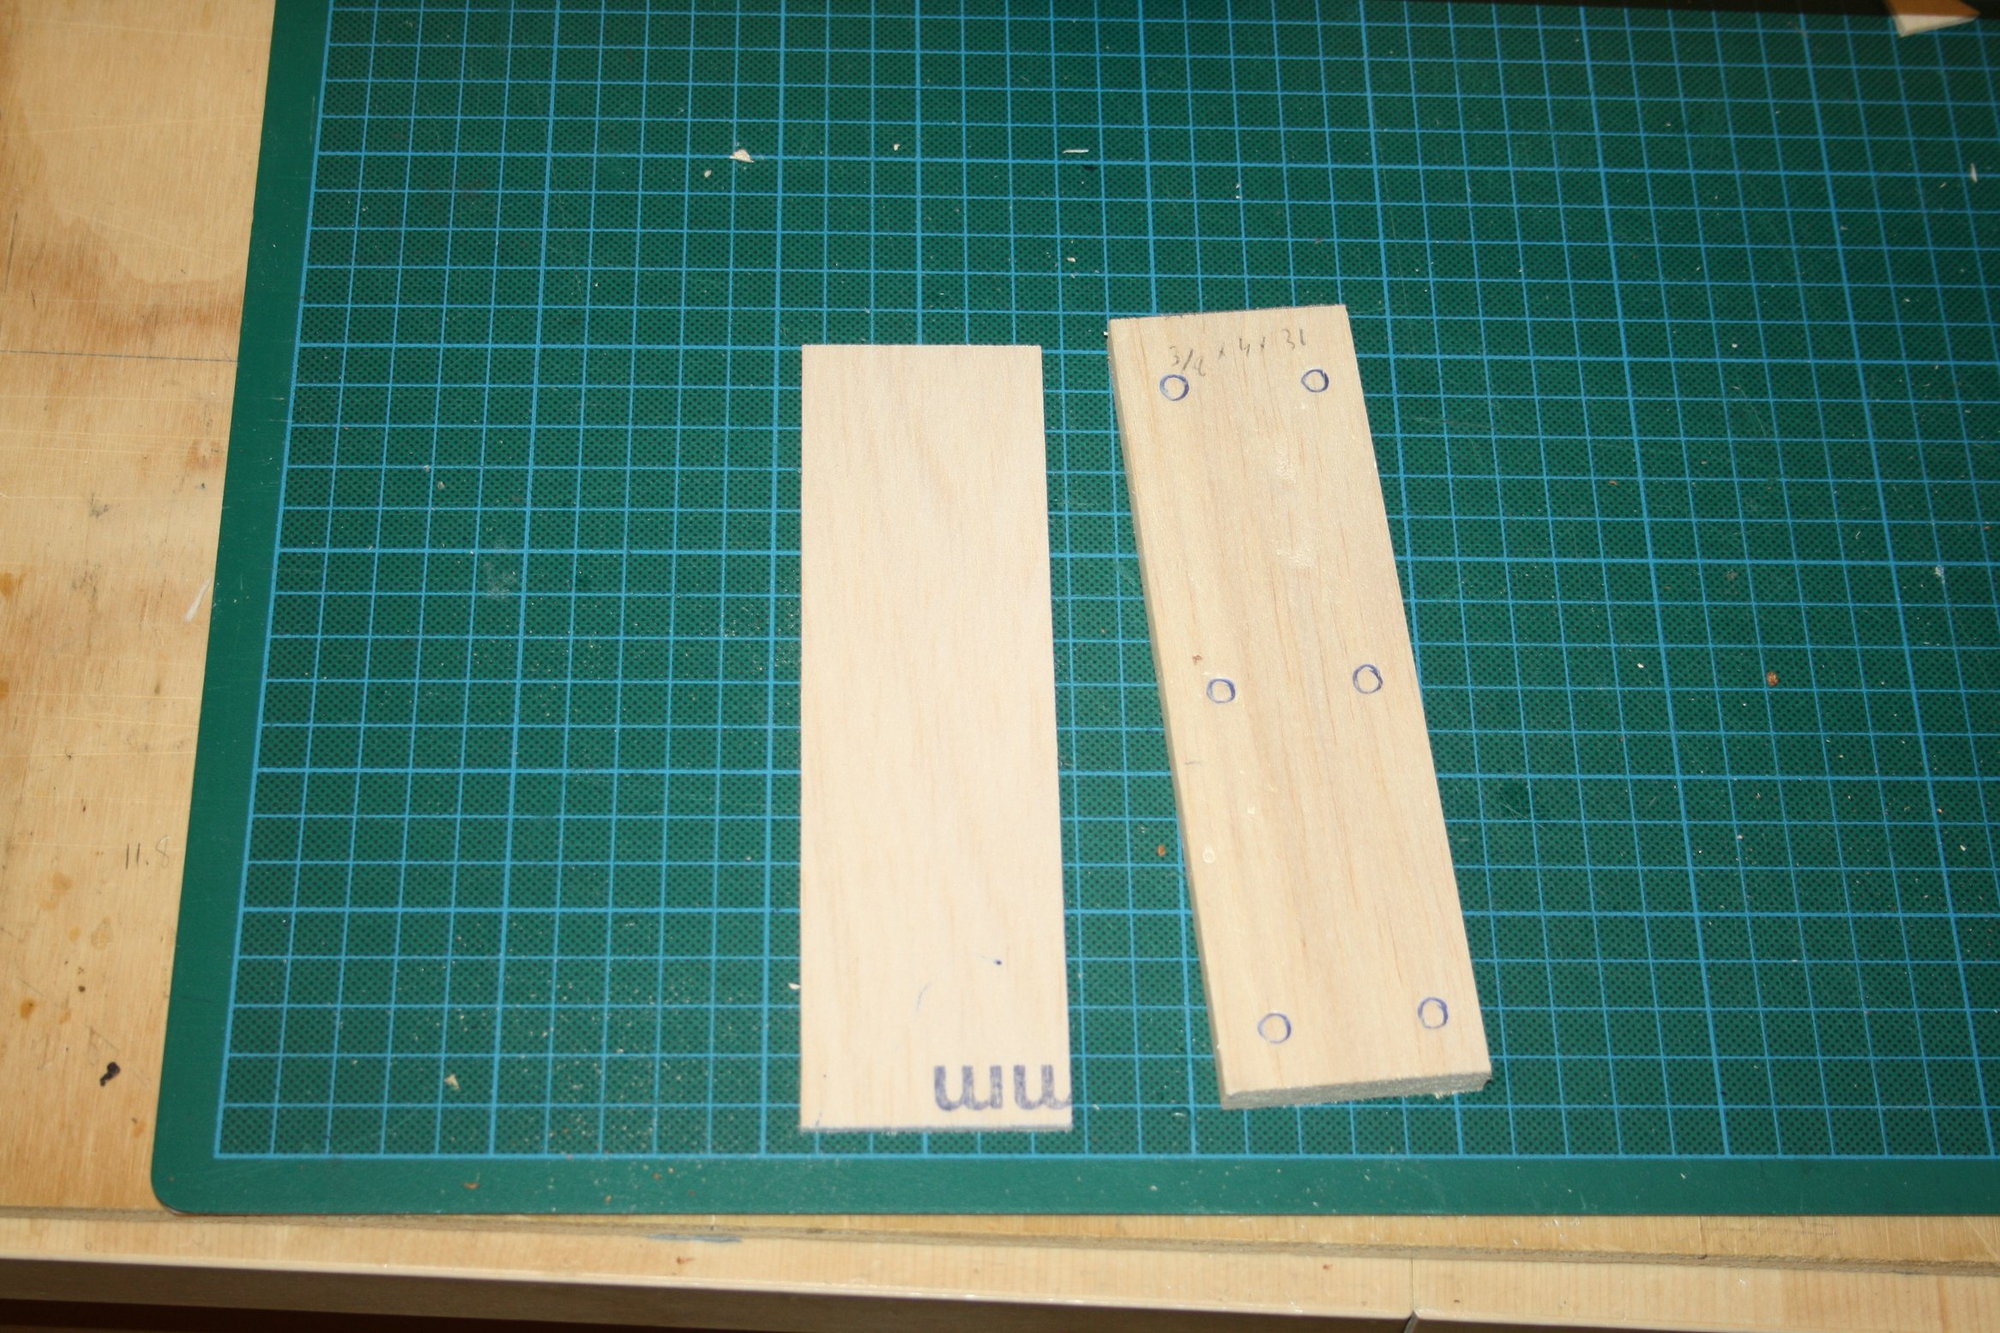
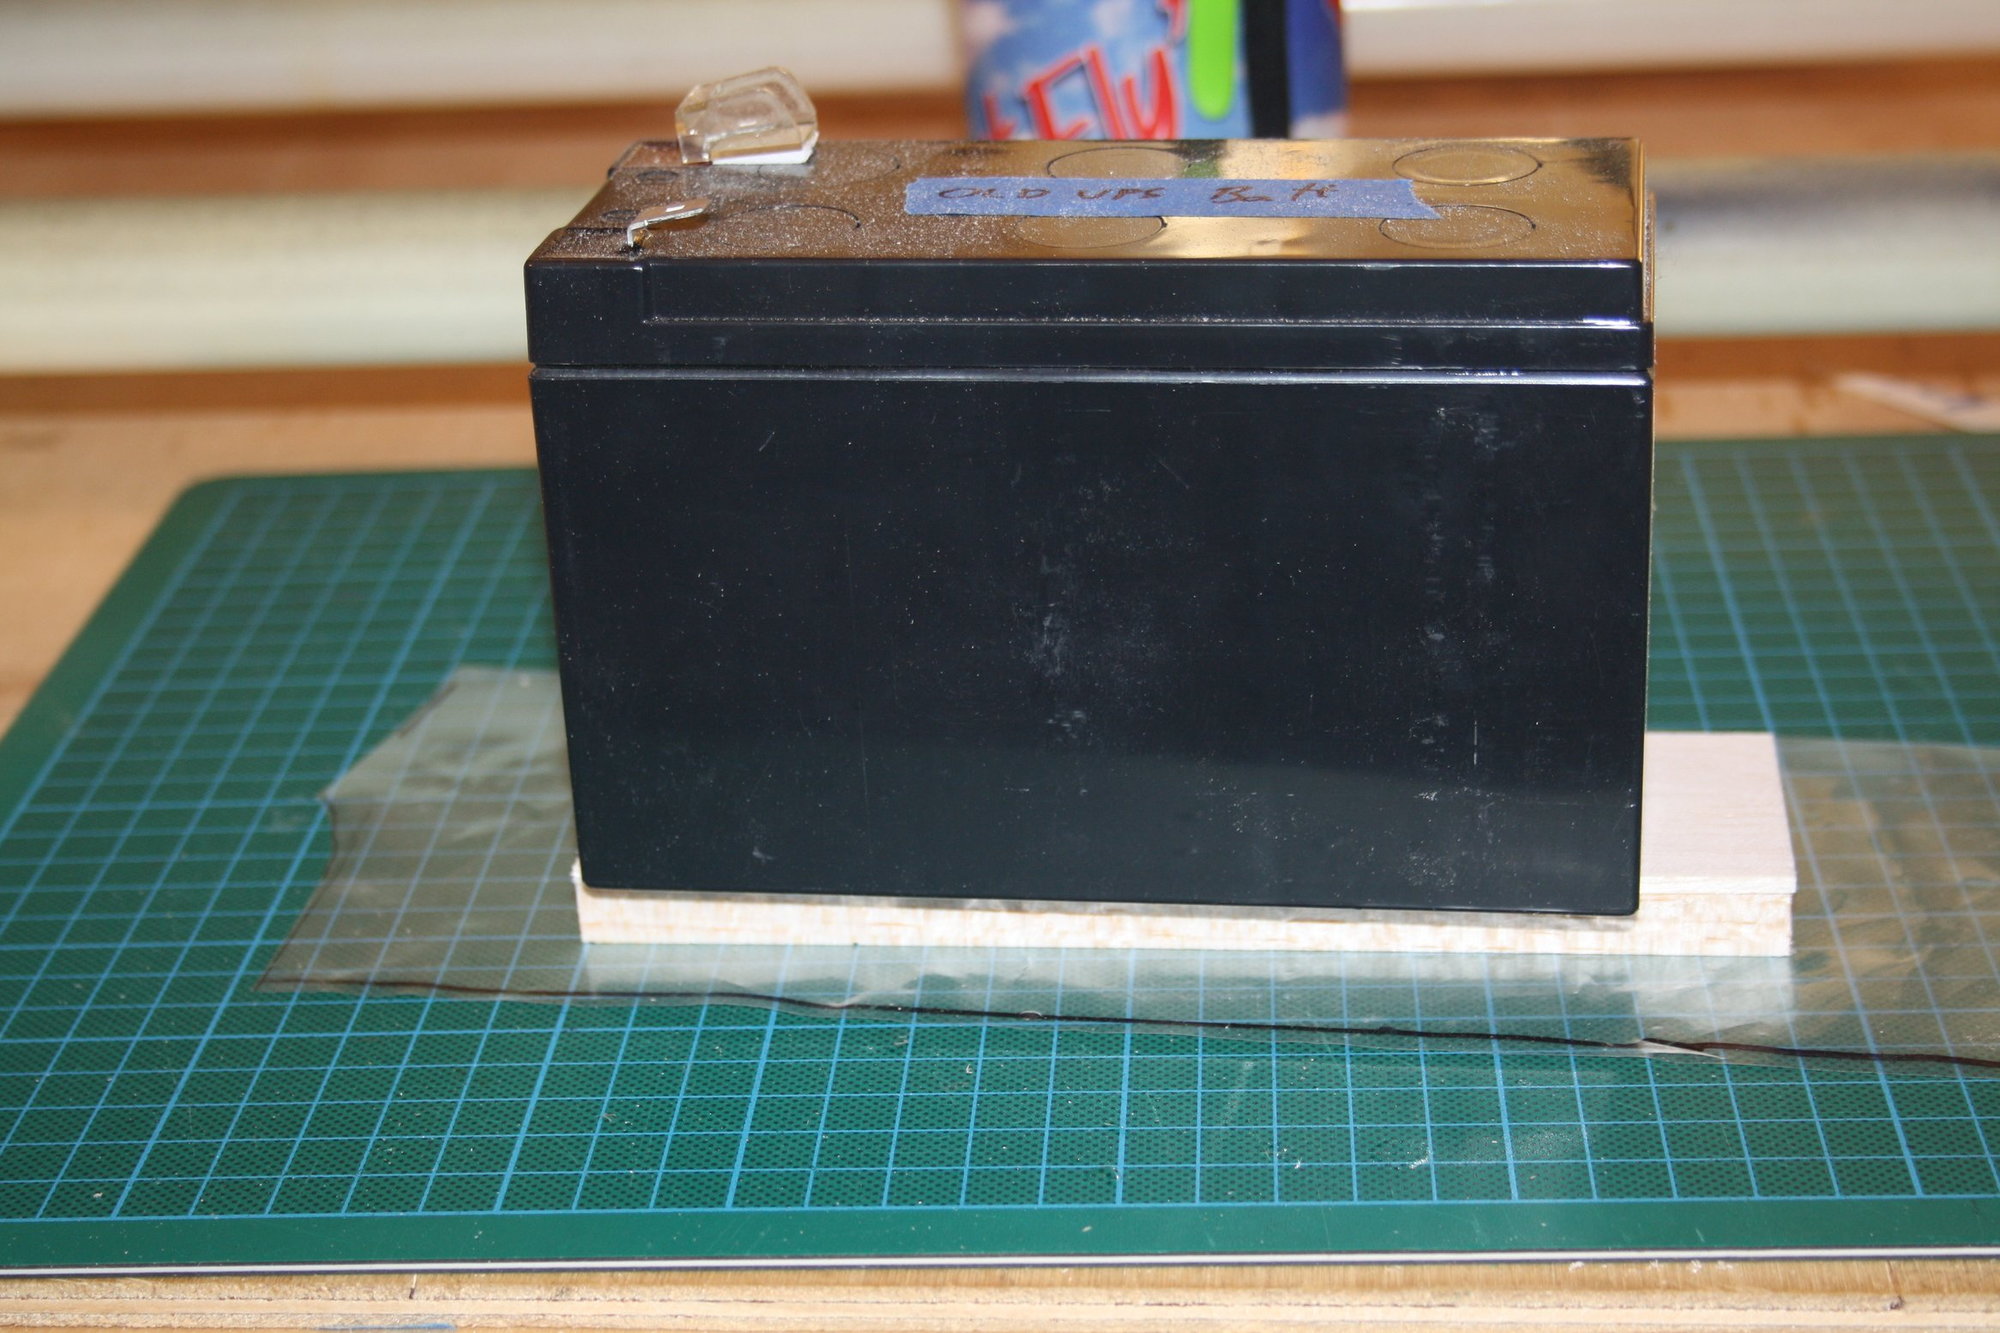
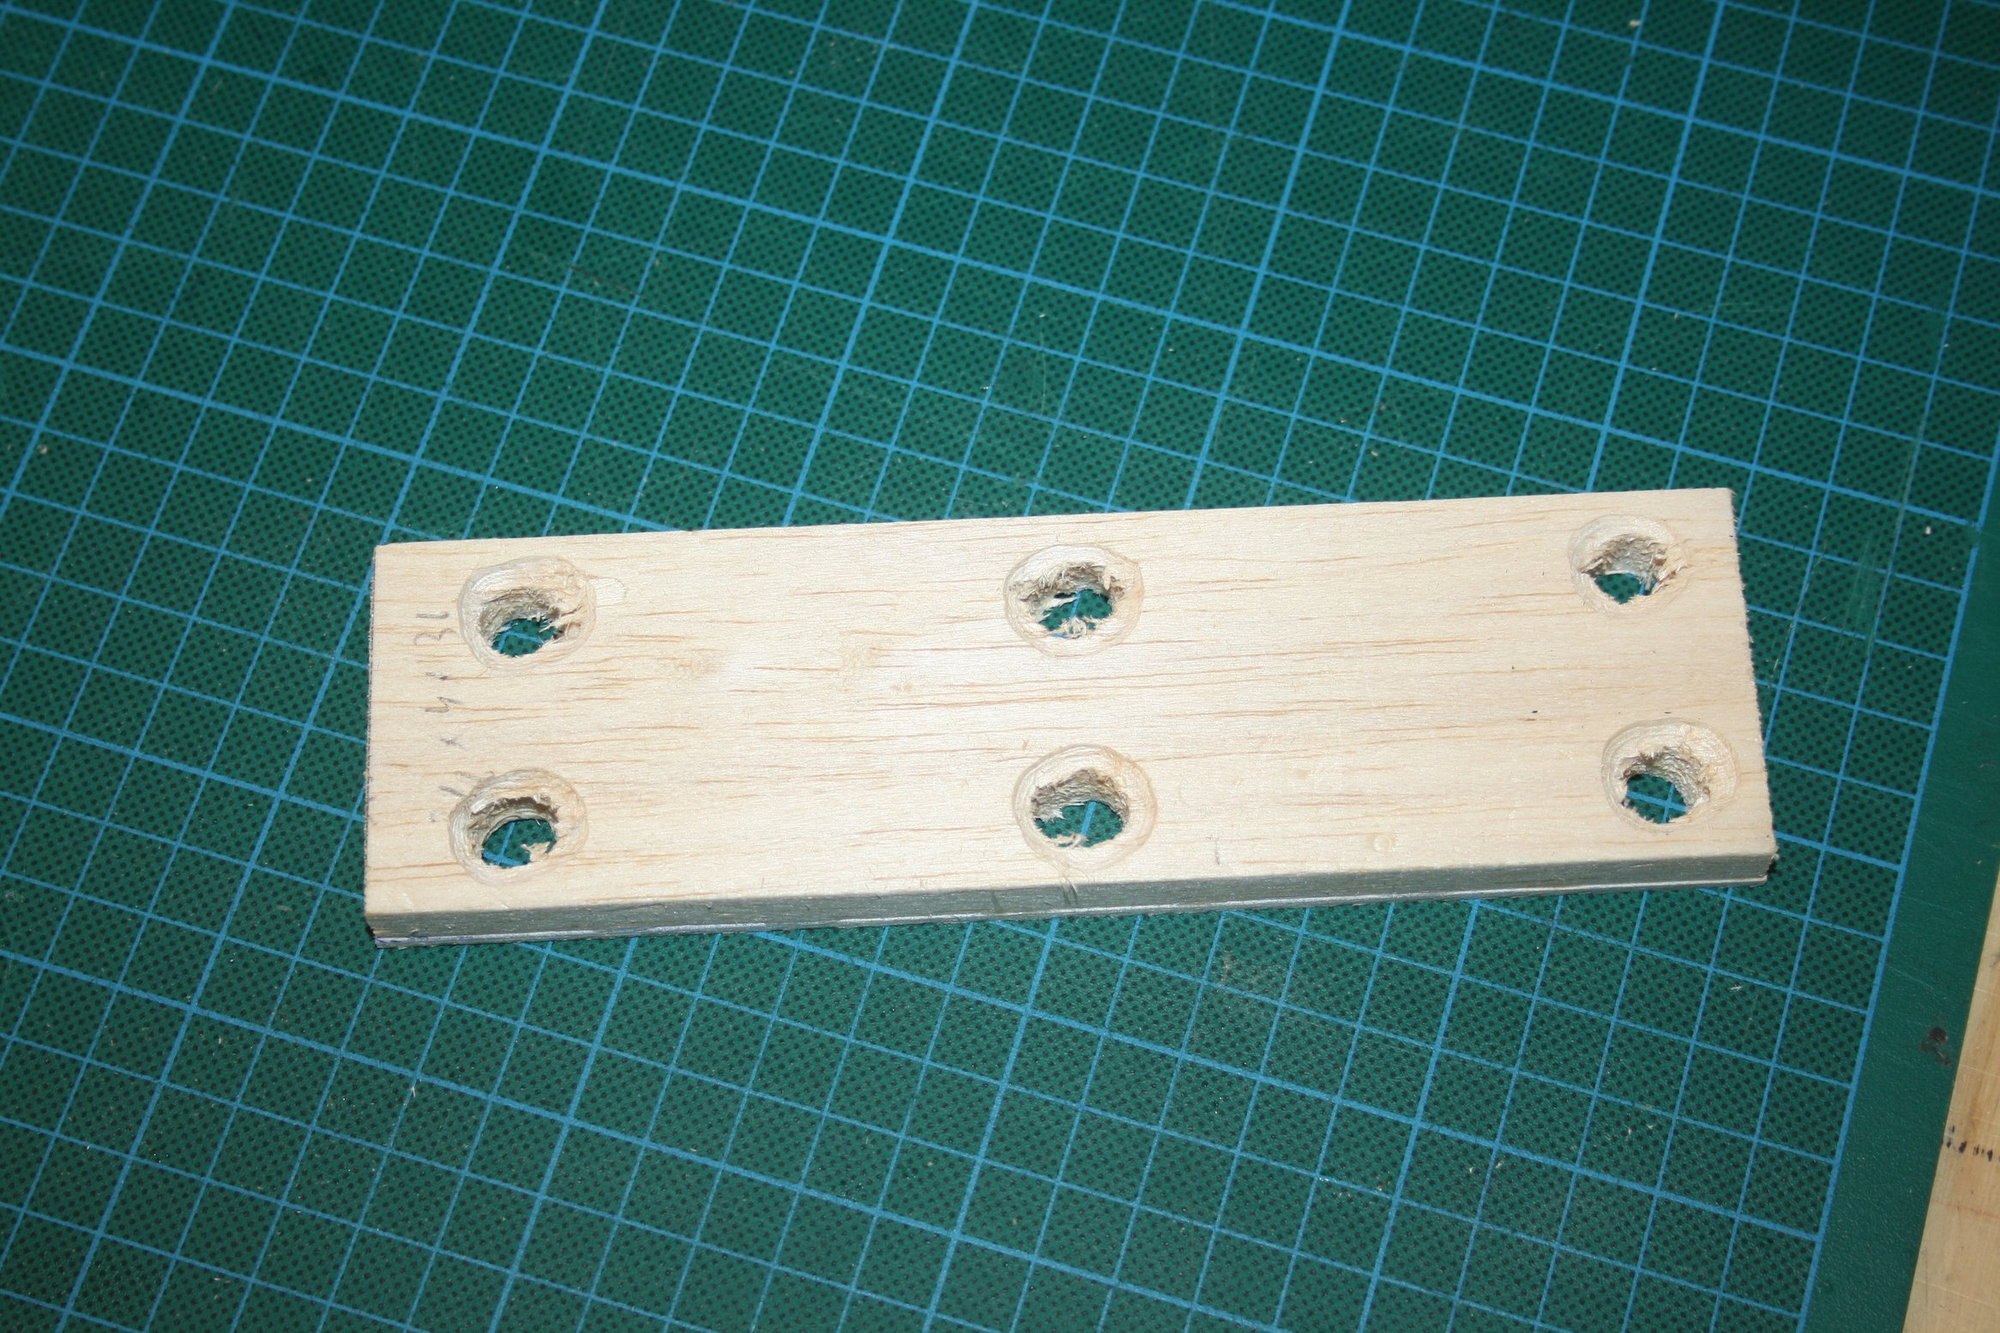
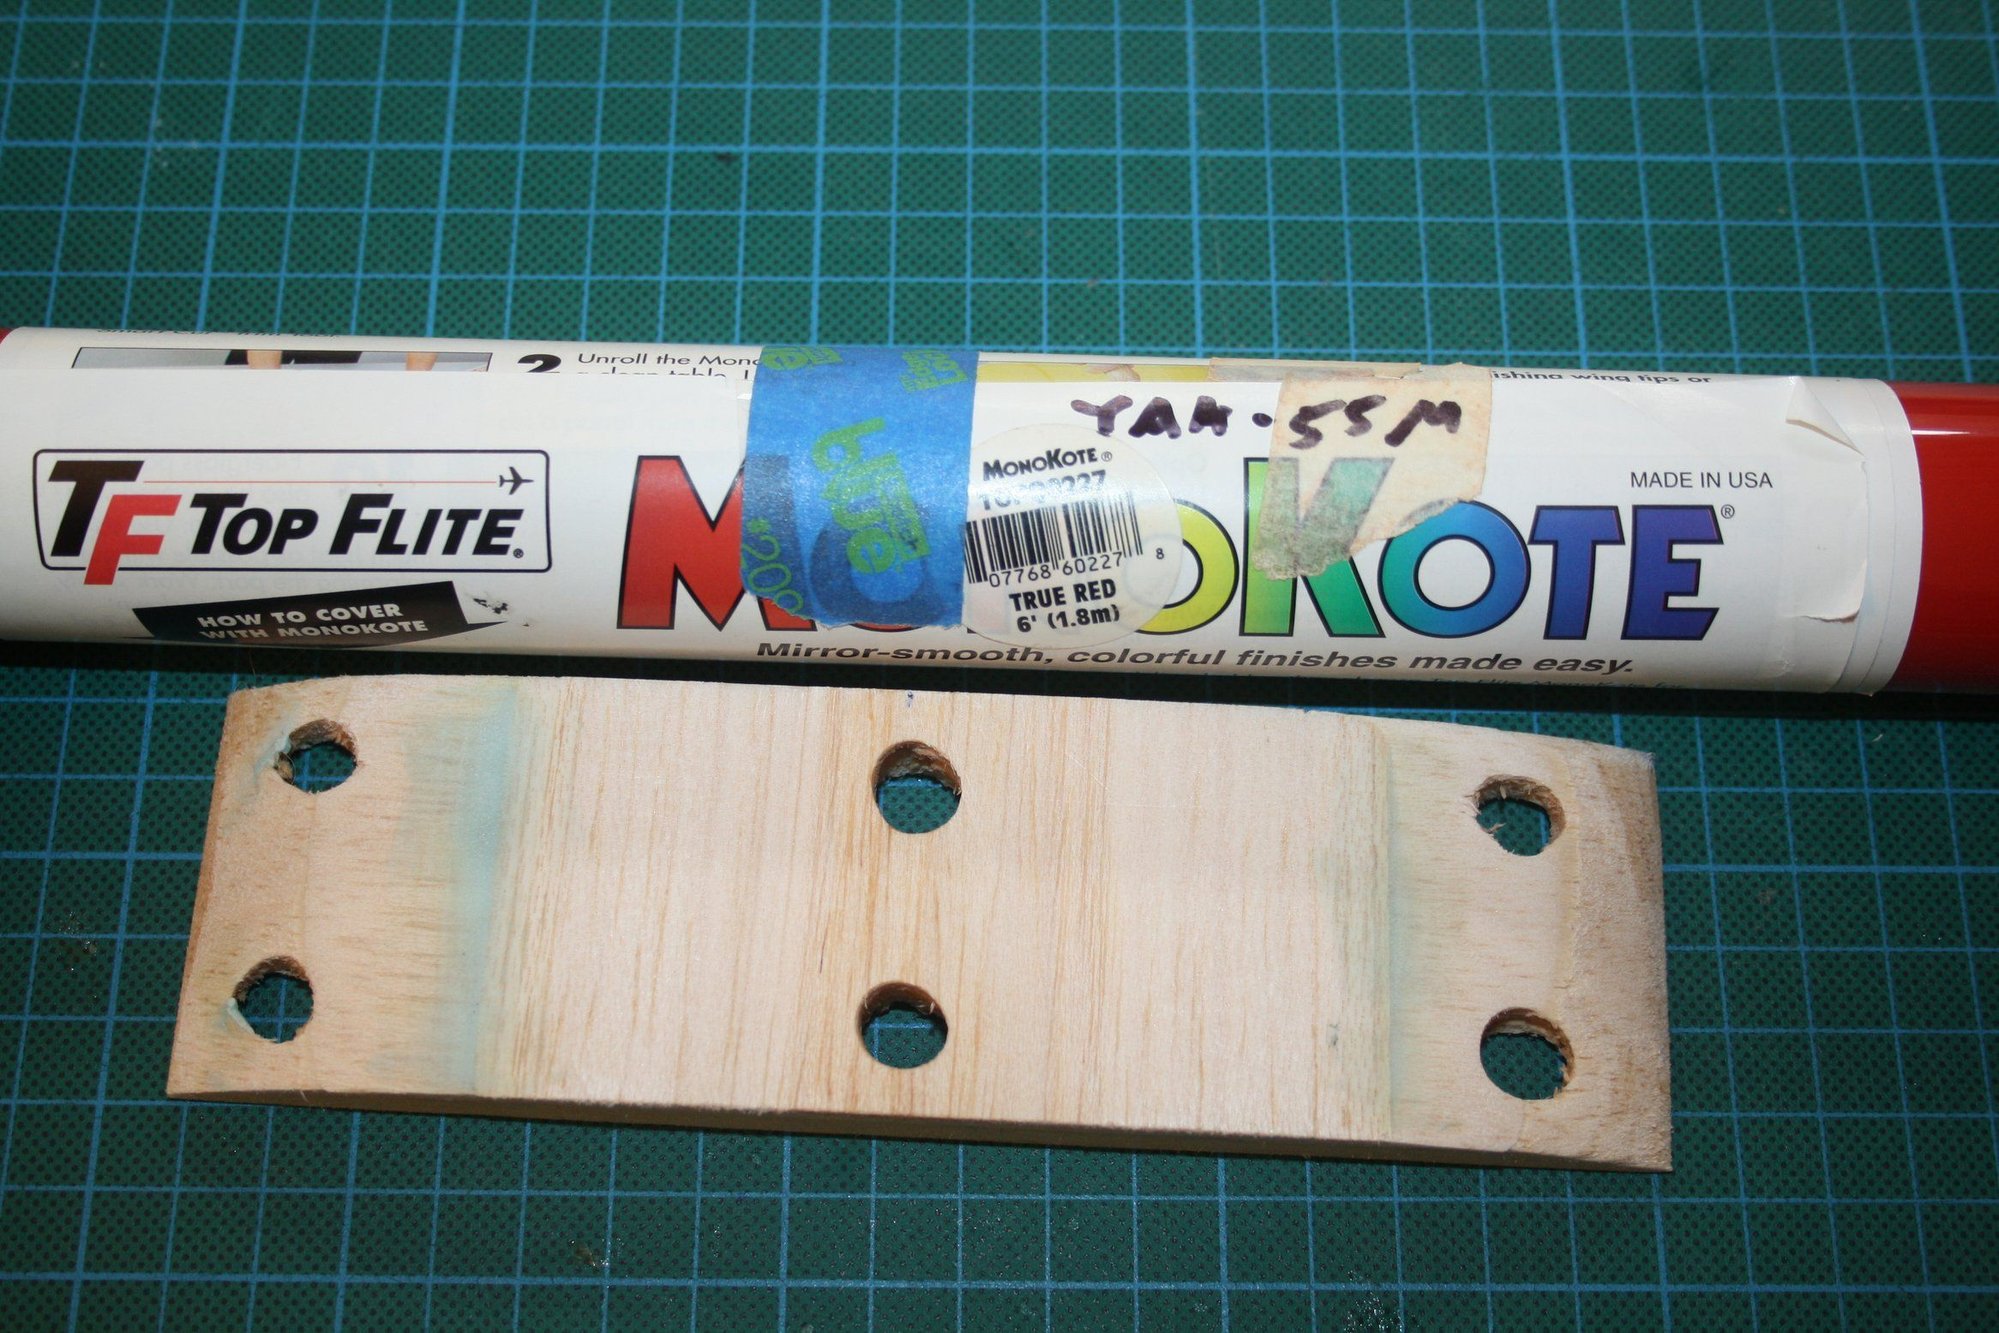
The owner was not sure which batteries he will be using, so I made trays for both NiMh and LiFe and located them as far forward as practical for easy removal.
Cheers,
Eran
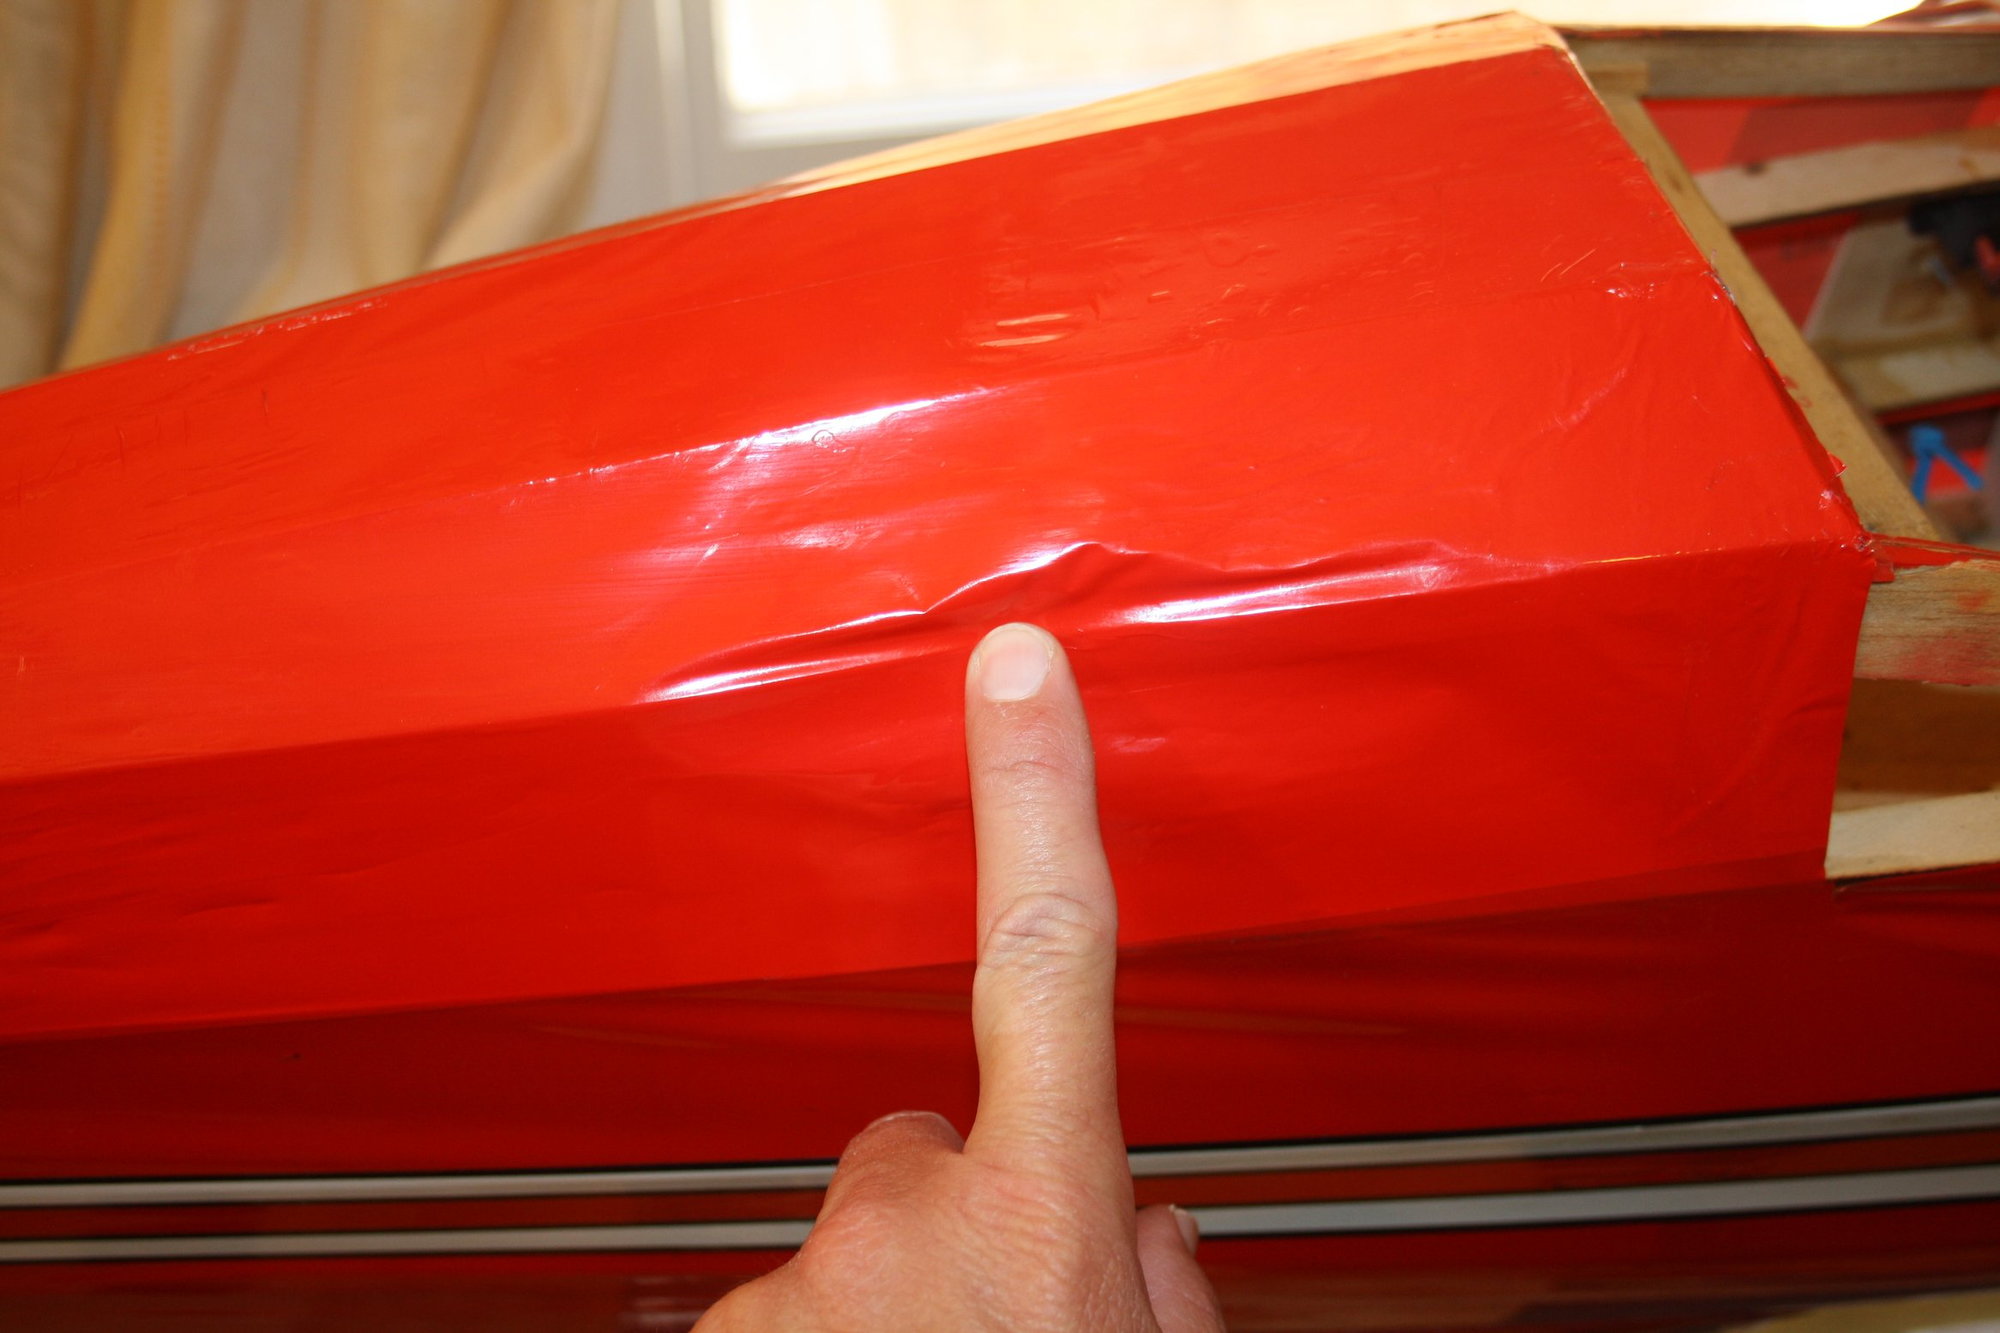
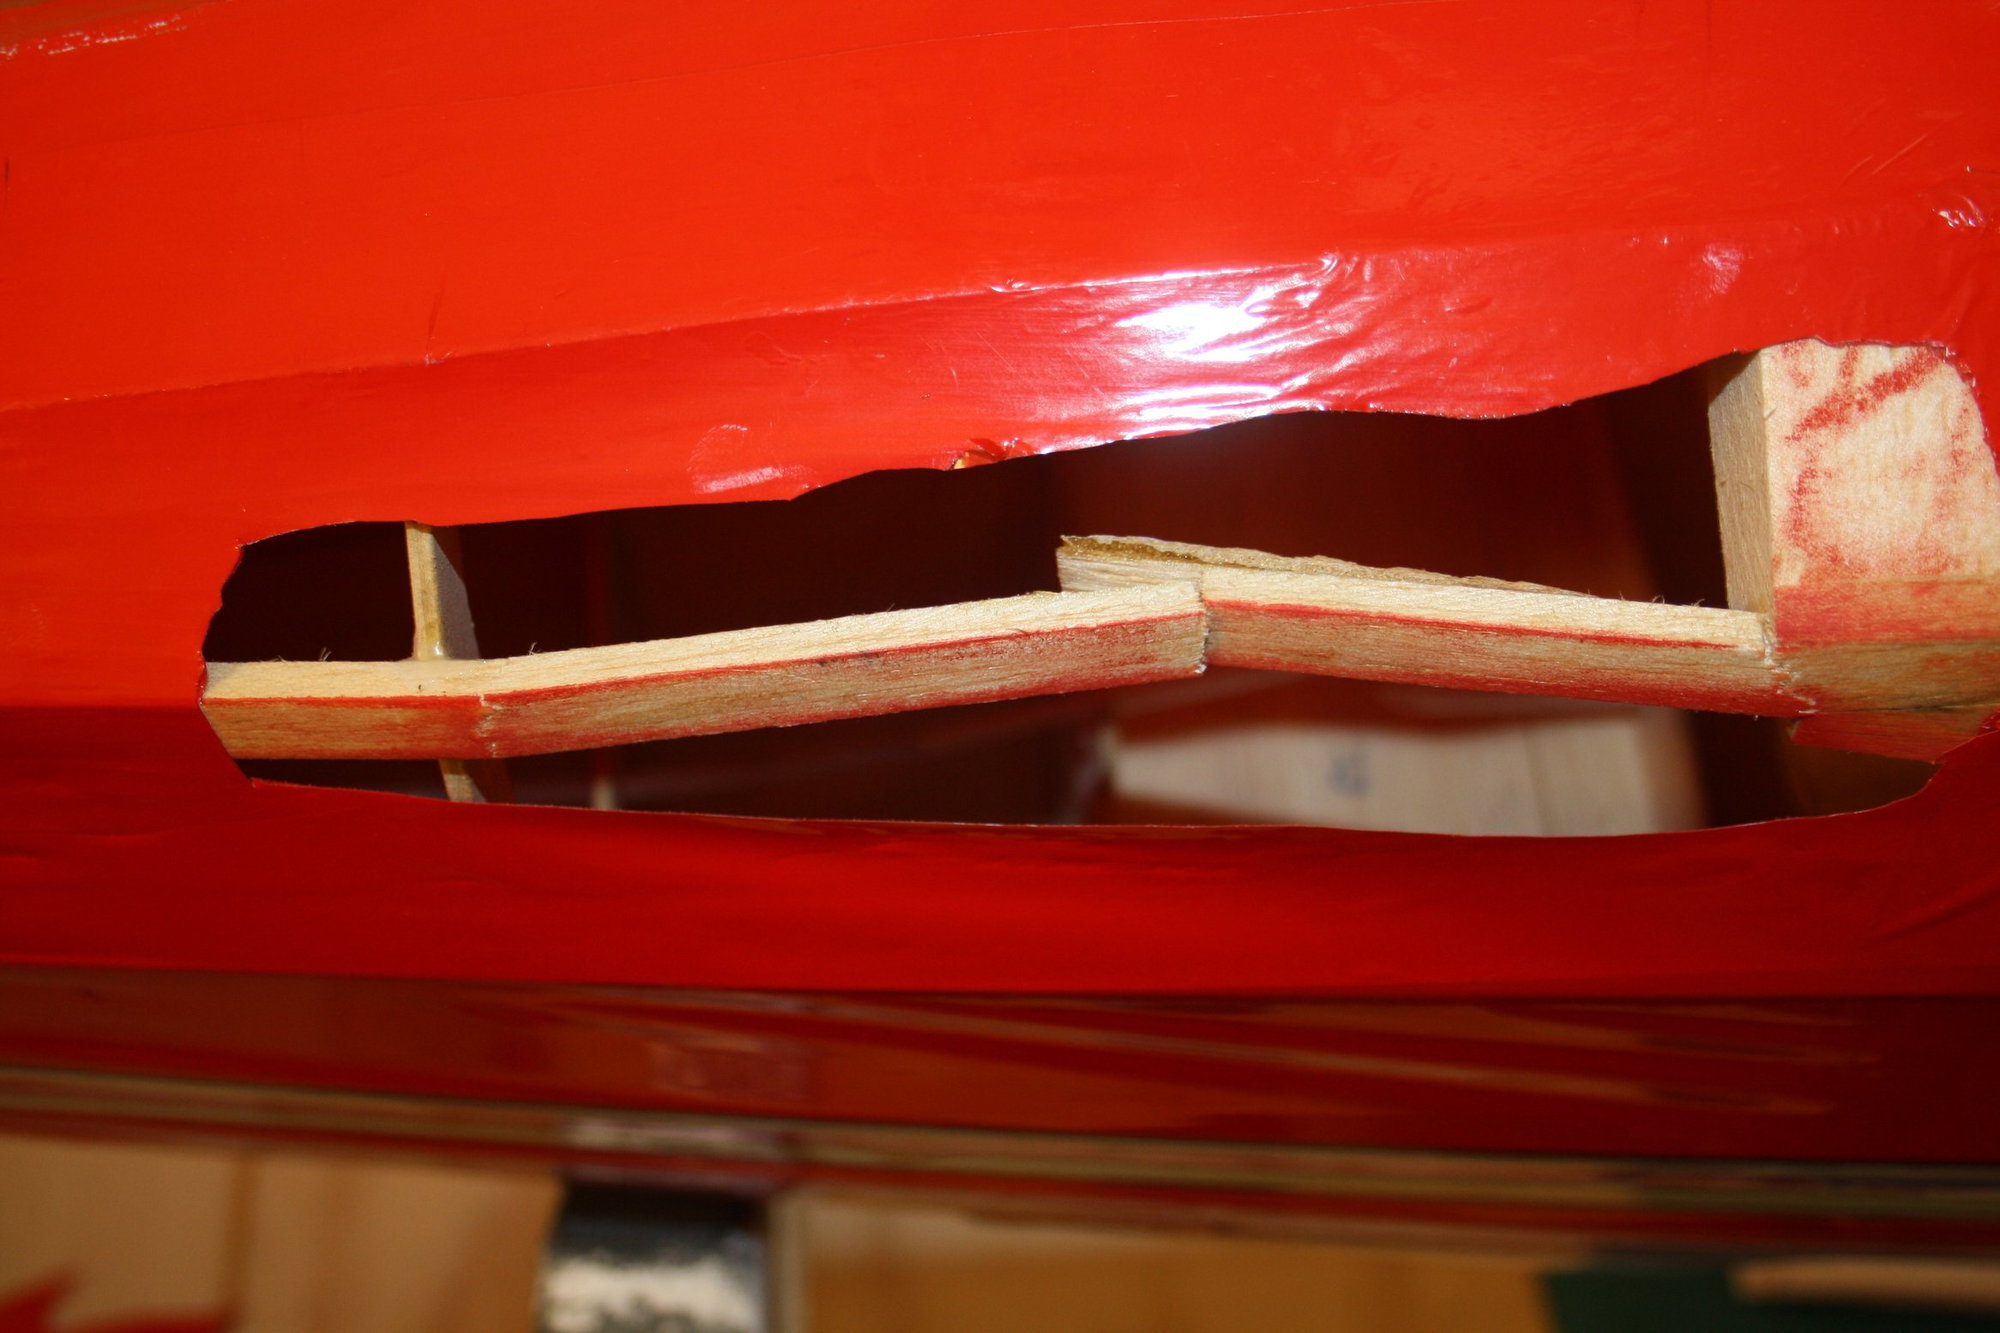
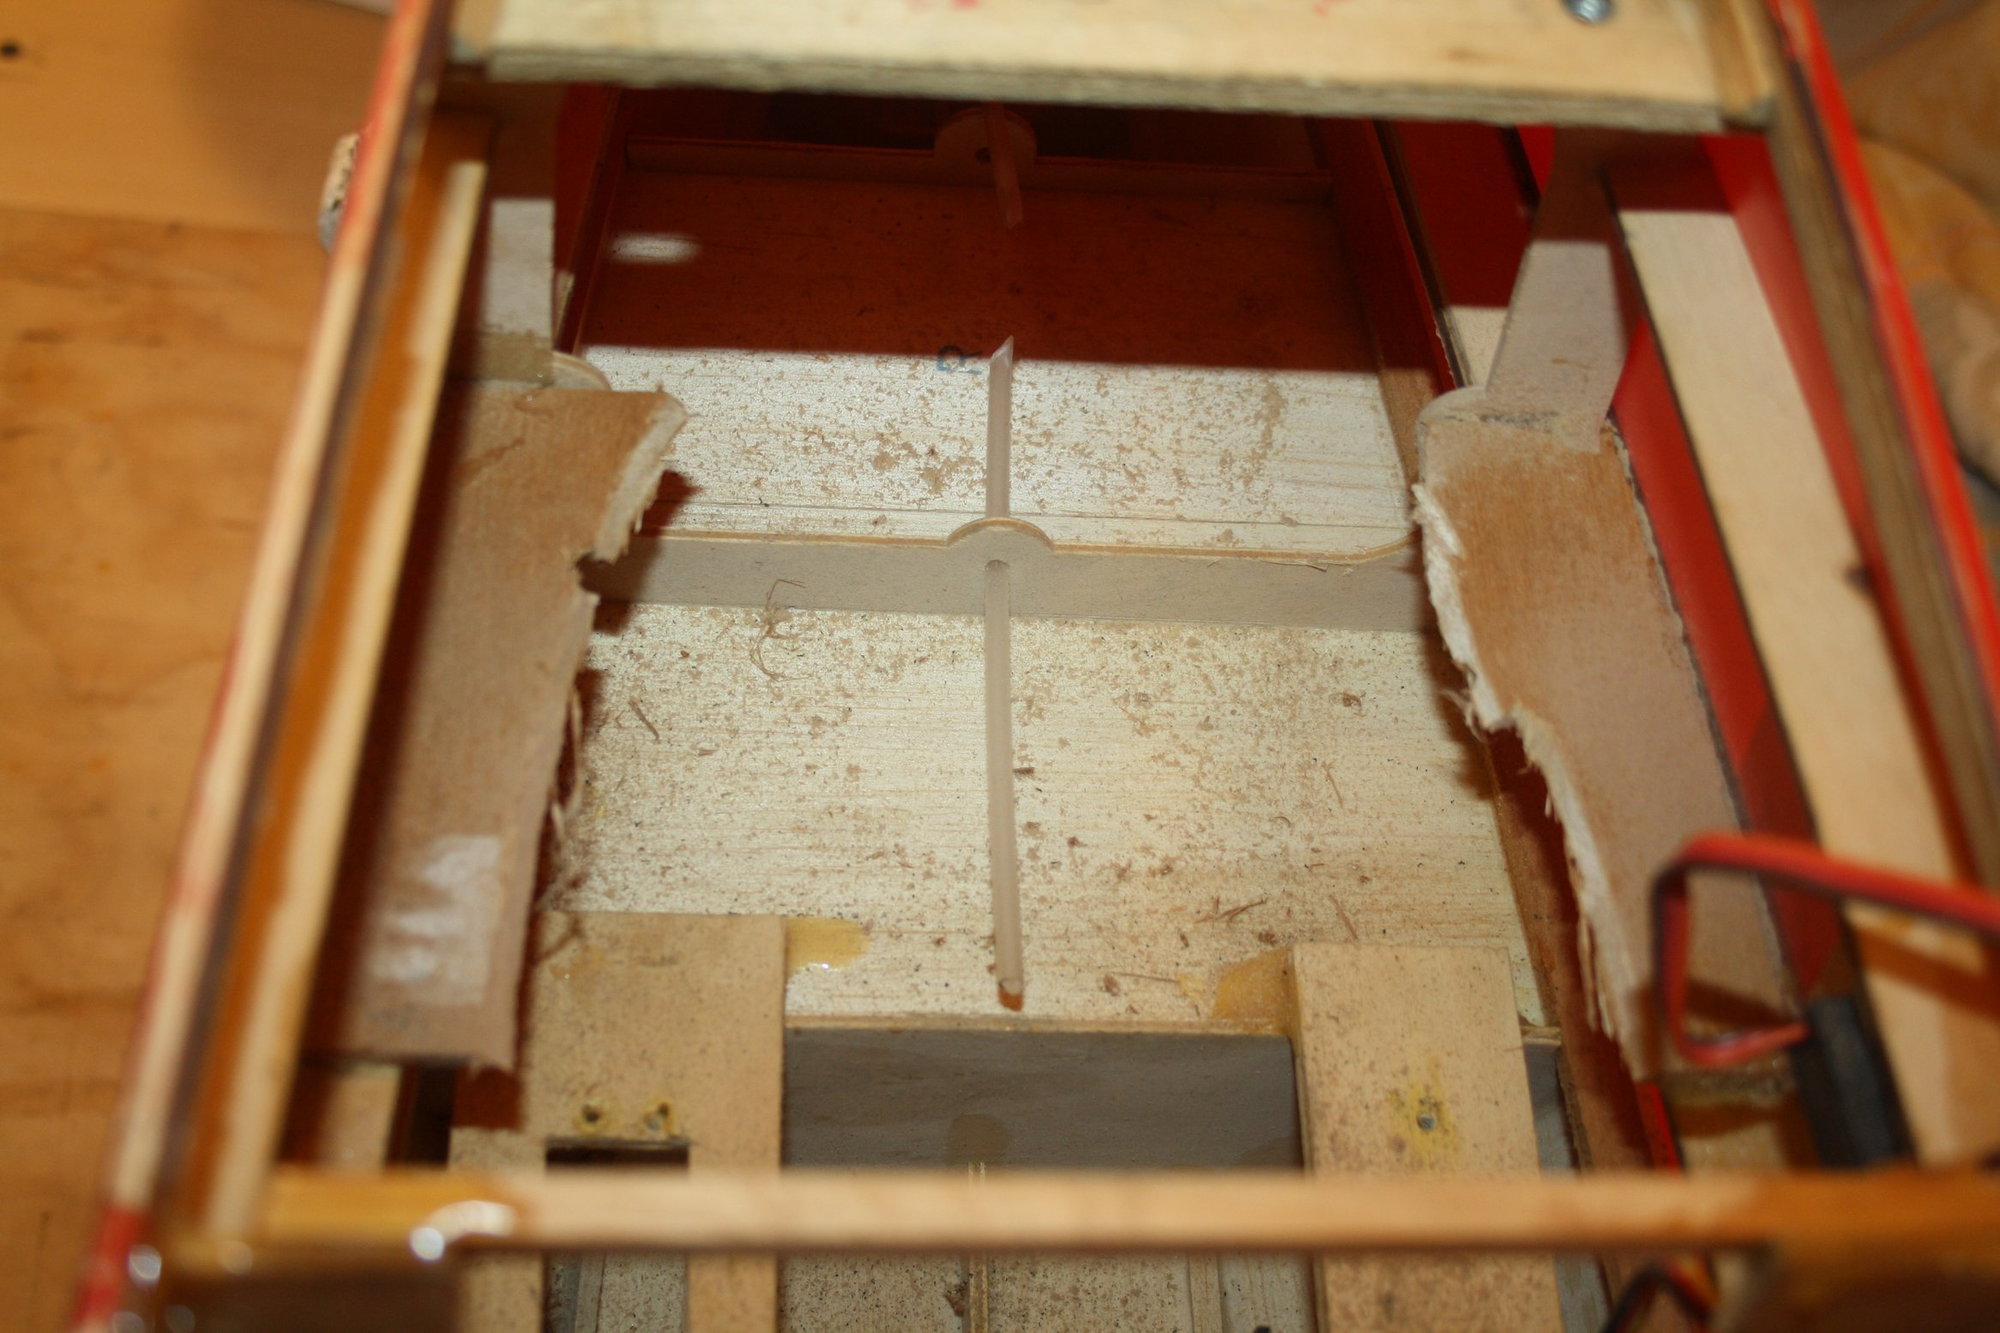
As mentioned before, the bottom of the fuselage covering was "held by tape" and of inferior covering material, which raise suspicion that some damage was covered. It was easy to spot one area of concern as shown in the photos. I used a torch to look to the back, and had to remove another tray that was interrupting the investigation and was not part of the original aeroplane anyway. Considering the amount of additional led weights at the firewall I am confident that additional weight at the back will not be needed.
The owner was not sure which batteries he will be using, so I made trays for both NiMh and LiFe and located them as far forward as practical for easy removal.
Cheers,
Eran
02-24-2019, 10:19 PM
#7
Thread Starter
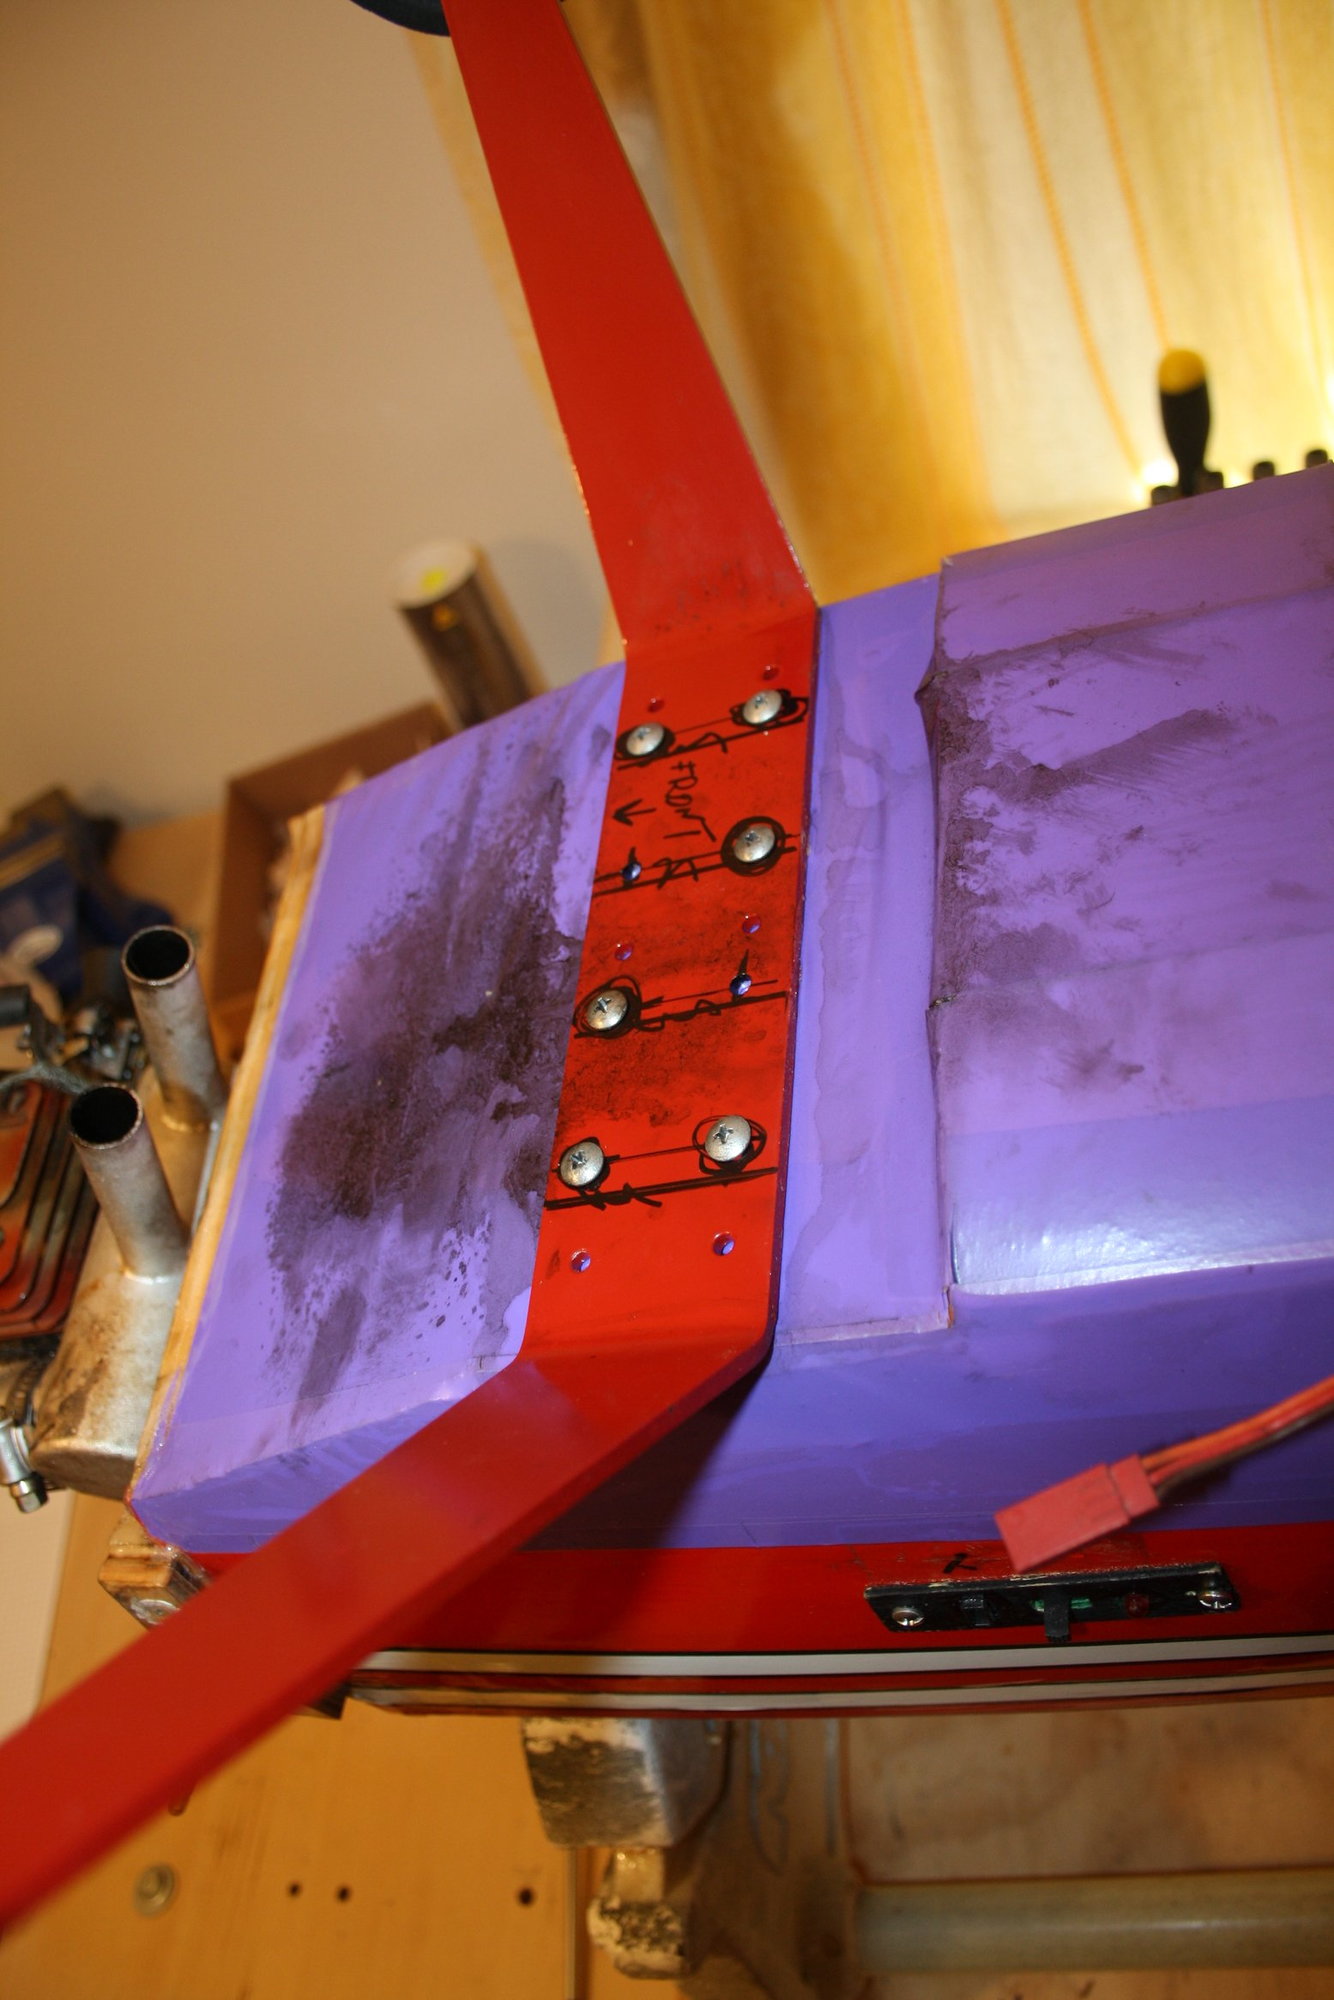
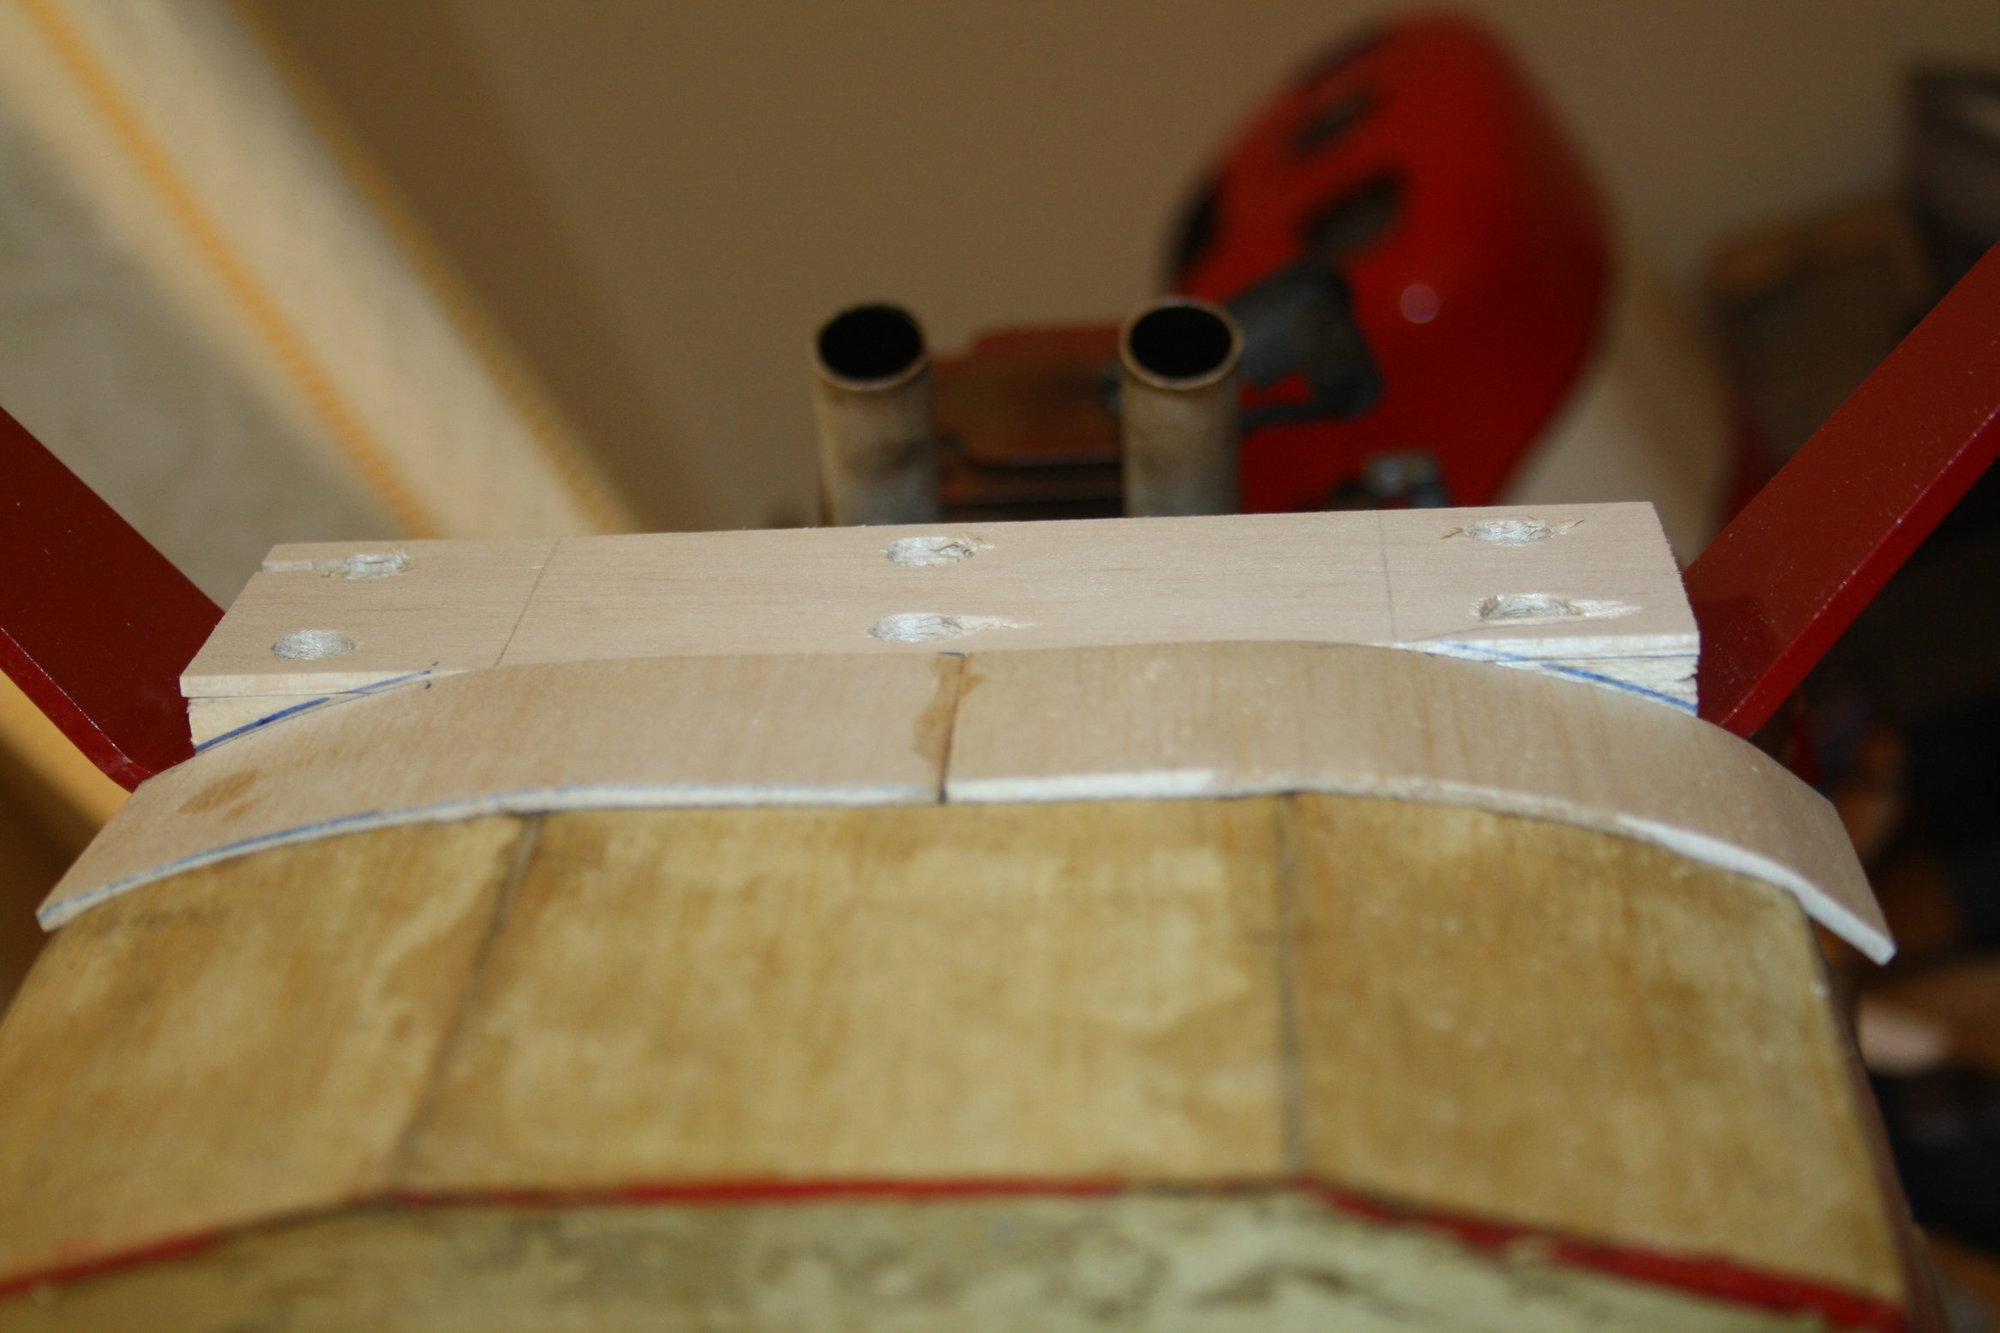
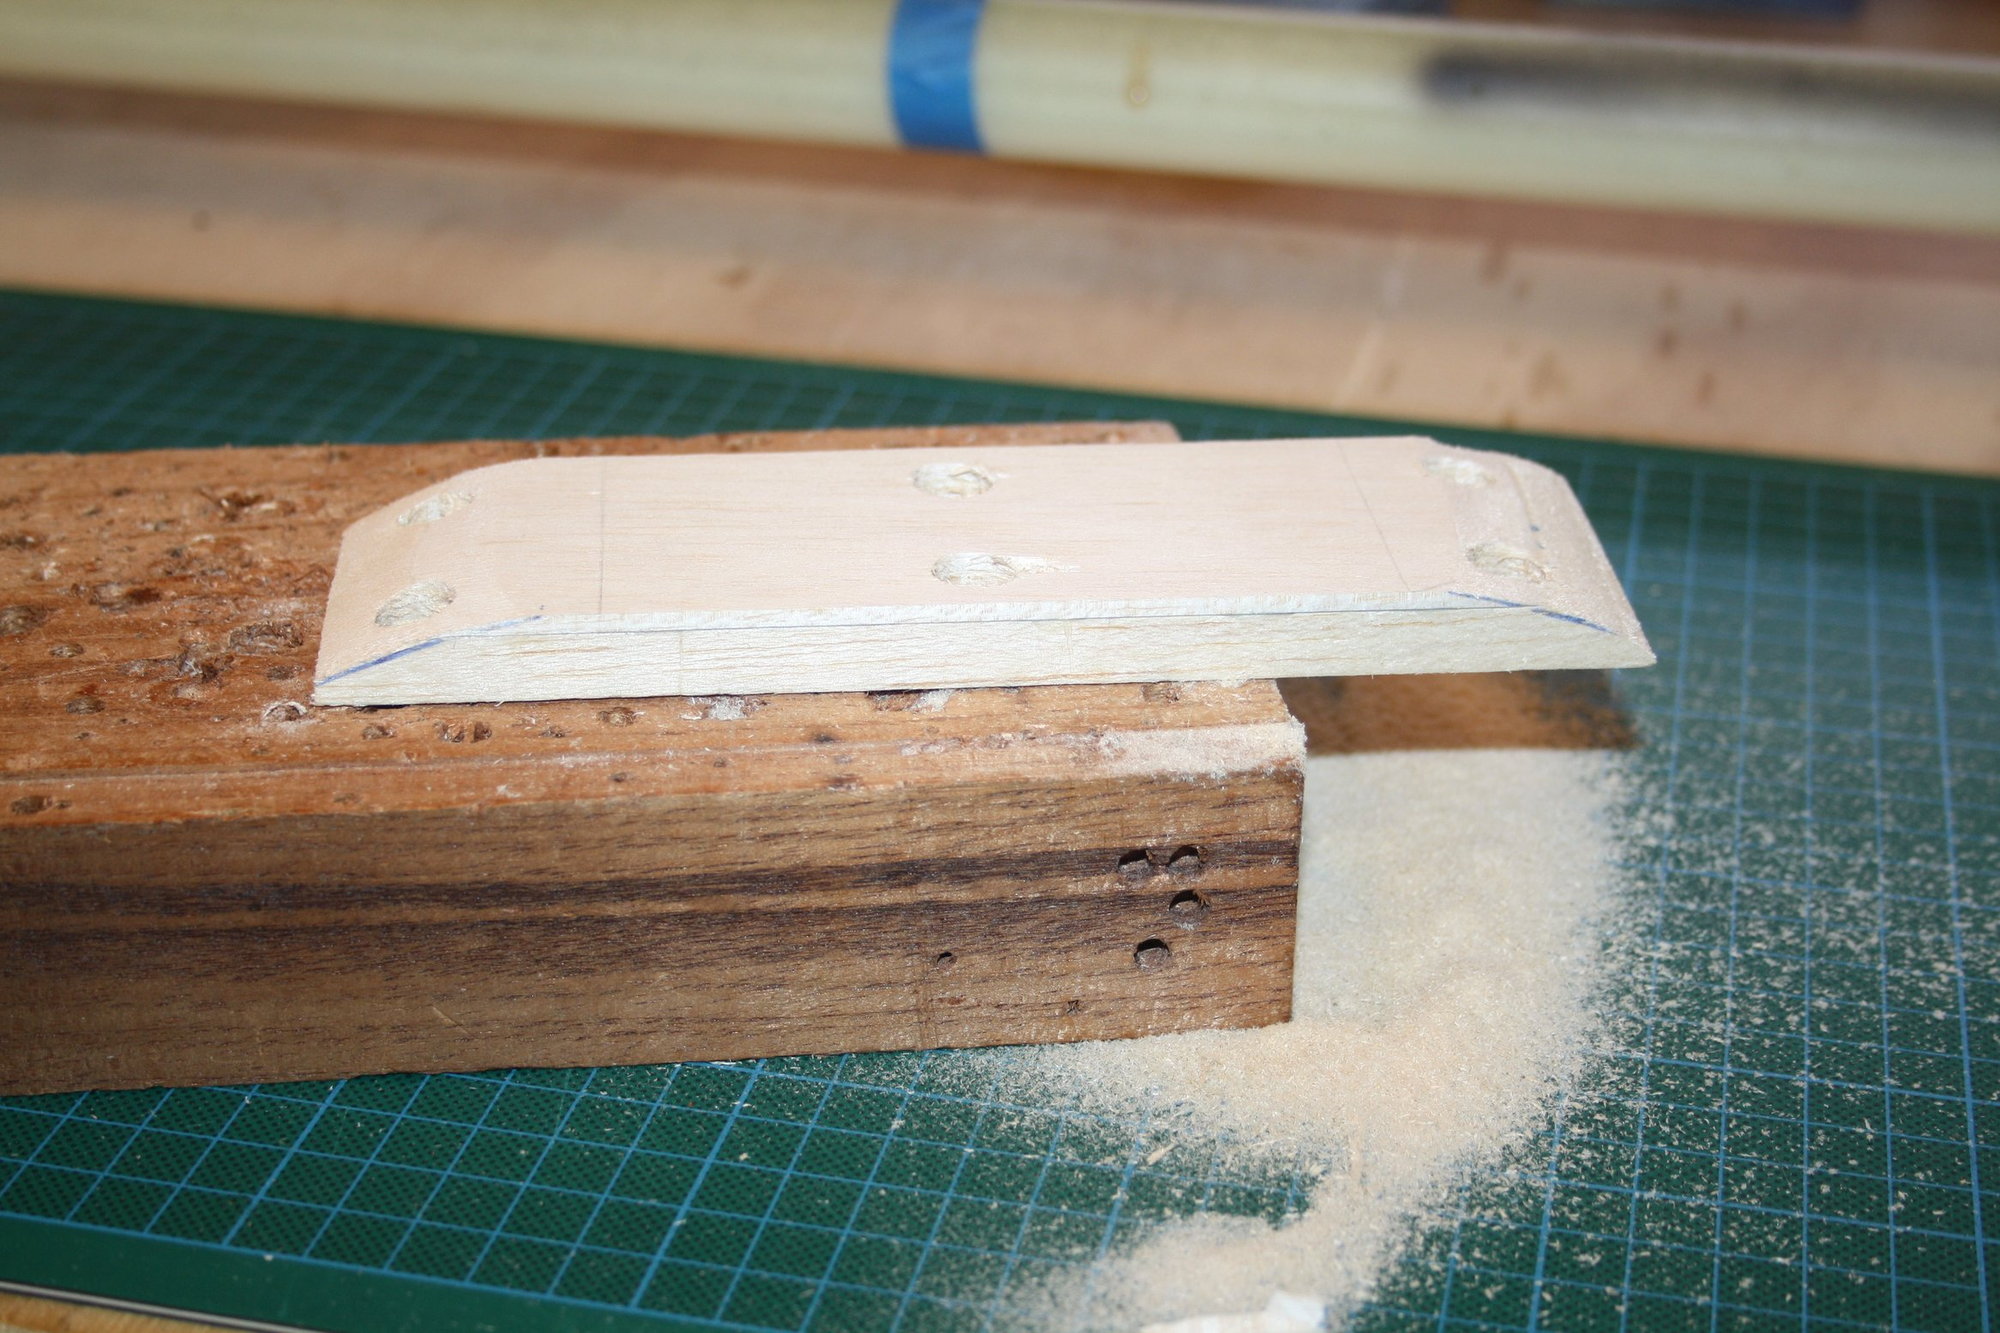
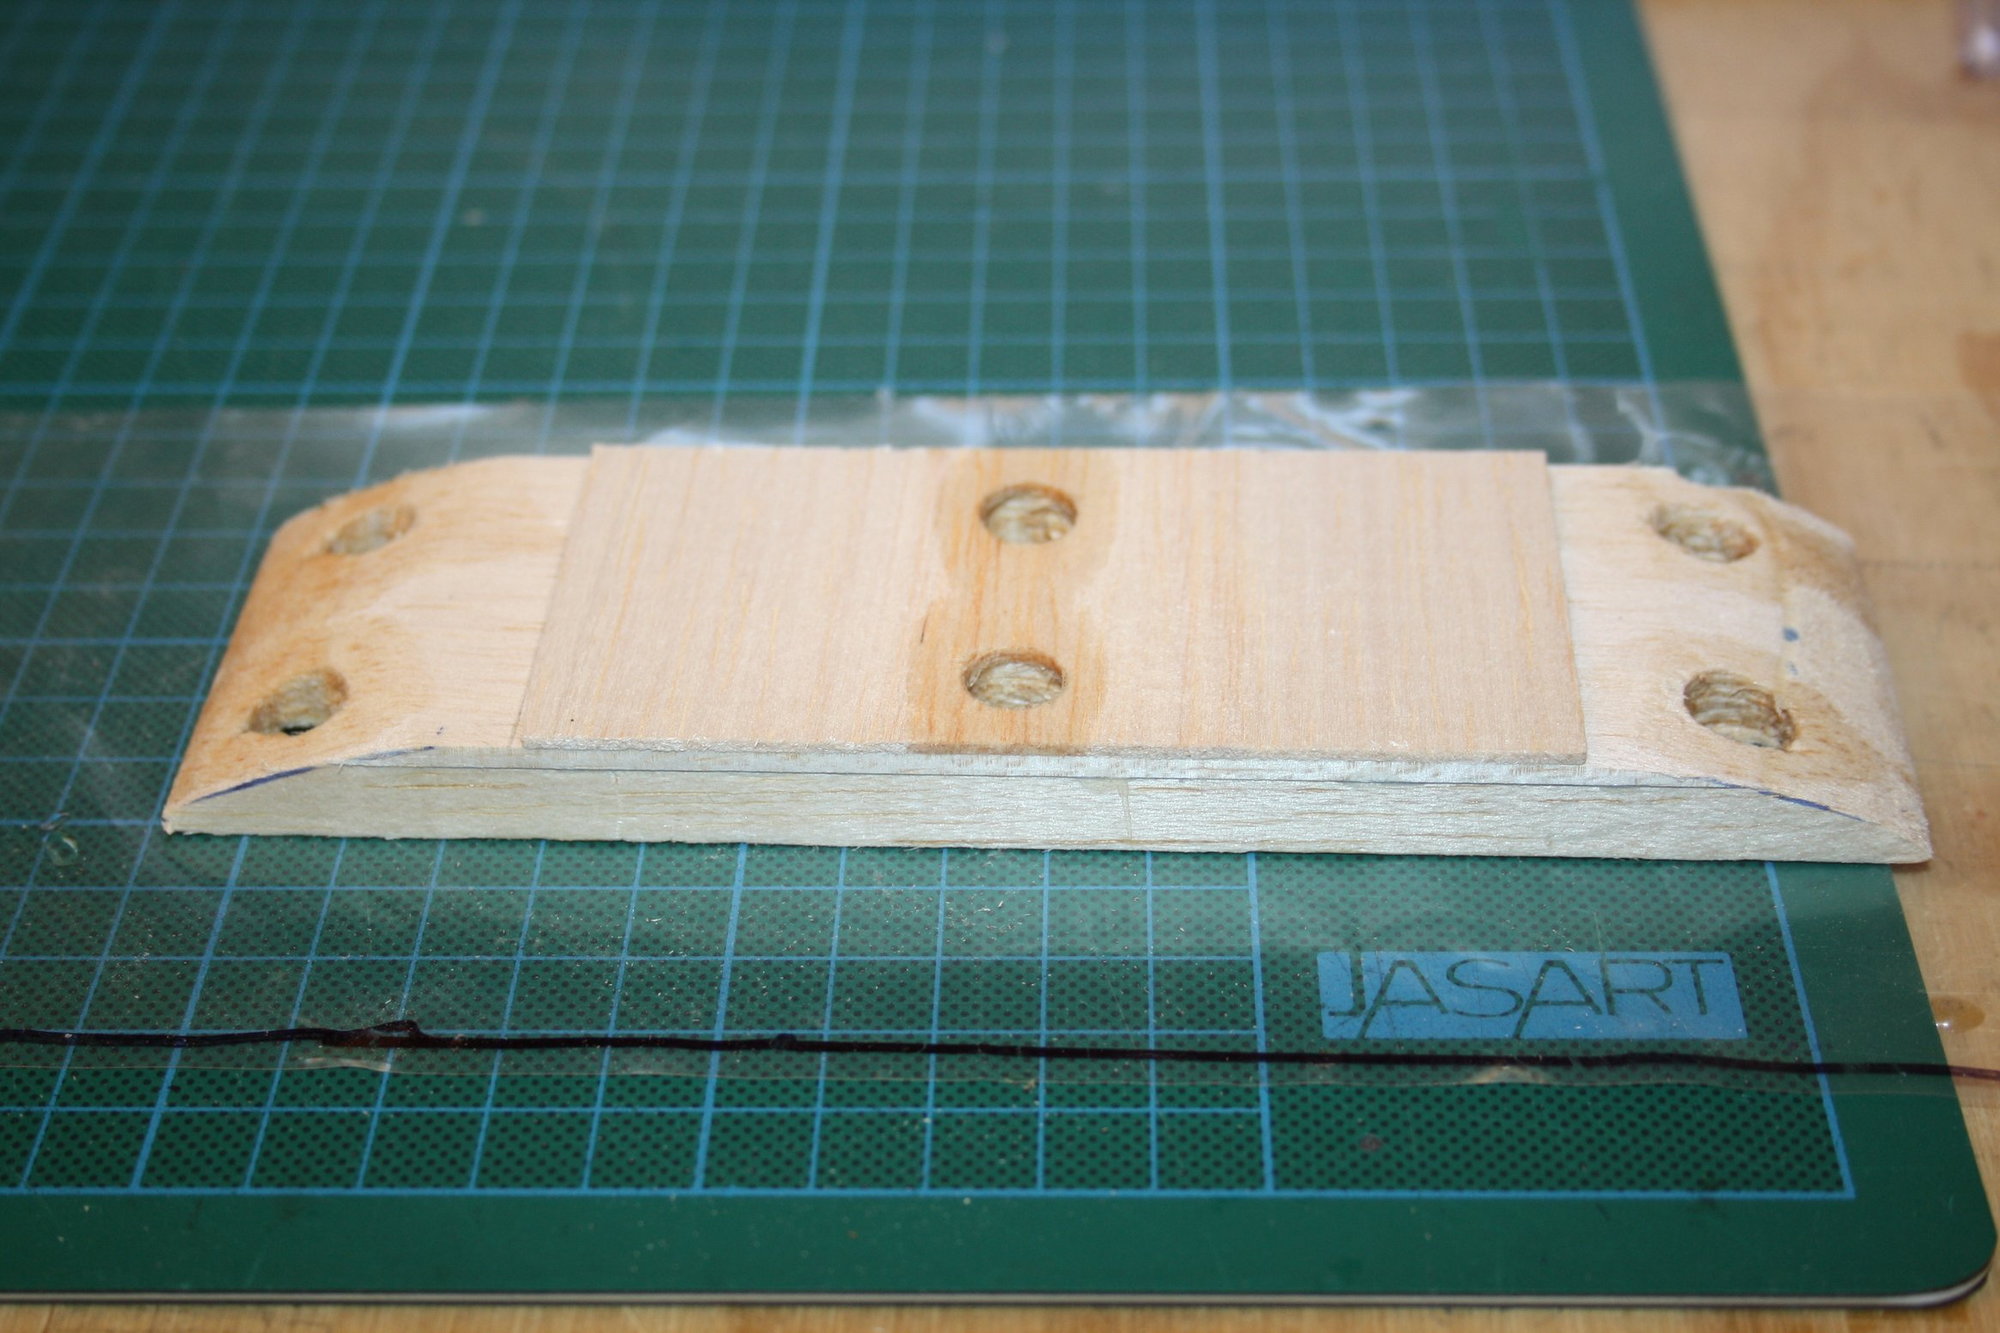
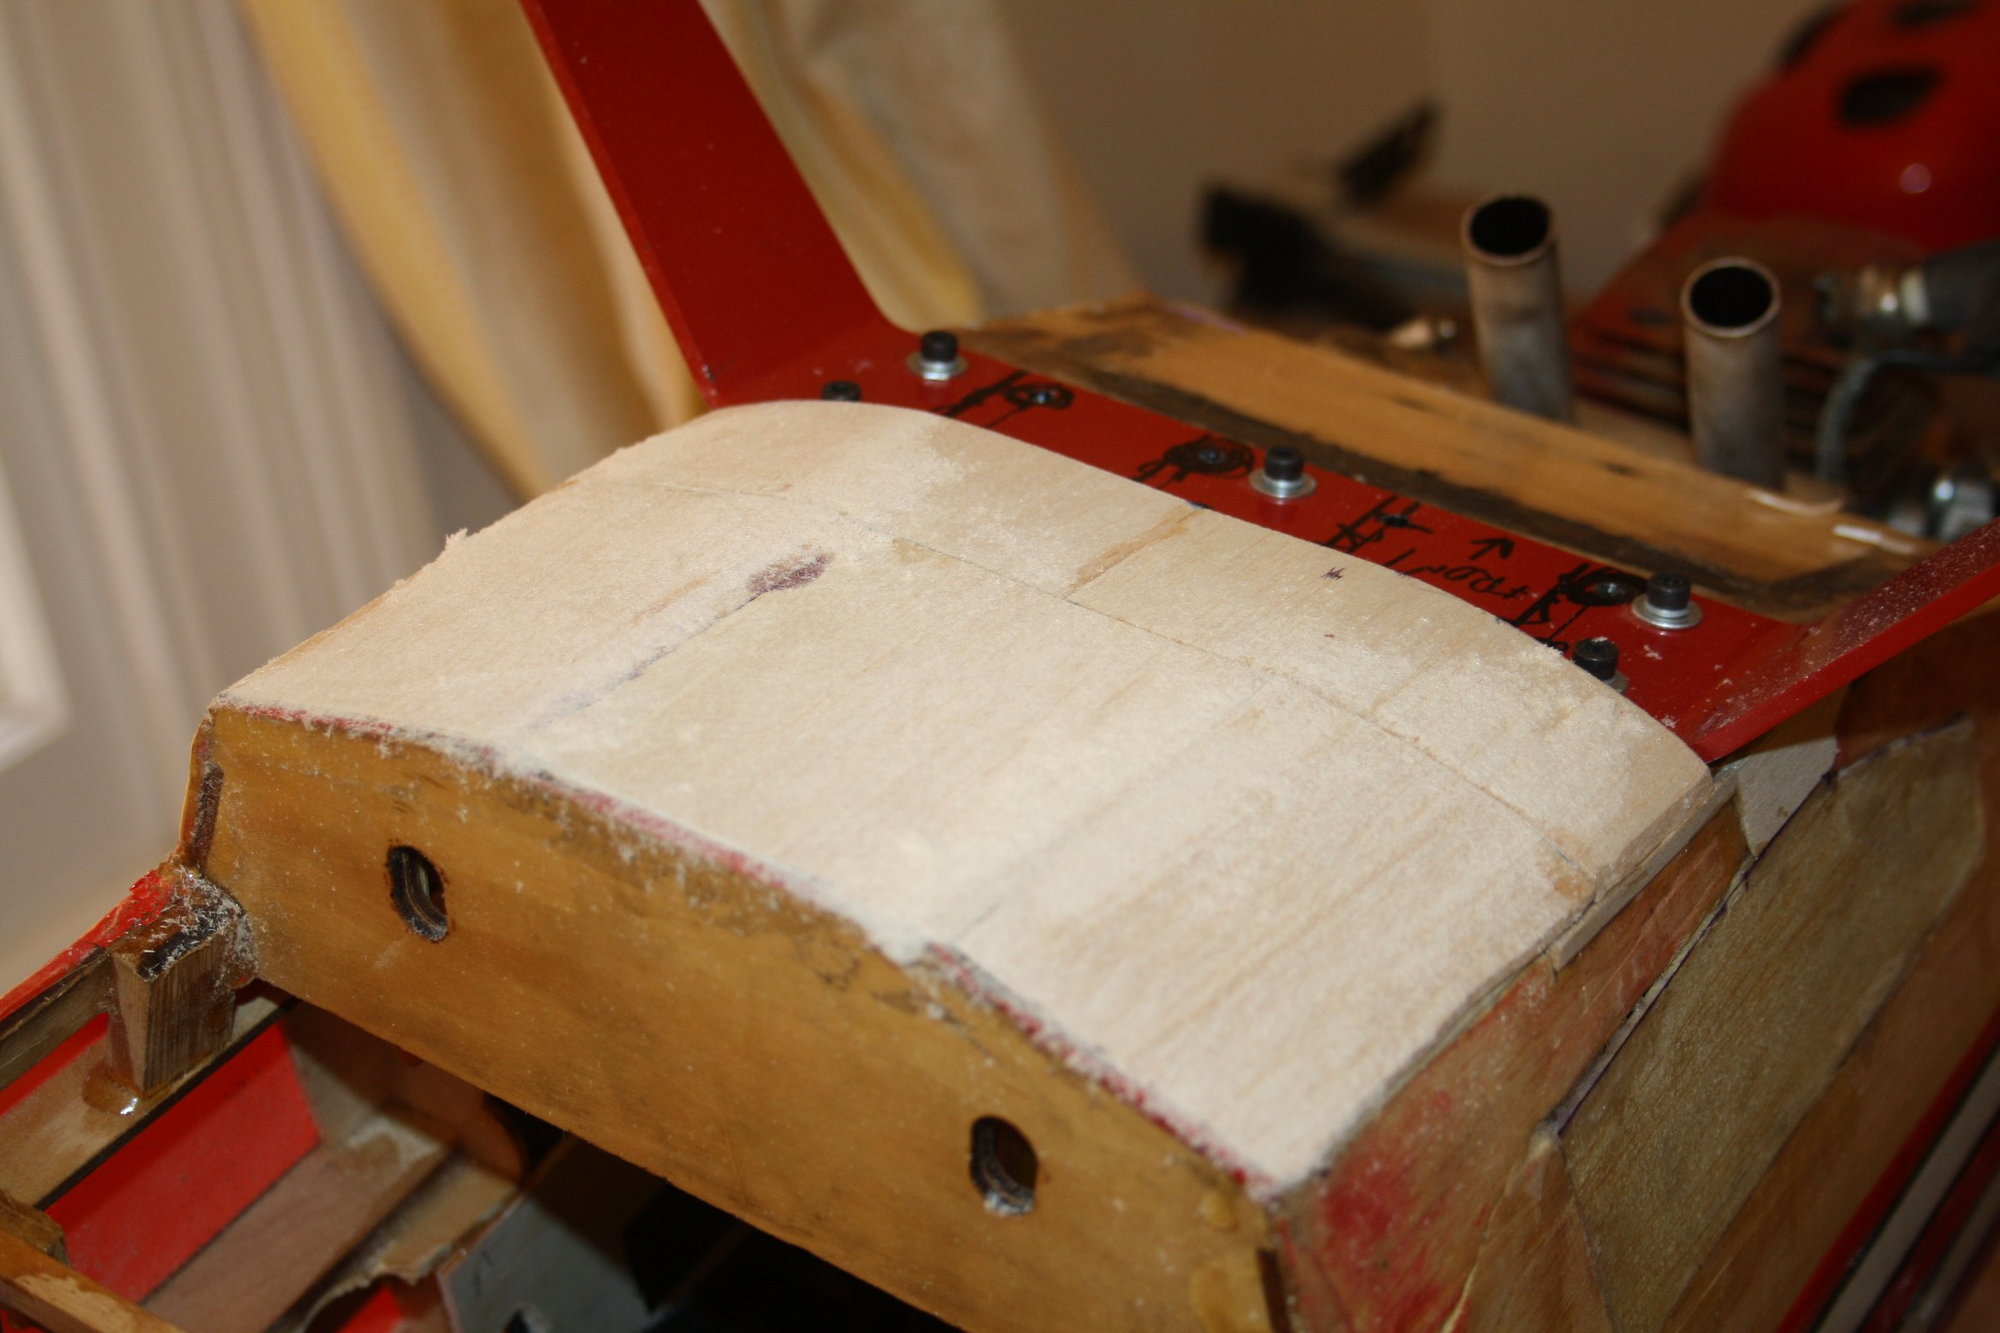
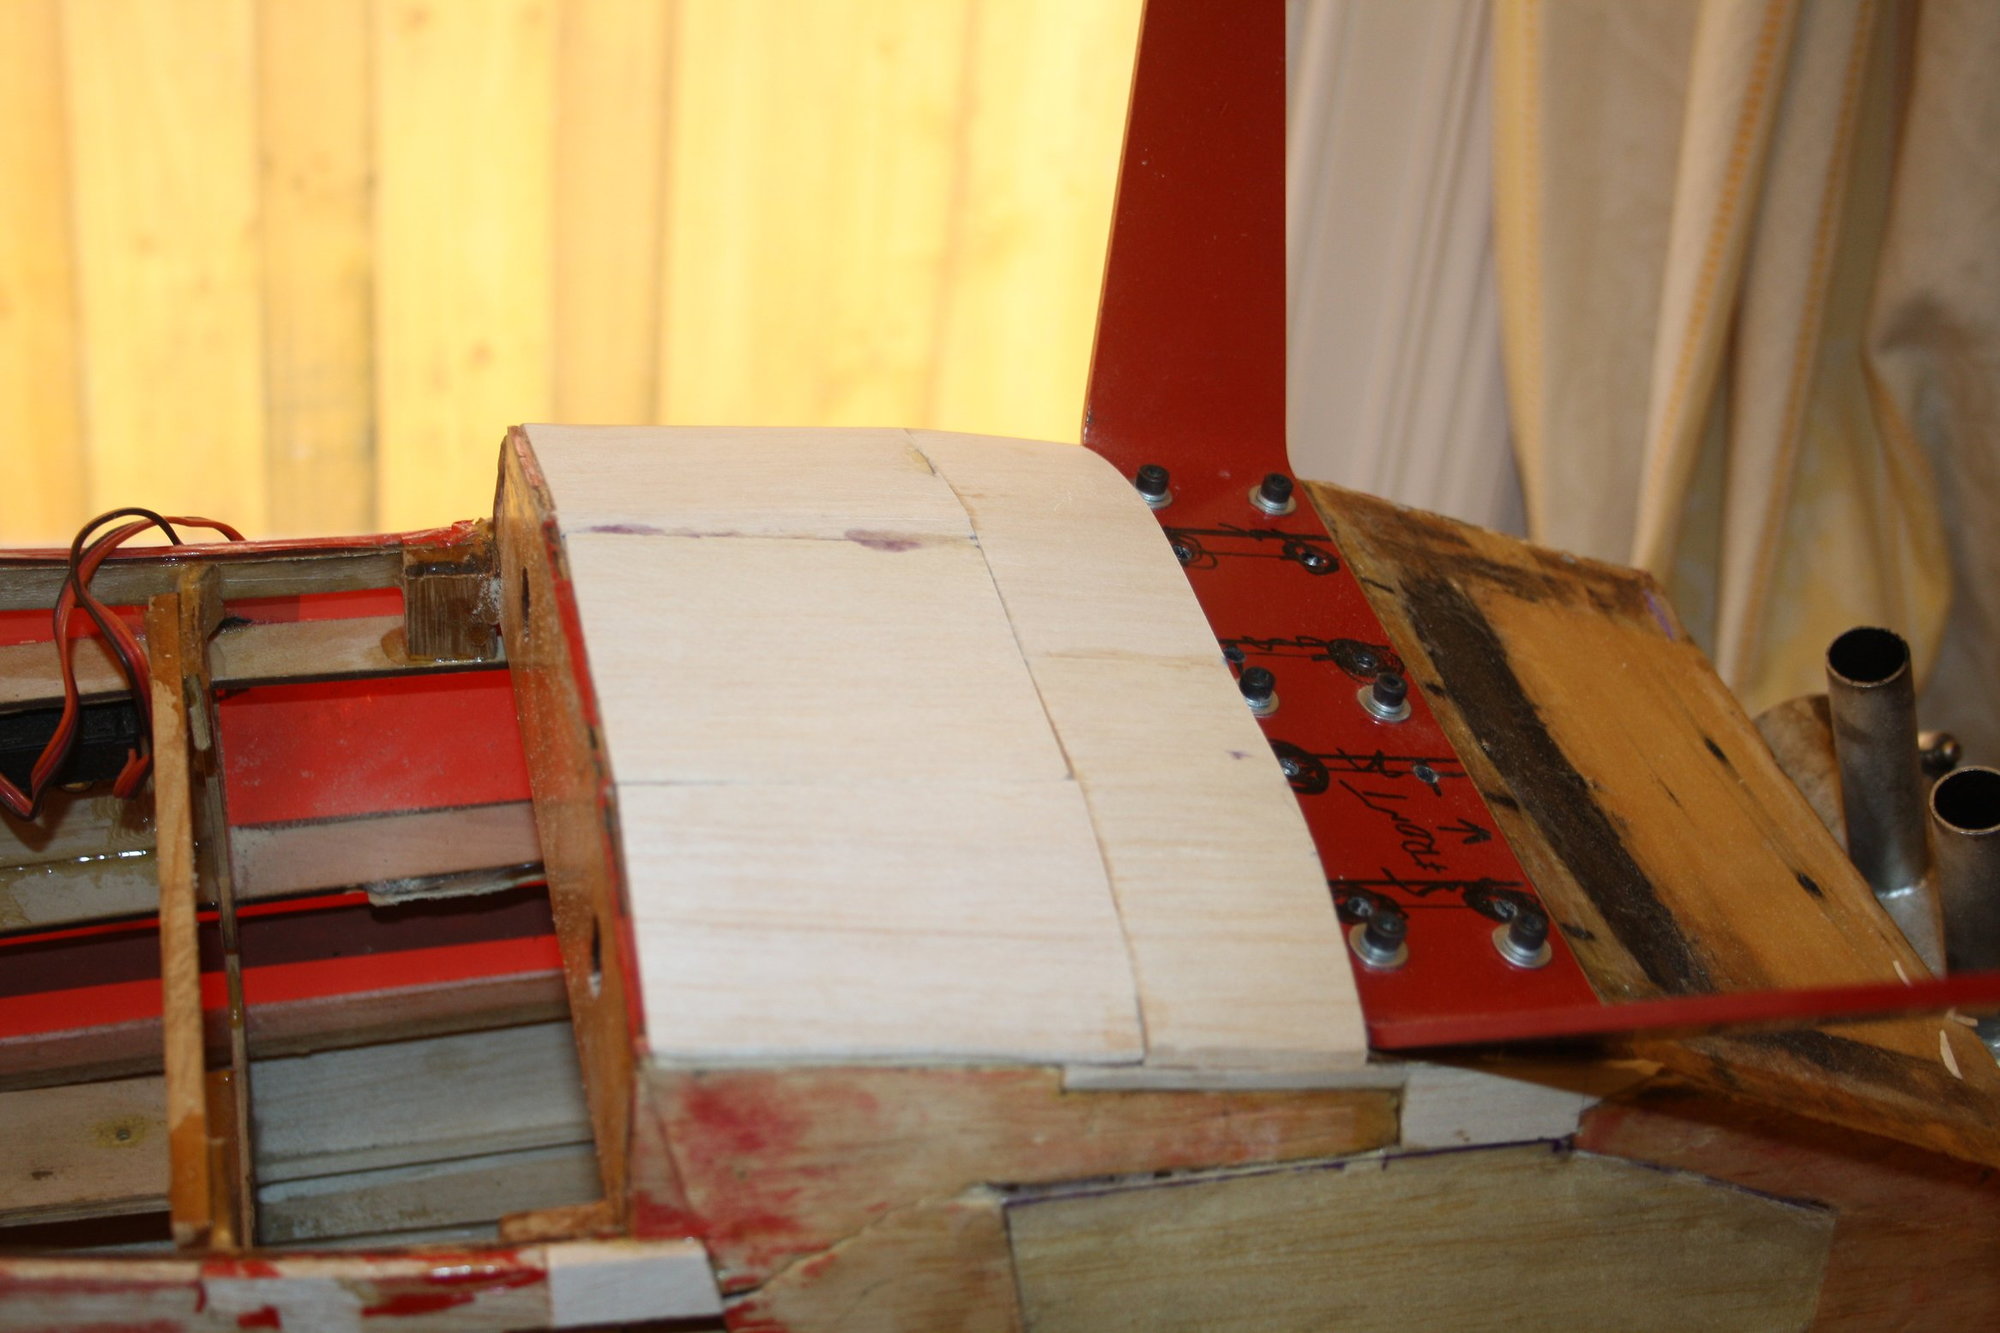
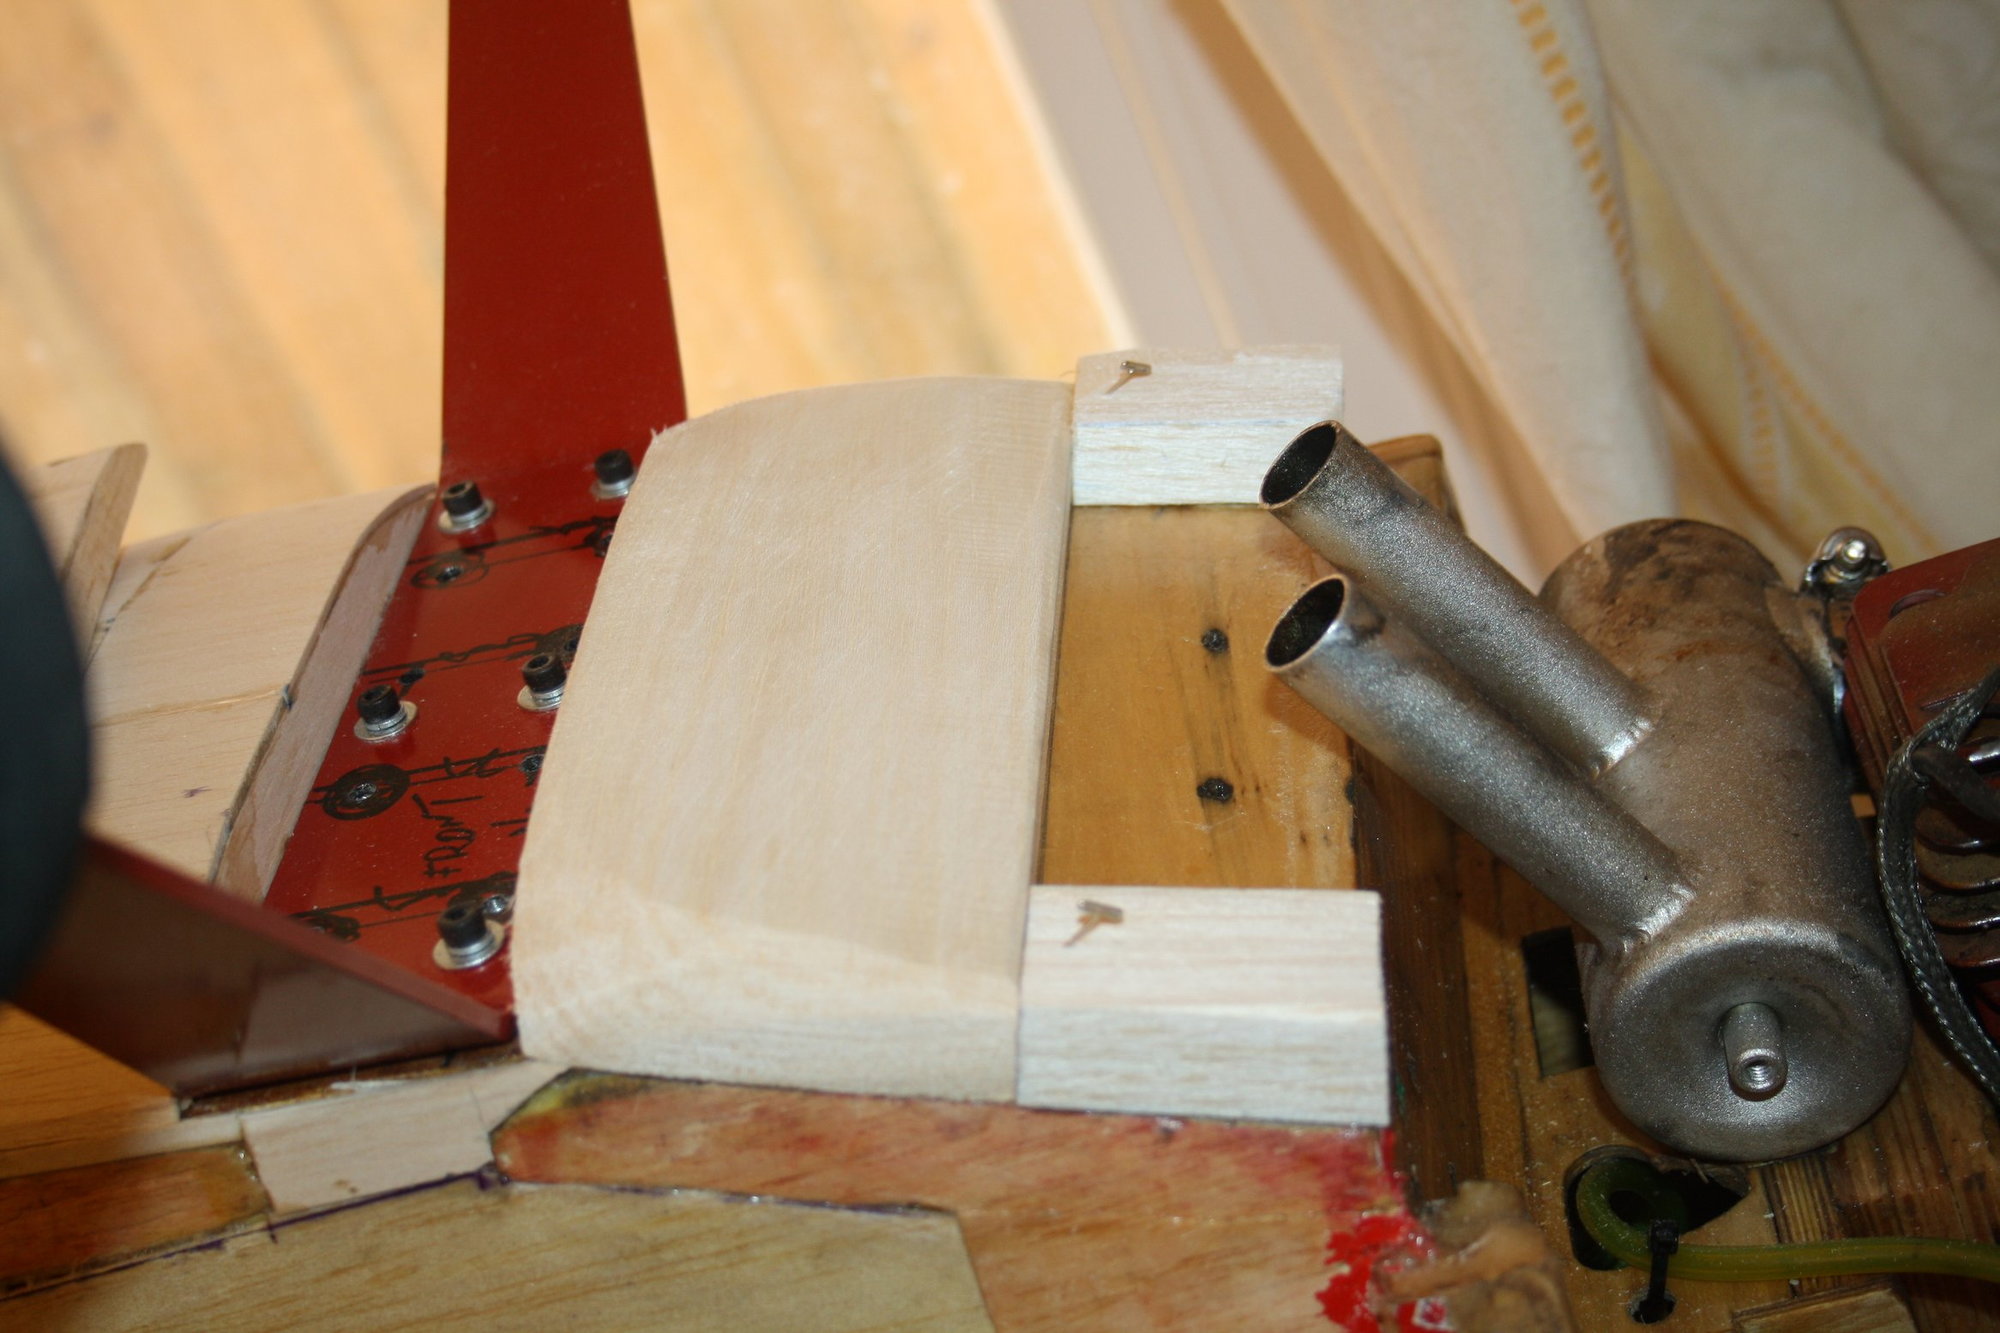
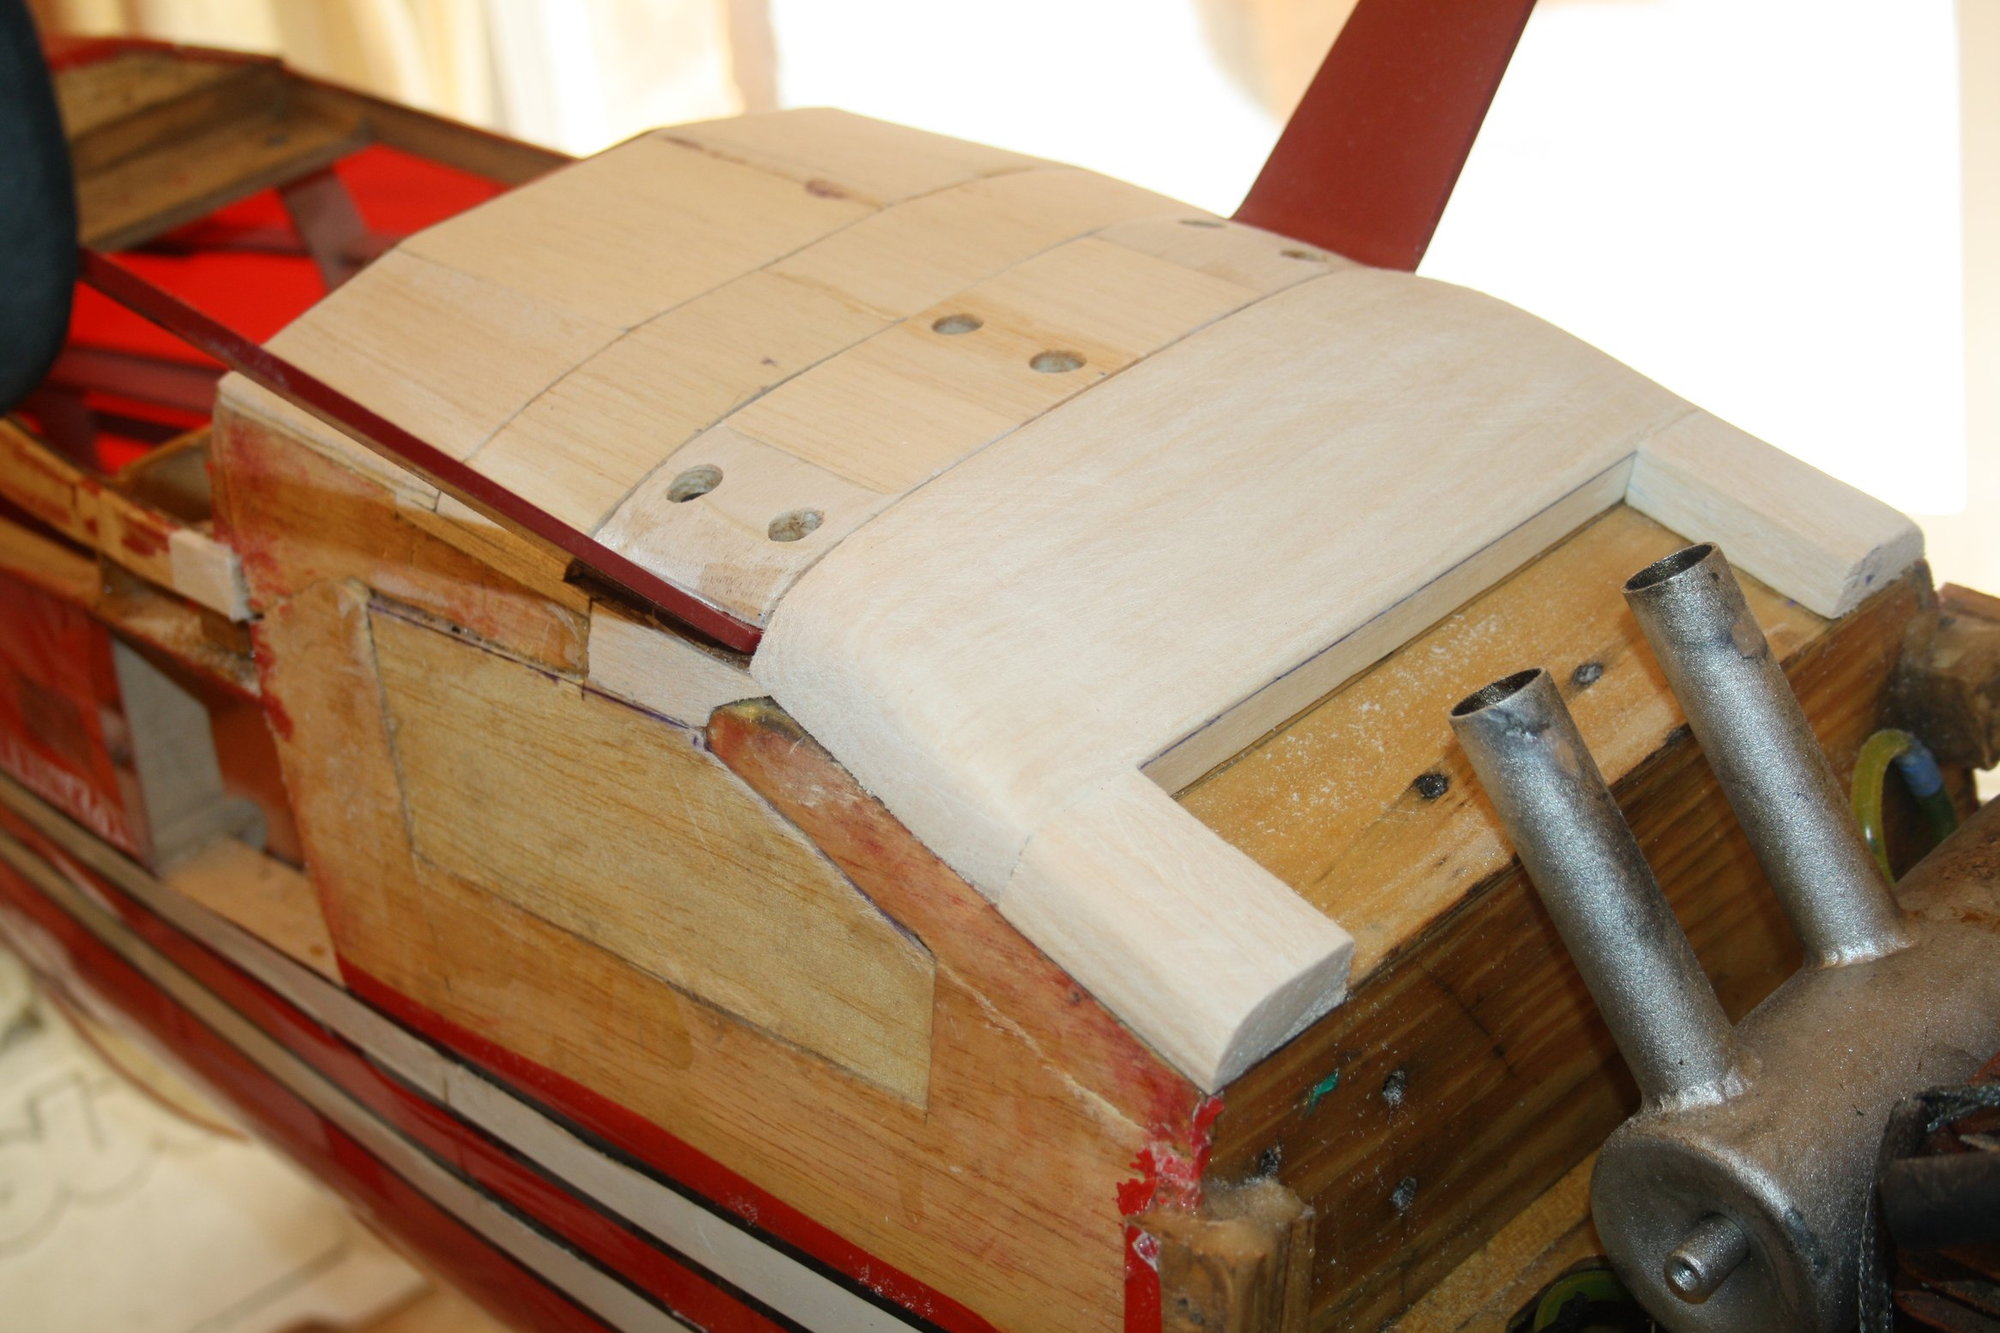
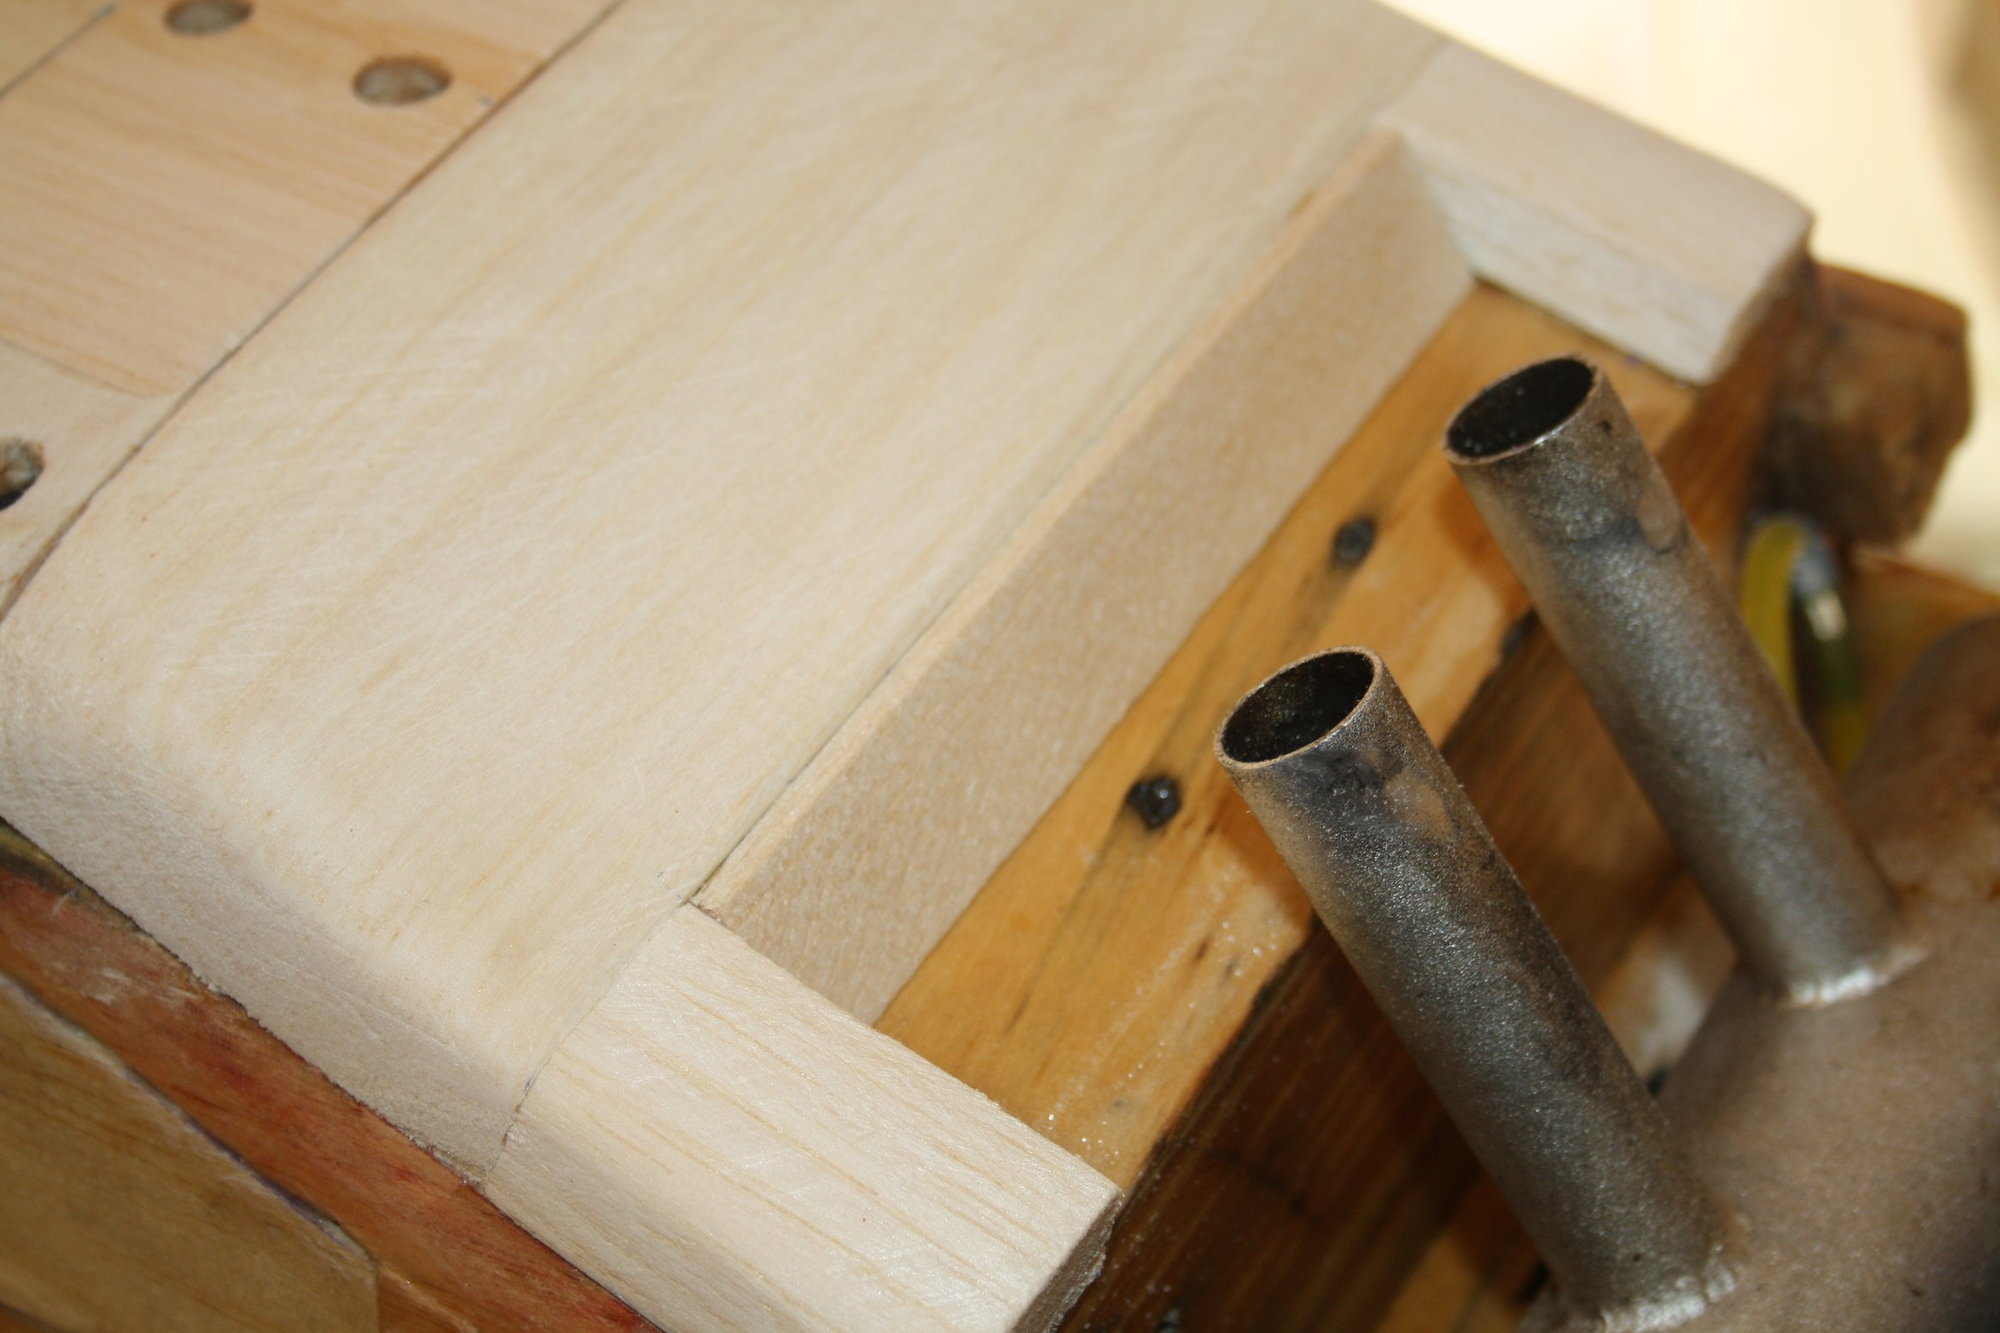
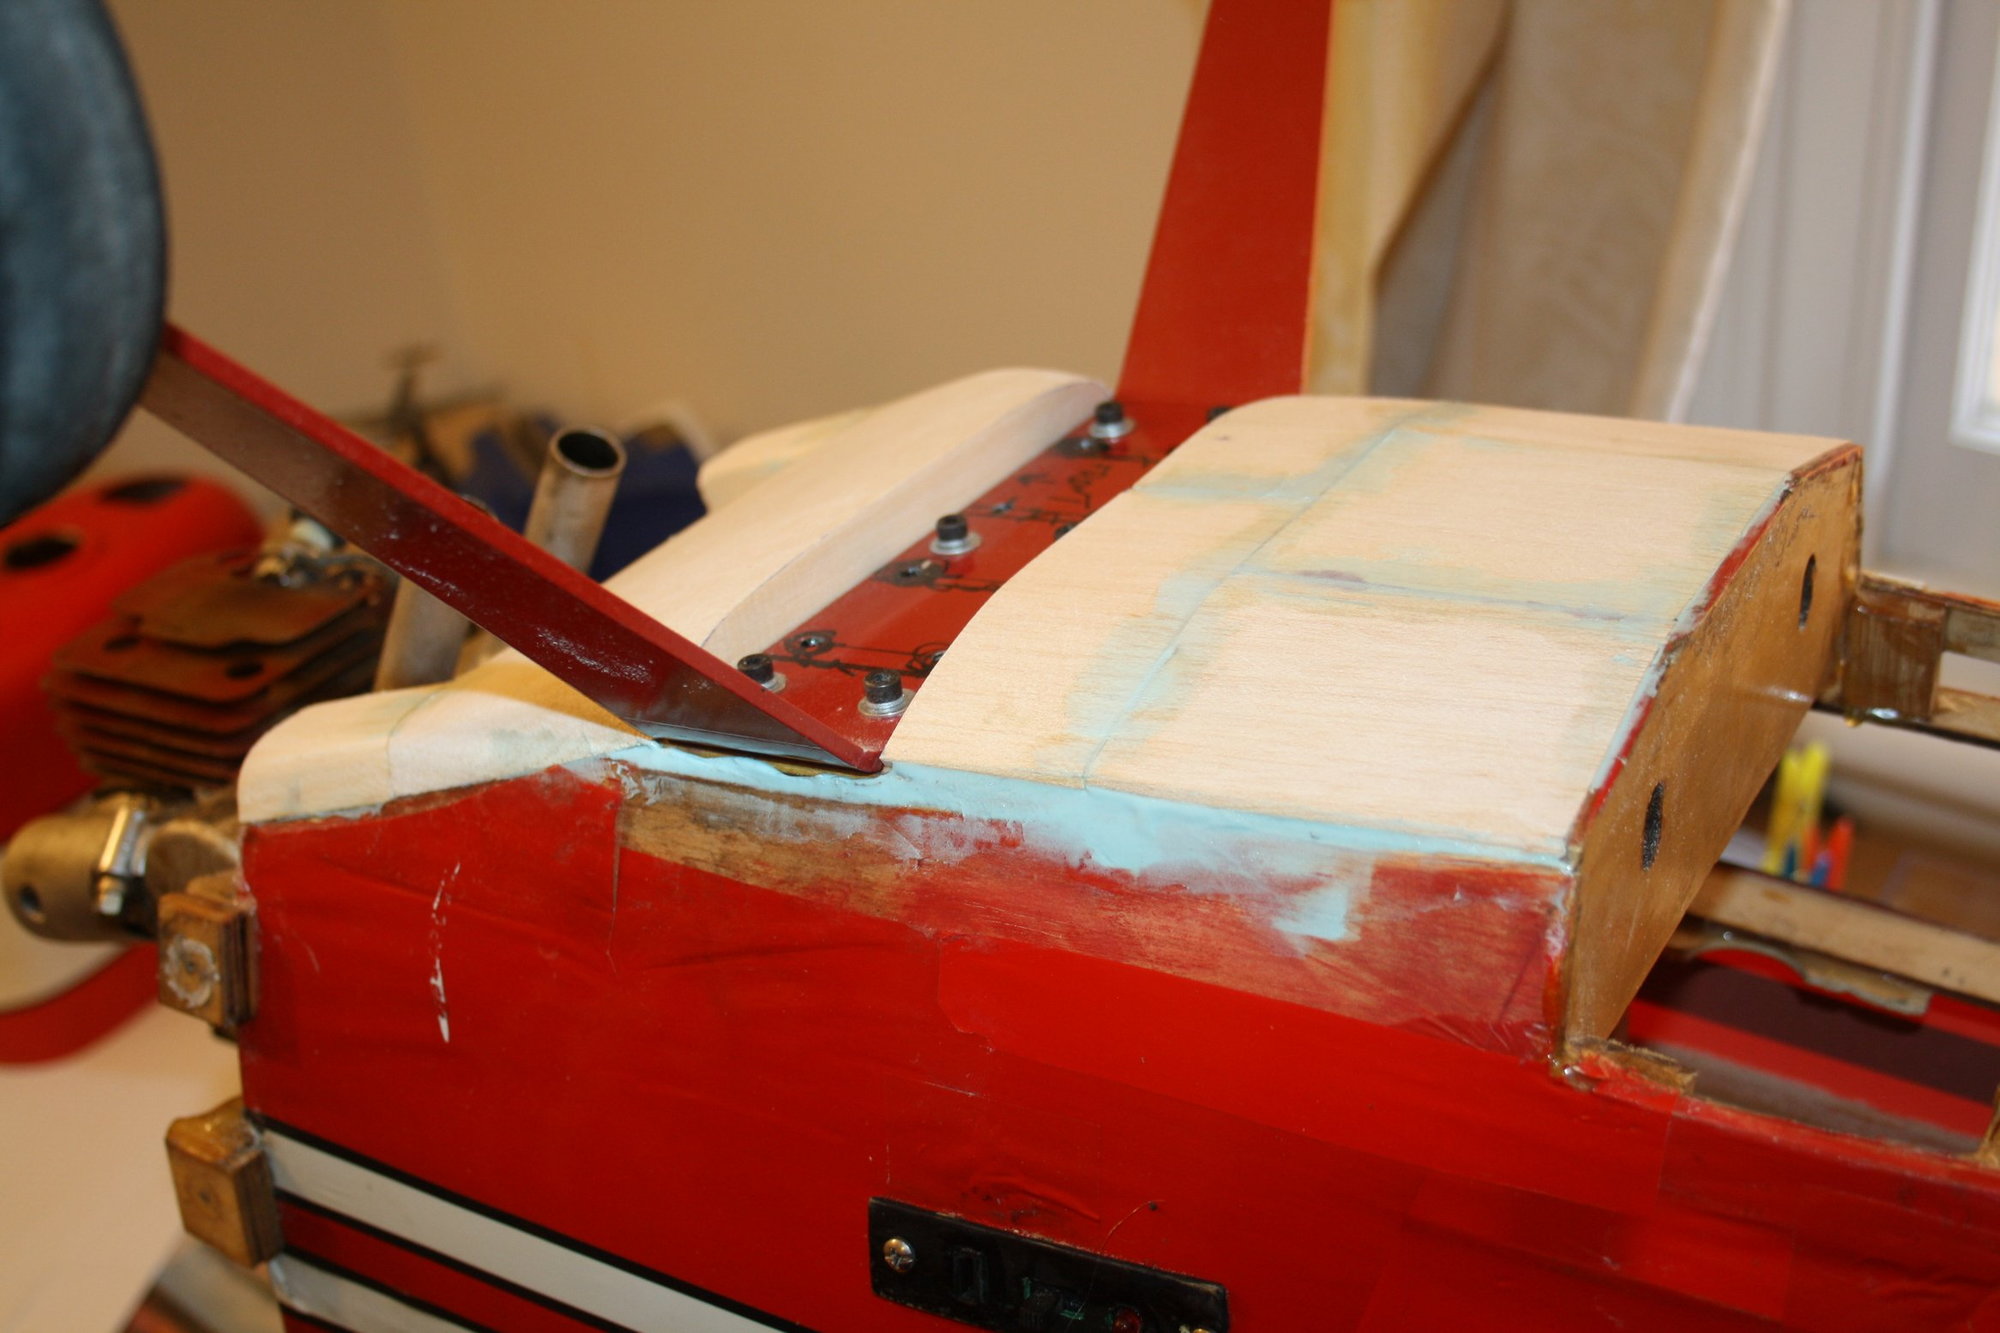
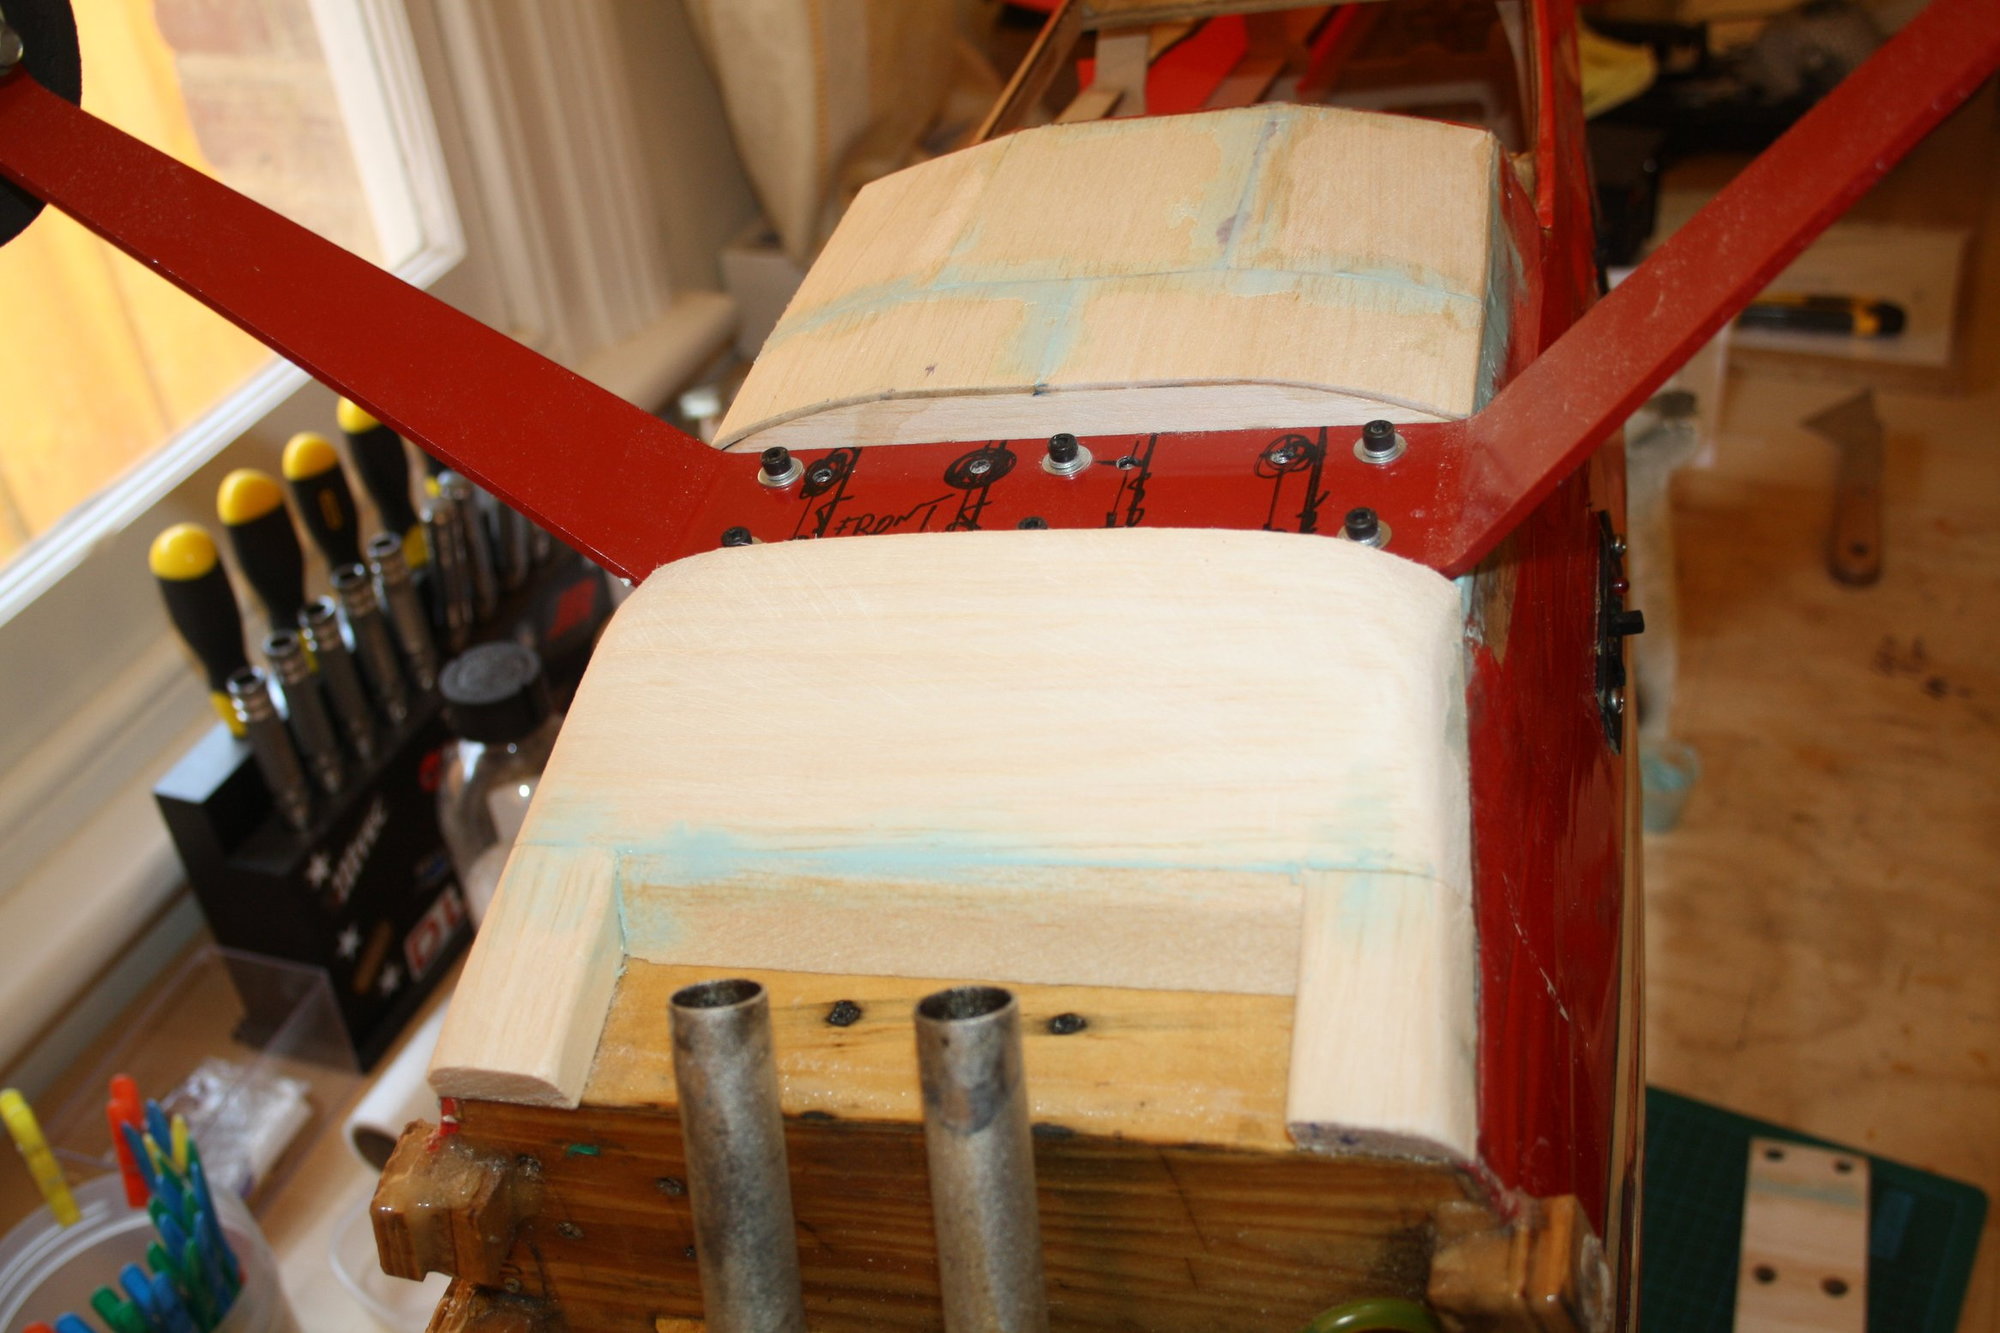
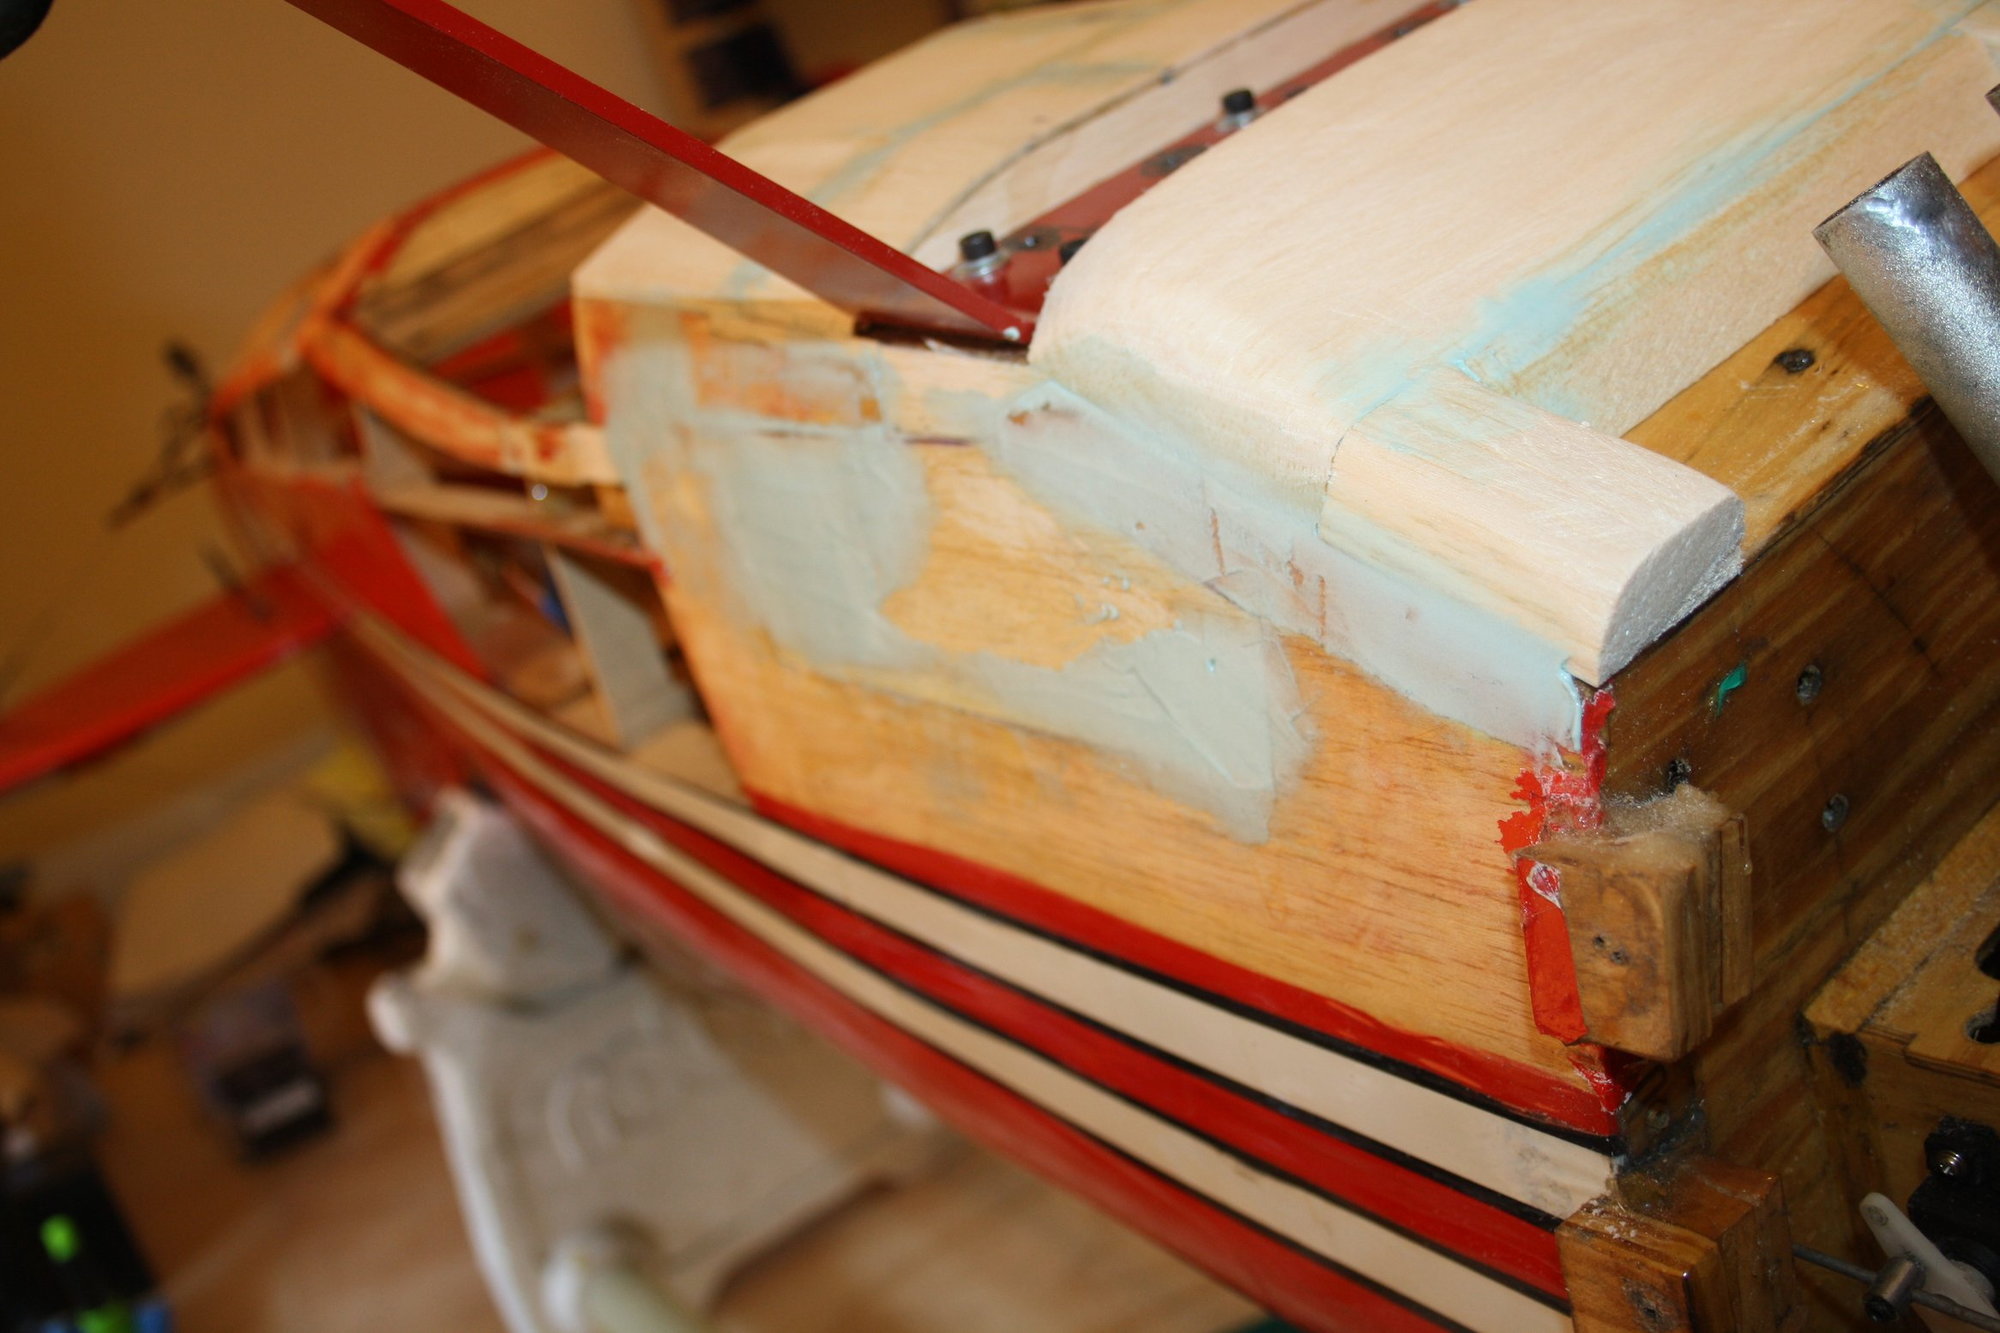
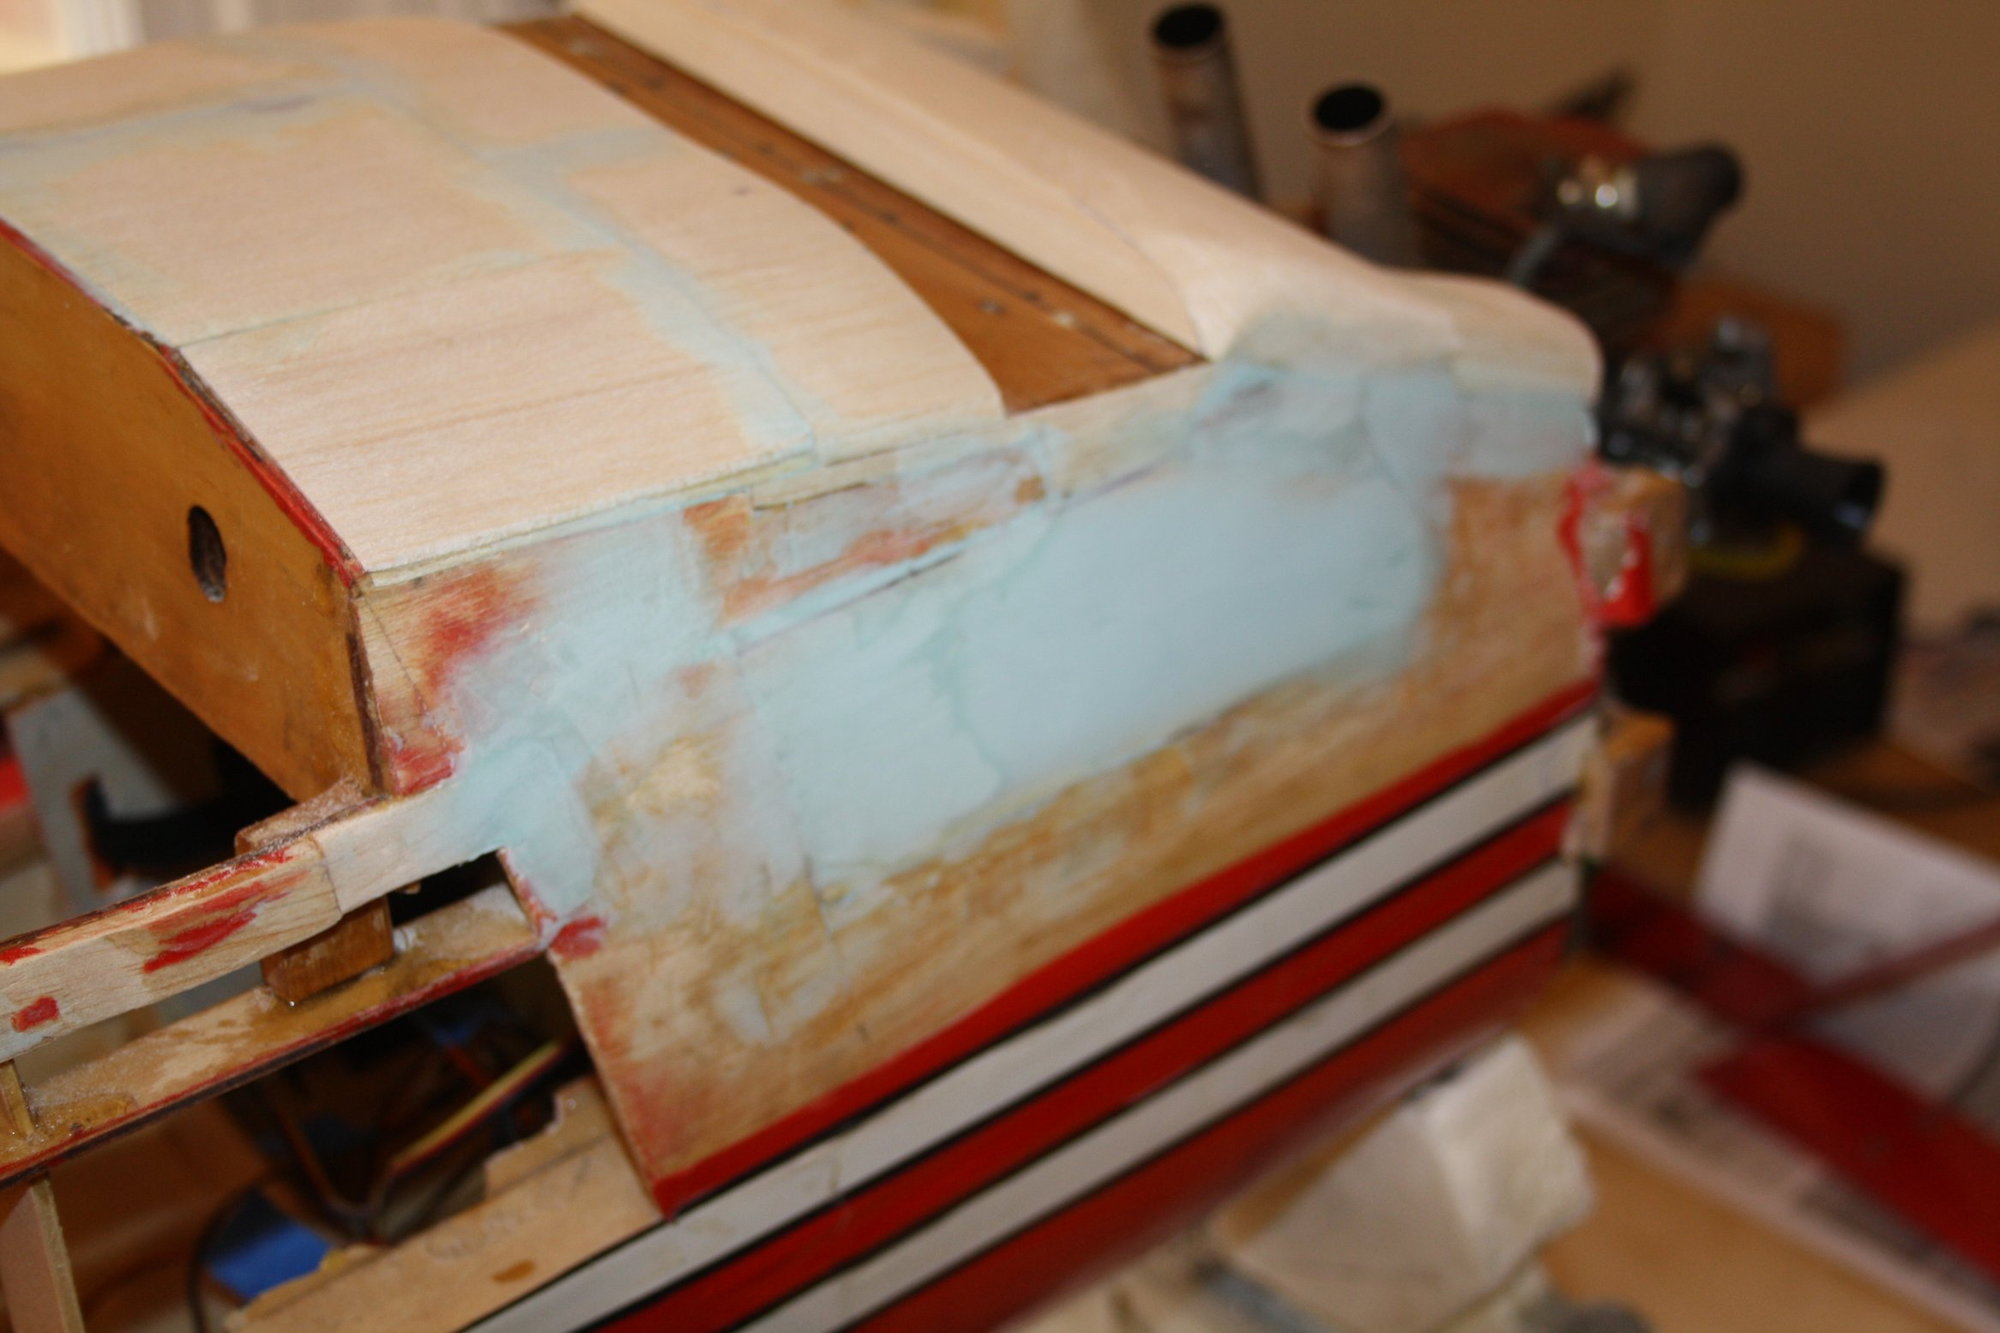
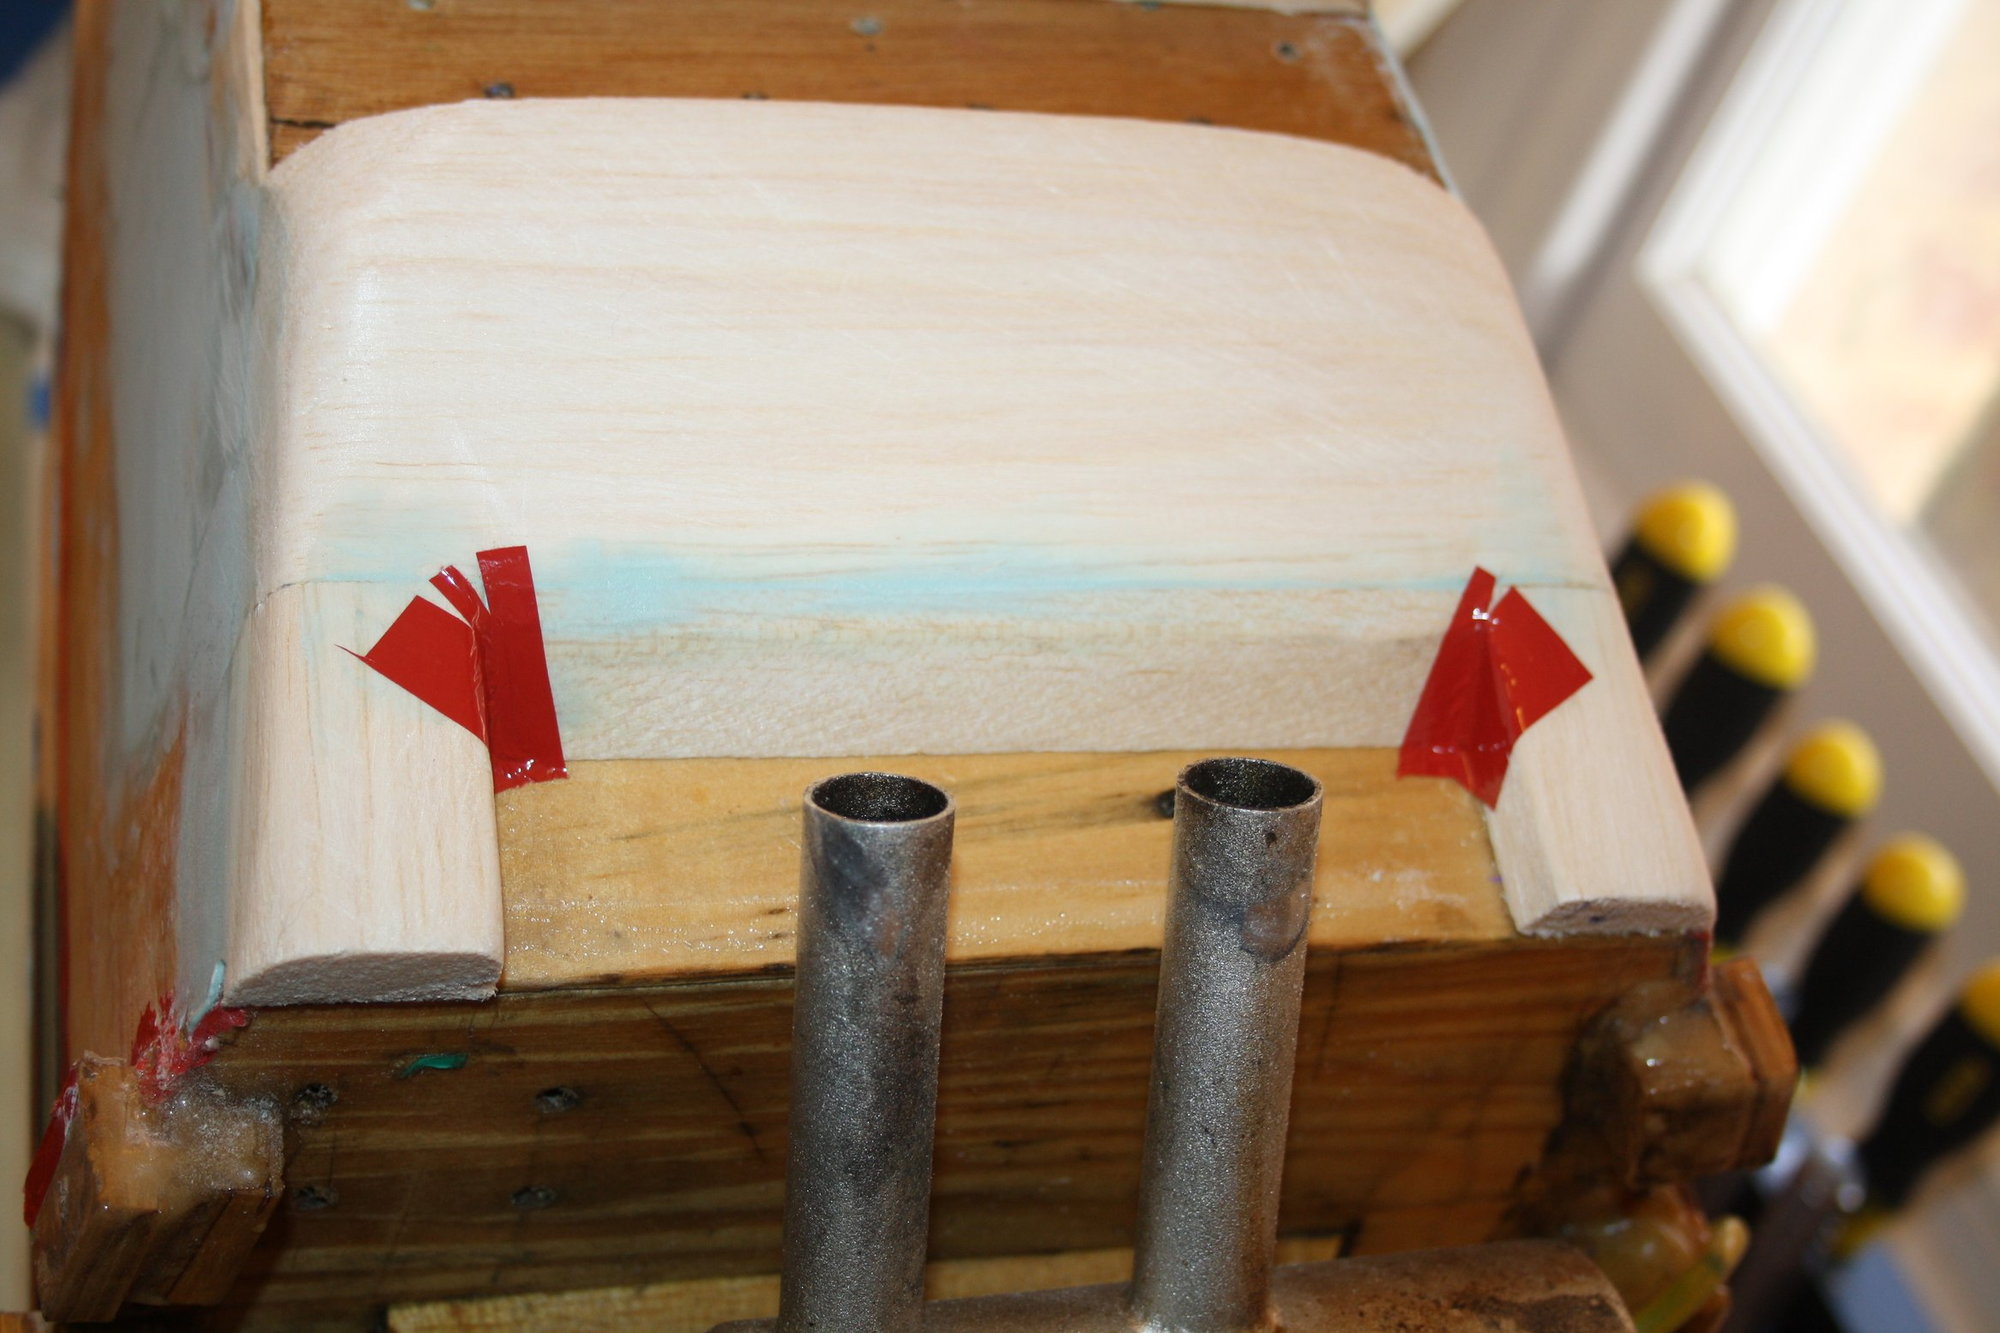
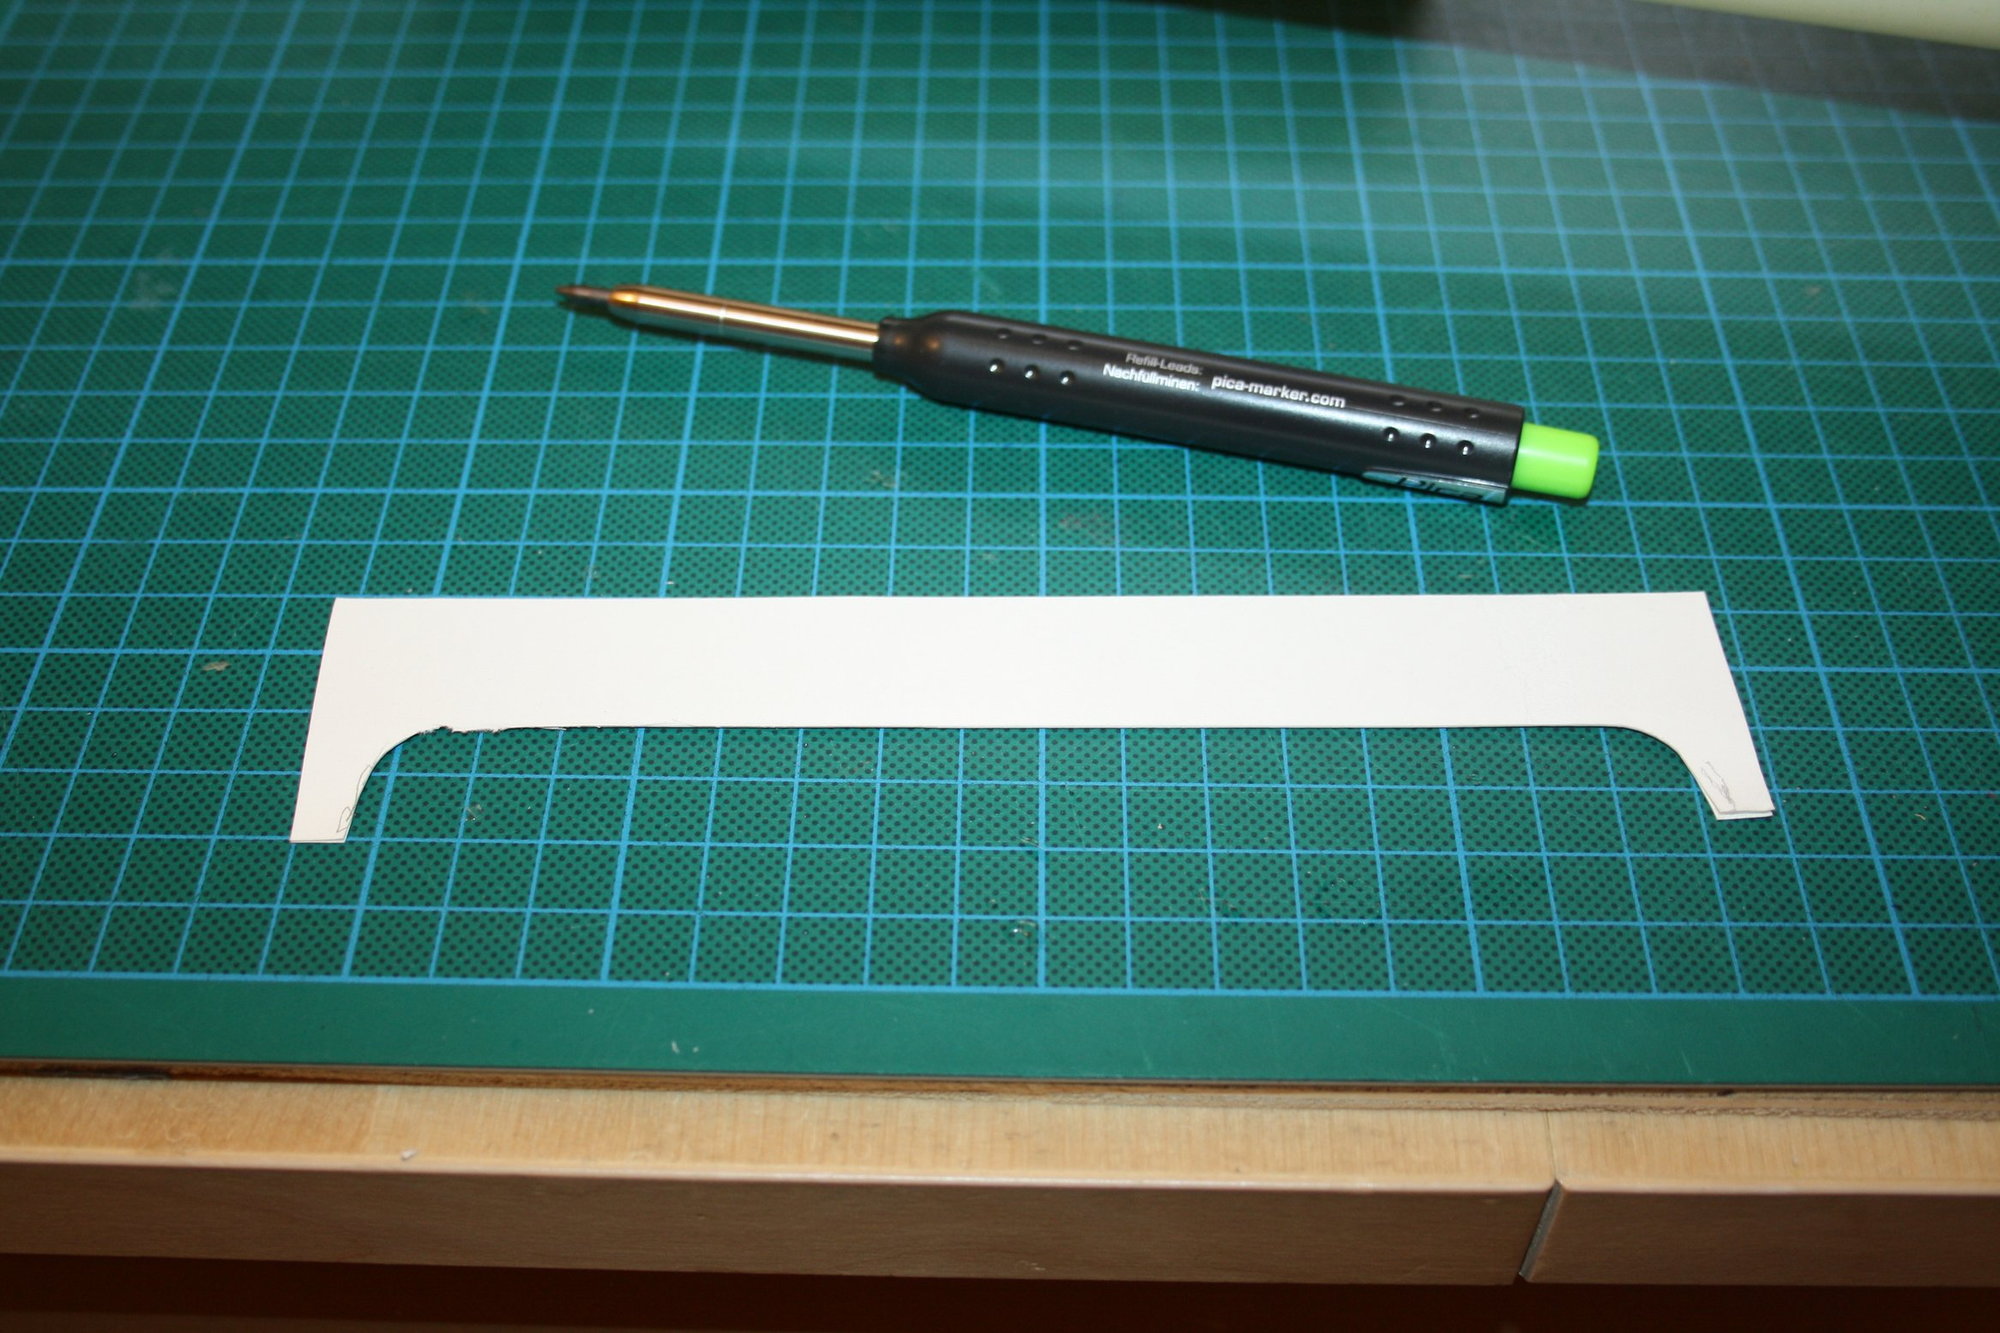
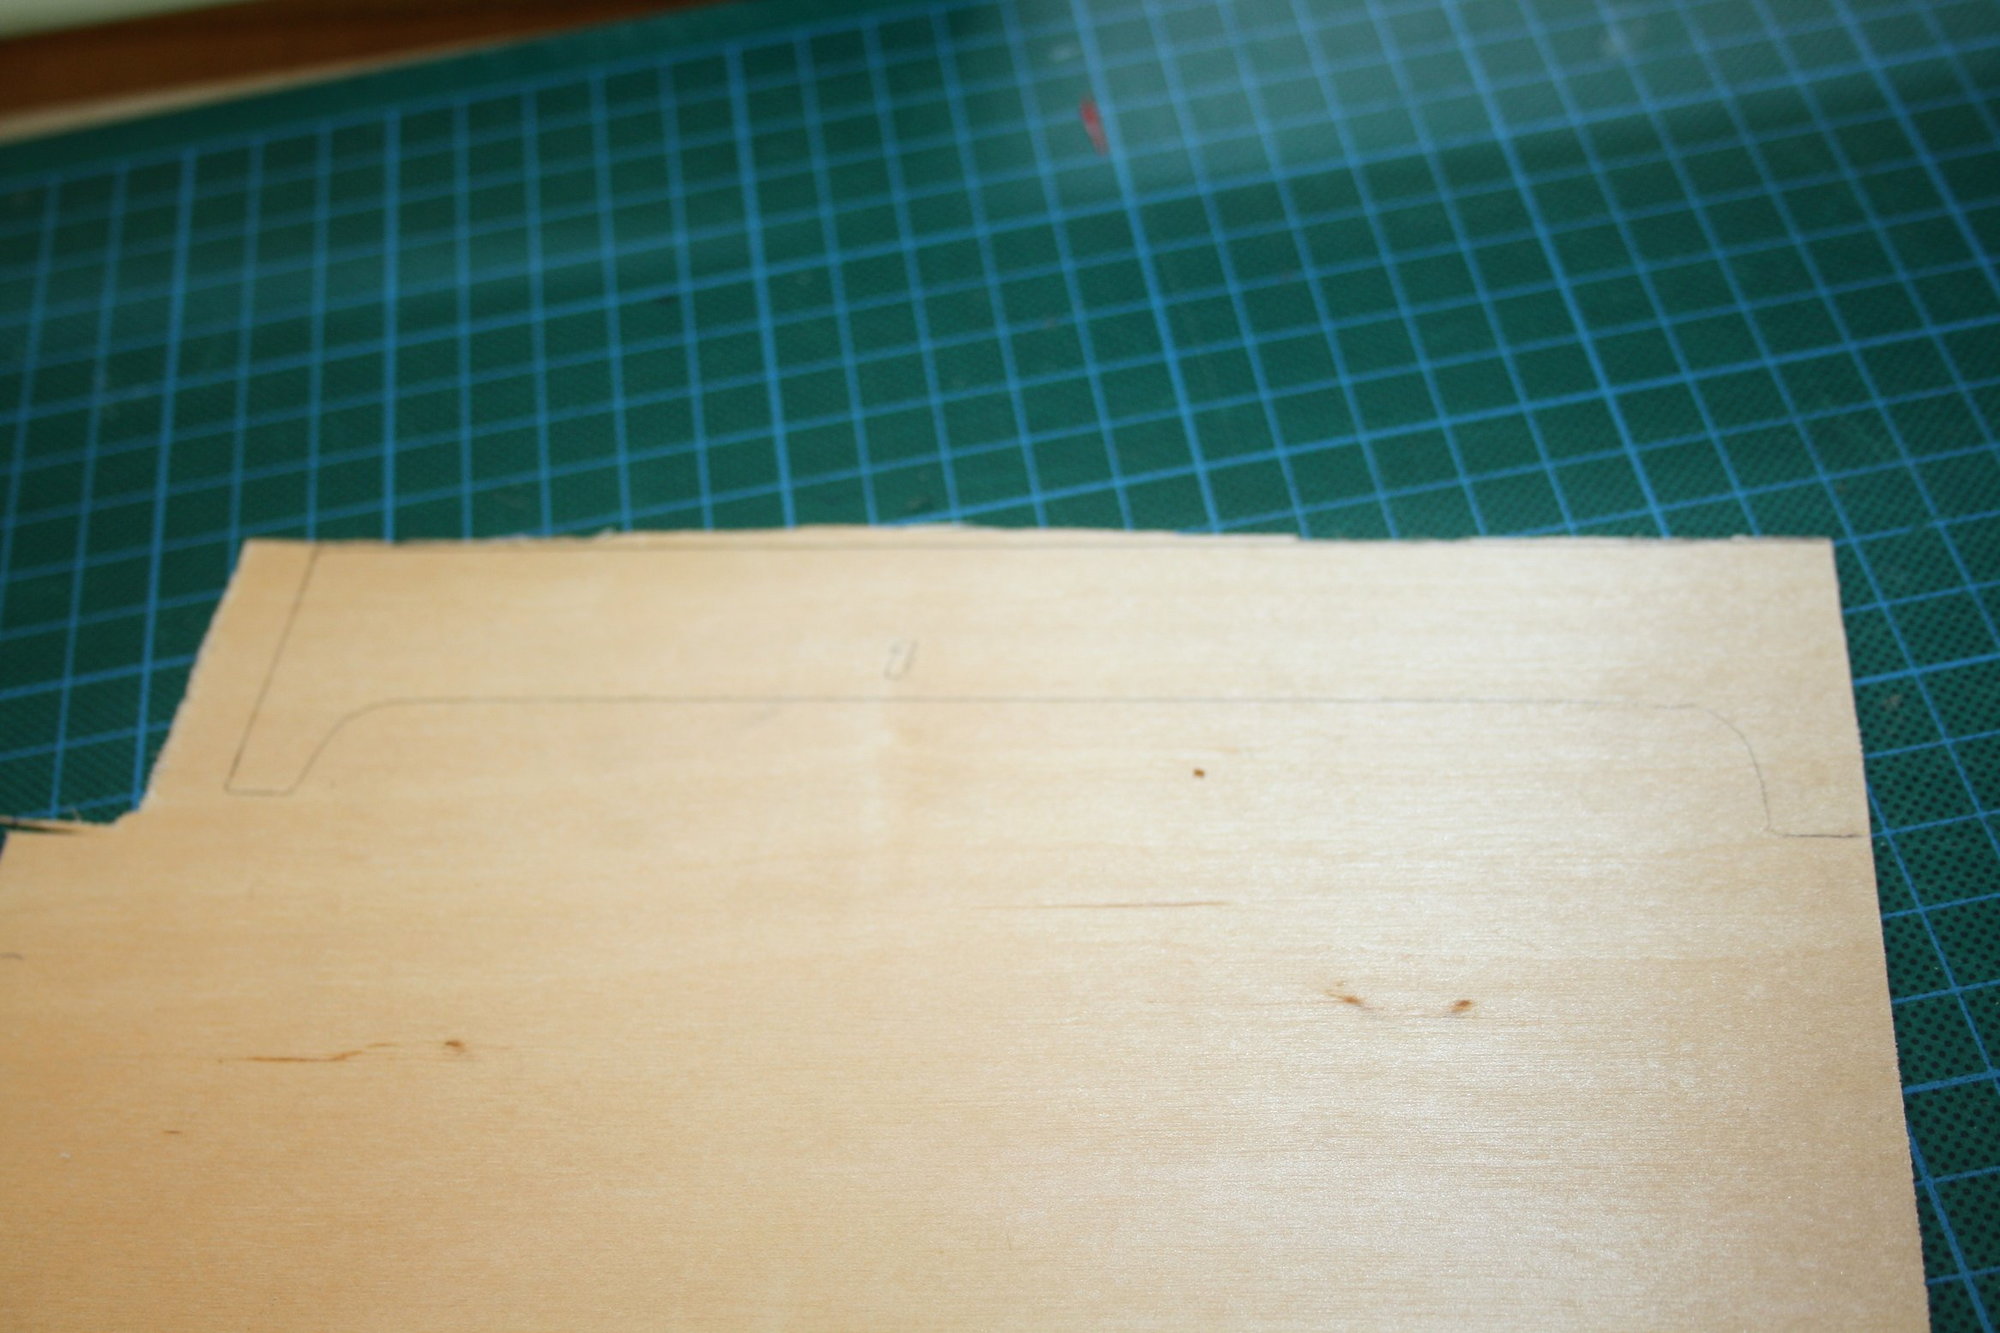
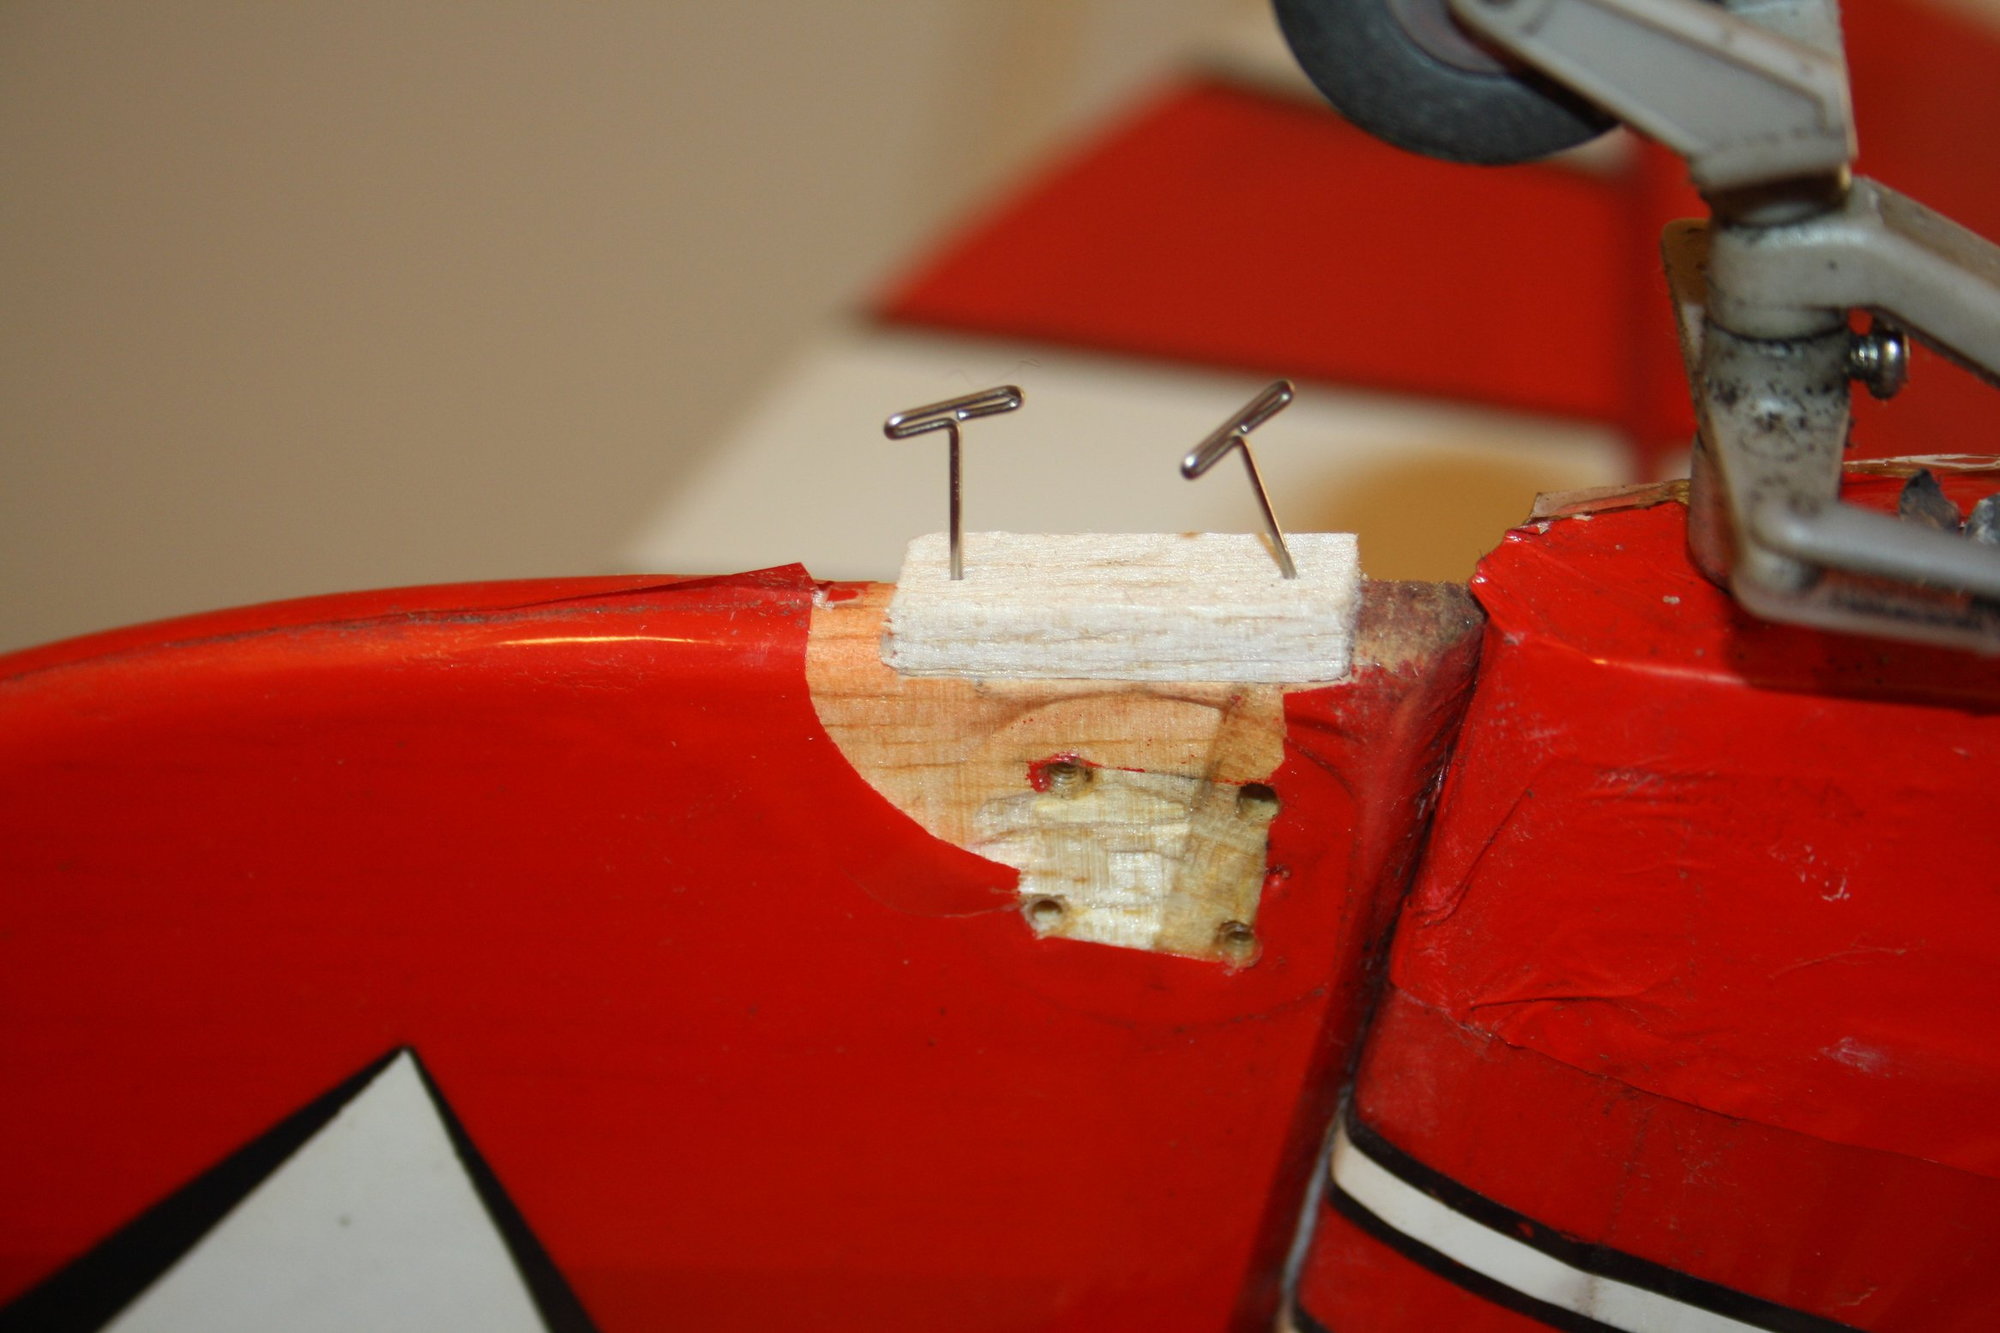
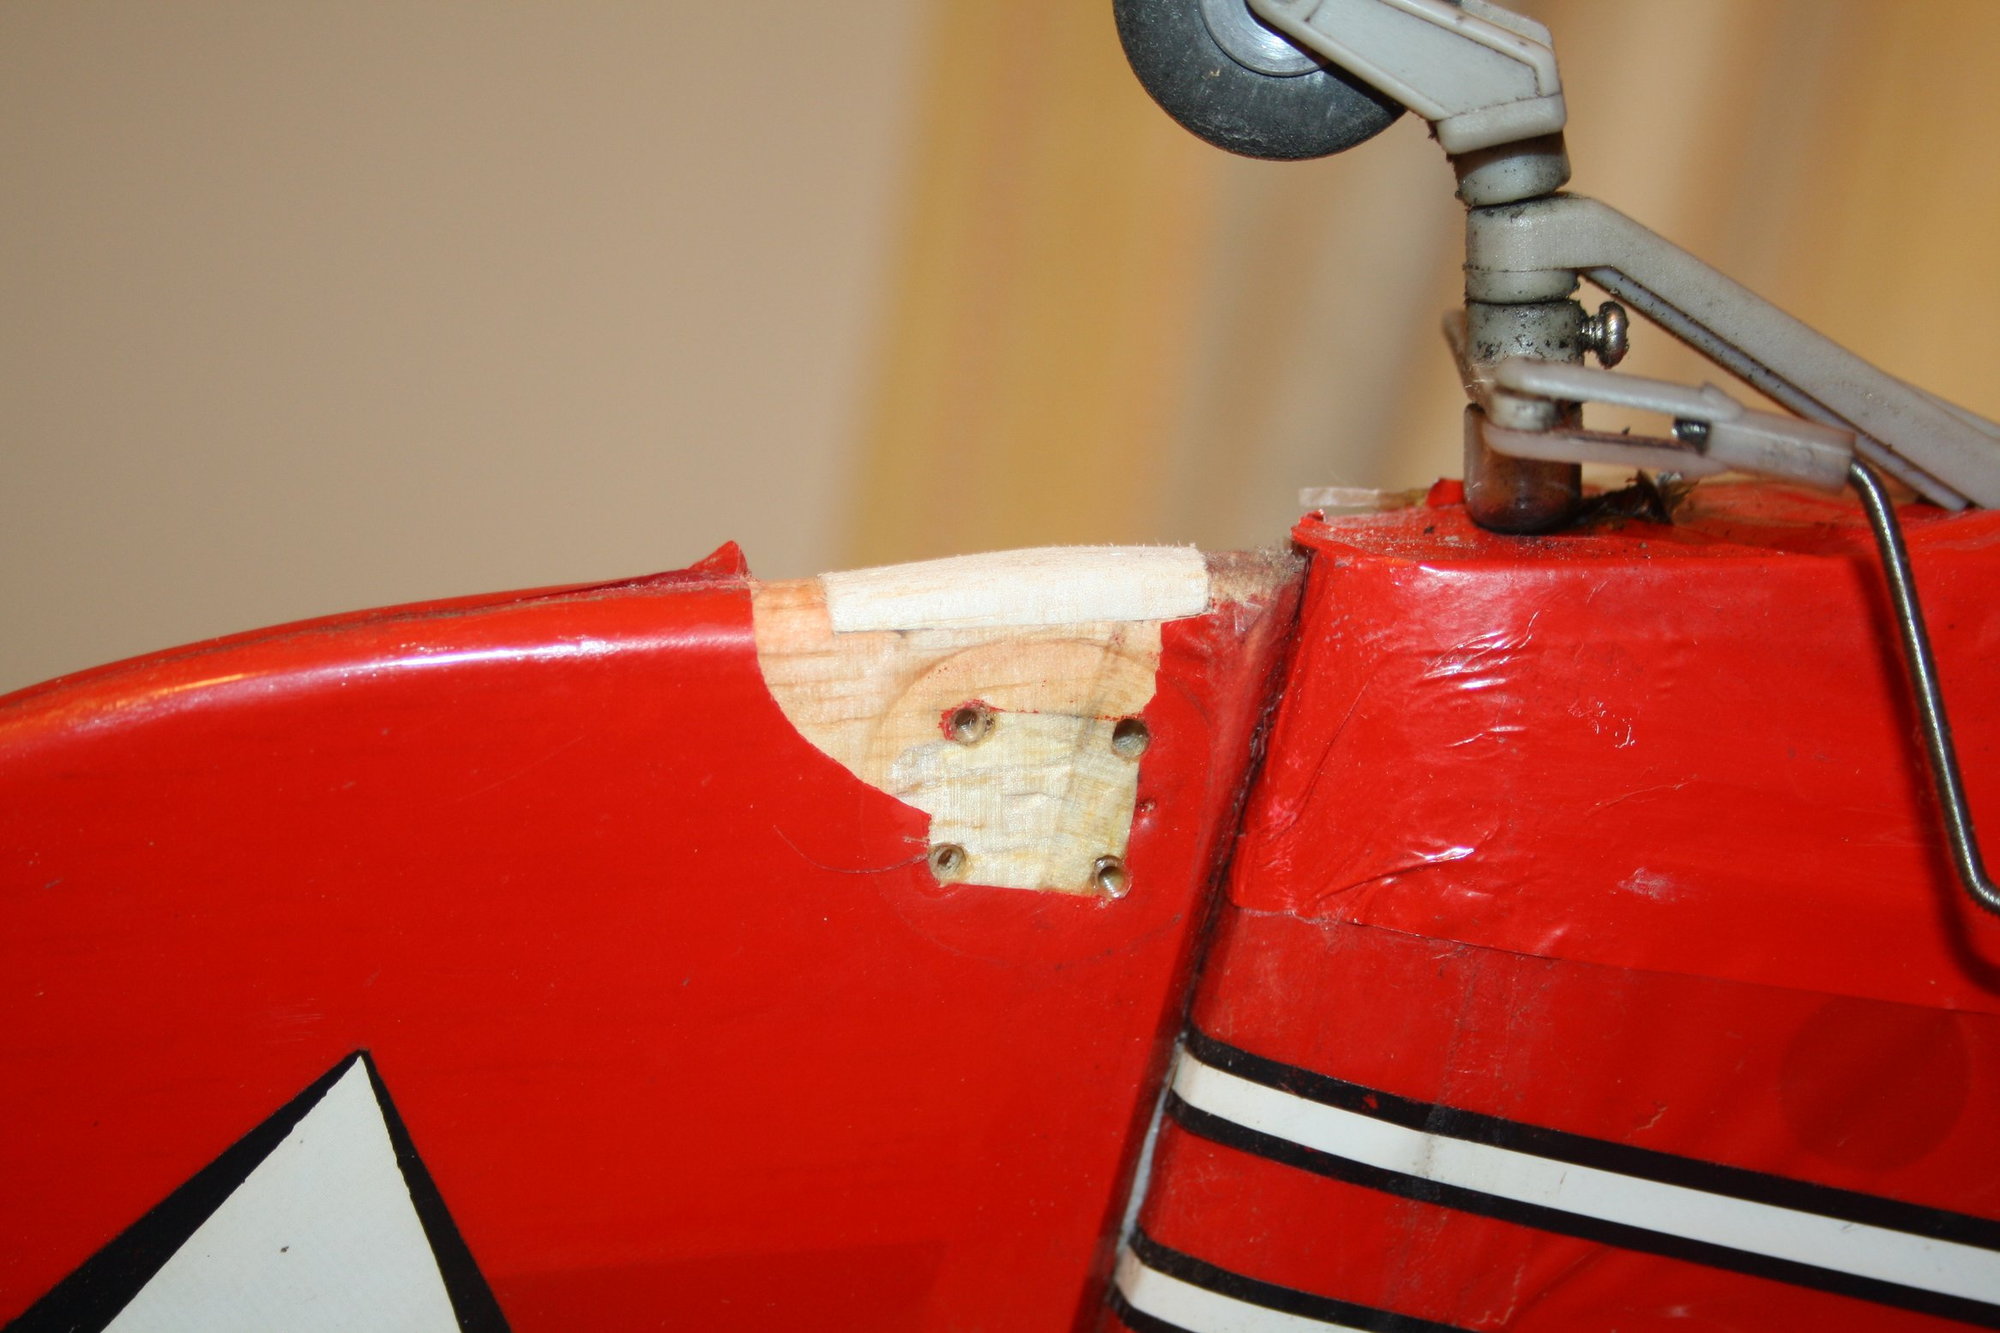
It was time to do some real work. First job was to relocate the landing gear to the approximate correct location prior to the previous. The location was established by calculating distances on the manual photo.
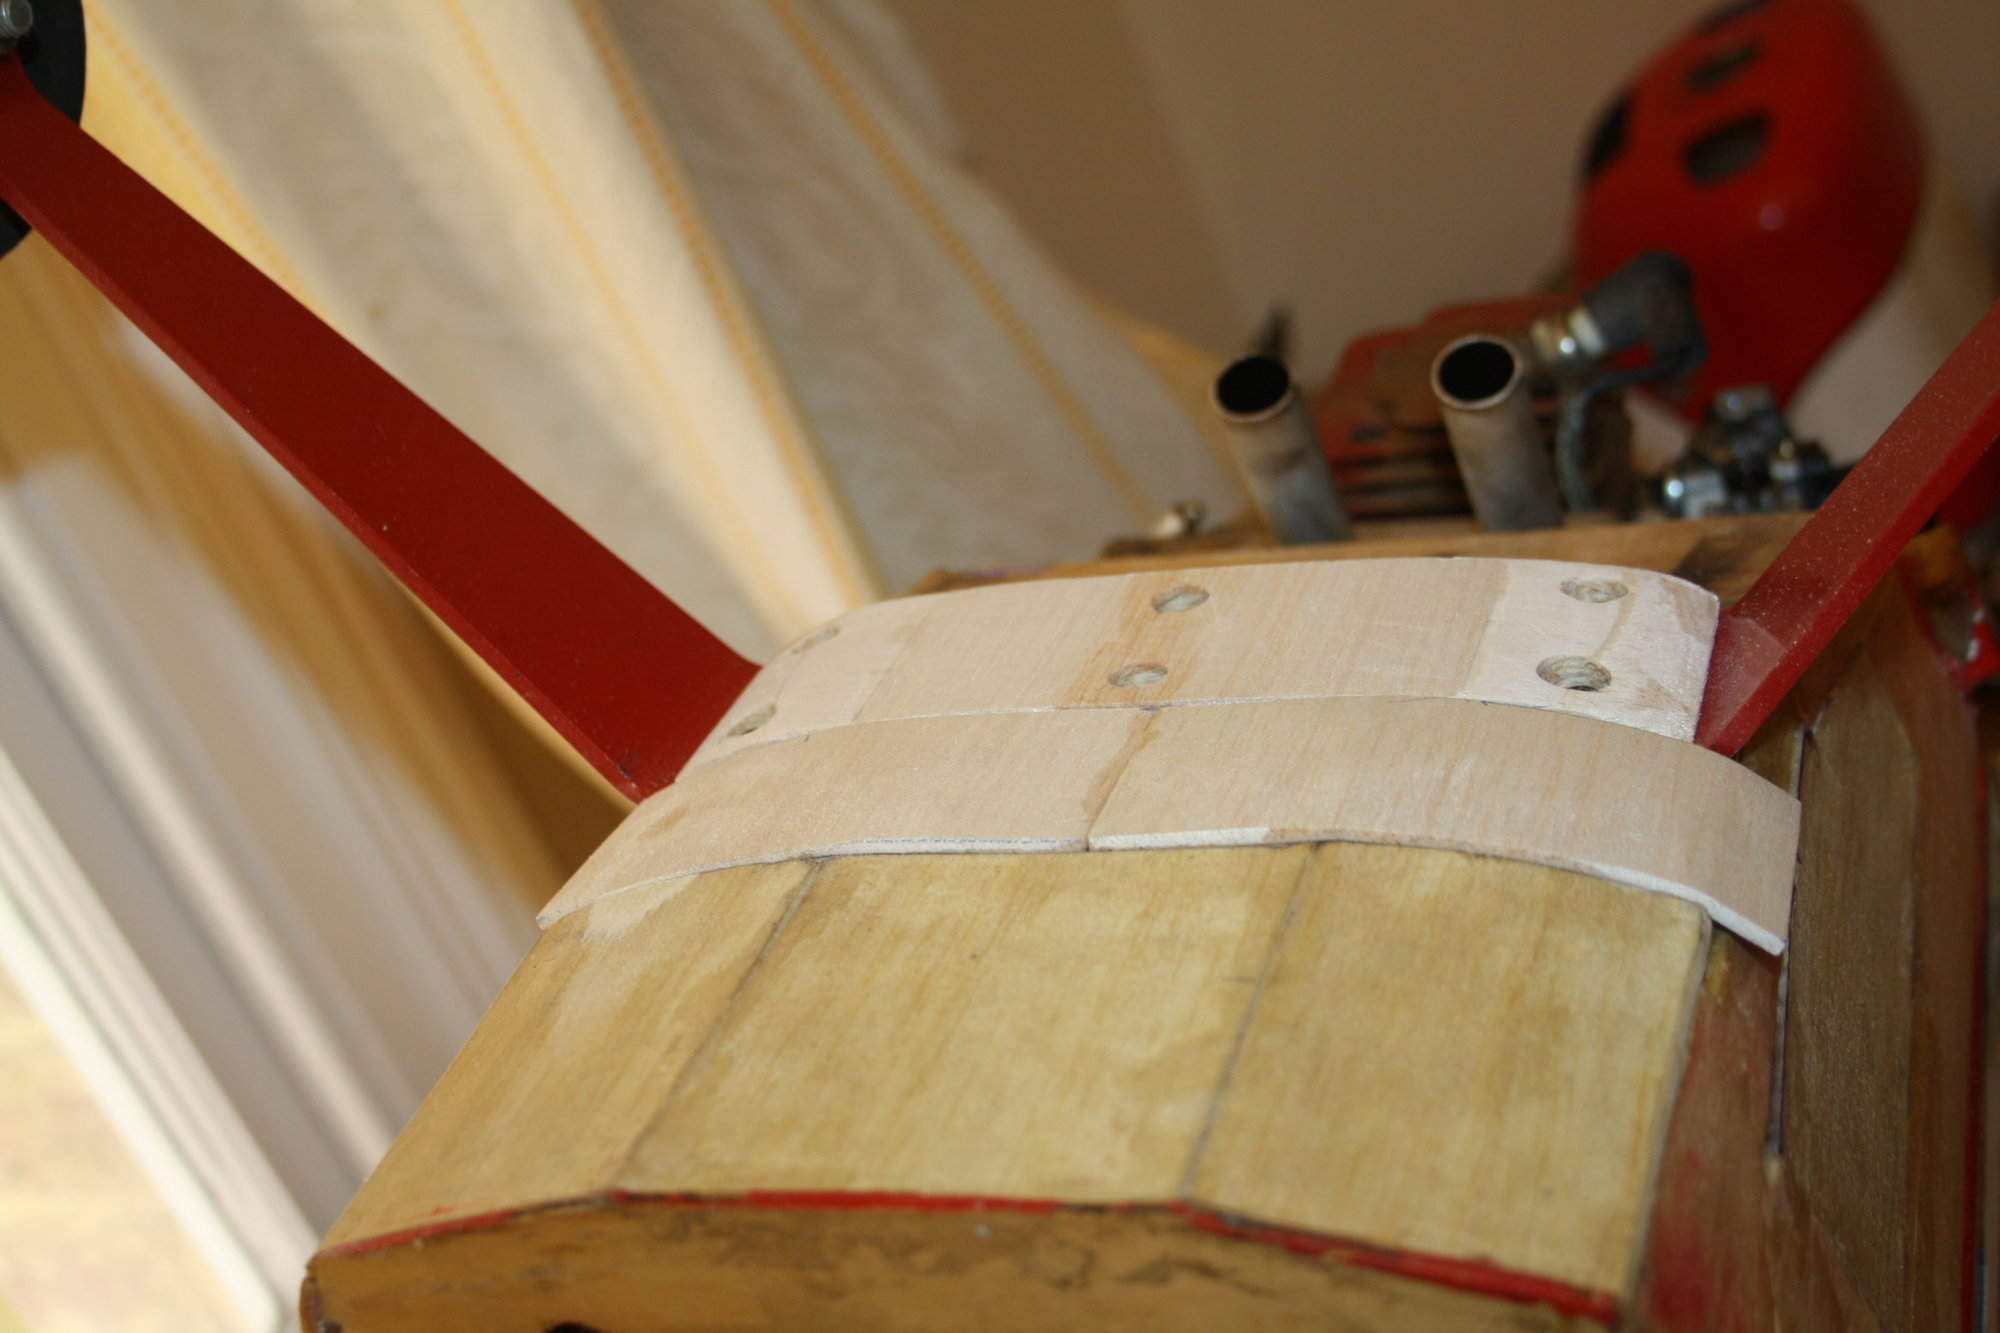
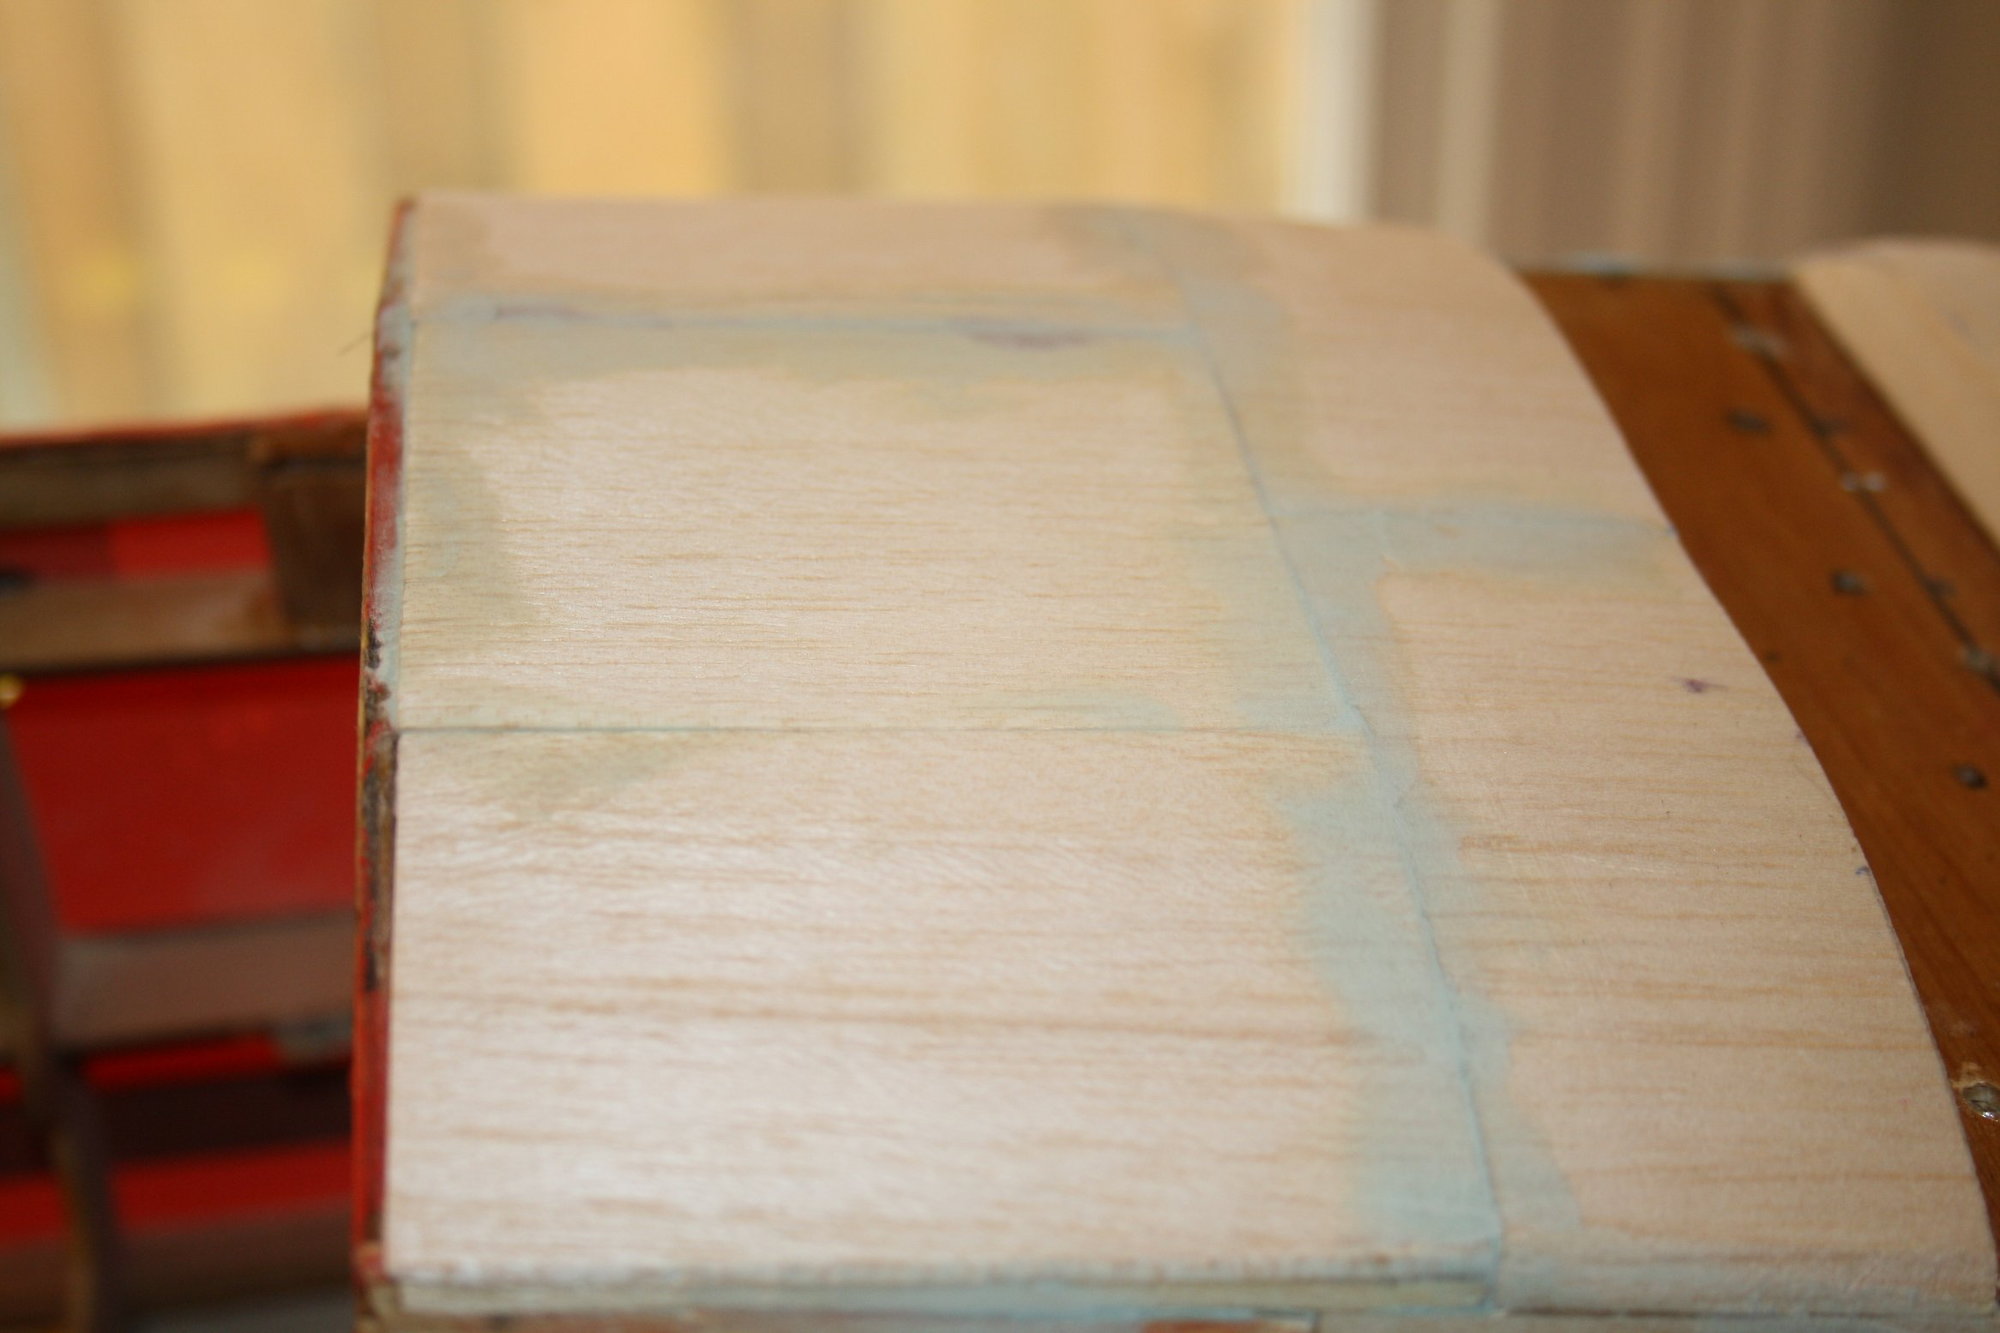
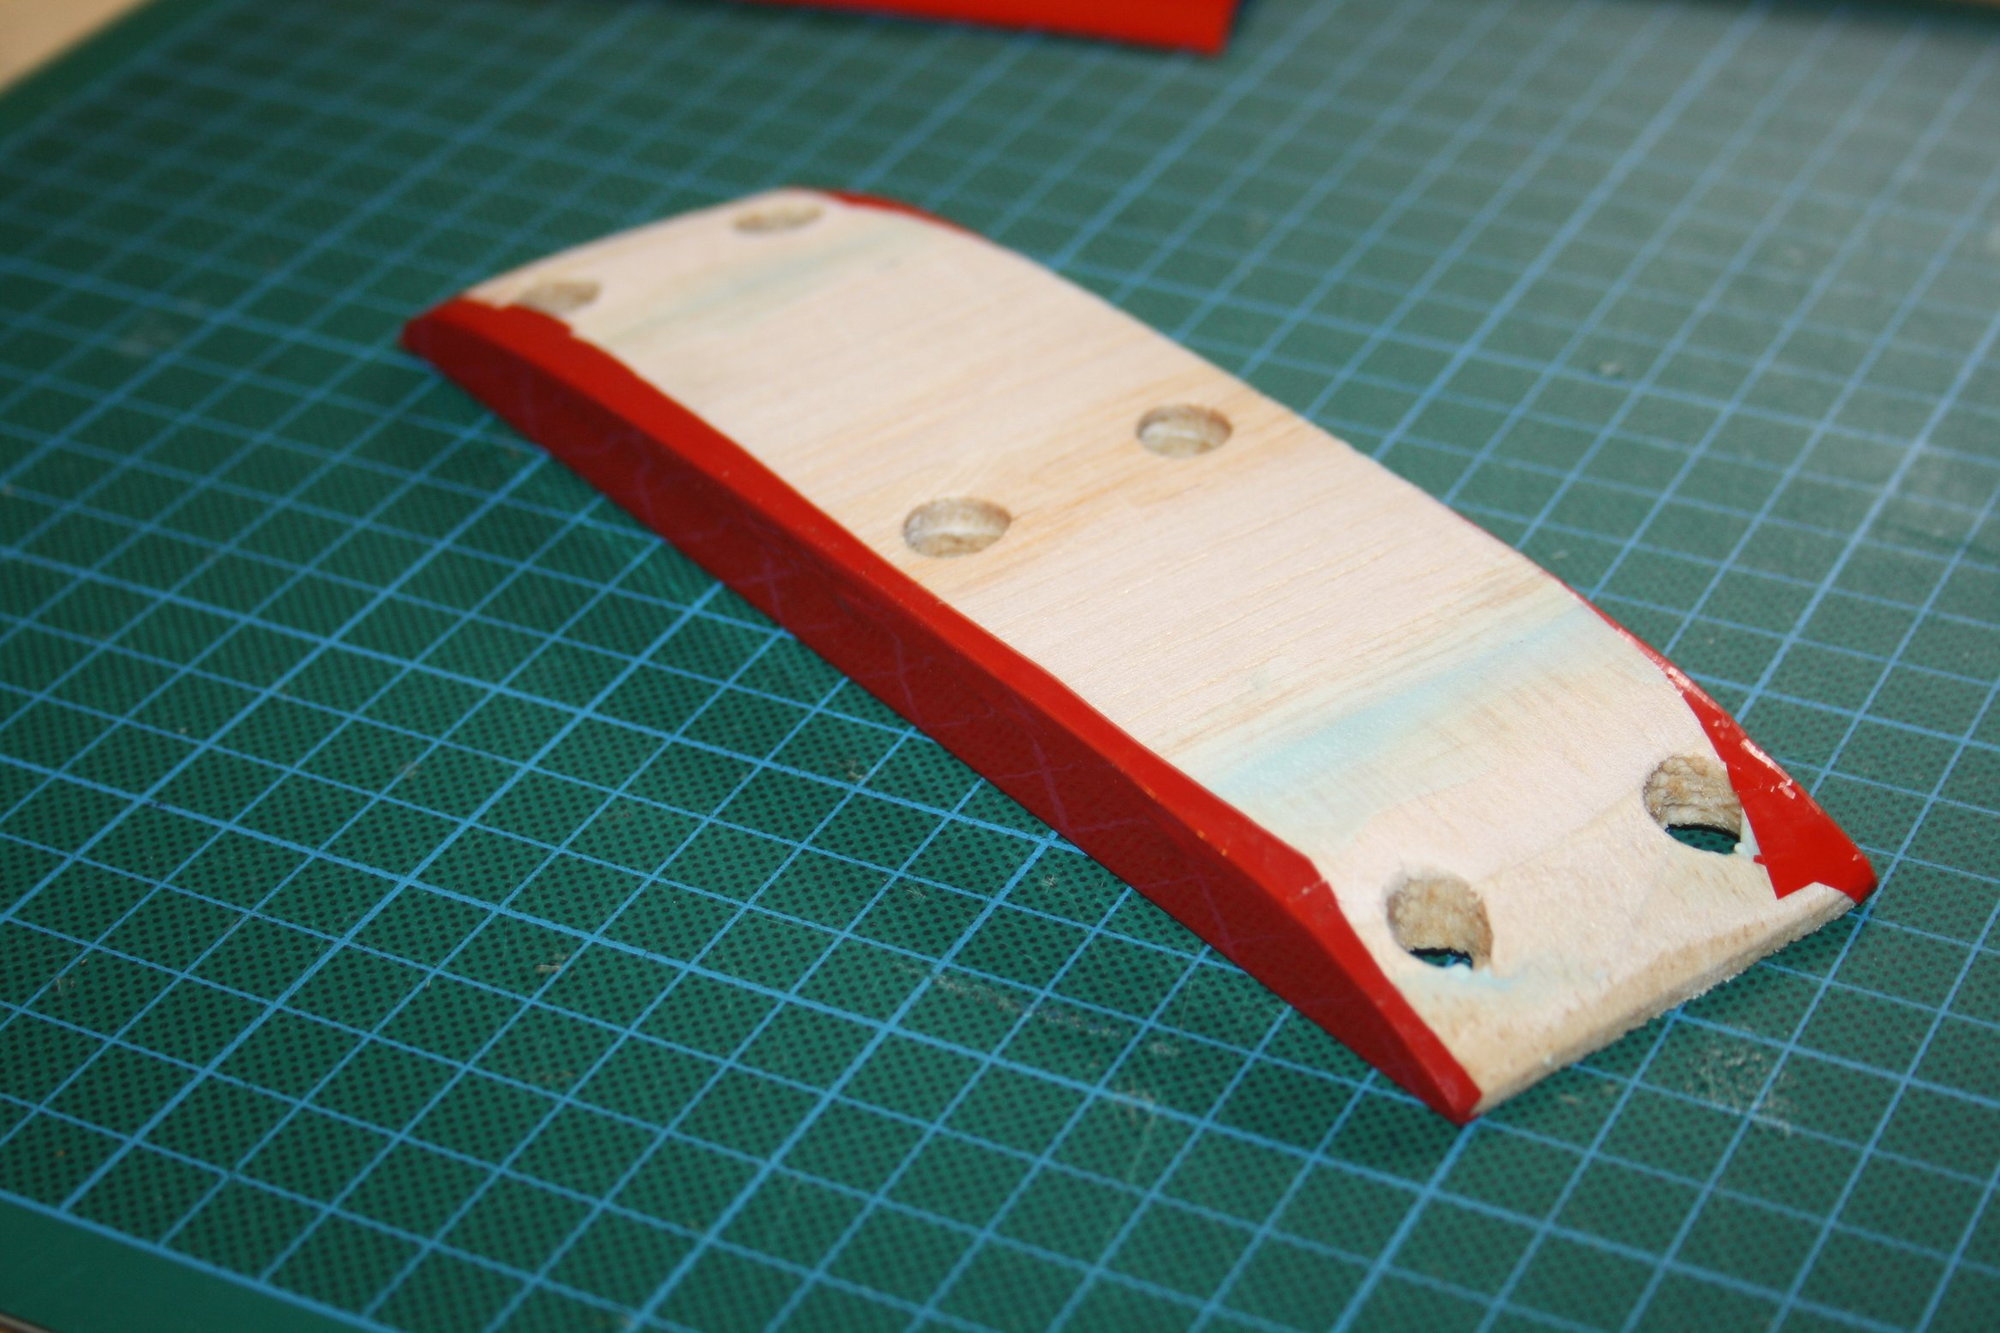
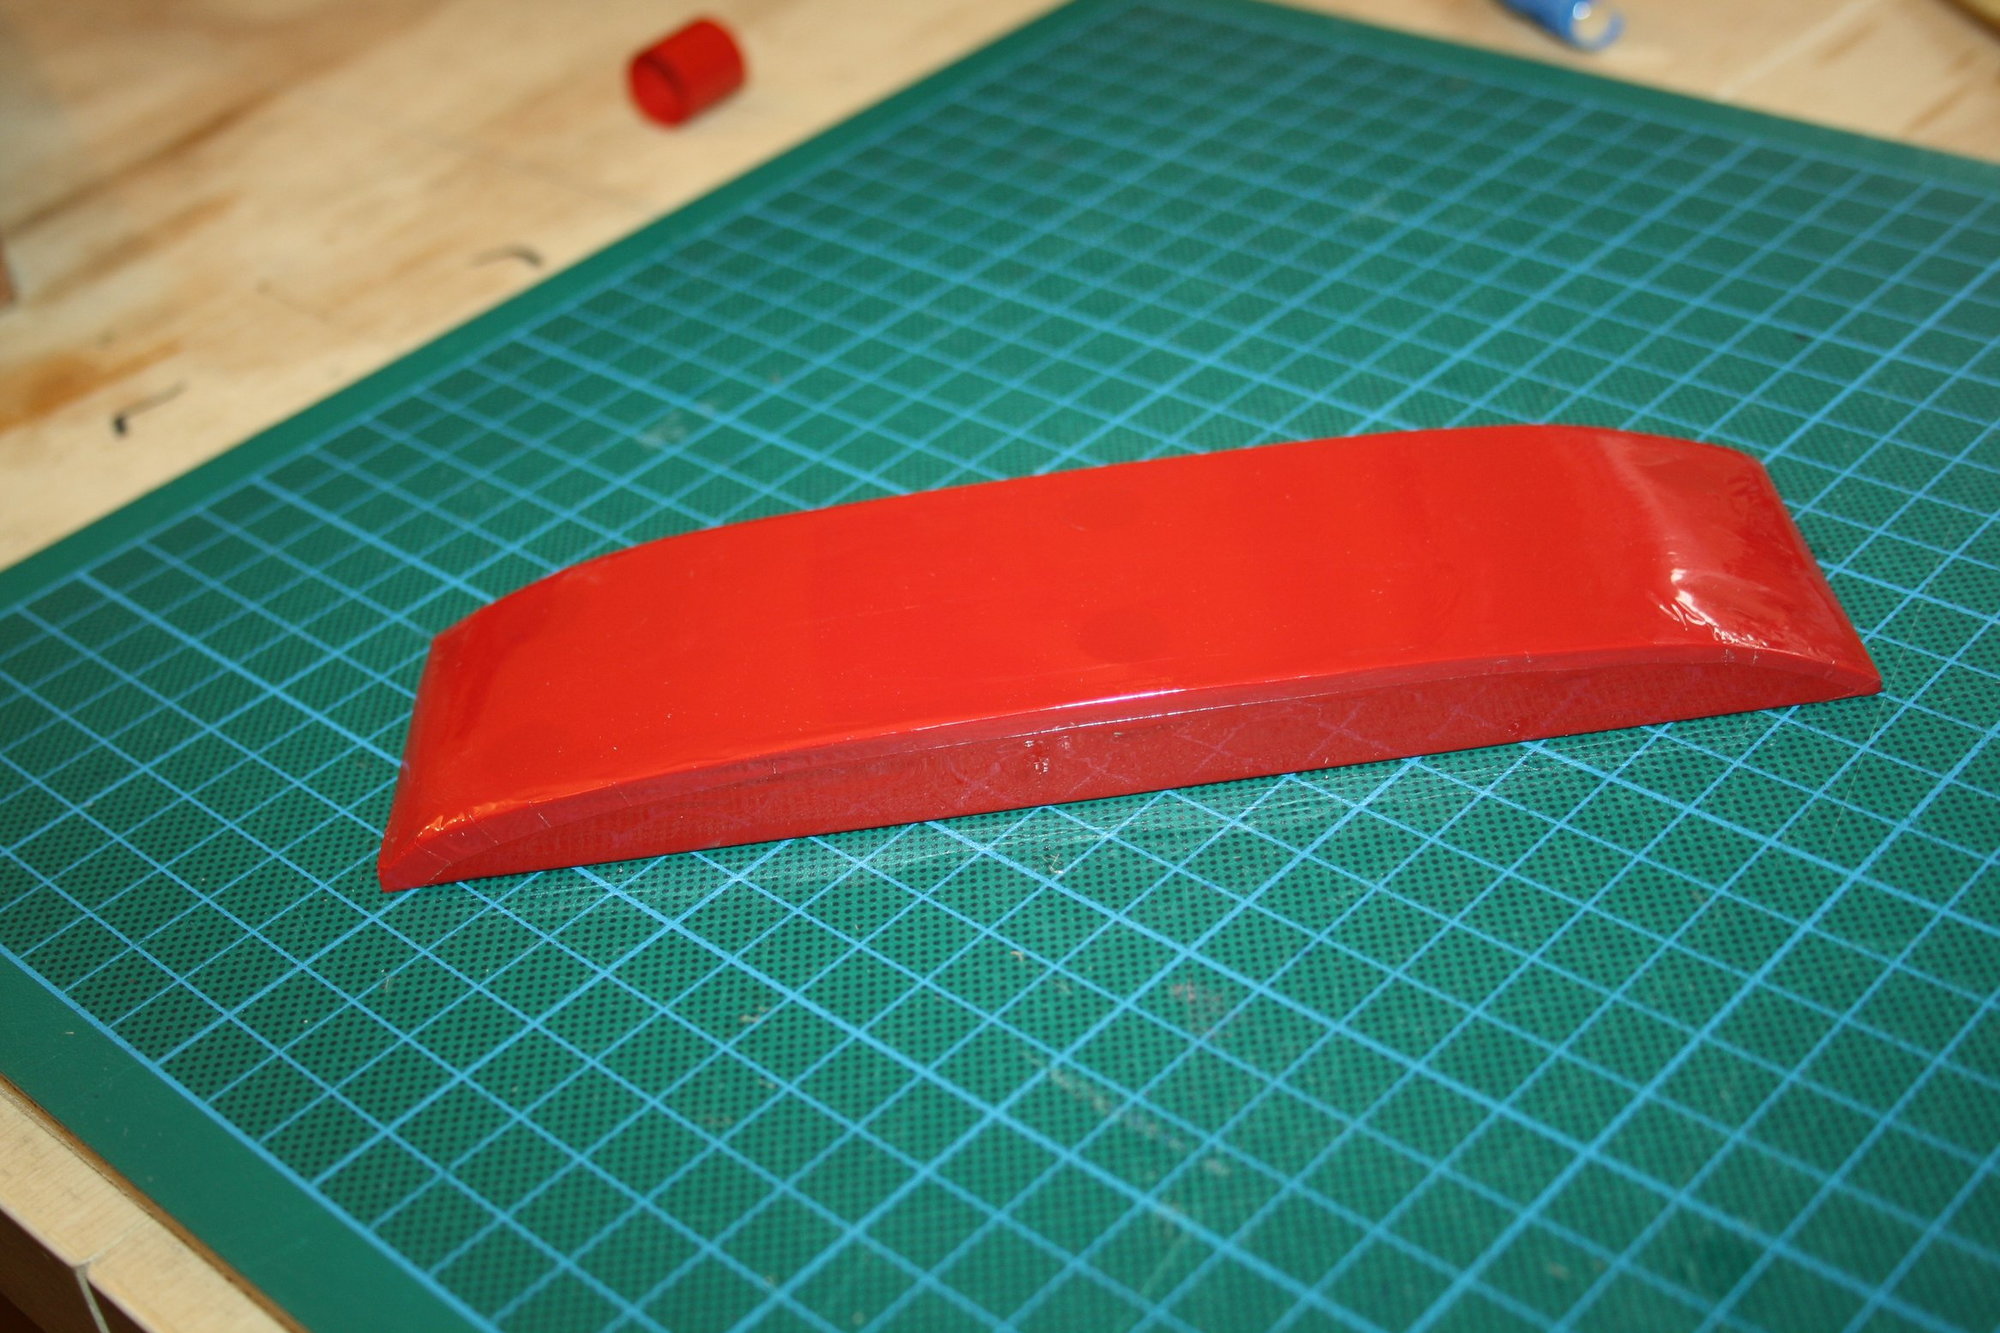
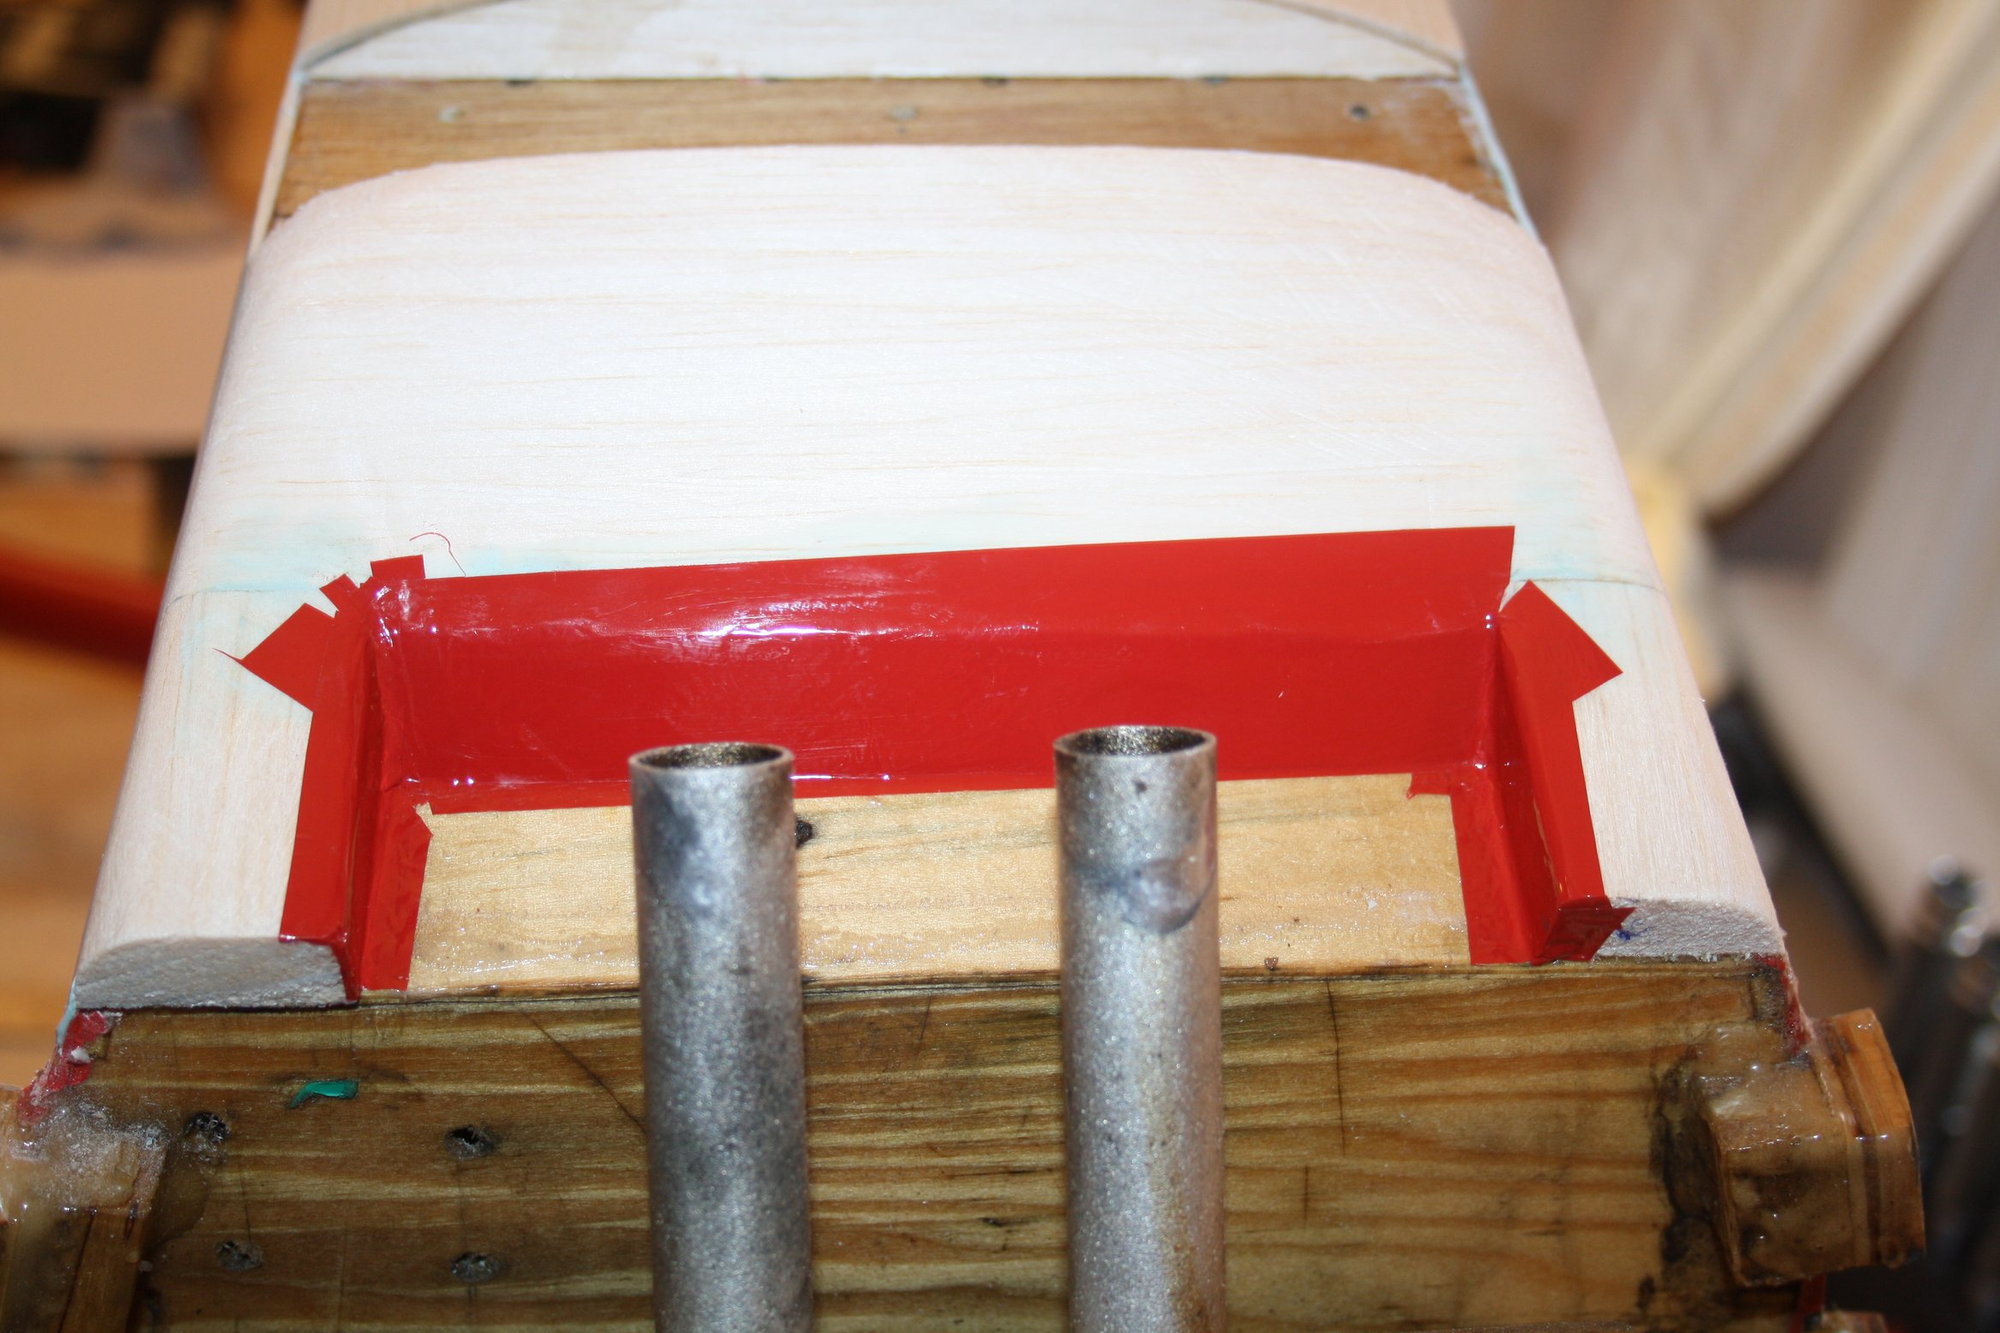
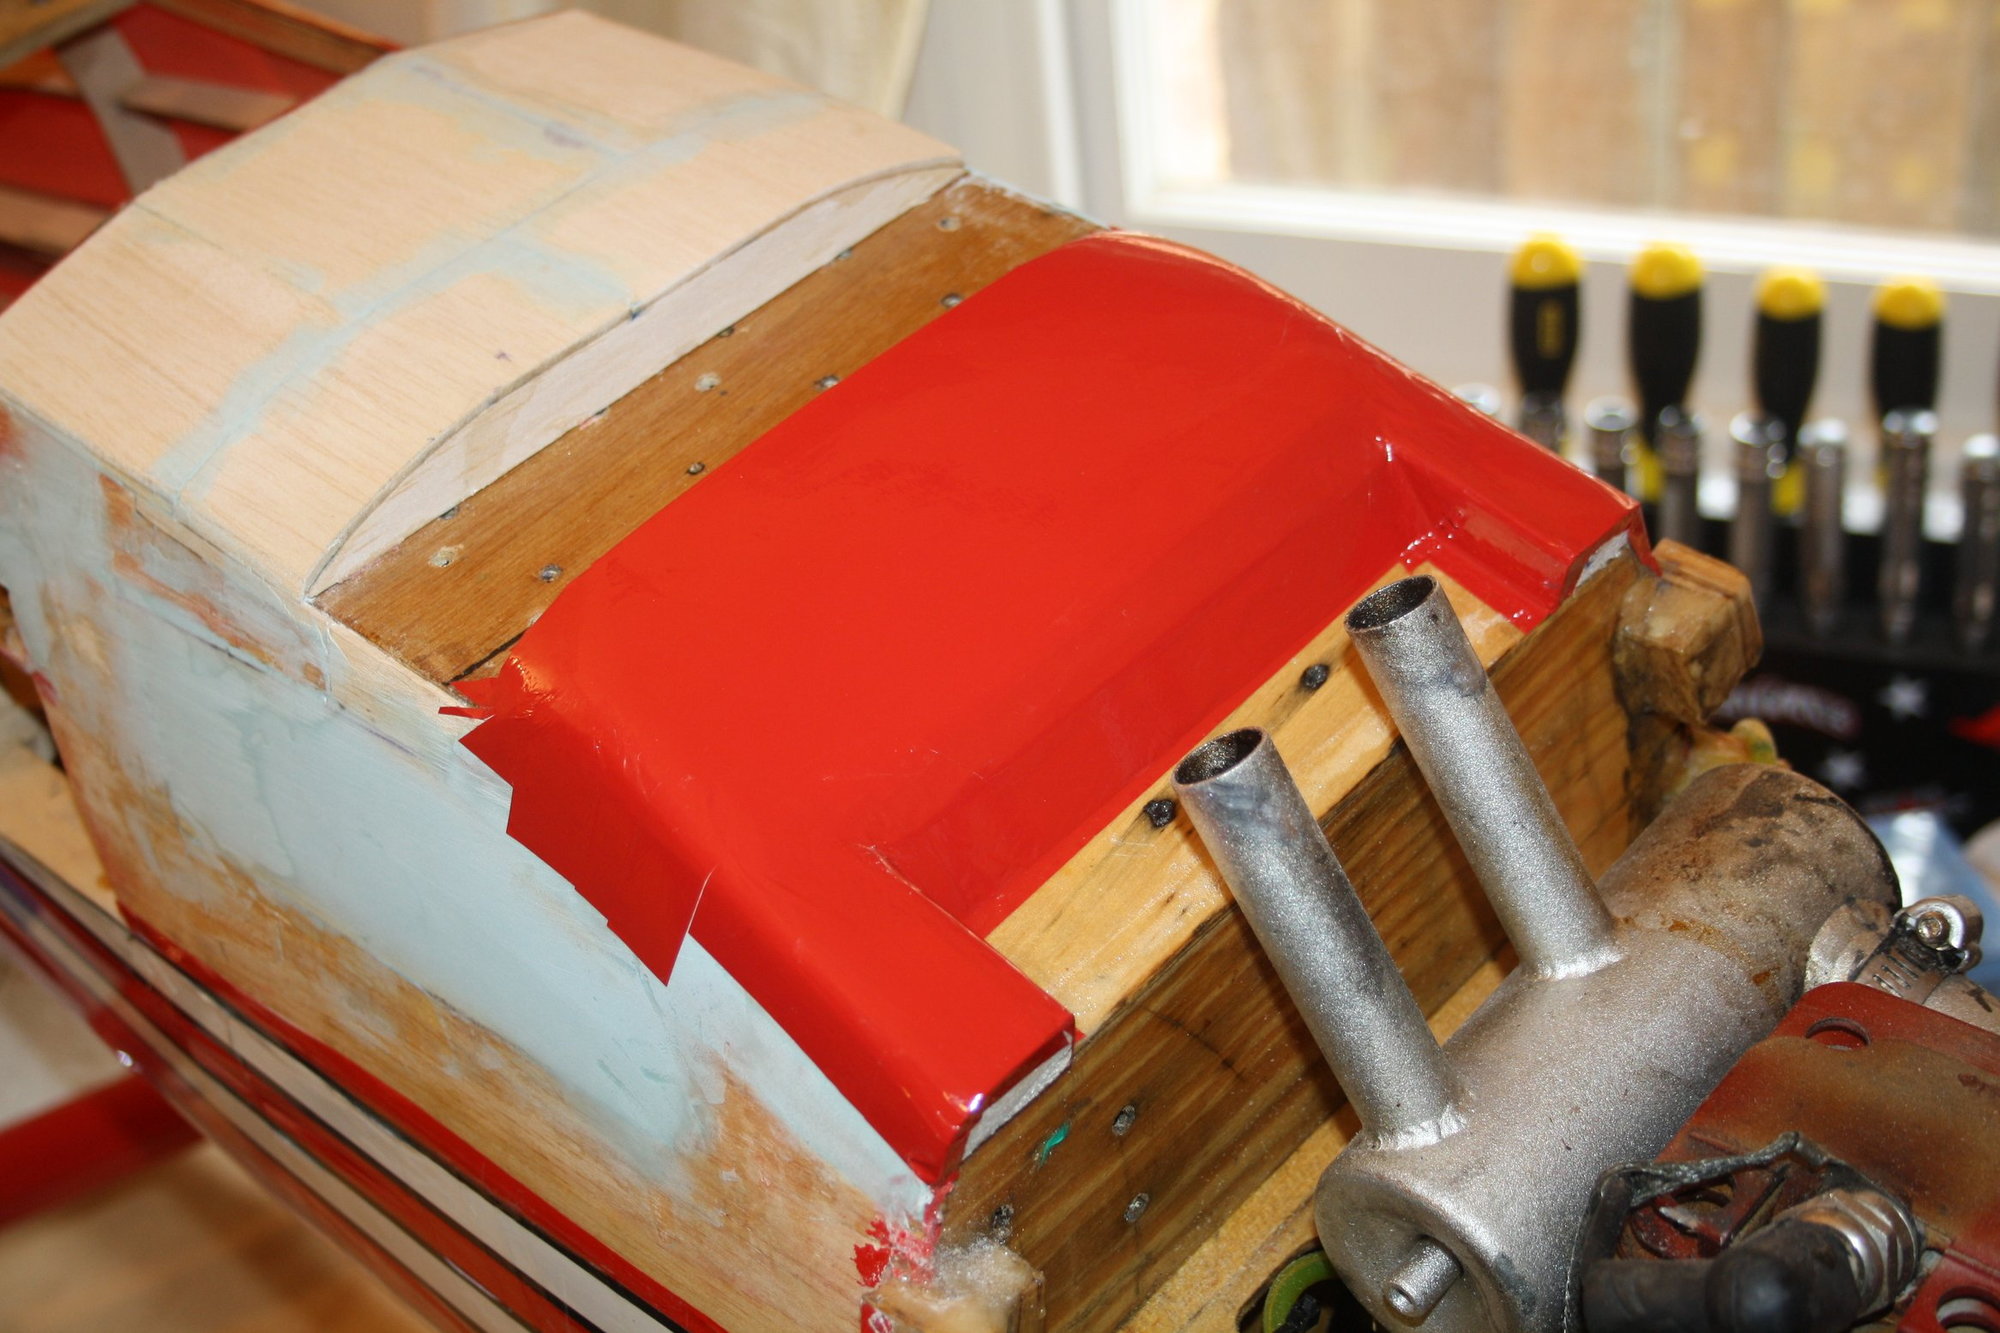
With the landing gear in place, it was time to re-create the shape of the fuselage next to it.
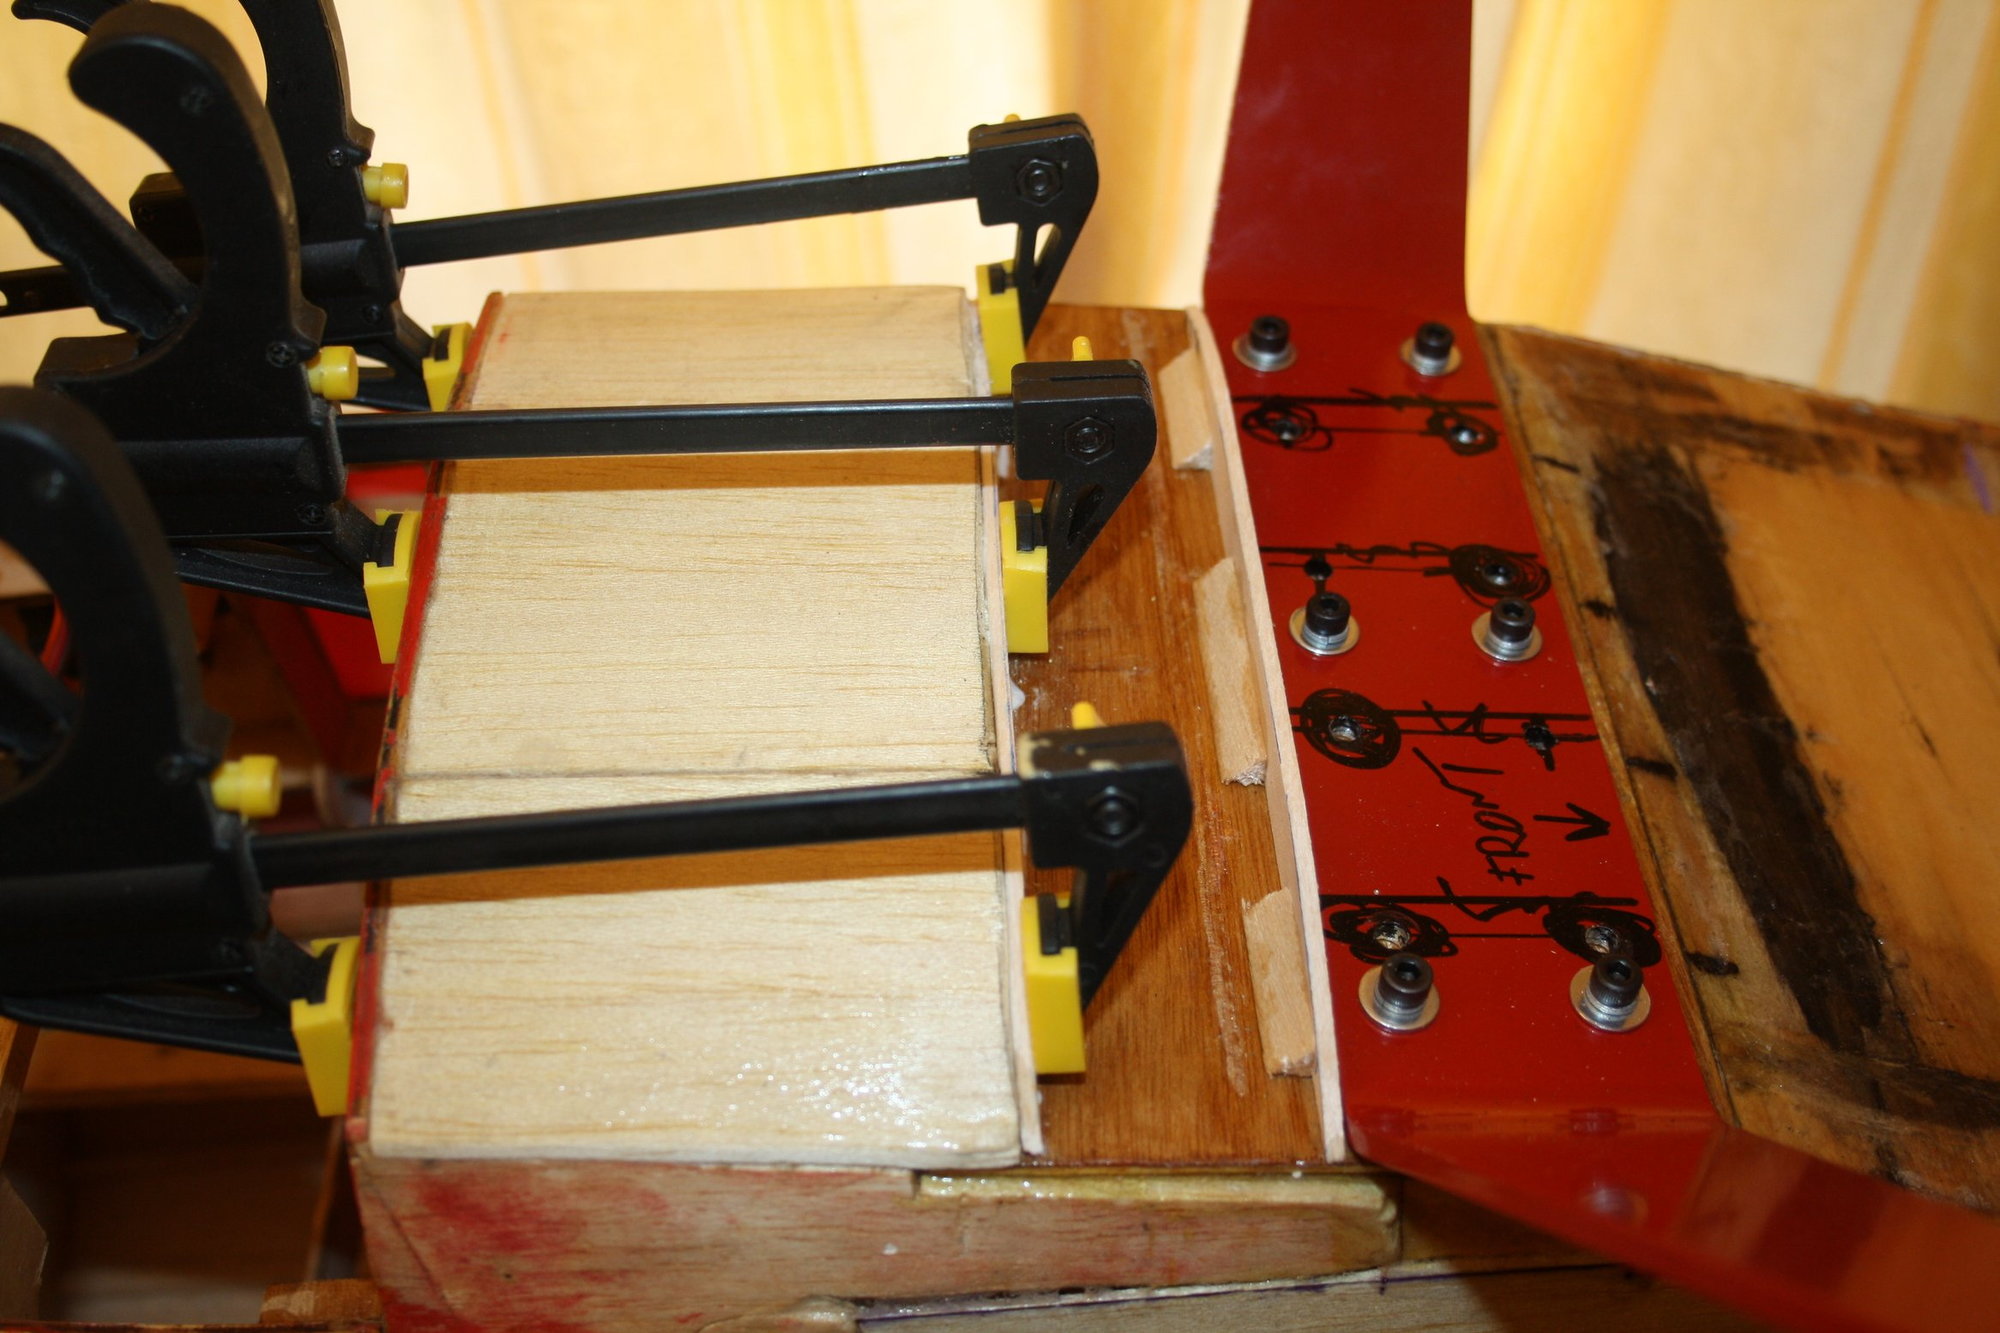

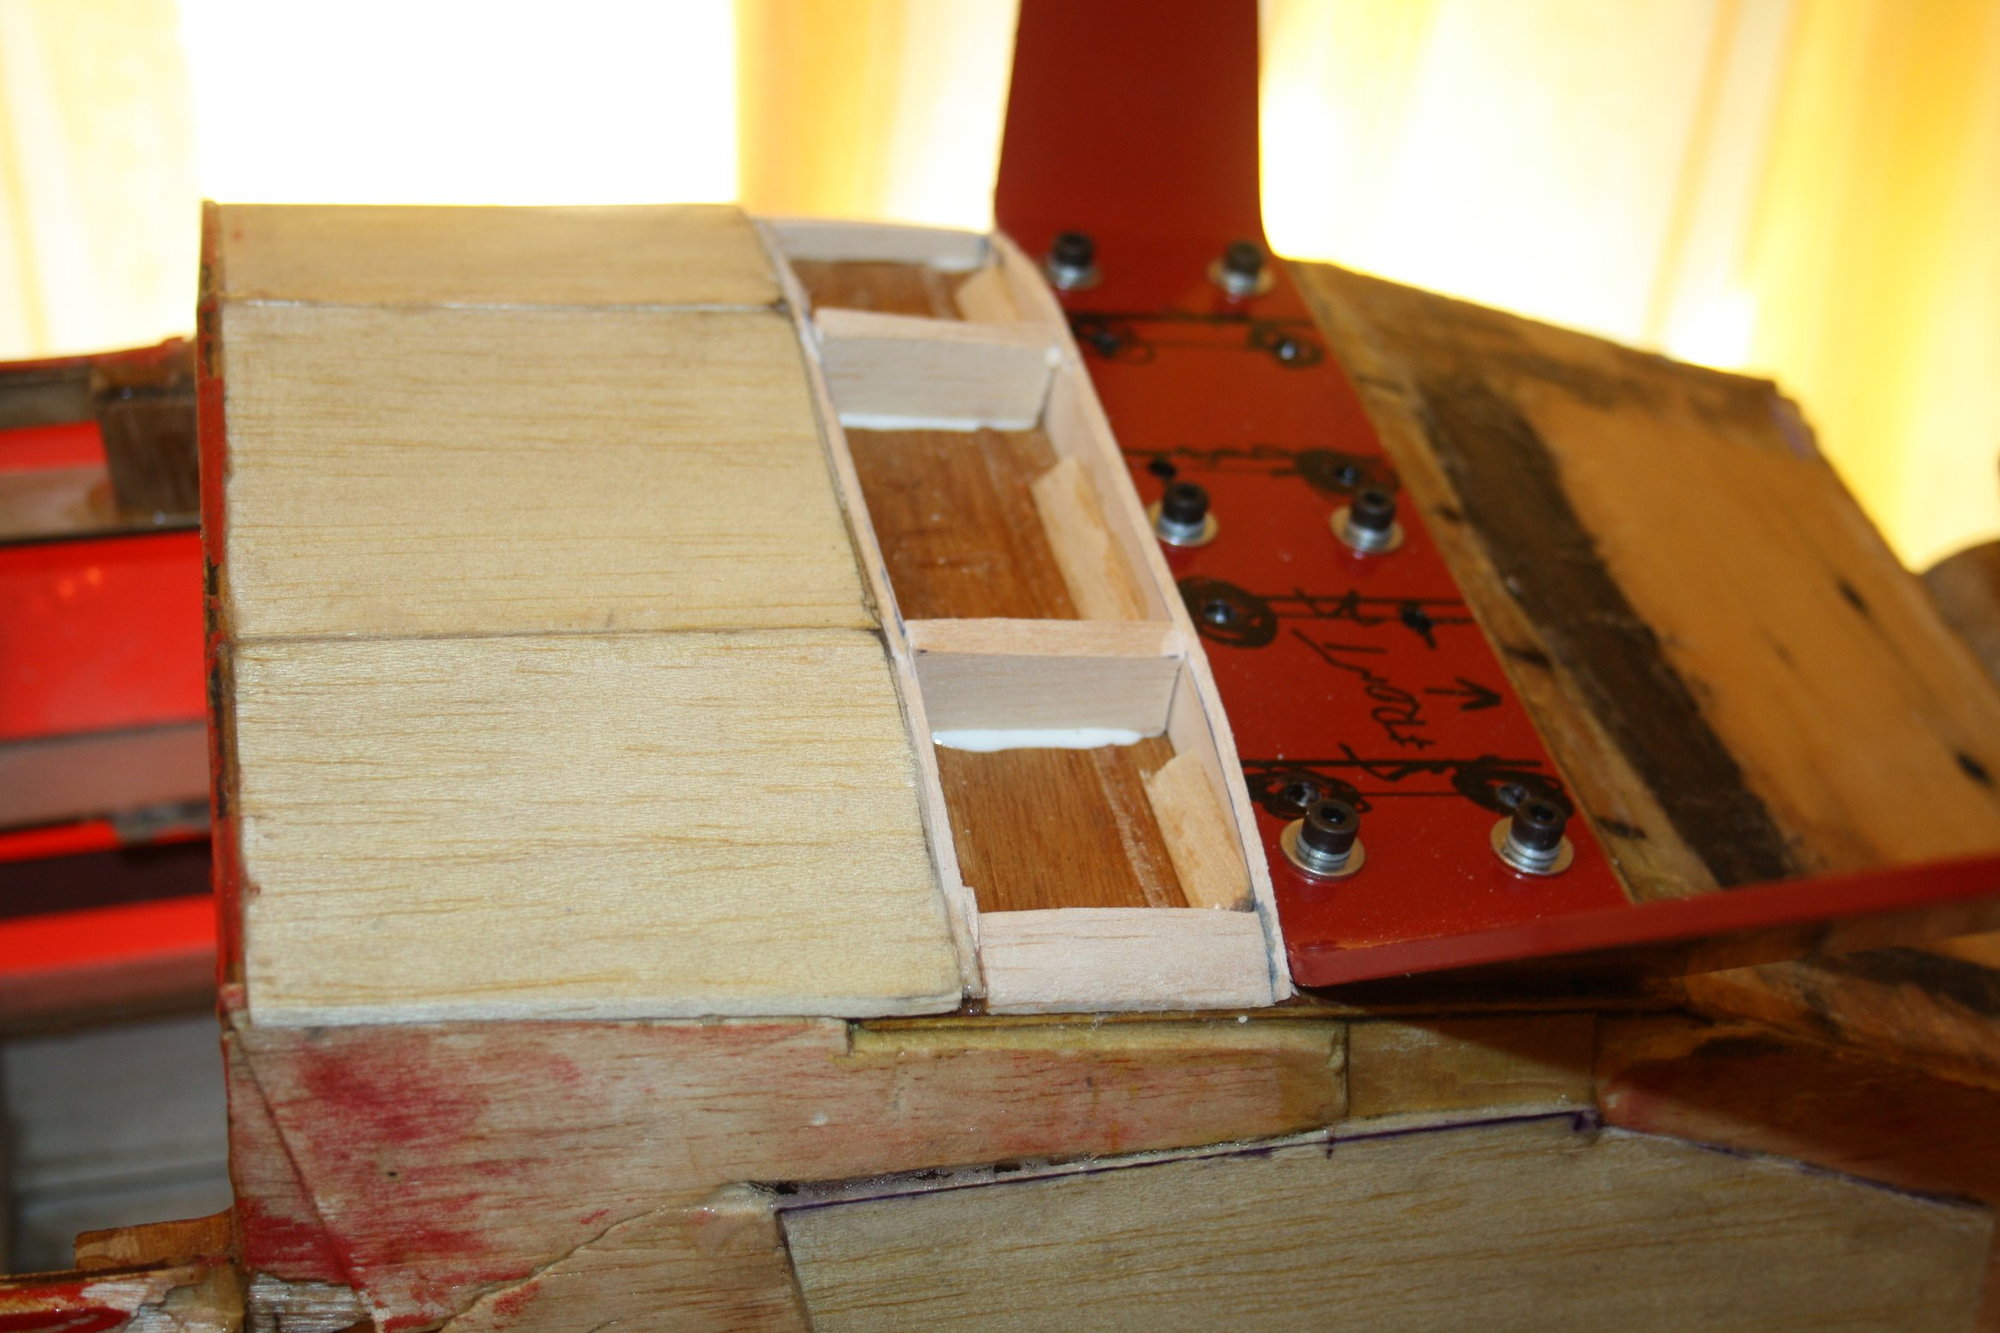
With the landing gear in place, it was time to re-create the shape of the fuselage next to it.


 02-28-2019, 06:45 PM
#12
Thread Starter
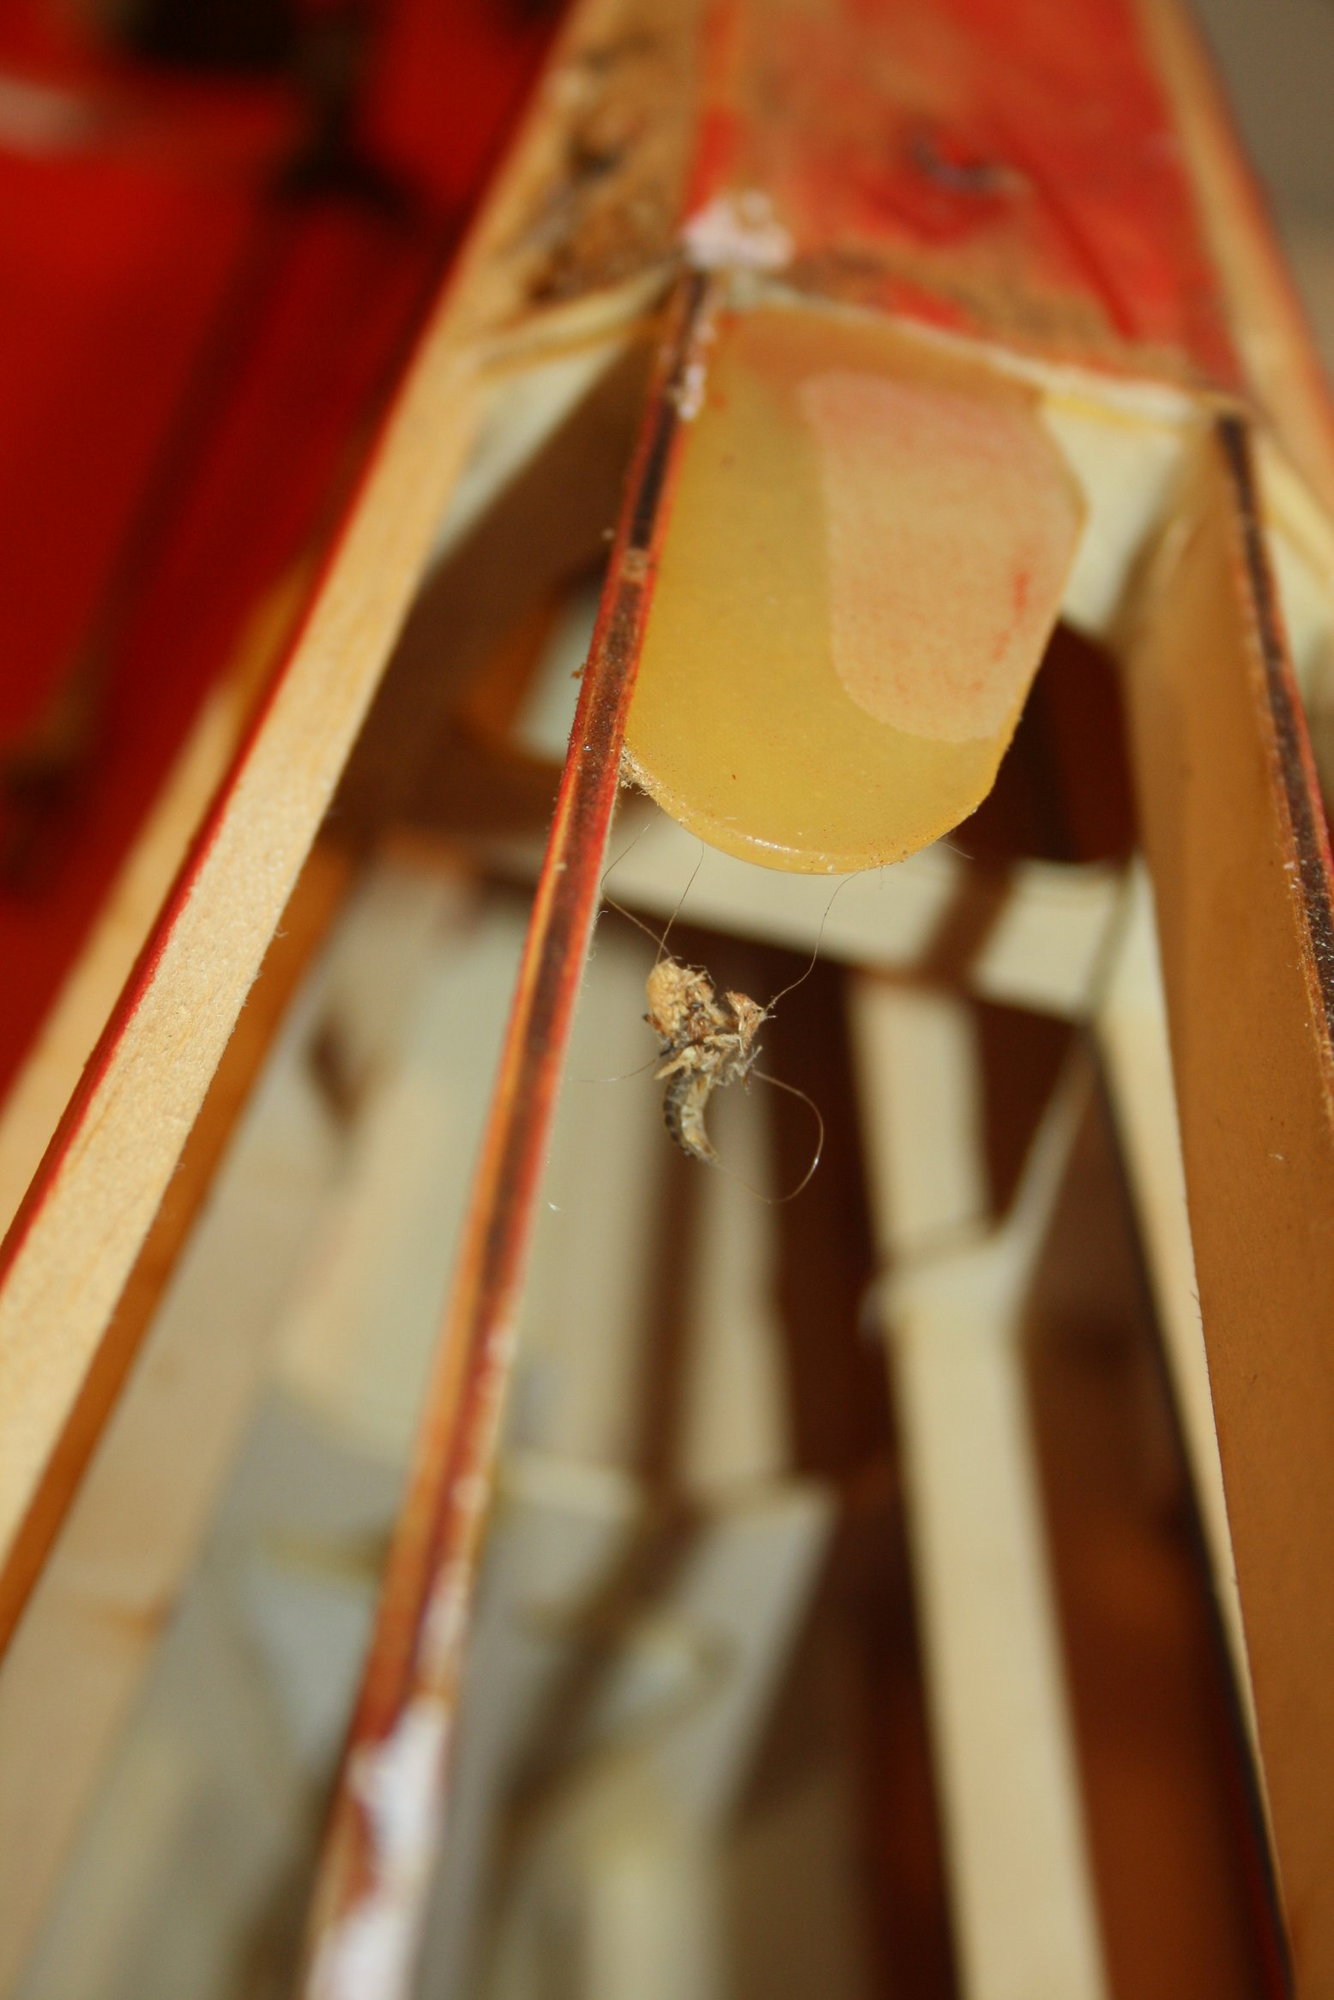
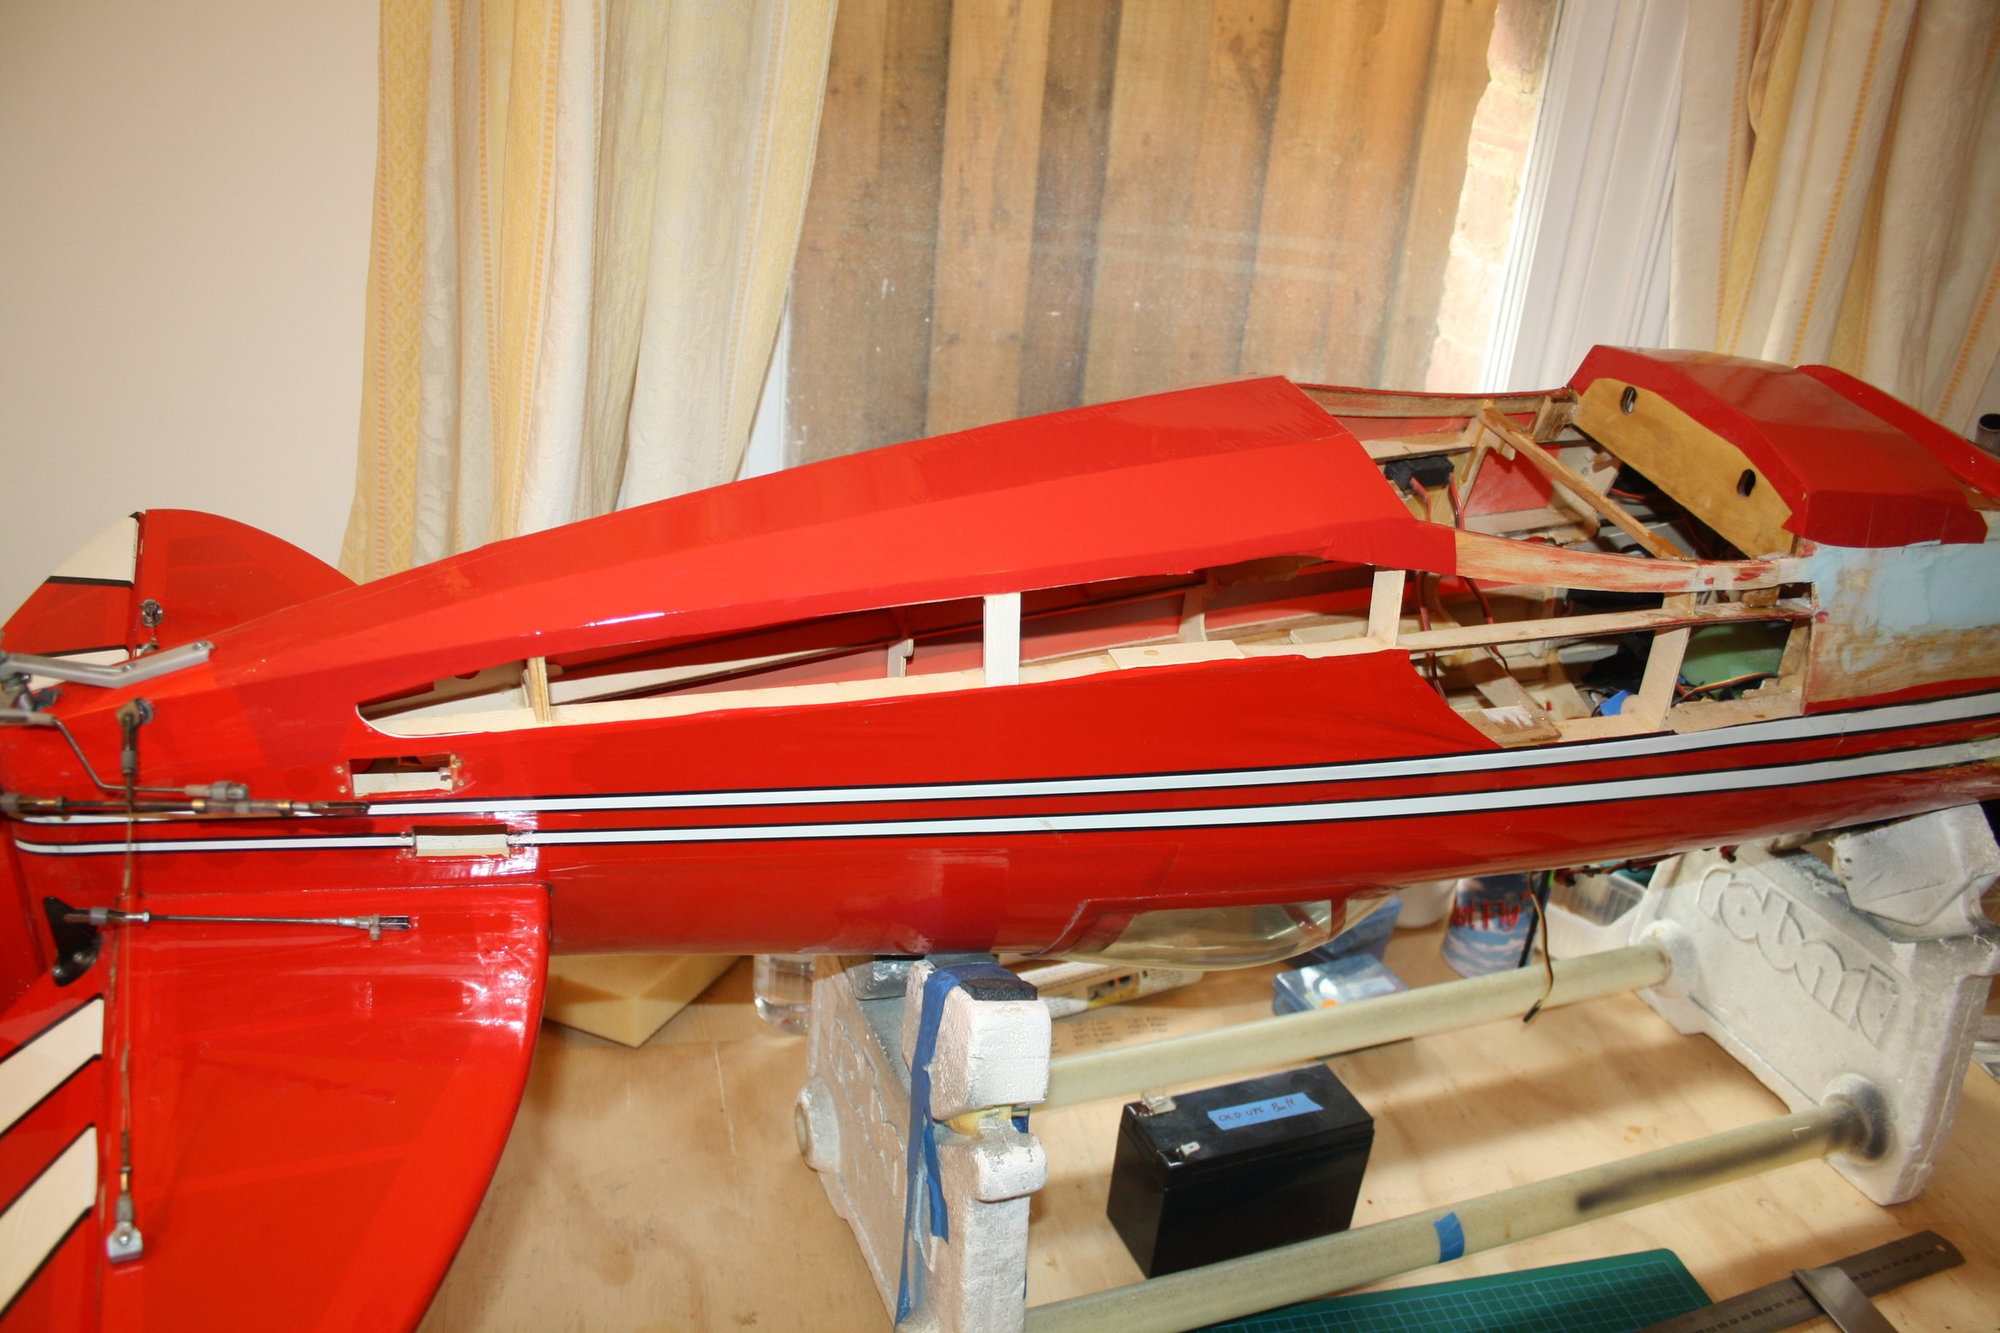
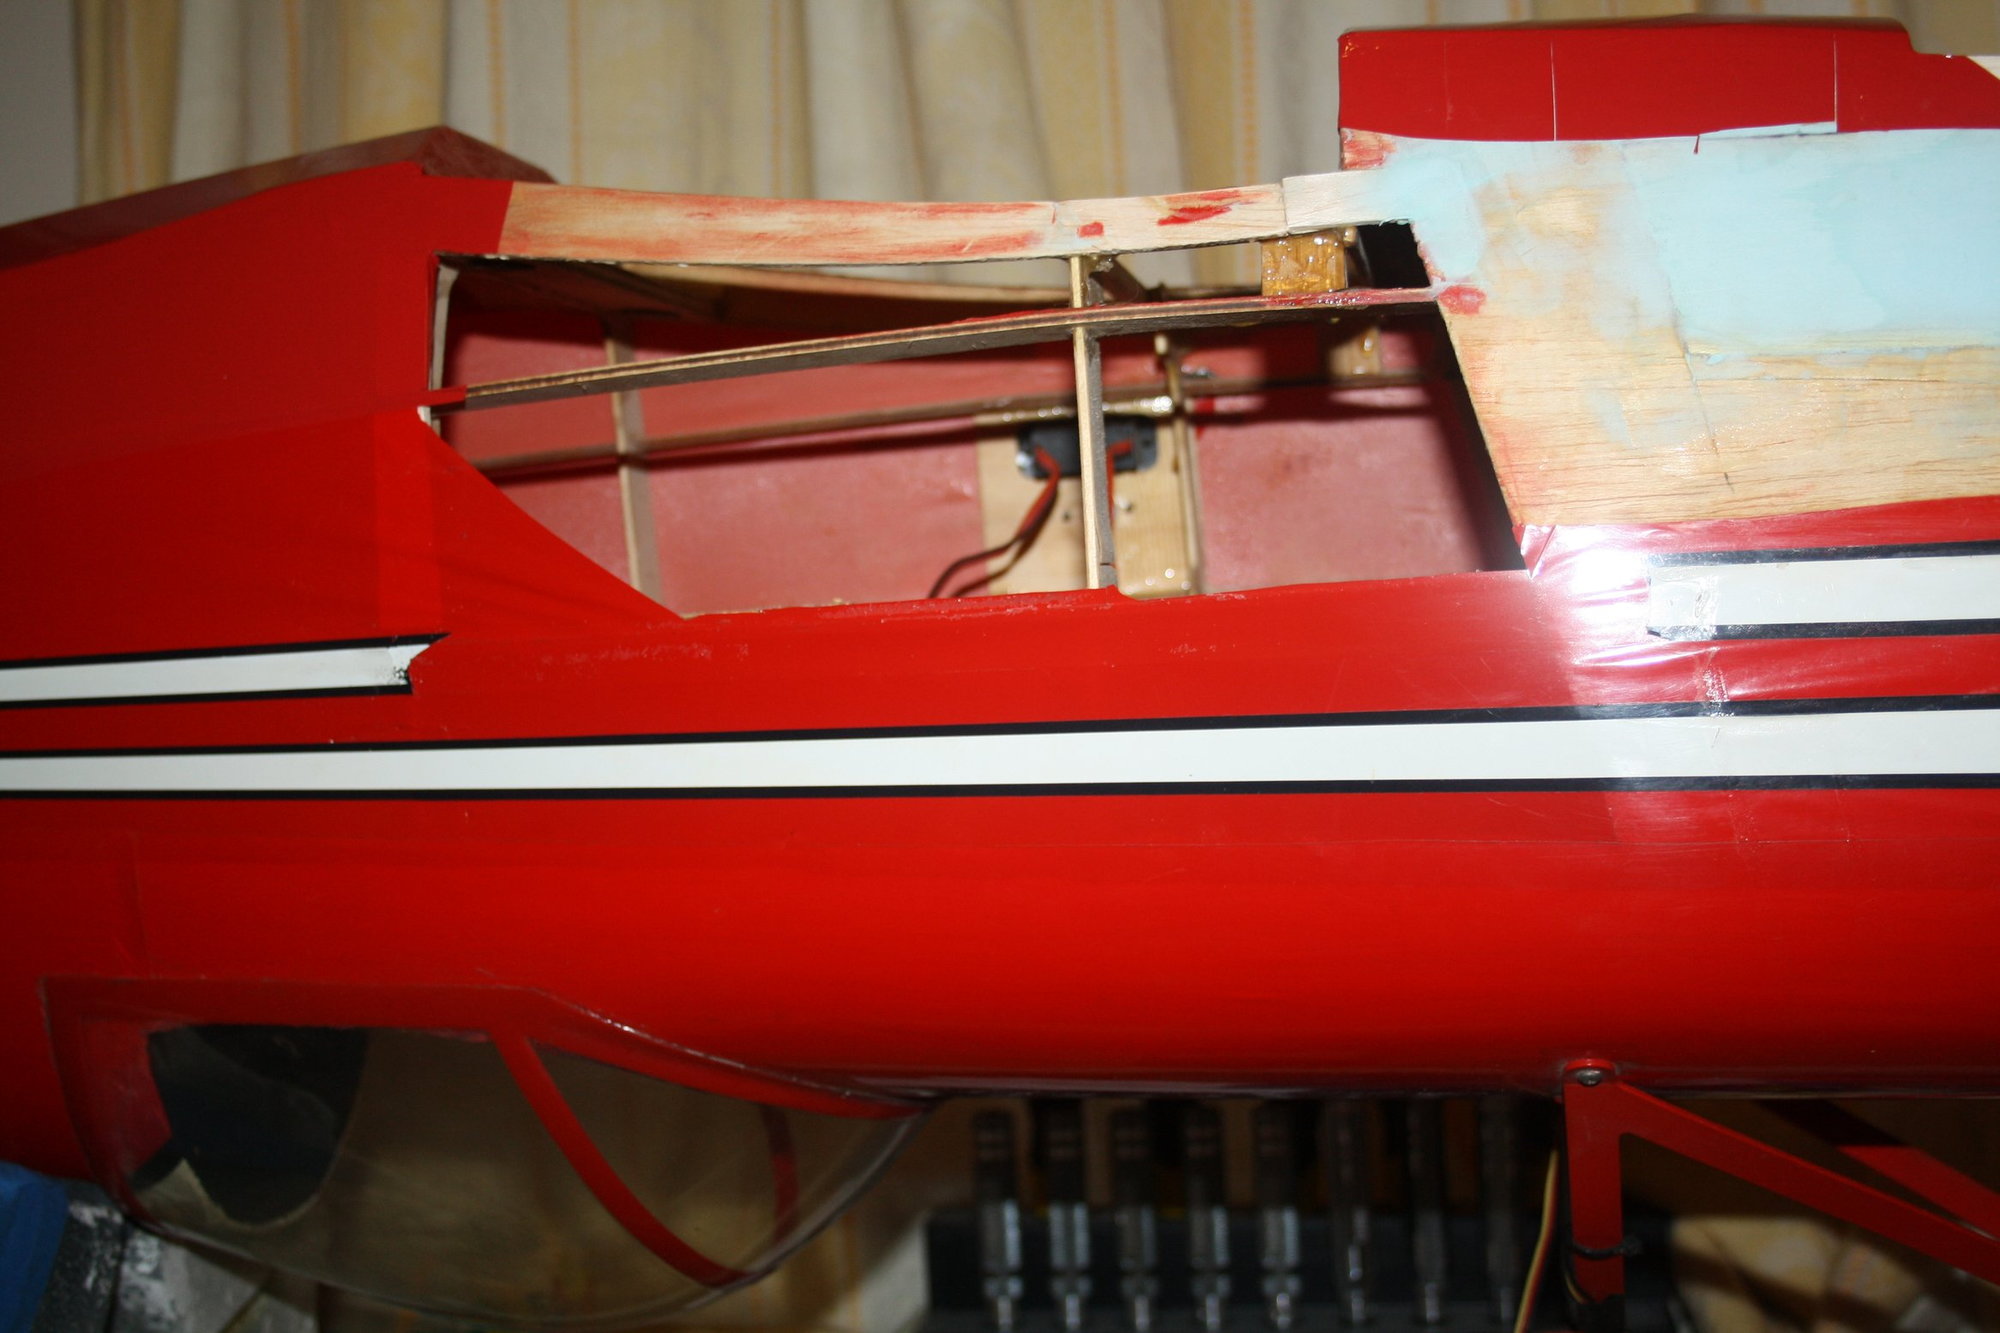
Some more small damage fix, and the decision is made to take the covering off the length of the bottom of the fuselage (which was of very poor quality anyway) to allow proper inspection. Some dead wildlife was also found...


 03-01-2019, 06:16 PM
#14

The repairs are coming along very nicely. Do you plan on a complete recover? Sadly a Pitts is one of the airplanes that I just have not gotten around to yet. I always invisioned duplicating David Carradine�s Pitts in the movie Cloud Dancer. Keep up the good work
03-02-2019, 11:15 PM
#15
Thread Starter
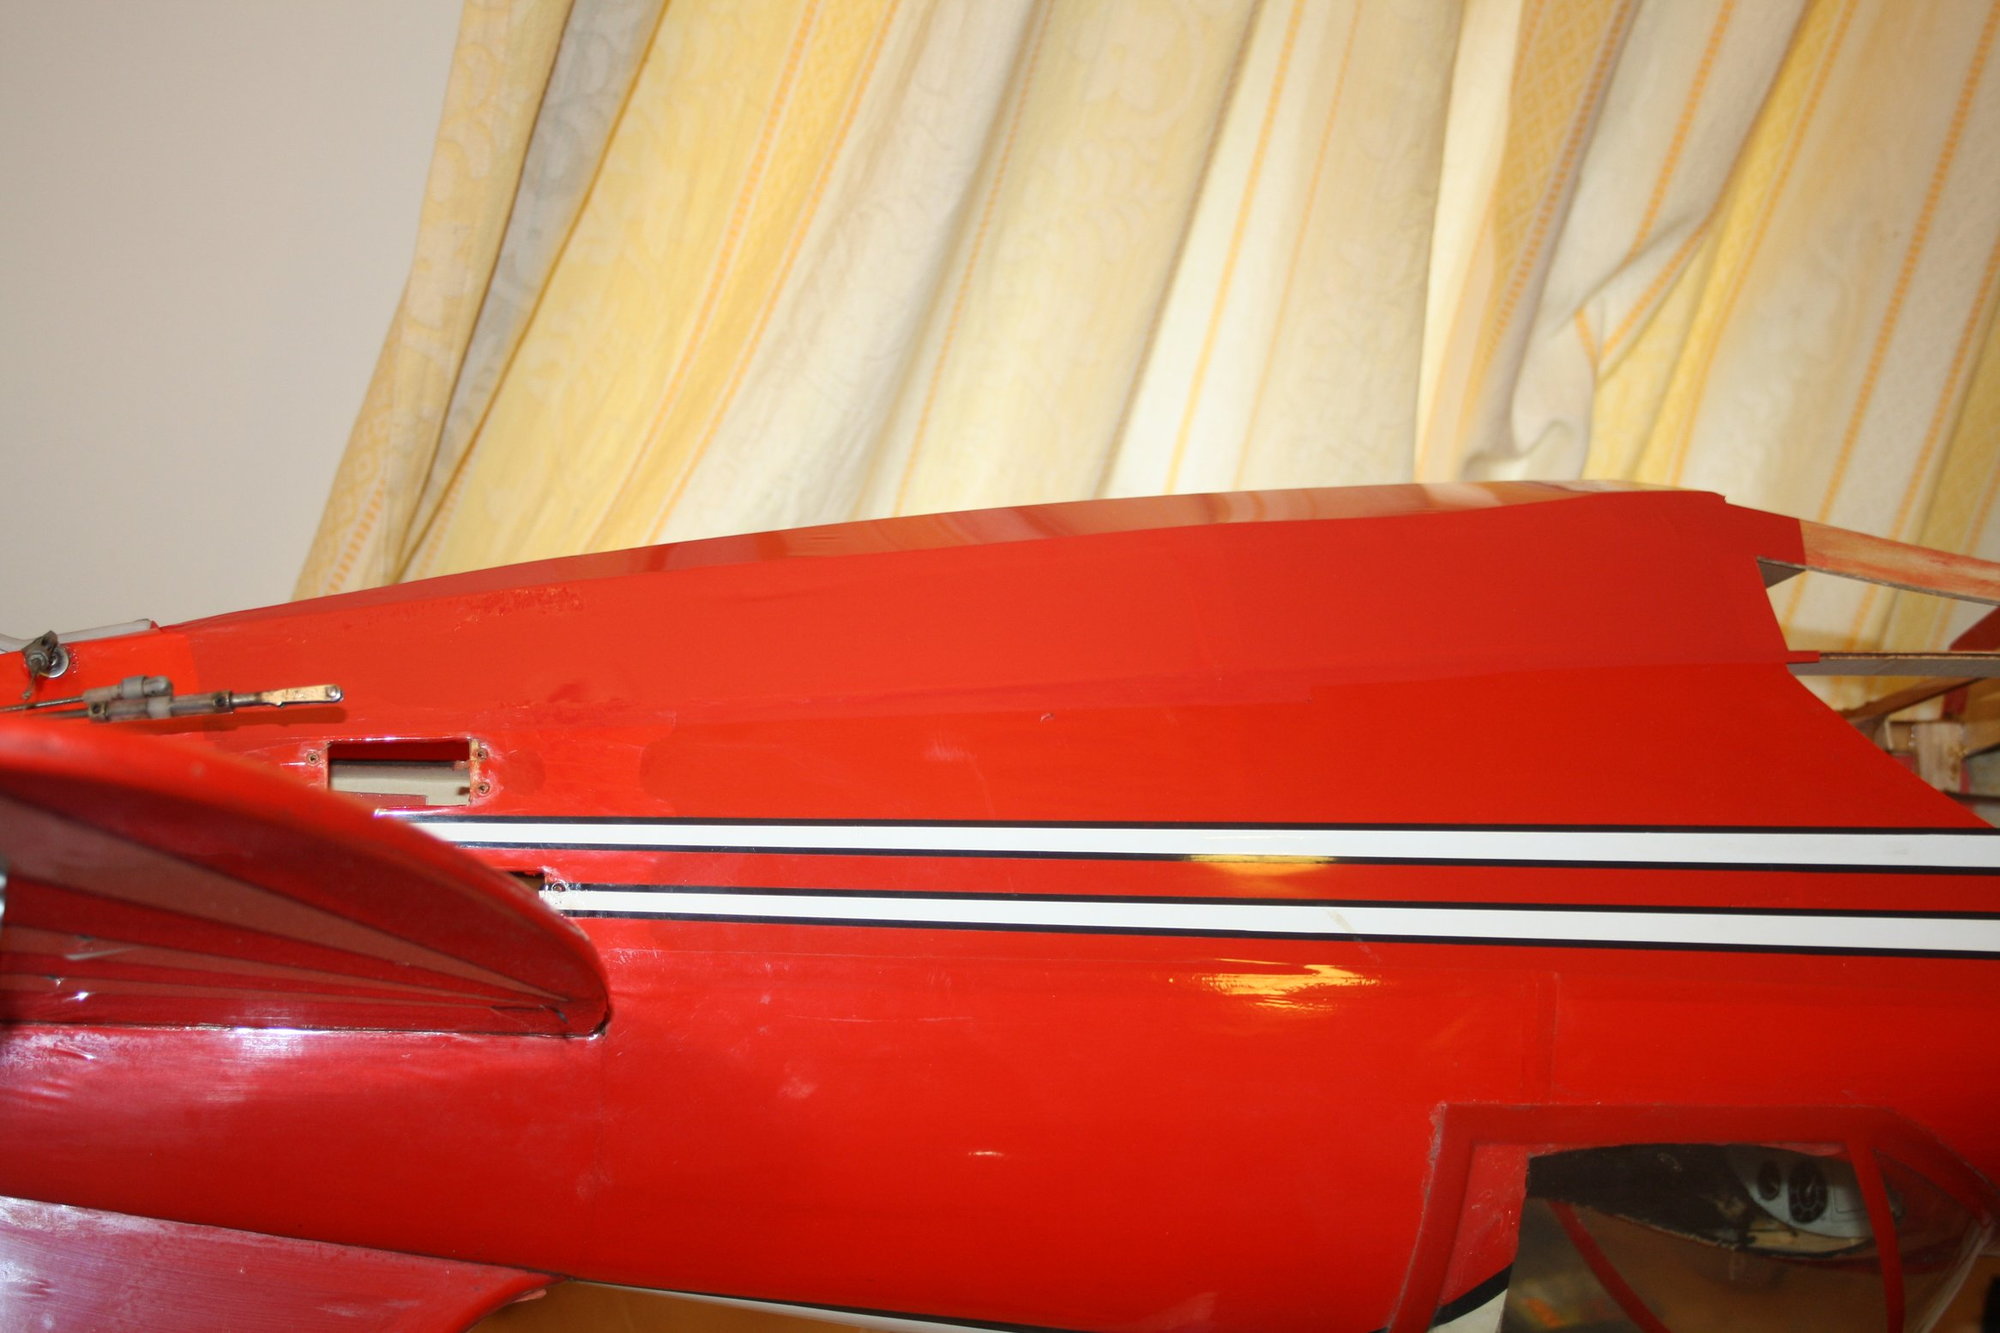
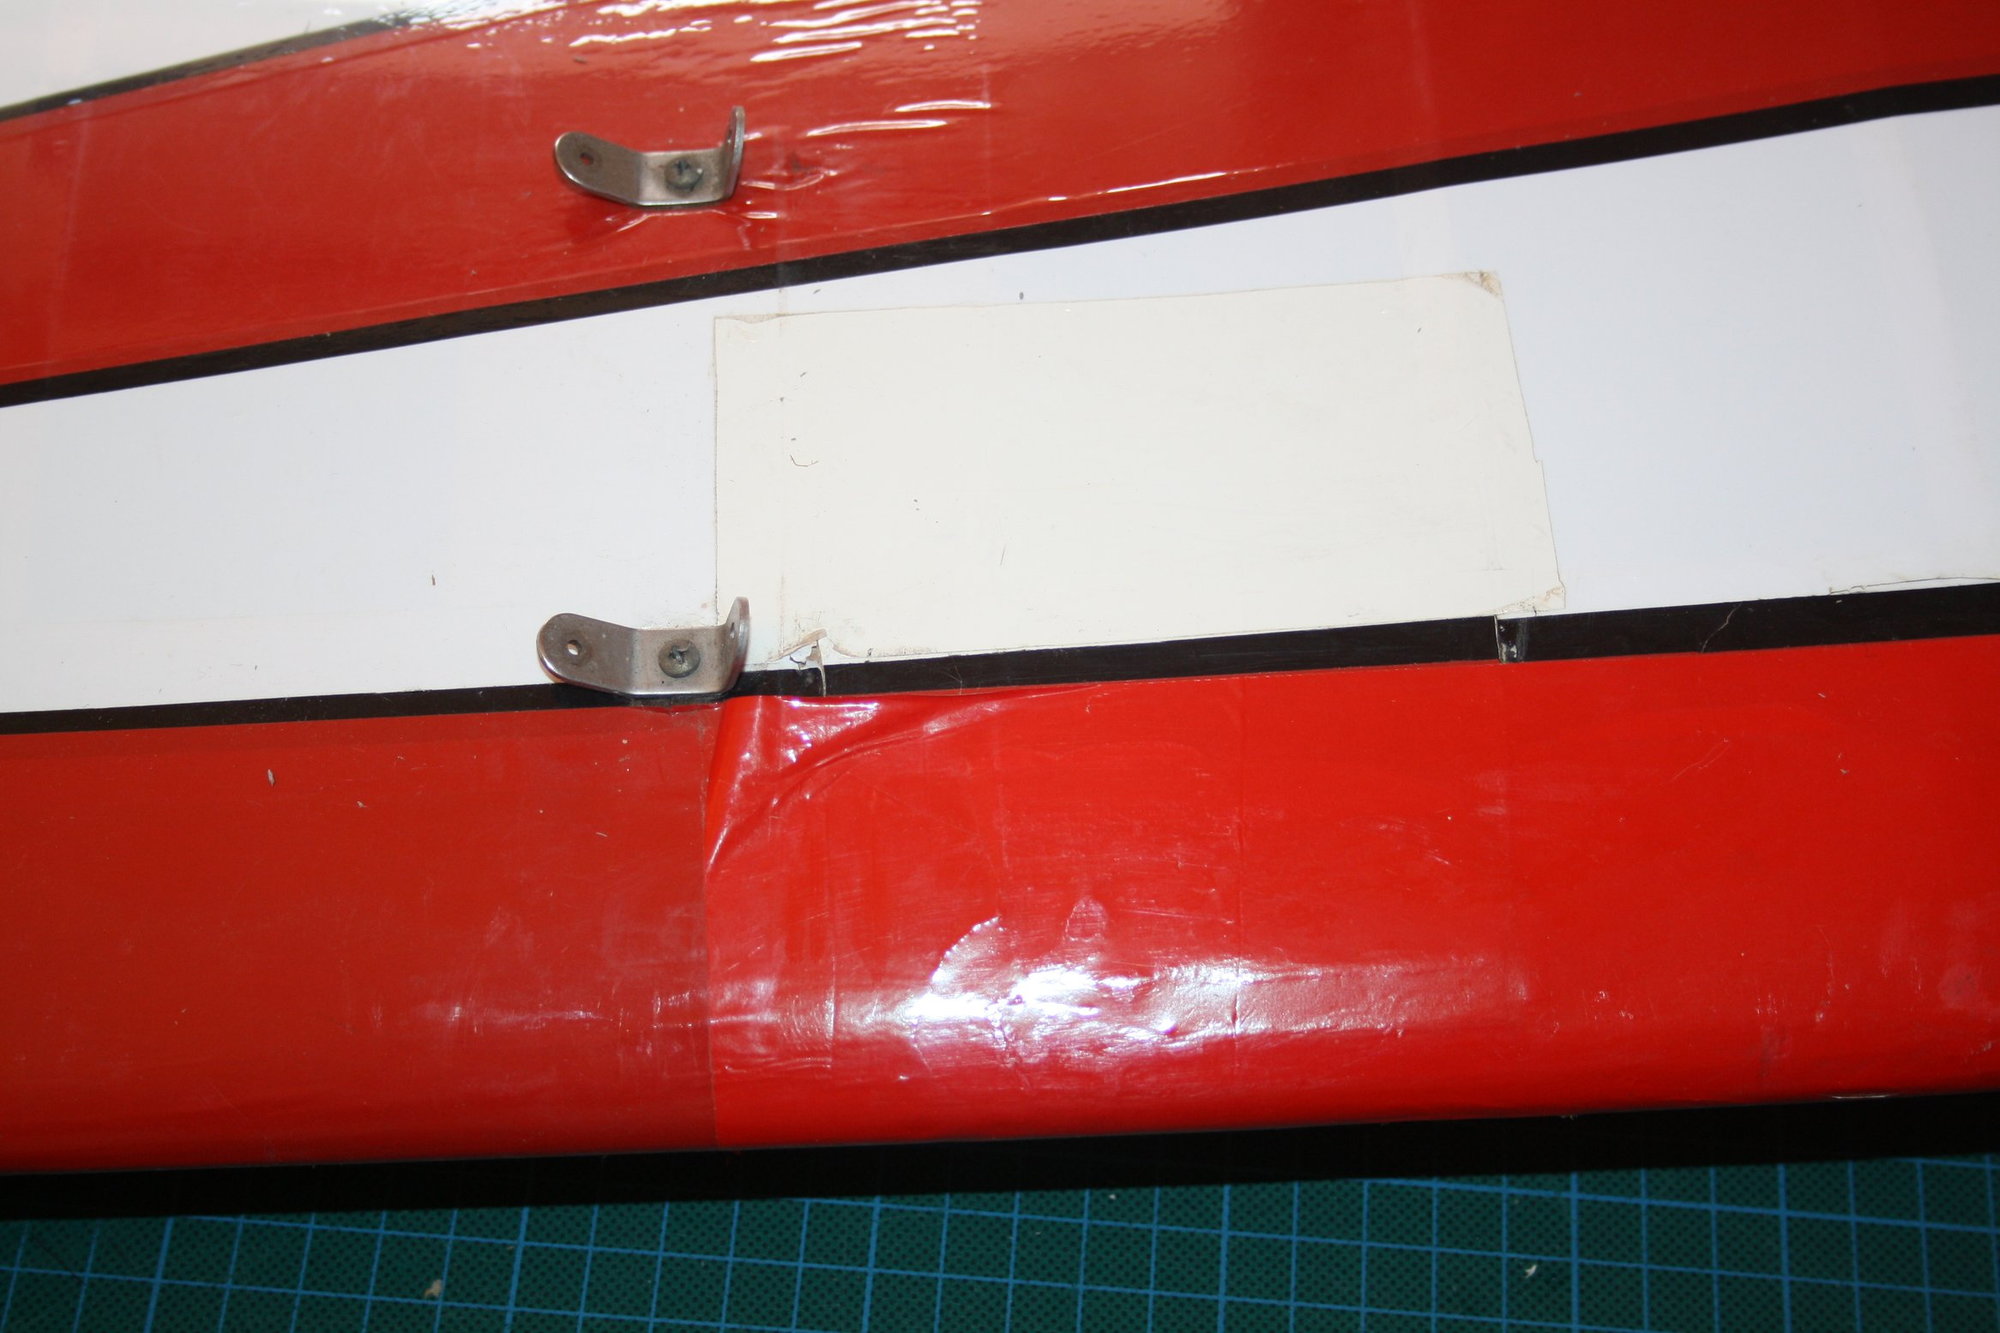
speedracerntrixie - I will not cover the entire aeroplane for two reasons. First it is not my aeroplane and the owner do not want to spend the money and second, the original covering is not too bad (speaking of the fuselage, as I am yet to see the wings). I will only cover where repairs are done.
Talking of covering, enjoy...
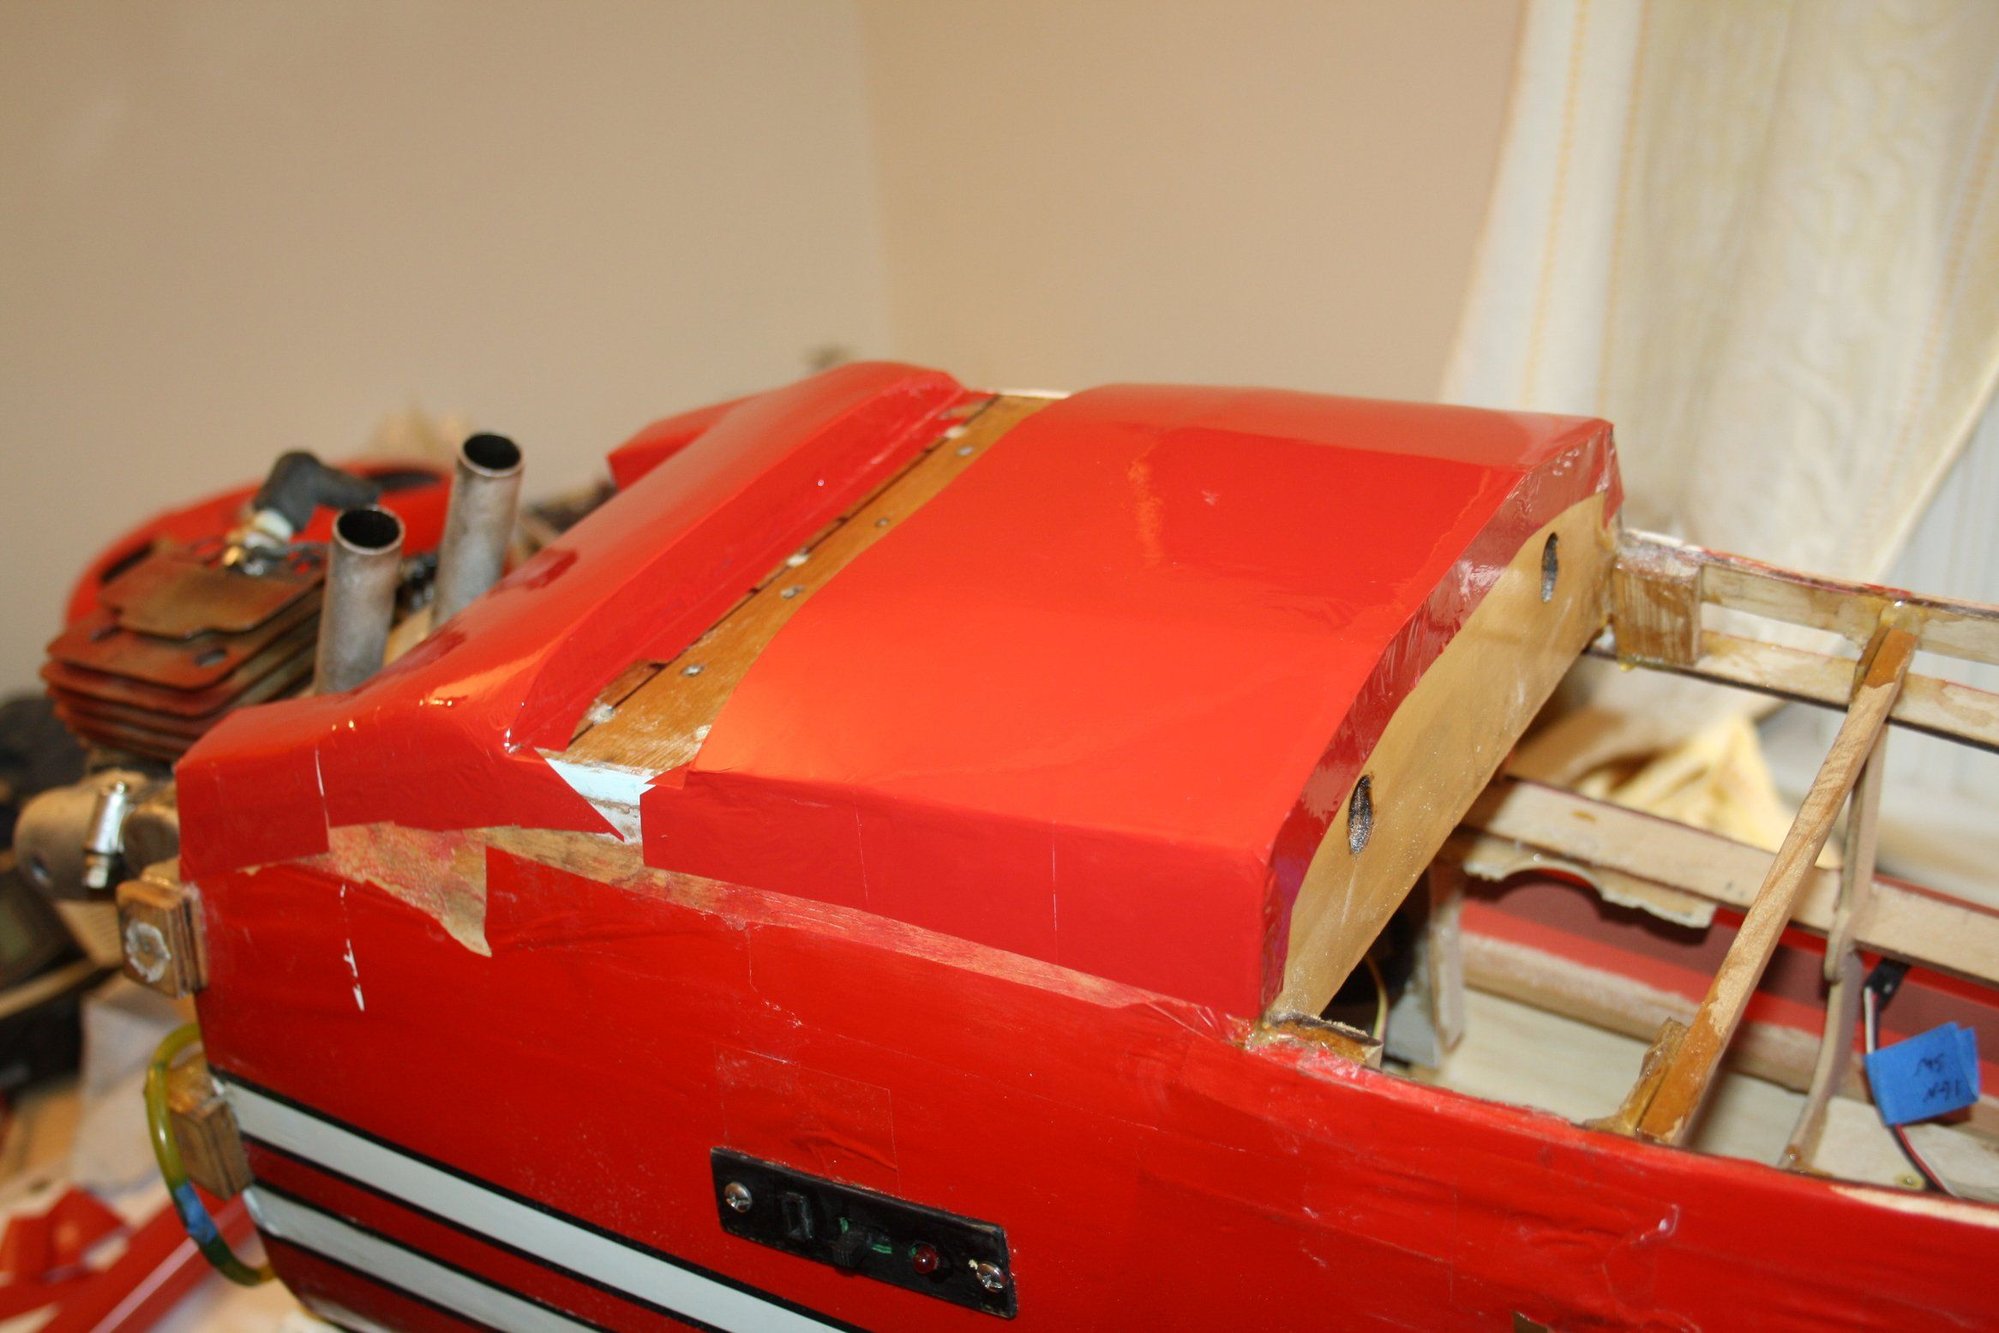
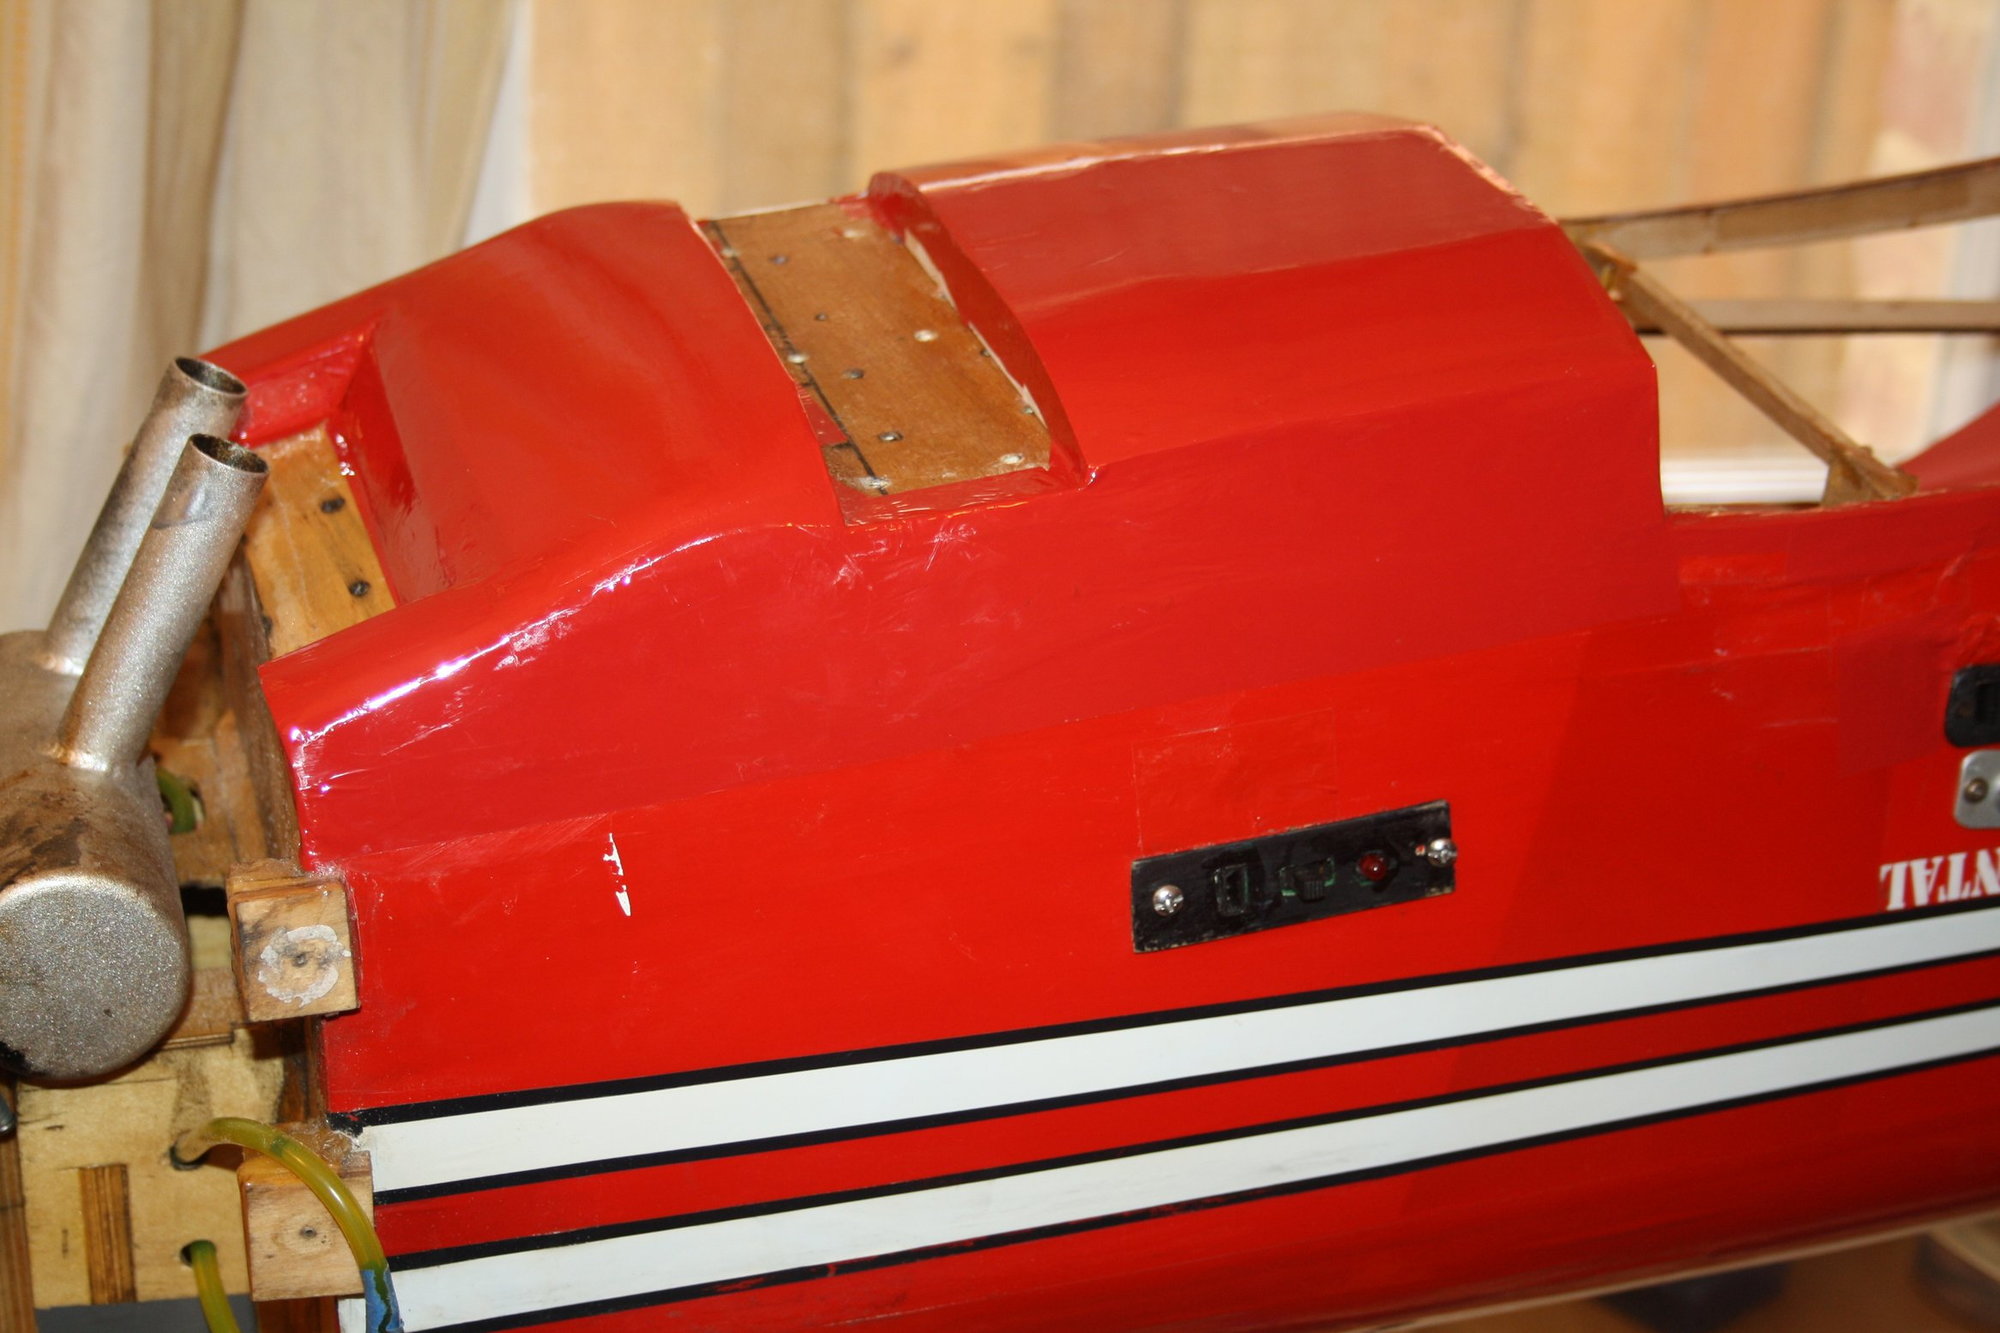
Talking of covering, enjoy...


 03-14-2019, 12:27 AM
#22
Thread Starter
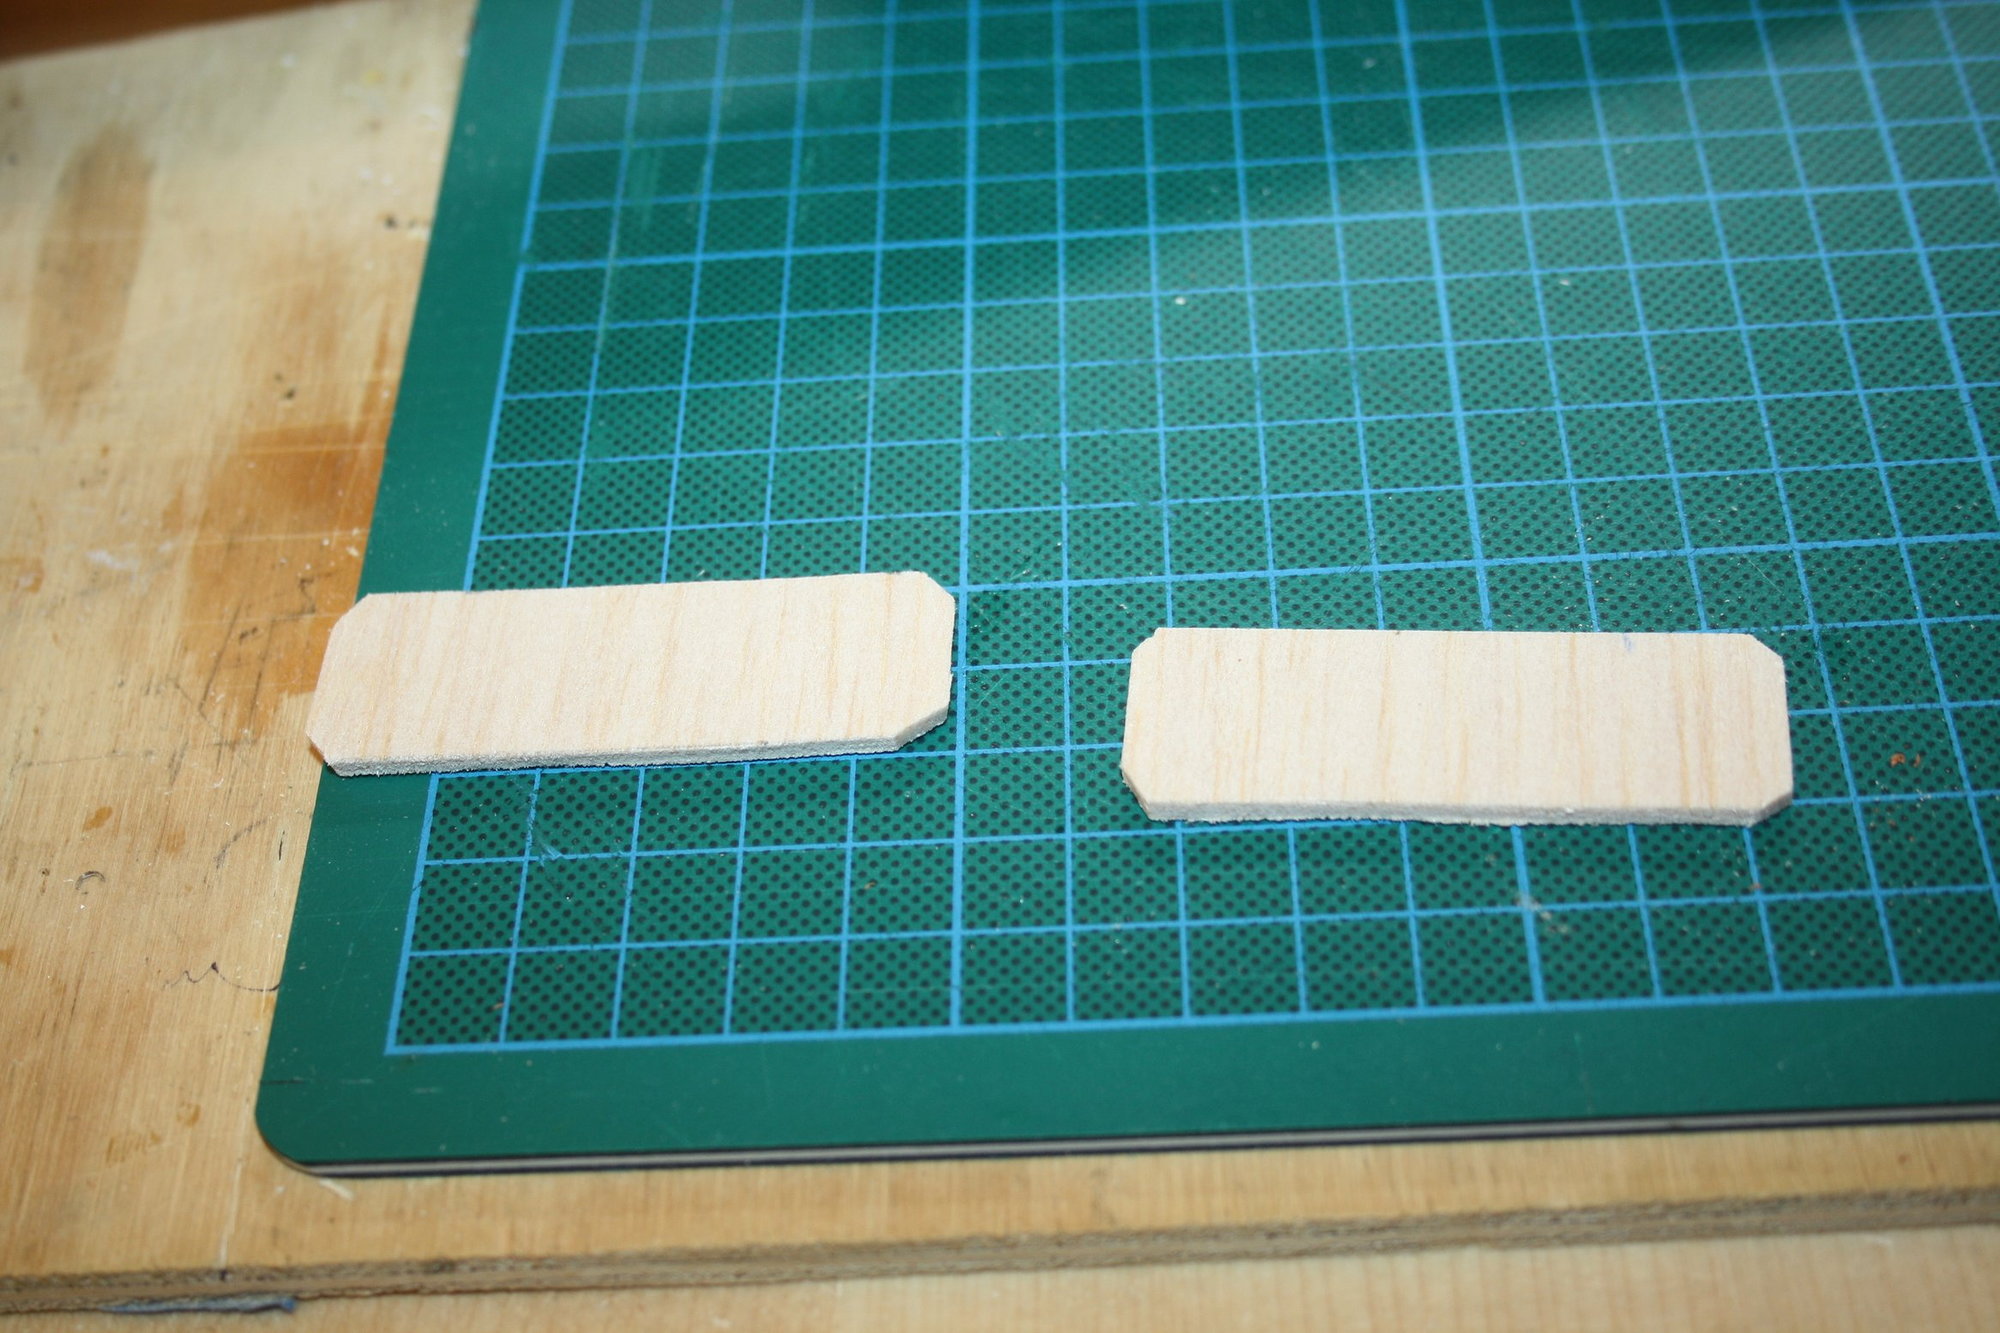
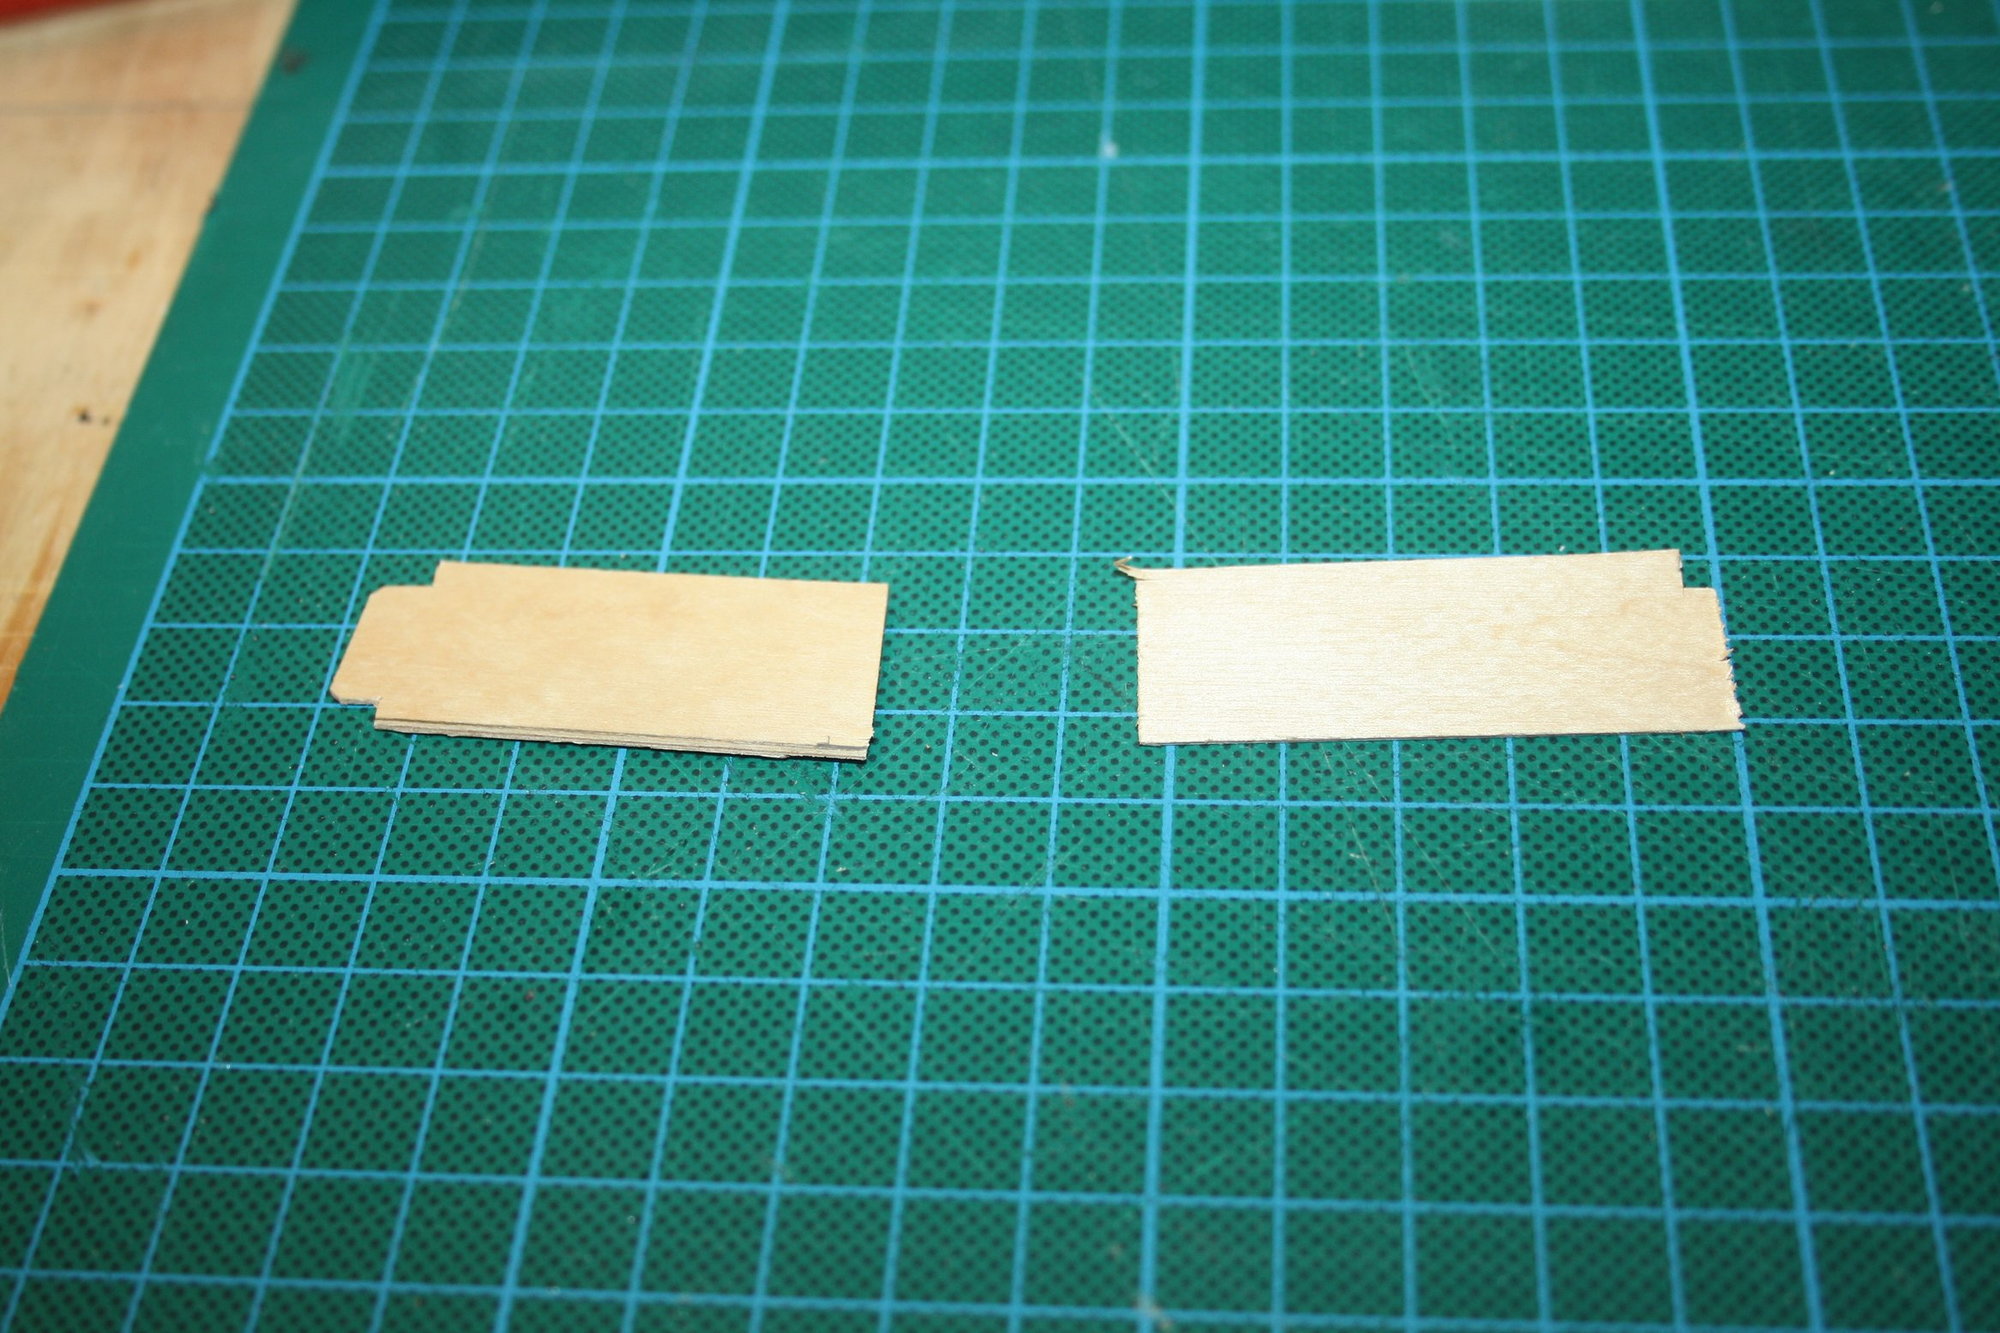
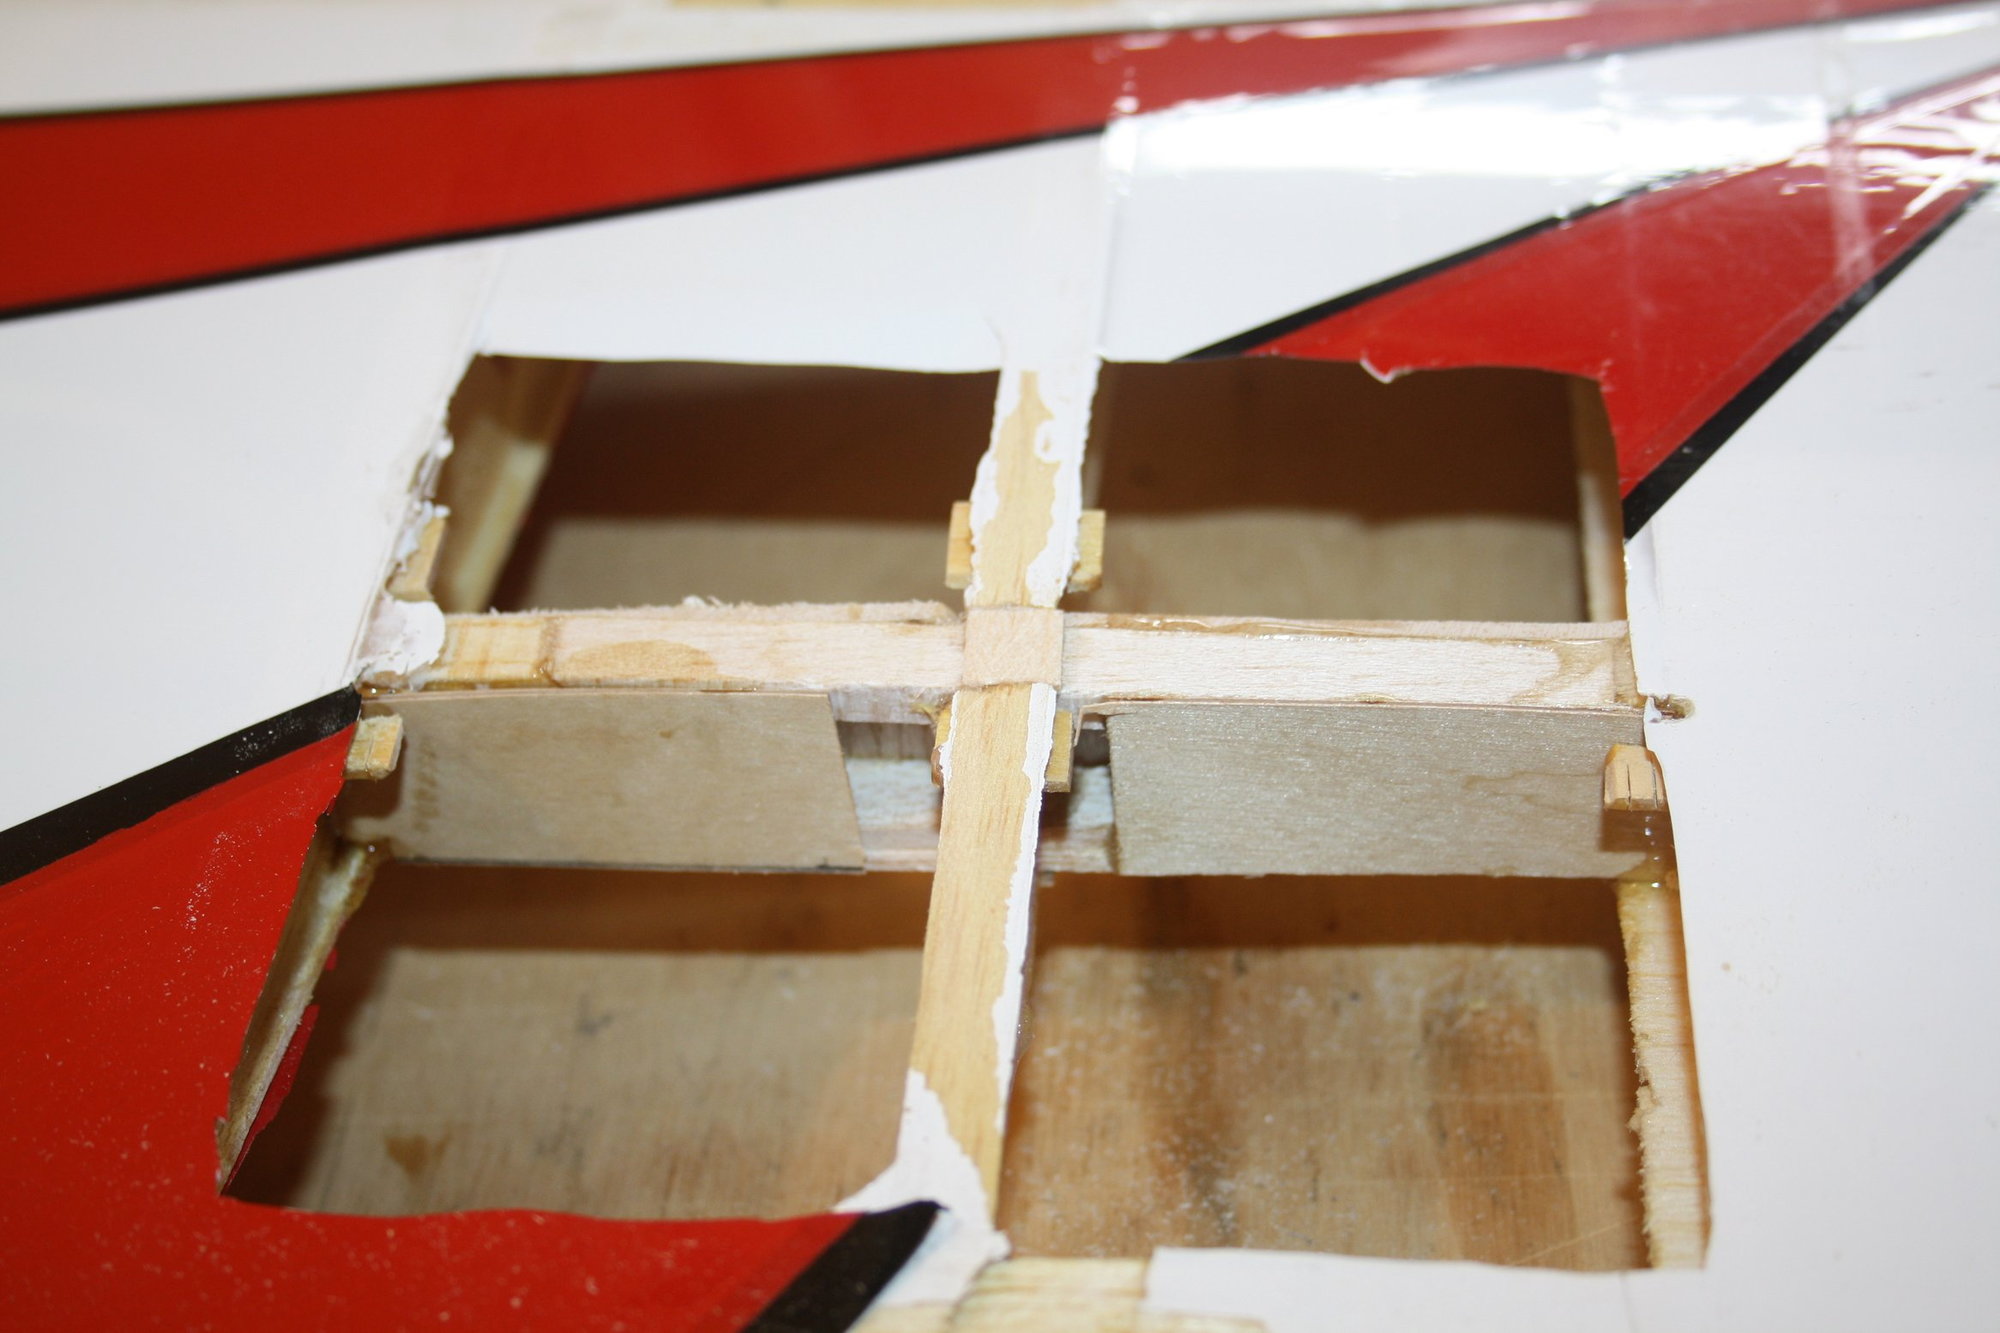
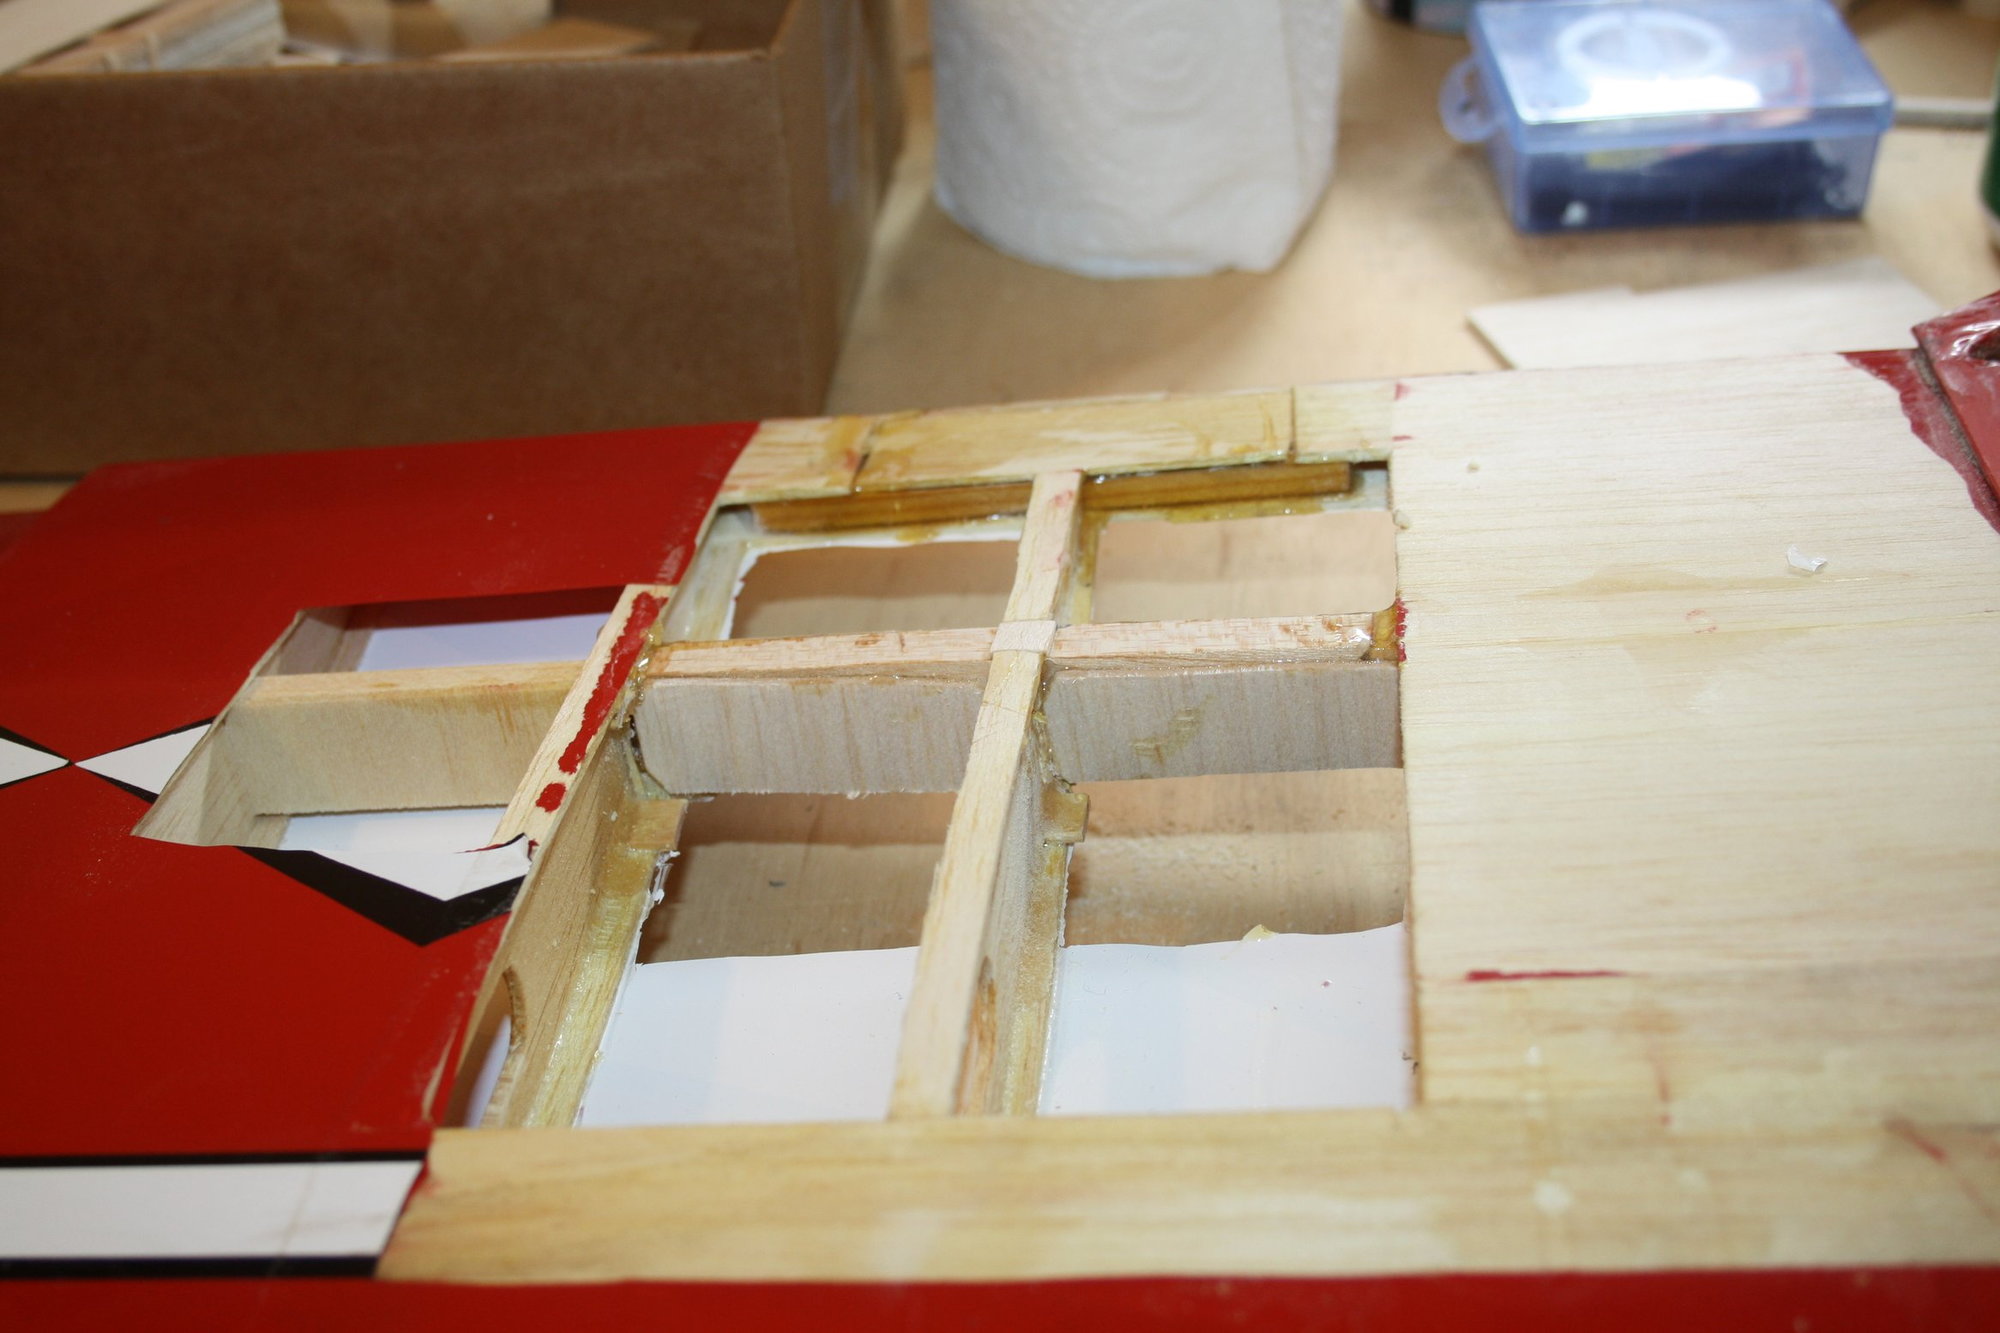
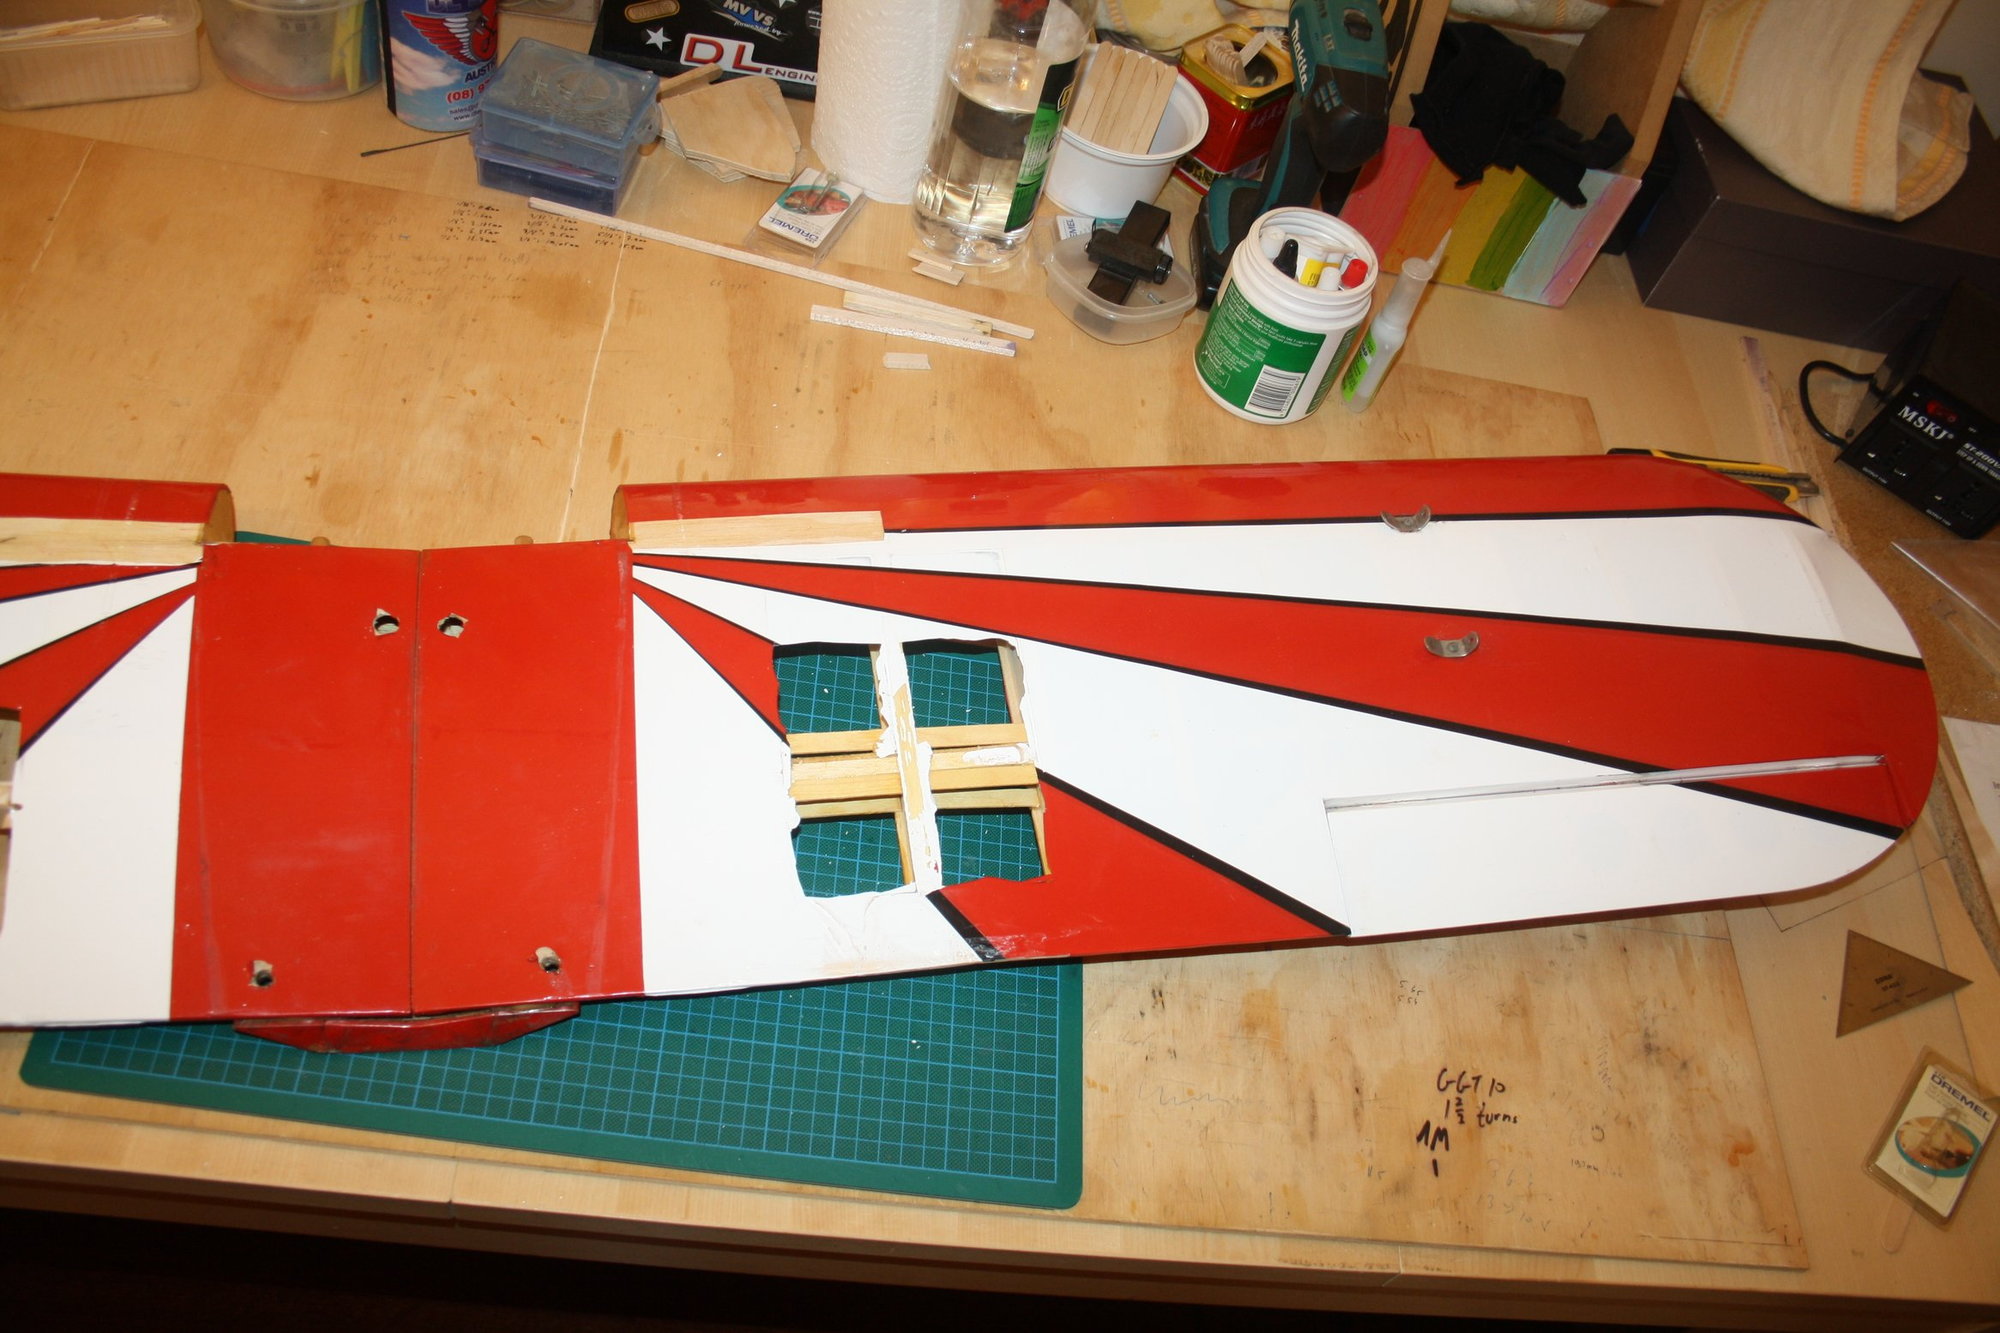
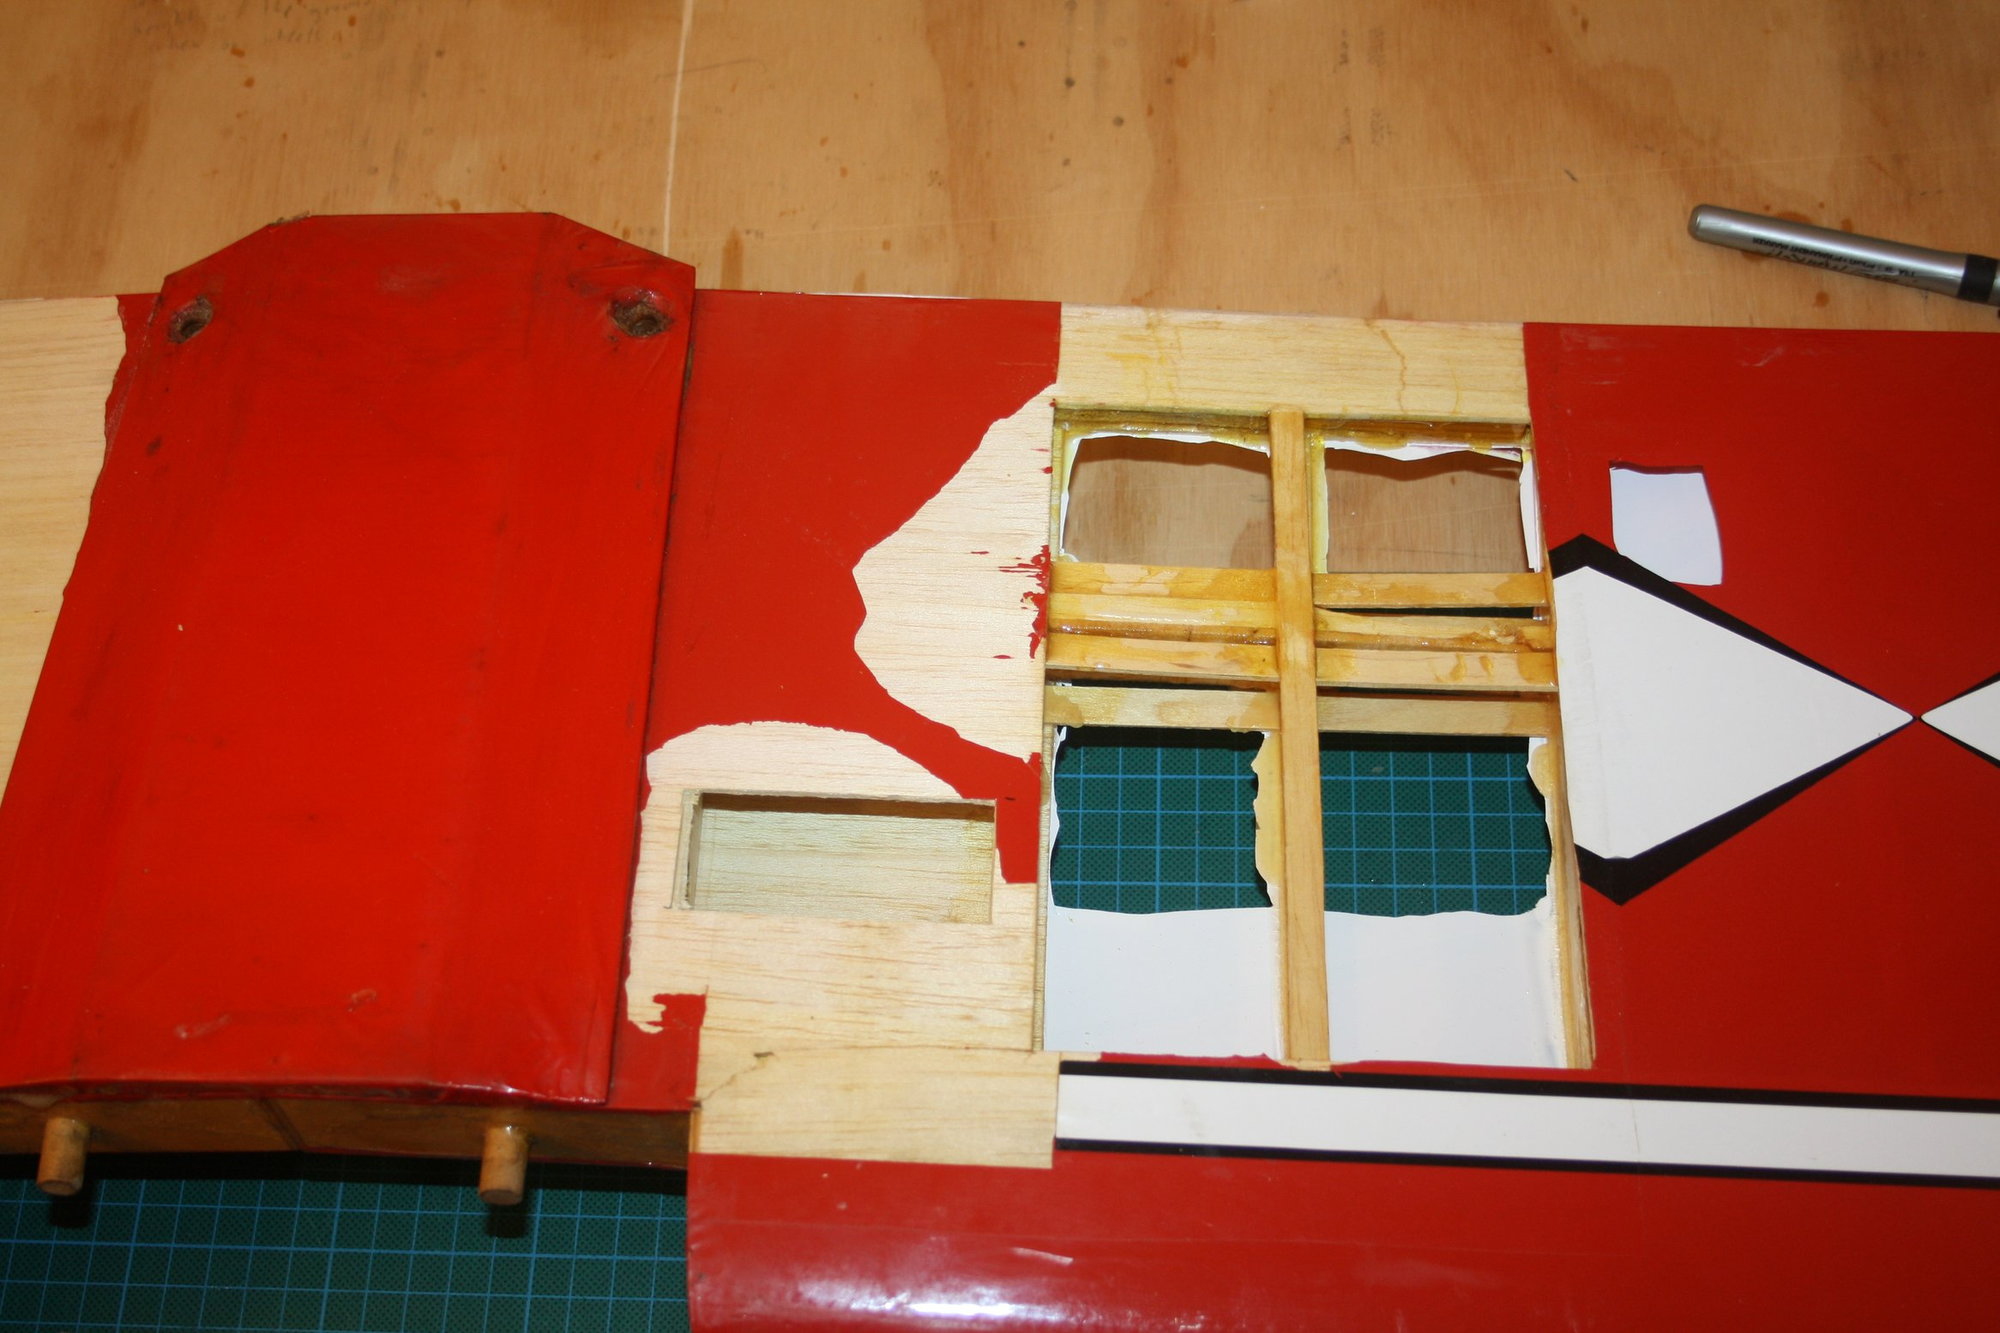
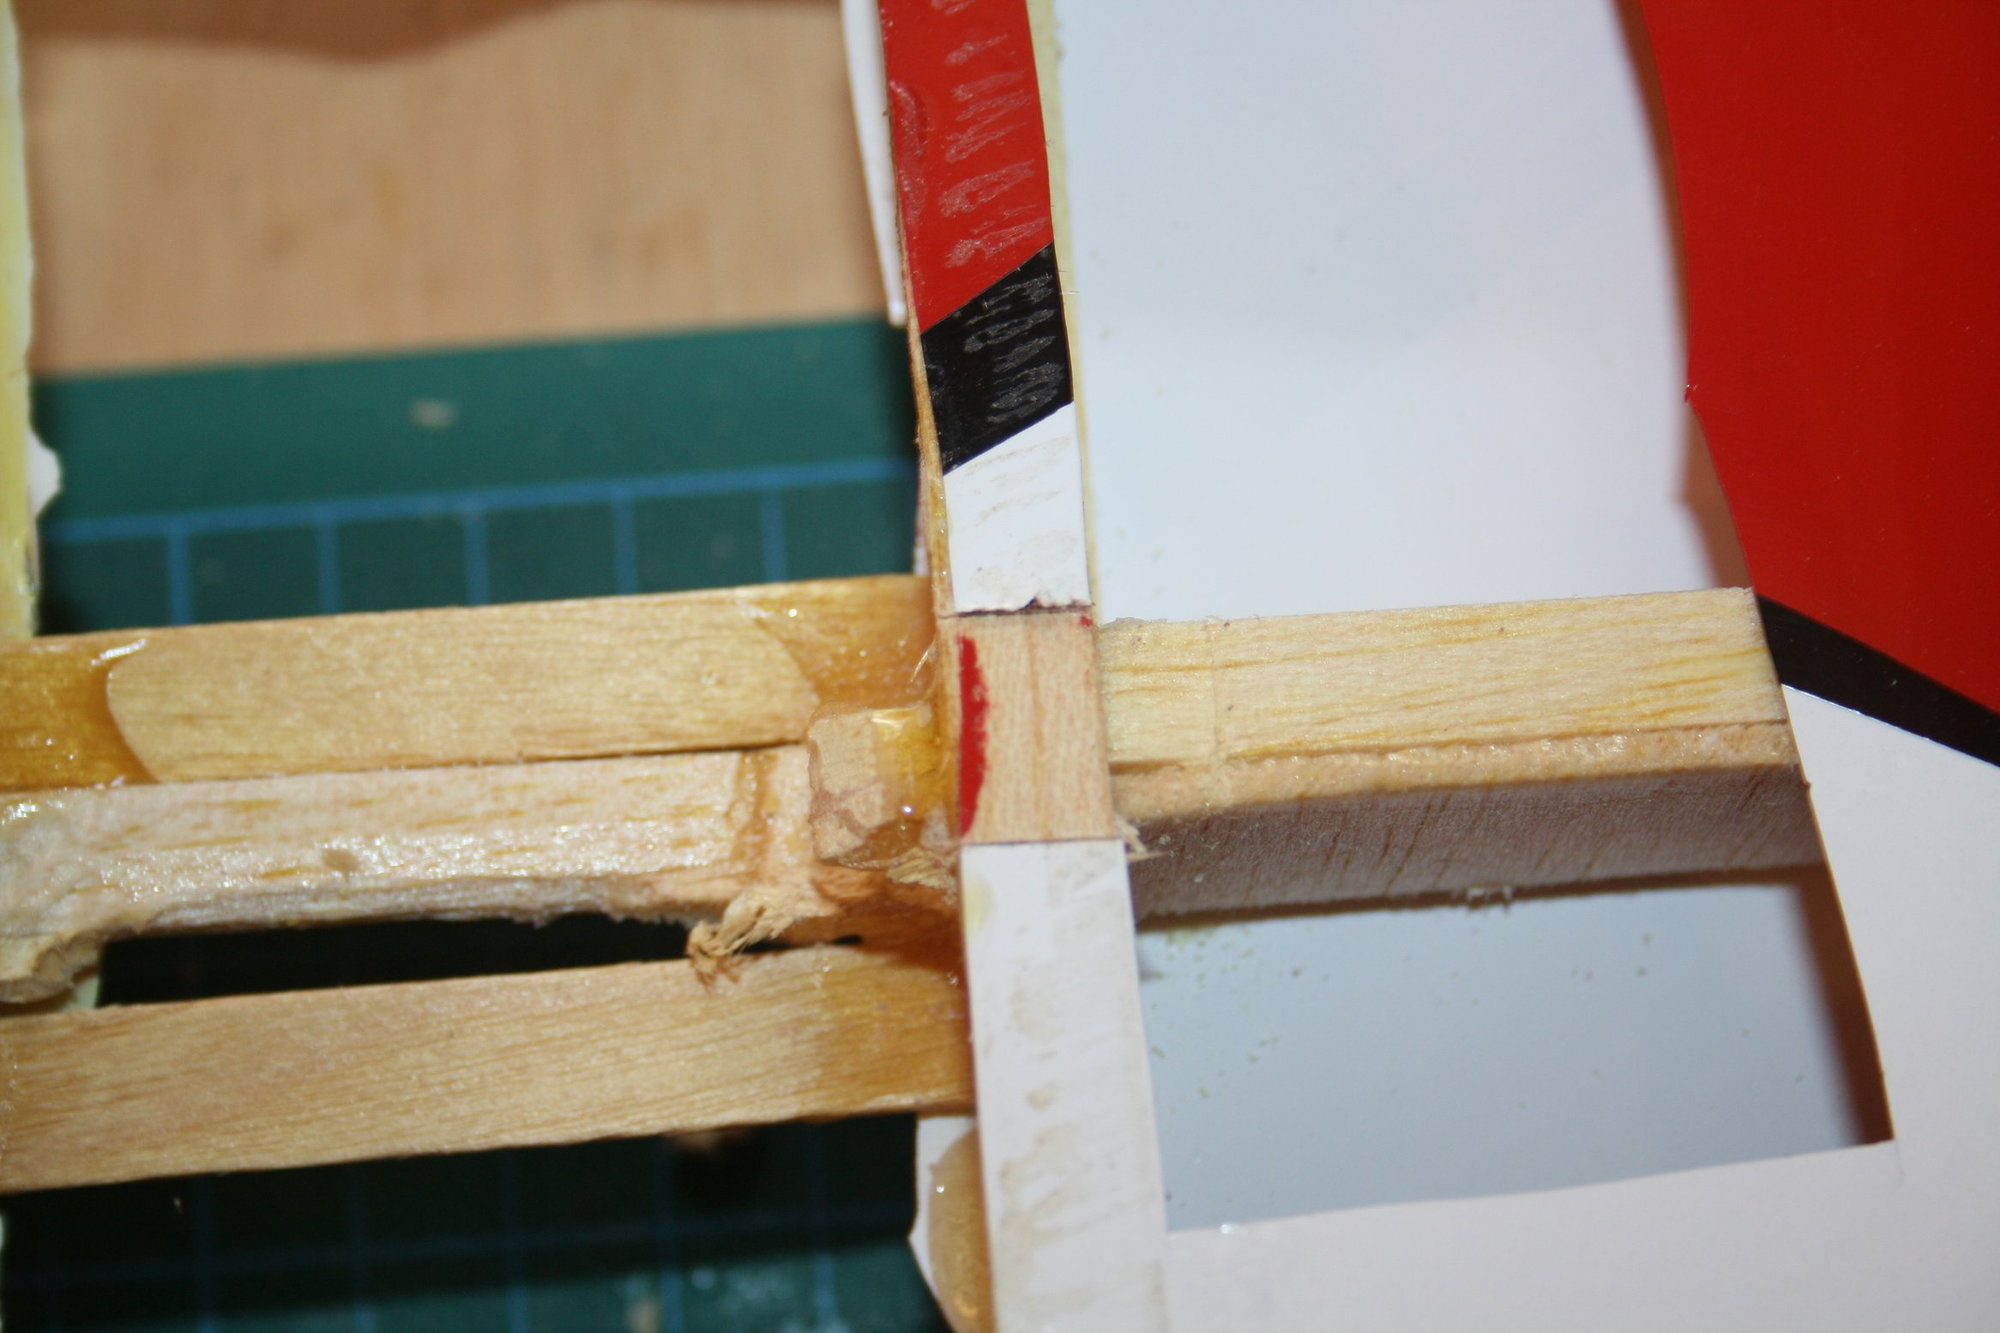
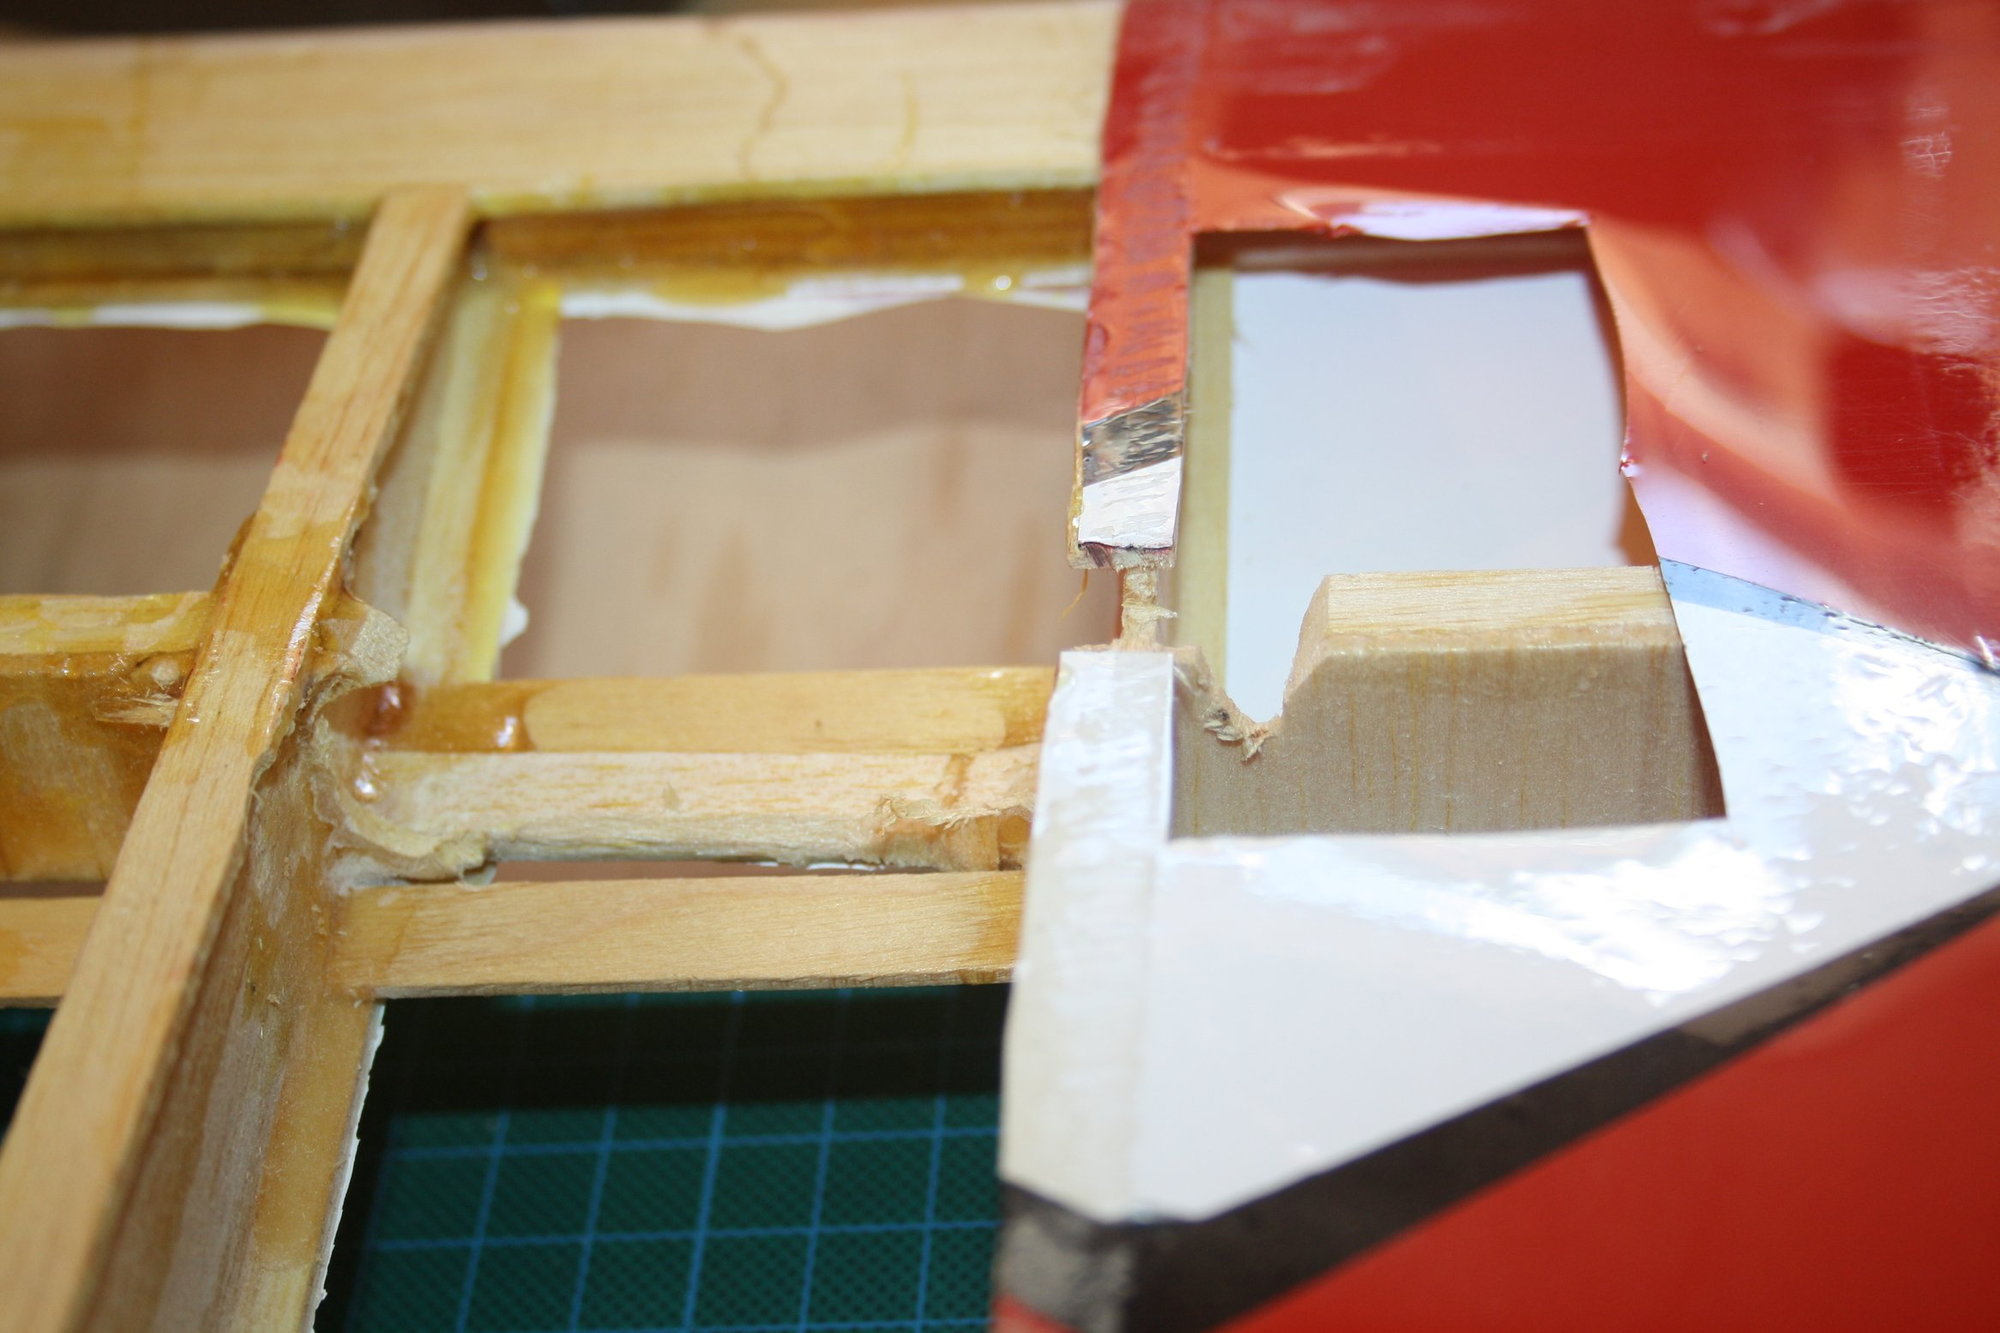
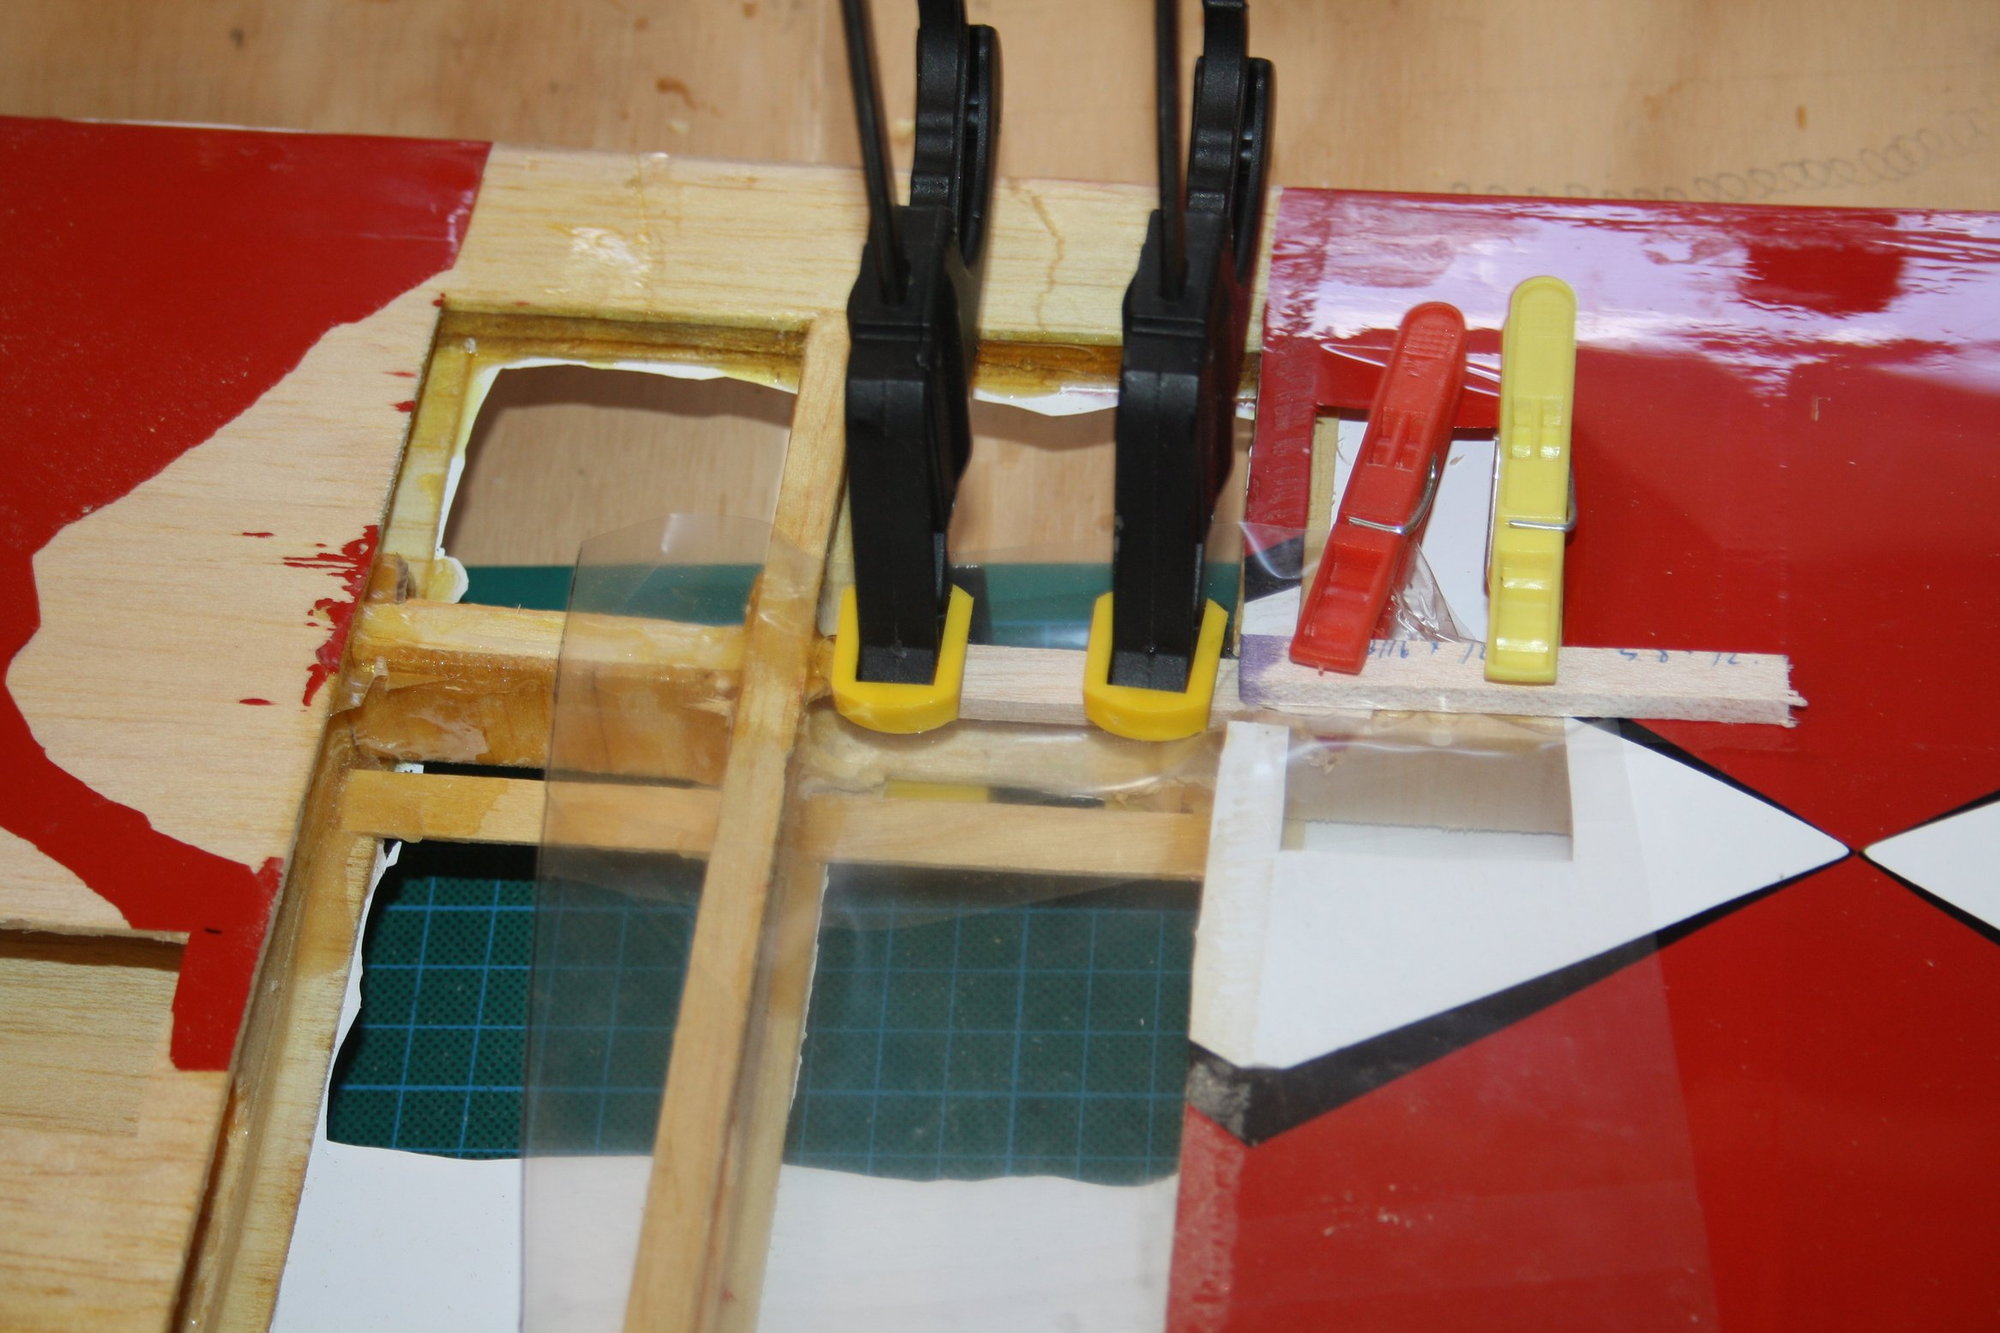
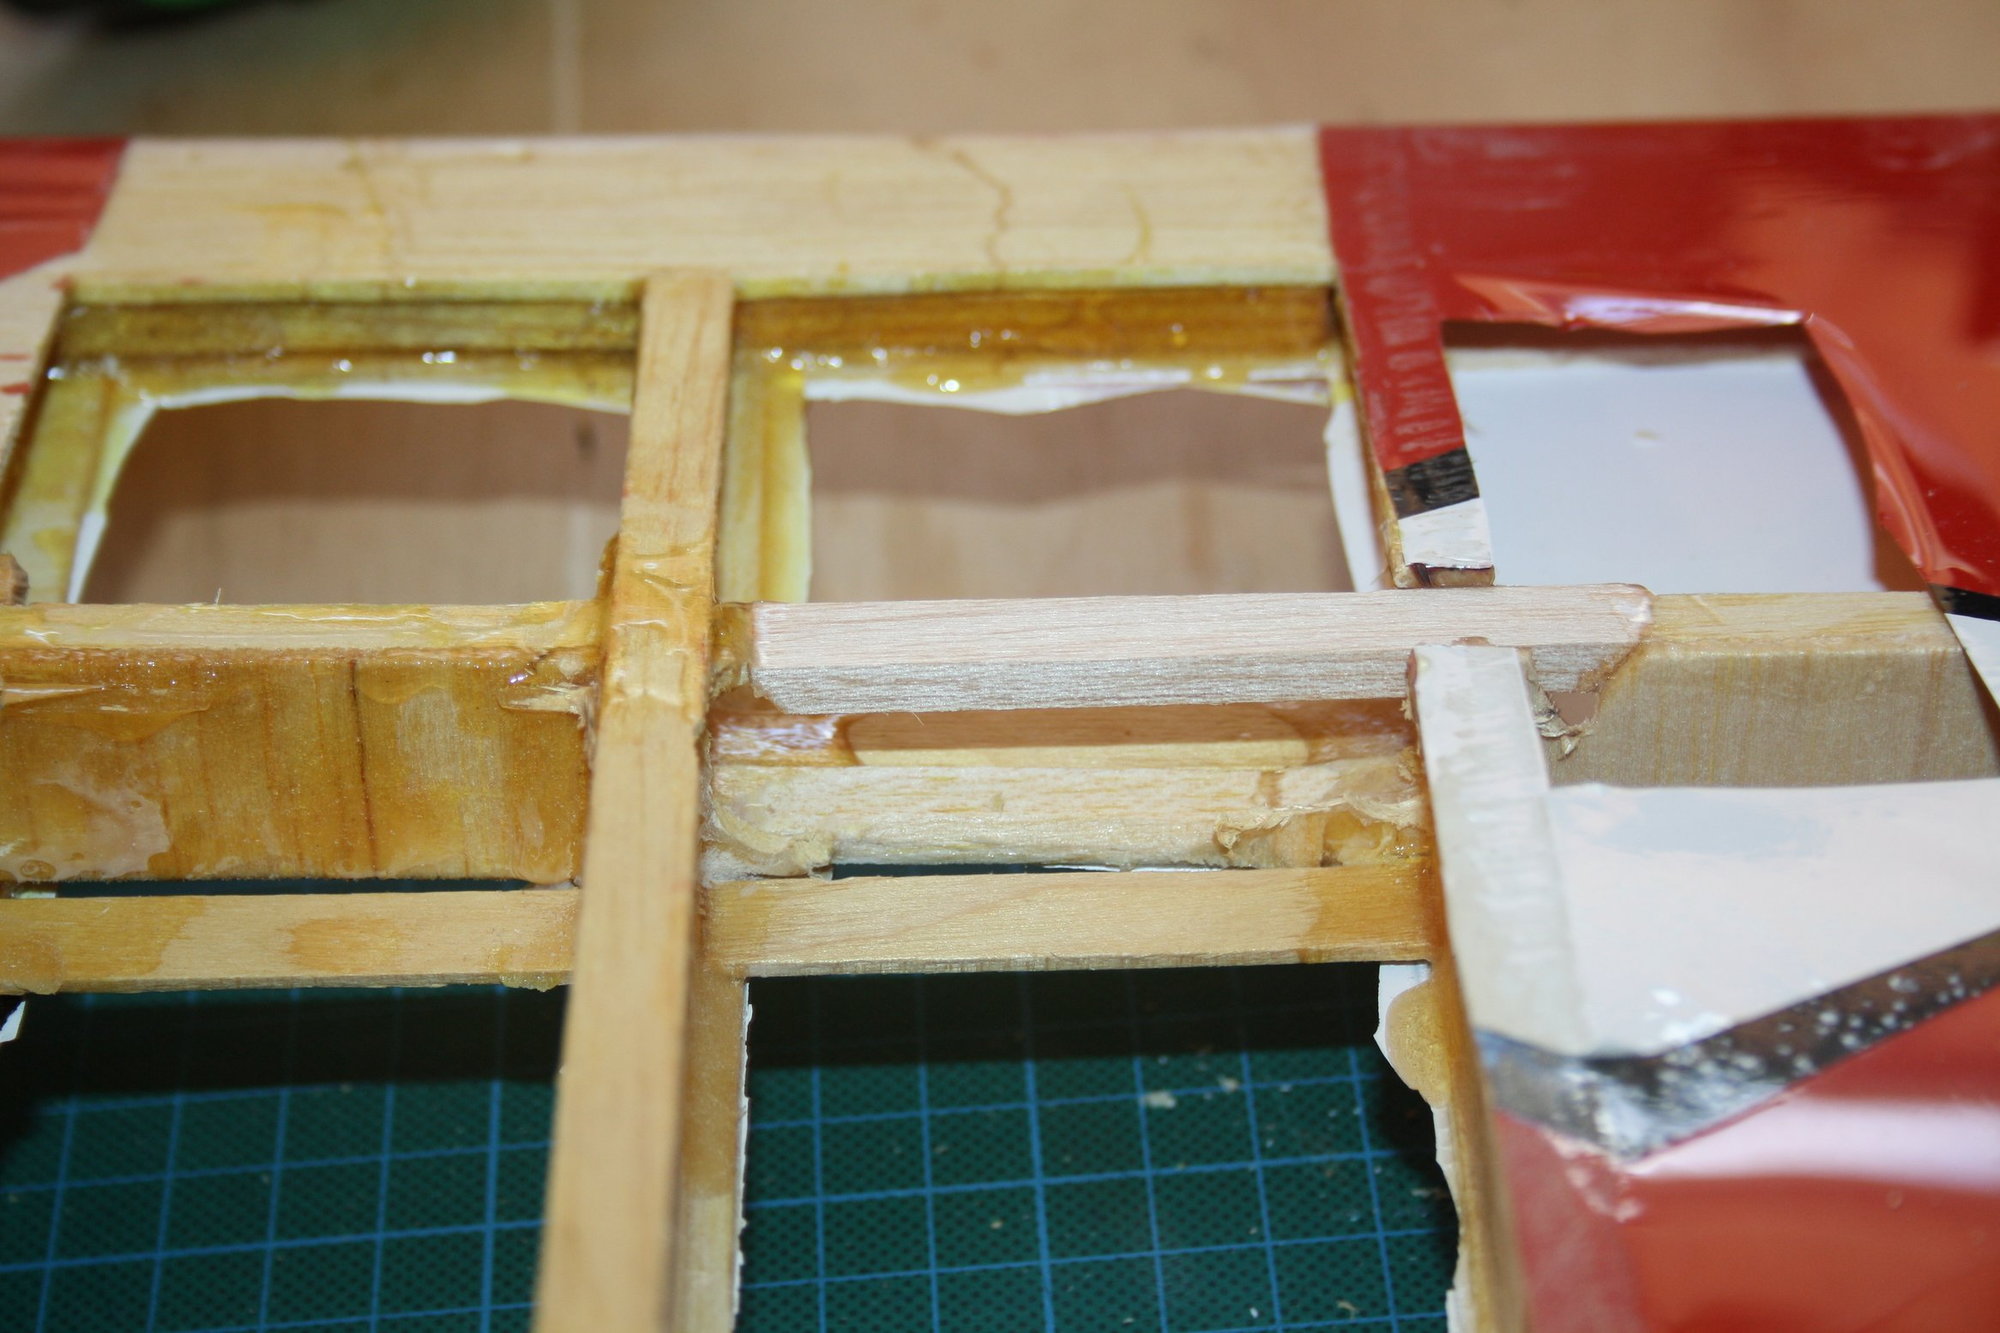
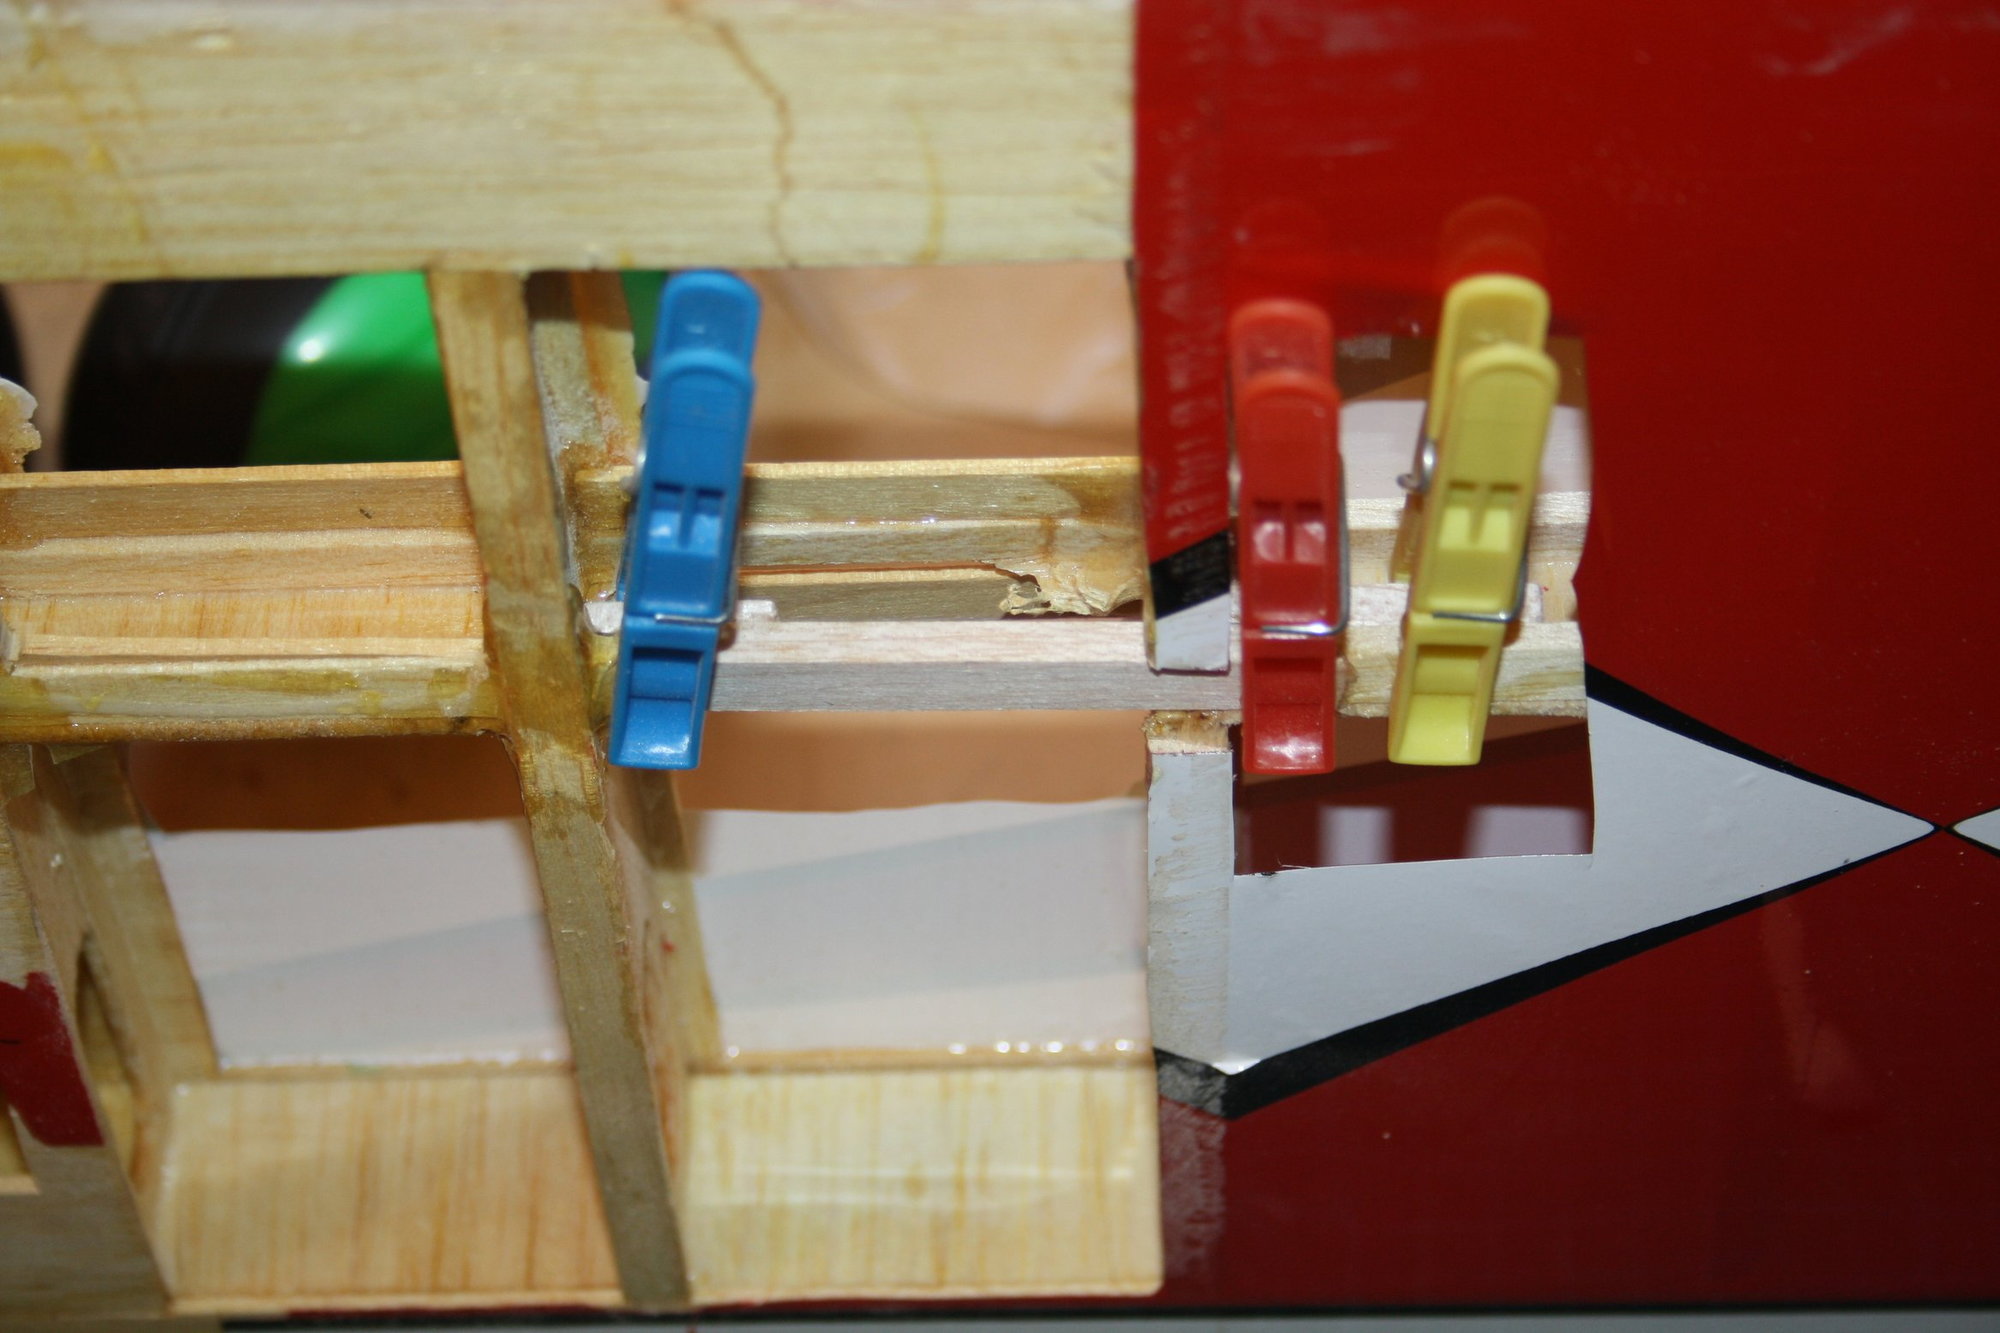
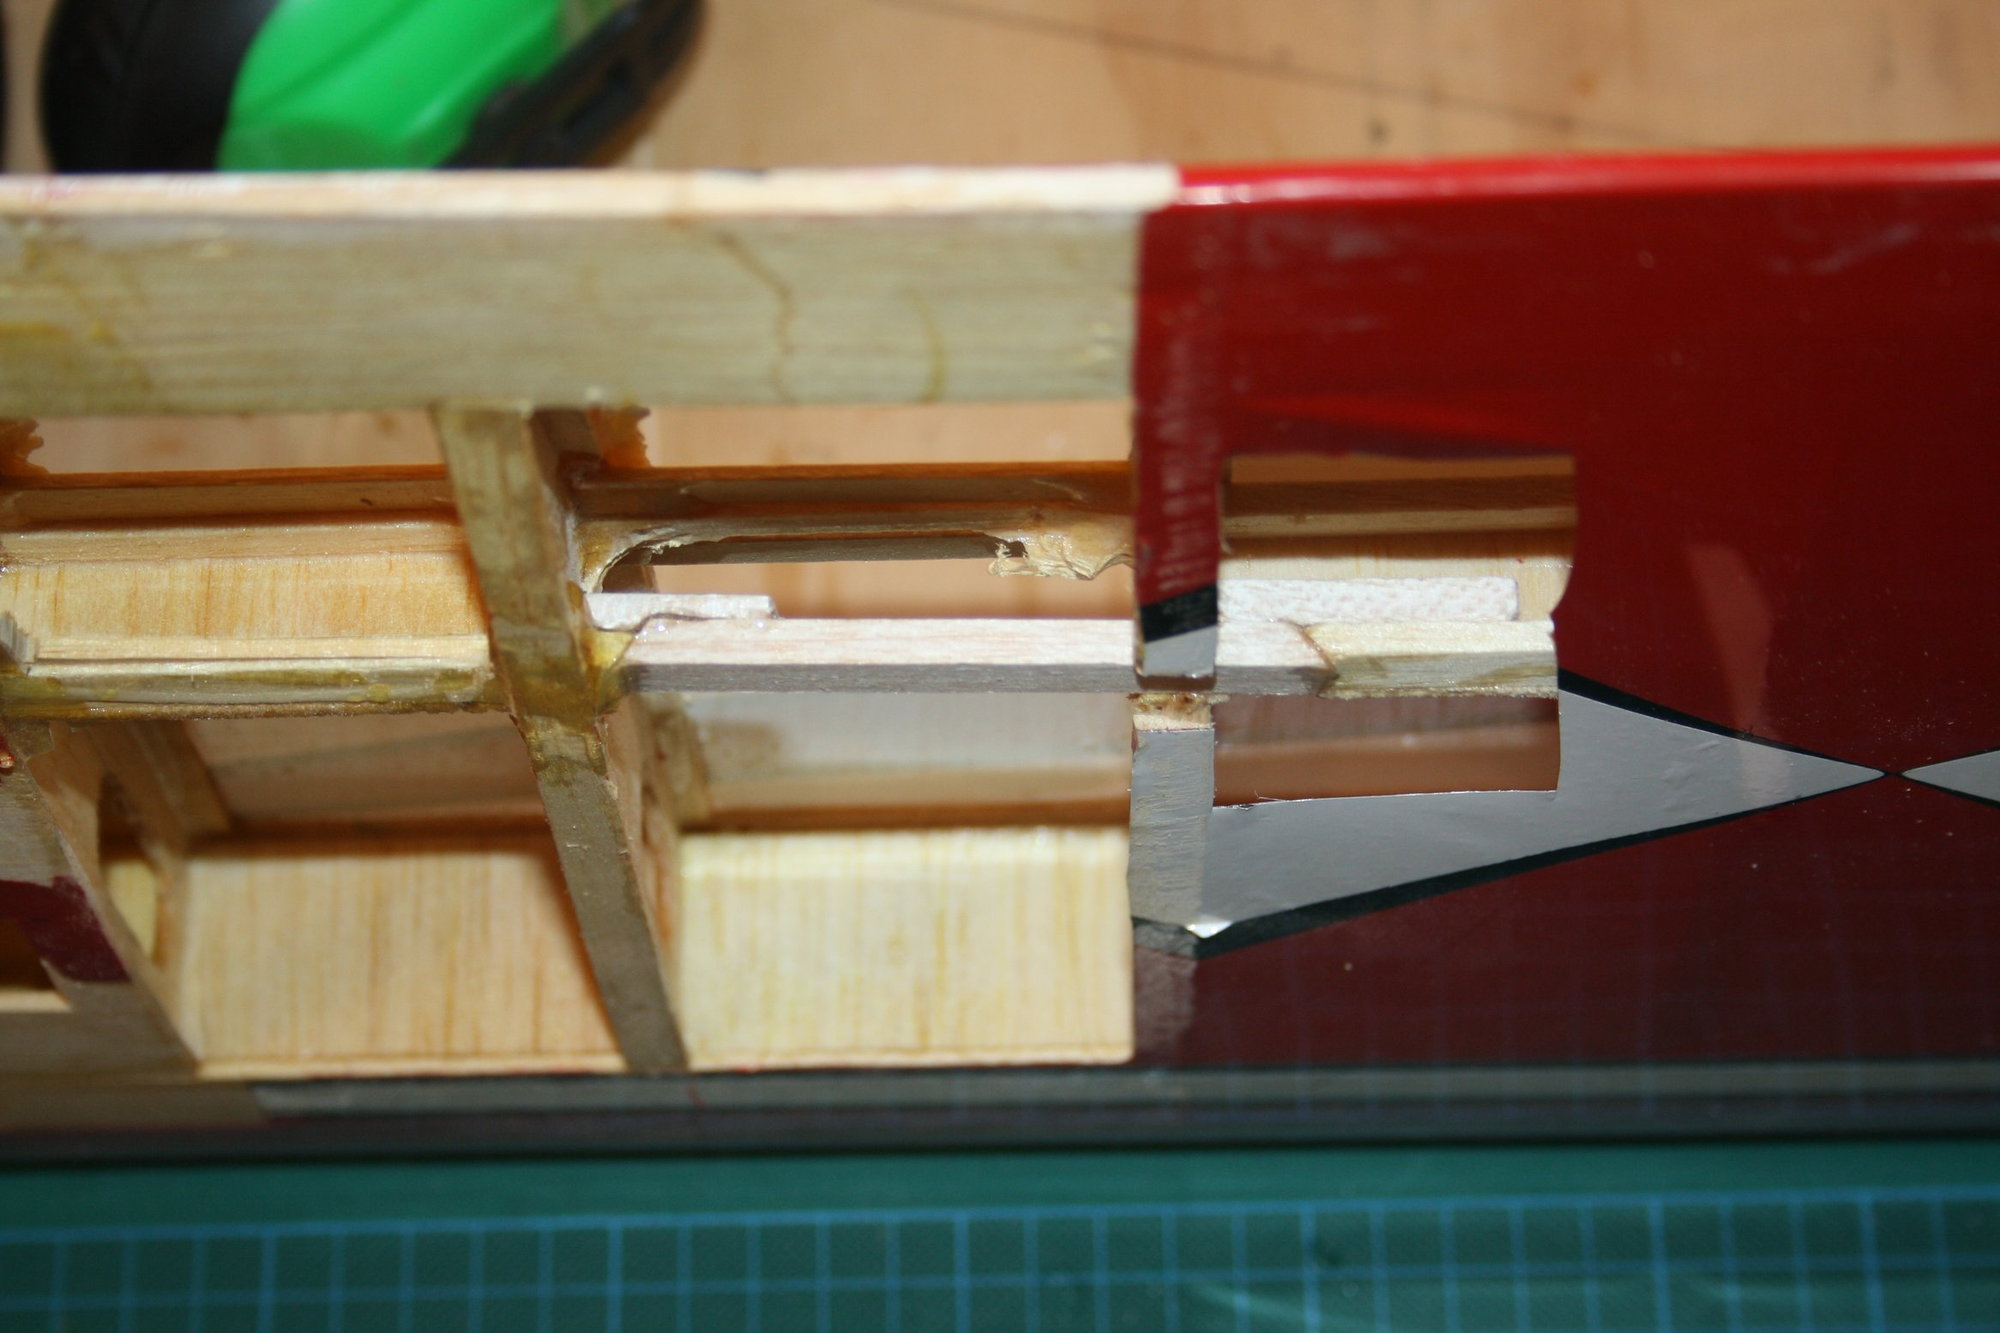
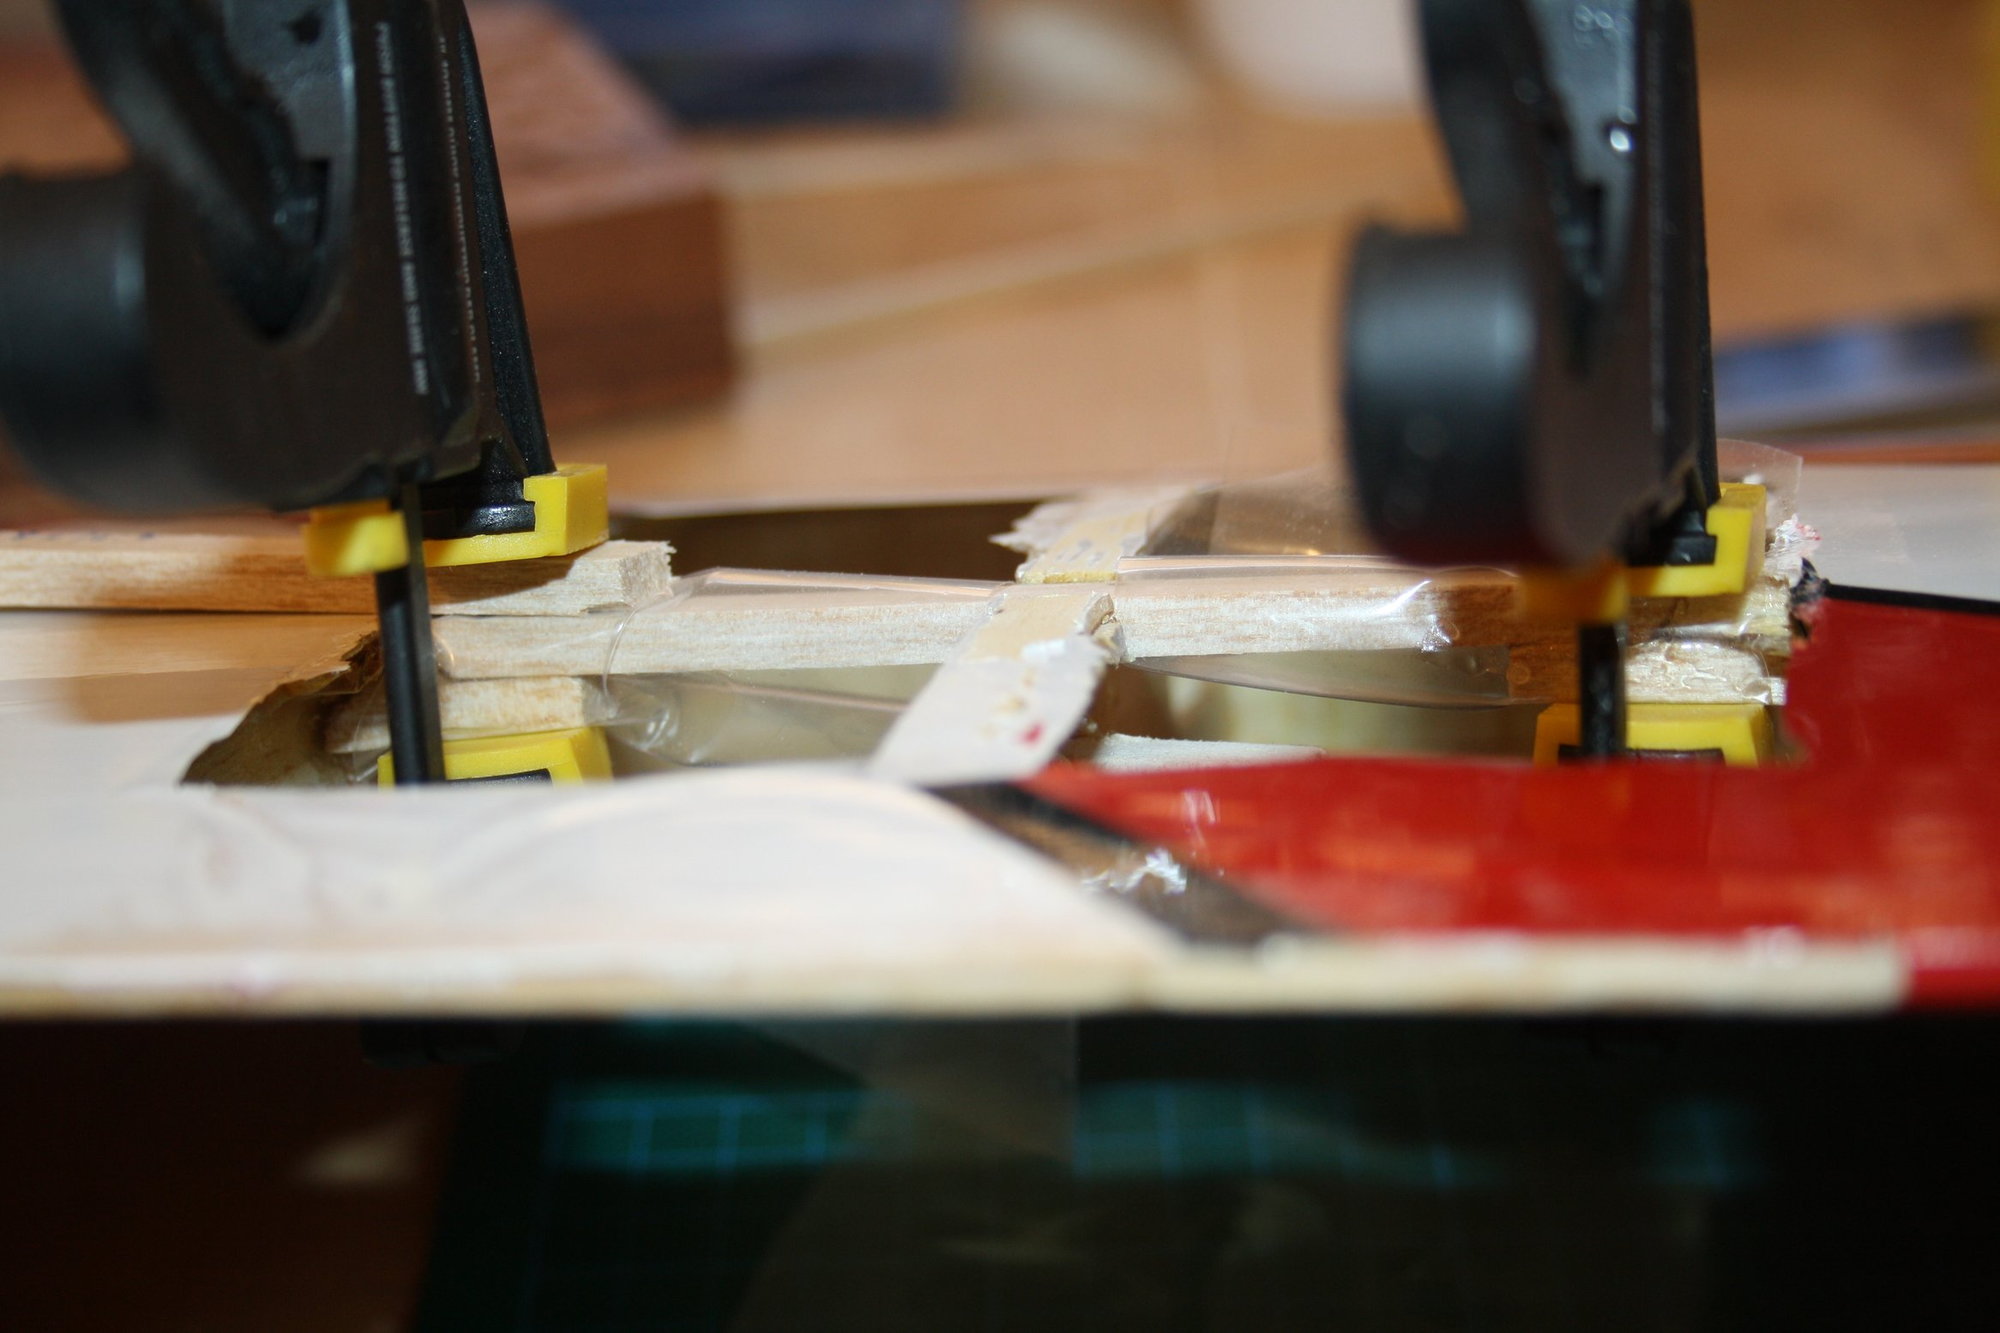
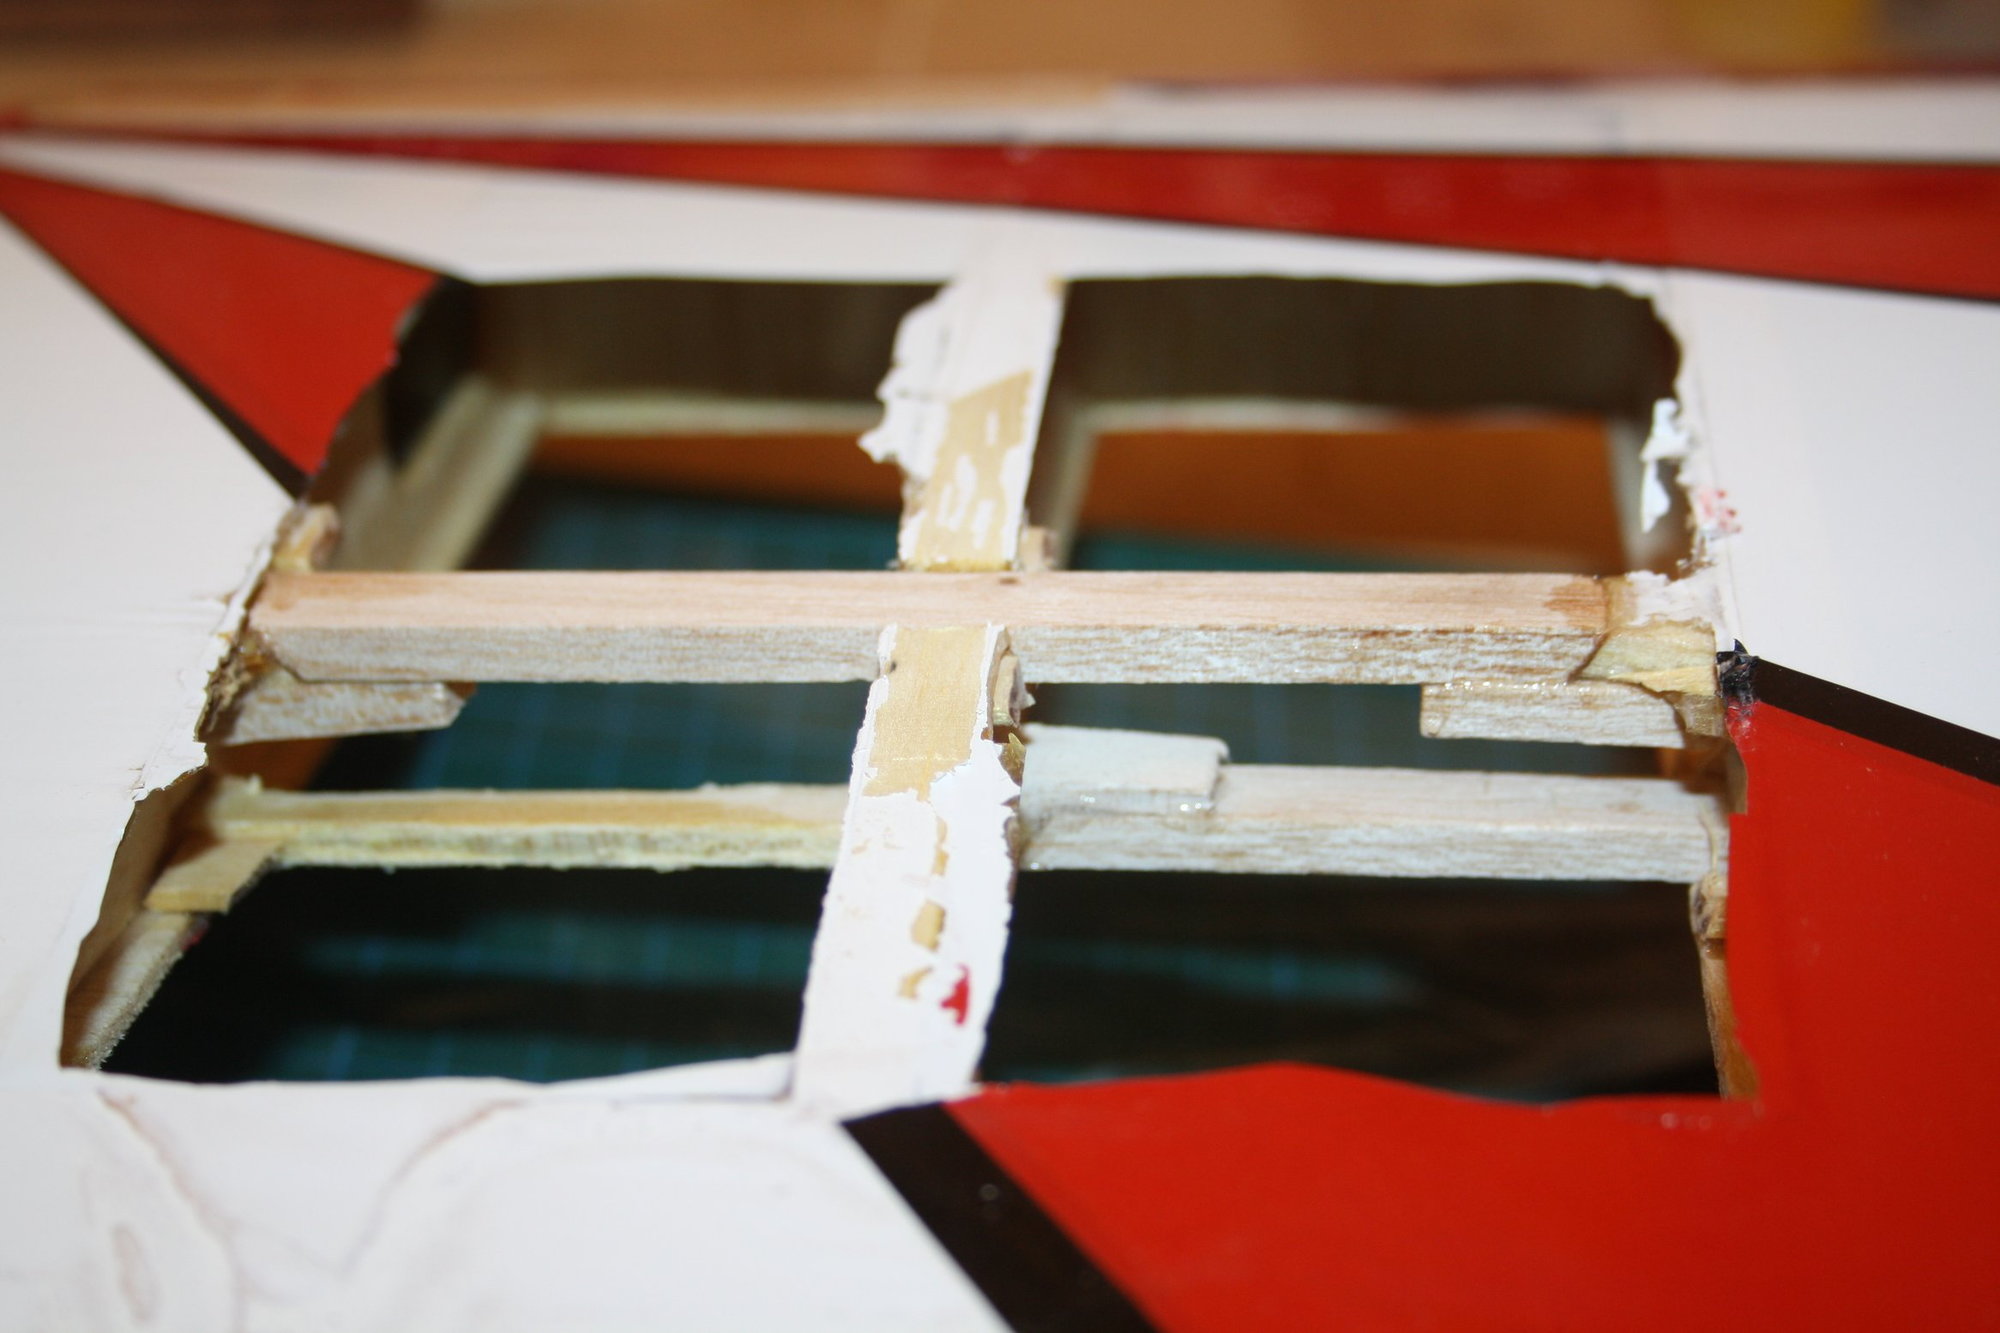
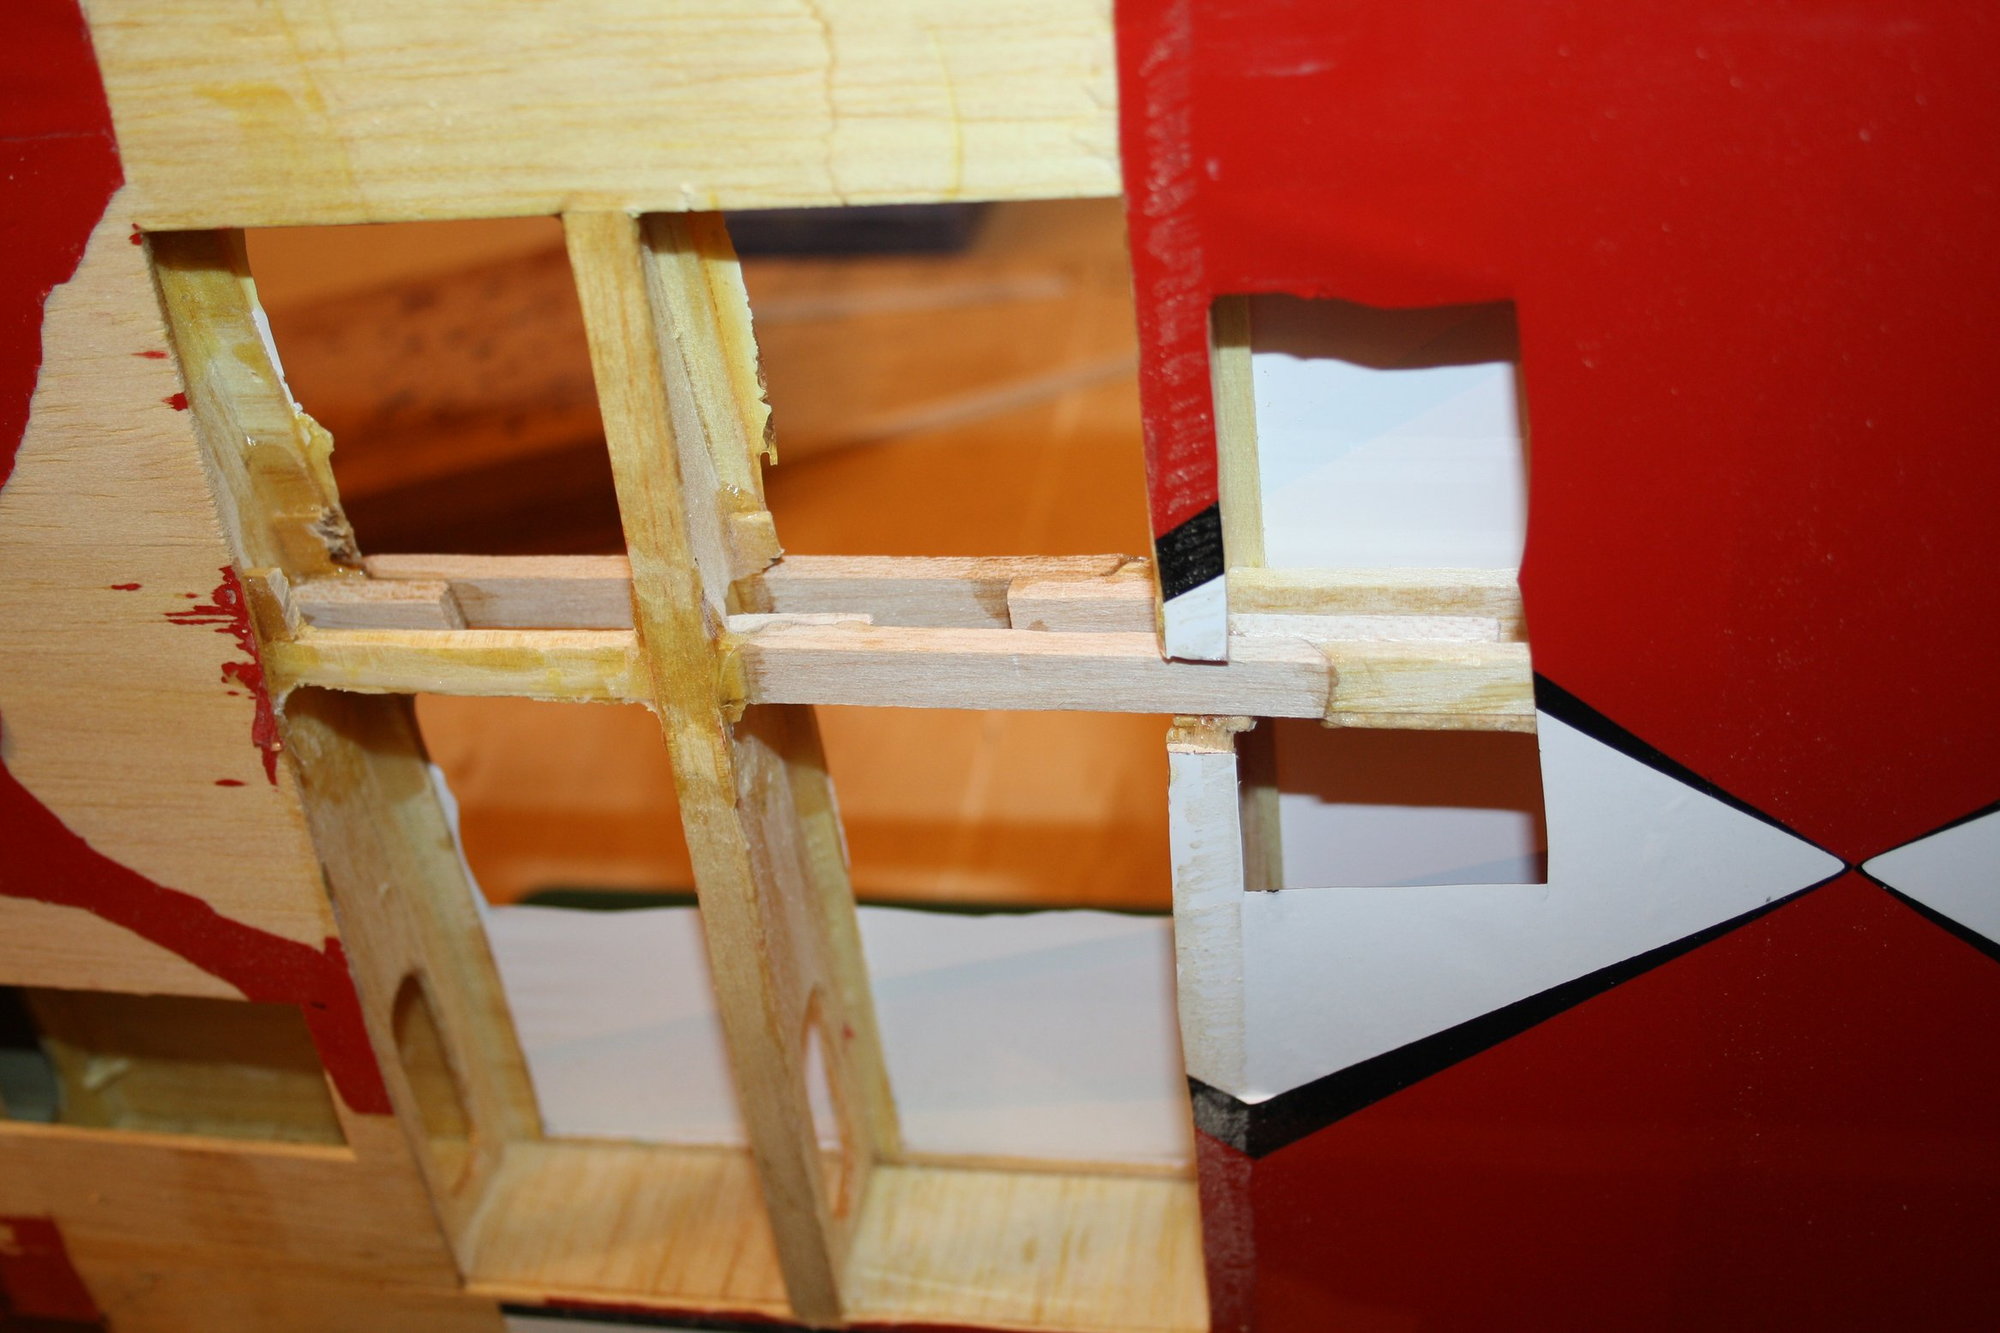
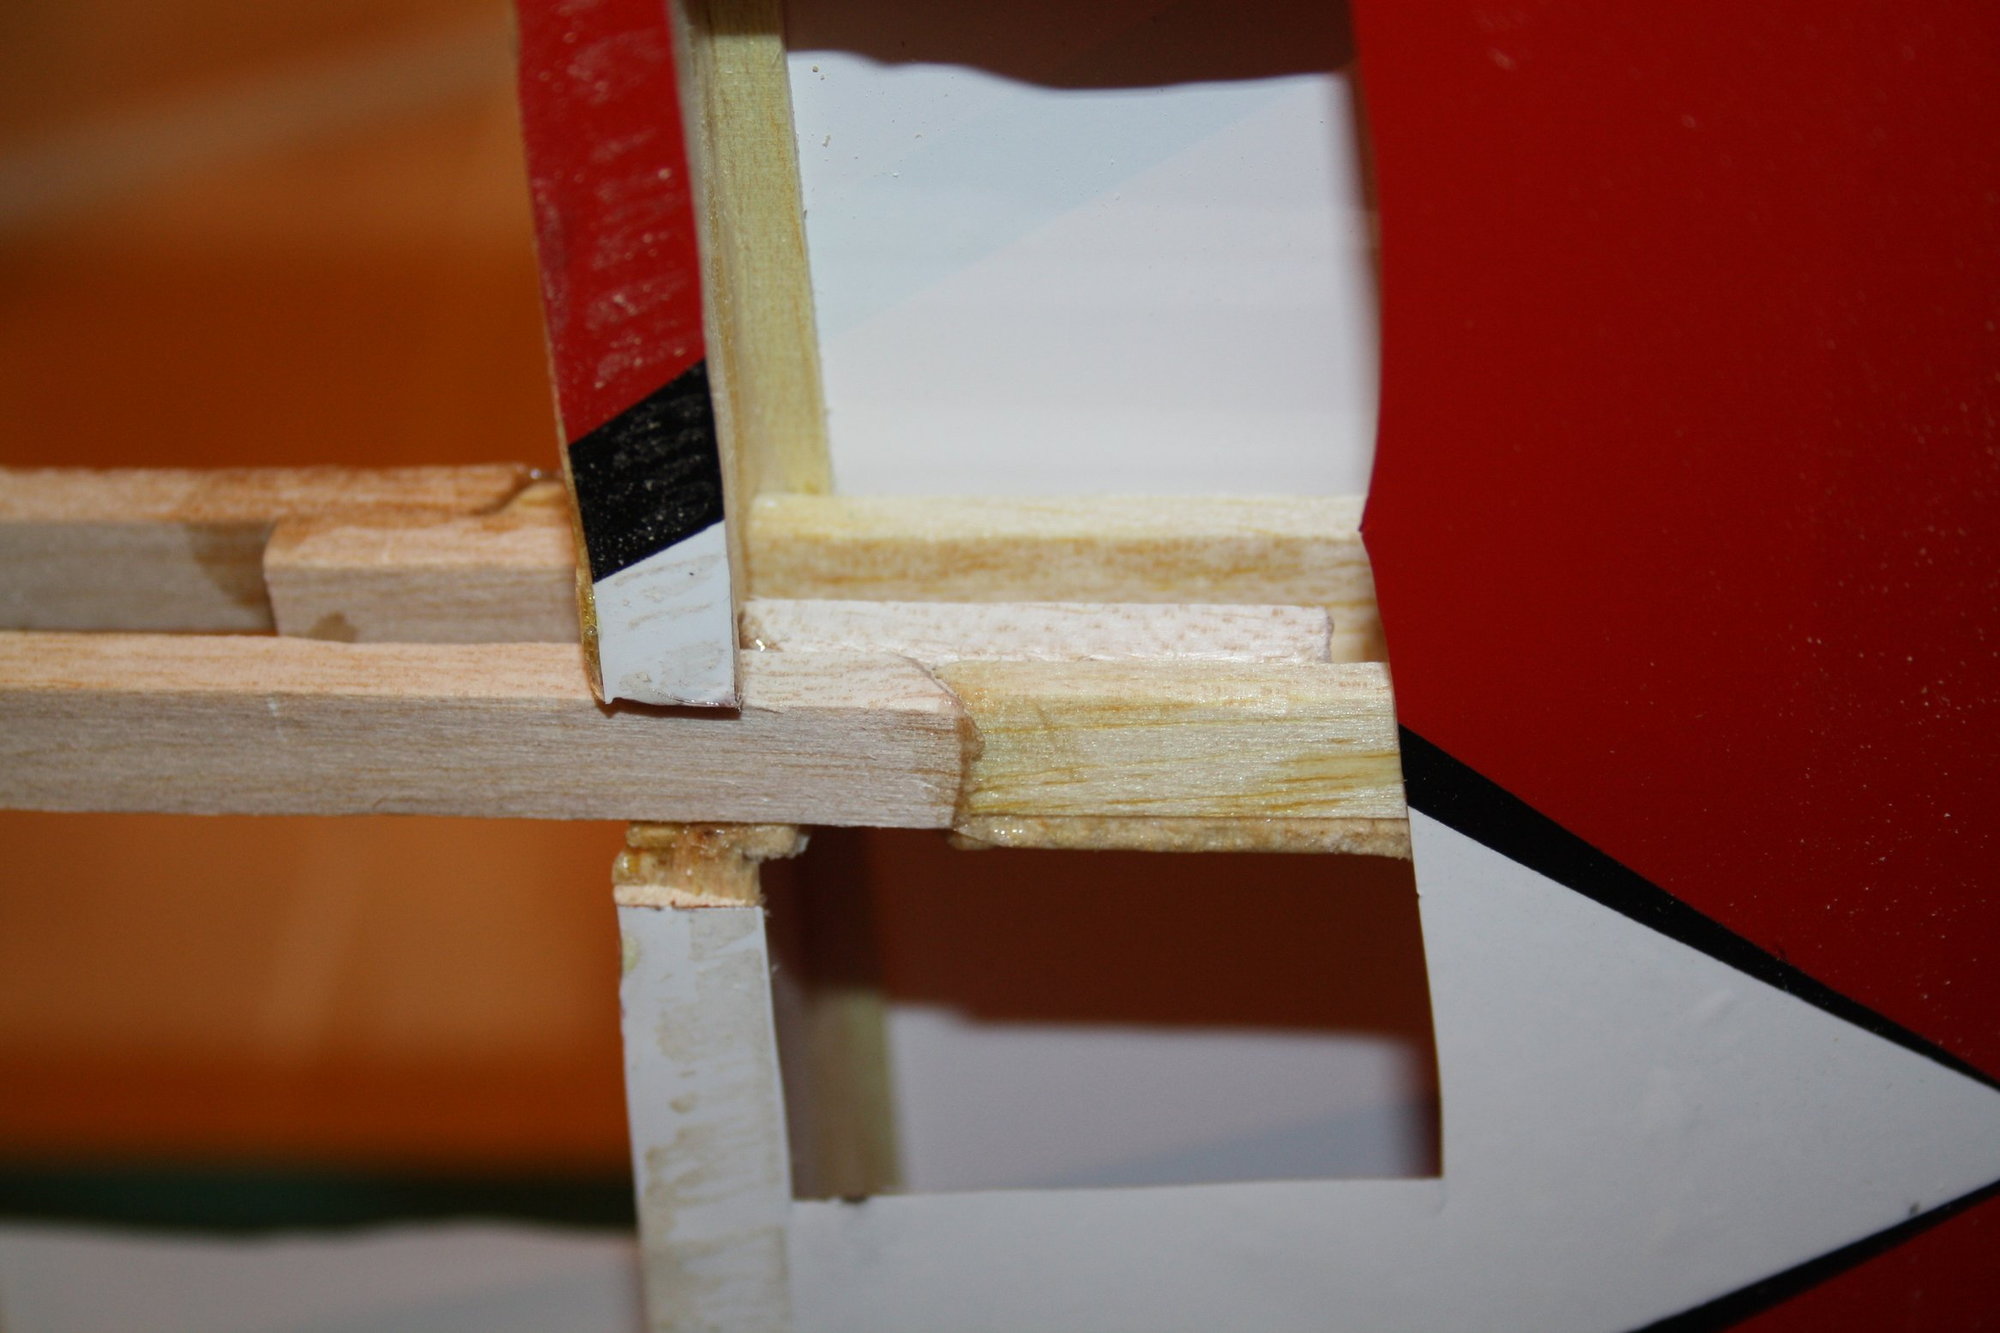
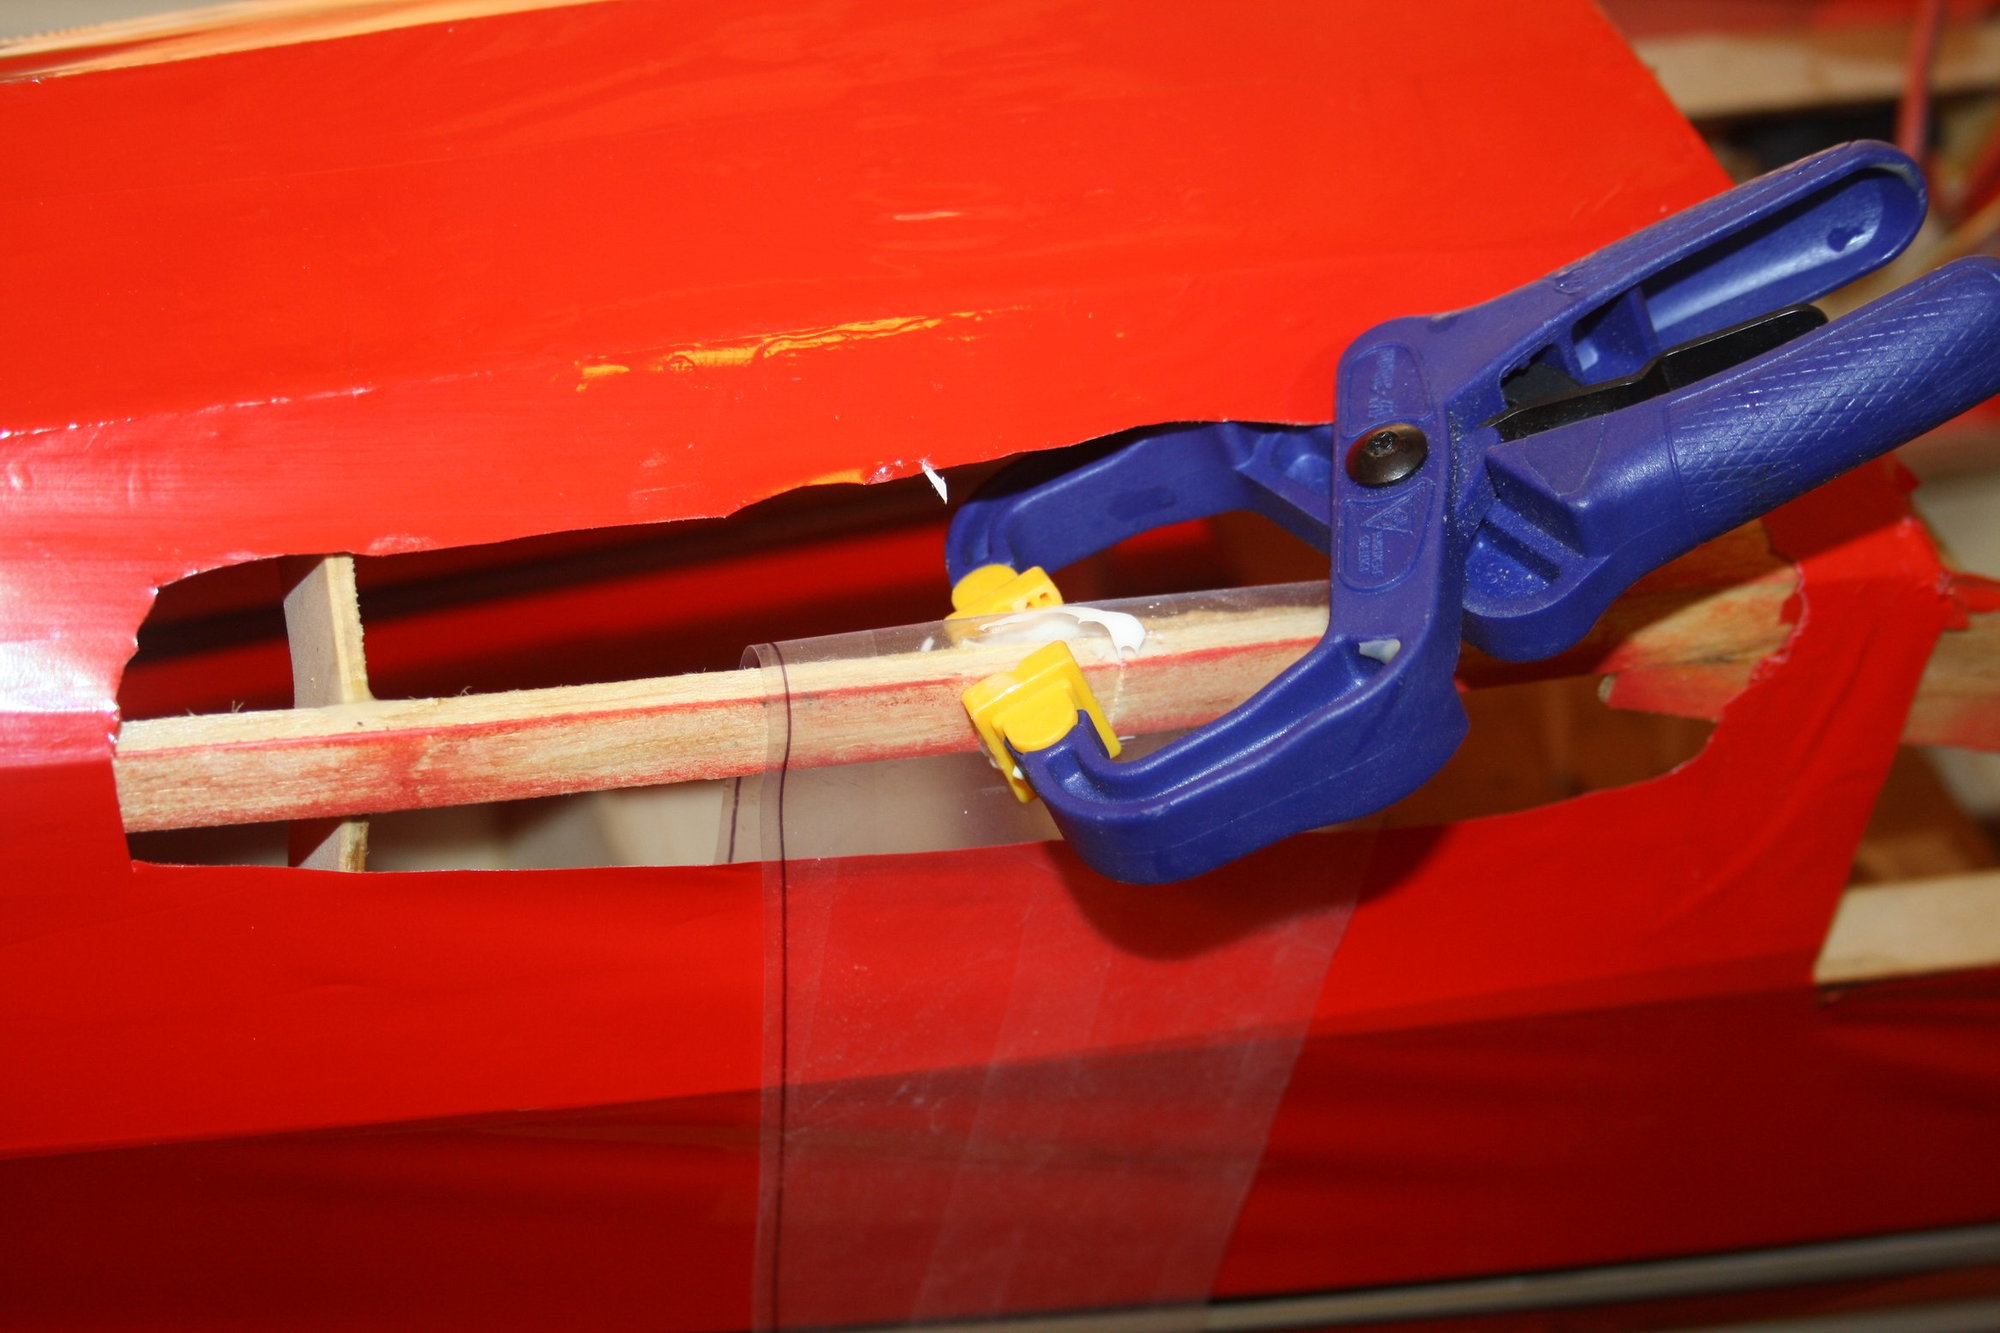
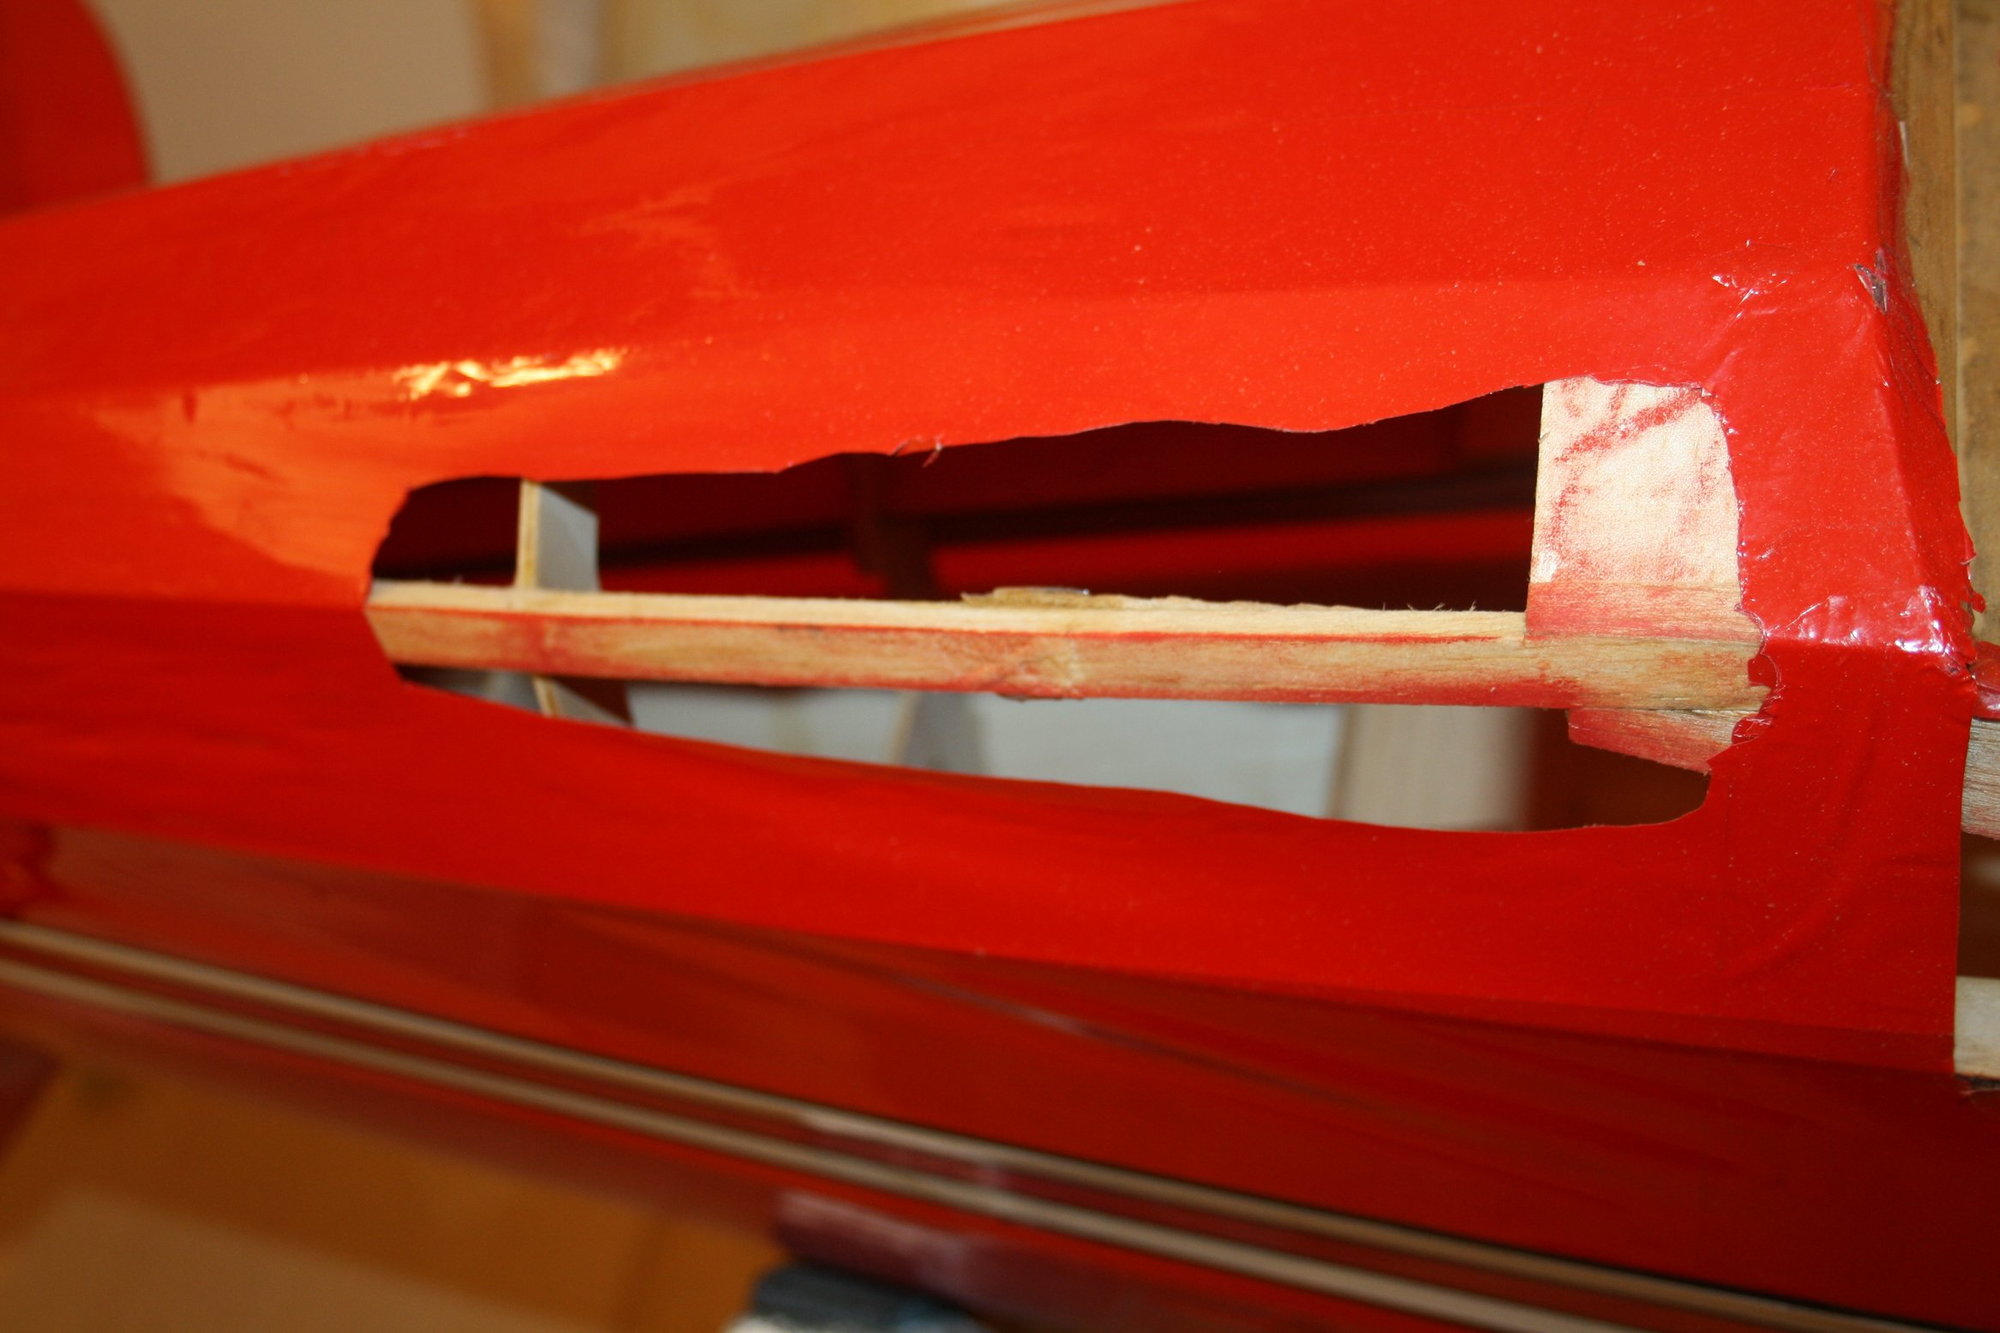
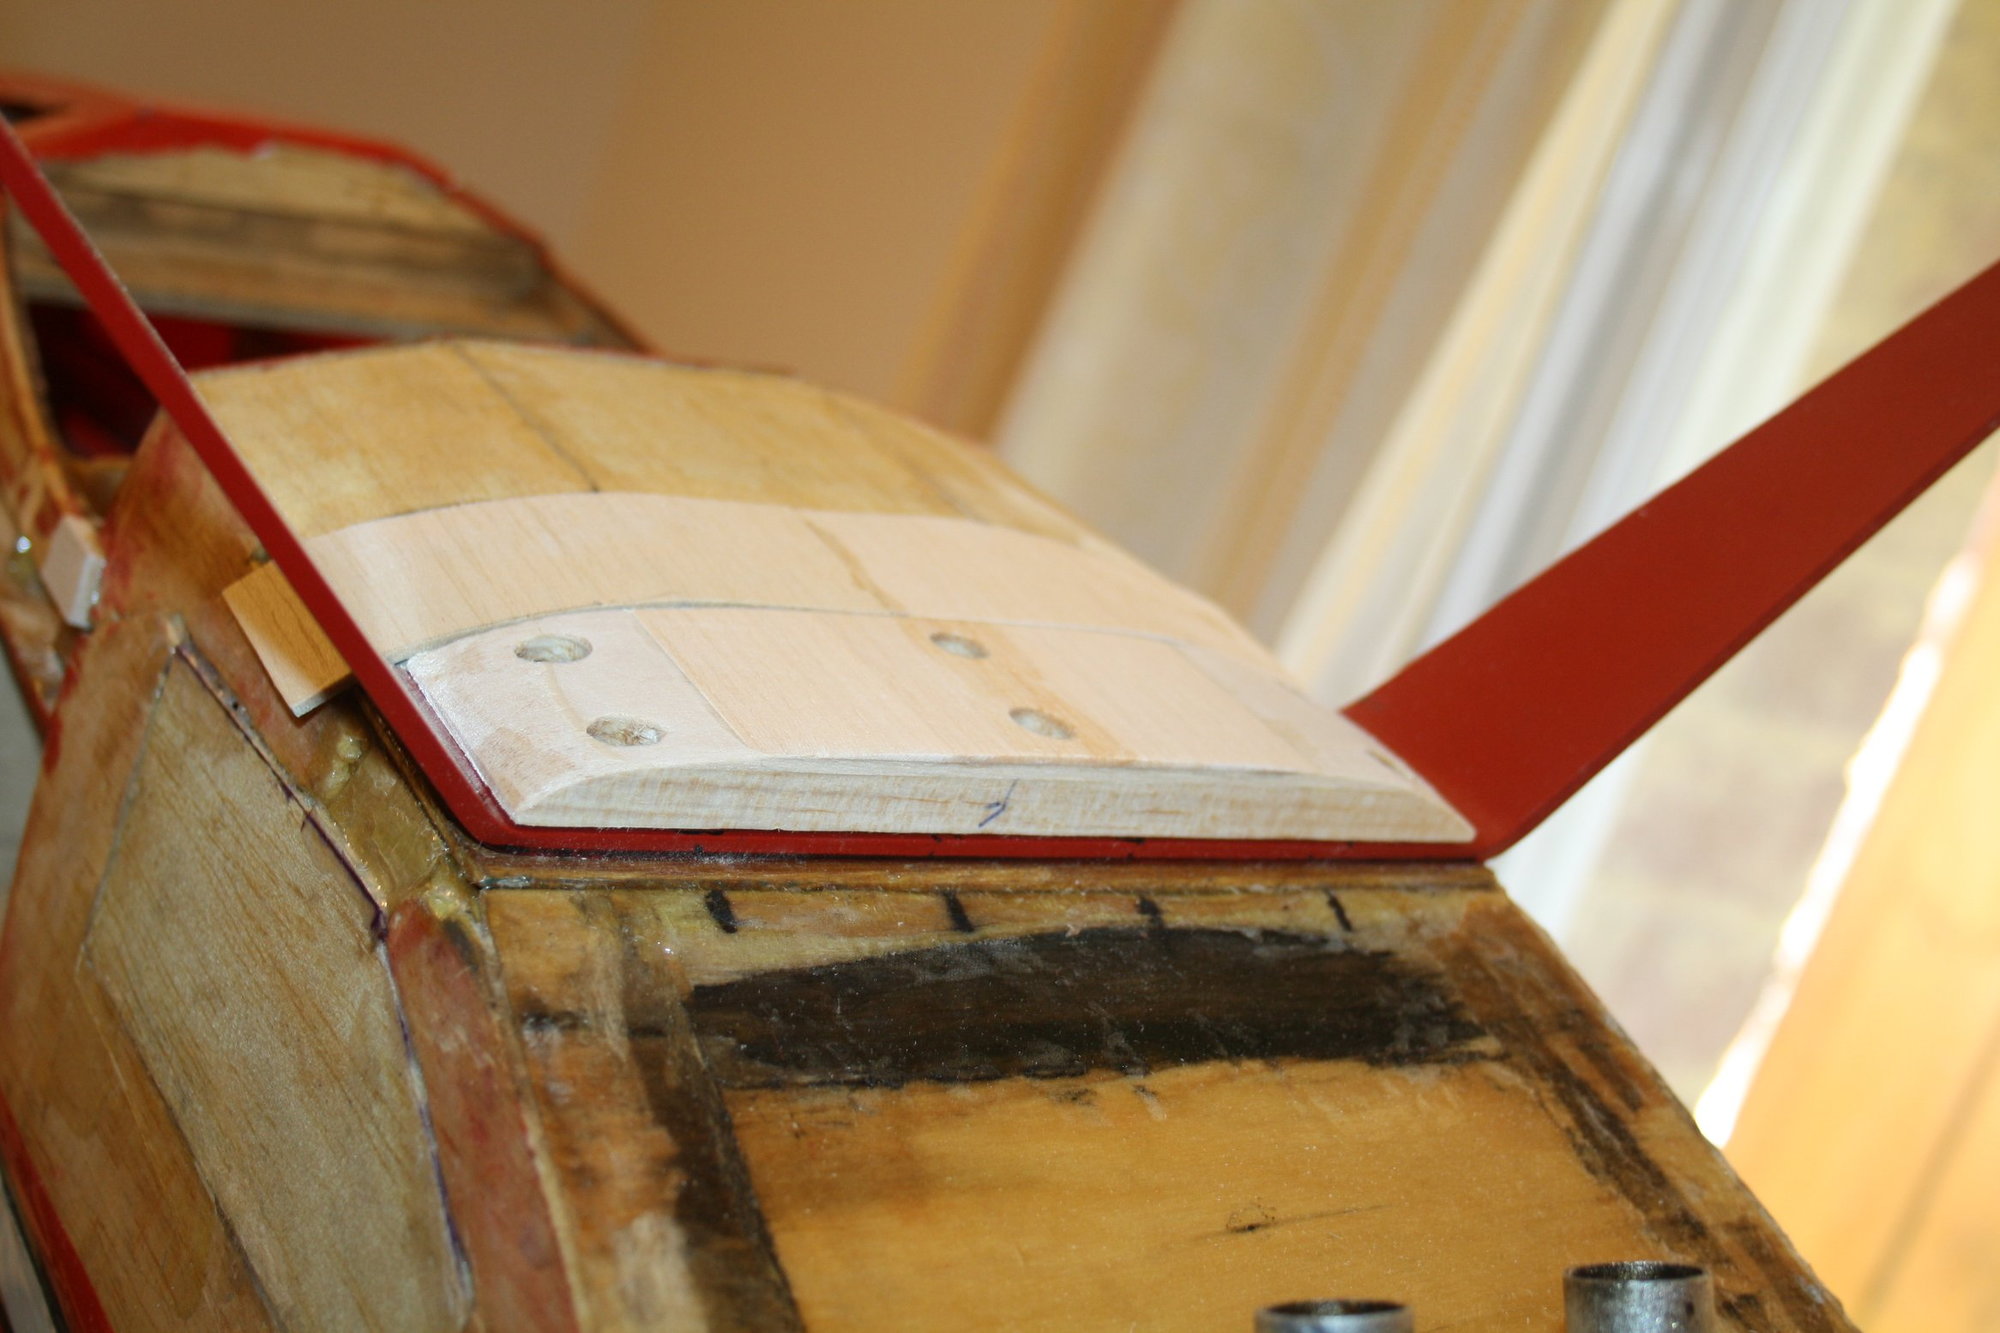
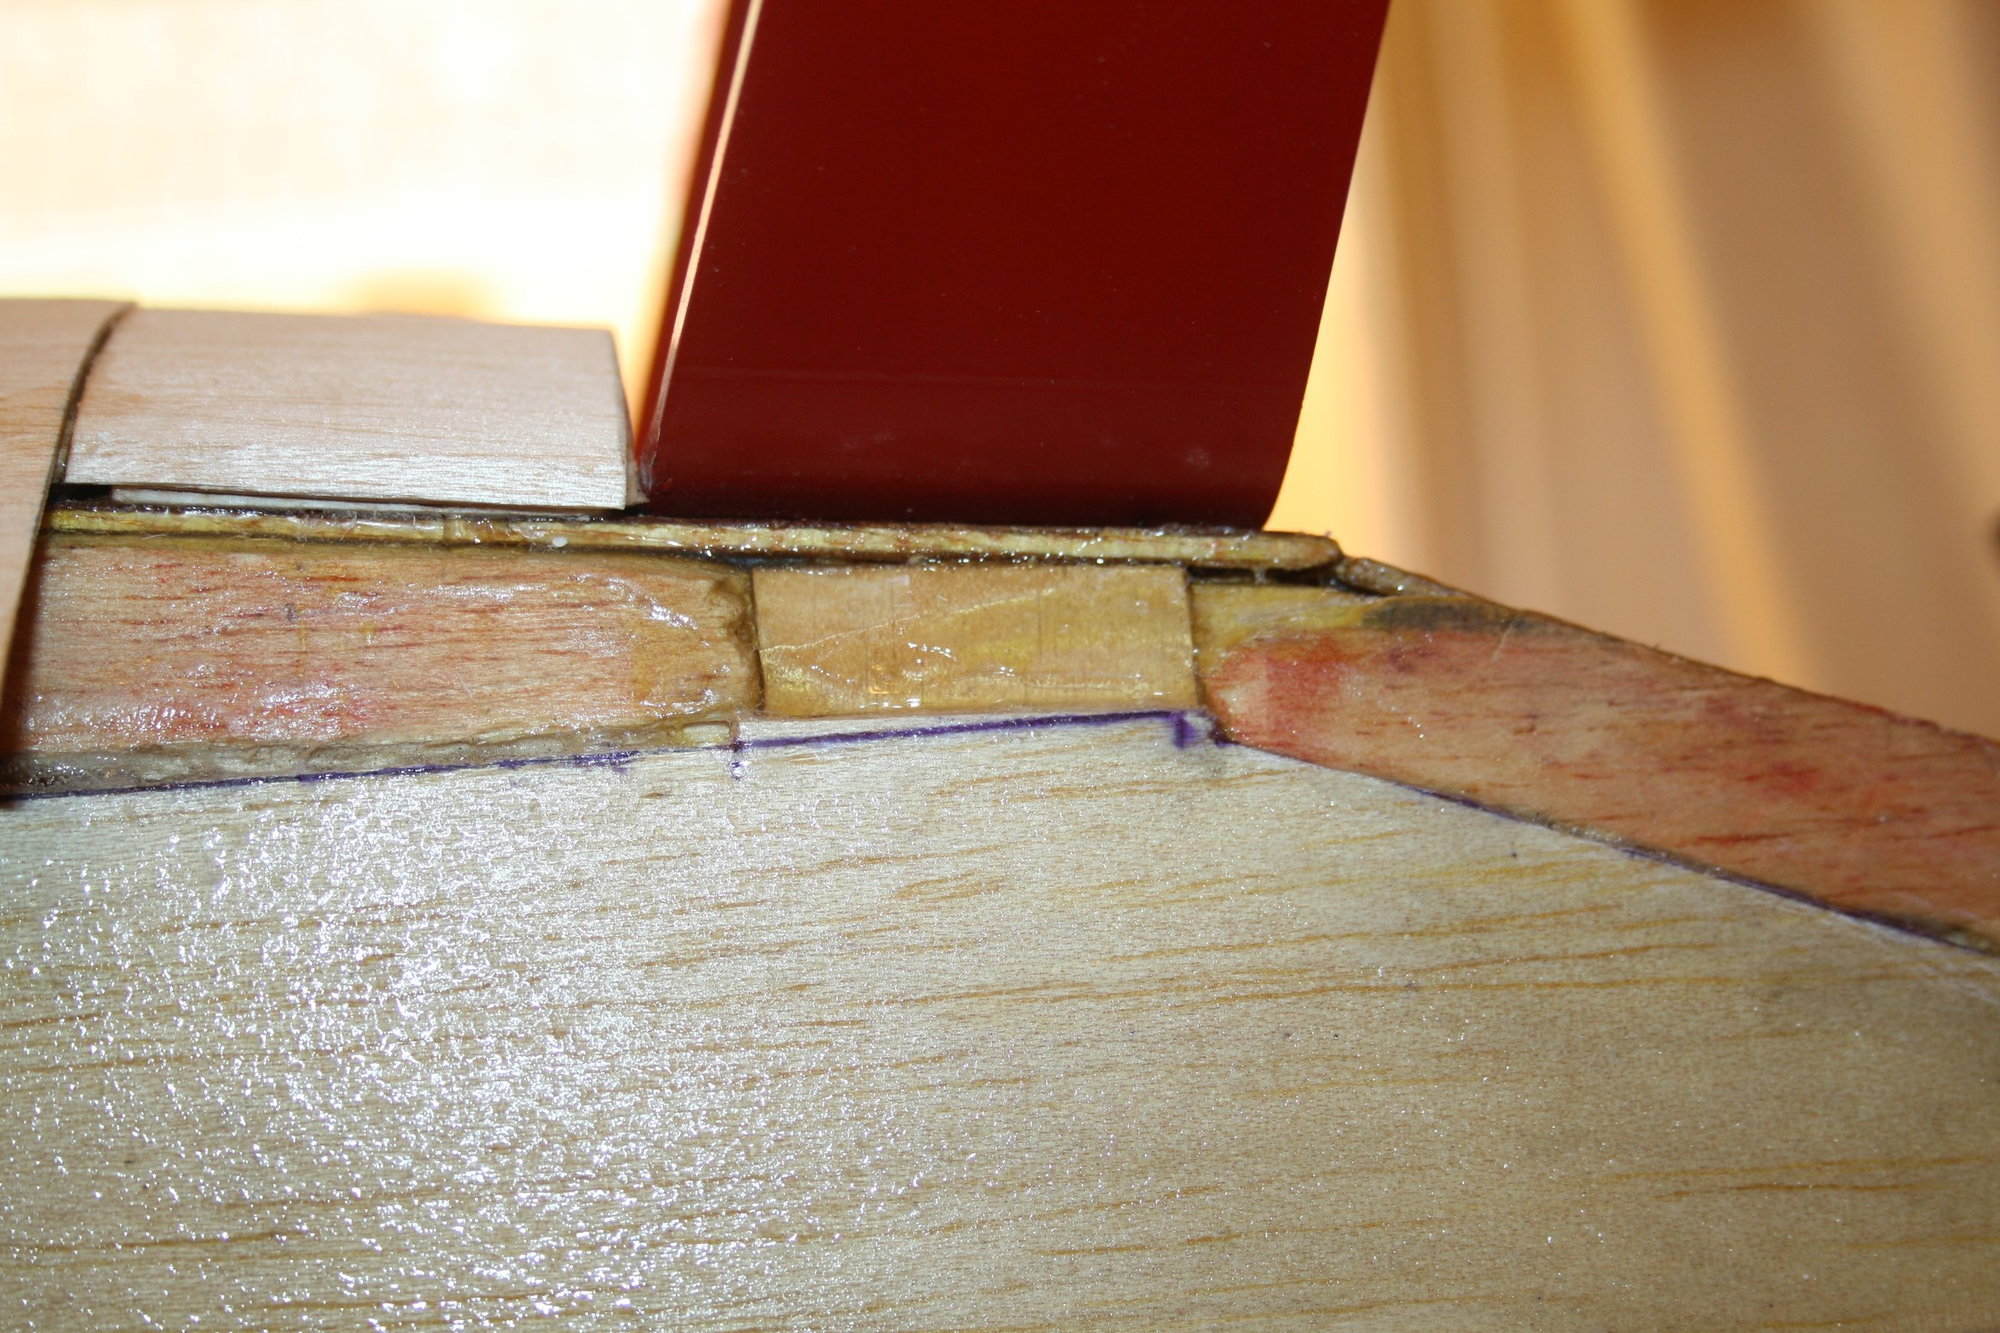
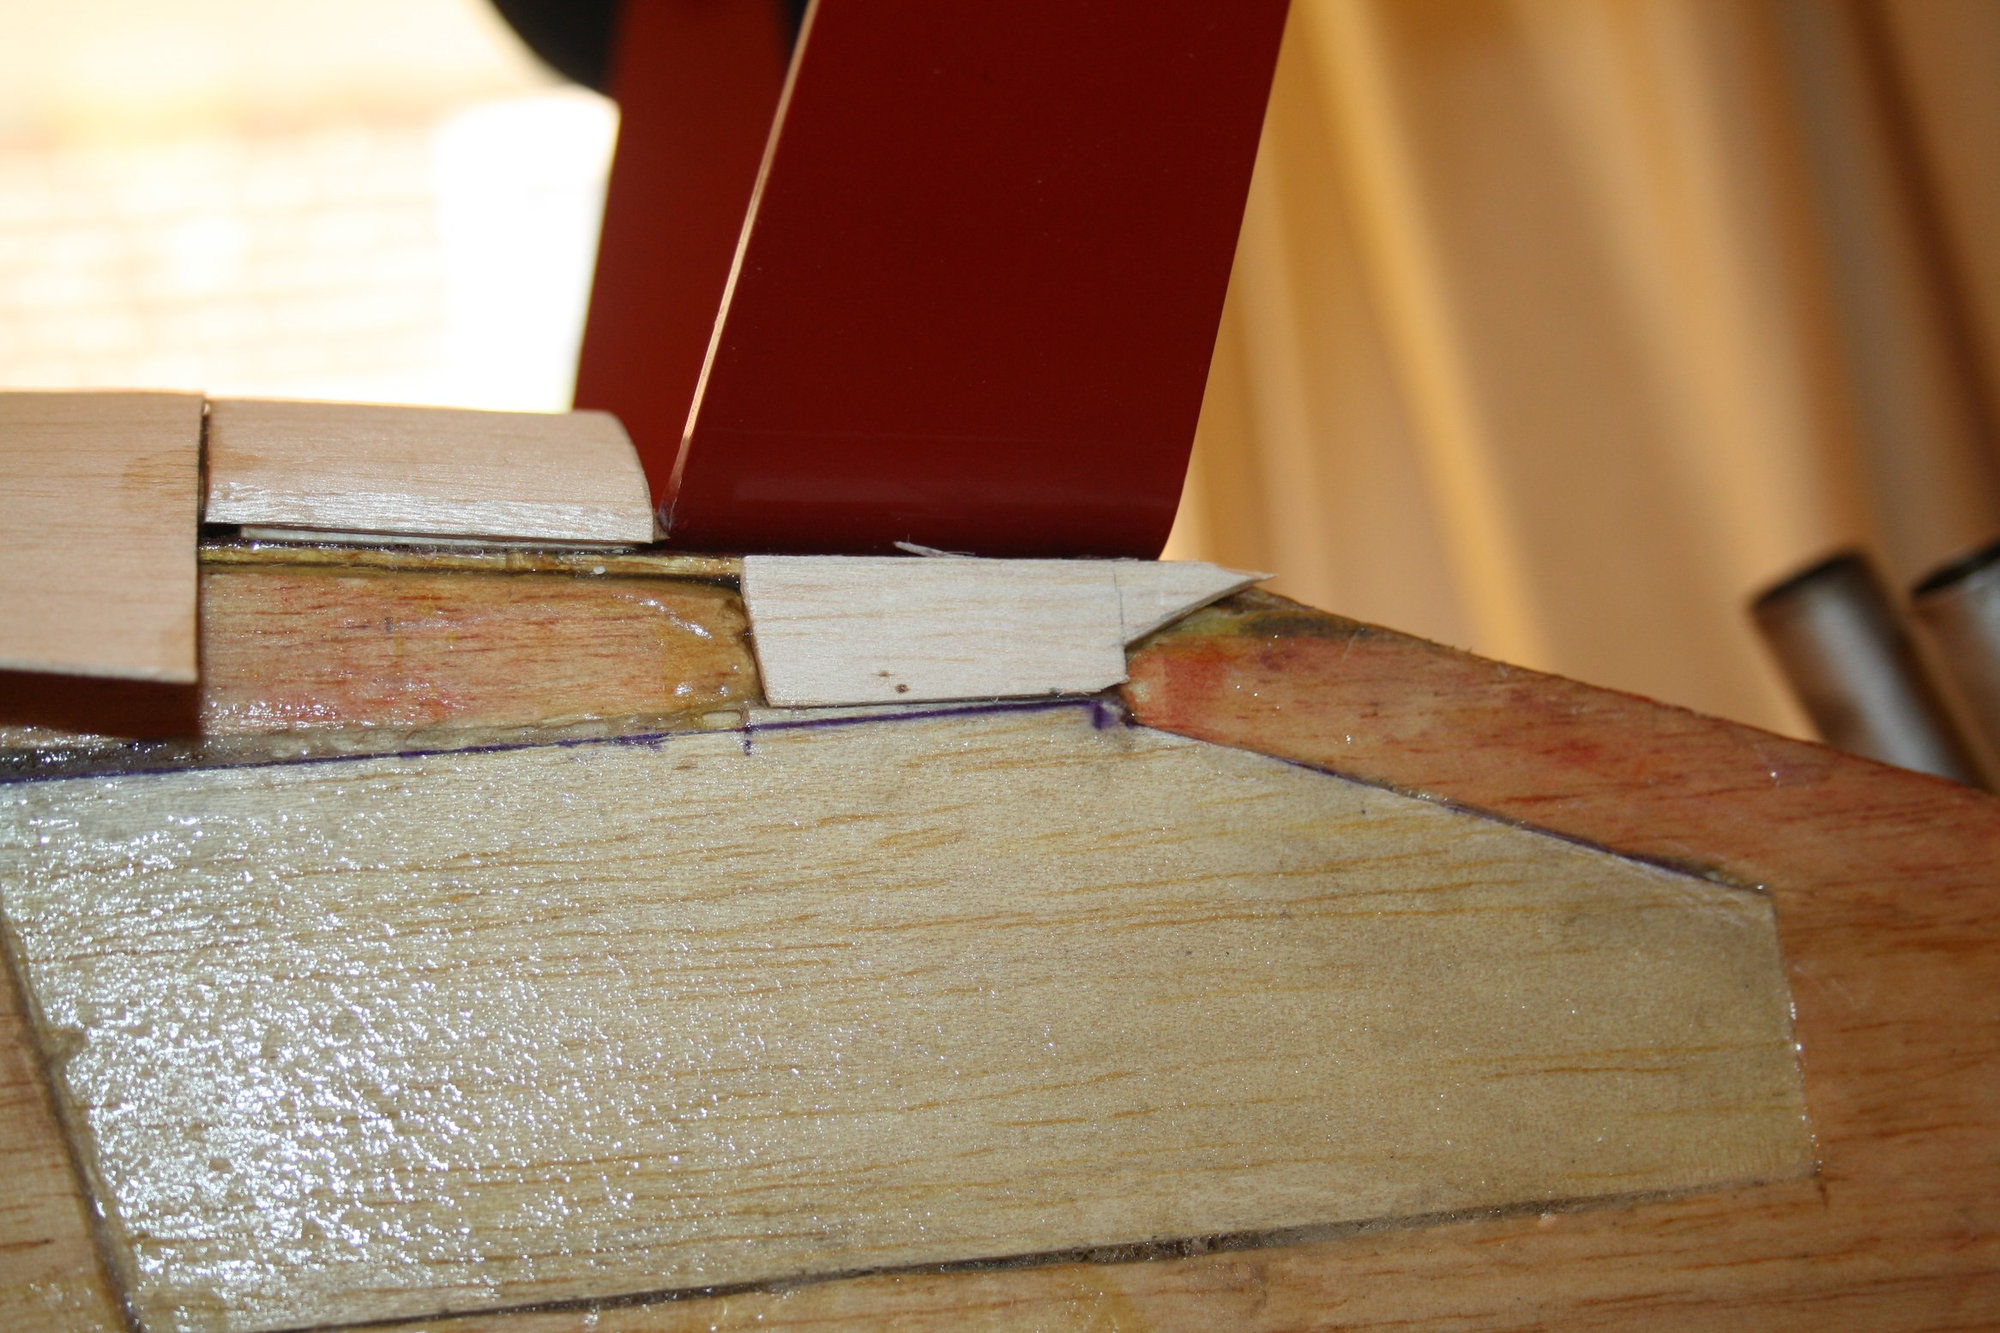
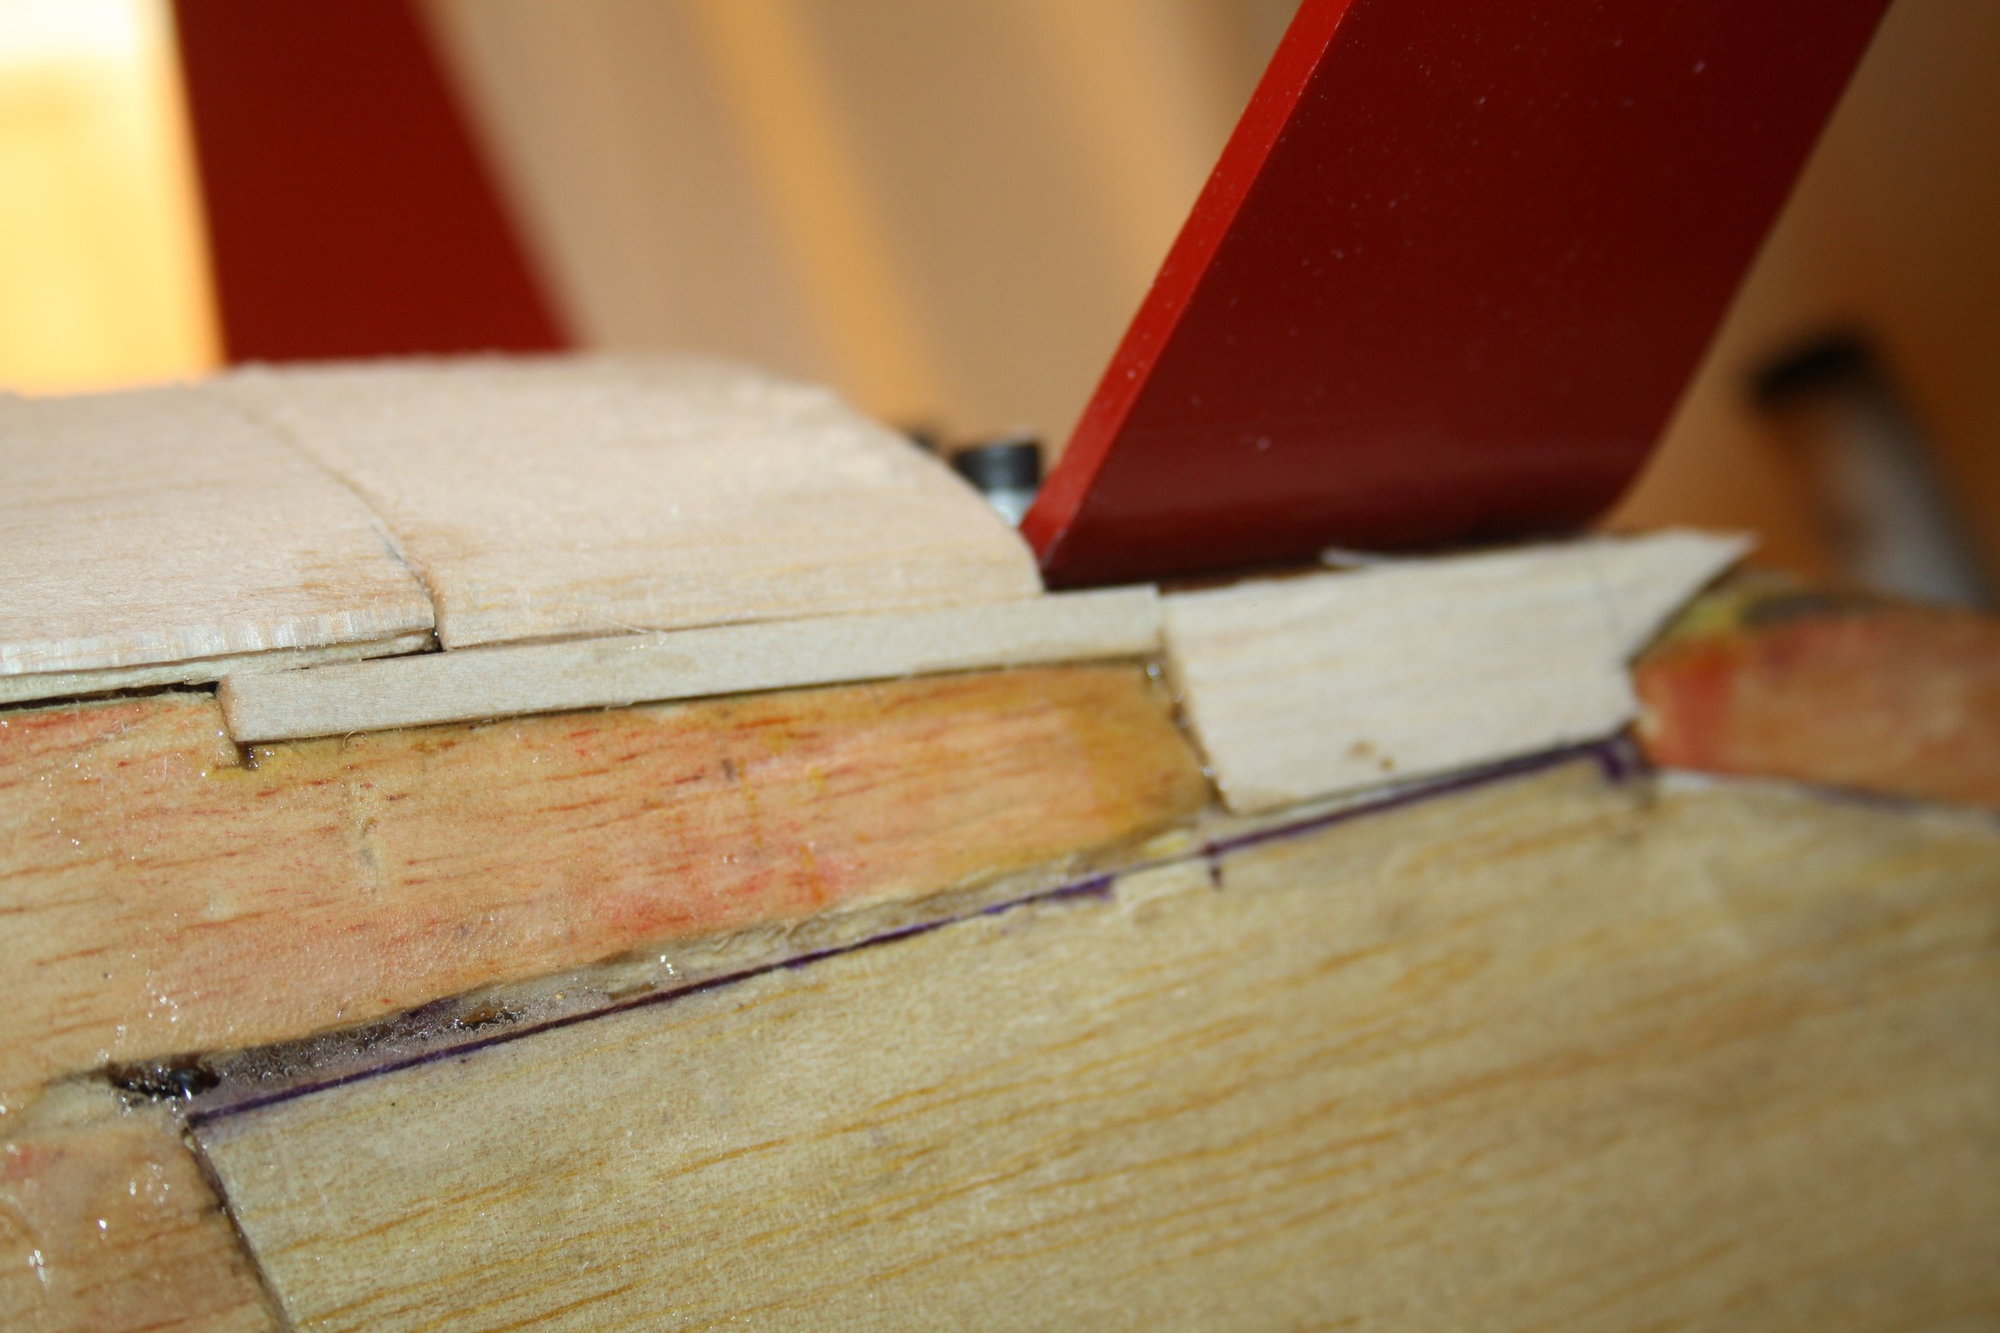
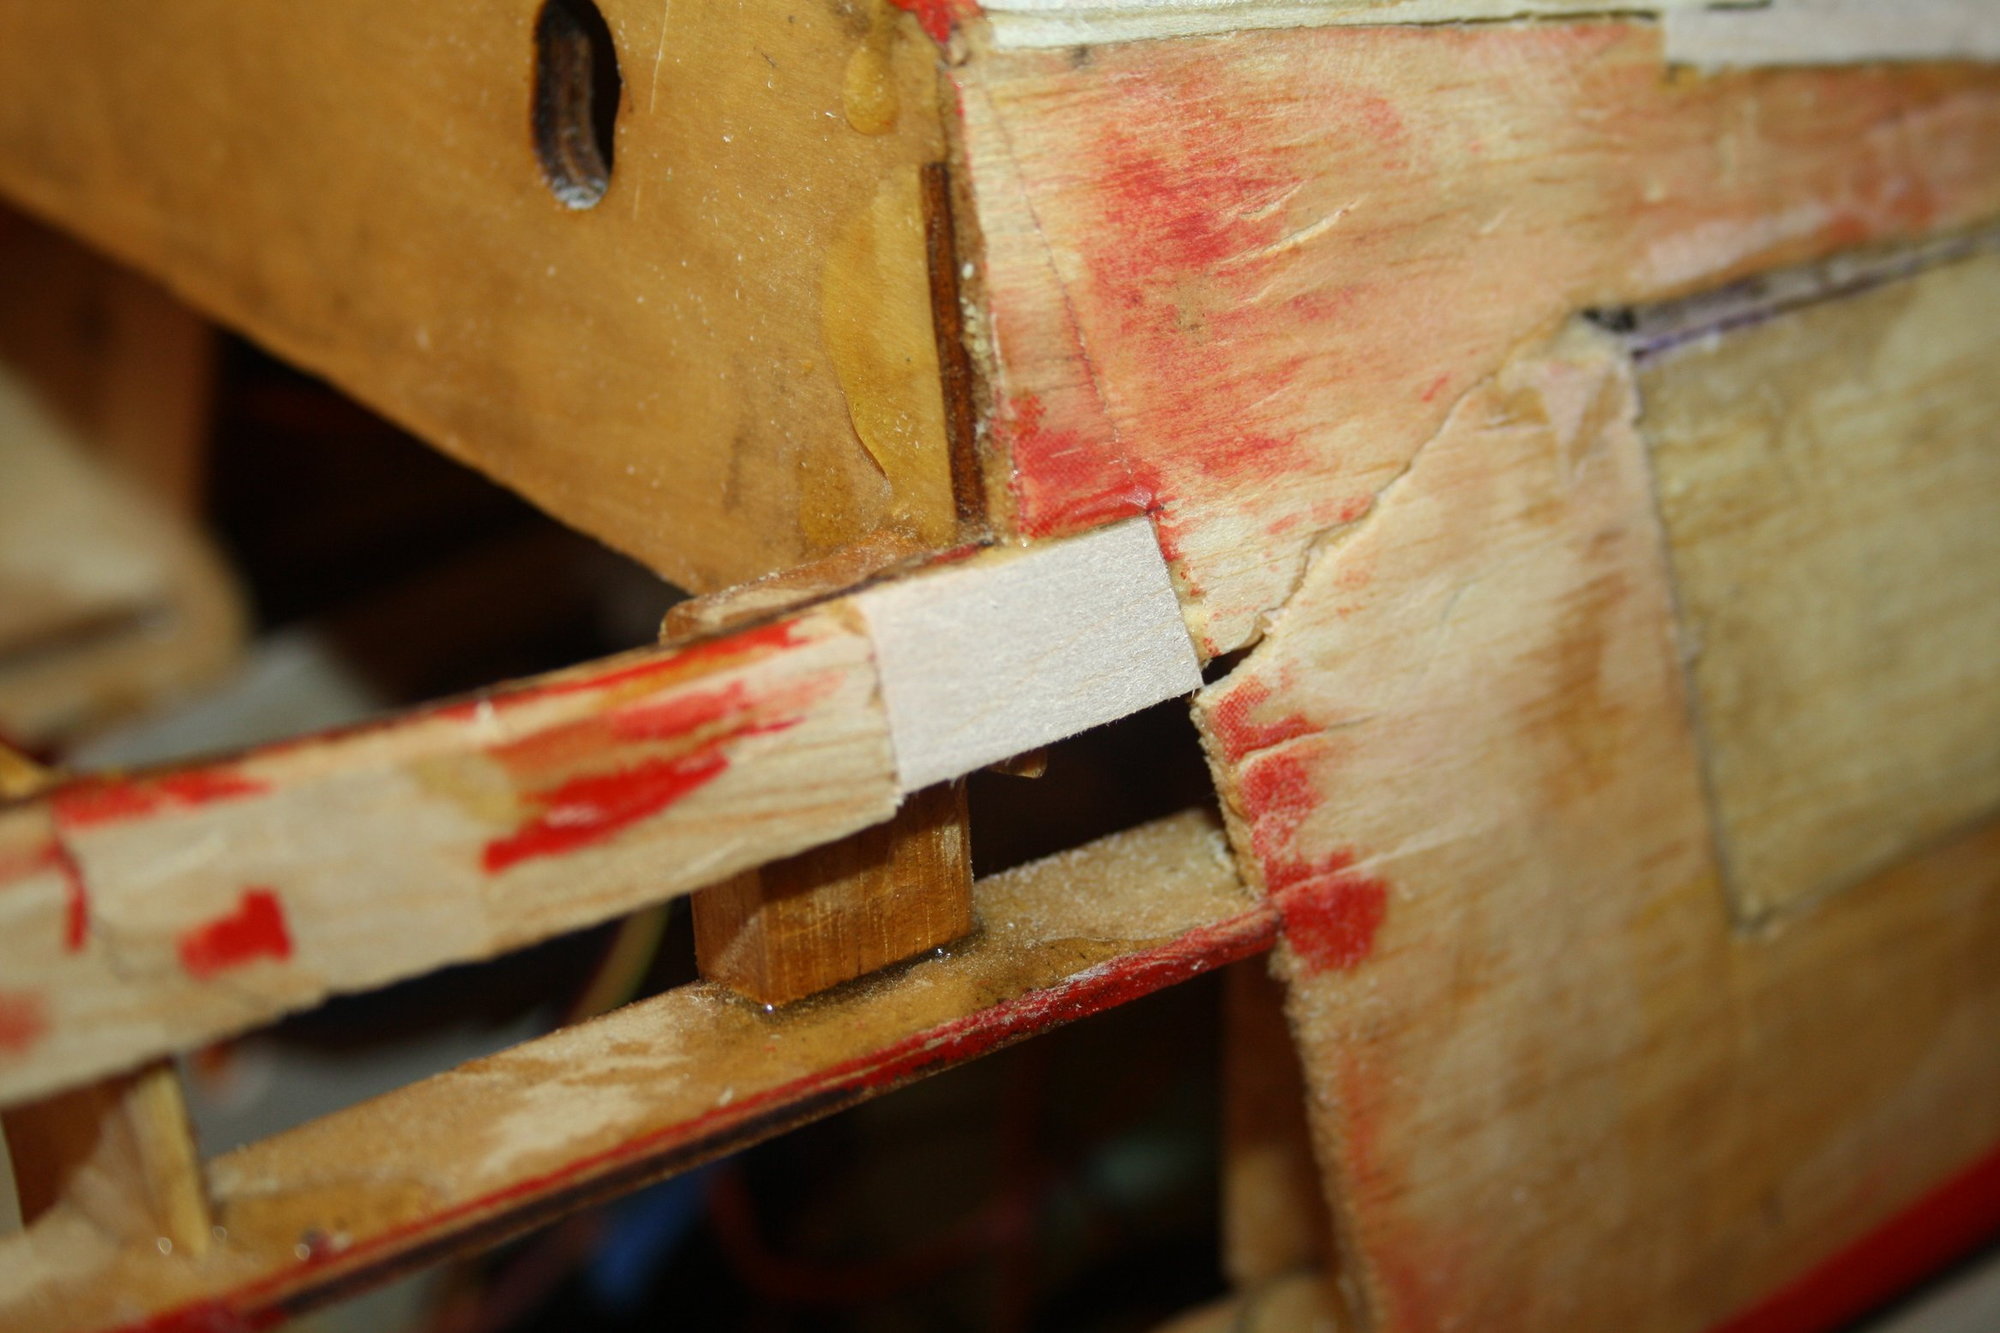
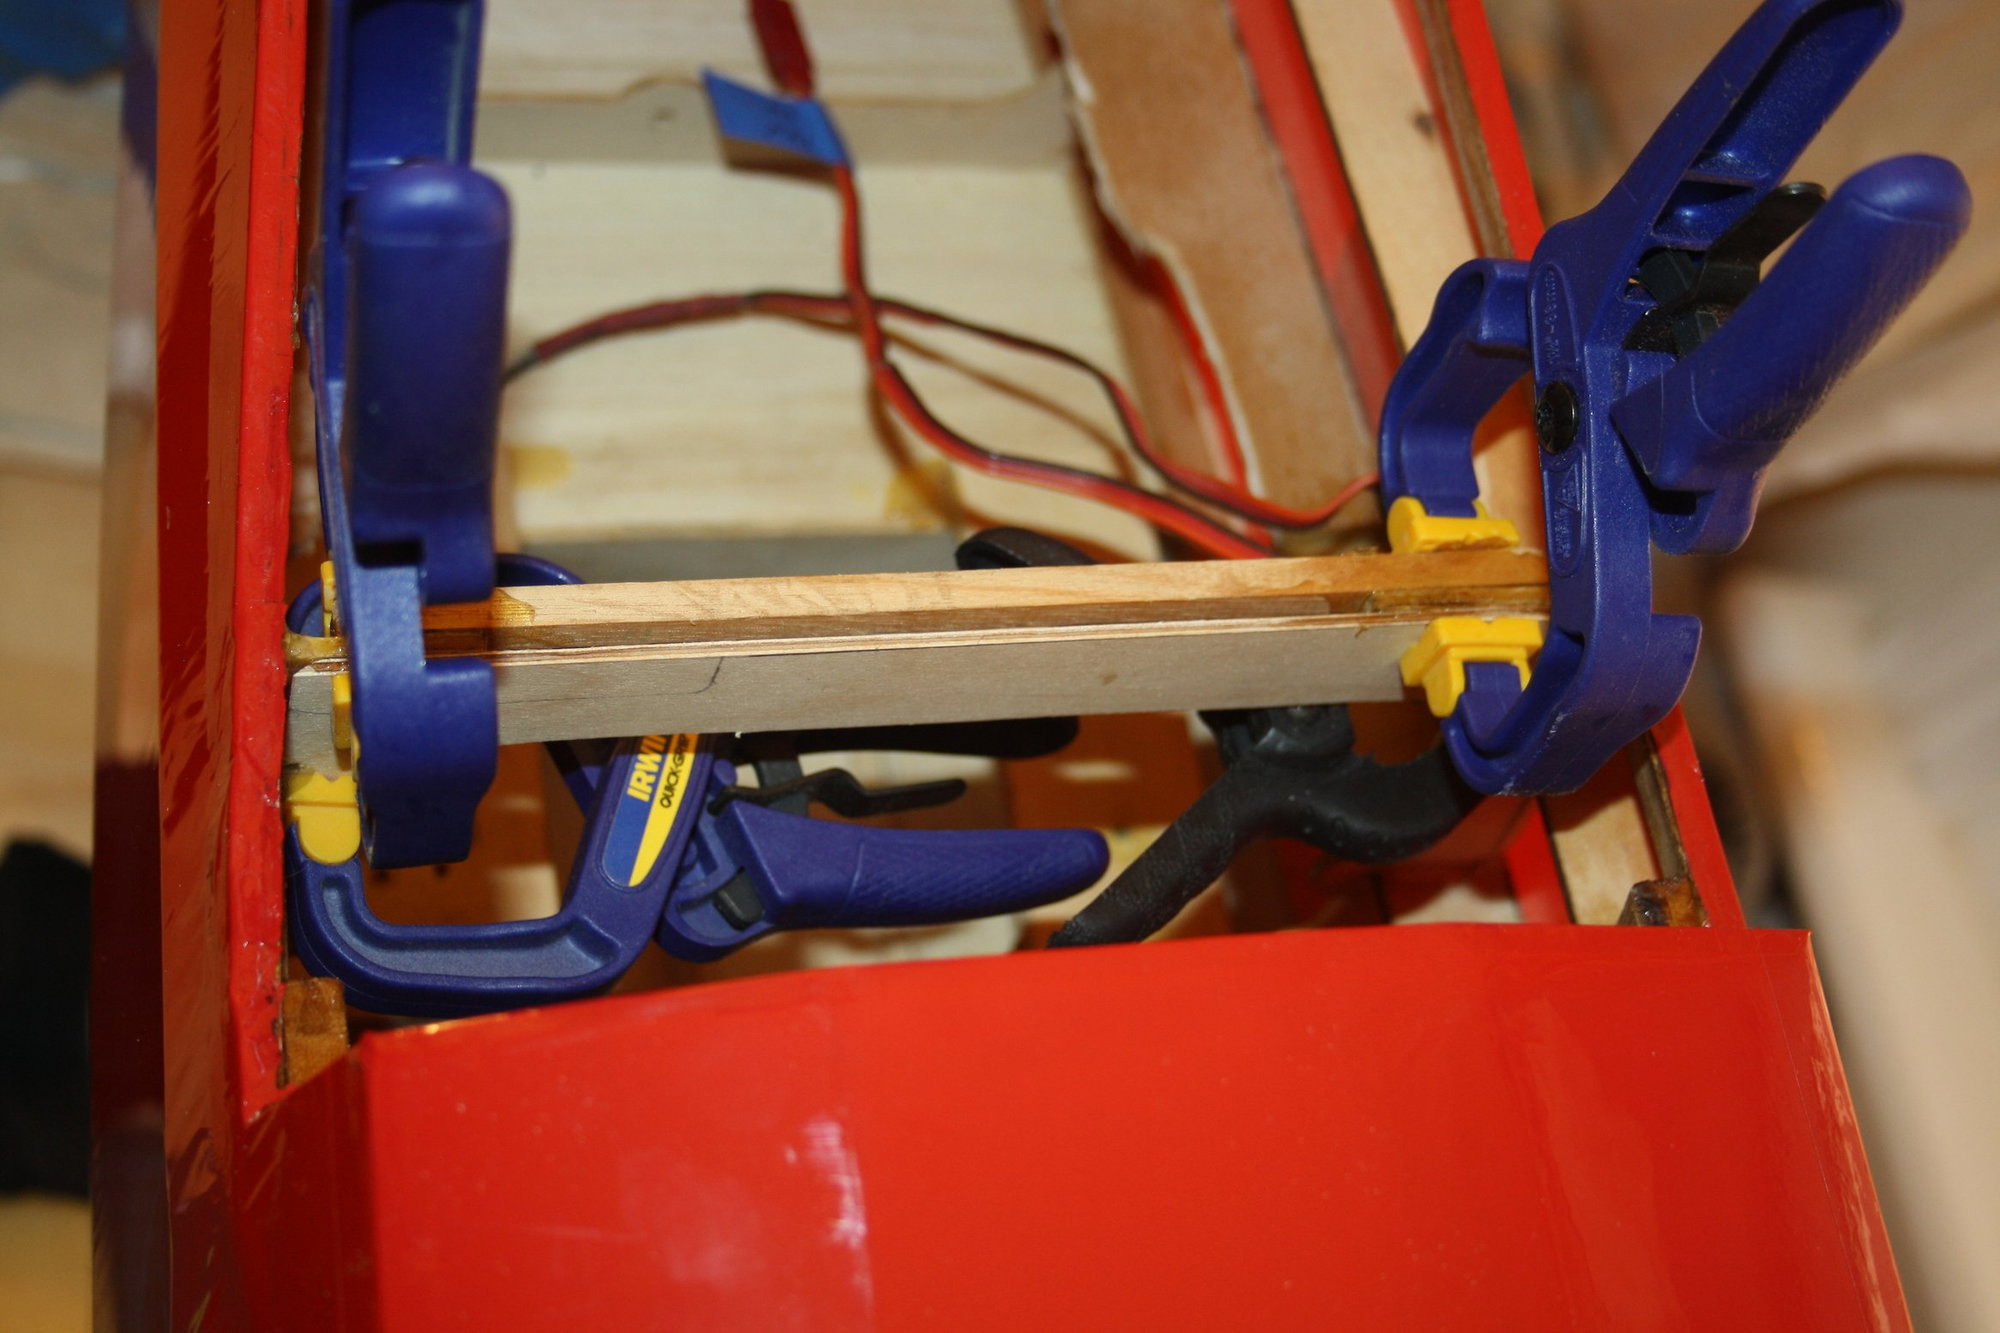
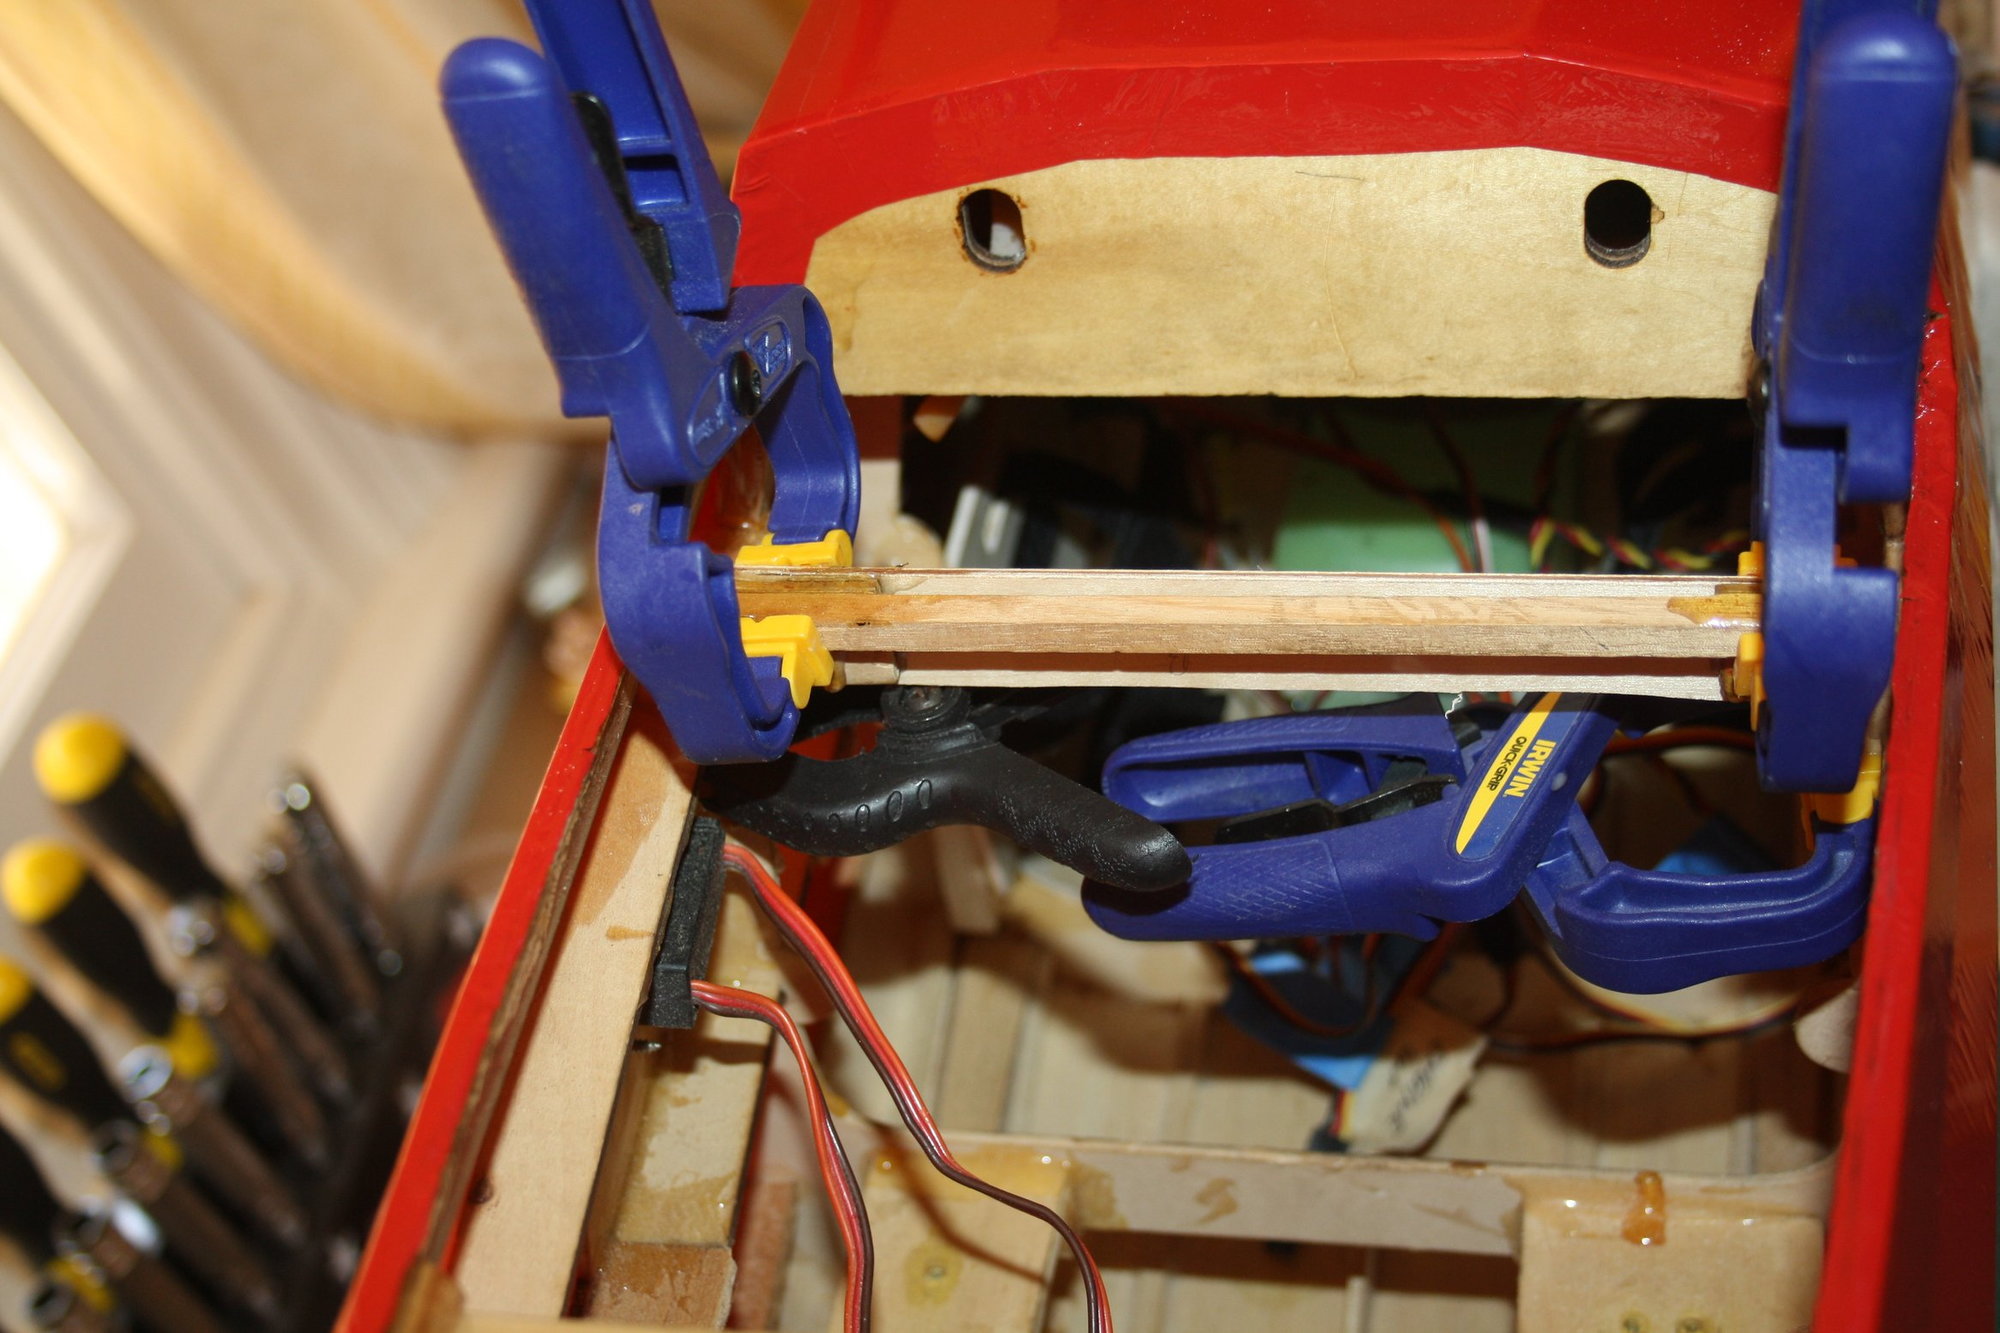
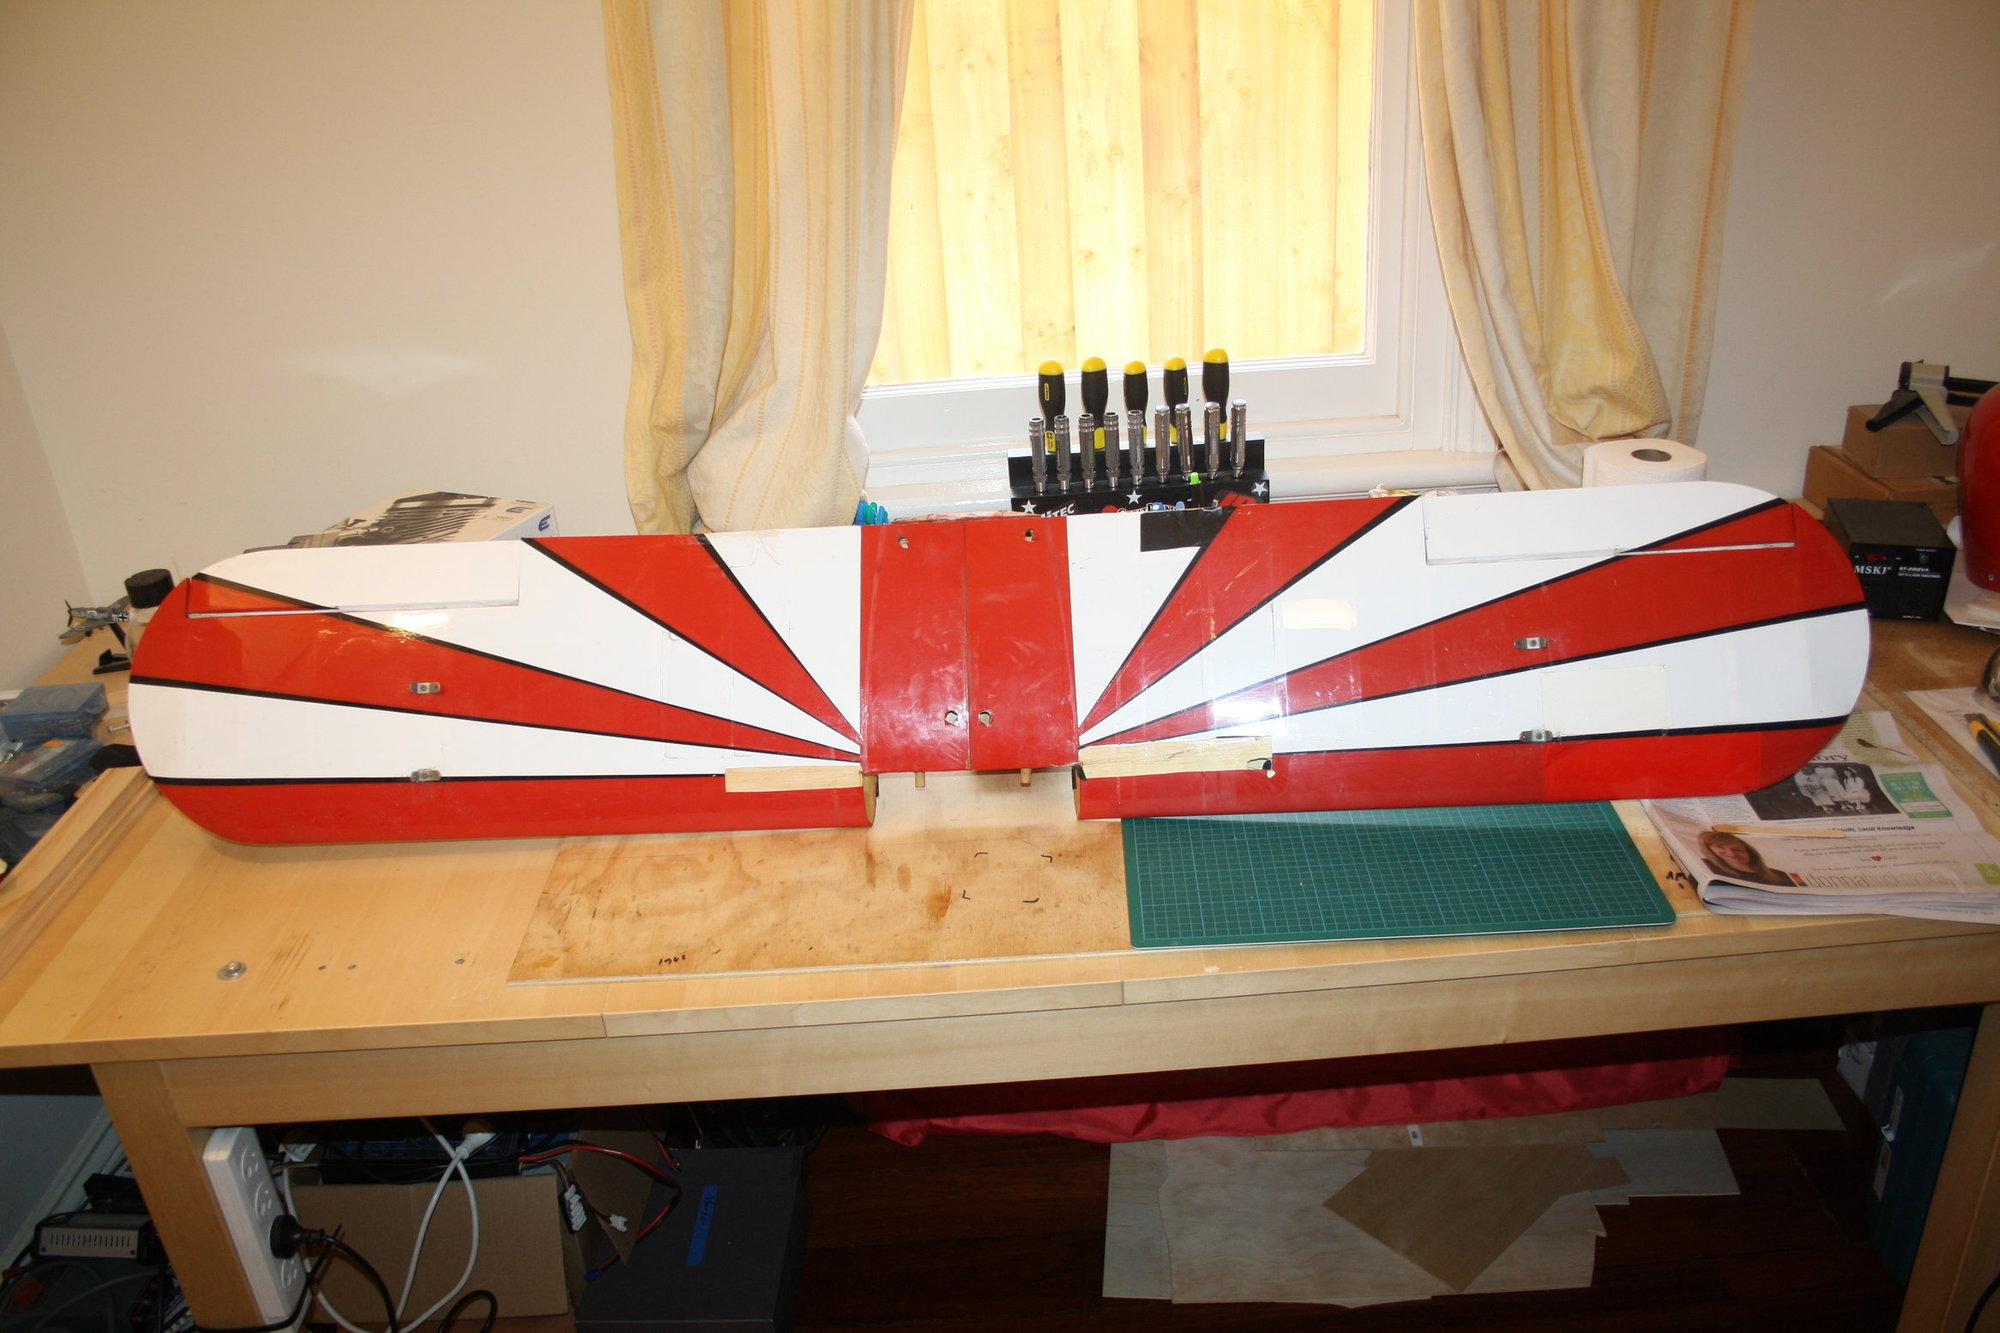
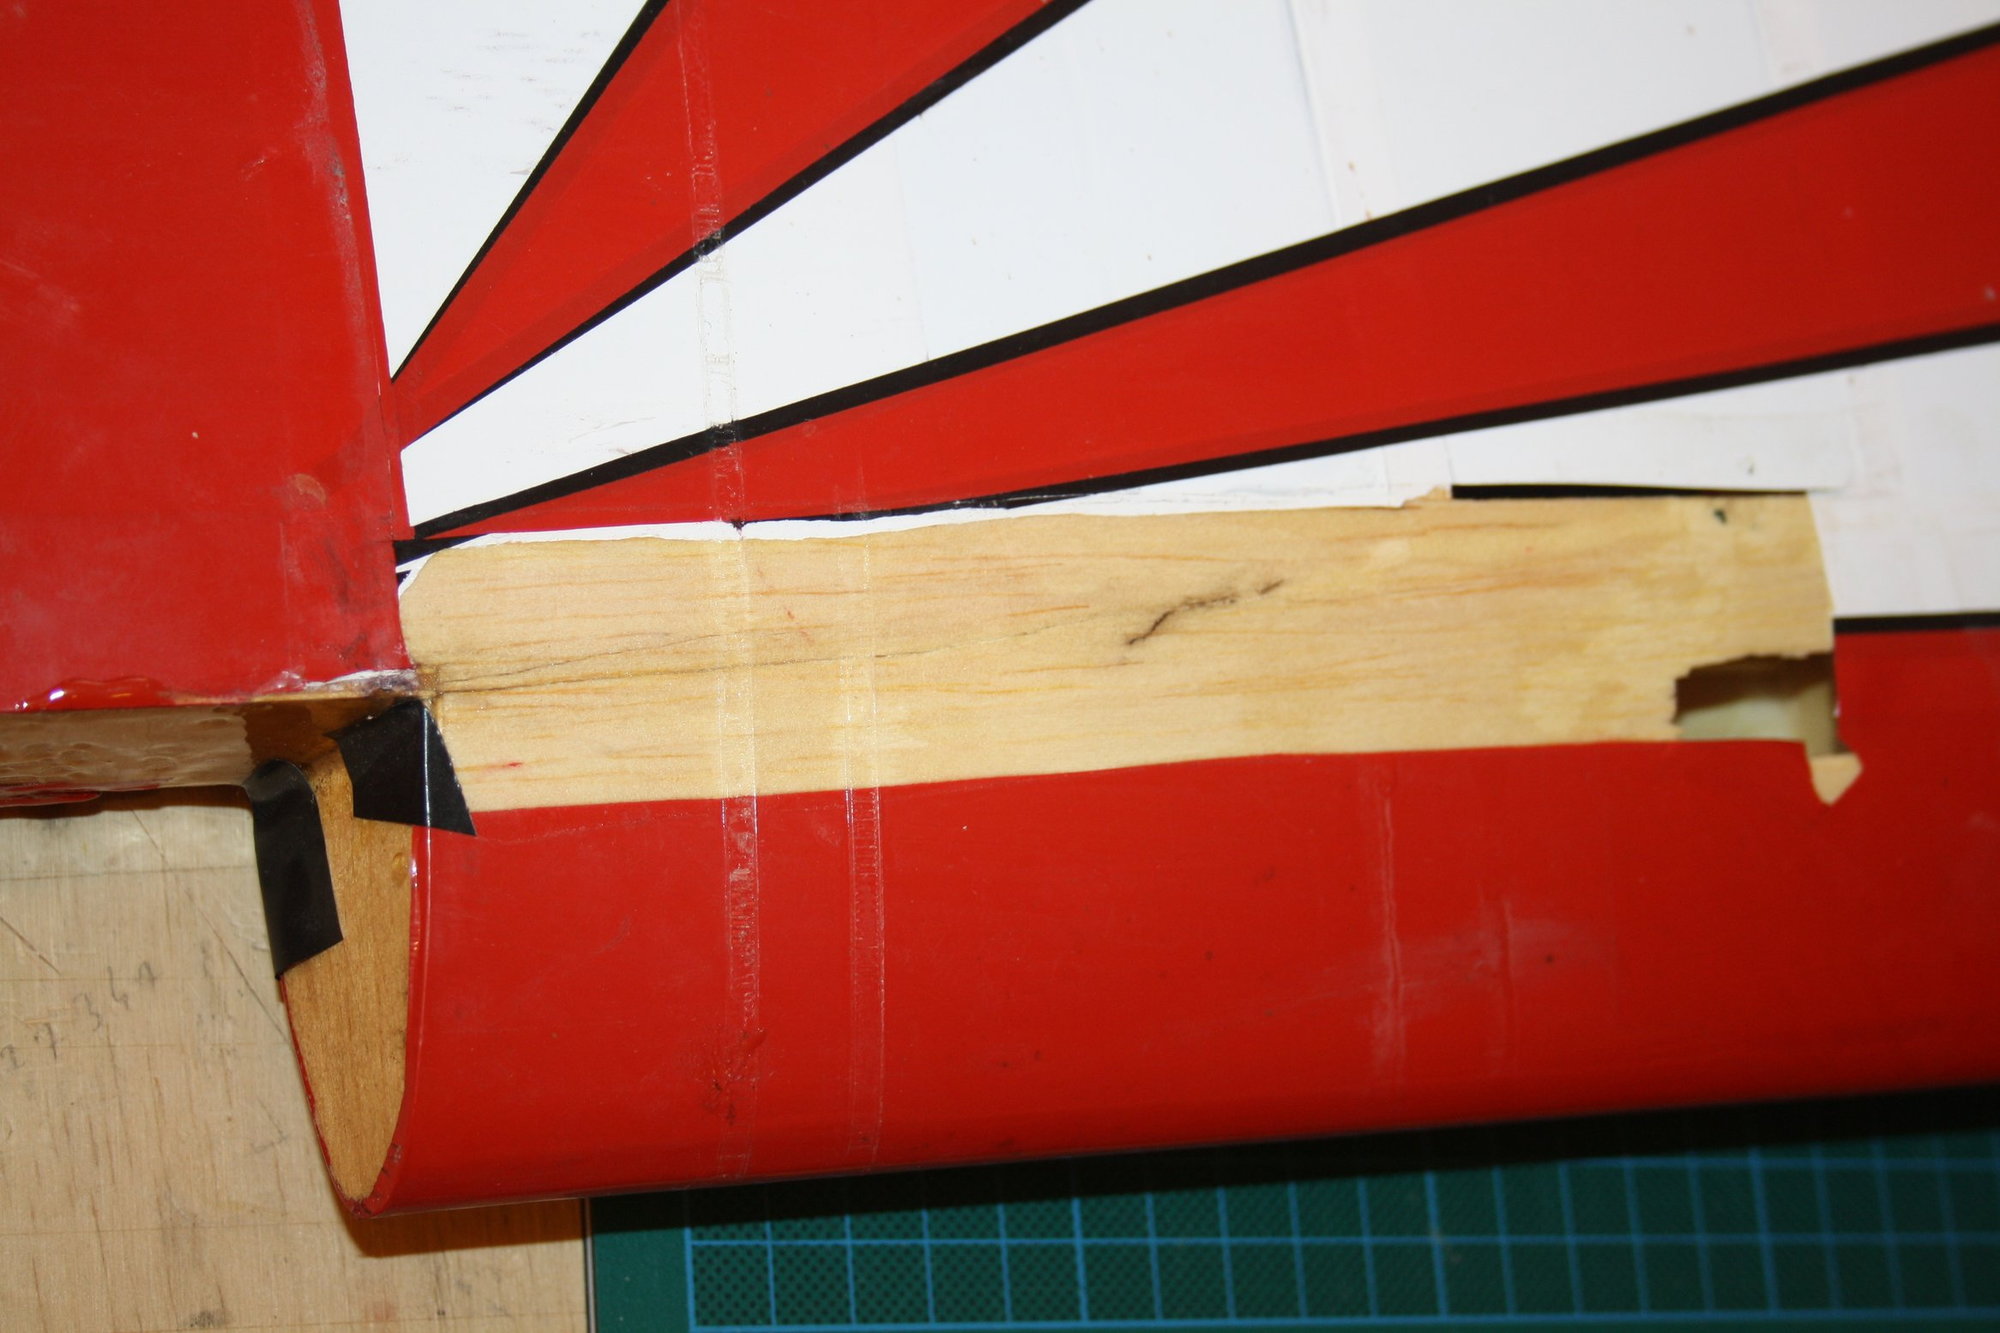
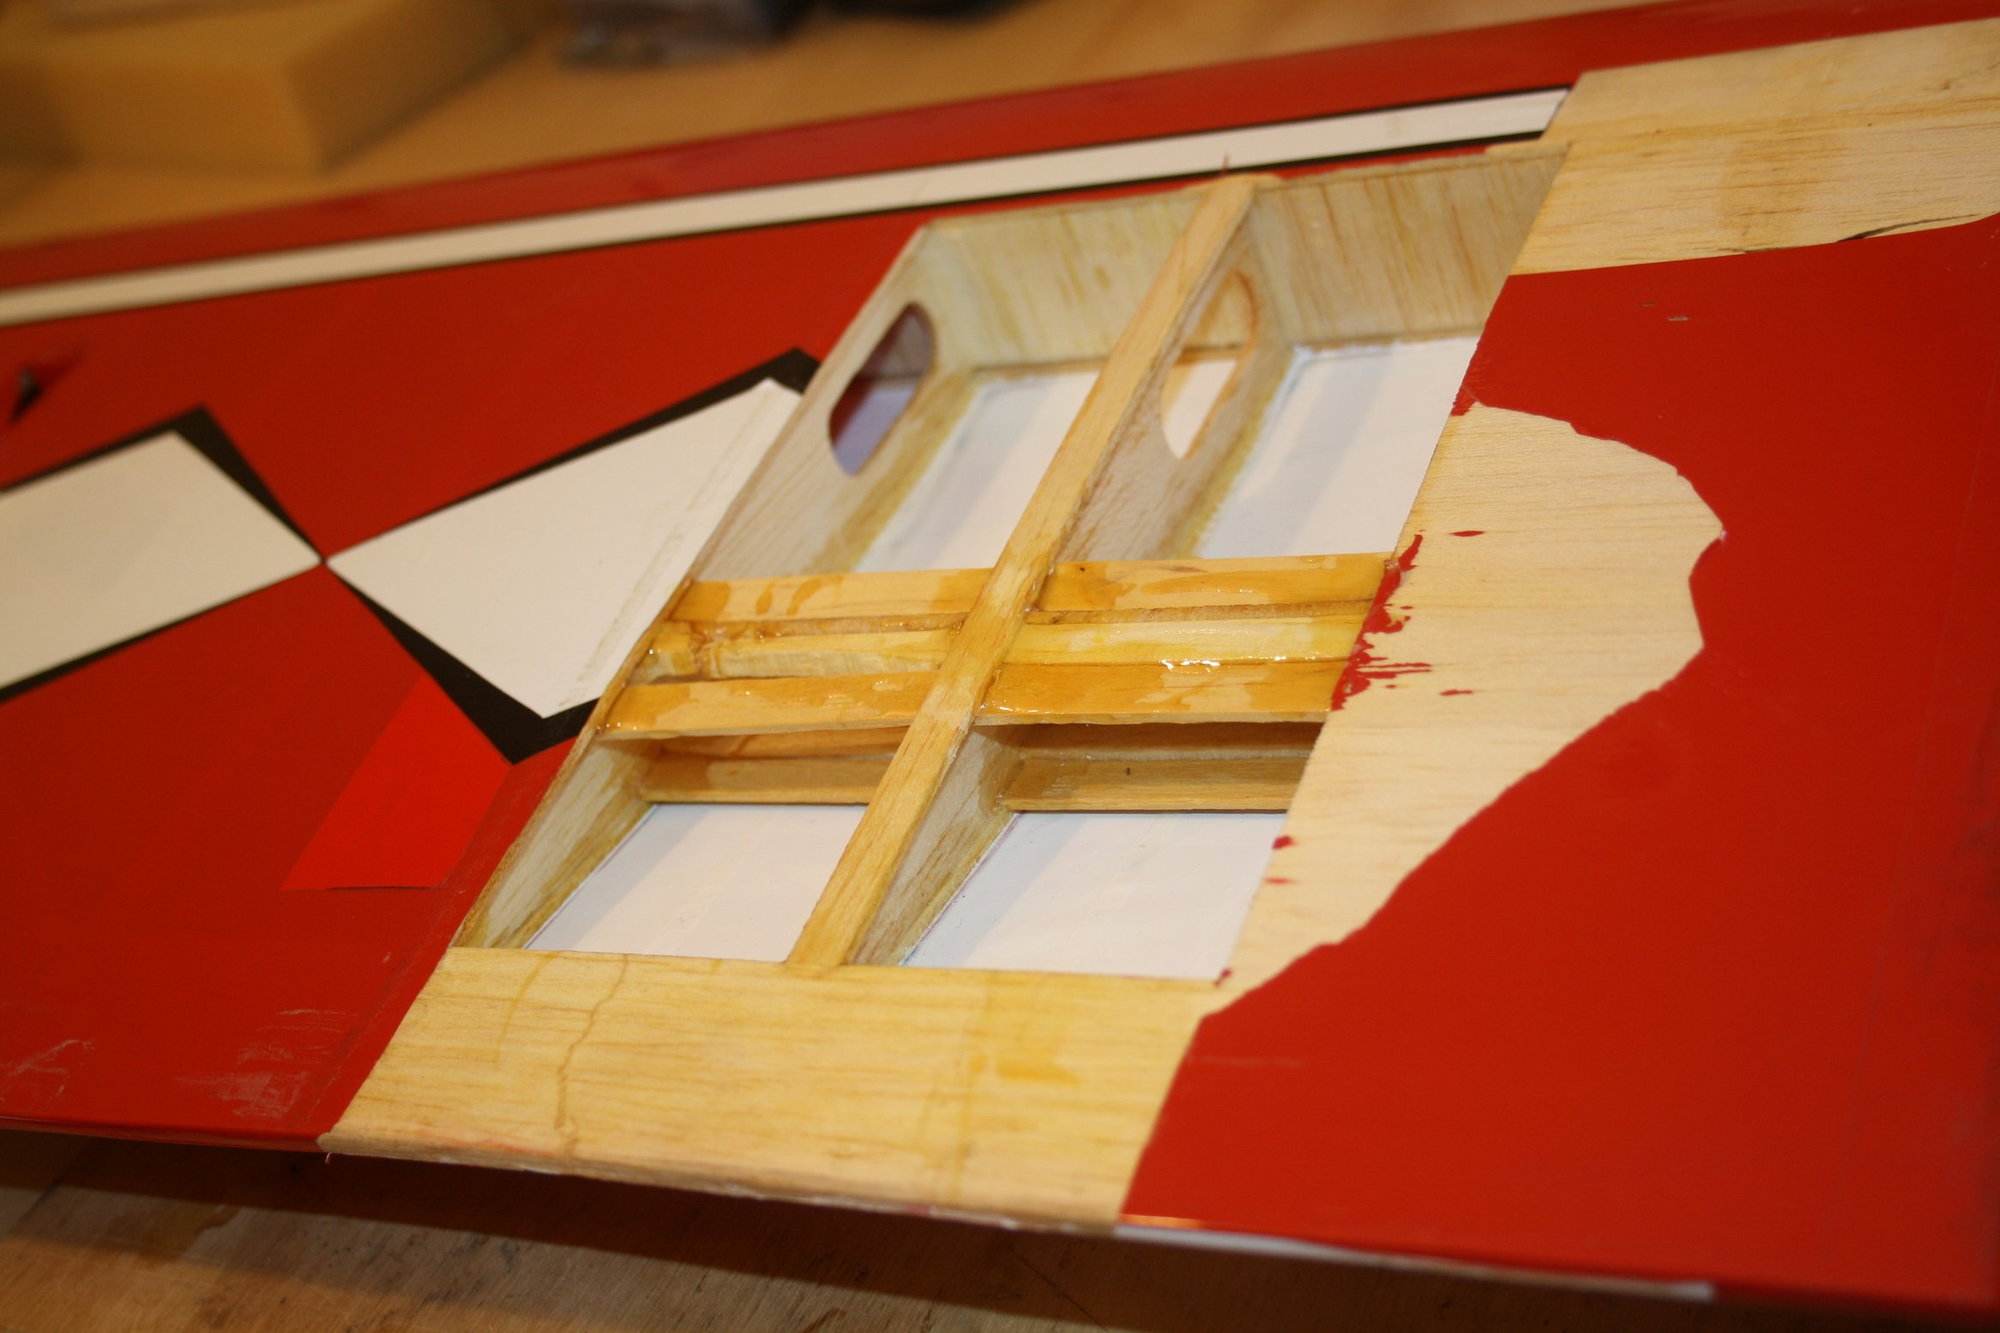
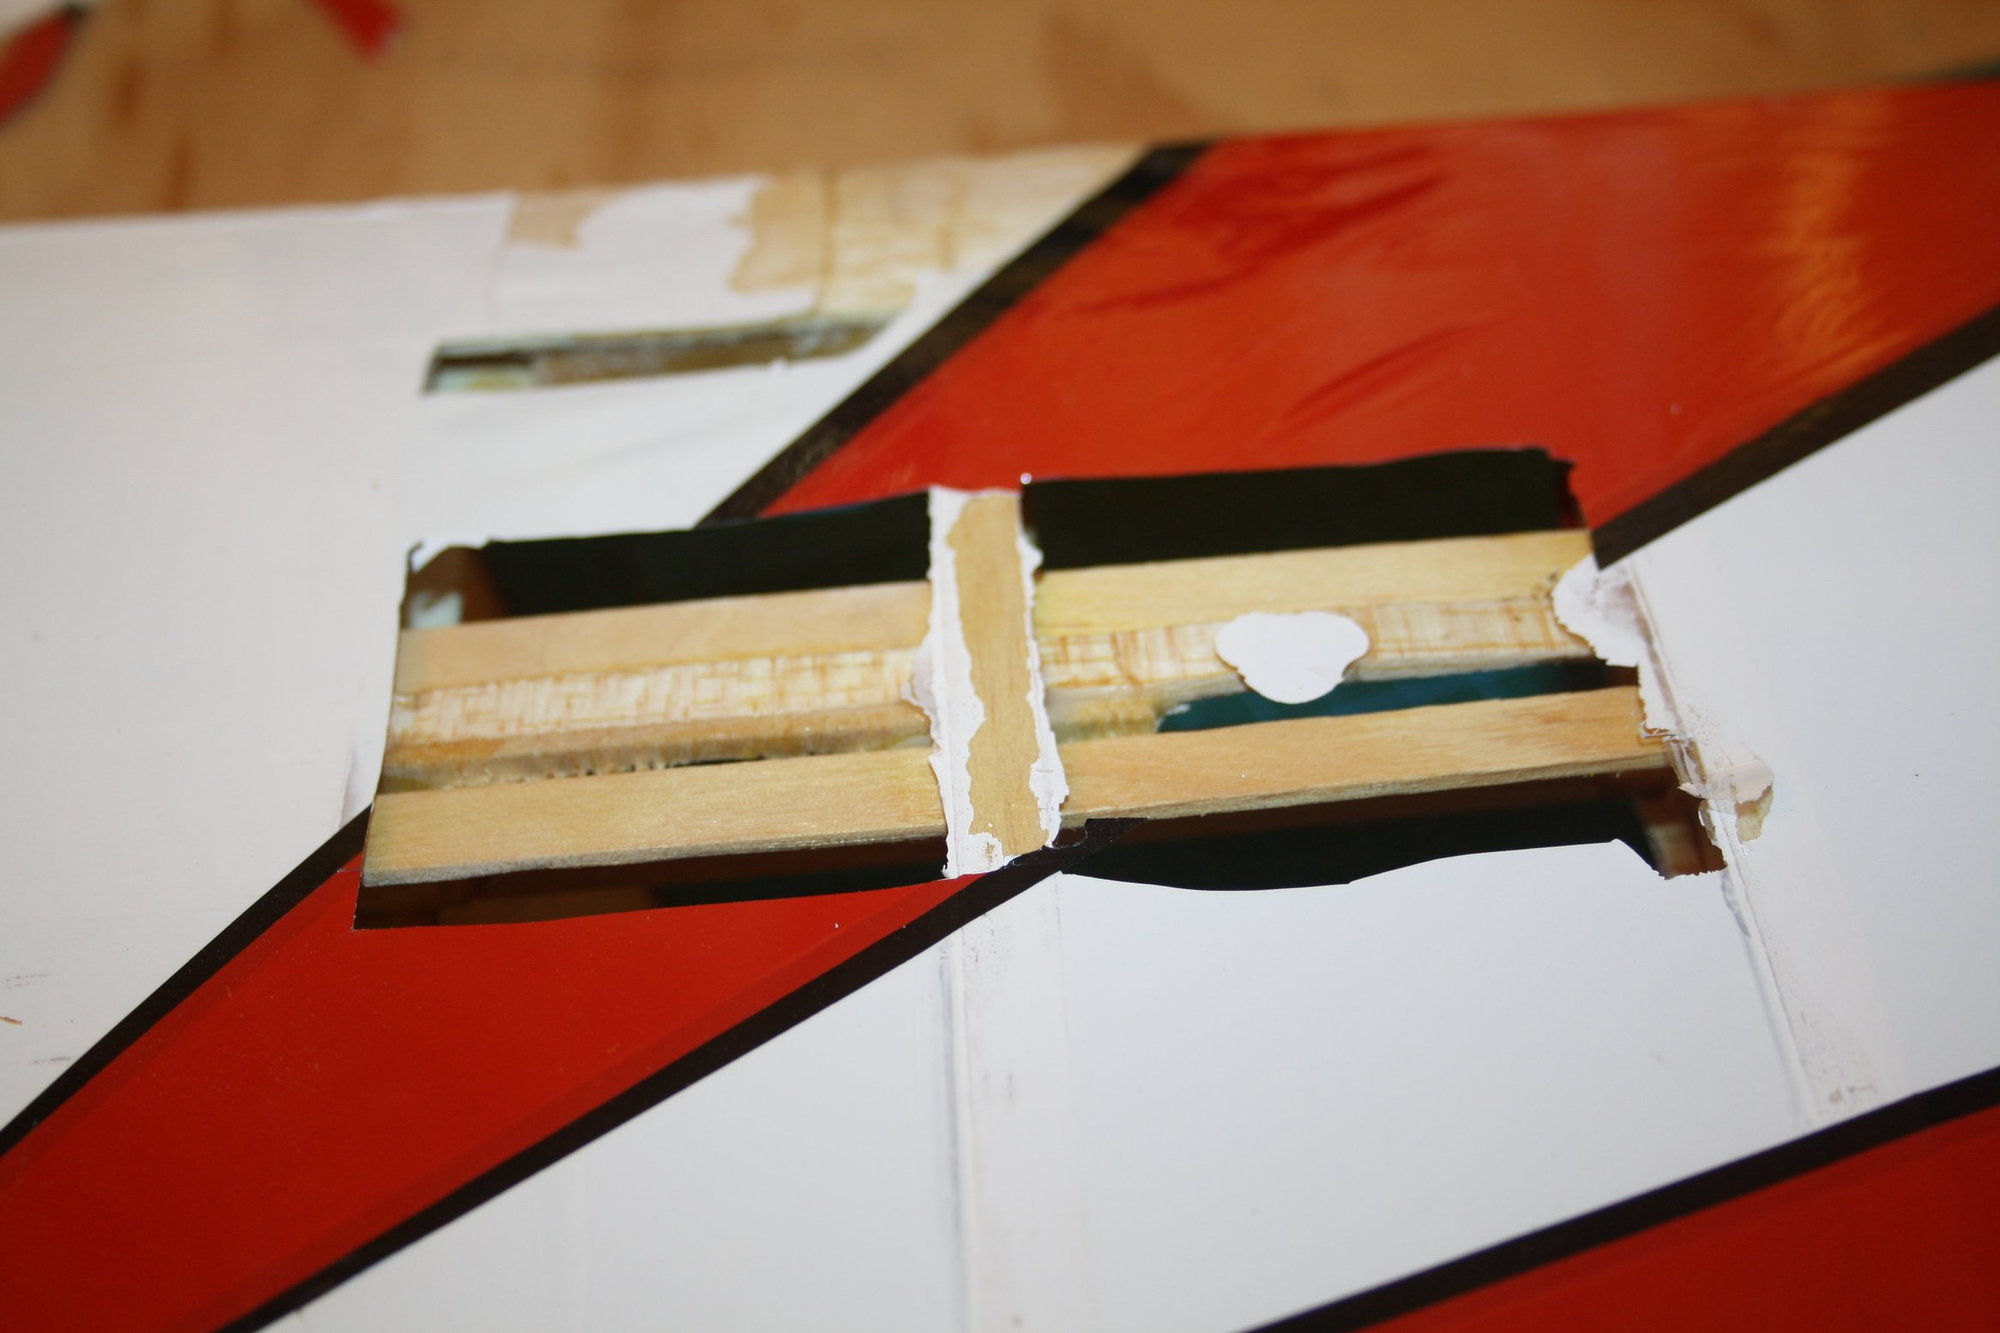
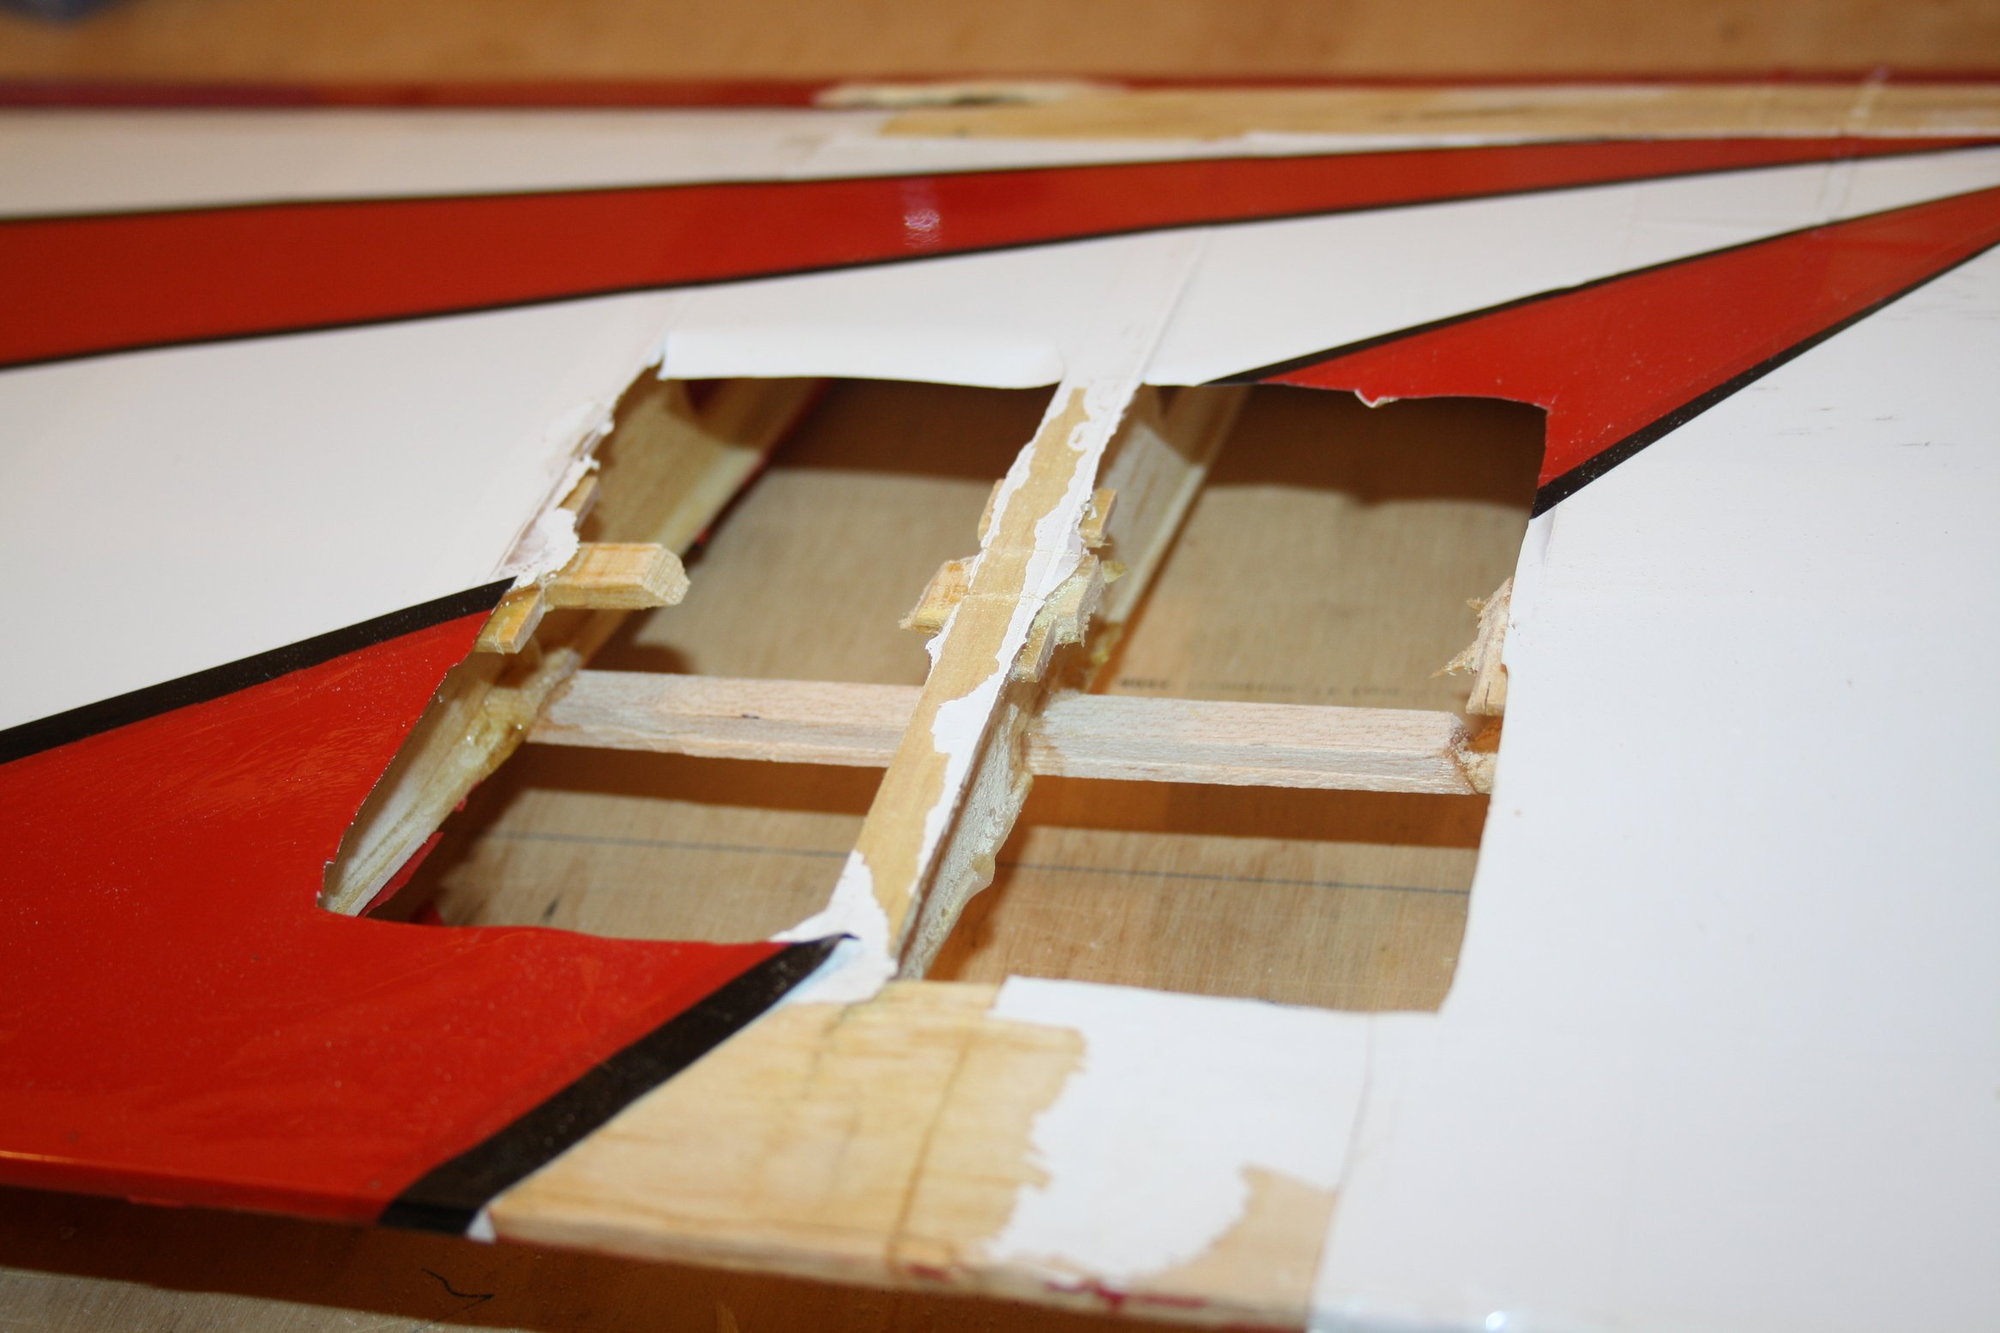
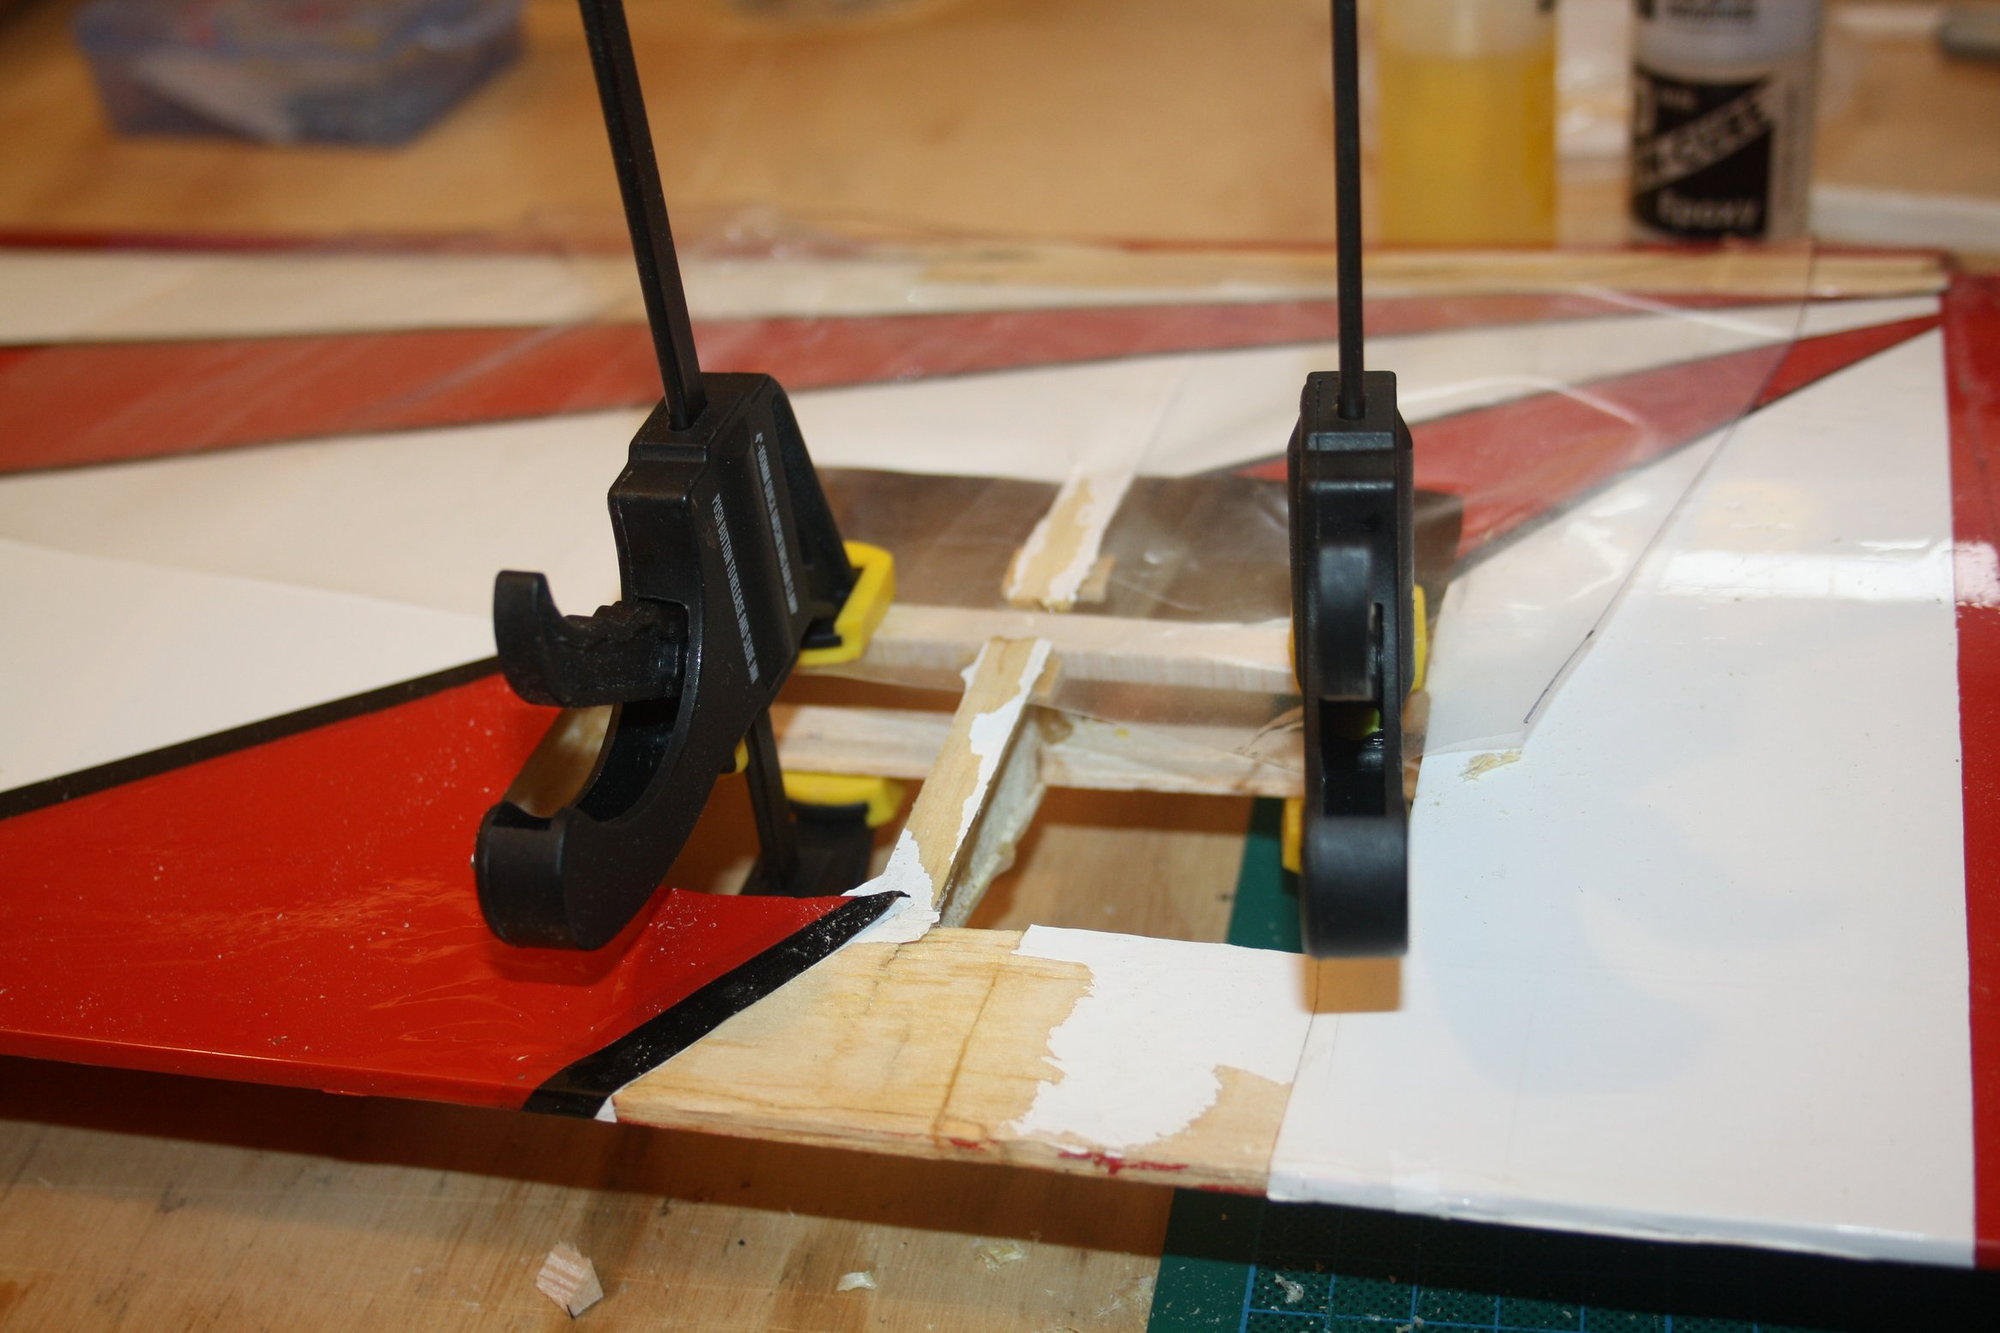
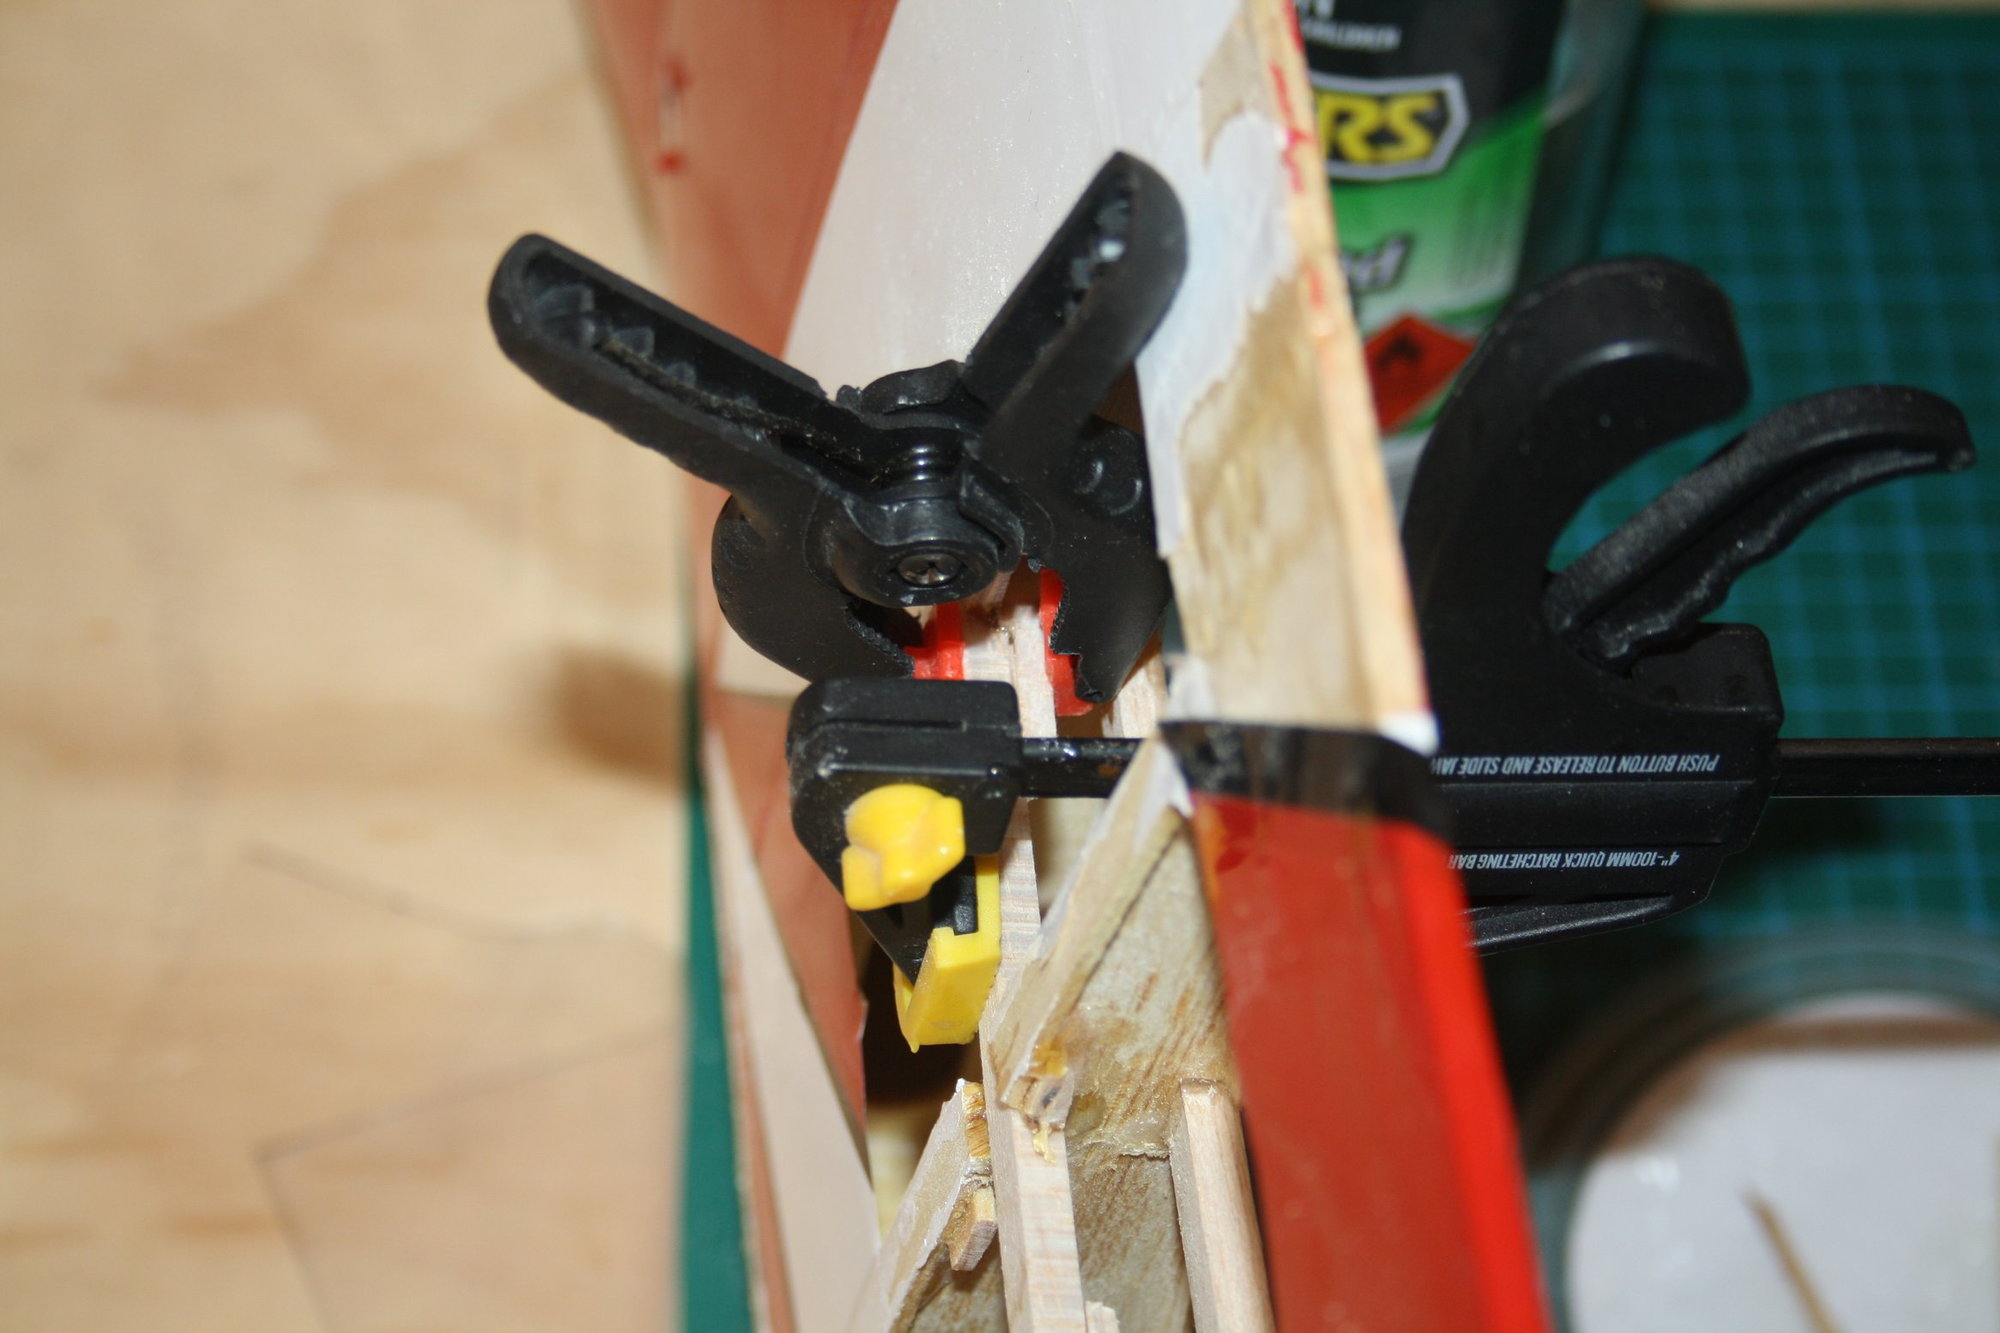
The repairs to the wing secondary spar started with cutting off additional covering checking the next bay for damage. There was none. Then the damaged section was cut with two 45 degree cuts. A new balsa spar was glued into place with corresponding 45 degree ends.
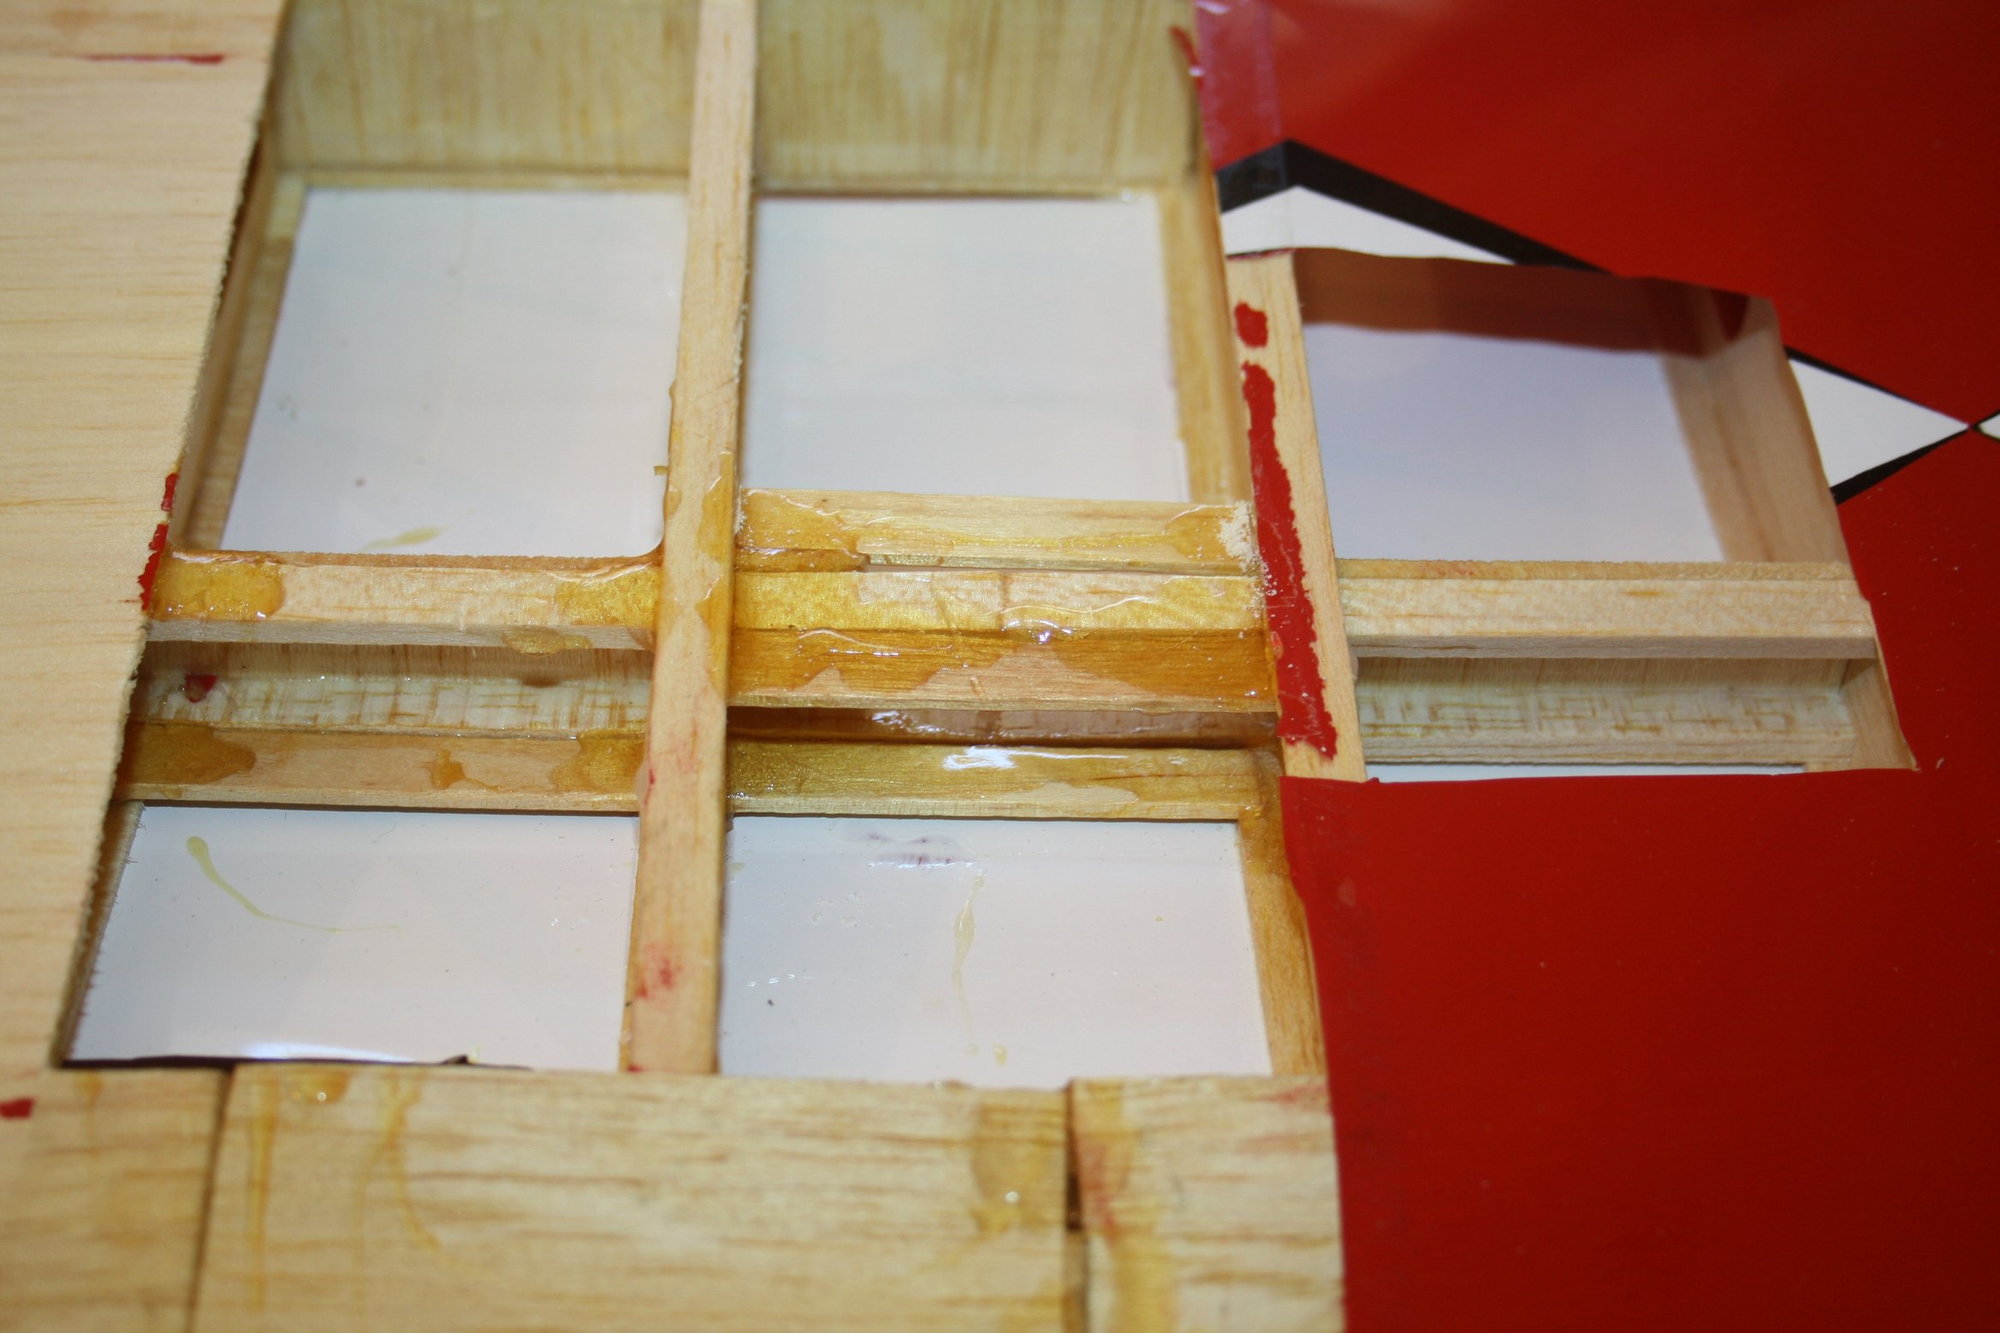
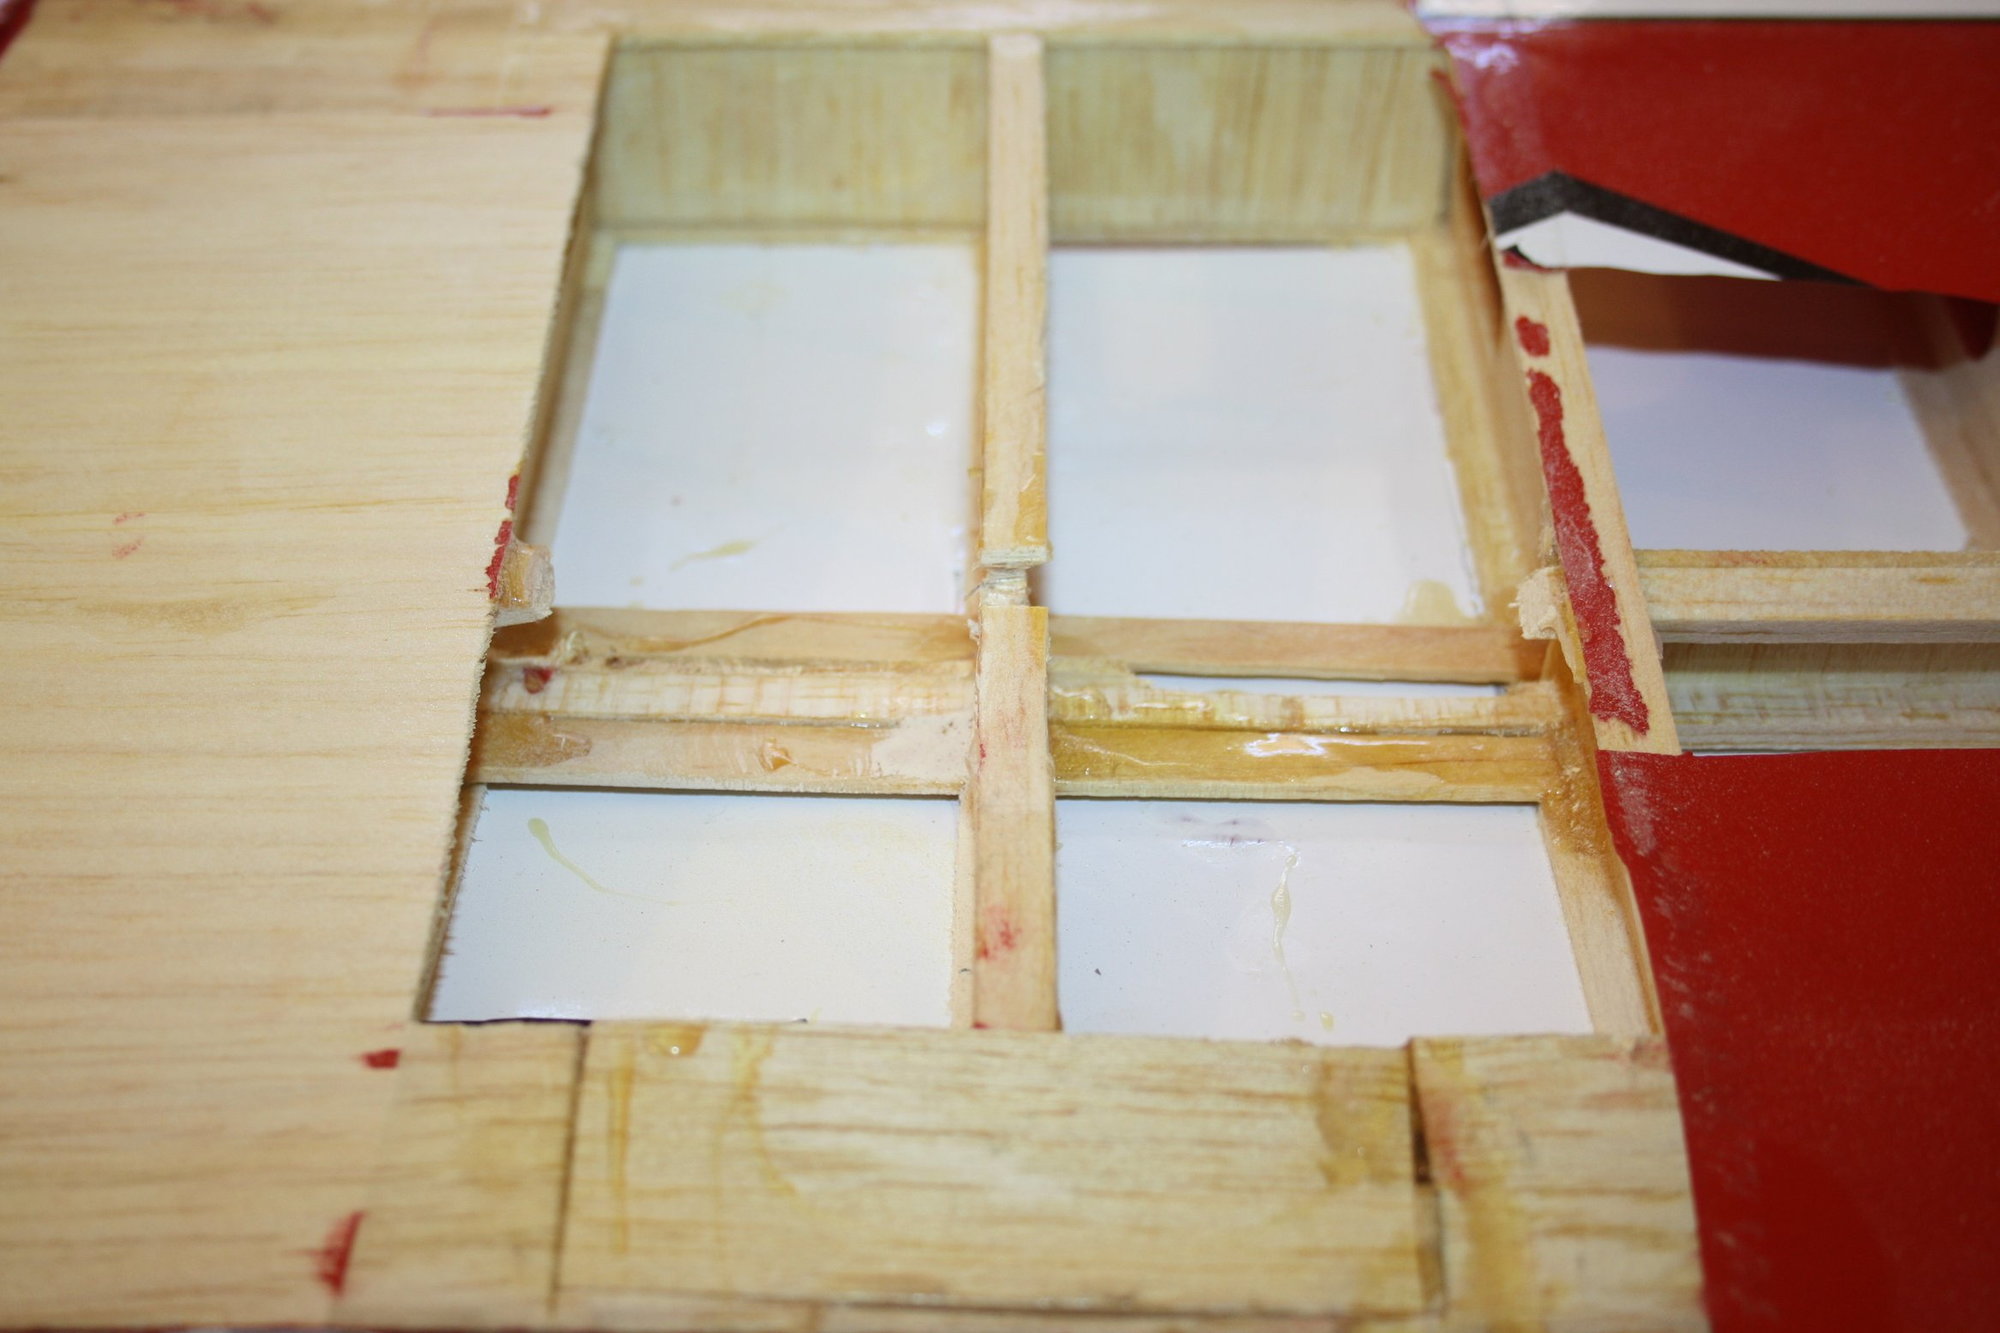
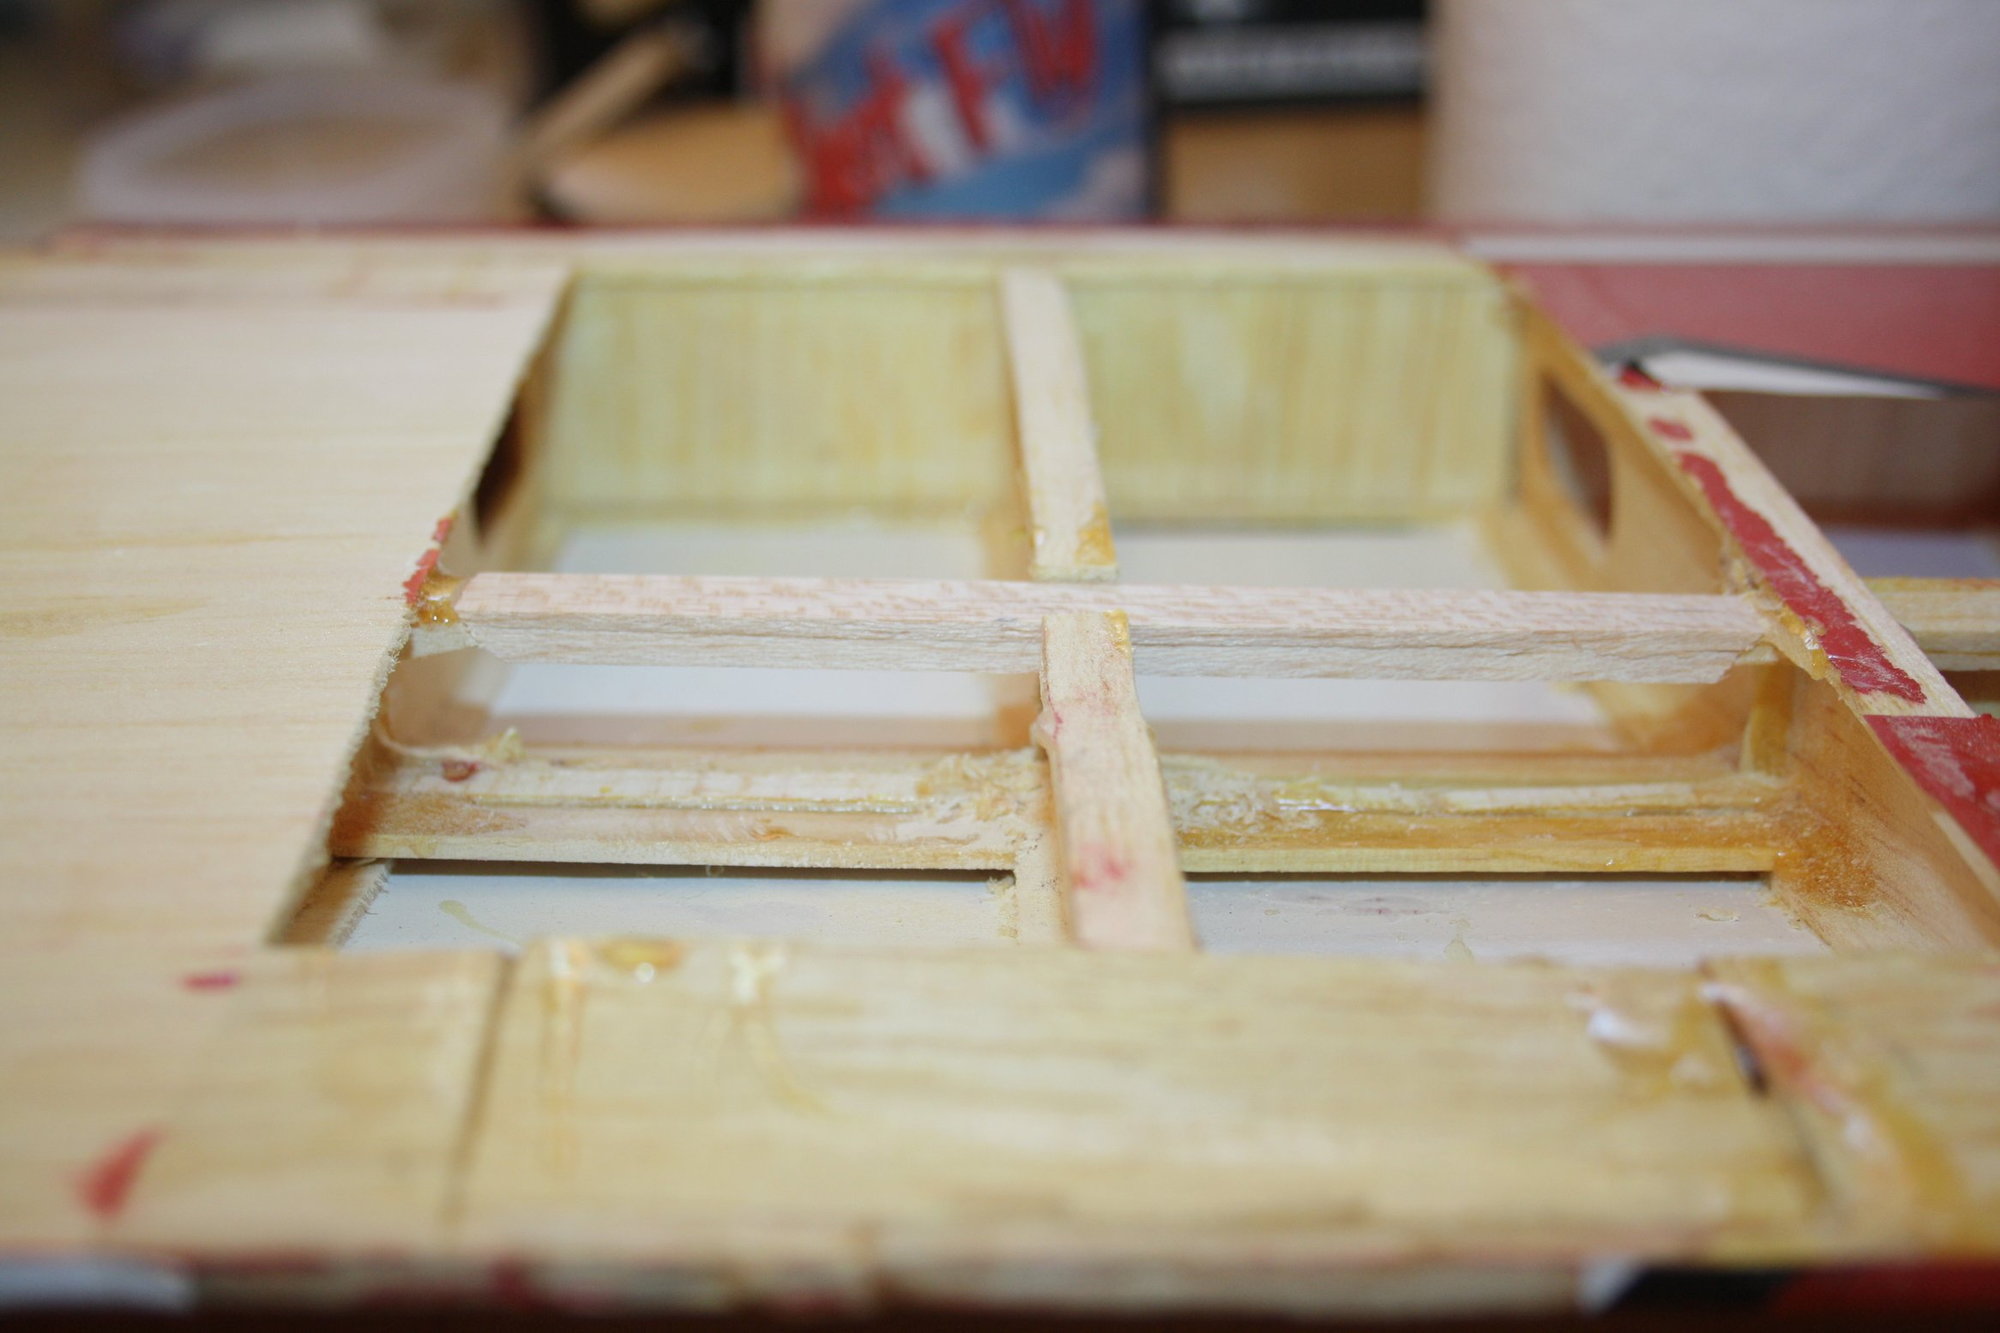
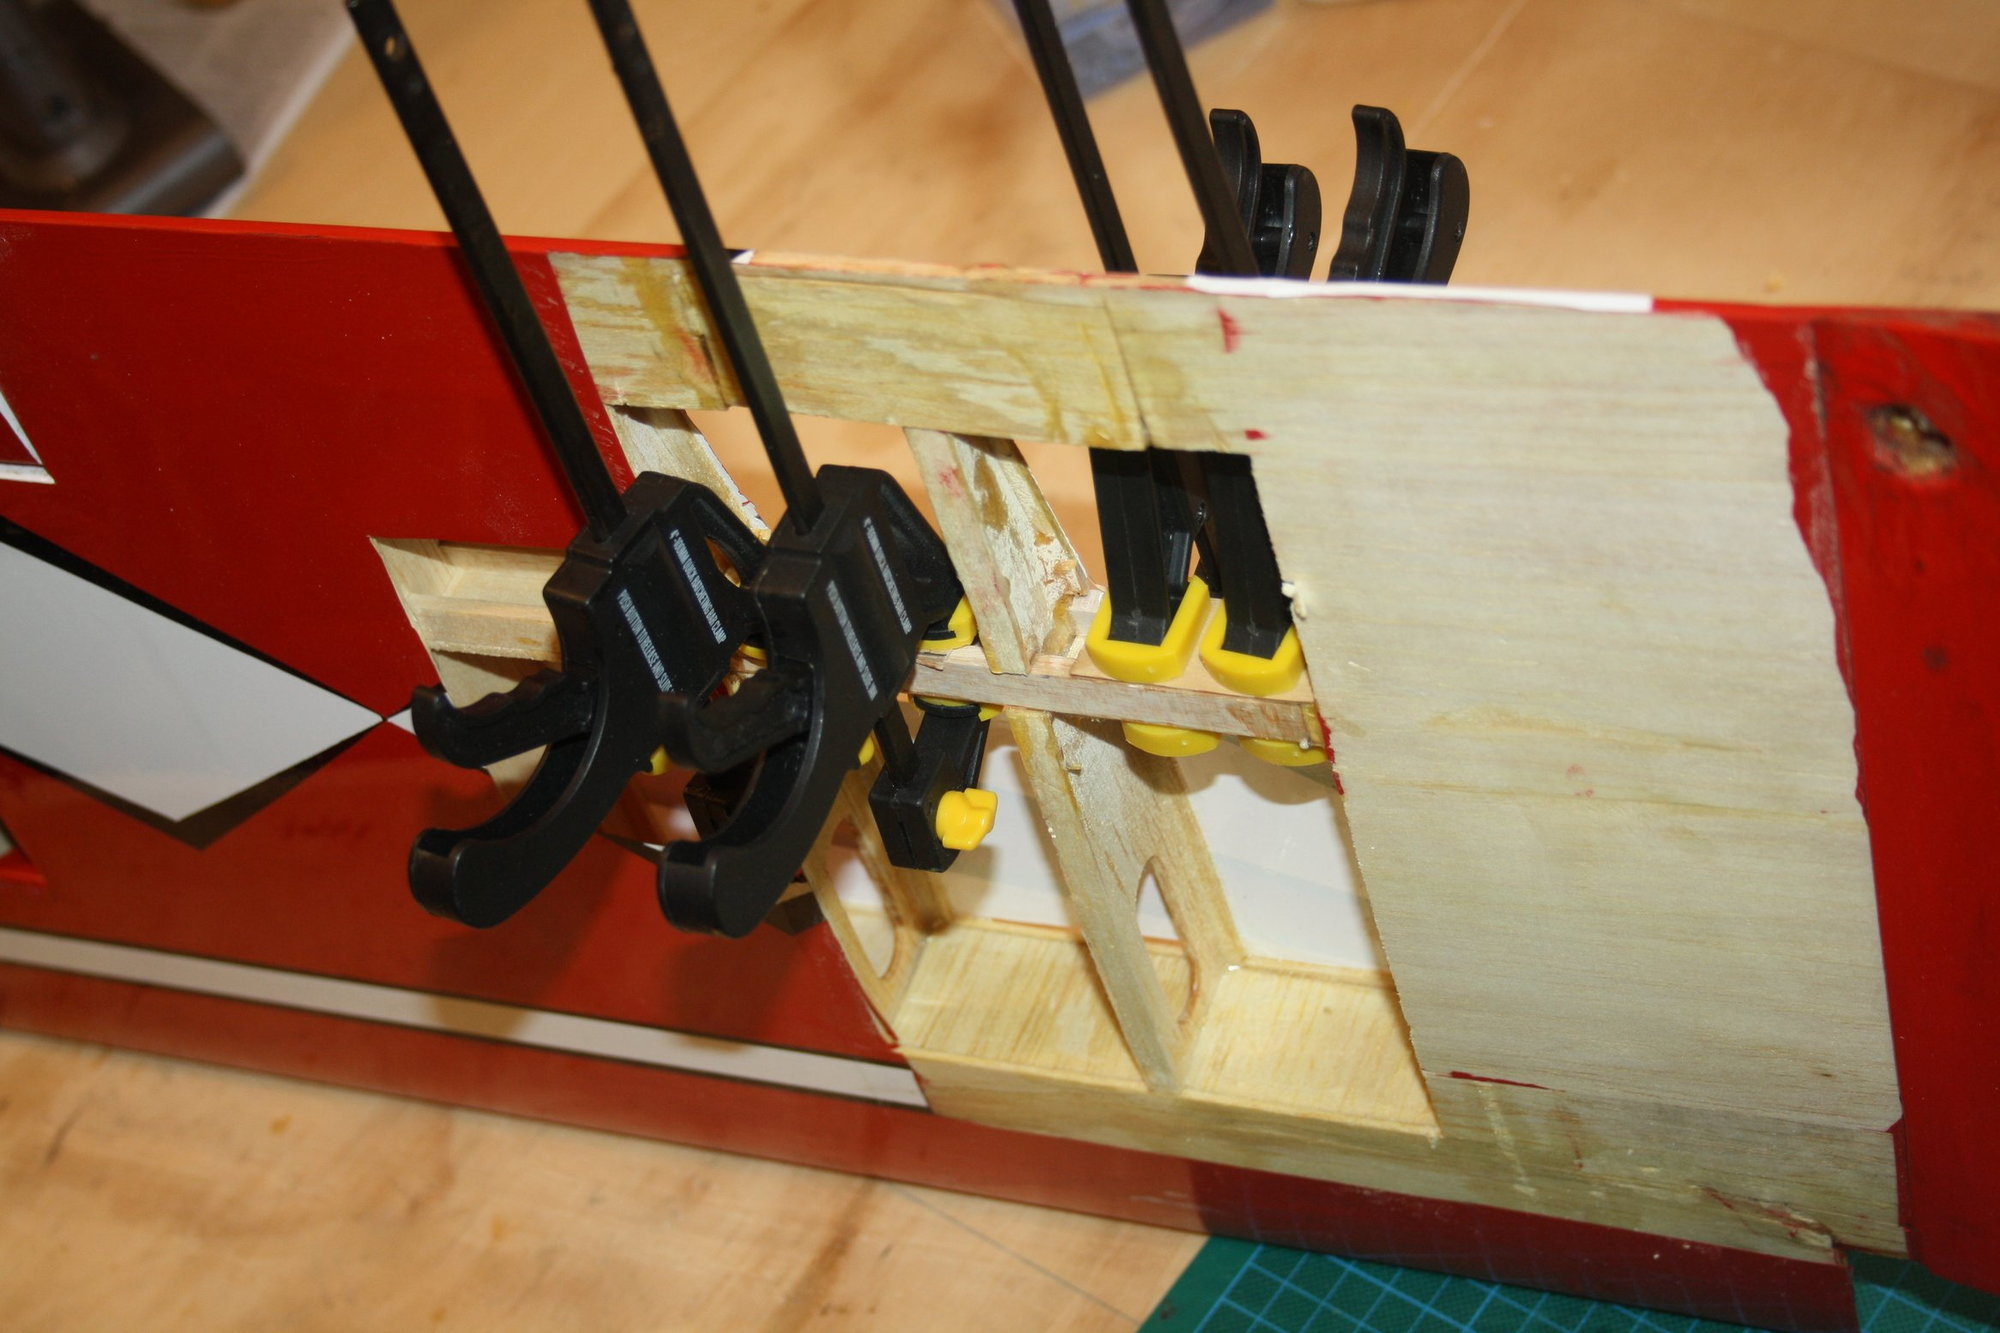
The same was then performed from the other side with new balsa spar glued into place and adding reinforcing piece over the joint
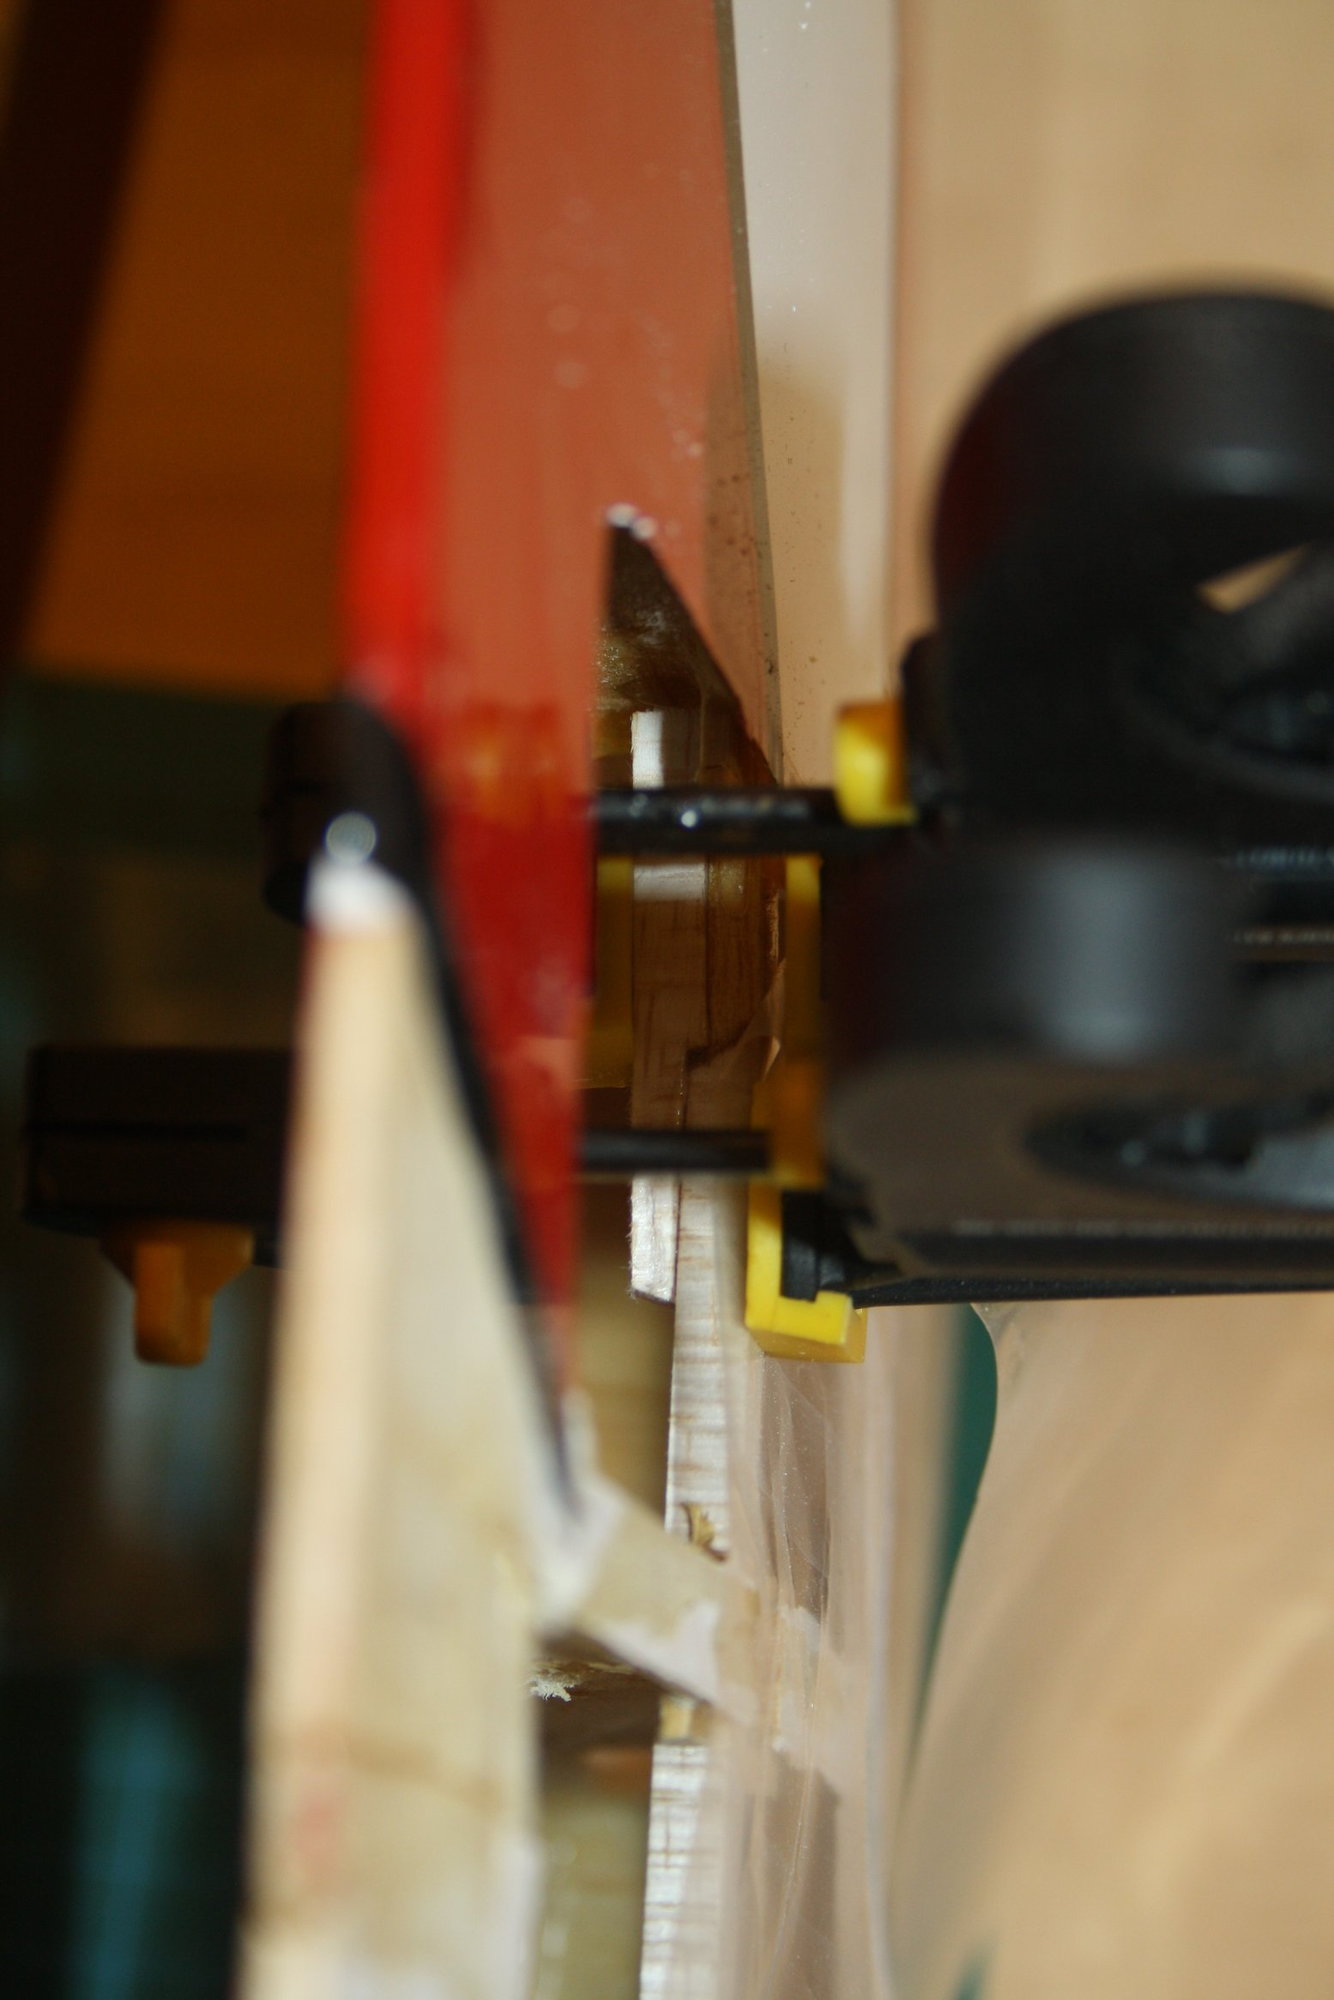
The same was then performed from the other side with new balsa spar glued into place and adding reinforcing piece over the joint