


Composite-Arf 33% Gee Bee R2 - First Flight - Pics - Videos - L@@K
 10-30-2019, 04:44 PM
#1901
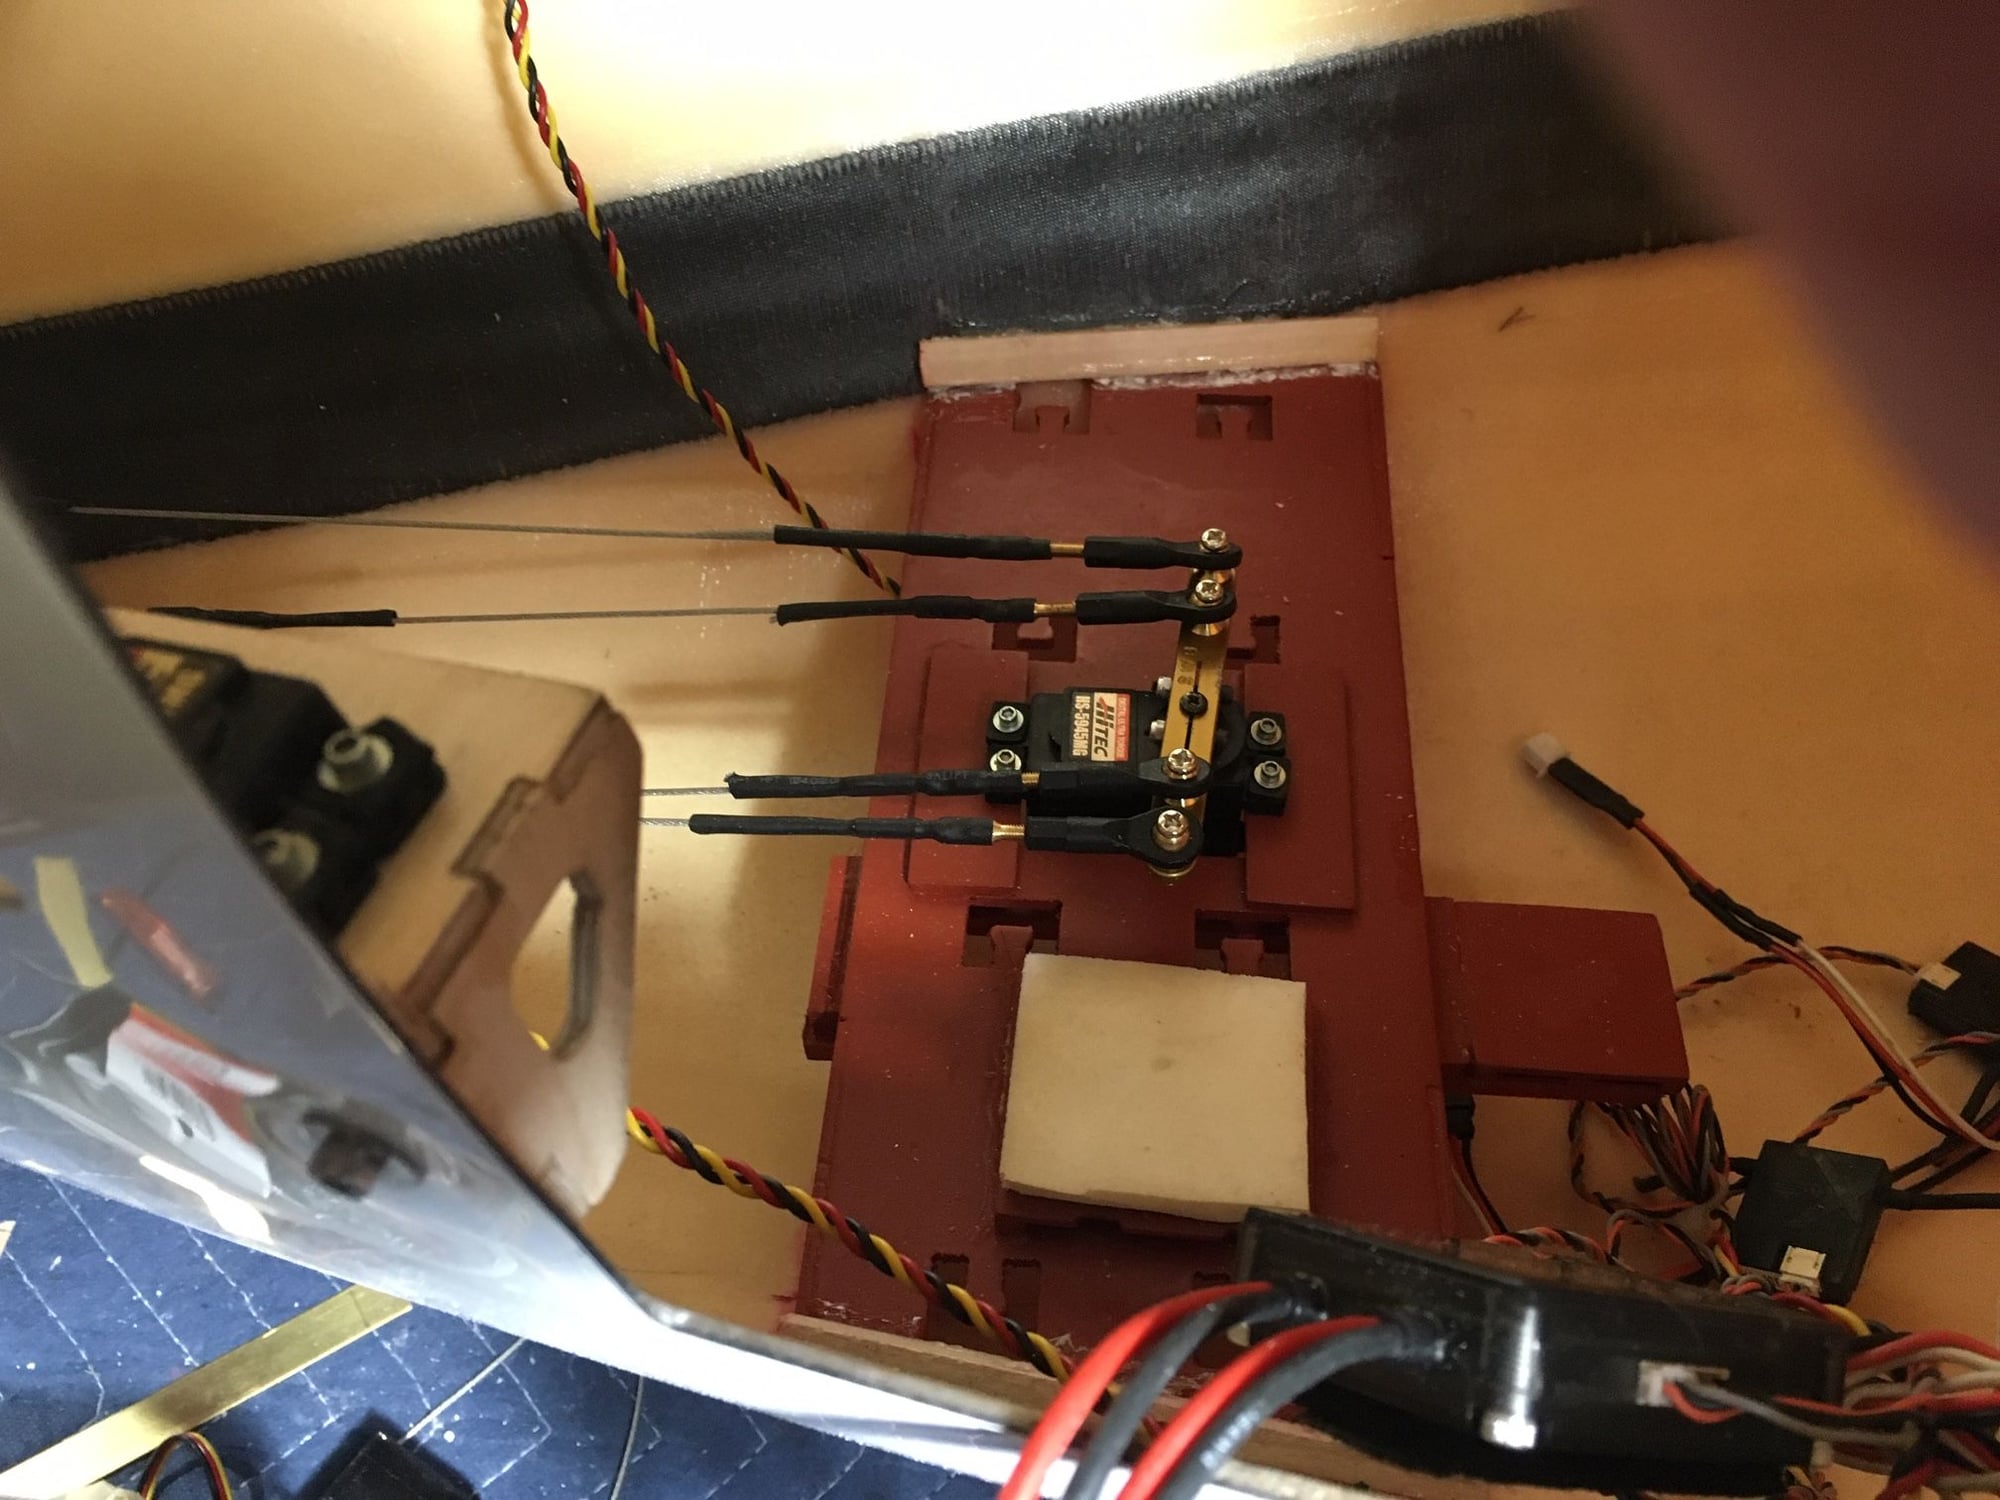
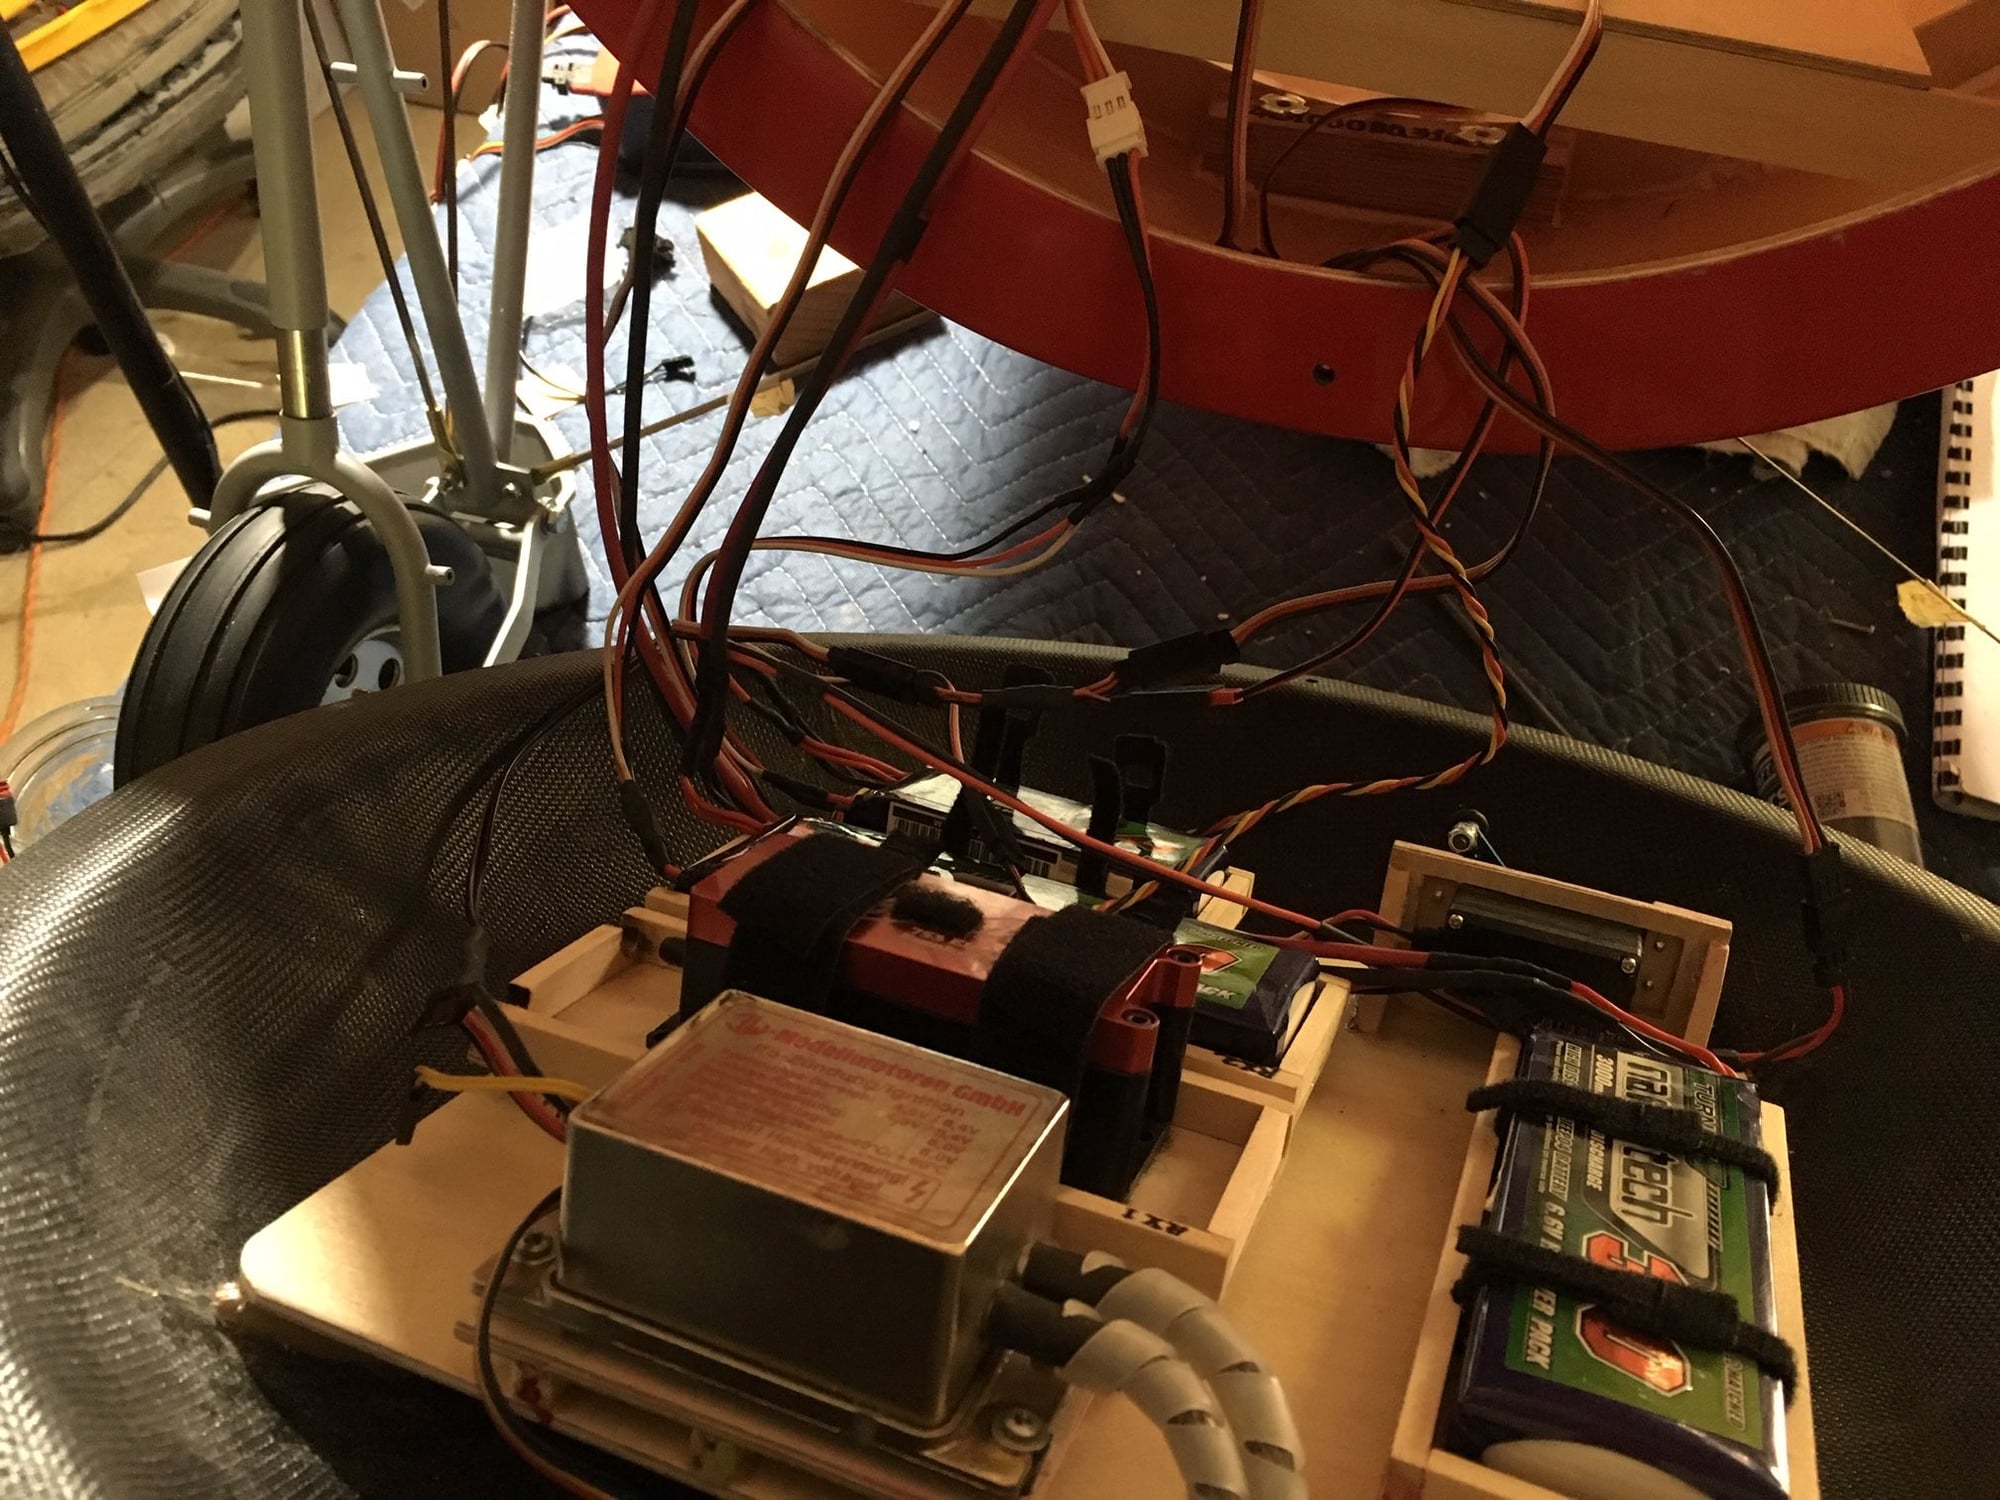
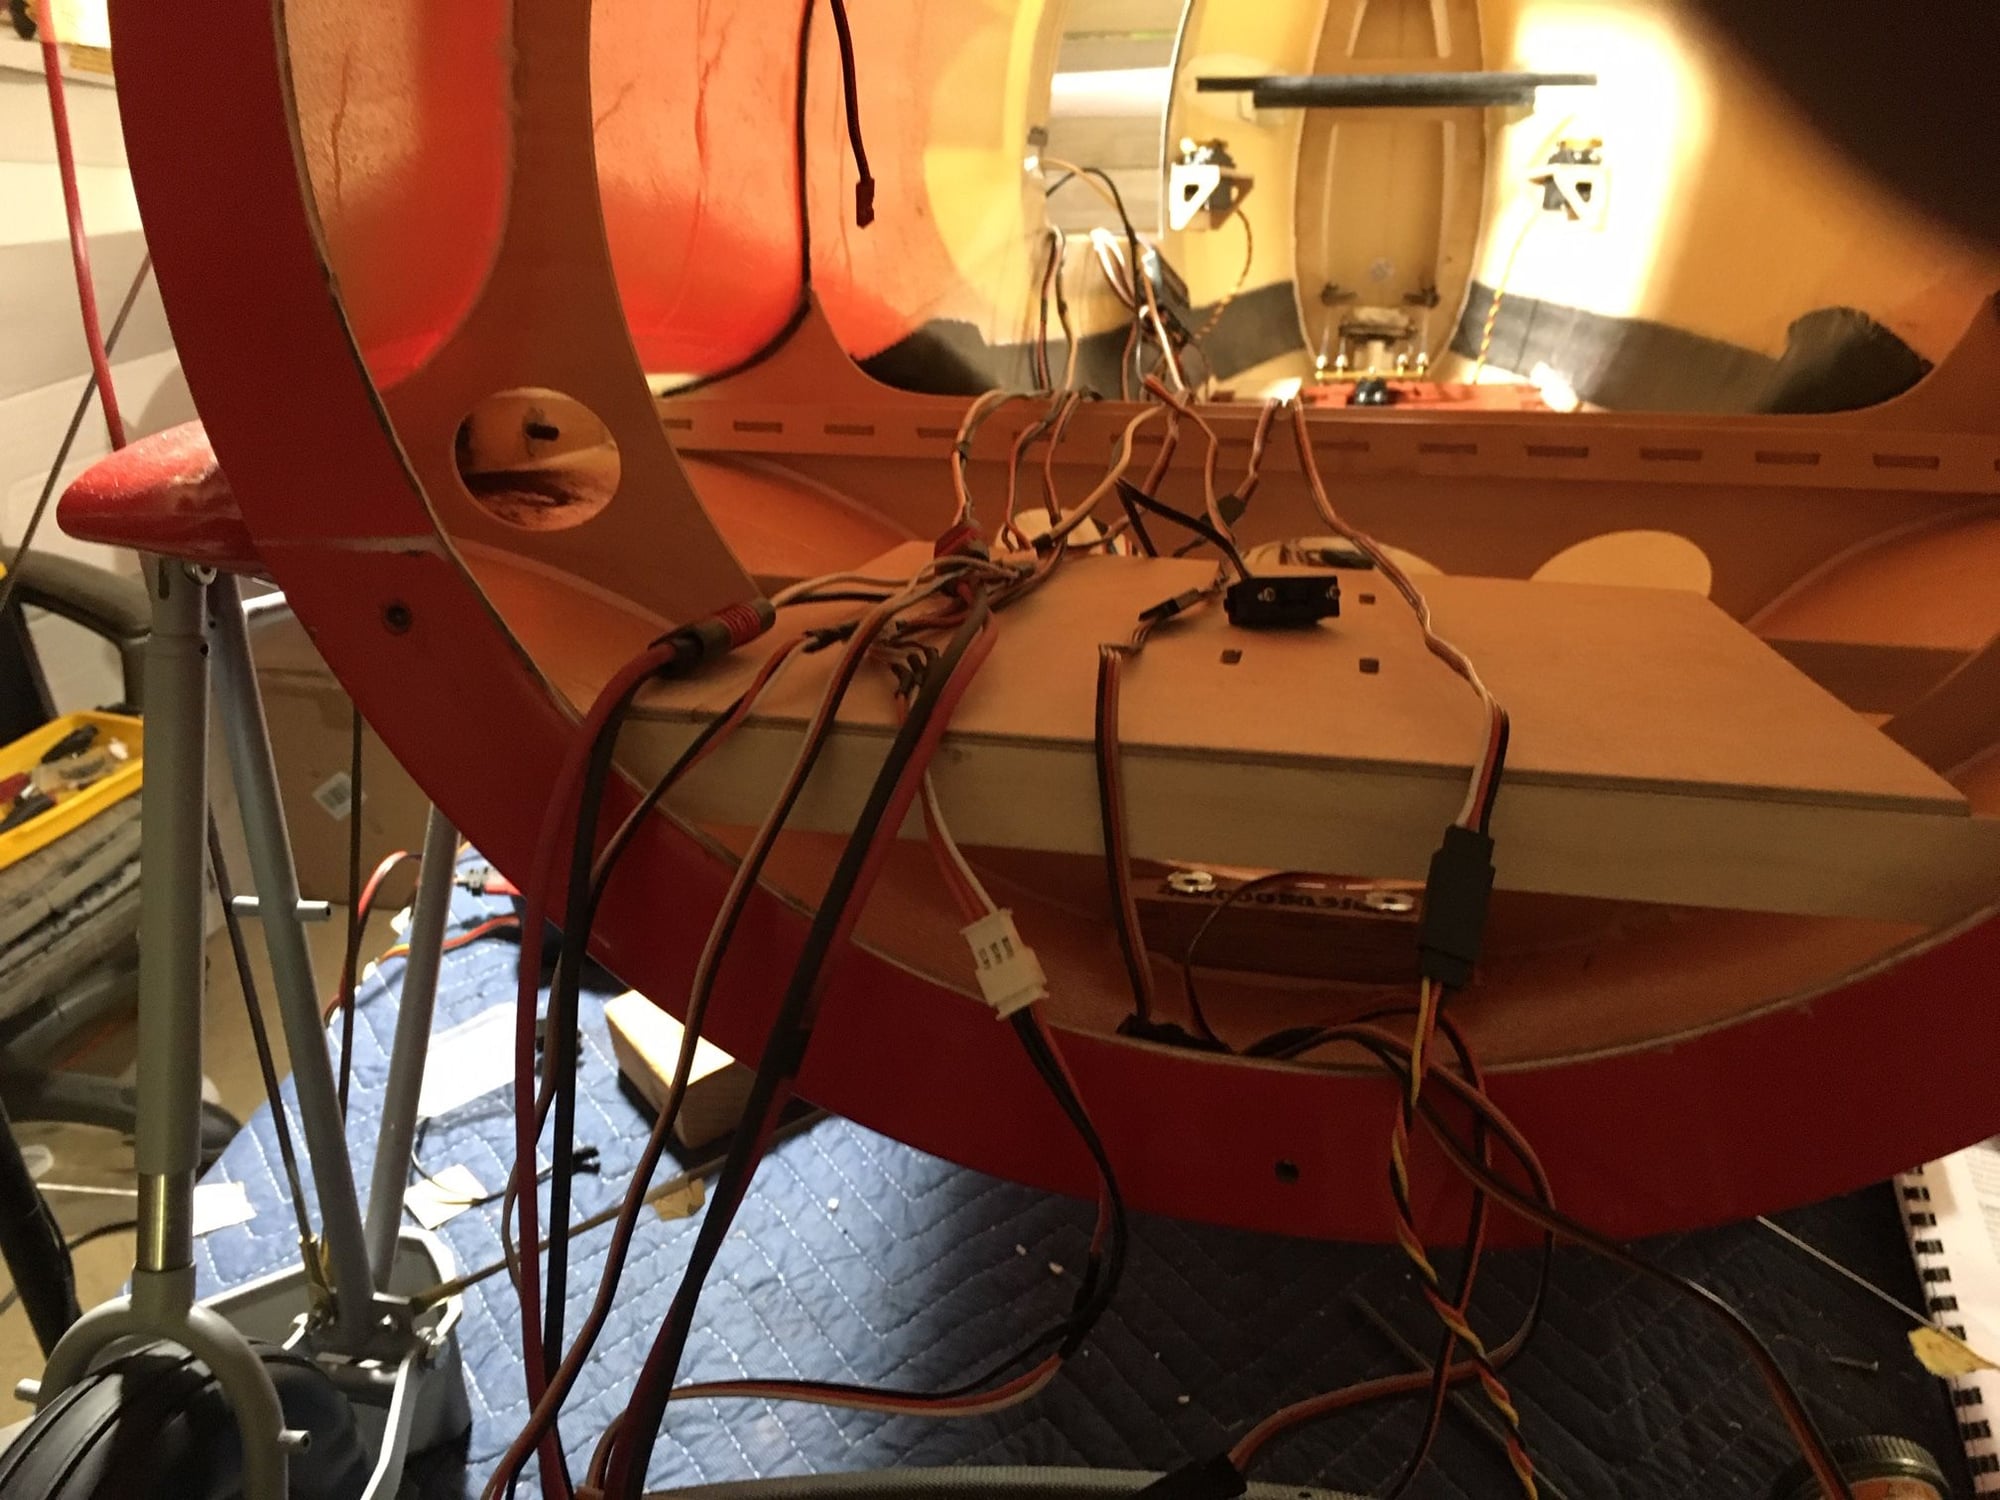
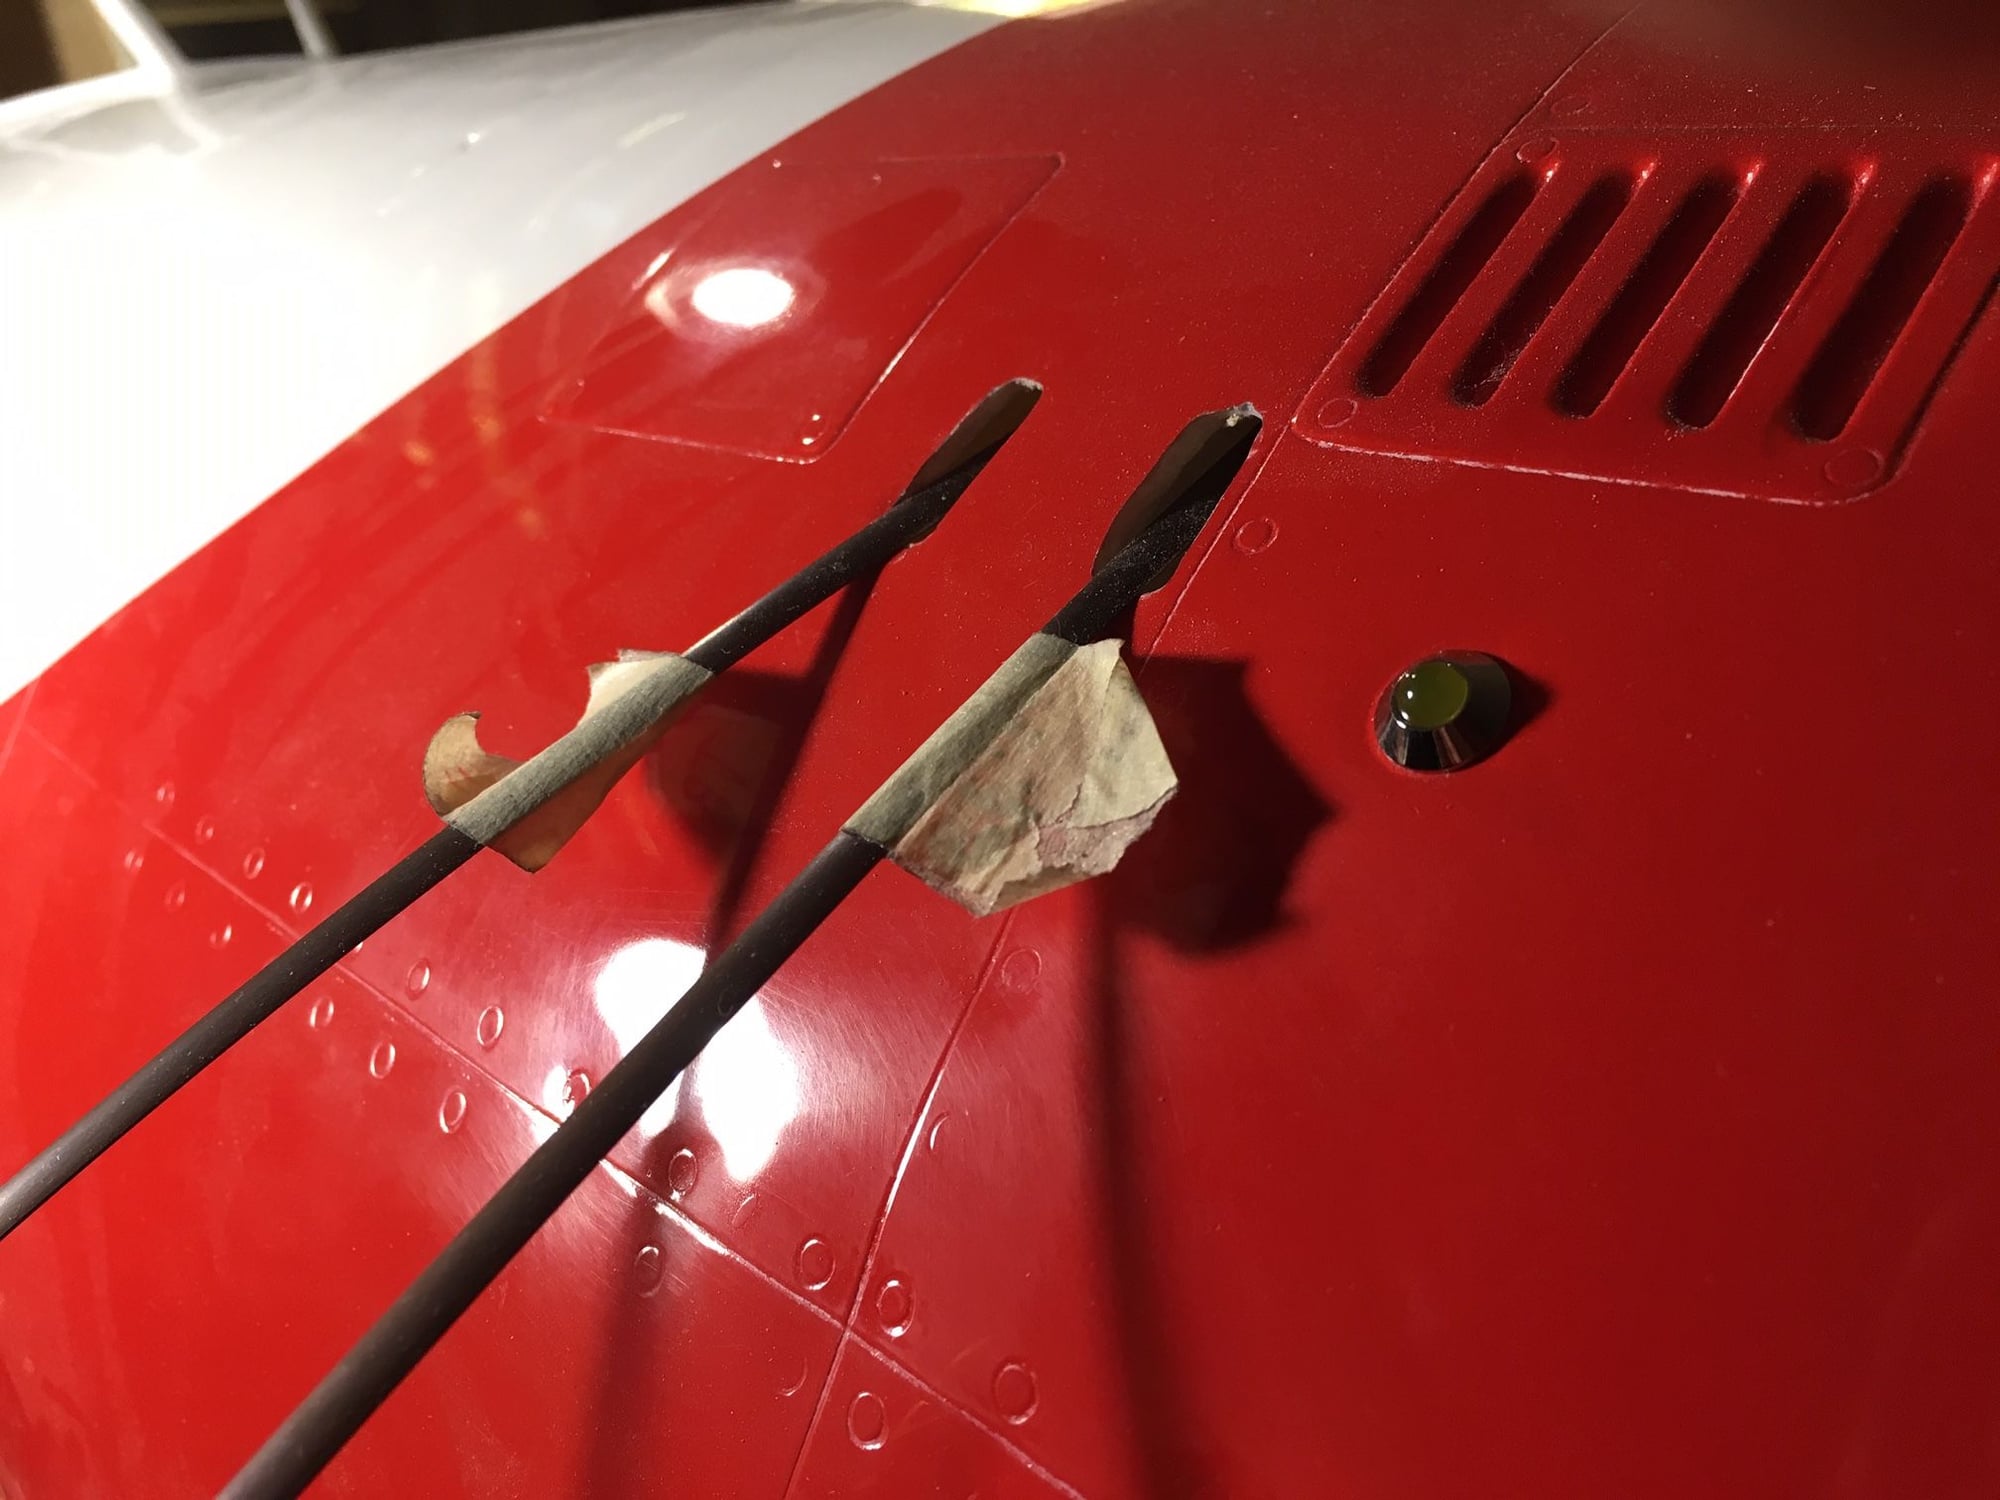
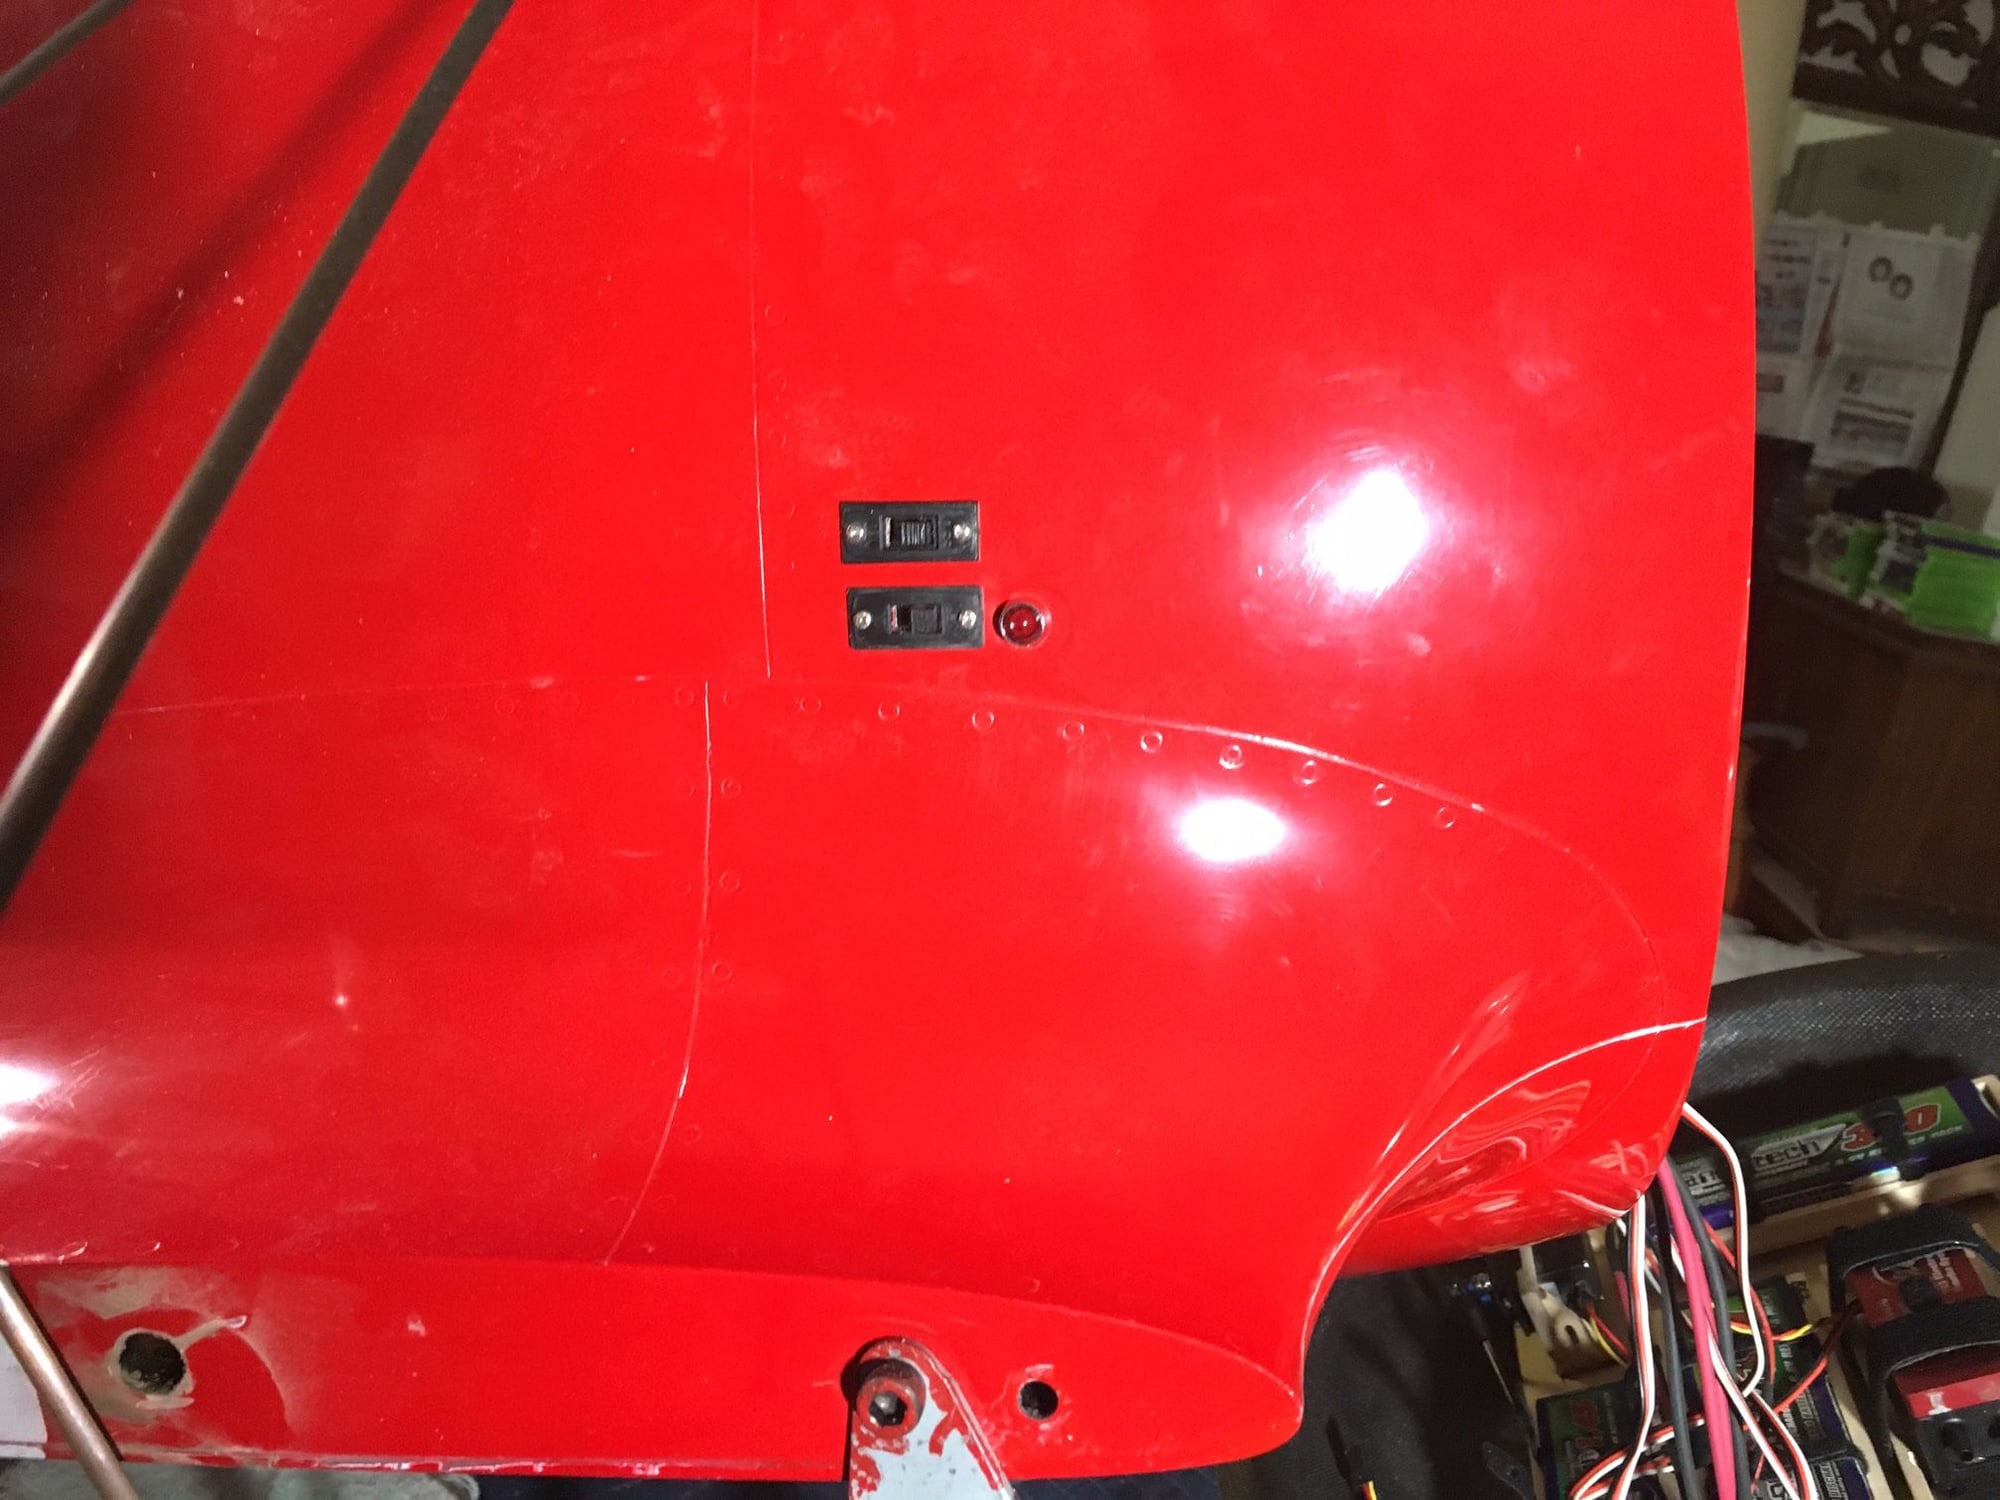
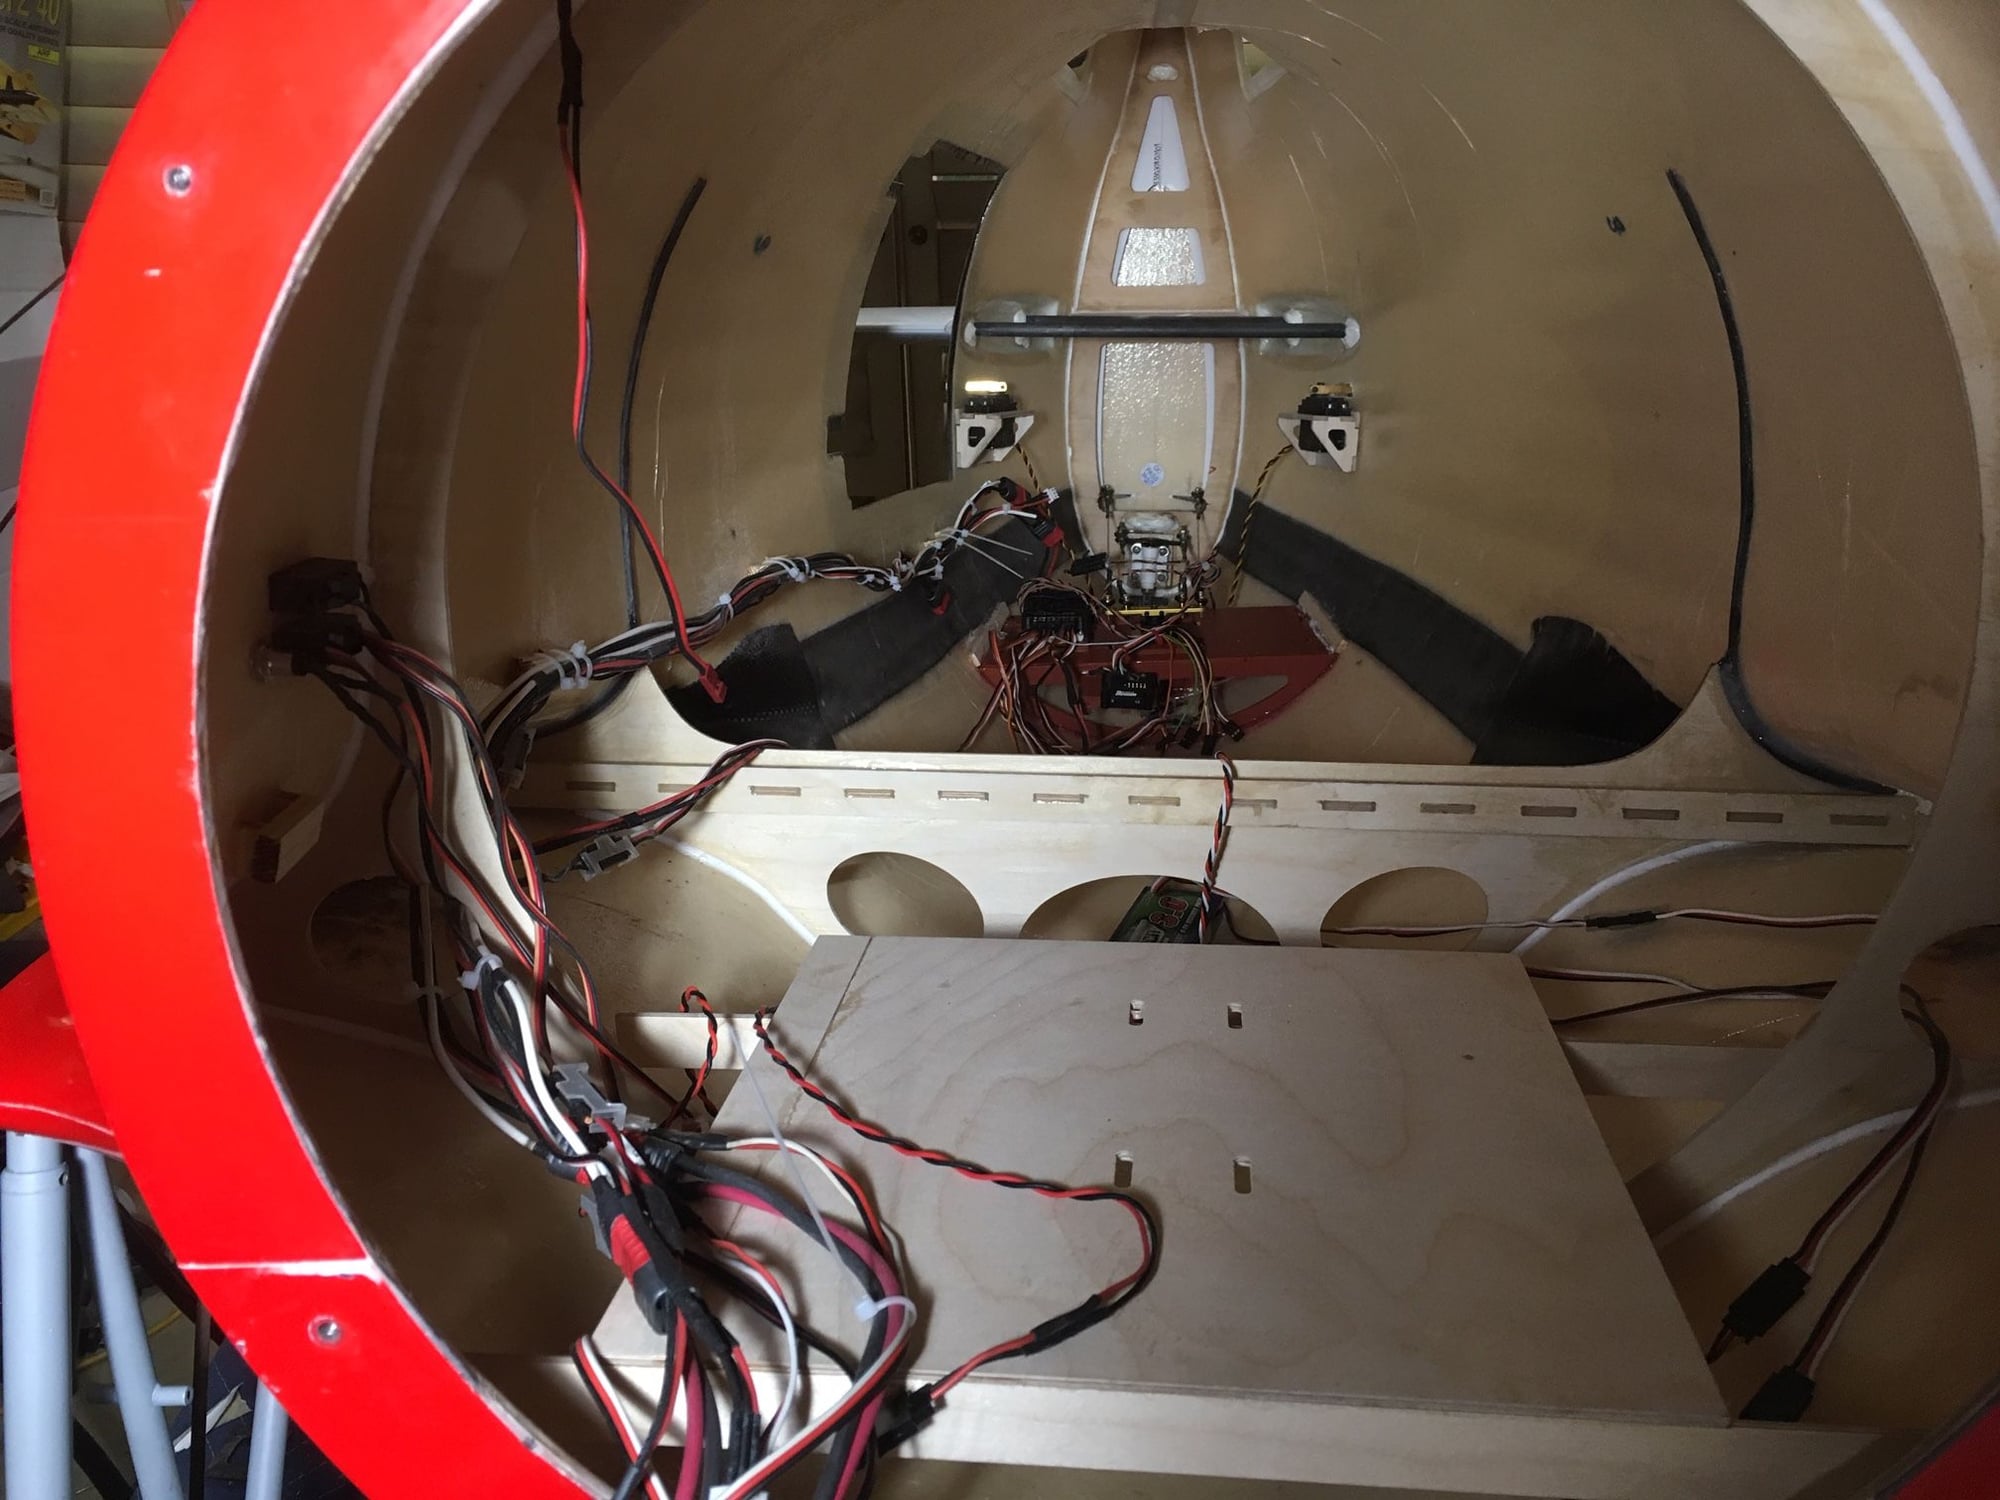
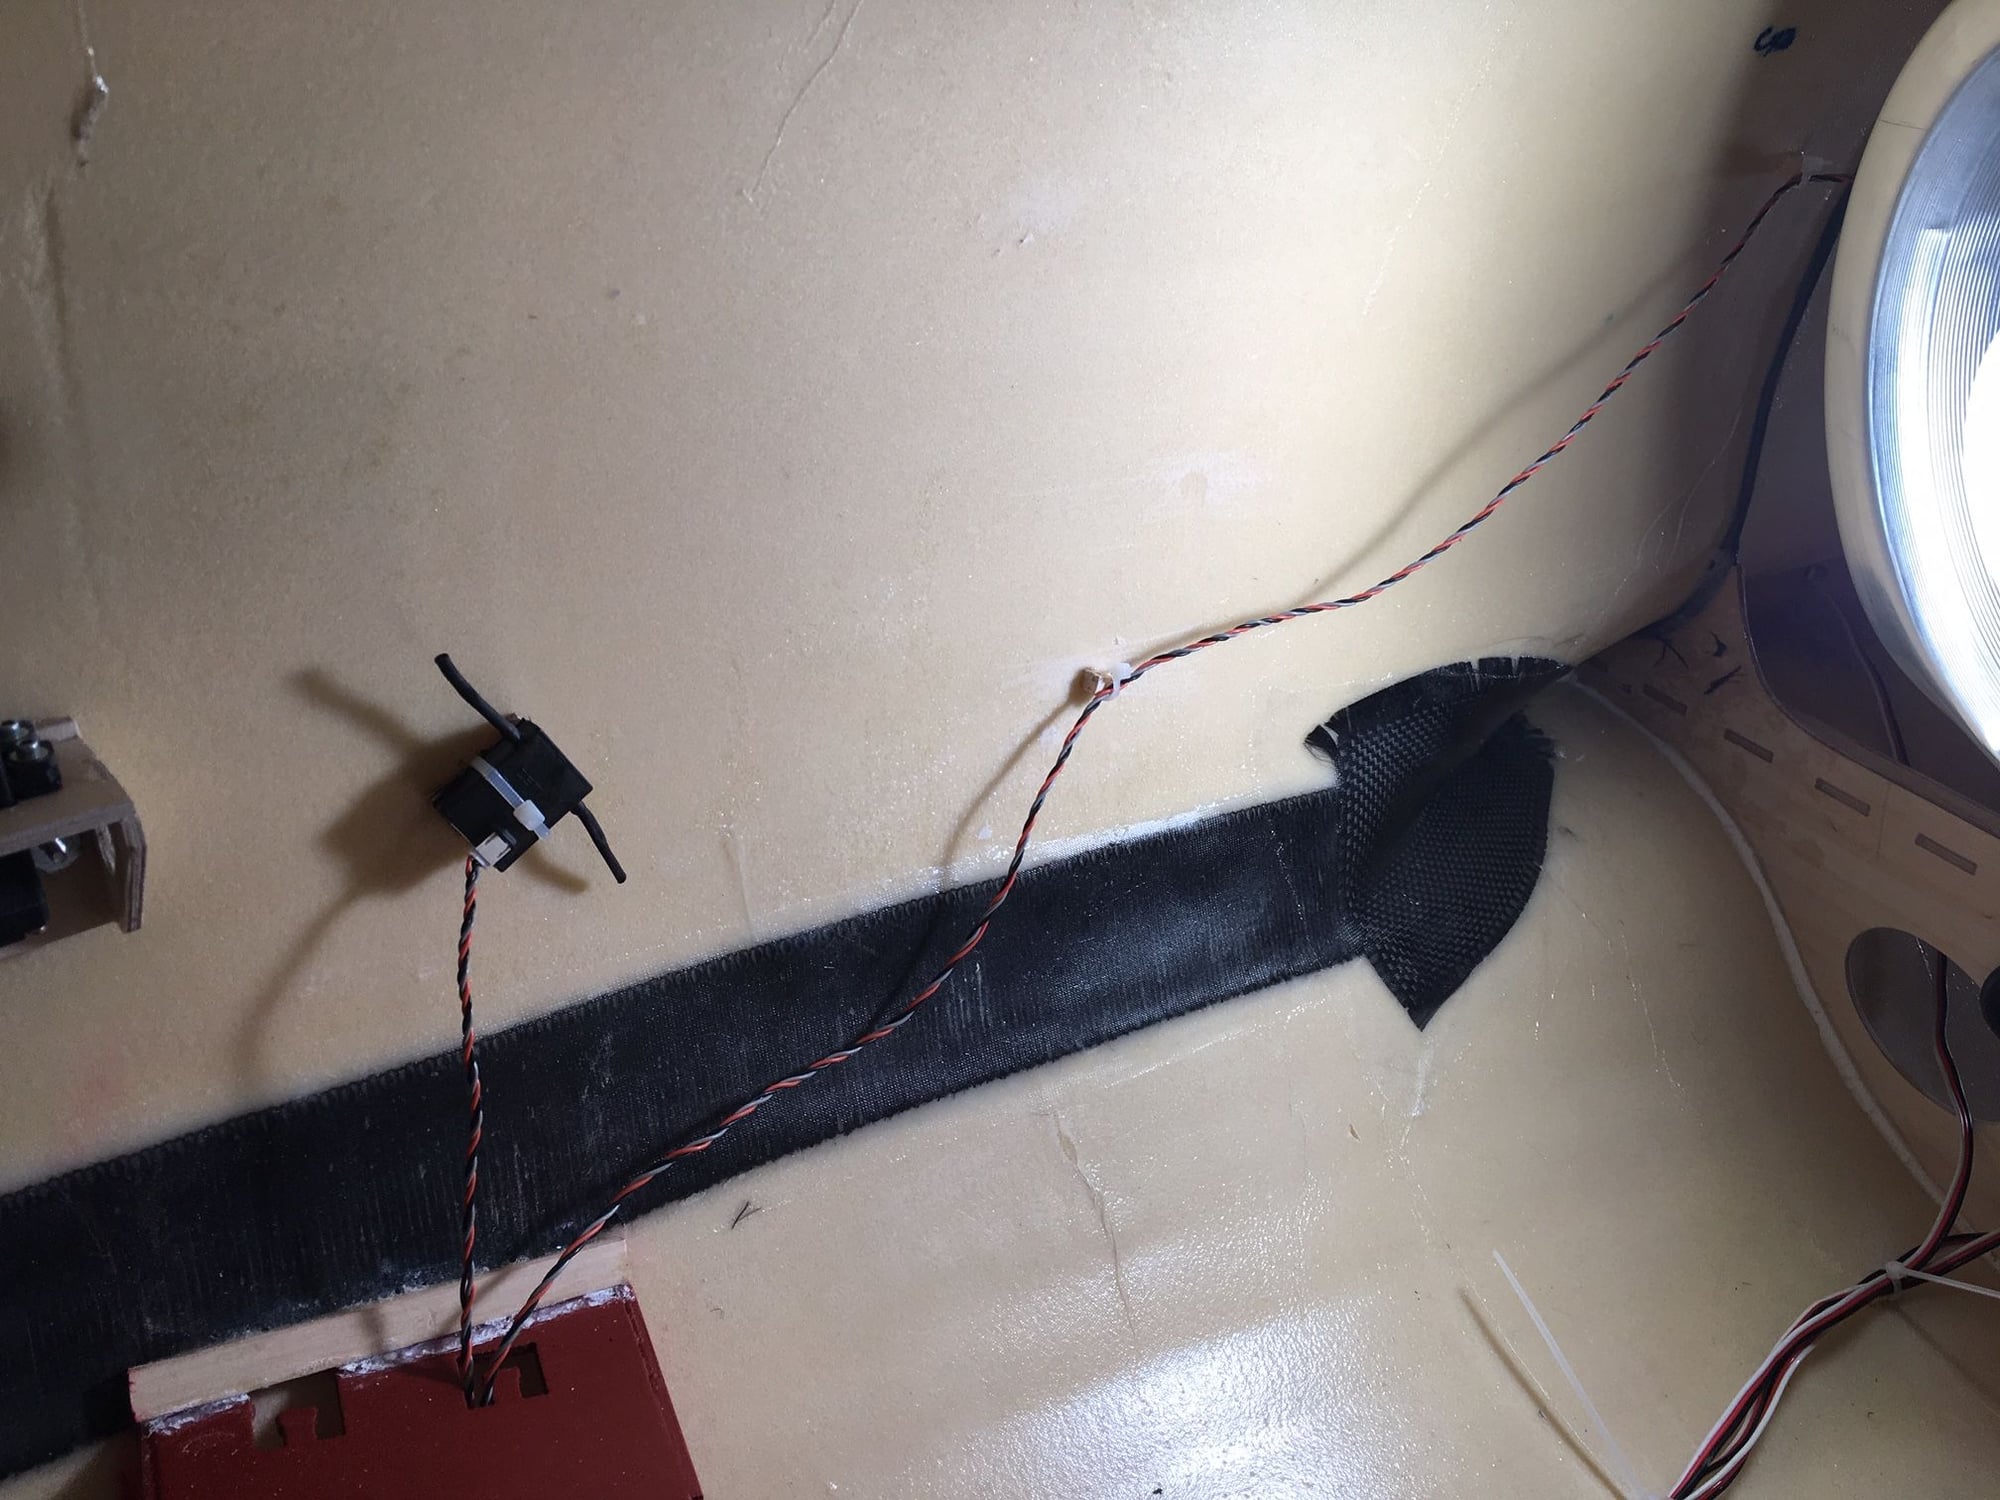
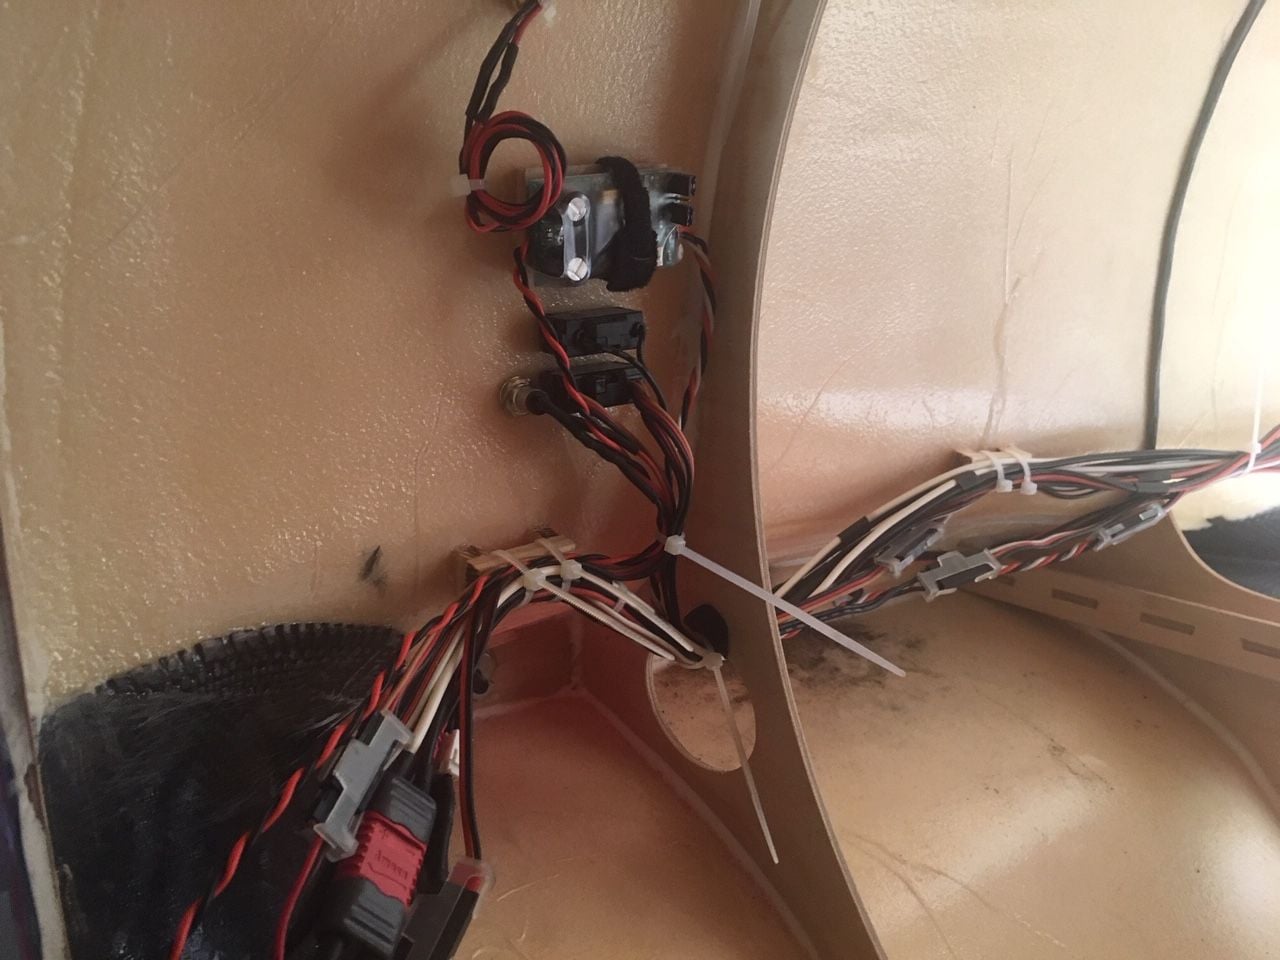
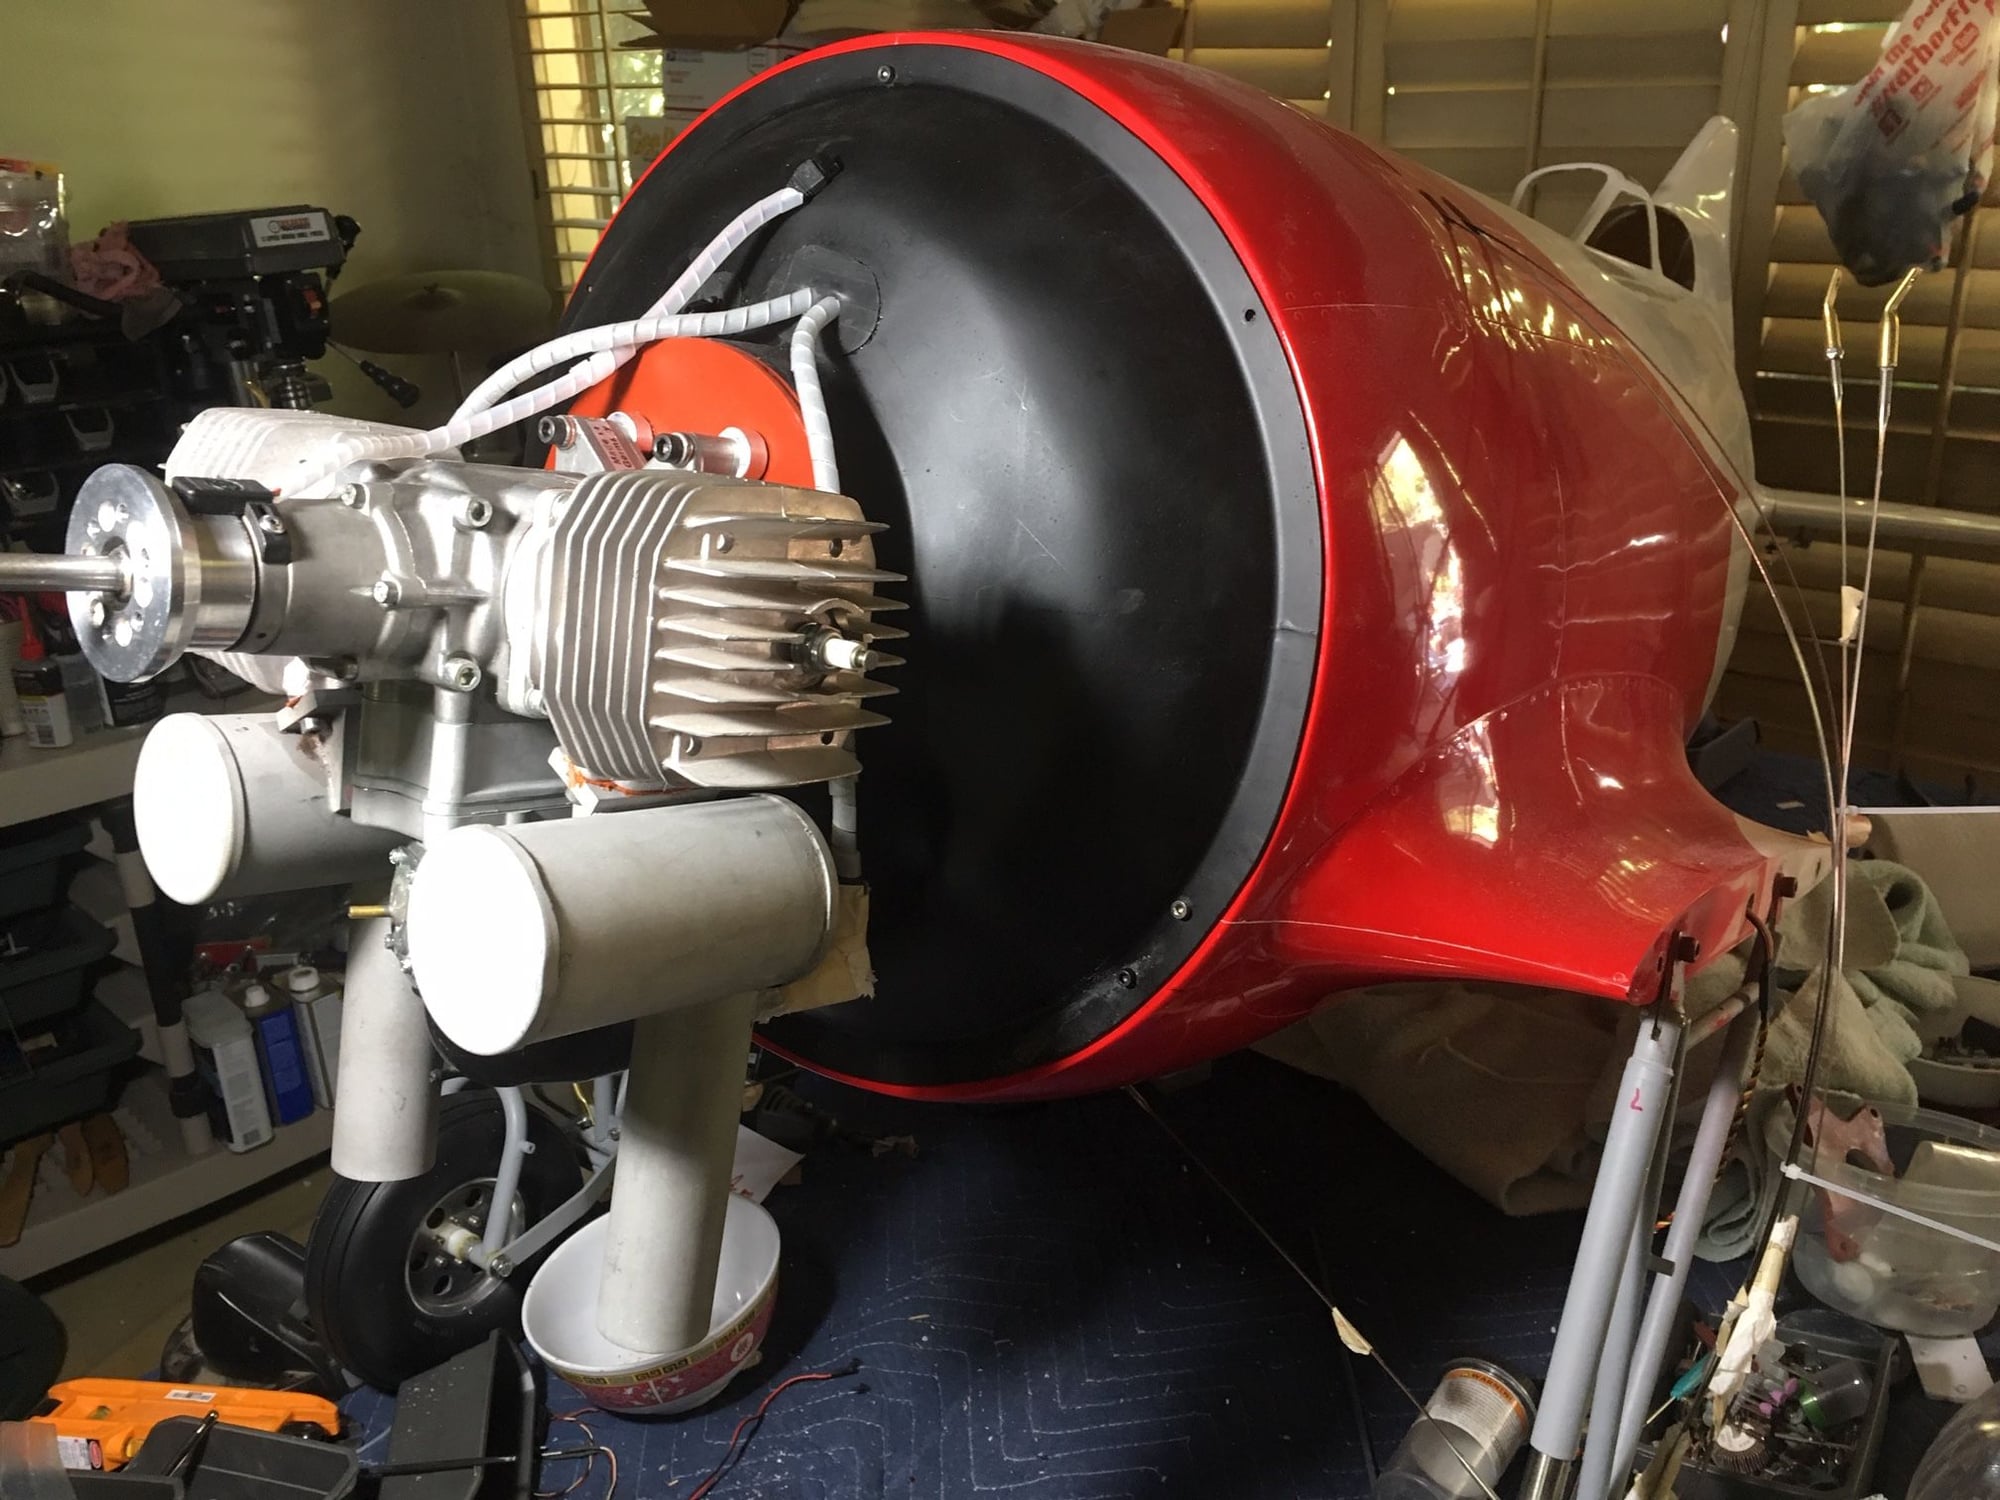
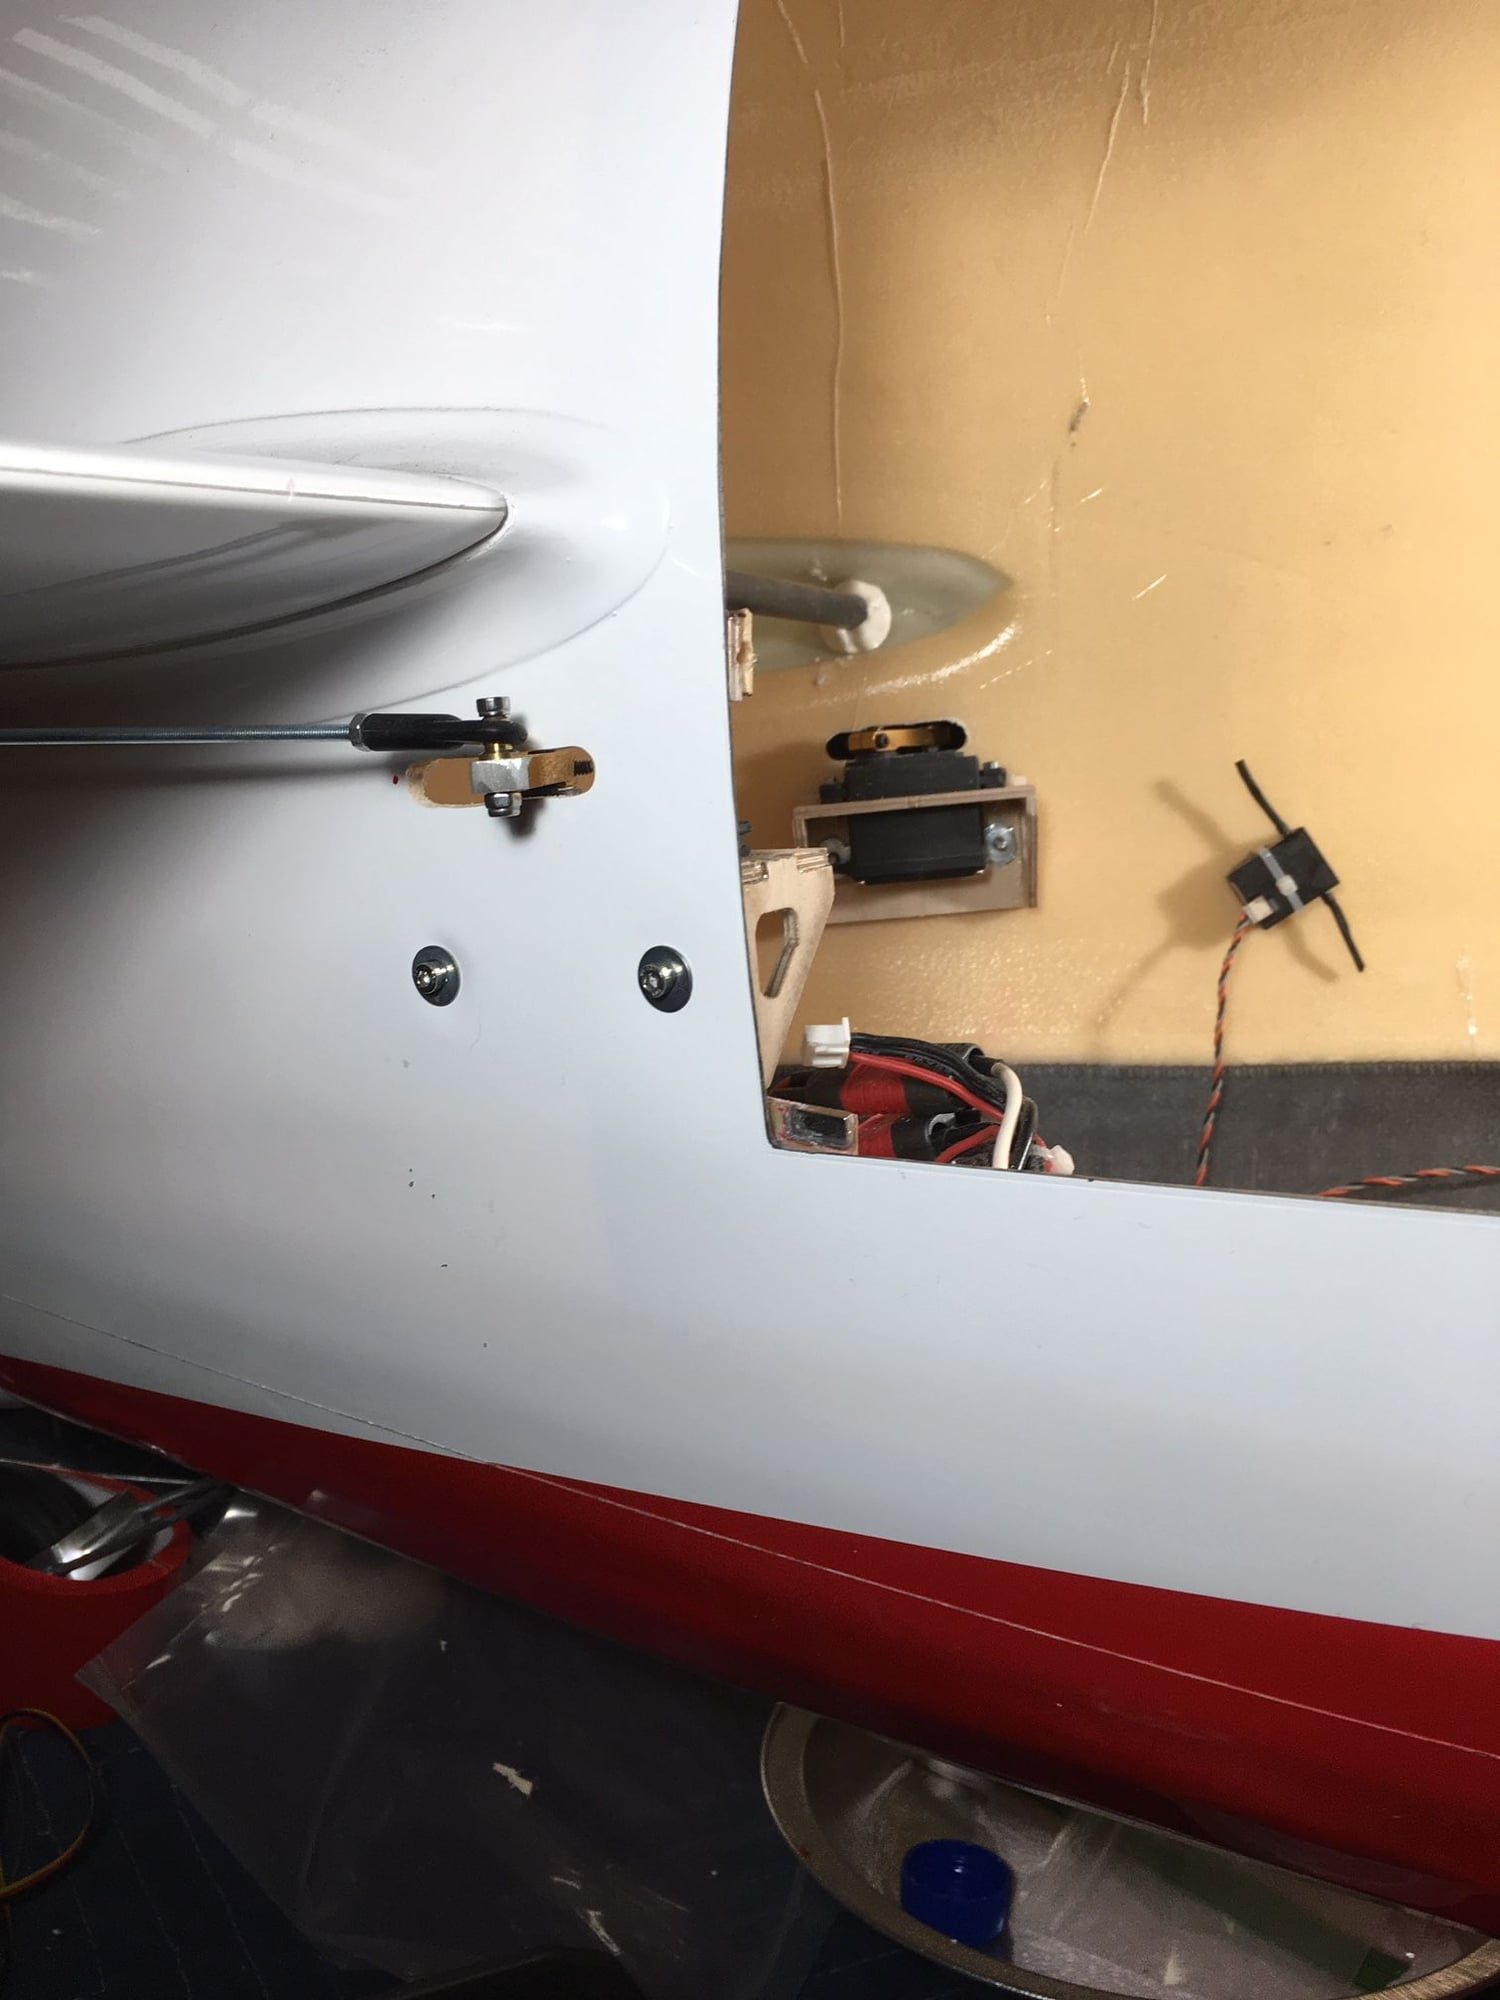
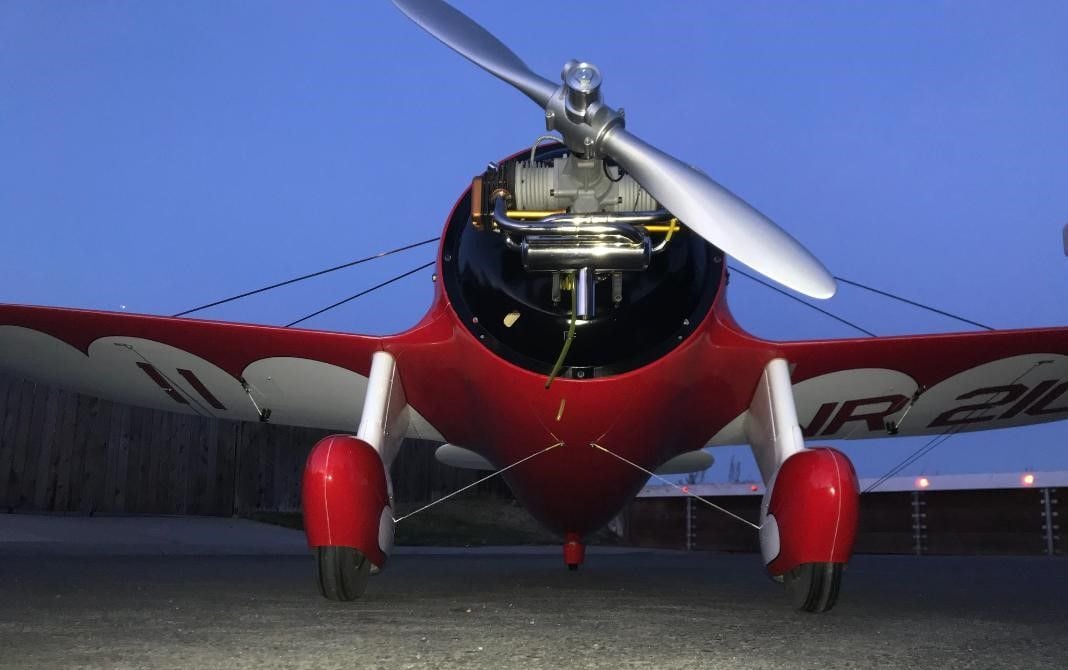
I Finished all the servo arm, ball link set-ups on all control surfaces (I don't use clevises anymore). Wired (temporarily) the ignition/IBEC/led, smoke pump/switch/led and battery charge/ balance connectors and installed smoke and soft switches. My plan is to be able to disconnect all battery,servo and balance leads at the front of the plane in case I need to remove the dome.Right now its a tangled rats nest but in the next few days I'll have it all harnessed. The pull-pull rudder tailwheel assembly came out well with no play. You will notice a small platform forward of the radio tray. I added it to mount the Bavarian Demon Cortex gyro I'm going to use on my initial flights. The lone LED you see near the flying wires is the hot ignition indicator. It is connected to the IBEC (ignition battery eliminator circuit) which also acts as an engine kill switch. For those not familiar with the Tech Aero IBEC, it allows you to safely draw ignition voltage from the Rx while providing for a Tx controllable kill switch. I've been using them for several years now and it is a high quality, reliable system and a great company. Ed Alt is the man! And they cost less than $50shipped.
Everybody crashes. Mark.
Everybody crashes. Mark.
Last edited by 5th GeeBee; 10-31-2019 at 09:00 AM.


 11-03-2019, 03:58 PM
#1905
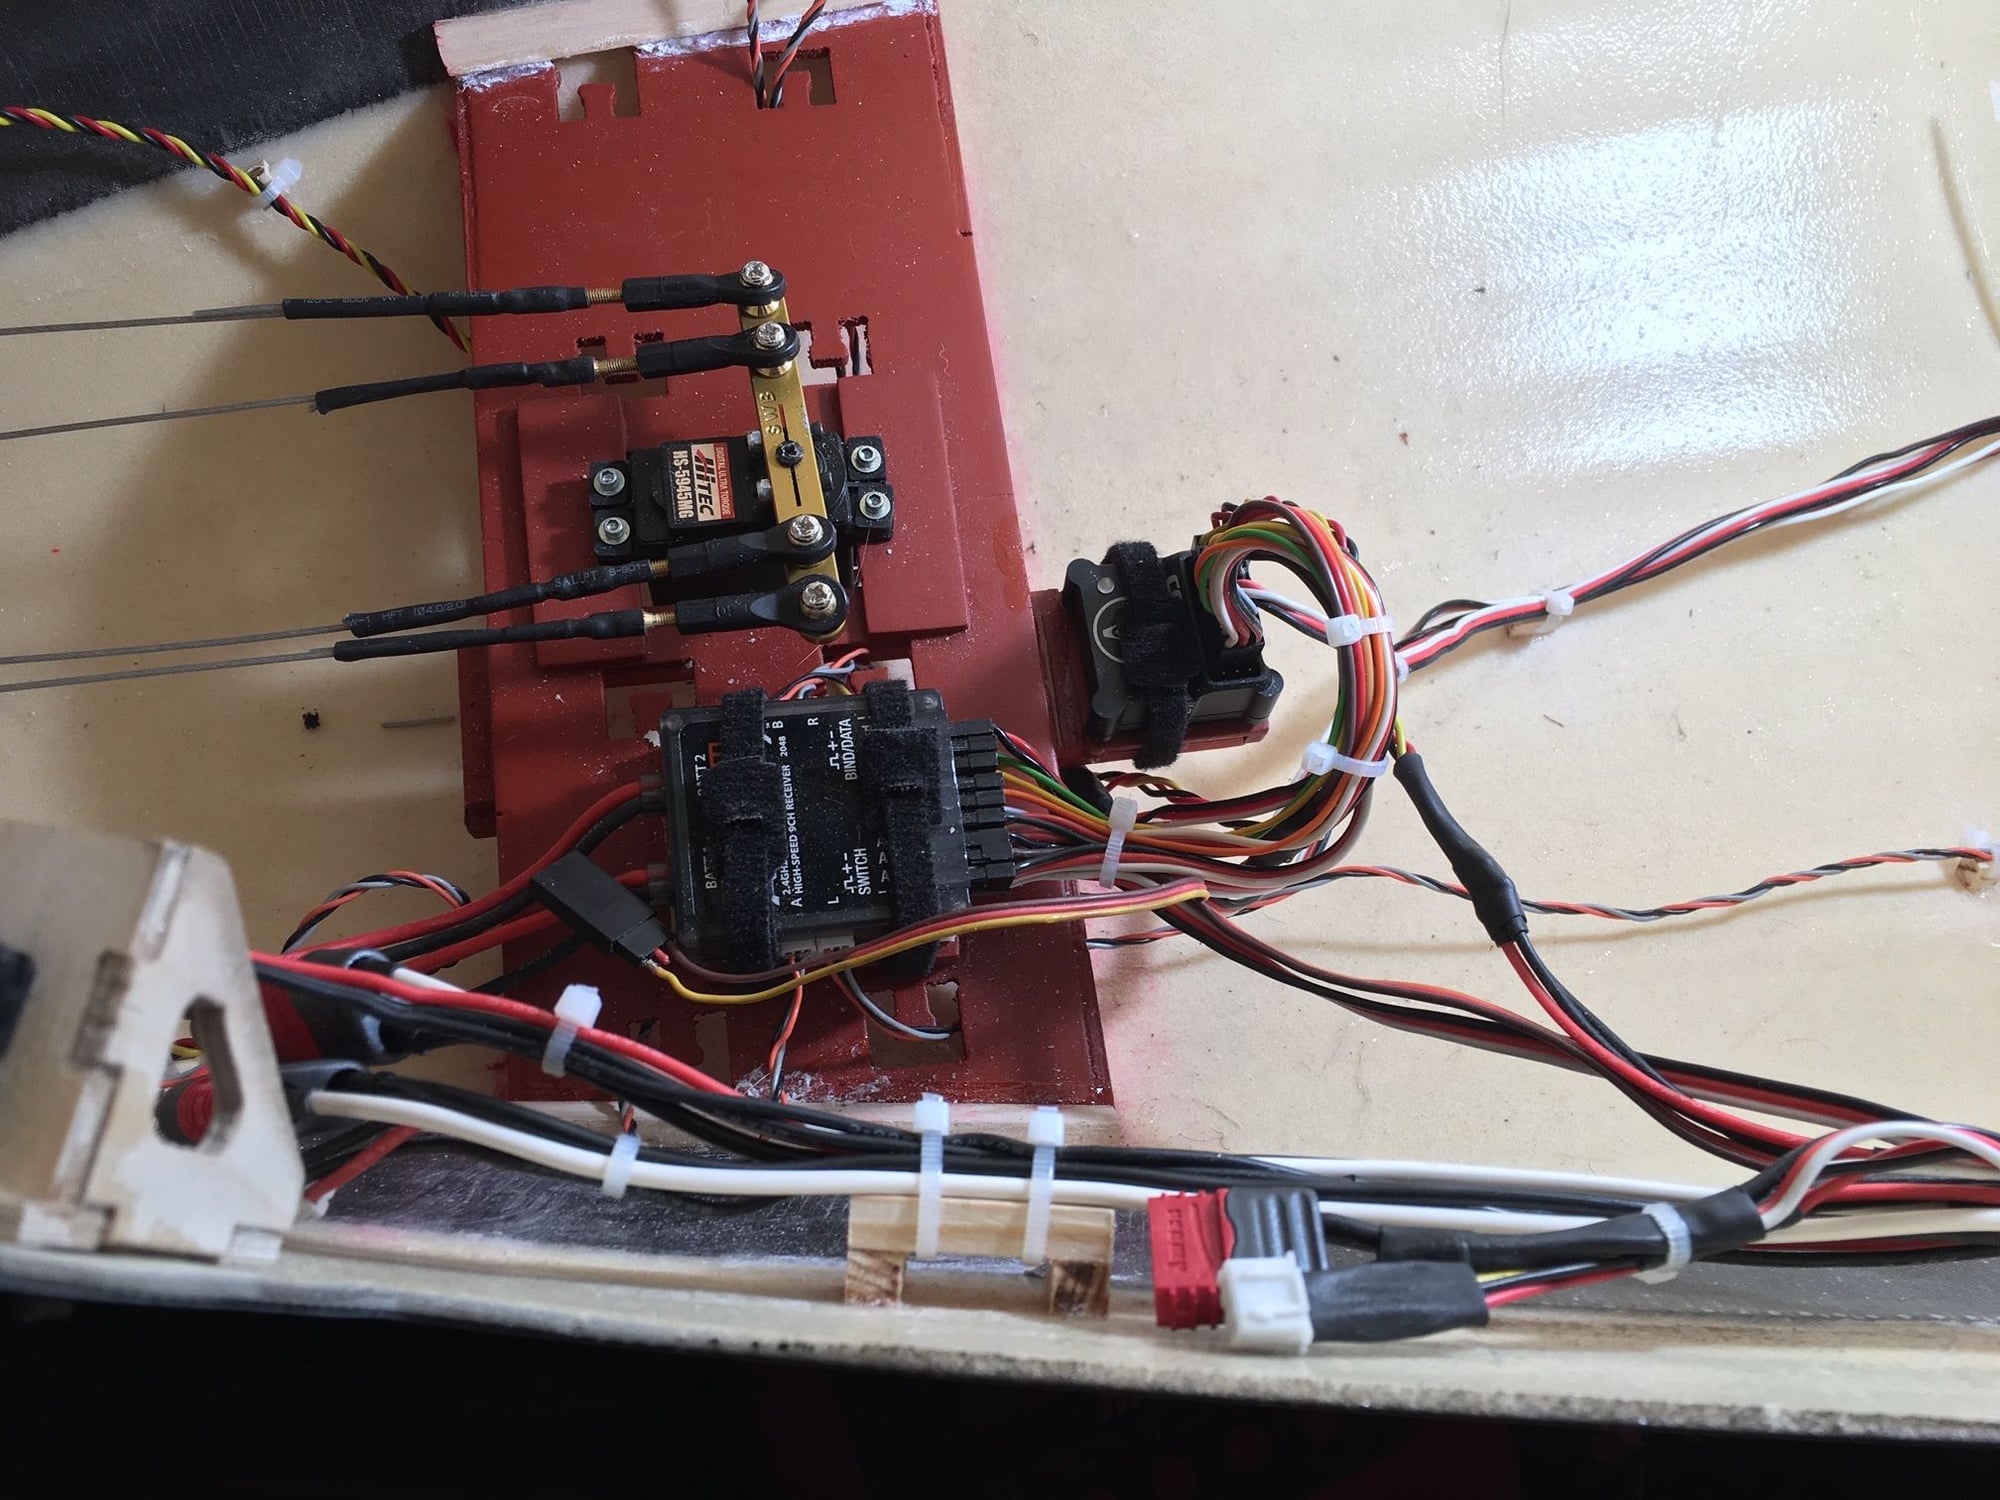
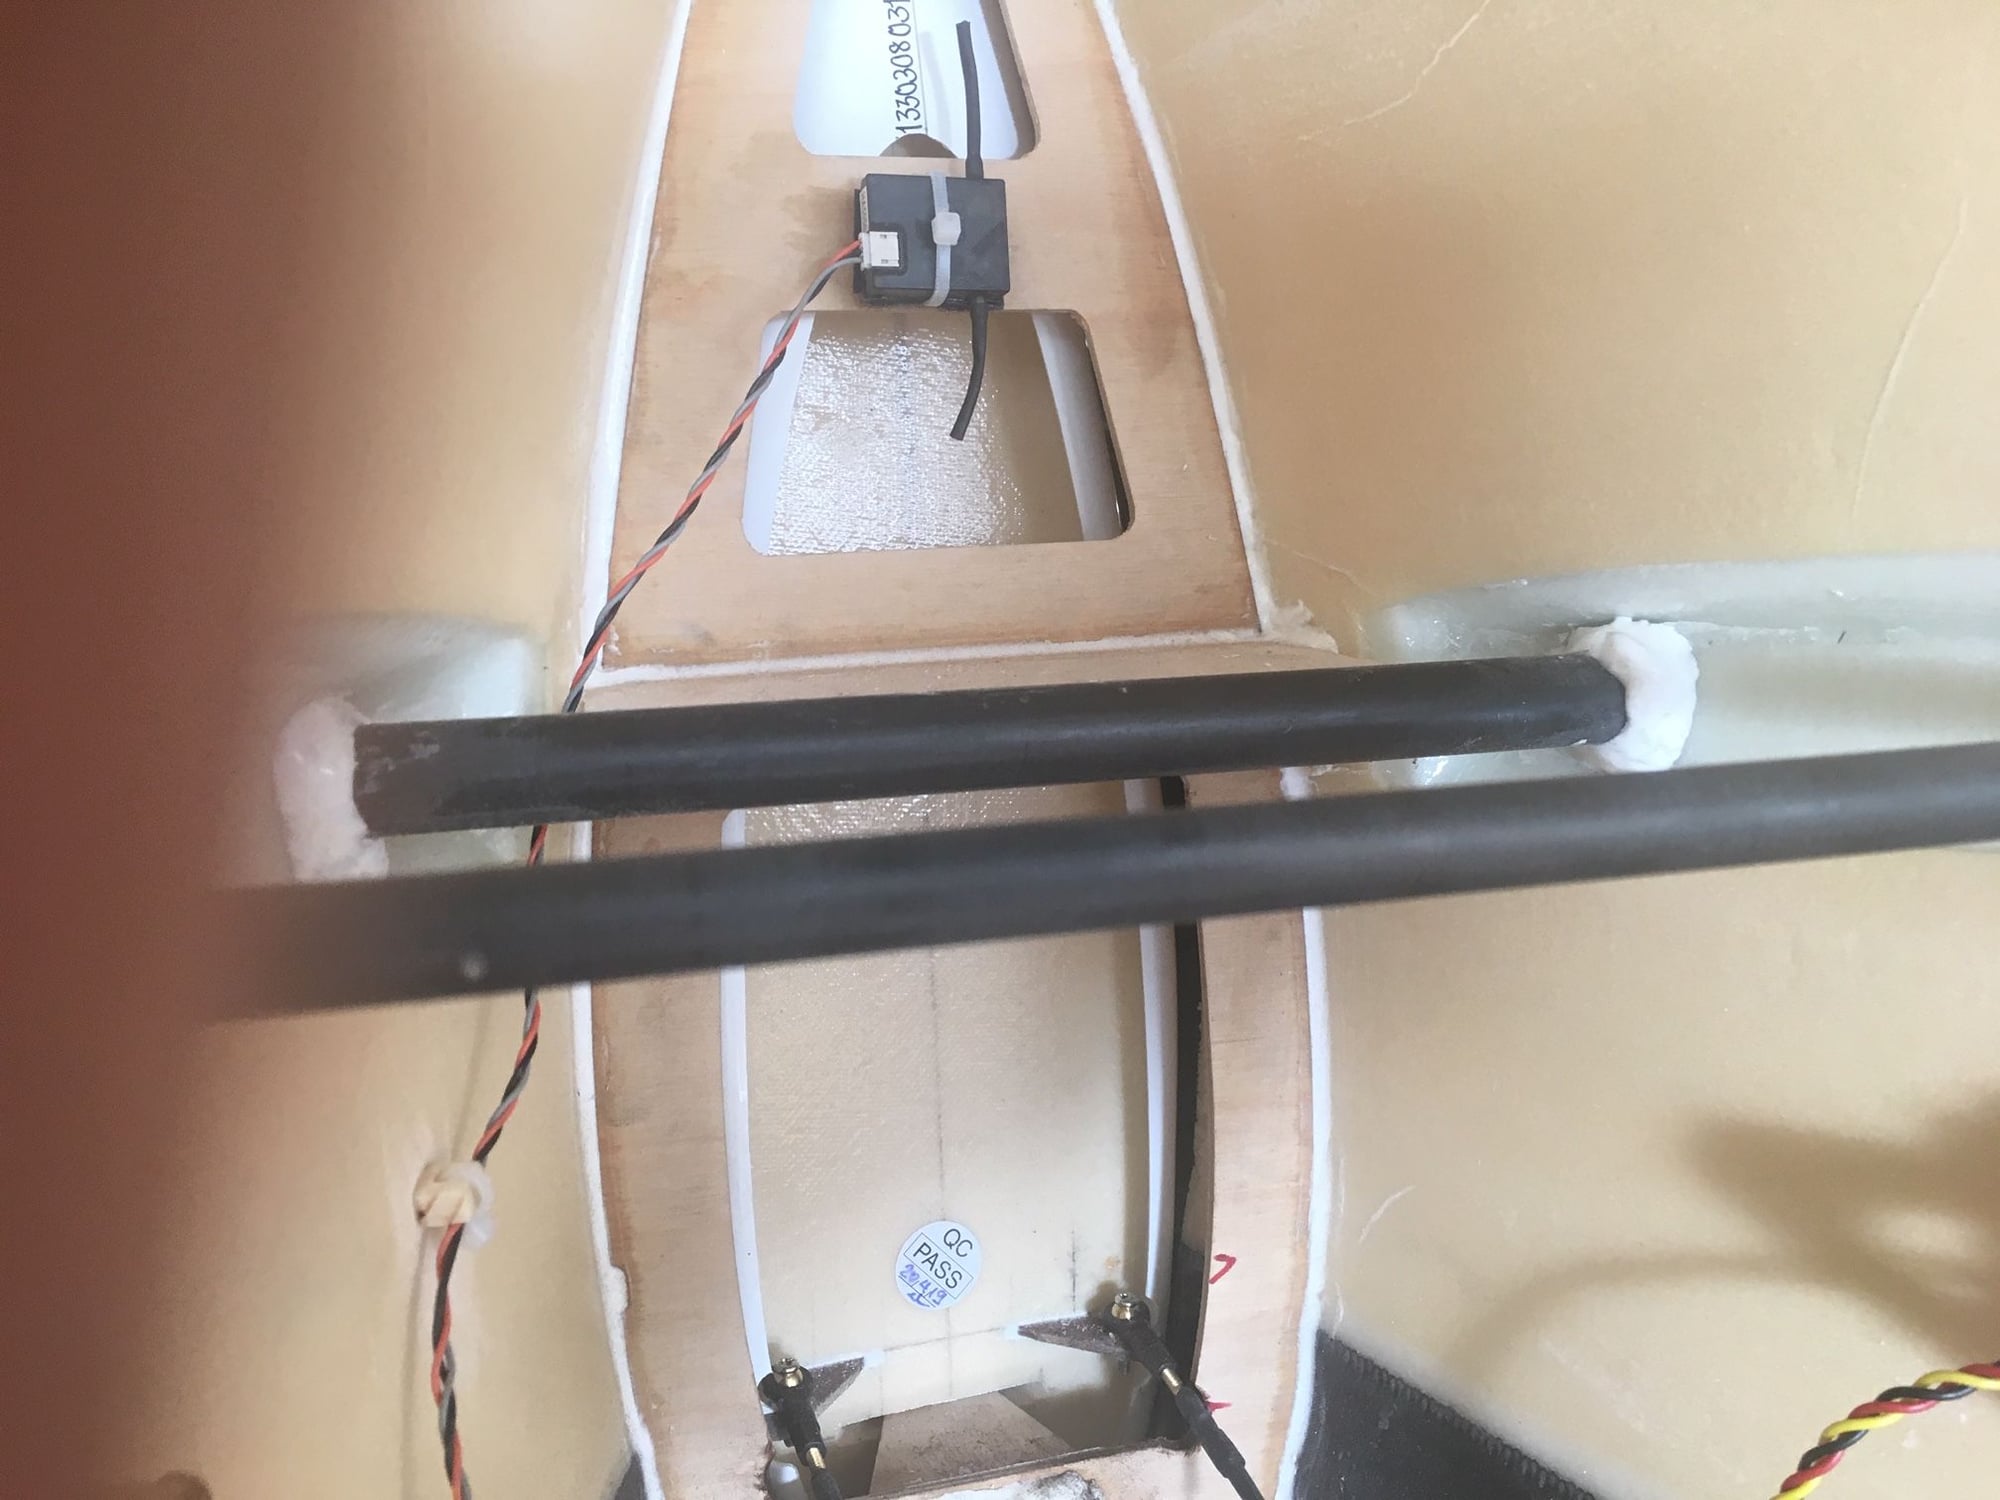
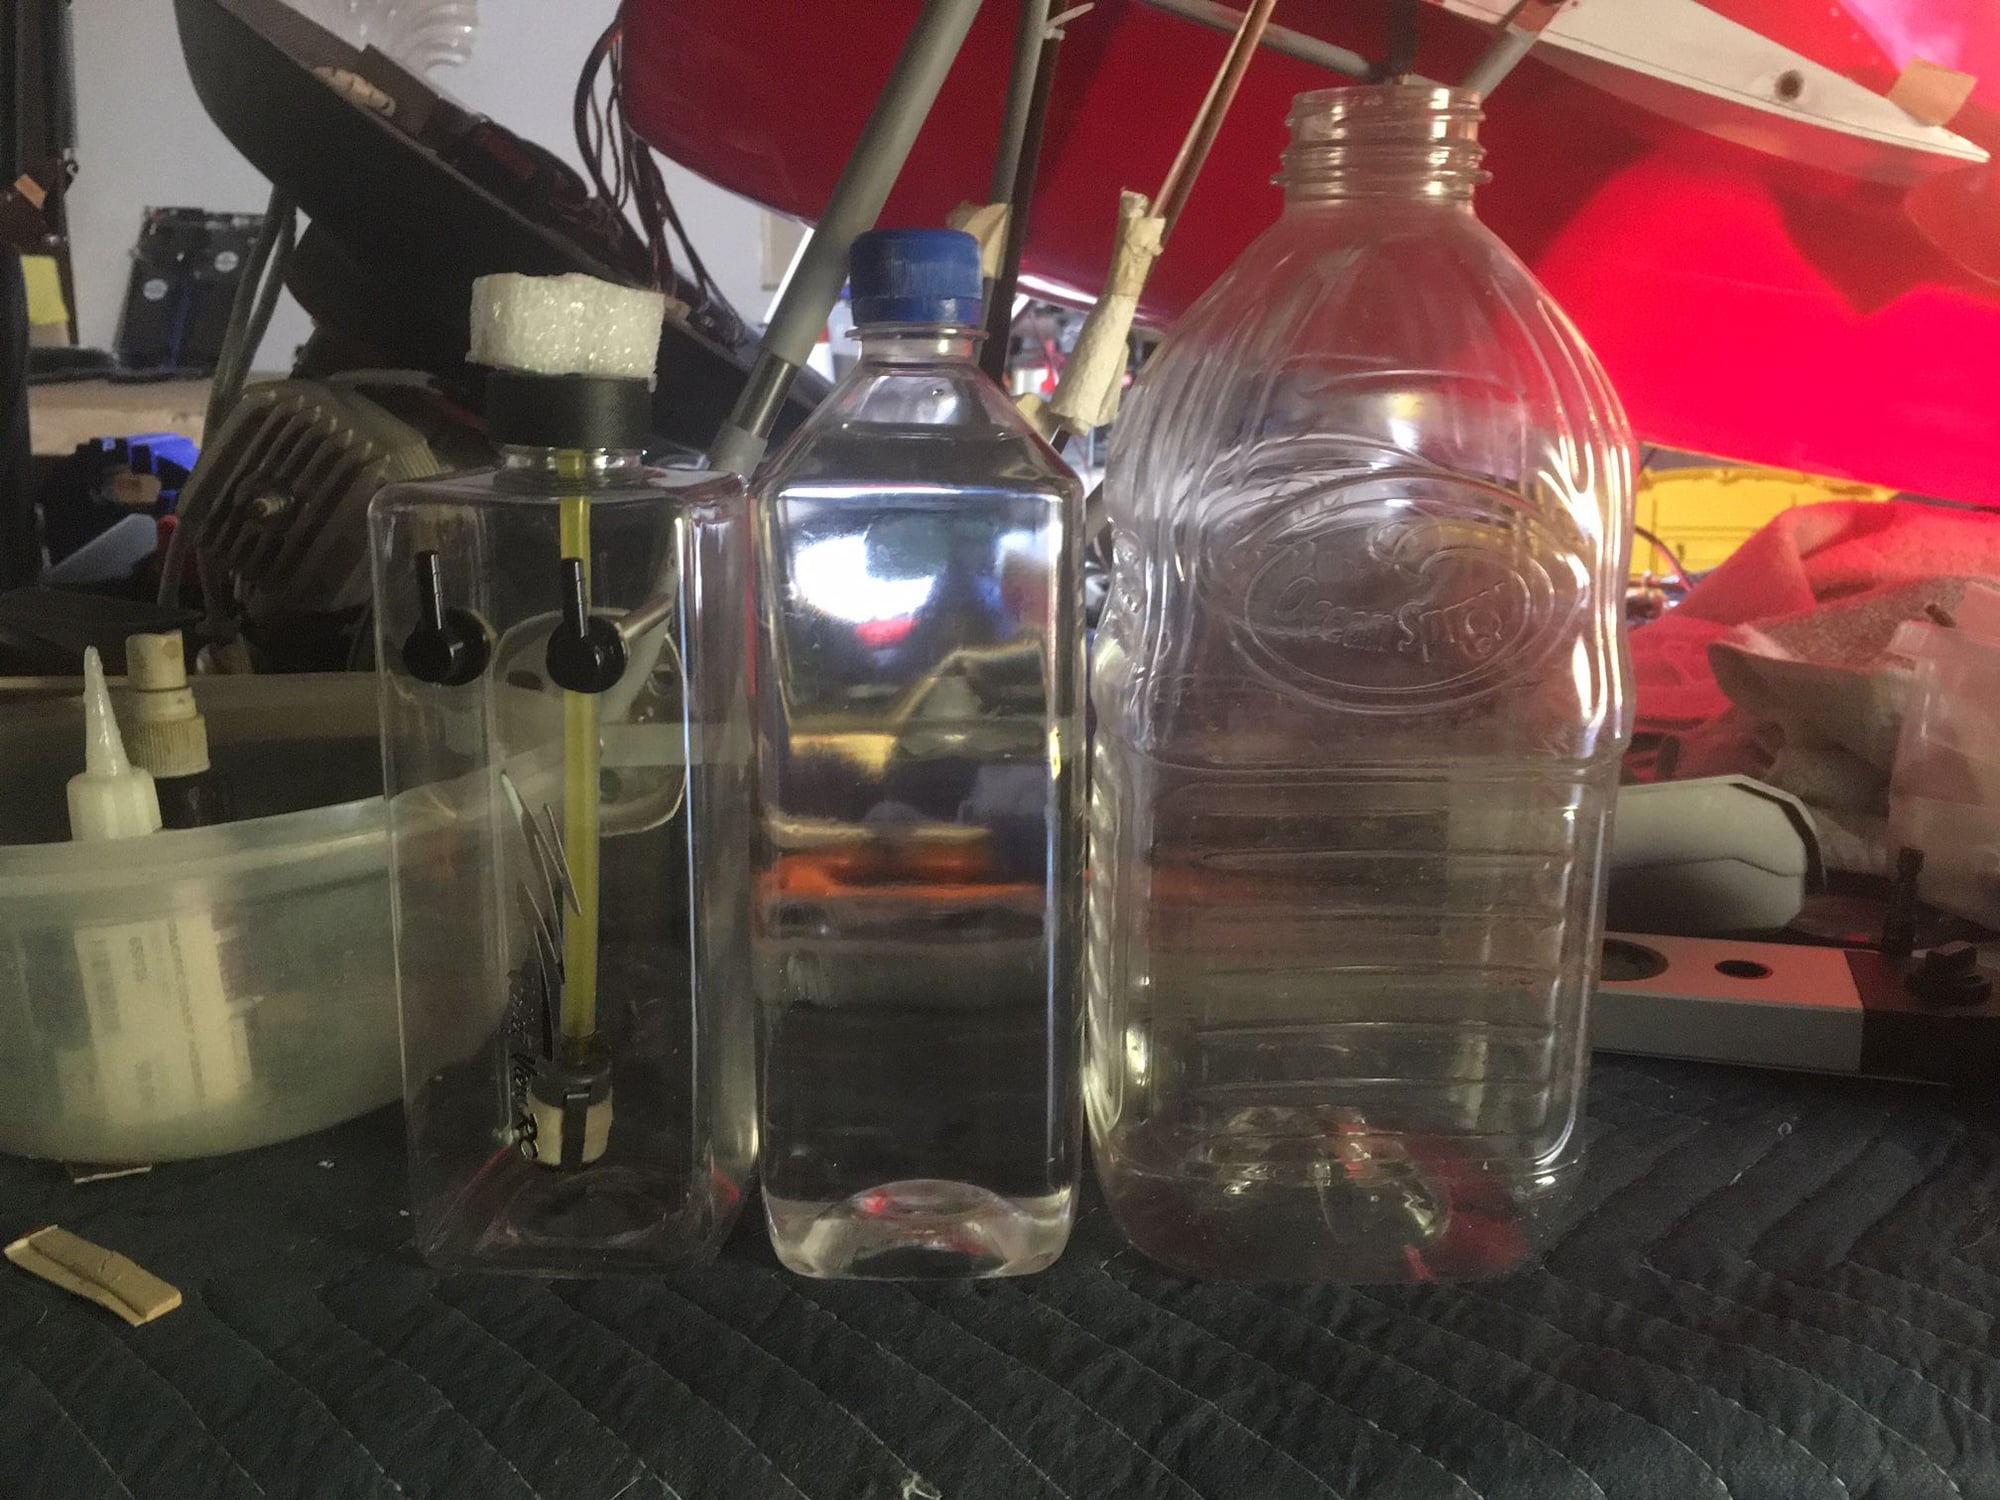
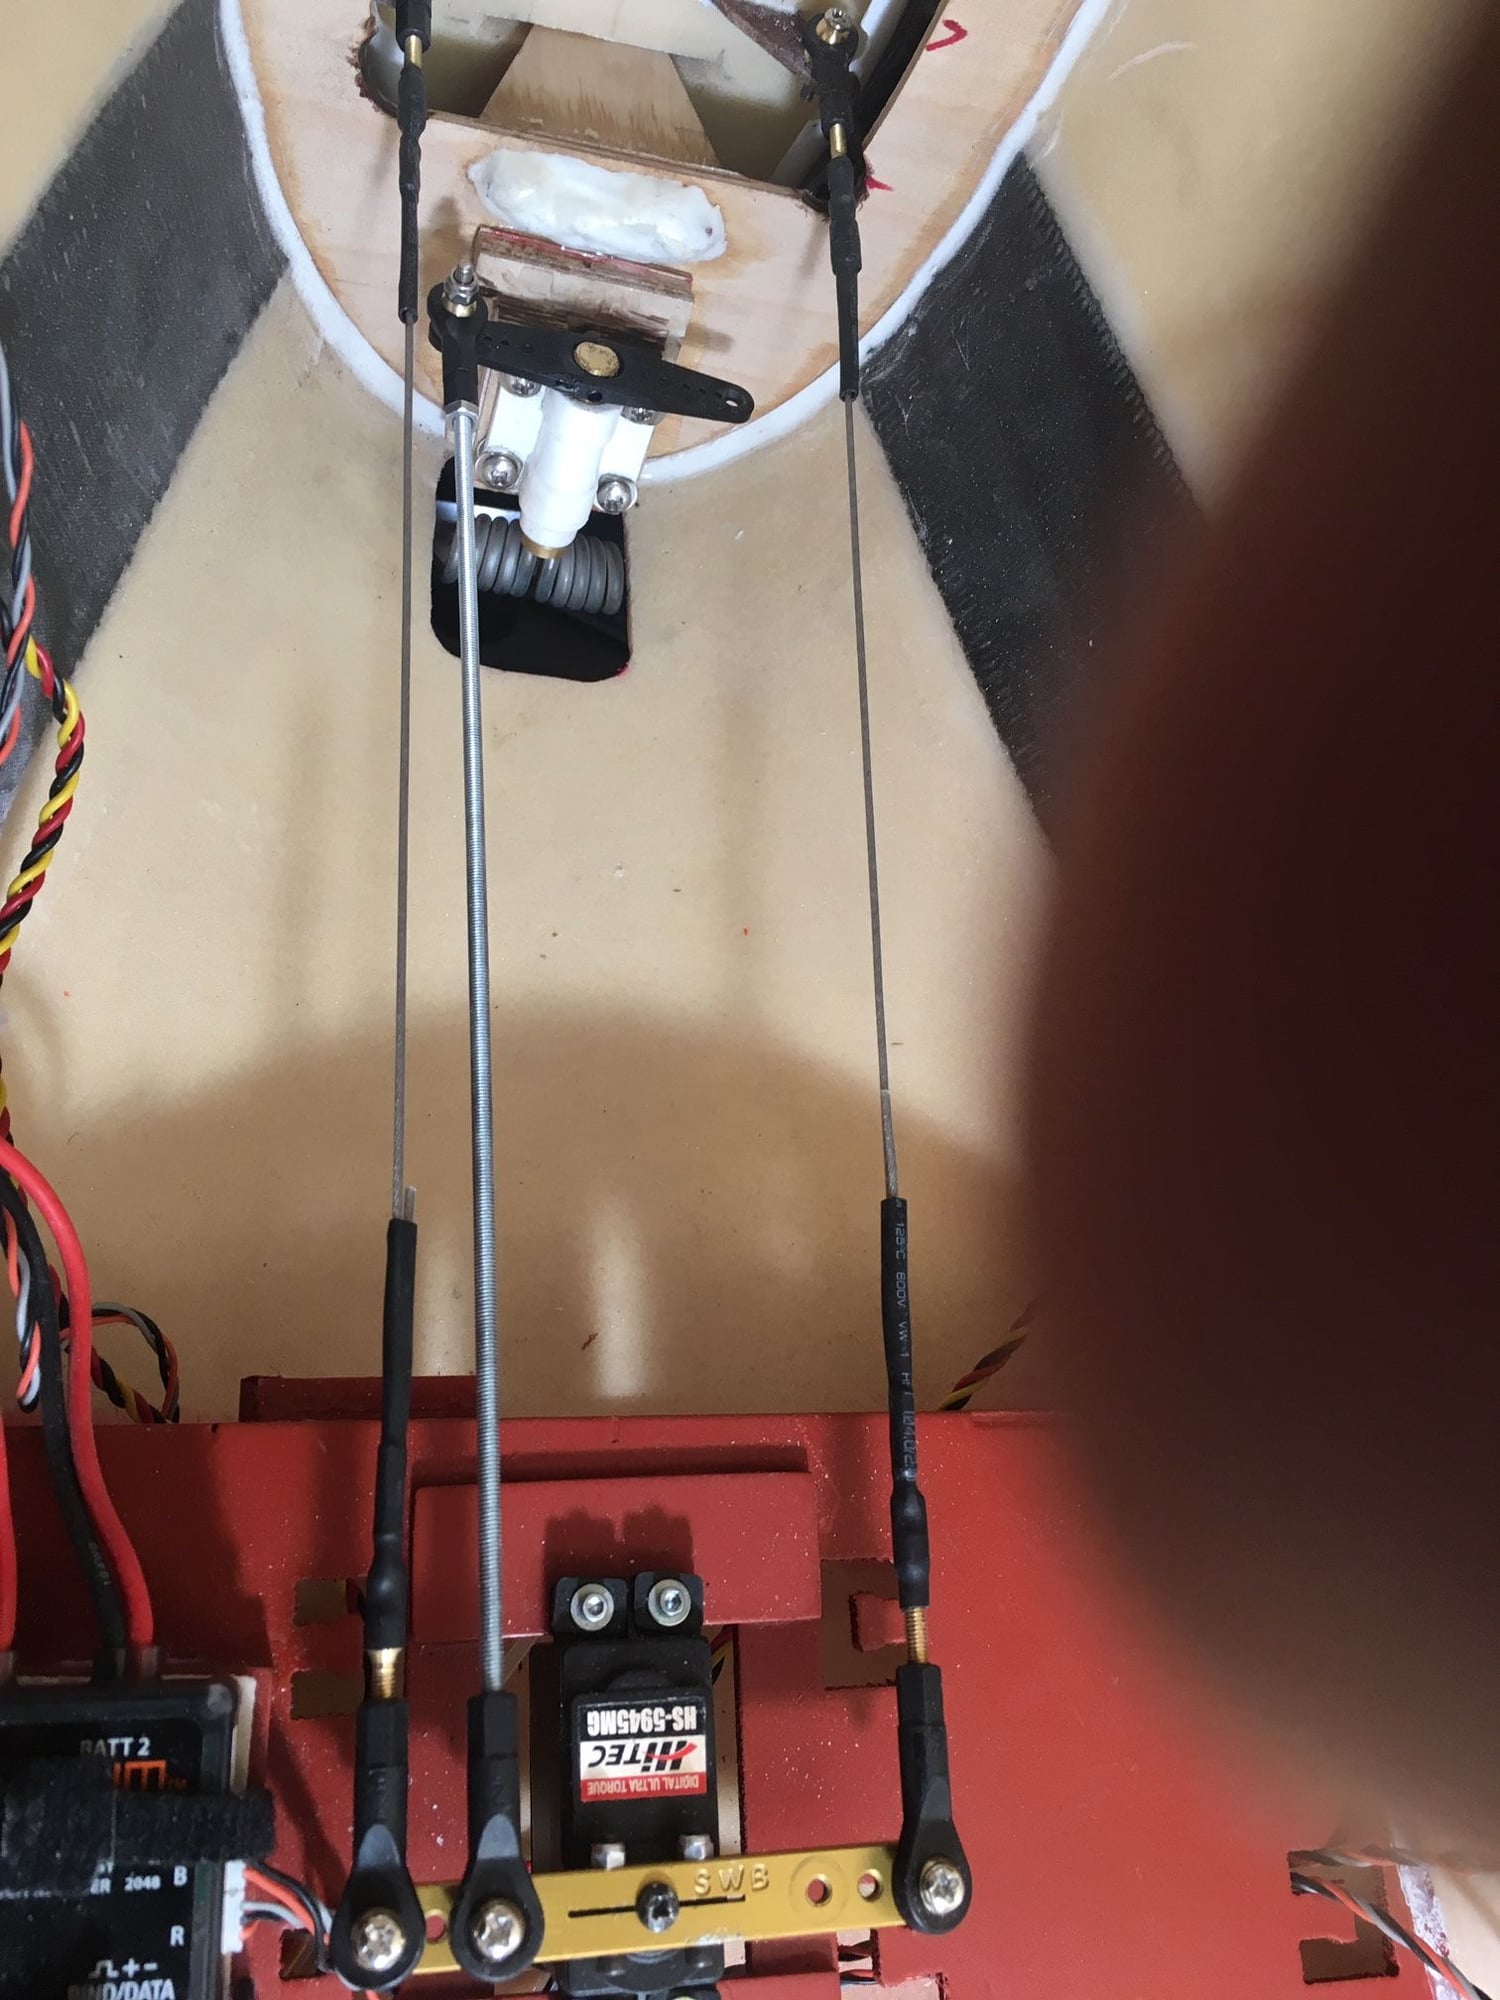
Getting a handle on organizing the wiring. The gyros connected and it works well.Got all the satelites (4) mounted. I had hoped to use a 64oz. juice bottle (PSP conversion kit) for the fuel tank but it's too long and would be behind the cg. I'll be using a 33oz. FIJI bottle for fuel and a 24oz. VVRC tank for the smoke oil. I'll be keeping my eye on the timer!
Everybody Crashes.
Mark.
Thanks again Joshua.
Everybody Crashes.
Mark.
Thanks again Joshua.
 11-05-2019, 01:39 AM
#1909
Every step on this thing is an adventure. If you've looked at the manual, the fuel tray looks straight forward enough...Just drill and screw into place...problem is that two of those screws interfere with the engine dome. So those two need to be mounted through the dome..easy enough if you could see where to drill with the dome in place.Four bolts and blind nuts took all day! Don't get me wrong...It's a beautiful plane, but poorly planned out. I'll send Josh pics tomorrow.
Once again, Thanks Joshua.
Mark.
Once again, Thanks Joshua.
Mark.
 11-07-2019, 03:36 PM
#1911
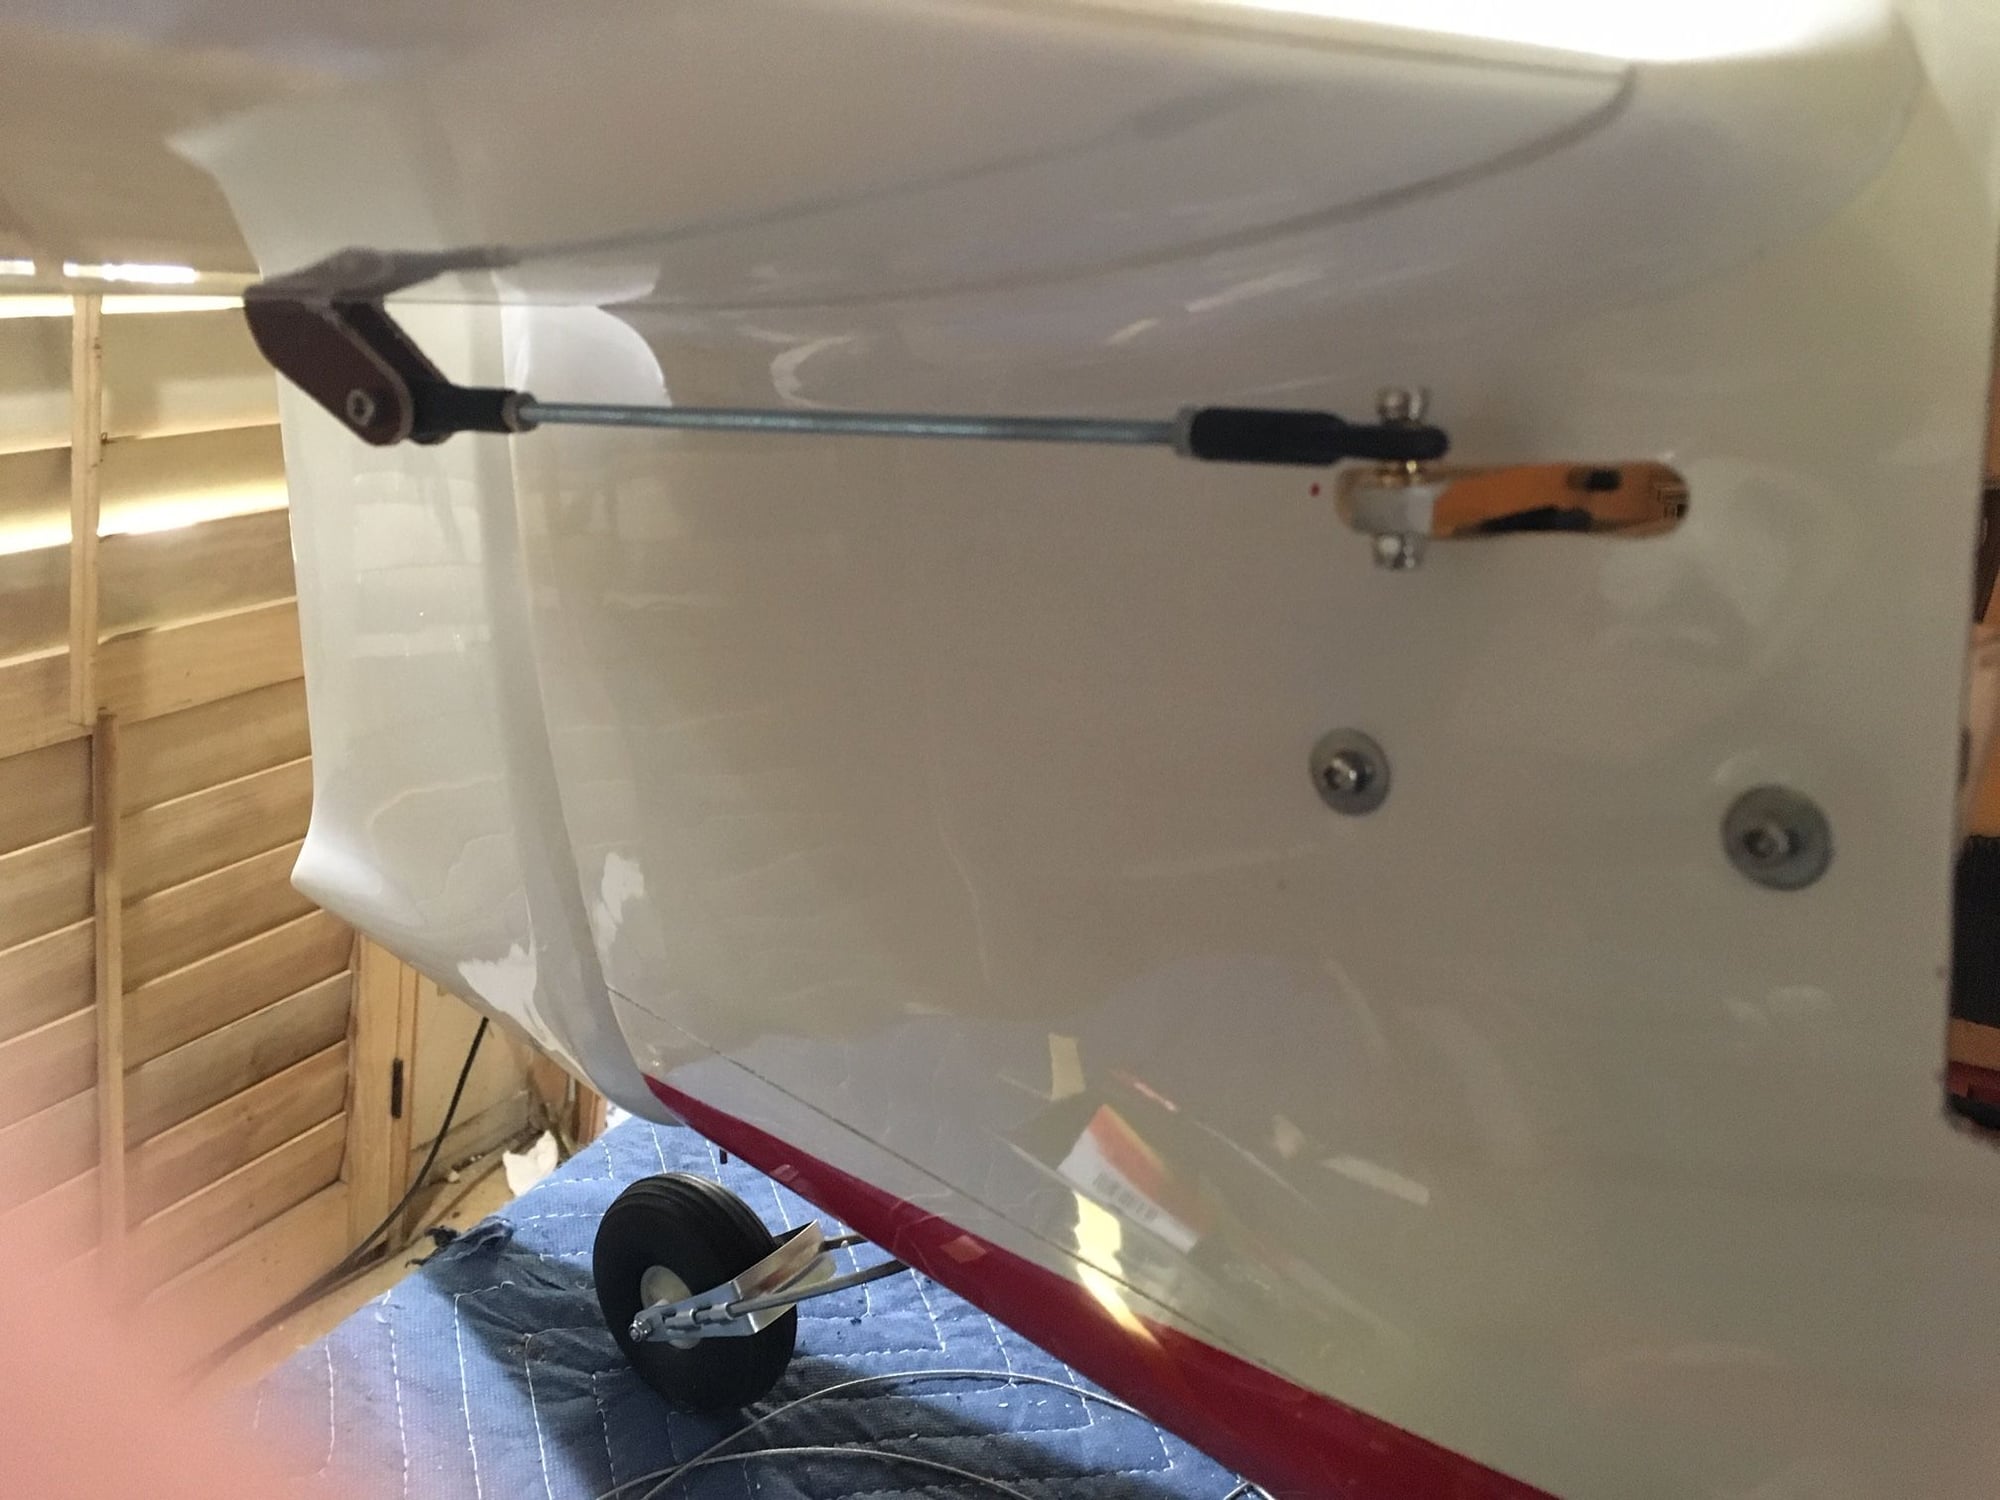
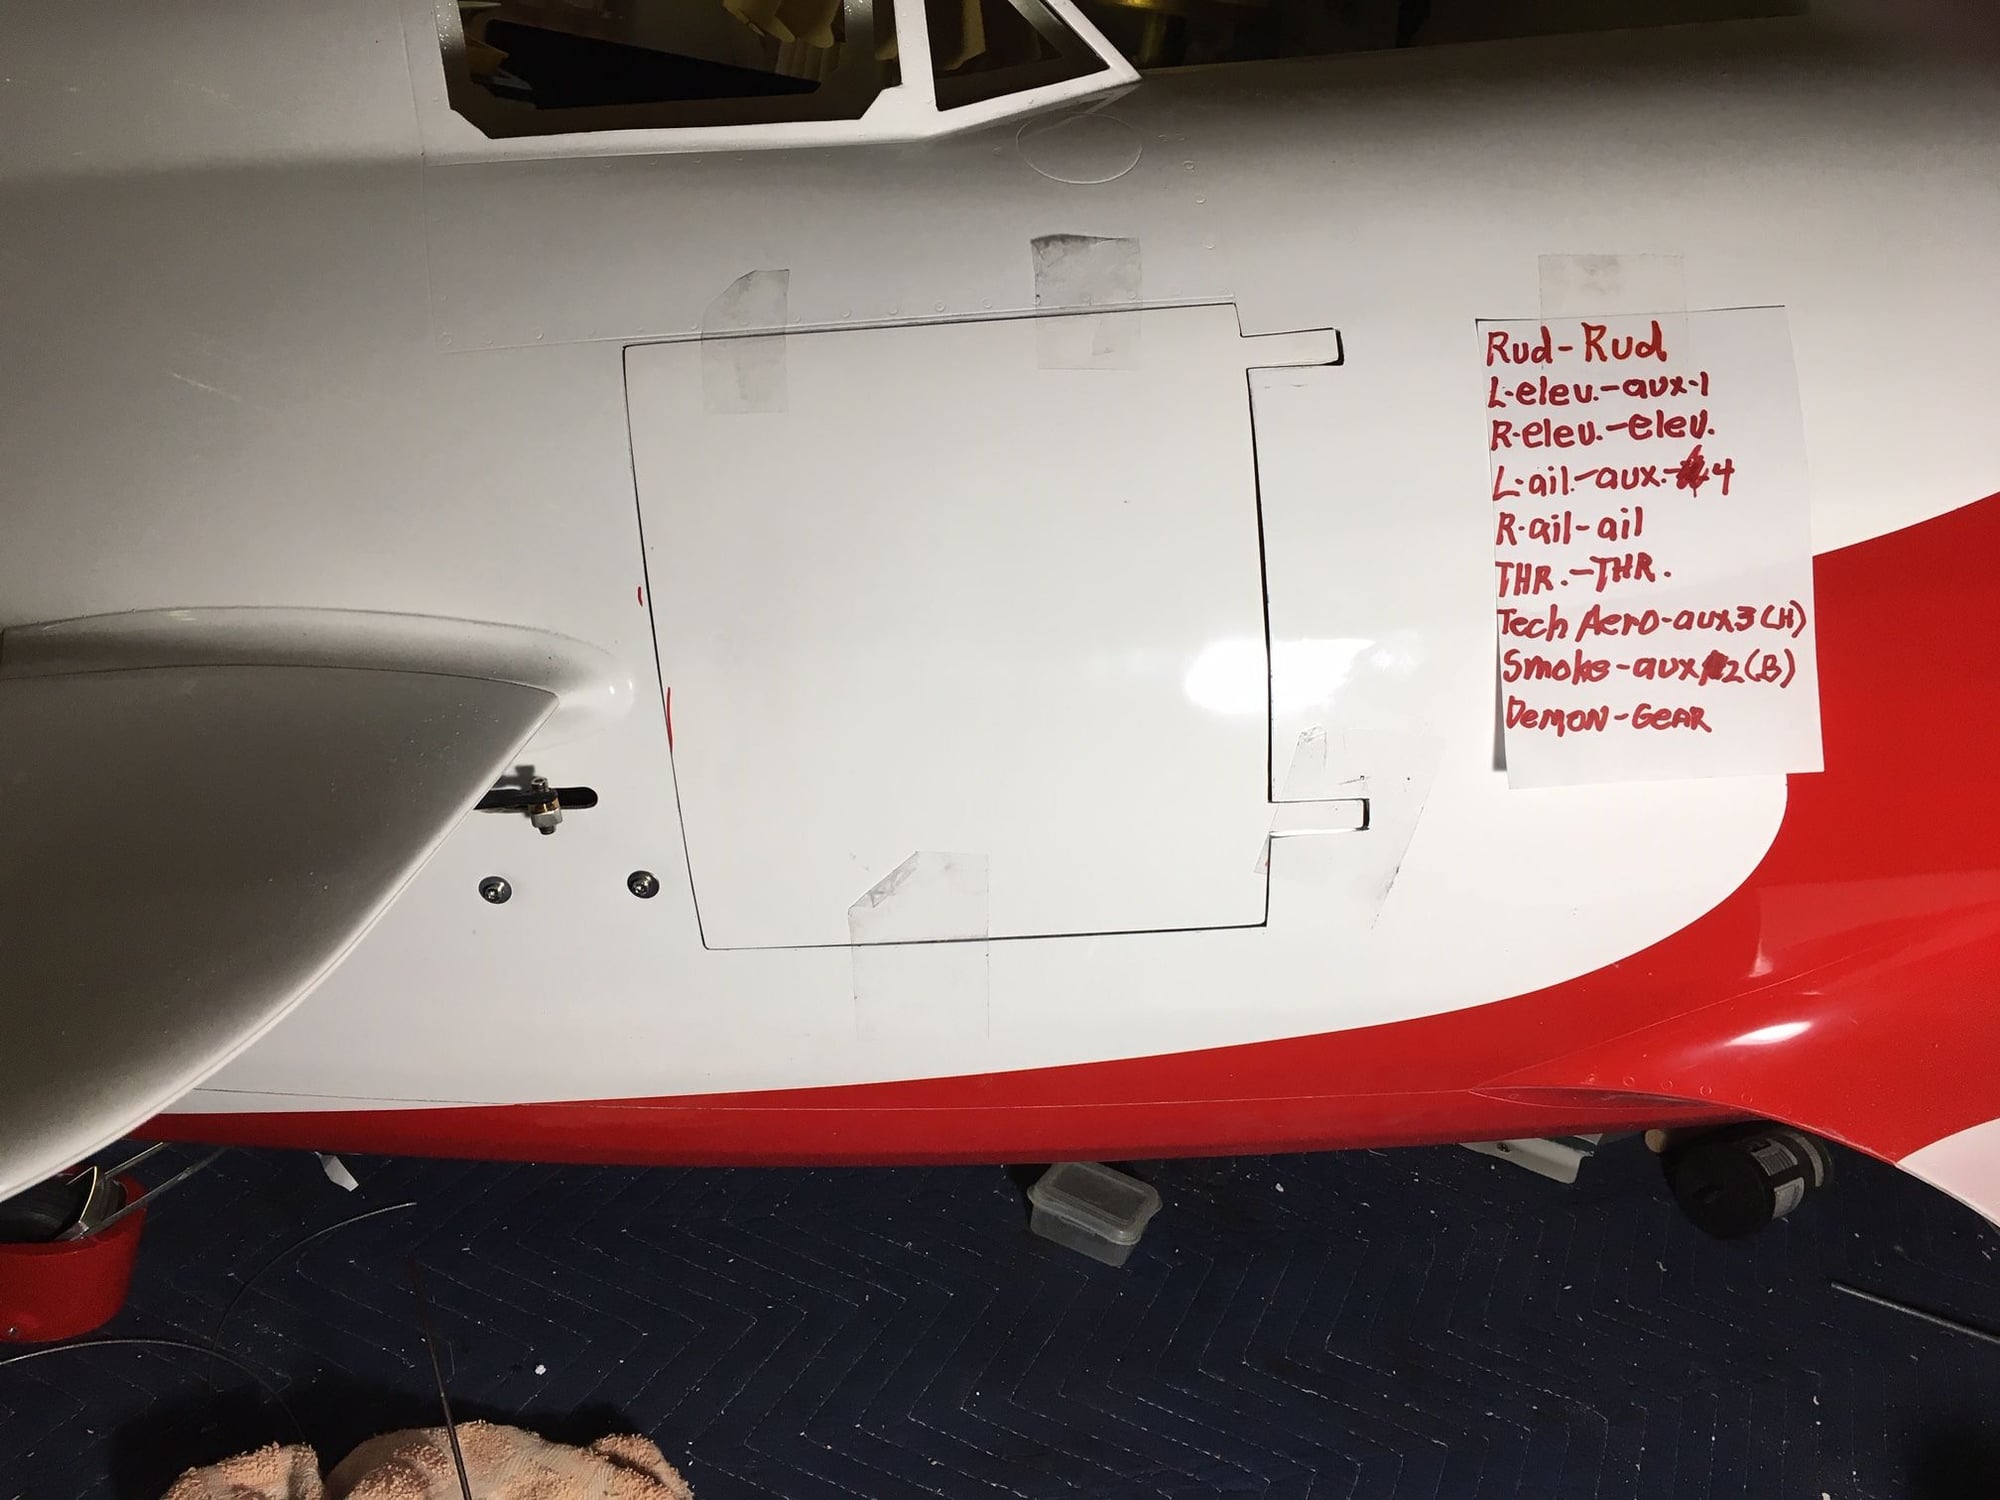
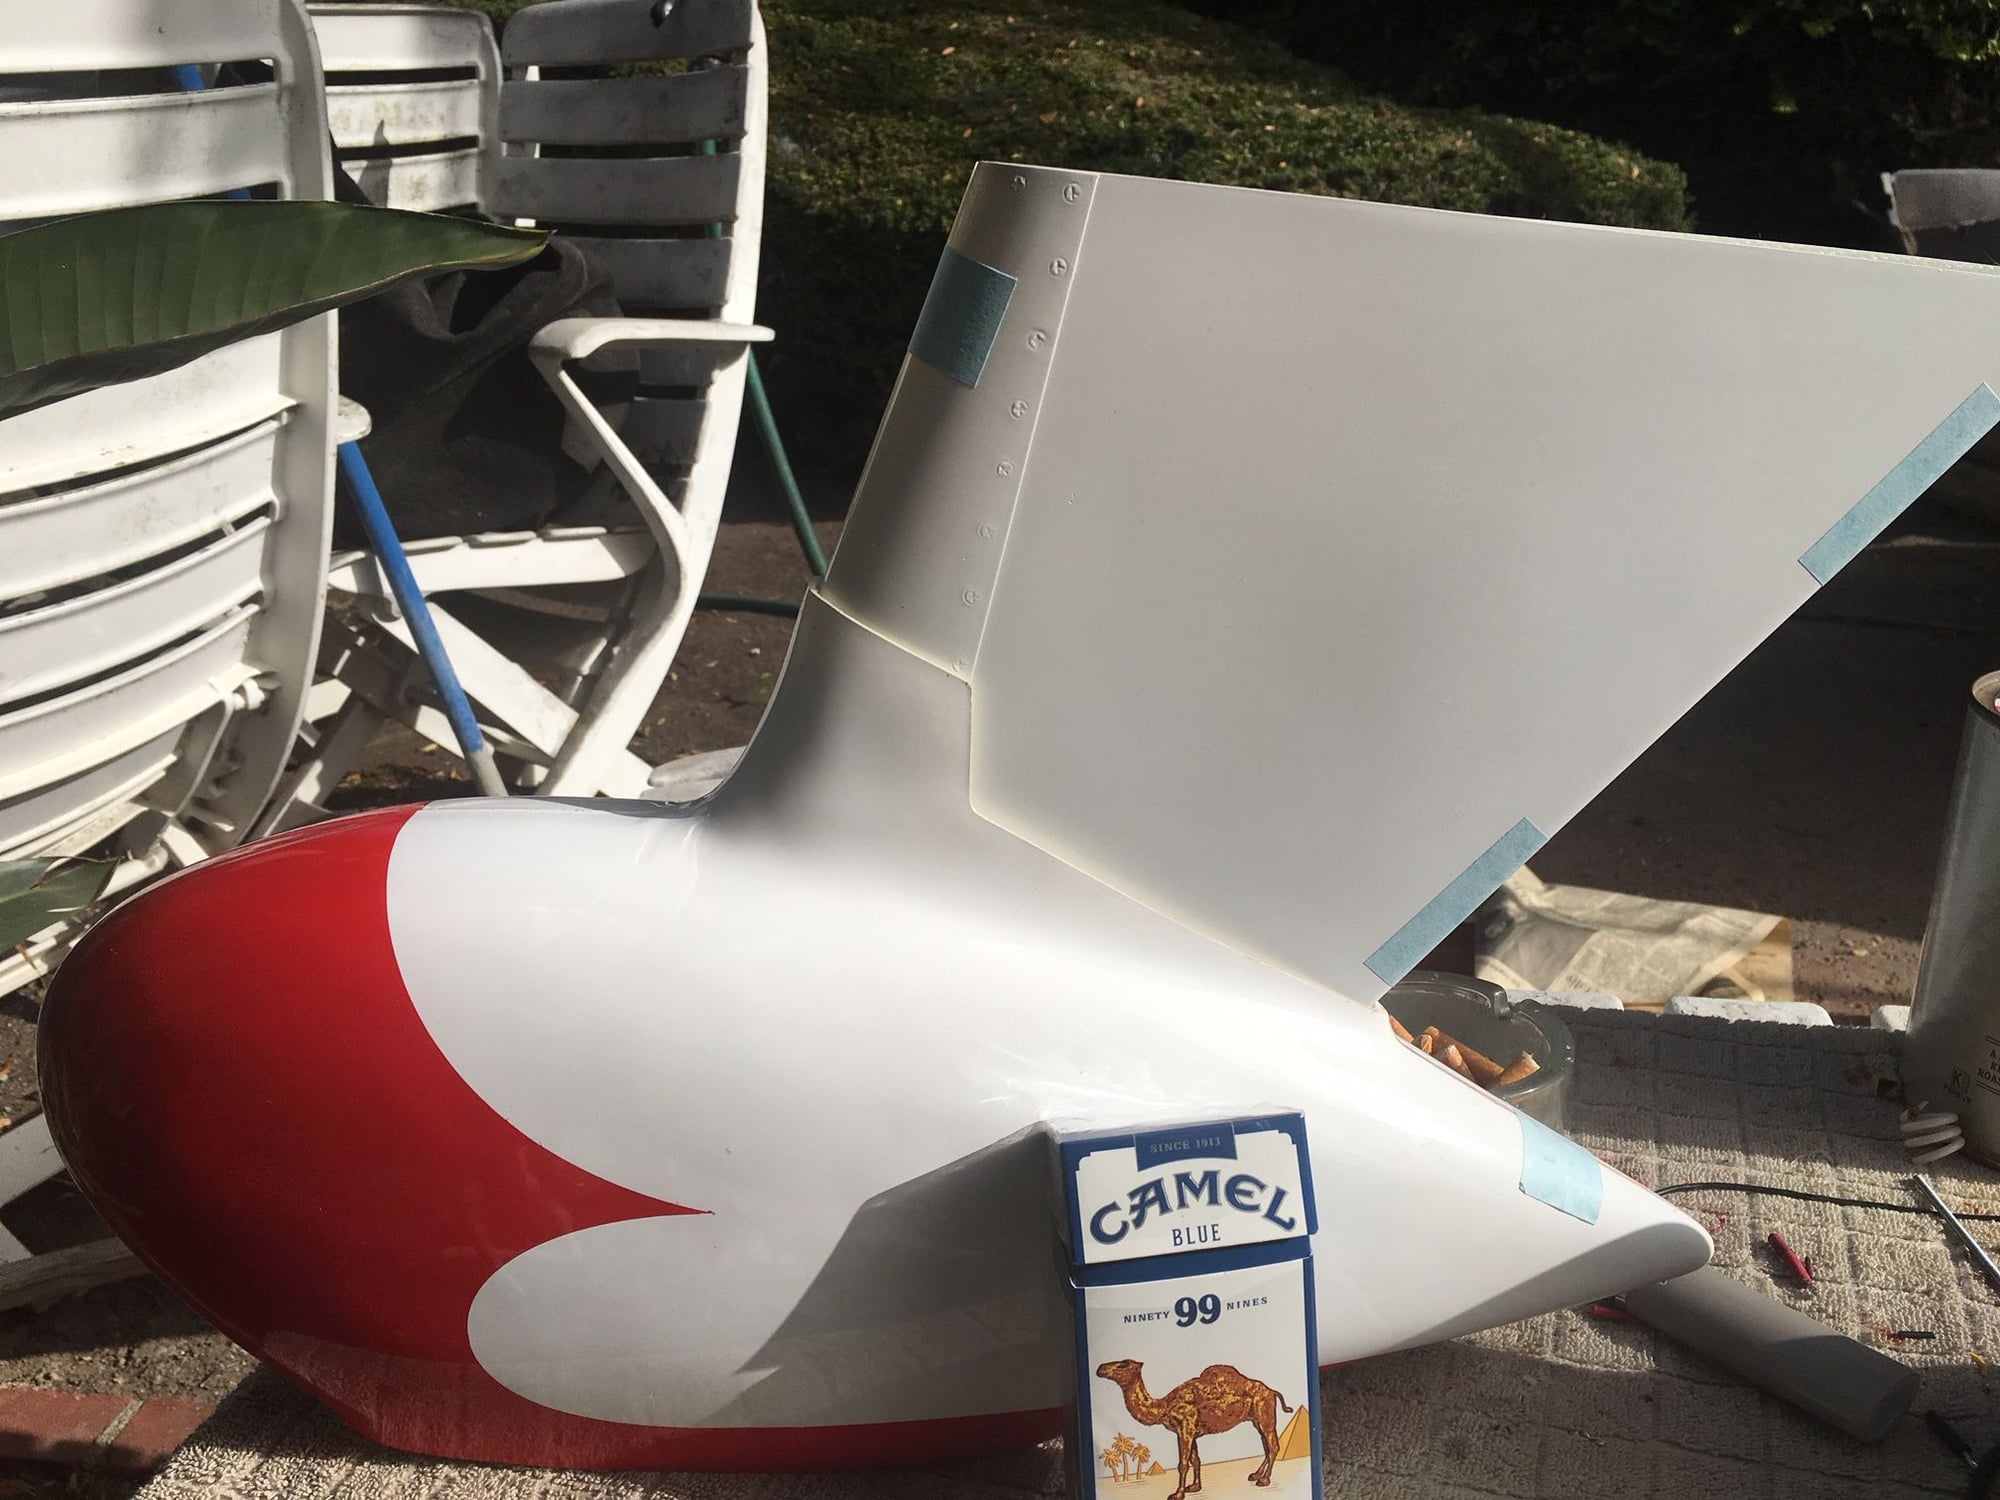
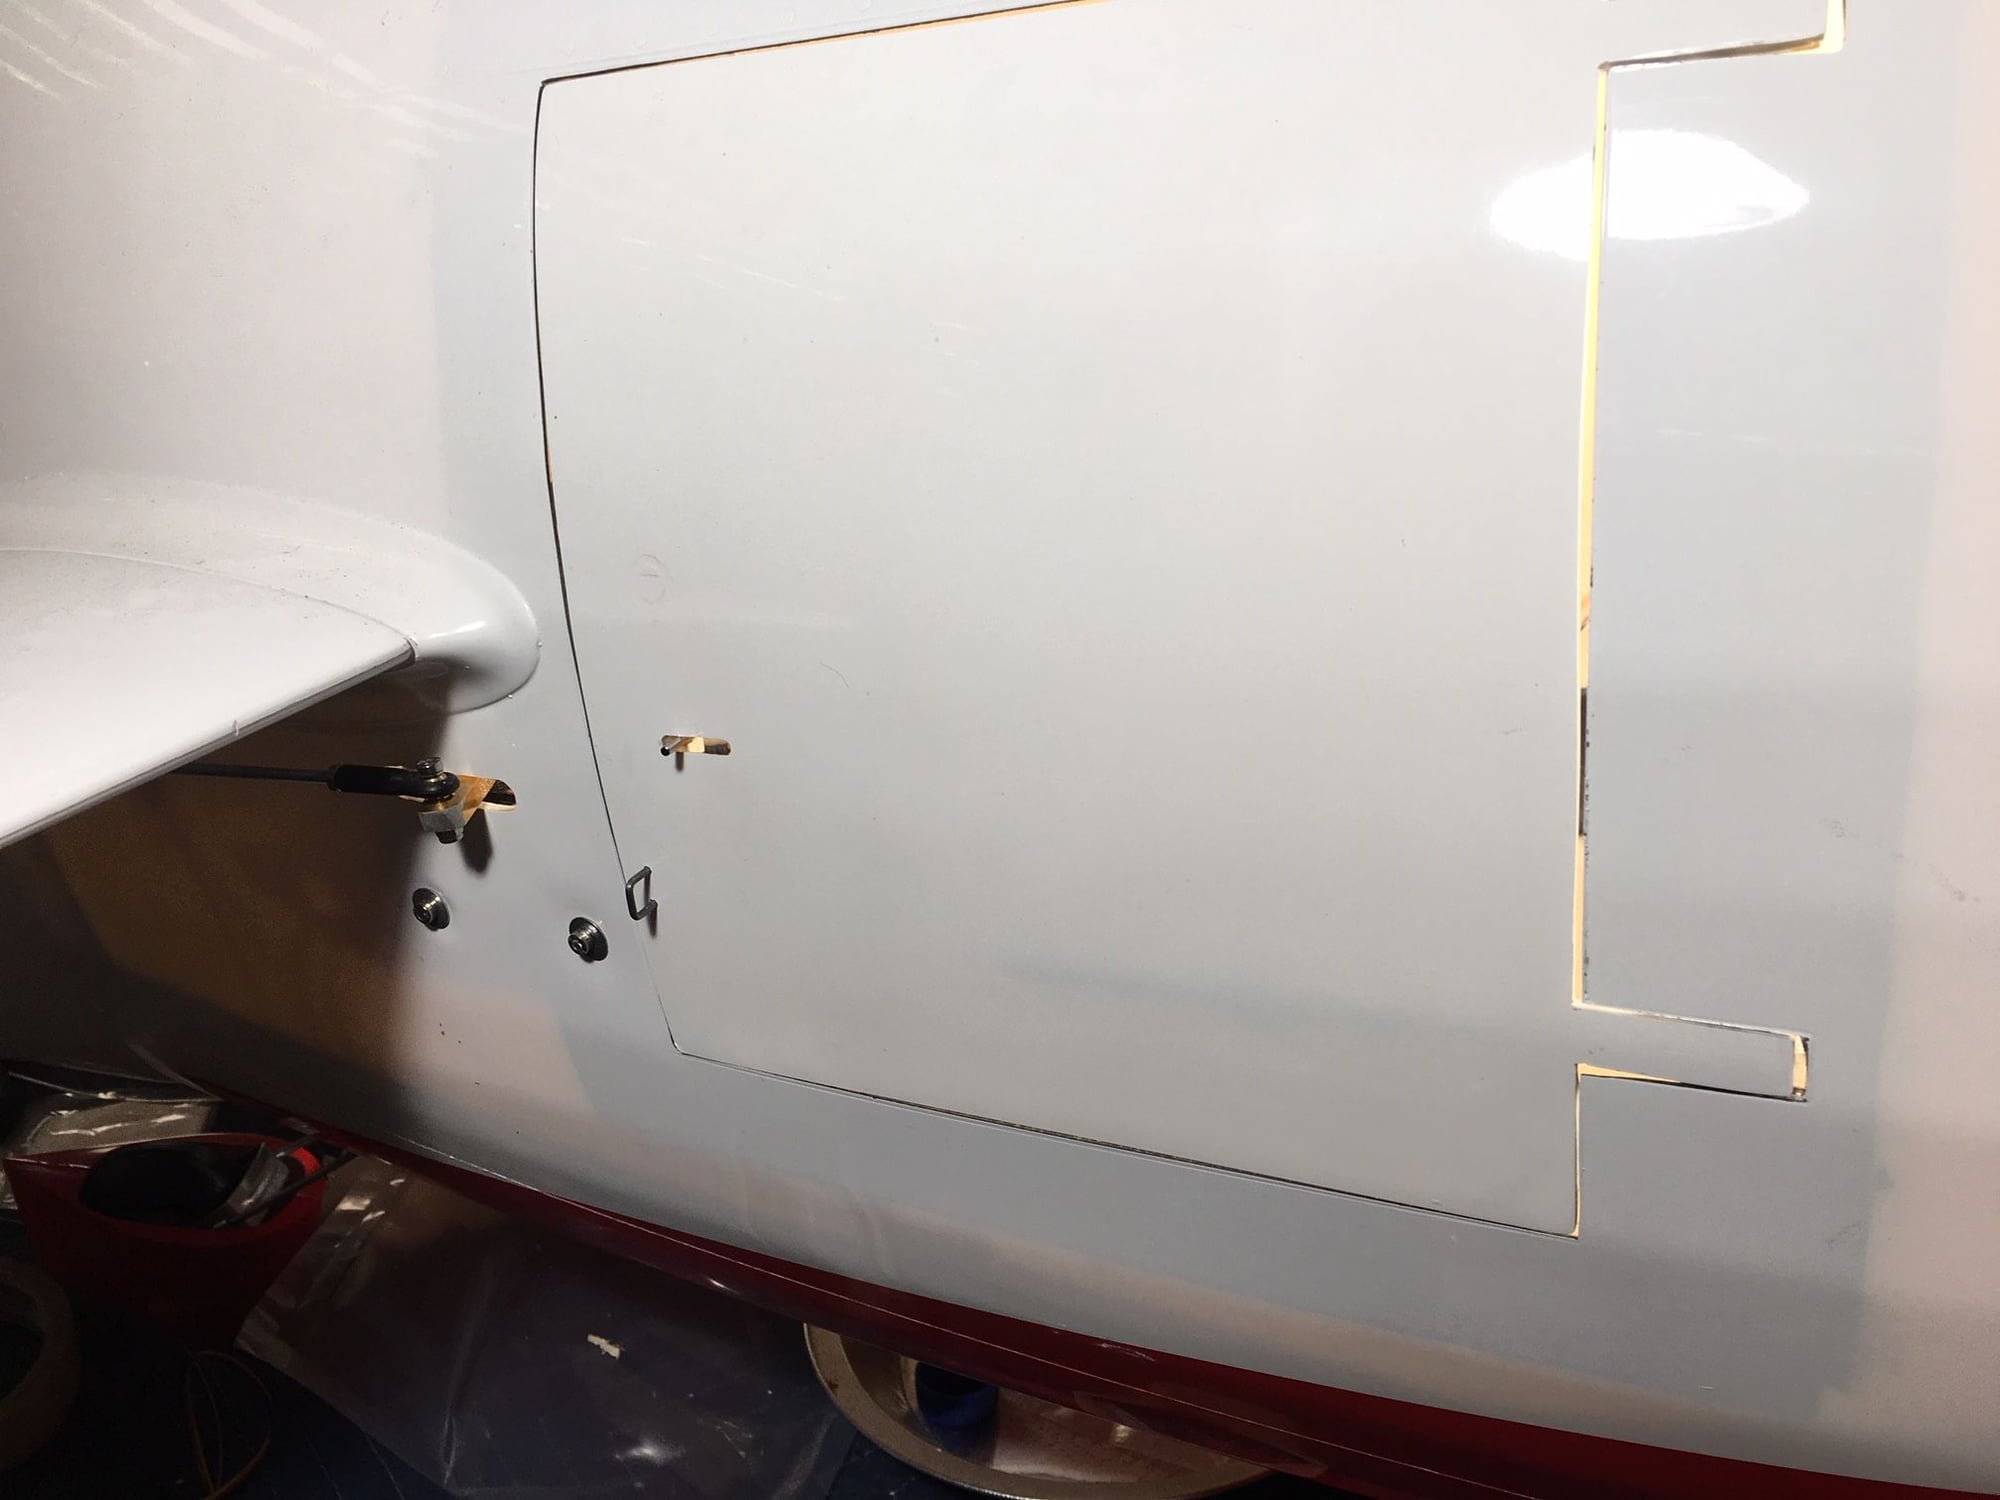
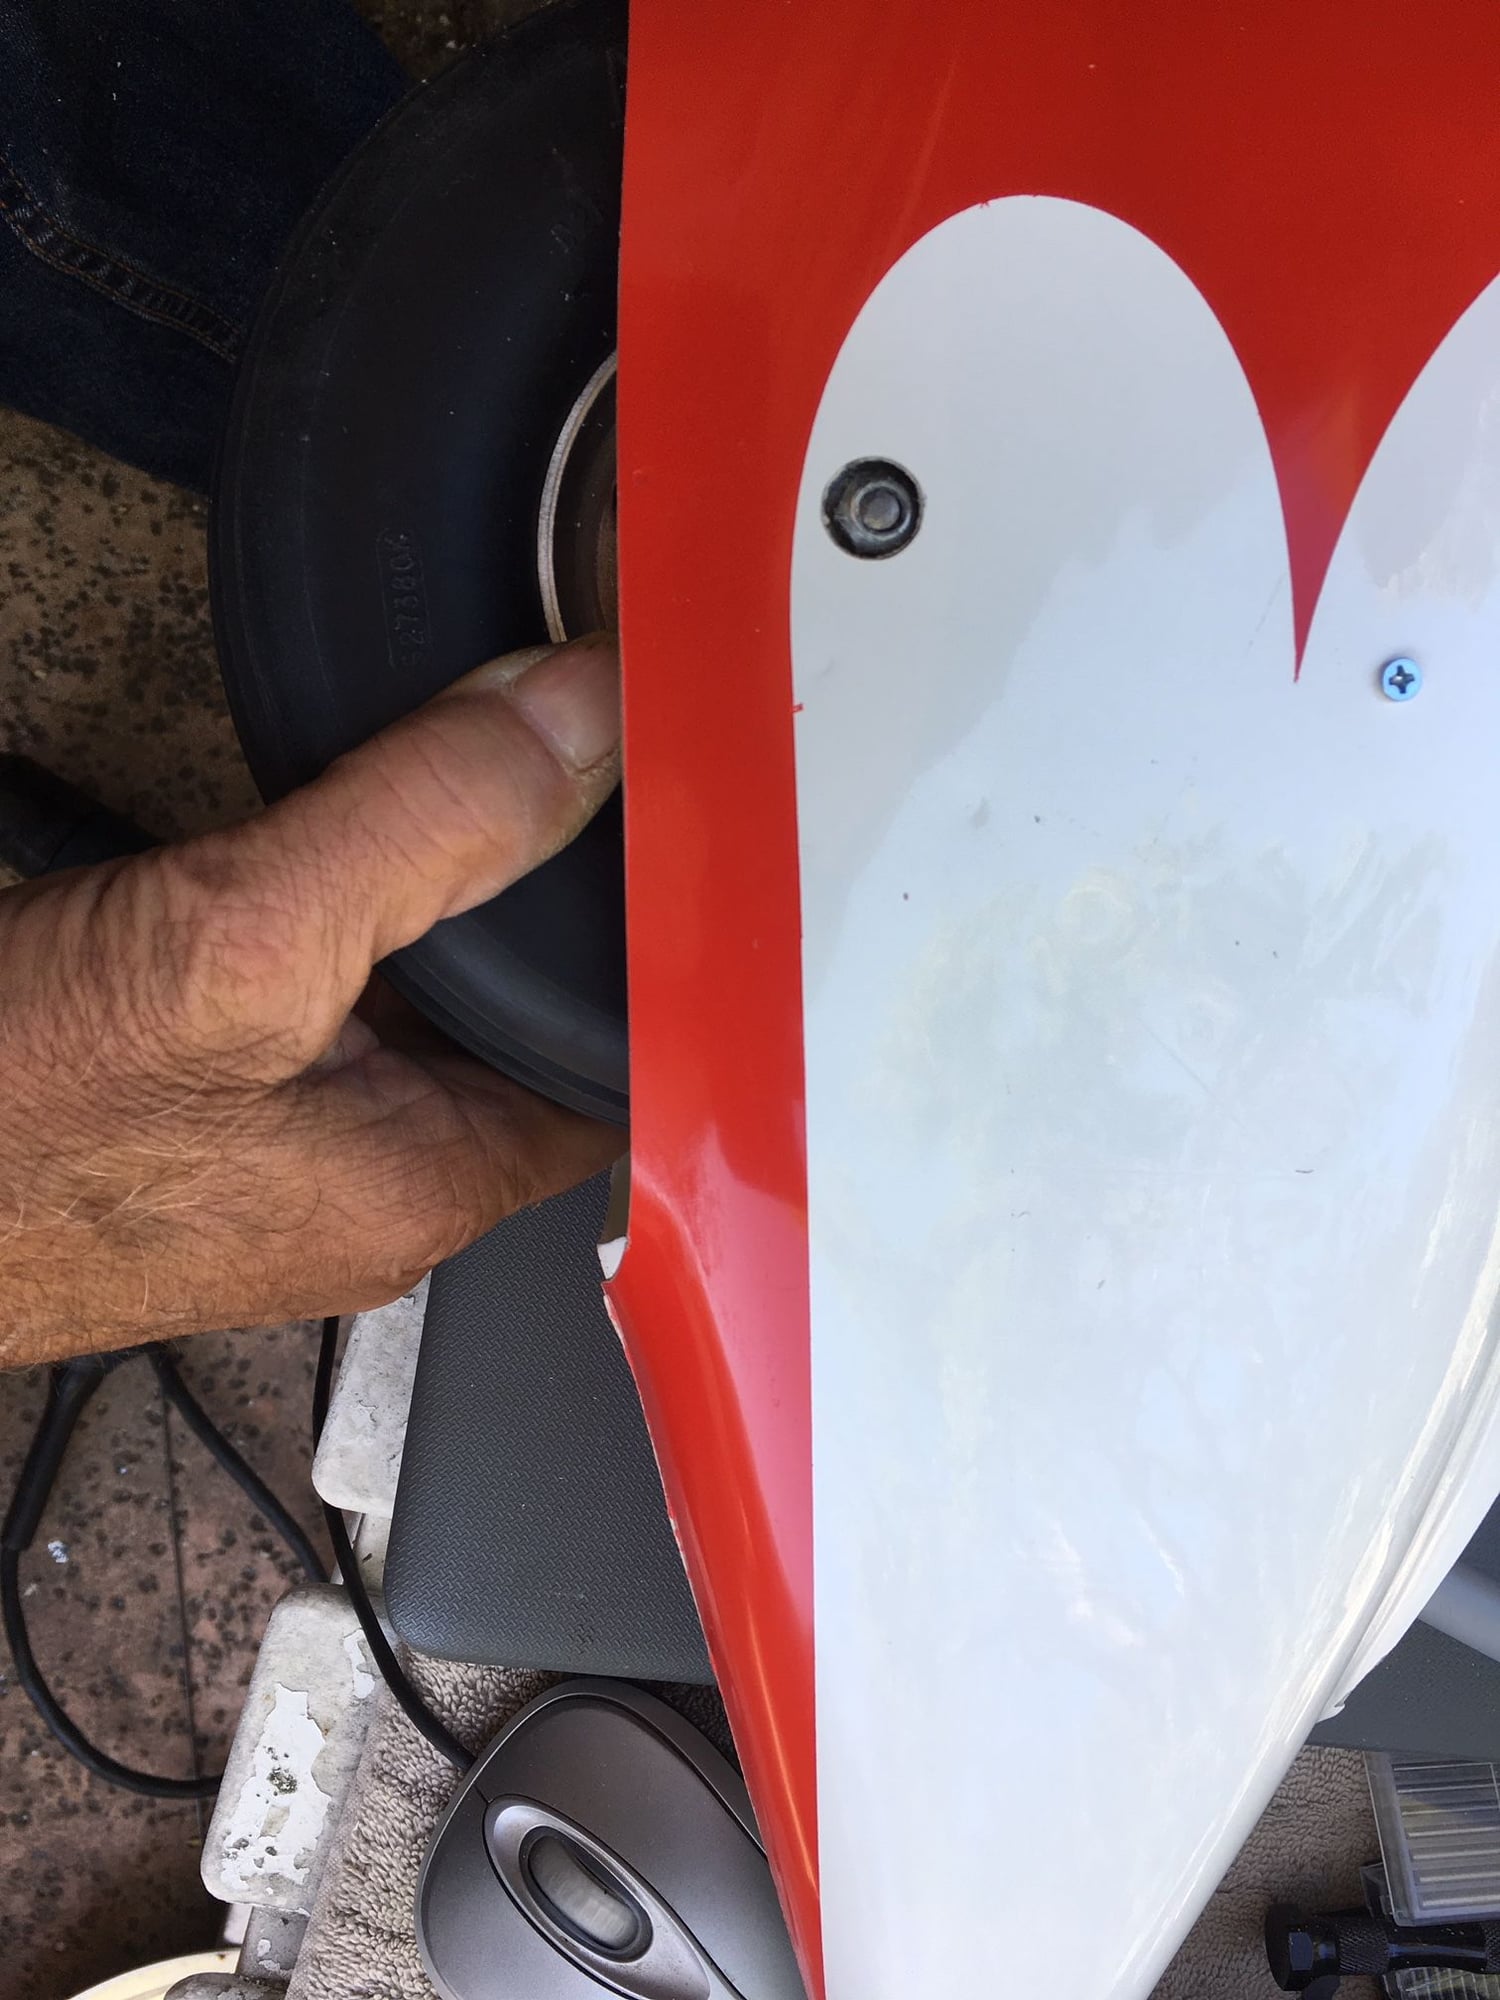
I've opted to flush the door. The plans call for the door to overlap the fuse by about 1/16" all the way around. Unfortunately, the fuse cut-out and the door itself were not cut accurately at the factory and some of the clearances were less than a 64th". Also, it wouldn't look good or be very aerodynamic. It came out pretty good but not perfect. Still, it's an improvement over the kit spec. I haven't hinged it yet and I'm still making small adjustments so I'll post pics when it's finalized.The Tail-wheel assembly I thought I had fixed developed a new problem..,....the cable tension from the pull-pull caused the (cheap) housing to deform and the cables became slack. I went to a hard pushrod on one side and it seems to have solved the problem.
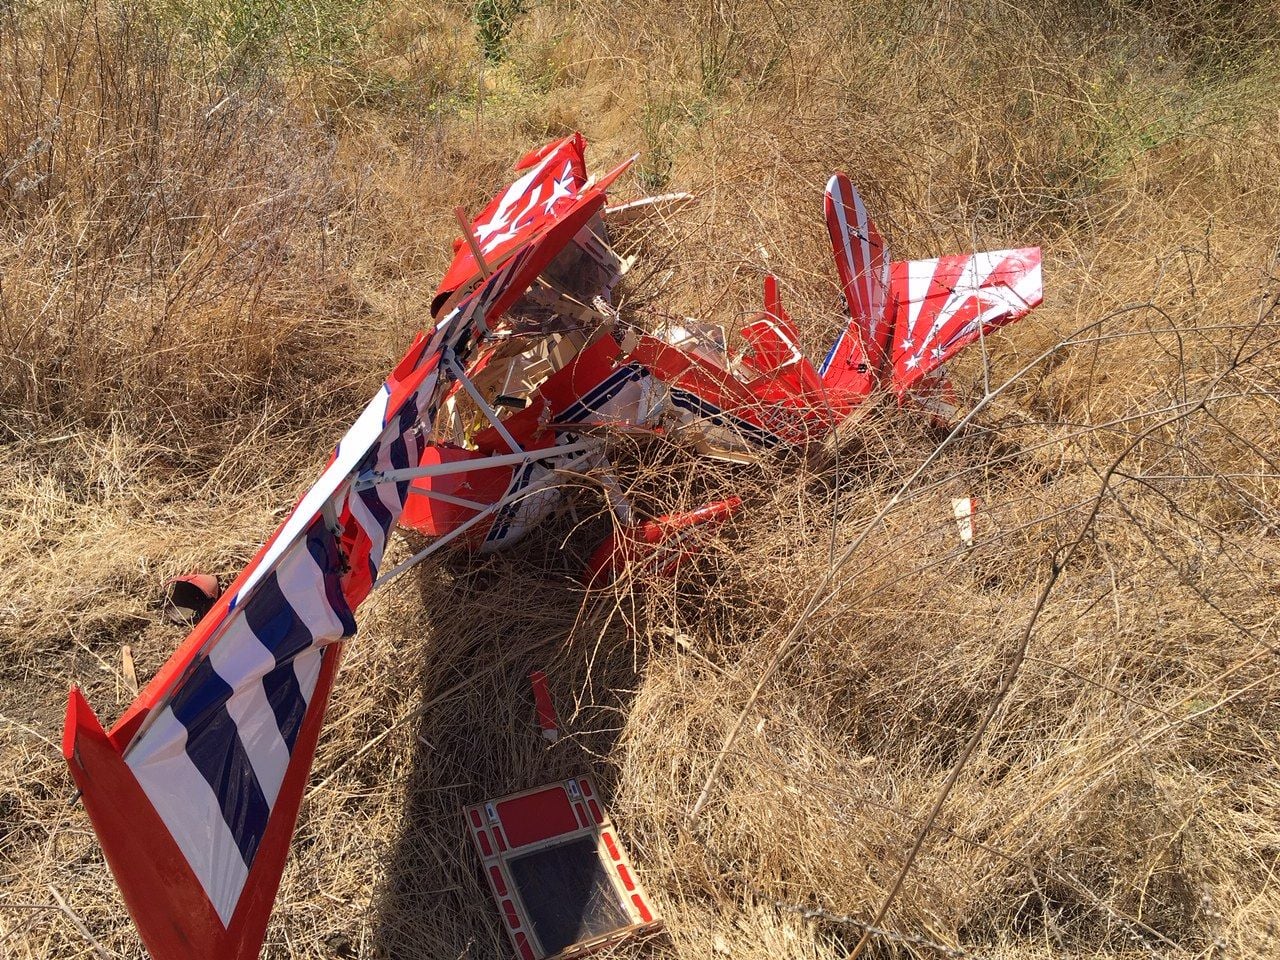
Everybody crashes and here's my last one..A 28% Pilot Decathlon that I dumb thumbed in. I was over-do.
Mark
Everybody crashes and here's my last one..A 28% Pilot Decathlon that I dumb thumbed in. I was over-do.
Mark
Last edited by 5th GeeBee; 11-07-2019 at 03:54 PM.
 11-08-2019, 05:38 PM
#1914
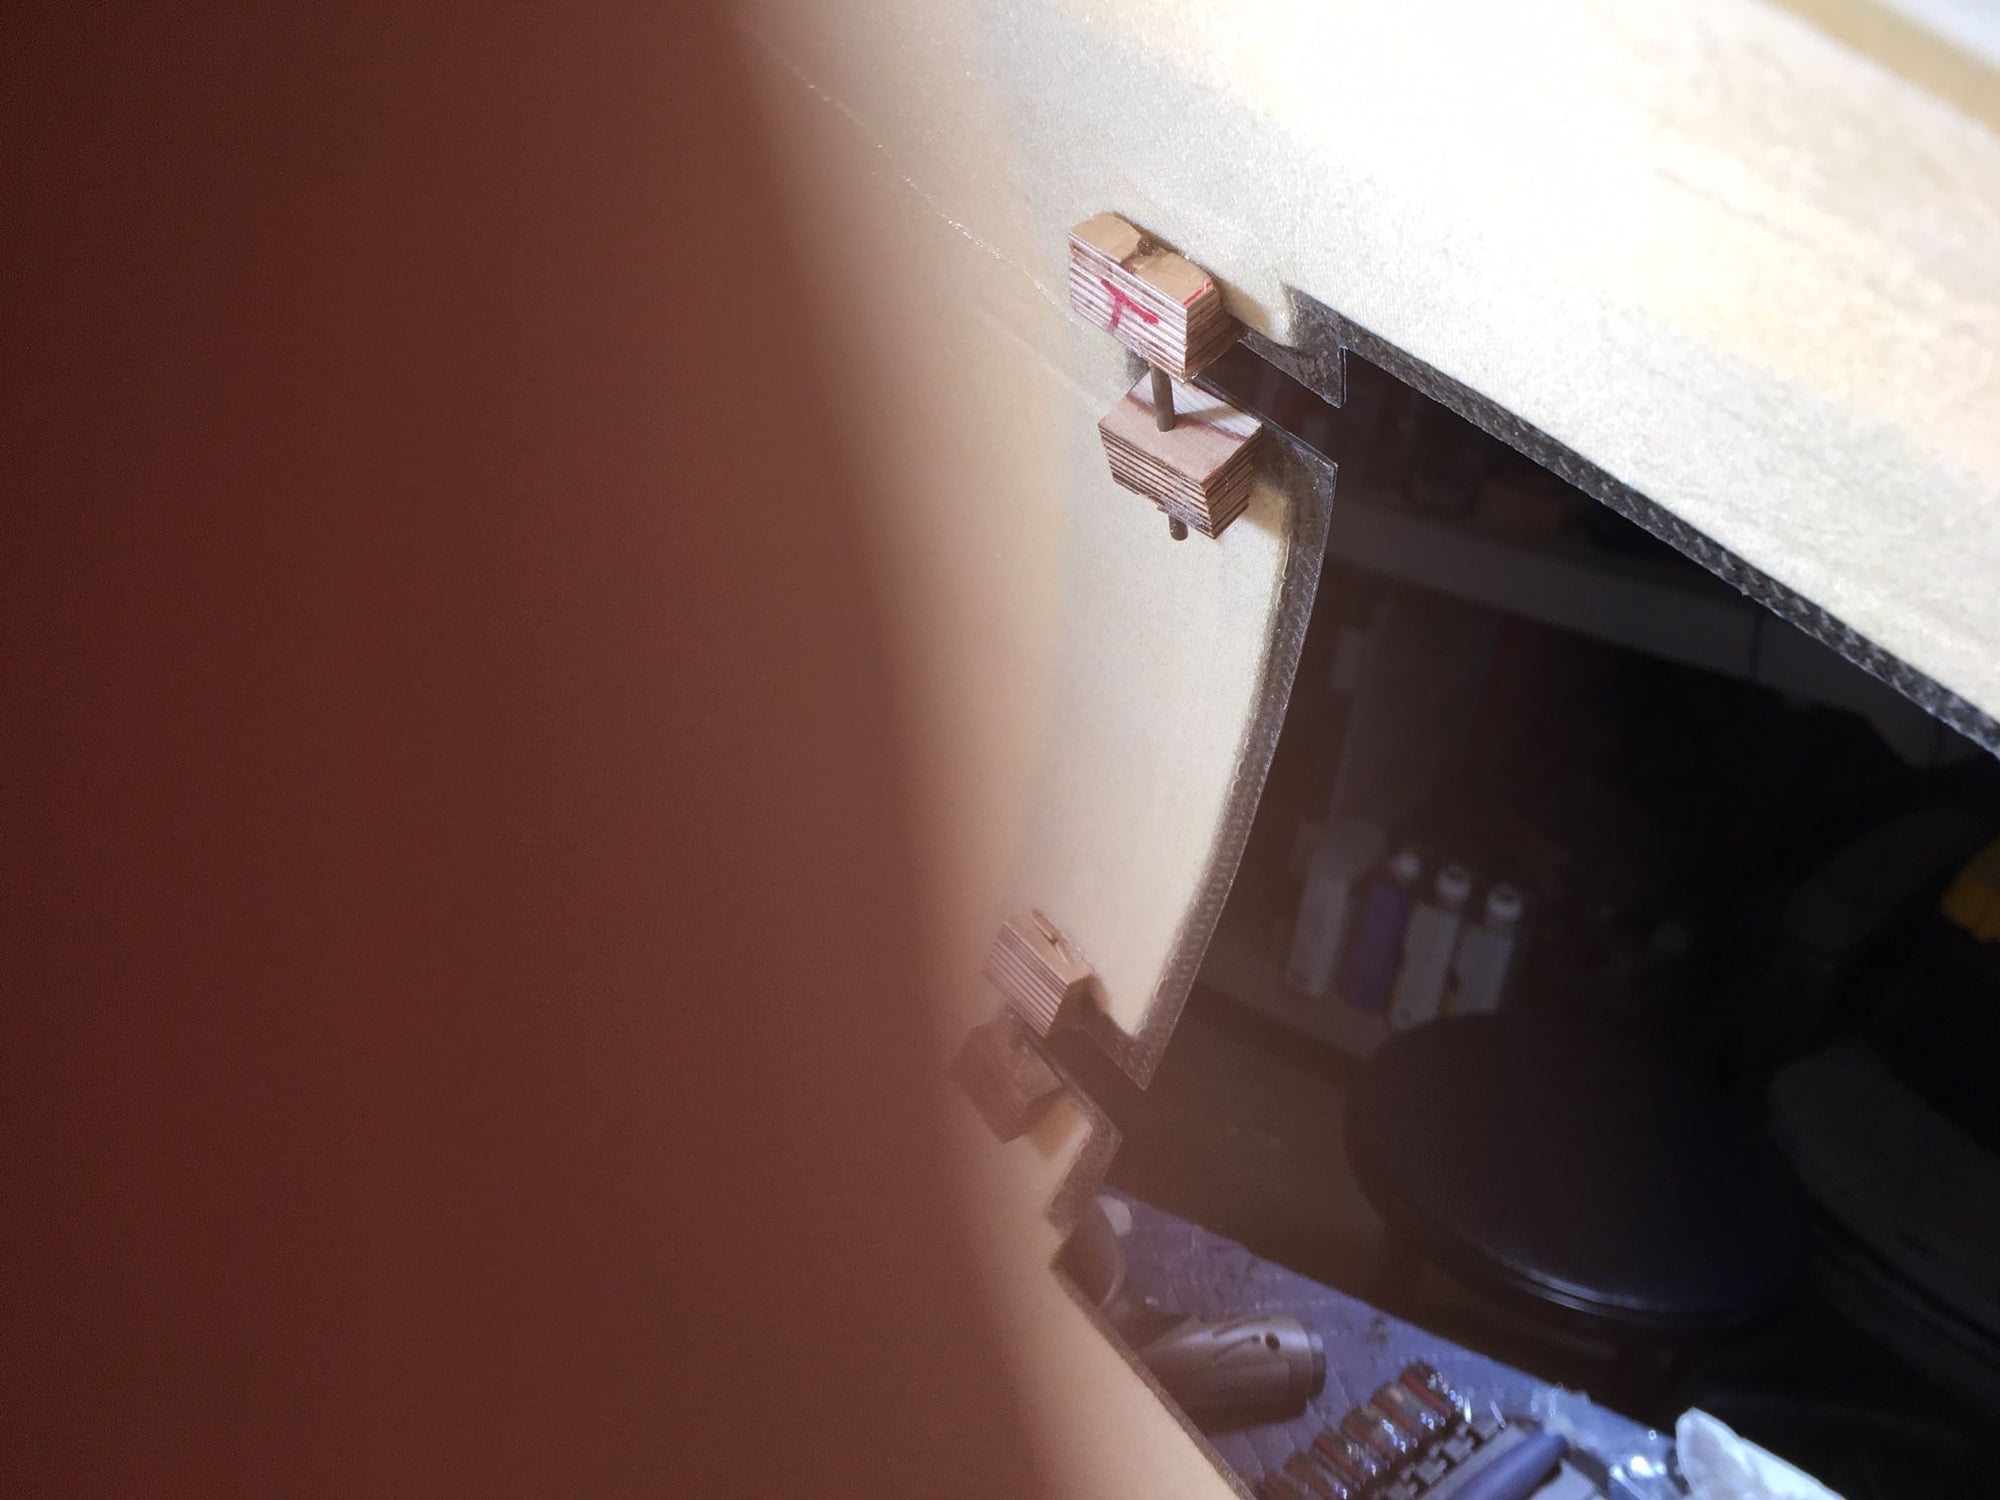
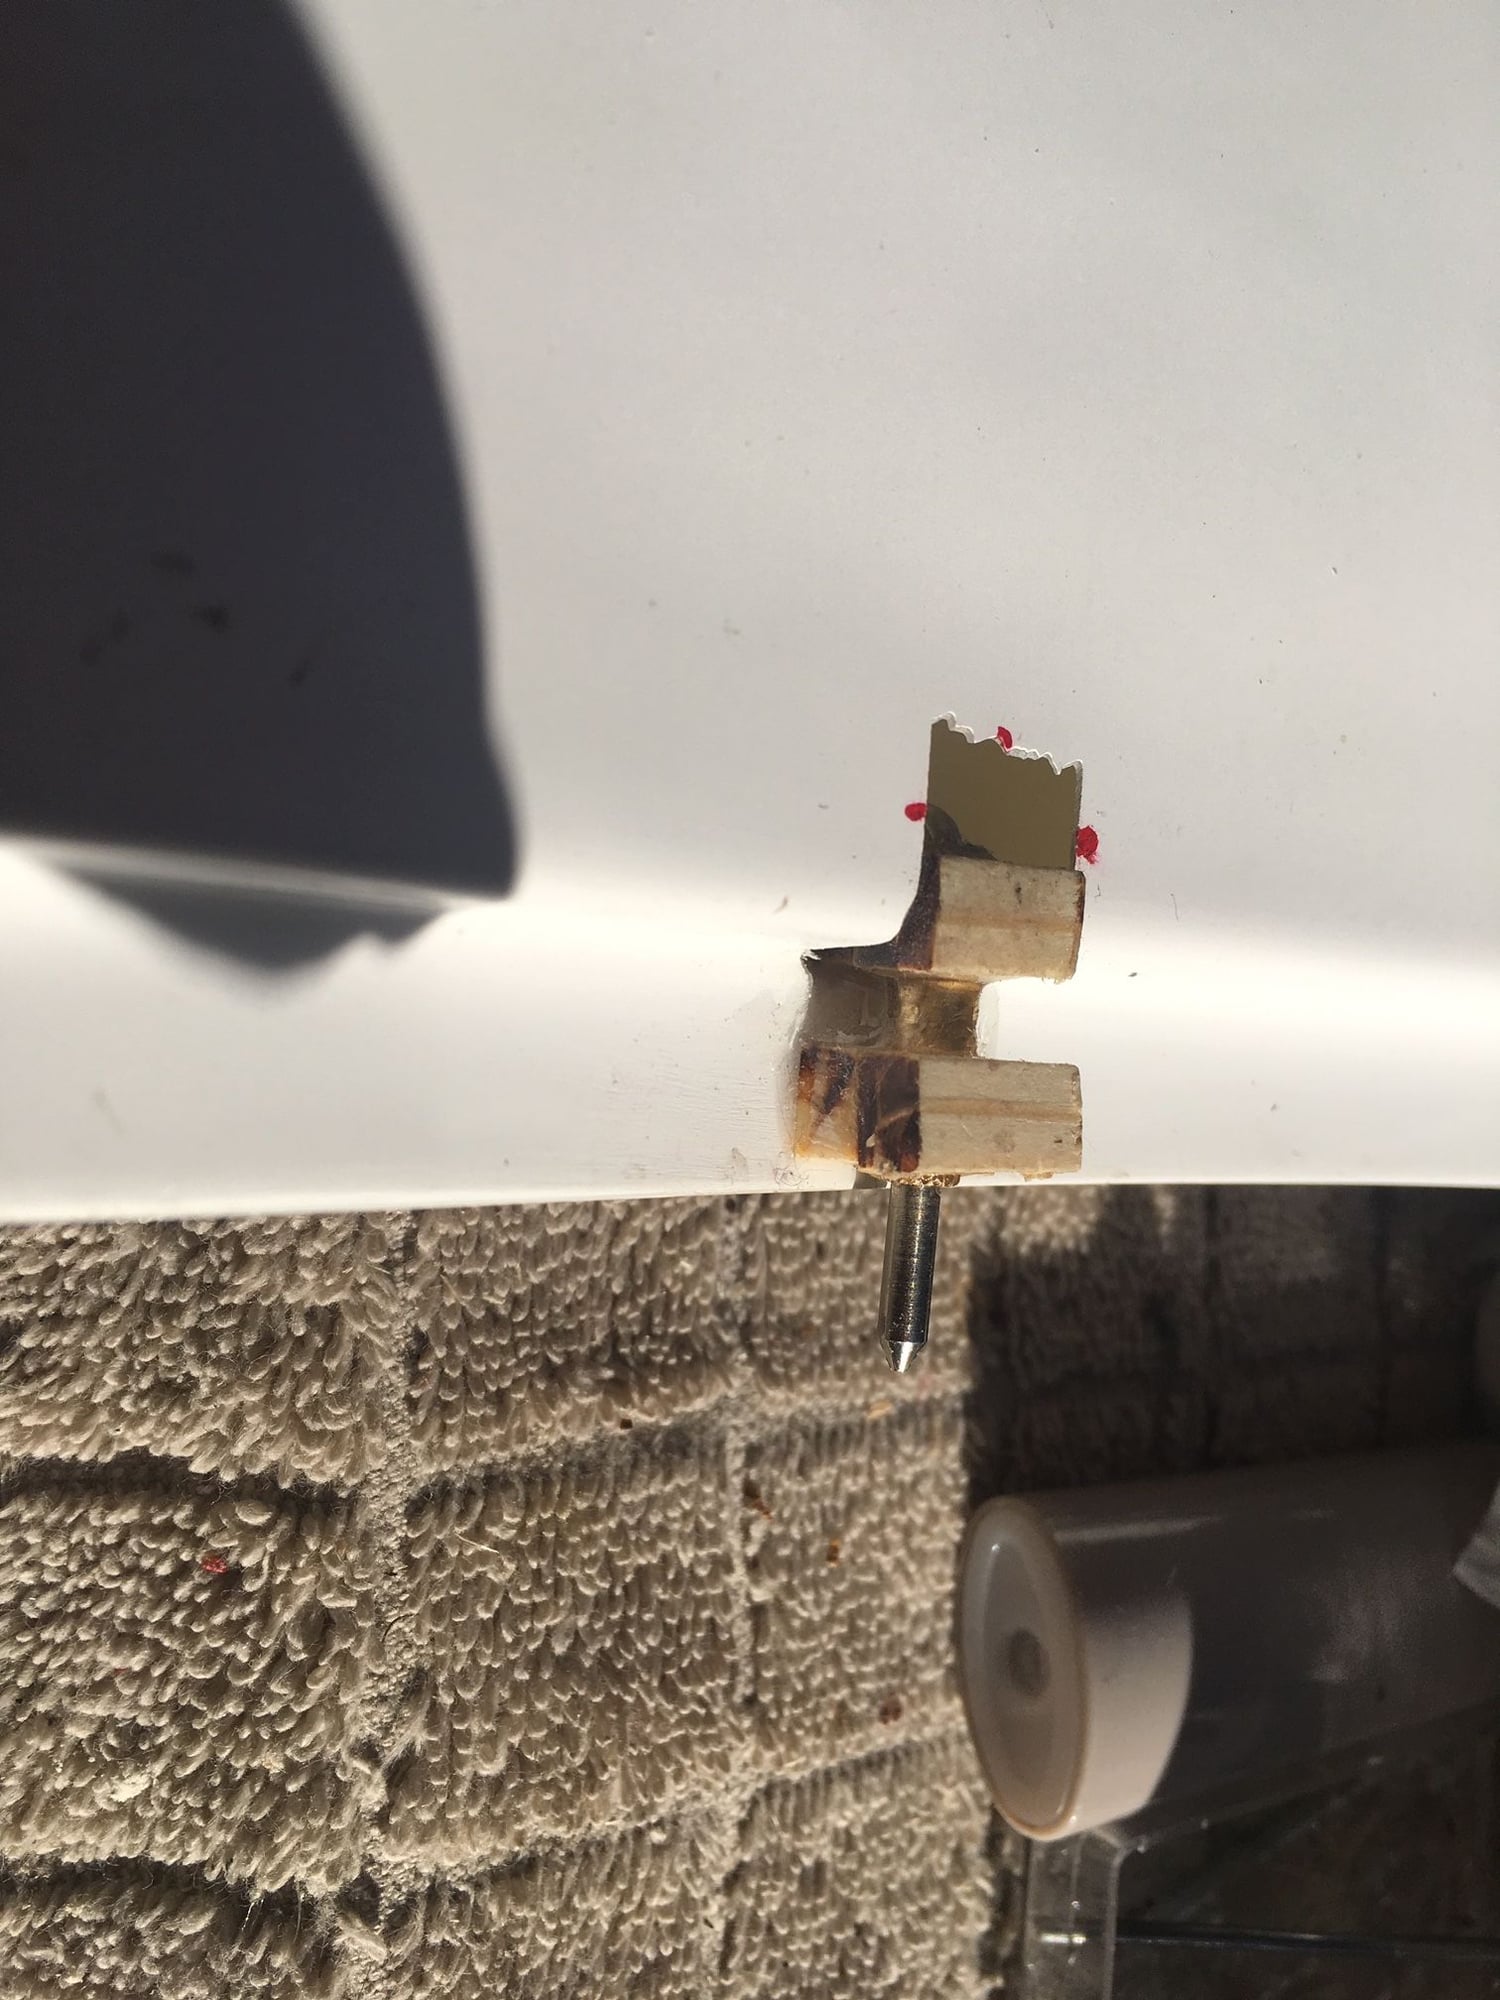
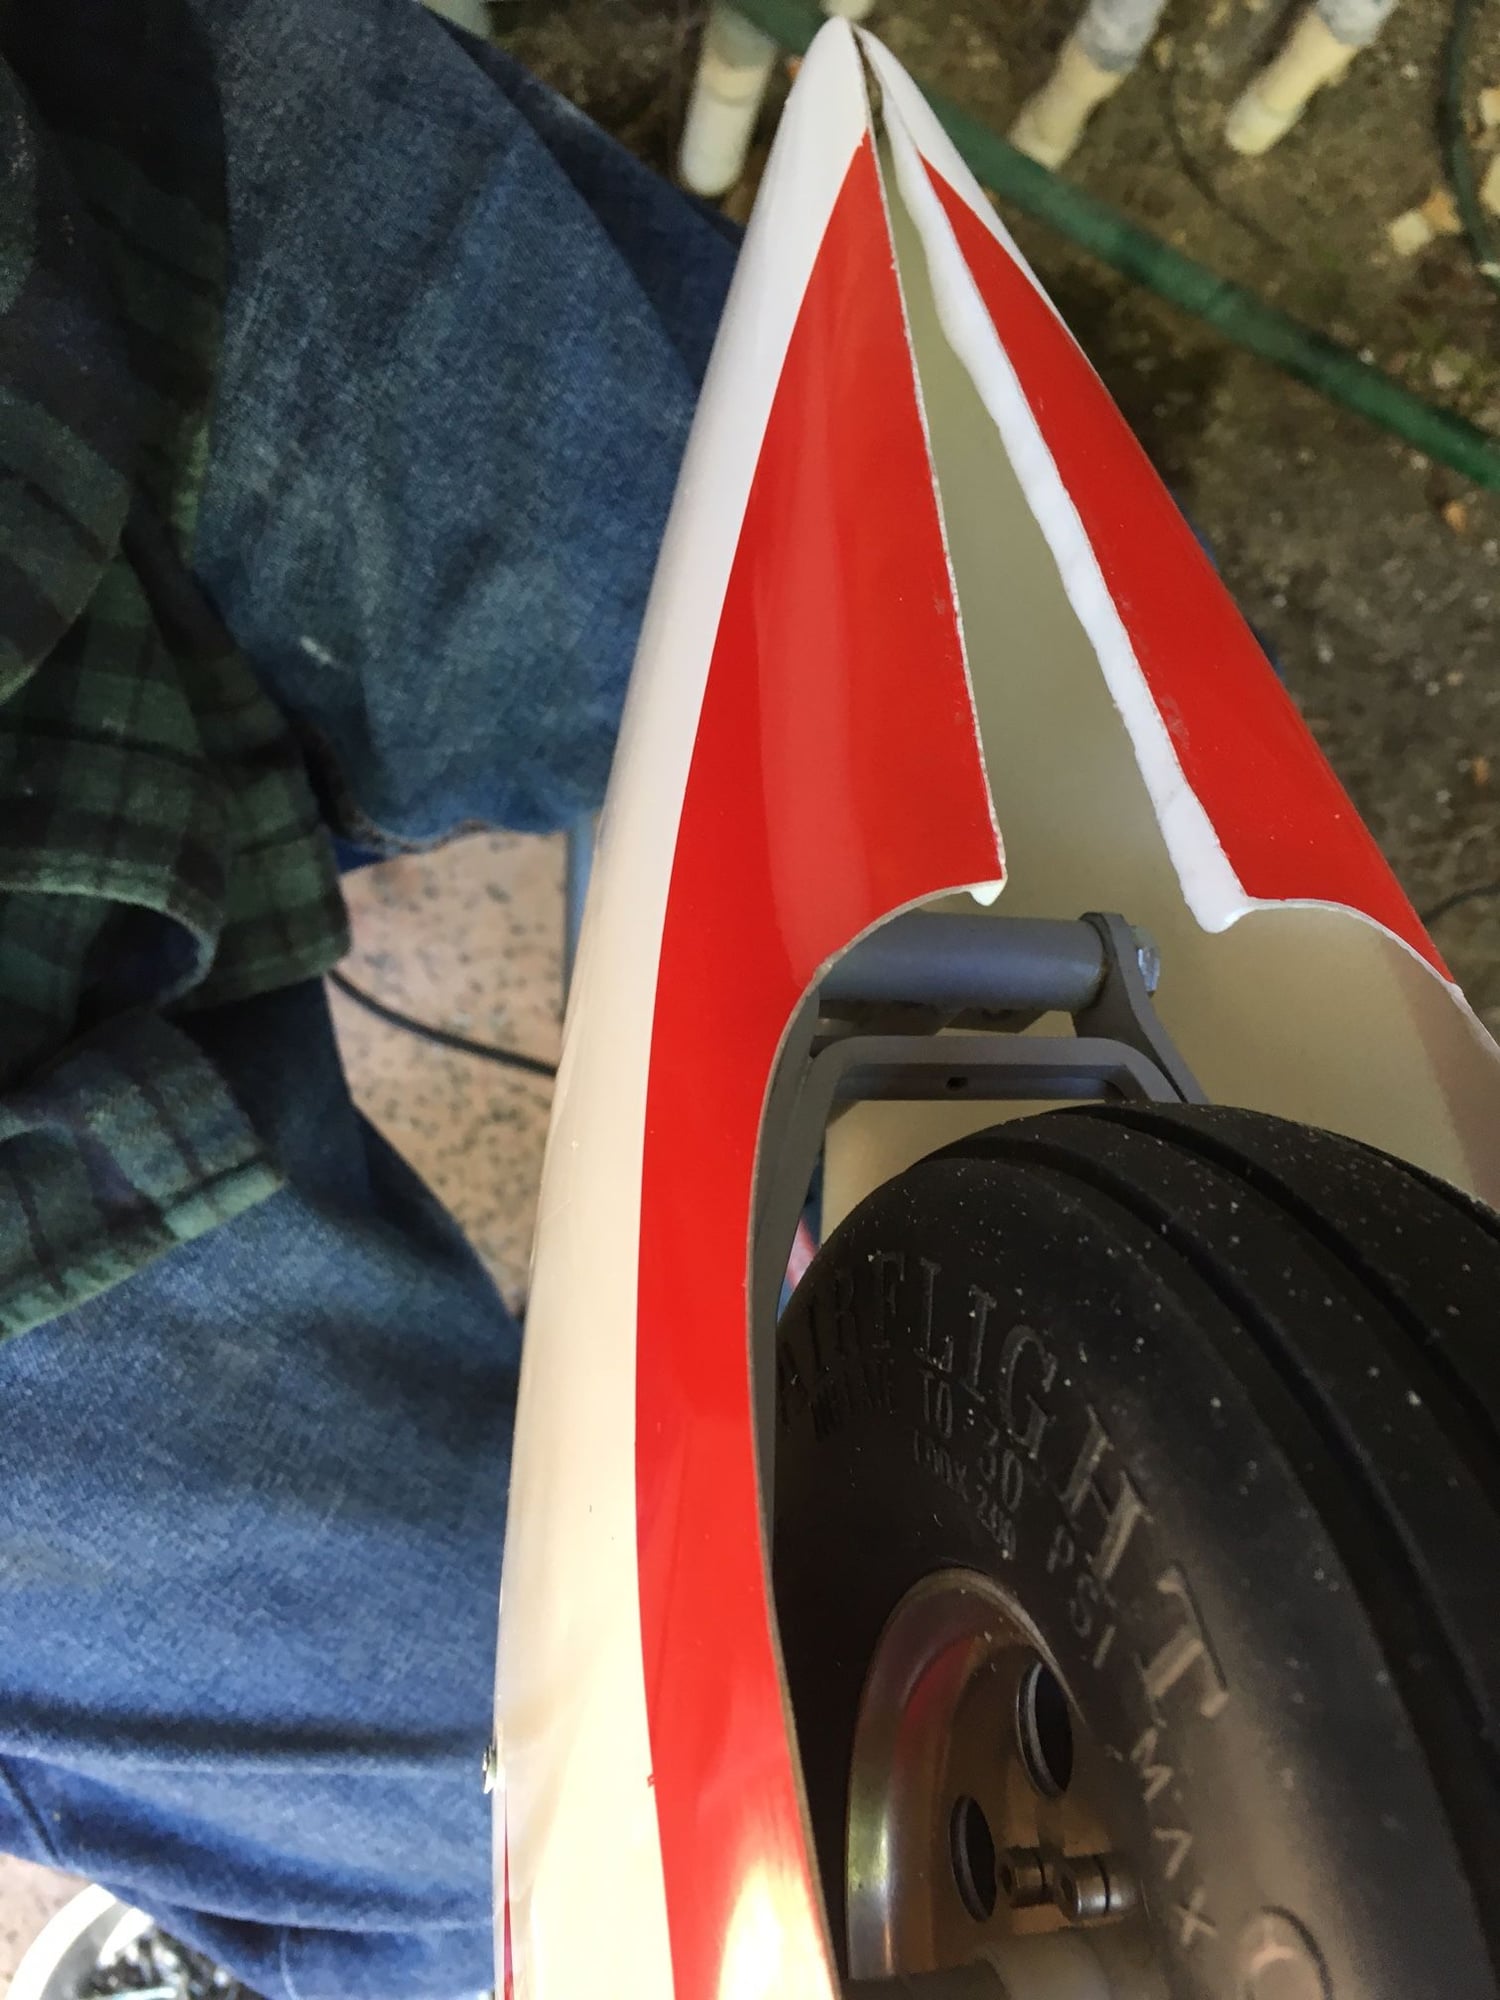
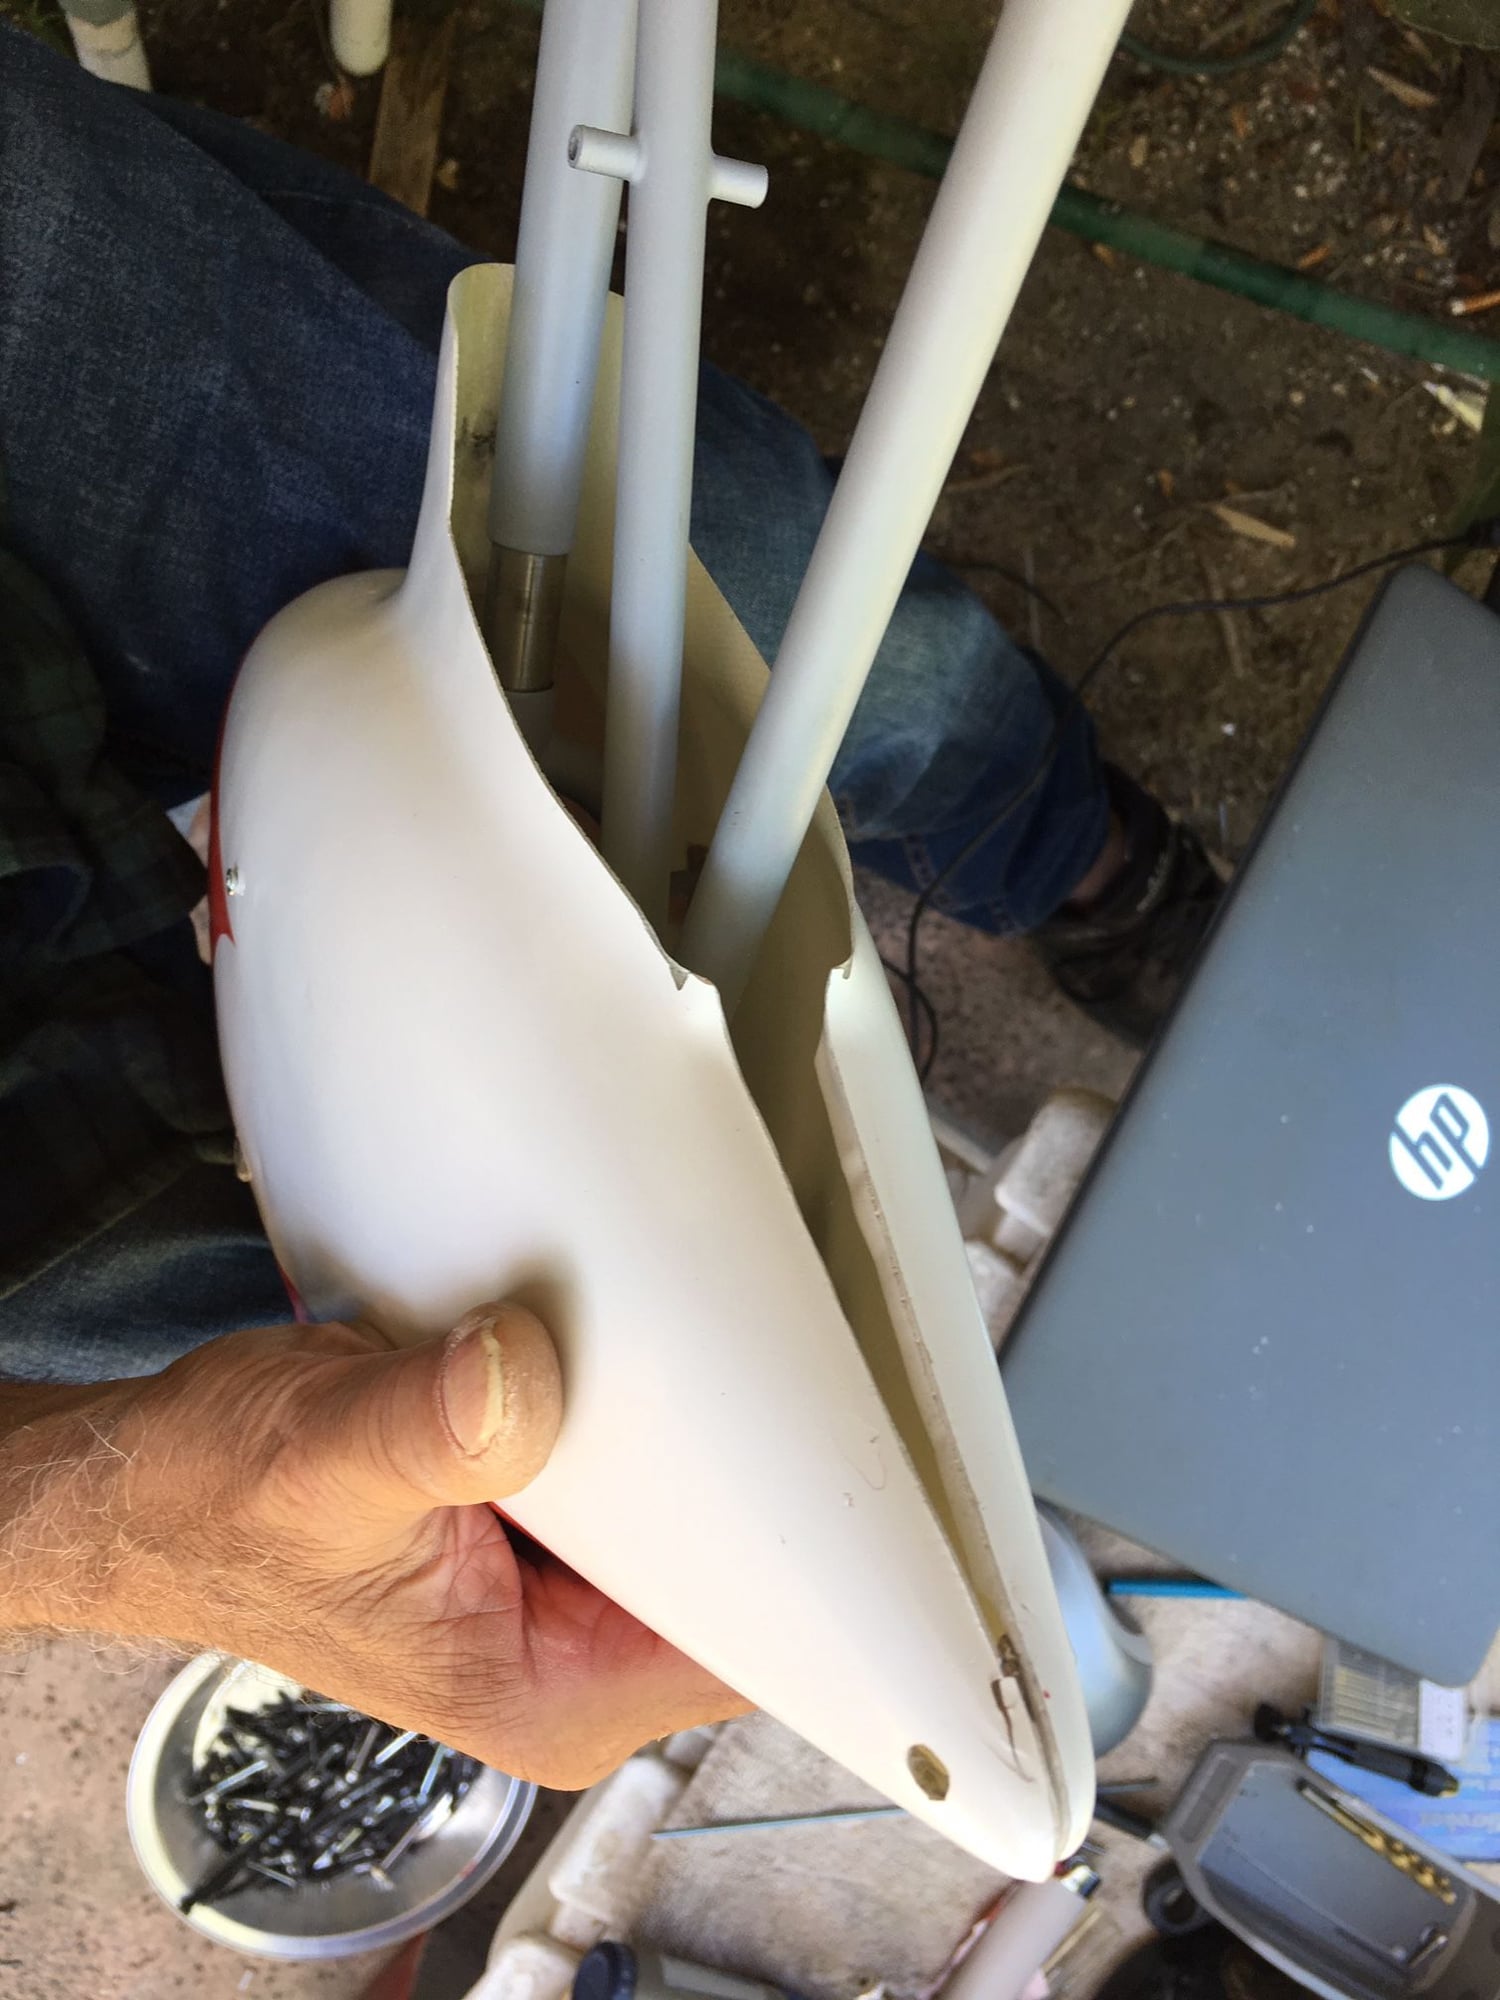
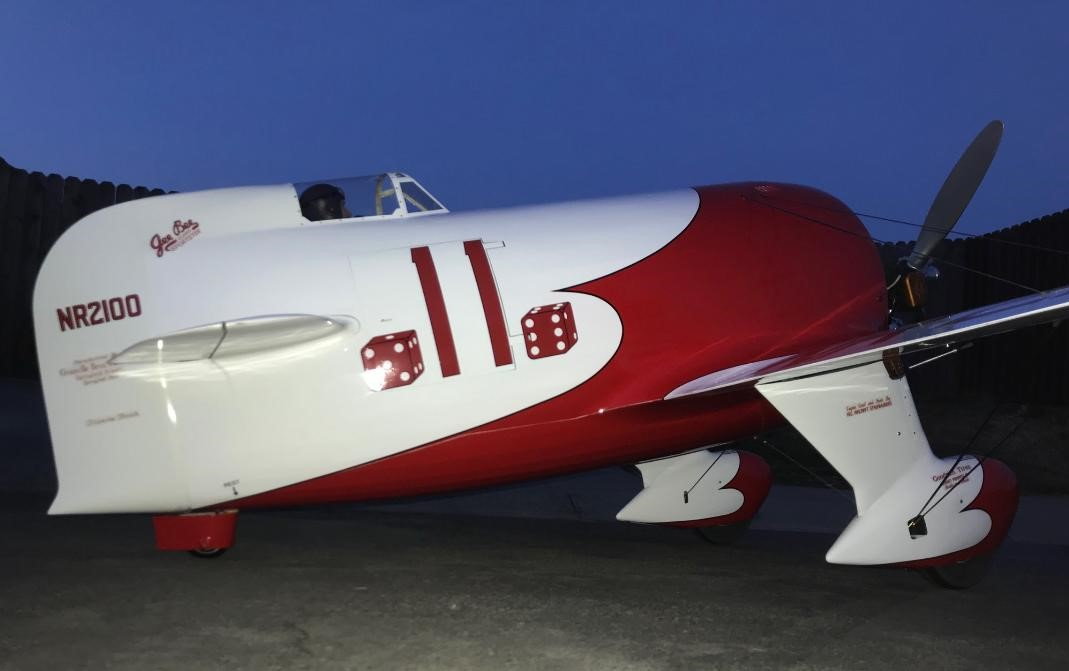
When Josh posts you'll see how convoluted the hinge blocks needed to be to fit. Built the door so it's removable as per Richard. Mounted the latch and I'm confident it won't open in flight (an open door can cause the stab to stall...CRASH!! Still, I'm adding magnets for backup. How's this for giant wheel-pants!
Mark
Mark
 11-09-2019, 12:13 PM
#1916
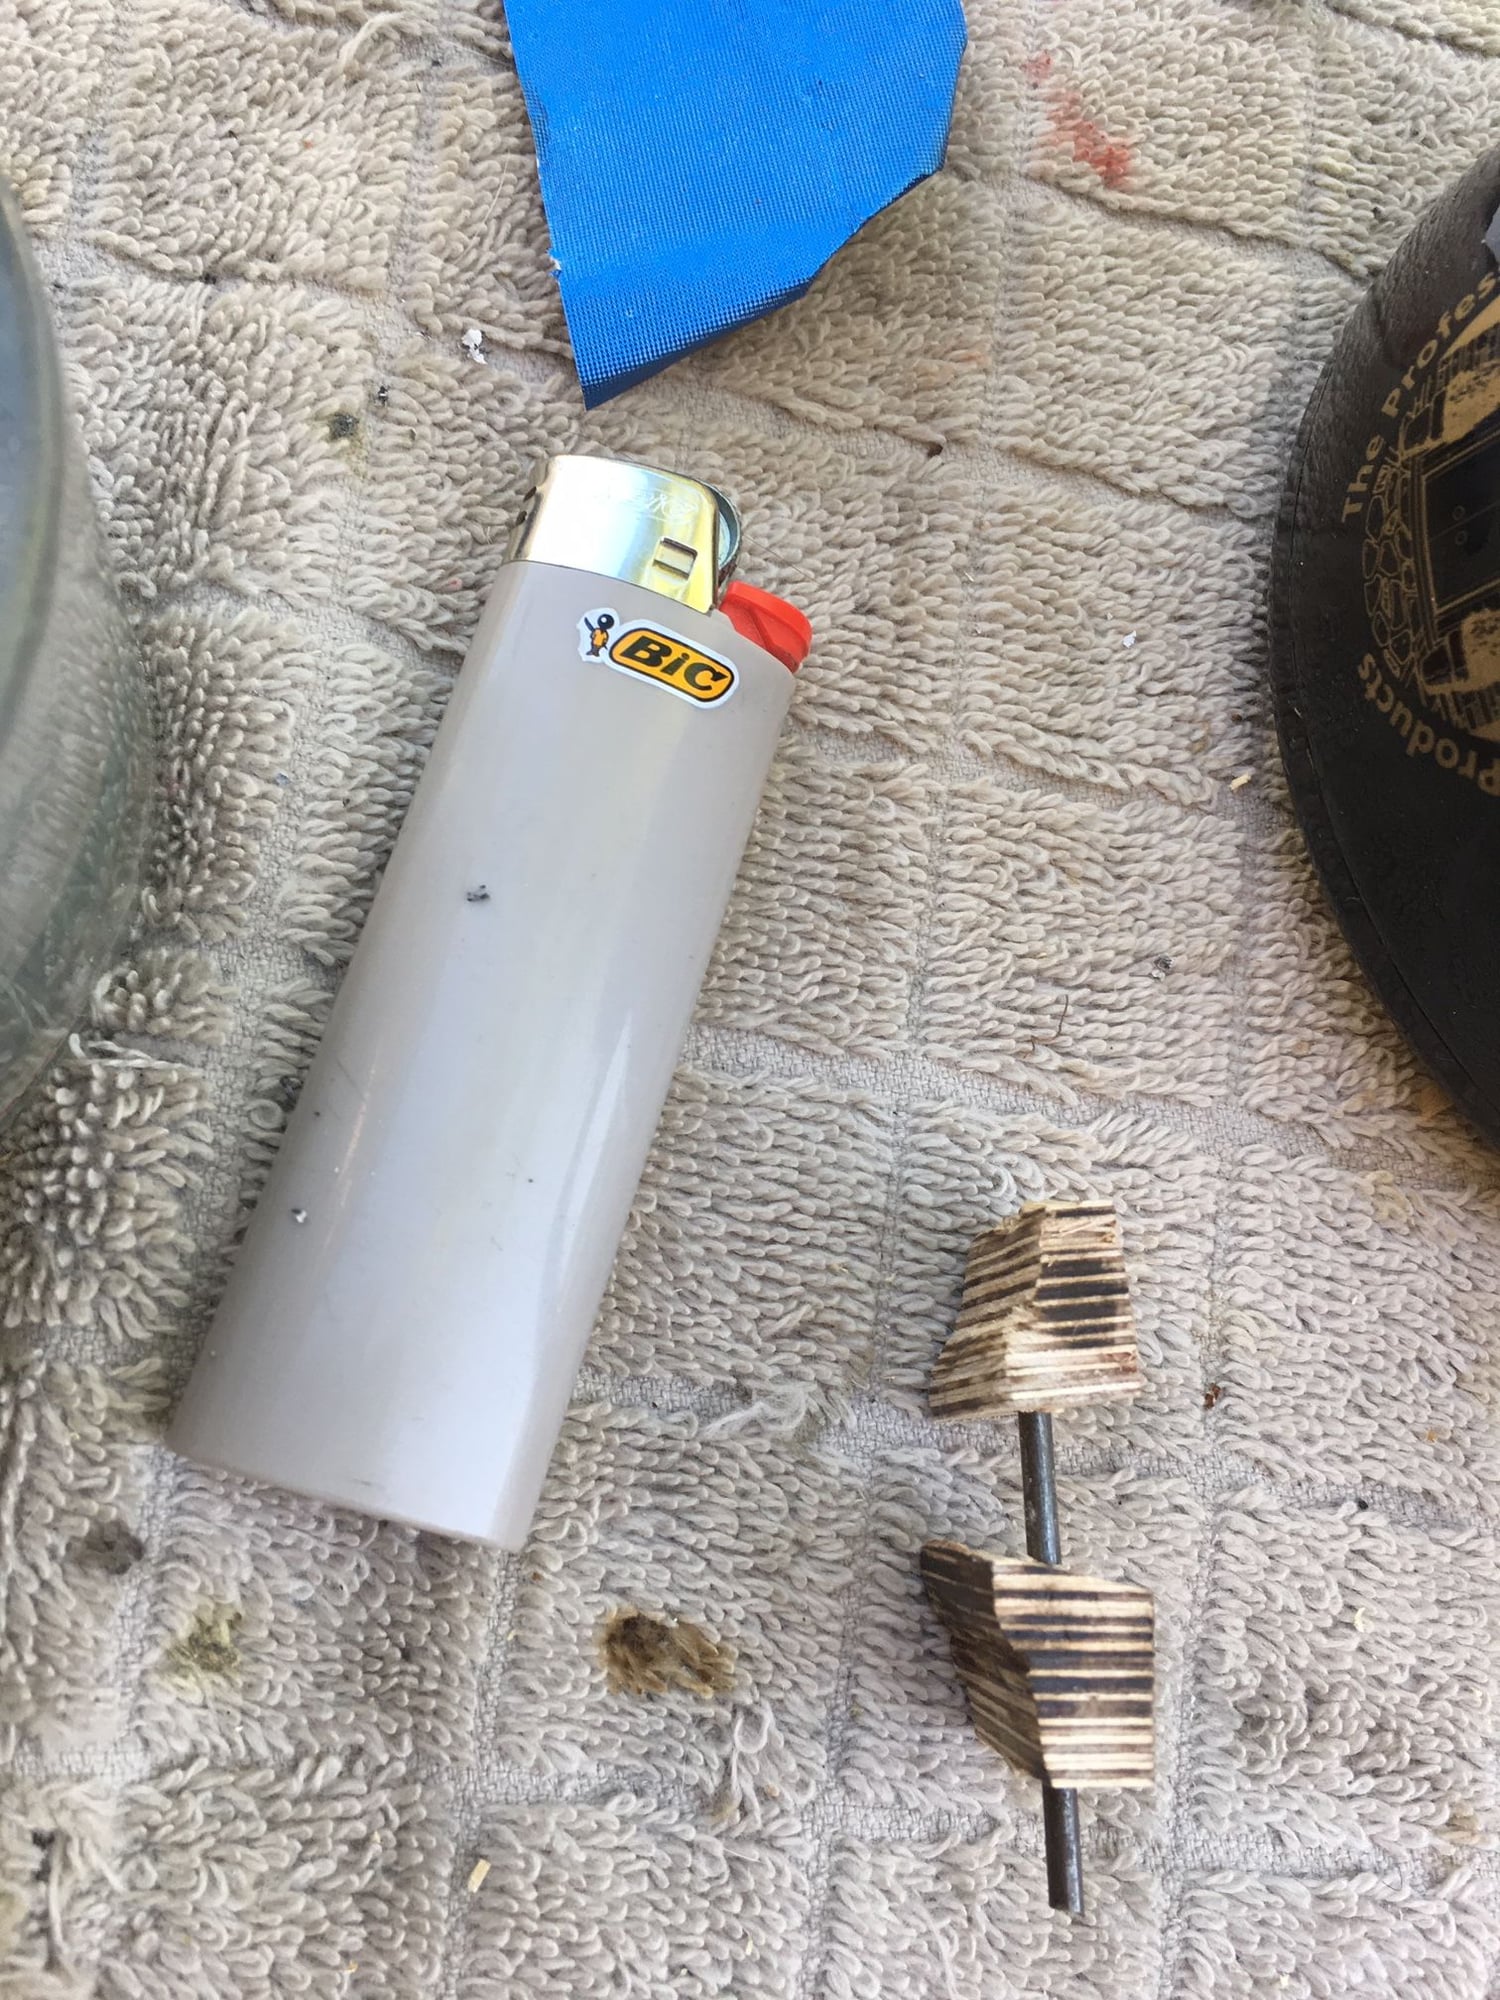
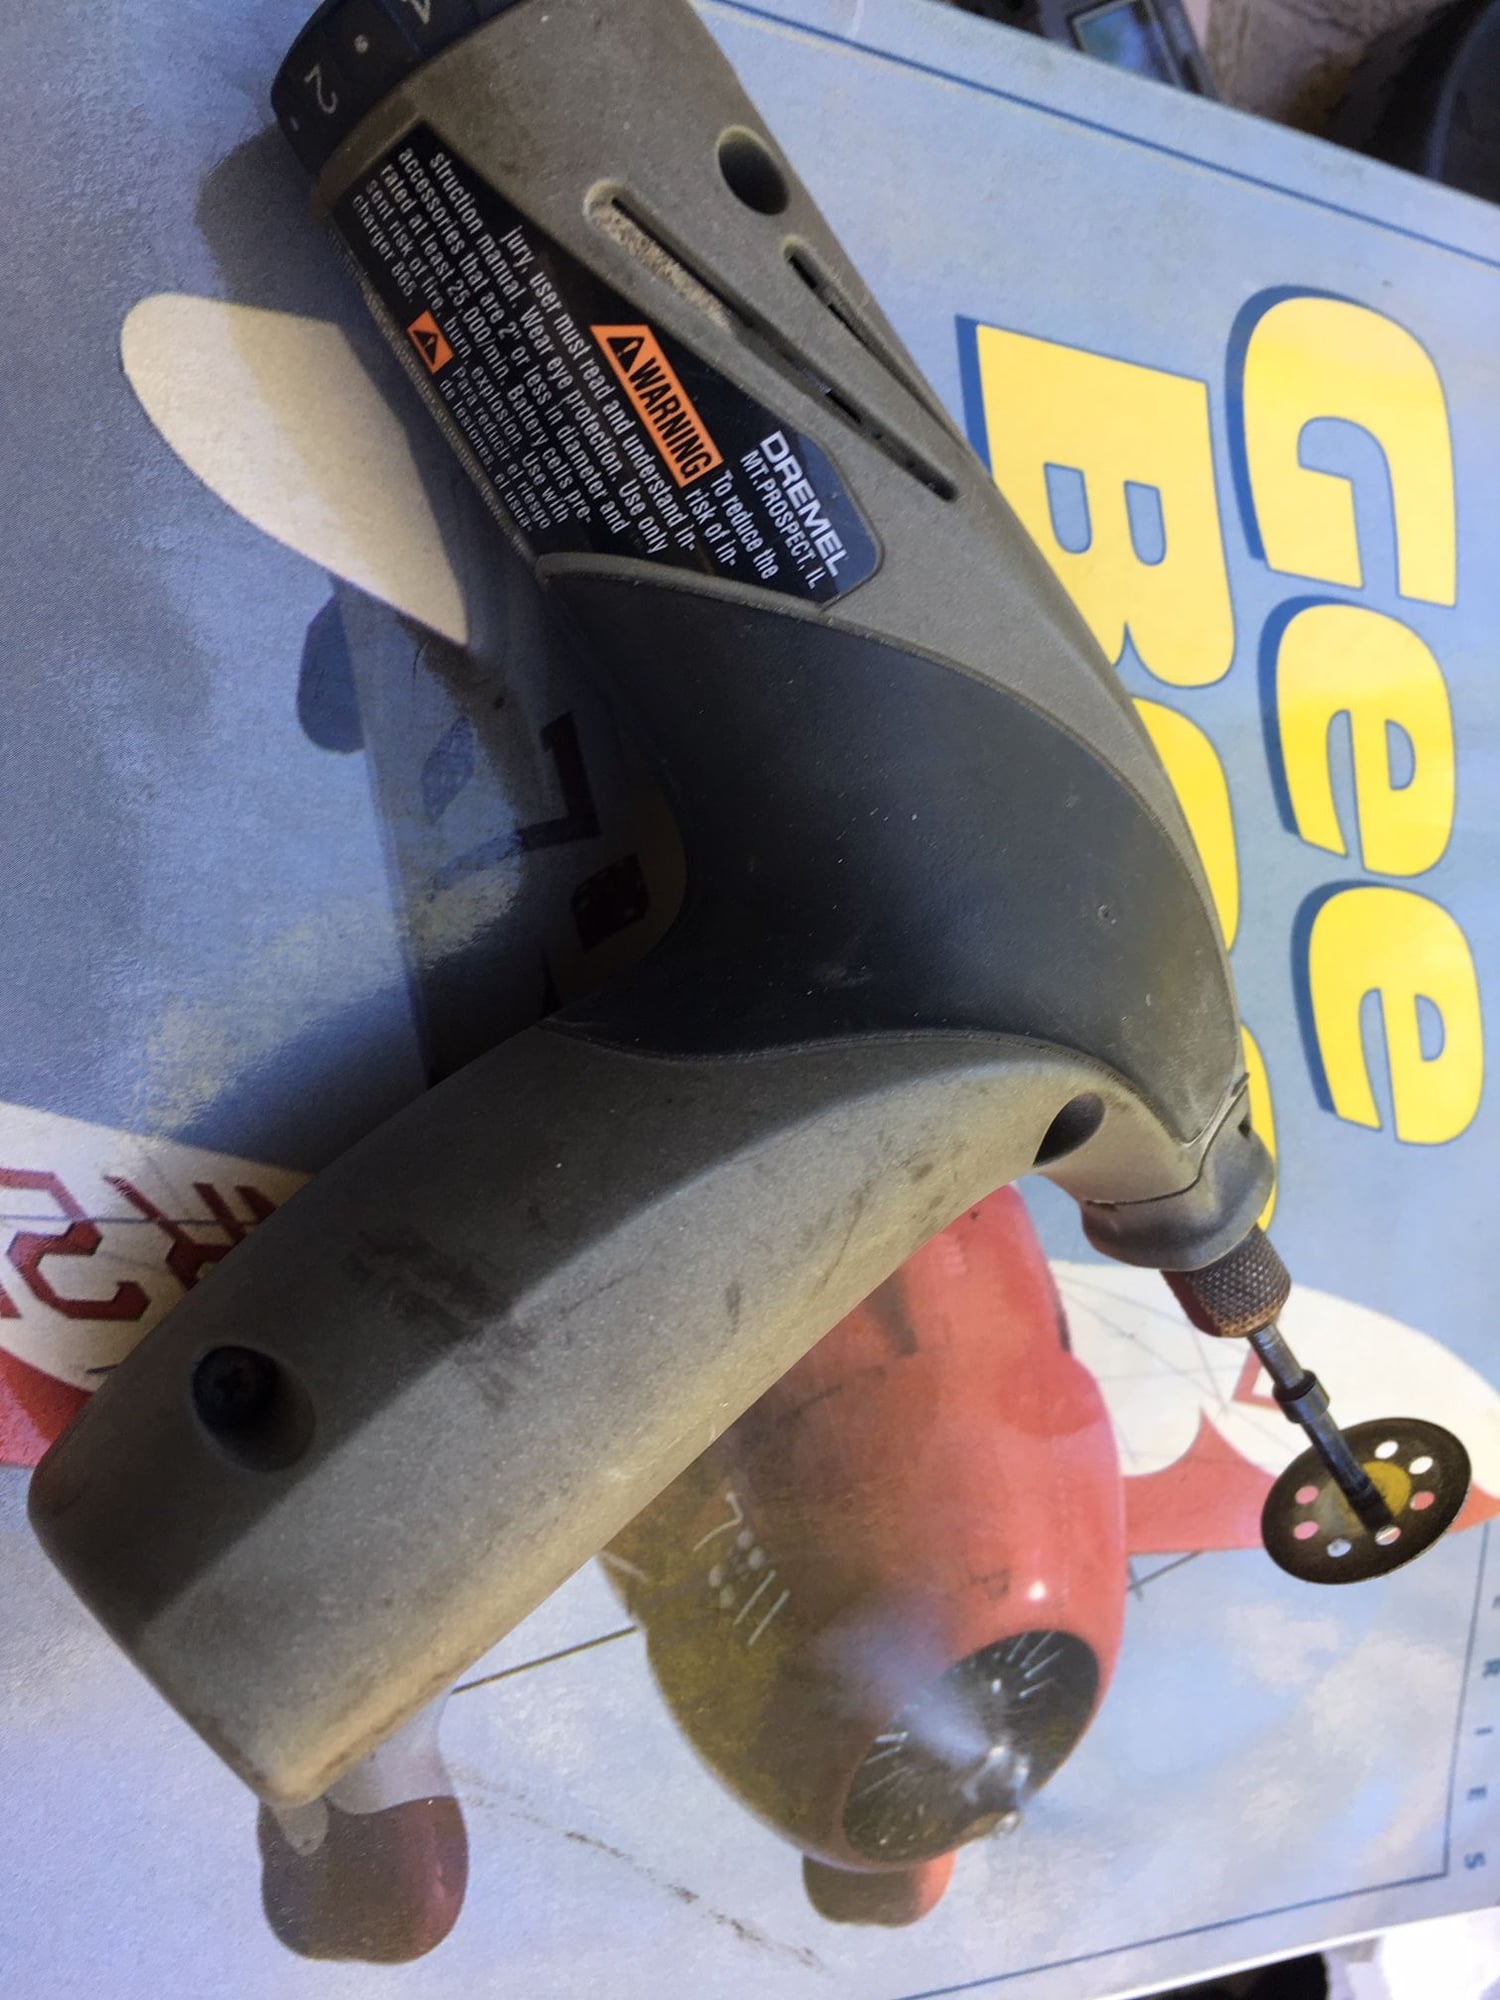
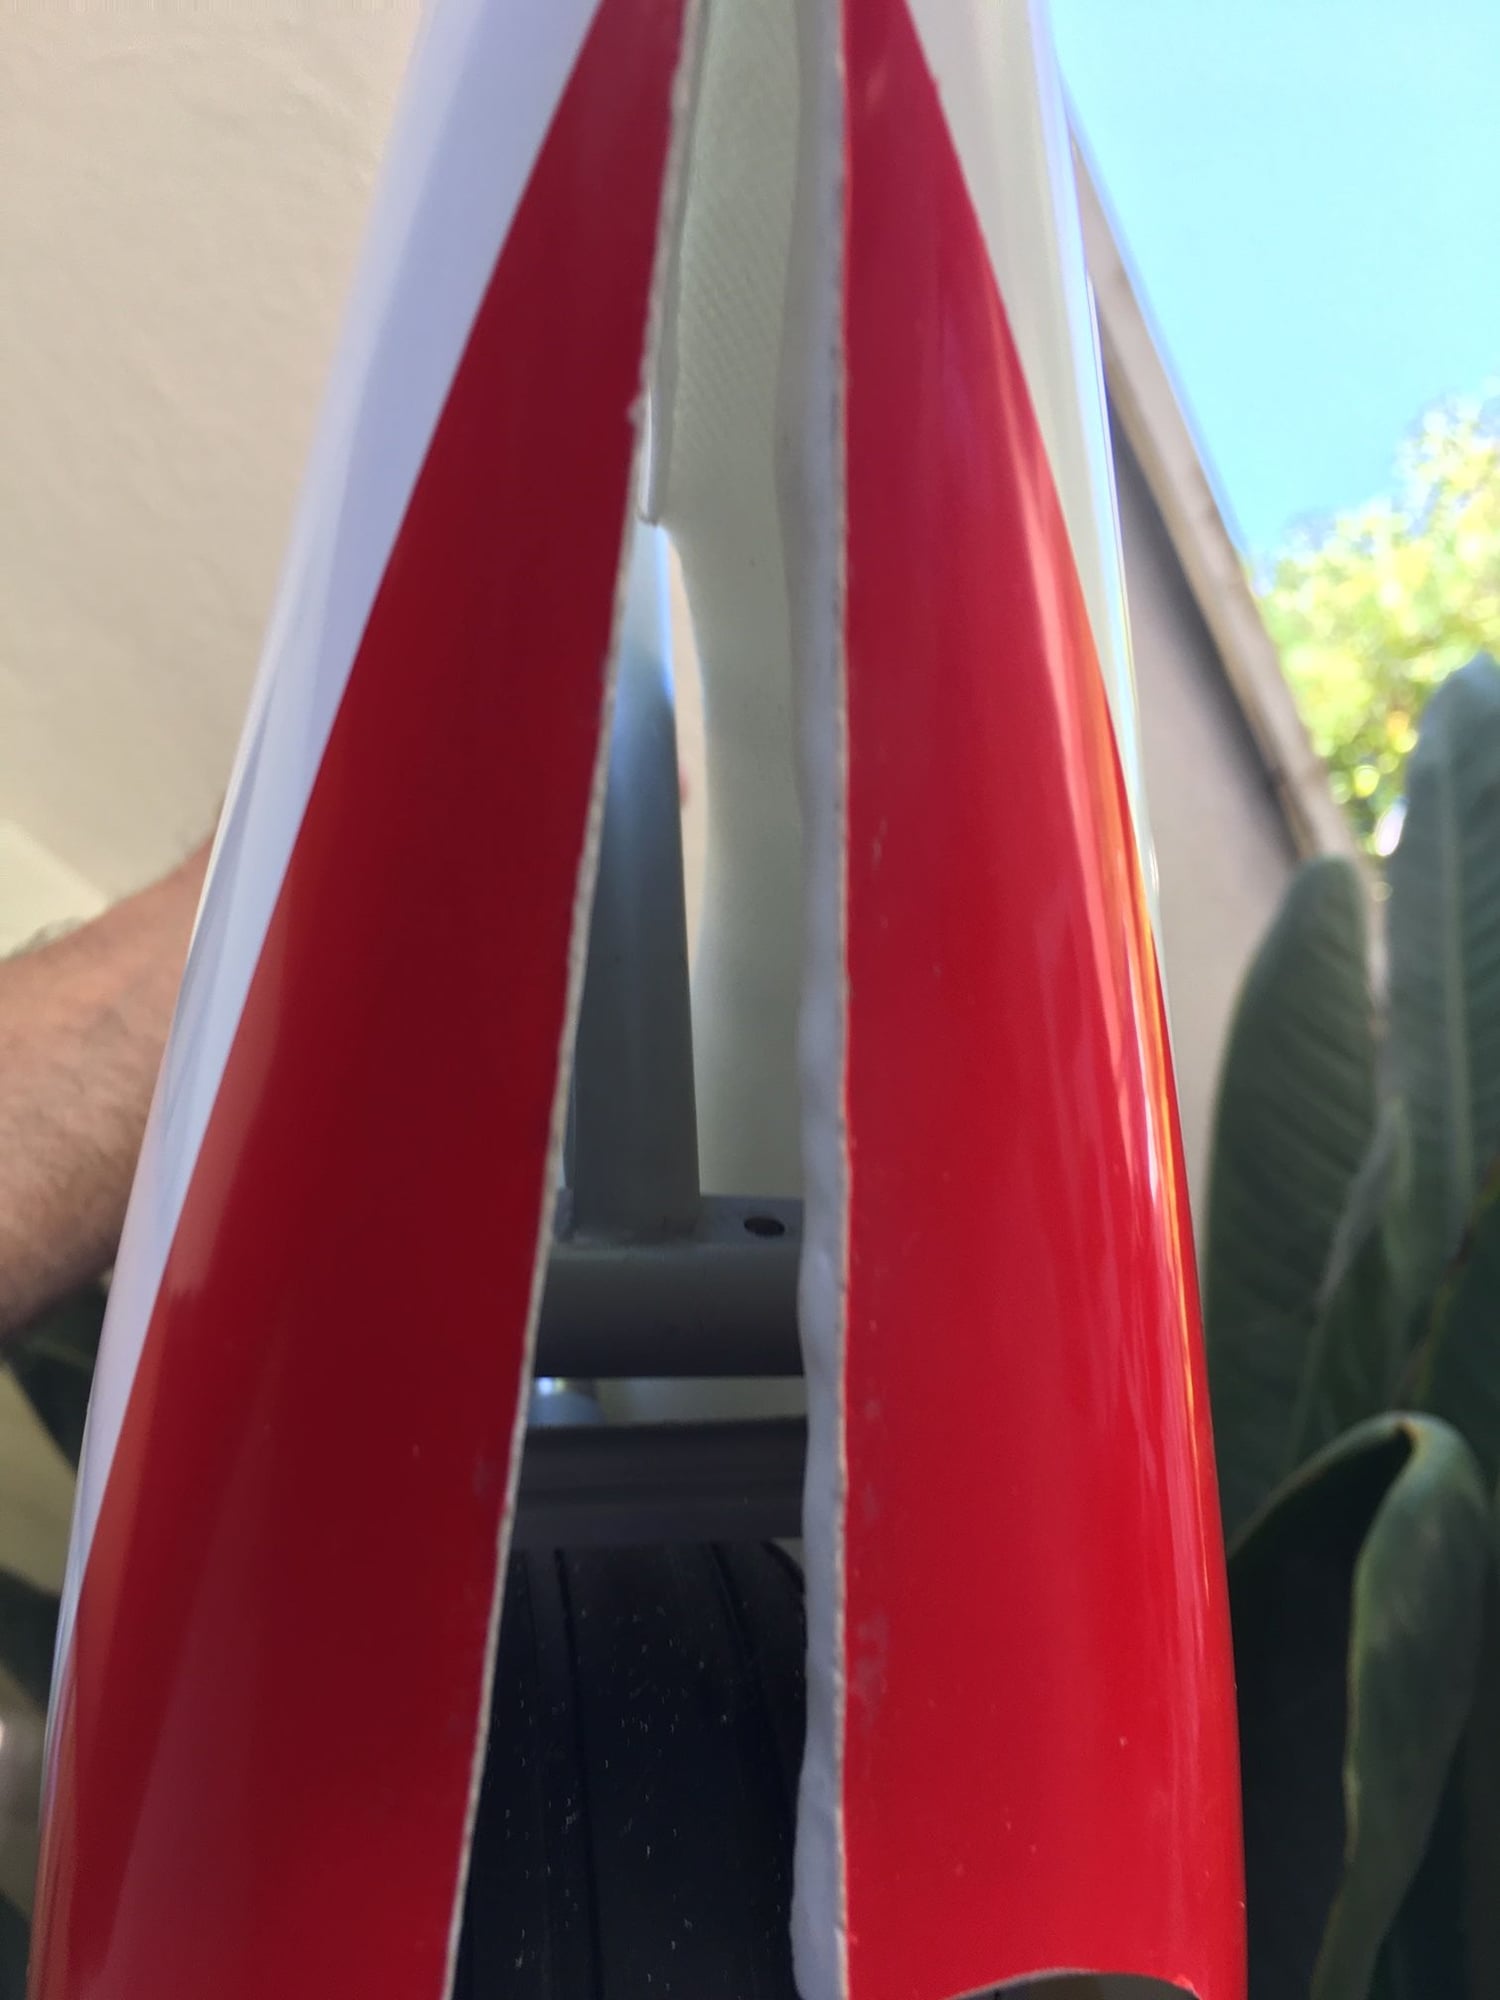
Richards Idea on how to make the door removable and flush worked great. It also greatly simplified fitting and mounting the hinge pins. I trimmed the door using the thin diamond Dremel cut-off wheel and carefully applying yellow masking tape as a guide. This method allowed me to make smooth straight cuts of as little as 1/32". Since a flush door requires an inward stop, and I had planned on adding magnets anyway as a back-up to the latch, (an open door can reportedly cause a stab stall and crash) I placed them in the lower left corner where I had a slight protrusion. They flushed it right up but were so strong I had to add a piano wire handle to open it.
Mark
Mark
Last edited by 5th GeeBee; 11-09-2019 at 12:33 PM.
 11-11-2019, 04:17 PM
#1920
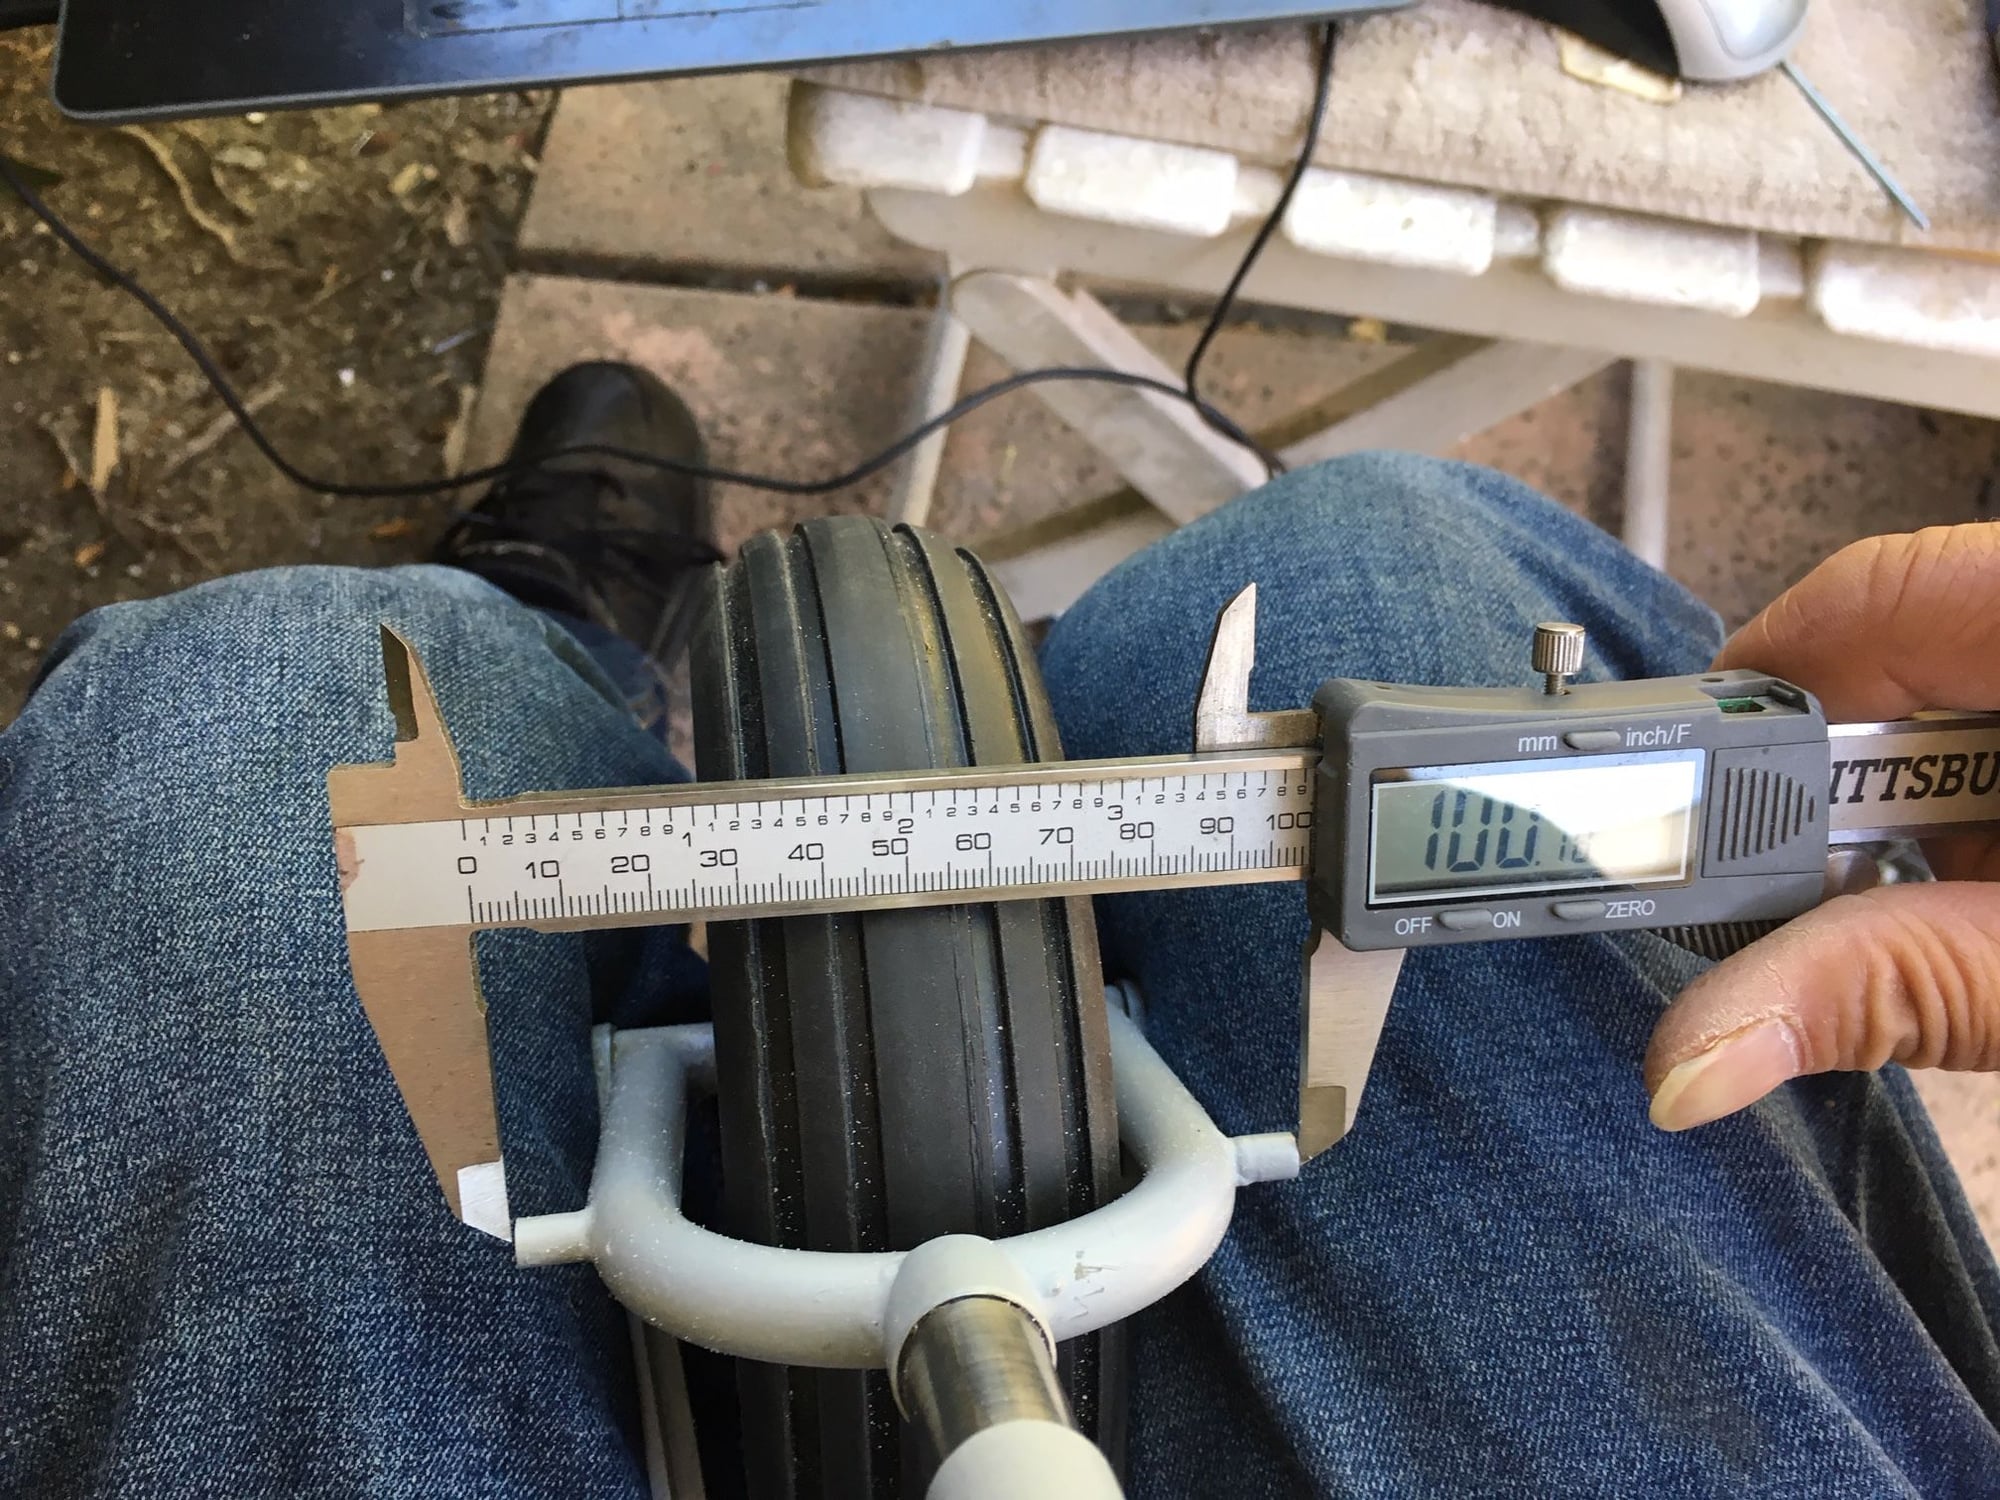
You know, I like to build. I don't mind if something complex needs to be assembled and fitted. It's satisfying when you get it right. What bothers me is when I have to correct glaring mistakes on the part of the supplier. Especially when it's supposed to be from the premier supplier at a premium price. Here's the latest: The Wheel Pants Don't Fit The Landing Gear!! I'm going to have to cut the axles and use a different method to secure them or have a machine shop make me an entirely new set. If you've read through Richards manual, you'll see that the pants are not permanently joined at the rear so they can be removed when necessary. Well, they changed the axles on the gear and the back of the pants won't close by nearly an inch. I've been stopped dead in my tracks until I get this solved. #@$%&+!. Like I said.....Every step on this thing is AN ADVENTURE!
Mark
Mark
11-12-2019, 02:58 PM
#1921
Emailed Carf about the problem and guess what? They have a new manual that I didn't receive with my kit. It's a pictorial with lots of details and dimensions that addresses almost all of my complaints so far. Anyhow, It turns out that the wheel-pant /gear combo has been changed and a hole to accommodate the the axle nuts is required.That didn't fix the problem! The reality was, the $550 landing gear were made incorrectly. By dremelling off 7mm of threaded tube, the problem was solved..Two days, a dozen emails and a lot of tequila later, I'm back on track. I'll give CARF this....Andreas, the owner, Got right back to me and has been, and I'm pretty sure will be, helpful.
Sorry for the invective
Mark
Sorry for the invective
Mark
Last edited by 5th GeeBee; 11-12-2019 at 04:31 PM.


 11-13-2019, 04:59 PM
#1925
OMG guys thanks for the updates! Both planes are looking good. RichardGee what engine of choice is in yours?