


GJC/FB 2.5M Viper Build


 04-07-2016, 08:07 AM
#57

Thread Starter

Nice Scheme my bud has one in that scheme looks good in the air.
Last edited by FenderBean; 04-07-2016 at 08:09 AM.
07-05-2016, 08:02 PM
#58
Thread Starter
Well finishing this thing up since KY jets is right around the corner, I have been working on the lights. The owner wanted to try braincube lights, I really like the LEDs they provide. I am uploading a video explaining a the install so far.


video uploading https://www.youtube.com/watch?v=ef5e...ature=youtu.be
video uploading https://www.youtube.com/watch?v=ef5e...ature=youtu.be
07-05-2016, 09:54 PM
#59

Well finishing this thing up since KY jets is right around the corner, I have been working on the lights. The owner wanted to try braincube lights, I really like the LEDs they provide. I am uploading a video explaining a the install so far.
video uploading https://www.youtube.com/watch?v=ef5e...ature=youtu.be
video uploading https://www.youtube.com/watch?v=ef5e...ature=youtu.be
Keith! That's awesome. what light kit did you end up going with? I am in the process of wanting to get a kit for mine but trying to decide. You have done a great job on it! We did the maiden this Sunday and it went well. Had a few issues with the landing gear and the gyro stopped working prior to flight. We flew it with the gear down and no gyro. With decent gust of wind and it flew like butter haha.
 07-21-2016, 08:27 PM
#63
Thread Starter
Thanks, there are some things about the kit that I wish I could make look better for the owner but its just a fact of life when dealing with the chinese arfs. The cockpits for example, I had to come up with a way to make it look better but still functional. The problem with this jet is the cockpit is so visible so I tried to make the cockpit scale with a not so scale cockpit. It turned out pretty good I just hope the owner is happy, the cockpits are so brittle the crack and break so easy. other than that im happy with the build. I made the front bucket stay in the jet when you remove the canopy while the aft buck is attached to the canopy. The front is removable but only when you need to for maintenance or battery removal, this will prevent the wear and tear on the cockpit. The good thing by doing this the dash on the front seat now fits like the scale and looks 10X better.
07-22-2016, 09:17 PM
#64
Thanks, there are some things about the kit that I wish I could make look better for the owner but its just a fact of life when dealing with the chinese arfs. The cockpits for example, I had to come up with a way to make it look better but still functional. The problem with this jet is the cockpit is so visible so I tried to make the cockpit scale with a not so scale cockpit. It turned out pretty good I just hope the owner is happy, the cockpits are so brittle the crack and break so easy. other than that im happy with the build. I made the front bucket stay in the jet when you remove the canopy while the aft buck is attached to the canopy. The front is removable but only when you need to for maintenance or battery removal, this will prevent the wear and tear on the cockpit. The good thing by doing this the dash on the front seat now fits like the scale and looks 10X better.
07-23-2016, 06:19 AM
#65
Thread Starter
Well my next personal project will most likely be an f-18. I'm also waiting for the A-6 to come around. These are long term projects, I'm pretty much done for this year on jet builds I have other things that will require funds.
Last edited by FenderBean; 07-24-2016 at 07:46 AM.
07-23-2016, 10:27 PM
#66
lol the F-18 does look nice. I understand I am like you with funds needed for other things.
08-06-2016, 06:05 PM
#67
Thread Starter
Okay so now that this viper is about to ship out the owner I decided to jump back to my viper and install the lights. After installing the braincube lights on this viper I just had to have them for mine and when Marvin put two up for auction I jumped at getting a great light set at a crazy price. My buddy bought the other set based on my comments so they both got good homes! I did buy a few lights to finish off mine since the kit was the basic light set, the viper set comes with 11 lights!
Making videos and posting pics again so here we go!


Youtube videos are uploading
https://www.youtube.com/watch?v=fOoM4SfdKNw&feature=youtu.be
https://www.youtube.com/watch?v=q2obDioodL0
https://www.youtube.com/watch?v=ihxkyCp9uS4
Making videos and posting pics again so here we go!
Youtube videos are uploading
https://www.youtube.com/watch?v=fOoM4SfdKNw&feature=youtu.be
https://www.youtube.com/watch?v=q2obDioodL0
https://www.youtube.com/watch?v=ihxkyCp9uS4
Last edited by FenderBean; 08-06-2016 at 08:21 PM.
08-14-2016, 05:42 PM
#68
Thread Starter
managed to finish up this light install


I think evening time is going to be a lot more fun now, I opted to put the aft strobe below the rudder facing aft. If I had the kit prior to the rudder install I would say go rudder but to much of a pain with the rudder on. I really like the cockpit lights as well, I am uploading a video showing the lights now. Cheers!
https://www.youtube.com/watch?v=2Irf...ature=youtu.be
Last edited by FenderBean; 08-14-2016 at 05:54 PM.
12-01-2016, 11:21 PM
#69
Join Date: Aug 2015
Posts: 26
Likes: 0
Received 0 Likes
on
0 Posts
I think Brain cube closed down about a month ago, emailed them about lights etc and got that reply and missed the last purchasing opportunity! But no issues, once my Viper is in the air I might get back to considering lights. Anyway:
Question: did you glue the two fus sections? Or just the supplied screws?
Question: did you glue the two fus sections? Or just the supplied screws?
12-01-2016, 11:24 PM
#70
Join Date: Aug 2015
Posts: 26
Likes: 0
Received 0 Likes
on
0 Posts
On the tail fin things fitted at the rear, below. Supplied with two, one without blind nuts and one with one working blind nut. Open and add blind nuts OR remove paint an Hysol to fus? Somehow the open sounds like the better plan or both perhaps?
12-02-2016, 01:56 PM
#71
Thread Starter
used bolts for the joining, I would not recommend just gluing. I used lock nuts since the fins have threaded rod its the only way to attach them or you could glue them. I made them removable
01-03-2017, 01:21 PM
#72
My Feedback: (7)
Join Date: Feb 2004
Location: Ft Mill SC
Posts: 49
Likes: 0
Received 0 Likes
on
0 Posts
Hi guys, just about to start on my 2.5m FB Viper.
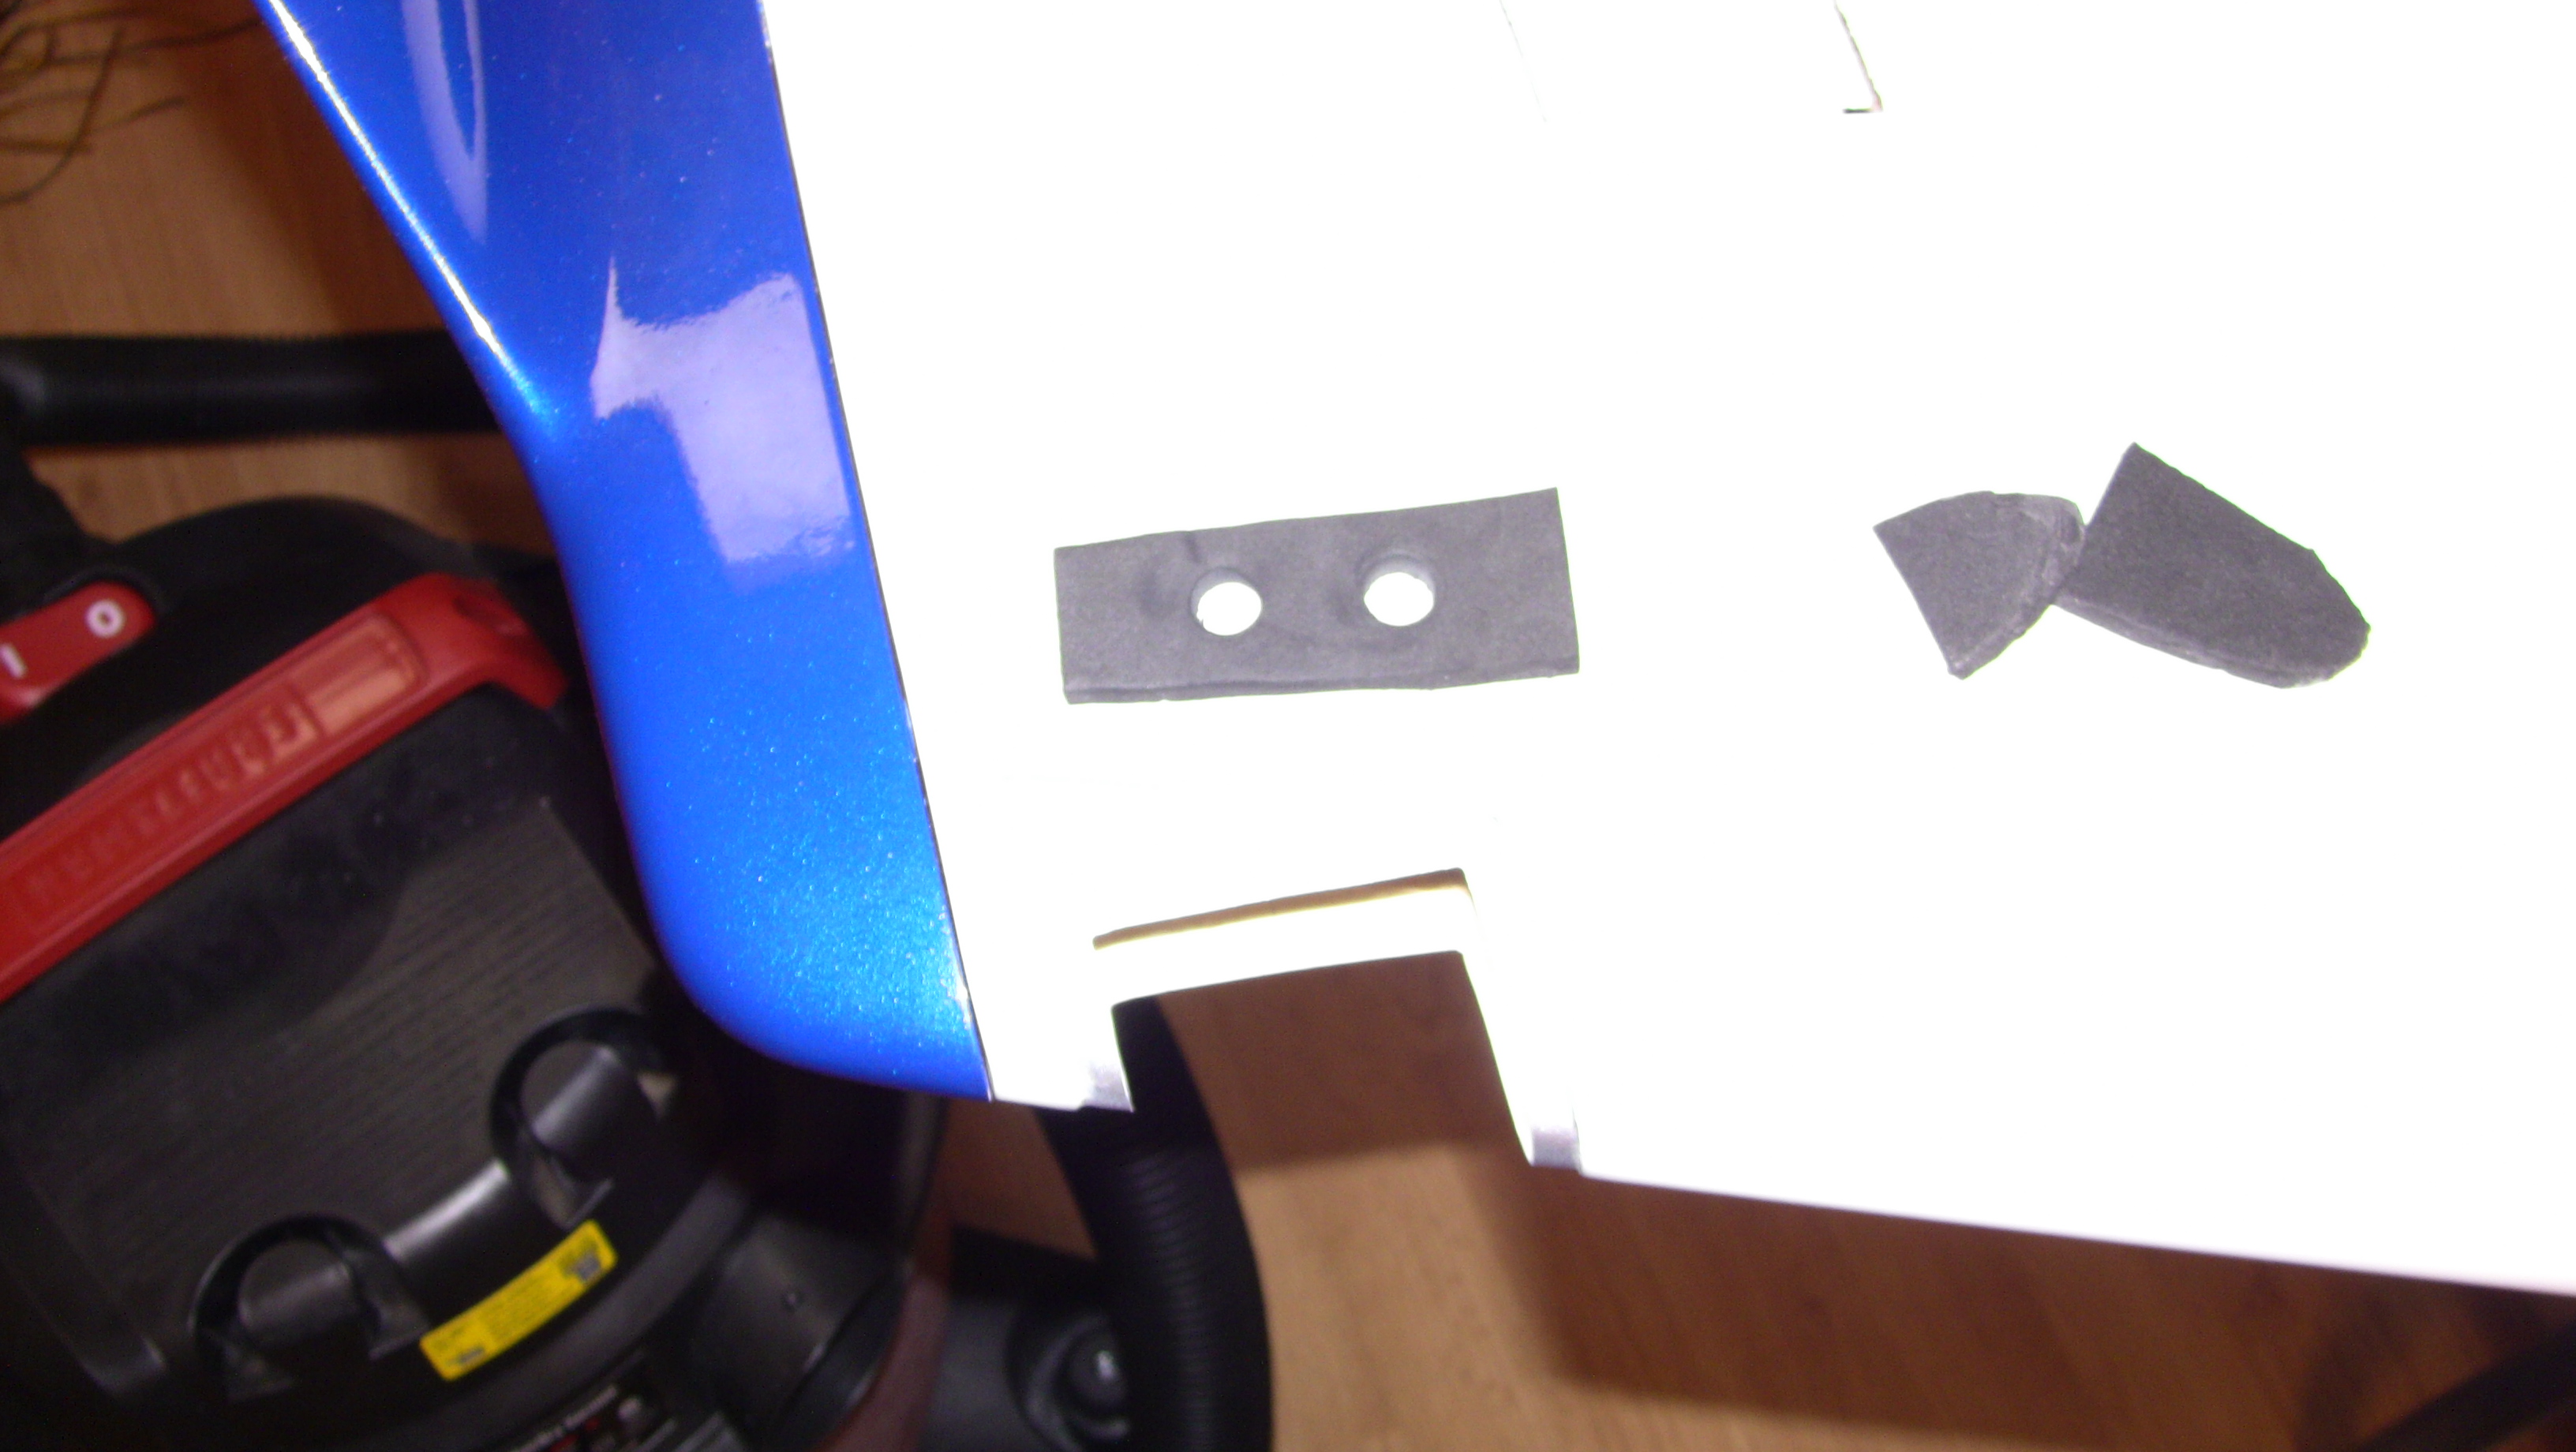
Fenderbean, how did you figure out where to place the control horn on the flaps? I have all the same horns and was curious how it would/could work, much less the correct placement on the flap. The only thing I guess is that the horn will need to be cut down to a shape like you had in one of the pictures.
Fenderbean, how did you figure out where to place the control horn on the flaps? I have all the same horns and was curious how it would/could work, much less the correct placement on the flap. The only thing I guess is that the horn will need to be cut down to a shape like you had in one of the pictures.
01-03-2017, 02:01 PM
#73
Thread Starter
Hi guys, just about to start on my 2.5m FB Viper.
Fenderbean, how did you figure out where to place the control horn on the flaps? I have all the same horns and was curious how it would/could work, much less the correct placement on the flap. The only thing I guess is that the horn will need to be cut down to a shape like you had in one of the pictures.
Fenderbean, how did you figure out where to place the control horn on the flaps? I have all the same horns and was curious how it would/could work, much less the correct placement on the flap. The only thing I guess is that the horn will need to be cut down to a shape like you had in one of the pictures.
01-04-2017, 06:30 AM
#74
My Feedback: (7)
Join Date: Feb 2004
Location: Ft Mill SC
Posts: 49
Likes: 0
Received 0 Likes
on
0 Posts
Ahh ok cool. Thanks! I just have all the same control horns that are used on the normal control surfaces. Which won't work on the flaps. I'll have to either trim down 2 of them or make a pair that work. Appreciate the help and your build thread. It's helped out tremendously!
01-04-2017, 09:21 AM
#75
Thread Starter
Ahh ok cool. Thanks! I just have all the same control horns that are used on the normal control surfaces. Which won't work on the flaps. I'll have to either trim down 2 of them or make a pair that work. Appreciate the help and your build thread. It's helped out tremendously!