


New Sport Jet: T-One Models Mini Fortune / Mini T1

 05-02-2018, 12:27 AM
#227

Join Date: Jul 2002
Location: dubai, UNITED ARAB EMIRATES
Posts: 328
Likes: 0
Received 0 Likes
on
0 Posts
How did u guys manage the servo arm screw installation in the stabs. I am stumped. Can seem to figure it out. After market metal control horns futaba type seem to fit. But don’t want to install without the screws on top of the arm
05-02-2018, 07:33 AM
#228

My Feedback: (53)

I installed the servo with the arm attach to the servo.....needed to make the servo holes a little bigger. I also used a piece of tread to raise the arm slowly to the surface....one side clear fine the other not so much so I had to make it a little bigger to clear the arm....
05-02-2018, 09:37 AM
#229
I did the same, installed them with the arms attached, then used a piece of thin wire to hook and raise them into place. I also make the servo arm holes a little bigger. -Tom
05-02-2018, 12:13 PM
#230
Join Date: Jul 2002
Location: dubai, UNITED ARAB EMIRATES
Posts: 328
Likes: 0
Received 0 Likes
on
0 Posts
Thanks for your replies much appreciated, I also increased the size of the servo arm hole and then installed without the screw, later drilled a 2mm hole slightly above the servo arm slot and used an Allen key to tight the nut as I have installed a futaba plastic arm and later will upgrade to a metal arm, so this way i wont have to remove the servo all together,
I am going for PB cockpit with on a 7.4v setup to get max torque from the blue bird a920 servos going to use a 2 to 1 servo harness from powerbox for the flap and aileron servos.
I am also planning to power the retracts thru the powerbox to reduce 1 battery. - any suggestions on this method anybody done this ?
Regards
Aziz
05-02-2018, 12:18 PM
#231
Join Date: Jul 2002
Location: dubai, UNITED ARAB EMIRATES
Posts: 328
Likes: 0
Received 0 Likes
on
0 Posts
blind nuts will damage / destroy the mount / formar / LG. Incase of hard landings........go for normal wood screws provided in the hardware which will rip out of the wood saving the LG, IMO as experienced a very hard landing recently with the EUROSPORT
05-02-2018, 12:46 PM
#232
My Feedback: (53)
Thanks for your replies much appreciated, I also increased the size of the servo arm hole and then installed without the screw, later drilled a 2mm hole slightly above the servo arm slot and used an Allen key to tight the nut as I have installed a futaba plastic arm and later will upgrade to a metal arm, so this way i wont have to remove the servo all together,
I am going for PB cockpit with on a 7.4v setup to get max torque from the blue bird a920 servos going to use a 2 to 1 servo harness from powerbox for the flap and aileron servos.
I am also planning to power the retracts thru the powerbox to reduce 1 battery. - any suggestions on this method anybody done this ?
Regards
Aziz
I am going for PB cockpit with on a 7.4v setup to get max torque from the blue bird a920 servos going to use a 2 to 1 servo harness from powerbox for the flap and aileron servos.
I am also planning to power the retracts thru the powerbox to reduce 1 battery. - any suggestions on this method anybody done this ?
Regards
Aziz
05-03-2018, 12:58 PM
#233
Thanks for your replies much appreciated, I also increased the size of the servo arm hole and then installed without the screw, later drilled a 2mm hole slightly above the servo arm slot and used an Allen key to tight the nut as I have installed a futaba plastic arm and later will upgrade to a metal arm, so this way i wont have to remove the servo all together,
I am going for PB cockpit with on a 7.4v setup to get max torque from the blue bird a920 servos going to use a 2 to 1 servo harness from powerbox for the flap and aileron servos.
I am also planning to power the retracts thru the powerbox to reduce 1 battery. - any suggestions on this method anybody done this ?
Regards
Aziz
I am going for PB cockpit with on a 7.4v setup to get max torque from the blue bird a920 servos going to use a 2 to 1 servo harness from powerbox for the flap and aileron servos.
I am also planning to power the retracts thru the powerbox to reduce 1 battery. - any suggestions on this method anybody done this ?
Regards
Aziz
05-03-2018, 03:06 PM
#234
05-06-2018, 02:54 AM
#235
Join Date: Jul 2002
Location: dubai, UNITED ARAB EMIRATES
Posts: 328
Likes: 0
Received 0 Likes
on
0 Posts
Hi All
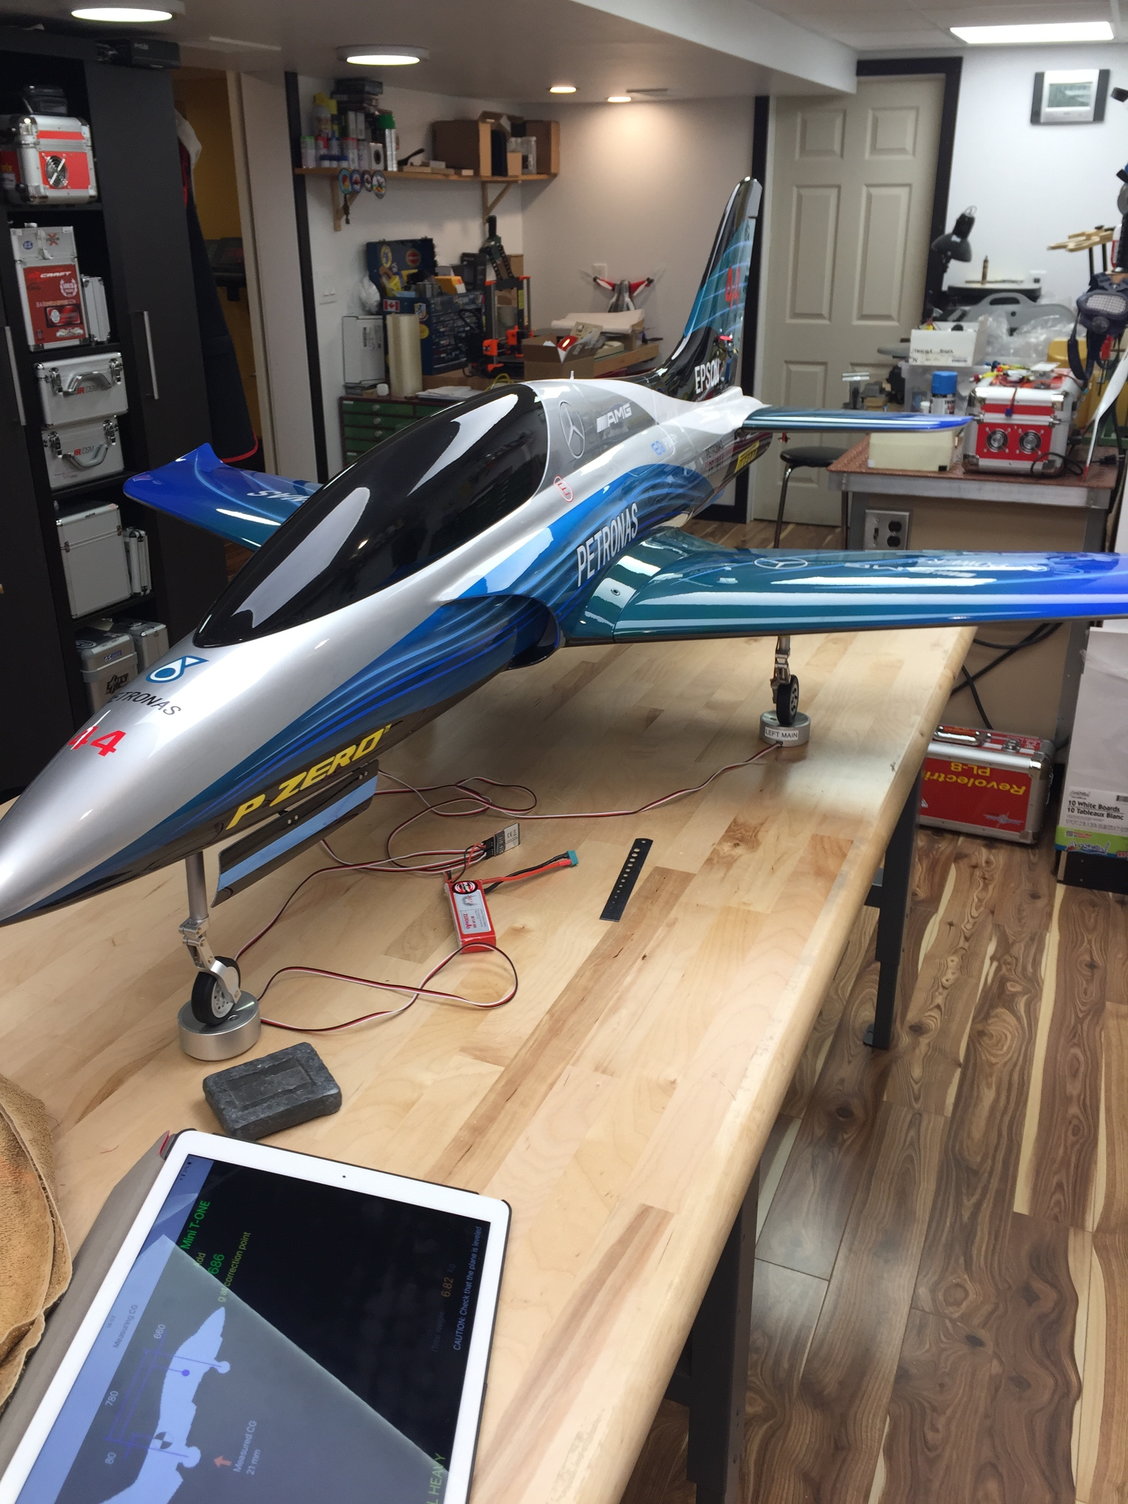
What i did is soldered a servo cable to the power lead of the JP unit and plugged this to one of the DS ( door Sequencer) slot on the PB cockpit and it works just fine. the engine was installed thurst tube mounted and aligned tank with bvm uat, installed I did a test run of the engine all looks good, no leaks, time for all the cosmetics now and CG.
Thanks Mark for the link will order it for my fpv use.
05-07-2018, 08:43 AM
#236
My Feedback: (1)
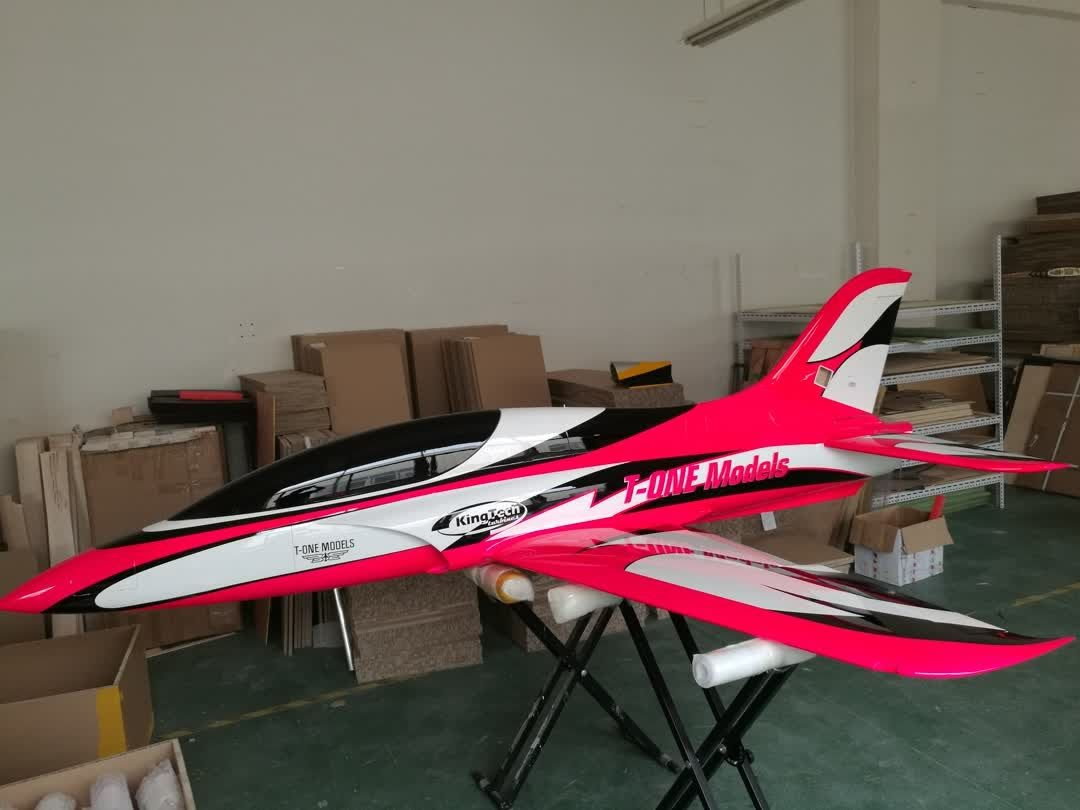
I never really liked the color of my origial Mini T1 so I sold it... my thinking was maybe try something else about the same size... I looked at Joker ,nice but felt somewhat cheap? Not sure that is fair ...but it did not look in person as high quality as the Mini T1.
I also looked at Bandit Evo BVM but I emailed Patty 4 times for quotes and got no response....
So I text Dirk 30 seconds later he text back... and after me driving Dirk crazy to make sure I get the color I wanted it was done.
Bottom line GREAT service and a very high quality kit swayed me back to another Mini T1. Please keep this in mind if your on the fence for a small Jet.
call Dirk and he will take care of you.
05-07-2018, 08:53 AM
#237
My Feedback: (53)
I agree, I got my custom Mini T-1 from Dirk and my T-1 and it was a charm with quick reply dealing with him.....I’m convinced that we all drive him crazy, yap no rush but after a few weeks it seem like have been waiting forever LOL ��
 05-07-2018, 10:10 AM
#240
I never really liked the color of my origial Mini T1 so I sold it... my thinking was maybe try something else about the same size... I looked at Joker ,nice but felt somewhat cheap? Not sure that is fair ...but it did not look in person as high quality as the Mini T1.
I also looked at Bandit Evo BVM but I emailed Patty 4 times for quotes and got no response....
So I text Dirk 30 seconds later he text back... and after me driving Dirk crazy to make sure I get the color I wanted it was done.
Bottom line GREAT service and a very high quality kit swayed me back to another Mini T1. Please keep this in mind if your on the fence for a small Jet.
call Dirk and he will take care of you.
I also looked at Bandit Evo BVM but I emailed Patty 4 times for quotes and got no response....
So I text Dirk 30 seconds later he text back... and after me driving Dirk crazy to make sure I get the color I wanted it was done.
Bottom line GREAT service and a very high quality kit swayed me back to another Mini T1. Please keep this in mind if your on the fence for a small Jet.
call Dirk and he will take care of you.
What color did you sell, what color did you order?
 05-07-2018, 01:54 PM
#242
05-12-2018, 01:48 AM
#243
Join Date: Jul 2002
Location: dubai, UNITED ARAB EMIRATES
Posts: 328
Likes: 0
Received 0 Likes
on
0 Posts
 05-14-2018, 06:56 PM
#249
I mounted the smoke tank there, (hope it can handle the weight). I did not mount up the rest of the smoke stuff until I fly it. I did fire it up today and the little K85 seems to have very good power. I fly off grass so am most concerned with it being able to take off and land short and light on the wheels. You kept stock throws and such on yours?
05-14-2018, 09:30 PM
#250
I went with the throws posted by Loir in this thread. As mentioned in this thread the ailerons are very effective, you don’t need much. I’m also running a K85, lots of power. I decided against smoke in this one.
Last edited by Tip22v; 05-14-2018 at 09:33 PM.