


TF 1/5 Scale P-51 ARF Assembly (1ST MISHAP!!!)
 03-06-2018, 08:41 PM
#4051
Senior Member

Looks like the wing came in at 7.8 #s and the total plane has weighed in at 23.7 #s. The gear actually weighs 3 #s so they are a little heavier. I also have a removable air scoop. I did move the engine forward 3/16" and also repositioned the three batteries vertically up against the inside firewall, so now I was able to remove .9 #s of lead weight from the nose. To help the balance, I also went with a smaller servo in the tail for the tail wheel.
May not get to fly the plane until next week do to a scheduled event this Friday - Sunday, and all the week day competition practice.
May not get to fly the plane until next week do to a scheduled event this Friday - Sunday, and all the week day competition practice.
 03-07-2018, 05:20 PM
#4052


I was running my P-51 tonight and the Tony Howard exhaust stack rattled loose. I used 30 min epoxy and 2 screws to secure it as recommended by the instructions. I am thinking about trying Hysol 9462 but don't really want to buy the whole applicator kit for $62 at this time. Has anyone used this stuff? Can I mix it like regular epoxy and apply to the shroud or do I need that expensive applicator/kit?
03-07-2018, 07:19 PM
#4053
I was running my P-51 tonight and the Tony Howard exhaust stack rattled loose. I used 30 min epoxy and 2 screws to secure it as recommended by the instructions. I am thinking about trying Hysol 9462 but don't really want to buy the whole applicator kit for $62 at this time. Has anyone used this stuff? Can I mix it like regular epoxy and apply to the shroud or do I need that expensive applicator/kit?
John
03-07-2018, 07:50 PM
#4054
Senior Member
Spitfire66
Hysol is great stuff, but I do use the applicator. I know that some have make up a double dowel glued/screwed to a piece of plywood and push the mixture out on to wax paper and then mix it by hand. looks like it is equal amounts to mix, and it will harden over night. When I am finished, I take the nozzles and push air through them with the compressor and then clean them with acetone so I can reuse them, that seems to work fine.
Down to the fine points now on the 51. Gear was catching the scissors link against the back of the wheel well. I had hoped to not cut an opening in the glass for the air cylinder but I had to open it so I could push the wall back far enough to allow the link to pass. I elected to make the area over the cylinder removable so I expanded the wheel well cover to handle this. The wheel well fiberglass is not really held very well in this area, so I put in some hardwood strips so I can screw the wheel well cover in position. It also allows me to get to the air lines and cylinder for inspection. Photos shows attach points and then the paper templates. Tomorrow I'll cut the 1/16 ply, cover them and screw them in.
Last edited by rossmick; 03-07-2018 at 07:53 PM.
 07-11-2018, 07:38 PM
#4056

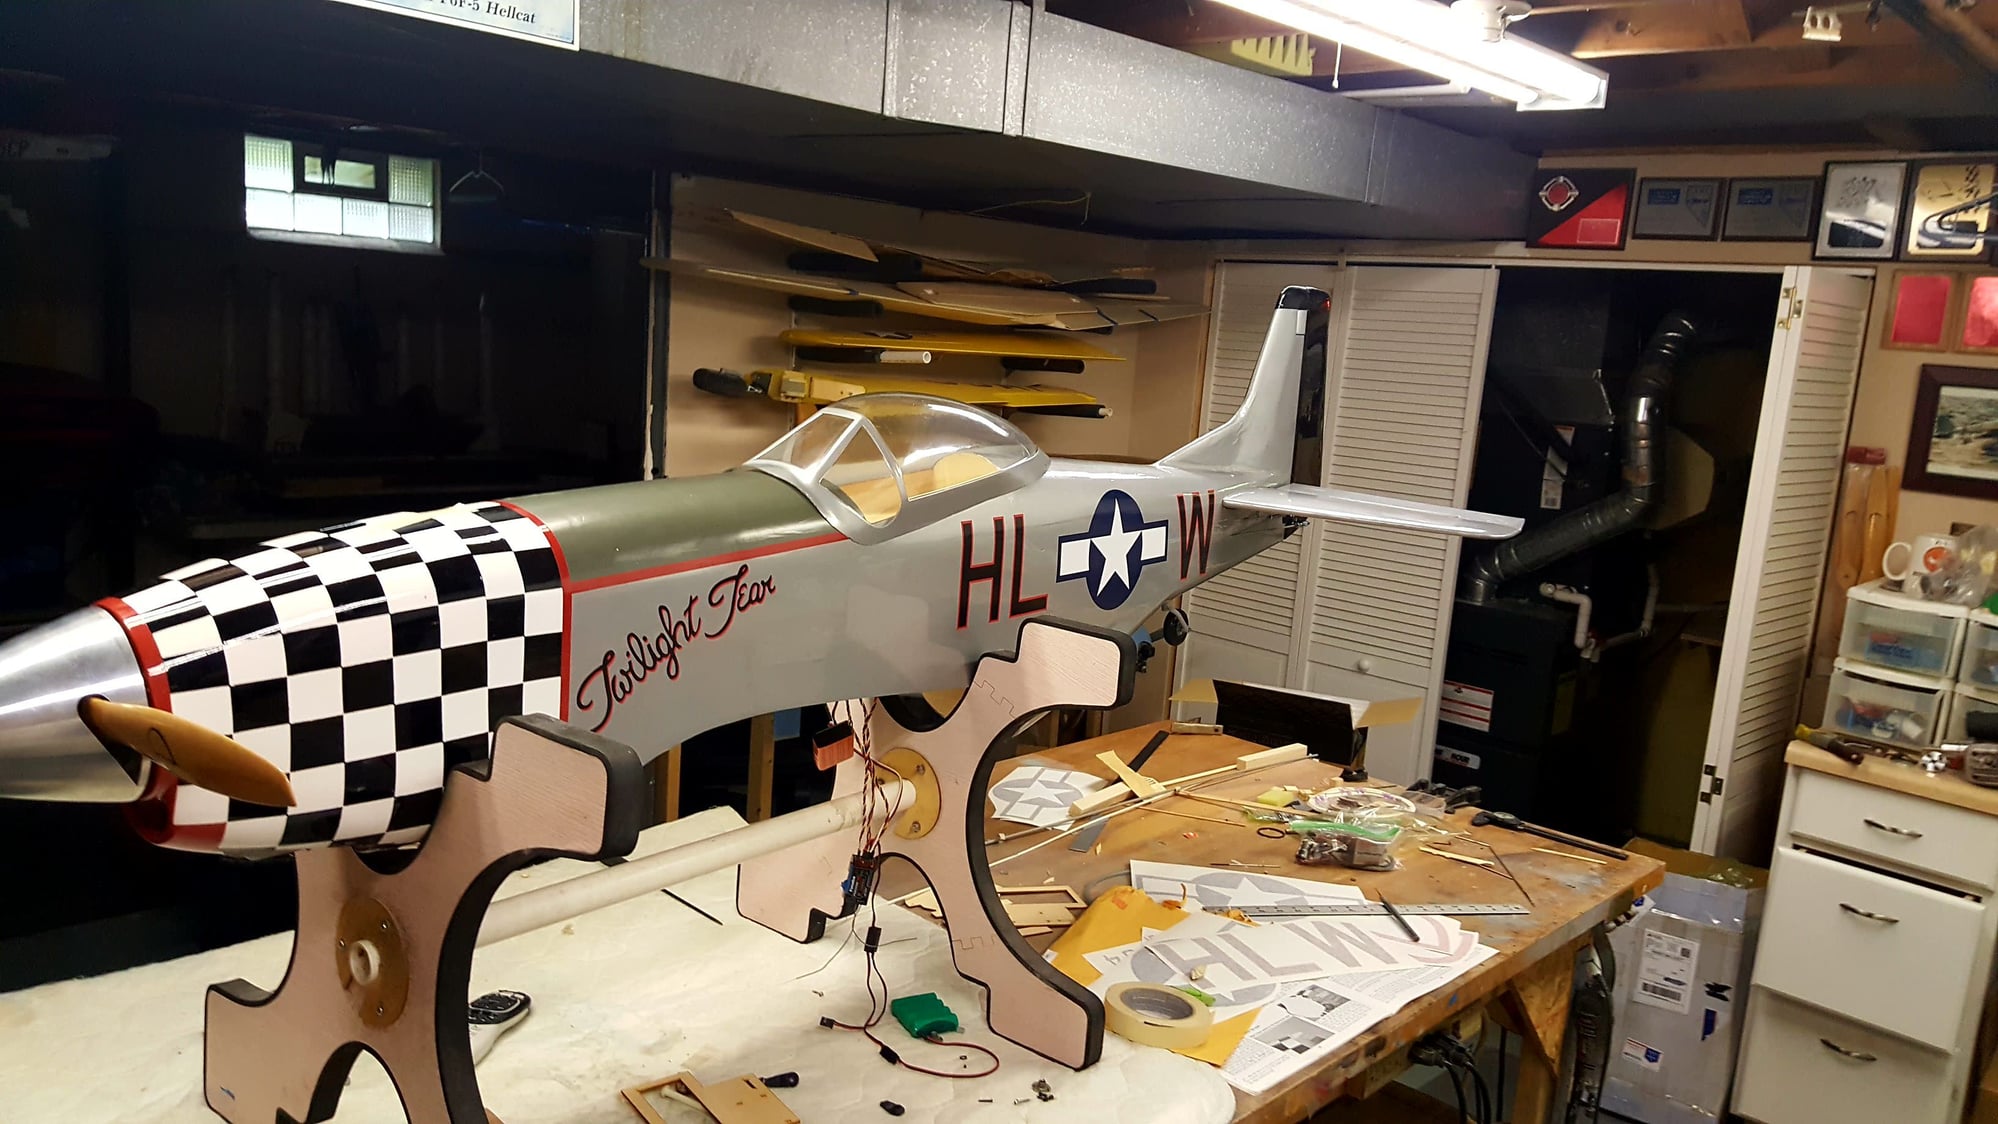
Have not heard anything on this thread for quite some time. Any news lately? Or is everyone just flying? I'm still in process of building my 2nd TF P51 C "Dody). Painting has me slowed down.
Ralph White
Ralph White

 08-06-2018, 06:23 PM
#4062

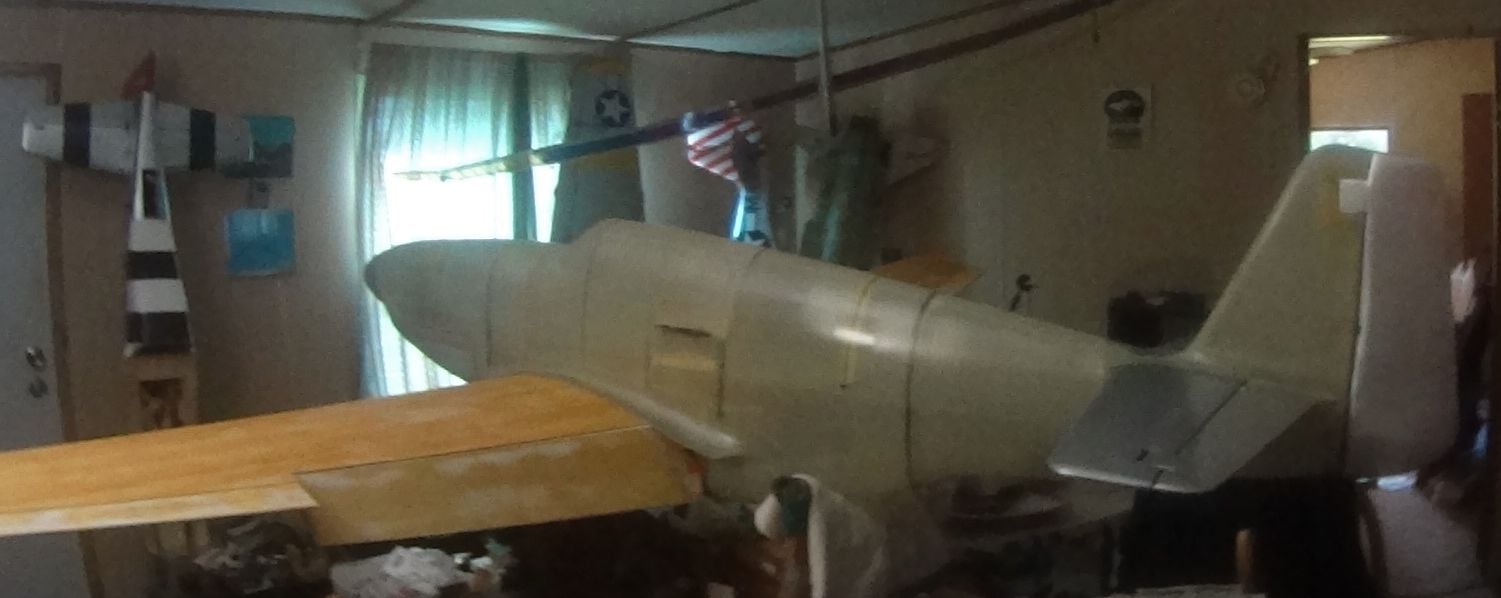
This is the current build state of my new James Bates B model, with a Vic Catalasan molded fuse. The fiber glassing is finished, landing gear installed, engine mounted, and carbon fiber reinforcement completed. It weighs 17 pounds in this state, and should gross under 24 pounds with the rest of the flight equipment installed, and a paint job. It actually balances right on the CG now. All I have to do is mount the rest where it won't disturb the CG. DA 60 for power.
I had to retire my TF P51-B, at least until I can fix the fuselage cracks it developed. I knew about its tendency to break up after about 100 flights, I had lost my second plane to this years ago. I have been reinforcing the fuse structure in the weak areas ever since. It went past its 300th flight and I did a close inspection to get it ready at the beginning of the flying season. Thats when I spotted two new cracks, one at the front of the horizontal stab and the other on the right side over the thick part of the wing. Either crack would have caused it to break in flight.
Instead of using the molded wing fairings that come with the ARF kit, I had replaced them with a built up wing fairing for a better look. It was obvious that the stronger wing fairing was the only thing holding the fuse together! I am currently moving on from both the TF Mustang and the H9 D model to the James Bates P 51B- C so that I can control the design strength of these planes, When you buy an ARF you only get what you pay for and have to settle for the weak wood and sub-standard sticky stuff the far east calls GLUE that they use in the manufacture of their planes. I'm not being overly critical of these two particular brand's models, I have been assembling ARF models of many different brands since 1974 and have found that they are ALL the same in this respect. I guess their logic is that the pilots will crash them long before any poor quality issues show up, so build 'em cheap.
I reinforce the obvious weak points, but when the whole part has the same construction it will just break somewhere else. My new plane has a molded fiber glass fuse with carbon fiber reinforced bulkheads and I replace the critical wood parts with aircraft grade plywood. I changed the wing spars for much better hardwood spars, then built a removable retract mount that can be removed to replace damaged gear mounts with identical parts I carry with me. I don't believe it is possible to beef the gear mounts enough to handle every hard landing so I made it easy to fix when a bad landing does cause damage.
08-20-2018, 03:57 AM
#4063
Spitfire66
Hysol is great stuff, but I do use the applicator. I know that some have make up a double dowel glued/screwed to a piece of plywood and push the mixture out on to wax paper and then mix it by hand. looks like it is equal amounts to mix, and it will harden over night. When I am finished, I take the nozzles and push air through them with the compressor and then clean them with acetone so I can reuse them, that seems to work fine.
Down to the fine points now on the 51. Gear was catching the scissors link against the back of the wheel well. I had hoped to not cut an opening in the glass for the air cylinder but I had to open it so I could push the wall back far enough to allow the link to pass. I elected to make the area over the cylinder removable so I expanded the wheel well cover to handle this. The wheel well fiberglass is not really held very well in this area, so I put in some hardwood strips so I can screw the wheel well cover in position. It also allows me to get to the air lines and cylinder for inspection. Photos shows attach points and then the paper templates. Tomorrow I'll cut the 1/16 ply, cover them and screw them in.
Hysol is great stuff, but I do use the applicator. I know that some have make up a double dowel glued/screwed to a piece of plywood and push the mixture out on to wax paper and then mix it by hand. looks like it is equal amounts to mix, and it will harden over night. When I am finished, I take the nozzles and push air through them with the compressor and then clean them with acetone so I can reuse them, that seems to work fine.
Down to the fine points now on the 51. Gear was catching the scissors link against the back of the wheel well. I had hoped to not cut an opening in the glass for the air cylinder but I had to open it so I could push the wall back far enough to allow the link to pass. I elected to make the area over the cylinder removable so I expanded the wheel well cover to handle this. The wheel well fiberglass is not really held very well in this area, so I put in some hardwood strips so I can screw the wheel well cover in position. It also allows me to get to the air lines and cylinder for inspection. Photos shows attach points and then the paper templates. Tomorrow I'll cut the 1/16 ply, cover them and screw them in.
 12-10-2018, 05:33 PM
#4066


Join Date: Oct 2006
Location: Zebulon,
NC
Posts: 309
Likes: 0
Received 0 Likes
on
0 Posts
Hi fellow P-51 enthusiasts. I�ve been out of the hobby for about 6-7 years and was wondering if Top Flite ever addressed the weak landing gear area. I�m considering one and wanted to make sure if they didn�t, that I certainly did!
Thanks in advance!
Thanks in advance!
Last edited by Eaglepilot2; 12-10-2018 at 05:35 PM. Reason: Spelling
 12-12-2018, 01:04 AM
#4070
I bought a well built kit and it flew excellent and the pneumatic gear operated perfectly. I sold it but I have an ARF new in box and I will have to tear apart the wing too. It sucks but TF will not update their kits. I think they must buy in bulk or a minimum order quantity that doesn�t allow them to update production for some reason. Poor practice in my opinion...
06-16-2019, 08:11 PM
#4071
I have flown my P-51 3 times in the last week after a long hiatus and I am thrilled with the way it flies. I had my maiden flight september of 17 and then took a new job that had me sidelined for a while. I have since switched from a hitec aurora to a graupner mz32 and wow what a difference. I first flew my other smaller planes and the difference was between the two was significant. I love the way my 51 flies, it's the best flying plane I have. I find it predictable, stable, and I enjoy landing. The current prop is an in-efficient top flite 22-6/10 on a dle 55ra. It requires the engine to be running pretty good on approach and gets me out of trouble in a hurry. It is not a fast airplane, but scale. I will try an apc 22x10 when I get some more time on the engine and comfortable flying as this is my first giant. Right now the engine is breaking in and it has been very reliable. I hope you all are still enjoying your TF Mustangs!
 08-27-2019, 09:27 AM
#4074
Does anyone have a Robart 622-5 trunion block (plastic part the cam moves within) they could part with? This is for the standard set, not the HD. I'm not sure if that matters. I broke mine and robart is out of stock. I need it for a fly in coming up. Please pm or email me! Thanks
Last edited by spitfire66; 08-27-2019 at 09:36 AM.
08-27-2019, 09:59 AM
#4075

Does anyone have a Robart 622-5 trunion block (plastic part the cam moves within) they could part with? This is for the standard set, not the HD. I'm not sure if that matters. I broke mine and robart is out of stock. I need it for a fly in coming up. Please pm or email me! Thanks