


Pica 1/5 Scale Mustang Build 2015


The following users liked this post:
PREDHEAD (03-11-2021)

 06-02-2020, 03:30 PM
#103

Thread Starter
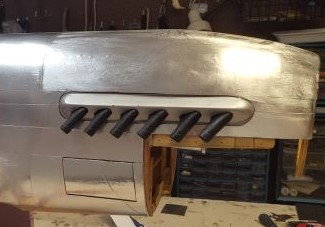
Well BobH, I guess you are right. I should have watched this a little closer. I had no instructions, but that's no excuse. I looked real hard at a fix. To remove it would take major surgery. I'm not up for that. I'm thinking I could cut 1/4-3/8" off so that they won't stick out far. I was going to silver the edges to simulate heated iron. Worst case I have the original Pica vacuum forms, but they wouldn't be as nice. Worse, worse case they will just become an oddity on my pseudo-scale attempt. Not as elegant a choice, but realistic at this point in the build.
06-02-2020, 03:58 PM
#104
Thread Starter
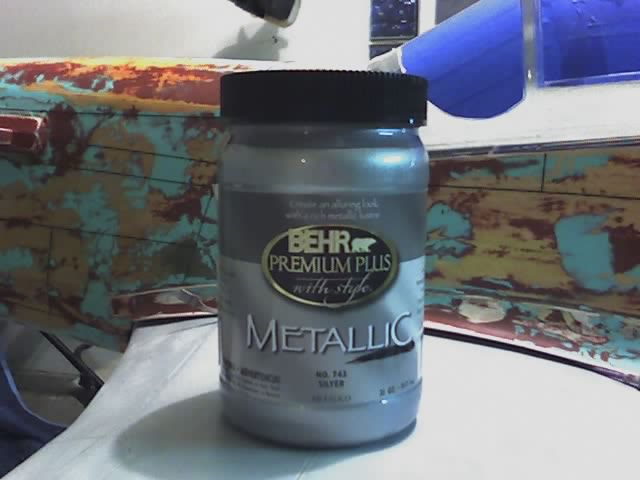
The Mustang looks great szempruw. I am getting ready to try my hand at covering a model with aluminum, although I am using the stuff from Meister Scale. Fortunately my model only has a bare metal fuselage and all the compound curved areas are painted so it should be relatively straight forward.
06-06-2020, 09:50 AM
#105
Thread Starter
I found this guy with a nice series of videos on metal covering. Check out all 3. Worth watching.
I notice he uses slightly thicker foil. Adds a little weight but maybe more forgiving in stretch.
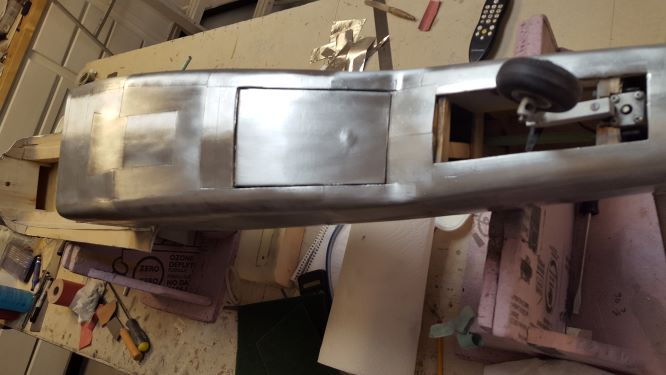
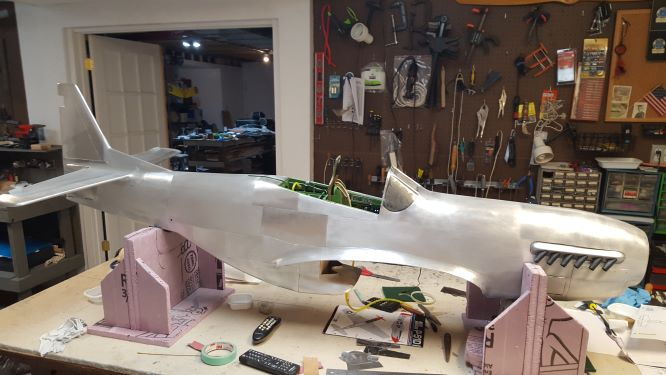
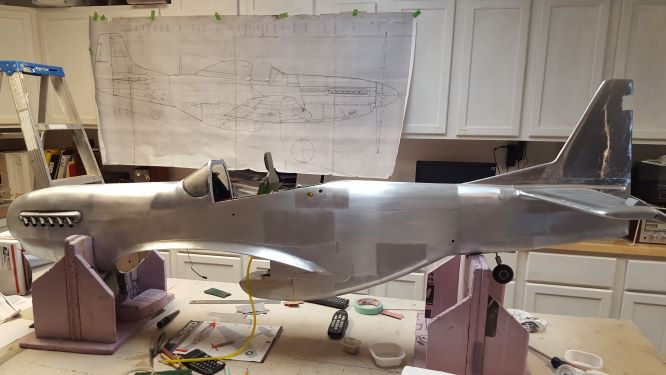
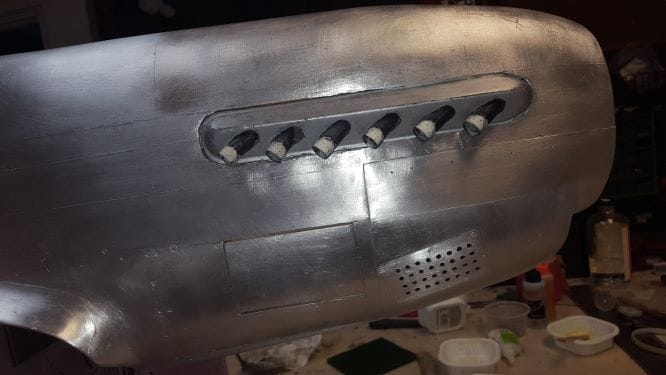
I'm attaching progress pictures. I ordered the leather tool he is using. I also tried the shish kabob stick technique. The jury is out, but it might definitely help in defining the panel lines better. I know I'll have to retrace many for clarity of the lines post sanding.

Getting close. Tail, almost done.

The ladder helped me slice top panel lines. I should have built the table lower.

Starboard side done. A few panels on the bottom and the cowl remains.
I'm attaching progress pictures. I ordered the leather tool he is using. I also tried the shish kabob stick technique. The jury is out, but it might definitely help in defining the panel lines better. I know I'll have to retrace many for clarity of the lines post sanding.
Getting close. Tail, almost done.
The ladder helped me slice top panel lines. I should have built the table lower.
Starboard side done. A few panels on the bottom and the cowl remains.
06-10-2020, 01:46 PM
#106
Thread Starter
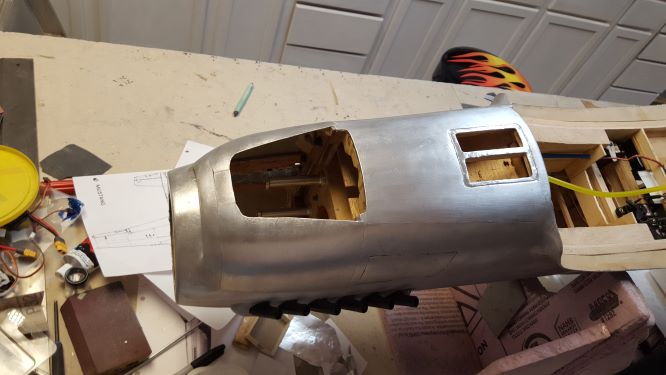
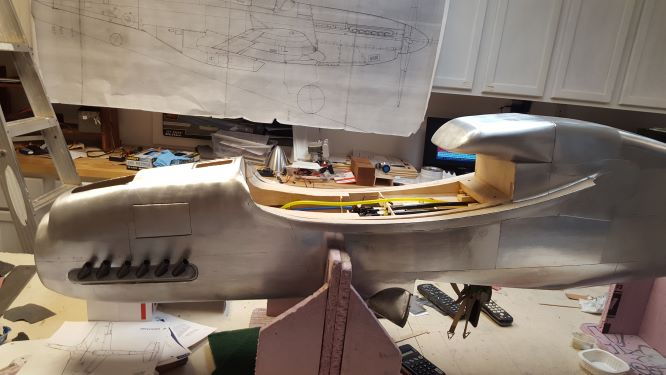
These have to be the worst compound curves on the cowl. This area will be painted anyway. The whole area was wrinkled. I sanded with 120 grit then 380 grit. The primer will cover the splits.
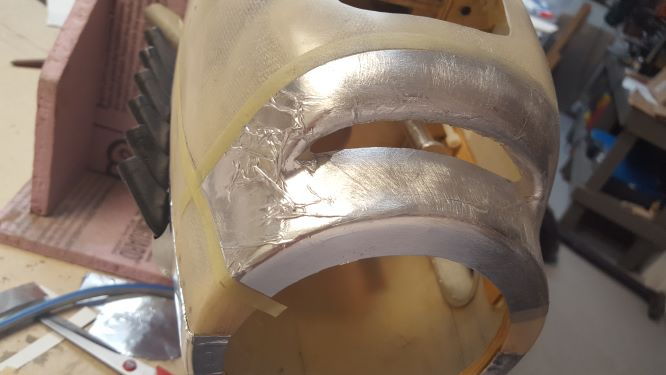
The wrinkles covered most of the cowl.
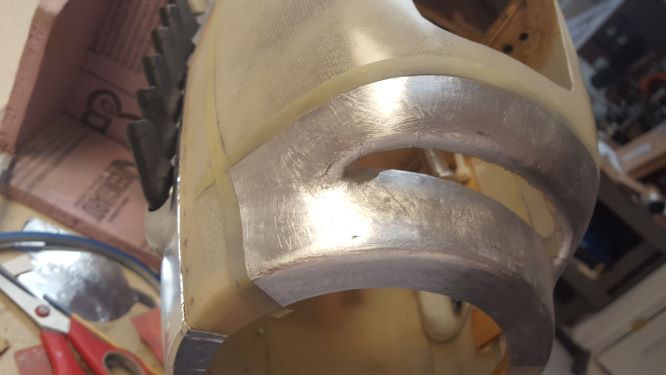
Good comparison shot before and after sanding.

The wrinkles covered most of the cowl.
Good comparison shot before and after sanding.
Last edited by szempruw; 06-10-2020 at 02:08 PM.
The following users liked this post:
PREDHEAD (01-01-2021)
06-12-2020, 12:59 PM
#108

My Feedback: (60)
Join Date: Dec 2001
Location: Litchfield Park,
AZ
Posts: 7,677
Likes: 0
Received 25 Likes
on
23 Posts
The airplane I will be using the Meister Scale aluminum material on is a sport scale Yak-11 racer known as "Perestroika". The wing, tail surfaces, and forward cowl are all painted which leaves only the fuselage in bare metal and it has very few, if any, compound curves. I figured it would be a good first effort as there are several other projects I have in mind that are natural metal finish all over. Just as you did, my airplane will be fully glassed, filled, and sanded as smooth as I can get it prior to the application of the aluminum finish. It is my intention to apply the material in scale panels and leaving a very narrow gap in between to represent the panel lines. I may or may not bother with rivets on this one, have not decided yet. The airplane is really not all that scale and will be nothing more than a sport flyer. Fingers crossed!
 06-13-2020, 09:10 AM
#109
Thread Starter
Chad, I can't imagine how to lay a panel down with spacings. I think the "experts" might suggest laying down striping tape, but with a smaller scale model, even just making an extra pass with the blade using a straight edge would work. I experimented with some test coupons the overlap and butt edge techniques. The black ball point pen actually works well making an indent. Getting the lines straight will be time consuming, but so what. Best to experiment if important to you. I read a lot of suggestions. One of the best I'll emphasize was using the 3M green scuff pad. OK, after sanding the major wrinkles with 120, then 400 grit, the 3M pad really balanced out the swirls and allows horizontal and vertical scratches as the finishing touch. I can tell you that the surface prep really pays off. I had very little orange peel effect and the pad conforms so well to the surface that I was able to minimize paper sanding and it was faster.
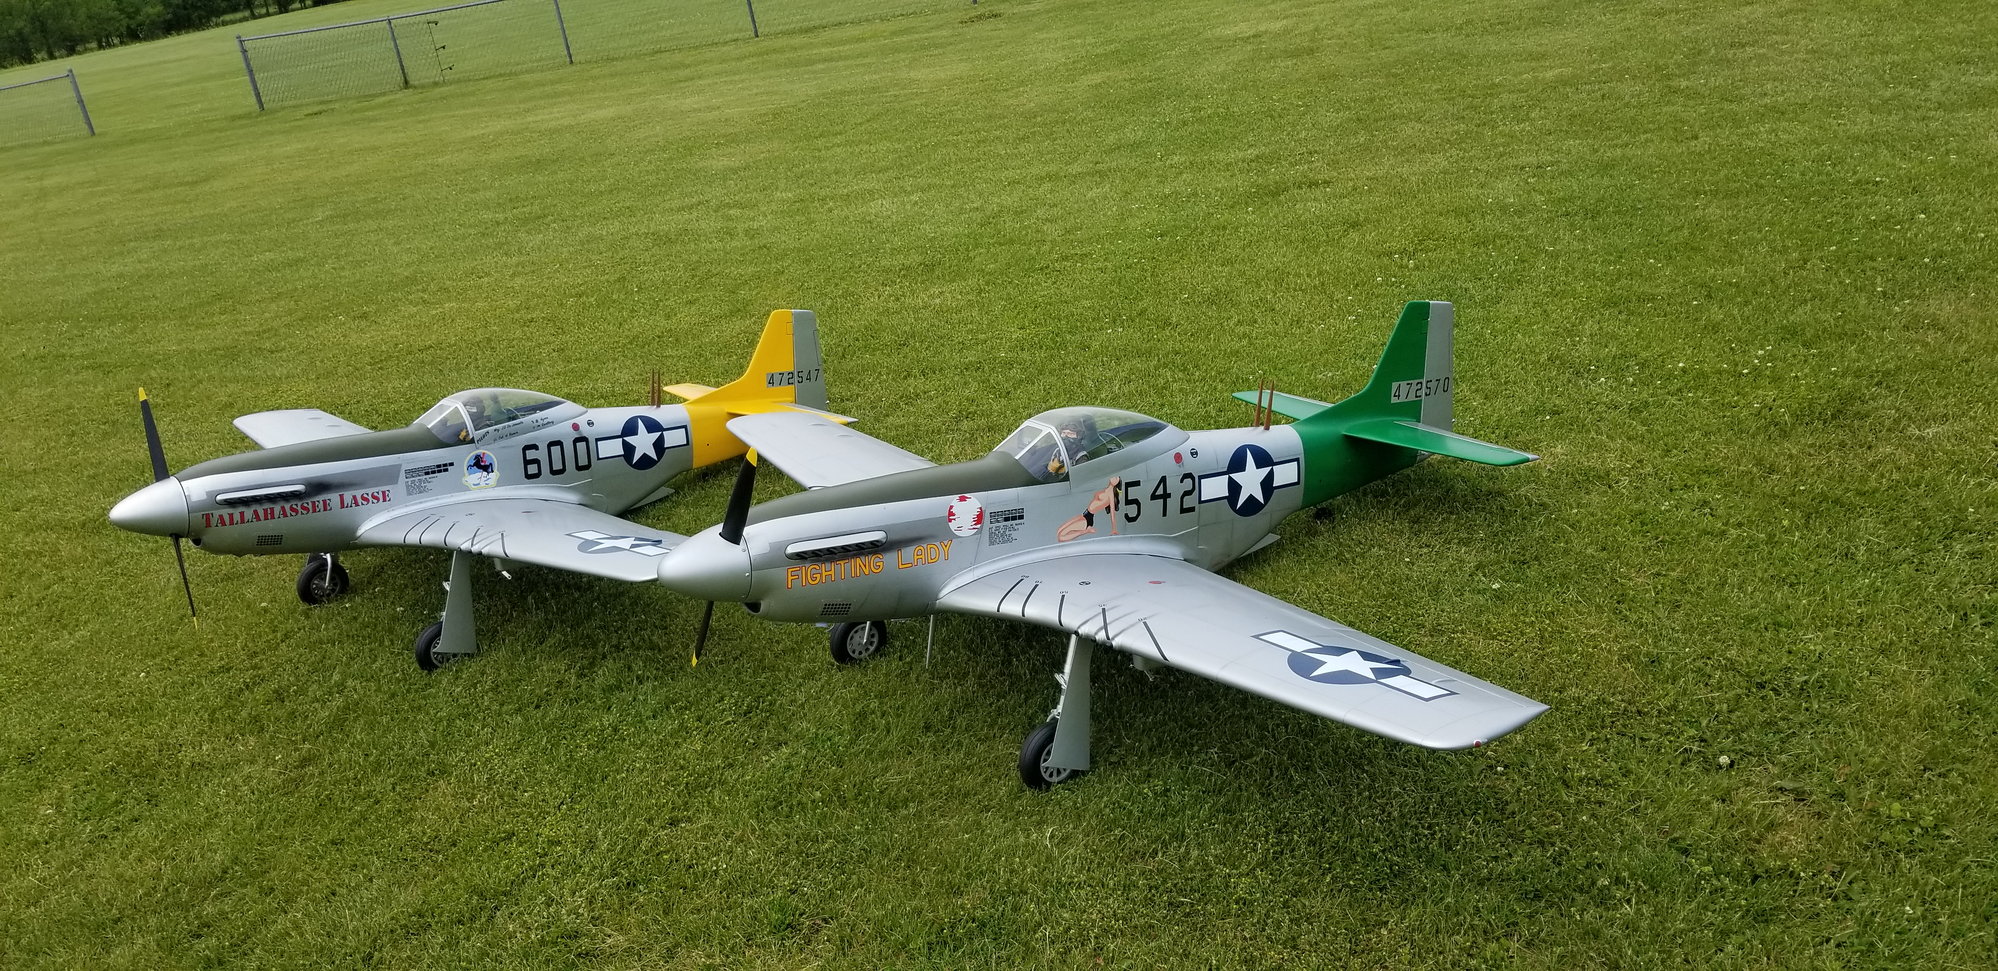
I also read some "experts" advice about the war planes. They were well used and beat up, weathered etc. so much so that I am thinking perfection is futile. Walking around a restored Mustang at a local airport did show me how imperfect many spot were on the aluminum. It was polished and shiny, not a typical warbird. I'll "weather" mine a bit after painting too. The oxidized aluminum is natural. Many of the rivet holes were filled and painted for laminar flow. I didn't know Bondo was available back then. They called it dumb-dumb or something like that. Attached are more status pictures. Just a little more tail work and then some rivet work. Thanks for the link.
PS My wife thought I was crazy with adding so much detail, but when I said it was like prayer, she understood. You just let your mind go into a trance doing the modeling. Is this a great hobby or what!!? .
The following users liked this post:
PREDHEAD (01-01-2021)
06-28-2020, 04:40 PM
#111
Thread Starter
Per their website. "This is the Top Flite Scale Cockpit Kit for the Giant Scale P-51D Mustang Kit (TOPA0400). COMMENTS: This is specially designed for the Top Flite Giant (1/5) scale P-51D Mustang (TOPA0400. If wanting to use with other kits, modifications may be needed. AXY 12/2/97 ir/jl"

 09-27-2020, 05:33 PM
#114
Thread Starter
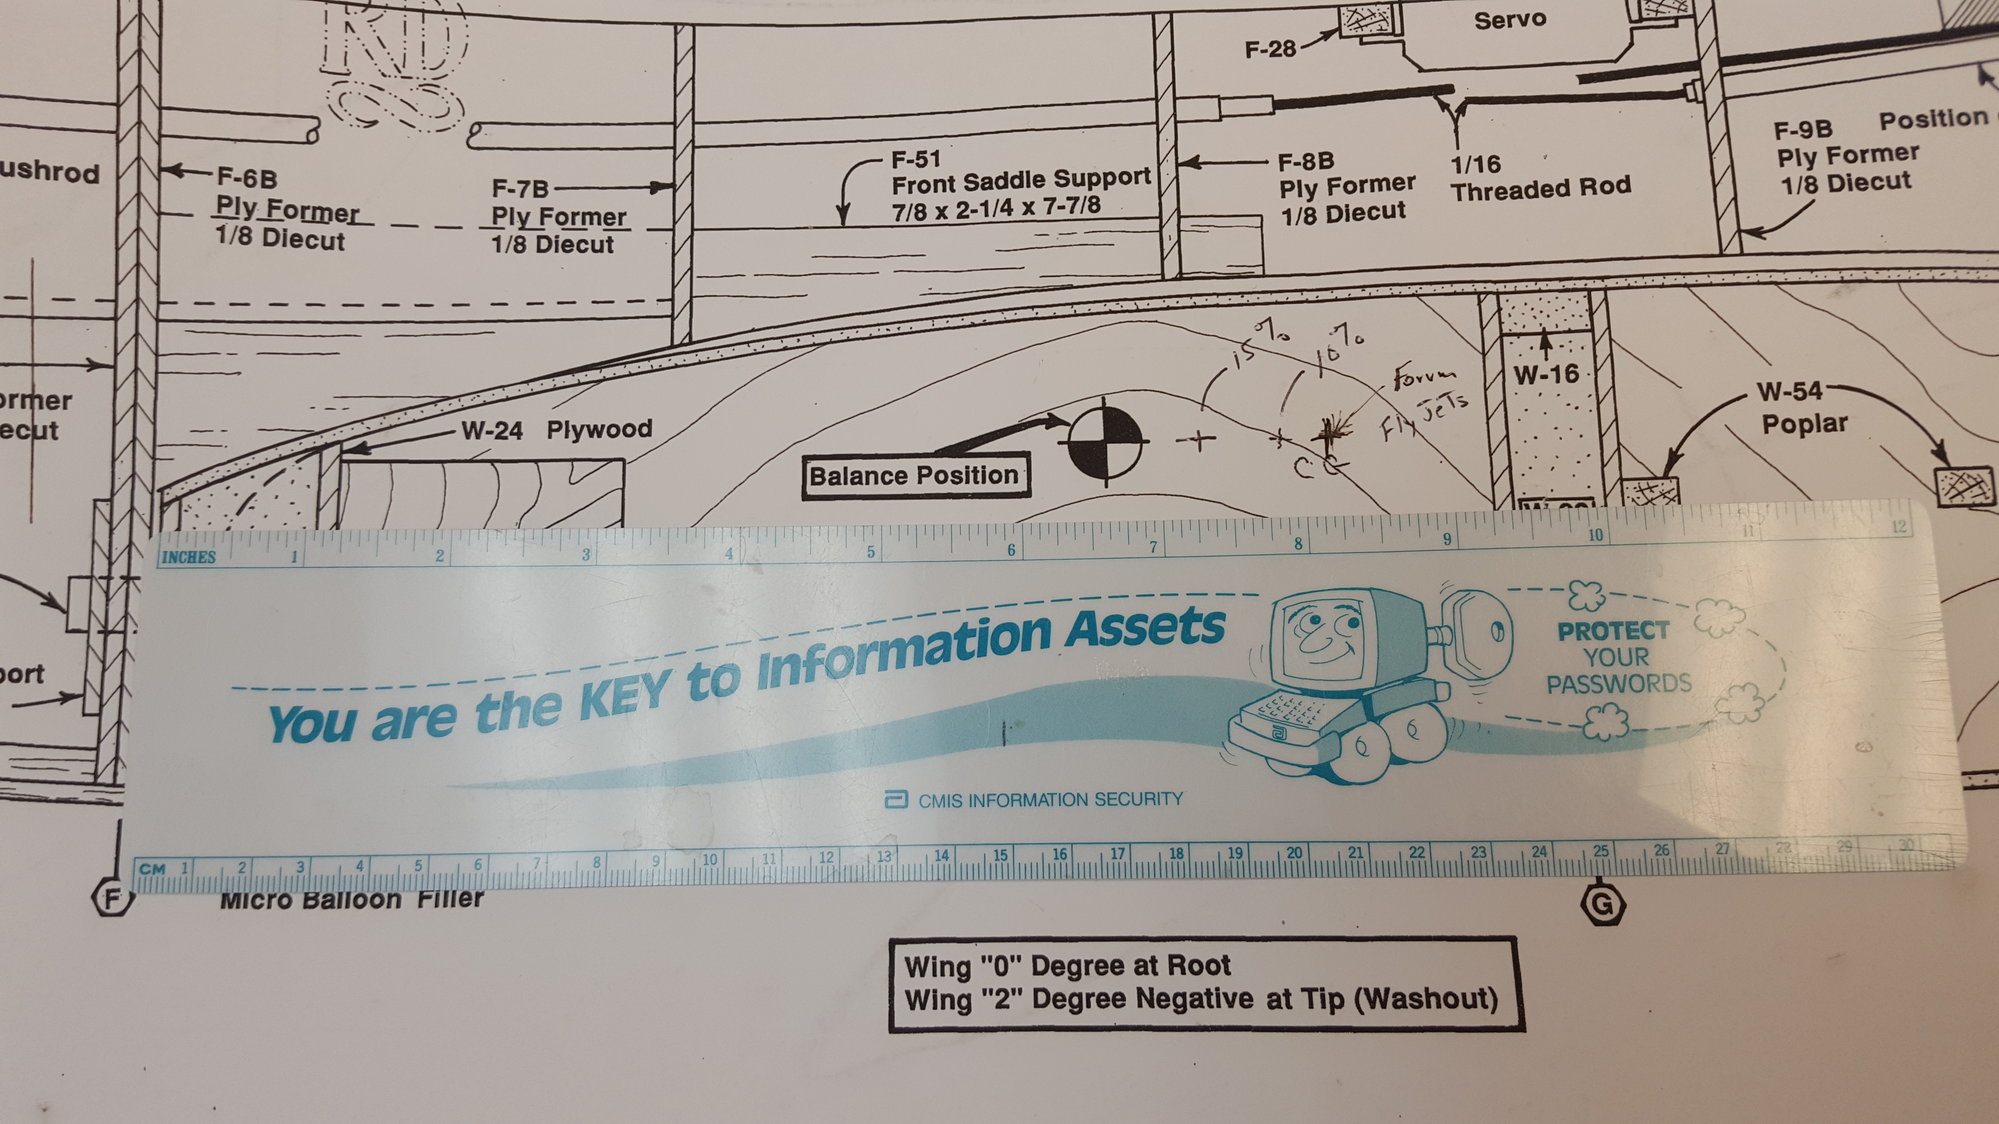
Regarding CG, based on my calculations using a static margin of 15% I'm going about 2" forward of main spar. I corresponded with the designer. They just started at 25% of the chord and then adjusted from there and kept it a little nose heavy for beginners. If you like a twitchier tail heavy plane use the 5% static margin which is about where Flyjets recommended.
 10-04-2020, 07:37 PM
#115
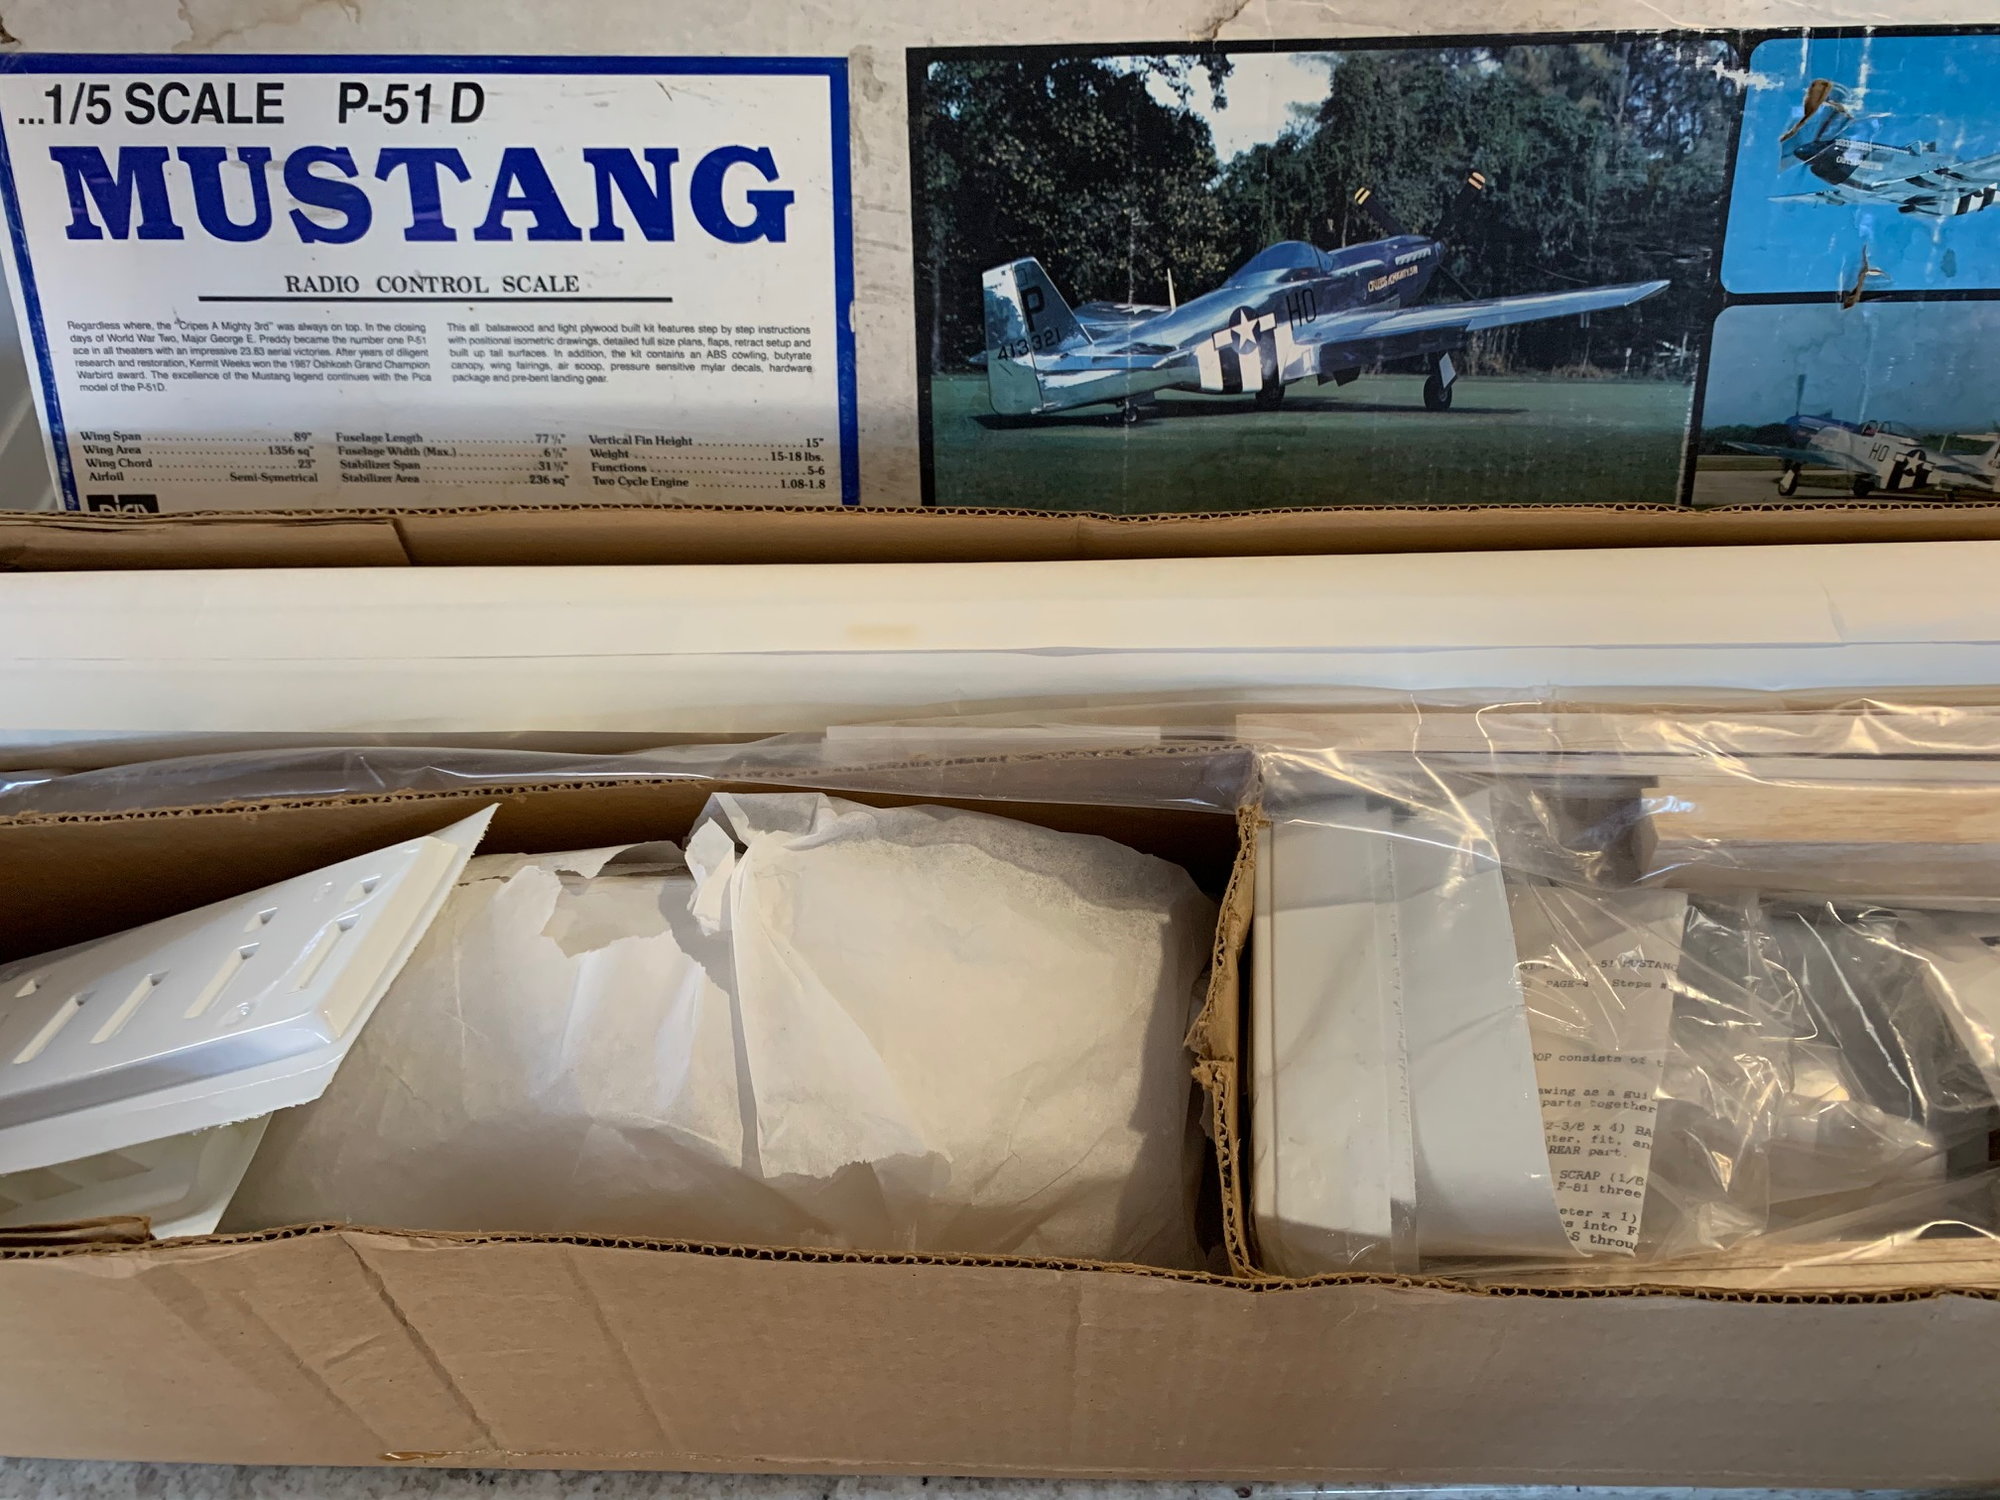
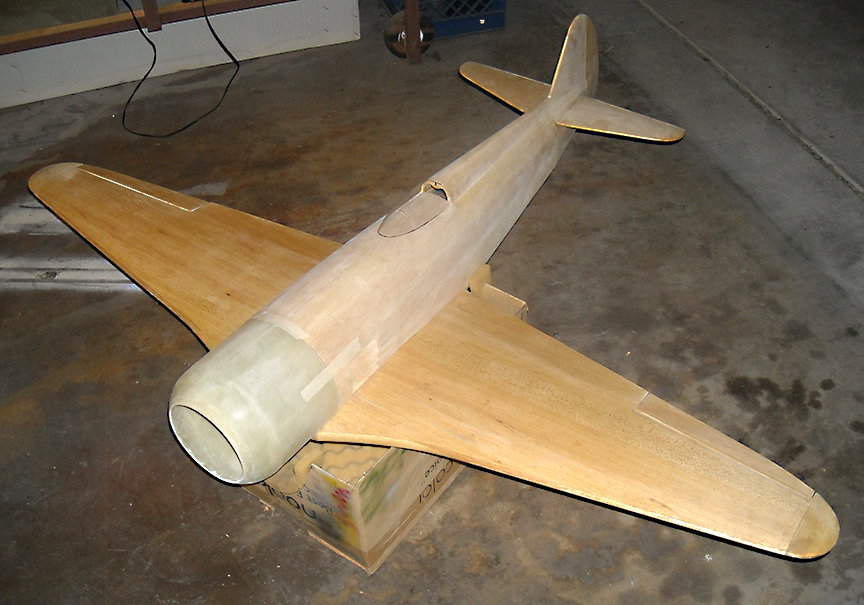
I just picked up a partially started one of these. (The top of the fuse is done)
It came with Robart retracts so it was hard to pass up.
Still debating what to power it with. Thinking an OS 33.
Looking forward to reading everything everybody has done to date.
This will be my most ambitious project to date.
Wish me luck!!!!!
John
It came with Robart retracts so it was hard to pass up.
Still debating what to power it with. Thinking an OS 33.
Looking forward to reading everything everybody has done to date.
This will be my most ambitious project to date.
Wish me luck!!!!!
John
10-29-2020, 07:00 AM
#116
Thread Starter
FROM:
TO:
 10-29-2020, 07:18 AM
#118
Thread Starter
I just picked up a partially started one of these. (The top of the fuse is done)
It came with Robart retracts so it was hard to pass up.
Still debating what to power it with. Thinking an OS 33.
Looking forward to reading everything everybody has done to date.
This will be my most ambitious project to date.
Wish me luck!!!!!
John
It came with Robart retracts so it was hard to pass up.
Still debating what to power it with. Thinking an OS 33.
Looking forward to reading everything everybody has done to date.
This will be my most ambitious project to date.
Wish me luck!!!!!
John
11-20-2020, 04:24 PM
#119
John, Do what you want, but I researched engines and previous builds and I think the OS 33 will be a little under powered unless you weigh in at under 20lbs flying weight. I was going to put in a DLE 35RA but as a second thought, the DLE 55RA became an obvious better choice. The worst you can do is have an under powered war bird. I'm not saying it won't fly, but even the original build had a Super Tigre 3000 nitro and they had to add about a pound of weight to balance. No retracts or any other weight added. My goal is less than 25 lbs and I'm still worried about being heavier. I know that up to 28 lbs will fly ok.. It's up to you. If you do, let us now how it works out. Weight, CG, flying success etc.
After careful consideration (and lots of input from more experienced modelers and builders) I have decided a 30 size engine will be too small. I will be upgrading to 50/60cc size. Just not sure which one yet.
Thanks
John
11-28-2020, 05:55 AM
#121
Thread Starter
Before assembly of the Power Board and Receiver into the fuselage, I thought it best to test everything outside the plane. I set up a white board and used a bunch of spare servos to check functionality. I ended up using Electro Dynamics 2500 mah A123 LiFe batteries and the heavy duty switch with XT60 connectors. That is what was on the Power Board. This allows for charging inside the plane which I wouldn't do with Lipo's. I had to modify the Miracle switch hatch but the effort will result in a better setup. I have used these batteries in other planes and they are lite with plenty of power to spare.
I'm planning to use a FrySky RX8R receiver with a redundant XM+ . Same setup used on another gas plane.
One feature gained here by the use of Y harness on the CDI output is a visual indicator of CDI 'on" as shown on a Redwing video. The rudder has a navigation light so I will power that LED so that I can see that the CDI is on.
Just a bit more soldering for wing's navigation lights and this part of the project will be done.
Electro Dynamics had a nice 5 port servo wire harness that I'm using to simplify the wing connection. Al told, I have 2 XBus extenders, 13 active channels with 3 reserved if needed later..

Electronics test board
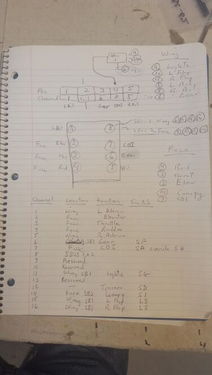
Description of channels and TX switch assignment
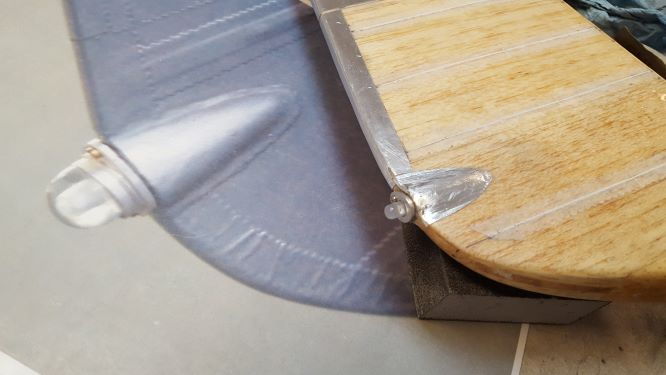
This is the rudder's LED light. Perfect use for showing CDI on.
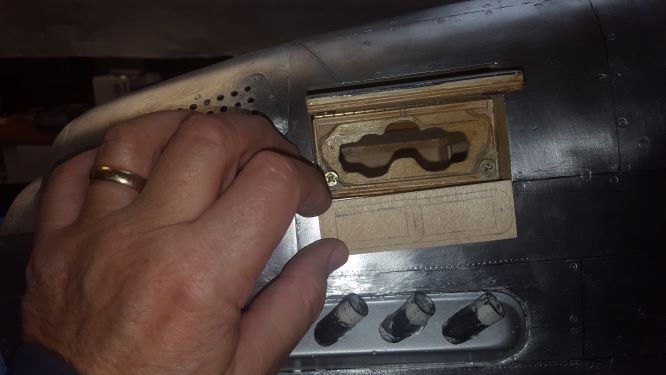
I will need to modify the switch box to add the new switches. They just barely fit.
I'm planning to use a FrySky RX8R receiver with a redundant XM+ . Same setup used on another gas plane.
One feature gained here by the use of Y harness on the CDI output is a visual indicator of CDI 'on" as shown on a Redwing video. The rudder has a navigation light so I will power that LED so that I can see that the CDI is on.
Just a bit more soldering for wing's navigation lights and this part of the project will be done.
Electro Dynamics had a nice 5 port servo wire harness that I'm using to simplify the wing connection. Al told, I have 2 XBus extenders, 13 active channels with 3 reserved if needed later..
Electronics test board
Description of channels and TX switch assignment
This is the rudder's LED light. Perfect use for showing CDI on.
I will need to modify the switch box to add the new switches. They just barely fit.
12-06-2020, 07:03 PM
#122
Thread Starter
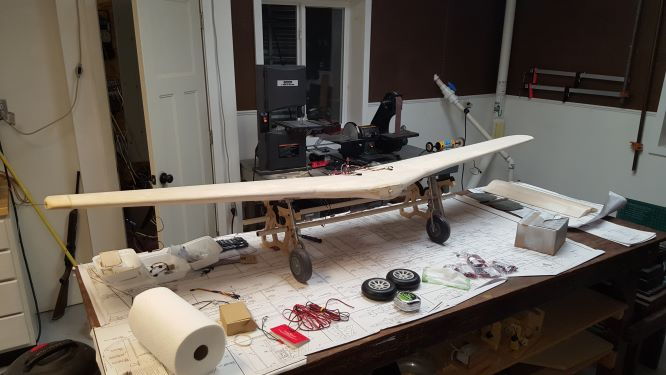
Trying to simplify the wing to fuse connection.
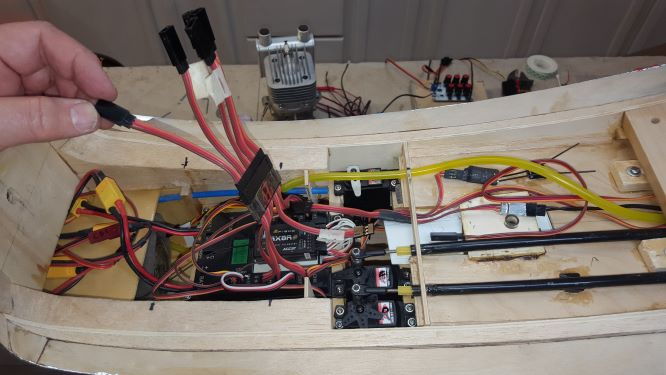
Most of the electronics is installed, Batteries are sitting above the fuel tank box as far forward as possible to keep the weight forward.
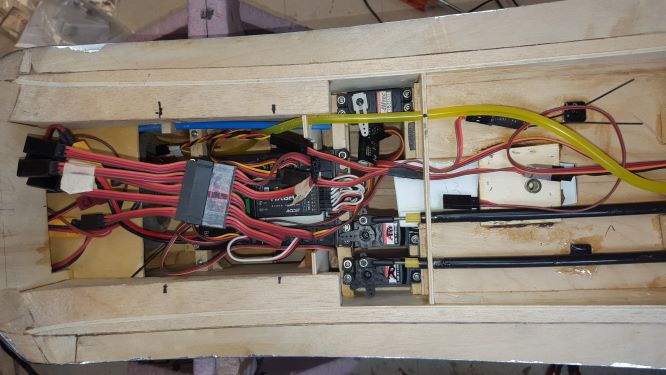
Most of the electronics is installed, Batteries are sitting above the fuel tank box as far forward as possible to keep the weight forward.
12-06-2020, 07:14 PM
#123
Thread Starter
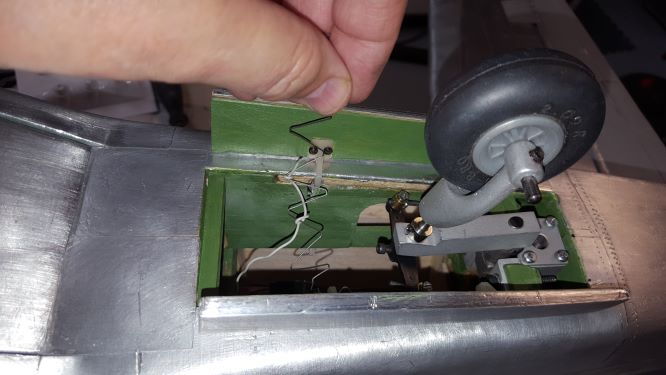
I had to customize a servo wire extension to the tail wheel. I wish I had a 1/5 scale maintenance guy to get inside the Tail Wheel well. It was tough getting fingers in there for steering cables and door closure on the hinged doors.
Push Pull steering cables attached to the Rudder.
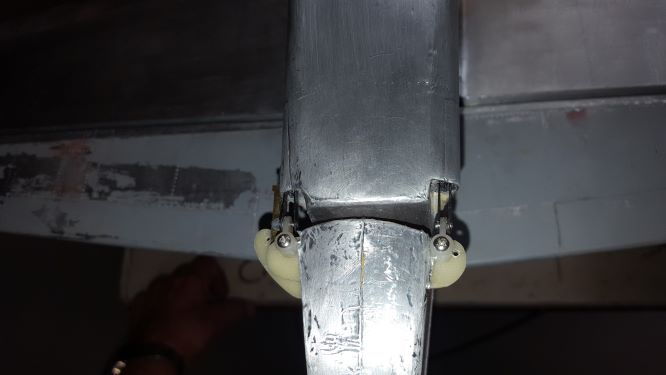
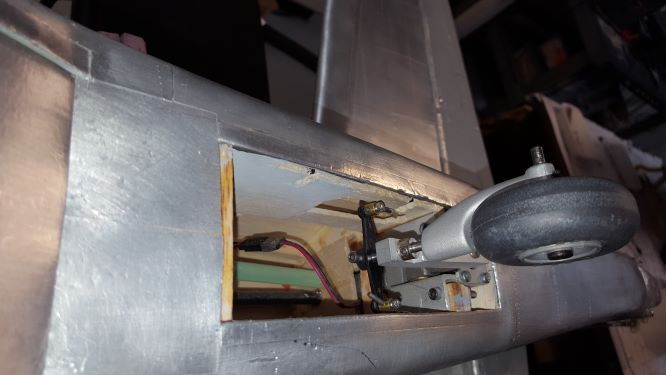
I had a Phoenix door hinge hardware accessory set for the door closure. The wheel hits the wavy wire and pulls down the hinged doors. I used a servo actuator to power the wheel up and down to test it out.
Push Pull steering cables attached to the Rudder.
I had a Phoenix door hinge hardware accessory set for the door closure. The wheel hits the wavy wire and pulls down the hinged doors. I used a servo actuator to power the wheel up and down to test it out.
12-10-2020, 07:56 AM
#124
Thread Starter
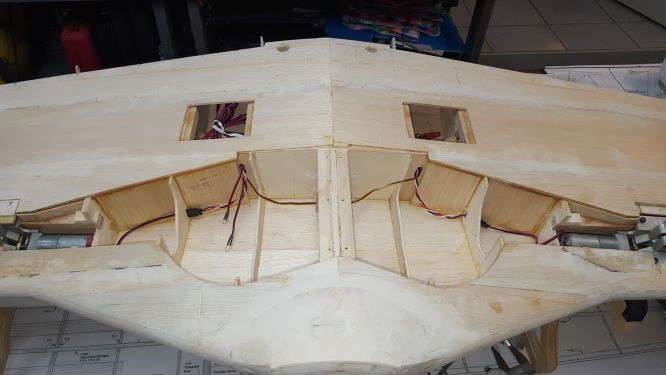
I took the time to install all the wires in the wing before I cover with fiberglass. There are a few plastic pieces to install, but I'm getting close to covering which is the next big job.
Time for Navigation lights, landing lights and more
Retract wires routed to controller inside wing.
Time for Navigation lights, landing lights and more
Retract wires routed to controller inside wing.
The following users liked this post:
PREDHEAD (01-01-2021)
