OK guys, here I am again...
First I want to apologize for my English. It is not perfect, but hope all will understand what I want to say...
I'm glad Dino took part and explained about short kit. One more time, Dino prepare all parts they forgot to put in the box and sent it to me...
Also, I was pleasantly surprised when find all balsa plates for covering fuselage.
Now back to building...
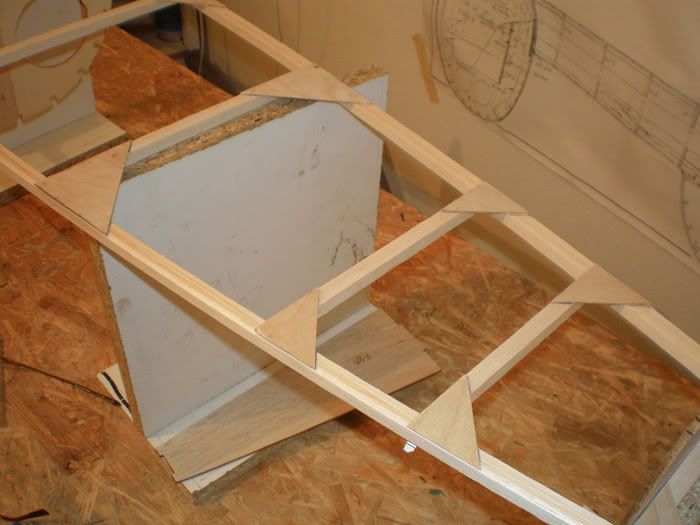
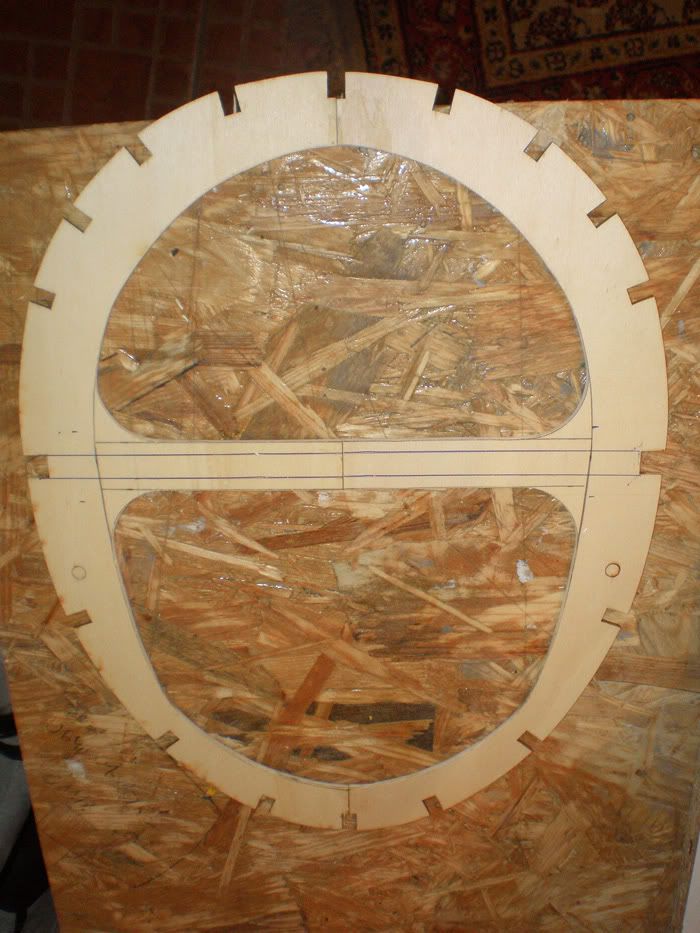
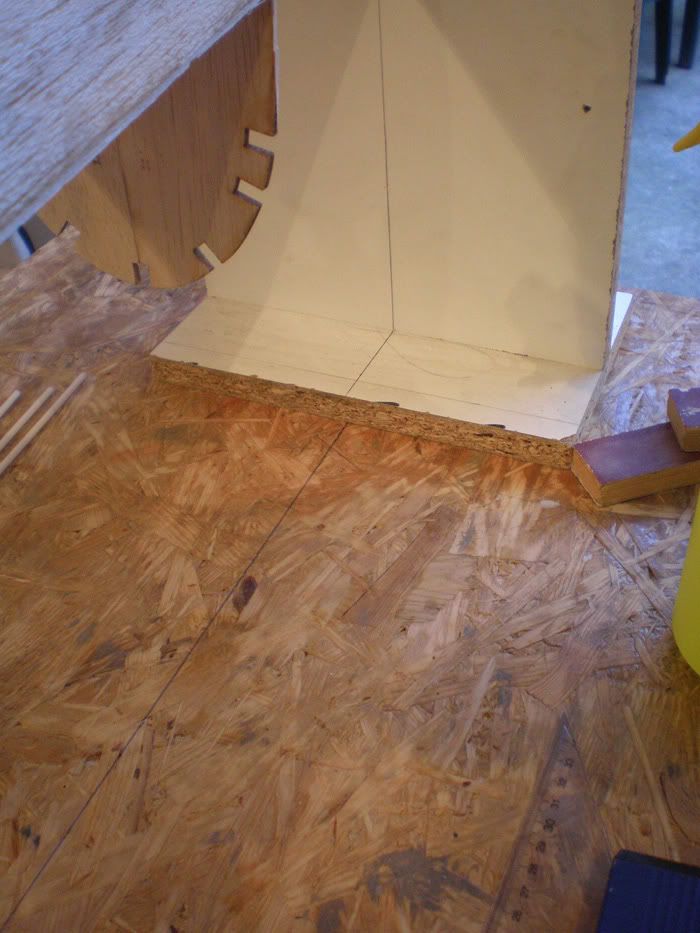
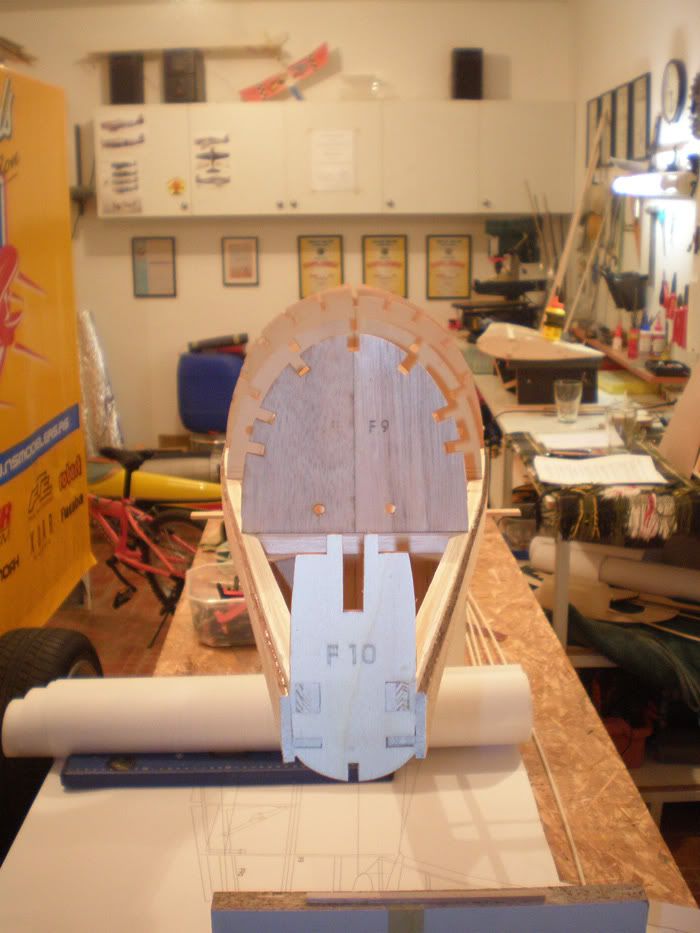
On all corners I add triangle of 1,2 mm ply.
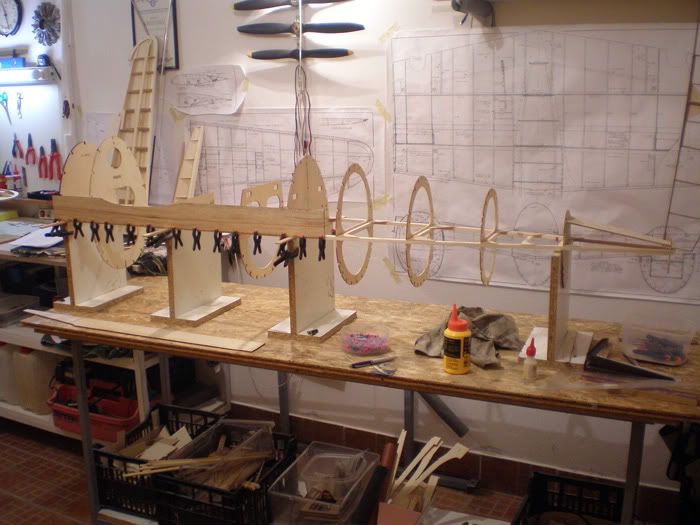
Some ribs I must send just a little to pulled on crutch. First I put it without glue.
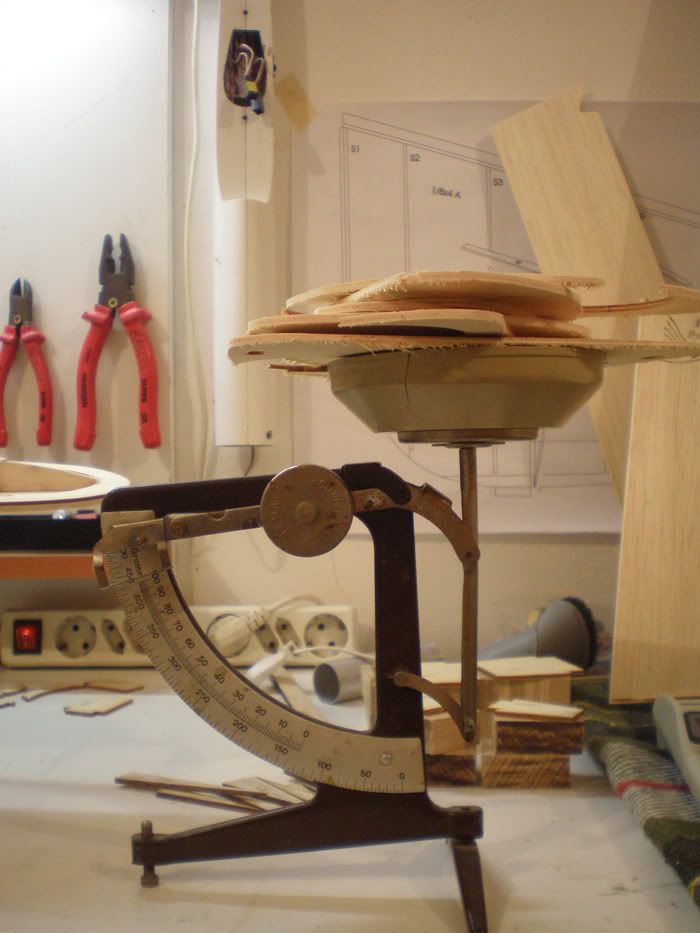
I saw on Internet that some modelers take out piece of ribs which are behind CG. I do it too...
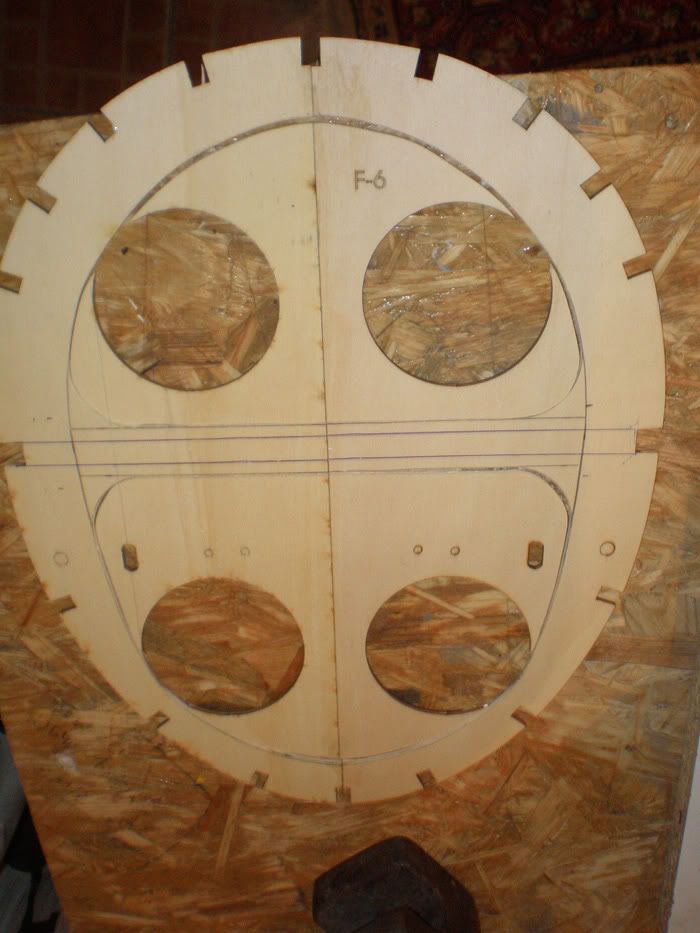
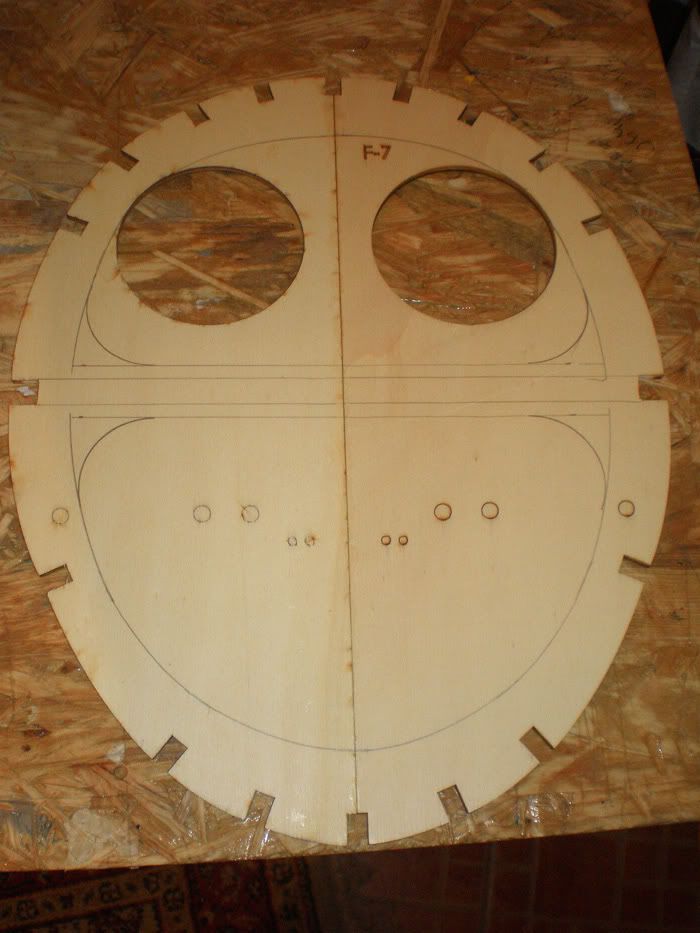
On four ribs I shaved more than 100 gr.
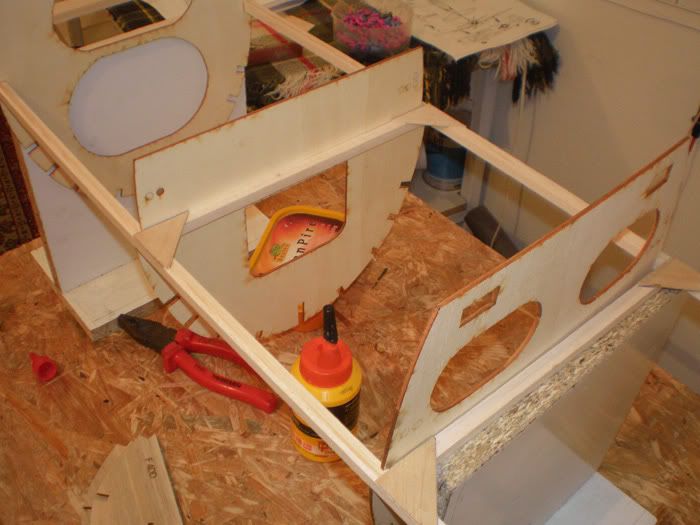
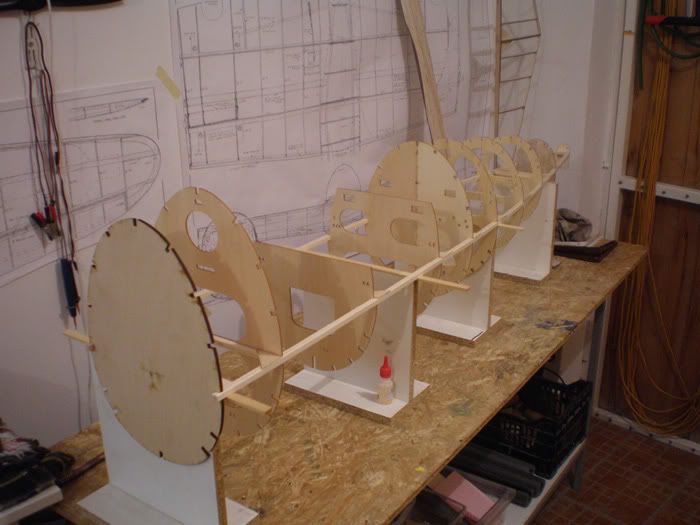
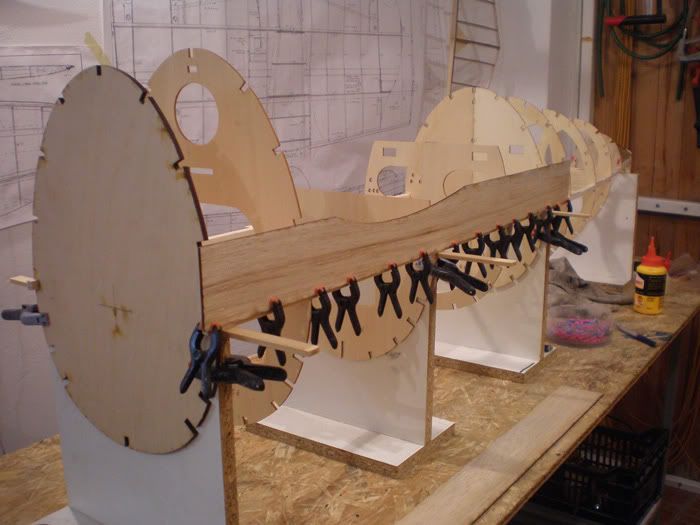
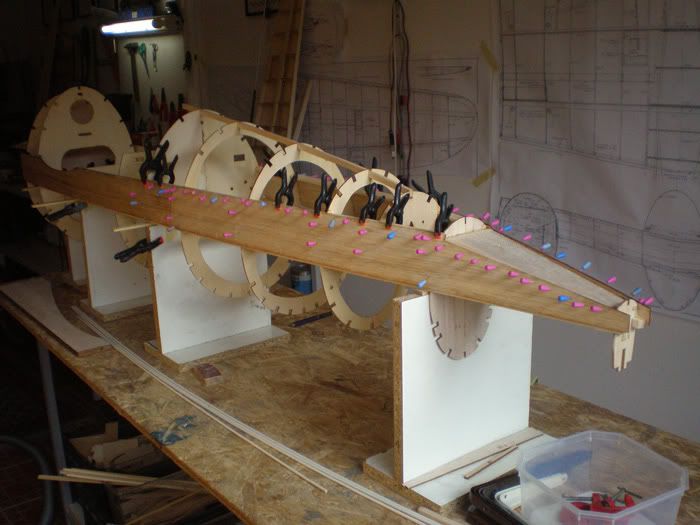
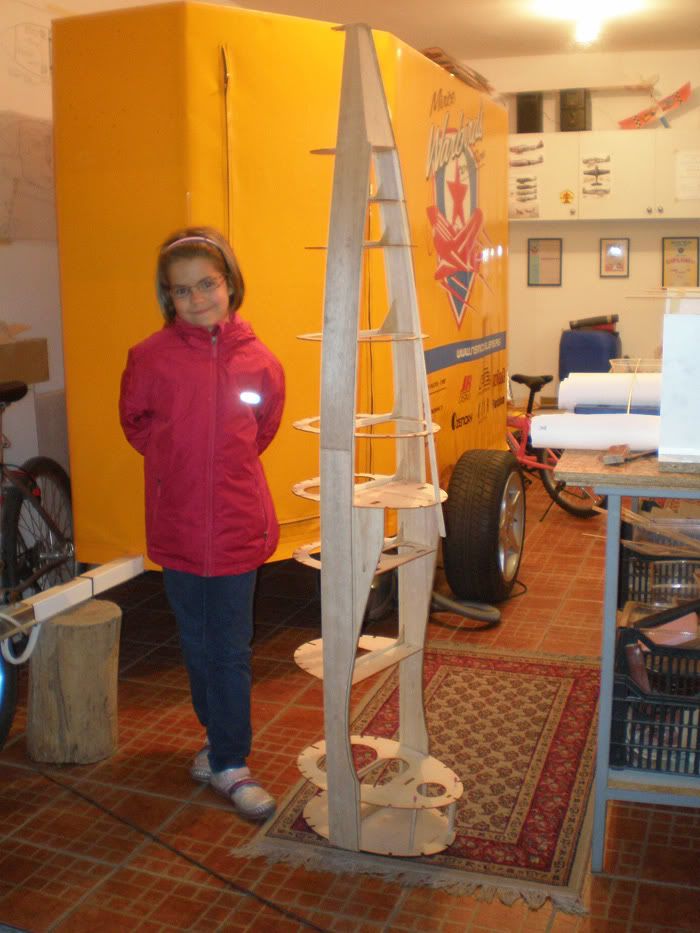
After that I glued all ribs on crutch...
Next was to glue first balsa plate. In manual it was described how to do it right.
That plate for now is glued just on crutch...
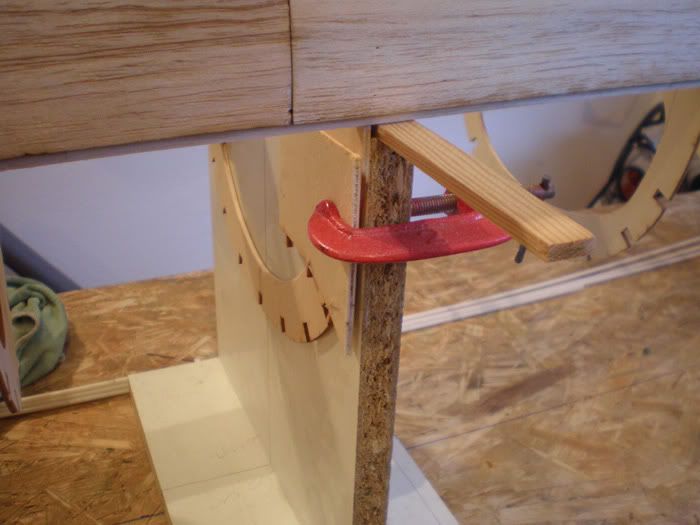
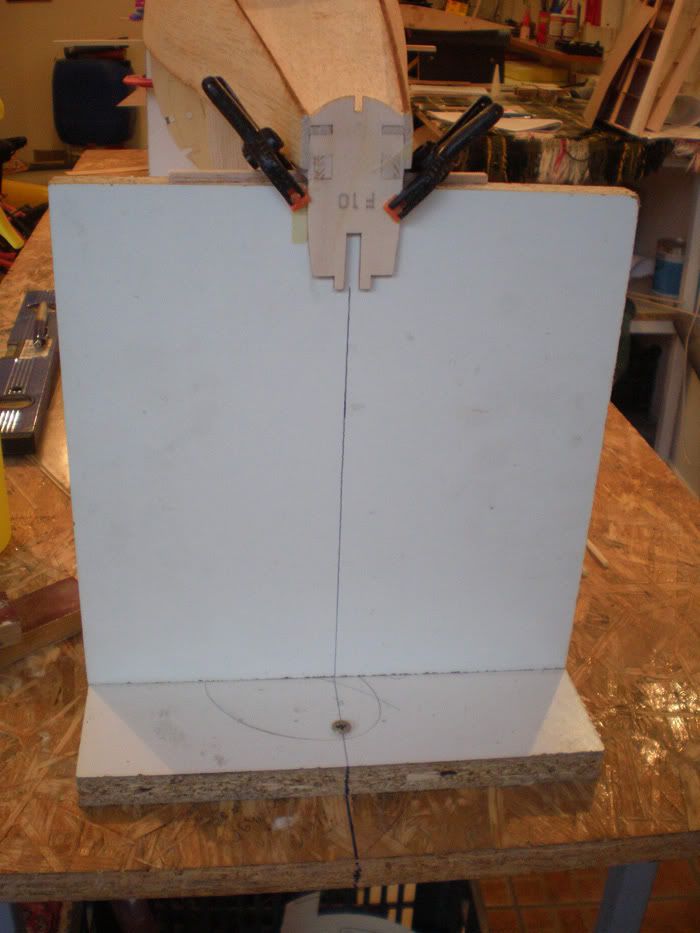
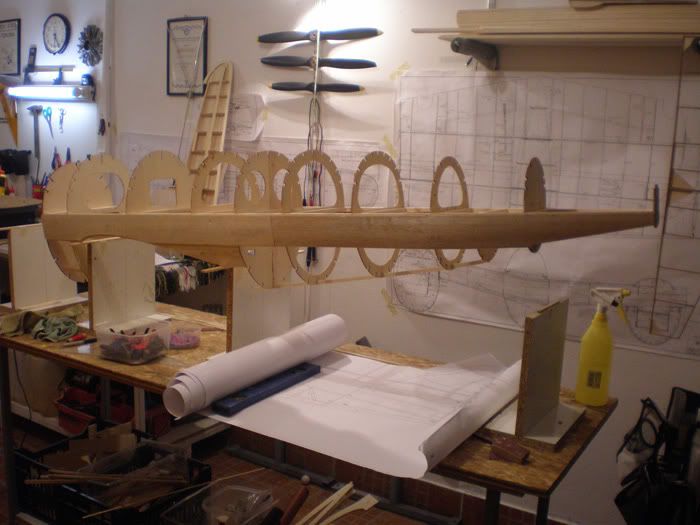
After that I aligned all my mounts... First I put a line on my work bench, and after that on all my mounts
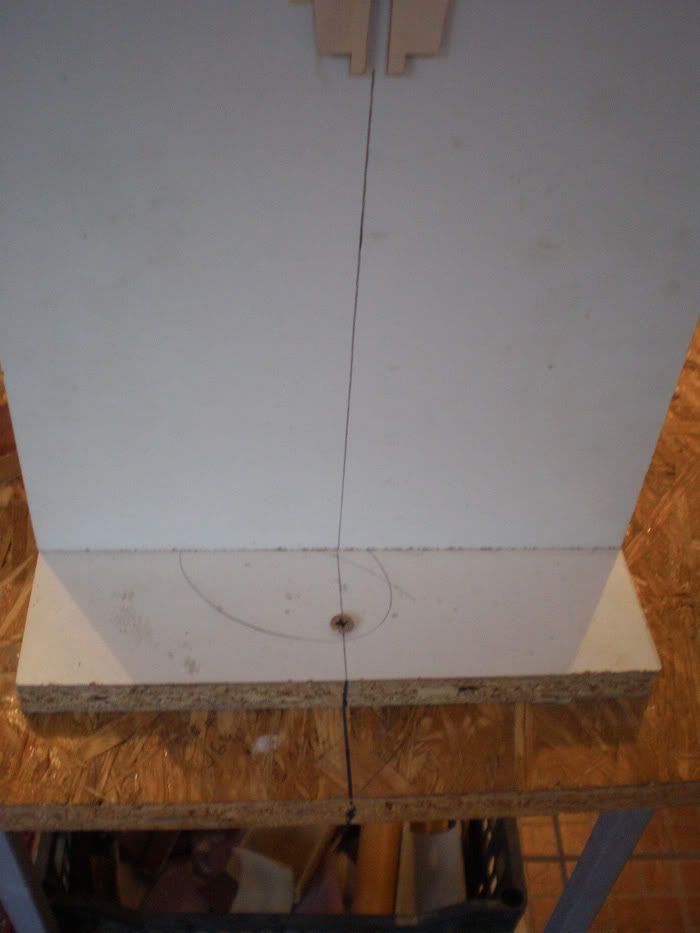
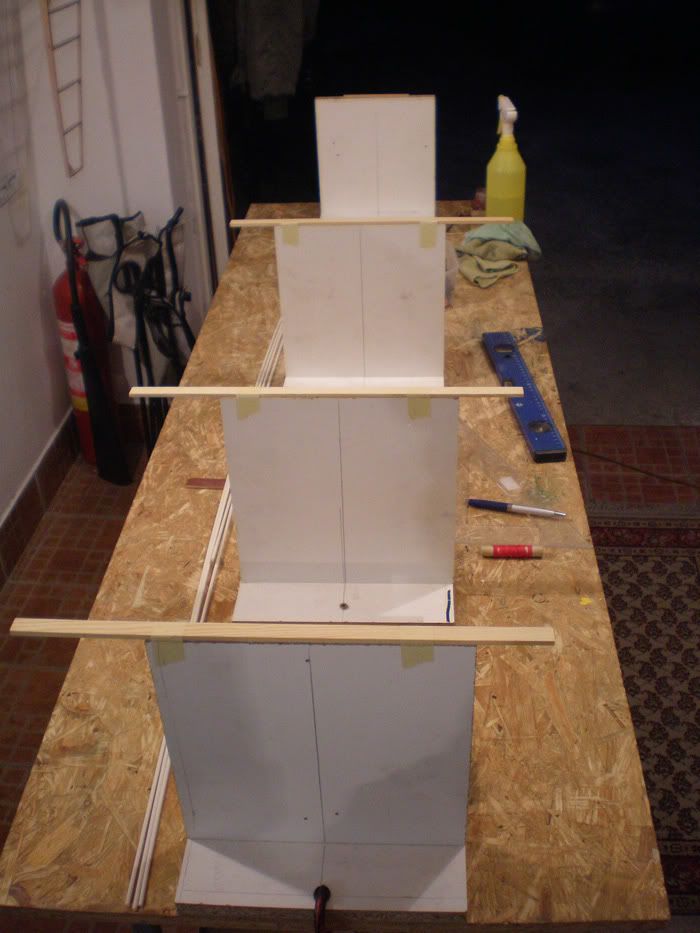
When I fix all mounts, I put fuselage on them and fix it on mounts...
Than I glued plate which is in the extension of the first plate...
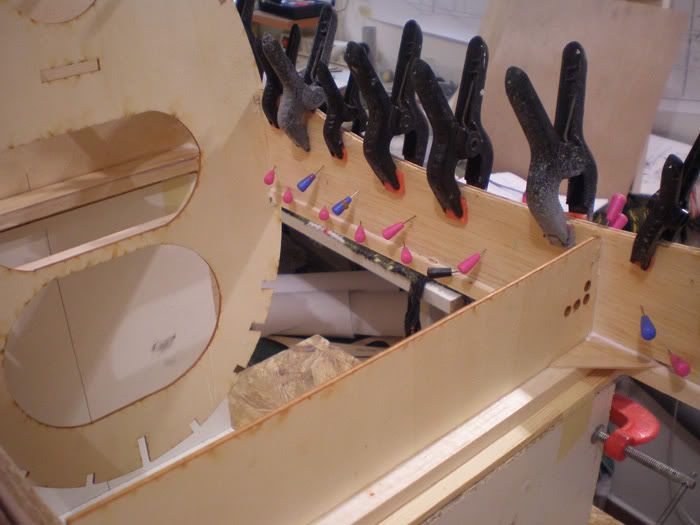
Next step was to fill space between first balsa plate and fuselage ribs.
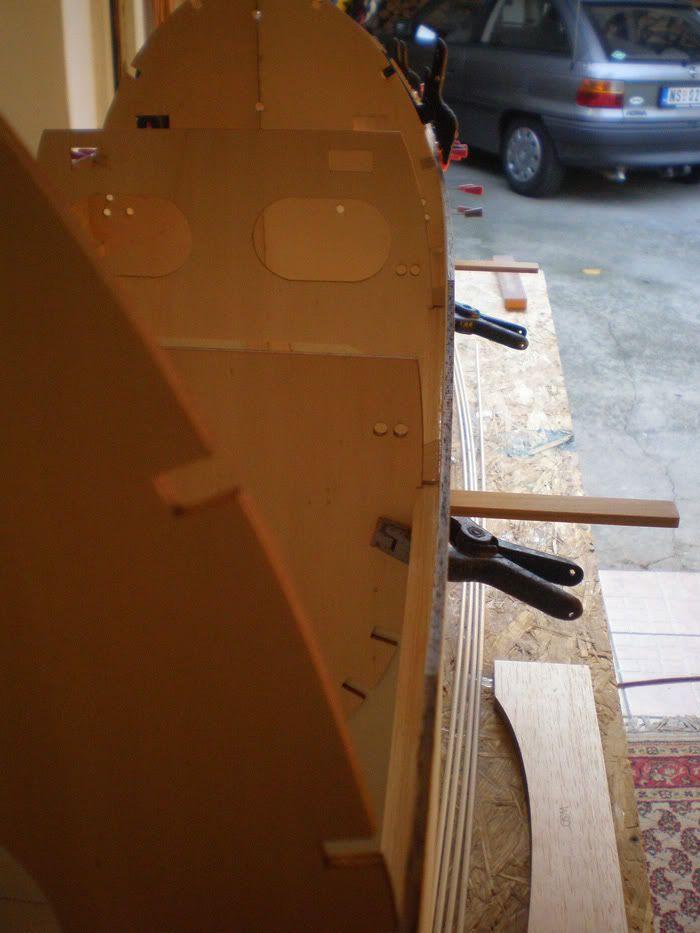
In that space should be added two more balsa plates.
I forgot to say, all gluing was made with whit glue (carpenter's glue).
Before all gluing I was put every balsa plate in a hot water. That made balsa more soft, and it aligned better on rib edge.
Two balsas plate was also wet, and glued with white glue...

I was working parallel on both side...
Tomorrow, when all was dry, I take down fuselage from the mounts. It was very stiff, firm and was not distorted...
To be continued...