I've started to build my Royal Zero from a kit that a kind friend gave me. Build threads on the Zero from Marutaka seem rare, so I thought I would start this thread in order to chart my progress.
I should say that I've been following the build thread here, where chistech is charting a build by Gerry Dupont of a Rufe from a Zeke Kit, and its proving very helpful and informative.
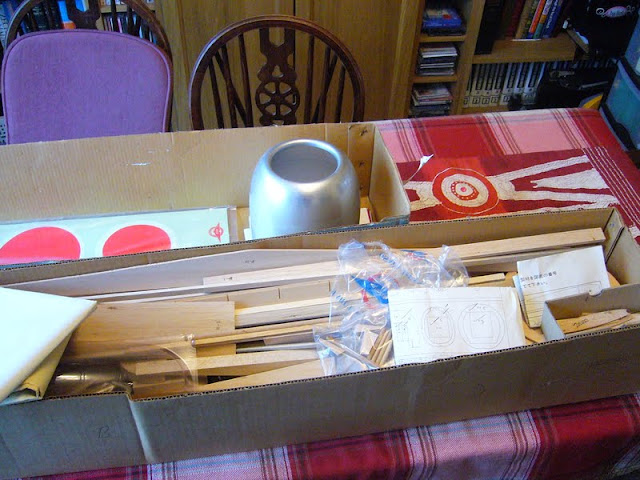
Well here is my kit. For those unfamiliar with these, its a real forest of wood!
I've started by tracing the stabiliser onto grease-proof paper ready for the building board, and then the parts are laid out on the building board. I've simply drawn around each of the parts on a piece of scrap paper. If I ever need parts for a repair, then I have a pattern to follow.

The first job really is to mark centre lines on the leading edges, the trailing edge, and each of the ribs. The trailing edge is pinned to the board, and the leading edges are chocked up so that their centreline is level with the centreline of the trailing edge.

I decided which side was up on each of the ribs. (Mine don’t appear to be symmetrical) And fitted them using the Lego blocks to make little jigs, and wedges cut from scraps of Depron to shim up the ribs so that the centre lines of the ribs match those of the trailing and leading edges.

I sheeted the stabiliser using individual sheets. I know that some prefer to join their sheets on a flat surface and then cover. My previous build was a Spitfire, and I decided to join the individual sheets on the wing because I had read horror stories of wings warping when you try and affix a large flat sheet of balsa over the very compound curve on the Spitfire wing.
I use contact adhesive for the join between the sheet and the frame, and aliphatic resin for the joins between sheets.
I then glued in scraps of balsa for the Robart style hinges that I will fit later. (I remembered to mark the hinge positions on the trailing edge!

Here is the stabiliser with the tips attached sanded. Next job to finish off the elevators.
