In last few days, here was so hot, temperature was almost 40 degrees Celsius... I was working only at evening and night...
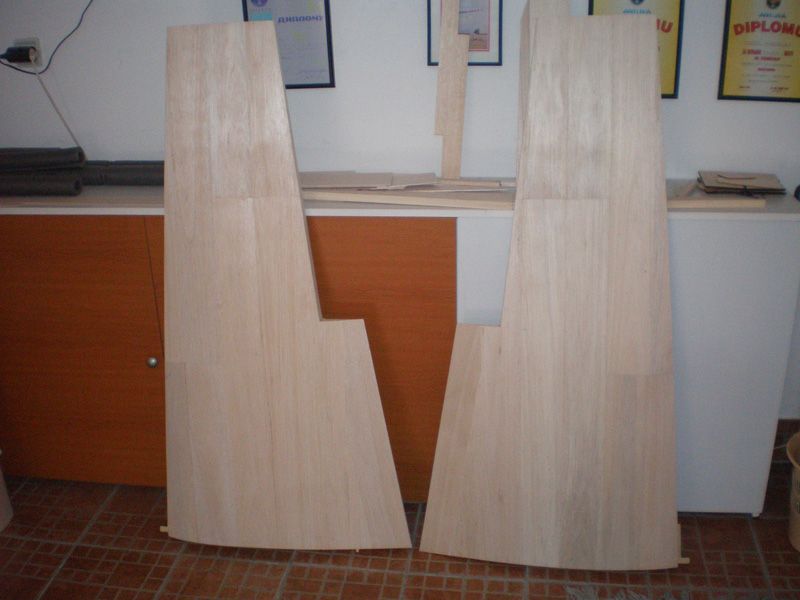
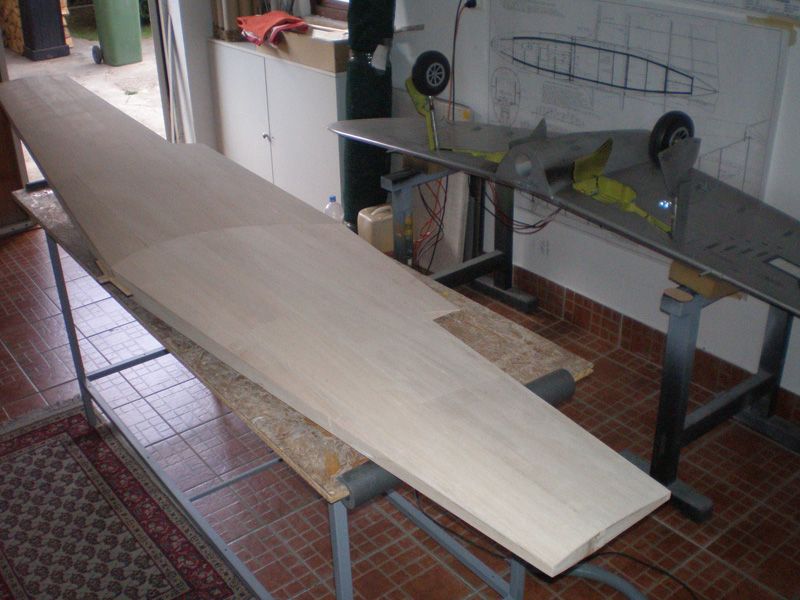
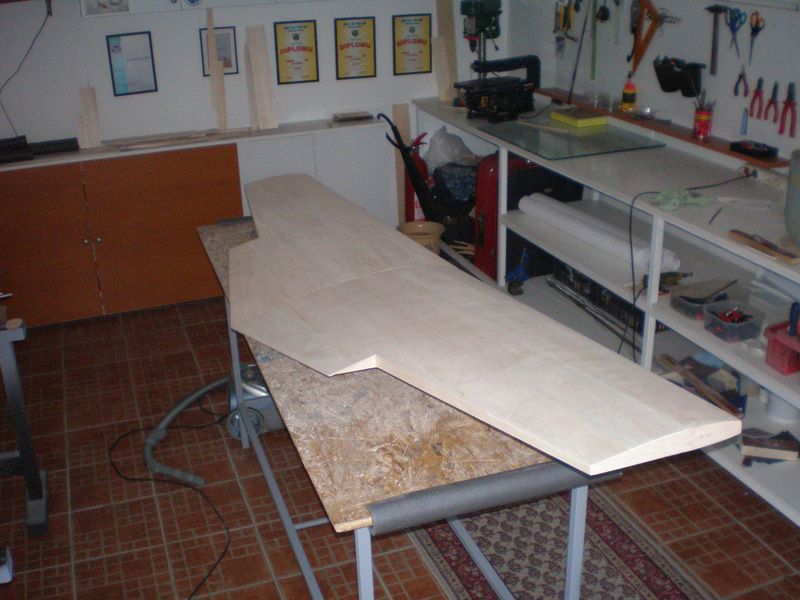
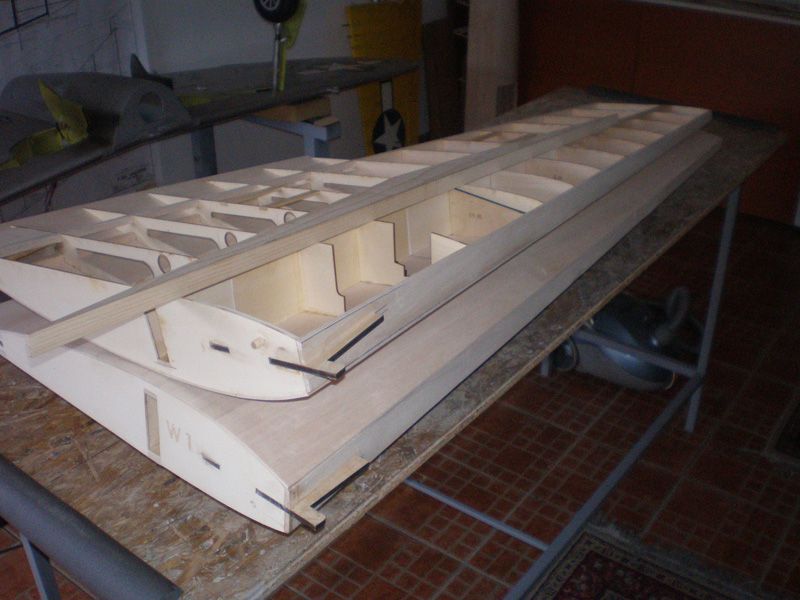
Both wings half are now coated on the upper side with balsa plates...
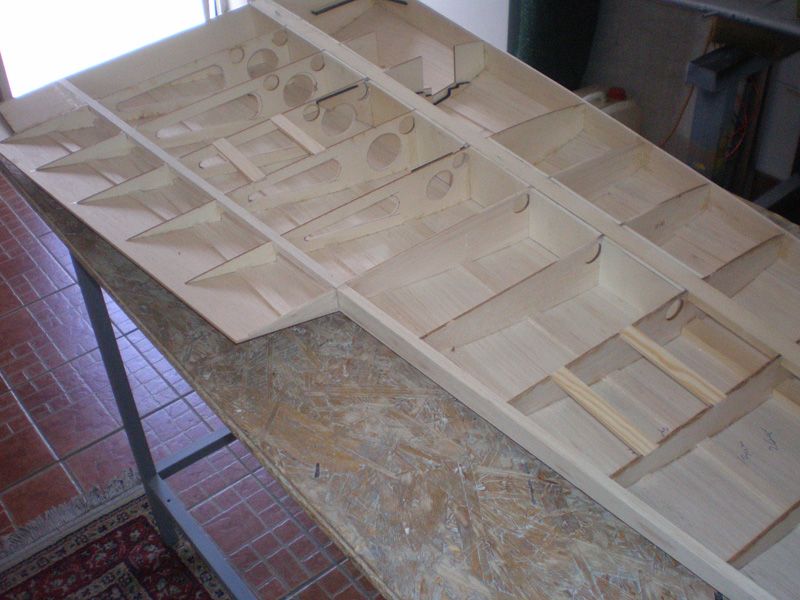
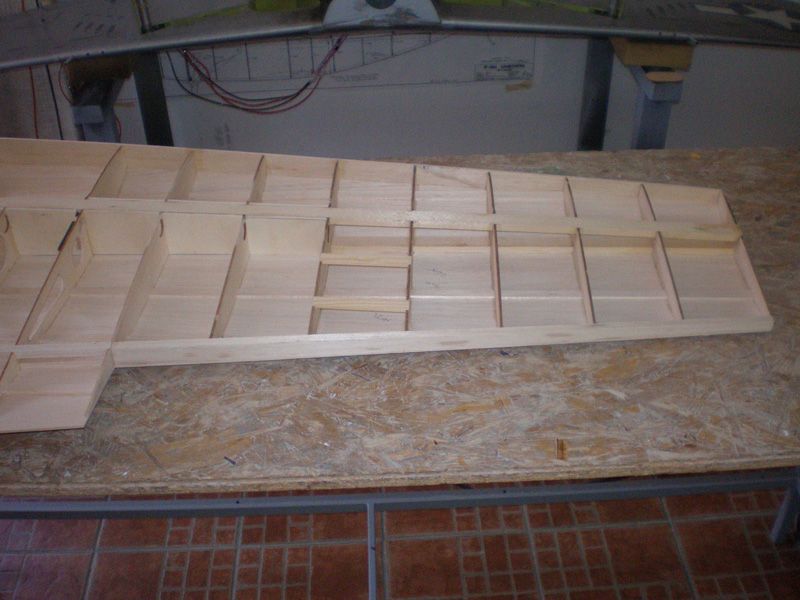
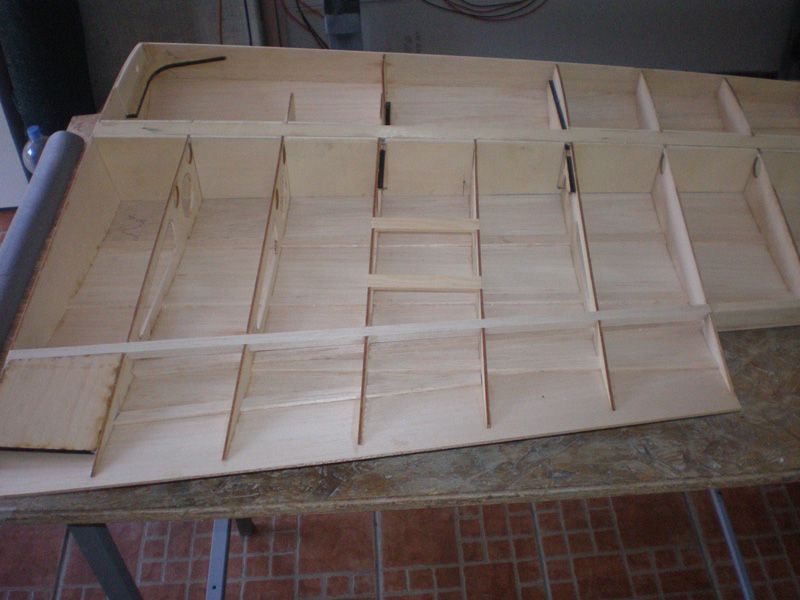
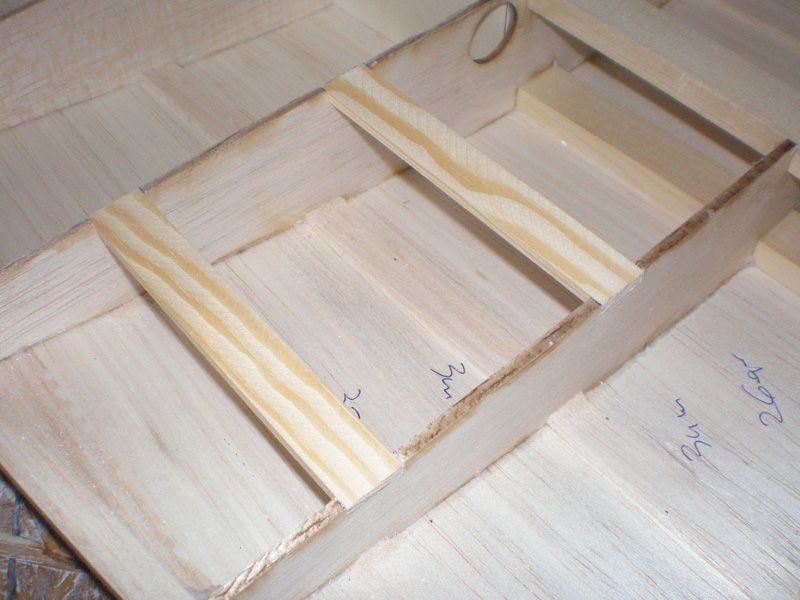
But before that I made few small details on the wing.
First I glued ply part in every wing half, for connecting wing with fuselage. System is same like on Meister P-47, one side was glued in rib number 1, and other side was in leading edge...
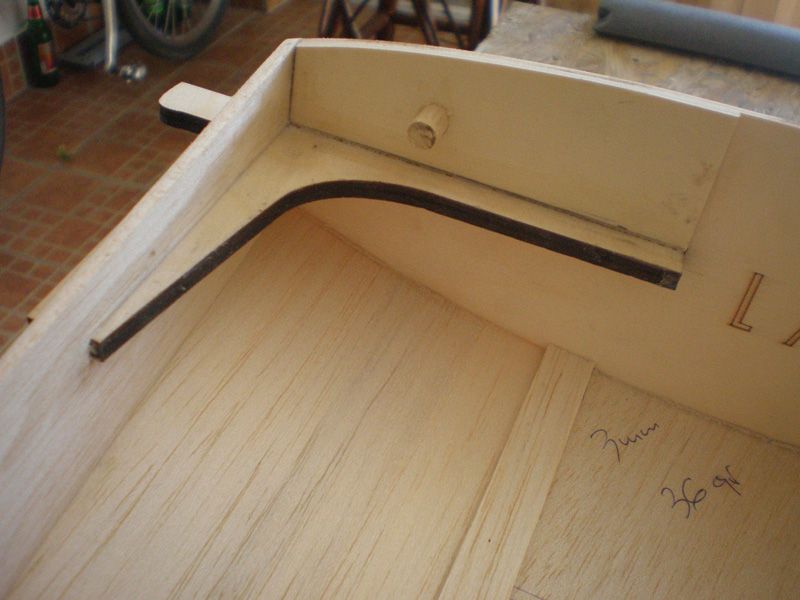
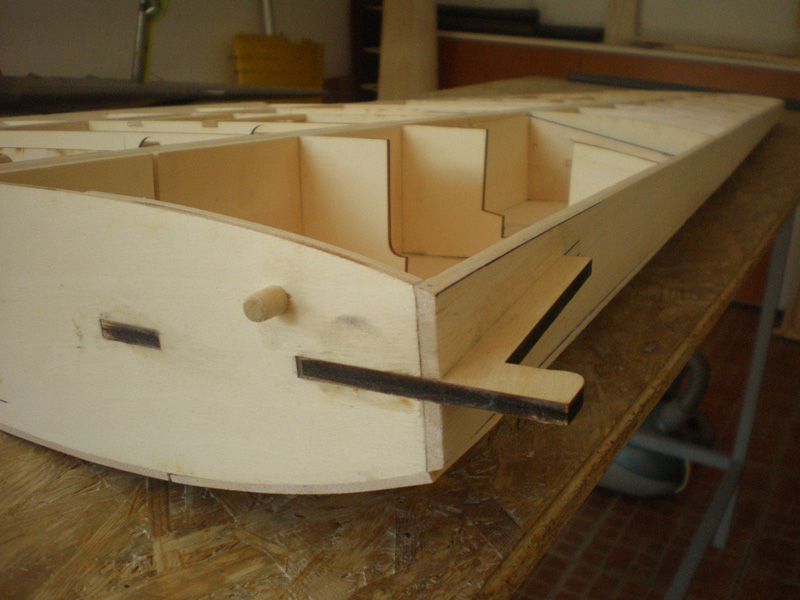
For ideal alignment I add one 8 mm wooden pin. Before that I glued 2 ply plates on each inner wing side. Than I alignment both wing side...
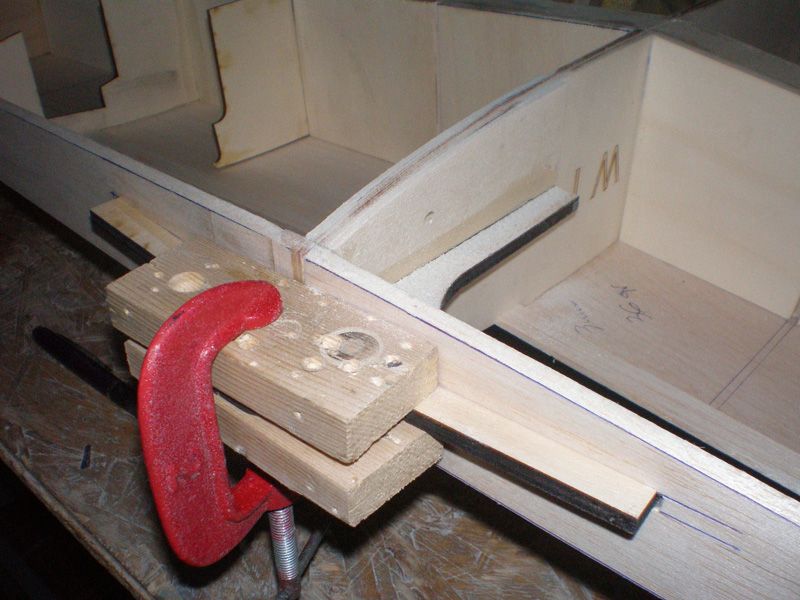
Hole for wooden pin was made within...
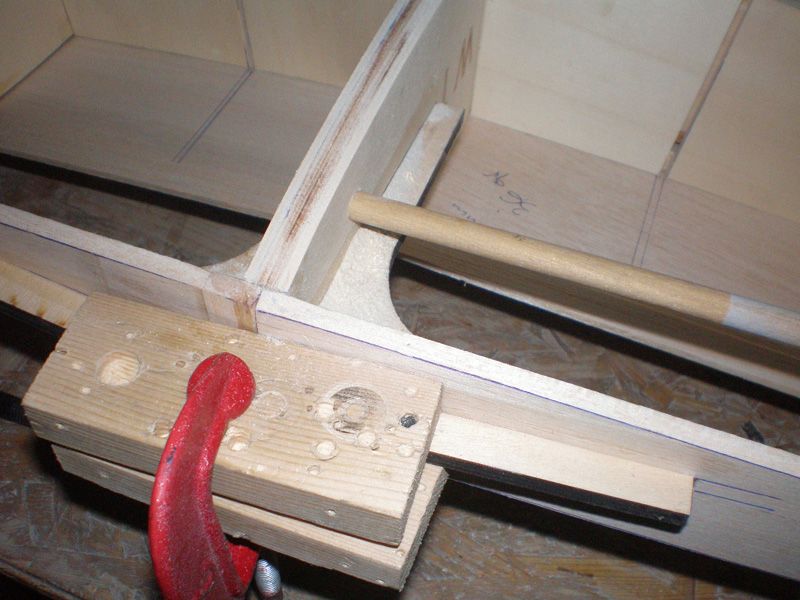
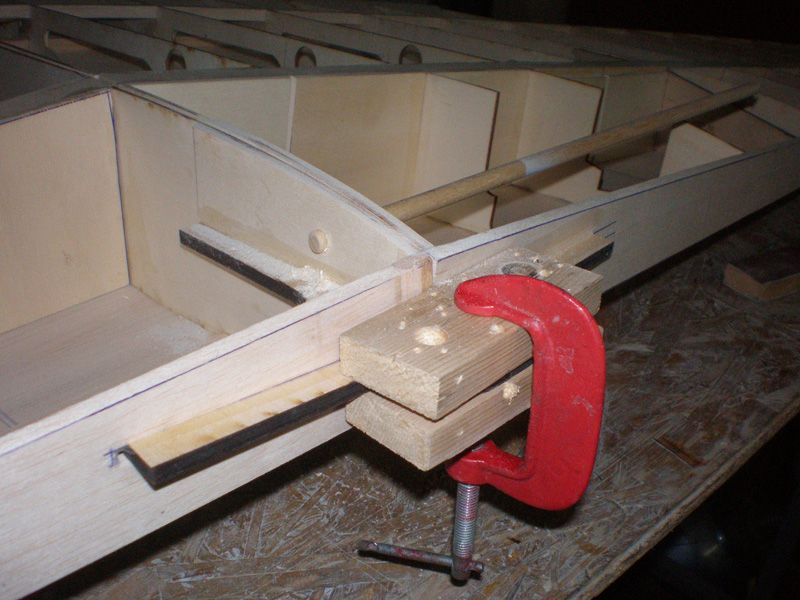
On the rear side of the wing rib number 1, is also one 8 mm wooden pin. Those pins are just for perfect alignment of both wing half...
Zero wing is so huge, in this phase (without wing tips) it's bigger than Meister Scale wing of P-47...
On lower wing side I glued 15 mm wide plates. Half of that plates will go under balsa, and in other half will be screwed plates for flap and ailerons servos. This is same method I used on all my models...
I measure wing in this phase...
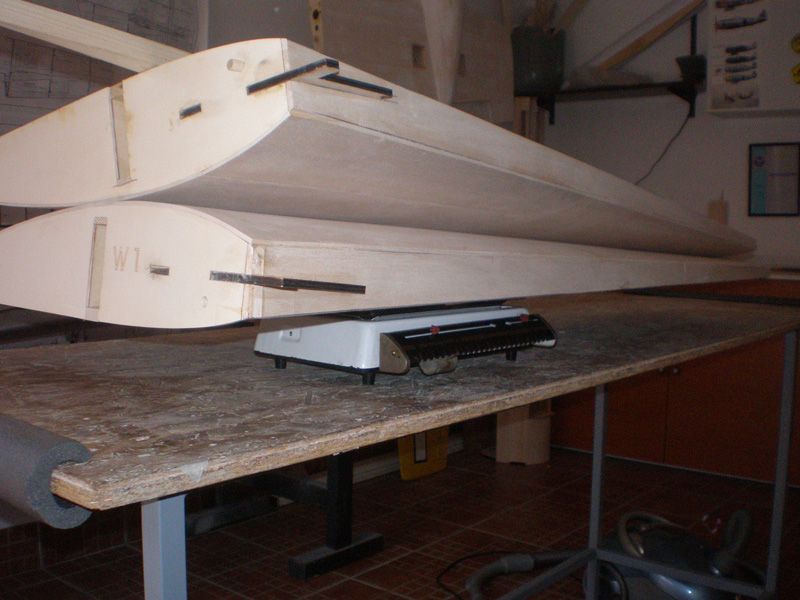

It's 2650 grams - 5,85 lbs...
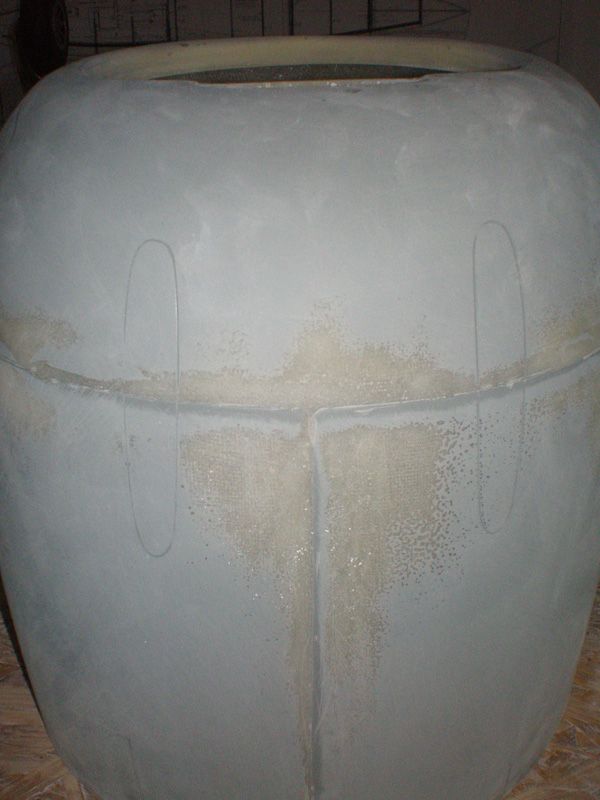
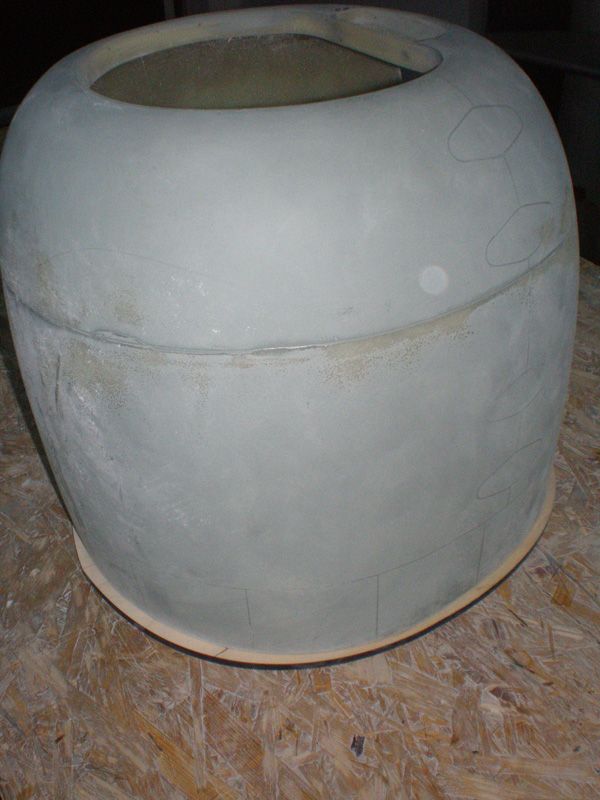
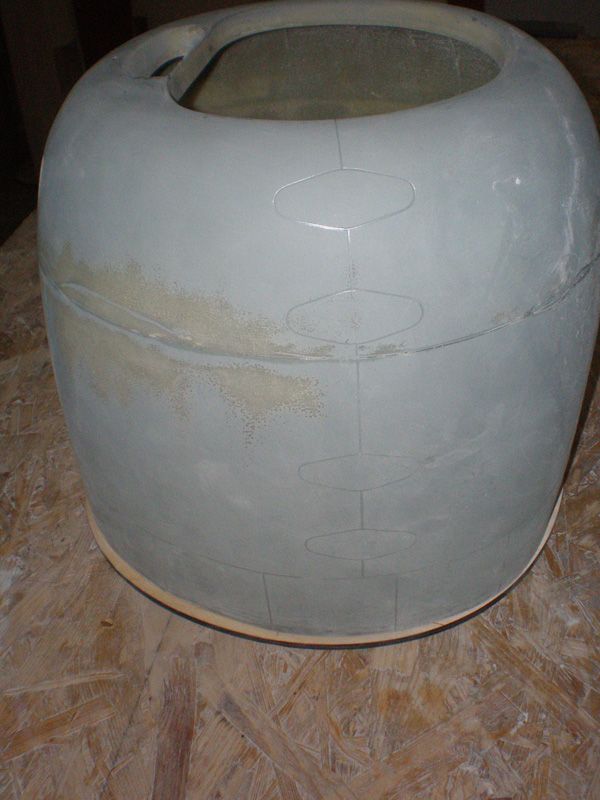
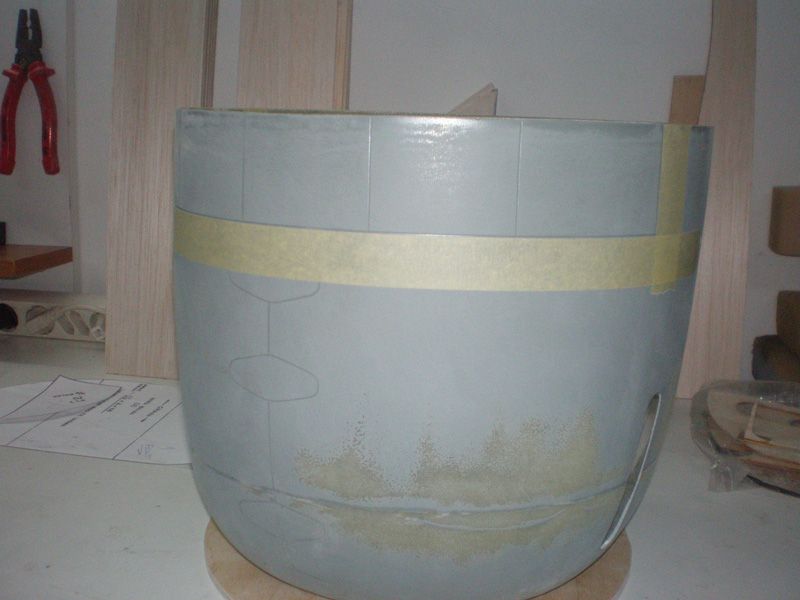
I start working on cowl too...
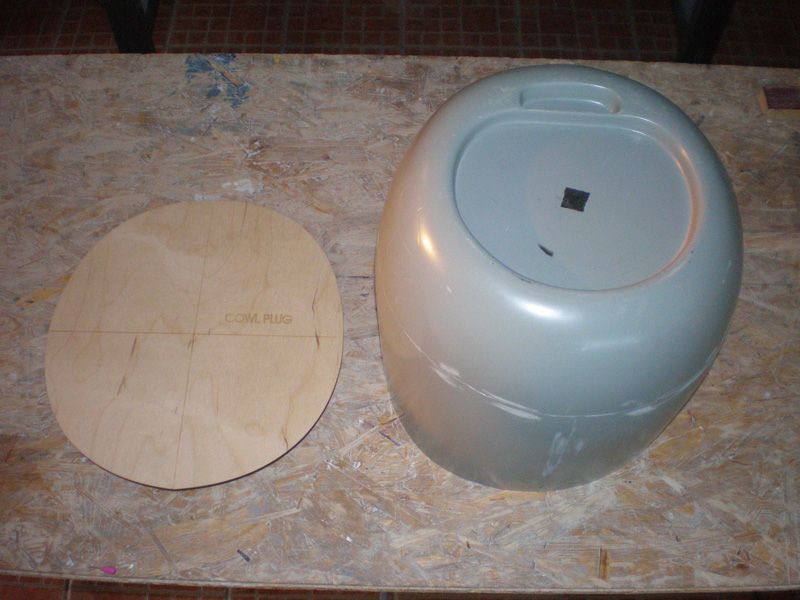
First I made holes on the front...
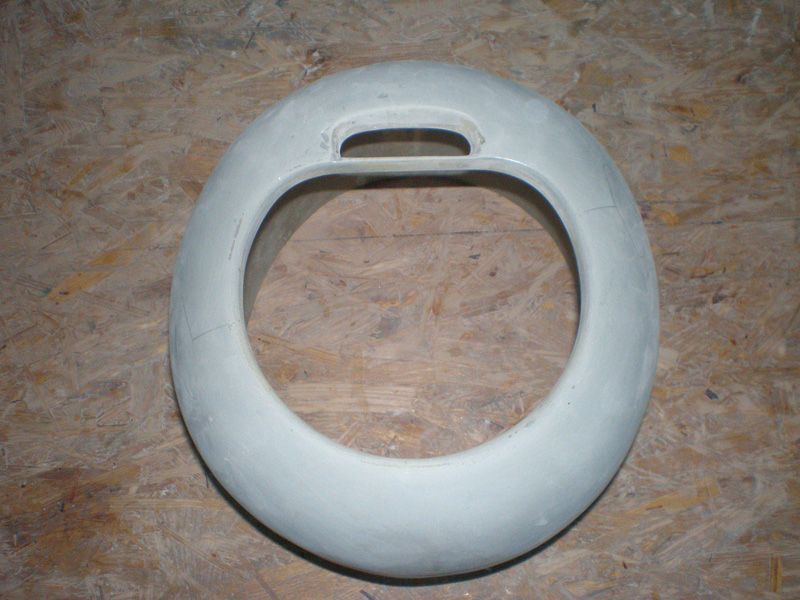
This cowl is made from three pieces, but joiners are not so smooth like on Meister P-47 cowl. It is not something awfully, but need filler and some work...
On cowl are cast lines for guns holes.
I used it for starting point...
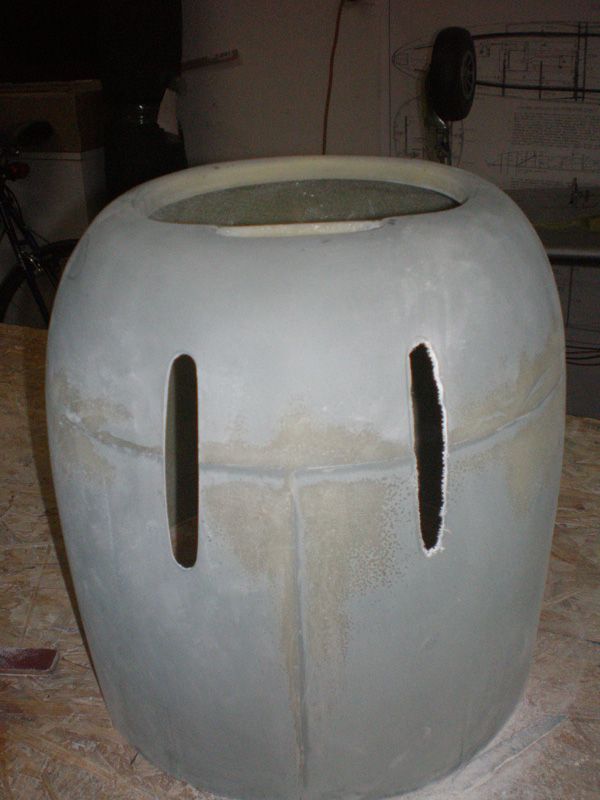
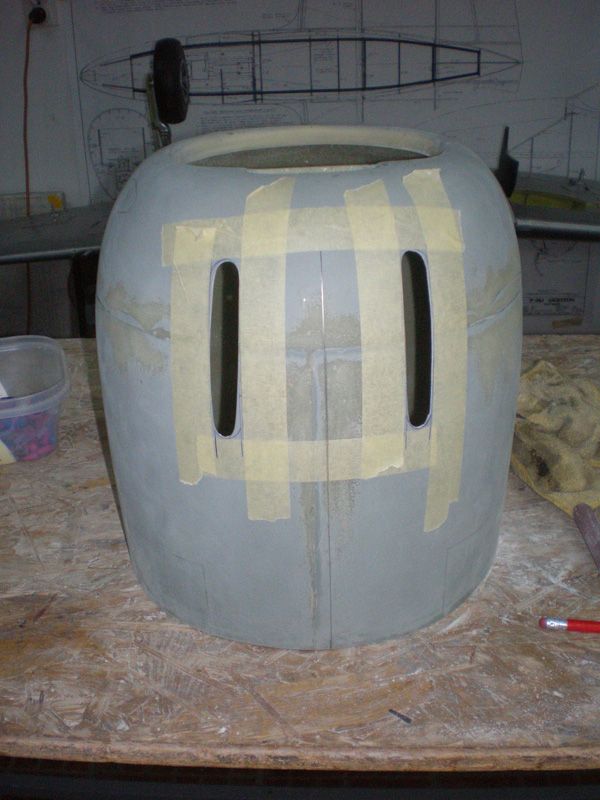
In that holes, later will come plastic tubes...
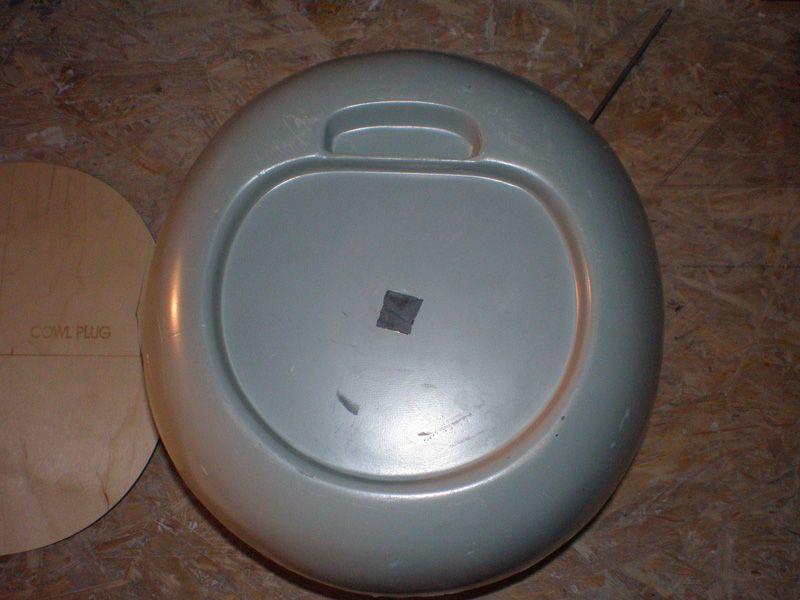
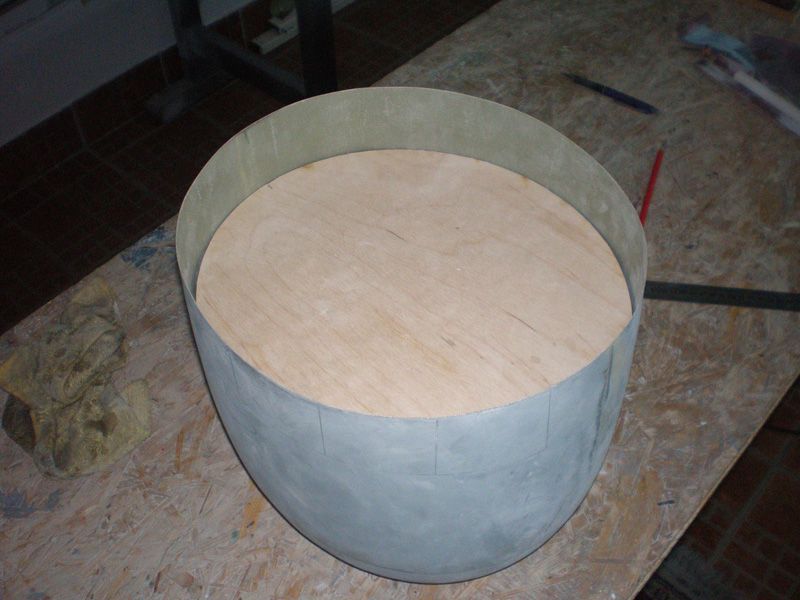
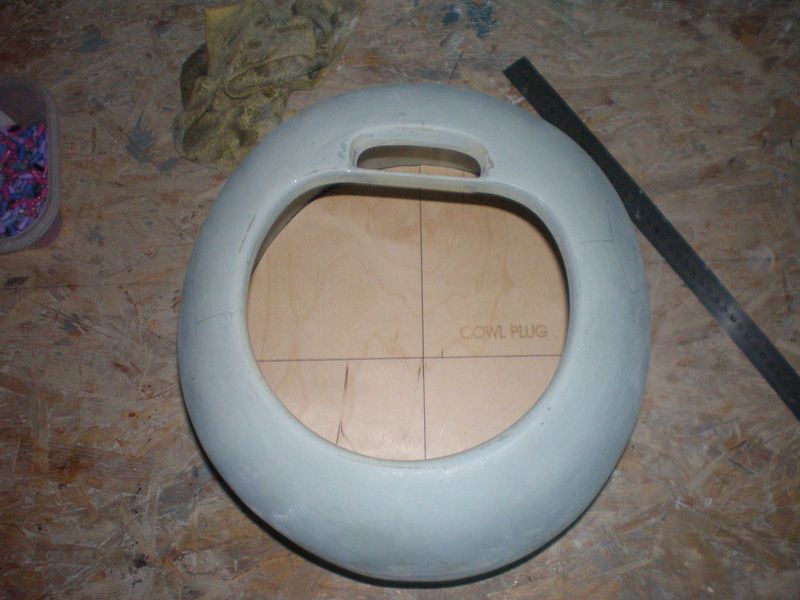
Bigger job was on the cows plate. It is wider for about half of centimeter all around.
I made on my vinyl cutter machine foil template, which I glued on ply plate. It is not right circle, dimension is 315 x 290 mm. Unfortunately i forget to made photo of that...[&o]
But, never mind, more important is that now ply plate come inside of the cowl...
Next step is to cut out cowl cooling flaps, because I will made it from thin aluminum, and they will be more open...
That's all for now...
All the best
Mirce