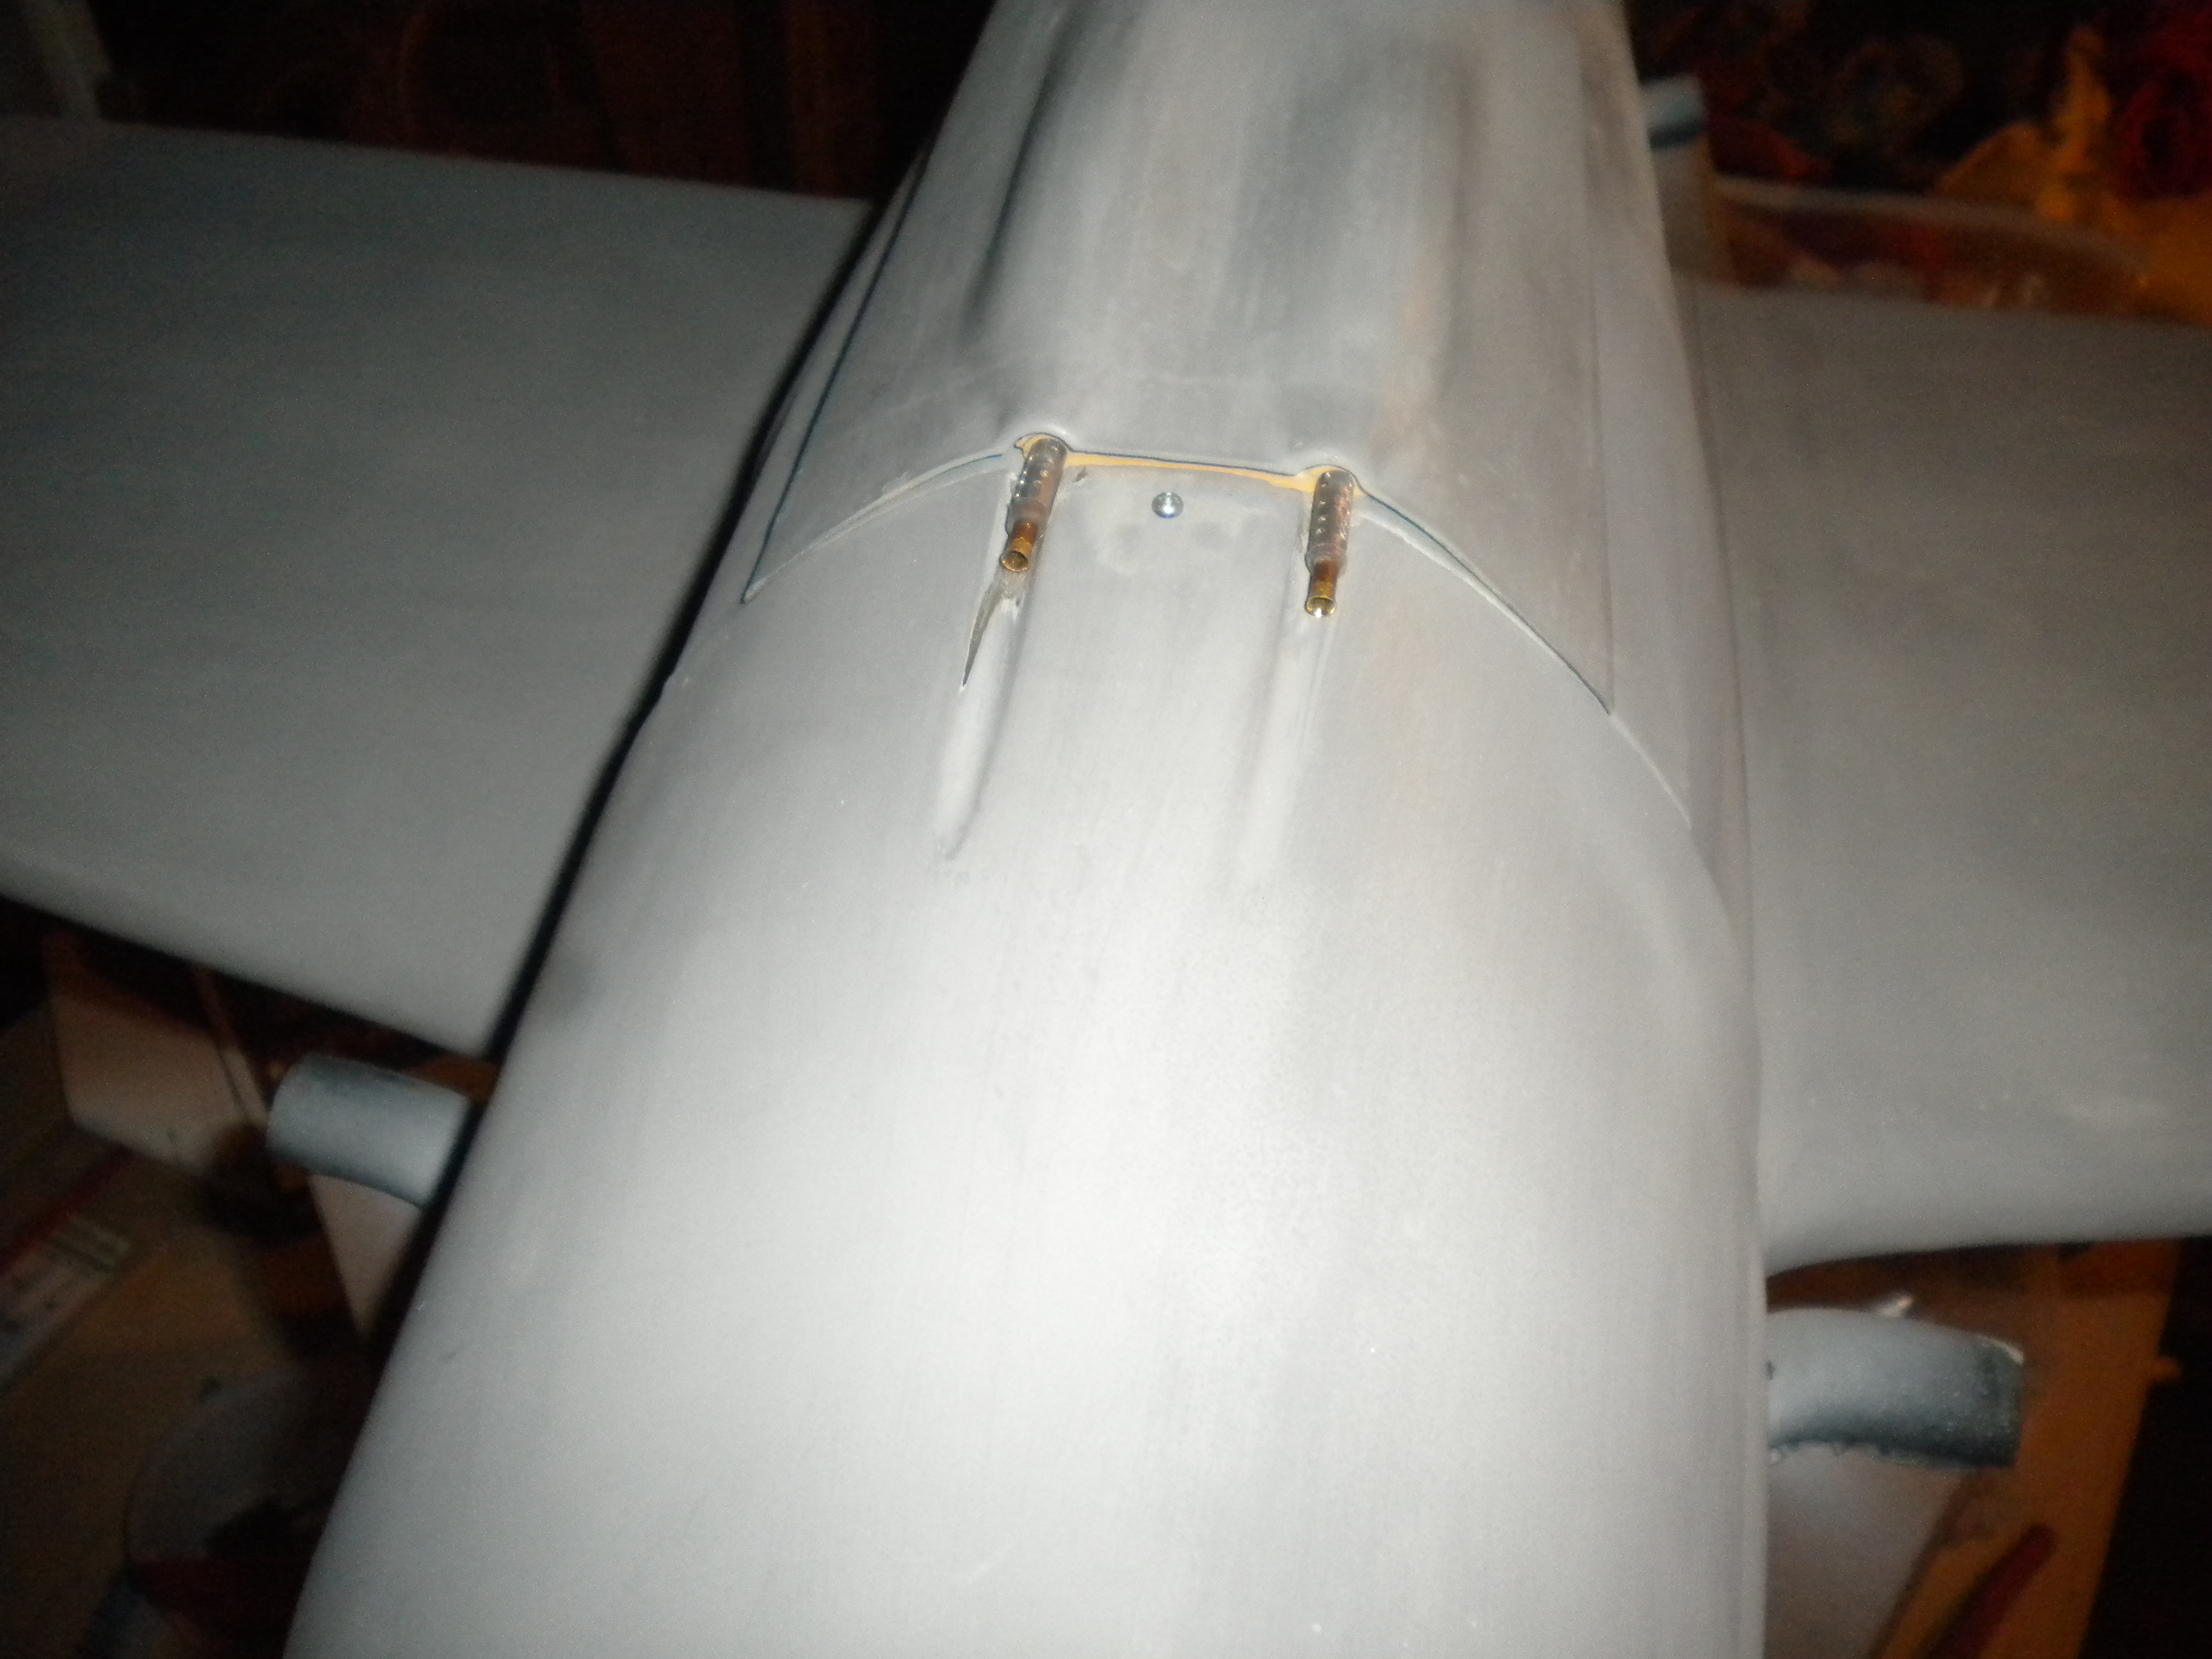
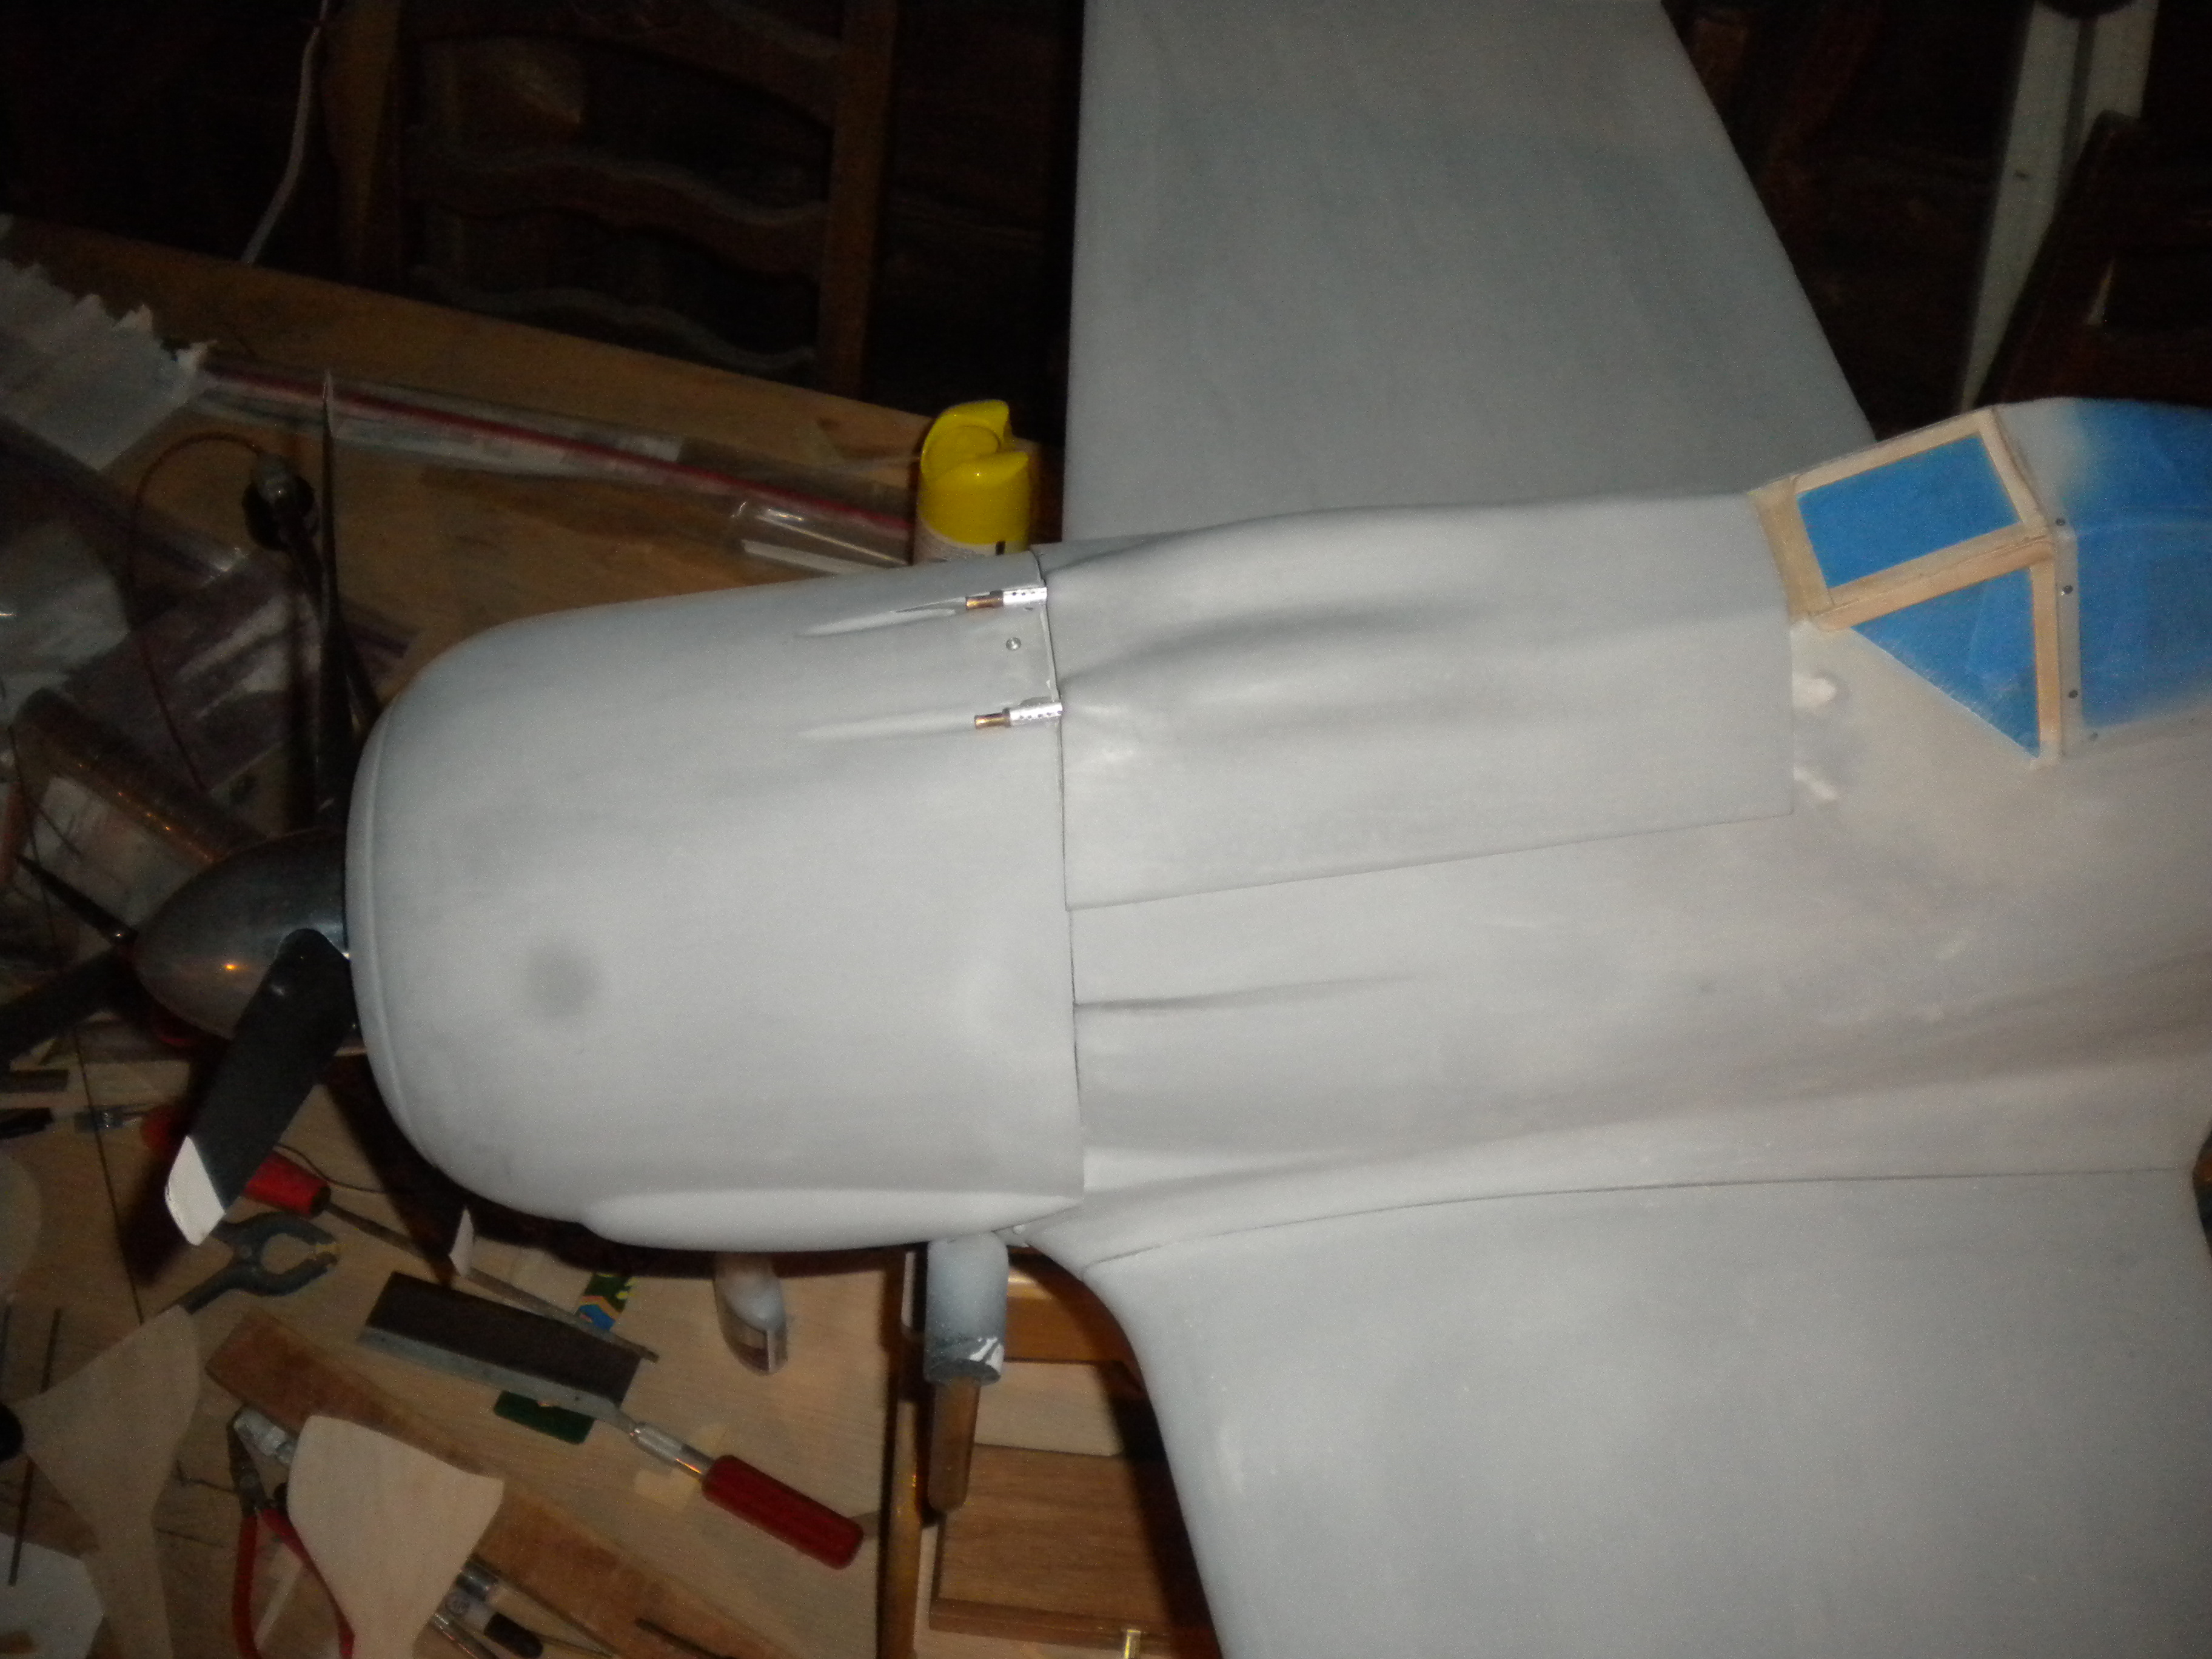
tonight's post is really just a small detail on the rod ends, its the guns.
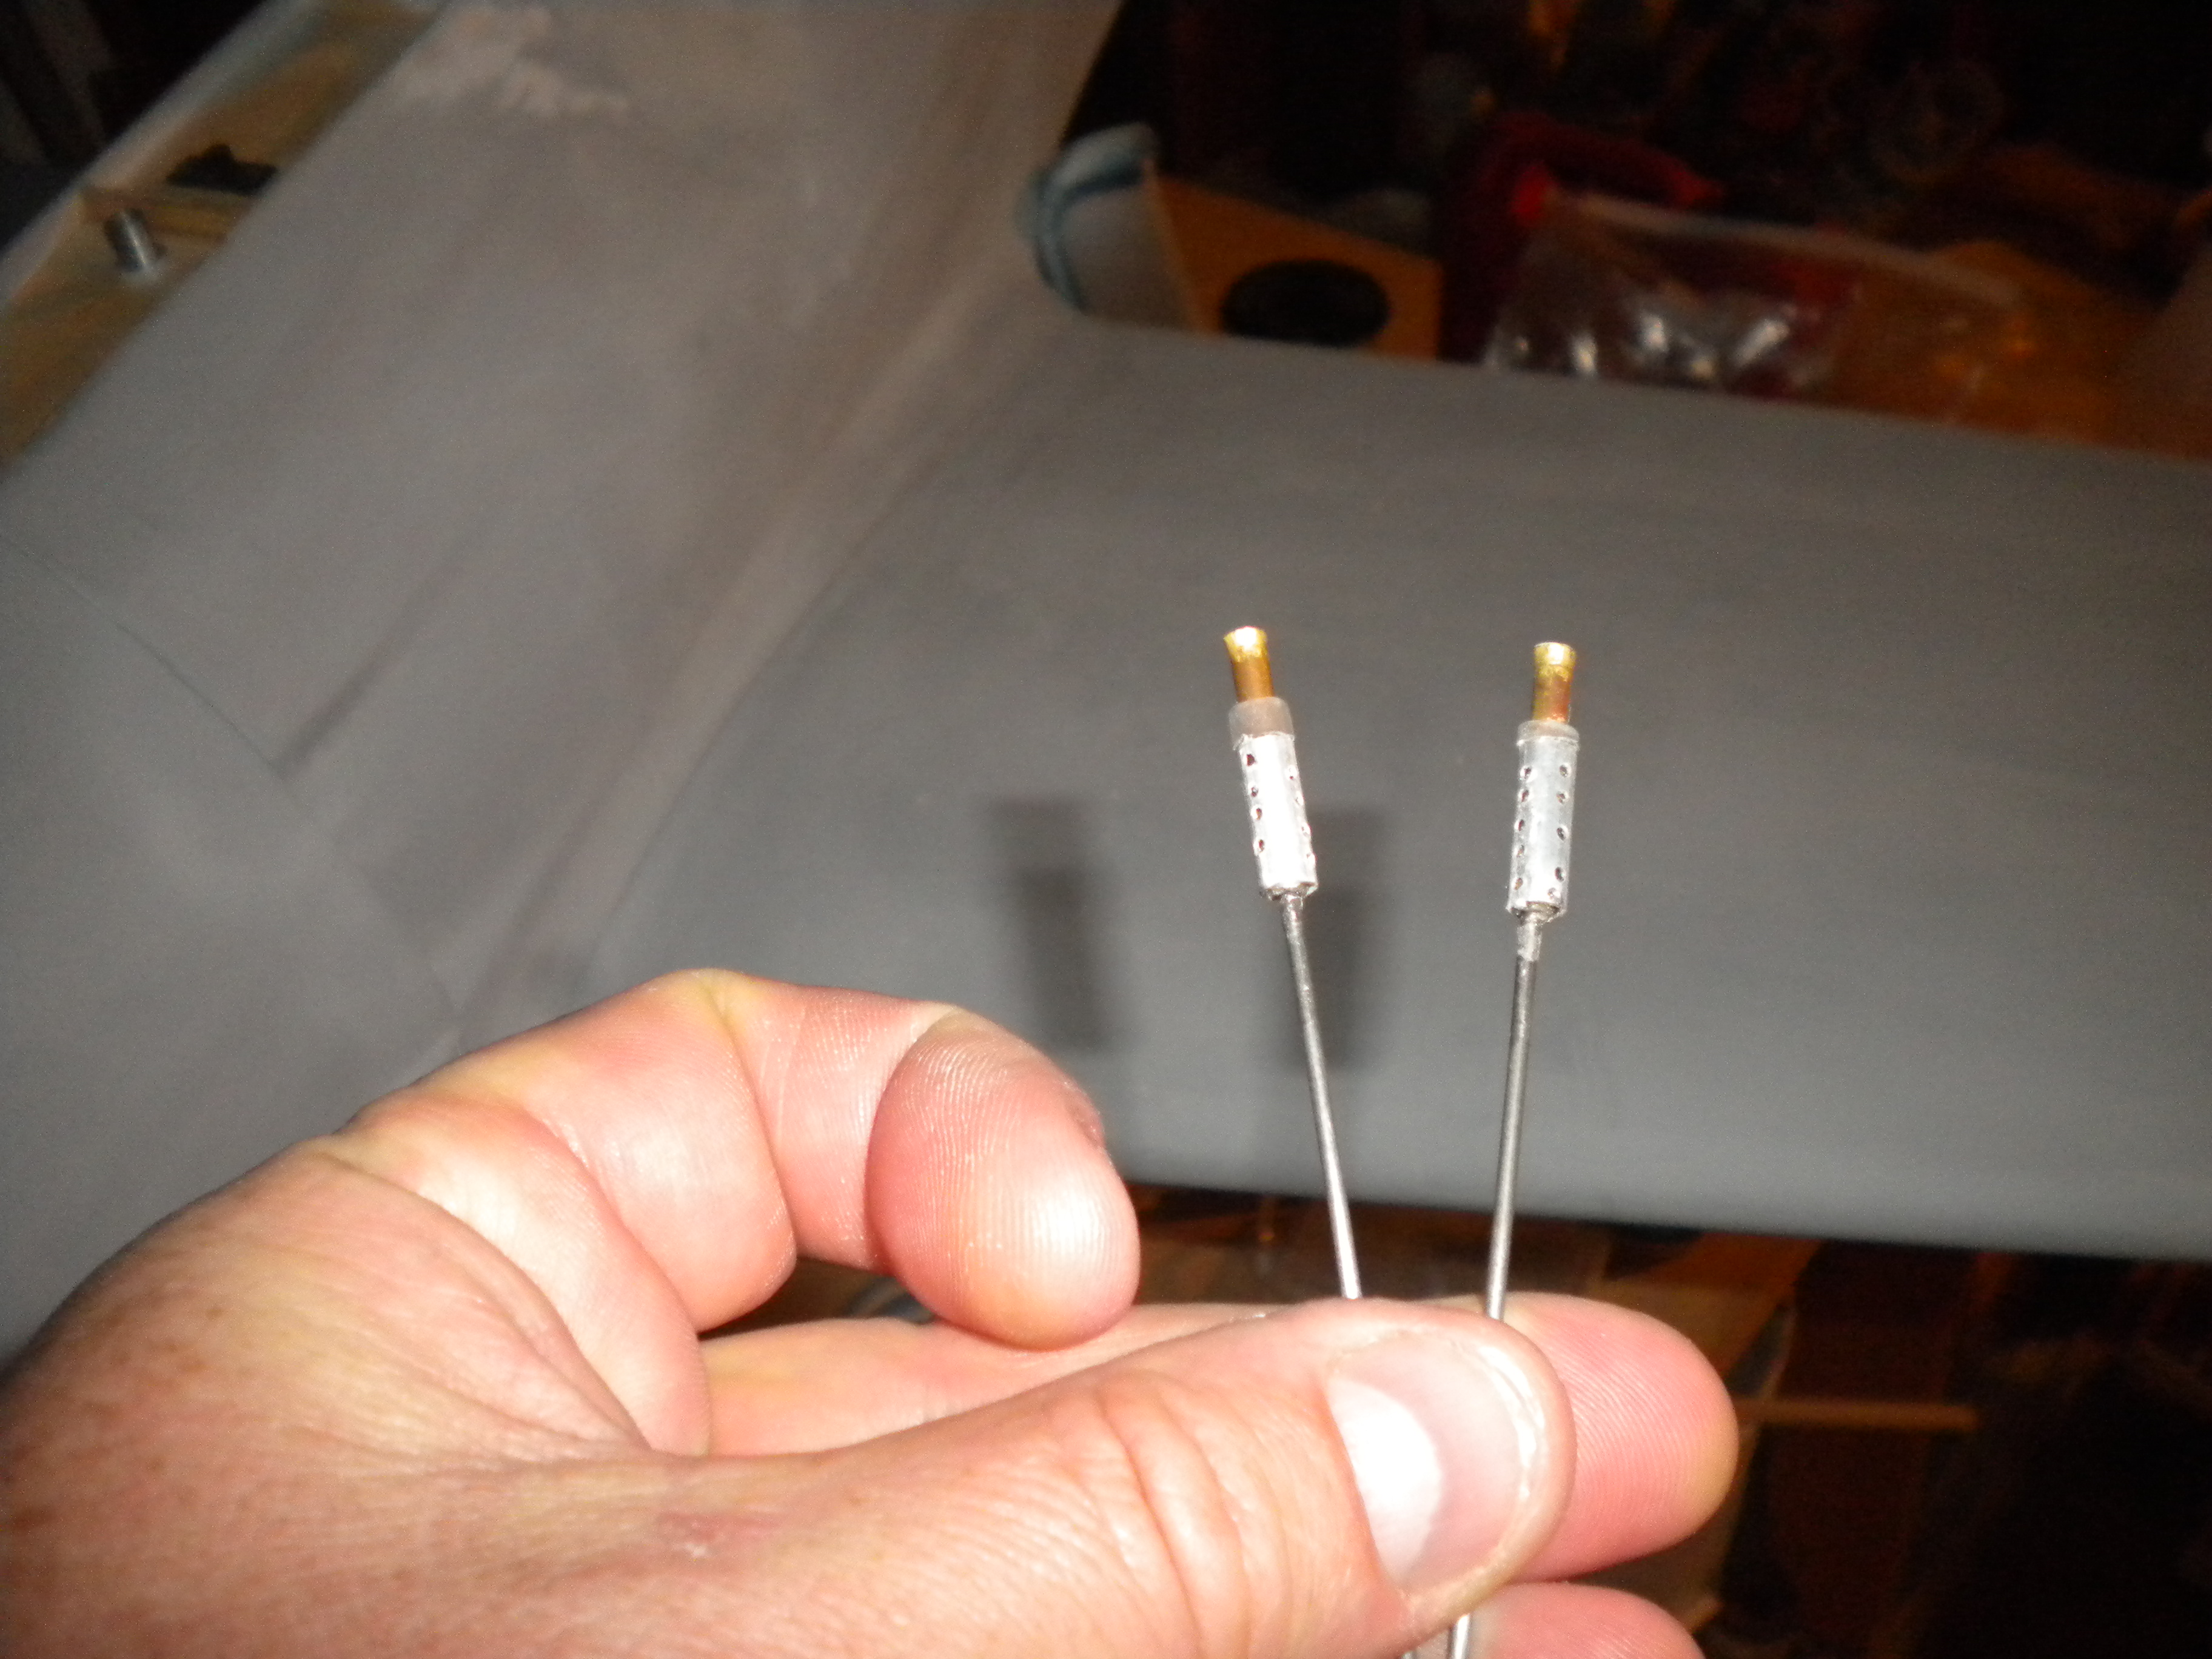
the first thing was to glue some of the guide tube aluminum stock, about a 1/2 inch or so to the wire pins to take up space and allow the gun barrel to line up with the wire rods these were glued in place with some thin CA I gave the wire a liberal sanding and the CA did the trick.
the next layer was the gun barrel and flash suppressor, I used some brass tubing I had on hand and with needle nosed jewelers pliers I began to pinch and flare each of the ends approx an 1/8 of a inch down the tube on each side, the pliers are round on the end so they leave very few marks when manipulating the metal I found if I went to aggressively the edge would become too thin and crack so a bit of patience was key,I tried to make the flares fairly equal working on each end until I was satisfied with the shape, once done I determined a good size using my docs and cut the tubing off.
once cut they slipped over the first layer of tubing and again with thin CA I glued them in place.
lastly was the cooling barrel they didn't come out quite as nice as I wanted, but they will work, the bit was so small it had some flex which made it difficult to line up the holes perfectly, I guess I could have been more meticulous but overall they look OK and with some paint they will be nearly invisible my ESM guns came out a bit better but the drill was a couple sizes larger which helped.
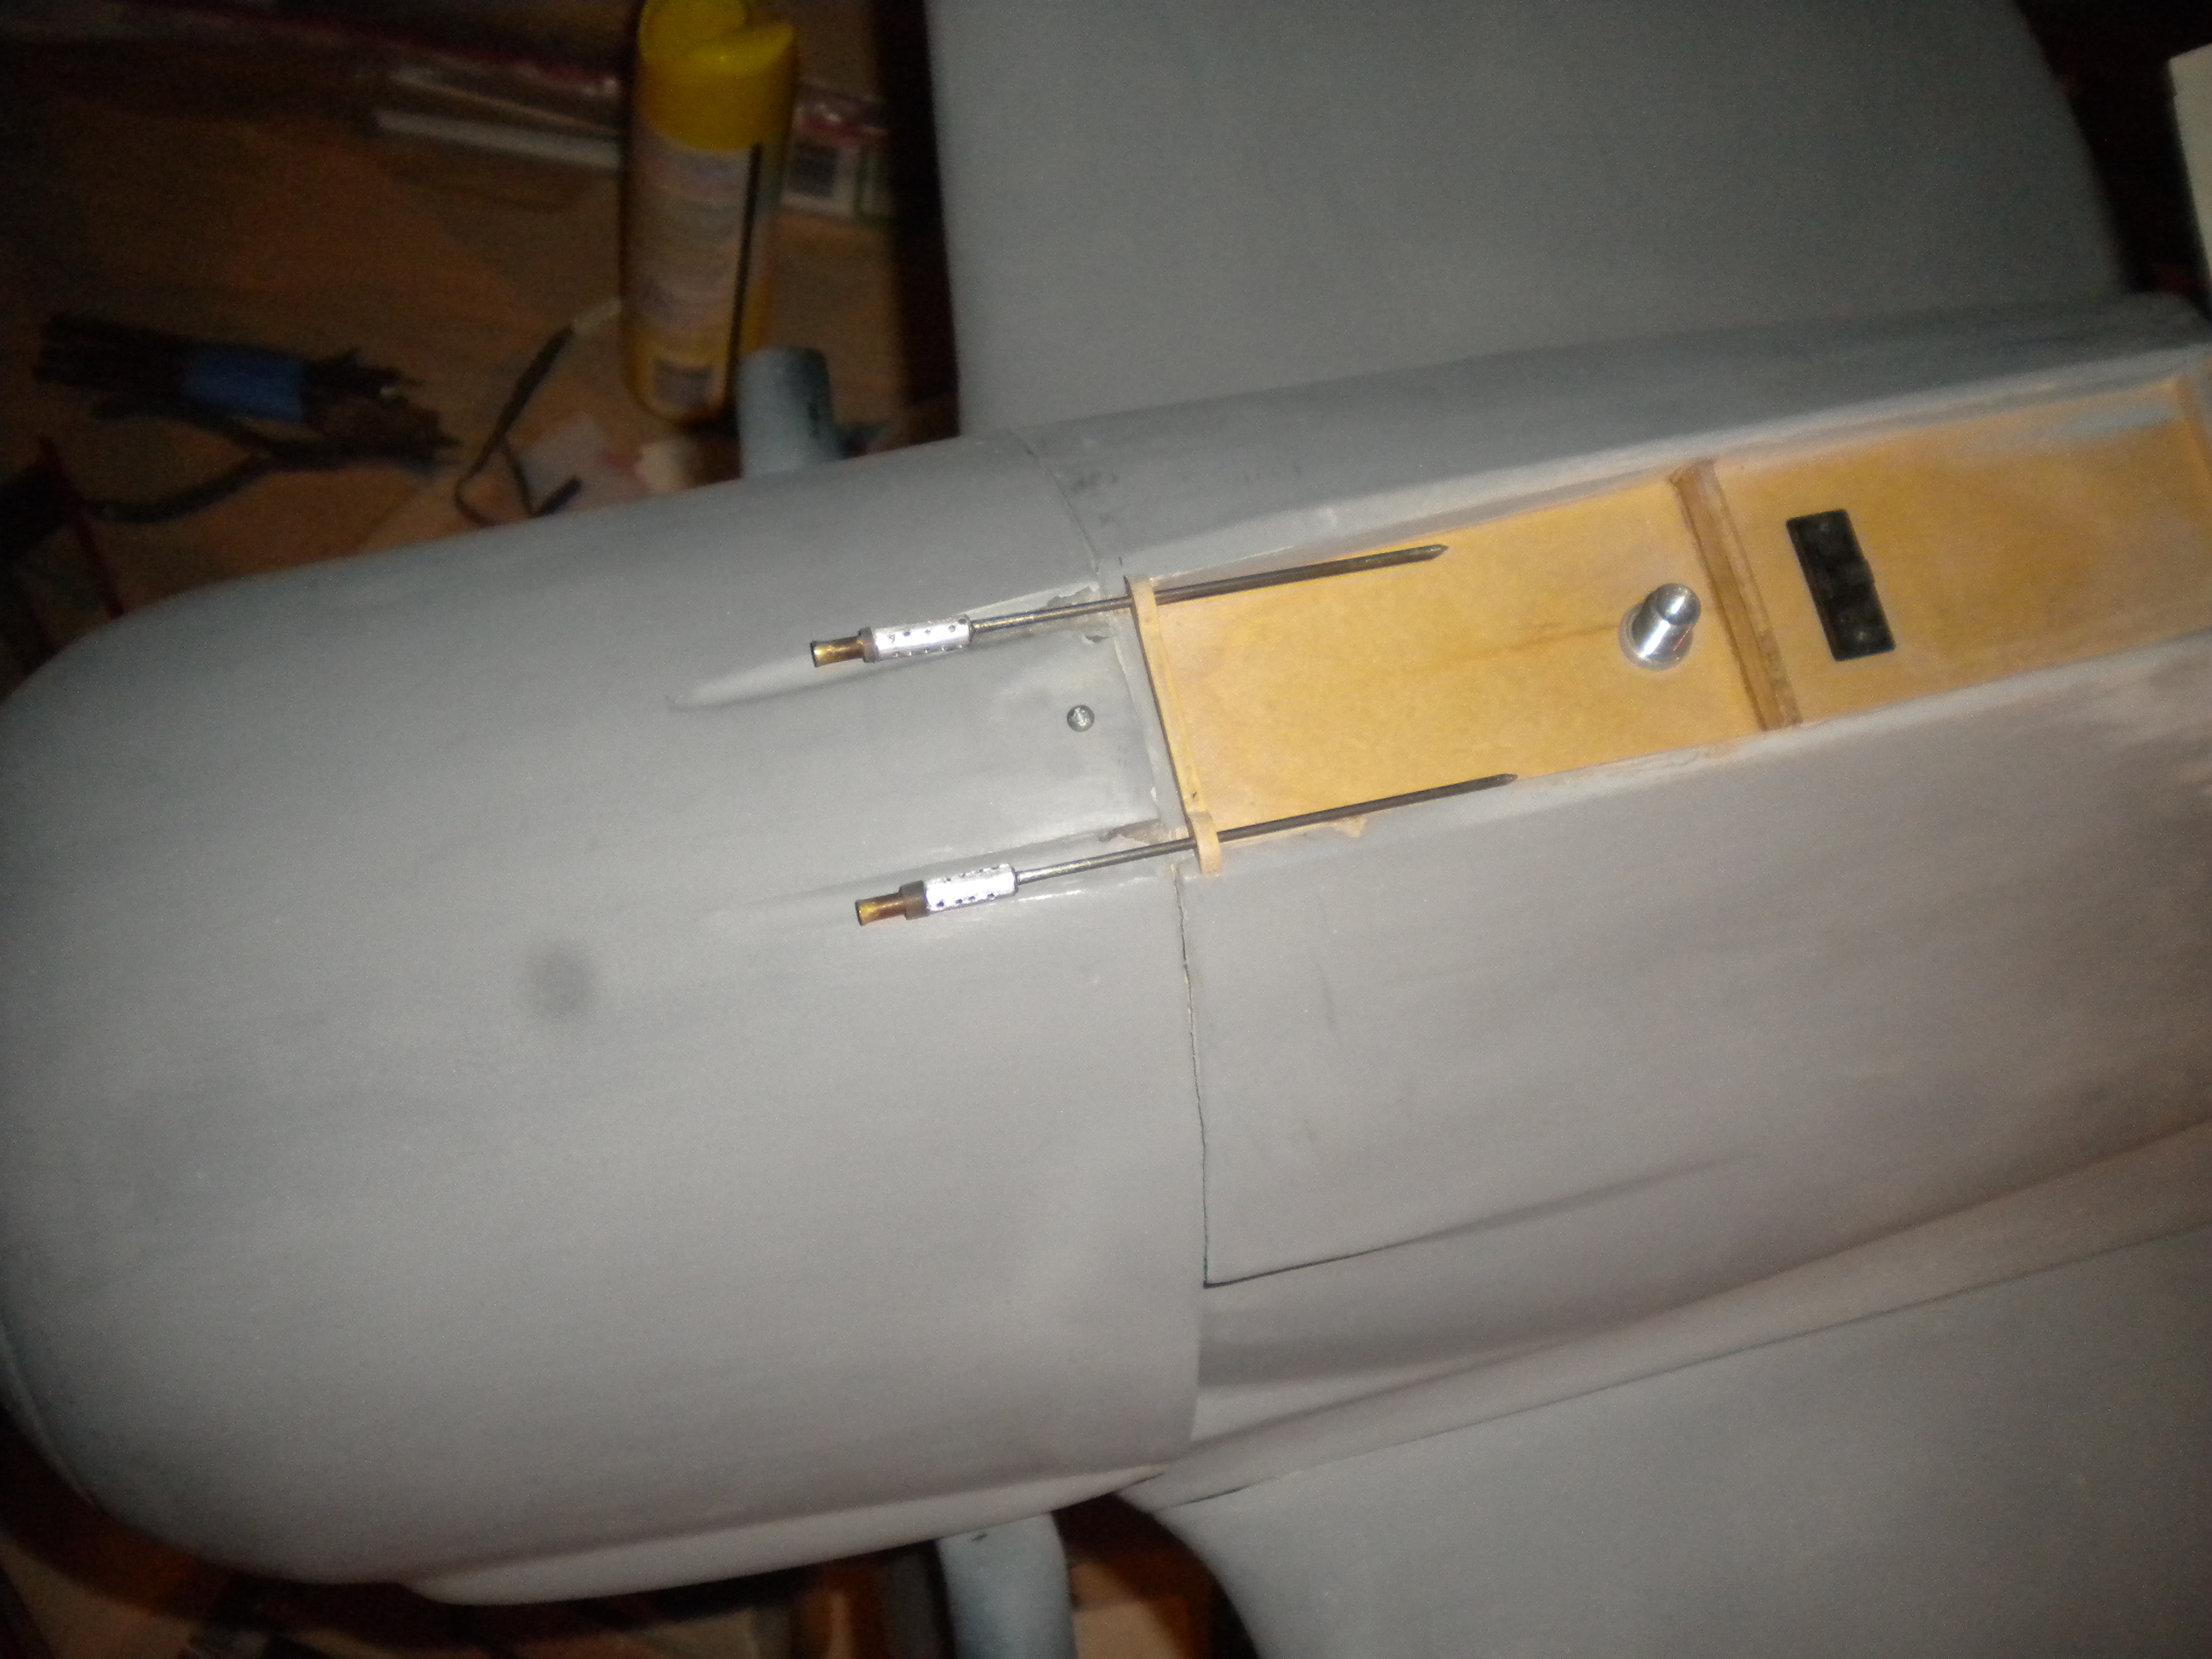
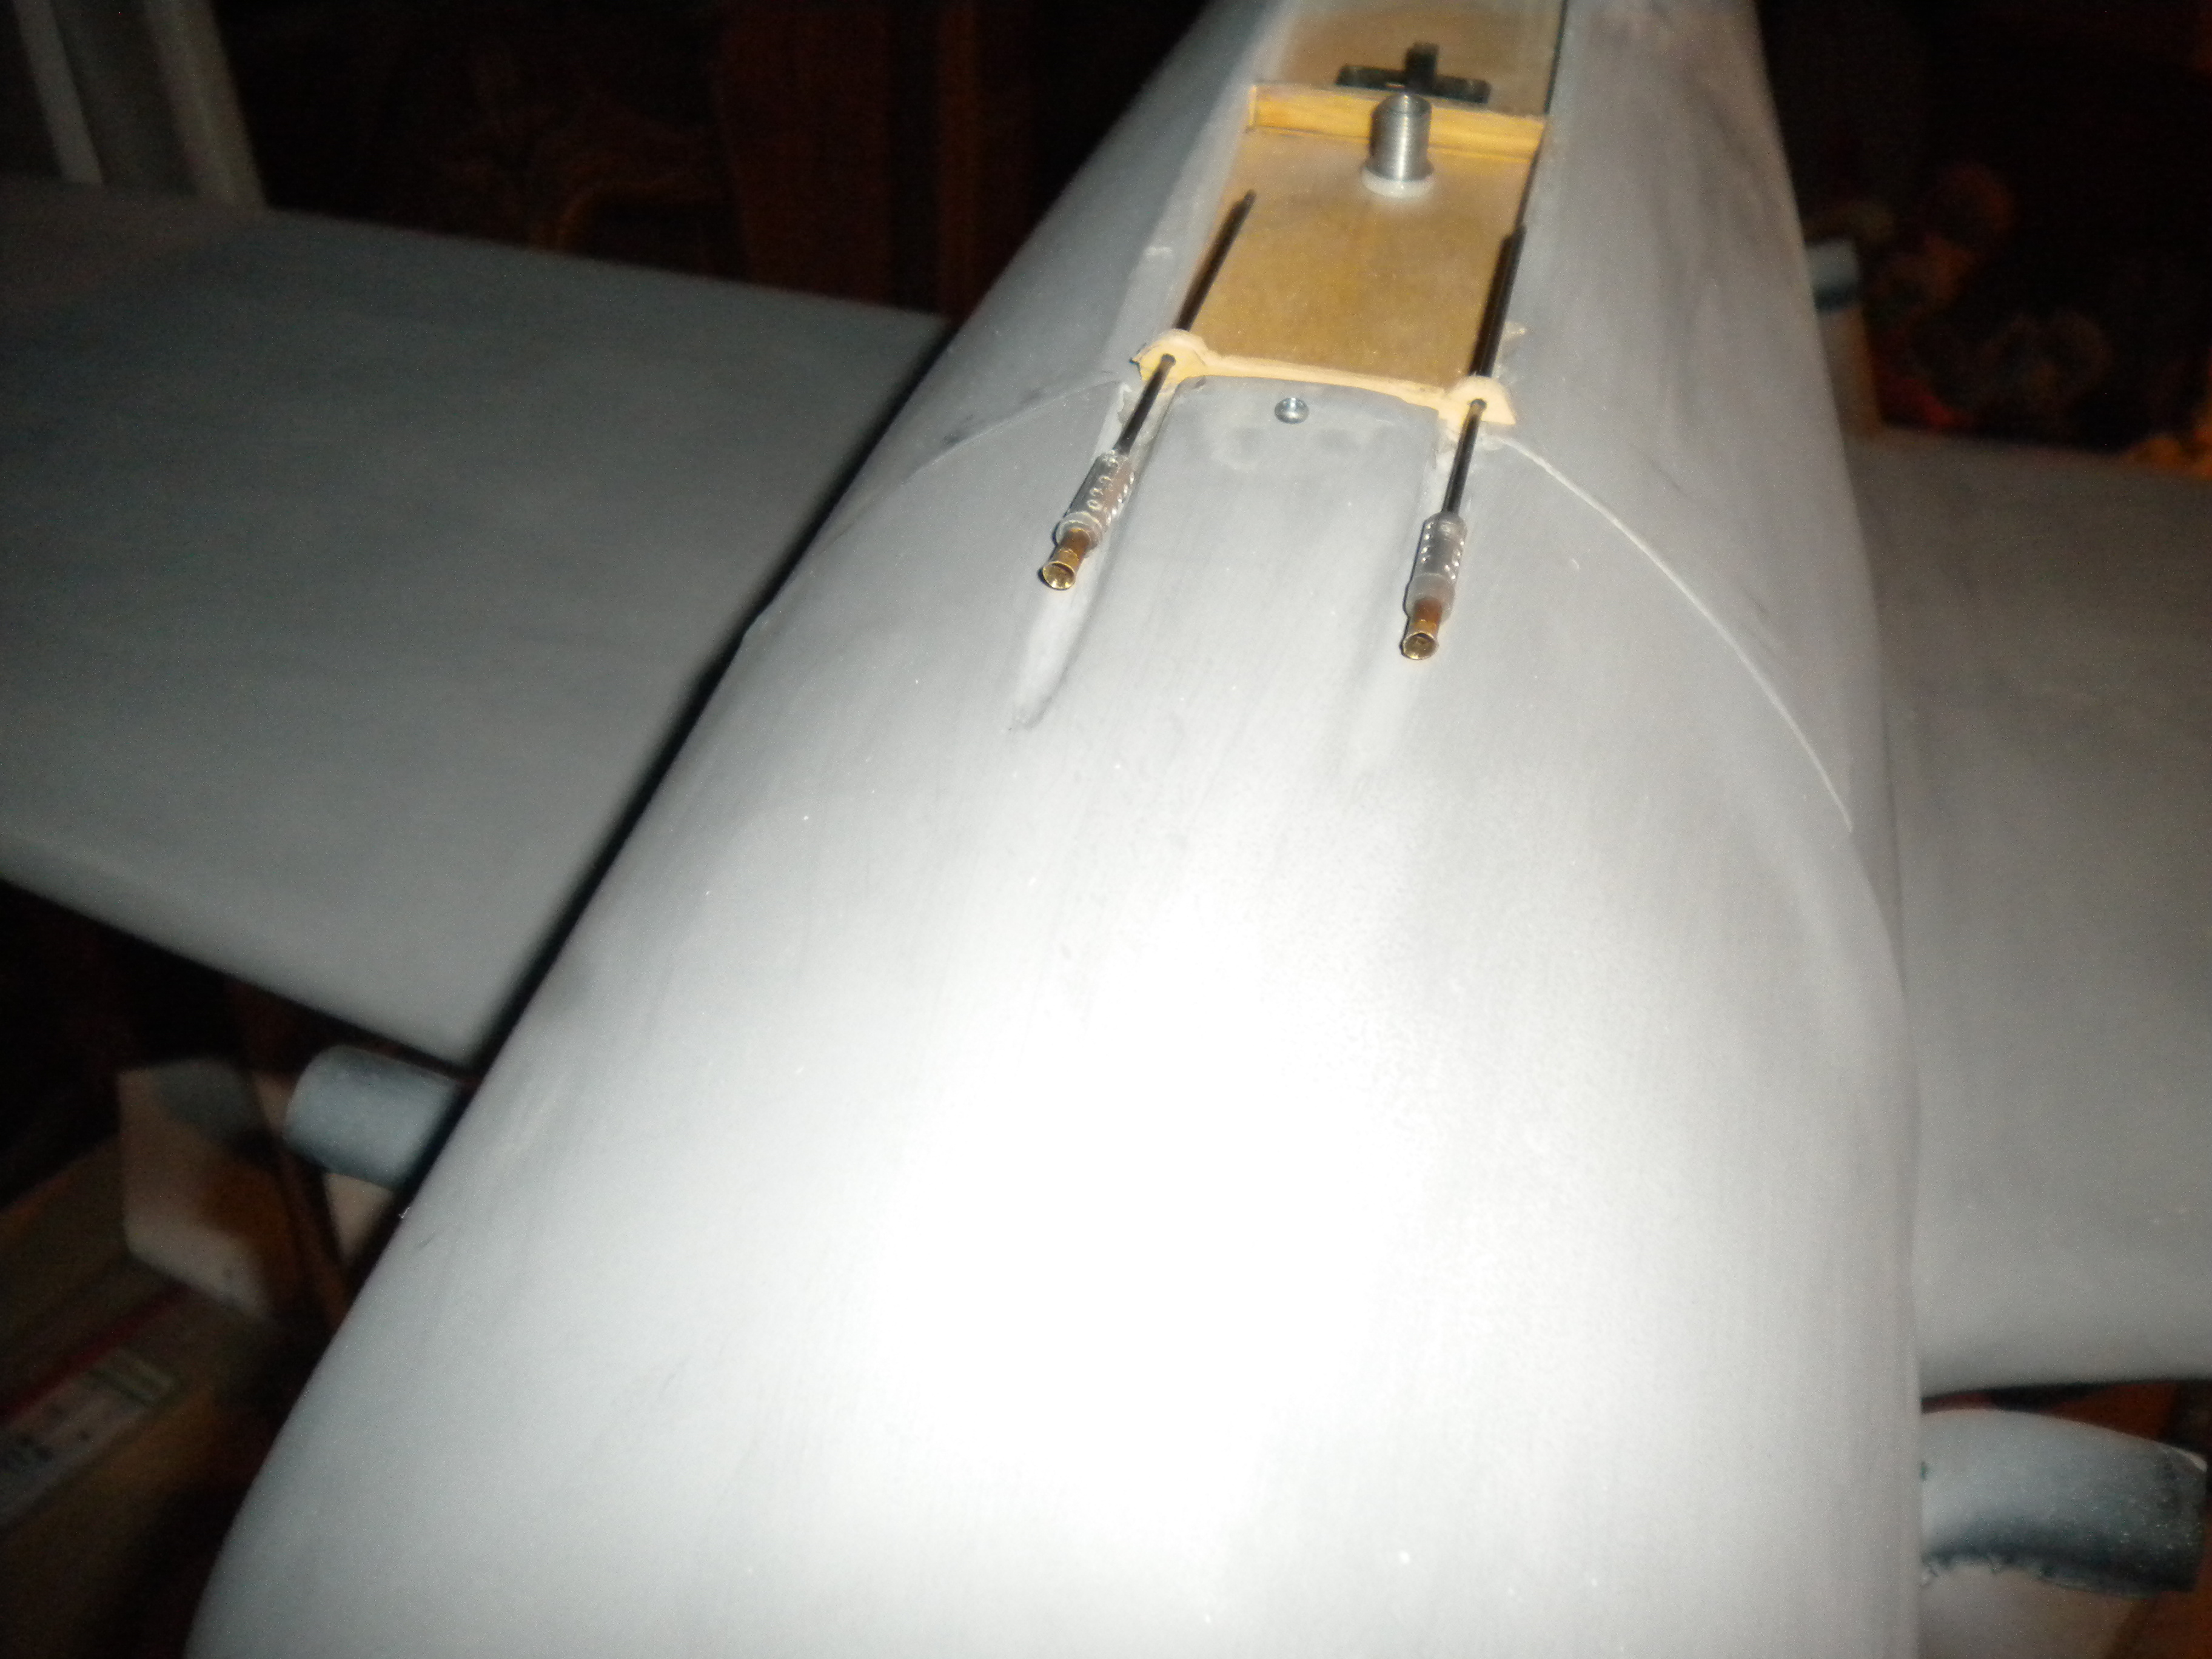
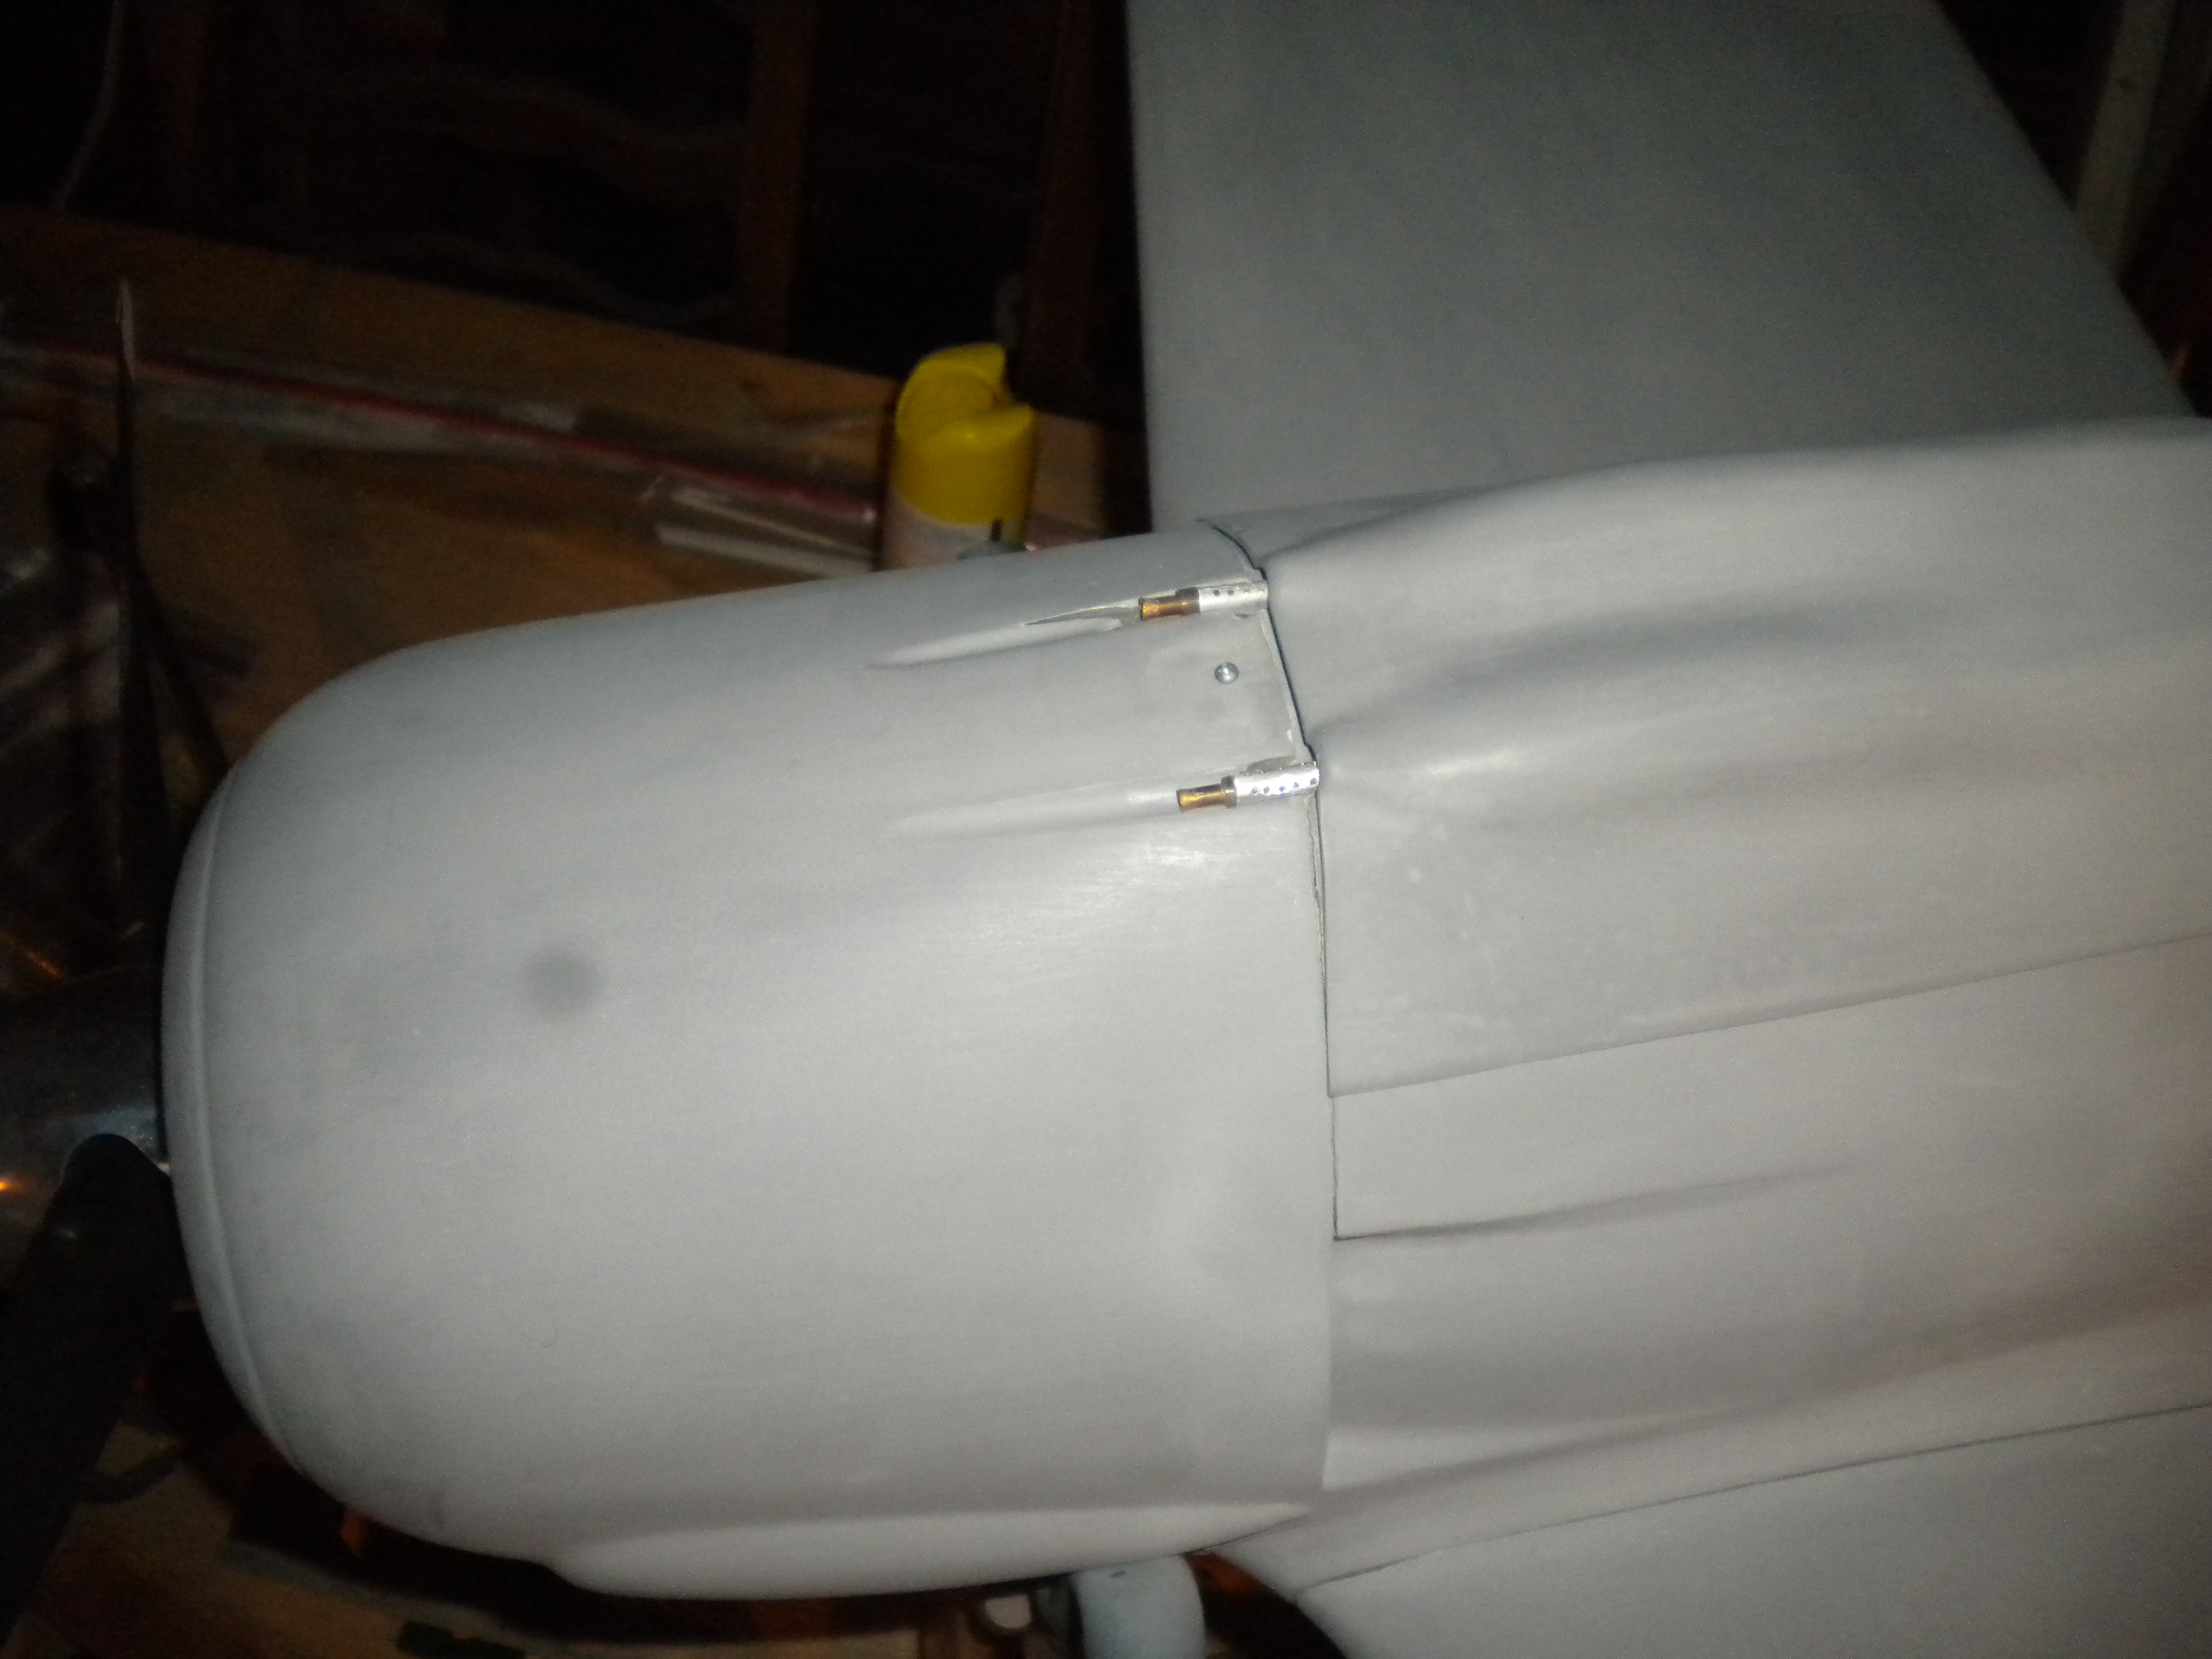
lastly I took some fuel tubing,and slid it over the brass barrel forward enough so the last piece was properly positioned, and with some Med CA glued the last tube in place, the tube was a little loose so the thicker glue worked well to take up the gap, the fuel tubing works as a friction lock so the rods have just a Little tension I did need to sand the cowl just a little bit but it was a minor adjustment.
overall I am happy with the results and my hatch has securing pins that are long enough so that there not likely to slide out.