Ask and you shall receive.....
Did some weighing today
tail 9 oz
wings 2 x 1lb 2 oz
body so far 1lb 5oz,
engine 42 oz = 2 lbs 10oz
radio 12 oz ( receiver + 6 servos )
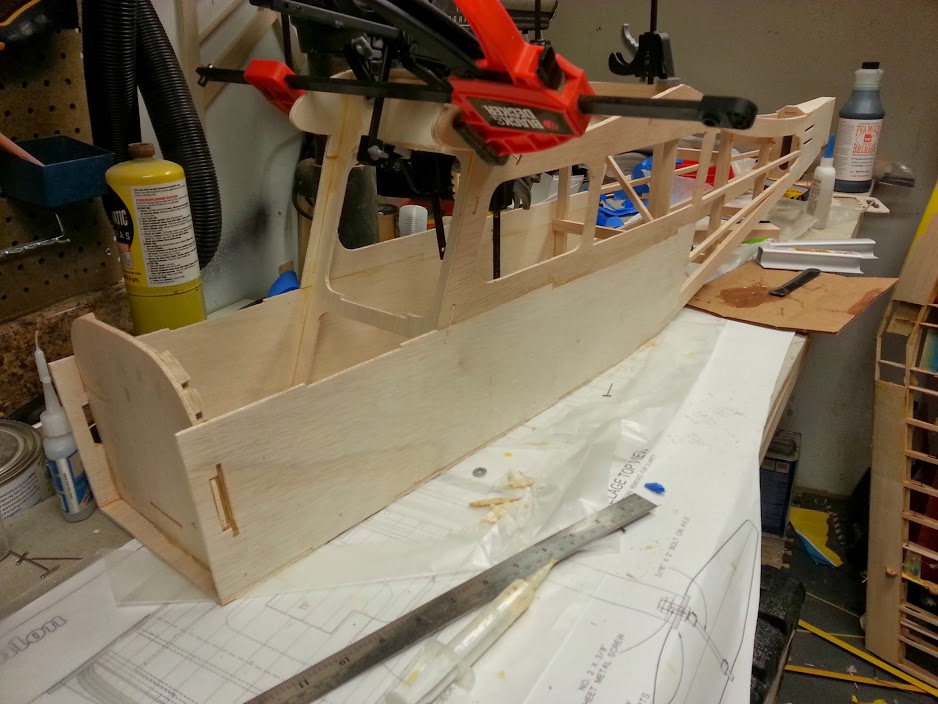
add it all up and I'm currently at 7lbs 8oz... I still need covering/paint,pilot,gas tank,wheels,canopy, smoke... and a couple hinges... I think the body will be close to 2lbs when finally done.... maybe a little bit more.. The main components are installed... its all the pretty stuff that is left.
@cap3der: At the end of the day I guess you have to decide what your expectations are... I don't really see the Decathlon being someone's favorite 3D ship as its original roots are as an aerobatic trainer and not an unlimited class aerobatic plane. ( I have nothing against 3d... I have a funtana as well for that... ) But maybe. You also have to think about cost though too... Your talking about a $700 dollar 50cc vs $350 for the 33cc engine. Since they recommend a 25cc lead weight from yesteryear ... you gotta think the new 30cc classes of engines would make this plane a bit ballistic on their own...
The other comment I'd make is this plane is smaller than its wingspan implies.... smaller than my fathers 1/4 scale clipped wing cub ( sig )... to give you an idea.
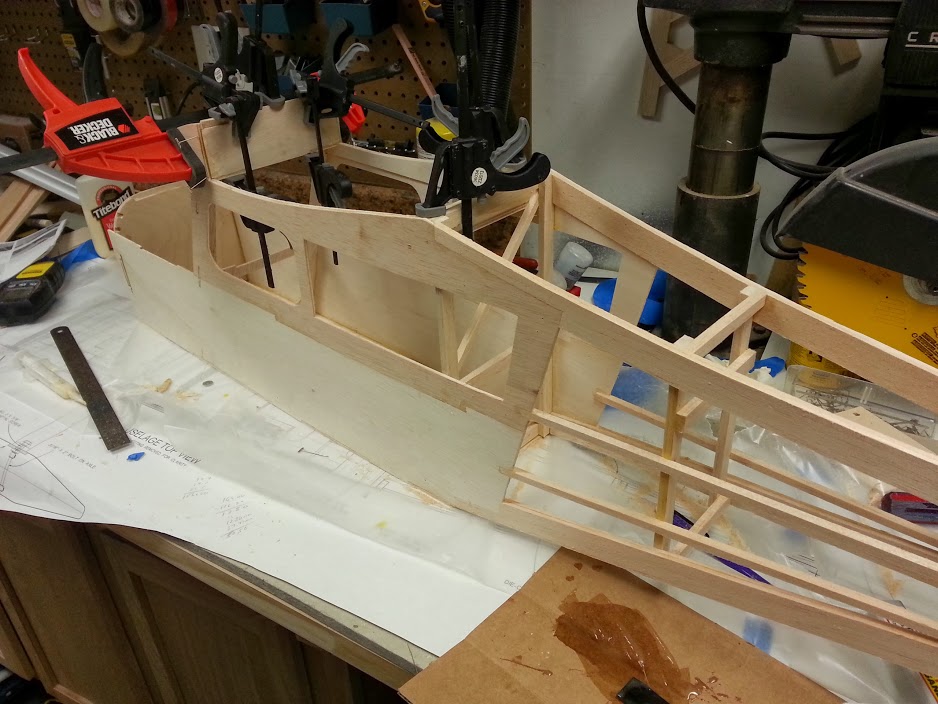
@kman.... the body is tricky to put together... if you follow the instructions they go something like this...
- frame everything up as a mock up, ensuring things are square.
- glue the sides to the 3 main formers.
- glue the bottom to the sides.
.... well... if you've mocked everything up, and glued the sides to the formers... its awful hard to get the glue on the bottom sheet thats pinned under everything...I have a feeling thats where the "glue went everywhere" step happened since people newer to building may not realize the complications involved here until they have the glue out...
I actually mocked everything up and then took some time to think about how to get things glued, I ended up
- gluing formers to left side at 90 degrees
- mock up body again, glue left side + formers to bottom plate, with right side present and mocked up to ensure straightness
- once dry, remove right side, glue up and repositioned.
Things turned out great... took a bit longer but we are straight and everything is nice and perpendicular.
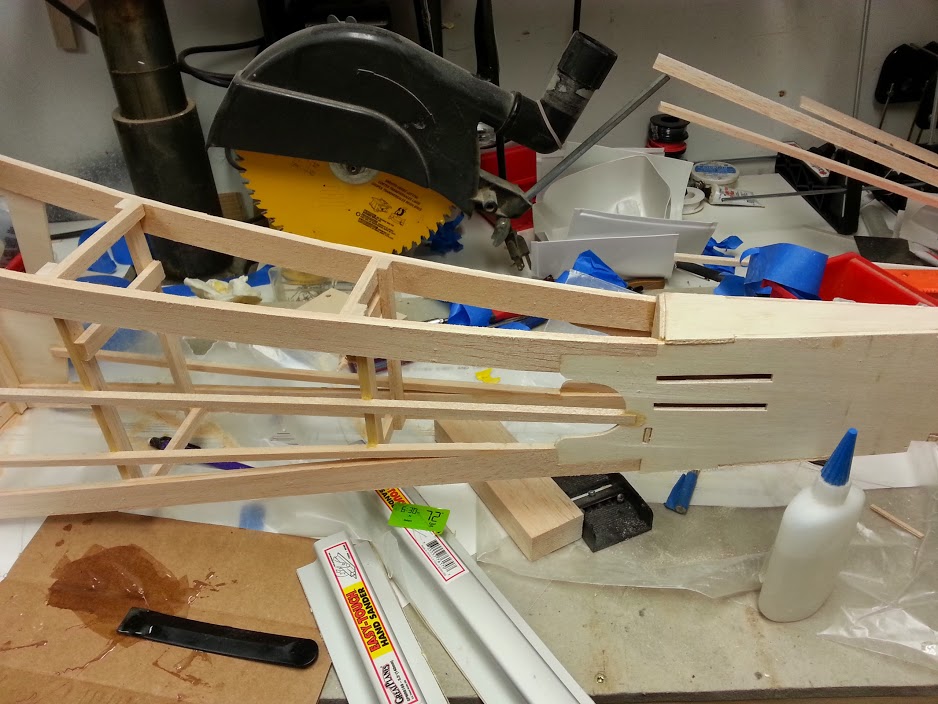
The tail of the body was similar... it took a bit of effort to keep everything square and get things glued up. Lets face it.. light ply warps and you have to figure out how to unwarp it and clamp it while it dries.
I think I got a bit lucky here but overall I'm happy with the results.