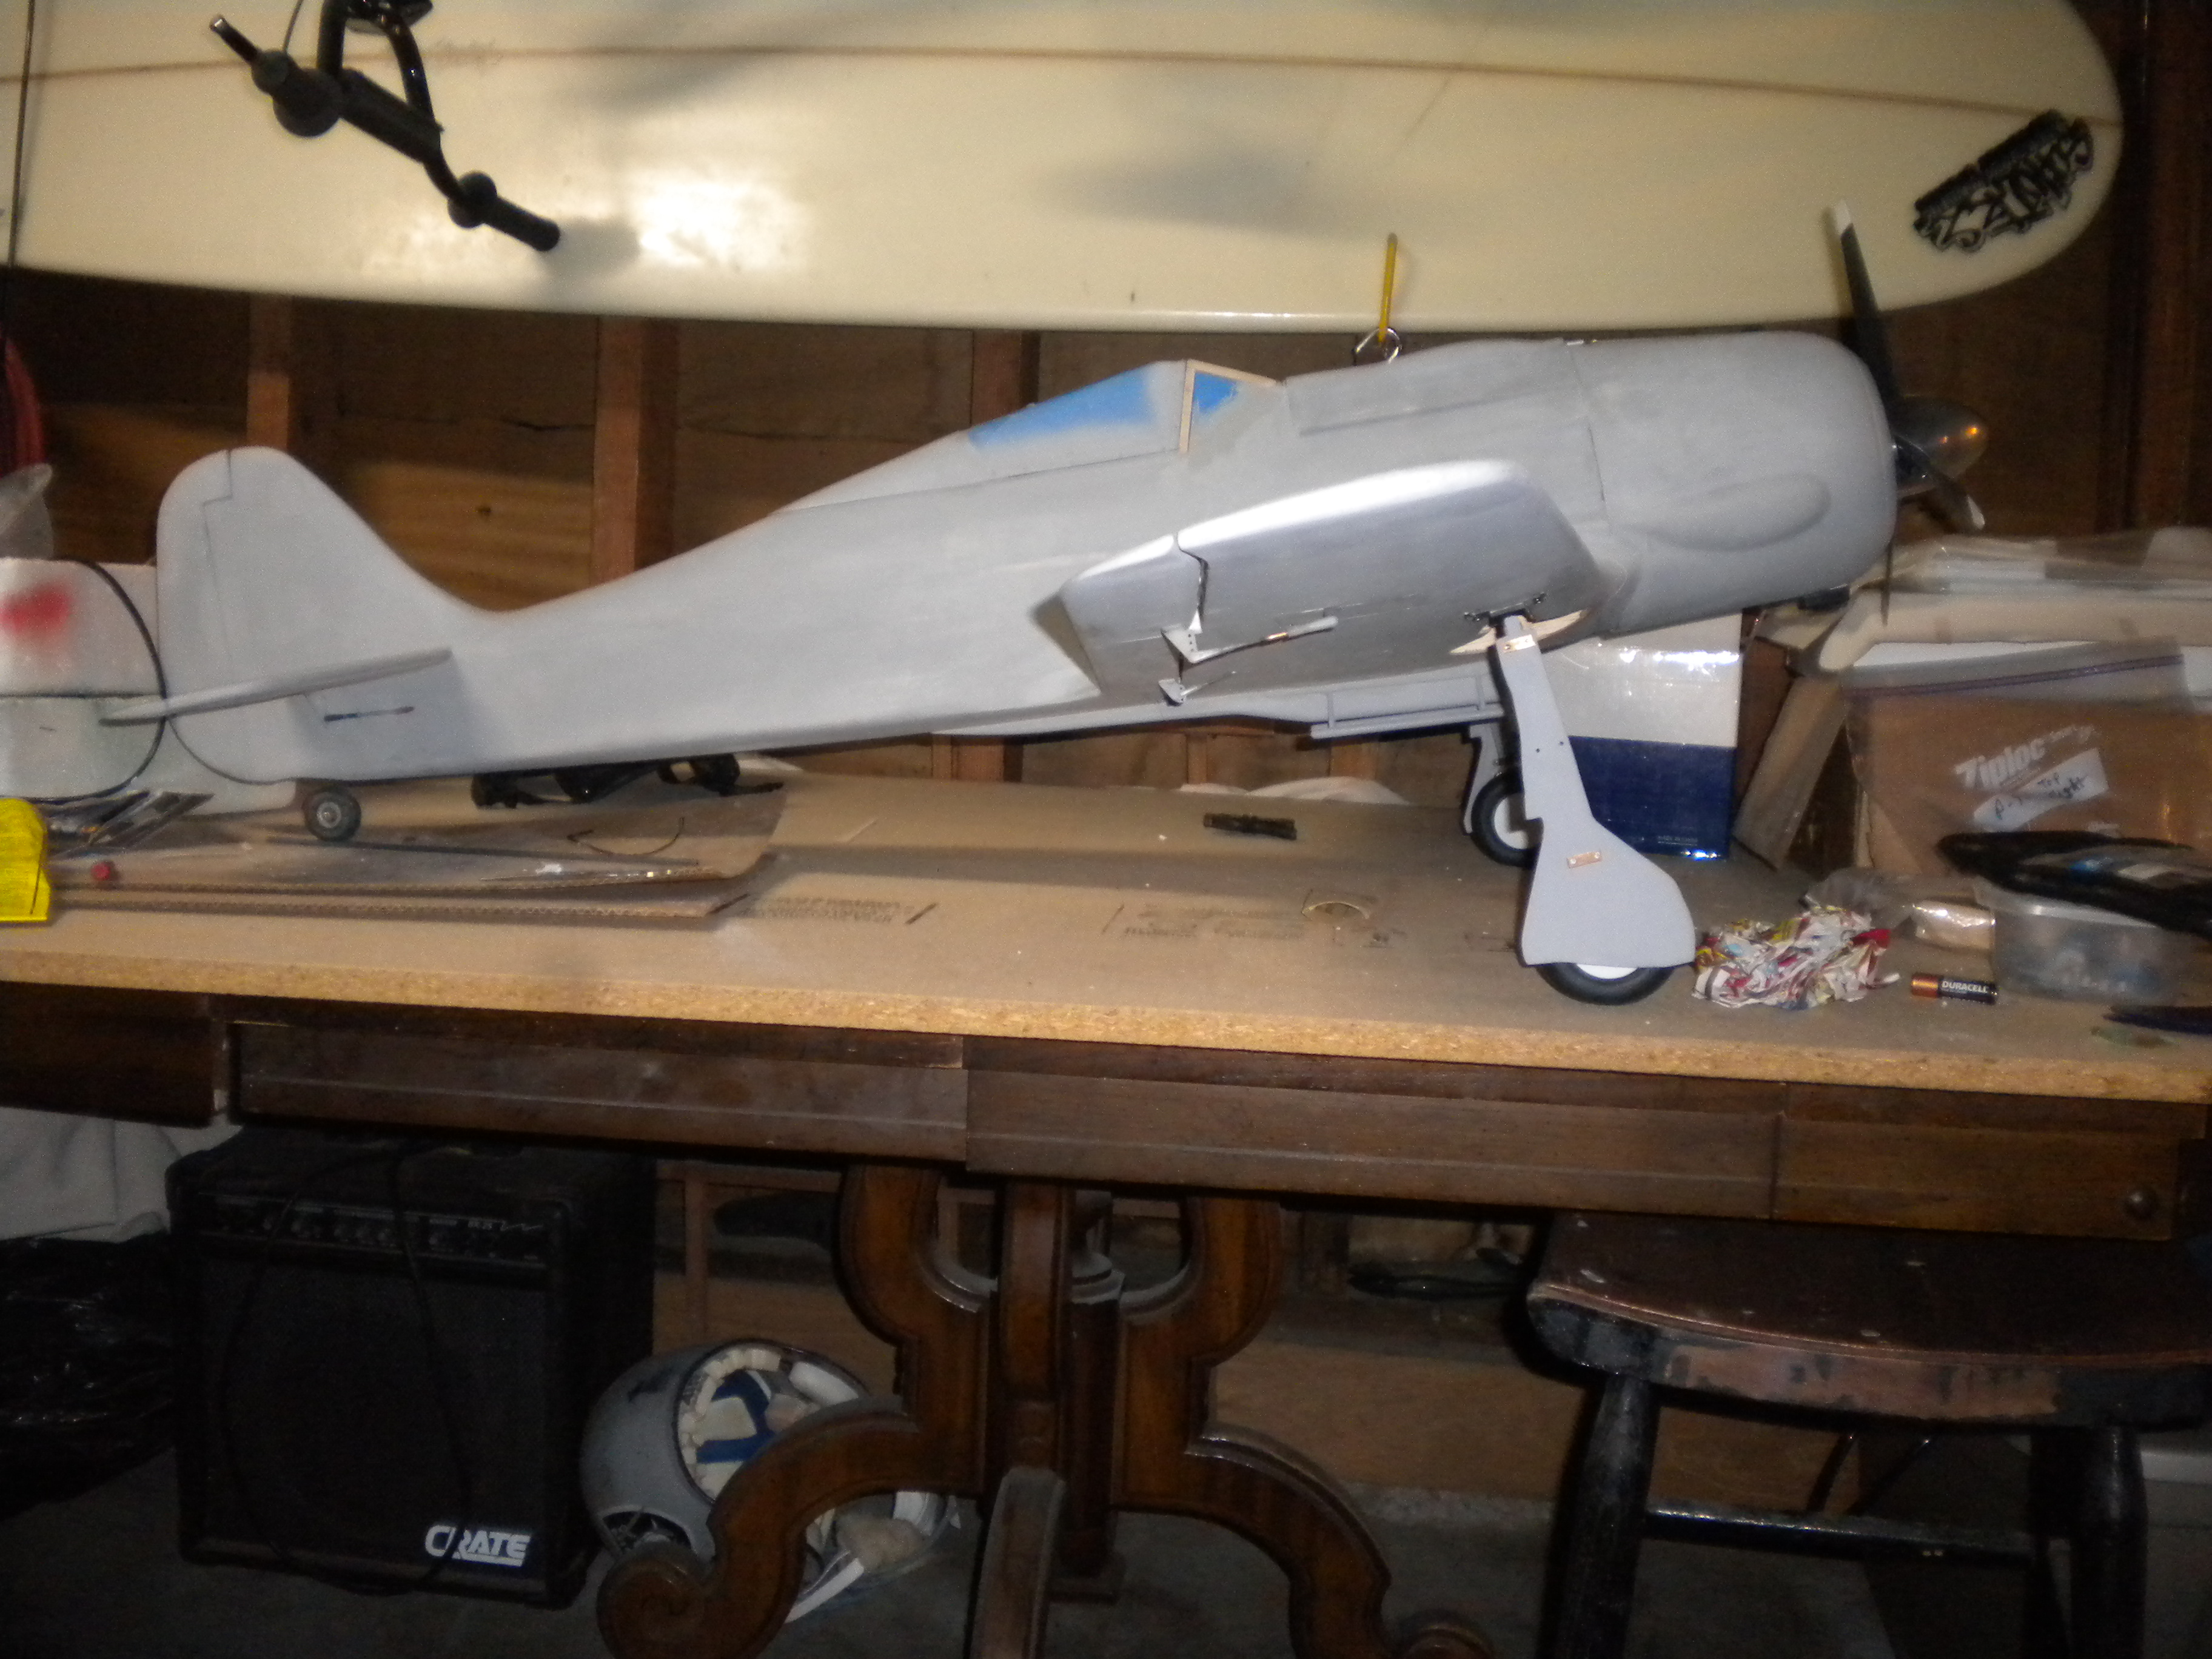
I never thought gear doors were such a pain in the rear I guess when they curve like the wing there more touchy, I did sand the inside details of the doors down a bit so they had a softer looking detail I then glassed the interior of the doors with .56oz cloth so they would have a extra stiffness to them, there surprisingly light weight which made me happy and the details look fairly scale as I tried to copy the actual door interiors from my walk around book.
I then primed the doors with auto spray primer my go to prime material.
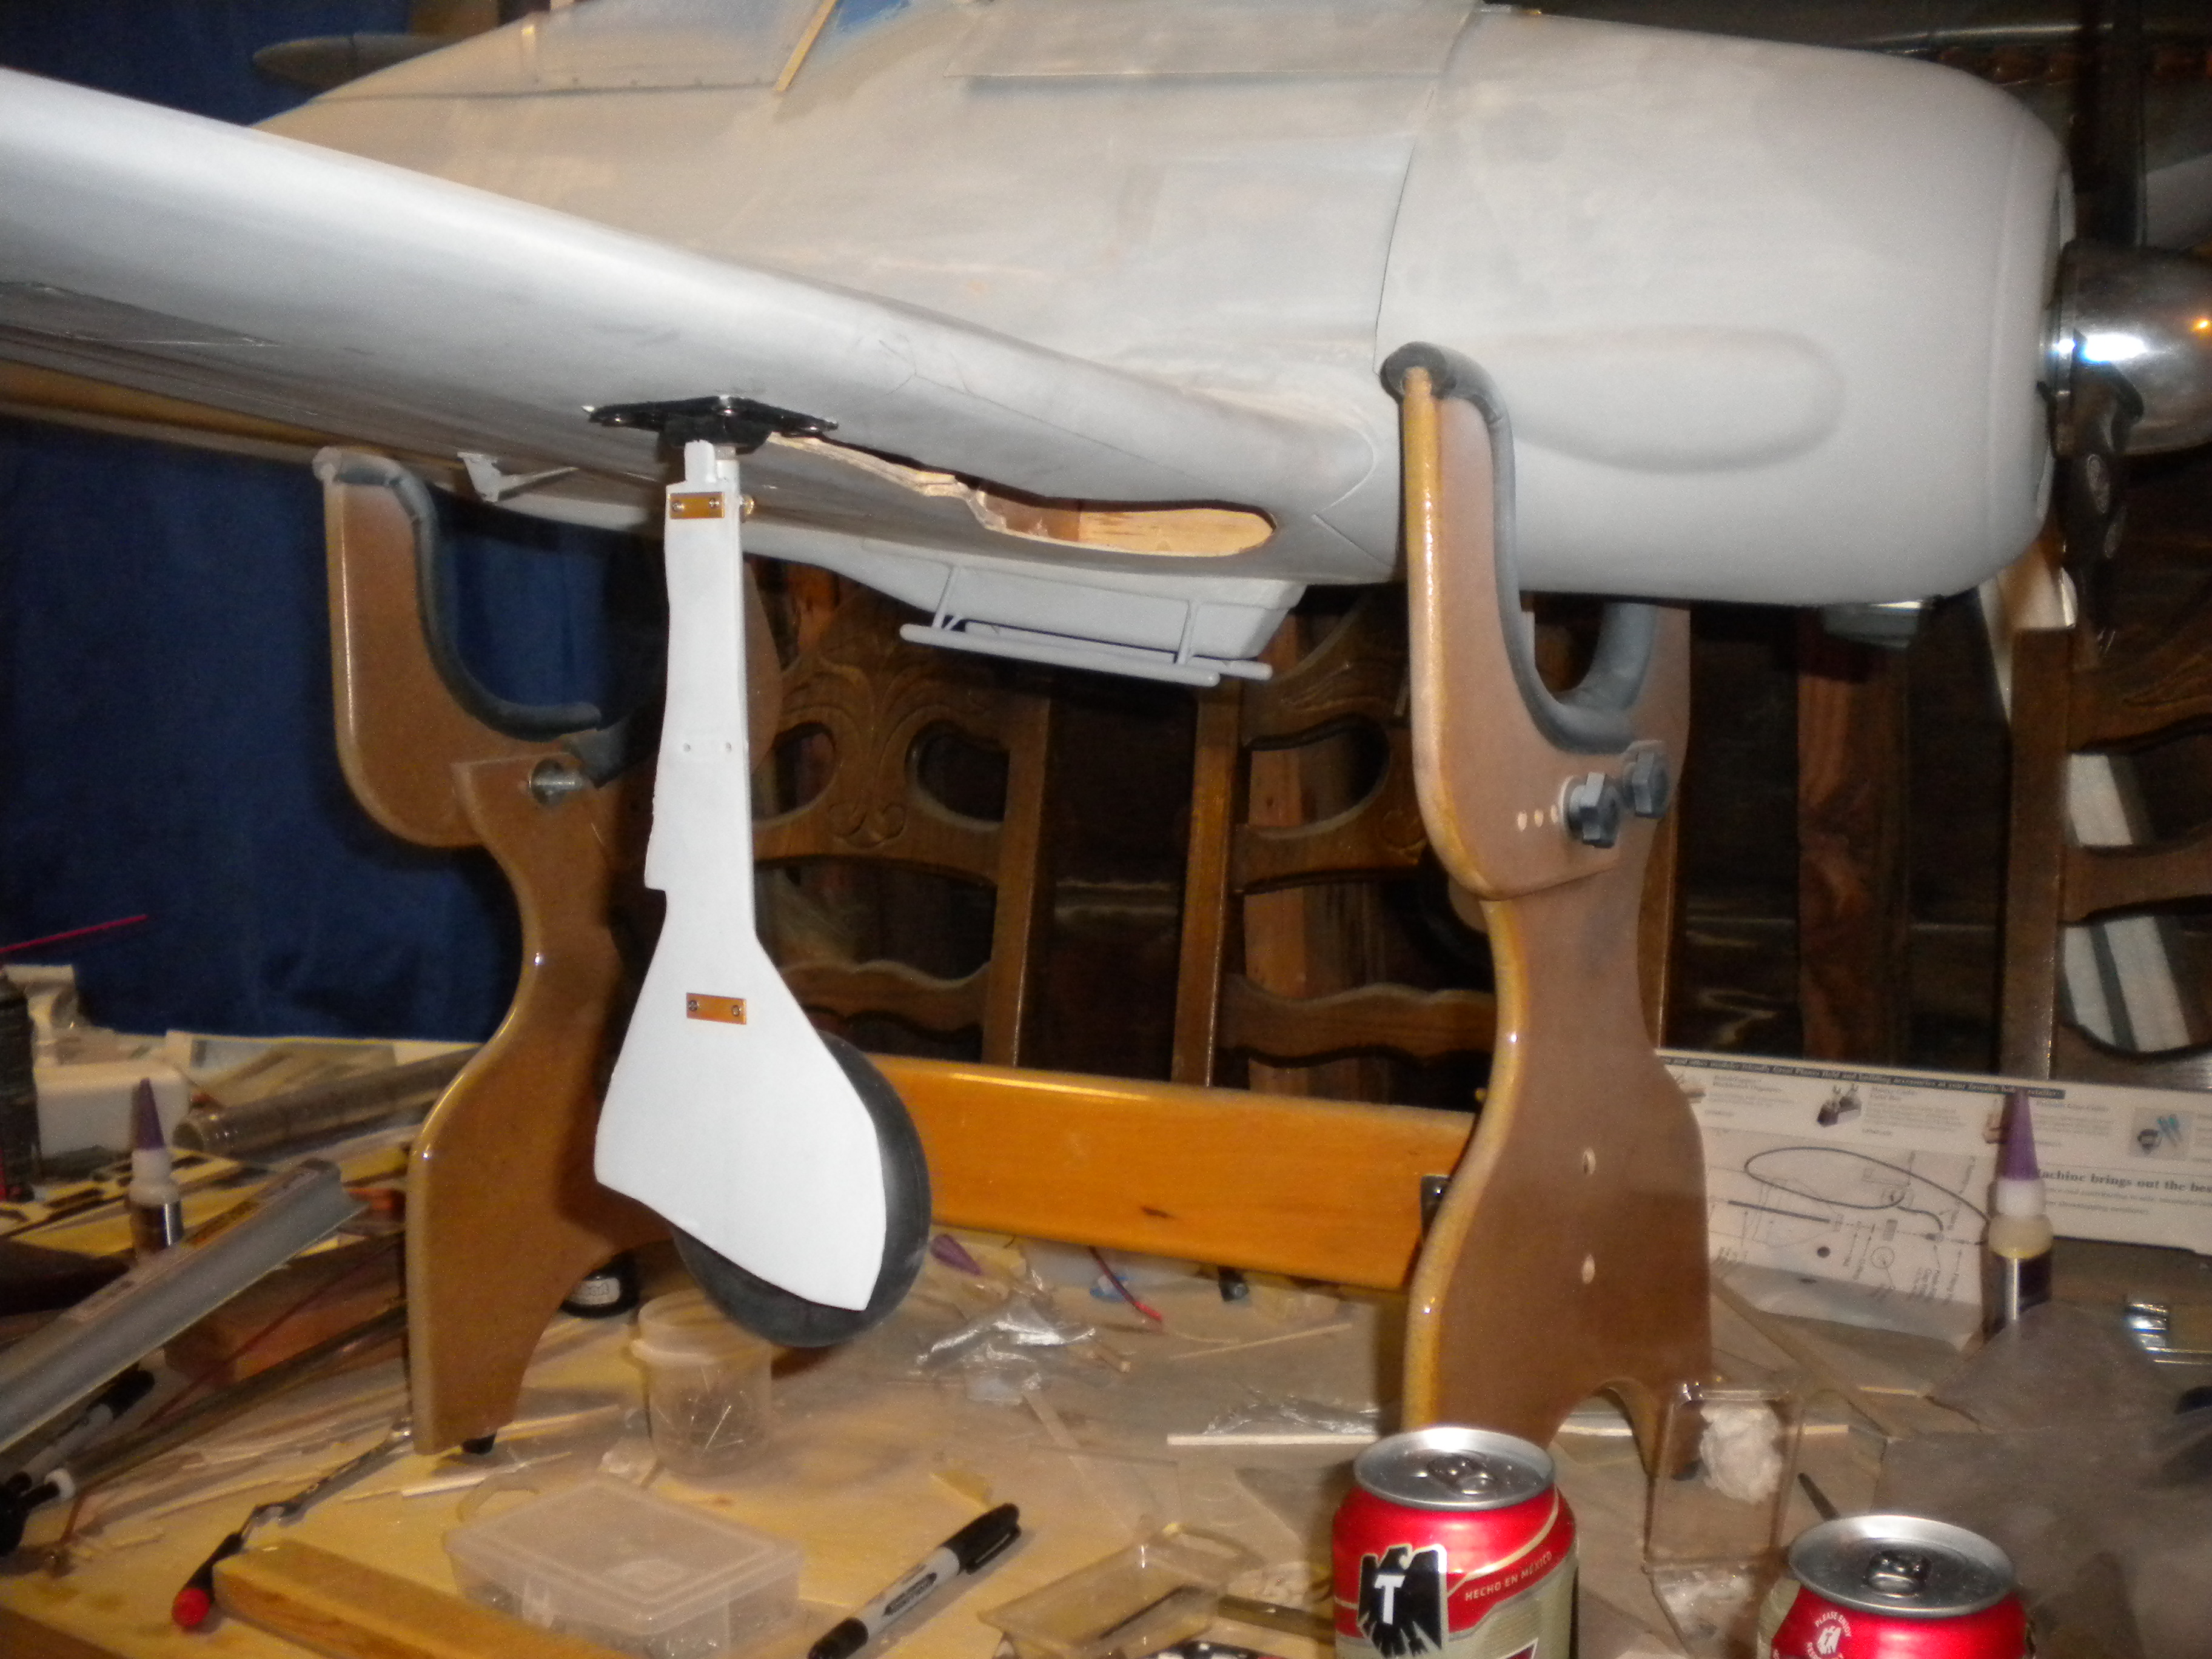
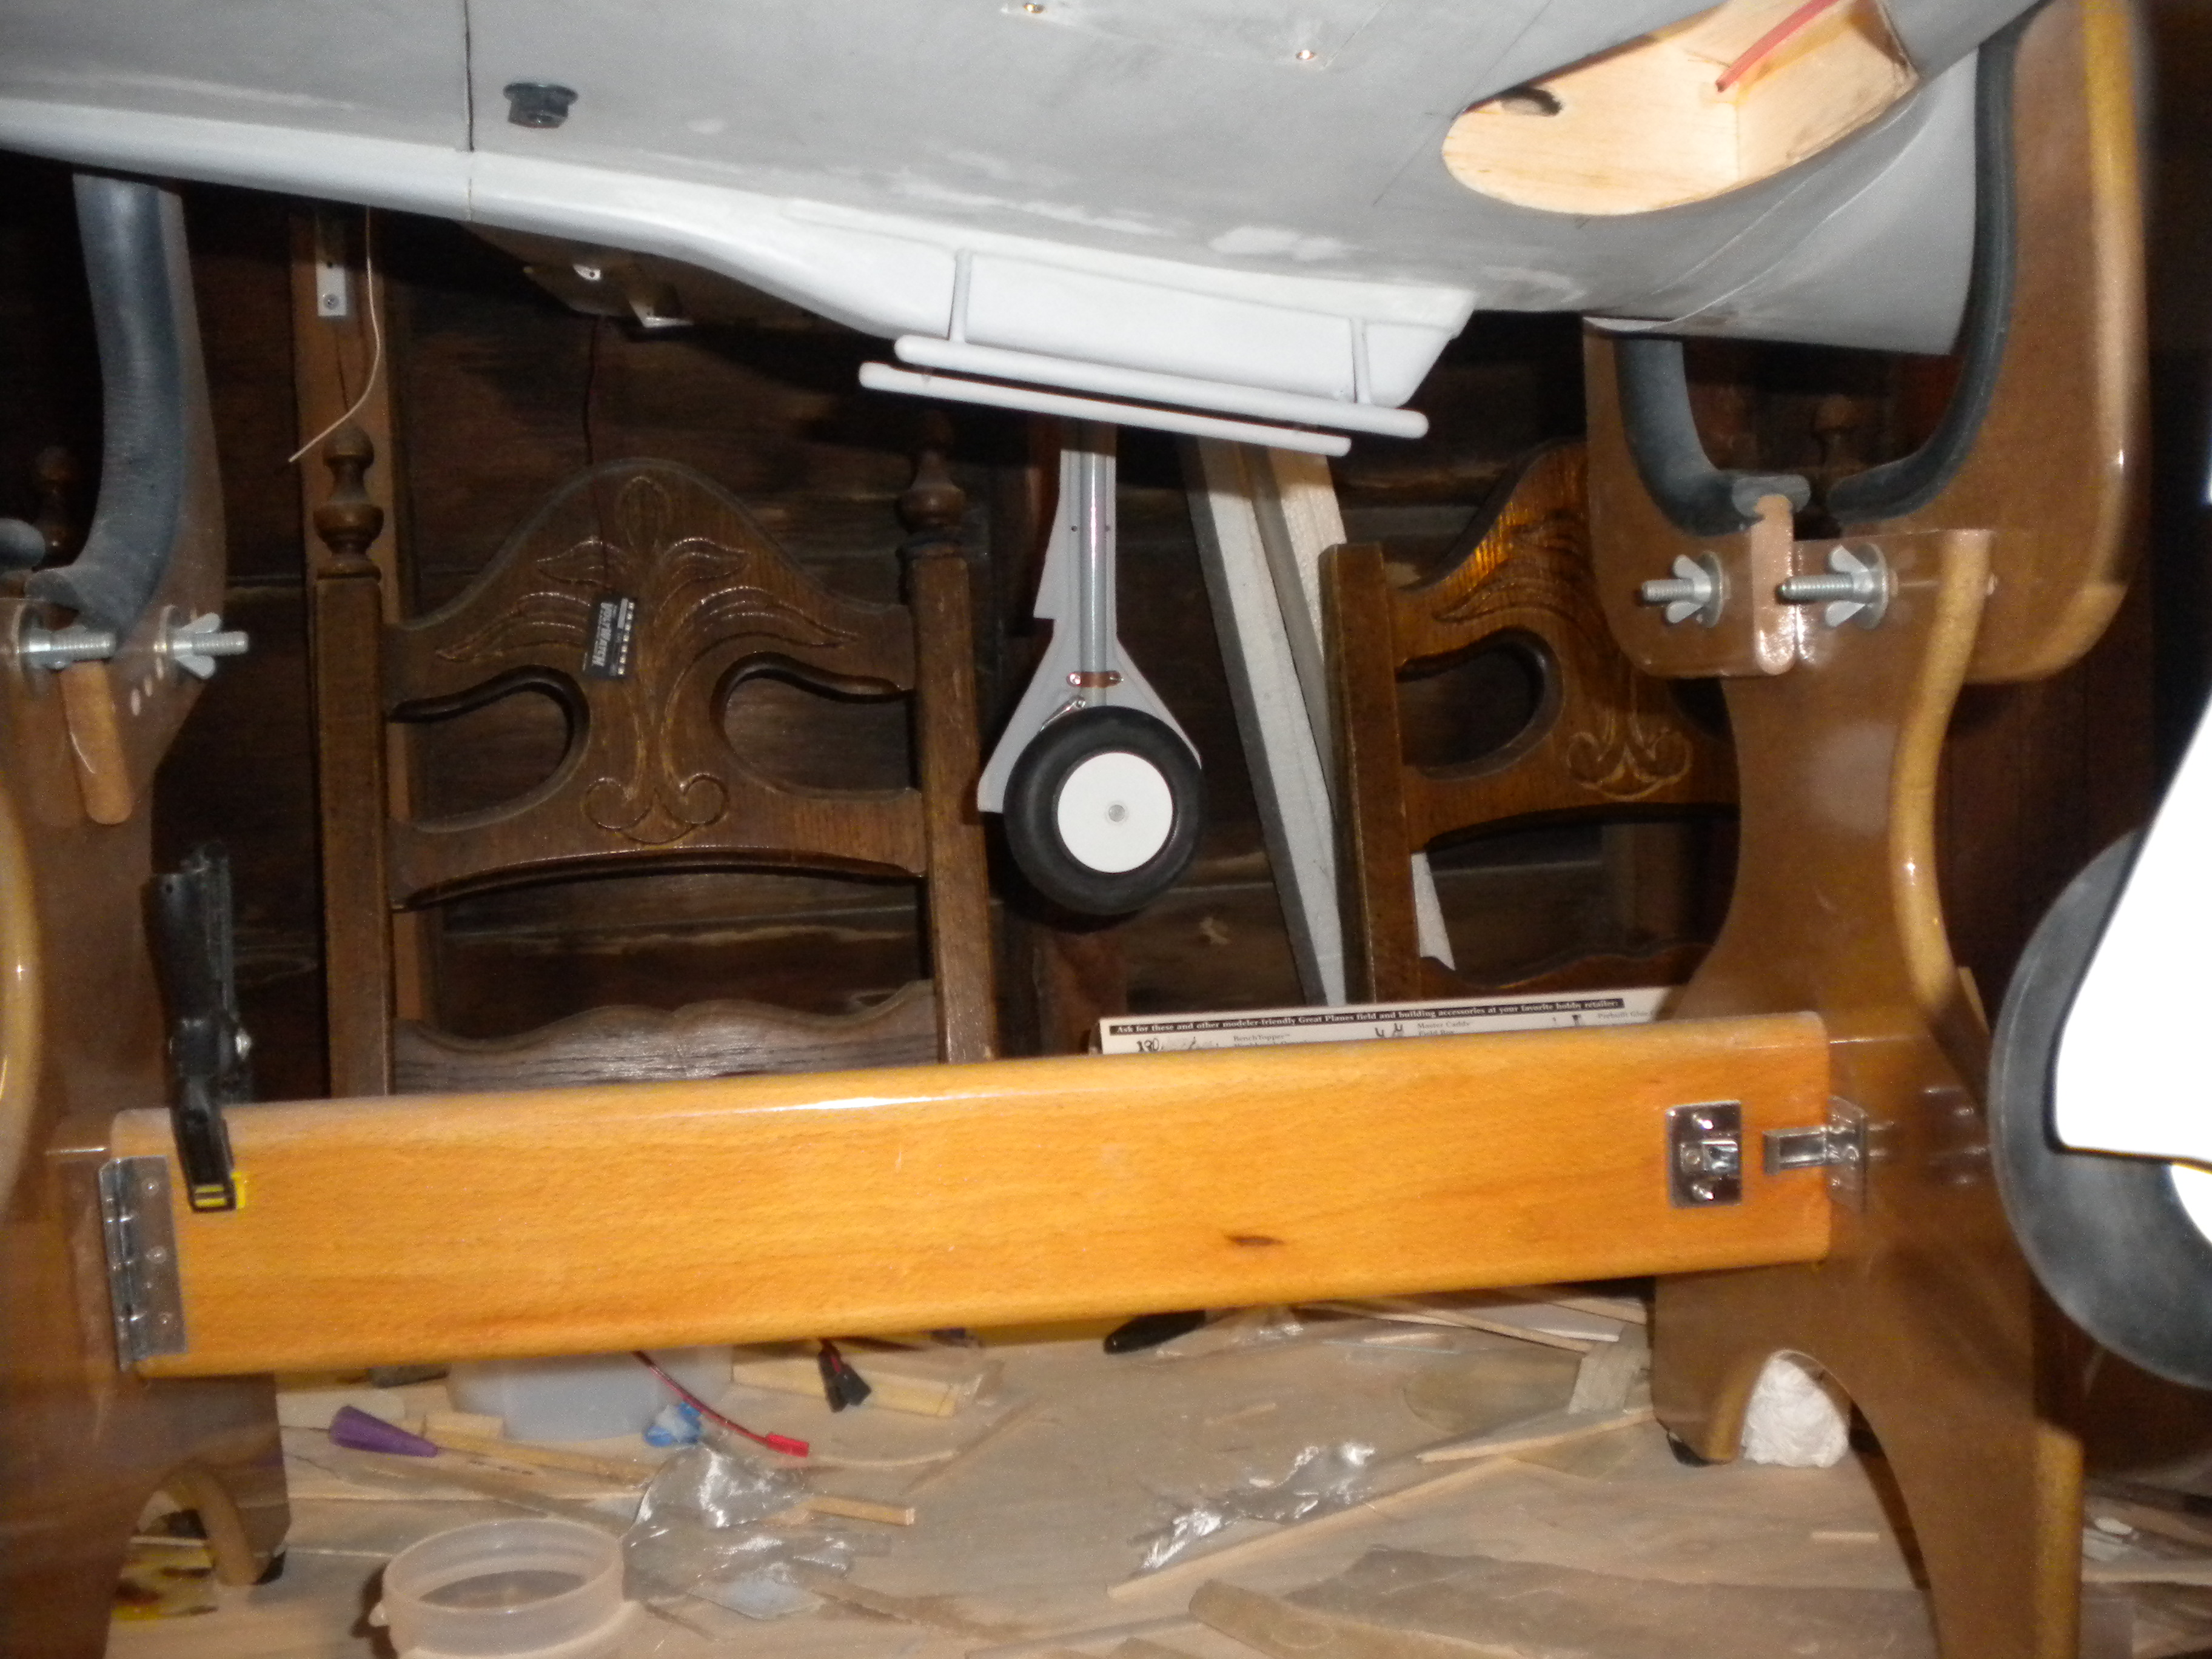
I was also having gear issues they were really stiff and were sticking sometimes this was the bedding I was referring to.
what I did was shim the outboard side of the gear body just slightly with some thin plywood pieces very small but enough to raise the body to allow the struts to toe in just a tiny bit there wasn't much room in the wheel bay so I took what I could while still allowing the wheel to not hit the upper wing skin.
I then put blue tape around the retract body and taped off the edge of the recess in the wing, I then mixed some 5 min epoxy up with micro balloon filler and carefully buttered up the retract rails with enough so it would squeeze out on the wing side, but not so much that I couldn't get the gear out when the epoxy had hardened, I then screwed the gear in place carefully, not to over tighten but to seat the gear fully without any twist in the plastic body or flanges the excess squeezed out over the taped area.
once it had stiffened up I worked the gear out and allowed it to fully harden, there was a couple of small gaps that I filled with small amounts of epoxy but they were minor,the excess came off the wing with the tape with little to no effort.
I then disassembled the piston of each gear and added a couple of drops of air tool oil to each cylinder after screwing them back together the gear operated smoothly when I pumped them up and went through a few cycles.
3 more minor tasks
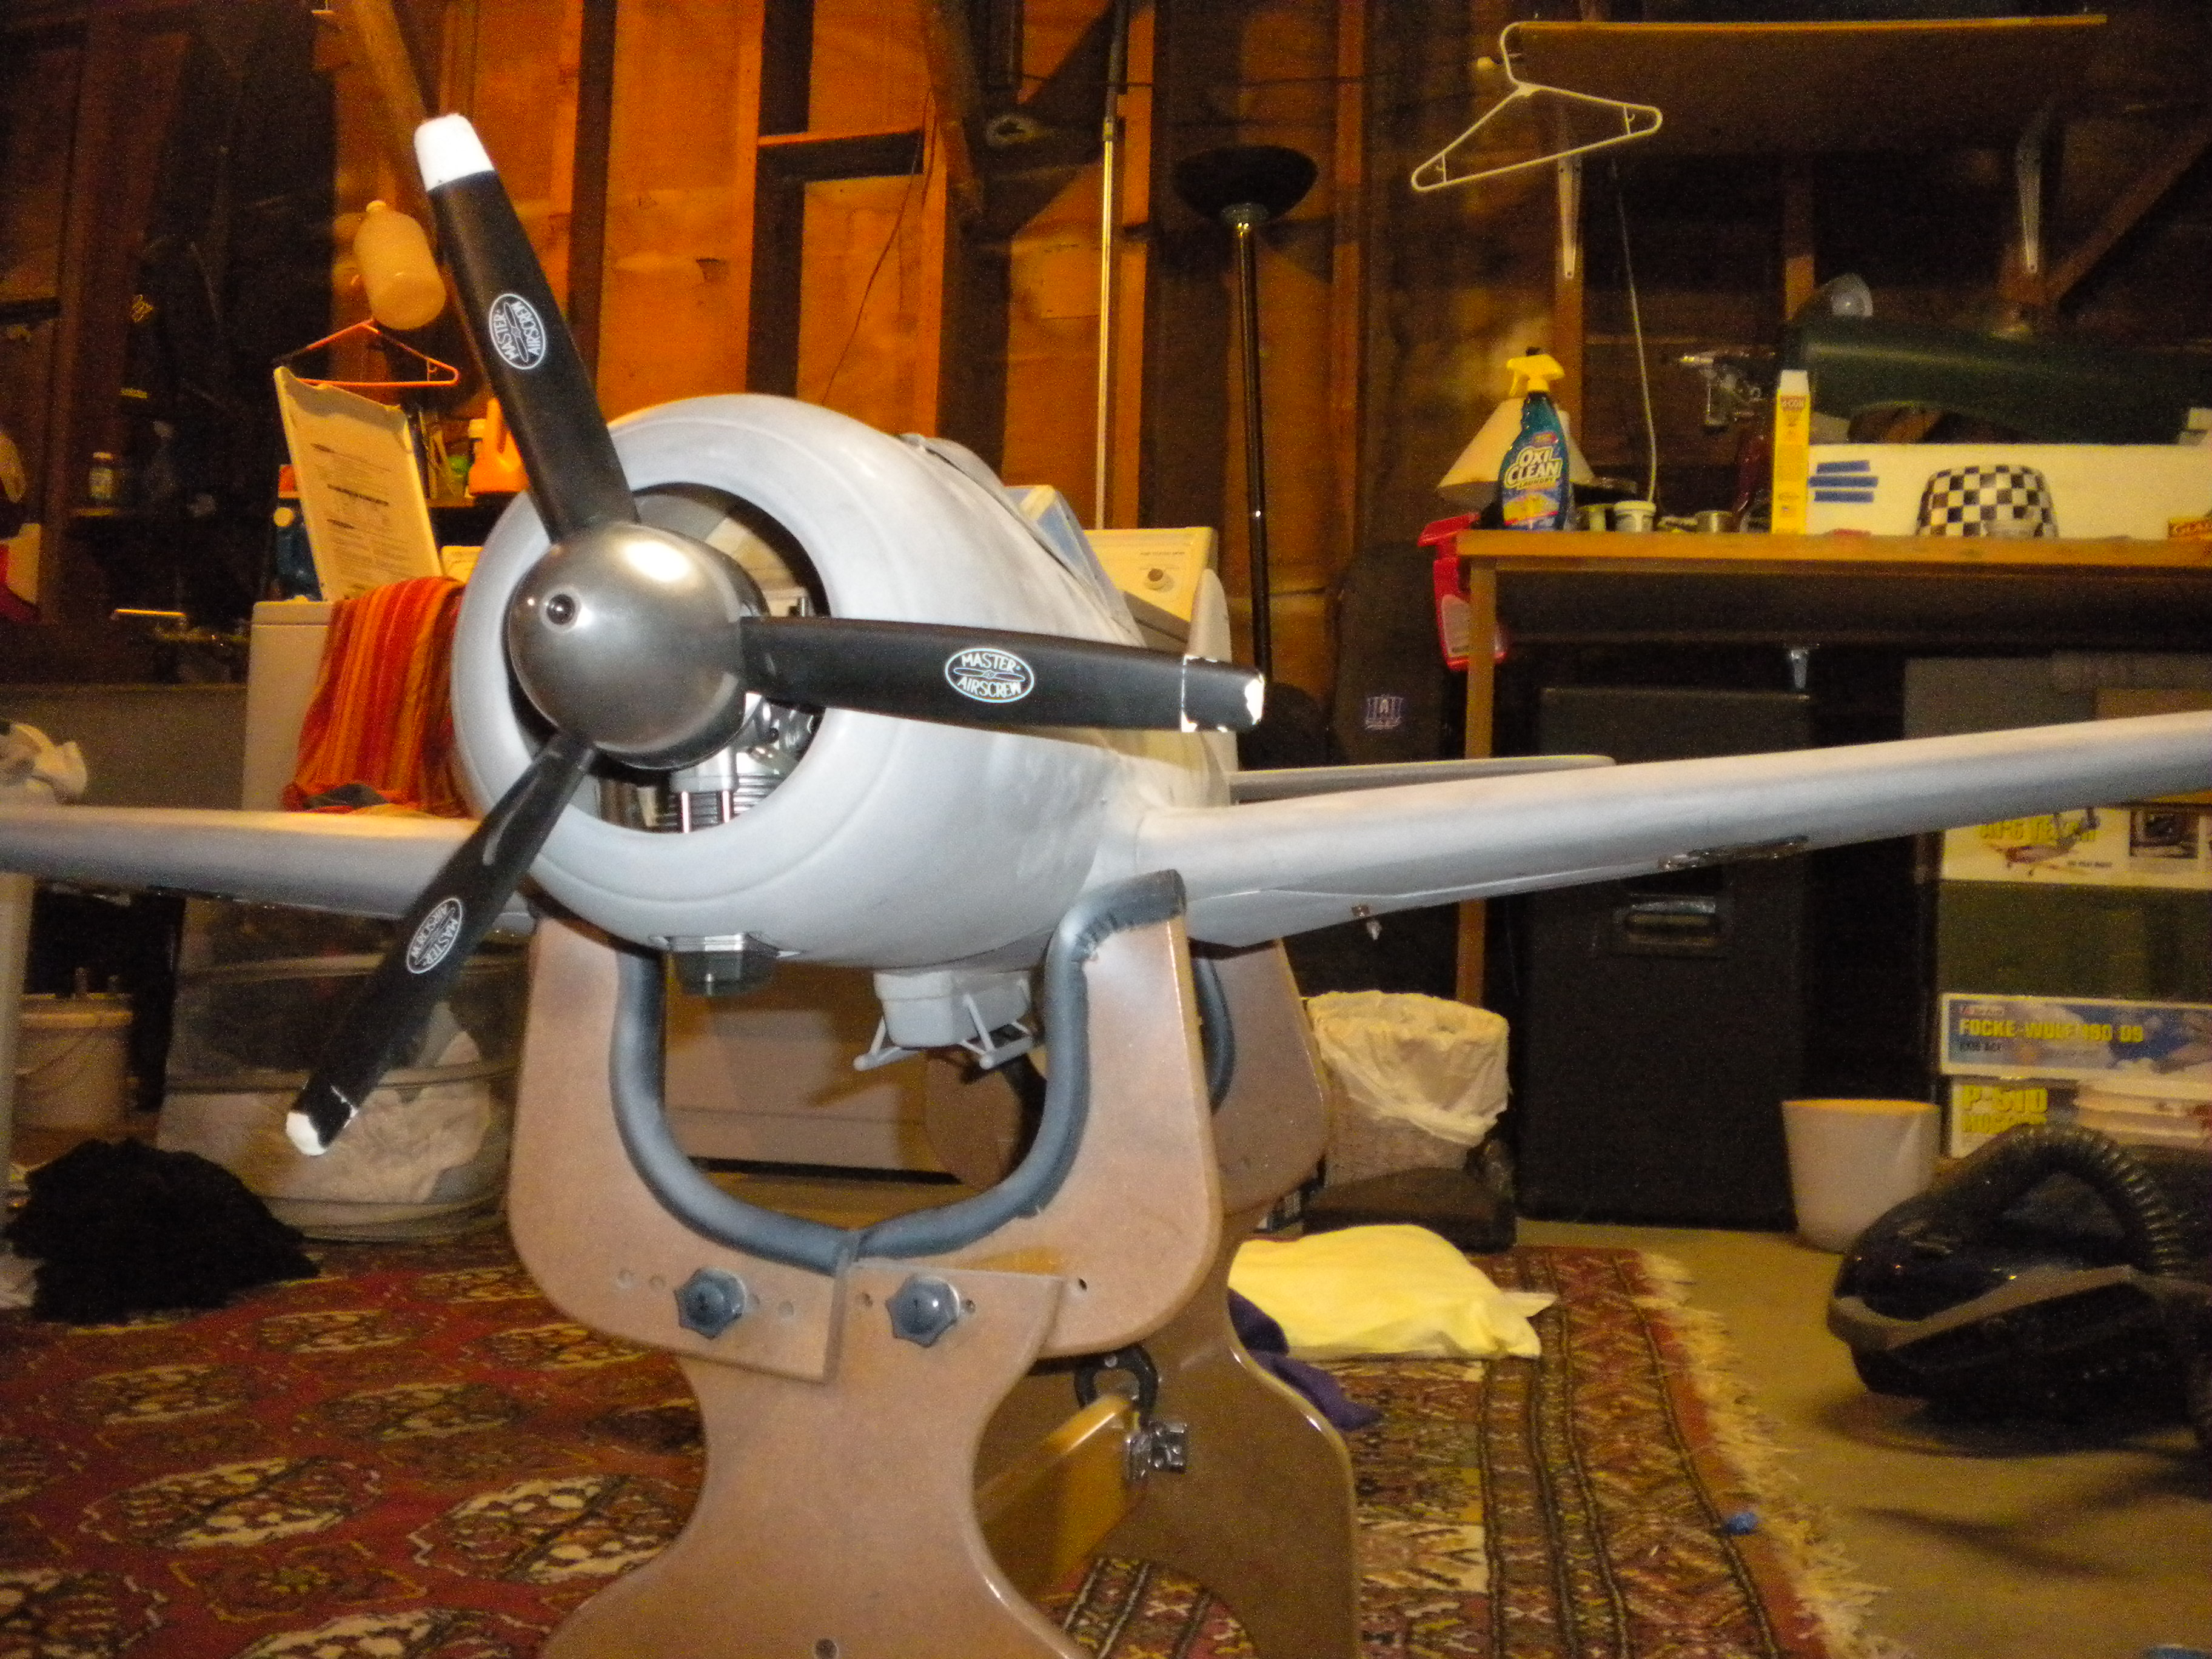
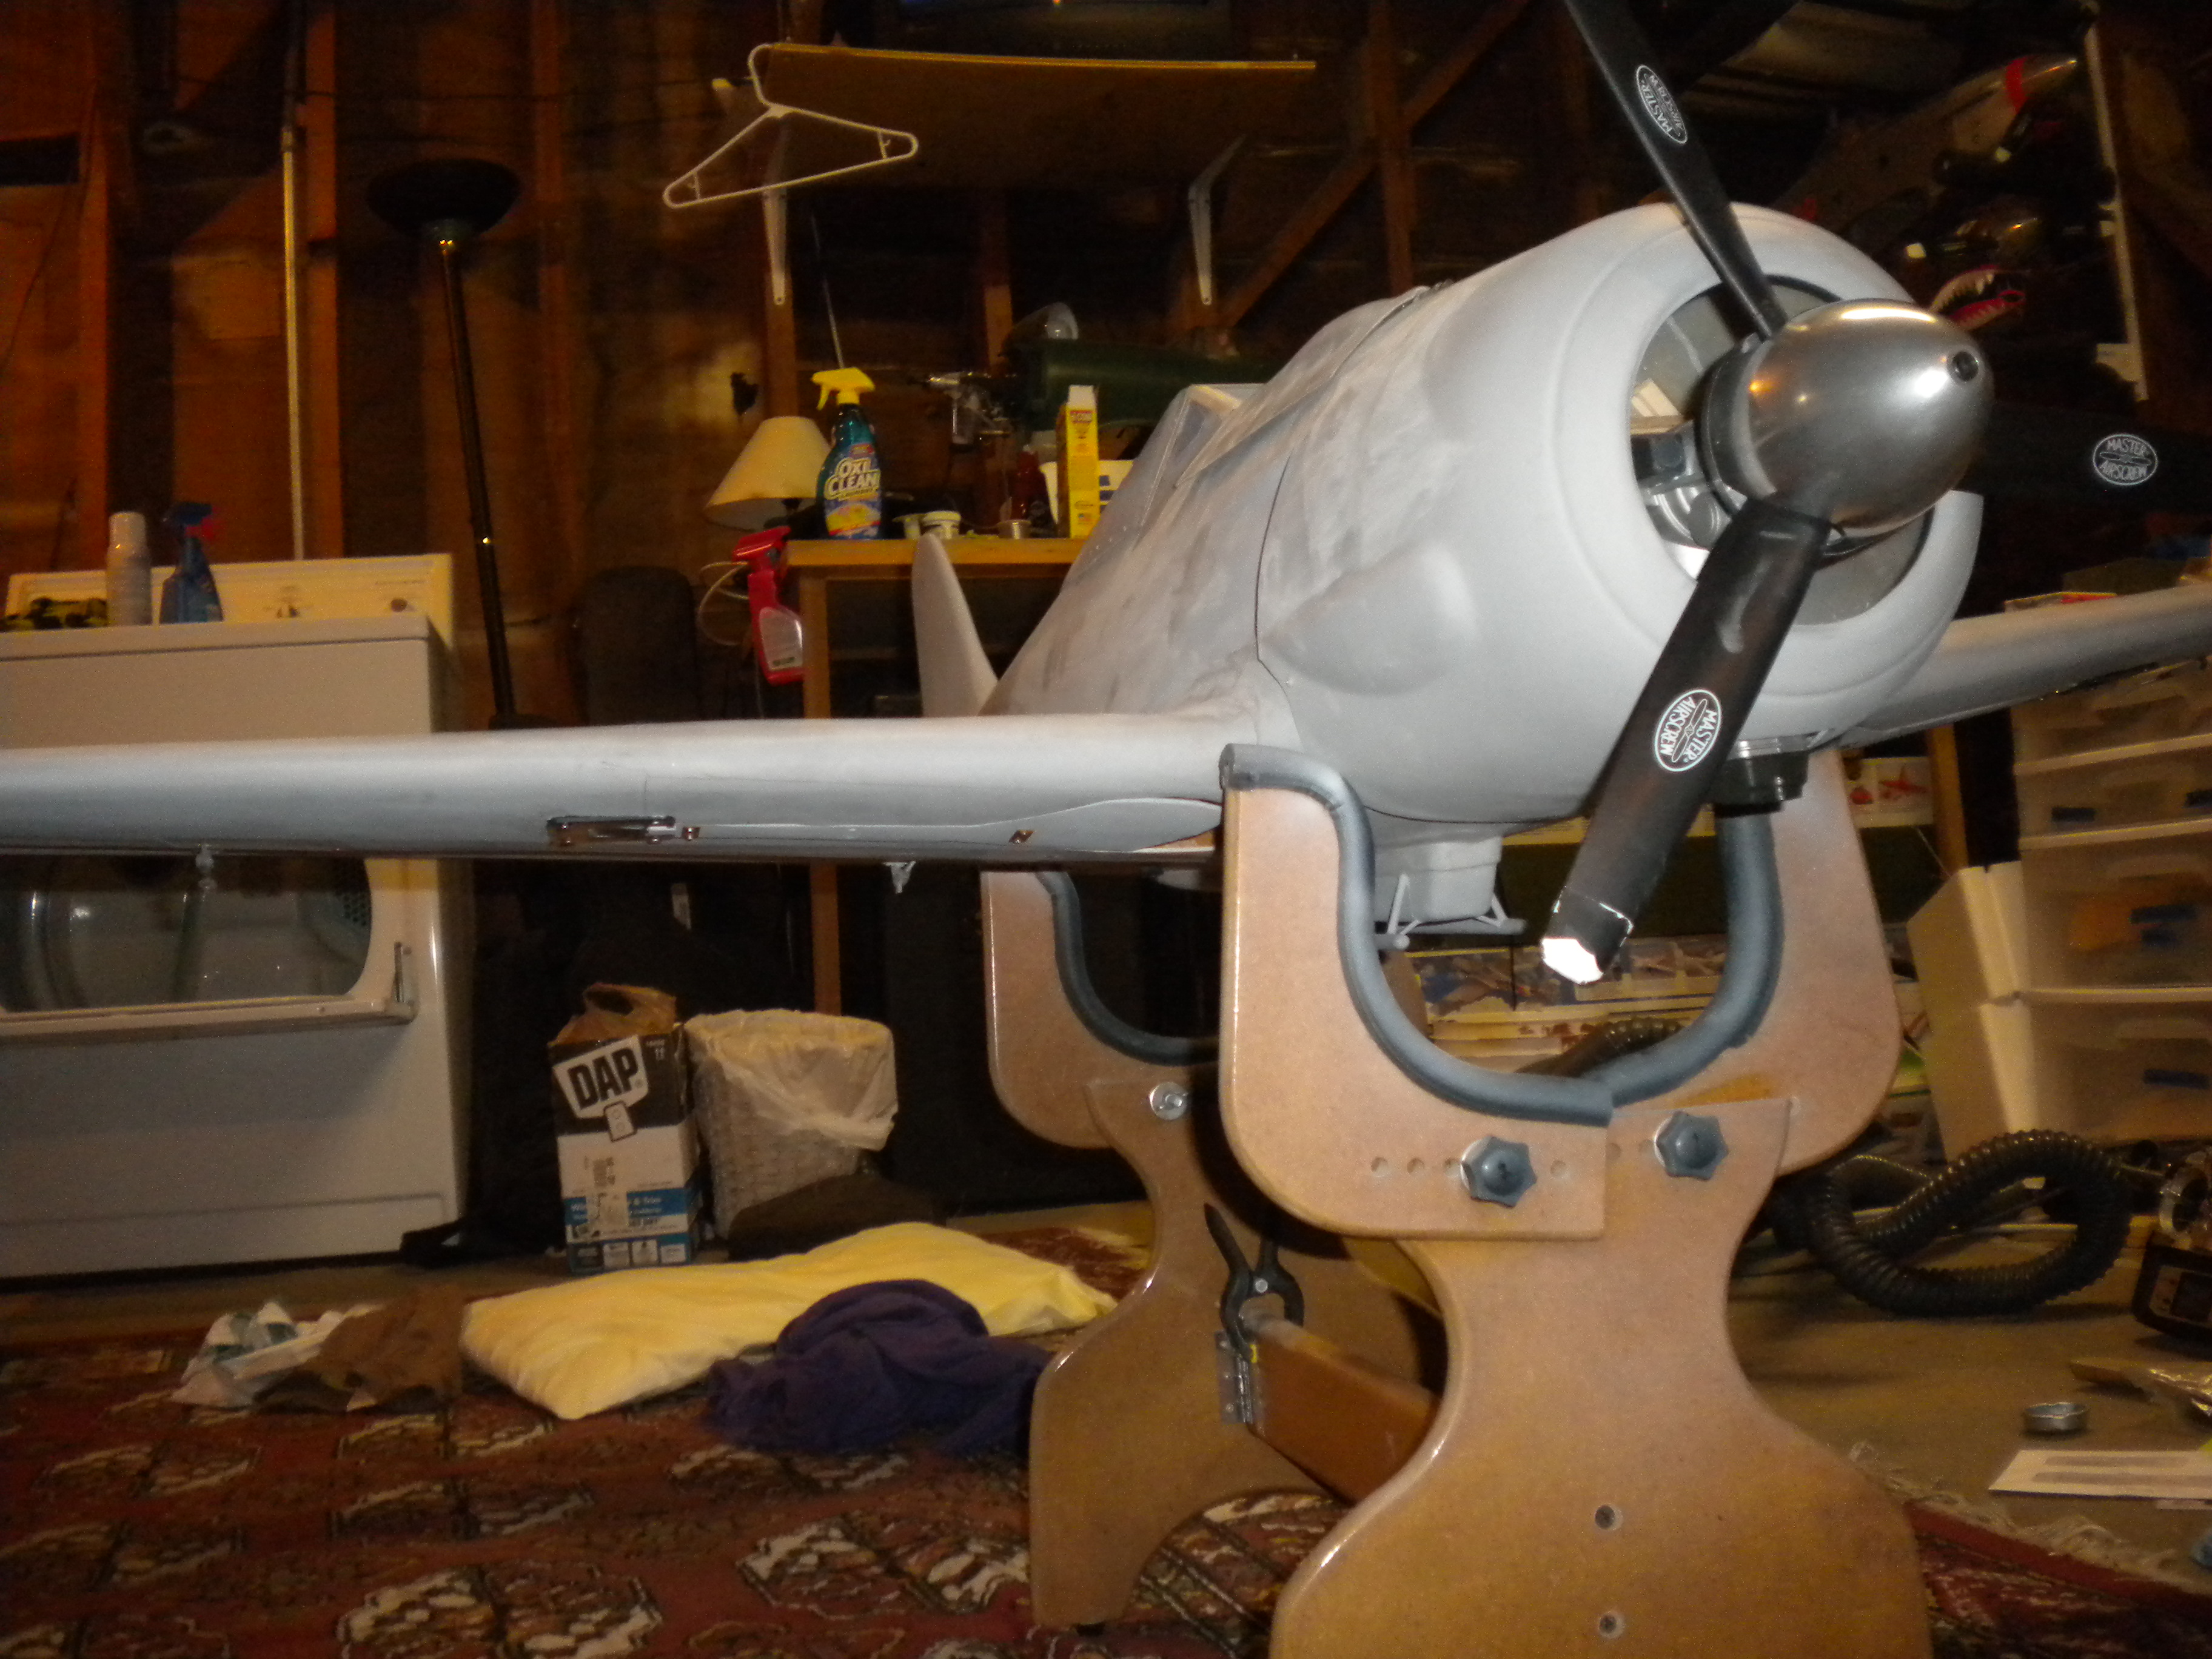
1.open the cowl at the engine head just a tiny bit more.
2.finish some small details in the fuse a radio wire mast on the tail and a little detail at the cowl.
3.tap in a fitting at the exhaust pipes so excess oil can drain out( I have purchased a fitting I just need to drill and tap the threads
and then I am ready for painting which should go fairly quickly since I have had the paint for this model for quite a while that I purchased from www,warbirdcolors.com , I already have my next project in the hopper so the final push on this project is upon me.