thanks guys and a happy Memorial Day to every one of our vets.
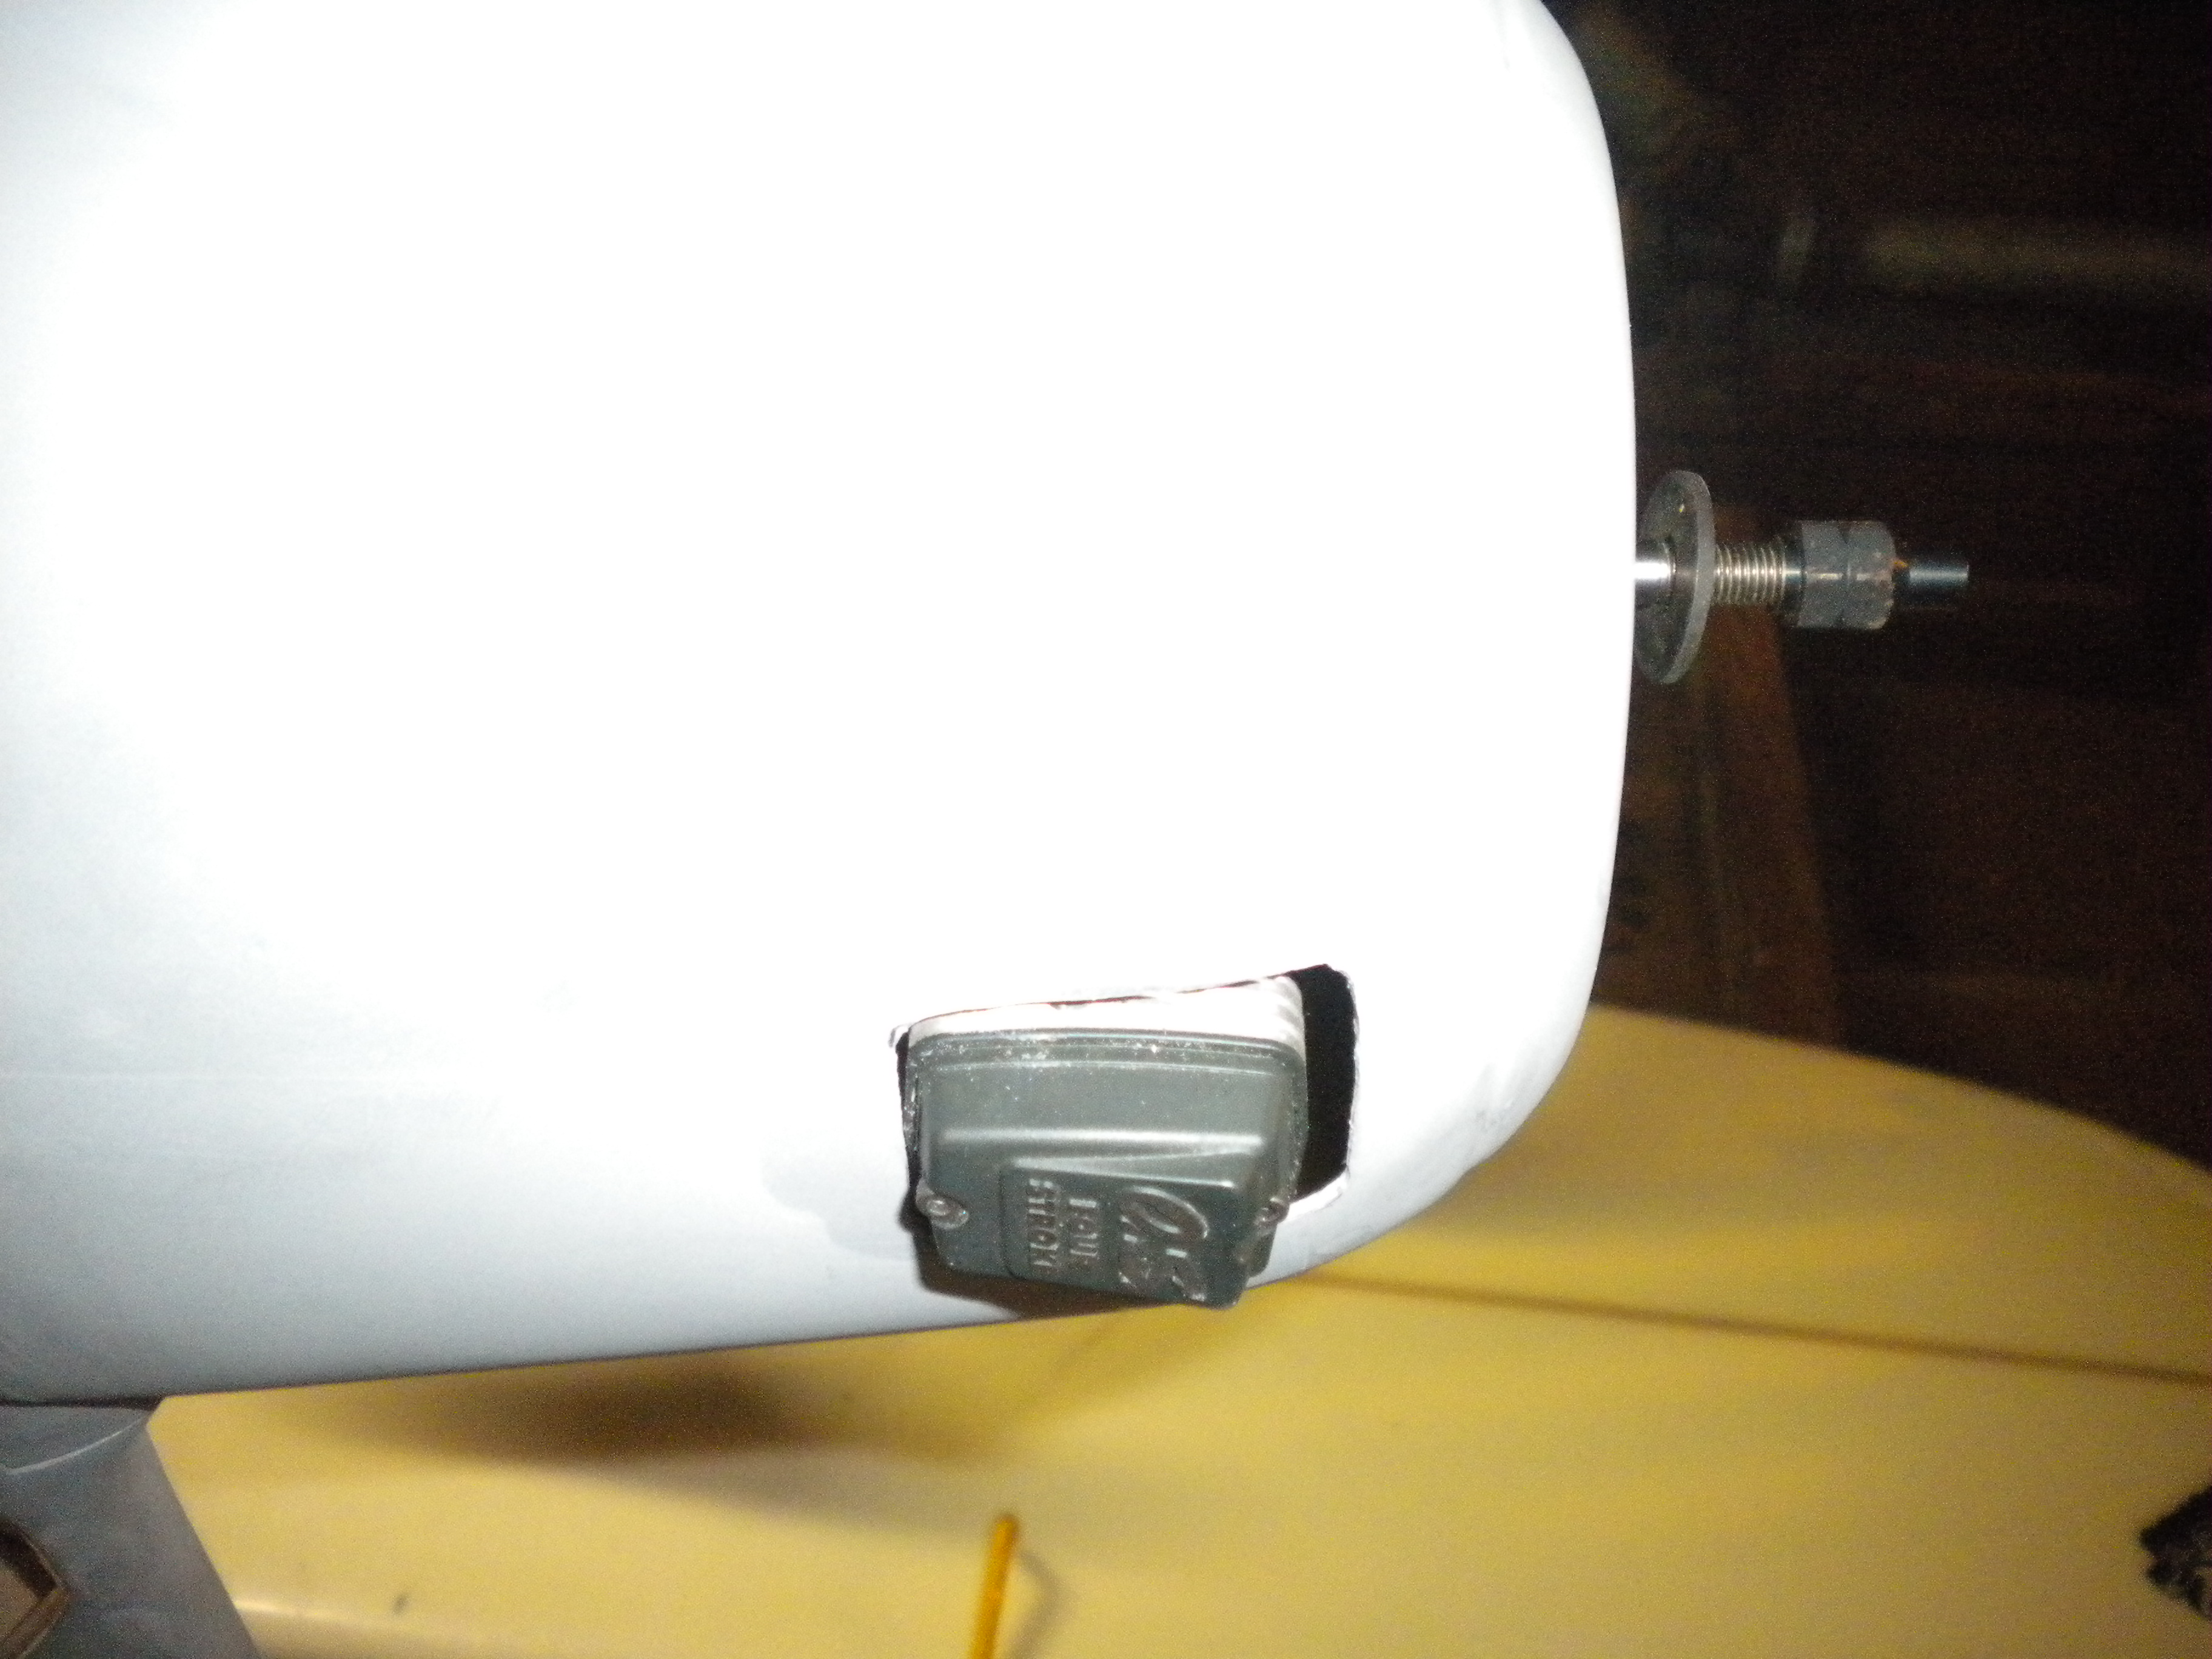
knocking off some of the tasks today first was to open up the hole in the bottom of the cowl just a bit for some clearance,my last cut in the cowl will be for the needle valve, but I need to make a extension for that to happen.
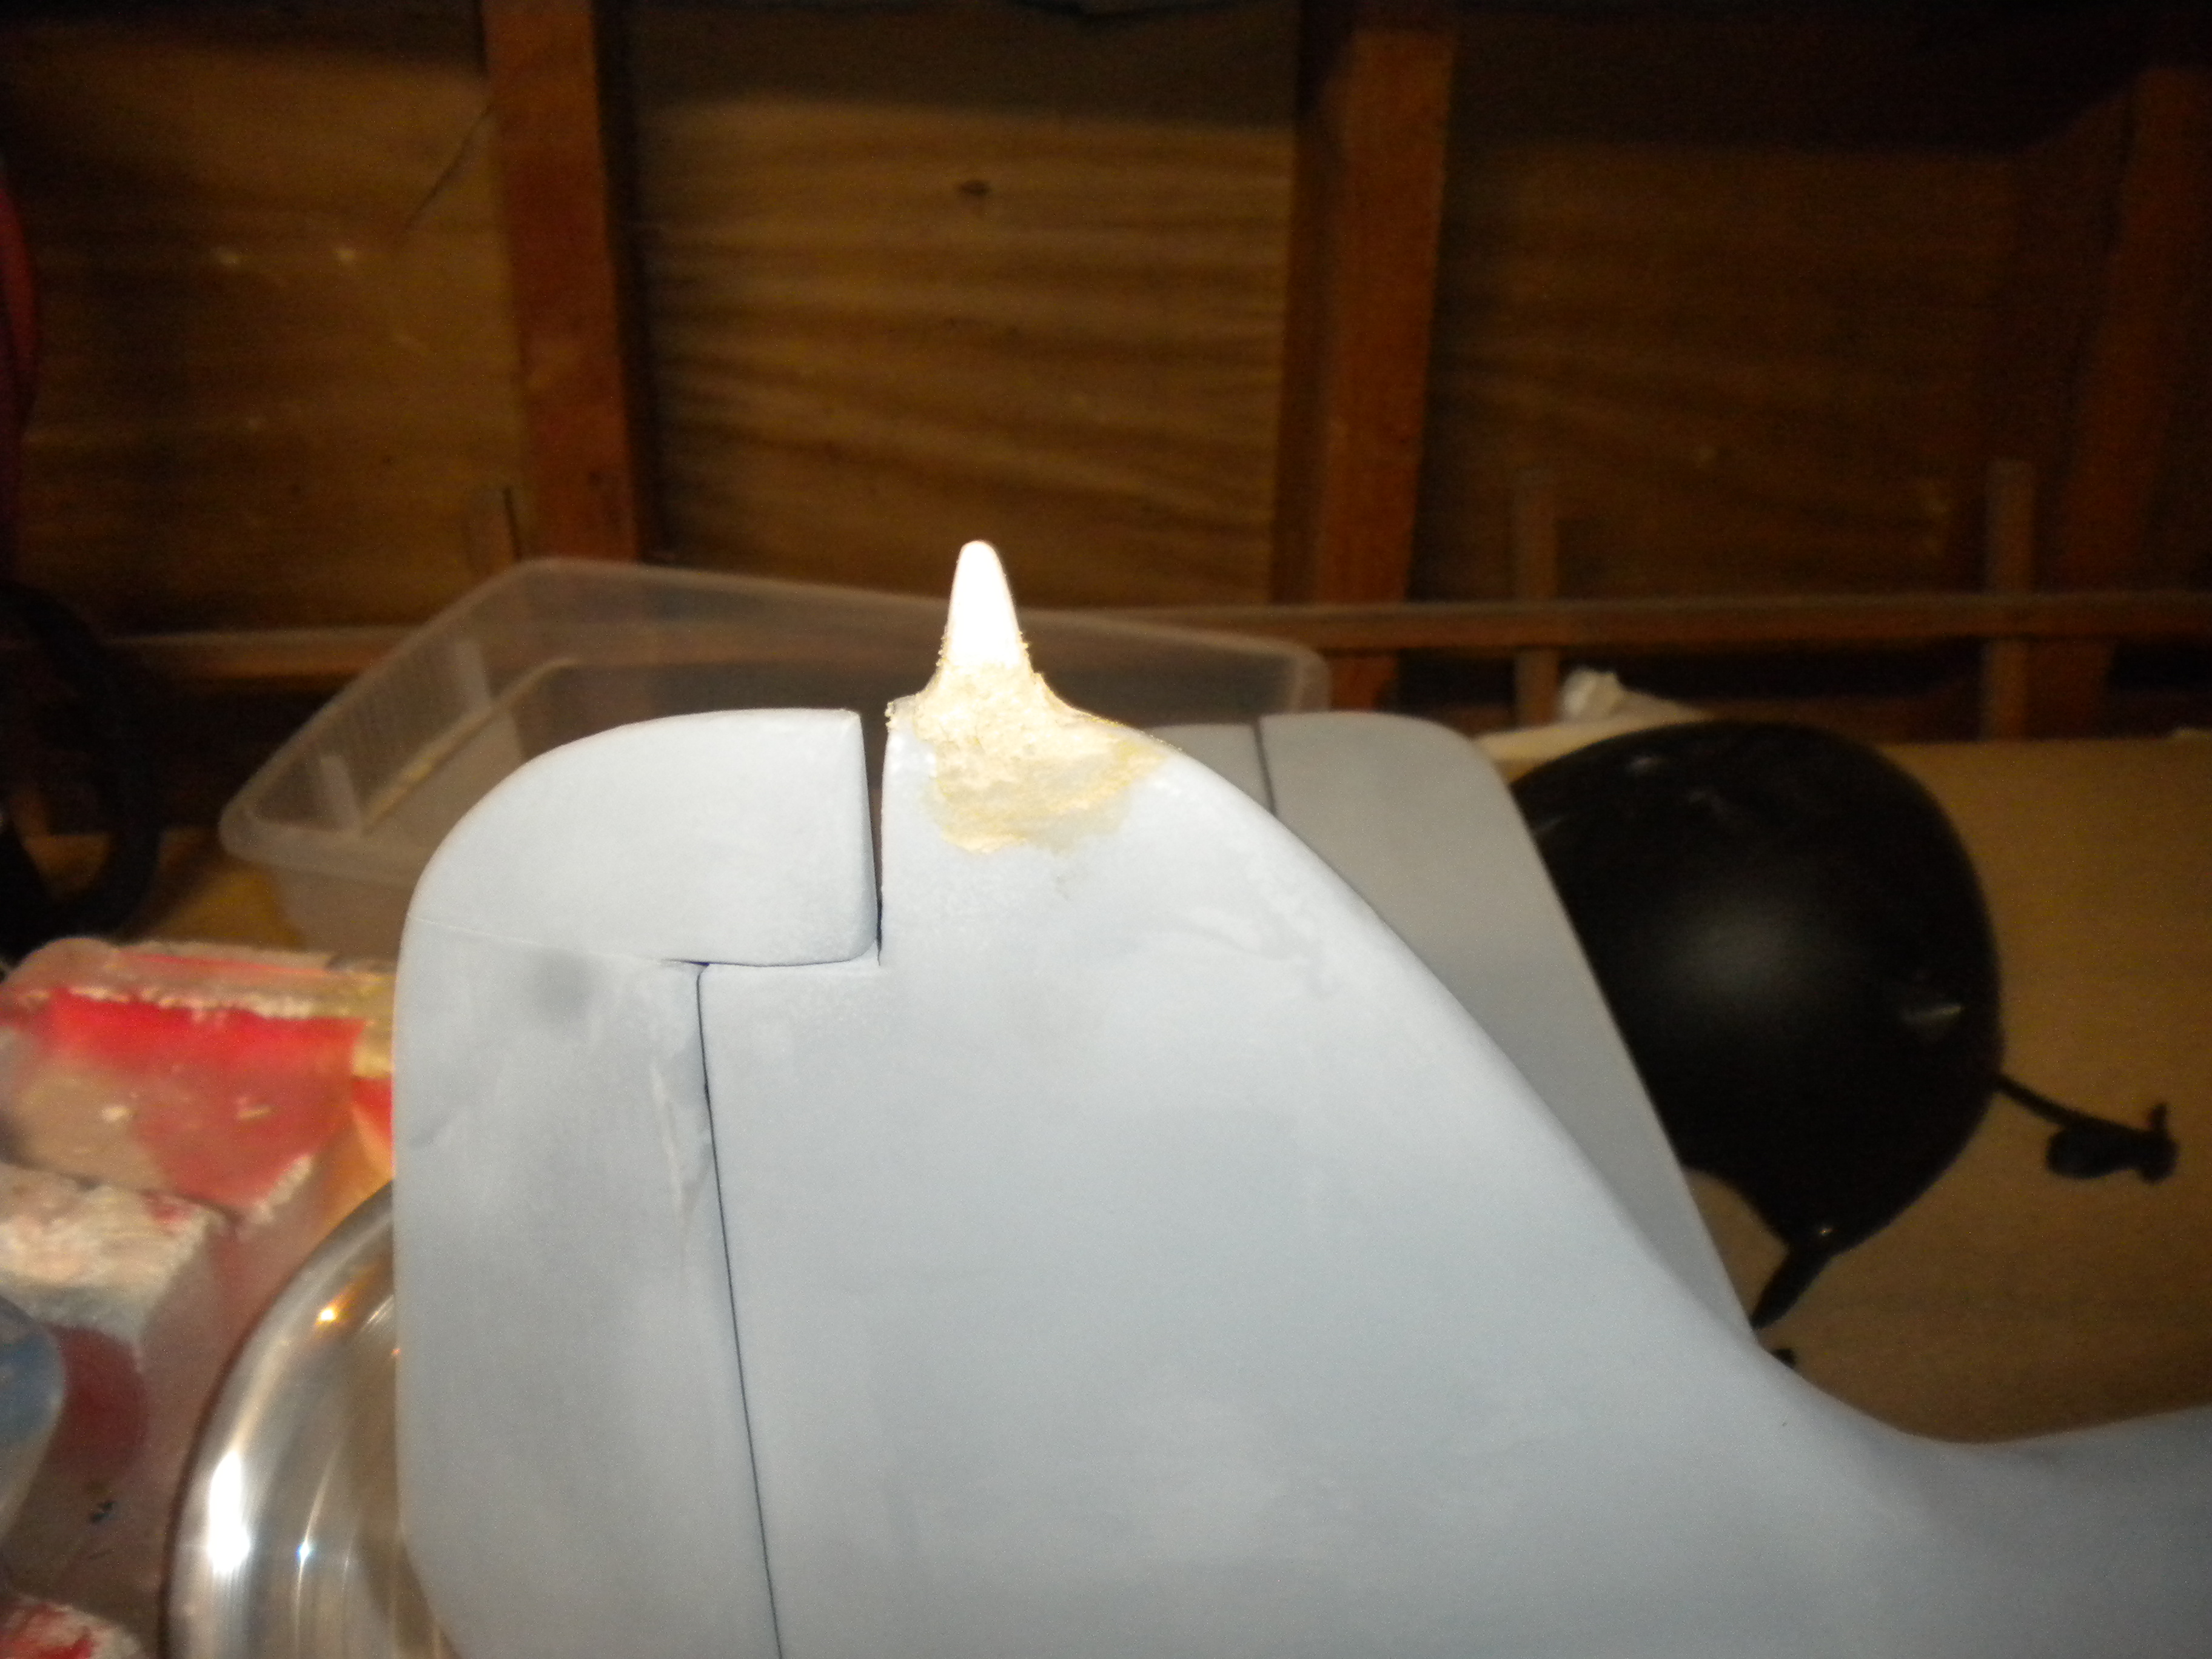
on the fuse I made the antenna post for the tail,what I did so it would be sturdy was use some 1/16 plywood to make the spine of the antenna and to guide the shape,I also made sure that the ply would sit firmly on the top of the Vertical stab in the position I wanted it in so there were no gaps.
I then used some 3/32 balsa on each side of the ply as filler and so it could be shaped into the desired taper,the 2 balsa pieces were also allowed to hang past the bottom of the ply piece and with a round file I made a saddle where the glue joint was to maximize the surface area for strength, then using thick CA I glued the piece in place making sure to position it properly.
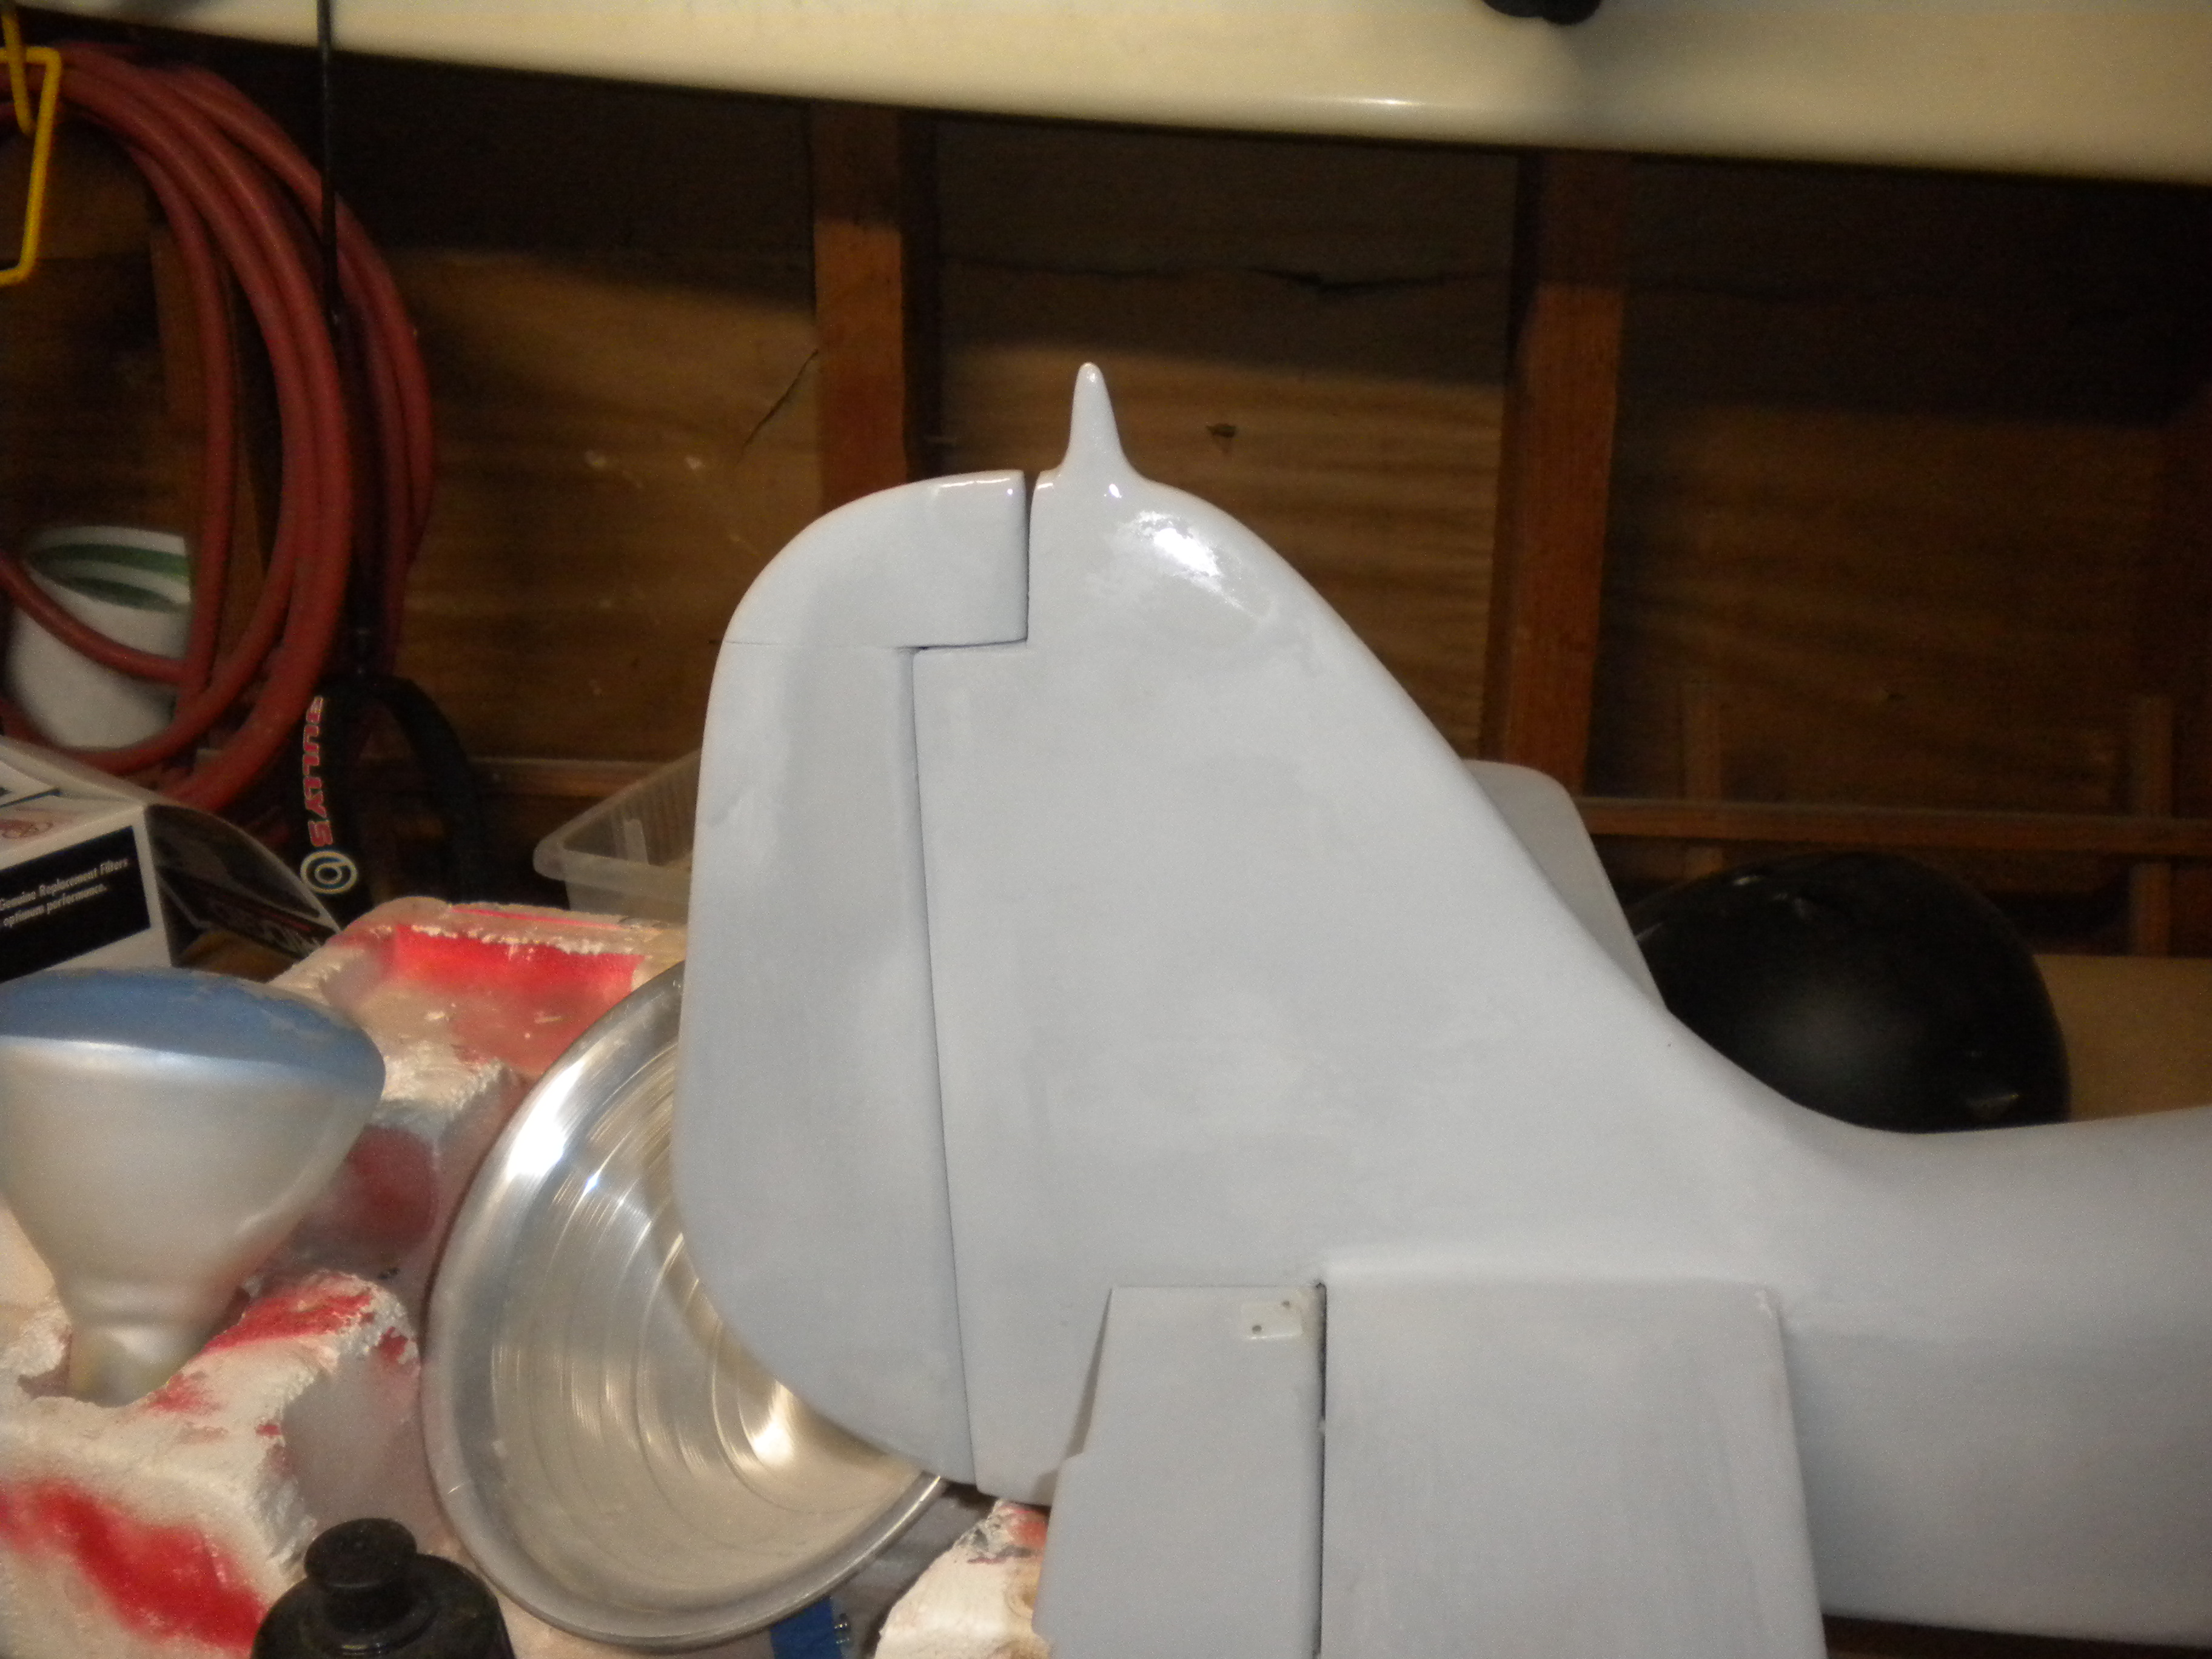
after it was dry I used my preferred wood filler to blend areas into the stab at the base,I didn't need much filler so it dried quickly and I sanded it down and a couple shots of primer and its looking decent now, and sturdy its little points like these that tend to break off and get damaged