thanks John
well today's post is all bout camo, so I did some research and checking at
www.tompierce.net because I like his work, and was wondering why I had a little can of RLM 02 in my paint pile, low and behold it was for the inner flap bays and wheel wells, yesterday I hand painted the inside surfaces of the flaps and bays with the 02 I was really pleased with how well the color covered just 2 coats was all I needed to get a nice rich color I made sure to catalyze the paint for fuel resistance because I am not going to clear coat in there to save weight, I will do the wheel wells once I am done with the wing upper side.
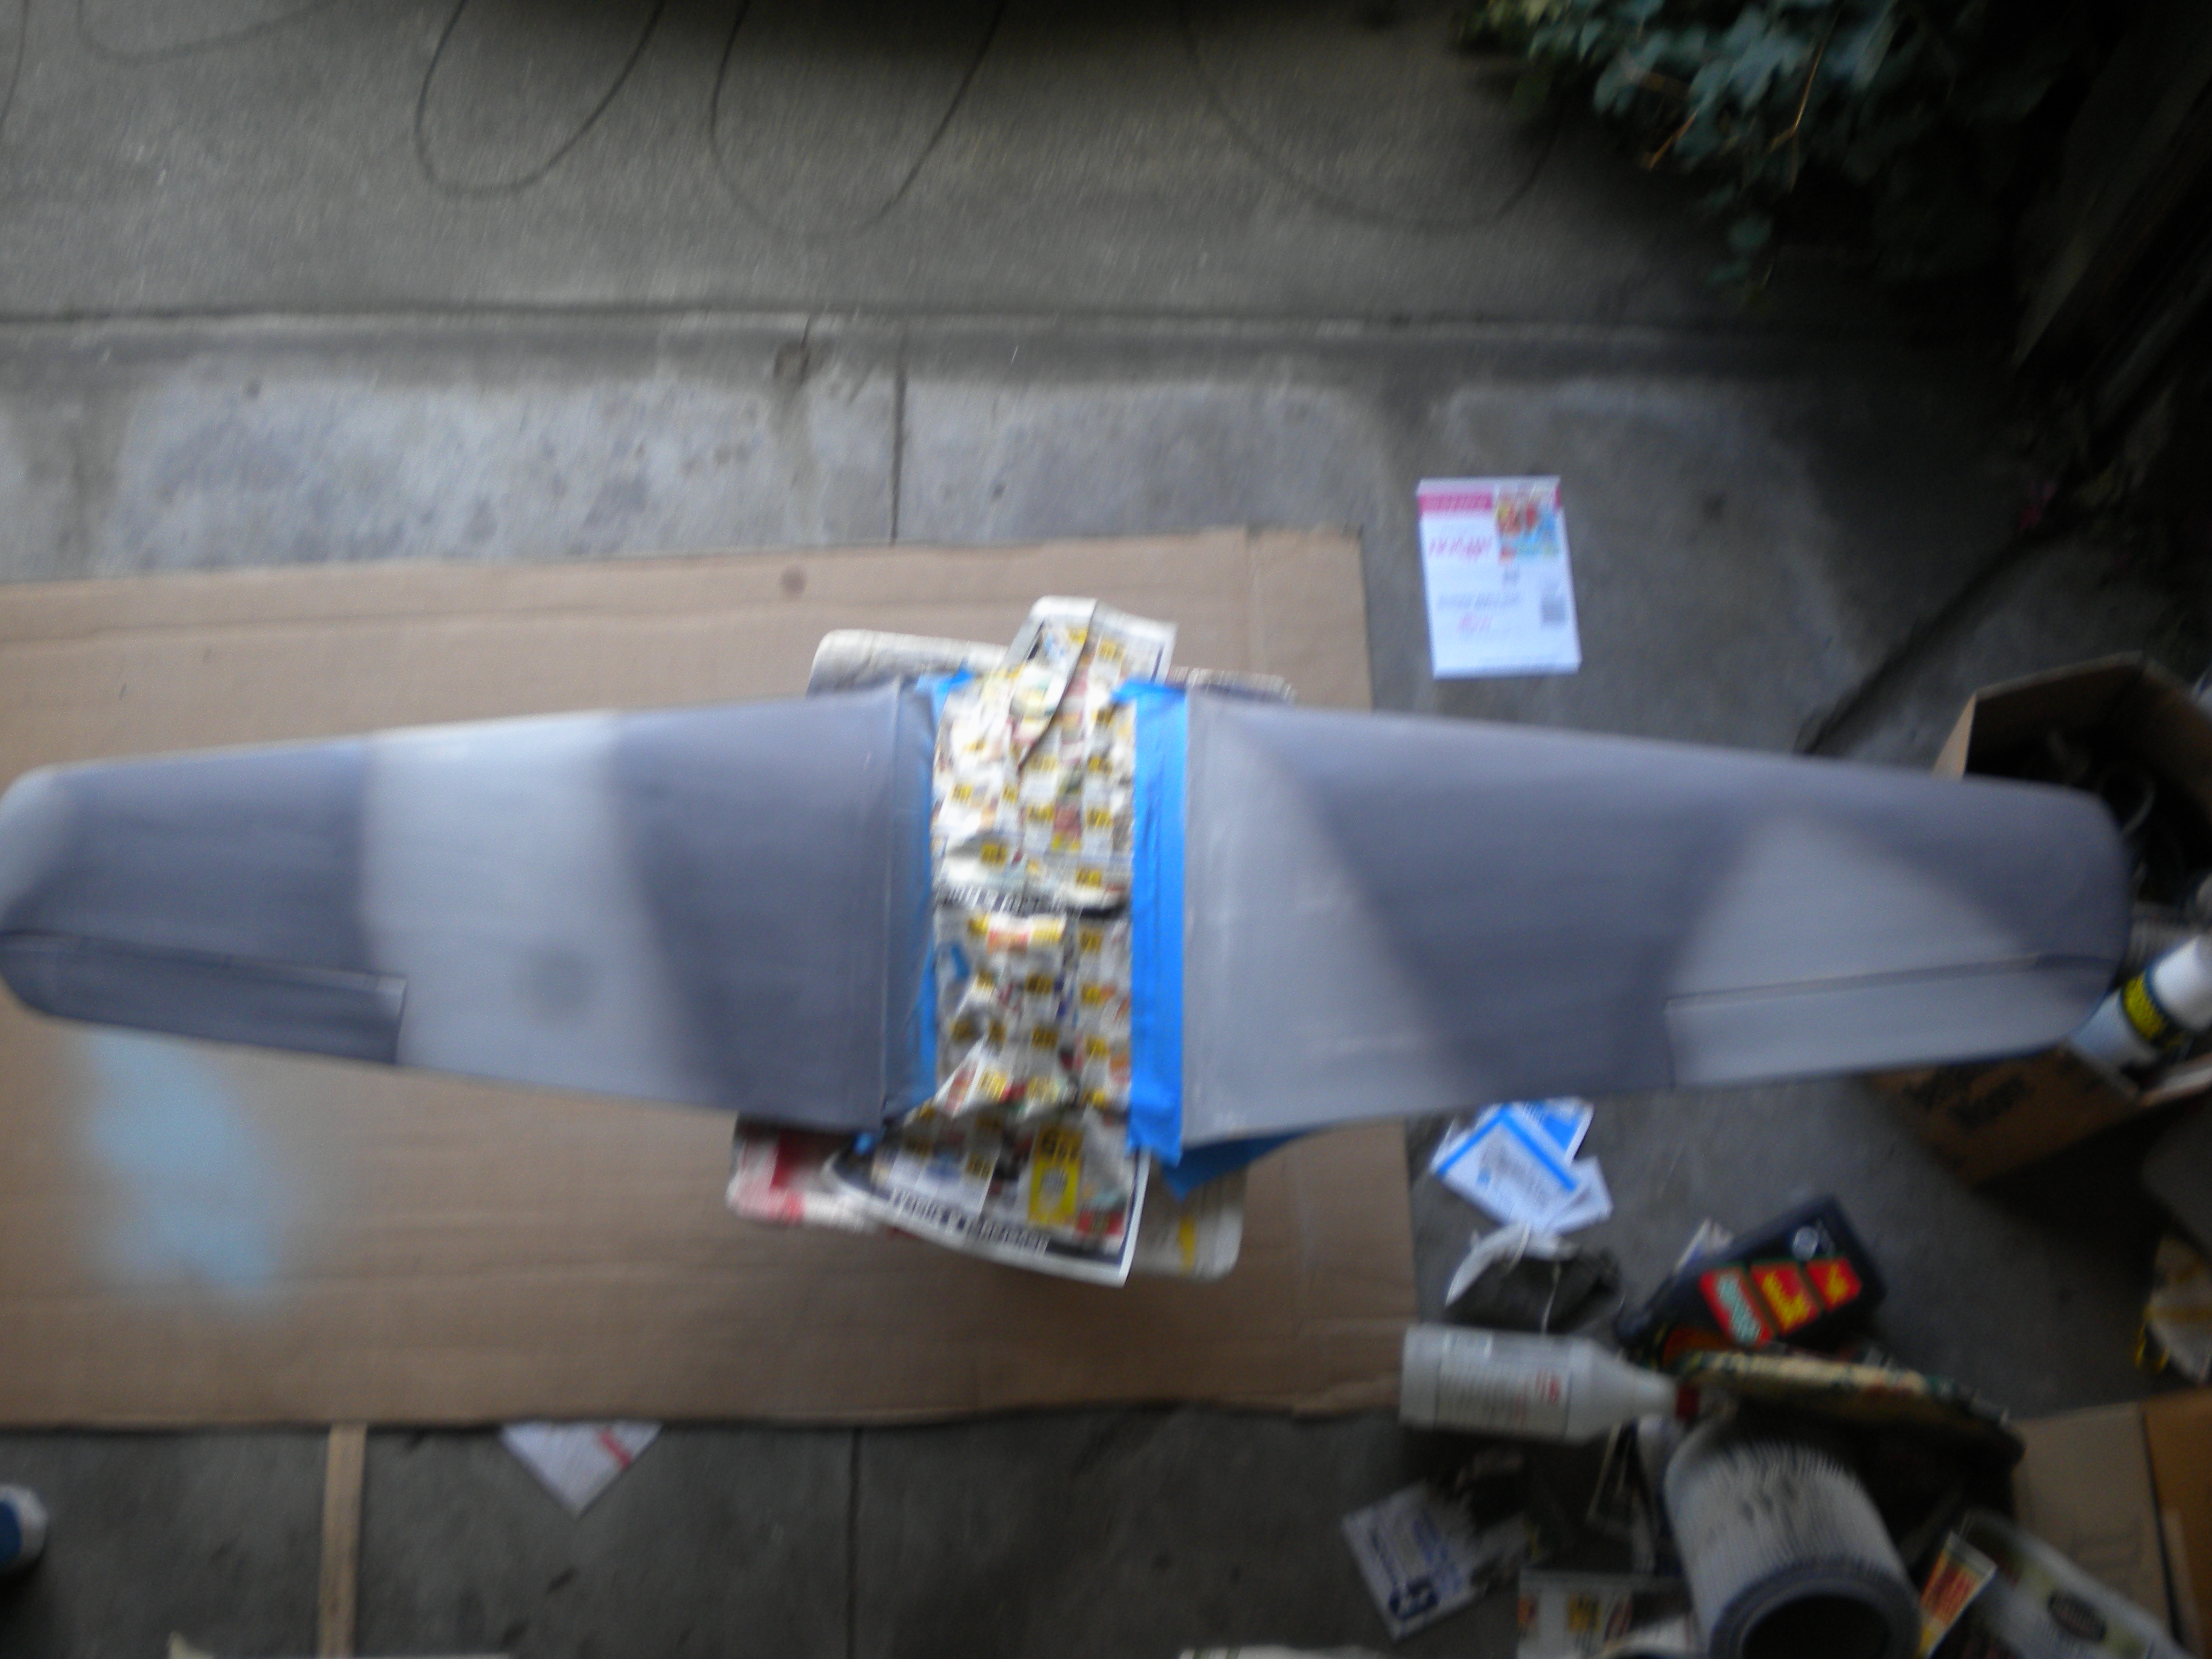
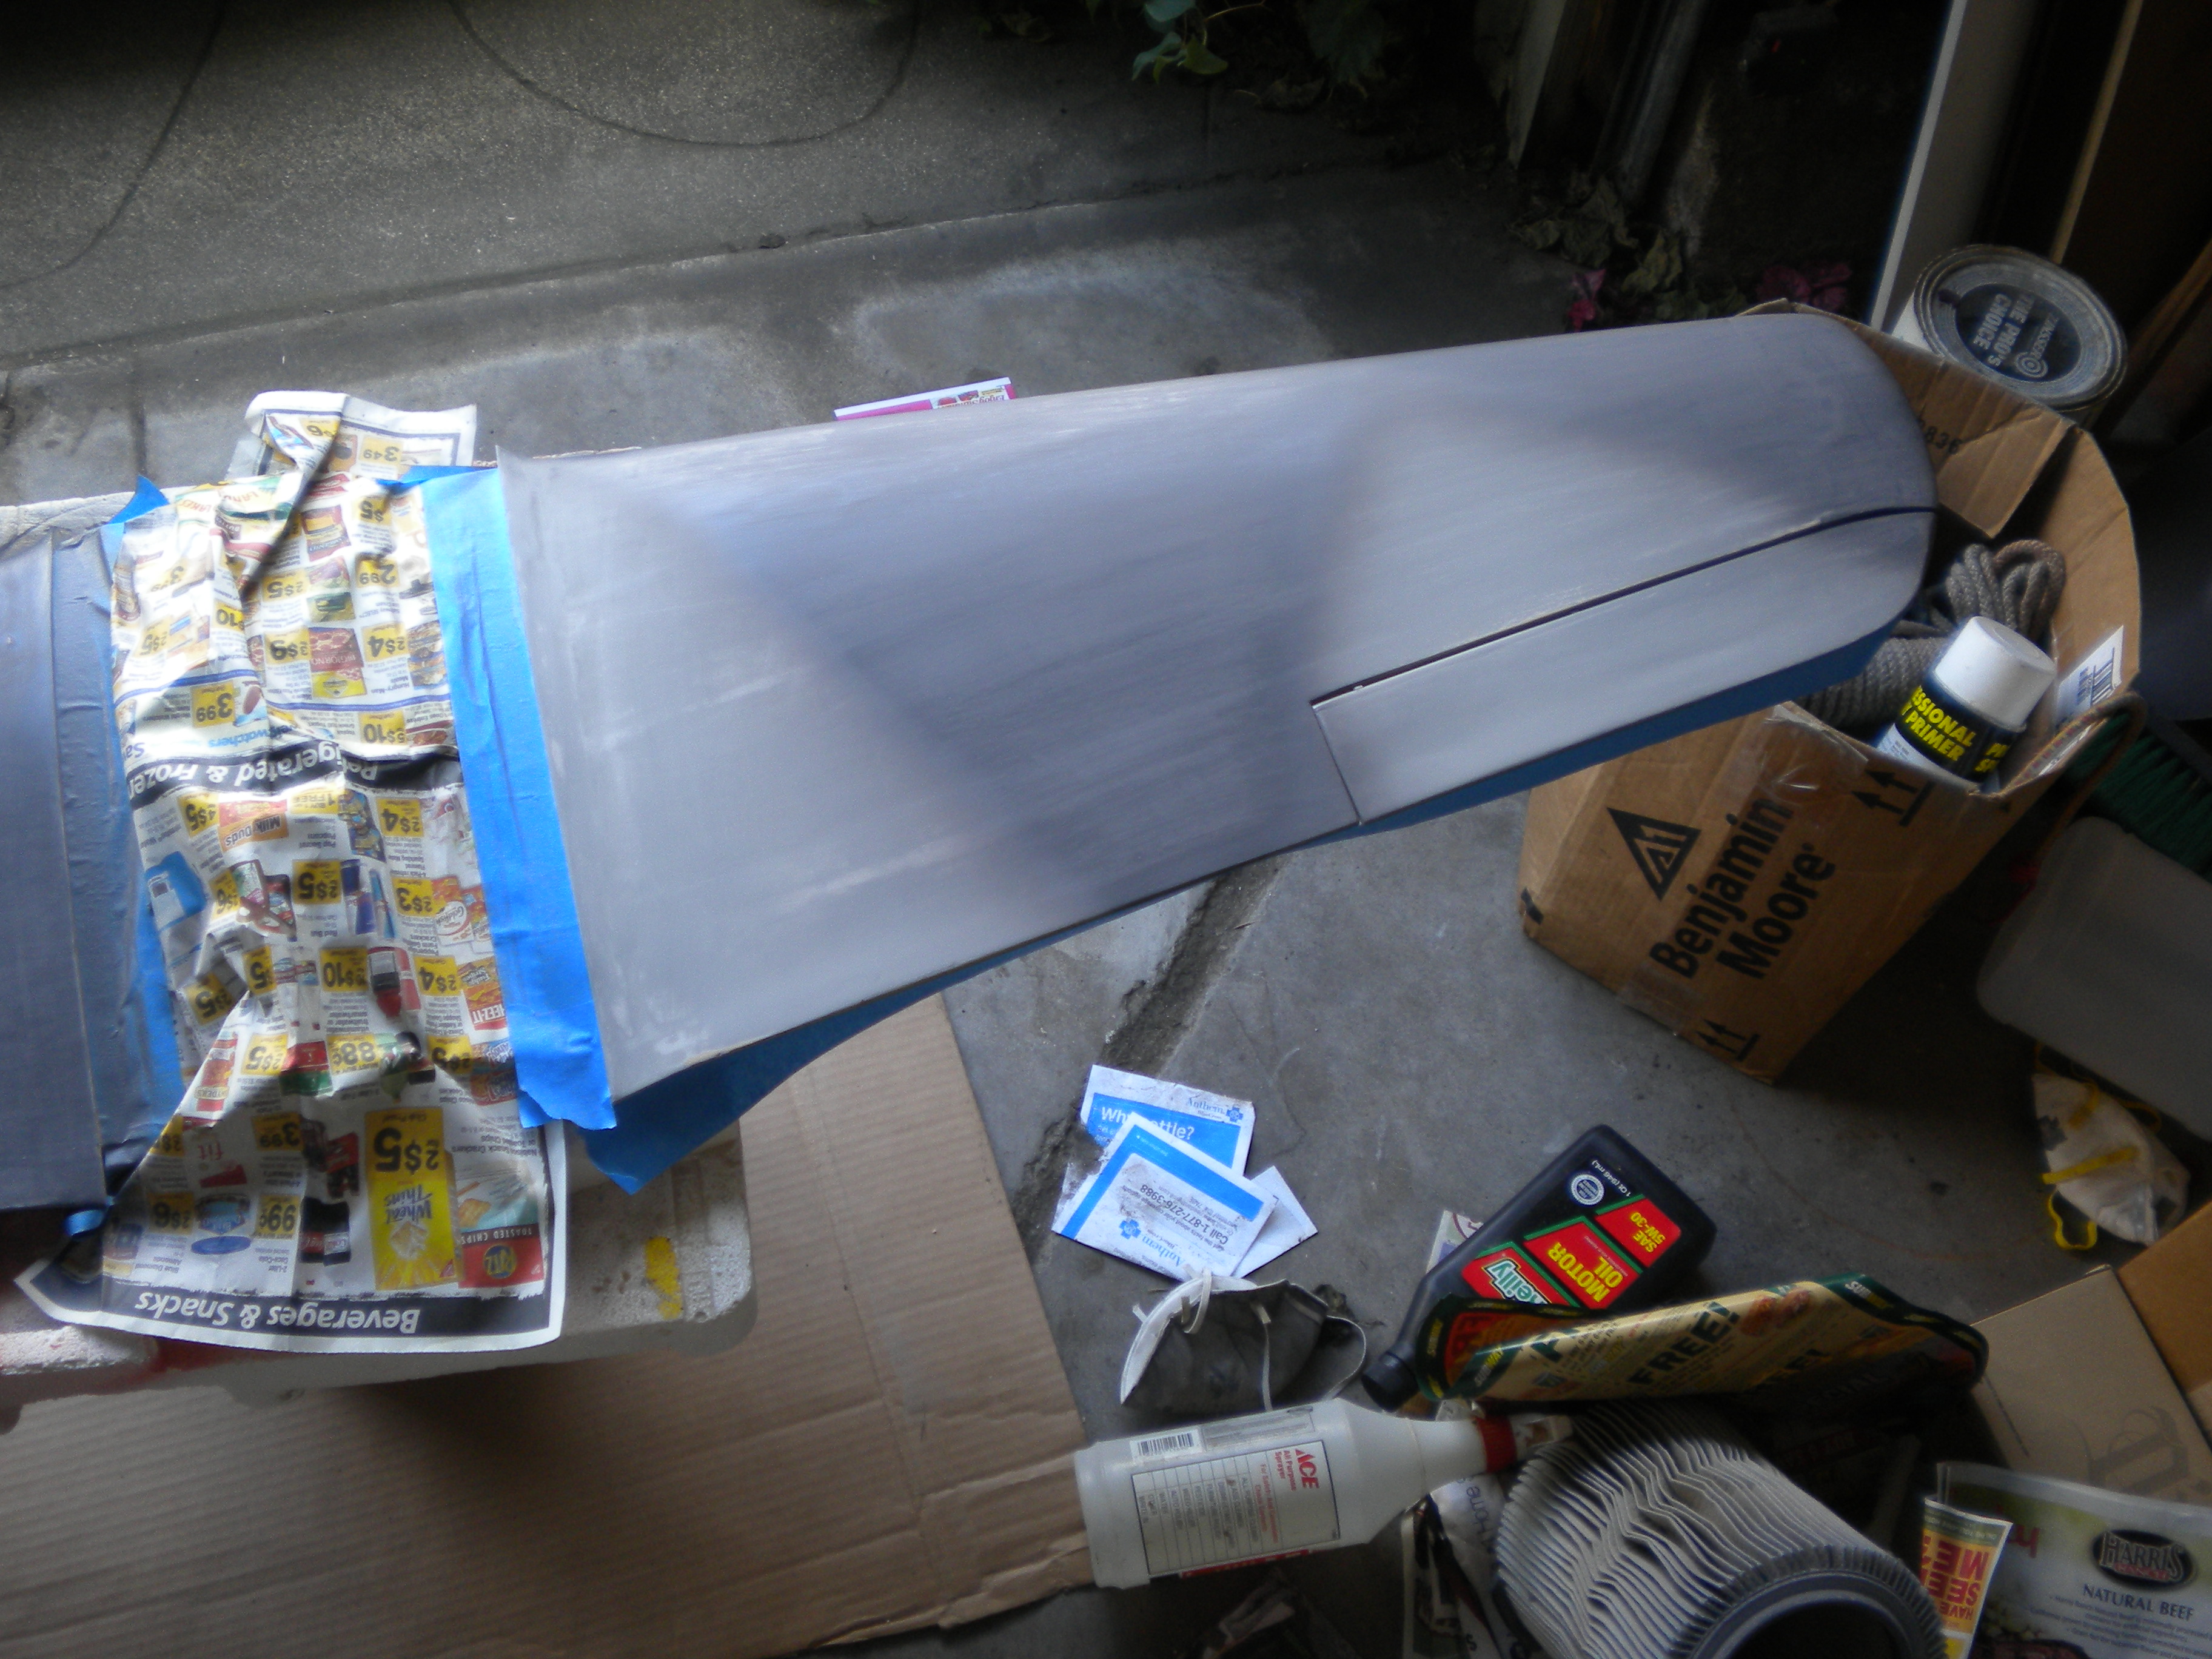
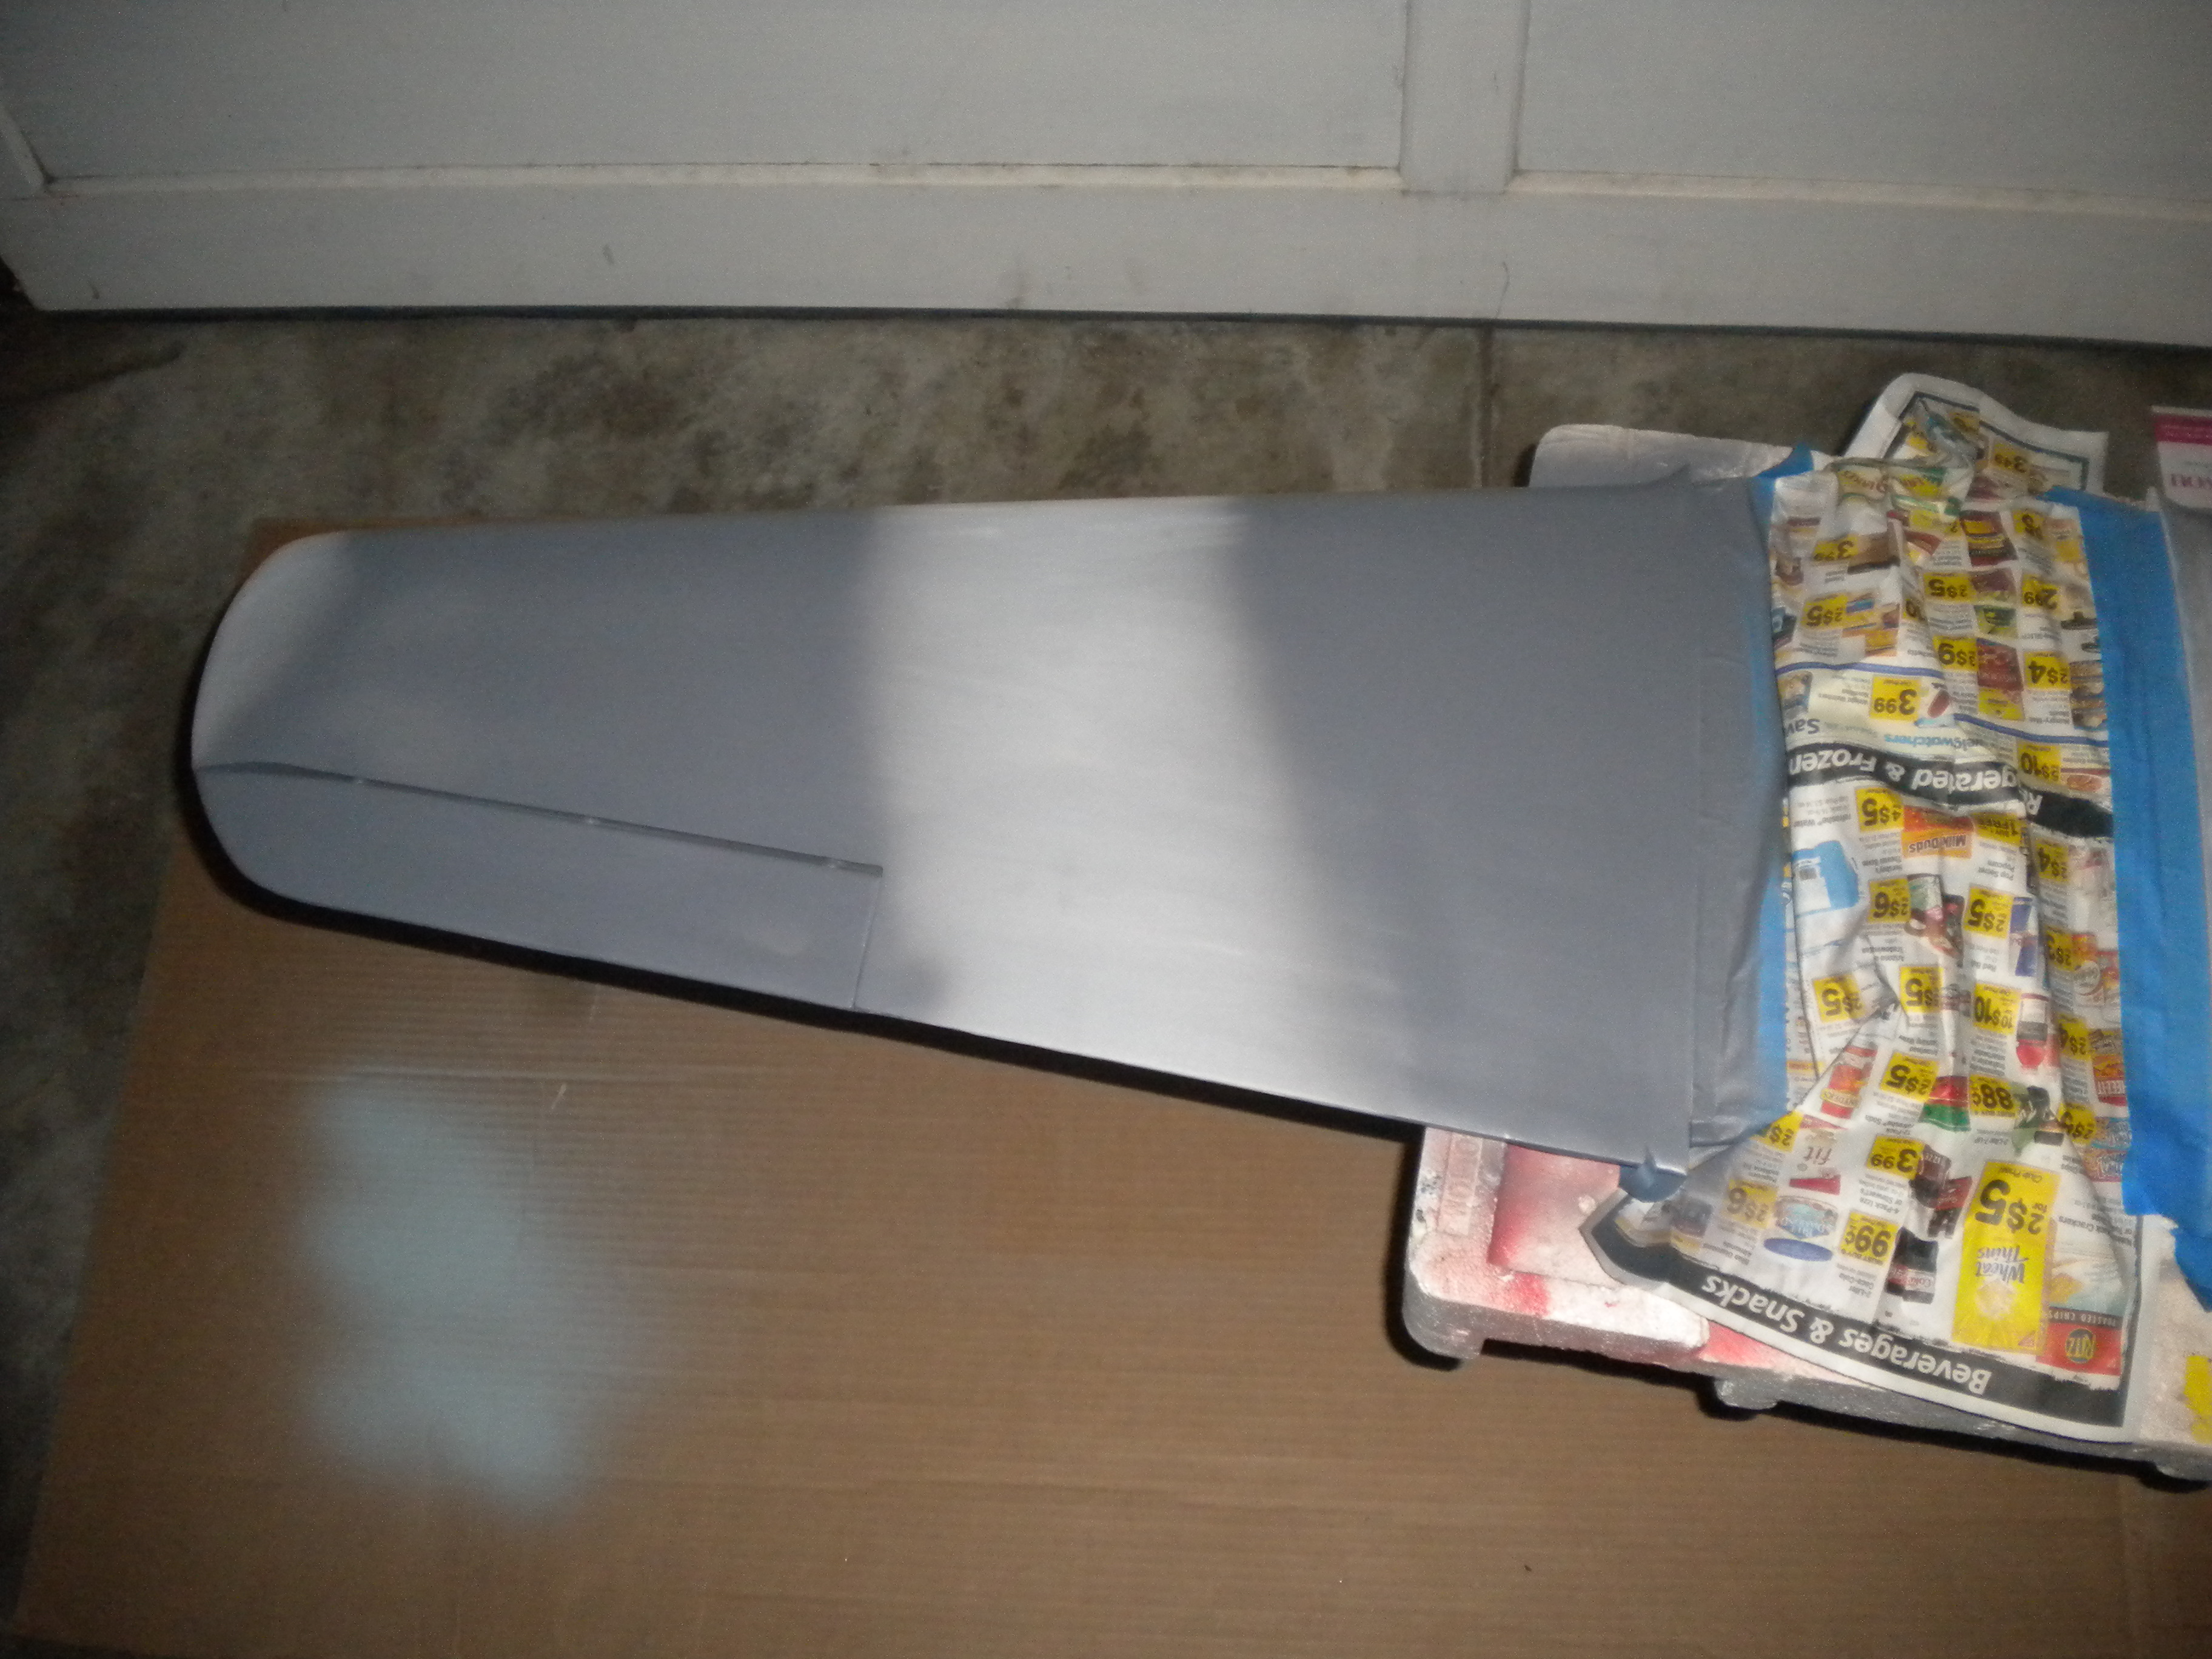
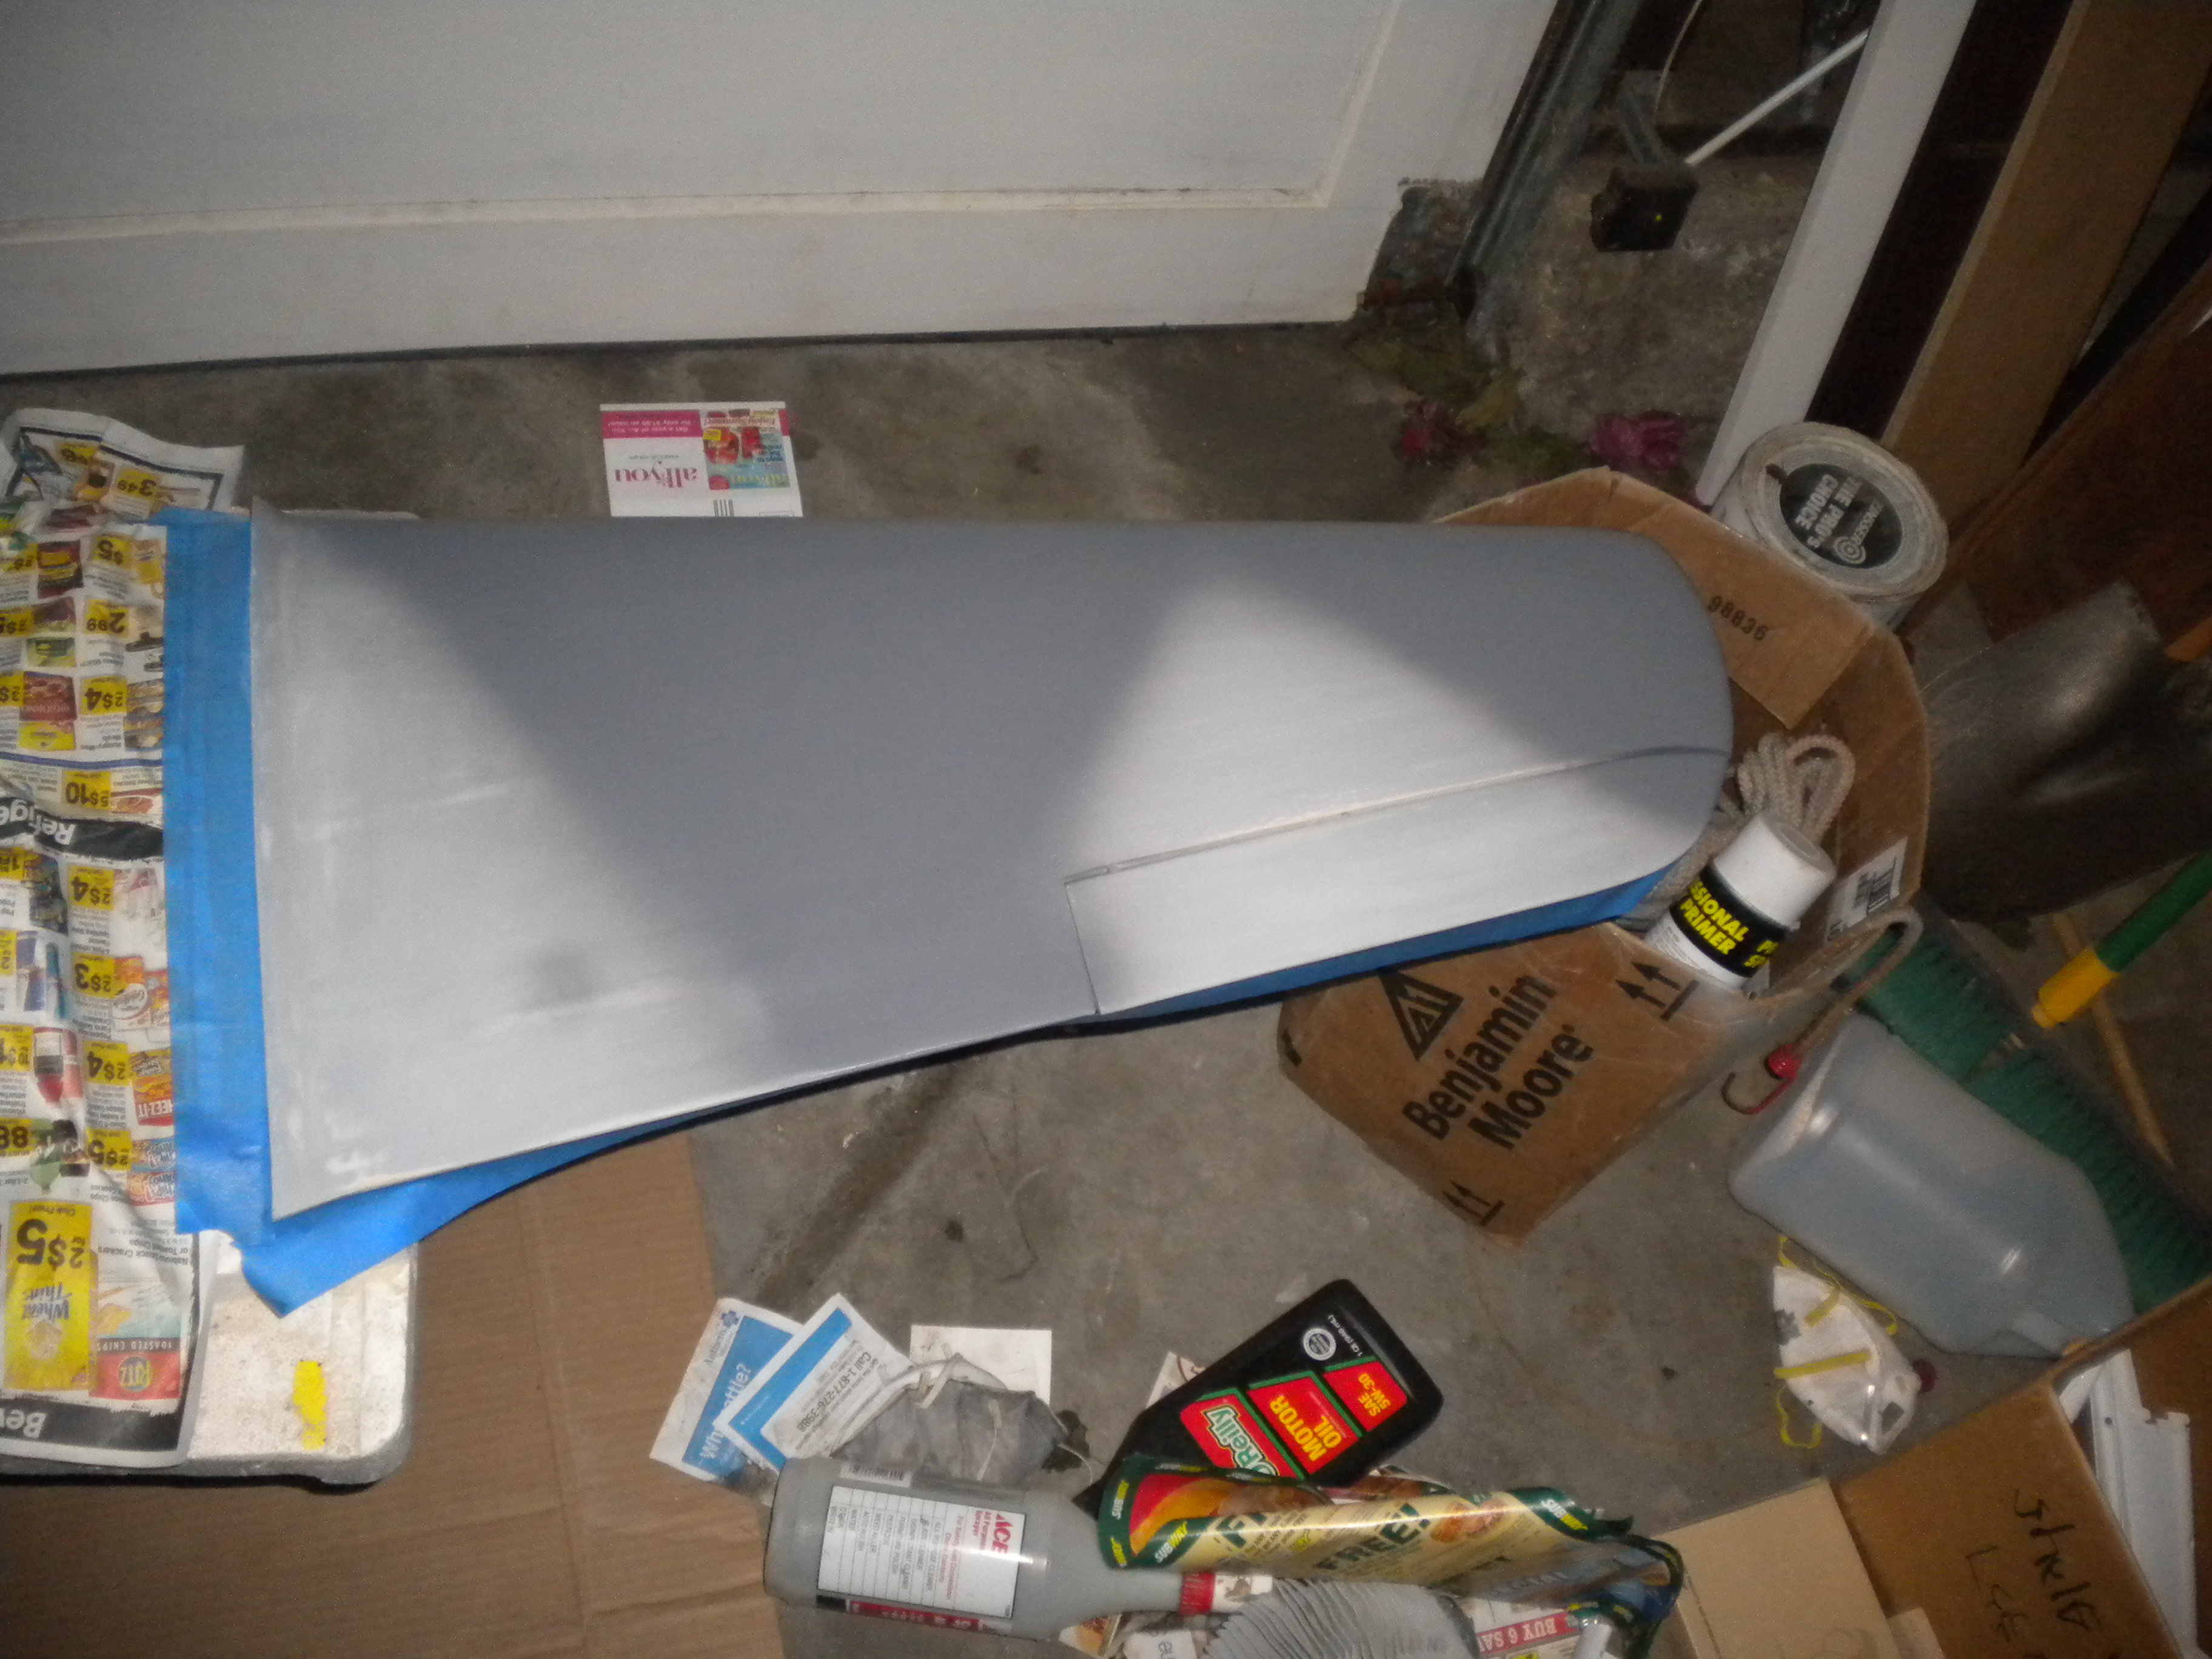
on to the wing and fuse I taped the edge with some 3M blue tape more as a shield than any thing I will sand this edge back before I clear coat to soften the line, I then shot my RLM 75 in a approximate pattern that I will be doing the camo scheme in going past the edge I have in mind bit not so much as to add excessive paint to the plane.
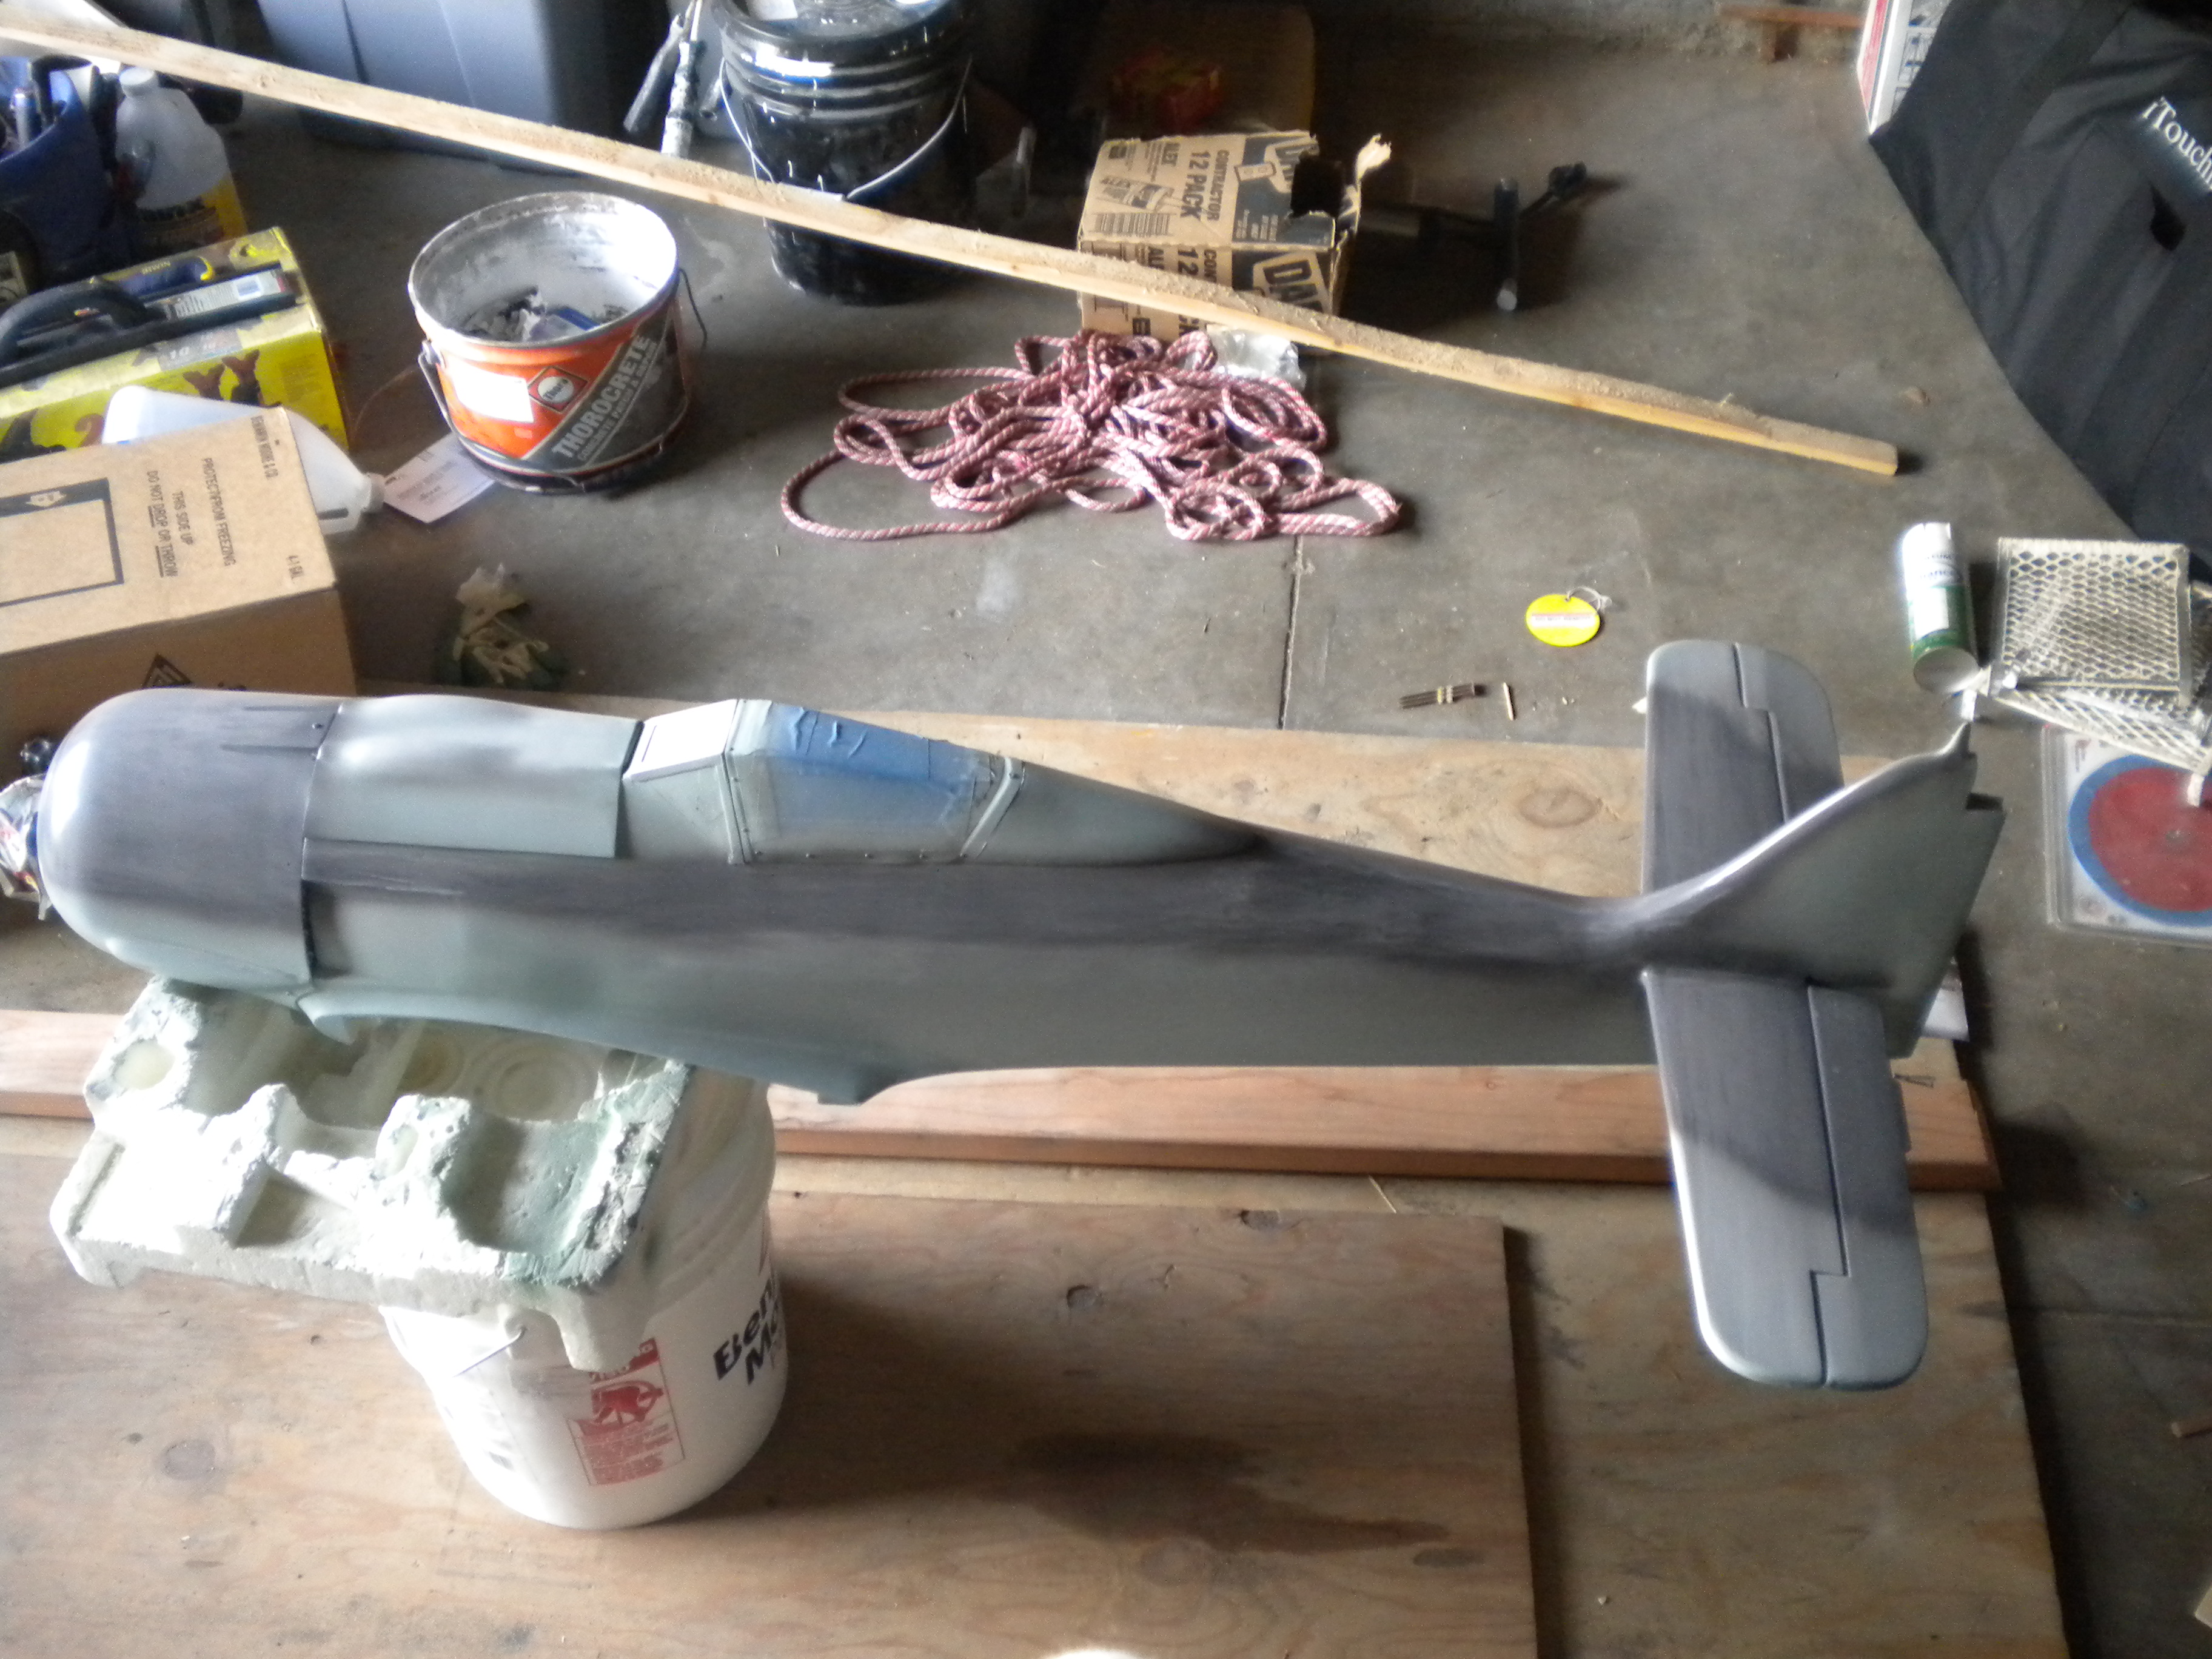
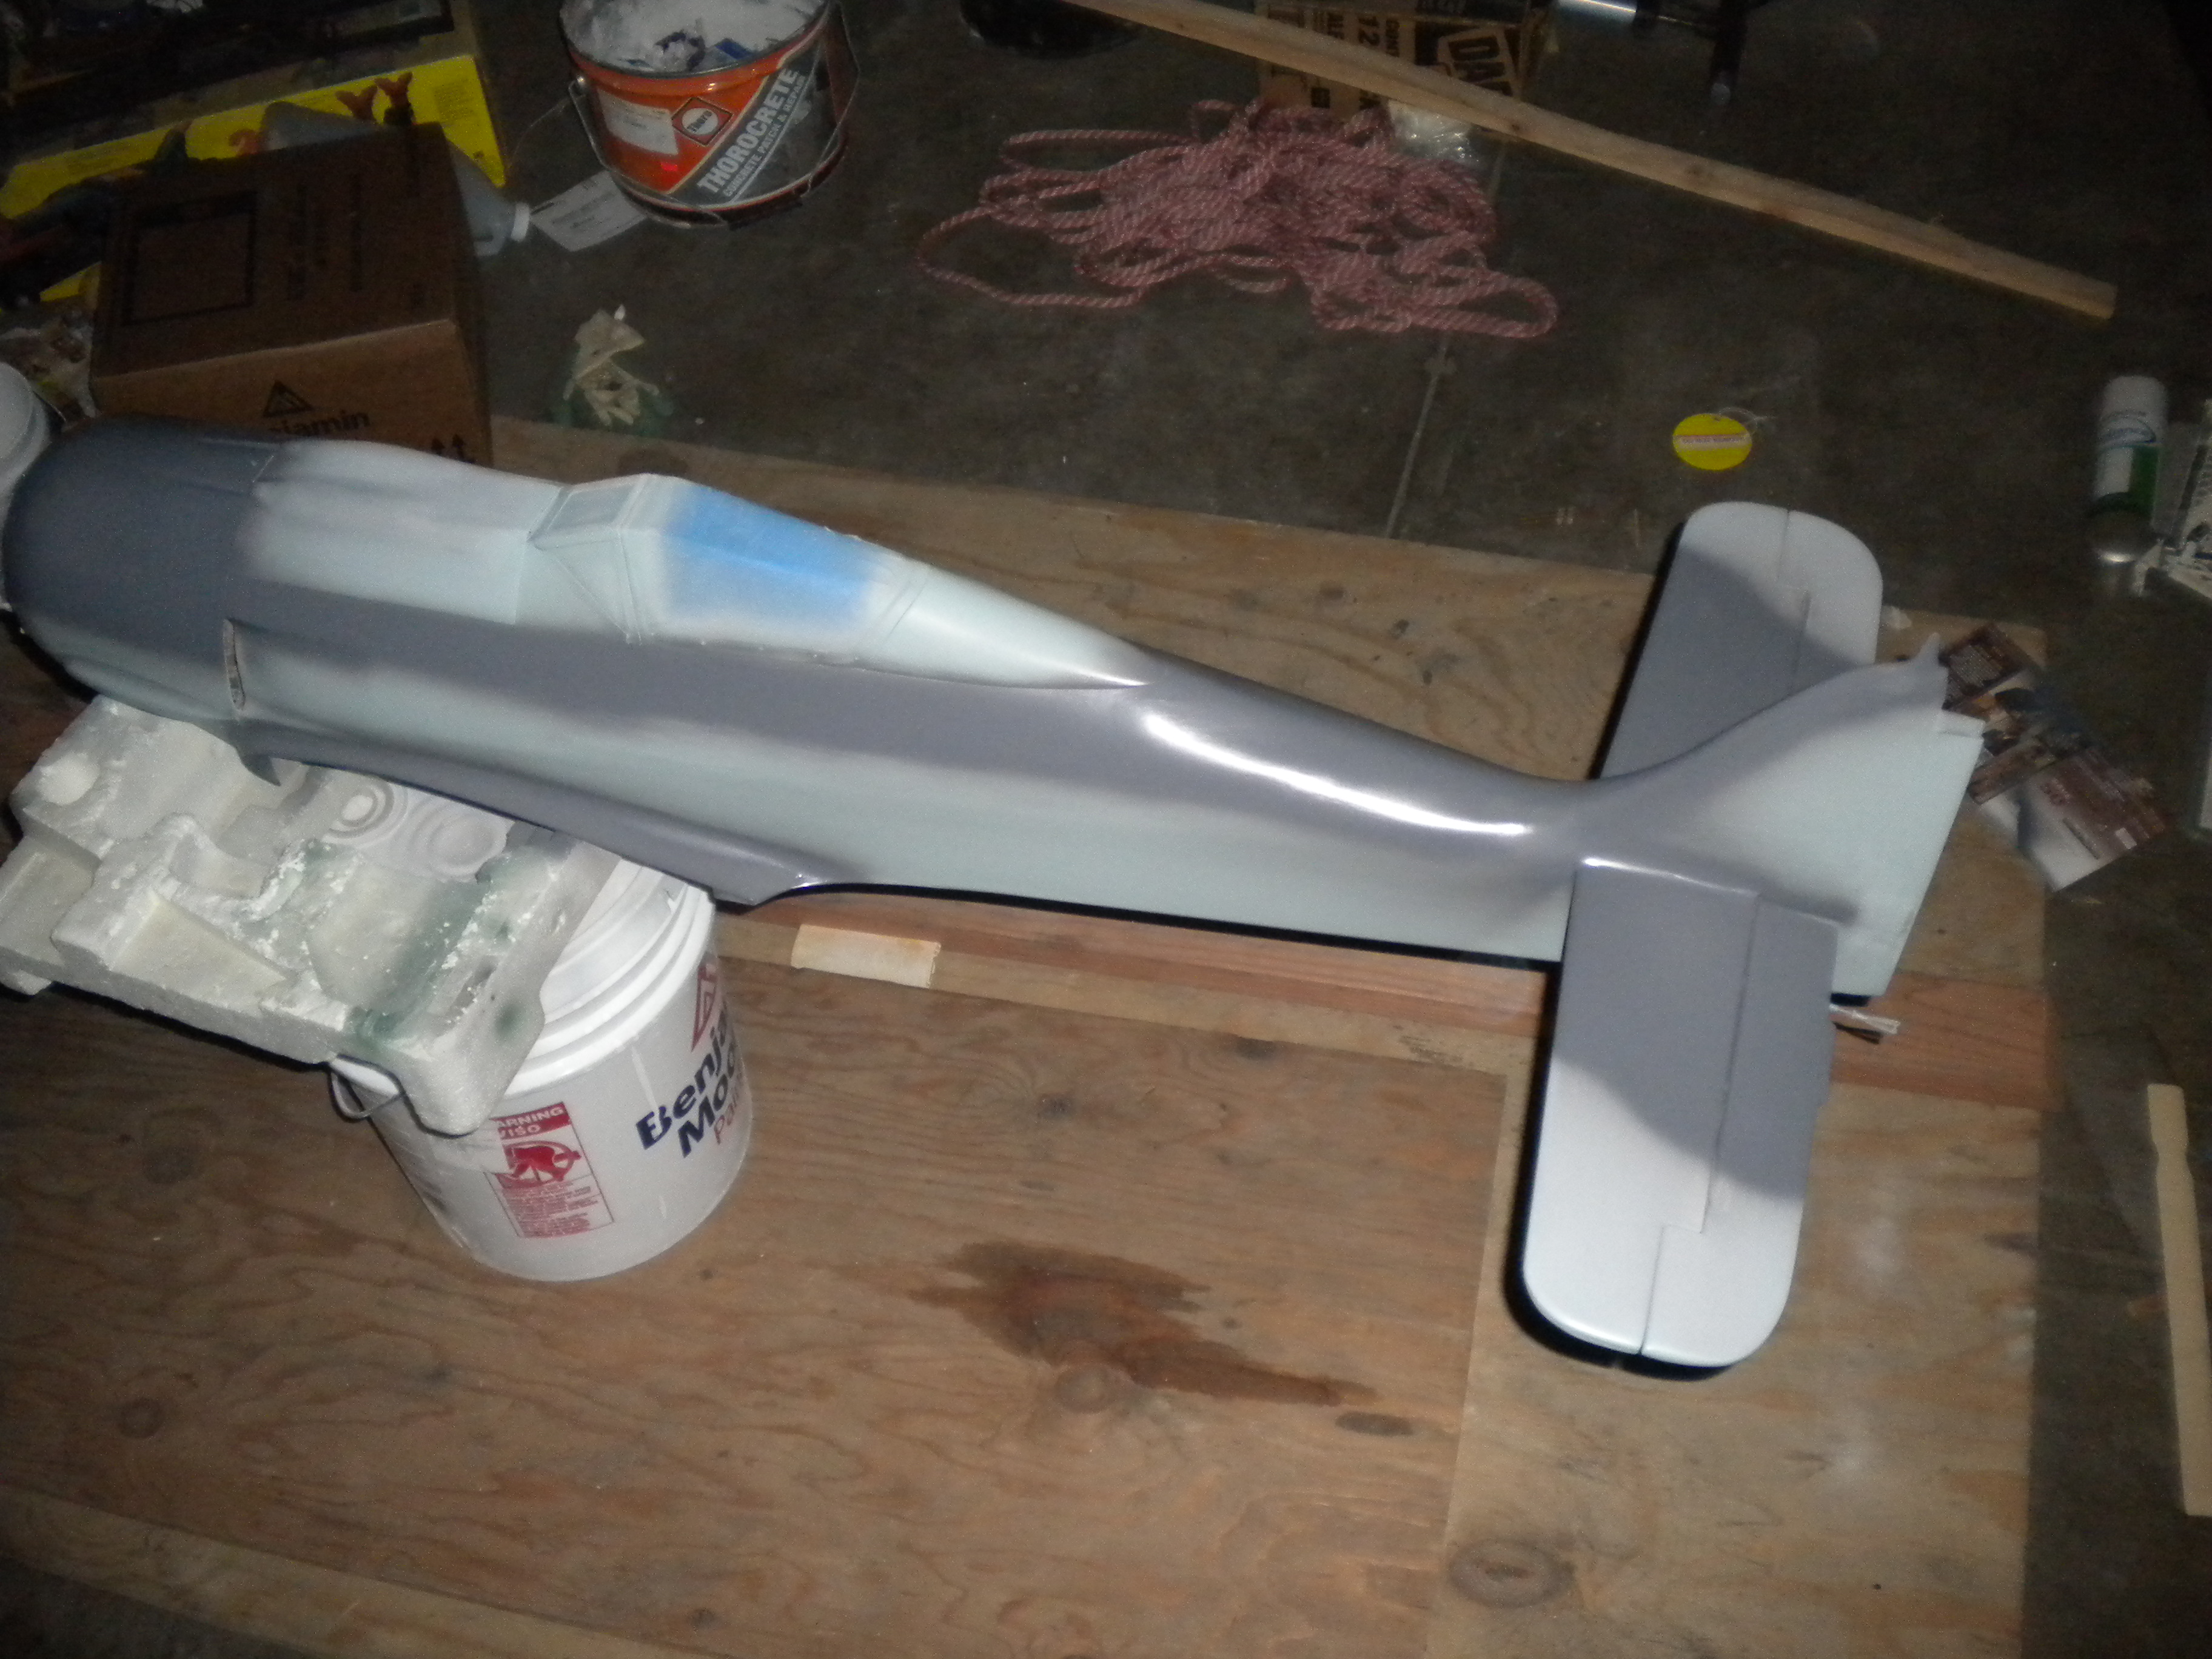
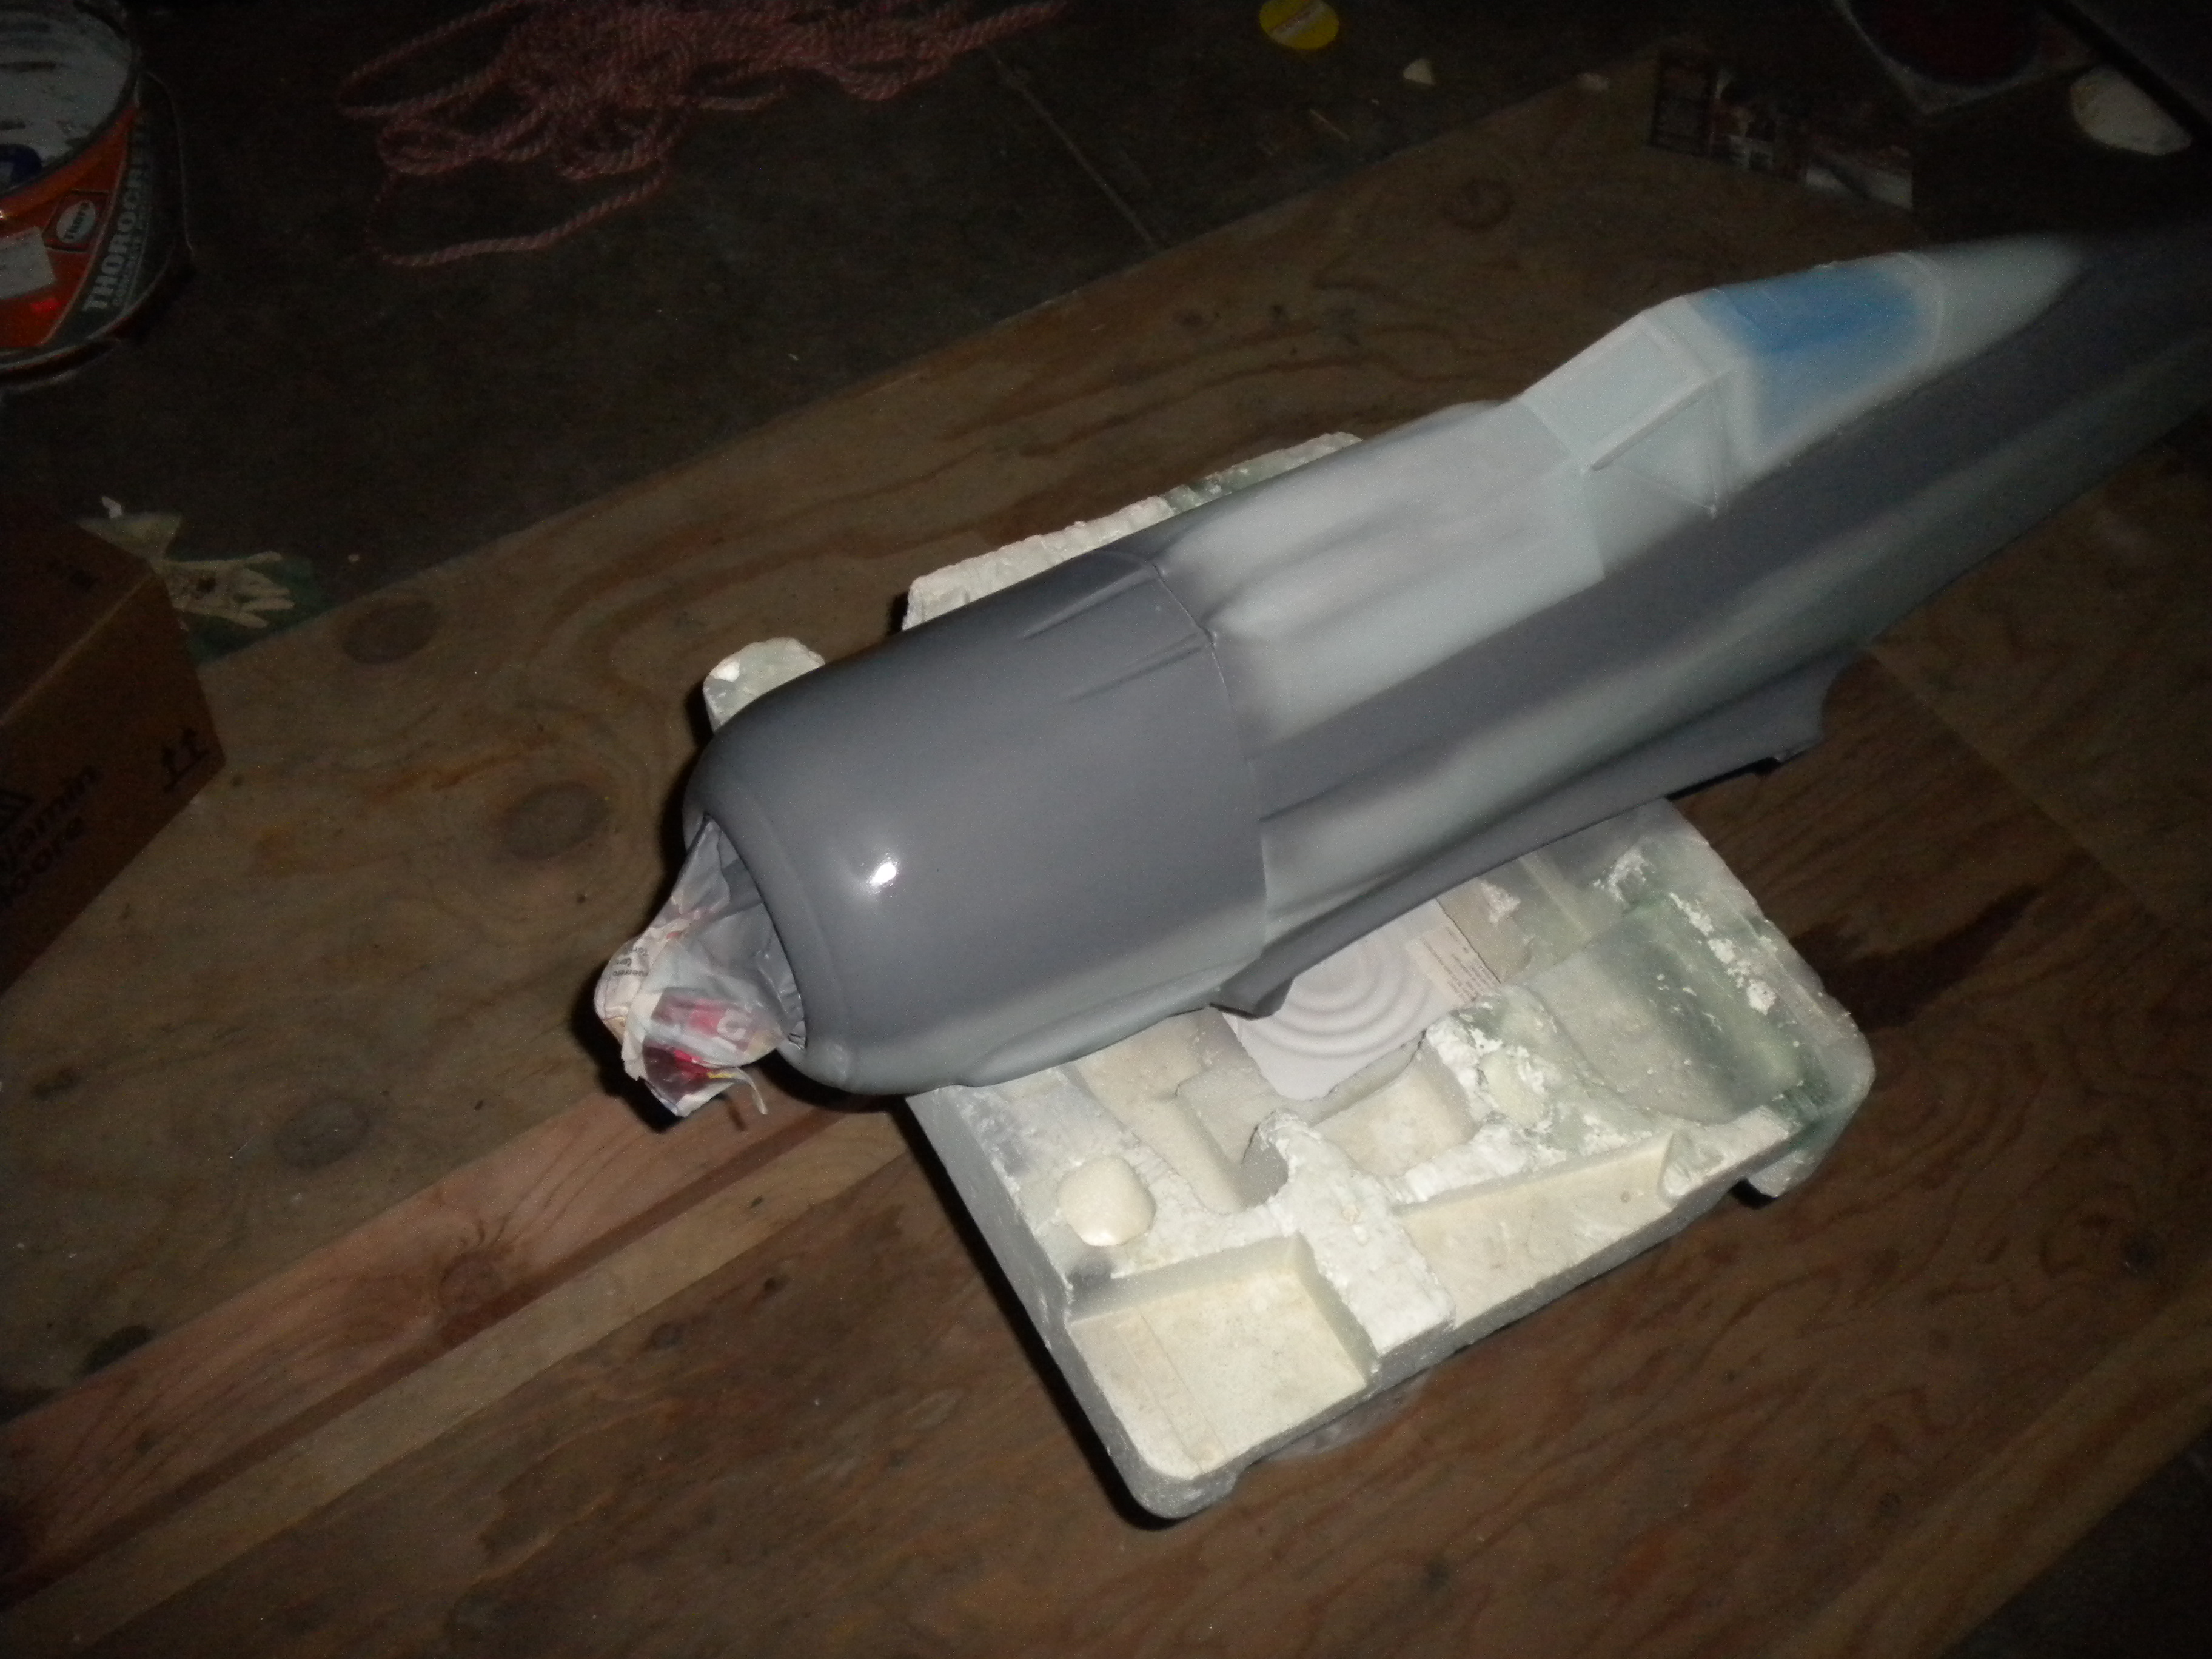
next was to shoot the fuse and cowl again in areas I will be using the purplish #75 but not so much as to add extra weight, I did all this yesterday,
I probably could have done more then but I wanted the coat to thoroughly dry so I could sand it in any rough areas and fix a drip I found when I shot the light blue that I didn't catch, I have found that several light coats work well with the paint and it hardly ever drips when I use my touch up gun, but I hit it just a little heavy in one spot.
today I gave the fuse and wing a rub down in the areas I shot the RLM 75 with some of the no clog 220G paper to touch up a couple of rough spots and hit every thing with another coat of the what could best be described as a grayish purple color the first photos are of the fist sanded areas and then the final spray finsish of the RLM 75 I will check it later to see if the surfaces are dry enough to start on the RLM 74 green later.
next will be RLM 74 a green to fill in the bare spots at the gun hood, canopy area and some select spot on the fuse, as well as the wing areas and tips of the elevator,once I do that I will go back and clean up some of the excess areas with the RLM 76 more on that later some pics of my progress.