I would like to thank the gentlemen who took the time to send photos of the drawings and a pdf copy of the manual. It was a great help as I was able to re-produce the wood parts that I needed.
The following is a quick photo view of the progress that I made on the rebuild.
The project started a couple of years ago when my Buddy Jack and I were given parts from a crashed King Cat; so we started looking for more parts. Last fall Jack found some more broken parts on RCU, wings booms etc, he was still missing a canopy and a nose cone. We located gentlemen who had made molds for replacement parts, so Jack was able to procure the replacement nose, canopy and a lower belly pan. Now it was time to turn this basket case into a great airframe again. This is where I volunteered to put "Humpty Dumpty" back together again.
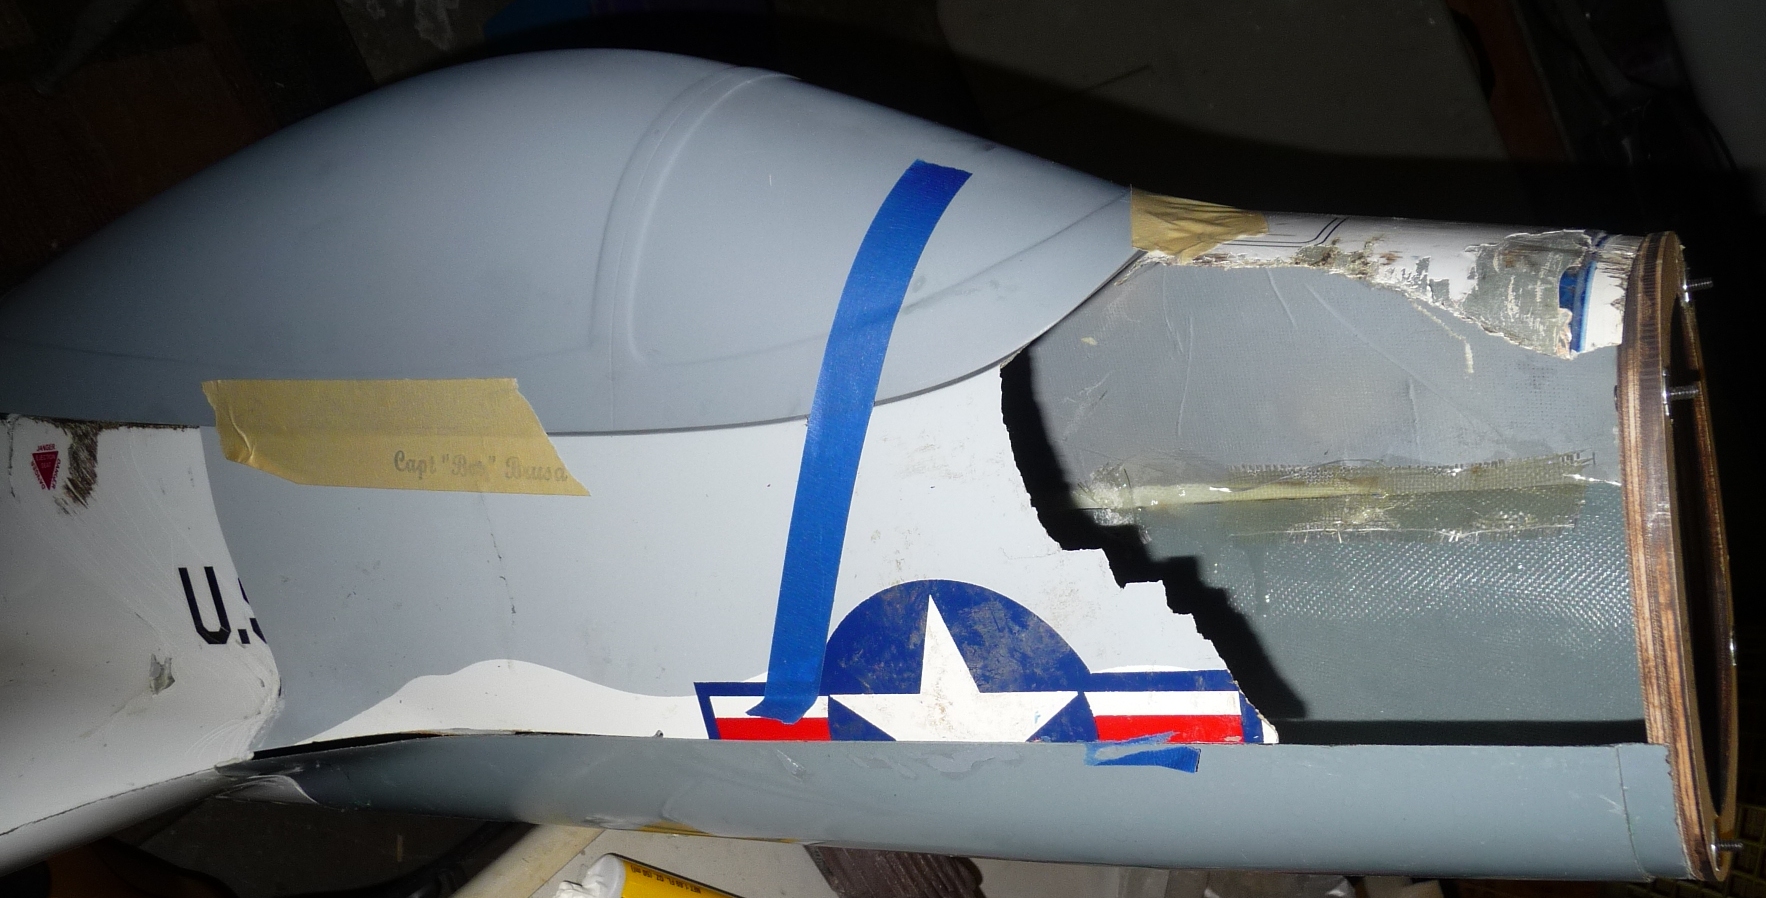
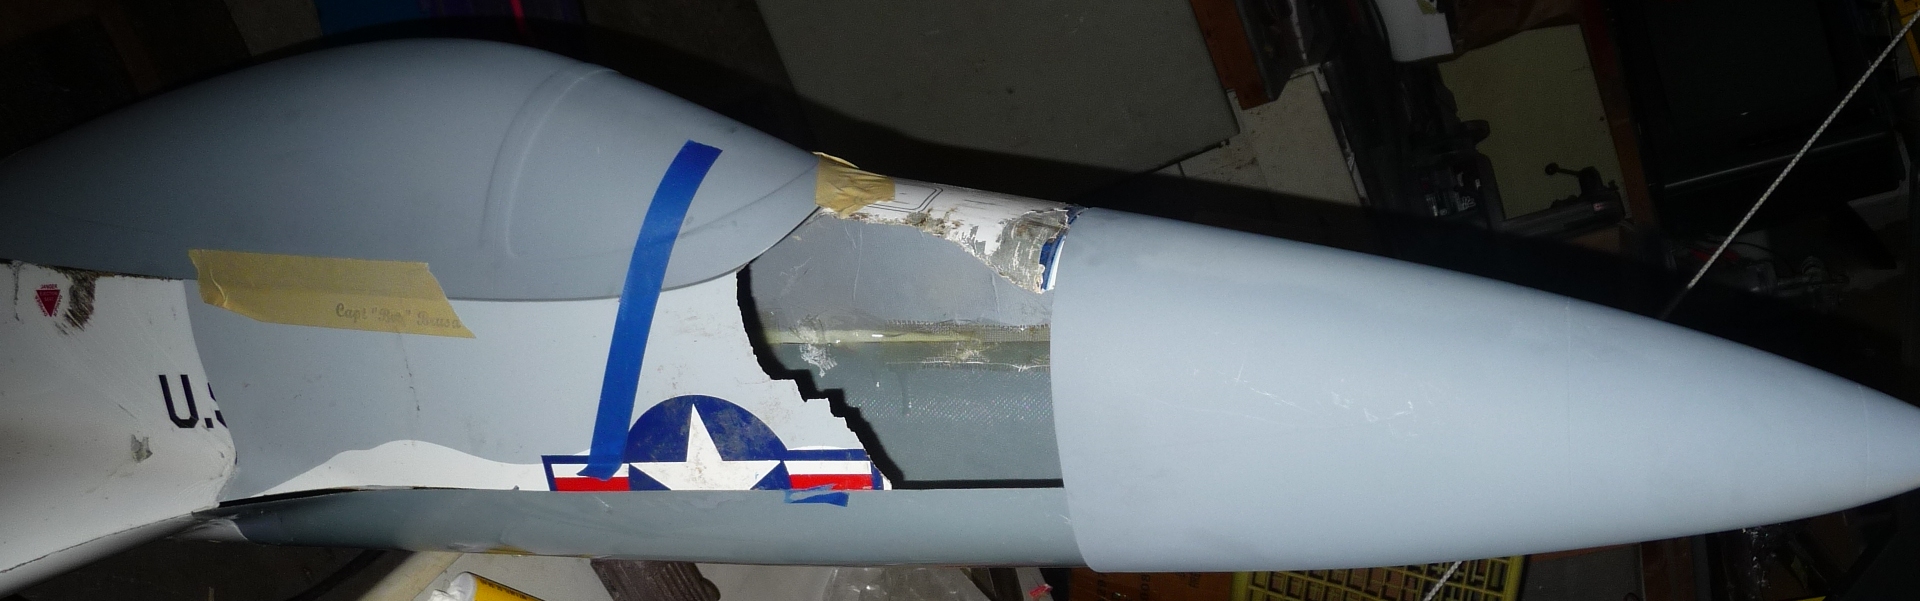
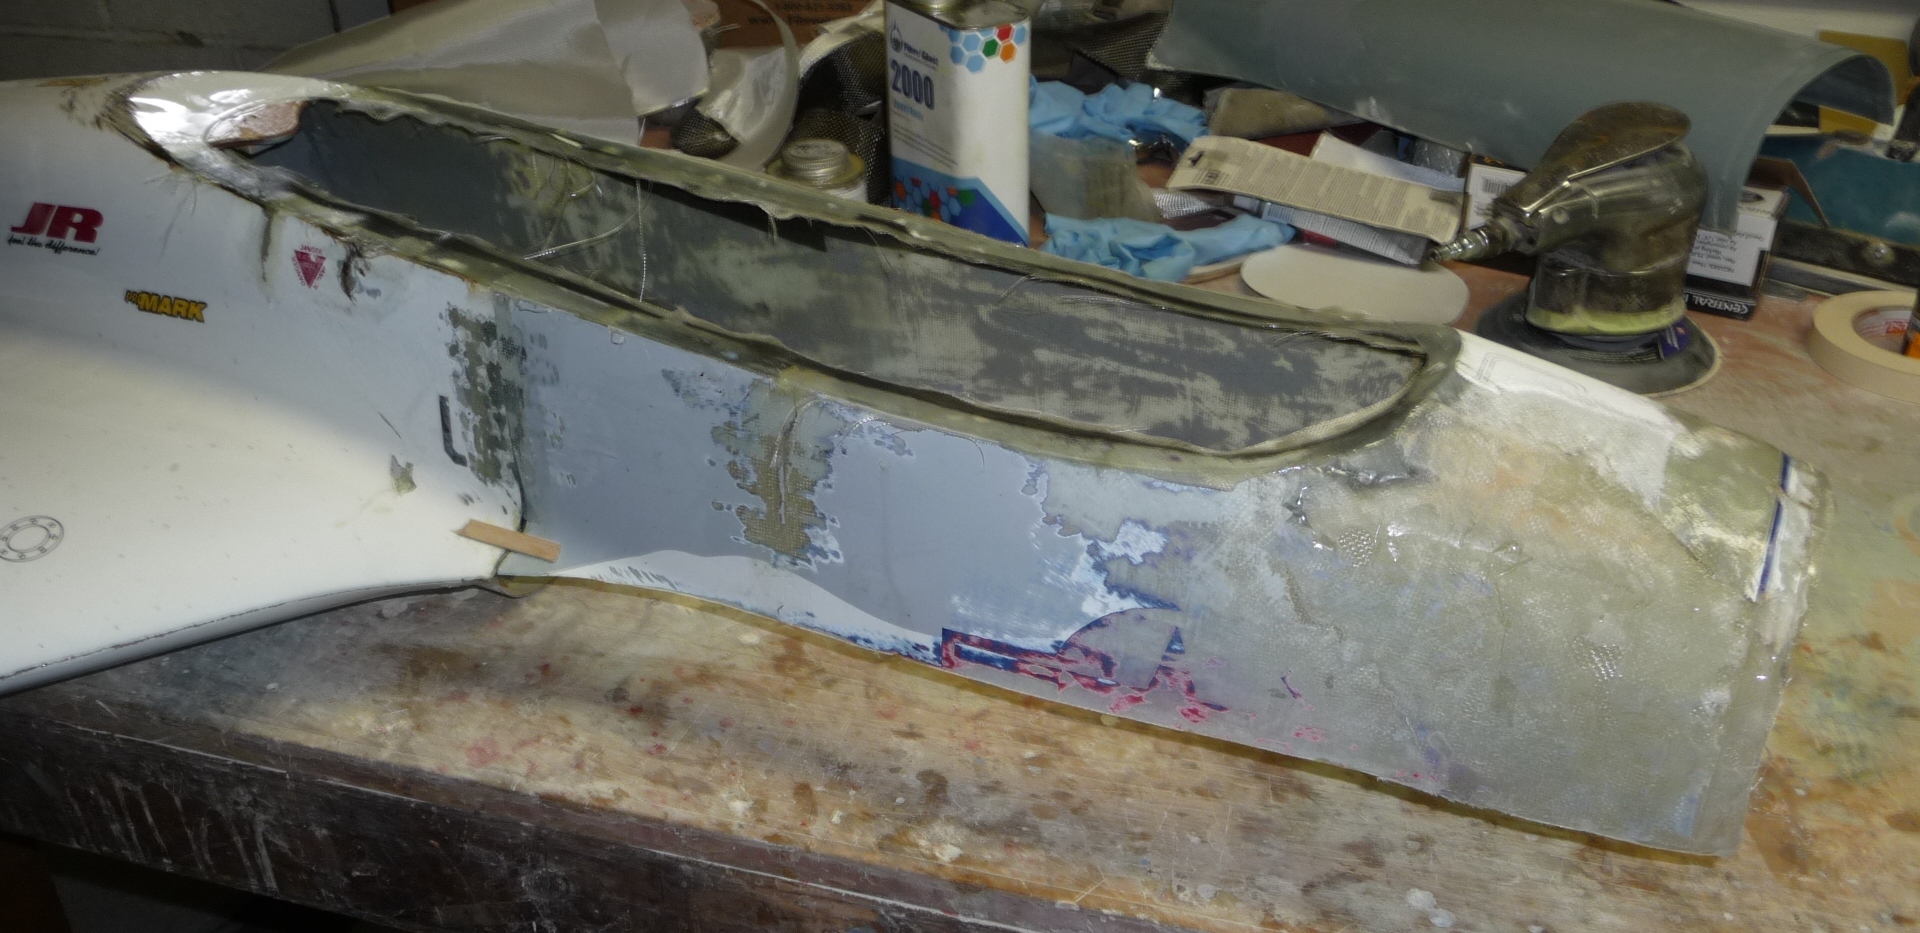
"Humpty Dumpty" missing a section of the forward fuselage, the left side section cut from the original crashed King Cat, this is why it is important to save all parts, no matter how small of piece....
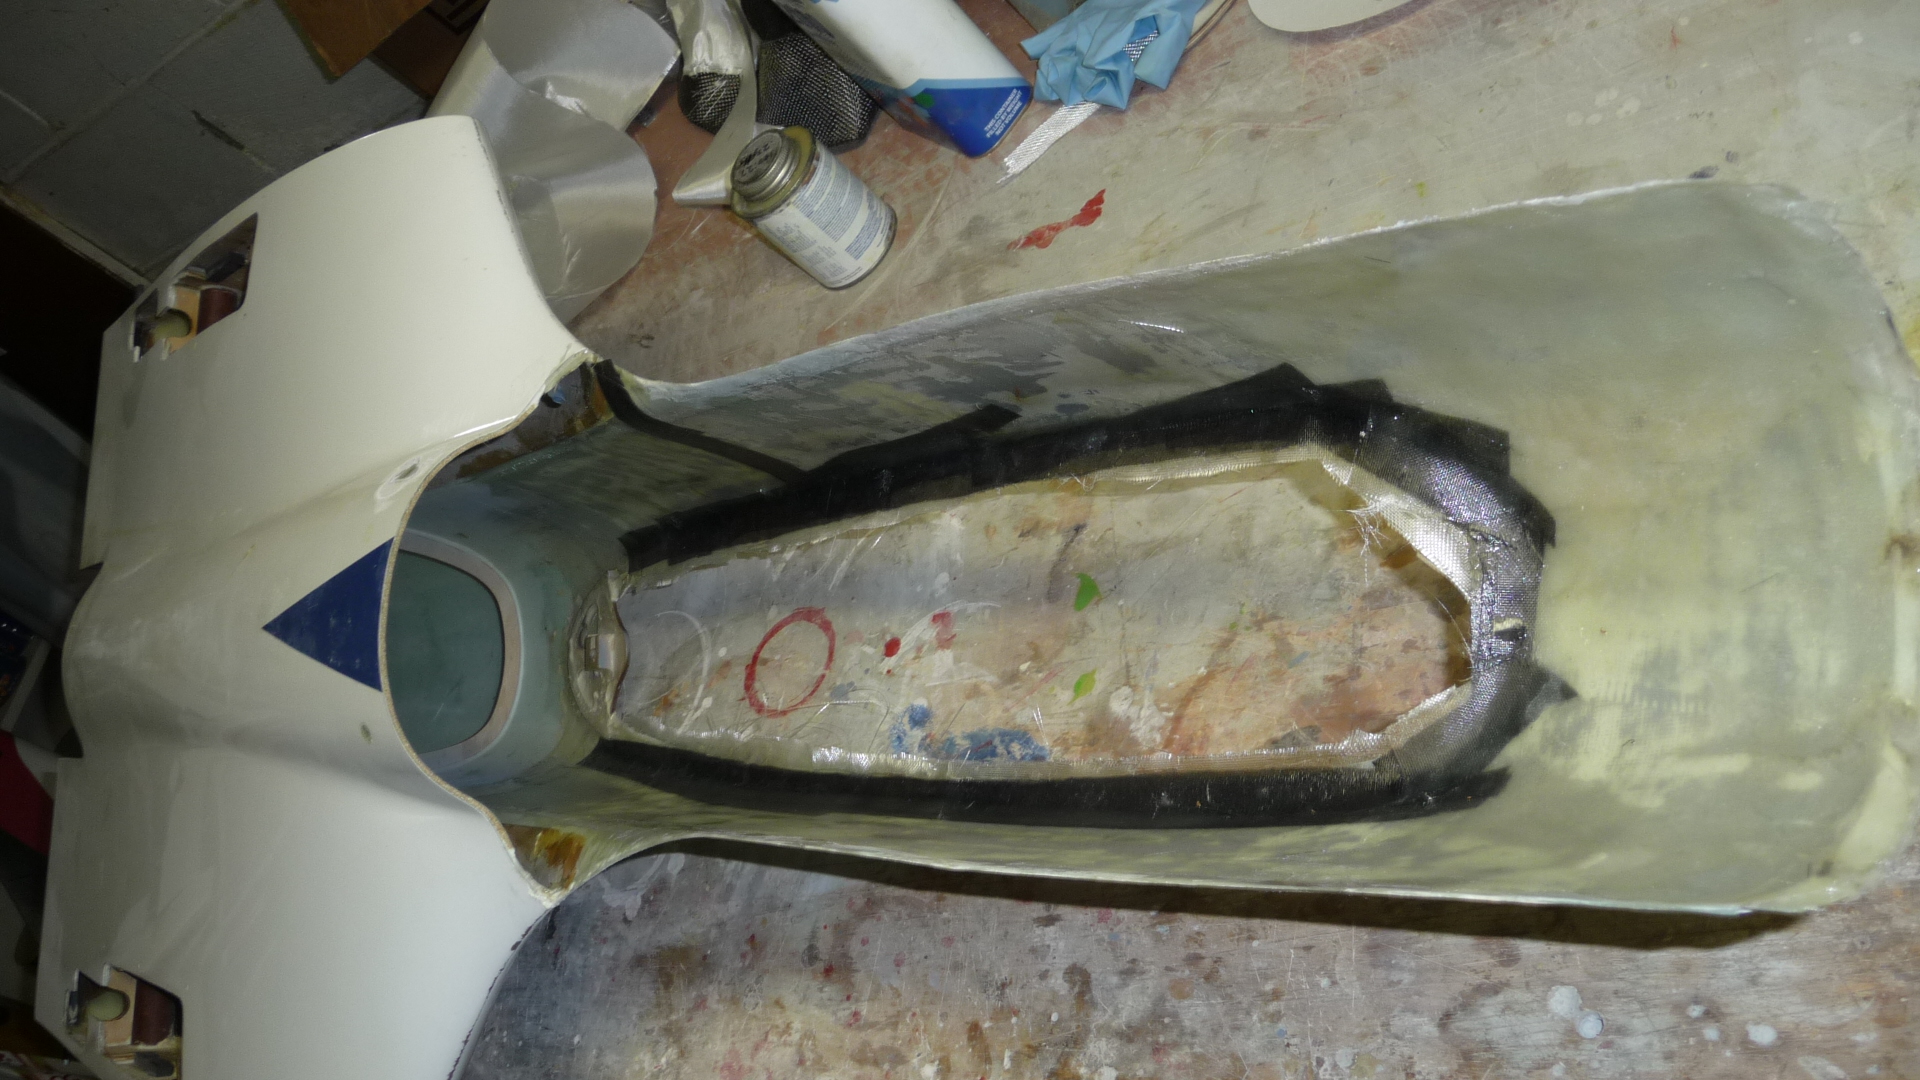
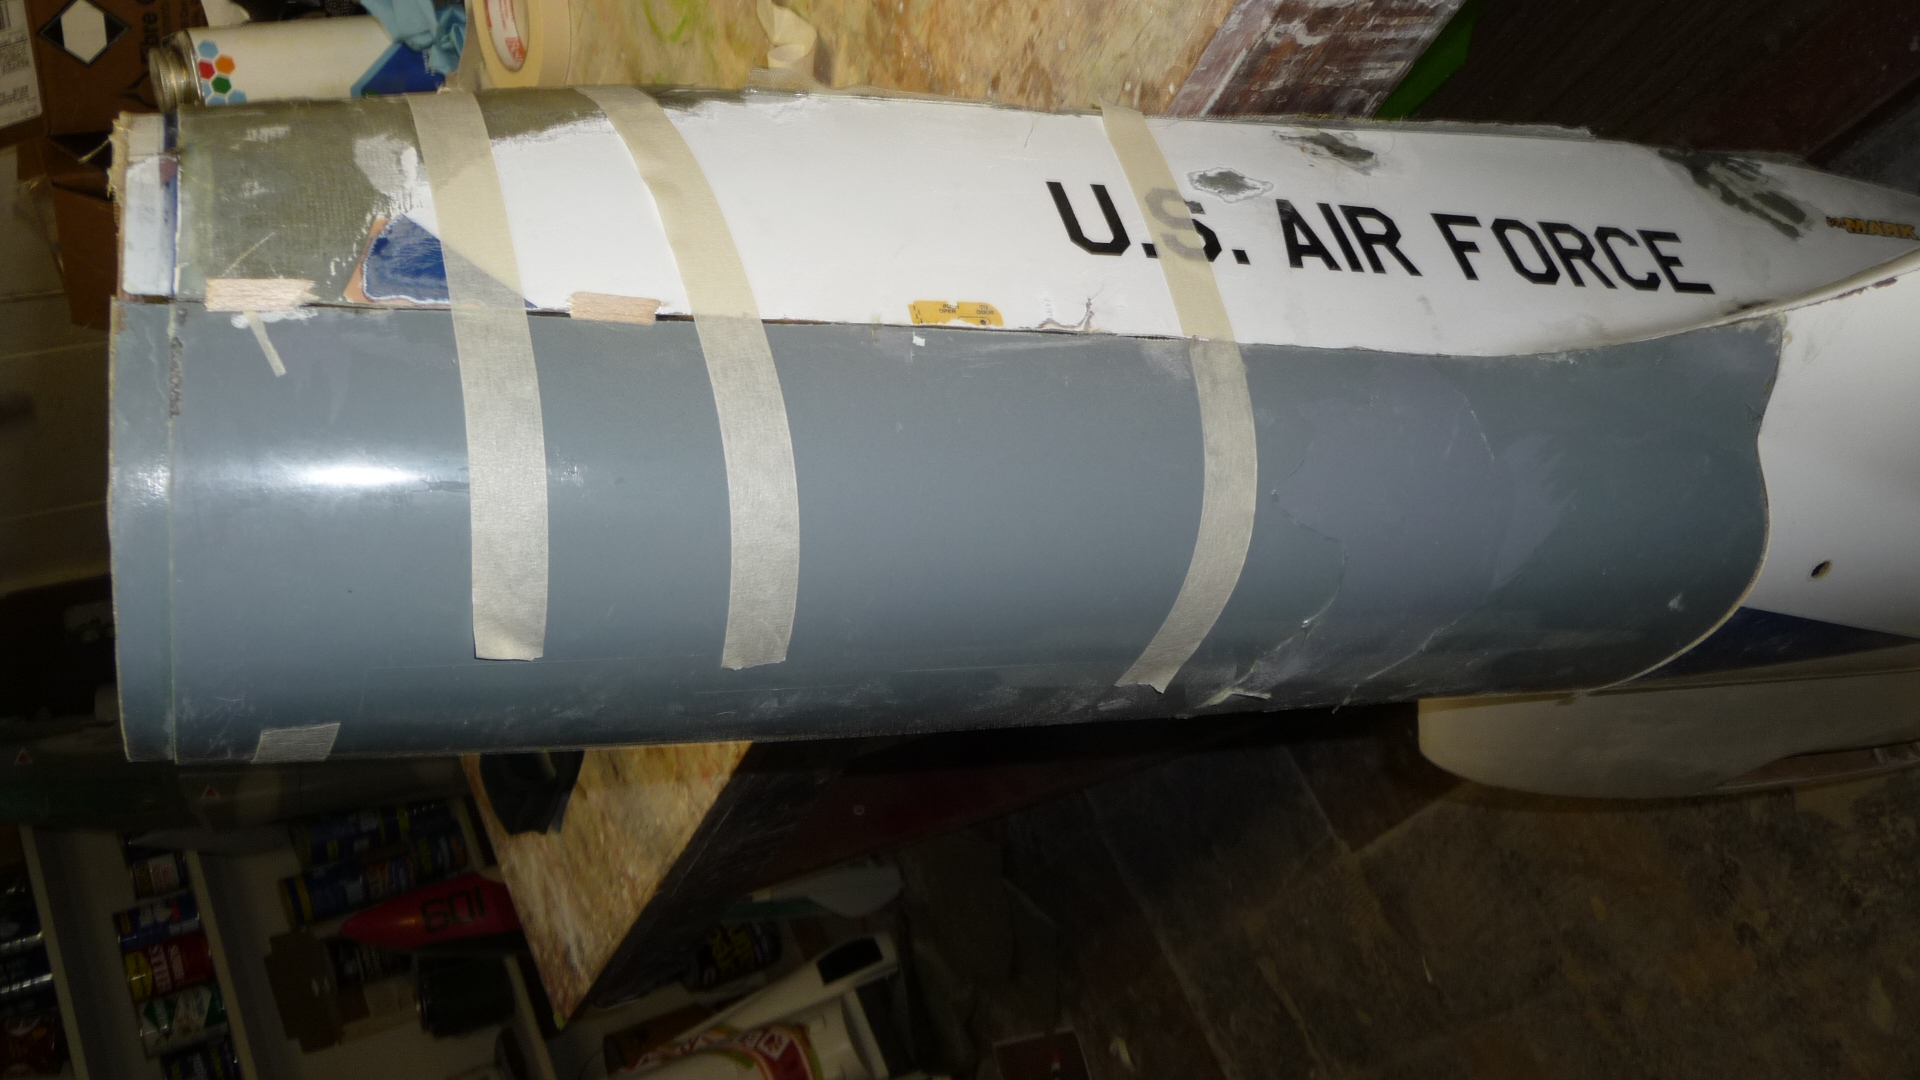
New nose cone, canopy and belly pan fitted up
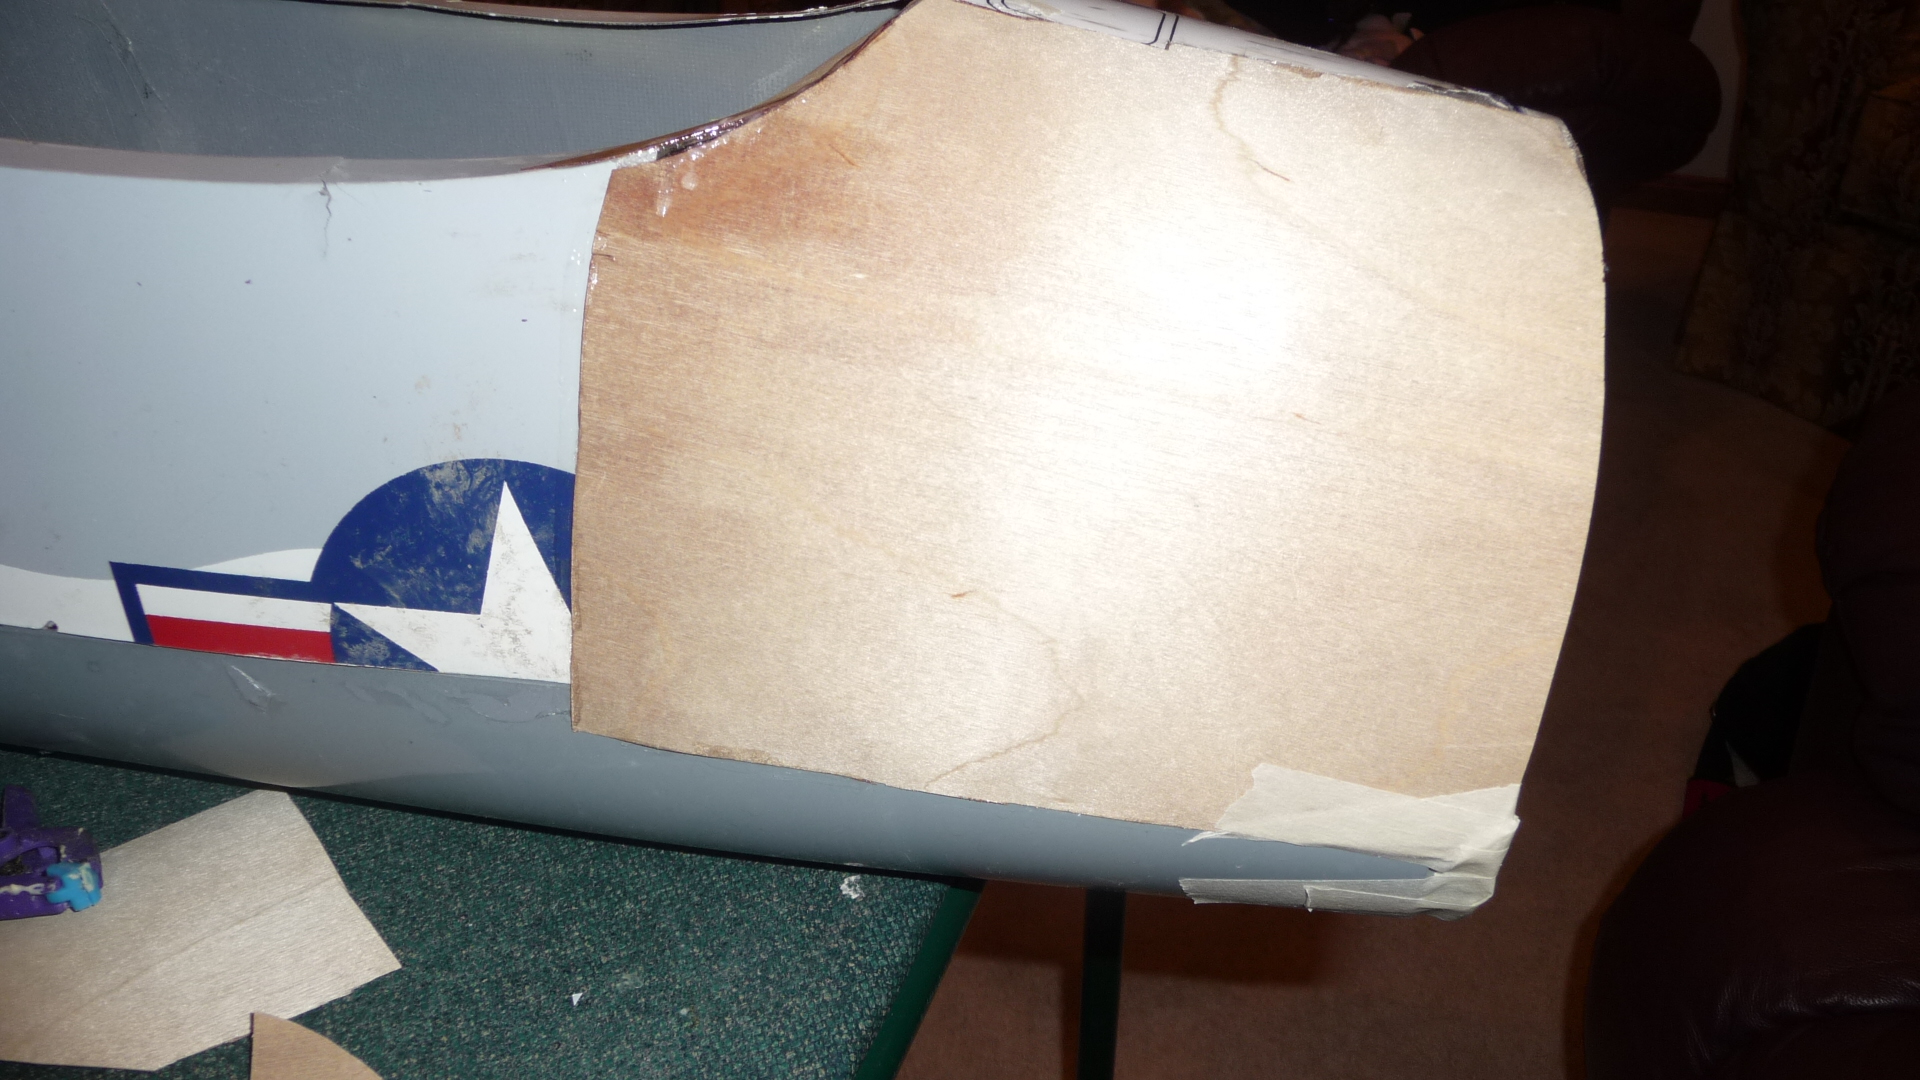
1/64" Plywood to create a mold for the missing section
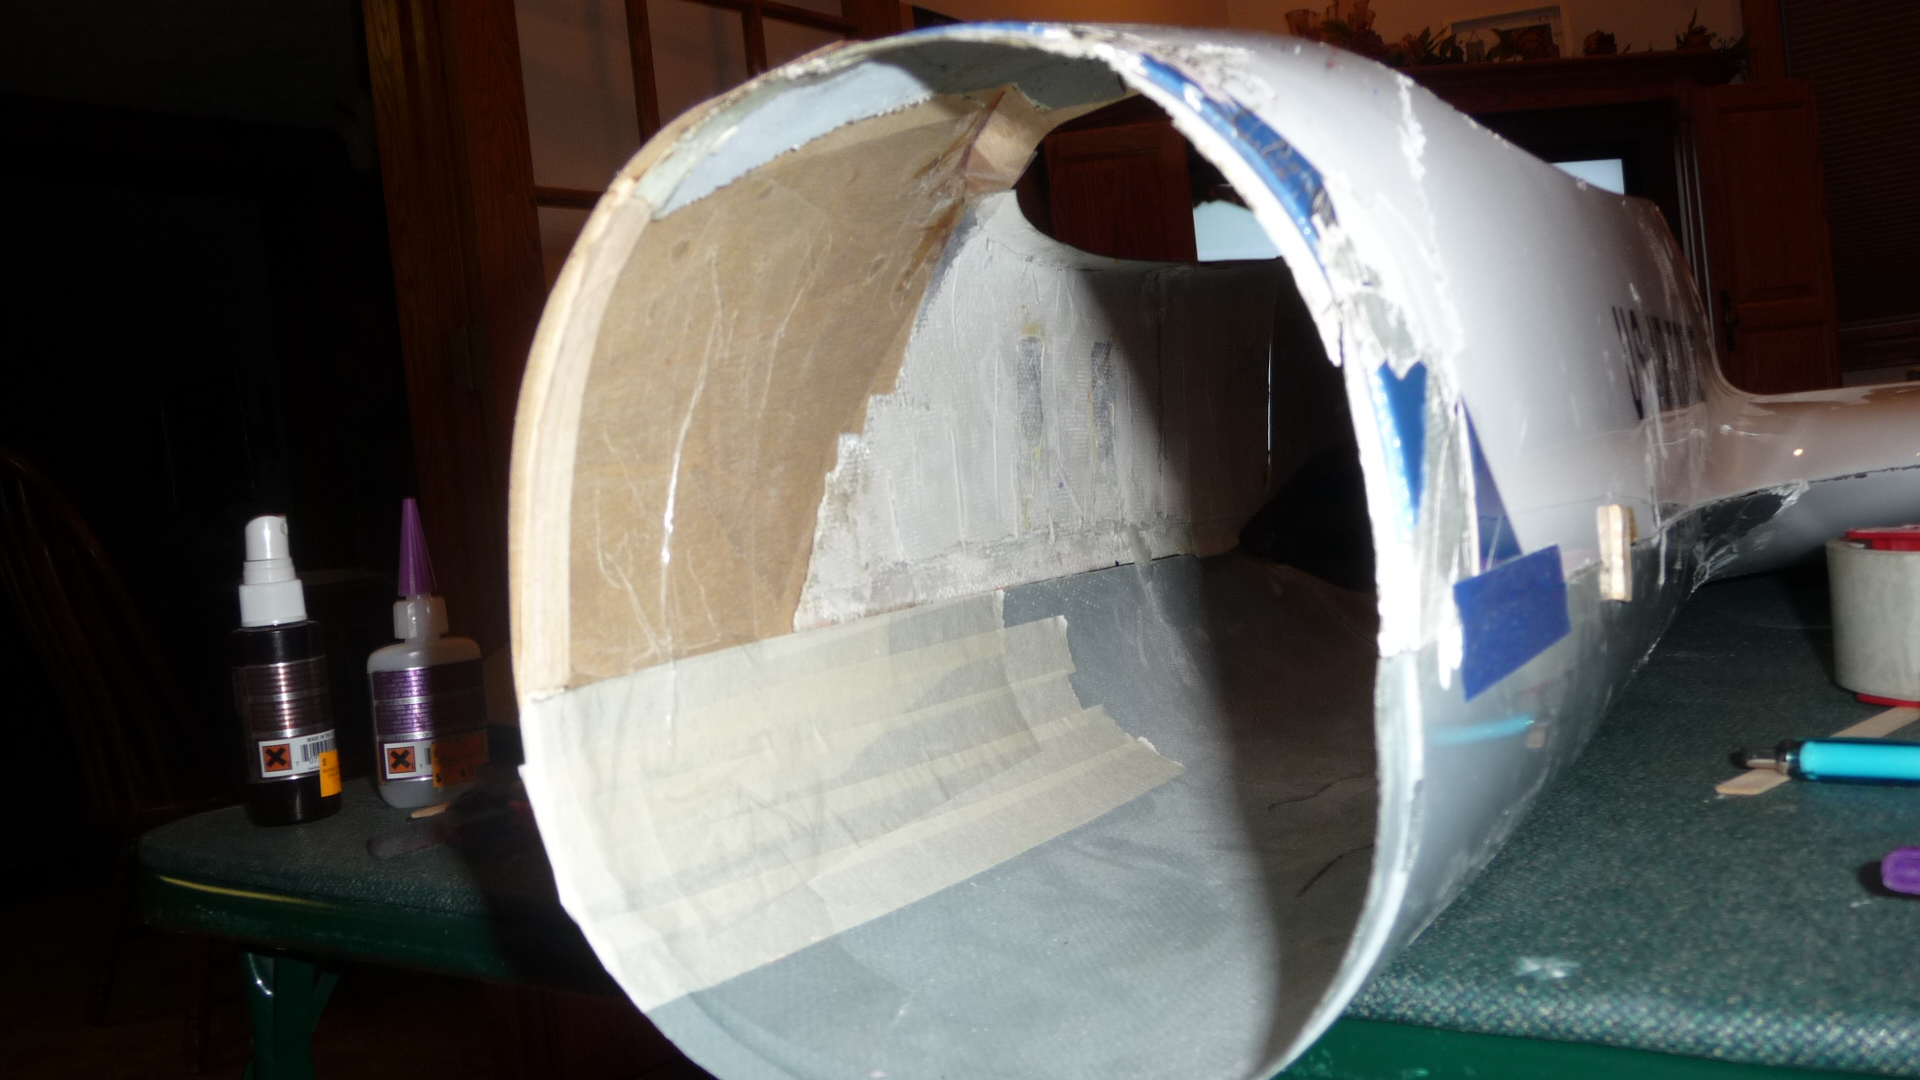
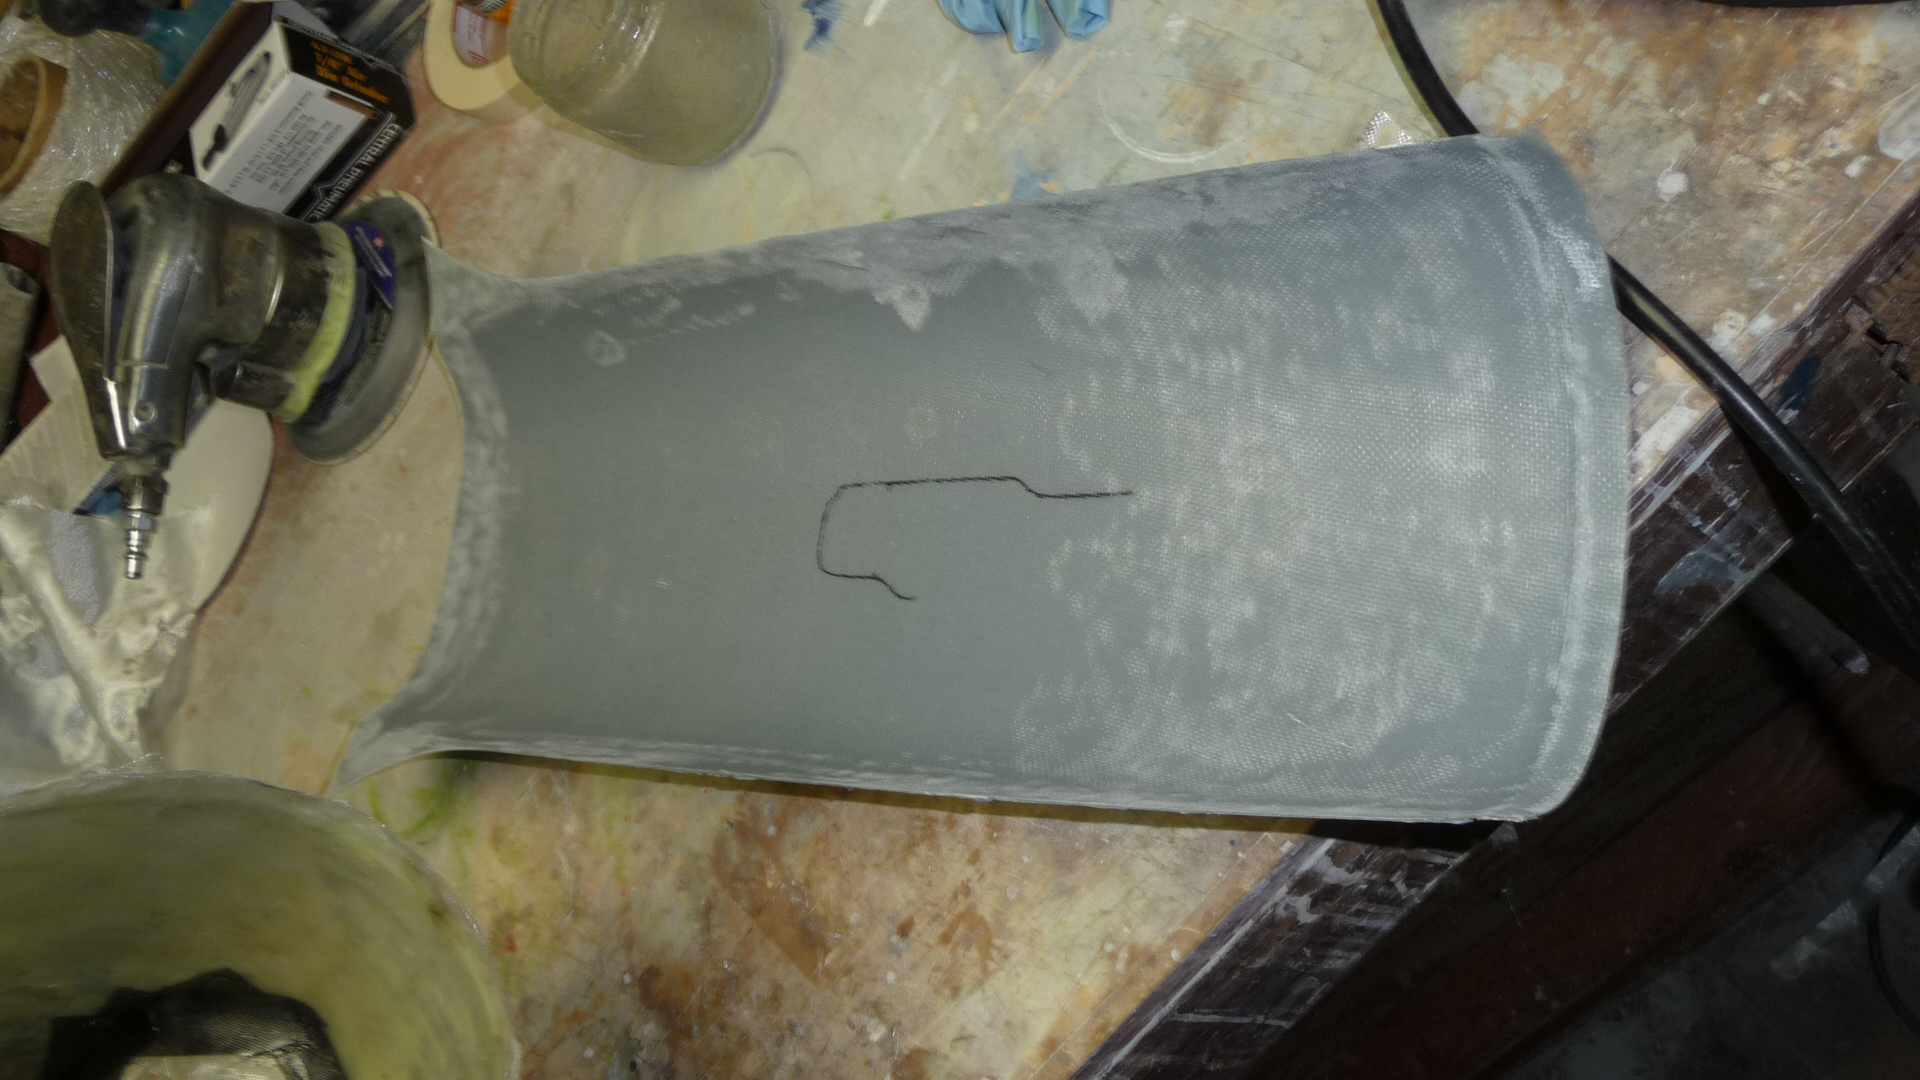
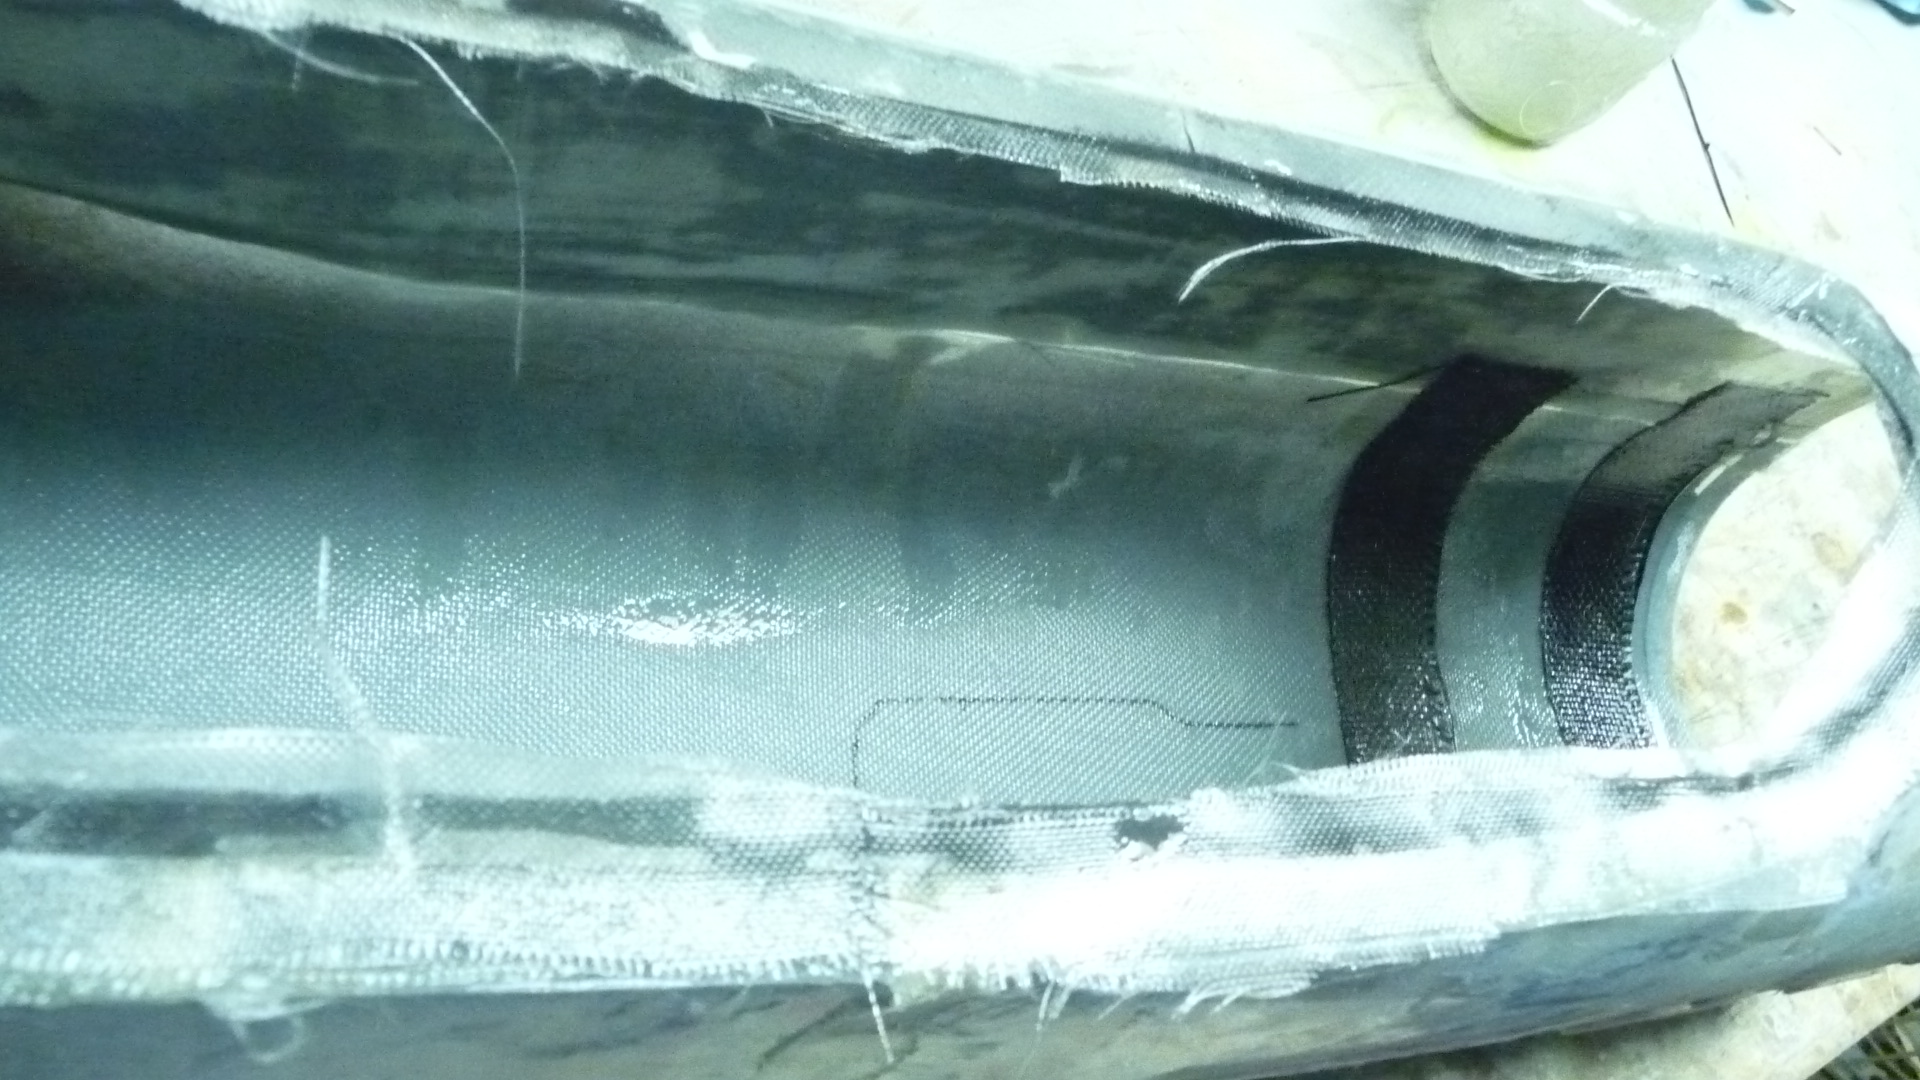
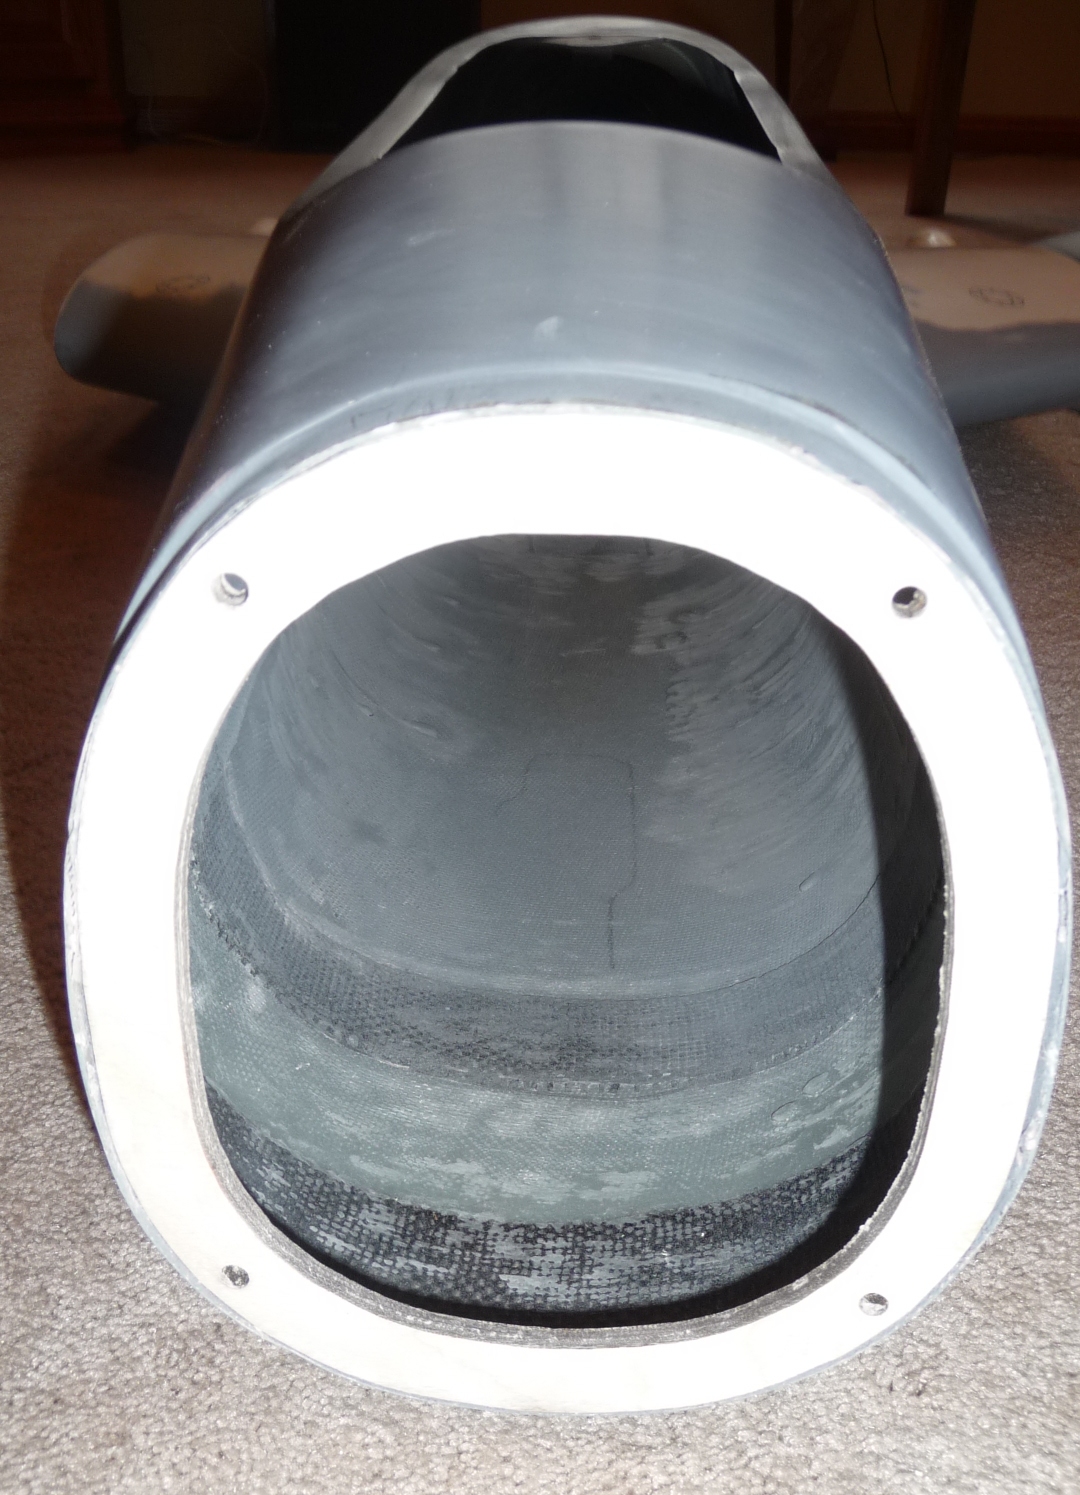
Ready to apply glass from the inside
After the glass cured, wood form removed
Belly pan has been tacked in up to this point, removed belly pan to gain clear access to upper fuselage section, carbon fiber and glass reinforcement applied to canopy rails.
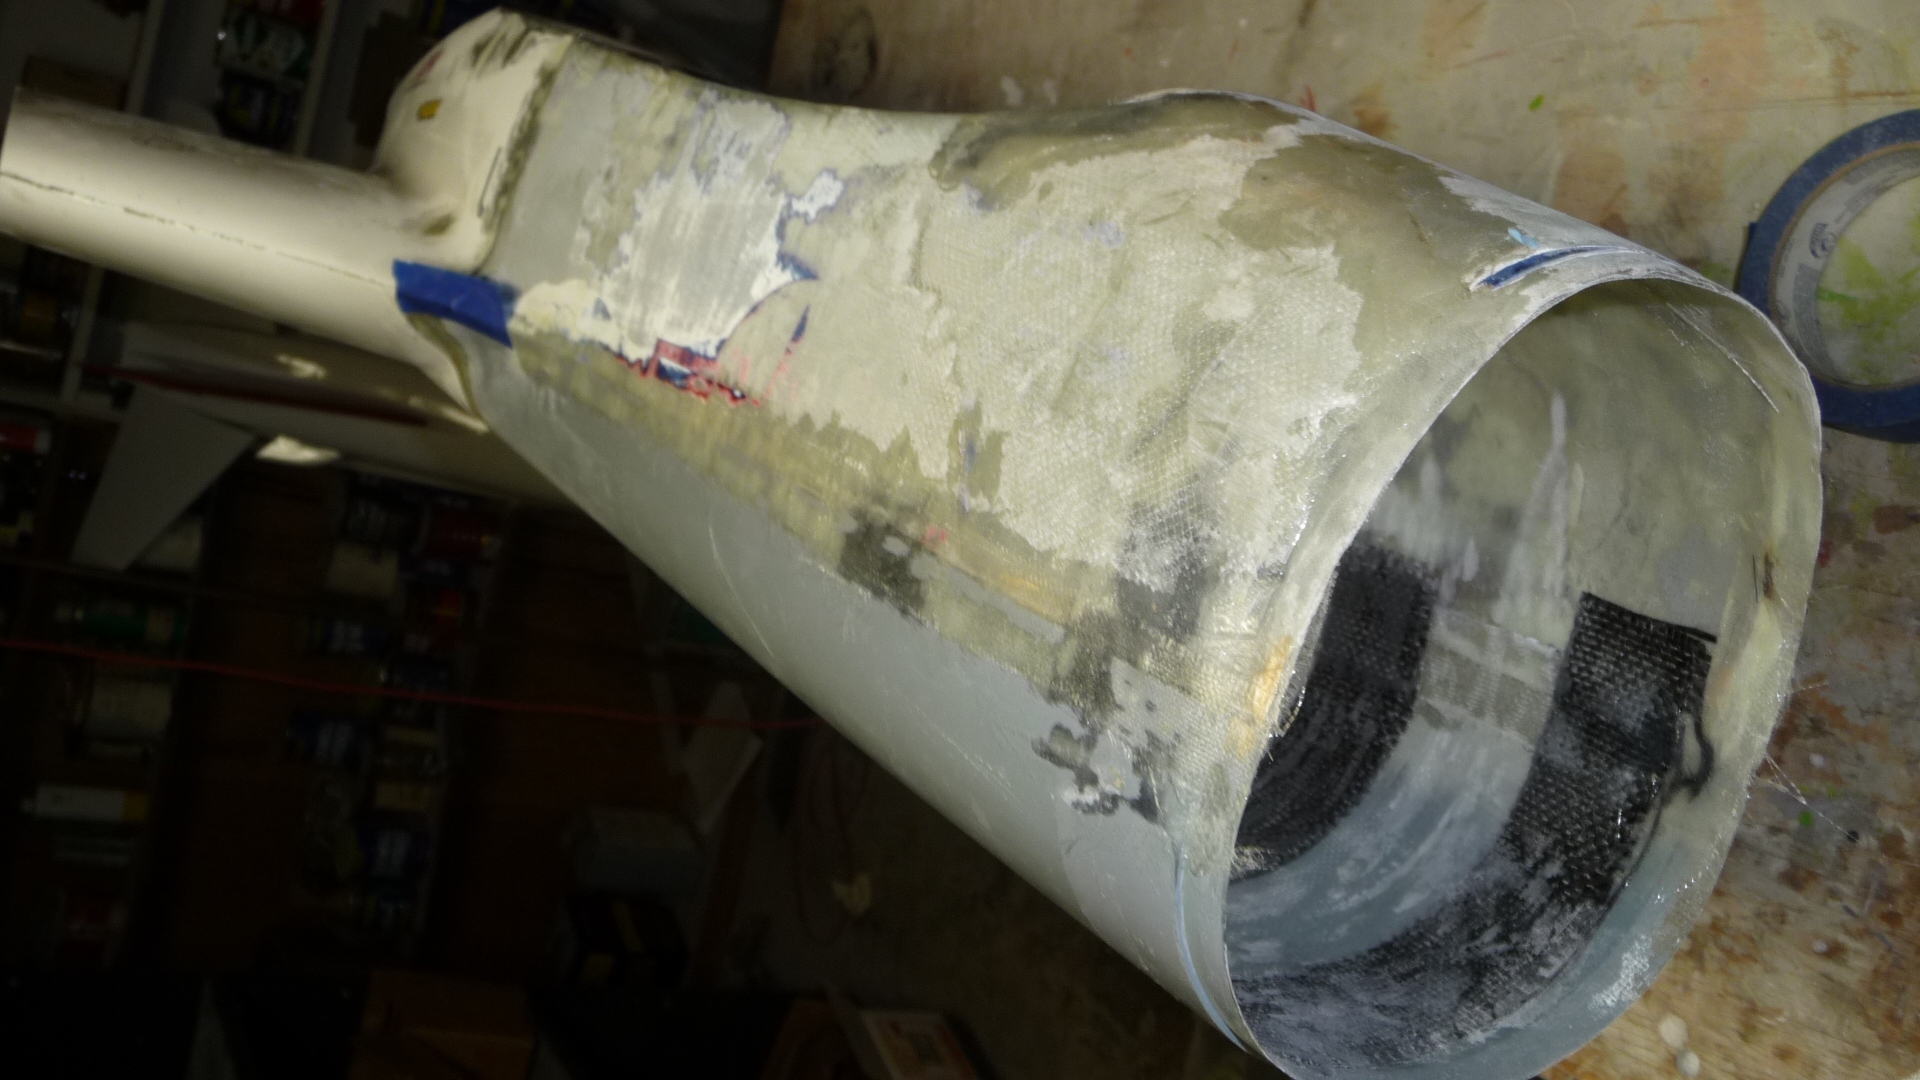
Now it was time to join the belly pan to the upper fuselage section, belly pan prepped
Pan tacked in with CA, then fiberglass tape used to join the two sections
Carbon fiber added to areas where the nose wheel formers will be placed
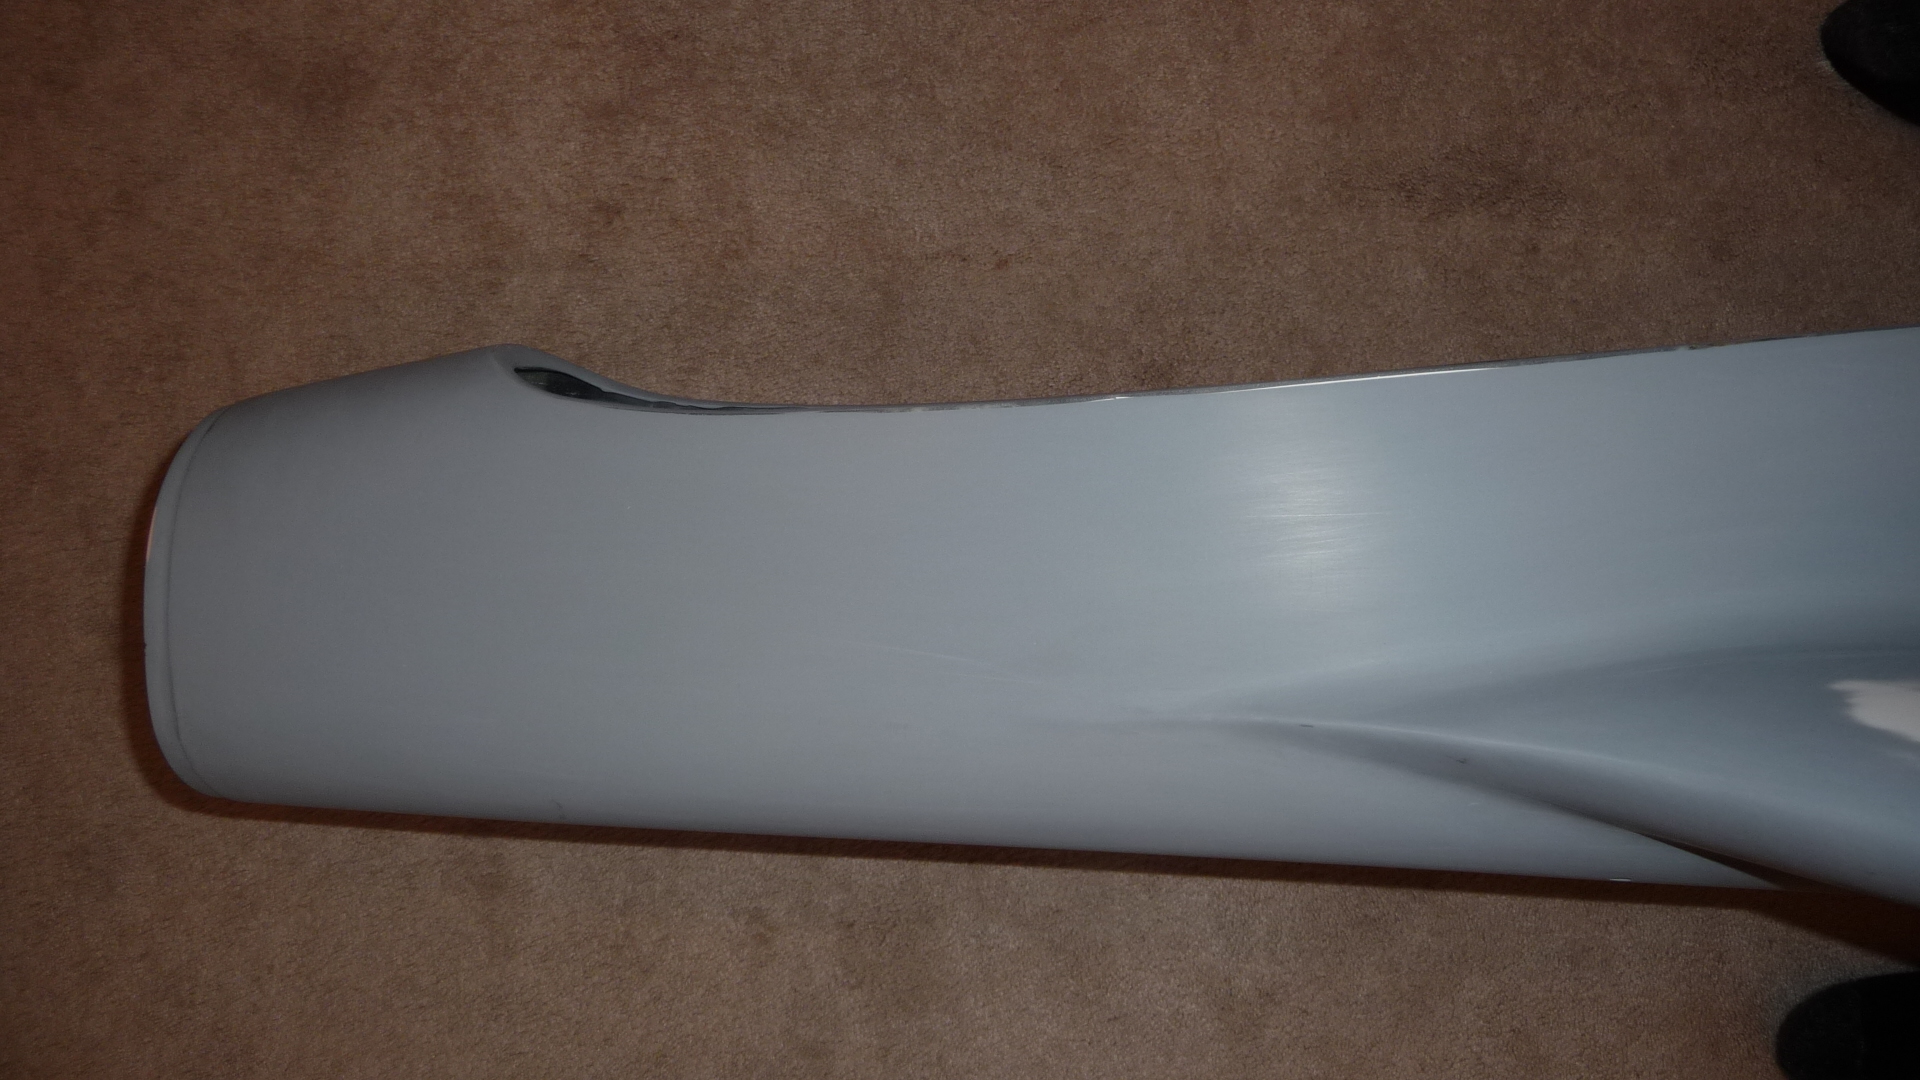
Next step was to glass the outside seams
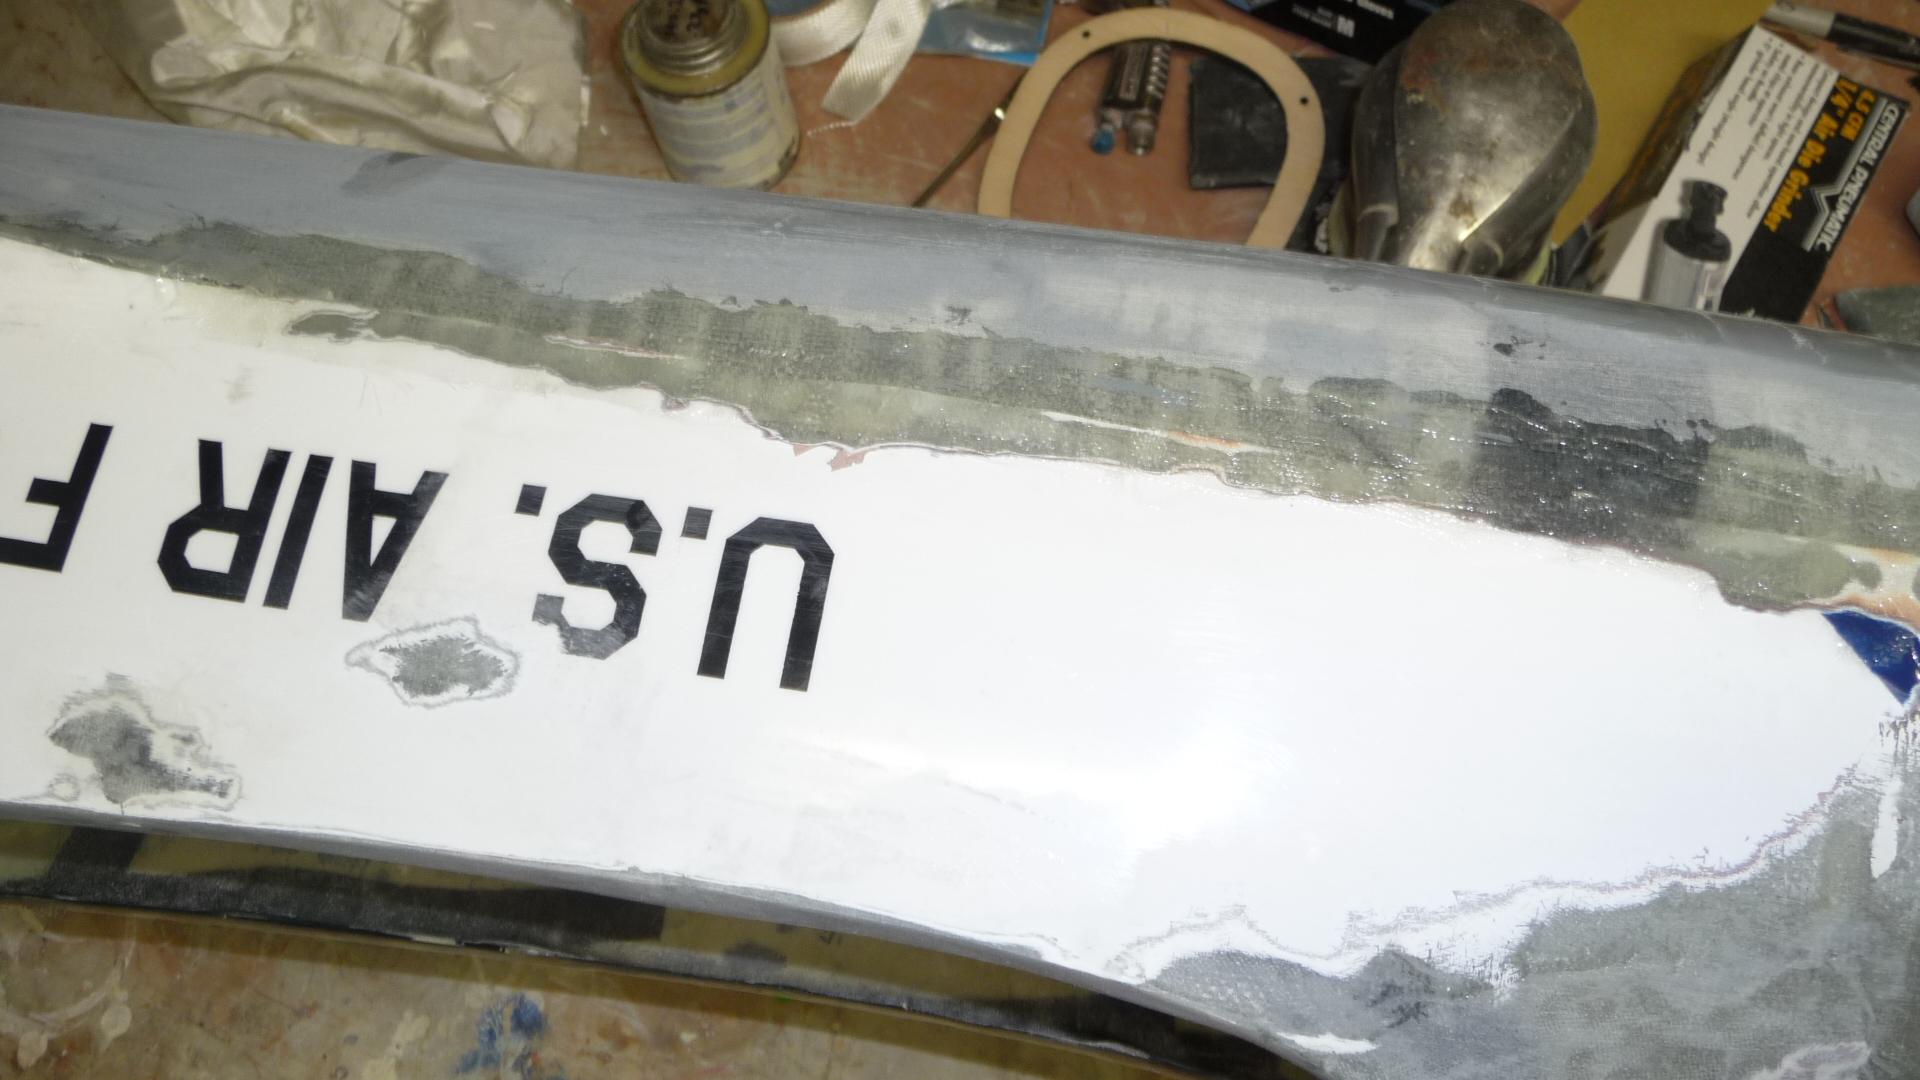
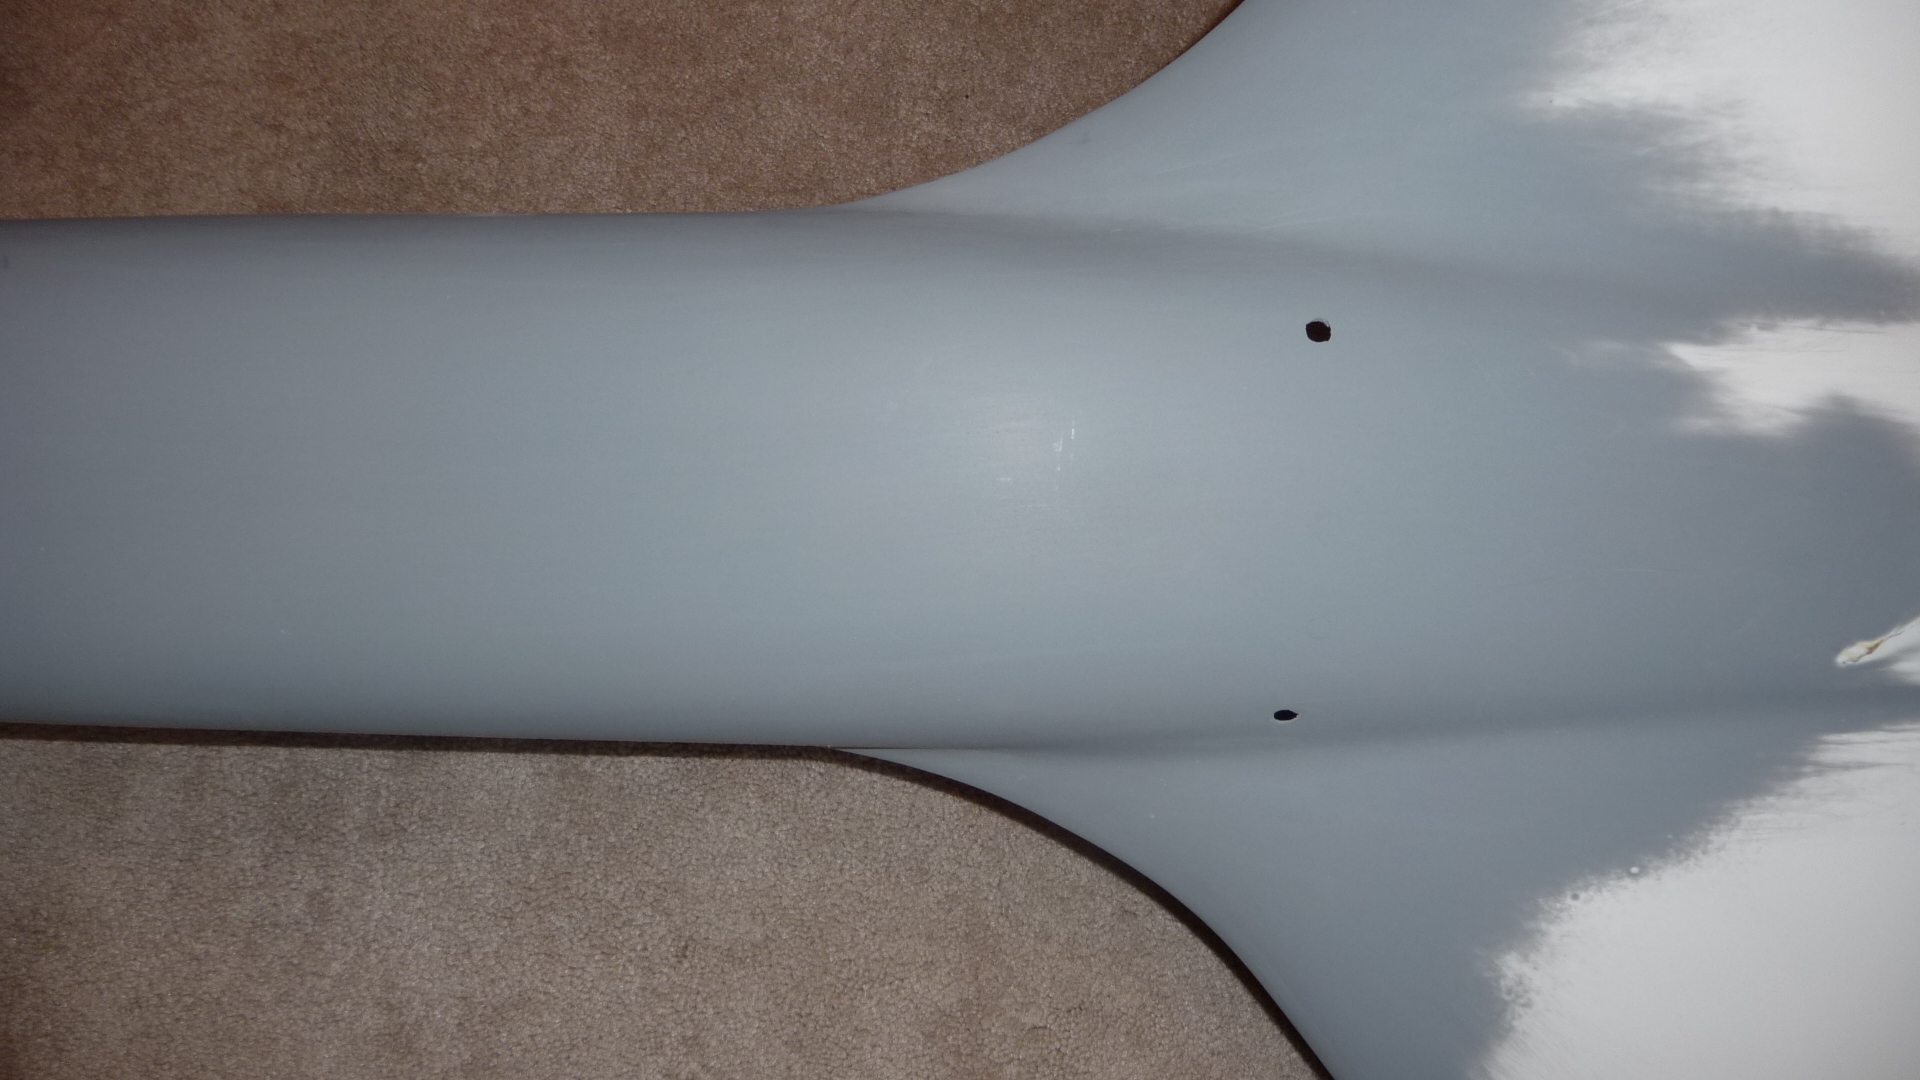
The next step was to apply the filler, then sand, sand, sand...did I mention sanding.
I forgot my camera so I will need to get the photos from my sons phone to post later.
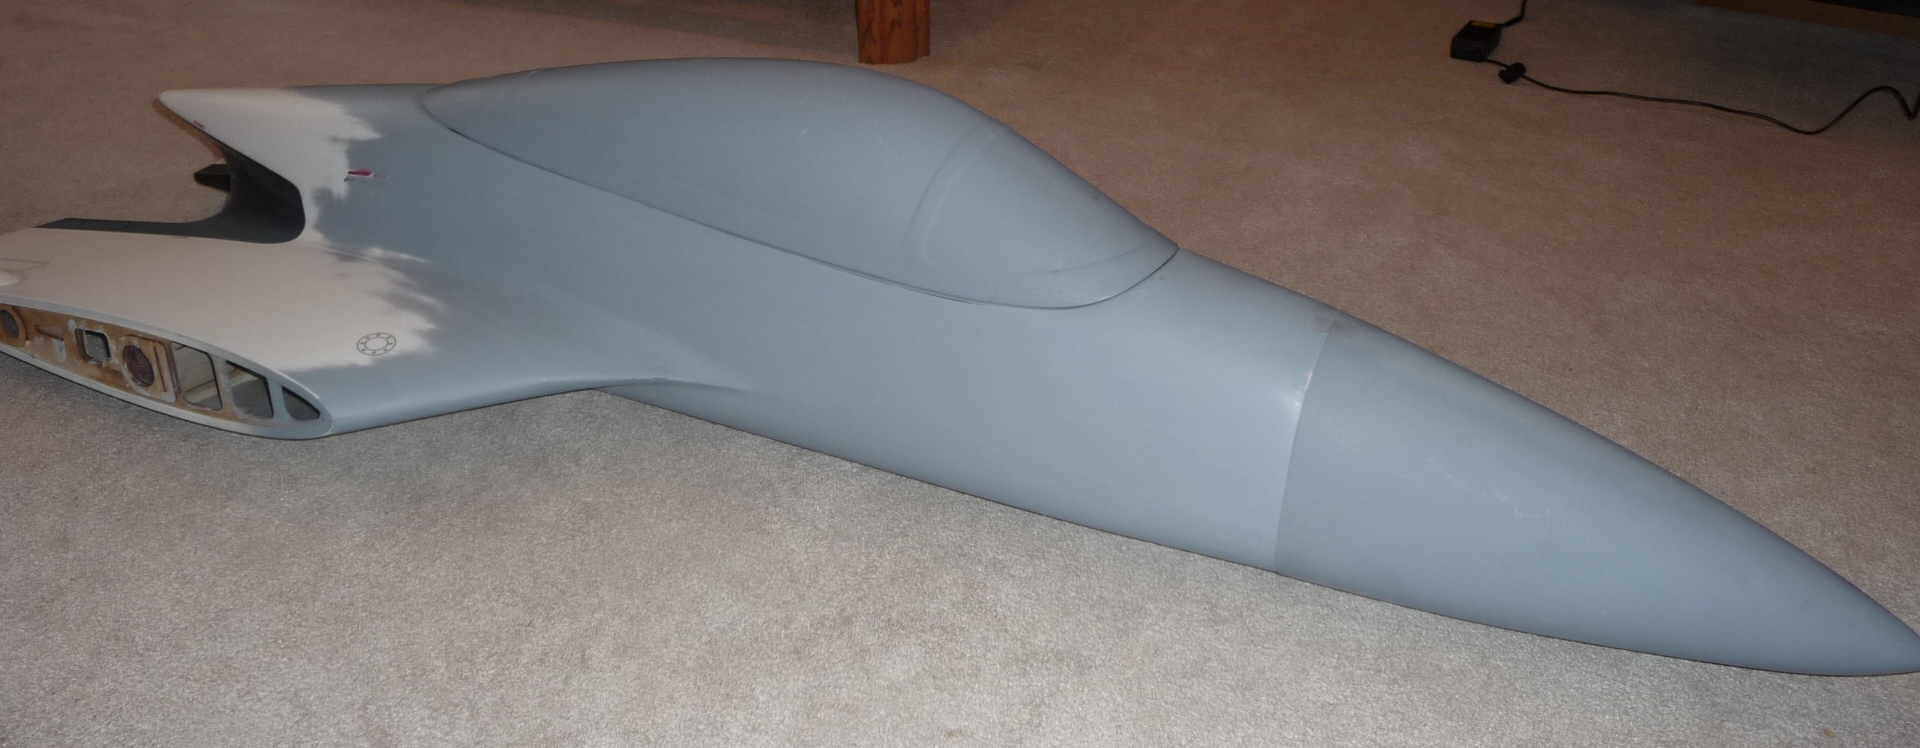
Then it was time for Primer
More later
