RCU Forums - View Single Post - 12' Laser-cut Telemaster Kit Build
View Single Post
Old 03-12-2014, 07:09 PM
  #104  
isf2008
Member
 
Join Date: Apr 2013
Location: Brantford, ON, CANADA
Posts: 59
Likes: 0
Received 0 Likes on 0 Posts
Default

Cowl continued:

- In order to mount the cowl I had to cut the remainder of the fuselage sides off and sand flush.
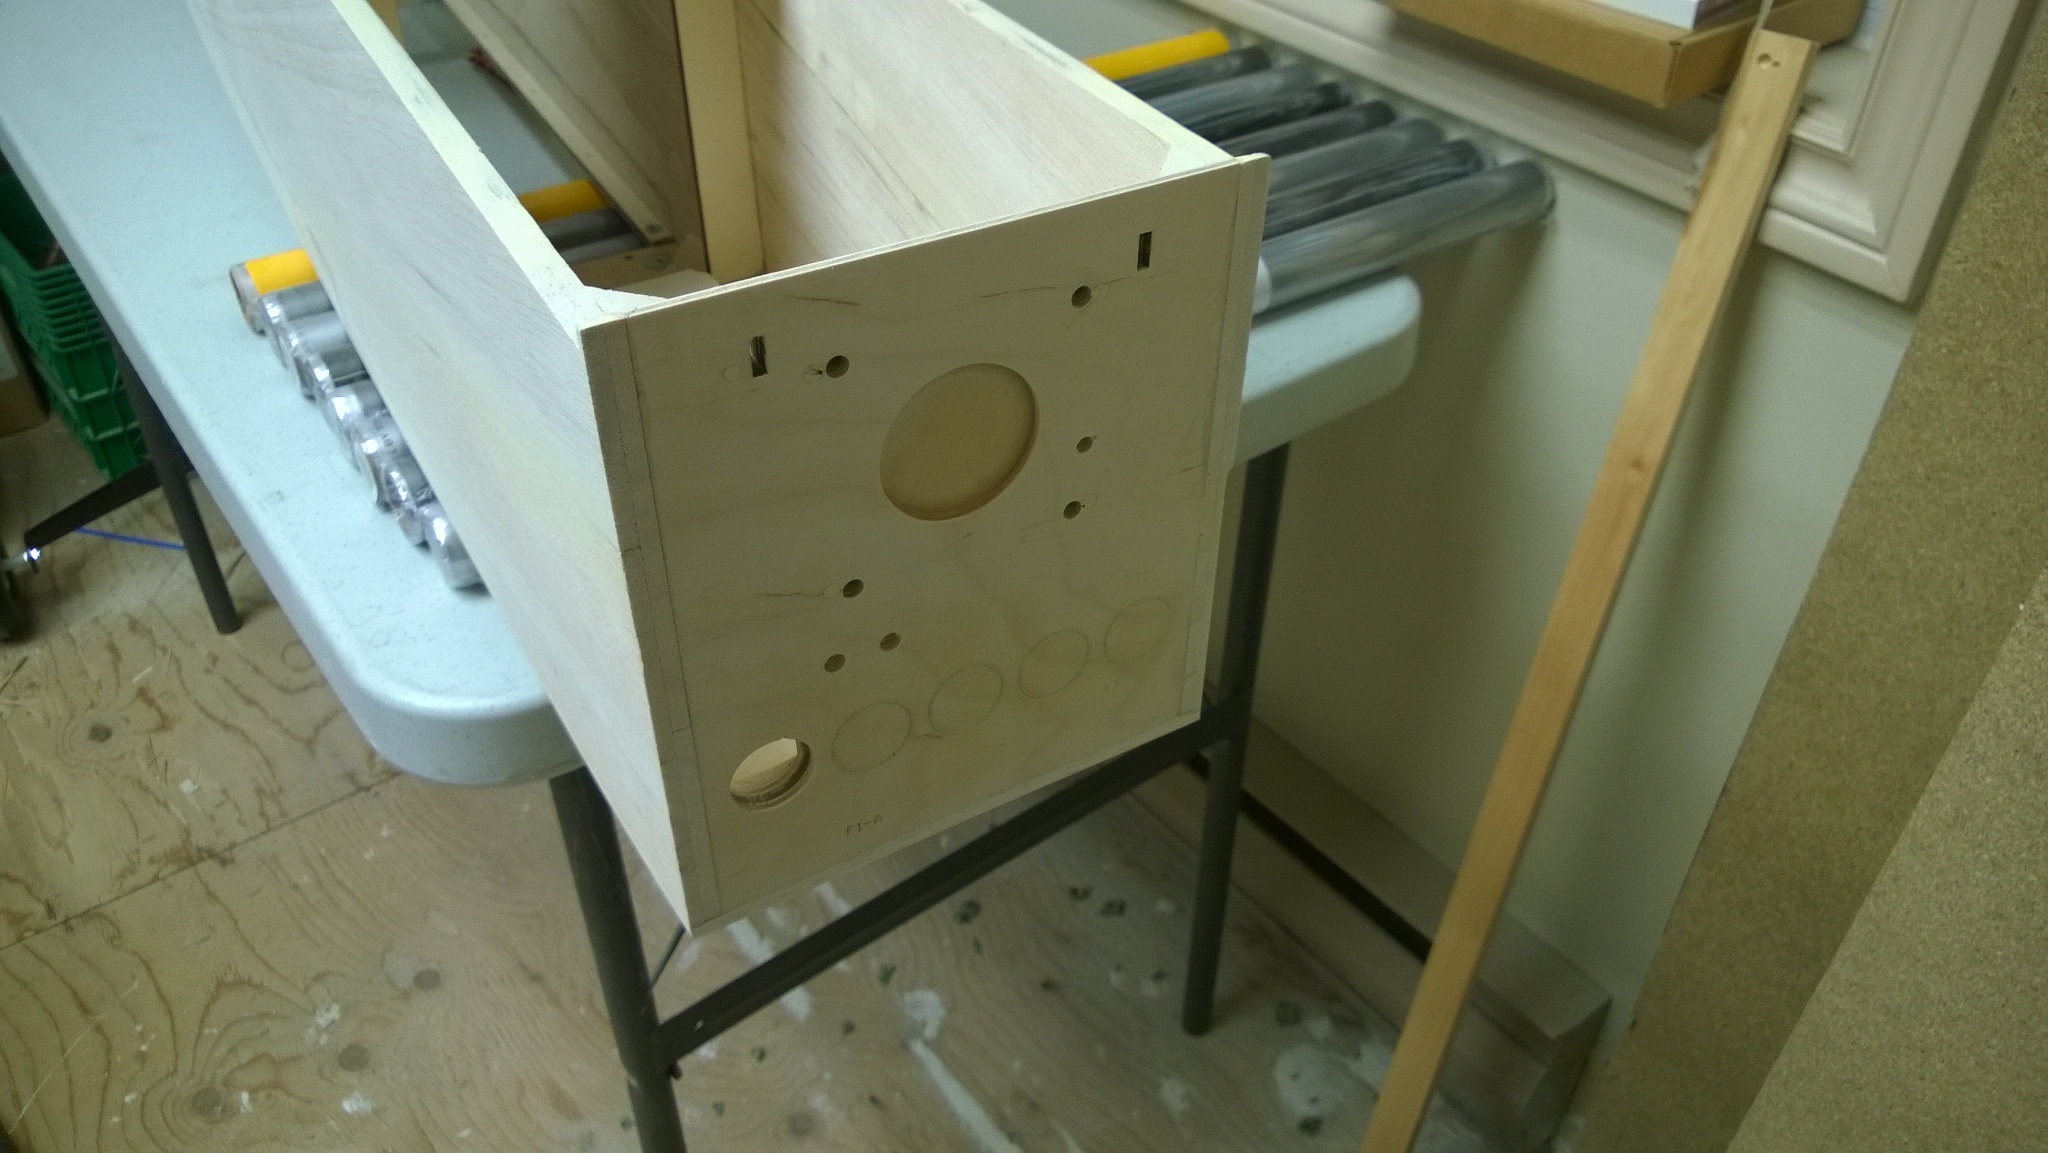
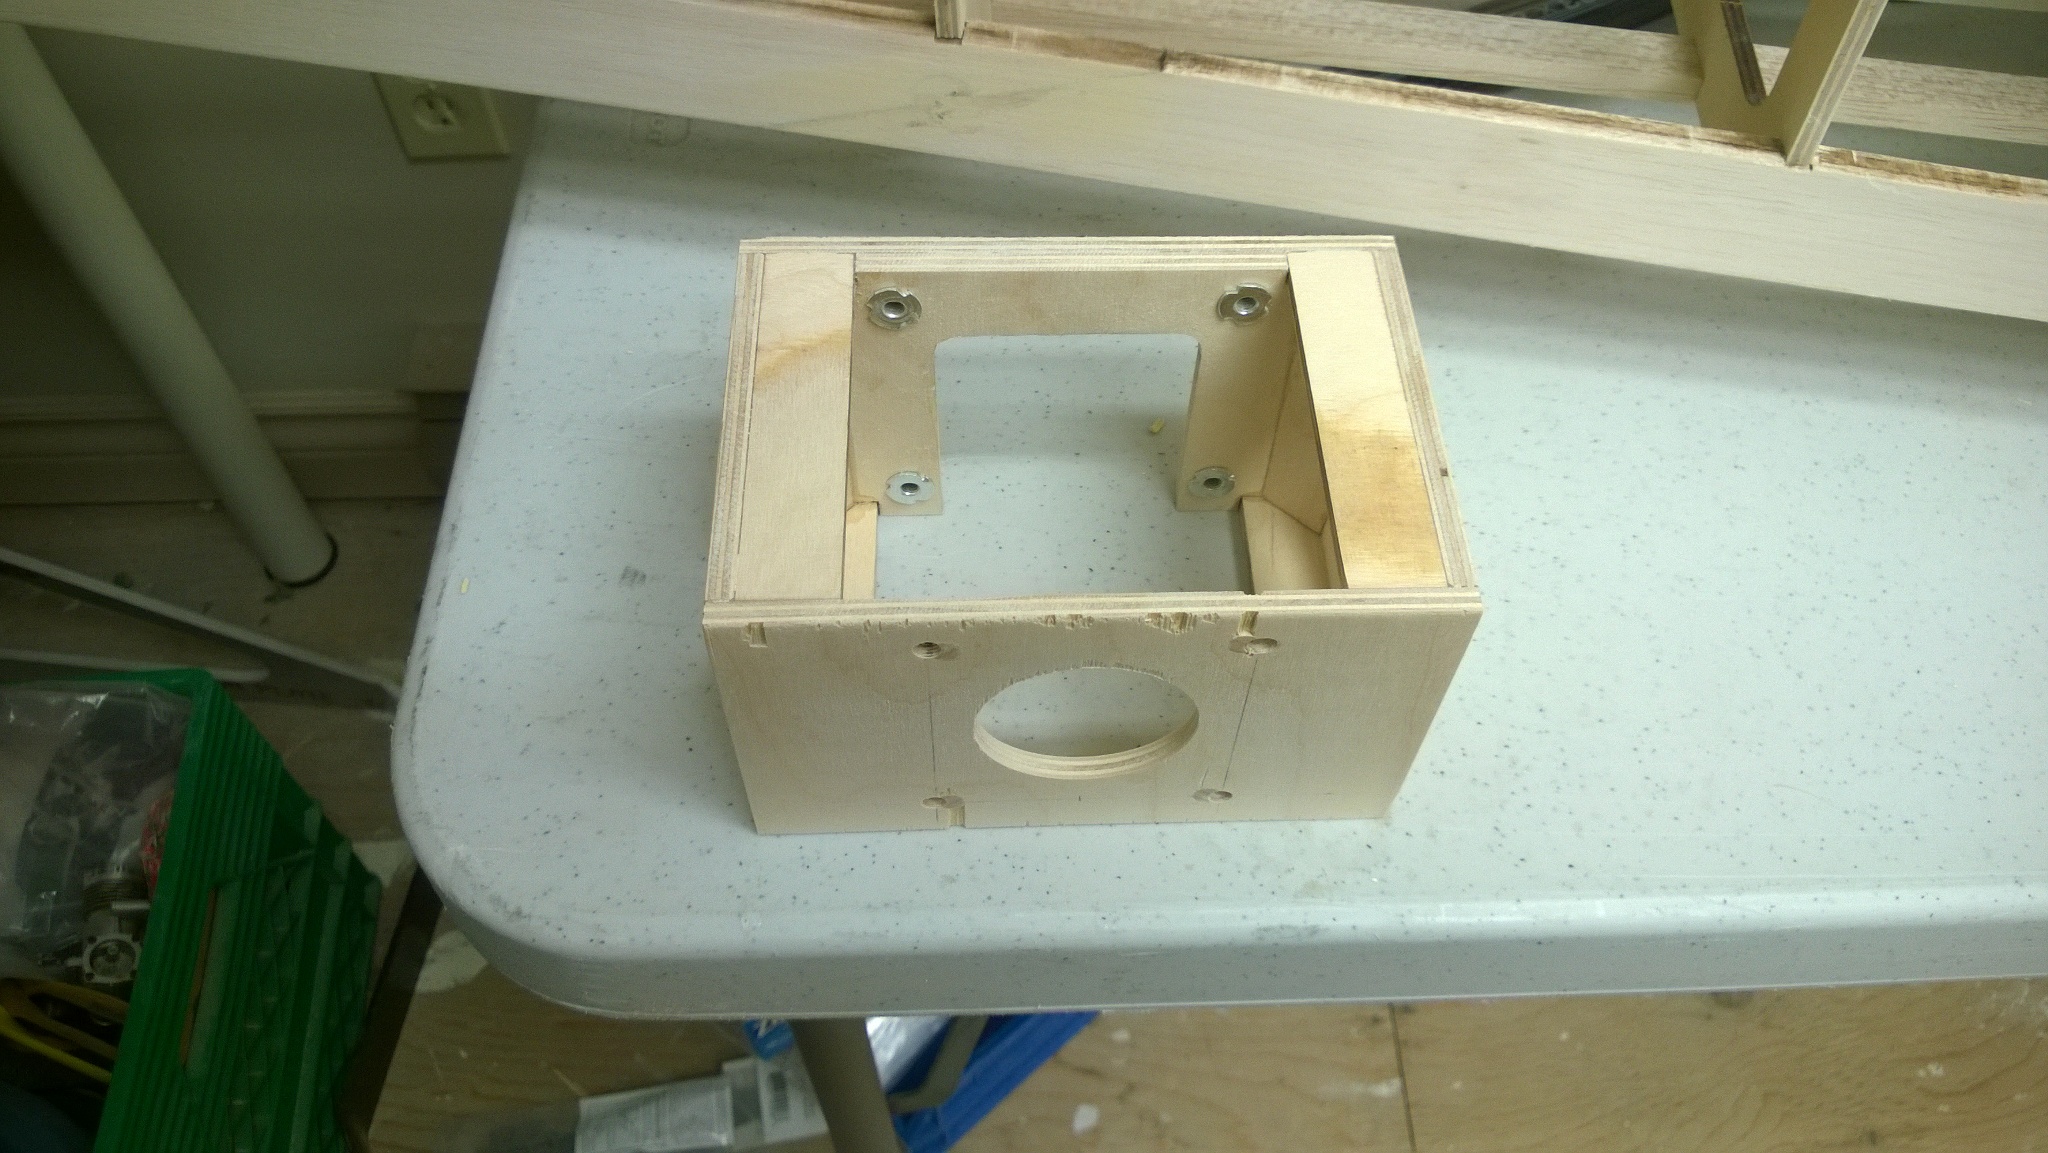
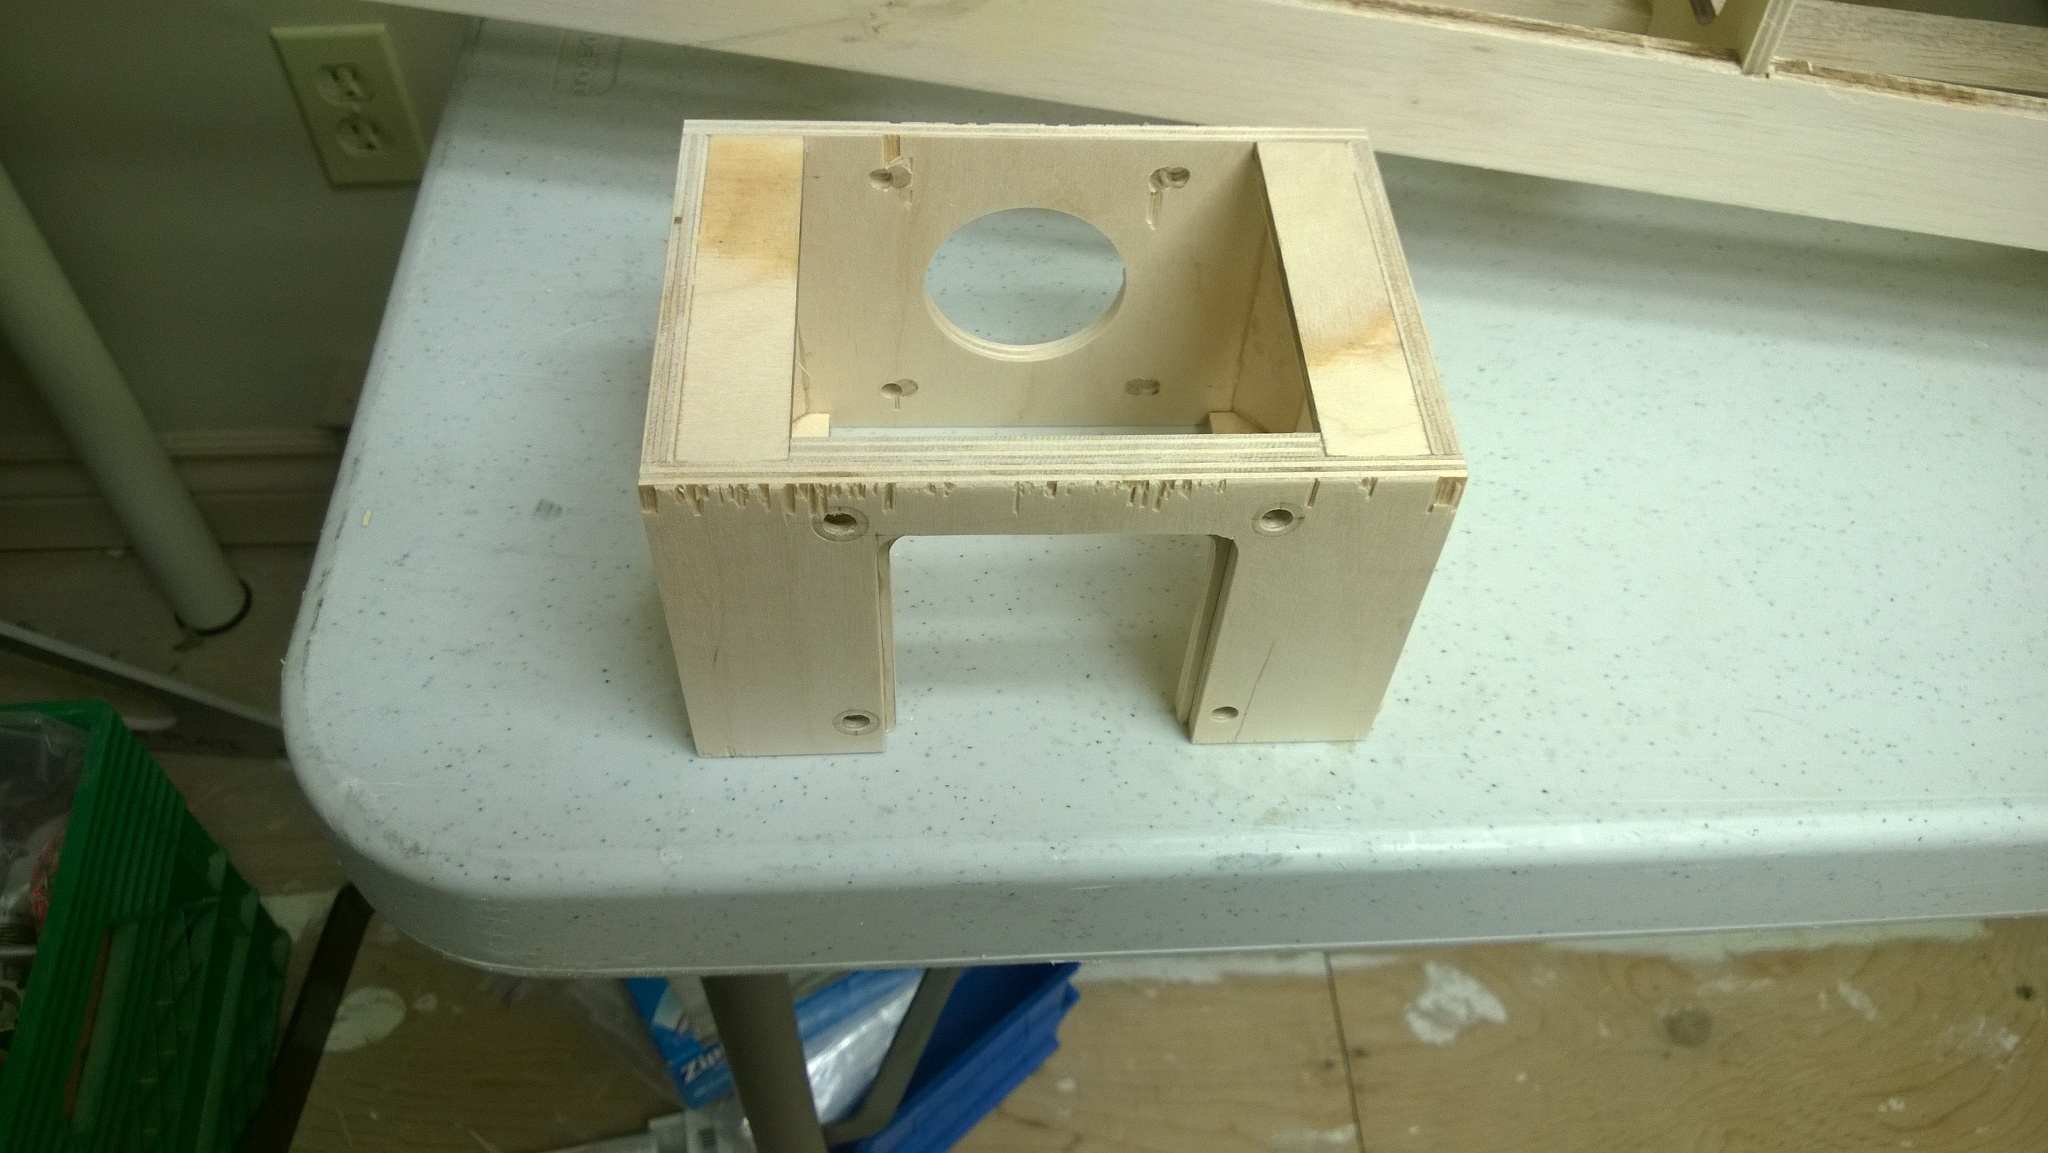
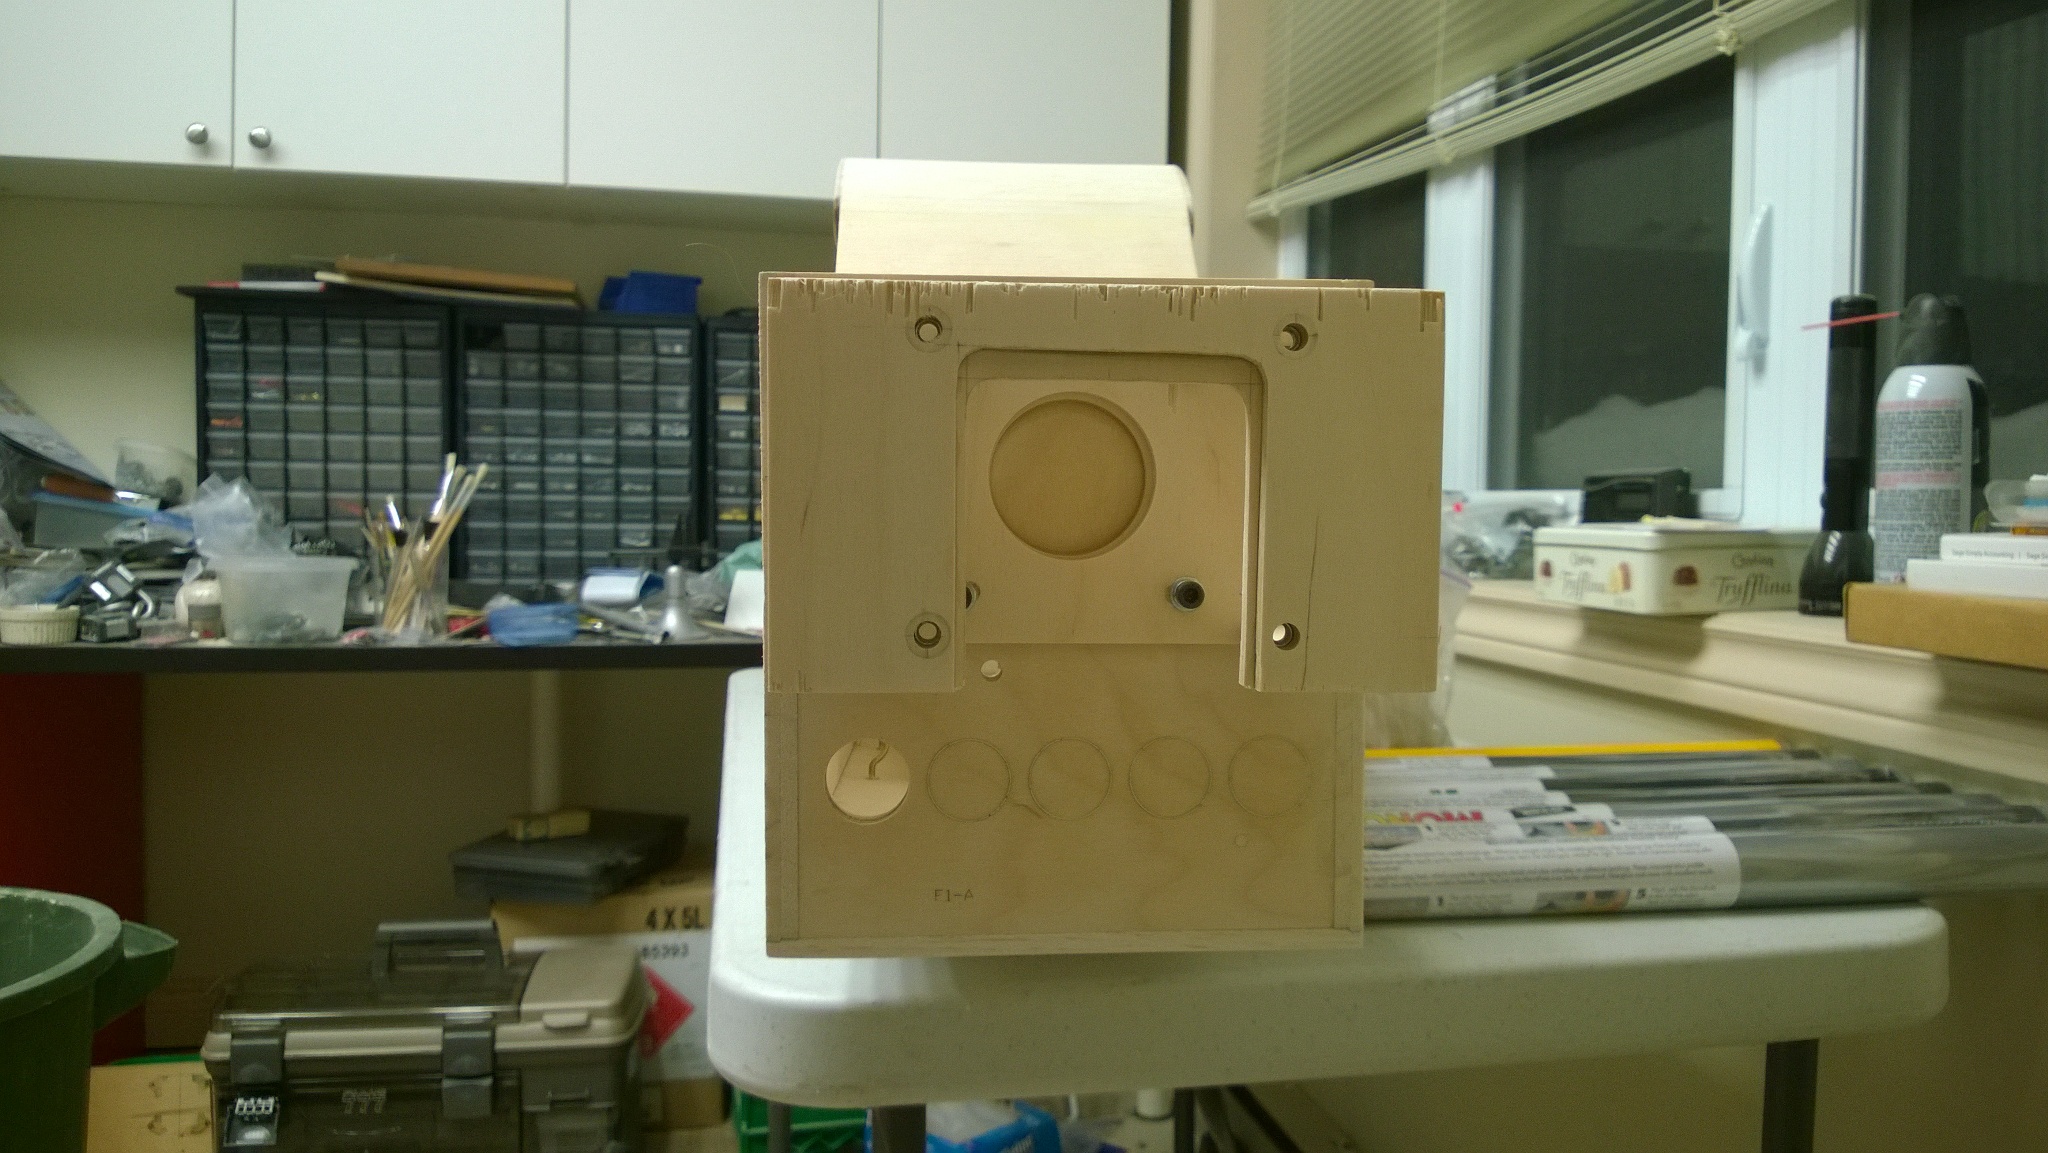
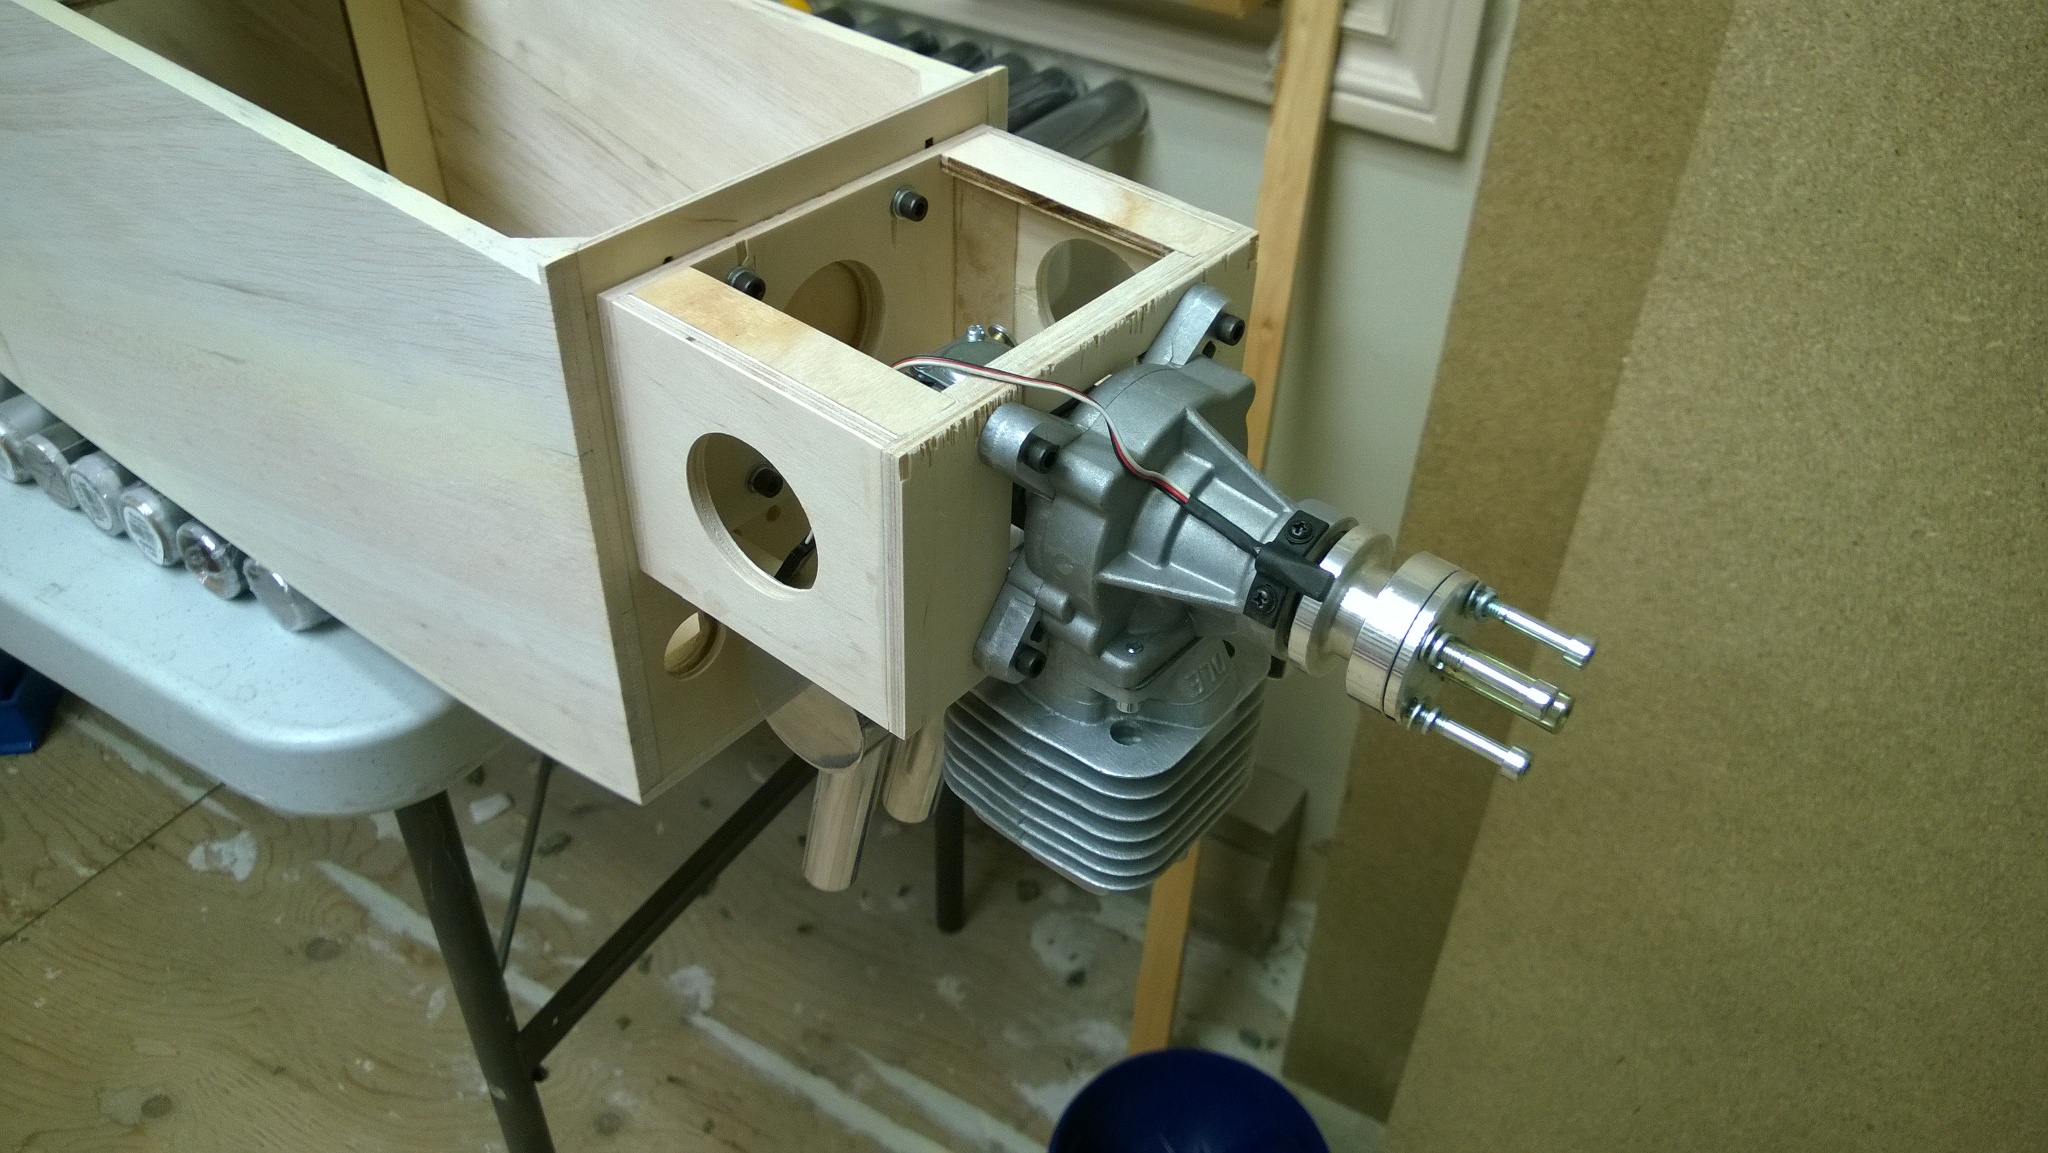
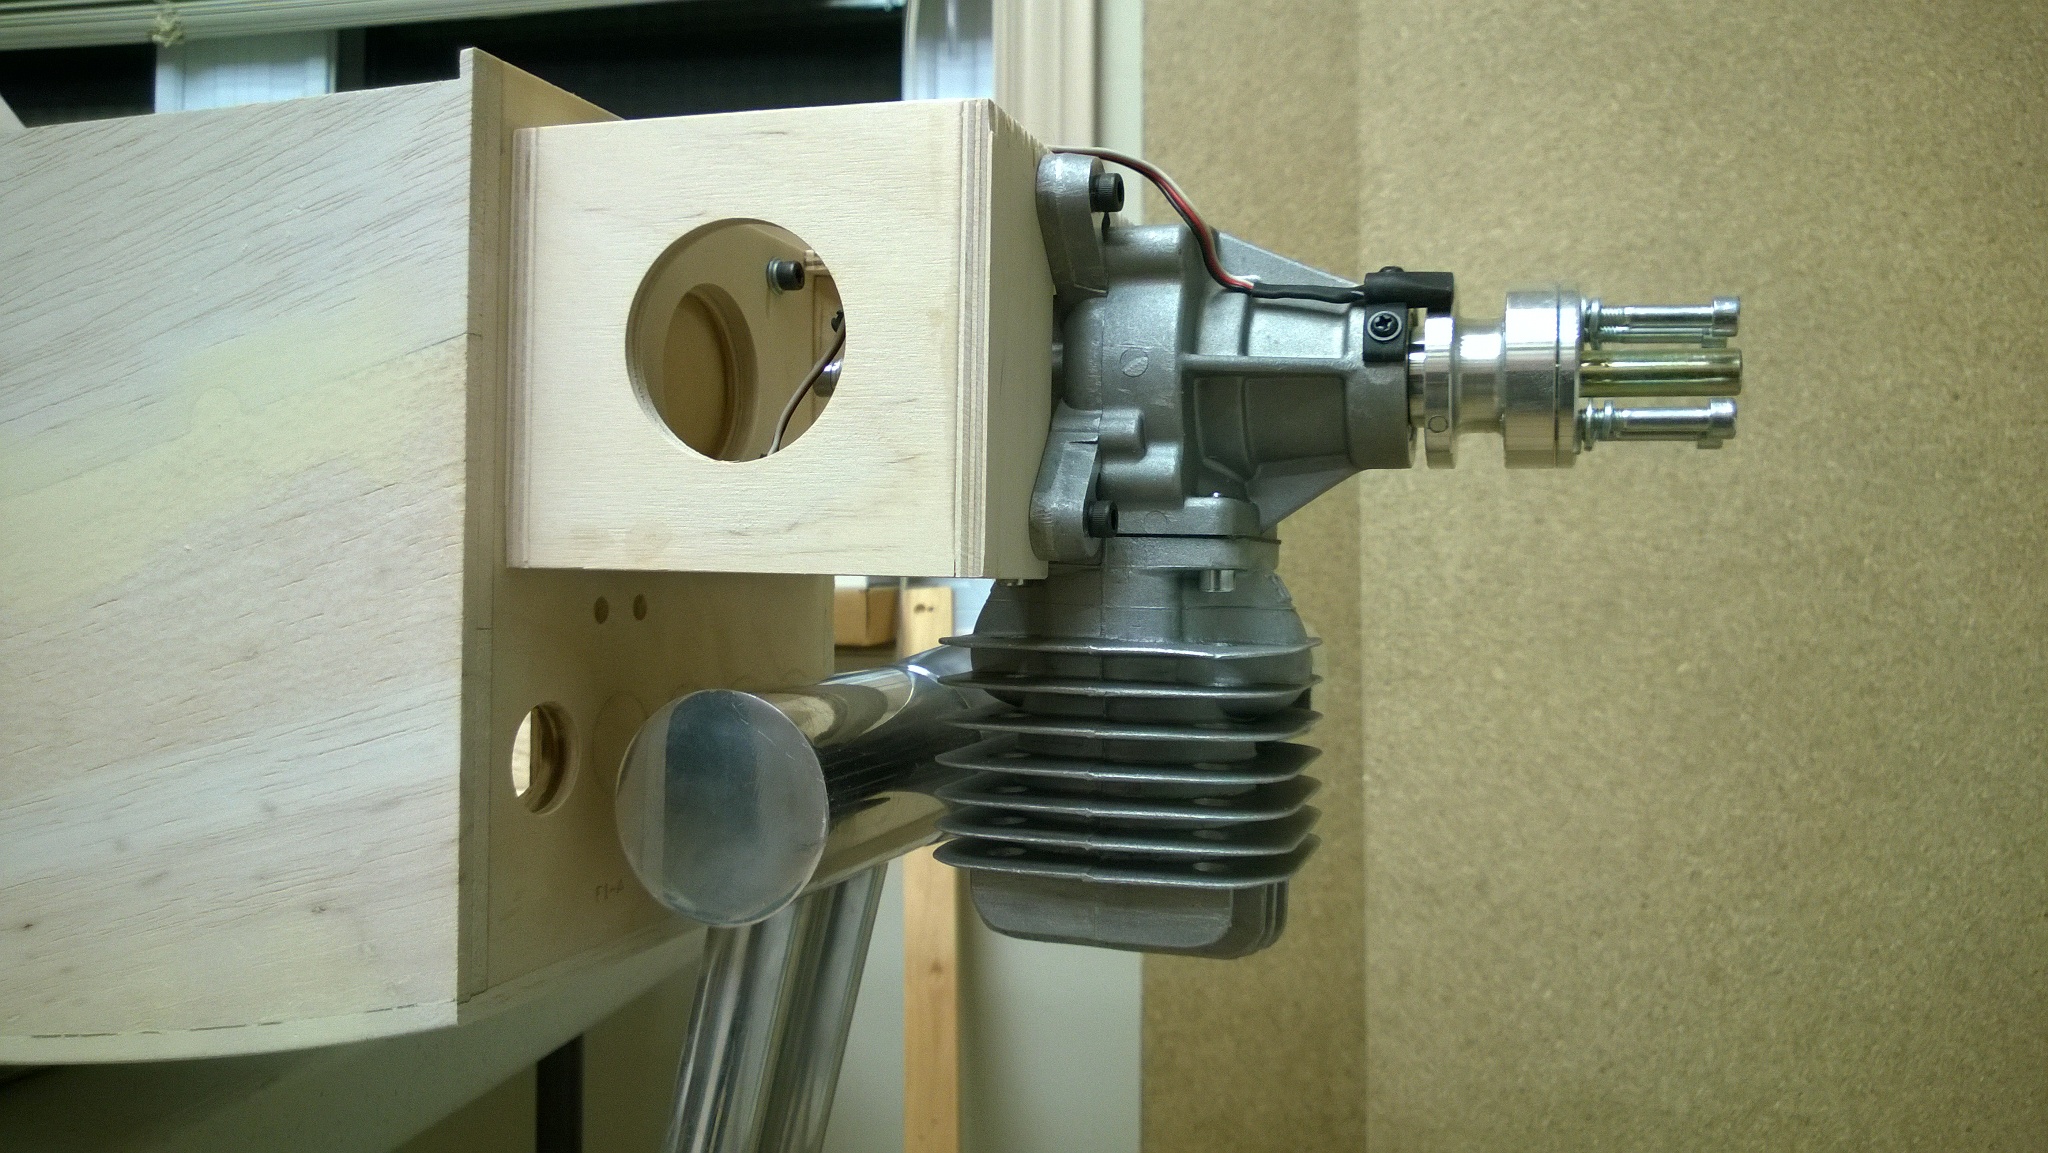
- As the plane is generally tail-heavy I wanted to move the engine as far forward as possible. This meant that the standoffs that came with the engine had to be replaced as they were not long enough. I constructed a motor box from 1/4" ply and 3/4" hardwood triangle stock. It looks a little shot up in the pictures as I had to level the top and bottom faces of with my full-size table saw, which caused some splinters.
- I provided bolt holes to mount the motor box to the fuselage using the mounting holes from the DLE85
- The DLE55 slots into the motor box from the bottom and is secured with 4 x 10-32 bolts.
- There is about 3/8" between the muffler and the firewall. The open hole is for the spark plug wire.

I will likely epoxy the motor box to the firewall as I feel that I am now 100% committed to the DLE55.

Next up - test fitting the cowl!

Attached Thumbnails Click image for larger version

Name:	Cowl-10.jpg
Views:	347
Size:	837.8 KB
ID:	1977576   Click image for larger version

Name:	Cowl-11.jpg
Views:	342
Size:	818.3 KB
ID:	1977577   Click image for larger version

Name:	Cowl-12.jpg
Views:	341
Size:	838.0 KB
ID:	1977578   Click image for larger version

Name:	Cowl-13.jpg
Views:	339
Size:	822.9 KB
ID:	1977579   Click image for larger version

Name:	Cowl-14.jpg
Views:	356
Size:	861.6 KB
ID:	1977580   Click image for larger version

Name:	Cowl-15.jpg
Views:	343
Size:	840.3 KB
ID:	1977581   Click image for larger version

Name:	Cowl-16.jpg
Views:	380
Size:	914.4 KB
ID:	1977582   Click image for larger version

Name:	Cowl-17.jpg
Views:	368
Size:	941.0 KB
ID:	1977583