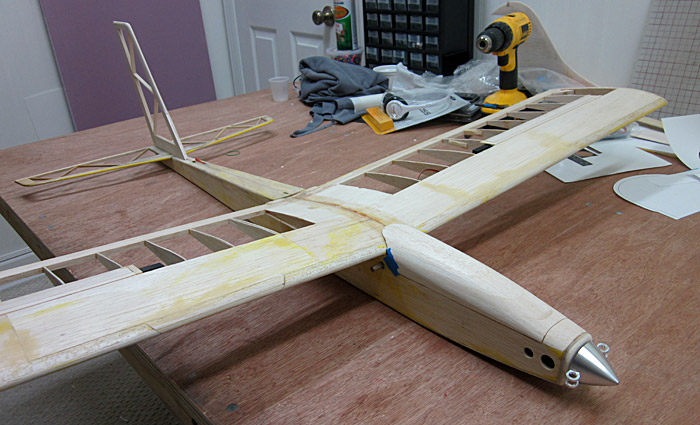
This should have been done months ago but you know how these things go once flying season starts. I've already attended two large aerotow events plus a float-fly, flying twice a week on top of that. We're getting there though, made some good progress today...
Balance Test
Before I work on the fuselage further it's time to see how she balances. Here's the electronics...

I placed the electronics roughly where they'll end up. At this stage I need not be all that accurate...
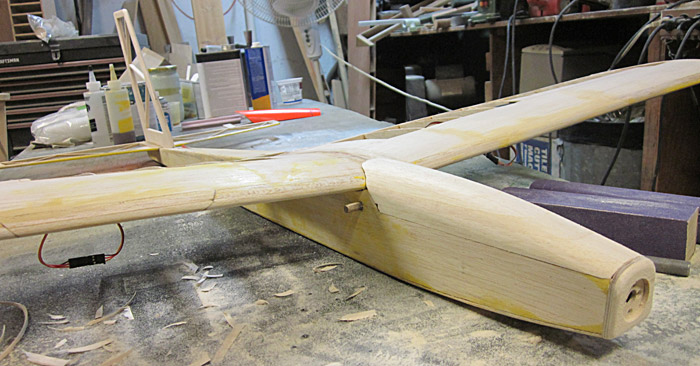
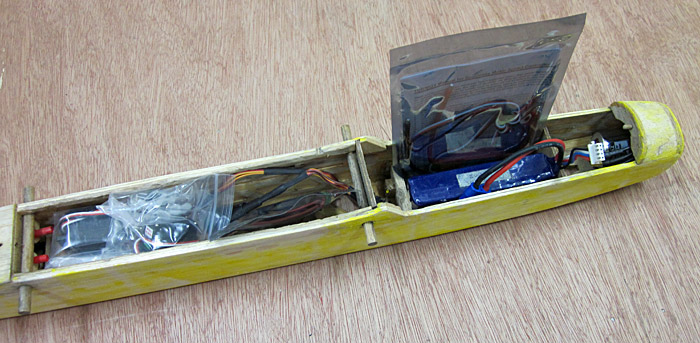 Well look at that, she balances!
 Granted the covering will affect the CG some but that looks encouraging...
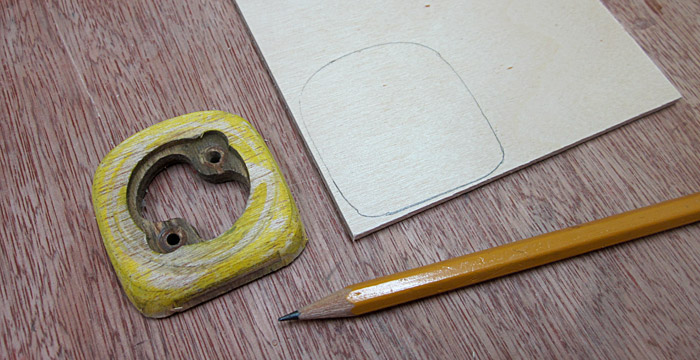
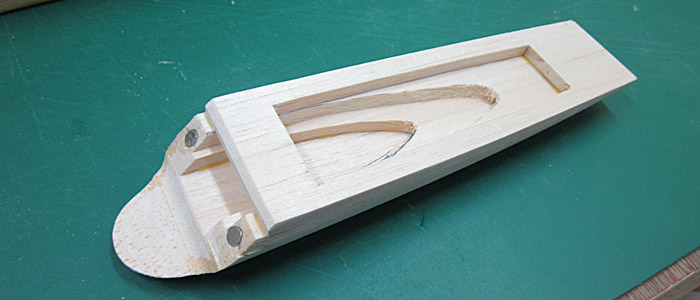
 The Nose
Okay first thing is to get rid of this old firewall...
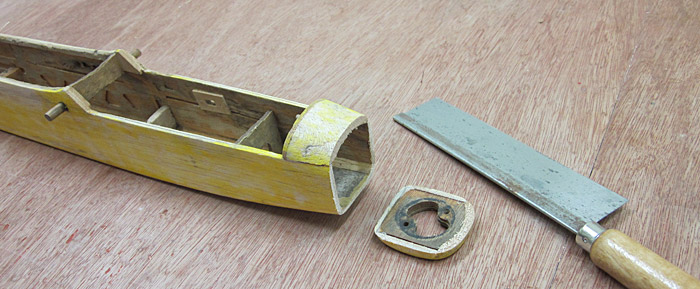
Traced the old firewall onto some nice high quality plywood...
That's looking good...
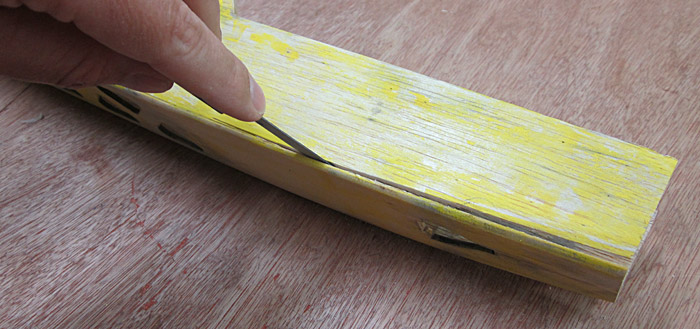
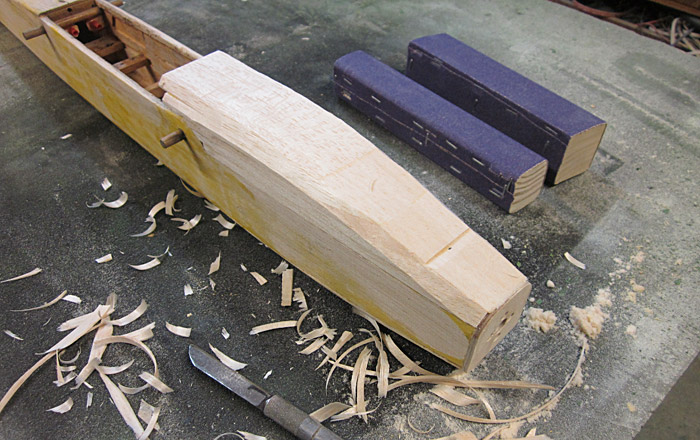
But you know what? That's one really boxy schnoz, looks about as aerodynamic as a dump-truck...
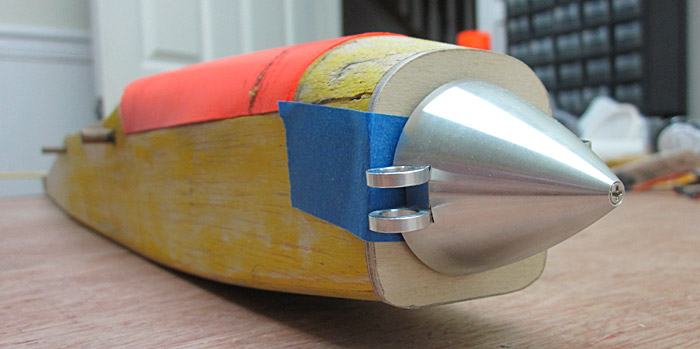
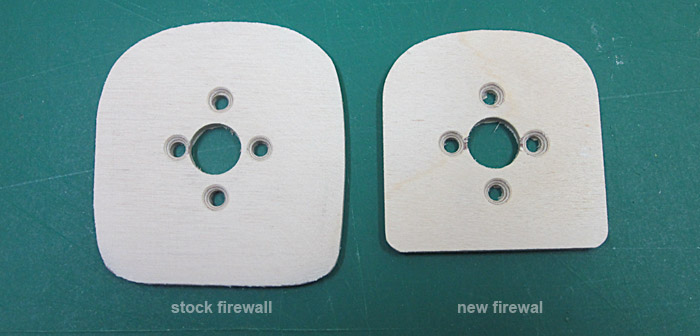
Lets see if we can make this a little slicker. I crafted a new, smaller firewall...
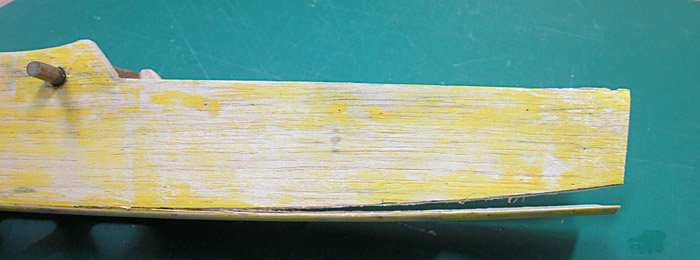
Split the fuselage along its joints...
Removed some wood, trimmed things down some...
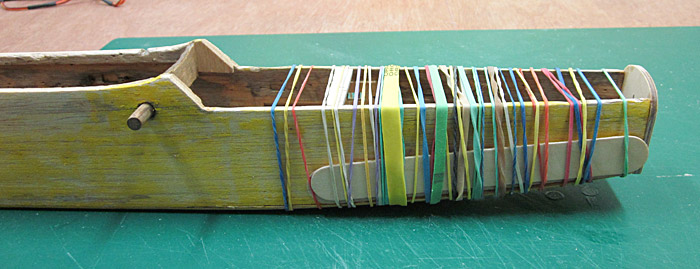
Glued the new smaller firewall on there then used some bands to pull the fuselage back together...
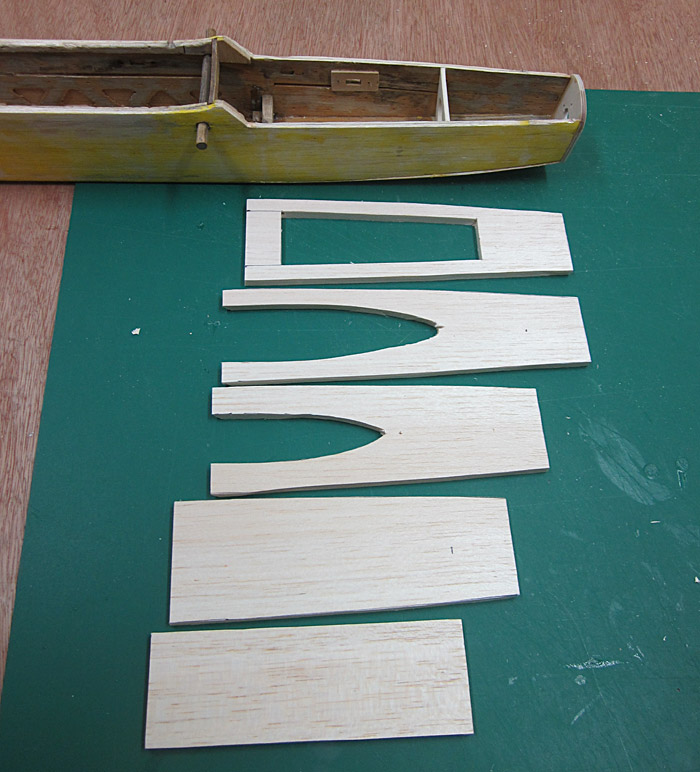
The new slicker nose means I can't use the stock canopy hatch so I'm making a new one from 1/4" balsa...
Clamped the wood while the glue sets...
That sure looks daft...

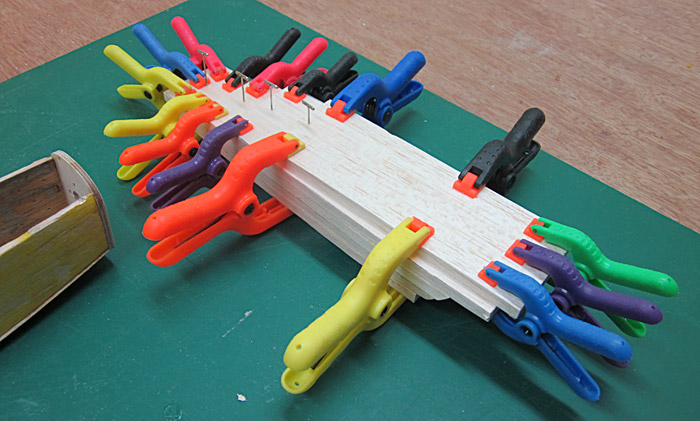
Queue the banjo music, it's whittling time...
That looking good...
A dowl up front & a couple of rare-earth magnets in back should keep the hatch secure...
Another couple of magnets in the canopy...
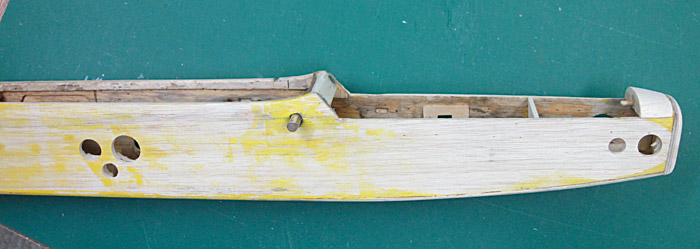
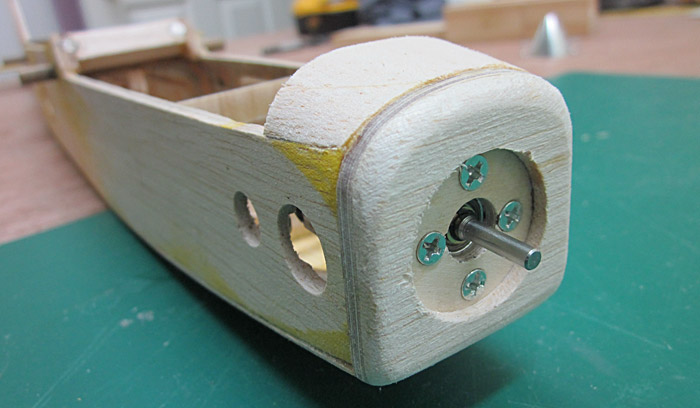
 Holes
Holes
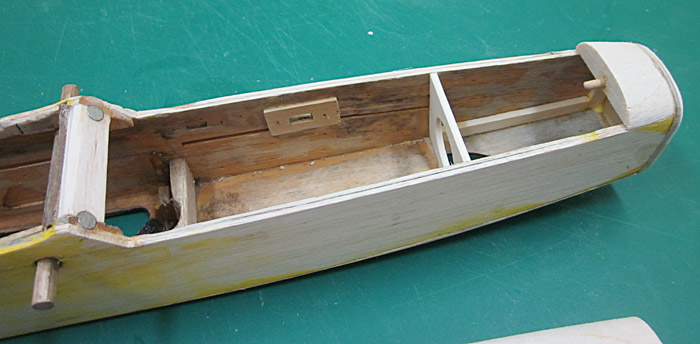
The stock Spectra has lots of wacky holes in the bottom of the fuselage. I understand the need for ventilation but these holes being in the bottom of the fuselage are likely to allow all sorts of crud into the model every time she lands...
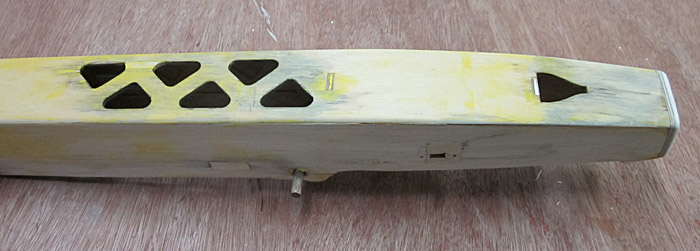
Time for a little inlay work to plug these silly holes...
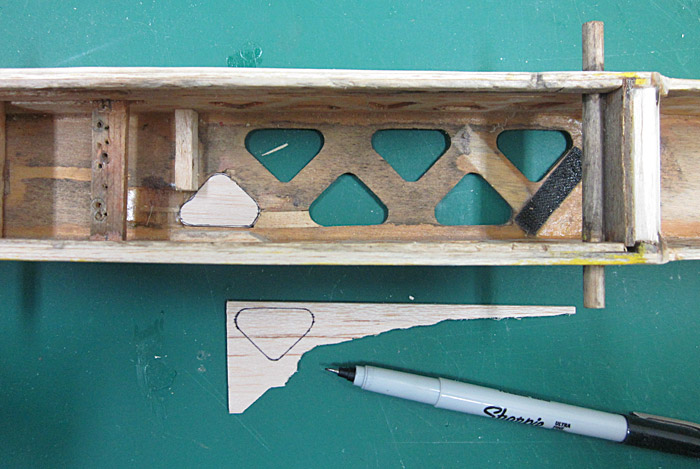
That makes me happier...
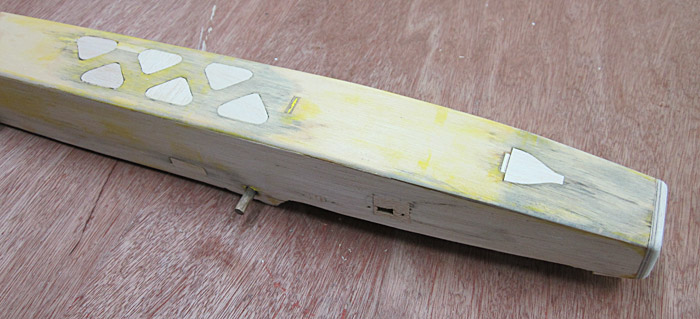
I added these ventilation holes, in the side this time...
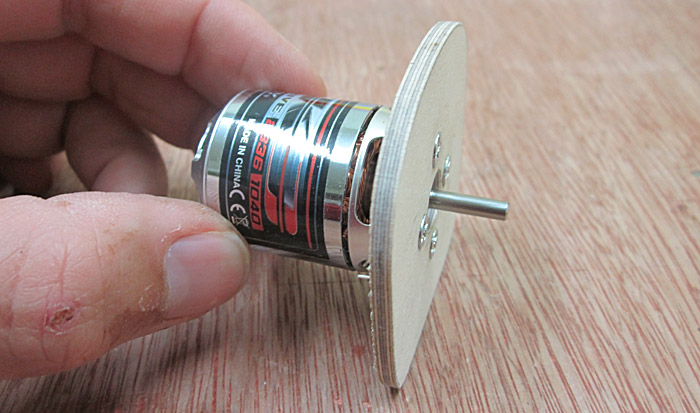
Installed the motor...
Oh yeah that's looking pretty sweet. That'll do for today, more soon...