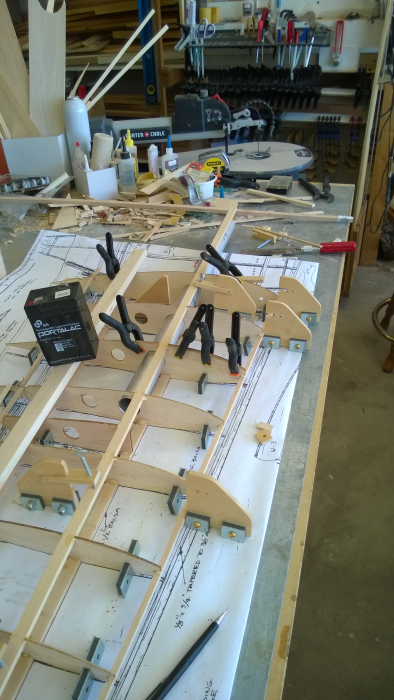
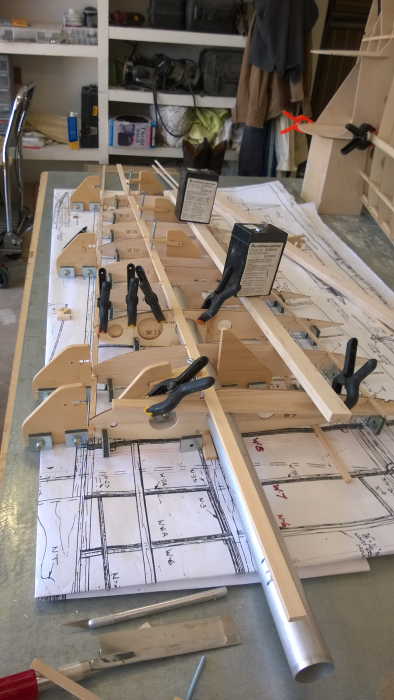
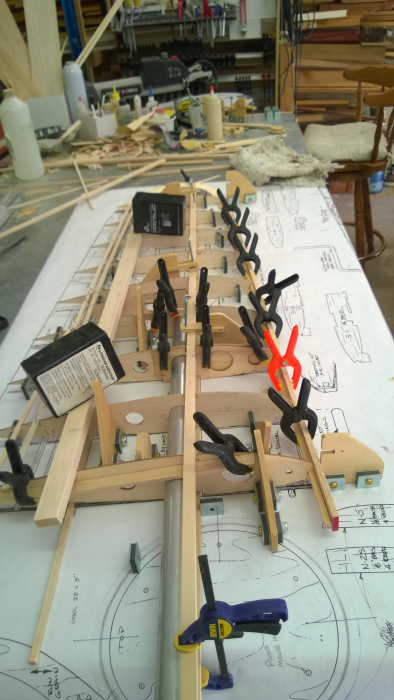
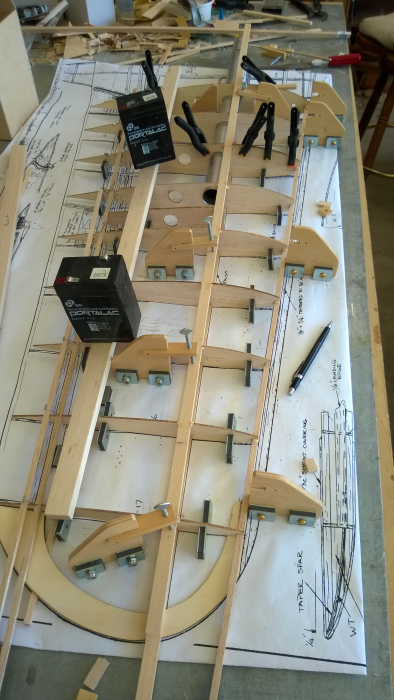


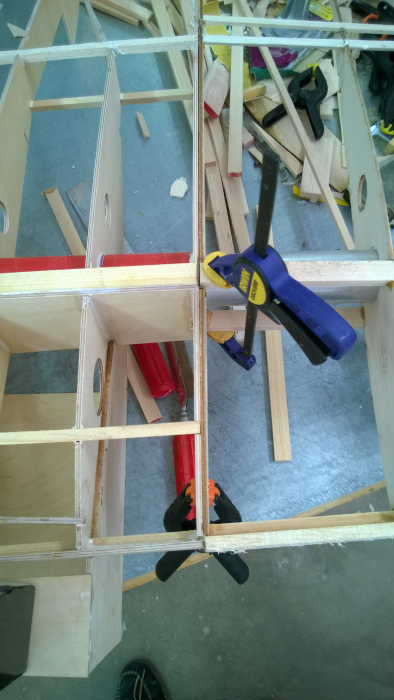
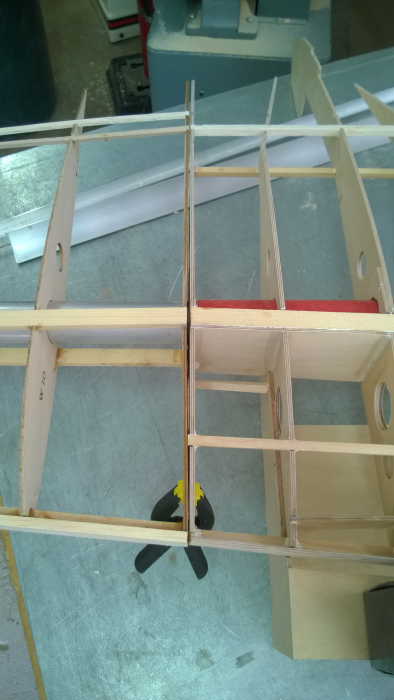
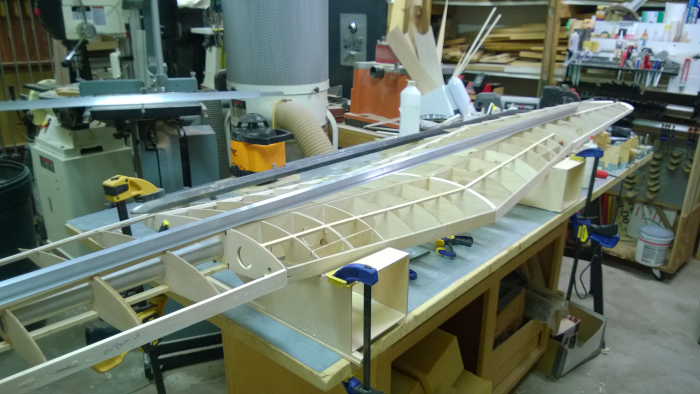
Here are a few shots of the outer wing panels being built with the connection to the center section and initial alignment. I extended the wing tube through W12 and added a ply doubler to give additional strength. In the fighter squadron we had a saying that went 'its better to be lucky than good' and when I put the outboard wings on the center section I was astonished as to how well they came together - better lucky than good. I had visions of wide gaps, however that is not how it came out. The connections fit pretty well, but wait - I have to align the wing.
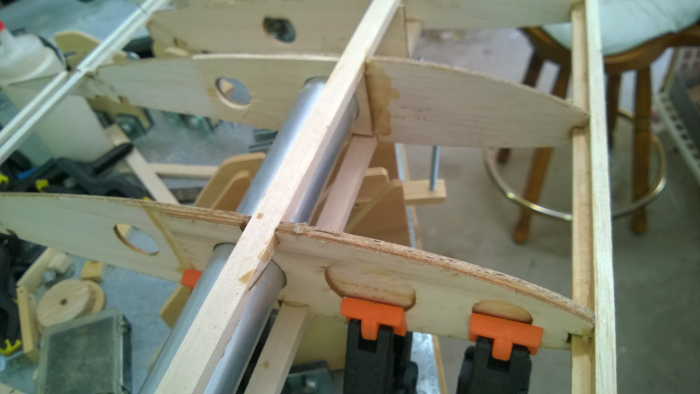
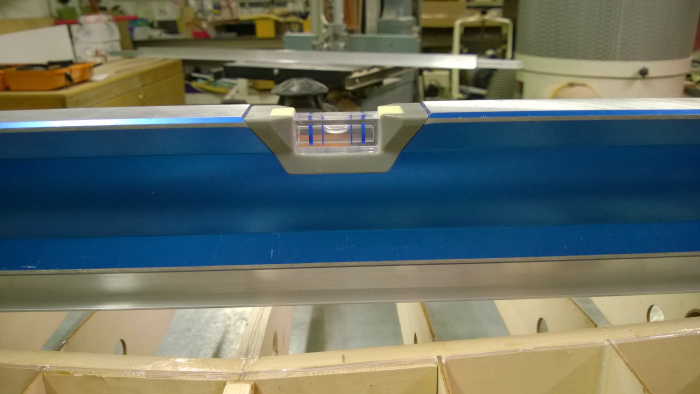
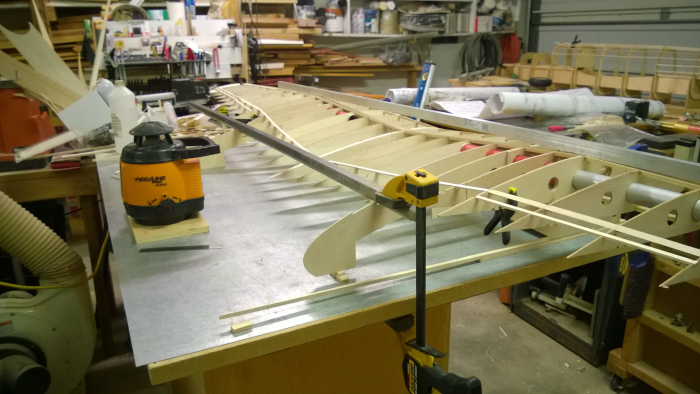
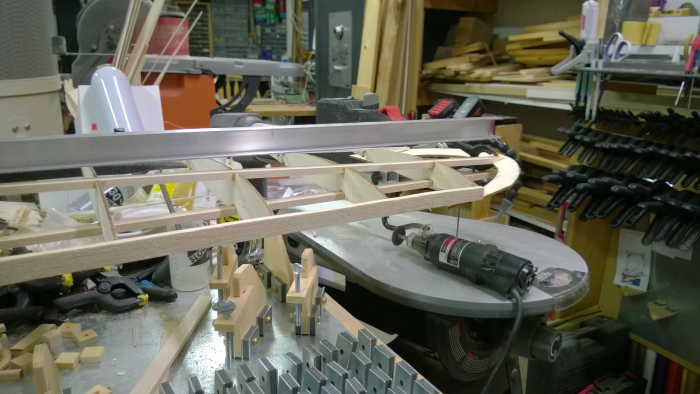
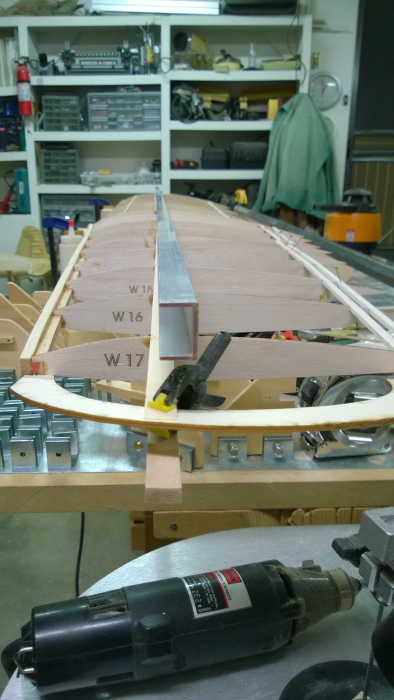
I decided that the concrete floor here in Arizona was not a suitable level device no matter how you spun things around, and besides I get to use my self leveling rotating laser. The laser is calibrated to less than 1/16" at 50', so it should provide the accuracy I am looking for. As the work bench is movable, on casters, it was far easier to level the wing than the work surface. With that accomplished, I turned on the laser and had a perfect level datum plane to work from. As the plan shows a 1/4" negative dihedral, I can see that I will have some adjusting to do on the tube connections to bring the left wing up 3/4" and the right wing up 1". Also the right wing must be adjusted back 1/4" to align the main spar, left wing is right on the money. I could rotate the laser for that alignment as well but I think my 8' straight alum. channel will get the job done.
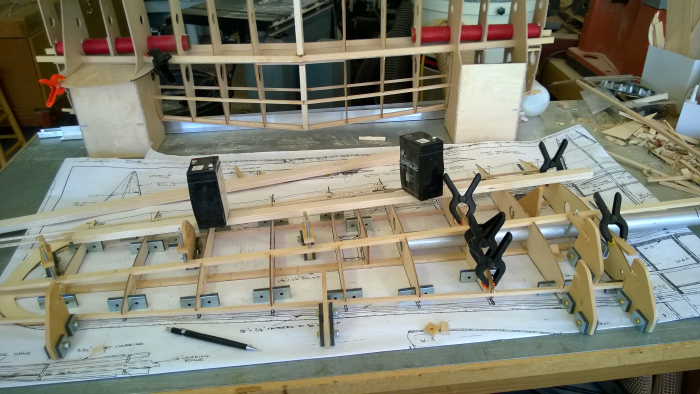
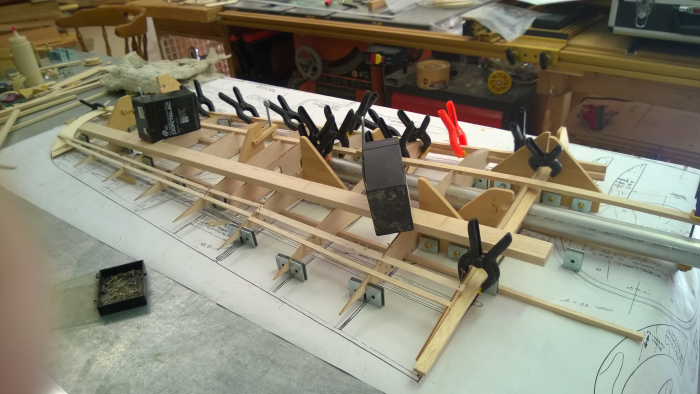
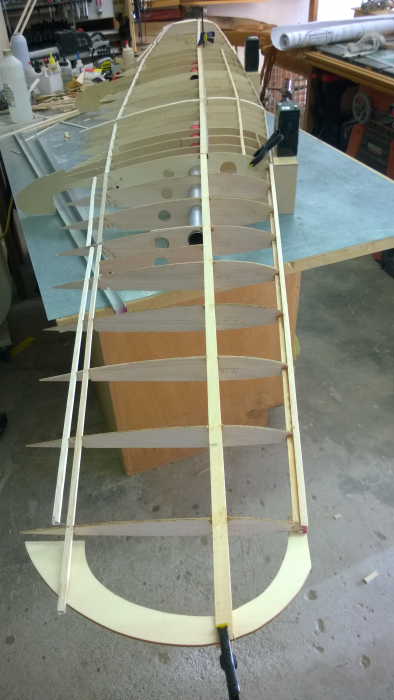
So I will do the adjustments and then cut and join all the required items to get a perfect fit of W8 to W9 at the center section, anyway that is the plan for tomorrow. This is a big wing and with the laser I can check all leading and trailing points from side to side at each rib to make sure I have no twist, warping or difference. This might seem like over kill but a straight and true wing sure makes for a much better flying machine on that first flight. My goal is to have little or no trim adjusting required on that first flight - yaw right, I know. I will recheck the wing once more after I get the top sheeting put on per Sam's suggestion, hopefully, I will have little adjusting to do.