Aloha,
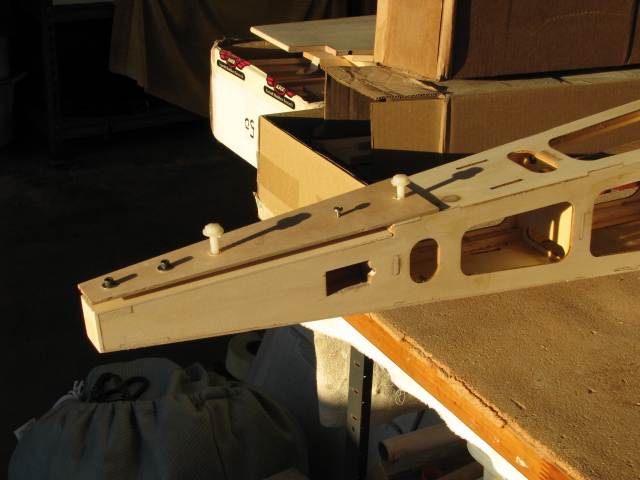
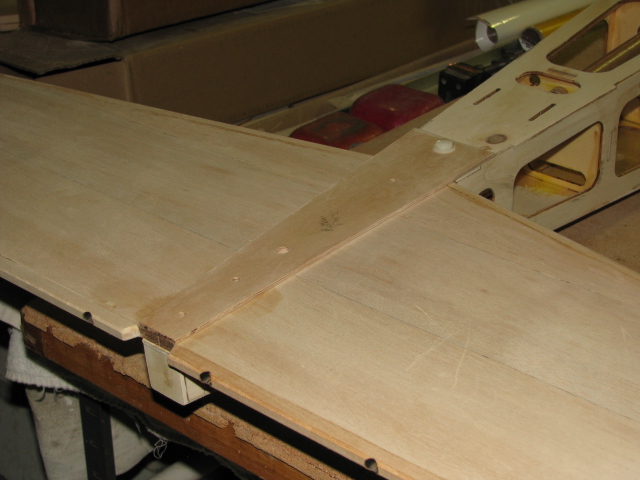
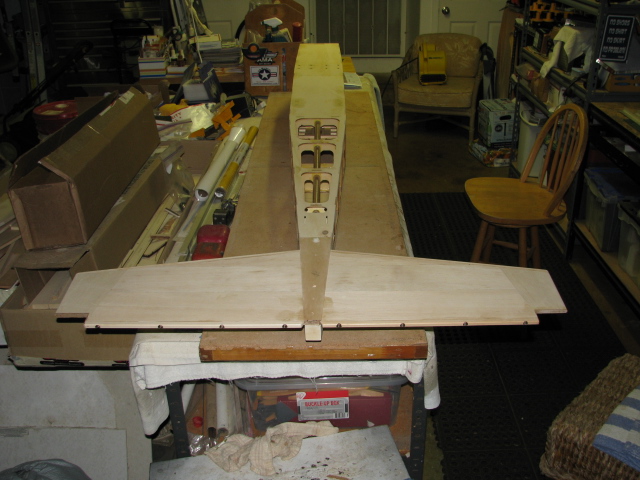
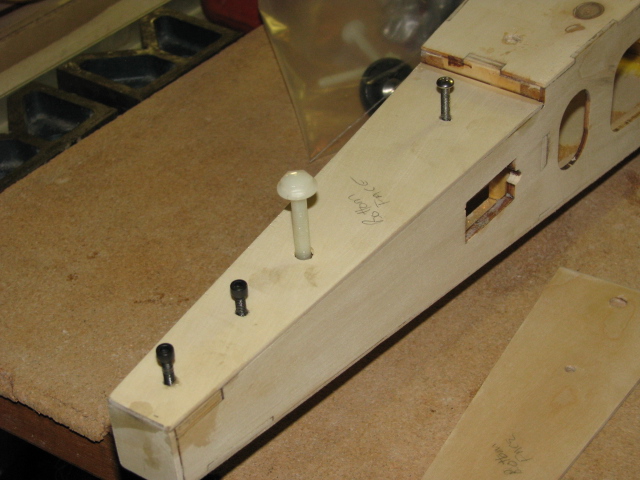
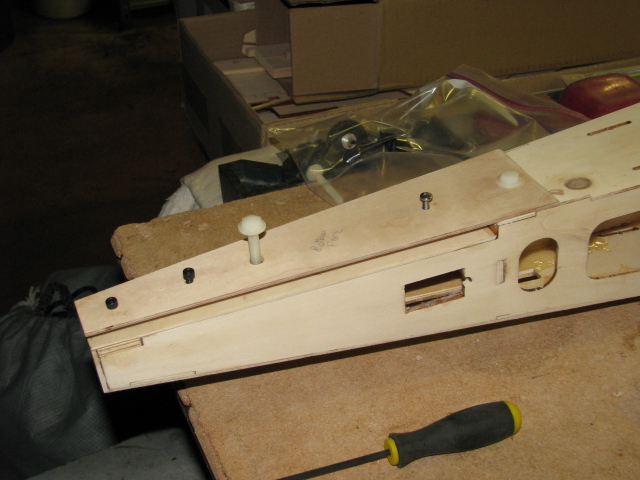
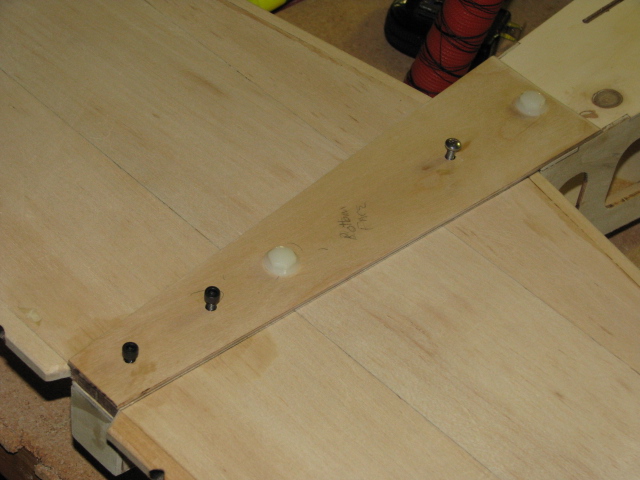
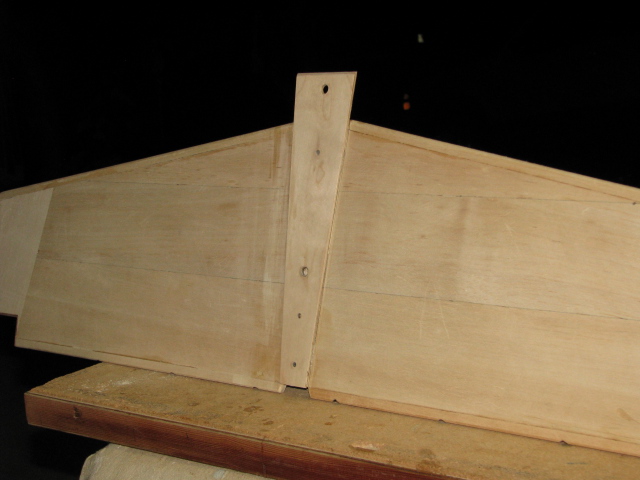
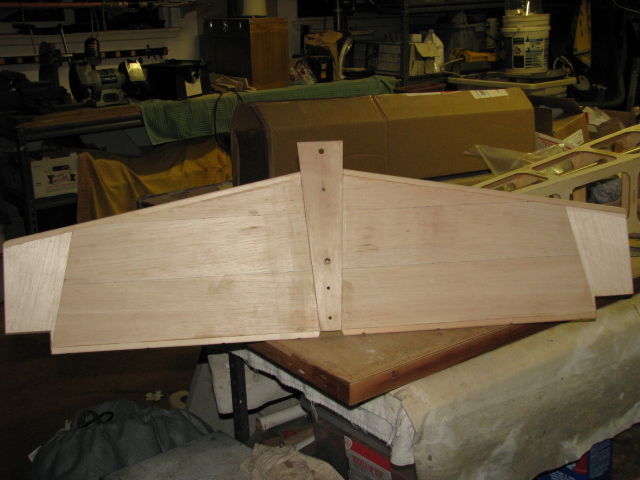
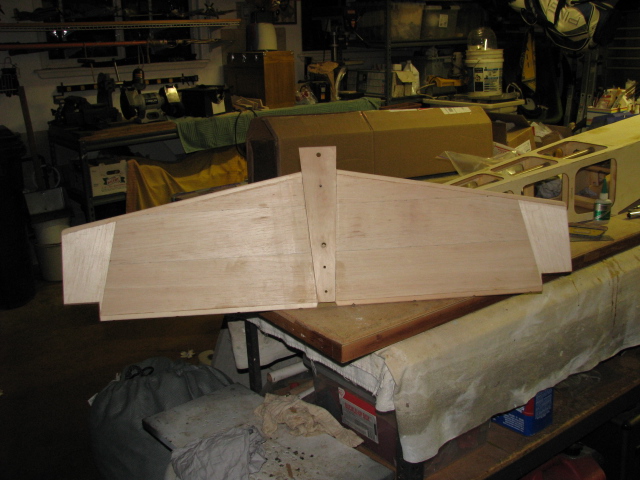
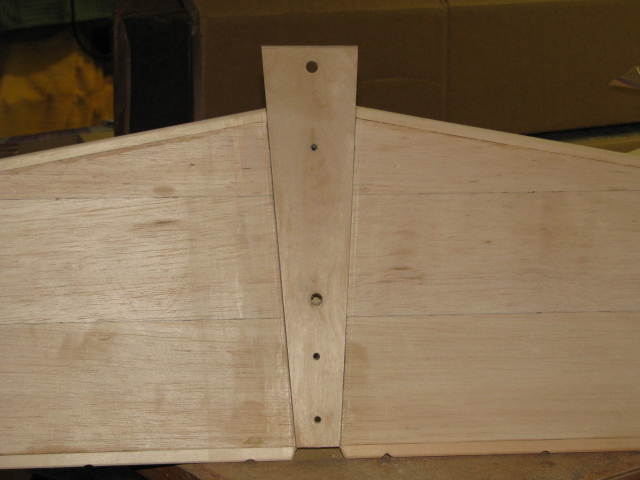
Today I finished the removable stabilizer, drilled the mounting holes as needed, and began my prep for covering. I found I needed to install a 1/8" spacer onto the bottom of the fuselage floor, piece FF6. I had to sand the stab a bit to get the proper condition I wanted and ended up sanding 1/16" off of the top and bottom of the stab. So I cut a 1/8" section of light ply, marked and drilled the holes and sanded to shape. I glued it down with thick CA and moved on to the second piece of plywood for the bottom of the elevator, where all the screw heads will be torqued up against. I mounted the stabilizer onto the aft fuselage and drew out the over lapping piece of 1/8" ply for bottom of the stab. This piece of 1/8" ply is high quality aircraft grade plywood-its not light ply. After I fit and sanded this to shape, I marked and drilled the holes, making sure my alignment was perfect. I test fit the elevator and finished sanded the stab. This is my rendition of a removable stab...Its probably over built a bit, but its my first one that I've ever built and it seems true, square and solid.
Once you finish your stab and rudder, your finished with step 97 & 98 in the instruction manual...and you move onto assembly of the wing jig.
Its time to cover the stab and rudder, then begin the instillation of all the electronics and fuel system.
Happy Fourth of July guys...
Bobby of Maui