Just kidding about the rivet counters, all are welcome to watch me goof up!

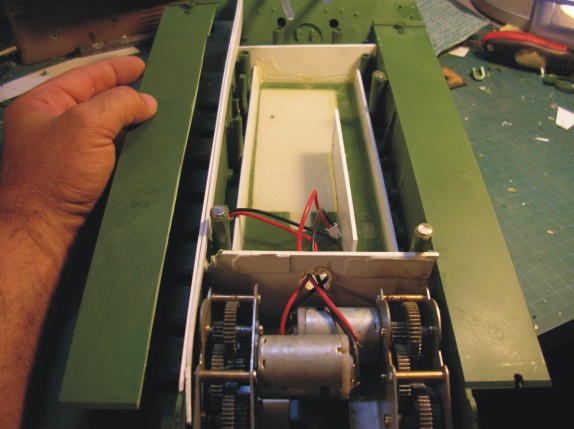
So when I decided on a different course the first thing I did was round up some reference material including some scale drawings which I brought into my CorelDraw program which let me scale them up to size to work with the HL Panther. from there I wanted to tackle the biggest things first. To that end I started with the lower hull needing to be built up at the butt end to be almost level. So I removed the lower hull deck plates and using the drawings and the upper deck I drew up the inserts pictured here. Notice I have 2 pieces of plastic lightly glued together so I can make and fit 2 identical pieces right off the hop.
Panther A 11.jpg (54.78 KiB) Viewed 3 times
Panther A 12.jpg (52.94 KiB) Viewed 3 times
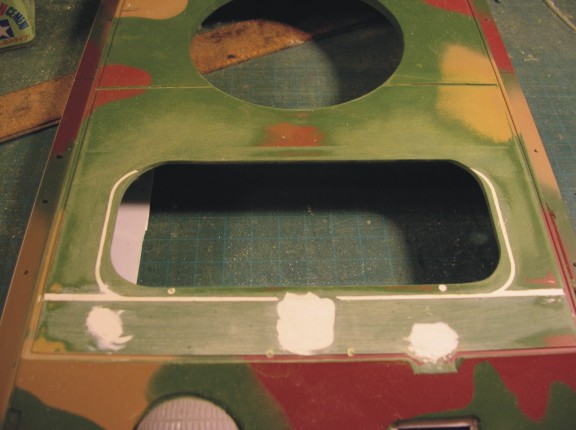
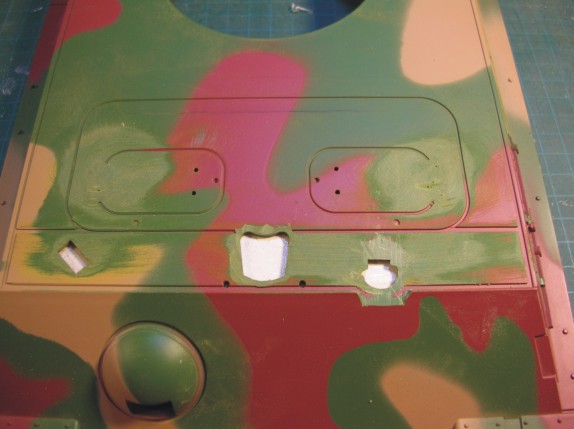
while I was waiting for this to dry a little so I could test fit the upper hull I decided to clean off the front deck of the upper hull.
Panther A 13.jpg (43.93 KiB) Viewed 3 times
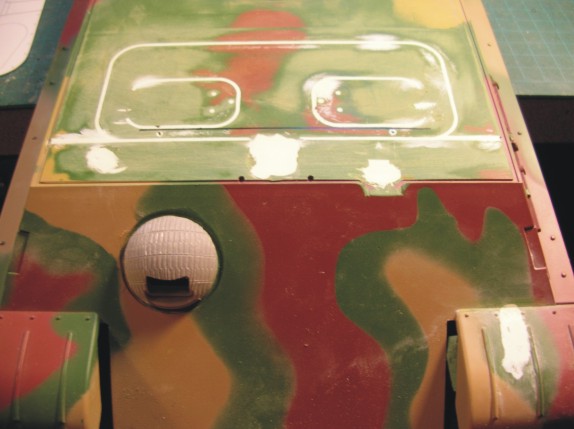
Once this was done I put a thin piece of sheet plastic underneath and then filled in the holes and hatch lines with putty. I also cut out the hull machinegun ball since with the Atak zim kit you get a real nice one with zimmerit already done!

I also sanded and filled the headlight housing on the fender as the mount is up on the glacis plate on the "A"
Panther A 14.jpg (42.14 KiB) Viewed 3 times
Panther A 15.jpg (46.87 KiB) Viewed 3 times
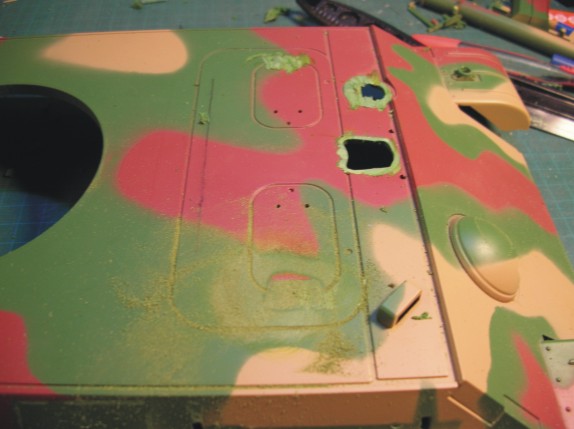
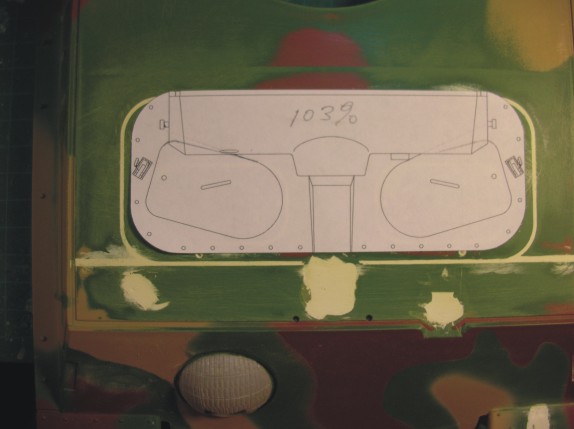
From my line drawings I cut out the "A" hatch mounting plate and glued it onto the deck .
Panther A 16.jpg (36.56 KiB) Viewed 3 times
While I waited for that to dry I pulled out 2 vent covers that I had cut from a Pantiger hull. I will be removing the crew compartment heater featured on the "G" and the other vent as well and replacing them with these as they better represent an earlier style.

Panther A 17.jpg (48.98 KiB) Viewed 3 times
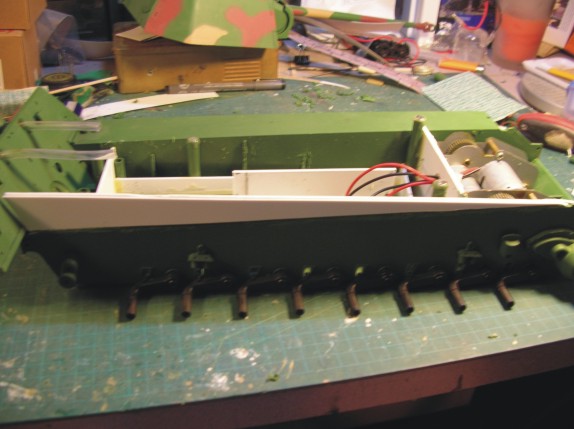
At the same time I removed the rear plate and cleaned it off as well as I will be changing exhaust and a couple of other details on this. I then again put a thin sheet of styrene in behind and filled all the existing exhaust holes.

Panther A 18.jpg (64.1 KiB) Viewed 3 times
On the "A" the upper deck was actually 2 pieces so I etched in the weld line which will be "beaded" later.
Panther A 19.jpg (54.47 KiB) Viewed 3 times
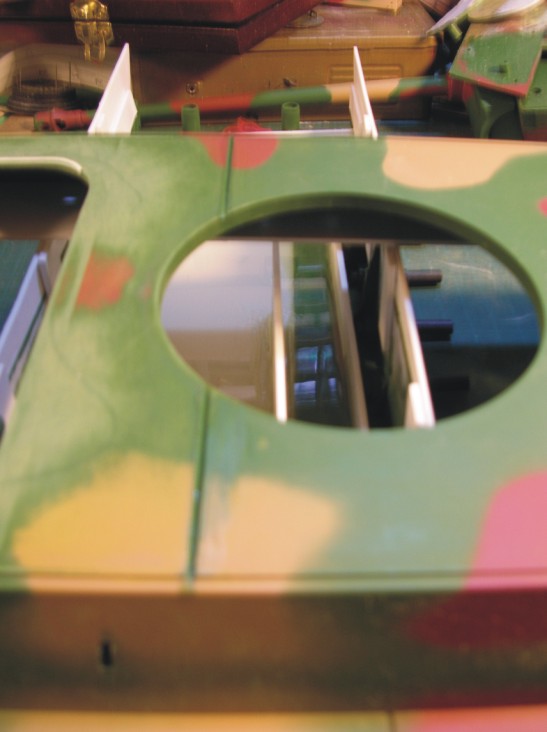
The next step was to cut out the hatch plate. I did this by first tracing around the paper pattern I had gluded down. Then using my trusty Dremel tool I cut inside the trace line, filed, sanded, and smoothed the opening out to the trace line.