Alrighty, kiddos in bed, so it was building time.
Next up was spine block #2. This one i made up and then glued in place and shaped. In hindsight, i wish i would have only tack glued this block in place as it was very difficult not banging into it during shaping the block just aft of it.
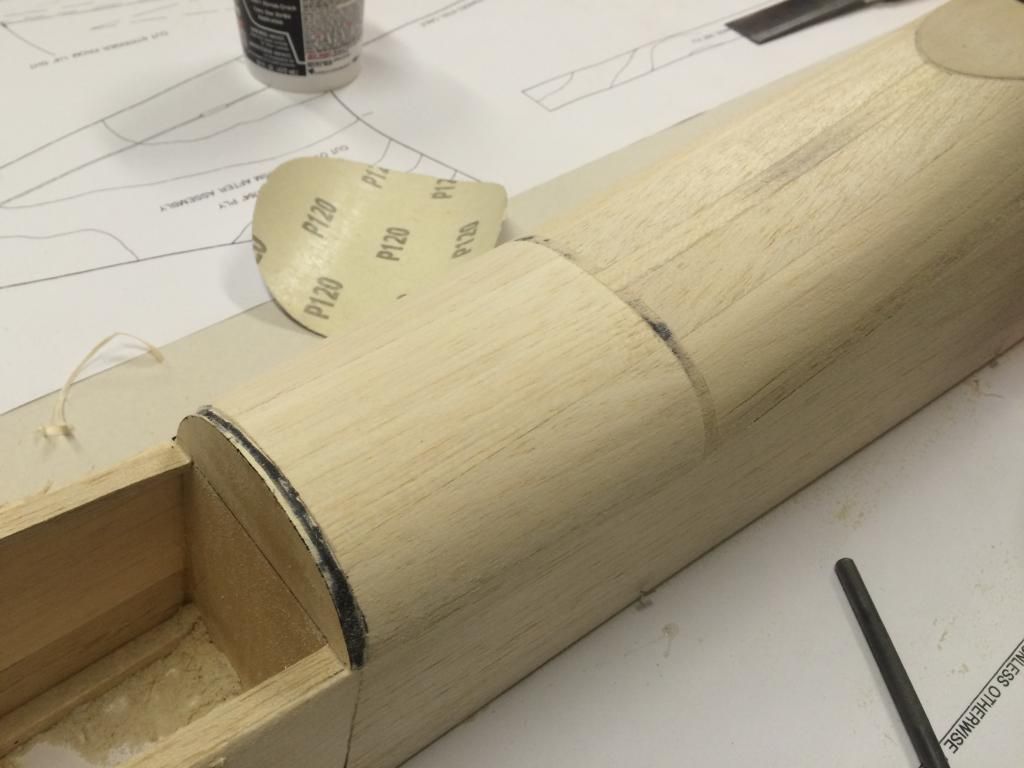

Then it was time for the block after that one. The plans show this as a single block all the way to the Vertical stab LE. I was looking at some photos of the last remaining Ta, and this area of the fuselage from F14 to F15 pretty much keeps the same shape. So i cut out a 1/8" ply bulkhead the same size and shape has the top of F14 to act as a hard edge to sand to for the block.
Them the block was made up as one piece, then cut into two where the new ply bulkhead was.

Then it was rough shaped with the razor plane:
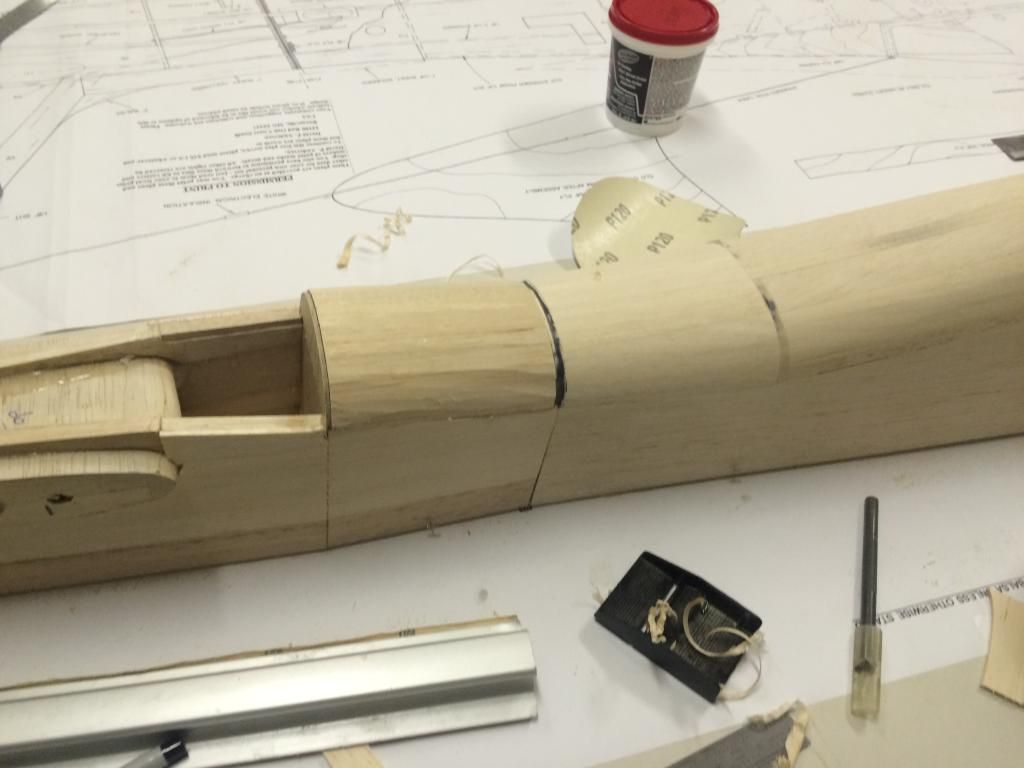
And then sanded smooth to its final shape.
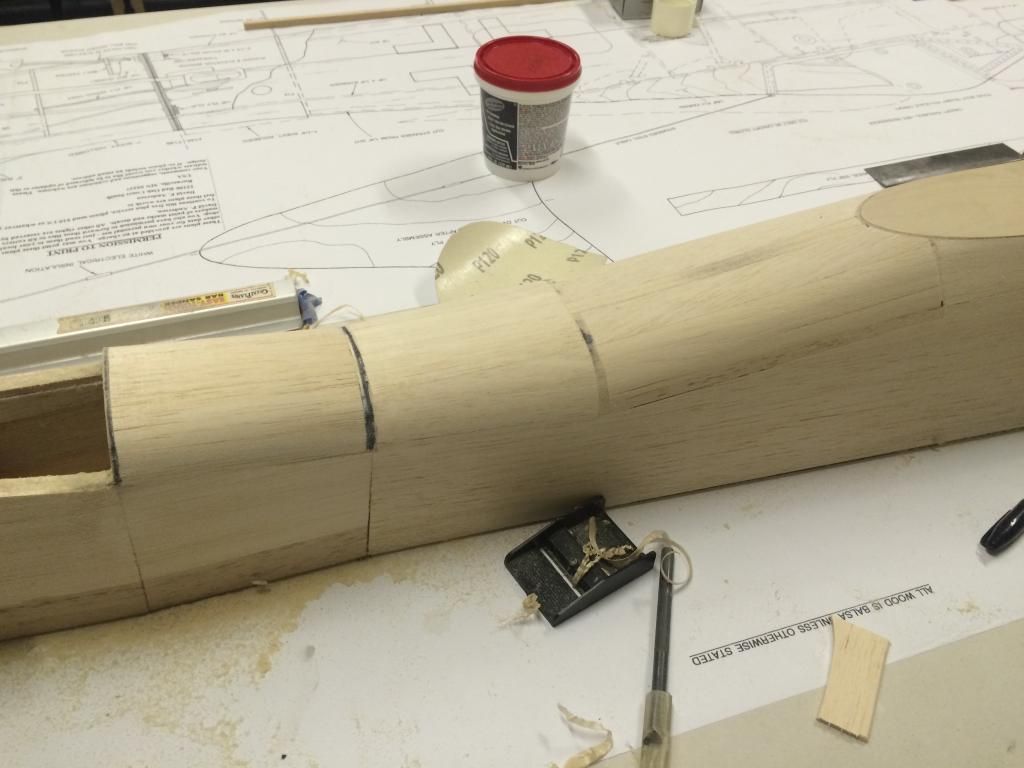
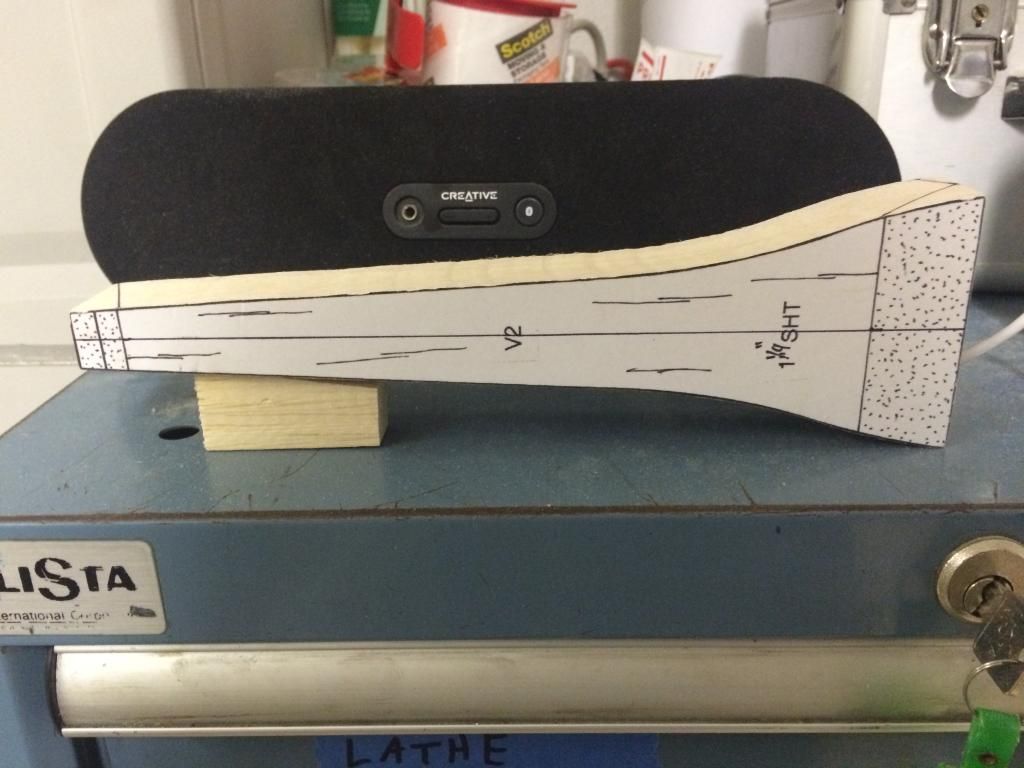
Next up was working out how to cut the big chunk of balsa, also known as VS1, the vertical stan LE to shape so it would sit flush at the fuse side and the angled end for the tip rib.
I drew the centerline down the Le and then used a piece of scrap balsa to prop up the tip end so the centerline was level. The aligning VS1 over the side view, the cut lines were transfered and then cut.
I then started mocking up the vertical fin by pinning VS1 onto the fuse and the tip rib to the tail post and VS1.
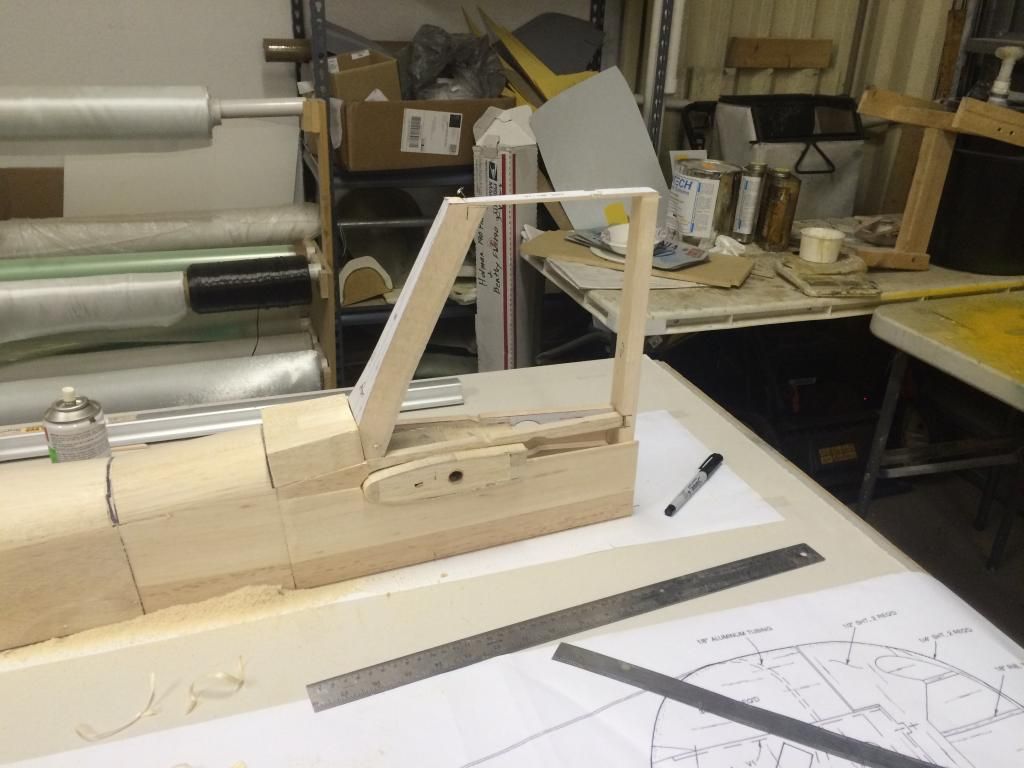
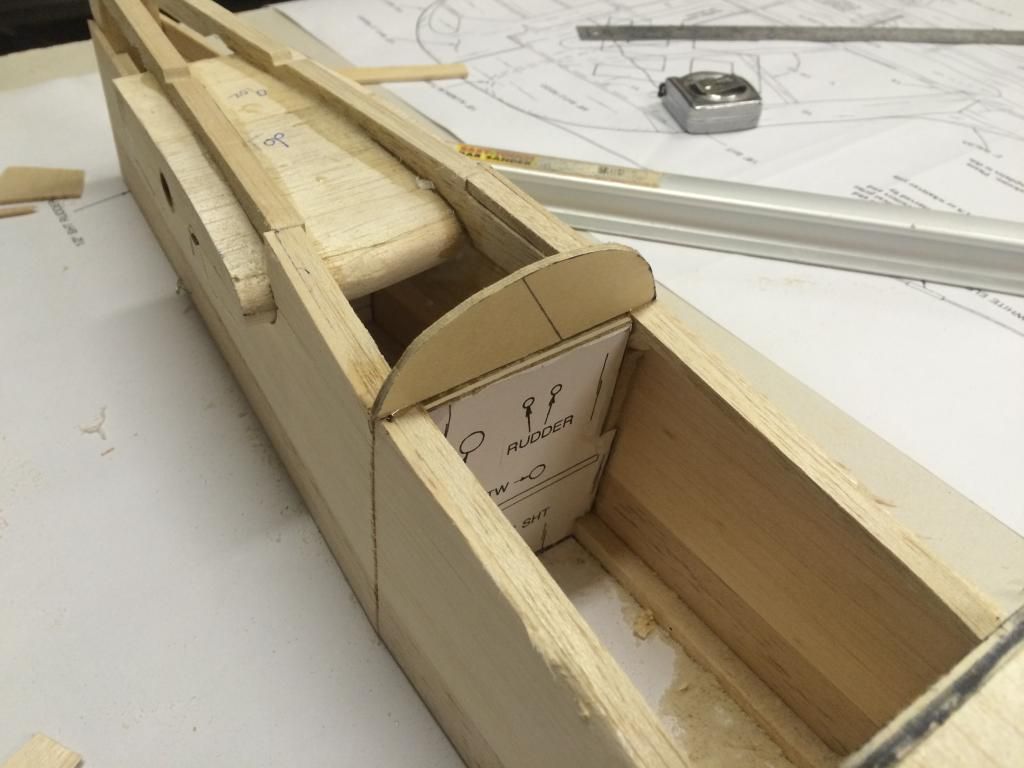
The remainder of the vertical stab parts were then cut and pinned in place. At this point i decided to call it a night. Tomorrow i will rough shape the leading edge and glue everything together. Then I'll sheet it and finish up the fuselage sheeting around the windscreen frame. Then the fun of the gun hood hatch carving begins.