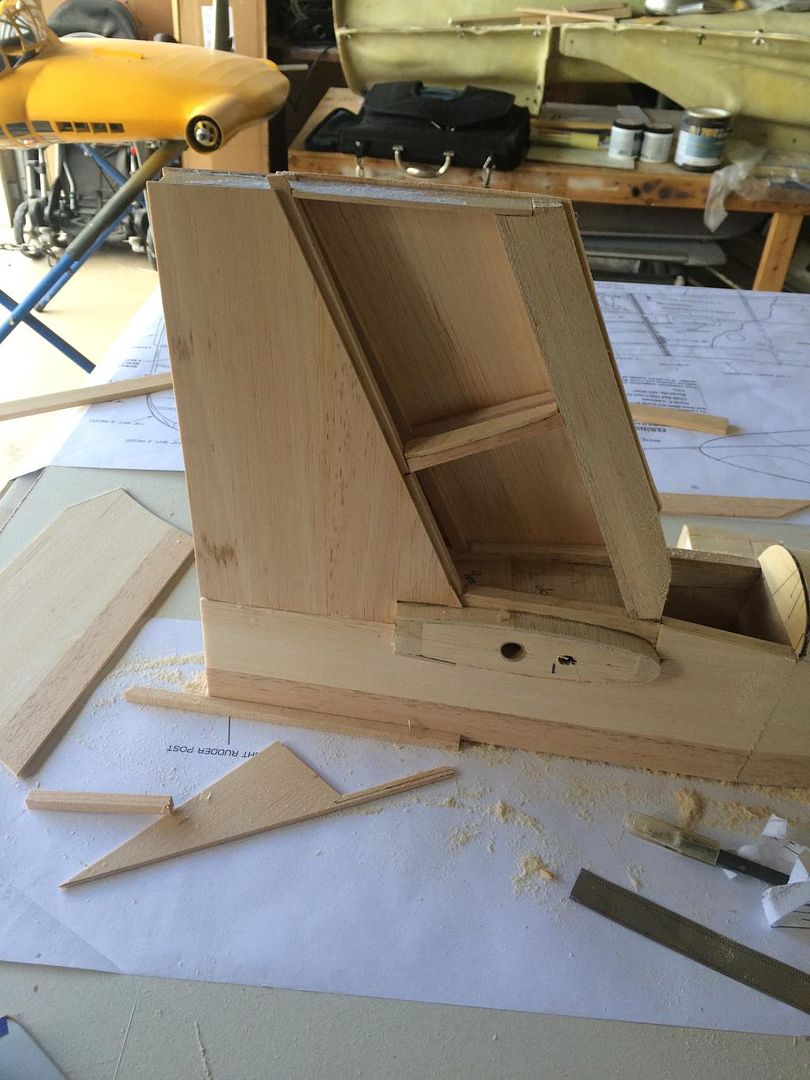
All of the vertical stab stuff was glued in place after sanding the leading edge to a slight taper and double checking everything another 1/2 dozen times to make sure it was square. The entire surface was then blocked to bring level (which was fun!). The sheeting aft of the diagonal square spar was then glued in place. After both of those cured the leading edge sheeting was installed.
when you gluing that leading edge sheeting on, here is a tip. Spray the glue side of the sheeting wih accelerator and let dry for a few minutes. Then go around all of the structure on the vertical stab and put you glue down.
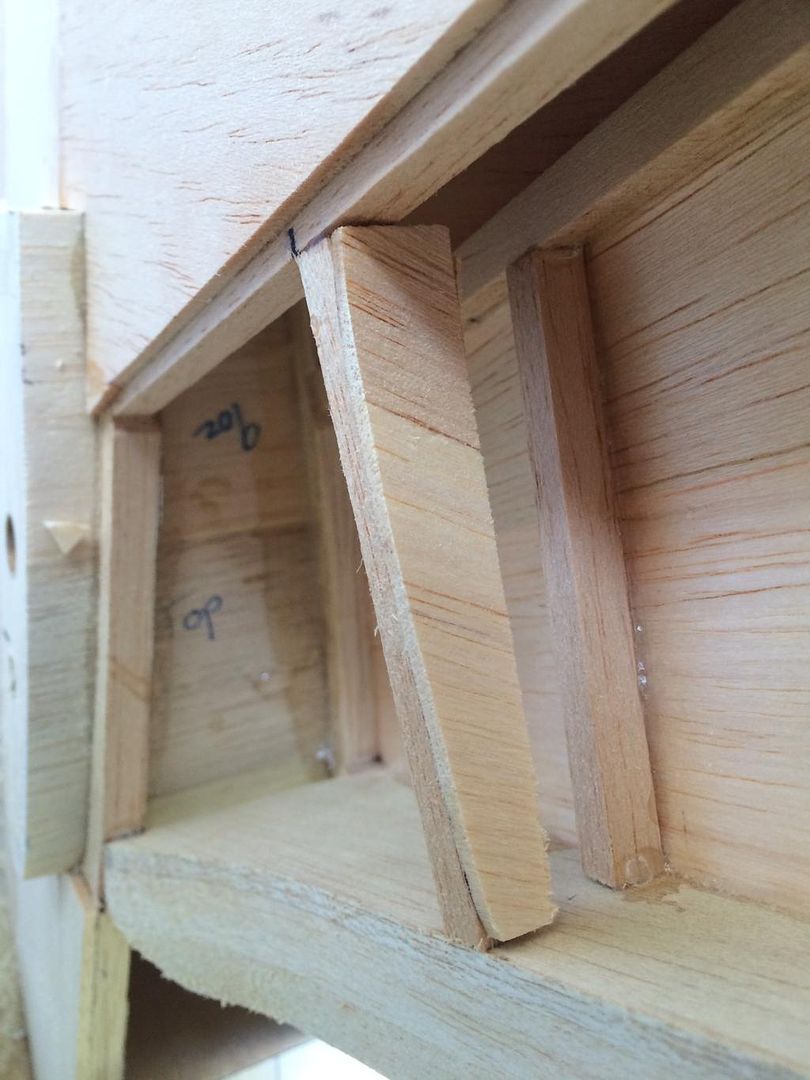
When you place the sheeting on, do the edge along the diangonal spar first, then the top rib, then the leading edge, then the base of the sheeting. You will have to score the sheeting slightly to get it to "crack" and lay flush to the top stab saddle surface.
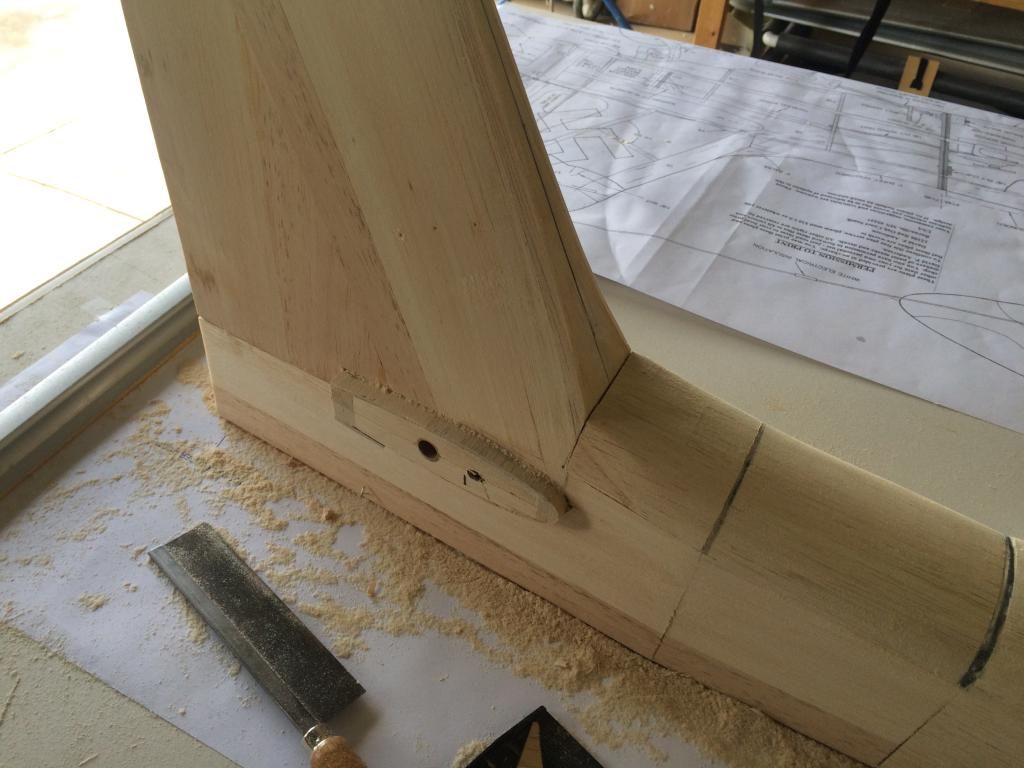
Now to ensure i have the same airfoil shape on the other side, i sanded a piece of 1/8" sheet balsa so it would fit along the diagonal rib and sit tight against the leading edge sheeting. This was then aligned to the opposite diagonal rib and glued in place.
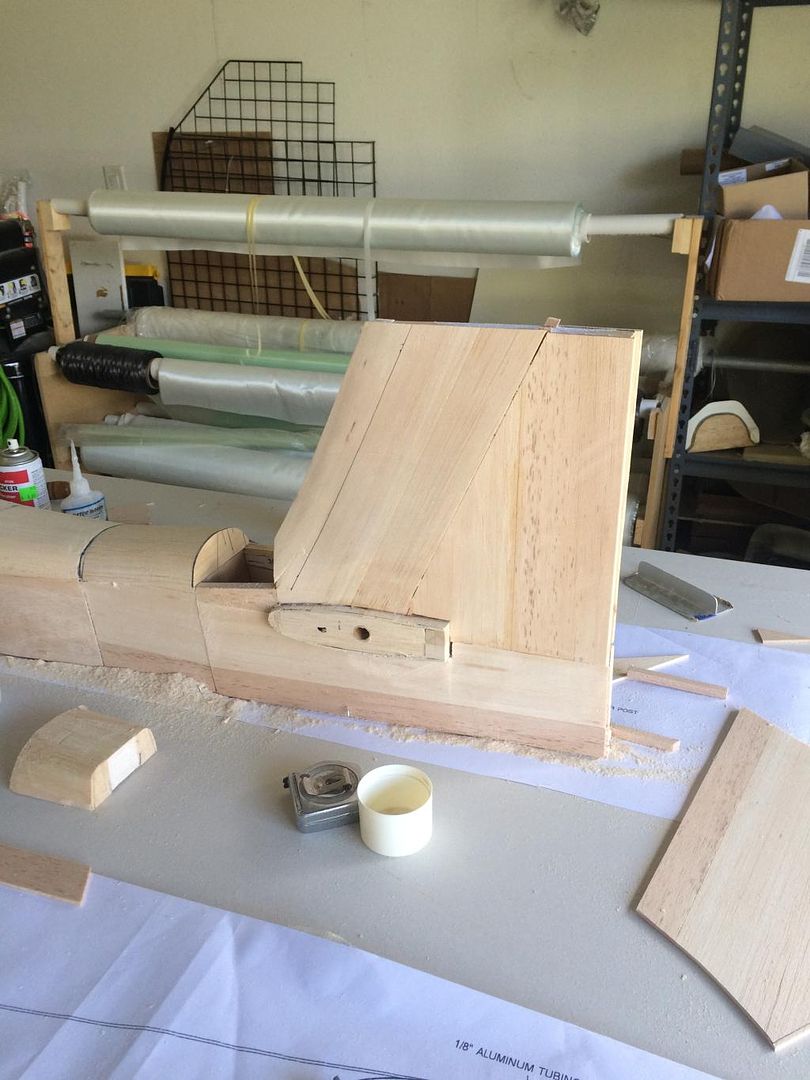
Then the block between the fuse extension and the vertical stab was shaped and glued into position.
after lunch ive got to go through my jet and get it back to flying condition, then ill finish the stab transition, tip block and leading edge shaping.