Before I go to the build, the doctor must make a prognosis: I fear the Camel will not be done for New Years Day. This is not due ot lack of time but of delays due to the doctor's health. In the past two months I've dealth with bronchial pneumonia and am now having back spasm caused by adjusting inflatable lawn ornaments. Had I not had these health issues to deal with, I would be farther along than I am right now. This is not to say I won't keep plugging along but I like to be realistic. Therefore, I will definately make plans to have the Camel finished in time for the WRAM show which is in late February. Wish me luck. Now on to the build.
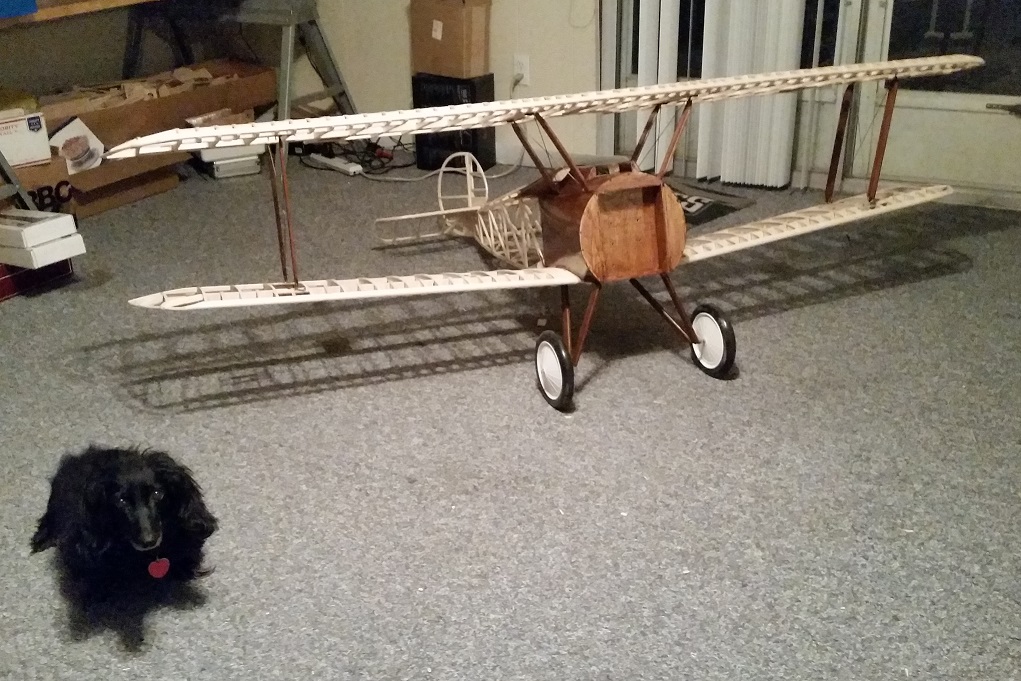
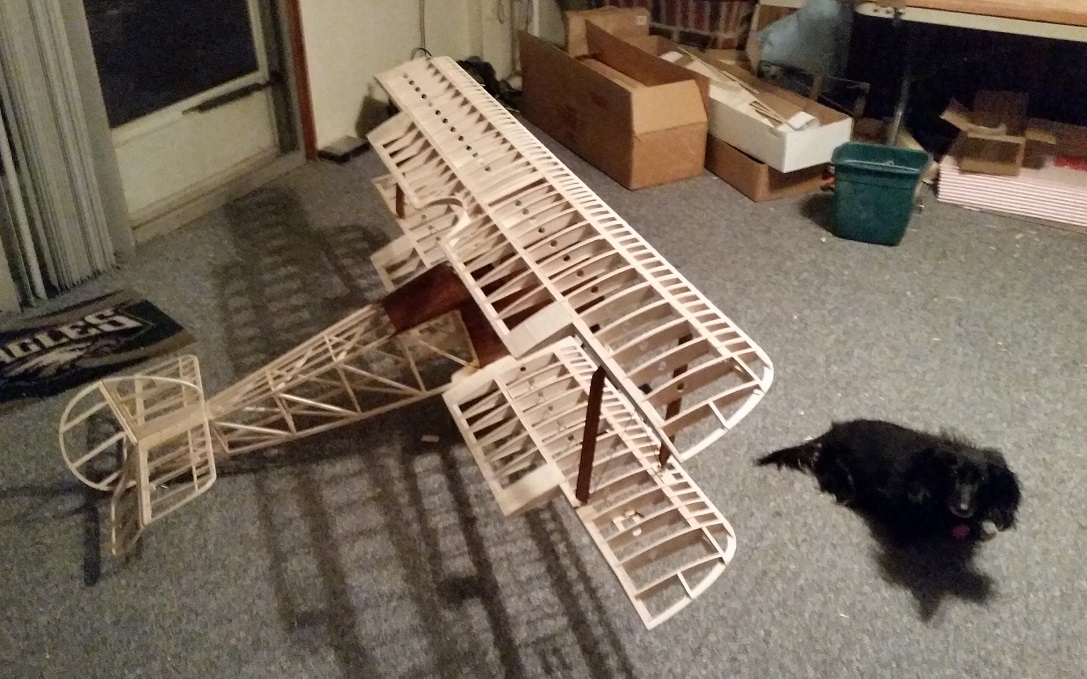
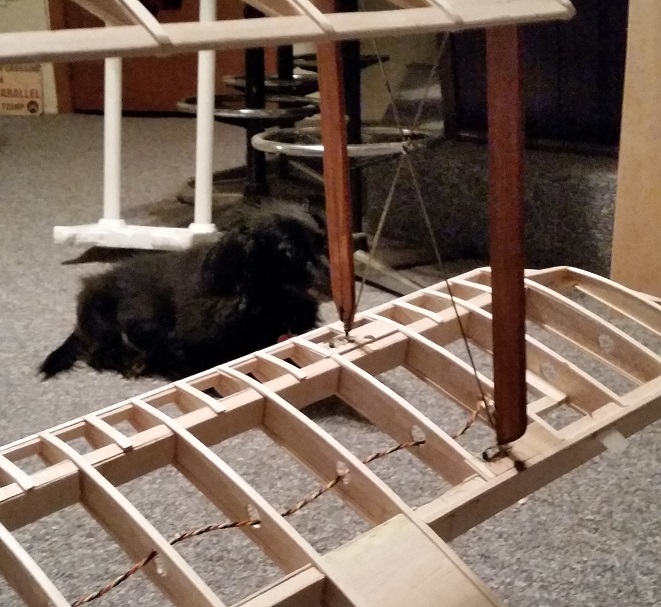
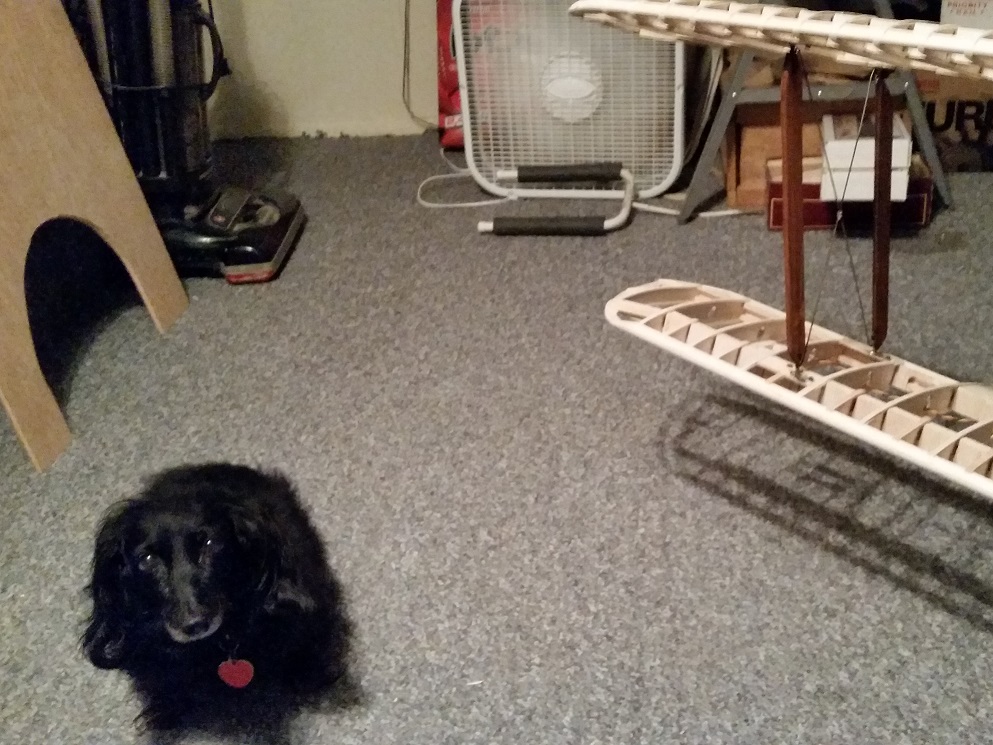
Today's photos have two models in them; the Camel and my dog Zoey who is a 15 year old long haired mini Dashchund. She follow me everywhere and is more than happy to pose for a picture and stare at you. That's what they do. Photo #1 is of the front view of the Camel and the wing struts are installed and stained. Photo #2 gives a side view of the struts plus all the other work that has been done thus far. Photo #3 shows the struts where they attach to the lower wing. The strut tips will be stained when the model is disassembled. Zoey is displaying her demure side. In photo #4 you can see where the struts attach to the top wing. You've probably noticed the lack of ailerons on the wings. They're built and ready but won't be installed until after the model has been covered. BTW, the cutout behind Zoey is not the door for a dog house. That is the 1/2" plywood I cut the firewall out of for a 1/3rd scale I built earlier this year. Zoey is a purebred princess and only goes outside when necessary!
Before I end today, I'd like to talk some more about staining for the guys who've never done it before. Your wood surface must be completely clean with no glue, dirt, sawdust, or oil for you to get a good stain finish. Especially keep this in mind when working with glue. Glue seals the wood and prevents the stain from penetrating the wood. When working with polyurethane that has a colorant in it, make sure you stir it often as the pigment has a tendency to settle to the bottom of the can. And, don't forget to lightly buff the surface with OOOO steel wool between coats and wipe the surface clean with a tack rag before applying the next coat. By the third coat, you'll have a nice smooth surface.
With tomorrow being the 24th, I'll probably just put a second coat on the struts and cabanes so I'll see you on the 26th. At this time, The Plane Doctor wants to wish you and yours a very Merry Christmas and I hope Santa brings you lots of stuff to build and fly. For those who do not celebrate Christmas, I wish you a very Merry Christmahanukwanzaka!